Design a Dieselpunk Steakhouse Menu in Lopsy
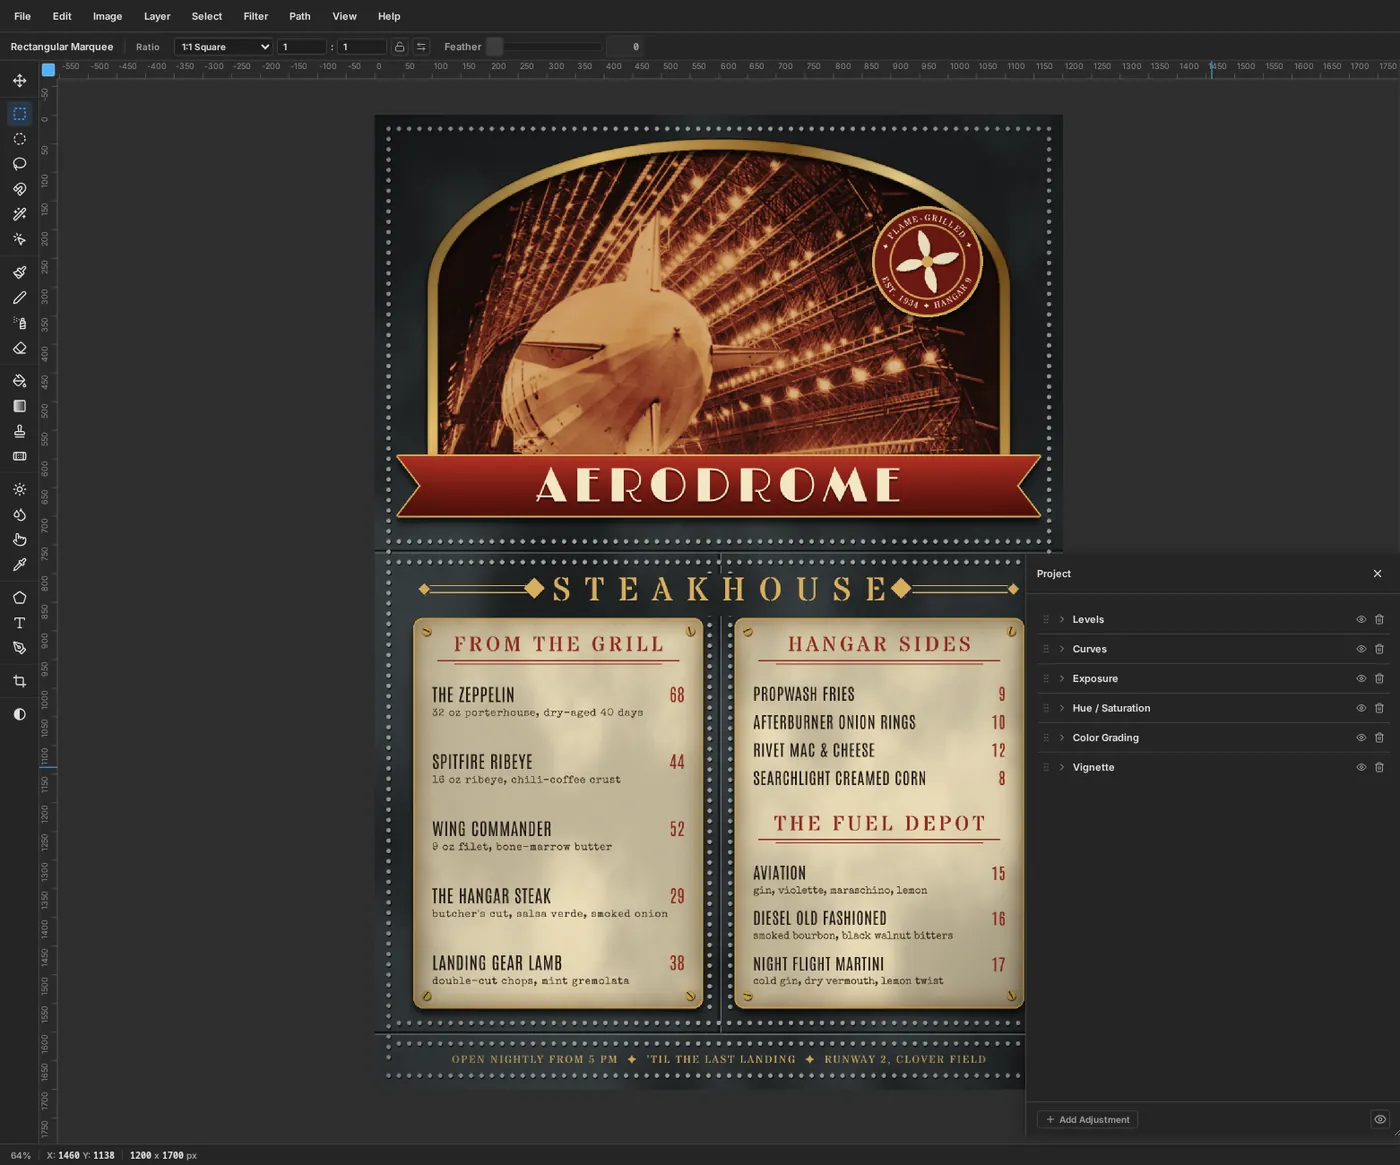
Build a 1930s machine-age restaurant menu in Lopsy, with riveted steel, a sepia airship photo in a brass arch, parchment menu cards and a propeller badge.
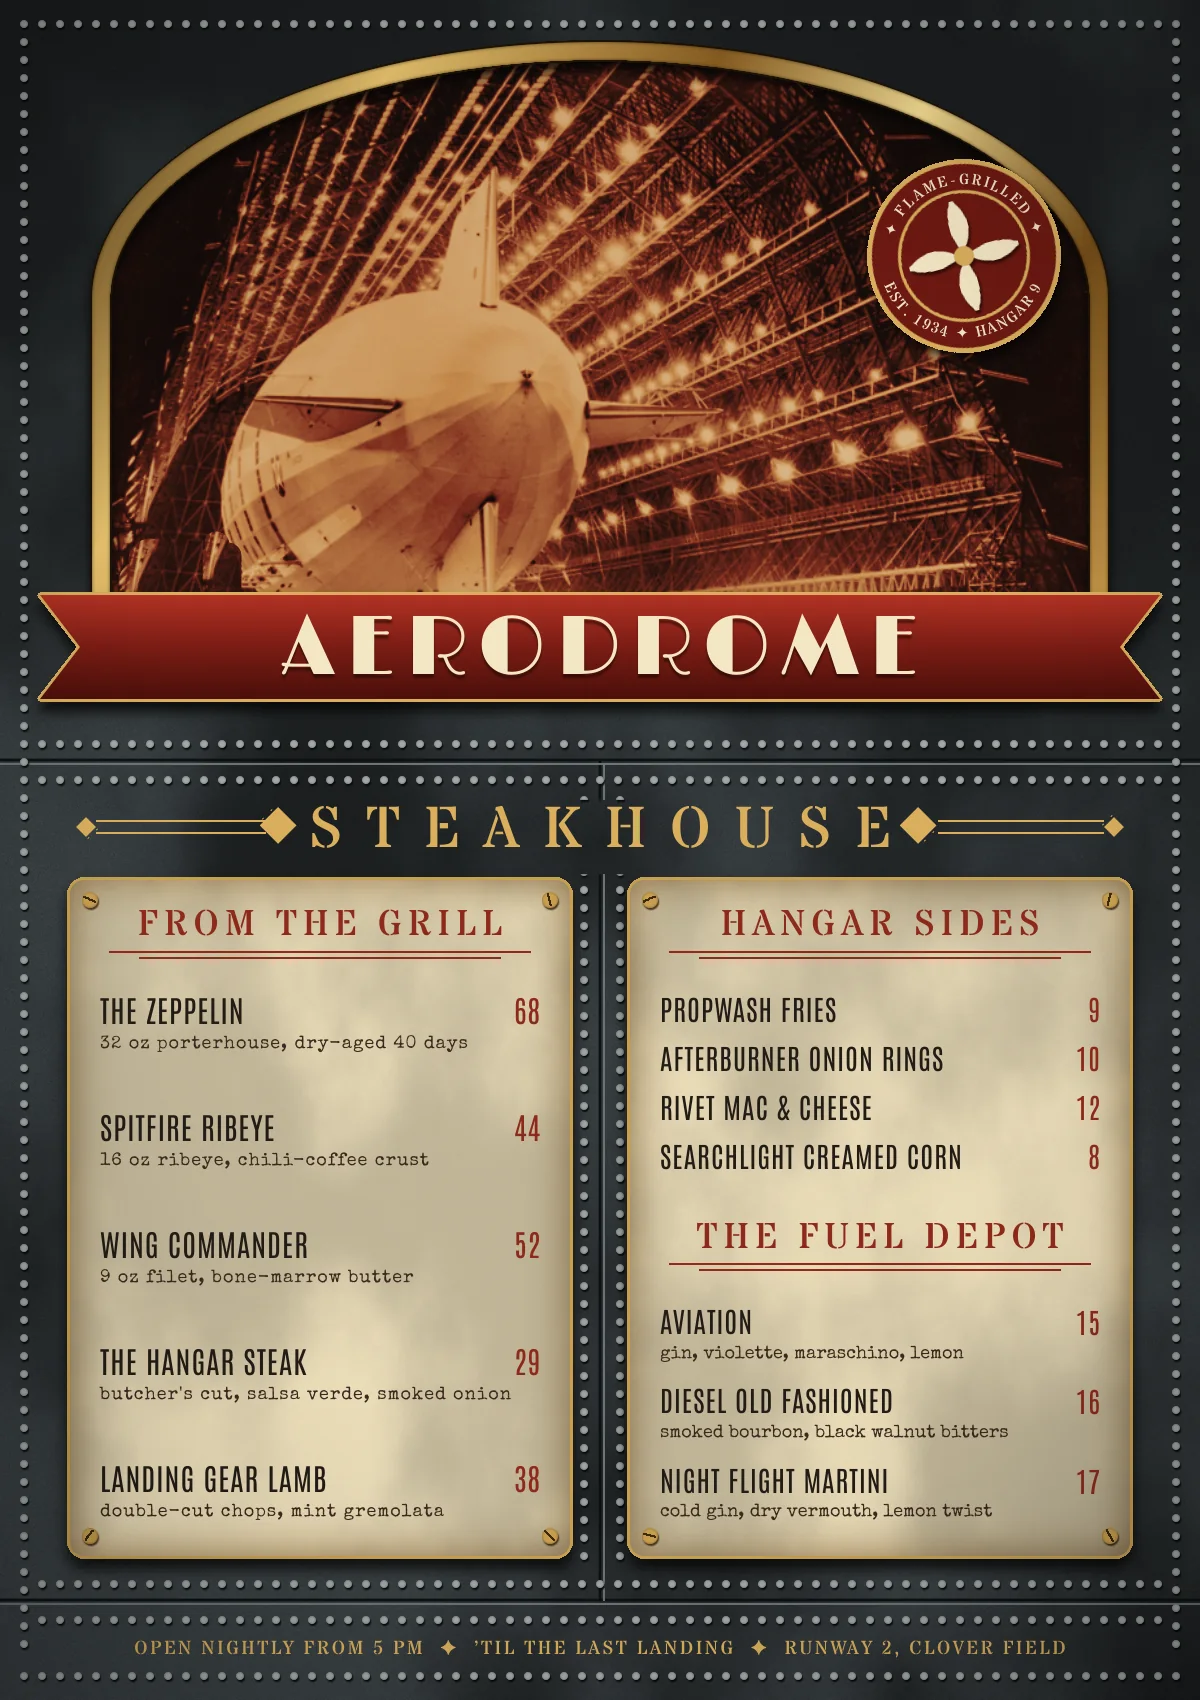
Dieselpunk is the machine age seen through a slightly smoky lens: the 1930s and 40s, when airships, propeller planes and streamlined locomotives were the future. As a graphic style it takes the geometry of Art Deco and makes it heavier and more industrial:
- materials you could touch: riveted steel plate, brass trim, enamel and worn paper
- aviation and engines: hangars, propellers, airships and searchlights
- a warm, limited palette: gunmetal, oxblood, brass and sepia, like an old photo under bar lights
- stencil and Deco lettering: type that looks painted on a crate or cast in a nameplate
In this tutorial you'll use all four for Aerodrome, a made-up steakhouse in an old airship hangar. The menu is 1200 × 1700 px. The top half is the restaurant's name over a photo of an airship in its hangar, and the bottom half holds two menu cards bolted to the steel.
You'll need one photo from Wikimedia Commons, released into the public domain by the National Museum of the U.S. Navy:
- USS Macon (ZRS-5) (23967960381).jpg, the US Navy airship Macon docked in her new hangar at Moffett Field in October 1933. Download the 1600 px version.
The tools you'll use:
- Add Noise and Clouds for a steel plate and paper stains
- the Brush with Shift-click lines, and its Spacing setting turned up to draw rows of rivets
- a layer mask made from an Elliptical and a Rectangular Marquee, and a Gradient Map group adjustment for sepia
- the Clone Stamp to tidy up the photo
- the Gradient tool, Select → Shrink and Lasso for brass and ribbon shapes
- the Shape tool for rounded cards, a disc, and squares turned into diamonds with the rotate handle
- the Pen tool and text on a path for a round badge
- Duplicate Layer, Rotate 90°, Merge Down and group transforms
- layer effects (Drop Shadow, Inner Glow, Stroke) and a Vignette on the whole document
The palette is gunmetal and brass, with oxblood and sepia:
-
Gunmetal
-
seam shadow
-
seam highlight
-
rivets
-
Sepia photo
-
Brass
-
Gold type
-
screws
-
Oxblood ribbon
-
badge
-
menu red
-
Parchment
-
cream
-
menu ink
-
description brown
The type is four Google fonts: Limelight for the name, Stardos Stencil for headings and the badge, Antonio for dish names and prices, and Special Elite for the typewriter descriptions.
-
Make the steel plate
Choose File → New and make a document 1200 wide and 1700 high. A new document has a Project group holding a Background layer and an empty Layer 1.
Click Background, set the foreground colour to and choose Edit → Fill. Then run Filter → Add Noise… with Mono and Gaussian selected and Amount
12. That gives the flat grey a fine grain, like rolled steel.Rename Layer 1 to
Grimeand run Filter → Clouds… with Scale4. Open its effects drawer, set the blend mode to Overlay, and lower its opacity to35%. The clouds now darken and lighten the steel in soft, uneven patches.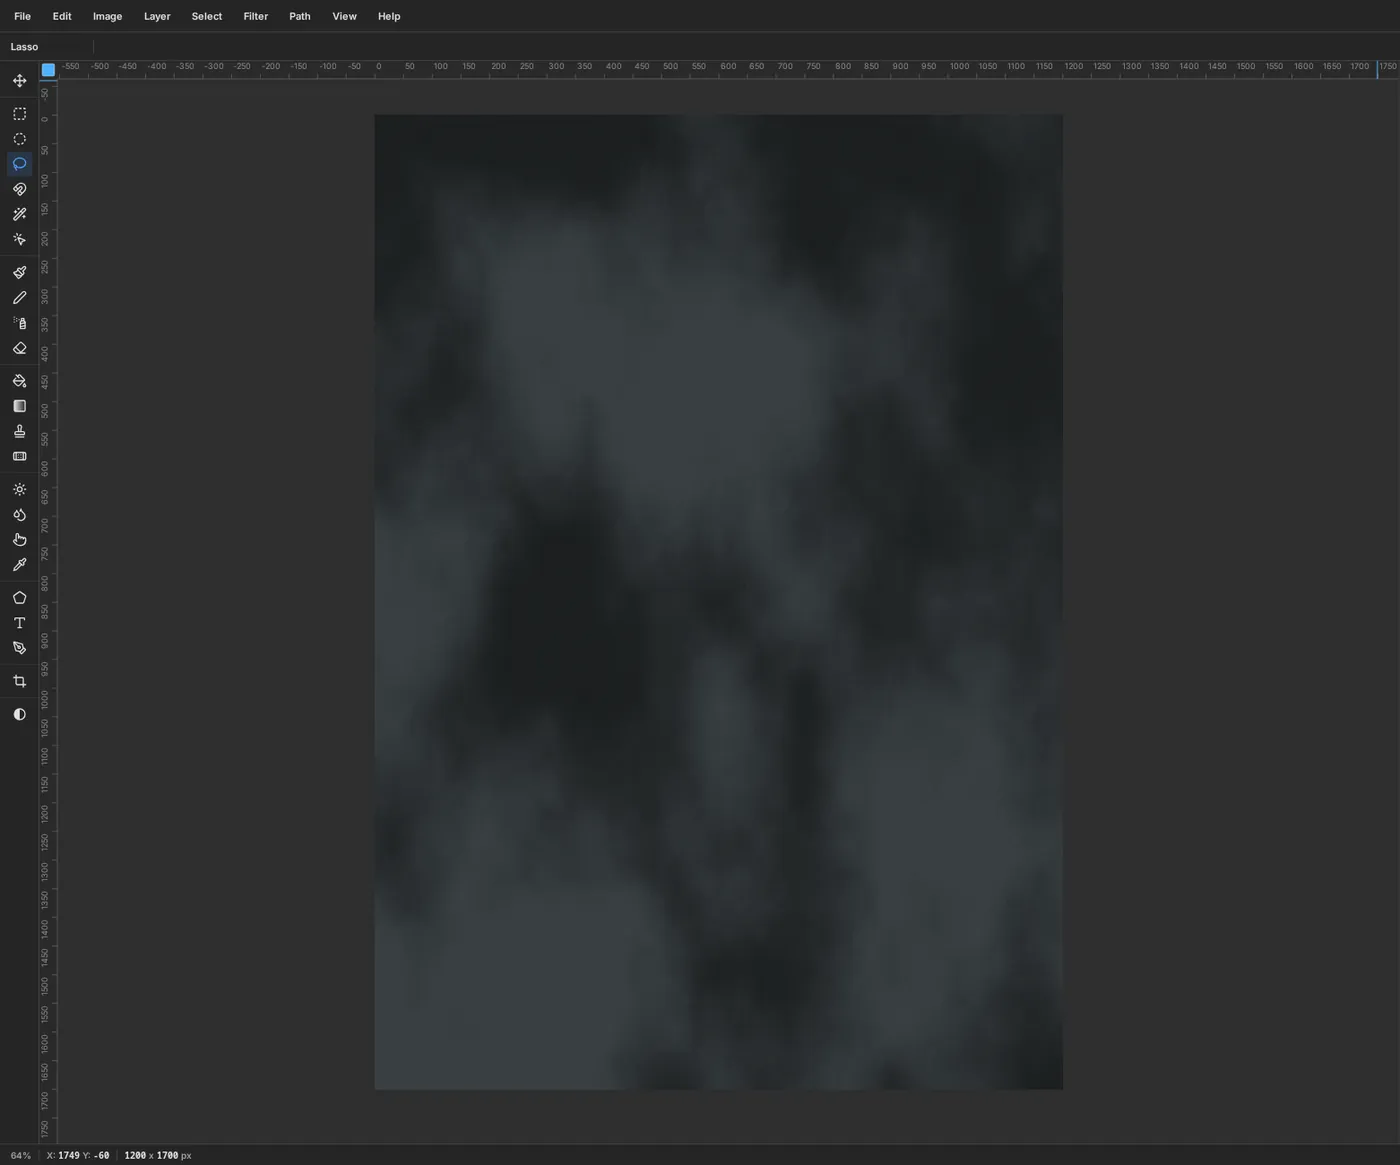
-
Draw the plate seams
The menu is made of four steel plates: one for the header, two side by side for the menu, and a strip for the footer. Add a layer named
Seamsand pick the Brush with Size4and Hardness100.Set the foreground to . The dark lines are the gaps between plates. Click on the left edge of the canvas at
y = 760, then Shift-click on the right edge at the same height to draw a straight line between the two clicks. Do the same aty = 1600, then draw a vertical line down the middle from600, 760to600, 1600.Switch the brush to Size
2and the colour to . Draw a second set of lines 4 px below and 4 px right of the first (aty = 764,y = 1604andx = 604). The thin light line next to the dark one reads as the lit edge of an overlapping plate.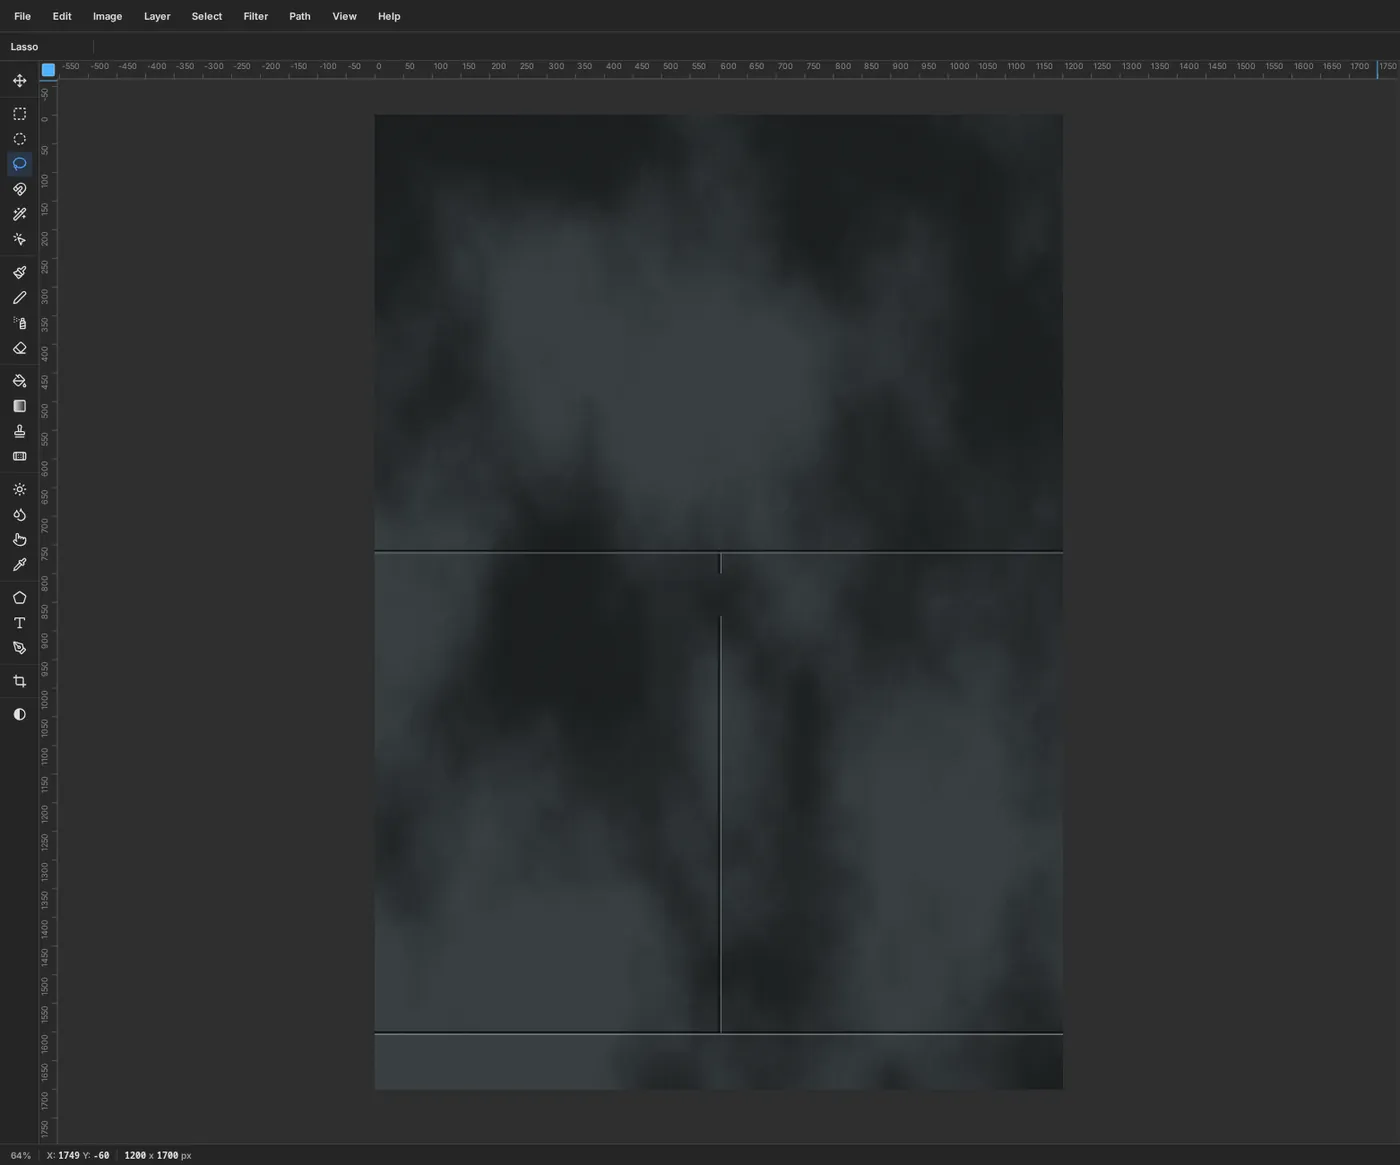
-
Add rows of rivets with brush spacing
Add a layer named
Rivets. Click the brush tip thumbnail at the left end of the options bar to open the Brushes panel, and on the Shape tab set Size9, Hardness100and Spacing200. Close it with the ✕. Spacing is the gap between dabs as a percentage of the brush size, so at 200% each dab lands 18 px from the last and a stroke becomes a row of dots.Set the foreground to and draw each row with a click and a Shift-click:
- around the outside, 24 px in from each edge of the canvas
- two rows along each horizontal seam, about 16 px above and 20 px below it (at
744and780, and at1584and1620) - two rows down the middle seam, at
x = 584andx = 620, from just below the top seam to just above the bottom one
Rivets hold the plates together, so they always follow the edges and seams. That's what makes the steel look built rather than printed.
Give the layer a Drop Shadow (Offset X
1, Offset Y2, Blur2, Opacity90%, colour ) and an Inner Glow (Size3, Opacity70%, colour ). The dark inner glow shades each rivet's rim so it looks domed, and the shadow lifts it off the plate.The word STEAKHOUSE will sit across the top of the middle seam later, so clear a gap for it now. Drag a marquee from about
560, 792to645, 874, around the top of the two middle rivet rows, and press Delete. Select Seams and press Delete again to cut the seam line with the same marquee, then press Cmd+D.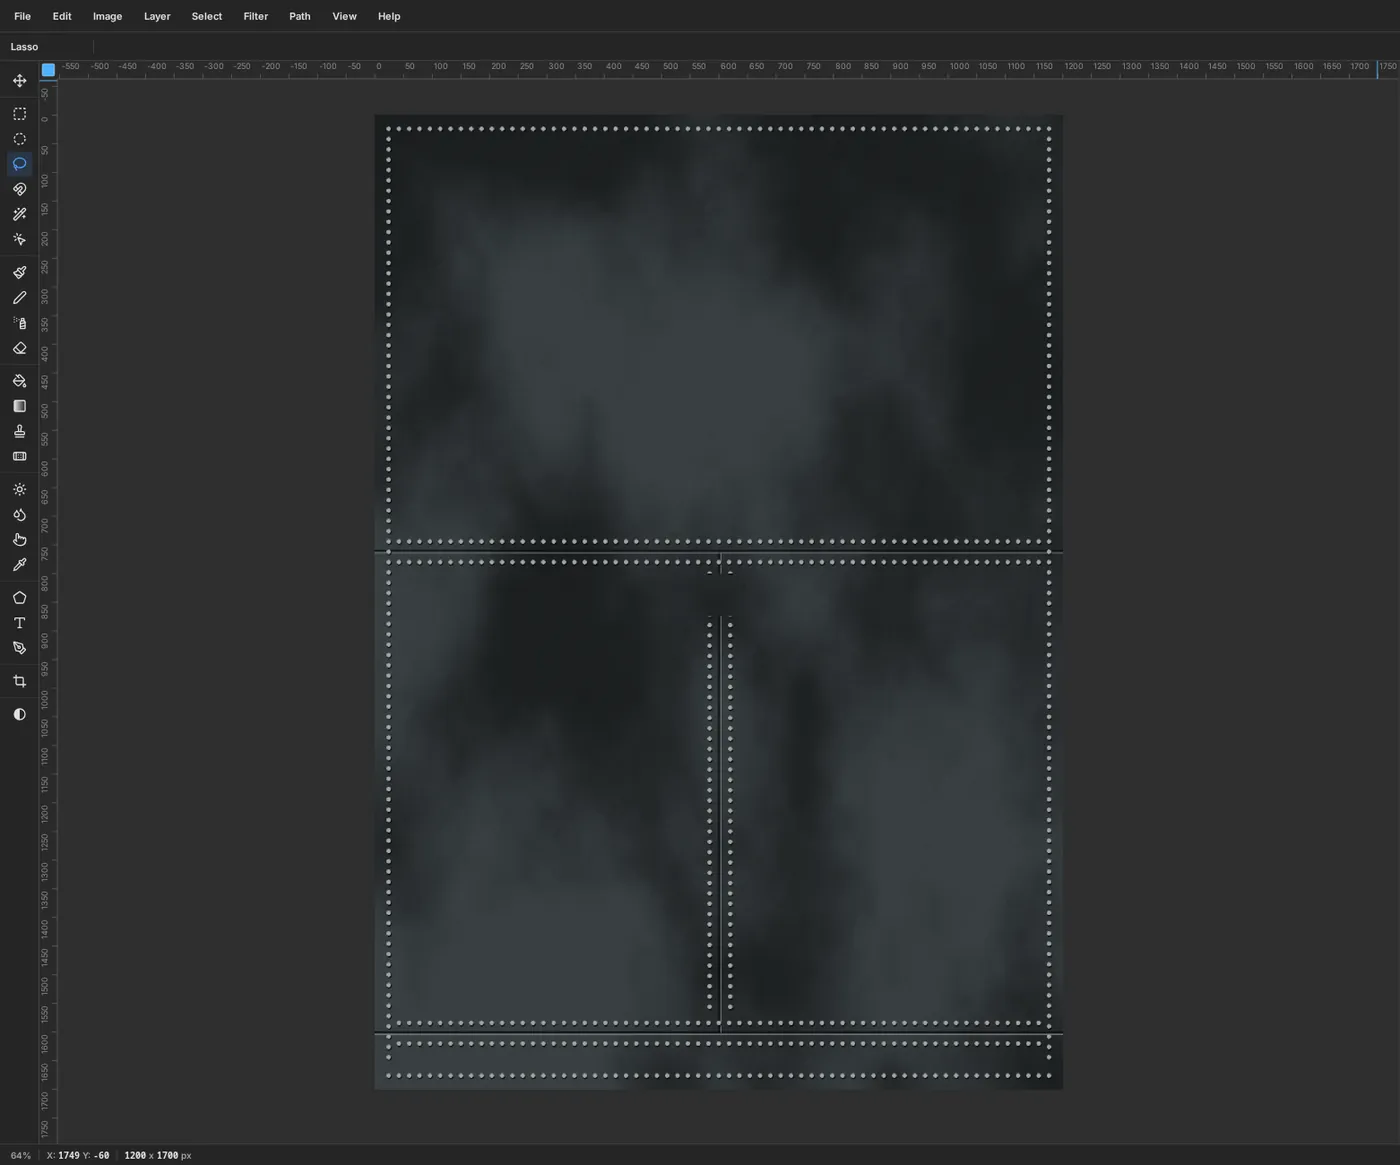
-
Drop in the airship photo
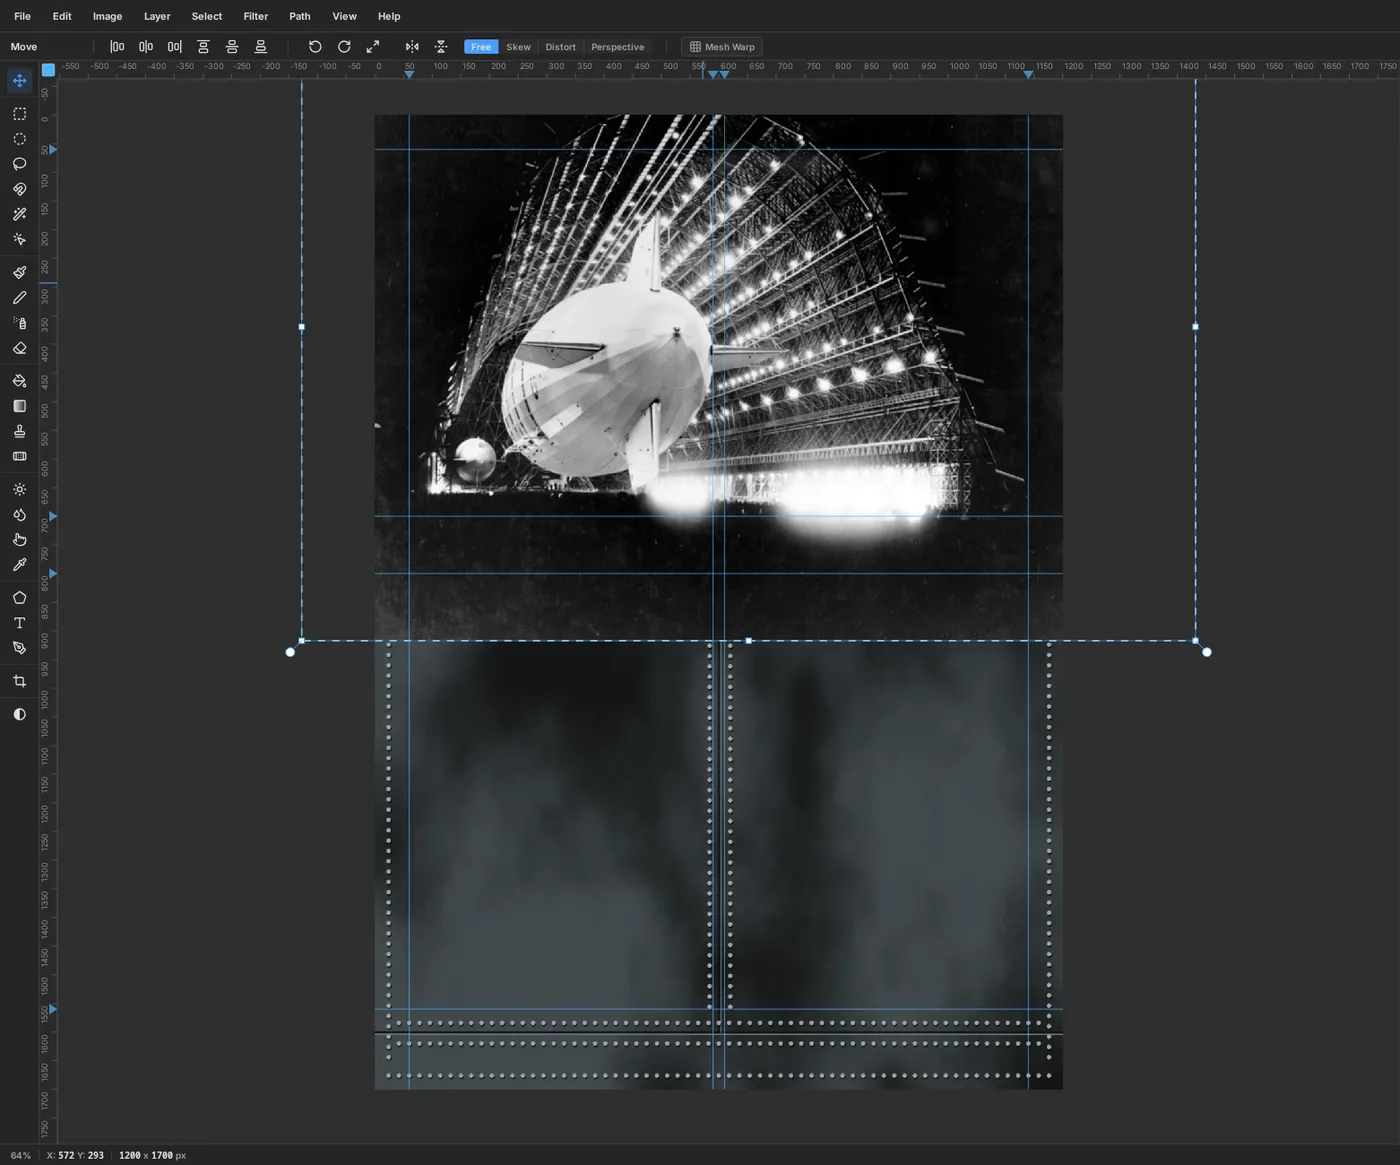
Click Rivets, then drag the USS Macon photo from your desktop onto the canvas. Lopsy puts it on a new layer, scales it to fit the canvas width and leaves its transform handles showing. Rename the layer
Airship Photo.With the handles still live, hold Cmd and drag the bottom-right corner handle outwards until the photo is about one and a half times as big (roughly 1875 px wide). Cmd keeps the proportions. Then drag the middle of the photo up and left until the airship's tail sits near the top centre and its nose fills the left half of the header. Press Cmd+D to commit.
Don't worry that the photo now covers most of the menu. The next step cuts it down to an arch.
-
Select an arch
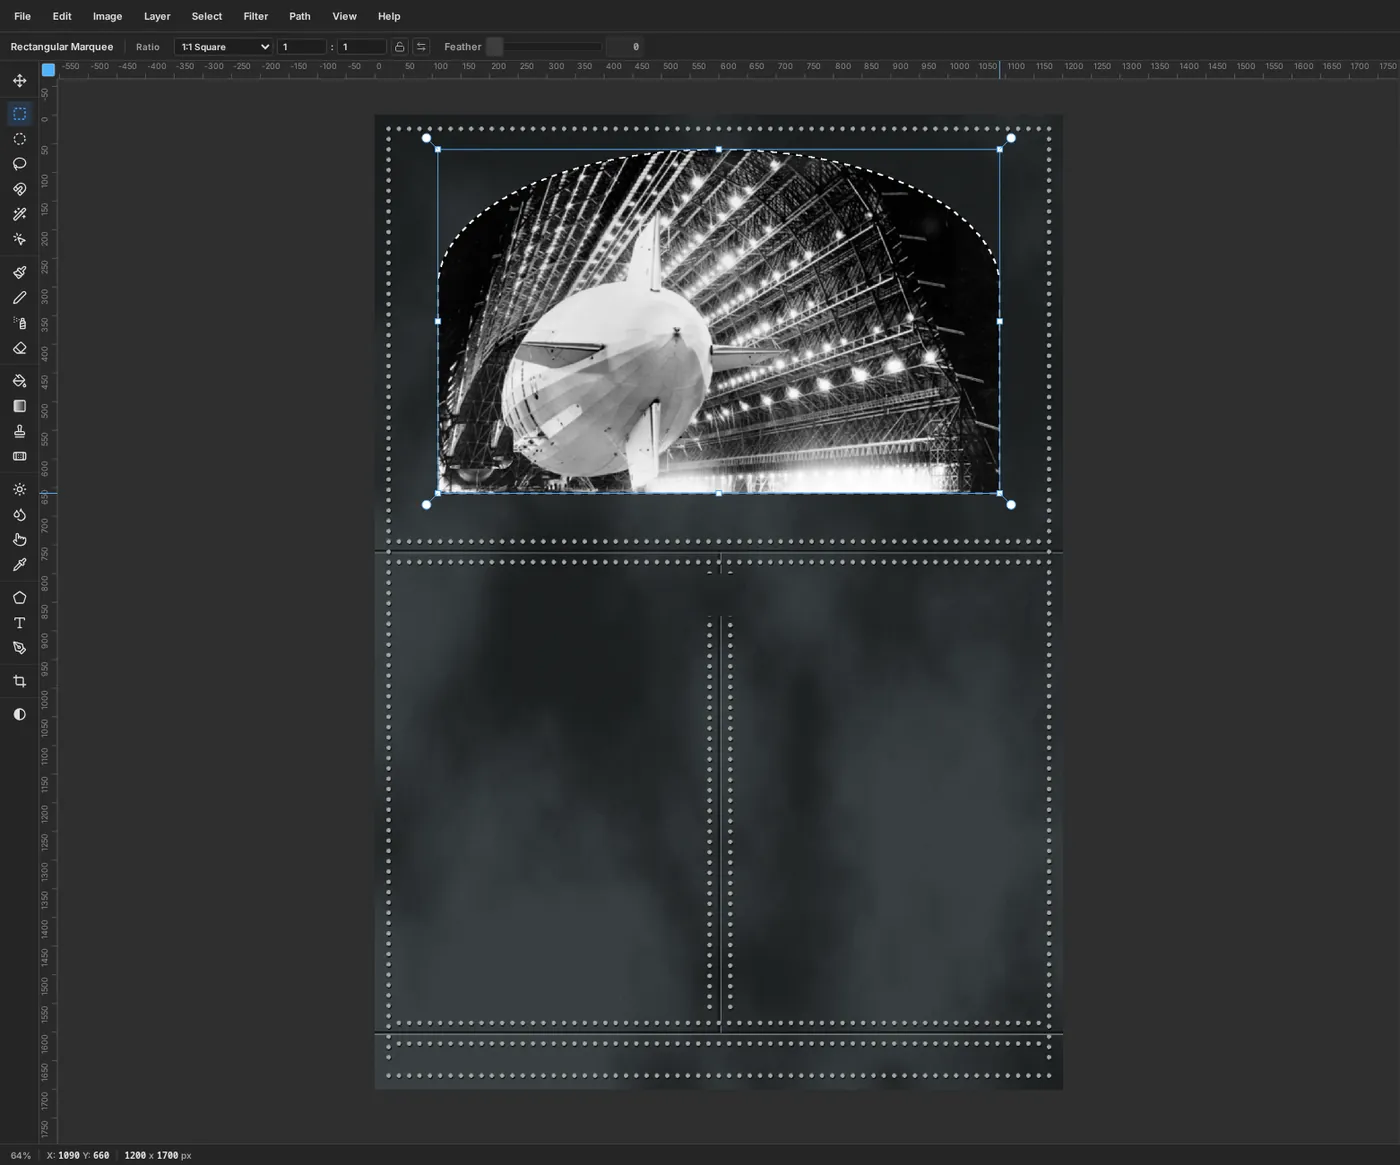
An Art Deco arch is a half-ellipse sitting on a rectangle, and that's exactly how you select it.
- Pick the Elliptical Marquee and drag from
110, 60to1090, 540. That's an ellipse 980 px wide whose middle is aty = 300. - Switch to the Rectangular Marquee, hold Shift and drag from
110, 300(the middle of the ellipse's left side) down to1090, 660. Shift adds the rectangle to the ellipse.
The bottom half of the ellipse disappears inside the rectangle, leaving one arch-shaped selection.
- Pick the Elliptical Marquee and drag from
-
Mask the photo to the arch
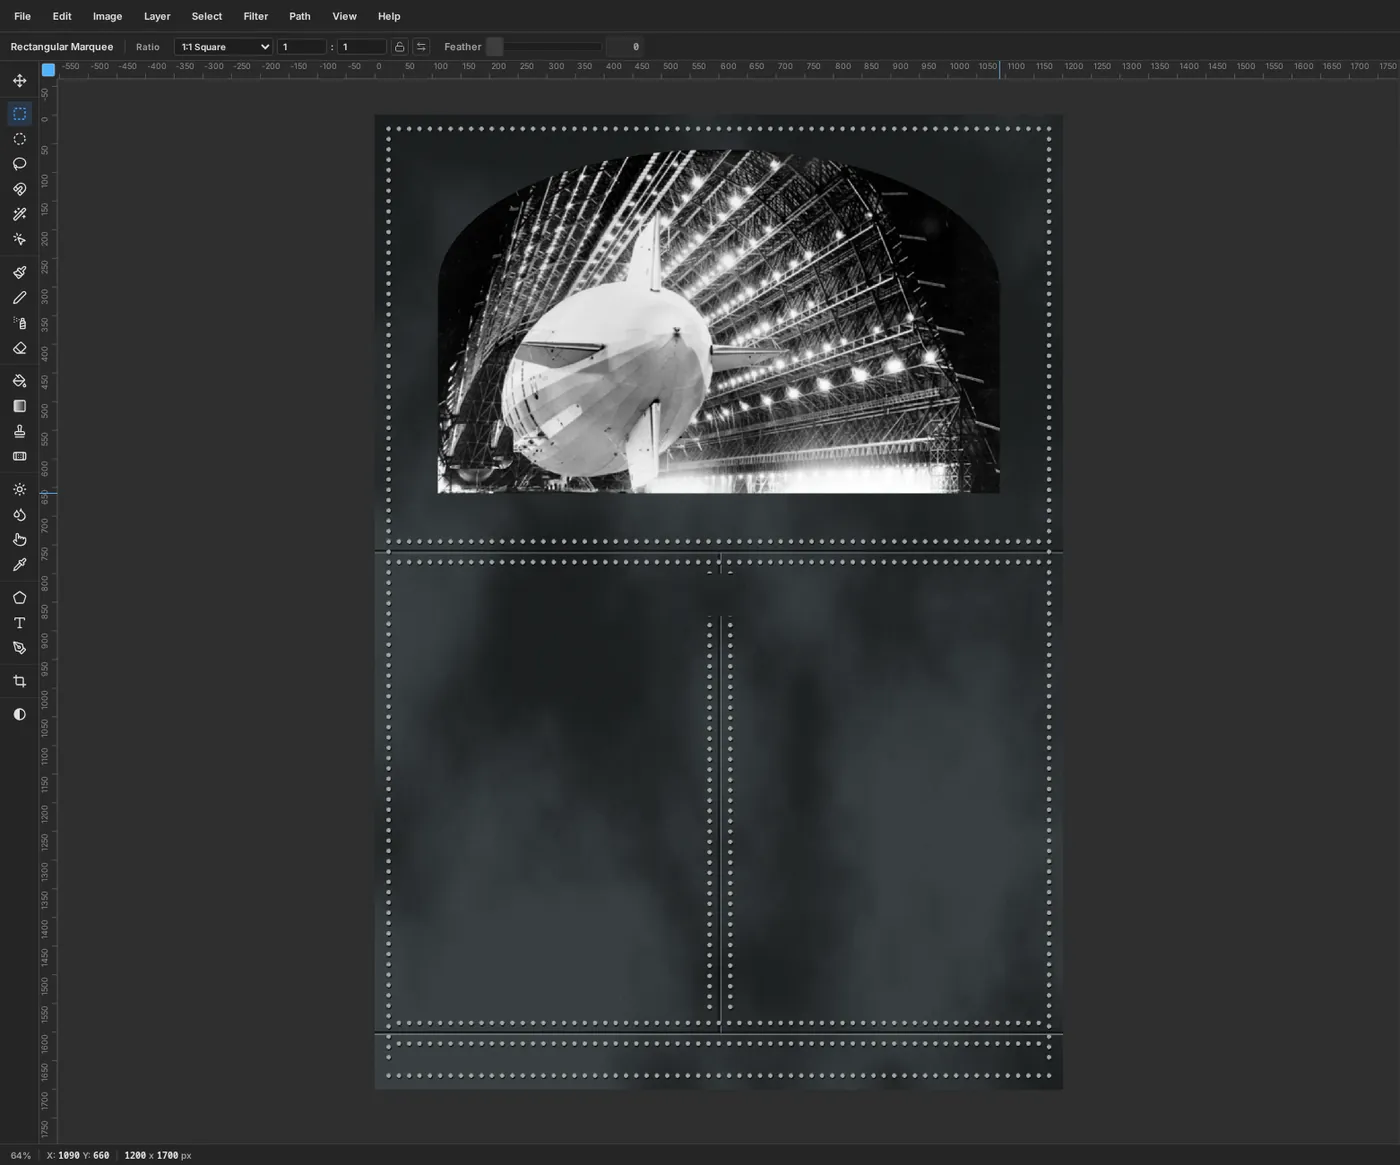
With Airship Photo selected, click Add Mask at the bottom of the Layers panel. With a selection active, the mask shows only the selected area and hides the rest, and the selection is dropped.
A mask hides pixels without deleting them, so if you want to shift the photo inside the arch later you still can.
-
Turn the photo sepia with a Gradient Map
With Airship Photo selected, choose Layer → Group Layers and name the group
Hero. Click the group's effects button in the Layers panel. On a group, this drawer holds adjustments that apply to everything inside the group.Click Add Adjustment → Gradient Map. Click the left stop and type into its hex field, and set the right stop to . Click the bar at about 42% to add a stop and make it , then add another at about 74% and make it . The map replaces each grey in the photo with the colour at that point on the bar, so dark trusses go deep brown and the lamps go cream.
Add a Highlights & Shadows adjustment and set Highlights to
-12to bring back a little detail in the brightest part of the airship. Keep it subtle: large negative values flatten the lamps.The photo also shows the top of a small blimp parked in the bottom-left corner of the hangar. Once the ribbon goes on, only a sliver of it peeks out above the ribbon and looks like a mistake, so remove it now. Select Airship Photo, pick the Clone Stamp at Size
44, Alt-click on the hangar truss just above it to set the source, and paint over the blimp. A second pass at Size28cleans up the last sliver.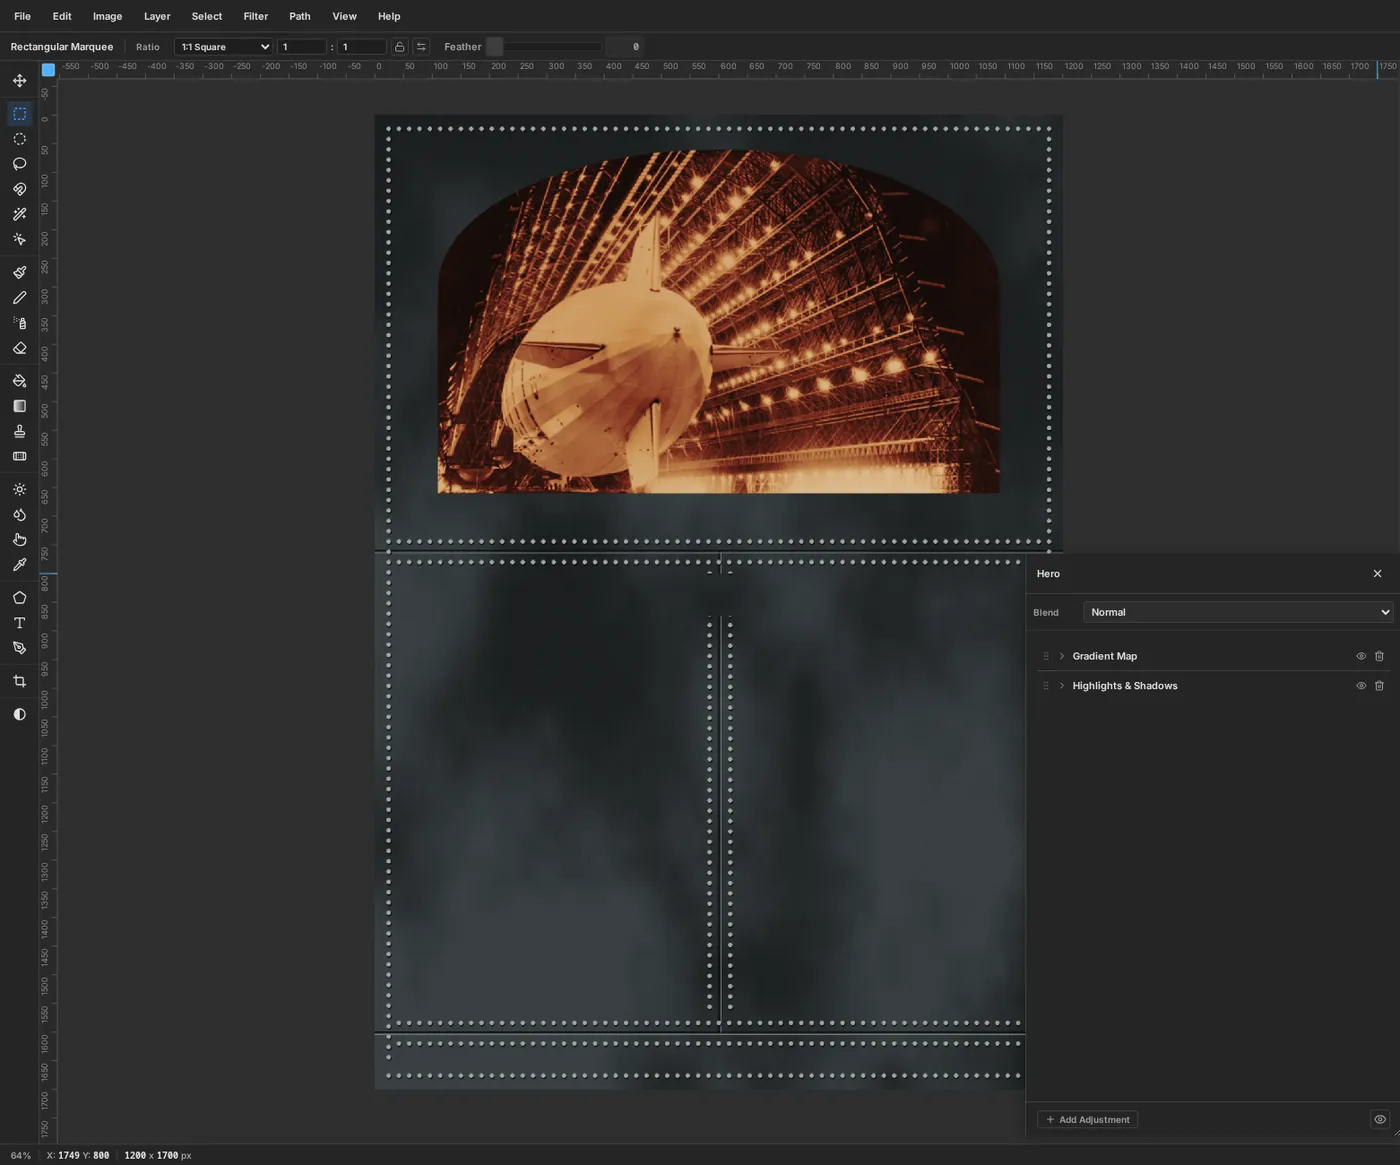
-
Frame the arch in brass
Click Add Layer and name the layer
Brass Arch. Because Airship Photo was selected, the new layer lands inside the Hero group. Drag its row up above the Hero group, or the Gradient Map turns the brass sepia too.Make the same arch selection again, 18 px bigger all round: an ellipse from
92, 42to1108, 558, then a Shift-dragged rectangle from92, 300to1108, 678.Pick the Gradient tool, open the Gradient Editor and give it six stops for polished brass: , at 22%, at 45%, at 62%, at 80% and . Drag from the top-left of the selection to its bottom-right. Alternating light and dark bands are what make flat colour read as curved metal.
Keep the selection and choose Select → Shrink… with
18px, then press Delete. Only an 18 px brass band remains around the photo. Press Cmd+D.Give Brass Arch a Drop Shadow (Offset Y
8, Blur16, Opacity85%, ), an Inner Glow (Size5, Opacity80%, ) and a 2 px Stroke in .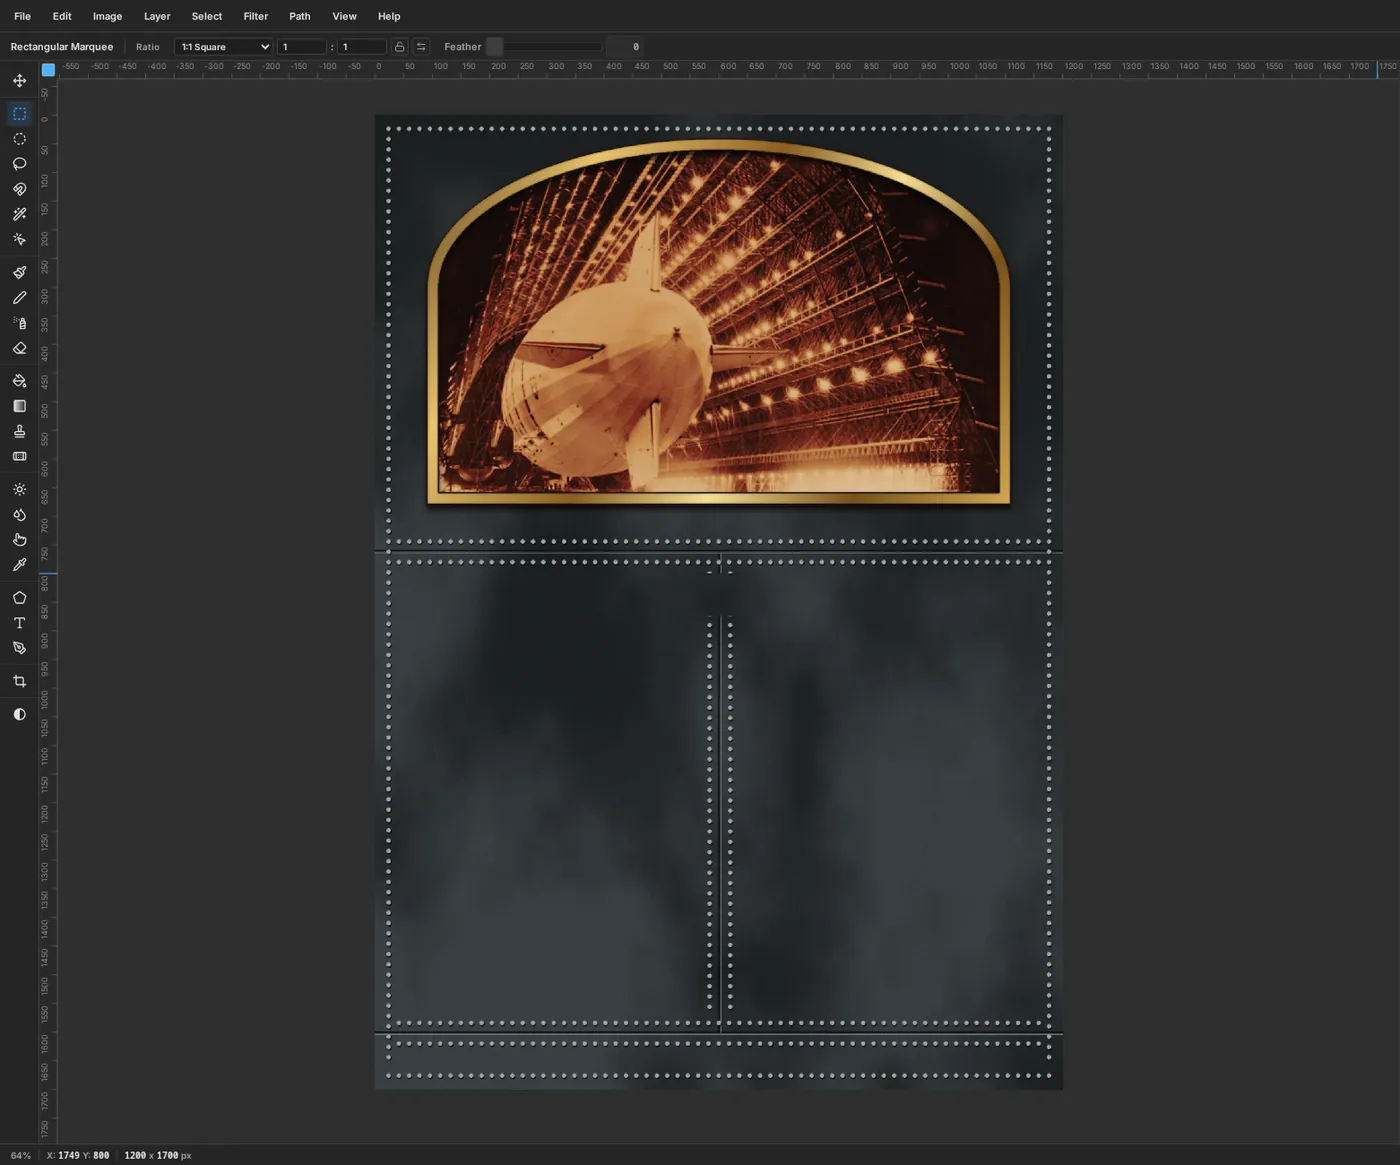
-
Lasso the ribbon
Add a layer named
Banner. The ribbon is a long bar about 104 px tall with a V-shaped notch cut into each end, a "swallow-tail".Pick the Lasso and click around these six points, ending back on the first one: the top-left corner at
40, 595, the top-right corner at1160, 595, the notch point1120, 647, the bottom-right corner1160, 699, the bottom-left corner40, 699, and the left notch point80, 647.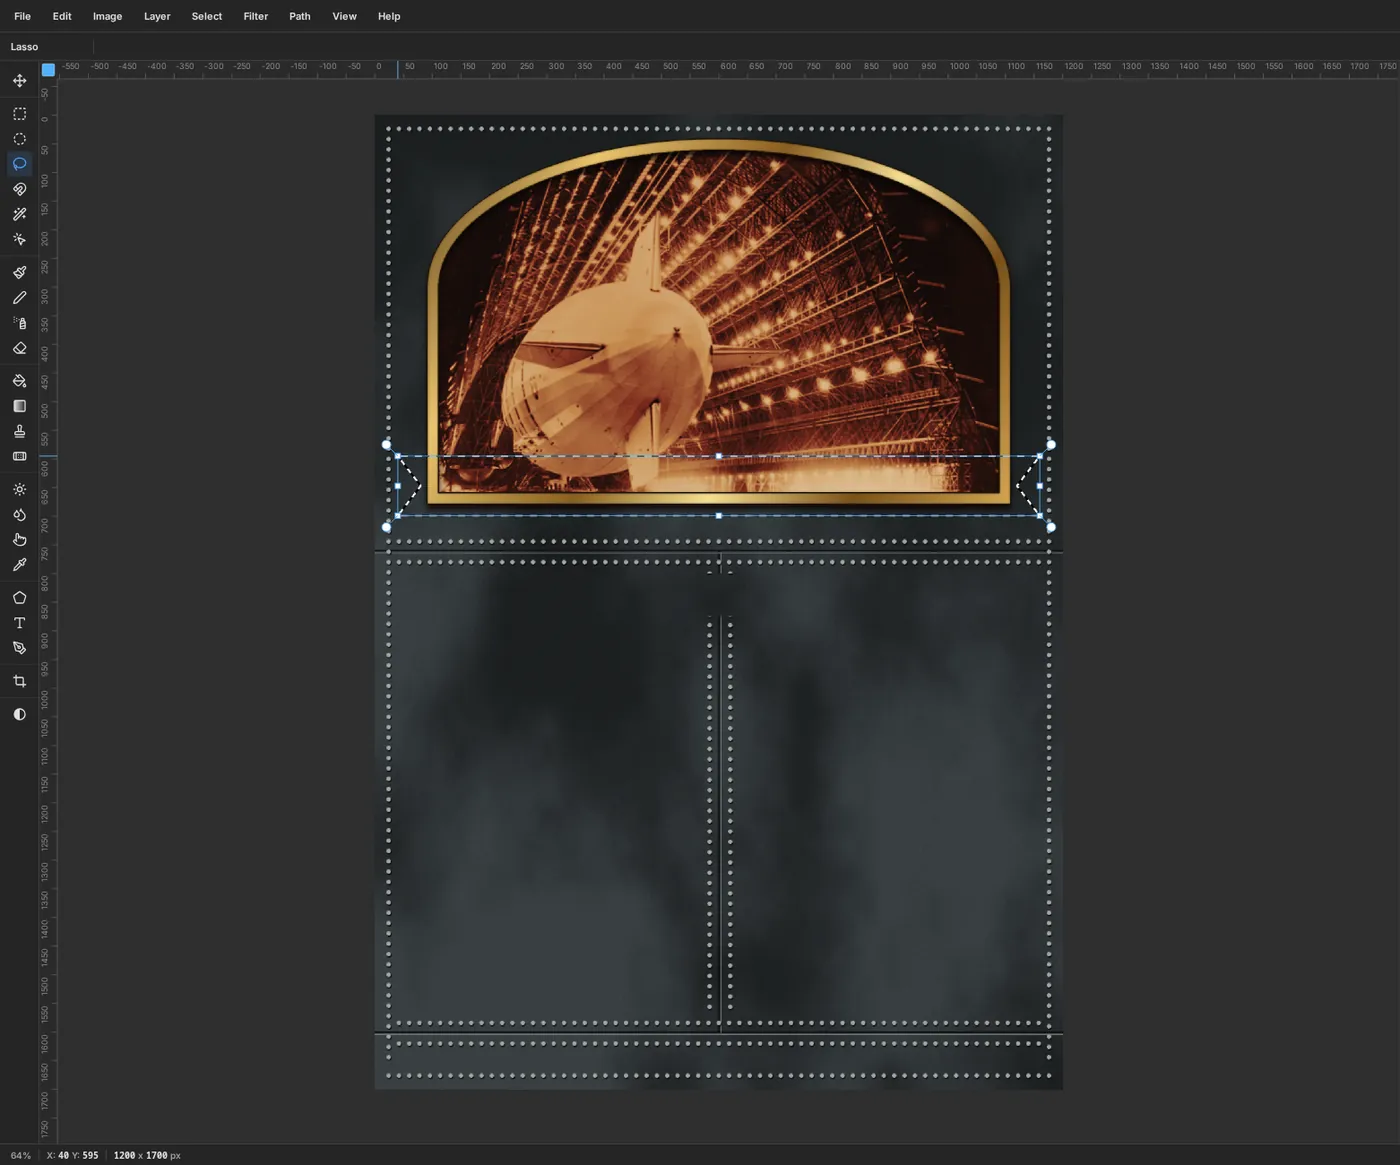
-
Fill the ribbon
With the Gradient tool, set three stops: , in the middle and . Drag from the top of the ribbon straight down to its bottom, then press Cmd+D.
Give Banner a Drop Shadow (Offset Y
10, Blur18, Opacity80%) and a 3 px Stroke in . The gold edge ties the ribbon to the brass arch.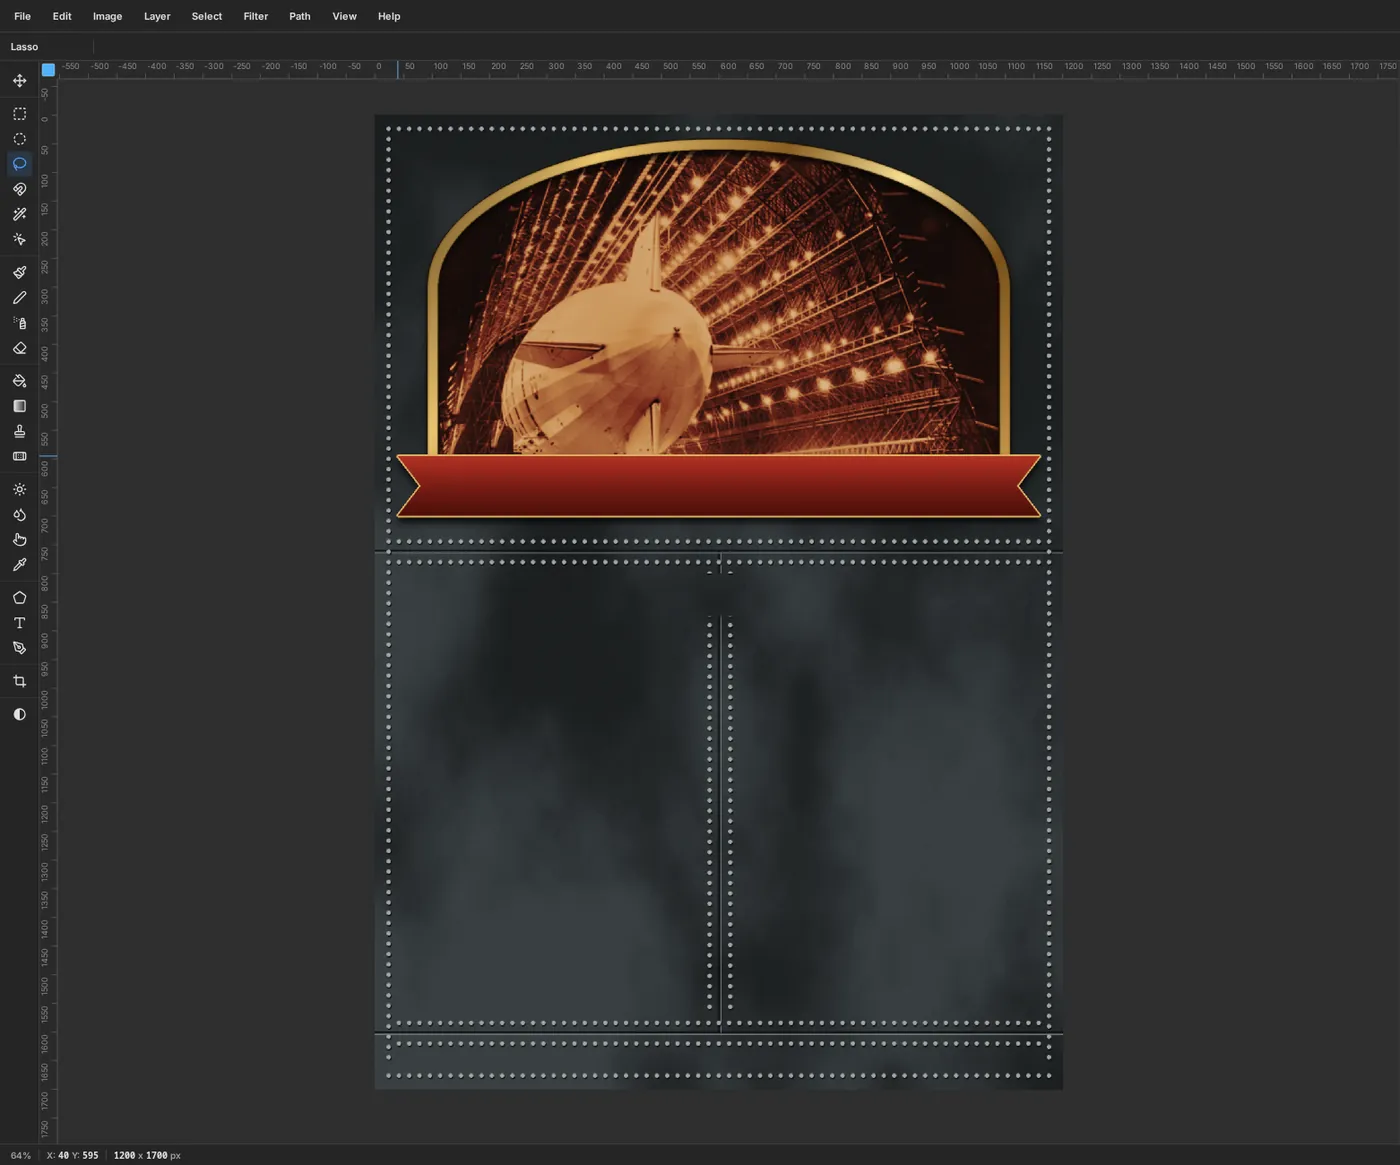
-
Set the name in Limelight
Click Banner so the next text starts fresh. Pick the Text tool, choose Limelight at Size
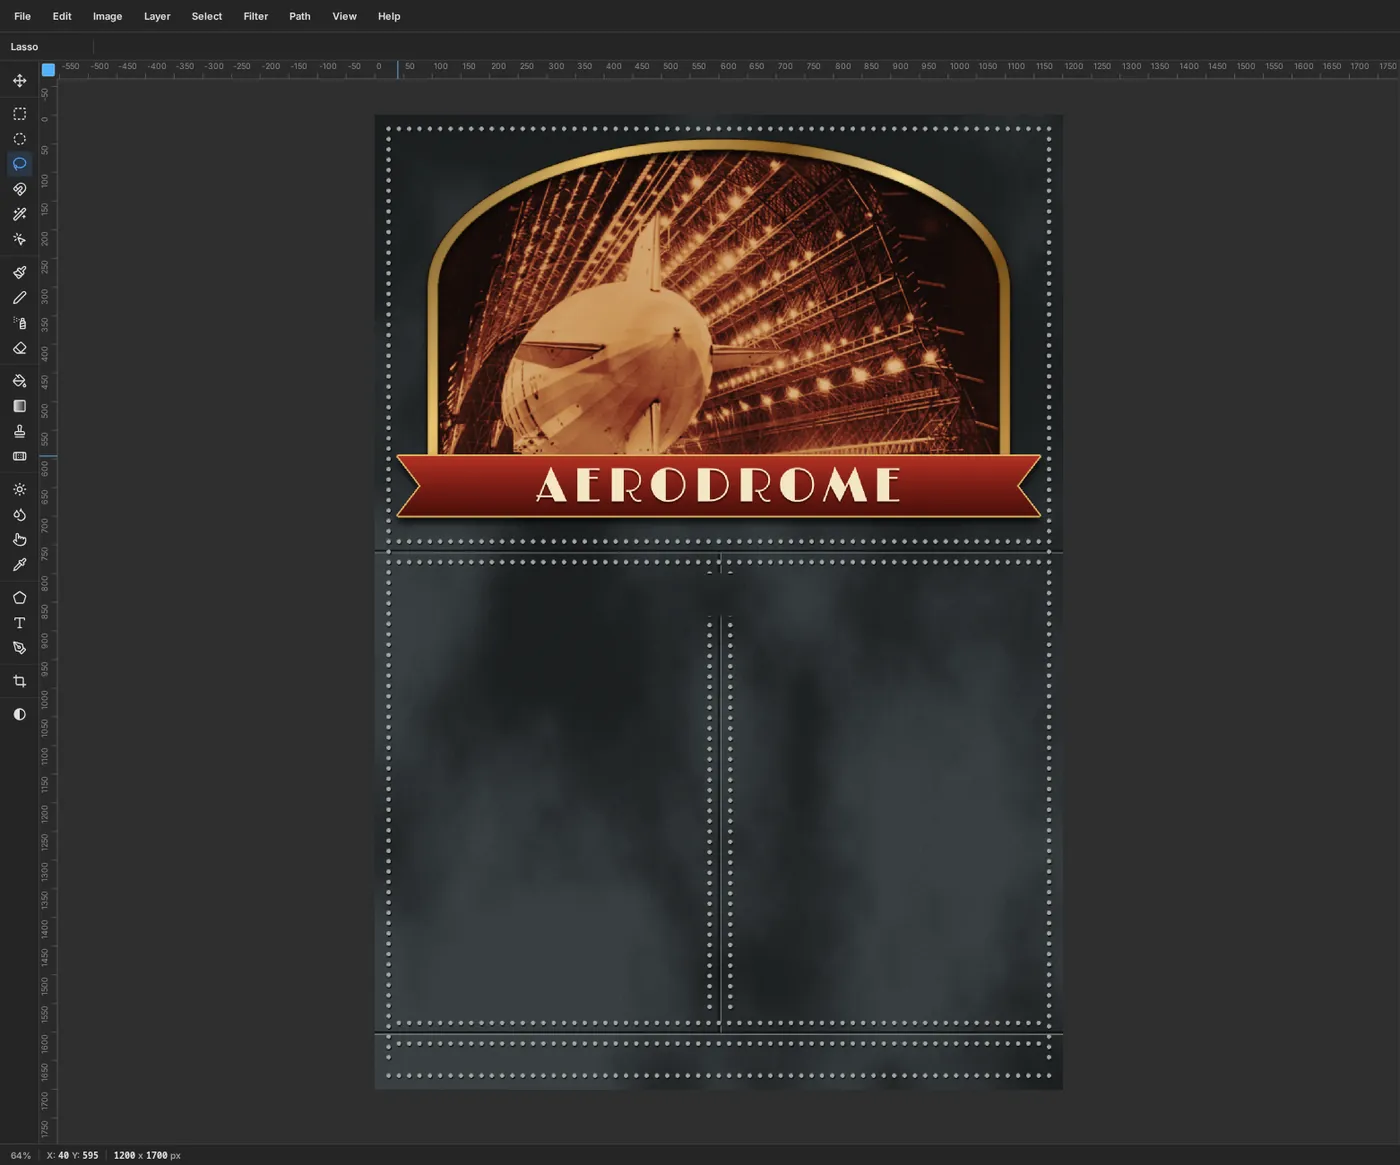
84with Center alignment, set the foreground to , click at600, 590and typeAERODROME. Press Tab to commit.In the Text panel, set Letter spacing to
10px. Deco capitals look best with air between them. Then add a small Drop Shadow (Offset Y4, Blur3, Opacity70%, ) so the letters sit on the ribbon rather than float above it.Check the result. The capitals should sit in the vertical middle of the ribbon, with the same red above and below them. If they don't, nudge the layer with the arrow keys.
-
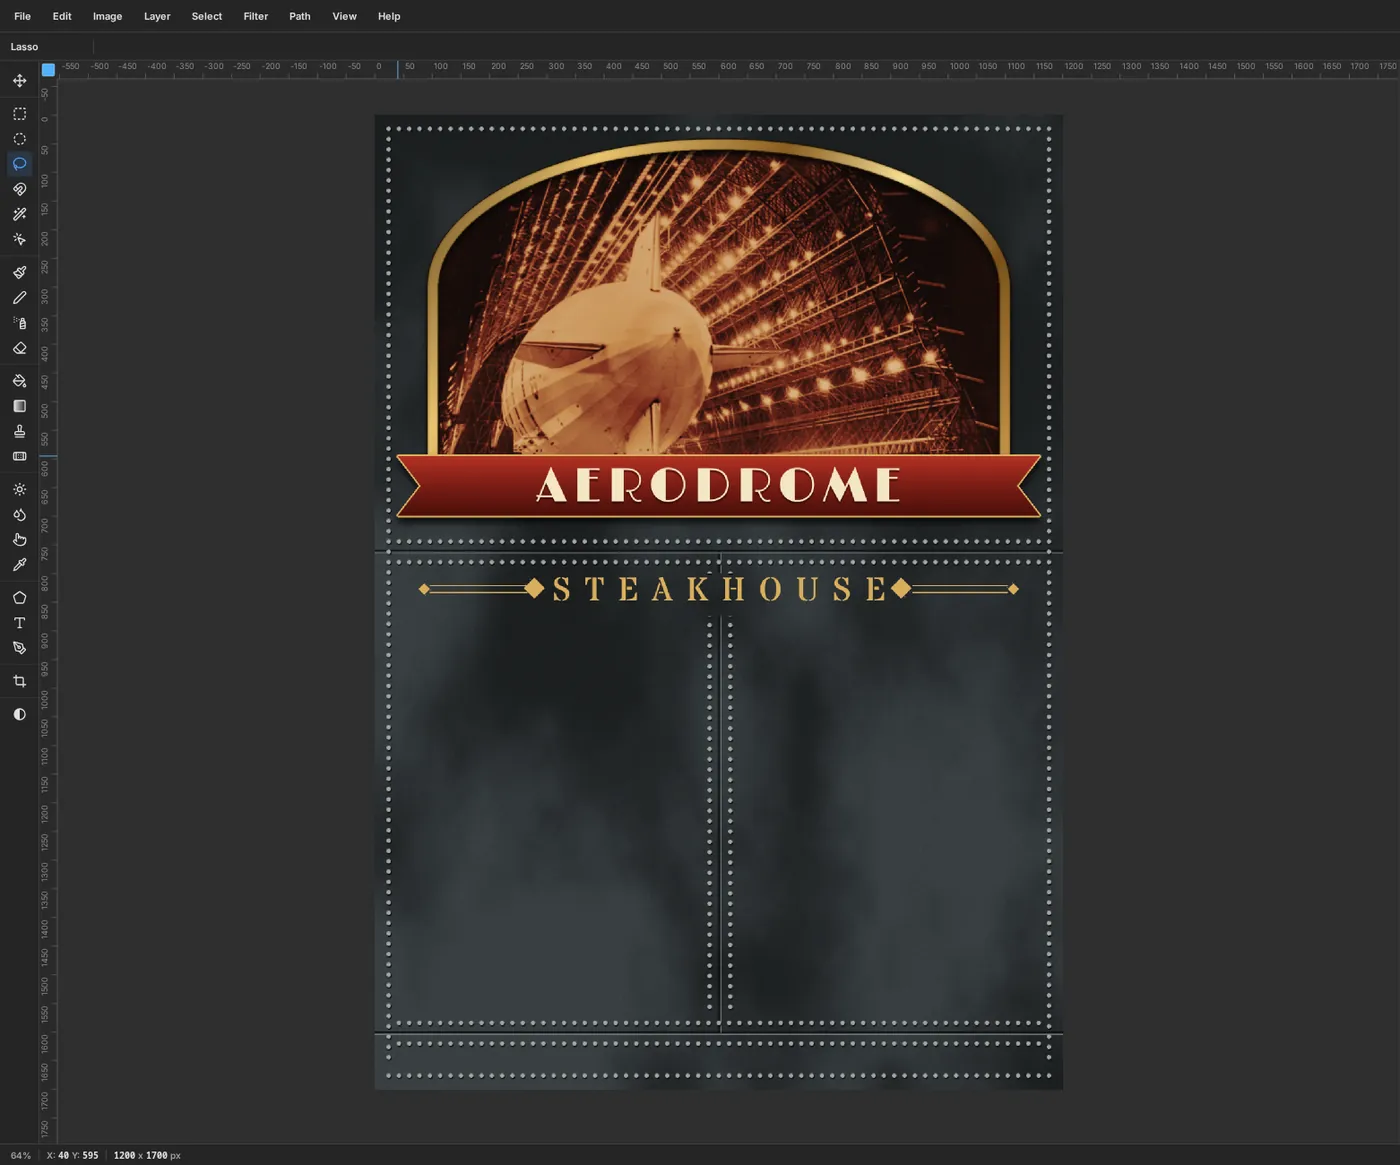
Add STEAKHOUSE with brass rules
Click Banner first, so the new font settings don't restyle AERODROME. Set the foreground to , and with the Text tool choose Stardos Stencil at
58, still centred. Click at600, 790, typeSTEAKHOUSEand press Tab. Set Letter spacing to24.Now the double rules. Add a layer named
Brass Rules, pick the Brush at Size3, and in the Brushes panel set Spacing back to5. With a click and a Shift-click each time, draw four lines:- Left side, top: from
96, 821to266, 821. - Left side, bottom: from
96, 833to266, 833. - Right side, top: from
938, 821to1104, 821. - Right side, bottom: from
938, 833to1104, 833.
Then the diamonds. Pick the Shape tool, choose Polygon with Sides
4, and set its Fill swatch to . Click once without dragging and a dialog asks for the size. Make a26×26square at282, 827and another at922, 827, next to the inner ends of the rules, and a14×14square at86, 827and1114, 827, at the outer ends.A 4-sided polygon is a square, so turn each one into a diamond. For each of the four squares:
- Drag a marquee just around it.
- Switch to the Move tool and drag the round rotation handle with Cmd held. Cmd snaps to 15° steps, so stop when it has turned 45°.
- Press Cmd+D to commit the rotation.
- Left side, top: from
-
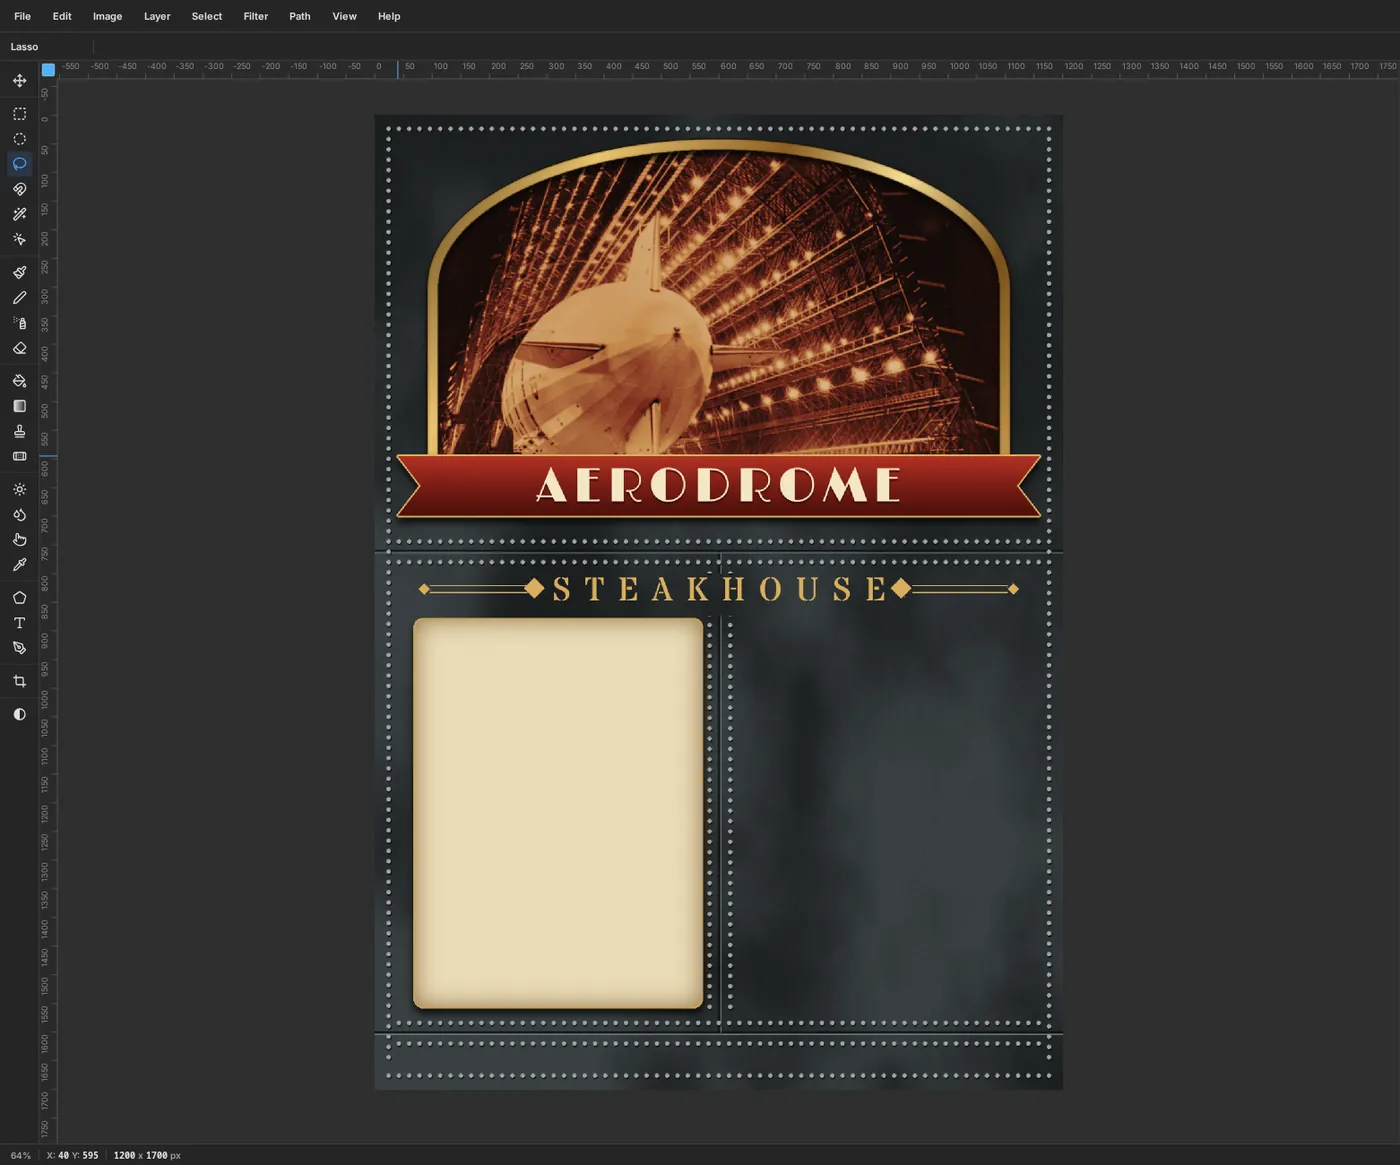
Draw the first menu card
Turn on the rulers if they're hidden and click the top ruler at
70,570,630and1130and the left ruler at880and1556to drop guides for the two cards.Add a layer named
Grill Card. Pick the Shape tool, choose Rectangle, set Corner Radius to14and the Fill swatch to . Shape drags grow out from the point where you press, so press in the centre of the left card area (320, 1218) and drag out to the bottom-right guide corner (570, 1556). The card snaps to the guides on all four sides.Cmd-click the layer's thumbnail to select the card, run Filter → Add Noise… with Mono, Gaussian and Amount
7, then press Cmd+D. Give the card:- an Inner Glow of Size
70, Opacity80%in , to age the edges - a 3 px Stroke in
- a Drop Shadow with Offset Y
10, Blur20and Opacity80%
- an Inner Glow of Size
-
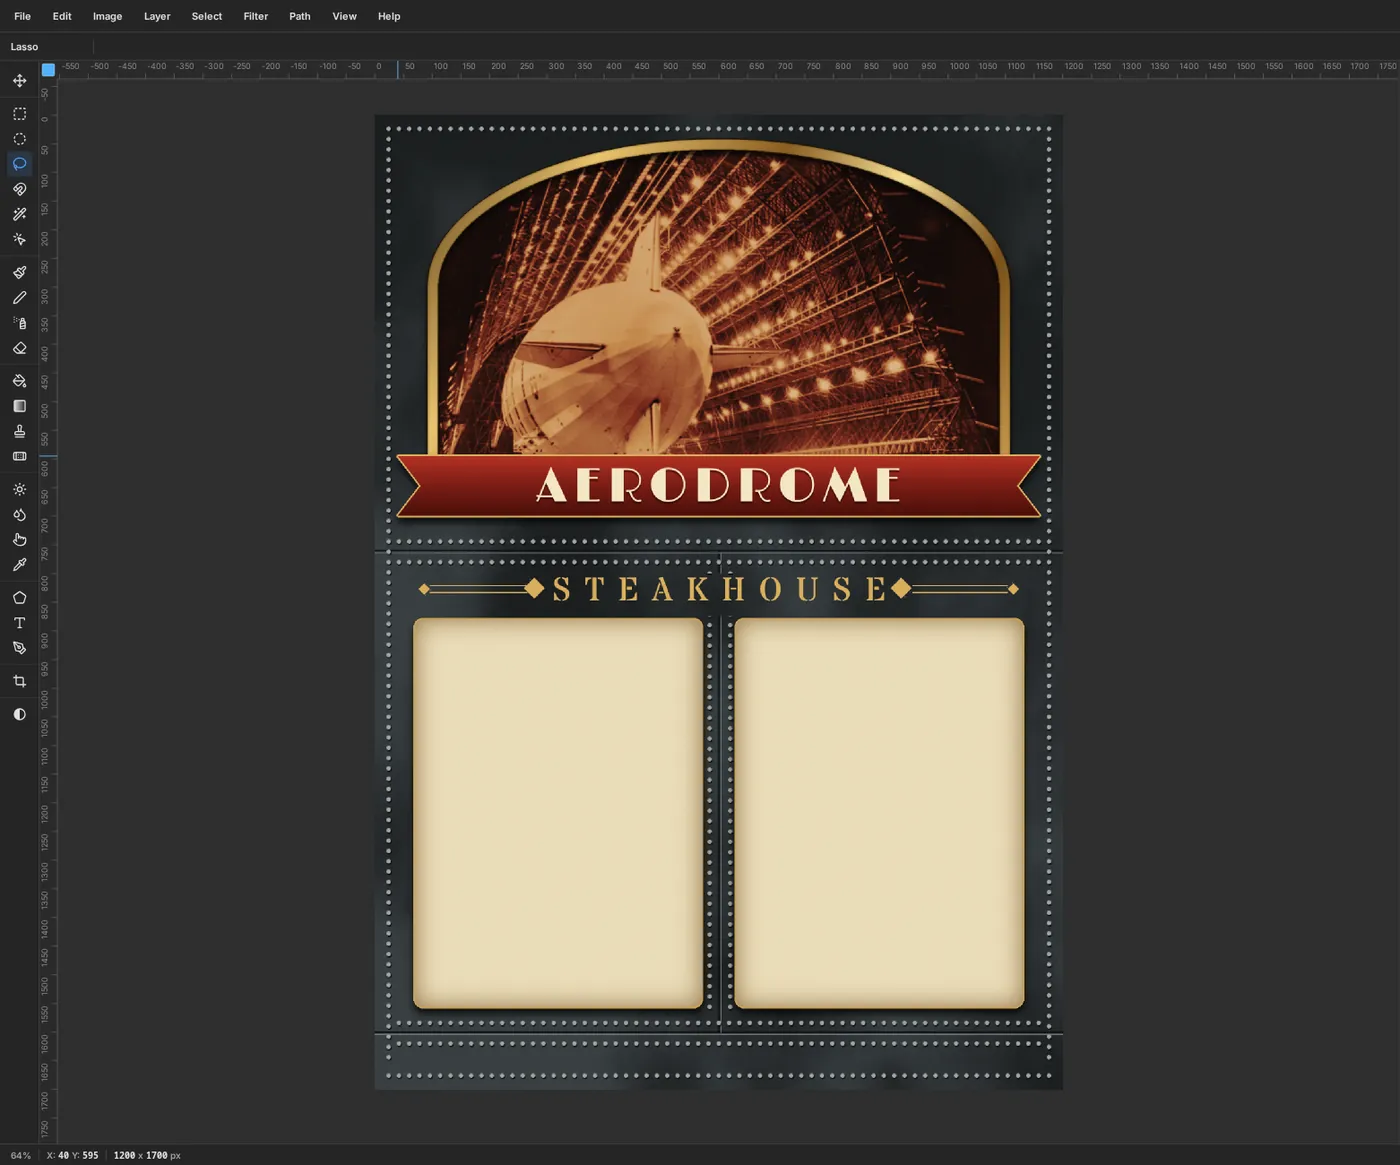
Duplicate it for the second card
Choose Layer → Duplicate Layer. The copy lands exactly on top of the original, so rename it
Bar Cardand drag it with the Move tool until its left edge sits on the guide at630. Effects are duplicated too.Use the arrow keys to correct any small vertical drift. Each press moves the layer 1 px, and the card's top should line up with the first card's at
880.
-
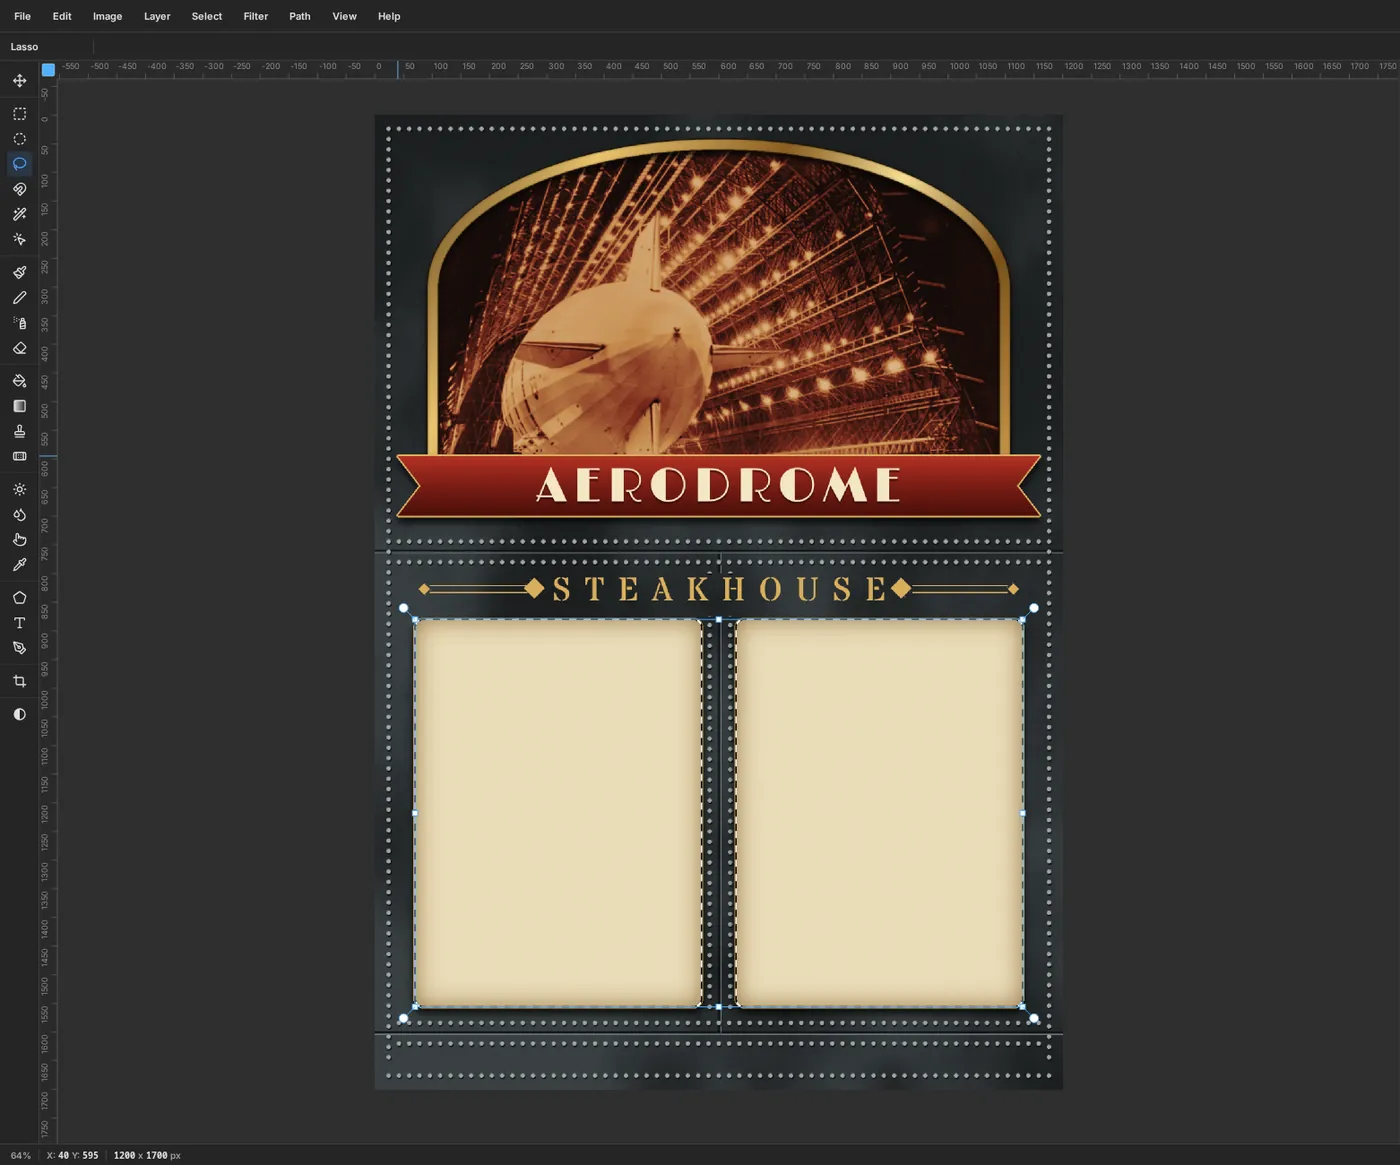
Select both cards at once
Add a layer named
Paper Stainsabove the two cards. Then build a selection of both cards from their thumbnails:- Cmd-click the Grill Card thumbnail to load its shape as a selection.
- Cmd+Shift-click the Bar Card thumbnail to add the second shape.
The selection follows the rounded corners exactly, which would be fiddly with a marquee.
-
Stain the paper
With Paper Stains still selected and the selection active, run Filter → Clouds… with Scale
7. The clouds only fill the selection. Press Cmd+D.Open the effects drawer for Paper Stains, set the blend mode to Multiply, and lower its opacity to
18%. Multiply only darkens, so the light parts of the clouds vanish and the dark parts become faint tea stains.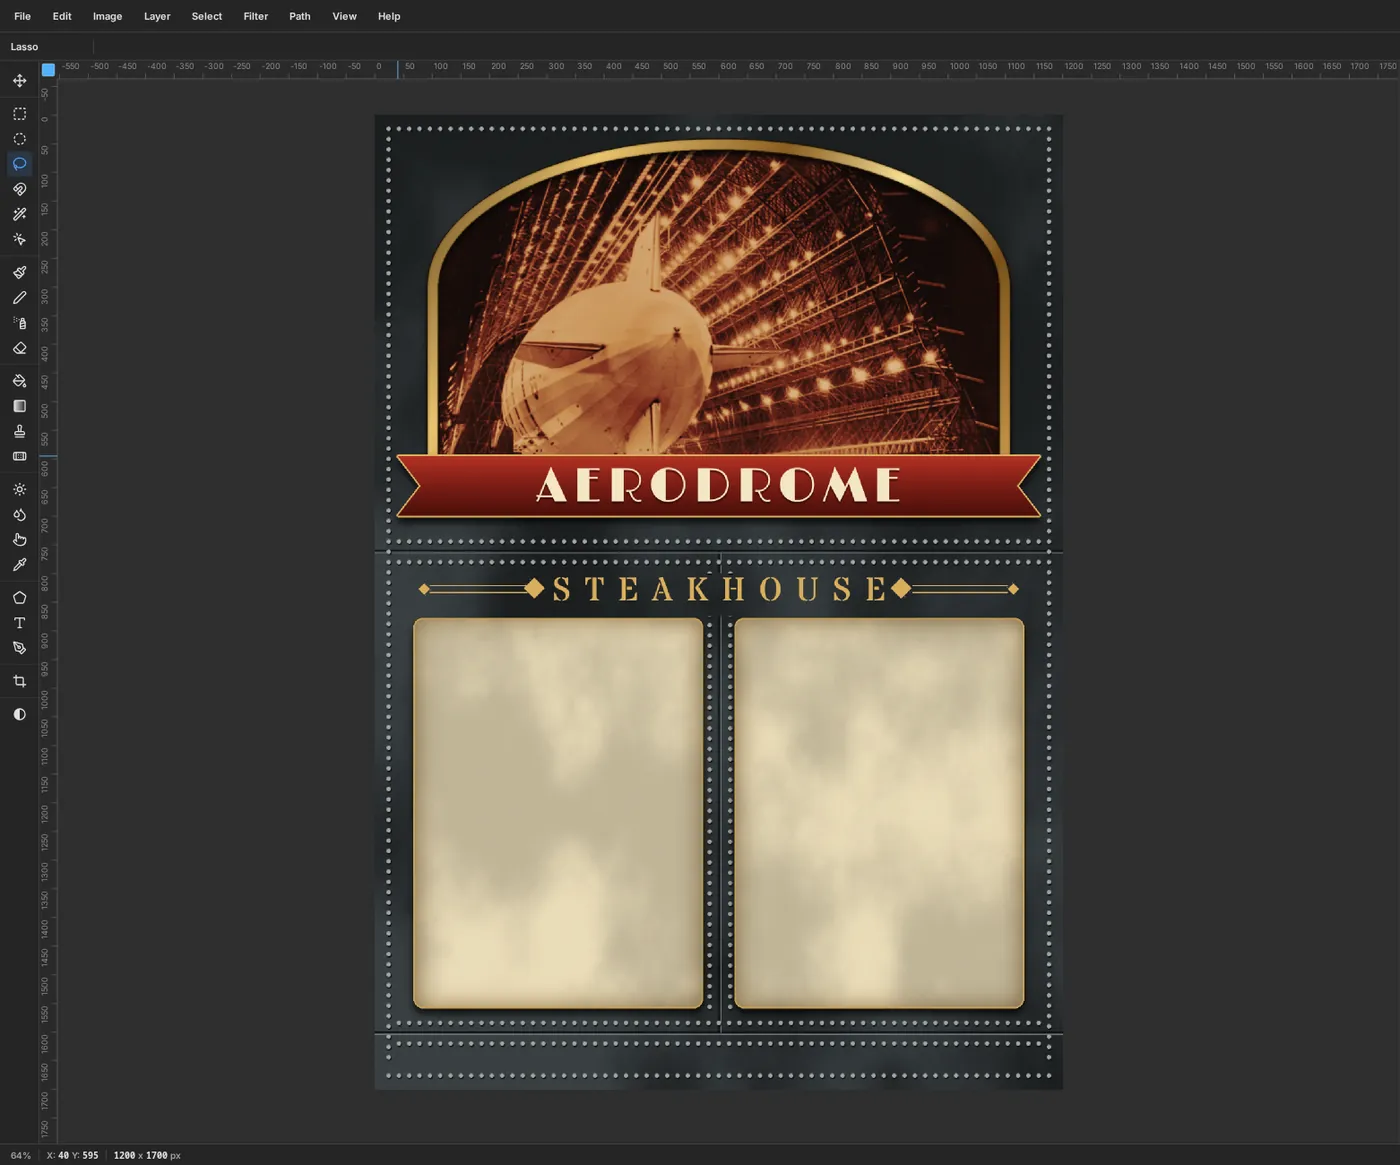
-
Write the grill list
From here on, start every new text layer by clicking a non-text layer such as Bar Card, as the tip at the top explains. Set the foreground to , and with the Text tool make Stardos Stencil
36, centred, at320, 900. TypeFROM THE GRILL, press Tab and set Letter spacing to6. MakeHANGAR SIDESthe same way, centred at880, 900.Click Bar Card again, then choose Antonio at
30, Left alignment and foreground . Click at100, 960and type the five dish names, pressing Return after each:THE ZEPPELIN,SPITFIRE RIBEYE,WING COMMANDER,THE HANGAR STEAKandLANDING GEAR LAMB.Press Tab, set Letter spacing to
1and Line height to3.9. A tall line height leaves room under each name for its description. Move the layer so the first name sits about 40 px below the header.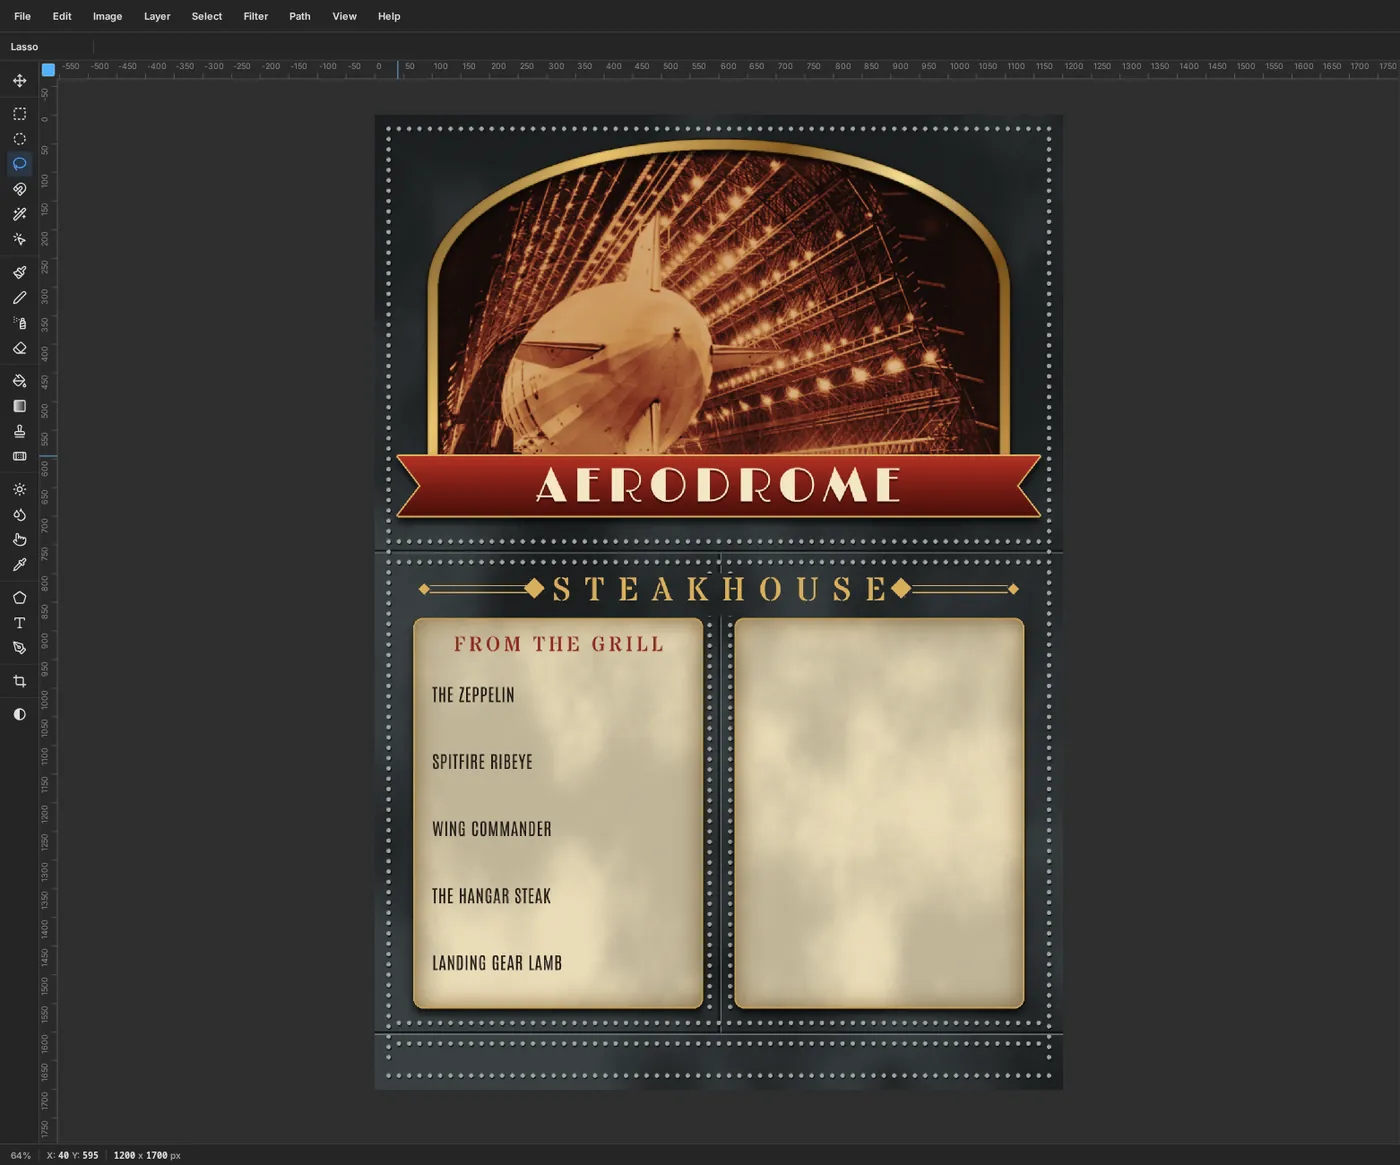
-
Add descriptions and prices
Click Bar Card, choose Special Elite at
18in , and click in empty canvas, away from the other text. Type the five descriptions, pressing Return twice after each so there's a blank line between them:32 oz porterhouse, dry-aged 40 days16 oz ribeye, chili-coffee crust9 oz filet, bone-marrow butterbutcher's cut, salsa verde, smoked oniondouble-cut chops, mint gremolata
Press Tab and set Line height to
3.25. With the blank lines, that matches the spacing of the names.Drag the block with the Move tool until the first description sits just under THE ZEPPELIN, then fine-tune with the arrow keys so every description is about 12 px below its name.
For the prices, use Antonio
30in with Right alignment. Click at540, 960(right-aligned text grows leftwards from where you click) and type68,44,52,29and38on separate lines. Give it the same Line height of3.9, then nudge it until each price lines up with its dish name.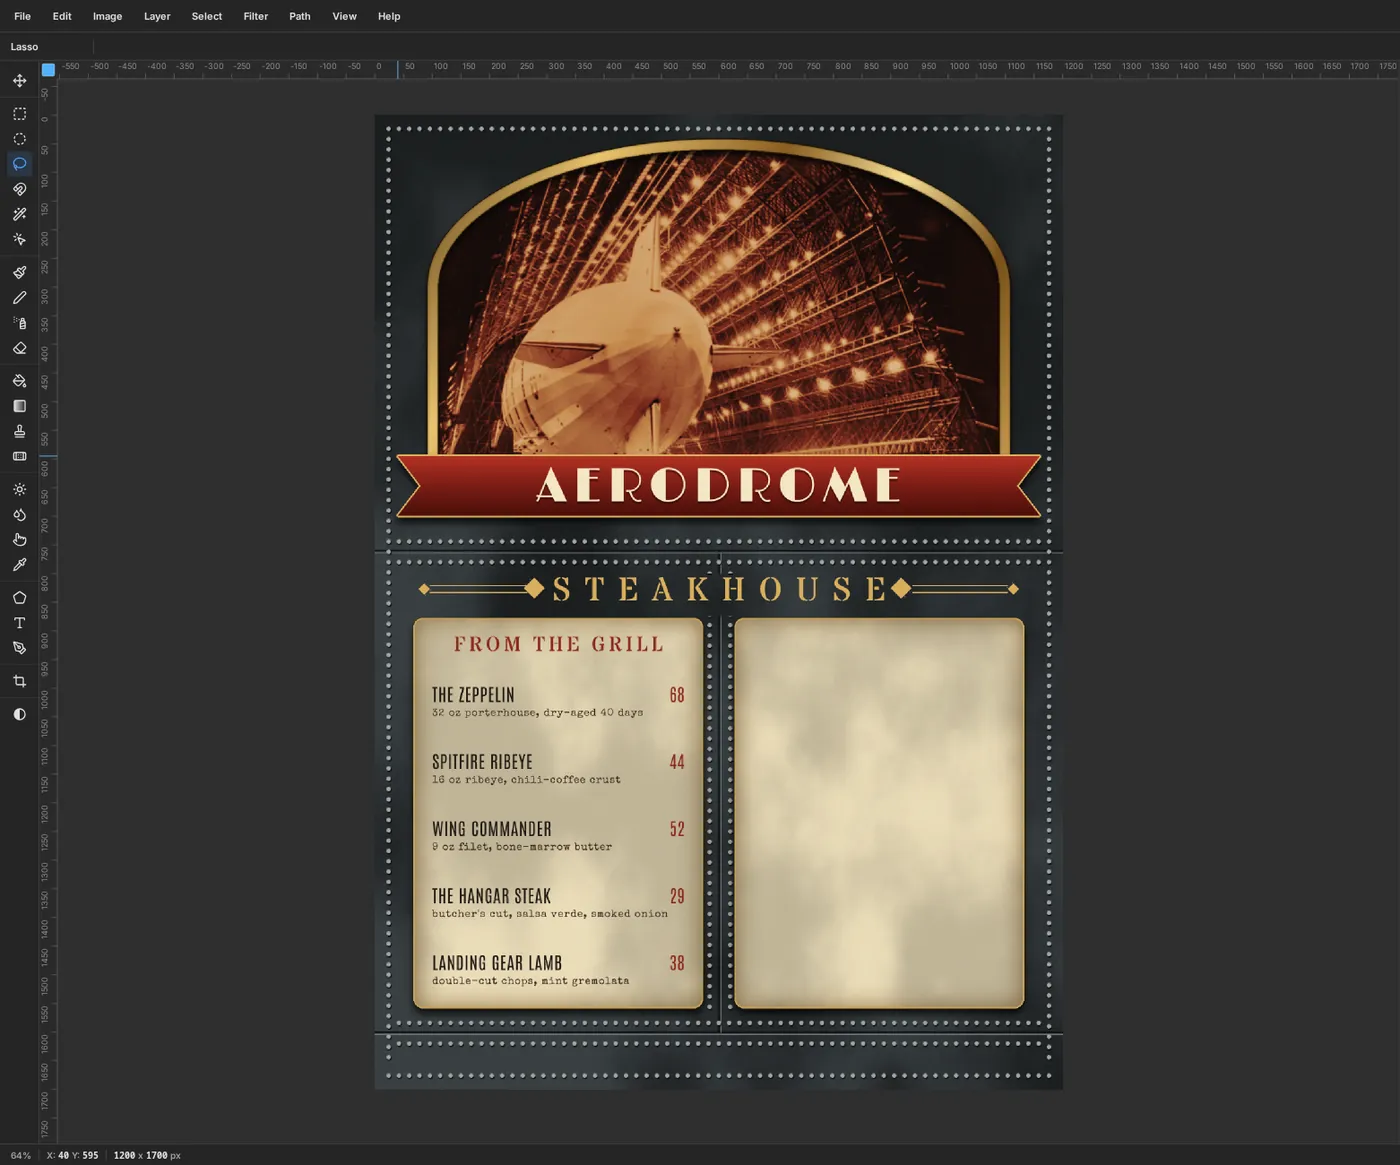
-
Fill the second card
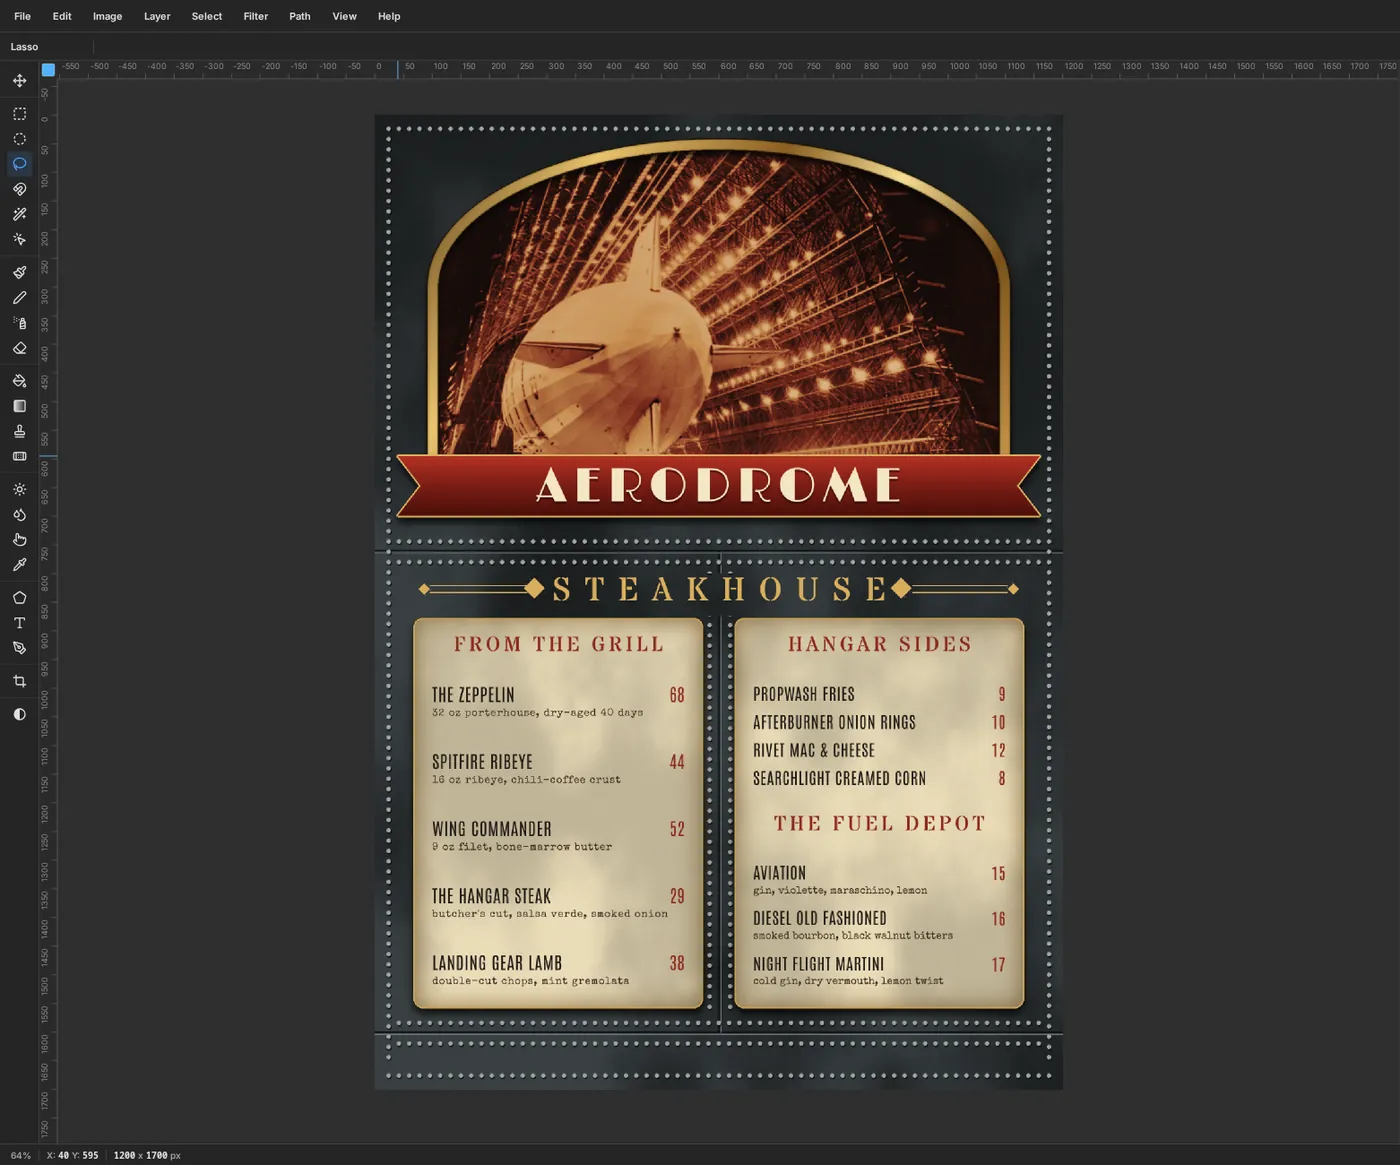
The right card uses the same fonts and colours as the left one, in two sections. Make each block as its own text layer, then move it into place:
- Sides. Antonio
28in , Left, letter spacing1, Line height1.75. Click at660, 960and typePROPWASH FRIES,AFTERBURNER ONION RINGS,RIVET MAC & CHEESEandSEARCHLIGHT CREAMED CORNon separate lines. Sides have no descriptions, so they sit closer together. Move the block so its first line starts about 40 px below the HANGAR SIDES heading. - Side prices. Antonio
28in , Right, Line height1.75. Click at1100, 960and type9,10,12and8. Nudge them level with the sides. - Second heading. Stardos Stencil
36in , centred, letter spacing6. TypeTHE FUEL DEPOTatx = 880, then move it so it sits about 50 px below SEARCHLIGHT CREAMED CORN. - Cocktails. Antonio
28in , Left, Line height2.85:AVIATION,DIESEL OLD FASHIONEDandNIGHT FLIGHT MARTINI, starting atx = 660about 40 px below the heading's rules. - Cocktail prices. Antonio
28in , Right atx = 1100, Line height2.85:15,16and17. - Cocktail descriptions. Special Elite
18in , Left, Line height2.2:gin, violette, maraschino, lemon,smoked bourbon, black walnut bittersandcold gin, dry vermouth, lemon twist, with a blank line between each. Move it so each description sits about 12 px under its cocktail, as on the left card.
Keep the spacing consistent with the left card: about 40 px from each heading's rule to the first item, and roughly the same space left at the bottom of both cards.
- Sides. Antonio
-
Add rules and brass screws
Add a layer named
Card Rules. With the Brush at Size2in , draw a long line under each heading and a shorter one 6 px below it, using a click and a Shift-click:- FROM THE GRILL:
110to530aty = 952, then140to500aty = 958 - HANGAR SIDES:
670to1090aty = 952, then700to1060aty = 958 - THE FUEL DEPOT: the same lengths as HANGAR SIDES, about 14 px below the heading's letters
Choose Edit → Clear Guides before the next part, because marquee edges snap to guides and would stretch the screws. Add a layer named
Screwsand pick the Elliptical Marquee:- Zoom in on the top-left corner of the left card and drag a 16 px circle centred about 20 px in from both edges, at
90, 900. - Hold Shift and drag the same size circle in each of the other seven corners. The centres are
550, 900,90, 1536and550, 1536on the left card, and650, 900,1110, 900,650, 1536and1110, 1536on the right. Holding Shift adds each circle to the selection. - Fill the selection with and press Cmd+D.
For the slots, pick the Pencil at Size
2in . Draw a short line across each screw with a click and a Shift-click, at a different angle on each, the way real screws end up. Give the Screws layer a tiny Drop Shadow (Offset X1, Offset Y2, Blur2, ) and an Inner Glow (Size4, ) so the screws look round.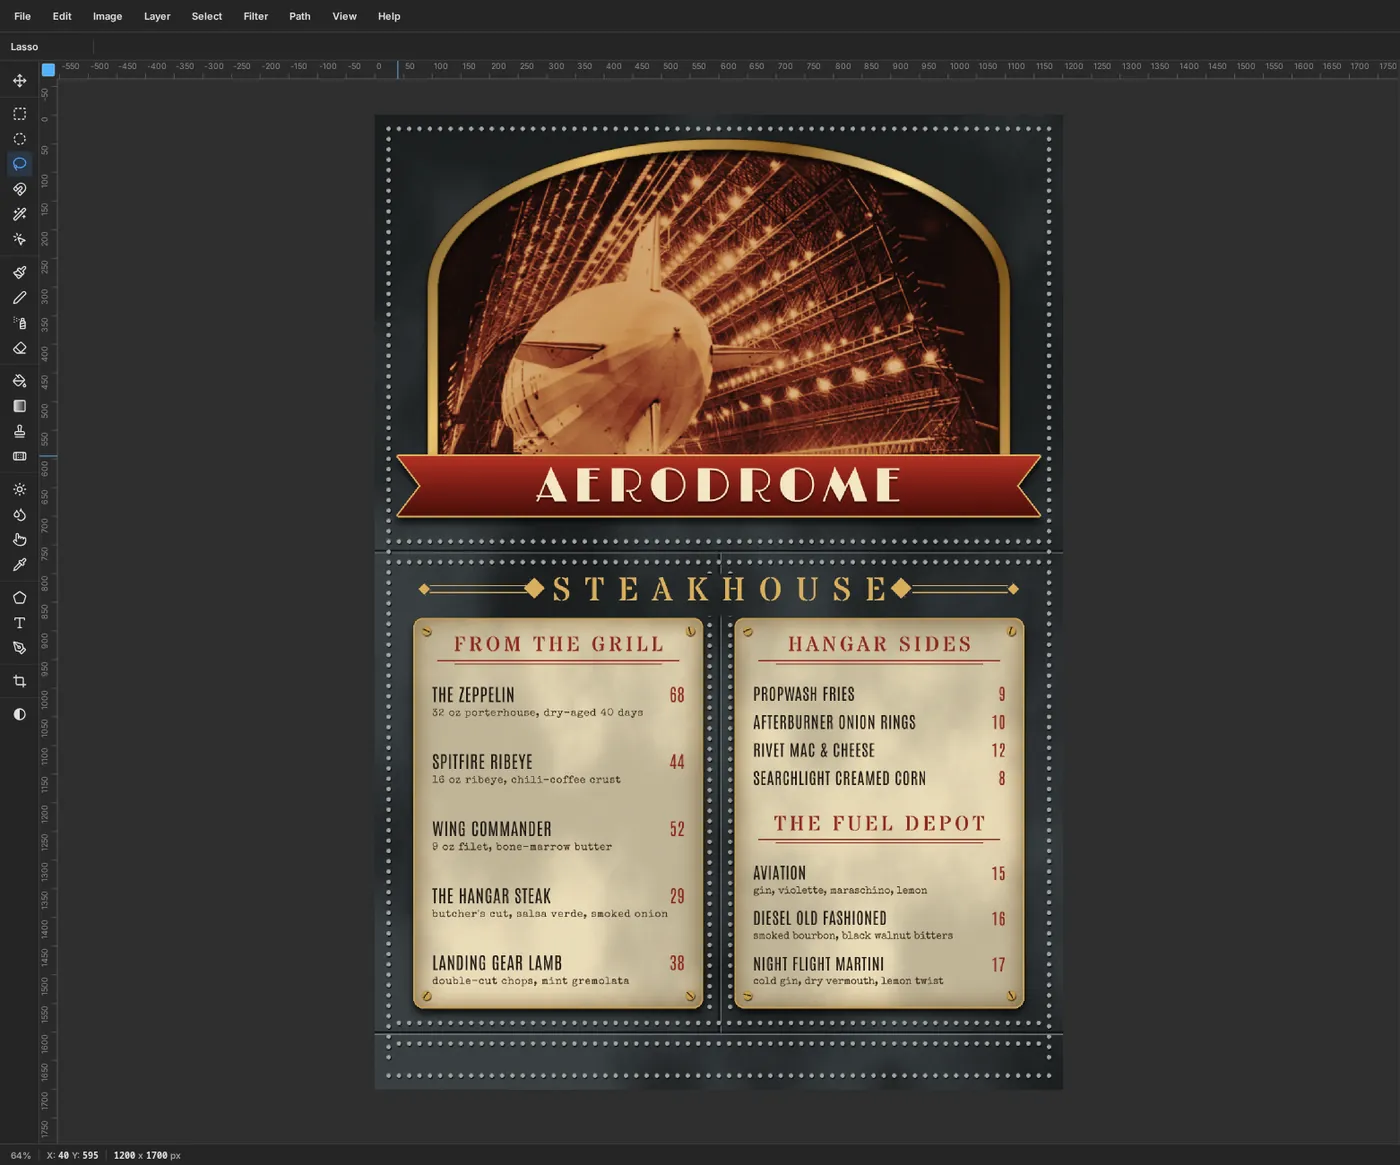
- FROM THE GRILL:
-
Add the footer line
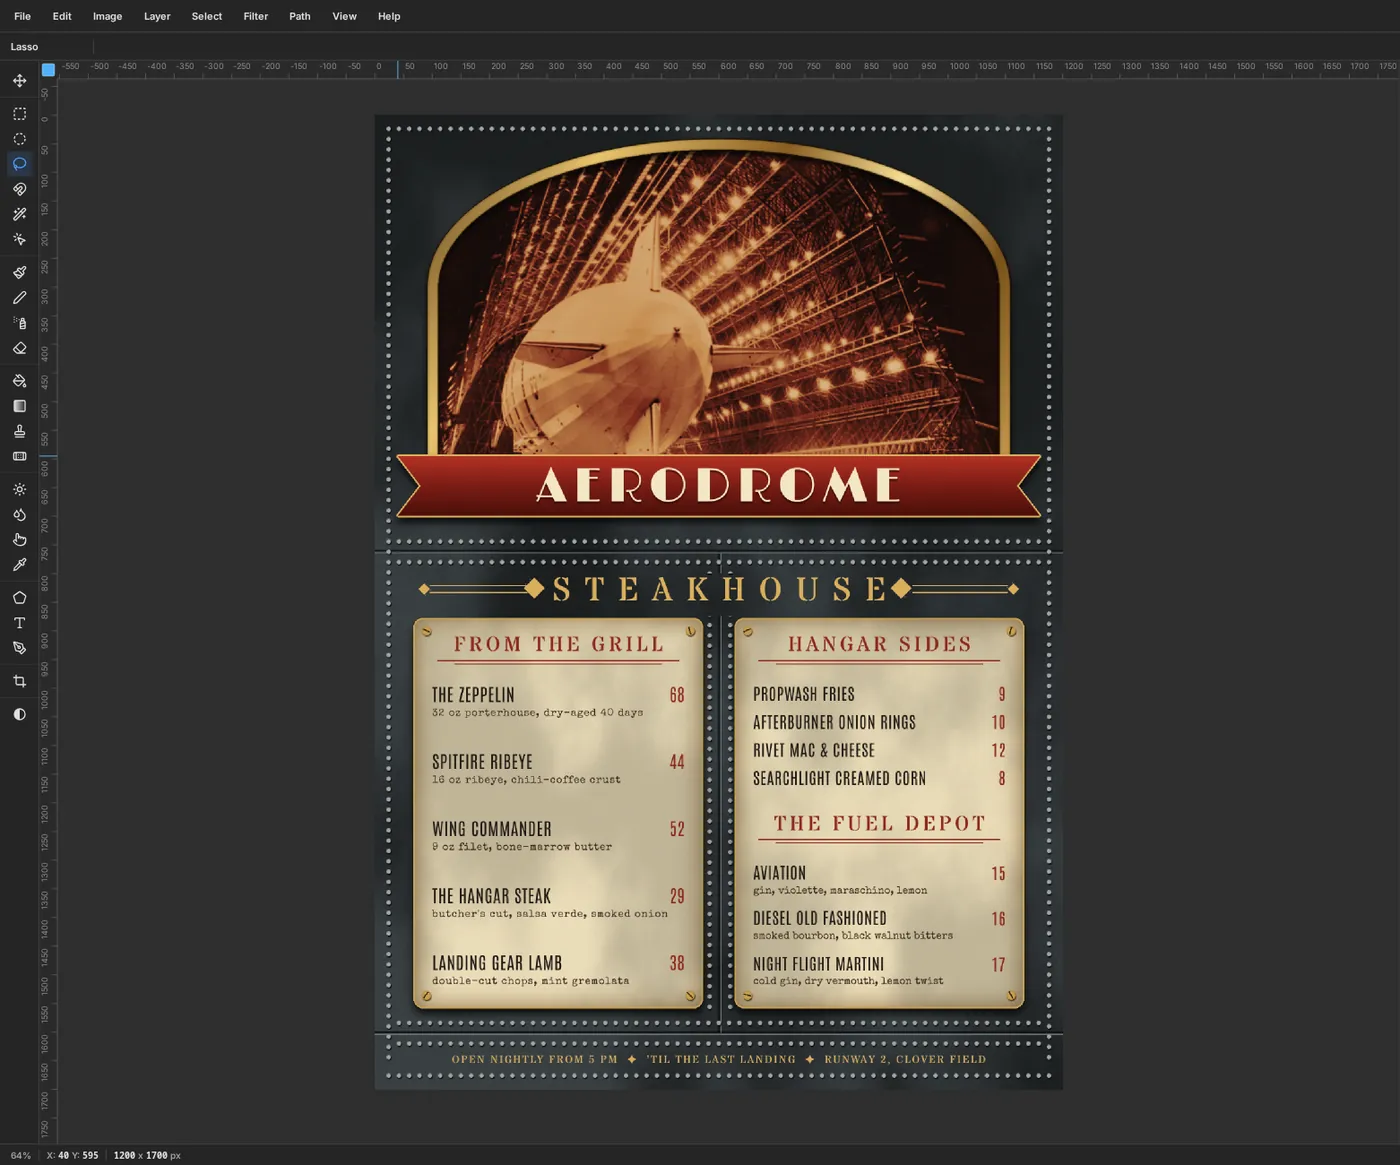
Click Screws, then make a centred Stardos Stencil line at
19px in with Letter spacing2.5. Click at600, 1632, the middle of the footer strip, and type:OPEN NIGHTLY FROM 5 PM ✦ ’TIL THE LAST LANDING ✦ RUNWAY 2, CLOVER FIELDCheck that it clears the side rivets with room to spare. If it runs into them, lower the size or the letter spacing rather than squeezing it between the rows. Nudge it with the arrow keys until it sits midway between the two bottom rivet rows.
-
Start the propeller badge
Click the top layer in the Layers panel, then add a layer named
Badge Discso it sits above everything. Pick the Shape tool, choose Ellipse, set Fill to , then hold Cmd and drag out from about965, 255until the circle is about 184 px across. Cmd keeps it round. Give it a 5 px Stroke in and a Drop Shadow (Offset X4, Offset Y8, Blur14, Opacity75%).Add a layer named
Badge Ring. With the Elliptical Marquee, drag a circle 132 px across with the same centre. Fill it with , choose Select → Shrink… with3px and press Delete. That leaves a thin ring.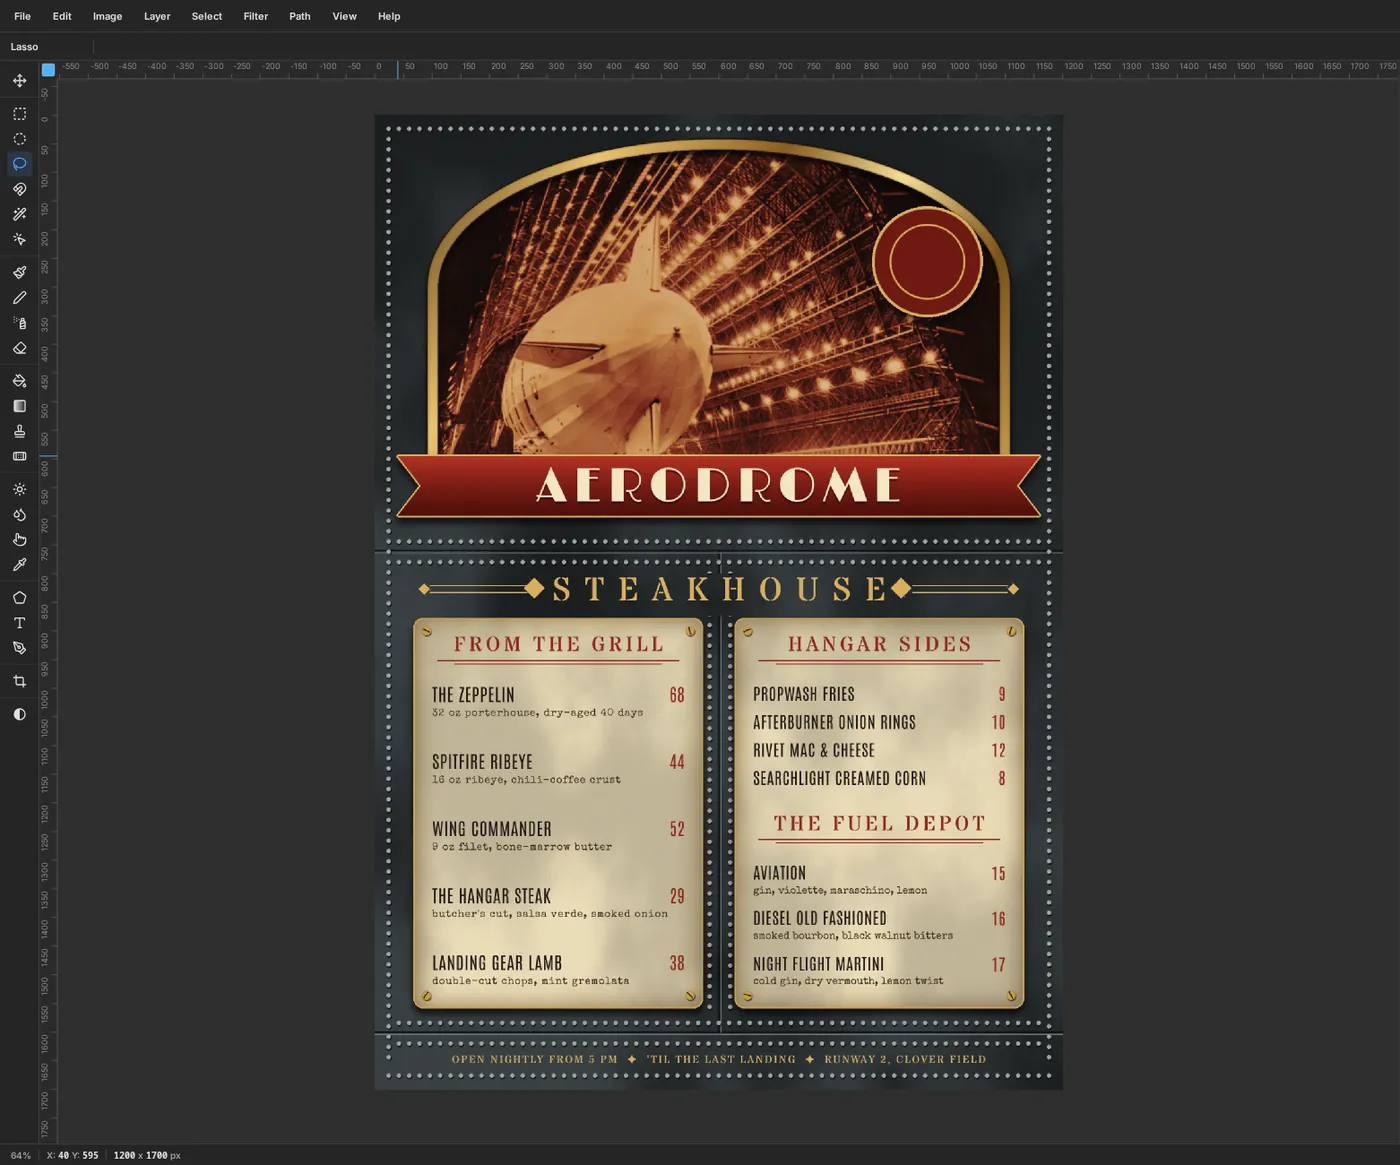
-
Lasso a pair of blades
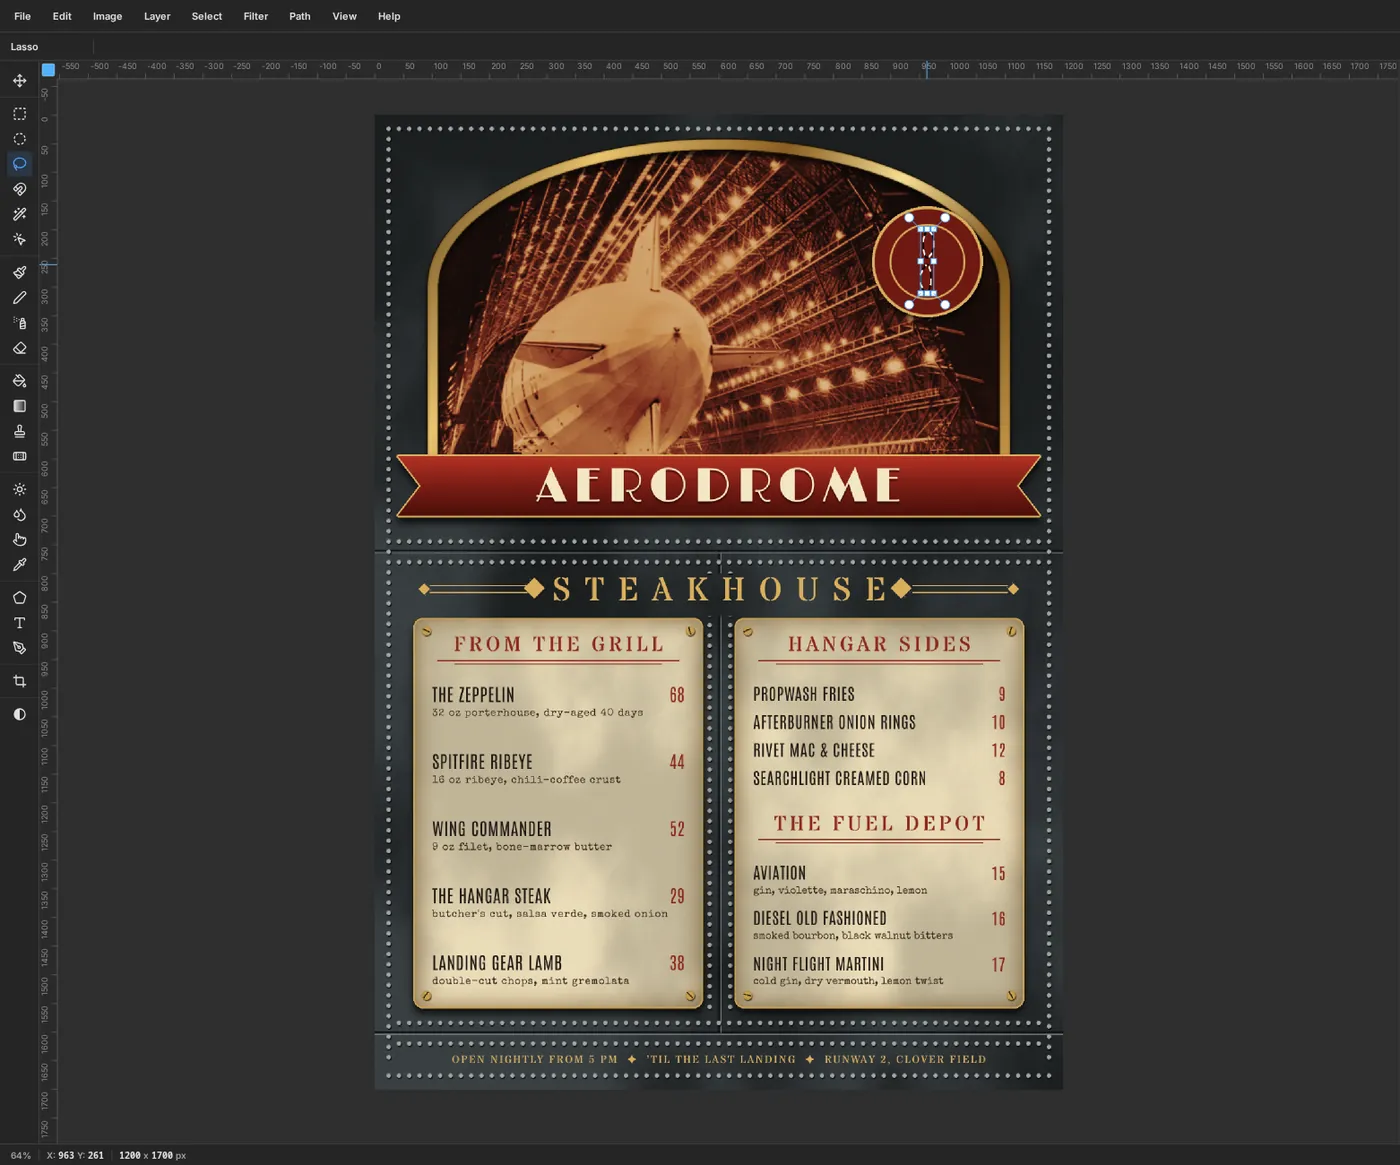
Add a layer named
Propeller. With the Lasso, click around a slim leaf shape about 50 px long pointing straight up from the centre of the disc. It's slightly wider on one side, like a real propeller blade. Then hold Shift and lasso a matching blade pointing straight down.Fill the selection with and press Cmd+D.
-
Make it a four-blade propeller
Choose Layer → Duplicate Layer, then click Rotate 90° CW in the Move tool's options bar. With nothing selected it turns the whole copy about its centre, so the two new blades point left and right. Press Cmd+E to merge the copy down into Propeller.
For the hub, make a 20 px circle with the Elliptical Marquee in the centre and fill it with . Give the Propeller layer a small Drop Shadow in so the propeller sits above the disc.
Select Badge Disc, Badge Ring and Propeller together (click the top one, Shift-click the bottom one), choose Layer → Group Layers and name the group
Badge. With the group selected and the Move tool active, drag the rotation handle anticlockwise with Cmd held until it snaps to -15°, then press Cmd+D. The whole group turns as one, and the propeller looks as if it's spinning.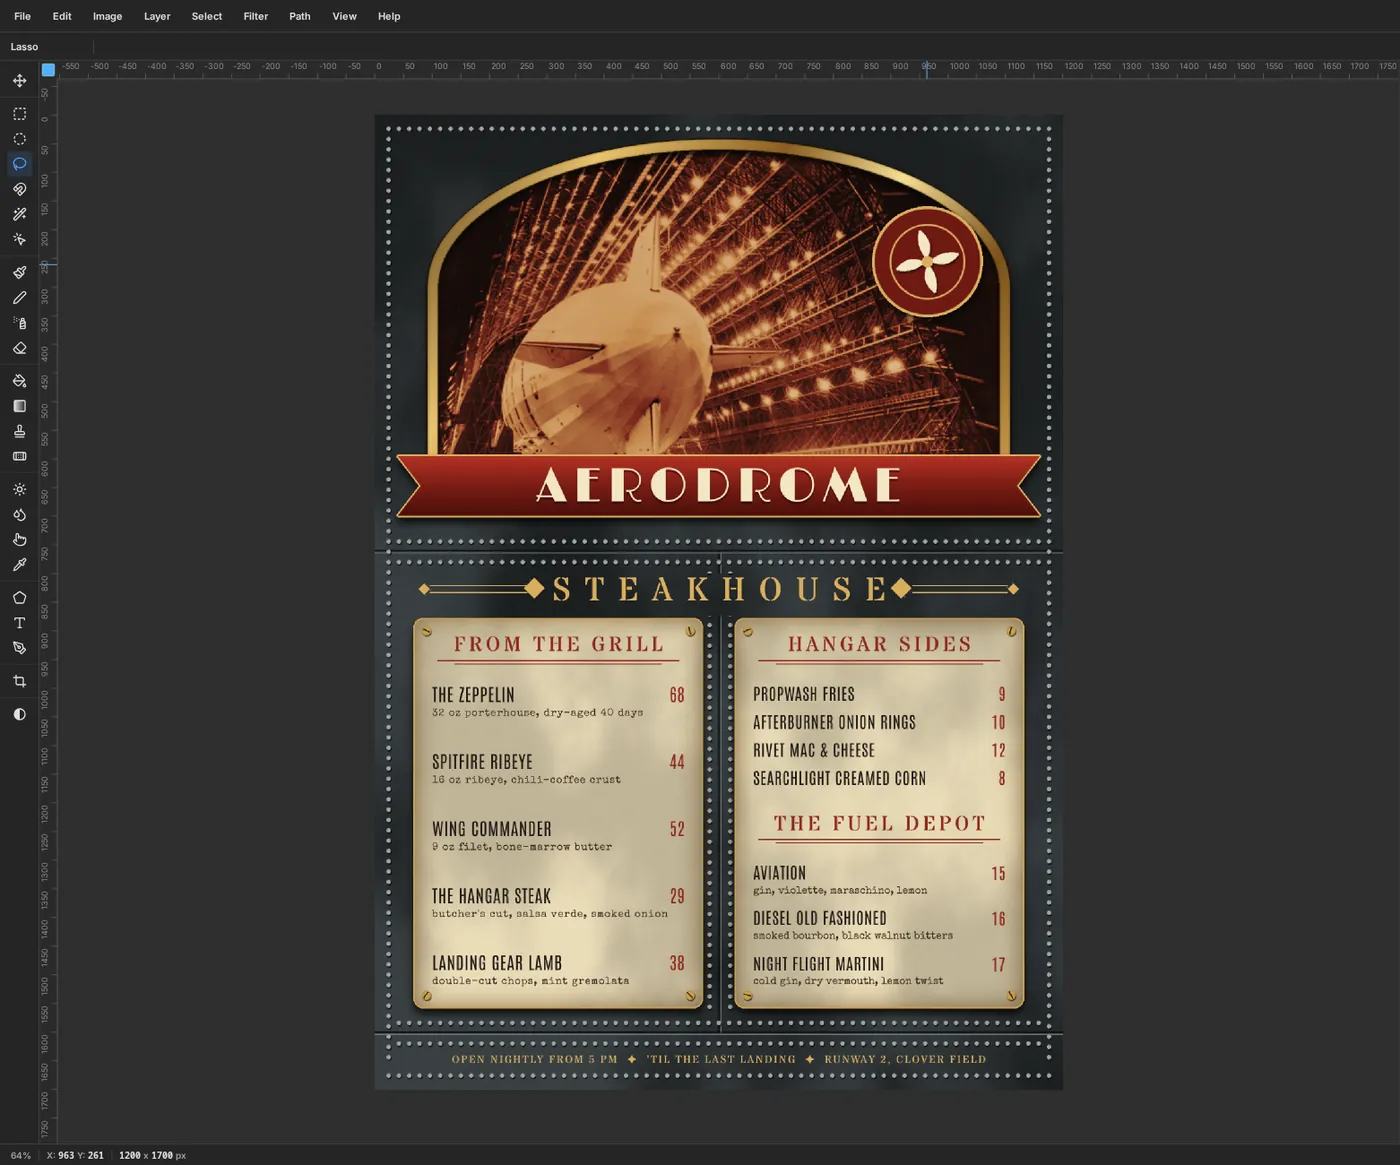
-
Draw arcs for the badge text
Text on a path follows the direction the path was drawn in. For the top line, the path runs left to right over the top. For the bottom line it runs left to right under the bottom, so both read the right way up.
Pick the Pen tool. The top arc is a half-circle 72 px from the badge centre, just inside the ring:
- Press at
893, 255(the left side) and drag straight up about 40 px to pull out handles. - Press at
965, 183(the top) and drag about 40 px to the right. - Press at
1037, 255(the right side) and drag straight down about 40 px. - Click the ✓ (Commit path) button in the options bar. This saves the path without stroking it.
Draw the bottom arc the same way, 86 px from the centre so the text sits between the ring and the rim: press at
879, 255and drag down, at965, 341and drag right, at1051, 255and drag up, then click ✓. The two arcs appear in the Paths panel as Path 1 and Path 2.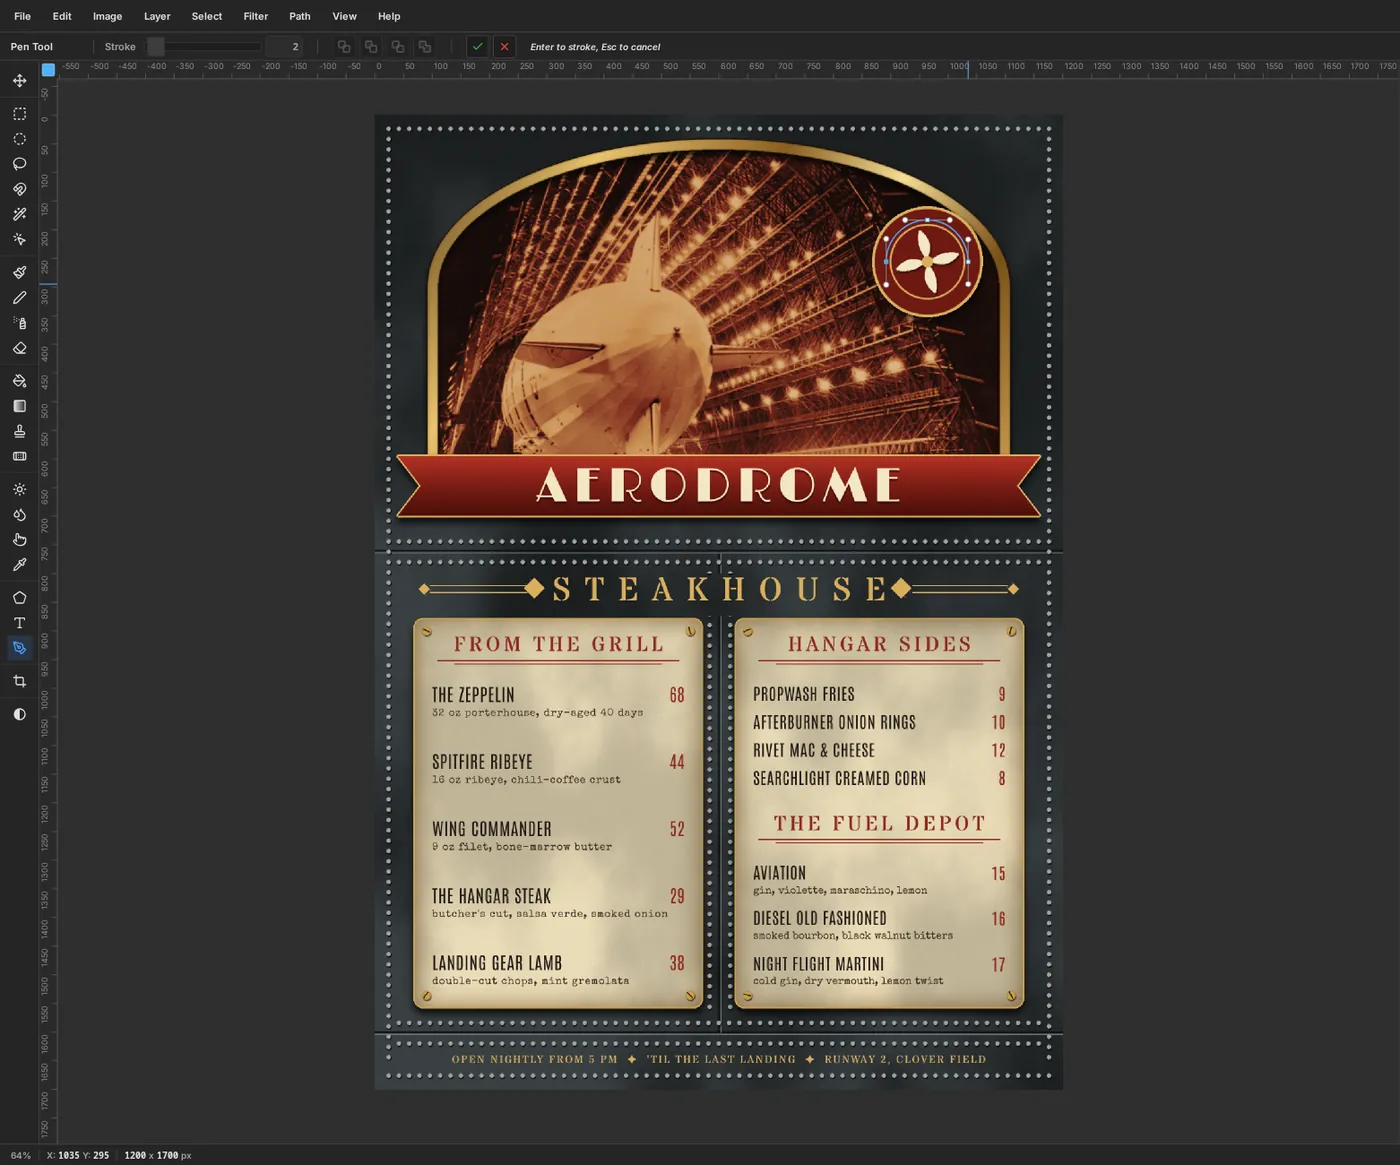
- Press at
-
Set the text on the arcs
Click Propeller so the text lands inside the Badge group. Make a Stardos Stencil layer at
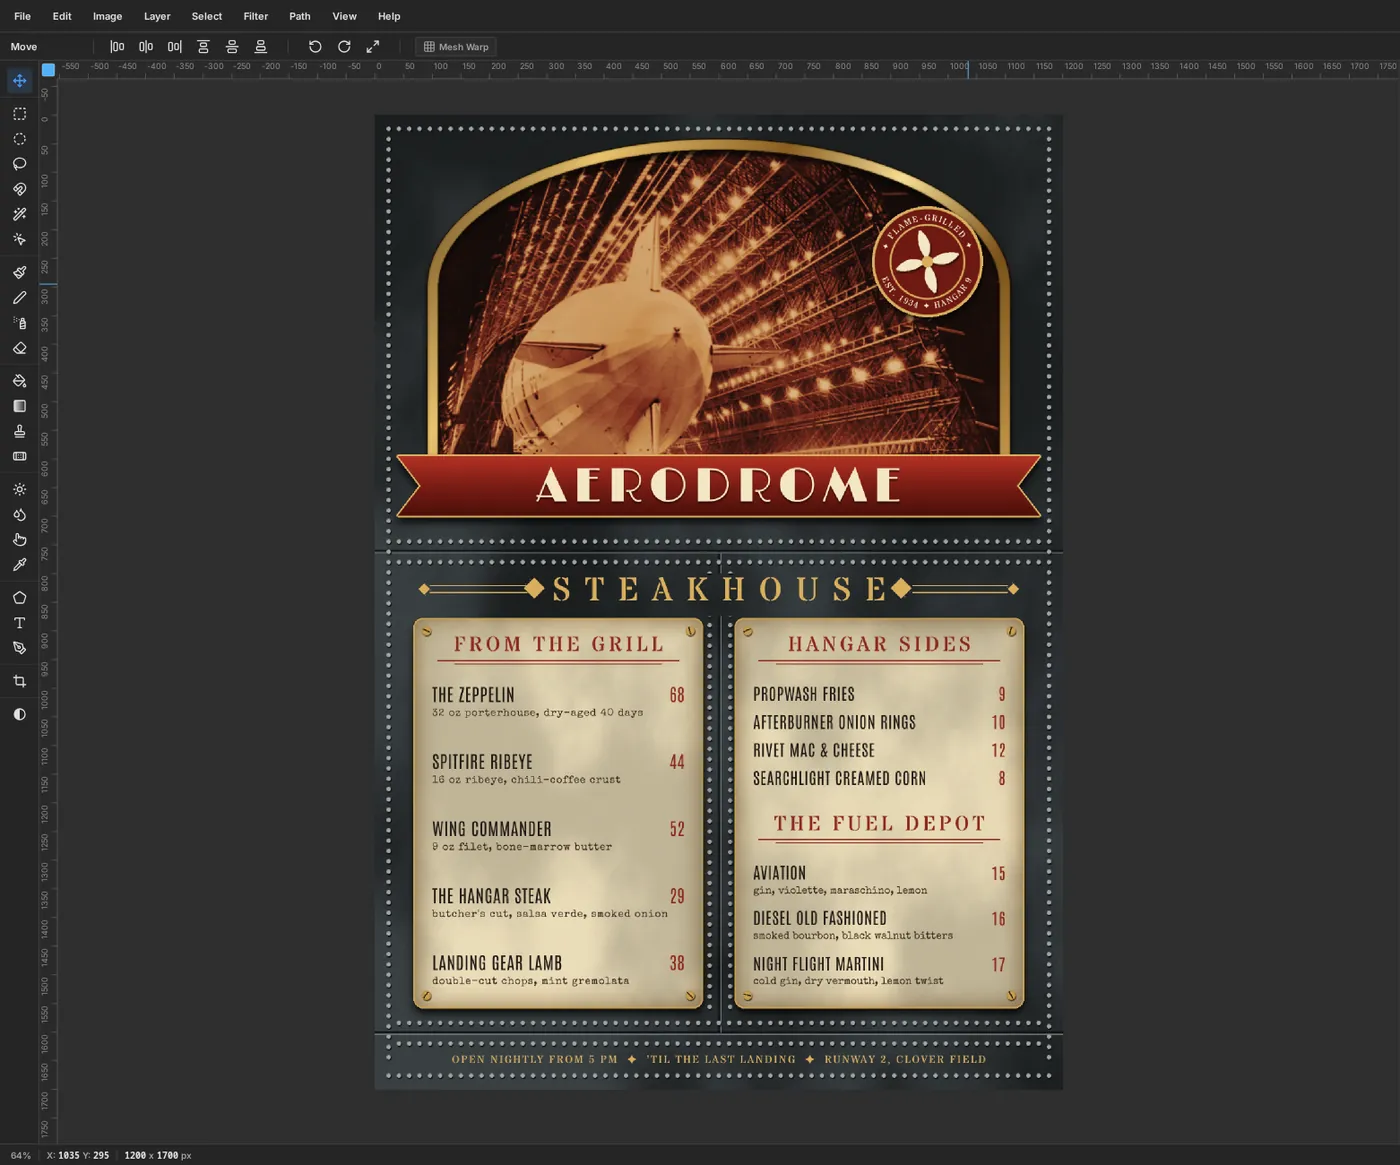
15px in with Letter spacing2, typed in empty canvas:✦ FLAME-GRILLED ✦. Press Tab to commit it. With the layer selected and the Text tool active, choose Path 1 from the Text path dropdown in the options bar, and set the alignment to Center so it runs evenly over the top.Do the same with
EST. 1934 ✦ HANGAR 9and Path 2. Nudge the bottom line up a few pixels with the arrow keys so it sits in the middle of the band between the ring and the rim.Check the badge against the brass arch. If it touches the arch, select the Badge group and drag it a little down and left. Path text that's inside the group moves with the group.
-
Finish with a vignette
Select the Project group and open its effects drawer. Click Add Adjustment → Vignette and set it to
35. The corners of the steel fall gently into shadow, which pulls your eye toward the arch and the cards.Save with File → Save Project, and export with File → Quick Export PNG.