Make a Line-Engraving Stencil Contact Sheet from a Photo
Turn an 1870 quagga photo into three brass hatch-line stencil plates and their progressive proofs in Lopsy, with patterns, Threshold and the Magic Wand.
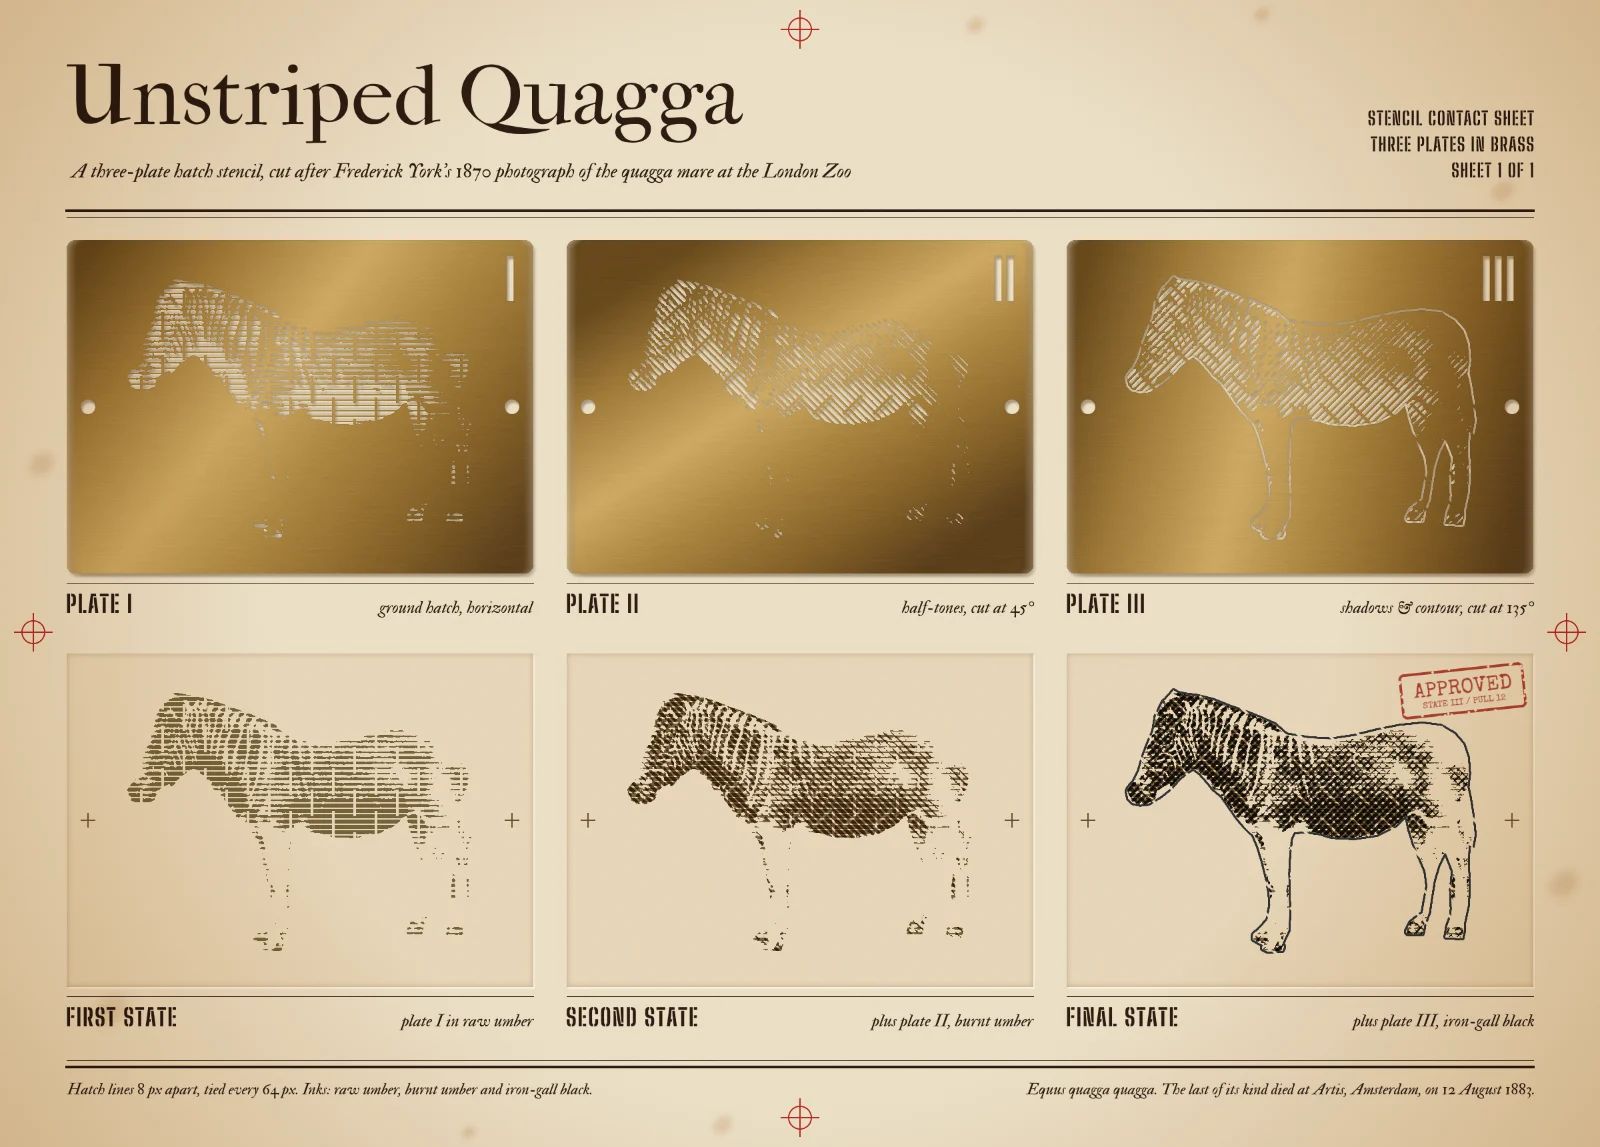
Old engravings make tone out of lines. Thin lines read as light grey, fat lines as dark, and a second set of lines crossing the first gives you shadow. A stencil can do the same job: cut each set of lines into its own plate, print the plates one after another, and the hatching builds up exactly as an engraver's would.
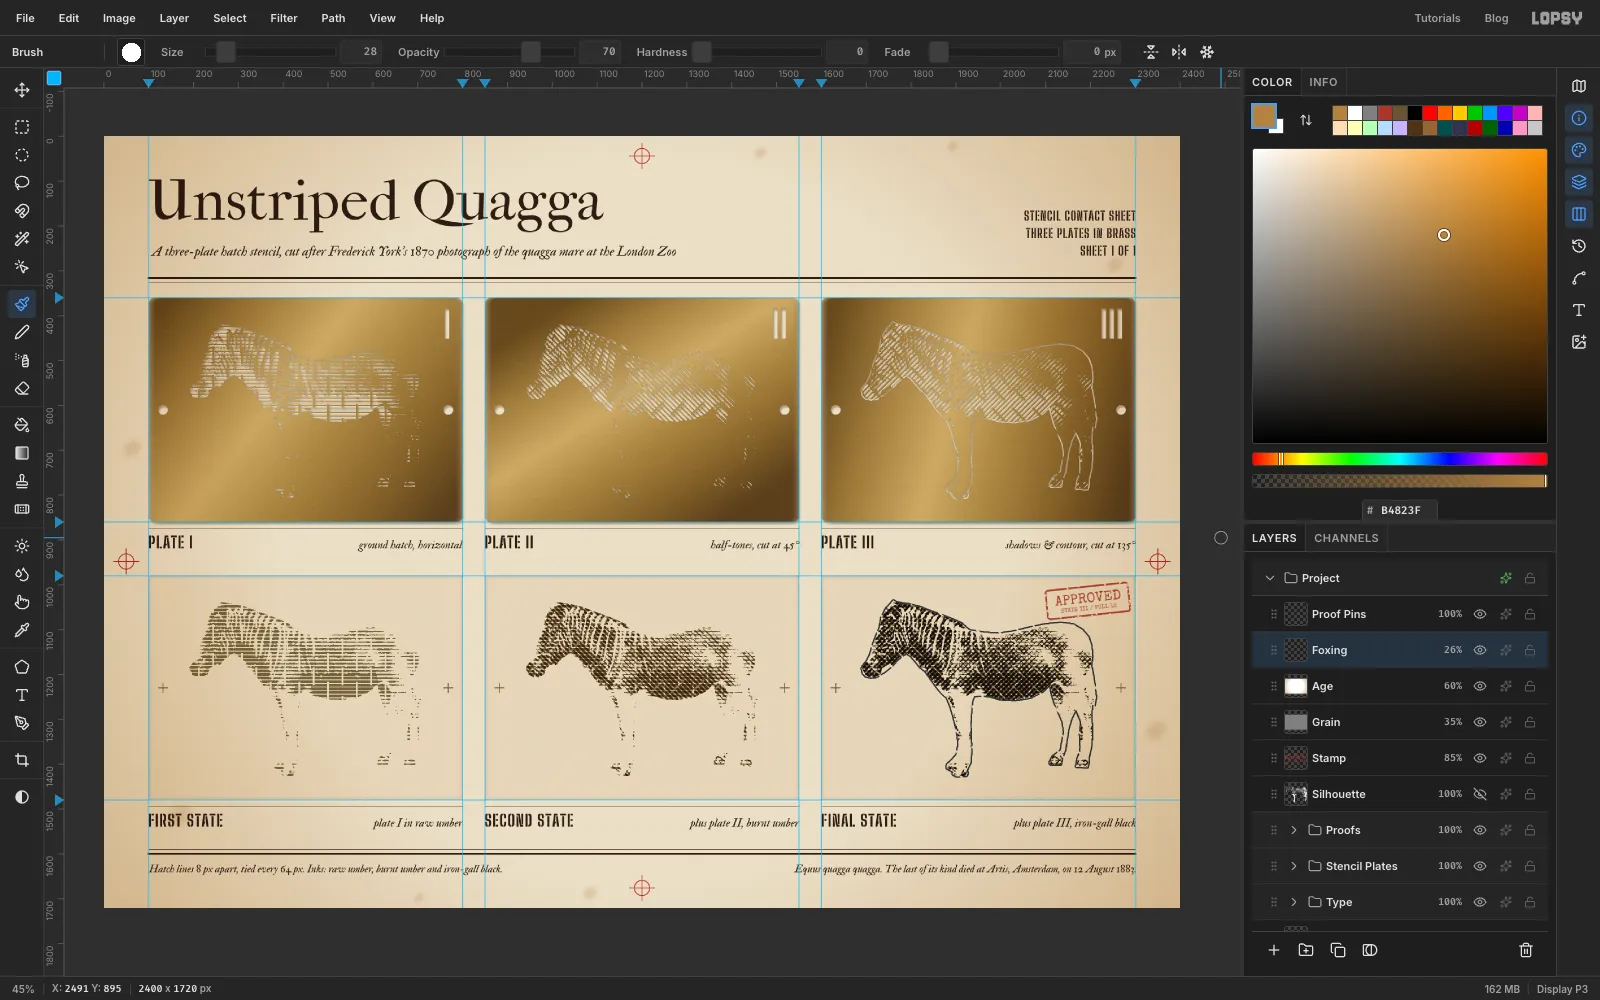
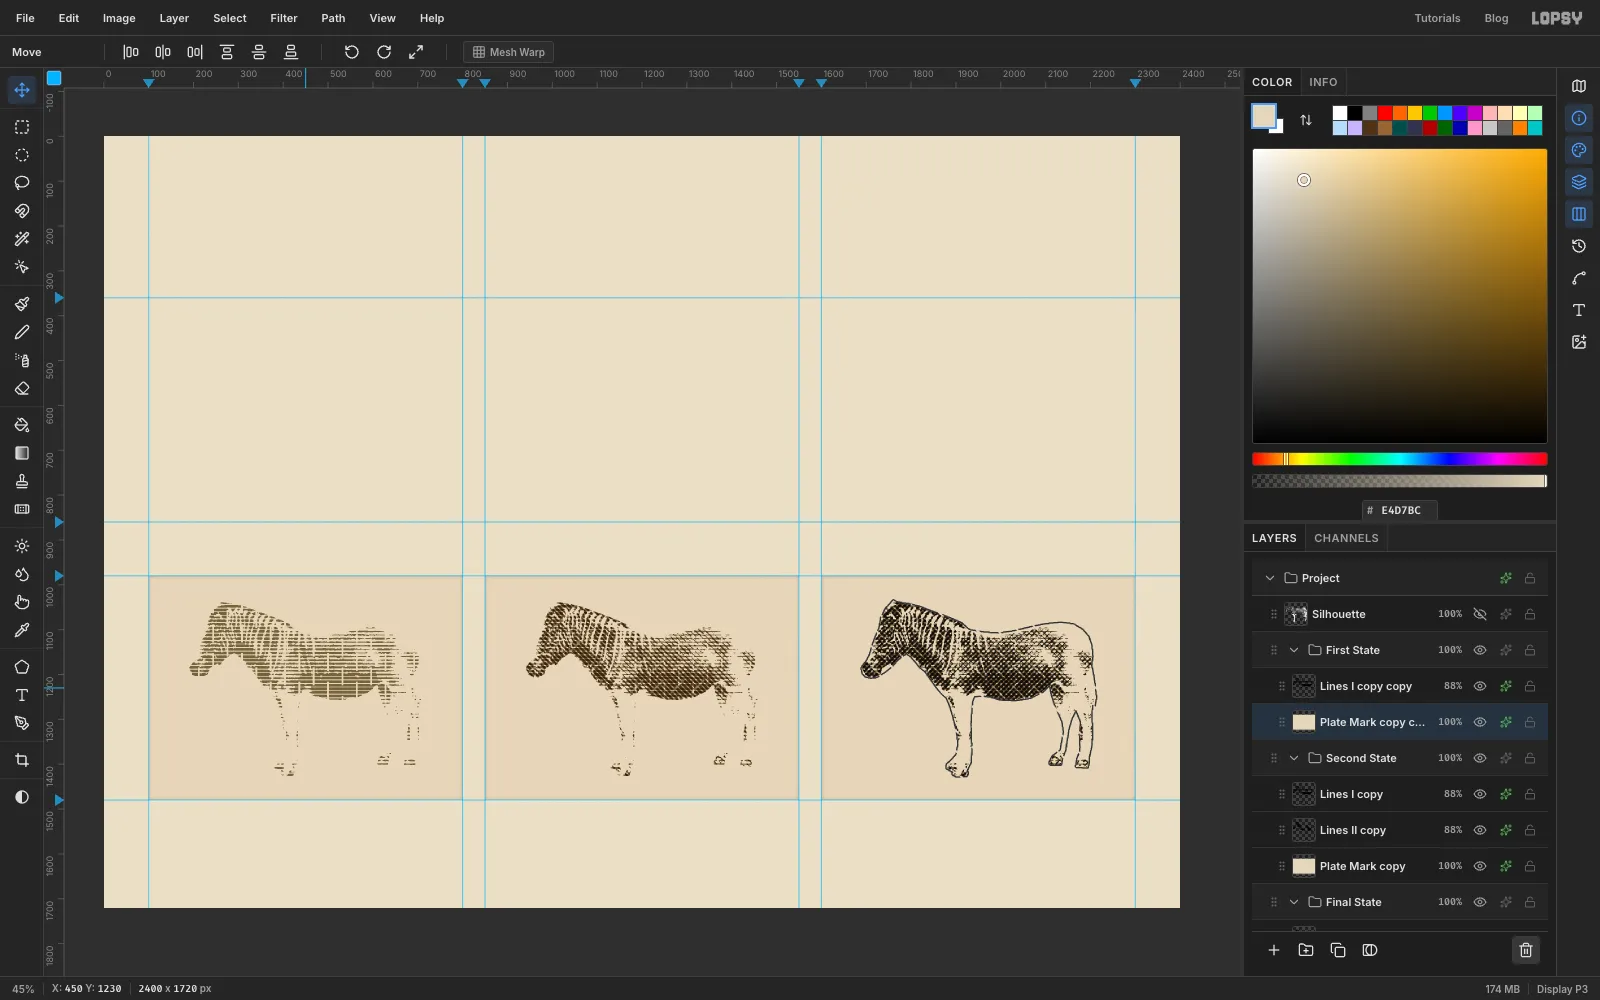
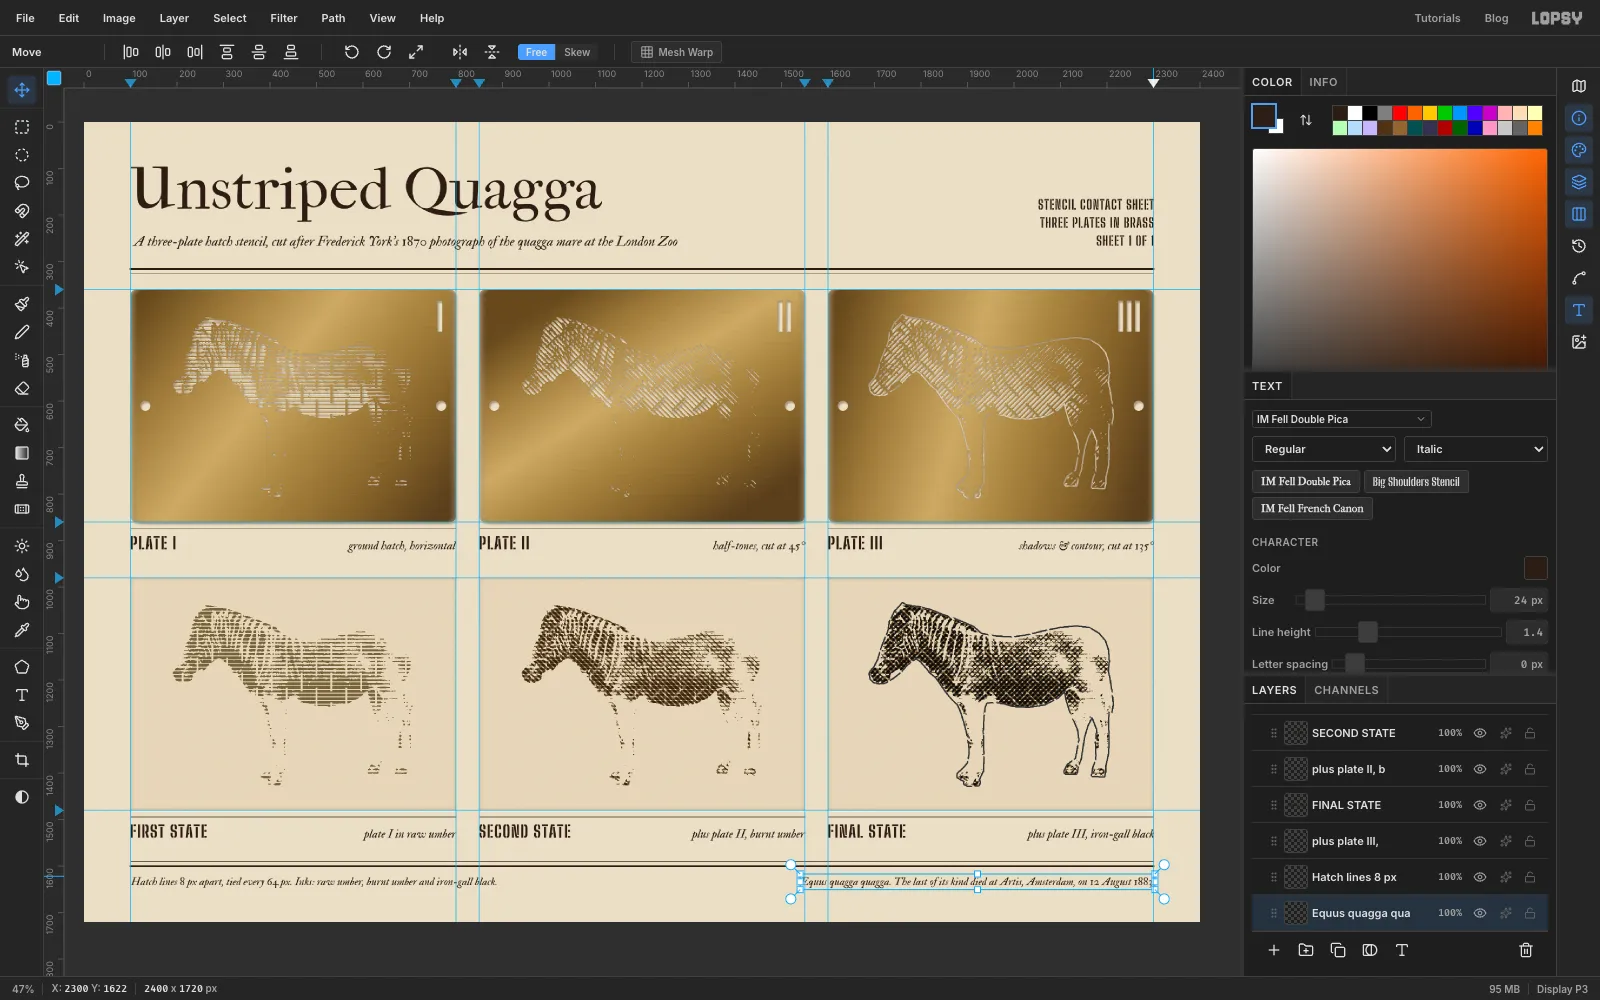
In this tutorial you'll make Unstriped Quagga, a 2400 × 1720 px contact sheet for a three-plate hatch stencil. The top row shows the three brass plates. The bottom row shows the progressive proofs: the first plate on its own, then two plates, then all three. The quagga was a zebra that was striped only at the front; the last one died in 1883. This one comes from the only photographs of a living quagga, taken at the London Zoo in 1870.
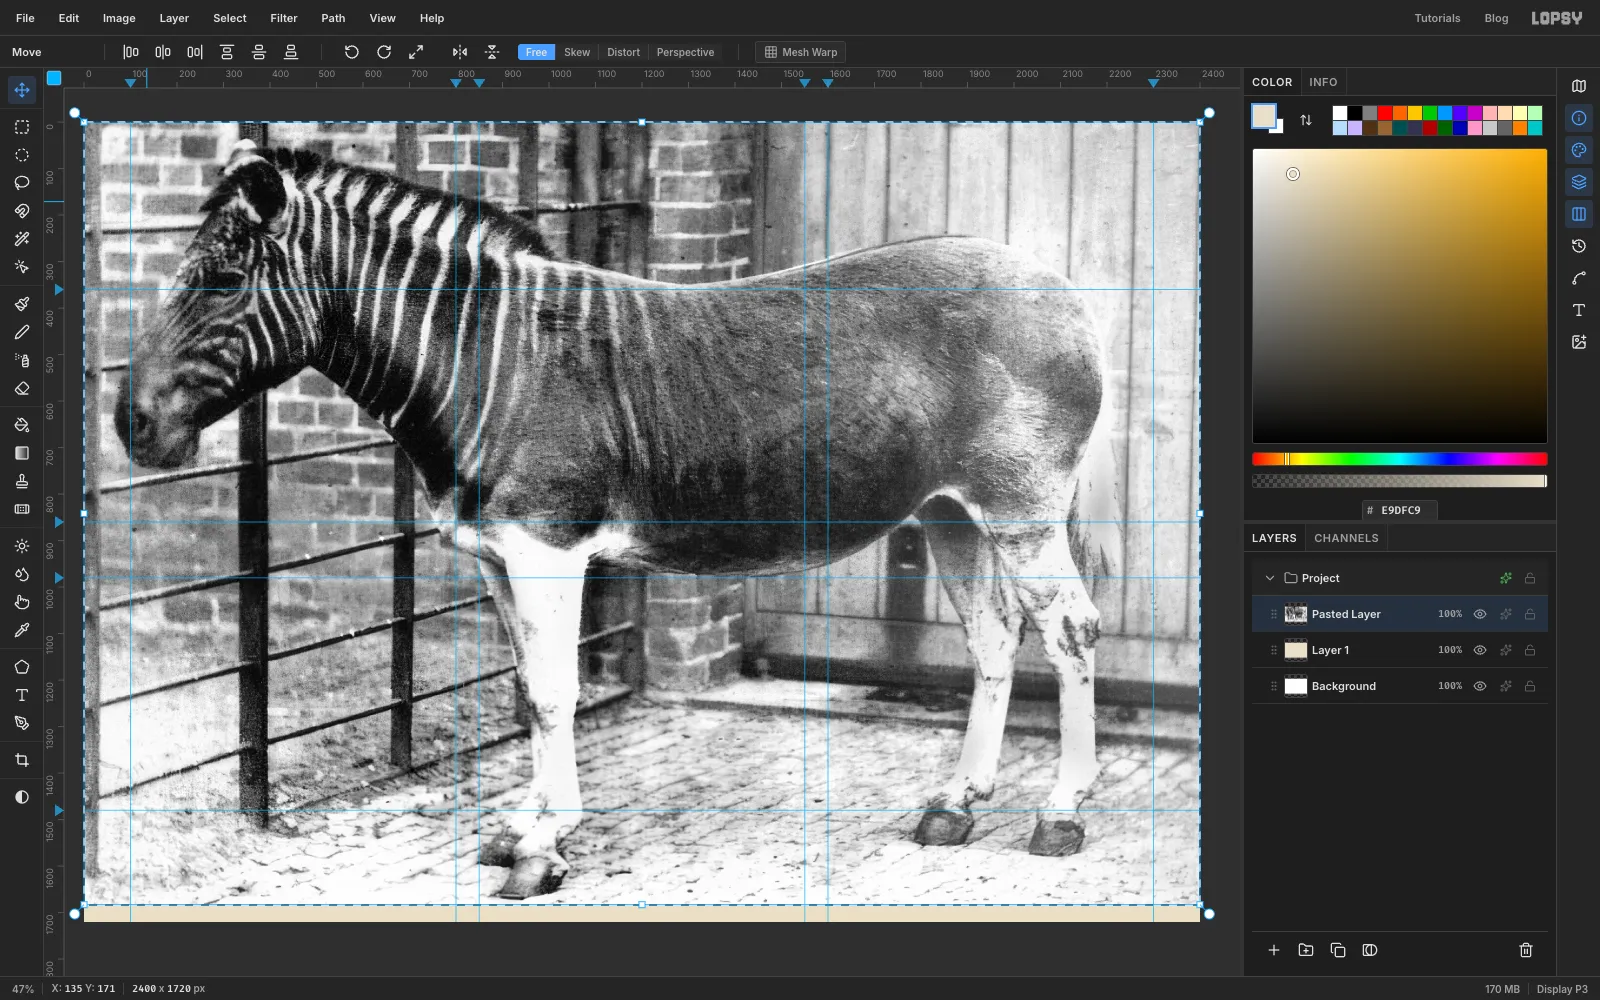
The photo is Quagga HIFI on Wikimedia Commons, Frederick York's 1870 photograph of the London Zoo mare, in the public domain. To follow along, download the full-size version (3414 px wide). Any side-on photo of an animal against a busy background works too.
Along the way you'll use:
- Rulers and guides with snapping, and the grid
- pasting and scaling a photo, the Lasso, Select → Inverse, Desaturate
- Gaussian Blur, Brightness/Contrast, Threshold and the Magic Wand with Contiguous off
- the Gradient tool, Define Pattern and Fill with Pattern (with Scale and Column Stagger)
- rotating a layer with the Move tool's rotate handle, opacity and Merge Down
- loading a layer's shape with Cmd-click, Grow, and cutting one layer with another
- the Shape tool with guides, Add Noise and Motion Blur for brushed brass
- Color Overlay, Inner Glow, Drop Shadow and the Multiply and Overlay blend modes
- grouping, duplicating and dragging groups; undo and redo
- the Pencil with Shift-click lines, the Eraser and a soft Brush
- text in IM Fell French Canon, IM Fell Double Pica italic, Big Shoulders Stencil and Special Elite, with letter spacing
The palette:
-
Paper
-
plate tone
-
Plate-mark shade
-
highlight
-
Brass
-
Brass shadow
-
cut edge
-
Raw umber
-
burnt umber
-
iron-gall black
-
Type ink
-
register red
-
pin crosses
-
Foxing
-
edge age
-
Set up the sheet, guides and paper
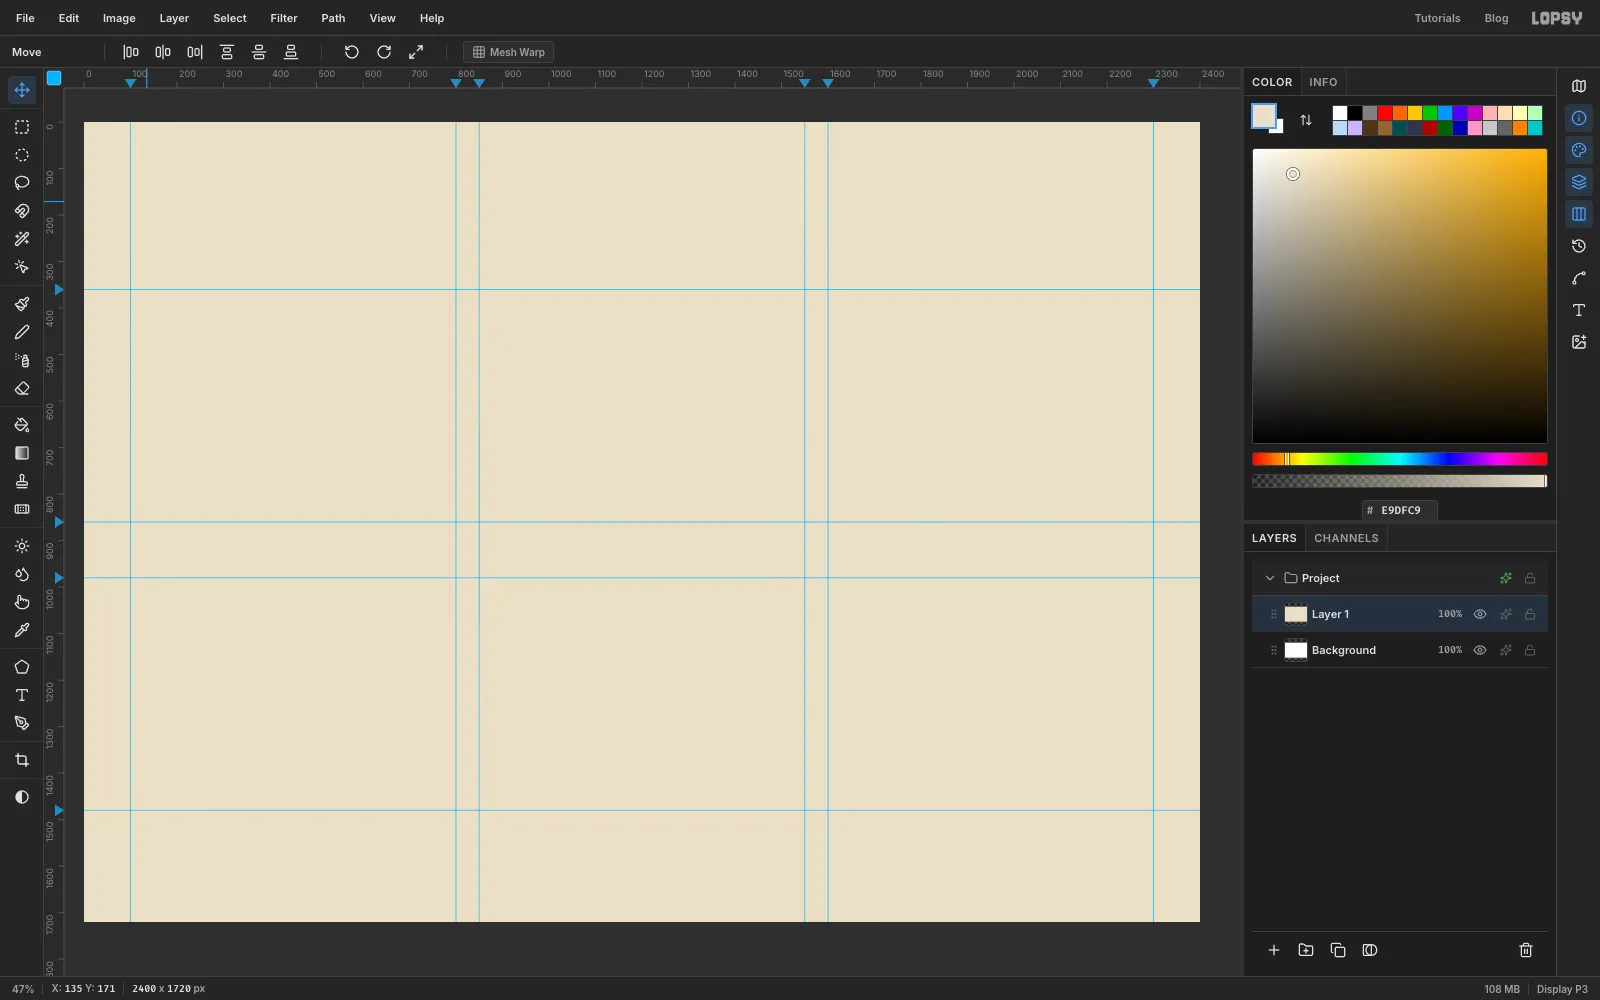
Choose File → New and create a 2400 × 1720 px document.
The sheet is a grid of six cells, each 700 × 500 px. Click the top ruler to drop vertical guides at 100, 800, 850, 1550, 1600 and 2300. Click the left ruler for horizontal guides at 360, 860, 980 and 1480. That gives three columns with 50 px gutters, a row of plates on top and a row of proofs underneath, with room for a header and footer. View → Snap to Guides is on by default; leave it on.
Set the foreground to , select Layer 1, press Cmd+A and choose Edit → Fill. Rename the layer Paper (double-click its name).
-
Paste the photo
Open the downloaded photo in another app, copy it, and paste it into Lopsy with Cmd+V. Lopsy shrinks an oversized paste to fit the canvas and switches to the Move tool. Press Cmd+D to drop it, and rename the layer Quagga Photo.
-
Lasso the quagga
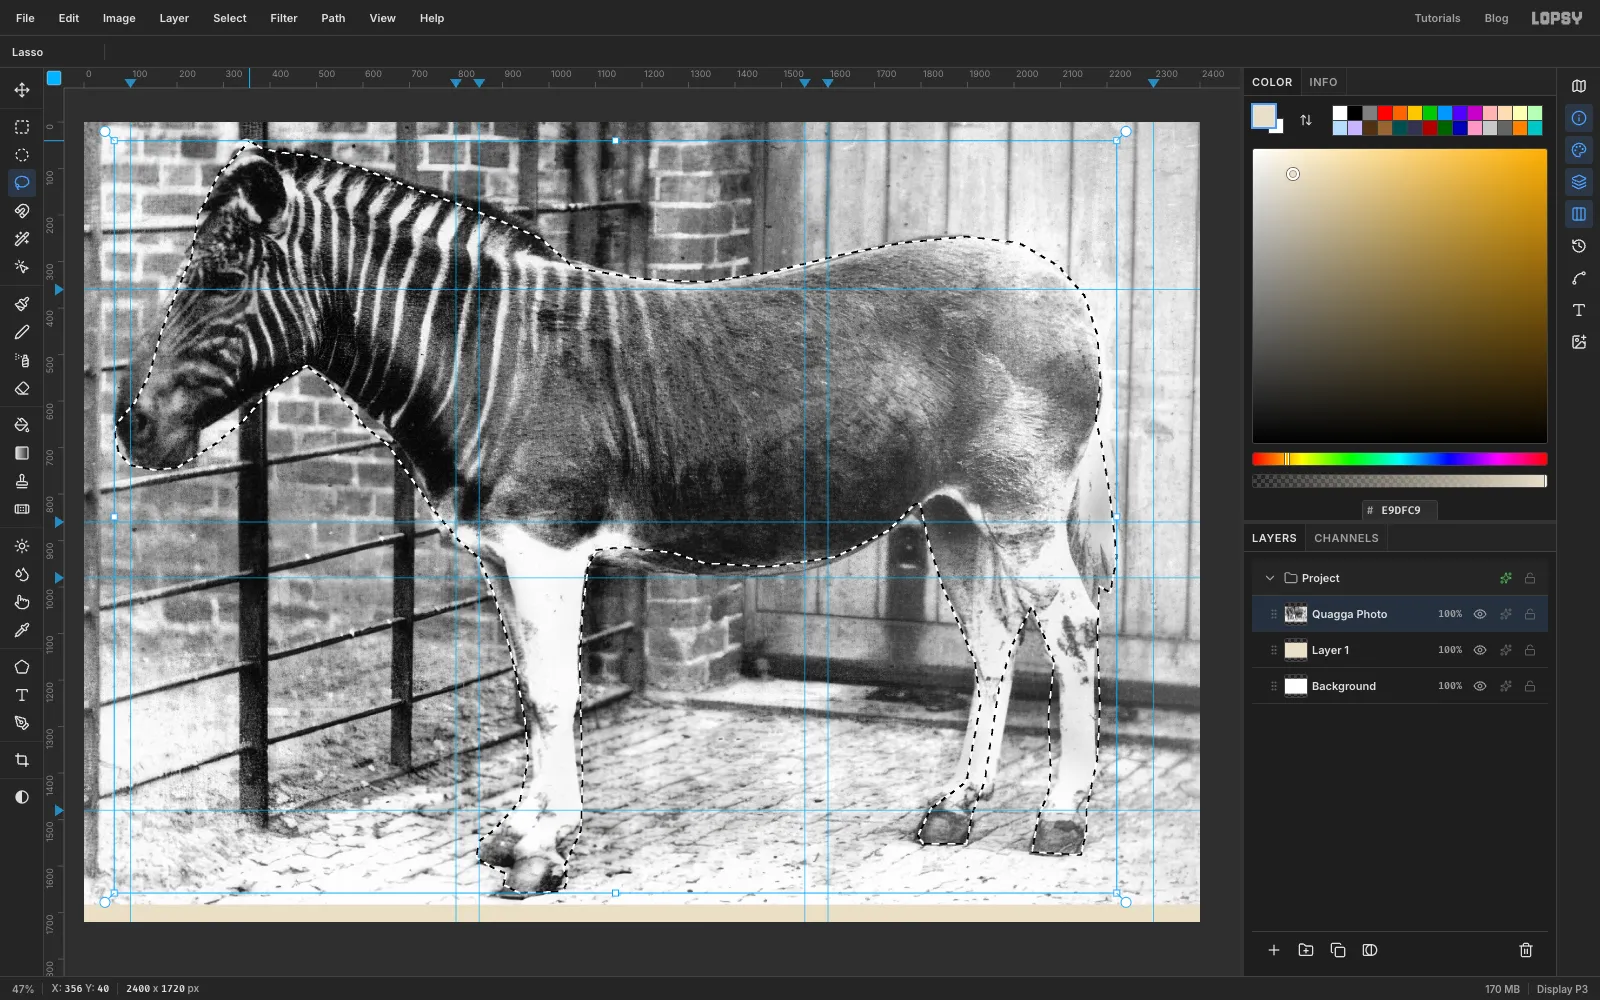
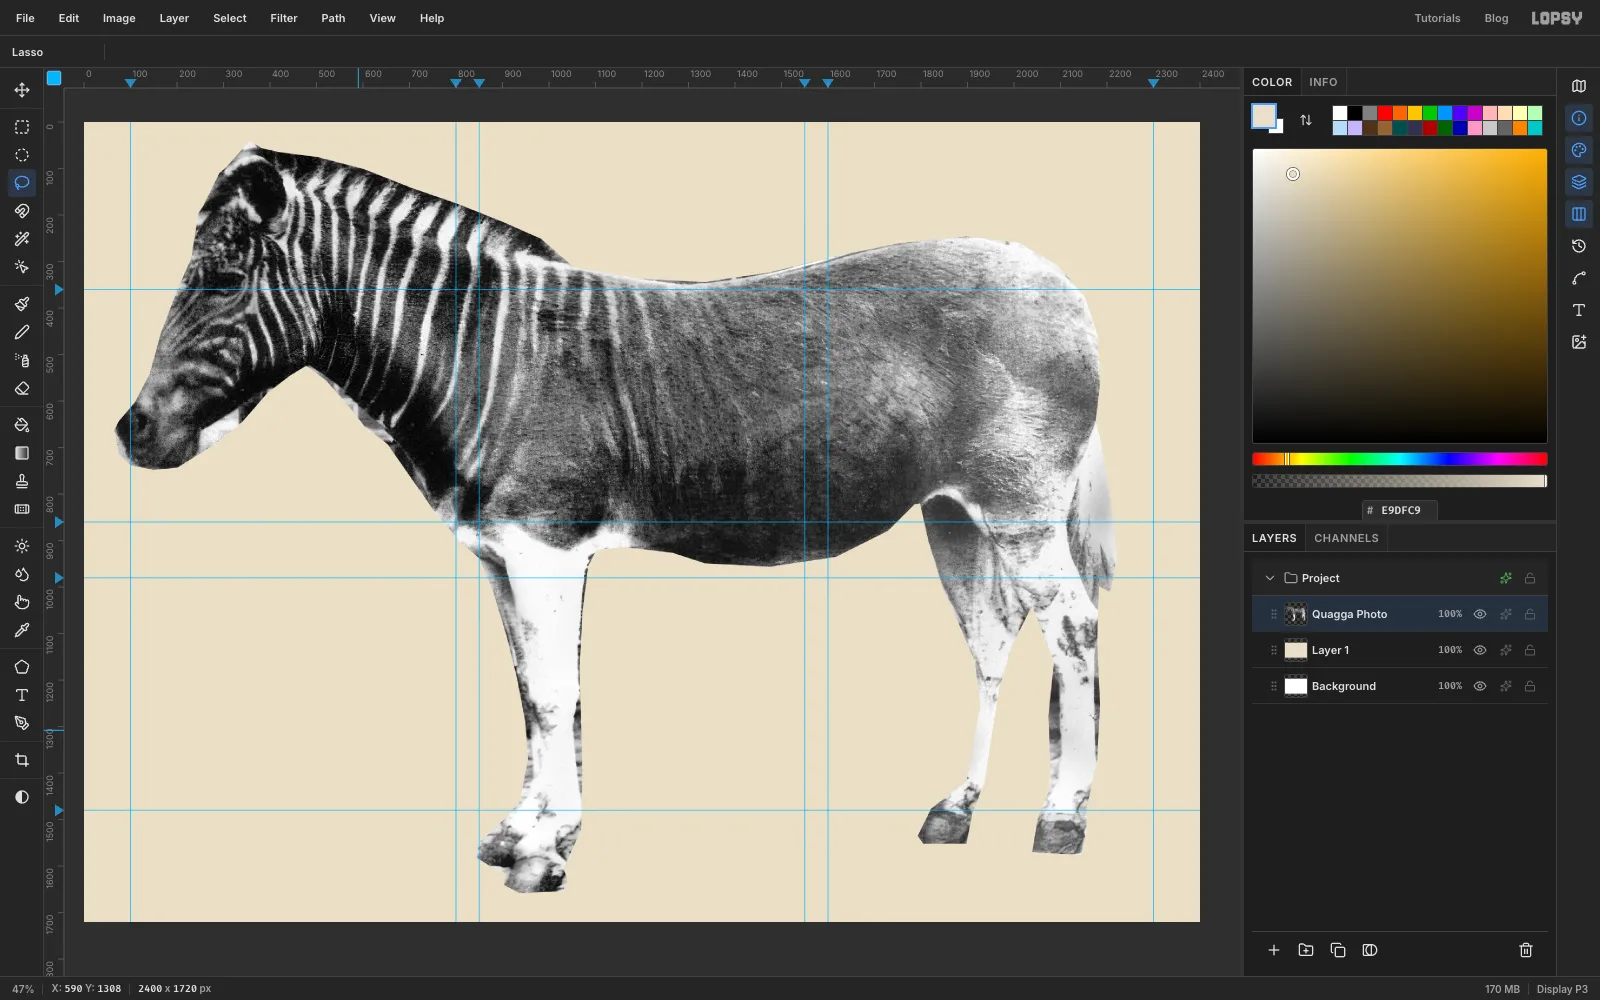
Pick the Lasso and trace round the animal. Work slowly round the ears and muzzle, go in between the front and hind legs, and take in the tail. The brick wall behind the mane is close in tone to the mane itself, so trust your eye there rather than any automatic tool. Small wobbles won't matter, because the quagga ends up a fifth of this size.
-
Cut it out and desaturate it
Choose Select → Inverse, press Delete and then Cmd+D. Then choose Filter → Desaturate. The old print has a slight colour cast, and everything from here on works on brightness alone.
-
Scale it down
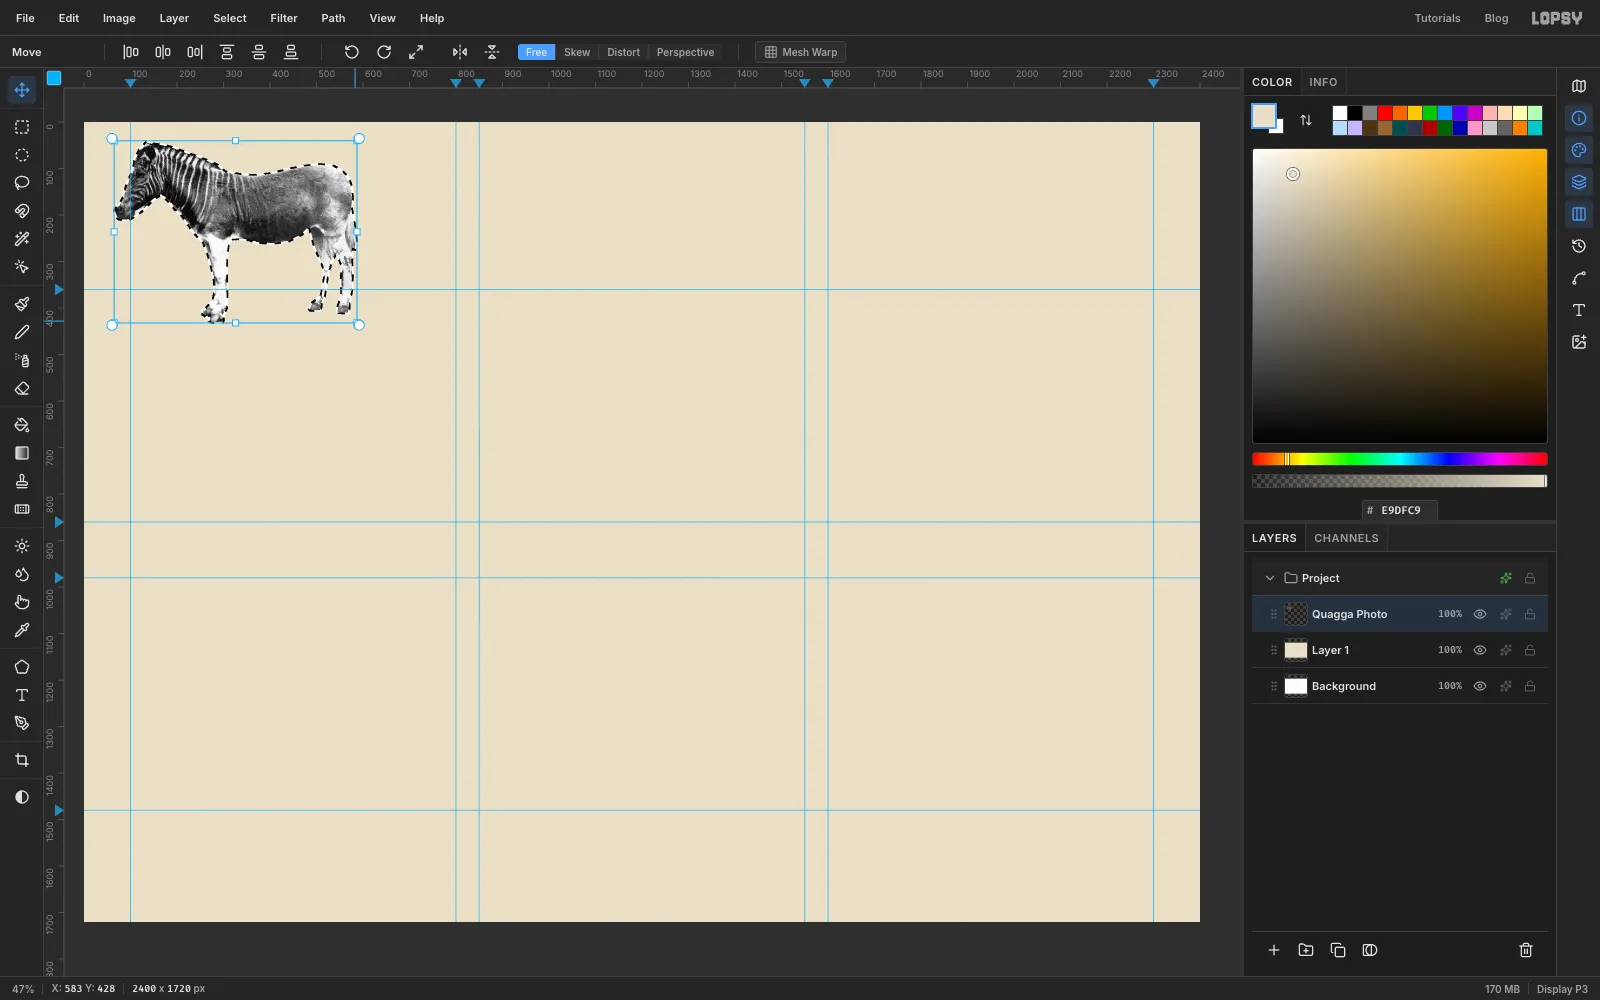
Pick the Move tool. Cmd-click the Quagga Photo thumbnail in the Layers panel to load the animal's shape as a selection, and handles appear around it. Hold Cmd and drag the bottom-right corner handle up and to the left until the quagga is about 520 px wide, a little narrower than one cell. Cmd keeps the proportions. Press Cmd+D to commit.
-
Move it into the bottom-right cell
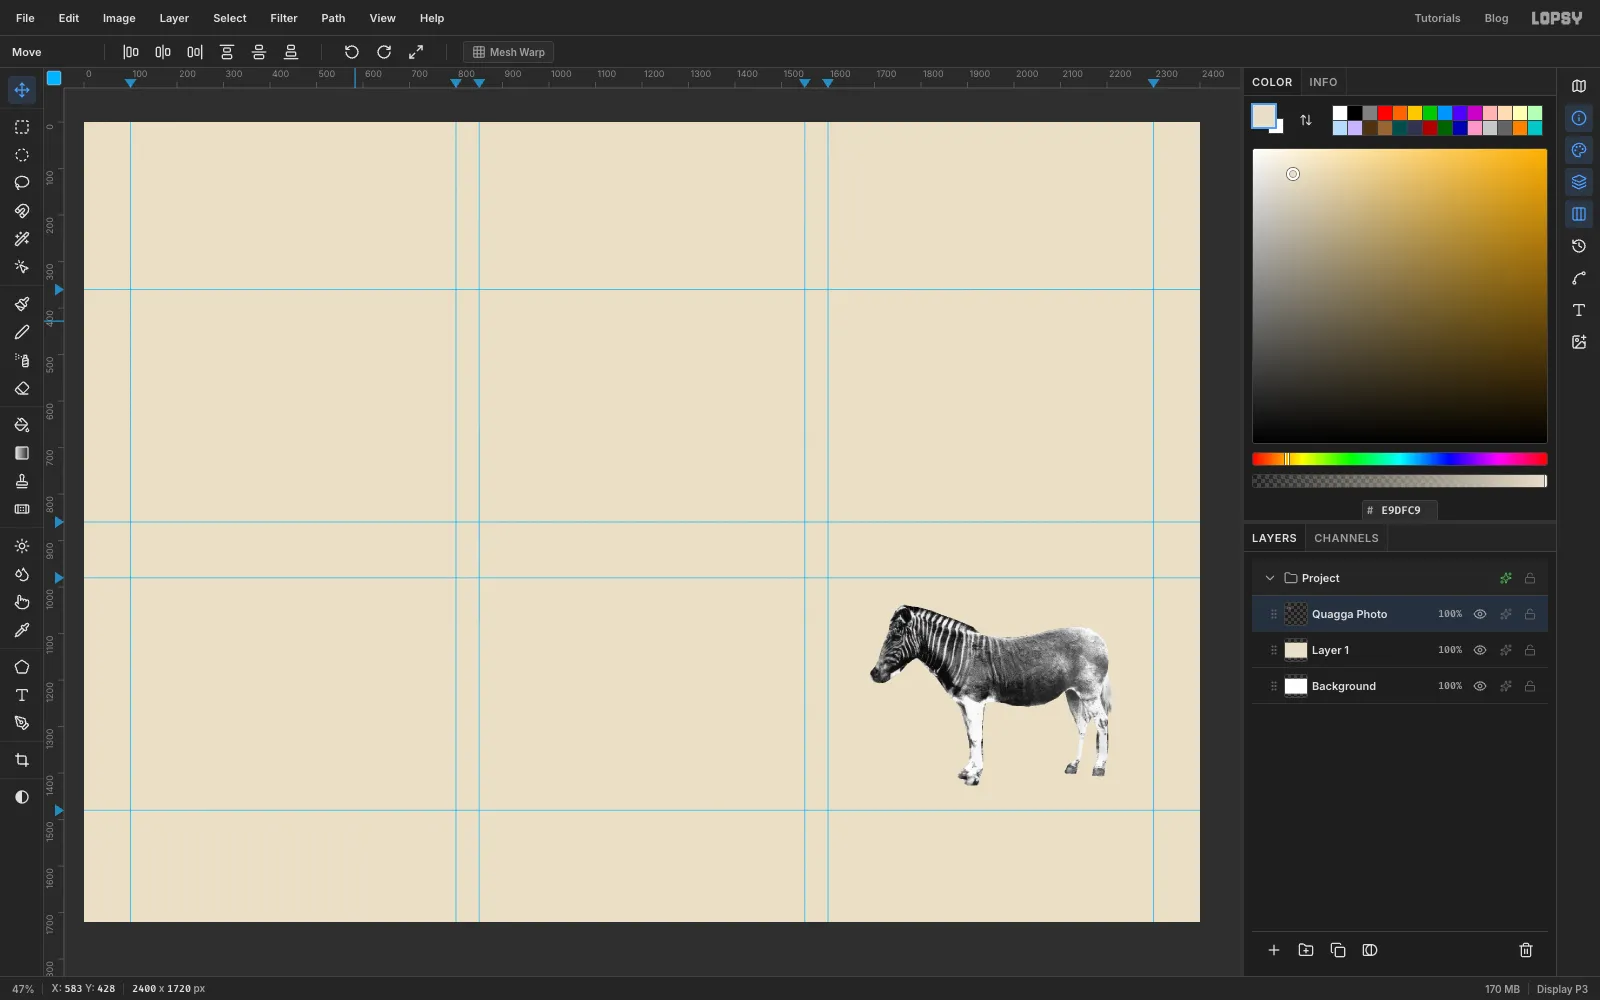
This cell will become the finished proof, so you build all three plates here first. Drag the quagga into the bottom-right cell (between the guides at 1600 and 2300, 980 and 1480) and nudge it with the arrow keys until it sits in the middle. Shift+arrow moves 10 px at a time.
-
Back it with a white card
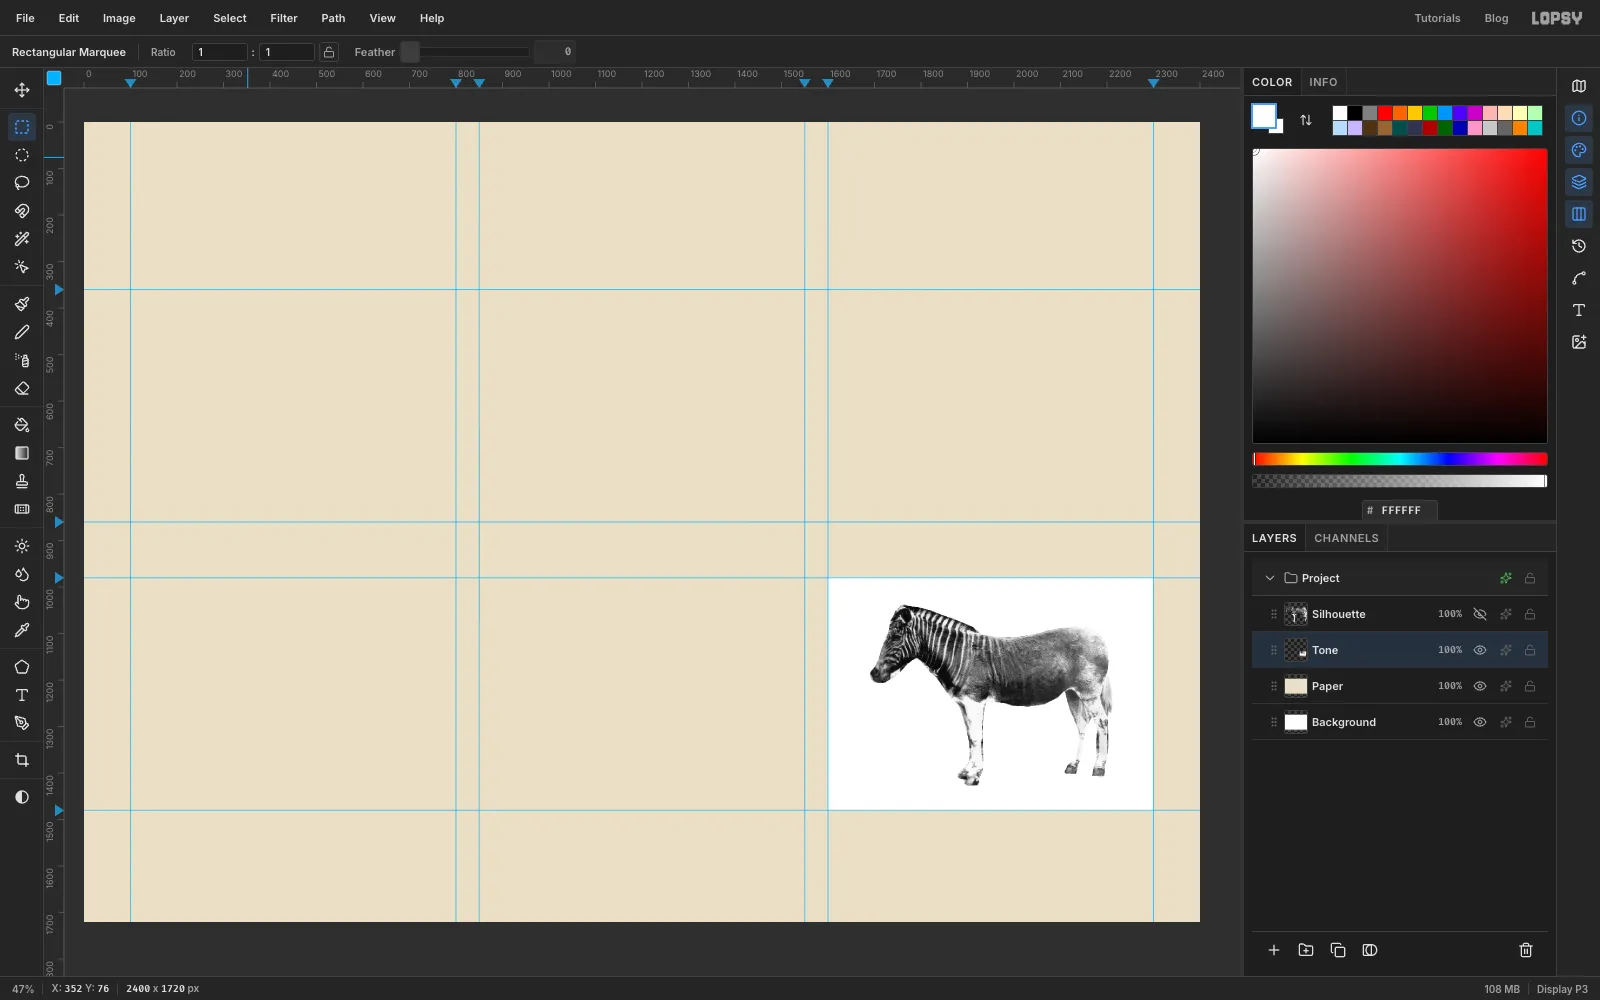
First, keep a copy of the cut-out for later: with Quagga Photo selected, click Duplicate Layer at the bottom of the Layers panel, rename the copy Silhouette and hide it with its eye icon.
Select Paper and add a new layer called Tone (the + button); new layers always land just above the selected one. Pick the Rectangular Marquee and click once without dragging inside the cell. A dialog opens where you can type exact corners: From 1600, 980 to 2300, 1480. Set the foreground to and choose Edit → Fill, then press Cmd+D. Now select Quagga Photo and choose Layer → Merge Down. You have the grey quagga on a white card in one layer, still called Tone, and white will mean "no ink".
-
Make a ridge tile
Engraved lines that swell in the dark areas need a "ridge" pattern: a gradient from black to white and back to black, repeated.
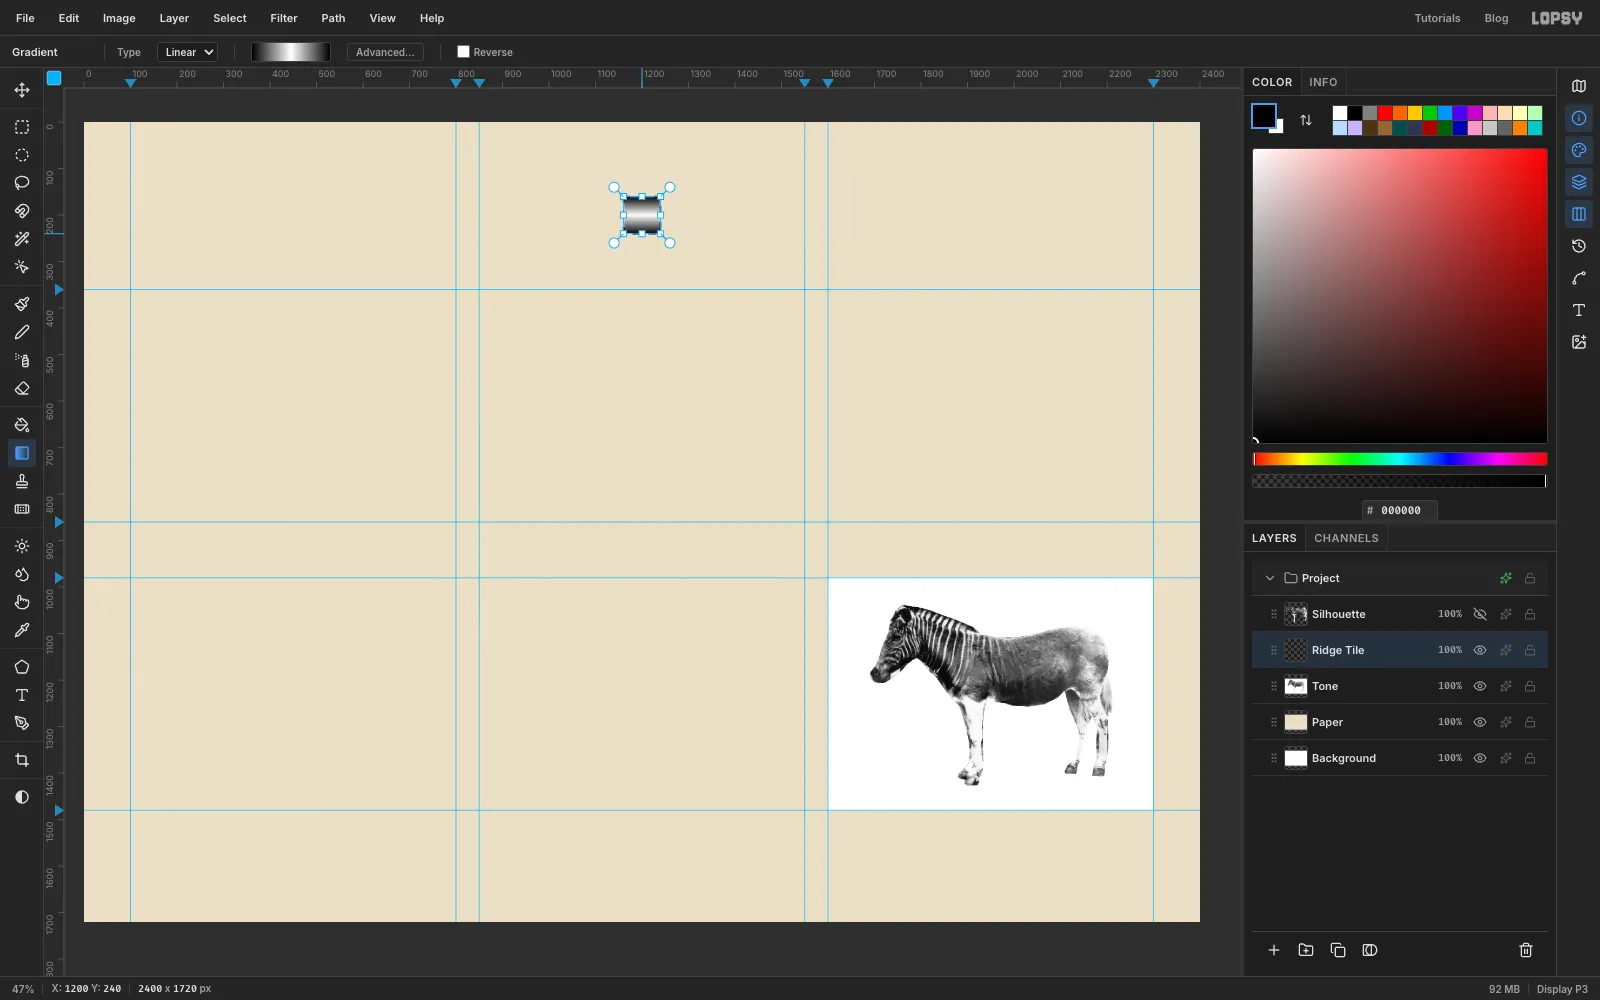
Add a new layer called Ridge Tile. Click once with the Rectangular Marquee in an empty part of the sheet and make an 80 × 80 px square. Pick the Gradient tool, click the gradient swatch to open the editor, and set three stops: at 0%, at 50% and at 100%. Drag from the top edge of the square straight down to the bottom edge. Choose Edit → Define Pattern, press Cmd+D, and delete the Ridge Tile layer. The pattern stays.
-
Soften the fur
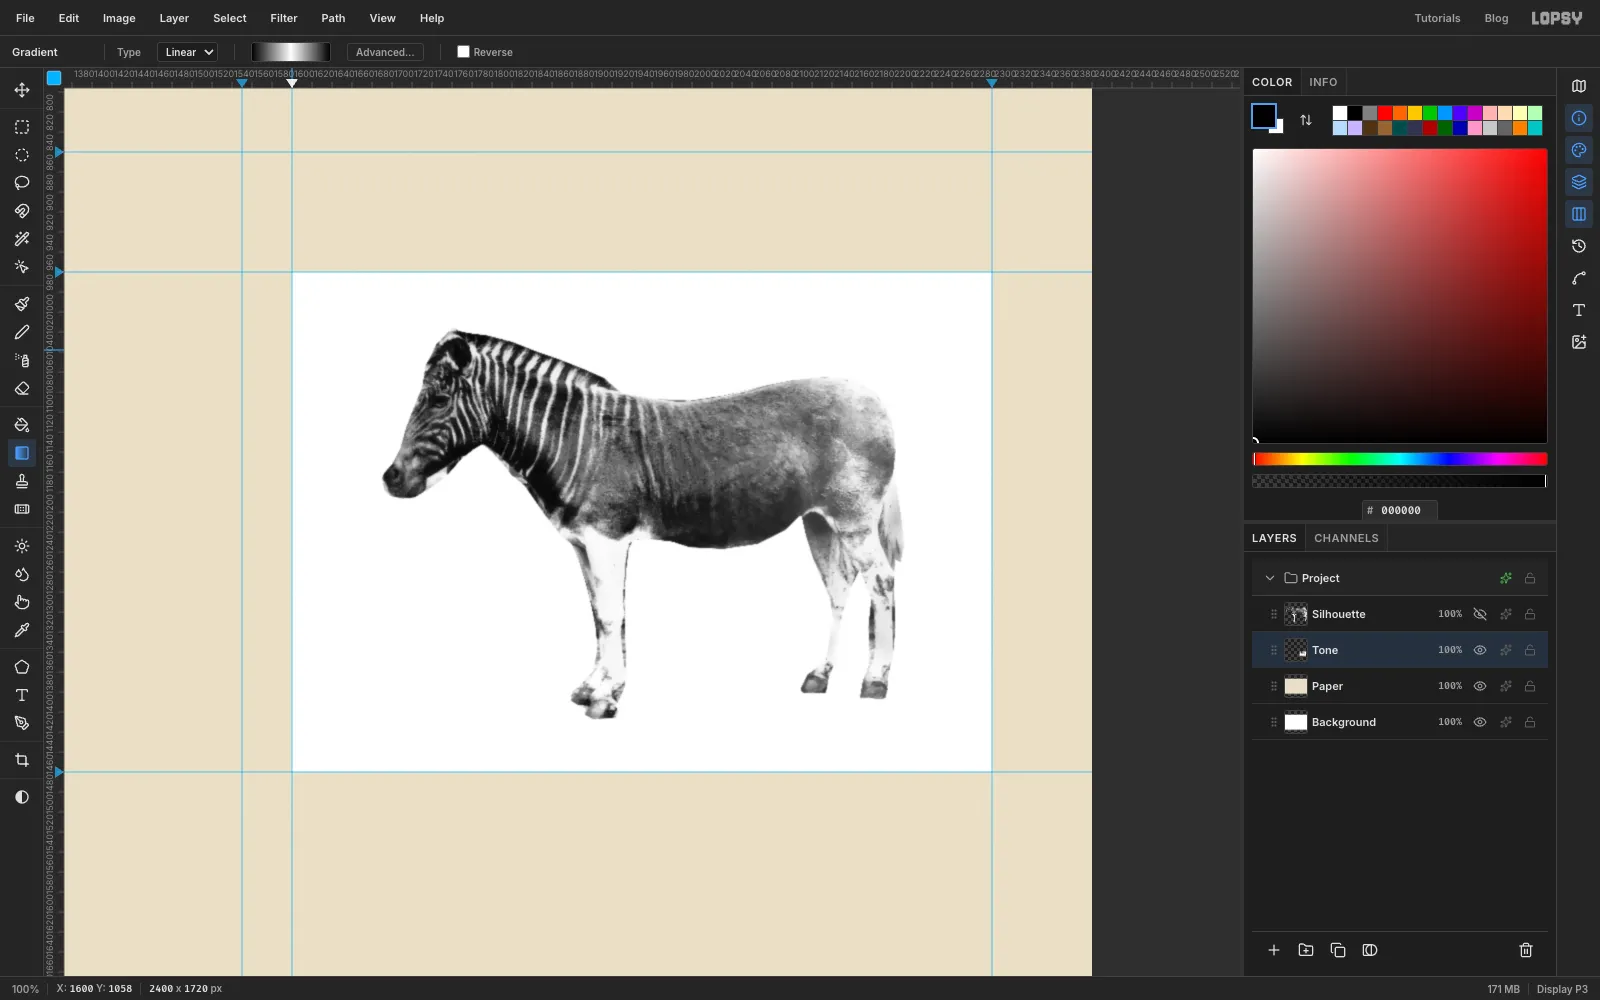
Select Tone and choose Filter → Gaussian Blur… with 2 px. Fur is full of tiny bright and dark flecks, and a blur lets each hatch line swell and thin smoothly instead of breaking into crumbs.
-
Copy the tone and push the contrast
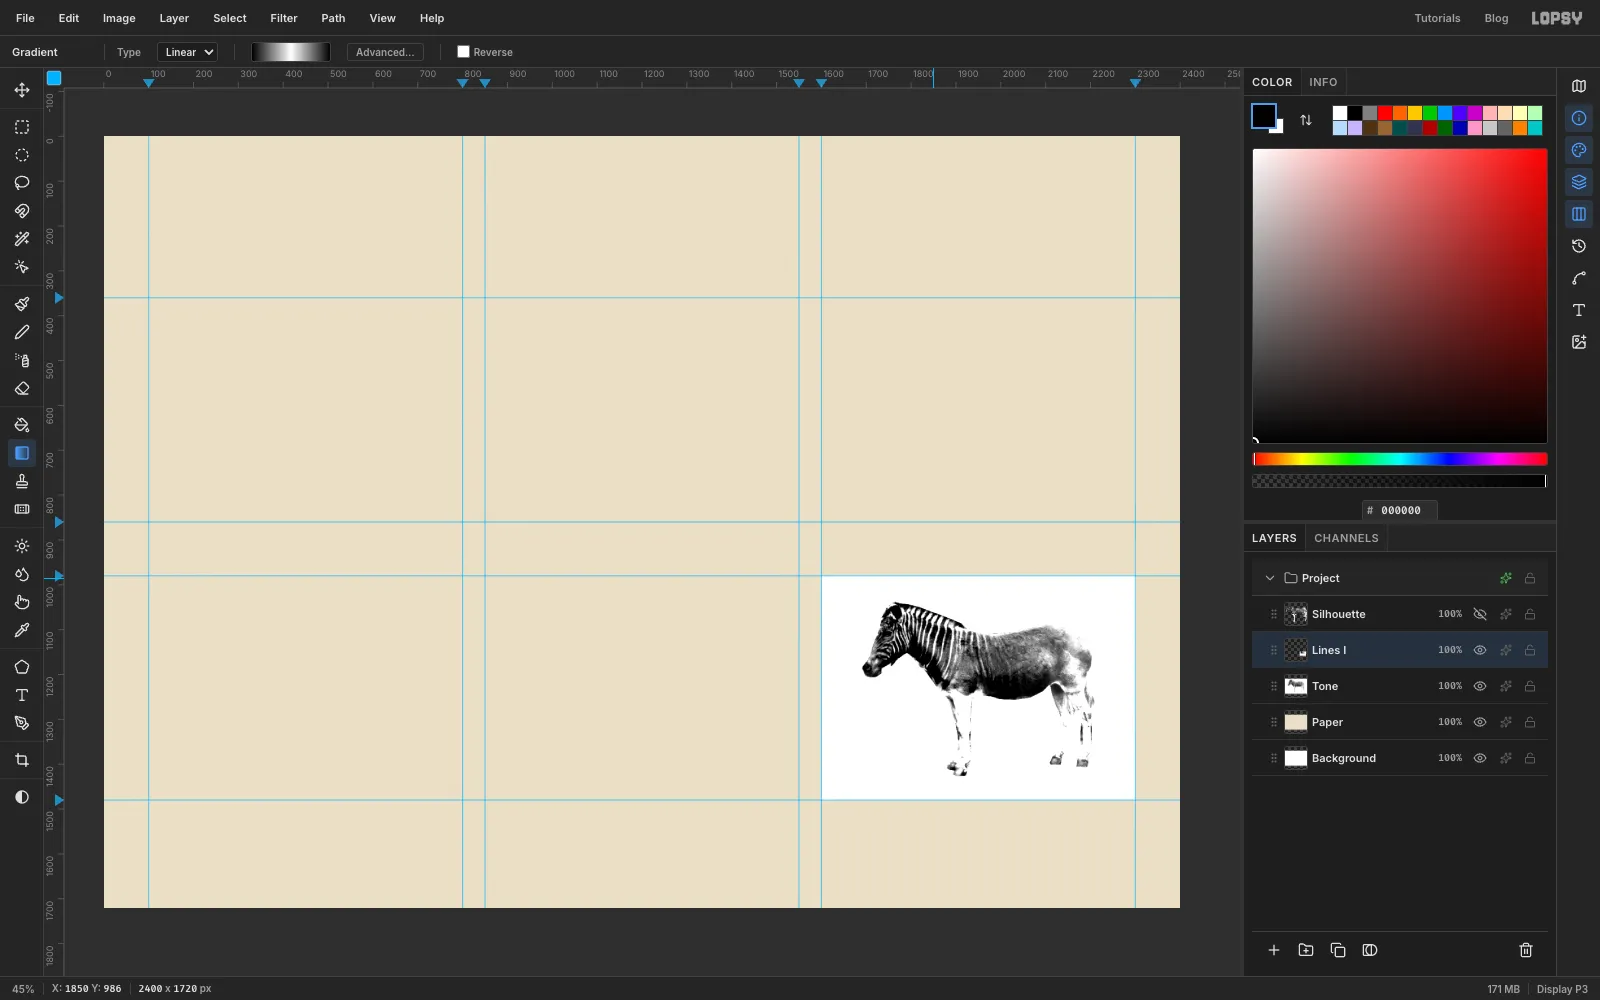
Each plate starts as a copy of Tone. With Tone selected, click Duplicate Layer and rename the copy Lines I. Choose Filter → Brightness/Contrast… and set Brightness 5, Contrast 60. The extra contrast keeps the highlights clean, so plate I won't cut into the white legs and belly.
-
Lay the ridges over it at half opacity
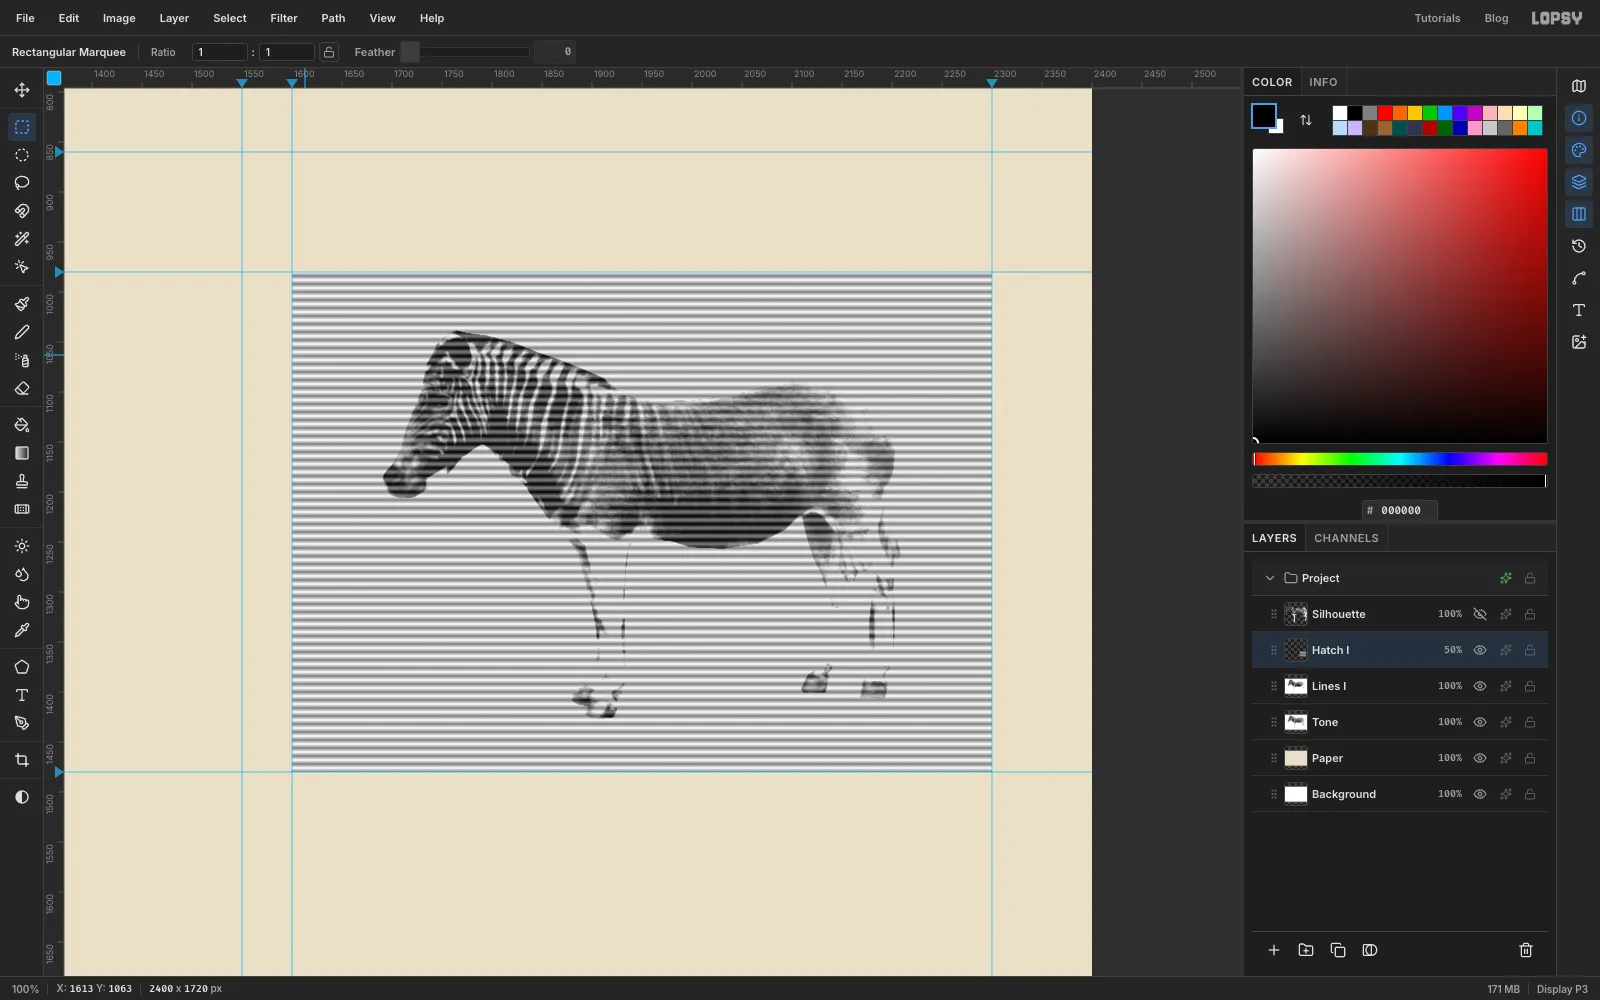
Add a new layer called Hatch I; it lands right above Lines I. Click once with the Rectangular Marquee and select the cell exactly (From 1600, 980 to 2300, 1480). Choose Edit → Fill with Pattern…, pick your ridge tile, set Scale to 10% and click Apply. The 80 px tile becomes an 8 px line spacing. Press Cmd+D.
Open the opacity control on the Hatch I row and set it to 50%.
-
Merge, threshold and lift out the white
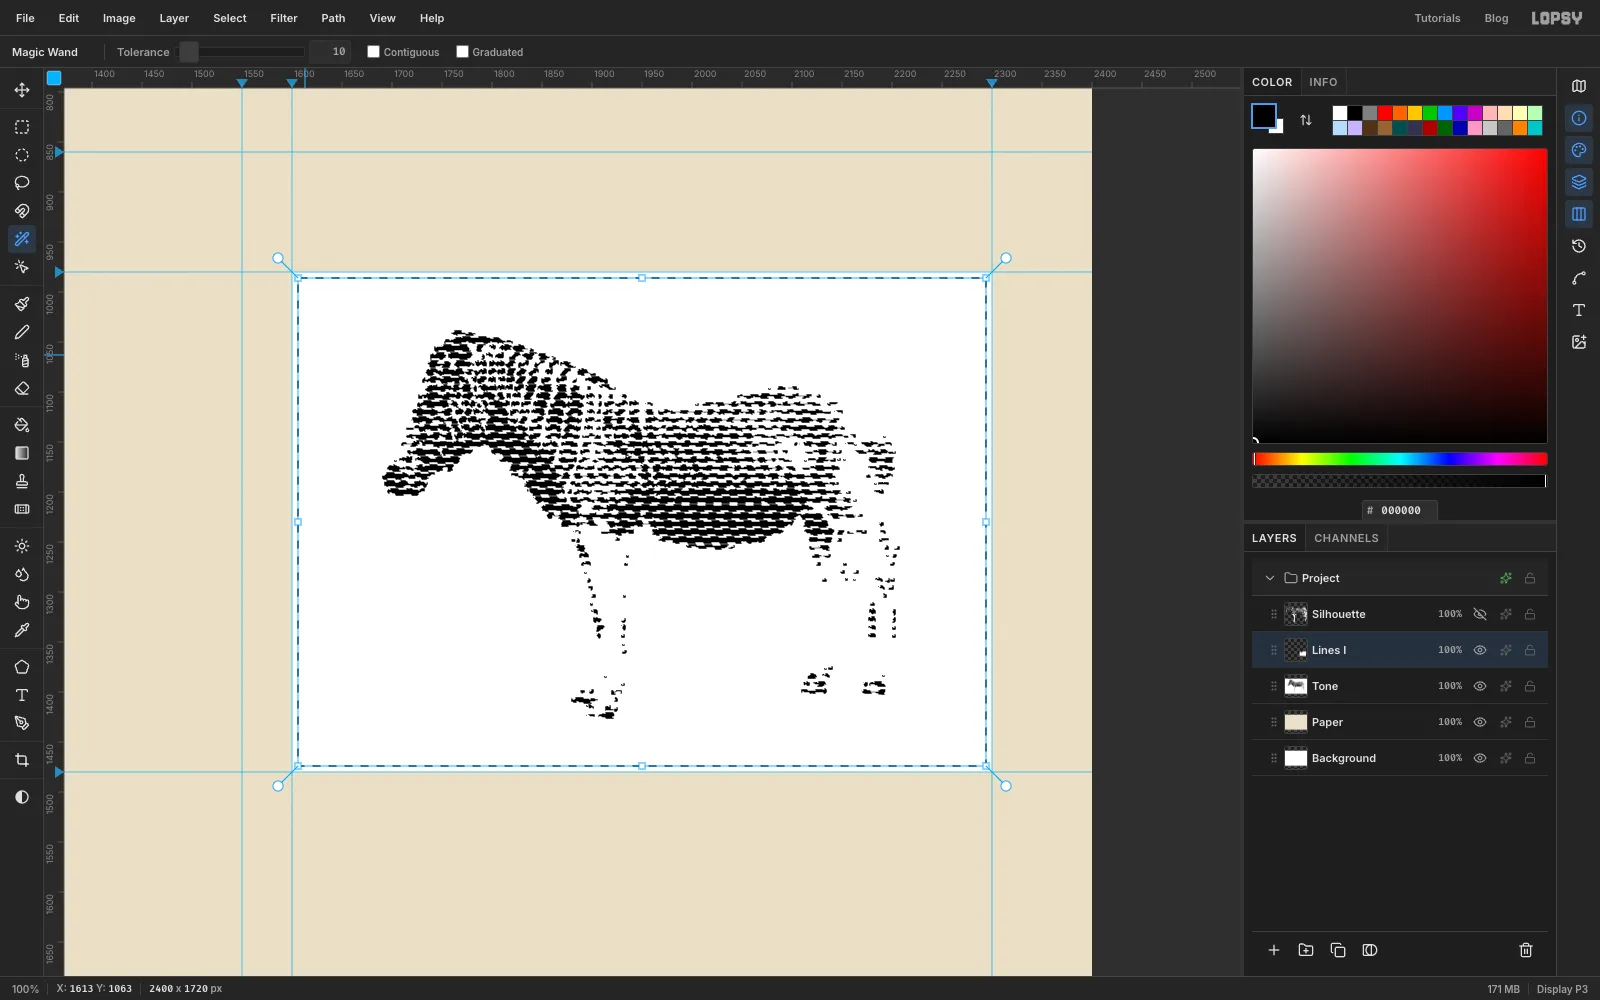
With Hatch I selected, choose Layer → Merge Down. The ridges and the tone are now averaged together in Lines I. Choose Filter → Threshold… with Level 108. Where the quagga is dark, more of each ridge falls under the level, so the line comes out fatter; where it's light, the line thins out and disappears. That is the engraver's swelling line, made by arithmetic.
Two clean-ups:
- Click once with the Rectangular Marquee and enter From 1606, 986 to 2294, 1474, 6 px inside the cell. Choose Select → Inverse and press Delete. This trims the softened card edge left by the blur.
- Pick the Magic Wand, set Tolerance to 10 and turn Contiguous off in the options bar. Click any white pixel to select all the white, press Delete, then Cmd+D.
Lines I is now black lines on transparency. Hide it with its eye icon so it doesn't get in the way of the next plate.
-
Plate II: rotate the ridges to 45°
Plate II follows the same recipe, with diagonal lines:
- Select Tone, click Duplicate Layer, and rename the copy Lines II.
- Filter → Brightness/Contrast… with Brightness 0, Contrast 60.
- Add a new layer called Hatch II (it lands above Lines II).
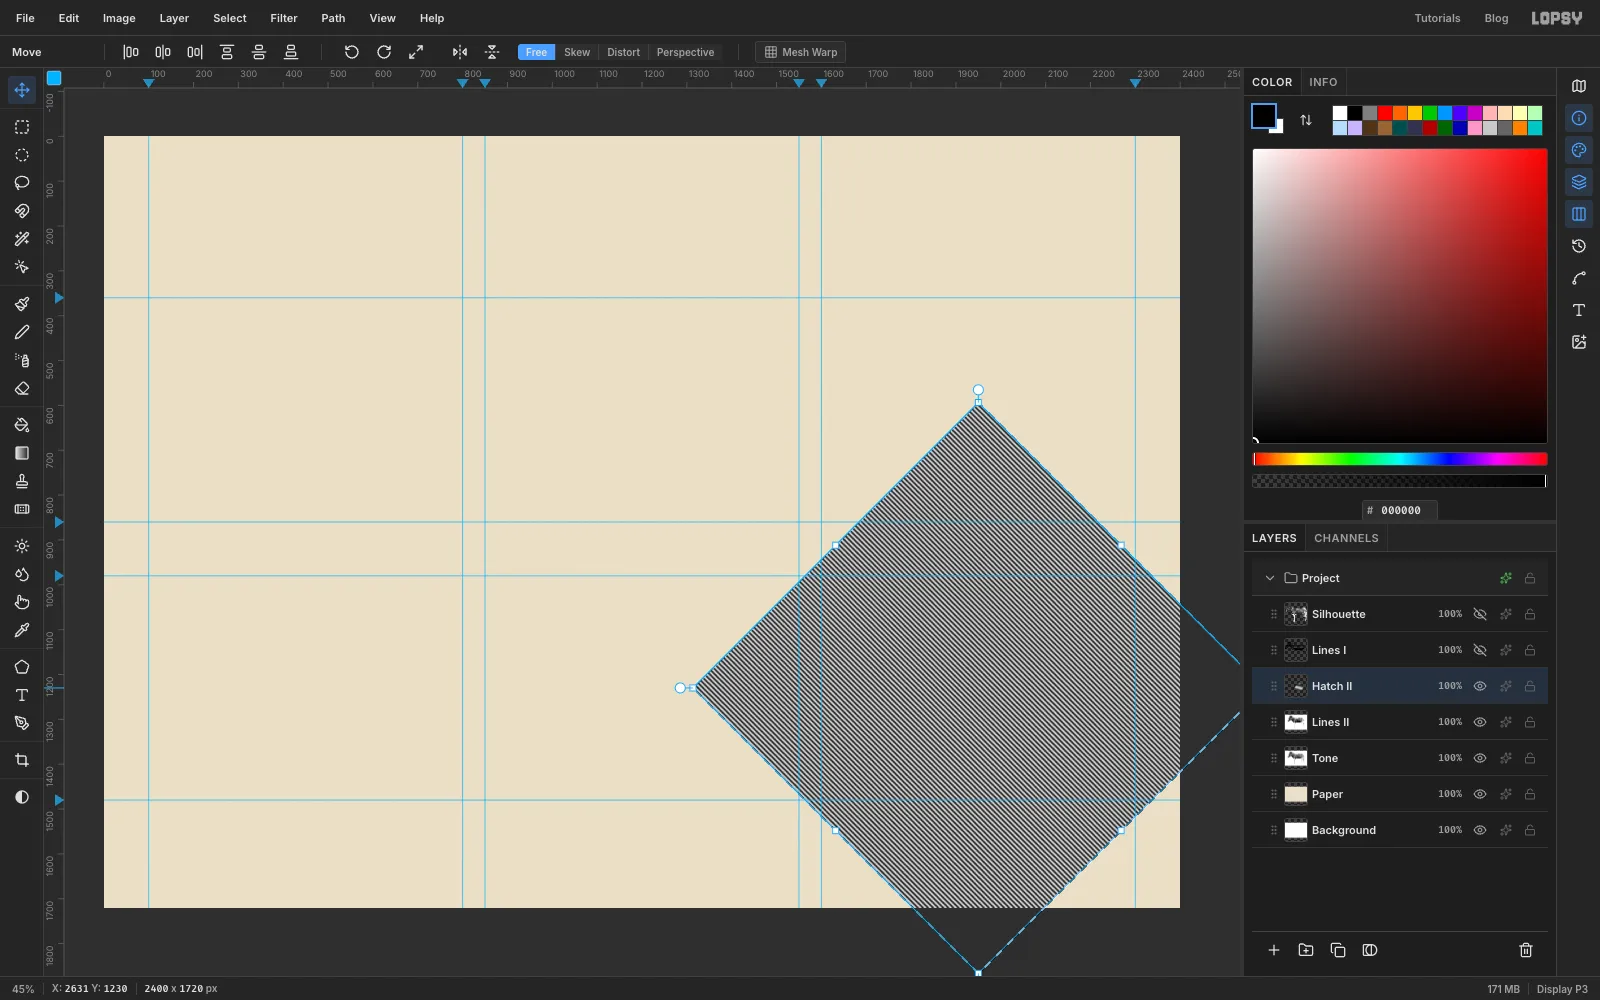
- A diagonal hatch needs a bigger patch of ridges. Click once with the Rectangular Marquee and enter From 1500, 780 to 2400, 1680, a 900 px square centred on the cell. Edit → Fill with Pattern… at 10% again.
- Pick the Move tool, hold Cmd and drag the round rotate handle just outside a corner clockwise until the box has turned 45°. Cmd snaps the angle in 15° steps. Press Cmd+D to commit. The square is big enough that its turned corners still cover the whole cell.
- Set Hatch II to 50% opacity and Merge Down.
- Threshold at 84. The lower level means only the darker half of the tones get lines on this plate.
- Trim the edge and wand out the white exactly as for plate I, then hide Lines II.
-
Plate III: shadows on the other diagonal
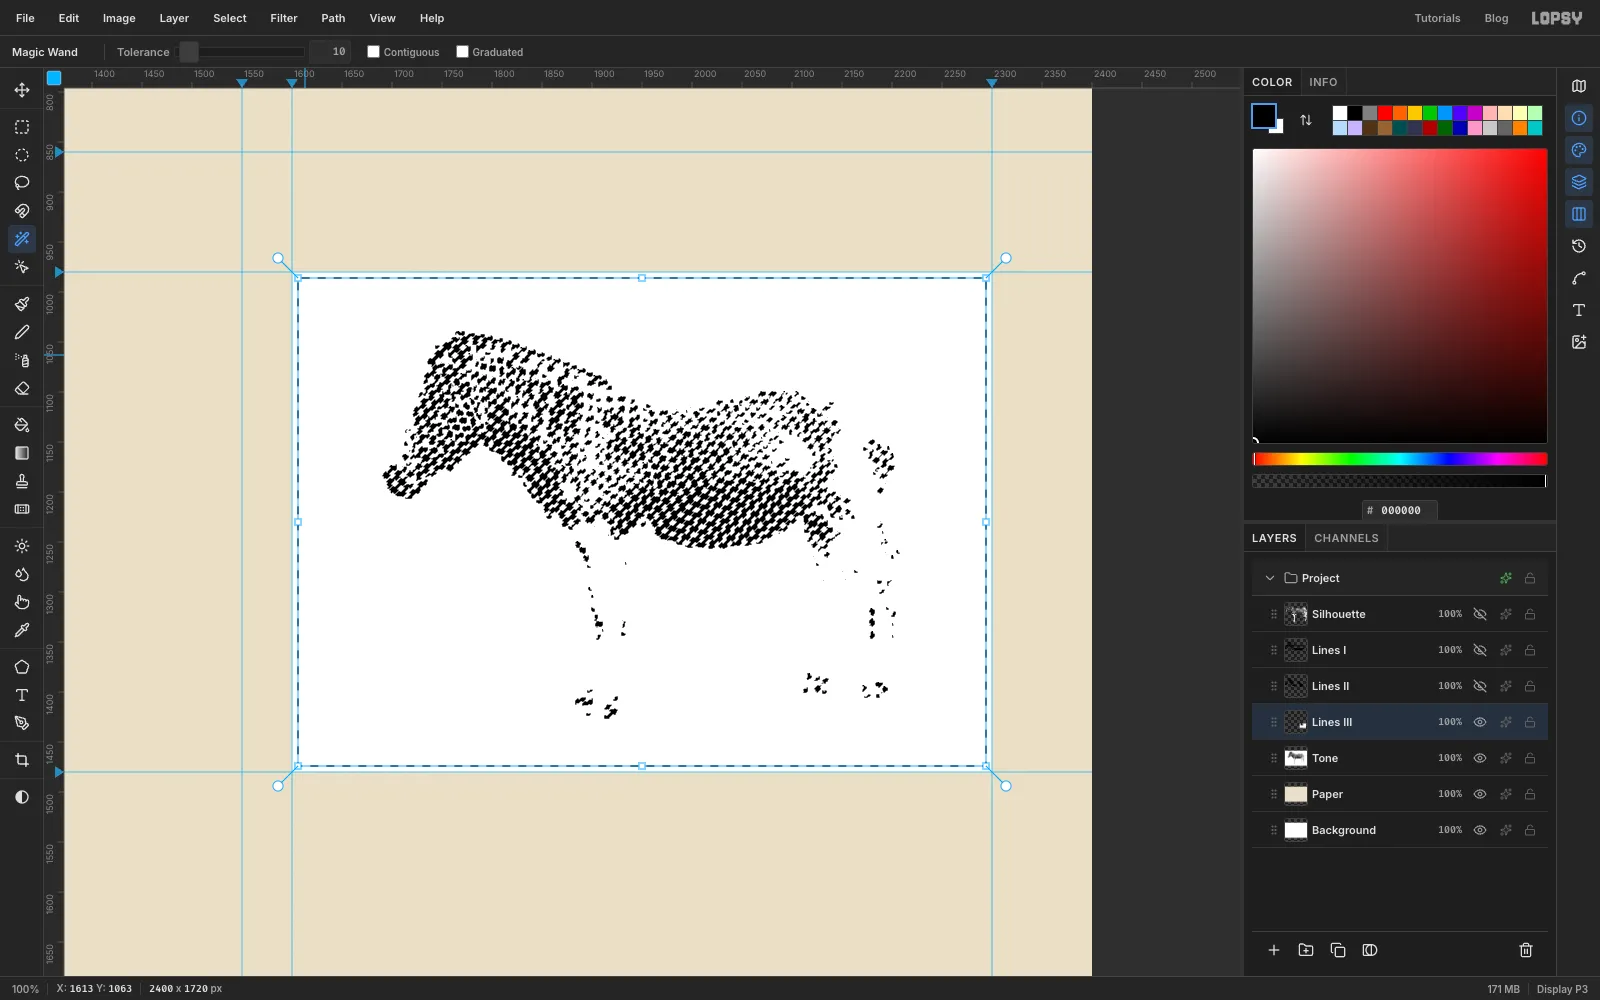
Plate III carries the darkest tones: the stripes on the neck, the mane and the shadow under the belly. Repeat the plate II recipe with these changes:
- Name the copy Lines III and its ridge layer Hatch III.
- Brightness −5, Contrast 100.
- Turn the ridge square 45° anticlockwise this time, so these lines cross plate II's at right angles (135°, measured the same way as plate II's 45°).
- Threshold at 80.
Leave Lines III visible. Picture the three plates on top of each other: horizontal lines wherever there is tone, diagonals in the mid-tones, and crossed diagonals in the shadows. That's classic crosshatching.
-
Add a contour to plate III
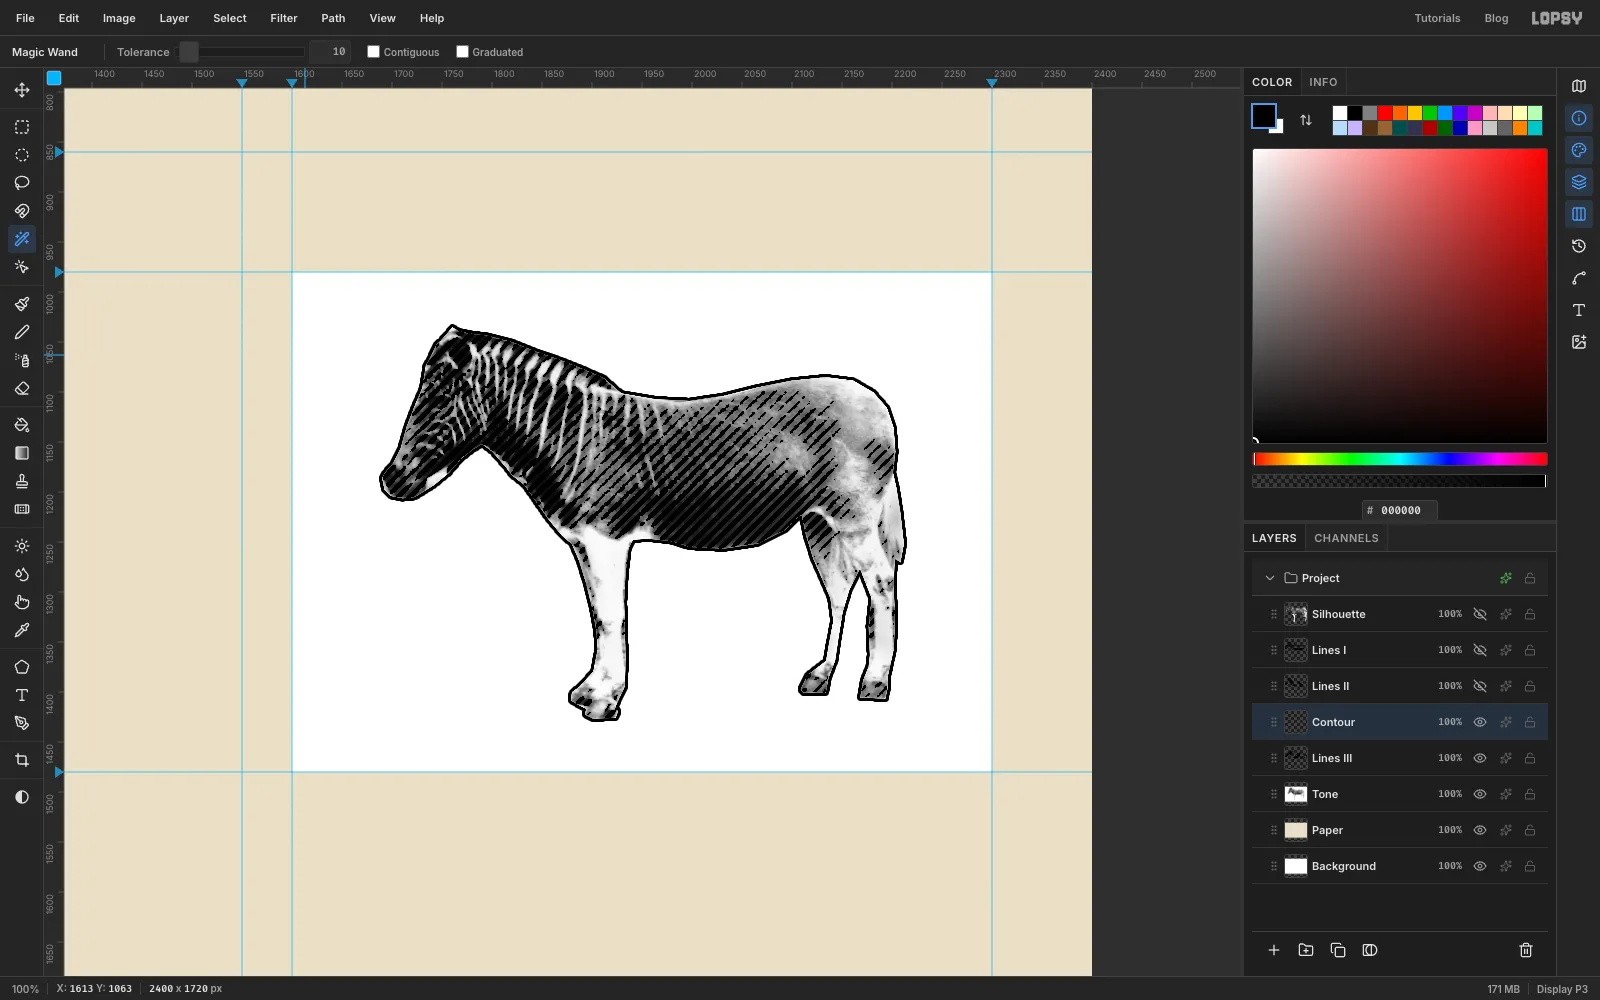
The white legs have no tone, so no plate prints them, and they'd float away. Engravers solve this with an outline.
With Lines III selected, add a new layer called Contour. Cmd-click the hidden Silhouette thumbnail to load the animal's shape, choose Select → Grow… with 3 px, set the foreground to black and choose Edit → Fill. Cmd-click Silhouette again and press Delete. That leaves a 3 px ring. Press Cmd+D and choose Layer → Merge Down to fold it into Lines III. You can leave Silhouette hidden; nothing else uses it.
-
Cut the stencil ties
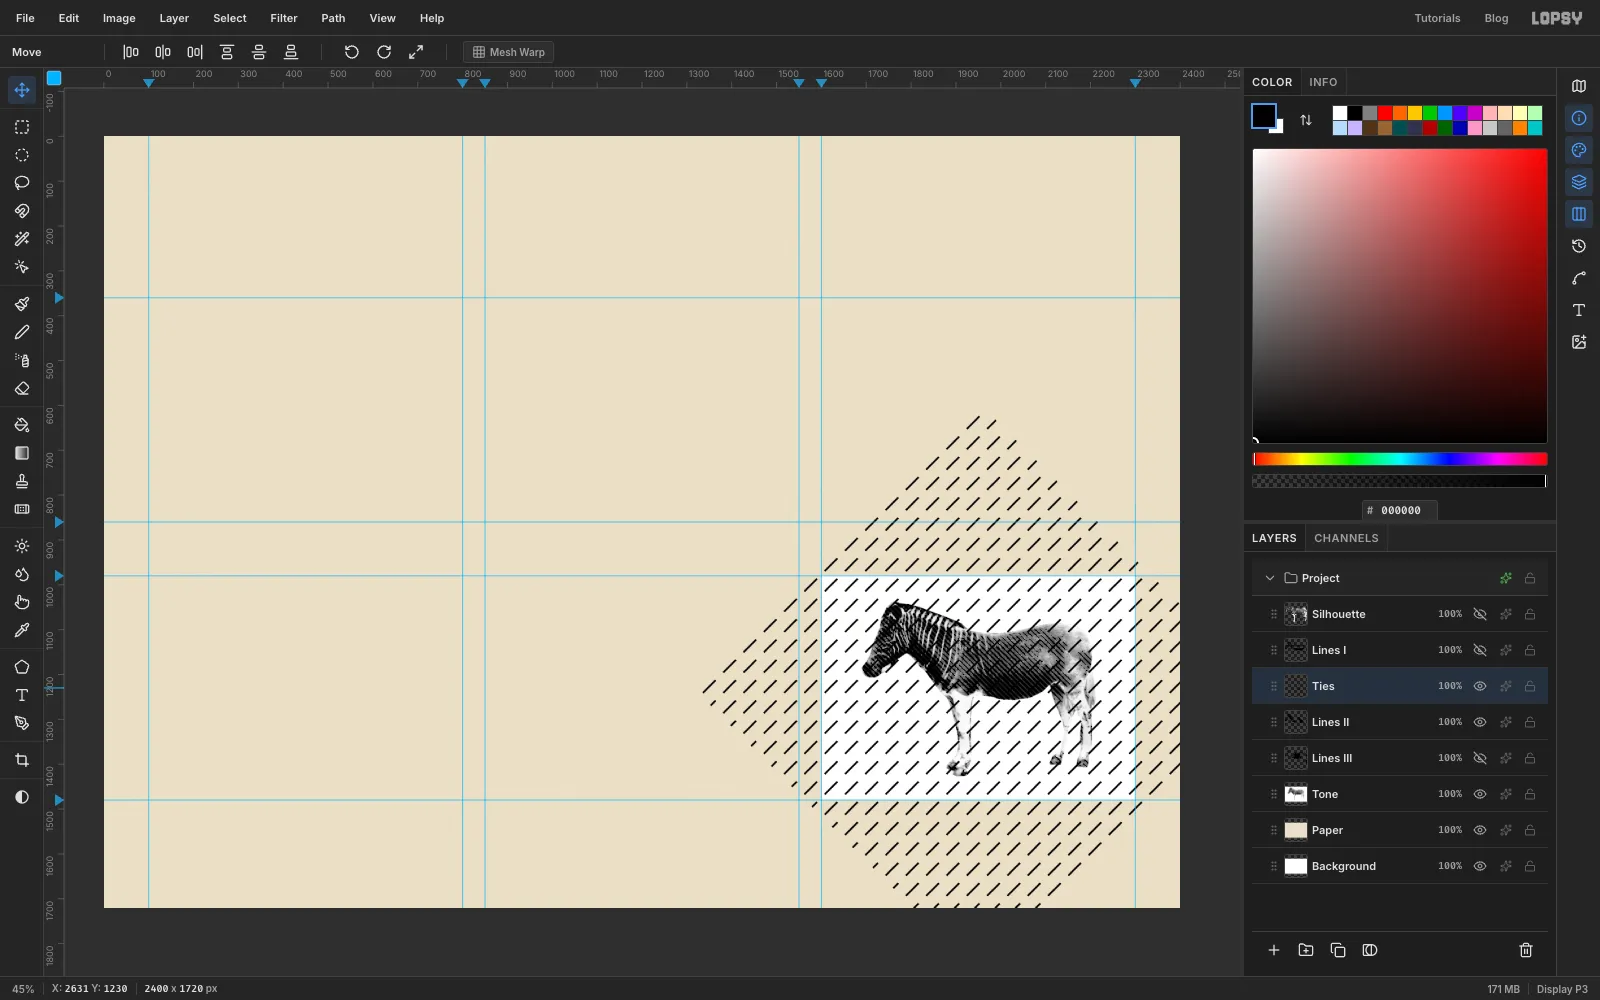
A real stencil can't have long, unsupported slits: the strips of metal between them would flap, and the island inside the contour would fall out. Stencil cutters leave little bridges called ties. You'll cut them out of the line layers with a second pattern.
Make the tie tile. Add a new layer anywhere. With the Rectangular Marquee, click once in an empty corner of the sheet and enter From 1174, 160 to 1178, 200, a 4 × 40 px bar, and fill it with black. Then click once more and enter From 1160, 160 to 1192, 224: a 32 × 64 px box with the bar at its top-centre. Choose Edit → Define Pattern, press Cmd+D and delete the layer.
Cut the ties, once for each plate:
- Select the plate's Lines layer and add a new layer above it called Ties.
- Select the same area you filled with ridges for that plate: the cell for plate I, the 900 px square for plates II and III.
- Edit → Fill with Pattern…, pick the tie tile, Scale 100%, Column Stagger 50%. The stagger turns the bars into a brick pattern, so the gaps don't line up into stripes across the animal. Use a different Horizontal Offset for each plate (0, 11 and 22).
- For plates II and III, rotate the Ties layer exactly as you rotated that plate's ridges (Move tool, Cmd-drag the rotate handle 45° the same way, Cmd+D), so the bars cross the slits at right angles.
- Cmd-click the Ties thumbnail, click the plate's Lines row, press Delete and then Cmd+D. Delete the Ties layer.
Every slit, and the contour, is now broken every few dozen pixels.
-
Press a plate mark
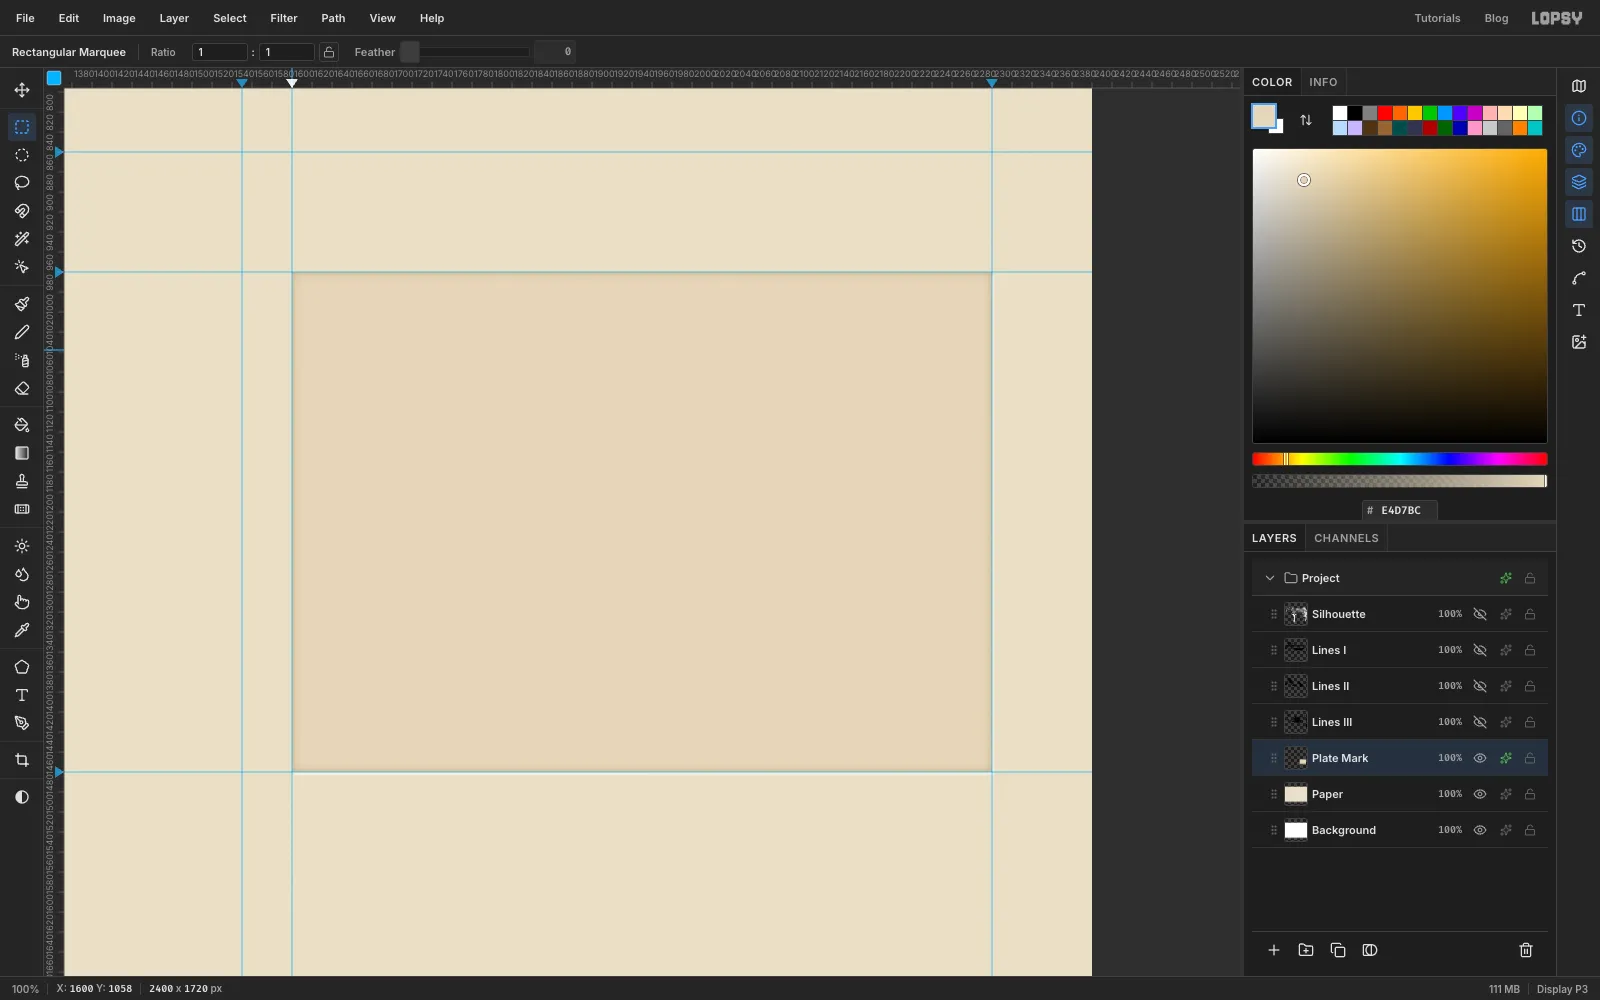
A printed proof shows a plate mark, the dent the plate presses into damp paper. Delete the Tone layer; it has done its job. Select Paper, add a new layer called Plate Mark, select the whole cell and fill it with .
Open the layer's effects with the button on its row:
- Inner Glow: colour , Size 14, Opacity 45%, for the shaded inside edge.
- Drop Shadow: colour , Offset X 2, Offset Y 3, Blur 2, Opacity 80%. A pale "shadow" reads as the paper catching light below the dent.
-
Ink the three plates
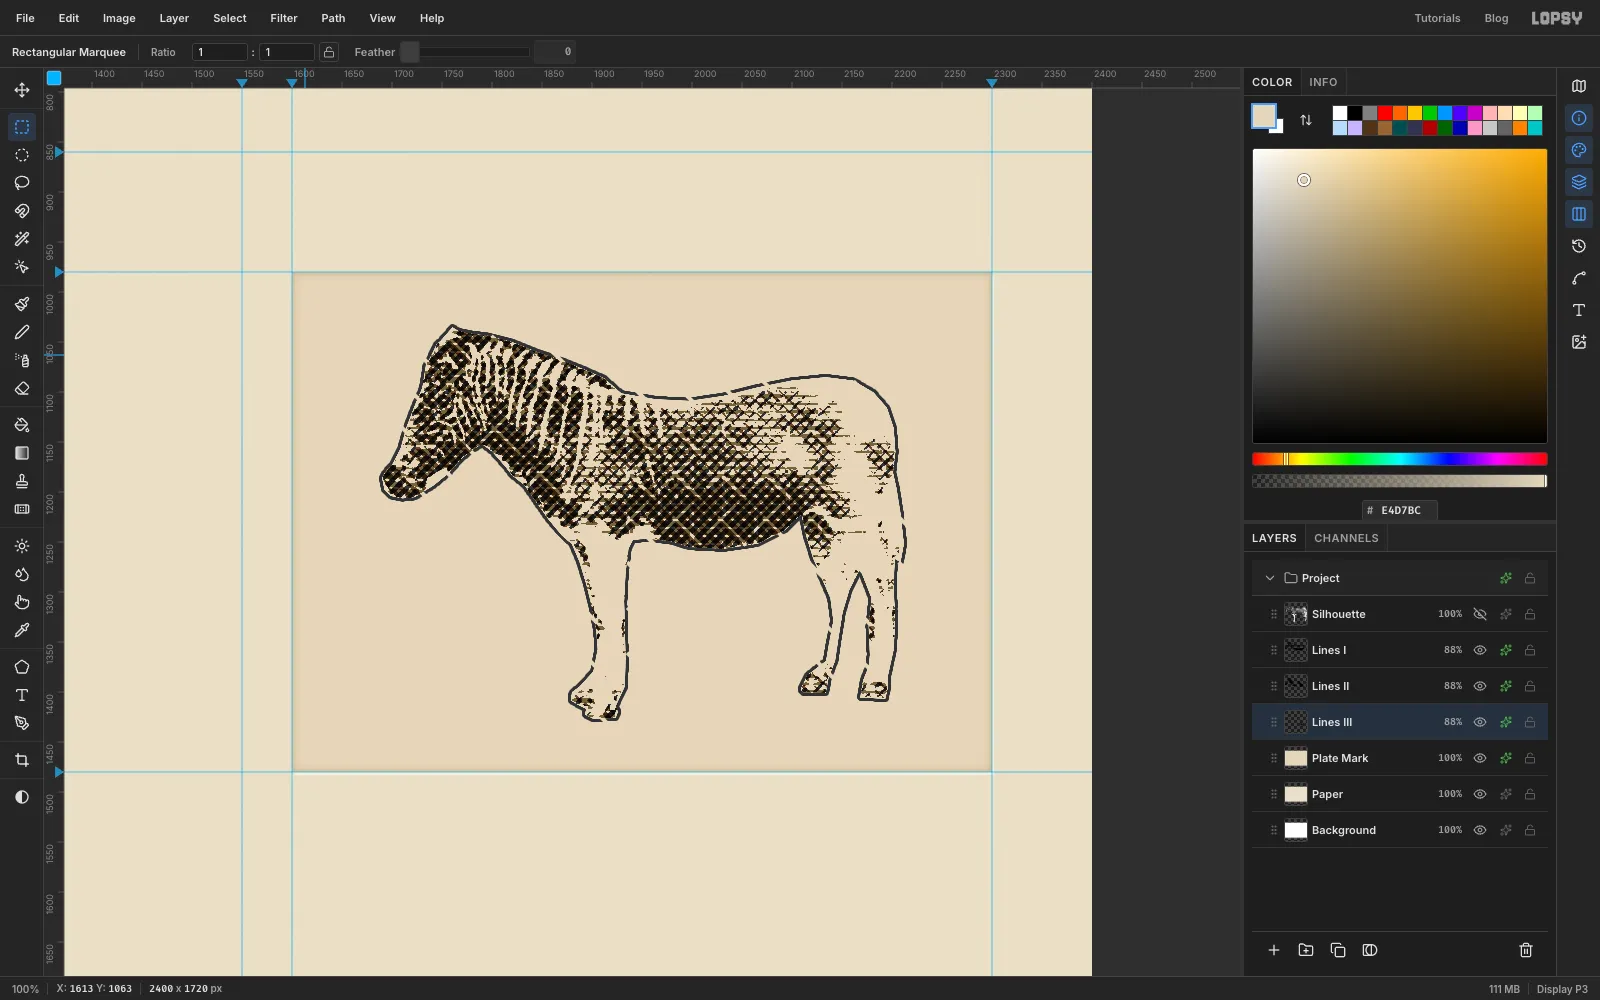
Show the three Lines layers. On each one, turn on Color Overlay in the effects drawer and set the ink, then set the blend mode to Multiply and the opacity to 88%:
- Lines I: raw umber
- Lines II: burnt umber
- Lines III: iron-gall black
Multiply lets each ink darken the one beneath it, like real overprinting, and 88% keeps a little of the earlier plates showing through.
-
Group the final state
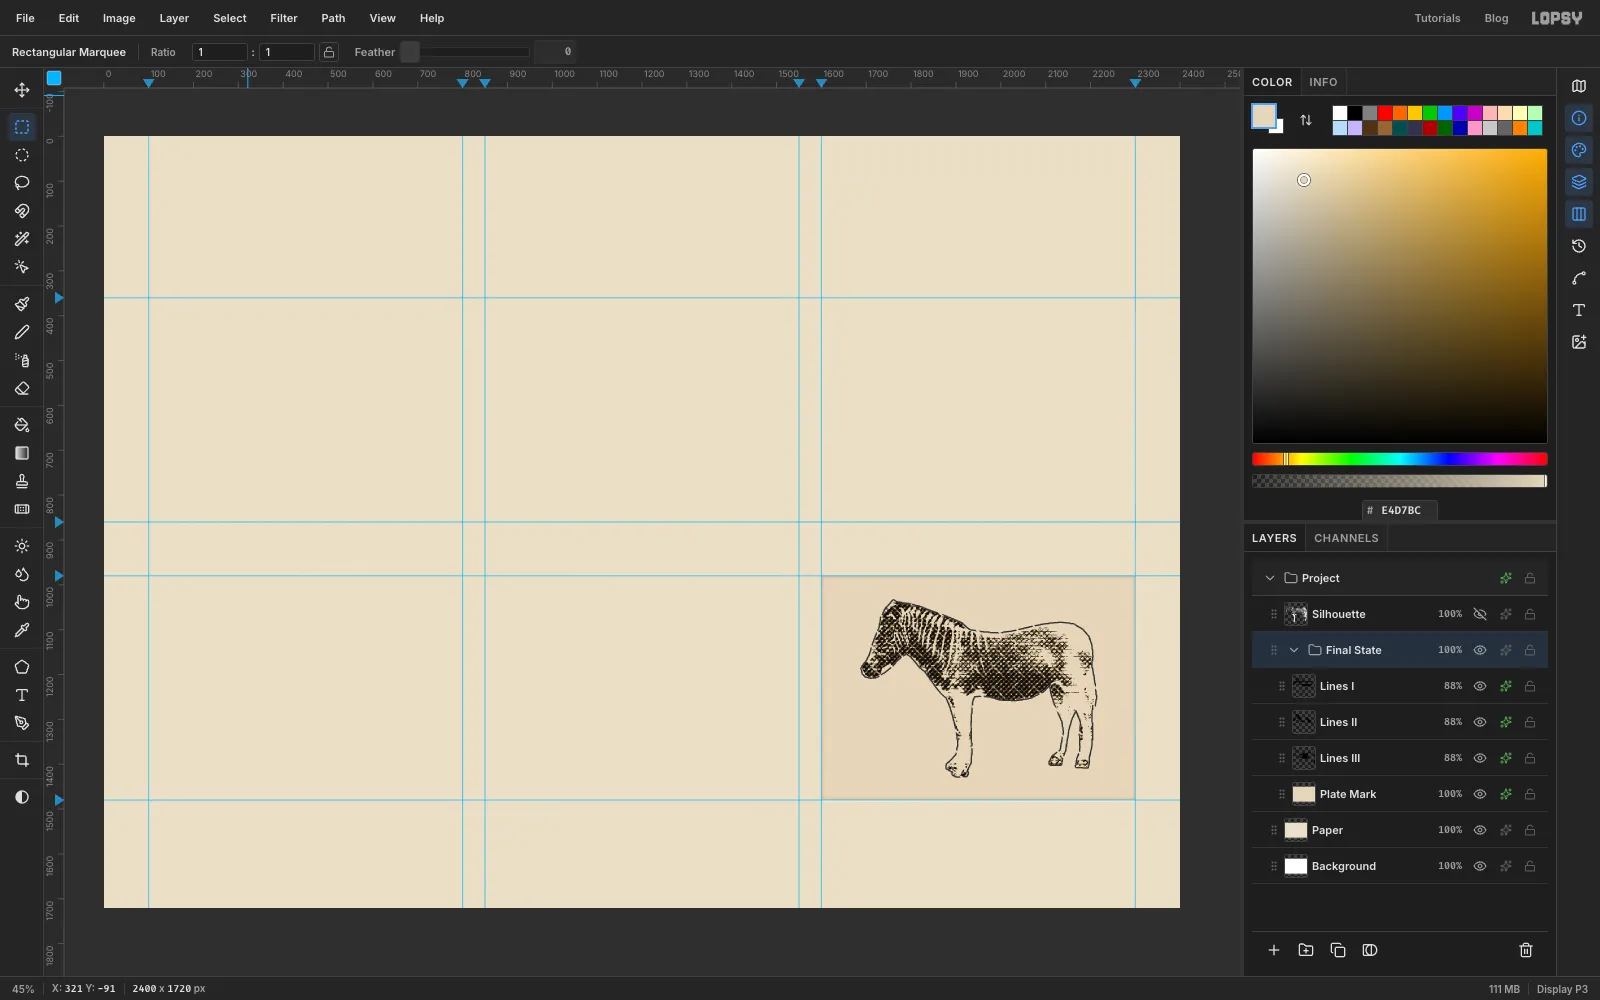
Click the Plate Mark row, Shift-click Lines I to select the four layers, and choose Layer → Group Layers. Rename the group Final State.
-
Duplicate the group and drag it one cell left
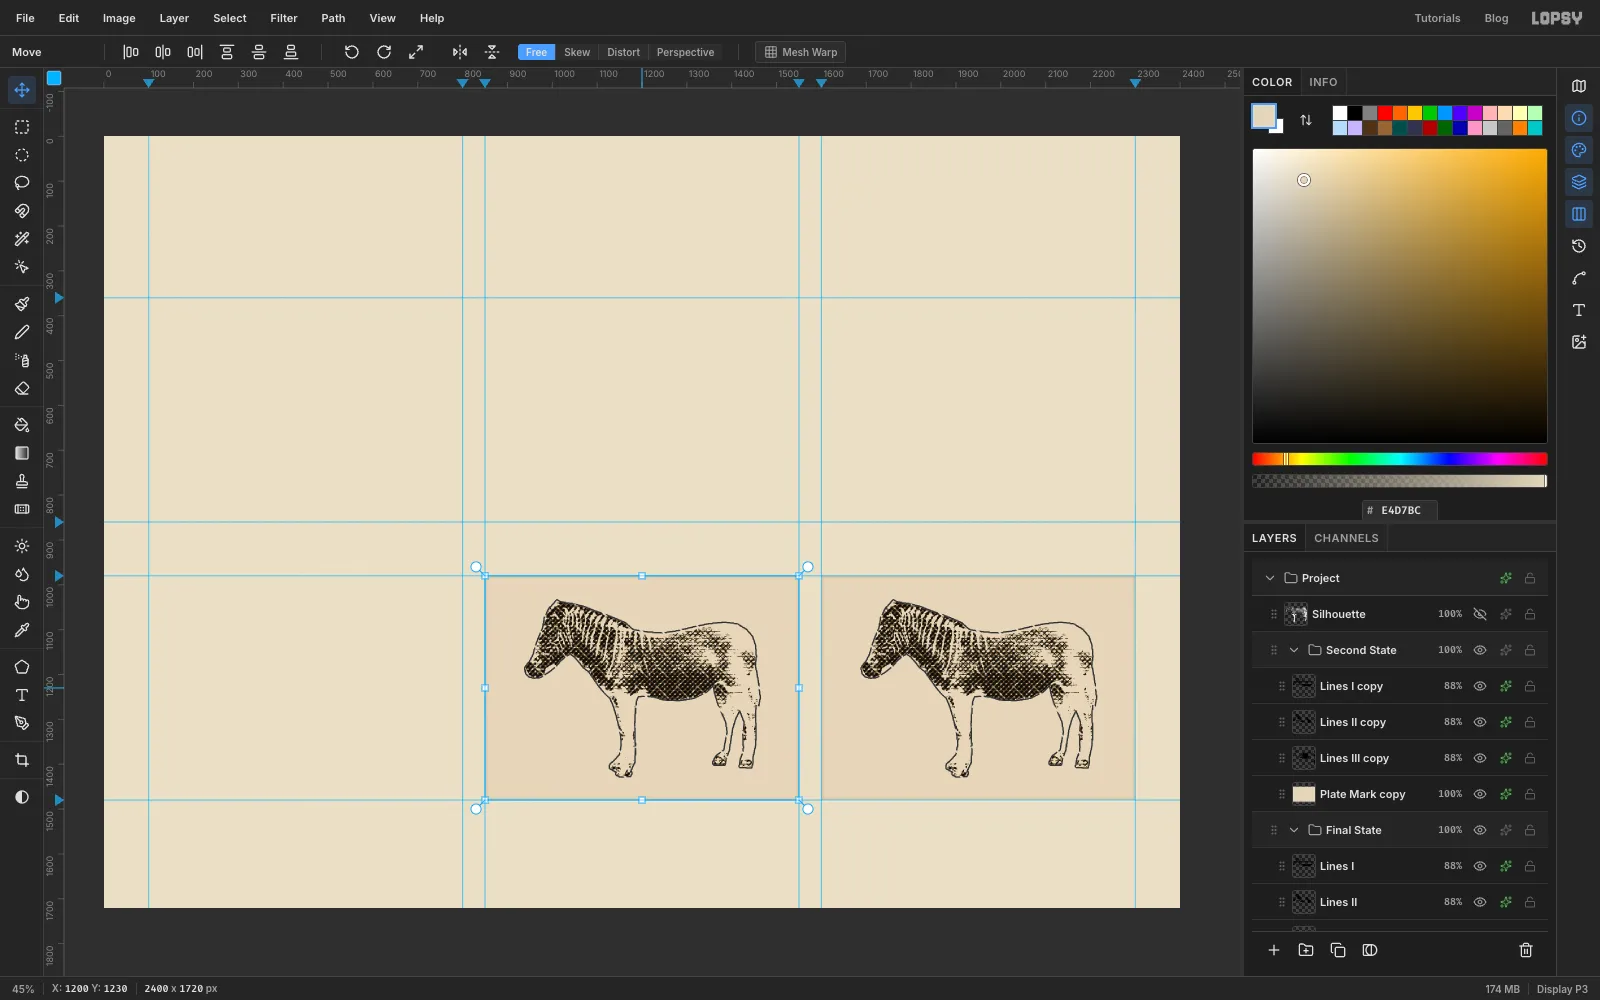
With Final State selected, click Duplicate Layer and rename the copy Second State. Its layers are named Lines I copy, Lines II copy and so on. Pick the Move tool and drag the proof one cell to the left: when a group is selected, everything in it moves together. Finish with the arrow keys until the plate mark sits exactly between the middle column's guides (Shift+arrow moves 10 px). Then expand the group and delete Lines III copy, because the second state hasn't had plate III yet.
-
Make the first state
Do the same again from Second State: duplicate it, rename the copy First State, drag it into the bottom-left cell, and delete its Lines II copy copy layer. Read left to right, the bottom row now shows the image building up one plate at a time.
-
Draw the first brass blank
You'll make the plates one at a time: draw, brush, cut, then move on to the next.
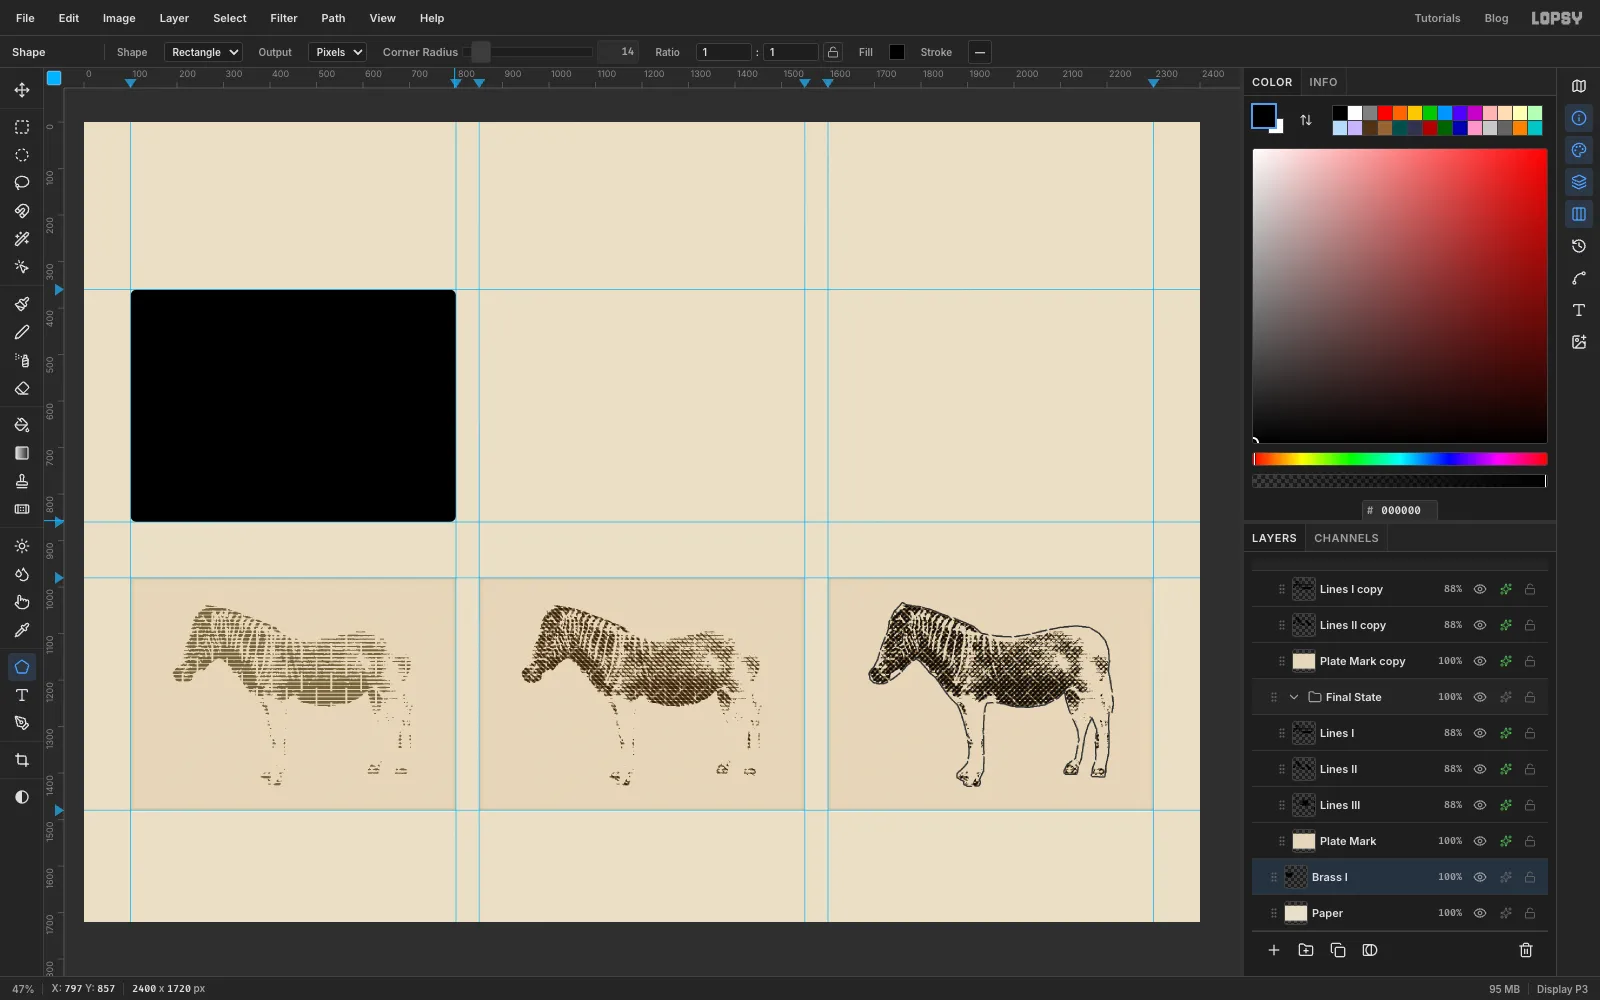
Select Paper and add a layer called Brass I. Pick the Shape tool and choose Rectangle, Pixels output and Corner Radius 14, with any fill colour and no stroke. Shapes grow out from where you press. Press as close to the middle of the top-left cell as you can, then drag out towards its bottom-right corner. The corner snaps onto the guides. If the plate isn't quite centred, undo and press again a little closer to the middle: the plate should fill the cell exactly. (A temporary guide through the cell's centre at x 450 and y 610 makes the press snap there too.)
-
Brush the brass
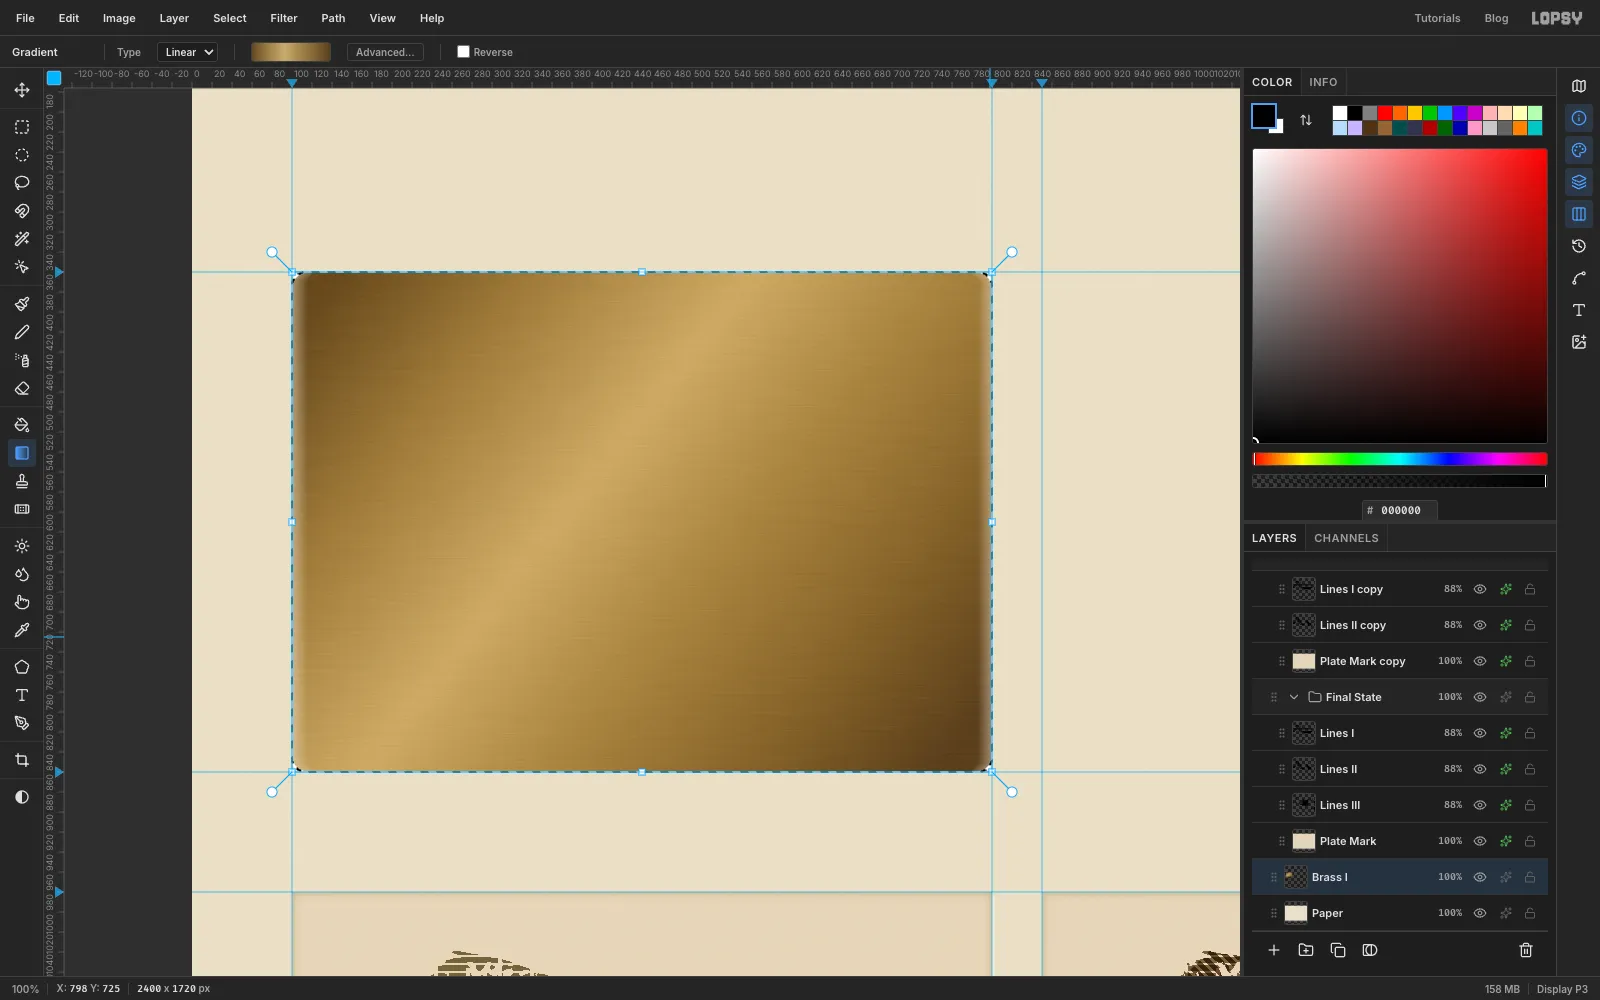
Keep Brass I selected and Cmd-click its thumbnail to load its shape. Pick the Gradient tool, open the gradient editor and set six stops: at 0%, at 20%, at 42%, at 60%, at 82% and at 100%. Drag diagonally across the plate.
With the selection still active, choose Filter → Add Noise… with Amount 40, Mono, Gaussian, then Filter → Motion Blur… with Angle 0 and Distance 30. The noise smears into the fine horizontal grain of brushed metal. Press Cmd+D.
-
Bring a copy of the lines up to the plate
Expand Final State, select Lines I and click Duplicate Layer. Rename the copy Lines I cutter. With the Move tool, drag it onto the brass plate in the top-left cell. Then nudge it with the arrow keys until it sits over the plate exactly where the proof sits in its own cell, the same distance from the plate's edges. The cuts must match the proof, because the proof is what this plate prints.
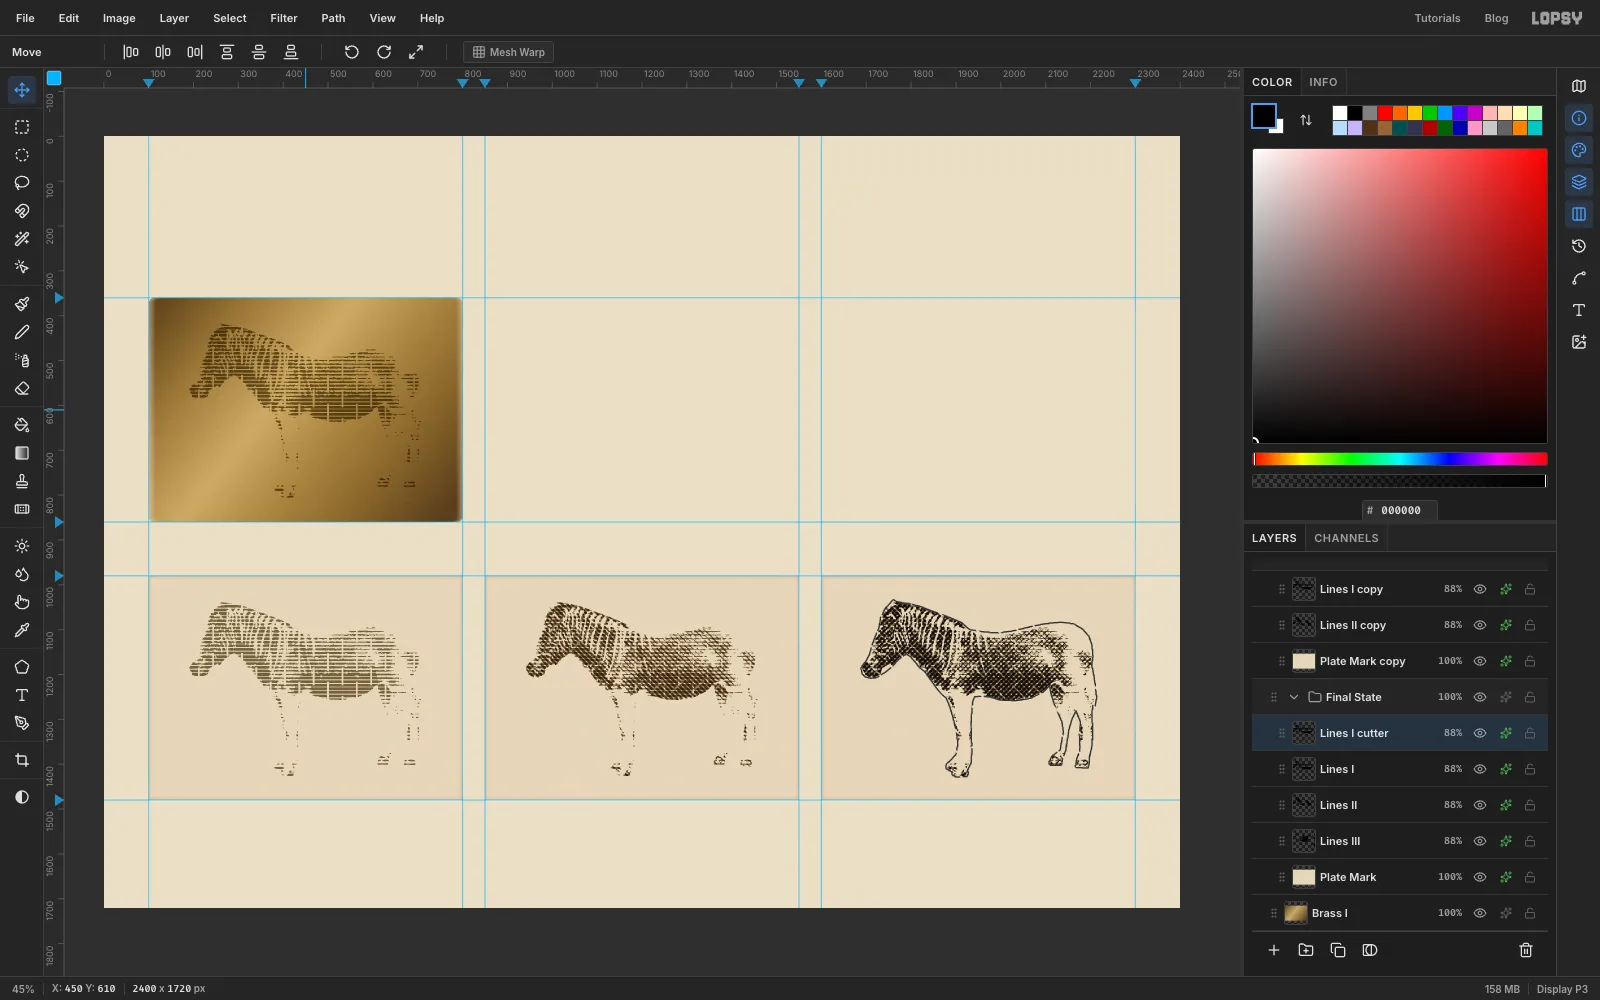
-
Cut the slits and punch the holes
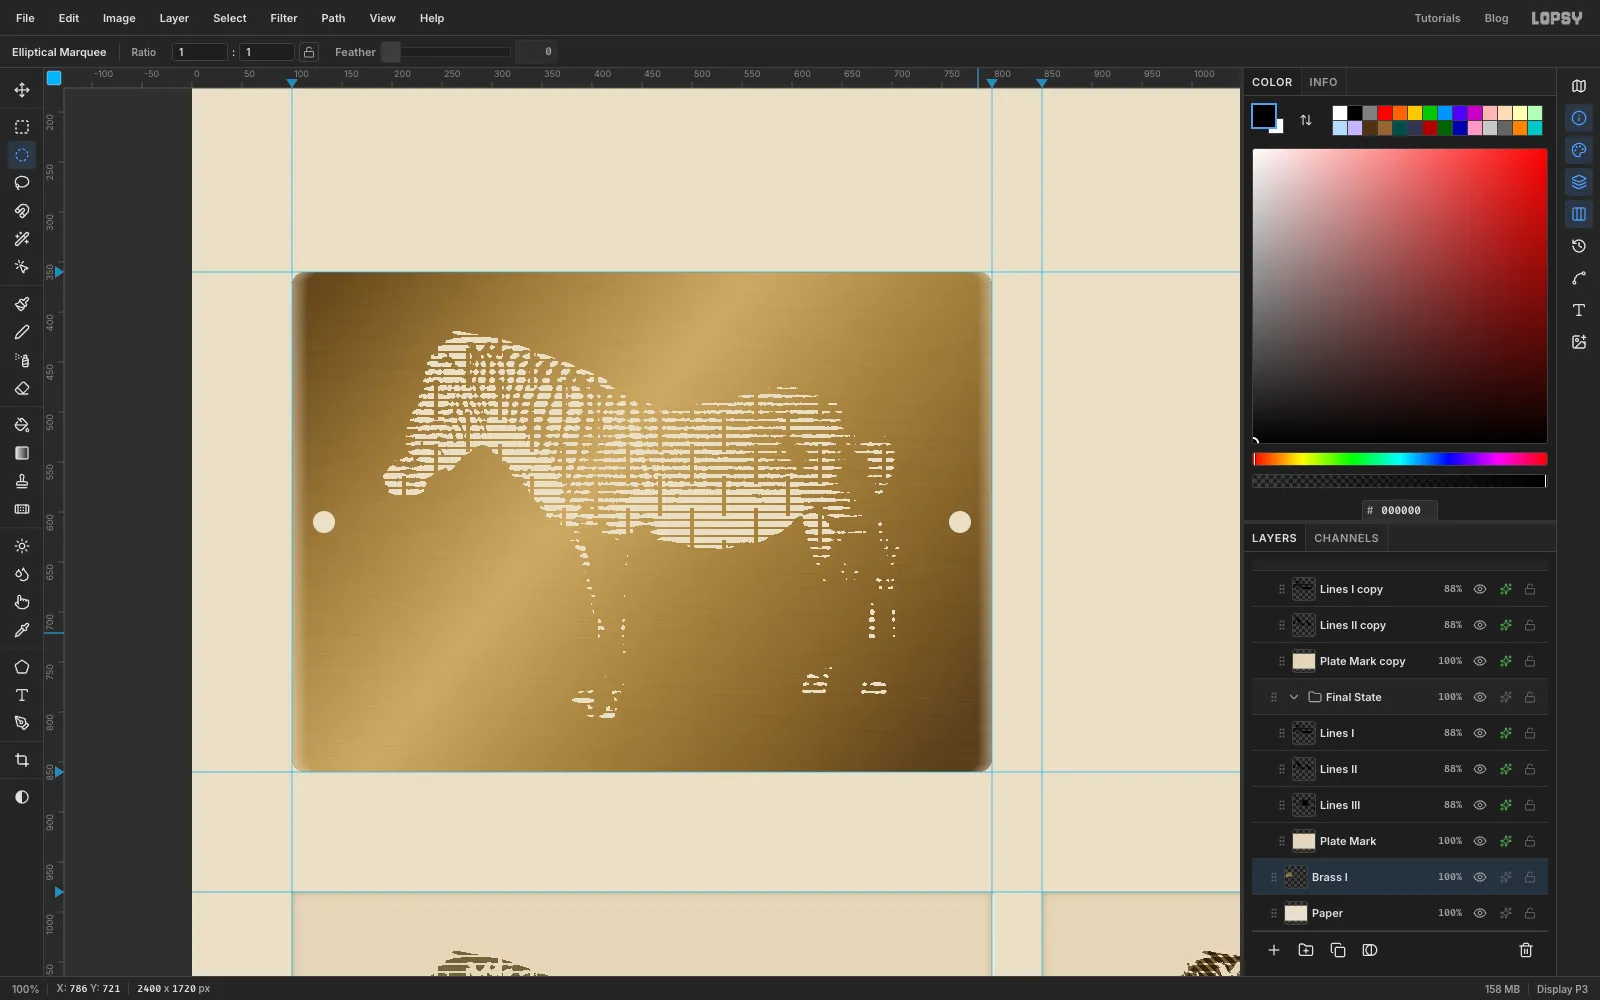
Cmd-click the cutter's thumbnail, click the Brass I row and press Delete. The slits are now holes in the brass. Press Cmd+D and delete the cutter layer.
For the registration holes, pick the Elliptical Marquee and drag a small circle, about 22 px across, centred 32 px in from the middle of the plate's left edge. Hold Shift and drag a matching circle on the right edge, then press Delete and Cmd+D.
Now repeat the last four steps for Brass II in the top-middle cell (cut with a copy of Lines II) and Brass III in the top-right cell (cut with a copy of Lines III). Drag each gradient at a slightly different angle so the plates don't look stamped from one sheet.
-
Cut the plate numerals
Select Brass I, then pick the Text tool and set Big Shoulders Stencil, Bold, 84 px, Right aligned. Click near the top-right corner of the plate, type
Iand press Shift+Enter to commit. Cmd-click the text layer's thumbnail, click the Brass I row, press Delete and Cmd+D, and delete the text layer. A stencil face keeps its own little ties, so the numeral cuts cleanly. DoIIandIIIon the other plates.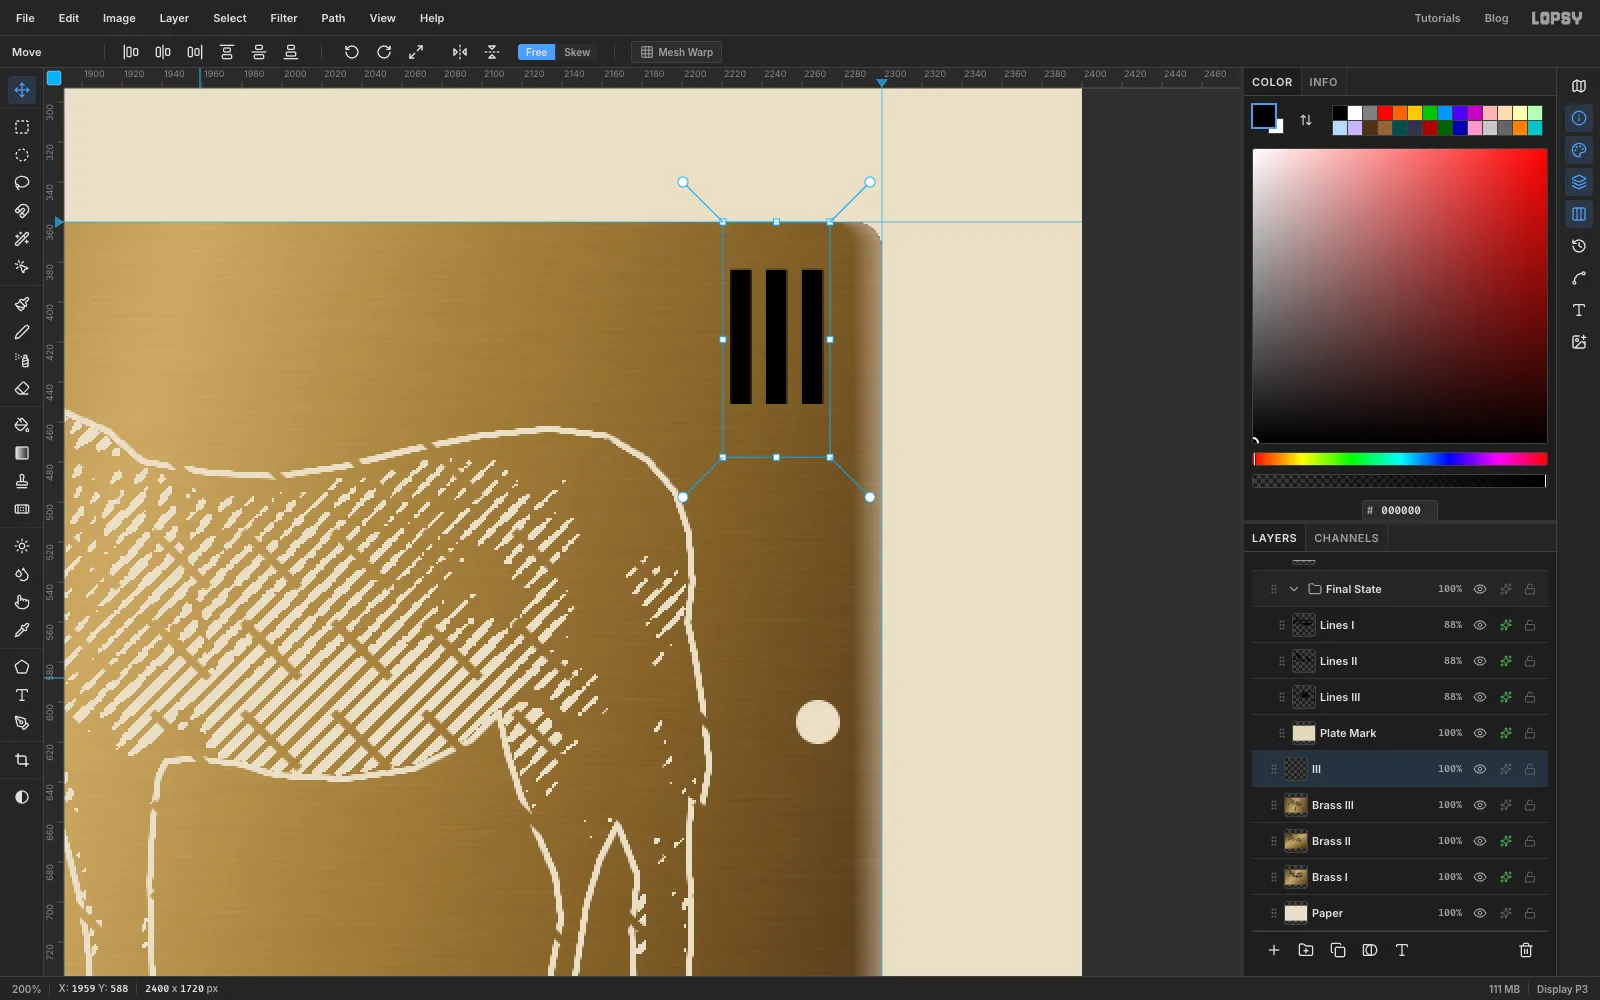
-
Give the plates some thickness
Open the effects for each brass layer:
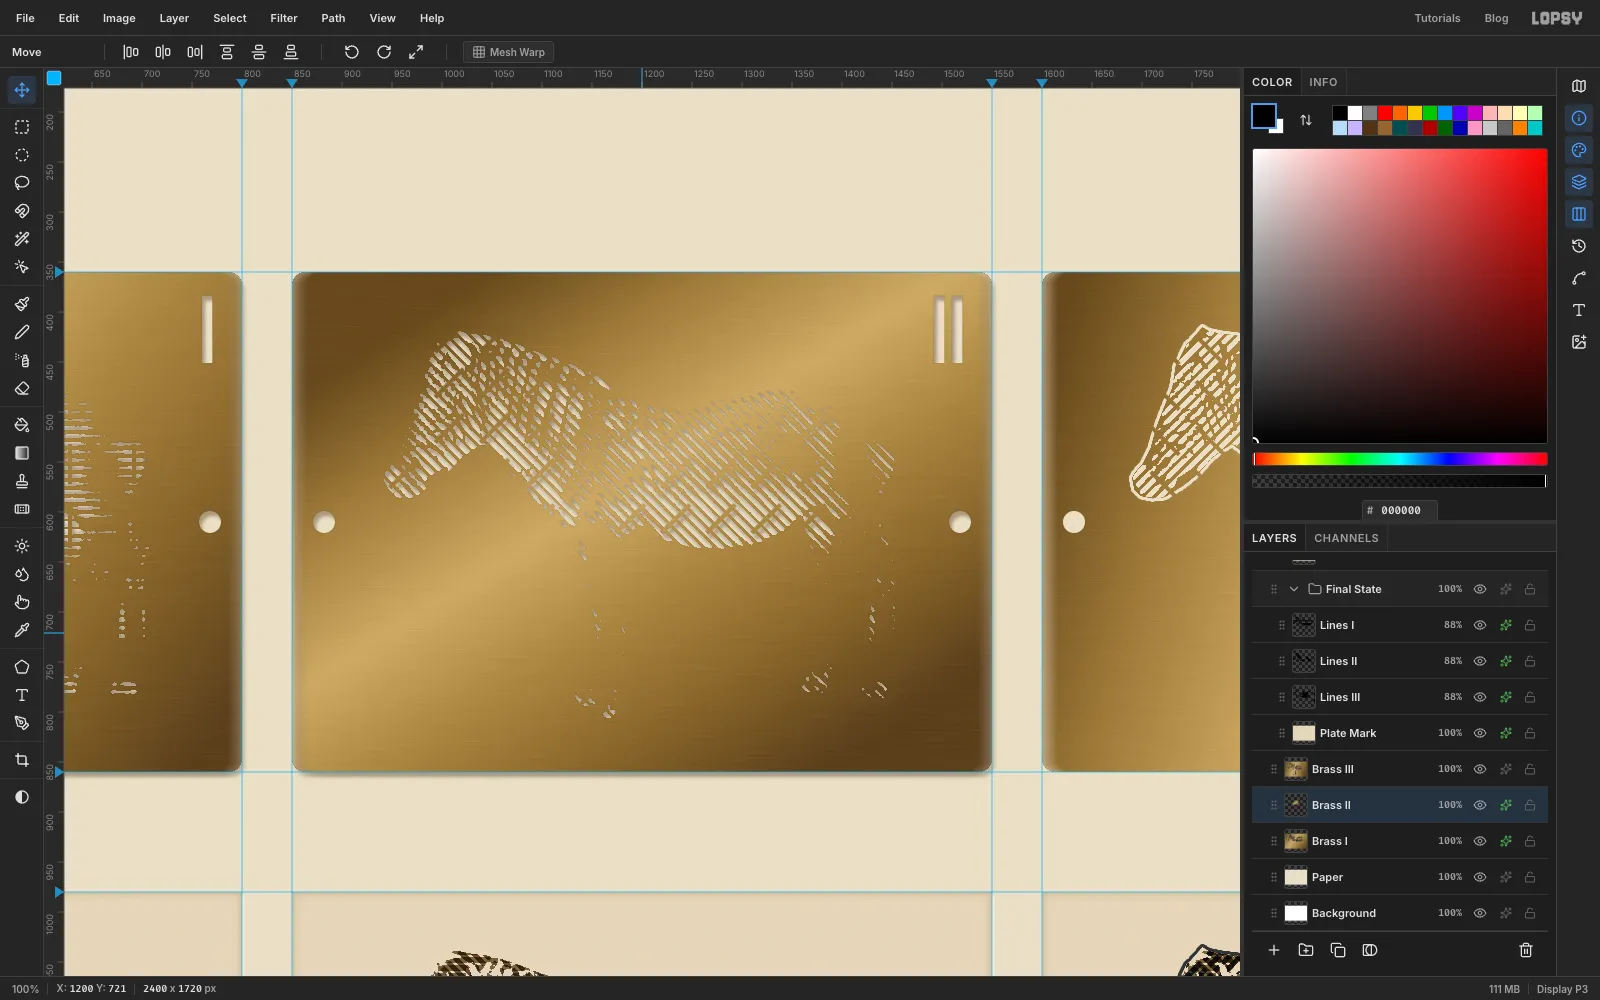
- Drop Shadow: , Offset X 3, Offset Y 5, Blur 5, Opacity 38%. You'll see it through the slits too, offset from the cut, which is exactly what a shadow under a stencil plate does.
- Inner Glow: , Size 2, Opacity 40%, which darkens every cut edge.
Select the three brass layers and group them as Stencil Plates. Group the three proof groups as Proofs.
-
Rule the header, footer and label rows
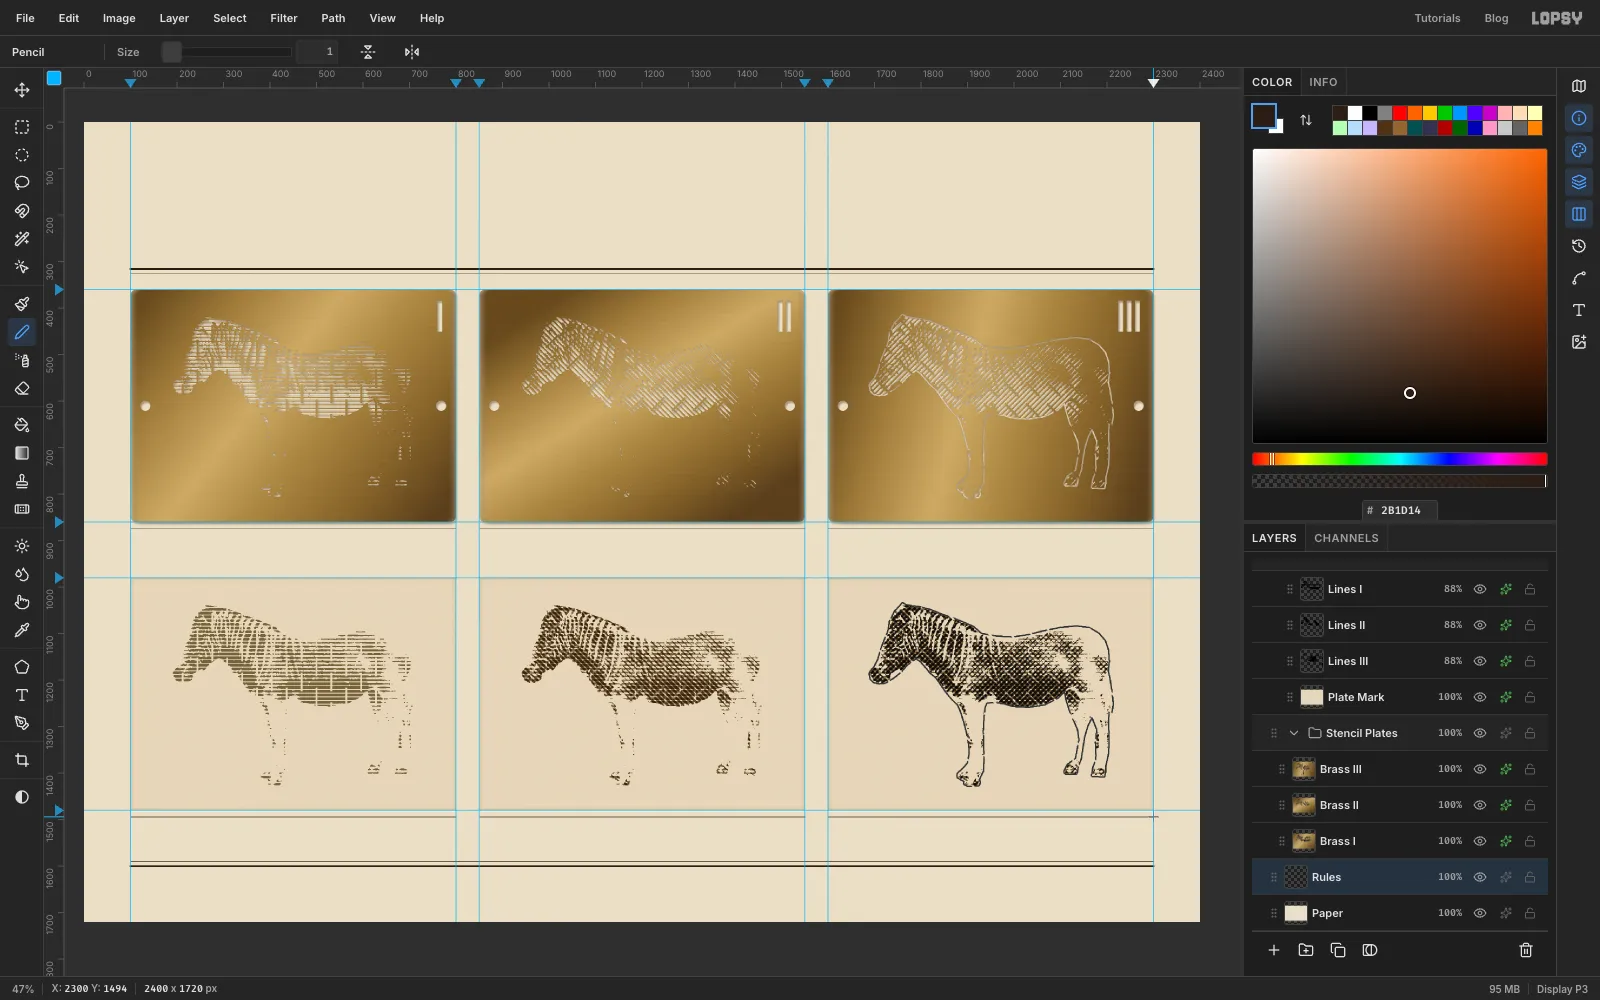
Select Paper, add a layer called Rules, set the foreground to and pick the Pencil. To draw a straight line, click at one end, hold Shift and click at the other. The status bar shows the cursor's X and Y, so you can find each row before you click.
- Under the header, from the left guide to the right guide: Size 4 at y 316, then Size 1 at y 326.
- Above the footer: Size 1 at y 1590, then Size 4 at y 1600.
- At Size 1, a hairline 14 px under each cell, as wide as the cell: y 874 for the plates and y 1494 for the proofs.
-
Set the title and subtitle
Text settings restyle whichever text layer is selected, so always click the Paper row before you change them for a new piece of text.
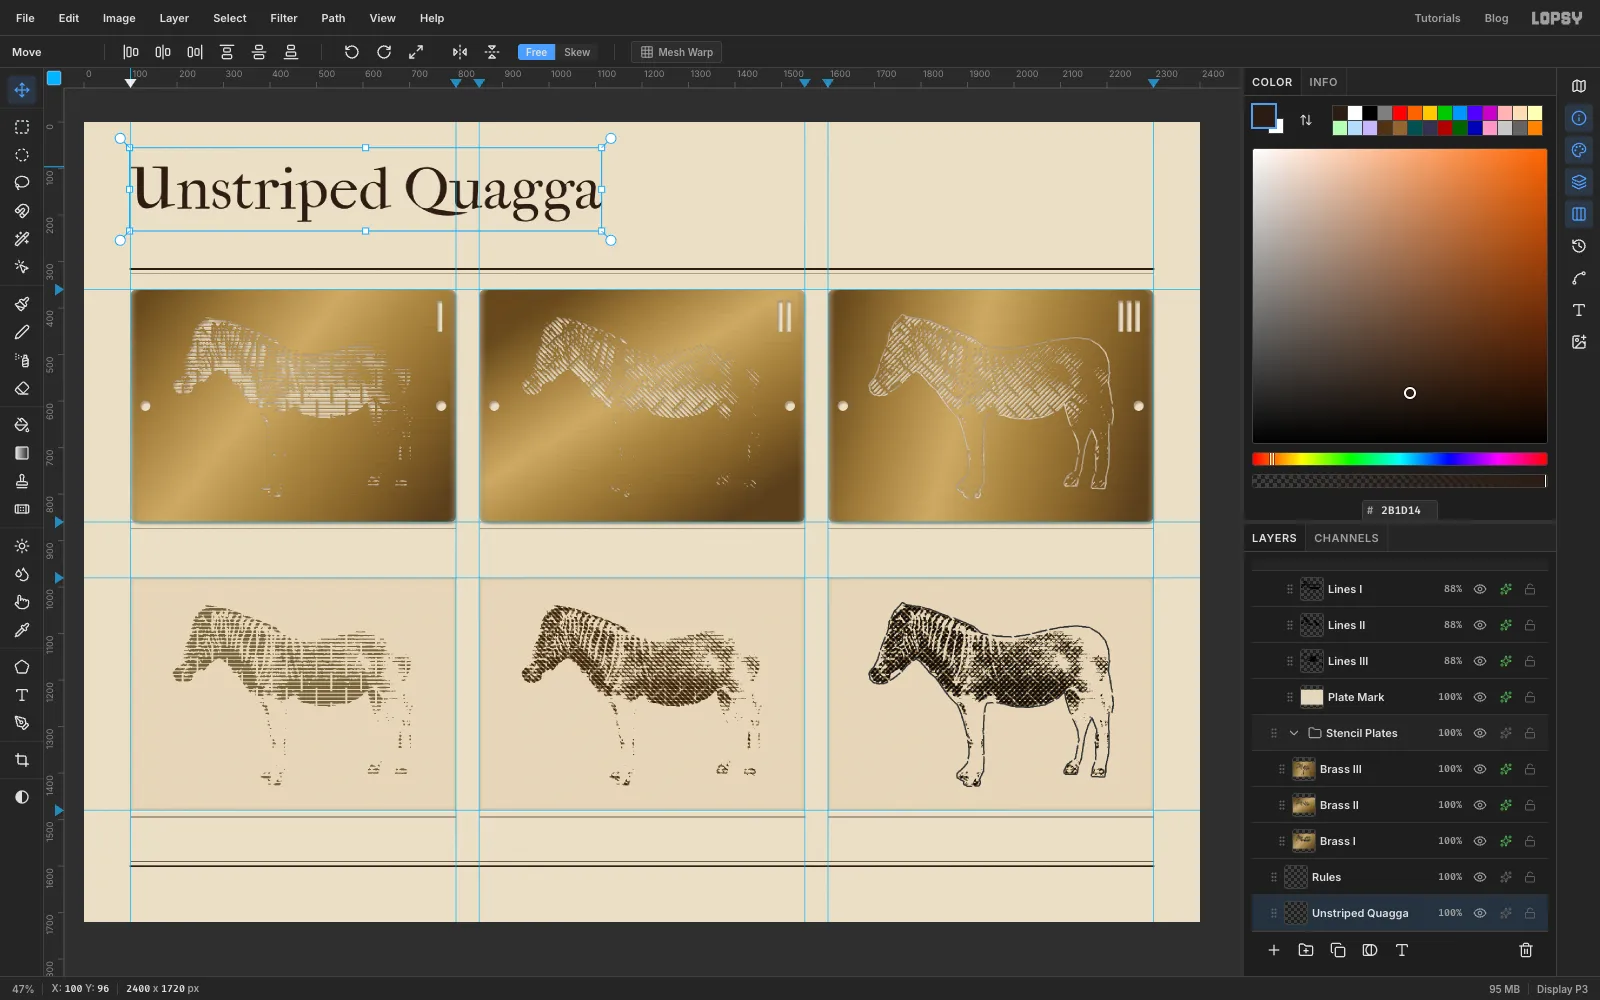
Select Paper, pick the Text tool and set IM Fell French Canon, 128 px, colour , Left. Click near the top-left, type Unstriped Quagga and press Shift+Enter. With the Move tool, nudge it so the U lines up with the left guide.
Select Paper again. Set IM Fell Double Pica, Italic, 30 px, click under the title and type: A three-plate hatch stencil, cut after Frederick York's 1870 photograph of the quagga mare at the London Zoo.
-
Add the right-hand header block
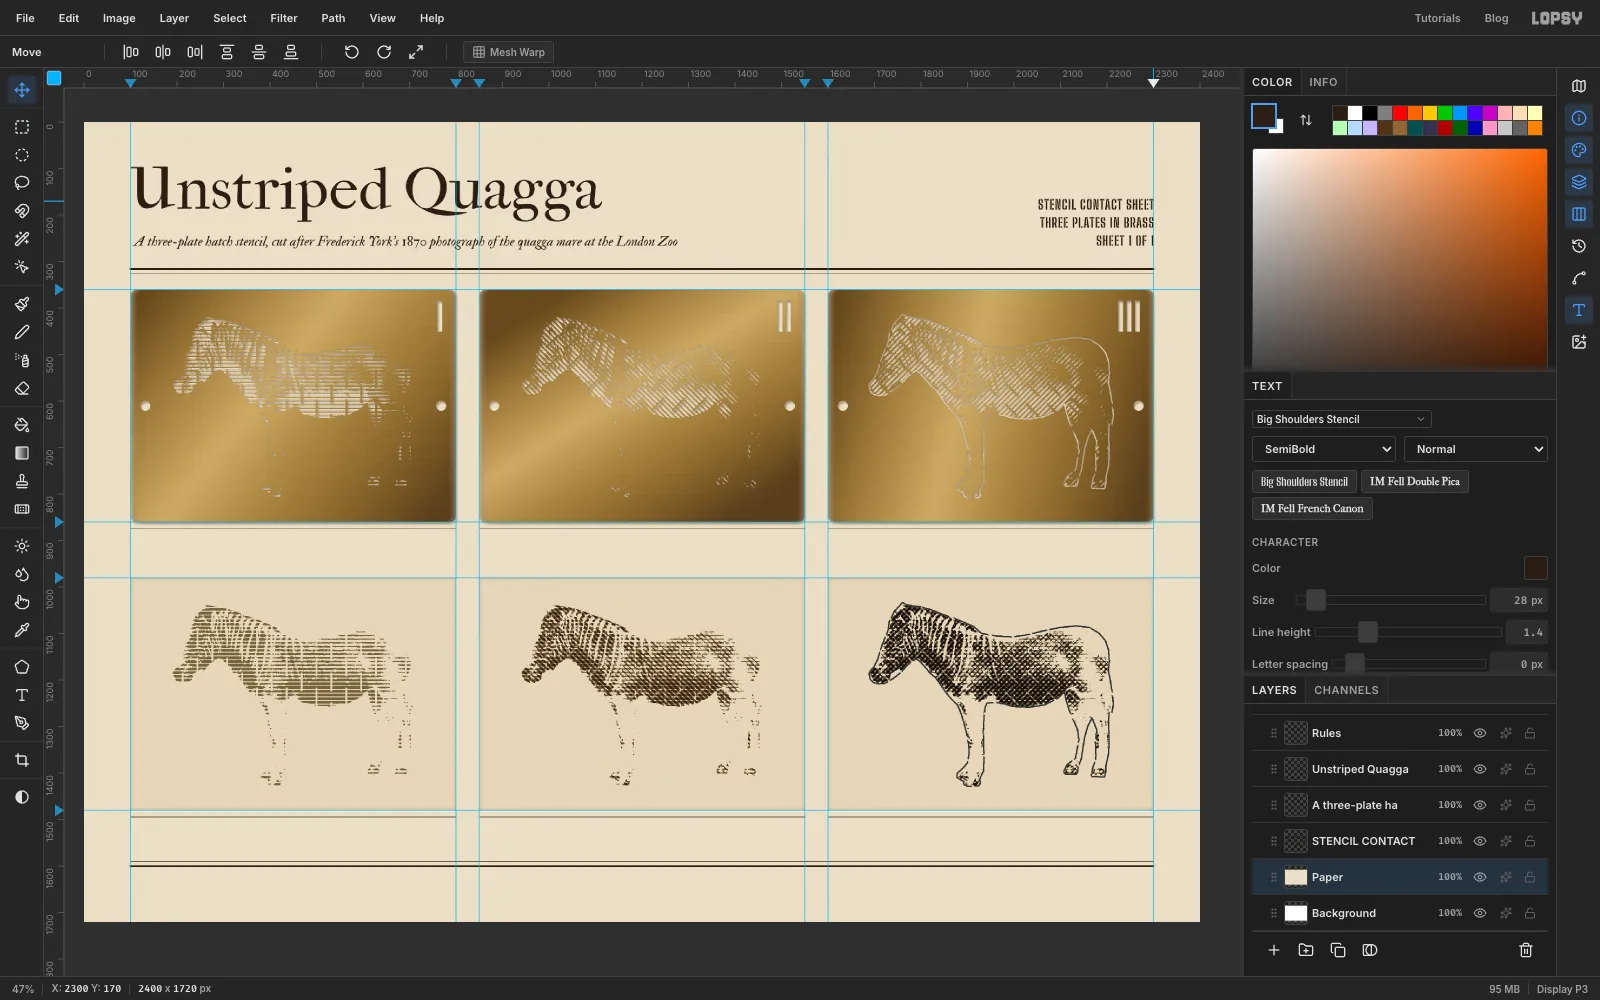
Select Paper, then set Big Shoulders Stencil, SemiBold, 28 px, Right, and click at the right guide. Type three lines, pressing Enter between them: STENCIL CONTACT SHEET, THREE PLATES IN BRASS, SHEET 1 OF 1. Commit with Shift+Enter. In the Text panel, set Letter spacing to 1.5: spaced capitals read better and keep the stencil ties open.
Nudge the block until its right edge is on the 2300 guide and its last baseline sits on the subtitle's baseline. Then select Paper and set Letter spacing back to 0 so it doesn't carry over to the next text.
-
Label every cell
Each cell gets a stencil label on the left of its hairline and an italic caption on the right, about 16 px below the hairline.
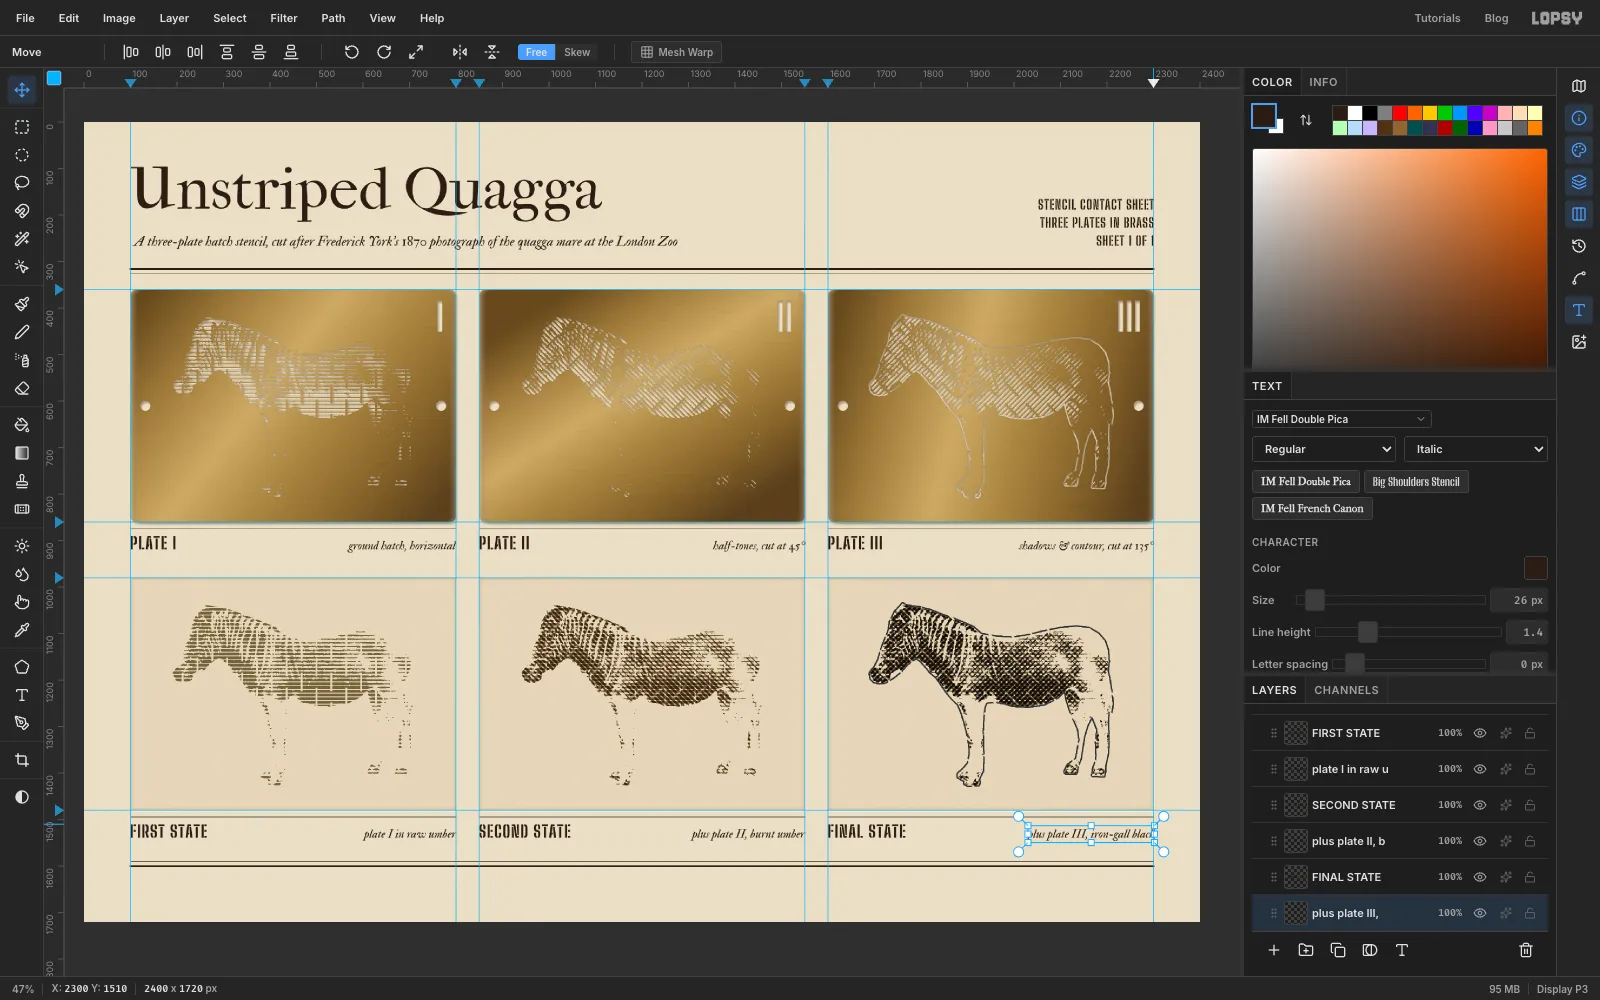
For each label: select Paper, set Big Shoulders Stencil, Bold, 36 px, Left, click at the cell's left edge, type the name and commit. Set Letter spacing 2 in the Text panel. The names are PLATE I, PLATE II, PLATE III, FIRST STATE, SECOND STATE and FINAL STATE.
For each caption: select Paper again, set Letter spacing back to 0, then IM Fell Double Pica, Italic, 26 px, Right. Click at the cell's right edge and type:
- ground hatch, horizontal / half-tones, cut at 45° / shadows & contour, cut at 135°
- plate I in raw umber / plus plate II, burnt umber / plus plate III, iron-gall black
Nudge each caption with the arrow keys until its baseline matches the stencil label's.
-
Write the footer
Select Paper and, under the footer rule, in IM Fell Double Pica Italic at 24 px, set a colophon at the left: Hatch lines 8 px apart, tied every 64 px. Inks: raw umber, burnt umber and iron-gall black. Select Paper again and, at the right, right-aligned: Equus quagga quagga. The last of its kind died at Artis, Amsterdam, on 12 August 1883. Put both on the same baseline. Click the Rules row, Shift-click the last text layer to select everything in between, and choose Layer → Group Layers. Name the group Type.
-
Add the registration marks
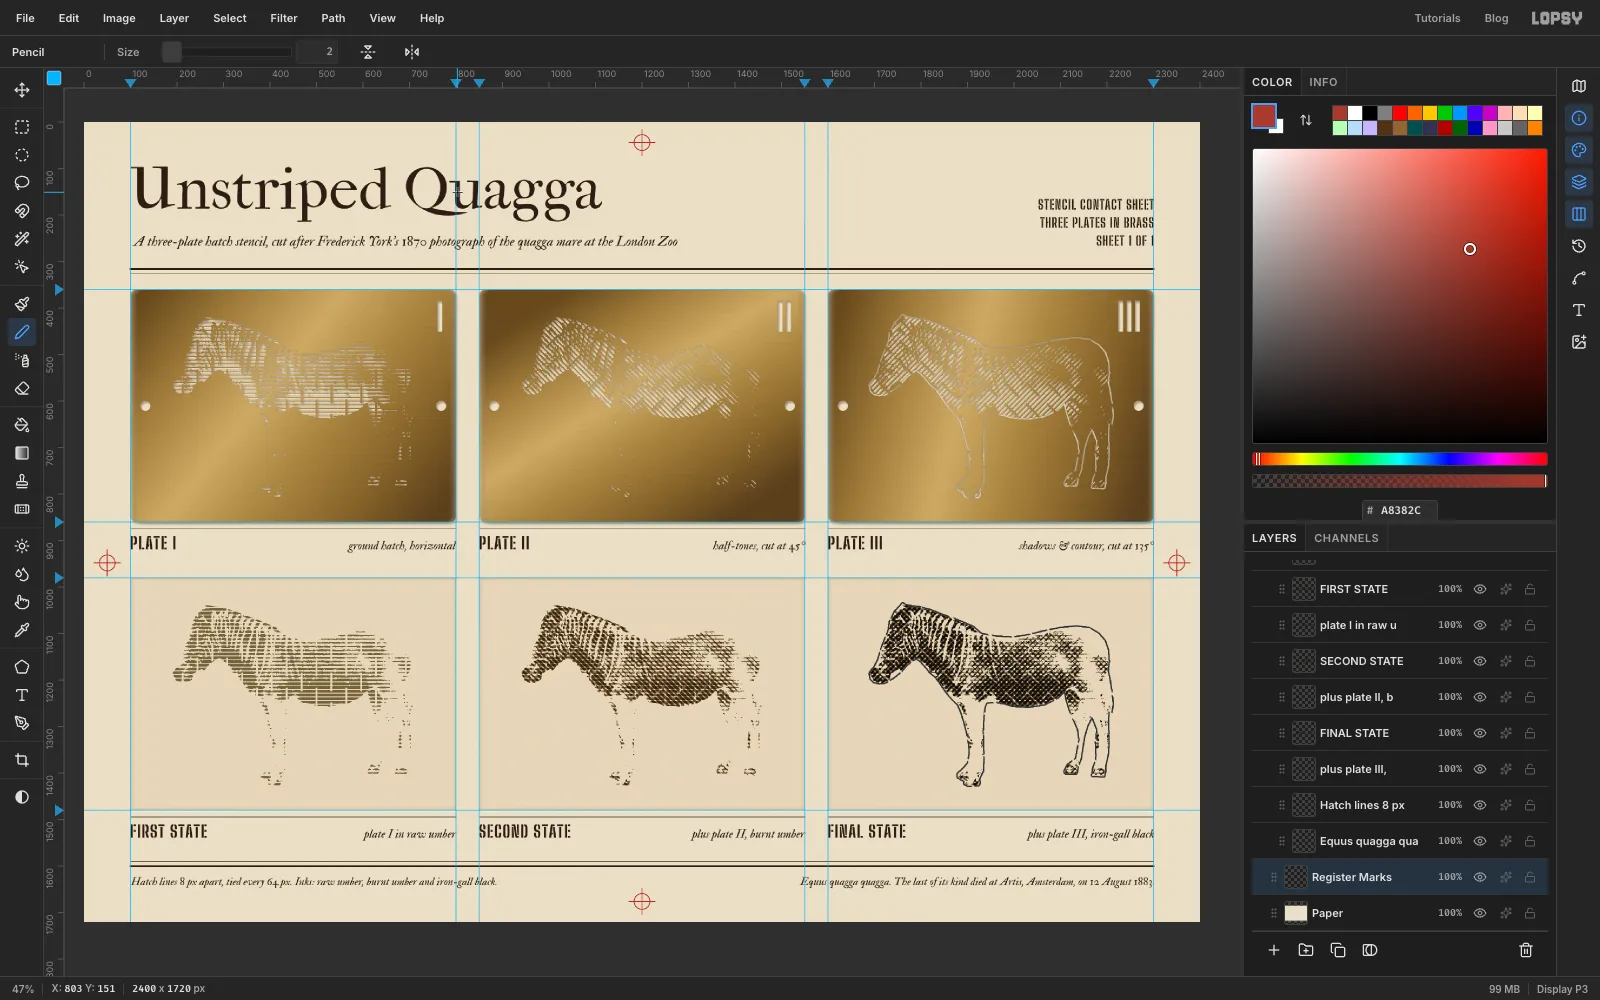
Turn on View → Show Grid to help you place things evenly. Select Paper and add a layer called Register Marks. Pick the Shape tool, choose Ellipse, remove the fill and add a stroke of at Width 2. Click once (don't drag) to open the size dialog and make a 34 × 34 circle in the left margin, level with the gap between the rows. Do the same in the right margin and at the top and bottom centre of the sheet. Then pick the Pencil at Size 2 in the same red and Shift-click a cross through each circle.
Now select the top row of the Layers panel and add a layer called Proof Pins. With the Pencil still at Size 2, in , Shift-click a small cross inside each proof, level with where the brass plates' punch holes are. These pin marks show where the plates were registered. Turn the grid off.
-
Stamp the final state
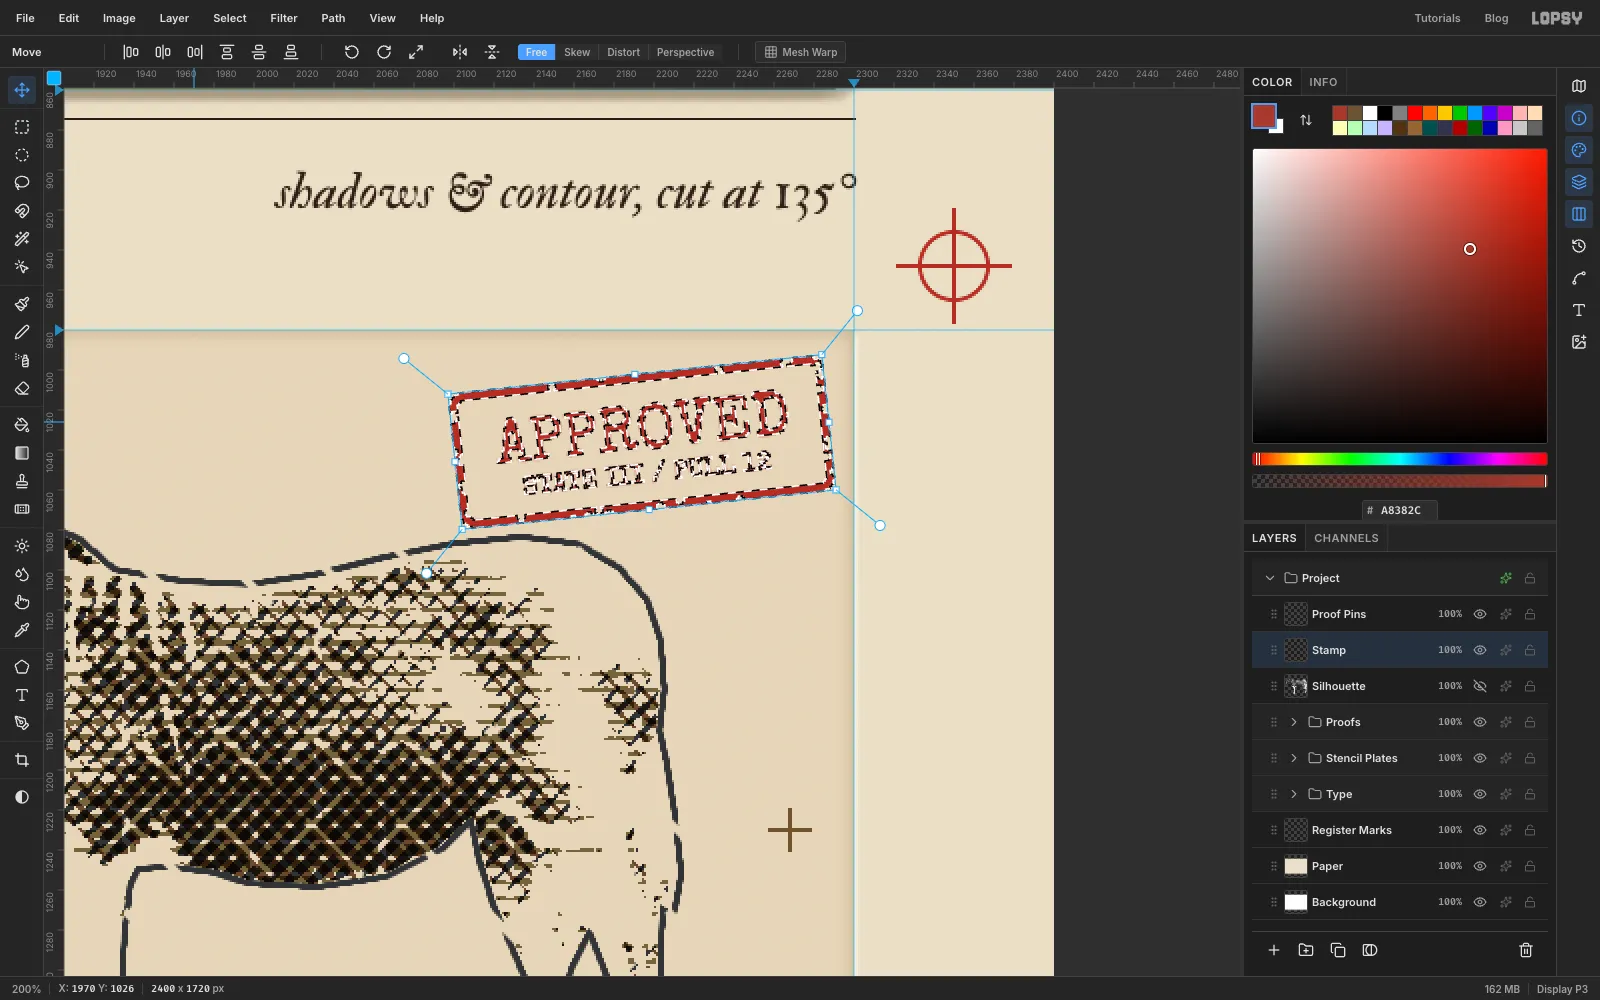
Select Silhouette (near the top of the stack, above the groups) and add a layer called Stamp. With the Shape tool (Rectangle, no fill, stroke , Width 4, Corner Radius 6), click once in the empty corner above the final proof's back and make a 184 × 64 frame.
Select Stamp, pick the Text tool, set Special Elite, 31 px, Center, colour , and type APPROVED in the top half of the frame. Choose Layer → Merge Down to merge it into Stamp. Select Stamp again, set the size to 13 px and type STATE III / PULL 12 under it, then merge that down too.
Rubber stamps never print solid. Pick the Eraser at Size 4 and click a few dozen times along the frame, then a handful of times at Size 2 over the lettering. Keep those clear of the letters' main strokes, or APPROVED starts to misspell itself. Cmd-click the stamp's thumbnail, pick the Move tool and drag the rotate handle about 6° anticlockwise, without Cmd so it doesn't snap, and press Cmd+D. Set the layer to Multiply at 85%.
-
Age the paper
Three layers above Stamp finish it. Make sure nothing is selected (Cmd+D) first.
- Grain: add a layer, fill it with (select all, Edit → Fill), apply Add Noise at 30, Mono, Gaussian, deselect, and set the layer to Overlay at 35%.
- Age: add a layer. In the Gradient options choose Radial, then replace the brass stops with three: at 0%, at 55% and at 100%. Drag from the centre of the sheet to a corner and set the layer to Multiply at 60%. White does nothing in Multiply, so only the edges darken.
- Foxing: add a layer, pick the Brush with Hardness 0 and , and click a few soft dabs of different sizes, mostly near the edges. Apply Gaussian Blur at 8 px and set the layer to Multiply at 26%.
Save the project with File → Save Project, and export with File → Quick Export PNG.