Design an Op-Pop Cocktail Bar Flier
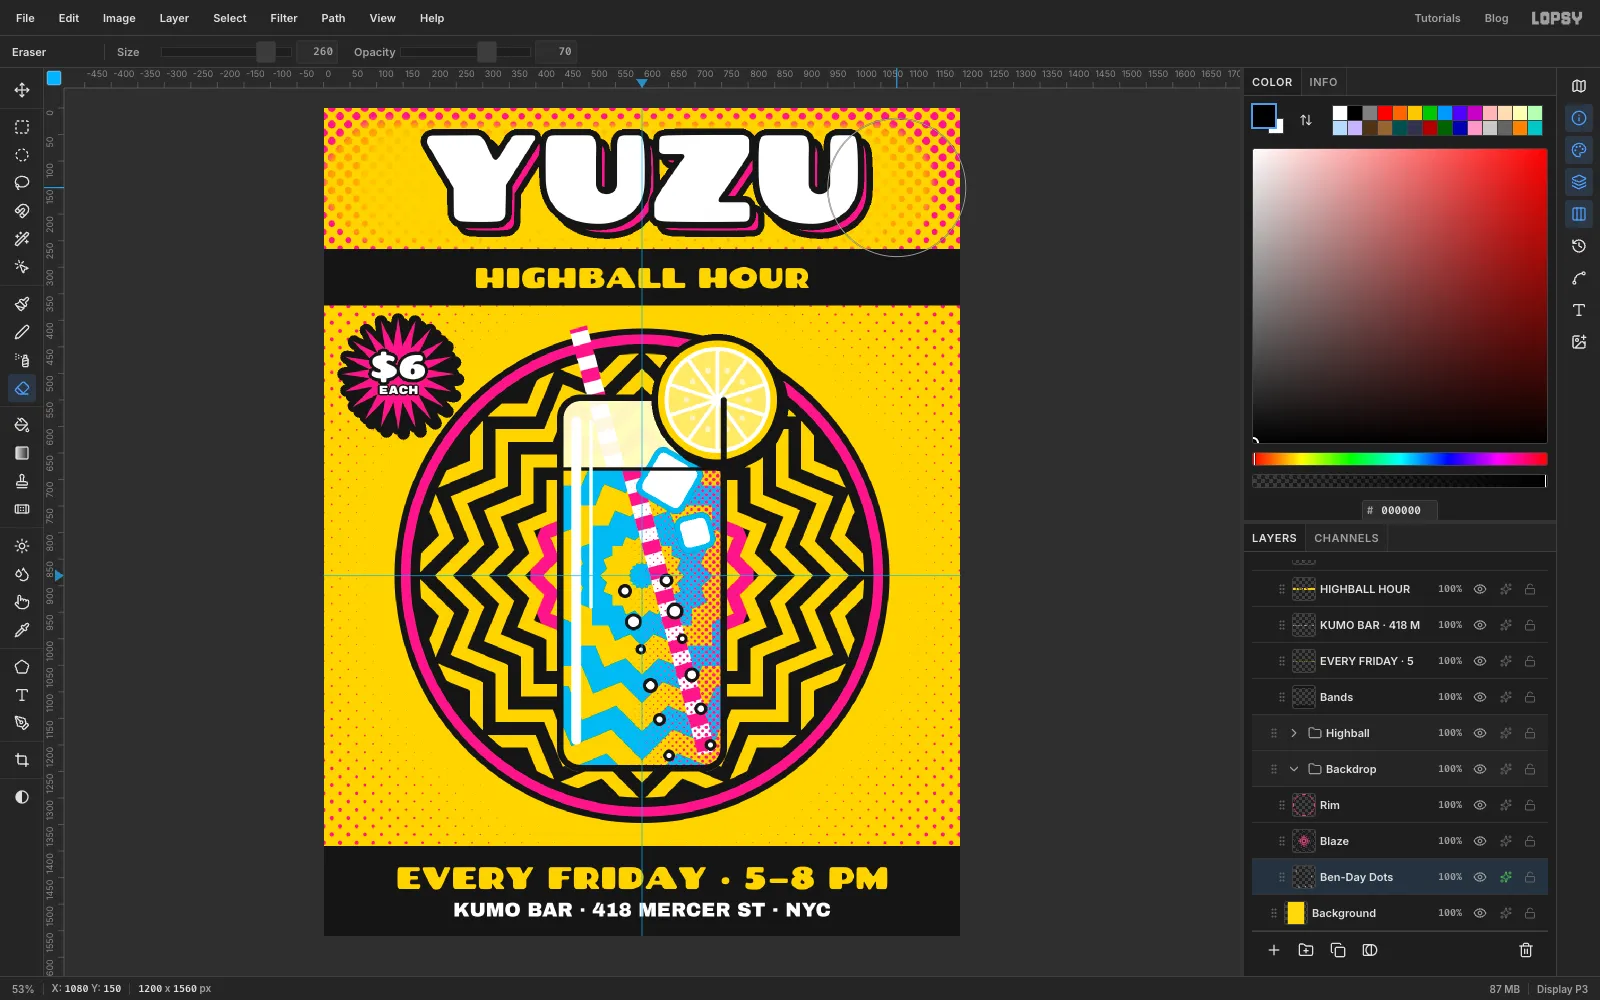
Make an op-art meets pop-art bar flier in Lopsy with Kaleidoscope zigzag rings, Ben-Day halftone dots, a magnifying highball glass and bold type.
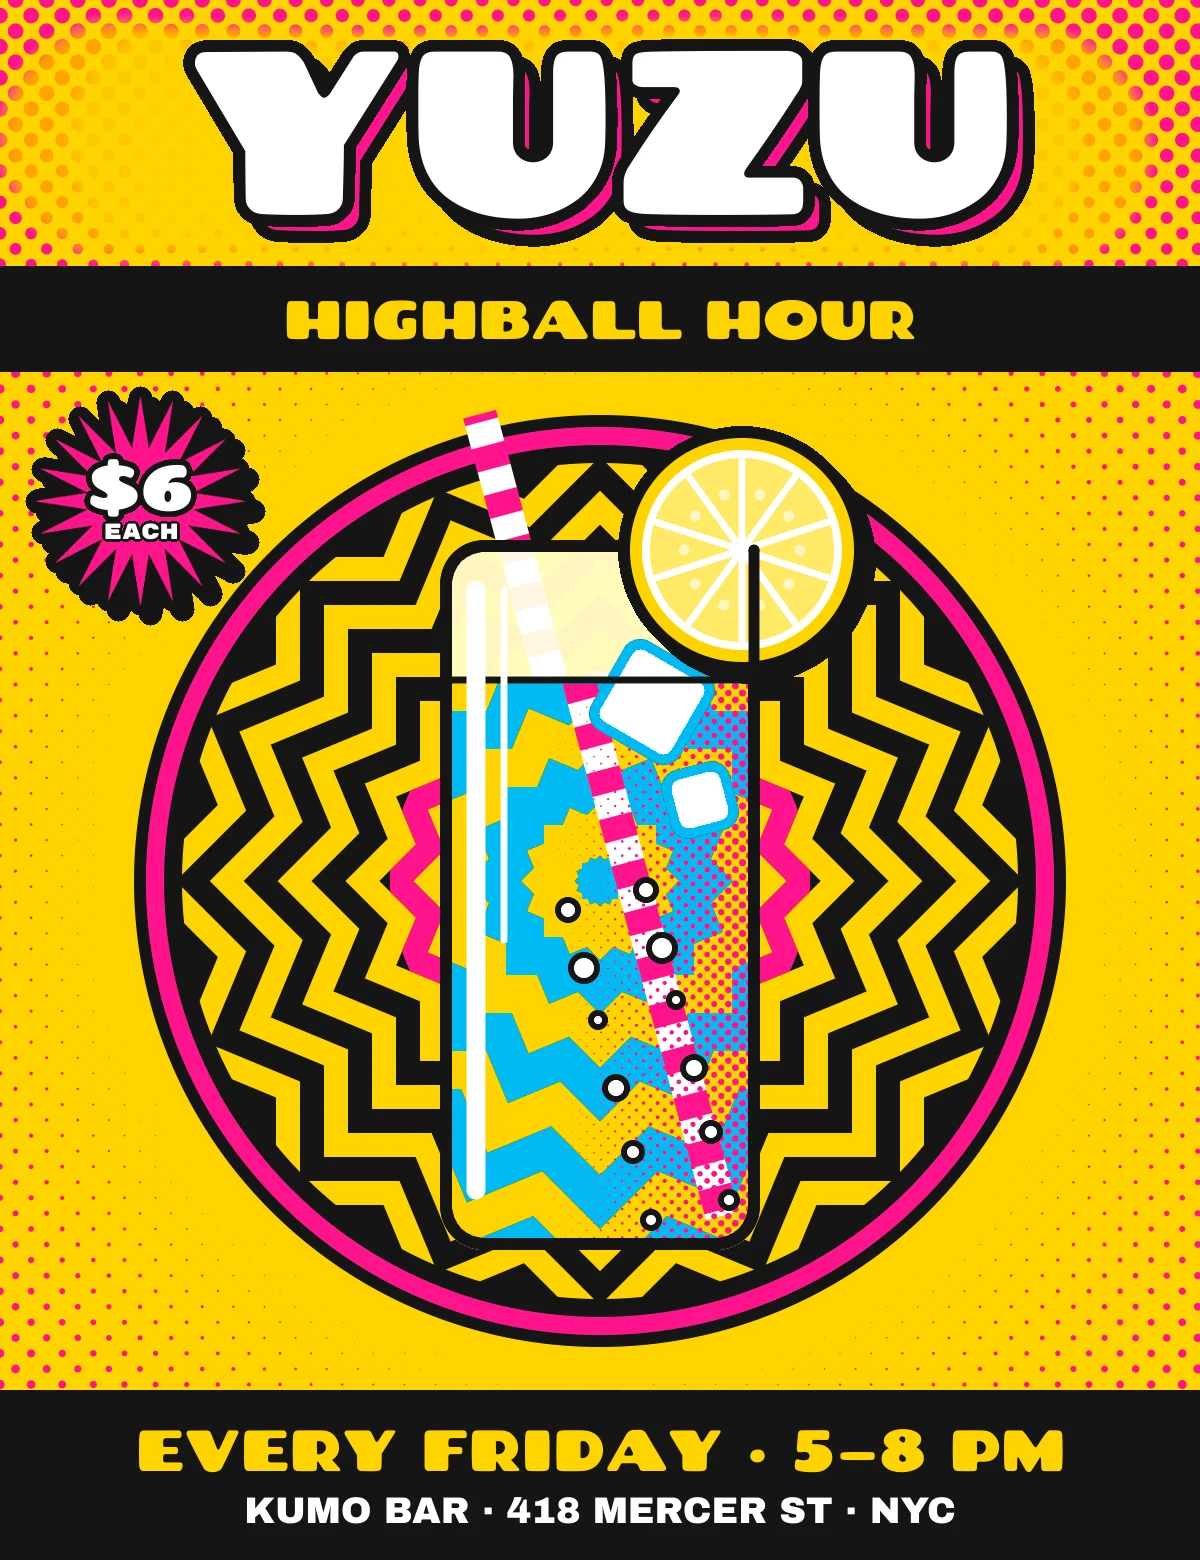
In the mid-1960s, Op Art and Pop Art arrived in galleries and advertising at about the same time. Bridget Riley's Blaze paintings used nothing but black and white zigzags arranged in rings, and the rings seem to spin as you look at them. Roy Lichtenstein, meanwhile, painted comic-book Ben-Day dots by hand. In Magnifying Glass (1963) he painted a lens that makes those dots look bigger. Put the two ideas together and you get op-pop: optical patterns in flat, loud, printed colours.
In this tutorial you'll make an op-pop flier for Yuzu Highball Hour, a made-up Friday happy hour. A Blaze-style disc of zigzag rings sits behind a highball glass. The liquid in the glass shows the same rings magnified, the way Lichtenstein's lens does. The flier is 1200 × 1560 px.
Along the way you'll use:
- Define Pattern, Fill with Pattern and Kaleidoscope to turn plain stripes into zigzag rings
- exact-corner marquees, Select → Inverse, and Shift+Alt marquees that keep only the overlap with a layer's shape
- the Gradient tool and Halftone for Ben-Day dots
- the Shape tool's click-to-size dialog for the glass, ice cubes and bubbles
- rotation and scale handles, copy and paste, Merge Down and Duplicate Layer
- the Brush with Radial Symmetry for the yuzu wheel
- Sunburst for a starburst badge
- text in Chango, Rubik Mono One and Archivo Black
- Stroke, Color Overlay and Inner Glow, plus the Screen blend mode
- the Eraser for a final clean-up
The palette:
-
Yuzu yellow
-
hot pink
-
ink
-
Cyan
-
white
-
Glass tint
used in Screen mode
-
Yuzu flesh
-
juice dots
-
Dot ramps
backdrop / glass
-
Set up the canvas, guides and yellow ground
Choose File → New, enter 1200 × 1560 pixels with a White background, and click Create.
Click the top ruler at
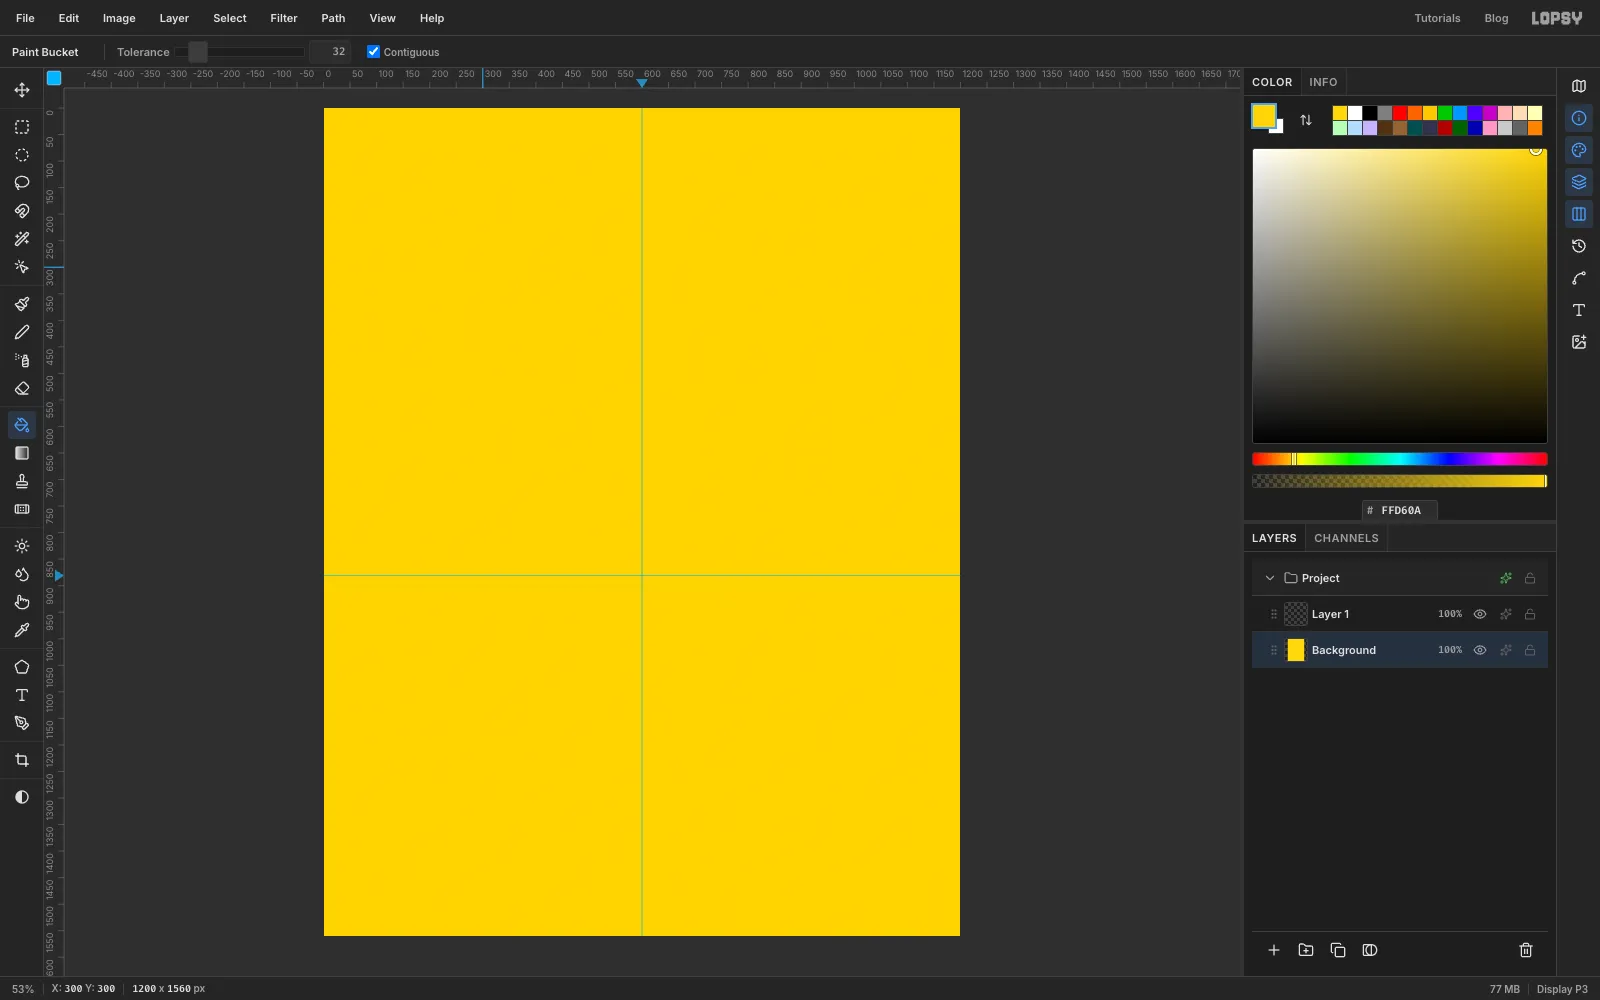
600to drop a vertical guide down the middle. Then click the left ruler at881. That's where the centre of the ring disc will go.Click the Background row, set the foreground to yuzu yellow , pick the Paint Bucket (G) and click the canvas.
-
Make a stripe tile
The rings start life as plain horizontal stripes. Double-click the name of Layer 1 and rename it Stripe Tile.
With the Rectangular Marquee, click once and enter From
0, 0To48, 24. Set the foreground to ink and choose Edit → Fill. Press Cmd+D. Then make a second exact selection from0, 0to48, 48, so the tile is half ink and half empty.Choose Edit → Define Pattern, press Cmd+D, and delete the Stripe Tile layer with the trash button. The pattern stays saved for the rest of the session.
-
Fill a layer with stripes
Click the Background row and press the New Group button (the folder with a plus) at the bottom of the Layers panel. Name the group Backdrop. With Backdrop selected, press Add Layer and name it Ben-Day Dots, then press Add Layer again and name it Blaze. You'll use the dots layer later.
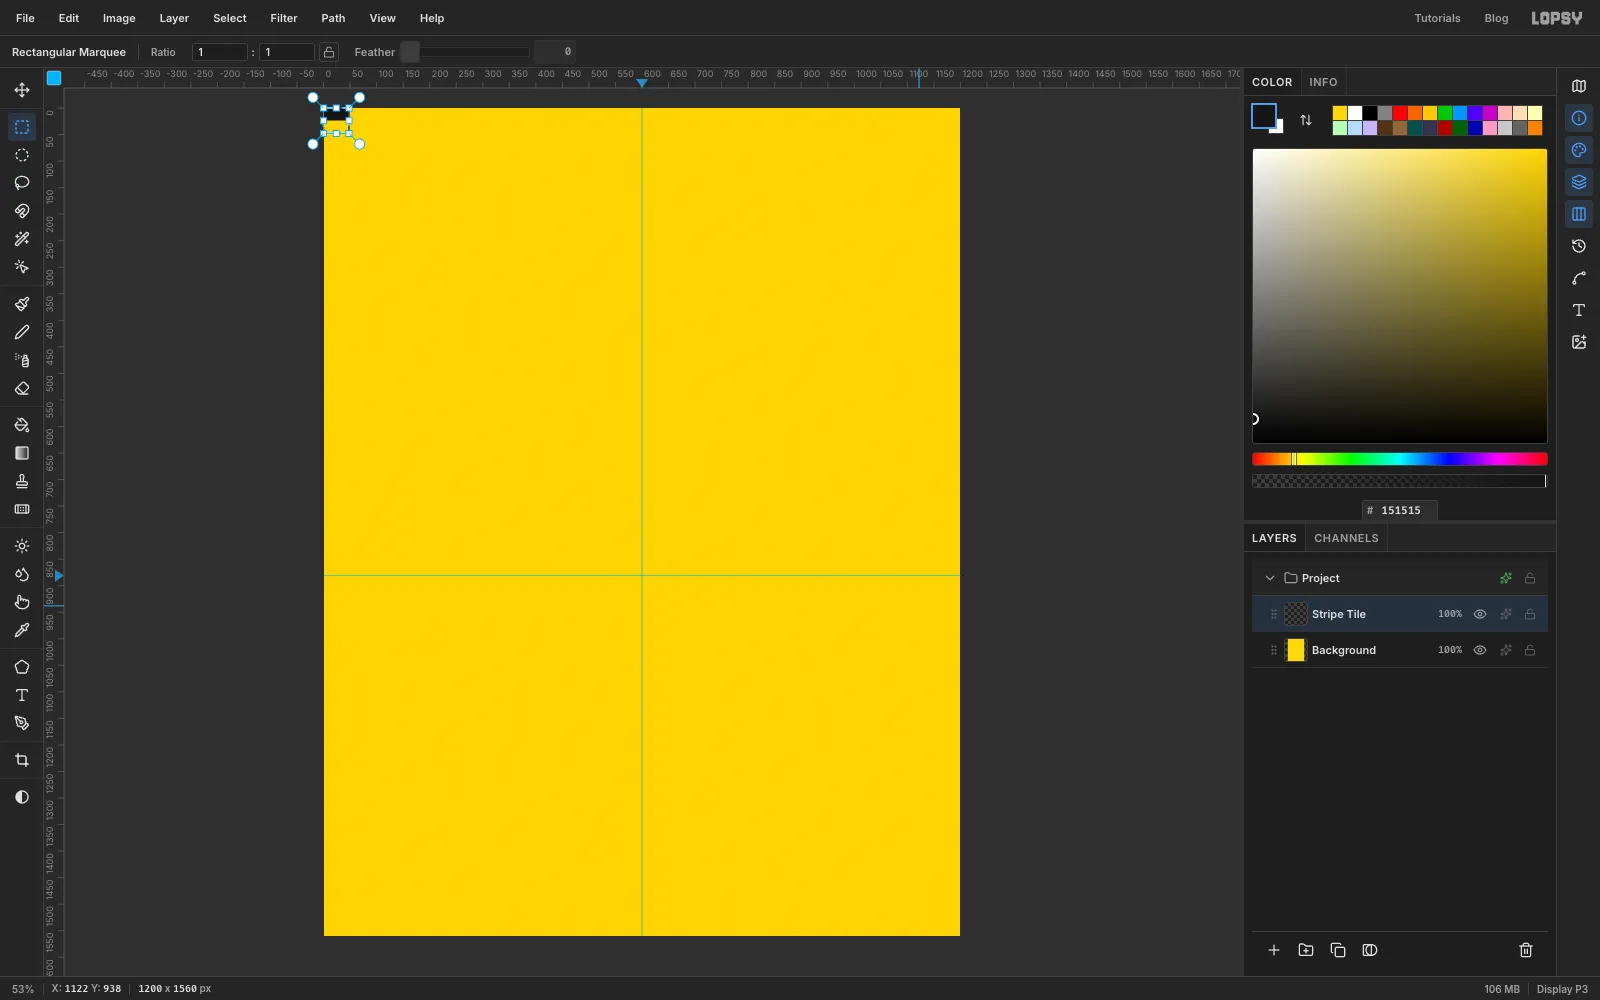
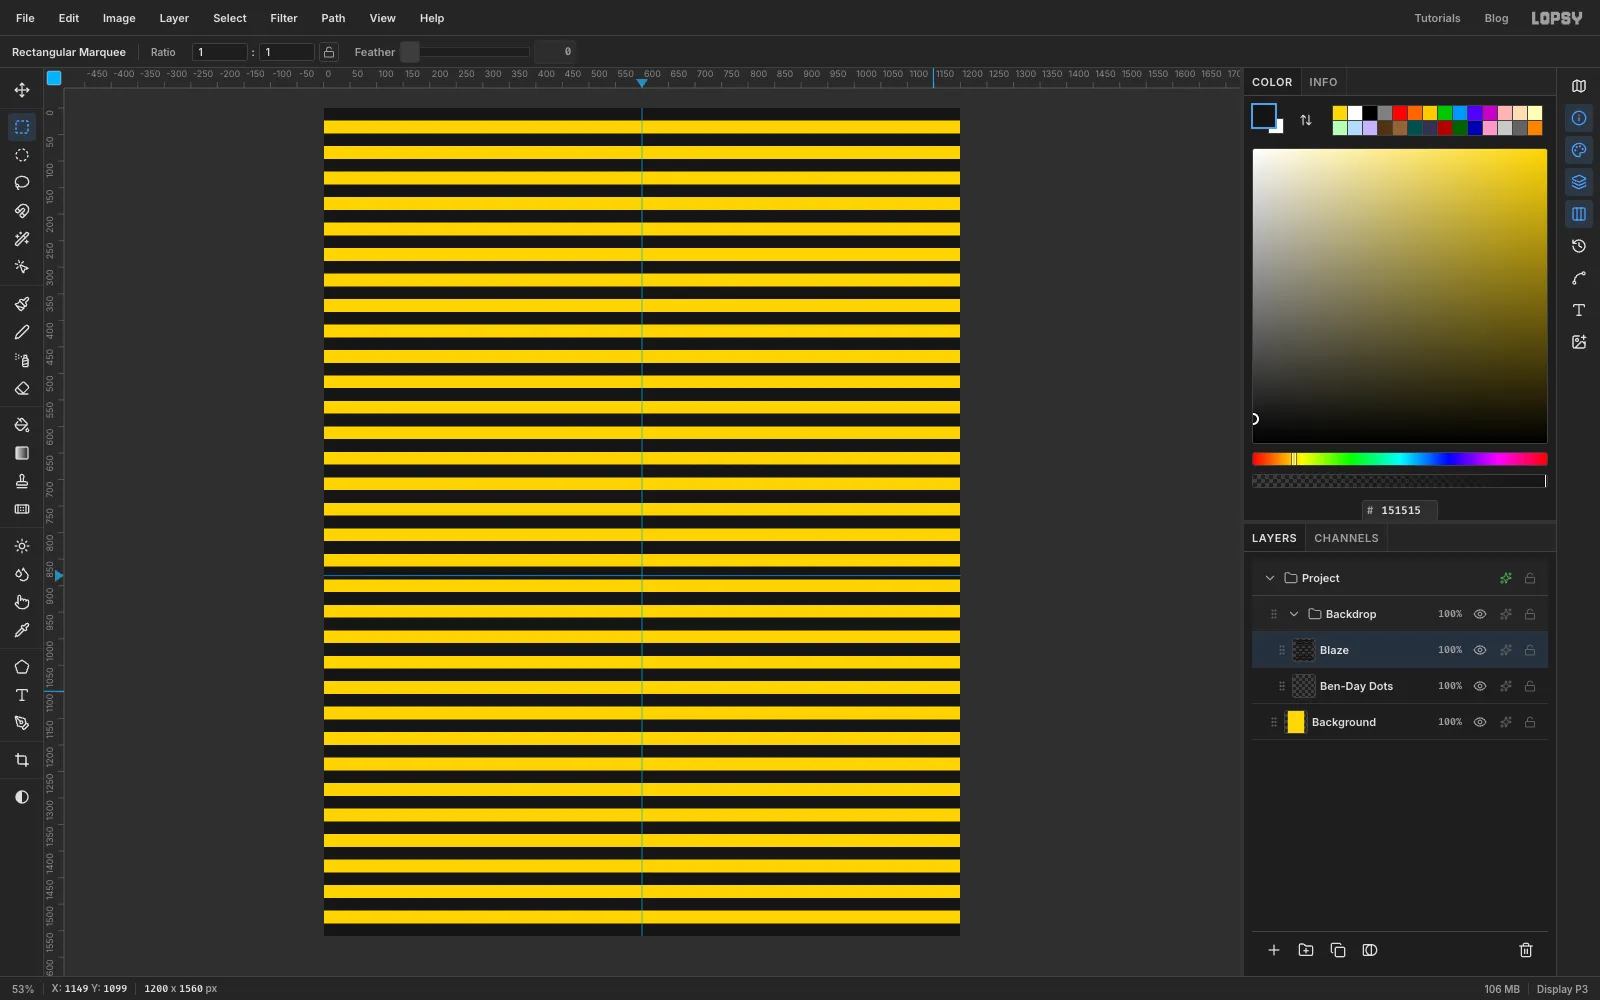
On Blaze, choose Edit → Fill with Pattern…, click your stripe tile and press Apply. The page fills with 24 px stripes.
-
Fold the stripes into Blaze rings
Choose Filter → Kaleidoscope… and set Segments to
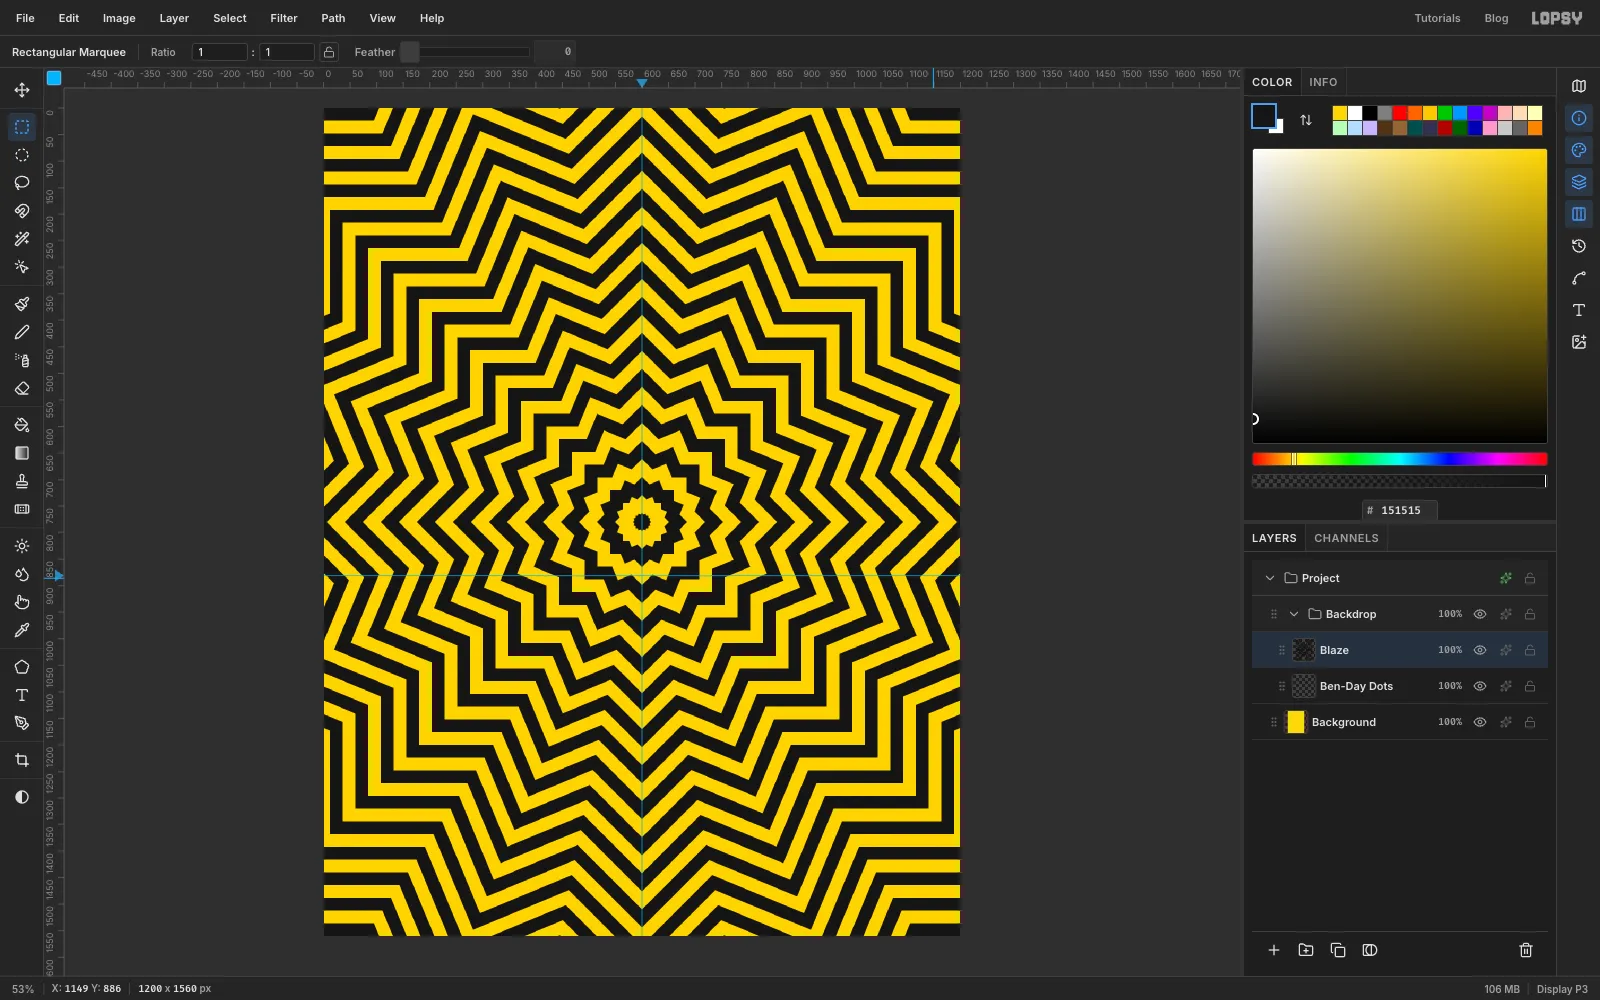
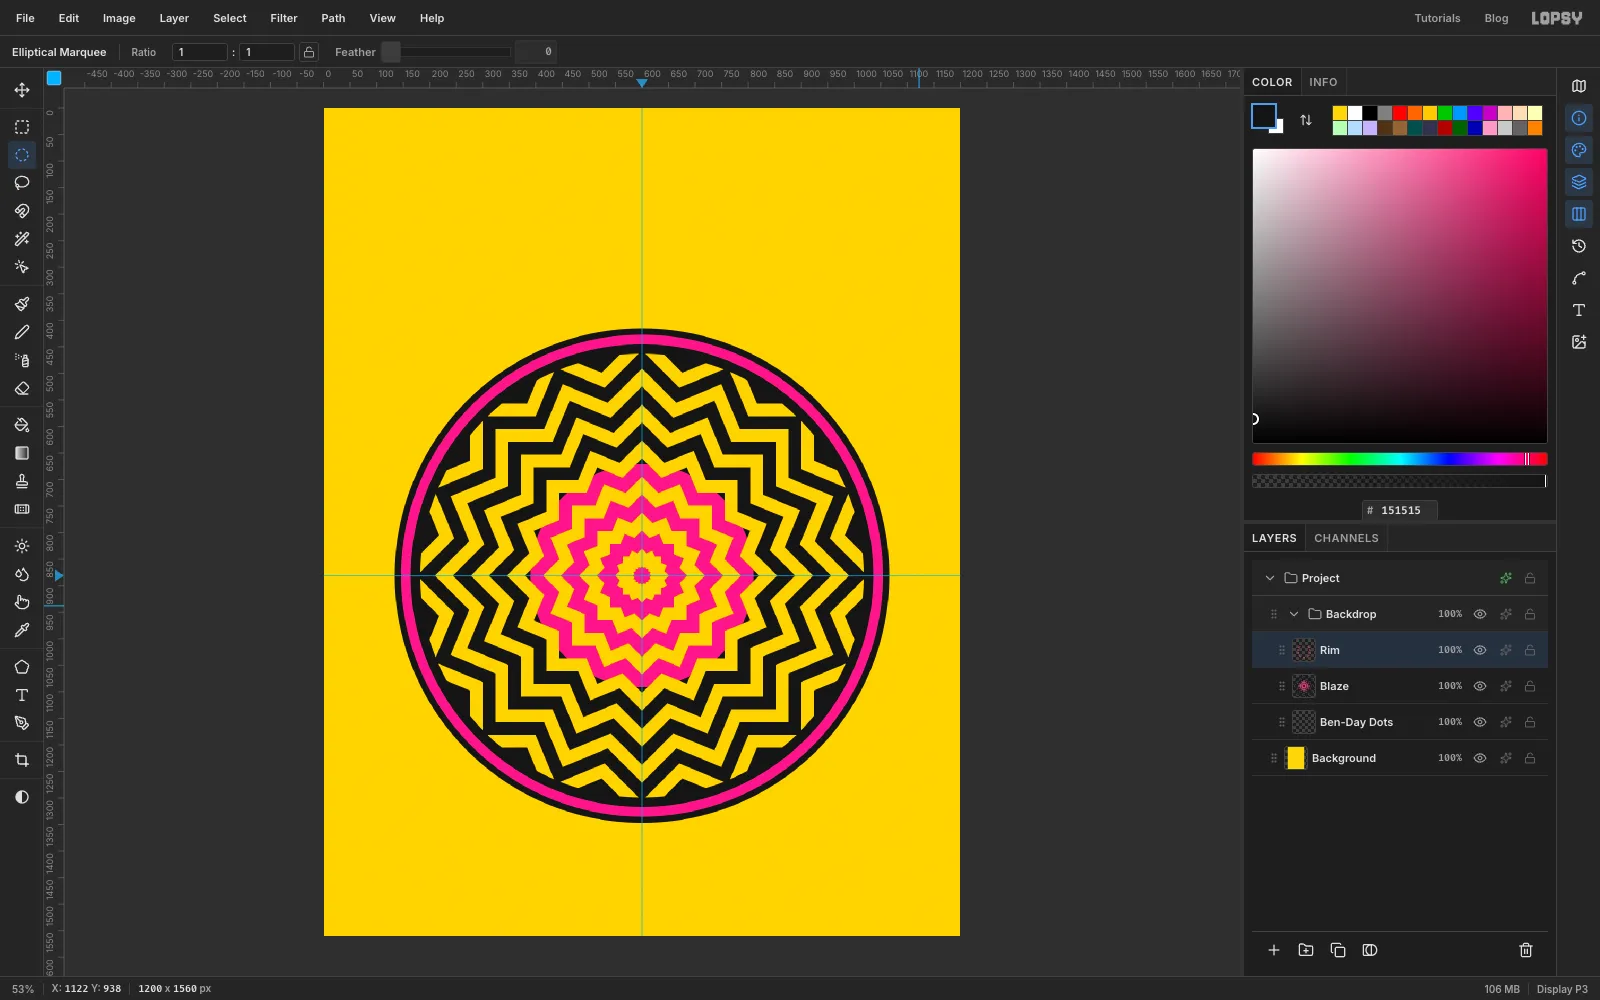
16and Rotation to45. Click Apply.Kaleidoscope mirrors a wedge of the layer around the canvas centre. The stripes cross each wedge at an angle, so the mirrored copies meet in zigzags and form rings that look like Riley's Blaze.
-
Cut the rings into a disc
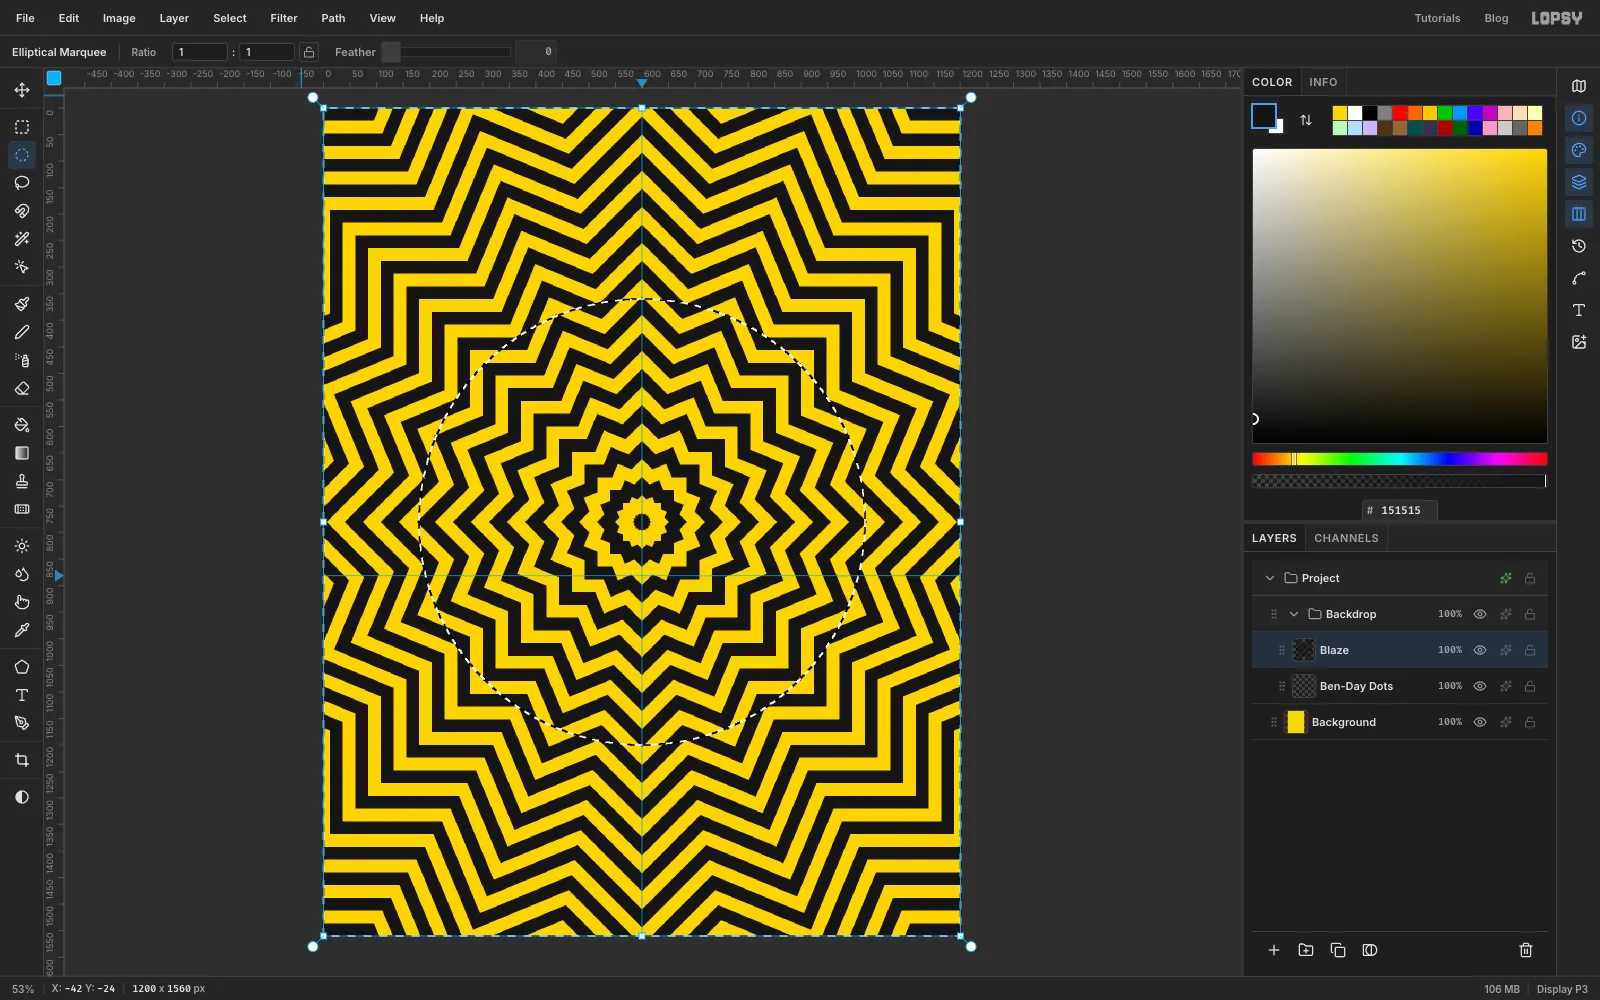
Pick the Elliptical Marquee, click once and enter From
180, 360To1020, 1200. That makes a circle 840 px across, centred on the canvas, where the rings are centred.Choose Select → Inverse, press Delete to clear everything outside the circle, then press Cmd+D.
-
Move the disc onto the guide
Switch to the Move tool (V) and press Shift+Down ten times and Down once. That moves the disc 101 px down, so the centre of the rings sits where the two guides cross (
600, 881). This leaves room for the title and a banner above it.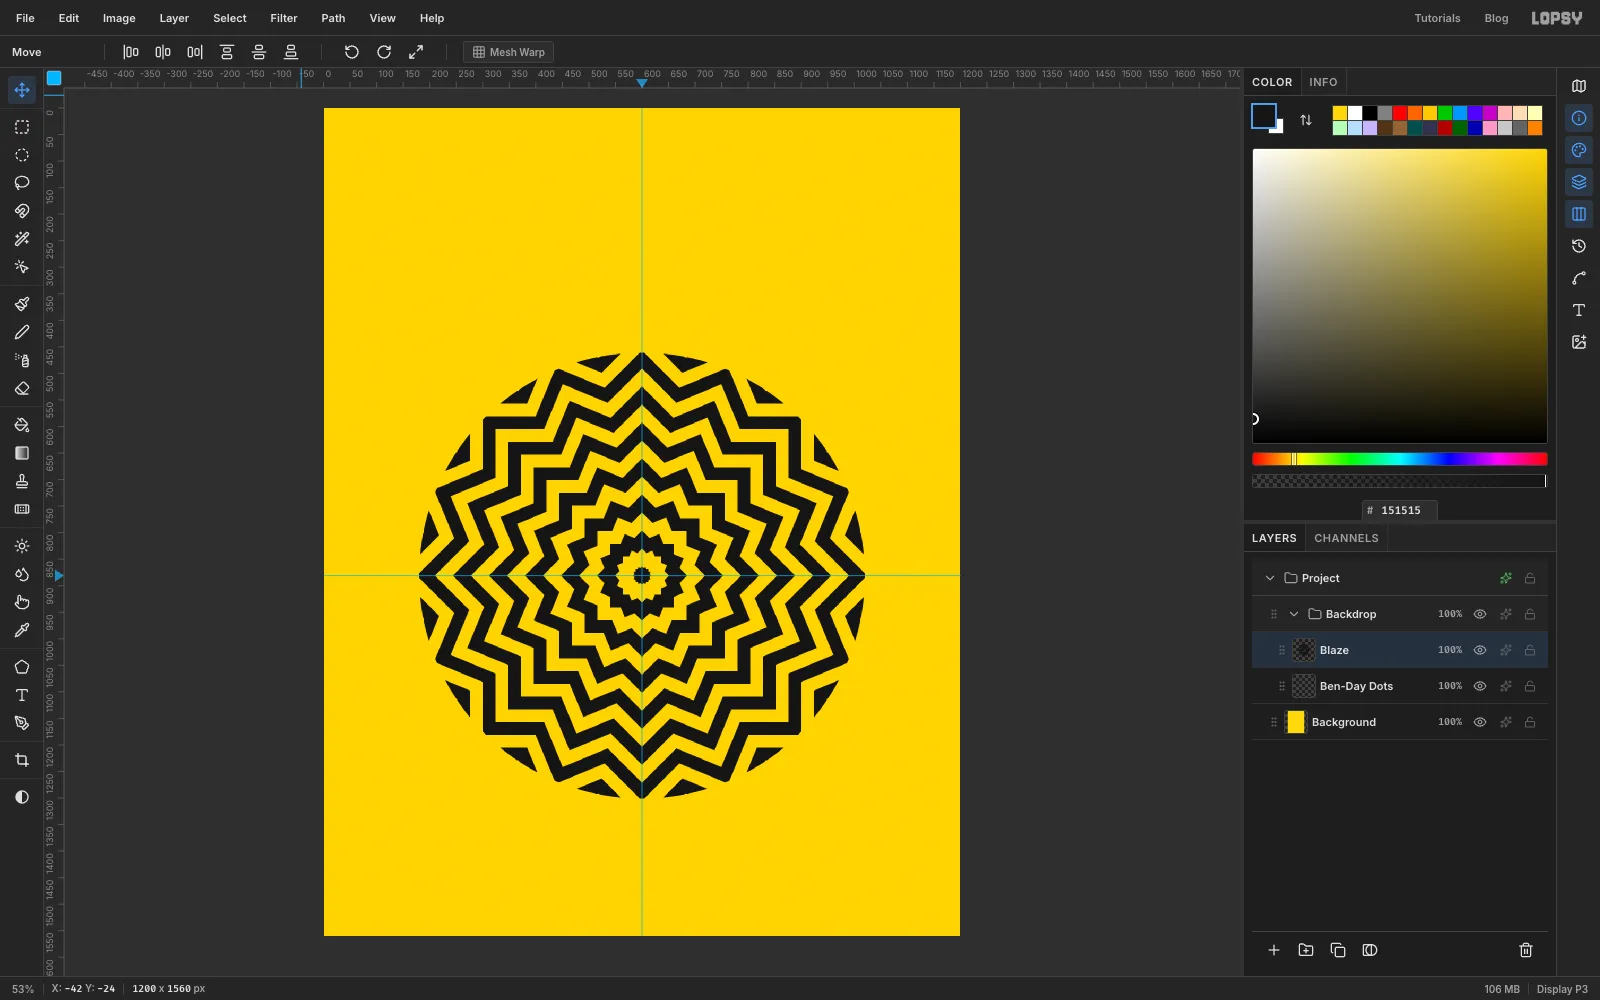
-
Fill the centre rings with pink
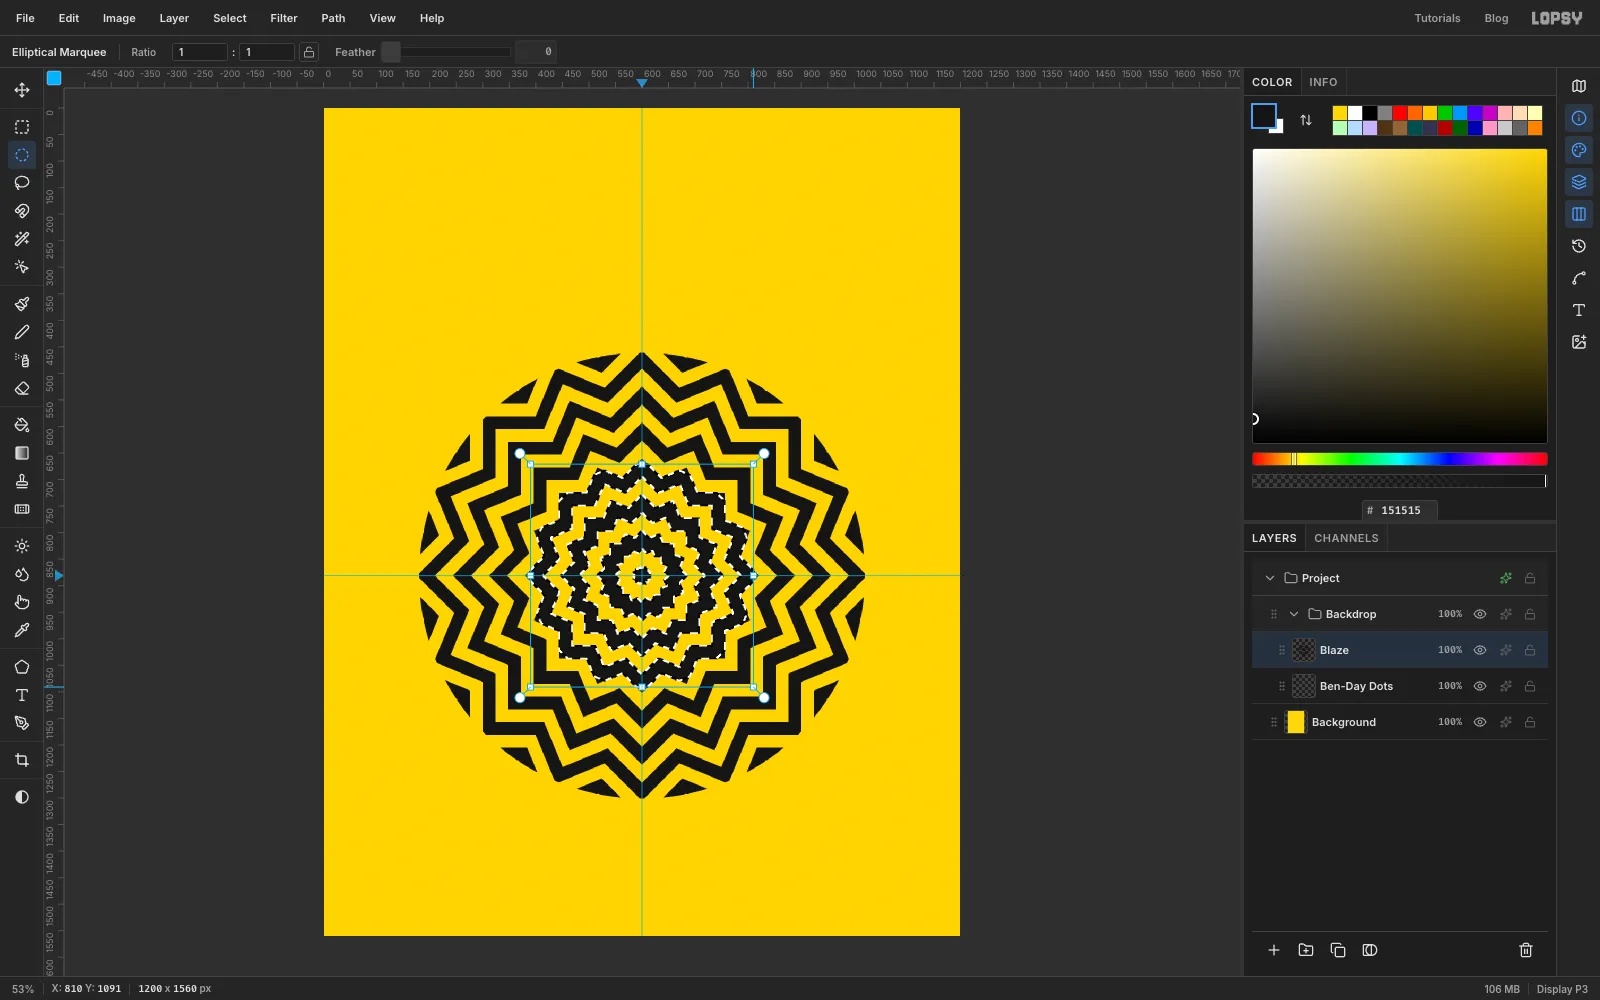
Cmd-click the Blaze thumbnail to select its ink rings. Pick the Elliptical Marquee, hold Shift+Alt and drag a circle about 420 px across, centred where the guides cross: from about
390, 671to810, 1091. Holding Shift+Alt keeps only the part of the selection inside the circle.Set the foreground to hot pink , choose Edit → Fill, then press Cmd+D. The inner rings turn pink and the outer rings stay ink.
-
Add a target rim
Press Add Layer above Blaze and name it Rim. With the Elliptical Marquee's dialog, make four circles, all centred where the guides cross. Press Cmd+D between them so each click opens the dialog again:
134, 415to1066, 1347, then Edit → Fill with ink146, 427to1054, 1335, then fill with pink164, 445to1036, 1317, then fill with ink182, 463to1018, 1299, then press Delete to punch out the middle
That leaves a 12 px ink line, an 18 px pink ring and an 18 px ink band hugging the zigzags.
-
Lay a grey ramp for the Ben-Day dots
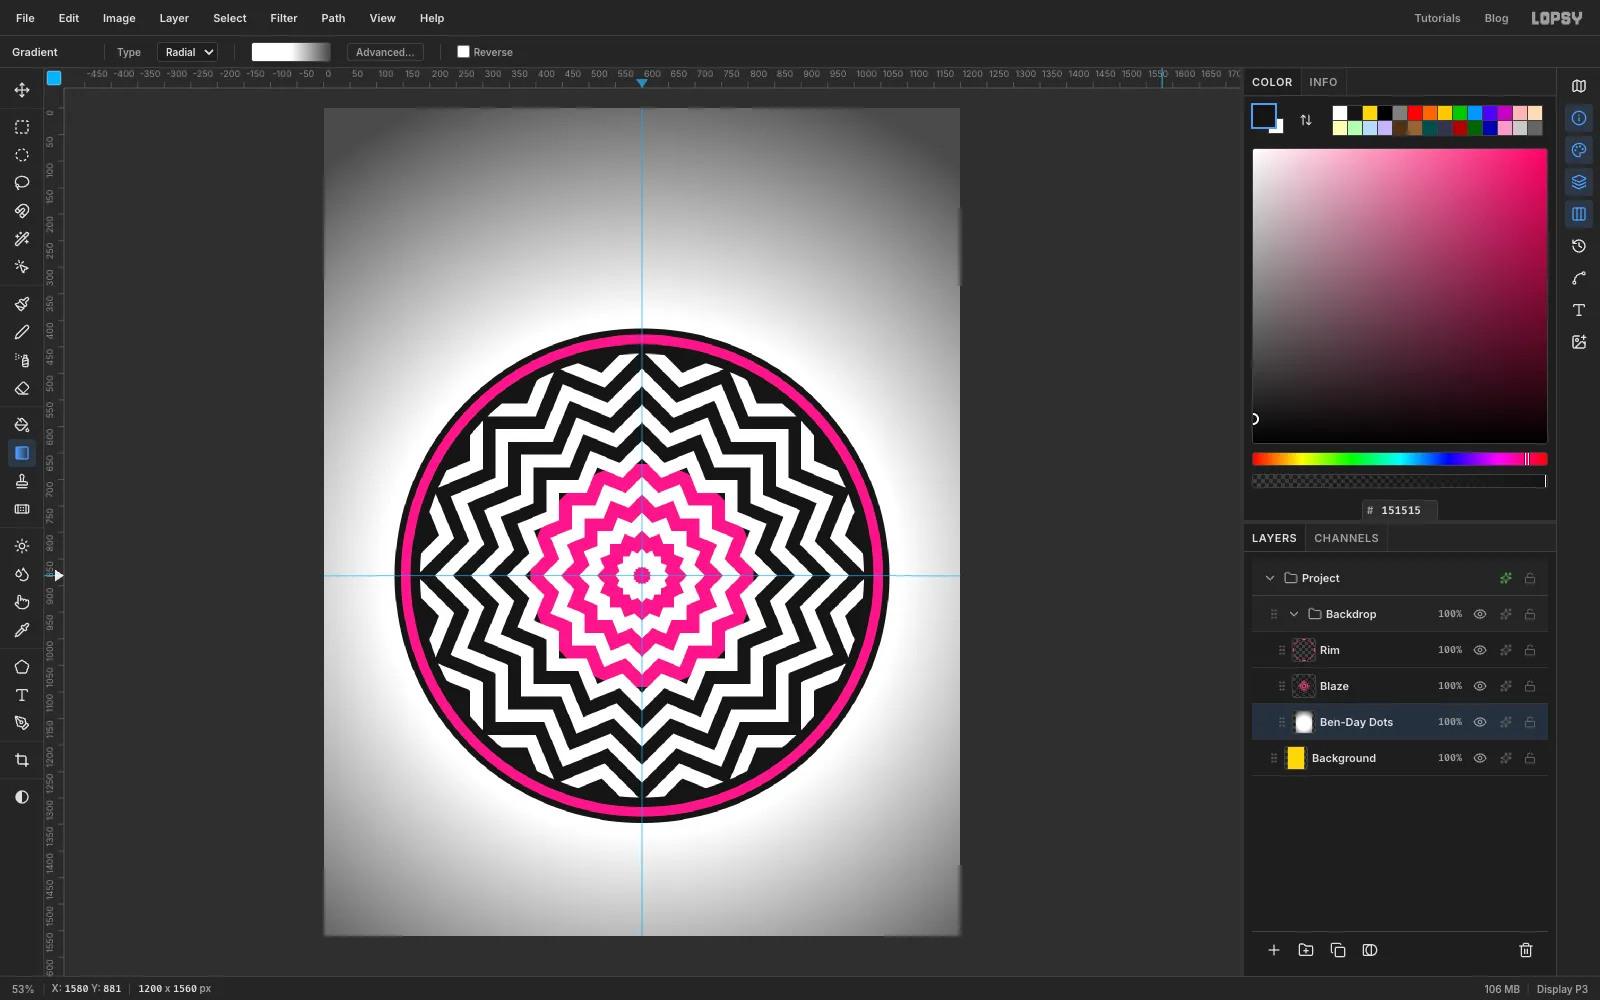
Click the Ben-Day Dots row. Pick the Gradient tool, set Type to Radial and open Advanced…. Set three stops: white at 0%, white at 50%, and at 100%.
Drag from where the guides cross straight right, about 980 px, past the edge of the canvas. Darker grey will become bigger dots, so the dots grow towards the corners.
-
Turn the ramp into pink dots
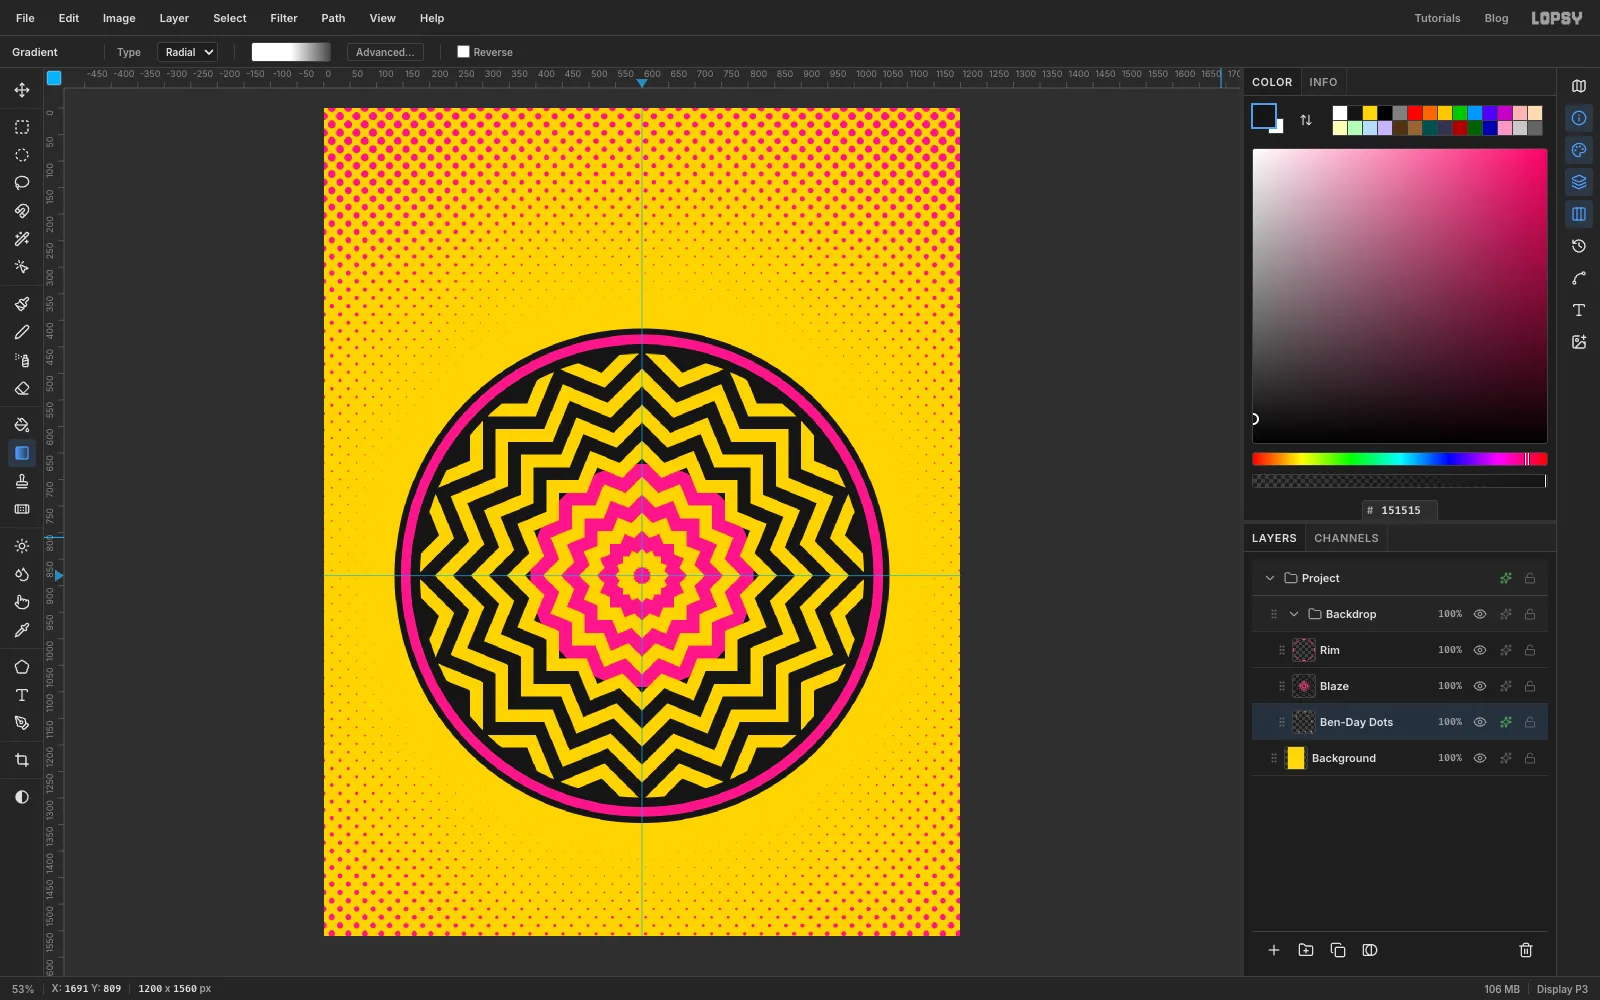
Choose Filter → Halftone… and set Dot Size
22, Density1, Angle45and Softness0.6. White prints no dots at all, so the middle stays clear.Open the layer's effects drawer, turn on Color Overlay and set it to hot pink . You now have Lichtenstein-style Ben-Day dots.
-
Make a striped straw
Collapse the Backdrop group, keep it selected, and press New Group. Name it Highball. Everything for the glass goes in here.
Press Add Layer and name it Straw. With the Rectangular Marquee, make an exact rectangle from
570, 400to604, 1230, set the foreground to white and fill it. Keep the selection, press Add Layer again (Straw Stripes) and choose Edit → Fill with Pattern… with the same stripe tile. The pattern only fills the selection. Give this layer a pink Color Overlay, then choose Layer → Merge Down to bake the stripes into Straw.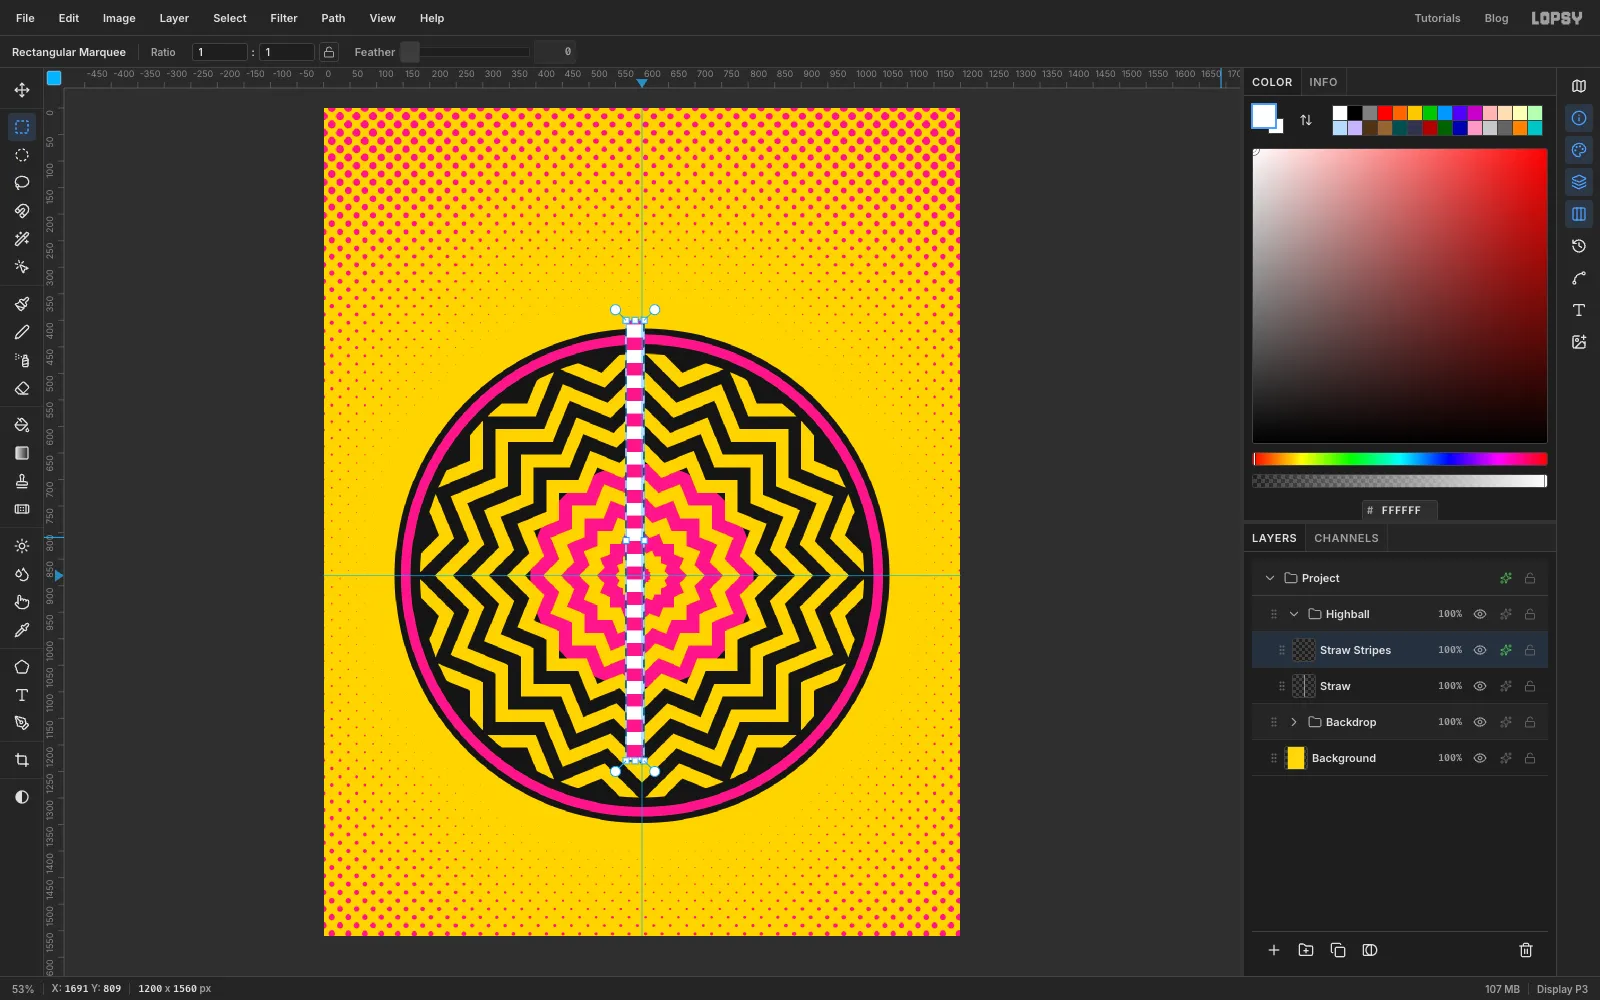
-
Tilt the straw
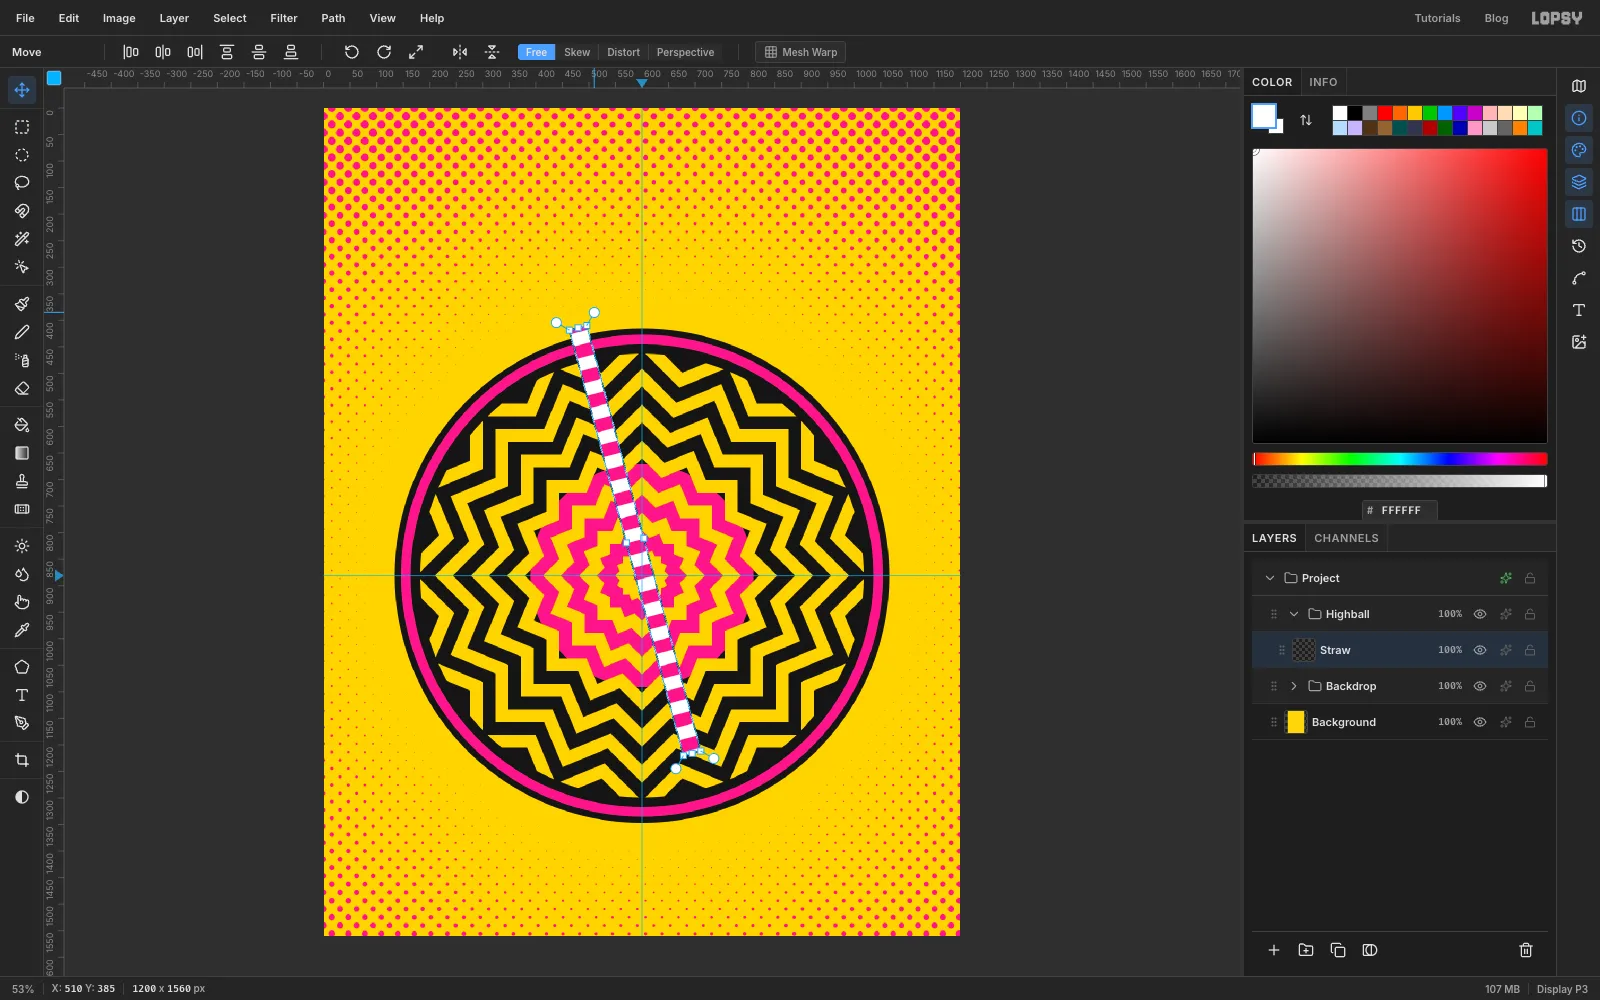
Press Cmd+D to clear the old selection, then use the Rectangular Marquee's dialog to draw the same rectangle again (
570, 400to604, 1230), so the transform box hugs the straw. Switch to the Move tool. Grab the small round rotation handle just outside the top-right corner and drag anticlockwise while holding Cmd. Cmd snaps the angle to 15° steps, so stop at the first step: −15°.Press Cmd+D to commit the rotation.
-
Draw the glass
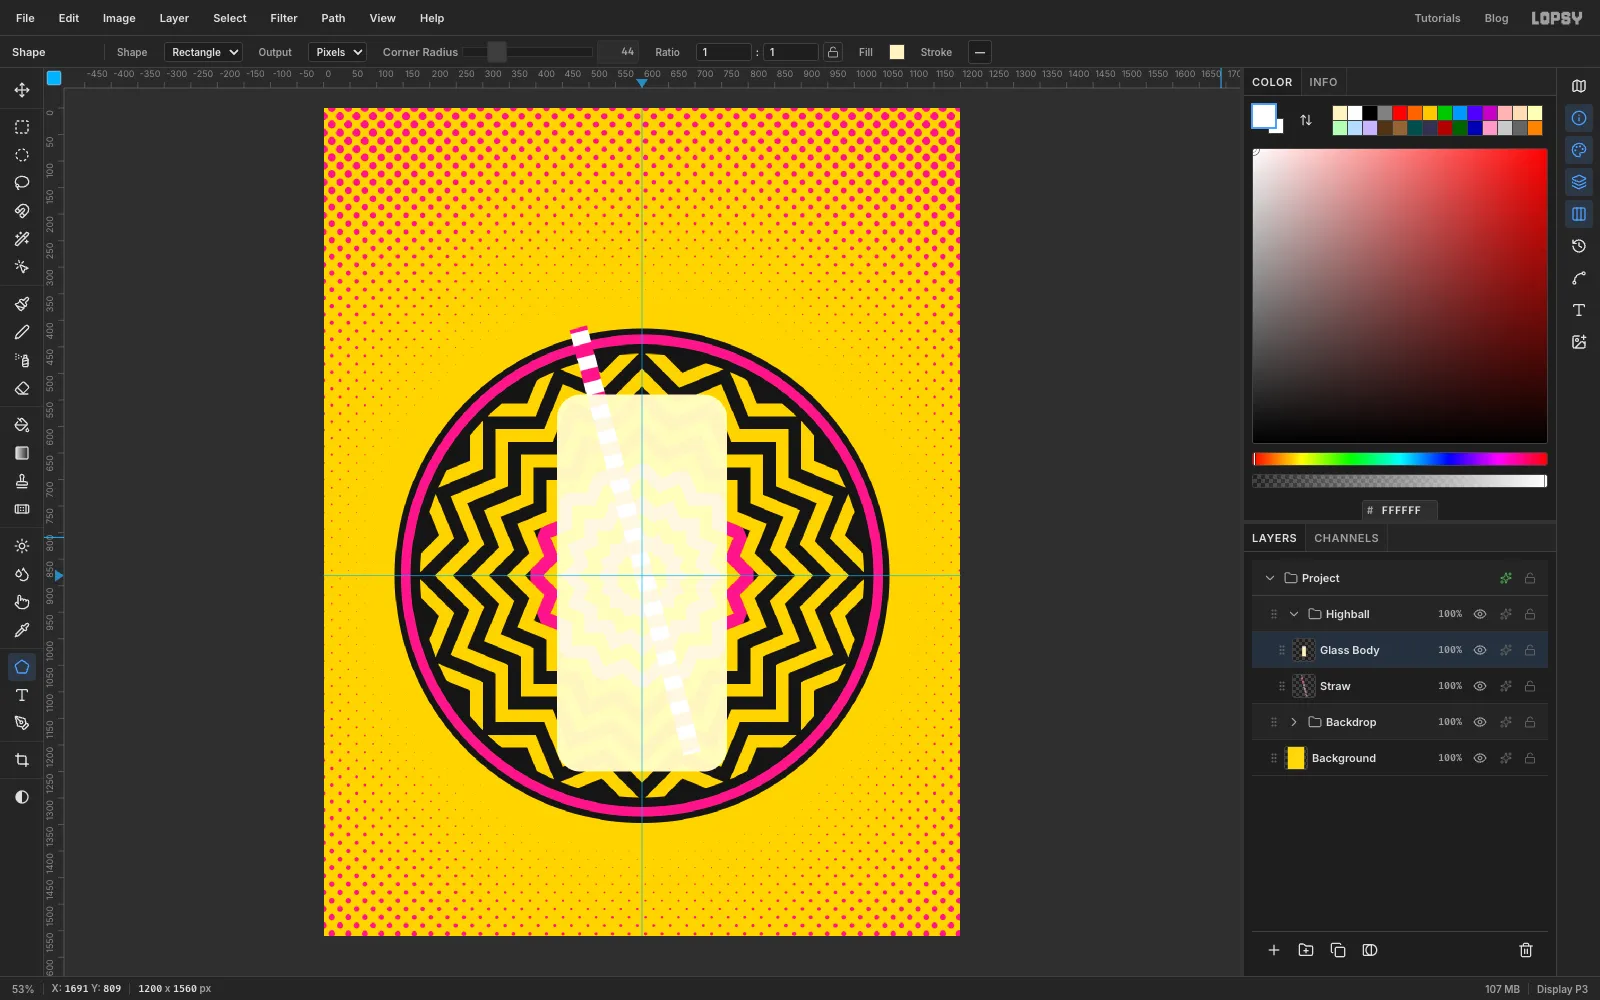
Press Add Layer and name it Glass Body. Pick the Shape tool (U). Set Shape to Rectangle, Output to Pixels and Corner Radius to
44. Set the fill to and remove the stroke.Click once at
600, 895without dragging. In the Shape Size dialog enter 320 × 710. The glass runs from440, 540to760, 1250.In the effects drawer, set Blend to Screen. Screen can only lighten, so the black zigzags behind the glass turn pale cream and the glass looks clear.
-
Fill the liquid
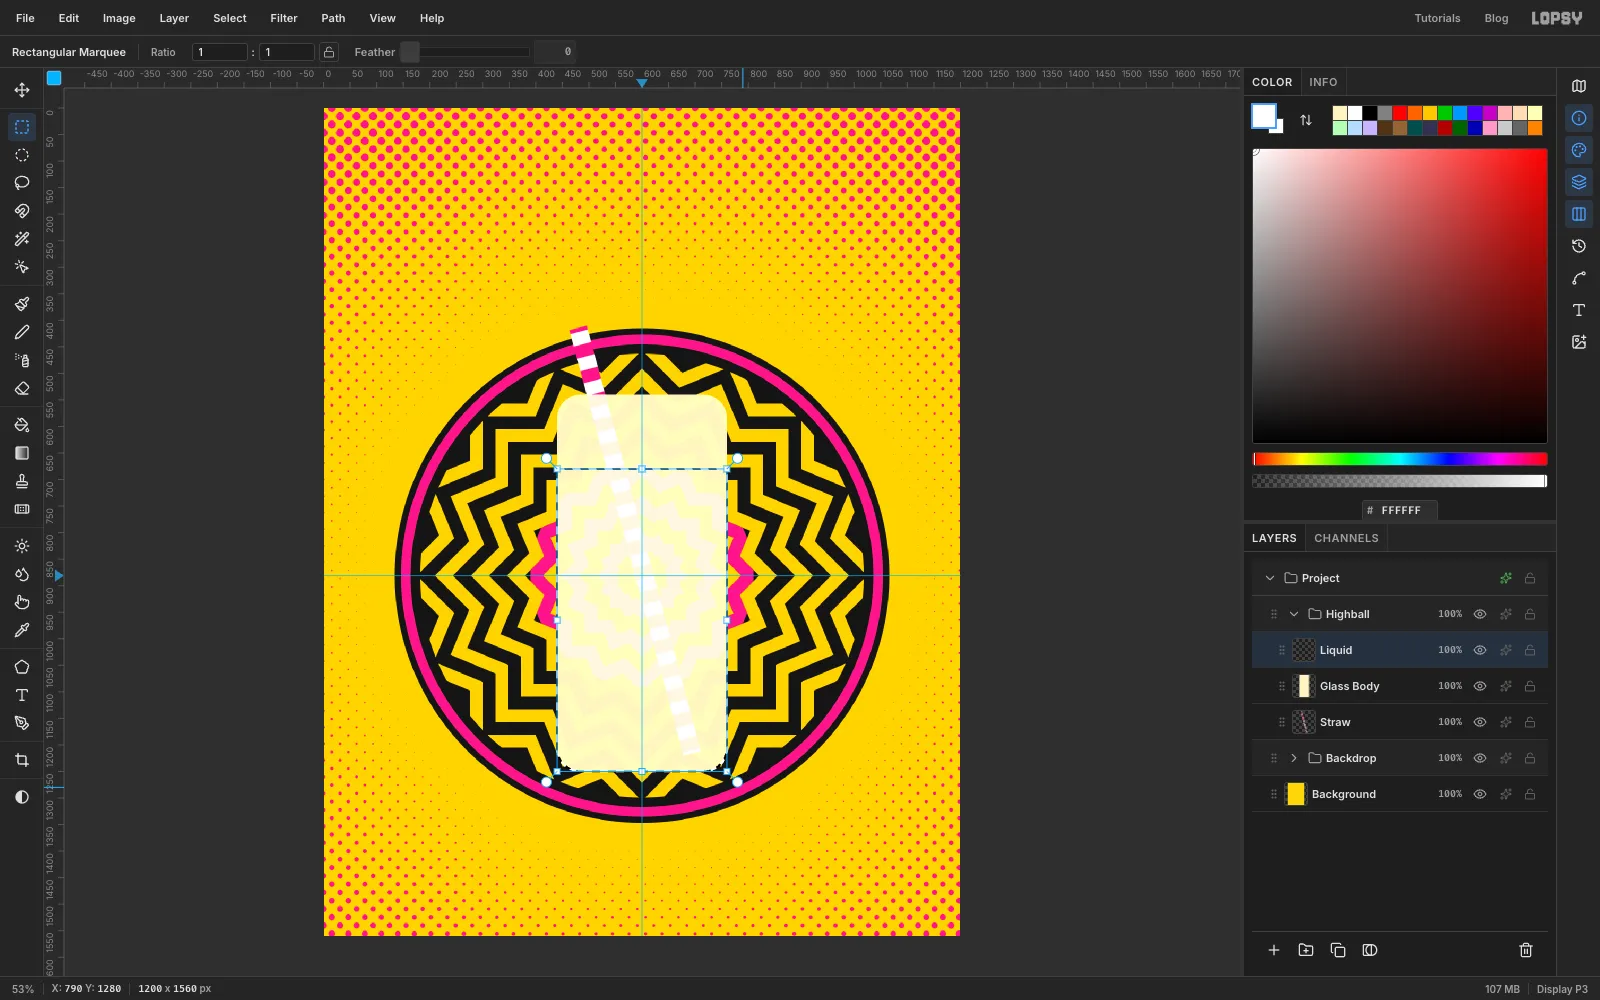
Press Add Layer and name it Liquid. Cmd-click the Glass Body thumbnail to select the glass shape. Pick the Rectangular Marquee, hold Shift+Alt and drag from just left of the glass at
y = 680to below its bottom-right corner. Only the glass below the liquid line stays selected.Fill it with yuzu yellow and press Cmd+D.
-
Make magnified rings for the liquid
The liquid acts as a lens. You'll use the same recipe as the Blaze, with a bigger tile, so the rings come out 1.6× larger instead of blurry.
Press Add Layer. With the Rectangular Marquee, make an exact rectangle from
0, 0to76, 38and fill it with cyan . Press Cmd+D, make a second exact selection from0, 0to76, 76, and choose Edit → Define Pattern. Press Cmd+D and delete that tile layer.Click the Liquid row and add a layer named Lens. Choose Edit → Fill with Pattern… and pick the new cyan tile. Run Filter → Kaleidoscope… with Segments
16and Rotation45again. Then, with the Move tool, press Shift+Down ten times and Down once, exactly as you did for the Blaze, so both sets of rings share a centre.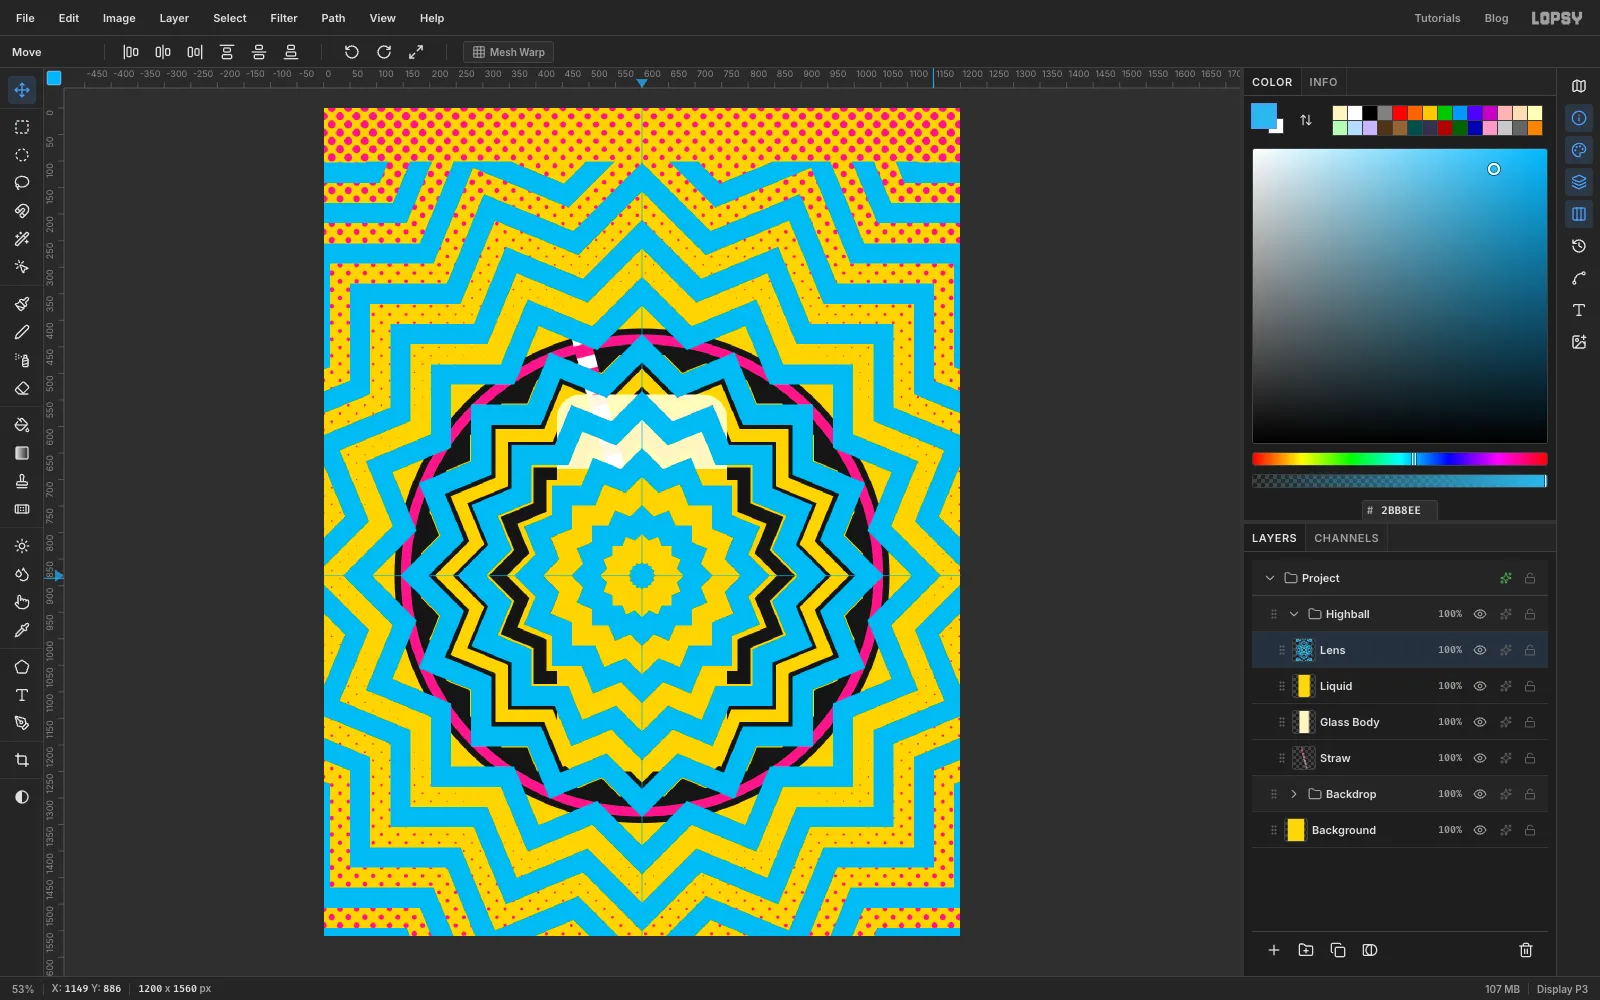
-
Trim the lens to the liquid
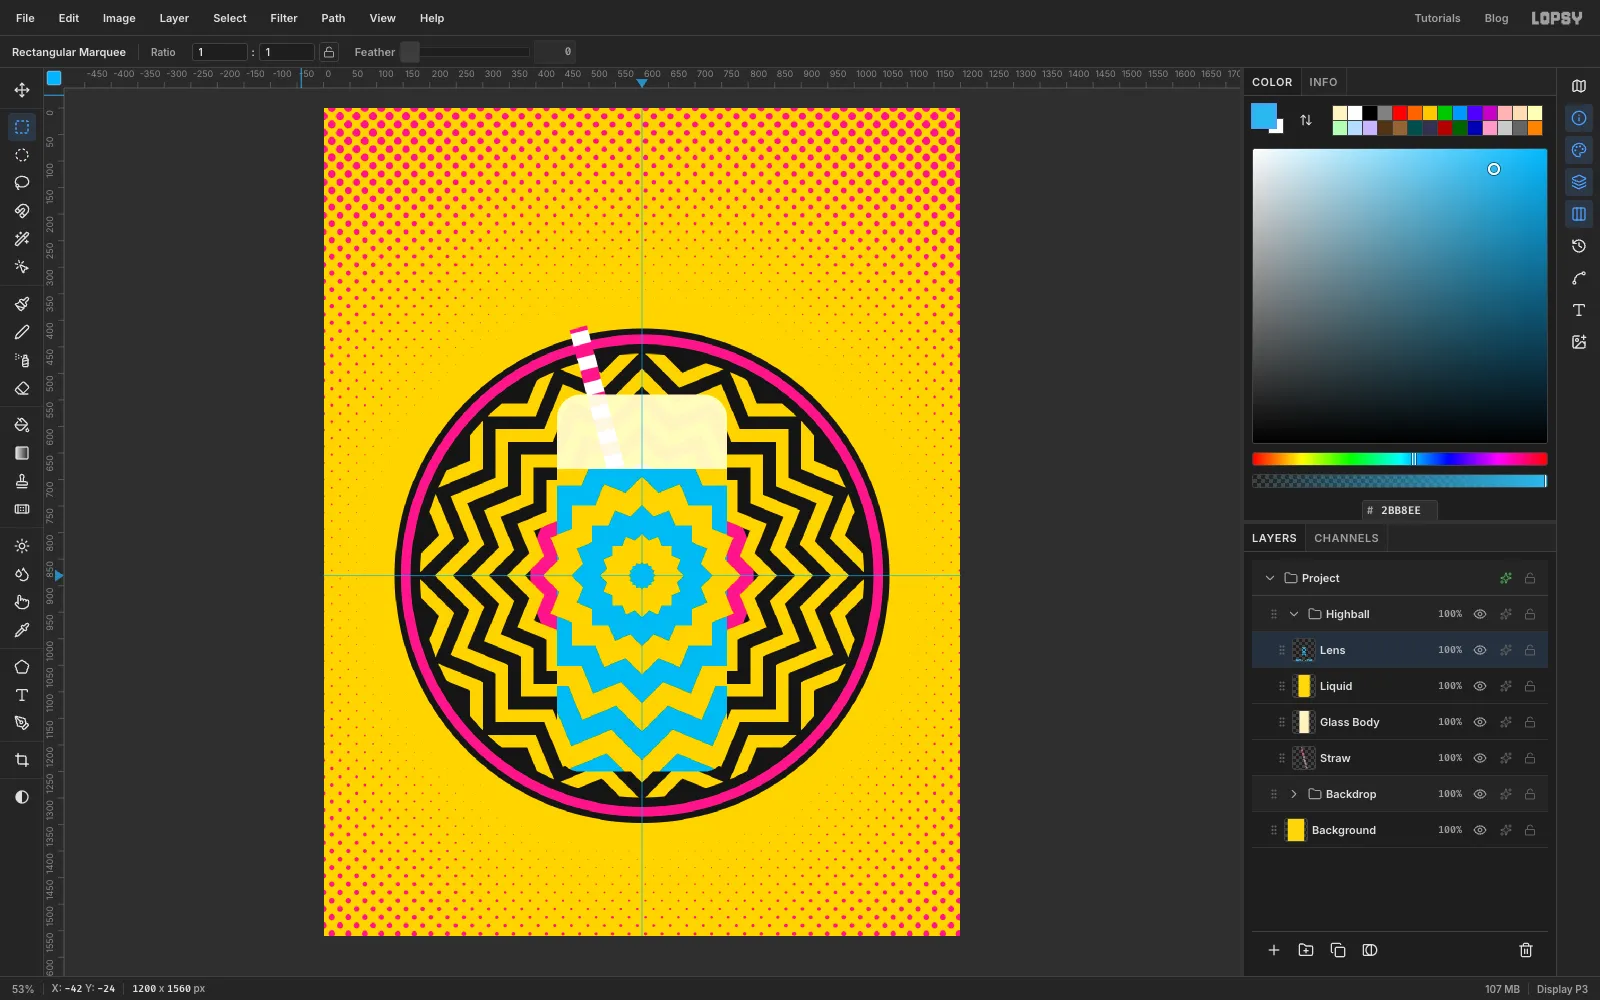
Select the liquid again: Cmd-click the Glass Body thumbnail, then hold Shift+Alt and drag the same rectangle from the liquid line down. Choose Select → Inverse, press Delete and press Cmd+D.
Inside the glass the rings are now cyan and much bigger than outside it.
-
Bend the straw at the liquid line
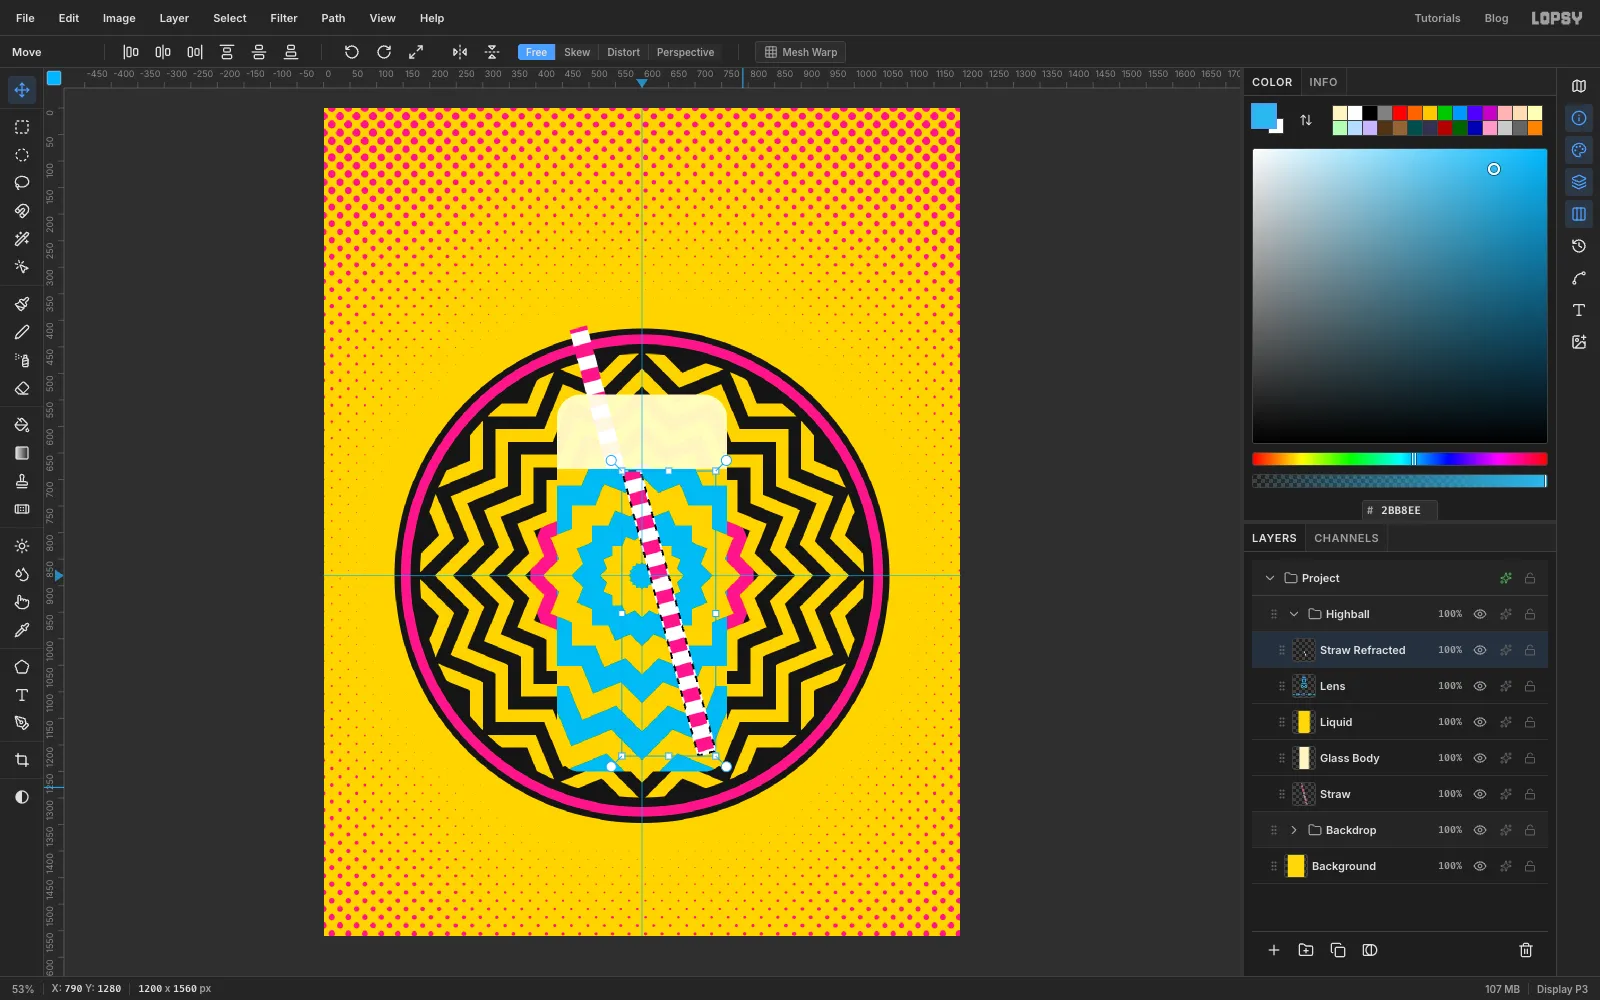
A straw looks broken where it enters water. Cmd-click the Straw thumbnail, then hold Shift+Alt and drag a rectangle from just below the liquid line to below the glass. That keeps only the underwater part of the straw.
Click the Straw row and press Cmd+C. Click the Lens row and press Cmd+V. The copy pastes in place on a new layer above the lens. Rename it Straw Refracted. With the Move tool, press Shift+Right twice and Right eight times to shift it 28 px.
-
Shade the liquid with dots
Select the liquid again (Cmd-click Glass Body, then Shift+Alt drag) and add a layer named Glass Shade. With the Gradient tool set to Linear, use three stops: white at 0%, white at 35%, at 100%. Drag from the left wall of the glass to the right wall.
Run Filter → Halftone… with Dot Size
10, Density1, Angle45and Softness0.5. Press Cmd+D and give the layer a hot pink Color Overlay. The dots shade the right side of the glass like a printed cylinder.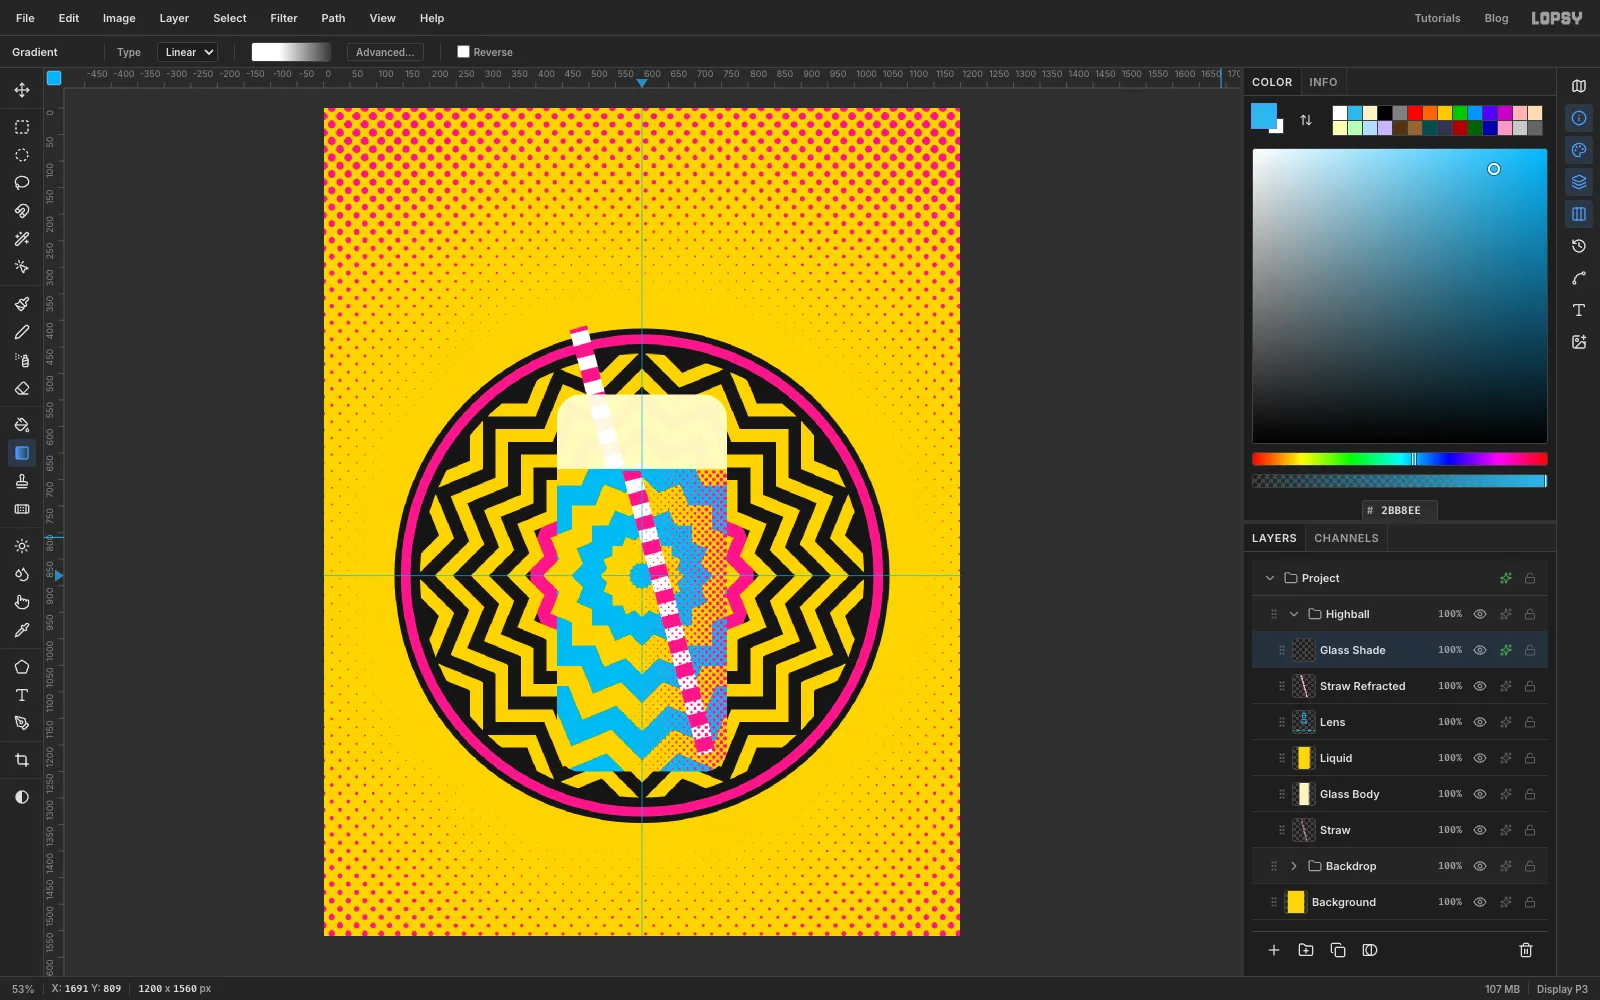
-
Outline the glass
Add a layer named Glass Outline. Cmd-click the Glass Body thumbnail, fill the selection with ink, then choose Select → Shrink… and enter
12. Press Delete and Cmd+D. What's left is a 12 px outline, the same weight as the rim.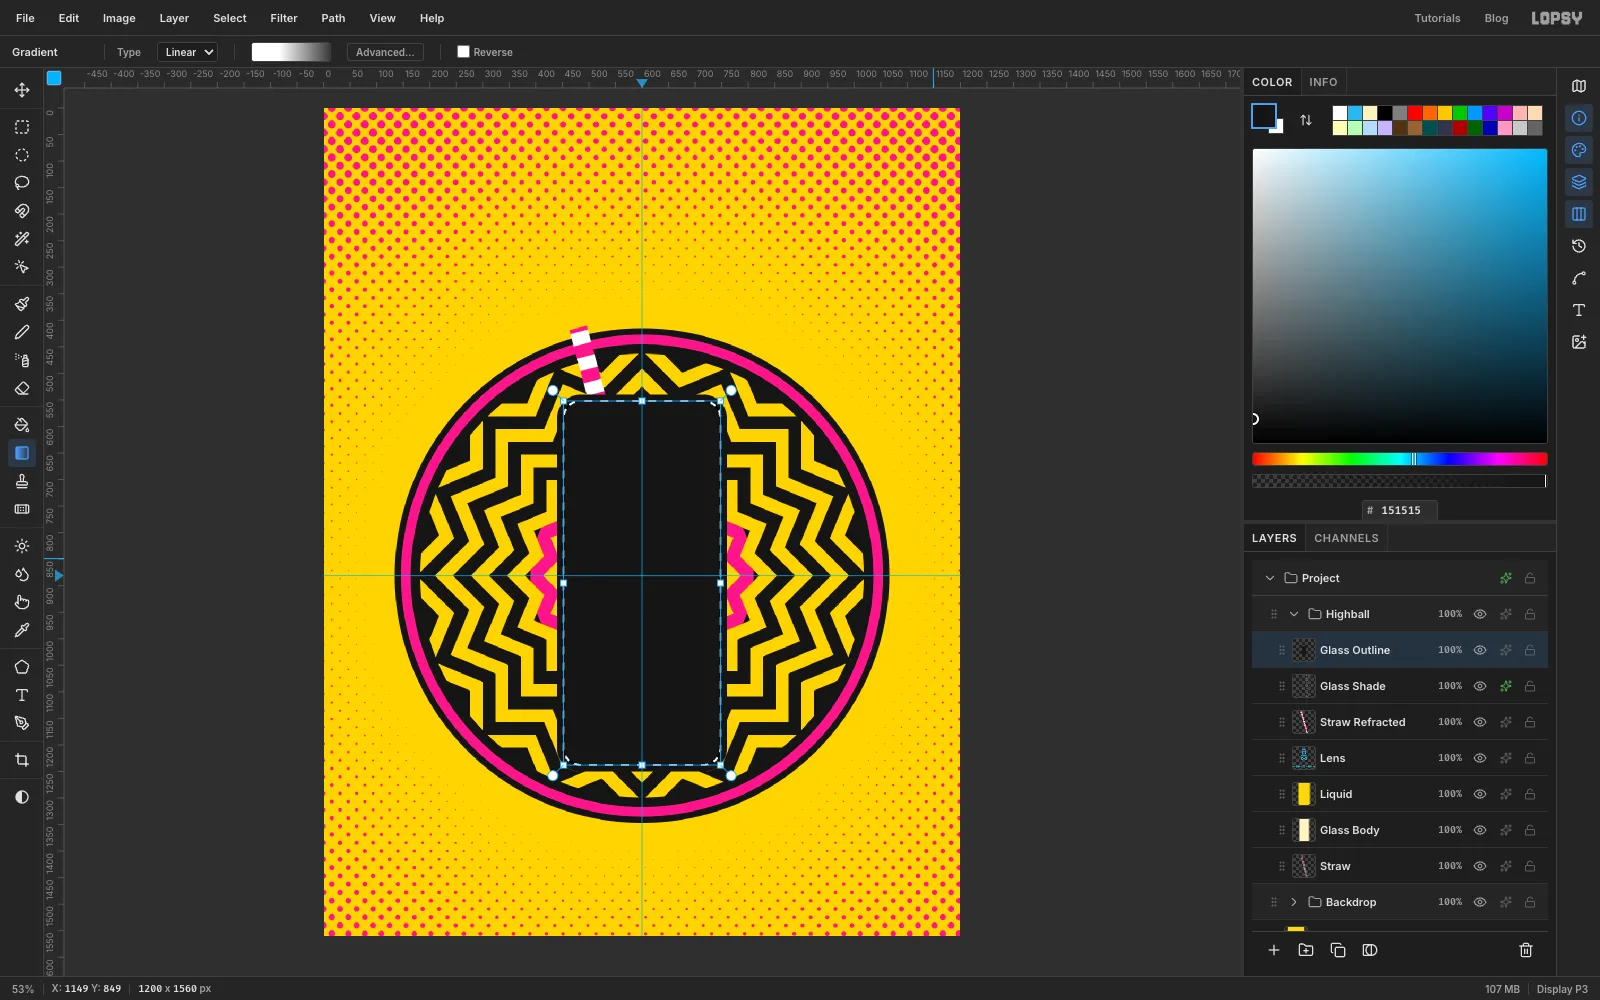
-
Add the liquid line and glints
Stay on Glass Outline. Pick the Brush (B) and set Size
8, Hardness100and Opacity100with ink as the colour. Click at446, 680, then Shift-click at754, 680for a straight liquid line.Add a layer named Glints and switch to white. With Size
20, click at476, 590and Shift-click at476, 1190. With Size8, draw a shorter stroke from504, 590to504, 940, and a short one near the top right from724, 590to724, 650.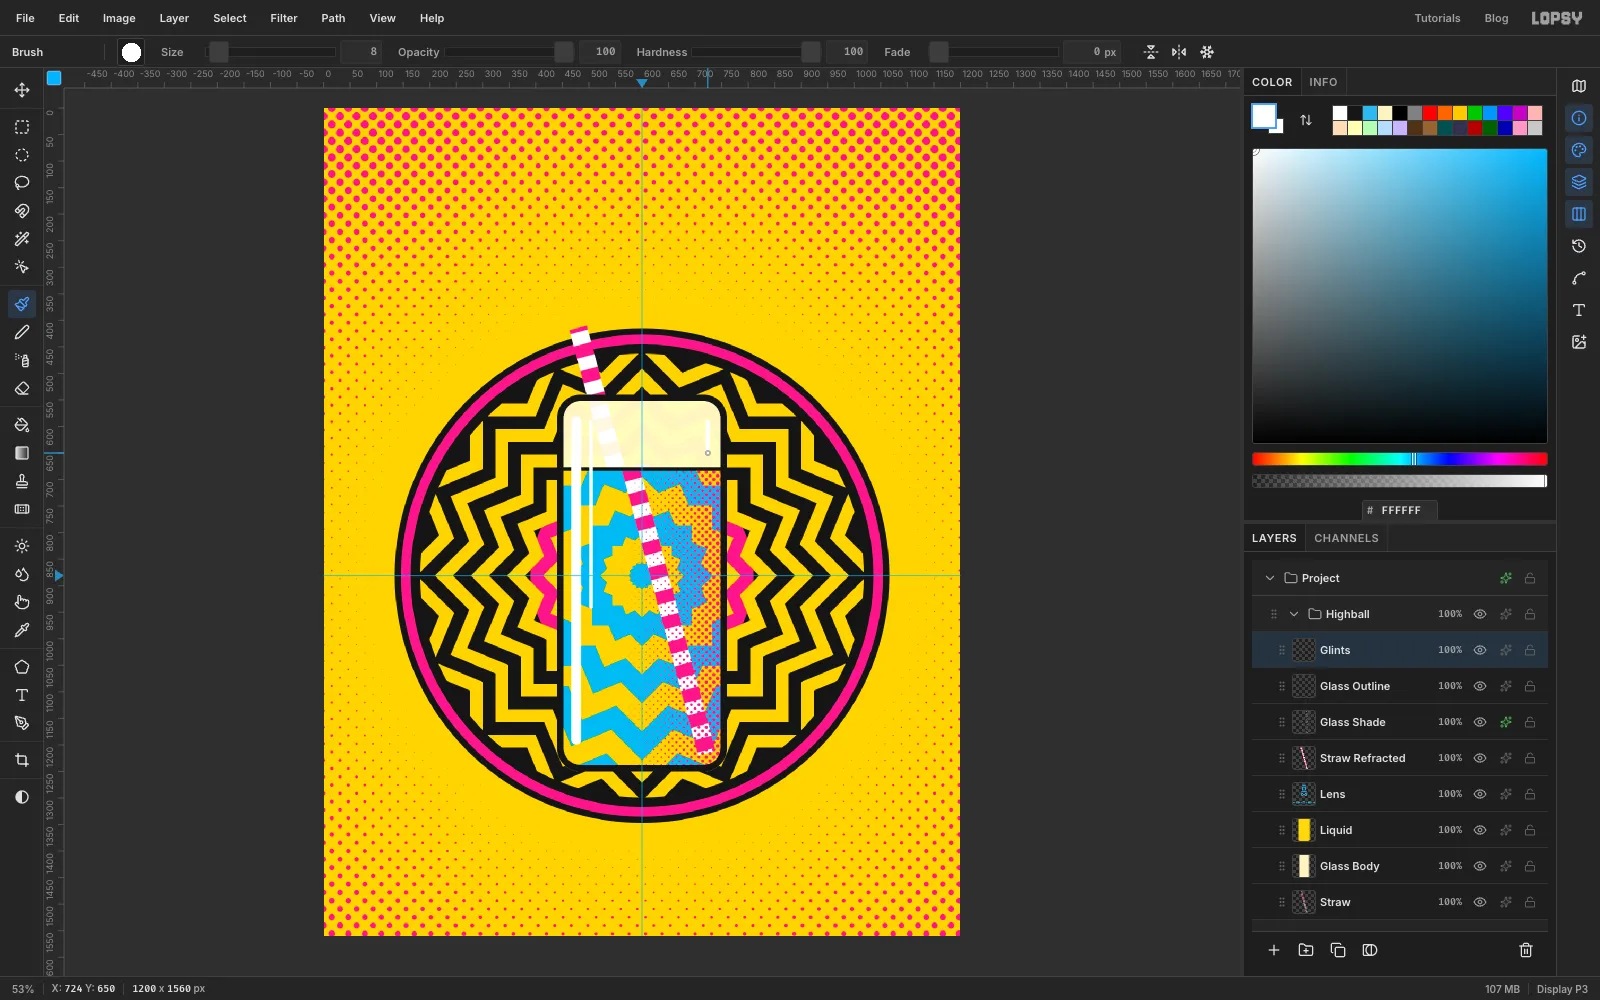
-
Drop in two ice cubes
Click the Glass Shade row so the cubes sit under the outline. Add a layer named Ice A. Pick the Shape tool with Rectangle, Corner Radius
16, a white fill and an ink stroke with Width6. Click once at652, 702and enter 96 × 96.With the Rectangular Marquee, make an exact rectangle around the cube, from
599, 649to705, 755. With the Move tool, drag the rotation handle clockwise while holding Cmd for 30°, then press Cmd+D. In the effects drawer, turn on Inner Glow in cyan with Size10, Spread100and Opacity100. The full spread gives a flat cyan edge instead of a soft glow.Add Ice B the same way: click at
700, 800and enter 64 × 64, select663, 763to737, 837, rotate −15°, and give it the same Inner Glow.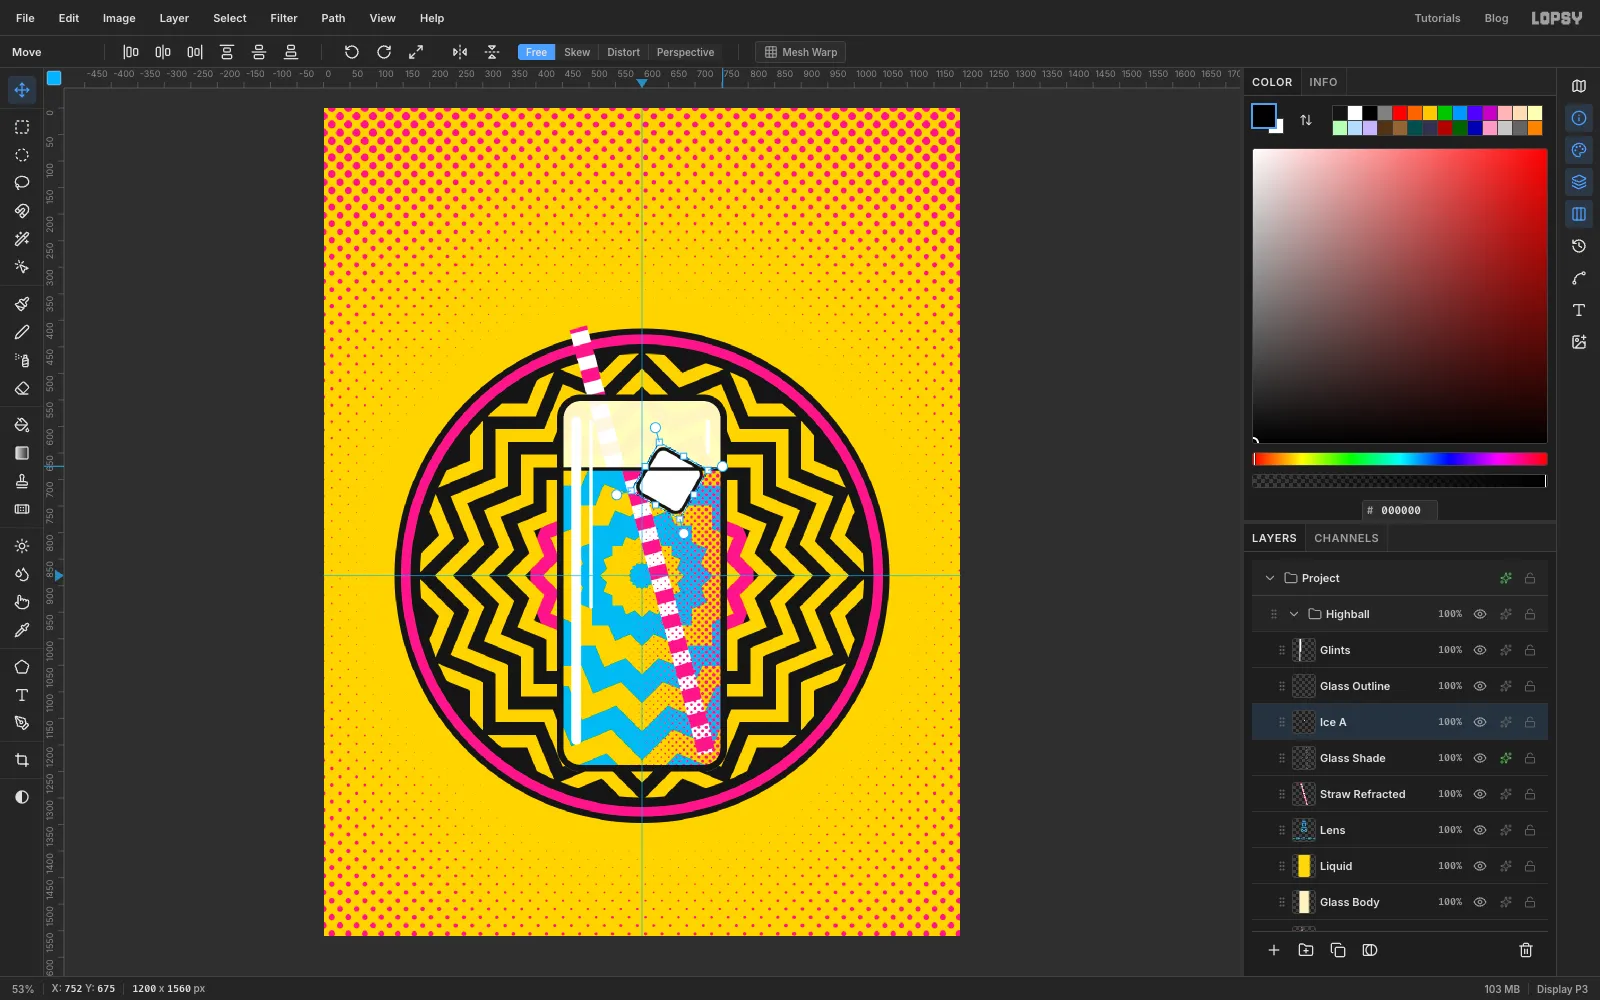
-
Add two columns of bubbles
Add a layer named Bubbles. Switch the Shape tool to Ellipse with a white fill and a 6 px ink stroke. Click-to-size six bubbles of mixed sizes up the right side of the straw:
729, 1200at 16 × 16,711, 1132at 18 × 18,694, 1068at 22 × 22676, 1000at 14 × 14,662, 948at 26 × 26,646, 890at 20 × 20
With the Rectangular Marquee, make an exact rectangle around them, from
630, 872to742, 1214. Press Cmd+C, then Cmd+V to paste a copy in place on a new layer. With the Move tool, nudge it 78 px left and 20 px down with the arrow keys, onto the other side of the straw. Choose Layer → Merge Down.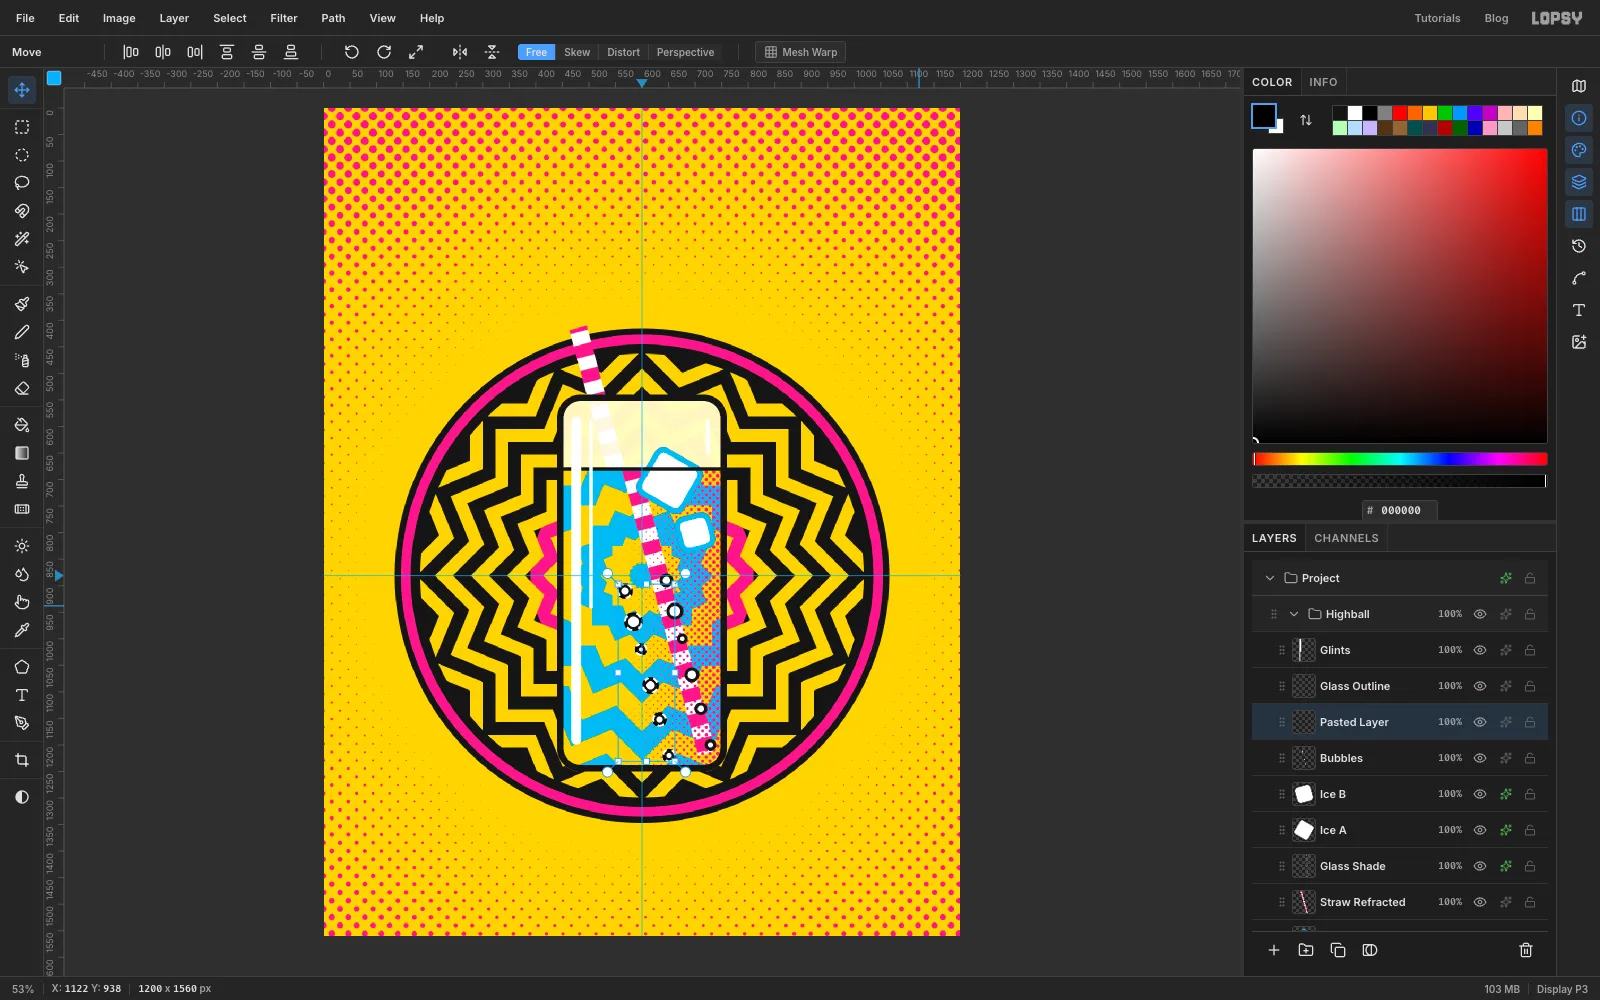
-
Build the yuzu wheel
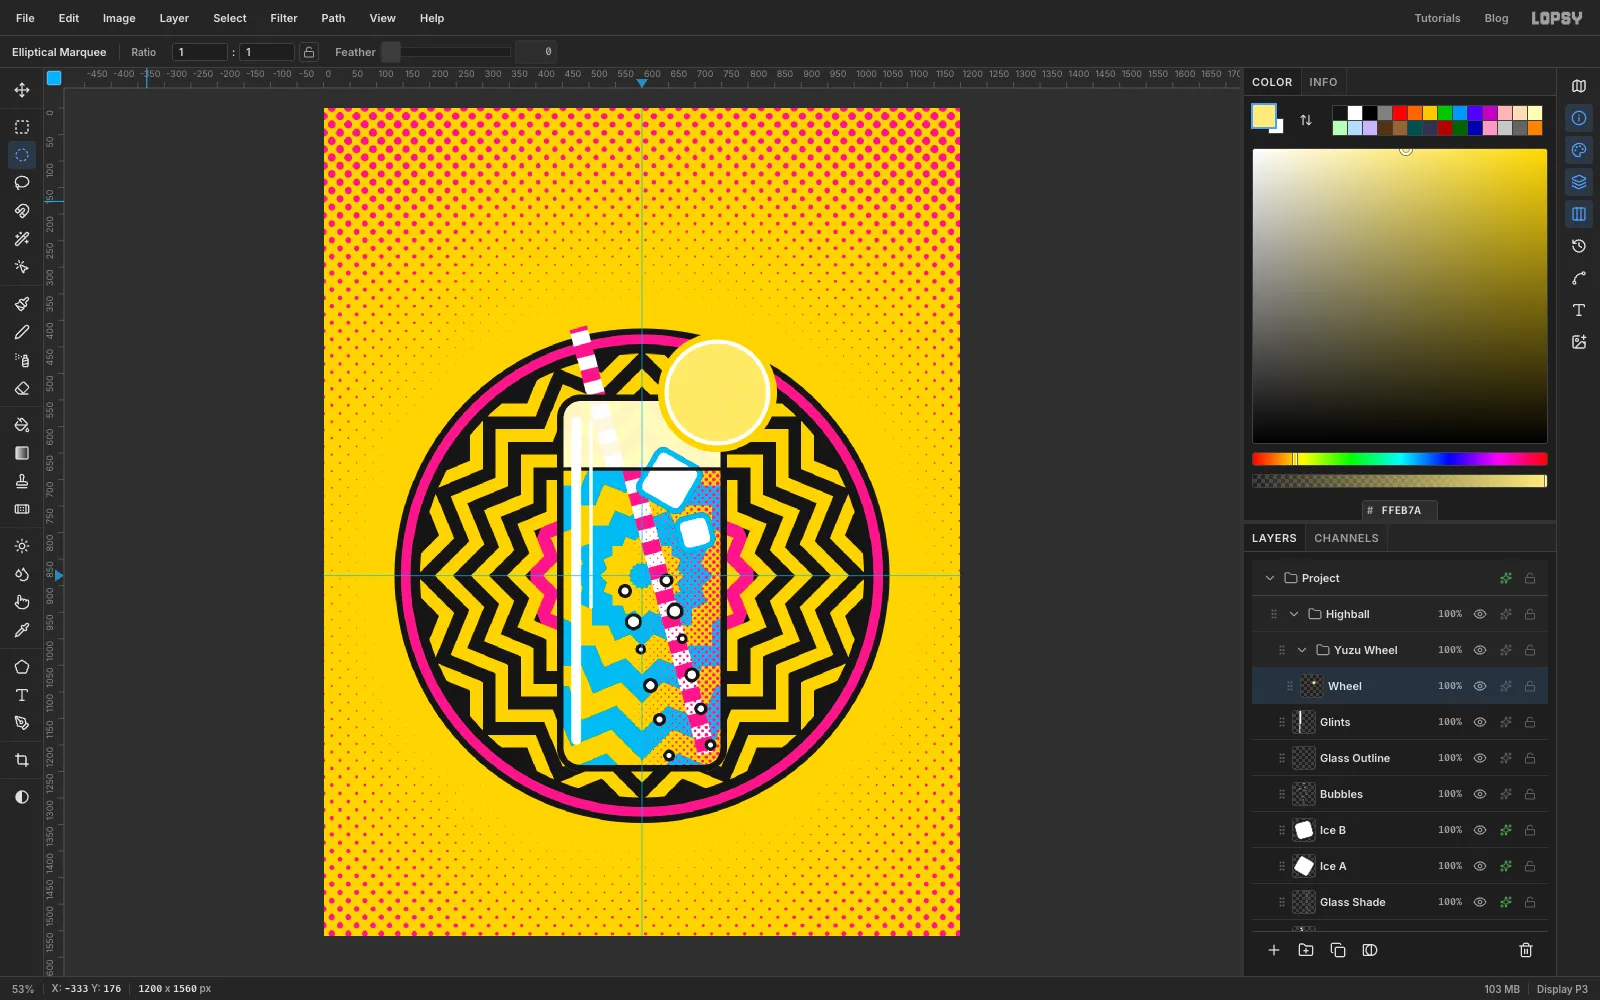
Click the Glints row and press New Group. Name it Yuzu Wheel, and add a layer inside it named Wheel. With the Elliptical Marquee dialog, make three circles centred on
742, 536. Press Cmd+D after each fill so the next click opens the dialog again:630, 424to854, 648, filled with yuzu yellow (the rind)642, 436to842, 636, filled with white (the pith)650, 444to834, 628, filled with (the flesh)
-
Paint the segments with Radial Symmetry
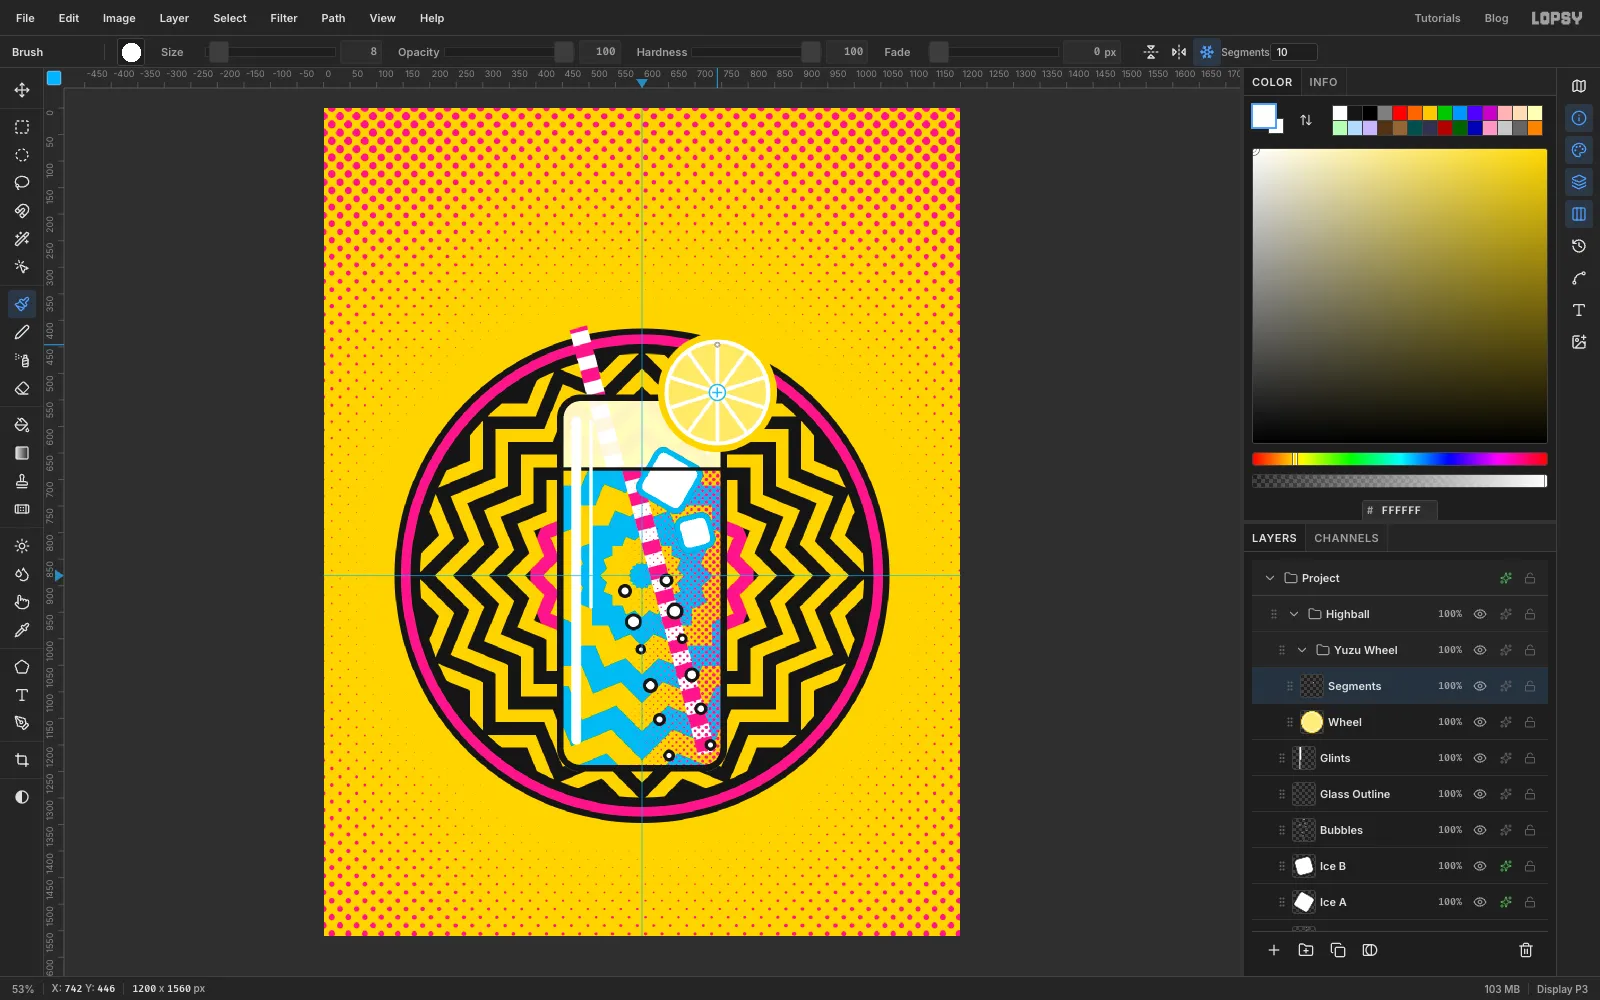
Add a layer named Segments. Pick the Brush with Size
8, Hardness100and white. In the options bar, turn on Radial Symmetry and set Segments to10. Cmd-click the centre of the wheel (742, 536) to move the symmetry centre there.Click the centre, then Shift-click straight up at
742, 446. One stroke paints all ten spokes. Change to Size12and , and click once between two spokes about 58 px out (around760, 481) for ten juice dots. Then click the centre once at Size22in white.Turn Radial Symmetry off and choose Layer → Merge Down.
-
Outline the wheel and cut a slit
Give Wheel a Stroke in ink with Width
12. For a hard pop shadow, choose Layer → Duplicate Layer and name the copy Wheel Face. Click the original, rename it Wheel Shadow, give it an ink Color Overlay, and nudge it 10 px right and 10 px down with the arrow keys. The copy on top stays in colour.Click Wheel Face, add a layer named Slit, and with a 12 px ink brush click at
754, 536, then Shift-click at754, 654. The line continues the glass wall up into the wheel, so it reads as a slice cut onto the rim.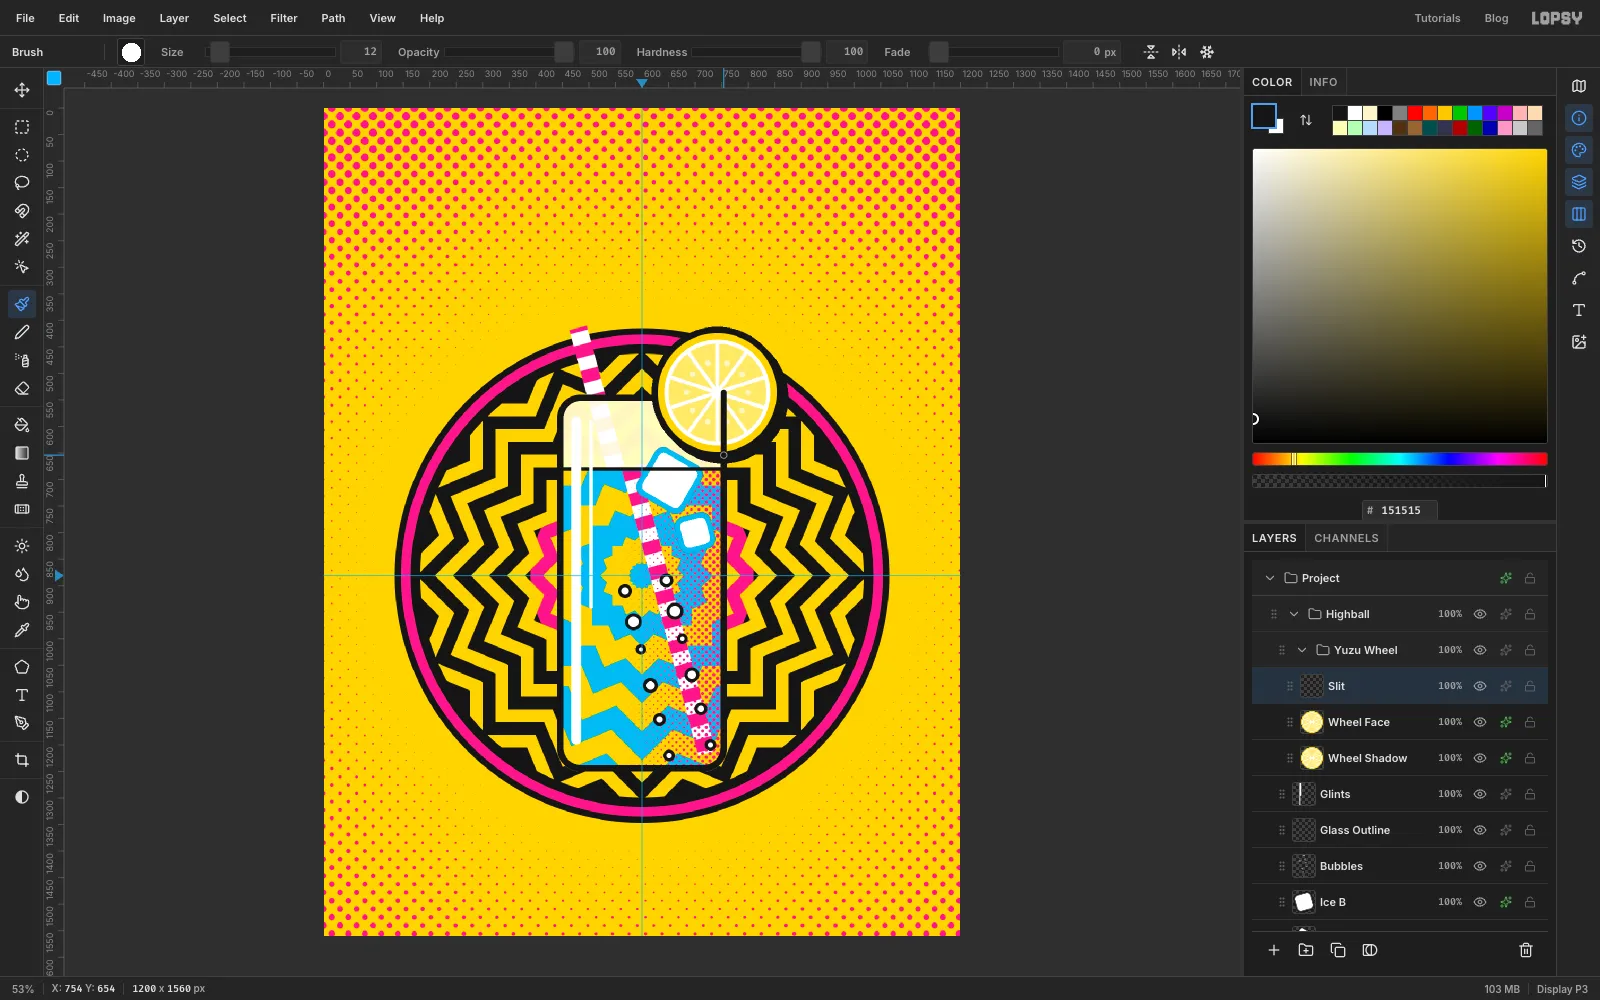
-
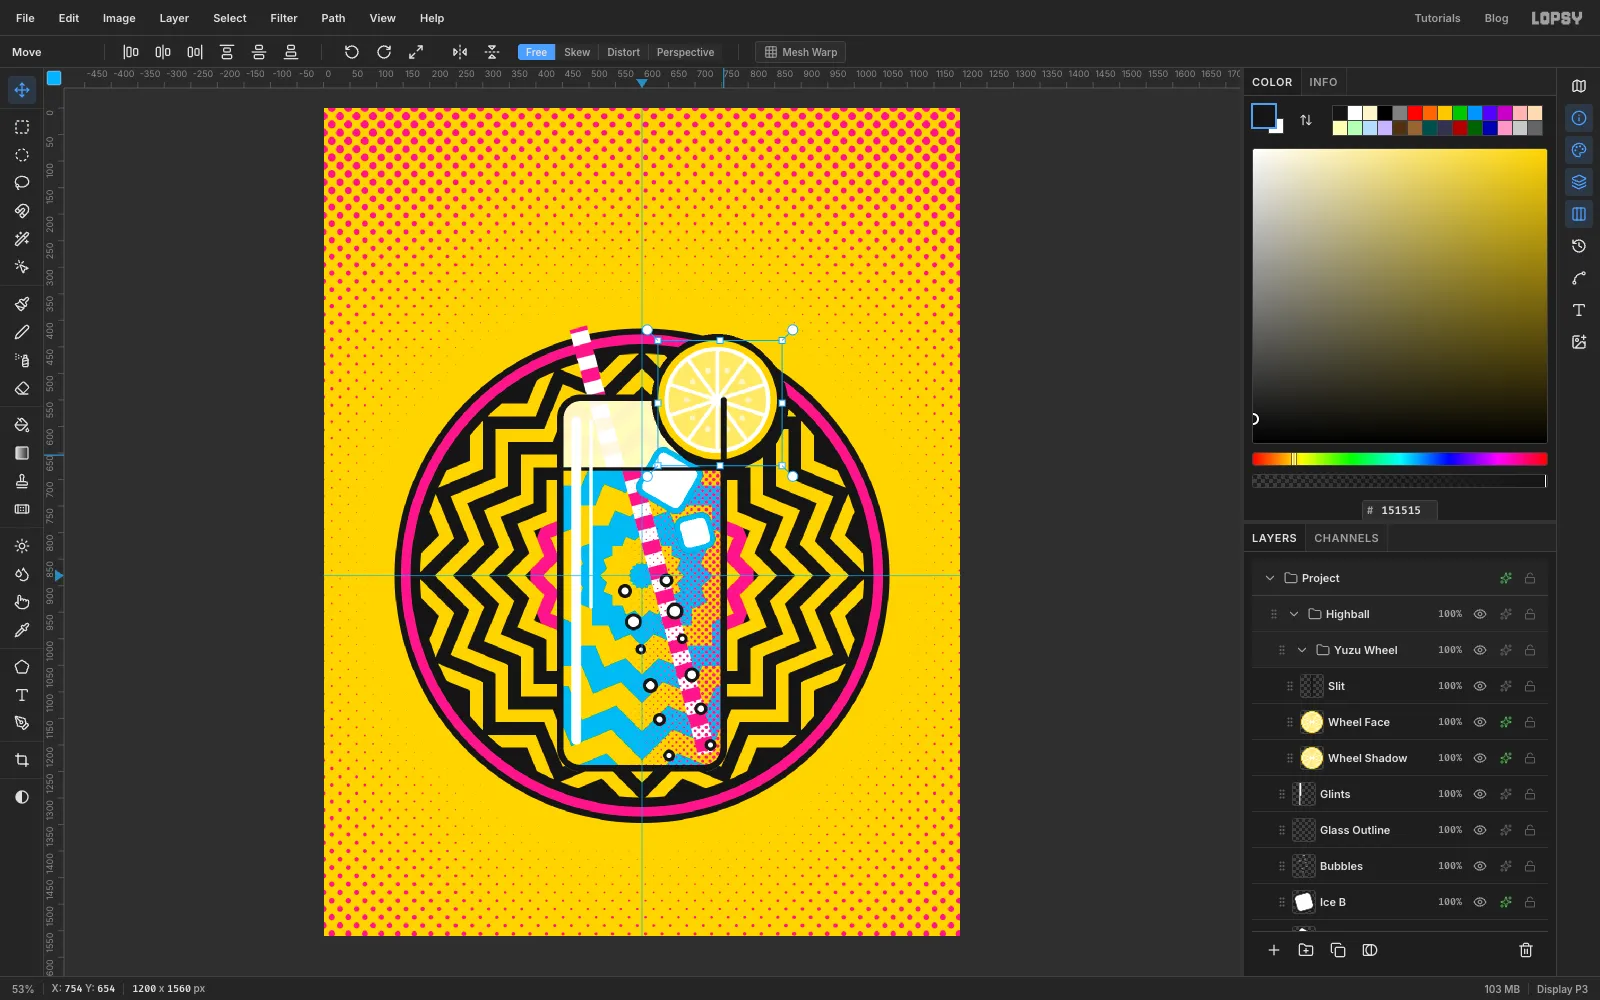
Nudge the wheel group onto the rim
Click the Yuzu Wheel group row. With the Move tool, press Shift+Down once and Down four times. All three layers move together, 14 px down, so the slice sits on the rim.
-
Add the bands and the price badge
Collapse Highball, keep it selected, and press New Group. Name it Type. Add a layer named Bands. With the Rectangular Marquee, fill two exact rectangles with ink:
0, 266to1200, 372for the banner, and0, 1390to1200, 1560for the info band.Add a layer named Badge, set the foreground to hot pink, and choose Filter → Sunburst…. Use Rays
20, Length8, Width100, Taper100, Rotation0, Center X12and Center Y32. Taper 100 turns the rays into spikes that merge into a solid star.The star is a little too big. Draw a marquee around it, switch to Move, hold Cmd and drag the bottom-right handle inward to about 88%. Press Cmd+D, then nudge the star with the arrow keys until it sits about 25 px in from the left edge, with a clear gap above it to the banner and below it to the ring (its centre ends up near
140, 500). Give it a 12 px ink Stroke, then make a hard shadow exactly as you did for the wheel: duplicate it and rename the copy Badge Face, turn the original into an ink Badge Shadow, and nudge that 10 px right and down.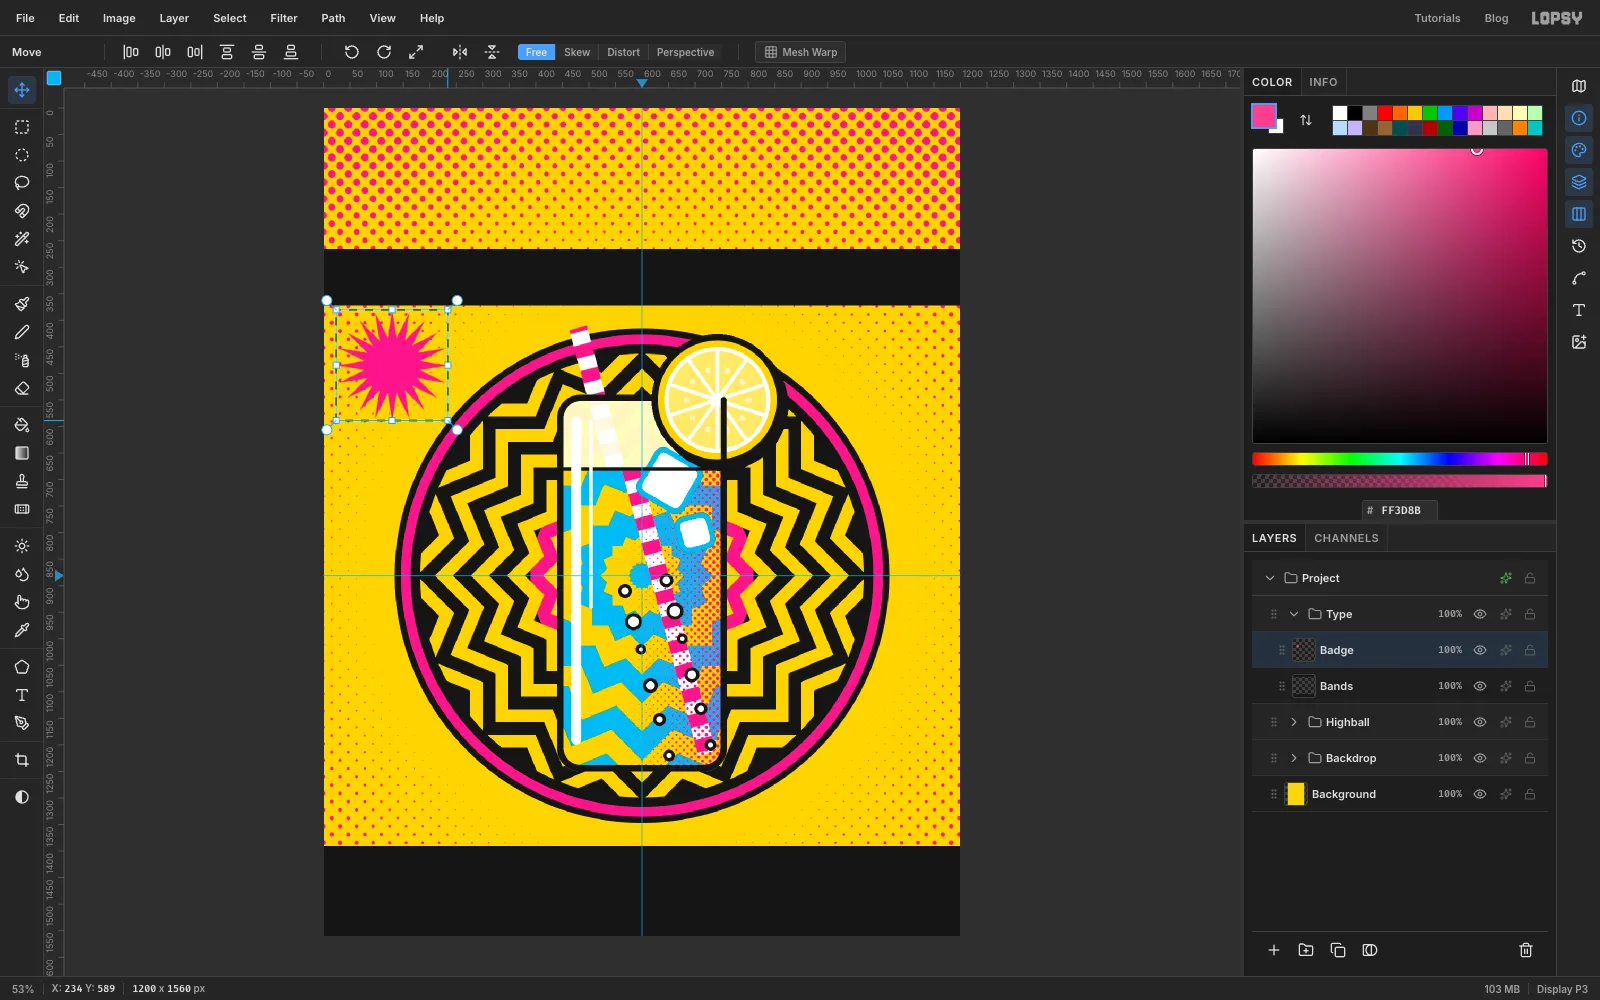
-
Set the YUZU title
Click the Badge Face row first. If a text layer is selected, the text options restyle that layer instead of the next one.
Pick the Text tool (T). Choose Chango, set Size to
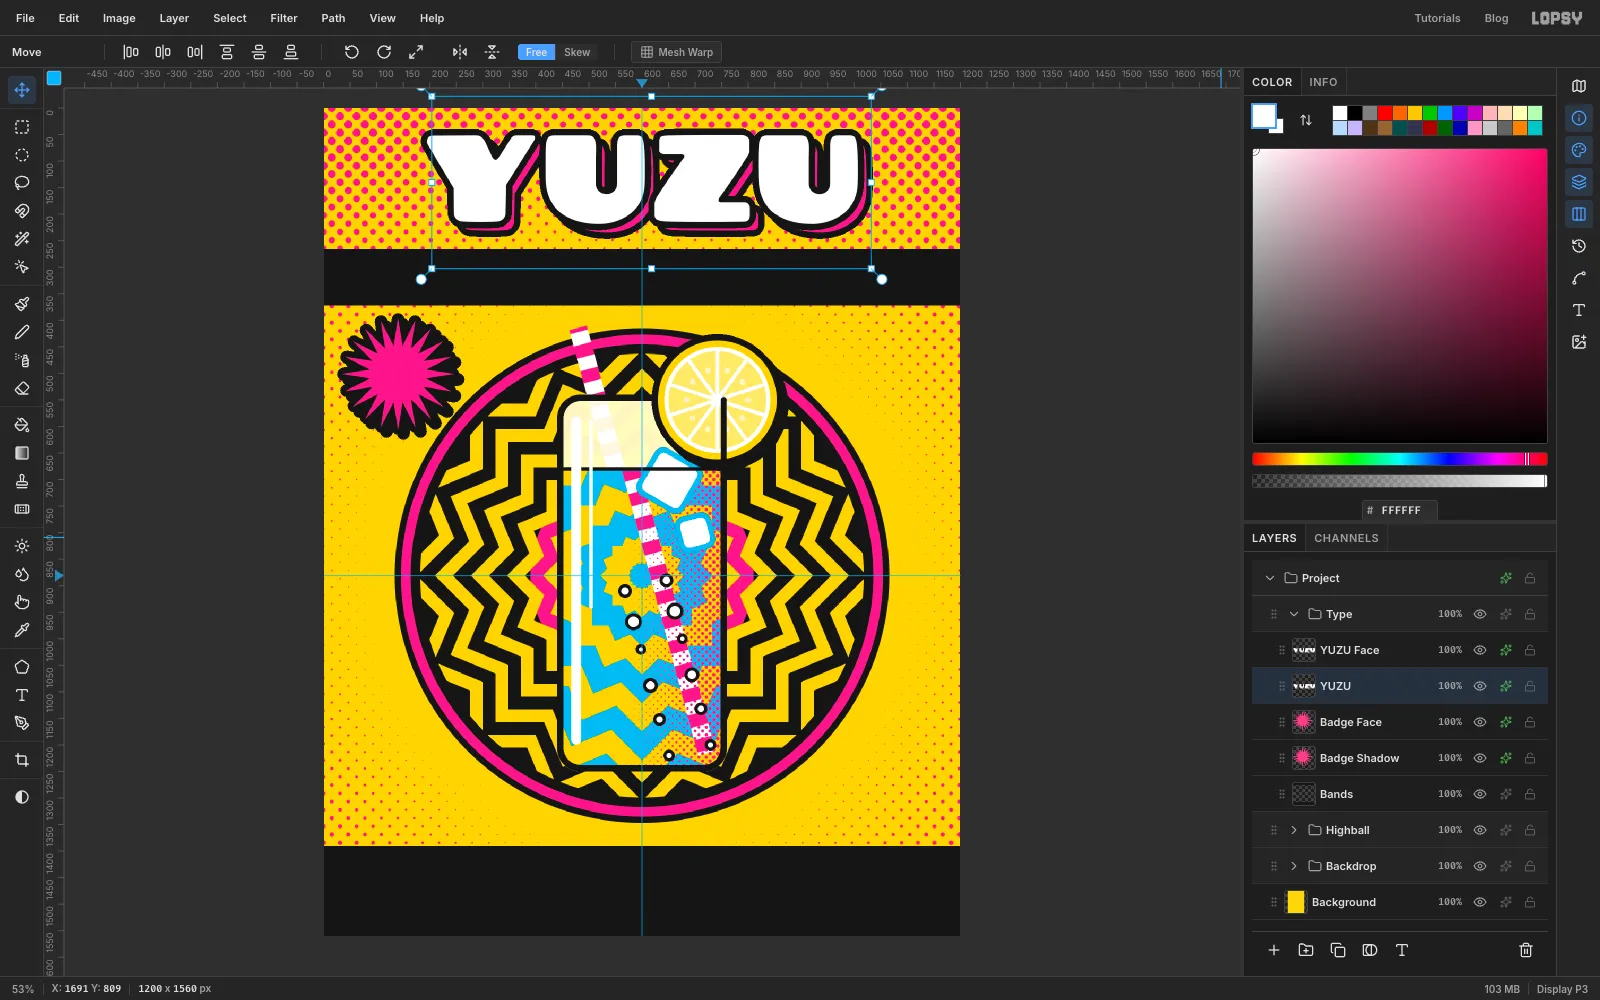
232and Align to Center, and set the foreground to white. Click at600, 30, typeYUZUand press Tab to commit. With the Move tool and the arrow keys, nudge it down until the gap above the letters roughly matches the gap between the pink shadow you're about to add and the banner (the letters end up about 51 px from the top).Add a 12 px ink Stroke. Duplicate the layer and rename the copy YUZU Face, then click the original, give it a hot pink Color Overlay and nudge it 16 px right and 16 px down for a block shadow.
-
Set the banner, badge and event details
Pick the Text tool again. Click Bands, then make HIGHBALL HOUR in Chango at
54in yuzu yellow, centred. Click at600, 285, type it, press Tab, and nudge it until it sits in the middle of the banner.For the badge, click Badge Face and set EACH in Rubik Mono One at
22in white, clicking at140, 512. Nudge it so it's centred on140, 530, and give it a 3 px ink Stroke. Click Badge Face again and set $6 in Chango at64in white, clicking at140, 438. Nudge it to centre on140, 487and give it a 6 px ink Stroke.For the bottom band, click Bands and set KUMO BAR · 418 MERCER ST · NYC in Archivo Black at
37in white (click at600, 1488). Click Bands again and set EVERY FRIDAY · 5–8 PM in Chango at58in yuzu yellow (click at600, 1398). Nudge the two lines so the gaps above, between and below them look even: the first line sits about 39 px below the top of the band and the second about 37 px above the bottom.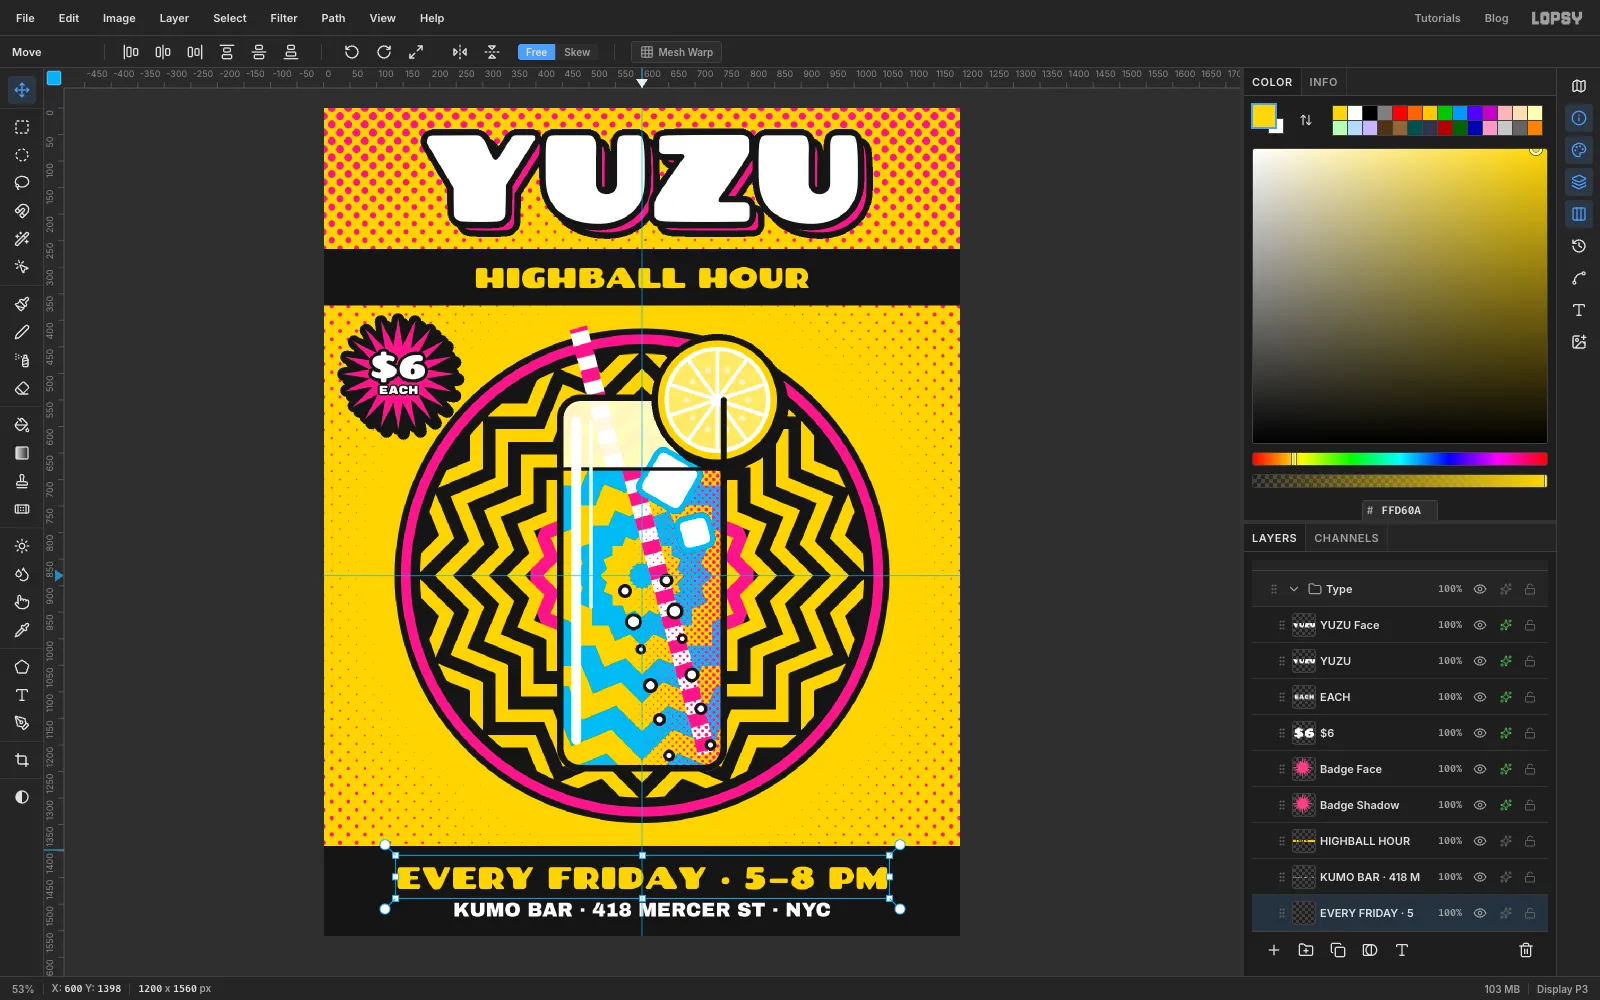
-
Clear the dots behind the title
Expand Backdrop and click Ben-Day Dots. Pick the Eraser (E) with Size
260and Opacity70. Make one sweep from left to right behind the title, at abouty = 145. The dots fade behind the letters and stay strong at the edges, so YUZU reads cleanly.Export with File → Quick Export PNG, and use File → Save Project to keep a
.lopsywith every layer.