Draw a Yeti Creature Sheet as a Zoological Plate
Turn a gorilla photo into film concept art for a yeti, laid out as a 19th-century zoology plate with a footprint cast, contour map and red-pencil notes.
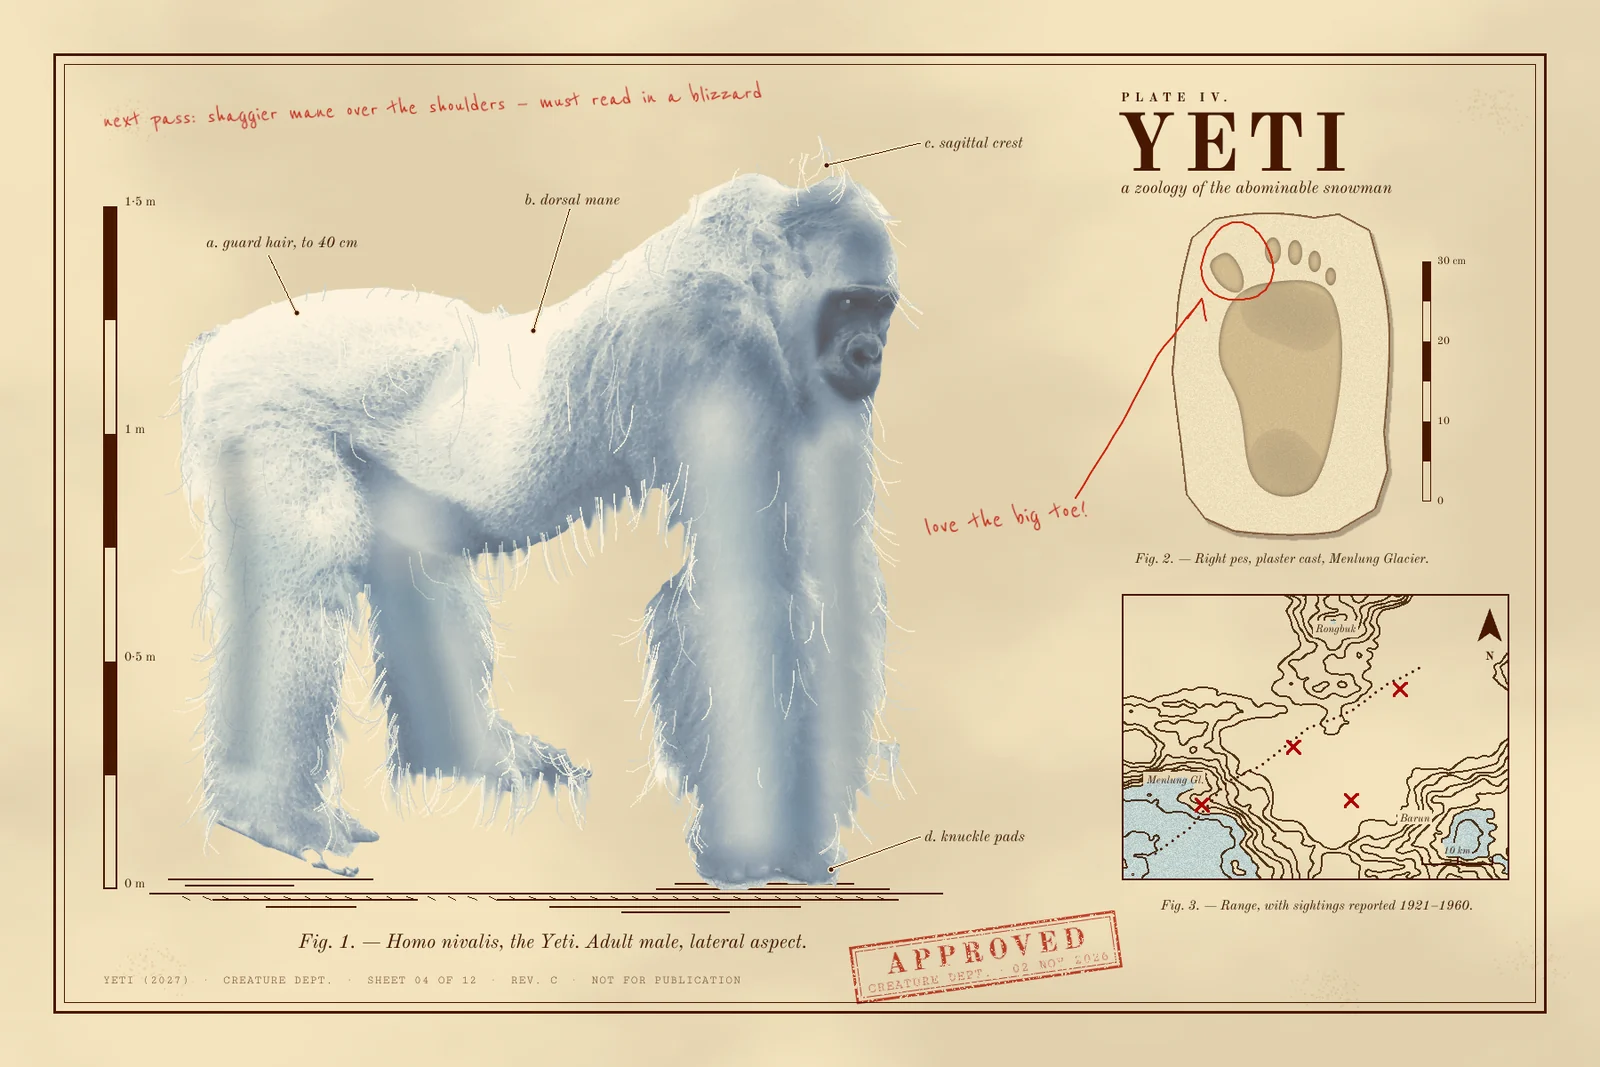
Before a film creature gets a sculpt or a 3D model, someone in the creature department pins down what it is: how big it is, how it stands, what its feet leave in the snow, where it lives. This tutorial makes one of those reference sheets for an imaginary film called YETI. It borrows the look of a 19th-century zoology plate: one large figure in side view, smaller numbered figures, italic captions, lettered callouts and a scale rod.
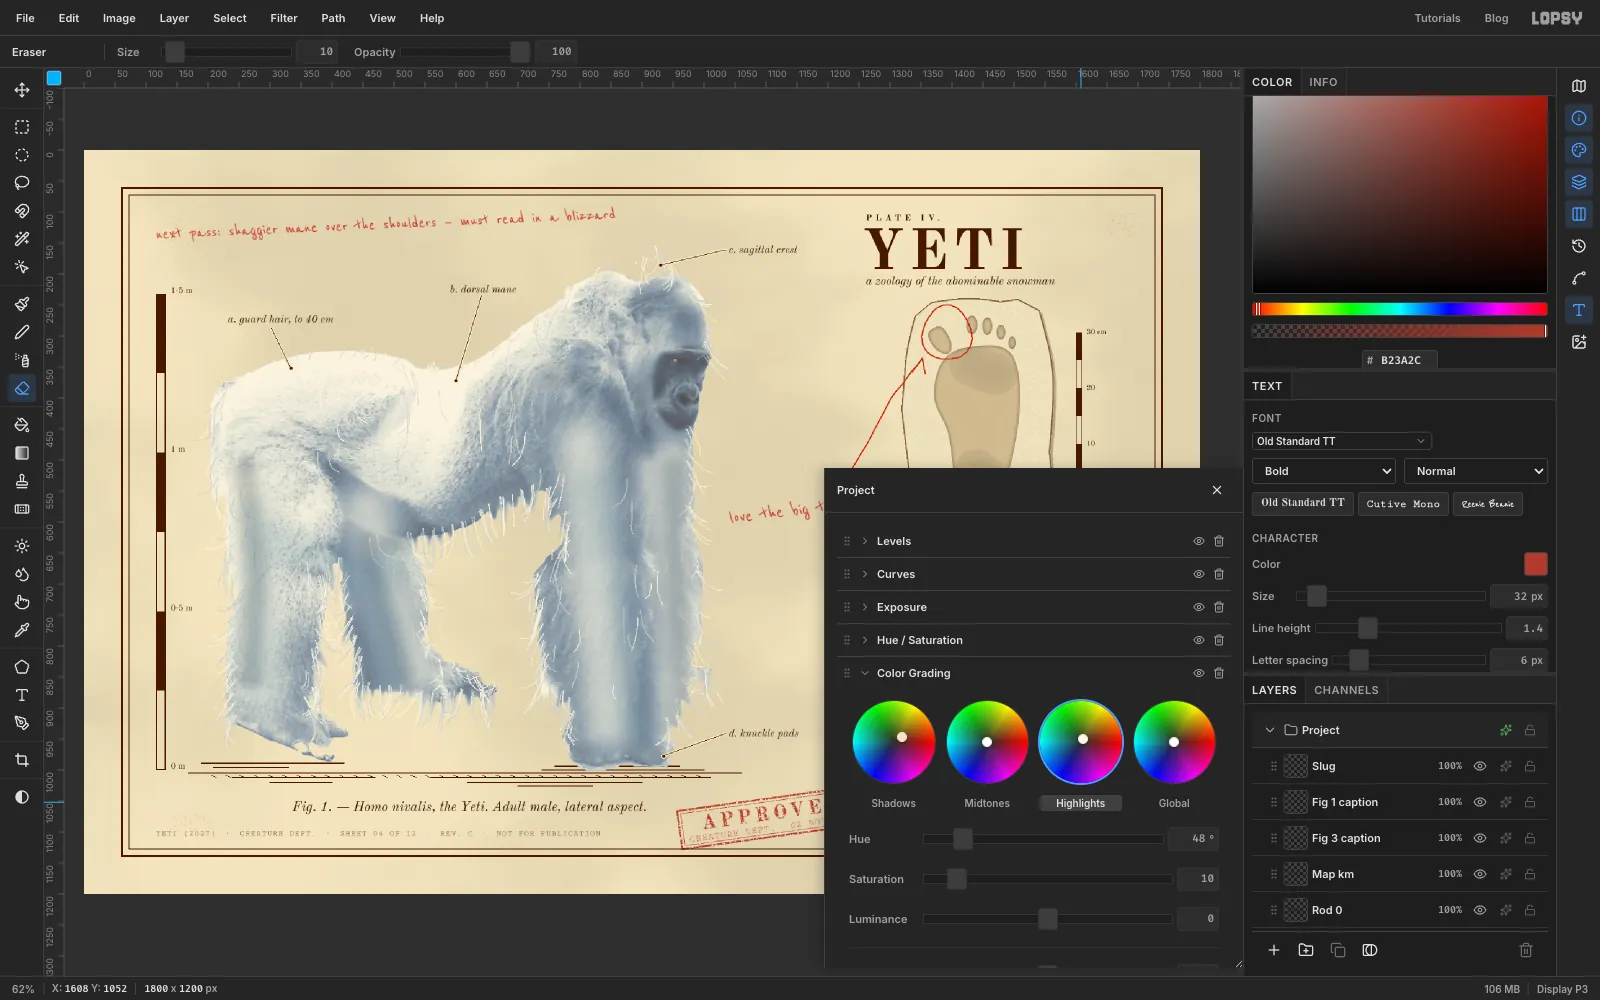
The yeti isn't painted from nothing. It starts as a photograph of a silverback gorilla in a zoo. You cut it out, flatten its crest, pull its fur past the outline, map its tones to snow-white with blue-grey shadows, and paint long guard hair over it. Then you add a plaster footprint cast, a contour map made from the Clouds filter, captions in Old Standard TT, and an art director's red pencil and stamp.
The photo is Gorilla gorilla - San Francisco Zoo - San Francisco, CA - DSC03907.jpg on Wikimedia Commons, released under CC0. Download the original (1666 × 1253 px). Before you start, crop it to a box about 1000 × 1050 px around the animal: cut 150 px off the left and 100 px off the top, and keep everything down to the rock under its feet. Any image viewer will do this, or open it in Lopsy and use the Crop tool, then File → Export.
Along the way you'll use:
- the Lasso, Select → Inverse and the Move tool's scale handles to cut out and size the photo
- Liquify, the Clone Stamp, Smudge and Burn to reshape a gorilla into something else
- Find Edges, a group Levels and Gradient Map, and a root Color Grading node
- noise, Motion Blur and Threshold for hatching, behind a gradient layer mask
- the Brush with Taper for guard hair, and soft Multiply and Screen layers for shading
- the grid and Snap, the Pen tool, Path to Selection and the exact-corner marquee
- Clouds, Posterize and Find Edges for a contour map, copy and paste for map marks
- the Stroke, Drop Shadow and Inner Glow effects, rotated type and a noise-masked stamp
The palette is sepia ink on cream paper, a cold white animal, and red for the art director.
-
Paper
-
plate ink
-
sepia
-
foxing
-
Fur
-
Fur shading
-
face
-
cold tint
-
limb light
-
Guard hair
-
eye
-
Cast
-
cast edge
-
cast shadow
-
print
-
print shadow
-
Glacier
-
sightings
-
Red pencil
-
Make the paper
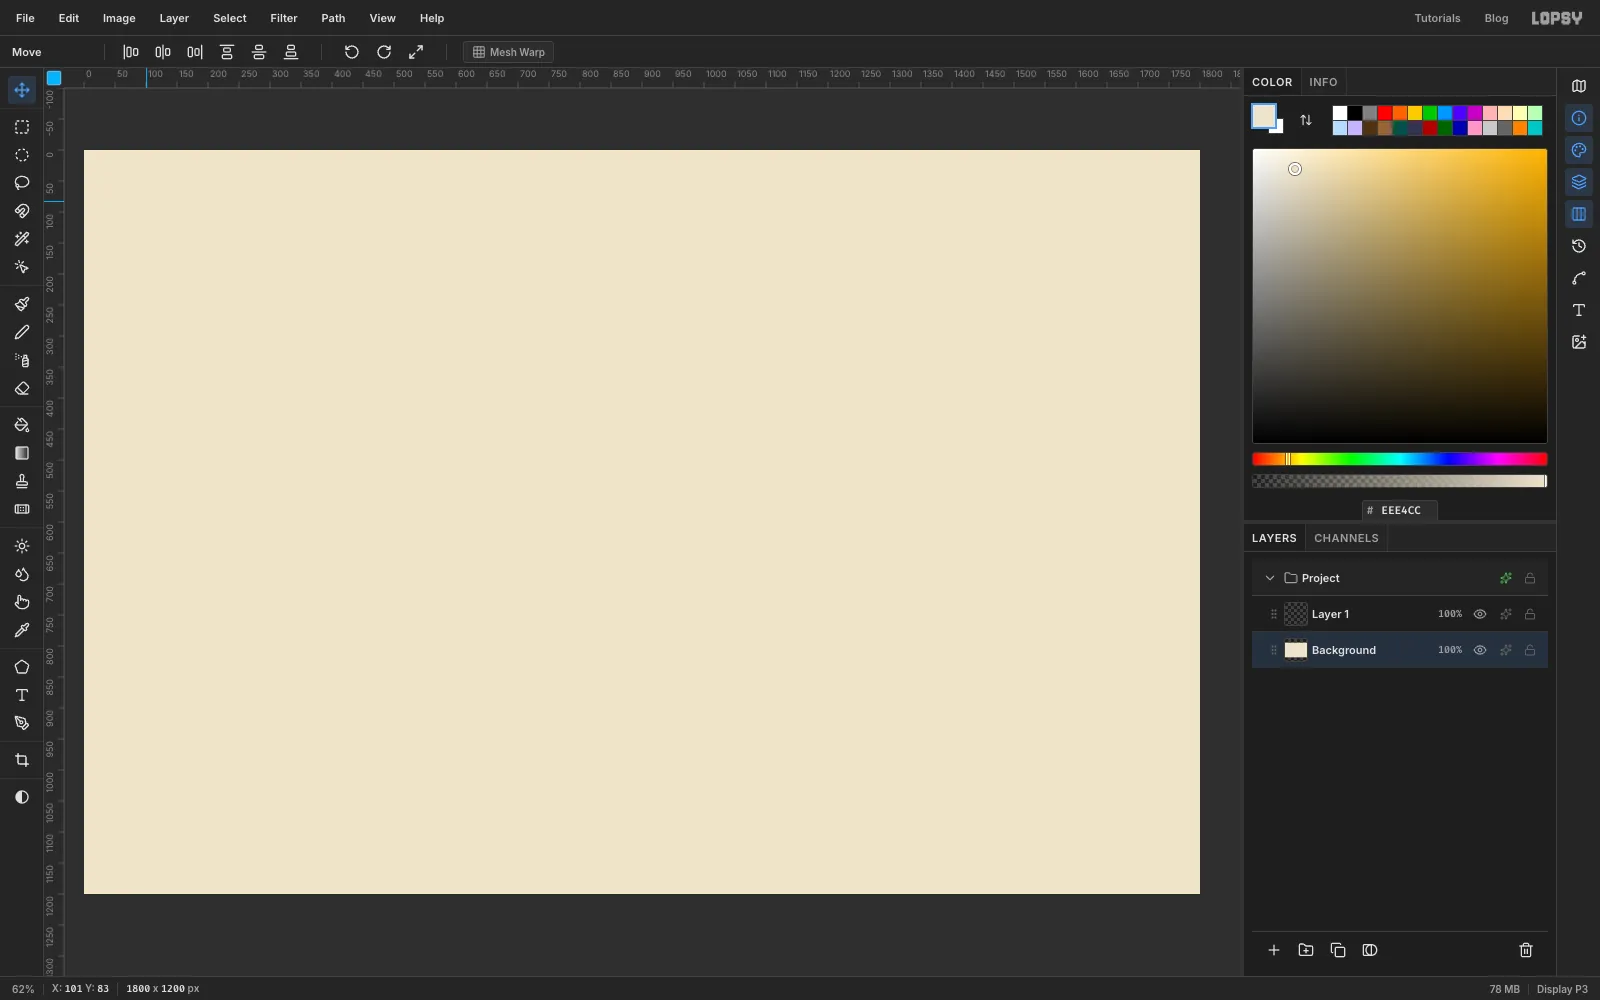
Choose File → New, set the size to 1800 × 1200 pixels and click Create. Lopsy starts you with a Background layer and an empty Layer 1 inside a group called Project. Leave Layer 1 alone for now. You'll use it for shading later.
Click the Background layer, set the foreground colour to paper in the Color panel's hex field, and choose Edit → Fill. With nothing selected, Fill covers the whole layer.
-
Age it with Clouds
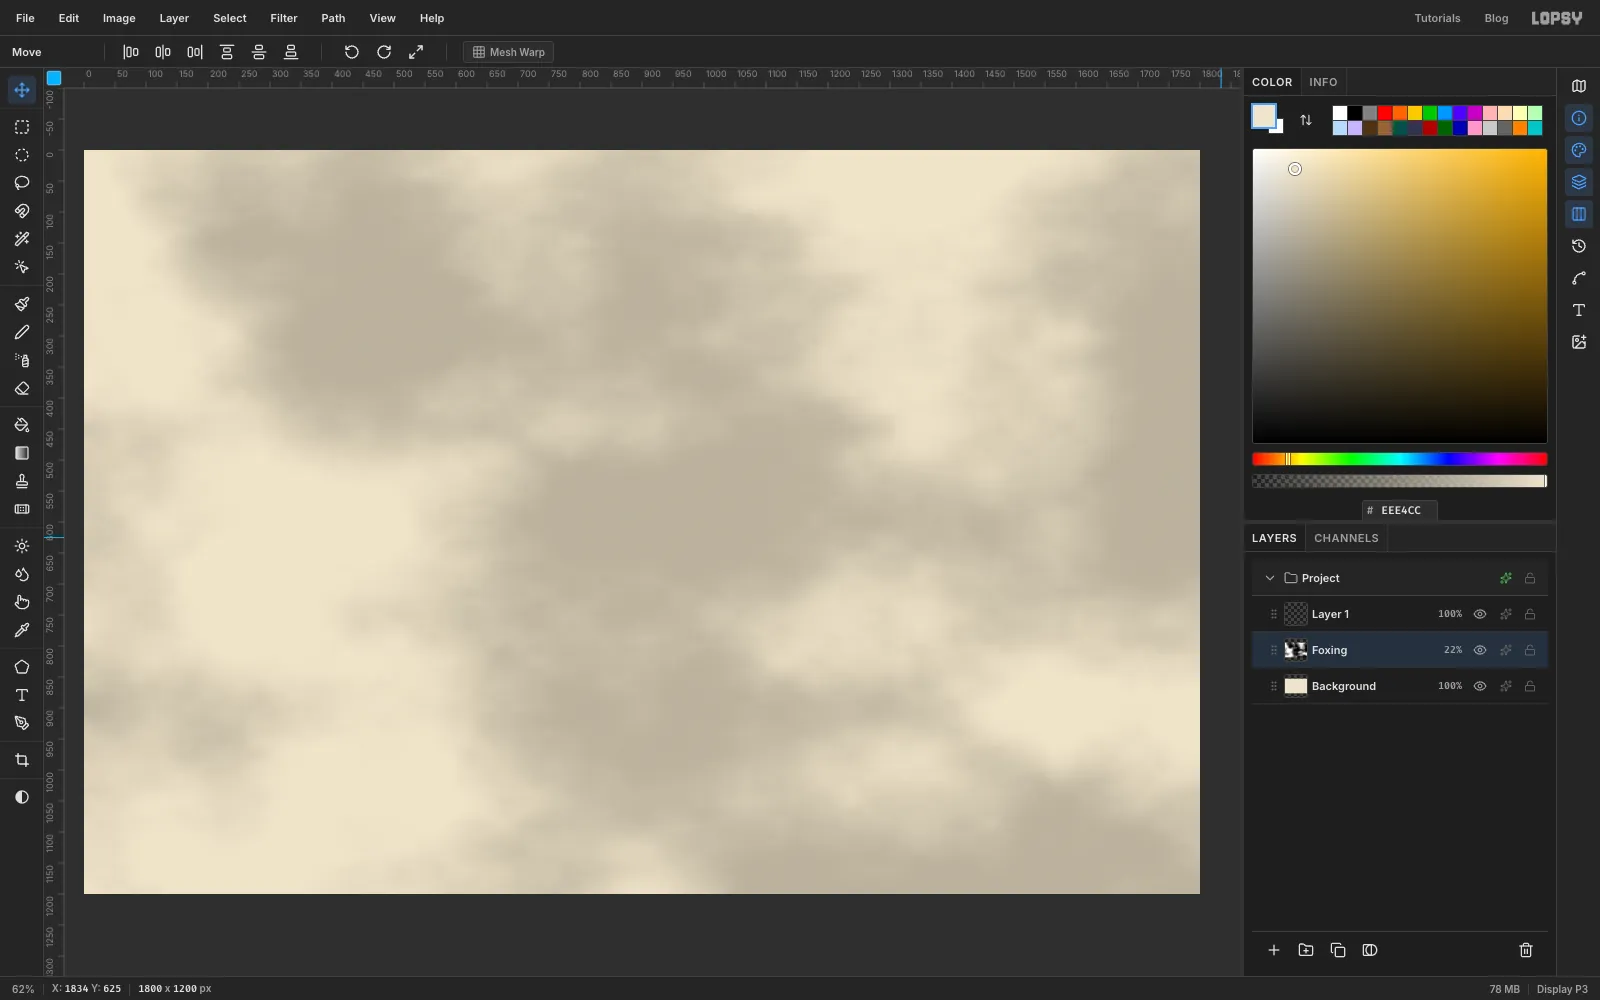
Click Add Layer at the bottom of the Layers panel and double-click the new layer's name to rename it
Foxing. Choose Filter → Clouds…, set Scale to 4 and click Apply.Open the layer's effects (the ✦ button on its row), set Blend to Multiply and close the drawer. Then click the opacity figure on the row and drag it down to about 22% for now. Old paper has uneven toning, and Multiply lets the clouds darken the paper without hiding it. You'll turn it down further near the end.
-
Rule the plate border
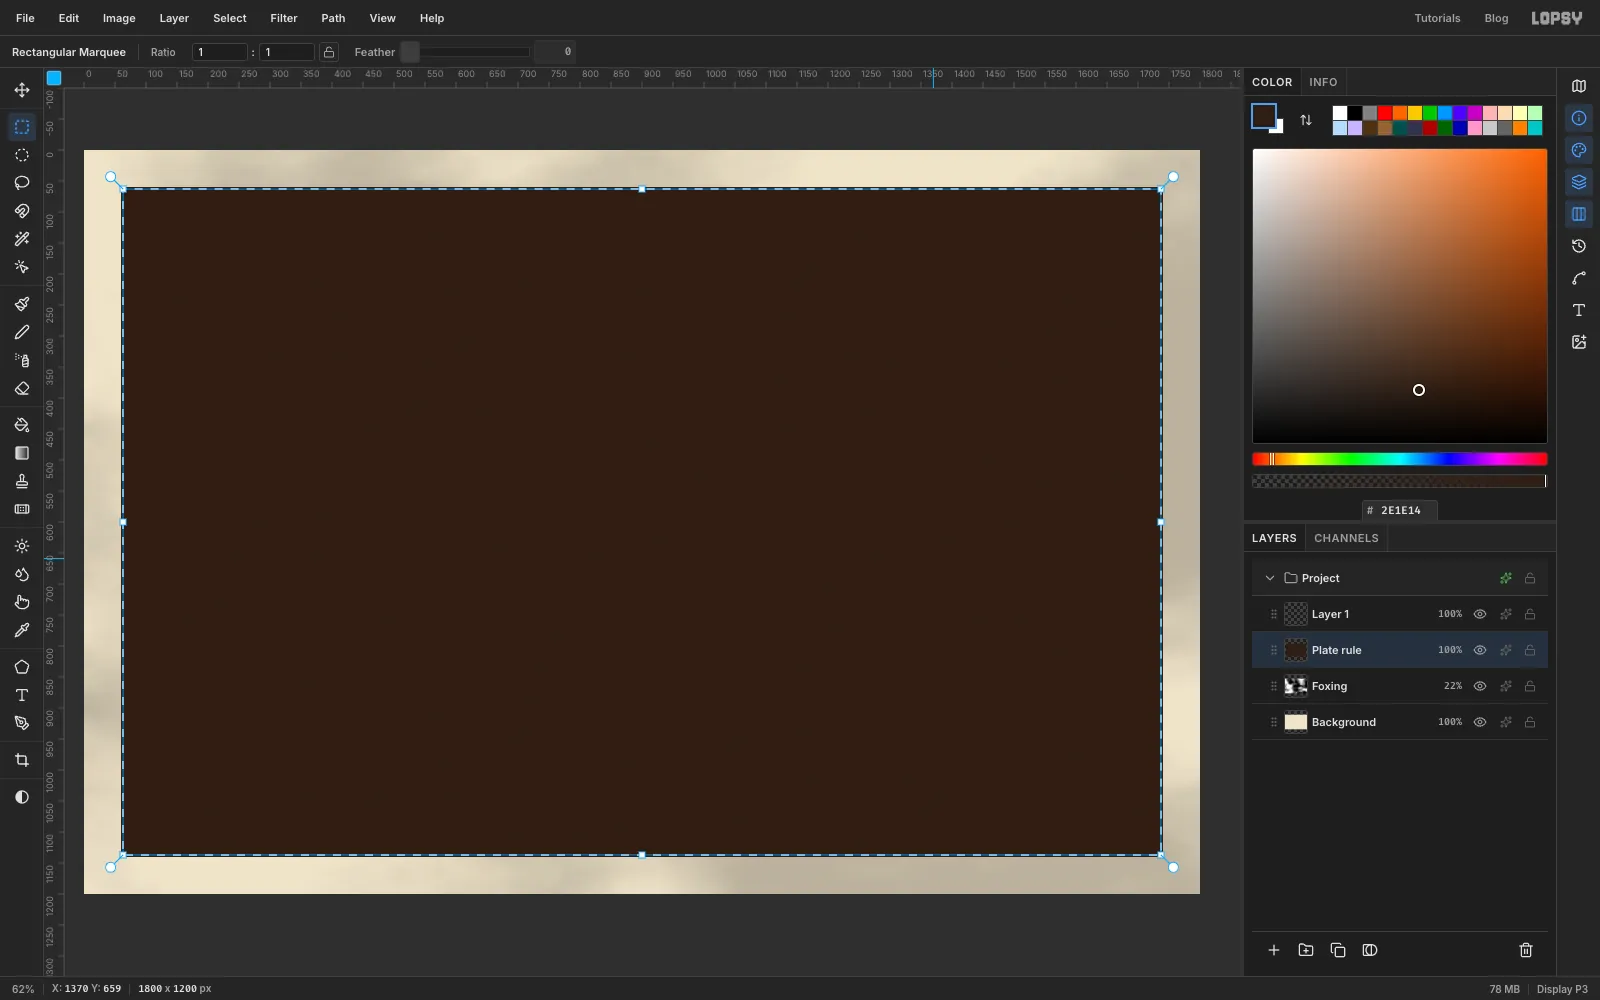
Add a layer called
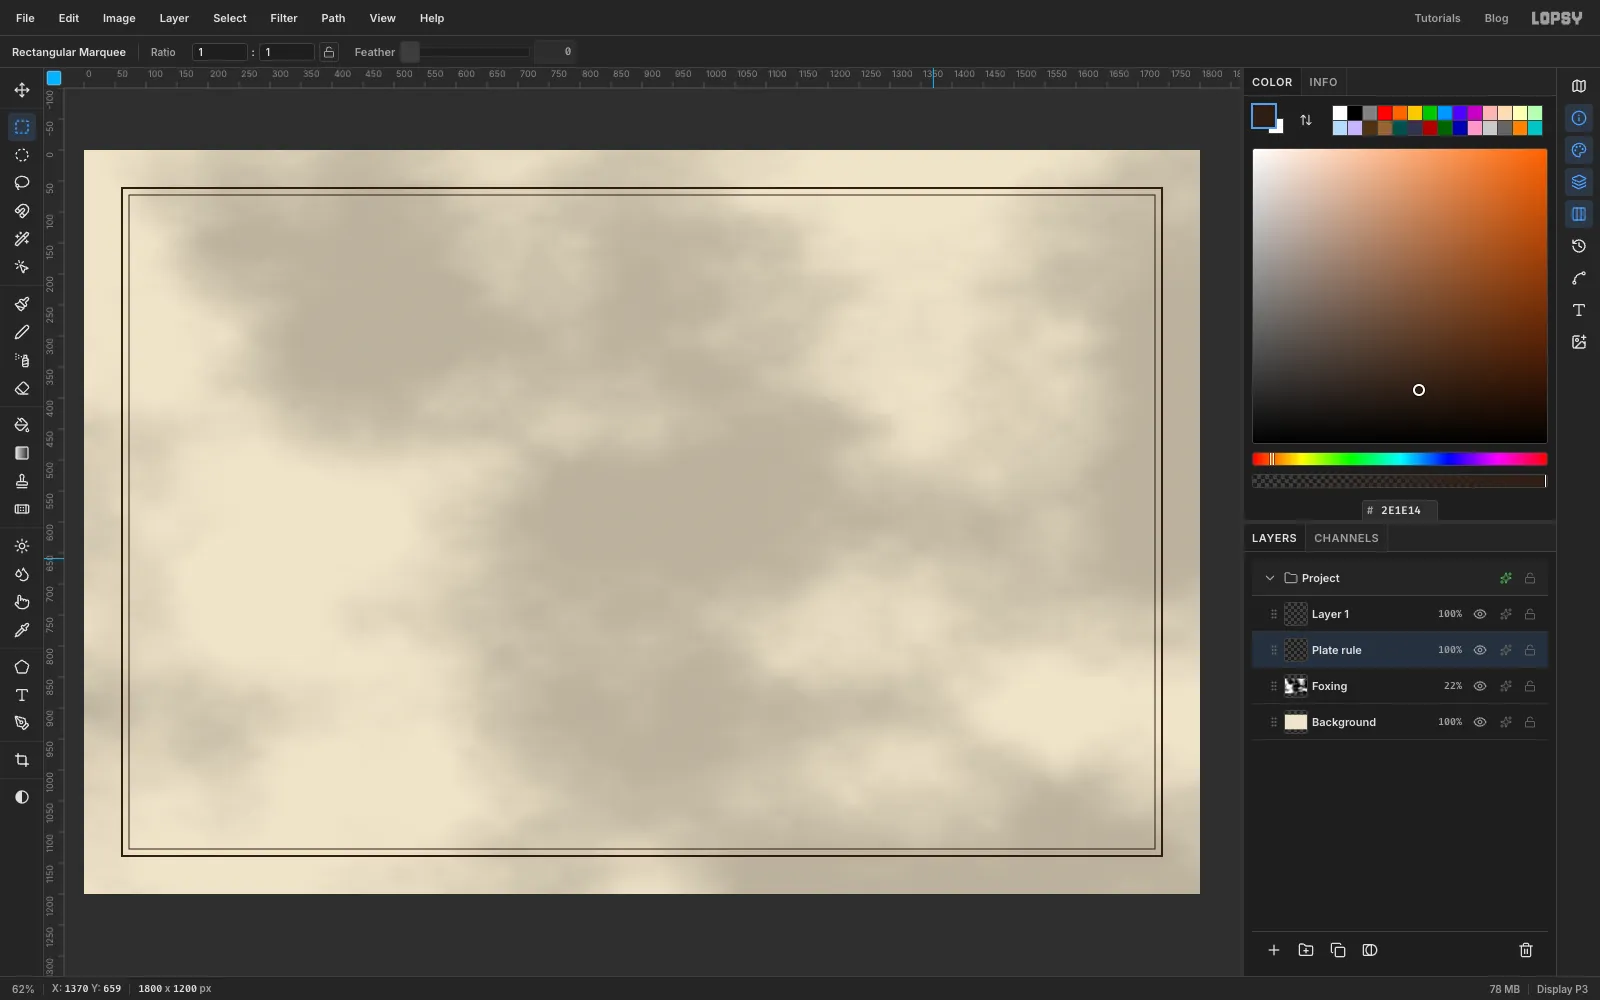
Plate rule. Choose the Rectangular Marquee (M) and click once on the canvas without dragging. That opens a small dialog for exact corners. Enter From 60, 60 and To 1740, 1140 and press Enter.Set the foreground to ink and choose Edit → Fill. Then choose Select → Shrink…, enter 3 and click Apply. The selection is now 3 px inside the dark rectangle.
-
Cut it to a double rule
Press Delete to clear the inside, leaving a 3 px frame. Make the inner rule the same way: deselect with Cmd+D, click with the Rectangular Marquee again, and enter 72, 72 to 1728, 1128. Fill it, choose Select → Shrink… by 1, press Delete and deselect.
A heavy outer line and a hairline inside it is the classic frame for an engraved plate.
-
Paste in the photo
Make sure Plate rule is the active layer, so the photo lands above it. Drag the cropped file onto the canvas, or copy it in another app and press Cmd+V in Lopsy. A pasted image that fits the canvas lands at the top-left corner at full size, as a new layer called Pasted Layer, with its pixels already selected.
Press Cmd+D to deselect, and rename the layer
Specimen.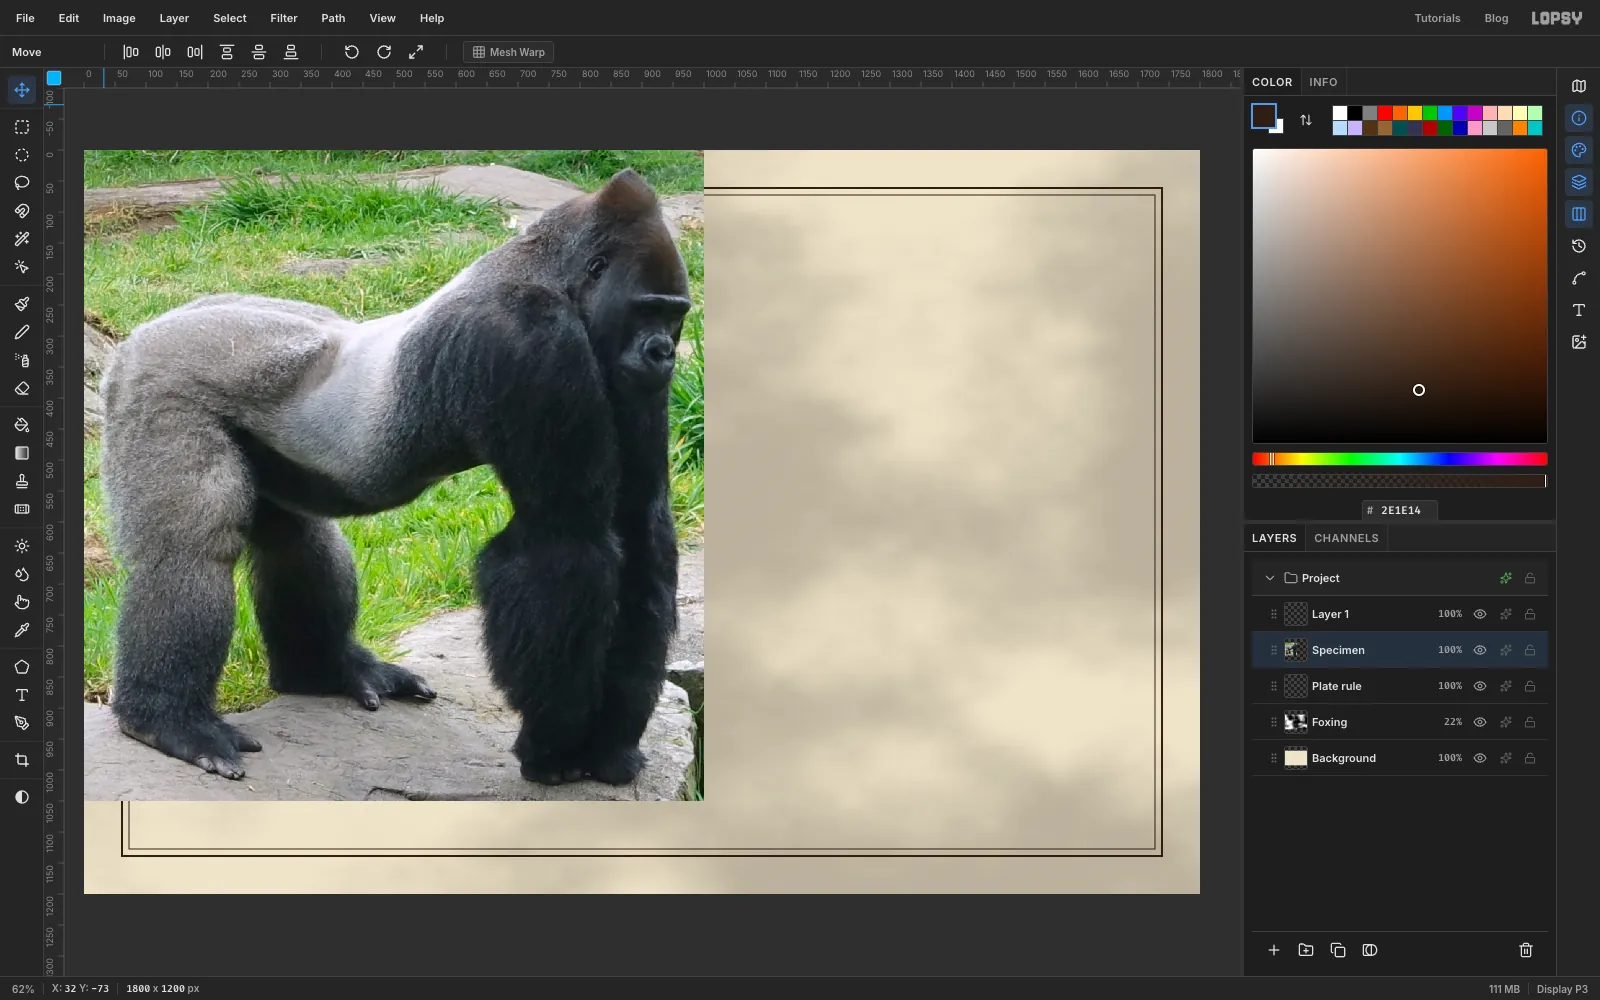
-
Trace around the gorilla
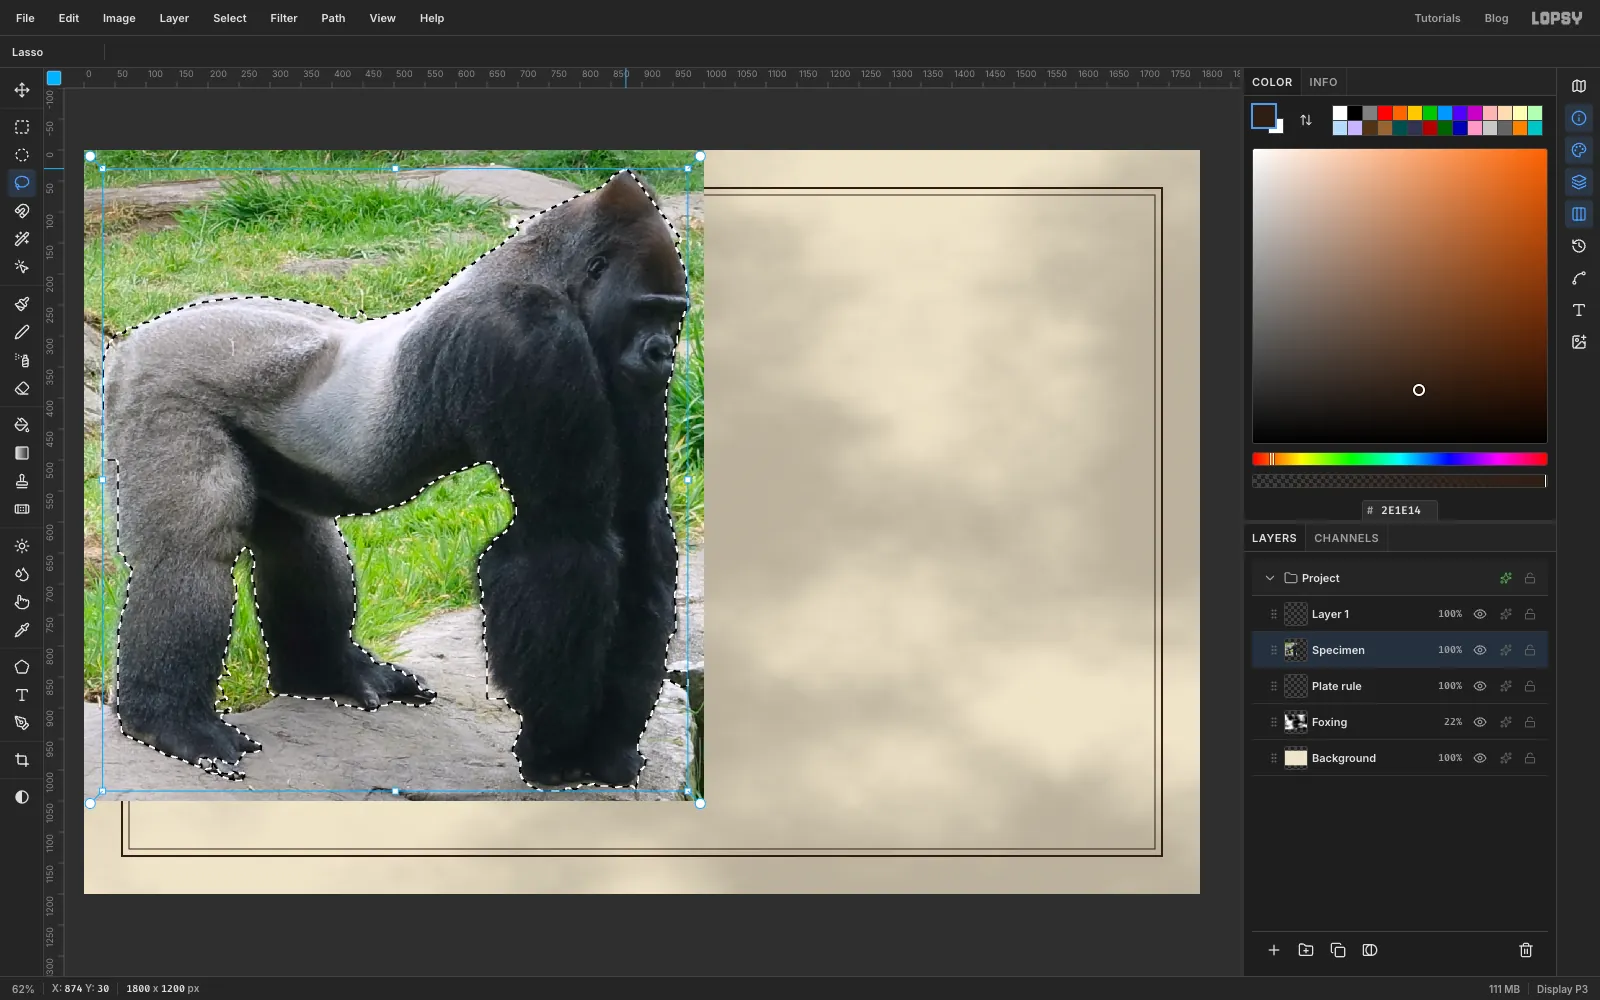
Choose the Lasso (L). Zoom in (Cmd+=) and drag slowly around the animal, keeping just inside its fur. Leave out the grass between the legs and the rock under the feet. Where the silver back meets the pale rock, follow the curve of the rump rather than the rock. When you get back to the start, release to close the selection.
-
Delete the background
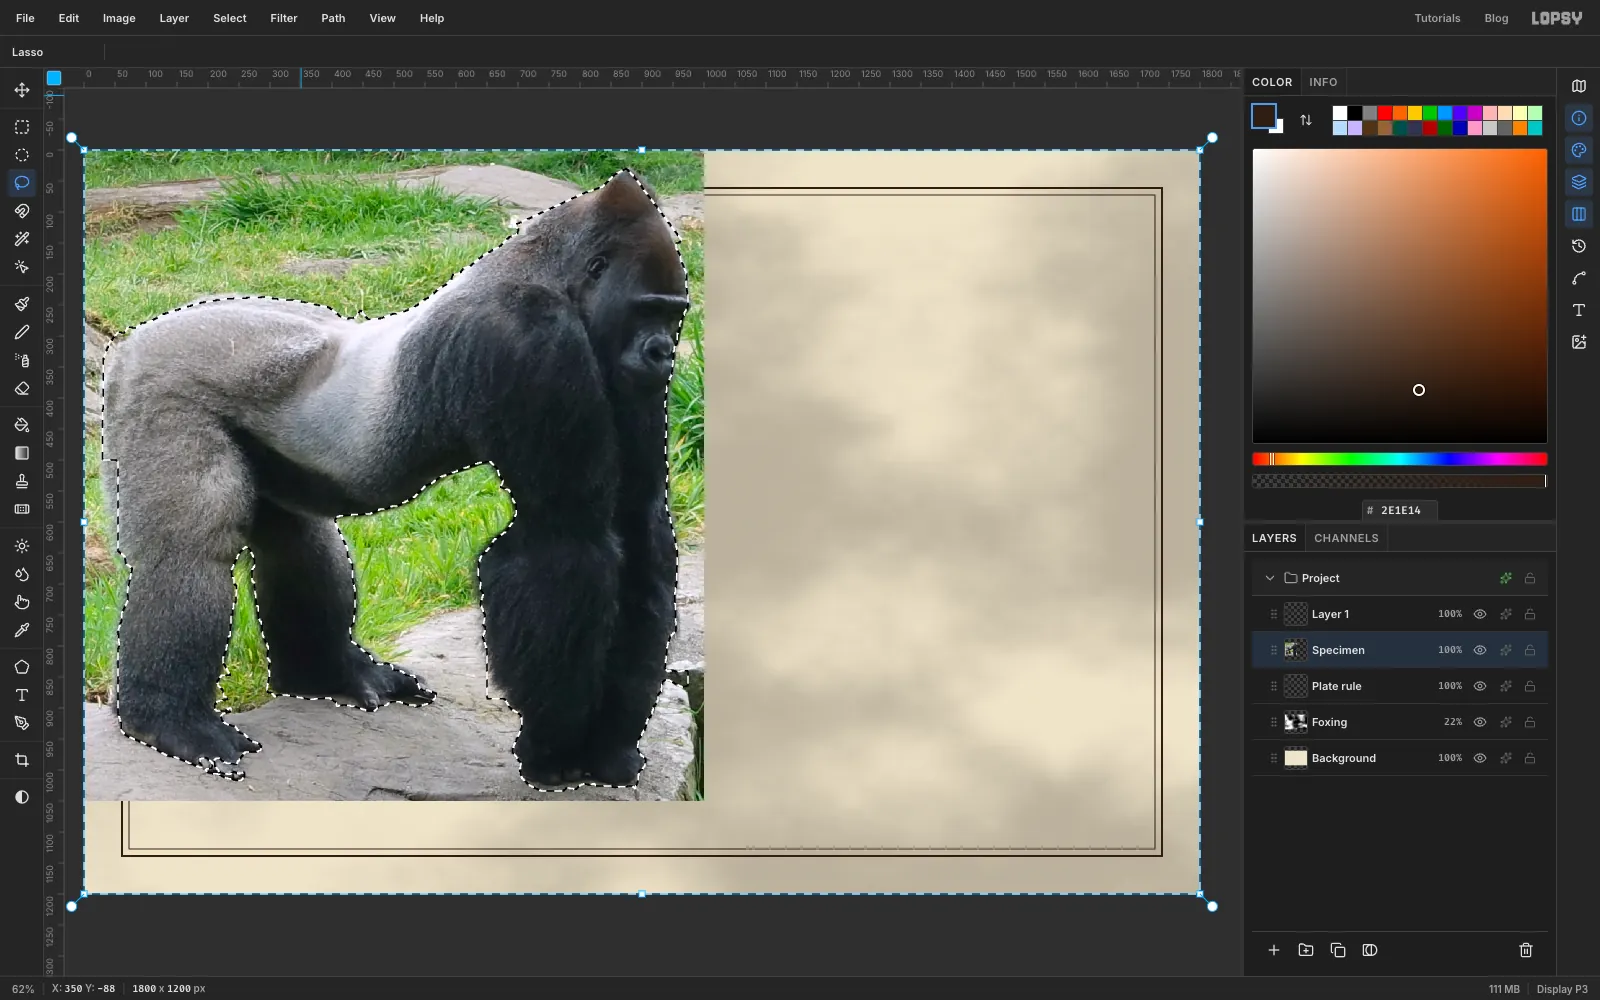
Choose Select → Inverse so everything except the gorilla is selected, then press Delete and Cmd+D. The grass and rock are gone and the paper shows round the animal.
-
Scale it down
Cmd-click the Specimen thumbnail in the Layers panel to select its pixels, and switch to the Move tool (V). Hold Cmd so the scale stays in proportion, and drag the bottom-right handle up and to the left until the box is about 85% of its size, roughly 800 px wide. Press Cmd+D to commit the scale.
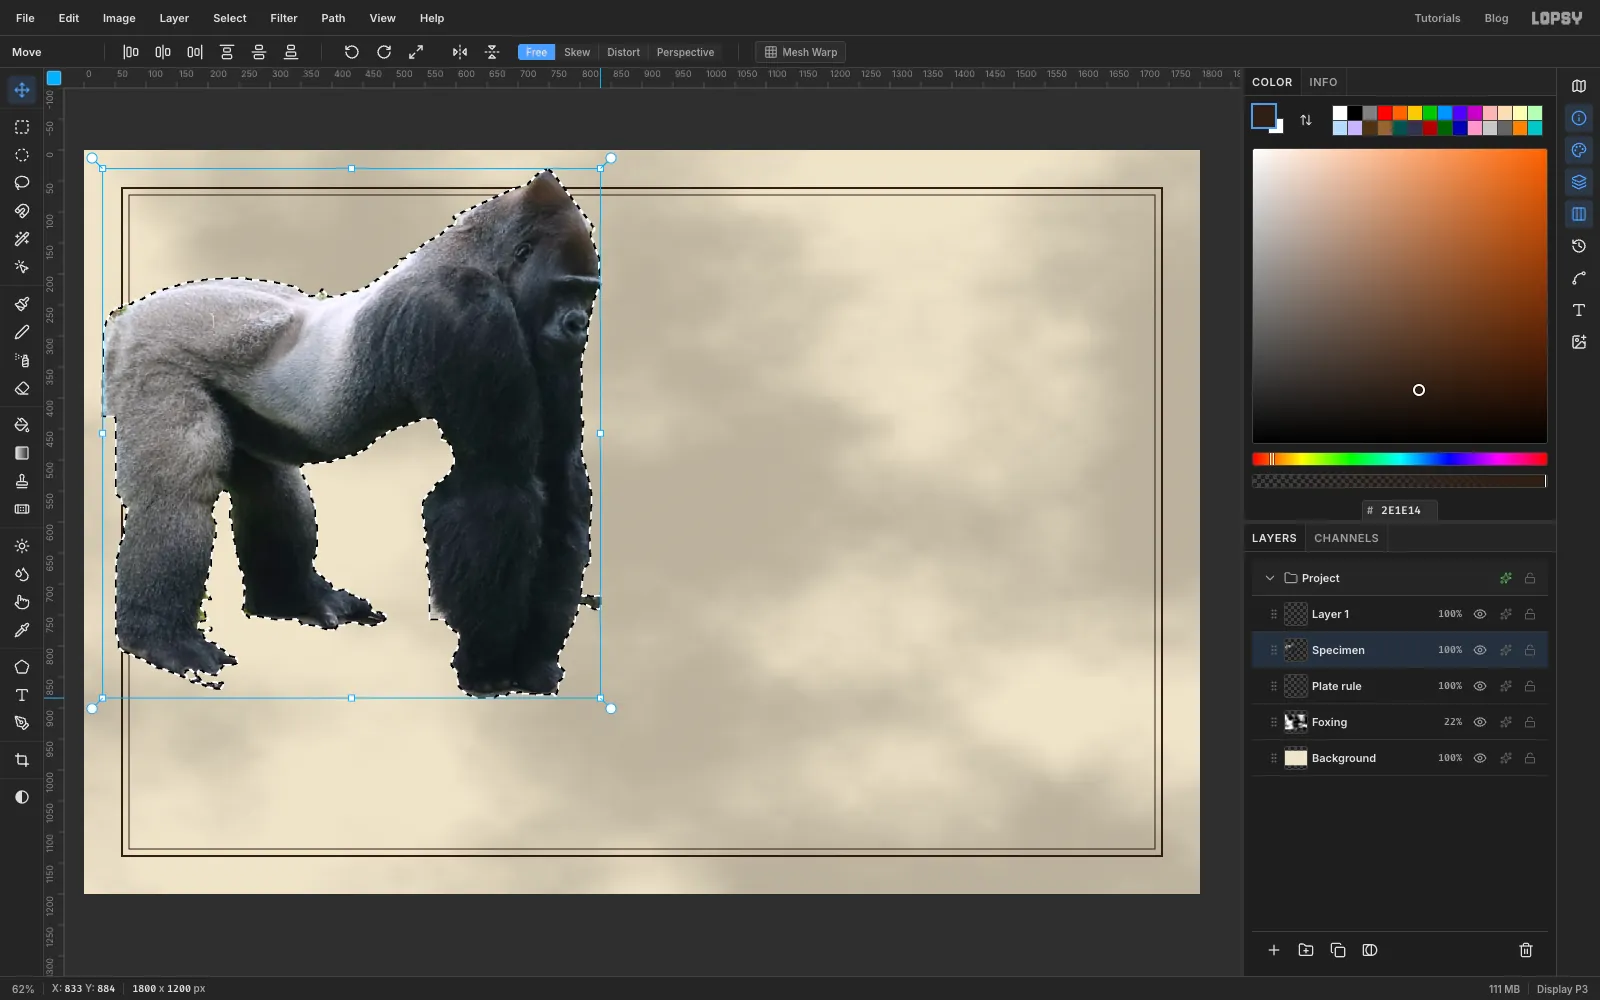
-
Place it on the plate
With the Move tool still active, drag the gorilla into place. Put its feet on an imaginary floor at y = 1000 (watch the ruler) and its rump about 210 px from the left edge. That leaves room for a scale rod on the left and a column of smaller figures on the right.
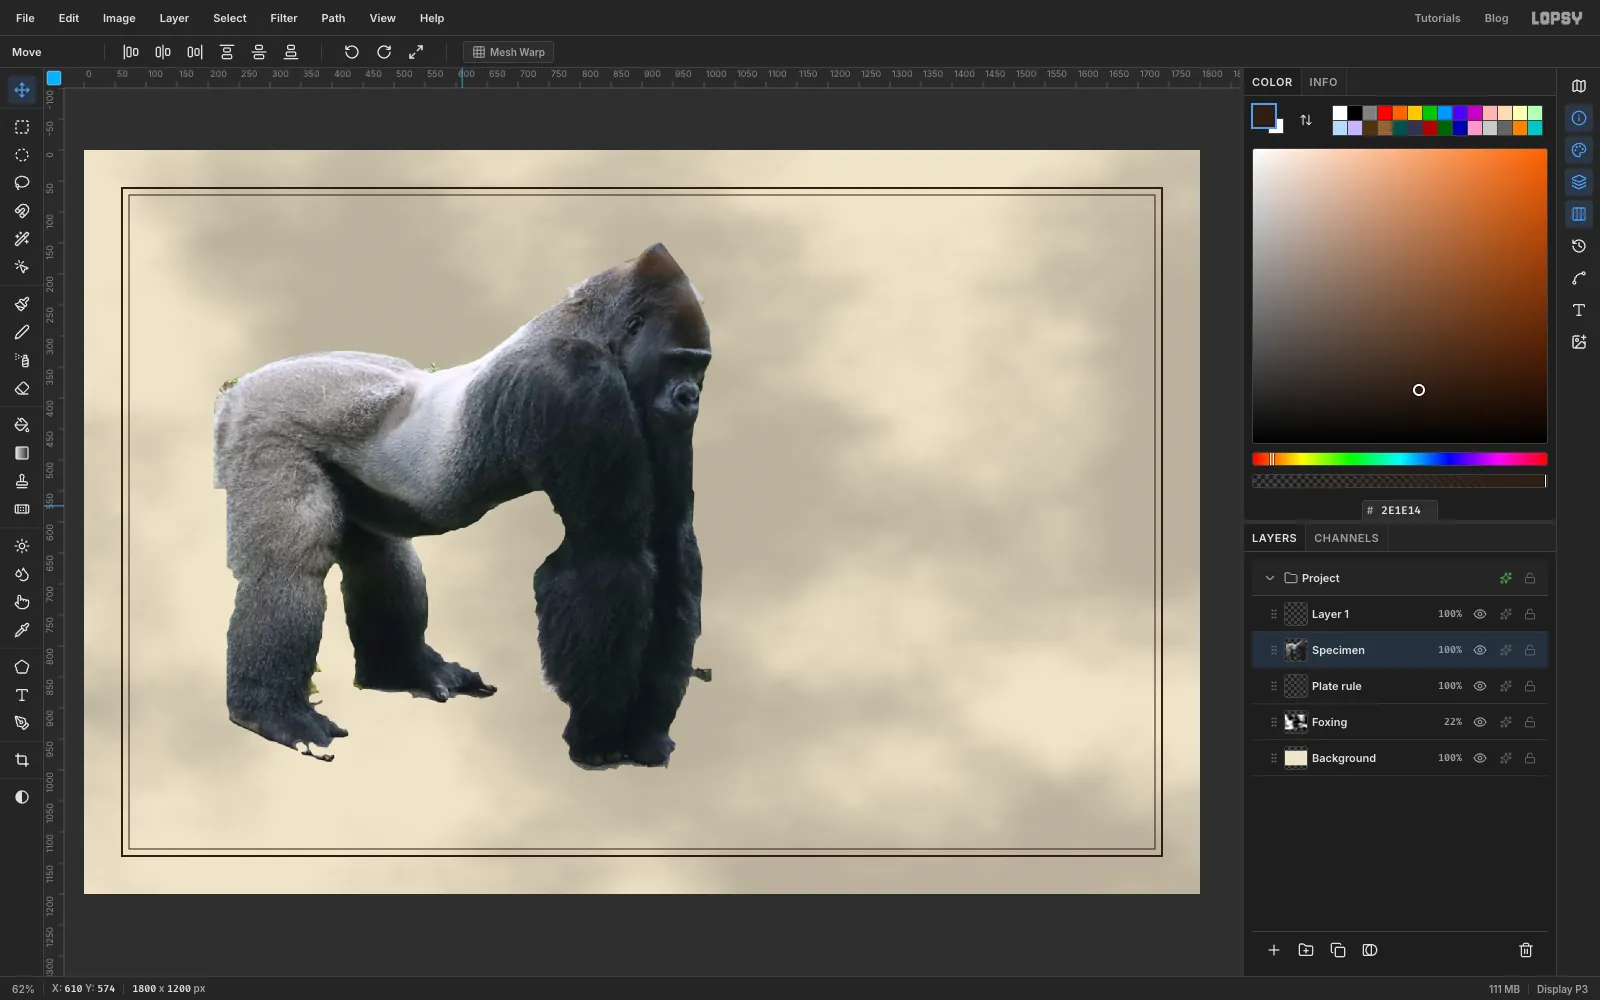
-
Desaturate it and flatten the crest
With Specimen active, choose Filter → Desaturate.
The tall sagittal crest on top of the head is what makes a gorilla look like a gorilla. Choose Filter → Liquify…. Set Mode to Push Forward, Brush Size to 150 and Pressure to 70, then drag down from the peak of the crest in two short strokes, so it becomes a lower dome.
While you're there, change Brush Size to 110 and push the straight left edge of the rump outwards in three short strokes, to round it off. Click Apply.
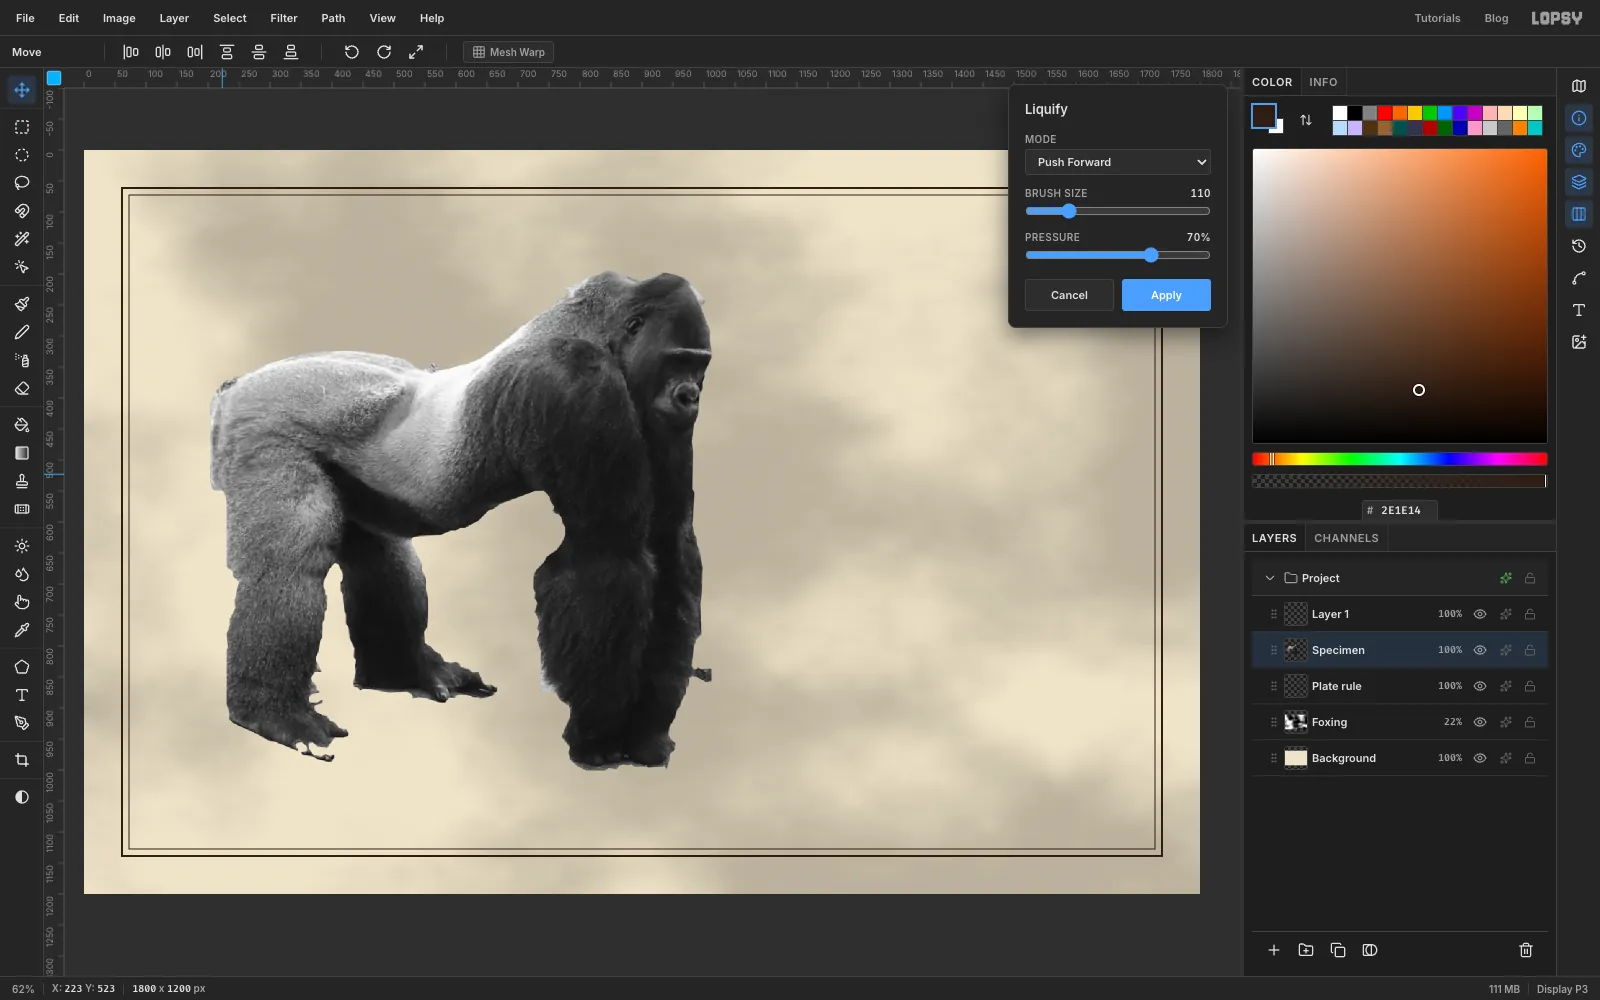
-
Clone fur over the ear
Choose the Clone Stamp (S) and set Size to 34. Alt-click on the fur of the neck just behind and below the ear to pick a source, then paint over the ear in two or three short strokes. The ear disappears into the fur.
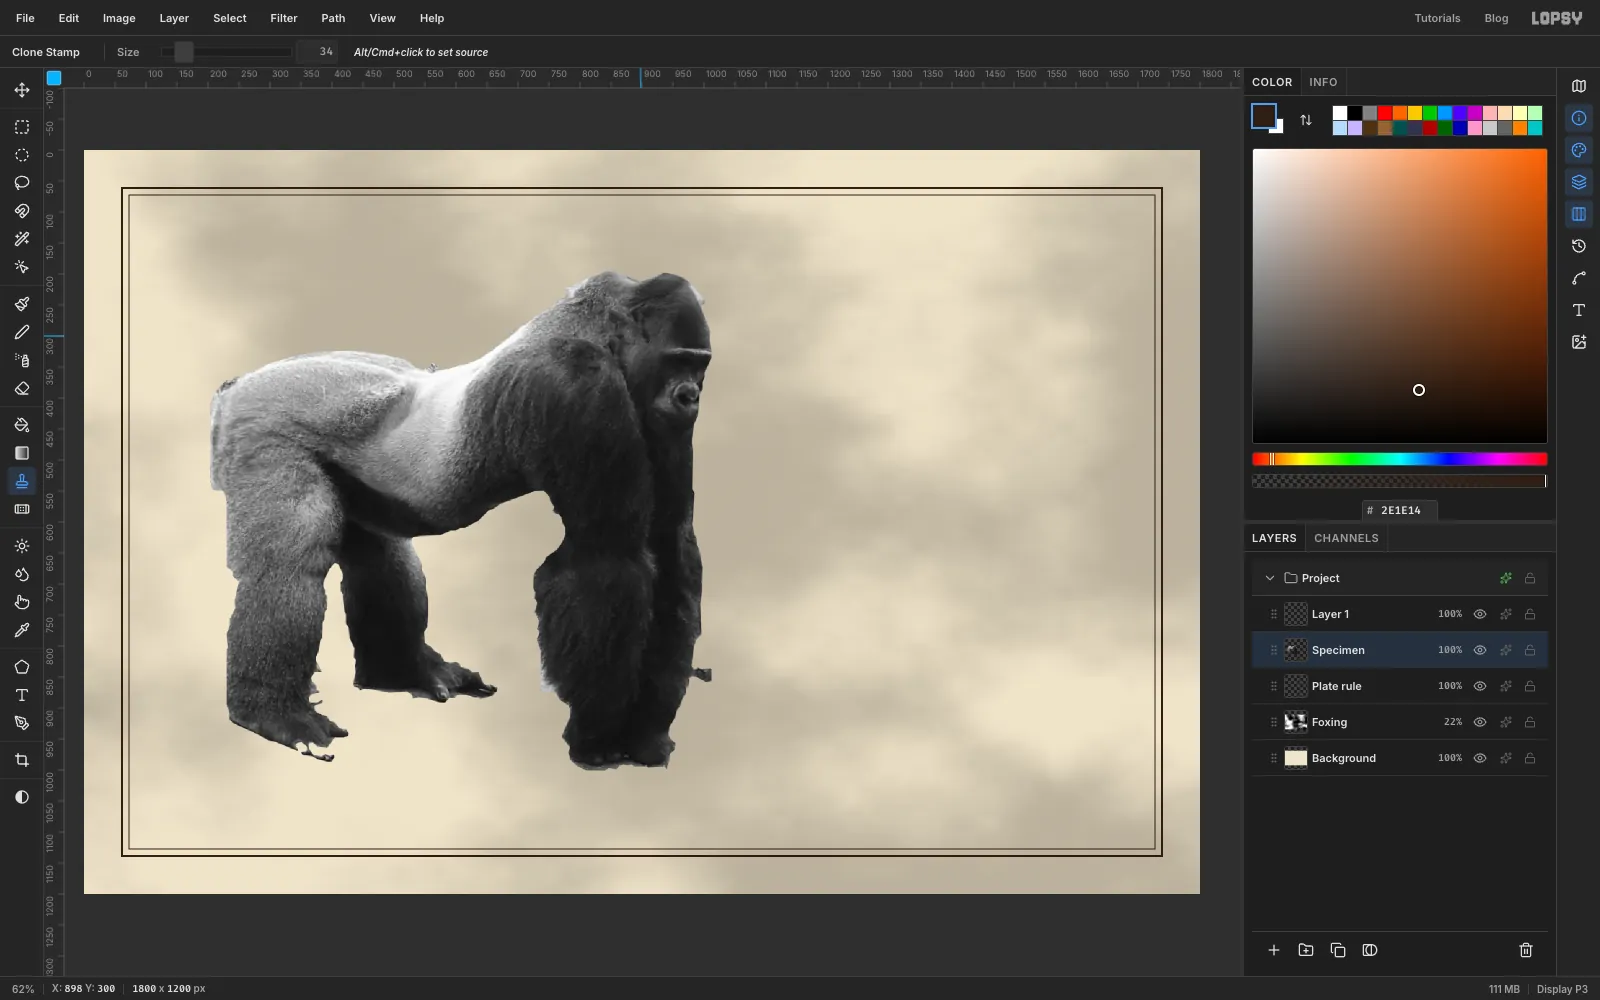
-
Pull the fur past the outline
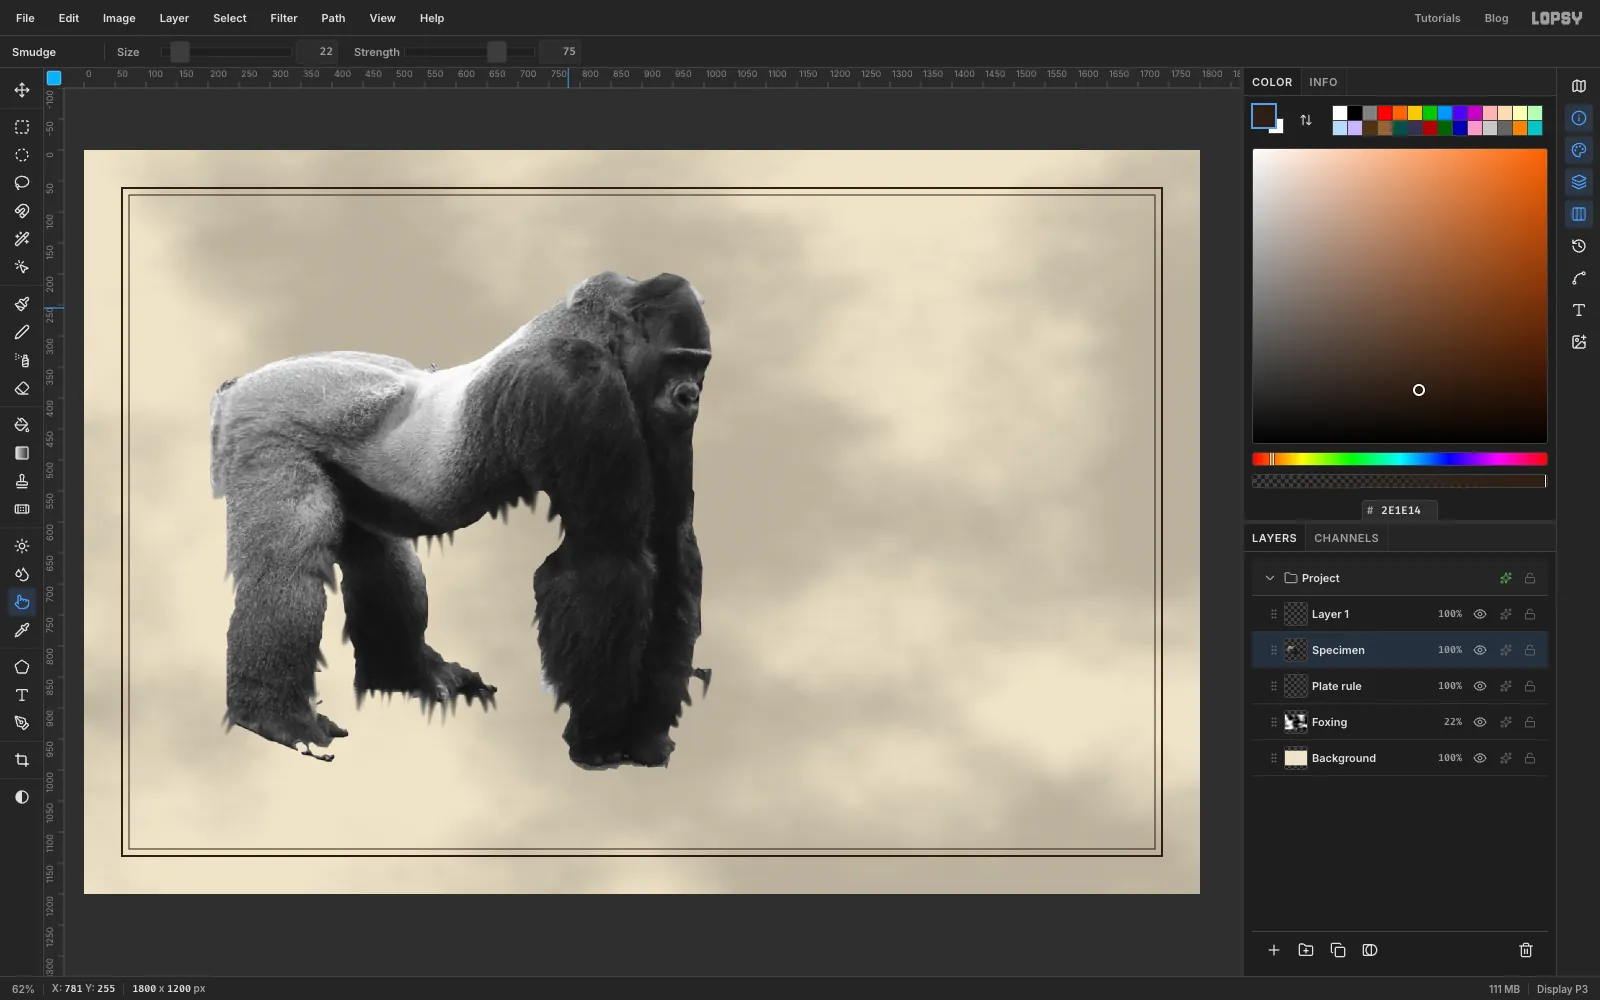
Choose Smudge (R) and set Strength to 75. Starting just inside the fur, drag short strokes down and out past the edge along the belly, the backs of the arms and the bottoms of the thighs. Make them 10–40 px long, uneven in spacing, and change Size between 14 and 28 every few strokes. The goal is a soft, broken edge rather than a cut-out line.
-
Make an ink copy
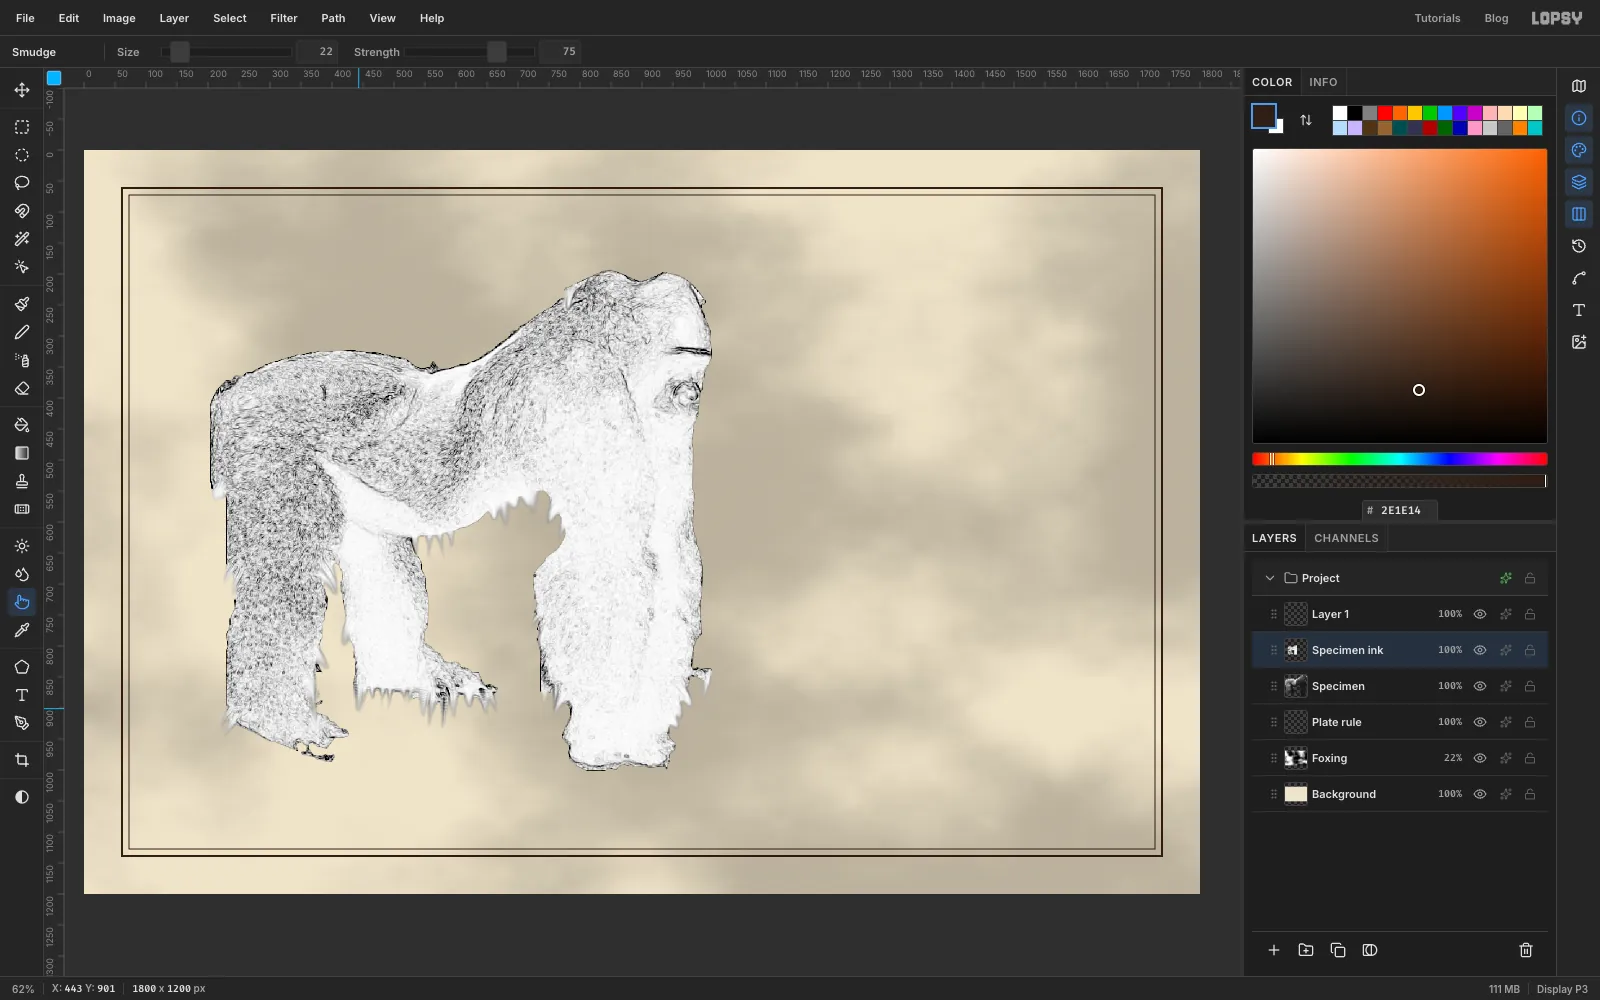
Choose Layer → Duplicate Layer and rename the copy
Specimen ink. Choose Filter → Find Edges, then Filter → Invert. You get dark lines on white wherever the fur has detail, like an engraver's line work.Soften it with Filter → Surface Blur… at Radius 4 and Threshold 30. Then open its effects, set Blend to Multiply, and set its opacity to 40%.
-
Burn the far leg back
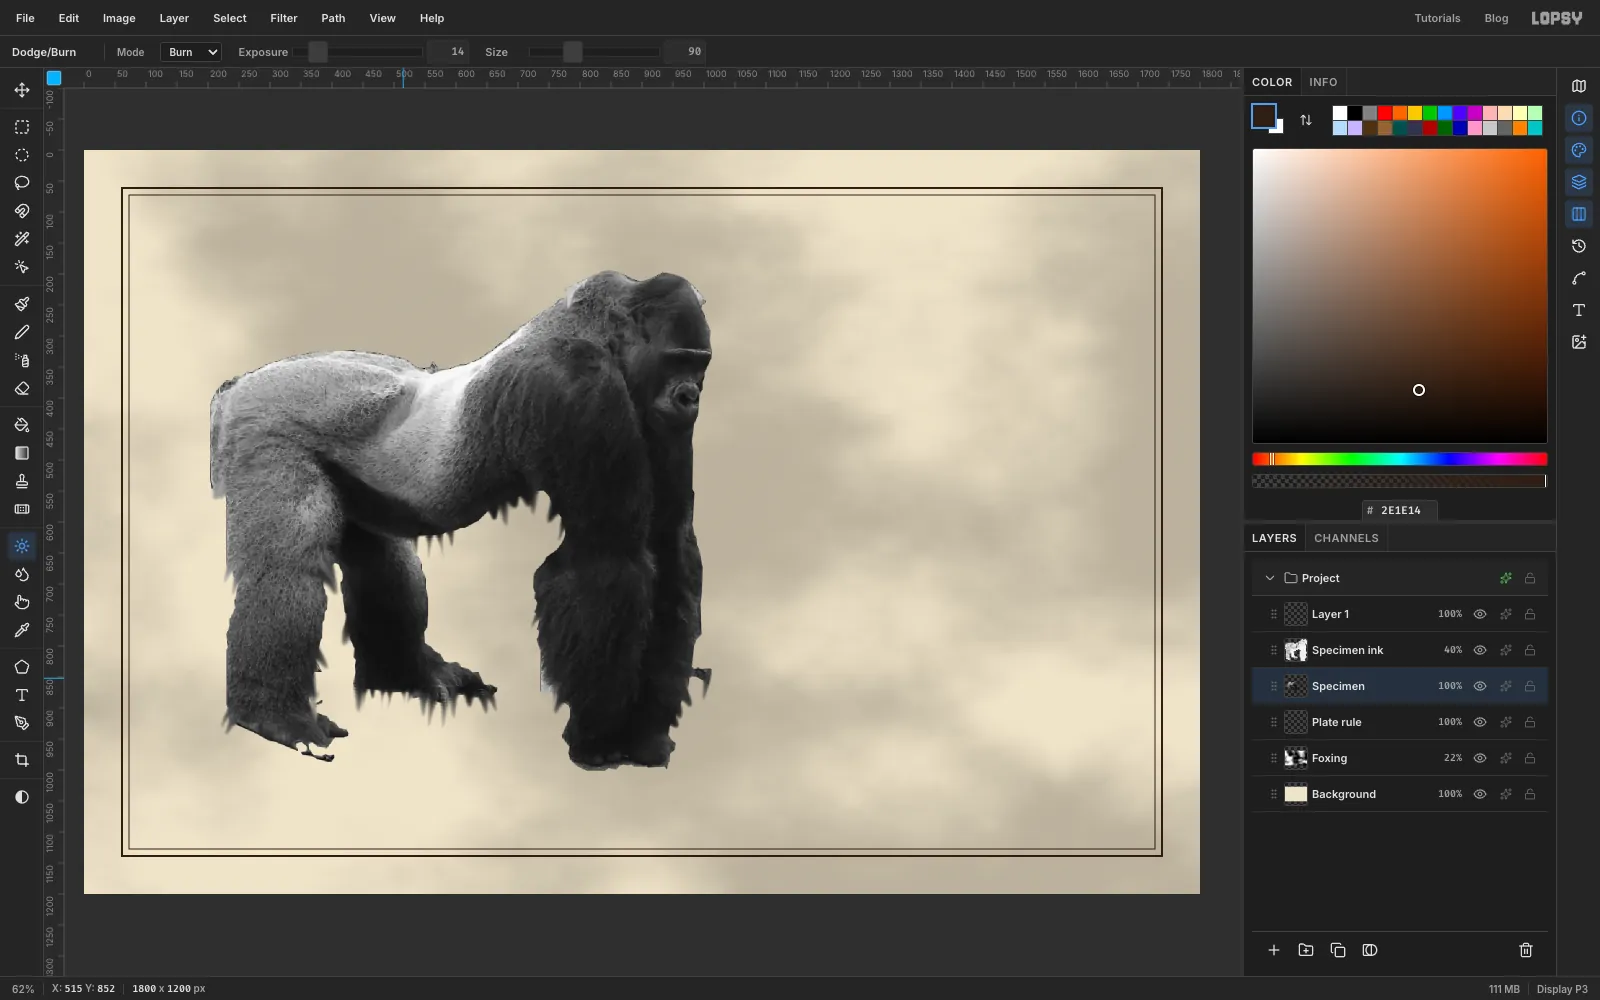
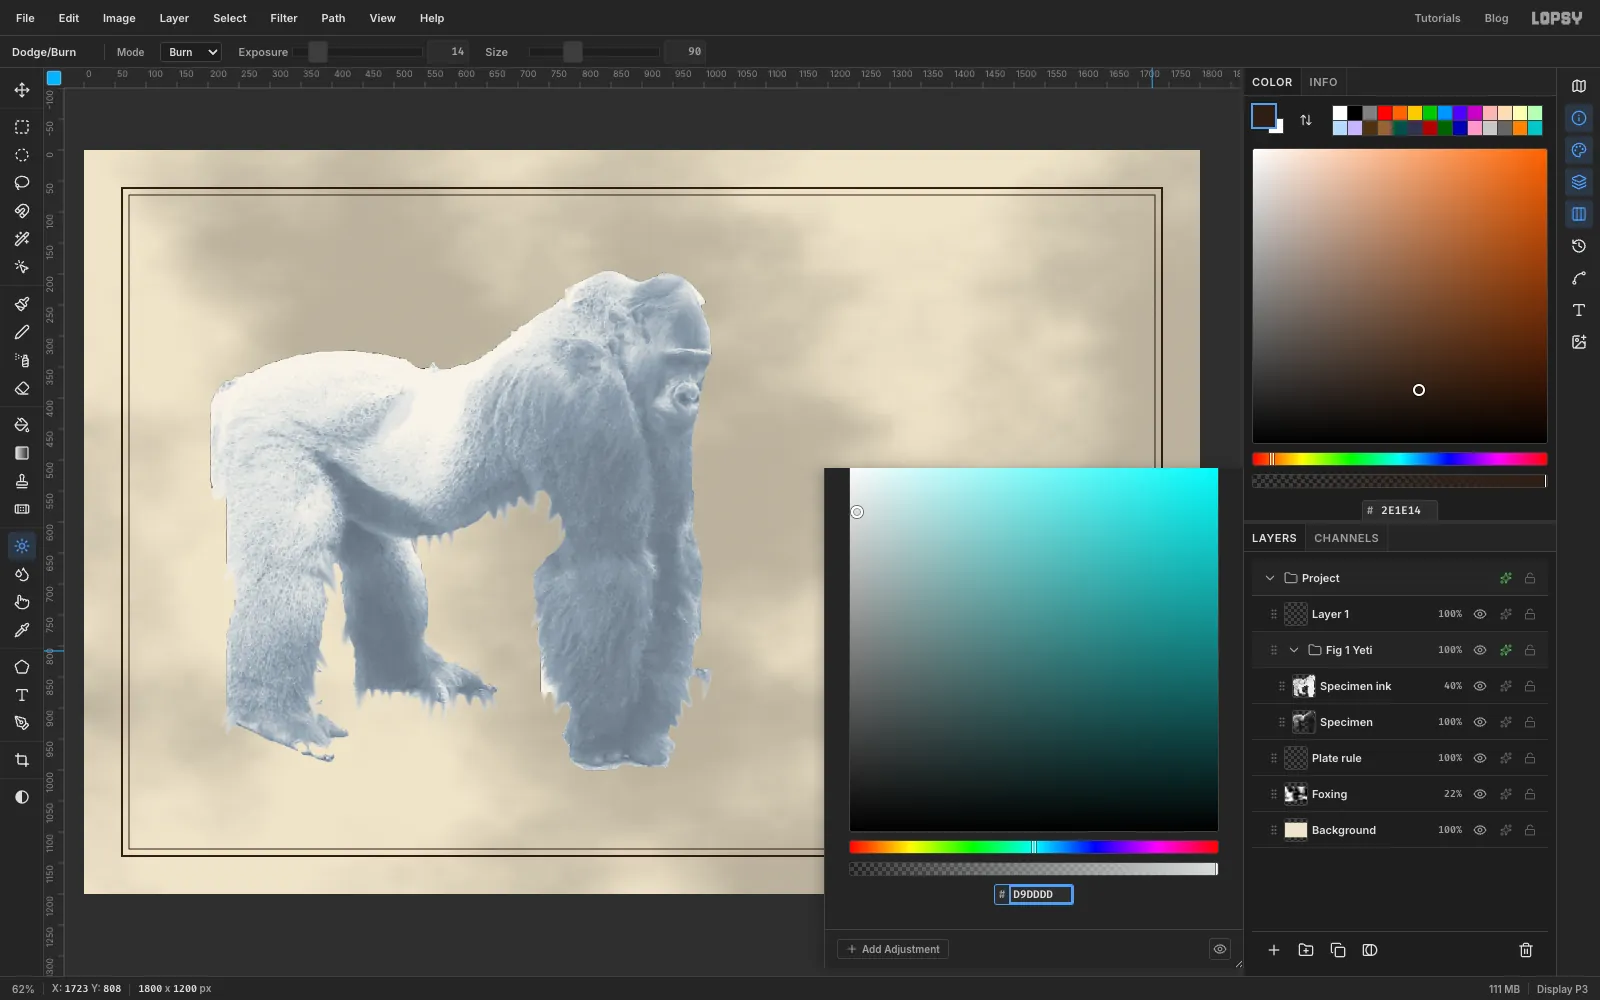
Click the Specimen layer. Choose Dodge / Burn (O), set Mode to Burn, Exposure to 14 and Size to 90. Make one long stroke down the far hind leg, the one between the near hind leg and the arms. Pushing the far limbs a little darker keeps them behind the near ones once everything turns white.
-
Group the specimen and lift it with Levels
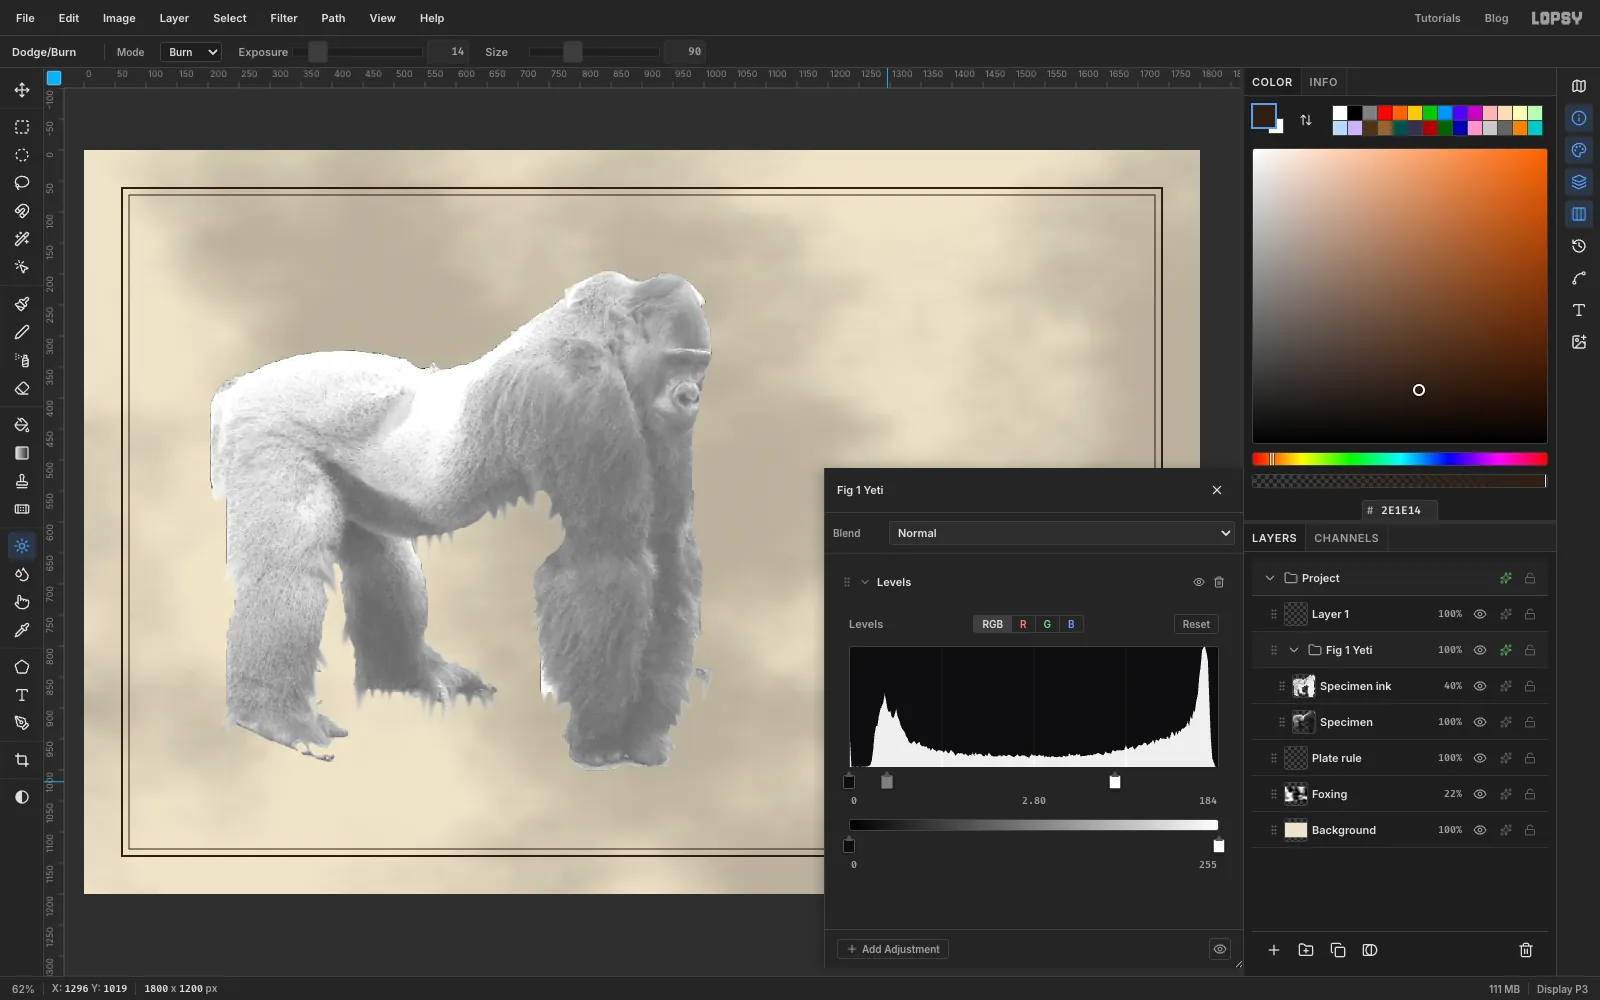
Click Specimen, Shift-click Specimen ink, and choose Layer → Group Layers. Rename the group
Fig 1 Yeti.Click the group's ✦ button to open its adjustments, click Add Adjustment and choose Levels. Drag the white input handle (under the histogram, on the right) left until the readout says about 184. Then drag the grey handle left until the gamma reads about 2.80. The black fur opens up into pale grey and keeps its detail, and the ink lines stay dark.
-
Map the tones to snow and blue
Click Add Adjustment again and choose Gradient Map. Click the left stop under the gradient bar and type in its hex field. Click the right stop and type . Click the gradient bar at about 34%, 60% and 82% to add three stops (the readout under the bar shows each stop's position), and give them , and .
The pale greys turn creamy white and the shadows turn cold blue-grey. It's the first point where the animal reads as a yeti and not a gorilla.
-
Make some hatching
Click Specimen ink and add a layer called
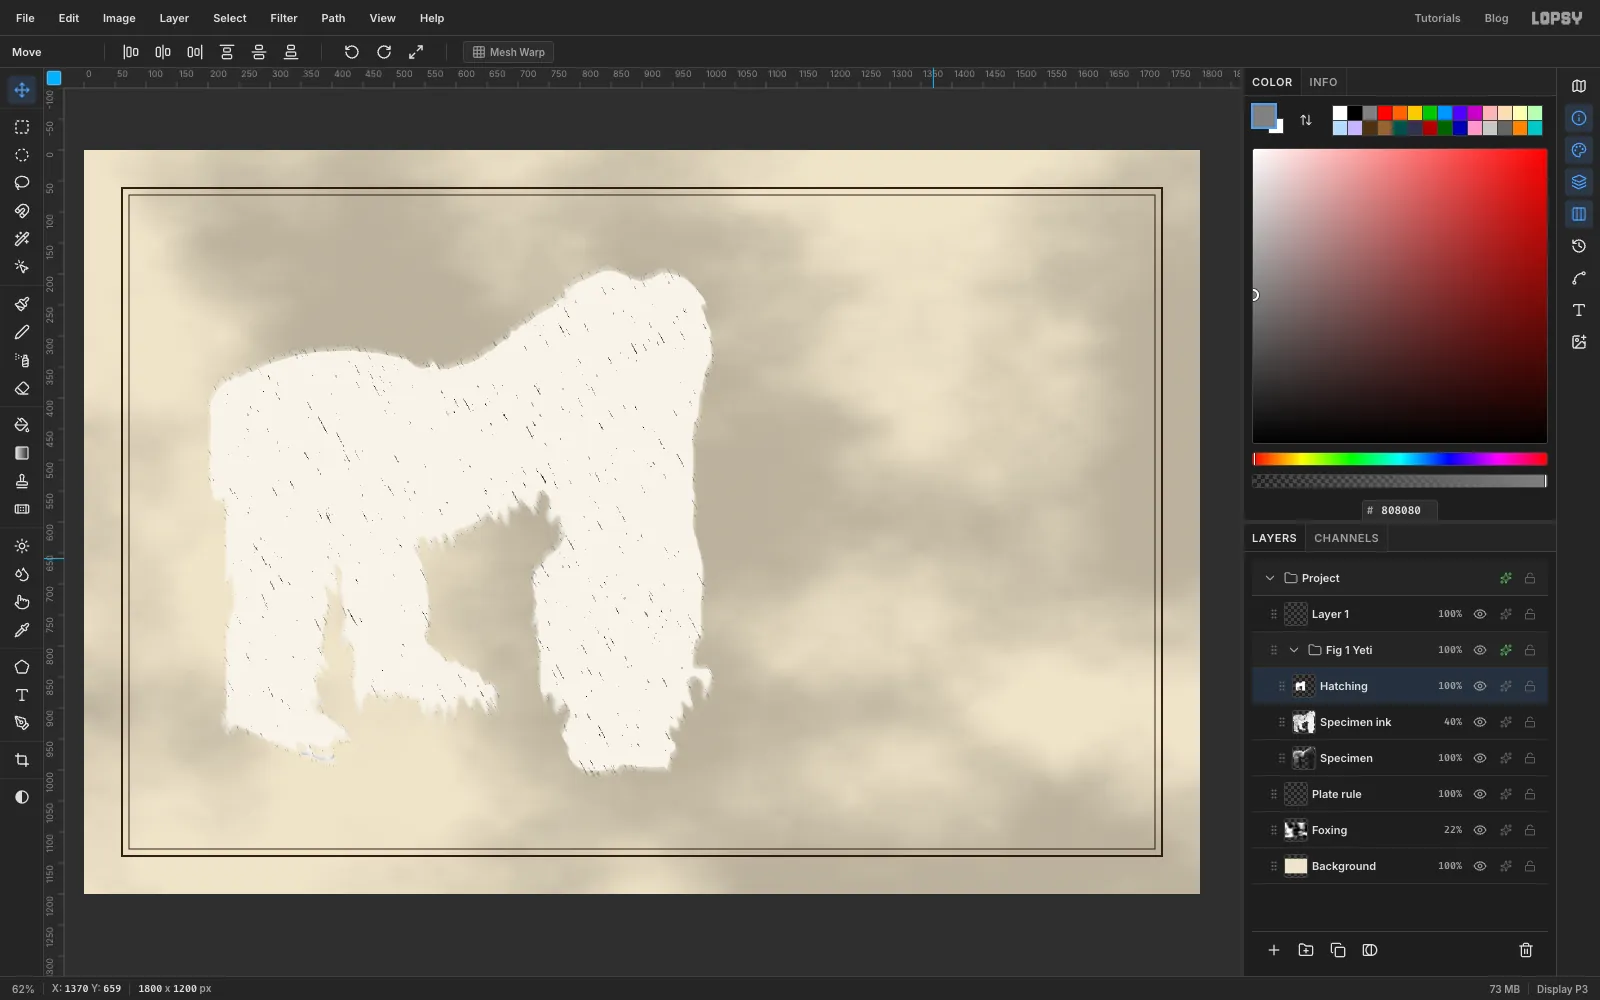
Hatching. It goes inside the group. Cmd-click the Specimen thumbnail to select the animal, click the Hatching row again, set the foreground to and choose Edit → Fill. Deselect.Now turn the grey into engraved lines:
- Filter → Add Noise…: Amount 100, Mono, Gaussian.
- Filter → Motion Blur…: Angle 62, Distance 26.
- Filter → Threshold…: Level 121.
The blur smears the noise into diagonal streaks, and Threshold turns the streaks into black lines on white. For now the layer covers the whole animal; the next step blends it in.
-
Mask the hatching to the shadows
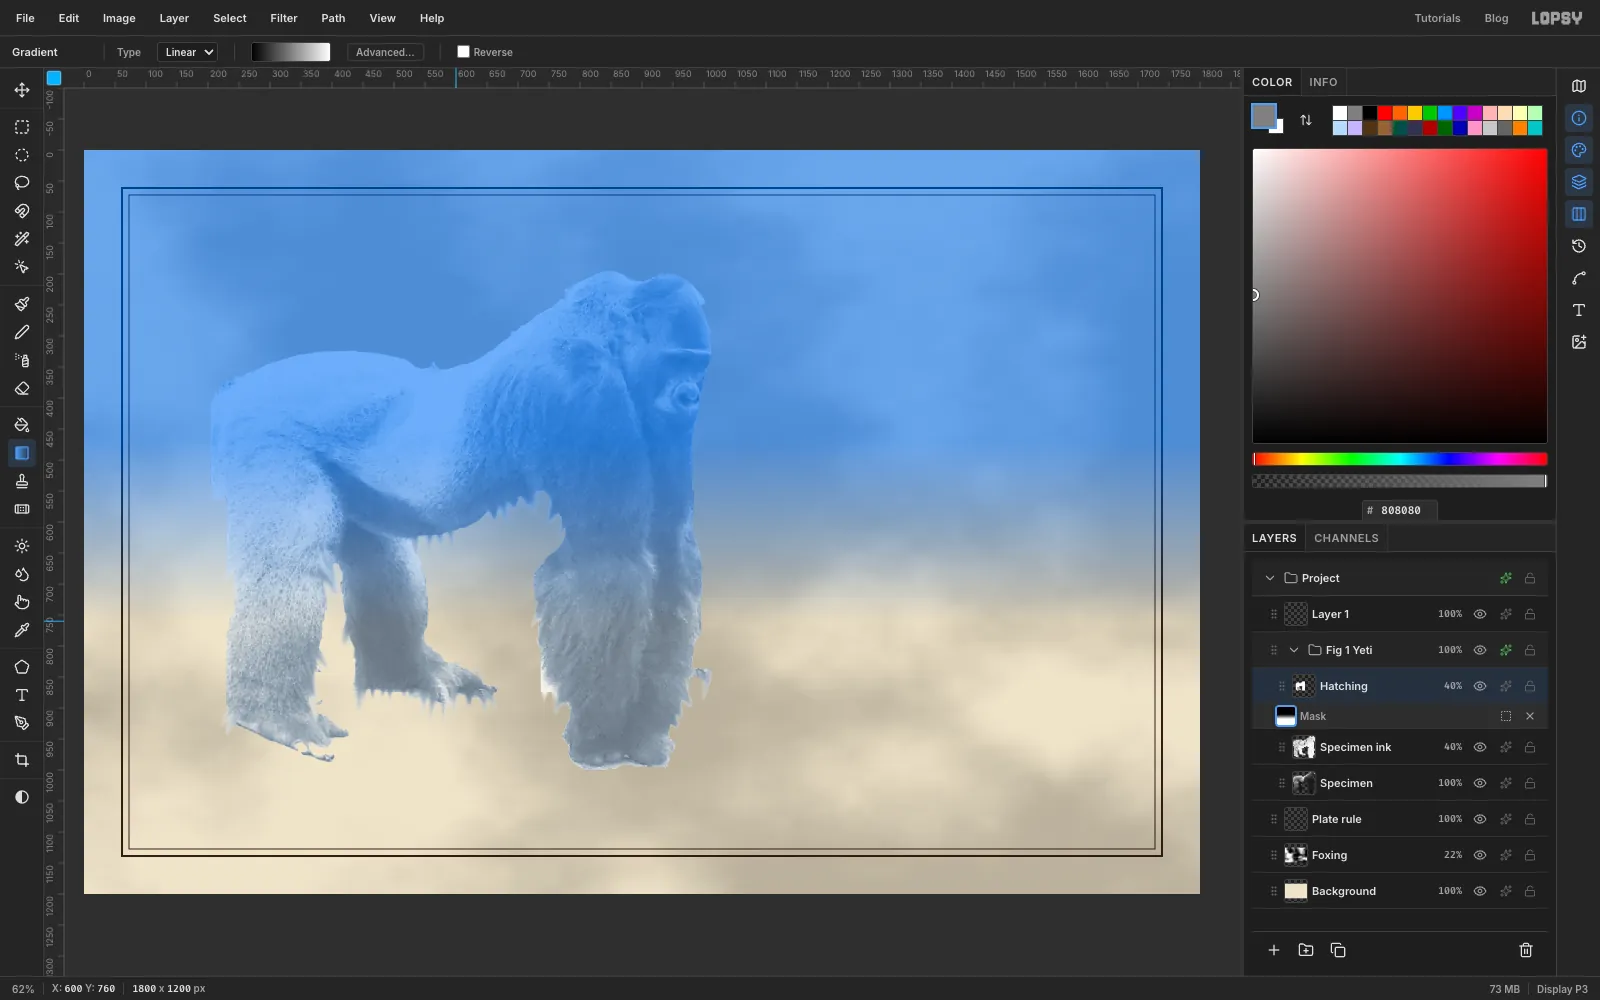
The streaks spill past the animal, so Cmd-click the Specimen thumbnail, click the Hatching row, choose Select → Inverse and press Delete. Deselect, set Hatching's Blend to Multiply and its opacity to 40%.
Hatching on a plate belongs in the shadows, under the belly and down the legs. Click Add Mask at the bottom of the Layers panel, then click the mask thumbnail on the row to edit it. Choose the Gradient tool, click Advanced… in the options bar, make the left stop black and the right stop white, and drag from the top of the back (y ≈ 470) down to the belly (y ≈ 760). The blue overlay shows where the mask hides the layer. Click the Hatching row to leave mask editing.
-
Paint guard hair
Add a layer called
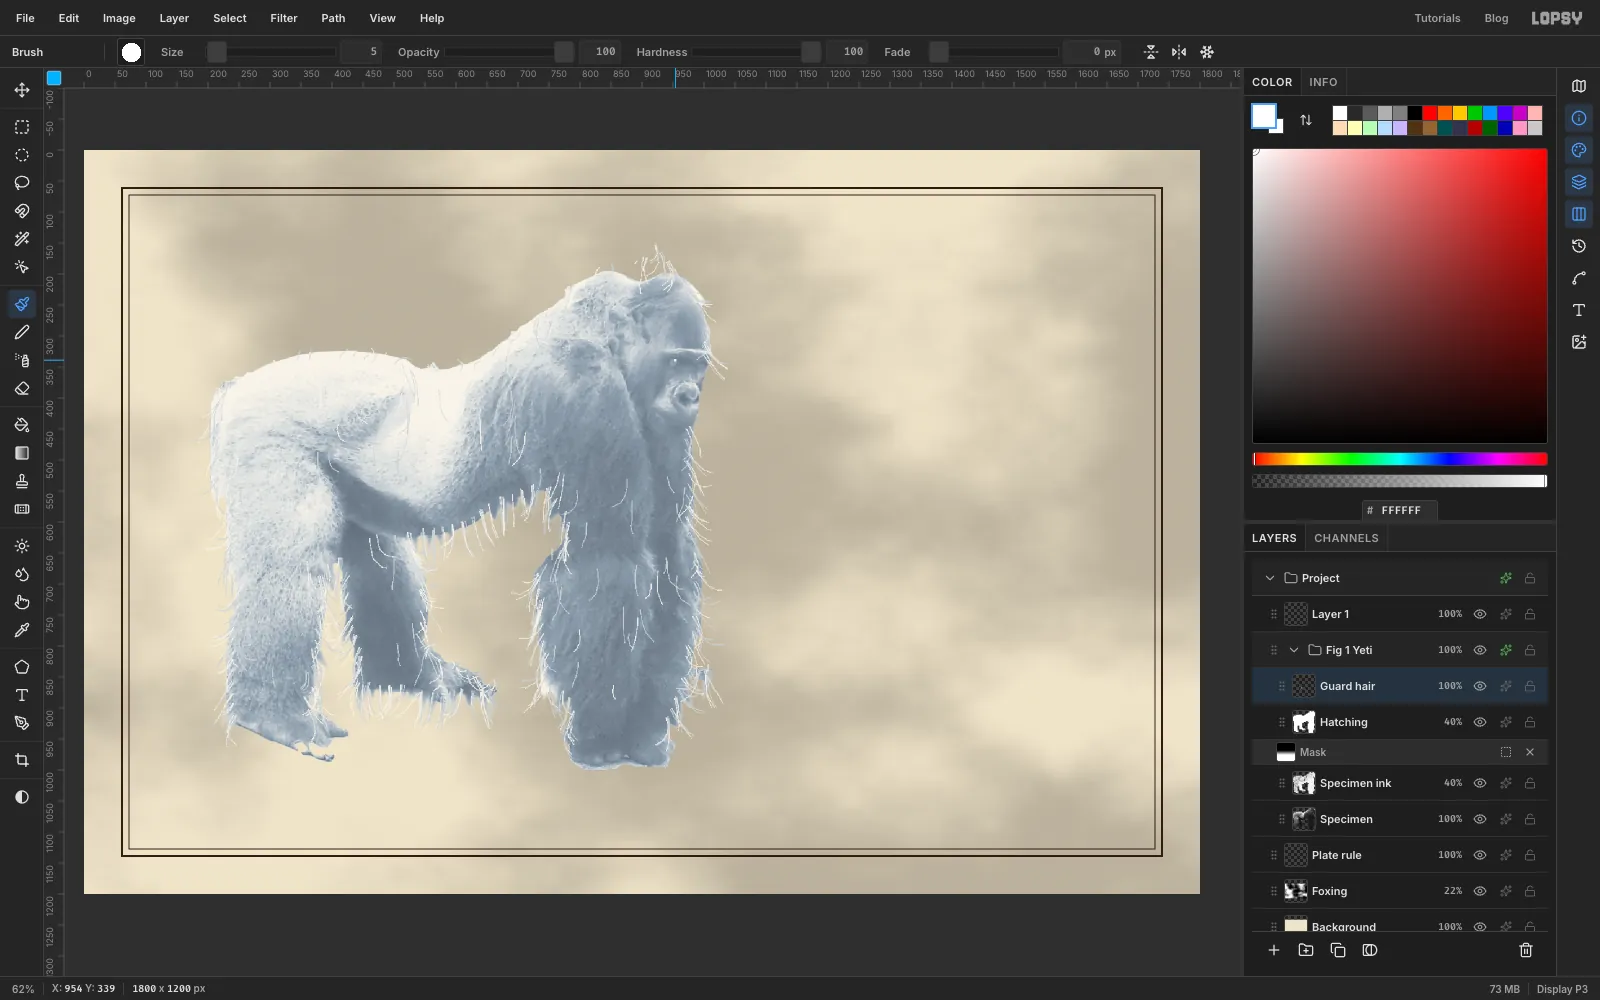
Guard hairinside the group. Choose the Brush (B). Click the brush tip at the left of the options bar to open the Brushes panel, and set Size 2, Hardness 100, Taper 70 and Opacity 75.With the foreground at grey , paint locks of hair: two to four strands from nearly the same spot, hanging down 30–120 px and curling a little at the tips. Put long ones under the belly and the backs of the arms, shorter ones down the sides of the legs and short flicks along the back. Leave the face and the feet clean. Then switch to at Opacity 85 and add darker strands among them, plus a few long ones down the fronts of the limbs.
The Gradient Map is still working on these layers, so the greys come out as pale blue-grey and slate.
Finally, give the face an eye. Set the brush to Size 14, Hardness 70 and Taper 0, and click once in under the brow ridge. Click again in white at Size 5, just above and right of centre, for a catchlight.
-
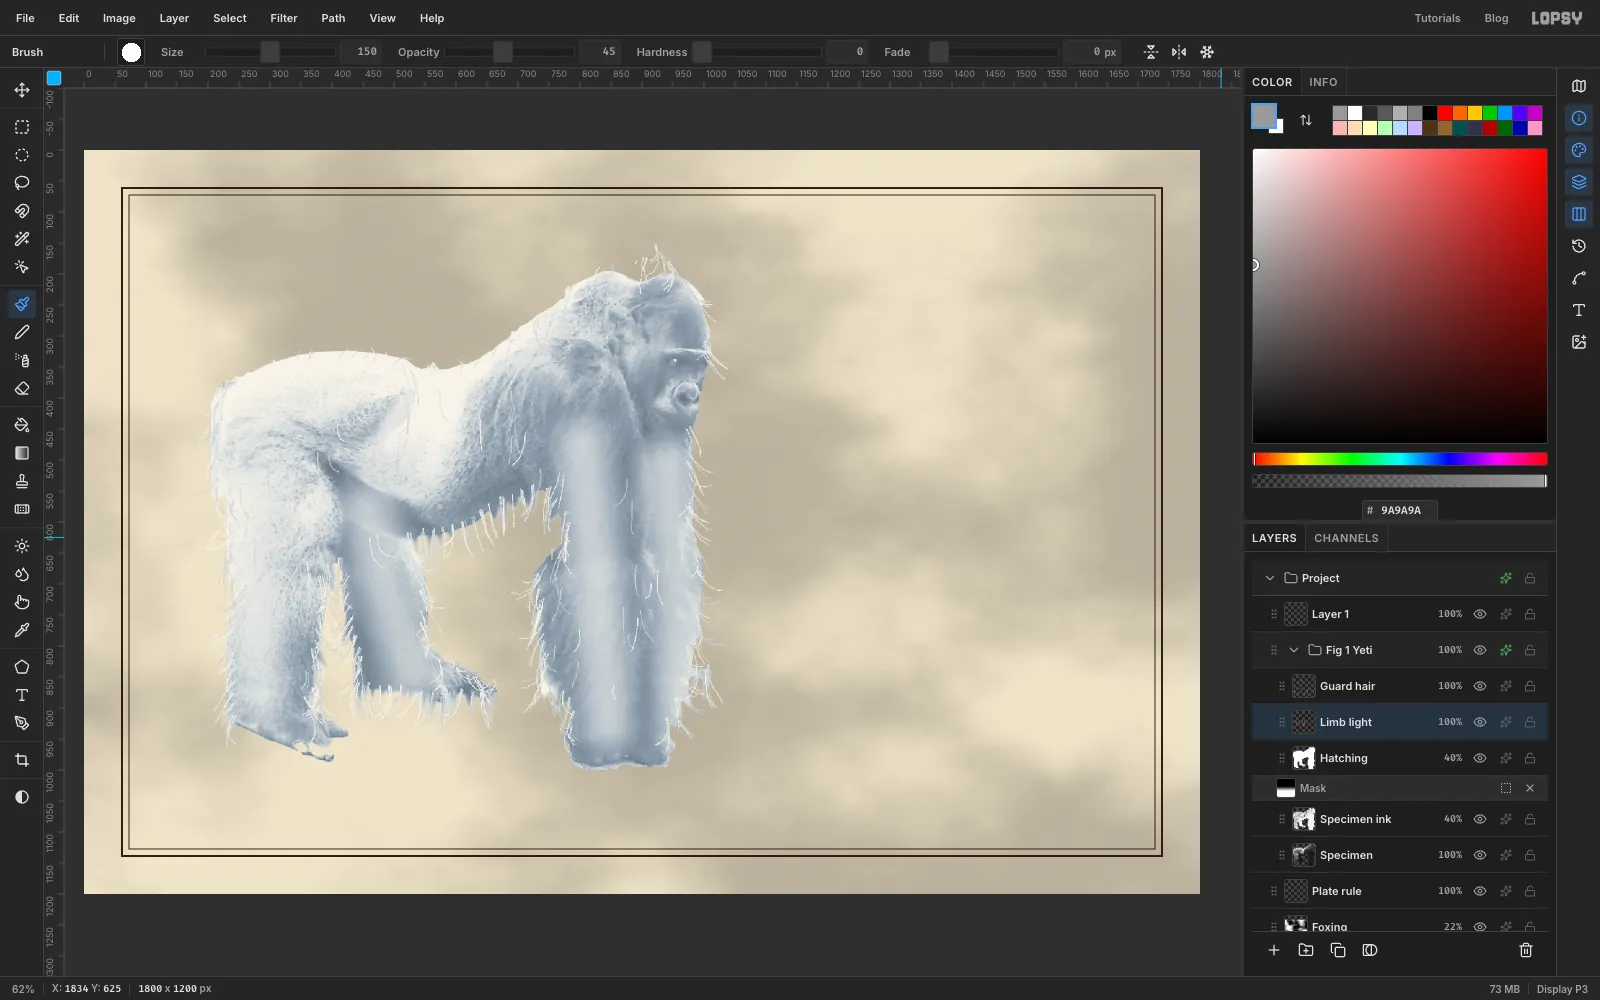
Lighten the limbs
The arms and far legs are still darker than the back. Click Hatching and add a layer called
Limb light. Set the brush to Size 150, Hardness 0 and Opacity 45, and paint in long strokes down each leg and both arms.Cmd-click the Specimen thumbnail, click Limb light, choose Select → Inverse, press Delete and deselect. Set its Blend to Screen. Screen only ever lightens, so the limbs come up towards the white of the back.
-
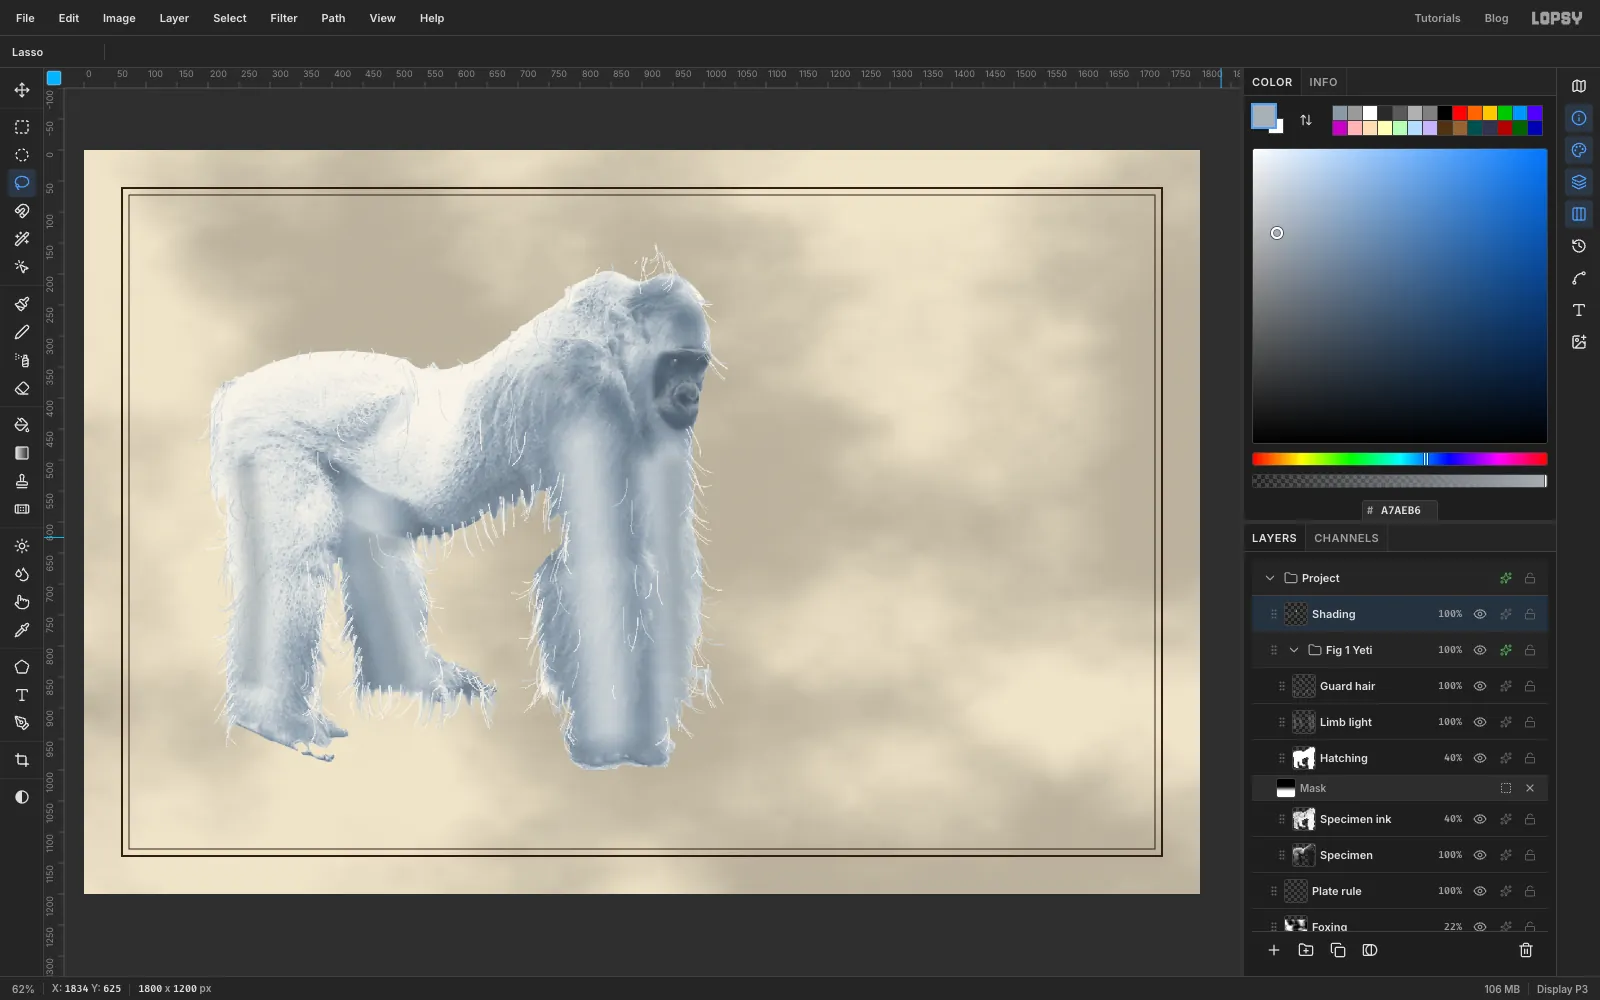
Model the form and the face
Click Layer 1, which sits above the Fig 1 Yeti group, and rename it
Shading. Brush Size 70, Hardness 0, Opacity 45, colour . Paint under the belly, down the inside of each far leg, along the back of the neck and across the top of the head. Choose Filter → Gaussian Blur… at Radius 10 so no stroke edges show.For the face, take the Lasso and draw round the bare skin, from the brow ridge down the muzzle to the chin and back. Choose Select → Feather… with 7, set the foreground to and Edit → Fill. Deselect.
Clip the layer as before: Cmd-click the Specimen thumbnail, click Shading, Select → Inverse, Delete, deselect. Set its Blend to Multiply.
-
Add a cold tint
Add a layer called
Glacier tint. Brush Size 110, Opacity 35, colour . Make a long stroke along the underside of the body and one down each shadowed leg. Clip it to the animal the same way, then set it to Multiply at 70% opacity.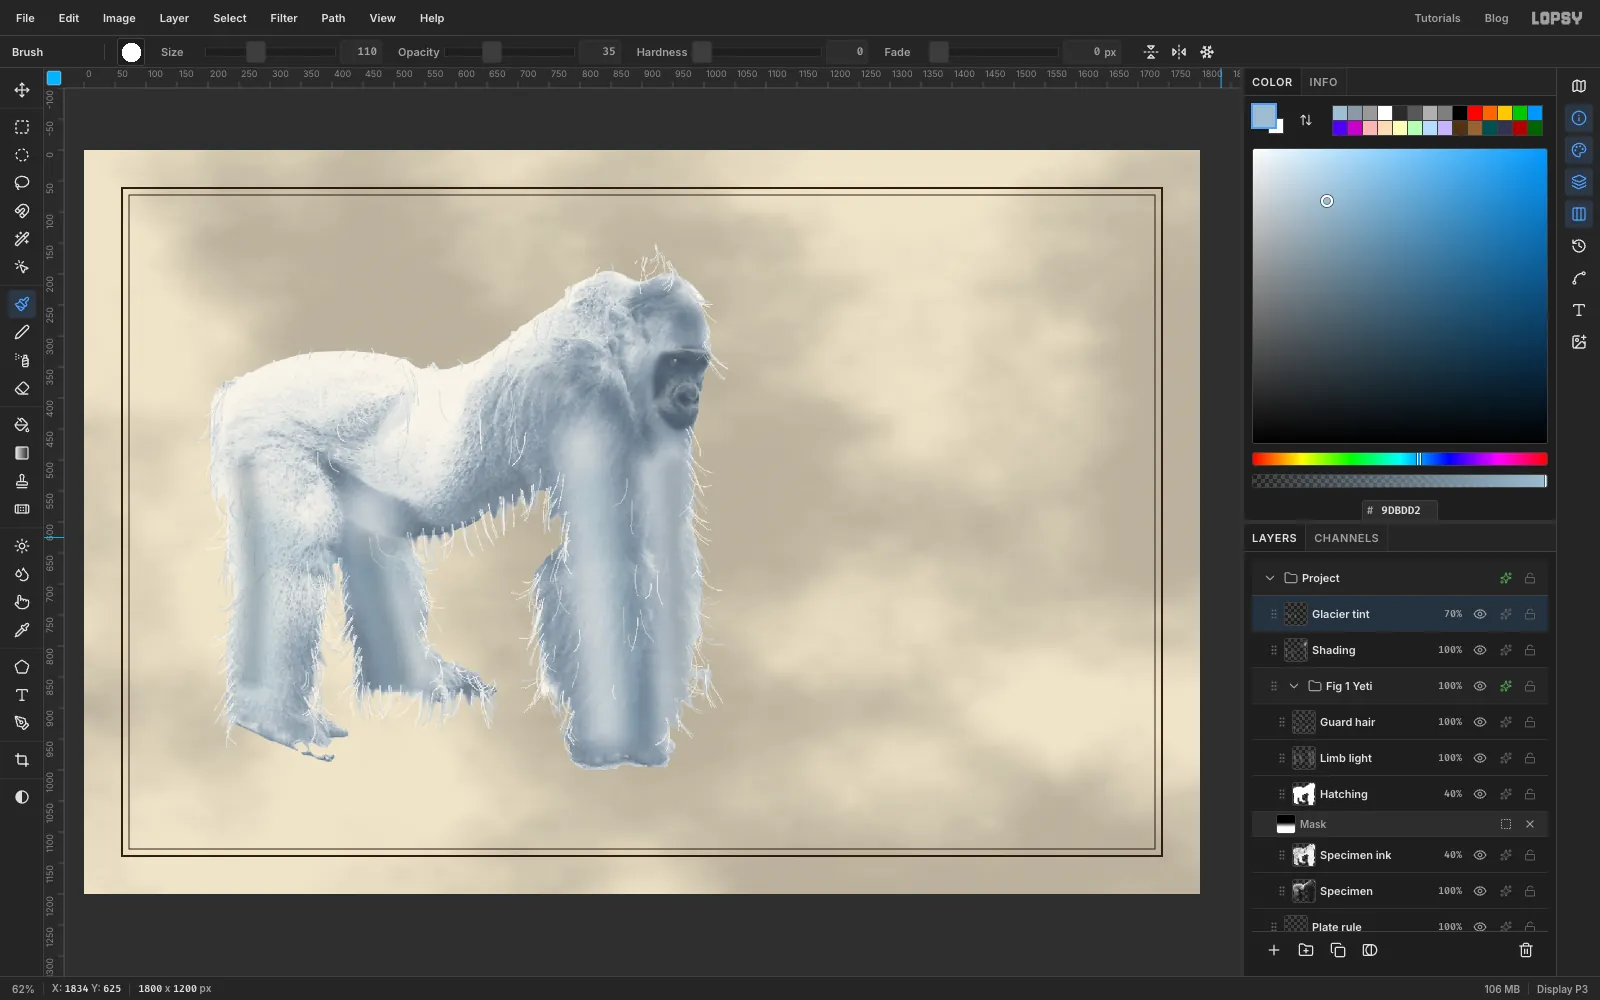
-
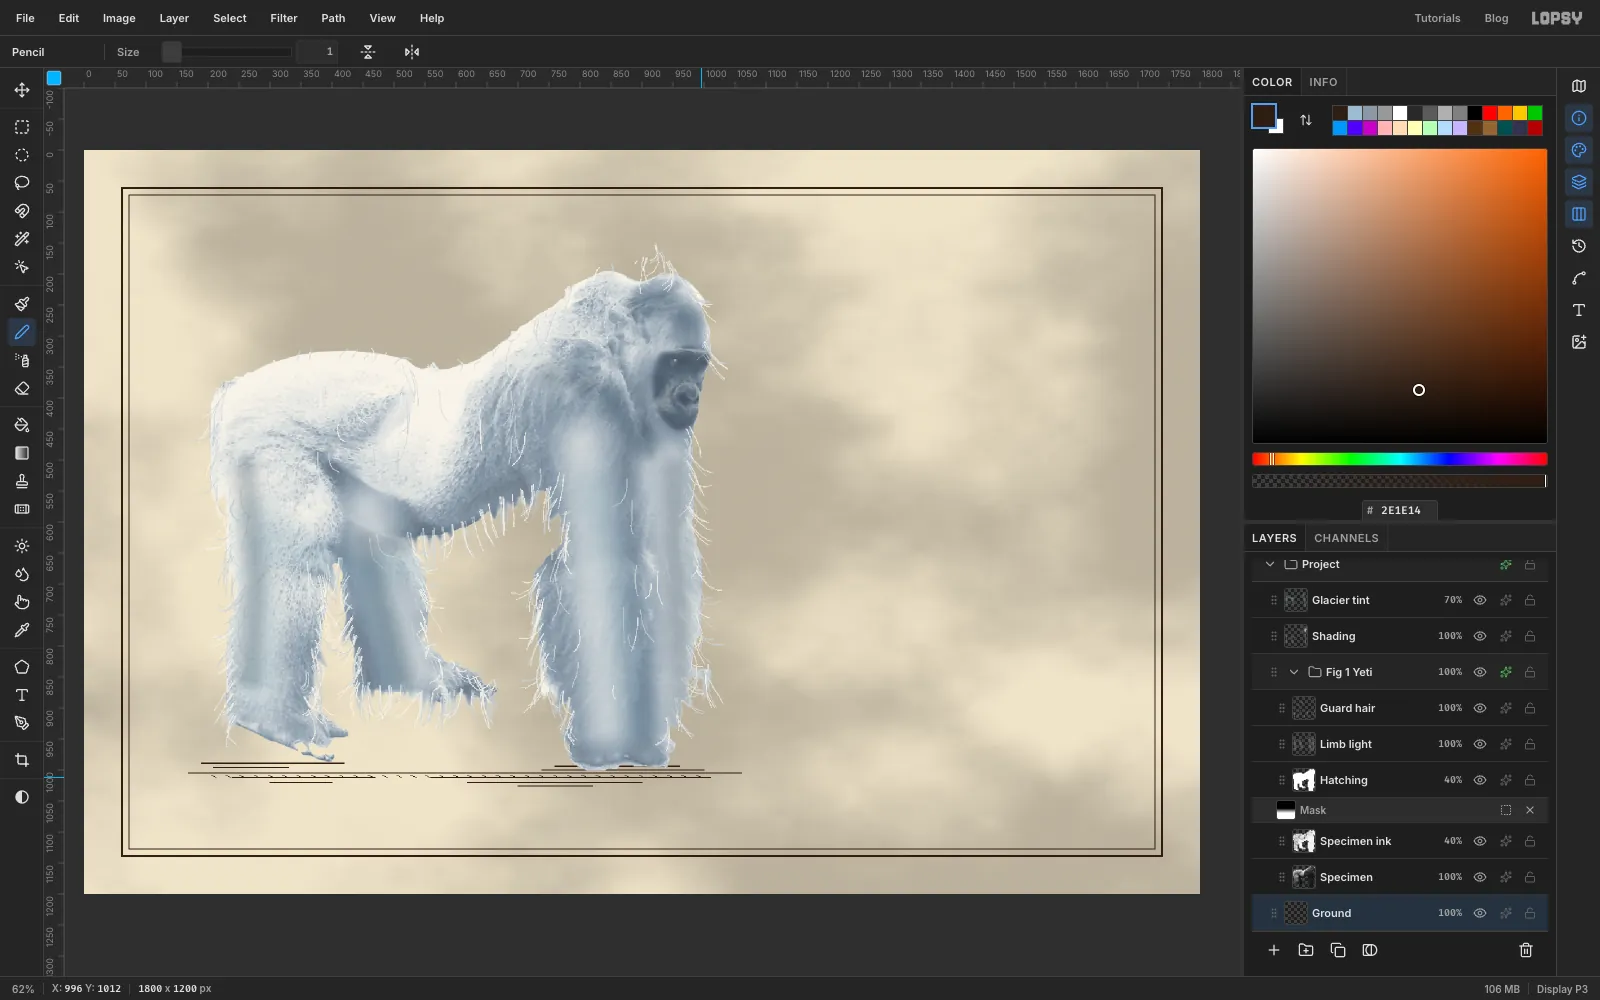
Engrave the ground
Click Plate rule and add a layer called
Ground, so it sits under the yeti. Choose the Pencil (N), set Size to 2, and set the foreground back to ink .Click at the left end of a line and Shift-click at the right end to draw it straight. Draw one long line right under the feet (y ≈ 1006), with shorter lines under each foot and a few broken lines below. At Size 1, add a row of short diagonal dashes between the first two lines. Engravers drew ground this way: dense lines right under the feet and fewer further out.
-
Snap a scale rod to the grid
Choose View → Show Grid. The grid is 16 px and Snap turns on with it. Click Glacier tint, then add a layer called
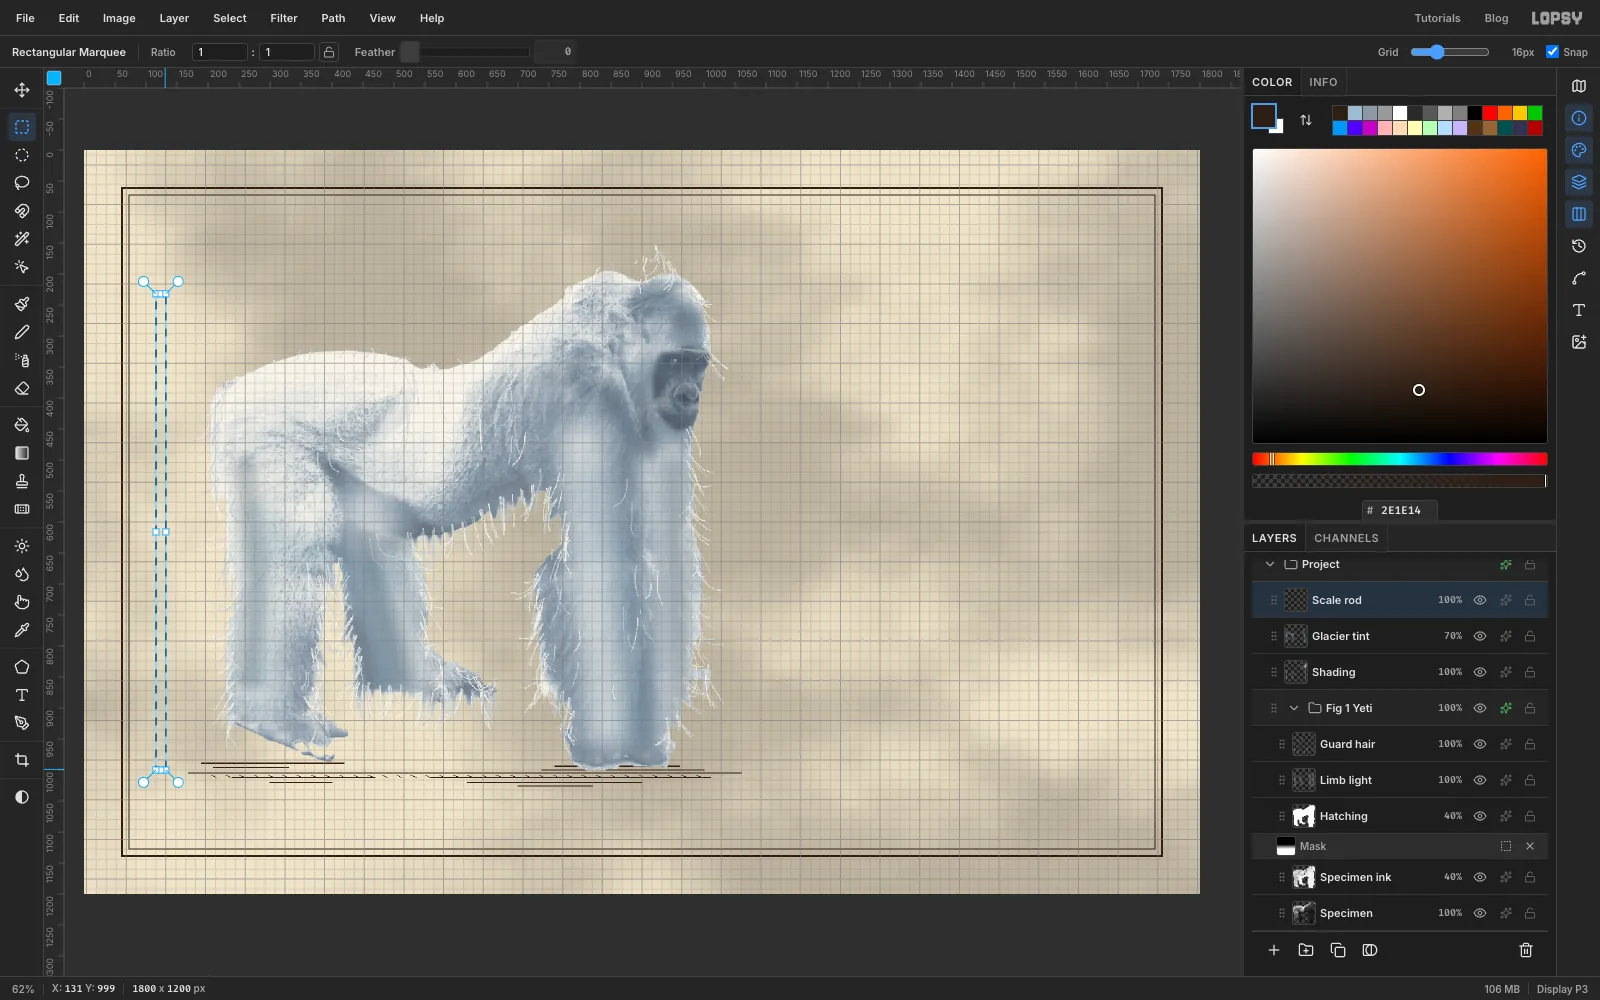
Scale rodat the top.With the Rectangular Marquee, drag a strip one grid square wide down the left margin, from about level with the yeti's crown down to the floor line at y = 1000. Snap pulls it to 116–132 across and 232–1000 down: 768 px tall, which is 1.5 m if one metre is 512 px.
-
Fill the rod
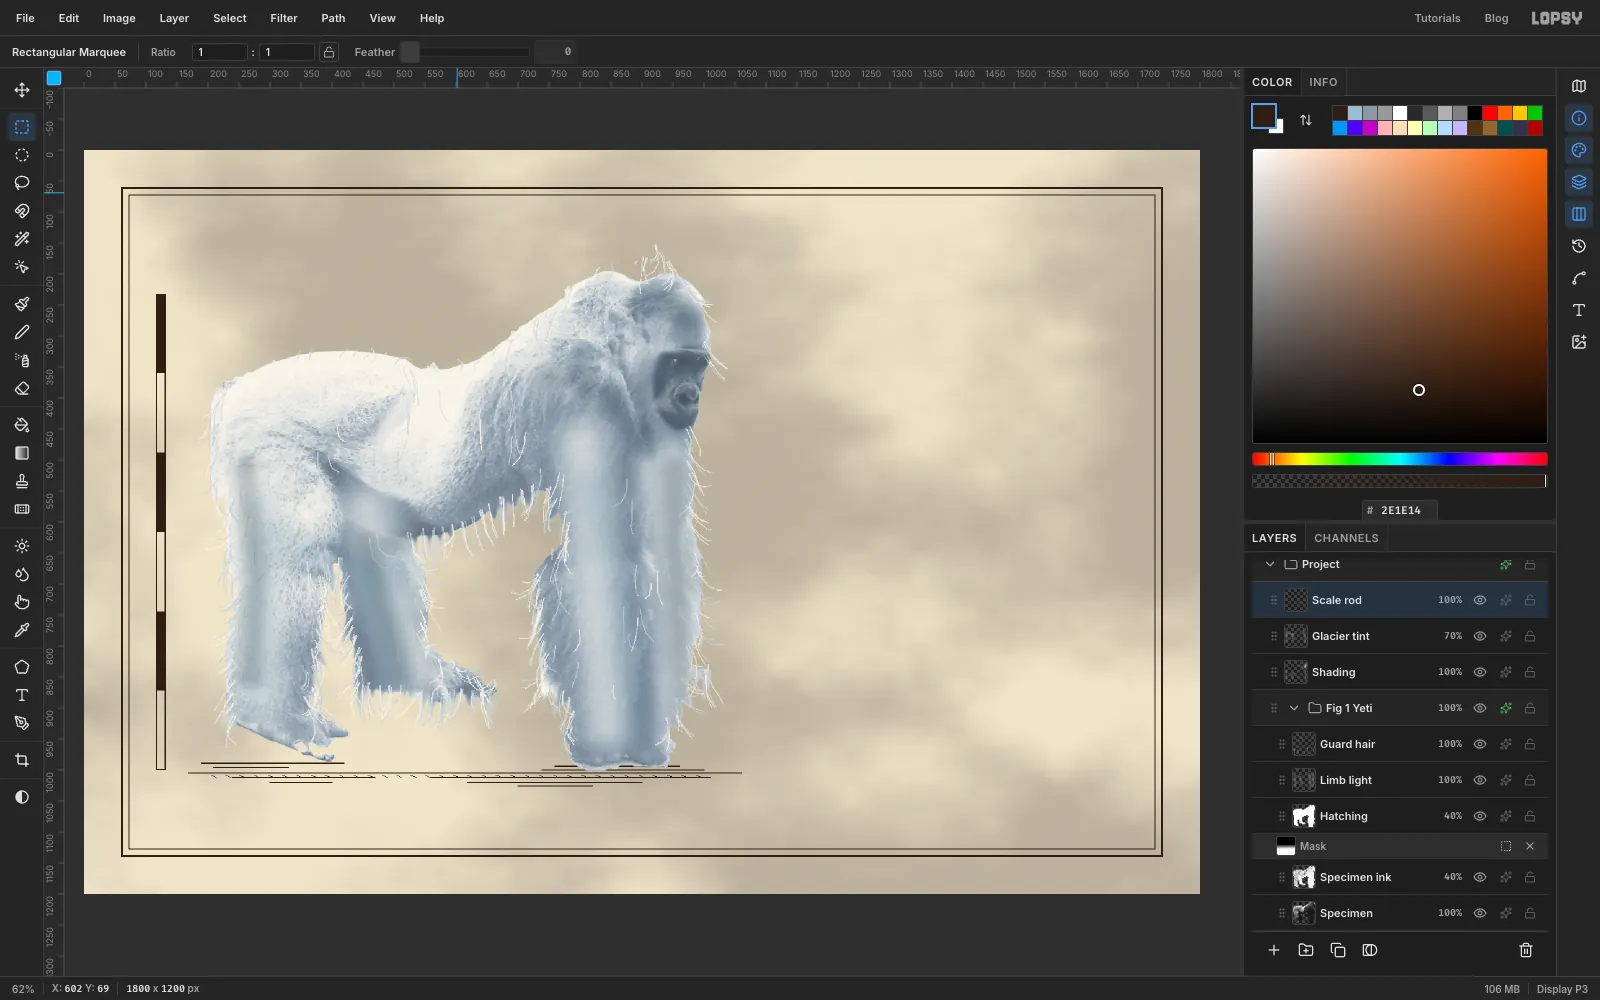
Fill it with ink, choose Select → Shrink… by 2 and press Delete to leave an outline. Then fill three 128 px segments solid: drag the marquee over each one in turn (232–360, 488–616 and 744–872) and Edit → Fill. Each black or white block is a quarter of a metre.
Choose View → Show Grid again to hide it.
-
Spot the paper
Click Foxing and drop its opacity to 8%. Add a layer called
Foxing spots, choose Spray (J) at its default settings (Size 40, Density 20, Opacity 60%) and set the foreground to . Scrub small patches near three or four corners and along the bottom edge. Set the layer to 35% opacity so the spots look like age, not dirt.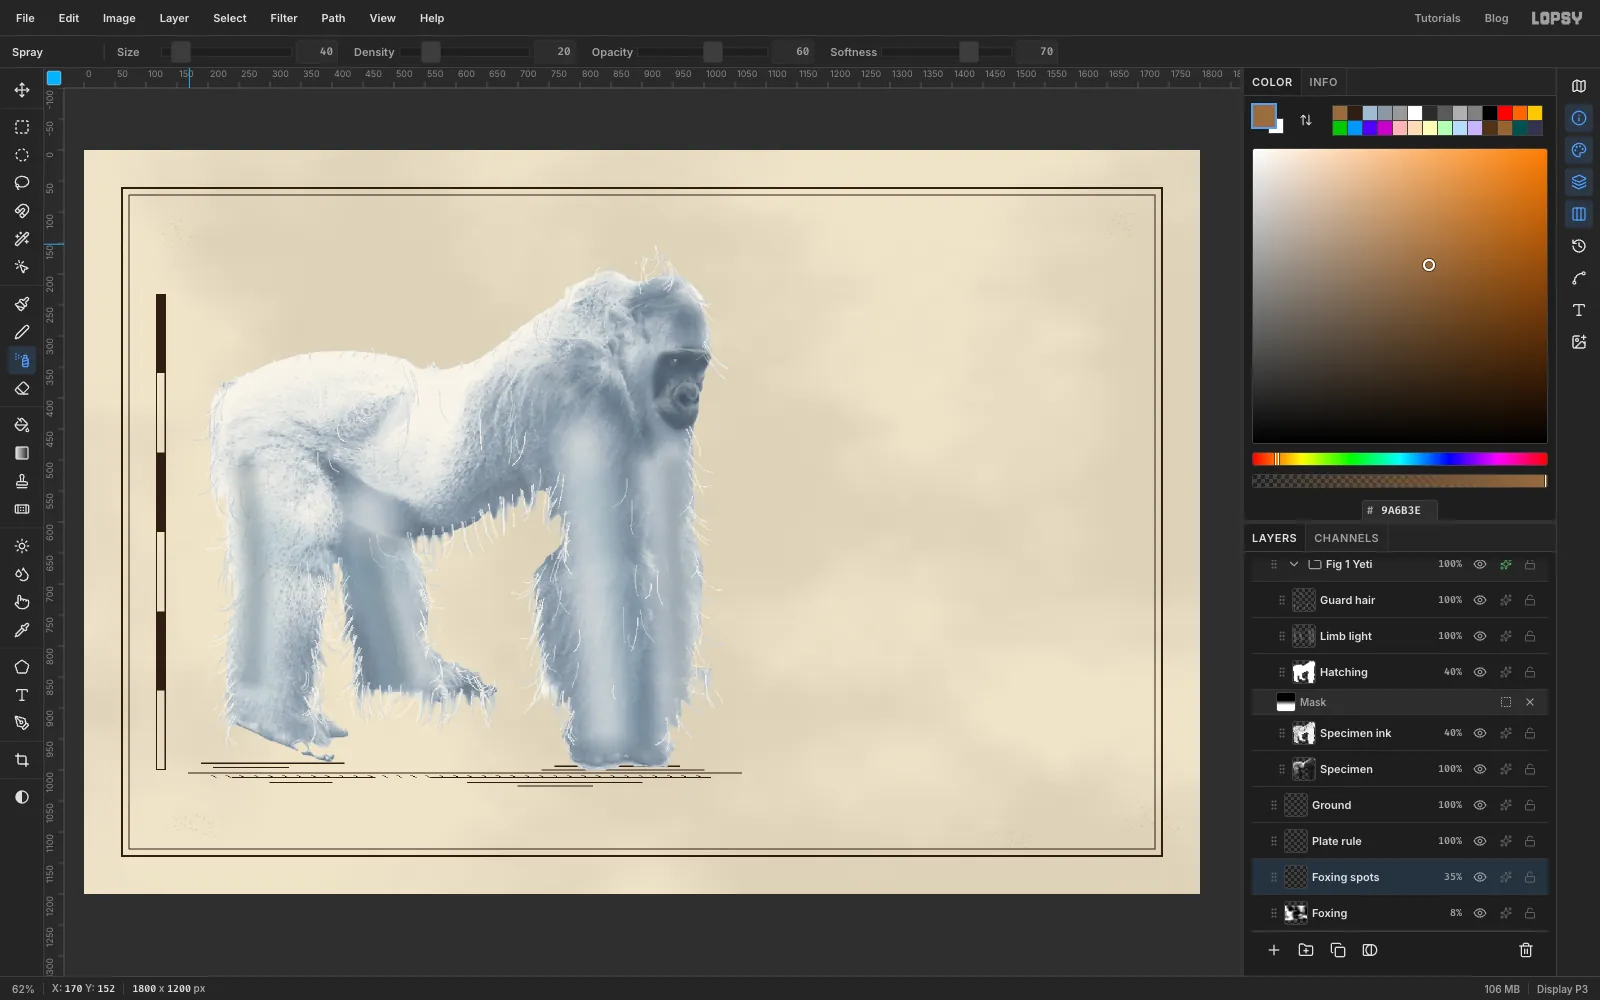
-
Draw the plaster cast
Click Scale rod, click New Group at the bottom of the Layers panel and rename the group
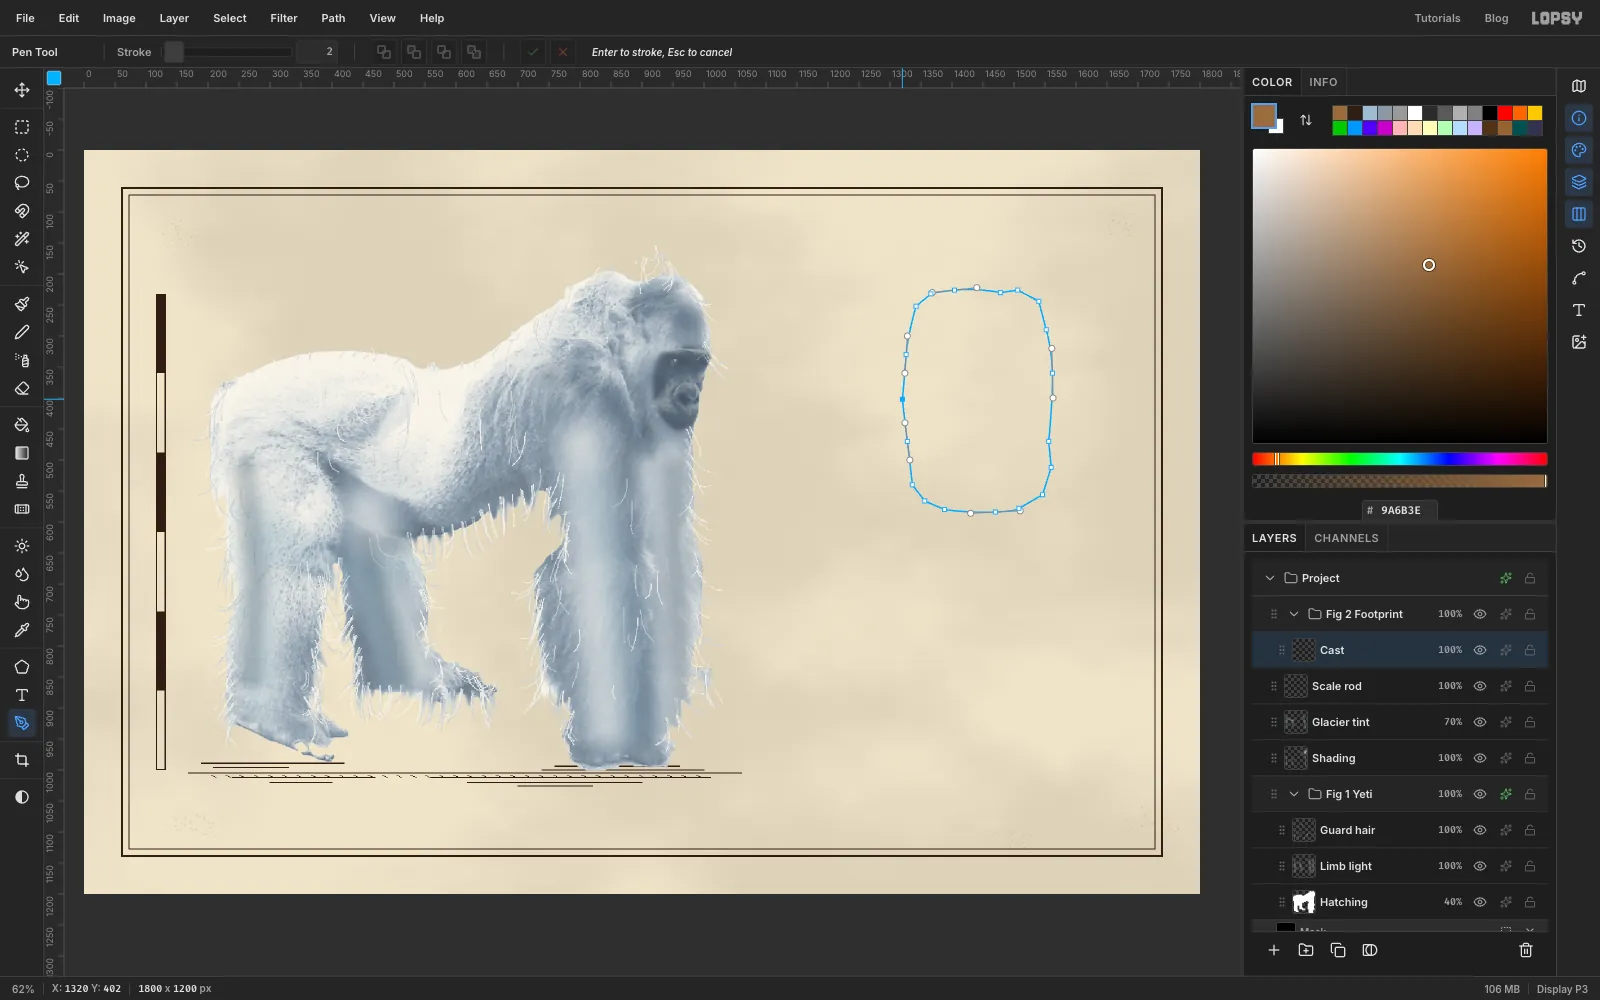
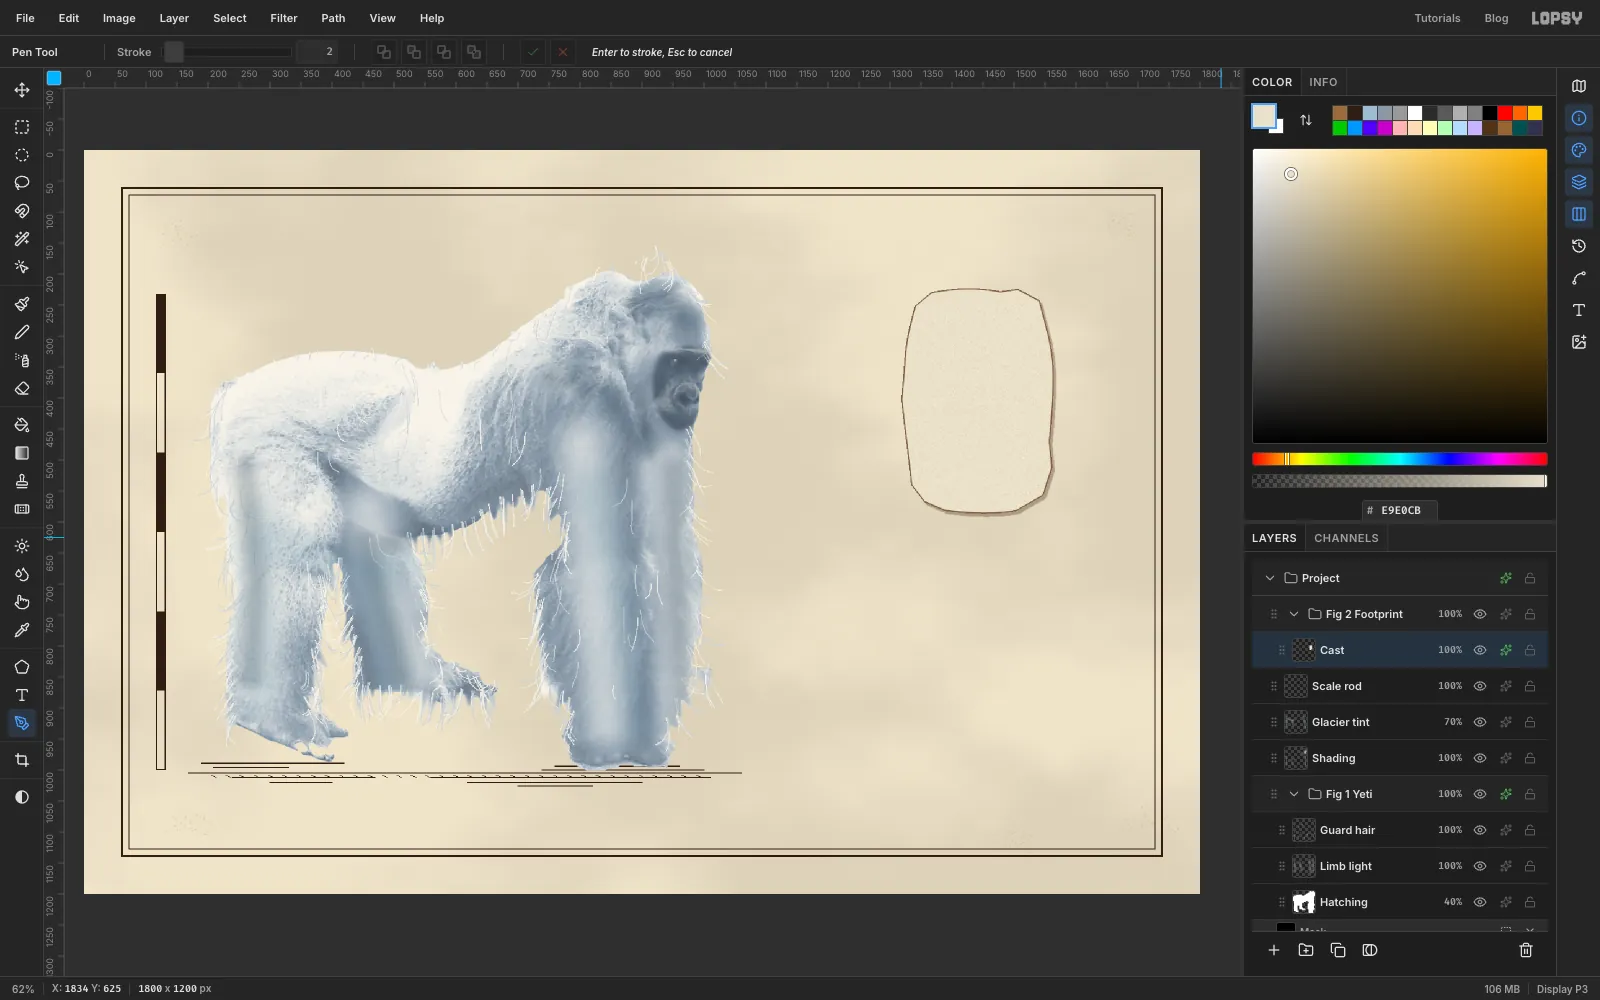
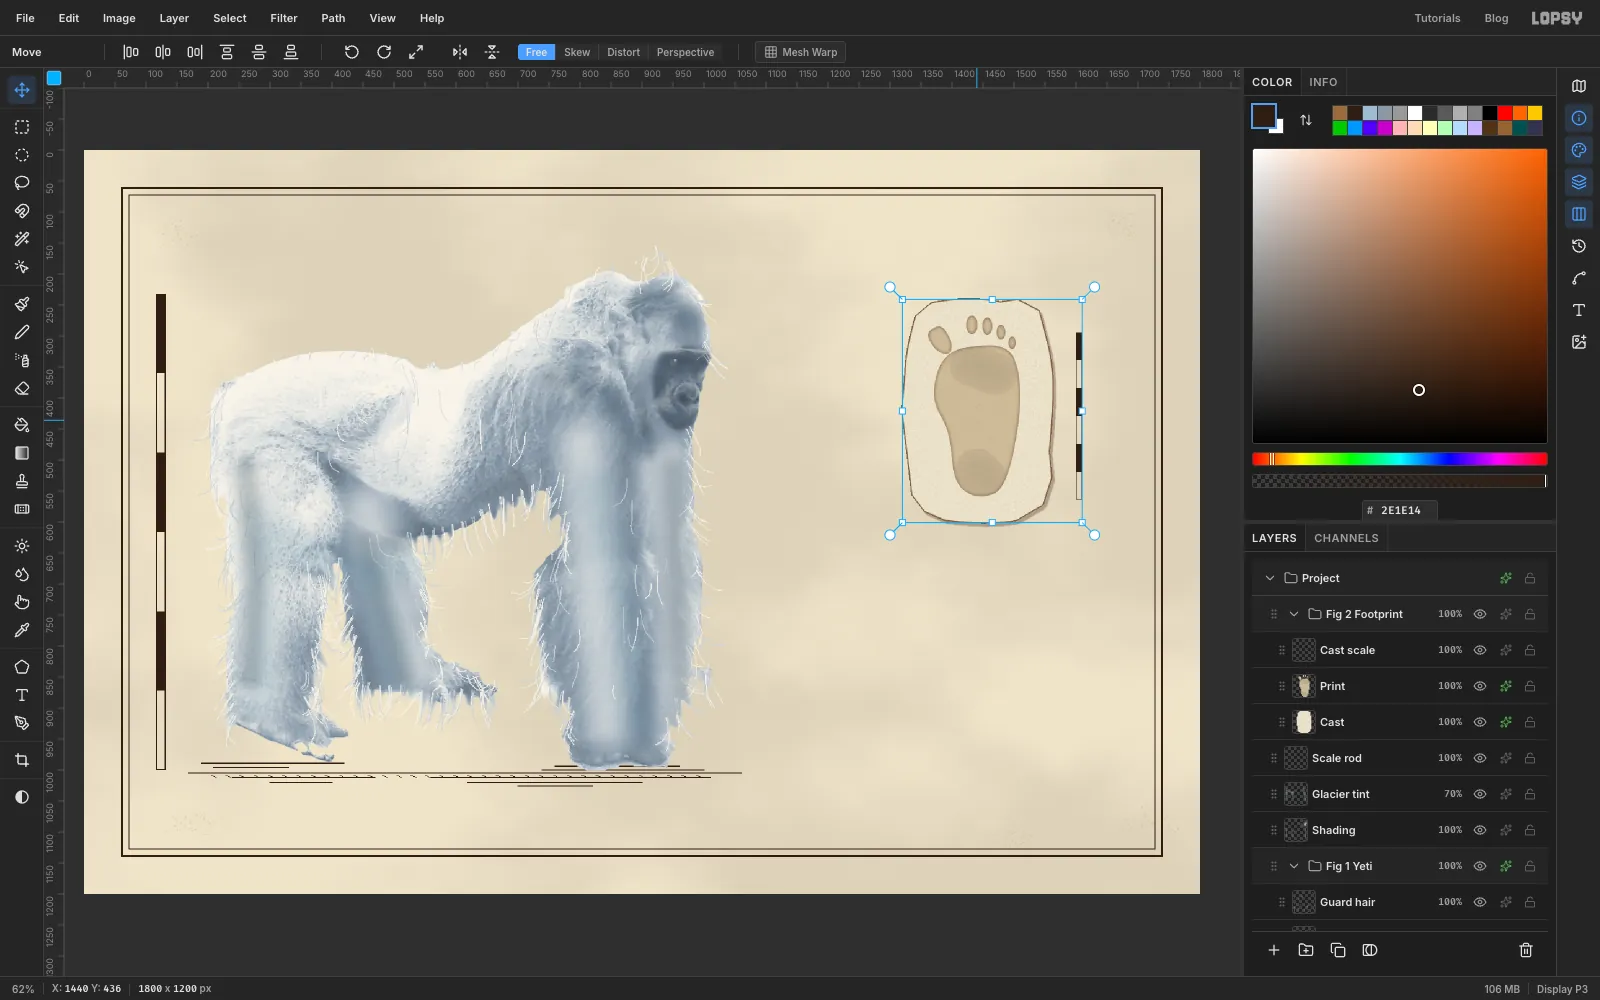
Fig 2 Footprint. Add a layer calledCastinside it.Choose the Pen (P) and click round an irregular slab in the right-hand column, from about x 1320 to 1560 and from y 225 down to 585. Make it a little wider at the top, with chipped corners, a few straight breaks and a couple of gentle curves (drag on a point to curve it). Click the first point again to close the path.
-
Fill and edge the cast
Open the Paths panel and click Path to Selection, then delete the path. Fill the selection with and deselect. Choose Filter → Add Noise…: Amount 18, Mono.
Open the layer's effects and turn on Stroke with Width 2 and colour . Turn on Drop Shadow with Offset X 4, Offset Y 5, Blur 2, Opacity 35 and colour . A small, hard shadow says plaster on paper. A soft, wide one would look like a sticker.
-
Press the footprint
Add a layer called
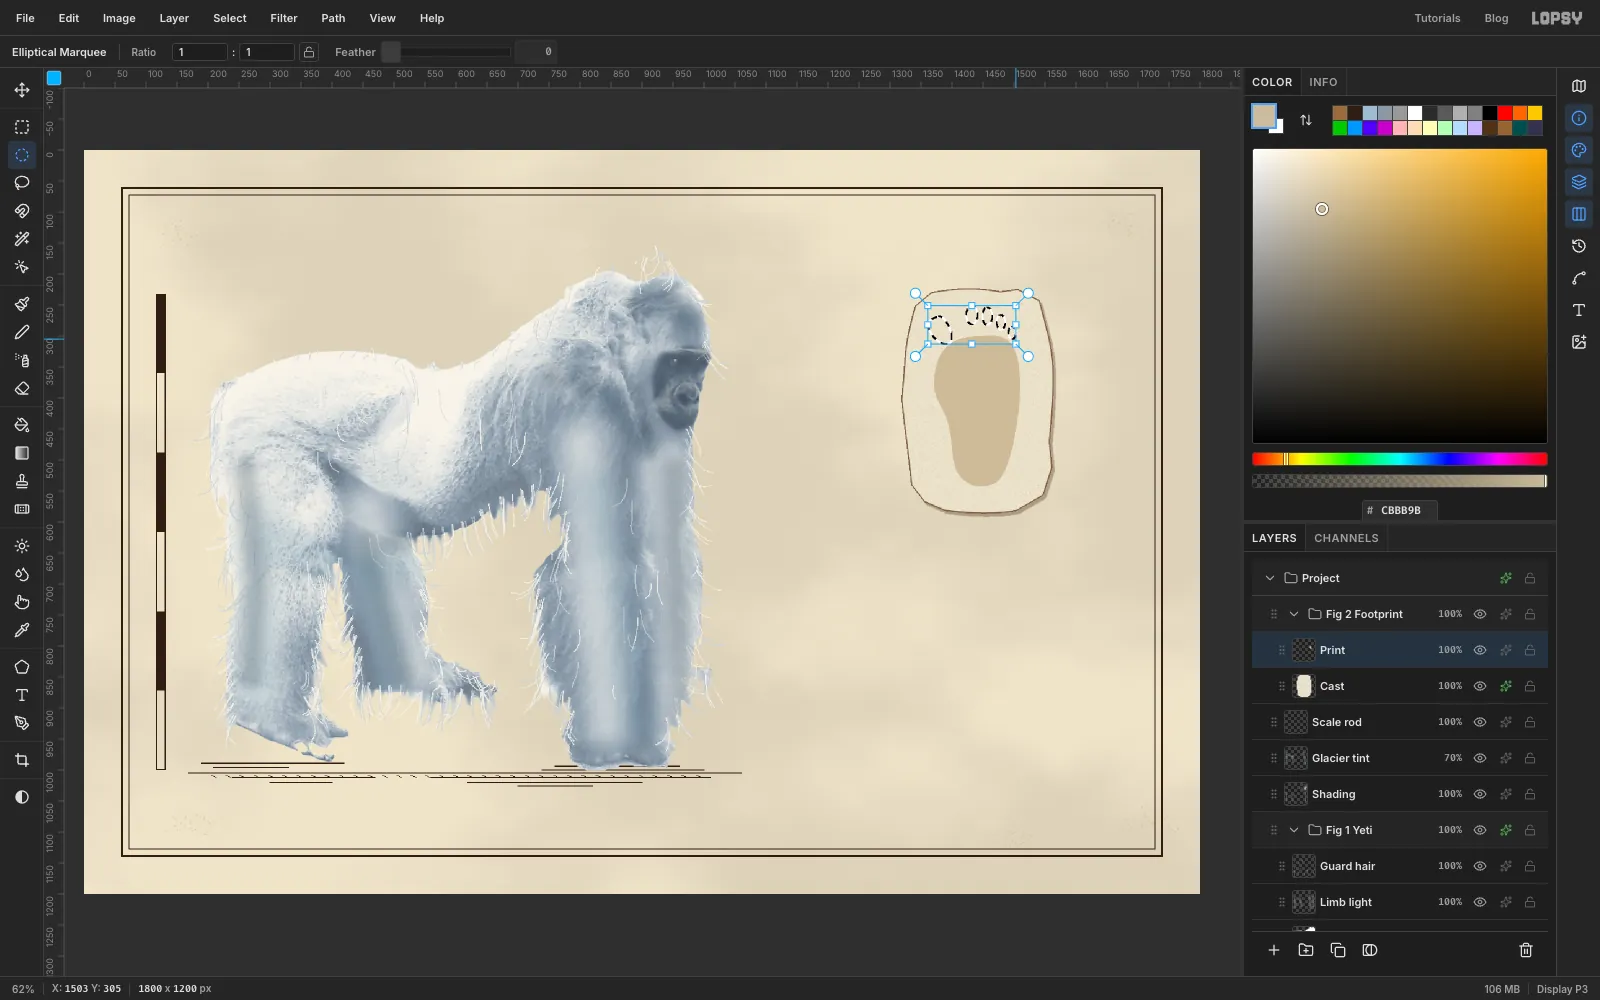
Print. With the Pen, draw the sole as a smooth closed shape centred in the cast, a little below the middle: broad at the ball, narrowing at the arch, rounded at the heel, about 140 × 240 px. Choose Path to Selection, fill with and deselect.Now the toes. Draw the big toe (the hallux) with the Pen as a teardrop about 48 px long, angled about 30° out to the left, away from the others. That splay is what makes the print not human. Turn it into a selection, then take the Elliptical Marquee and Shift-drag four narrow ovals in an arc for the smaller toes, each smaller than the last. Shift adds each one to the selection.
-
Shade the print
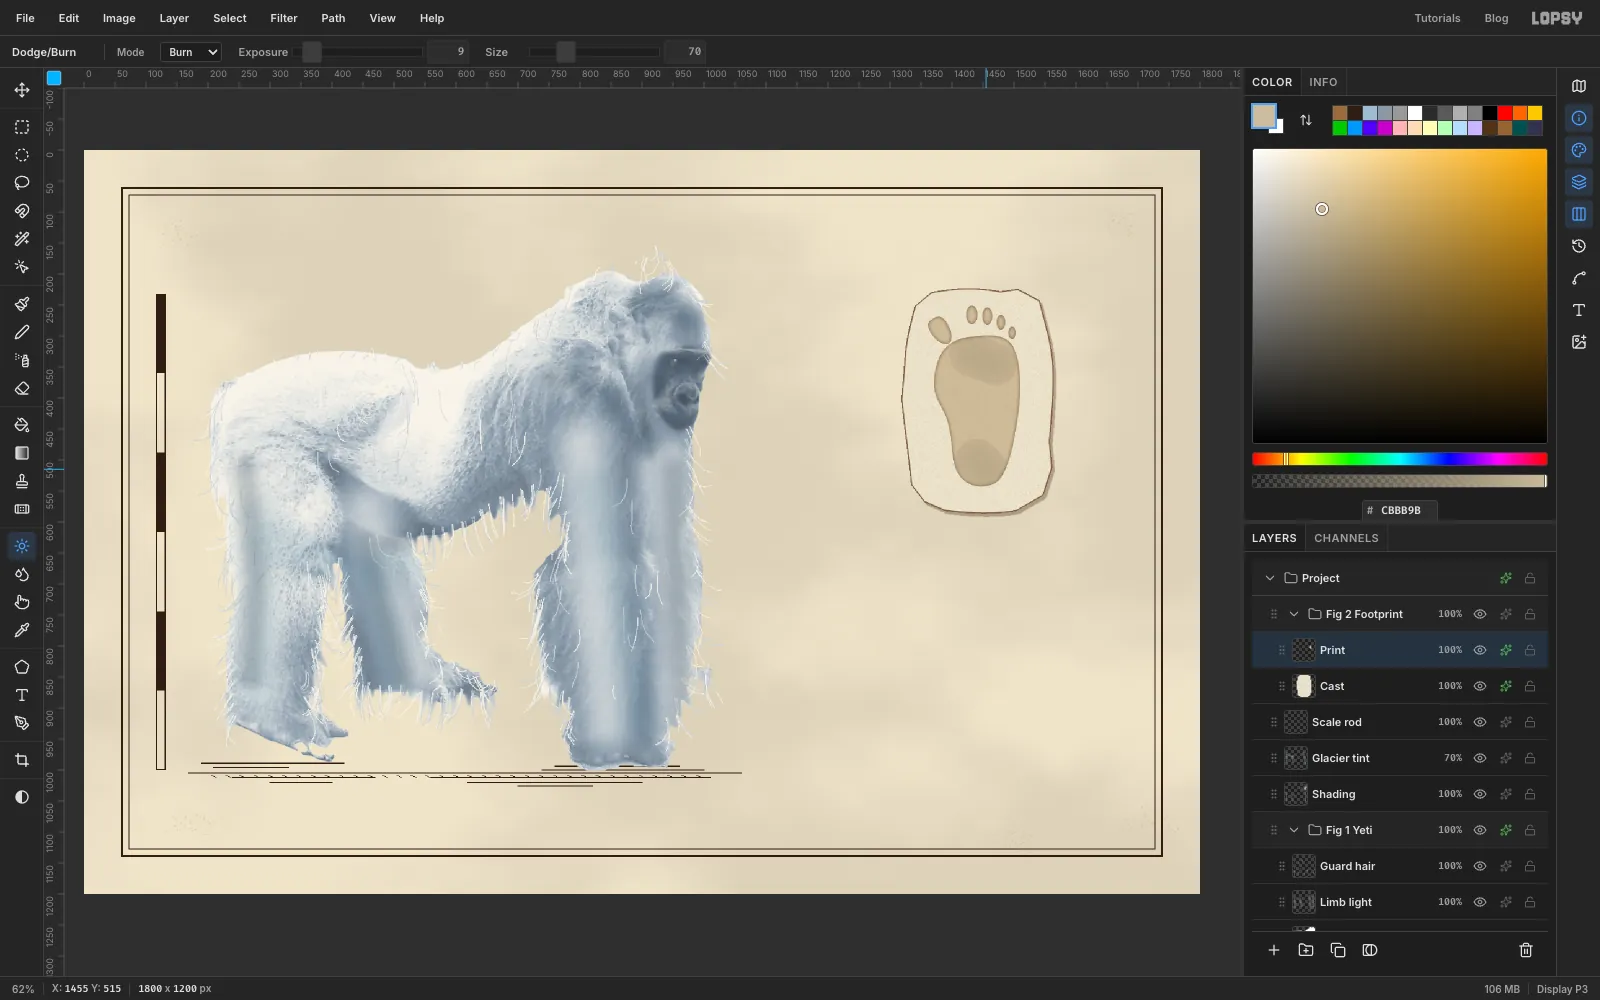
Fill the toes with the same and deselect. Choose Filter → Add Noise… with Amount 22, Mono and Gaussian.
Open the effects and turn on Inner Glow with Size 9, Opacity 90 and colour . On a hole, an inner glow reads as the shadowed wall of a dent. Then choose Burn at Exposure 9 and Size 70 and make one short stroke across the ball and one across the heel, where a heavy animal presses deepest.
-
Add a scale bar to the cast
Add a layer called
Cast scaleand set the foreground back to ink . Use the exact-corner marquee for a bar from 1600, 278 to 1610, 548, just right of the cast. Fill it, Shrink by 1 and Delete. Then fill three 45 px segments with the exact-corner marquee (y 278–323, 368–413 and 458–503) to mark 5 cm steps. At this scale one centimetre is 9 px, so the print, about 280 px from heel to toe tips, is roughly 31 cm long.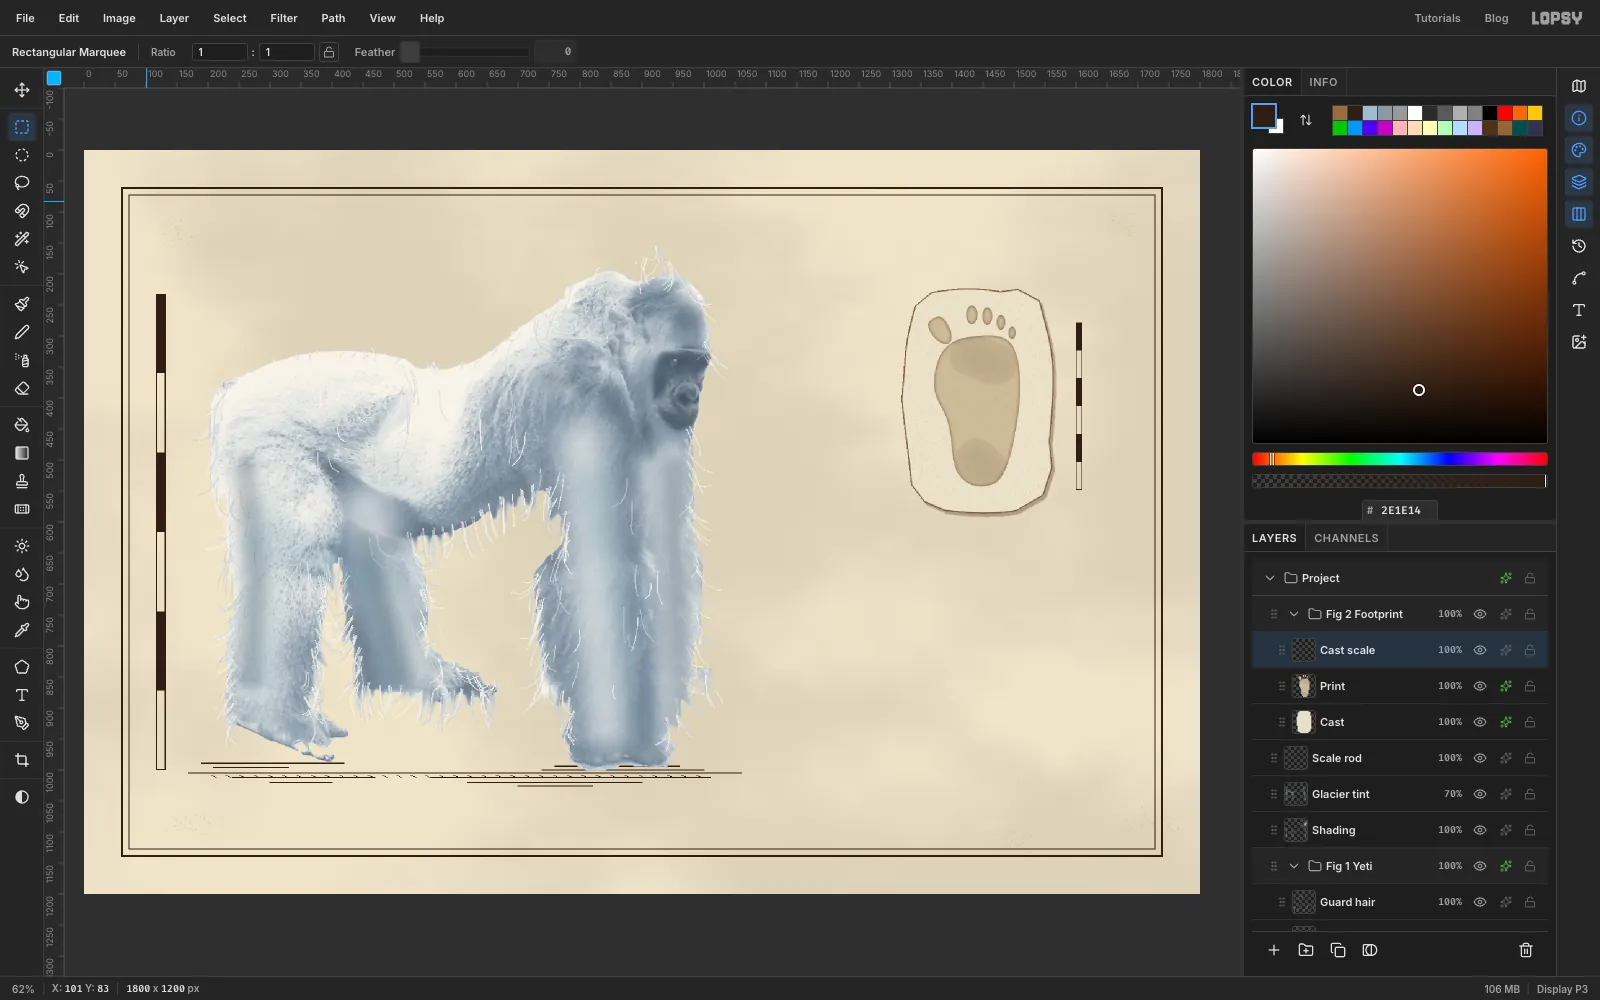
-
Move the whole figure
The cast sits too close to the title you'll set above it. Deselect, click the Fig 2 Footprint group row, choose the Move tool and press Shift+Down once and Down six times to move it 16 px down. Everything in the group moves together.
-
Grow some terrain
Collapse the footprint group. Click New Group and call it
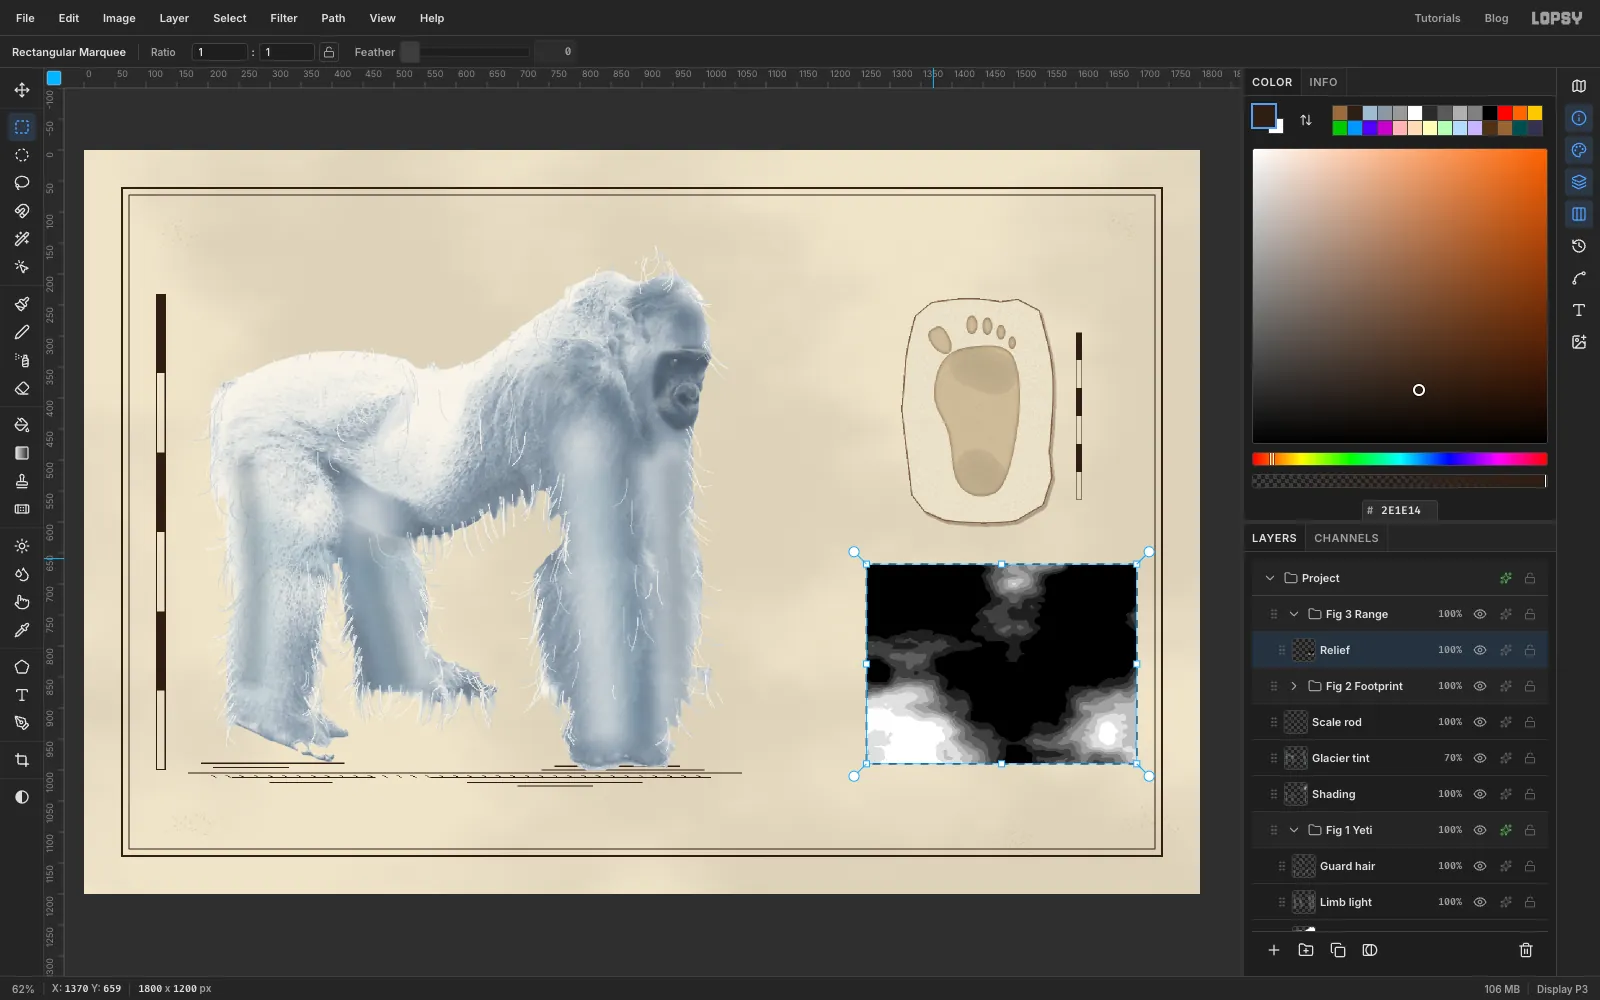
Fig 3 Range, then add a layer calledRelief. Make an exact marquee from 1262, 668 to 1698, 990.Inside the selection:
- Filter → Clouds…: Scale 6.
- Filter → Brightness/Contrast…: Contrast 70.
- Filter → Posterize…: Levels 9.
The clouds become flat bands of height, like a hand-tinted relief map.
-
Trace the contours
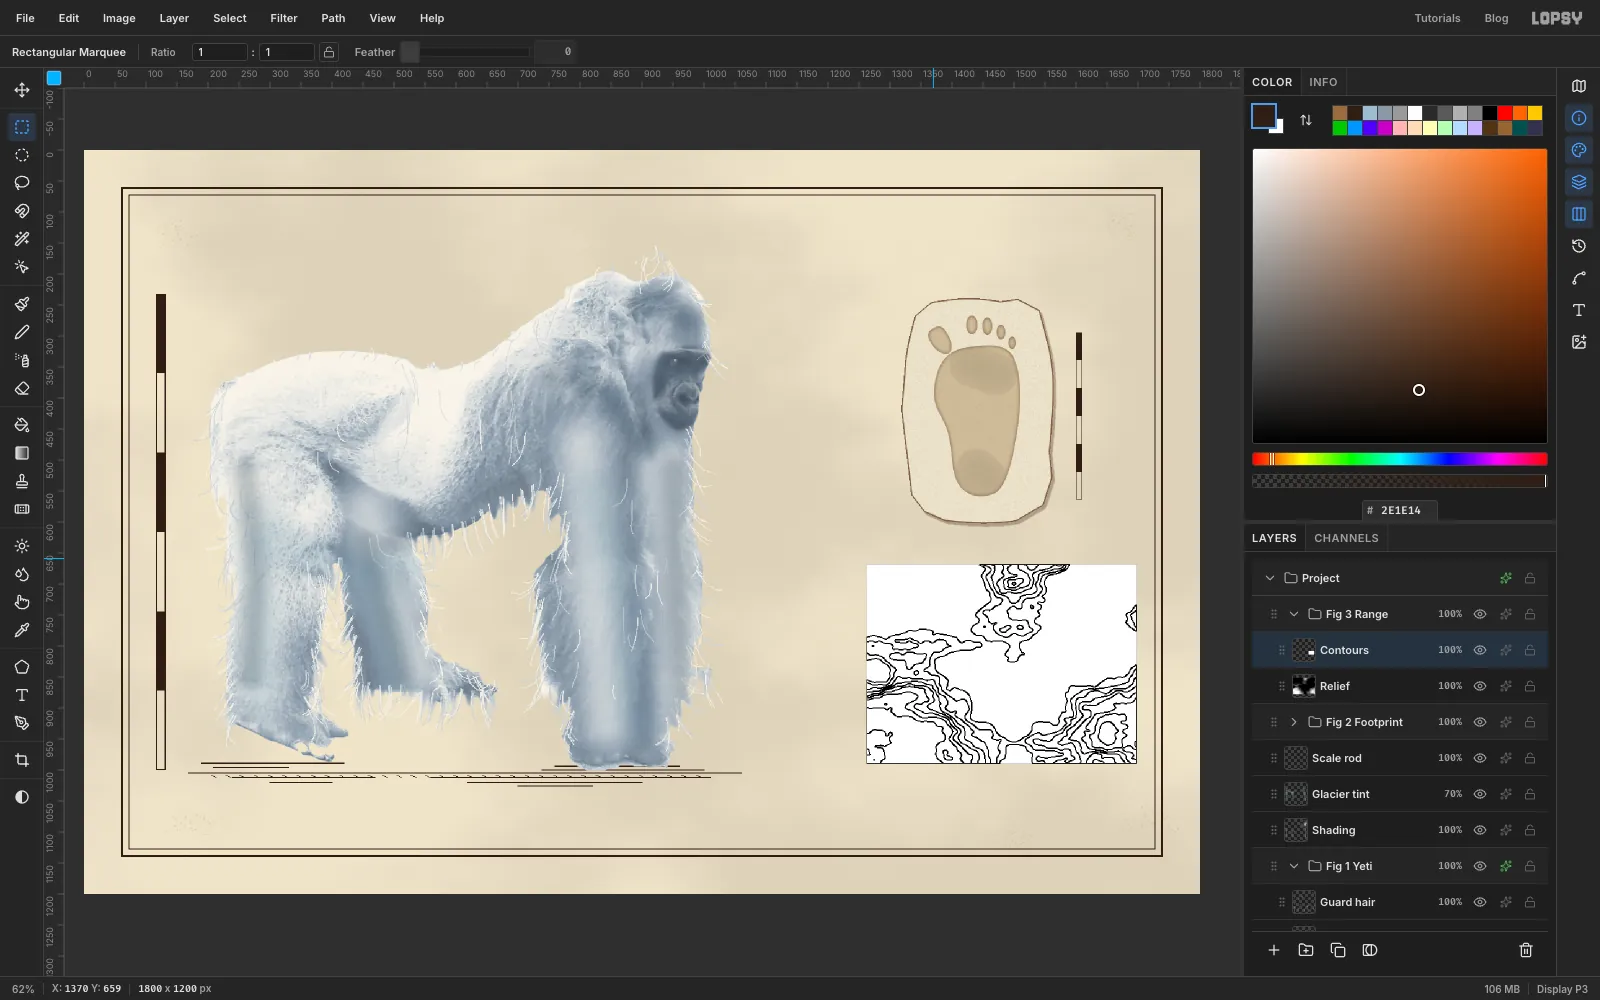
Run Filter → Gaussian Blur… at Radius 2 to soften the band edges, then deselect and choose Layer → Duplicate Layer. Rename the copy
Contours.On Contours:
- Filter → Find Edges, then Filter → Invert: dark lines on white along every band boundary.
- Threshold at 200.
- Gaussian Blur at 1.
- Threshold at 175, to smooth out the jaggies.
Take the Magic Wand (W), untick Contiguous, click a white area and press Delete. Only the lines are left. Deselect and set the layer to 75% opacity.
-
Mark the glaciers
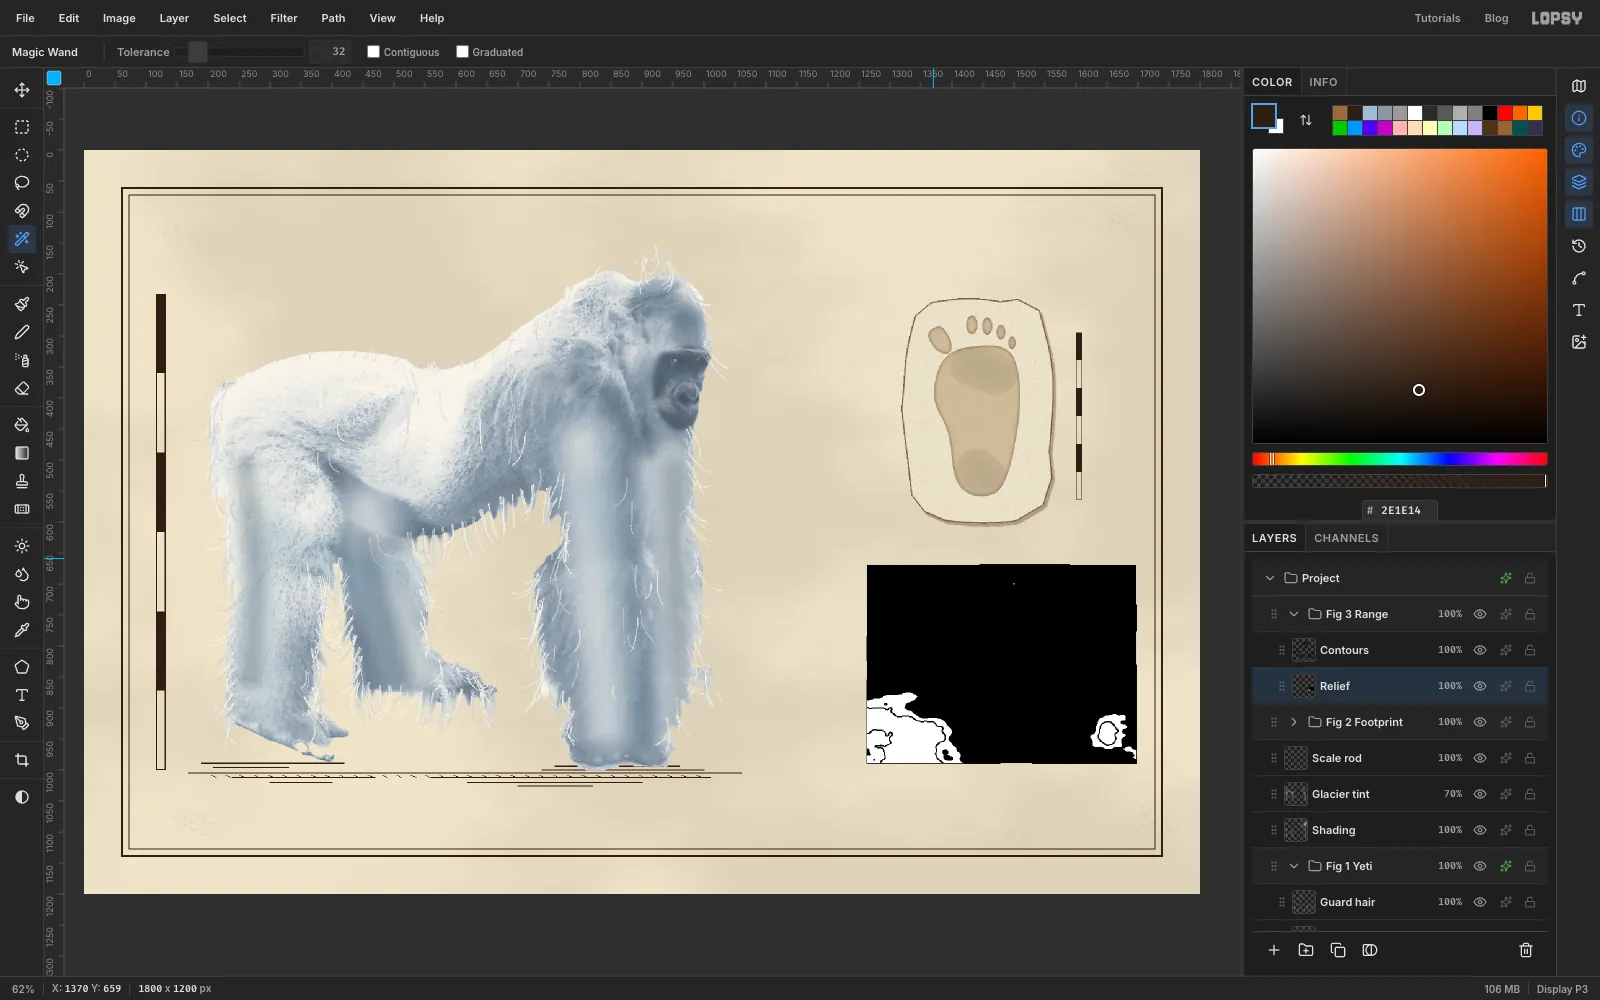
Click Relief and apply Threshold at 205. Only the highest ground stays white. Magic-wand a black area and press Delete, then Cmd-click the Relief thumbnail and fill the remaining patches with . Deselect, run Add Noise… at 45 (Mono) to stipple them, and set the layer to 85%.
-
Plot the sightings
Set the foreground to ink and add
Map frame: an exact marquee on the same rectangle, filled, shrunk by 2 and cleared.Add
Route. Choose the Brush, set Size 4, Hardness 100, Opacity 100, Spacing 200 and Taper 0, and drag a winding line from the bottom-left of the map towards the top-right. The wide spacing turns it into dots. Set Spacing back to 10 afterwards.Add
Sightings. With the Pencil at Size 3 and the colour , draw a small × with two Shift-click lines. Draw a marquee round it and press Cmd+C. Press Cmd+V to paste a copy in place, drag it to another spot with the Move tool, and repeat for three copies in all. Each paste is a new layer, so choose Layer → Merge Down three times to fold them back into the Sightings layer.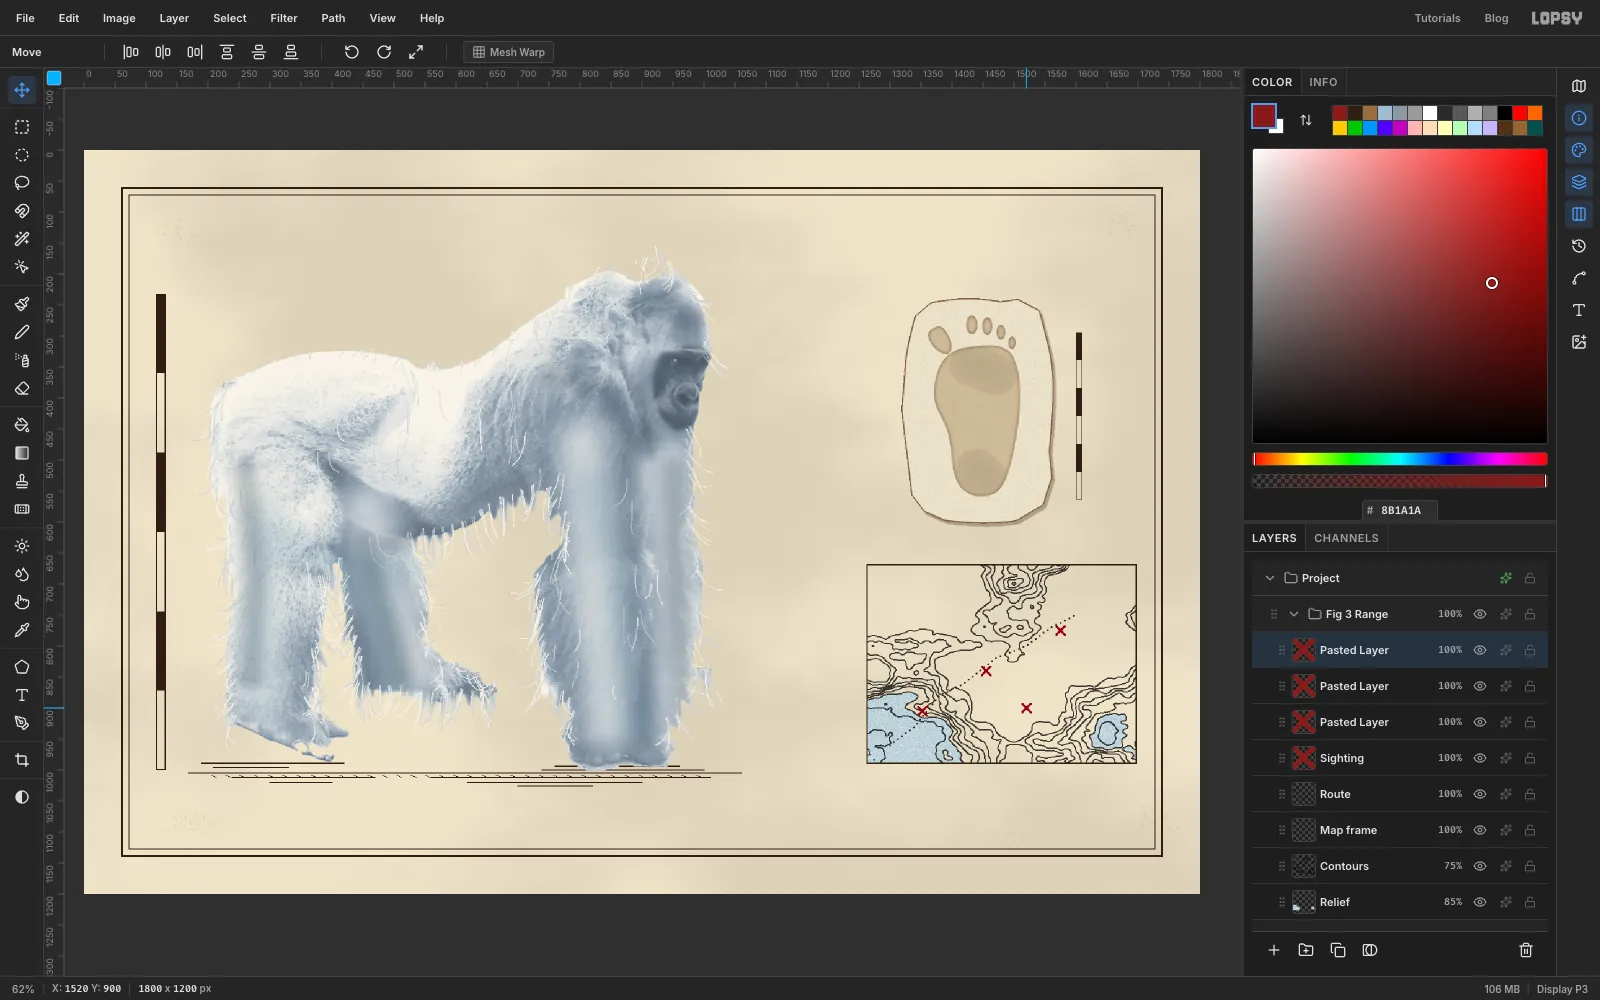
-
Add map furniture
Add a layer called
Map furniture. With the Pencil at Size 2 in ink, draw a short scale bar near the bottom-right corner, with ticks at each end and in the middle. Then use the Pen to click a narrow arrowhead with a notch at its base in the top-right corner. Turn it into a selection, fill it and deselect.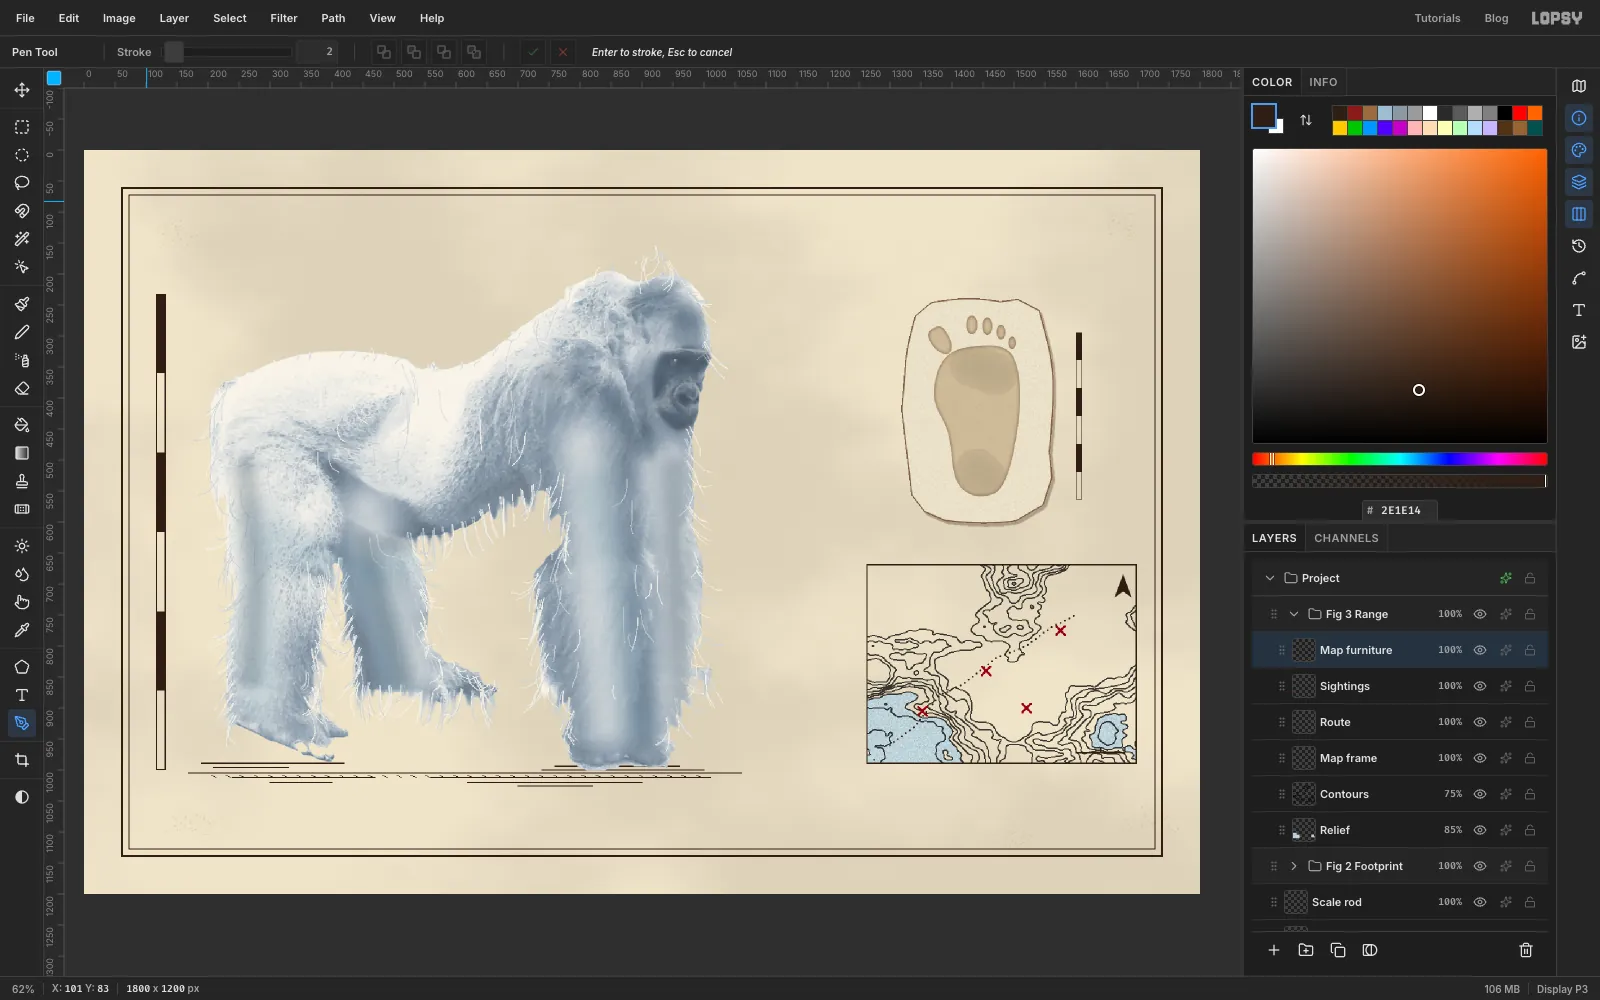
-
Set the type
Every label is a separate point-text layer made with the Text tool (T). Add an empty layer called
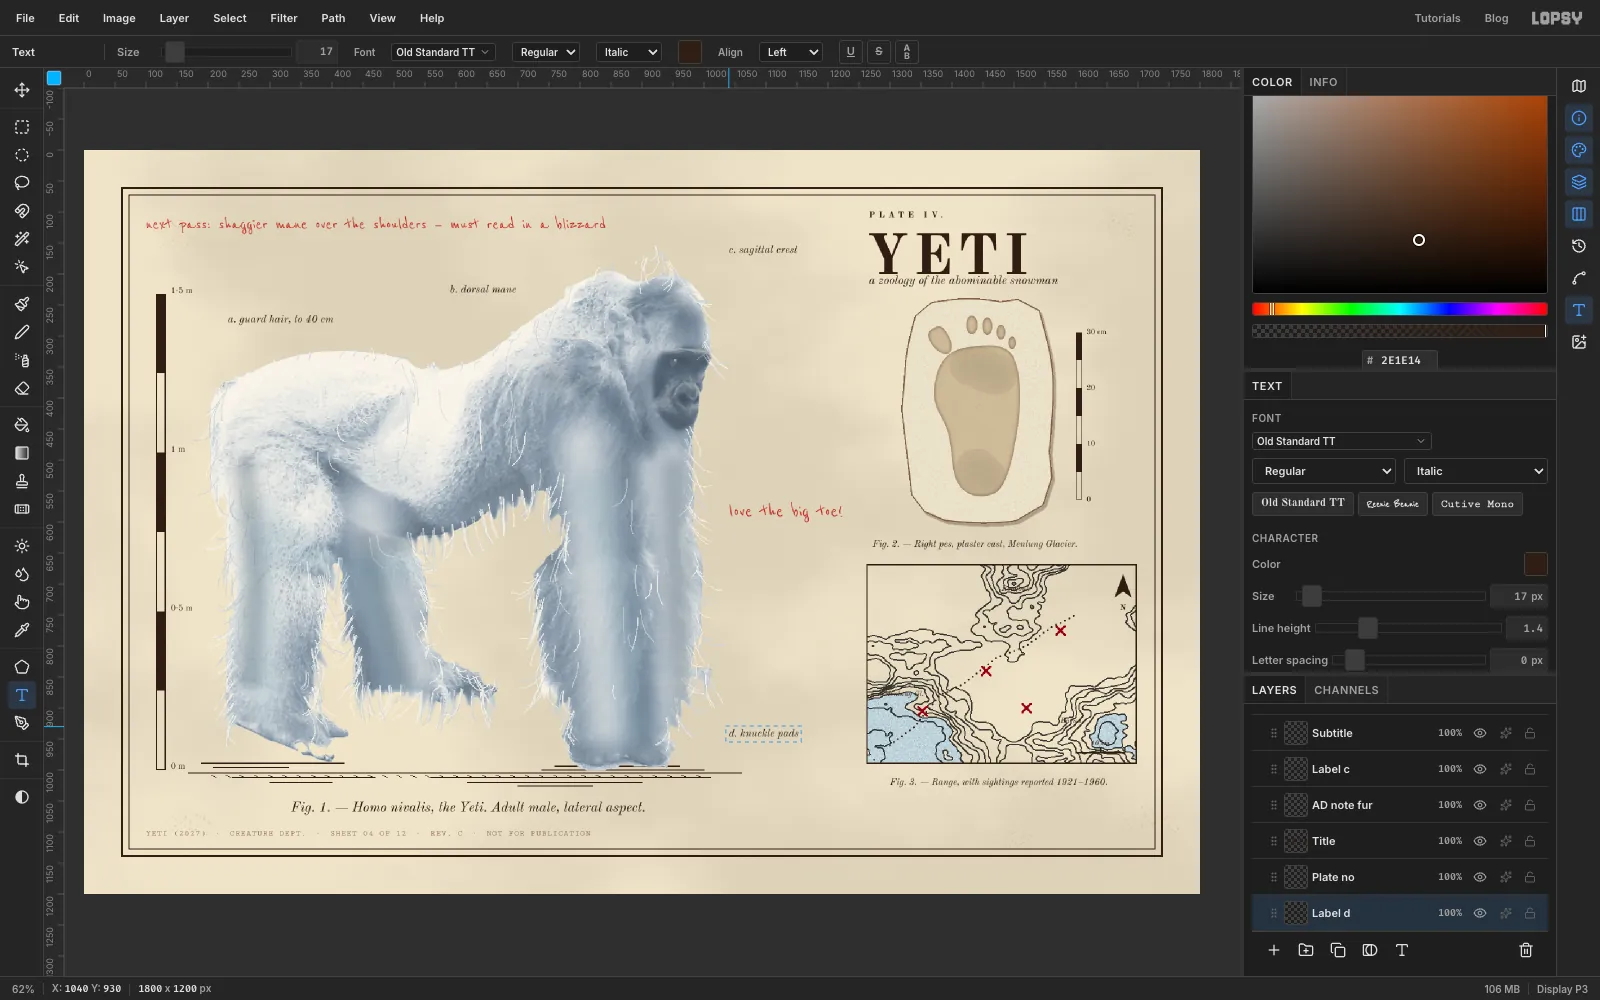
Text anchorand click it before each new label: with a text layer active, the Text tool's settings would restyle it. Set the size, font, weight, style and colour first, then click and type. Press Tab to commit. Work from the bottom of the plate up, so a new click never lands inside an earlier text box.Unless noted, use Old Standard TT in ink , Letter spacing 0:
- Footer, along the bottom margin under the yeti: Cutive Mono 13 in sepia , letter spacing 1:
YETI (2027) · CREATURE DEPT. · SHEET 04 OF 12 · REV. C · NOT FOR PUBLICATION - Captions, italic, each just under its figure:
Fig. 1. — Homo nivalis, the Yeti. Adult male, lateral aspect.at 22, thenFig. 2. — Right pes, plaster cast, Menlung Glacier.andFig. 3. — Range, with sightings reported 1921–1960.at 15 - Scale labels just right of the rod, level with its foot and every 256 px up:
0 m,0·5 m,1 m,1·5 mat 14. Beside the cast bar, from its foot up every 90 px:0,10,20,30 cmat 12 - Map names, italic 12:
Rongbuknear the top,Menlung Gl.at the left above the first cross andBarunat the lower right, plus10 kmin italic 11 above the scale bar and a bold 13Nunder the arrow - Callouts, italic 17:
a. guard hair, to 40 cmandb. dorsal manein the space above the back,c. sagittal crestto the right of the crown, andd. knuckle padsto the right of the front hands - Title block, top of the right-hand column:
PLATE IV.bold 14 with letter spacing 6,YETIbold 92 with letter spacing 8, anda zoology of the abominable snowmanitalic 19 - Red pencil notes, Reenie Beanie in :
next pass: shaggier mane over the shoulders — must read in a blizzardat 30 along the top margin, andlove the big toe!at 34 between the yeti's head and the cast, level with the sole
- Footer, along the bottom margin under the yeti: Cutive Mono 13 in sepia , letter spacing 1:
-
Seat the captions and clear the map labels
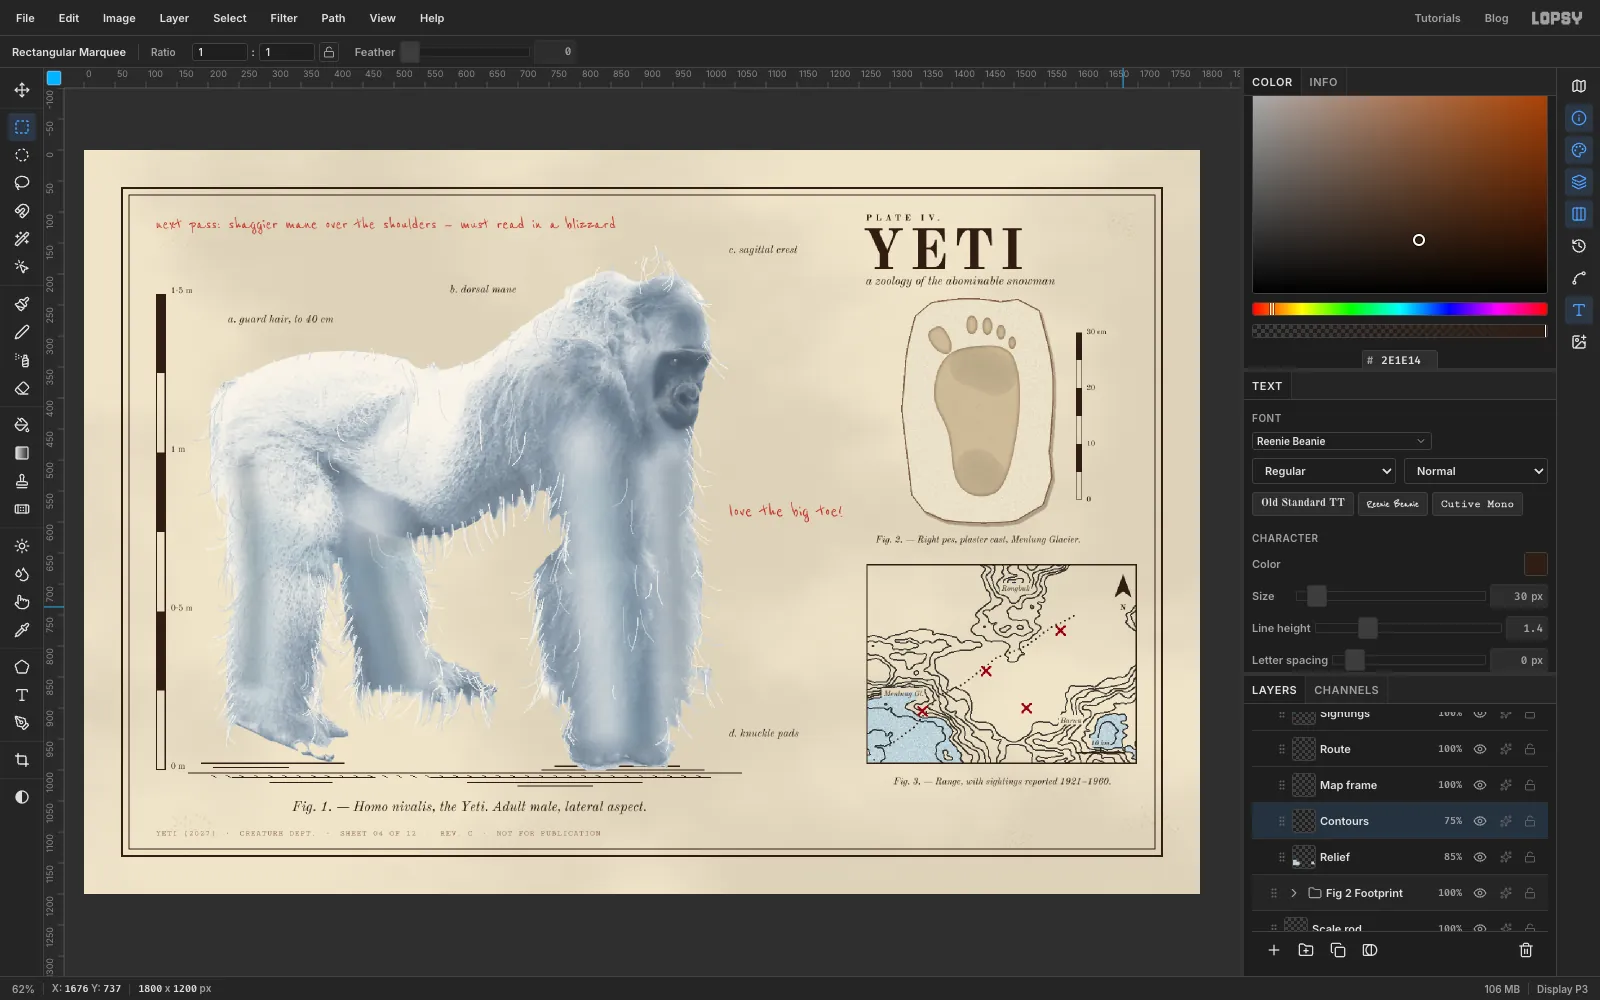
With the Move tool, nudge each caption so it is centred under its figure, about 22 px below it. Line up
PLATE IV.,YETIand the subtitle on the map's left edge (x = 1262). Put the footer and the top note on the scale rod's left edge. Arrow keys move a layer 1 px, or 10 px with Shift.On the map, the contour lines run through the place names. Expand the Fig 3 Range group and click Contours. Then, for each label, draw a marquee a few pixels bigger than the word and press Delete.
-
Draw the leader lines
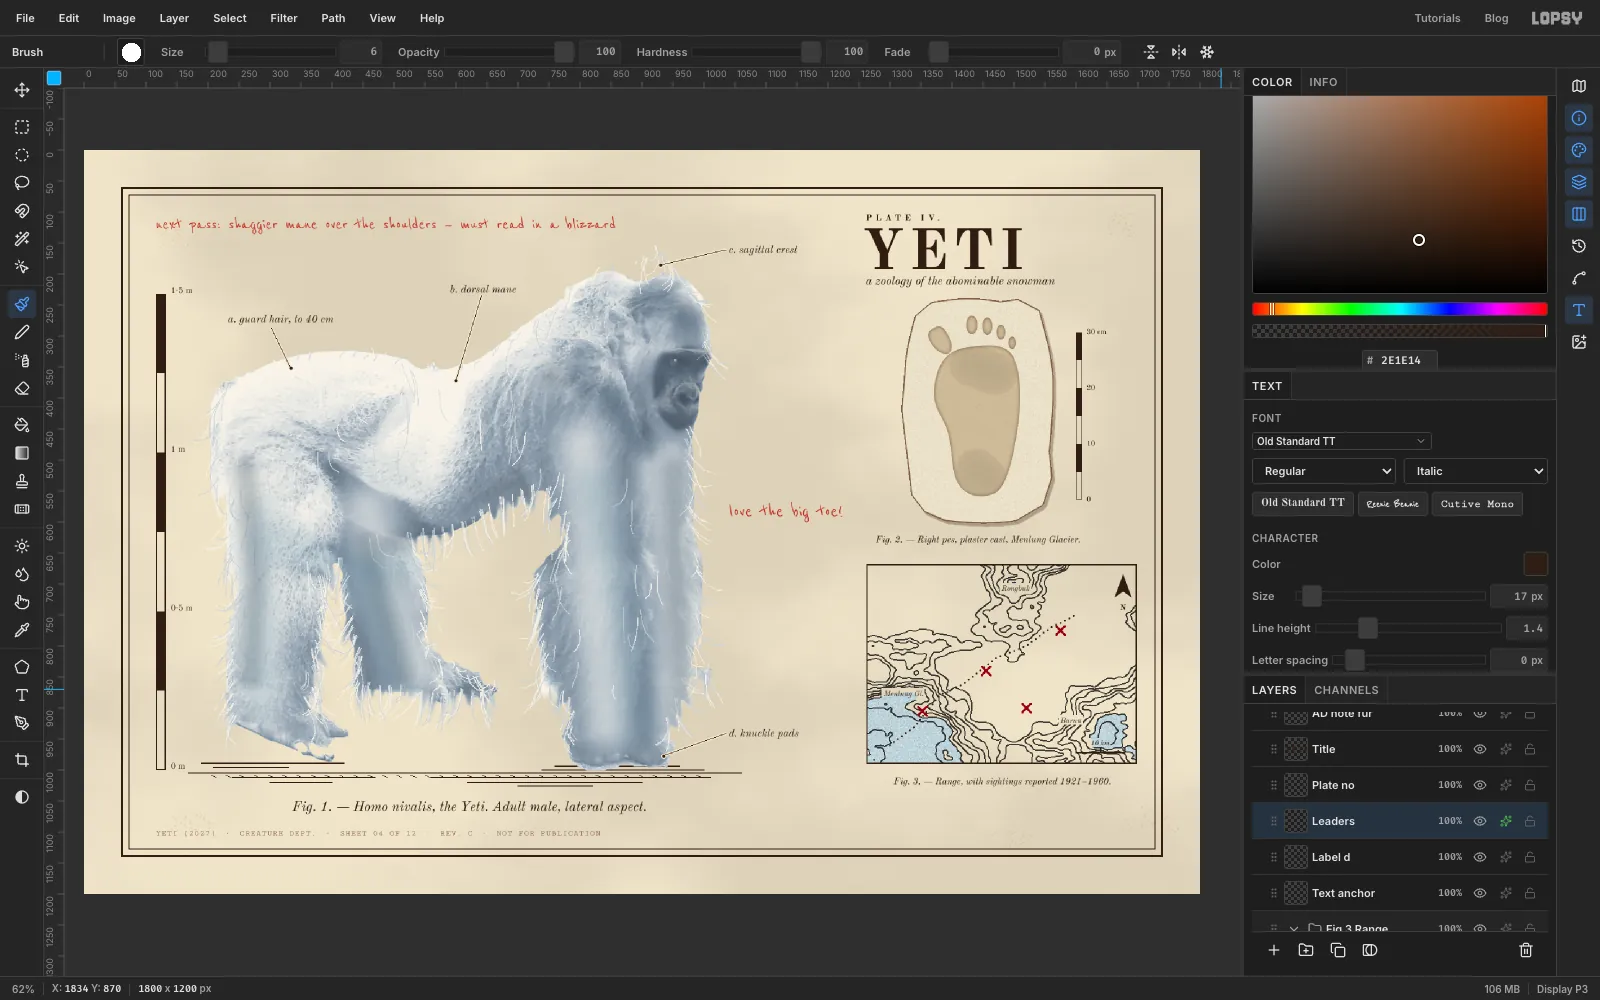
Add a layer called
Leaders. With the Pencil at Size 1 and the foreground set to ink, click just under or beside each callout and Shift-click on the feature it names. Run a to the shaggy rump, b to the dorsal mane on the back, c to the top of the skull and d to the knuckles. Then switch to the Brush at Size 6, Hardness 100, Opacity 100, and click once at the far end of each line for a dot.Open the layer's effects and turn on Stroke, Width 2, colour . The paper-coloured halo keeps the thin lines readable where they cross the fur.
-
Add the art director's red pencil
Add a layer called
AD marks. Brush Size 3, Hardness 80, Opacity 100, colour . Draw a loose circle round the big toe, overshooting where it closes, the way a pencil really goes round. Then draw an arrow from the end of love the big toe! up to the circle, with two short strokes for the head.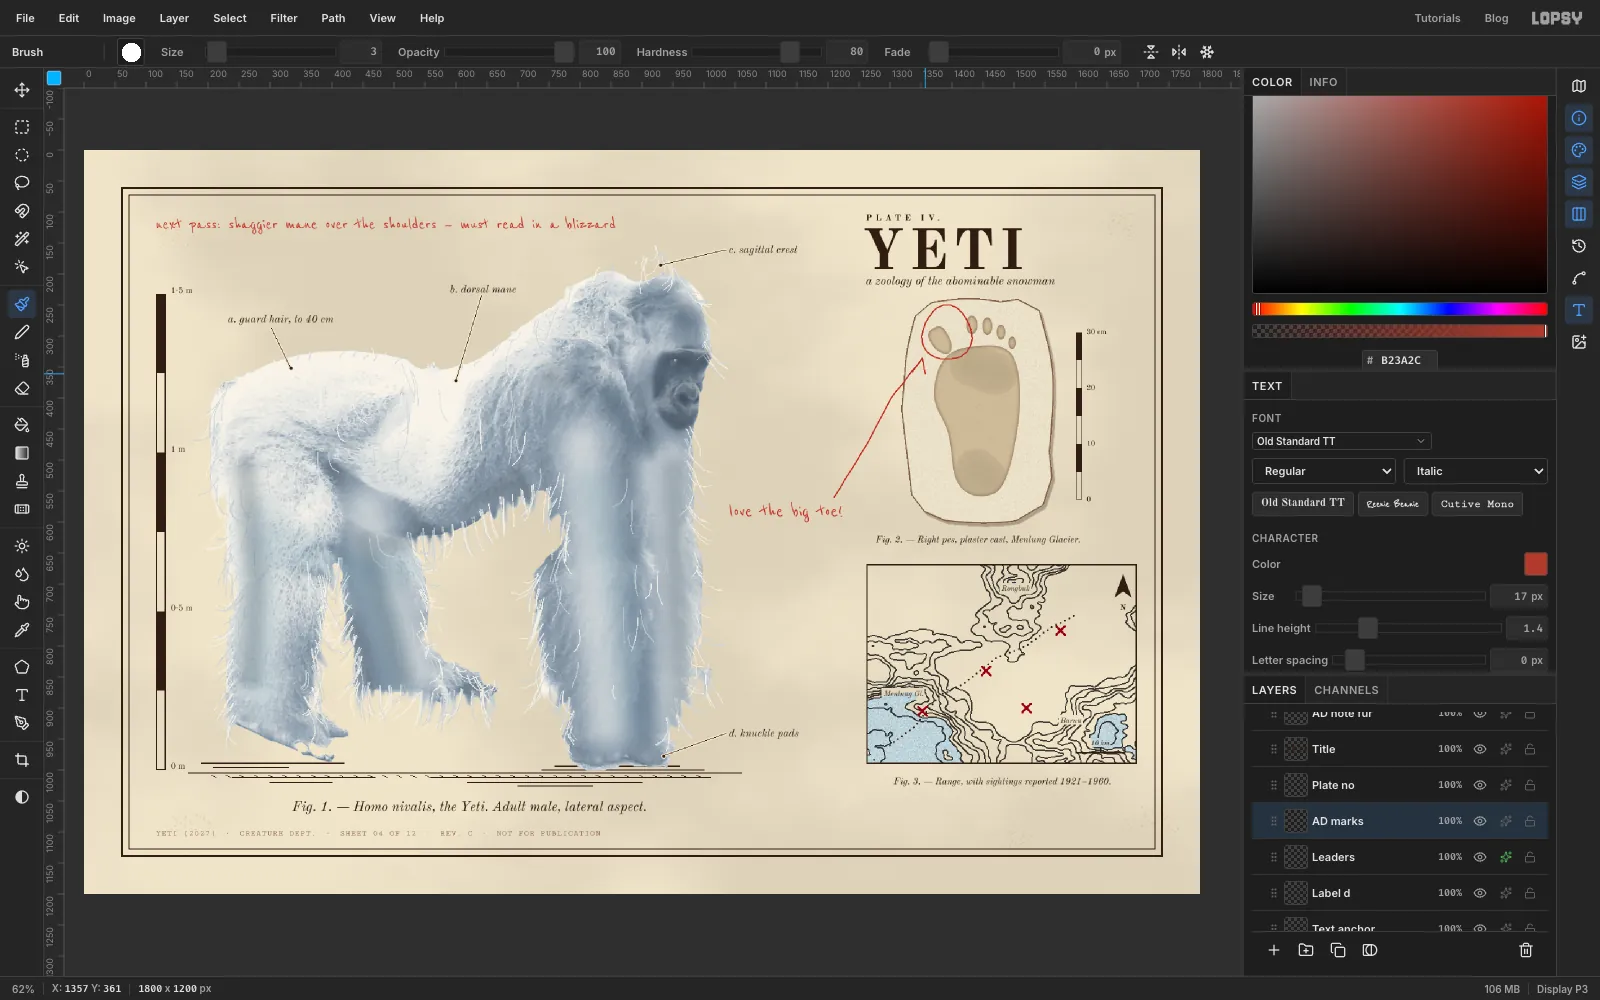
-
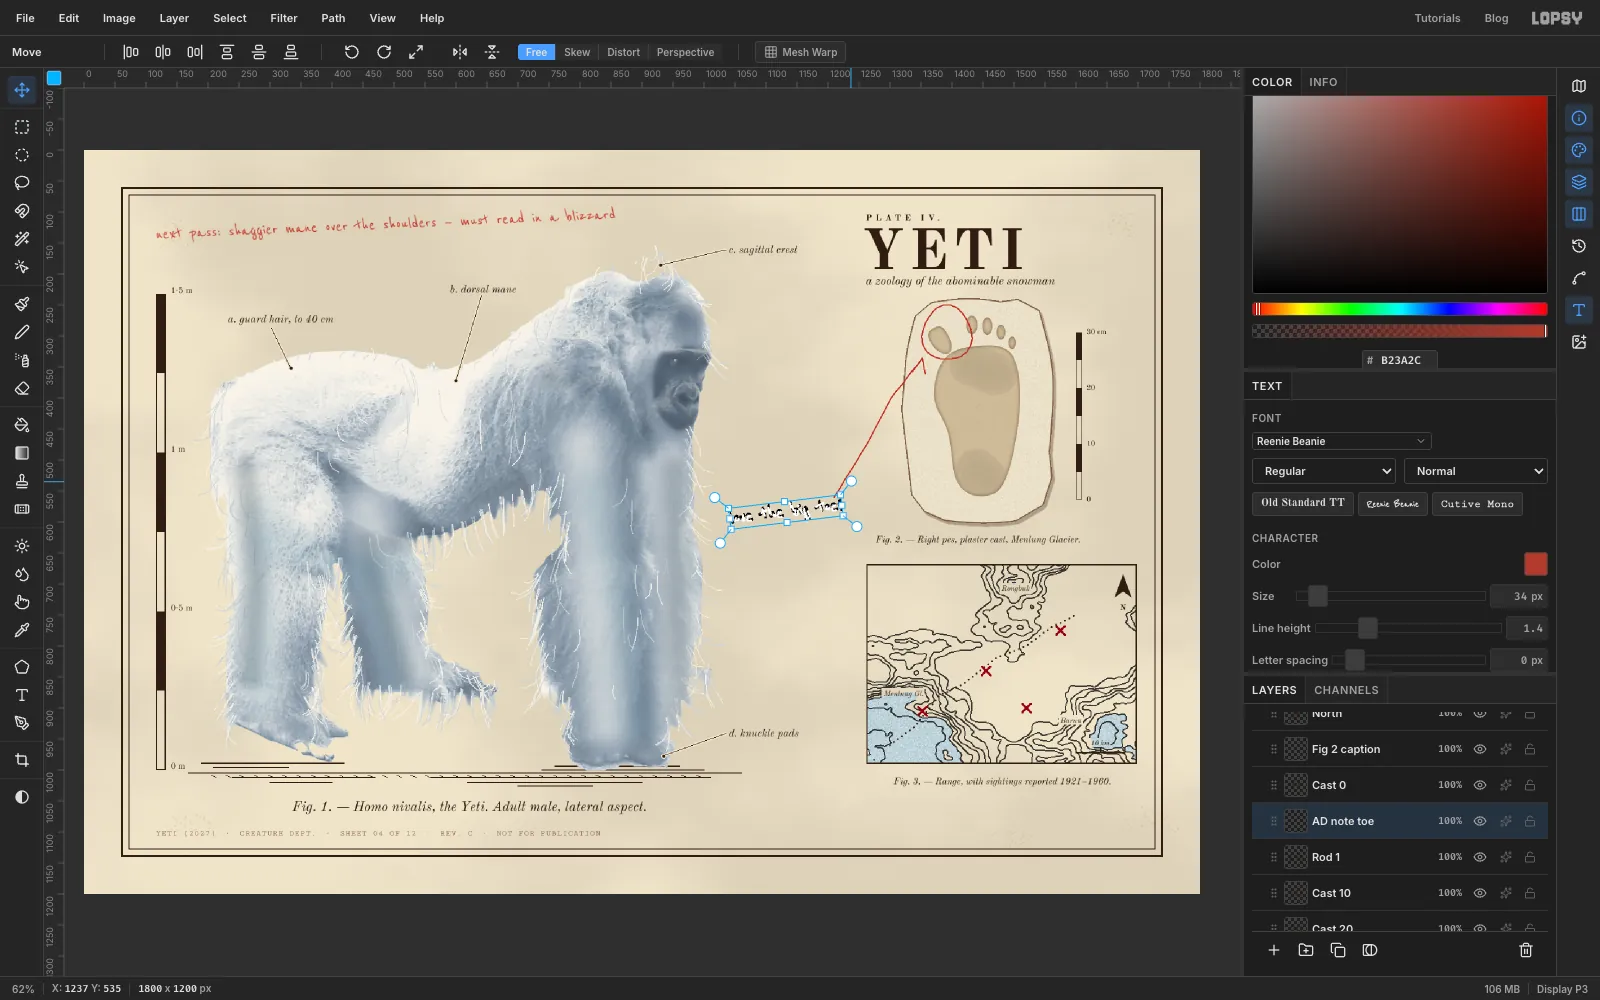
Tilt the notes
Handwriting is never level. Click the top note's row and click Rasterize Layer at the bottom of the Layers panel. Cmd-click its thumbnail, switch to the Move tool and drag a corner rotation handle until it tilts about 2–3° up to the right. Press Cmd+D. Do the same to love the big toe!, tilting it about 7°.
-
Build the stamp
In the empty space right of the Fig. 1 caption, set
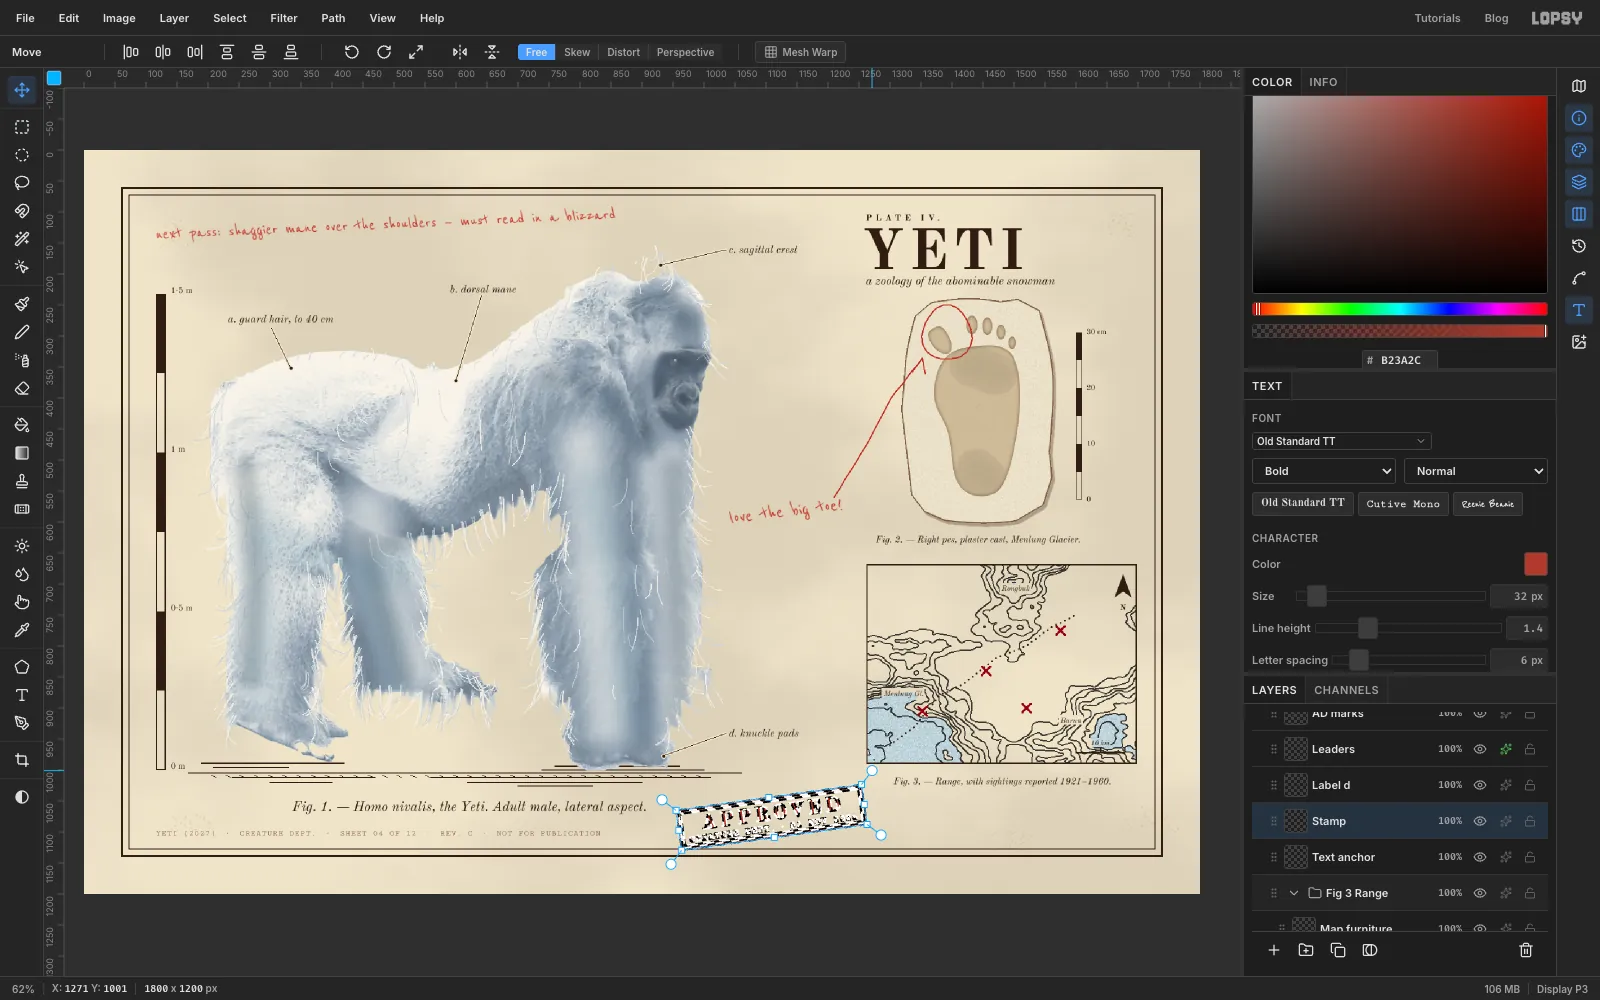
CREATURE DEPT. · 02 NOV 2026in Cutive Mono 15 in , and rasterize it. With that rasterized line active, setAPPROVEDin Old Standard TT bold 32, letter spacing 6, above it, and rasterize that too. Centre the small line under the word.Add a layer called
Stamp box. Draw a marquee about 16 px outside both lines, fill it red, Shrink by 3 and Delete. Then draw a marquee 6 px inside that one, fill, Shrink by 1 and Delete: a double rule. Click Stamp box and choose Layer → Merge Down twice to merge the box, the word and the line into one layer. Rename itStamp.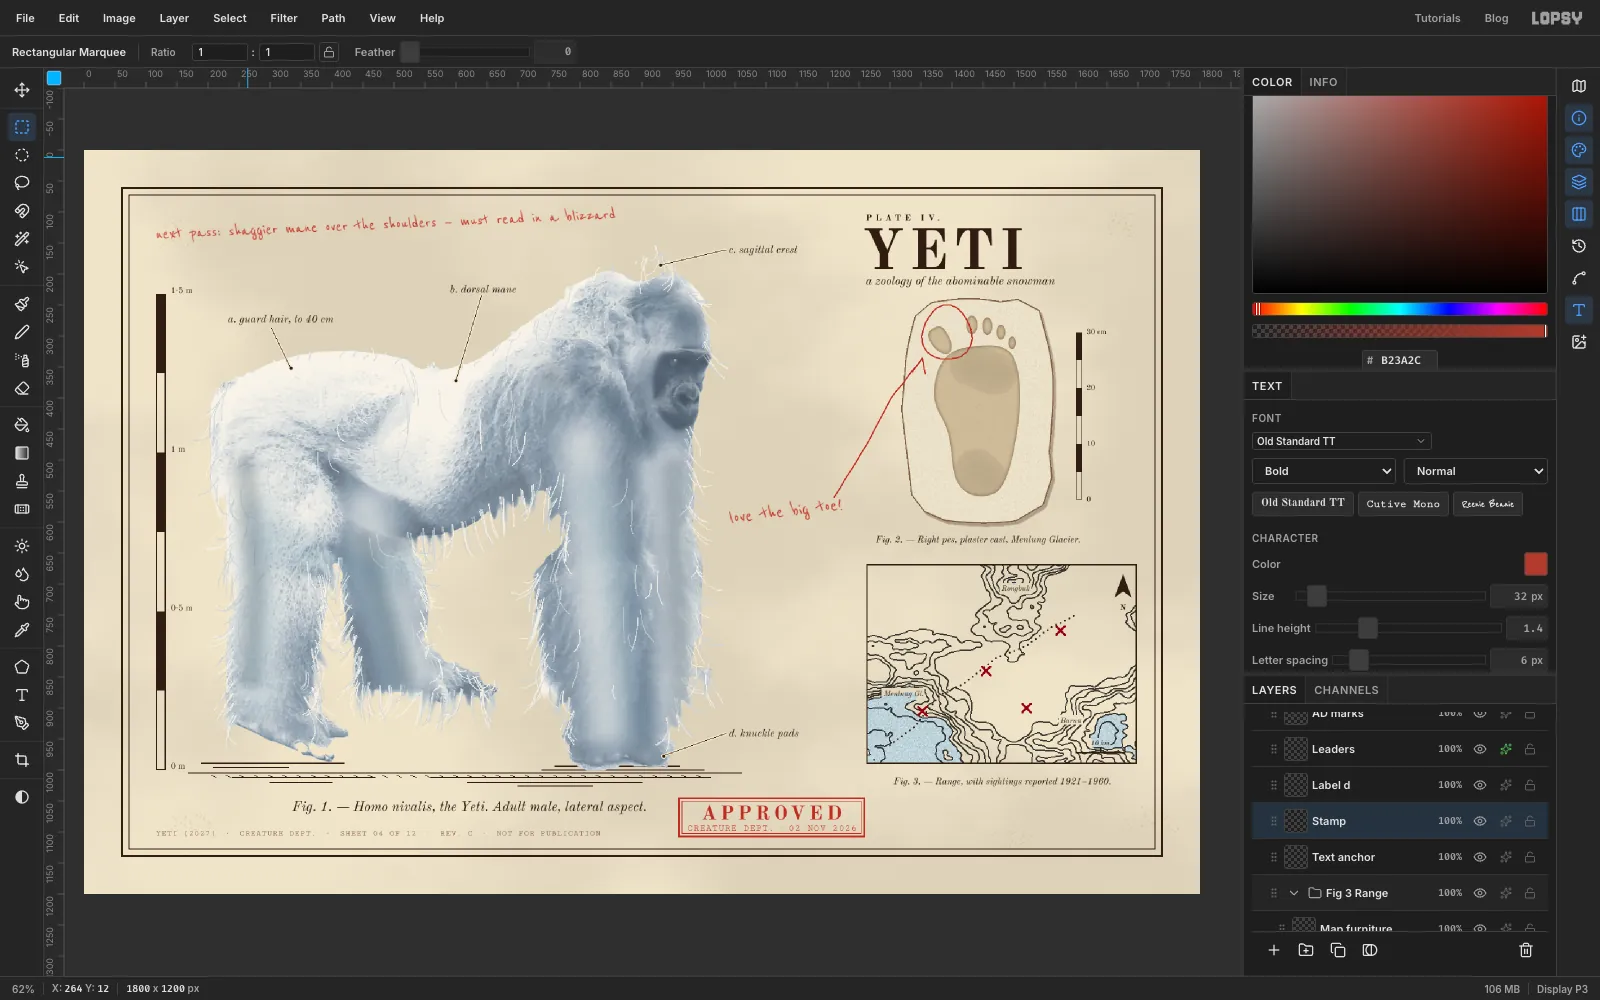
-
Rotate the stamp
Cmd-click the Stamp thumbnail and rotate it about 8° anticlockwise with a corner handle, then press Cmd+D. Rotate before you add the mask. A layer mask stays where it is when the layer's pixels are transformed.
-
Break up the ink
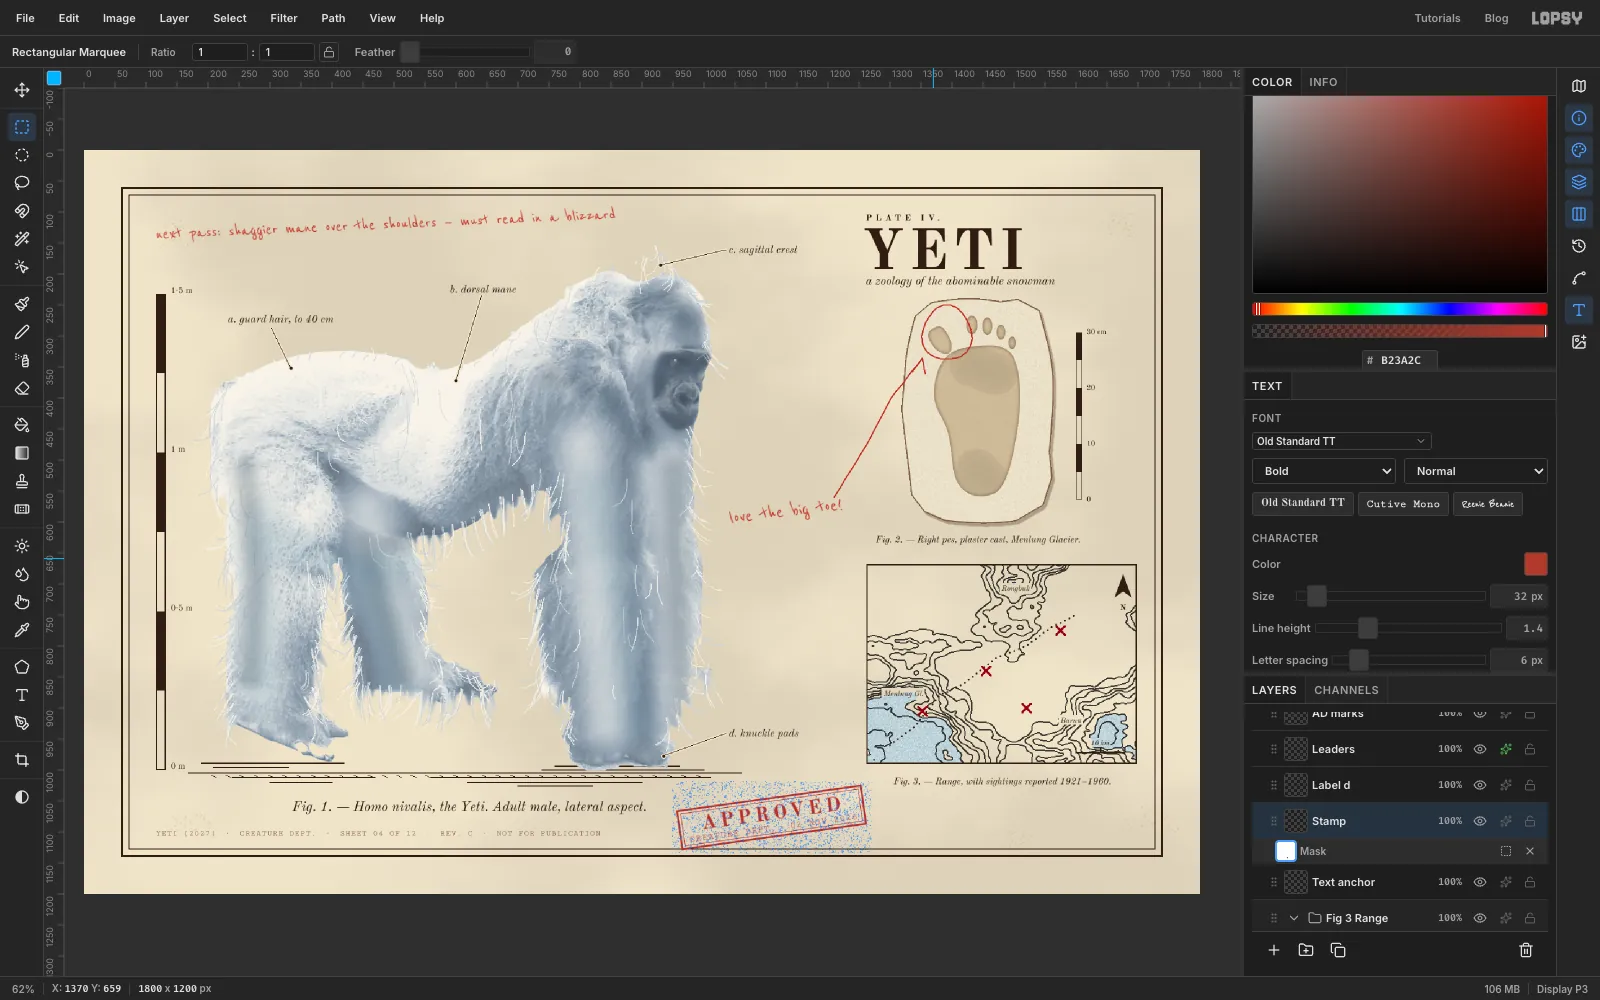
A rubber stamp never inks evenly. Click Add Mask, then click the mask thumbnail to edit it. Draw a marquee a little bigger than the tilted stamp. Then:
- Filter → Add Noise…: Amount 100, Mono, Gaussian.
- Filter → Gaussian Blur…: Radius 2.
- Filter → Threshold…: Level 244.
Filters run on the mask while you're editing it. The few darkest specks of noise become black, and black in a mask hides the layer, so the stamp is peppered with tiny gaps. Deselect and click the Stamp row to leave mask editing.
-
Press the stamp into the paper
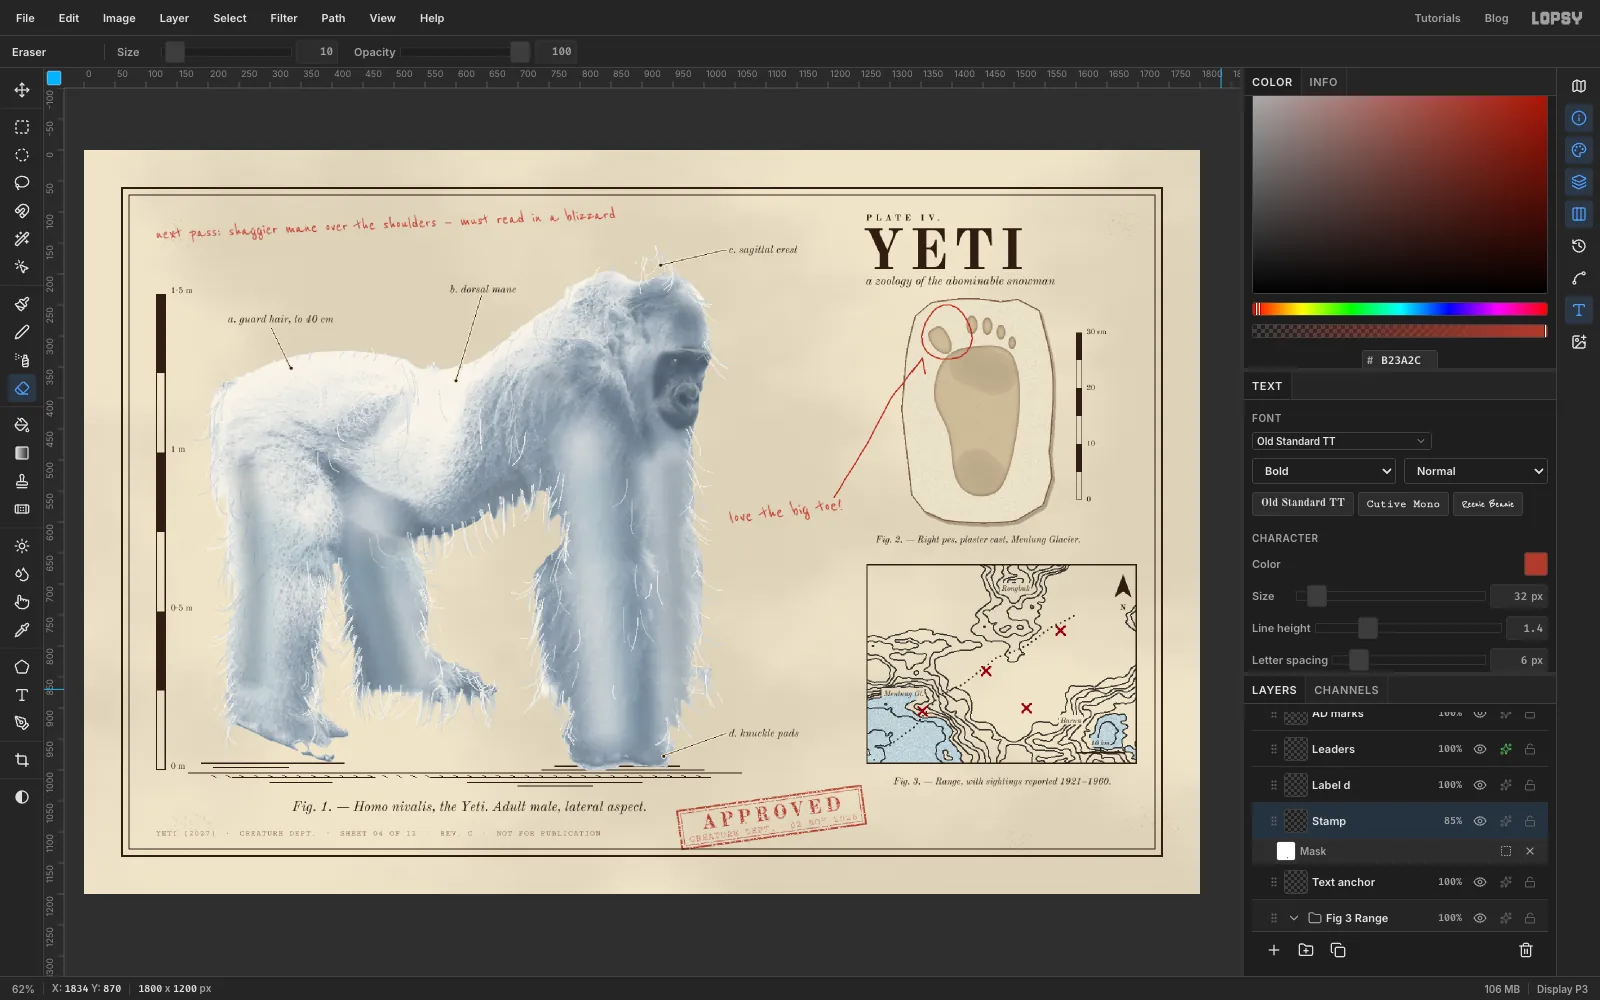
Open the stamp's effects, set Blend to Multiply, and set the layer to 85% opacity. Multiply lets the paper's grain and foxing show through the red, as real ink would.
-
Warm the whole plate
Last, tie everything together. Click the Project group at the top of the Layers panel and open its ✦ adjustments. Every new document has a Color Grading node there that does nothing until you change it. Expand it.
Click the Shadows tab and set Hue to 28 and Saturation to 24. Click Highlights and set Hue to 48 and Saturation to 10. The shadows go a little brown and the highlights a little cream, as if the whole sheet had been printed on the same old paper. Close the drawer, and choose File → Save Project to keep the layers, then File → Export for a PNG.