Design a Vintage Anatomy Plate App Mockup in Lopsy
Present a breathing app as a plate from an old anatomy atlas in Lopsy, with Gray's Anatomy engravings, a Sunburst breath dial, a Pen-drawn chart and callouts.
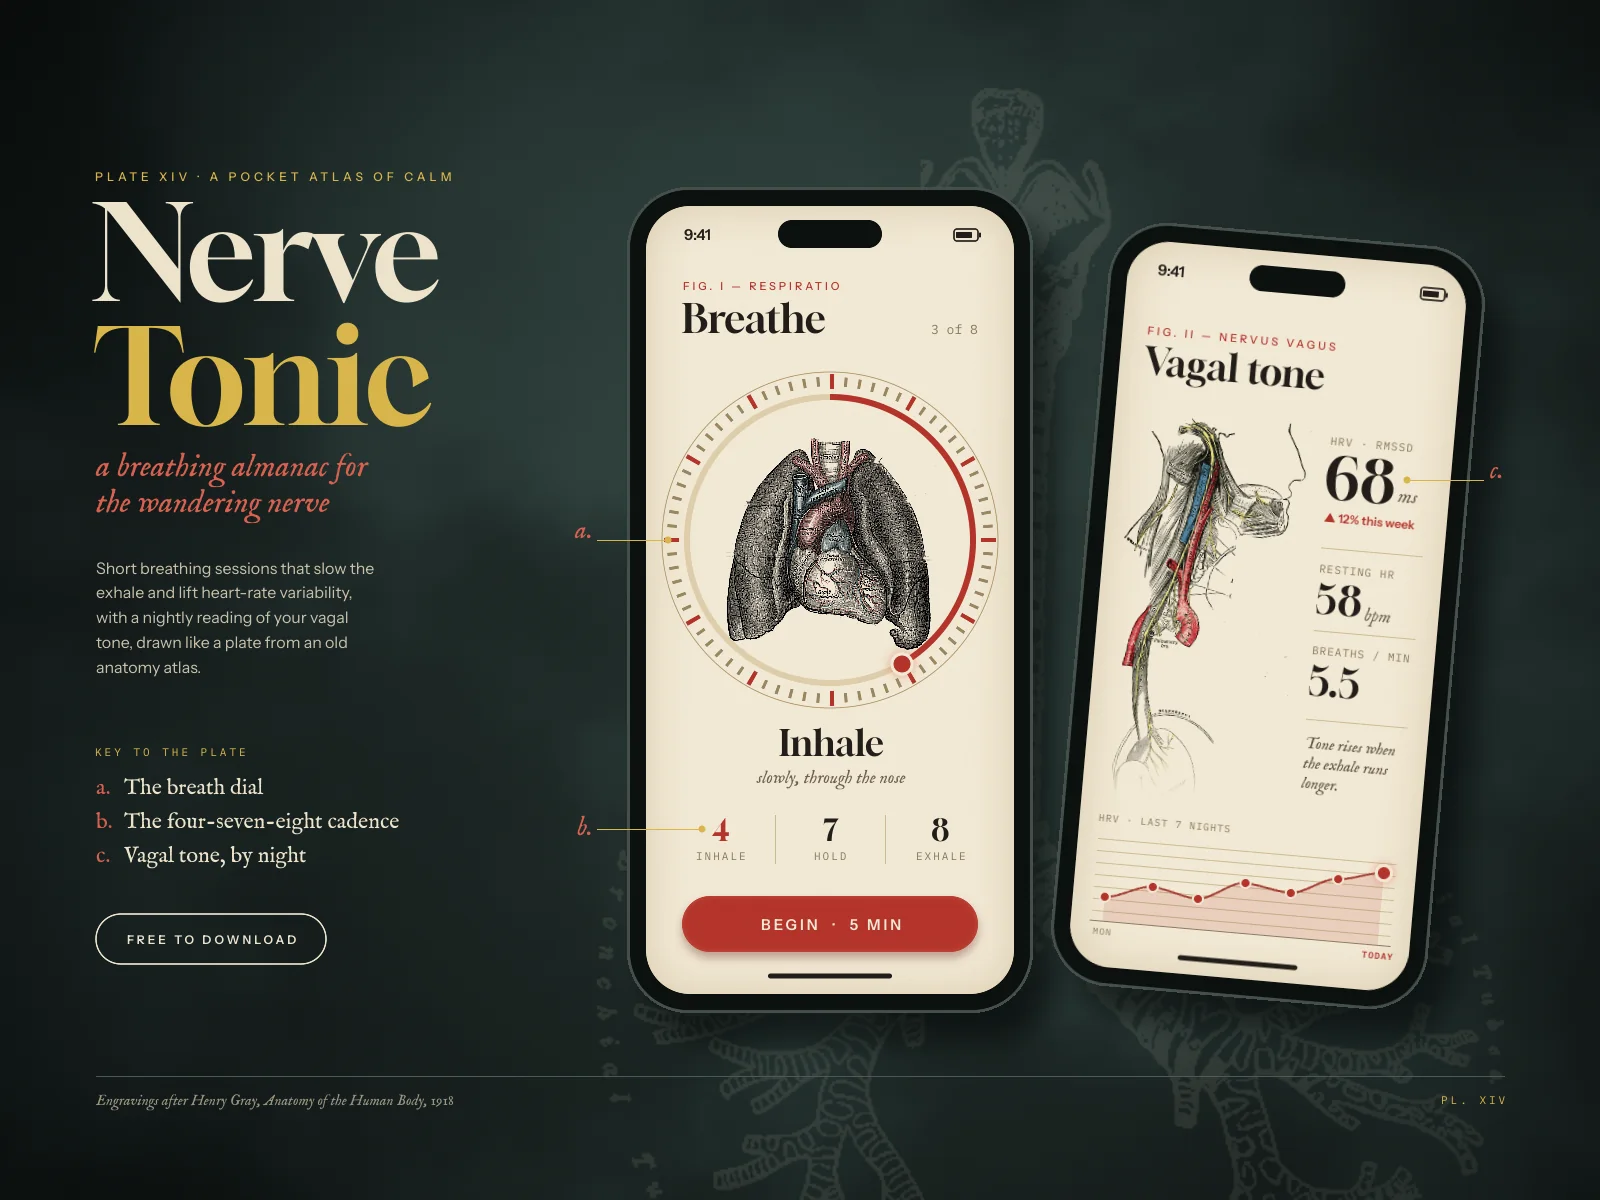
Old anatomy atlases have a look all their own. They're hand-coloured engravings on warm paper, with arteries picked out in red and veins in blue. Every structure gets a small letter and a hairline leader, and a key in the margin says what each letter means. In this tutorial you'll borrow that language to present an app.
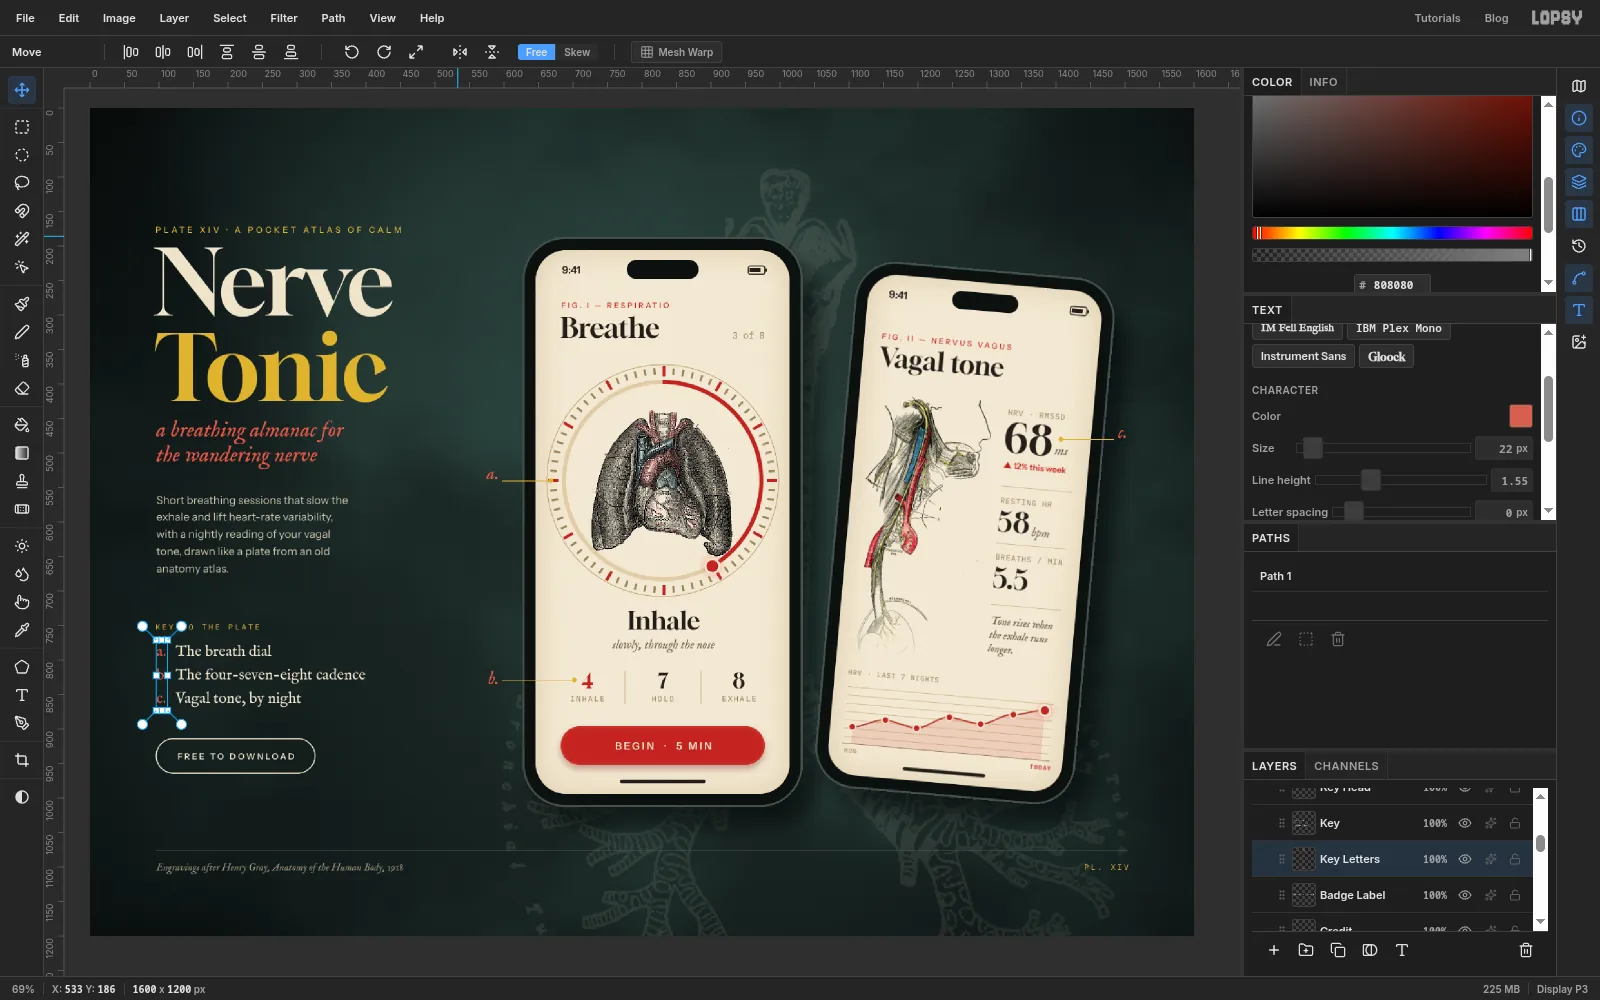
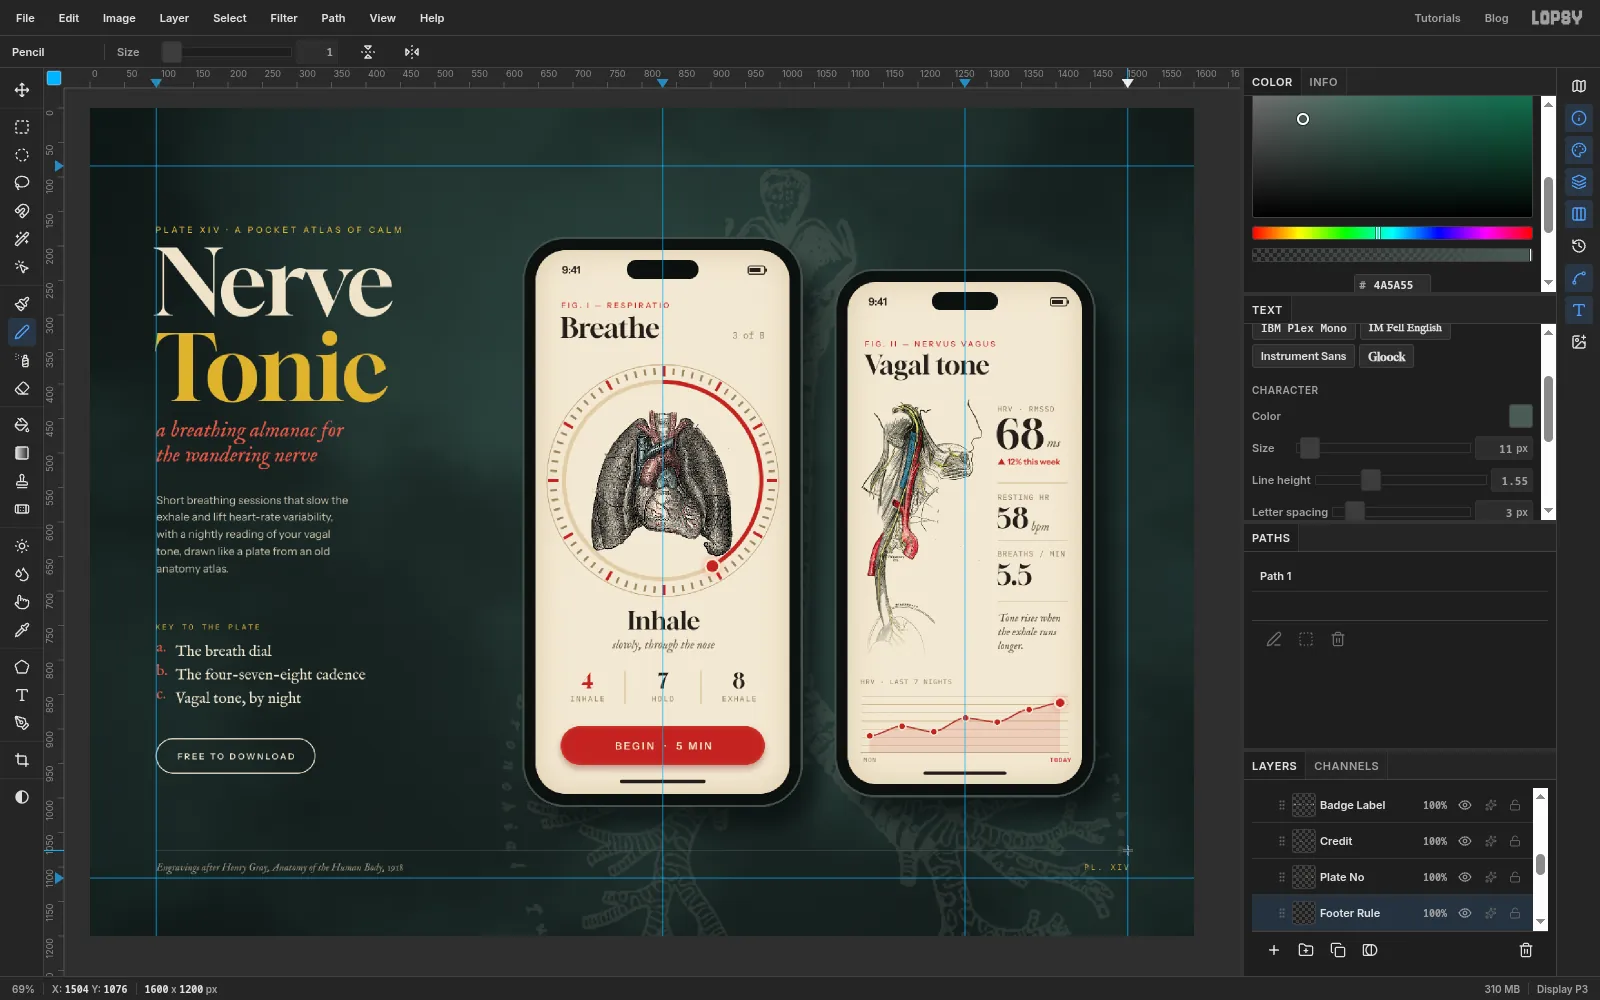
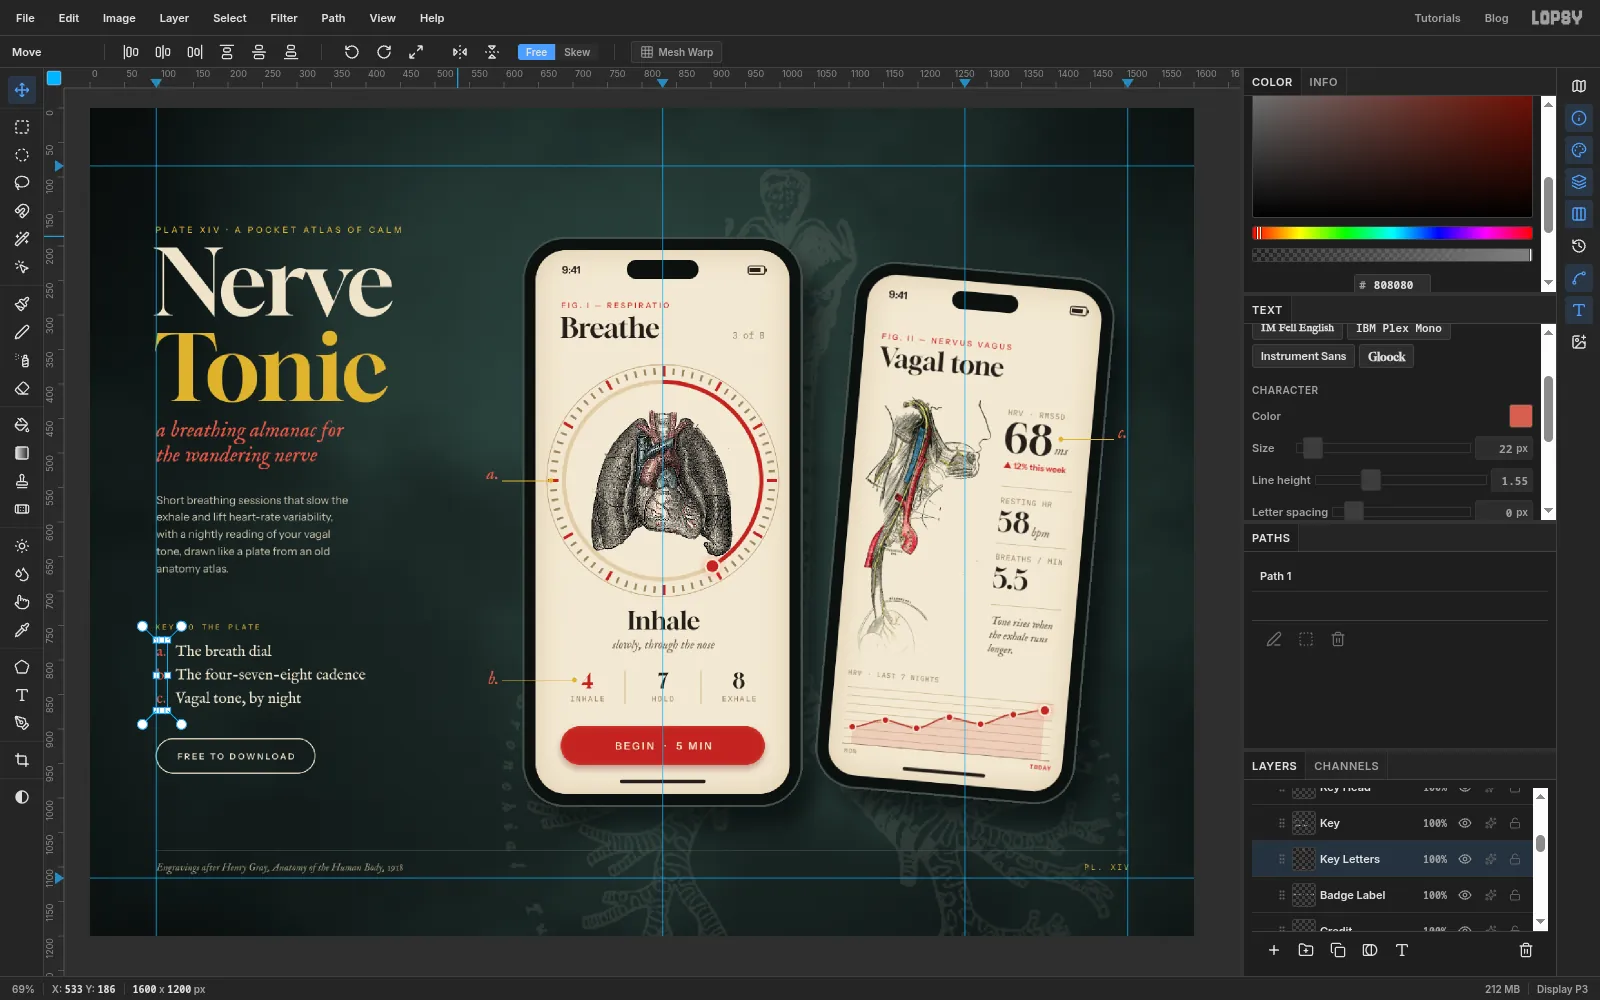
The app is Nerve Tonic, a breathing app for toning the vagus nerve. The board is 1600 × 1200 px. The left column is set like the title page of a plate. One phone shows a breathing session, with a heart-and-lungs engraving inside a dial. A second phone, tilted, shows the day's readings next to an engraving of the vagus nerve. Gold leader lines tie the screens back to a lettered key, the way an atlas would.
Along the way you'll use:
- guides, groups, the Shape tool's click-to-size dialog, and transforming a whole group with its rotation handle
- Magic Wand with Contiguous off, the Healing Brush, the Eraser, and marquee Delete to clean up scanned engravings
- Multiply to drop white paper out of an image, Unsharp Mask and Hue/Saturation
- ring selections built with the Elliptical Marquee and Alt, and Sunburst to rule the dial's tick marks
- a layer mask faded with a Gradient
- Define Pattern and Edit → Fill with Pattern for graph paper, and the Pen tool for a smooth chart line
- Copy, Paste and Merge Down
- Text in Gloock, IM Fell English, Instrument Sans and IBM Plex Mono, including recolouring one line inside a text layer
- the Drop Shadow, Stroke, Inner Glow, Outer Glow and Color Overlay effects, Clouds, Add Noise, and undo and redo
The palette is a dark green backdrop, bone and paper tones, and the three inks of an anatomy plate:
-
Backdrop
-
Bone type
-
screen paper
-
paper edge
-
Arterial red
-
light red
-
Nerve gold
-
Ink
-
phone bezel
-
bezel rim
-
Screen type
-
muted italic
-
hairlines
The three engravings come from Henry Gray's Anatomy of the Human Body (1918), which is in the public domain. On Wikimedia Commons they are Gray490.png (the heart and lungs from the front), Gray793.png (the course of the vagus nerve) and Gray961.png (the larynx, trachea and bronchi). Download the original PNGs. They're small, black line work on white paper, and the first two are hand-coloured.
-
Set up the board and the backdrop
- Choose File → New, set Width
1600and Height1200, and click Create. - Click the top ruler at x
96,830,1268and1504. The outer two are the board's margins, and the middle two are the centres of the two phones. Click the left ruler at y84and1116for the top and bottom margins. - Click
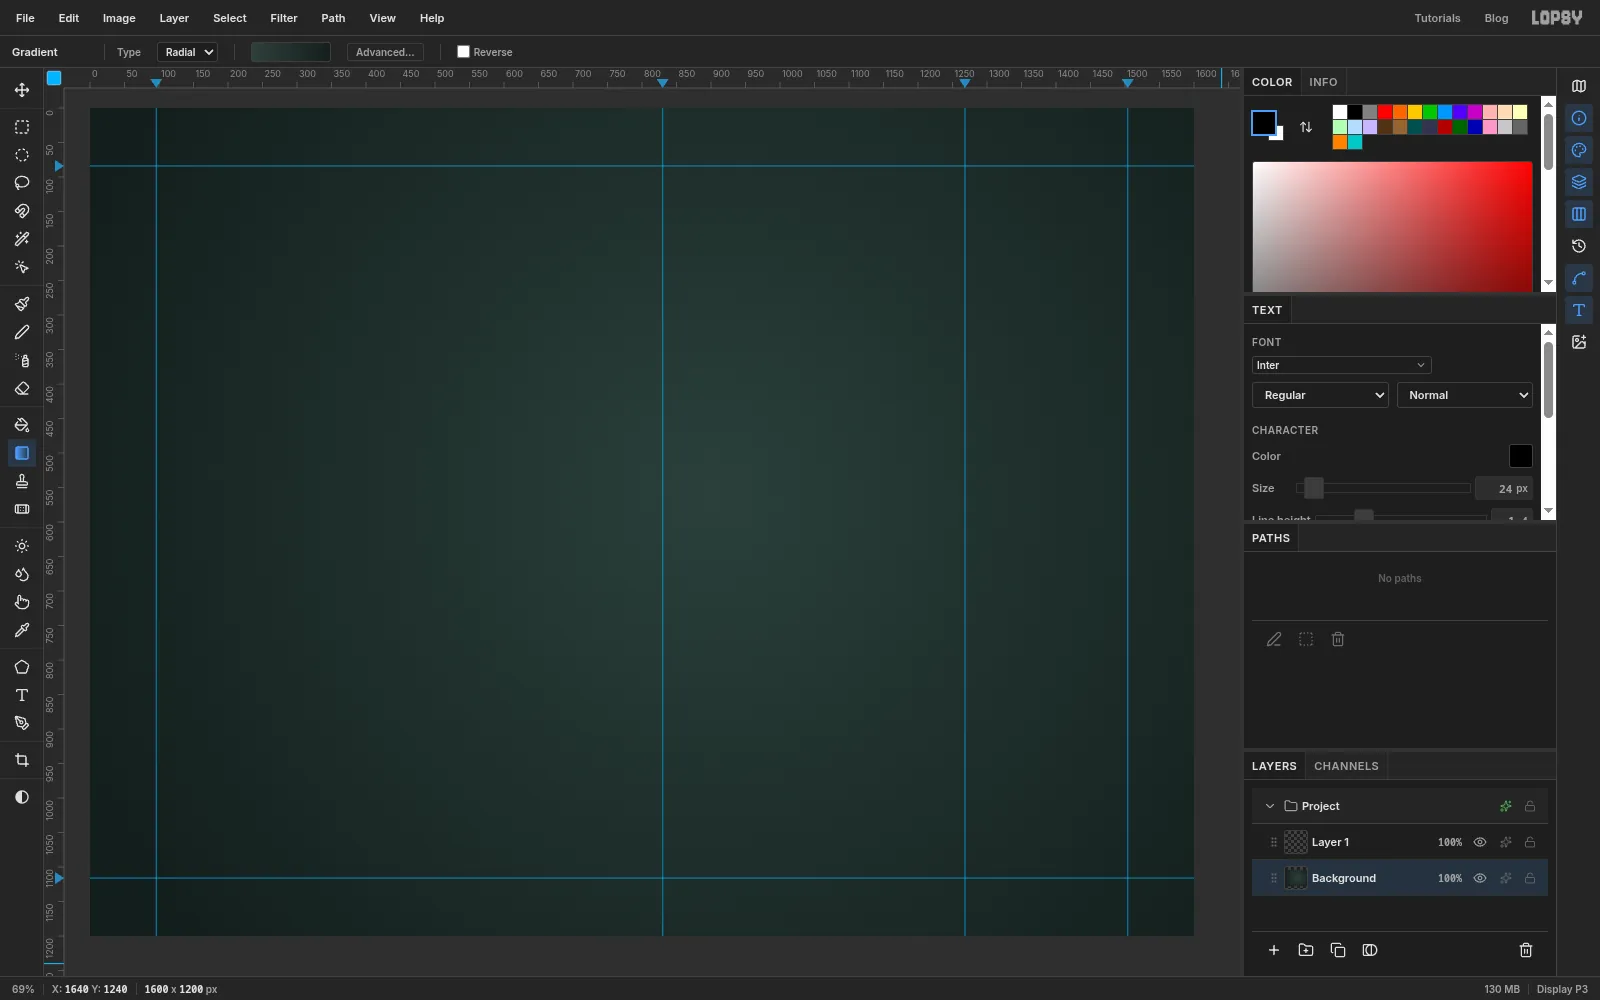
Background. Pick the Gradient tool, set Type to Radial, and in Advanced… set the left stop to and the right stop to . Drag from just above the middle of the board (about900, 560) out past the bottom-right corner.
The light falls slightly above centre, behind where the phones will stand, like a lamp on a dissecting table.
- Choose File → New, set Width
-
Mottle it with Clouds
- A new document comes with an empty
Layer 1aboveBackground. Double-click it and rename itHaze. - Choose Filter → Clouds…, set Scale to
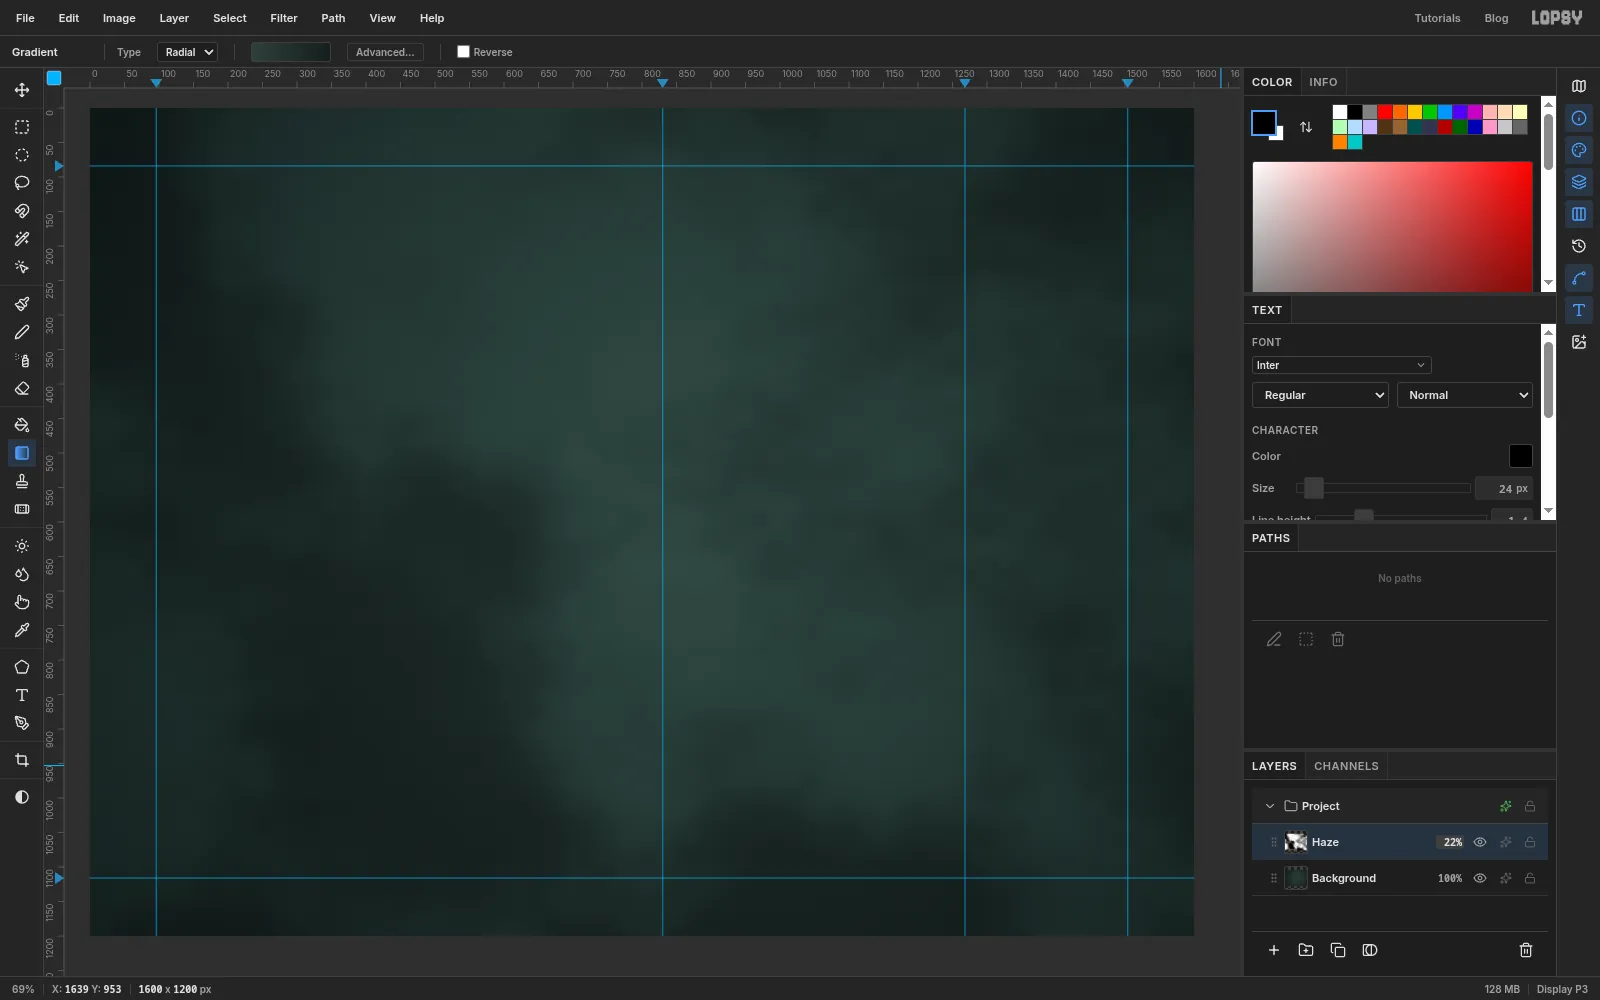
4and click Apply. The layer fills with grey clouds. - Open the layer's effects (the ✦ button on its row). The blend mode menu sits at the top of that drawer. Set it to Overlay and close the drawer. Every later blend mode change happens in the same place. Click the opacity on the row and set it to
22%.
Overlay lightens and darkens the green without greying it, so the backdrop looks like old cloth, not flat paint.
- A new document comes with an empty
-
Knock the paper out of the bronchial tree
- Drag Gray961.png from your file browser onto the canvas. It lands as a new layer in the top-left corner. Rename it
Bronchi Plate. - The engraving has two small printed labels beside the larynx near the top. Drag a Rectangular Marquee around each one and press Delete. They'd only read as stray text later.
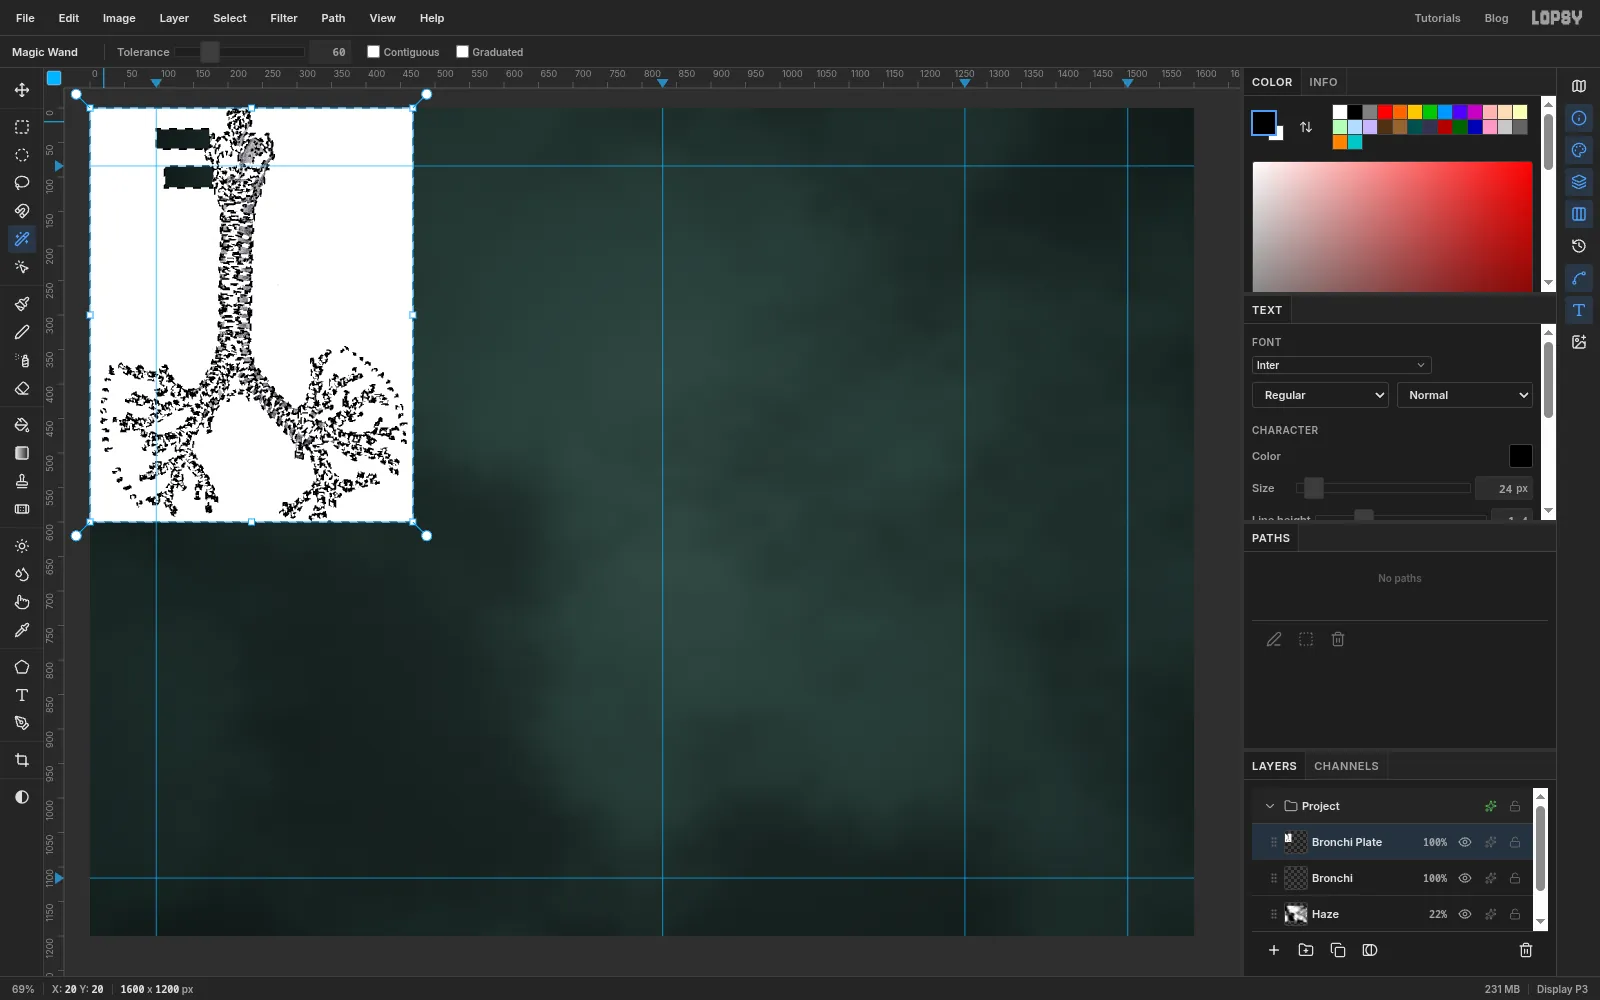
- Pick the Magic Wand (W), set Tolerance to
60and turn Contiguous off. Click the white paper. Every white pixel in the drawing is selected, including the paper inside the cartilage rings. - Press Delete, then Cmd+D.
All that's left is the line work, with transparency where the paper was.
- Drag Gray961.png from your file browser onto the canvas. It lands as a new layer in the top-left corner. Rename it
-
Ghost it behind the board
- Cmd-click the
Bronchi Platethumbnail to select its pixels, and pick the Move tool (V). - Hold Cmd and drag the bottom-right handle outwards until the drawing is about twice its size. Cmd keeps the proportions. Press Cmd+D.
- Drag the drawing so the trachea runs down the gap between the two phone guides and the bronchi spill off the bottom edge.
- Open its effects and turn on Color Overlay with the colour . Set the layer's opacity to
10%.
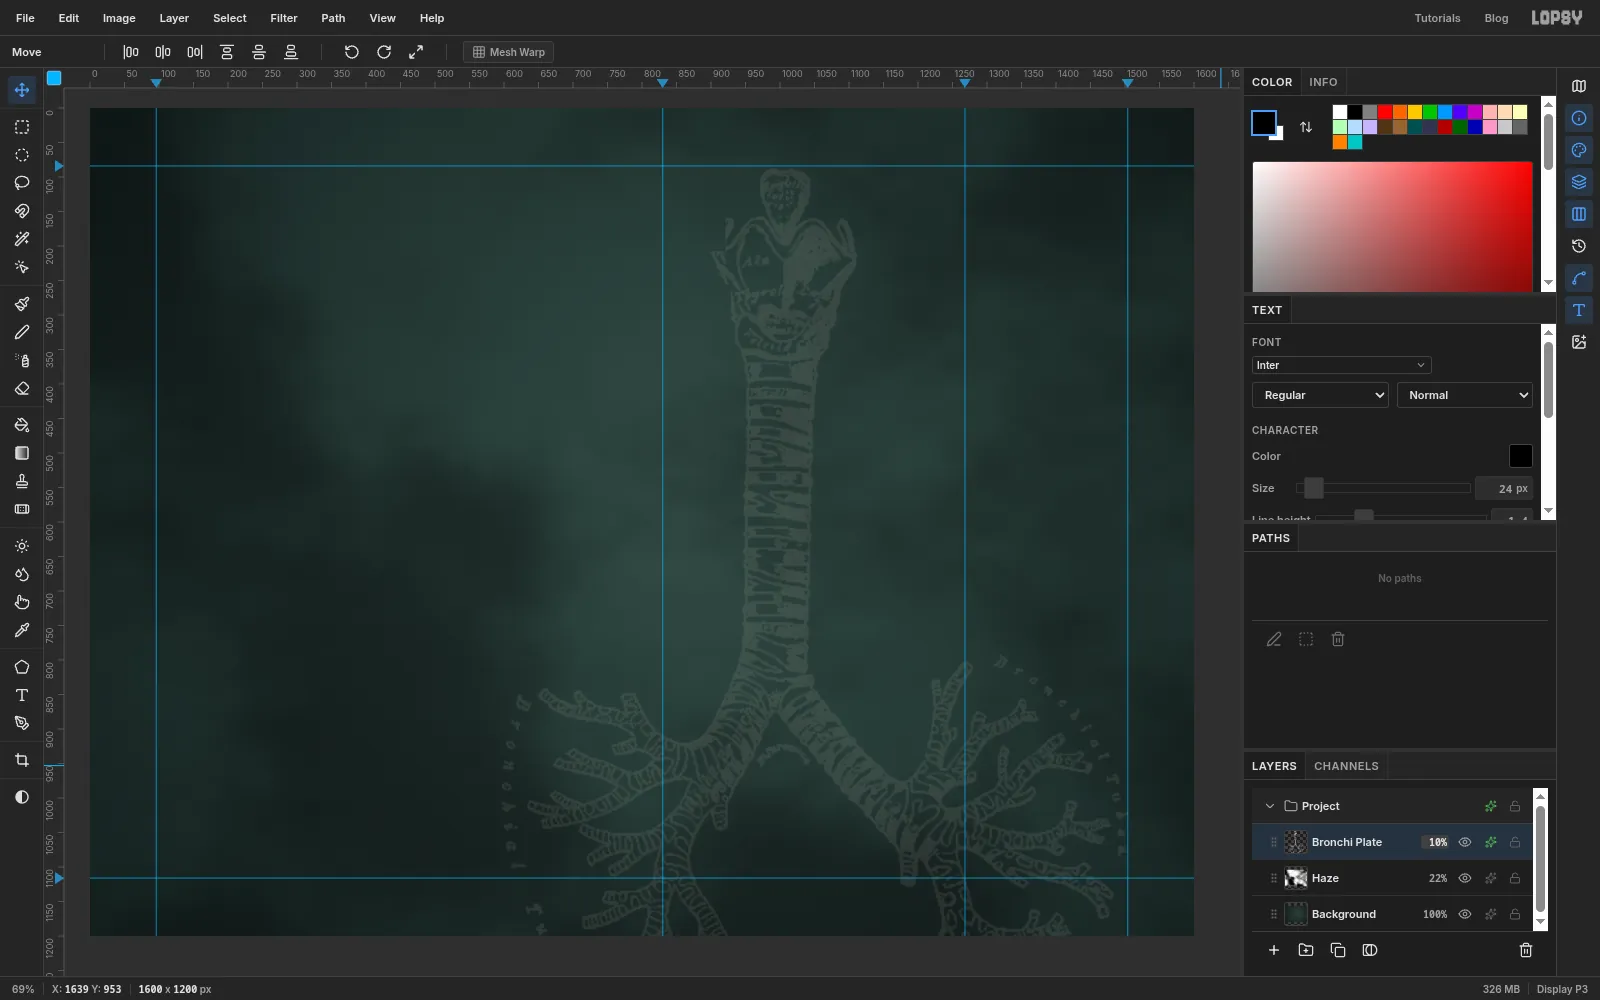
At 10% it's a watermark. You notice it in the gaps but never read it as content.
- Cmd-click the
-
Build the first phone
- With
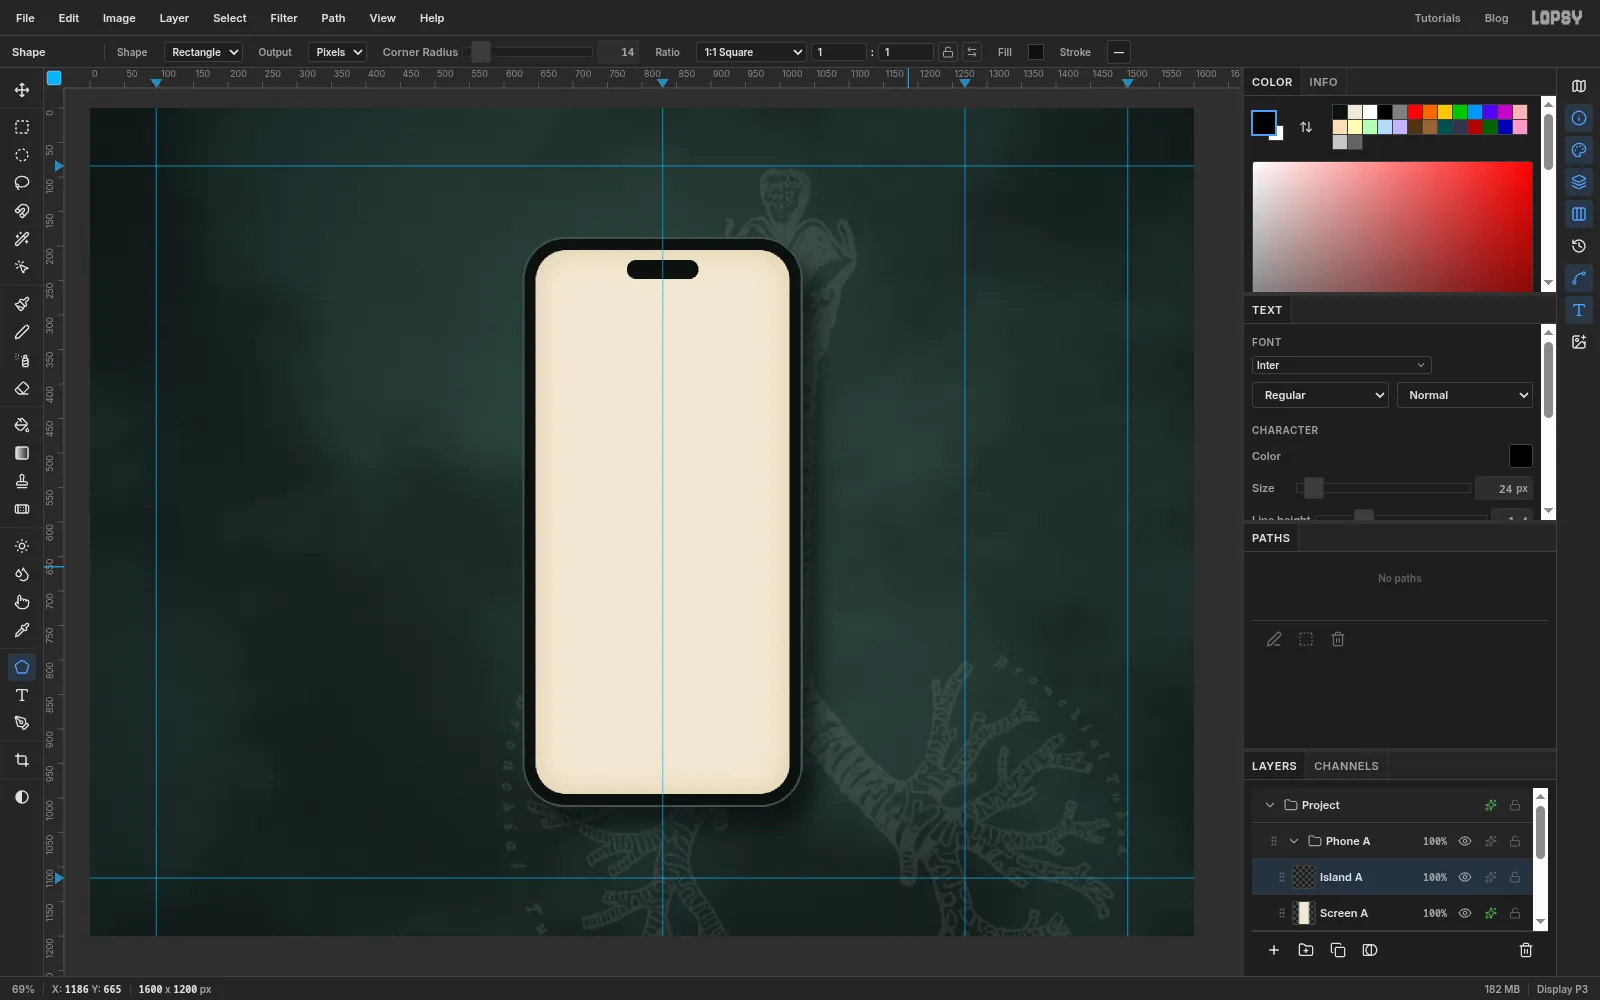
Bronchi Plateactive, click New Group in the Layers panel and name itPhone A. Click Add Layer and name itBody A. - Pick the Shape tool (U). Set Shape to Rectangle, Output to Pixels, Corner Radius
58, the fill swatch to and the stroke to none. Click once on the guide at830, 600and create a 400 × 820 shape. - Add a layer called
Screen A. Set the fill to and Corner Radius to44, then click the same point and create a 368 × 788 shape. That leaves a 16 px bezel all round. - On
Screen A, run Filter → Add Noise… with Amount5, Mono and Gaussian. Then turn on Inner Glow: Size70, Opacity40, colour . The edges of the screen darken slightly, like old paper. - On
Body A, turn on Drop Shadow (Offset X22, Offset Y30, Blur44, Opacity60, colour ) and Stroke (Width3, colour , position Outside). The stroke is a dull metal rim that keeps the black body from sinking into the dark backdrop. - Add a layer called
Island A, set the fill to the bezel colour and Corner Radius14, and create a 104 × 28 shape at830, 234.
- With
-
Heal the labels out of the heart and lungs
- Click
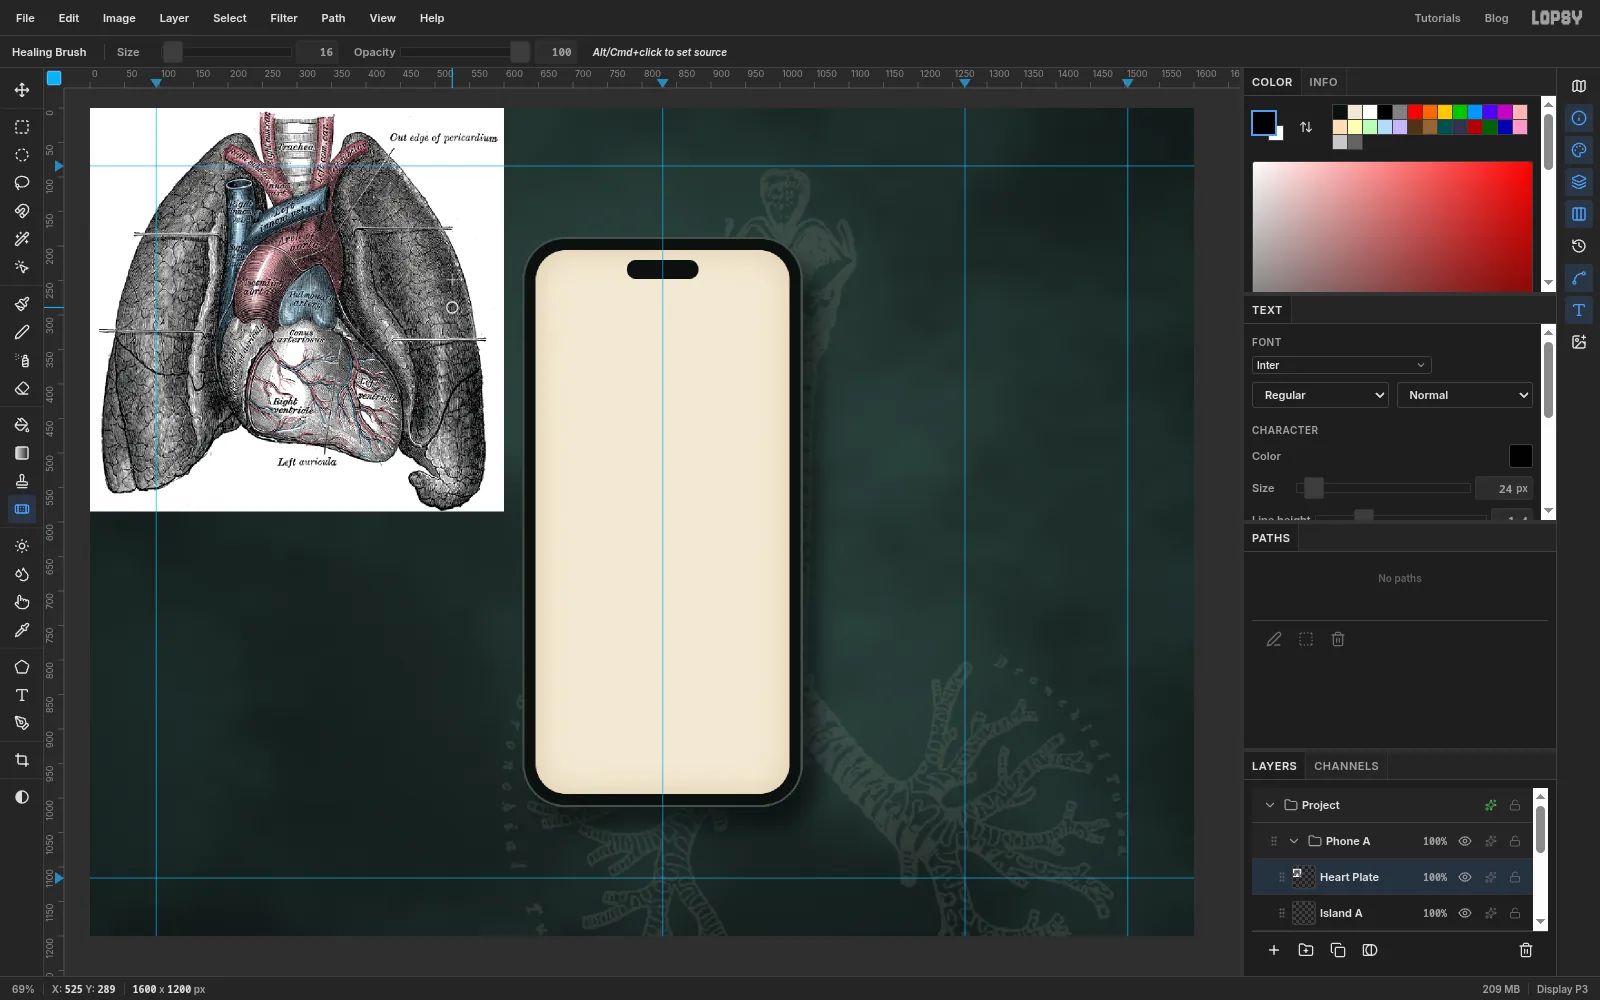
Island A, then drag Gray490.png onto the canvas. Rename the new layerHeart Plate. - The engraving is lettered RIGHT LUNG and LEFT LUNG, and has four label pins across the lungs. A designer would retouch those out. Pick the Healing Brush (from the toolbox) and set Size to
16. - Alt-click a patch of lung texture just above the words RIGHT LUNG (about 40 px above them). Then paint short horizontal strokes across the lettering, one row at a time. The brush copies texture from the source, offset by the same amount, and matches it to the tone around the stroke.
- Do the same for LEFT LUNG.
- Leave the small italic labels inside the heart (Trachea, Arch of aorta and so on). At phone size they read as hatching, and they're part of the period look.
- Set Size to
14and do the four pins. They're the double lines across each lung. For each pin, Alt-click about 20 px below it, then drag along it from end to end. Treat the two leader lines that run in from outside the drawing the same way.
Work slowly and pick your source from texture that runs the same way as the area you're covering. If a stroke looks smeared, Cmd+Z and try a source a little further away.
- Click
-
Clear the captions
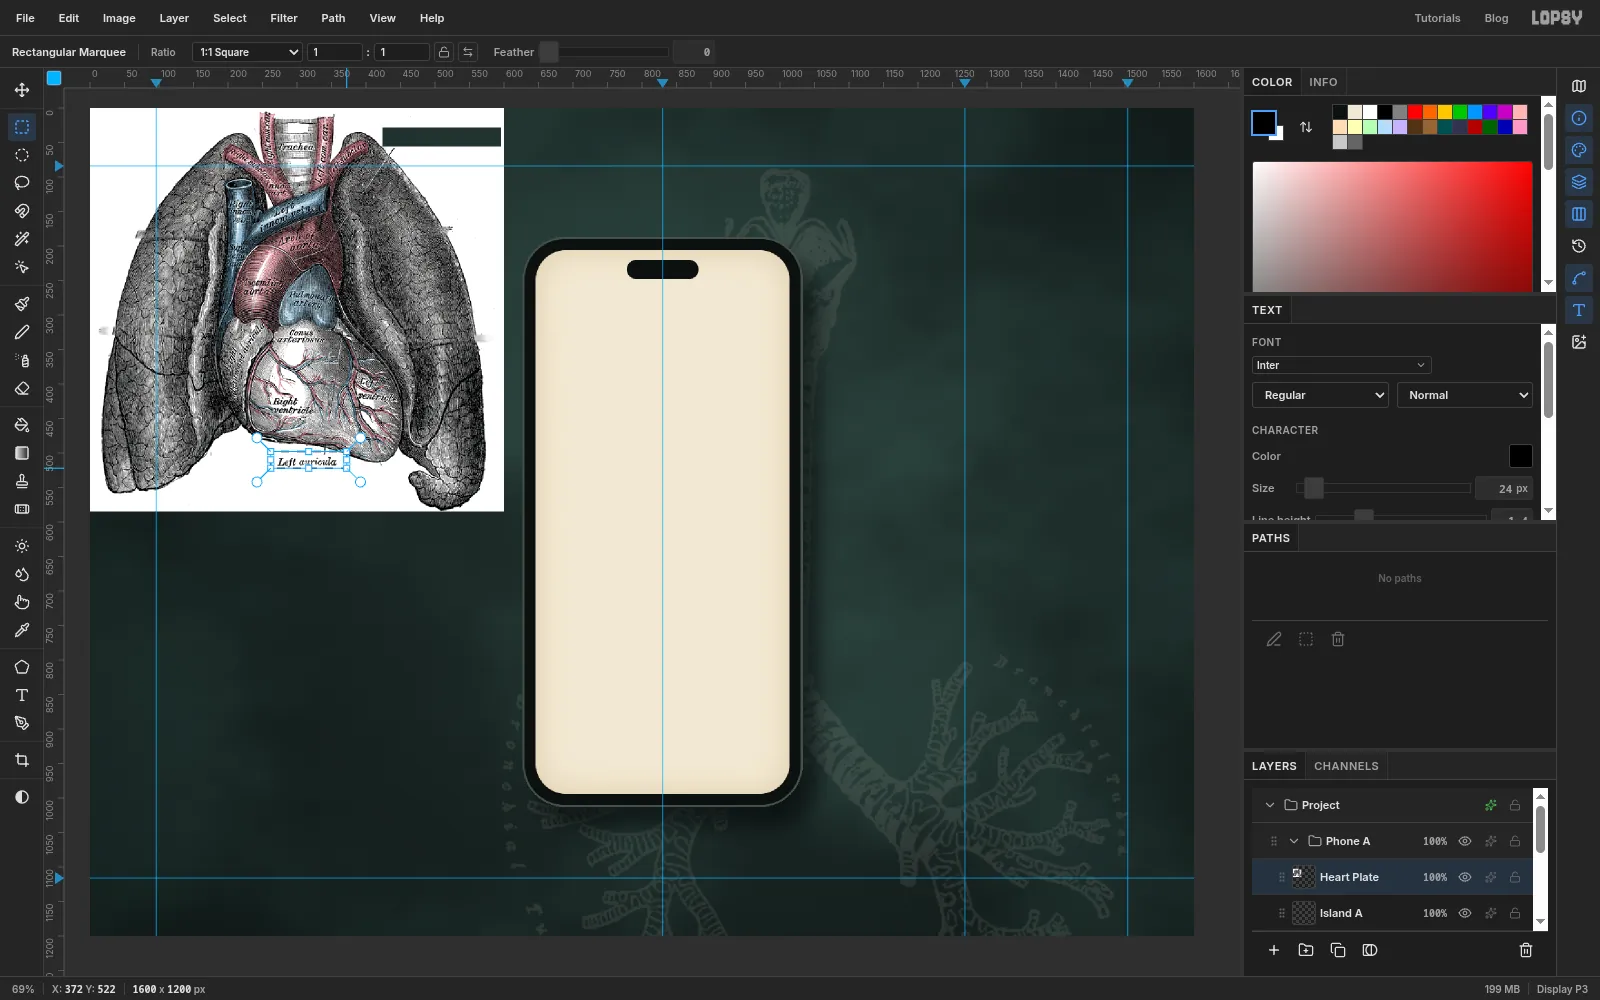
The two captions, Cut edge of pericardium and Left auricula, sit on bare paper. You don't need to heal them.
- Drag a Rectangular Marquee around each caption and press Delete.
- Look along the outside edges of the lungs for leftover grey ends of the pins. Remove those with the Eraser (E) at Size
8to12, and press Cmd+D.
Deleted areas are transparent, not white. That's fine: the next step makes white invisible anyway.
-
Scale the plate down
- Cmd-click the
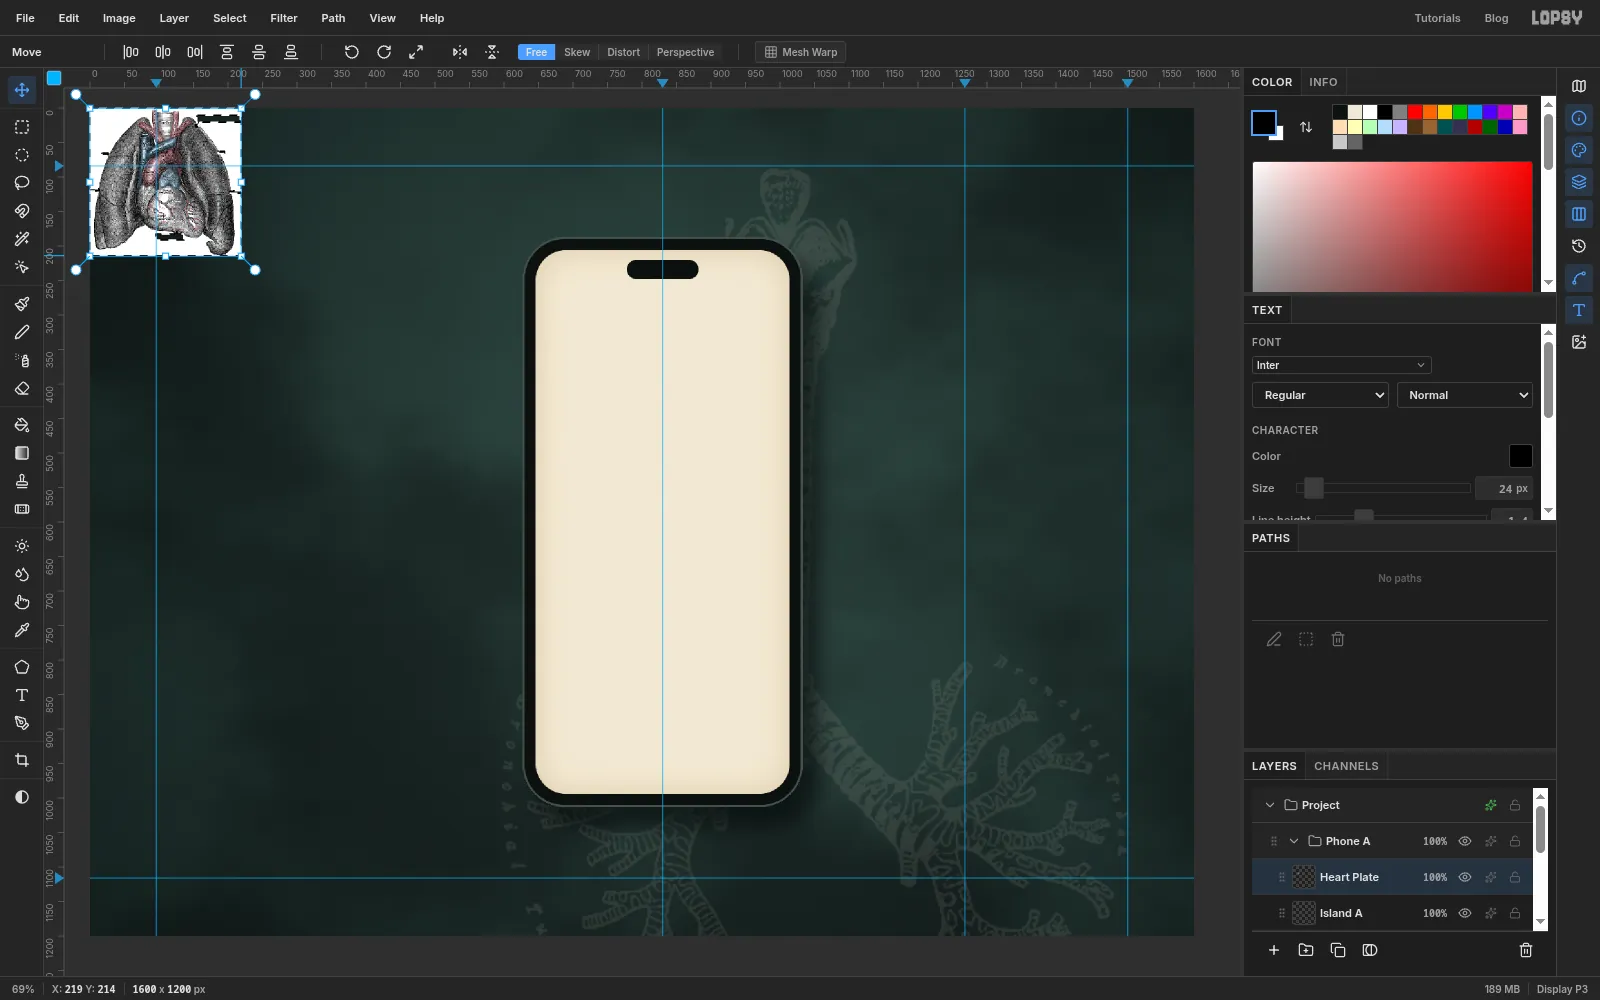
Heart Platethumbnail and pick the Move tool. - Hold Cmd and drag the bottom-right handle up and to the left until the engraving is about 219 px wide. Press Cmd+D.
Scaling down sharpens the look of an engraving, because the hatching gets finer. Scaling up does the opposite, so start from the biggest file you can find.
- Cmd-click the
-
Multiply it onto the screen
- Drag the plate onto the screen so it's centred on
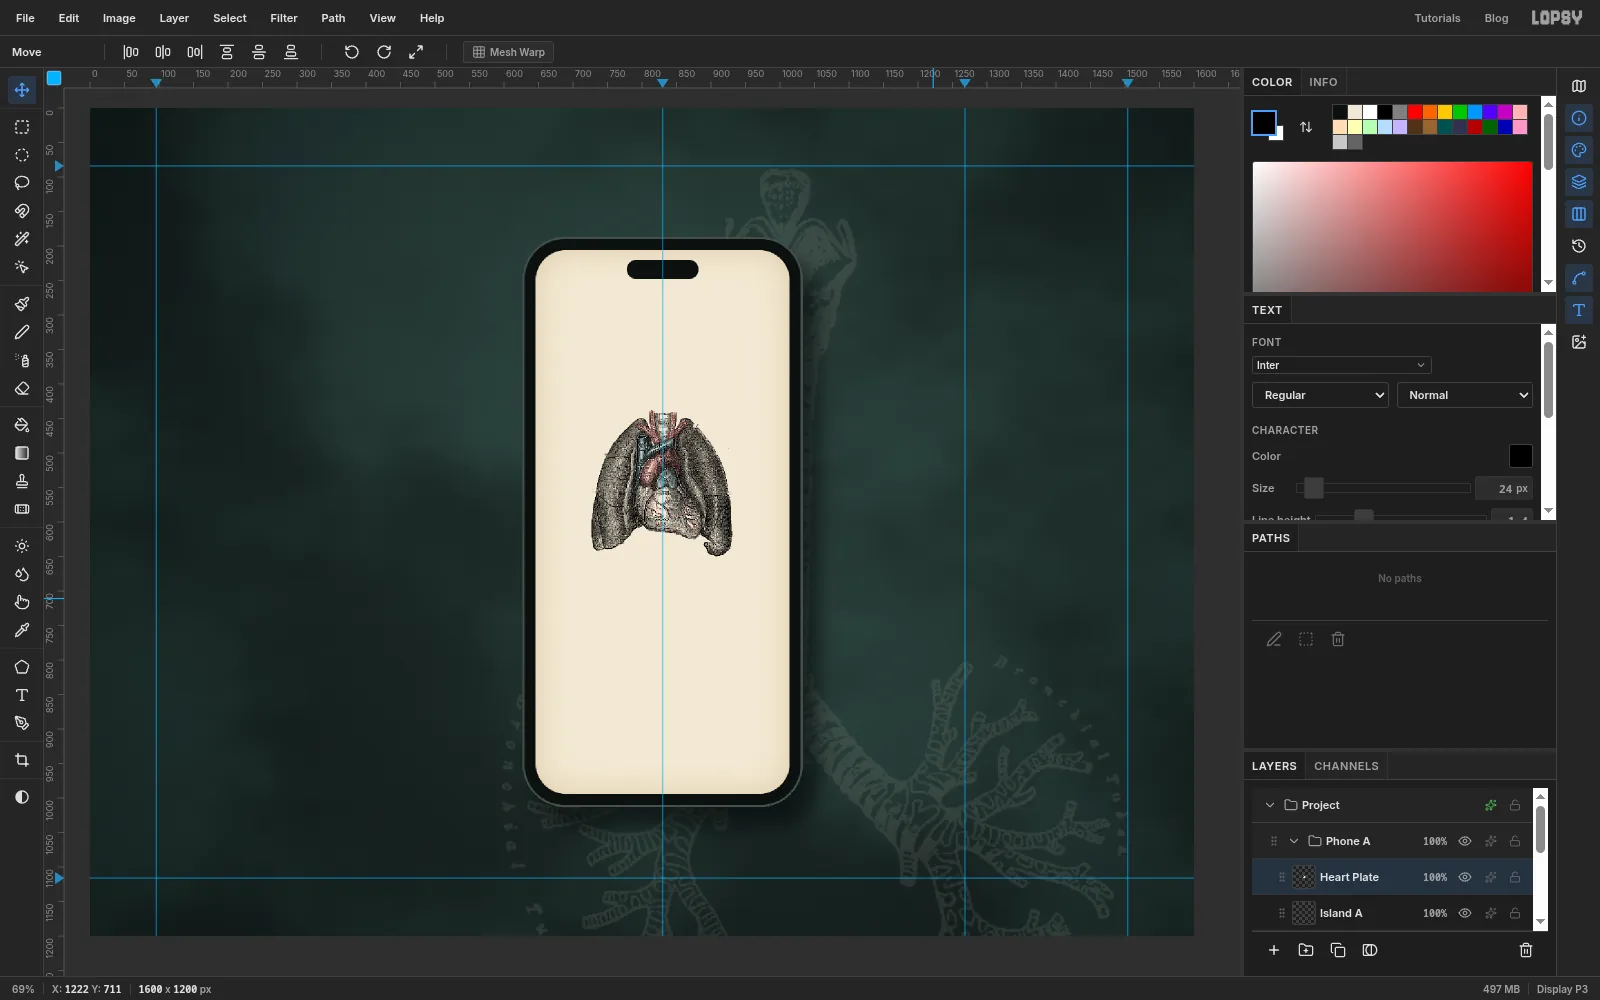
830, 542. - In its effects drawer, set the blend mode to Multiply. White multiplies to nothing, so the paper disappears and the engraving looks printed on the cream.
- Run Filter → Unsharp Mask… with Amount
0.6and Radius1to bring back the line work after scaling. Then run Filter → Hue/Saturation… with Saturation-18, so its reds and blues match the board's inks rather than fighting them.
- Drag the plate onto the screen so it's centred on
-
Draw the dial rings
- Click
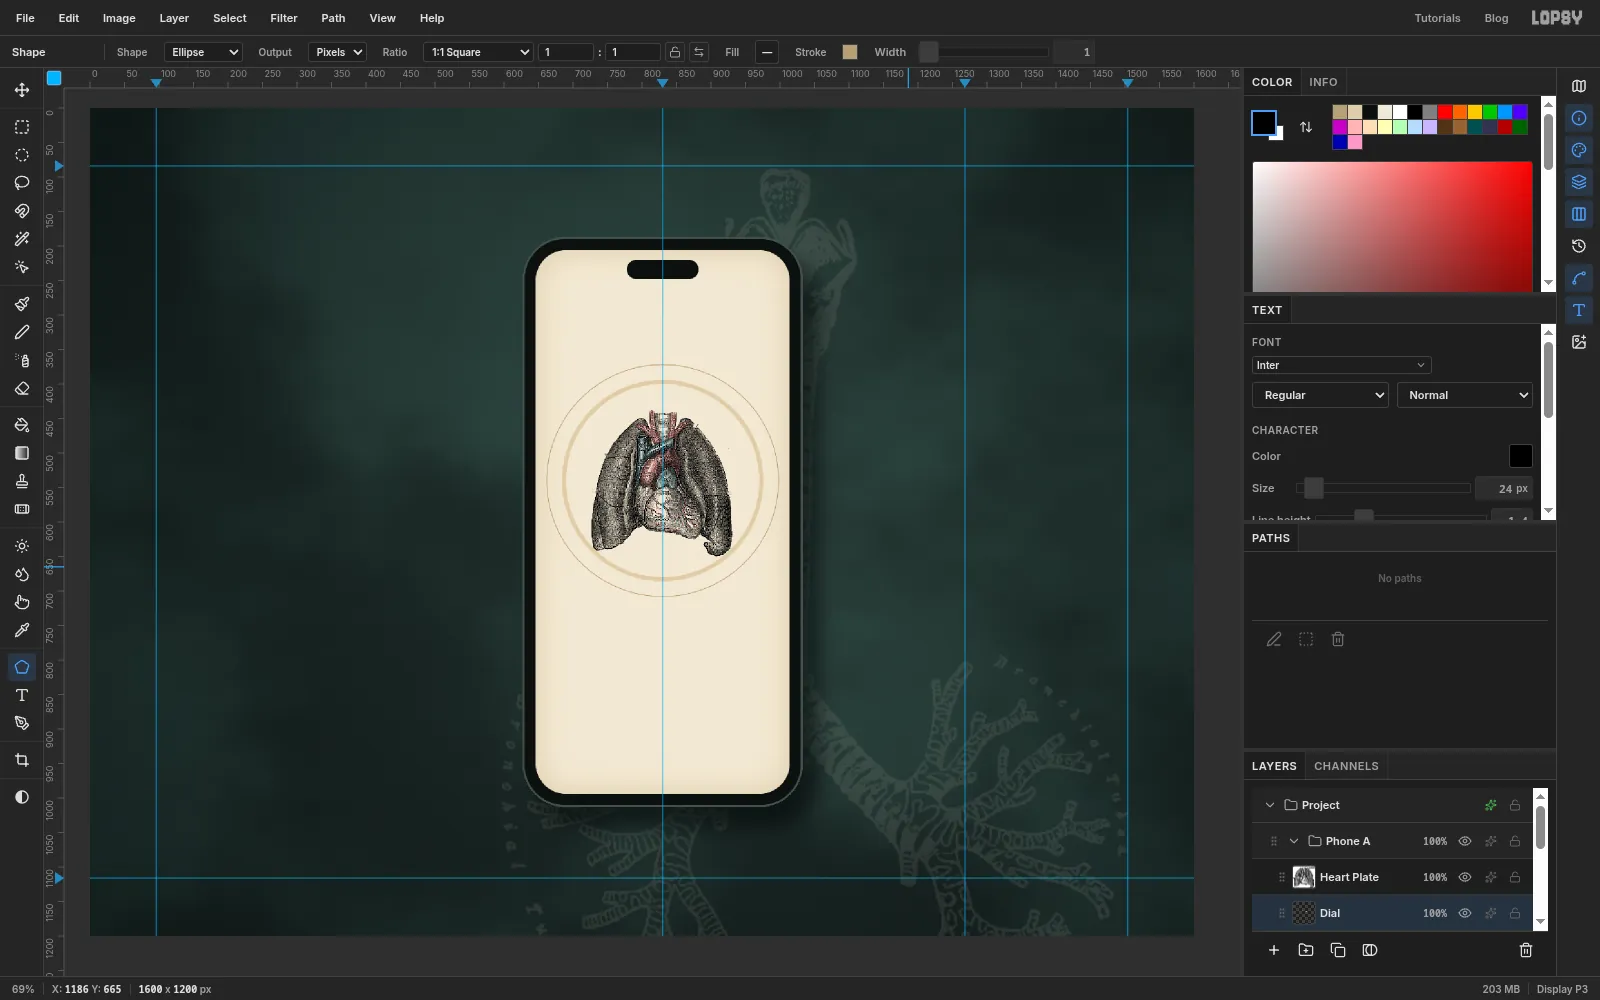
Island Aand add a layer calledDial, so the rings sit under the plate. - Pick the Shape tool and set Shape to Ellipse, the fill to none (open the fill swatch and click Remove fill), and the stroke to with Width
6. Click at830, 540and create a 286 × 286 circle. This is the track the breath moves along. - Change the stroke to with Width
1, and create a 336 × 336 circle at the same point.
- Click
-
Rule the tick marks with Sunburst
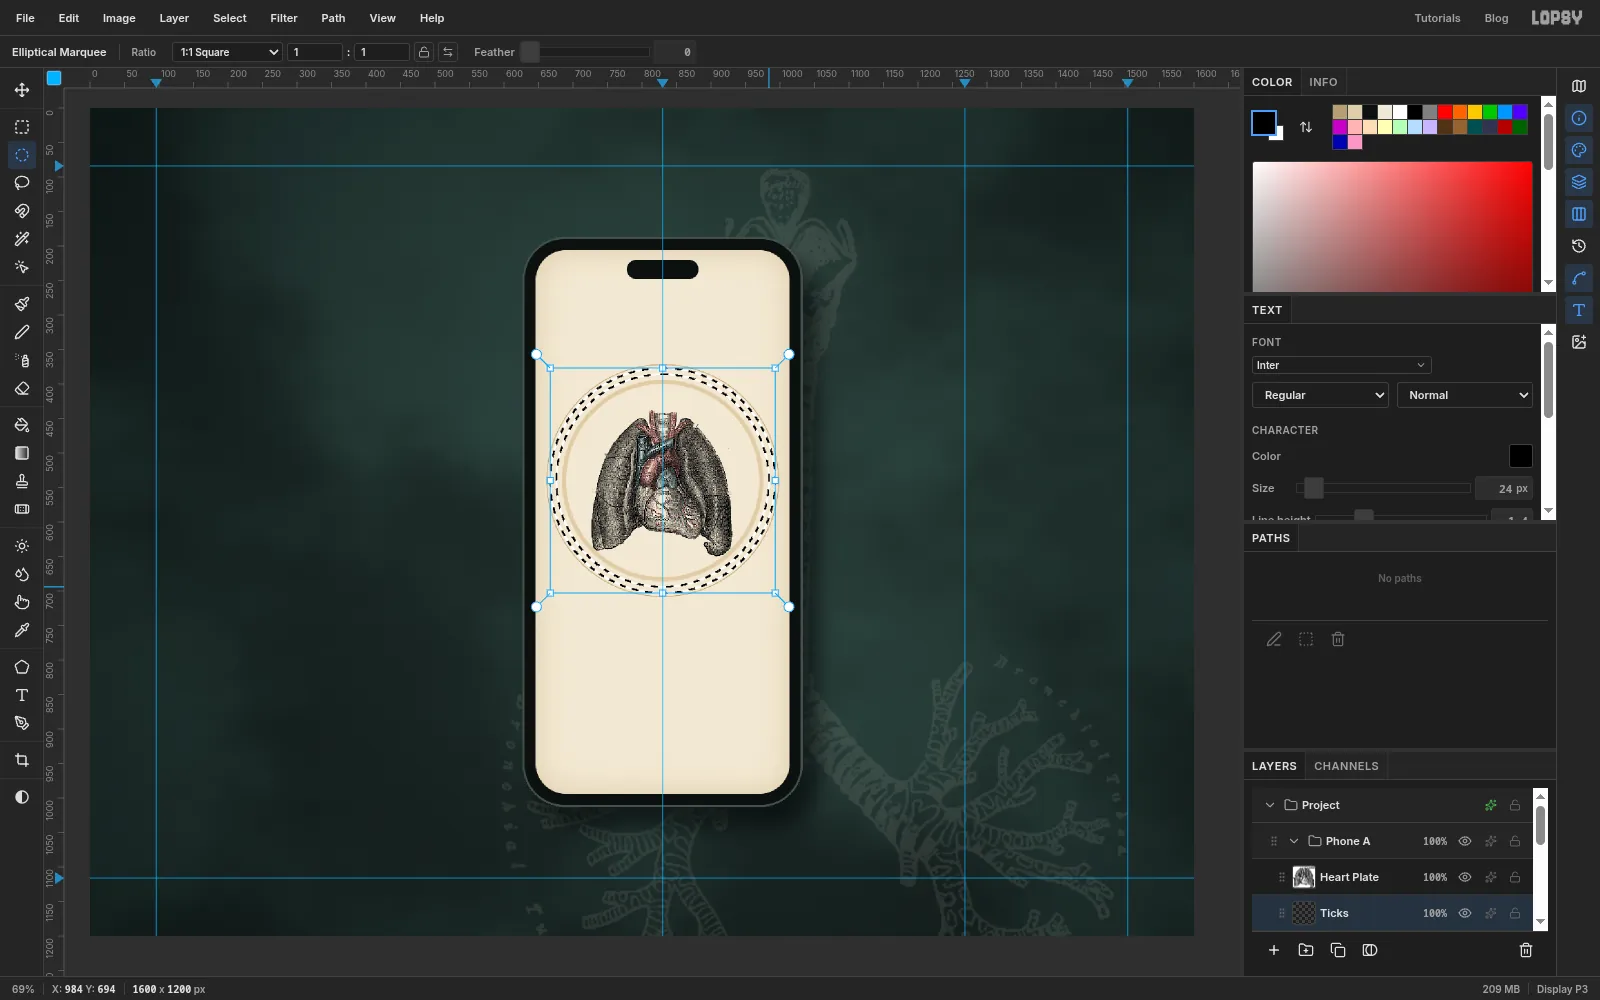
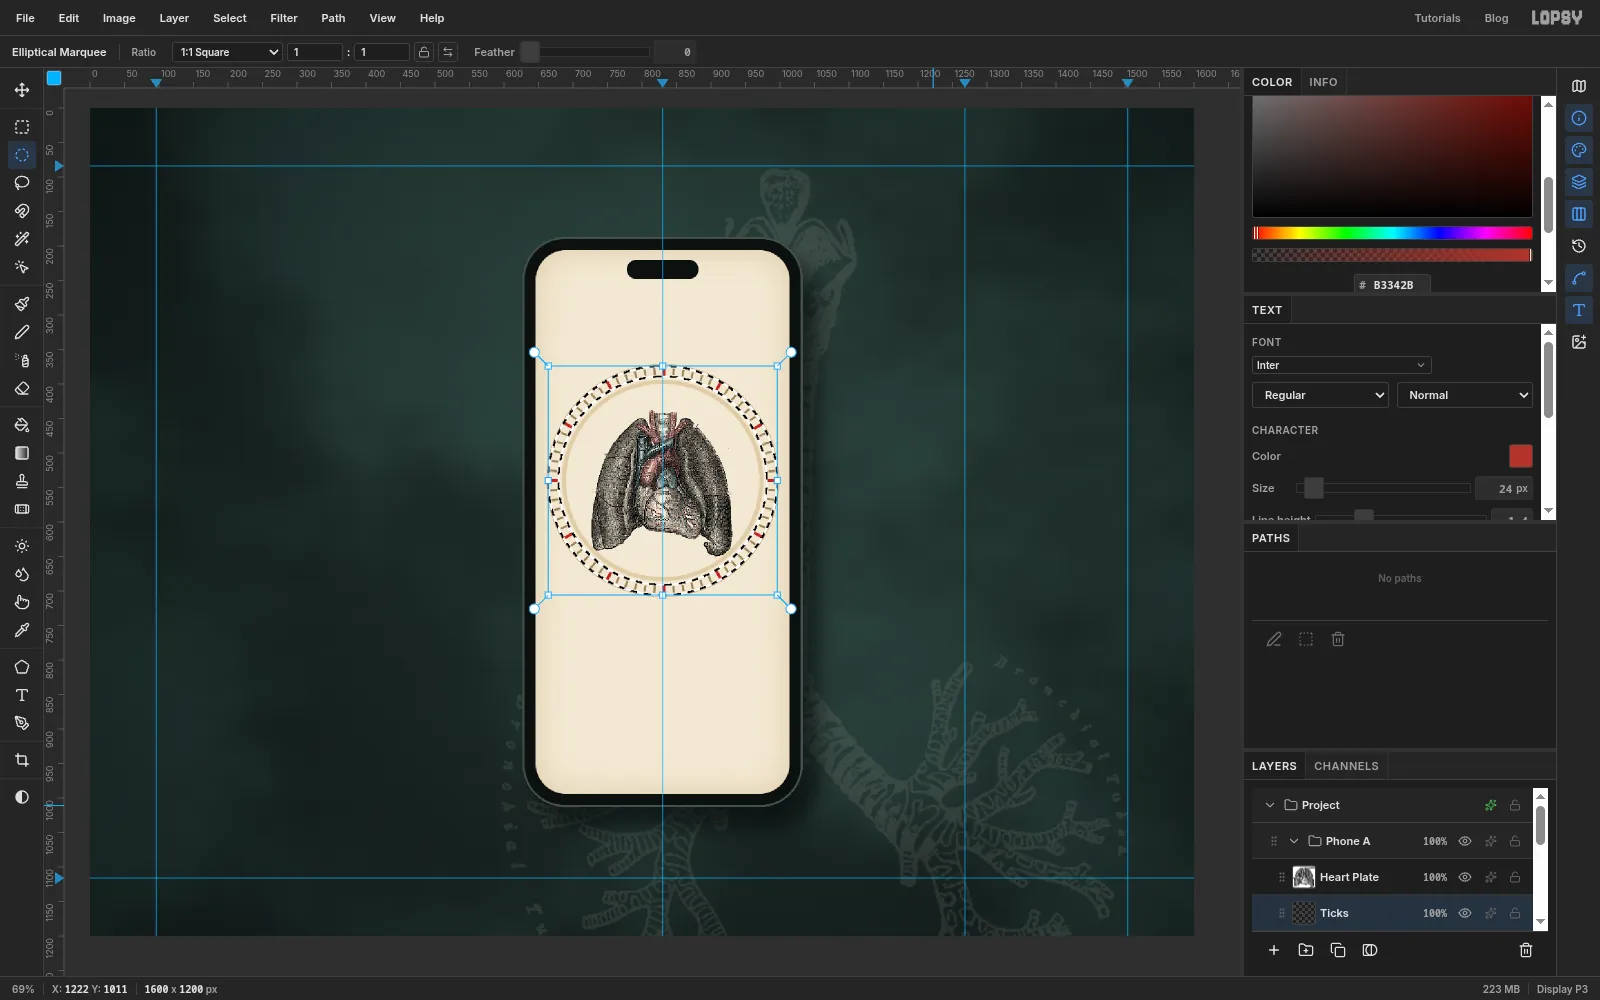
The tick marks are a ring of Sunburst rays, clipped by a ring-shaped selection.
- Add a layer called
Ticks. - Pick the Elliptical Marquee. Click once on the canvas without dragging: an Elliptical Selection dialog opens with From and To fields. Enter
667, 377and993, 703and click Select. That's a circle of radius 163 around the dial centre. - Hold Alt and drag a second circle from about
676, 386to984, 694(radius 154) to subtract it. Alt-drags have no dialog, so watch X and Y in the status bar. A pixel or two out doesn't matter, because the ring only clips the rays. You're left with a 9 px ring. - Set the foreground to and run Filter → Sunburst… with Rays
72, Width22, Center X52and Center Y45. Leave the rest at their defaults and click Apply.
The centre sliders are percentages of the document, and 52% × 45% lands within 2 px of the dial centre. Inside a 9 px ring nobody can see the difference.
- Add a layer called
-
Add the red hour ticks
- Make a wider ring the same way: a circle of radius 166 (
664, 374to996, 706), minus one of radius 151 (679, 389to981, 691). - Set the foreground to and run Sunburst again with Rays
12and Width5. - If the ticks look too heavy or too light, press Cmd+Z. The red ticks go but the ring selection comes back with them, so you can run Sunburst again with another Width straight away. (I tried
14first. It looked clumsy next to the fine ticks.) When you're happy, press Cmd+D.
- Make a wider ring the same way: a circle of radius 166 (
-
Cut the breath arc
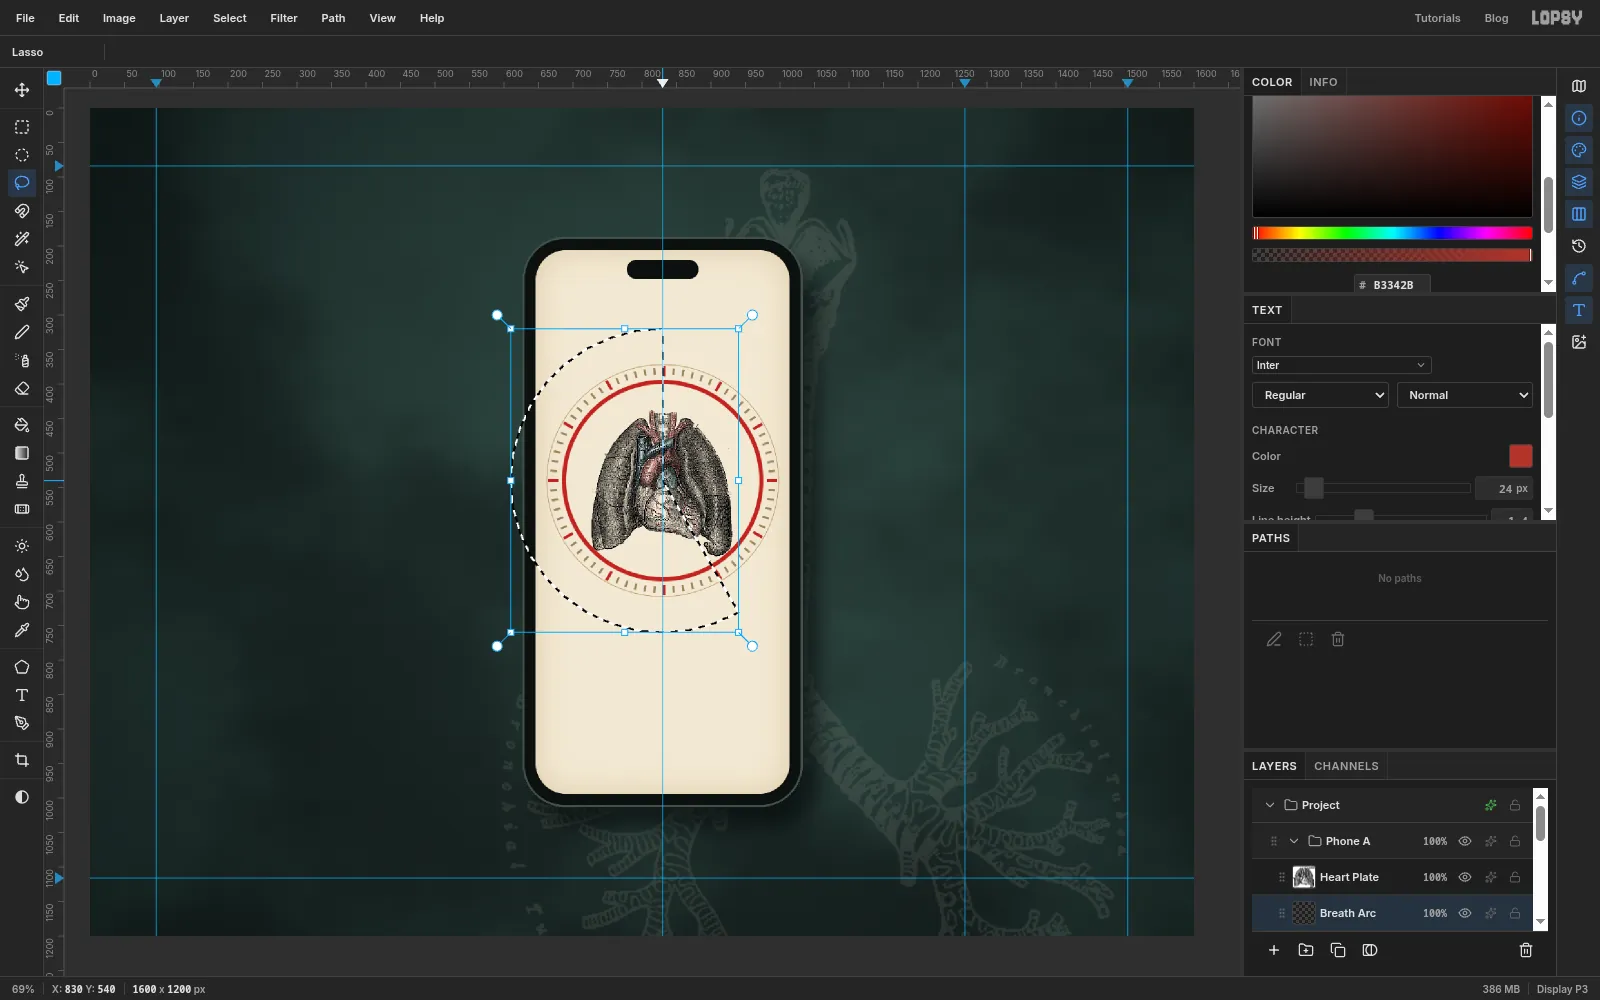
The arc shows how far through the inhale you are.
- Add a layer called
Breath Arc. Make a ring selection from radius 146 (684, 394to976, 686) minus radius 140 (690, 400to970, 680). Fill it with . That's a red ring right on top of the tan track. - Pick the Lasso (L) and draw a wedge from the dial centre. Go out past four o'clock, round the bottom and the left side, and back in at twelve o'clock. Close it back at the centre.
- Press Delete, then Cmd+D.
What's left is a red arc from twelve o'clock clockwise to about four o'clock.
- Add a layer called
-
Put a glowing dot on the end of the arc
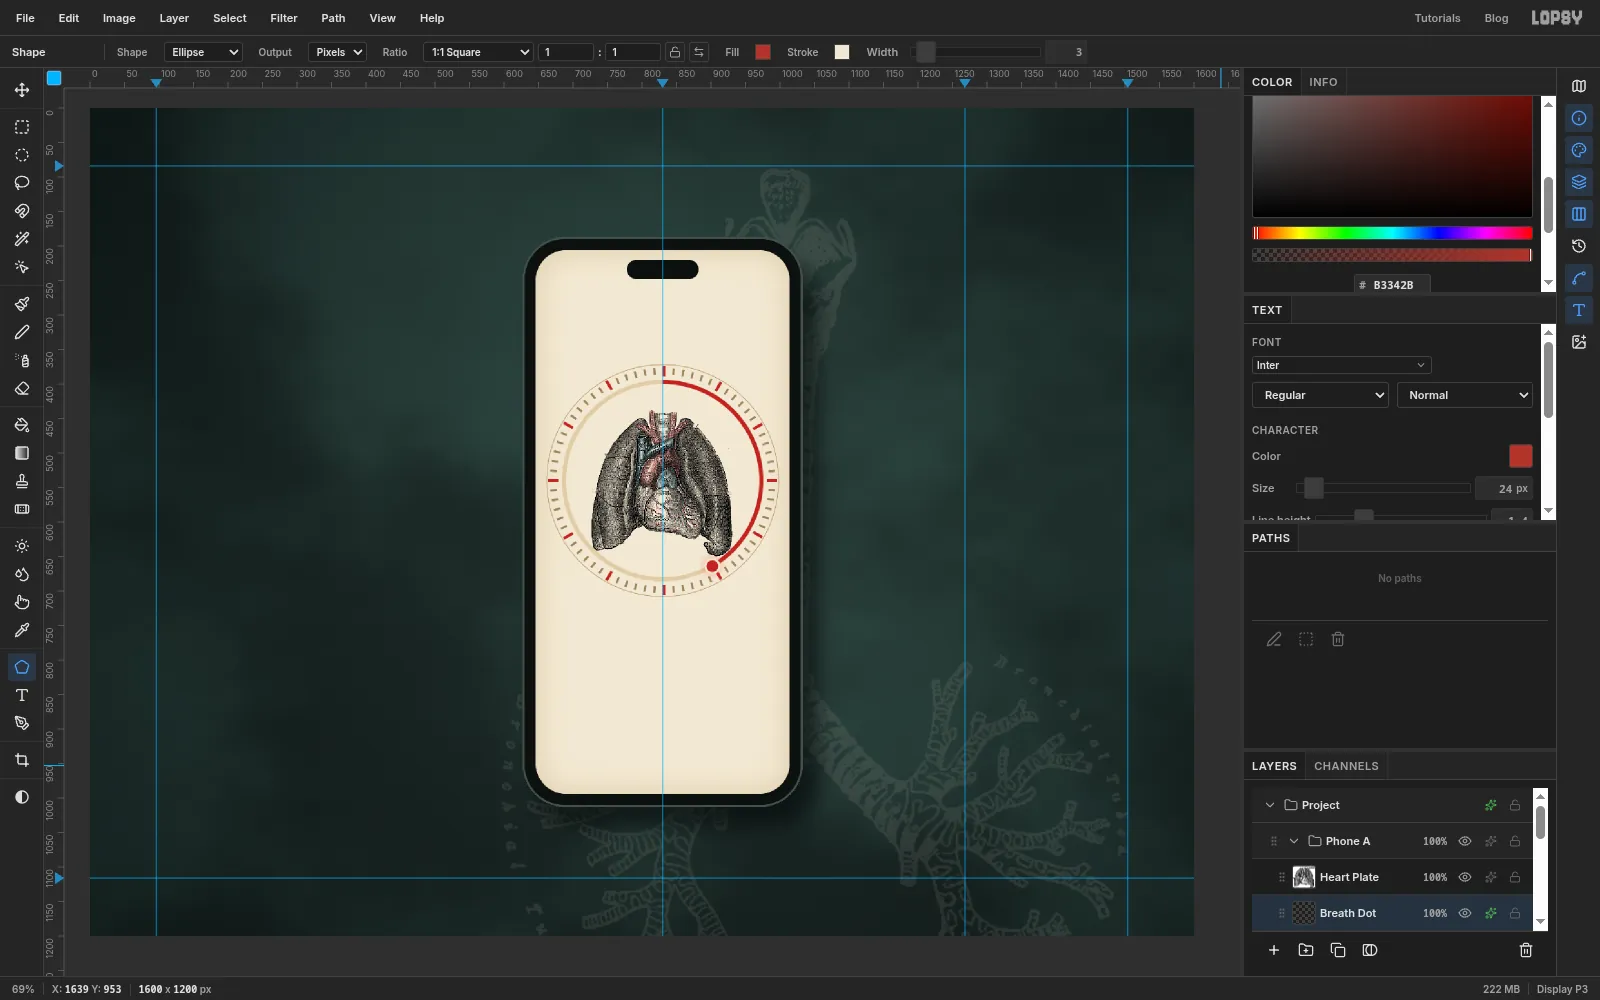
- Add a layer called
Breath Dot. - With the Shape tool, set the shape to Ellipse, the fill to and the stroke to at Width
3. Click at the end of the arc (about902, 664) and create a 20 × 20 circle. - Turn on Outer Glow: Size
16, Opacity55, colour .
The paper-coloured rim cuts the dot out of the arc so it reads as a handle.
- Add a layer called
-
Set the status bar and the header
- Click
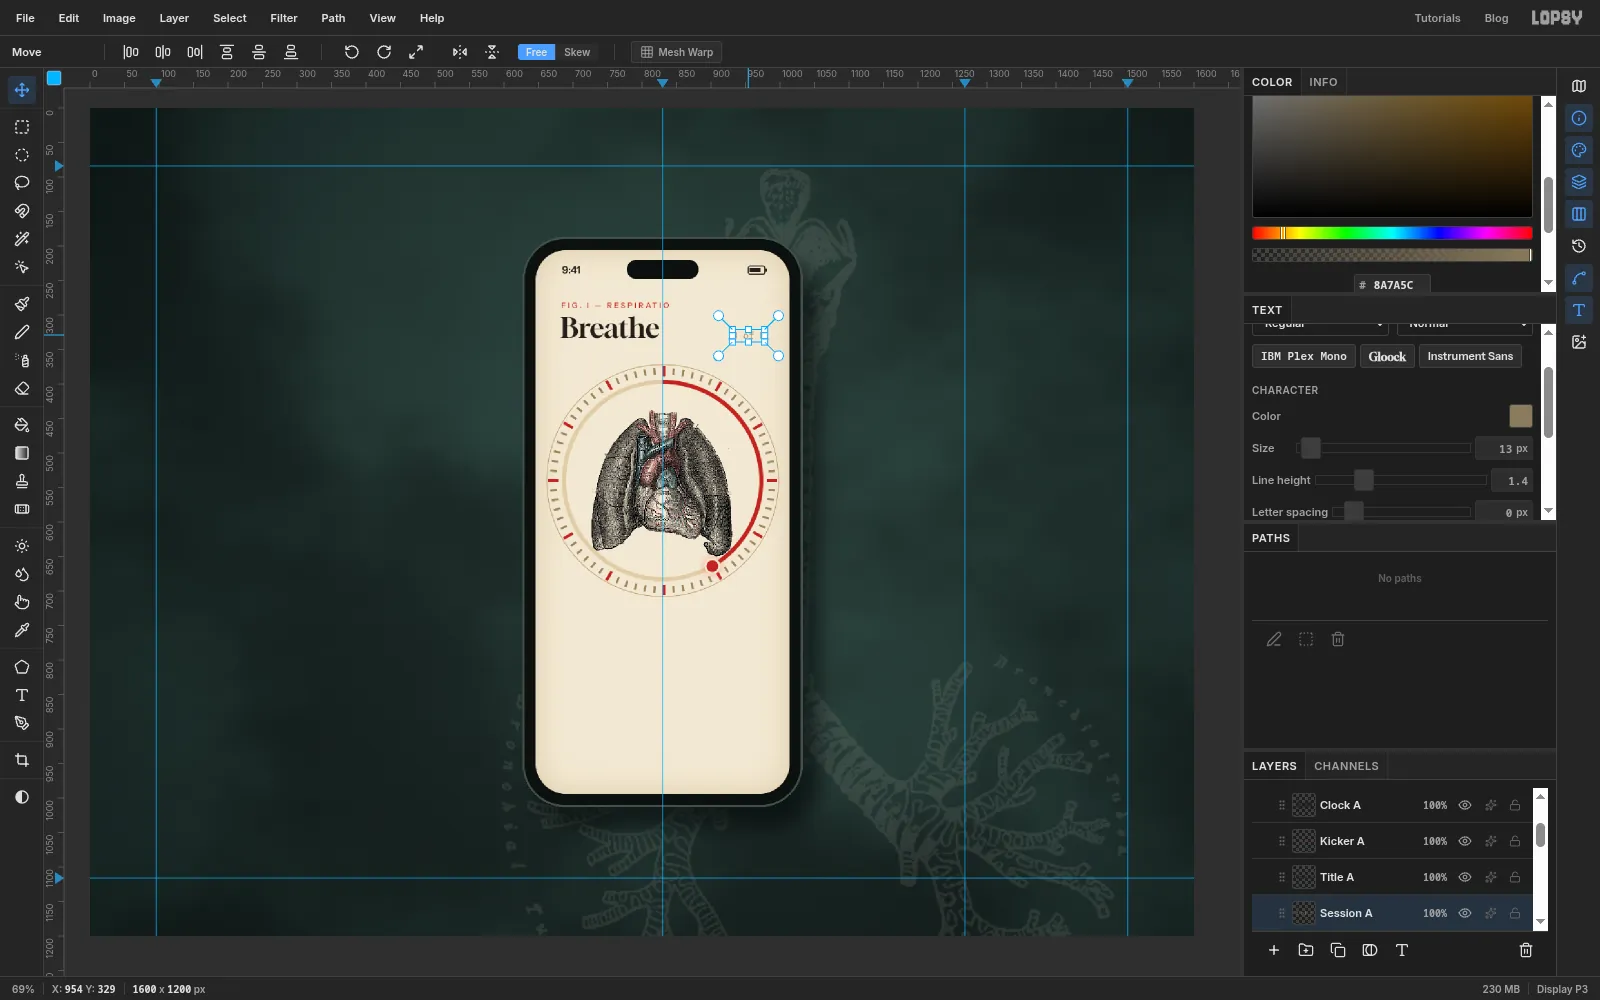
Breath Dotand add an empty layer calledBattery A. It's your starting point for the type on this screen, and it'll hold the battery icon too. - Type
9:41in Instrument Sans SemiBold, size15, colour , and move it so it starts at684, 229, level with the island. - Click
Battery Aagain (typing made the text layer active) and draw the battery with the Shape tool. Make a 24 × 12 rectangle at966, 235with no fill, a stroke at Width1.5and Corner Radius3. Then remove the stroke, set the fill to and Corner Radius1, and add a 16 × 6 bar at964, 235and a 2 × 5 nub at980, 235. - Click
Battery Aagain and typeFIG. I — RESPIRATIOin Instrument Sans Medium, size11, colour . In the Text panel set Letter spacing to3. Move it so it starts at684, 282. - Type
Breathein Gloock, size40, colour , with letter spacing0, and place it just below at682, 302. - Type
3 of 8in IBM Plex Mono, size13, colour . Move it so its right edge is at x976and the bottoms of its letters line up with the bottom of Breathe.
Lining up the small session count with the title's baseline is what makes the header look designed, not just placed.
- Click
-
Add the phase and the cadence
Start every piece of type from
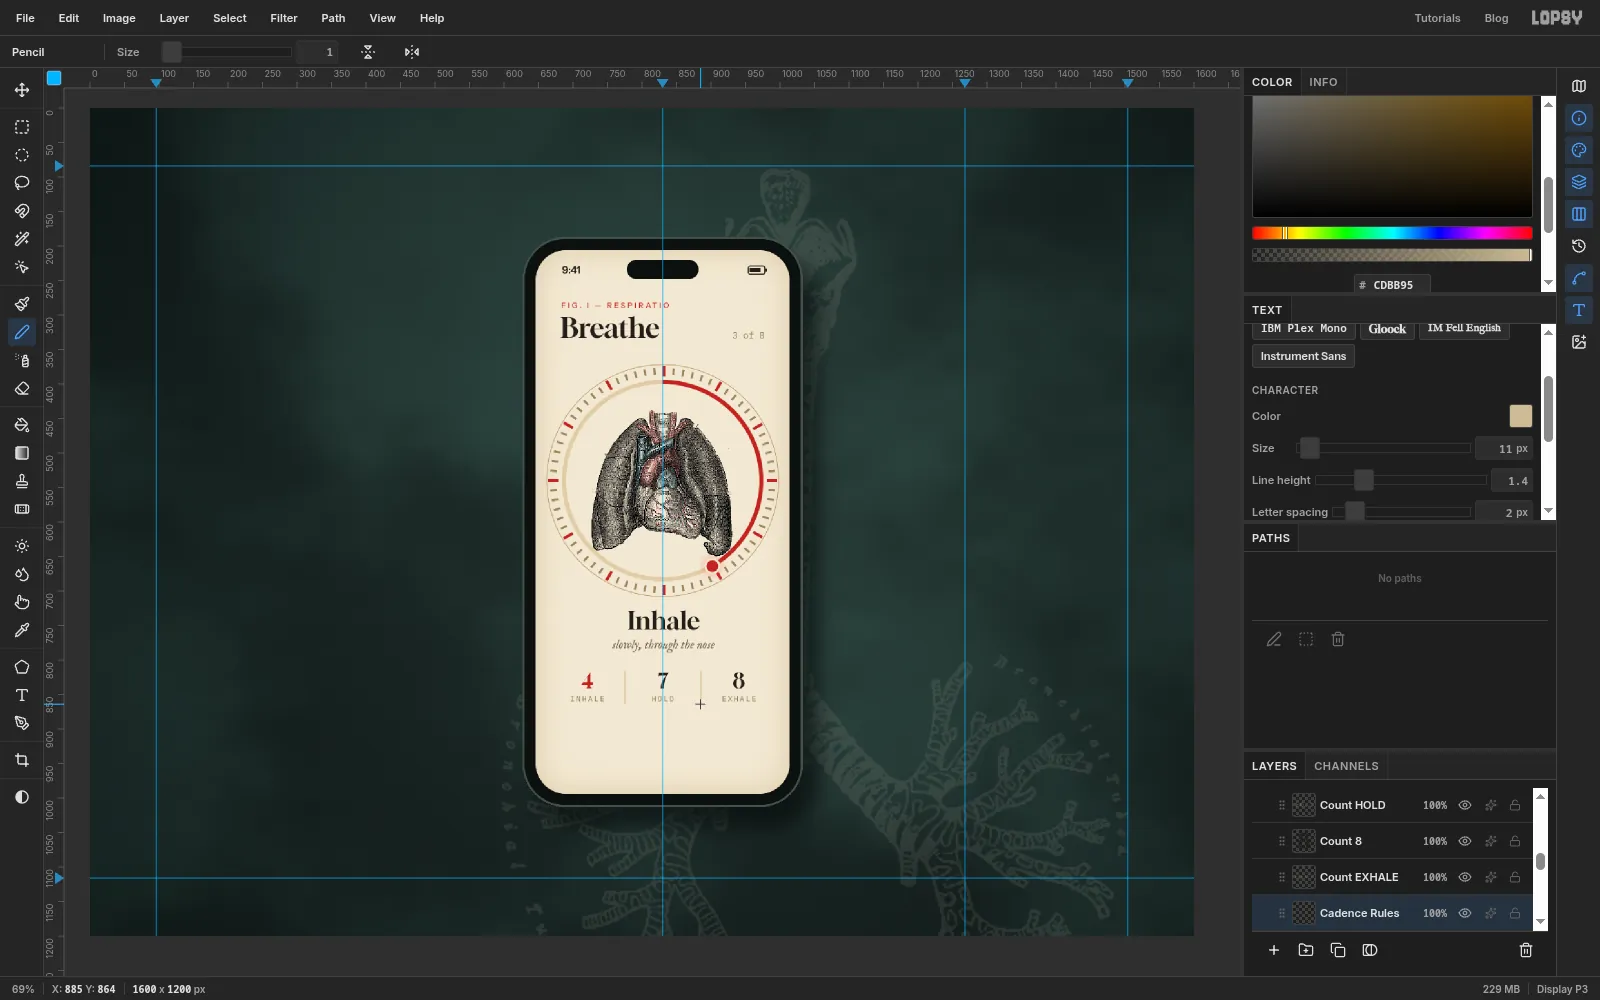
Battery A, and centre each one horizontally on the point given. The three counts are spaced 110 px apart, a third of the screen each, so the rules can fall exactly halfway between them.Inhalein Gloock, size36, , centred on x830with its top at y728.slowly, through the nosein IM Fell English Italic, size18, , centred on x830at y770.- Three counts in Gloock, size
30, with their tops at y818:4in centred on x720, then7on x830and8on x940in . - Under them,
INHALE,HOLDandEXHALEin IBM Plex Mono, size11, , letter spacing2, at y852. - Add a layer called
Cadence Rules. Pick the Pencil (N), Size1, colour . Click at775, 816, then Shift-click at775, 864to draw a straight rule. Draw a second one at x885.
The current phase is the only red number, so you can see at a glance where you are in the cycle.
-
Make the Begin button
- Click
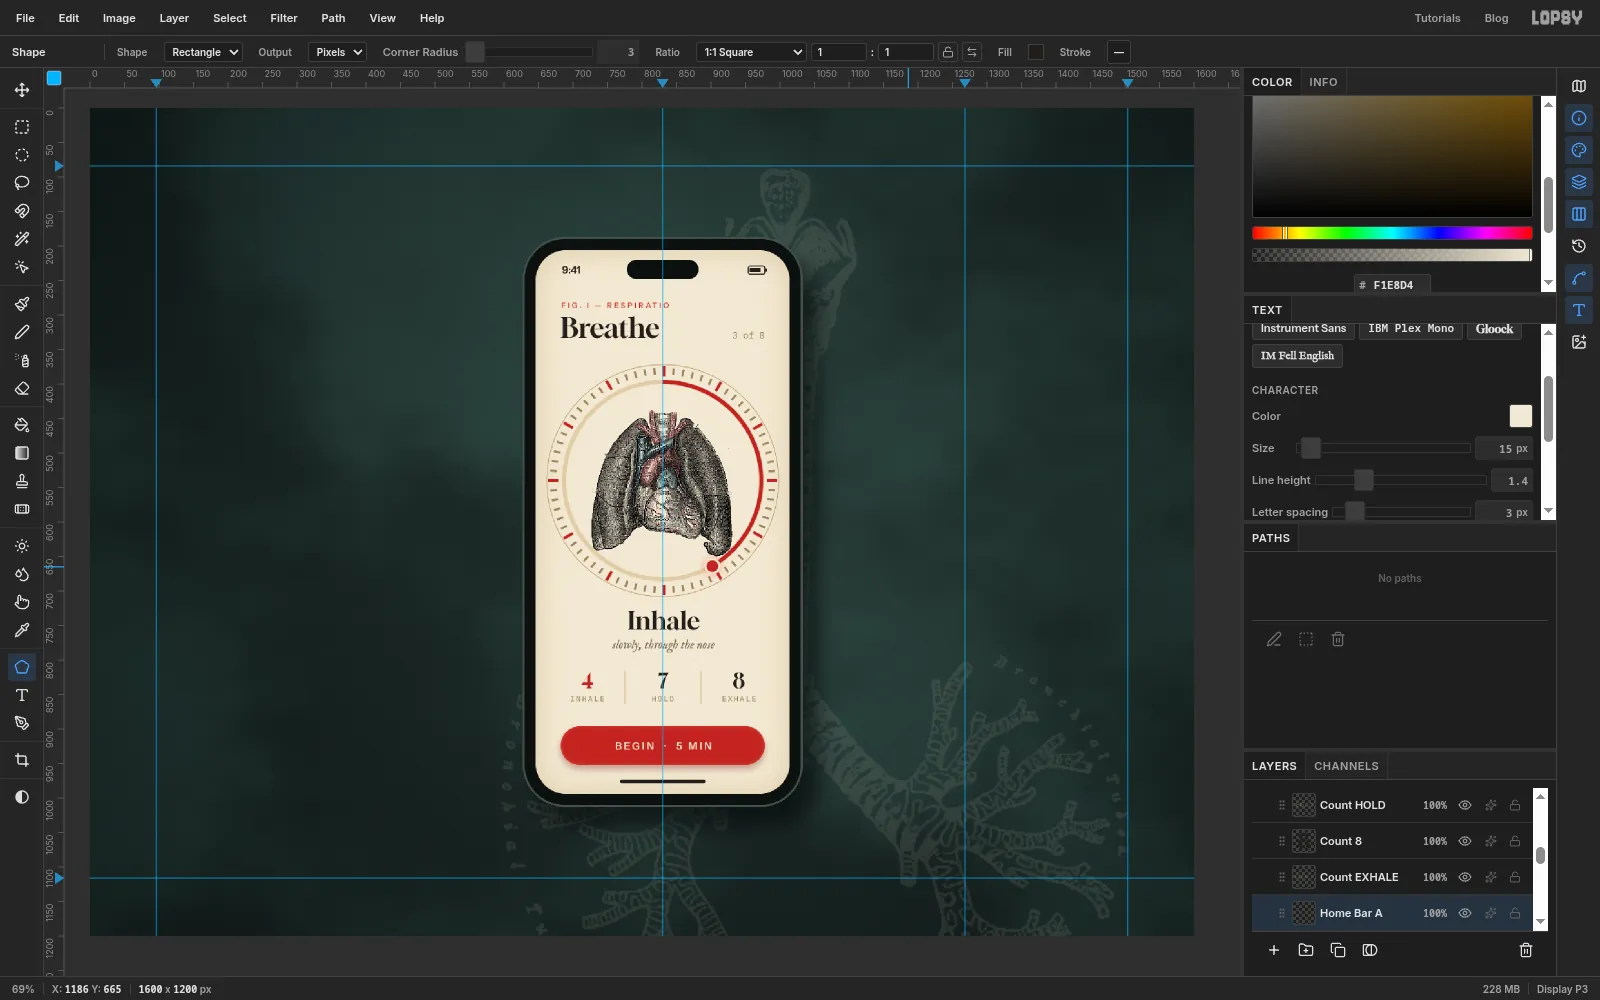
Cadence Rulesand add a layer calledButton A. Create a 296 × 56 rectangle at830, 924with Corner Radius28and fill . - Turn on Drop Shadow (Offset X
0, Offset Y6, Blur14, Opacity35, colour ) and Inner Glow (Size10, Opacity30, colour ). The inner glow gives the pill a slight lift. - Type
BEGIN · 5 MINin Instrument Sans SemiBold, size15, colour , letter spacing3. Centre it on the pill, both ways. - Add a layer called
Home Bar Aand create a 124 × 5 rectangle at830, 976with Corner Radius3and fill .
The label is all capitals, so no letter hangs below the baseline. That means the visible letters are the whole box, and centring them on the pill centres them optically too. A label like Begin would need nudging up a pixel or two, because the g drags its box down.
- Click
-
Build the second phone
- Click the arrow on the
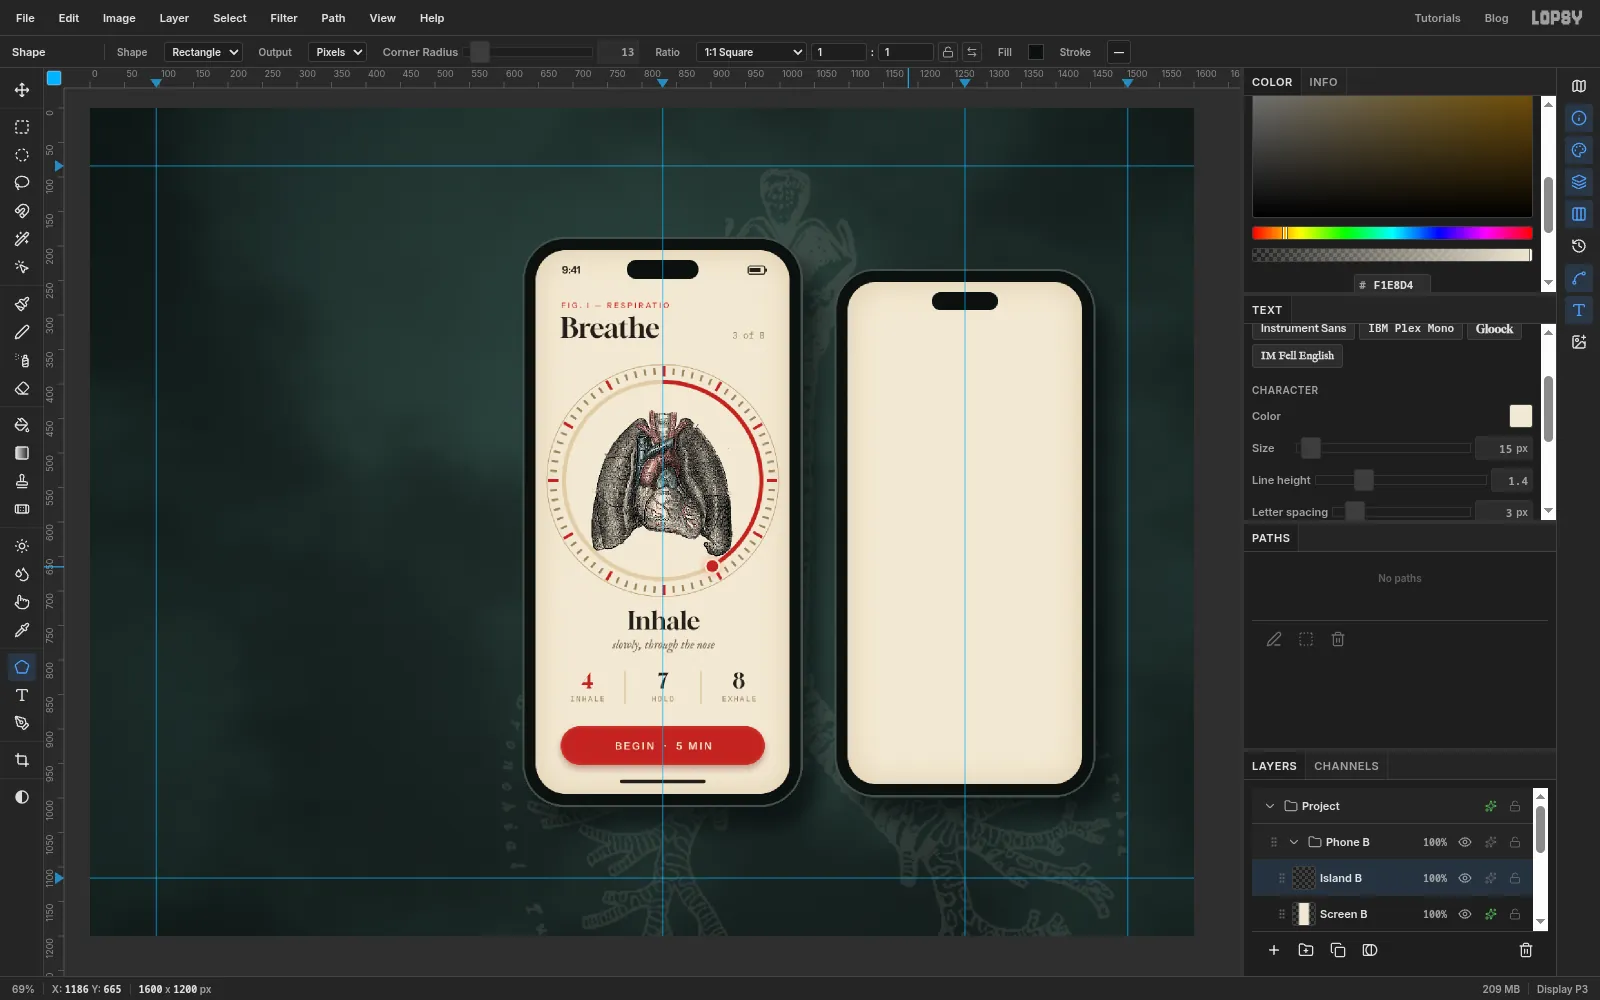
Phone Arow to collapse it, then click the row and press New Group. Name the new groupPhone B. BecausePhone Ais collapsed, the new group lands beside it, not inside it. - Build the phone the same way as the first, centred on
1268, 616: a 372 × 760 body with Corner Radius56, and a 340 × 728 screen with Corner Radius42. Give it the same Add Noise and effects. - Add a 96 × 26 island with Corner Radius
13at1268, 280.
It's built upright. You'll tilt it once everything is on it.
- Click the arrow on the
-
Clear the labels from the vagus nerve
- Click
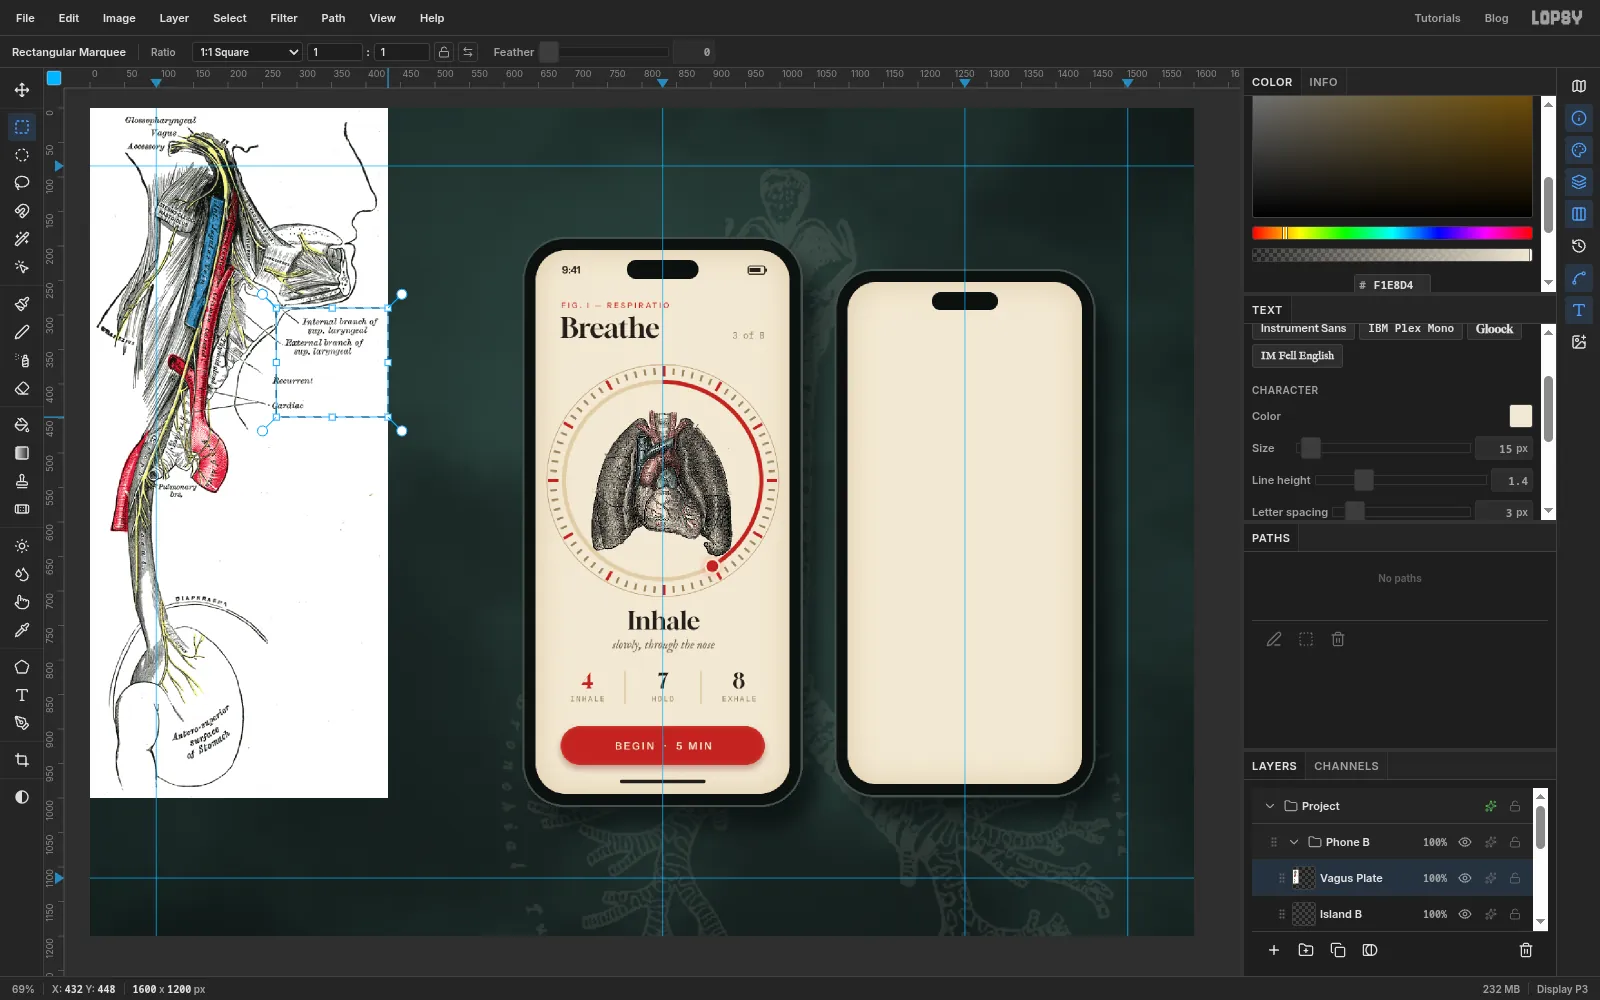
Island Band drag Gray793.png onto the canvas. Rename itVagus Plate. - The branch names (Internal branch of sup. laryngeal and the rest) are stacked to the right of the neck. Drag a Rectangular Marquee around that column and press Delete.
- Do the same for Glossopharyngeal, Vagus and Accessory at the top left. Use three small marquees and stop each one short of the nerve. Press Cmd+D.
At phone size these labels would be grey specks. They'd look like dirt, not lettering.
- Click
-
Scale it and multiply it in
- Cmd-click the thumbnail, pick the Move tool, and Cmd-drag the bottom-right handle in until the engraving is about 186 px wide (43%). Press Cmd+D.
- Move it so its top-left corner sits at
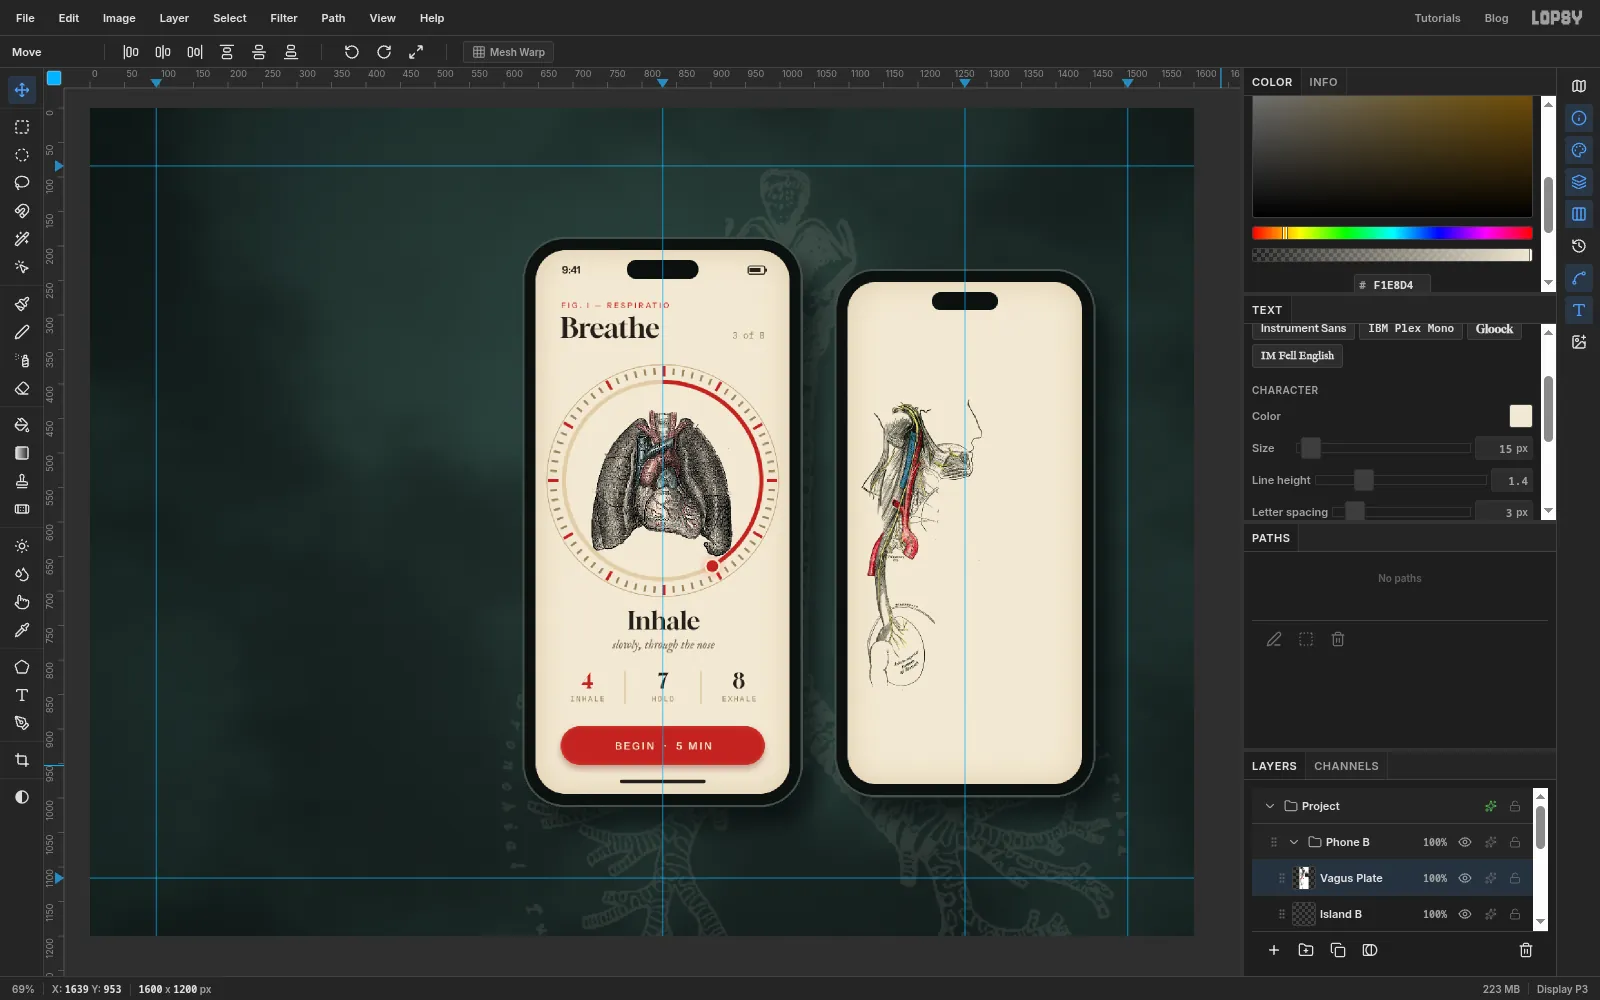
1114, 414, on the left of the screen. - Set the blend mode to Multiply.
The nerve now runs from the base of the skull, past the heart, to the stomach. The stomach is more than this screen needs.
-
Fade the stomach out with a gradient mask
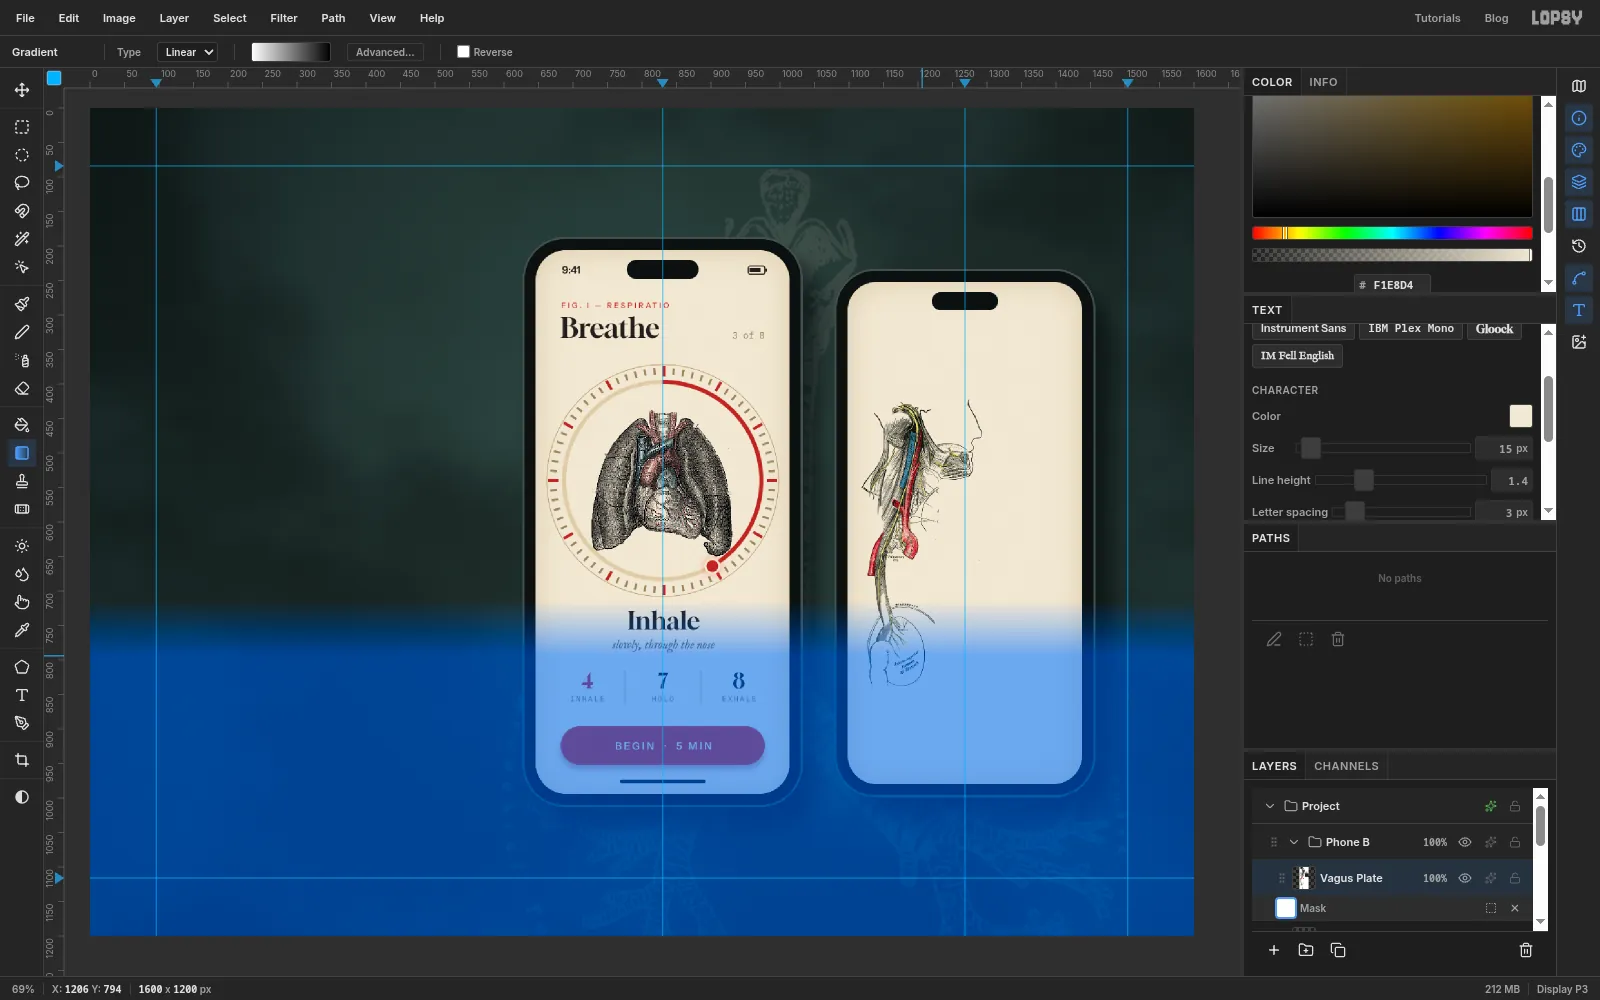
- Click Add Mask at the bottom of the Layers panel.
- Click the new mask's thumbnail (Edit mask for Vagus Plate). This step matters. Add Mask leaves the layer's pixels as the paint target, so a stroke straight away would paint over the engraving itself.
- Pick the Gradient tool, set Type to Linear, and in Advanced… set white on the left and black on the right.
- Shift-drag from about
1206, 714(just under the heart) down to1206, 794. - Click the
Vagus Platerow to leave mask edit mode.
The blue overlay shows what the mask hides. A gradient fade like this is clean and even. If you paint a fade with a soft brush instead, you'll usually see the strokes.
-
Add the readings
Start with the top of the screen, the same way as on the first phone. Click
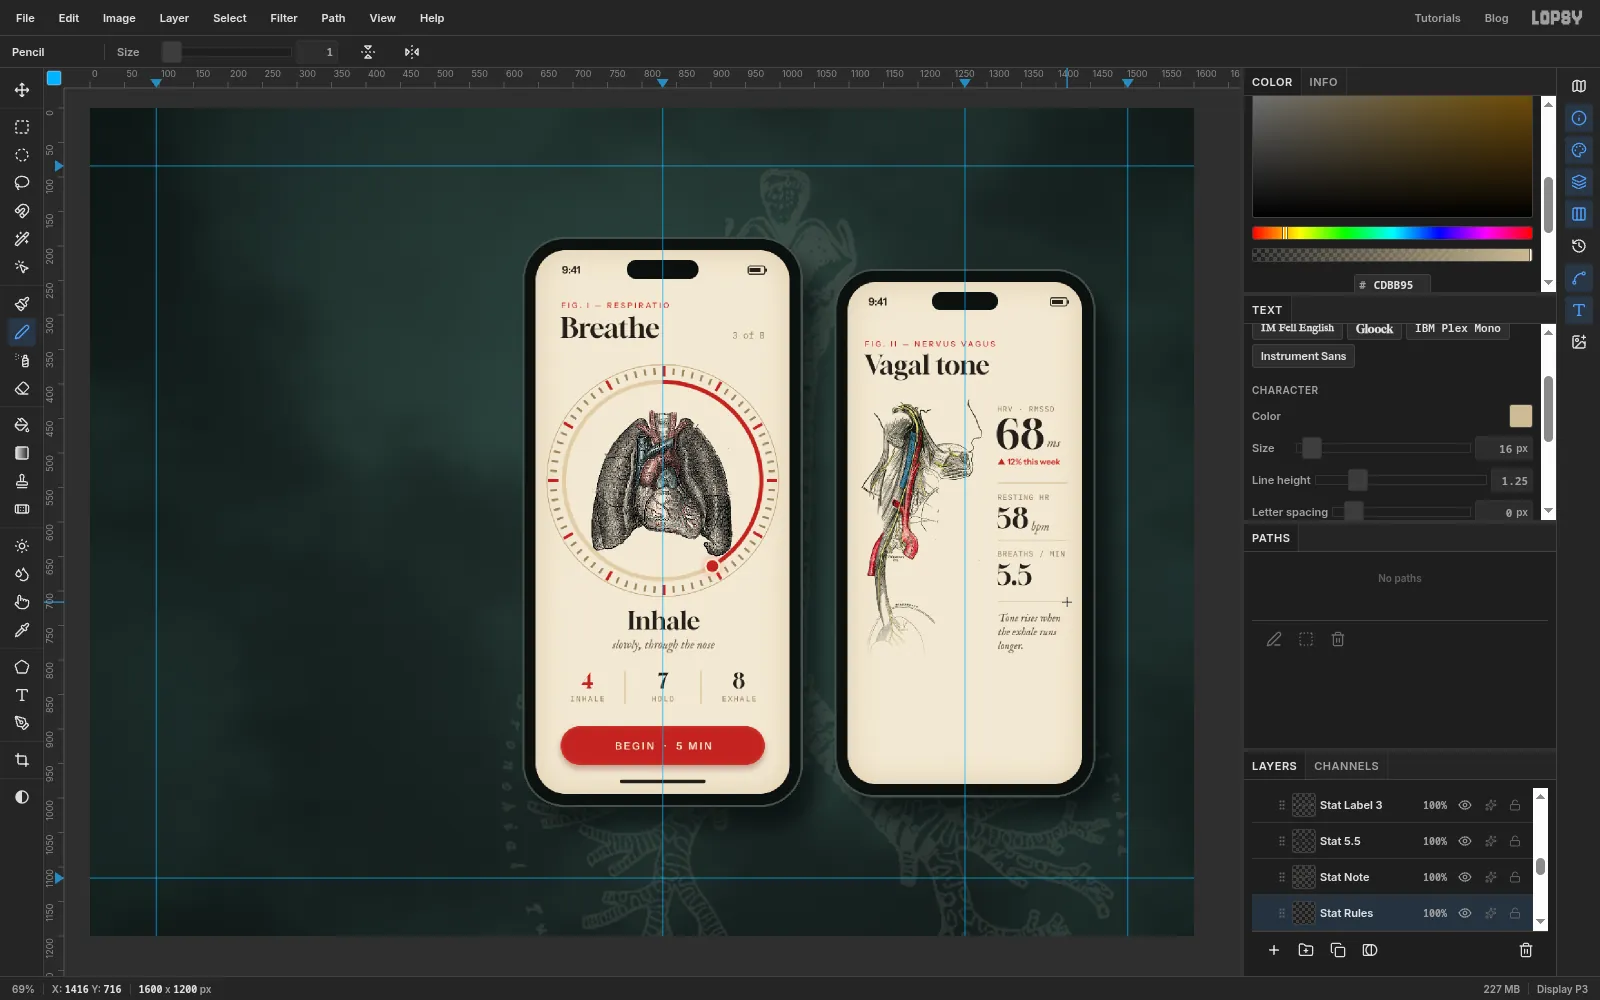
Island Band add an empty layer calledBattery Bto type from.9:41in Instrument Sans SemiBold size15, , starting at1128, 275, and a battery like the first one centred at1404, 281.FIG. II — NERVUS VAGUSin Instrument Sans Medium size11, , letter spacing3, at1124, 338.Vagal tonein Gloock size38, , at1122, 356.
The readings column starts at x
1316, just clear of the engraving's profile. The labels are , the numbers and the units .HRV · RMSSDin IBM Plex Mono, size11, , letter spacing1, at y432.68in Gloock, size58, , at y450. Putmsin IM Fell English Italic size20just after it, sitting on the same baseline.▲ 12% this weekin Instrument Sans SemiBold, size12, , about 14 px under the number.RESTING HRat y560,58in Gloock size40with its top at y578, andbpmin the italic beside it on the same baseline.BREATHS / MINat y642, then5.5in Gloock size40with its top at y660.Tone rises when,the exhale runs,longer.on three lines (press Enter between them) in IM Fell English Italic, size16, , Line height1.25, at y732.- Add a layer called
Stat Rulesand draw three 100 px Pencil rules in at y544,626and716, starting at x1316.
The engraving and the numbers sit side by side, so the drawing works like a figure beside the text it illustrates.
-
Make graph paper with a pattern
- Type the chart title
HRV · LAST 7 NIGHTSin IBM Plex Mono size10, , letter spacing1, at1118, 828. - Add a temporary layer called
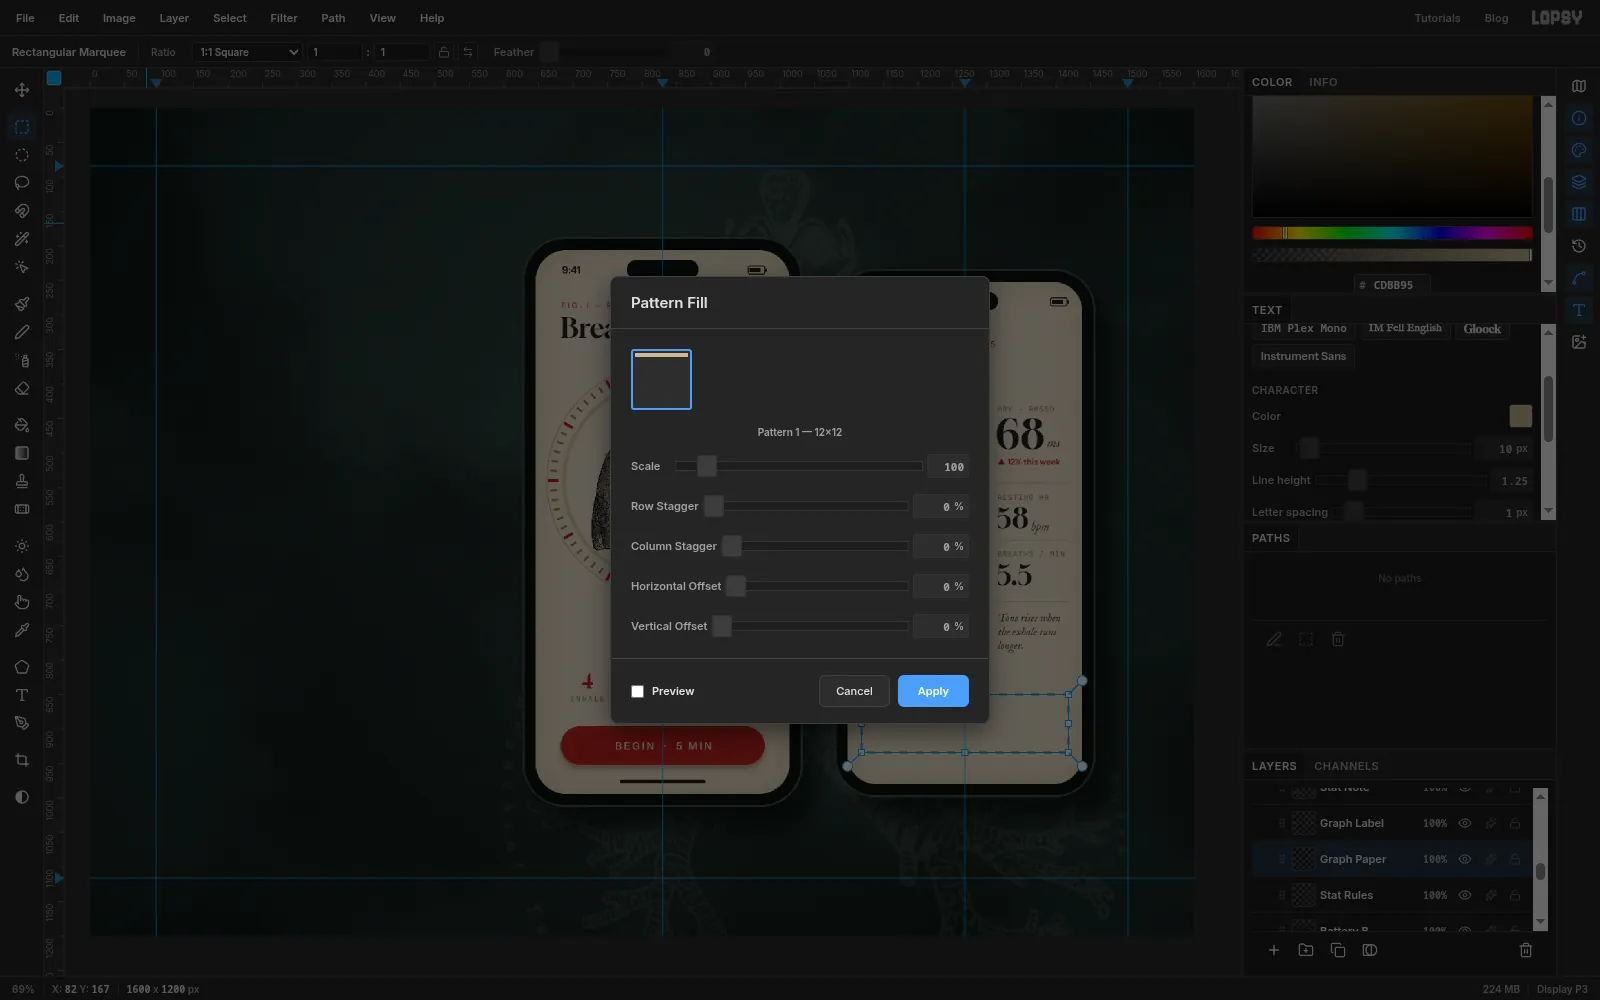
Grid Tile. Somewhere empty, draw a short vertical and a short horizontal Pencil line (Size1, ) that cross. Make a 12 × 12 marquee whose top-left corner sits on the crossing, and choose Edit → Define Pattern. Then delete theGrid Tilelayer. - Add a layer called
Graph Paper, drag a marquee from1118, 850to1418, 934, choose Edit → Fill with Pattern… and click Apply. Press Cmd+D. - Draw a Pencil baseline across the bottom of the grid, from
1118, 934to1418, 934, in .
Patterns only last for the session, so define this one when you need it and don't reload in between.
- Type the chart title
-
Draw the trace with the Pen
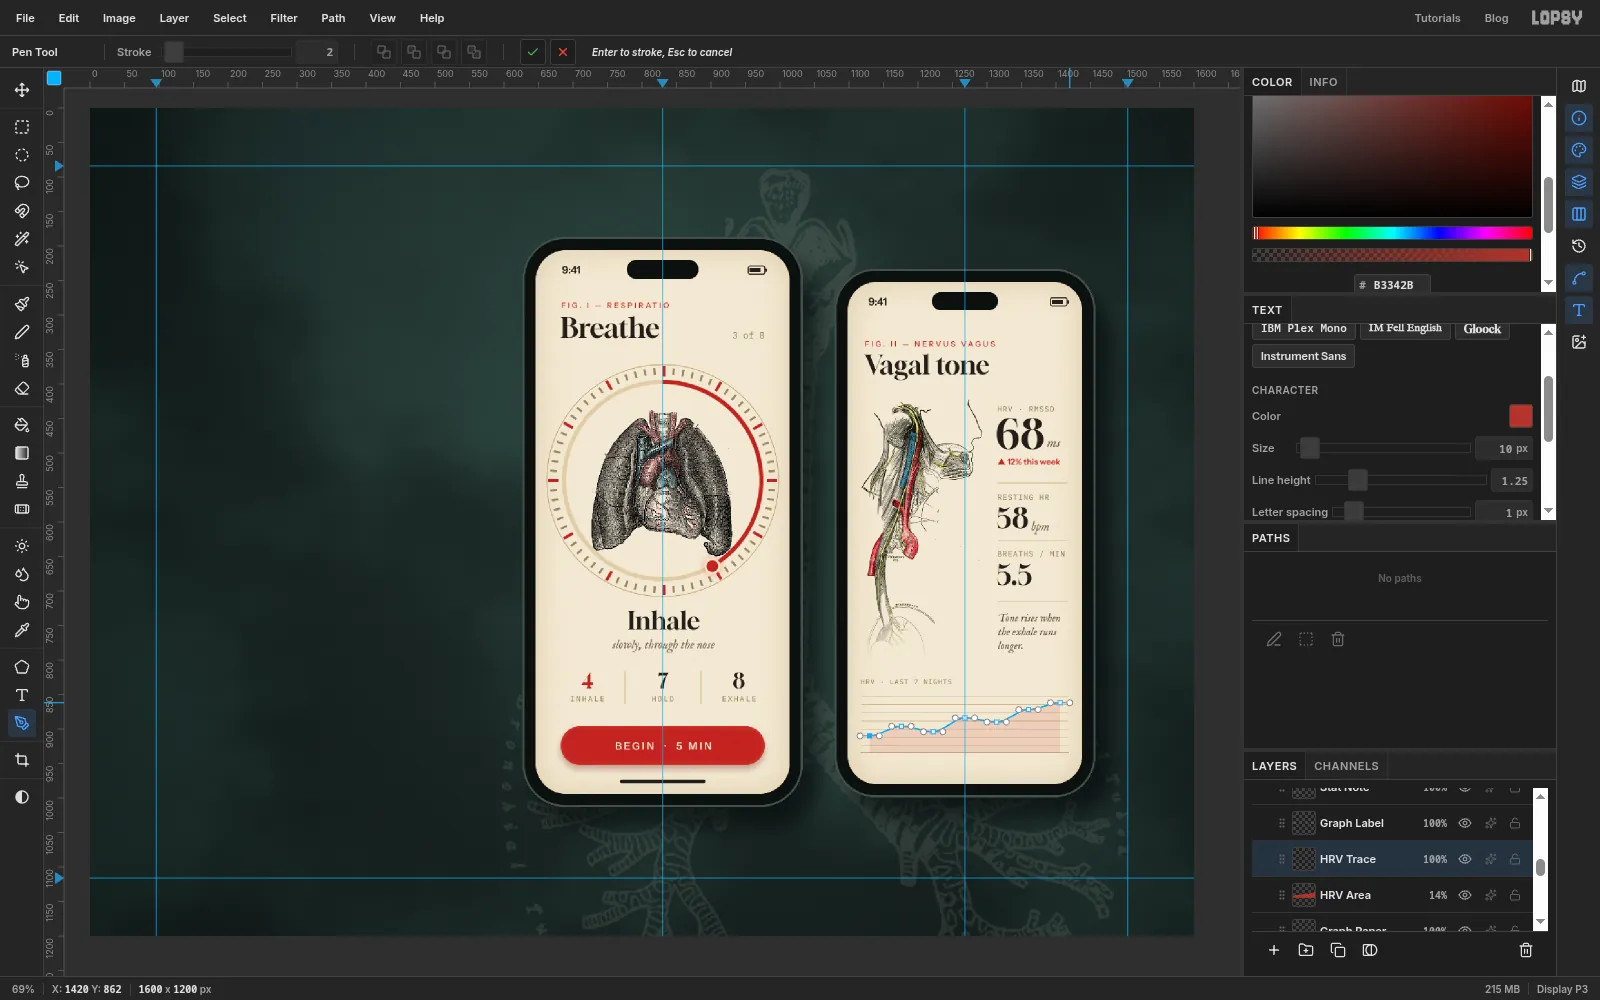
The chart has seven nights, rising overall. The points are at x
1130,1176,1222,1268,1314,1360and1406, with y910,896,904,884,890,872and862.- Add a layer called
HRV Area. With the Lasso, drag from the baseline under the first point up through all seven points and back down to the baseline under the last one. It only needs to sit under the line, because the trace will cover its top edge. Fill with . Press Cmd+D and set the layer to14%. - Add a layer called
HRV Trace. Pick the Pen tool (P), set Stroke to2and the foreground to . - At each point in turn, press and drag about 14 px to the right before letting go. The drag pulls out handles, so the line bends smoothly through each point instead of turning a sharp corner.
- Press Enter. The path is saved in the Paths panel and stroked onto the layer in red.
- Add a layer called
-
Copy and paste the data points
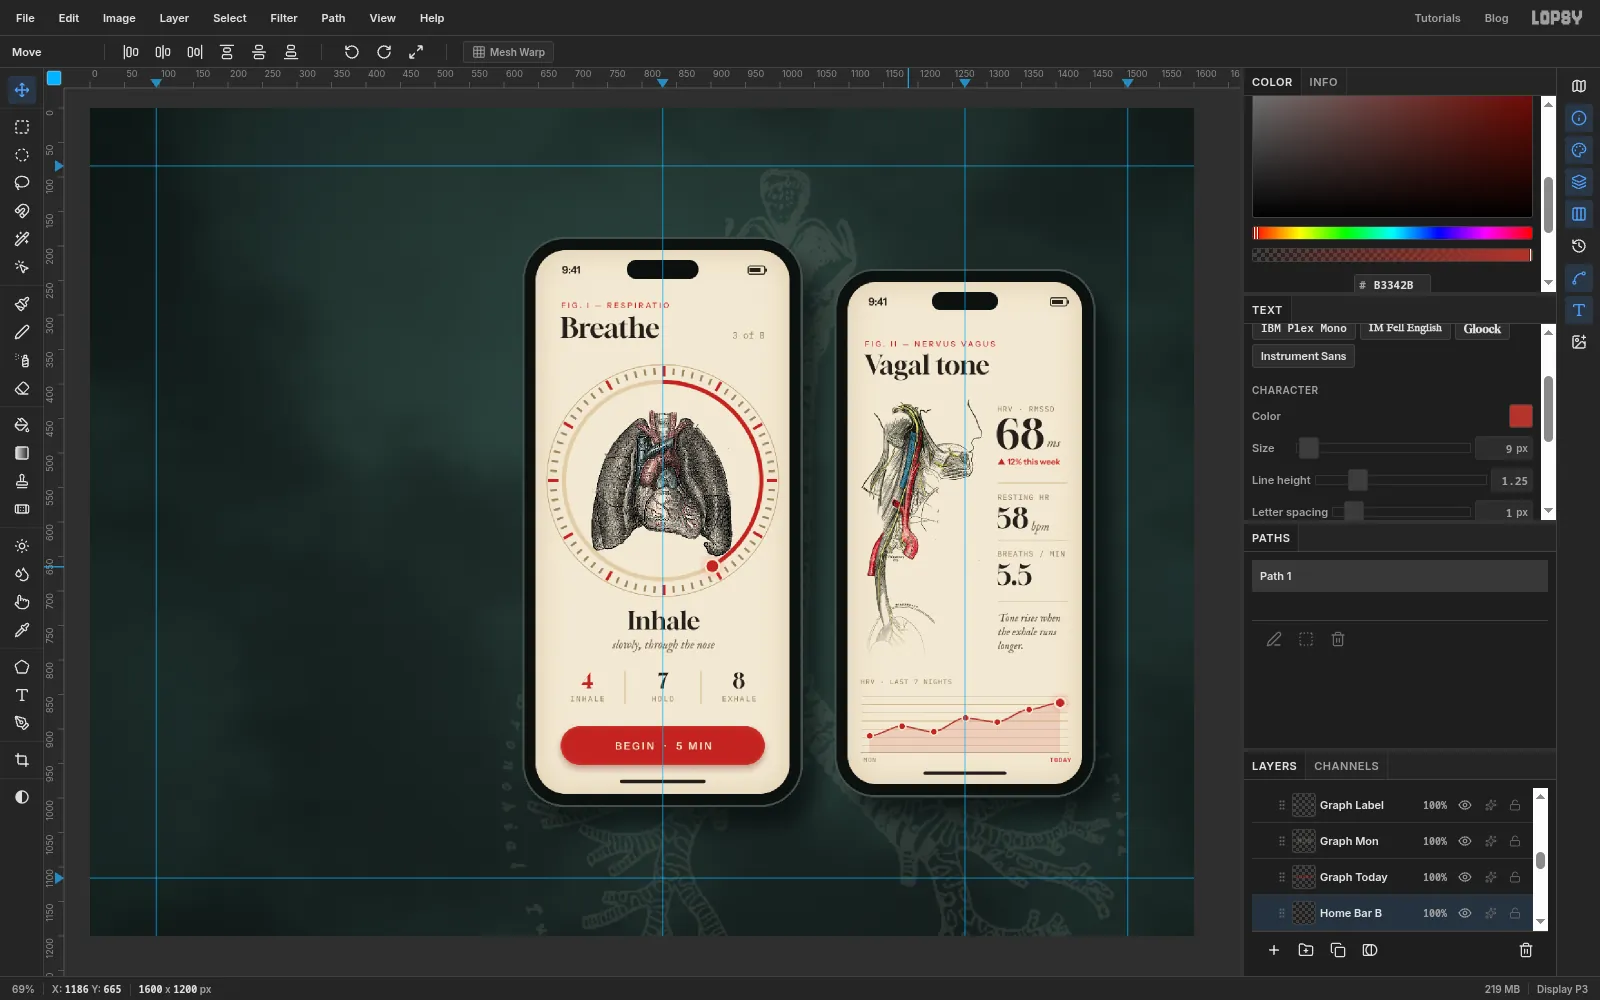
- A selected path stays drawn on the canvas whatever tool you pick. Open the Paths panel and click
Path 1to deselect it. - Add a layer called
HRV Dotsand make a 10 × 10 ellipse on the first point, with fill and a stroke at Width2. - Cmd-click its thumbnail and press Cmd+C, then Cmd+D. Press Cmd+V. The copy pastes in place as a new layer, so drag it onto the second point and choose Layer → Merge Down. Repeat for the next four points.
- For the last night, add a layer called
Today Dotwith a 15 × 15 dot, a 3 px rim and an Outer Glow (Size14, Opacity55, ). - Label the ends:
MONin andTODAYin , both IBM Plex Mono size9, centred under the first and last points. - Add a 120 × 5 home bar at
1268, 964.
- A selected path stays drawn on the canvas whatever tool you pick. Open the Paths panel and click
-
Set the title and colour one line of it
- Collapse both phone groups, click
Phone B, and make a New Group calledMasthead. Inside it, add an empty layer calledMasthead Anchorand start every piece of type from it. - Type
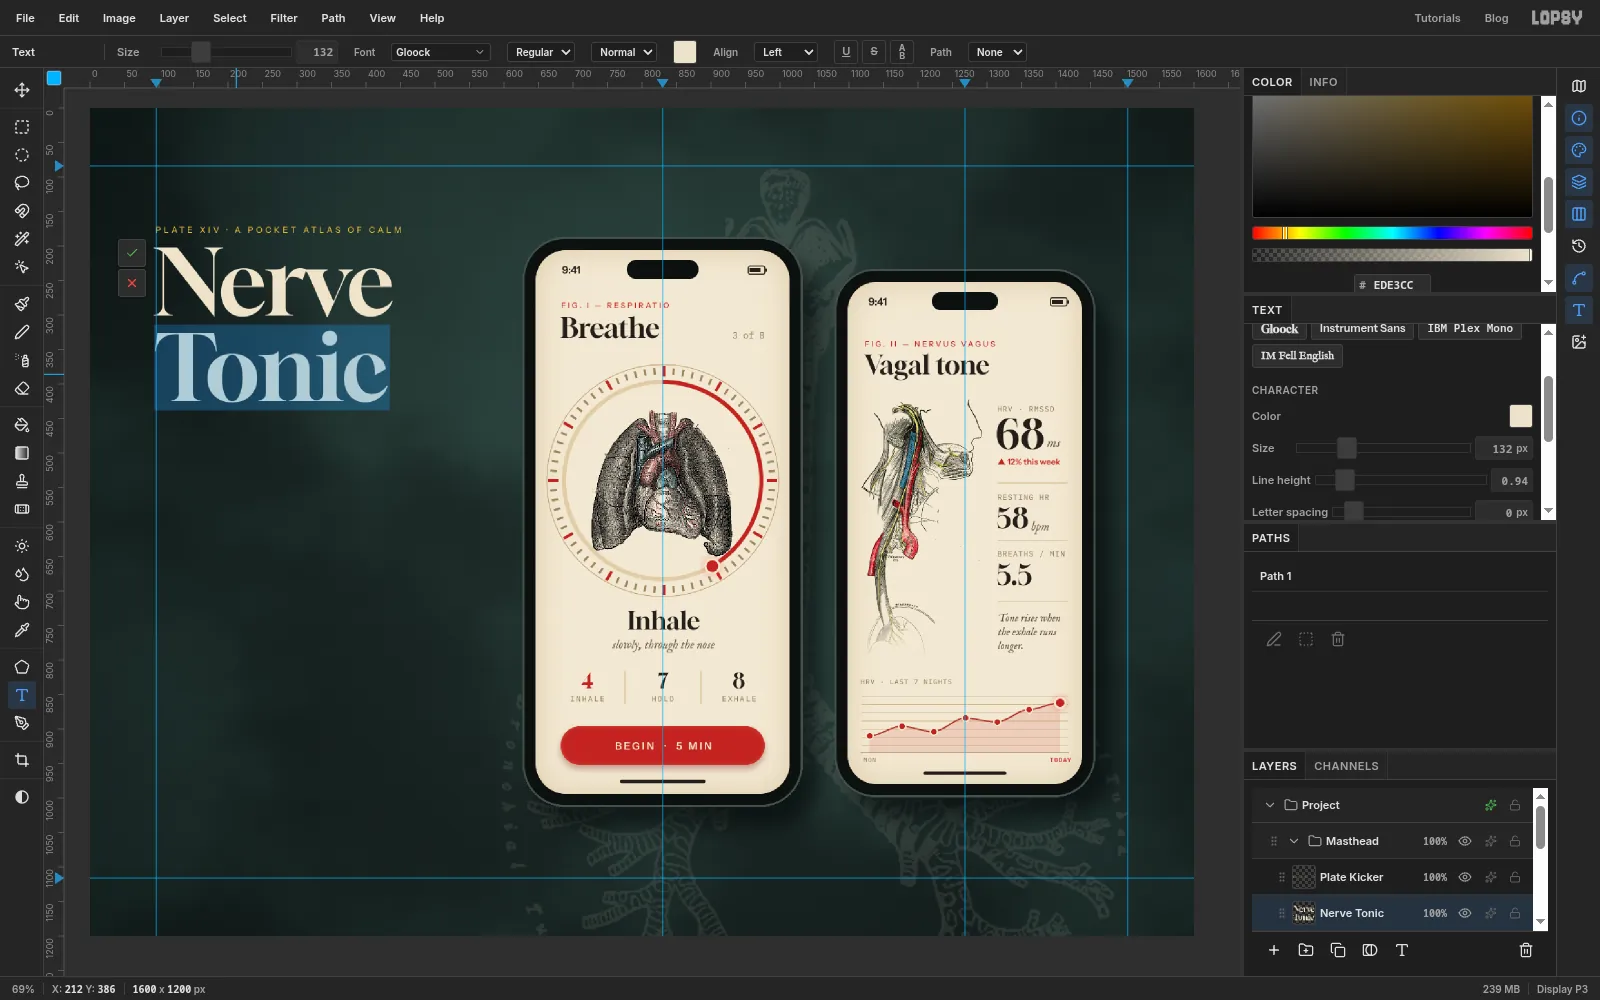
PLATE XIV · A POCKET ATLAS OF CALMin Instrument Sans Medium, size12, , letter spacing4, starting at96, 172. - Type
Nerve, press Enter, and typeTonic, in Gloock, size132, . Set Line height to0.94, so the two words lock together like a wordmark. Place it at92, 202. That's 4 px left of the margin, so the N's serif, not its box, lines up with the column. - With the Text tool, click the title once to start editing, then click on Tonic to put the cursor in that line. Press End, then Shift+Home to select the whole line.
- Click the Text color swatch in the options bar, enter , and click the swatch again to close it. Only Tonic turns gold. Click the ✓ to commit.
Recolouring part of the text keeps the title as one layer, so the two words keep their spacing if you resize it later.
- Collapse both phone groups, click
-
Write the subtitle, blurb and key
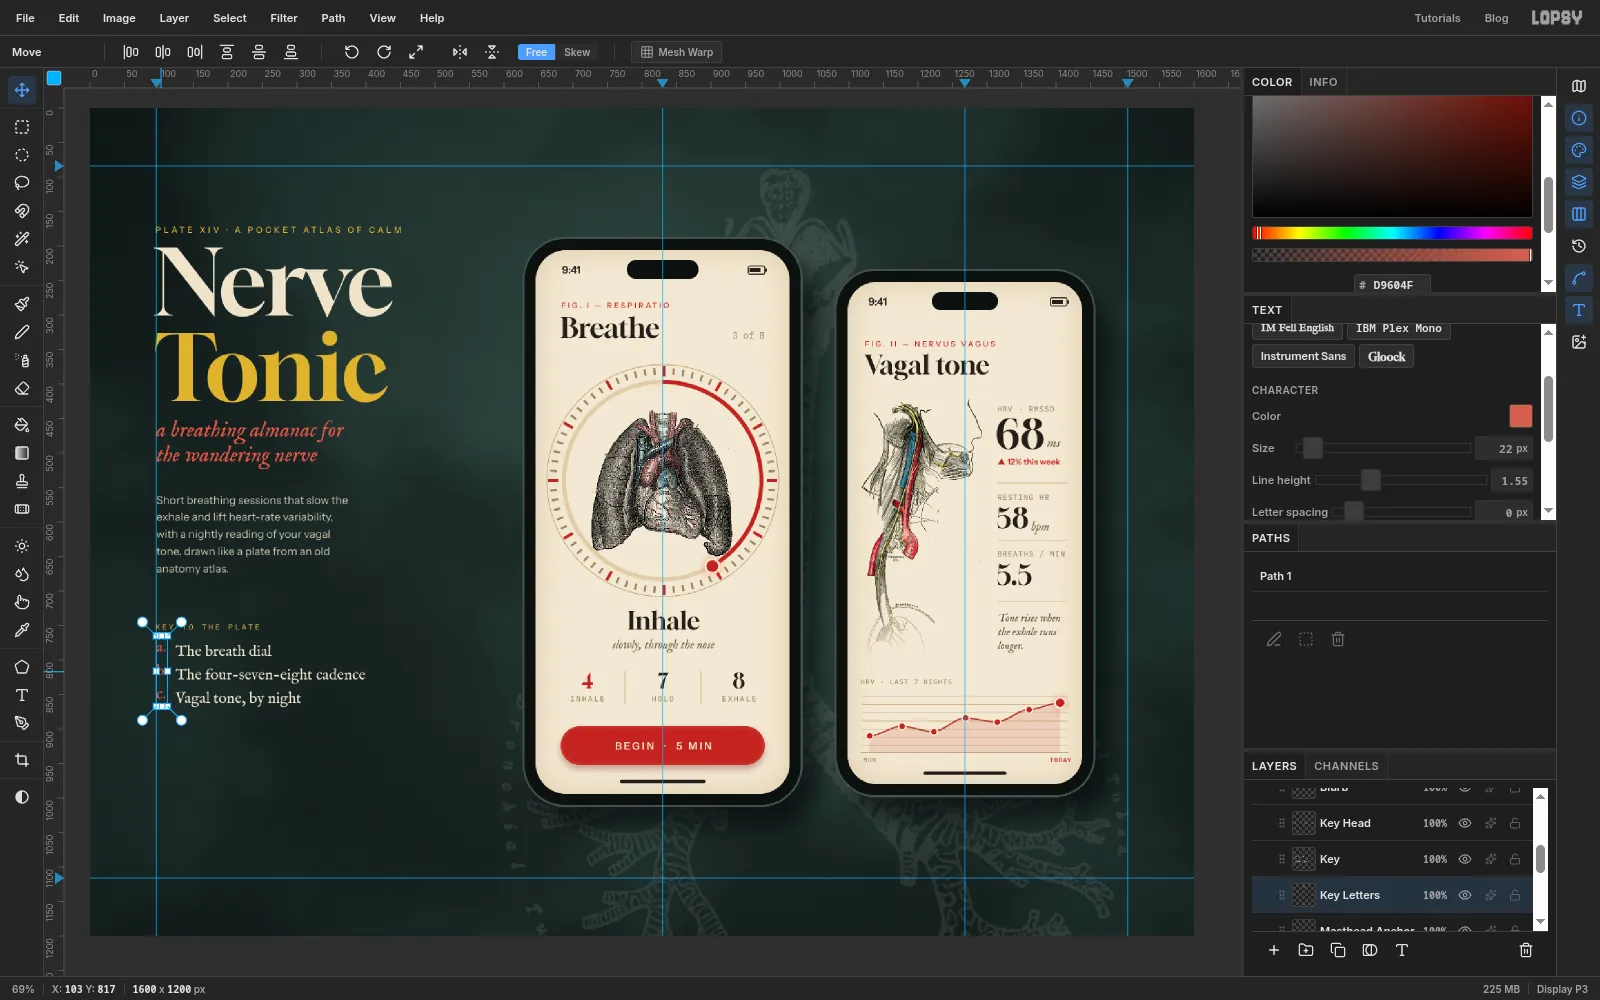
a breathing almanac for/the wandering nervein IM Fell English Italic, size32, , Line height1.15, at96, 452.- The blurb in Instrument Sans size
16, , Line height1.55, at96, 562, broken into short lines with Enter: Short breathing sessions that slow the / exhale and lift heart-rate variability, / with a nightly reading of your vagal / tone, drawn like a plate from an old / anatomy atlas. KEY TO THE PLATEin IBM Plex Mono size11, , letter spacing3, at96, 748.- The key in two text layers, so the entries share a left edge however wide each letter is. Put
The breath dial/The four-seven-eight cadence/Vagal tone, by nightin IM Fell English size22, , Line height1.55, at124, 778. Puta./b./c.in the same font, size and line height, in , at96, 778.
The key spells out four-seven-eight in words. IM Fell English has old-style figures, which sit at different heights, and next to the lining numbers on the phone they'd look like a mismatch.
-
Add the badge and the footer
- Add a layer called
Badge. Pick the Shape tool: Rectangle, Corner Radius25, no fill, stroke at Width1.5. Press at211, 939and drag out to326, 964. The shape grows from where you pressed, so this gives a pill from x96to326, on the left margin. - Type
FREE TO DOWNLOADin Instrument Sans SemiBold size12, , letter spacing3, and centre it on the pill both ways. - Credit the engravings:
Engravings after Henry Gray, Anatomy of the Human Body, 1918in IM Fell English Italic size15, , at96, 1094. ThenPL. XIVin IBM Plex Mono size11, , letter spacing3, with its right edge at1504. - Add a layer called
Footer Ruleand draw a Pencil line from96, 1076to1504, 1076in .
- Add a layer called
-
Tilt the second phone
- Press Cmd+D so nothing is selected. Click the
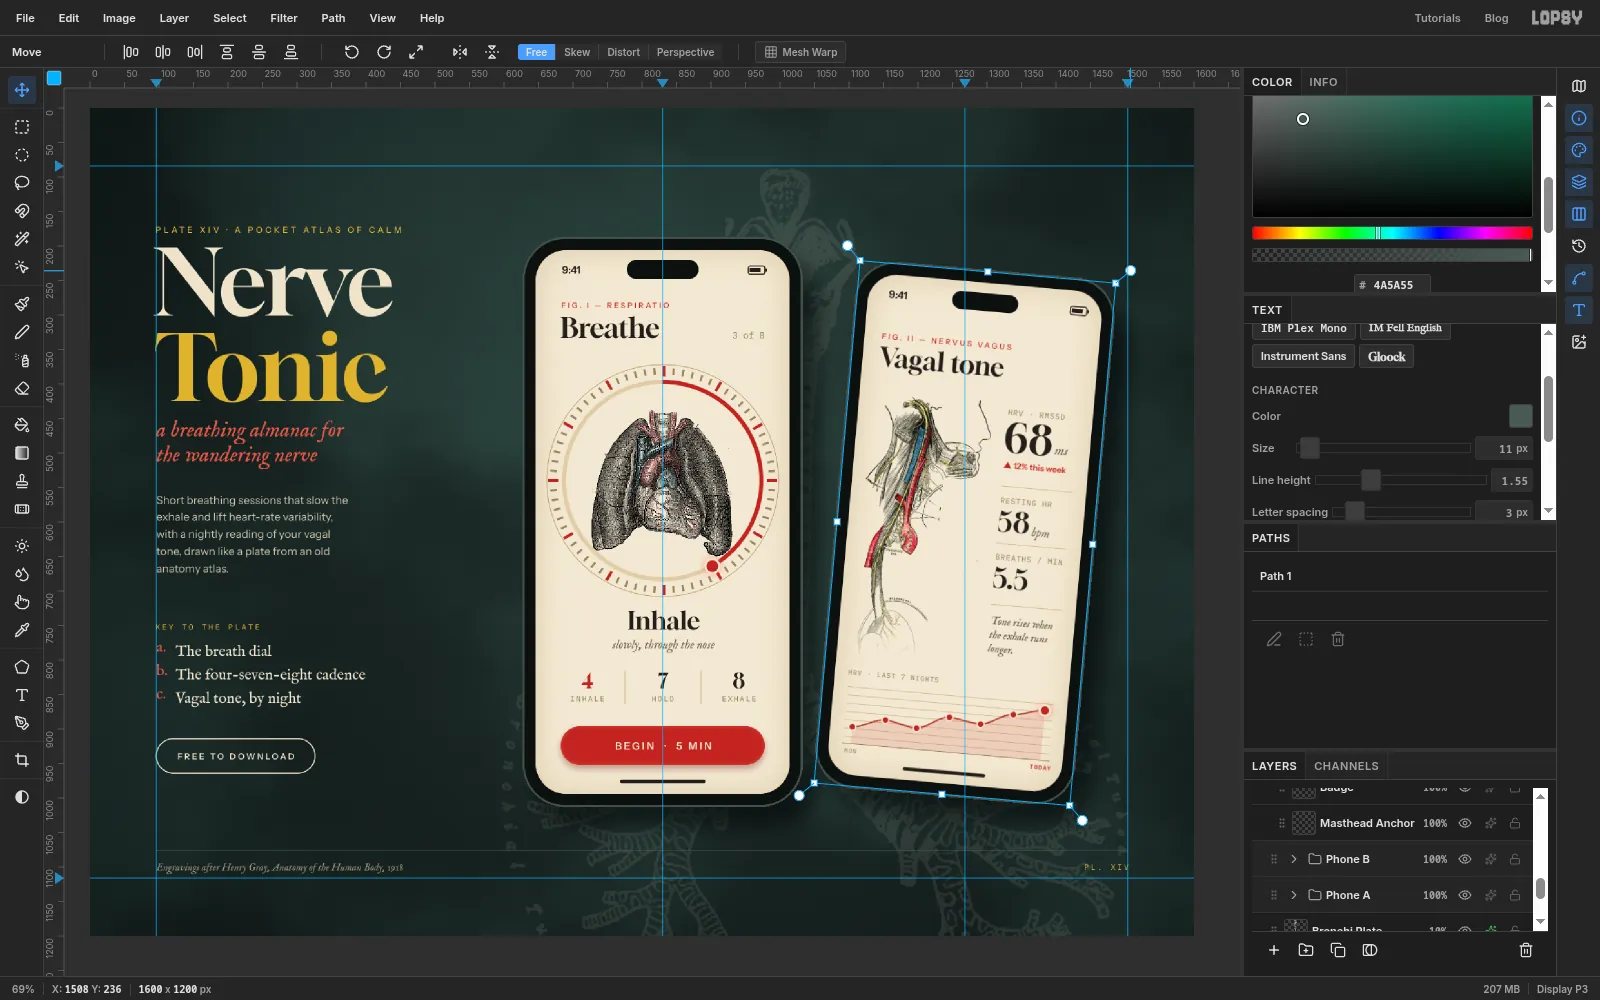
Phone Bgroup row and pick the Move tool. The transform box wraps everything in the group: the body, its shadow, the screen, the engraving and all the type. - Hover just outside the top-right corner until the pointer turns into a curved arrow, then drag down to rotate the group about 5° clockwise. Press Enter to commit.
- If you overshoot, Cmd+Z puts the whole group back upright in one step. Rotate again.
The tilt is what makes the board feel like objects on a table rather than a flat screenshot. Keep it small. Past 8° or so the second phone starts to look as if it's falling over.
- Press Cmd+D so nothing is selected. Click the
-
Letter the callouts
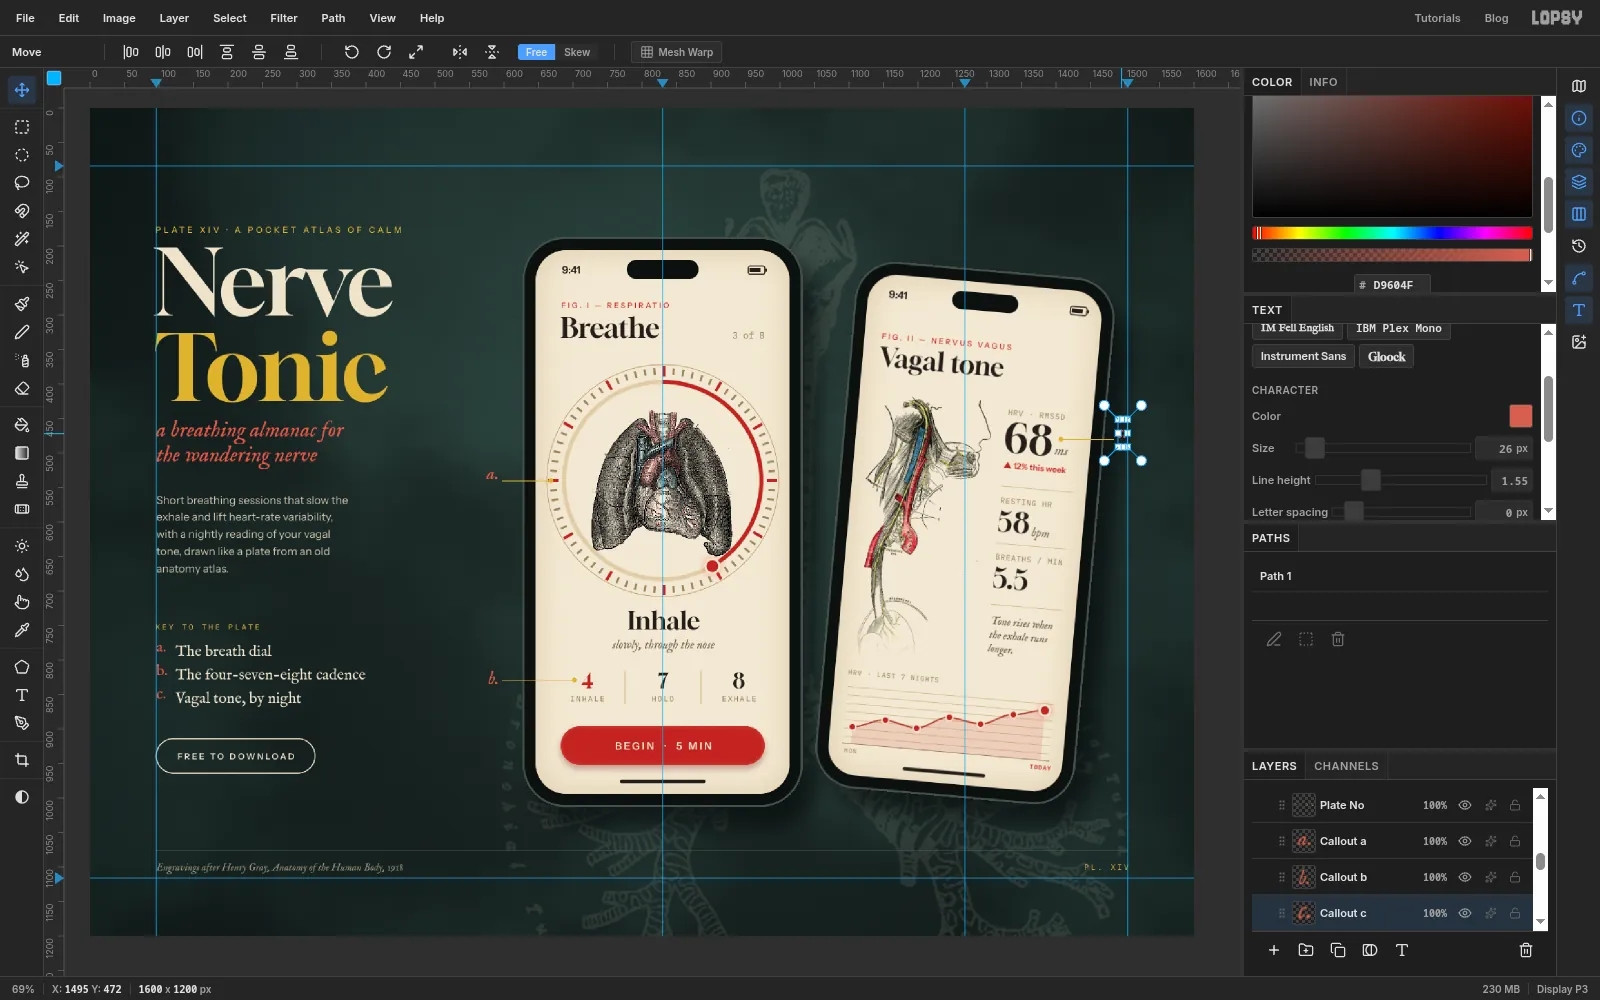
This is the anatomy-plate trick: letter the parts and tie them to the key. The a and b leaders start just inside the gap left of the first phone, and c comes in from the right margin. Each one ends a few pixels short of the thing it points at, so the dot doesn't touch it.
- Click
Footer Ruleand add a layer calledLeaders. Pick the Pencil, Size1, colour . Draw three straight lines with click and Shift-click:
- a: from
598, 540to668, 540, ending on the dial's left edge - b: from
598, 829to702, 829, ending just short of the red 4 - c: from
1484, 472to just right of the 68 on the tilted phone (about1420, 472)
- Add a layer called
Leader Dotsand put a 7 × 7 ellipse on the inner end of each line. - Type
a.,b.andc.in IM Fell English Italic size26, . Put a and b just left of their lines, with their right edges at x590, and c just right of its line at x1490. Centre each one vertically on its line.
Keep the leaders dead straight and horizontal, and keep every letter inside the margins. Engravers' leaders never curve, and that's half of what makes the plate look precise.
- Click
-
Add a vignette and print grain
- Click
Bronchi Plateand add a layer calledVignette. Pick the Gradient tool, set Type to Radial and open Advanced…. Click under the ramp at about 55% to add a third stop. Click each stop and set it to black, then drag the picker's opacity strip:0%for the left and middle stops,75%for the right one. The middle 55% stays clear and the edges darken. Drag from880, 600out past the bottom-right corner, and set the layer to70%. It sits under the phones, so only the backdrop darkens. - Collapse the
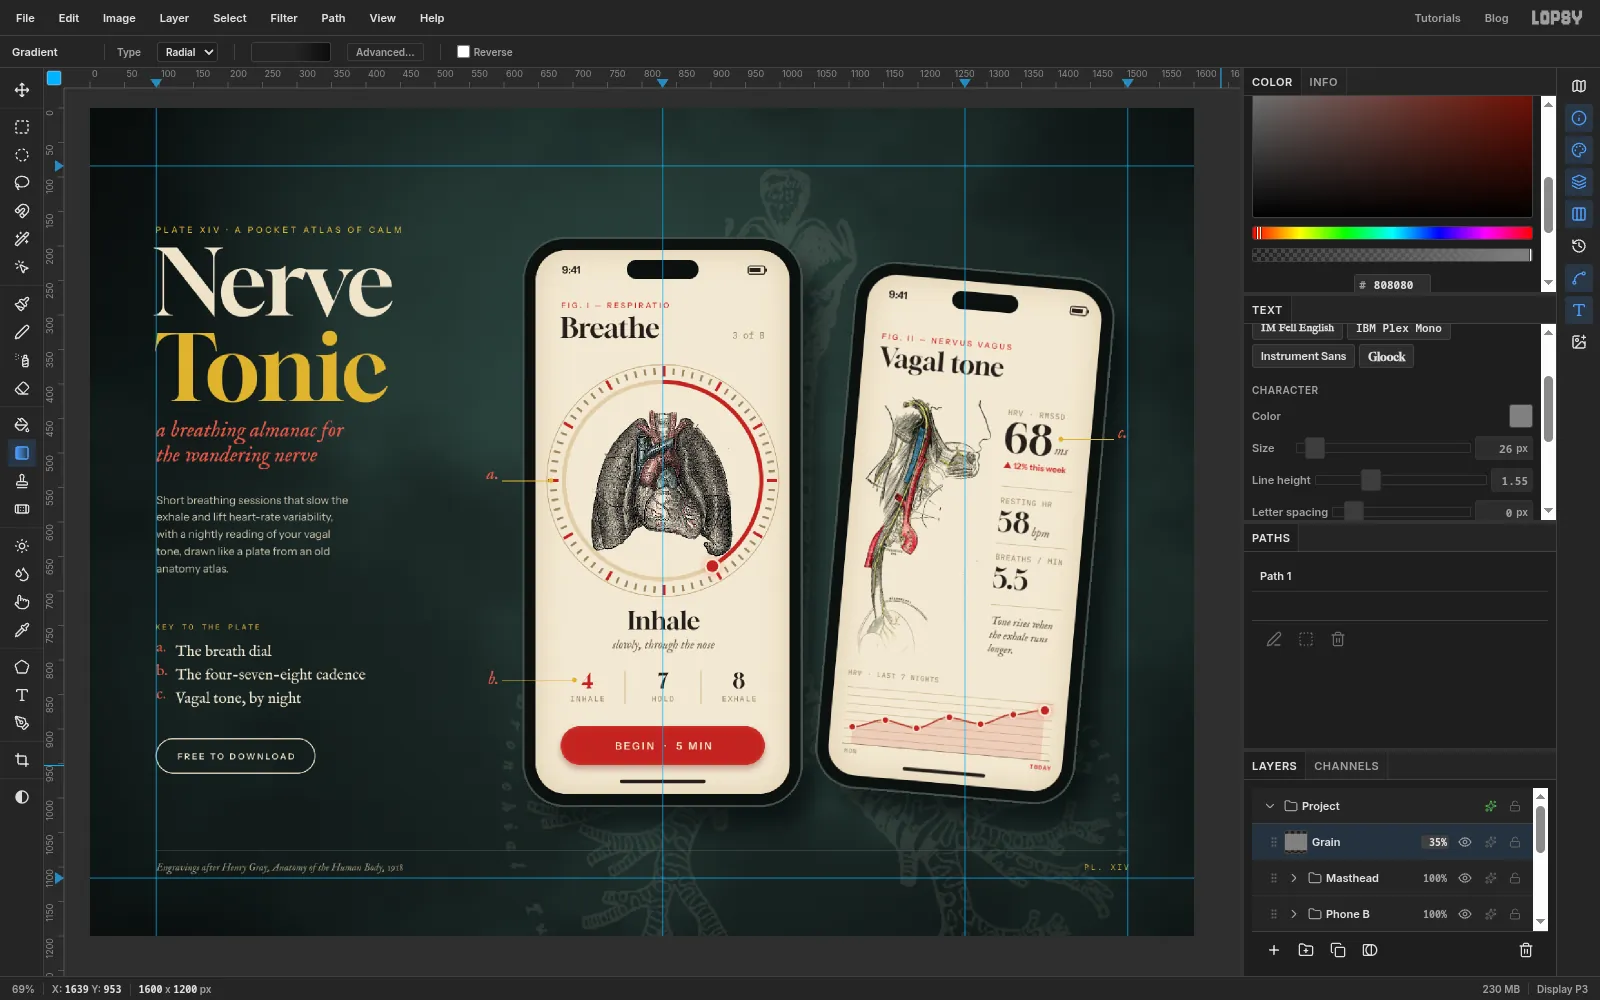
Mastheadgroup, click its row, and click Add Layer so the new layer lands above the group, at the top of the stack. Name itGrain. Choose Select → All, fill with , press Cmd+D, and run Add Noise with Amount18, Mono and Gaussian. Set it to Overlay at35%.
The grain covers the phones too, which pulls the crisp UI and the old engravings into the same printed surface.
- Click
-
Line up the key's baselines
Zoom in on the key. Two text layers placed by their top edges won't always share baselines, because each layer's box is cropped to its own letters. Here the letters sat about 6 px high.
- Click the
a. b. c.layer and pick the Move tool. - Press Down until the bottom of the a. sits on the same line as the bottom of The breath dial. Here that took six presses.
Check the other two lines as well. Because the two layers share a font, size and line height, getting the first line right fixes all three.
- Click the
-
Export
Turn the guides off with View → Show Guides, then choose File → Quick Export PNG for the board and File → Save Project to keep every layer, mask and effect editable.
To present the other screens of the app, duplicate
Phone B, replace the engraving (Gray's has plates for every organ), and change the readings. The backdrop, key and callout style will tie a whole series of boards together.