Make a Hand-Tinted Anatomical Plate Album Cover
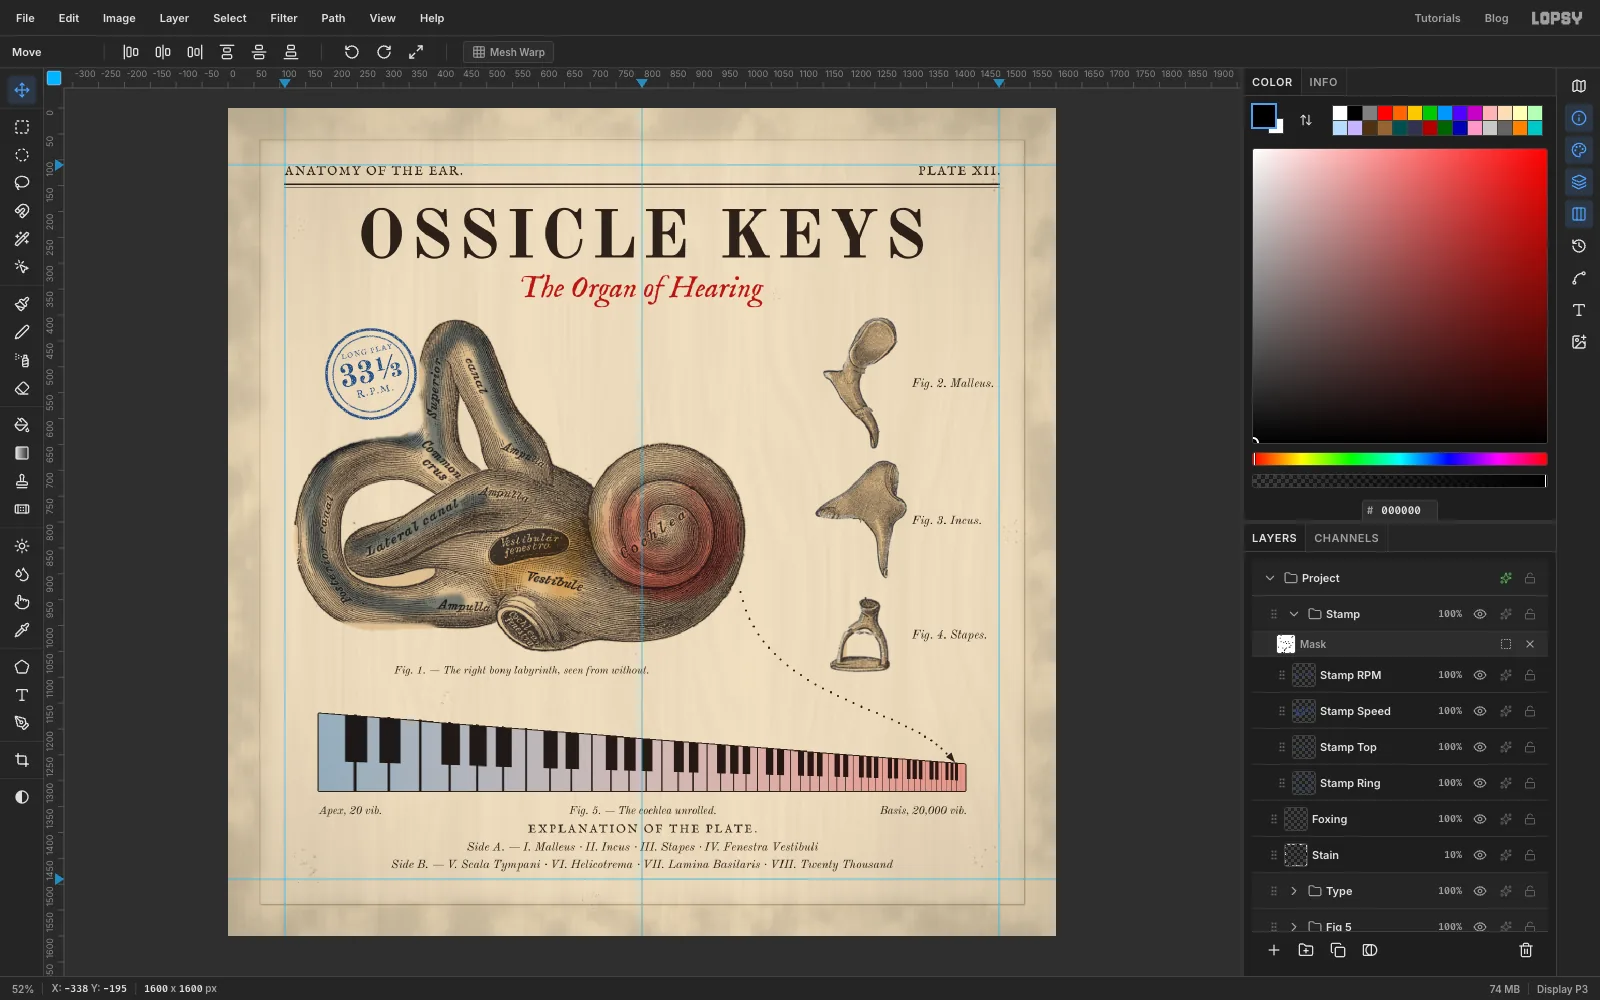
Turn public-domain Gray's Anatomy engravings into a hand-coloured 19th-century atlas plate album cover in Lopsy, with watercolour washes and a keyboard.
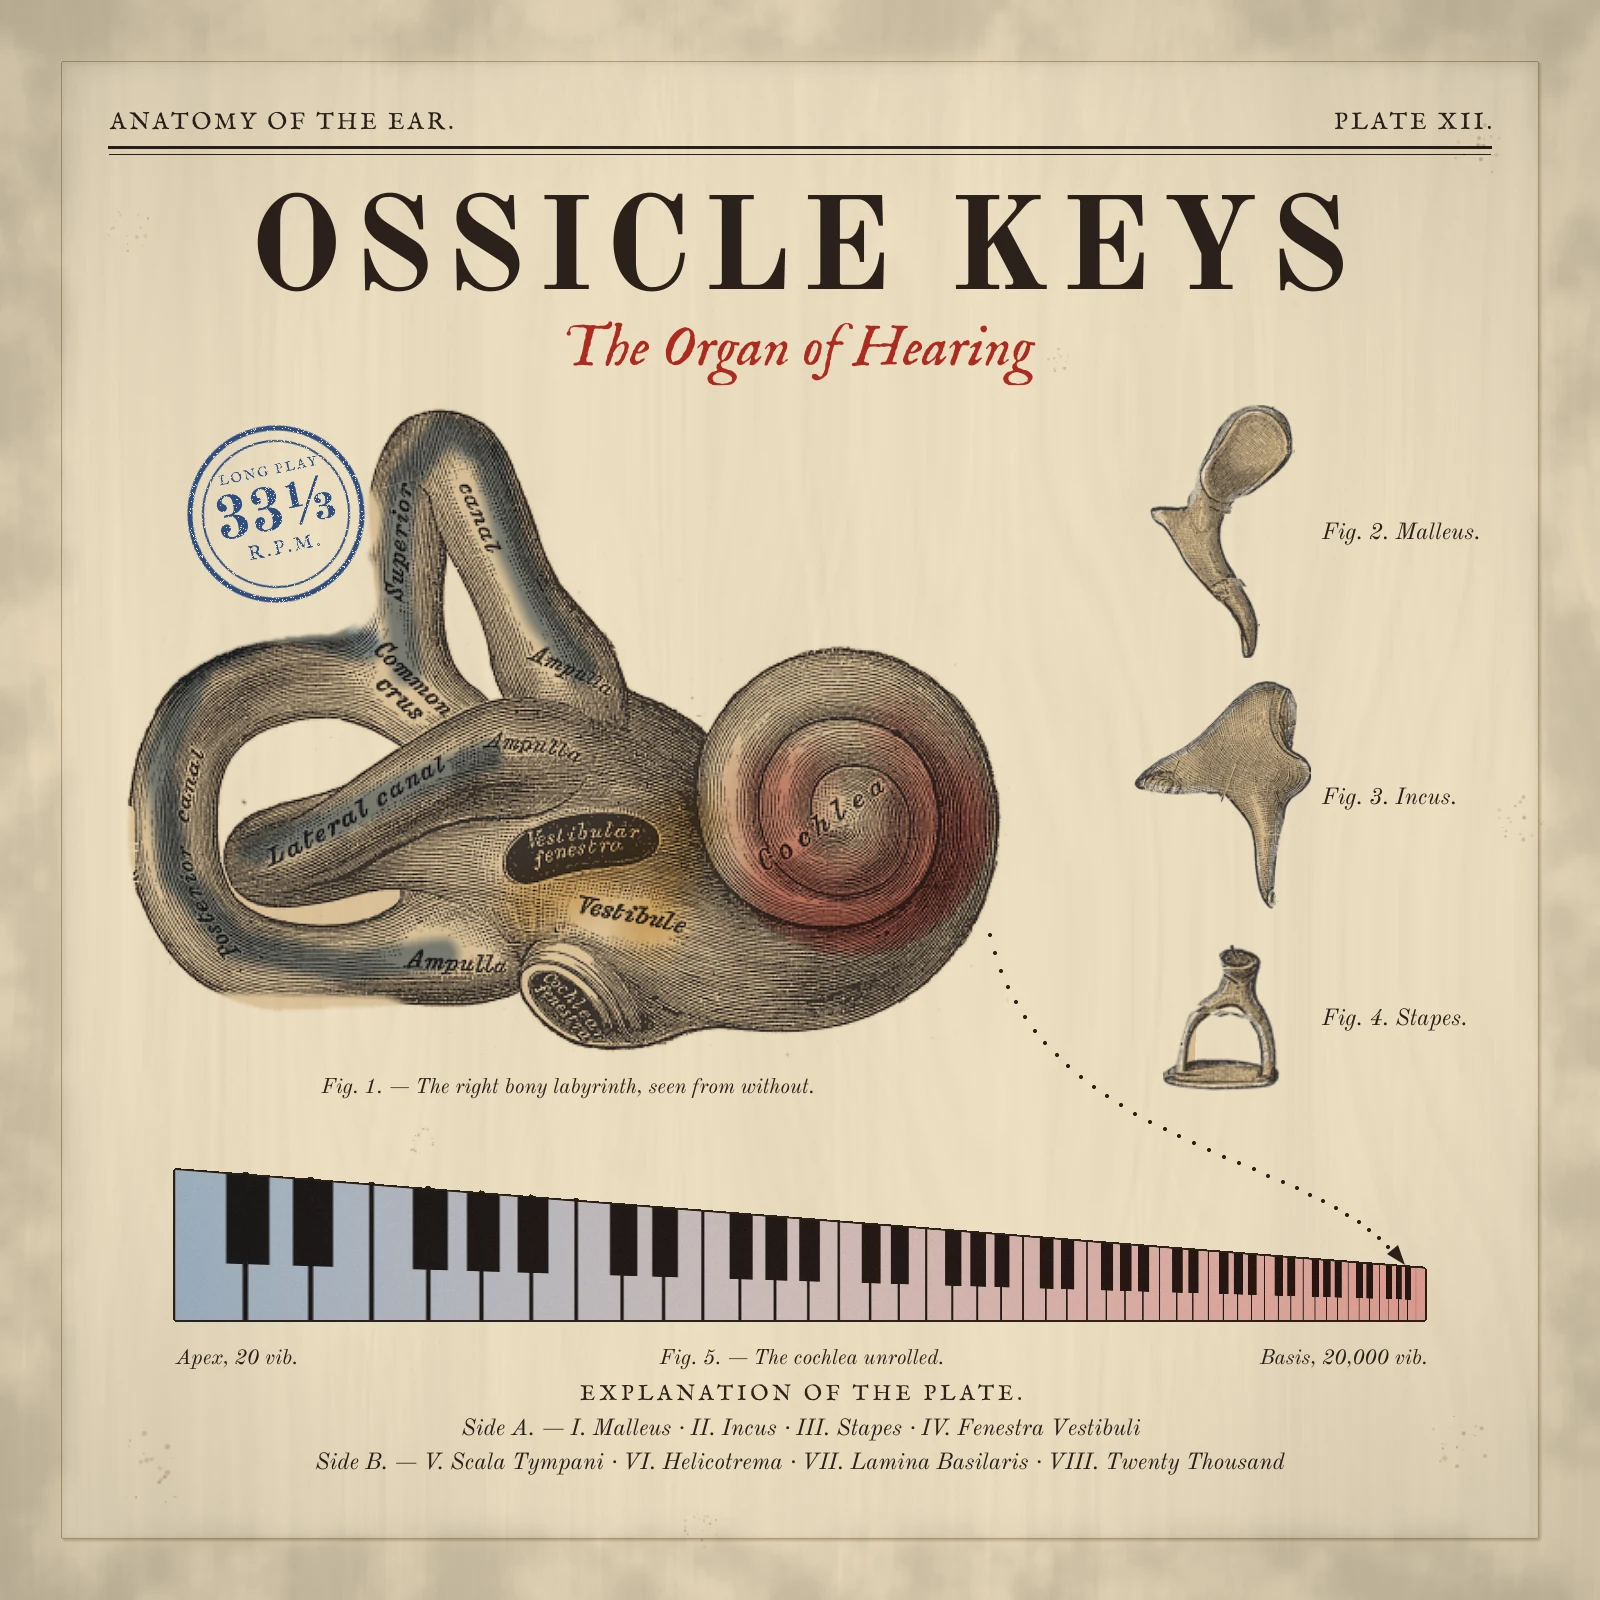
The great 19th-century anatomy atlases were printed in black from engraved copper or steel plates. A colourist then went through the edition by hand and laid thin watercolour washes over the parts that mattered: blue for one system, carmine for another, a yellow for a third. Every plate had the same furniture: a running head, a plate number, numbered figures with italic captions, and an "explanation of the plate" at the bottom.
In this tutorial you'll make a square album cover in that style for an imaginary chamber-pop band, Ossicle Keys, and their album The Organ of Hearing. It's 1600 × 1600 px. The idea behind it is real anatomy: inside the snail-shaped cochlea runs a membrane that is narrow and stiff at its base and wide and floppy at its tip. High notes make the base vibrate and low notes the tip, so the cochlea is laid out like a keyboard rolled up. Figure 5 unrolls it.
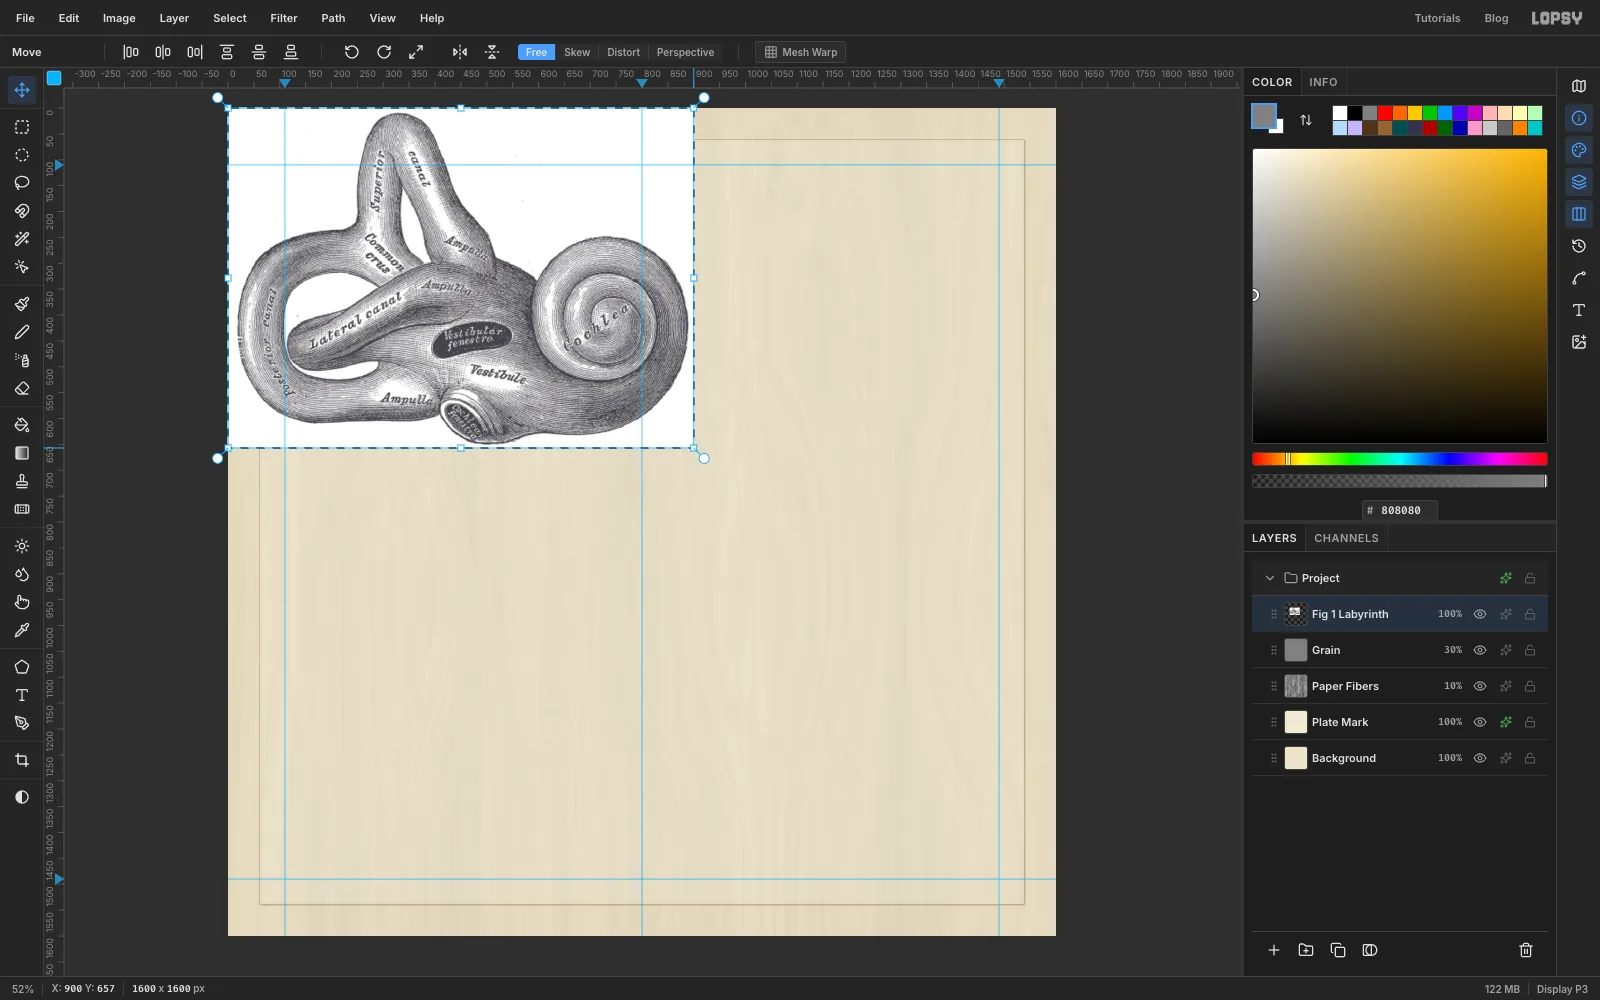
The pictures come from the 1918 edition of Gray's Anatomy, which is in the public domain. Gray's figures were really wood engravings printed in among the text; here you'll re-stage them as a copper-plate atlas page. Download these four files from Wikimedia Commons (each page has a download link for the original):
- Gray920.png, the right bony labyrinth seen from the side (500 × 365 px)
- Gray916.png, the malleus (hammer)
- Gray917.png, the incus (anvil)
- Gray918.png, the stapes (stirrup)
You'll use:
- Magic Wand, Lasso, and marquees with Shift (add), Alt (subtract) and Shift+Alt (intersect)
- Clone Stamp and Eraser to retouch the scans
- the Brush inside a selection for watercolour washes, and the Multiply blend mode
- Edit → Define Pattern, Fill with Pattern and the Move tool's Distort mode
- Fibers, Add Noise, Clouds, Unsharp Mask, Gaussian Blur and Threshold
- Drop Shadow, Stroke and Inner Glow effects, a group layer mask, and group adjustments
- the Shape tool, the Spray tool, the Text tool and groups
The type is set in two free Google Fonts from Lopsy's font picker: Old Standard TT, a revival of 19th-century scientific type, and IM Fell English, cut from 17th-century type that still feels hand-set.
The palette is the colourist's box: three washes, an ink and a paper.
-
Paper
-
plate
-
ink
-
Bone wash
-
gamboge
-
Prussian blue
-
carmine
-
Keyboard tint
-
Title red
-
stamp blue
-
Set up the paper and guides
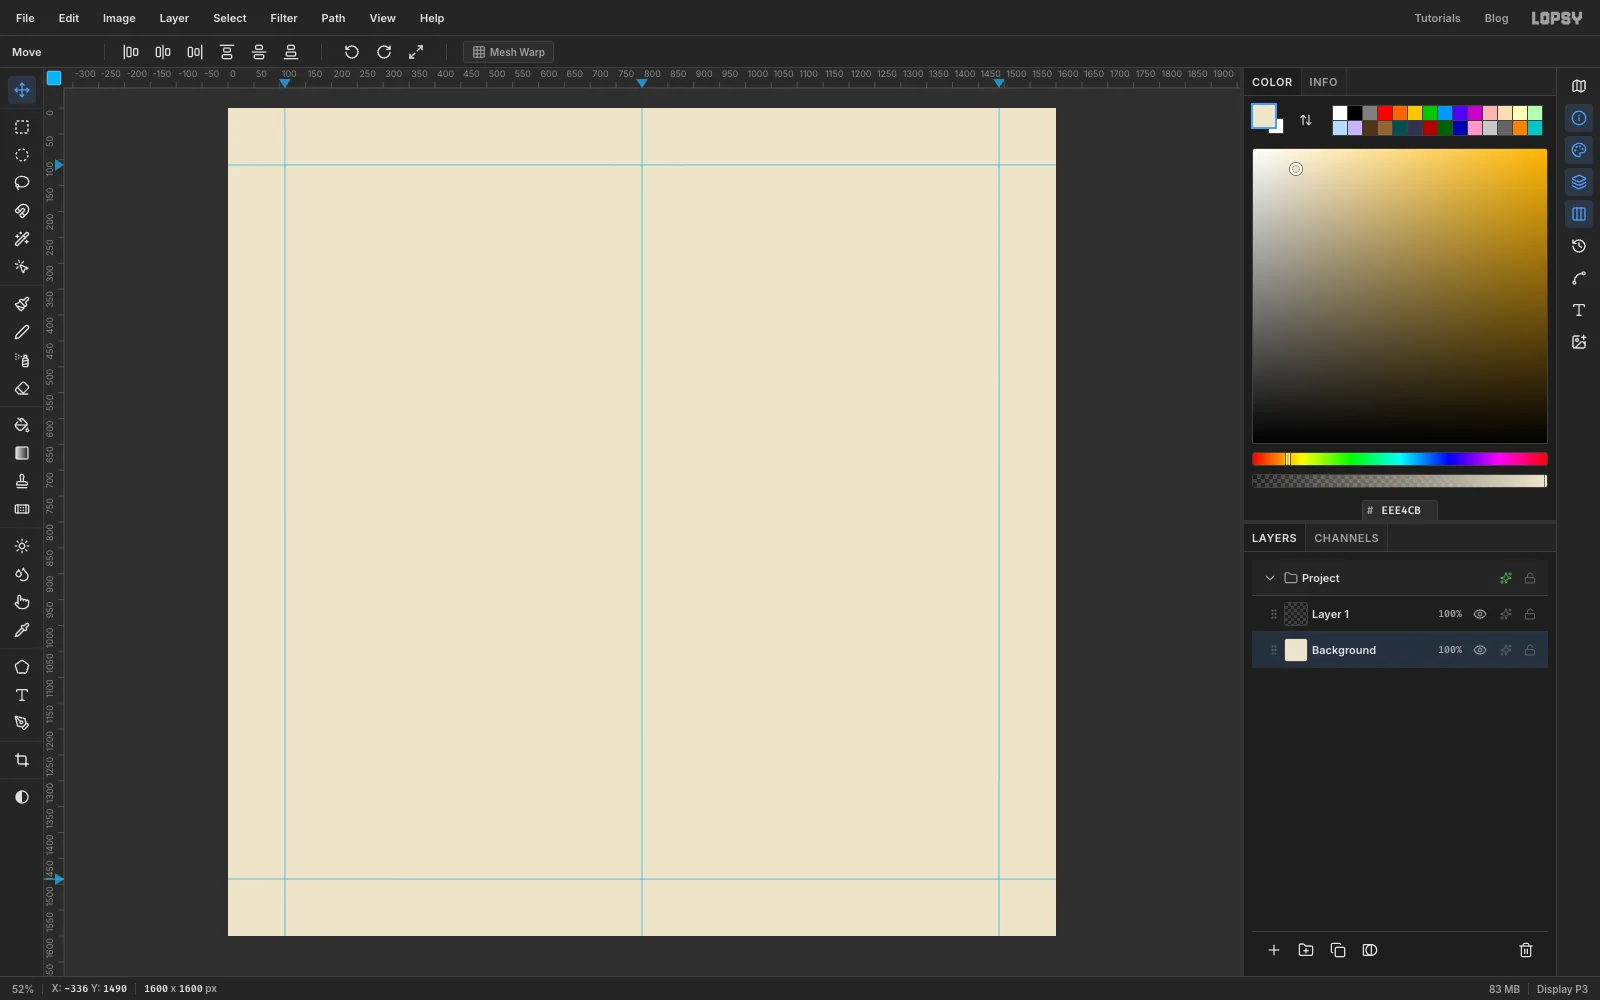
Open Lopsy. In the New Document dialog set Width and Height to
1600and click Create.- Click Background, type
EEE4CBinto the Color panel's hex field and choose Edit → Fill. - Click the top ruler at 110, 800 and 1490 to drop three vertical guides.
- Click the left ruler at 110 and 1490 for the top and bottom margins.
Everything you set will start on these guides: the type, the rules and the keyboard.
- Click Background, type
-
Press a plate mark
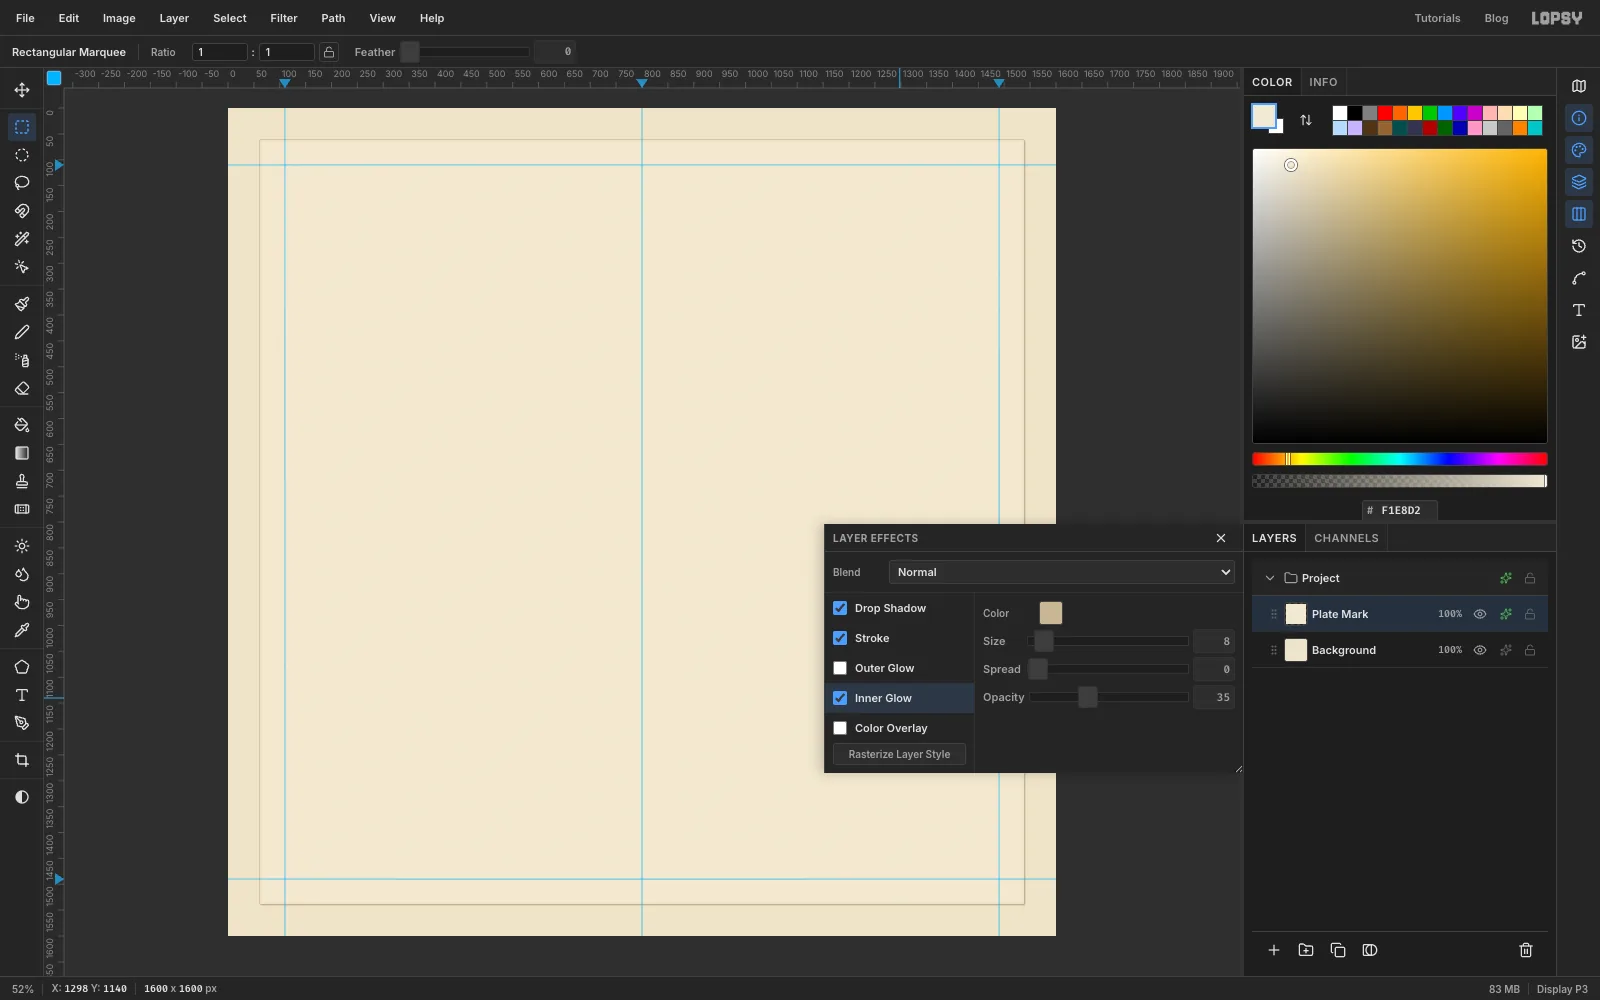
When a copper plate is printed, it presses a shallow, smoother rectangle into the paper. That dent is the plate mark, and it's the first thing that makes a print look like a print.
- Rename
Layer 1toPlate Mark(double-click the name). - Click once with the Rectangular Marquee and enter From
62, 62and To1538, 1538. Set the colour toF1E8D2, choose Edit → Fill, and press Cmd+D. - Click the layer's fx button. Tick Drop Shadow: Offset X and Y
2, Blur3, Opacity35, colour8C7A57. - Tick Stroke: Width
1, colourB8A784. - Tick Inner Glow: Size
8, Opacity35, colourC9B994. Close the drawer.
The hairline and the soft inner shading read as a pressed edge rather than a lighter box.
- Rename
-
Add fibres and grain
- Add a layer named
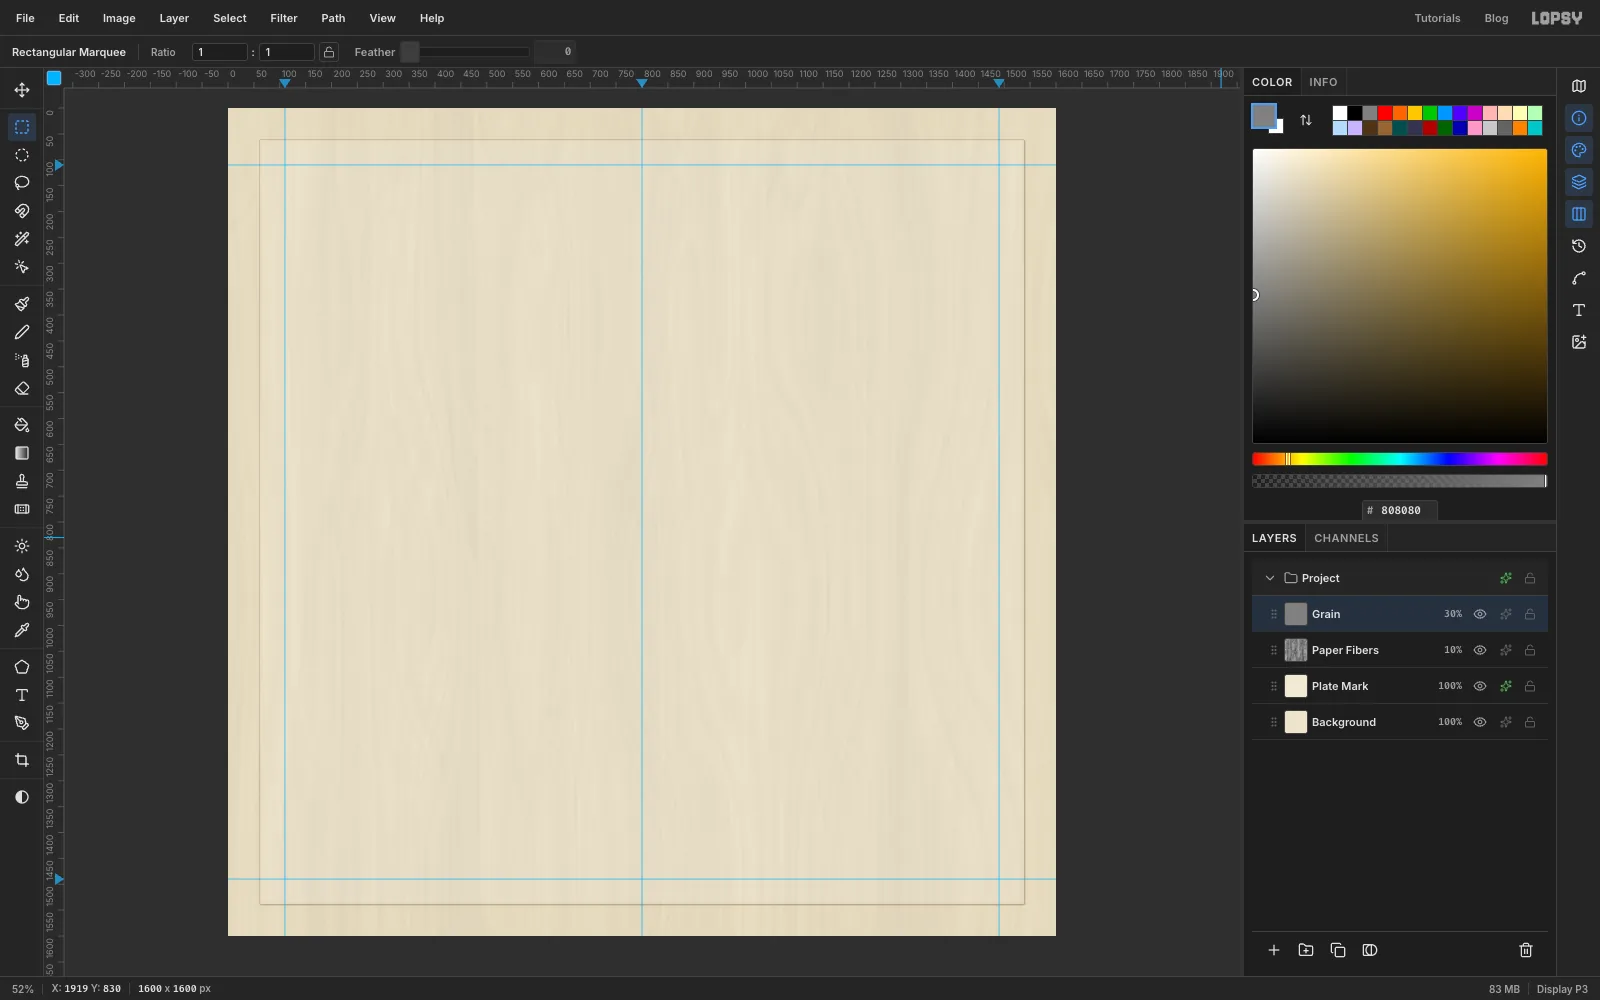
Paper Fibersand choose Filter → Fibers…. Keep the defaults and click Apply. - In the effects drawer set its blend mode to Multiply, then set the layer's opacity to
10%. - Add a layer named
Grain, fill it with808080, and choose Filter → Add Noise… with Amount40, Mono and Gaussian. - Set
Grainto Overlay at30%.
Overlay leaves mid-grey invisible, so only the speckle shows.
- Add a layer named
-
Drop in the labyrinth and scale it up
- With
Grainselected, dragGray920.pngfrom your desktop onto the canvas. It lands at the top-left corner, already selected. - Rename the new layer
Fig 1 Labyrinth. - Hold Cmd and drag the bottom-right handle down and to the right until the scan is 900 × 657 px, 1.8 times its size. Cmd keeps the proportions. Press Enter.
The scan is only 500 px wide, so this is as far as it should be stretched. Any more and the engraved lines turn to mush.
- With
-
Place it and print it into the paper
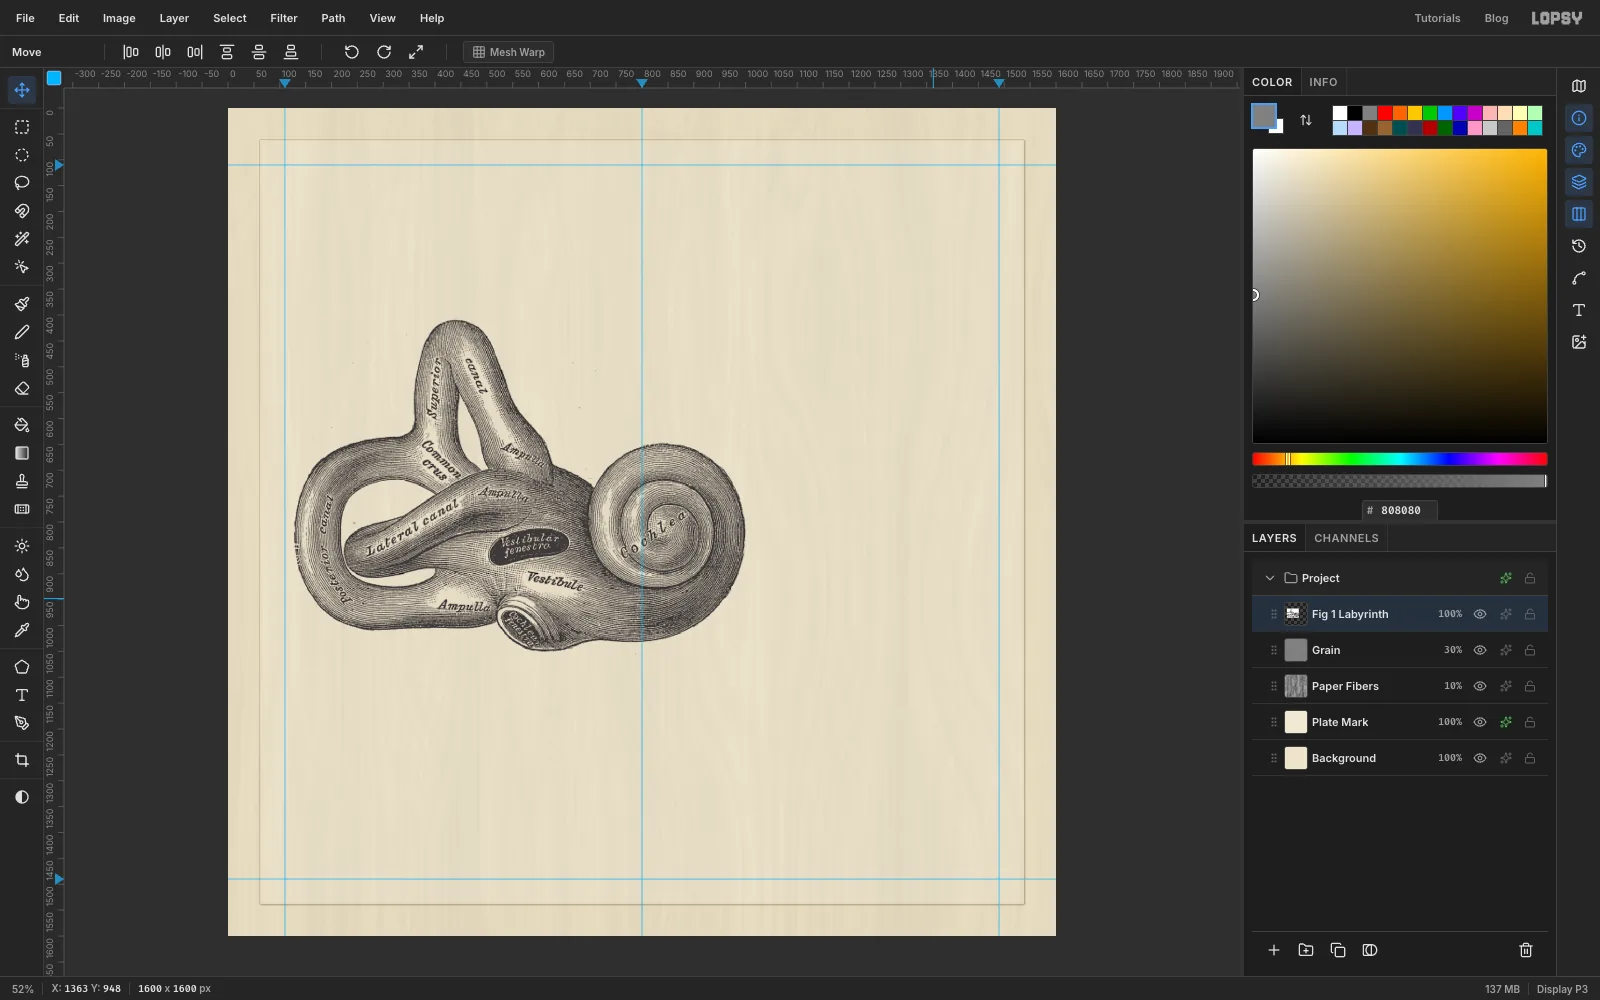
- With the Move tool, drag the engraving down and right until its top-left corner is at
110, 400. Finish with the arrow keys. - In the effects drawer set its blend mode to Multiply. Its white background disappears and the lines sit in the paper like printed ink.
- Choose Filter → Unsharp Mask… with Radius
1, Amount0.8, Threshold2to crisp up the enlarged lines. Keep it gentle: a stronger setting turns the fine hatching into stair-steps.
Keep Gray's italic labels. Engraving the names straight onto the figure was the house style of the period, and they make the plate look authentic.
- With the Move tool, drag the engraving down and right until its top-left corner is at
-
Select the outline of the labyrinth
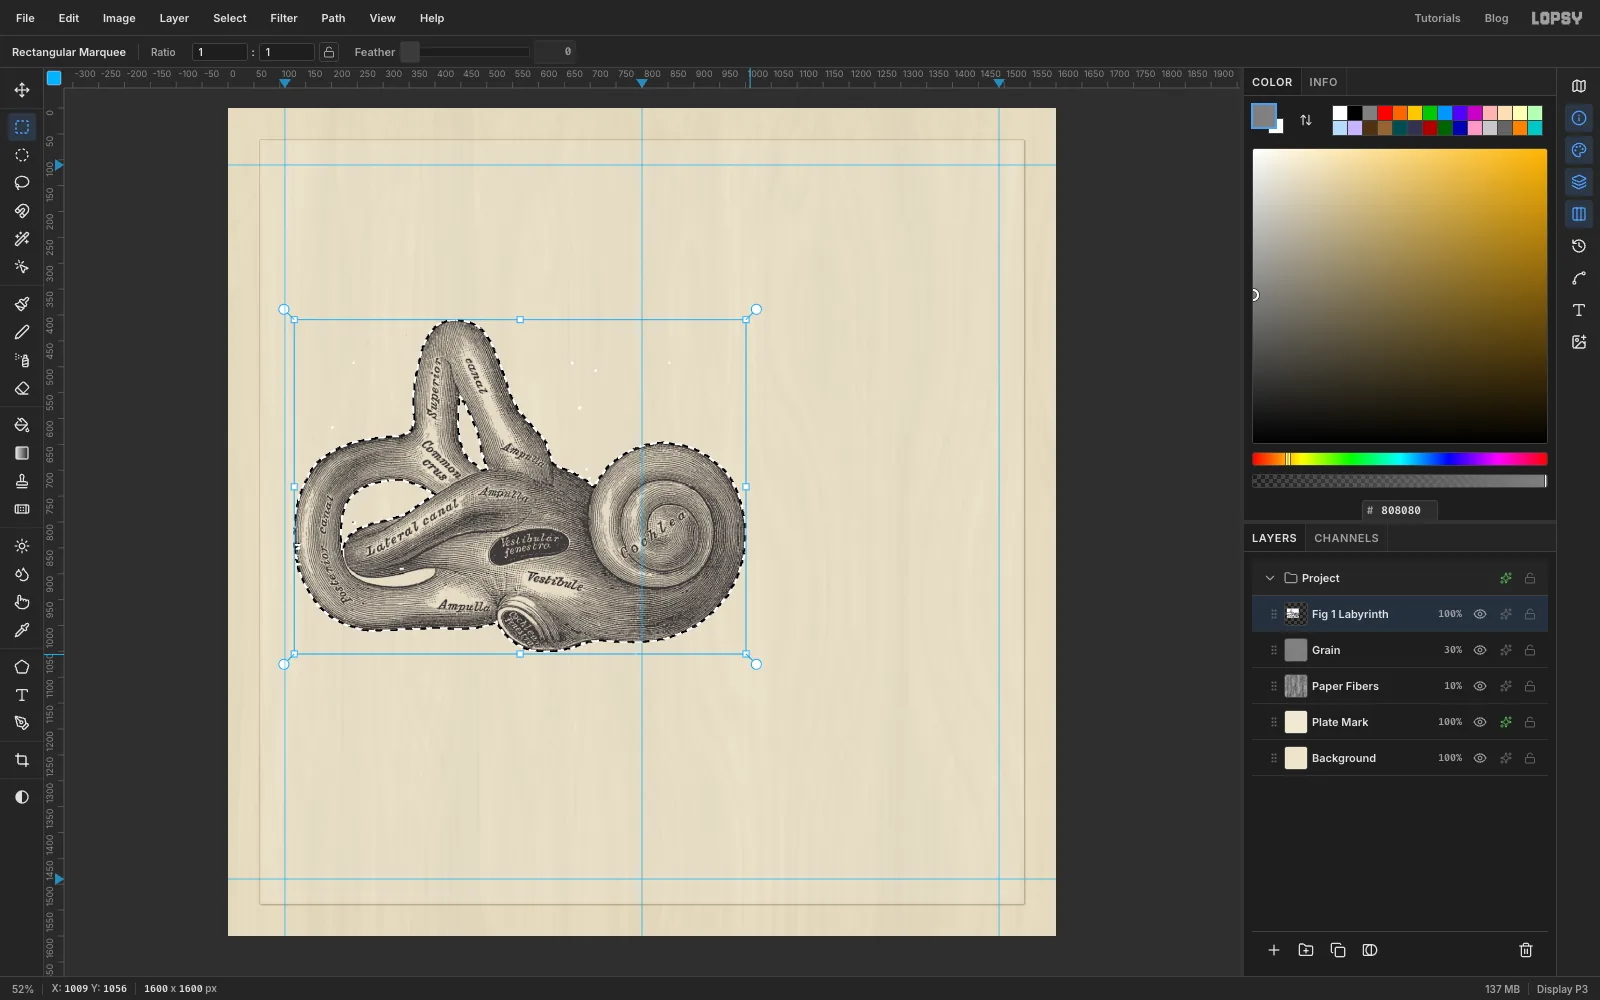
The washes have to stay inside the bone, so you need a selection of its outline.
- Pick the Magic Wand, set Tolerance to
60, and click the white corner of the scan, near115, 405. That selects the white around the figure. - Set Tolerance to
45. Hold Shift and click inside each gap that the bone wraps around: the narrow gap inside the arch at the top (it's thin and crossed by faint lines, so Shift-click two or three spots down its length), the big loop on the left, and the slot under the lateral canal. - Choose Select → Inverse. Now the bone is selected, but so is everything outside the scan, because those pixels are empty.
- Fix that with the Rectangular Marquee: hold Shift+Alt and drag around the scan from
111, 401to1009, 1056. Shift+Alt keeps only the overlap. - Choose Select → Feather… and enter
3.
The feather matters. Gray left the lit edges of the tubes open, with no outline. A soft edge stops the wash from ending in a hard line there.
- Pick the Magic Wand, set Tolerance to
-
Wash the bone and the canals
Keep the selection active for this whole step.
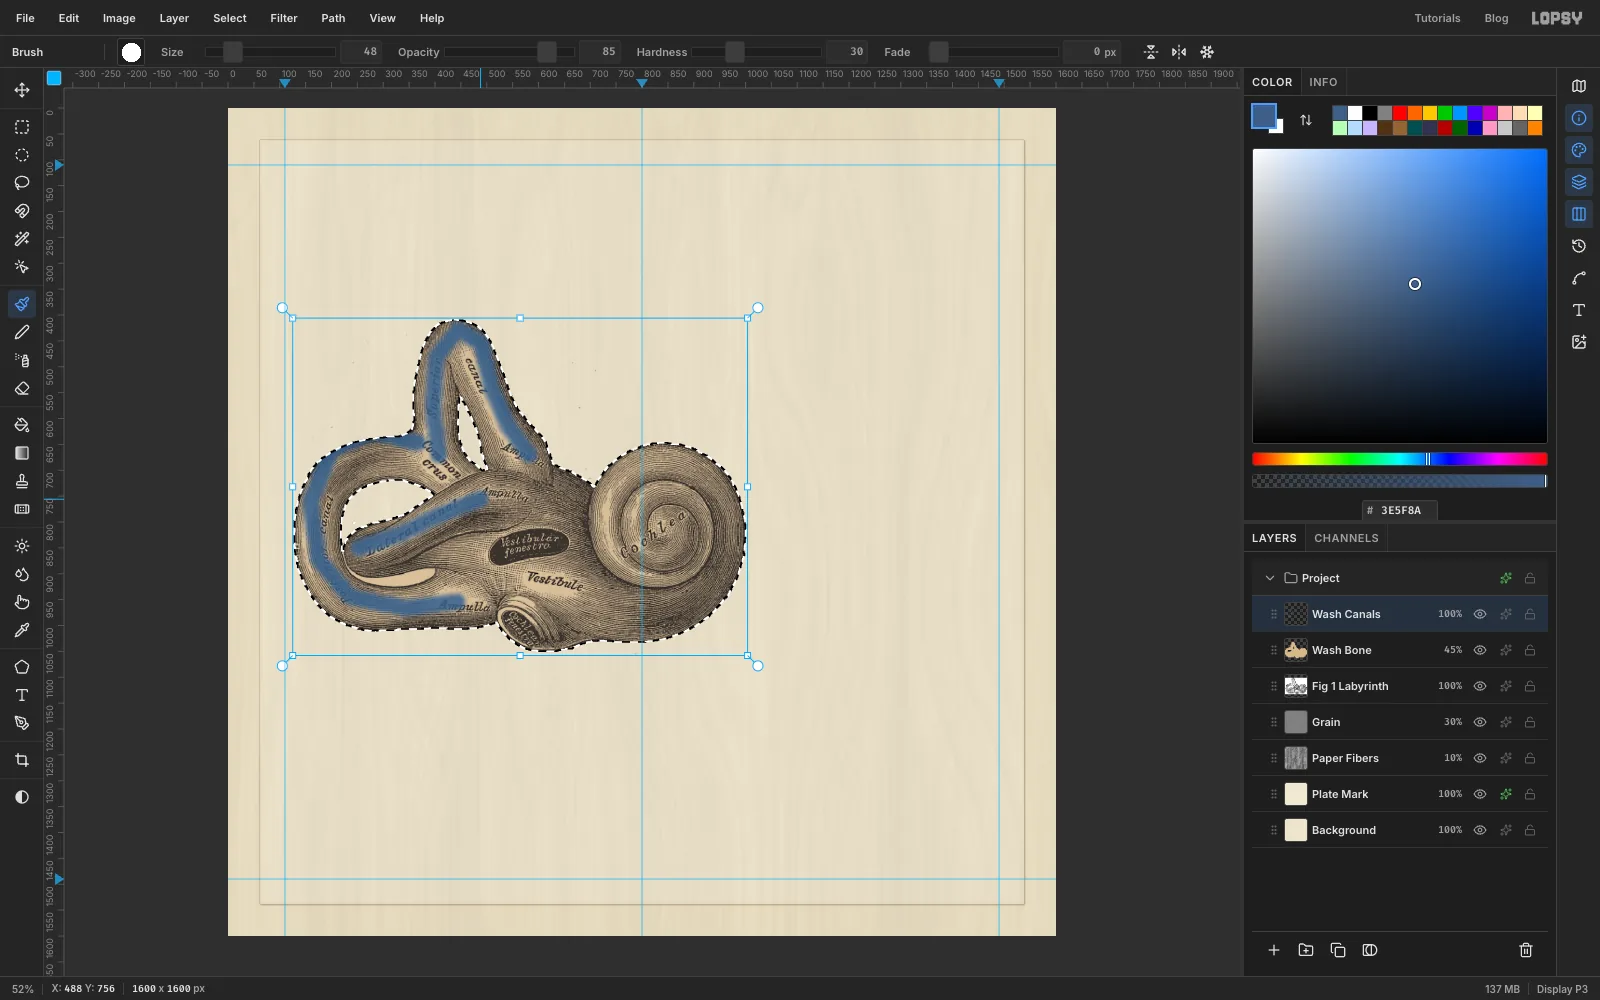
- Add a layer named
Wash Bone. Fill it withD8B98A, set it to Multiply and drop it to45%. - Add a layer named
Wash Canals. Pick the Brush with Size48, Hardness30, Opacity85and the colour3E5F8A. - Paint along the middle of each of the three looping canals in one stroke each: up the superior canal and over its arch, around the big posterior loop on the left, and along the lateral canal in the middle. Keep the bottom of the posterior loop a little inside the outline. The selection keeps the brush inside the bone.
- Set the layer to Multiply at
70%.
The canals and the vestibule handle balance. Blue and, later, yellow keep them apart from the carmine cochlea, which hears.
- Add a layer named
-
Paint the cochlea in carmine
- Add a layer named
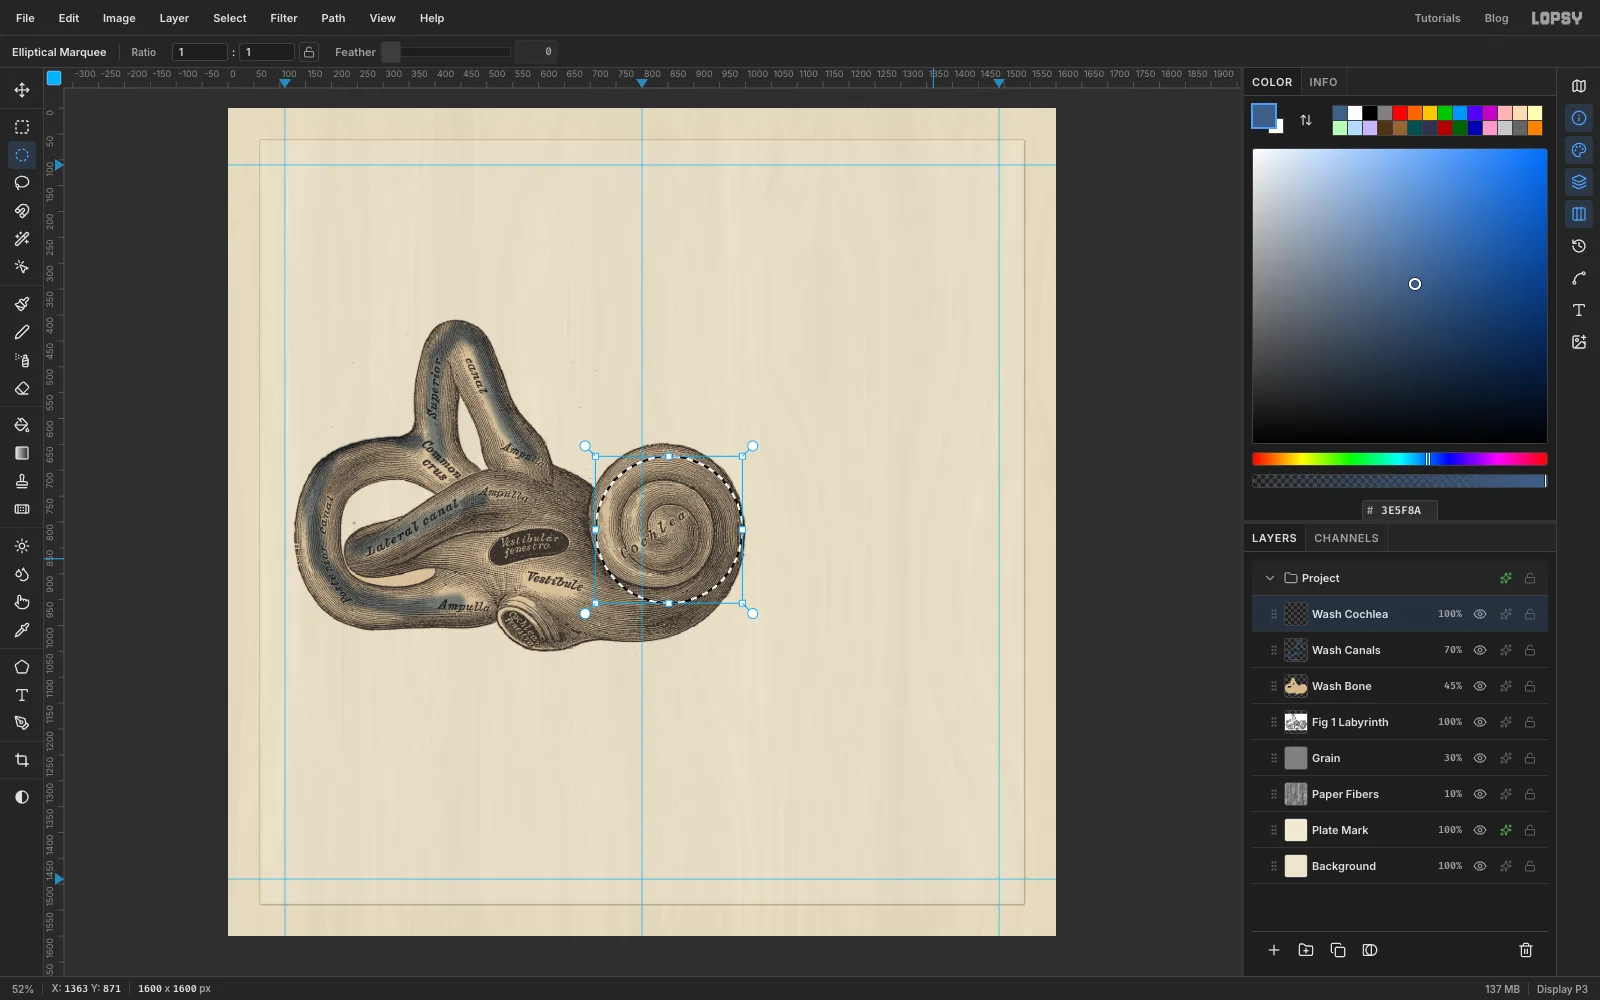
Wash Cochlea. - With the Elliptical Marquee, hold Shift+Alt and drag a circle over the cochlea from
706, 669to998, 961. It intersects with the outline that's still selected, so you get just the cochlea. Choose Select → Shrink…4so the colour stops short of the engraved edge, the way a colourist's brush would. - Pick the Brush with Size
120, Hardness0, Opacity45, colourB8323A. Paint two or three loose passes round the whorls, starting at the lower right. Go lightly over the upper left, so the highlights stay pale. - Set Size to
70and Opacity to40, and run one more stroke round the lower-right rim, just inside the edge. That's where the pigment pools as watercolour dries. - Deselect. Set the layer to Multiply at
70%.
- Add a layer named
-
Add the gamboge and clean the scan
- Cmd-click the
Wash Bonethumbnail to load the outline again. - Add a layer named
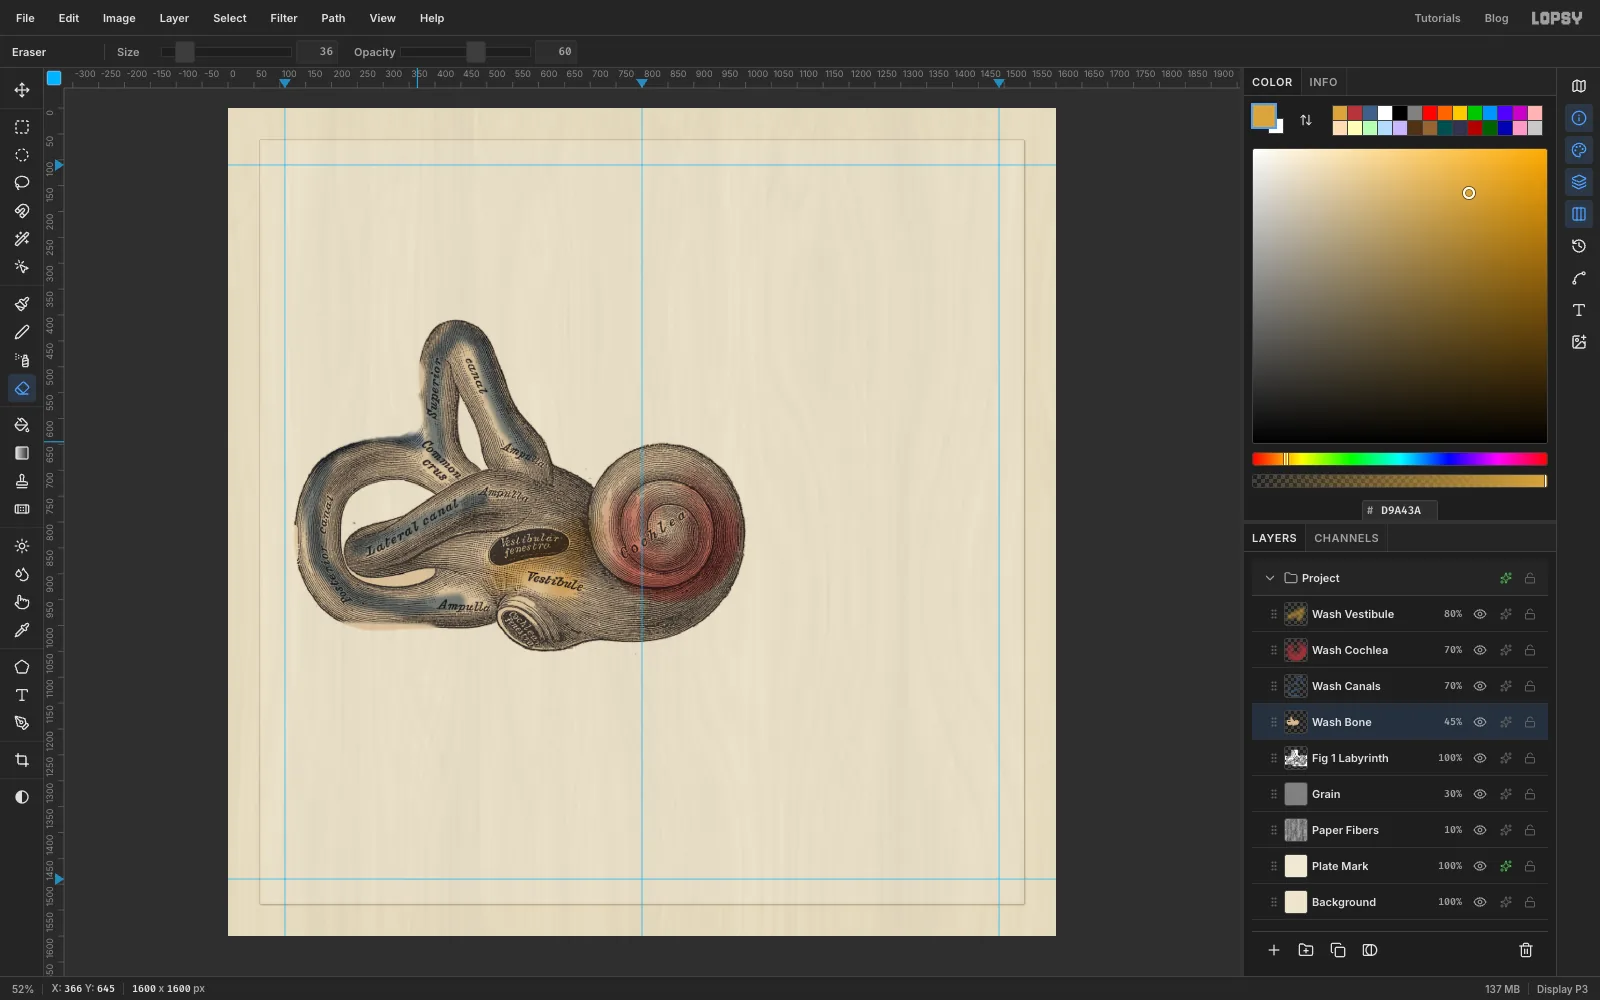
Wash Vestibule. BrushD9A43Aat Size120, Hardness0, Opacity60over the bulge in the middle of the labyrinth, under the dark oval. Deselect and set the layer to Multiply at80%. - Old scans carry dust. Click
Fig 1 Labyrinth, pick the Eraser at Size110, and sweep across the empty top-left and top-right corners of the scan and the strip under the figure. Use Size14for the two small scratch marks just outside the left-hand canal, at about128, 840.
- Click
Wash Boneand set the Eraser to Size36and Opacity60. Run it once down the left edge of the superior canal, the tall arch at the top, from about352, 470to366, 645. Gray left that lit edge open, with no outline, and a colourist would leave it pale too.
Erasing the scan's white background changes nothing you can see, since Multiply already hid it. The dust goes, though.
- Cmd-click the
-
Clone the leader lines off the malleus
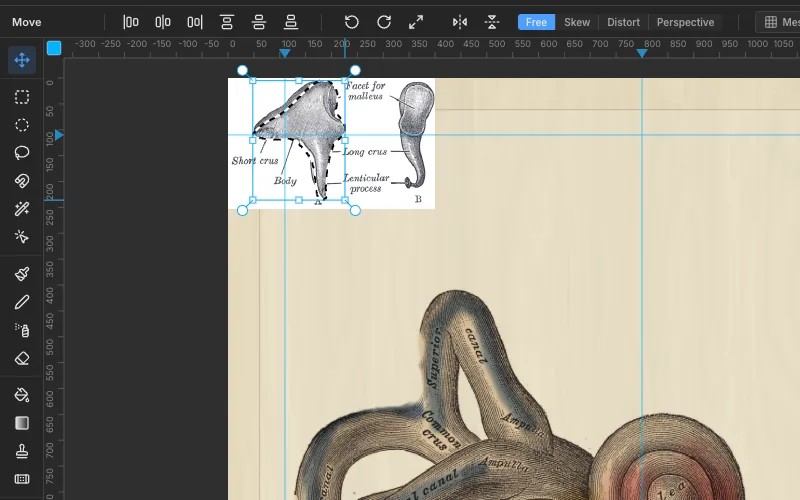
Figures 2 to 4 come from Gray's separate drawings of the three tiny bones of the middle ear. Their label lines run into the bones, so they need retouching before you cut them out.
Gray drew the left-side bones and the right-side labyrinth. Nobody will mind on a cover.
- Click
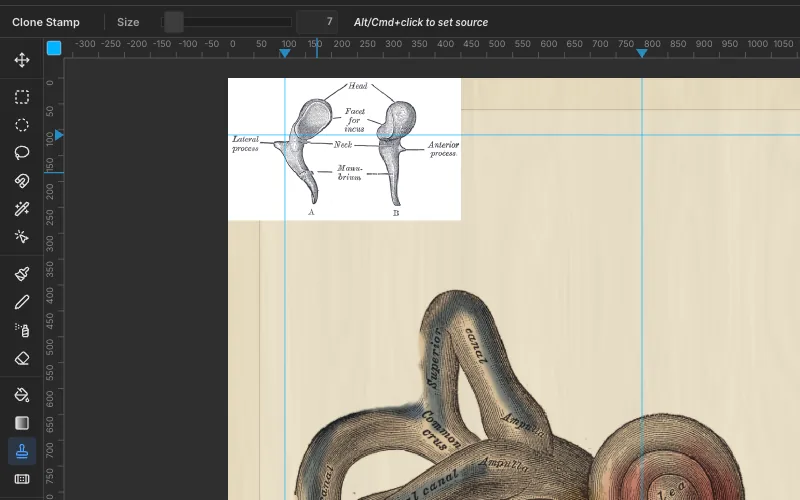
Wash Vestibuleand dragGray916.pngonto the canvas. Rename the layerScan Malleus. Zoom in on the top-left corner if the lines are hard to see. - Pick the Clone Stamp and set Size to
7. - For each leader line that runs into the left-hand bone (the line into the oval facet at the top, the one across the neck, and the one into the long handle), Alt-click about 7 px above the line to set the source. Then drag along the part of the line that's inside the bone. The bone texture just above it is copied over the line.
Small, straight strokes along each line work best. A long drag starts copying its own fresh strokes, and you'll see repeats.
- Click
-
Cut the bone out and scale it
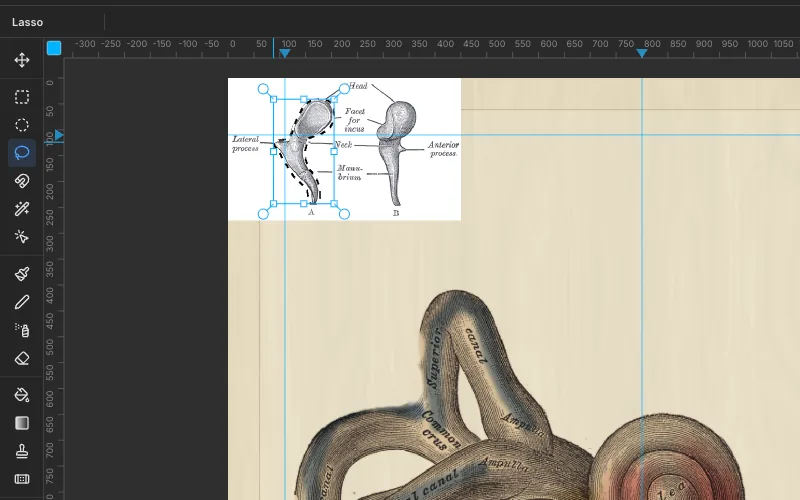
- Pick the Lasso and draw closely around the left-hand malleus, about 2 px outside its outline. Leave out the labels and the lines that stay outside the bone.
- Press Cmd+C and then Cmd+V. The bone pastes onto a new layer in the same place, selected, with the Move tool active. Rename it
Fig 2 Malleus. - Hold Cmd and drag its bottom-right handle out to 125% (about 146 px wide). Press Enter.
- Drag it to
1150, 405and nudge it there with the arrow keys. Set it to Multiply. - Delete the
Scan Malleuslayer with the bin button.
-
Cut out the incus and the stapes
Do the same for the other two bones:
- Incus from
Gray917.png: clone away the two lines that run up into the body from the labels below it, and the short stubs on its right. Cut it out, paste it asFig 3 Incus, scale it to 110%, and place it at1133, 680. - Stapes from
Gray918.png: this one is tiny, so use a Clone Stamp Size of5. Clone out the line that crosses the top of the arch and the line into the footplate. Lasso around the whole stirrup, then hold Alt and lasso the open arch inside it to take it out of the selection. Paste it asFig 4 Stapes, scale it to 160% and place it at1163, 945.
Set both to Multiply and delete their scan layers.
- Incus from
-
Stack the three bones
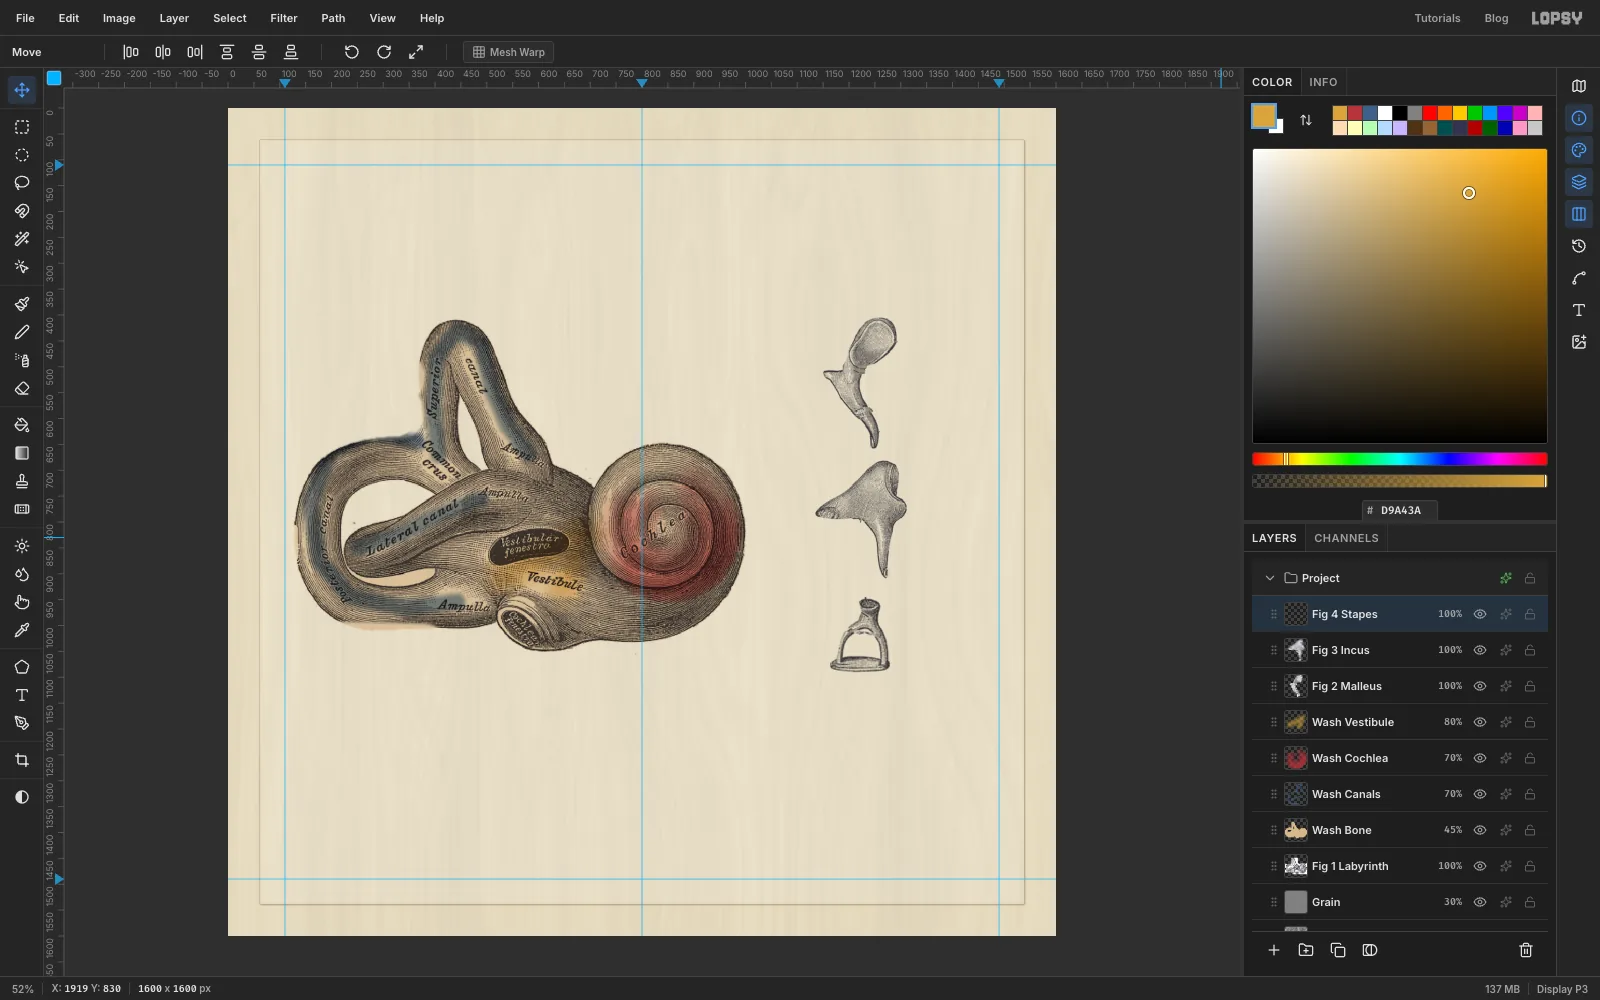
The three bones now sit in a column, in the order sound passes through them: hammer, anvil, stirrup.
Check each one at 100% zoom. If a bit of label line survived just inside an outline, go back to that layer and dab it out with the Clone Stamp.
-
Draw one octave of keys
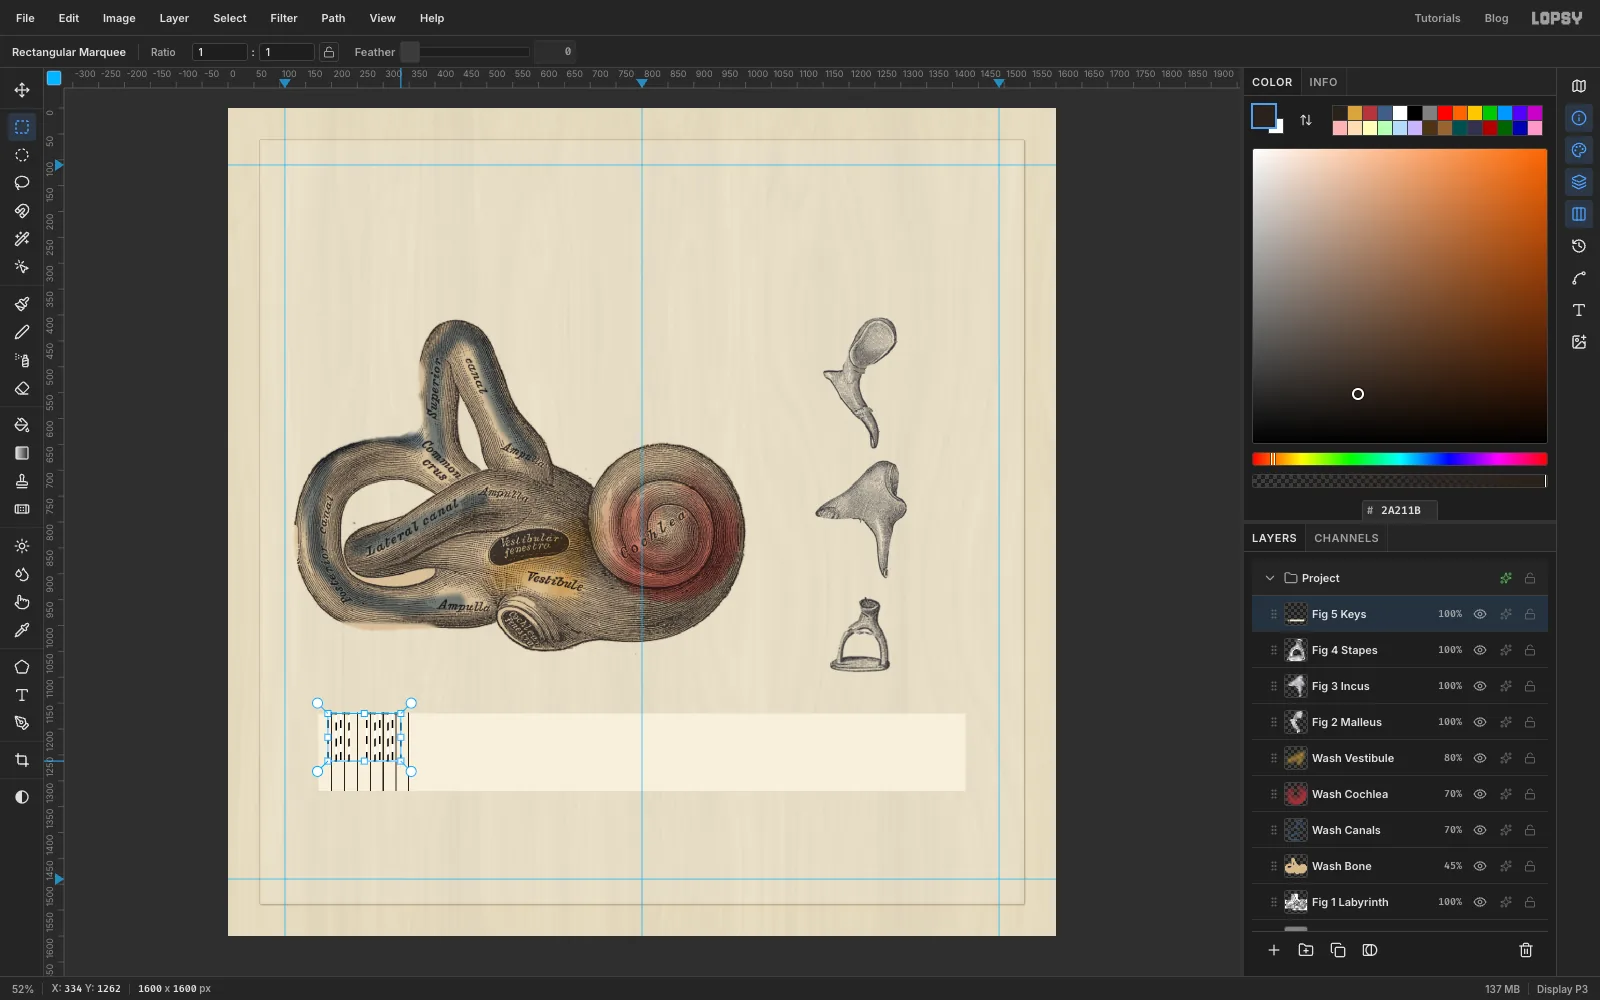
Now for Figure 5, the cochlea unrolled into a keyboard.
- Click
Fig 4 Stapesand add a layer namedFig 5 Keys. - Press Cmd+D, click once with the Rectangular Marquee and enter
175, 1170to1425, 1320. Fill it withF6EFDD, and deselect. - Pick the Pencil at Size
2with the colour2A211B. Draw the dividers of the first octave: click at the top of the strip and Shift-click at the bottom, atx = 201, 226, 251, 276, 301and326, and one more at349, the right edge of the octave. Each white key is 25 px wide. That last line is the one between B and the next C, so every copy of the octave will carry it. - Black keys are 16 × 92 px rectangles, centred on five of the dividers. With the Rectangular Marquee, drag the first one from
193, 1170to209, 1262. Hold Shift and add the others, centred on226,276,301and326. That's two, a gap, then three. Choose Edit → Fill.
- Click
-
Repeat the octave with a pattern
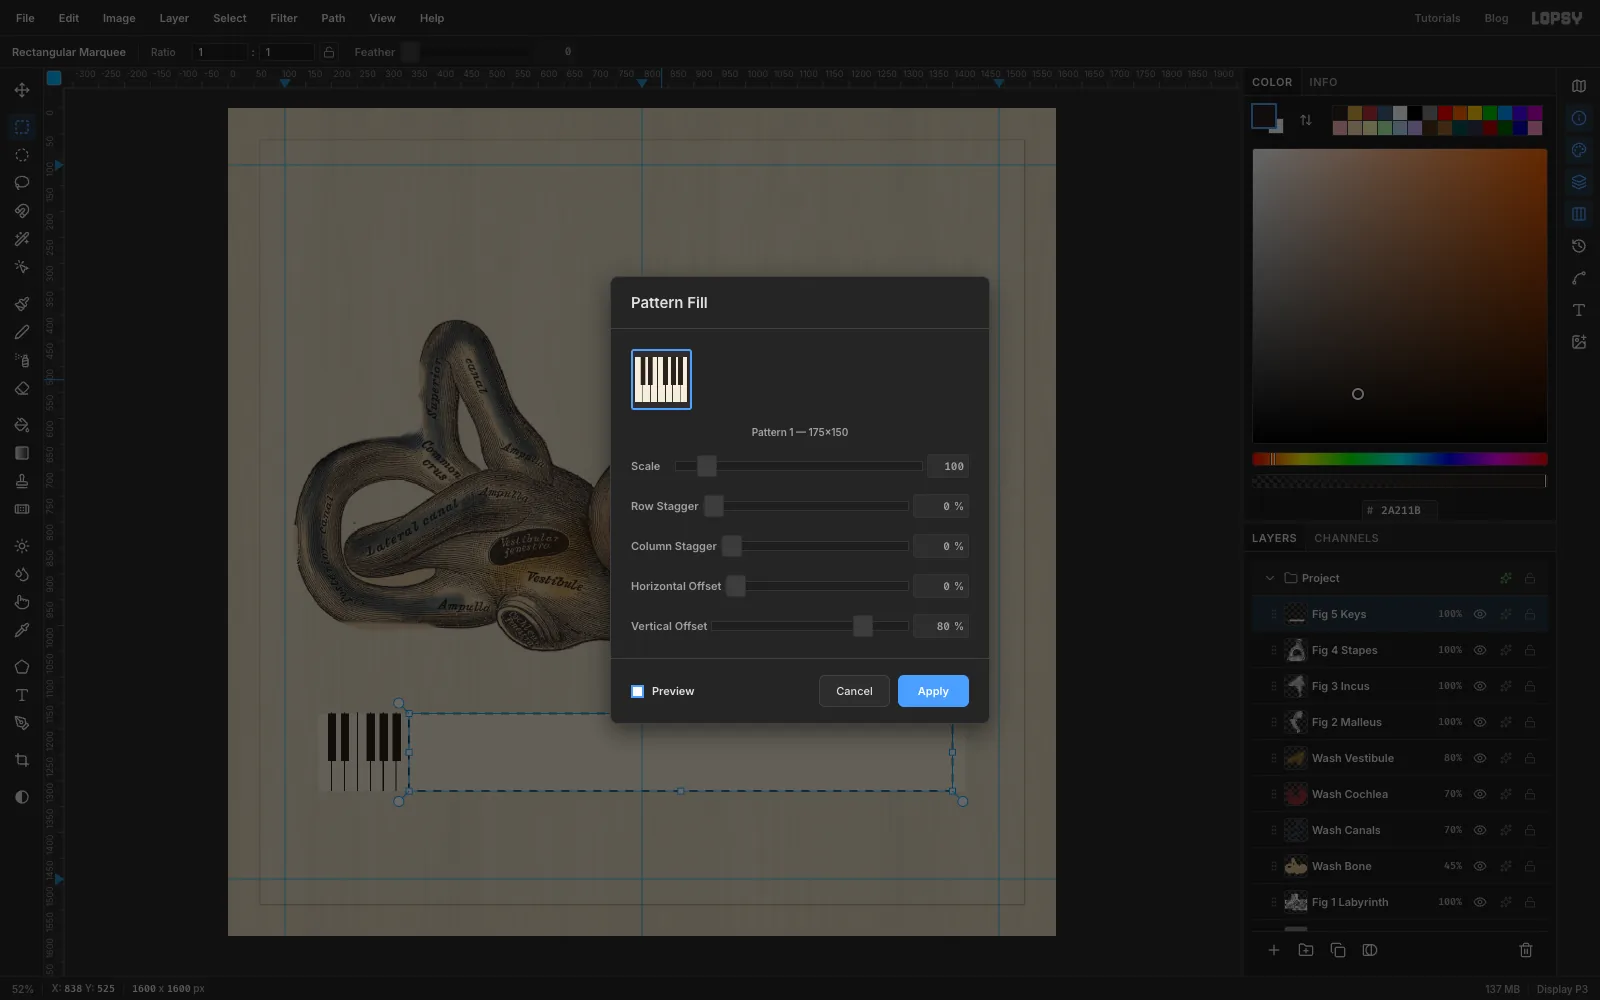
- Press Cmd+D to drop the black-key selection. Click once with the Rectangular Marquee and select the first octave:
175, 1170to350, 1320. Choose Edit → Define Pattern. - Select the rest of the strip,
350, 1170to1400, 1320, and choose Edit → Fill with Pattern…. - Click the octave thumbnail and set Vertical Offset to
80. Click Apply. - Deselect. The last tile ends at 1400, and the strip's final 25 px is a single white key: the top C.
Patterns tile from the top of the document. The strip starts at y 1170, which is 120 px into a 150 px tile, so an 80% offset lines the tiles up with the strip. Horizontally, 175 is already a whole tile.
- Press Cmd+D to drop the black-key selection. Click once with the Rectangular Marquee and select the first octave:
-
Taper the keyboard with Distort
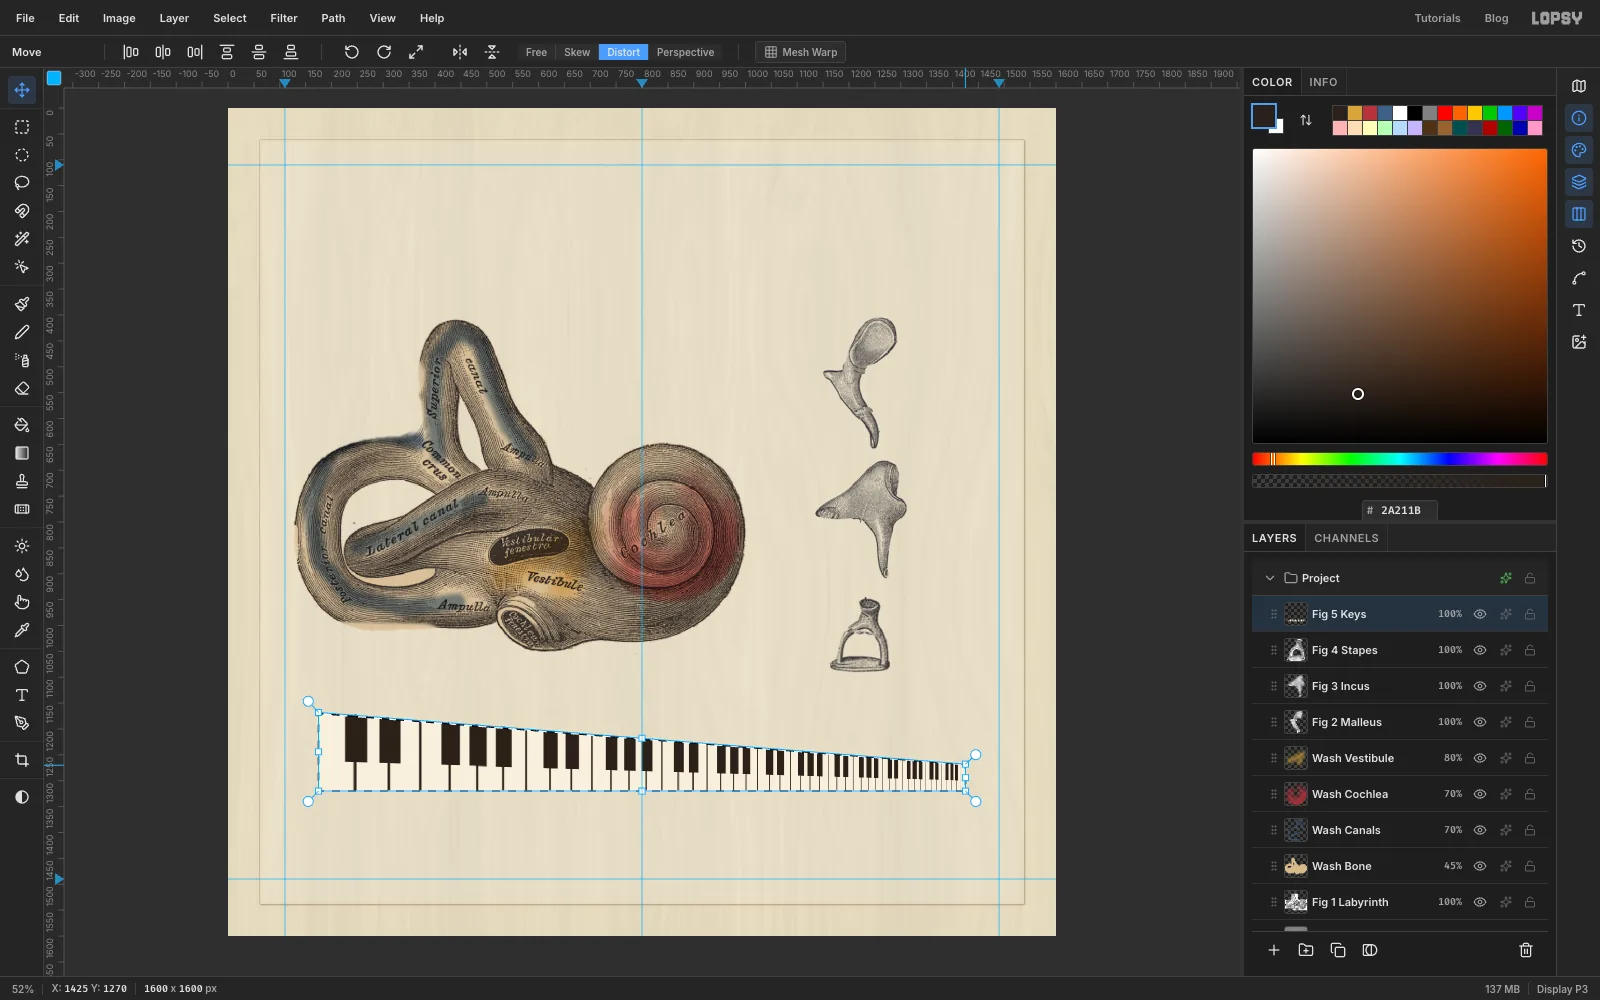
The membrane inside the cochlea is wide at the tip, where it hears low notes, and narrow at the base, where it hears high ones. So the low end of the keyboard stays tall and the high end shrinks.
- Cmd-click the
Fig 5 Keysthumbnail to select the keyboard. - Pick the Move tool and click Distort in the options bar.
- Drag the top-right corner handle straight down 100 px. Press Enter and deselect.
- Give the layer a Stroke of
2in2A211B, then Filter → Add Noise… at18, Mono, Gaussian so the ivory looks printed rather than flat.
Distort is a perspective warp, so the keys get narrower as well as shorter toward the right. It looks like a measuring scale bunching up, which suits the idea.
- Cmd-click the
-
Tint the keys from blue to rose
- Add a layer named
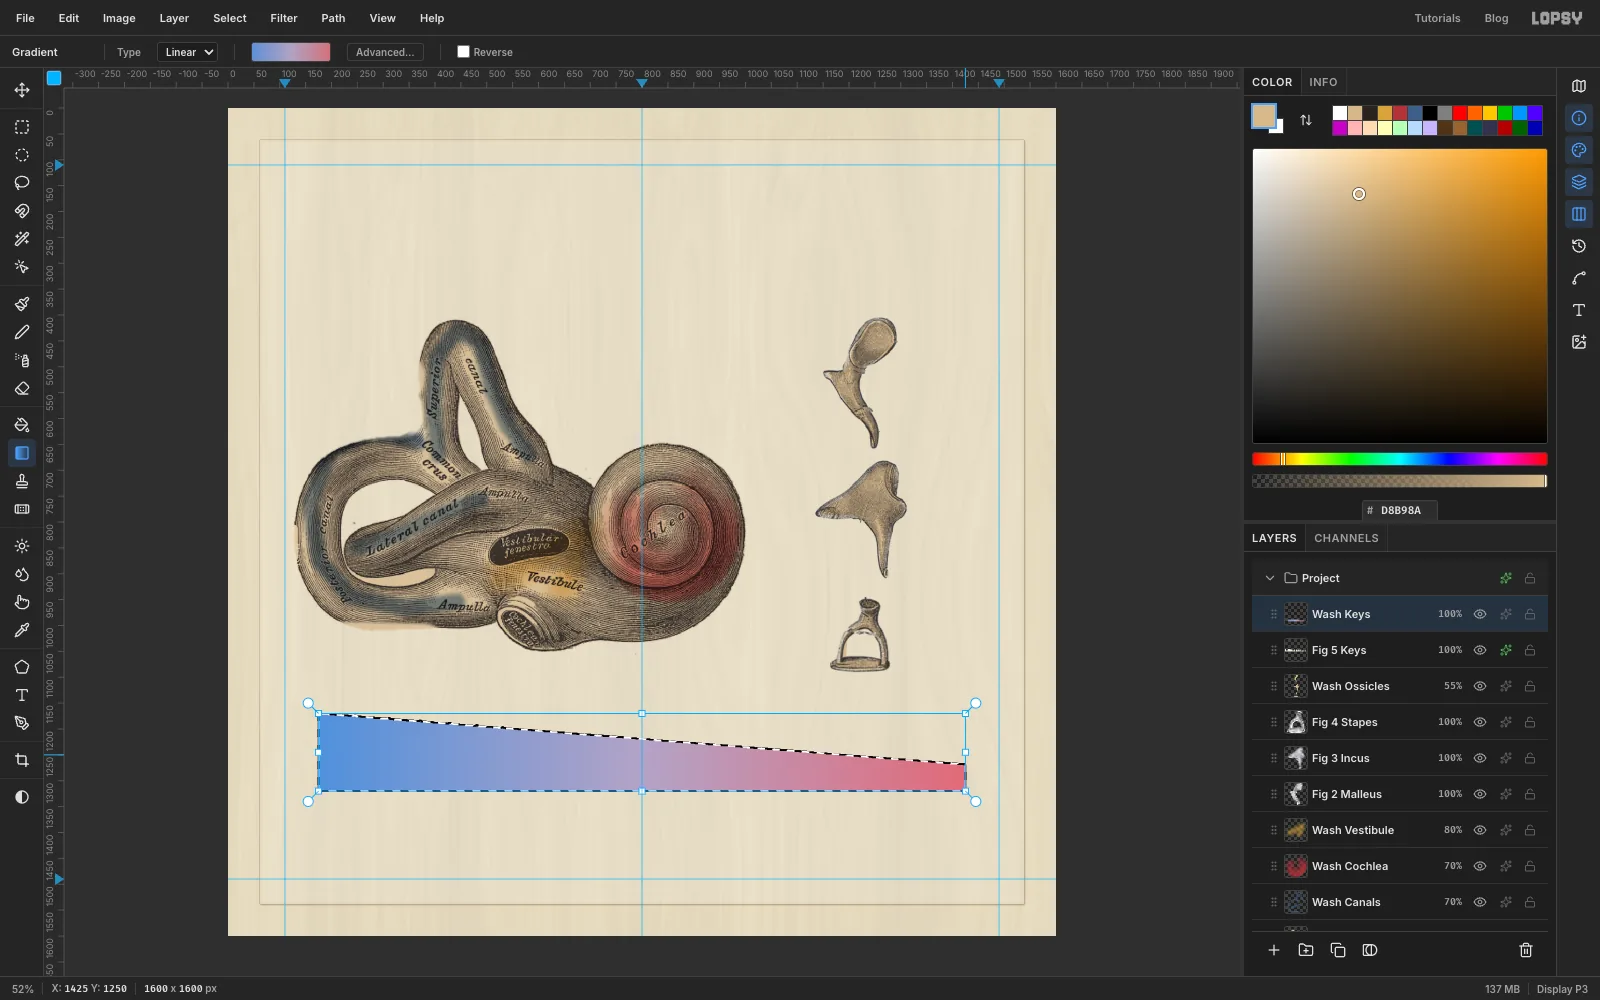
Wash Keysand Cmd-click theFig 5 Keysthumbnail. - Pick the Gradient tool, set it to Linear, and open the gradient editor. Use three stops:
5F8FD6at the left,B0A3C4in the middle andD2707Aat the right. - Drag from the left end of the keyboard to the right end. Deselect, and set the layer to Multiply at
60%.
Low notes are cool and high notes warm, matching the blue canals and the carmine cochlea above.
- Add a layer named
-
Lead the eye from the cochlea to the keys
- Add a layer named
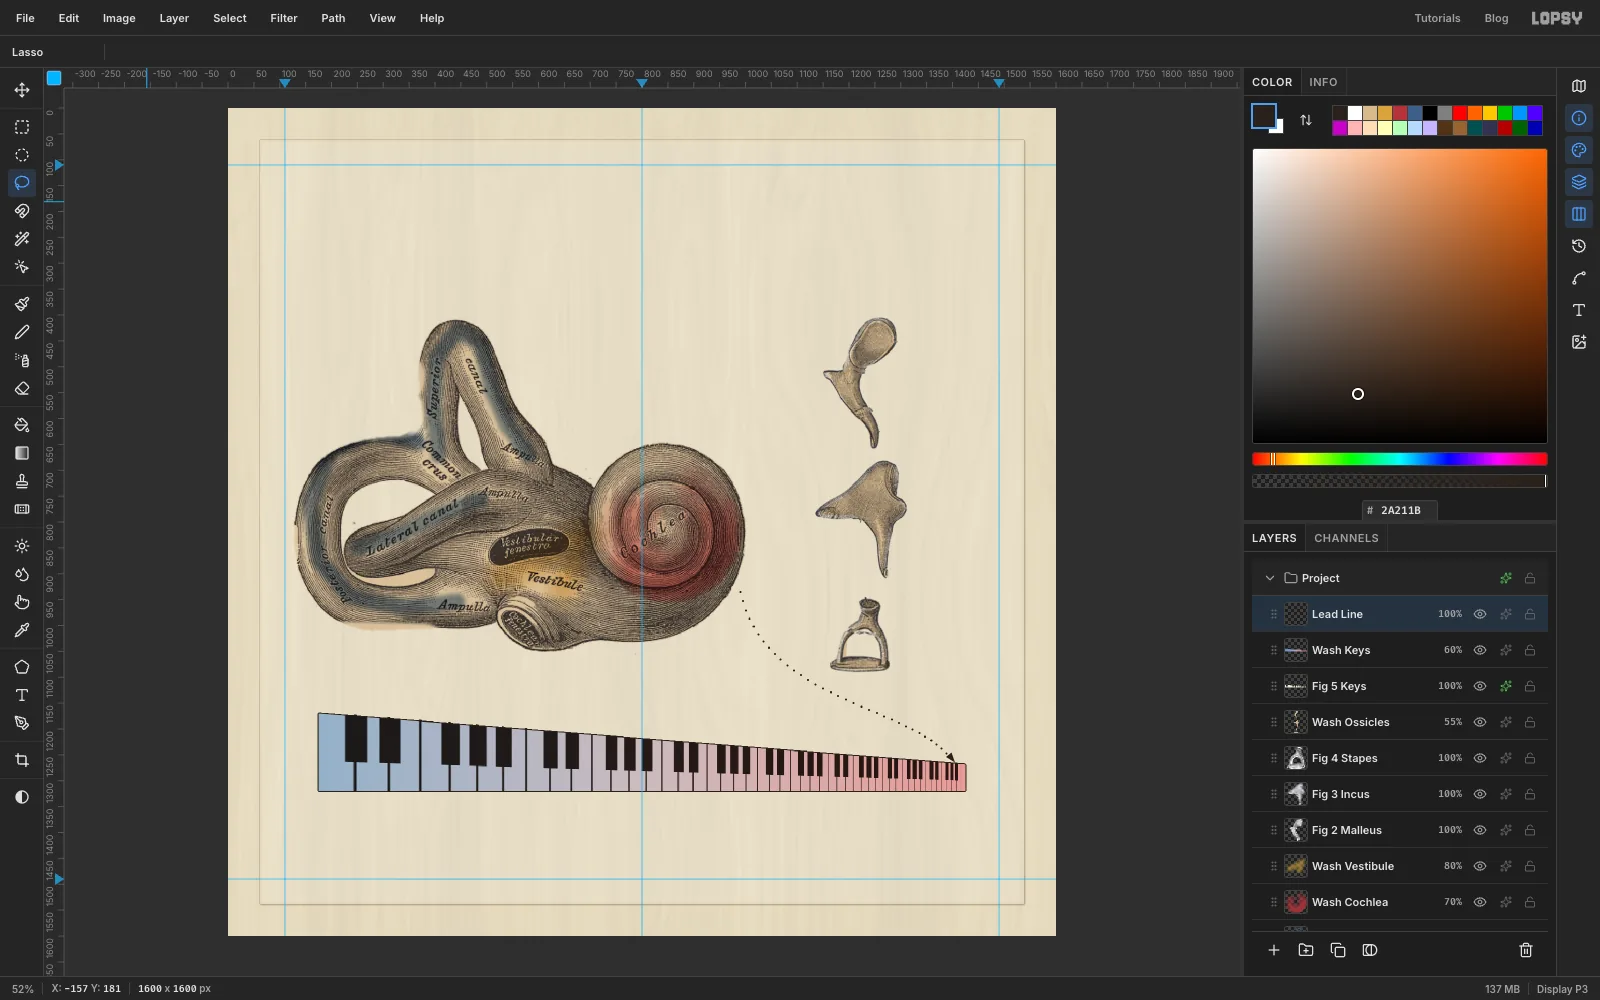
Wash OssiclesaboveFig 4 Stapes. For each of the three bones, Cmd-click its thumbnail, choose Select → Shrink…7and Edit → Fill withD8B98A. Set the layer to Multiply at55%. - Add a layer named
Lead LineaboveWash Keys. Pick the Brush at Size5, Hardness100, colour2A211B. - Click a row of dots about 14 px apart. Start at the lower right of the cochlea, near
990, 935, dip down to about1100, 1120so you pass well under the stapes, and come round to1396, 1256, just above the right end of the keyboard. - For the arrowhead, lasso a small triangle about 20 px long just past the last dot, pointing down and to the right, with its tip touching the top edge of the keyboard. Fill it.
- Add a layer named
-
Set the title
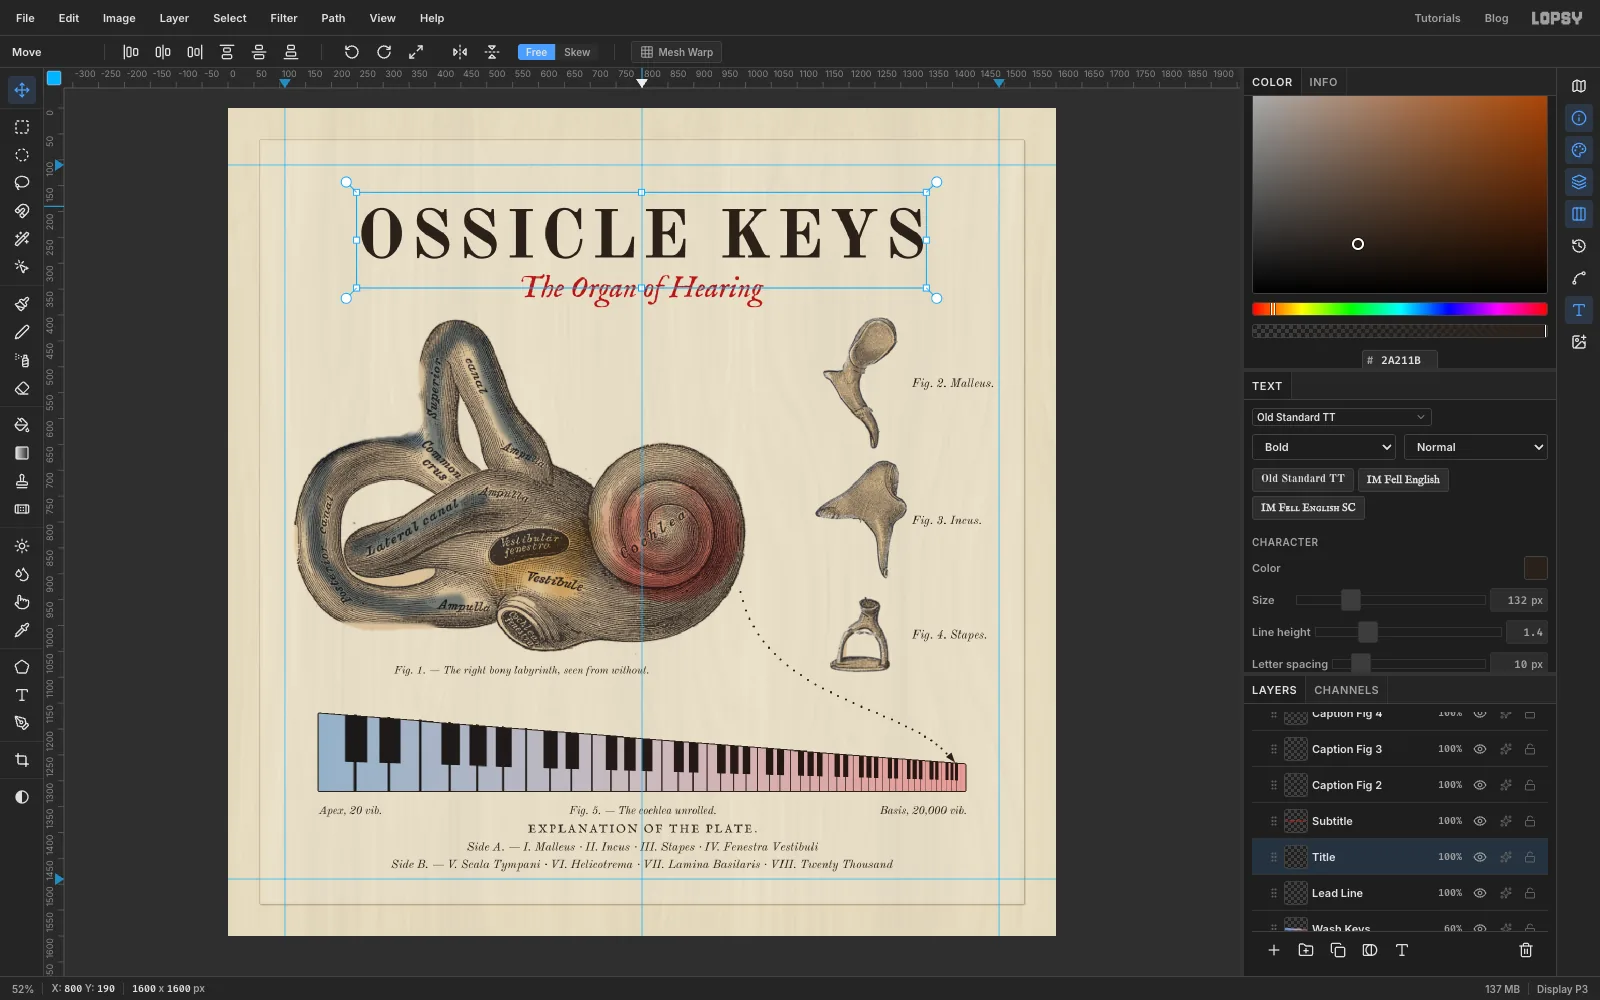
Make each text layer by clicking in an empty part of the canvas, typing, and pressing Tab. Then nudge it into place with the Move tool and the arrow keys. Click a picture layer (not a text layer) before you start each new one, or the font change restyles the text you just made.
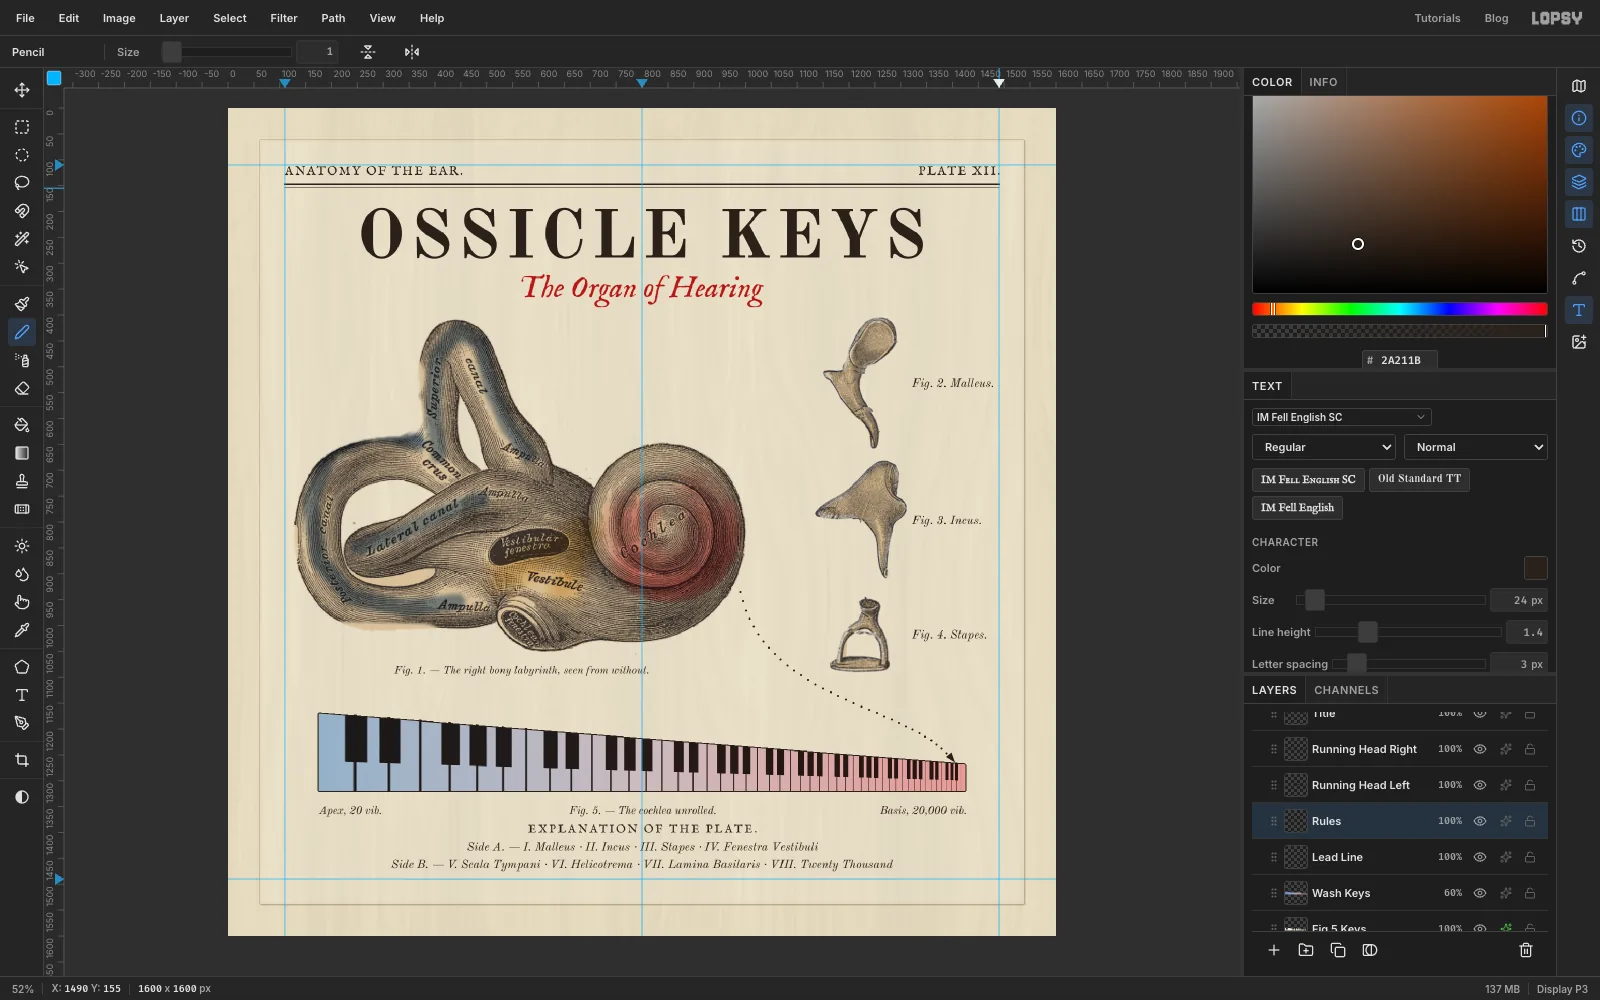
OSSICLE KEYSin Old Standard TT, Bold, Size132, Letter spacing10, colour2A211B. Centre it on the middle guide with the top of the capitals at y 193.The Organ of Hearingin IM Fell English, Italic, Size58, colourA92B22, centred, with its tops at y 321.ANATOMY OF THE EAR.andPLATE XII.in IM Fell English SC, Size24, Letter spacing3. Put the first on the left guide and end the second on the right guide, both at y 112.- On a new layer named
Rules, draw a Pencil line at Size3from110, 148to1490, 148, and a Size1line just below it at y 155.
-
Caption the figures and write the legend
All captions are Old Standard TT Italic in
2A211B.Fig. 2. Malleus.,Fig. 3. Incus.andFig. 4. Stapes.at Size23, left-aligned at x 1322, each level with the middle of its bone.Fig. 1. — The right bony labyrinth, seen from without.at Size21, centred under the labyrinth at x 566, about 22 px below the bottom of the bone.- Under the keyboard, the same distance below the keys as Fig. 1's caption sits below the labyrinth:
Apex, 20 vib.flush with its left end,Basis, 20,000 vib.flush with its right end, andFig. 5. — The cochlea unrolled.centred between them.
Then the explanation, which doubles as the track list:
EXPLANATION OF THE PLATE.in IM Fell English SC, Size22, Letter spacing4, centred, top at y 1384.Side A. — I. Malleus · II. Incus · III. Stapes · IV. Fenestra VestibuliandSide B. — V. Scala Tympani · VI. Helicotrema · VII. Lamina Basilaris · VIII. Twenty Thousandat Size23, centred, at y 1418 and 1452.
-
Stain the margins
- Click the top layer and add a layer named
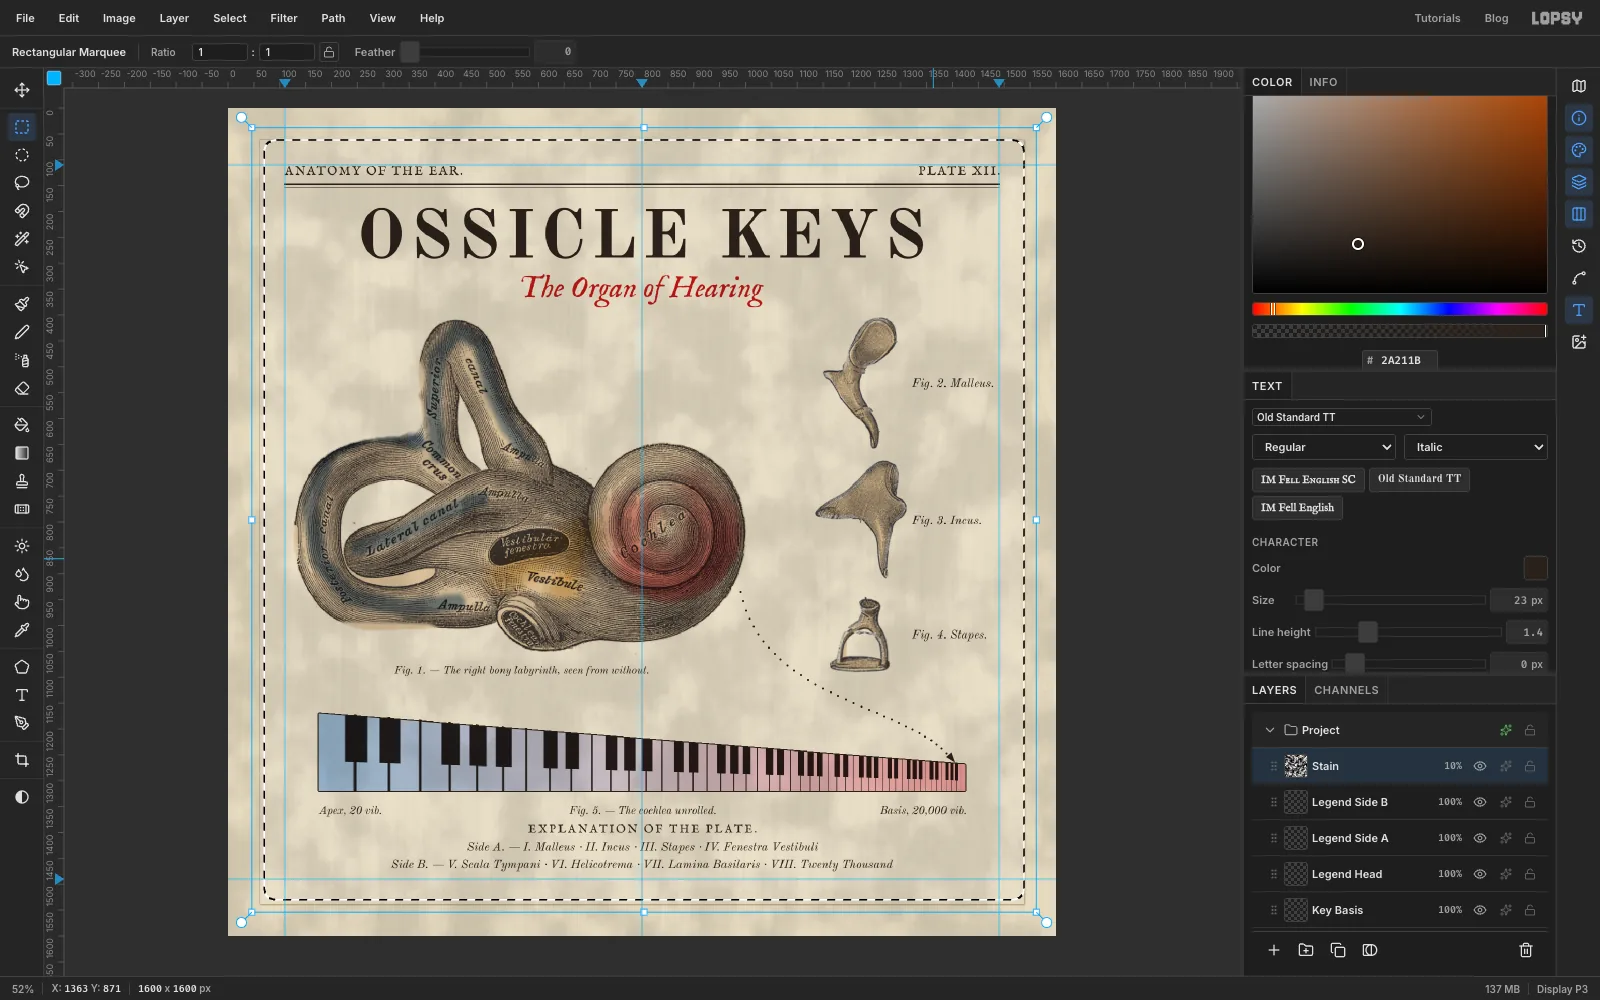
Stain. Choose Filter → Clouds… with Scale20. - Set it to Multiply at
10%. Clouds draws in grey, but at this strength over the cream it reads as a brownish damp stain. - Click once with the Rectangular Marquee and enter
70, 62to1538, 1530: the plate, nudged a few pixels in from the left and bottom. Choose Select → Feather…24and press Delete. Deselect.
The stain is left in the margins, where damp gets into a book, and the feather lets it creep a little way over the plate mark. The offset leaves a touch more along the left and bottom edges, because real damage is never even.
- Click the top layer and add a layer named
-
Add foxing and warm the whole plate
- Add a layer named
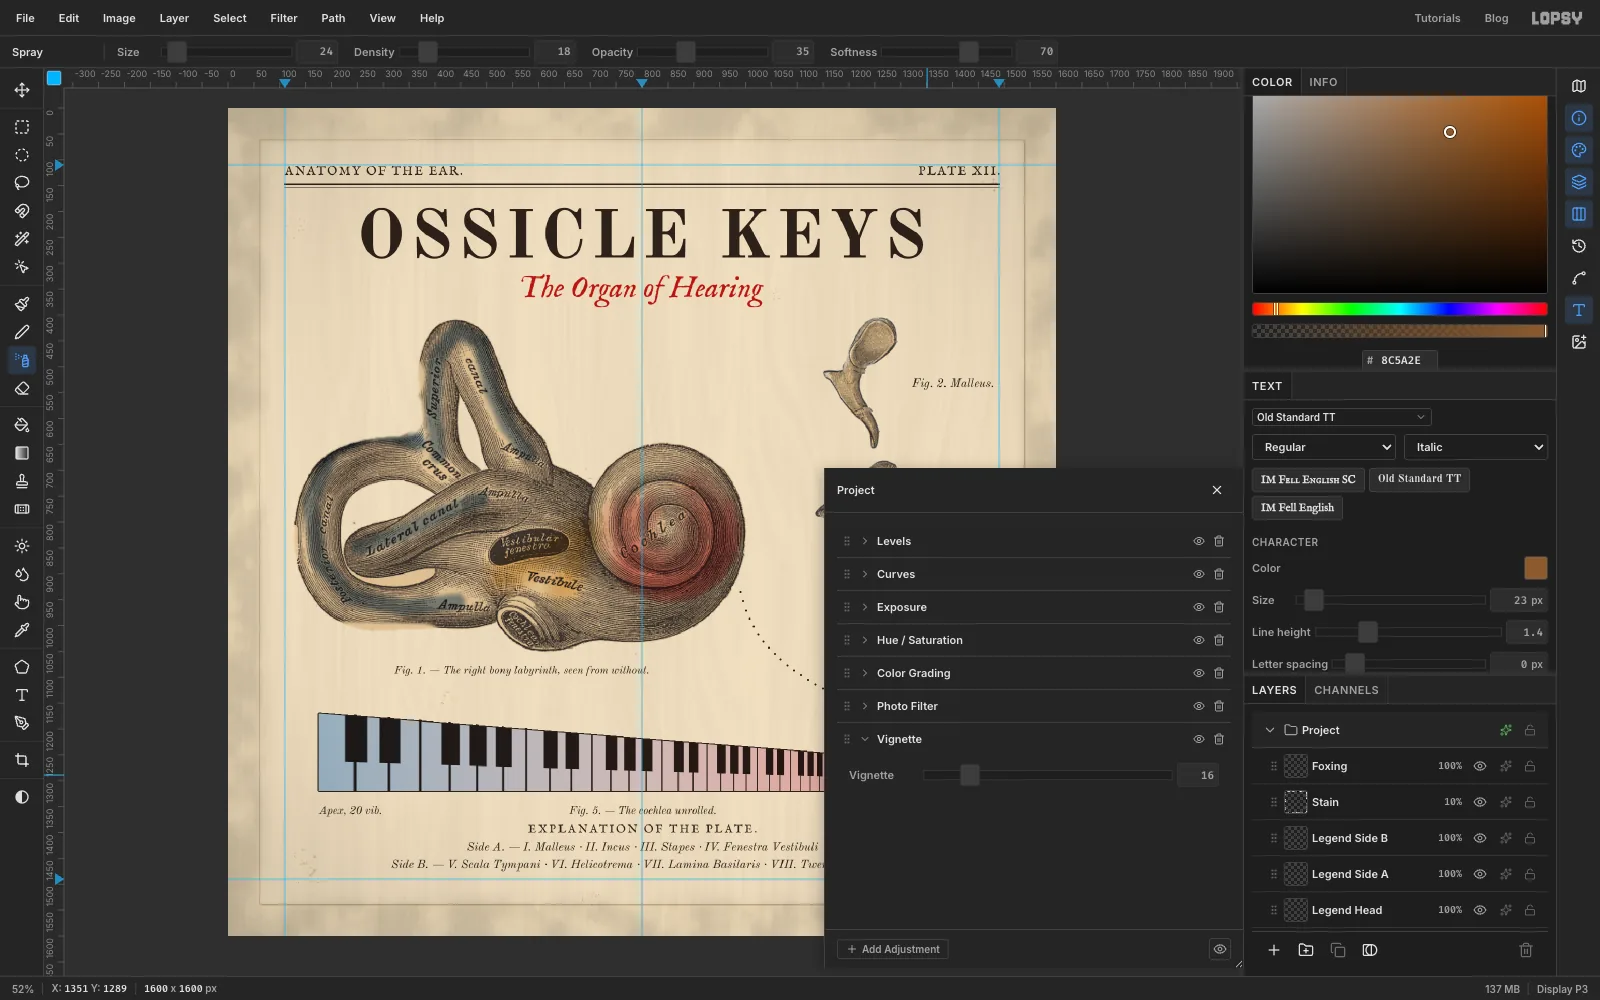
Foxingand pick the Spray tool with Size24, Density18, Opacity35, Softness70and the colour8C5A2E. Make a few short dabs, mostly near the corners; make the biggest ones with a larger Size, up to about75. Set the layer to Multiply. - Click the fx button on the
Projectgroup at the top of the Layers panel. Click Add Adjustment and add a Photo Filter, keep its default amber colour and set Density to6, then a Vignette of16. Close the panel.
Adjustments on the root group act on the whole picture without touching any pixels, so you can tune them at any time.
- Add a layer named
-
Build the library stamp
- Add a layer named
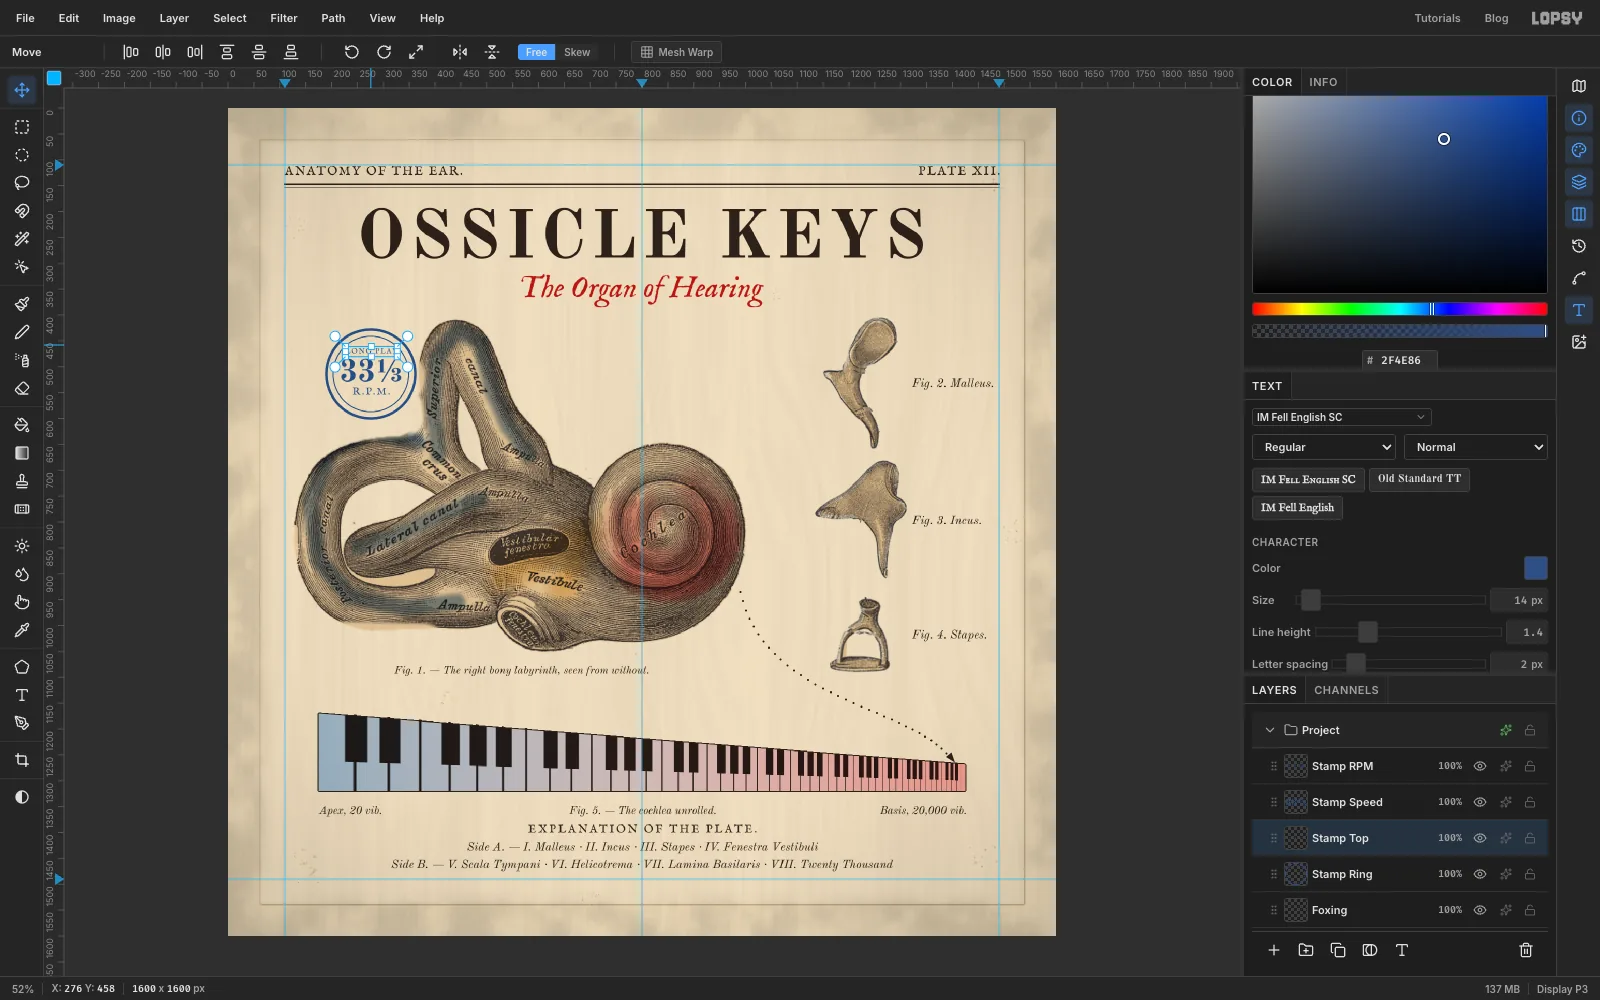
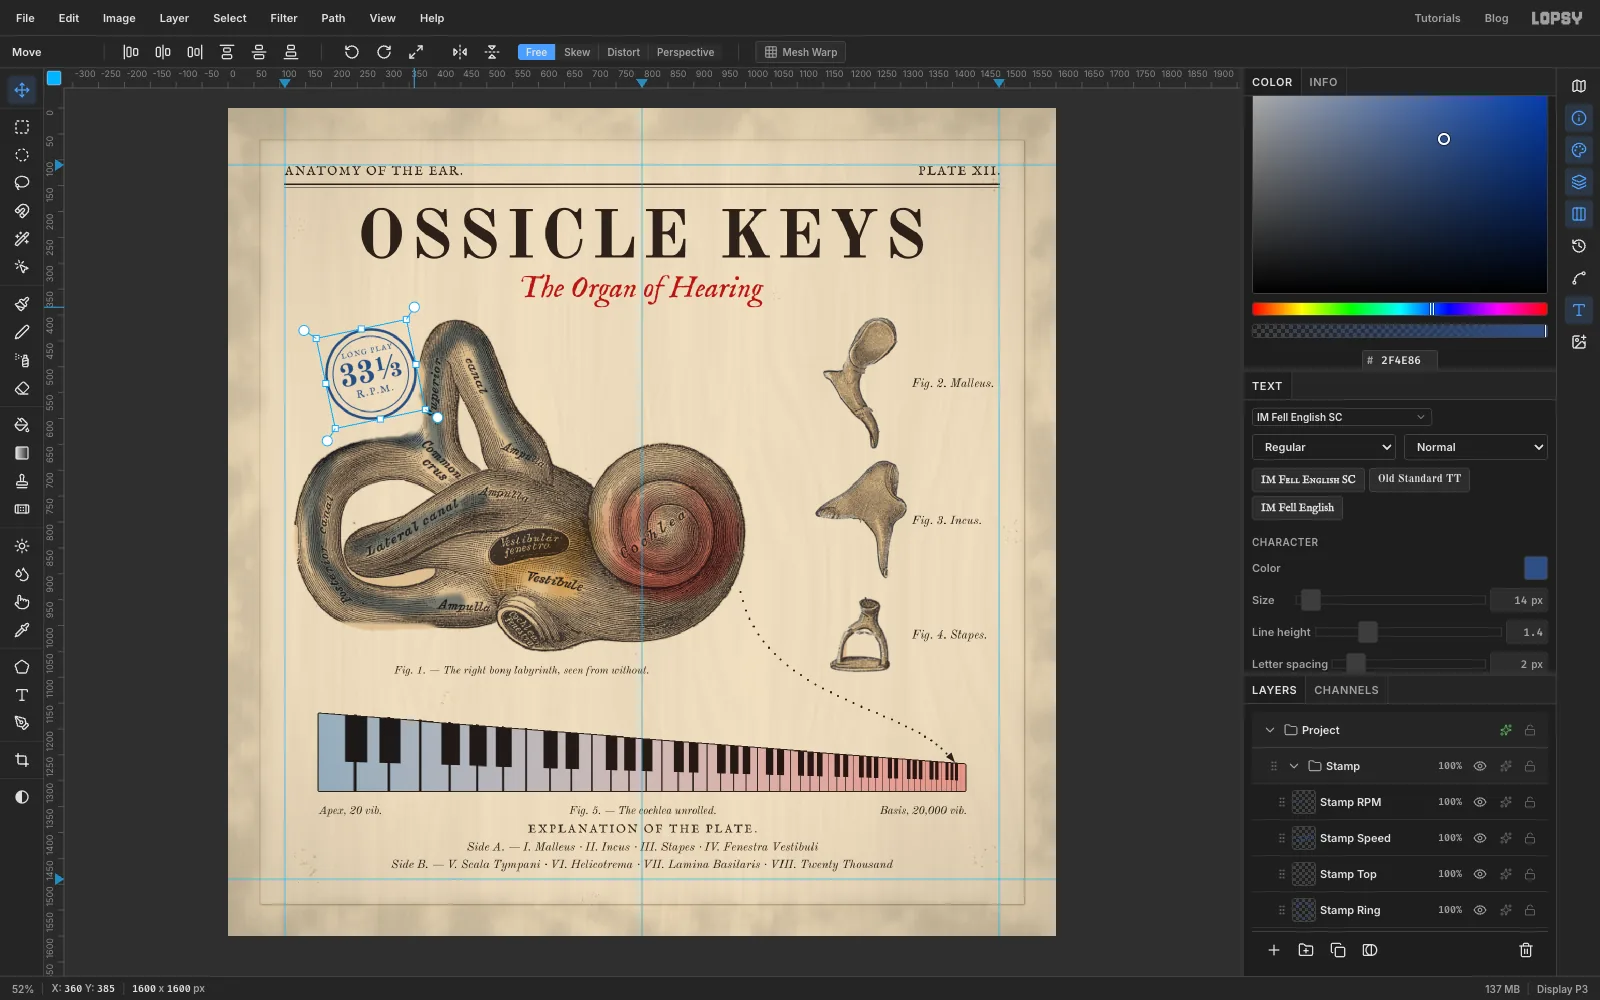
Stamp Ring. Pick the Shape tool, choose Ellipse with Output set to Pixels, no fill, and a2F4E86stroke of Width5. Shapes grow from where you press, so press at276, 514and drag out until the circle is 172 px across. - Set the stroke Width to
2and draw a second circle from the same centre, 146 px across. - Type three lines in
2F4E86, centred on x 276:LONG PLAYin IM Fell English SC at Size14,33⅓in Old Standard TT Bold at60, andR.P.M.in IM Fell English SC at20. There's no key for ⅓: copy it from this page. - Shift-click to select
Stamp Ringand the three text layers, and choose Layer → Group Layers. Name the groupStamp.
- Add a layer named
-
Tilt the stamp
With the
Stampgroup selected, pick the Move tool and drag from just outside a corner to turn it about 12° counter-clockwise. Press Enter. The ring and all three lines turn together.The ring overlaps the edge of the superior canal, the way a careless librarian's stamp lands half on the picture.
-
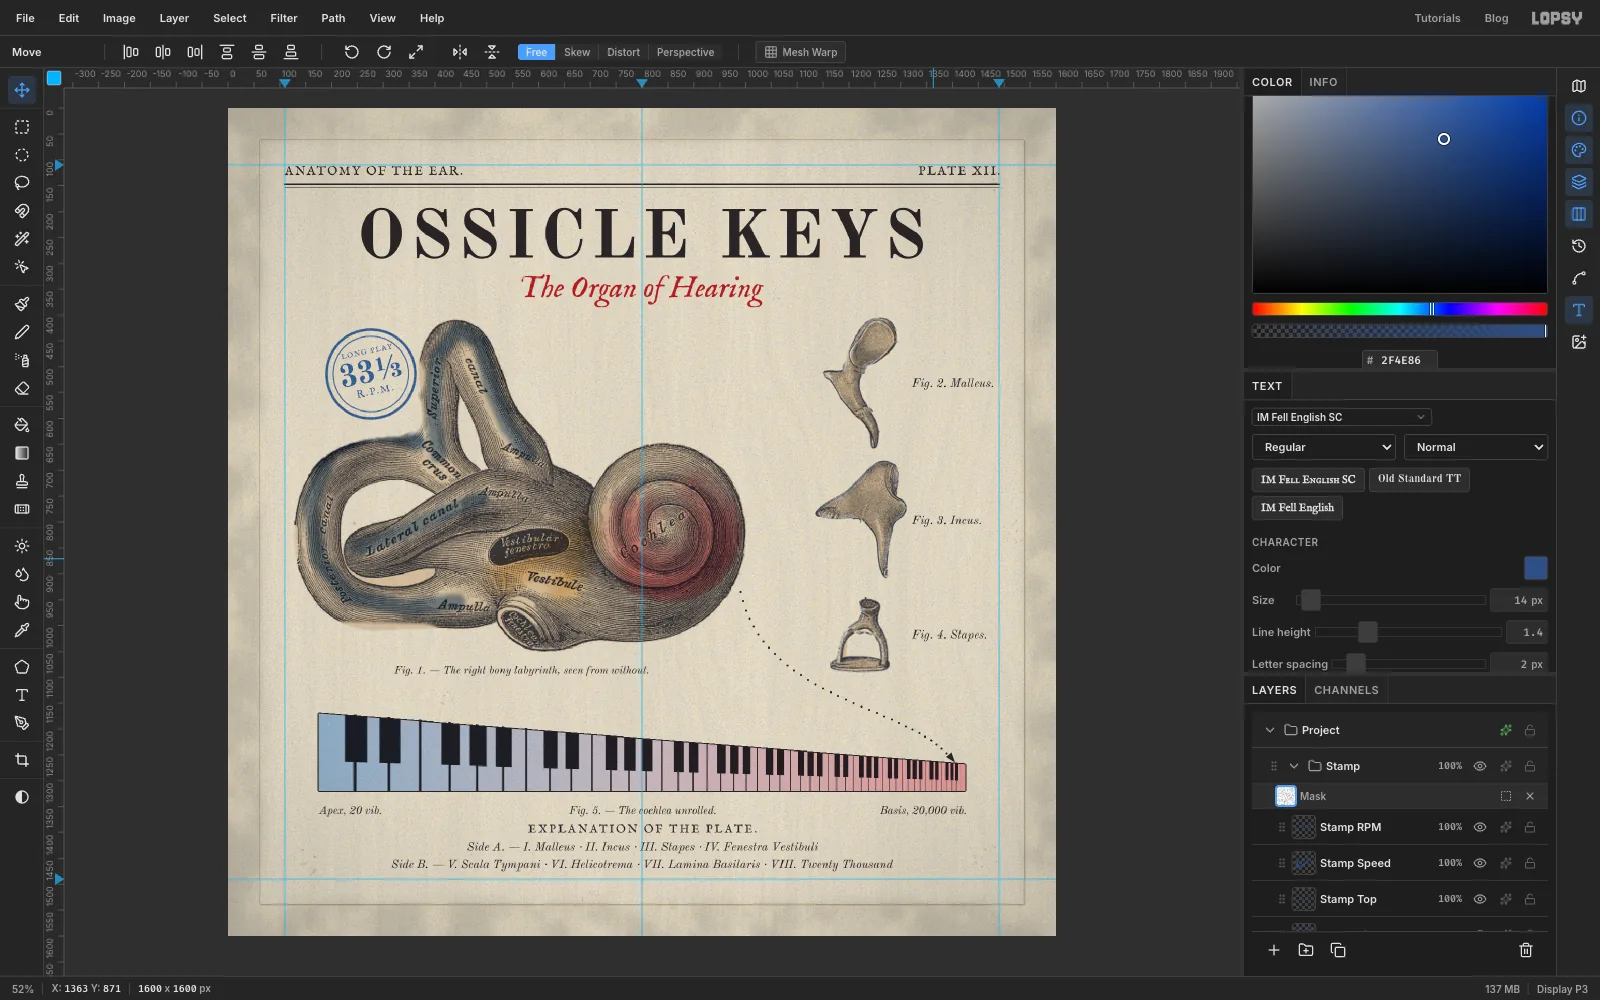
Wear the ink
- With
Stampselected, click Add Mask at the bottom of the Layers panel, then click the mask row to edit it. - Choose Filter → Add Noise… with Amount
100, Mono and Uniform. Do it three times. One pass isn't enough to break up the ink; three build a rough, uneven grain. - Choose Filter → Gaussian Blur… with Radius
1to clump the specks. - Choose Filter → Threshold… at
185. Enough specks drop out that the ink looks pressed onto rough paper. - Click the
Stampname to leave mask editing.
- With
-
Group the plate
Tidy the Layers panel so the plate is easy to adjust later.
- Click
Fig 1 Labyrinth, Shift-clickWash Vestibule, and choose Layer → Group Layers. Name itFig 1. - Do the same for
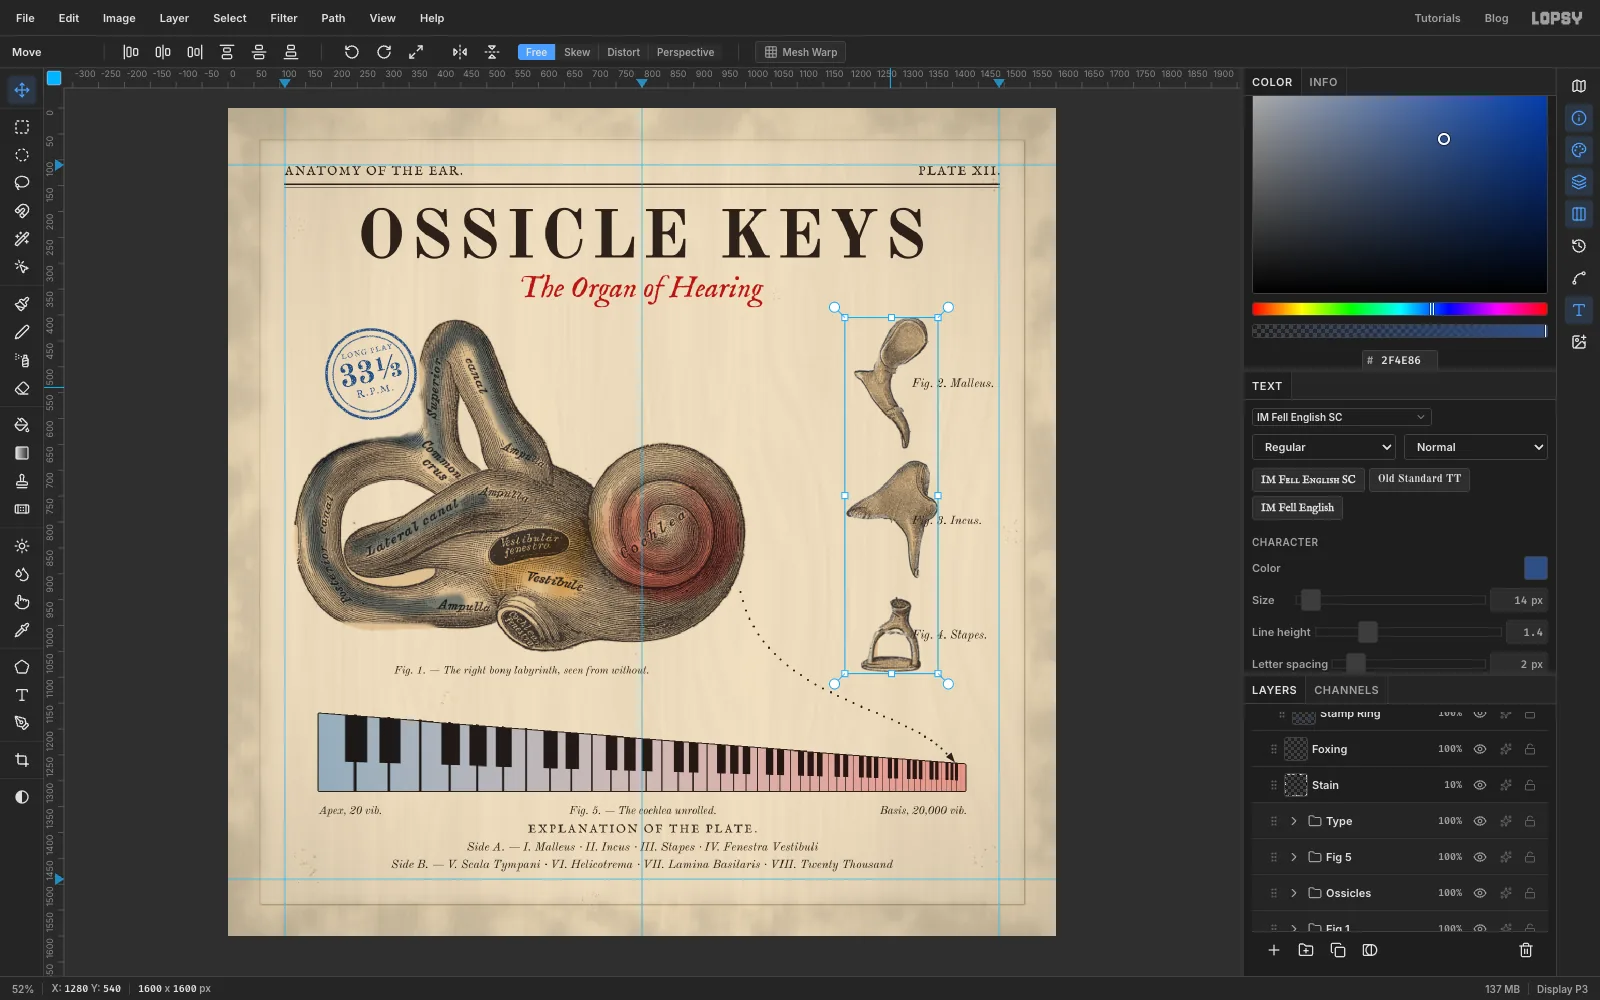
Fig 2 MalleustoWash Ossicles(Ossicles) andFig 5 KeystoLead Line(Fig 5). ForType, click the lowest text or rules layer aboveFig 5and Shift-click the highest text layer belowStain. - To try a different spacing, select the
Ossiclesgroup and drag it with the Move tool. All three bones and their wash move together. Drag it back, or press Cmd+Z.
- Click
-
Save and export
Choose File → Save Project to keep the layers, then File → Quick Export PNG for the cover.
Before you call it done, look at the finished plate at thumbnail size. The title, the red cochlea and the keyboard should read at a glance. Up close, the captions, the stamp's broken ink and the stain at the edges reward a second look.