Draw an Art Nouveau Insect Tattoo Flash Sheet
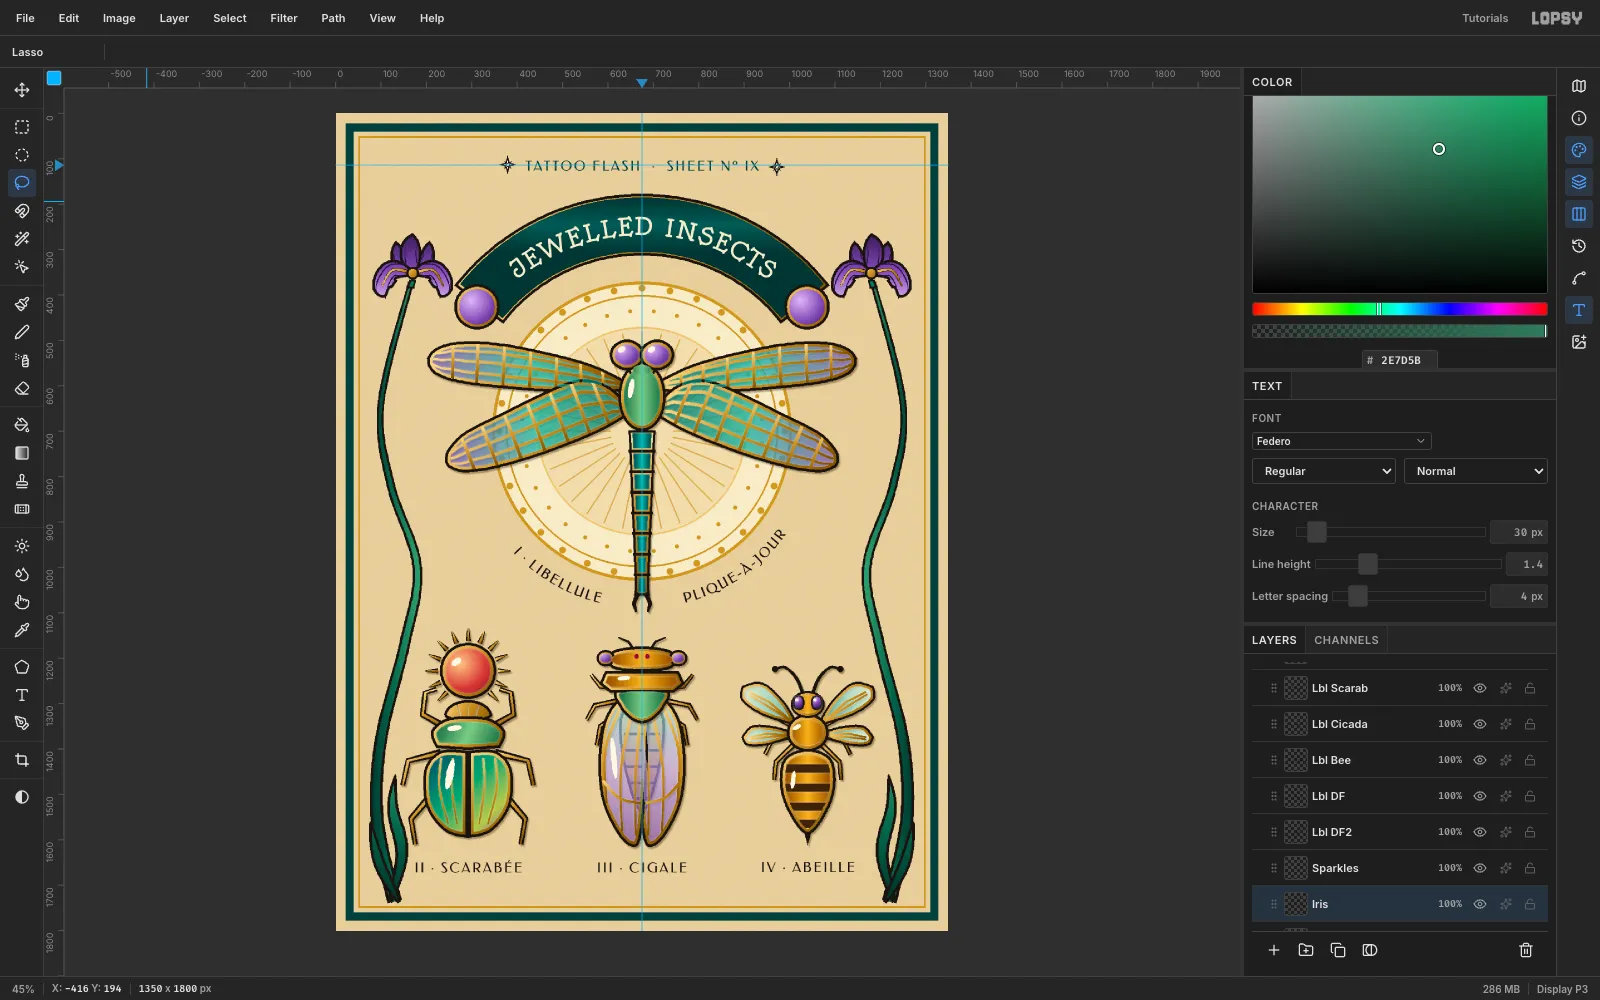
Build a Lalique-style JEWELLED INSECTS flash sheet in Lopsy with gold cloisons, translucent plique-à-jour enamel, a radial-symmetry halo and arched type.
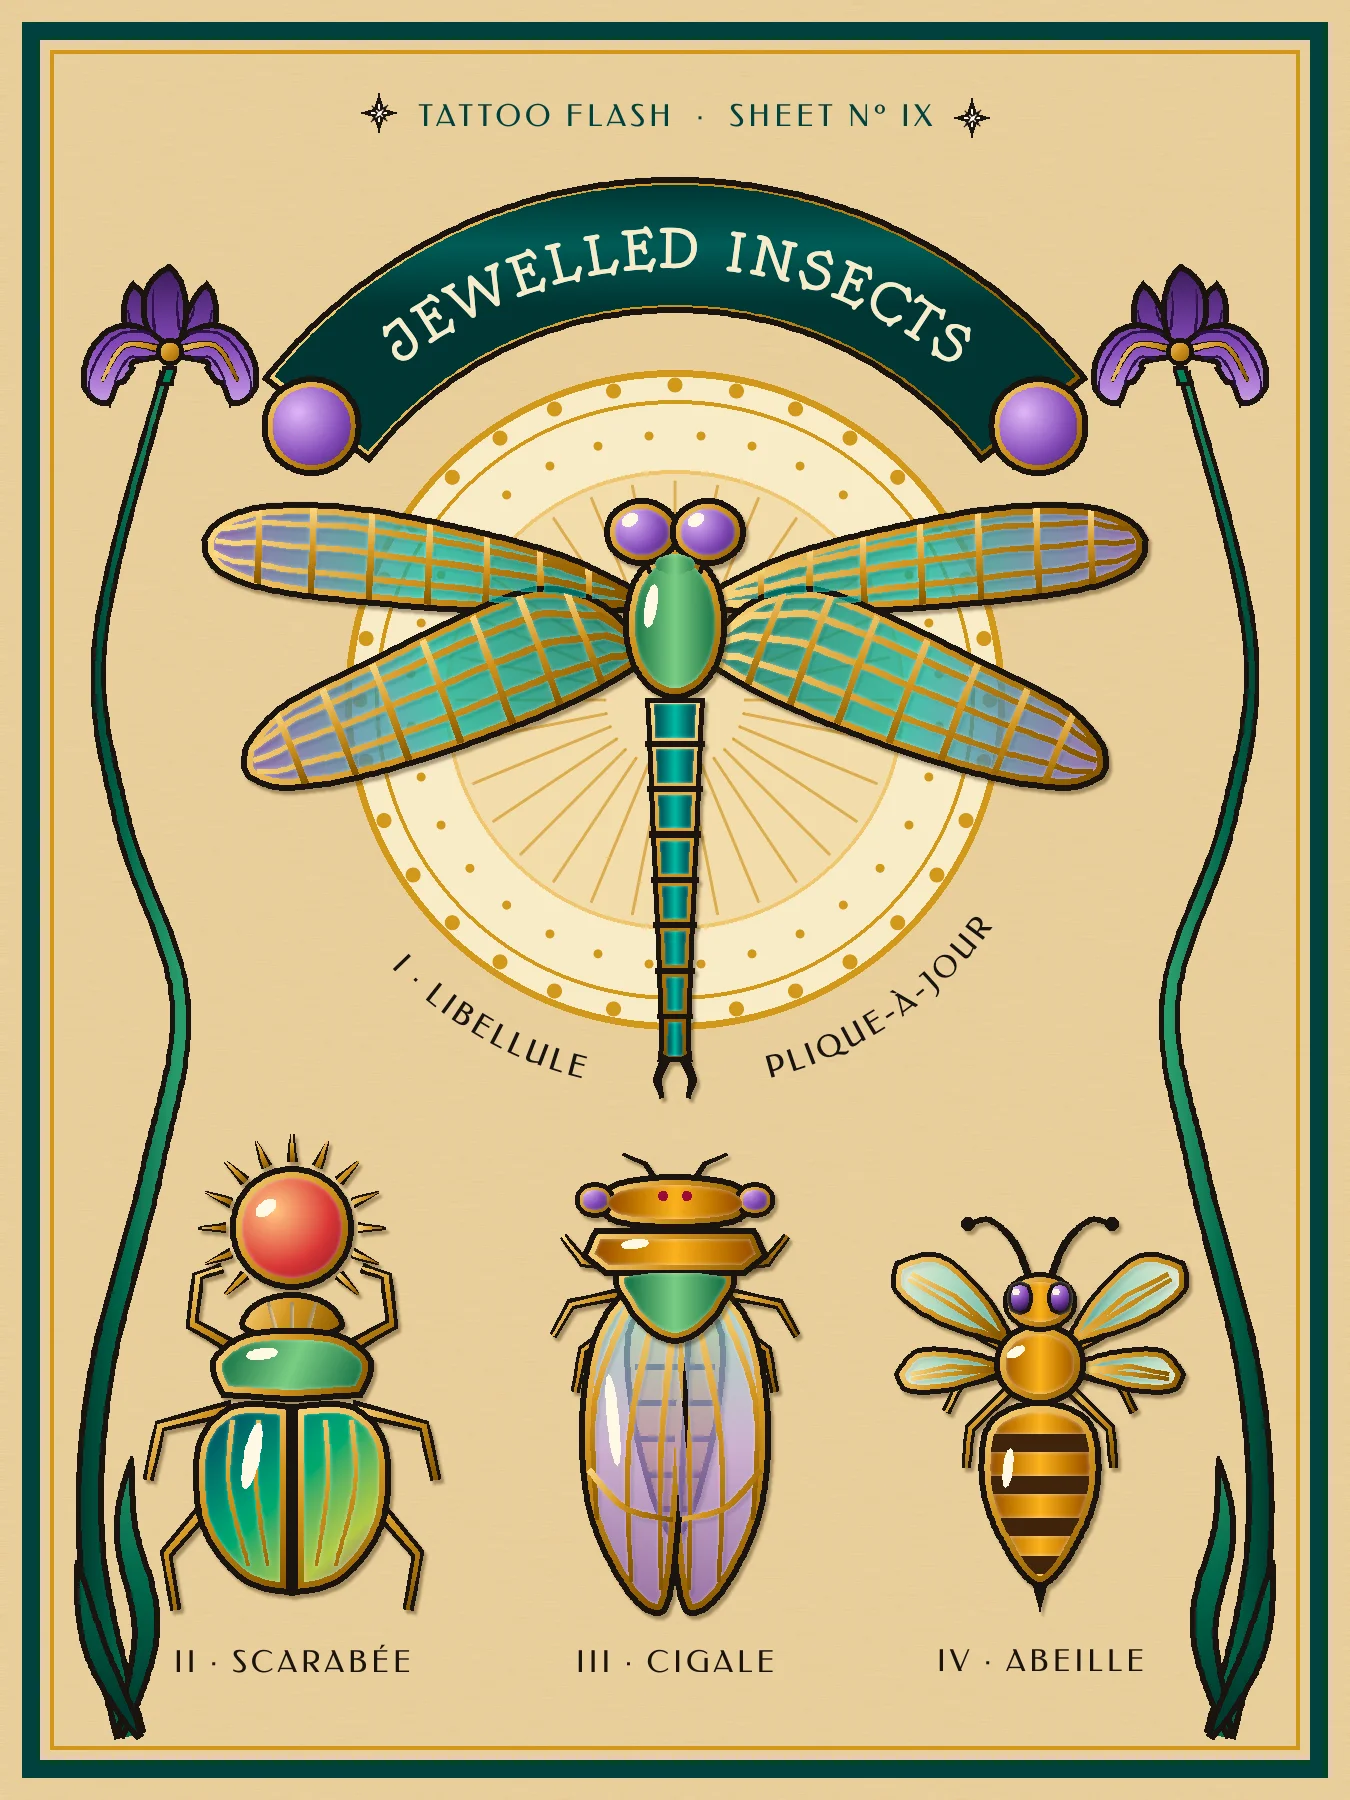
Around 1900 René Lalique made insects into jewellery. He set dragonflies, scarabs and cicadas in gold, and filled their wings with plique-à-jour: backless, translucent enamel held in gold wires (cloisons), like a tiny stained-glass window. In this tutorial you'll turn that idea into a tattoo flash sheet, a bordered page of numbered designs a client can pick from, framed the way Alphonse Mucha framed his posters. It gets a halo, an arched title band and whiplash iris stems.
It's fully drawn. There are no photos, and almost no brushwork. Every shape is a Lasso or Elliptical Marquee selection, and every piece uses the same three-part recipe:
- Fill the silhouette with ink.
- Select → Shrink a few pixels and fill again with a gold gradient, which leaves an even black outline.
- Shrink again and either fill with an enamel gradient or Delete to hollow the metal out.
The palette:
- Paper
#E4CFA0, ink#1A1410, frame teal#16403E - Gold ramp
#F6DC8E→#C99A3B→#7A5418 - Enamels: teal
#0E6A66→#34AE9E→ violet#7450B4, jade#1E5B3A/#8CCB8A, amethyst#D9B8F2→#7A4BB0→#2A1446, amber#7A3E0C/#F0B545
-
Start a 1350 × 1800 sheet
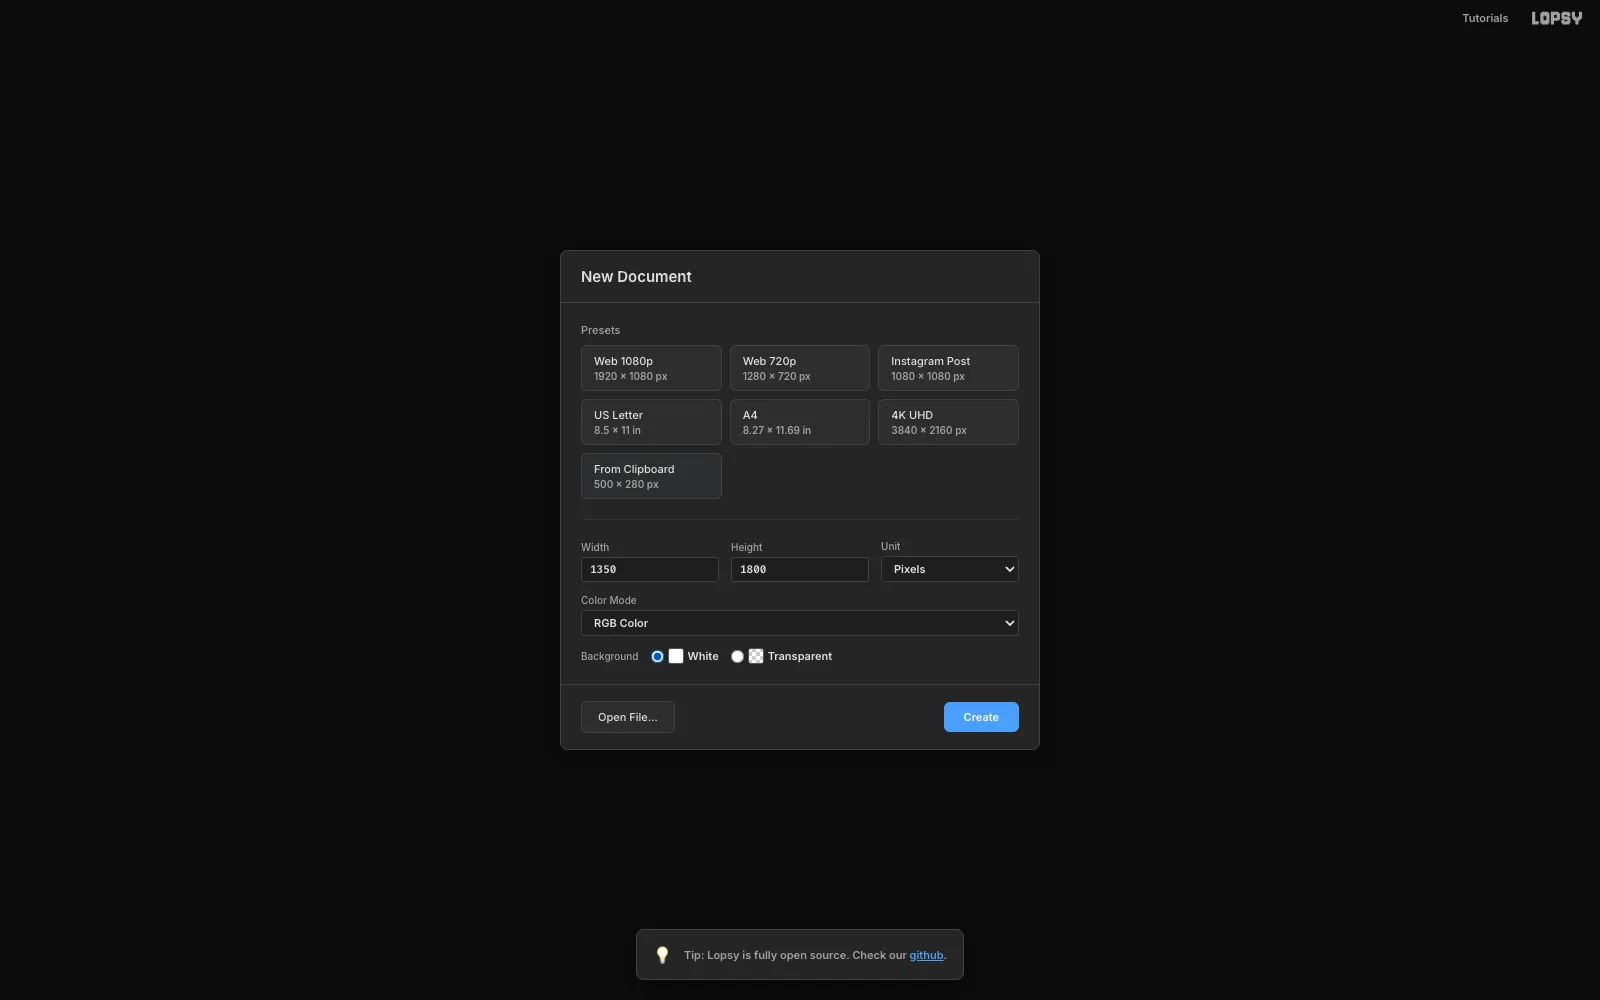
Choose File → New, set Unit to Pixels and enter 1350 × 1800 (3:4, close to an 11 × 14 inch flash sheet), then click Create. Set the unit before you type the size: clicking a preset tile switches it to inches.
-
Make laid paper with Add Noise, Motion Blur and Emboss
Click Background, set the foreground to
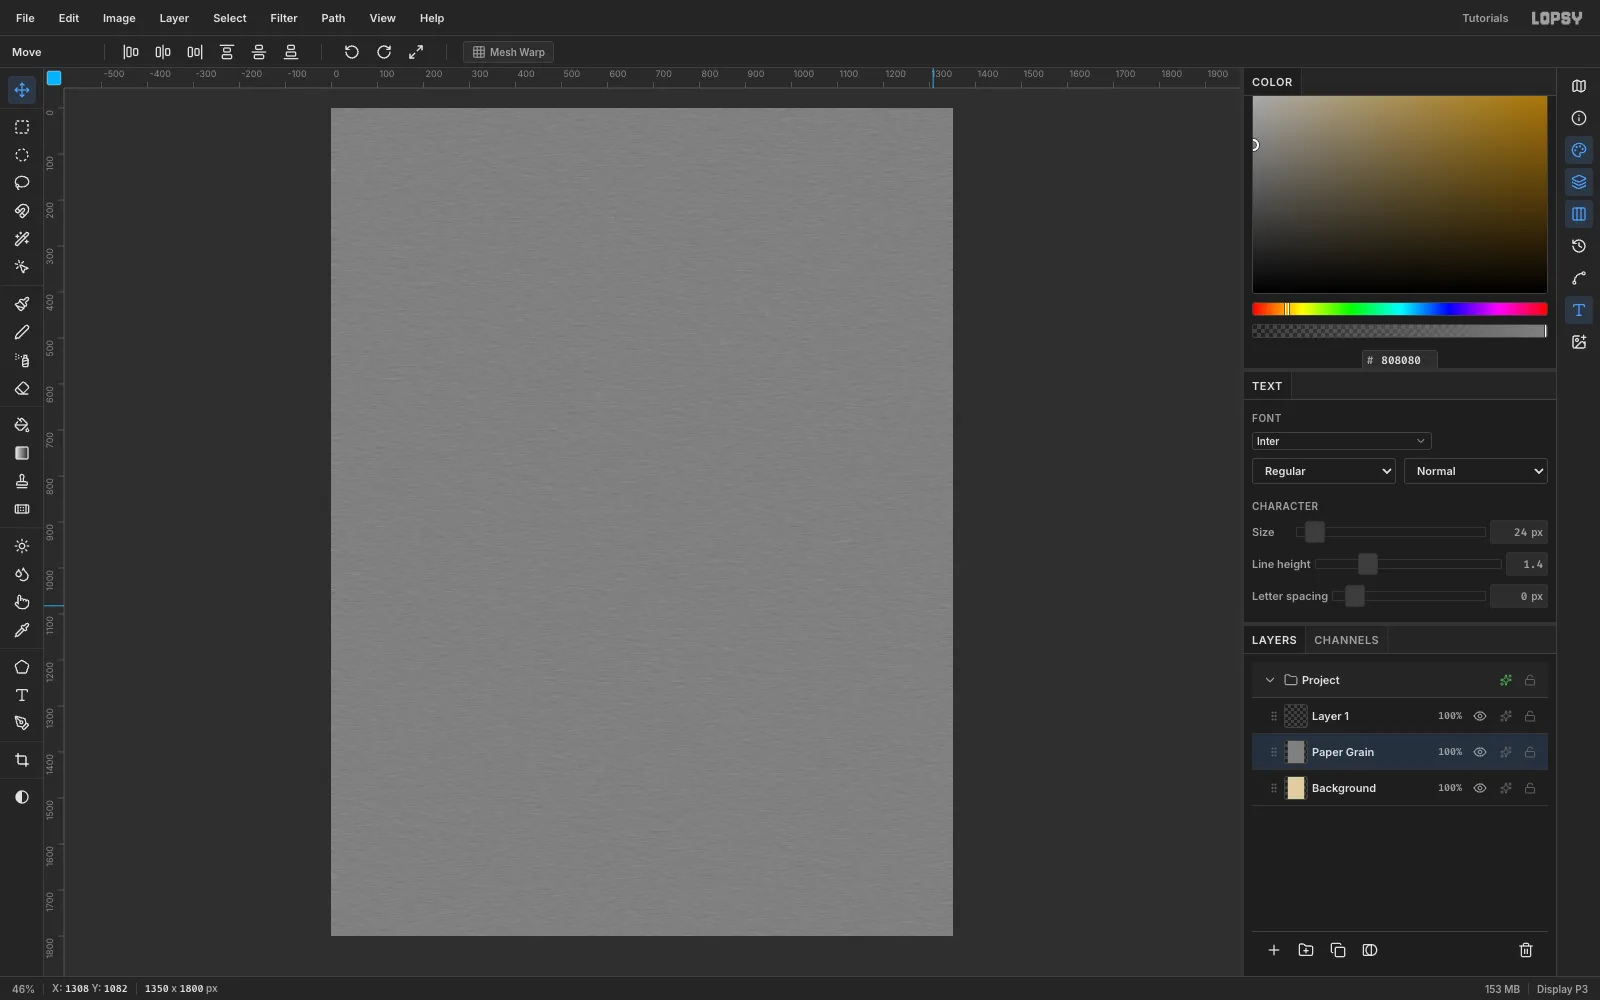
#E4CFA0and choose Edit → Fill. Add a layer named Paper Grain, fill it with#808080, then run three filters:- Filter → Add Noise… with Amount 60, Mono, Gaussian.
- Filter → Motion Blur… with Angle 0 and Distance 14. The specks become horizontal fibres.
- Filter → Emboss… with Angle 135 and Strength 40.
-
Blend the grain and draw the frame
Open Paper Grain's effects drawer (✦), set Blend to Overlay, and set the row's opacity to 65%. The grey disappears and only the embossed fibres stay.
On a new Frame layer:
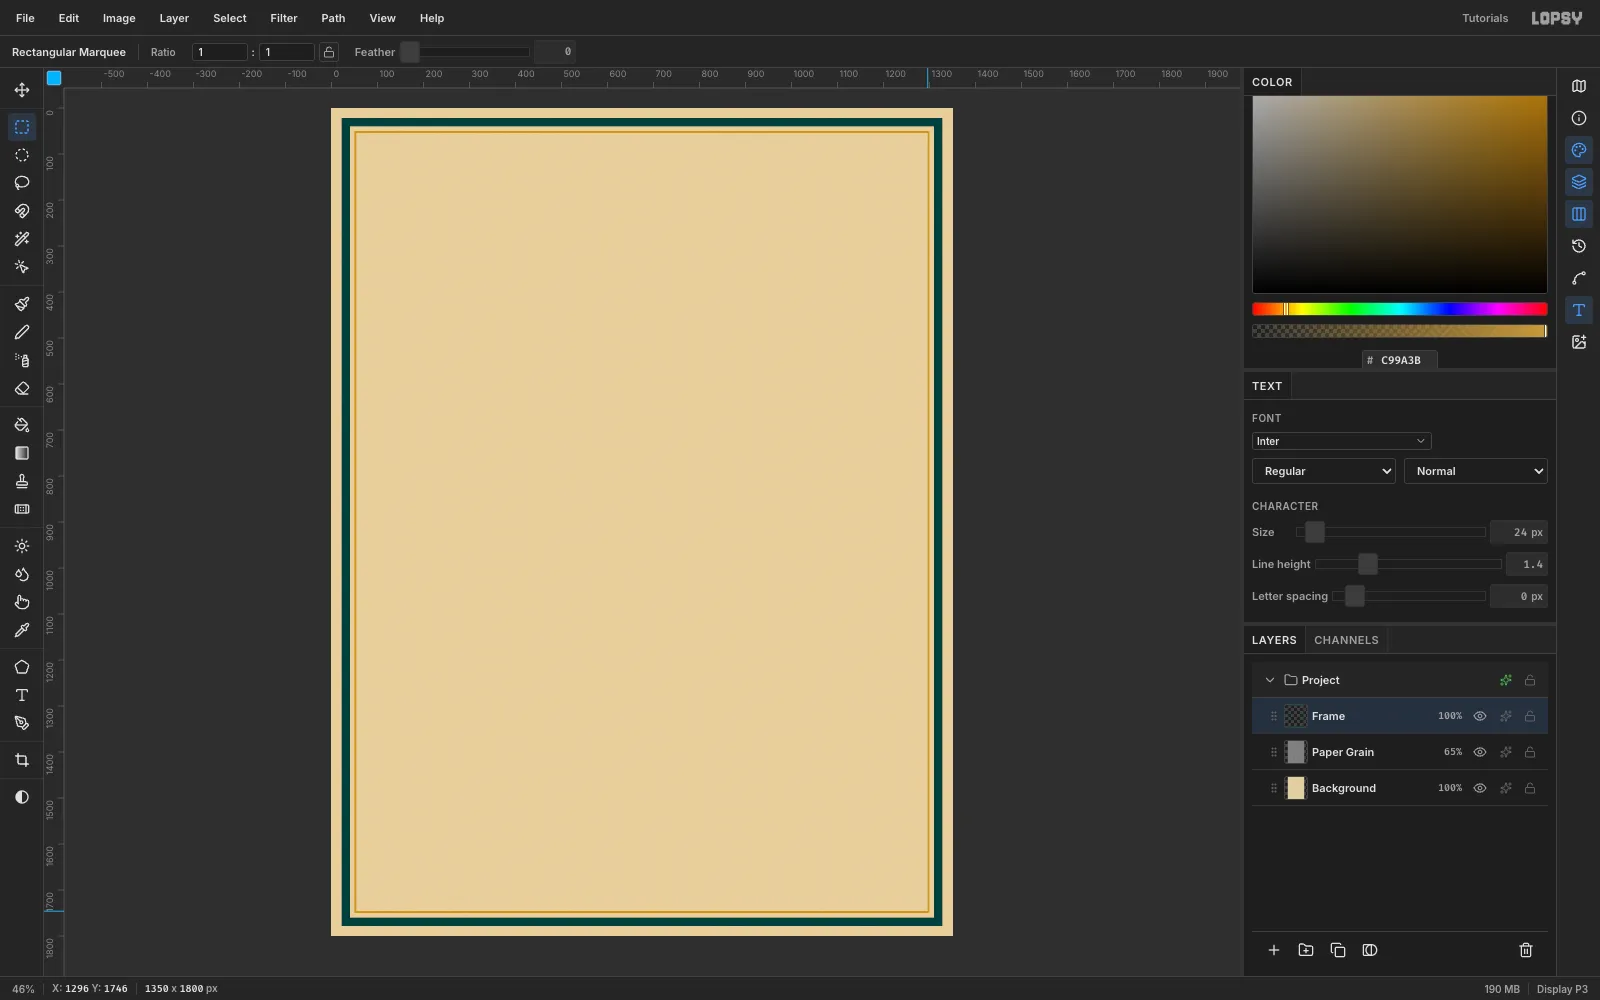
- Draw a Rectangular Marquee from (22,22) to (1328,1778) and fill it with frame teal.
- Marquee (40,40)–(1310,1760) and press Delete, which leaves an 18 px band.
- Repeat inside it in gold: fill (50,50)–(1300,1750) with
#C99A3B, then delete (54,54)–(1296,1746), which leaves a 4 px rule.
-
Build the halo from shrunken ellipses
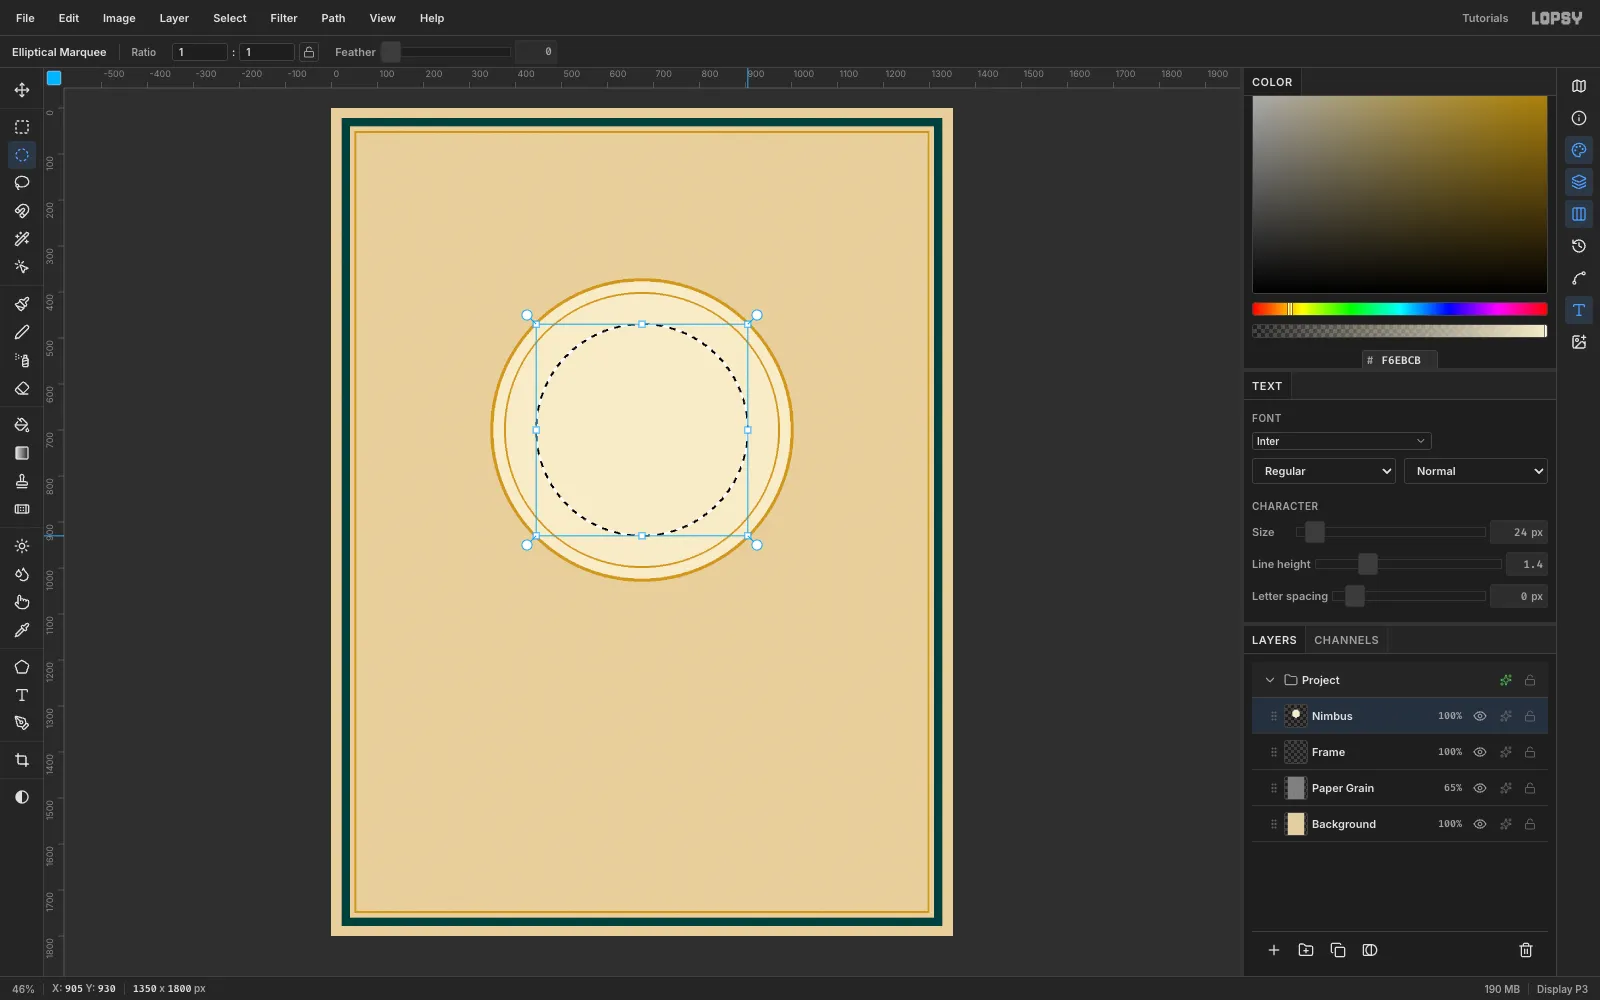
Mucha put a halo behind every figure. On a Nimbus layer, centred on (675,700):
- Drag an Elliptical Marquee with radius 330, fill it gold, then Select → Shrink… 6 and fill cream
#F6EBCB. - Do the same at radius 300 with Shrink 3.
- Do it again at radius 230 in light gold
#E9C77Awith Shrink 3 and#EFDDB0.
Each pair of fills leaves a crisp gold ring.
- Drag an Elliptical Marquee with radius 330, fill it gold, then Select → Shrink… 6 and fill cream
-
Paint beads and rays with Radial Symmetry
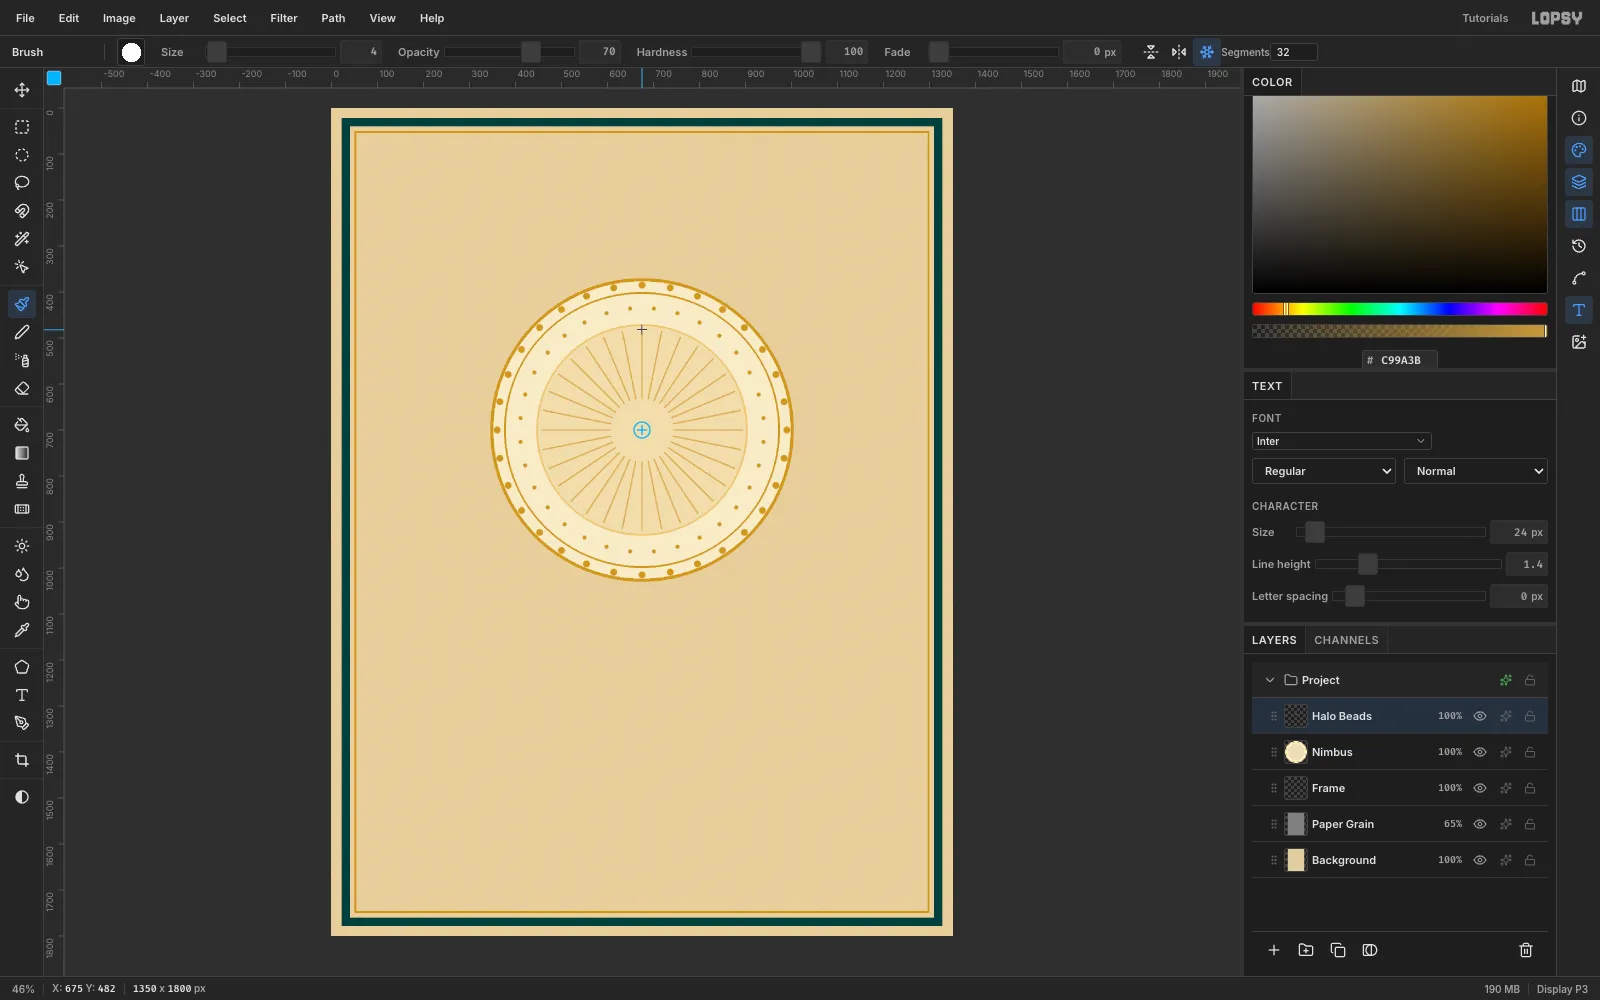
Add a Halo Beads layer and pick the Brush (Size 16, Hardness 100, gold). Click Radial Symmetry in the options bar and set it to 32. Cmd-click the halo centre (675,700) to move the symmetry centre there. Then:
- One click at (675,385) paints 32 beads.
- At Size 10, one click half a step round, at radius 265, gives the inner ring.
- At Size 4 and Opacity 70, click (675,630) and Shift-click (675,482). That straight line is mirrored into 32 rays.
Click Radial Symmetry again to switch it off. It captures every Cmd-click while it's on.
-
Arch the title band
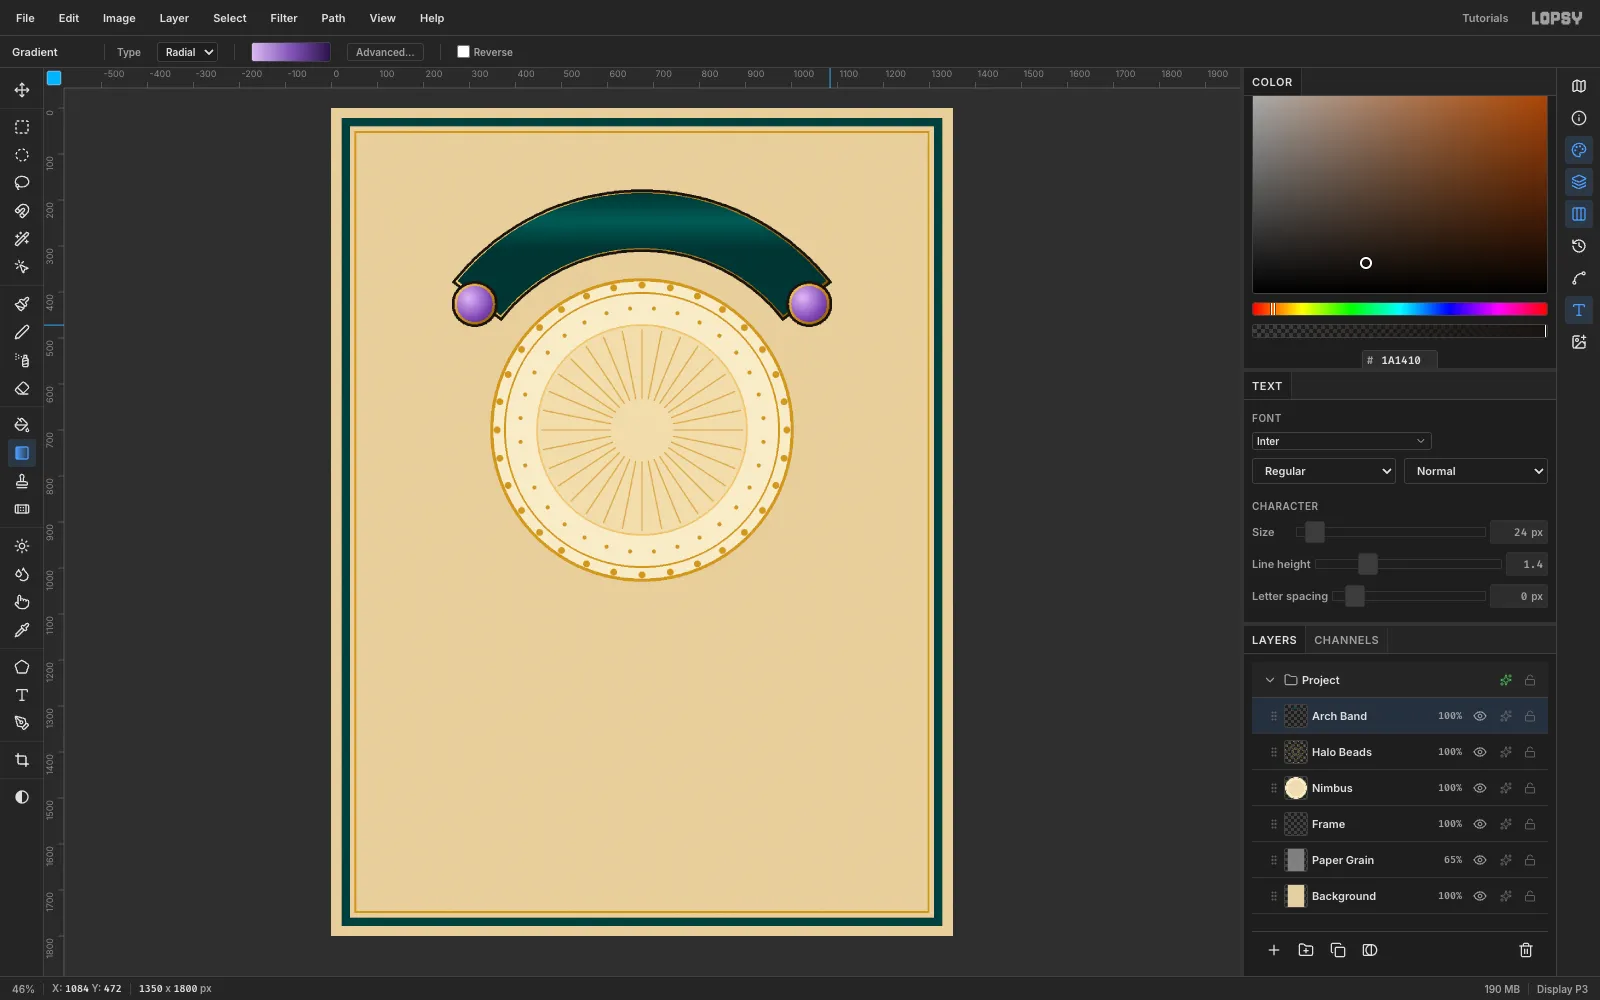
The band is a ring segment around the halo centre, running from −141° to −39° between radii 395 and 515. Lasso it slightly oversized and fill ink, Shrink 5, then drag a Gradient of the gold ramp across it. Lasso the exact band and drag a vertical gradient
#0F3533→#1F5A56→#0F3533through it.At each end, add a cabochon:
- Fill an ink circle with radius 50 and add the gold ring the same way.
- Set the Gradient tool to Radial and drag the amethyst ramp outward from a point up and to the left of centre inside a radius-39 circle. The off-centre start gives it a highlight.
-
Grow whiplash irises up both sides
On an Iris layer, lasso each stem as a ribbon that swings in an S from the bottom corner up to the top corner:
- Taper each stem from 32 px wide at the base to 12 px at the top, and fill it with ink.
- Lasso a thinner ribbon inside it and fill that with a green gradient (
#0E3A30→#4F9A70). - Add two sword-shaped leaves at the base.
Each bloom has five petals: three standards pointing up and two falls curling down. Fill each petal ink, Shrink 5, and fill it with the amethyst ramp. Add thin
#2A1446vein lines, a gold beard on each fall, and a small gold knob at the centre.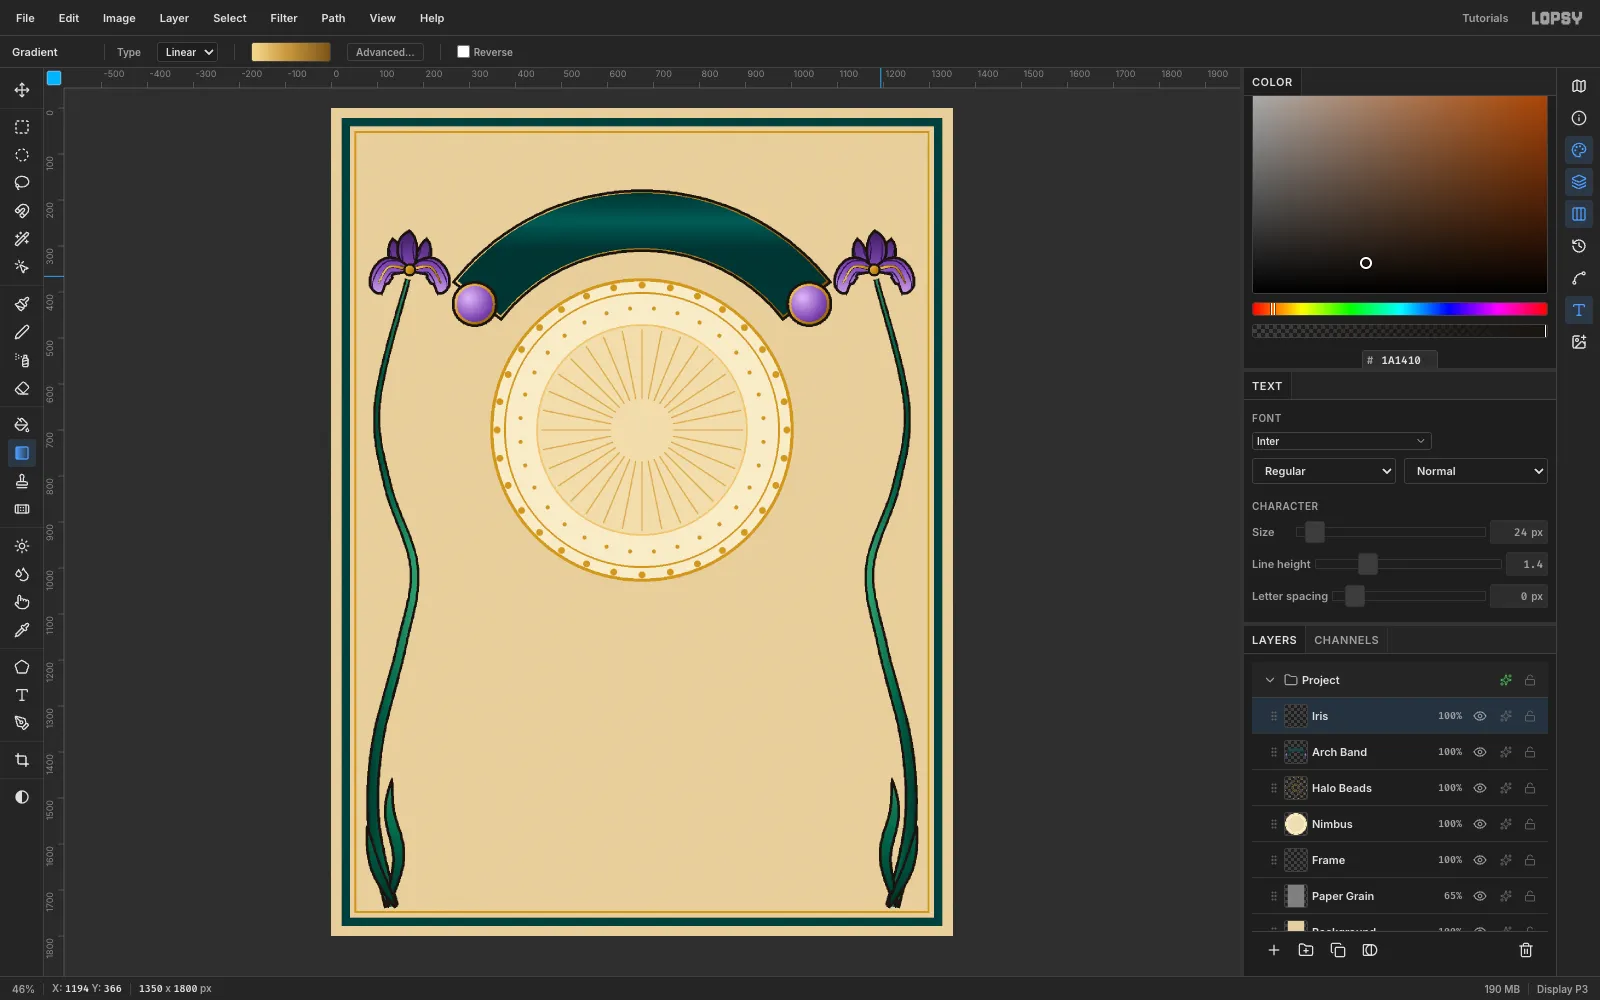
-
Draw the dragonfly's hollow gold wings
Click Iris, then click New Group and name it Dragonfly. Add a DF Wing Metal layer. For each of the four wings:
- Lasso the wing silhouette and fill it with ink.
- Shrink 5 and fill it with the gold gradient.
- Shrink 11 and press Delete. You're left with a hollow wire.
Then lasso the veins as thin strips and fill each one gold: three long veins from base to tip, and seven cross veins. Give the layer a Drop Shadow in
#3A2A10(Offset 3 / 4, Blur 4, Opacity 40) so the metal sits slightly above the paper.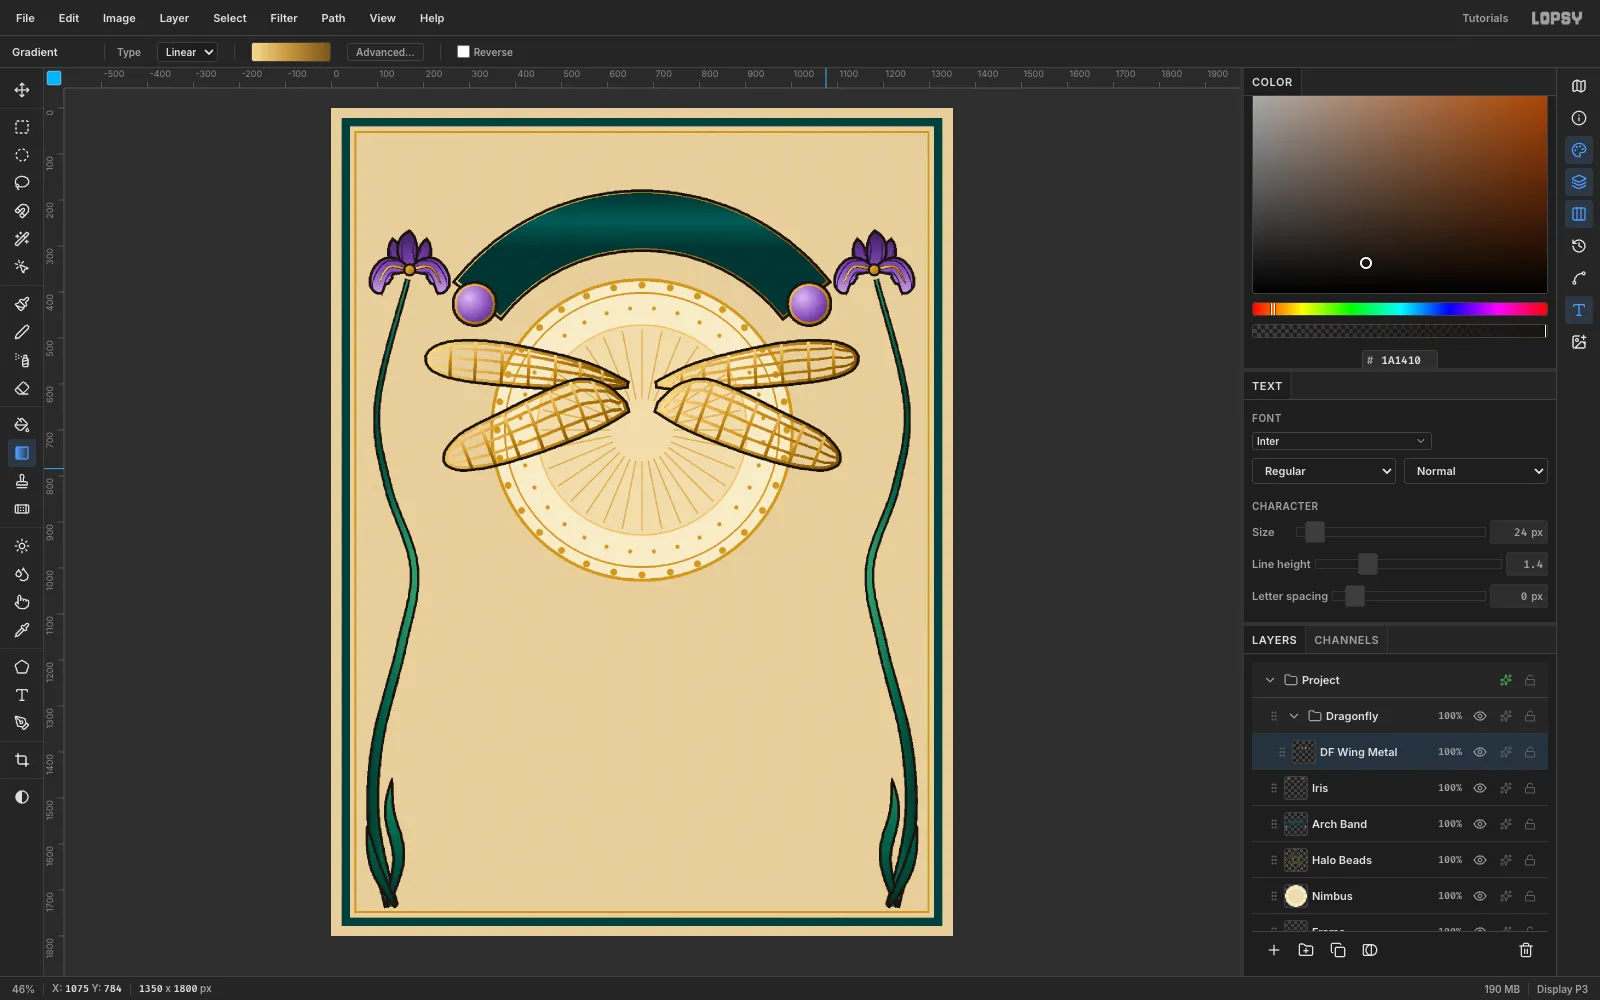
-
Fill one side with enamel
Add a layer named DF Wing Enamel L. Lasso the left forewing, Shrink 11, and drag a Linear Gradient from the wing base to its tip using
#0E6A66→#34AE9E→#7450B4. Repeat for the left hindwing. You'll mirror these later instead of painting the right side.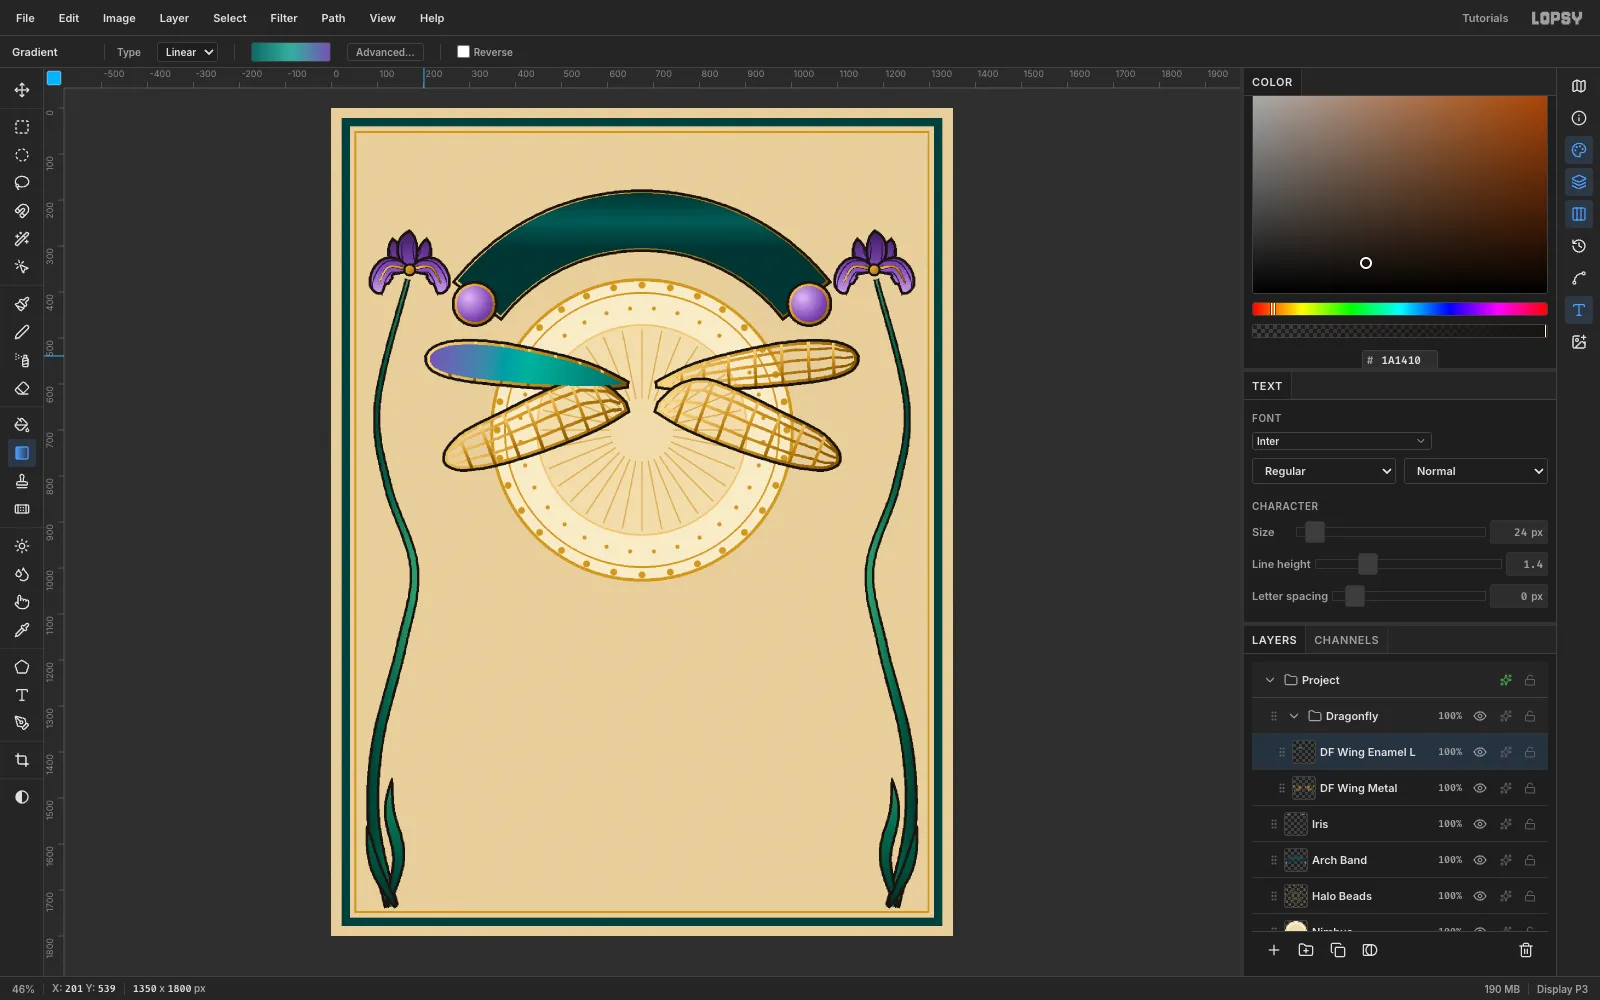
-
Cut the veins through the enamel
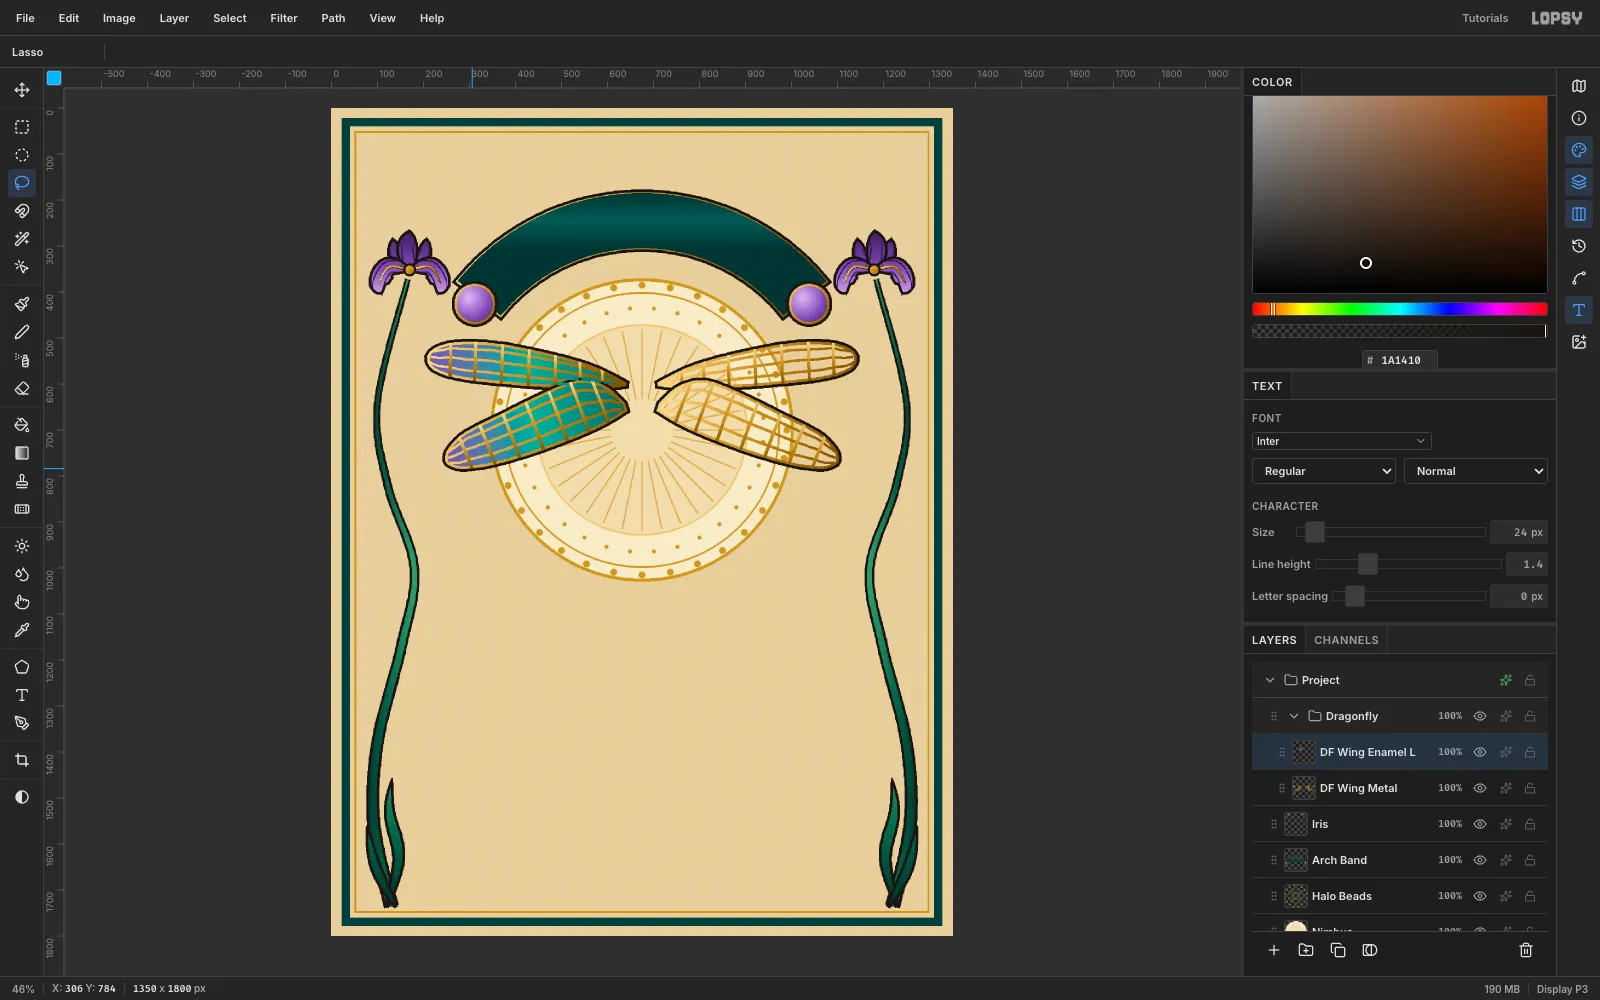
Lasso the same vein strips again on the enamel layer and press Delete for each one. The enamel splits into separate cells, and the gold veins on the metal layer show through the gaps. That's plique-à-jour: coloured windows held by gold.
-
Mirror the enamel with Duplicate and Flip
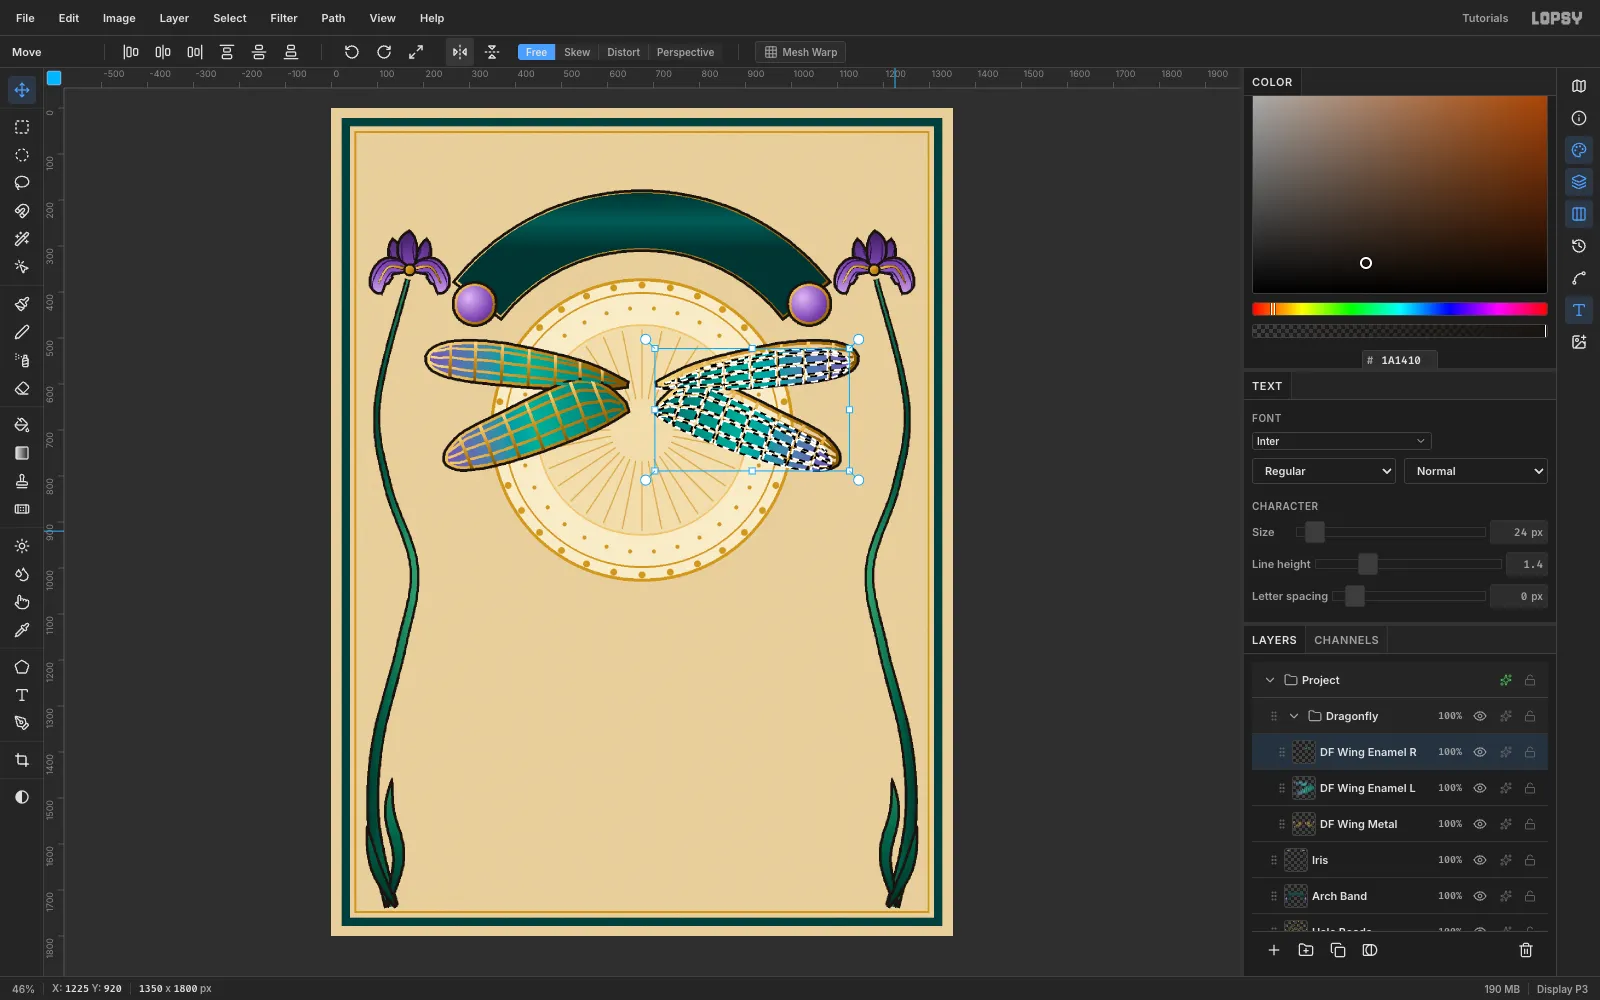
Switch to the Move tool, click Duplicate Layer, click the copy's row and rename it DF Wing Enamel R. Draw a Rectangular Marquee that is exactly symmetric about the body, from (125,420) to (1225,920). Then click Flip Horizontal in the options bar: the flip happens about the marquee's centre. Press Cmd+D.
Duplicate offsets the copy by +10 / +10, and the flip mirrors that into −10 / +10. Nudge the copy 10 px right and 10 px up with the arrow keys. The two sides then match pixel for pixel.
-
Make the wings translucent
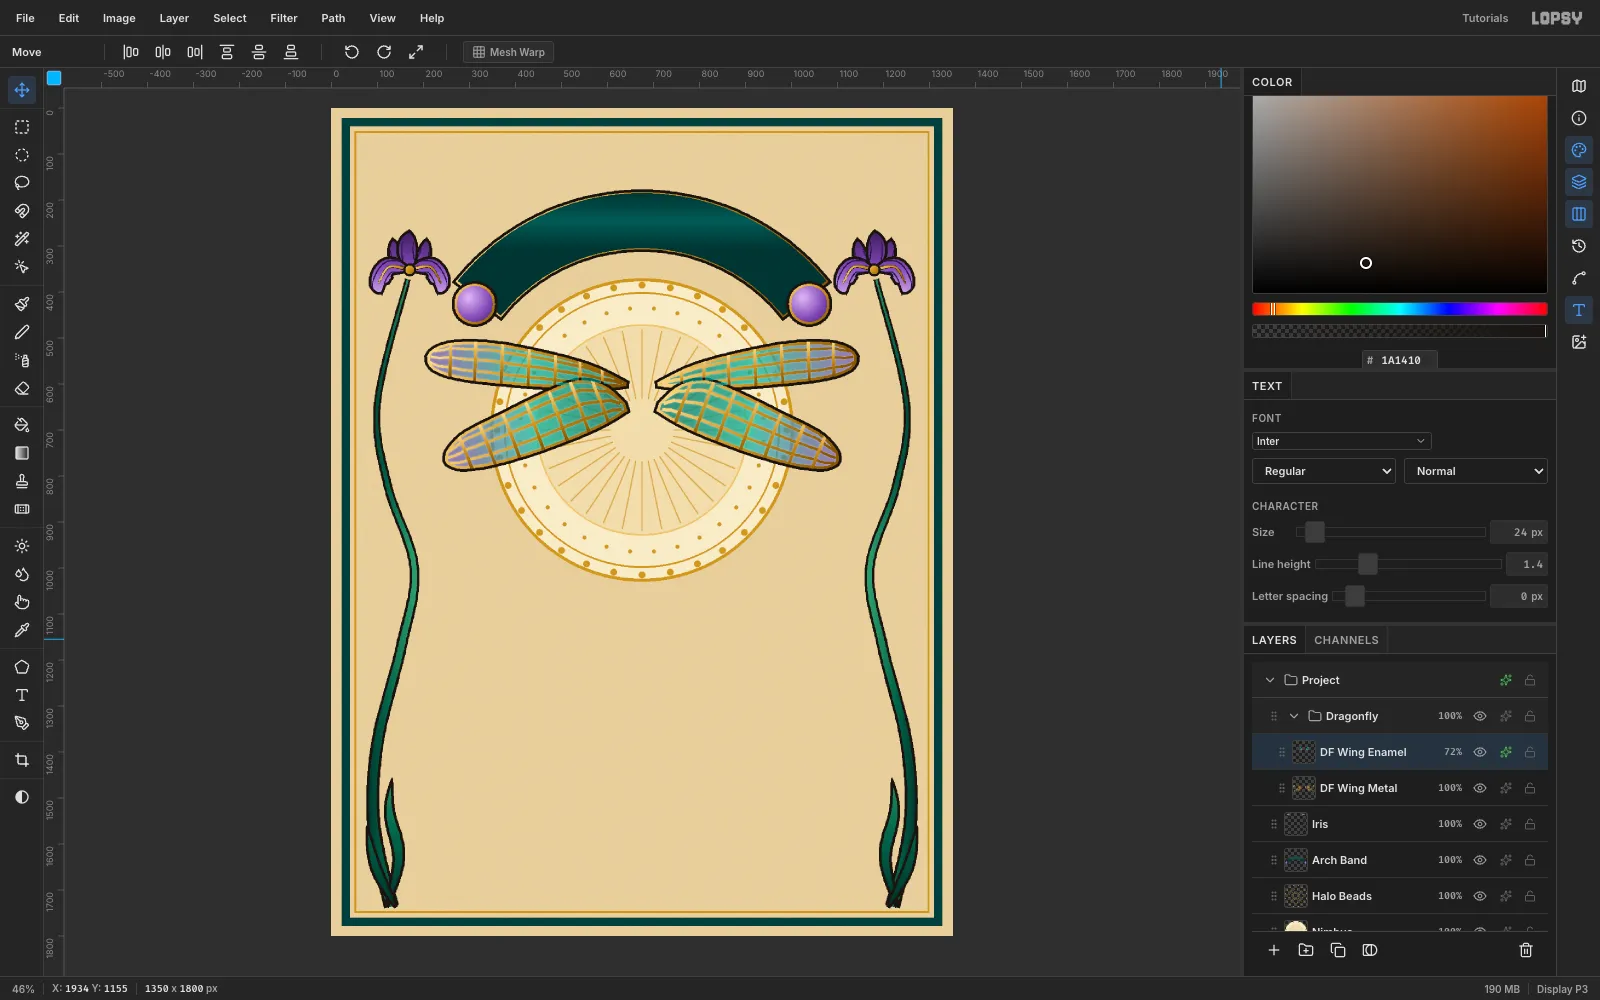
Click the right copy's row and choose Layer → Merge Down, then rename the result DF Wing Enamel. Add an Inner Glow in white (Size 6, Spread 0, Opacity 45). Every cell gets a bright glassy rim. Set the row's opacity to 72%. The halo's beads and rays now glow through the wings, because the metal underneath is hollow.
-
Add the body
Add DF Body Metal, with the same Drop Shadow as the wing metal, and DF Body Enamel above it. Build each part on these two layers:
- Eyes: two ellipses (38 × 34) filled with a radial amethyst gradient.
- Face: a small capsule below the eyes.
- Thorax: a jade ellipse (52 × 76), with its gradient dragged across it (
#1E5B3A→#8CCB8A→#1E5B3A). - Abdomen: a ribbon tapering from 60 px to 28 px. Split it into 8 segments with thin ink bars, and give each segment its own left-to-right teal gradient.
- Tip: two small claspers.
Give the enamel layer an Inner Glow in
#F4FFF8(6 / 0 / 50).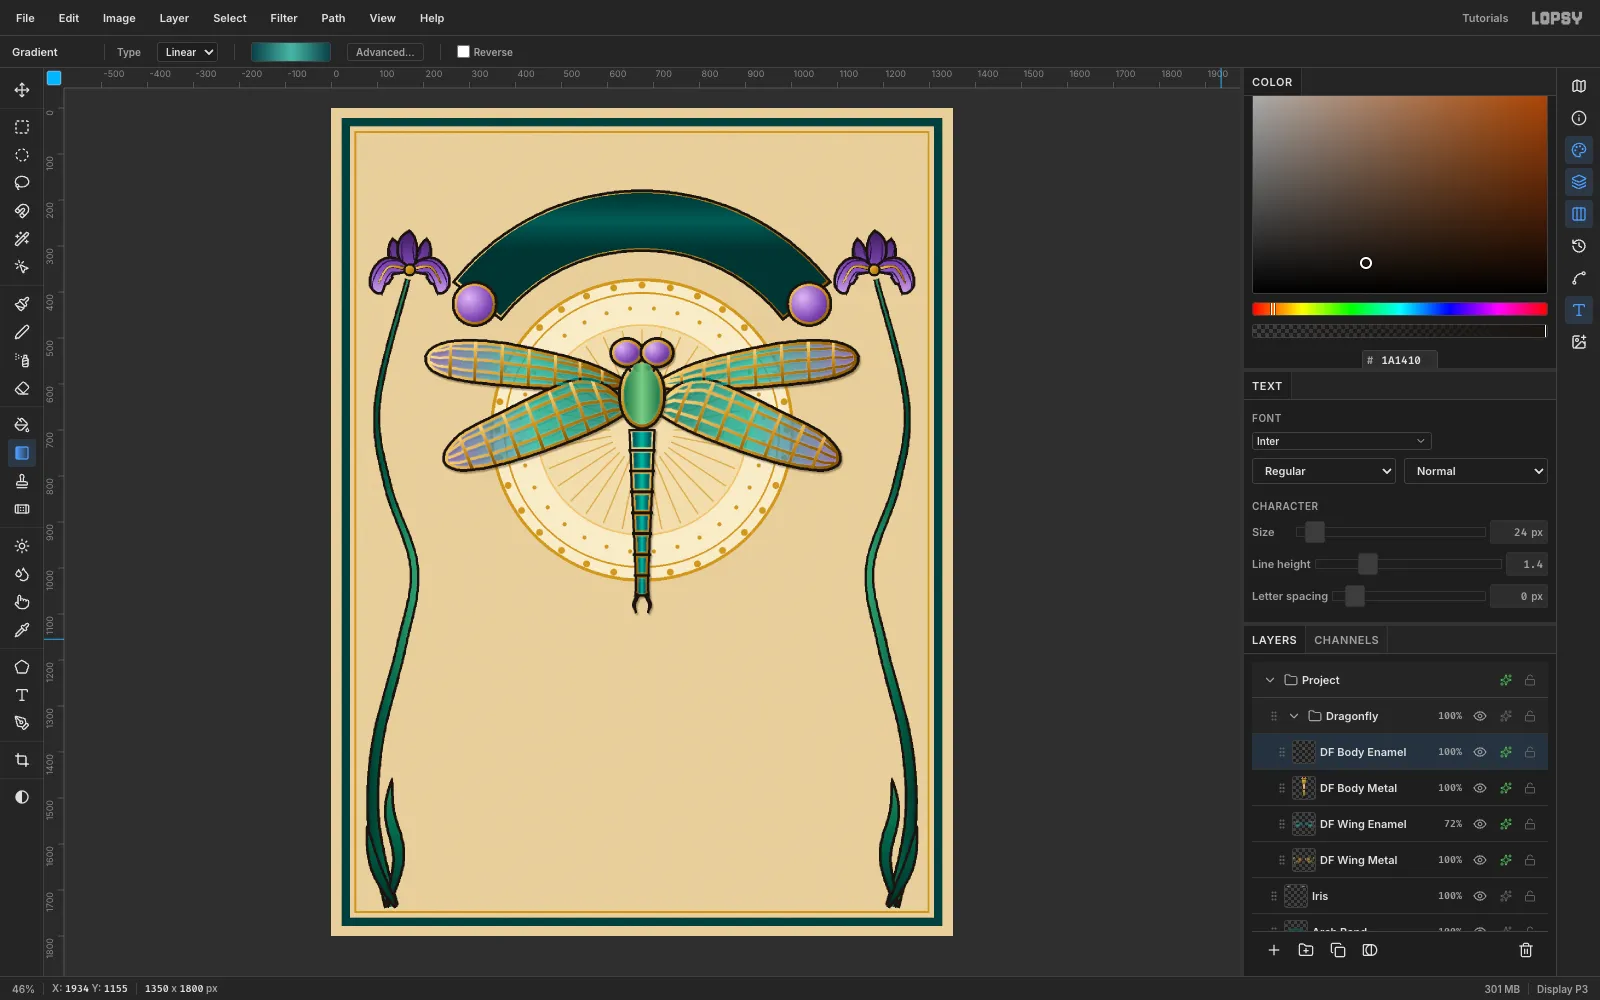
-
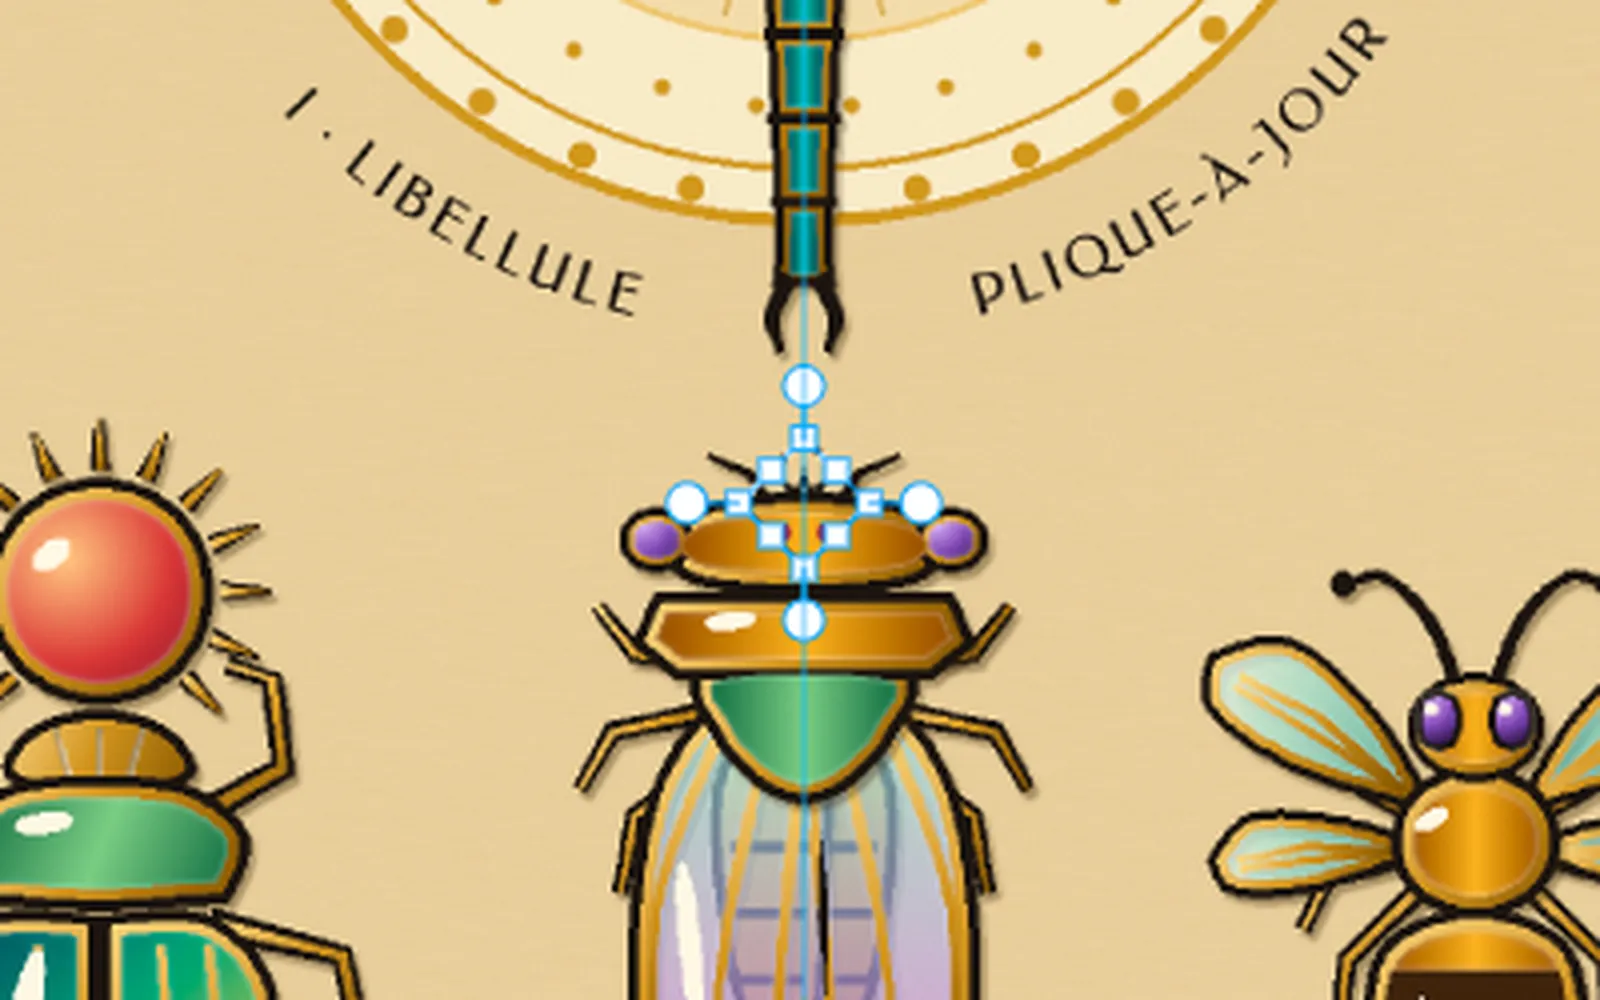
Flash design II: the scarab
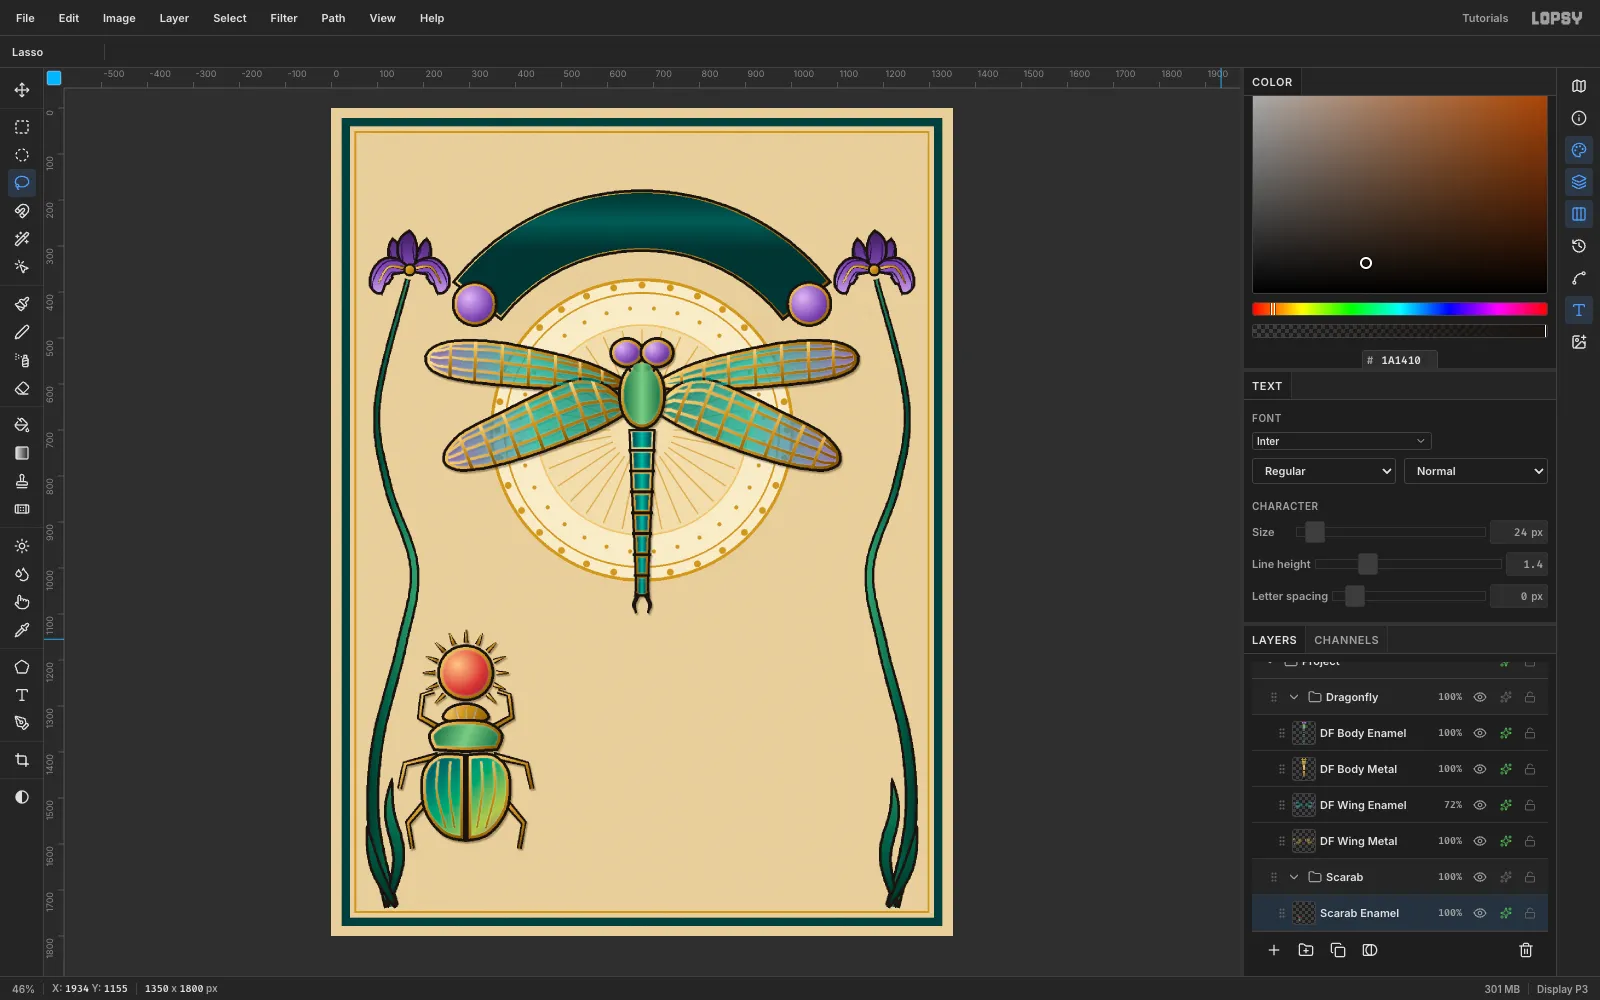
Click Iris, then New Group, and name it Scarab. Add Scarab Metal and Scarab Enamel layers. Draw the parts in this order:
- Legs first, so the body covers their roots. Each leg is a 17 px ink ribbon with a 7 px gold core.
- Sun disc: radial gradient
#F7C98A→#C8453E→#5E0F24, with 13 gold rays and a gap where the head is. - Fan-shaped head with three grooves.
- Jade pronotum.
- Two elytra with a diagonal iridescent gradient (
#123F5C→#2E9C77→#B7C95A→#6B3A7E). Delete two thin curved grooves in each.
-
Flash design III: the cicada's clear wings
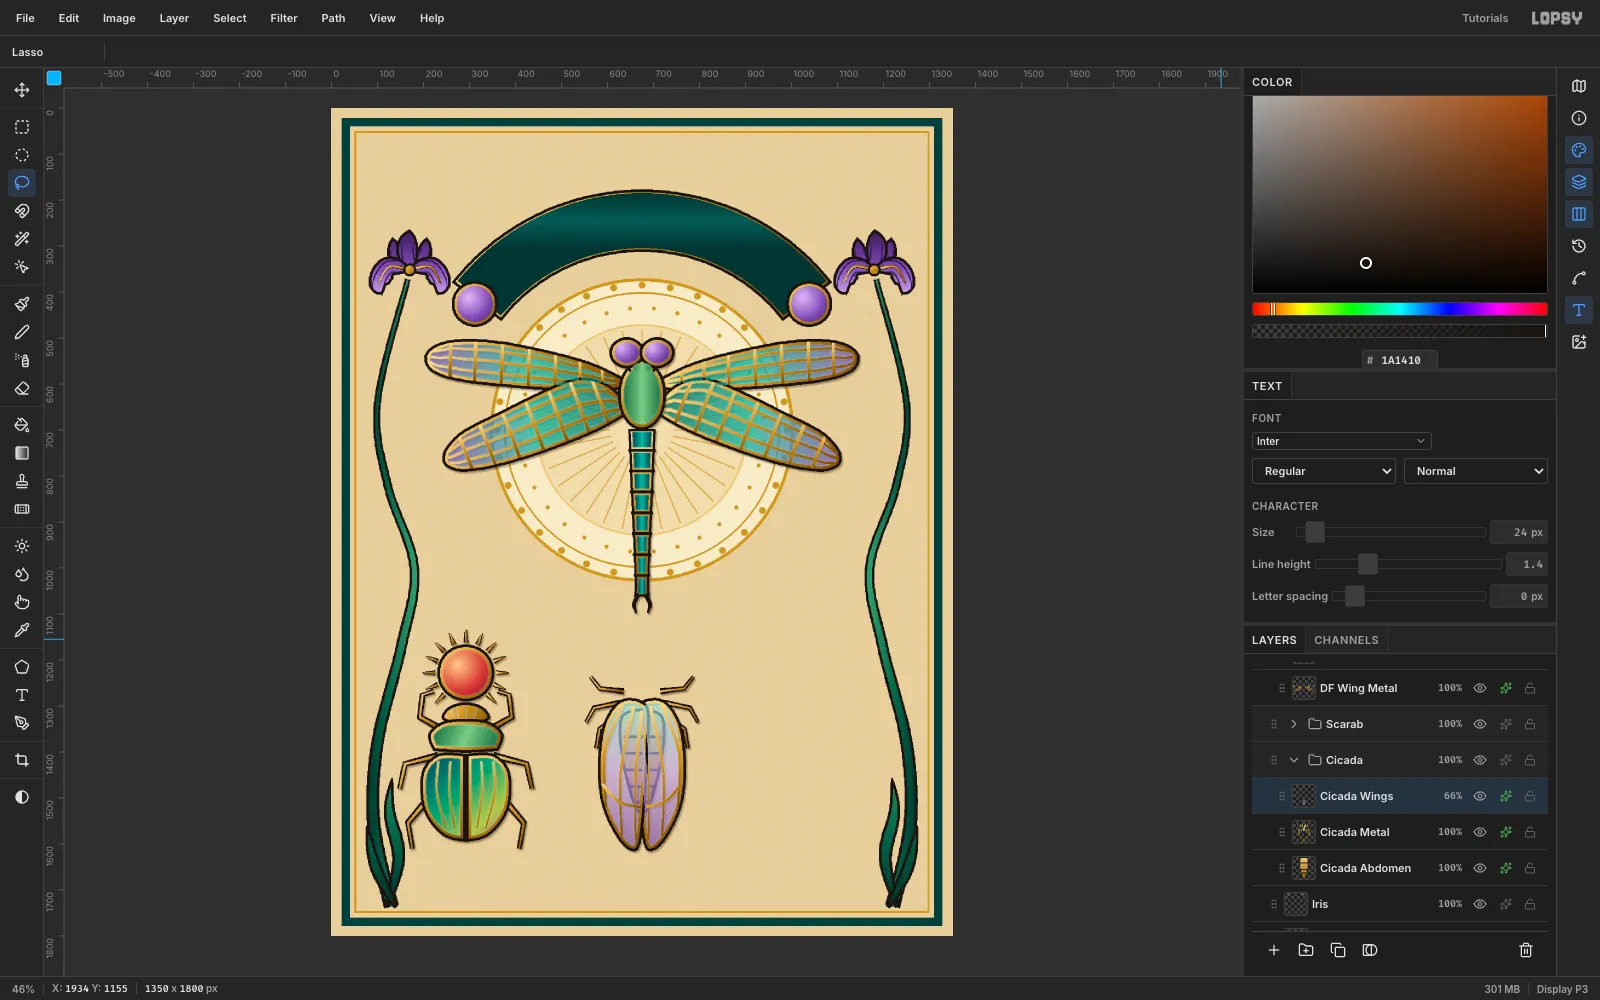
The cicada has its wings folded like a roof over a visible body, so it uses four layers in its Cicada group:
- Cicada Abdomen: a gold abdomen with ink bands.
- Cicada Metal: gold-cored legs, plus two long hollow wings that cross at the midline, with gold veins.
- Cicada Wings: the wing enamel (
#9FE3DA→#B9A2E4→#6A44A0) with the veins cut out. Give it an Inner Glow and set it to 66%, so the banded body reads through. - Cicada Body Metal and Cicada Enamel: the head, the amber pronotum and the jade mesonotum.
Finish with amethyst eyes at the head's corners and two garnet ocelli.
-
Flash design IV: the bee
The Bee group repeats the same layer stack:
- Wings: four hollow wings with gold veins, plus an enamel layer (
#3E9A98→#A8DDD2→#EAF6EE) at 72%. - Thorax and head: amber.
- Abdomen: fill the inside of the gold rim with dark
#3A2410. Fill the amber enamel on top, then Delete four horizontal bands. The dark shows through as stripes.
Draw the gold-cored legs first so they tuck under the thorax.
Add a Shine layer and paint small white
#FFF8E6ellipse highlights on the eyes, thoraxes and wing cases. Drag it above all the groups using its grip.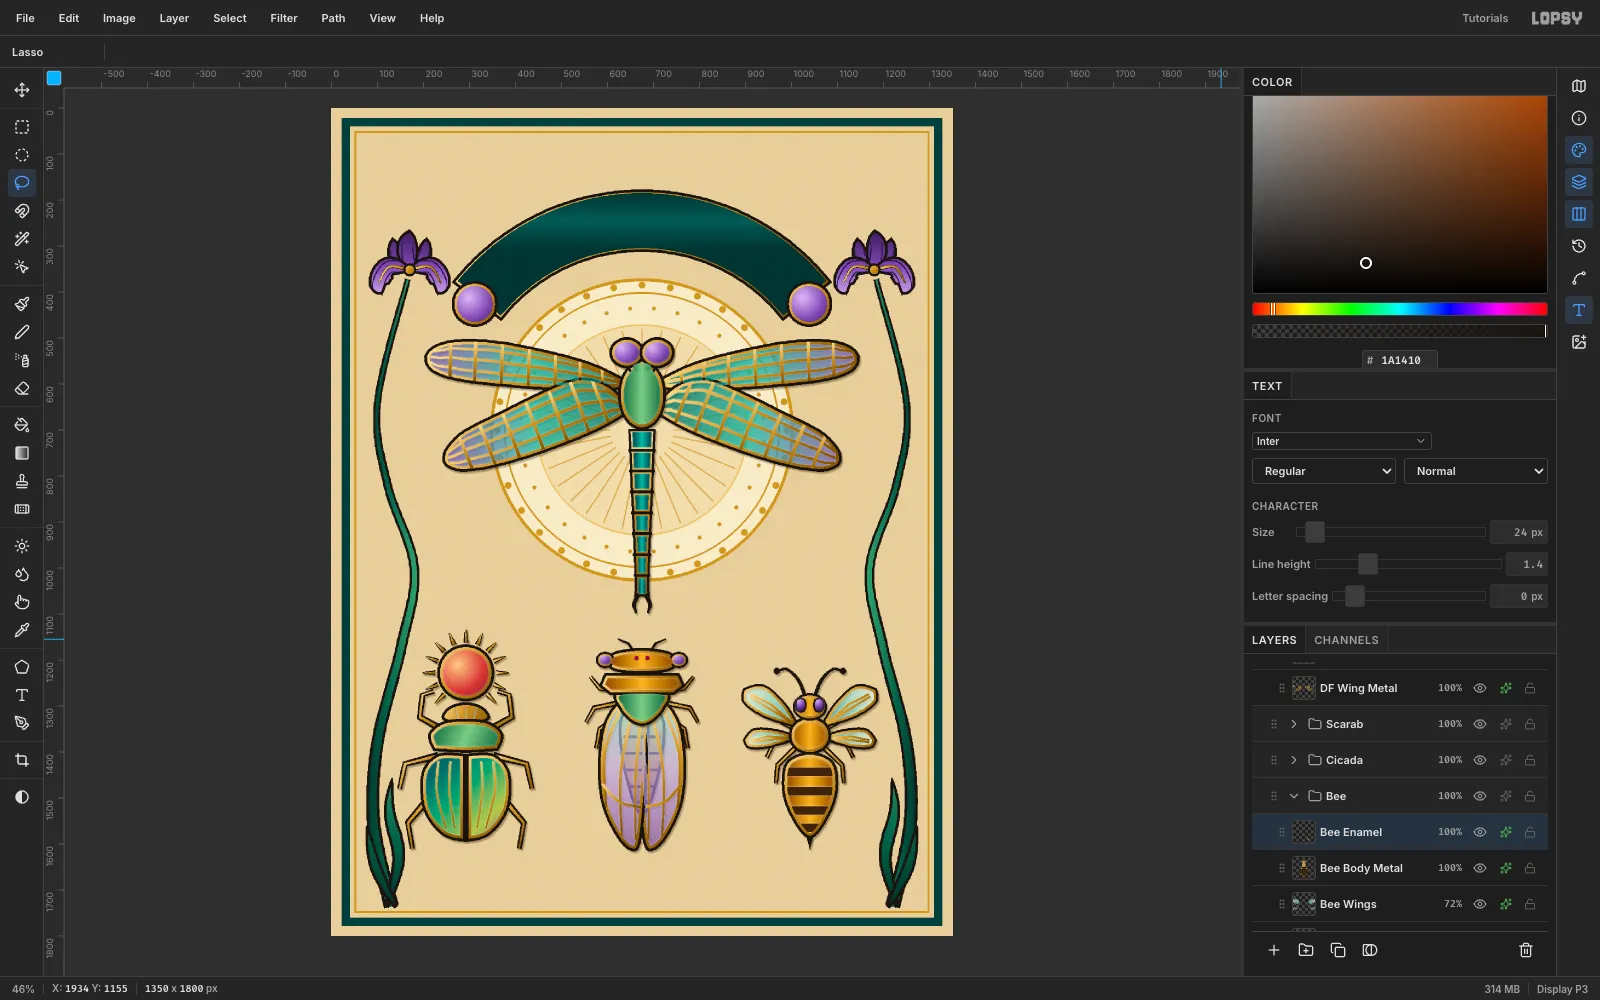
- Wings: four hollow wings with gold veins, plus an enamel layer (
-
Draw an arc for the title with the Pen
Set the text first:
- Click Arch Band and pick the Text tool.
- Choose Oldenburg, a Mucha-era display face, at Size 52, with colour
#F6EBCBand Letter spacing 2. - Click in empty canvas and type JEWELLED INSECTS. It measures about 597 px wide.
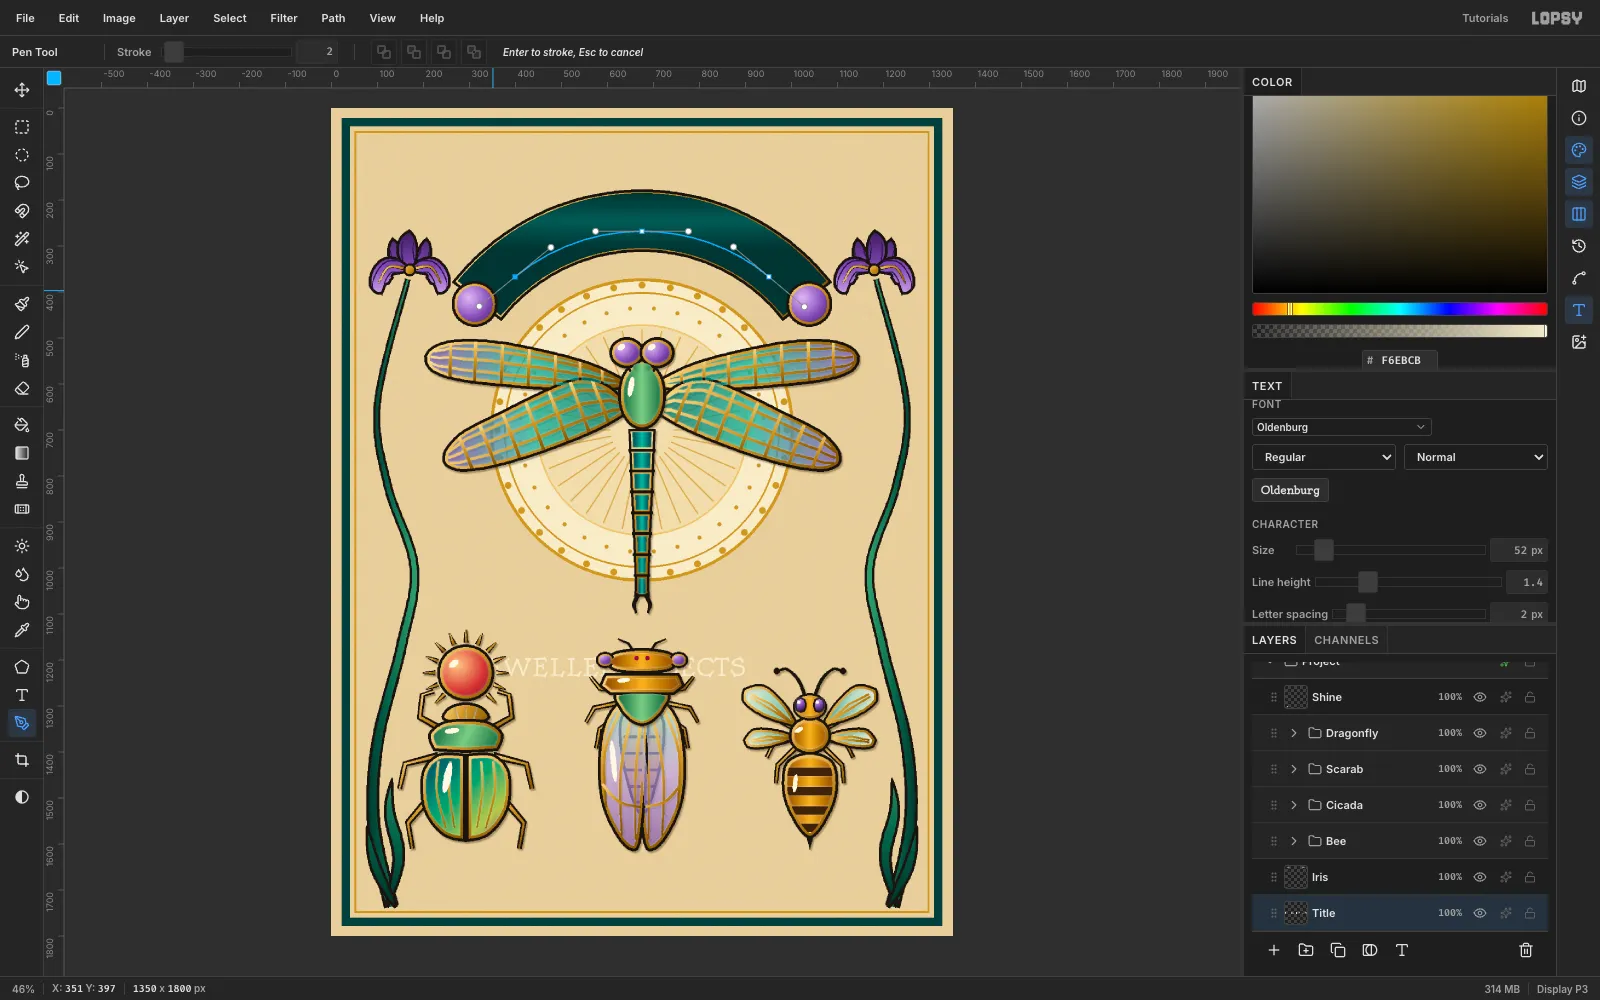
Now draw the arc. To seat the capitals in the middle of the band, the baseline needs a radius of 432 around the halo centre. The arc spans 597 ÷ 432 ≈ 79°, so it runs from −129.7° to −50.3°.
With the Pen, click-drag three anchors along that arc:
- Start, top and end points on the circle.
- Drag each handle along the tangent, at about 0.23 × radius.
Click Commit path.
-
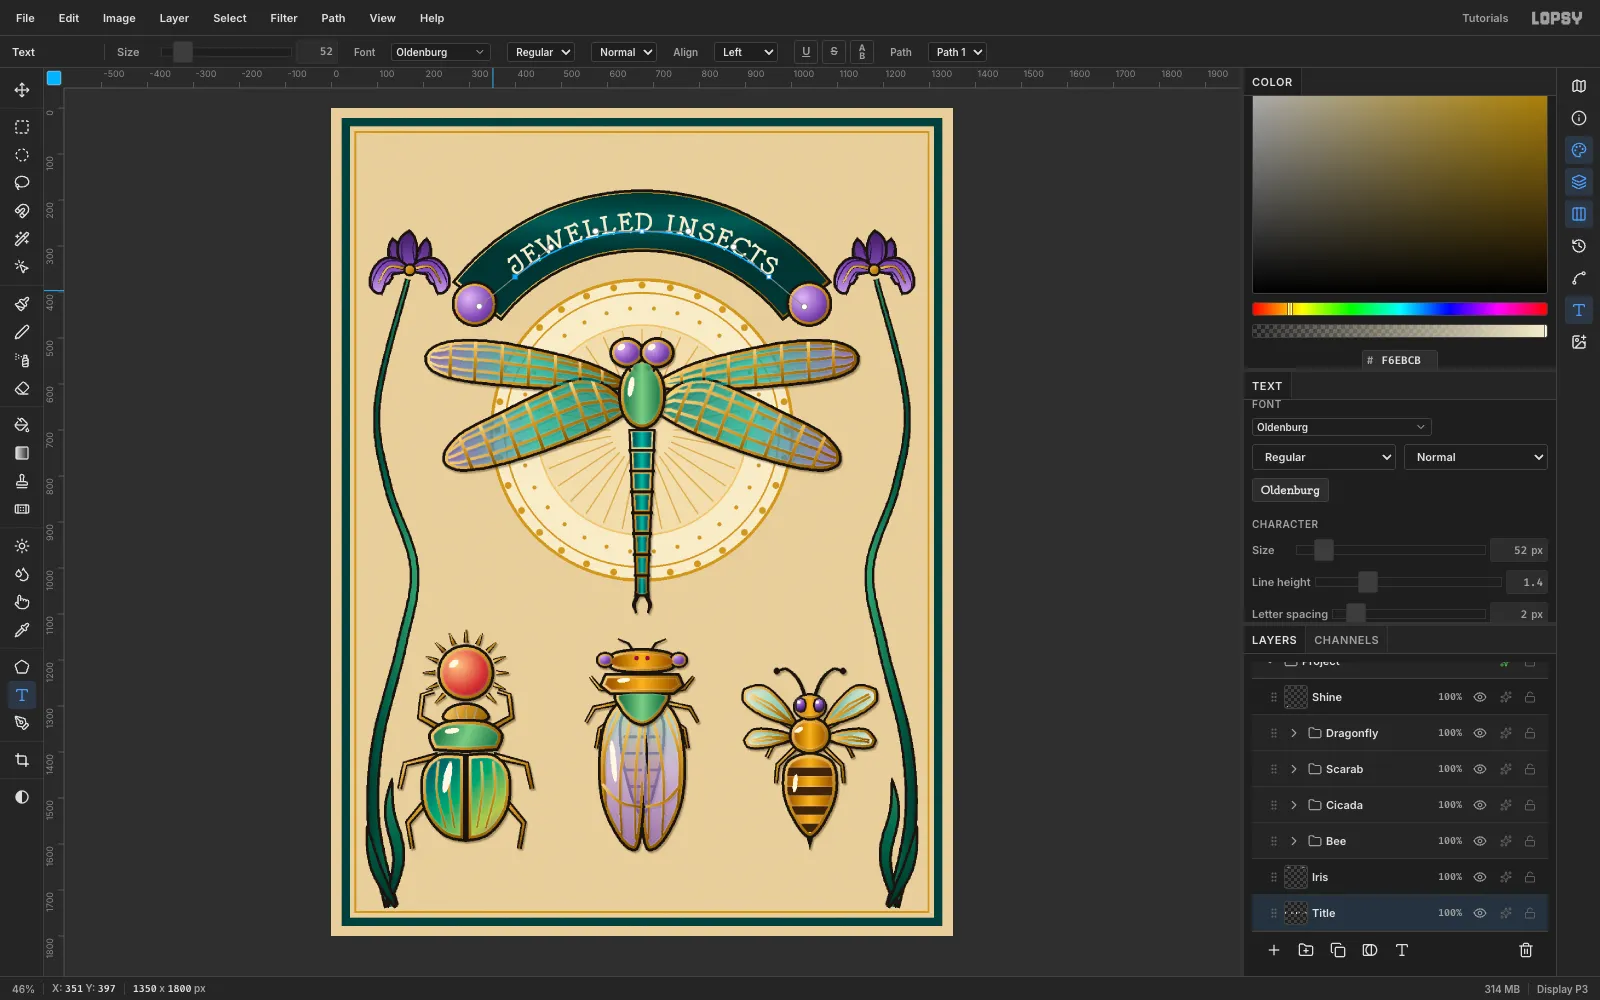
Bind the title to the arc
Click the title's row. With the Text tool active, choose the new path in the options bar's Path dropdown. The capitals follow the arc and sit centred in the band, with about 37 px above and below.
Size the arc from the measured text width, not by eye. A path that's too short silently cuts off the last letters.
-
Set the labels and curved captions
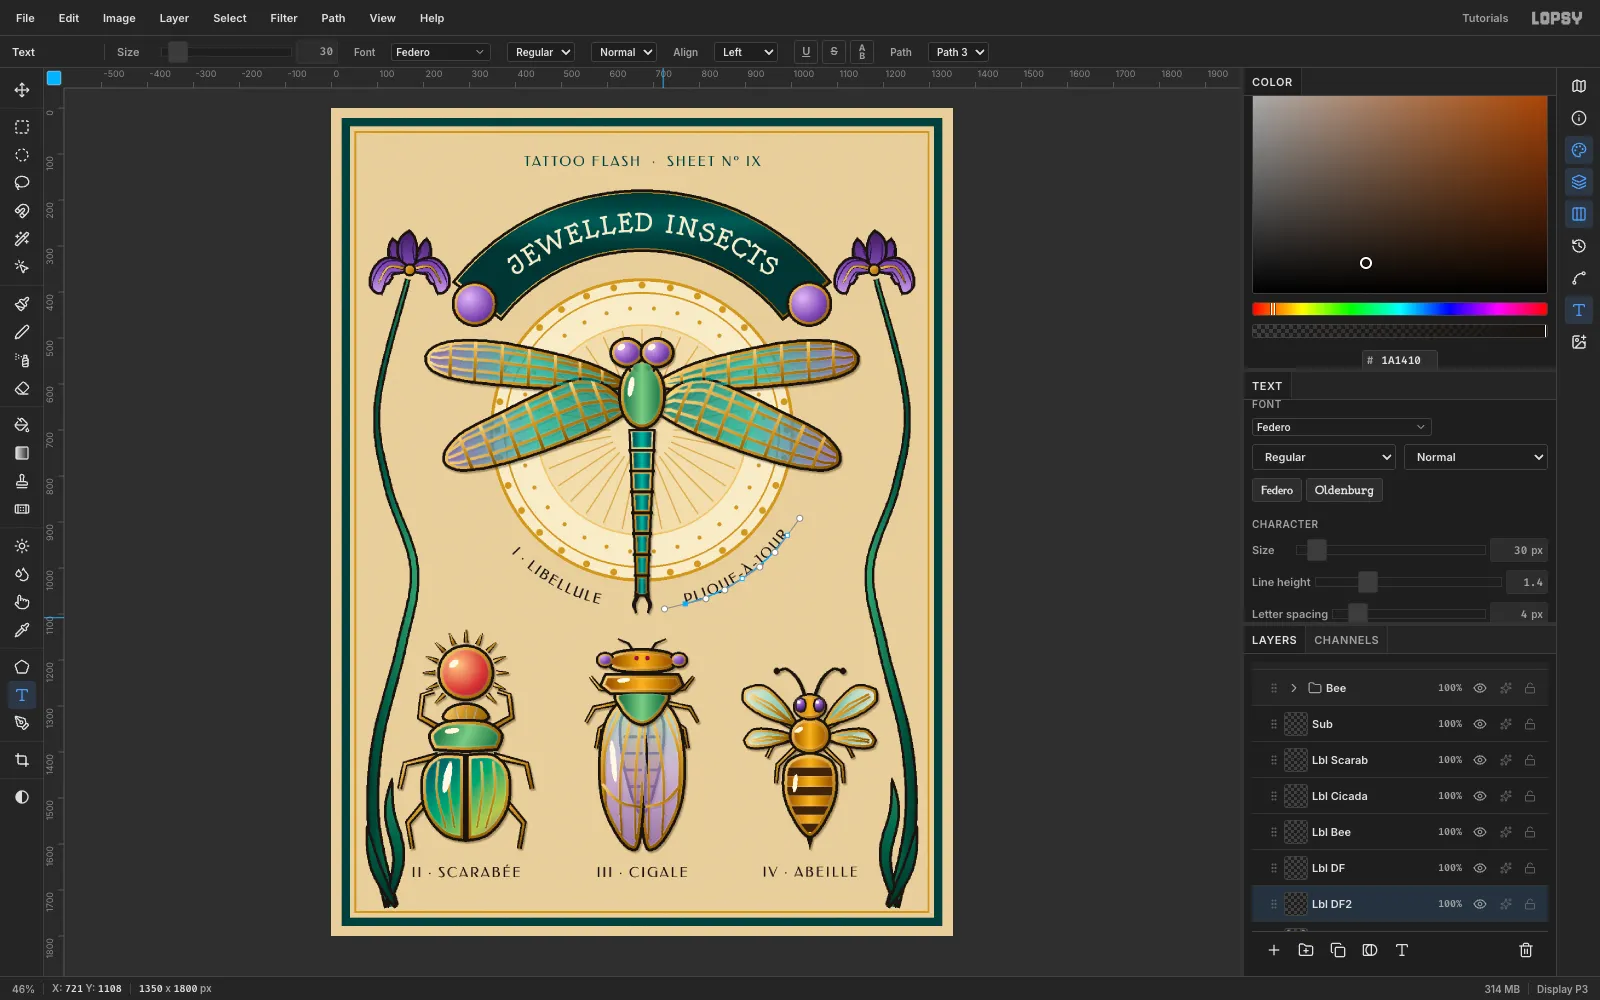
Use Federo at Size 30 with Letter spacing 4 for all the small type:
- Subtitle: TATTOO FLASH · SHEET Nº IX in frame teal. Centre it with Align center horizontally.
- Bottom labels: II · SCARABÉE, III · CIGALE and IV · ABEILLE, each centred under its insect on the same baseline.
- Dragonfly captions: draw two more Pen arcs at radius 390 that run counter-clockwise, so the text reads left to right with the letters upright. Start each one 14° either side of the tail, so both captions sit the same distance from the abdomen. Bind I · LIBELLULE to the left arc and PLIQUE-À-JOUR to the right.
-
Make an 8-point sparkle with Rotate and Scale
On a Sparkles layer, lasso a four-point star with radius 20. Fill it ink, Shrink 4 and fill it gold, then add a small white centre. It's on its own layer, so you can draw it anywhere and move it later.
- Marquee the star, press Cmd+C, wait a moment, then press Cmd+V.
- Marquee the paste. With the Move tool, drag the rotation handle just outside the top-right corner through 45°, then press Cmd+D.
- Marquee it again and Cmd-drag a corner to scale it to about 62%. Press Cmd+D.
- Re-centre it on the original star and choose Merge Down. You now have an eight-point sparkle.
-
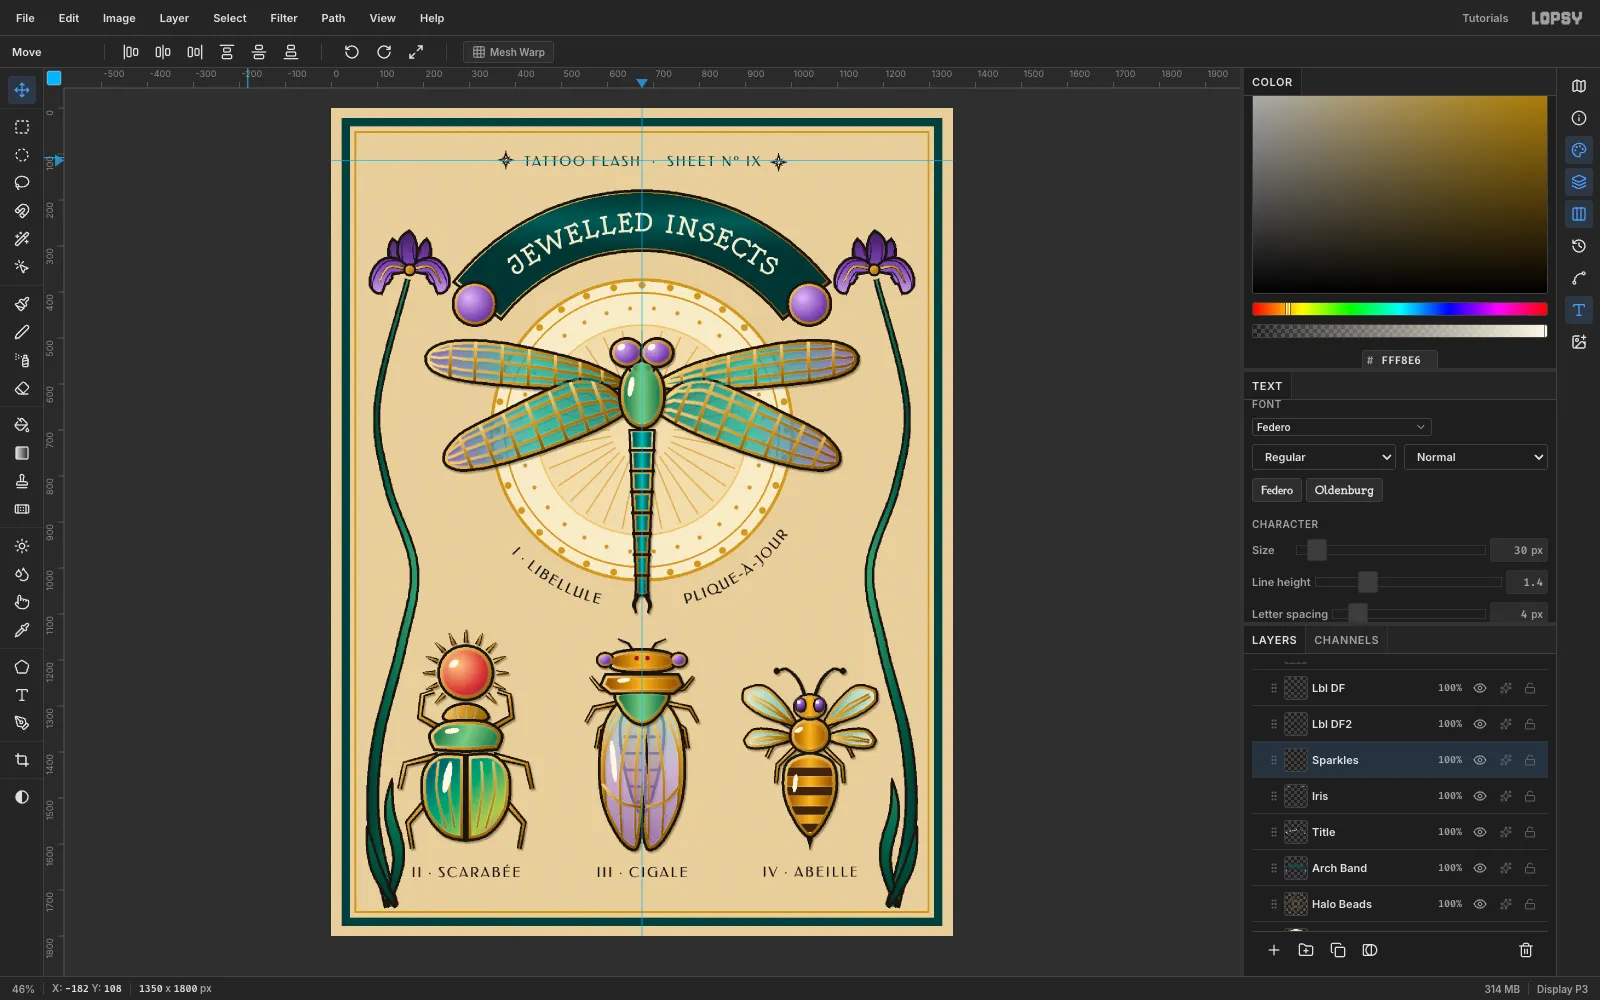
Place the sparkles with guides
Click the rulers to add guides: a vertical one at x 675 from the top ruler, and a horizontal one at y 114 (the subtitle's centre) from the left ruler. Copy and paste the sparkle, then drag one copy to each end of the subtitle, at x 382 and x 968. Merge them onto the Sparkles layer. Nudge the layer until it's symmetric about the centre guide. Turn guides off with View → Show Guides.
-
Connect the iris stems and export
Zoom in on the bloom bases. A gap between the stem and the gold knob makes the flowers look like they float. On the Iris layer, lasso a small tapered calyx from each stem top up to its knob:
- Fill it with ink.
- Shrink 3 and fill it with green
#2E7D5B.
Save the project with File → Save Project, then File → Quick Export PNG.