Design an Art Nouveau Billboard
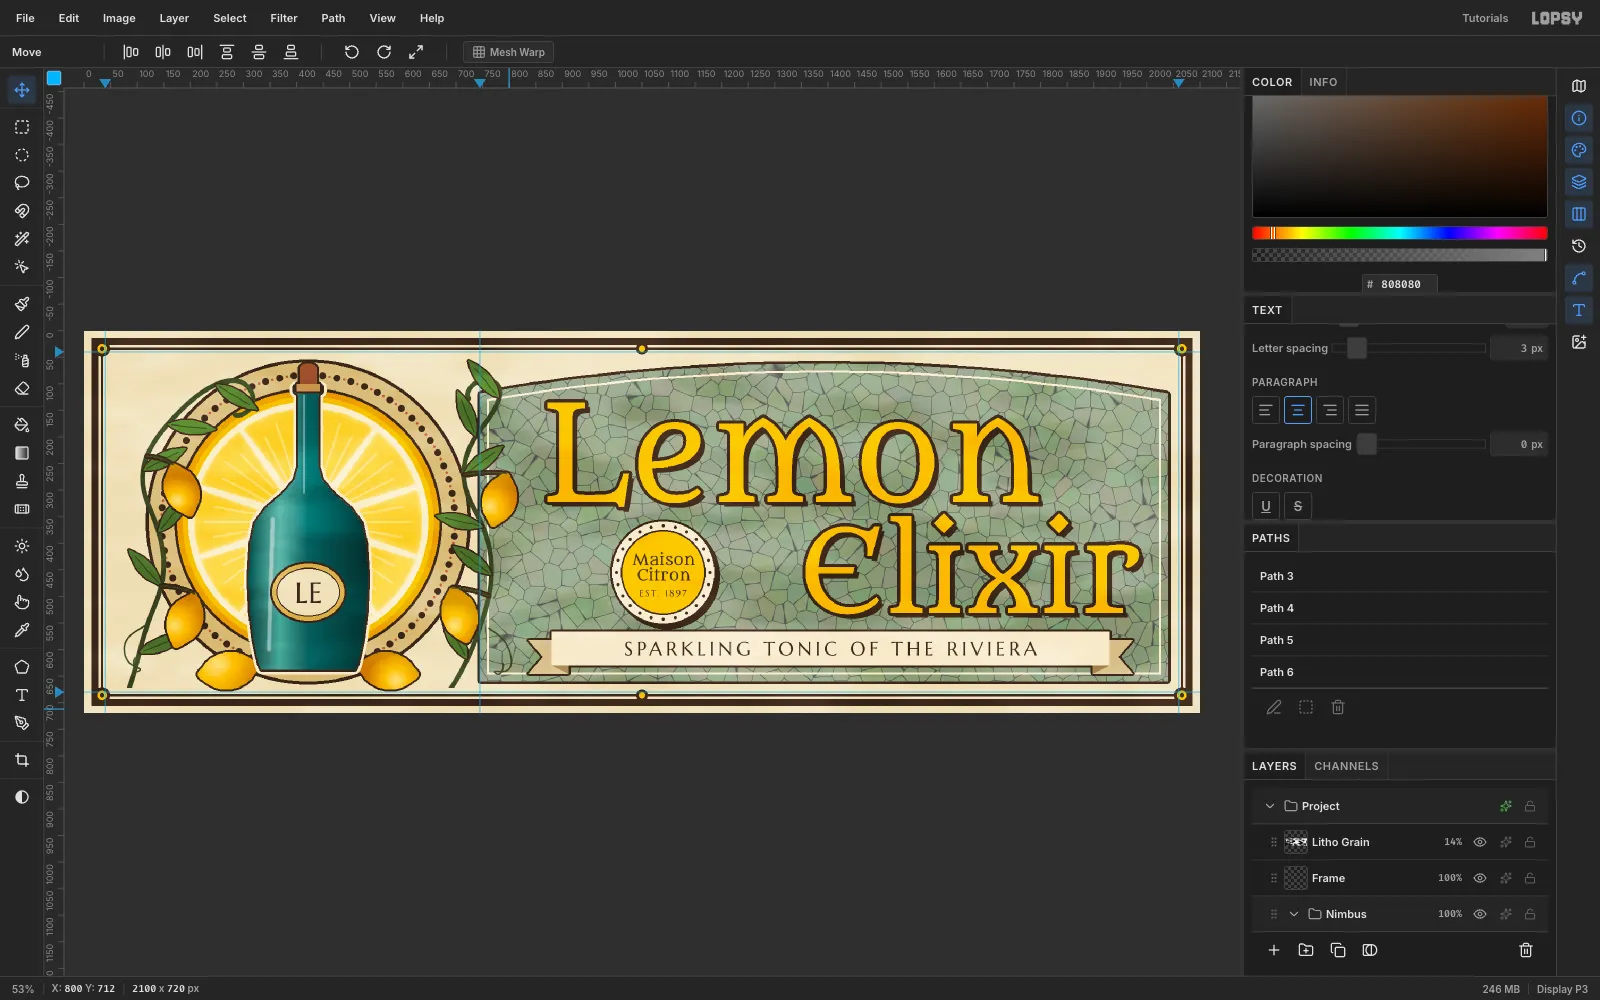
Make a Mucha-style Art Nouveau billboard in Lopsy with a lemon-wheel halo, whiplash vines, a Voronoi mosaic panel and outlined lettering.
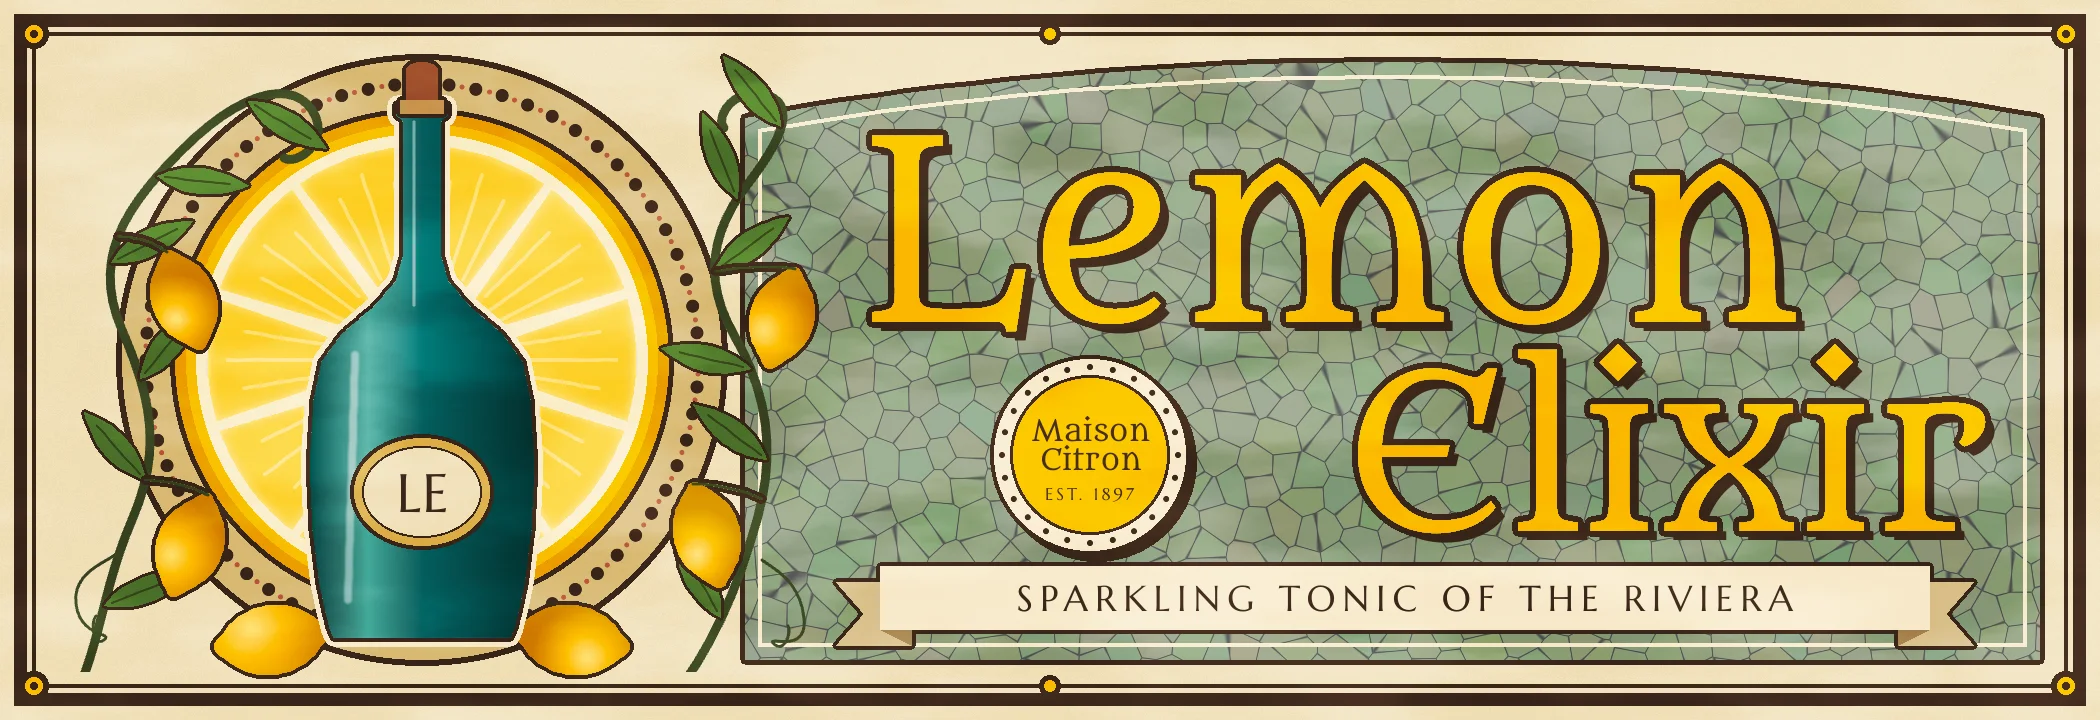
Around 1900, Alphonse Mucha and his contemporaries sold champagne, cigarettes and biscuits with the same few devices:
- a figure in front of a huge decorated disc (the nimbus)
- whiplash plant stems
- mosaic grounds
- heavy outlined lettering
In this tutorial you'll use all of them in Lemon Elixir, a 2100 × 720 billboard for an imaginary lemon tonic. A teal bottle takes the place of the Mucha figure, and the nimbus is a giant slice of lemon.
Along the way you'll use:
- Edit → Fill, guides and Select → Shrink
- the Voronoi, Brightness/Contrast, Hue/Saturation, Clouds and Add Noise filters
- Radial Symmetry on the Brush
- linear and radial gradients
- the Pen tool with Stroke Path
- a transform-handle stretch and a multi-layer nudge
- Stroke, Drop Shadow, Outer Glow and Inner Glow effects
- two Google Fonts: Metamorphous and Marcellus
Palette:
- cream paper
#EFE3C2 - sage
#8FA079 - lemon
#F2C230 - teal glass
#2E6B6A - outline brown
#3B2A1E
-
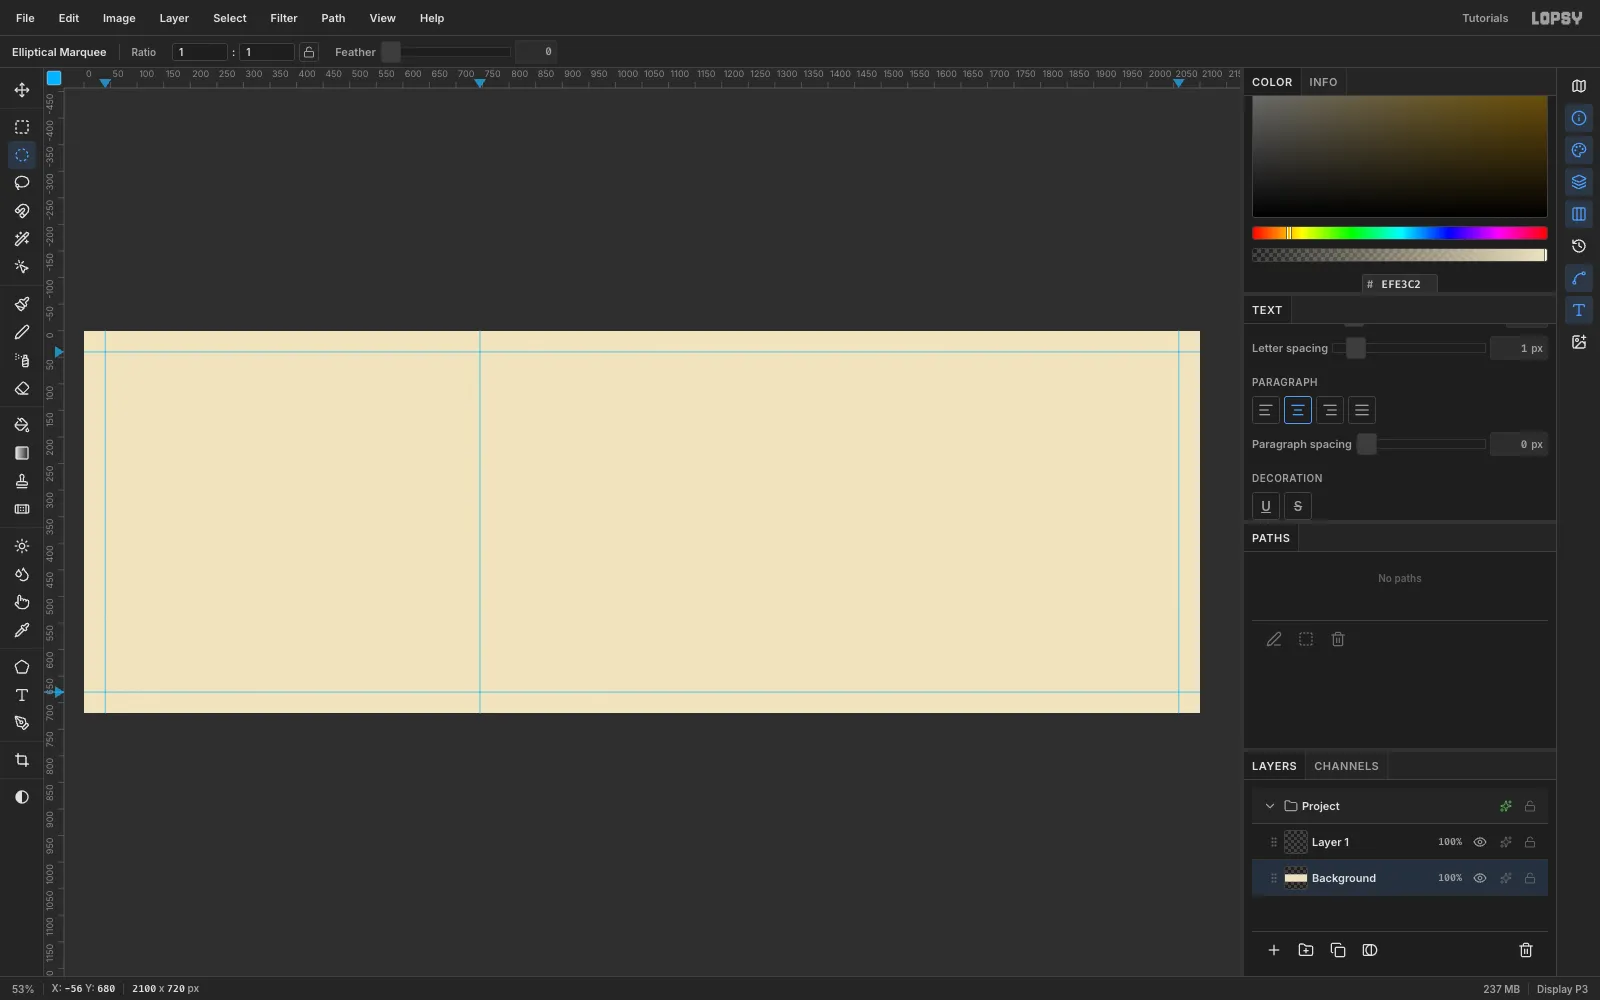
Set up the paper and guides
Choose File → New. Set Unit to Pixels, Width to
2100and Height to720, then click Create.Select the Background, set the foreground to
#EFE3C2and choose Edit → Fill. Run Filter → Add Noise at6in Mono so the paper isn't dead flat.Click the rulers to drop guides:
- vertical guides at
40,745and2060on the top ruler - horizontal guides at
40and680on the left ruler
The guide at 745 divides the illustration half from the lettering half.
- vertical guides at
-
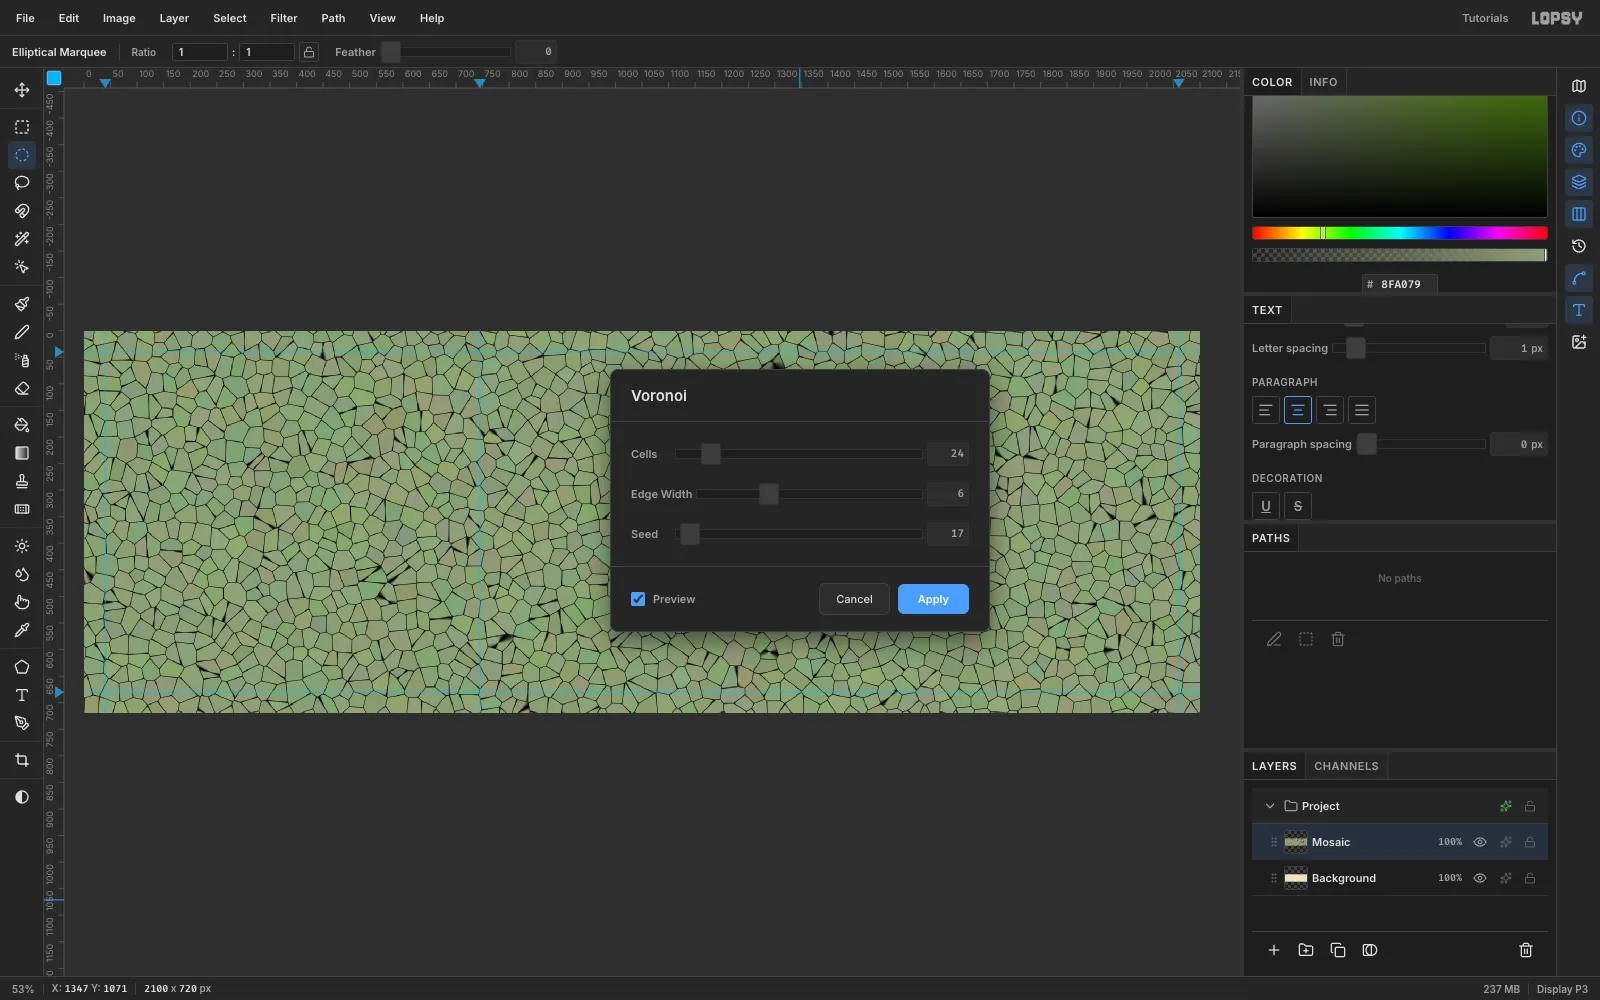
Break the panel into tesserae with Voronoi
Rename
Layer 1toMosaic. With no selection, fill the whole layer with sage#8FA079, then run Add Noise at22in Color. The noise gives every tile a slightly different tone.Open Filter → Voronoi… and set Cells
24, Edge Width6and Seed17. Turn on Preview and click Apply.Fill the whole layer first. Voronoi samples a colour at each cell centre, and the cells need something to sample right up to the panel edge.
-
Clip the mosaic to an arched cartouche
Art Nouveau panels rarely have square tops. Use the Lasso to click out a panel from
745to2040across and down to660, with a shallow arch on top: the corners sit at about118and the centre peaks at62. Choose Select → Inverse and press Delete.On the Mosaic layer, open Layer effects and turn on Stroke:
#3B2A1E, Width5, outside.For the keyline, add a layer named
Keyline. Lasso the same arch 13 px inside the panel and fill it cream#F6ECD2. Choose Select → Shrink by3and press Delete, which leaves a 3 px cream line.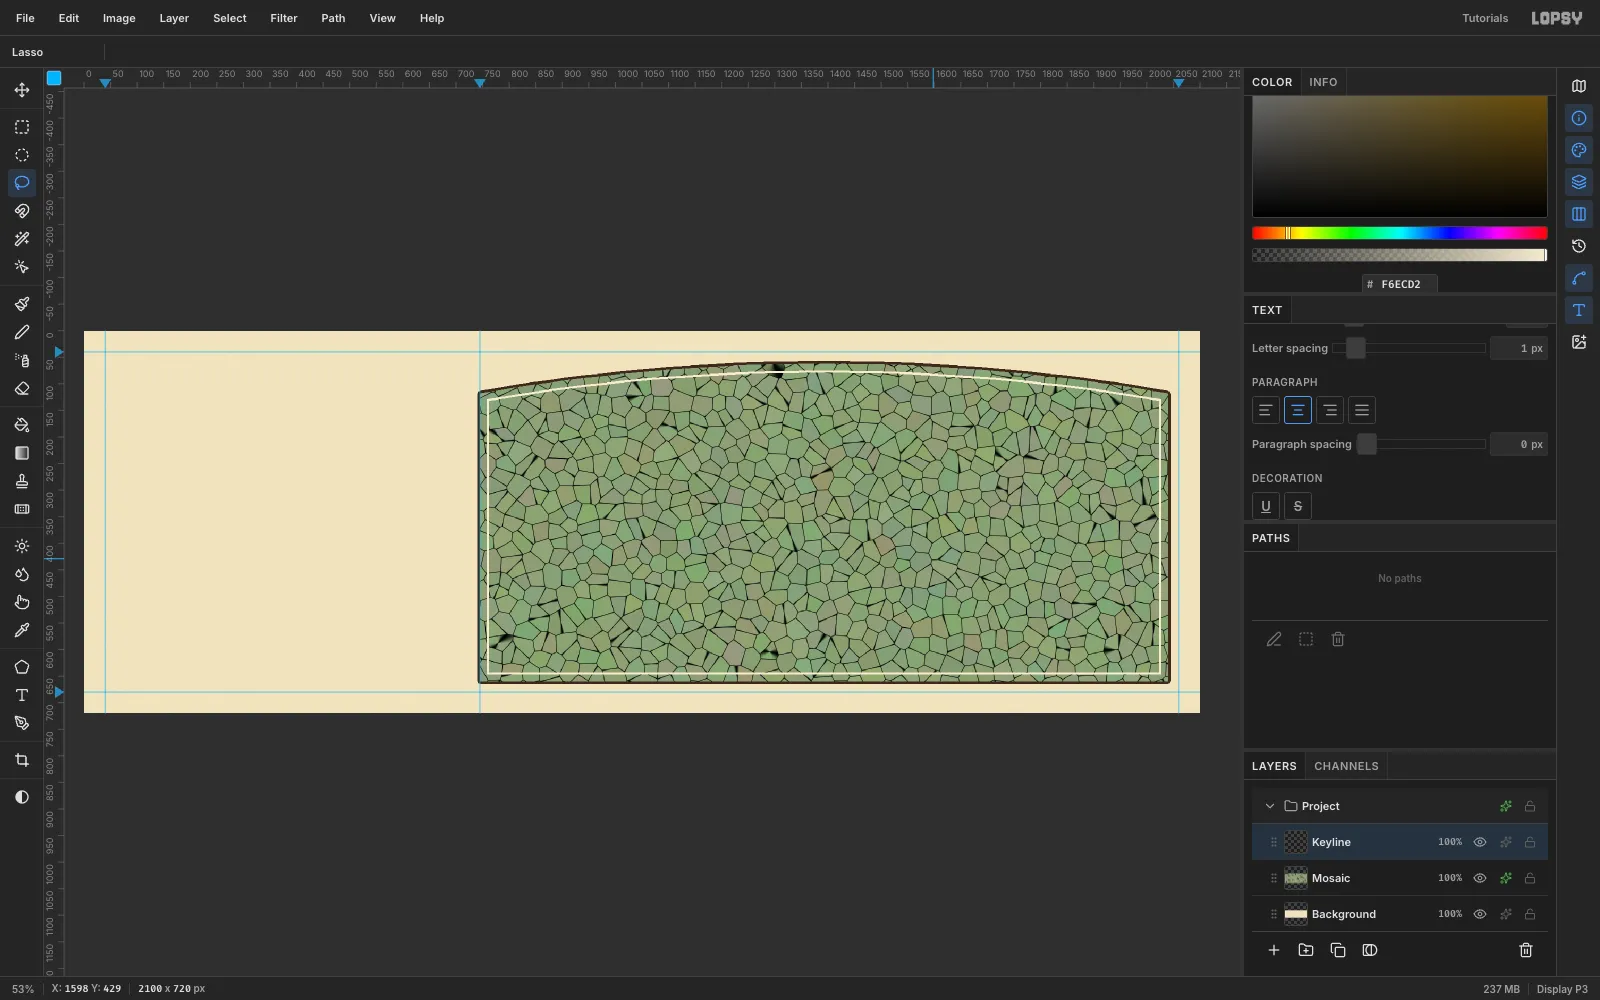
-
Soften the grout
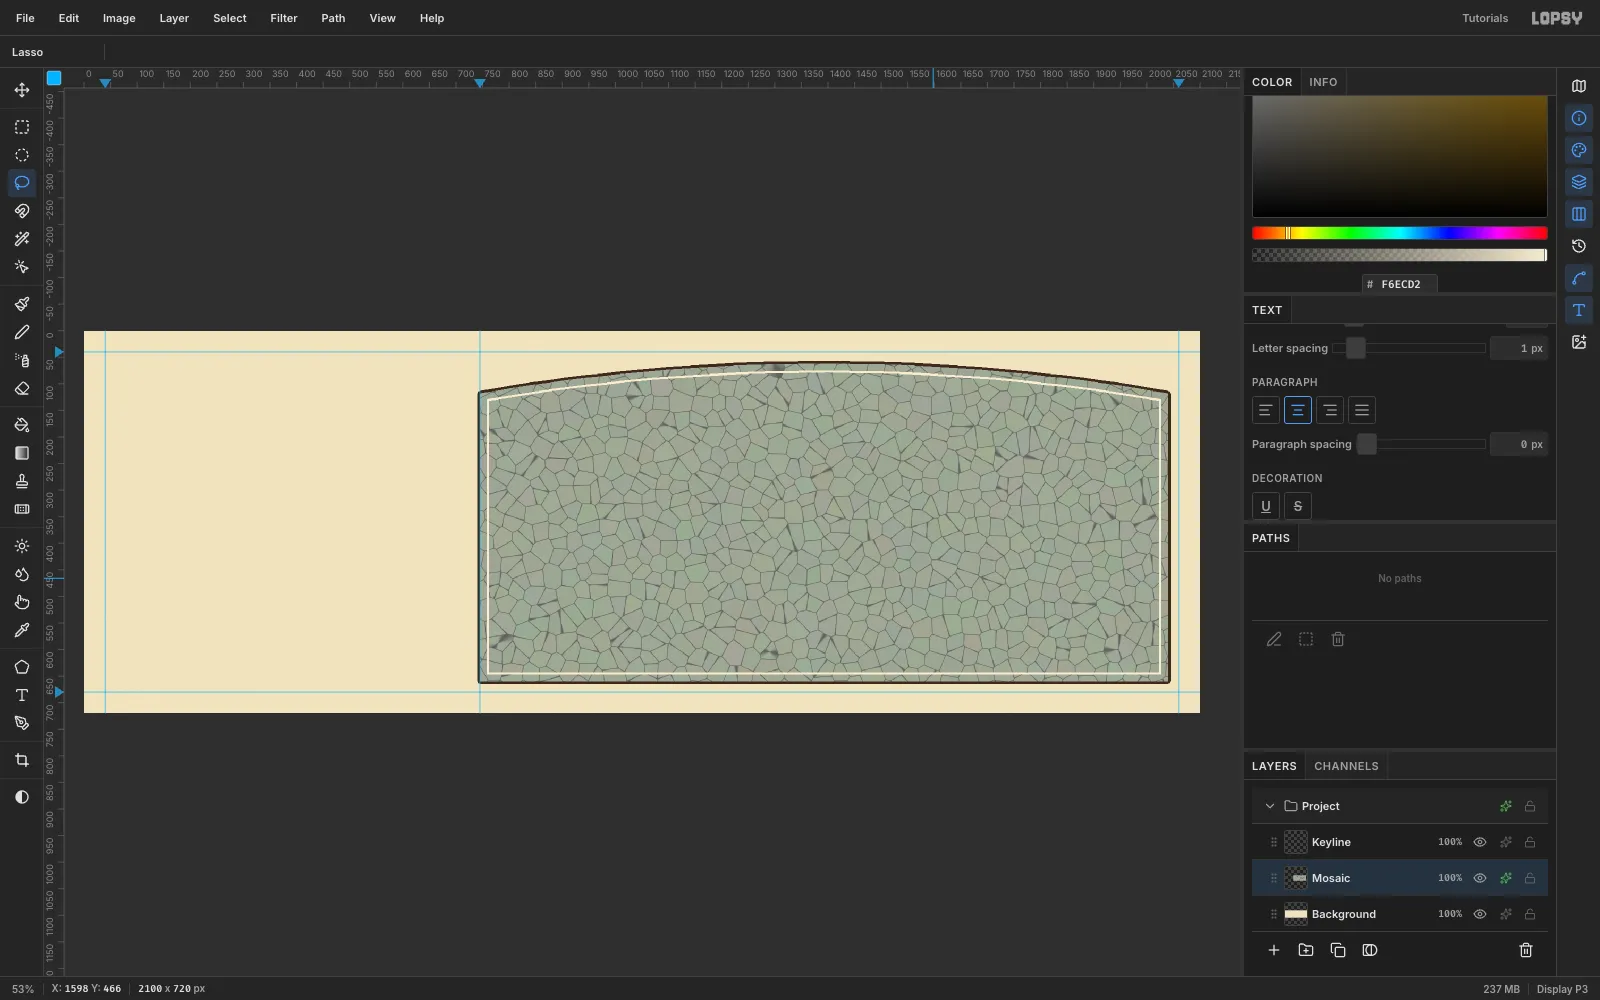
Black grout fights the lettering. Select
Mosaicand apply:- Filter → Brightness/Contrast with Brightness
10and Contrast-55. - Filter → Hue/Saturation with Saturation
55and Lightness-4, to bring the sage back.
The panel should now read as quiet texture rather than pattern.
- Filter → Brightness/Contrast with Brightness
-
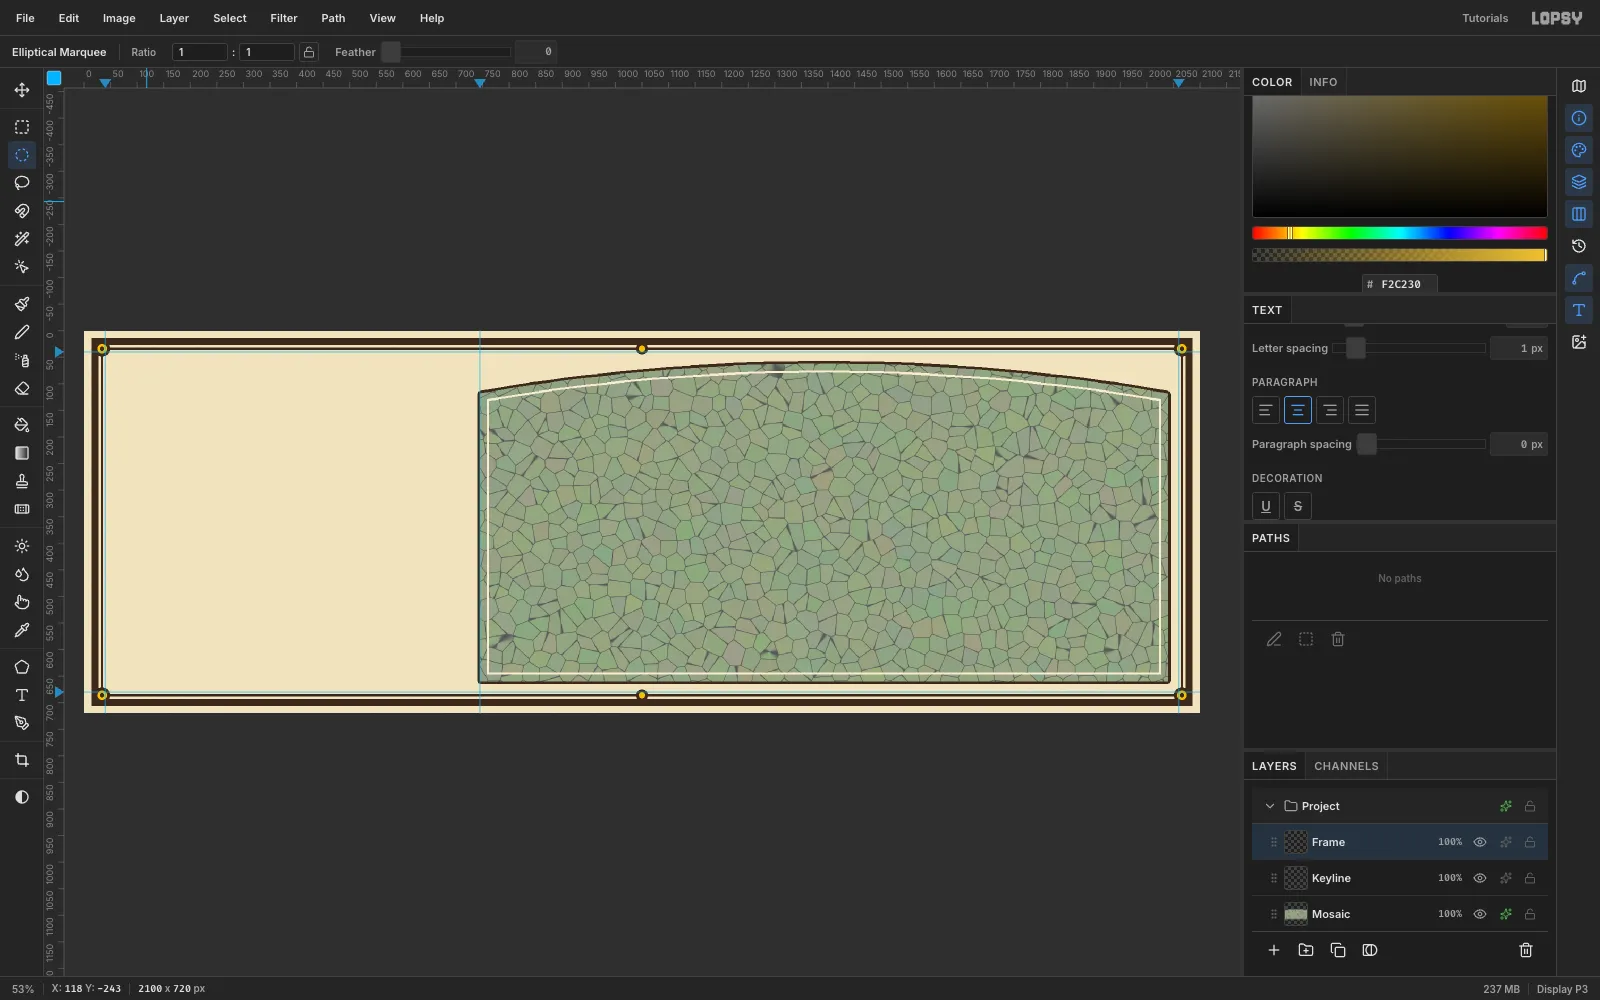
Draw the double frame
Add a layer named
Frame. Draw a rectangular marquee from14,14to2086,706and fill it#3B2A1E. Choose Select → Shrink by12and press Delete to leave a thick border.Repeat with a marquee from
32,32to2068,688, shrinking by3, for the thin inner rule.For the corner ornaments, fill three stacked ellipse marquees at each corner of the inner rule:
- a dark 30 px circle
- a lemon
#F2C23018 px circle - a dark 8 px centre
Add two smaller dots at the middle of the top and bottom rules.
-
Build the nimbus with Radial Symmetry
Select
Keylineand click New Group. Name the groupNimbus, then add a layer namedHaloinside it. The halo is centred at422, 360. Fill these concentric elliptical marquees:- radius 306 in
#3B2A1E - radius 300 in gold
#D8C28A - radius 252 in
#3B2A1E
Pick the Brush at Size
14and Hardness100, then turn on Radial Symmetry with32segments. Cmd-click the halo centre to move the symmetry centre there. Click once on the gold band, 276 px right of centre, then again one half-step around. That gives 64 evenly spaced dots.Switch to Size
6and terracotta#B5654A, and click between the dots.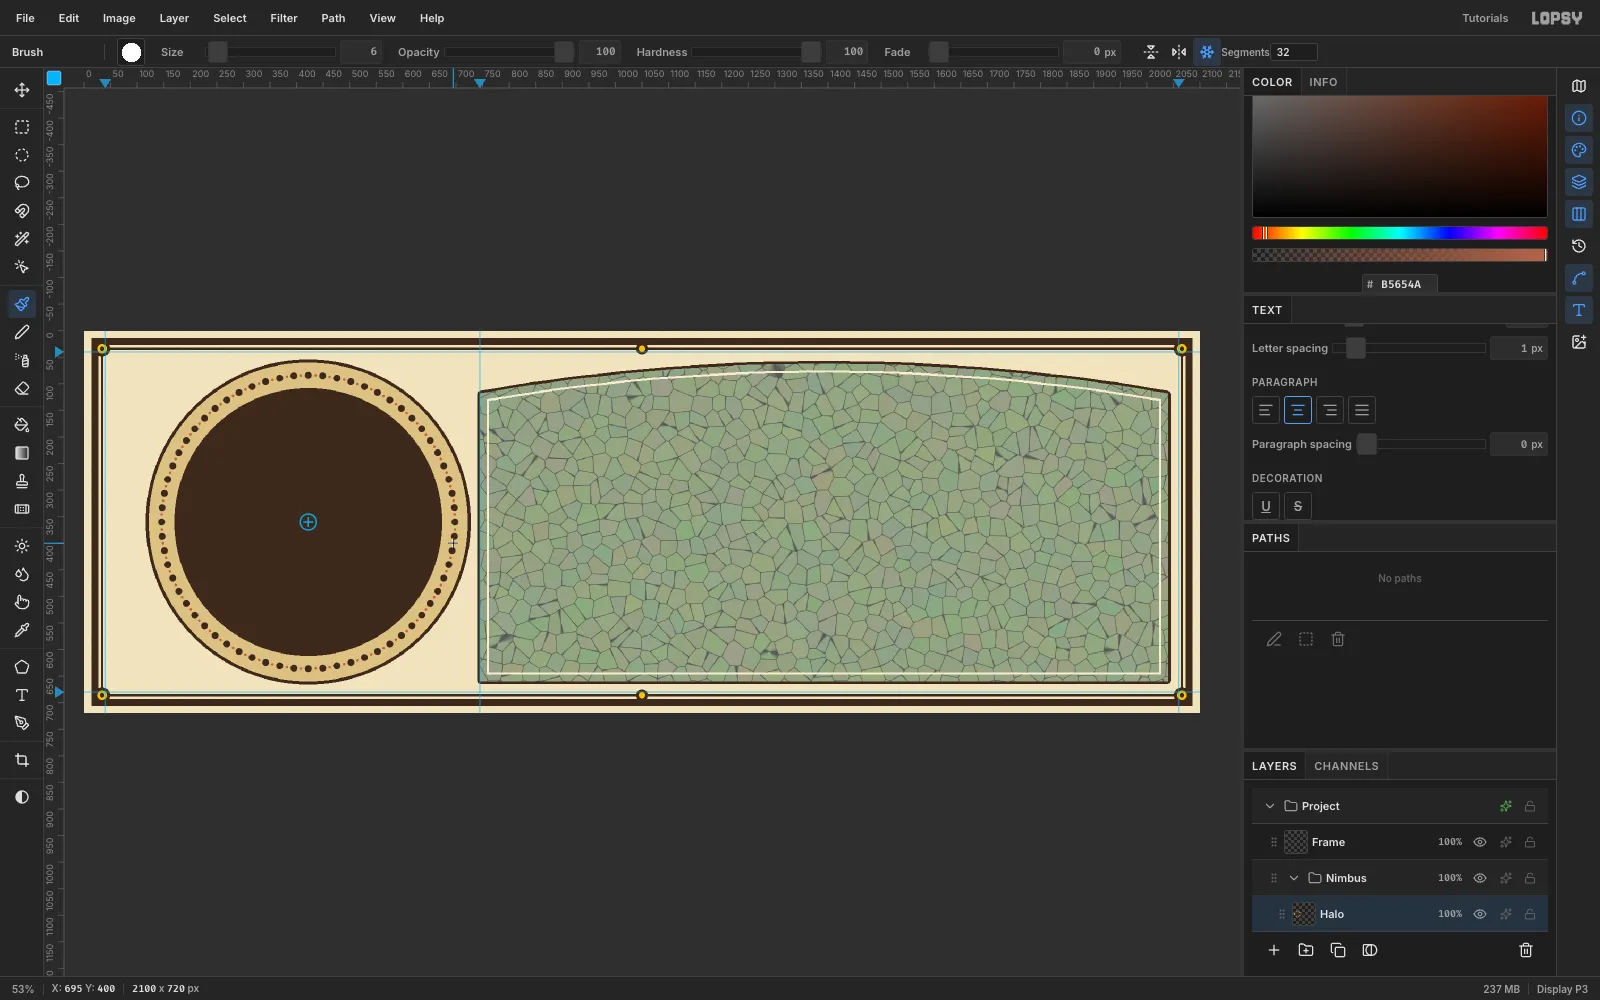
- radius 306 in
-
Slice the lemon wheel
Add a
Lemon Wheellayer and fill three more circles: rind#E3A91Fat radius 247, zest#F0C53Aat 236 and pith#F8EFD0at 226.On a new
Segmentslayer, lasso ten wedges in#F6D65A. Each one runs from near the centre out to radius 214, with a 5 px pith gap on either side.For the juice, set Radial Symmetry to
10, Cmd-click the centre again and drag three short strokes inside one segment:- Size
5 - Opacity
70 - colour
#FCEBA8
Symmetry copies them into every segment. Turn Radial Symmetry off, then add an Inner Glow in
#FFF4C4(Size16, Opacity80) so the segments look juicy.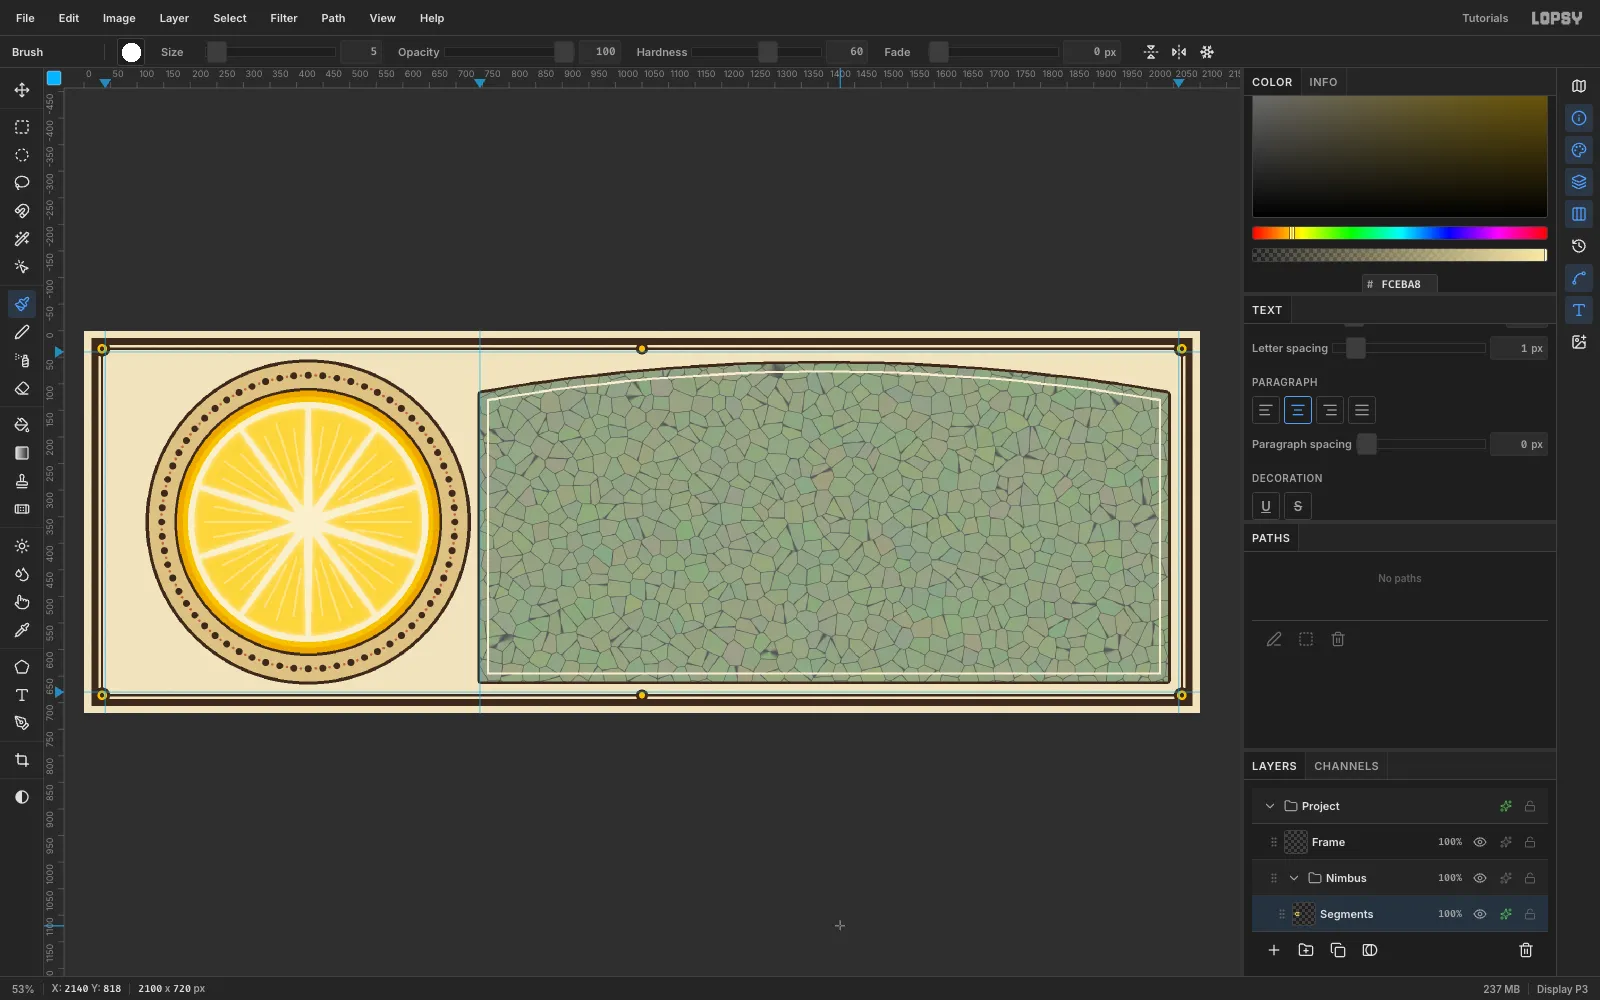
- Size
-
Shape and stretch the bottle
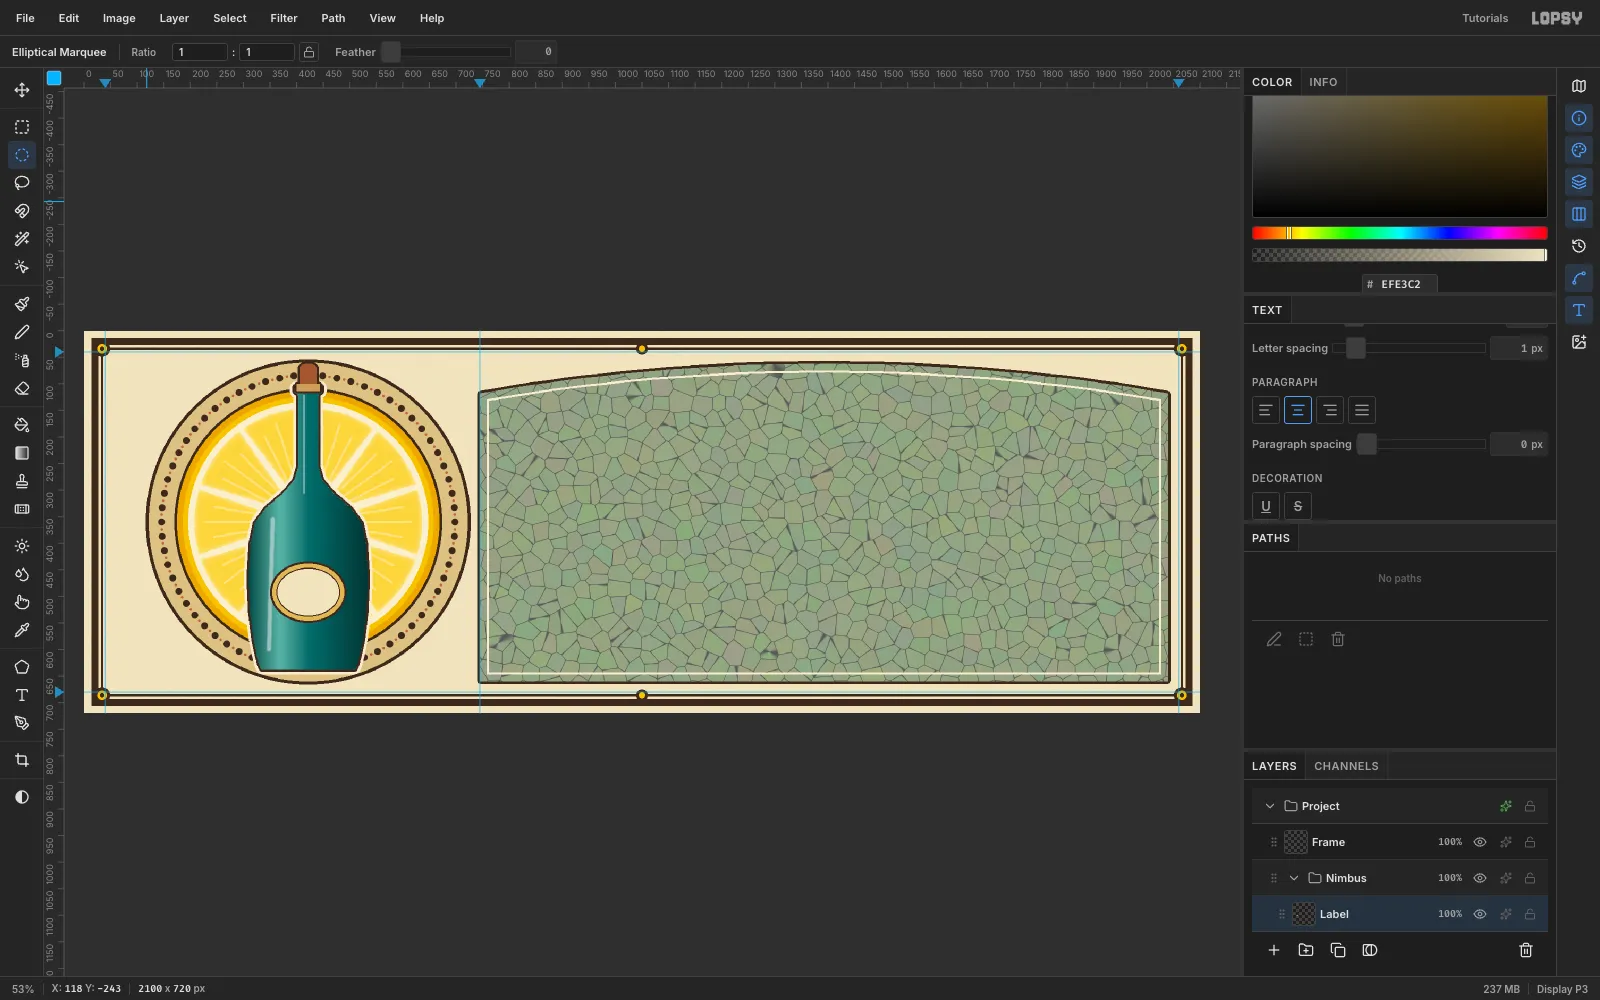
Add a
Bottlelayer aboveSegments. Lasso a bottle silhouette centred at x422: a narrow neck from150down to290, a sloping shoulder, and a body about 224 px wide ending at638. Fill it with teal#2E6B6A.Pick the Gradient tool and open Advanced…. Set four stops:
#1E4A48at 0 %#6FB2A6at 26 %#2E6B6Aat 50 %#143534at 100 %
Choose Linear and drag across the selection from left to right.
For a more elegant neck, switch to the Move tool and drag the top-centre handle up from
150to104. Press Cmd+D to commit.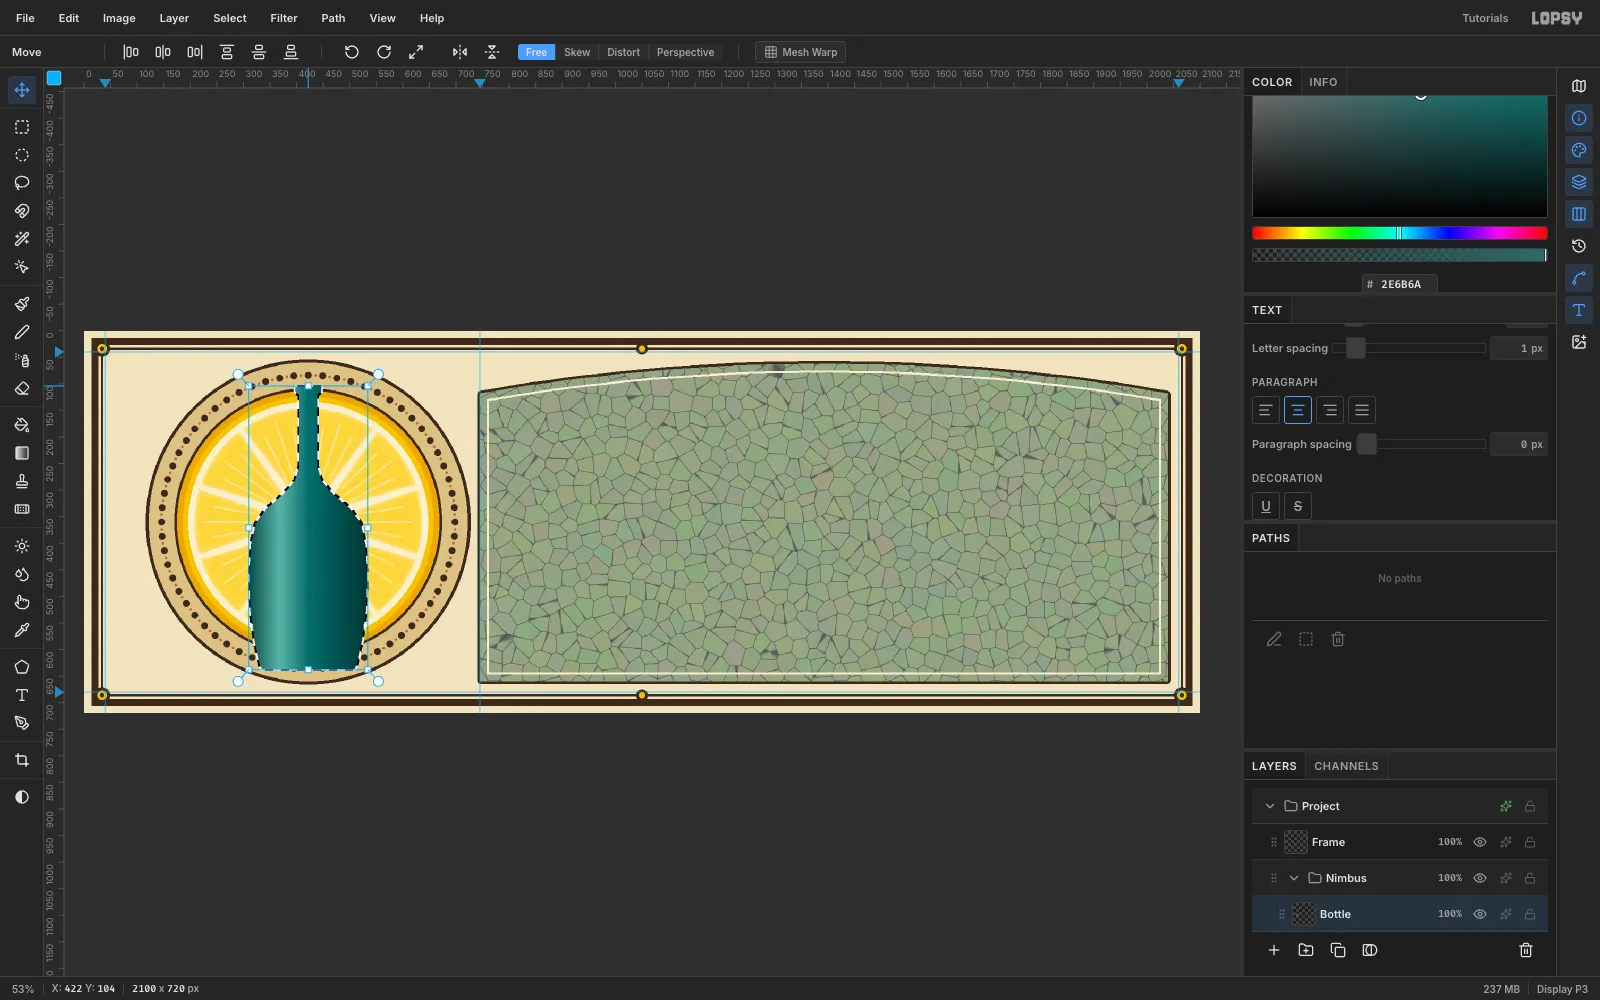
-
Add the cork, glints and label
Give the bottle two effects:
- Stroke:
#3B2A1E, Width4, outside. - Outer Glow: cream
#F6ECD2, Size9, Spread 100, which makes a crisp cream band.
That cream band is the cerne, the light contour that poster artists used to lift a figure off a busy background.
Build the rest from simple shapes:
- Cork layer: a copper
#9C5A38rectangle with a rounded top and a gold foil band, with a 4 px Stroke. - Glint layer: two soft white brush strokes at Opacity
45. - Label layer: four stacked ovals (dark, gold
#D9B865, dark, cream).
- Stroke:
-
Set a monogram
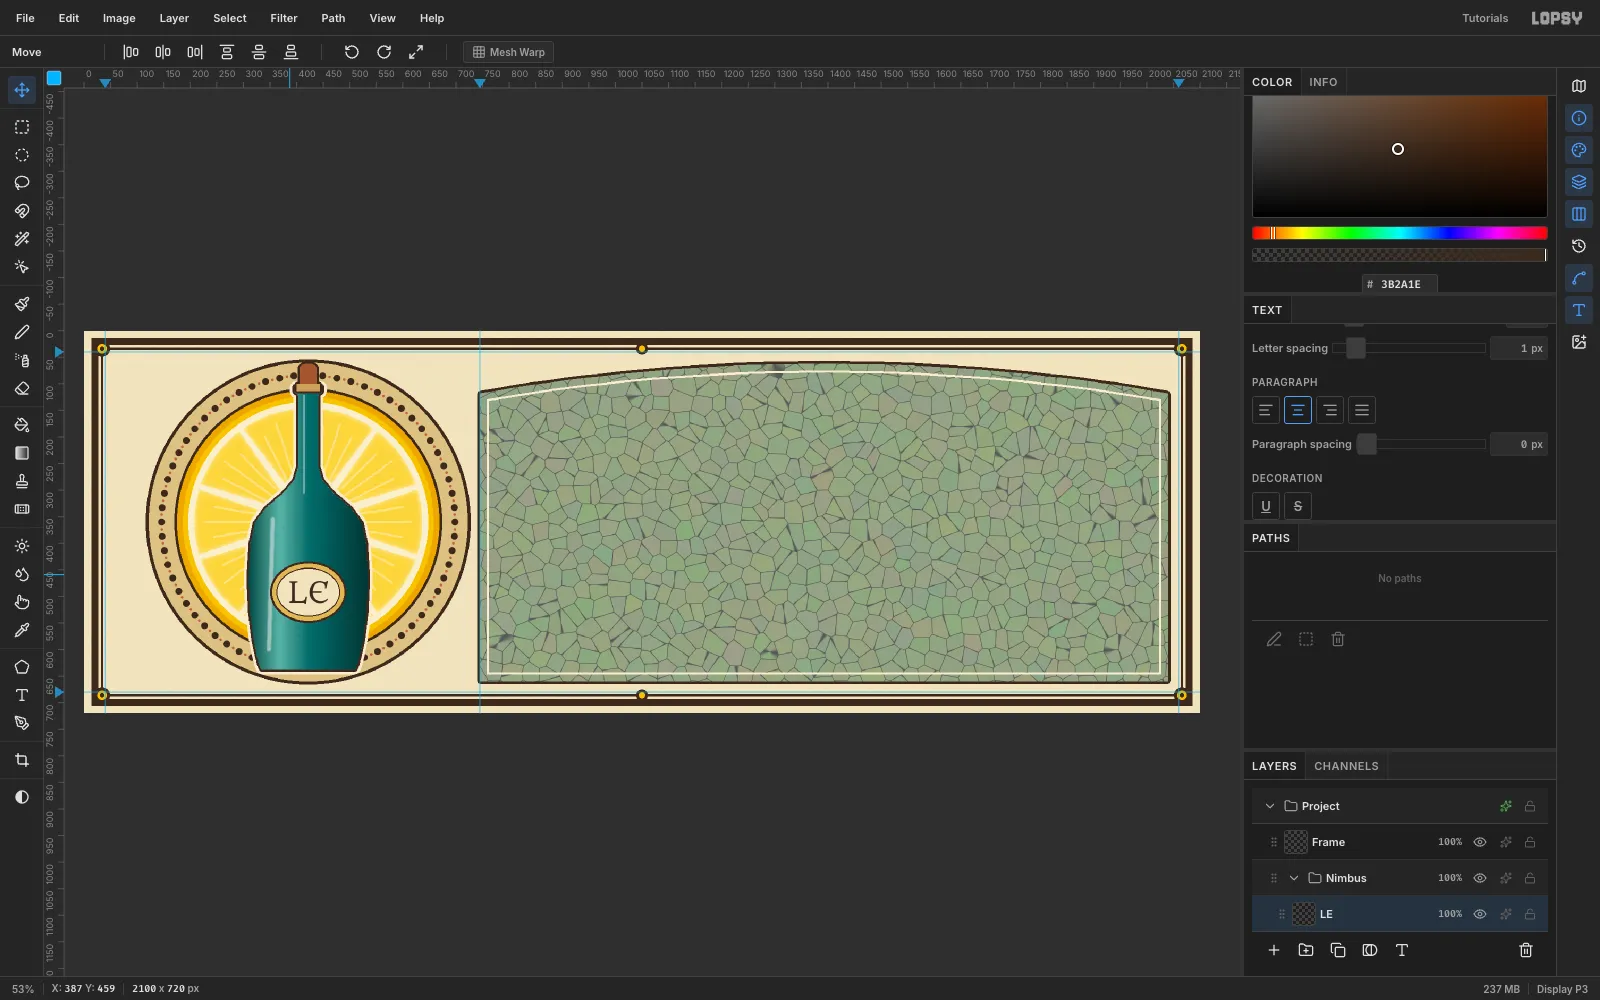
With the Text tool, set Size
54and click in the label to typeLE. Measure the glyphs against the label centre and nudge with the arrow keys until they sit dead centre.This shot uses Metamorphous. In the final polish step it gets swapped for Marcellus, because the uncial E read as "L€".
-
Draw whiplash vines with the Pen
Add a
Vineslayer under the bottle. Pick the Pen tool and click-drag each anchor, so every point gets a smooth handle. The left vine runs from72,705up through132,520,122,330and182,150, then curls in at312,110and284,158.Click the ✓ Commit path button. Set the foreground to olive
#3E4A24and click Stroke Path in the Paths panel with Width9. Draw a second vine up the right side of the halo the same way.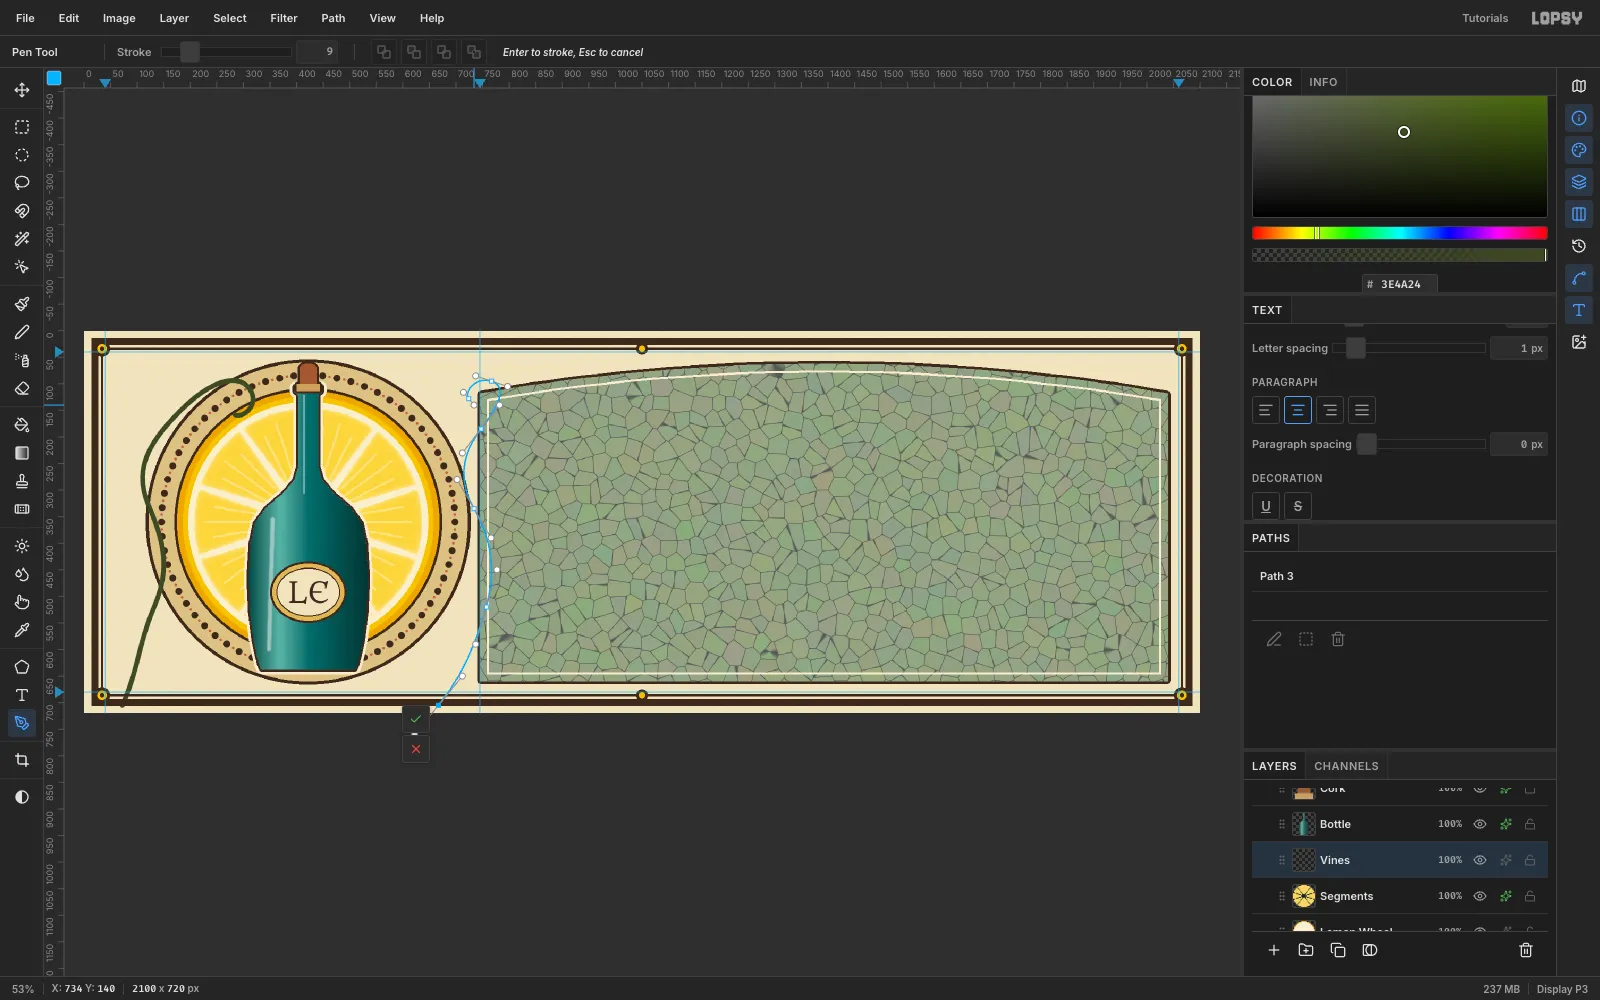
-
Add hair tendrils
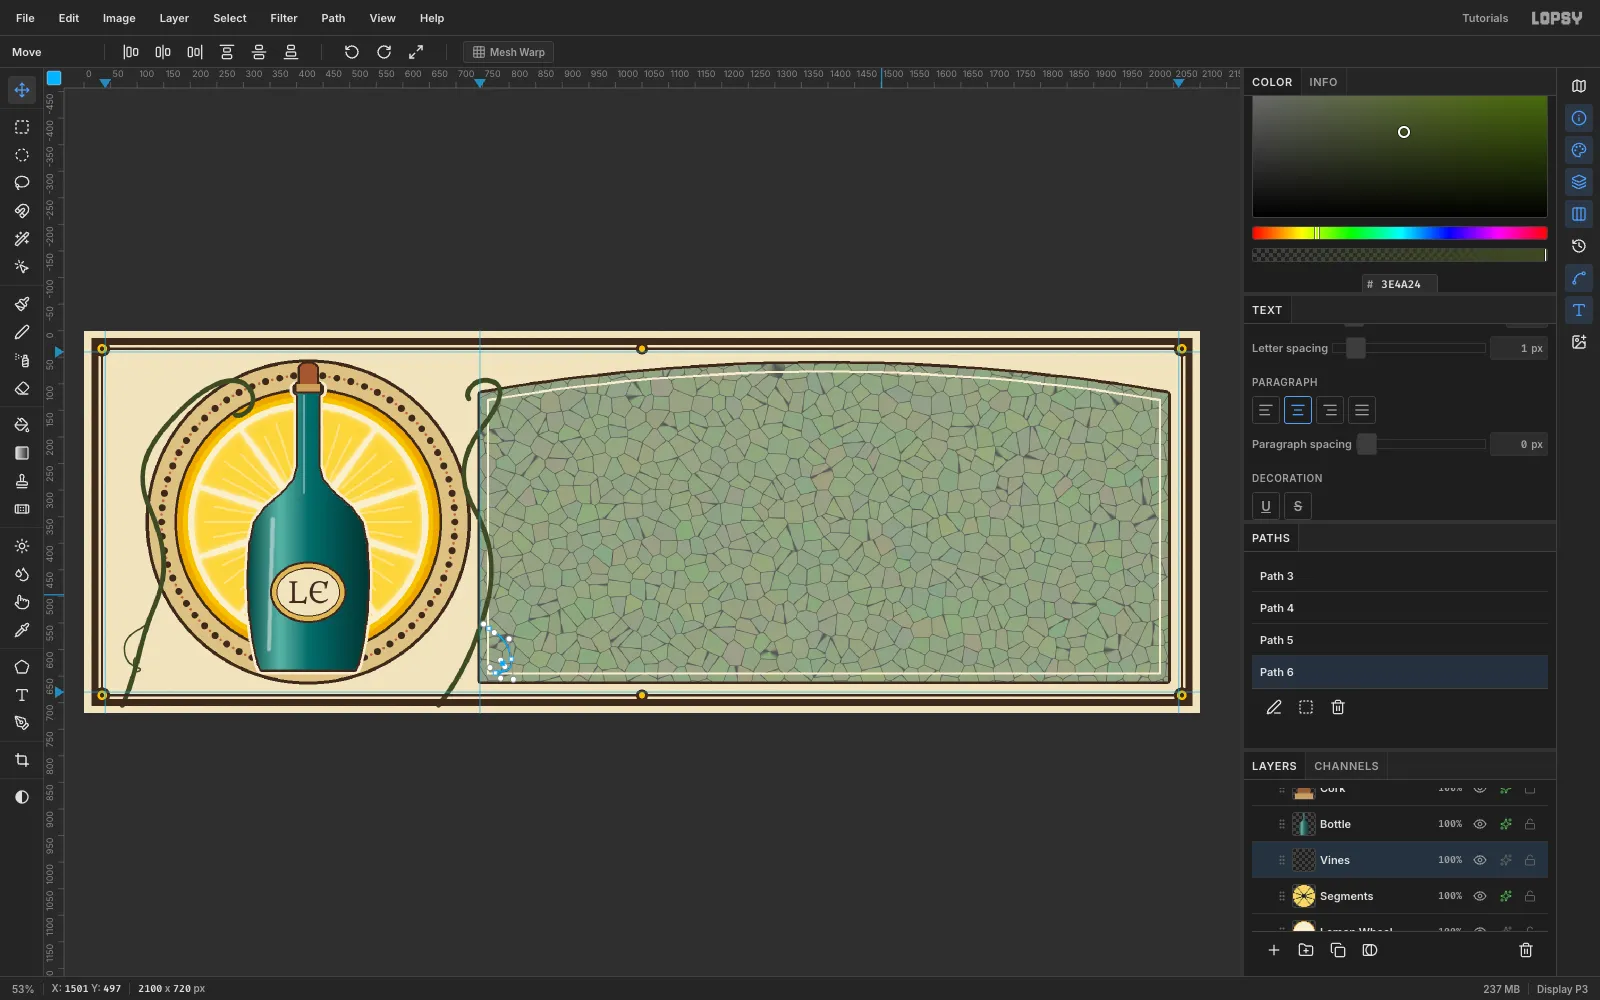
Mucha's whiplash lines come in two weights. Add thin spiral tendrils with the Pen and stroke them at Width
3.Start each tendril at its curled tip in empty canvas. If the first click lands on an existing vine, it selects that path instead of starting a new one.
-
Hang the leaves
On a
Leaveslayer, lasso almond-shaped leaves in#5E7F3A(about 92 px long). Place them along the vines, alternating sides at about 55° to the stem. Keep every tip inside the inner frame.Draw a 3 px midrib down each leaf with the Brush in
#3E4A24, then add a 3 px outside Stroke.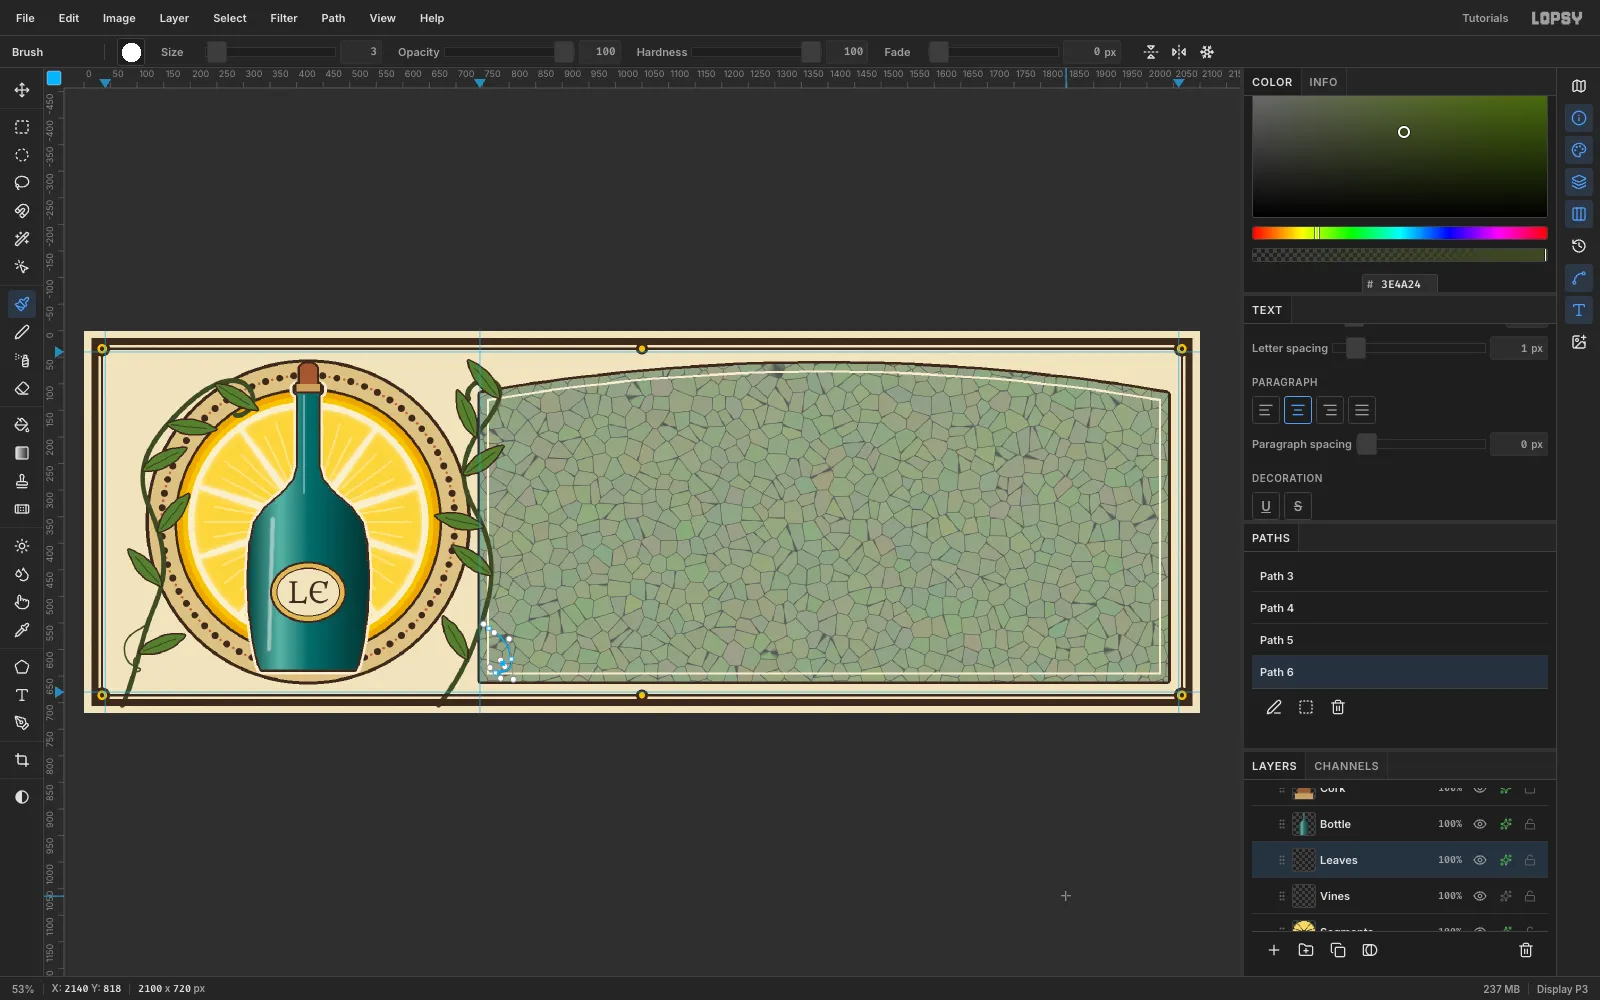
-
Paint the lemons
In the Gradient Editor, set stops
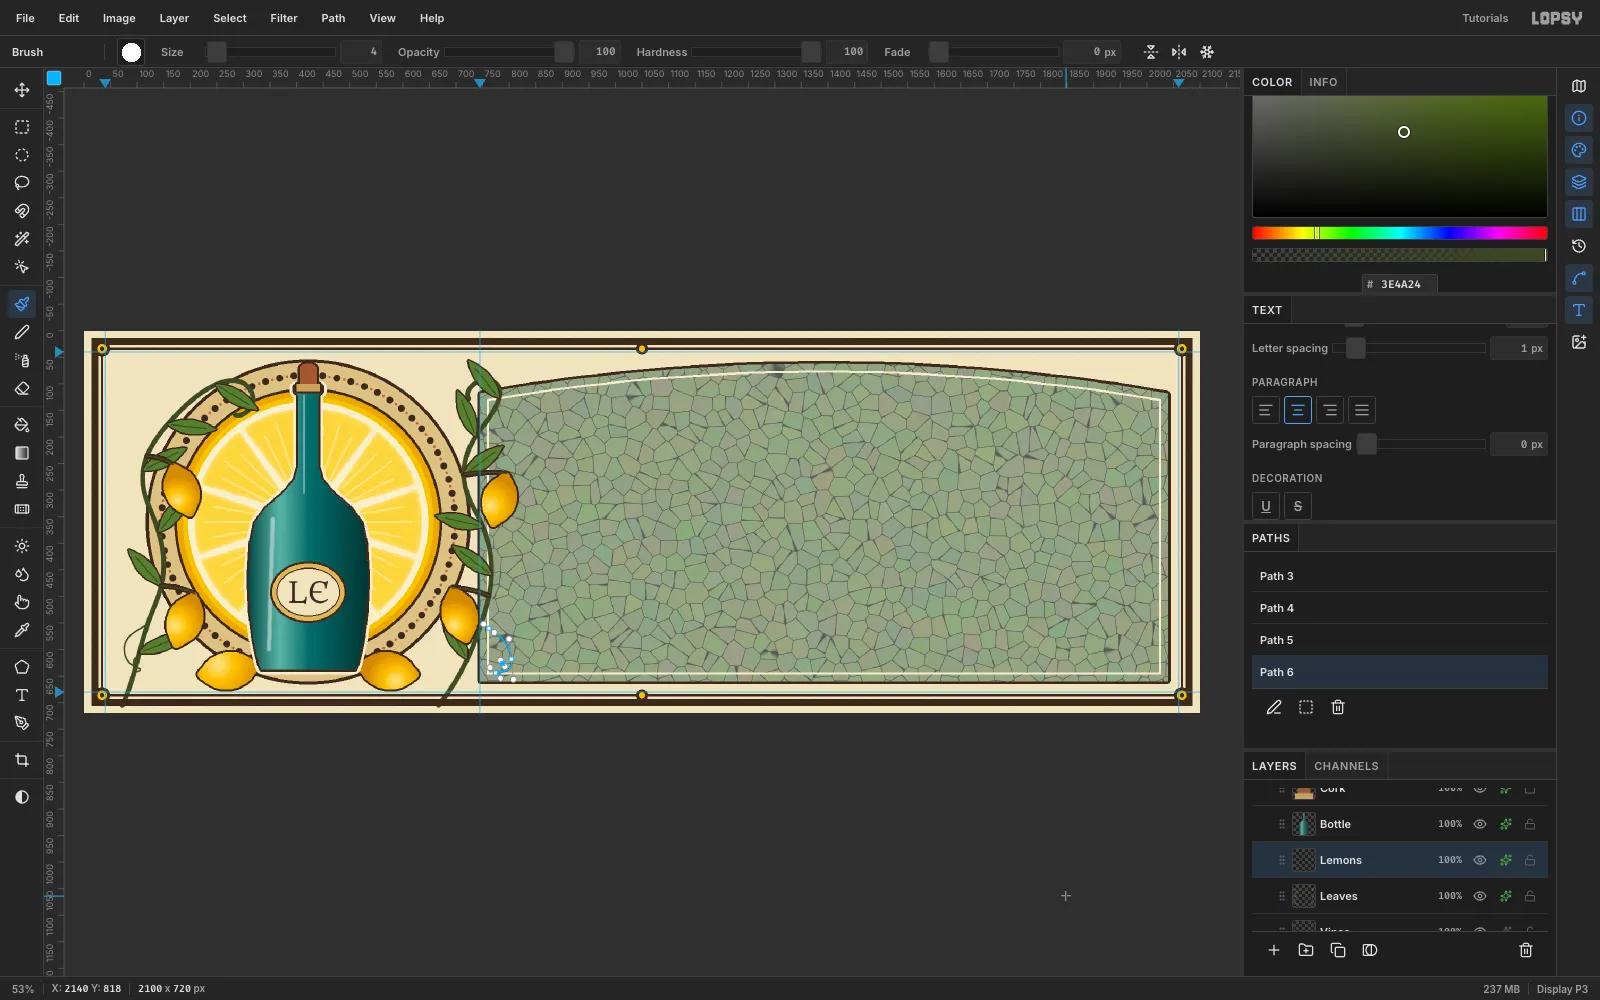
#FAE68E→#F2C230at 45 % →#C98E17. Switch the tool to Radial.On a
Lemonslayer, lasso each lemon as an ellipse with a small nub at both ends. Fill it#F2C230, then drag a radial gradient from a highlight at the upper left out past the lower right. Make six:- two hanging from each vine
- two lying at the foot of the halo
Brush a curved 4 px stem from each hanging lemon to its vine. Then give the layer a 4 px outside Stroke, so the fruit matches the bottle's outline weight.
-
Fold a swallowtail ribbon
Select
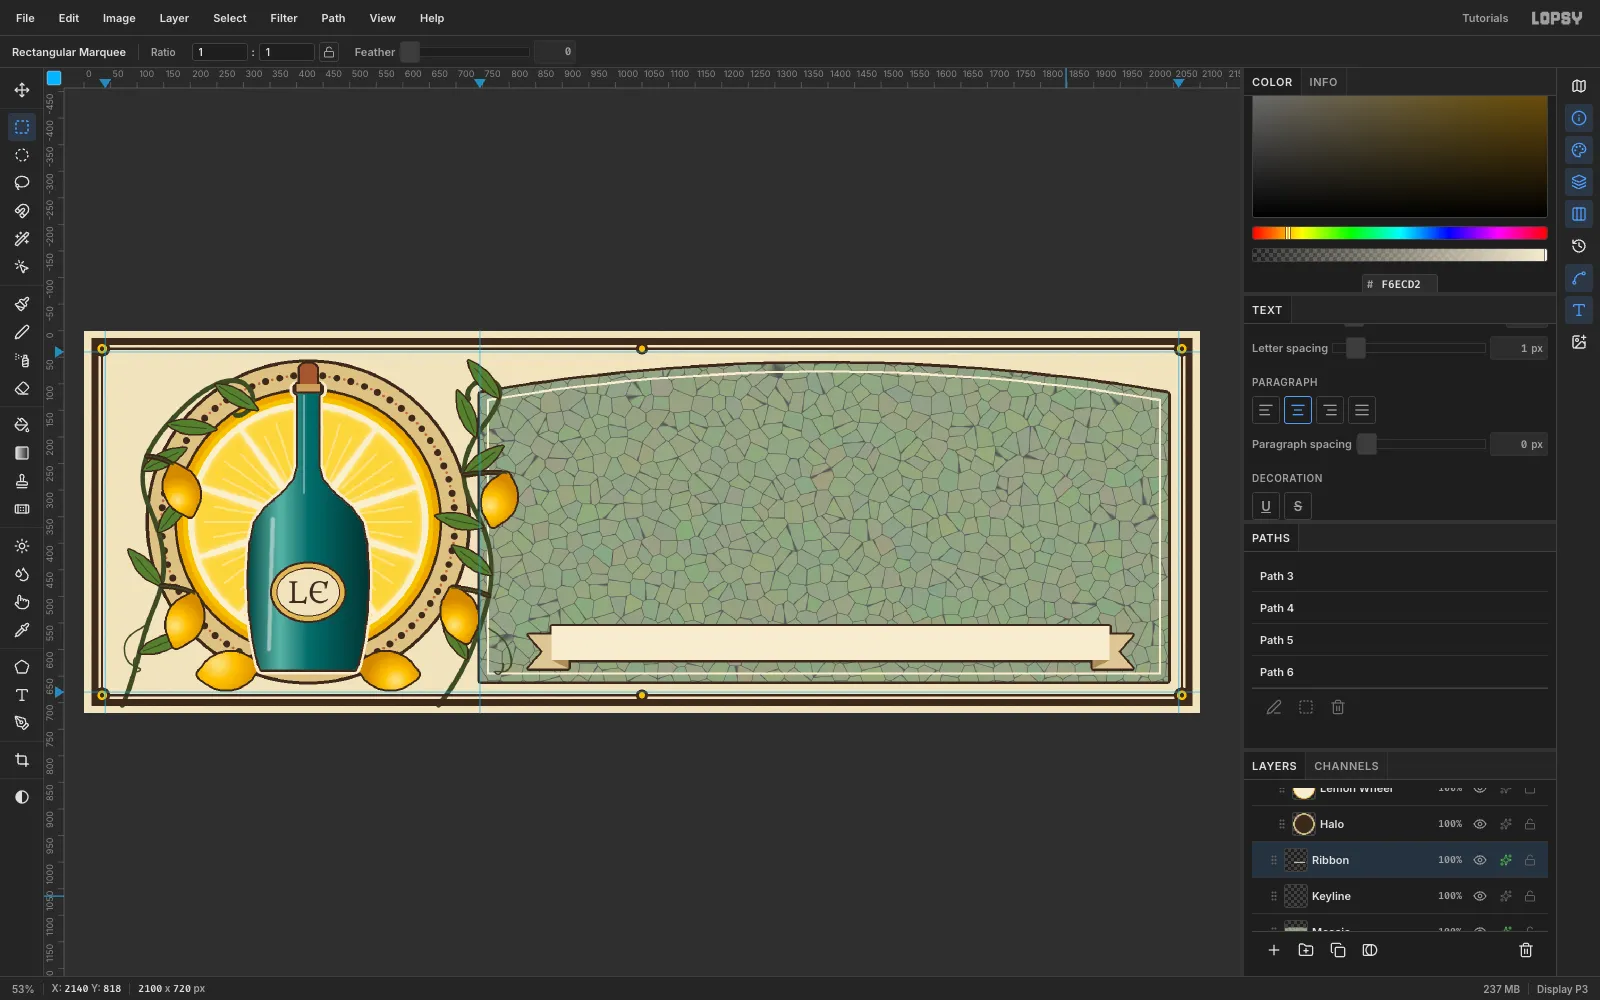
Keylineand add aRibbonlayer. Build the banner back to front:- Lasso the two notched tails in shaded cream
#D9C79B, dropped 16 px below the band. - Lasso two small fold triangles in
#A98E5Ewhere each tail tucks under the band. - Fill the main band with a rectangle from
880,556to1930,620in#F6ECD2.
A 4 px outside Stroke outlines the whole banner.
- Lasso the two notched tails in shaded cream
-
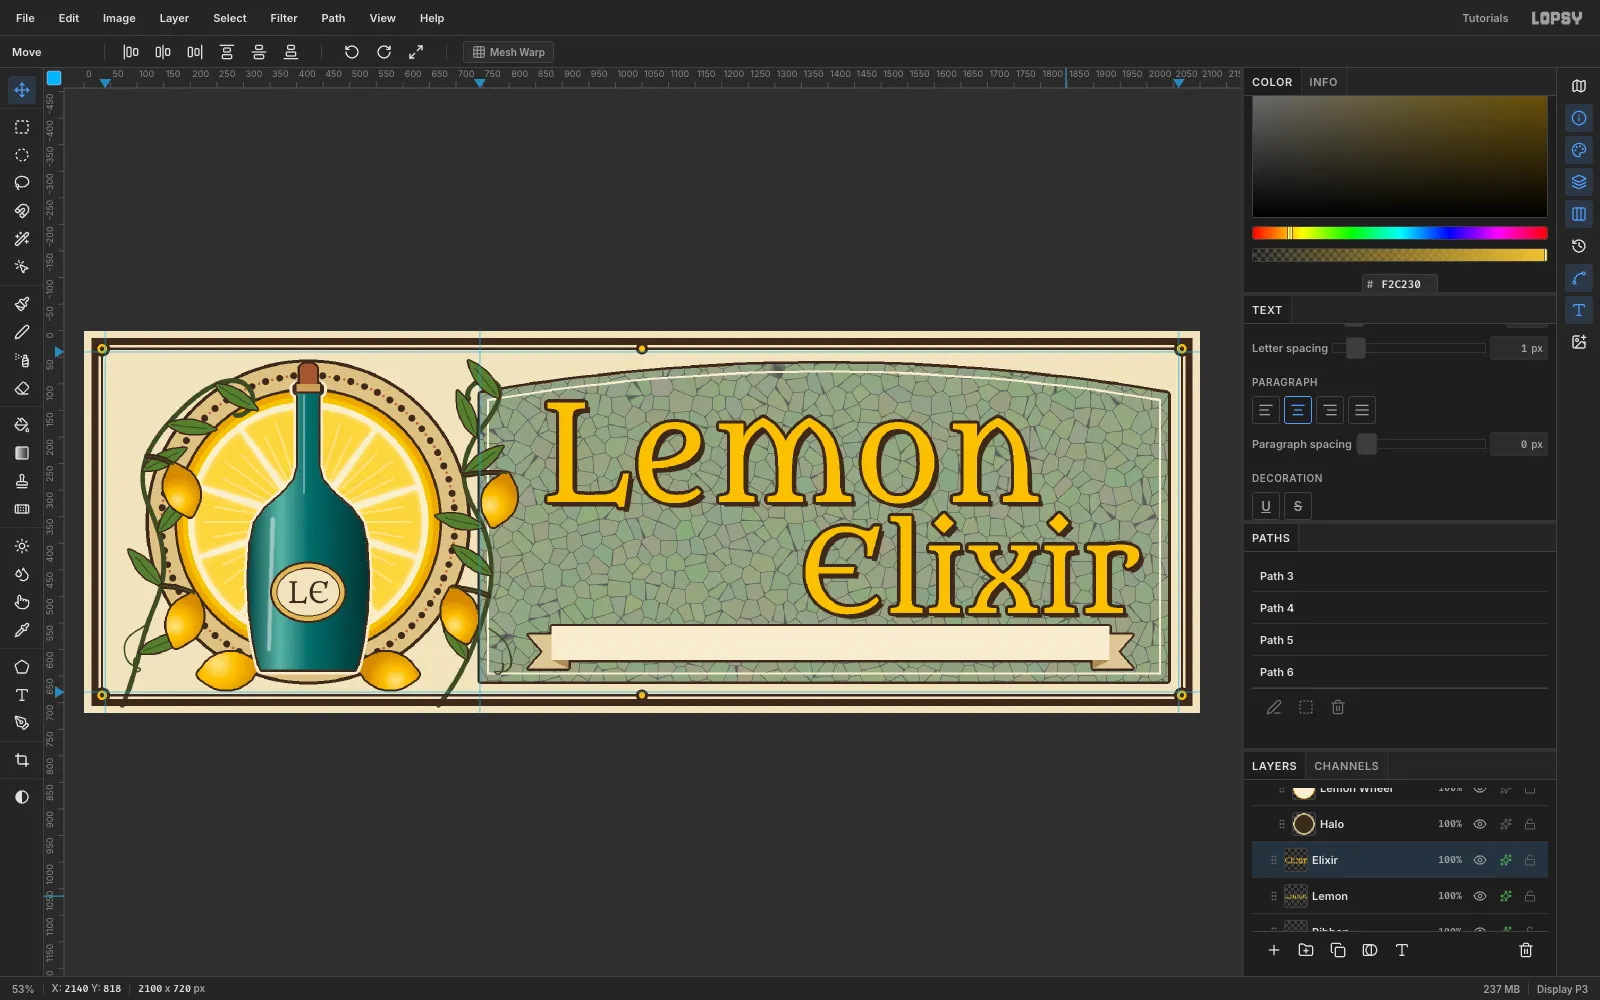
Set the headline
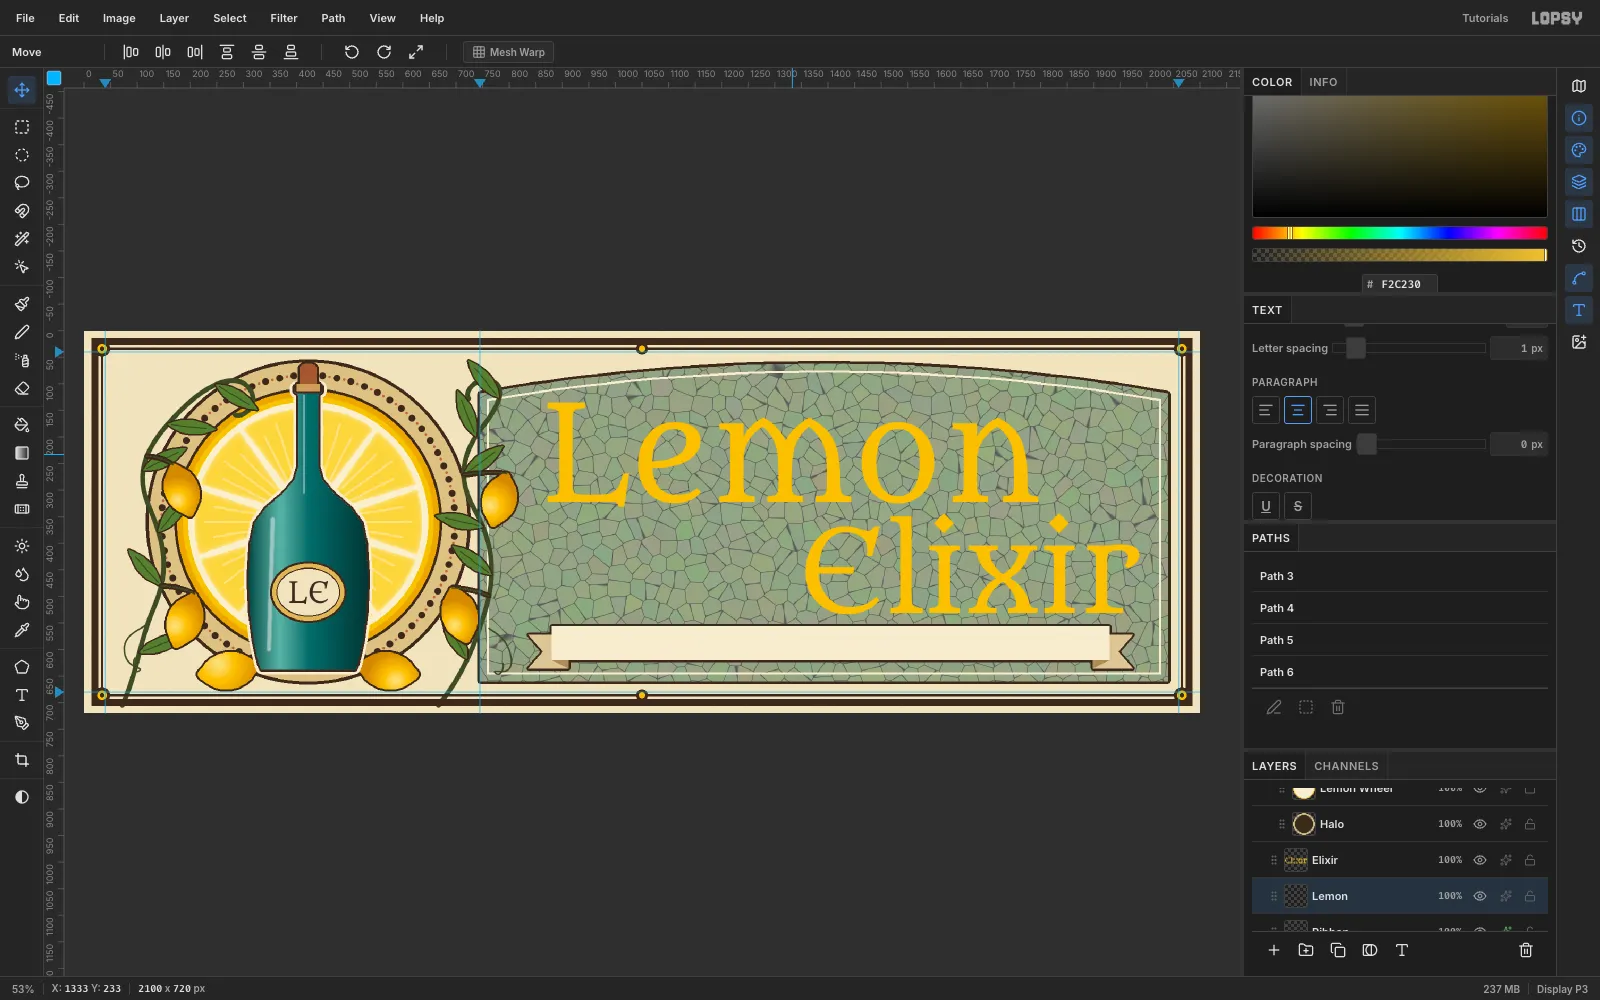
Set the headline in Metamorphous, a Google Font with organic, Nouveau-style curves, in
#F2C230:- Elixir at Size
215, right-aligned so its last letter ends at x1985, with its top at343. - Lemon at Size
250, starting at x872, with its top at135.
Type Elixir first. A new text click inside an existing text layer's bounds edits that layer instead of creating a new one.
Staggering the two words leaves a pocket at the lower left for the medallion.
- Elixir at Size
-
Outline the lettering
On both text layers, add these effects:
- Drop Shadow:
#3B2A1E, offset9, 9, Blur0, Opacity100. - Stroke:
#3B2A1E, Width6, outside.
Together they give the classic poster look: a light fill with a heavy dark contour and a printed shadow.
- Drop Shadow:
-
Seat the tagline
Type
SPARKLING TONIC OF THE RIVIERAin Marcellus, Size36, colour#3B2A1E. In the Text panel, set Letter spacing to7.Measure the glyph box and move it until its centre sits exactly on the band's centre (
1405, 588), with equal air above and below the caps.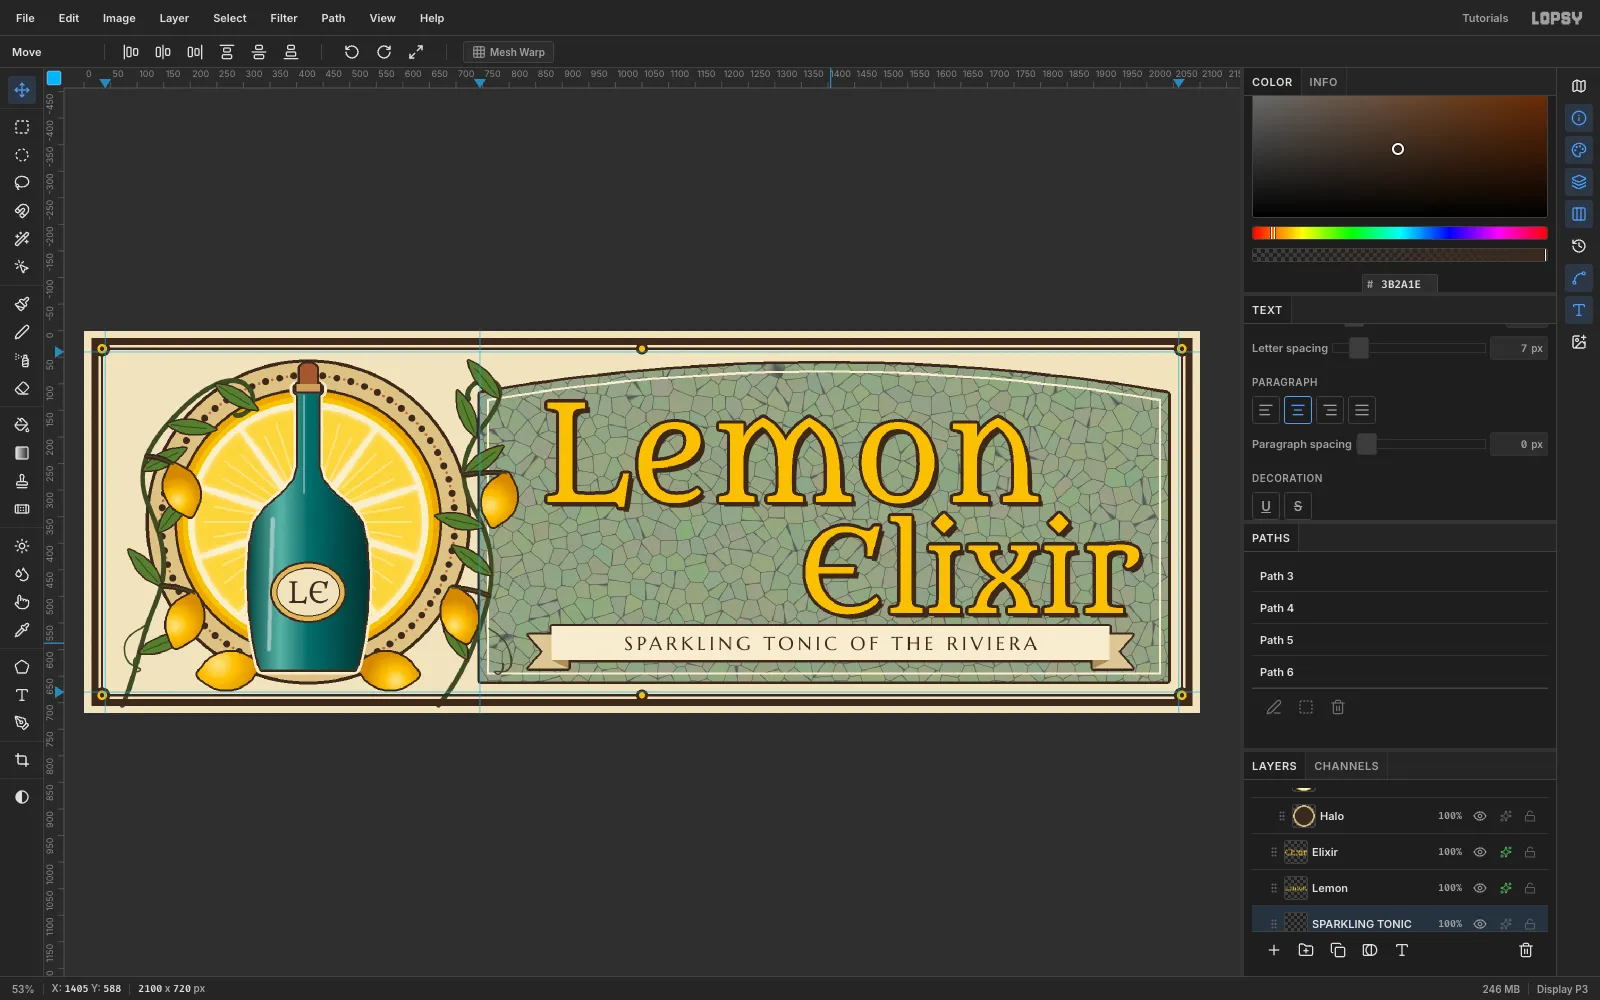
-
Add the Maison Citron medallion
On a
Medallionlayer centred at1090, 445, fill four circles:- radius 100 in
#3B2A1E - radius 96 in cream
- radius 80 in
#3B2A1E - radius 77 in lemon
Add 24 dark dots on the cream ring with Radial Symmetry, and a hard
7, 7Drop Shadow to match the headline.For the text, create a centred area-text block
Maison/Citronin Metamorphous. AddEST. 1897in Marcellus at Size17with letter spacing3, and centre both in the disc.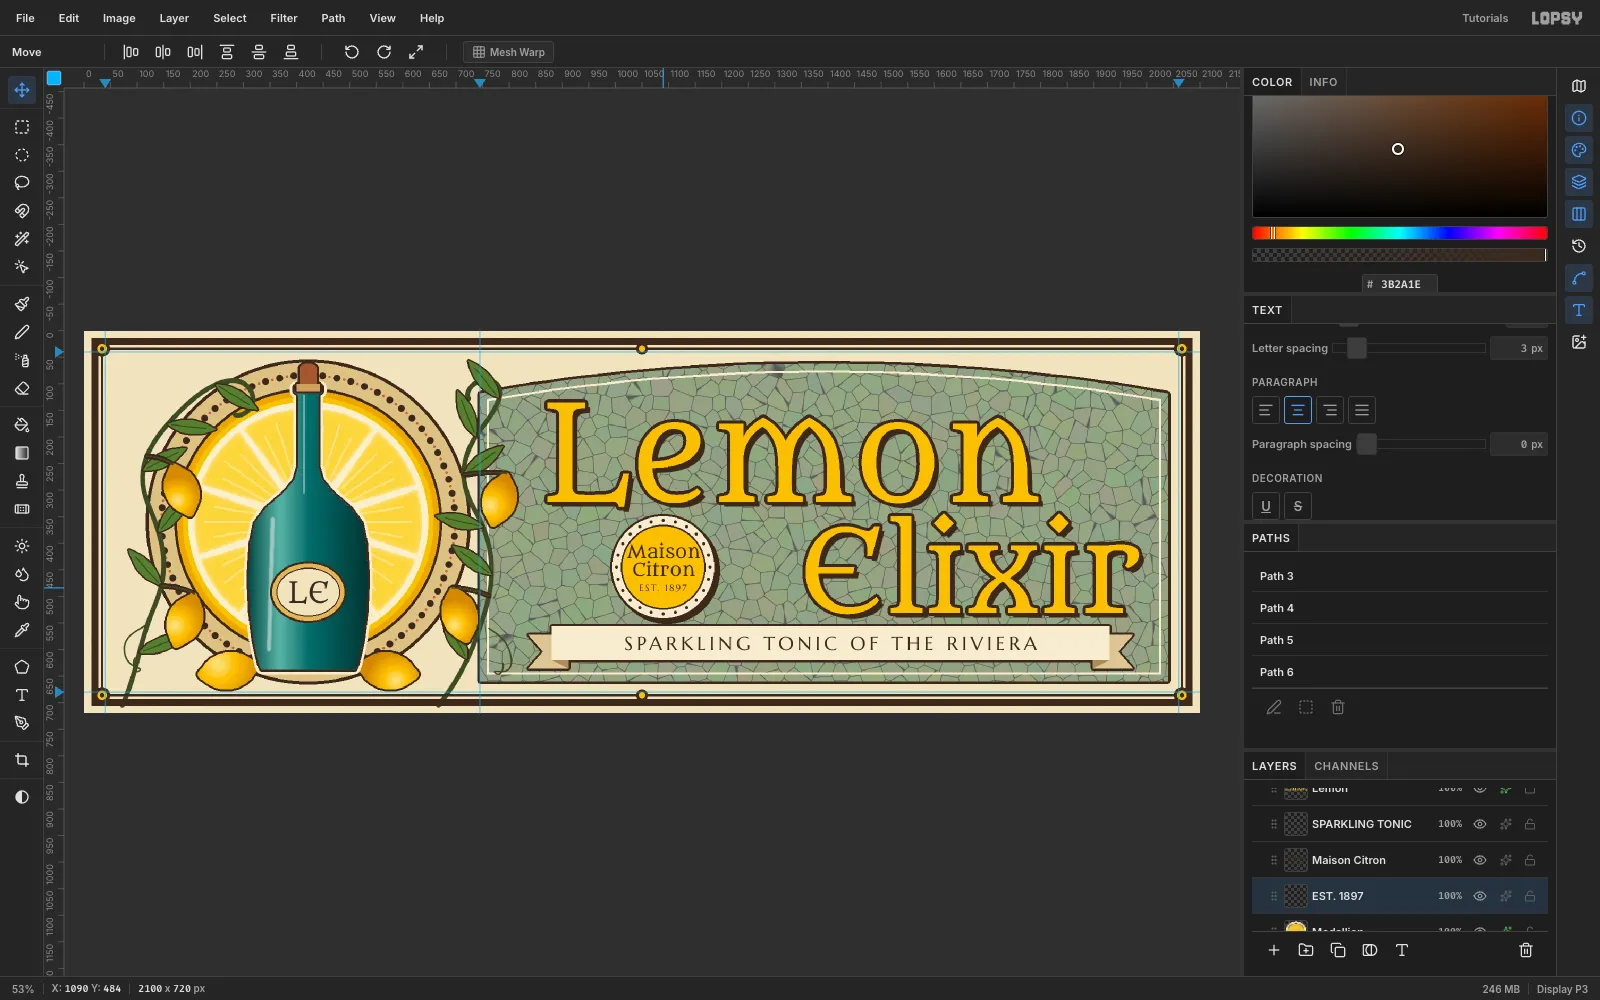
- radius 100 in
-
Add a lithograph grain
Select
Frameand add aLitho Grainlayer on top. Fill it with mid grey#808080, run Filter → Clouds at Scale14, then Add Noise at25in Mono.Set the layer's blend mode to Overlay and its opacity to about
14%. The grey disappears, leaving a faint stone-litho mottle over everything.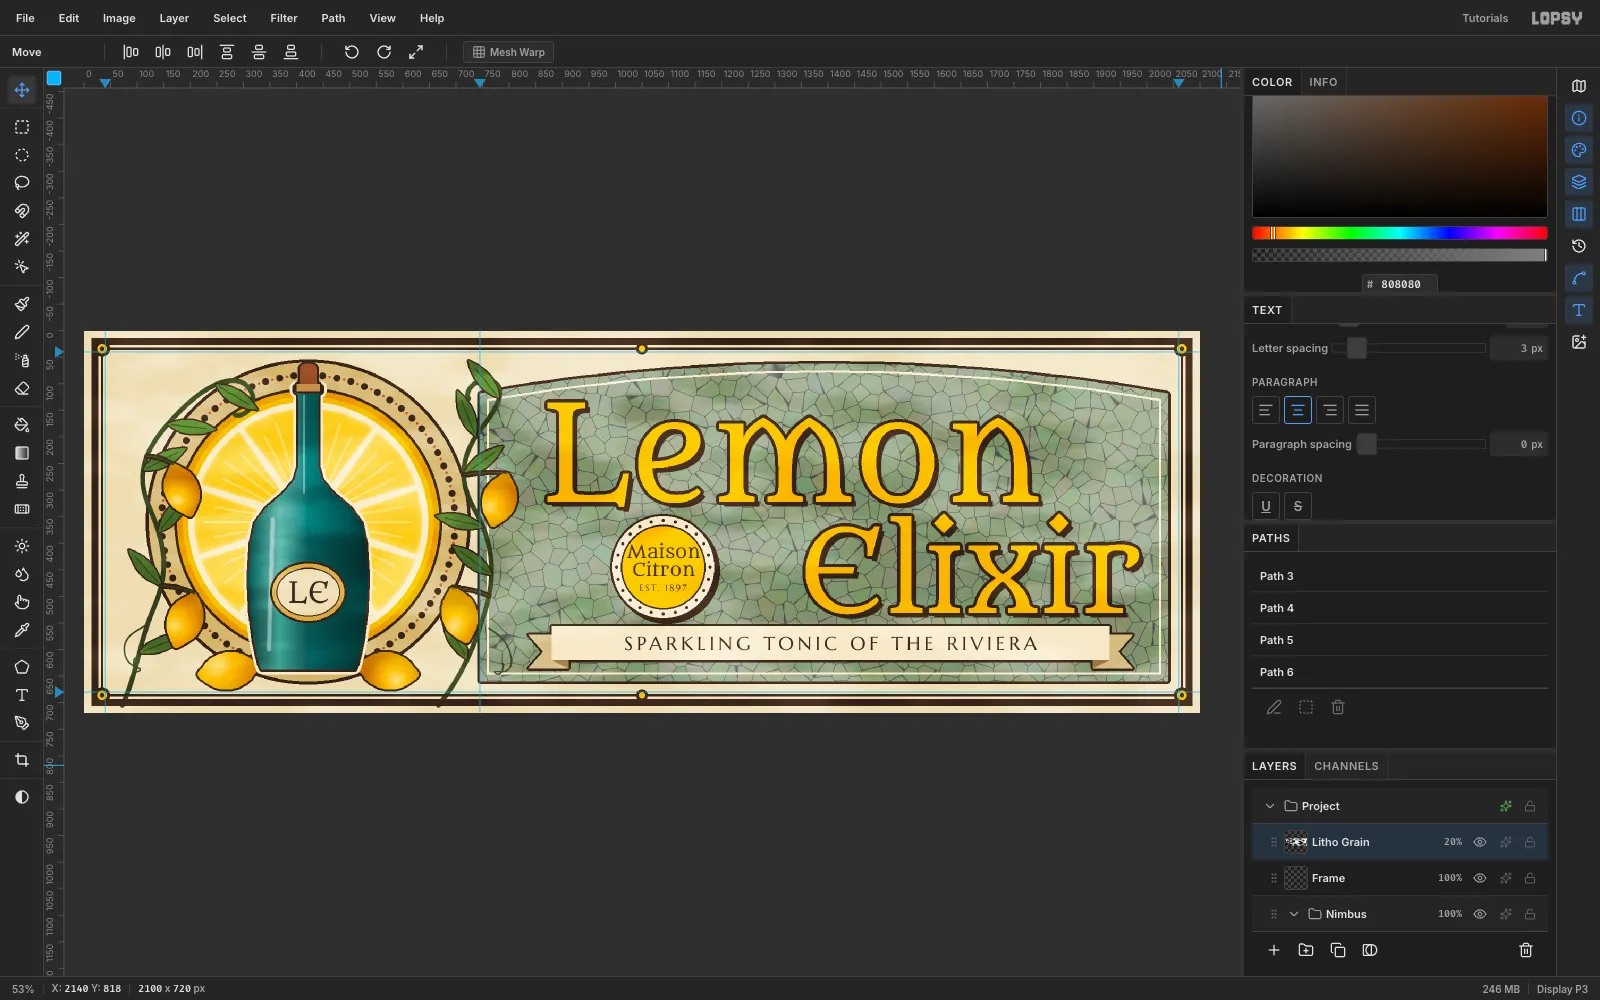
-
Polish the details
A last critique pass caught four small problems:
- Medallion lettering: it crowded the dotted ring, so drop
Maison Citronto Size29and re-centre it. - Monogram: switch
LEto Marcellus so it can't read as "L€". - Ribbon spacing: select the ribbon and tagline together (Shift-click the second row) and press ↓ ten times, which gives
Elixirroom above the banner. - Vine ends: on
Vines, marquee the strip just above the bottom rule and press Delete so no stem touches the frame.
Check your history with a few undos and redos. Every step here undoes and redoes pixel-exactly. Then export with File → Quick Export PNG.
- Medallion lettering: it crowded the dotted ring, so drop