Make a Vaporwave Sunset Billboard
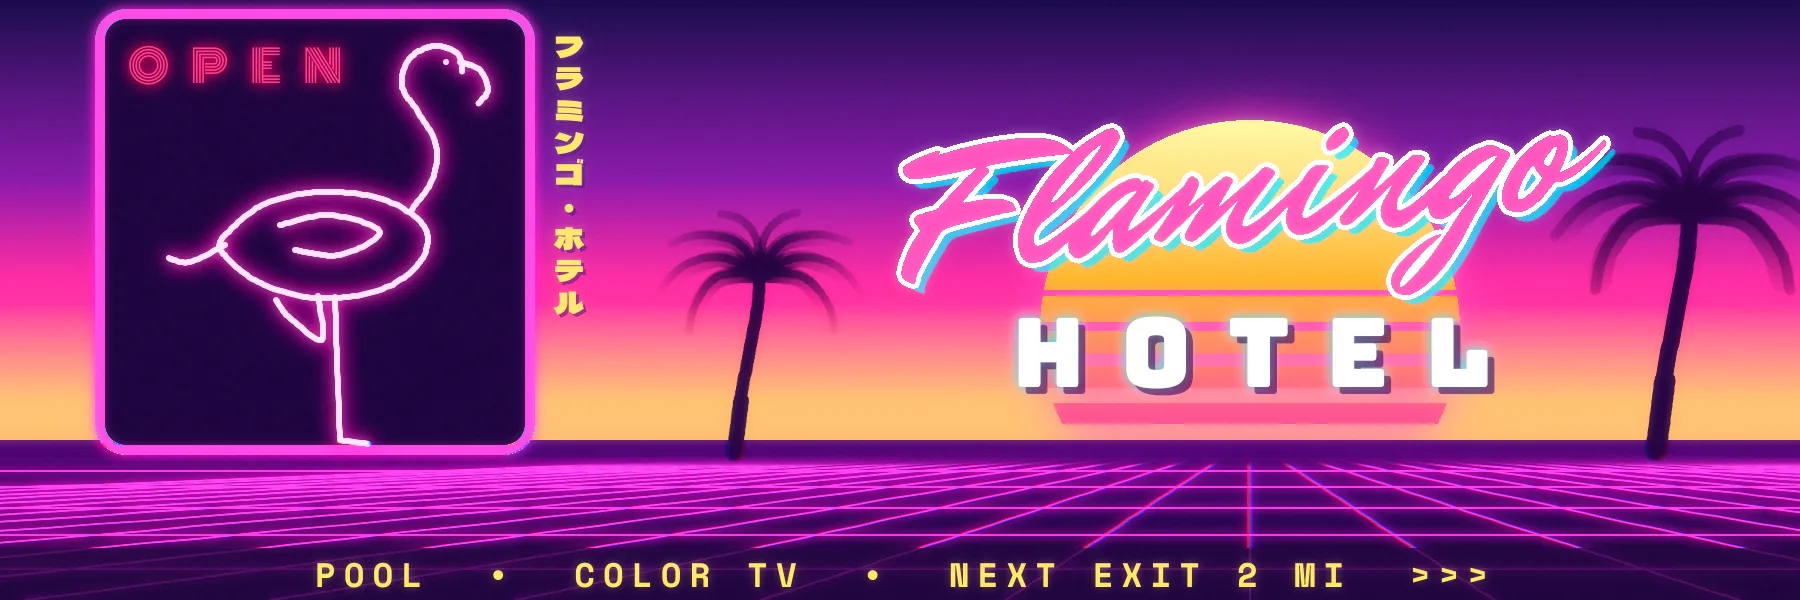
Design a synthwave roadside billboard in your browser with a striped retro sun, neon grid, palm silhouettes, a neon sign and glowing script type in Lopsy.
Vaporwave billboards run on a few reliable ingredients: a sunset gradient, a striped sun sinking into a neon grid, palm silhouettes, and chunky glowing type. In this tutorial you'll build a wide roadside billboard for an imaginary motel, the Flamingo Hotel. You'll use gradients, marquee cuts, brush strokes, transforms, layer effects and a couple of filters. Everything stays on separate layers, so you can rearrange it later.
-
Create a wide billboard canvas
Billboards are wide and short. Open Lopsy. When the New Document dialog appears, type
1800for Width and600for Height, then click Create. That's a 3:1 canvas, close to a real roadside bulletin board.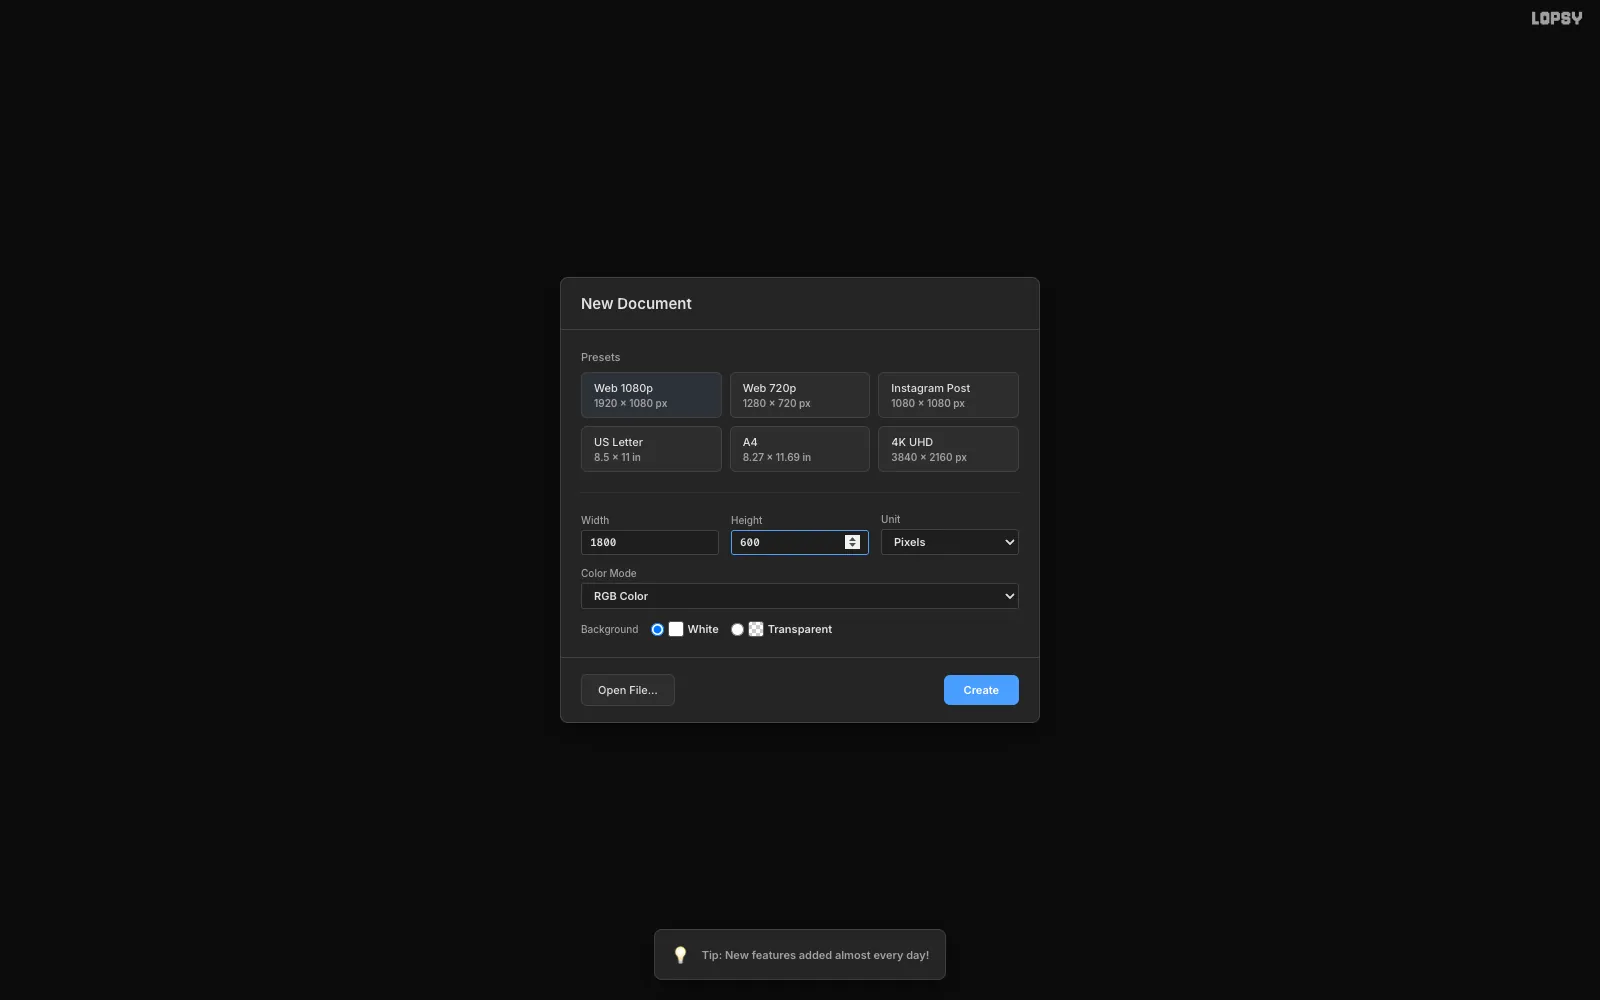
-
Set up a sunset gradient
Click Add Layer in the Layers panel and rename the new layer
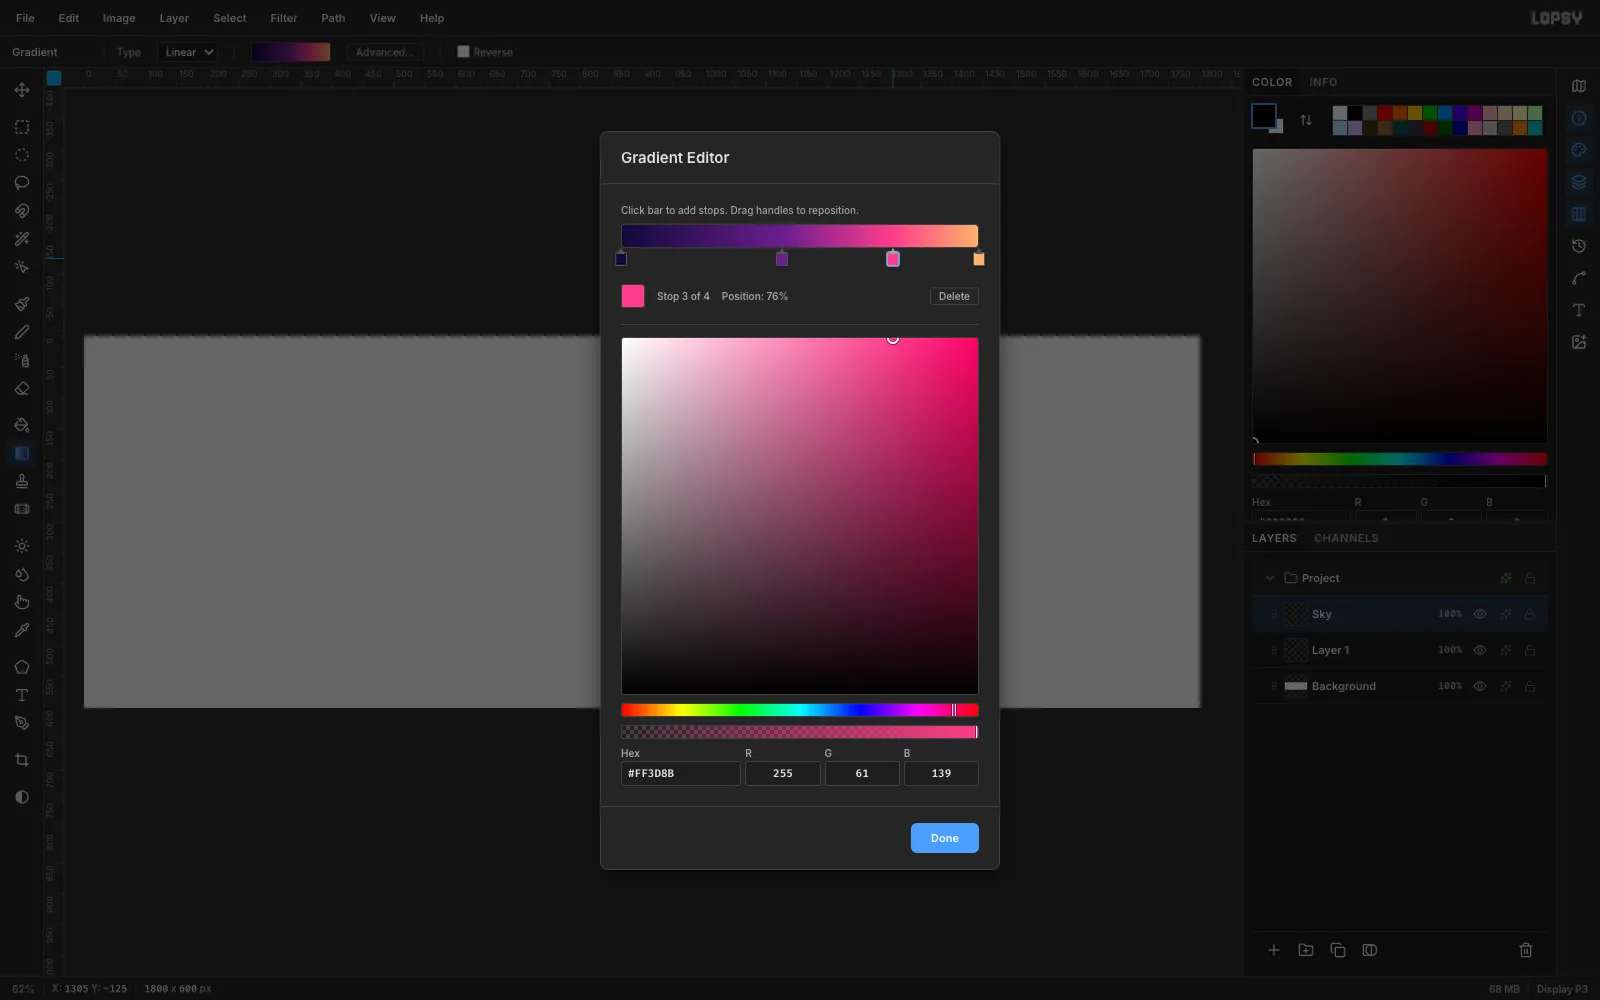
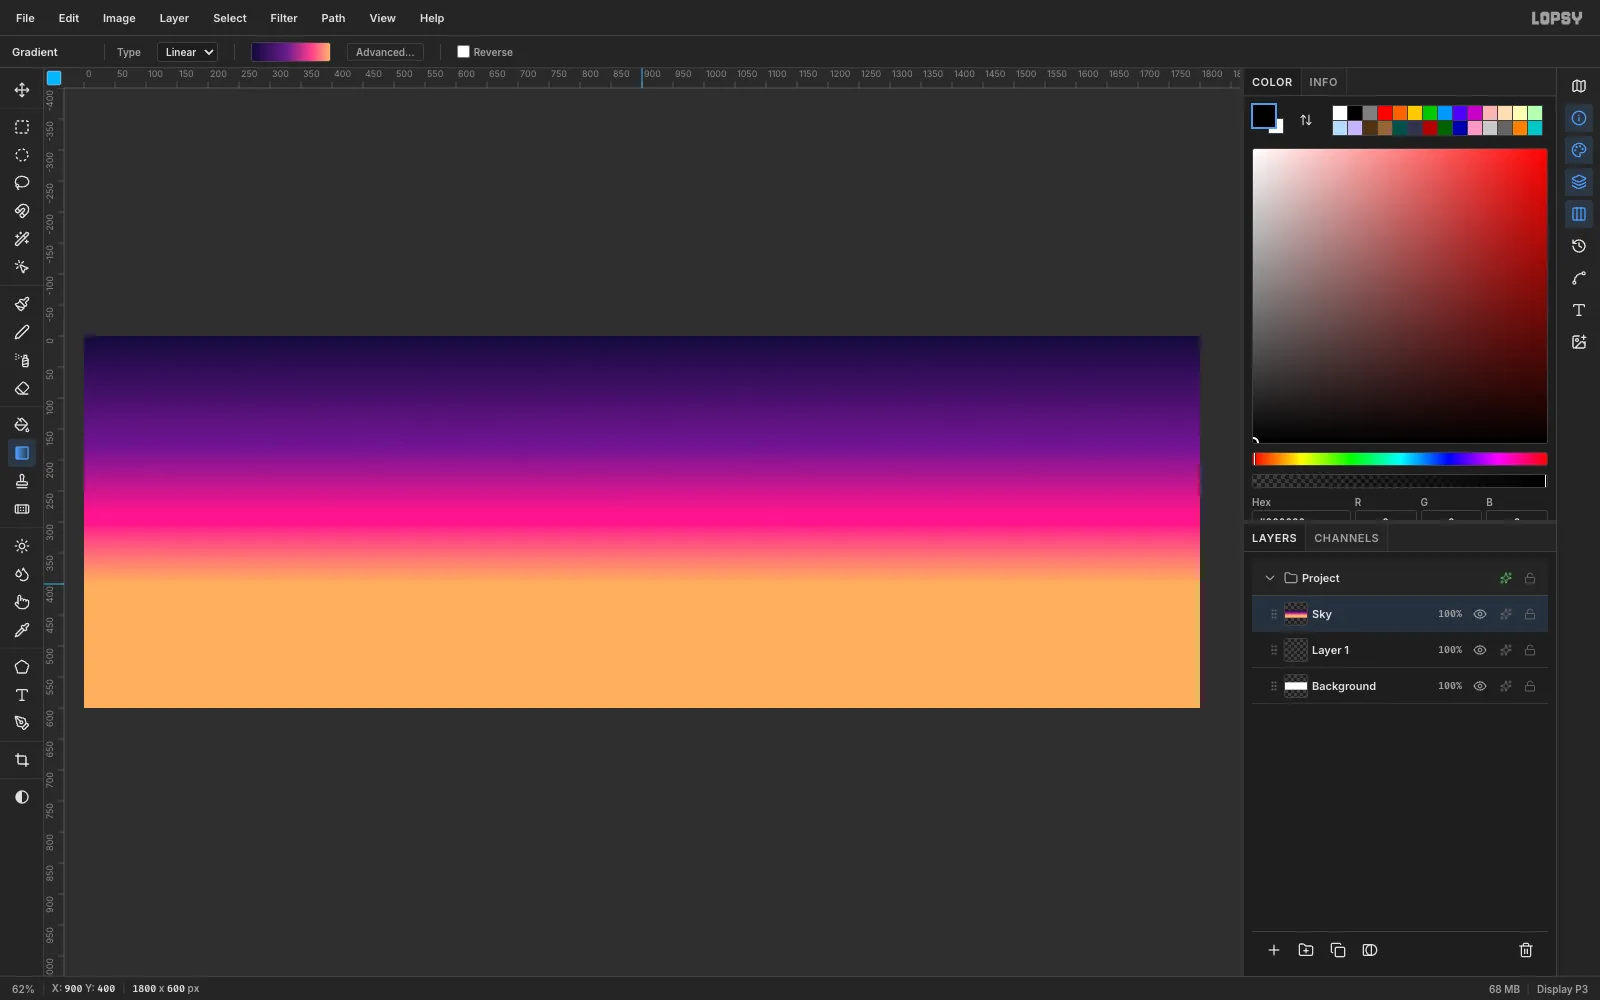
Skyby double-clicking its name. Pick the Gradient tool, then click Advanced… to open the Gradient Editor.Click the gradient bar to add stops, and enter these hex values from left to right:
#120A3A(deep indigo)#6A1D8Fat about 45%#FF3D8Bat about 76%#FFB36B(peach)
Click Done.
-
Paint the sky
Drag from the top edge of the canvas straight down to about y = 400, where the horizon will sit. Hold Cmd while you drag to snap the angle to a perfect vertical.
-
Draw the retro sun
Add a layer named
Sun. With the Elliptical Marquee, drag a 420 px circle on the right-hand side of the canvas, from about (1040, 120) to (1460, 540).Open the Gradient Editor again, delete one stop, and set the rest to
#FFF59A,#FFA53Dand#FF2E97. Drag a vertical gradient inside the selection. Only the circle is filled.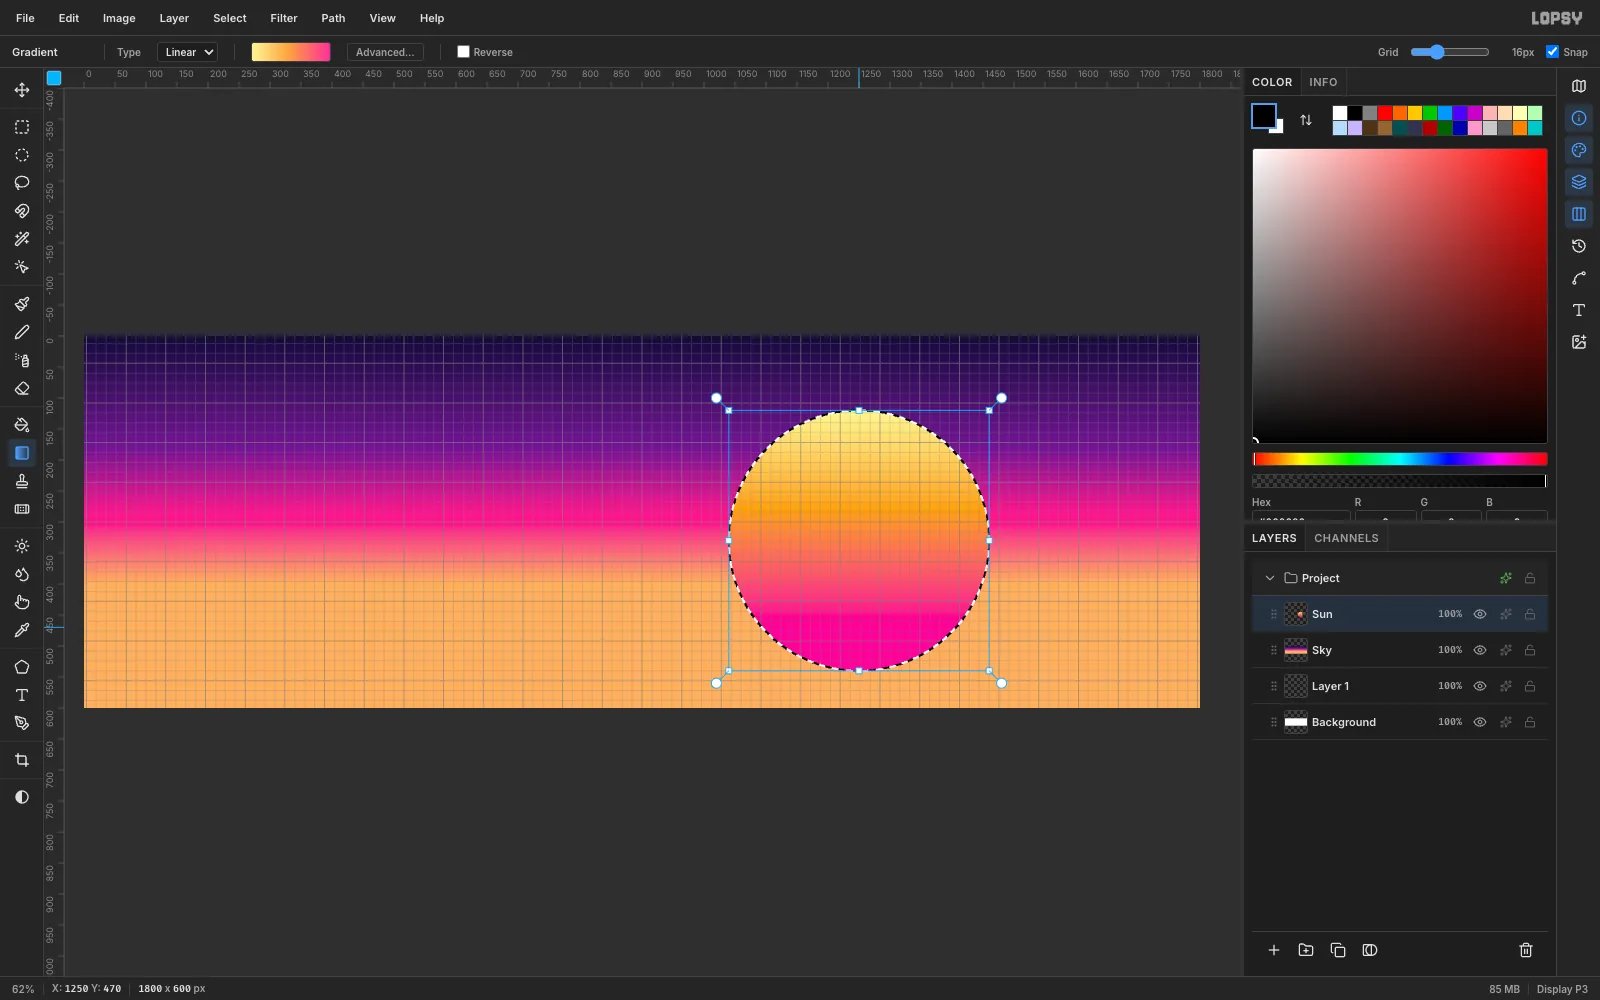
-
Slice the sun into stripes
Press Cmd+D to deselect, then press M for the Rectangular Marquee. Drag a thin horizontal band across the lower half of the sun and press Delete. Repeat about seven times, making each band a little thicker and the gaps a little wider as you go down. That's the classic 80s sunset look.
Finally, open the Sun layer's Layer Effects (the sparkle icon) and turn on Outer Glow in
#FF4FB0, Size70.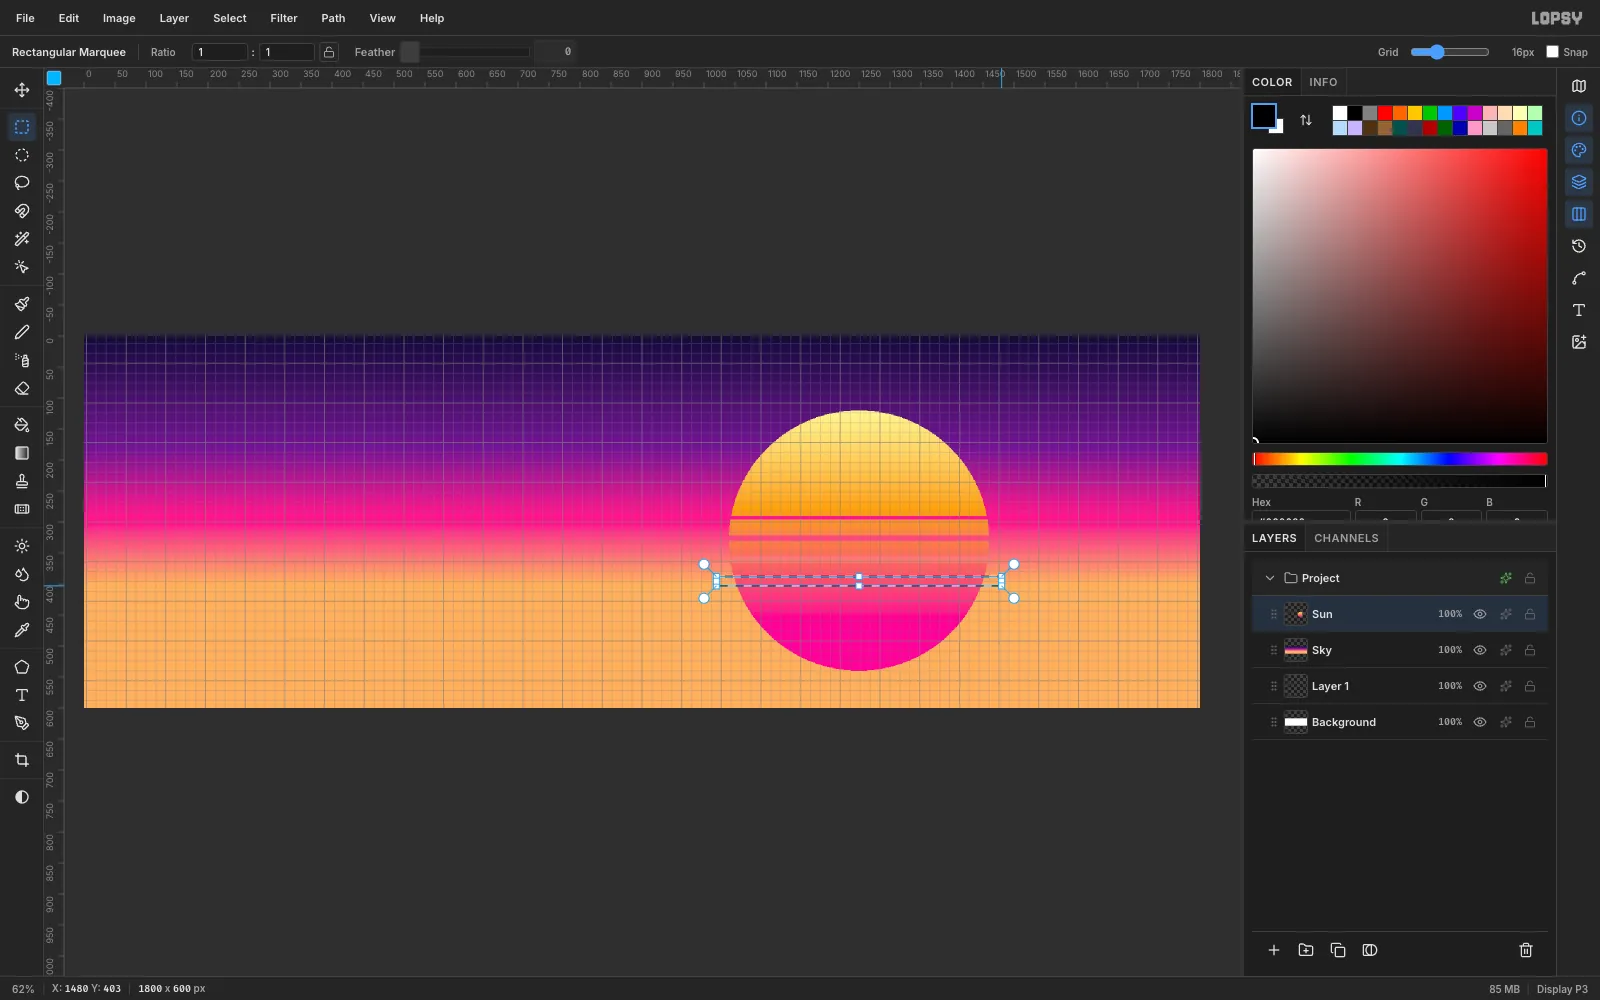
-
Build the neon grid floor
Add a
Floorlayer. Marquee everything below y = 440 and fill it with a dark gradient from#3A0A5Eto#07011A.Add a
Grid Lineslayer. Pick the Brush with Size3, Hardness100and color#FF4DF0. Draw straight lines fanning out from a vanishing point under the sun to the bottom edge. Then draw horizontal lines that get farther apart as they come toward the viewer.Give the layer an Outer Glow in
#FF2BD6, Size14. For depth, use the Eraser at 45% opacity to soften the crowded lines at the horizon.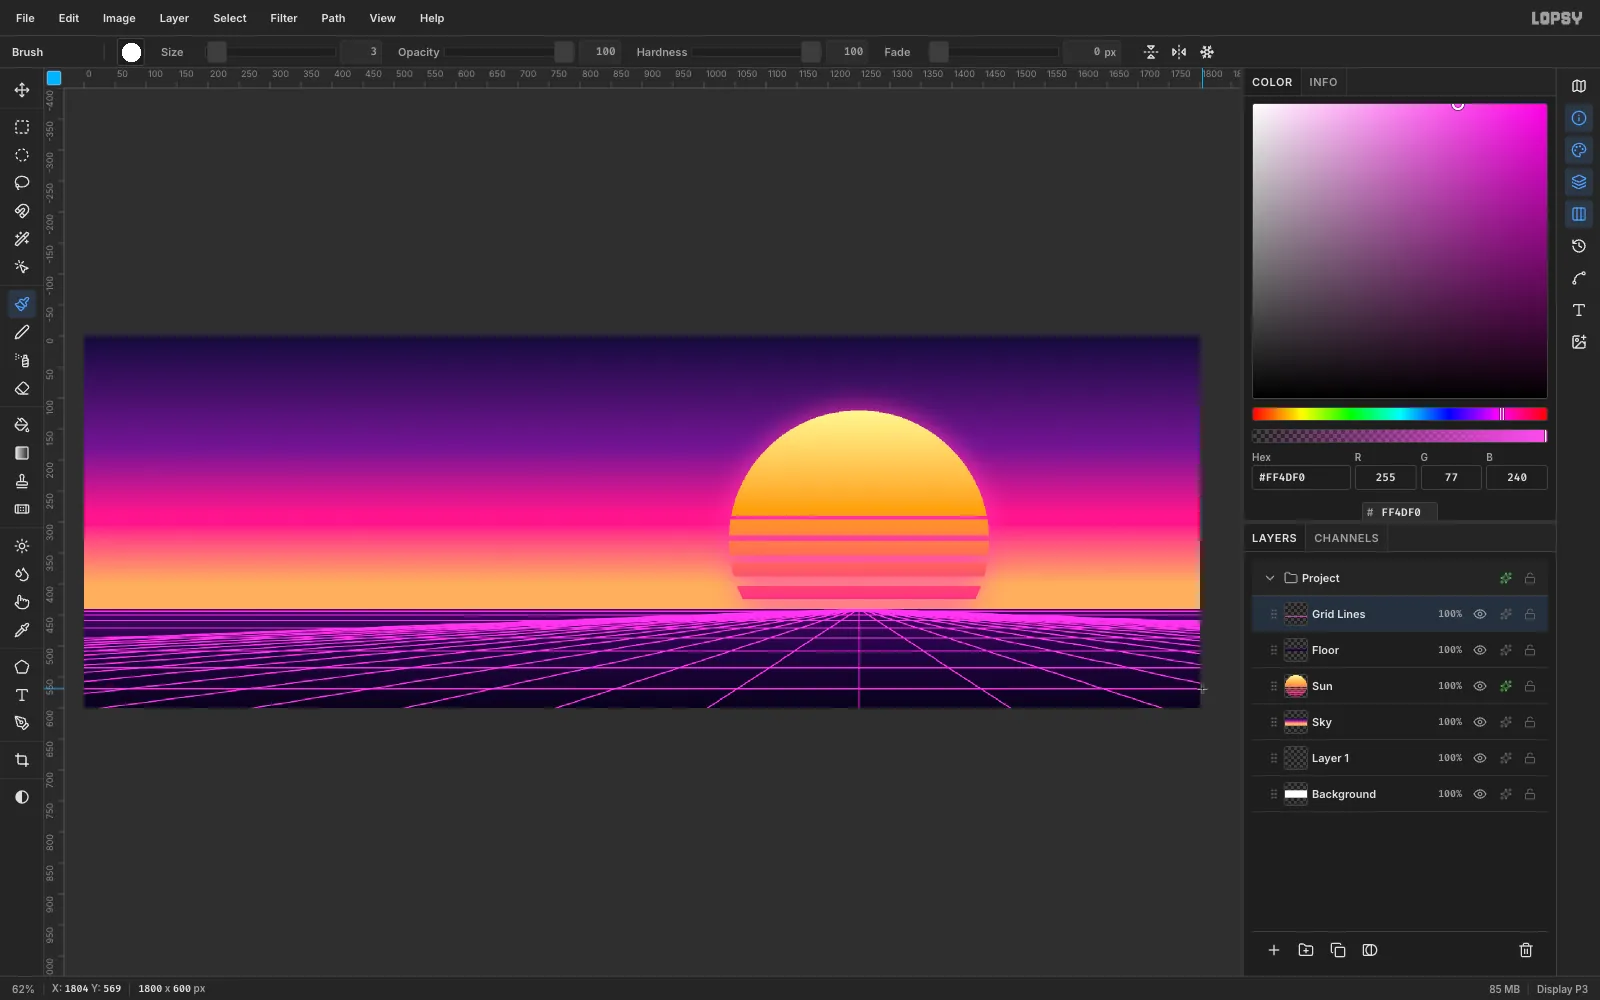
-
Paint a palm silhouette
Add a
Palmlayer and set the color to#1A0432. Paint a slightly curved trunk with a Size18brush. For the fronds, raise Fade to about150so each stroke tapers to a point, then sweep arcs out and down from the top of the trunk.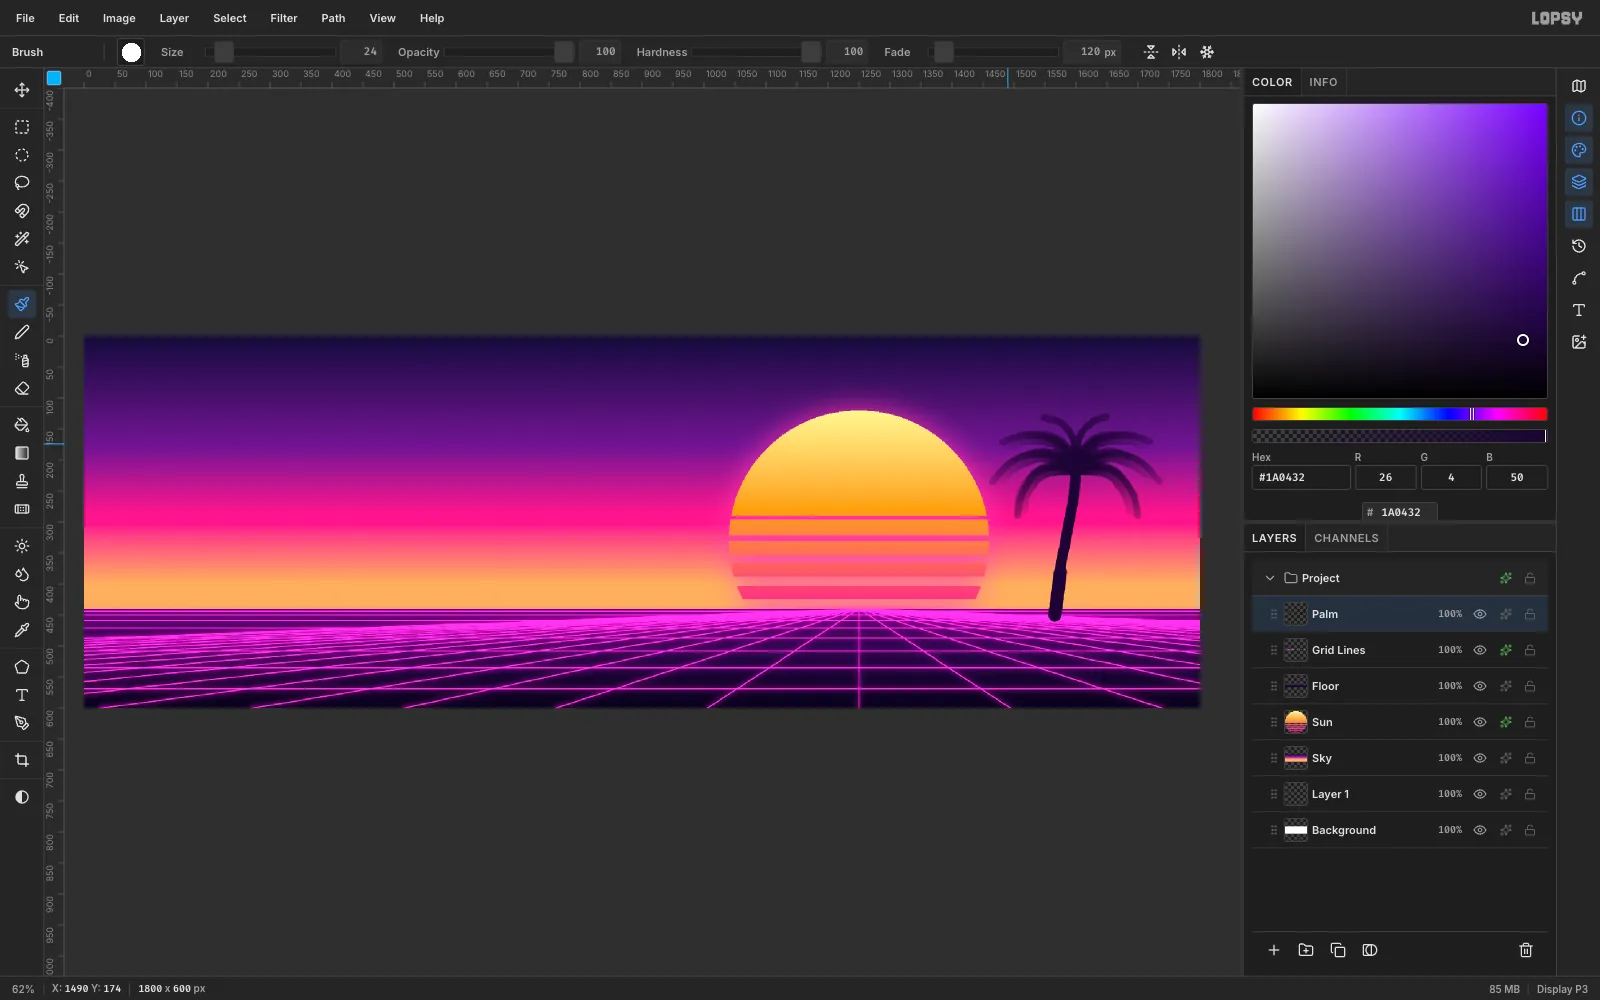
-
Duplicate, move and scale a second palm
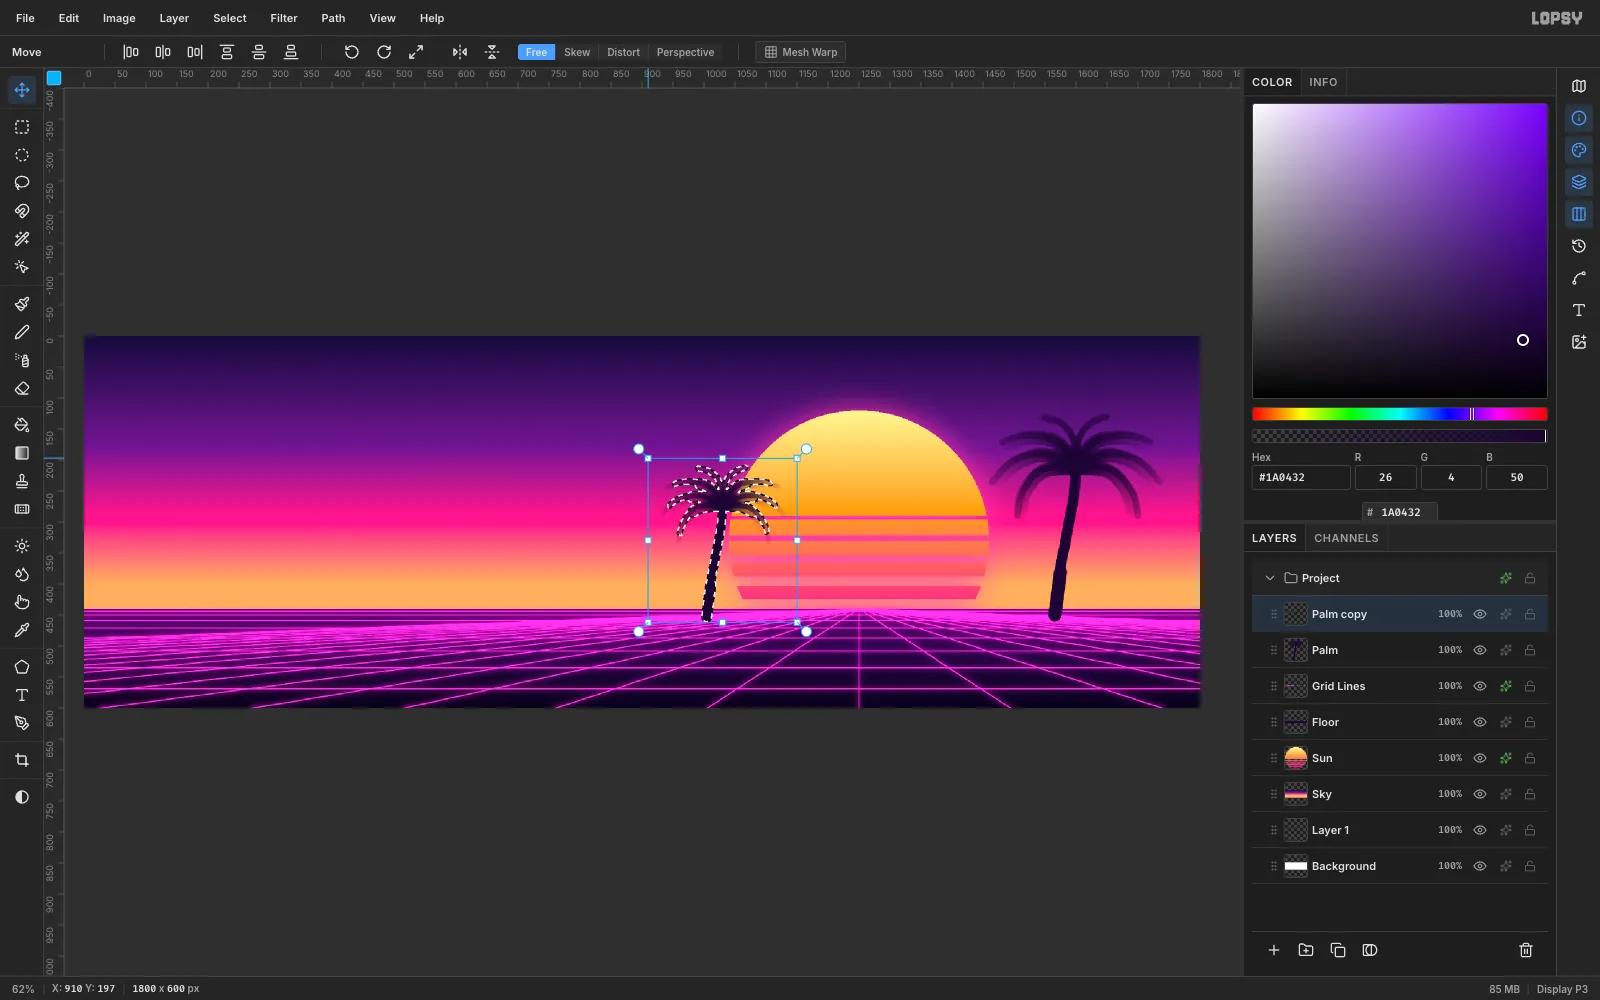
Click Duplicate Layer, then click the copy's row. Marquee around the palm, press V for Move, and drag the copy to the other side of the sun. Drag a corner handle while holding Cmd to scale it down evenly, then press Enter to commit.
Select both palms and choose Layer → Group Layers. You can then move them together by selecting the group and dragging.
-
Make a neon flamingo sign
Add a
Sign Boardlayer. Press U for the Shape tool, choose Polygon with Sides4and Corner Radius26, set the Fill to#150430and add a Stroke. Drag the board out on the left side of the canvas.On a new layer above it, draw a simple flamingo with a Size
7brush in#FFE6F7: an oval body, an S-curved neck, a hooked beak, and one straight leg with the other tucked up like a 4. Give it an Outer Glow in#FF1FB4, Size26, and a thin pink Inner Glow. The pale core with a hot glow is what makes it read as neon tubing.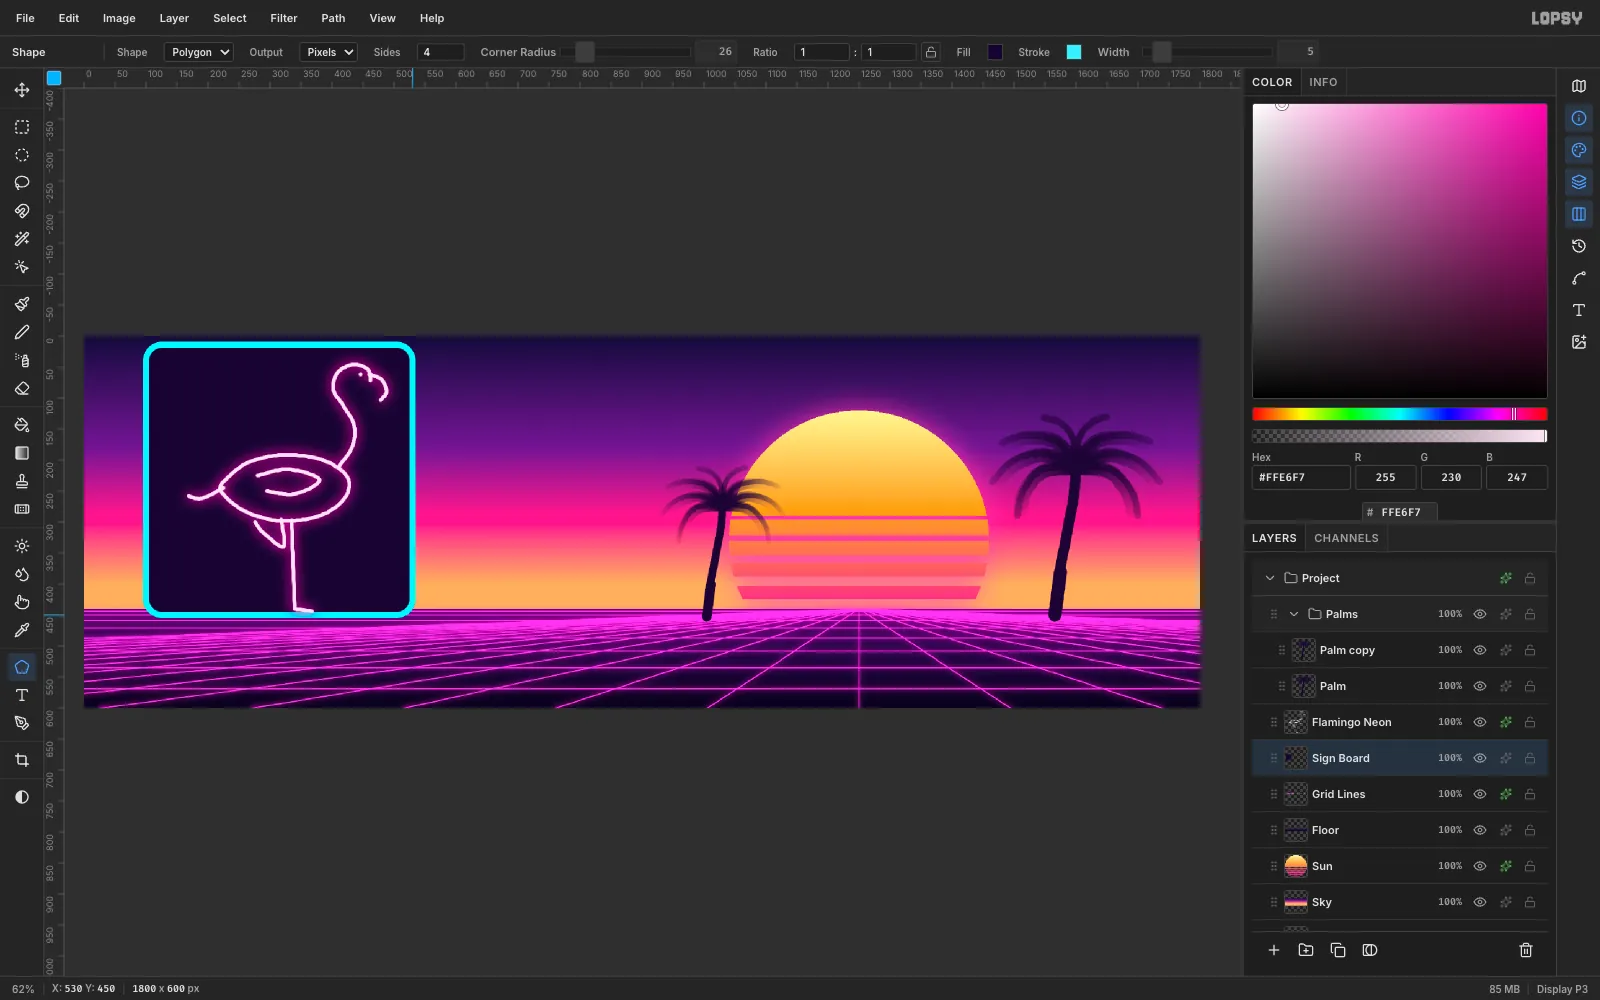
-
Set the script headline
Press T for the Text tool. Choose the Mr Dafoe font, Size
200, color#FF4FA8. Click in empty sky and typeFlamingo, then press Tab to commit.In Layer Effects, add a white Stroke (Width
5) and a hard cyan Drop Shadow (#26D9FF, offset9/9, Blur0). The offset shadow is a signature synthwave detail.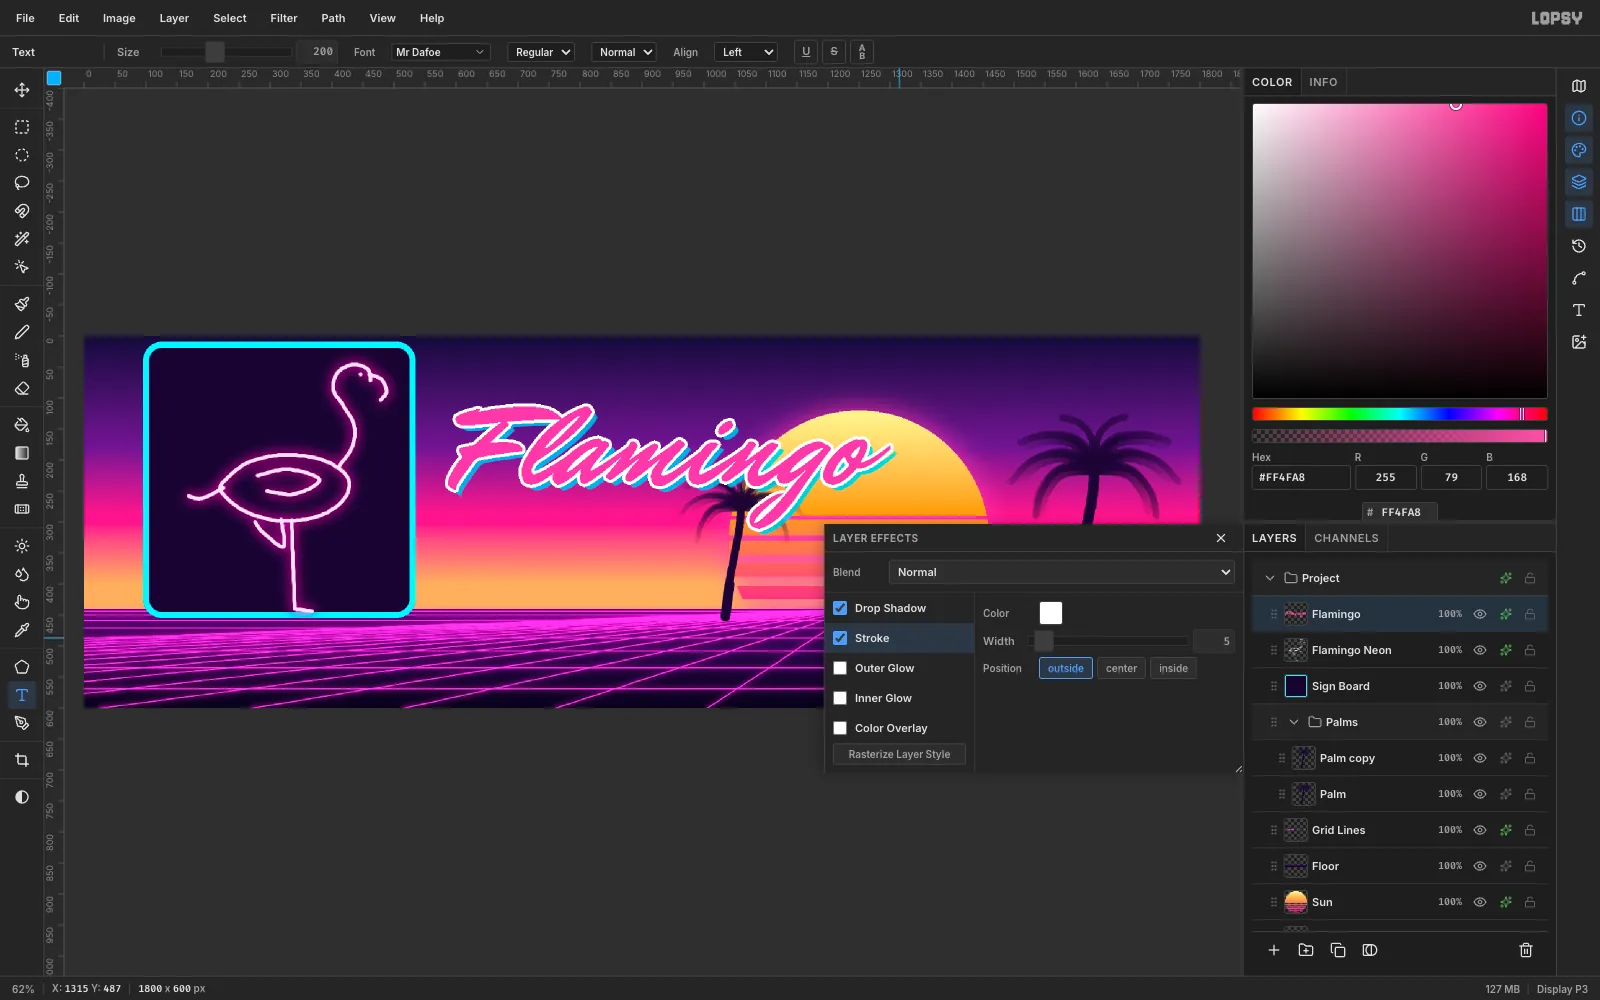
-
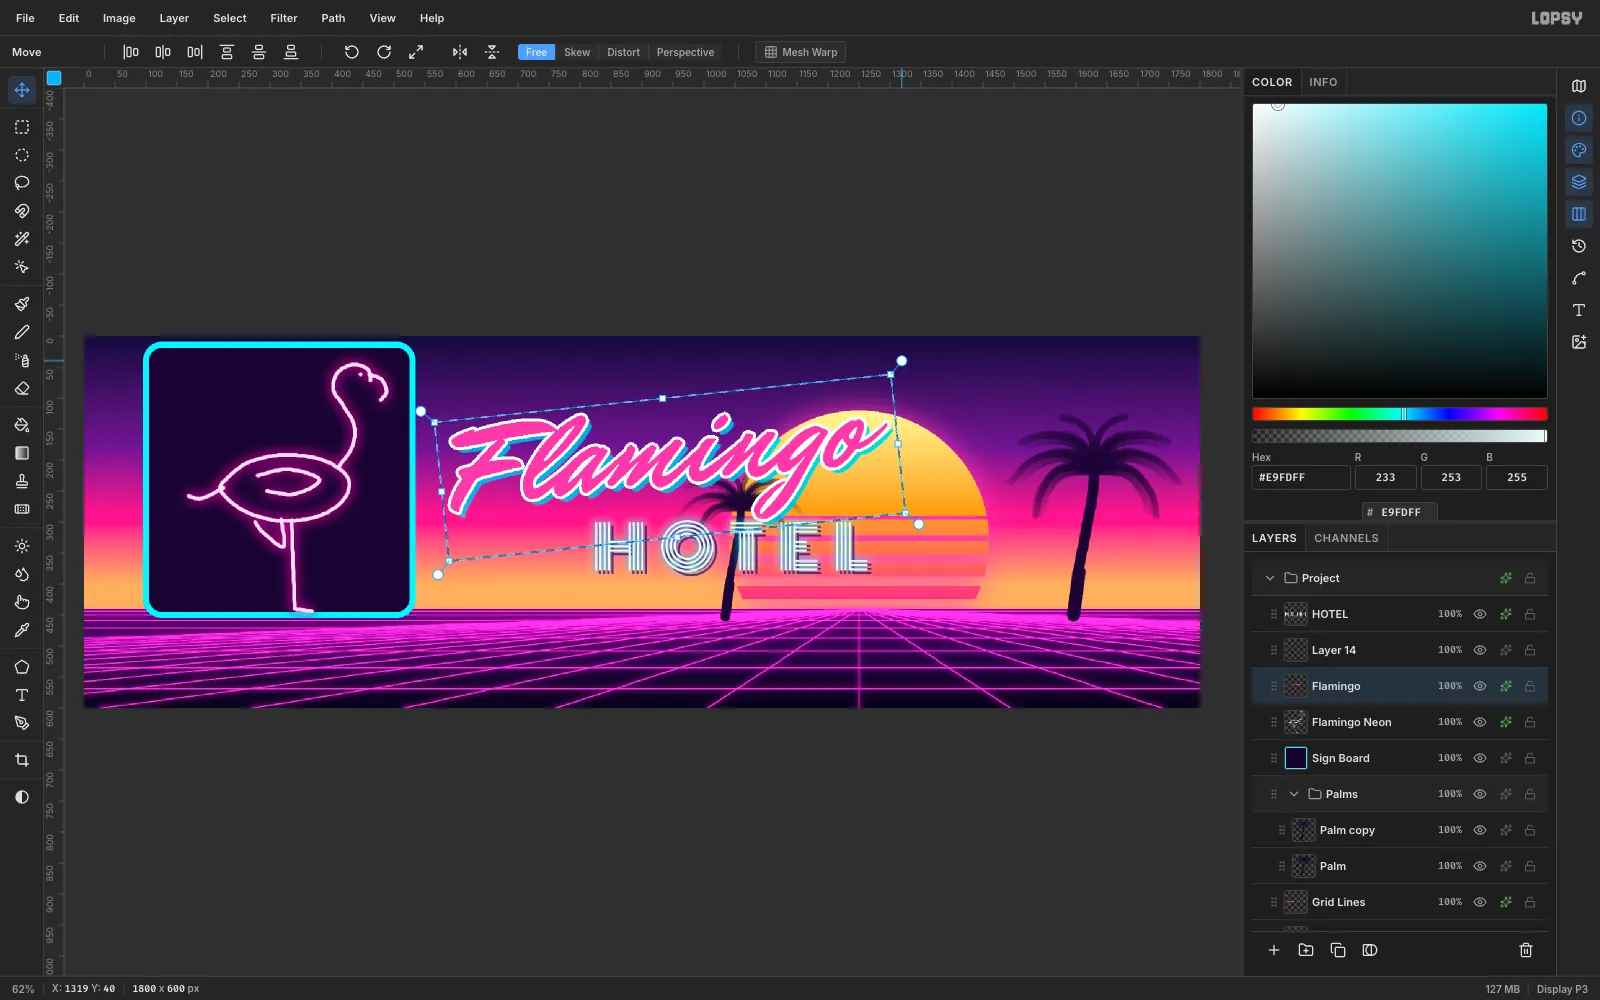
Tilt the headline
Script titles look livelier with a slight upward tilt. Marquee around the headline, switch to Move, and drag a round rotation handle (just outside a corner) about 6° counterclockwise. Press Enter, then Cmd+D.
-
Add bold HOTEL lettering
Drag the headline so it sits centered over the sun. Then type
HOTELin Bungee at Size96in white. In the Text panel, set Letter spacing to36. Center it under the script.Add a dark Drop Shadow (
#2A0845, offset7, Blur0) and a cyan Outer Glow (#00E5FF). Solid white letters stay readable from a moving car in a way thin outlined type can't.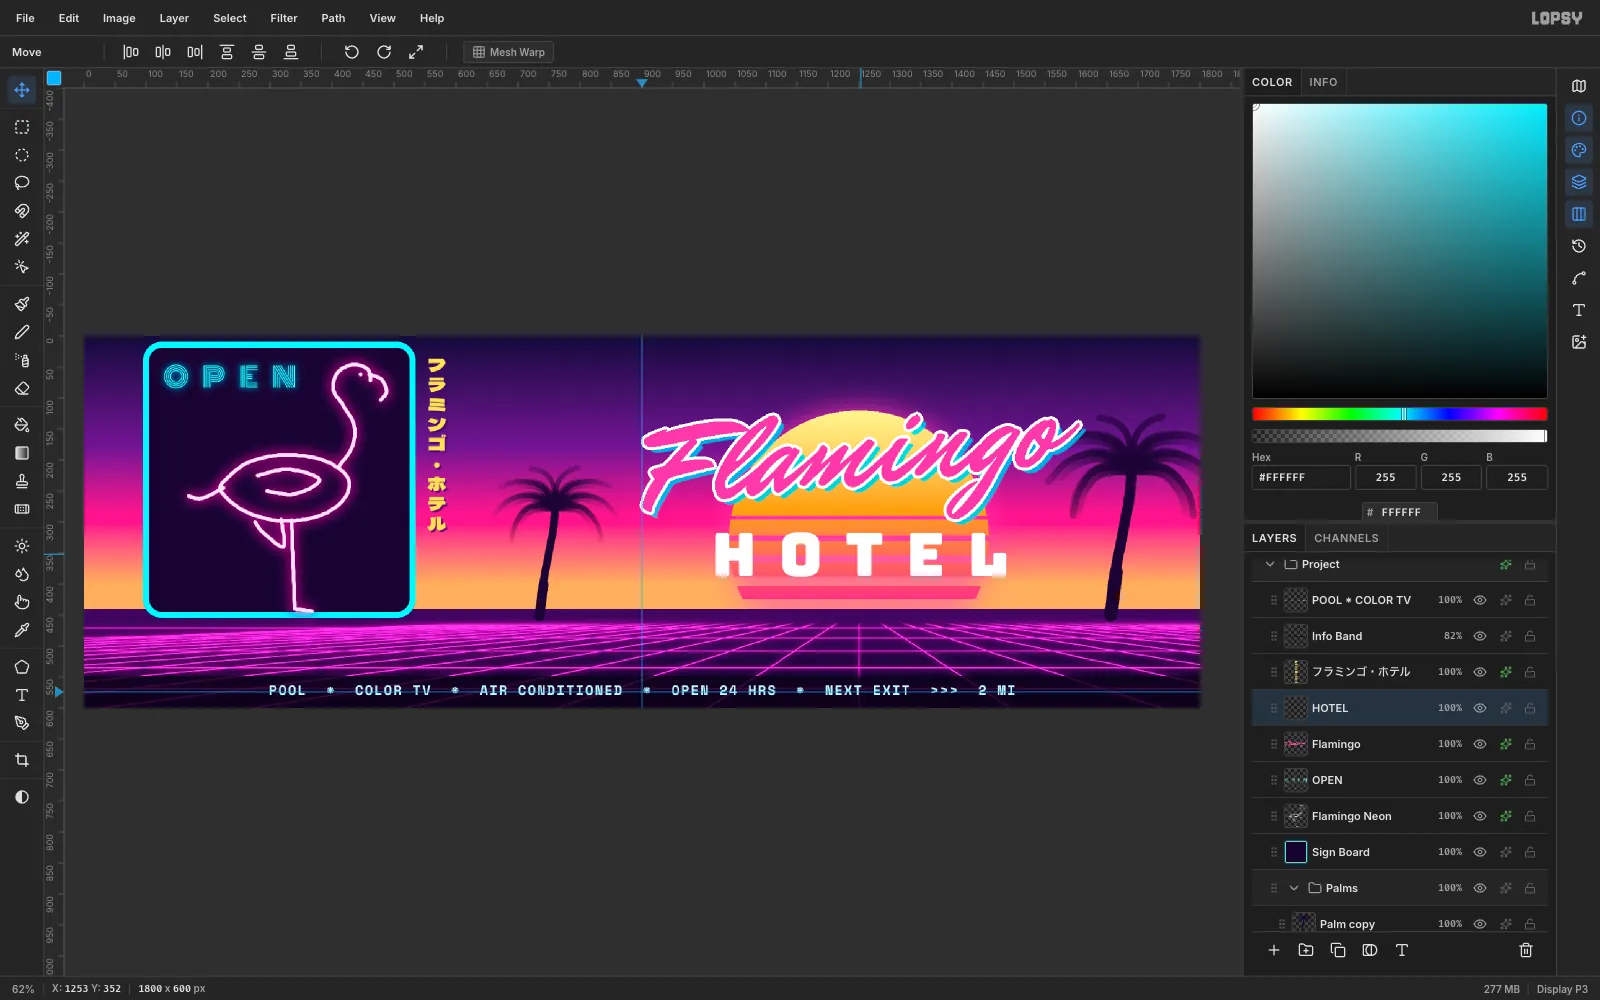
-
Add vertical katakana
Japanese text is a staple of the style. Choose Dela Gothic One, Size
30, color#FFE36B, and click the Vertical text toggle (the stacked A over B) in the options bar. Click beside the sign and pasteフラミンゴ・ホテル.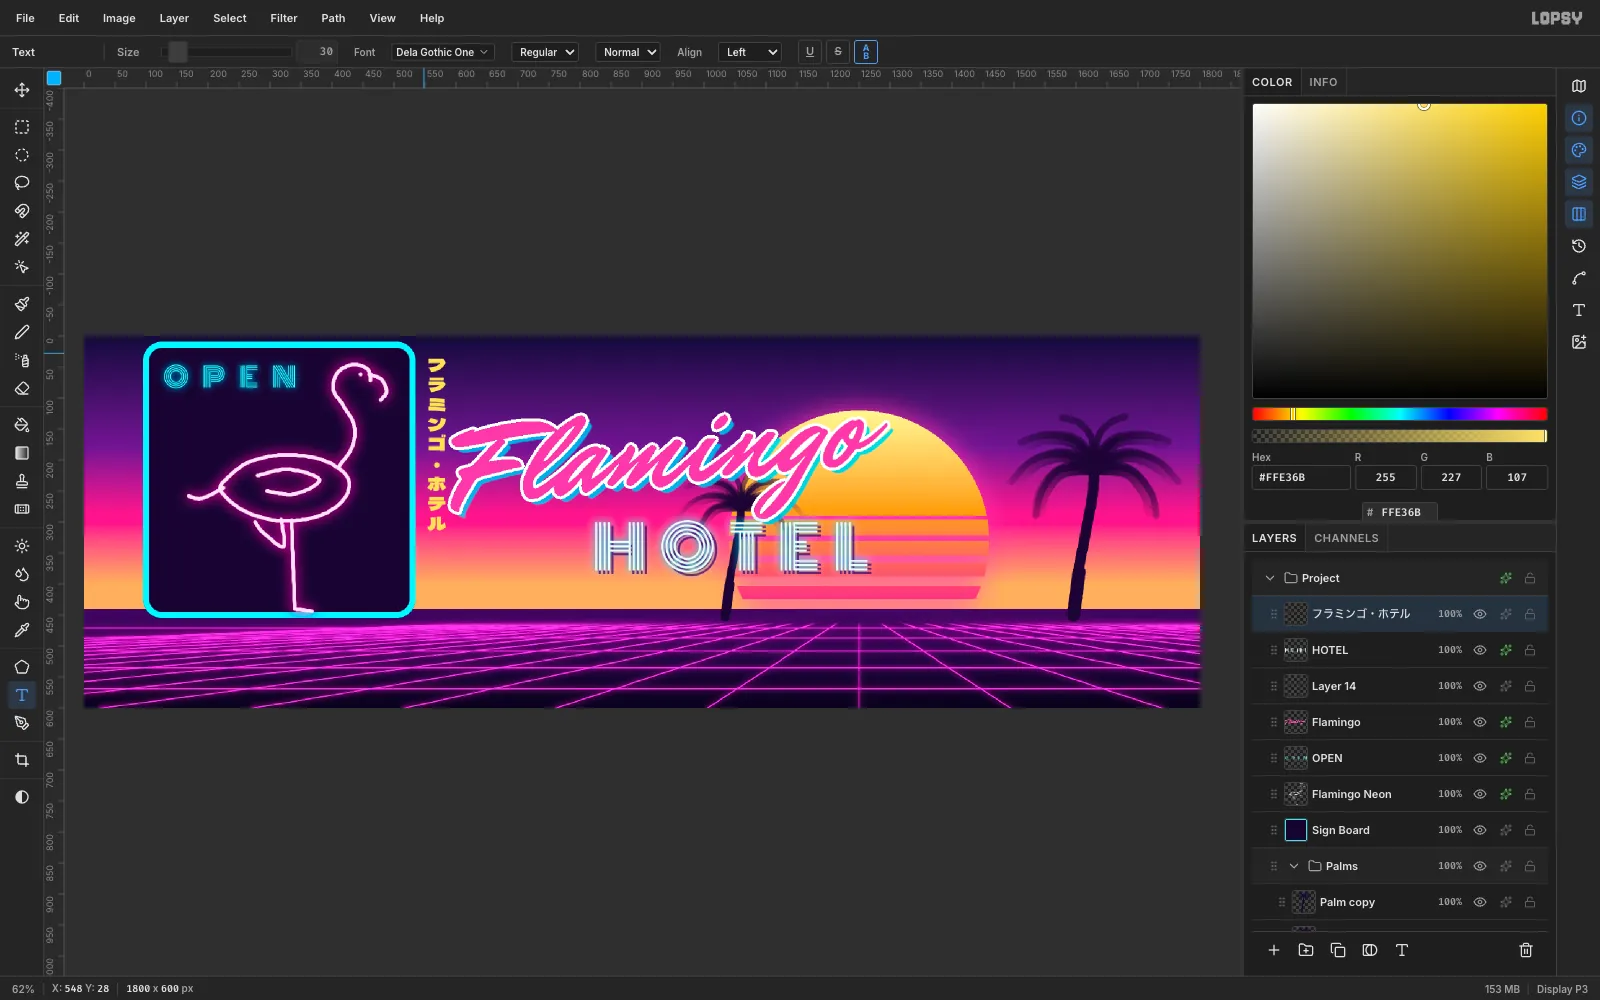
-
Recolor the sign frame
To change just the frame's color, select the
Sign Boardlayer, press W for the Magic Wand, and click the frame. Set the foreground color to#FF4FD8and choose Edit → Fill. Add an Outer Glow to the board and give theOPENtext a red Color Overlay and glow so it reads like a vacancy light.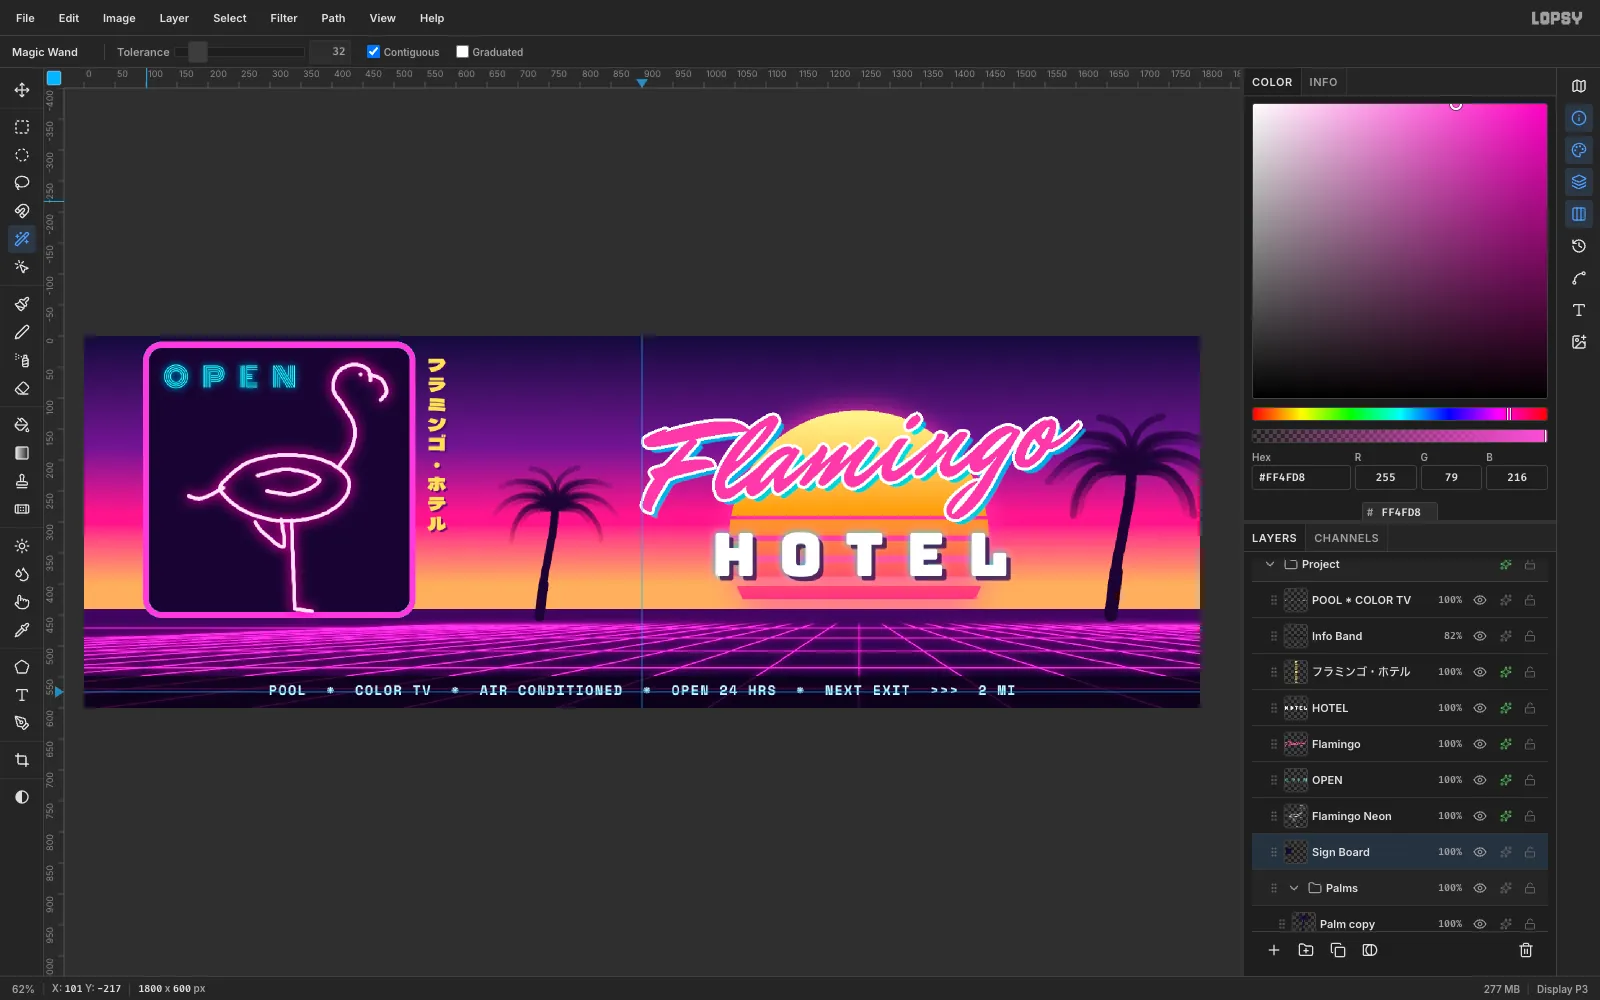
-
Add the info band
Billboards need a short call to action. Marquee a strip across the bottom 52 px, fill it with near-black, and set the layer's opacity to about 80%.
Type a short tagline in Space Mono Bold at Size
34, color#FFE66D, with letter spacing8. Click the top ruler to drop a vertical guide at x = 900, and center the text on it with the Move tool. Keep it to three items. Nobody reads six items at highway speed.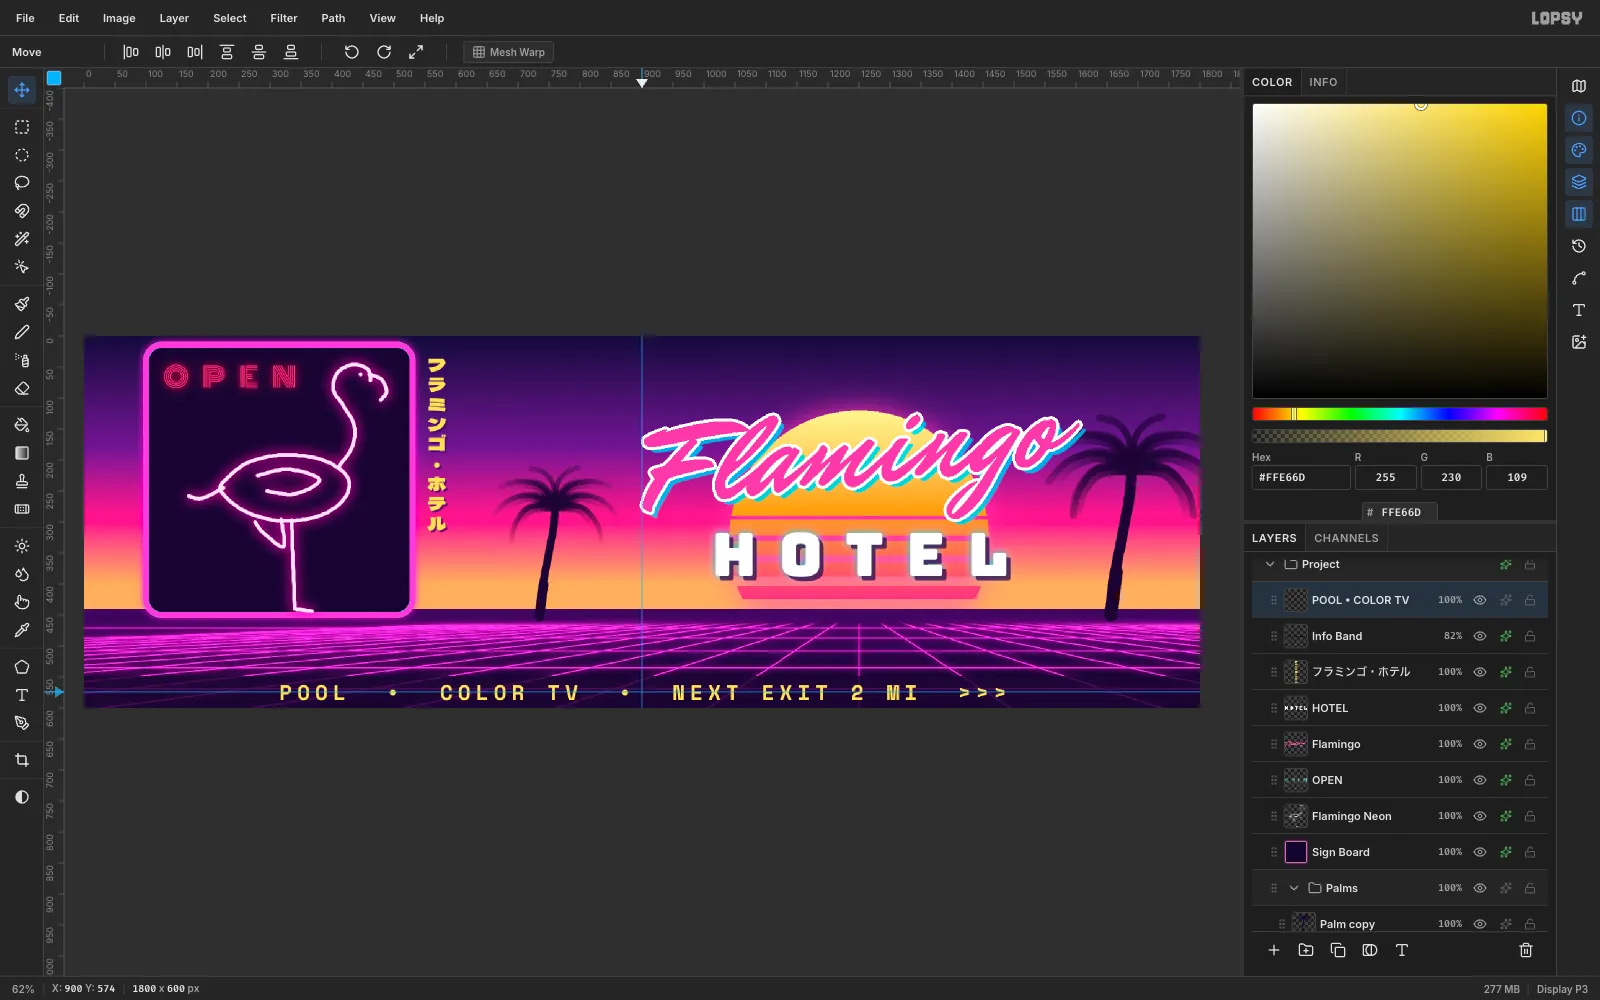
-
Finish with glow and grain
Press Cmd+A, then Cmd+Shift+C (Copy Merged) and Cmd+V, and name the layer
VHS FX. Marquee just the floor, apply Filter → Chromatic Aberration at Amount2, deselect, and apply Add Noise at5(Mono) for grain.For an overall glow, repeat Copy Merged and Paste into a new
Glowlayer. Apply Gaussian Blur with Radius14, set its blend mode to Screen, and drop its opacity to about 35%.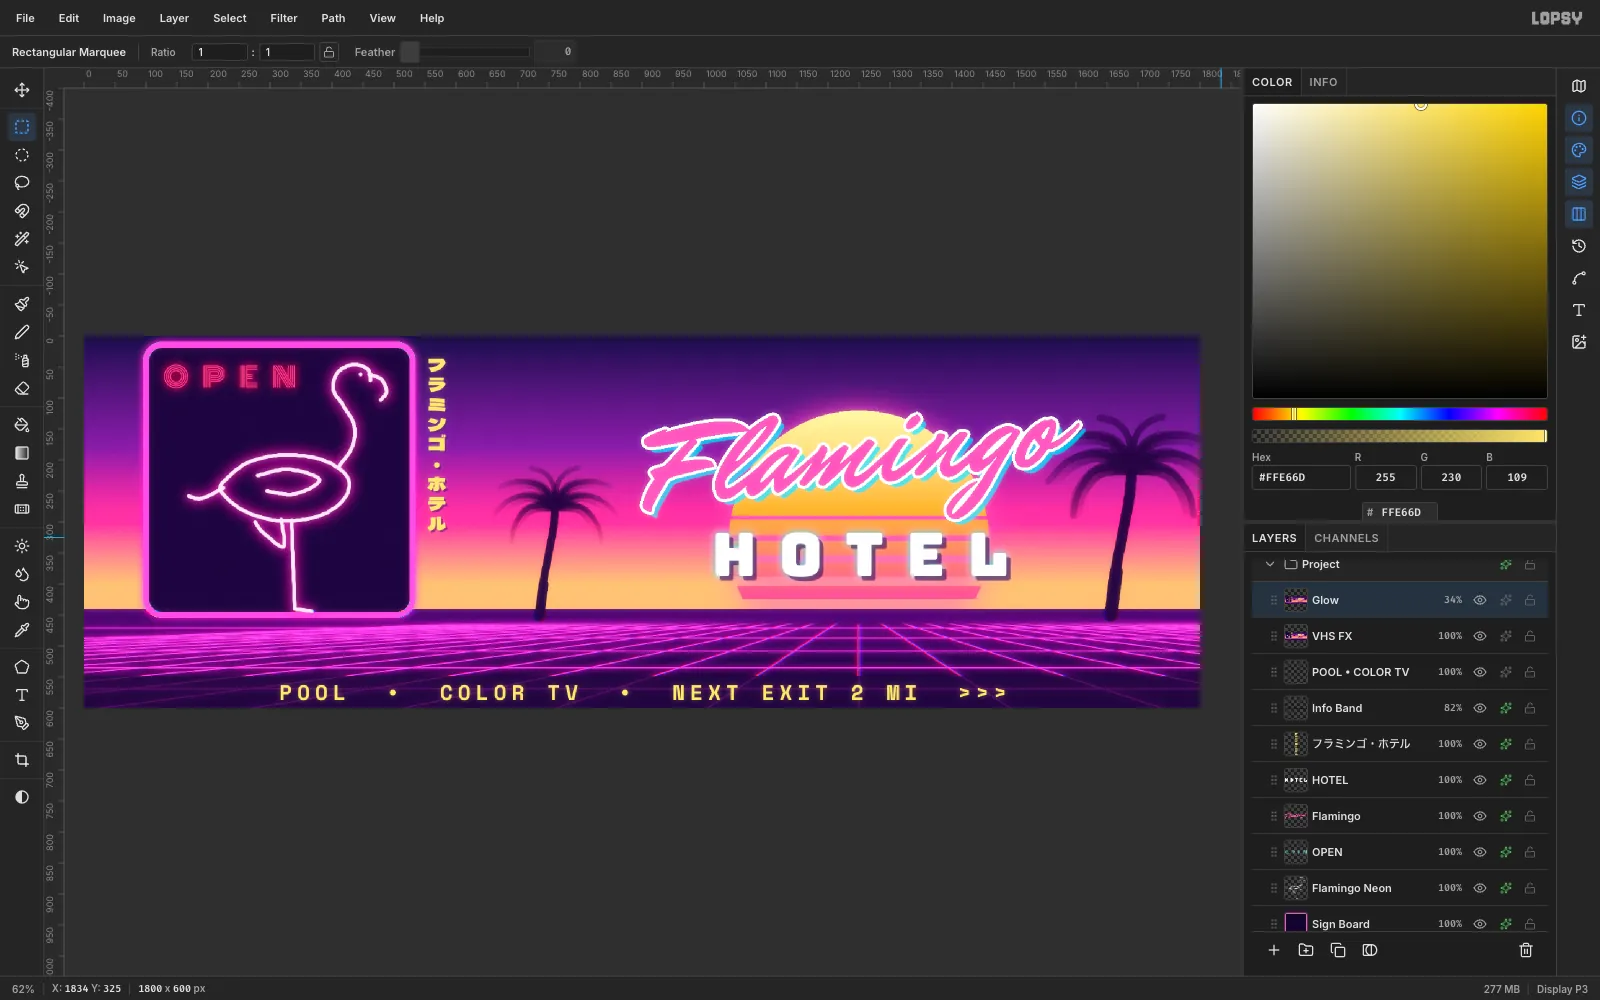
-
Export your billboard
Choose File → Quick Export PNG to save the image, and File → Save Project to keep an editable
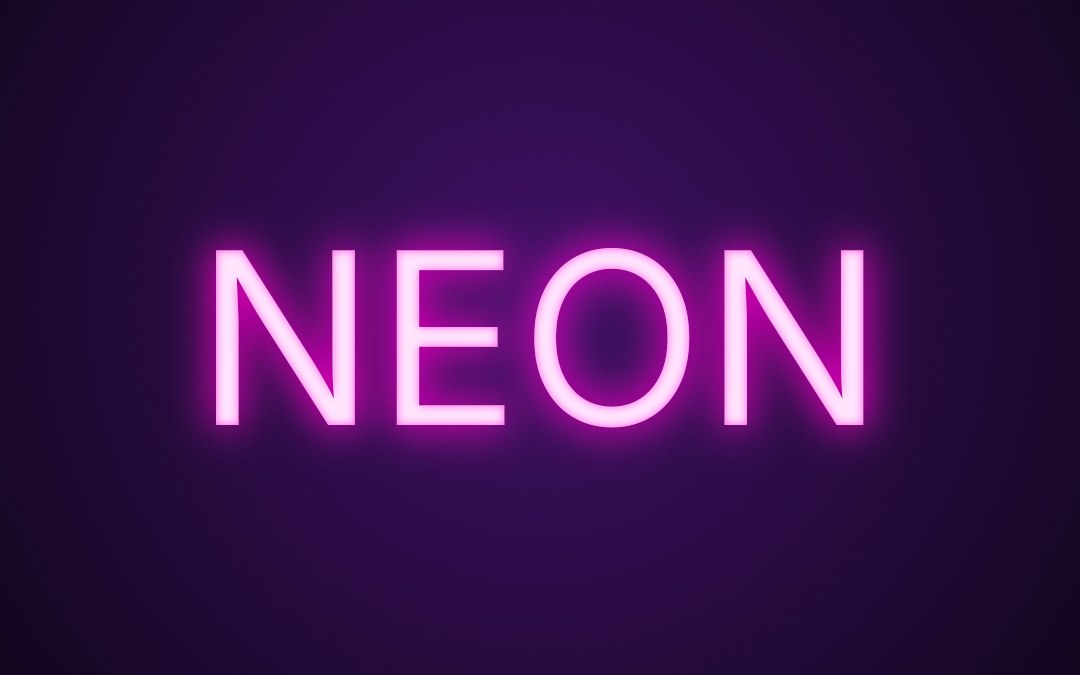
.lopsyfile with all your layers. For more glowing type, try Make a Neon Glow Text Effect.