Lopsy
LopsyMake a Neon Glow Text Effect
Create glowing neon sign text for free in your browser. Build a radial gradient backdrop, type your words, then add outer and inner glows in Lopsy.
Neon signs are just bright text with light bleeding out around the edges. You can get the same effect in a few minutes with a gradient, the Text tool and two layer effects. The text stays fully editable, so you can change the words or the color later without starting over.
-
Create a square document
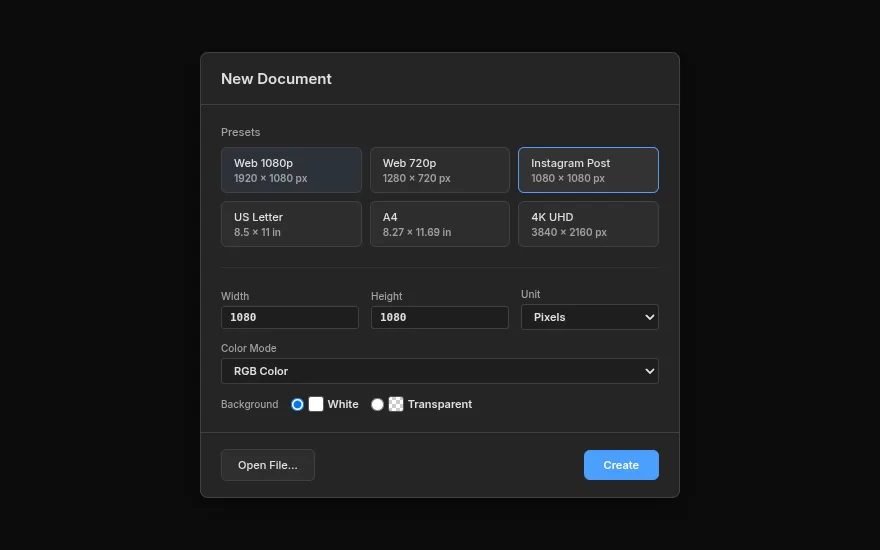
Open Lopsy. The New Document dialog appears on its own. You can also open it any time from File → New.
Choose the Instagram Post preset for a 1080 × 1080 px square, then click Create.
-
Pick dark gradient colors
Neon needs darkness to glow against. Select the Gradient tool in the toolbox and set Type to Radial in the options bar along the top.
Click the gradient swatch next to it to open the Gradient Editor. Select the left stop and enter
#3B1463as its hex value, then select the right stop and enter#07040F. Click Done.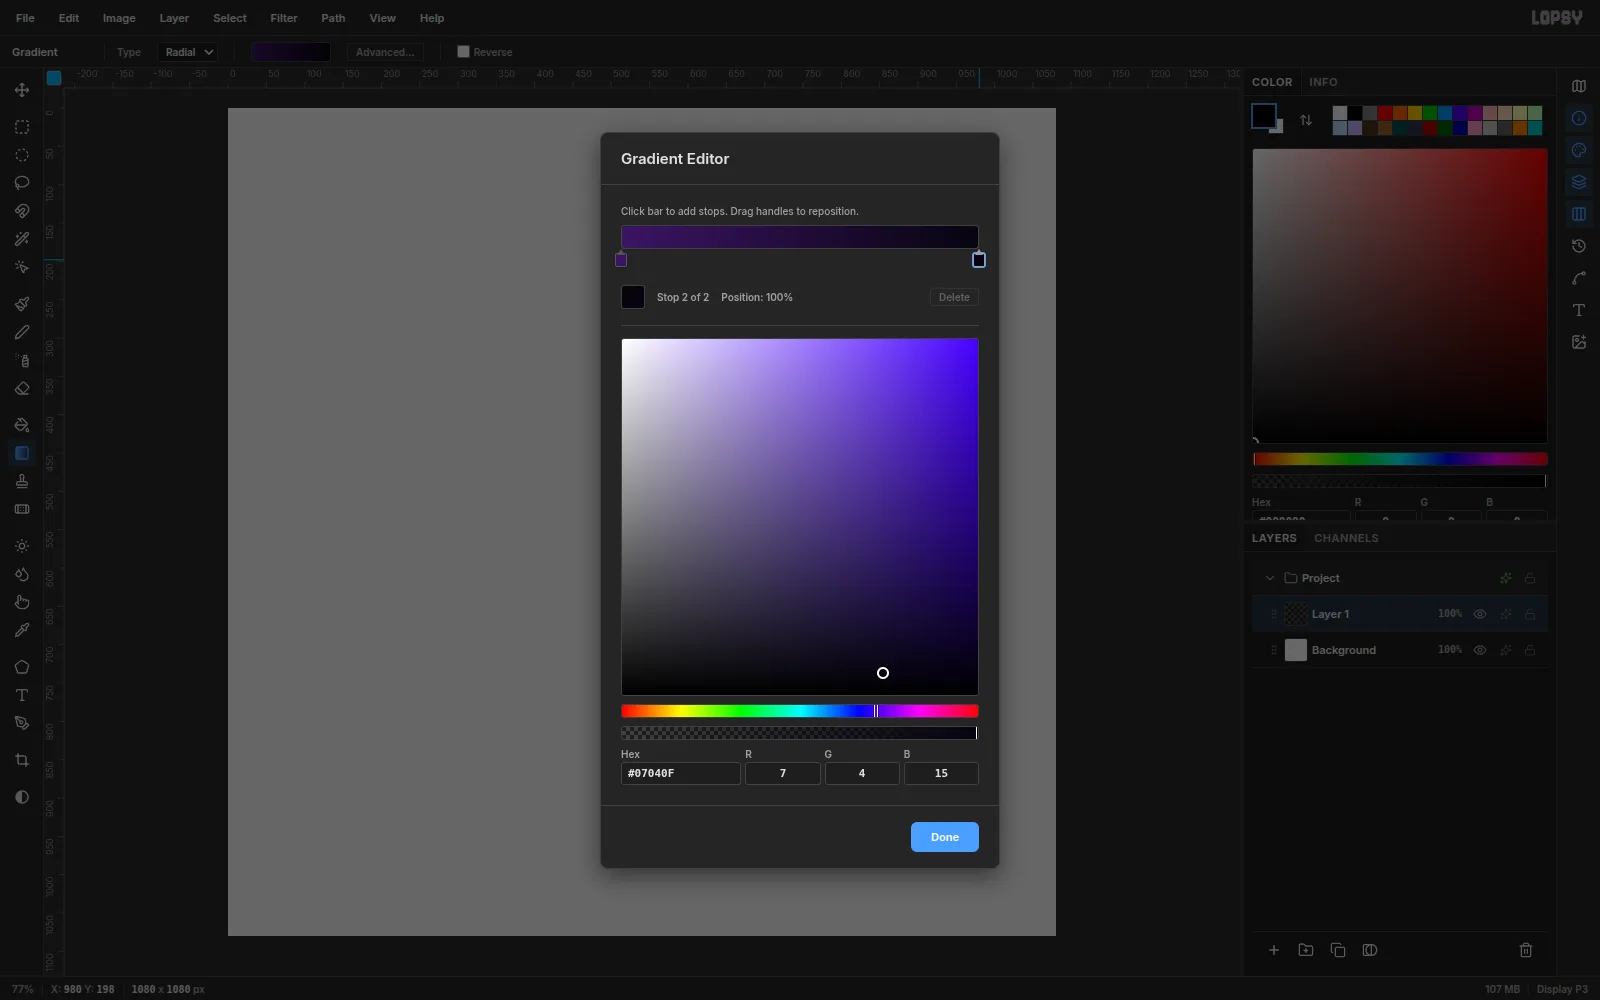
-
Paint the background
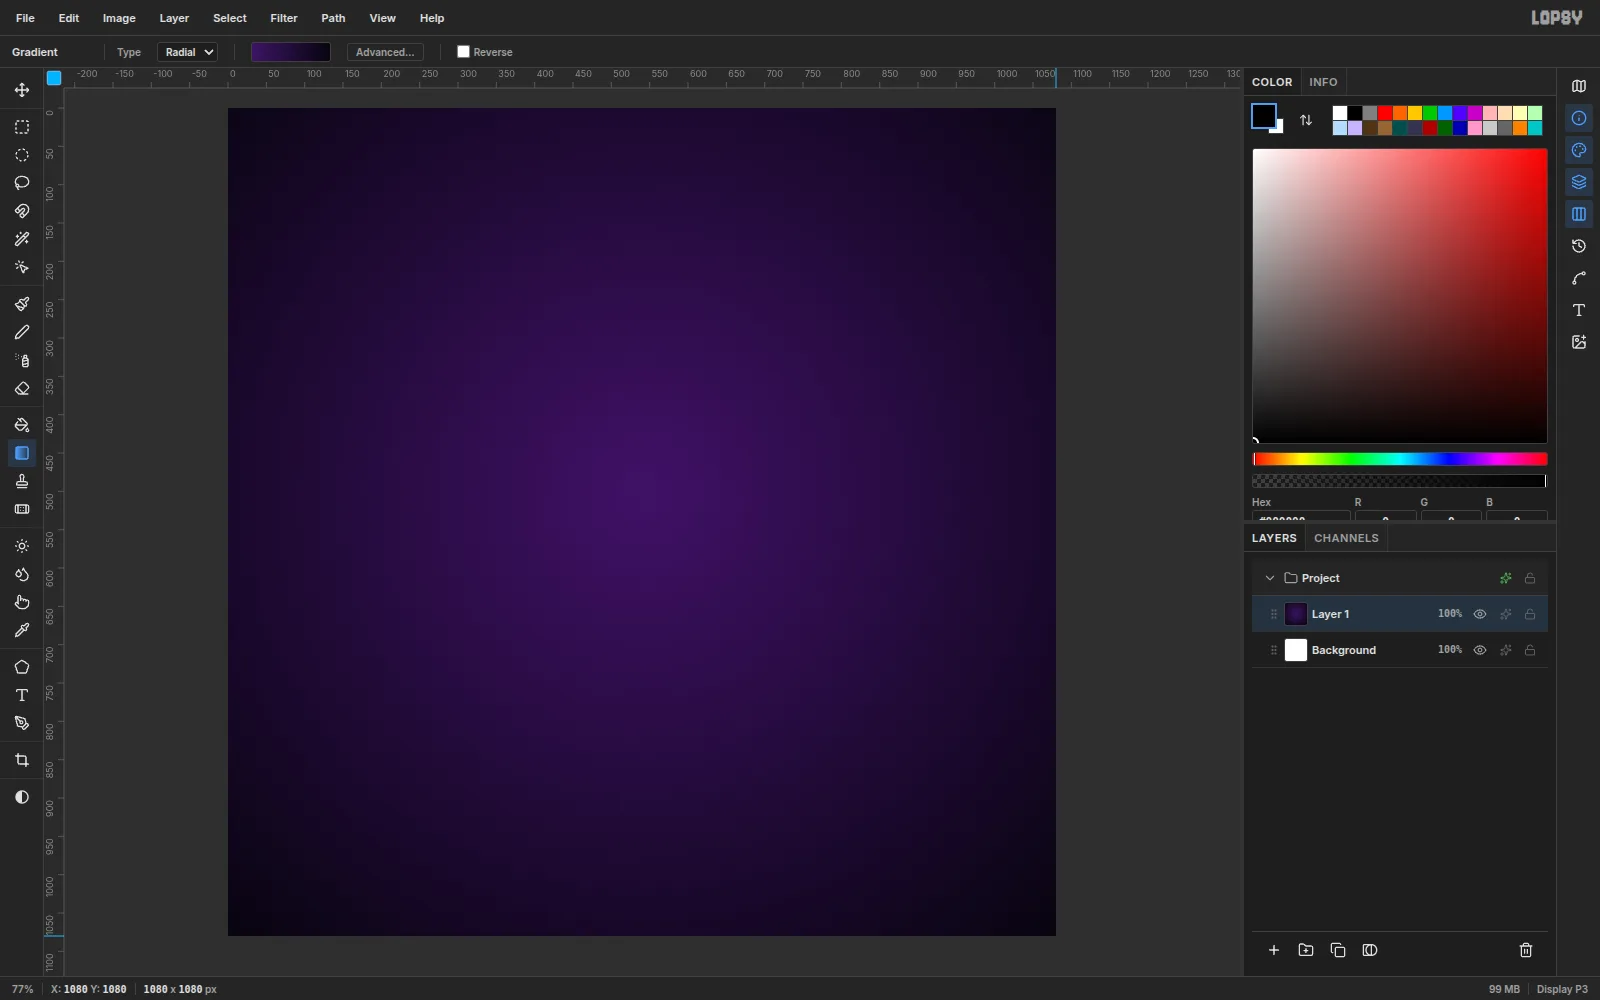
Make sure Layer 1 is selected in the Layers panel. Then drag from just above the middle of the canvas out to a corner.
The lighter center gives the sign something to sit in front of, and the dark corners make the glow stand out.
-
Type your text
In the Color panel, set the hex value to
#FFE6FB, a very pale pink. Real neon tubes look almost white at their core, and the glow will add the color.Press T for the Text tool and set Size to
240in the options bar. Click near the left side of the canvas and typeNEON. Then click the green check mark to commit the text.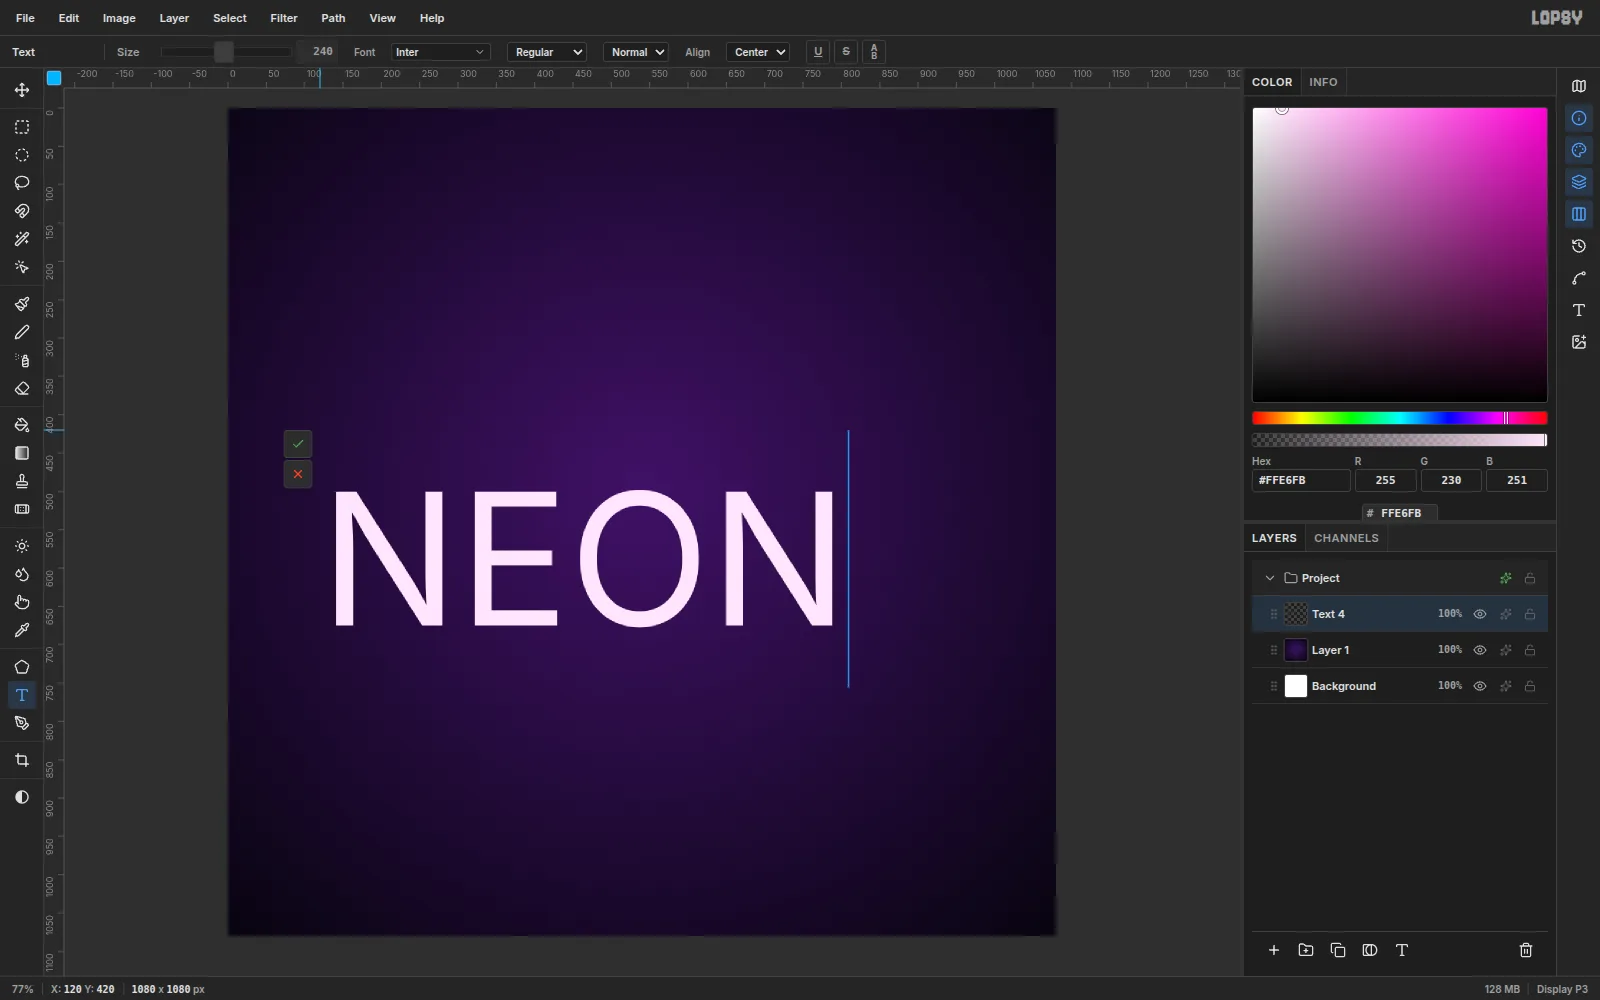
-
Center it on the canvas
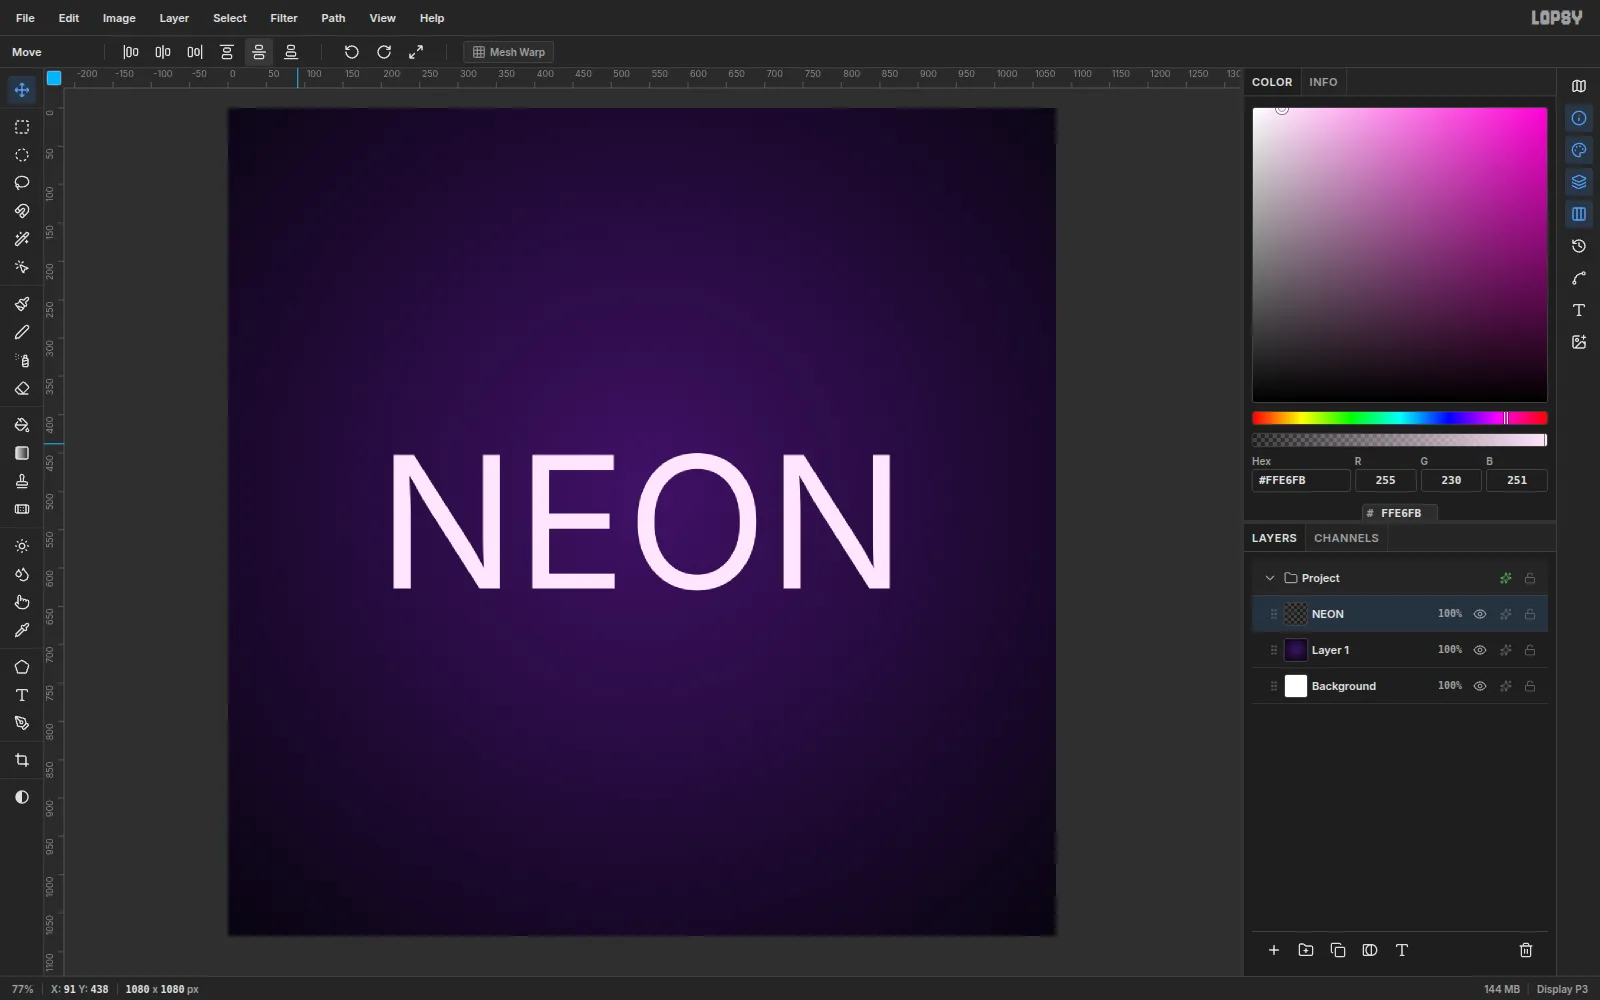
Press V for the Move tool. With the text layer selected, click Align center horizontally and then Align center vertically in the options bar. The text snaps to the exact middle of the canvas.
-
Add an outer glow
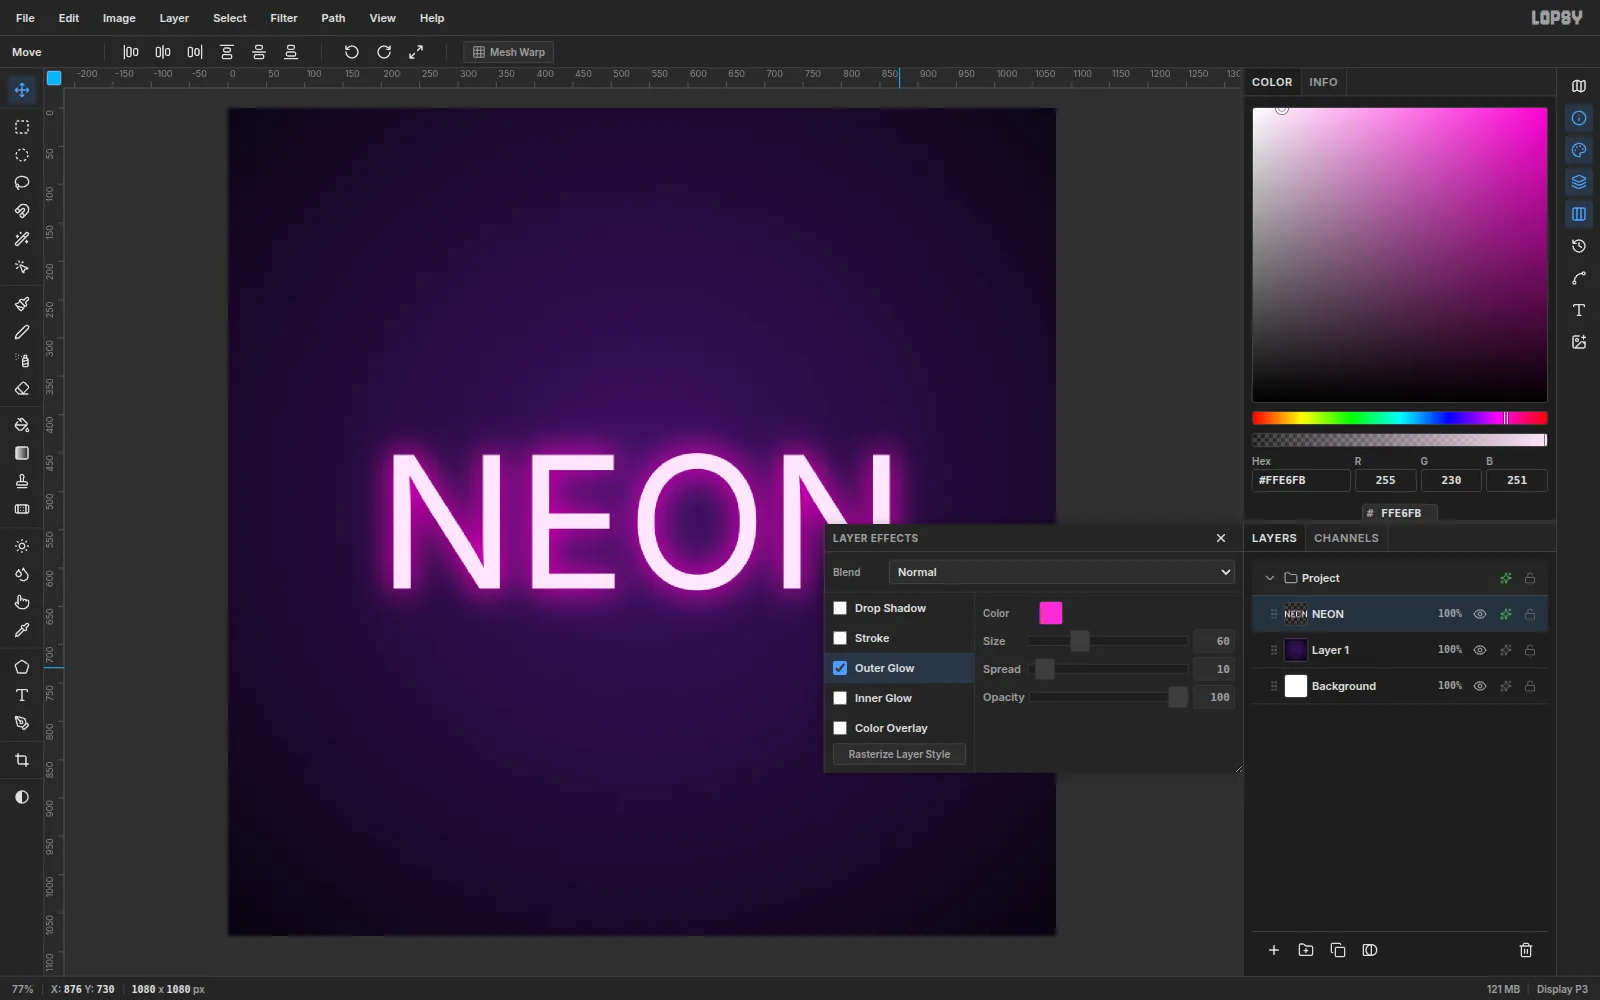
In the Layers panel, click the sparkle icon on the NEON layer to open Layer Effects. Tick Outer Glow and set:
- Color:
#FF2BD6(hot pink) - Size:
60 - Spread:
10 - Opacity:
100
This is the light spilling out into the air around the tube.
- Color:
-
Add an inner glow
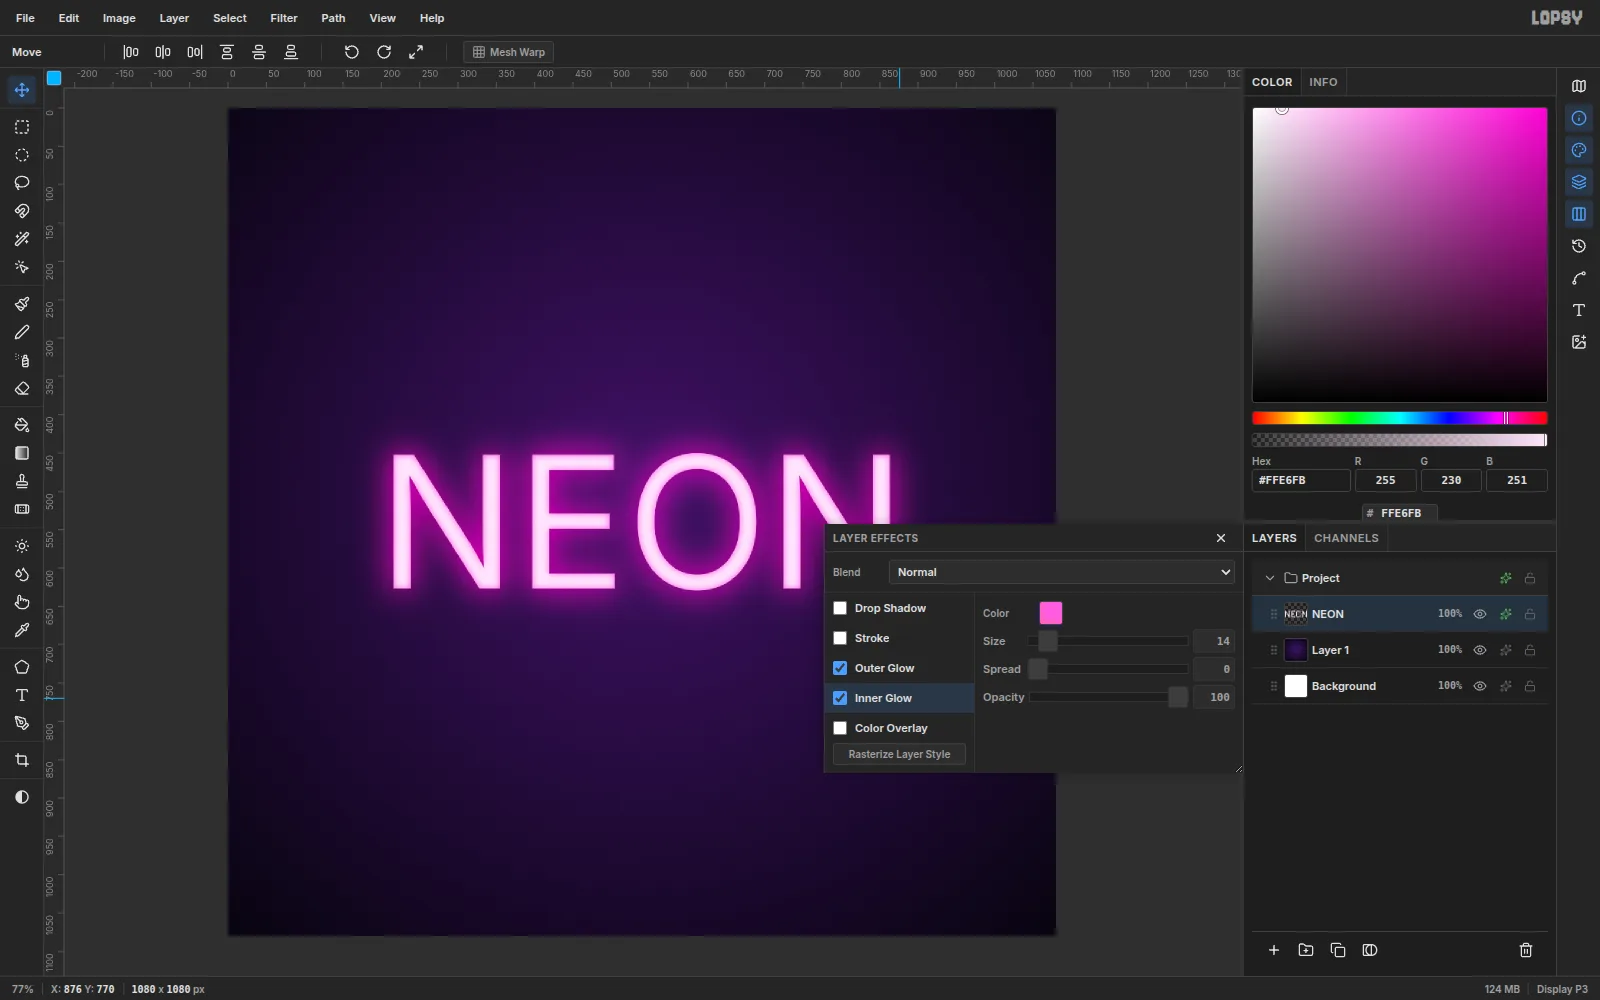
Tick Inner Glow in the same panel and set Color to
#FF5CE1, Size to14and Opacity to100.The inner glow tints the edges of each letter while the center stays pale. That's what gives the letters the rounded look of a real glass tube.
-
Export your image
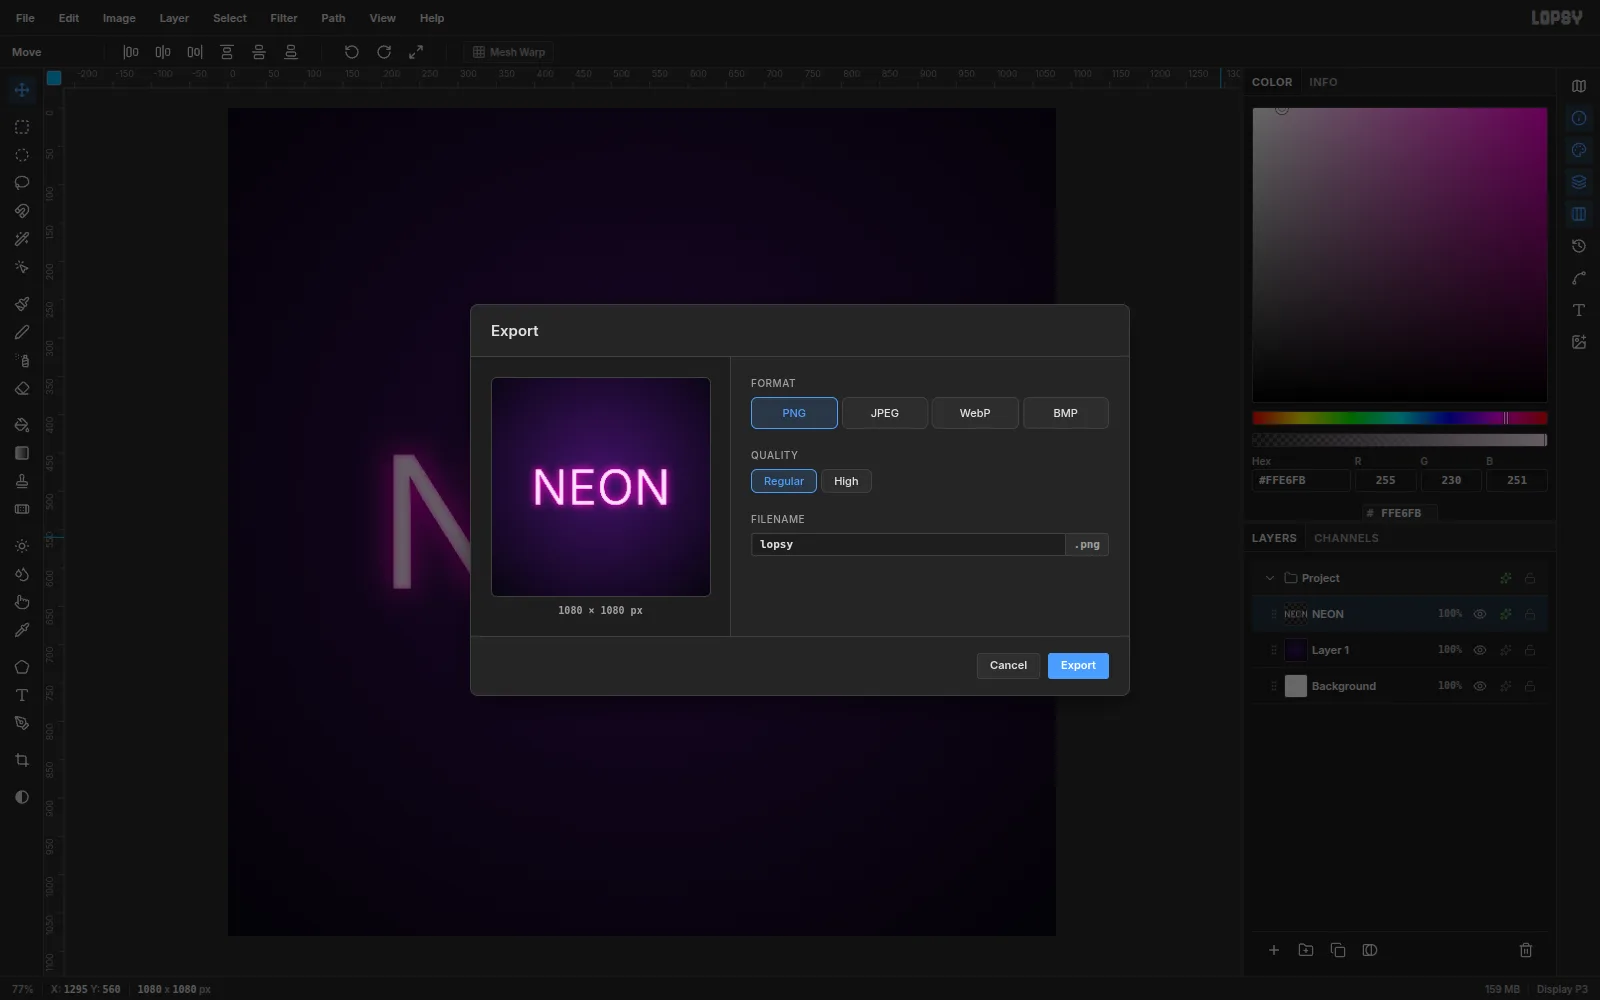
Choose File → Export…, pick PNG, give the file a name and click Export.
Want to keep editing later? Use File → Save Project instead. That keeps the text and effects editable.