Design a Chrome Classic Car Show Flier
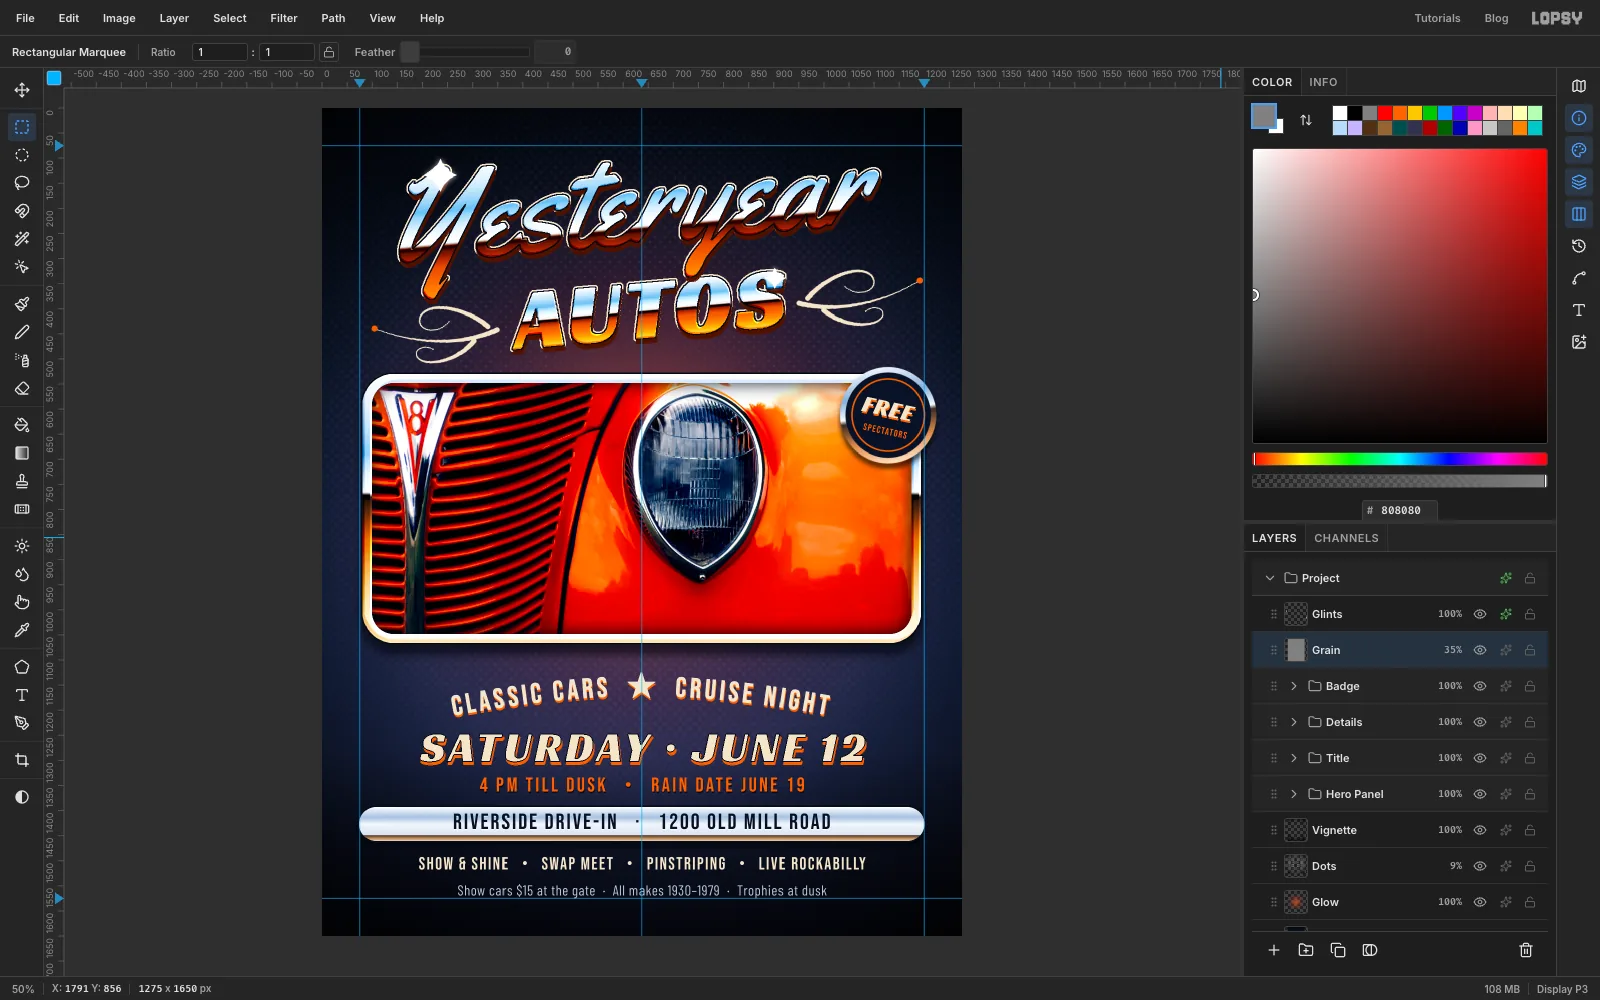
Build a retro chrome car show flier in Lopsy with chrome script lettering, a photo in a chrome frame, pinstripes, text on a curved path and a tilted badge.

Classic car culture has its own lettering. Look at the back of any 1950s car and you'll find the model name in chrome script, bolted to the trunk. Eighties chrome type took the same idea further: blue sky on top, a hard horizon line through the middle, and warm brown ground reflected underneath. In this tutorial you'll use both looks for a flier.
You'll make a flier for Yesteryear Autos, an imaginary classic car show and cruise night. A chrome script and a block of chrome capitals sit on a midnight-blue page. They hang above a chrome-framed photo of a hot rod's grille, with pinstripe flourishes either side. Underneath, the date, time and address follow the same chrome-and-orange system, so the whole flier hangs together. You'll build it at 1275 × 1650 px, the shape of a US Letter sheet.
The photo is Macro of vintage grille and headlight.jpg) by Clem Onojeghuo on Wikimedia Commons. It's in the public domain (CC0), so you can use it freely. Download the 1920 px version. Any close-up of a car's grille and headlight will work the same way.
Along the way you'll use:
- the Gradient tool for chrome, a sky and a glow, plus Halftone, Emboss and Bloom
- the Shape tool for rounded rectangles and a stroked circle, and the Pen for a curved path
- pasting, scaling and clipping a photo, Color LUT and Brightness/Contrast
- Grow, Inverse, Feather and ⌘-clicking layer thumbnails to load selections
- layer effects: Stroke, Drop Shadow, Outer Glow and Inner Glow
- text in Yellowtail, Racing Sans One, Bebas Neue and Barlow Condensed, including text on a path
- the Brush with Taper and Symmetry, the Eraser, and copy, paste and Merge Down
- rotating layer groups with the Move tool, ruler guides and the grid
The palette:
-
Night sky
-
Chrome lettering
-
horizon
-
Chrome frame
-
horizon
-
Extrusion maroon
-
outline ink
-
Hot rod orange
-
glow orange
-
glow plum
-
Panel navy
-
badge navy
-
address navy
-
Cream
type and pinstripes
-
halo cream
-
steel blue
New layers always appear above whichever layer is selected. Before each section, you'll select a layer at the right level of the stack and collapse any open group.
-
Set up the canvas, guides and grid
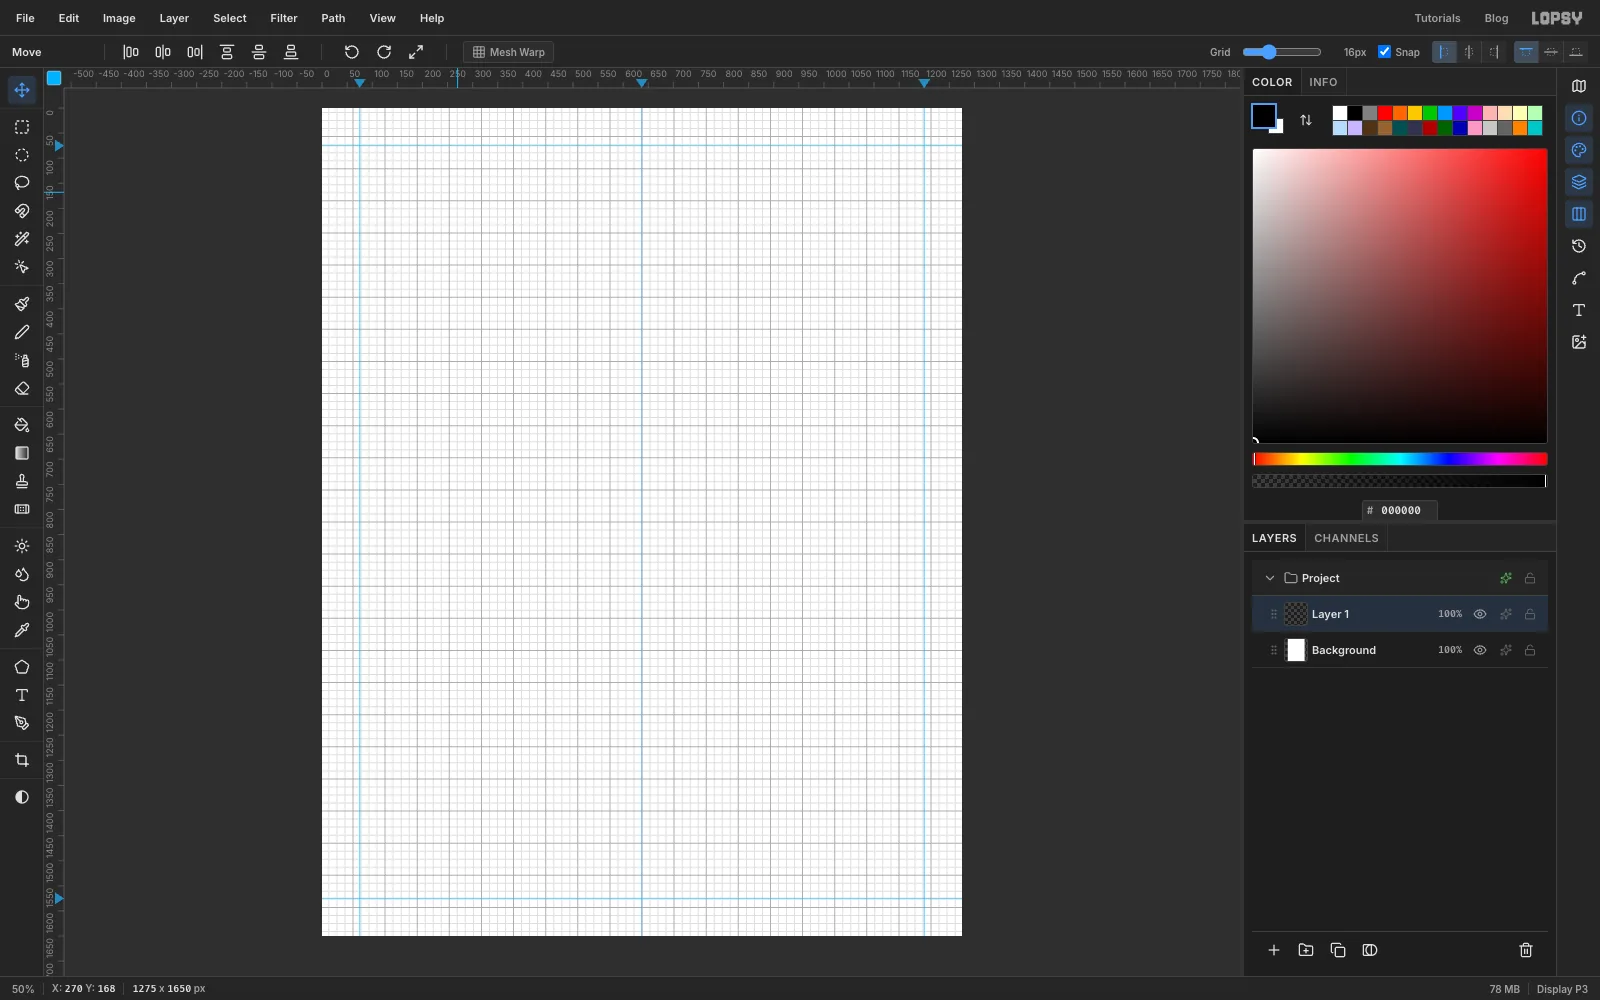
Choose File → New, check that the unit is Pixels, enter 1275 × 1650, and click Create. The document comes with an empty Layer 1 above the white Background.
Make sure View → Show Guides is ticked. Click the top ruler at 75, 637 and 1200 to drop three vertical guides: two margins and the centre line. Then click the left ruler at 75 and 1575 for the top and bottom margins. Turn on View → Show Grid to check that the guides sit where you expect, then turn it off again. Snap is on by default, so shapes and marquees will catch the guides. Leave the grid off while you work: with the grid showing, rotations snap to 15° steps, which would spoil the small tilts later on.
-
Paint the night sky
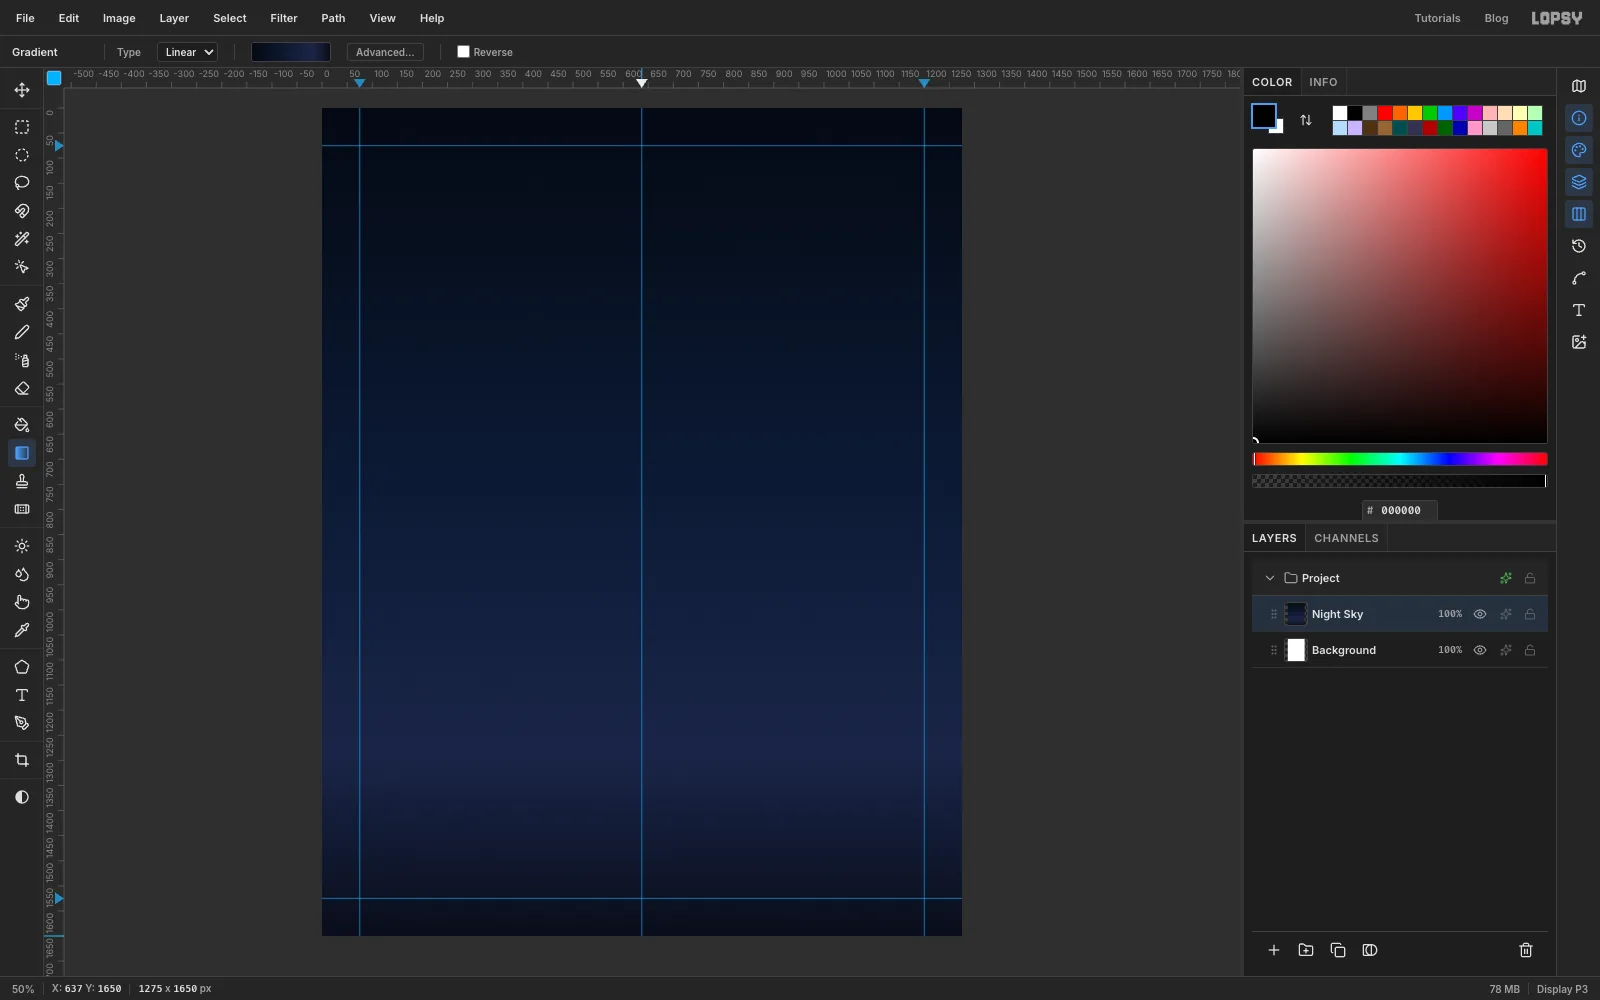
Double-click Layer 1's name and rename it Night Sky. Pick the Gradient tool, set Type to Linear, and click Advanced… to open the Gradient Editor. Give it four stops: at the left, at 45%, at 78% and at the right. To add a stop, click the bar where you want it, then type its hex code. Click Done.
Drag from the top edge of the canvas straight down to the bottom edge. Hold Cmd while you drag to keep the line vertical.
-
Add a warm glow behind the photo
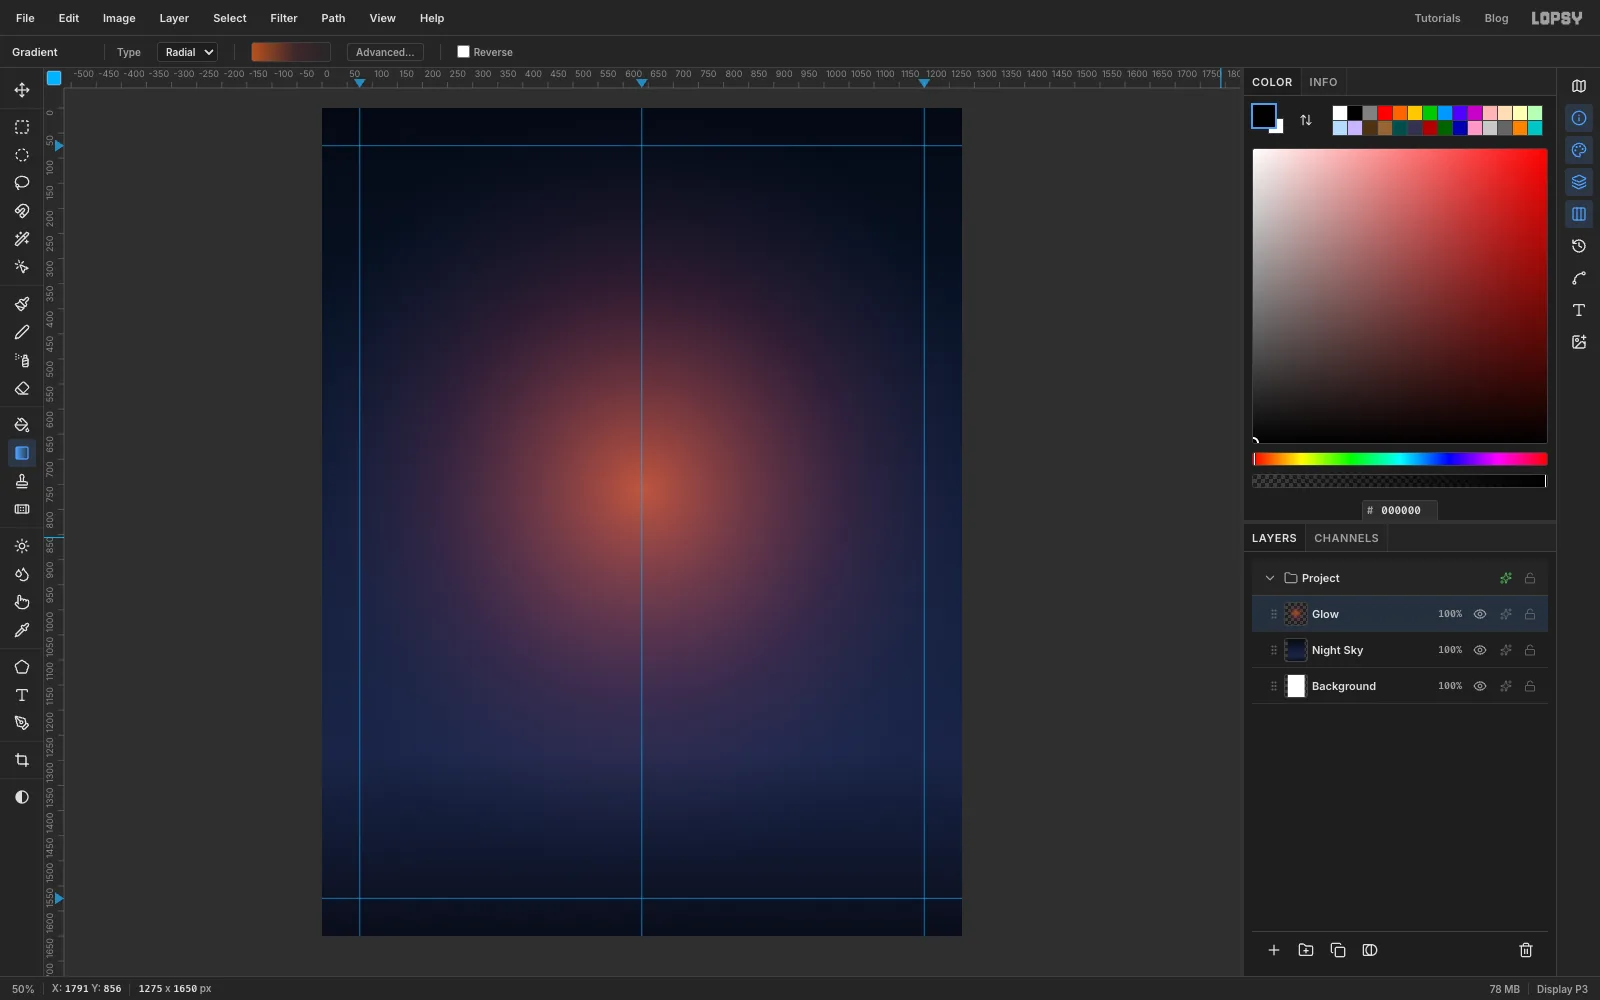
Click Add Layer at the bottom of the Layers panel and name the new layer Glow. In the Gradient tool, switch Type to Radial. In the editor, set three stops:
- at the left, with opacity 75%
- at the middle, with opacity 25%
- at the right, with opacity 0
Drag from a point a little above the centre of the page out past the right edge.
Open the layer's drawer with the effects button on its row and set the blend mode to Screen. The glow now brightens the sky instead of covering it.
-
Turn a gradient into a halftone dot field
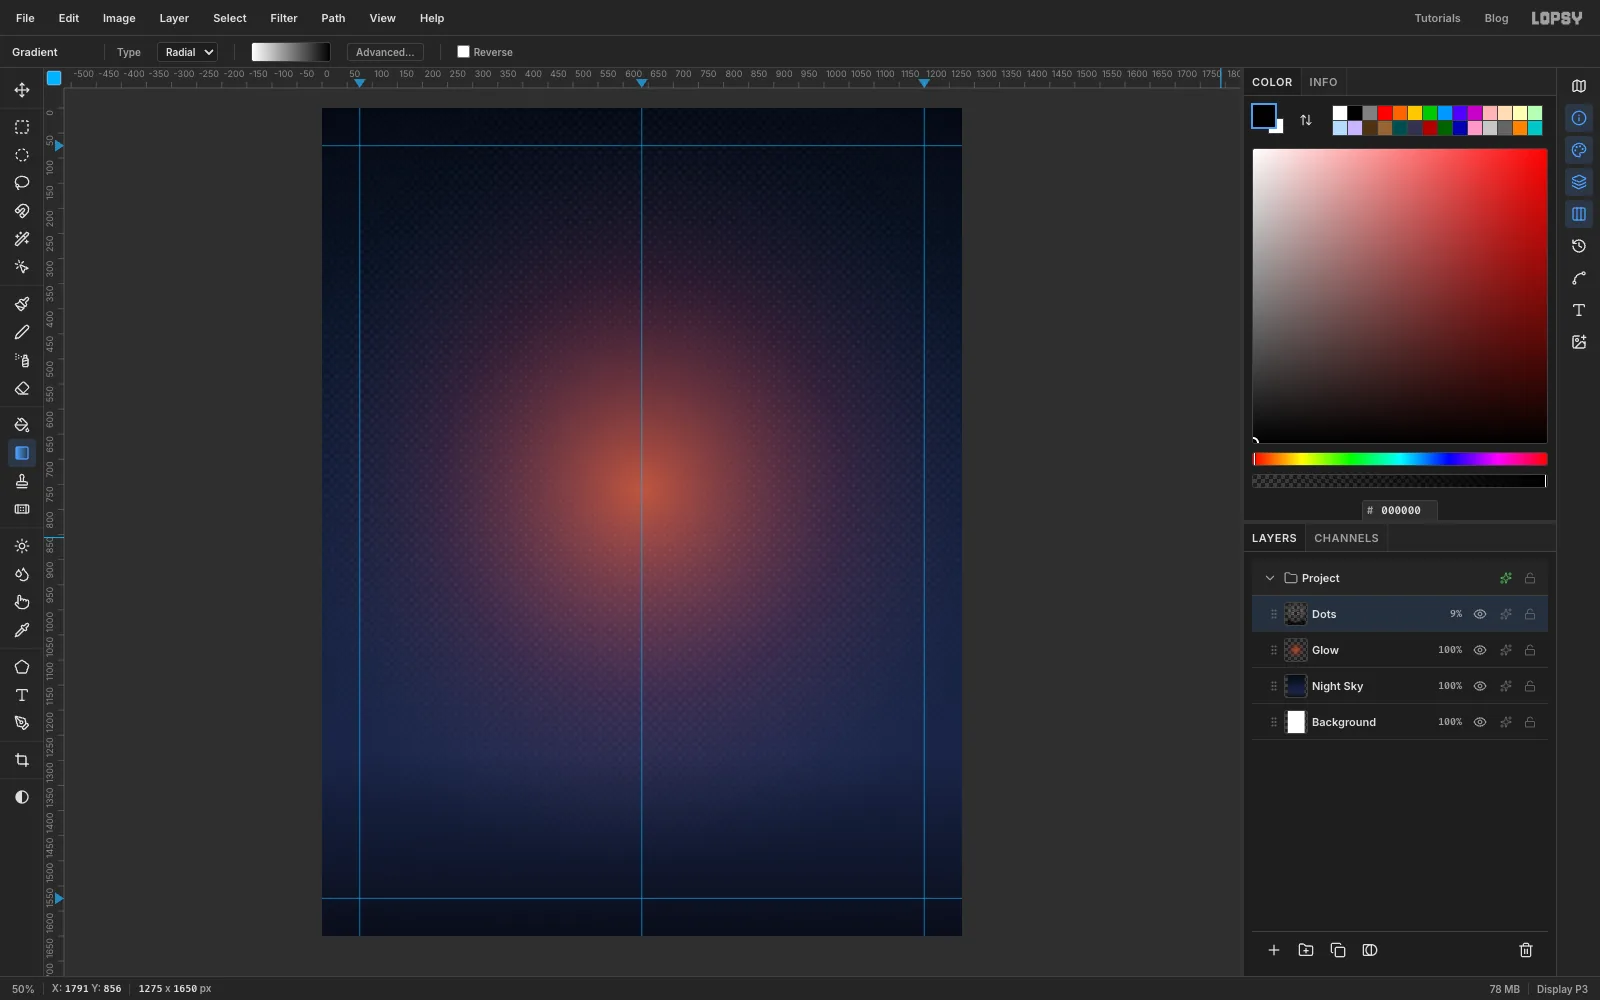
Add another layer called Dots. Set the gradient to two stops, white at the left and black at the right, keep it Radial, and drag from the middle of the page out well past the right edge.
Choose Filter → Halftone…, set Dot Size to 14 and Angle to 45, and click Apply. The gradient breaks into dots that are big in the middle and tiny at the edges. In the layer's drawer, set the blend mode to Screen. Then click the 100% opacity readout on the row and drag the slider down to 9%. You're left with a faint printed texture, like an old screen-printed poster.
-
Draw the rounded photo panel
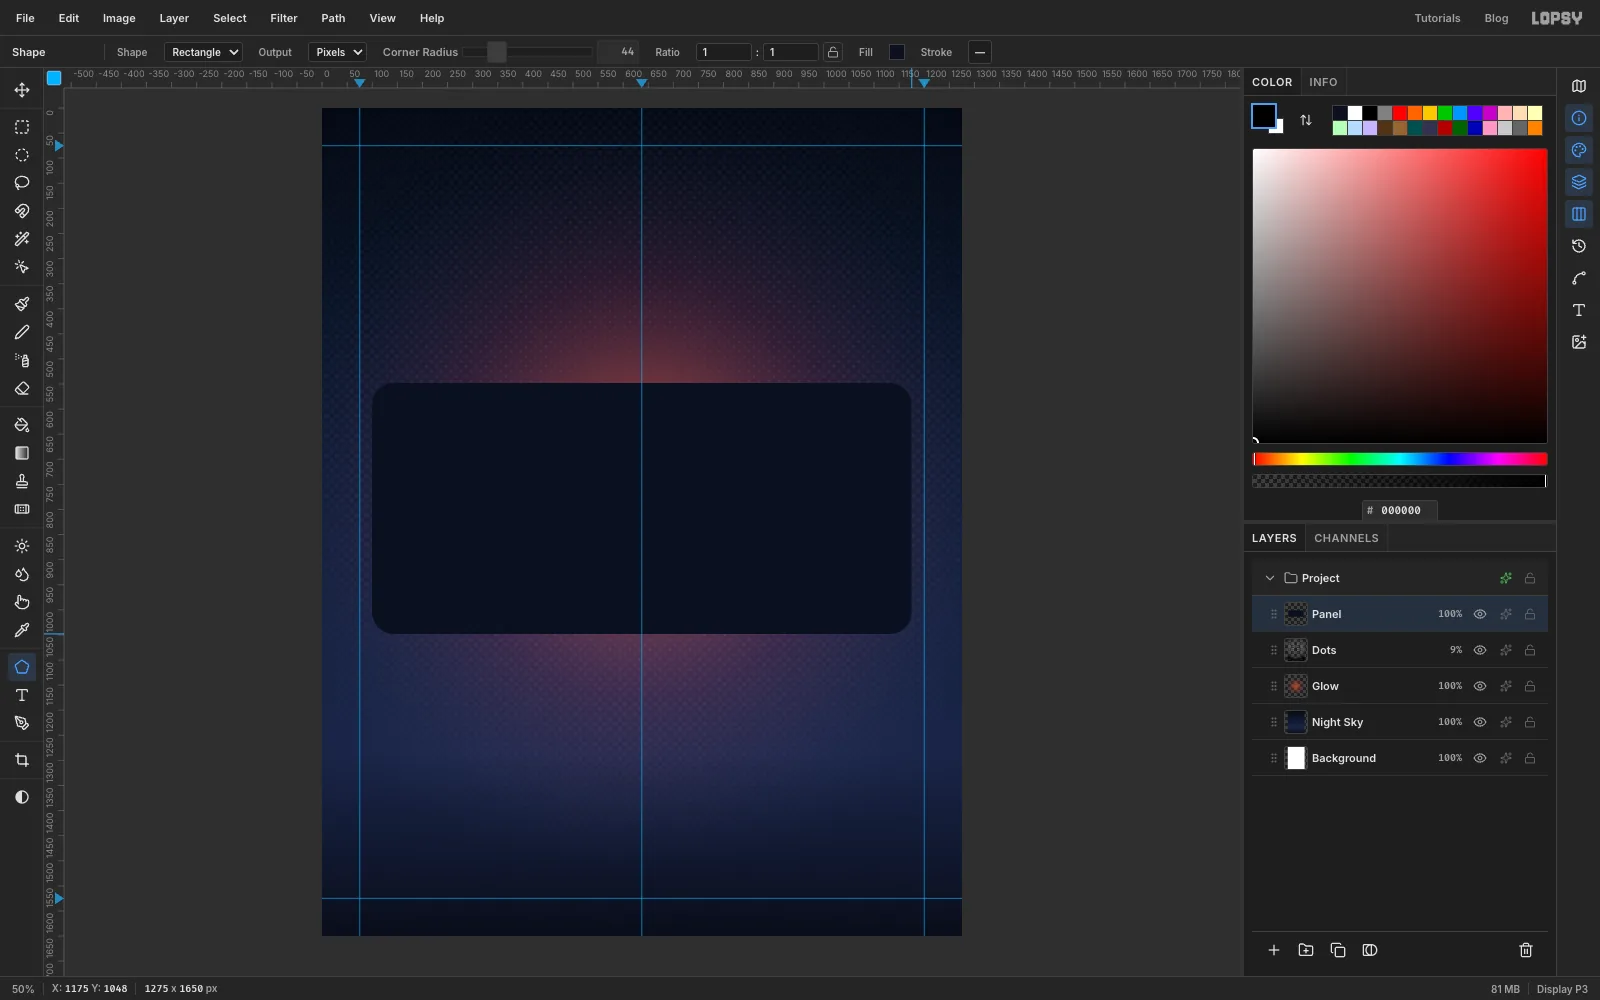
With Dots selected, add a layer called Panel. Pick the Shape tool and set Shape to Rectangle, Output to Pixels and Corner Radius to 44. Click the Fill swatch and set it to . If the Stroke swatch shows a colour, open it and click Remove stroke.
The Shape tool grows from the centre, so press where you want the middle of the panel. That's on the centre guide, a little below the middle of the page (about y 800). Drag out toward the bottom right and stop about 25 px short of the right margin guide (x 1175), when the panel is 1075 × 500 px. The gap leaves room for the chrome frame.
-
Fill a chrome bezel around it
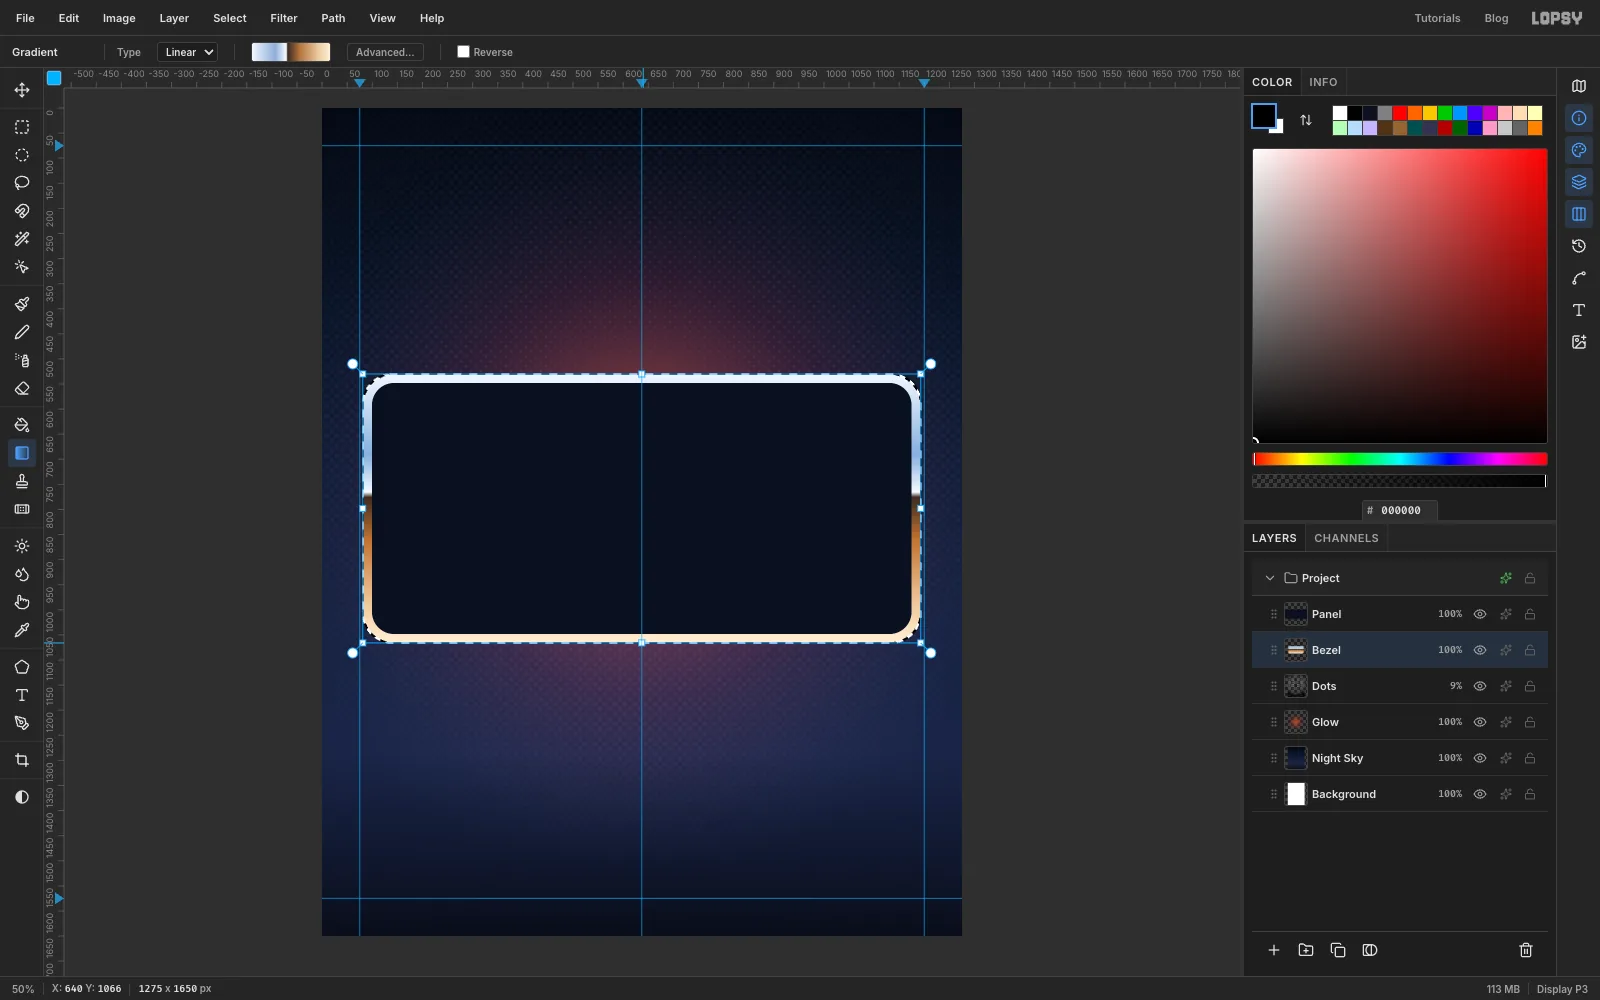
Select Dots again and add a layer called Bezel. It sits under Panel. Cmd-click the Panel thumbnail to load its shape as a selection. Then choose Select → Grow…, enter 18 and click Apply.
Pick the Gradient tool, set Type to Linear, and open the Gradient Editor. Give the frame its own chrome ramp:
- at 0%
- at 30%
- at 44%
- at 46% (the hard horizon)
- at 62%
- at 85%
- at 100%
Drag from the top edge of the selection straight down to its bottom edge, holding Cmd.
Press Cmd+D to deselect.
-
Paste the photo and scale it up
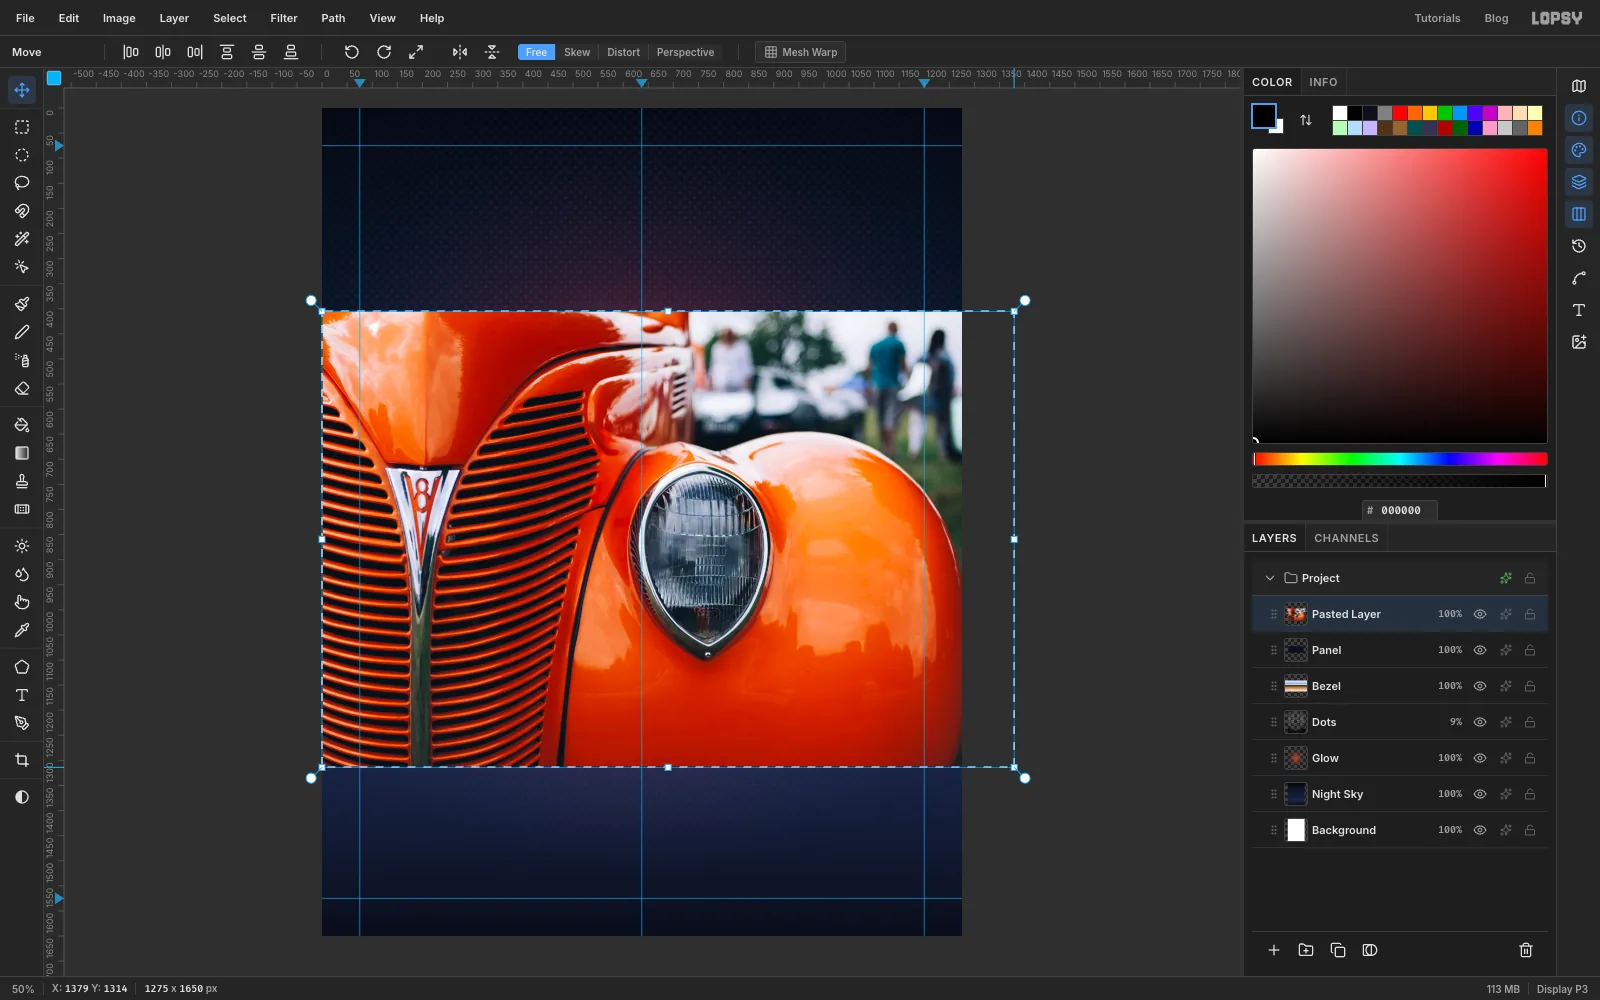
Open the grille photo in another tab, copy it, and come back to Lopsy. Click the Panel row and press Cmd+V. The photo lands as a new Pasted Layer above Panel, shrunk to the width of the canvas, with transform handles around it.
It needs to be a bit bigger. Hold Cmd (to keep its proportions) and drag the bottom-right corner handle outward, until the photo's right edge sits about 100 px past the canvas (roughly 1380 px wide).
-
Position the photo and clip it to the panel
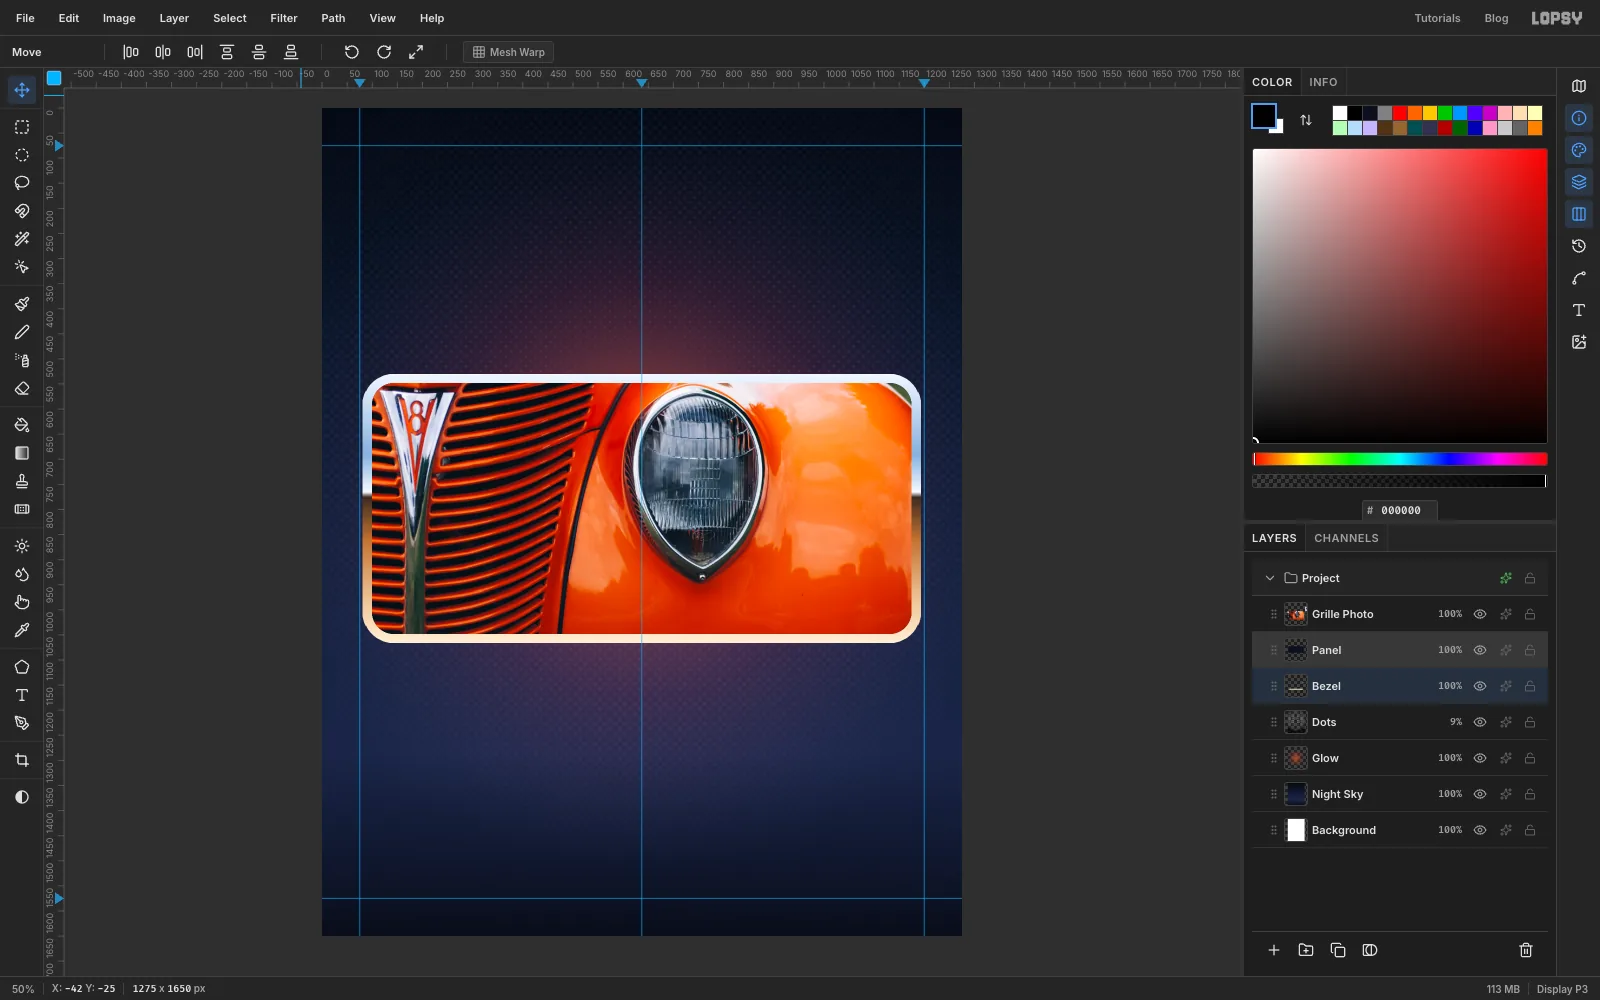
Drag the photo with the Move tool until the headlight sits a little right of the panel's centre. The orange fender should fill the panel's top edge, so no blurry background shows above it. Press Escape (or Cmd+D) to commit the transform. Either key works for every transform in this tutorial. Rename the layer Grille Photo.
Now trim it. Cmd-click the Panel thumbnail, choose Select → Inverse, click the Grille Photo row and press Delete. Deselect.
Then hollow out the bezel. Click Bezel, Cmd-click the Panel thumbnail again and press Delete. That leaves an 18 px chrome ring. Deselect again.
-
Grade the photo with a Color LUT
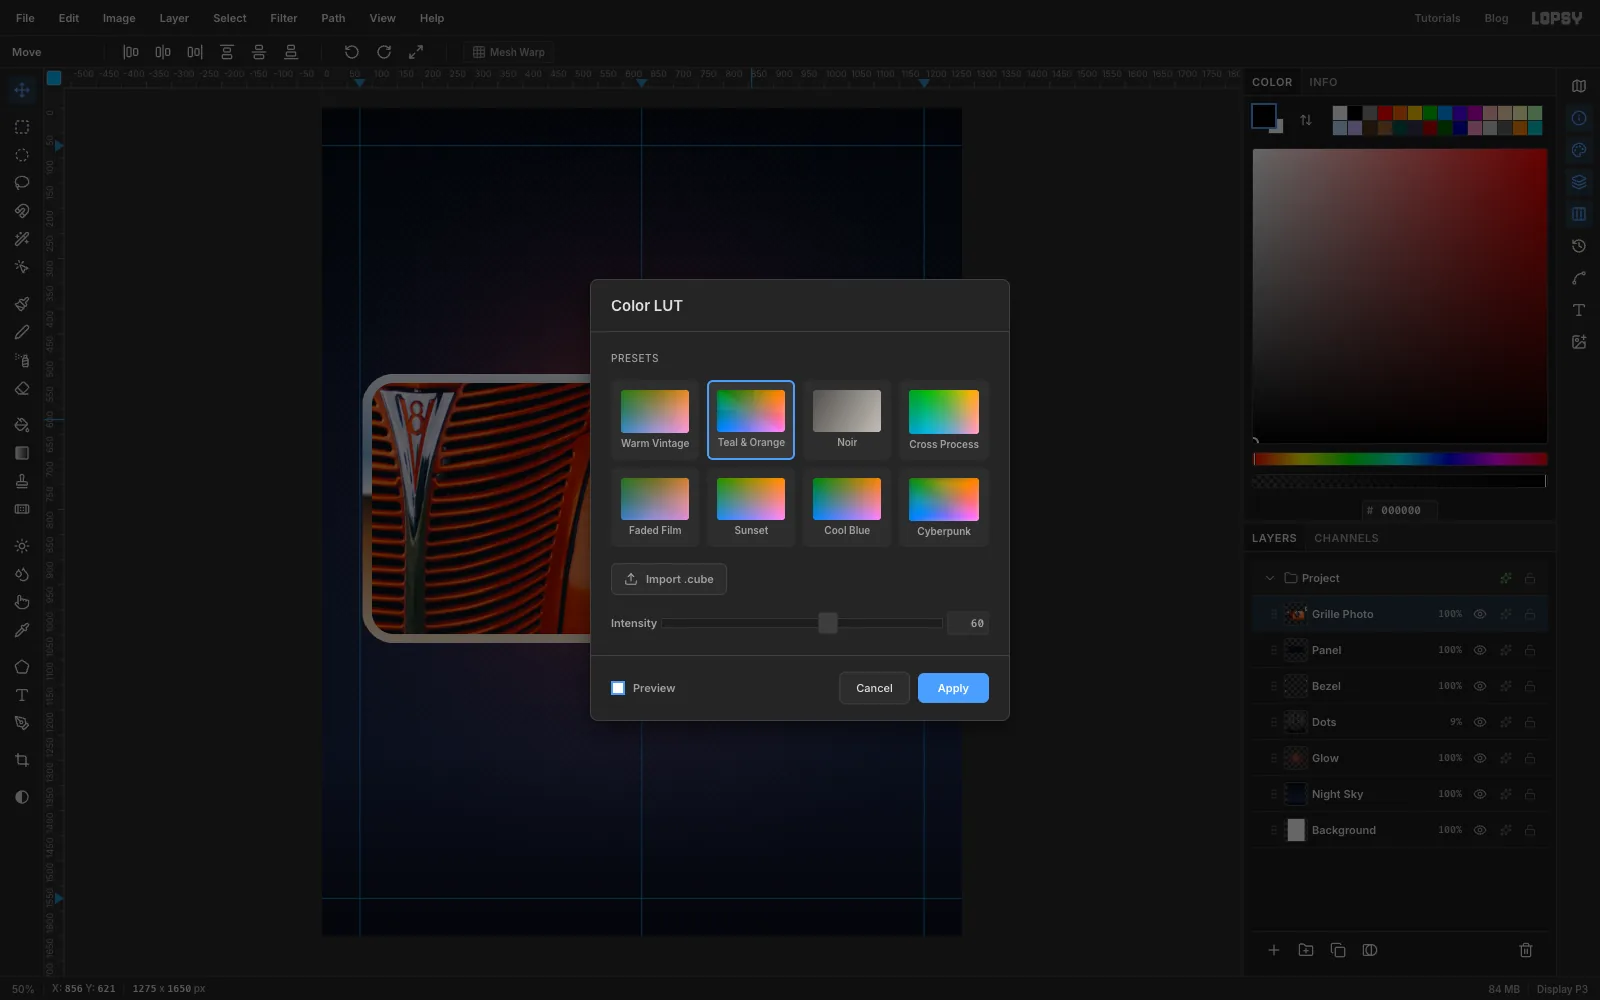
Click Grille Photo and choose Filter → Color LUT…. Pick the Teal & Orange preset, set Intensity to 60 and click Apply. The car gets even more orange. The blurry lawn and the shadows go cool and dark, so they sit nicely with the navy page.
-
Add contrast to the photo
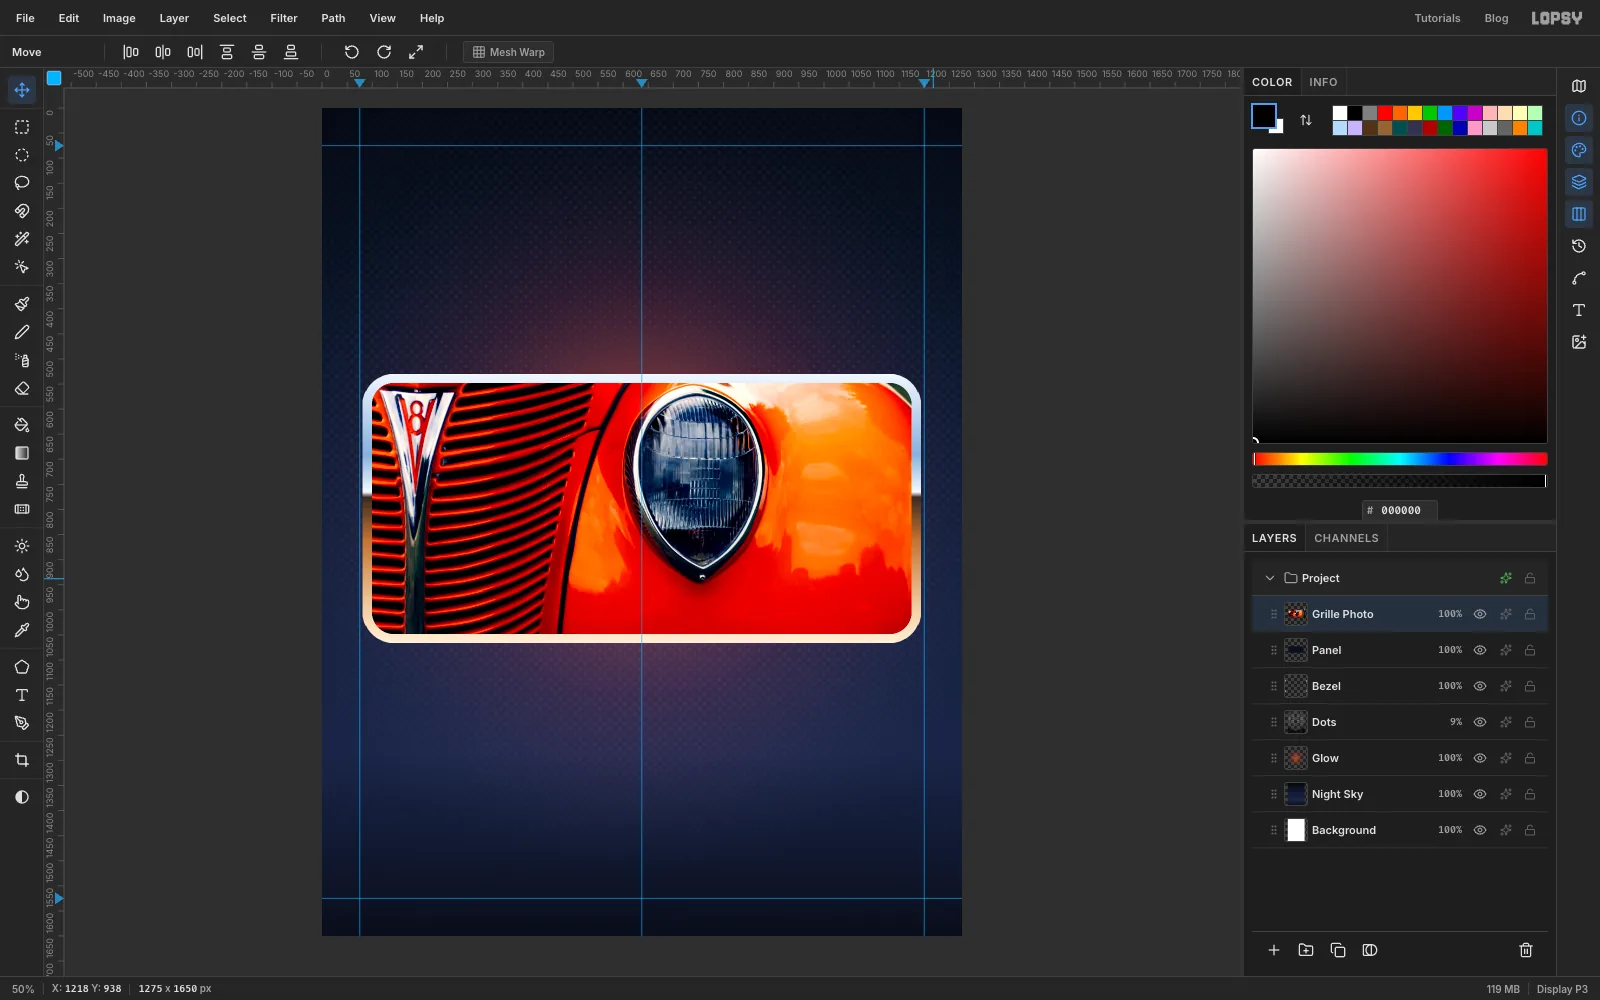
Choose Filter → Brightness/Contrast… and set Brightness to -6 and Contrast to 22.
To compare before and after, press Cmd+Z twice to step back through both grades, then Cmd+Shift+Z twice to bring them back.
-
Style the bezel
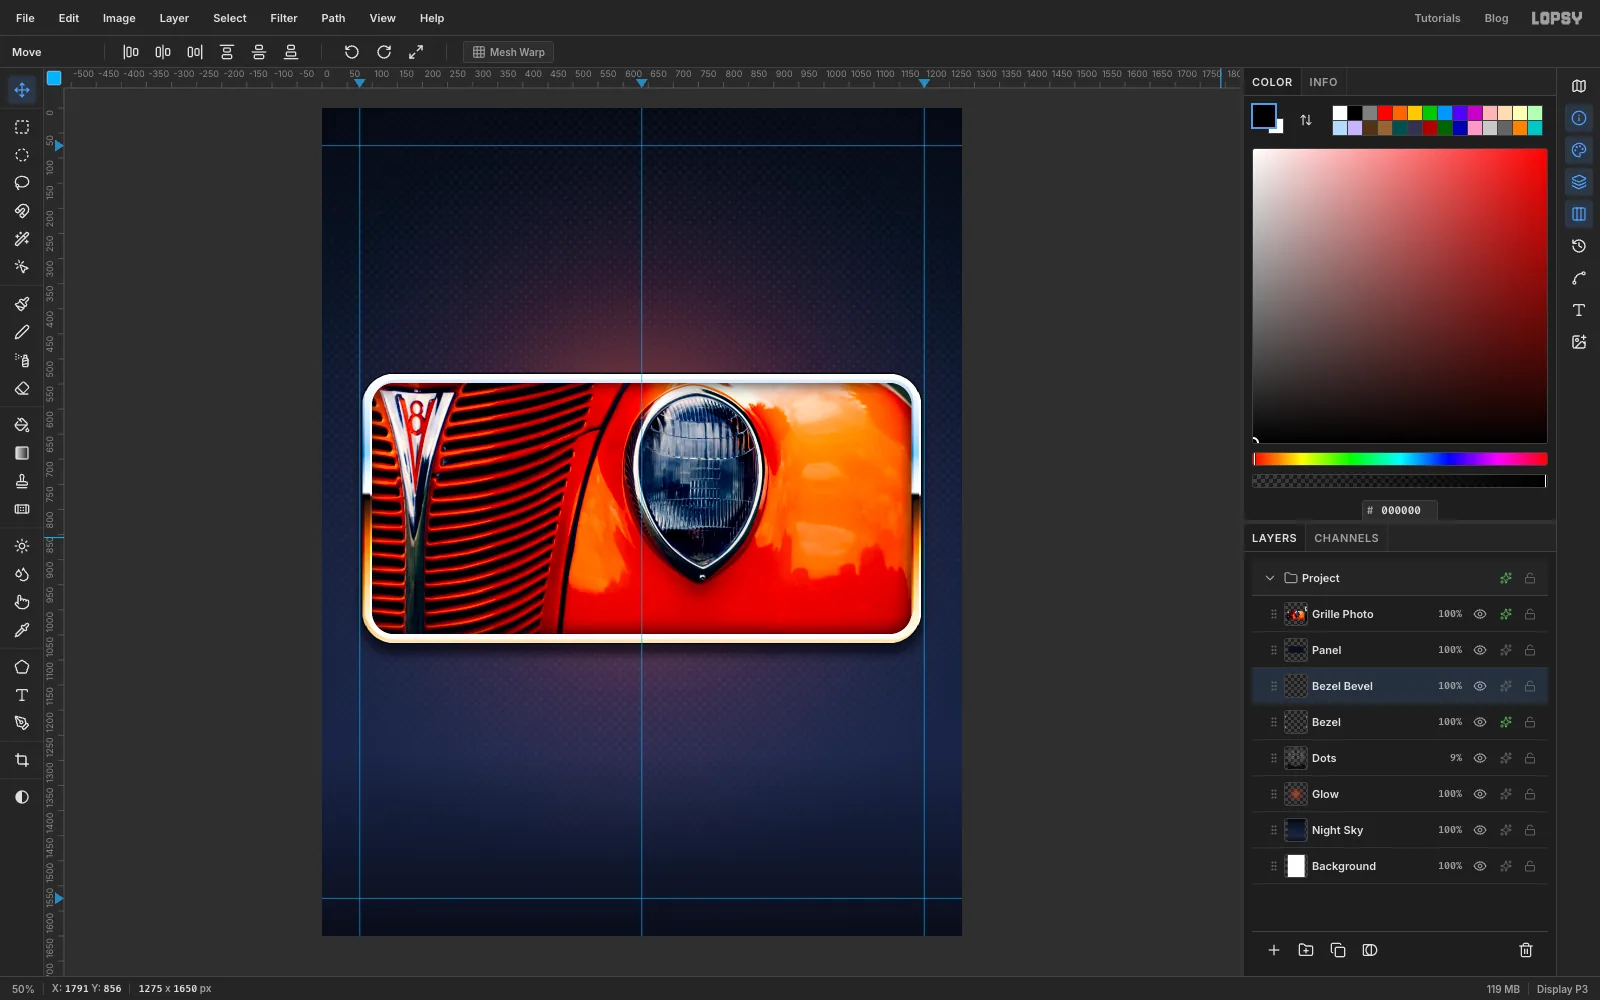
Three things make the frame look like solid metal.
- Recess the photo. With Grille Photo selected, open its effects drawer and turn on Inner Glow. Set the colour to , Size 46, Spread 10 and Opacity 85. The photo now looks set back behind the frame.
- Outline and lift the frame. Click Bezel and turn on Stroke: colour , Width 3, position outside. Then turn on Drop Shadow: colour , Offset X 0, Offset Y 18, Blur 30, Opacity 80.
- Bevel the edge. Choose Layer → Duplicate Layer and rename the copy Bezel Bevel. In its drawer, untick Stroke and Drop Shadow. Run Filter → Emboss… with Angle 120 and Strength 60, then set its blend mode to Overlay. The grey relief disappears, and only the light and dark edges are left on the chrome.
-
Group the panel
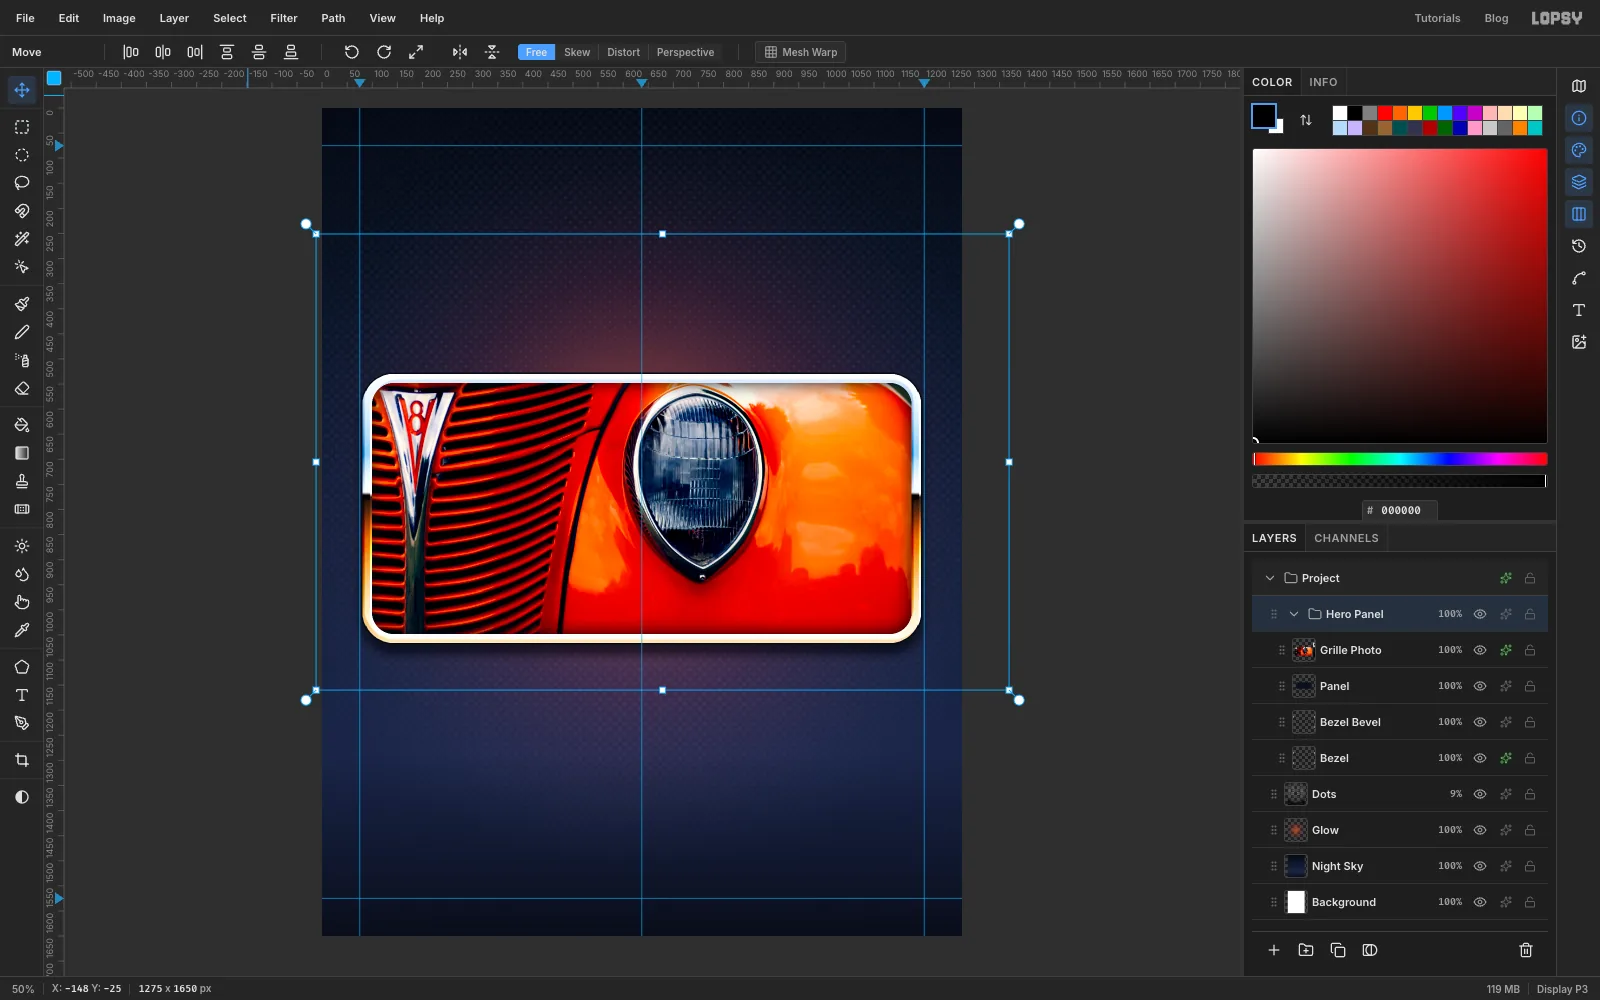
Click the Grille Photo row, then Shift-click Bezel to select all four panel layers. Choose Layer → Group Layers and rename the group Hero Panel. Click the arrow beside the group to collapse it.
-
Set the script
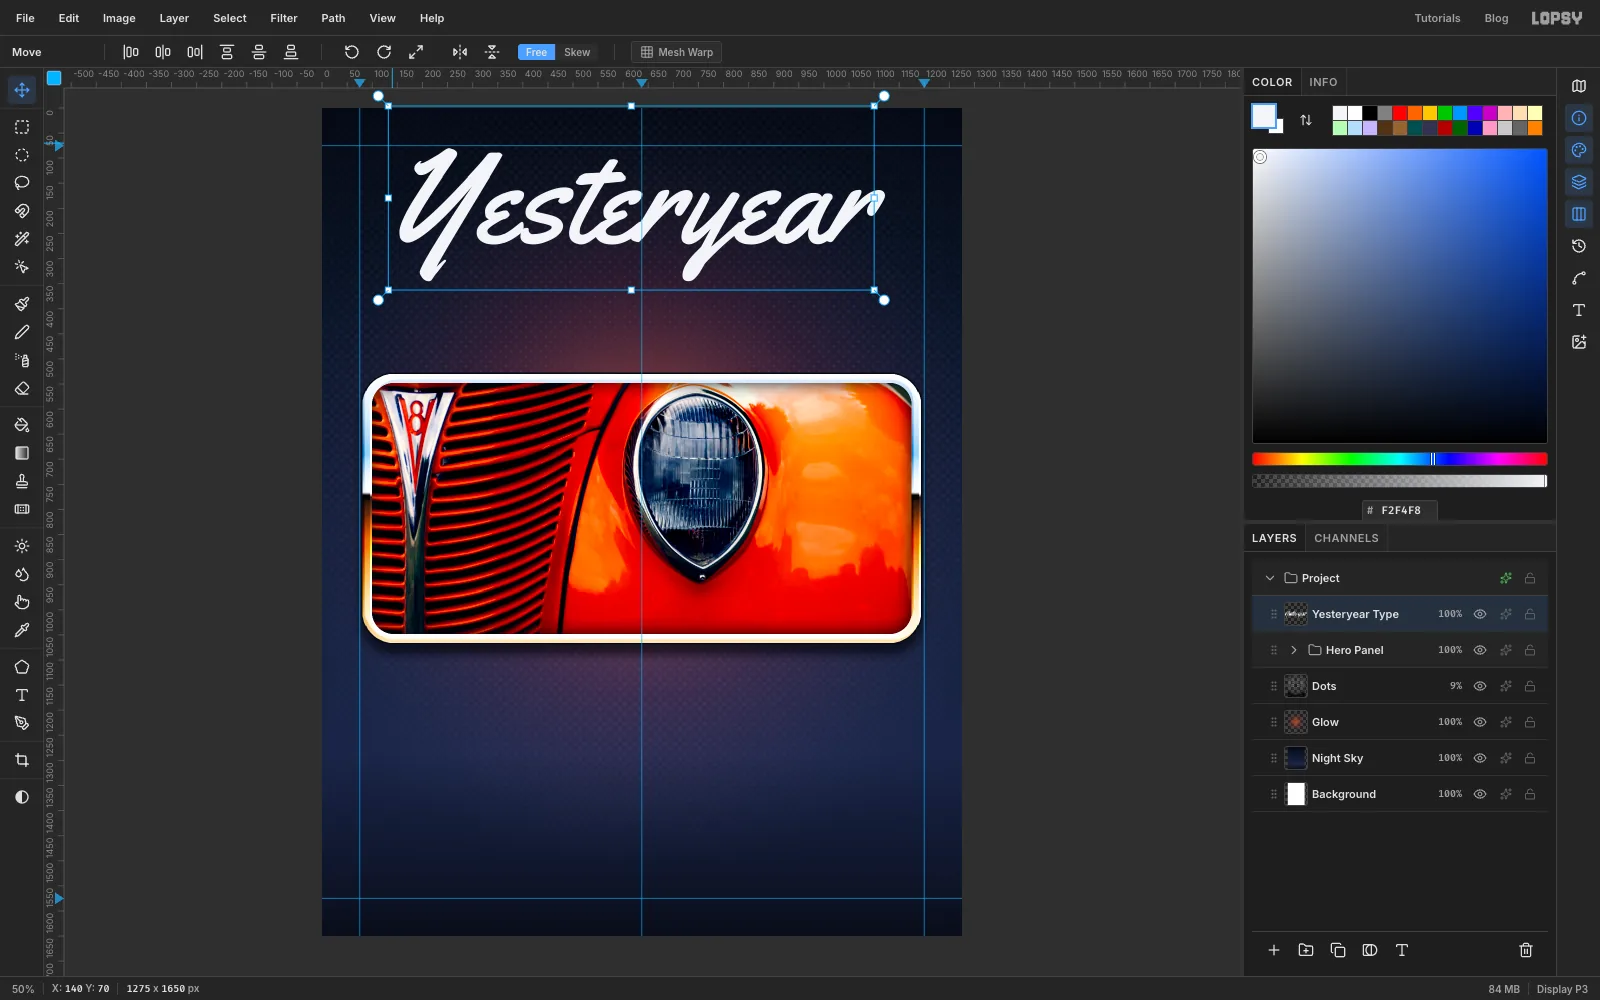
Click the collapsed Hero Panel row so the text lands above it. Pick the Text tool, choose Yellowtail in the font menu, set Size to 262, and set the foreground colour to . Click near the top-left margin, type Yesteryear, and press Tab to commit.
Rename the layer Yesteryear Type. Switch to the Move tool and nudge it with the arrow keys (Shift moves 10 px at a time) until it's centred on the middle guide, with the top of the Y just under the top margin.
-
Set AUTOS under it
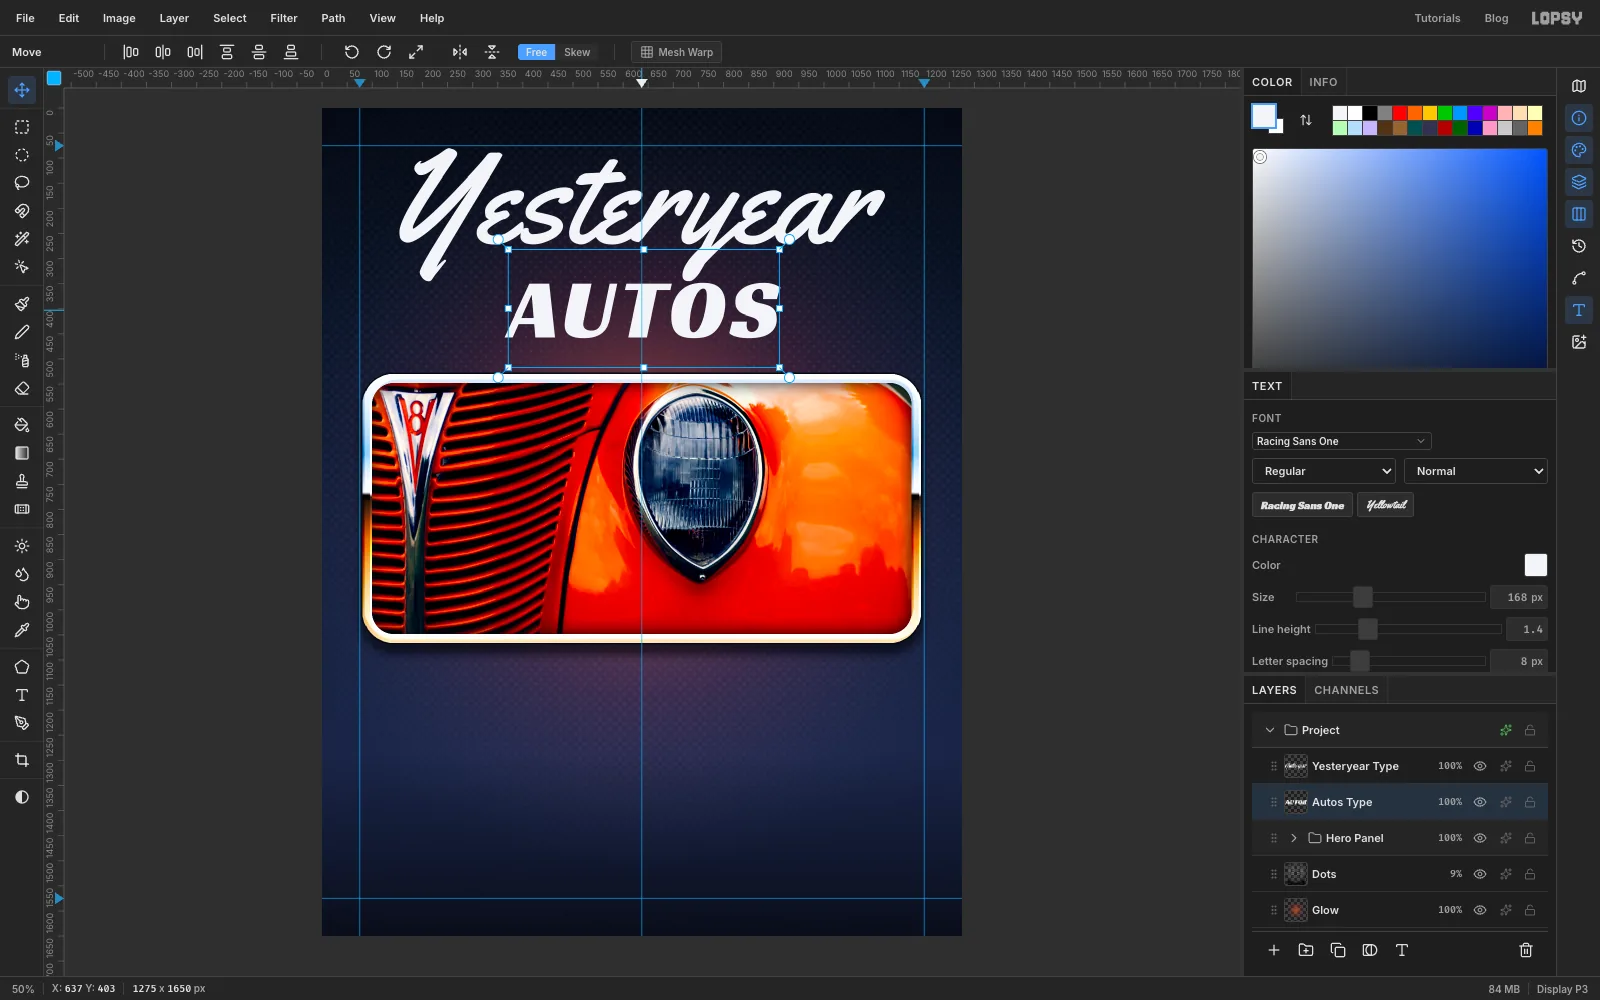
Click Hero Panel again. You'll type AUTOS somewhere empty and then move it, because a click inside the script's text box would add the word to Yesteryear instead of making a new layer. With the Text tool, choose Racing Sans One at 168, click in the empty area below the photo, and type AUTOS. Press Tab. In the Text panel, set Letter spacing to 8. Rename the layer Autos Type.
Now drag AUTOS up with the Move tool so it sits just under the script, centred on the middle guide. Its top should be about level with the bottom of the y's descender.
-
Chrome-plate the script
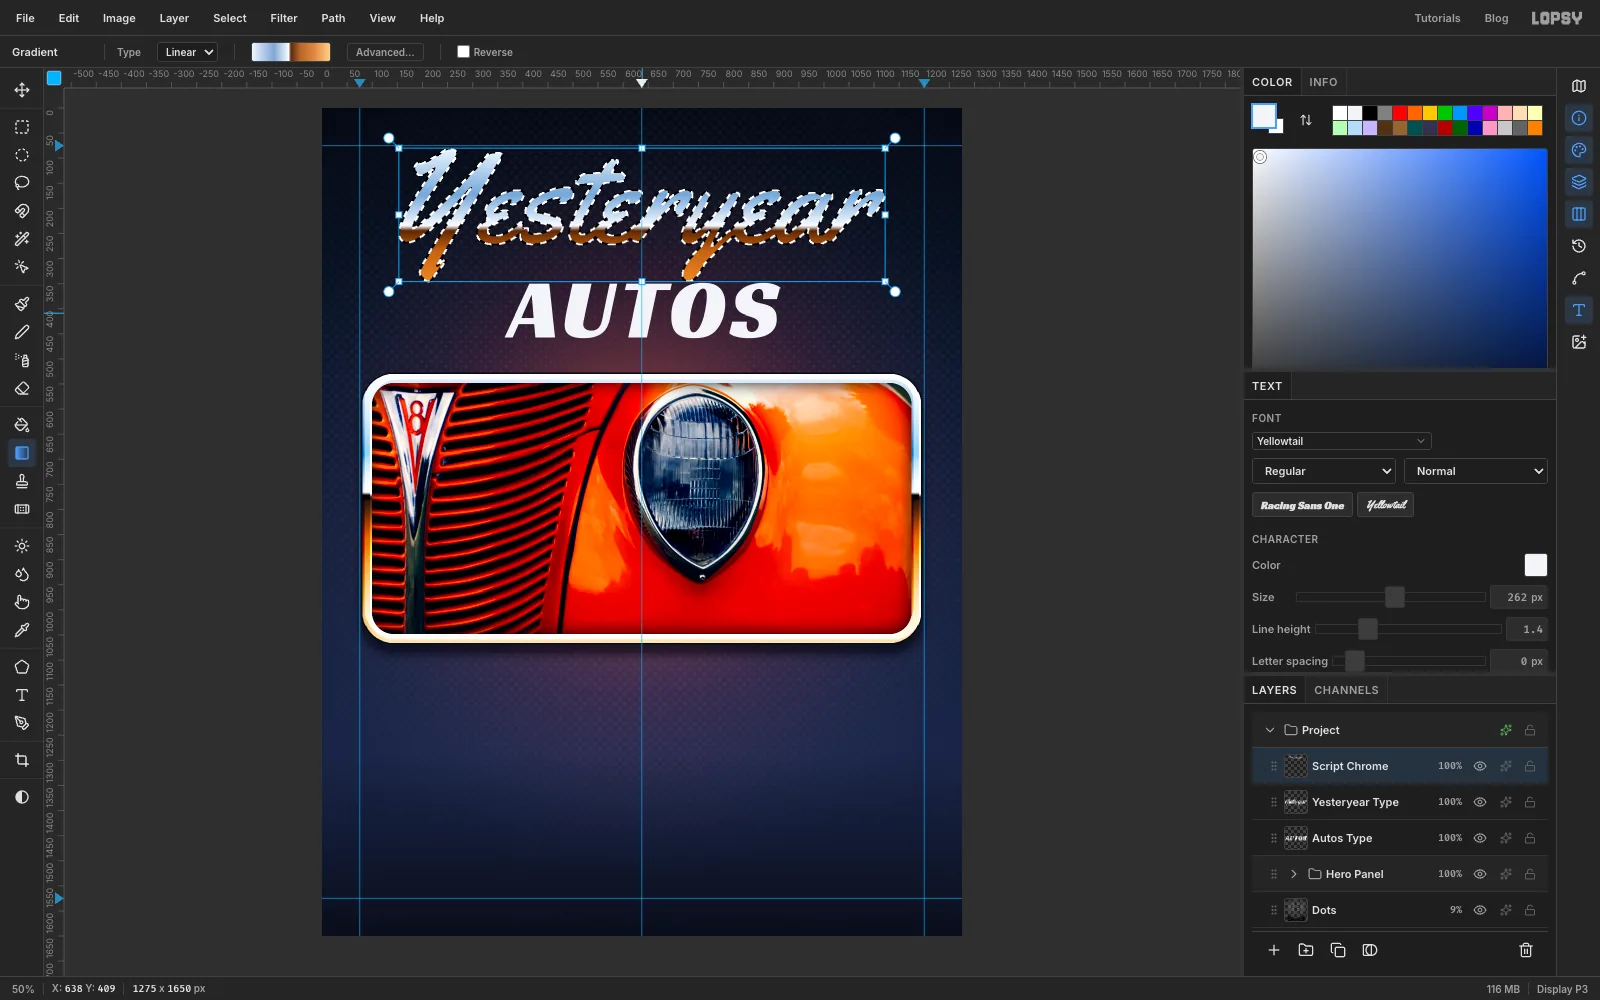
Select Yesteryear Type and add a layer above it called Script Chrome. Cmd-click the Yesteryear Type thumbnail to load the letters as a selection.
Pick the Gradient tool with Type set to Linear, and set up the lettering chrome in the Gradient Editor:
- at 0%
- at 28%
- at 47%
- at 50% (the horizon)
- at 62%
- at 80%
- at 100%
Drag from the top of the tallest letters straight down, holding Cmd. Drag for about one and a quarter times the height of the letters, so the horizon falls a little above the middle of the lowercase letters. Deselect.
-
Chrome-plate AUTOS
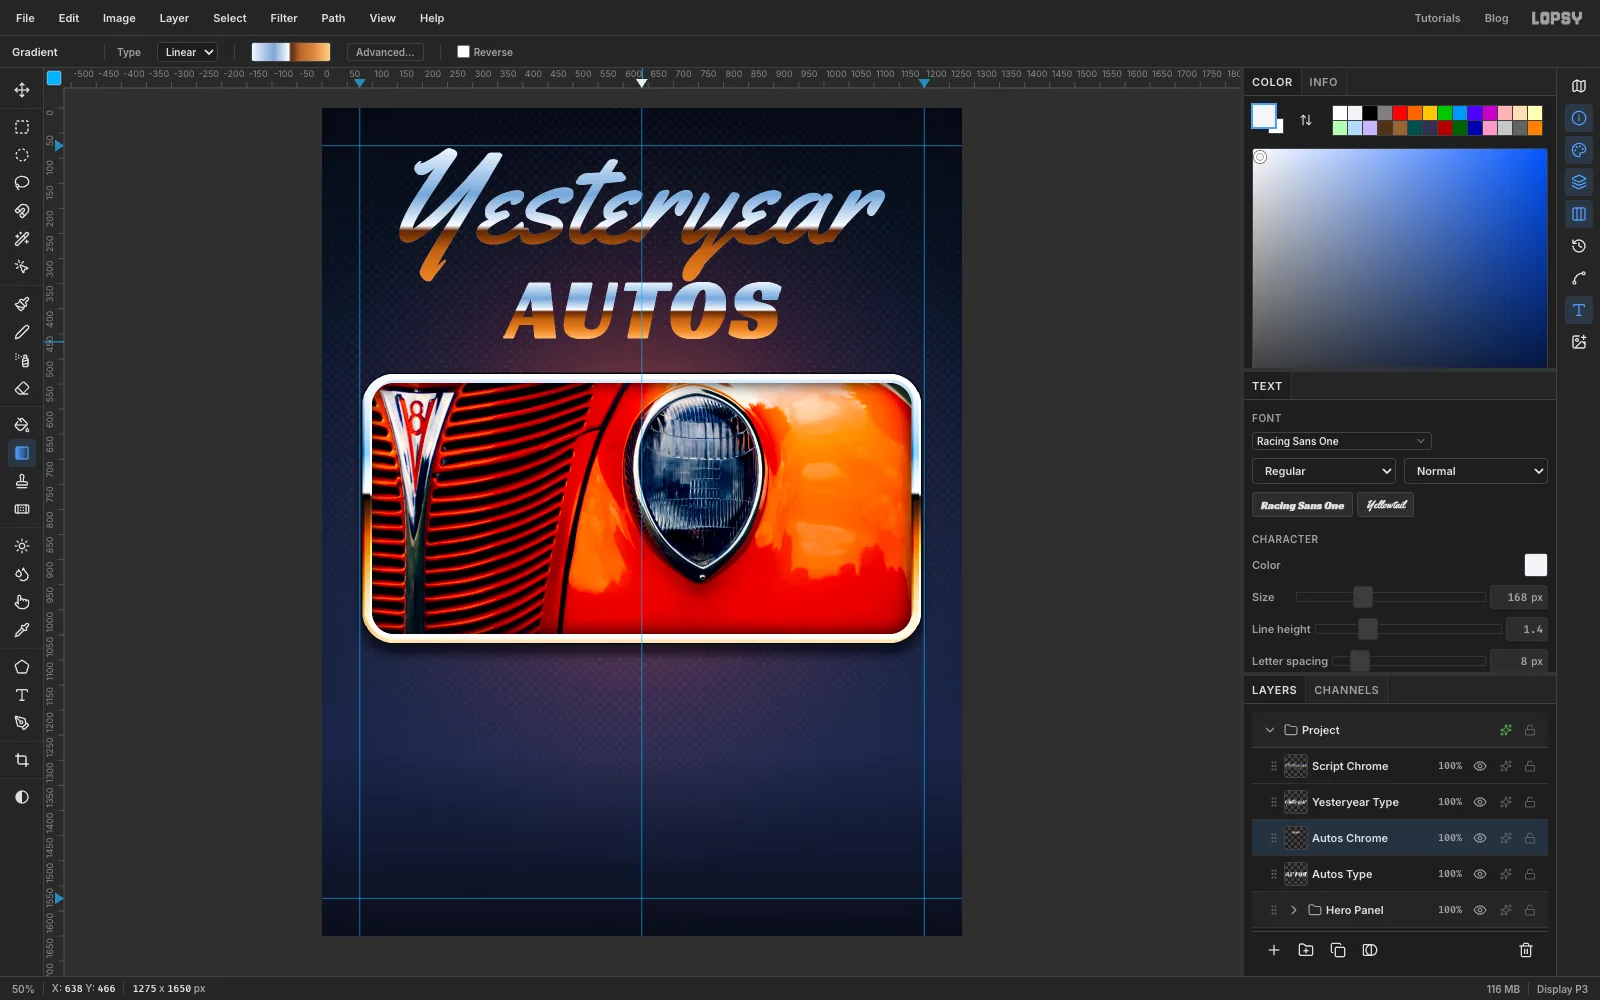
Do the same for the capitals. Select Autos Type, add Autos Chrome above it, and Cmd-click the Autos Type thumbnail. AUTOS can take a little weight, so choose Select → Grow… with 2. Then drag the same gradient from the top of the letters, a little past their bottom edge.
Turn off the eye icons on Yesteryear Type and Autos Type. You only need them as stencils now.
-
Outline, extrude and halo the chrome
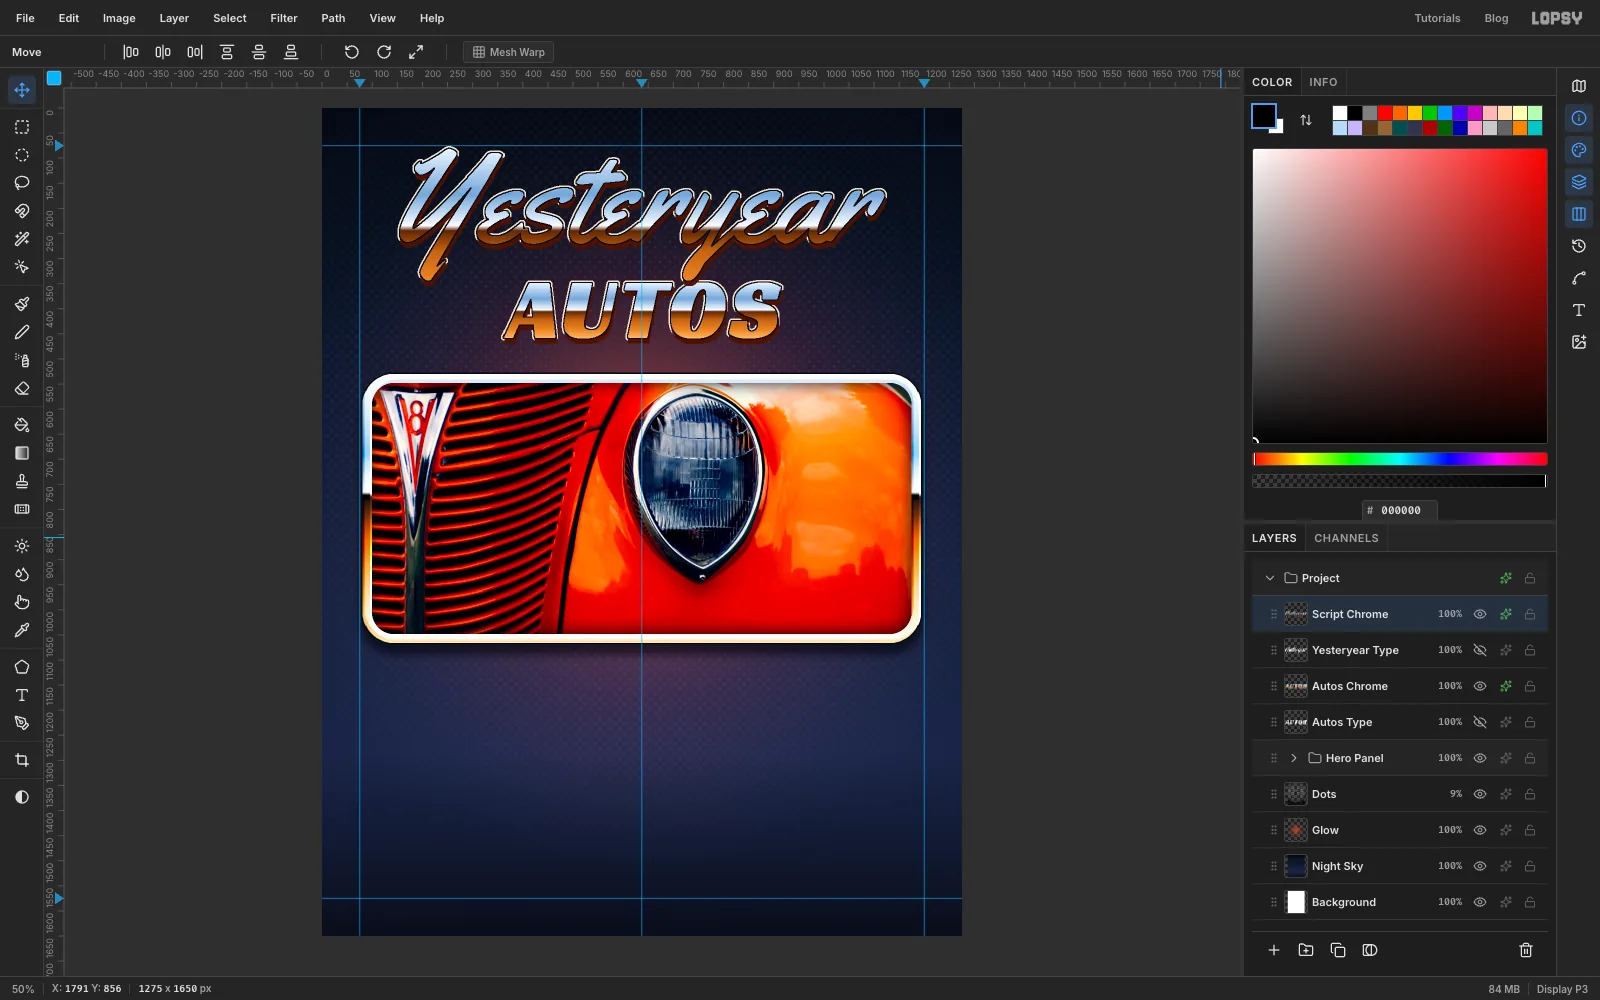
Give Script Chrome and Autos Chrome the same three effects:
- Stroke: , Width 3, position center. A center stroke keeps the script's small loops open.
- Drop Shadow: , Offset X 2, Offset Y 9, Blur 0, Opacity 100. With no blur, the shadow reads as a solid extruded edge.
- Outer Glow: , Size 3, Spread 100, Opacity 100. At full spread the glow becomes a thin cream outline around the dark stroke, so the lettering stands out from the navy.
-
Bevel the lettering
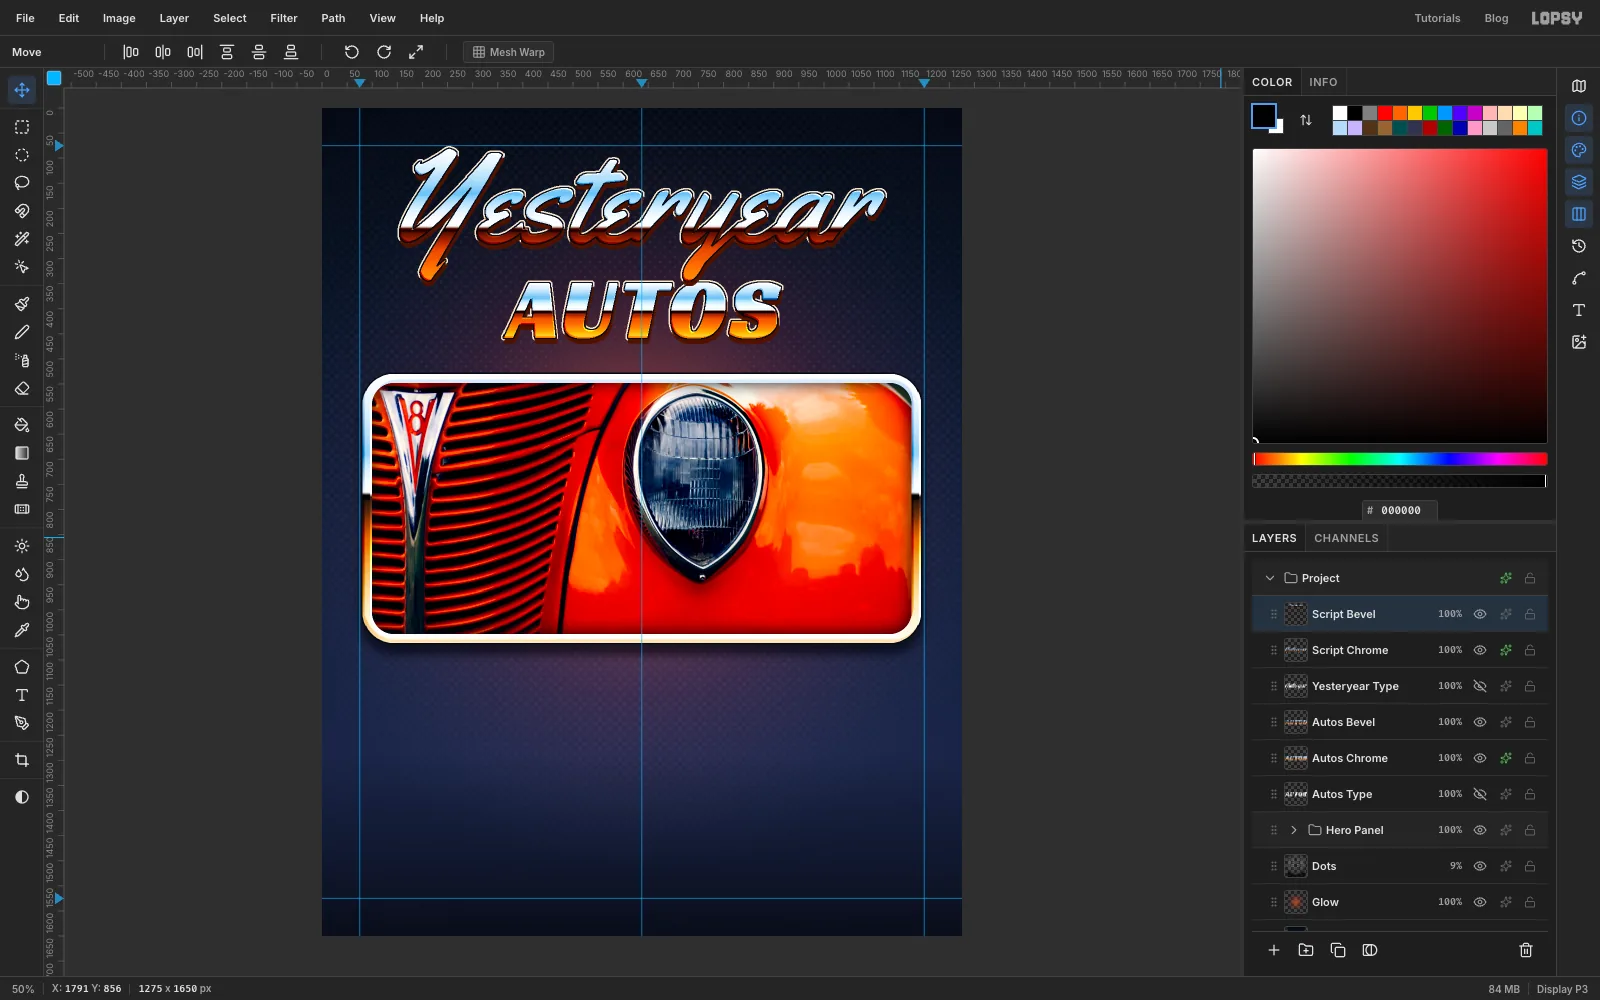
Select Autos Chrome, choose Layer → Duplicate Layer, and name the copy Autos Bevel. In its drawer, untick the three effects. Run Filter → Emboss… with Angle 125 and Strength 45, then set the blend mode to Overlay.
Repeat for Script Chrome to make Script Bevel. Every stroke now has a light top edge and a dark lower edge, like pressed metal.
-
Paint pinstripes with symmetry
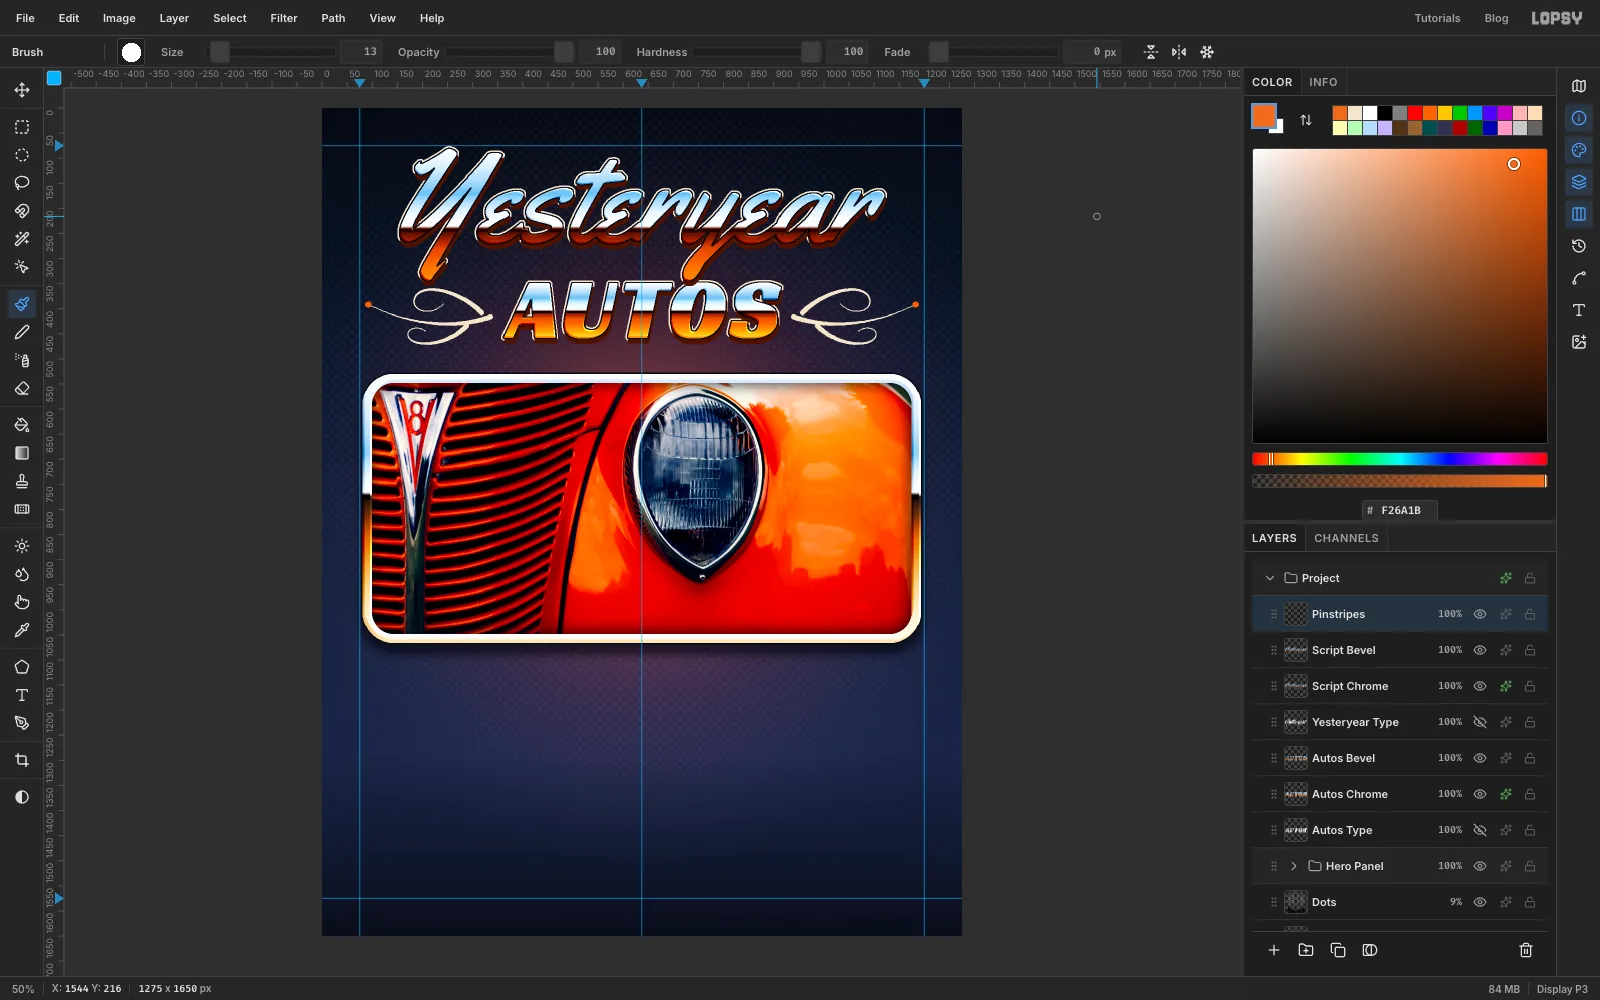
Select Script Bevel and add a layer called Pinstripes. Pick the Brush, click Open brush presets, and on the Shape tab set Size 11, Hardness 100 and Spacing 4. In the options bar, turn on Symmetry Vertical. Everything you paint on the left of the centre line is now mirrored on the right. Set the foreground to .
Pinstripes are painted one stroke at a time, from thick to thin. Start each stroke next to the lettering and pull it outward. Before each one, set Taper in the brush presets to roughly the stroke's length in pixels. The brush then shrinks to a point just as the stroke ends.
- The sweep. With Taper at about 270, start just left of the A. Dip down a little, then sweep out and up to a point near the left margin.
- The loop. With Taper at about 255, start at the same place. Arc up and outward over the sweep, then curl back down and round into a small hook.
- The curl. With Taper at about 195, start a little below and curve down and out under the sweep, finishing in a small curl.
For the one-shot dots, set Taper back to 0 and Size to 13, pick , and click once at the tip of the sweep. Symmetry adds the matching dot on the right. Turn Symmetry Vertical off.
-
Group the title and tilt it
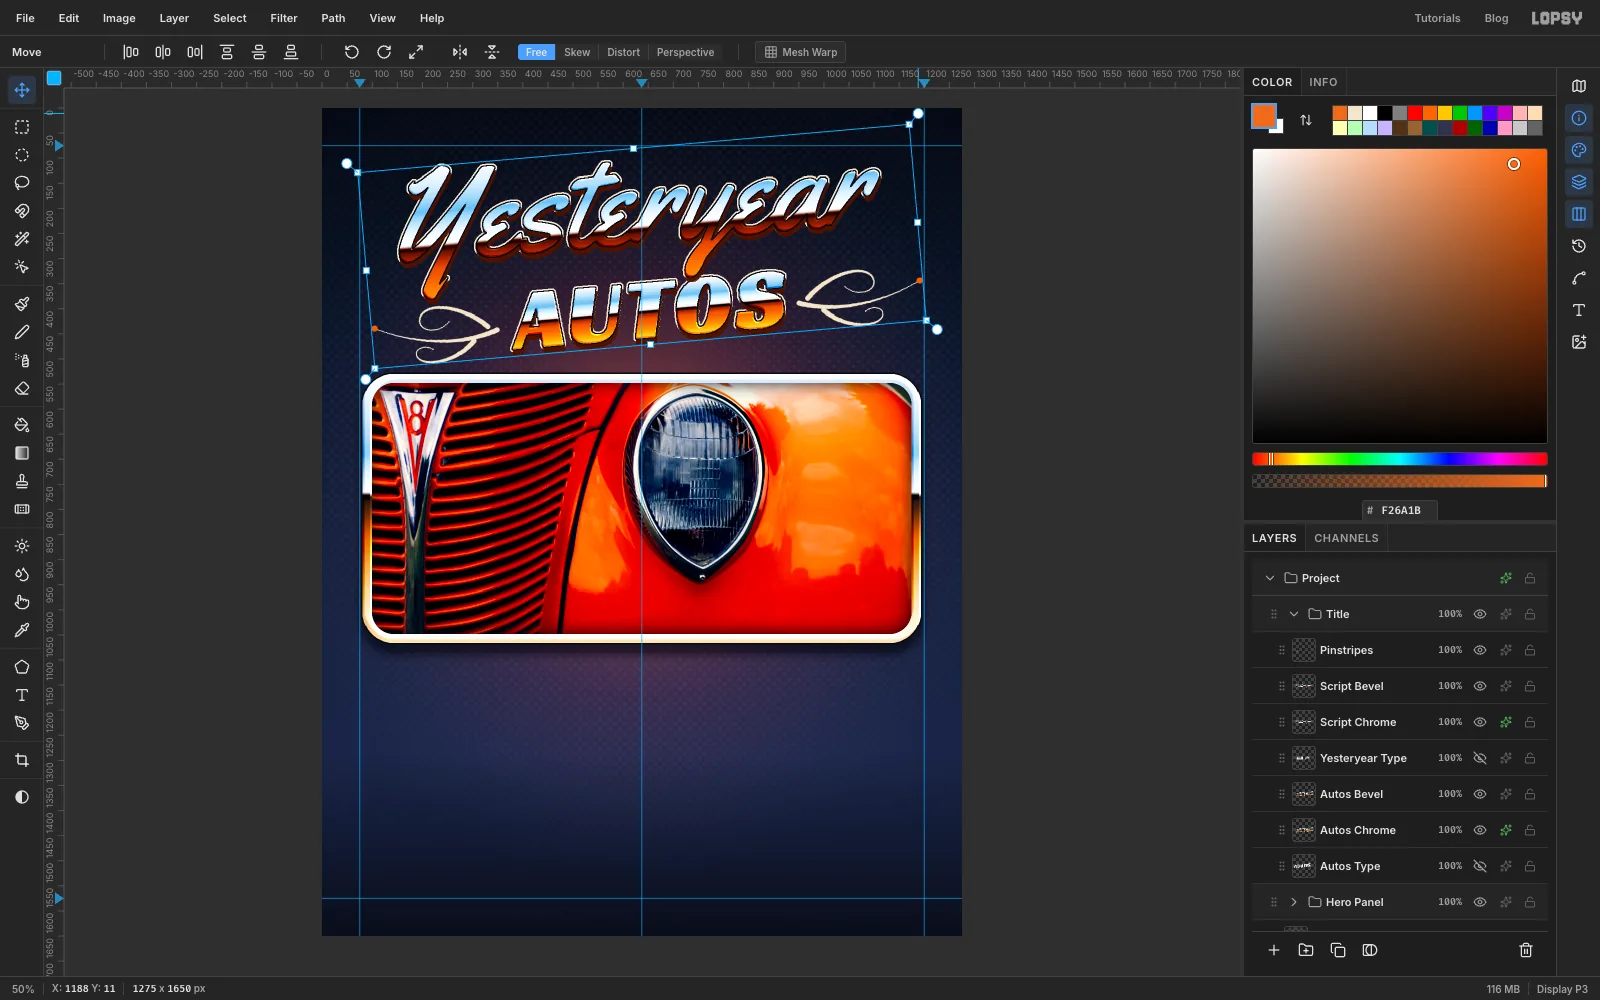
Click Pinstripes, then Shift-click Autos Type. That selects the chrome, bevels, stencils and pinstripes. Choose Layer → Group Layers and name the group Title.
With the Move tool, the group gets one frame around everything. Drag the round rotation handle off its top-right corner upward, about 5° anticlockwise, so the lettering climbs gently to the right. Press Escape to commit. Press Cmd+Z and Cmd+Shift+Z to compare straight and tilted.
-
Draw an arch with the Pen
Collapse Title and click its row. Click New Group in the Layers panel, name it Details, and add a layer inside it called Details Base. This empty layer is an anchor: clicking it before you add each new text layer keeps that layer inside the Details group.
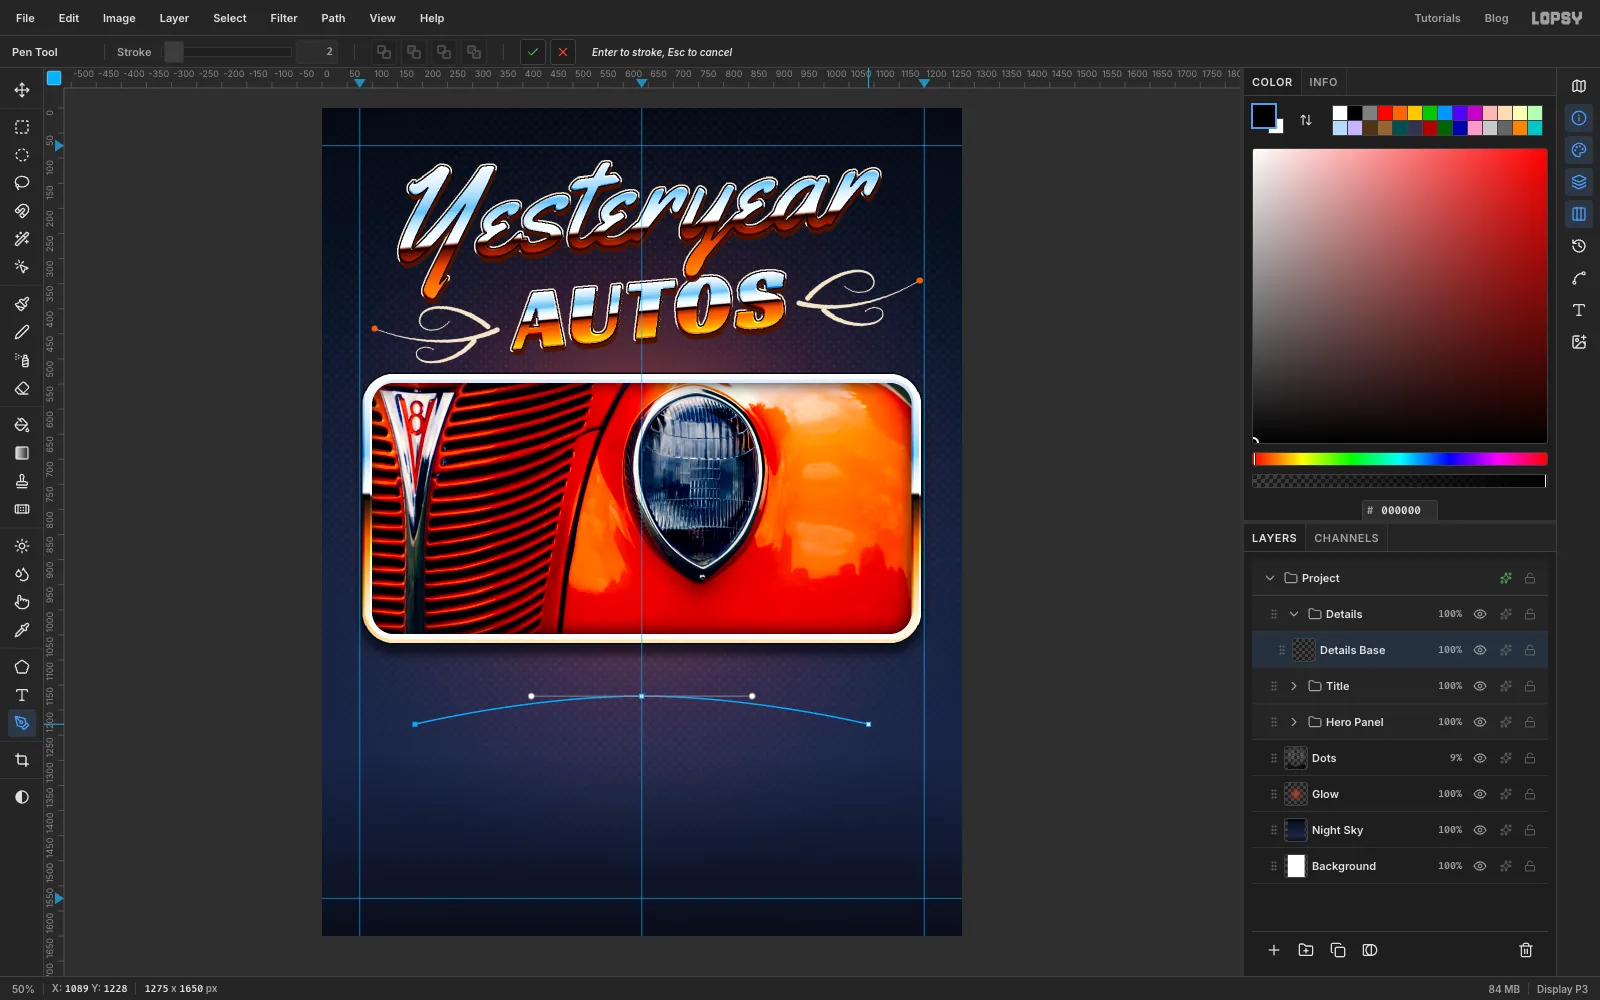
Pick the Pen tool. Click about 110 px inside the left margin guide (x 185), about 160 px below the photo frame (y 1230). Then press on the centre guide about 55 px higher (y 1175) and drag about 220 px to the right to pull out smooth handles. Finally, click the matching point on the right (x 1089, y 1230). Click the ✓ Commit path button in the options bar. Don't press Enter: that would paint the path onto the layer.
-
Set the subtitle on the arch
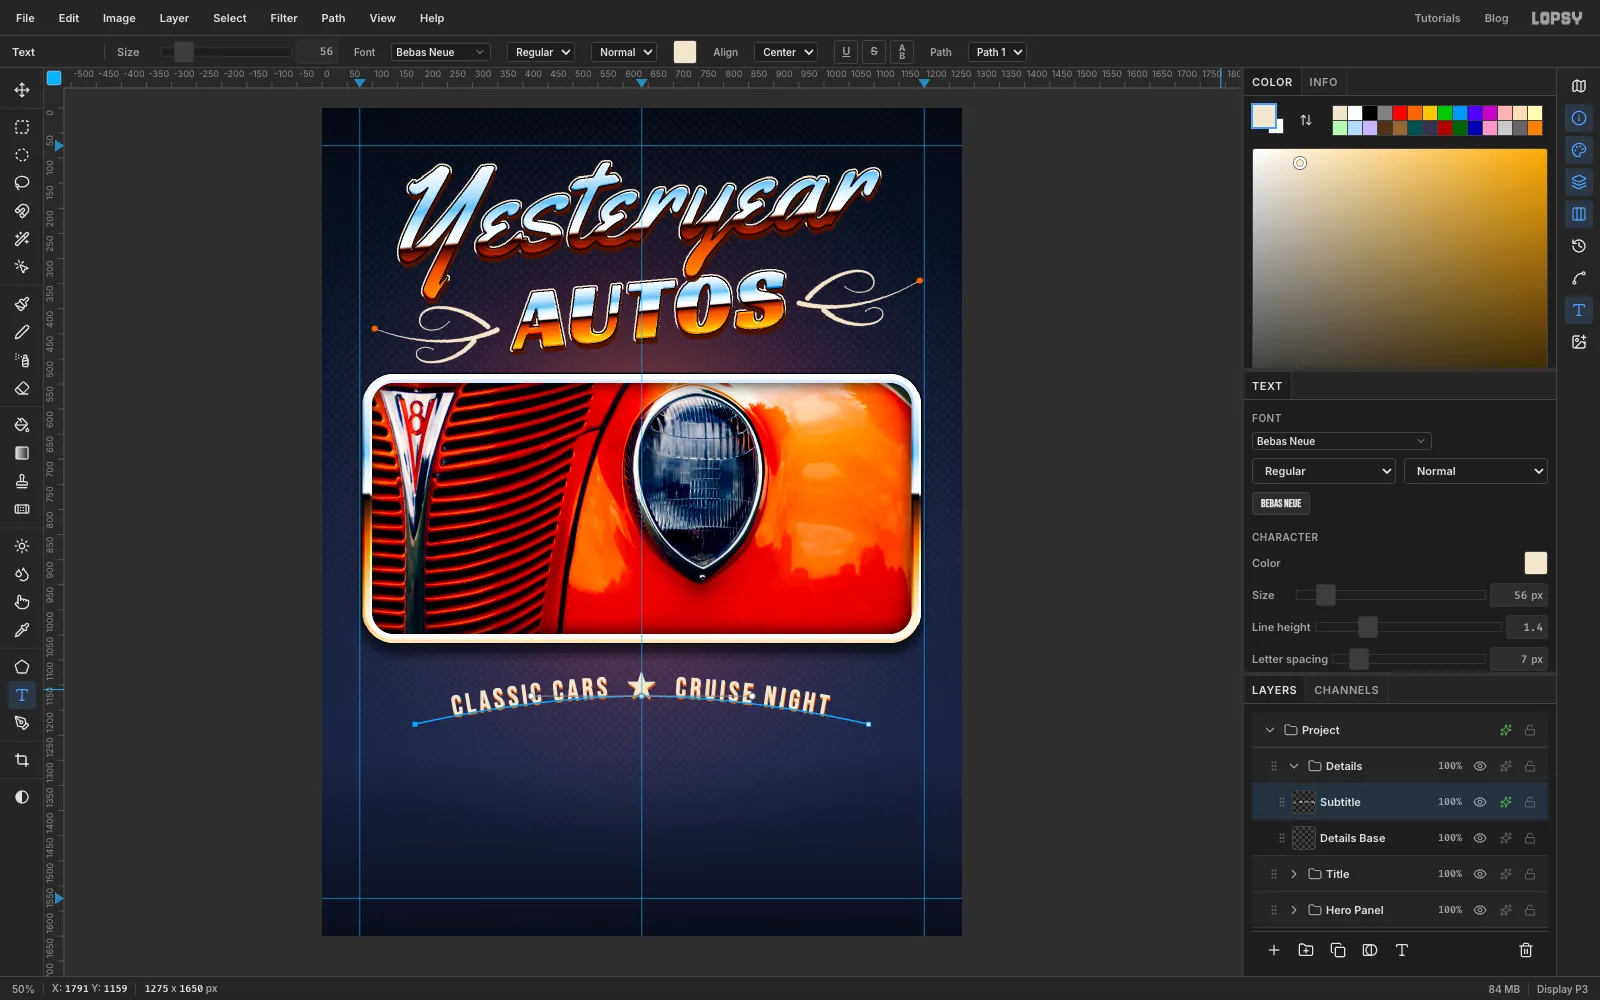
With the Text tool, choose Bebas Neue at 56 with . Click in an empty spot near the bottom of the page, type CLASSIC CARS ★ CRUISE NIGHT (two spaces either side of the star), and press Tab. Rename the layer Subtitle and set Letter spacing to 7 in the Text panel.
Open the Path dropdown at the right end of the options bar (not the Path menu in the menu bar) and choose Path 1. The text jumps onto the arch. Then set Align to Center. The two phrases are the same length, so the star lands on the centre guide. Give it a Drop Shadow of with Offset X 1, Offset Y 4, Blur 0.
-
Add the date and times
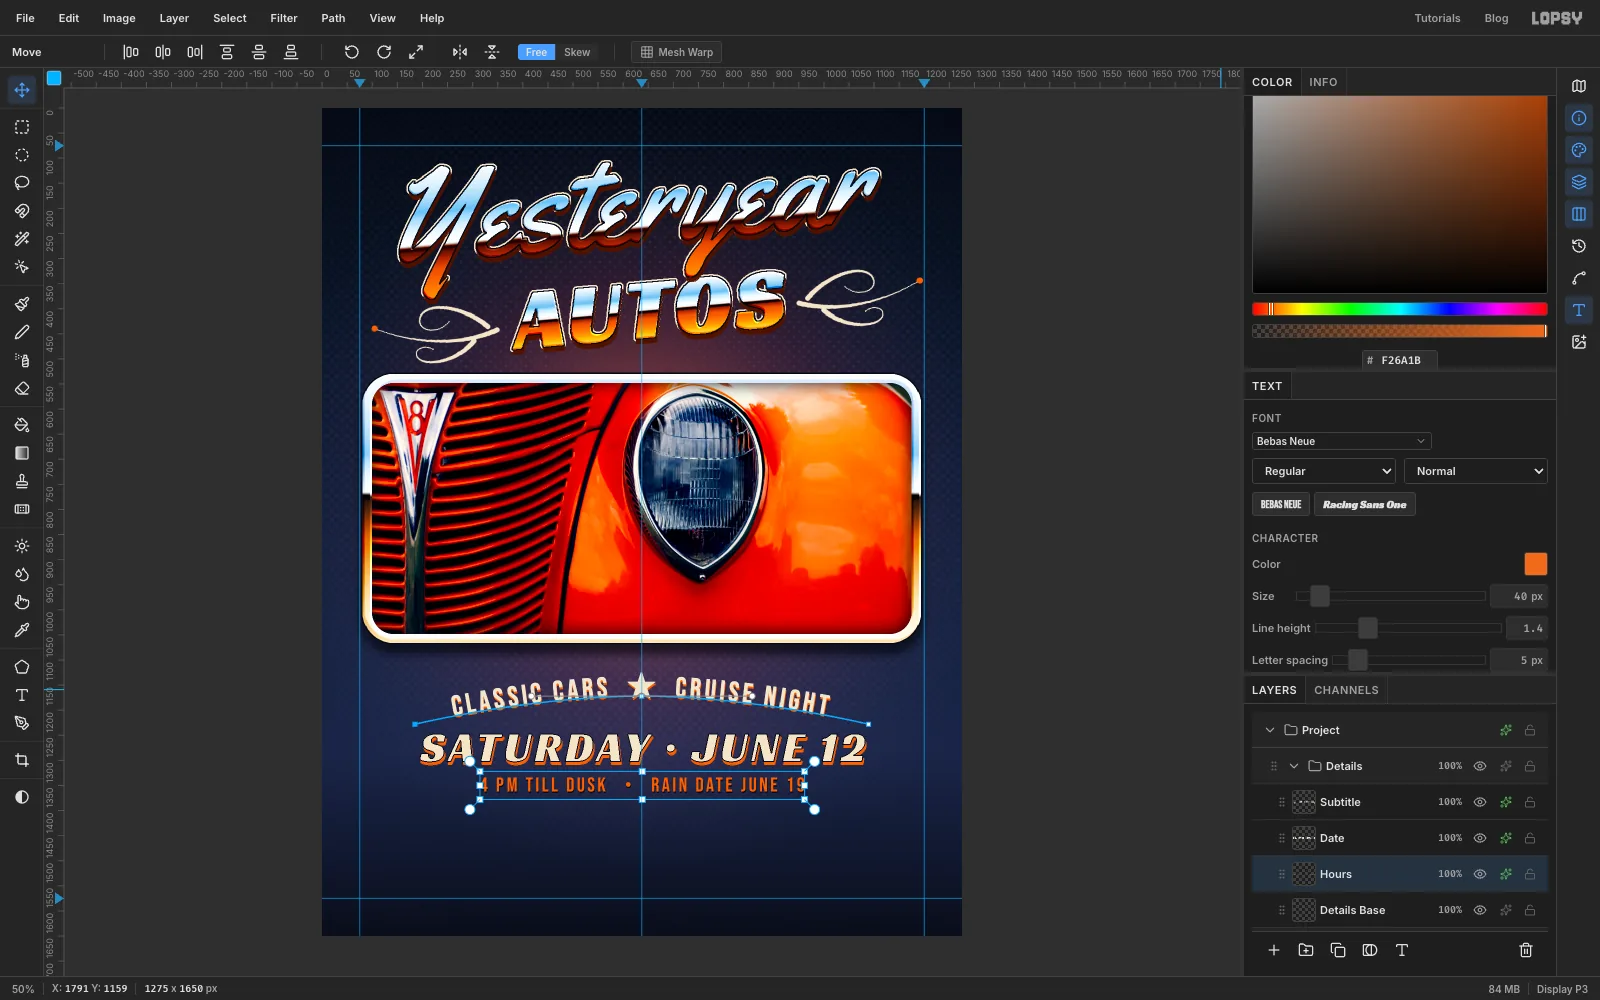
Click Details Base. Set SATURDAY · JUNE 12 in Racing Sans One at 86, cream , and centre it about 35 px below the ends of the arch. Name it Date. It gets the same treatment as the title, in miniature:
- Stroke , Width 2, position center
- Drop Shadow , Offset X 2, Offset Y 6, Blur 0
Click Details Base again. Set 4 PM TILL DUSK • RAIN DATE JUNE 19 in Bebas Neue at 40 in with Letter spacing 5, and centre it about 32 px below the date. Name it Hours. Give it a dark Drop Shadow (, Offset X 1, Offset Y 3, Blur 0) so it matches.
-
Build a chrome bumper bar
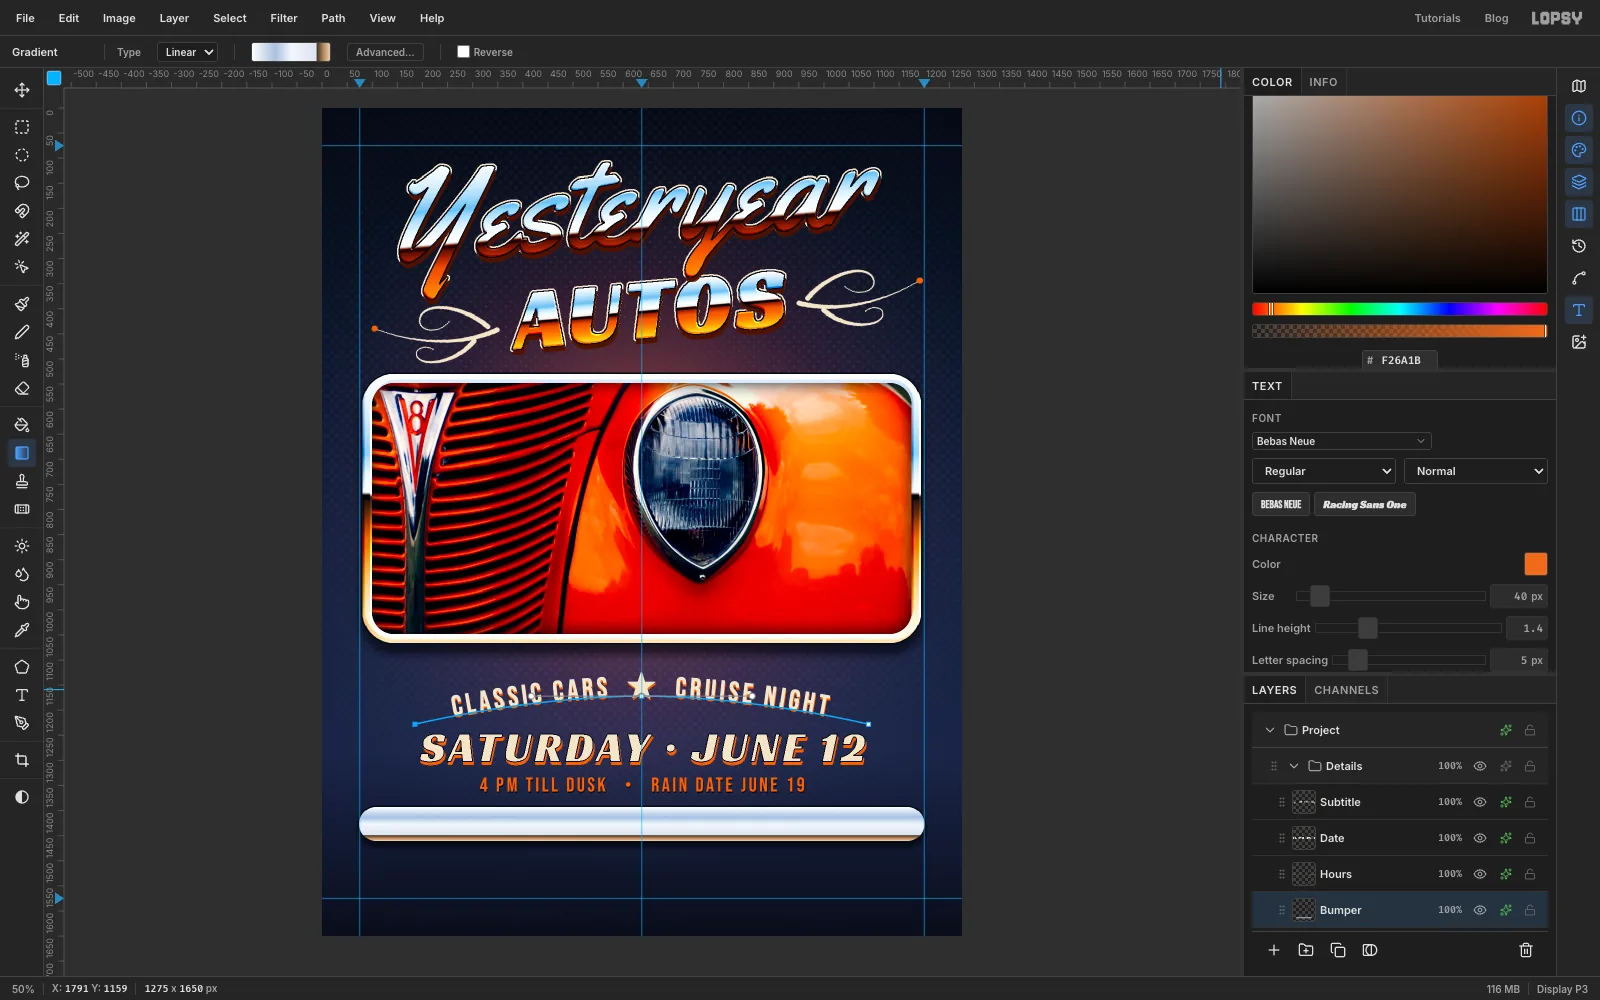
With Details Base selected, add a layer called Bumper. With the Shape tool (Rectangle, Corner Radius 34, any fill), press on the centre guide about 66 px below the times line. That's the 32 px gap plus half the bar's height, because the shape grows from its centre. Drag out to the right edge of the photo frame for a bar about 68 px tall.
Cmd-click the Bumper thumbnail and fill it with this gradient, top to bottom, holding Cmd:
- at 0%
- at 30%
- at 50%
- at 82%
- at 84% (the horizon)
- at 92%
- at 100%
Putting the horizon low keeps the face bright for the lettering. Deselect. Add a Stroke (, Width 3, outside) and a Drop Shadow (, Offset Y 10, Blur 14, Opacity 75).
-
Stamp the address on the bar
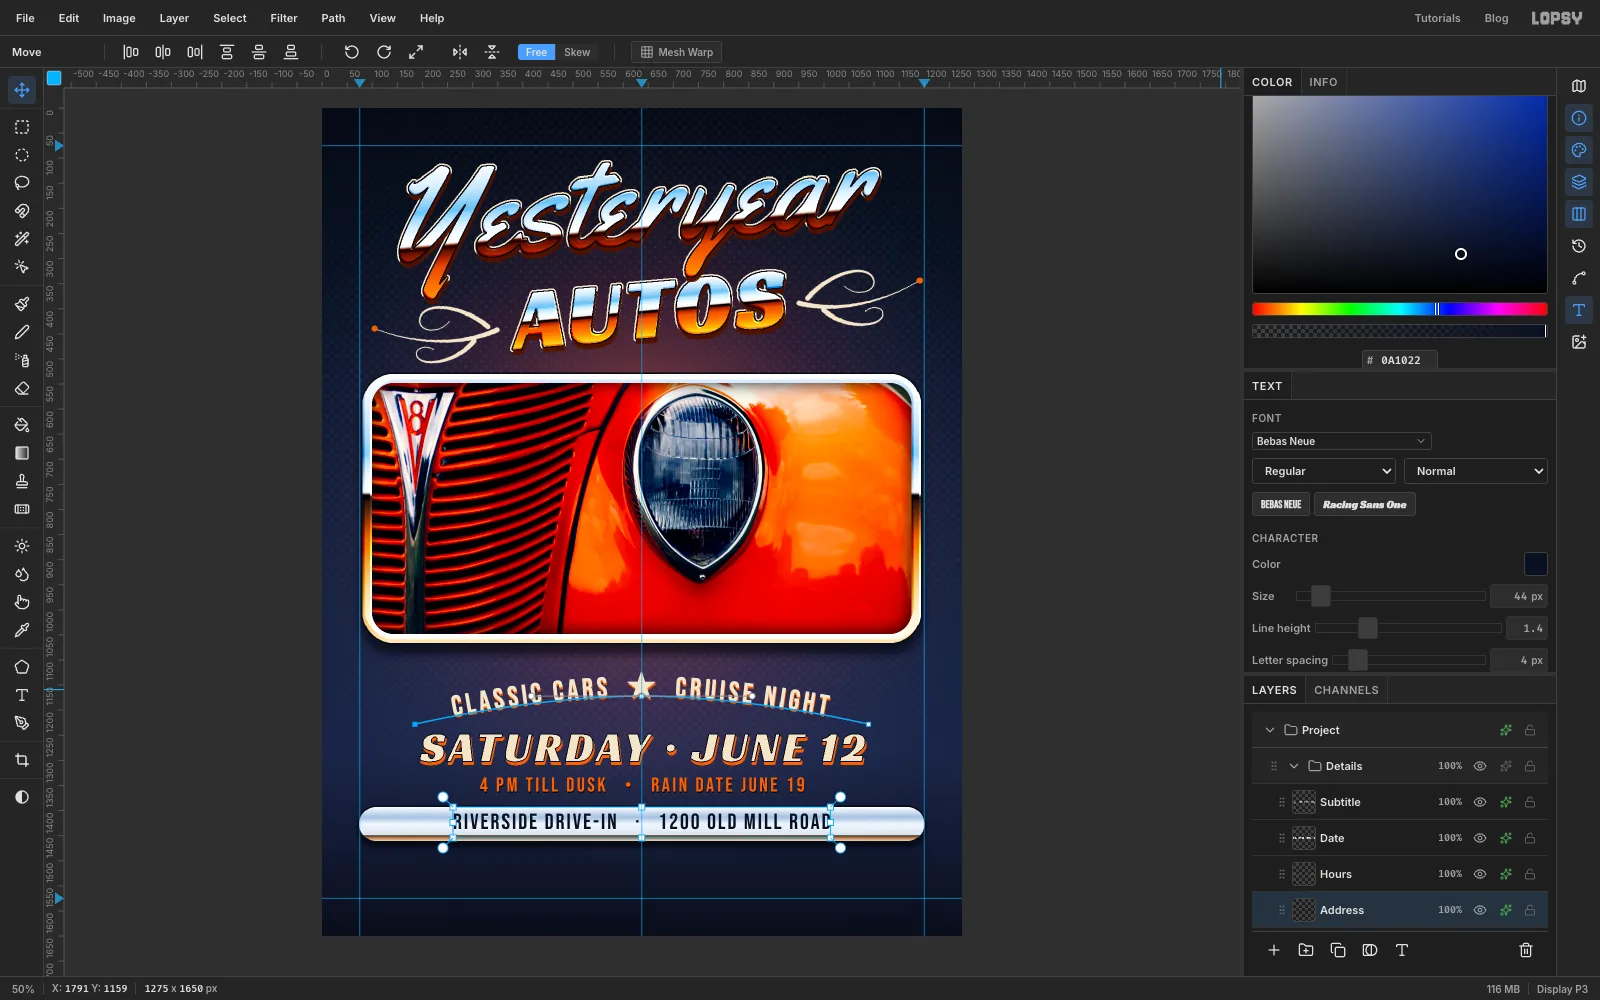
With the Text tool, choose Bebas Neue at 44 with , click an empty area of the page, type RIVERSIDE DRIVE-IN · 1200 OLD MILL ROAD, and set Letter spacing to 4. Name it Address.
Move it onto the bar and centre it horizontally. Vertically, centre it on the bright face of the bar, above the tan lip, not on the bar's full height. That leaves an equal strip of light chrome above and below the letters. A Drop Shadow in white, Offset Y 2, Blur 0, Opacity 70, gives each letter a crisp lower highlight, as if it were stamped into the metal.
-
Add the programme and small print
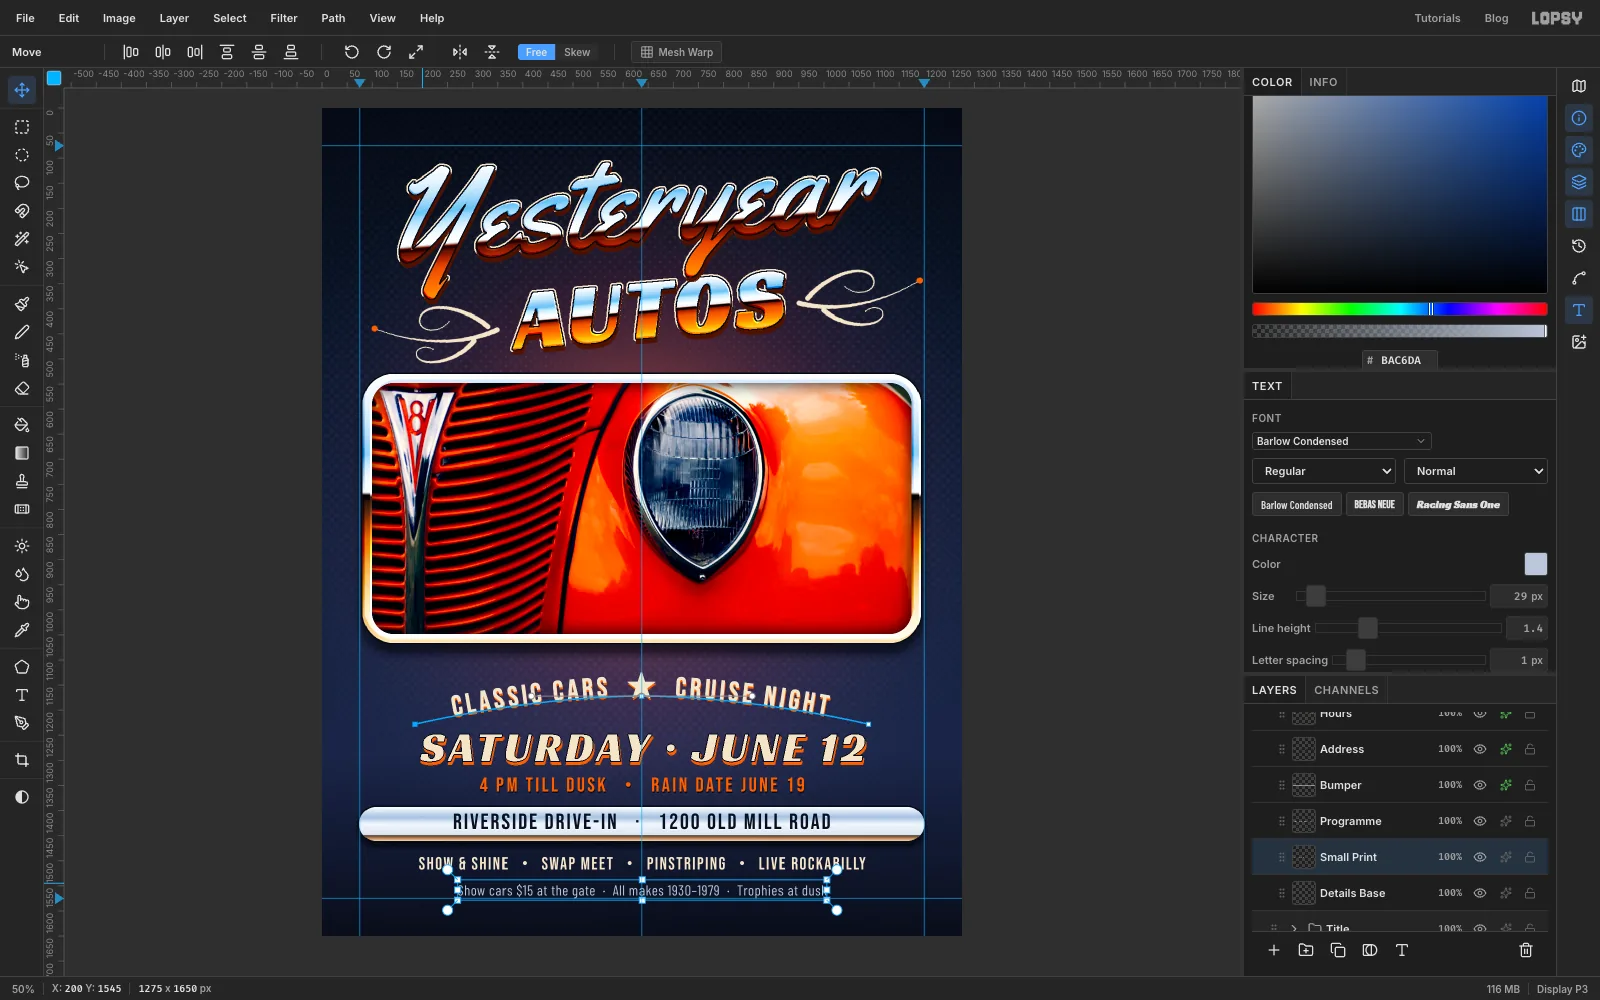
Click Details Base and set SHOW & SHINE • SWAP MEET • PINSTRIPING • LIVE ROCKABILLY in Bebas Neue at 34, cream, Letter spacing 3. Centre it about 32 px below the bar.
Under it, set the small print in Barlow Condensed at 29 in with Letter spacing 1: Show cars $15 at the gate · All makes 1930–1979 · Trophies at dusk. Leave about 30 px between the two lines, and keep the small print above the bottom margin guide.
-
Make a chrome badge ring
Collapse Details, click its row, click New Group and name it Badge. Add a layer called Badge Ring.
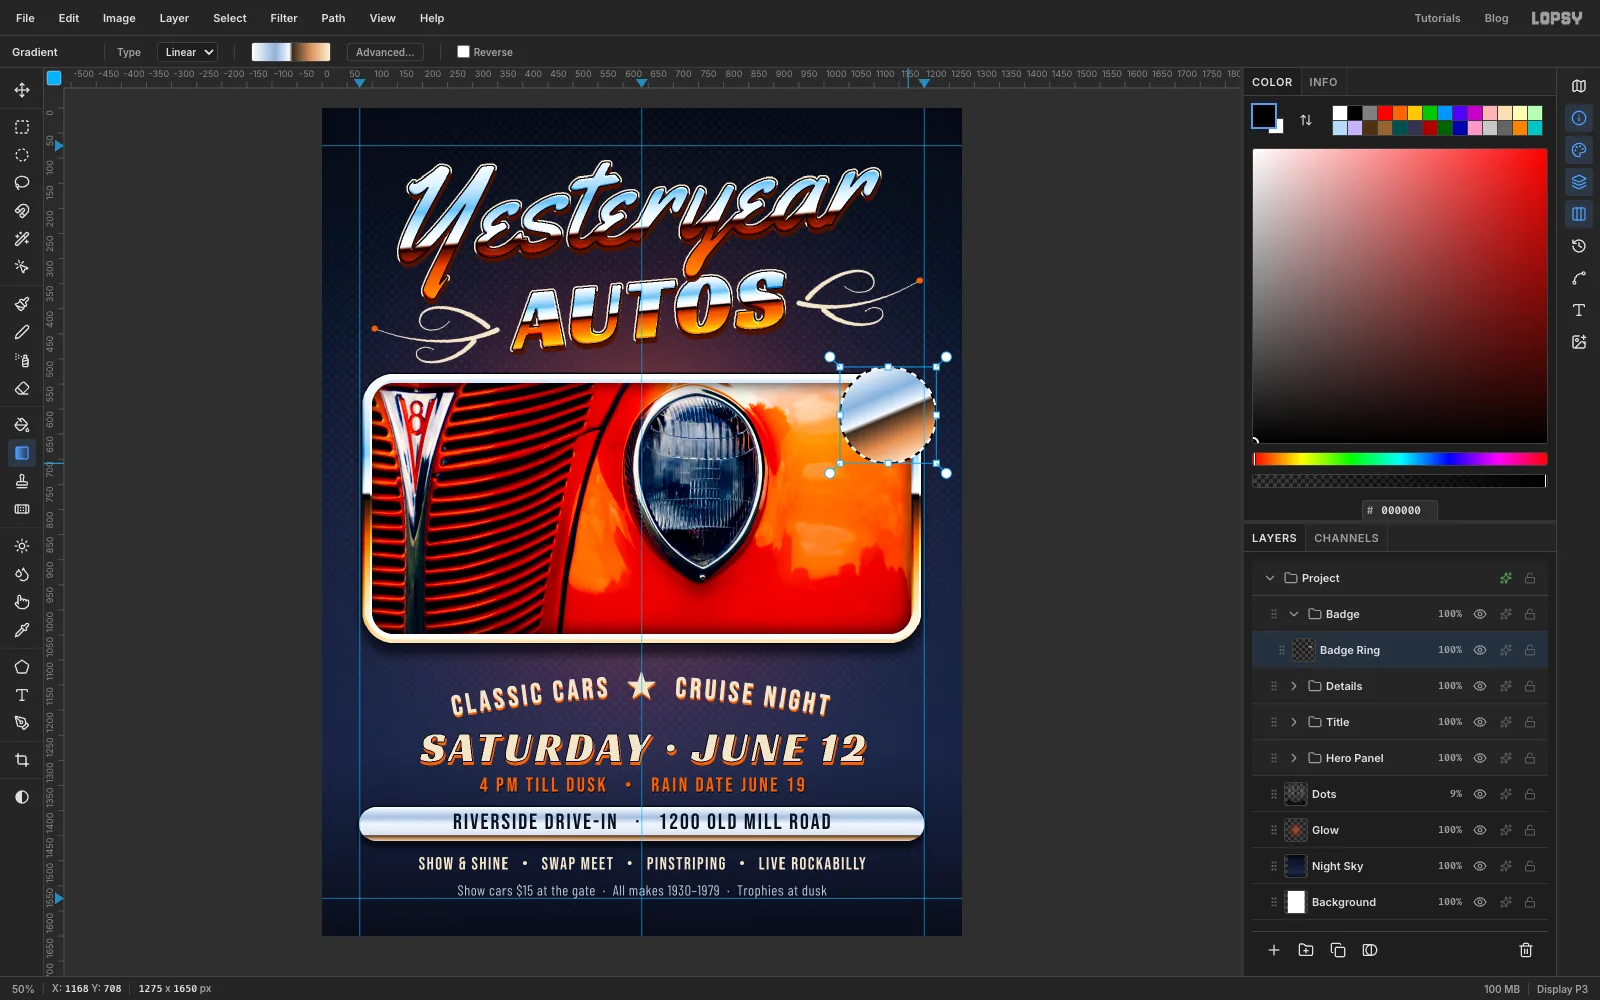
With the Elliptical Marquee, click once on the photo's top-right corner. In the dialog, enter From 1032, 516 and To 1224, 708: a 192 px circle that hangs past the frame's right edge on purpose. Pick the Gradient tool and re-enter the seven frame stops from Fill a chrome bezel around it (the editor still holds the bumper's stops). Drag from the top of the circle to the bottom.
Then click again and make a 168 px circle with the same centre (From 1044, 528 to 1212, 696). Press Delete to leave a ring, and deselect. Give the ring a Drop Shadow (, Offset Y 10, Blur 16, Opacity 80).
-
Fill the badge and set its type
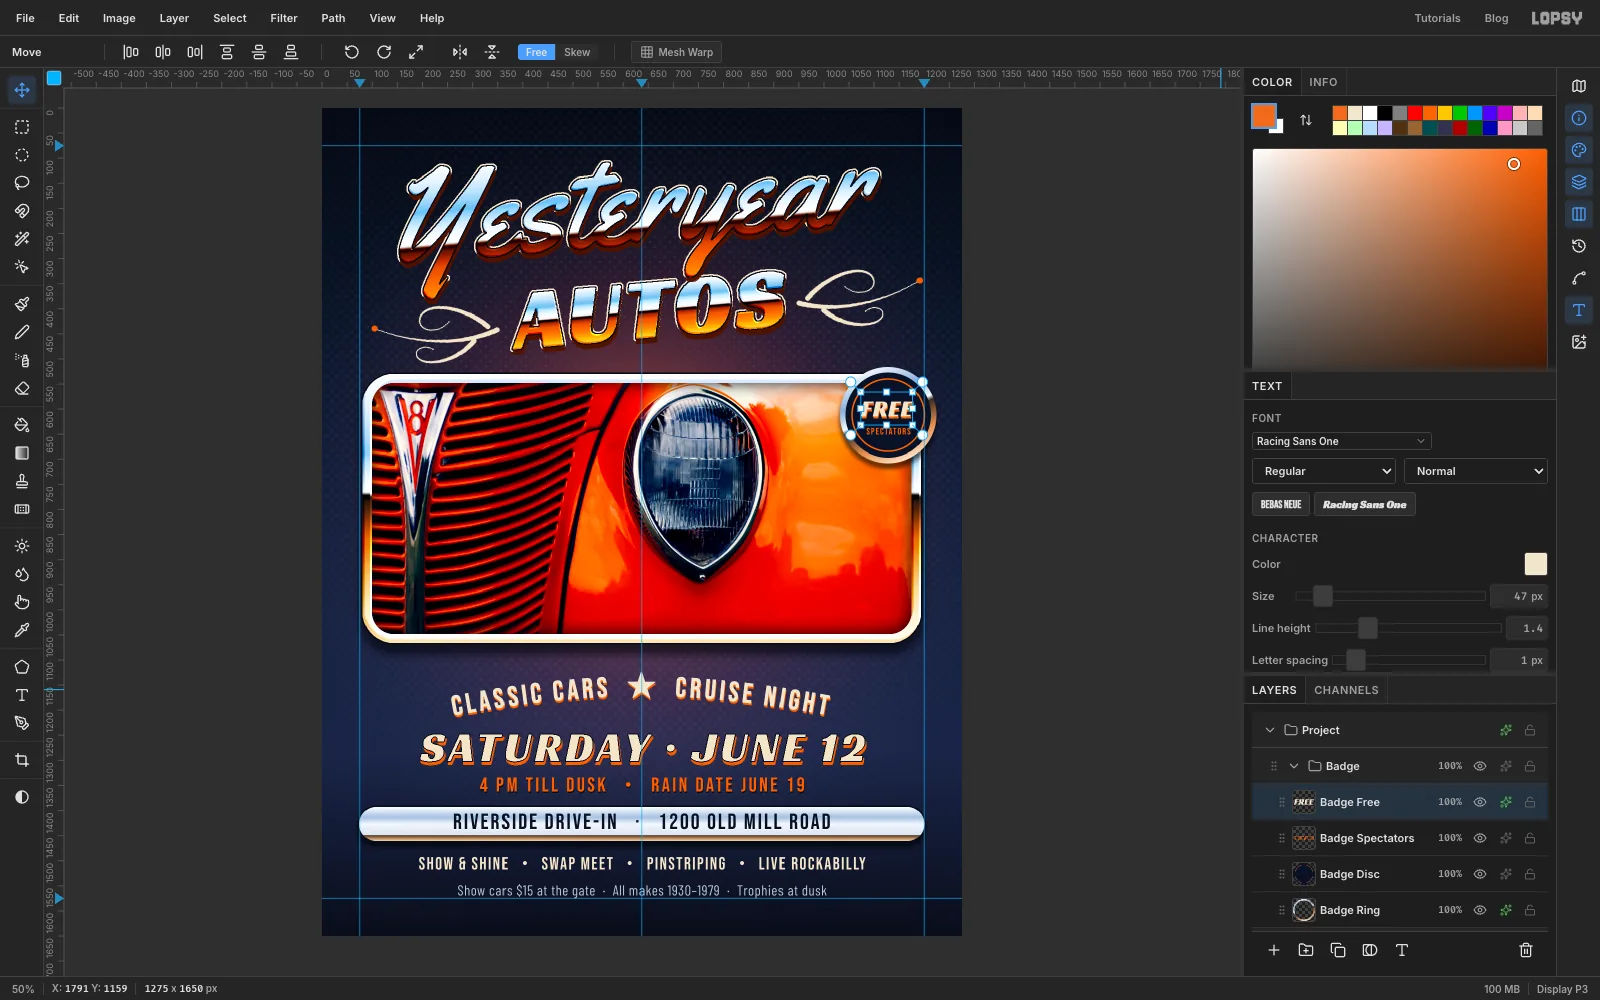
Add a layer called Badge Disc. Make a circle with the same centre, just inside the ring (From 1043, 527 to 1213, 697), and fill it with . Deselect.
For the thin orange ring, keep Badge Disc selected and pick the Shape tool and set Shape to Ellipse. Click Remove fill in the Fill swatch, set Stroke to and Width to 3. Hold Cmd and drag from the badge's centre out about 74 px for a perfect circle.
Set FREE in Racing Sans One at 47, cream, and name the layer Badge Free. Click Badge Disc again and set SPECTATORS in Bebas Neue at 19, , Letter spacing 2, named Badge Spectators. Click away from the badge to create each one, then move it into place. Centre both on the badge, with FREE a few pixels above the middle and SPECTATORS beneath it. Leave equal space between the type and the orange ring on both sides. A heavy italic looks right-heavy, so shift FREE about 3 px left of true centre. Give FREE the small orange Drop Shadow (Offset X 1, Offset Y 4, Blur 0).
-
Tilt the badge
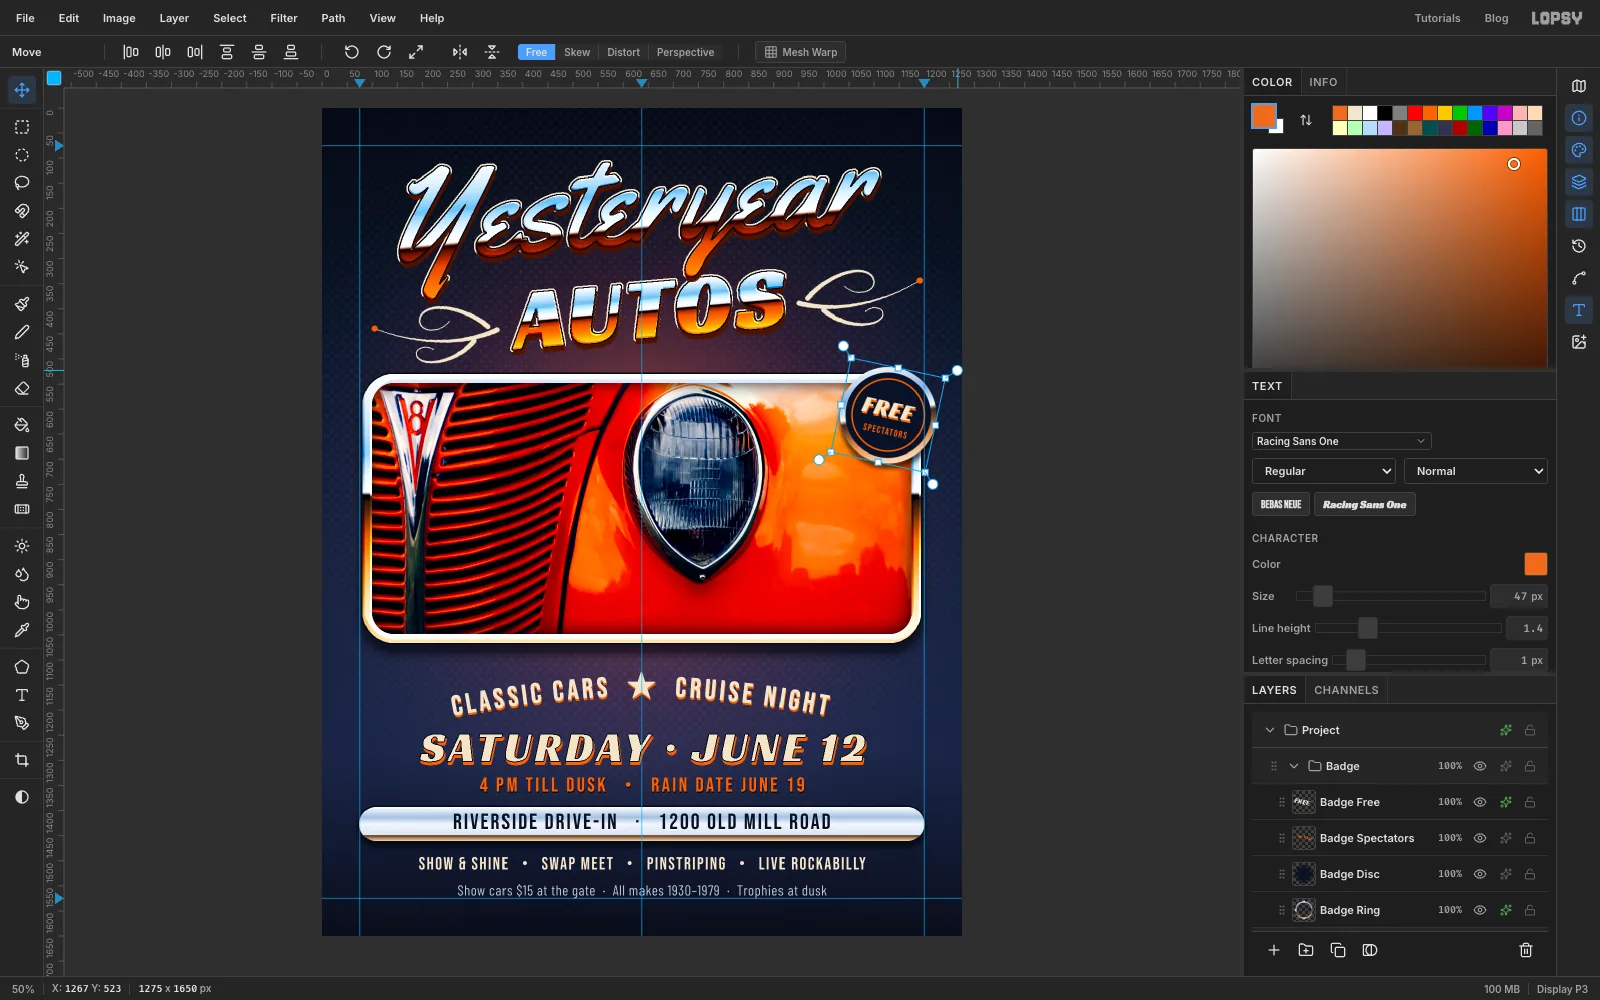
Click the Badge group row. With the Move tool, drag the top-right rotation handle about 12° clockwise and press Escape. The tilt runs against the title, which keeps the badge from looking like part of the frame.
-
Draw a glint
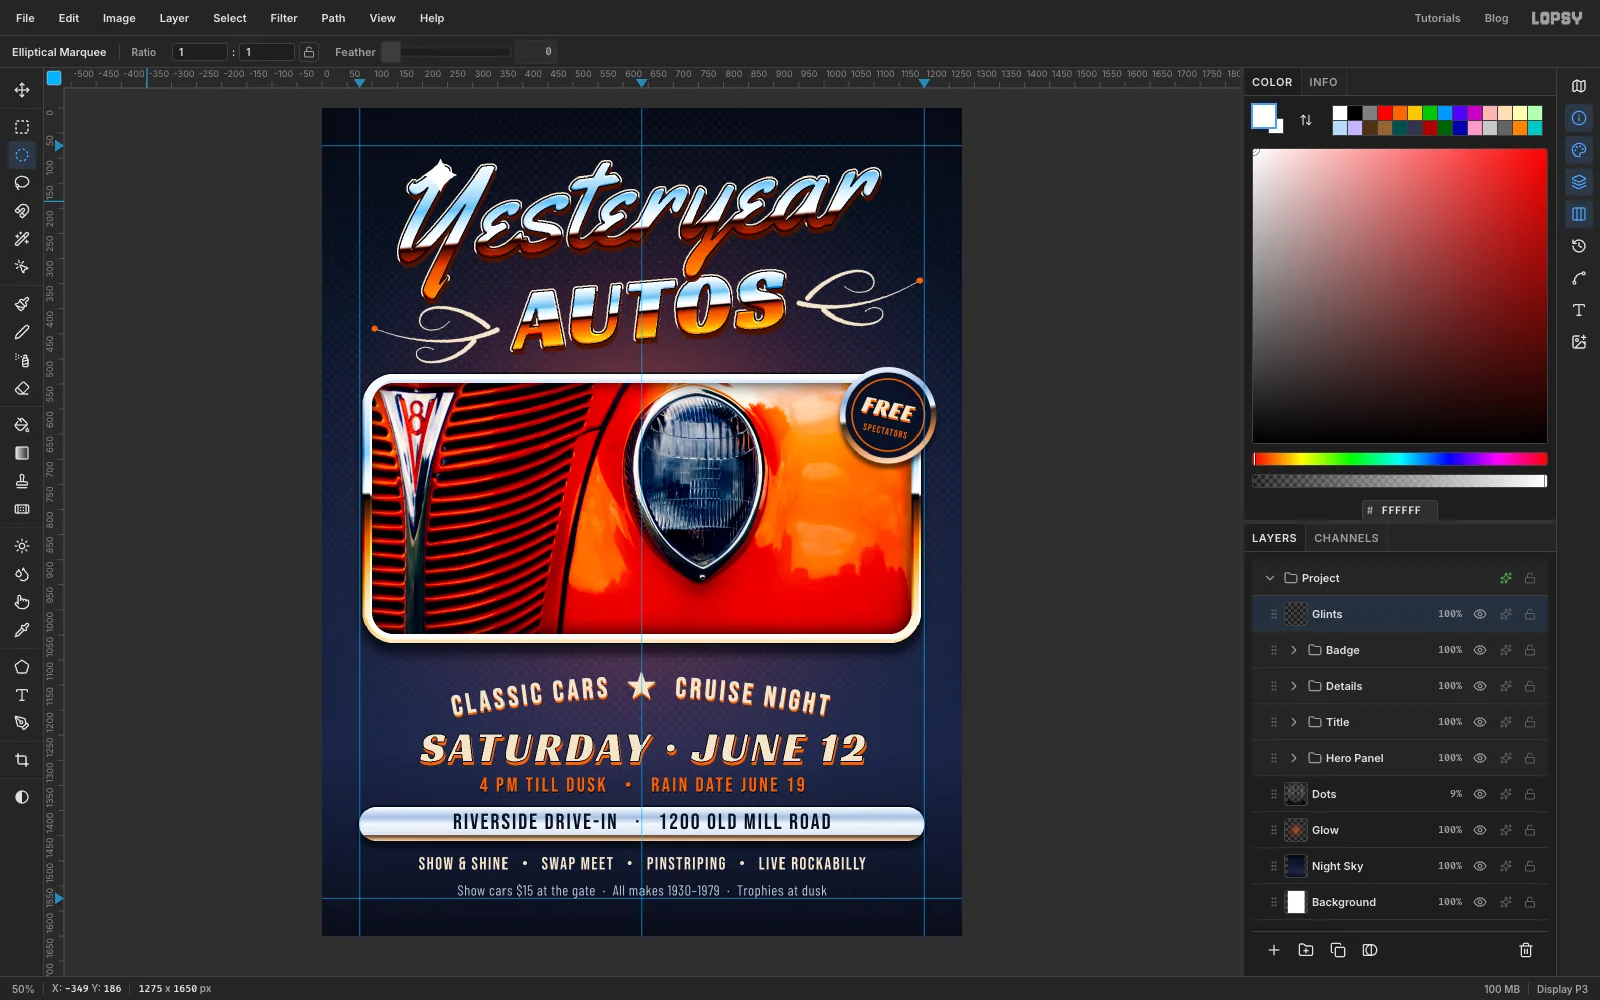
Collapse Badge, click its row, and add a layer called Glints. Use the Lasso to draw a four-point star about 70 px across on the top stroke of the Y. Make its four points long and sharp, and curve its sides inward. Fill it with white.
For a hot centre, make a circle about 10 px across at its middle with the Elliptical Marquee. Choose Select → Feather… with 4, and fill it with white too. Deselect.
-
Copy, paste and scale a second glint
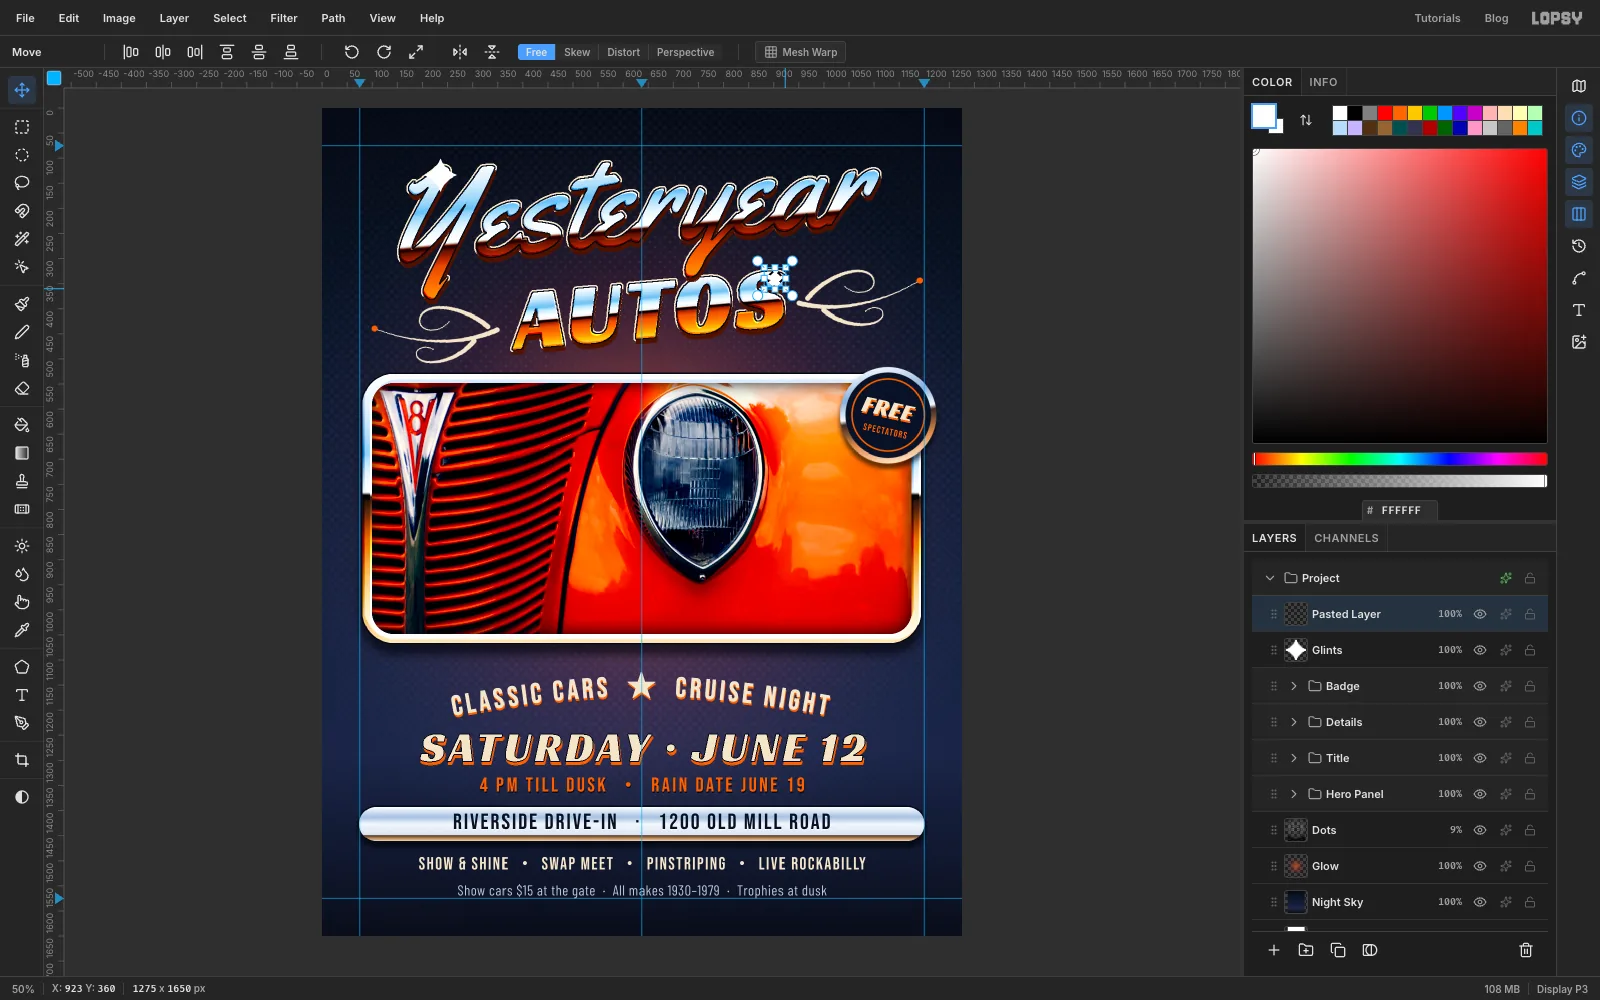
Draw a marquee around the sparkle and press Cmd+C, then Cmd+V. The copy appears as a new layer in the same spot, with transform handles. Drag it onto the top-right corner of the S in AUTOS. Then Cmd-drag a corner handle inward until it's about two thirds the size. Press Escape to commit, and Cmd+E to merge it down into Glints.
Two glints are enough. More starts to look like clip art. Give Glints an Outer Glow in white: Size 16, Spread 0, Opacity 75.
-
Bloom the photo's highlights
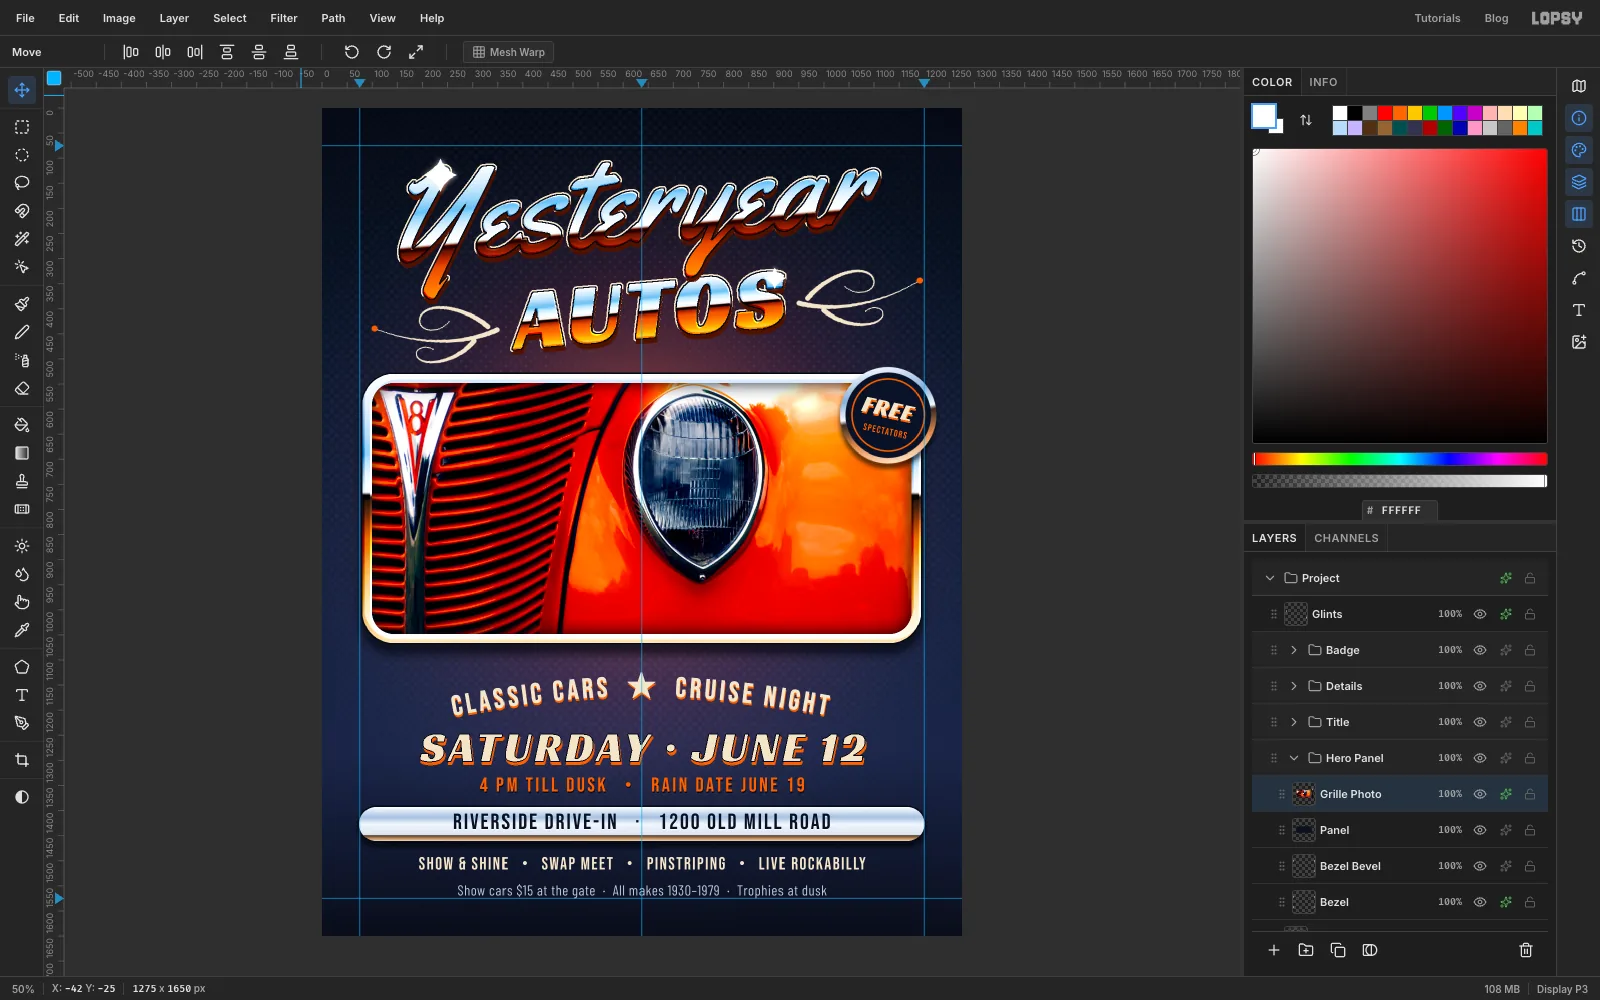
Expand Hero Panel and click Grille Photo. Choose Filter → Bloom… with Threshold 86, Soft Knee 40, Radius 24 and Intensity 35. Only the brightest reflections glow.
Bloom also spreads glow outside the frame. A selection can't reach the parts of the photo that hang off the canvas, so the earlier Delete left them, and Bloom blurs their glow back onto the page edges. Clip it again: Cmd-click the Panel thumbnail, choose Select → Inverse, click Grille Photo, press Delete and deselect. Collapse Hero Panel.
-
Darken the edges and clean up behind the small print
Click Dots and add a layer called Vignette. Make a Radial gradient in with three stops: opacity 0 at the left, 0 at 55%, and 85% at the right. Drag from the middle of the page out past a corner, and set the layer to Multiply.
The halftone dots make the small print look busy. Click Dots, pick the Eraser, set Size to 260, and sweep it once across the bottom of the page, behind the last two lines.
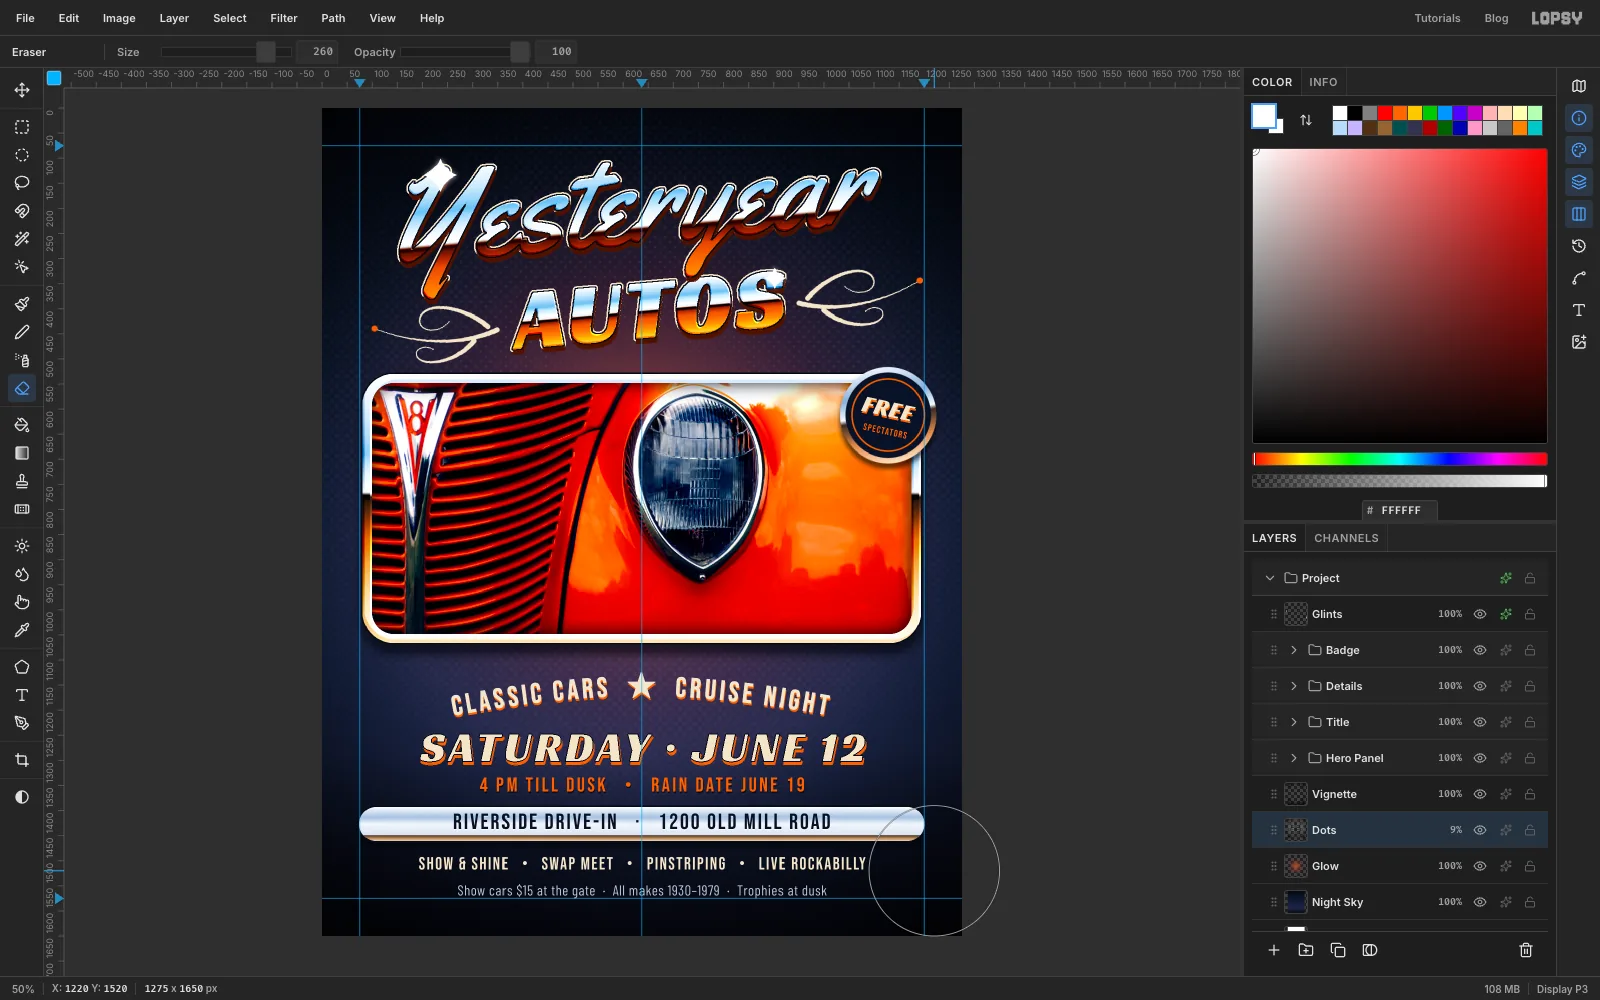
-
Add print grain
Click the Badge group row and add a layer called Grain. Set the foreground to , choose Select → All and Edit → Fill, then deselect. Run Filter → Add Noise… with Amount 22, Mono and Gaussian. Set the blend mode to Overlay and the opacity to 35%. The grey disappears in Overlay, leaving fine grain that ties the photo, the chrome and the sky together.
Save your work with File → Save Project, then choose File → Quick Export PNG for the finished flier.