Design a Holographic X-Ray Tattoo Flash Sheet
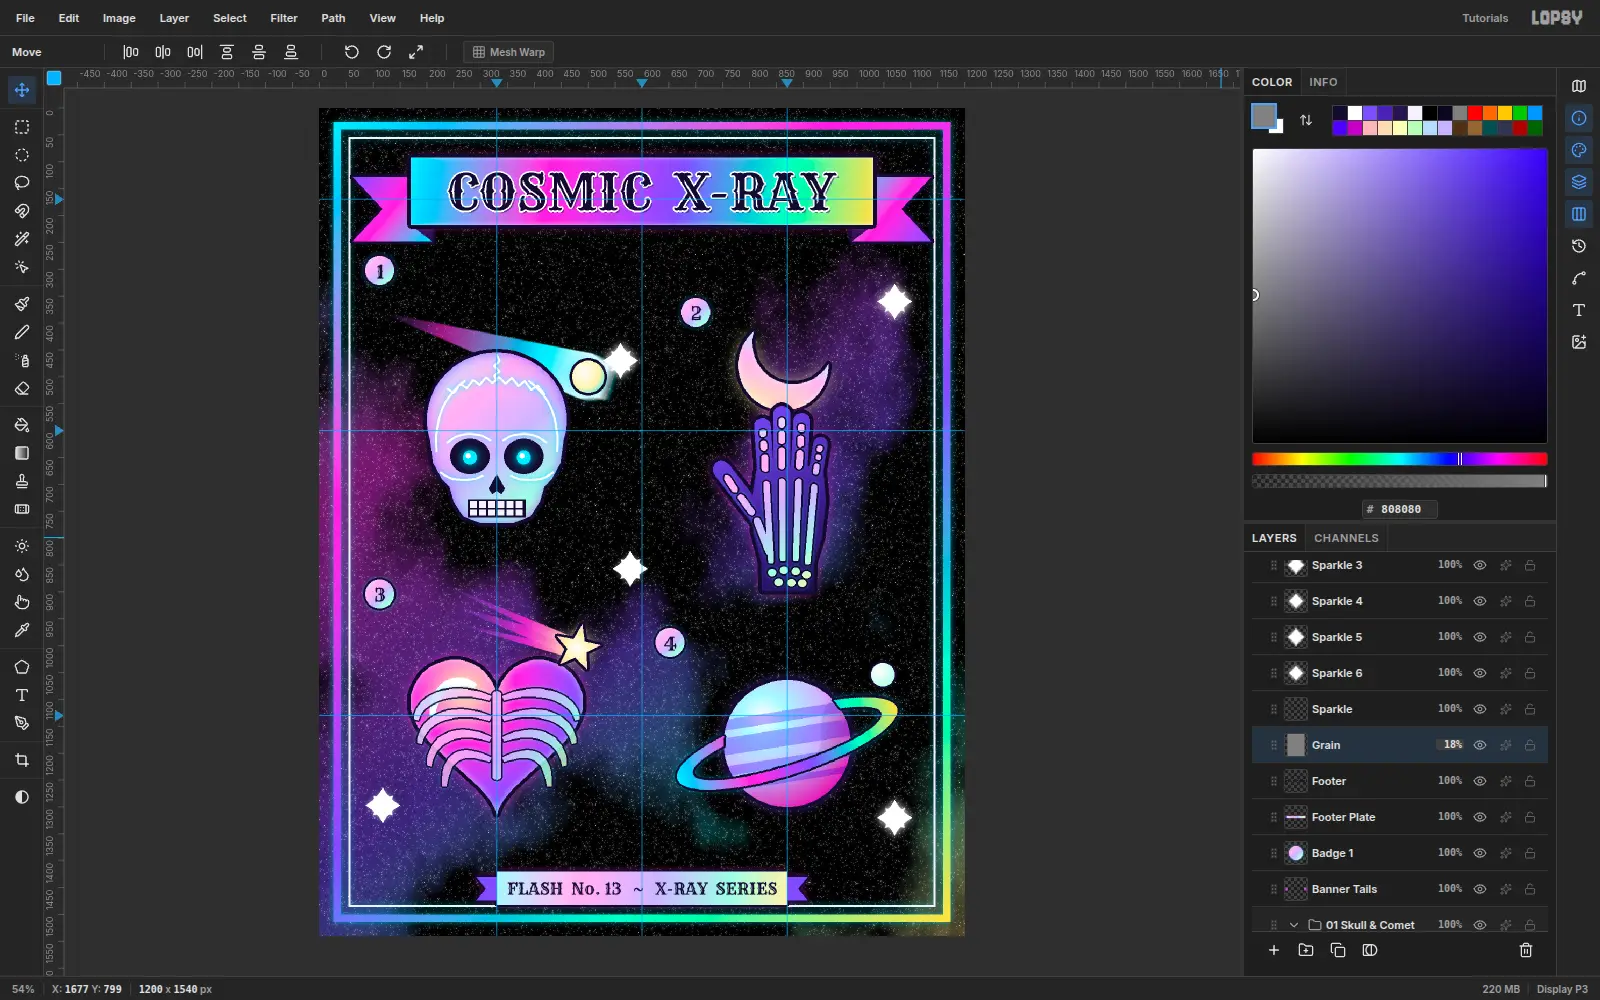
Make a COSMIC X-RAY tattoo flash sheet in Lopsy with x-ray skull, hand, heart and planet designs, holographic foil gradients and a Rye title banner.
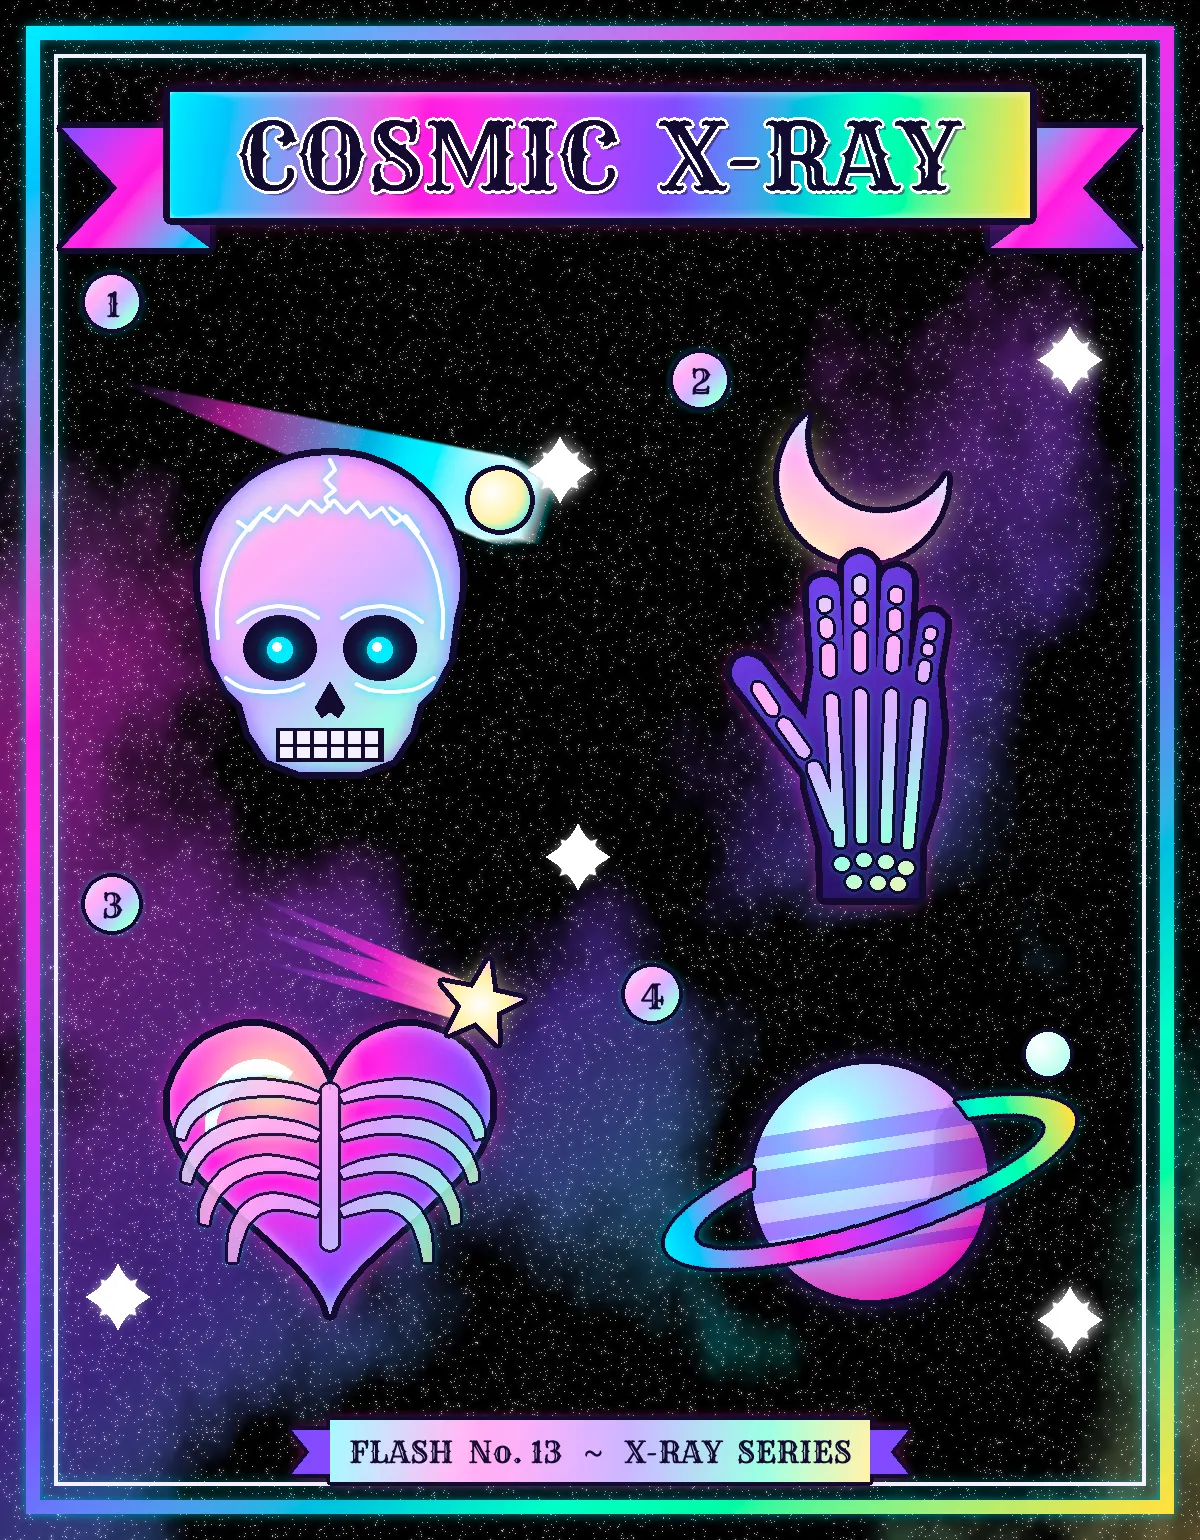
A tattoo flash sheet is a sales page: a bordered sheet of ready-to-tattoo designs, each with a number a client can point at. Flash traditionally uses bold outlines and a few flat colours. In this tutorial you'll give it a holographic finish instead. Every design is filled with a foil ramp that runs cyan → magenta → violet → mint → yellow, and a dark nebula makes the colours glow.
The theme is COSMIC X-RAY: bones you'd see on an x-ray light box, mixed with space. You'll draw an x-ray skull with a comet, a skeletal hand holding a crescent moon, a heart inside a ribcage with a shooting star, and a ringed planet. Nearly every shape is a Lasso or marquee selection filled with a gradient. Selections, layer effects and copy / paste do the rest.
The palette:
- Ink ground
#0B0720, outline ink#120A2E - Foil ramp
#22E8FF→#FF3FD8→#7B4DFF→#3DFFC8→#FFE45C - Pastel foil (bones and badges)
#B8F7FF→#FFB3F0→#C9B6FF→#B3FFE6→#FFF3B0
-
Lay down the ink ground and a foil wash
Choose File → New, enter 1200 × 1540 (close to the classic 11 × 14 inch flash sheet) and click Create. Click the Background row, set the foreground to
#0B0720and choose Edit → Fill.Double-click Layer 1, rename it Holo Wash, and pick the Gradient tool. Click Advanced… and set five stops:
#22E8FFat 0%,#FF3FD8at 30%,#7B4DFFat 58%,#3DFFC8at 80% and#FFE45Cat 100%. Drag a Linear gradient from the top-left corner to the bottom-right corner.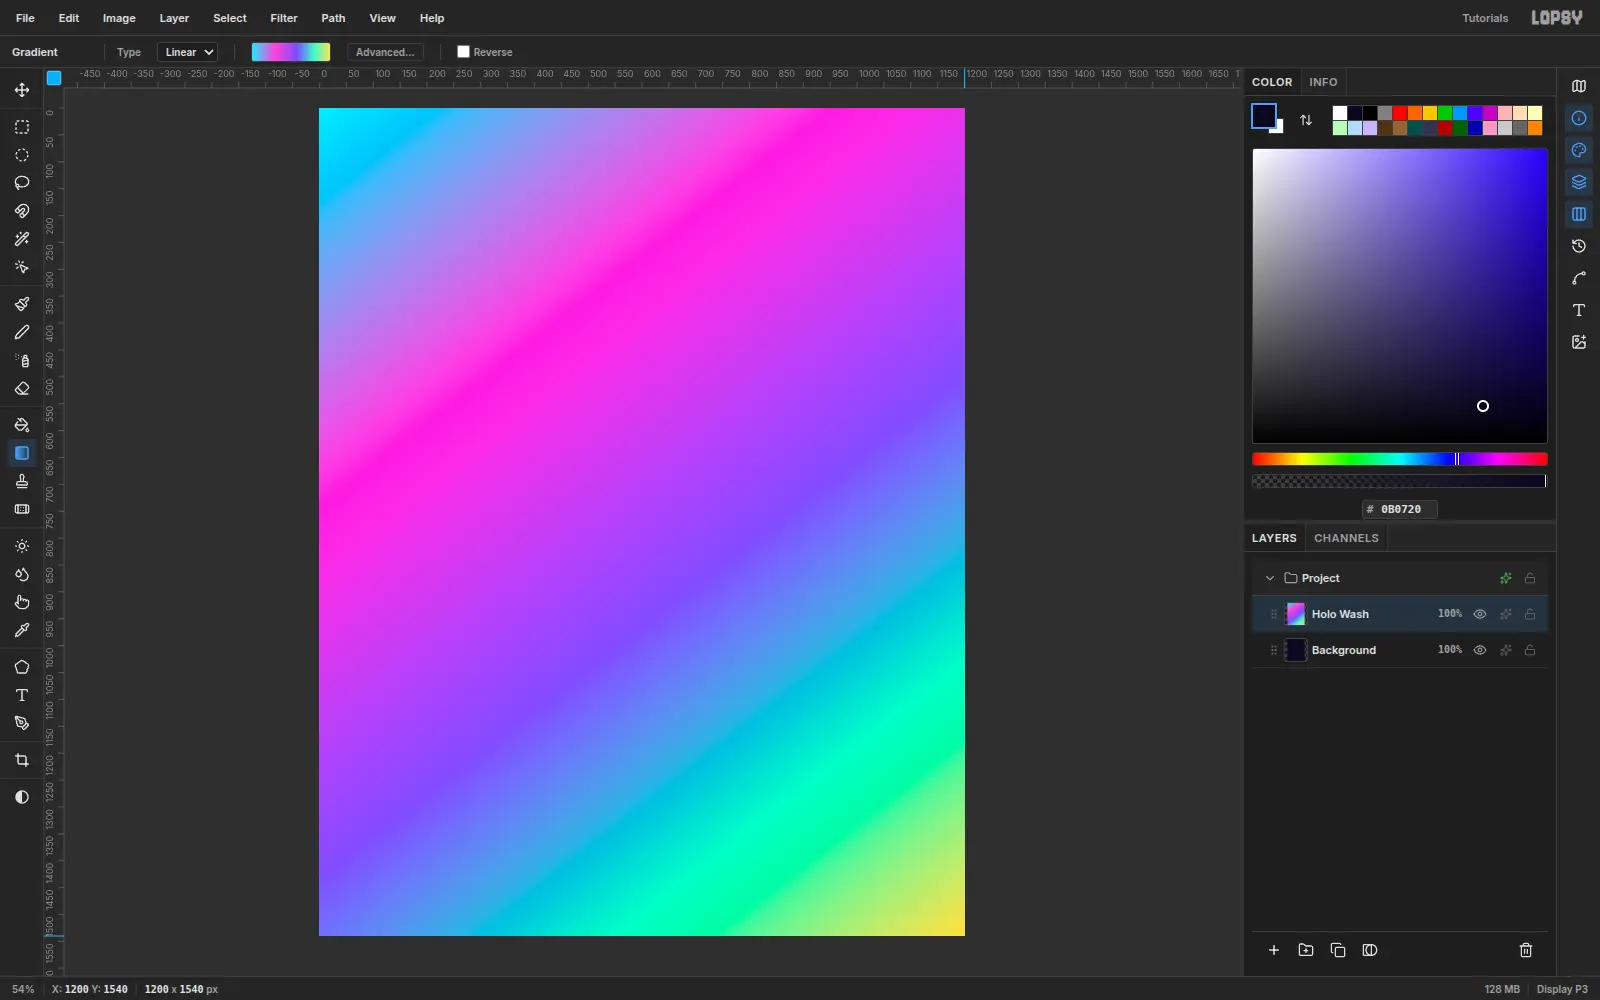
-
Turn the wash into a nebula
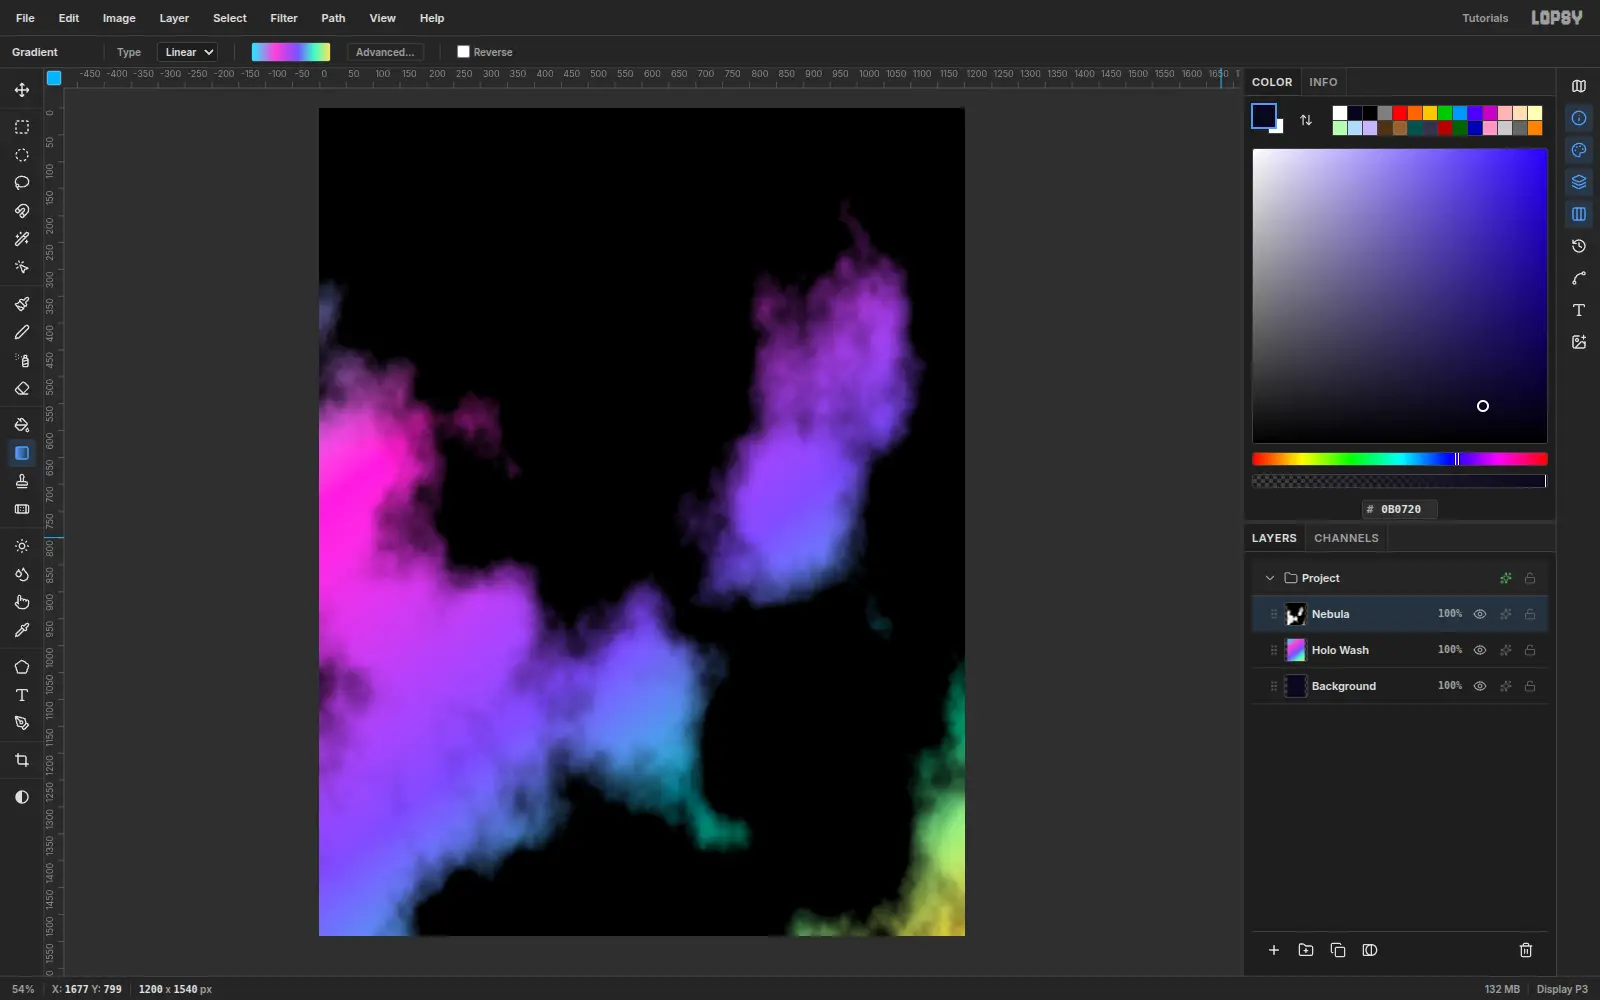
Add a Nebula layer and run Filter → Clouds… at Scale 4. Then run Filter → Brightness/Contrast… with Brightness −45 and Contrast 90, so most of the cloud goes black and only wisps stay bright. Open the layer's effects and set Blend to Multiply. The foil wash now only shows through the wisps.
-
Scatter a star field
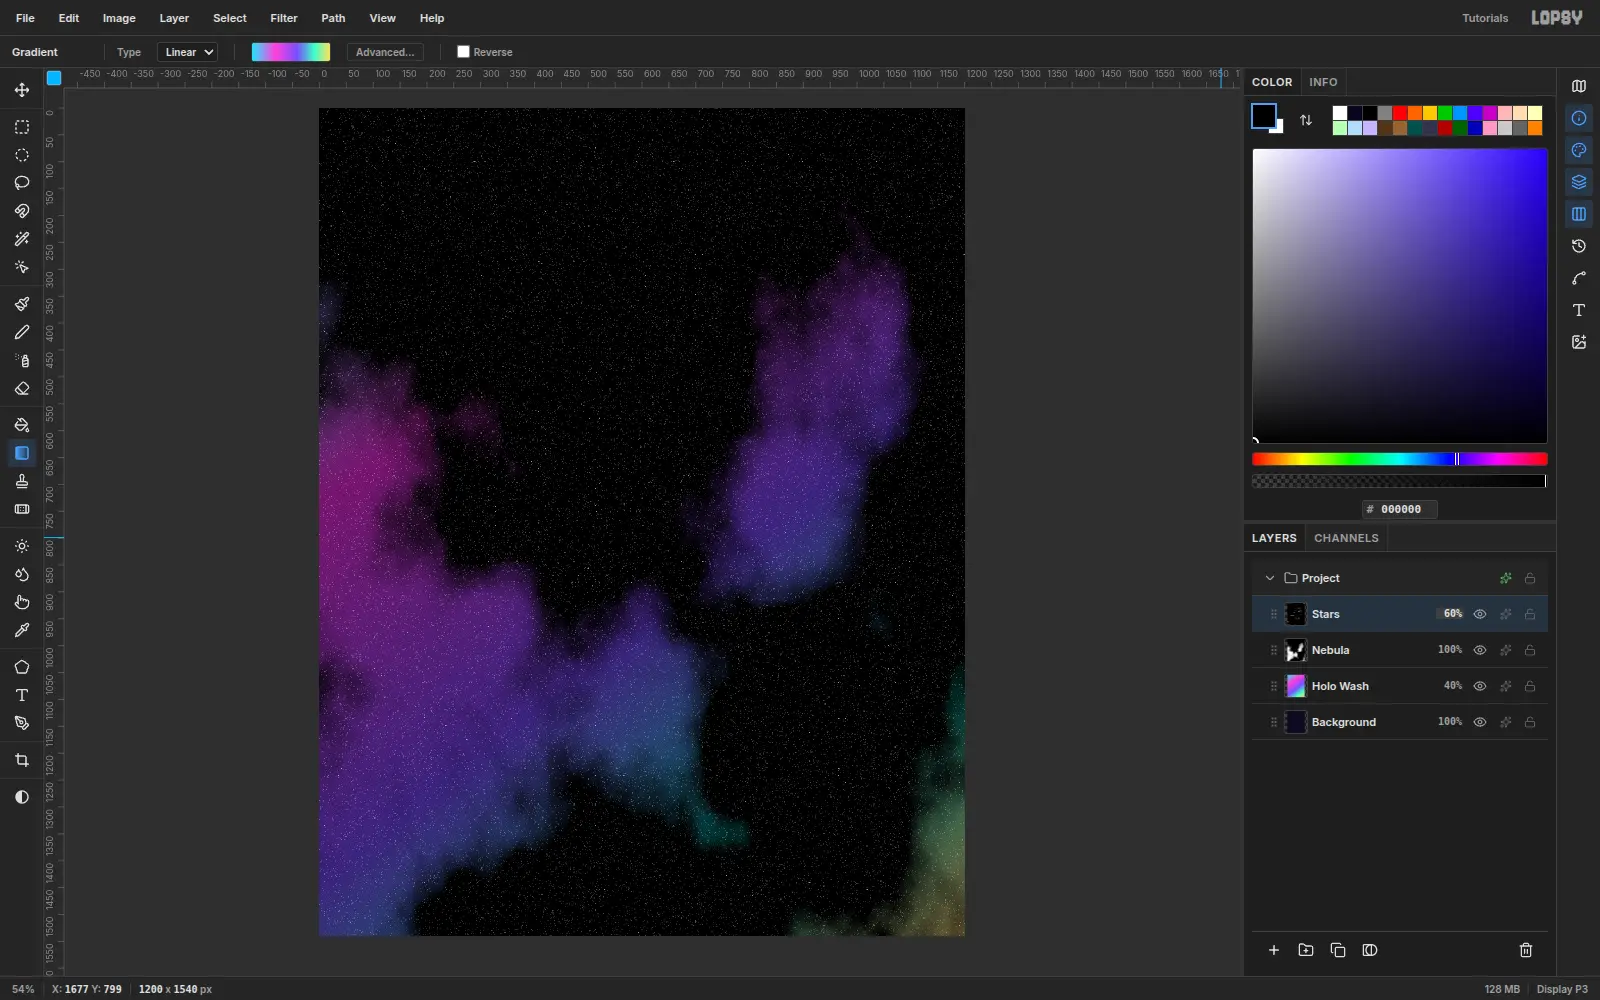
First set Holo Wash to 40% opacity, so the colour stays in the background. Then add a Stars layer, fill it black, and run Filter → Add Noise… with Amount 100 and Mono. Then run Filter → Threshold… at Level 48. Only the brightest noise grains survive, and they become stars. Set the layer to Screen at 60%, so the black disappears and only the stars stay.
-
Build the double foil border
Add a Frame layer. Marquee 1148 × 1488 at (26, 26) and drag the foil gradient corner to corner. Press Cmd+D, marquee 1120 × 1460 at (40, 40) and press Delete. That leaves a 14 px band.
For the inner rule, marquee 1092 × 1432 at (54, 54), fill it with
#F4F0FF, choose Select → Shrink… with 3 px, and press Delete. Add an Outer Glow in#22E8FF(Size 18, Opacity 55). Then click Rasterize Layer Style to bake it in: glows are recalculated every time the canvas redraws, and a flash sheet ends up with a lot of them.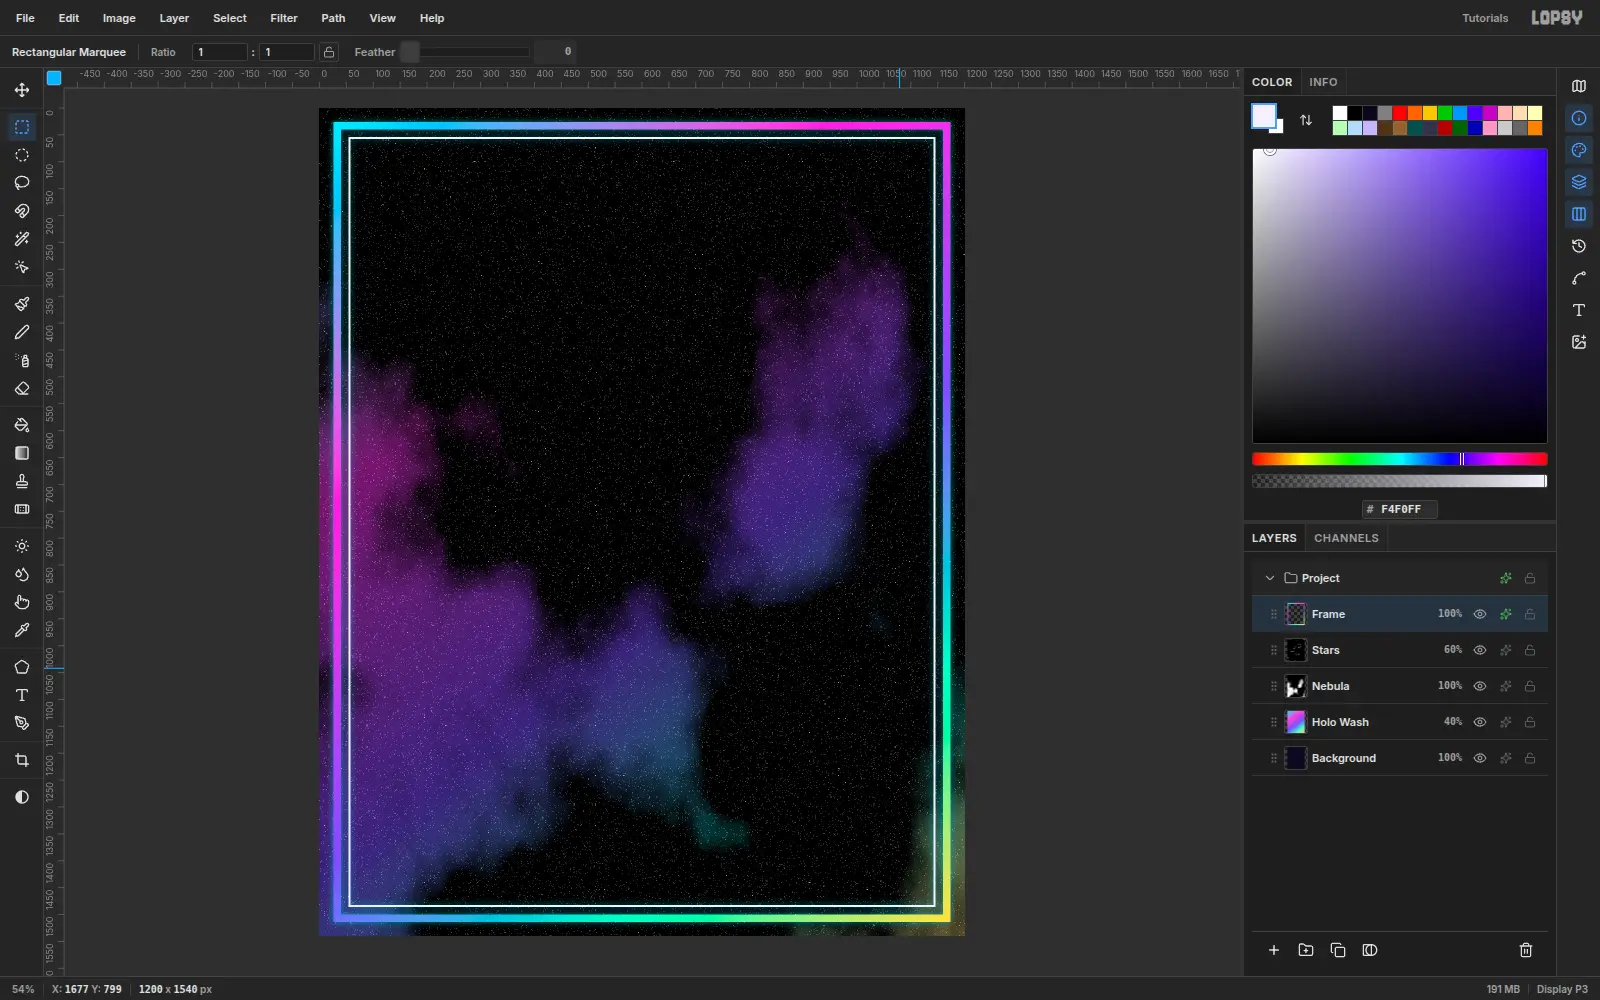
-
Place guides for a 2 × 2 layout
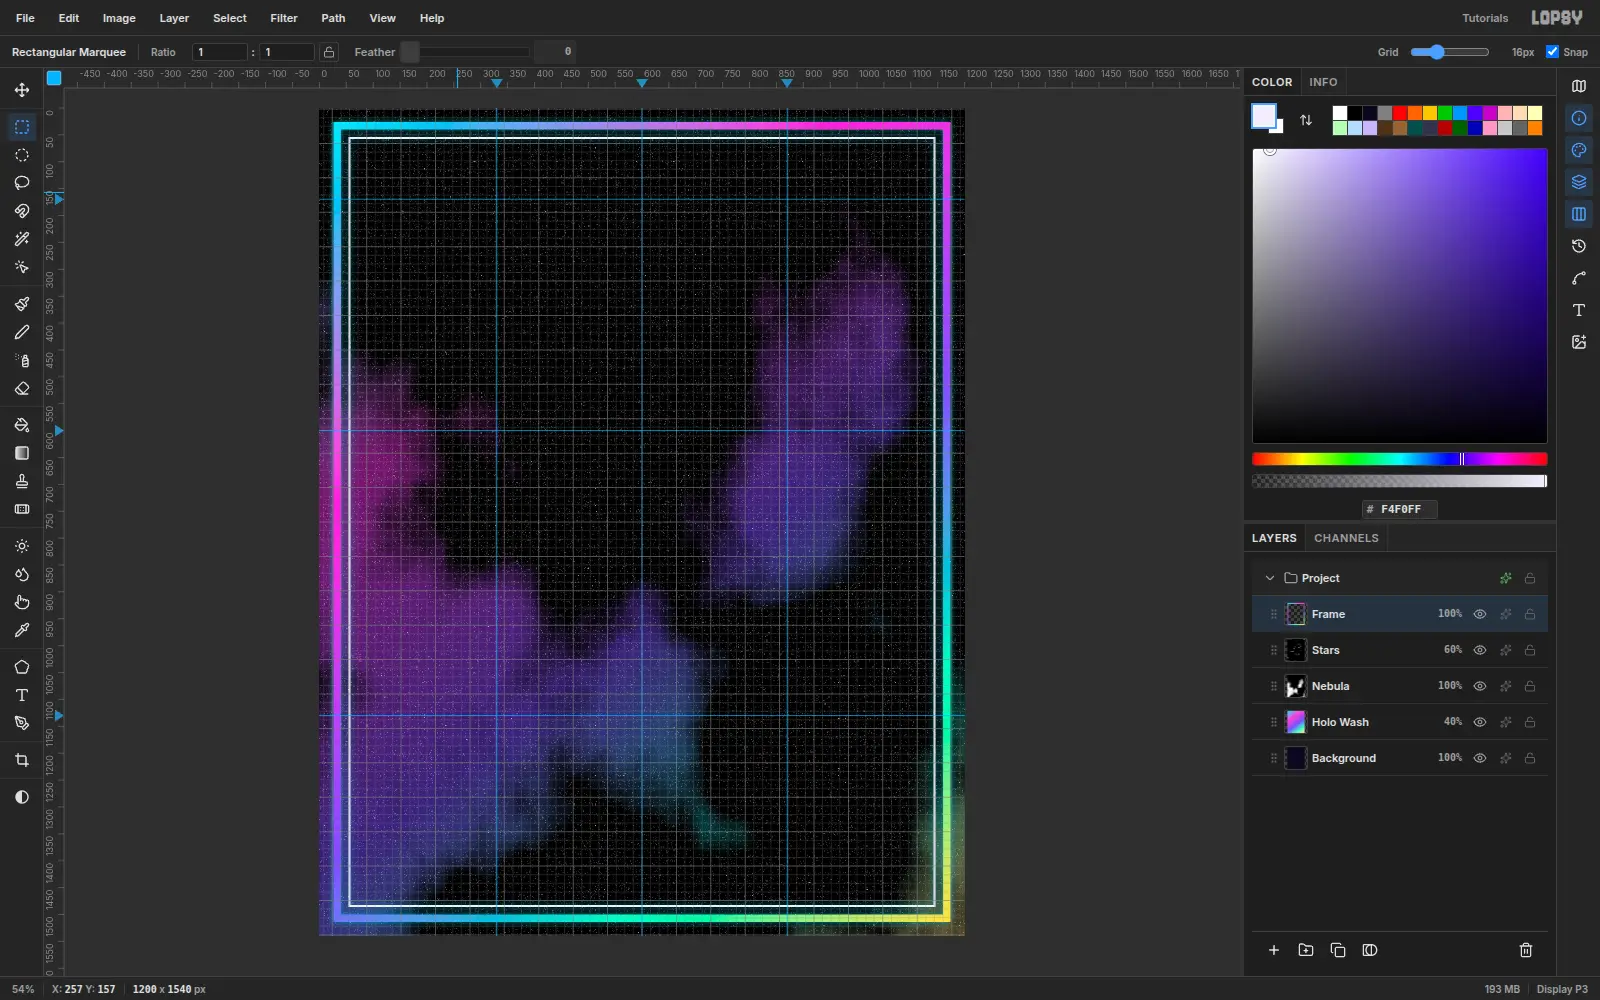
Click the top ruler at x 330, 600 and 870, and the left ruler at y 170, 600 and 1130. Those are the column centres, the sheet's middle, the banner line and the two row centres. Turn on View → Show Grid with an 8 px grid for later alignment, then turn it off again while you draw freehand shapes.
-
Cut the ribbon's swallowtails
Add a Banner Tails layer. With the Lasso (L), click out a swallowtail: (210, 128), (62, 128), (118, 188), (62, 248), (210, 248). Fill it with a Linear
#7B4DFF→#FF3FD8→#22E8FFgradient, and repeat the tail mirrored on the right. Lasso a small triangle under each inner end ((170, 218), (210, 218), (210, 248)) and fill it with#2A124F. That's the fold where the ribbon turns behind itself. Add a 6 px#120A2EStroke.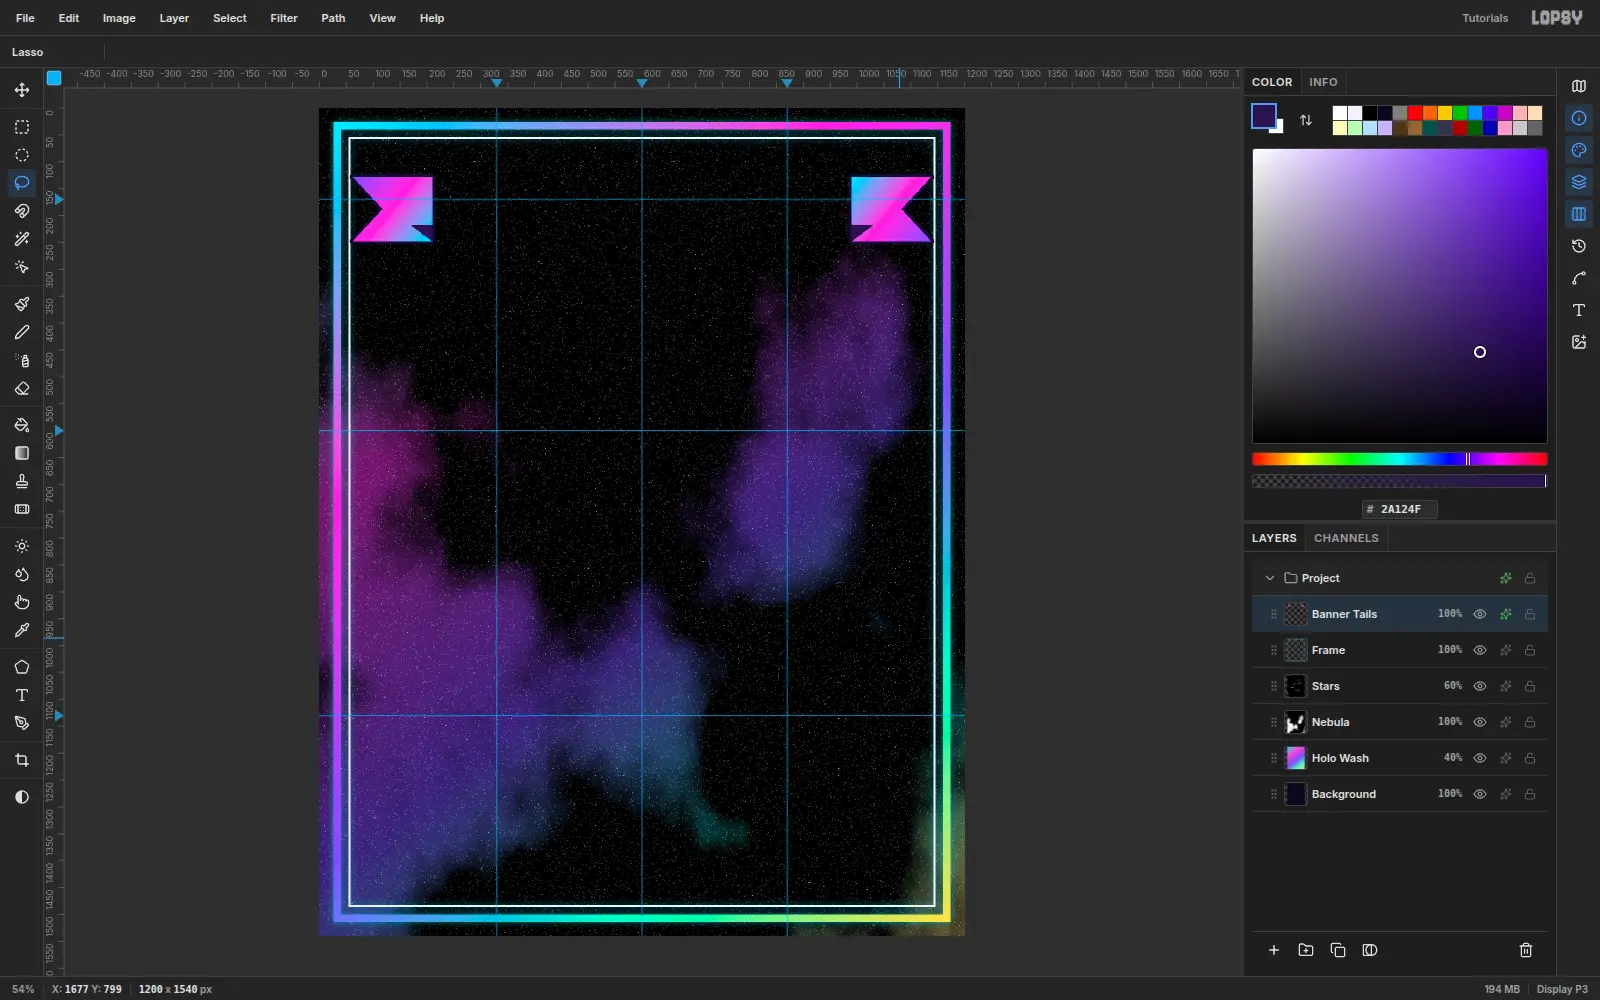
-
Lay the ribbon band over the tails
Add a Banner layer, marquee 860 × 126 at (170, 92) and drag the five-stop foil gradient across it. Give it a 7 px ink Stroke, a white Inner Glow (Size 14, Opacity 70) for a chrome edge, and a
#FF3FD8Outer Glow (Size 30, Opacity 60). Rasterize the style on both ribbon layers.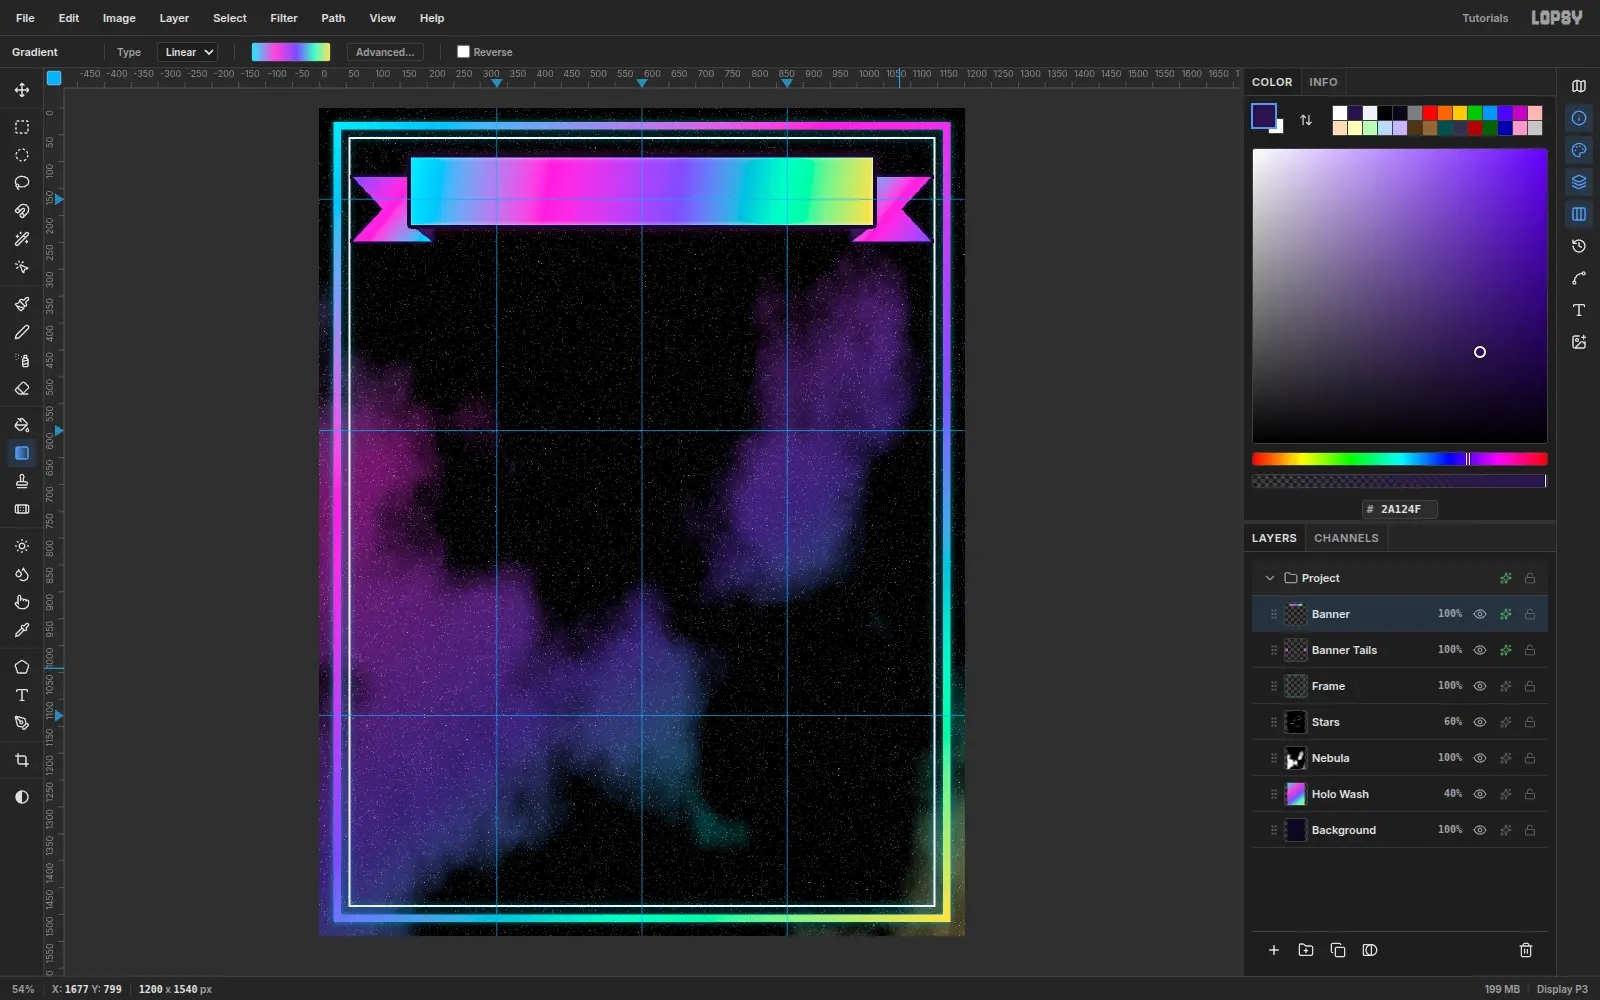
-
Set the title in Rye
Choose the Text tool (T), set Size 84 and pick Rye in the font browser. Its spurred Western capitals look like hand-painted flash lettering. With white as the foreground, click on the ribbon and type
COSMIC X-RAYwith two spaces. Rye's space is narrow, and a single one runs the words together. Press Tab to commit.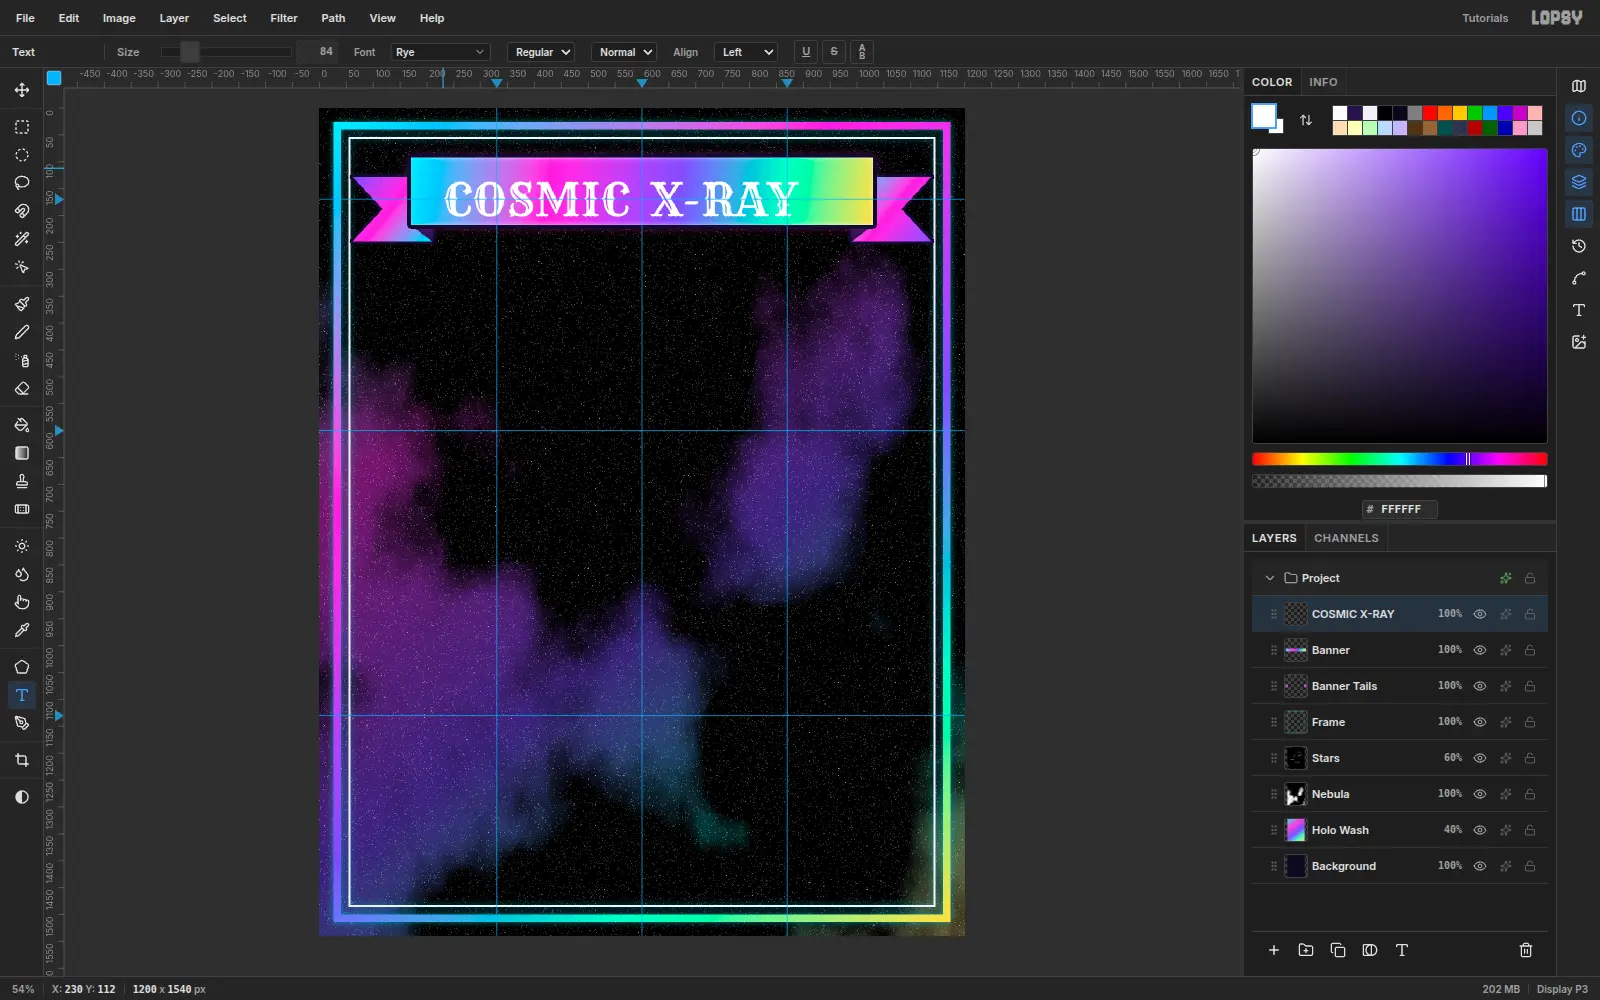
-
Recolour the type in ink
White on a bright foil band is hard to read. Raise Size to 92, click into the title with the Text tool, press Cmd+A to select every letter, and set the foreground to
#120A2E. The selected text takes the new colour. Press Tab to commit.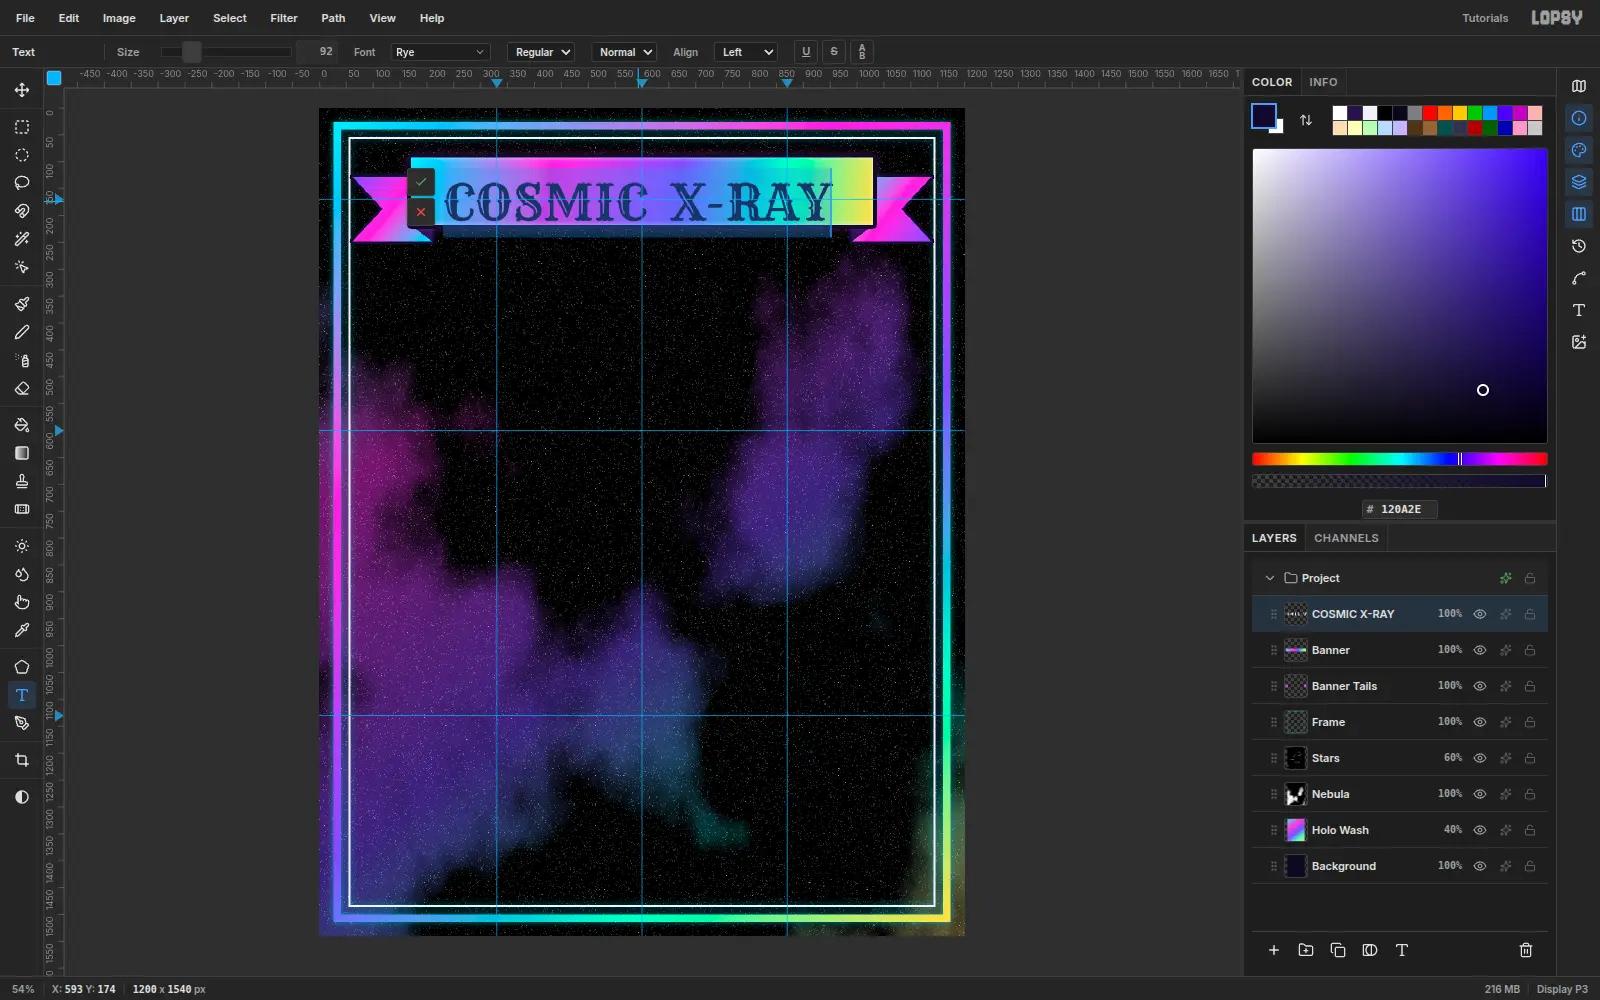
-
Seat the title in the ribbon
Switch to Move (V) and nudge the title with the arrow keys (hold Shift for 10 px) until the letters sit in the middle of the band. That's about 70 px from each end of the band, and 27 px above and below the caps. Add a white Stroke of 3 and a
#2A124FDrop Shadow with Offset 4 / 4, Blur 0 and Opacity 55. The white keyline separates the ink from the foil, and the hard offset shadow reads as a printed sticker.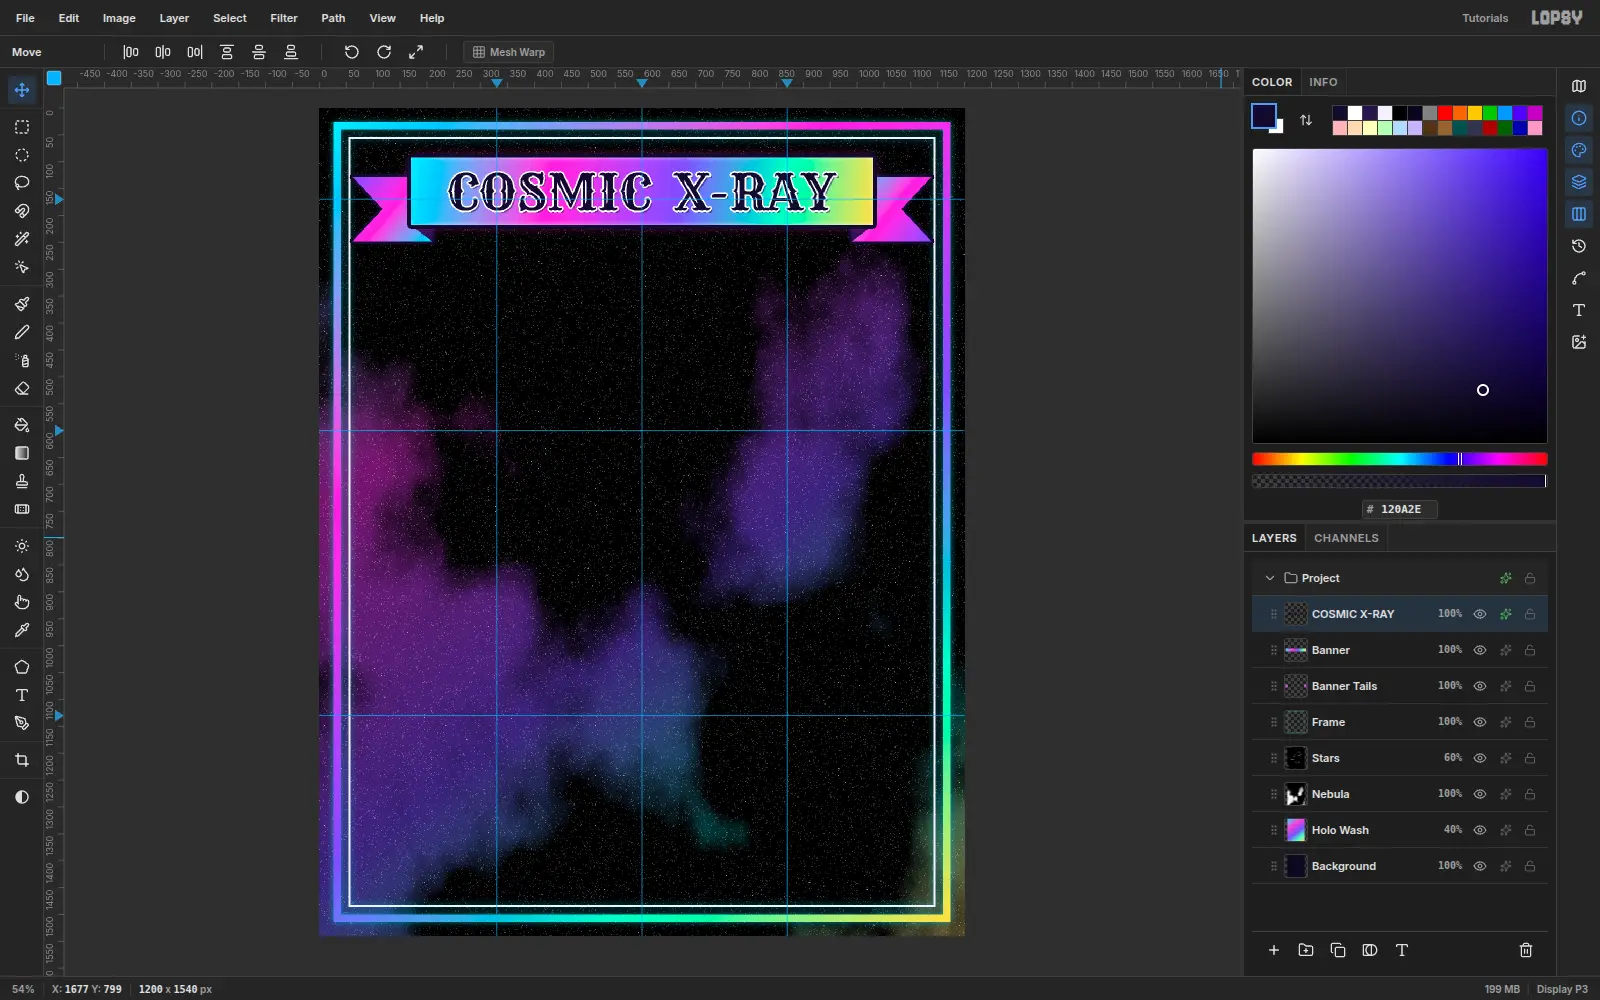
-
Launch a comet
Add a Comet Tail layer. Lasso a long tapered wedge from (500, 500) to (115, 380), about 88 px wide at the head. Fill it with a Linear gradient from the head to the tip: white,
#22E8FFat 25%,#FF3FD8at 70% (alpha 60%), and#7B4DFFat 0% alpha. Press Cmd+D and run Filter → Motion Blur… at Angle 17, Distance 24.On a Comet Head layer, fill a 60 px circle at (500, 500) with a Radial white →
#FFF3B0→#22E8FFgradient. Give it a 5 px ink Stroke and a#22E8FFOuter Glow (Size 40, Opacity 90).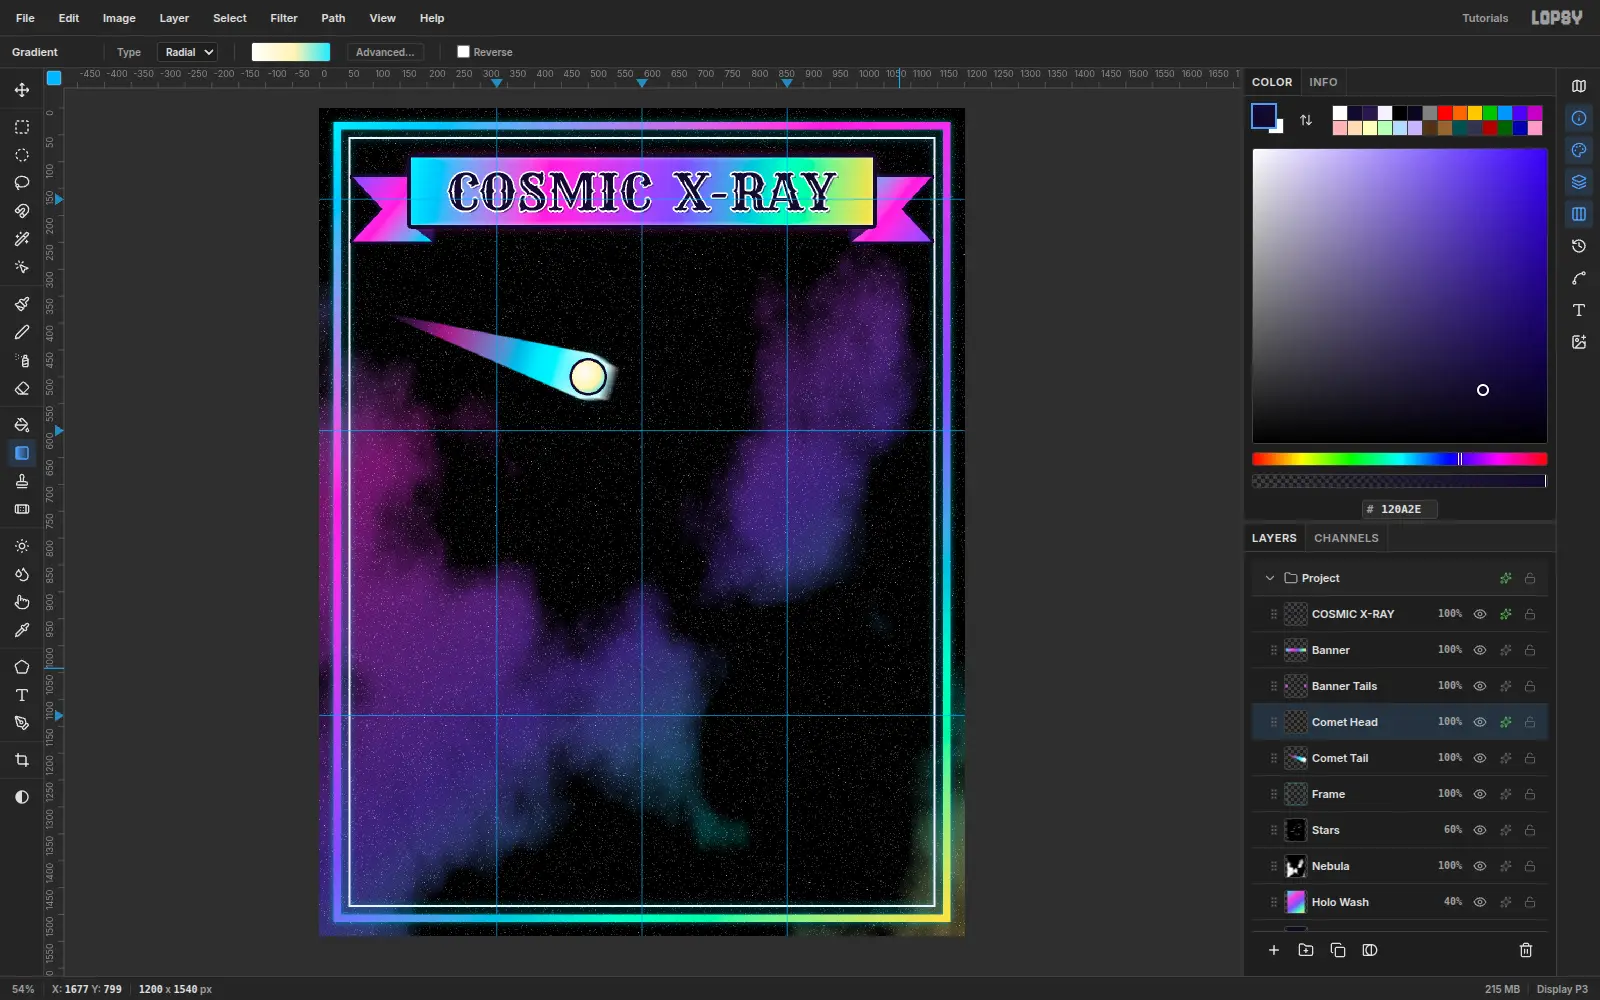
-
Draw the skull
Add a Skull layer. Lasso a skull centred on (330, 620): a domed cranium 260 px wide, cheekbones that flare at y 690, and a jaw that narrows to a 60 px chin at y 772. Fill it with the pastel foil diagonally from the top-left. A lighter ramp keeps bone looking like bone. Add a 7 px ink Stroke and a
#7B4DFFInner Glow (Size 34, Opacity 80) so the edges darken like an x-ray.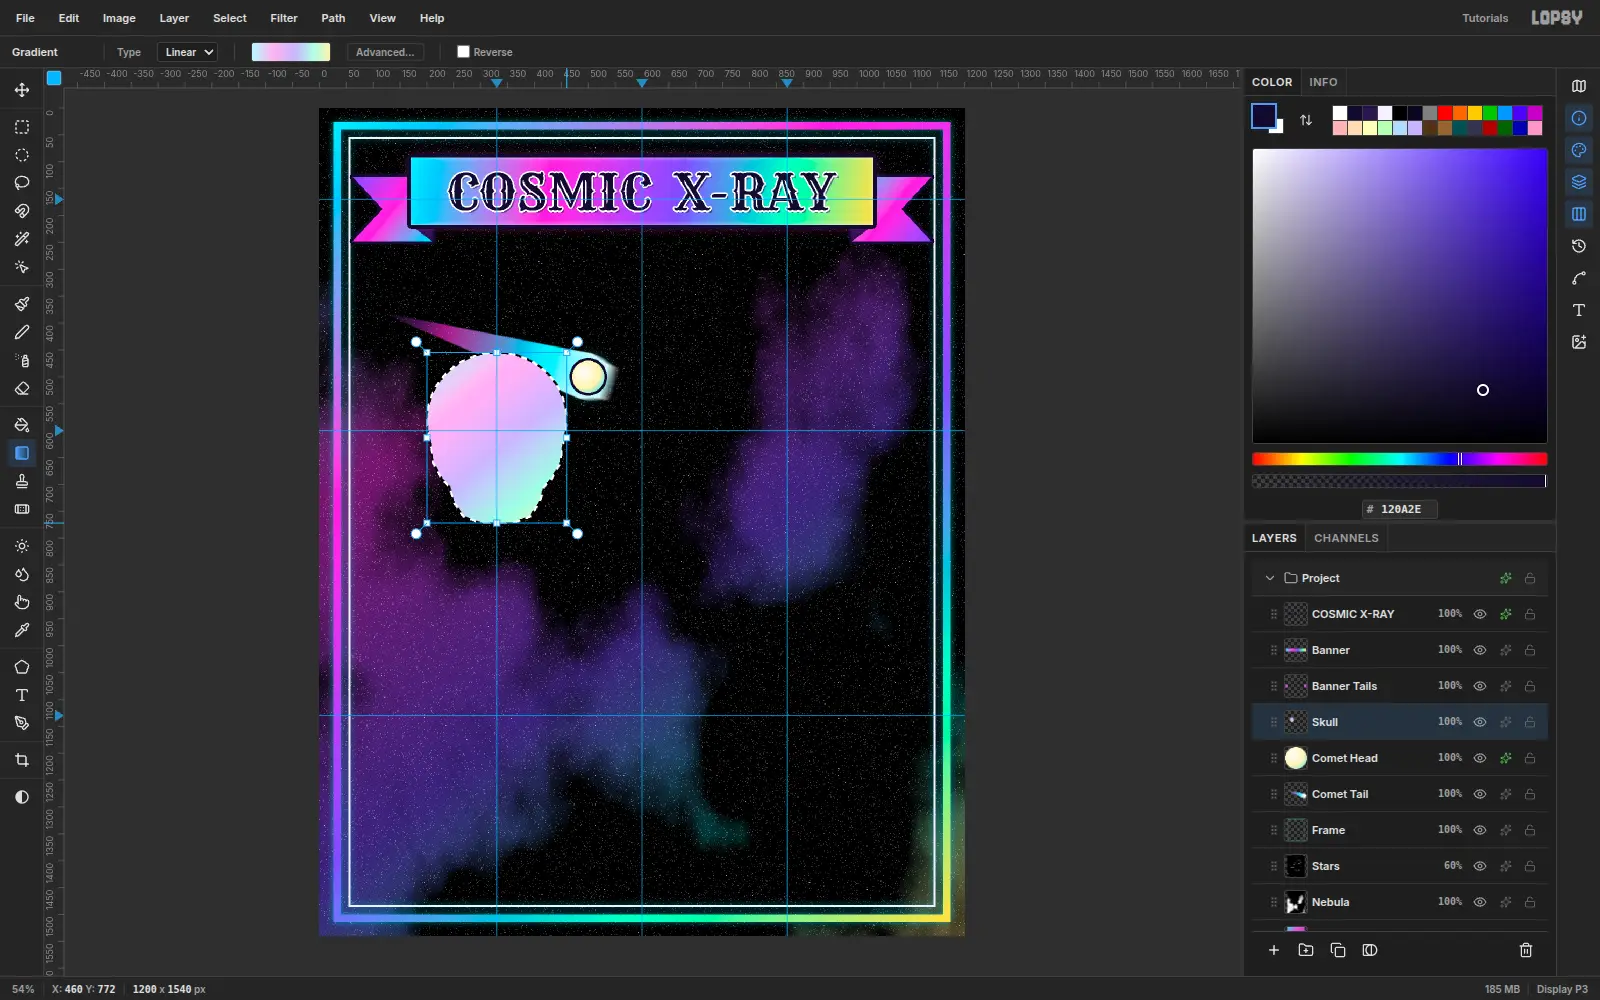
-
Cut in the eyes, nose and teeth
On a Skull Ink layer, use the Elliptical Marquee to fill two 74 × 66 eye sockets at (280, 648) and (380, 648) with ink. Lasso a spade shape for the nose. Marquee a 108 × 34 mouth at (276, 728) and fill it. Then fill two rows of 13 px
#F4F0FFsquares, 17 px apart, for the teeth.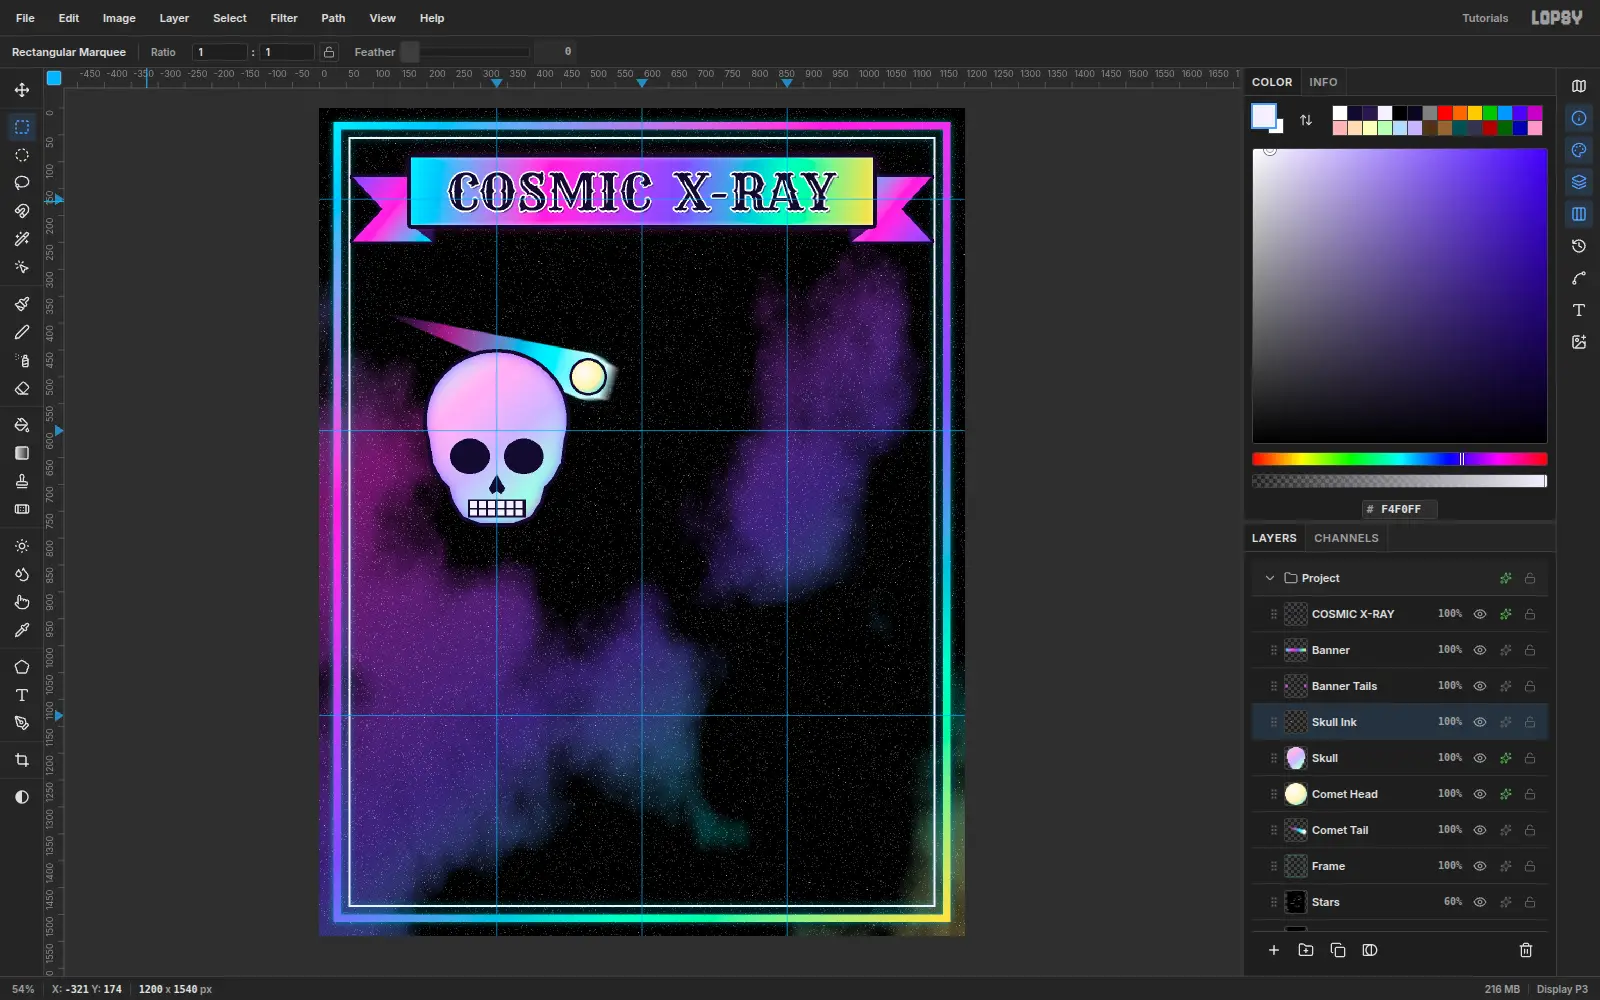
-
Trace the x-ray sutures
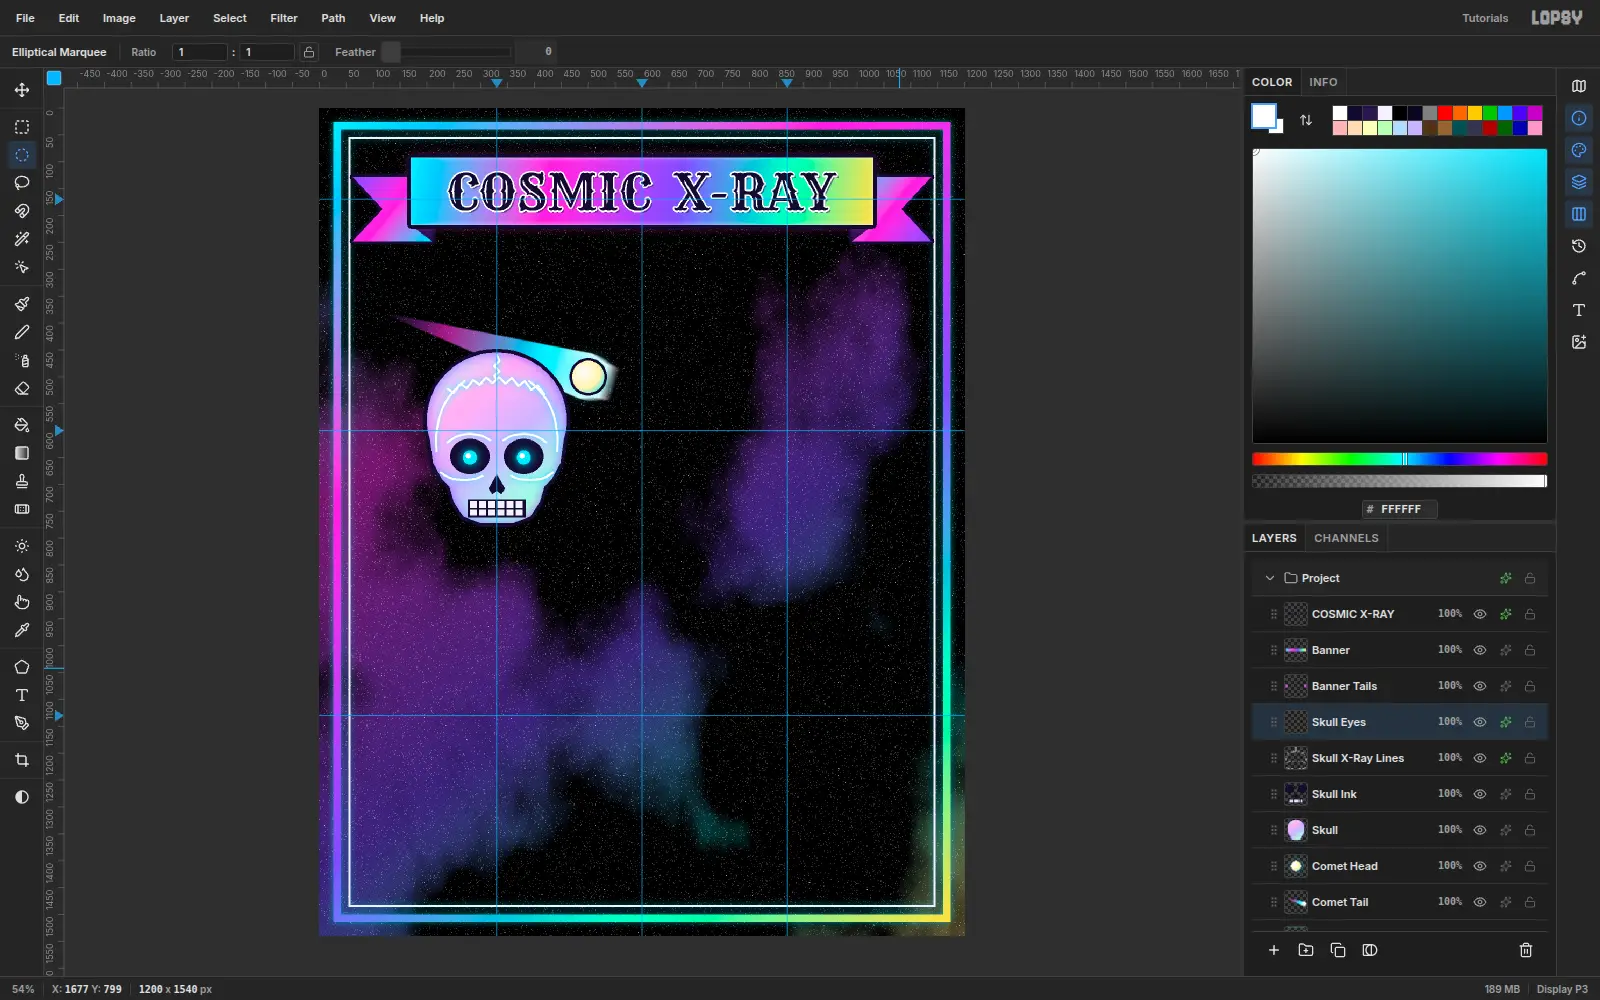
Add a Skull X-Ray Lines layer and pick the Brush (B) at Size 5, Hardness 100, in white. Click where a line starts, then Shift-click each next point. Each click draws a straight segment from the last one, so you can build the zig-zag coronal suture across the crown, the temple curves, and arcs over the brows and cheekbones point by point. Give the layer a
#22E8FFOuter Glow (Size 16, Opacity 90).On a Skull Eyes layer, fill a 26 px cyan circle in each socket with a small white catch-light, and add a cyan Outer Glow (Size 26).
-
Shape the hand
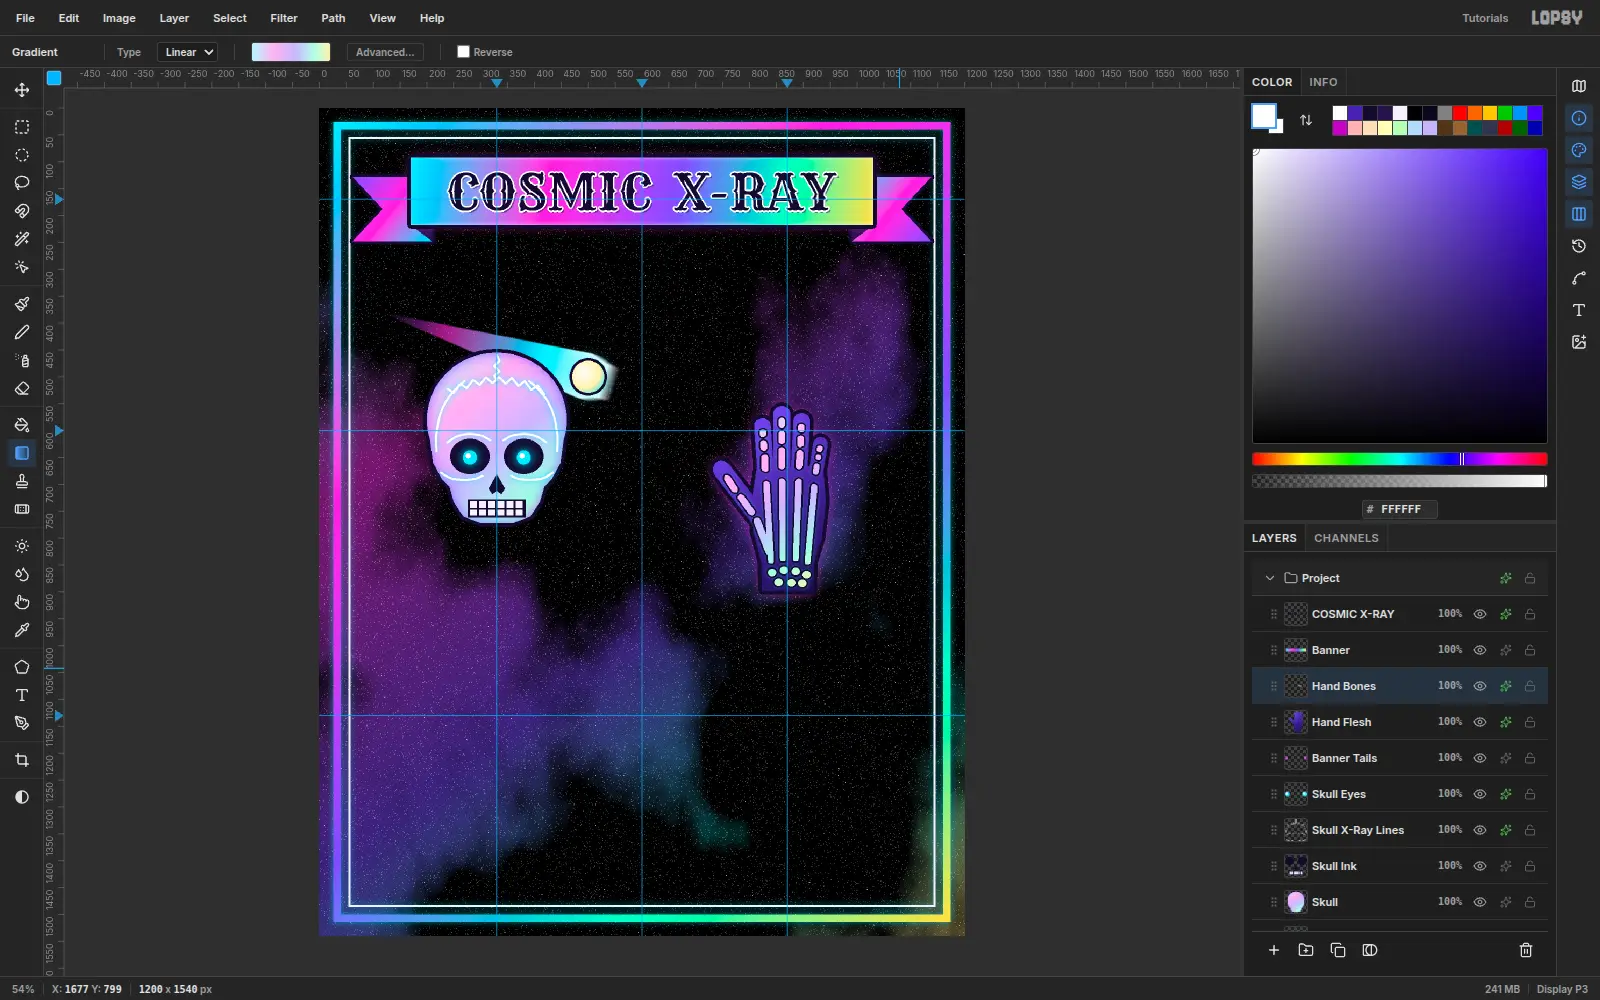
Select Banner Tails so new layers land outside the skull, and add a Hand Flesh layer. Lasso a palm around (870, 670), then lasso a capsule for each finger and the thumb, filling each with
#4A22B8. The overlaps merge into one hand. Cmd-click the layer thumbnail to select its shape, and drag a diagonal#7B4DFF→#3A1C8C→#1C0E4Agradient from the upper left, the same light direction as the skull. Add a 7 px ink Stroke and a#FF3FD8Outer Glow (Size 30, Opacity 85).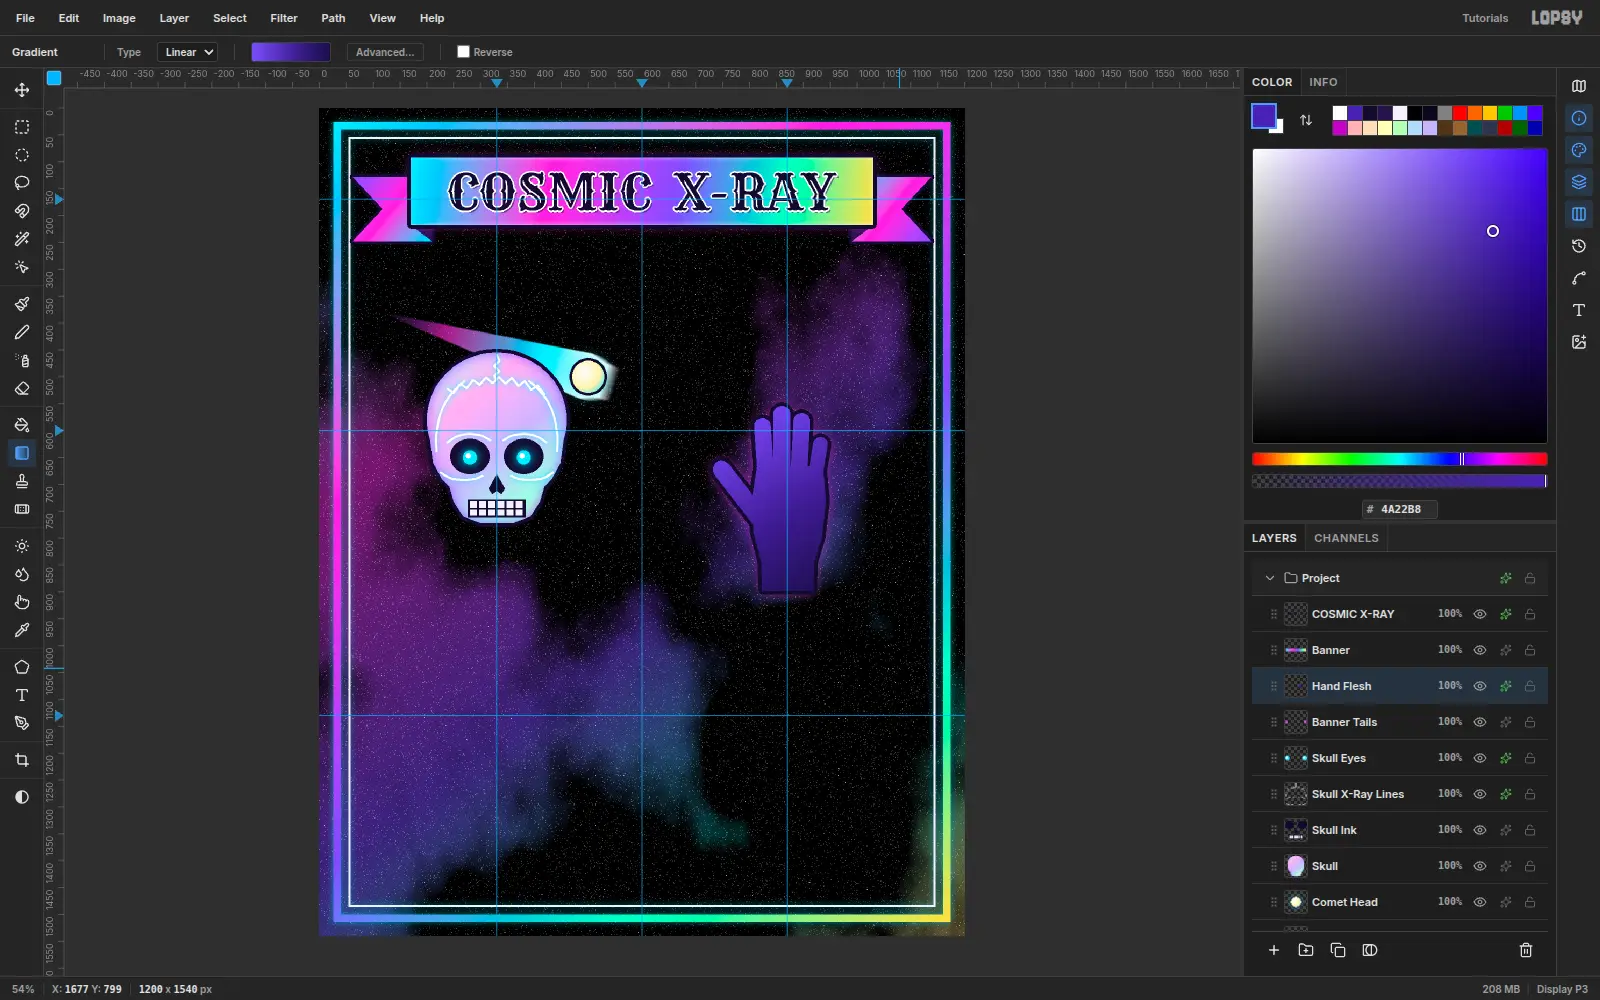
-
Add jointed bones
On a Hand Bones layer, lasso-fill thin white capsules: three phalanges per finger with a 6 px gap at every joint, four metacarpals fanning to the wrist, three thumb bones, and seven small round carpals. Cmd-click the thumbnail and refill the bones with the pastel foil, then give them a 3 px ink Stroke and a cyan Outer Glow. The dark gaps are what make it read as an x-ray rather than a glove.
-
Rest a crescent moon on the fingertips
Select Banner Tails again and add a Moon layer, so the fingertips overlap the moon. Fill a 168 px circle at (864, 480) with a
#FFF3B0→#FFB3F0→#22E8FFgradient. Then select a 152 px circle offset up and right (centre (898, 450)) and press Delete to bite out the crescent. Cmd-click the thumbnail, switch to Move, and drag a corner rotation handle about 25° anticlockwise so the horns cradle the fingertips. Press Cmd+D, then add an ink Stroke, a white Inner Glow and a pale yellow Outer Glow.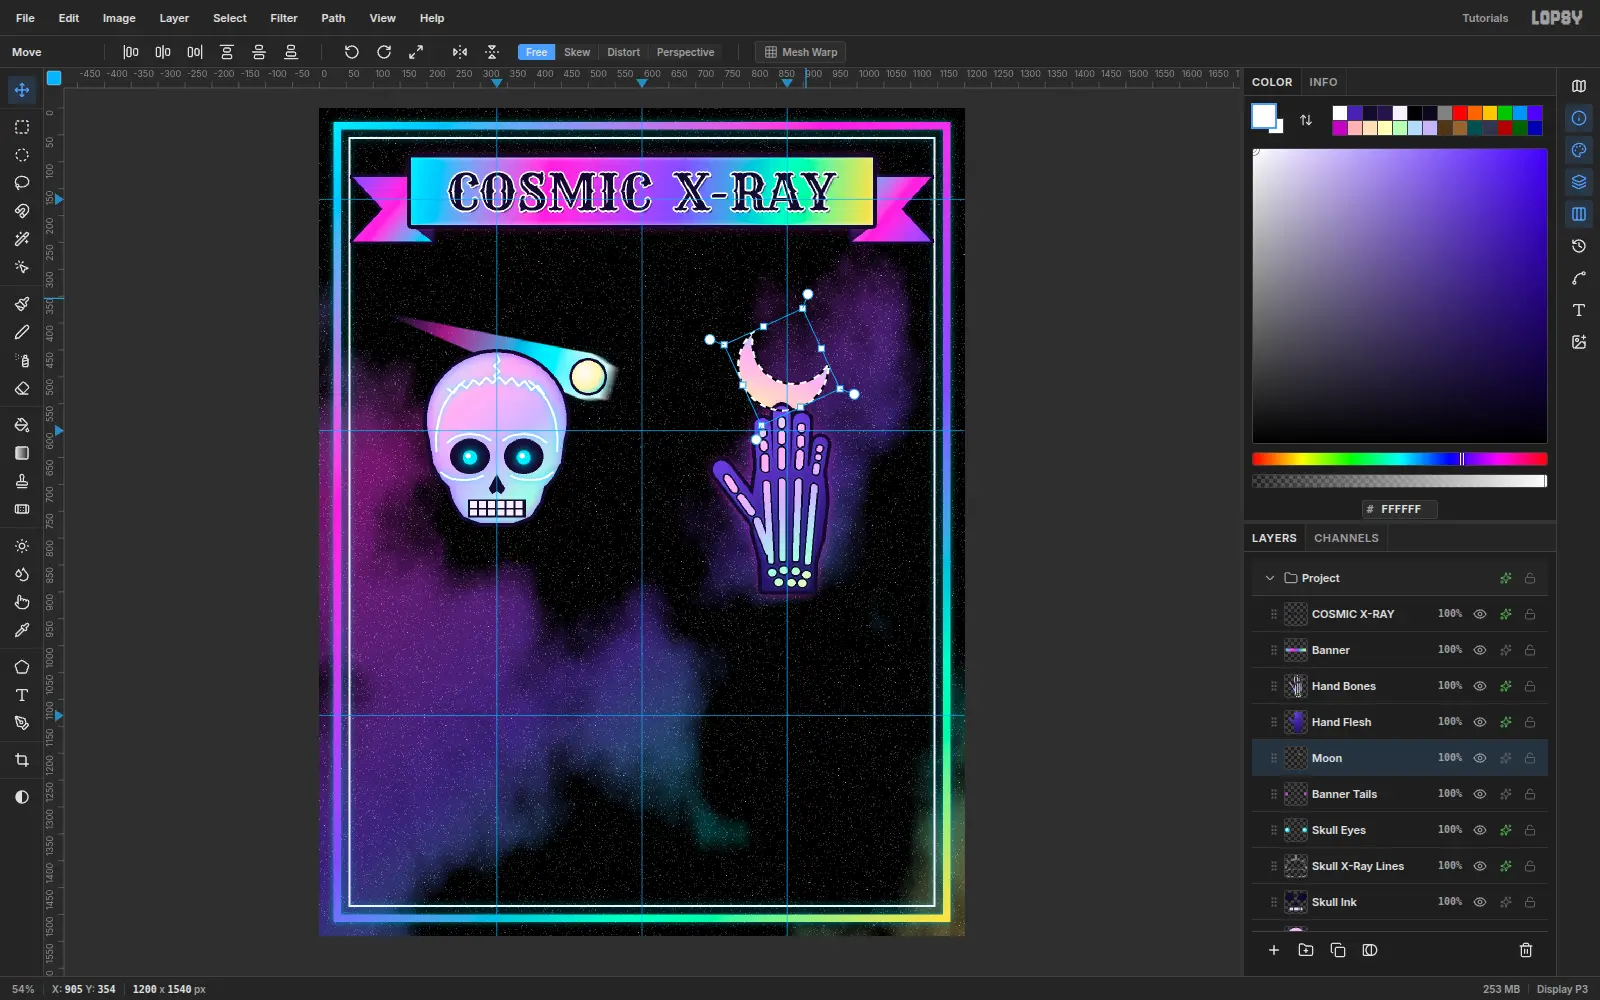
-
Group the first two designs
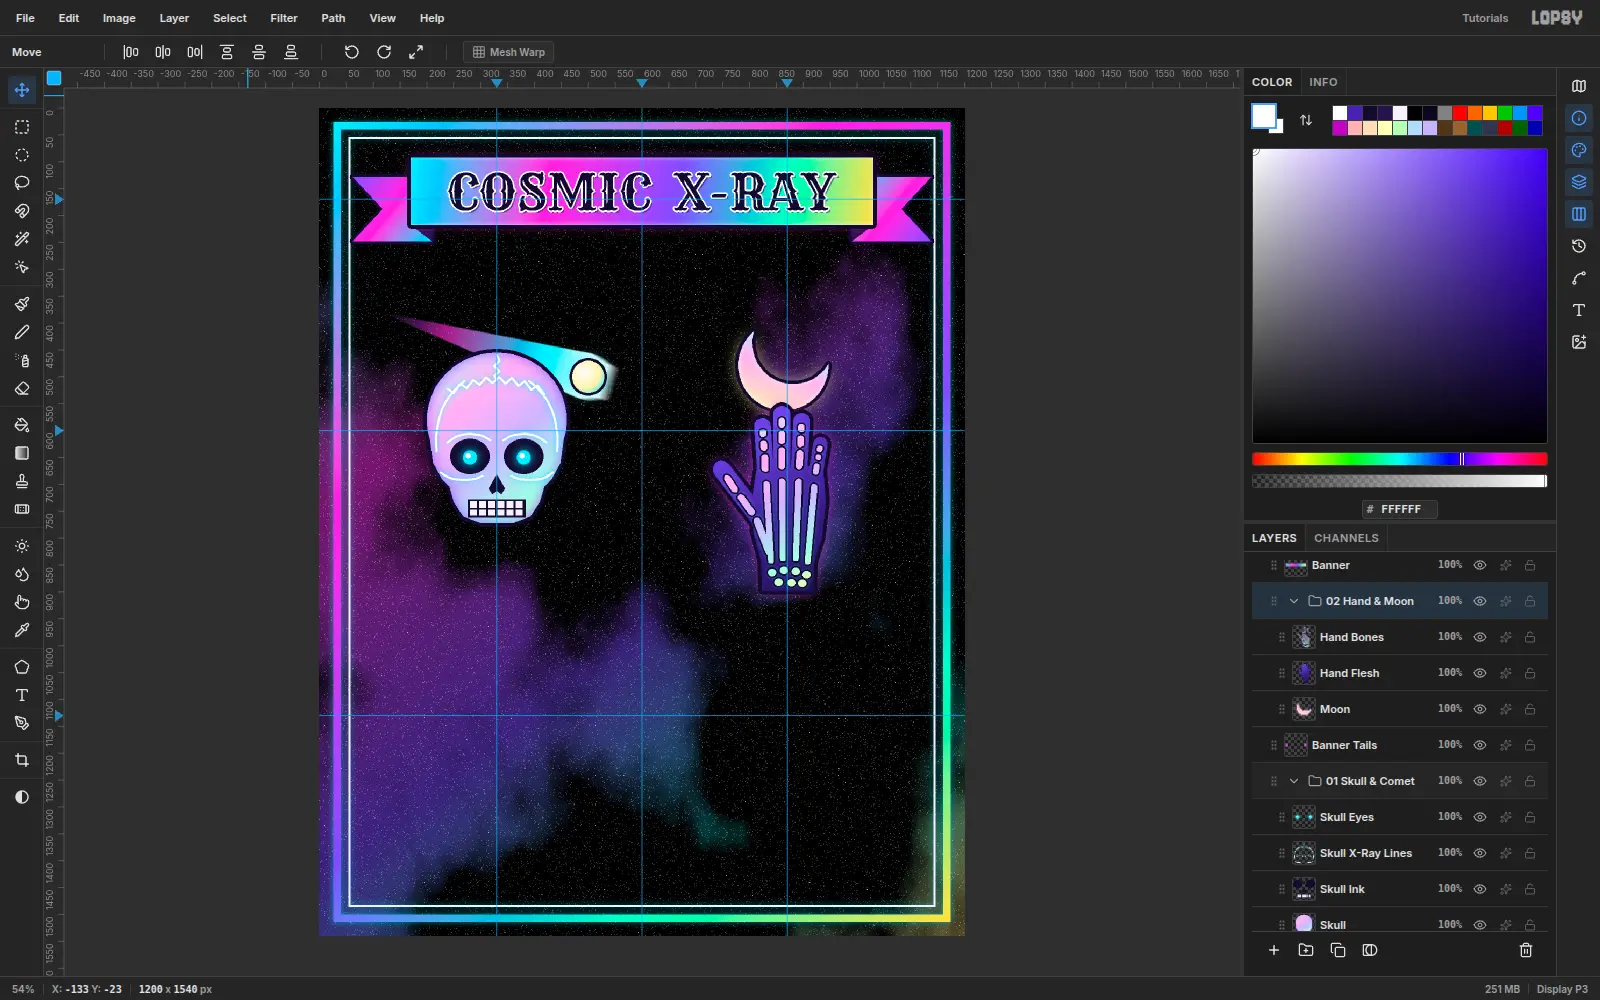
Rasterize the layer styles you've finished. Click Comet Tail, Shift-click Skull Eyes and choose Layer → Group Layers. Name the group 01 Skull & Comet. Do the same for Moon to Hand Bones as 02 Hand & Moon. Each flash design is now one unit you can move.
-
Fill the heart
Add a Heart layer and lasso a classic heart centred at (330, 1103), 320 px wide. Drag a Radial gradient from (270, 1040) out to (480, 1280) with
#FFF3B0,#FF3FD8at 30%,#7B4DFFat 68% and#22E8FF. Add a 7 px ink Stroke, a white Inner Glow and a#FF3FD8Outer Glow. On a Heart Shine layer, fill a curved kidney-shaped glint on the left lobe in white and set it to Screen.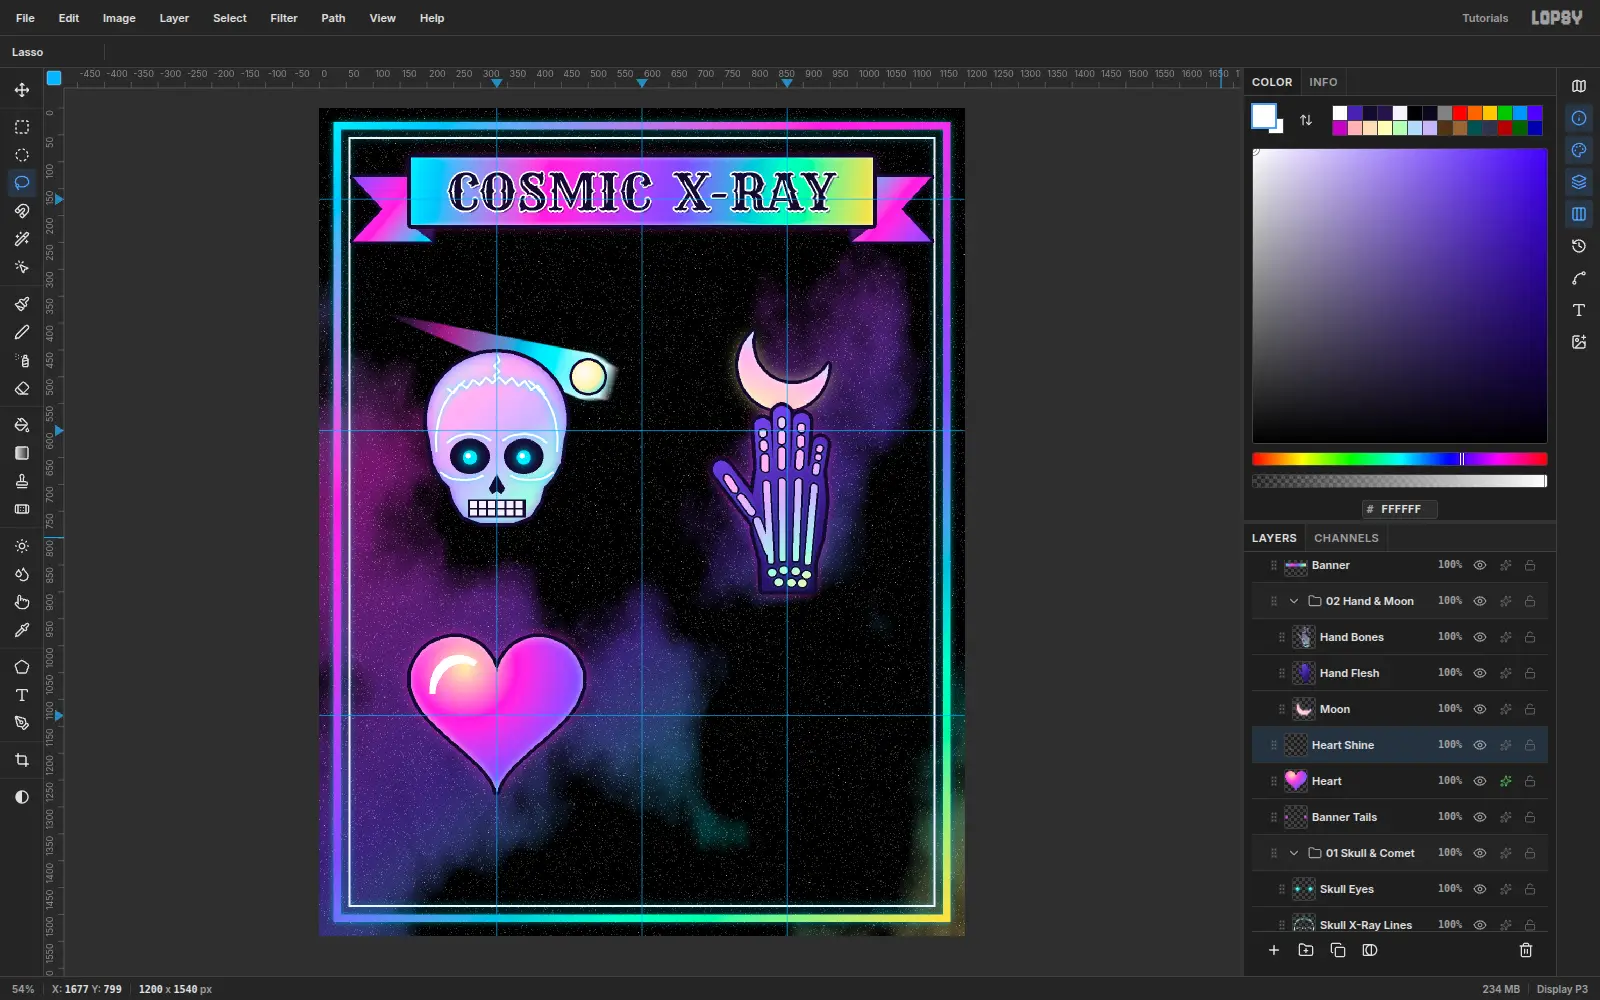
-
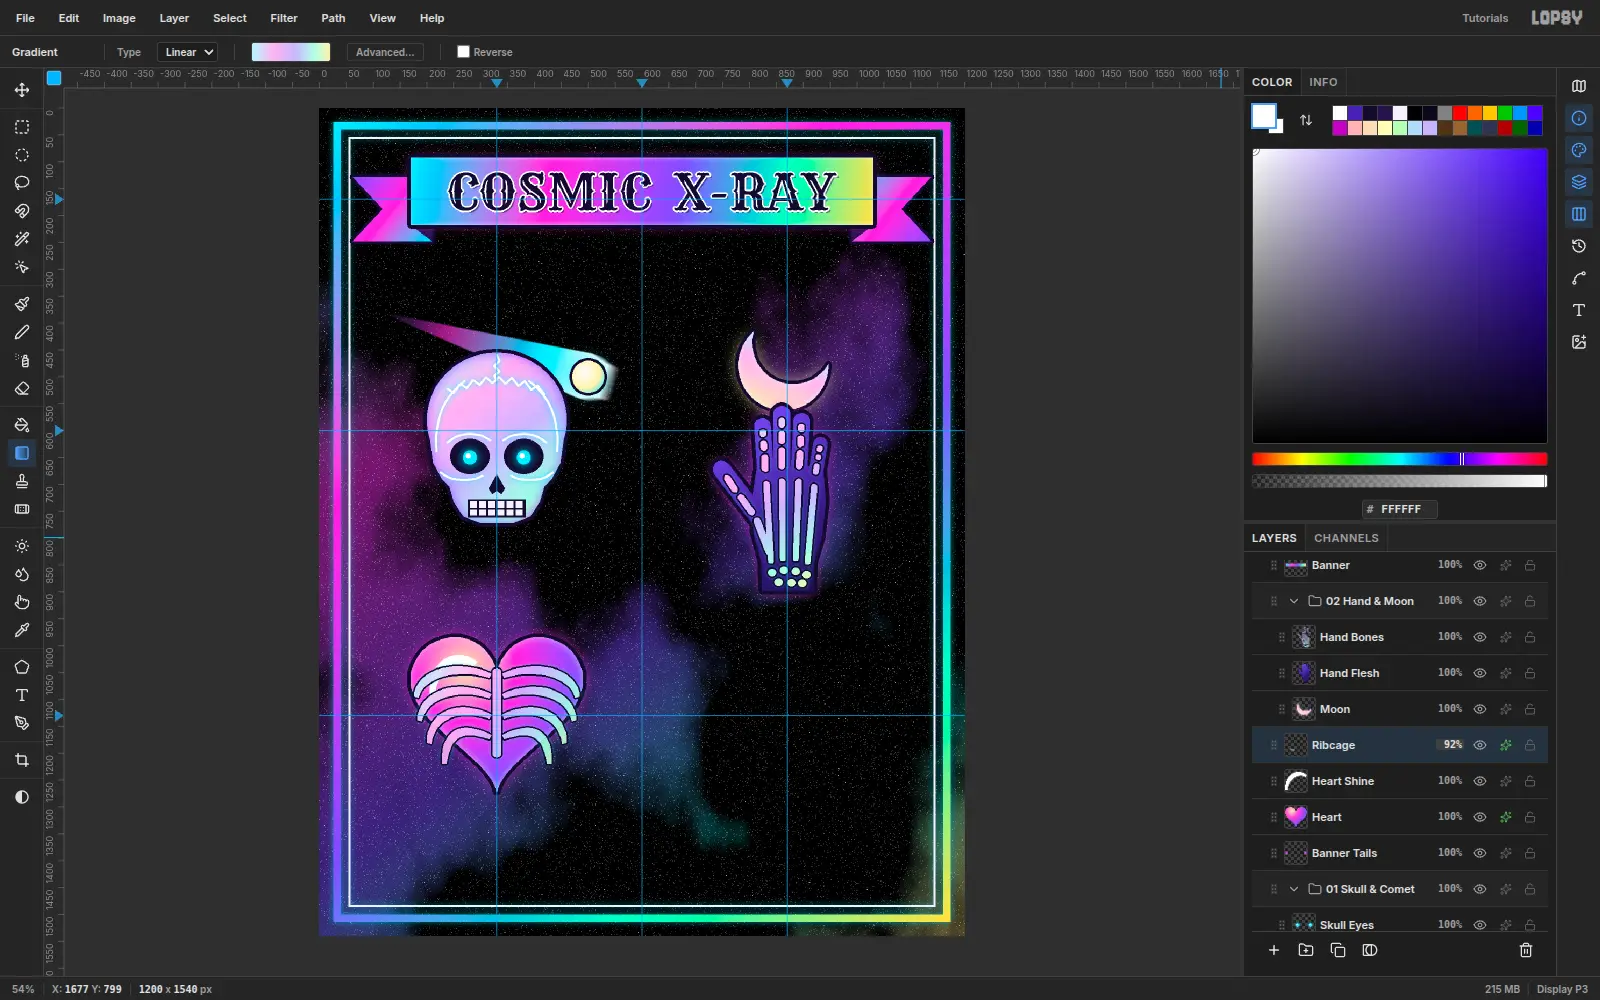
Wrap it in a ribcage
On a Ribcage layer, fill a vertical sternum capsule, then four pairs of curved, tapering rib bands that sweep out and down from it. Each rib is one Lasso selection. Cmd-click the thumbnail, refill with the pastel foil, and add a 3 px ink Stroke and a cyan Outer Glow. At 92% opacity the heart glows faintly through the bone.
-
Add a shooting star
On a Shooting Star Trail layer, lasso three thin wedges from (470, 962) up-left toward (240, 880), and fill each with
#FFF3B0→#FF3FD8(alpha 80%) →#7B4DFF(alpha 0). Add Motion Blur (Angle 19, Distance 14). On a Shooting Star layer, lasso a five-point star at (480, 962) and fill it with a radial white →#FFF3B0→#FFB3F0gradient. Add an ink Stroke and a warm Outer Glow. Group the heart layers as 03 Heart & Star.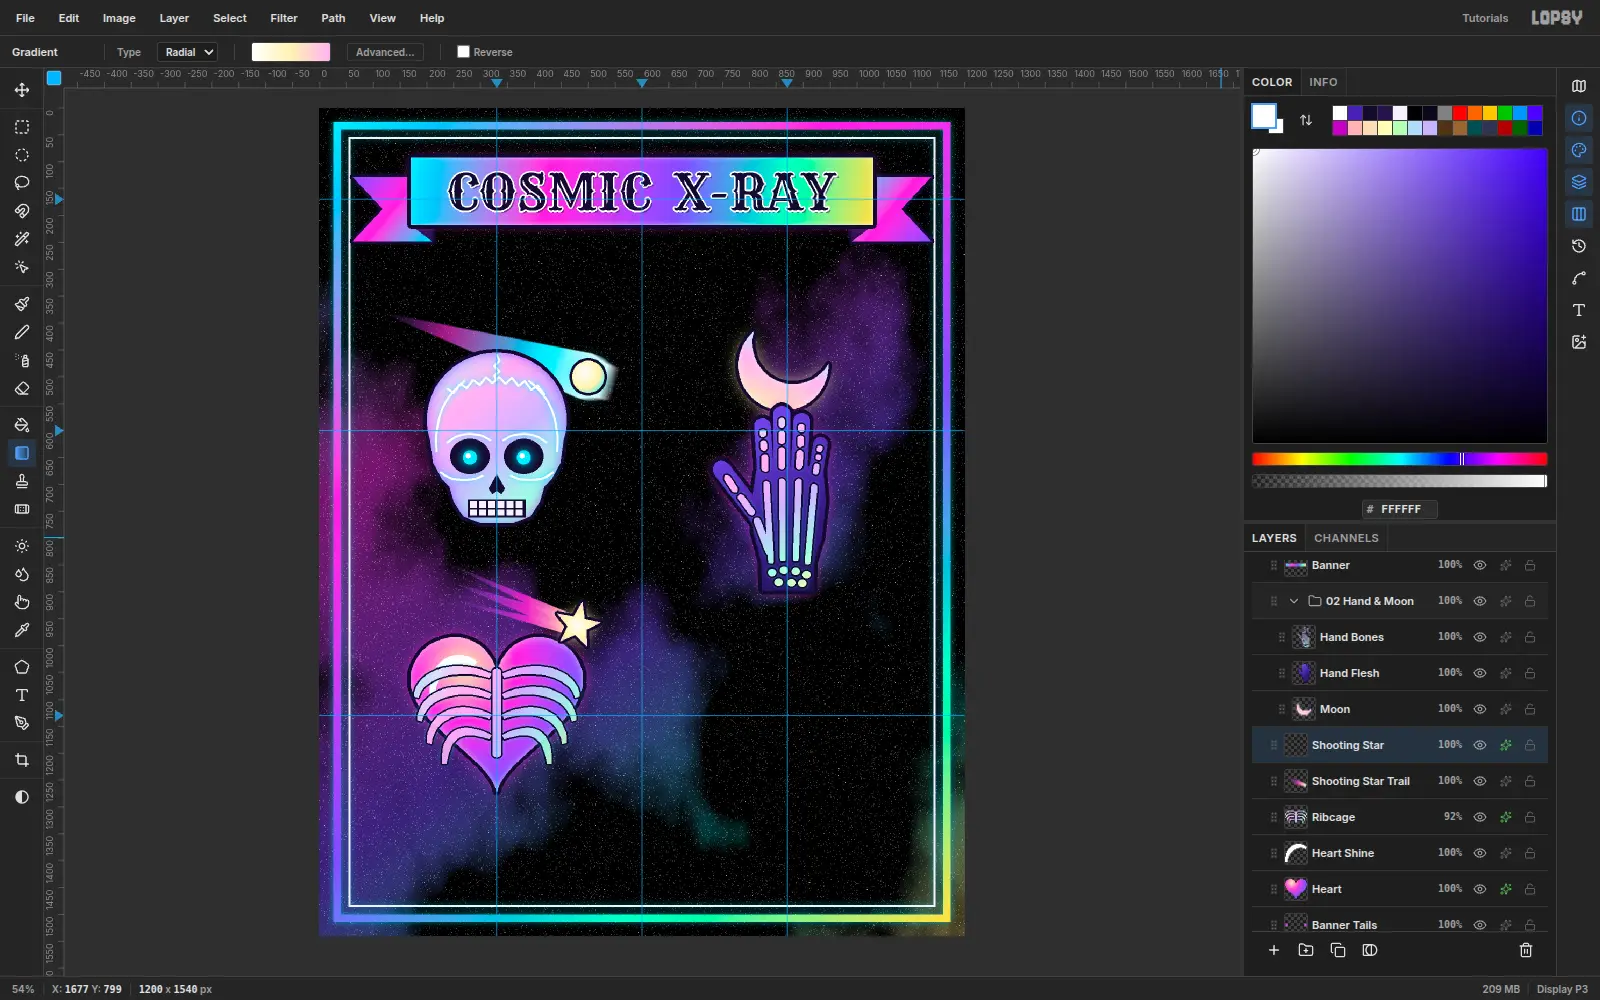
-
Shade a banded planet
Click Banner Tails so the planet starts outside group 03, and add a Planet layer. Fill a 236 px circle at (870, 1140) with a Radial gradient from the upper left: white,
#B8F7FF,#C9B6FF,#FF3FD8,#3A1C8C. Pick Dodge / Burn (O), set Mode: Burn, Exposure 16 and Size 110, and drag once along the lower-right edge to turn the sphere away from the light.On a Planet Bands layer, lasso four slanted bands across the planet in
#7B4DFF. To clip them, click the Planet row, Cmd-click its thumbnail, click back on Planet Bands, choose Select → Inverse and press Delete. Set the bands to Multiply at 45%.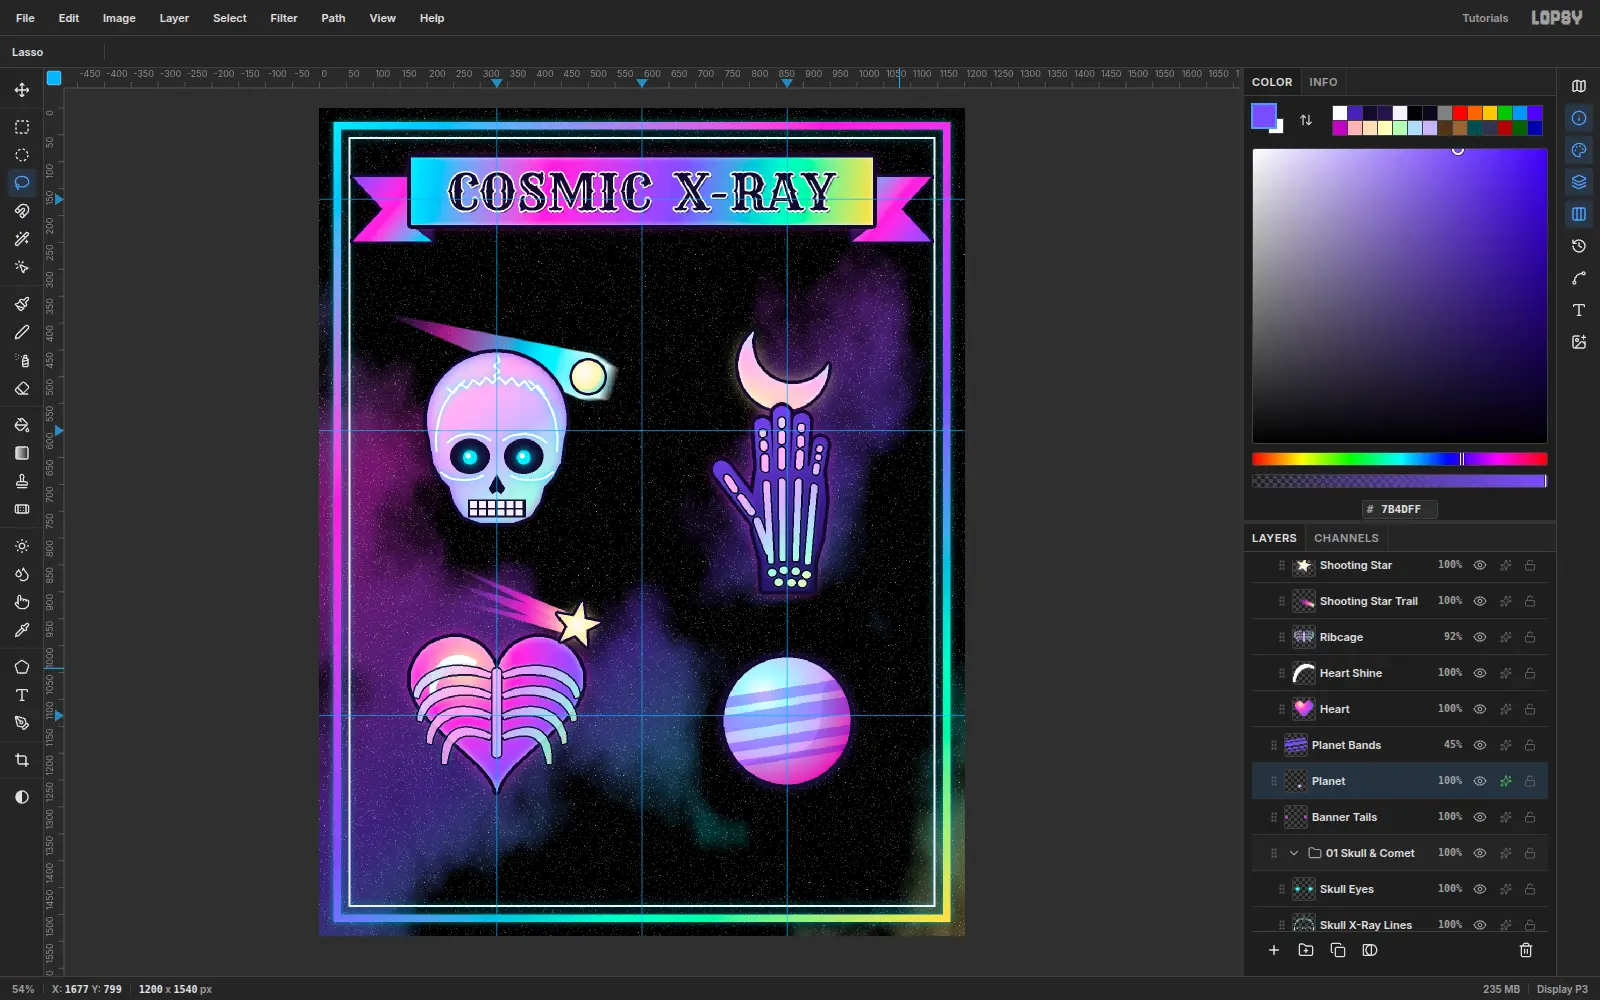
-
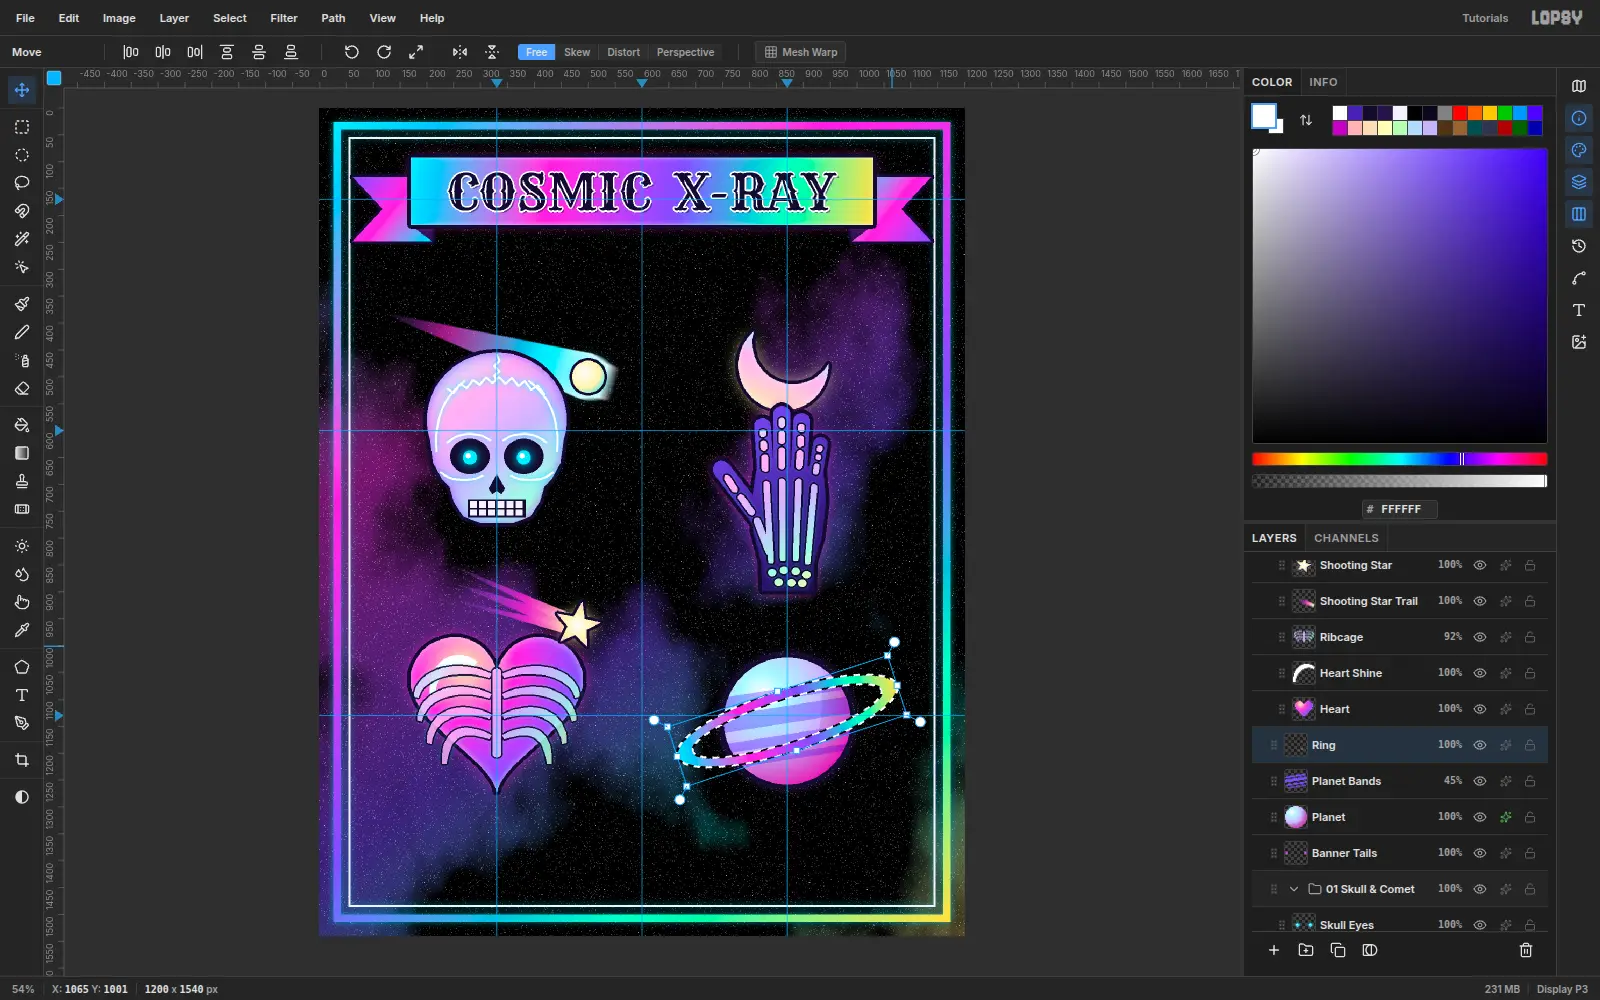
Tilt the ring
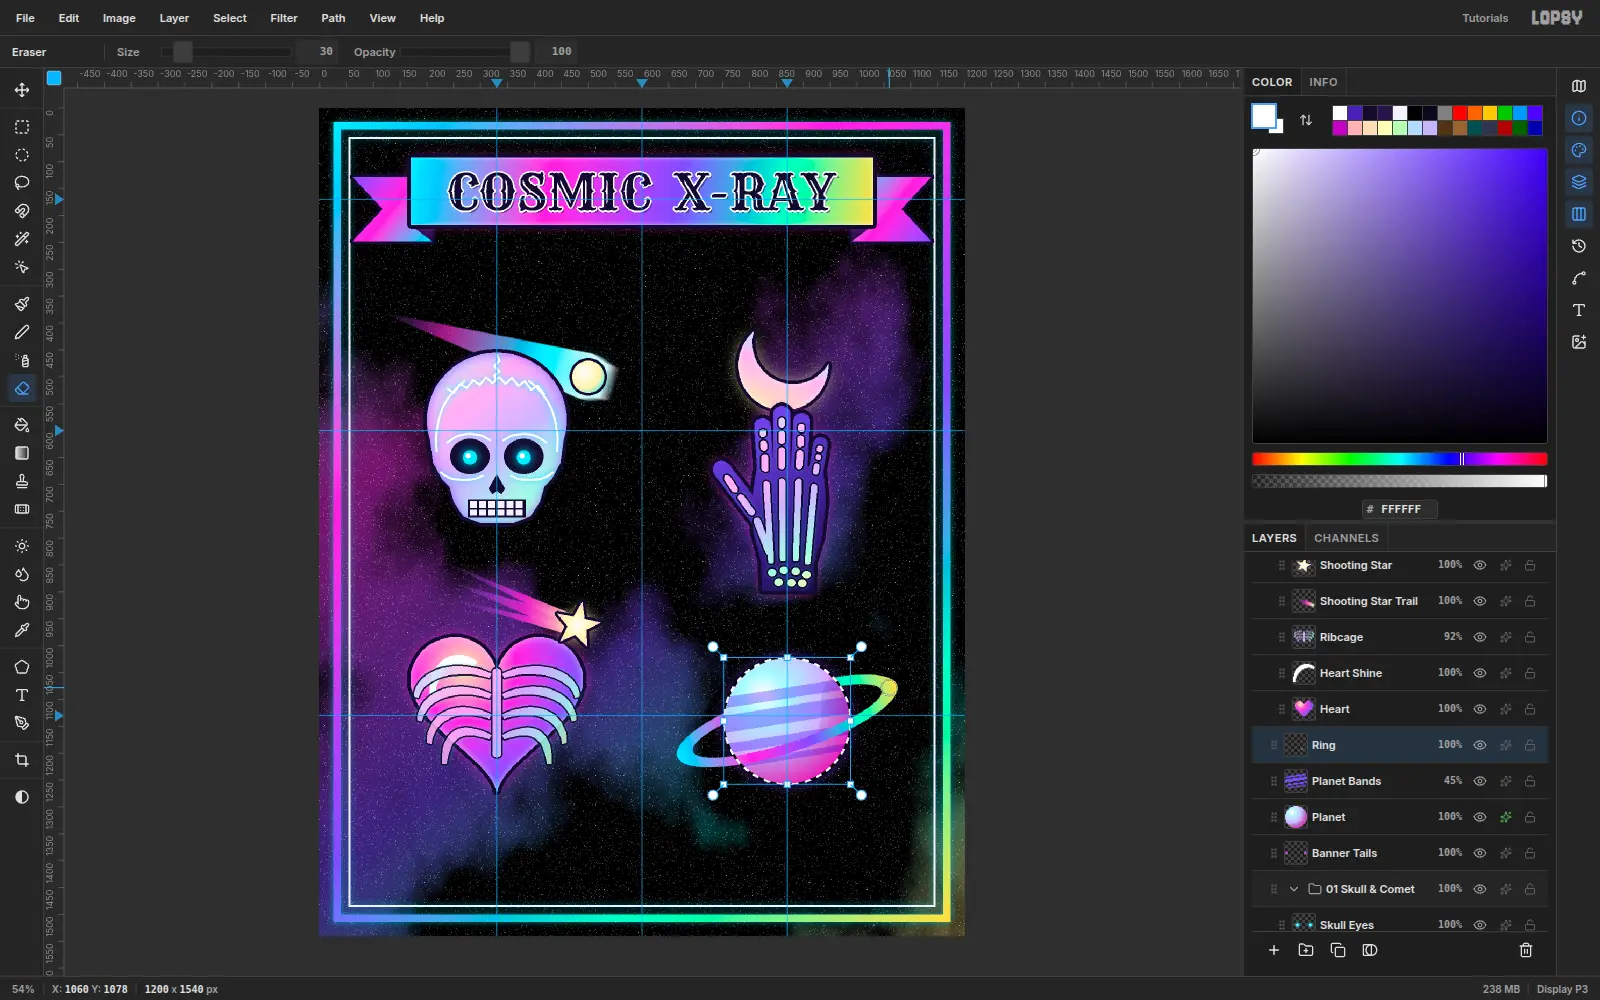
Add a Ring layer. Fill a 430 × 116 ellipse centred on the planet in white, then select a 368 × 80 ellipse at the same centre and press Delete. Cmd-click the thumbnail and drag the foil gradient across it left to right. With the selection still active, use the Move tool's rotation handle to tilt the ring about 18° anticlockwise.
-
Erase the back of the ring
Now the ring needs to pass behind the planet. Click the Planet row, Cmd-click its thumbnail, then click back on the Ring row. The planet's shape is now the selection, and the Ring layer is active. Pick the Eraser (E) at Size 30, click at the left end of the ring's upper arc, and Shift-click along it to the right end. The selection keeps the eraser inside the disc, so only the back arc over the planet disappears.
Add an ink Stroke and a cyan Outer Glow to the ring. Add a 44 px Moonlet at its upper right. Then group Planet to Moonlet as 04 Ringed Planet.
-
Number the designs
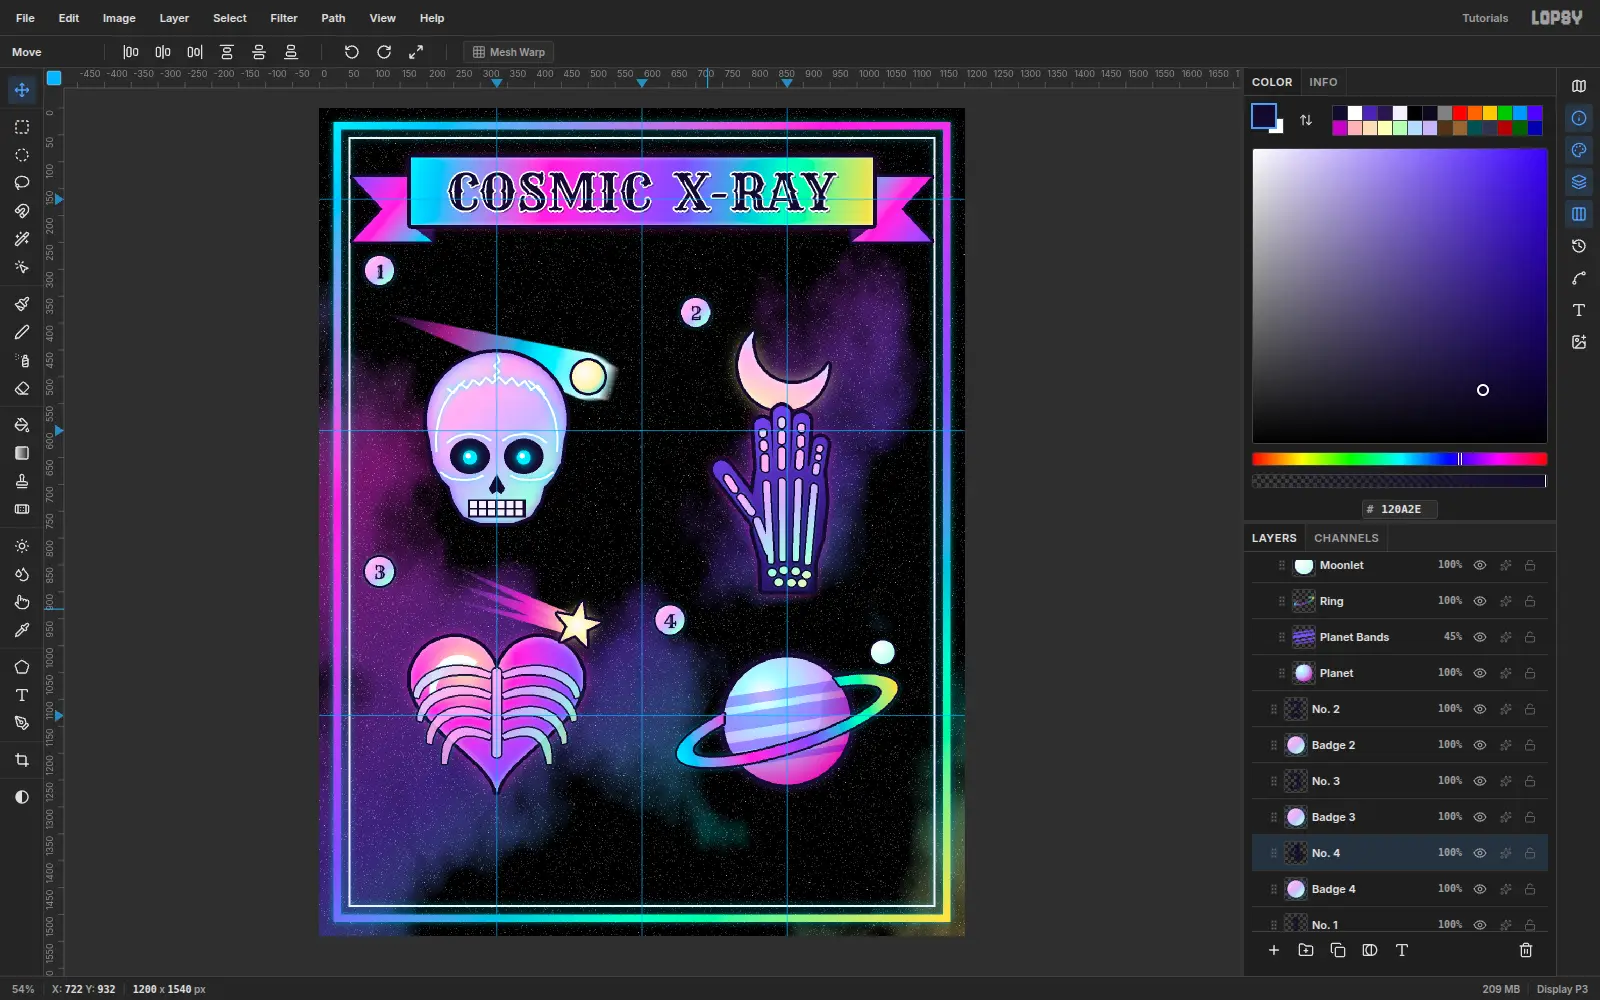
Flash numbers let a client say "number 3, please". Add a Badge 1 layer, fill a 54 px circle at (112, 302) with the pastel foil, and give it an ink Stroke and a cyan Outer Glow. Rasterize the style so the effects travel with the pixels. Then marquee the badge, press Cmd+C, Cmd+V (it pastes in place on a new layer) and Cmd+D, and drag the copy with Move to (700, 380). Paste two more copies at (112, 862) and (652, 952). Each badge sits just above and to the left of its own design.
Set each number in Rye, Size 34, ink, and nudge it with the arrow keys until it's centred on its badge.
-
Turn a sparkle into an eight-point glint
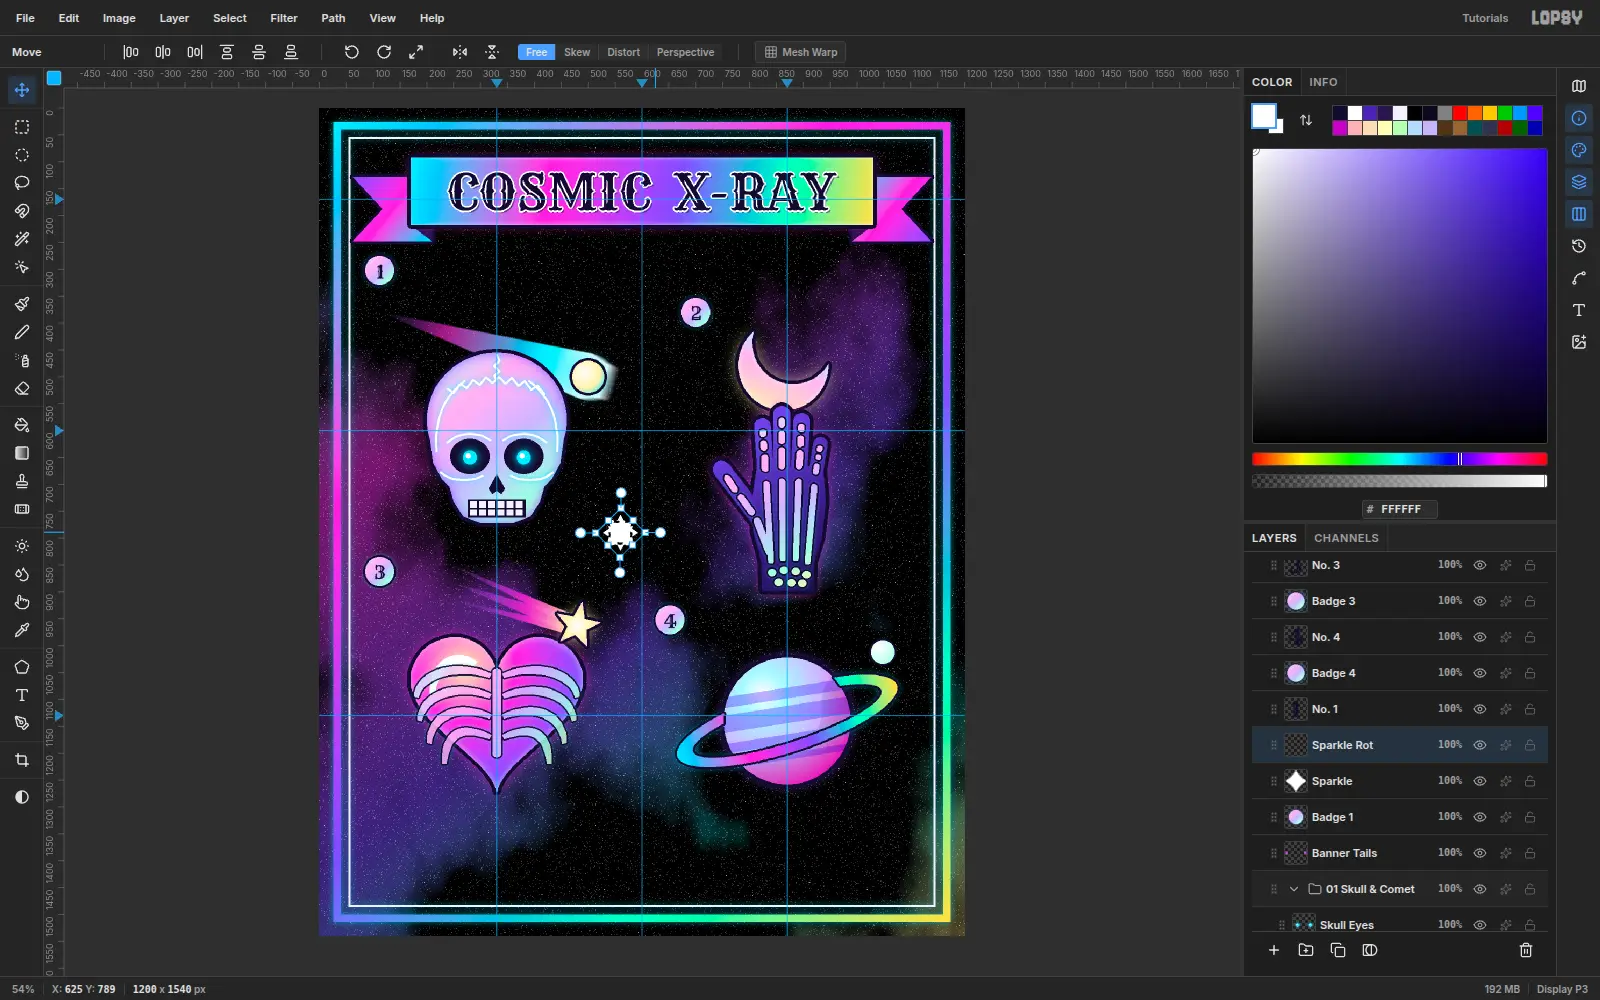
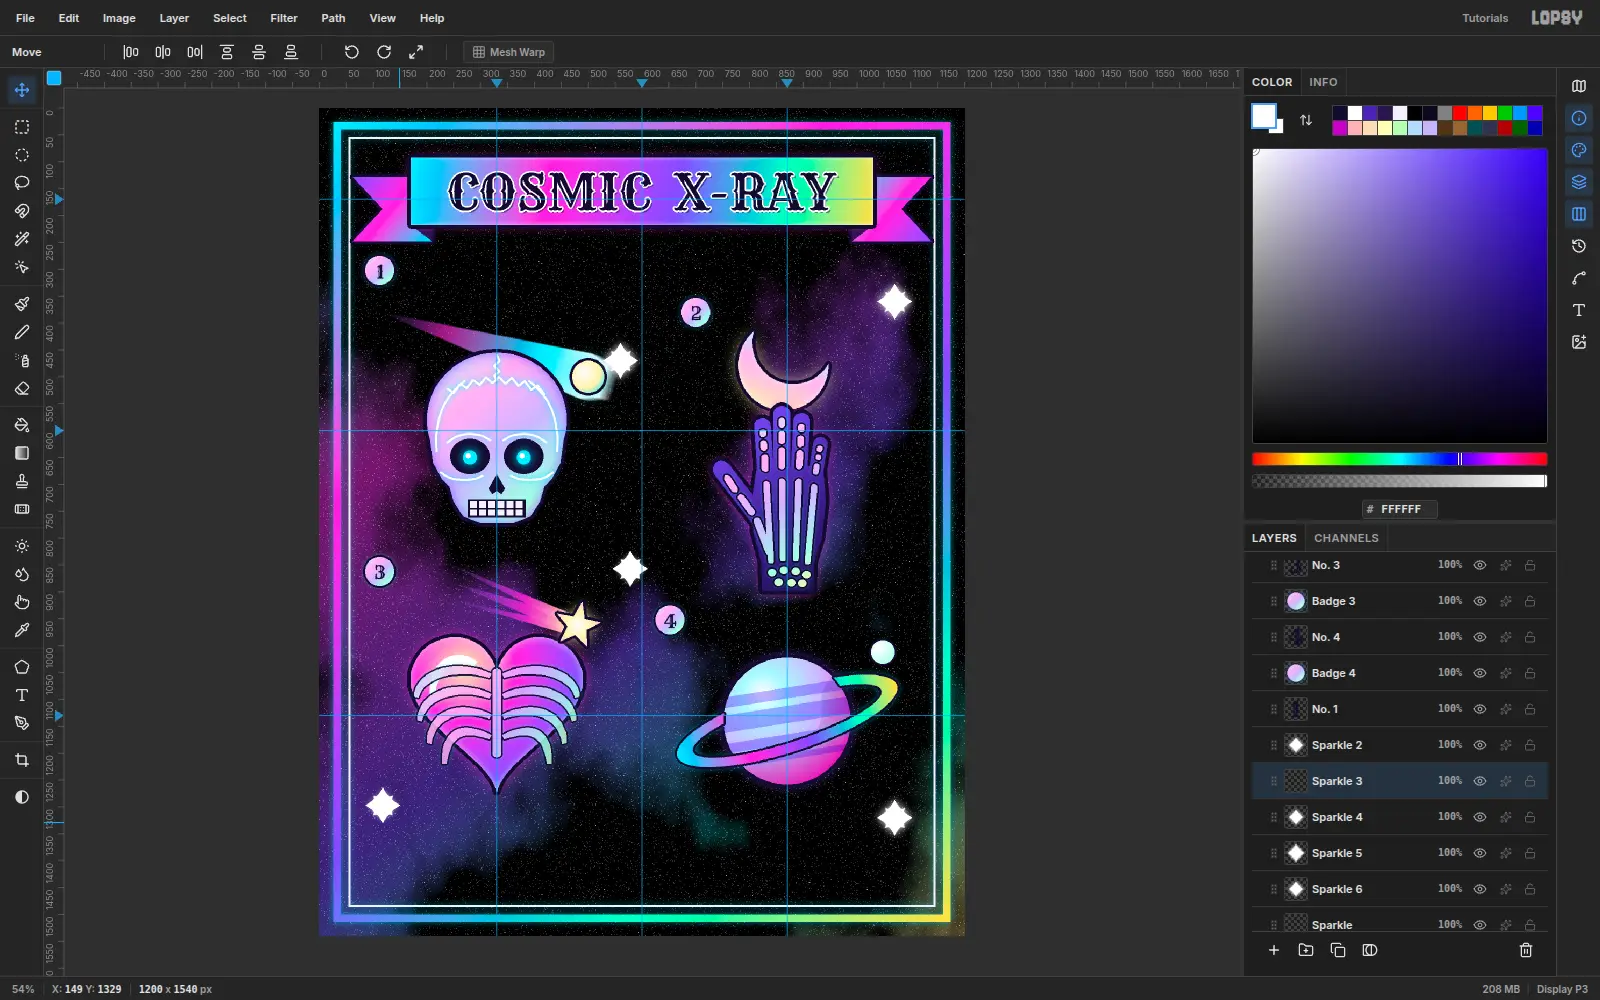
On a Sparkle layer, lasso a four-point star with concave sides, 68 px across, at (560, 790) and fill it white. Marquee it, then Cmd+C and Cmd+V. Cmd-click the pasted layer's thumbnail and rotate it 45° with the Move tool's rotation handle.
-
Scale the copy and merge it
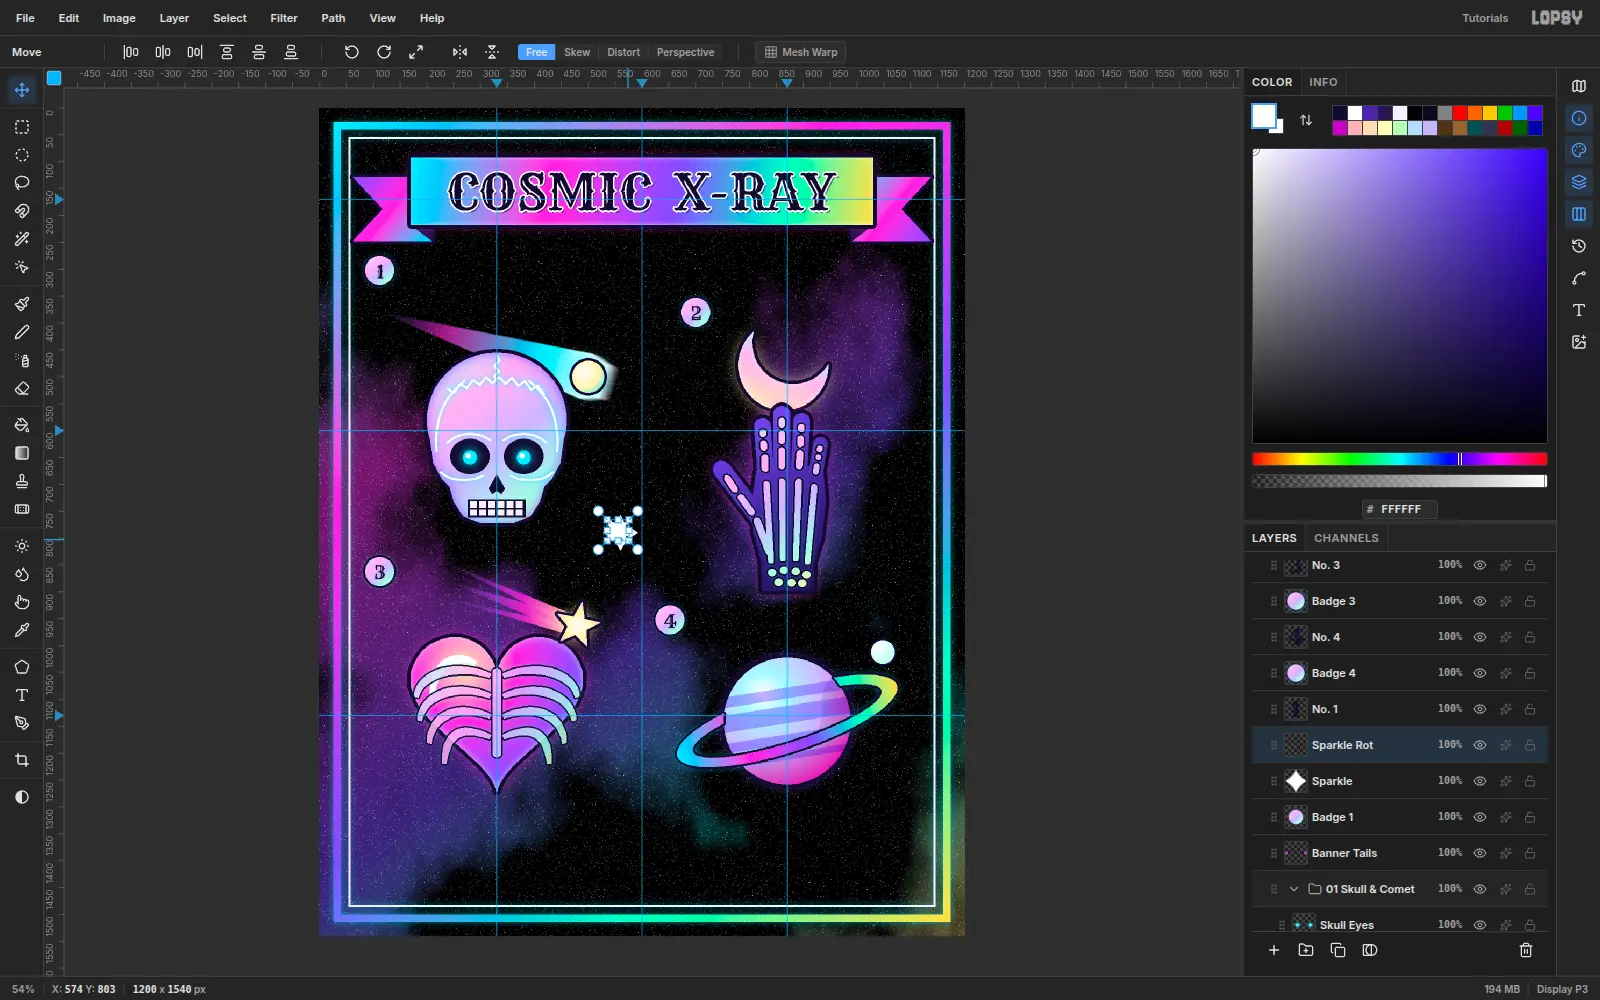
Press Cmd+D, Cmd-click the thumbnail again, and Cmd-drag the bottom-right handle inward to about 80%. Cmd keeps the scale uniform. Press Cmd+D, nudge the copy back to the original's centre and choose Layer → Merge Down. Add a white Outer Glow (Size 22, Opacity 95) and rasterize it.
-
Scatter the glints
Copy and paste the glint into the empty spaces: (1070, 360), (140, 1320), (1070, 1320) and (600, 880) between the rows. Use Cmd+X and Cmd+V to move the original up beside the comet at (560, 470). Scale two of the copies down to about 65% so they read as further away.
-
Plate the signature line
Every sheet needs its series line. On a Footer Plate layer, lasso two small notched ends in
#7B4DFF, then marquee 540 × 62 at (330, 1420) and fill it with the pastel foil. Give it a 4 px ink Stroke and a pink Outer Glow, and rasterize it. SetFLASH No. 13 ~ X-RAY SERIESin Rye 30, ink, and nudge it to the centre of the plate. On a plate, the line stays readable over the busiest part of the star field.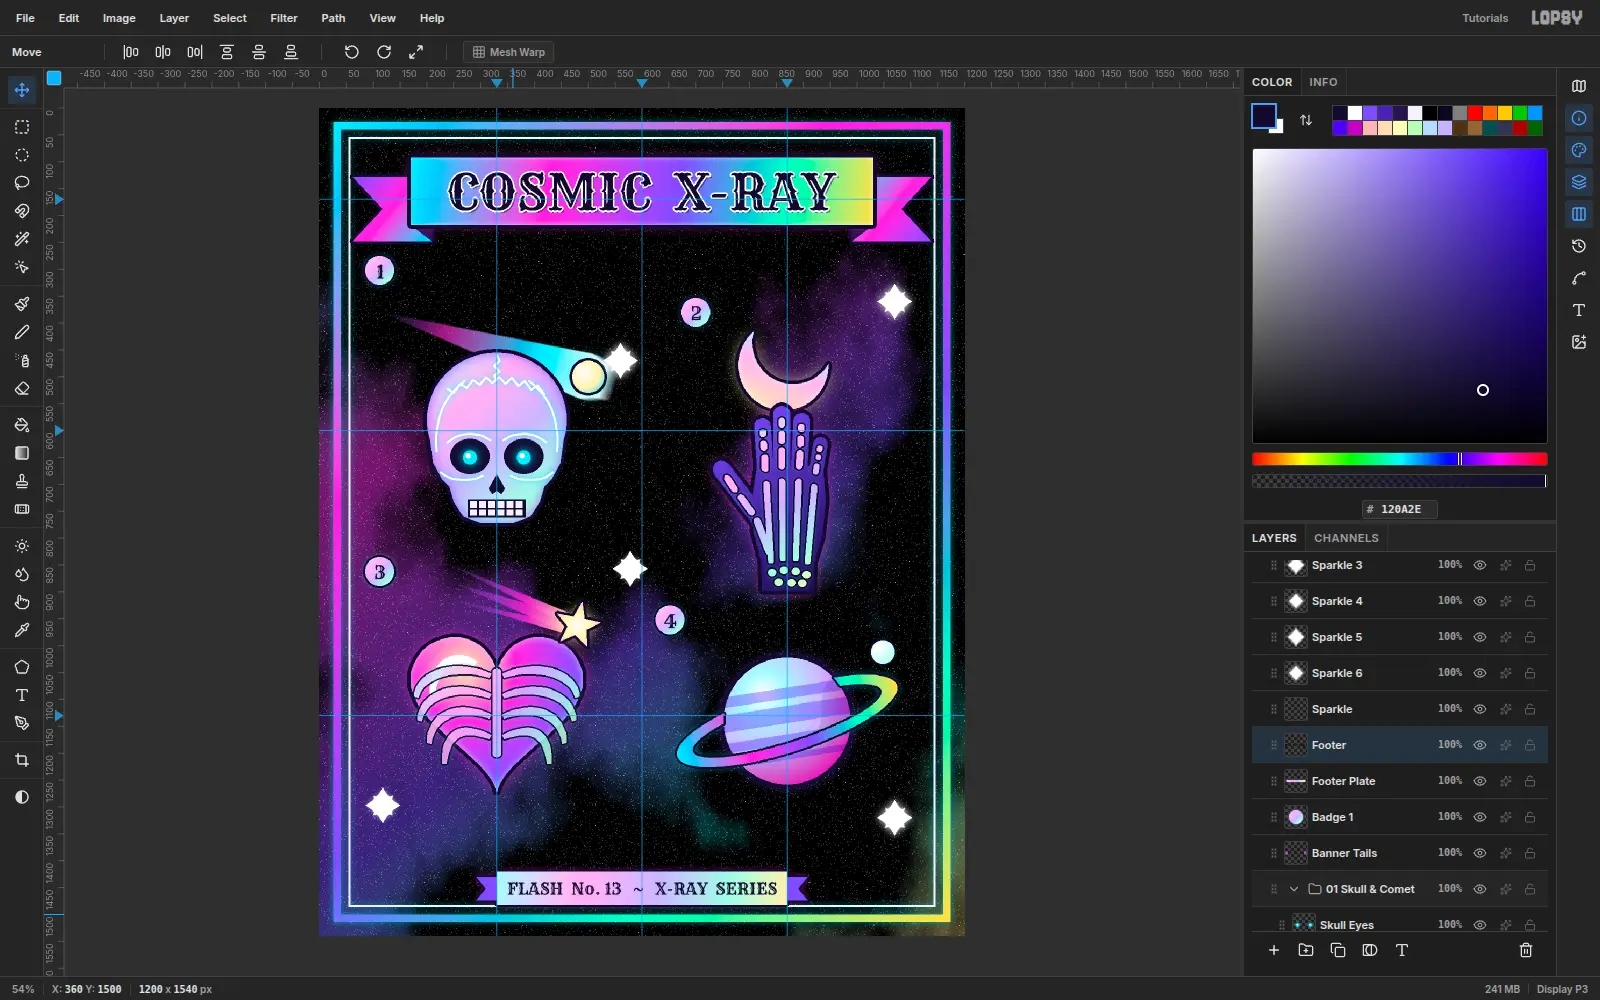
-
Drop the bottom row into balance
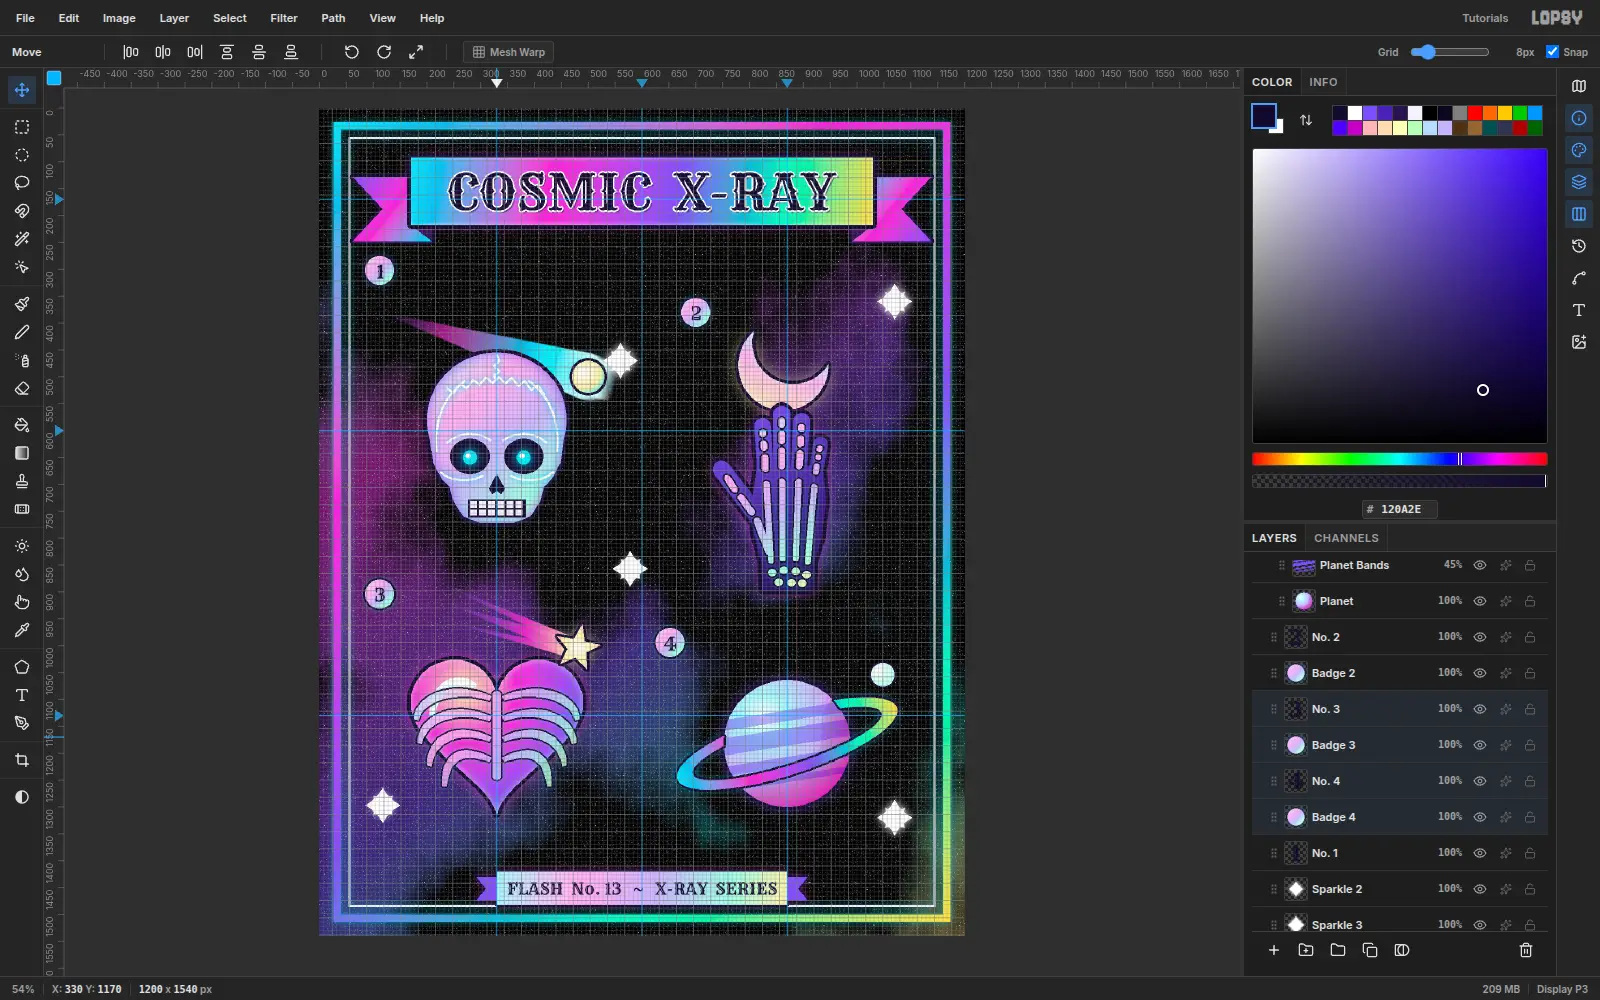
The bottom row sits too high and leaves a dead band above the footer. Turn on View → Show Grid. Click the 03 Heart & Star group, then Cmd-click 04 Ringed Planet, Badge 3, No. 3, Badge 4 and No. 4. With Move, drag the heart down about 40 px. Every selected layer and group moves together and snaps to the 8 px grid. Turn the grid off.
This is also a good time to check your history: Cmd+Z three times, then Cmd+Shift+Z three times, and the row lands exactly where you left it.
-
Finish with bloom, fringe and grain
Select Stars and run Filter → Bloom… (Threshold 40, Soft Knee 50, Radius 6, Intensity 140) so the brightest stars bloom. Select Comet Tail and run Filter → Chromatic Aberration… (Amount 7, Direction 17) for a foil-like colour split along the streak. Last, add a Grain layer above everything: fill it with
#808080, run Add Noise… (Amount 22, Mono, Gaussian), and set it to Overlay at 18%. Export with File → Quick Export PNG.