Design a Holographic Soda Can Billboard
Build a CRYSTAL SODA billboard in Lopsy with Clouds, Liquify and a Gradient Map for foil, faceted lasso crystals and a holographic echo headline.
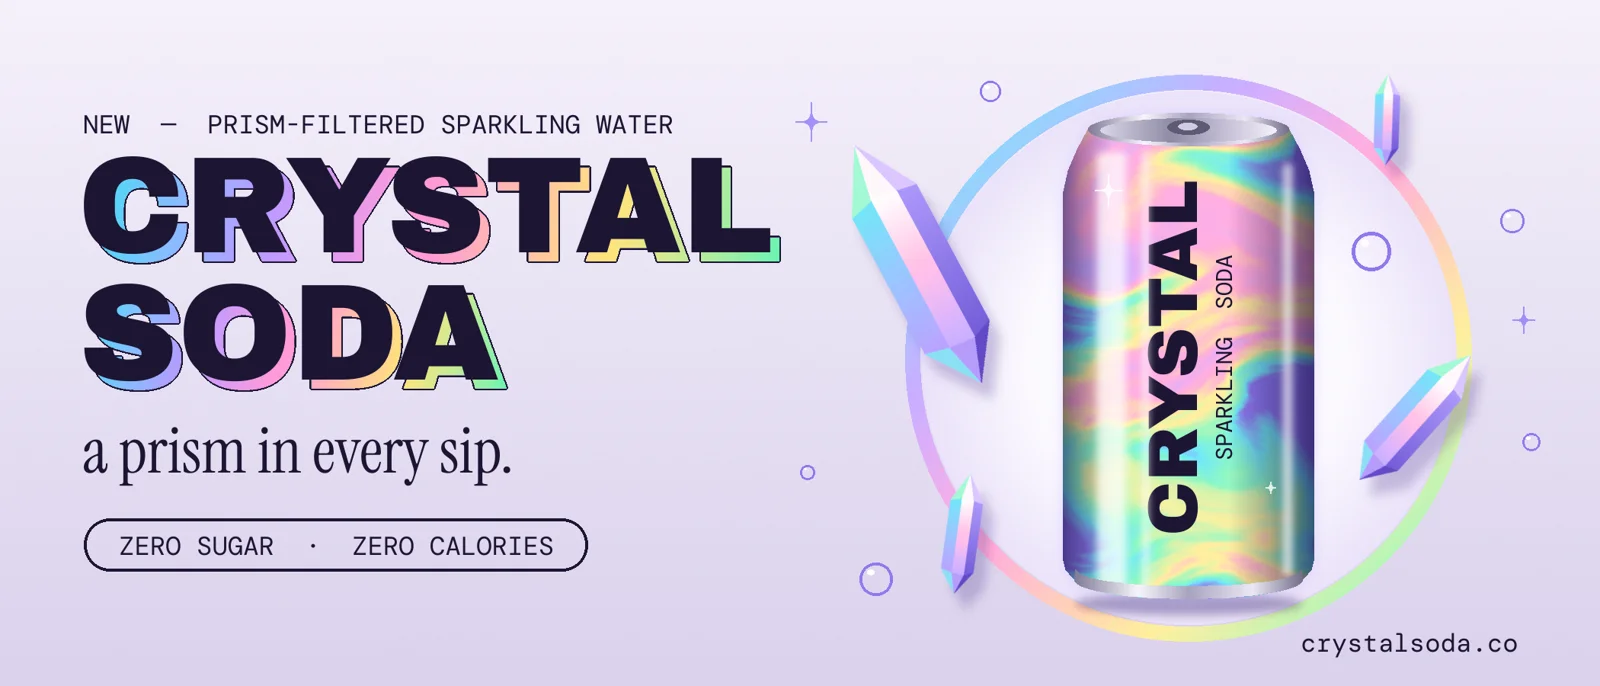
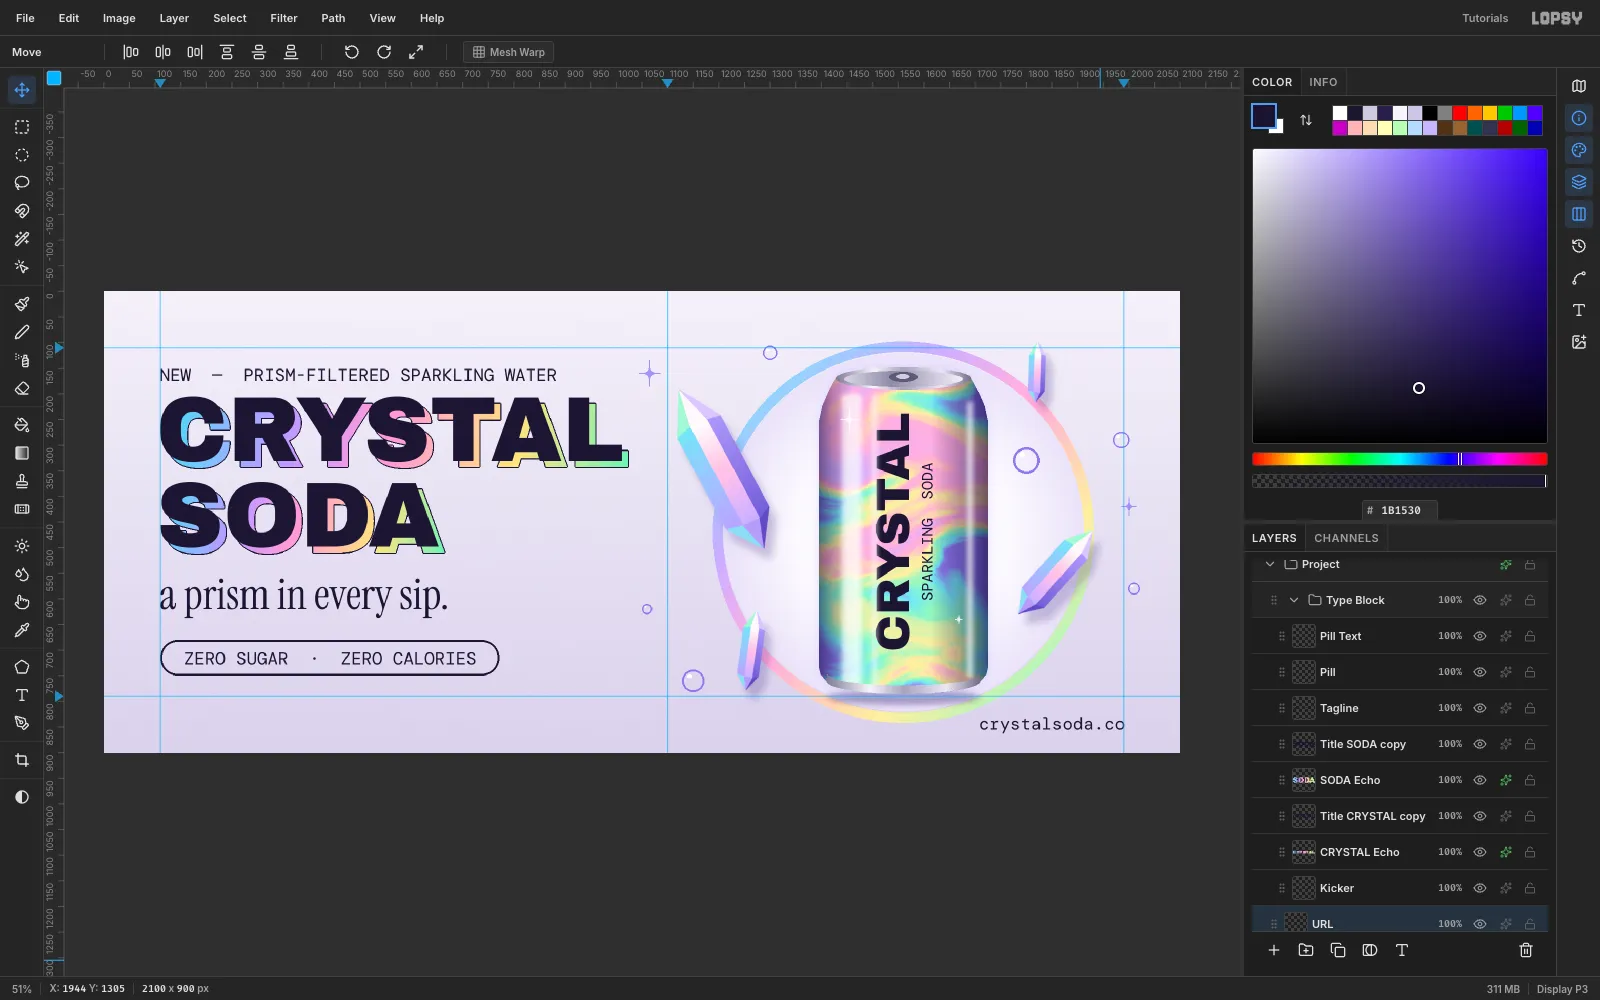
Holographic packaging works best when the shimmer is rationed. Give the foil a single hero object and keep everything around it matte and calm. In this tutorial you'll make CRYSTAL SODA, a 2100 × 900 billboard for a made-up sparkling water. A foil can sits inside a thin iridescent ring, and faceted crystals float around it. The navy headline gets a rainbow "echo" offset behind it.
For the foil you don't paint a rainbow. You render grey Clouds, swirl them with Liquify, and let a group Gradient Map turn the tones into holographic bands. The crystals are Lasso facets filled with small gradients, then duplicated, scaled and rotated with the Move tool.
The palette:
- Pearl background
#F3EFF8→#D8D0E9 - Ink navy
#1B1530 - Holographic ramp
#8E7BEA→#8FE3F5→#A8F5C8→#FFF0A8→#FFB3D9→#C4AEFF→#9EEBFF→#FFE6F4 - Echo ramp
#6FD8F2→#B49BFF→#FF9FCF→#FFE58A→#8FF0B8 - Accent violet
#8C7AE6, shadow violet#3A2A70
-
Lay down a pearl background and guides
Choose File → New, set Unit: Pixels, enter 2100 × 900 and pick a White background.
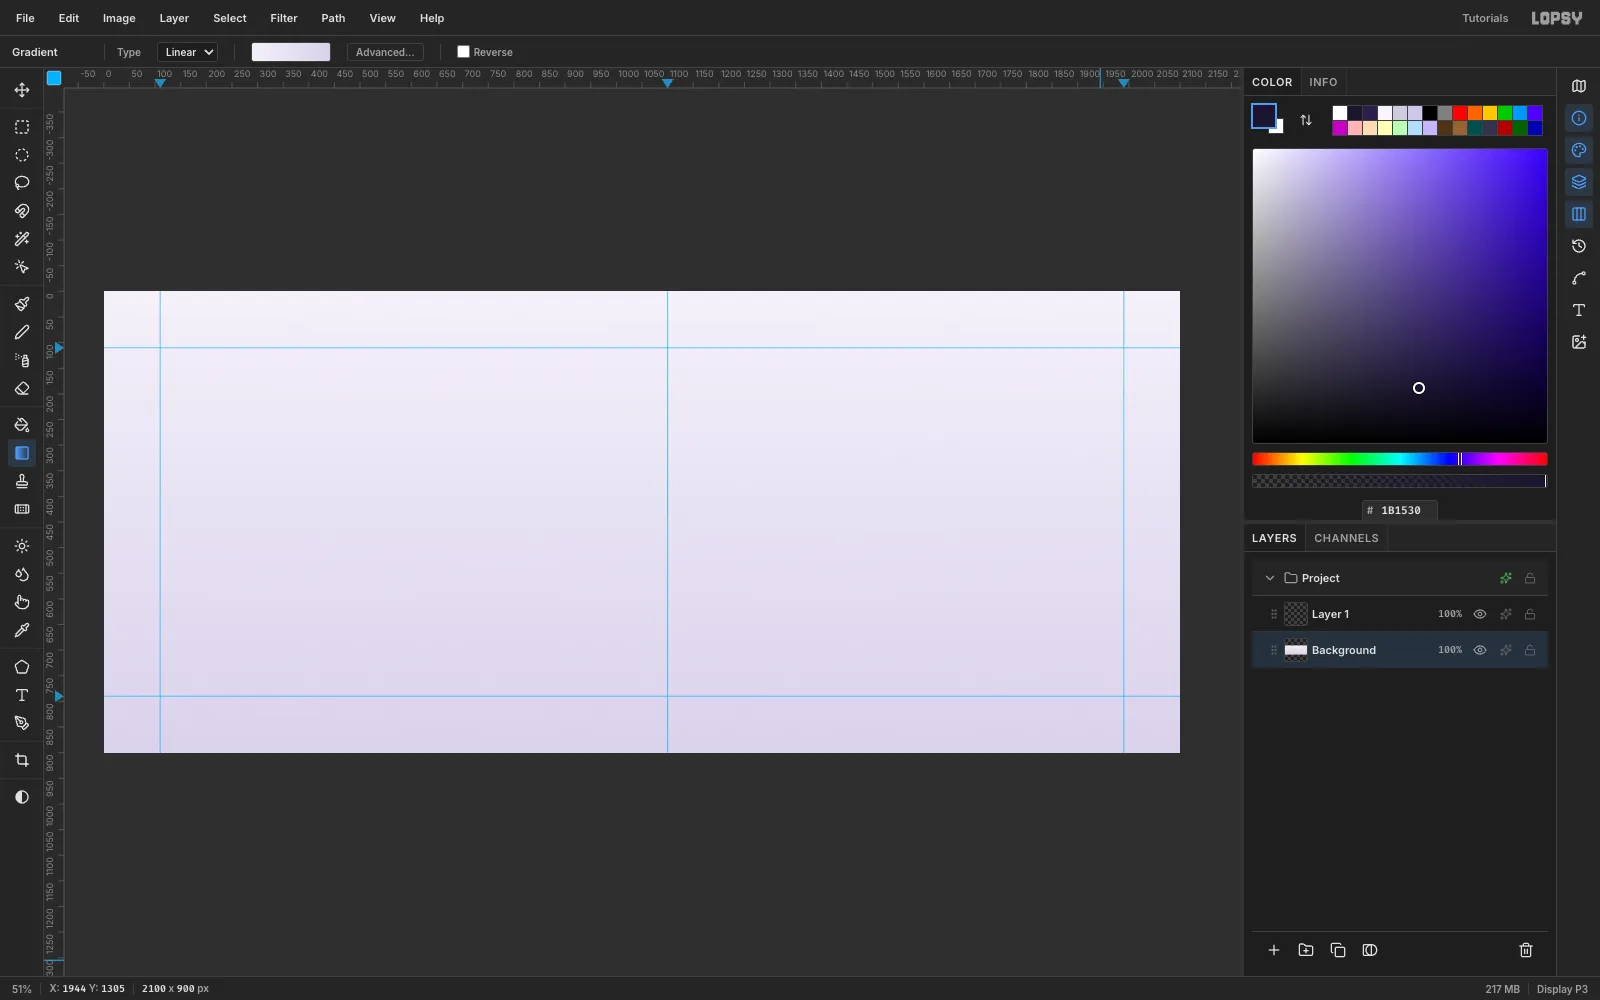
- Select the Background layer and switch to the Gradient tool (G).
- Click Advanced… and set two stops,
#F3EFF8at the top and#D8D0E9at the bottom. - Drag straight down from the top edge to the bottom edge.
Next, click the rulers to drop guides. A click on the top ruler at 110, 1100 and 1990 adds vertical guides, and a click on the left ruler at 110 and 790 adds horizontal ones. The left column between 110 and 1100 holds the type, and the can is centred at x 1560.
-
Add a glowing disc and an iridescent ring
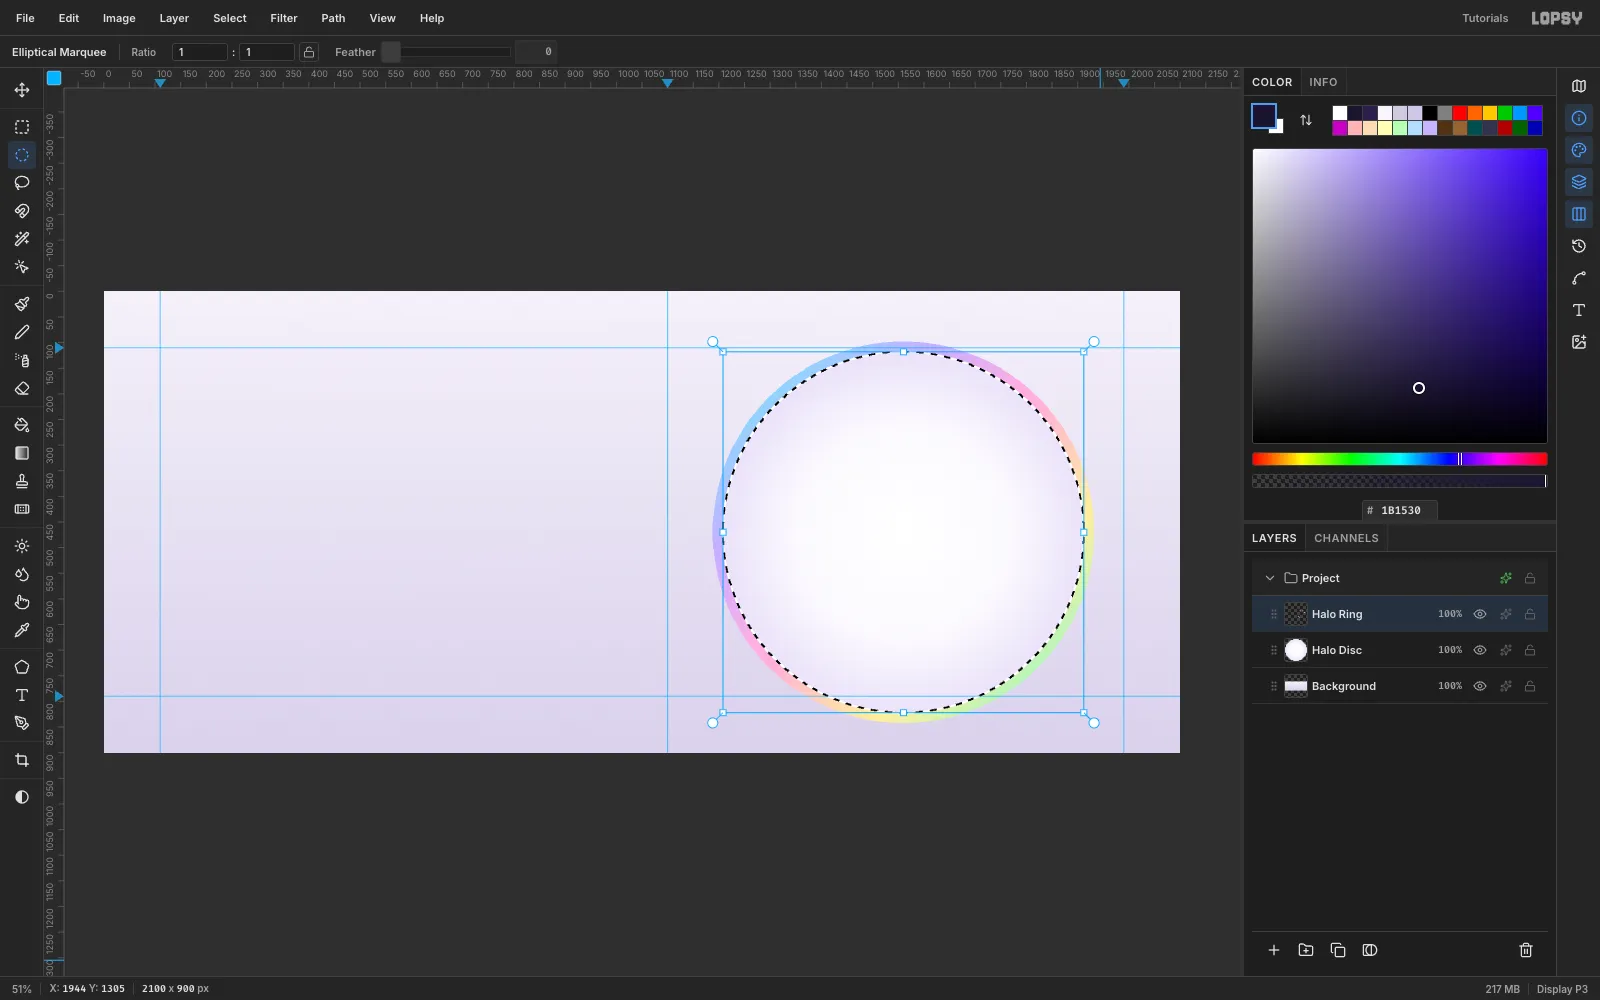
Rename Layer 1 to Halo Disc. Pick the Elliptical Marquee and drag a 700 × 700 circle centred on (1560, 470). Pick the Gradient tool and set its Type to Radial. Use white at the centre,
#FBF8FEat 60% and#E9E1F7at the edge, then drag from the centre out to the rim. The disc lifts the can off the background without a hard edge.Add a layer called Halo Ring. Marquee a 744 × 744 circle around the same centre and fill it with a Linear gradient that runs the pastel ramp from the top left to the bottom right. Then draw a 704 × 704 circle on the same centre and press Delete. What's left is a 20 px iridescent ring. The screenshot shows the inner circle still selected just before the Delete.
-
Soften a shadow under the can
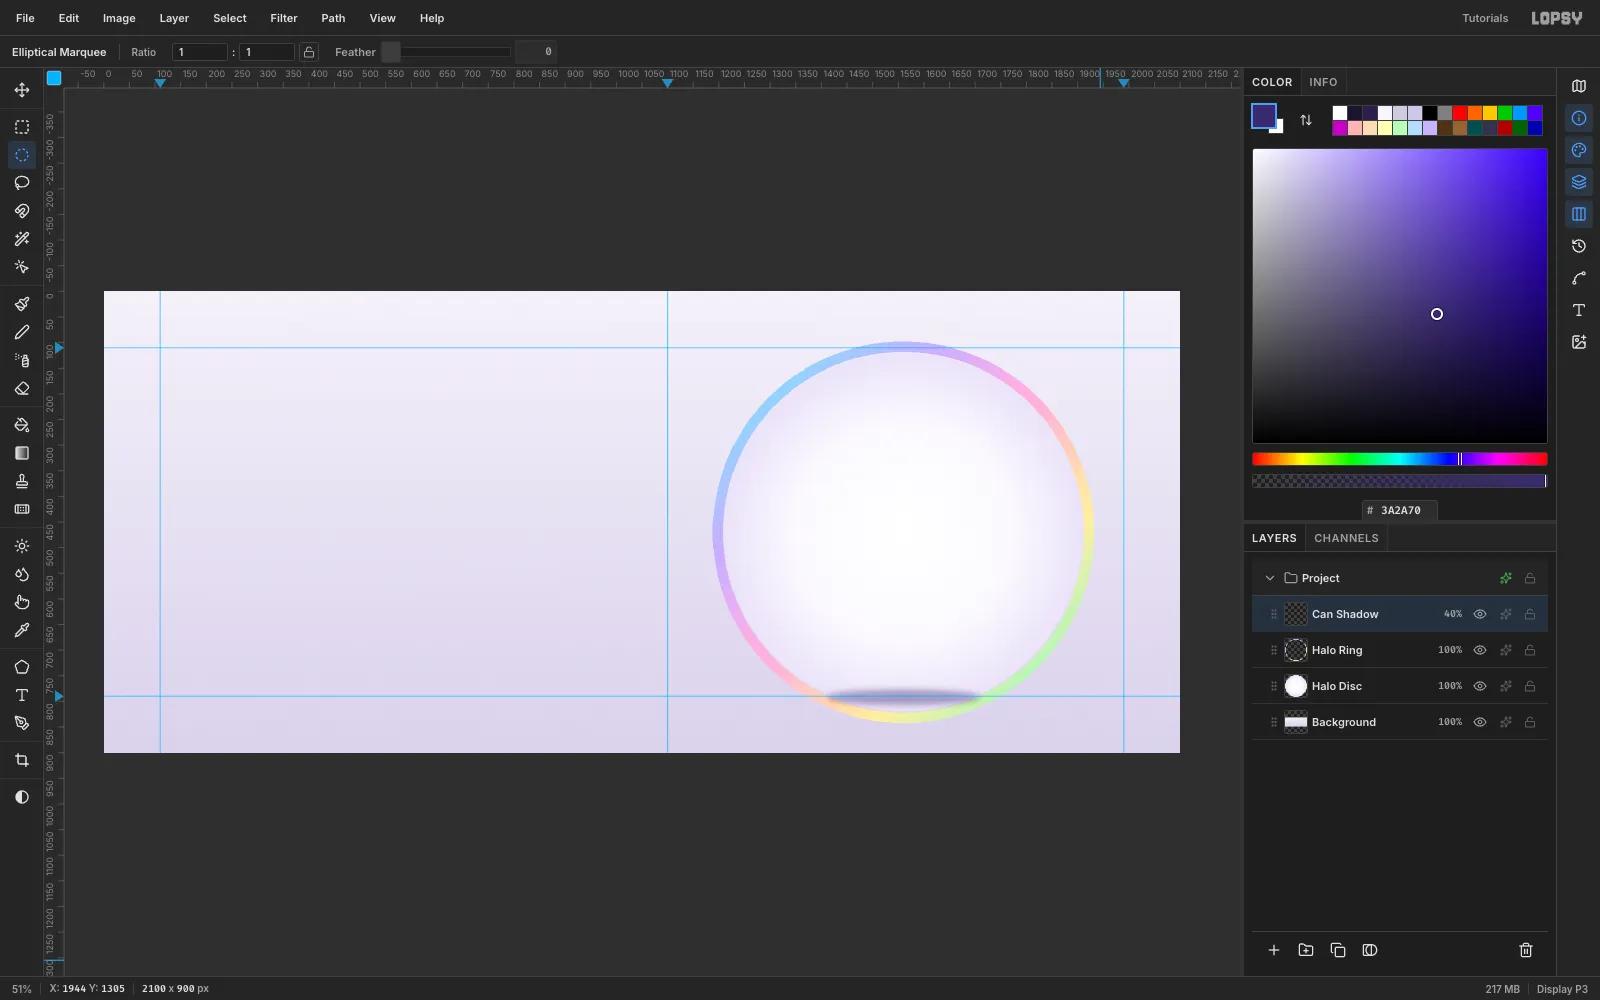
Add a Can Shadow layer. Marquee a flat 300 × 30 ellipse at (1410, 777) and use Edit → Fill with
#3A2A70. Deselect with Cmd+D.- Run Filter → Gaussian Blur with Radius 18.
- In the layer's effects drawer, set Blend to Multiply.
- Drag the row's opacity down to 40%.
A flattened, blurred ellipse reads as contact with a surface, where a round blob would just look like a stain.
-
Lasso the can silhouette
Add a Can Body layer and draw the can with the Lasso:
- Top: trace the upper half of a 264 px wide ellipse at y 170.
- Neck: flare out through (1402, 224) to the body sides at x 1395 and 1725.
- Chime: run the sides straight down to y 732, pull them in slightly, and close along the lower half of a 300 px ellipse at y 760.
Edit → Fill it with
#CFC6E8. It's only a base colour, because the foil will cover it.Open Can Body's effects and enable Outer Glow. Set the colour to
#B9A8FF, Size to 26 and Opacity to 40. The lavender glow separates the can from the white disc.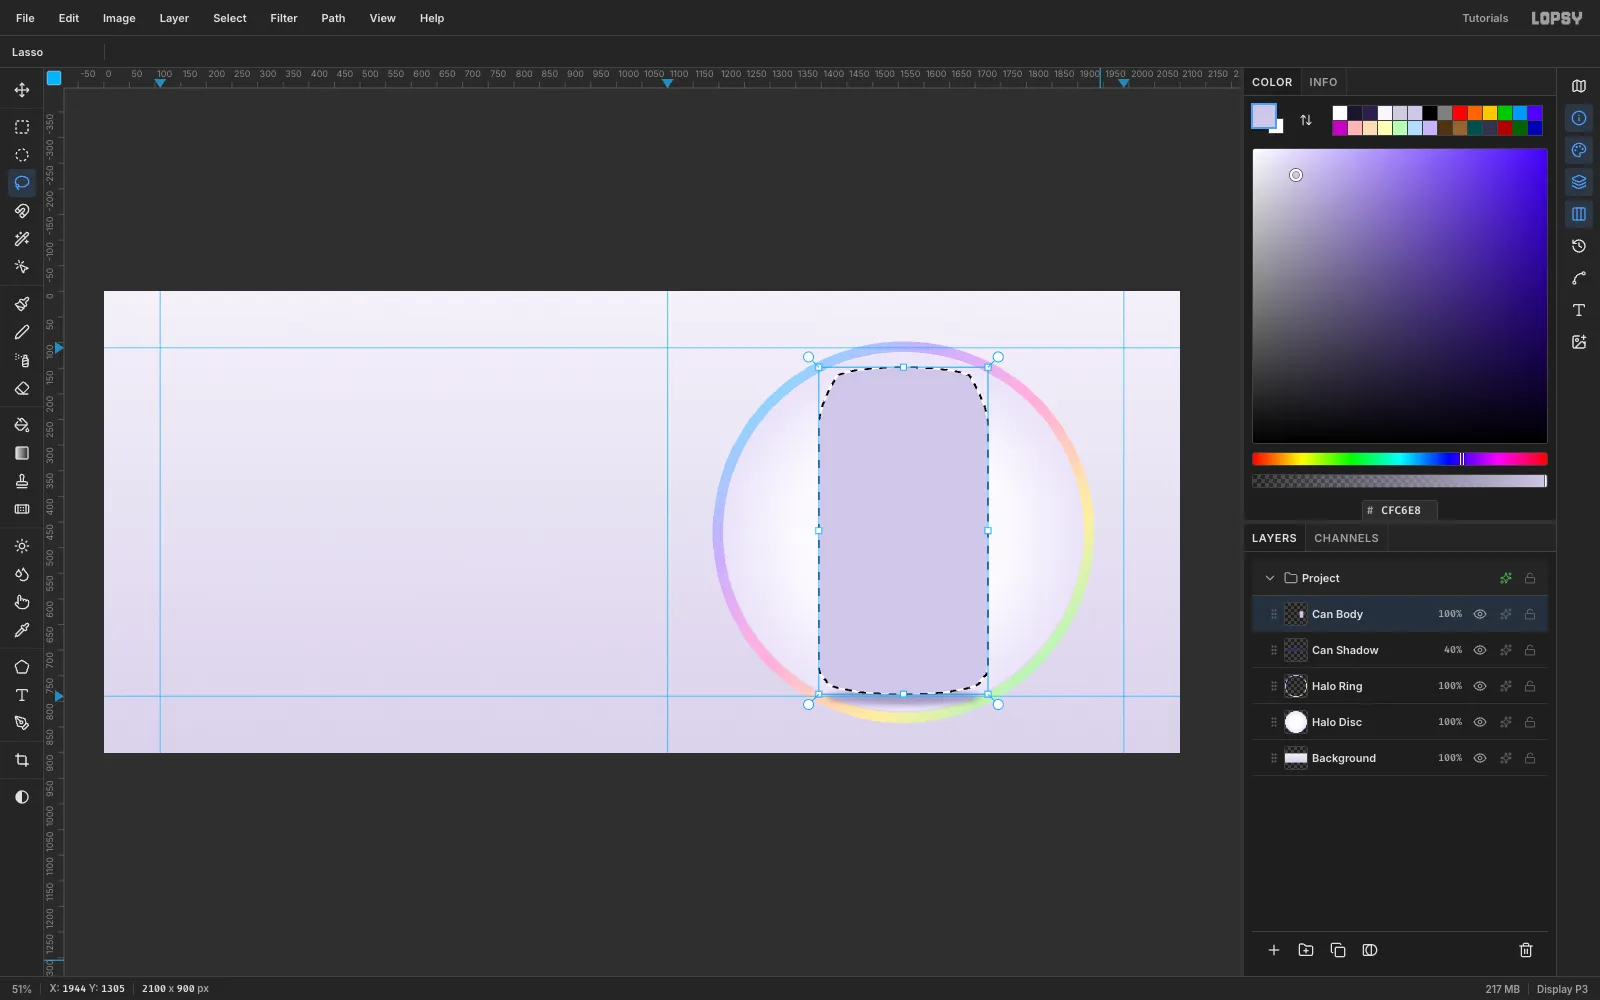
-
Rotate the can lettering
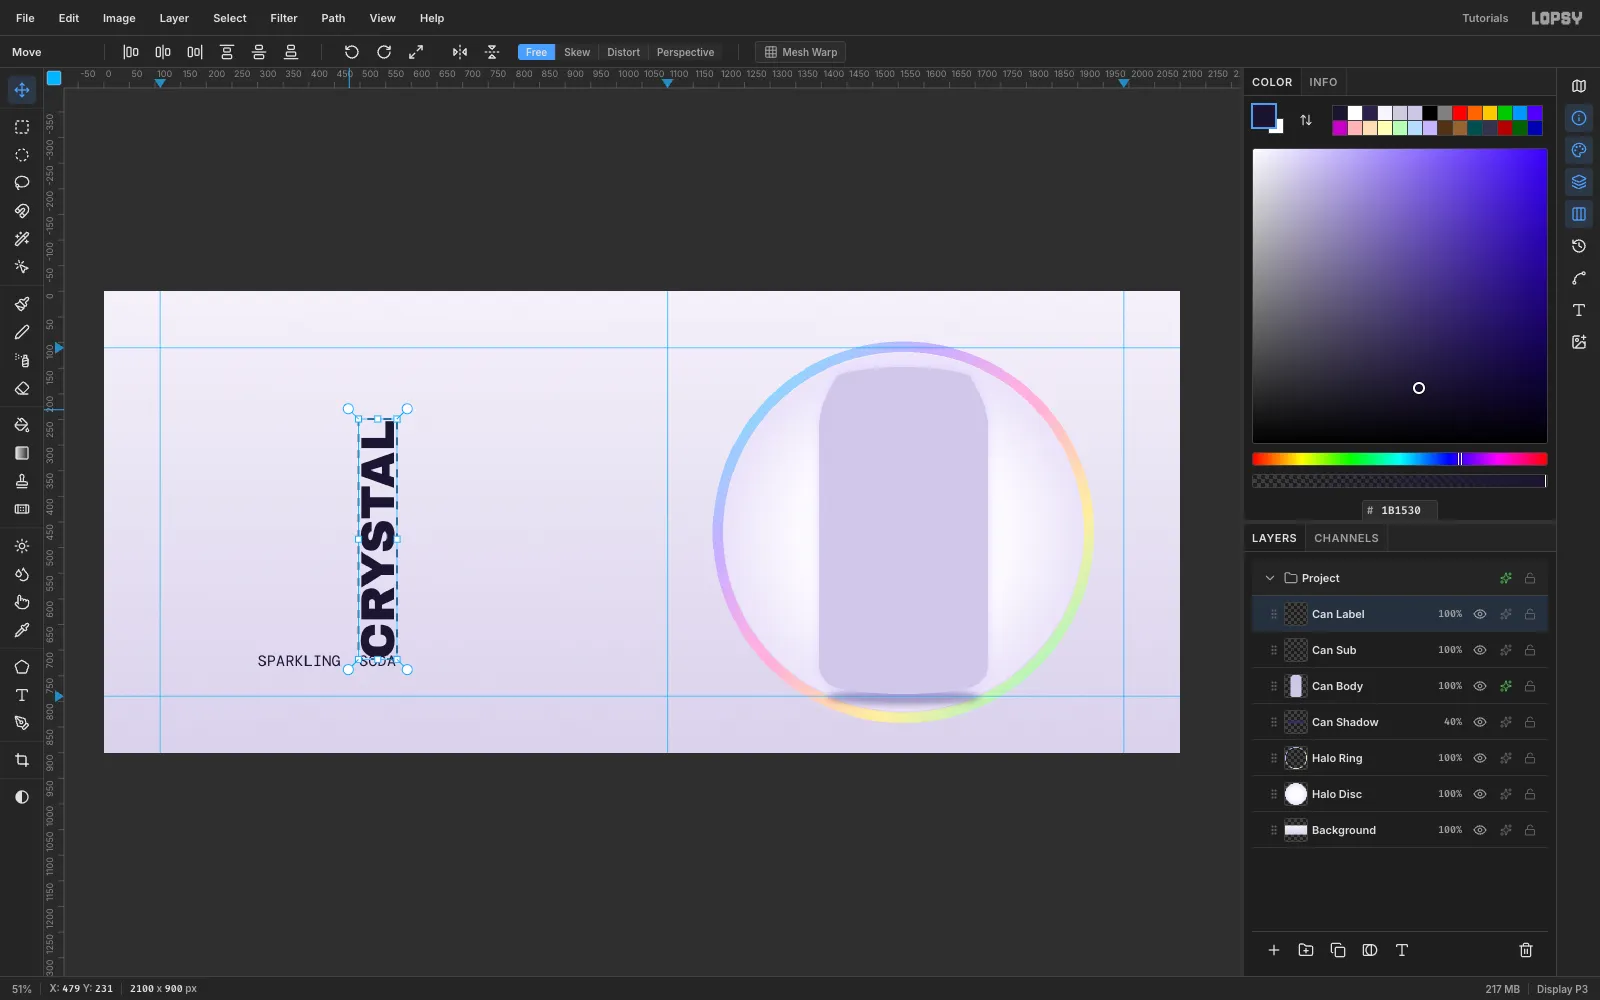
Set the can type in empty canvas first, where it's easy to grab.
- With Can Body selected, pick the Text tool. Set Archivo Black at 92 in ink
#1B1530, click at about (300, 420) and typeCRYSTAL. Press Tab to commit. - Select Can Body again and add a second line lower down, in DM Mono 30, that reads
SPARKLING SODA. - Draw a Rectangular Marquee a few pixels larger than CRYSTAL and switch to the Move tool (V).
- Hold Cmd and drag the round handle past the top-right corner. Cmd snaps rotation to 15° steps, so stop at −90°, which reads from the bottom up.
- Press Cmd+D to commit, then do the same for the second line.
- With Can Body selected, pick the Text tool. Set Archivo Black at 92 in ink
-
Place the label on the can
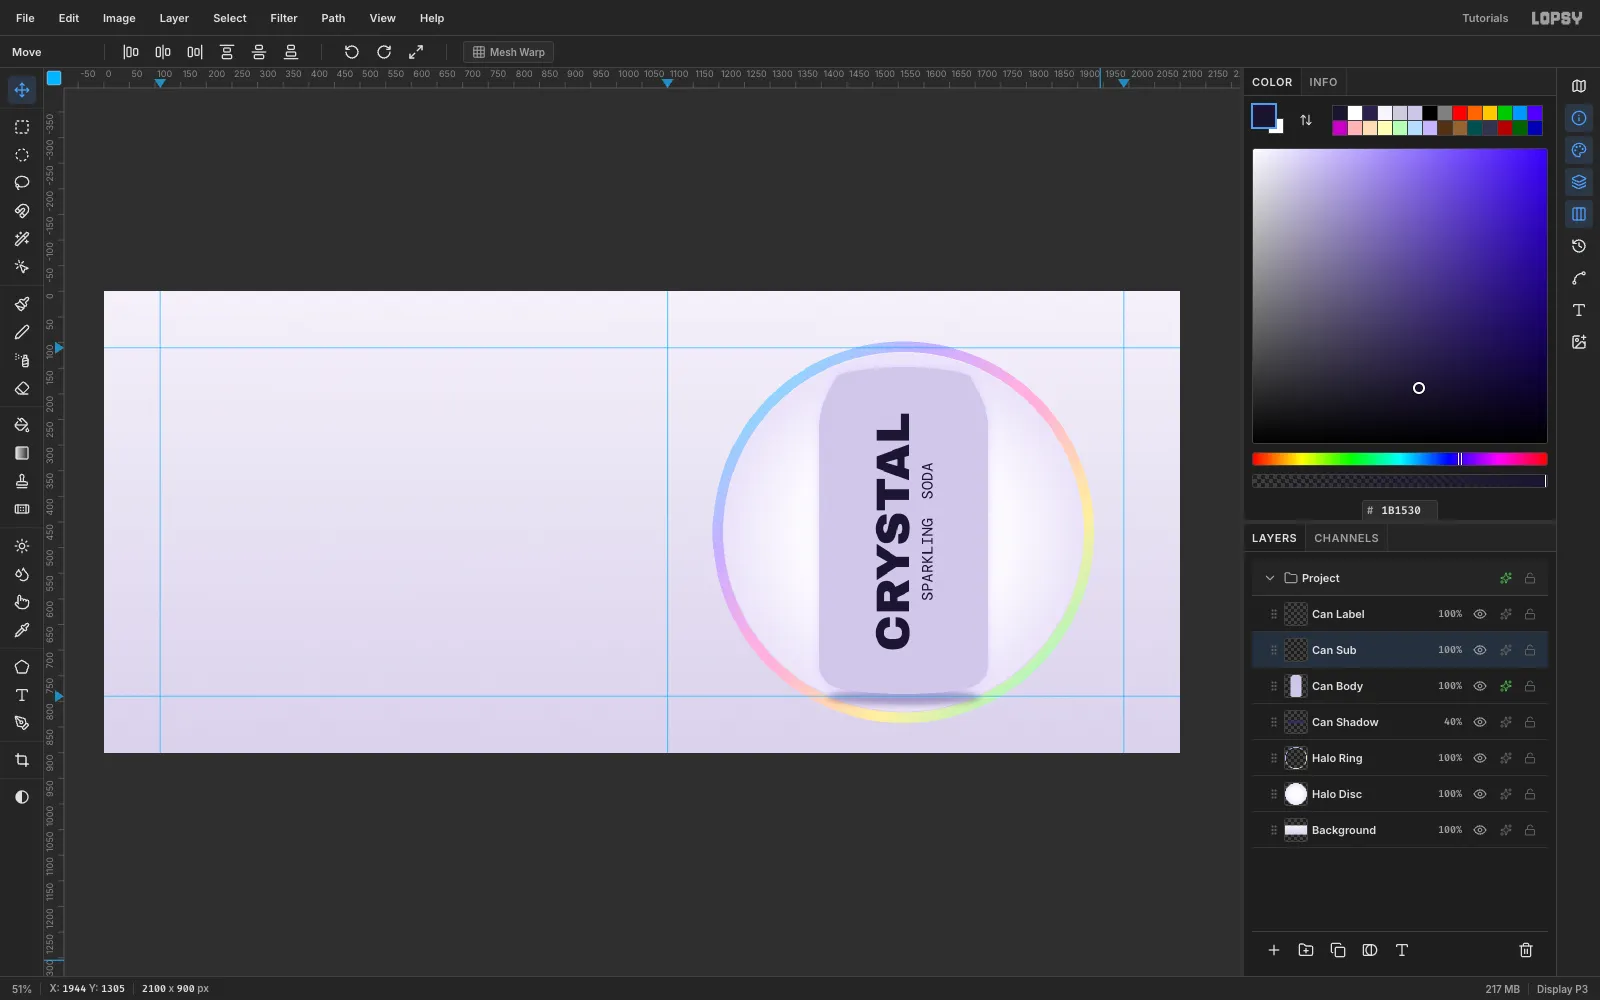
Drag each rotated line onto the can with the Move tool:
- CRYSTAL: centre it at (1539, 468).
- SPARKLING SODA: centre it at (1606, 468).
That leaves the pair centred on the can, with about 40 px clear above and below. Leave both layers above Can Body. The foil goes between them in the next steps, and the shading goes over the top, so the lettering wraps with the cylinder.
-
Build the foil group with a Gradient Map
- Select Can Body, add a layer called Foil, and run Filter → Clouds at Scale 4 with nothing selected. The clouds fill the whole layer.
- With Foil selected, click New Group in the Layers footer and rename the group Foil FX.
- Drag Foil's grip onto the Foil FX row so it moves into the group.
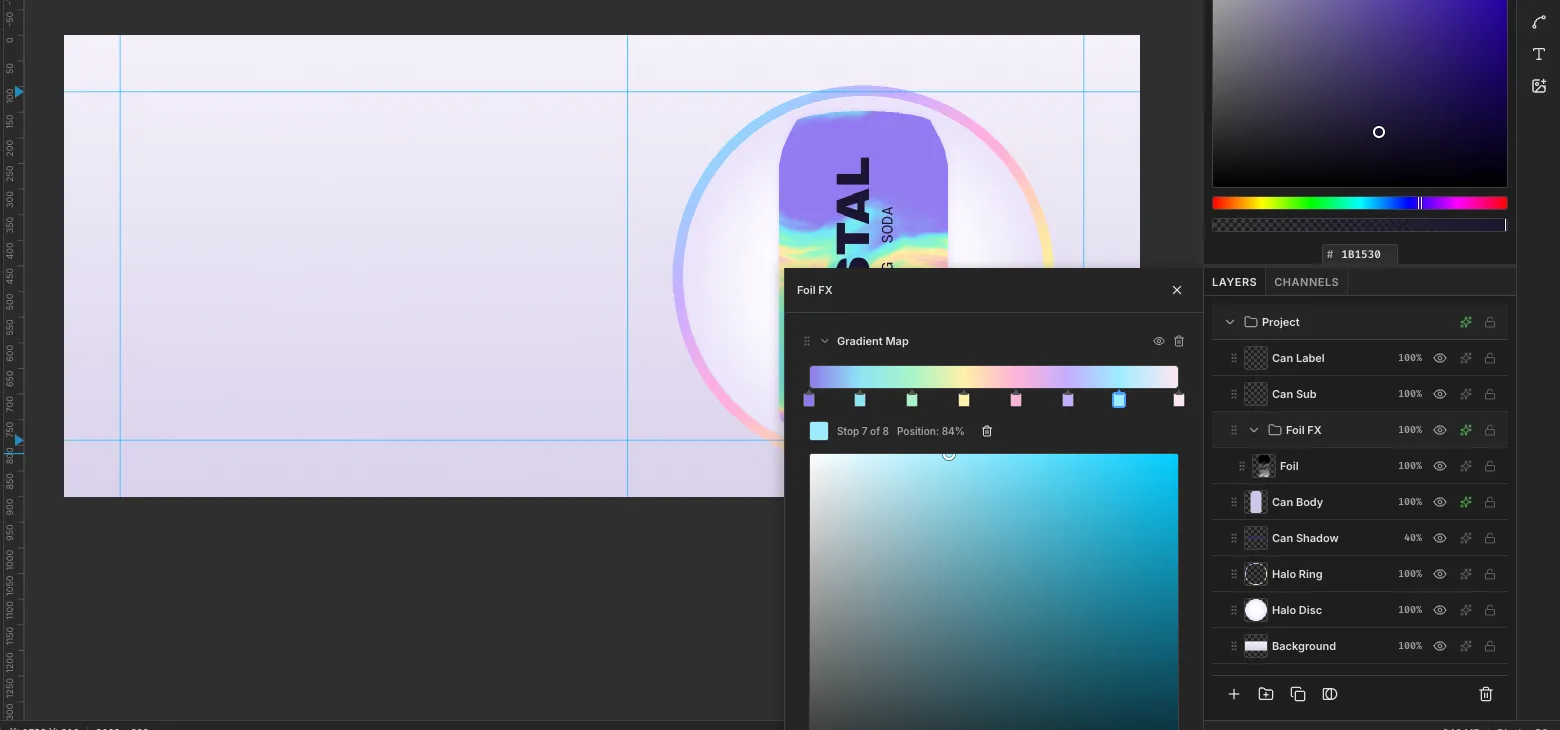
Open Foil FX's drawer and choose Add Adjustment → Gradient Map. Click the handle row under the bar to add stops, and pick each colour on the hue strip and SV square:
#8E7BEAat 0#8FE3F5at 14%#A8F5C8at 28%#FFF0A8at 42%#FFB3D9at 56%#C4AEFFat 70%#9EEBFFat 84%#FFE6F4at 100%
The ramp cycles through the spectrum twice. Every soft grey step in the clouds becomes a thin band of colour, and that is what makes it look like foil.
-
Re-roll the clouds if a big area goes flat
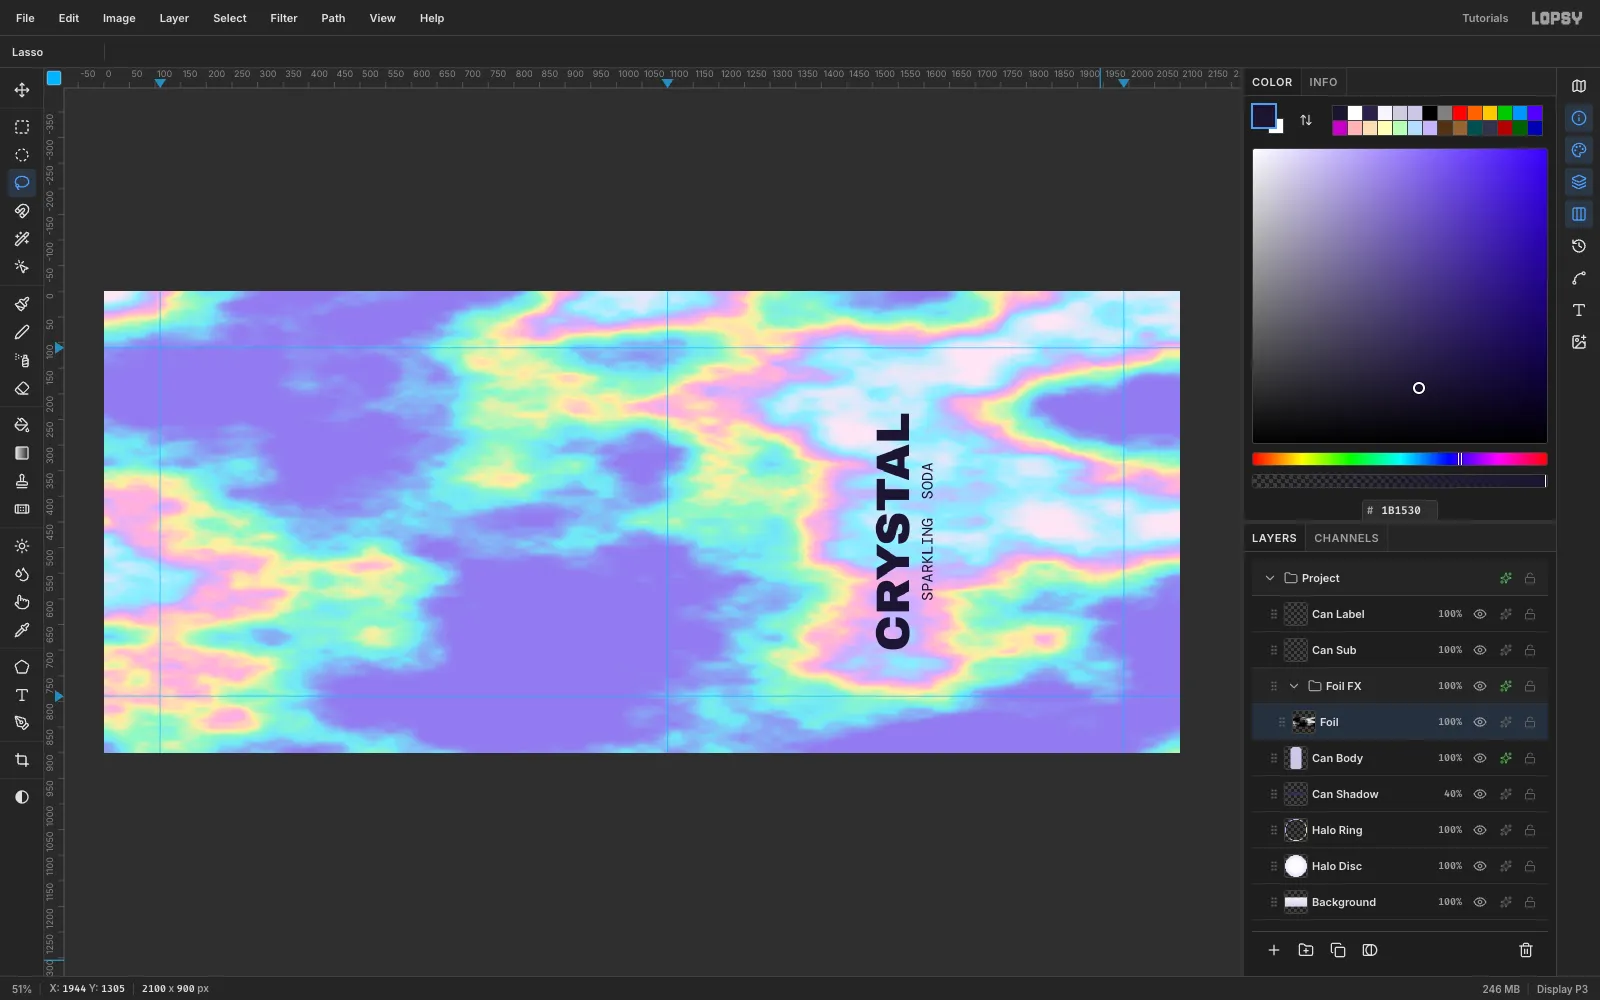
Clouds has no seed, so every render is different. In the screenshot above this step, the top of the can landed on solid black and mapped to a flat purple slab. If that happens, press Cmd+Z and run Filter → Clouds again until the area behind the can is mostly mid-greys.
Because Foil now sits inside the mapped group, you see the holographic result straight away while you re-roll.
-
Swirl the foil with Liquify
Open Filter → Liquify… (Cmd+Shift+X).
- In Push Forward mode, set Brush size 170 and Pressure 70. Make four long, gently wavy strokes across the can, alternating direction.
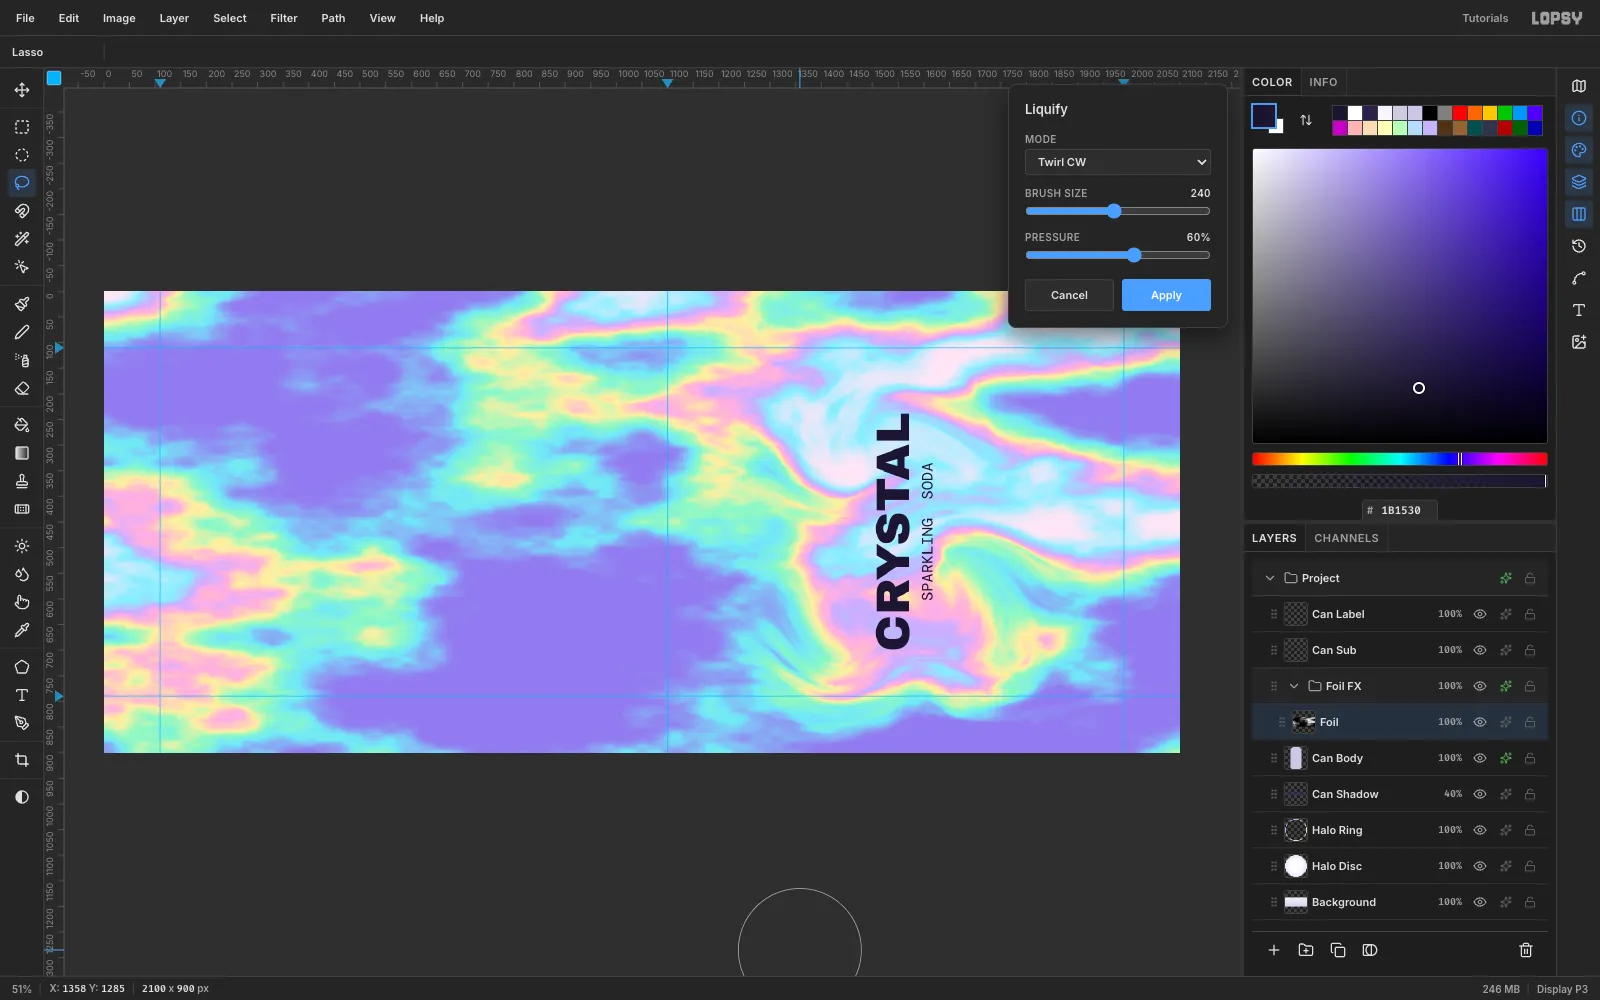
- Switch to Twirl CW and set size 240 and pressure 60.
- Hold the mouse on three spots on the can (upper left, middle right, lower left) and wiggle it slightly so the twirl builds up.
- Click Apply.
Liquify ignores selections and moves the whole layer. That's why the clouds were rendered on the full layer: the warp has real texture to pull in from outside the can.
-
Clip the foil to the can
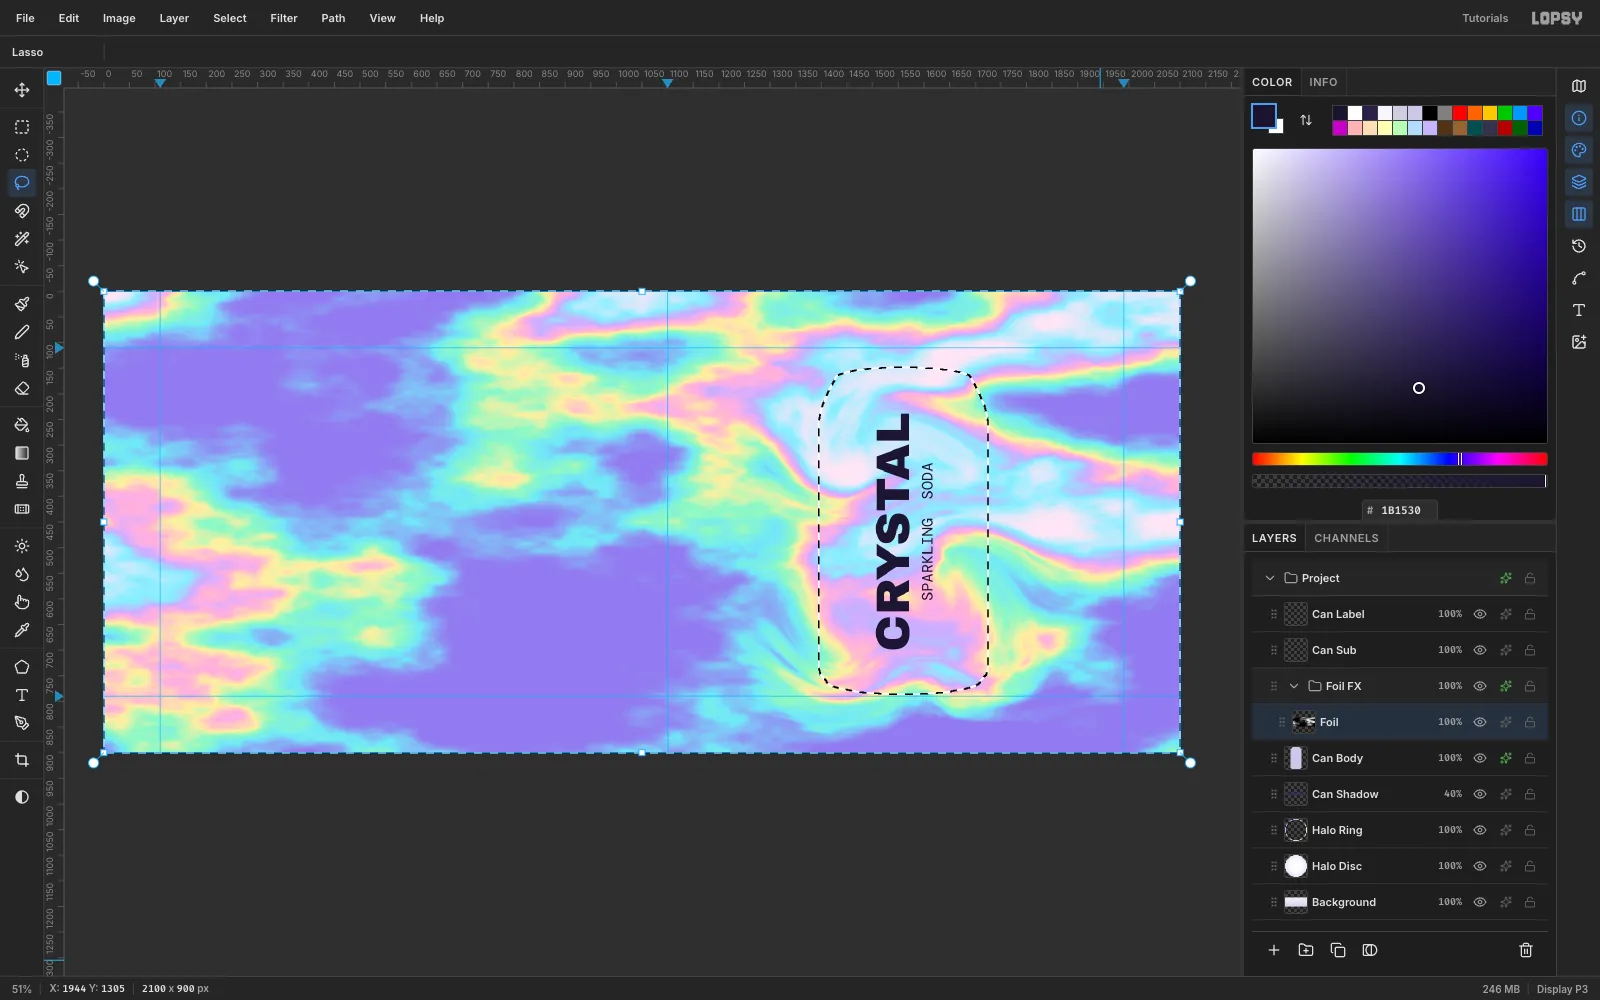
Redraw the same can outline with the Lasso and choose Select → Inverse. Then press Delete and Cmd+D. Only the can keeps its foil.
-
Tone the foil
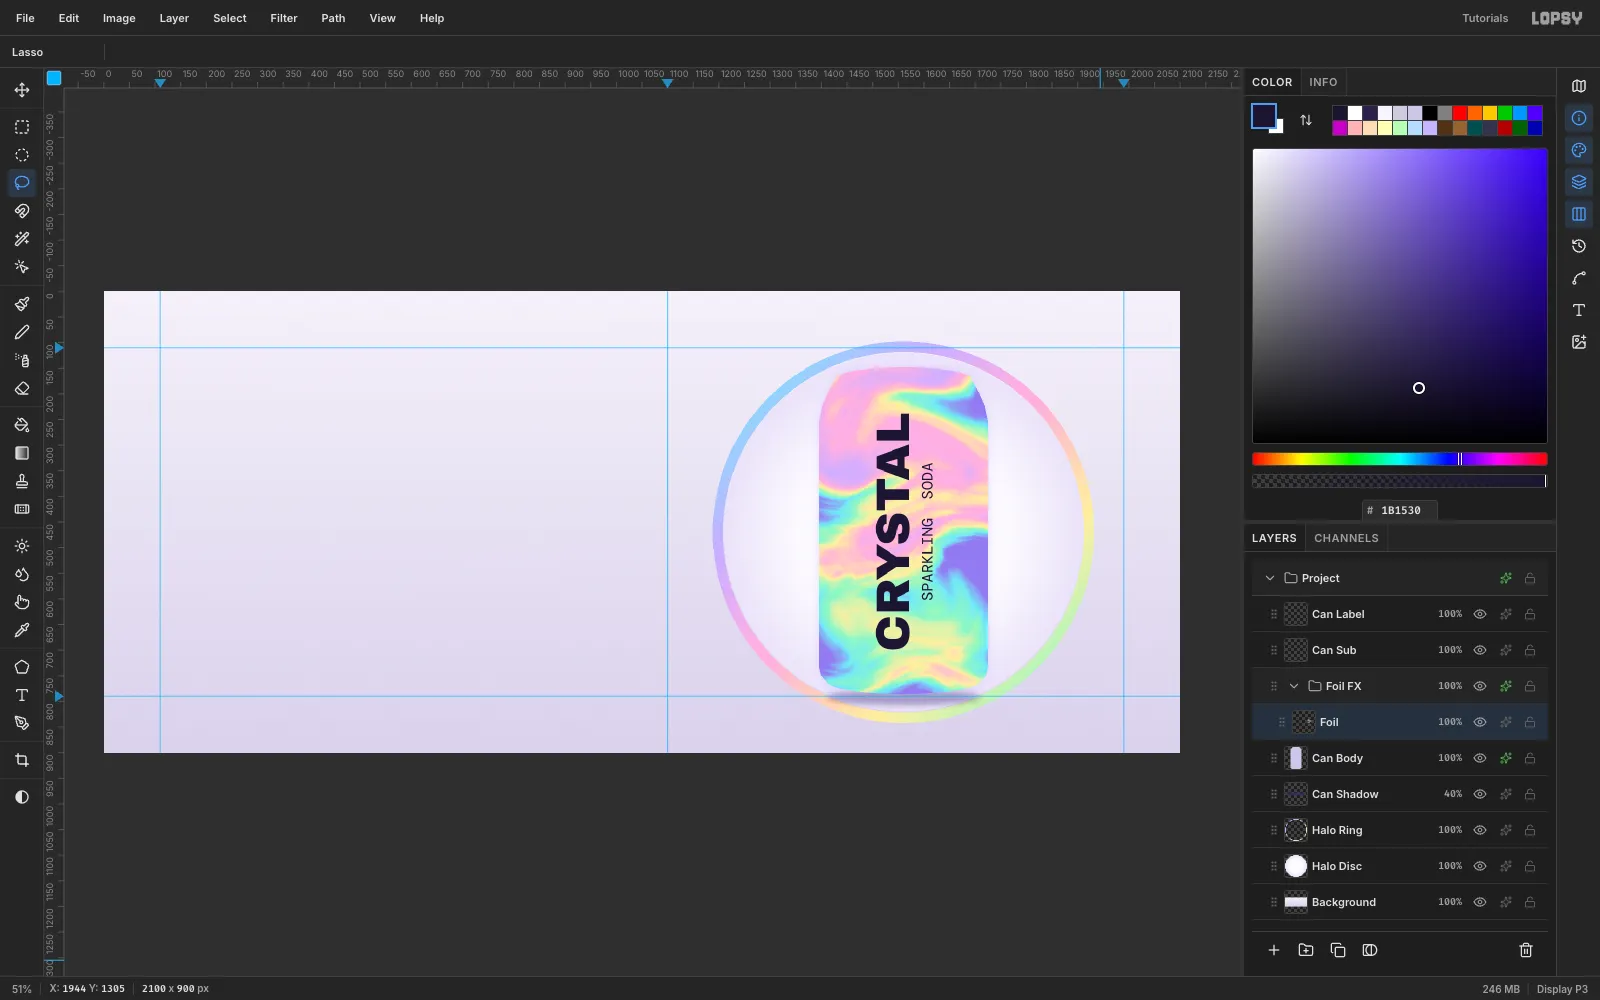
Select Foil and run Filter → Hue/Saturation with Lightness −32. Darker greys push more of the can into the middle of the ramp, so you get more distinct bands and less pale pink.
-
Shade the cylinder
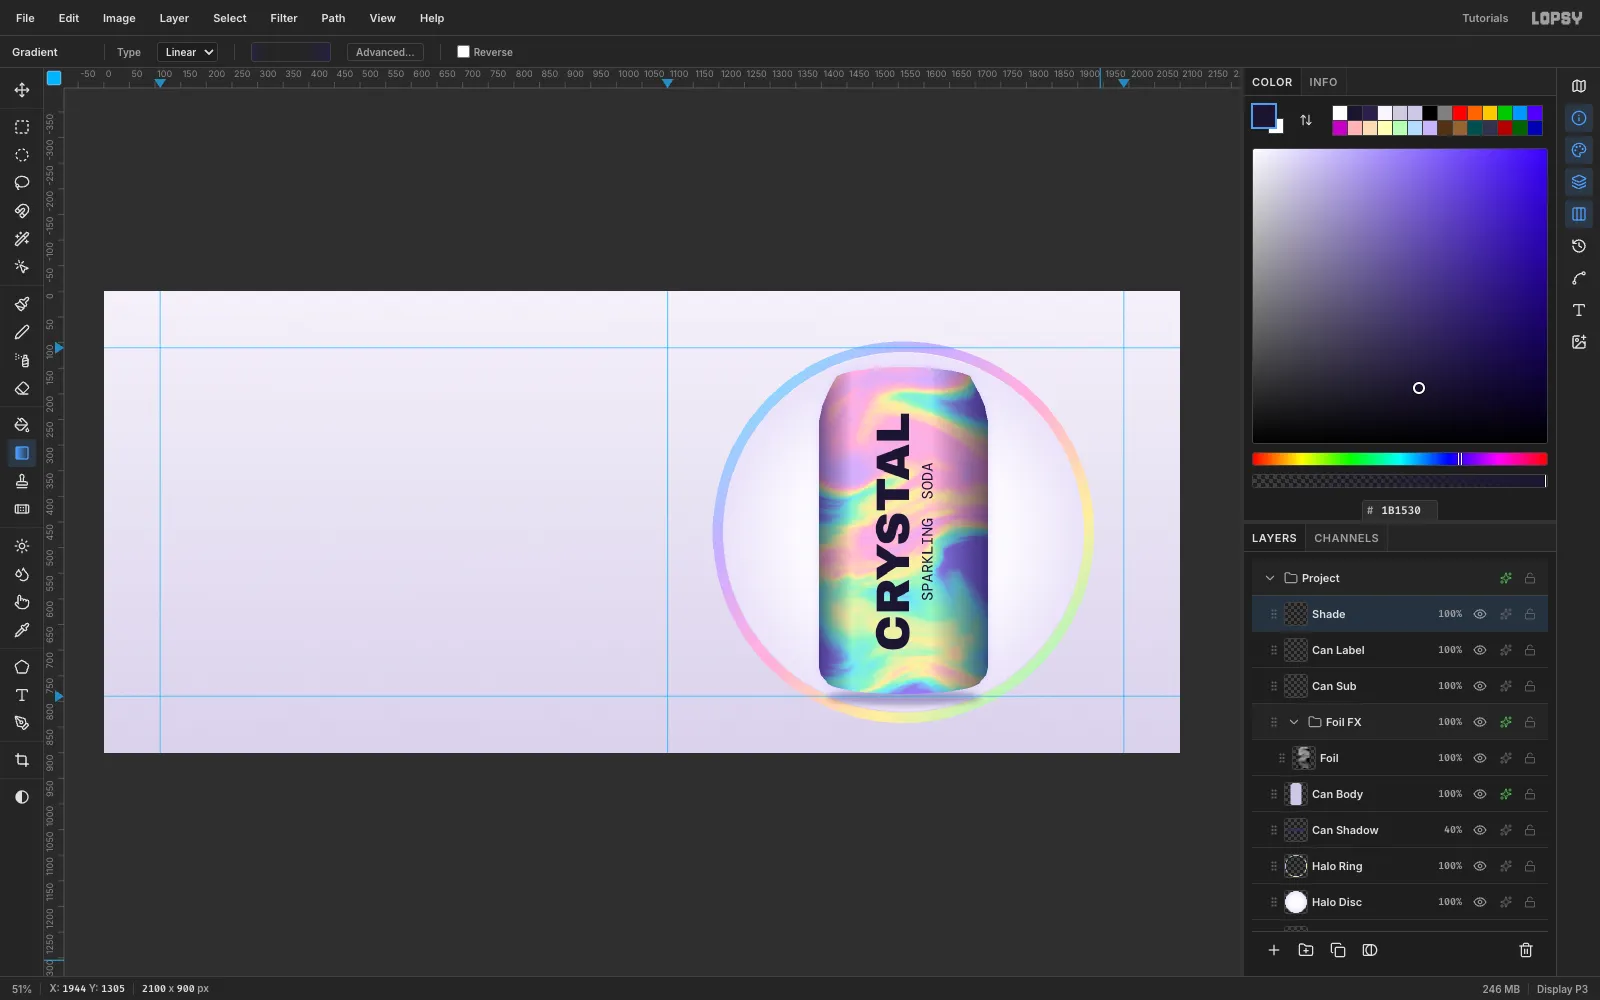
Select Can Label and add a Shade layer above it. Lasso the can outline again and drag a horizontal Linear gradient from x 1395 to 1725 with these stops, all in
#2A1F4A:- 60% opacity at 0
- 0% at 20%
- 0% at 66%
- 70% at 100%
Deselect, then set Blend to Multiply. The edges roll away, and the label wraps with them.
-
Add gloss, the lid and the rim
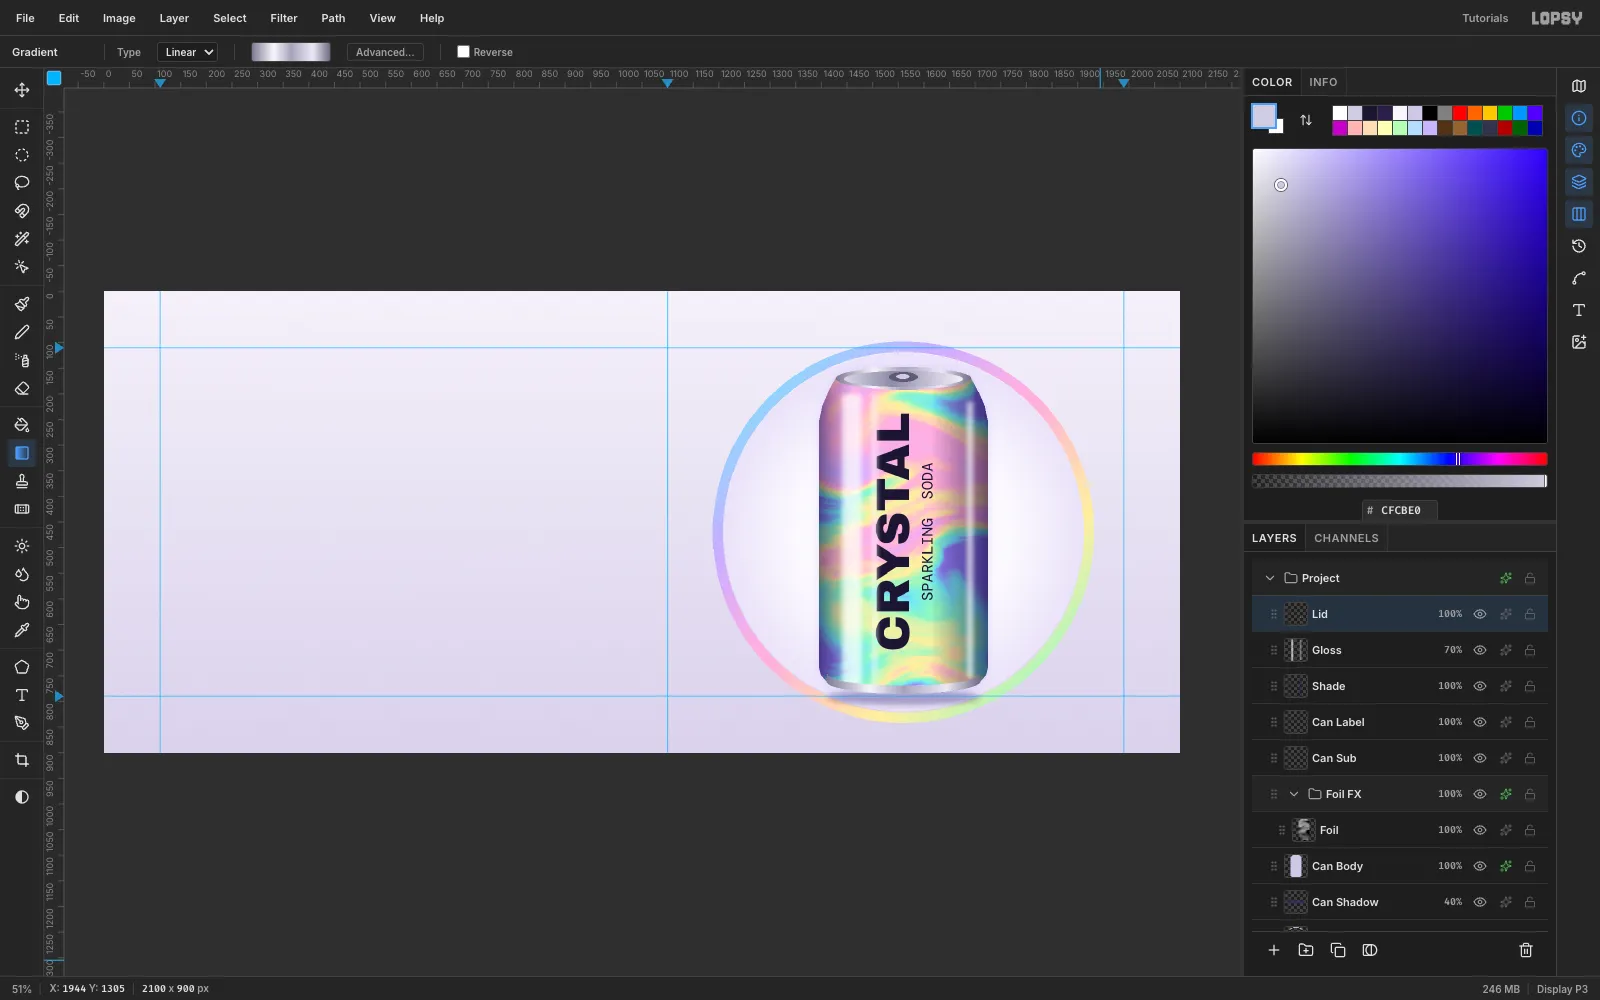
Gloss. Add a Gloss layer and set the Rectangular Marquee Feather to 10.
- Fill three white vertical strips: a wide one at x 1440–1478, a thin one at 1500–1508, and a rim light at 1684–1696.
- Set Feather back to 0.
- Lasso the can, choose Select → Inverse and press Delete to trim the strips.
- Set the layer to 70%.
Lid. On a Lid layer, marquee a 264 × 44 ellipse at (1428, 148). Fill it with a silver gradient:
#7D7A92,#F6F4FB,#A6A2BA,#EAE7F3,#6F6C84.- Add a slightly smaller, darker ellipse inside it for the recess.
- Add a
#5E5A73ellipse for the pull tab. - Add a tiny pale ellipse on the tab for its hole.
Rim. Lasso a thin crescent along the bottom of the can and fill it with the same silver gradient.
-
Cut crystal facets
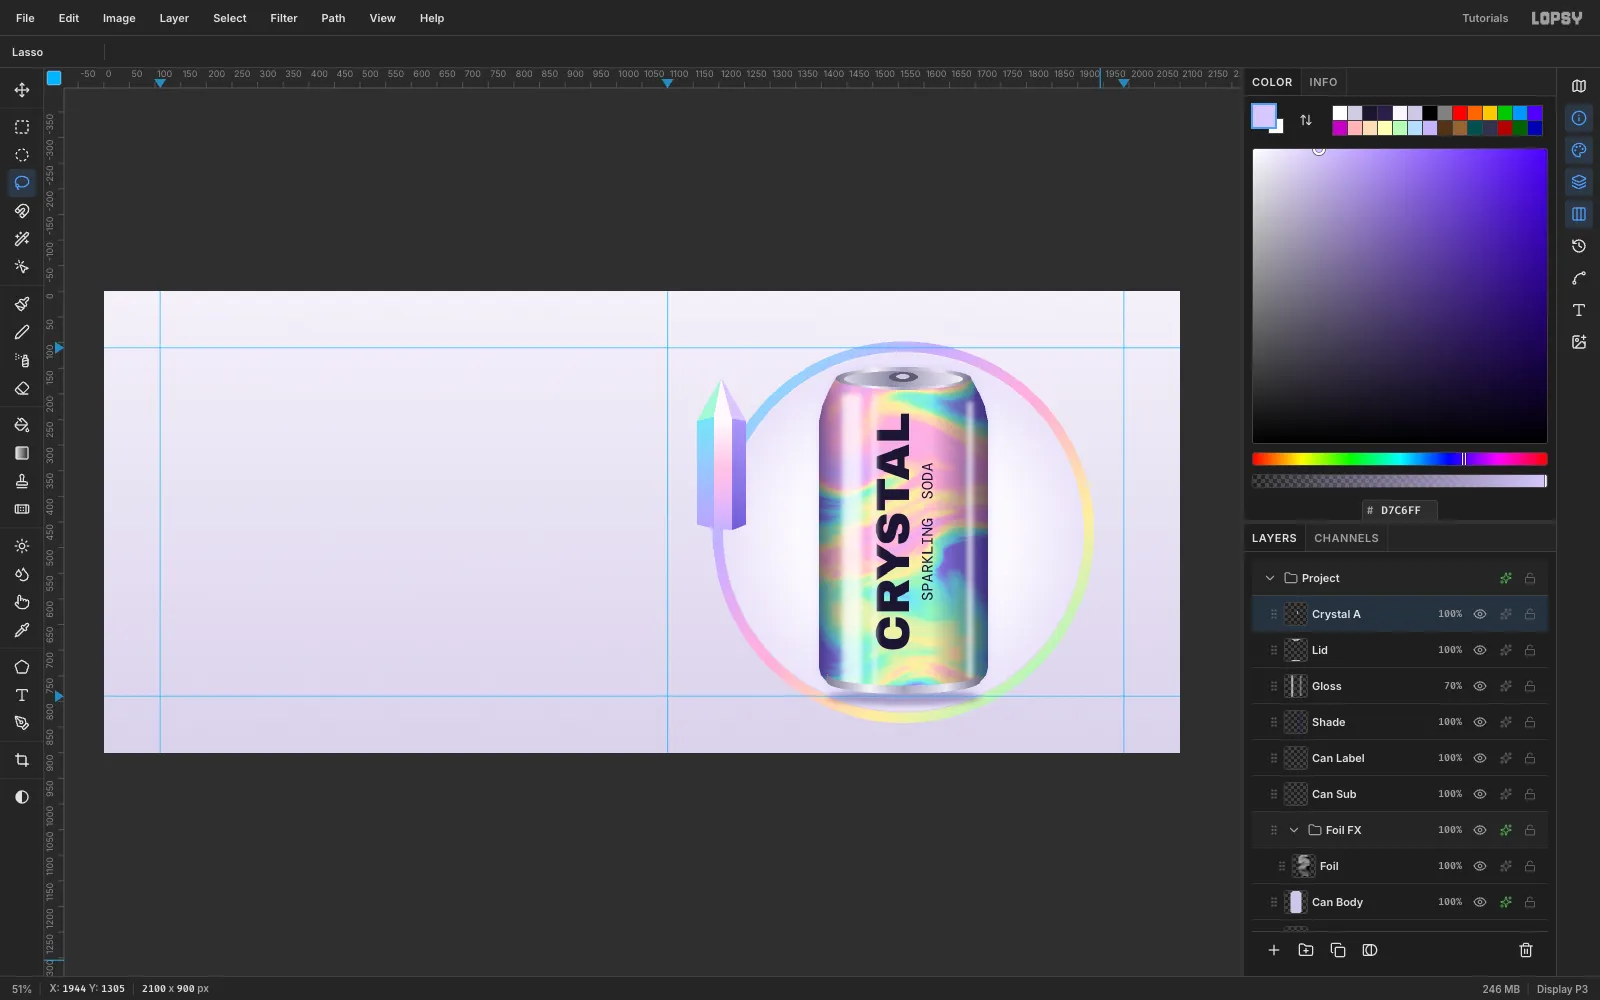
Add a Crystal A layer. Each face is a Lasso polygon with its own fill:
- Left face: a vertical gradient from cyan
#8FE3F5to#B7A2FF. - Centre face: white to
#FFC4E3to#C4AEFF, so it reads as the lit face. - Right face:
#A898F4to#6F5CD0, the shadow side. - Tip triangles: flat mint, near-white and lilac.
Add three bottom triangles so the crystal has a point at each end.
Keep the light coming from the upper left on every facet you draw. That consistency is what makes a flat polygon read as glass.
- Left face: a vertical gradient from cyan
-
Rotate the crystal
Marquee the crystal a few pixels larger than its edges and switch to Move. Drag the rotation handle past the top-right corner about −28°, so the top leans toward the headline. Press Cmd+D to commit.
In Crystal A's effects, enable Drop Shadow with colour
#4A3A86, Offset X 14, Offset Y 22, Blur 22 and Opacity 28. The crystal seems to hover over the disc. Skip Outer Glow here: a white glow disappears on a pale background.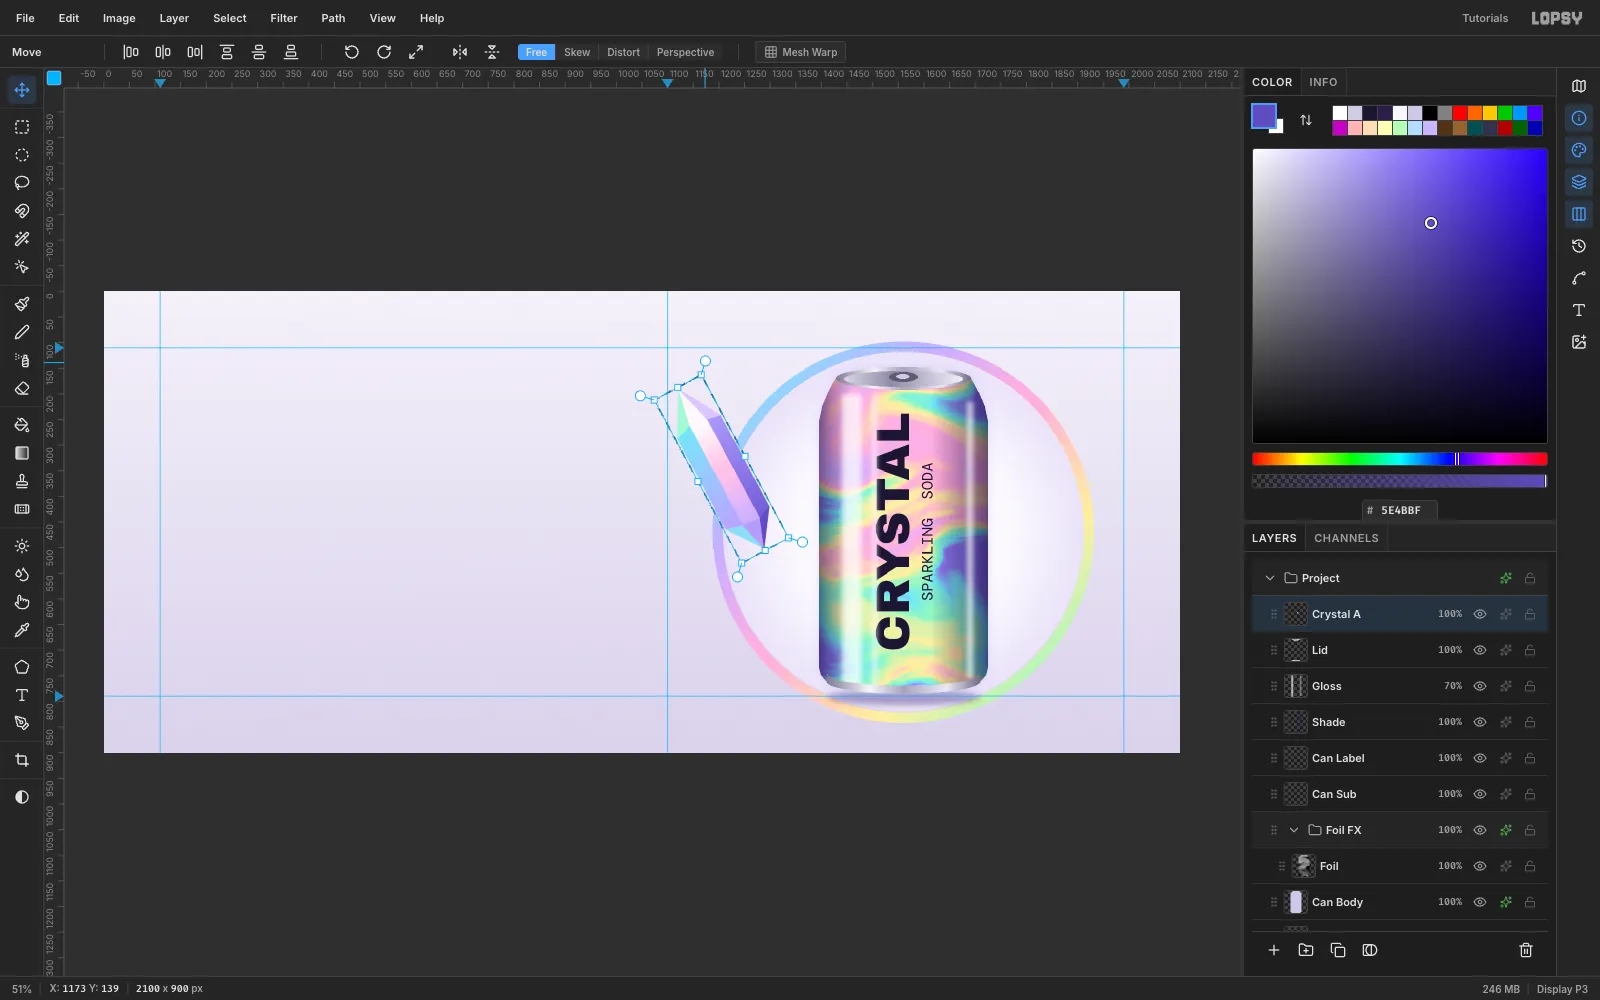
-
Duplicate and scale a copy
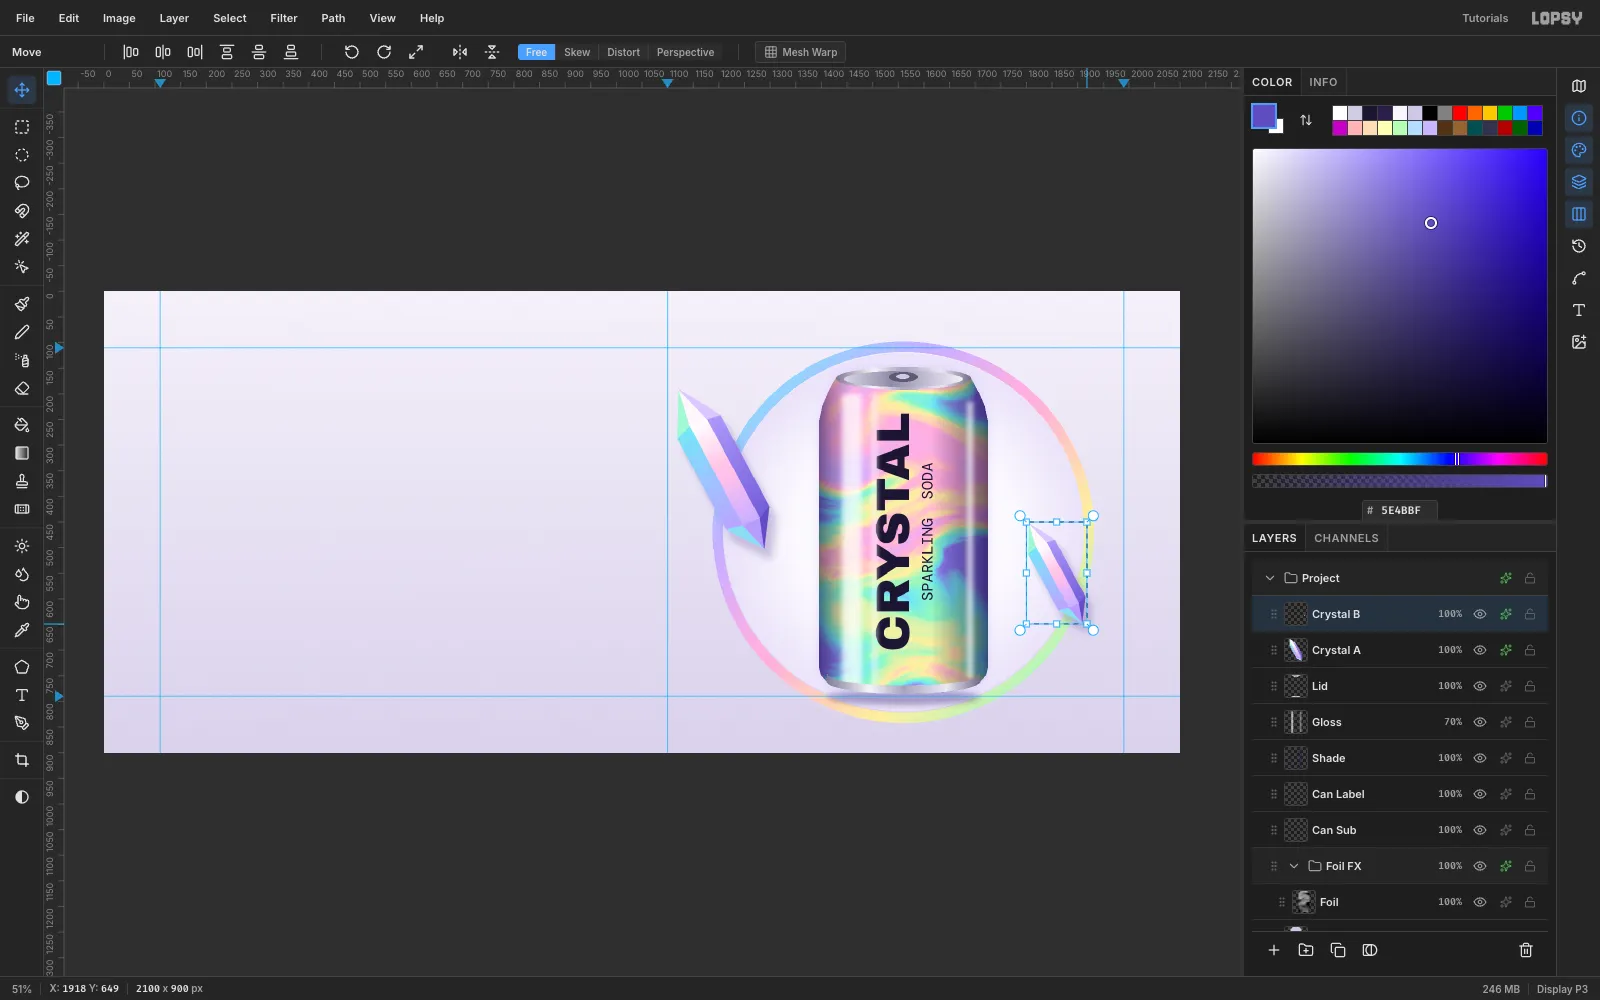
- Choose Layer → Duplicate Layer and click the copy's row. Rename it Crystal B.
- With the Move tool, drag it to the right of the can, around (1885, 600).
- Marquee it and hold Cmd while you drag the bottom-right handle inward. Cmd keeps the scale uniform. Stop at about 62%.
- Press Cmd+D.
-
Rotate the copy
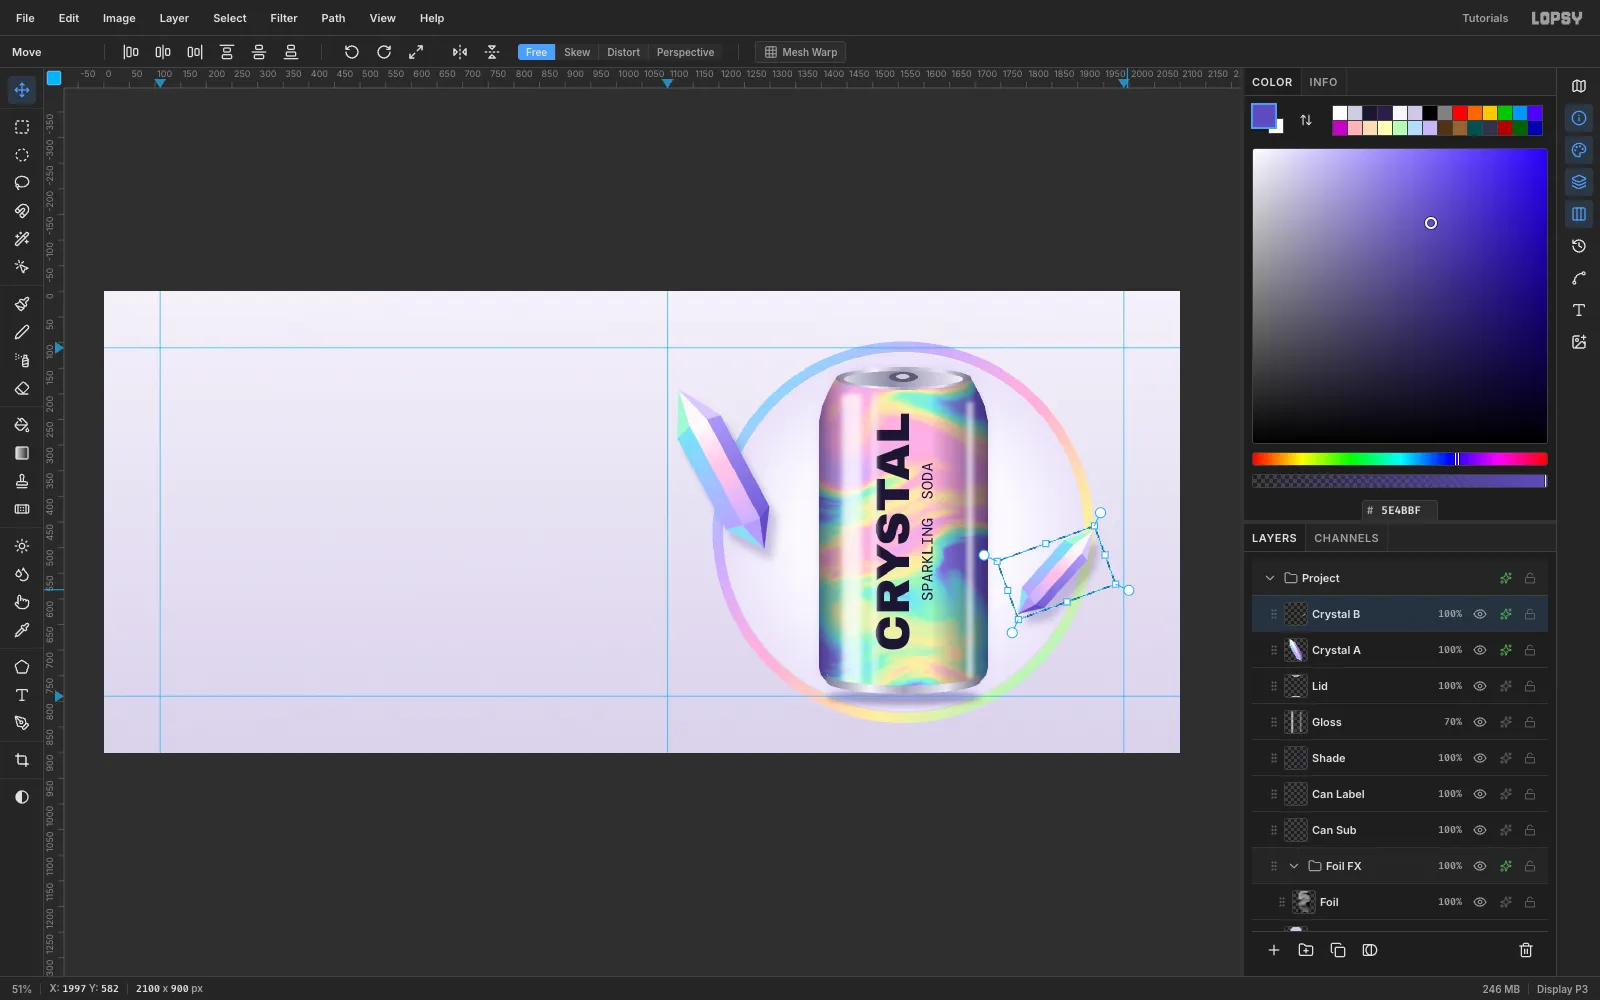
Marquee Crystal B again and rotate it +70°, so it leans away from the can. Press Cmd+D to commit.
Commit each transform before you start the next one. Scale, Cmd+D, then rotate, Cmd+D, gives a clean result every time.
-
Scatter four crystals
Make two more crystals the same way:
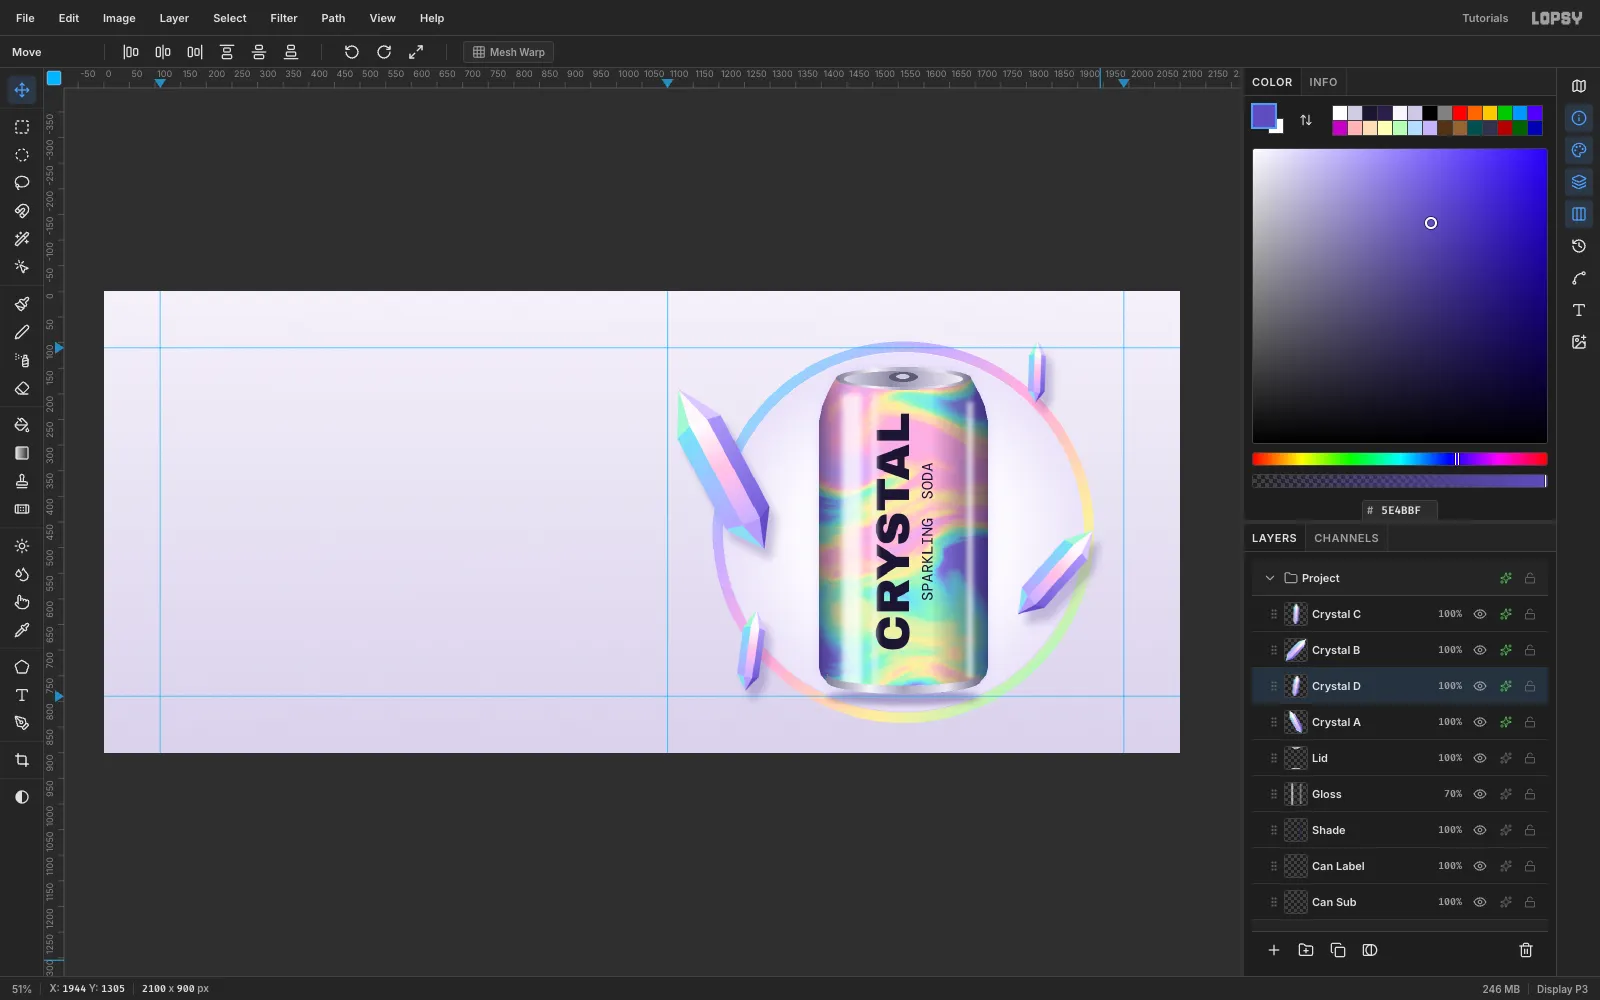
- Crystal C: duplicate Crystal B, scale it to 55%, rotate it −40° and put it at the top right, overlapping the ring.
- Crystal D: duplicate Crystal A, scale it to 45%, rotate it +36° and drop it at the lower left around (1262, 700).
Four crystals in three sizes, all tilted differently, keep the orbit lively without feeling random.
-
Add bubbles and sparkles
Bubbles. On a Bubbles layer, make six rings in three sizes:
- Marquee a circle and fill it with
#8C7AE6. - Choose Select → Shrink… by about 14% of its radius and press Delete.
- Add a small white ellipse at the upper left for the highlight.
Keep the bubbles off the ring line and away from the can's edges, so nothing touches at a tangent.
Sparkles. On a Sparkles layer at 80%, Lasso-fill four-point stars. Make two in violet
#8A7CF0beside the headline and ring, and two small white ones on the can's gloss.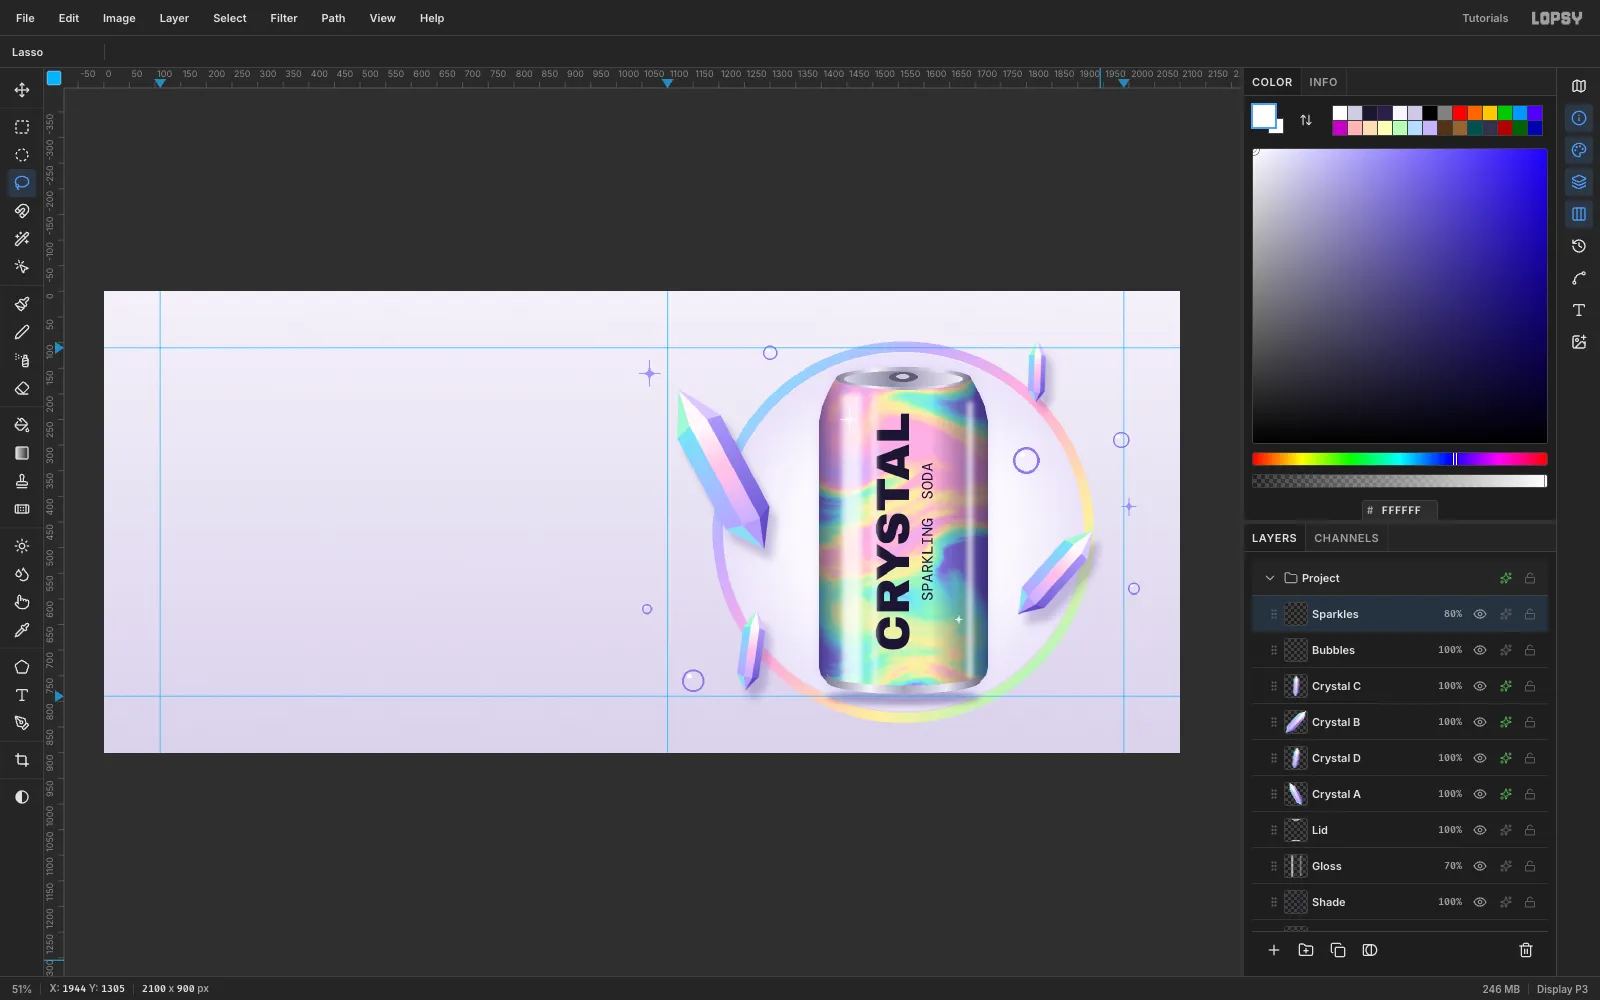
- Marquee a circle and fill it with
-
Set the headline type
Select the Sparkles layer first so the new type lands on top. Make each text layer by clicking in empty canvas. Work from the bottom of the column up, so a click never lands inside an earlier line's text box.
ZERO SUGAR · ZERO CALORIESin DM Mono 34a prism in every sip.in Instrument Serif 84SODAandCRYSTALin Archivo Black 180NEW — PRISM-FILTERED SPARKLING WATERin DM Mono 34crystalsoda.coin DM Mono 34
All of them are in ink
#1B1530. Paste the lines that contain·or—with Cmd+V instead of typing them.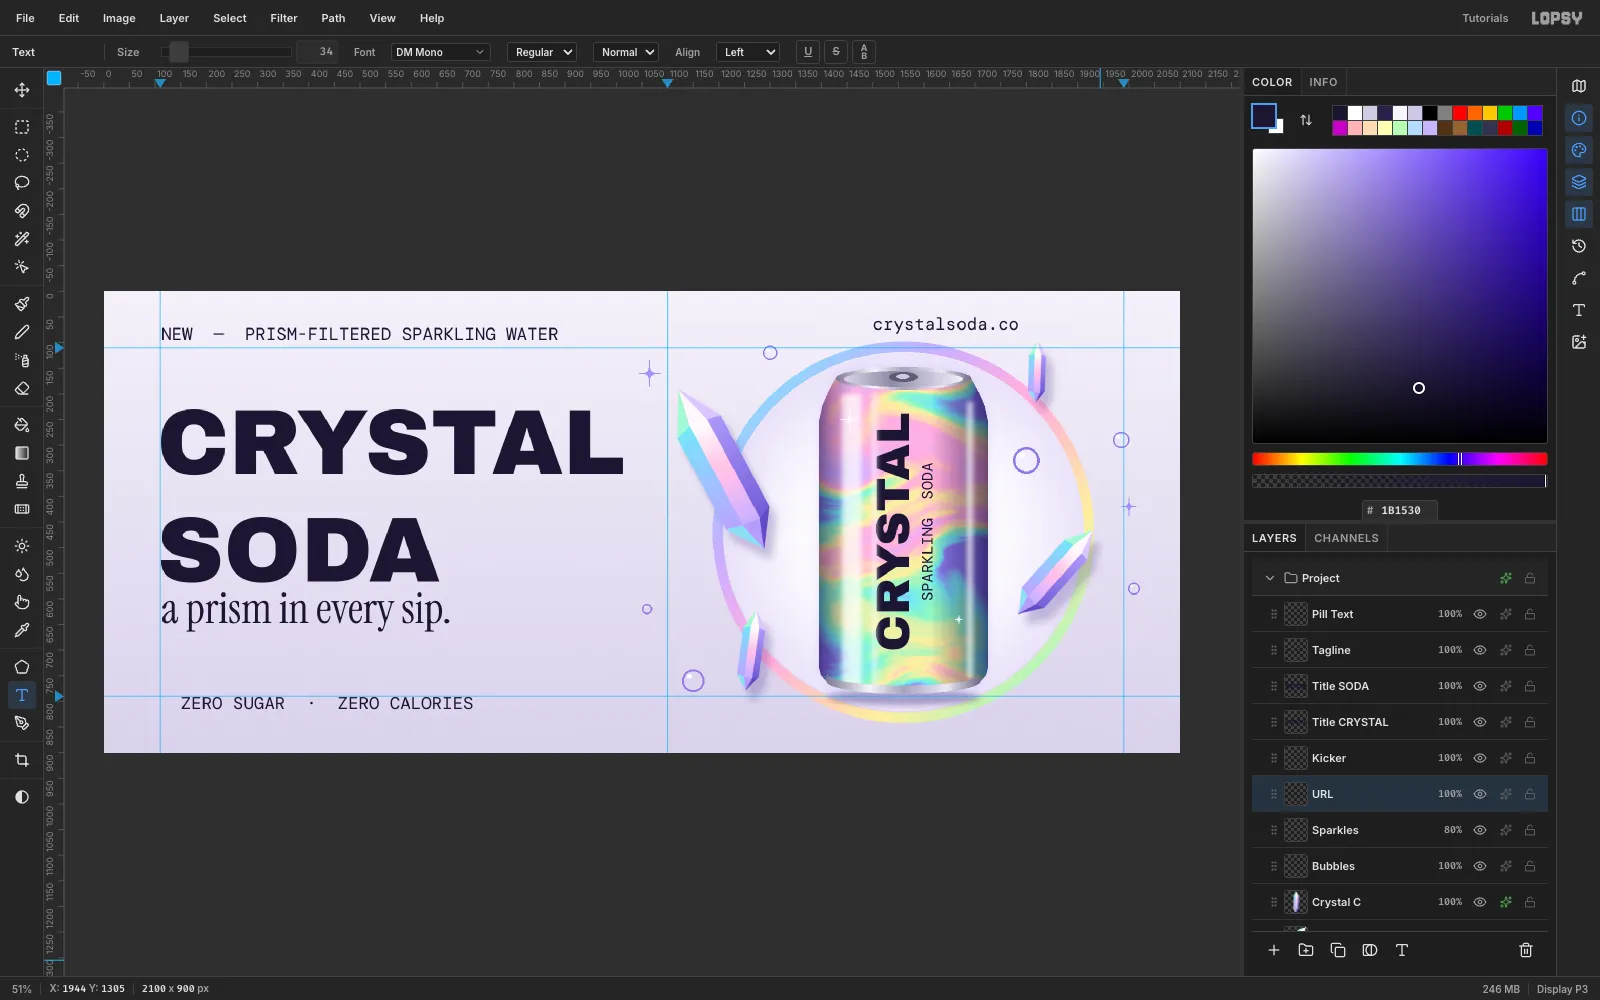
-
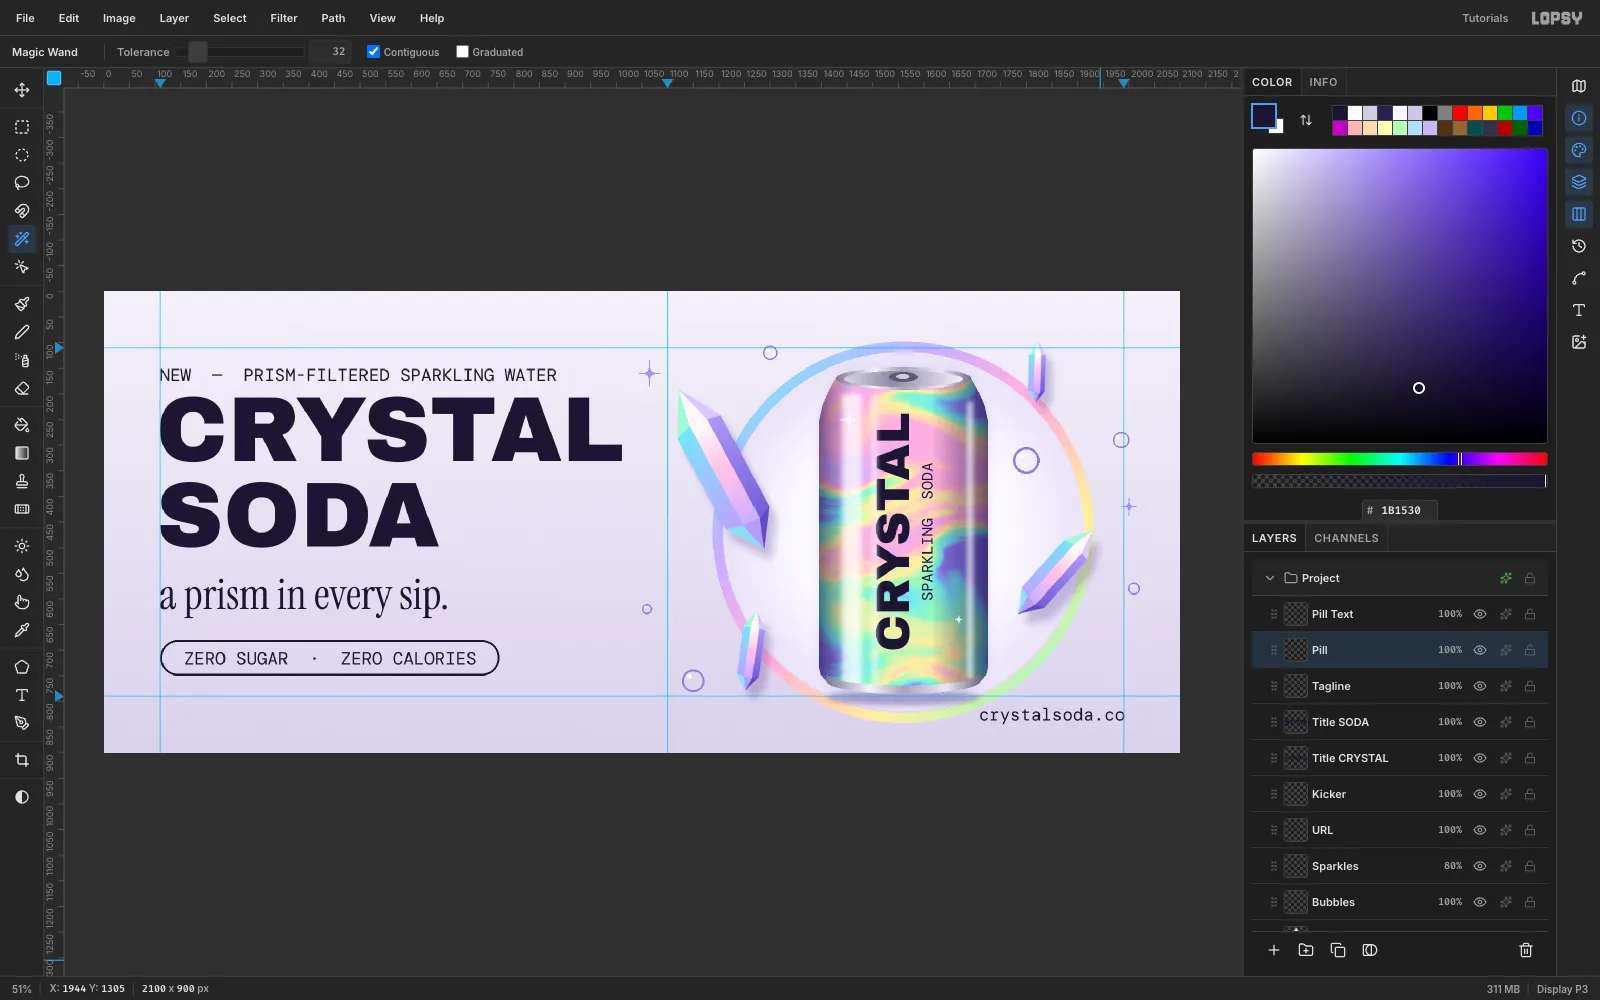
Align the column and draw the pill
Move each line so its glyphs start on the 110 guide. Use Move-tool drags for the big jumps and arrow-key nudges for the last pixels. The glyph tops are:
- kicker 150
- CRYSTAL 205
- SODA 372
- tagline 560
The whole column is centred on the canvas height.
For the pill, select Tagline and add a Pill layer.
- Build a 662 × 70 capsule at (110, 680) from a rectangle and two end circles, and fill it with ink.
- Click inside it with the Magic Wand and choose Select → Shrink… 3.
- Press Delete to leave a 3 px outline.
Centre the caption inside it, with 48 px either side and the caps vertically centred. Right-align the URL to the 1990 guide below the ring.
-
Paint the holographic echo
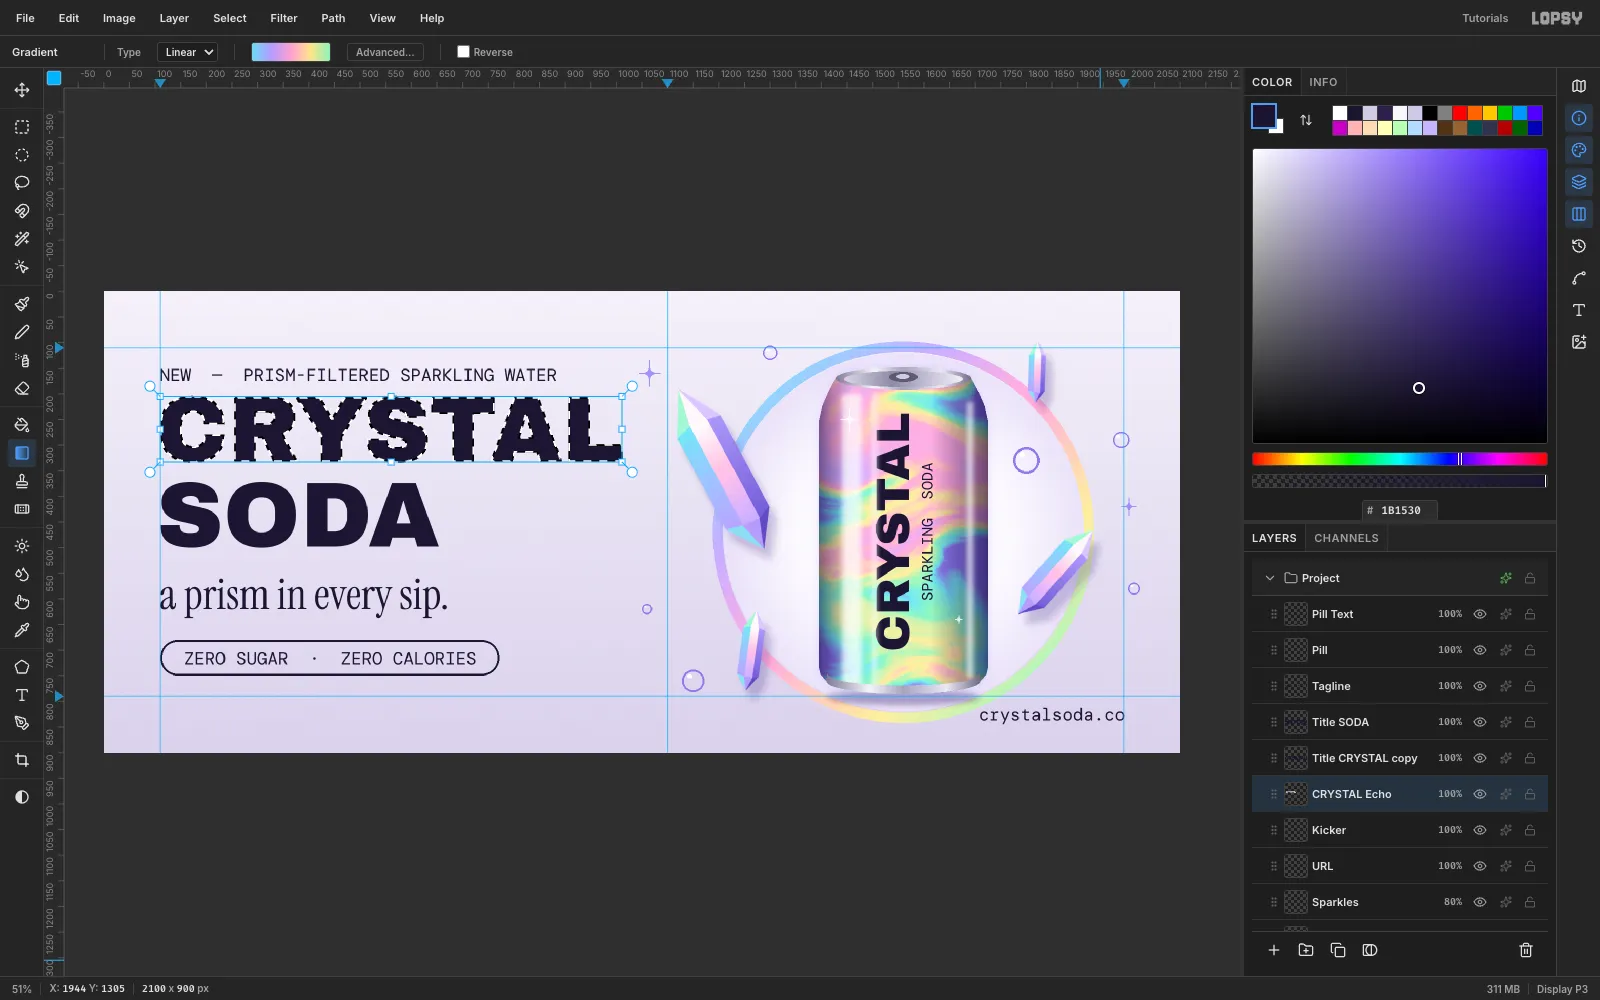
Each headline word gets a rainbow twin behind it:
- Select CRYSTAL and choose Layer → Duplicate Layer. Nudge the copy back to exactly where the original is.
- Select the original, which is now under the copy. Click Rasterize Layer in the Layers footer and rename it CRYSTAL Echo.
- With the Magic Wand, untick Contiguous and click one letter. All the letters are selected.
- Drag a diagonal Linear gradient across the word using the echo ramp:
#6FD8F2,#B49BFF,#FF9FCF,#FFE58A,#8FF0B8.
-
Offset the echoes
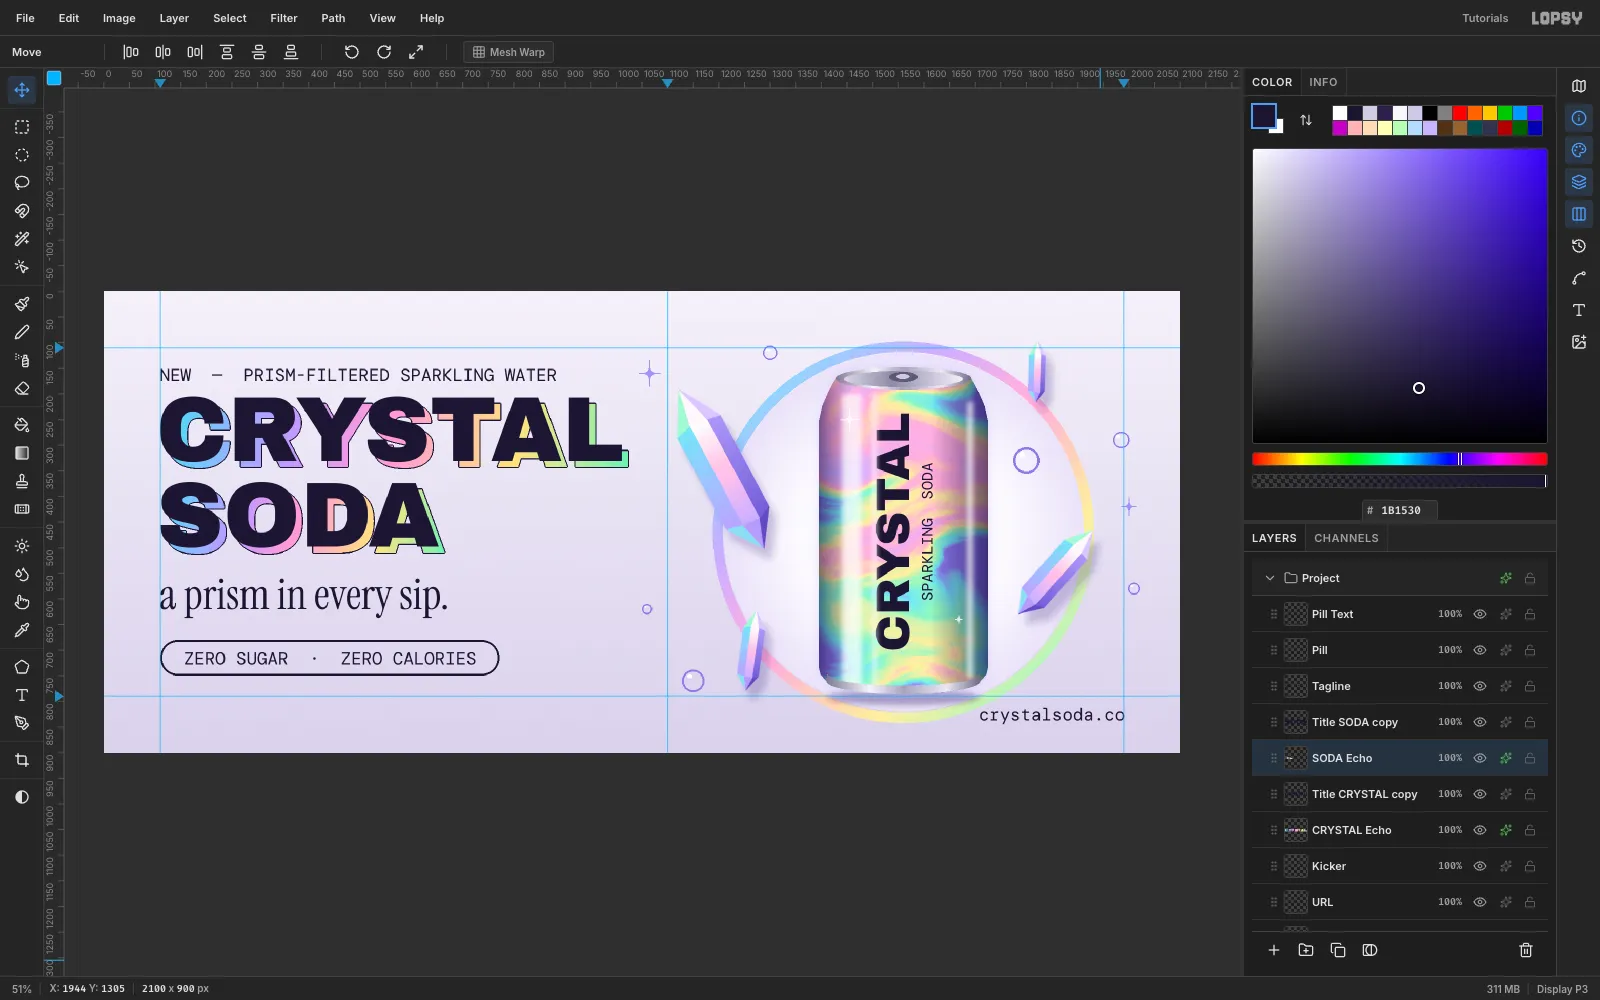
Deselect and nudge CRYSTAL Echo 12 px right and 12 px down with the arrow keys. Add a Stroke effect in
#1B1530at Width 2 so the pastel edges stay crisp against the lilac background.Repeat the whole echo process for SODA. With both words treated the same, it reads as a deliberate 3D extrusion rather than a misprint.
-
Group the type block
Cmd-click every layer in the left column except the URL:
- kicker
- both headline copies and both echoes
- tagline
- pill and caption
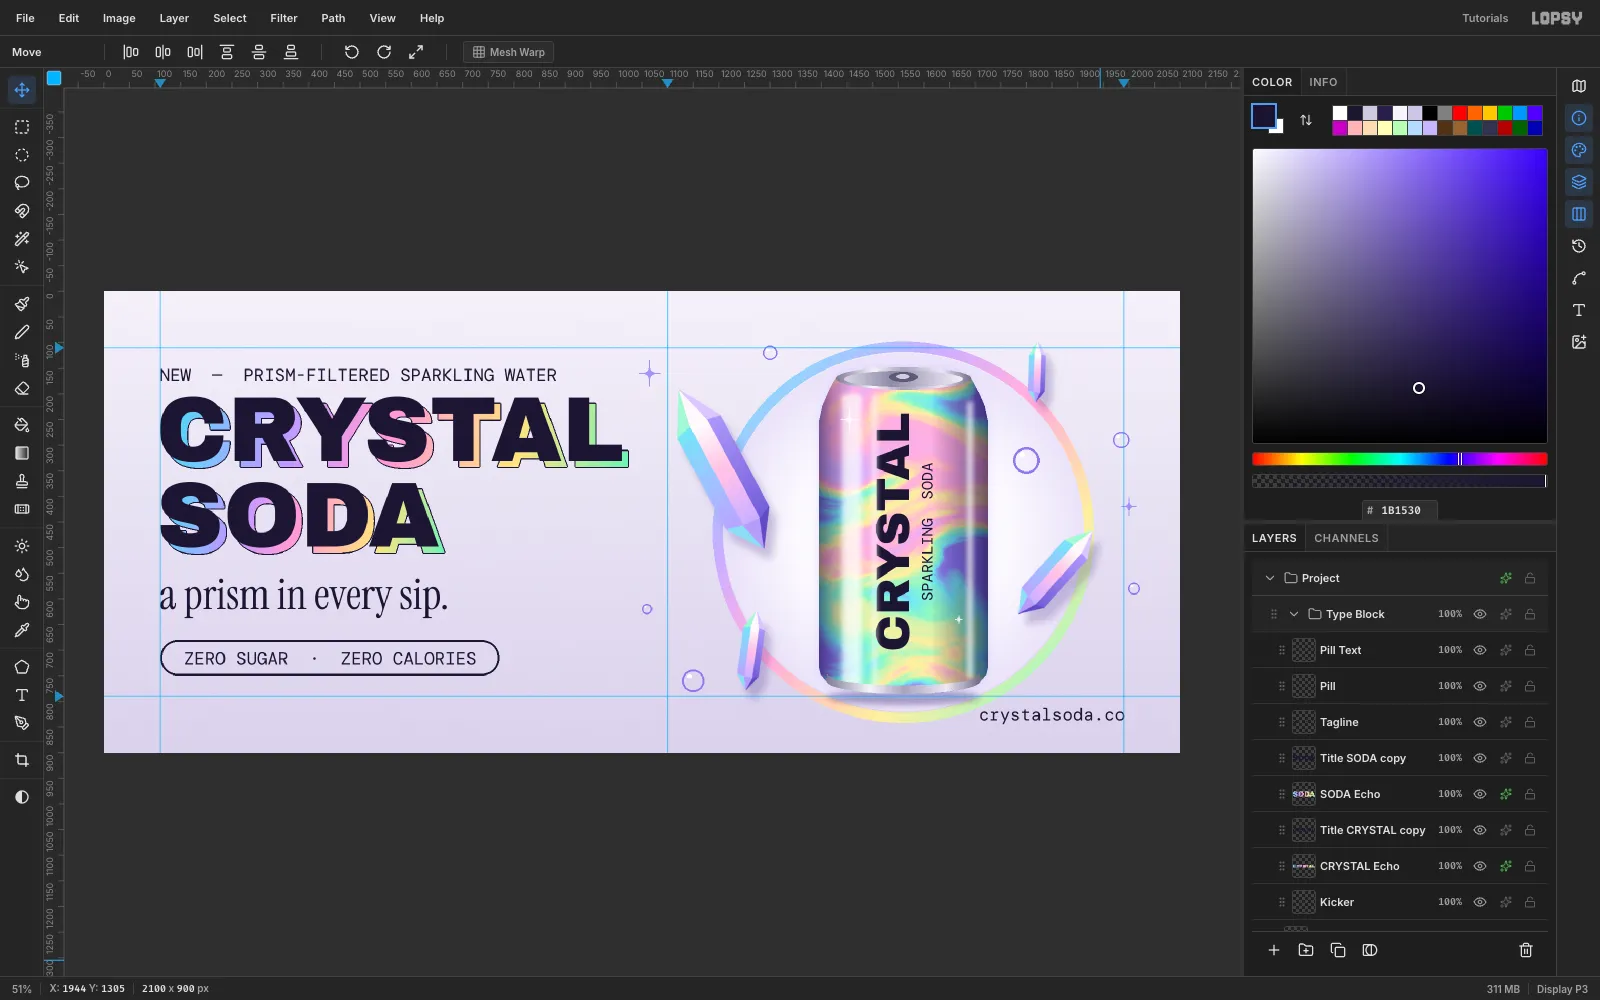
Choose Layer → Group Layers and rename the group Type Block. The layers keep their stacking order. You can now move the column as one piece. A test move down 40 px undid and redid cleanly.
-
Add grain and export
Select Background and run Filter → Add Noise with Mono, Gaussian and Amount 5. The fine grain turns the pale gradient into matte paper, which makes the foil look shinier by contrast.
Nudge the URL down to clear the ring. Then use File → Quick Export PNG for the billboard file and File → Save Project to keep every layer editable.