Make an ASCII Art Line-Printer Data Visualization
Chart 21 years of periodical cicada broods as a 1970s line-printer report on green-bar paper in Lopsy, with ASCII art, highlighter and grease pencil.
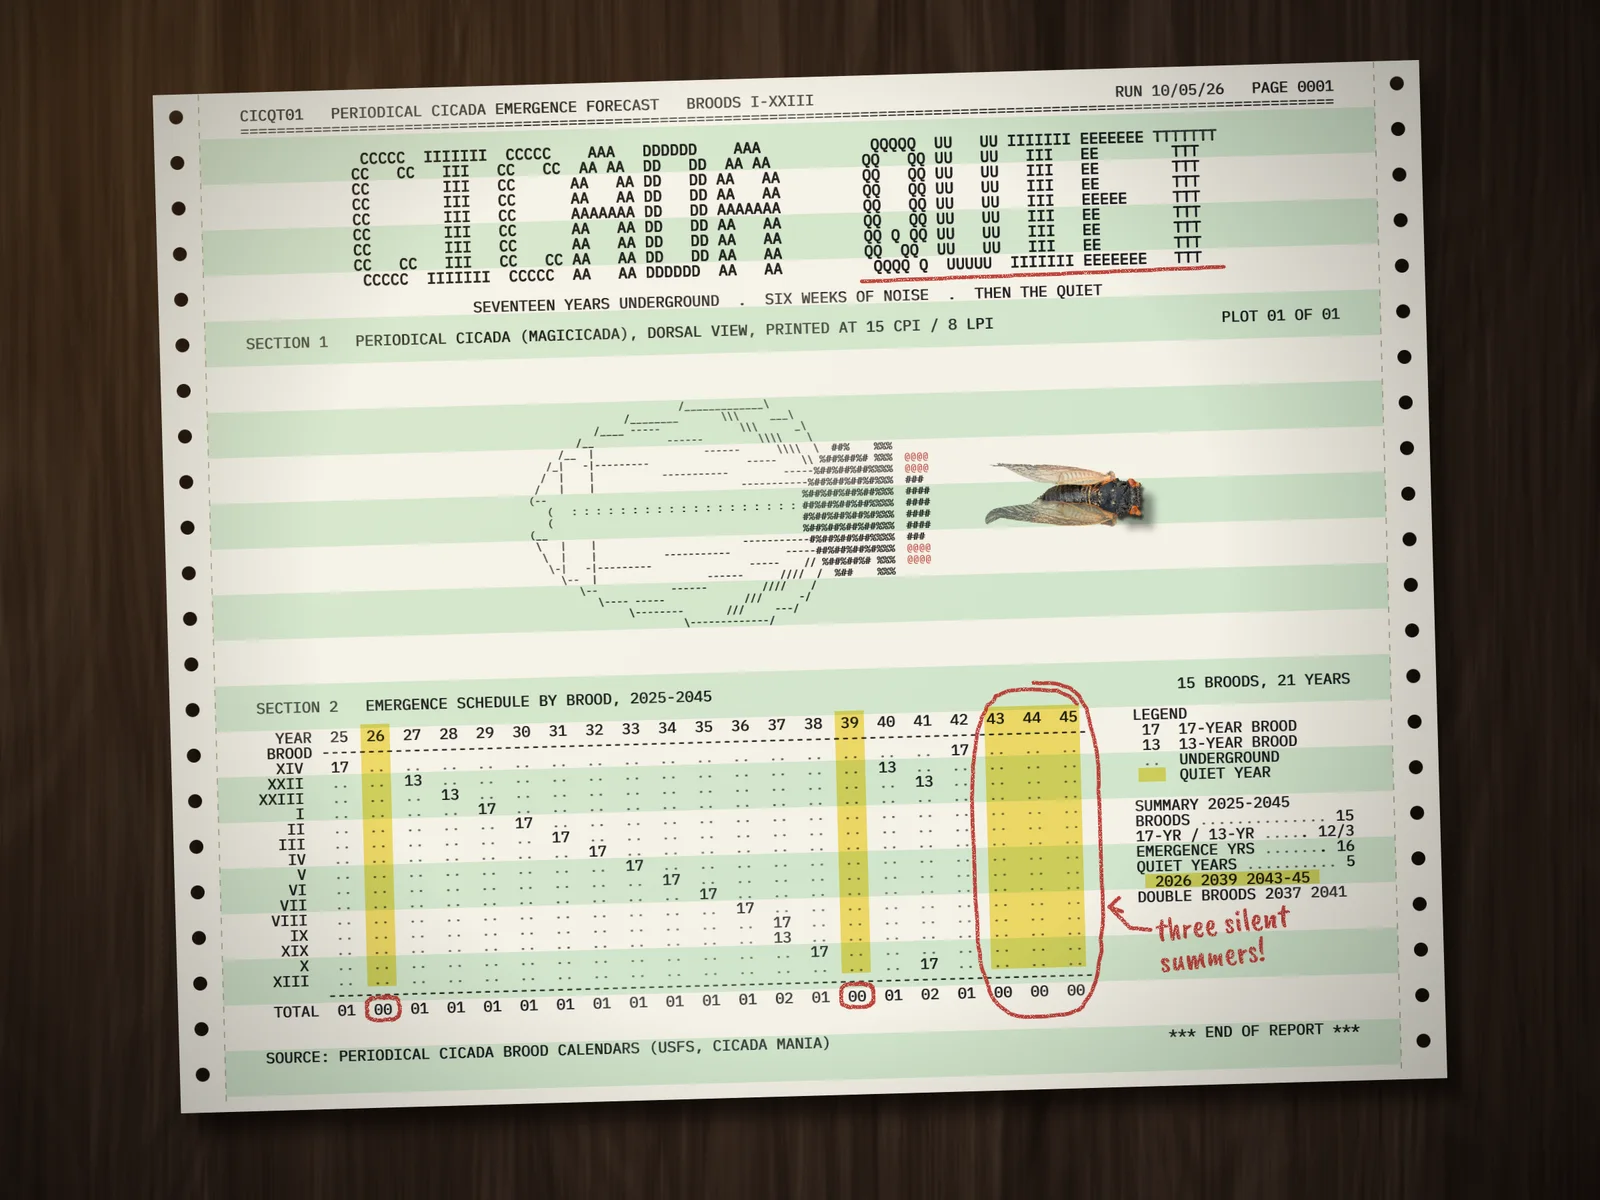
Periodical cicadas spend 13 or 17 years underground, then come up by the billion for about six weeks of noise. Each population, or brood, keeps its own calendar. Some summers no brood is due at all, and those quiet years are the story of this chart. It's printed the way a 1970s computer centre would have printed it: on fanfold green-bar paper, in capital letters, with the picture made from characters. Then someone went over it with a highlighter and a red grease pencil.
The data is real. It covers the 15 surviving broods (12 on a 17-year cycle and 3 on a 13-year cycle) for 2025 to 2045, taken from published brood calendars. Five of those 21 summers have no brood scheduled: 2026, 2039 and three in a row from 2043 to 2045.
Along the way you'll use:
- ruler guides with snapping, and a duplicate, move and Merge Down trick that repeats a shape by doubling it
- Fibers, Motion Blur and Add Noise for wood and paper texture
- Define Brush with 200% Spacing to make a dashed line
- Cmd-clicking a layer thumbnail to punch holes with Delete
- live text in IBM Plex Mono and Caveat Brush, the Text panel's Line height, and swapping a duplicate's text
- Copy and Paste in place, Merge Down and arrow-key nudges for overstrikes
- layer masks edited with Clouds, Brightness/Contrast, Add Noise and Threshold
- the Square and Hard Round brush presets with Shift-click straight lines
- Magic Wand, Inverse, Shrink, Feather and the Lasso to cut out a photo
- the Move tool's scale and rotate handles on a whole group, and on two layers at once
- Drop Shadow, Gaussian Blur, blend modes and radial gradients for light
The palette is a computer-room one. Most of the colour comes from the paper and two marker pens:
-
Desk
-
Paper
-
green bar
-
perforations
-
Ribbon ink
-
Red ribbon and grease pencil
-
Highlighter
-
Lamp
-
Start a landscape document
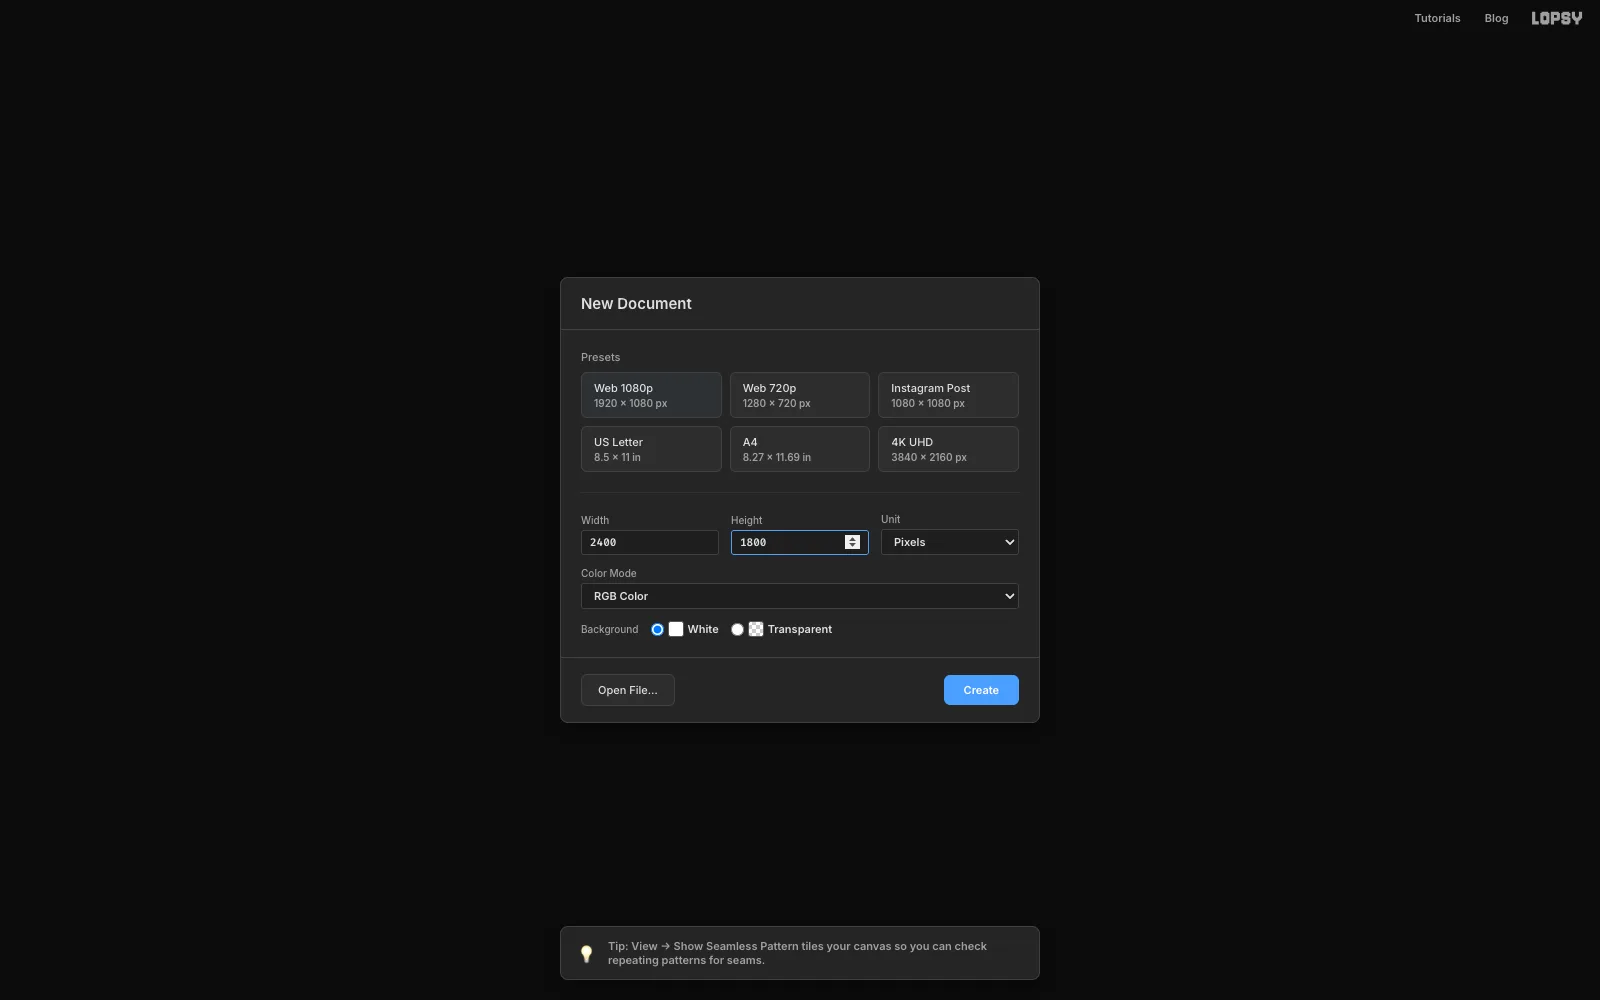
Open Lopsy. In the New Document dialog, set Width to
2400and Height to1800, leave Background on White, and click Create.The canvas is a desk seen from above. The printout will cover most of it, so only the margins will show wood.
-
Grow some wood fibres
- Select Background, set the foreground colour to dark brown and choose Edit → Fill.
- Select Layer 1 and rename it
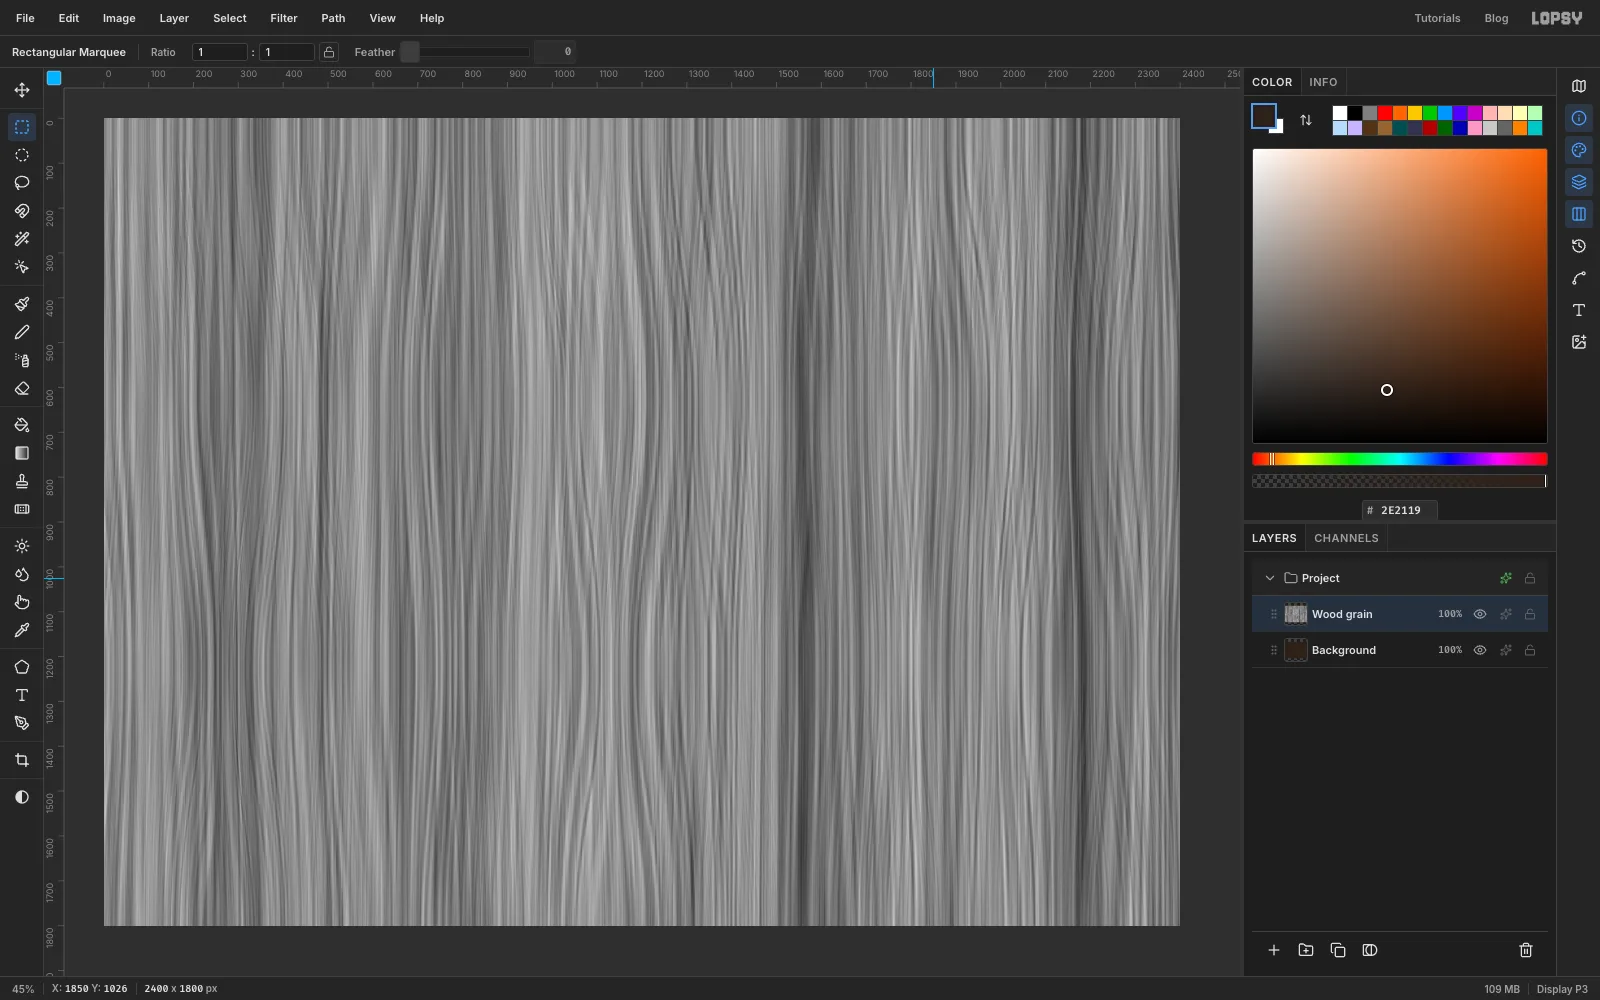
Wood grain(double-click its name). - Choose Filter → Fibers… and set Variance to
20and Strength to52. Click Apply.
Fibers paints long grey strands that run top to bottom. A high Strength keeps them fairly straight, like the grain of a plank.
-
Turn the fibres into a desk
- Run Filter → Motion Blur… on
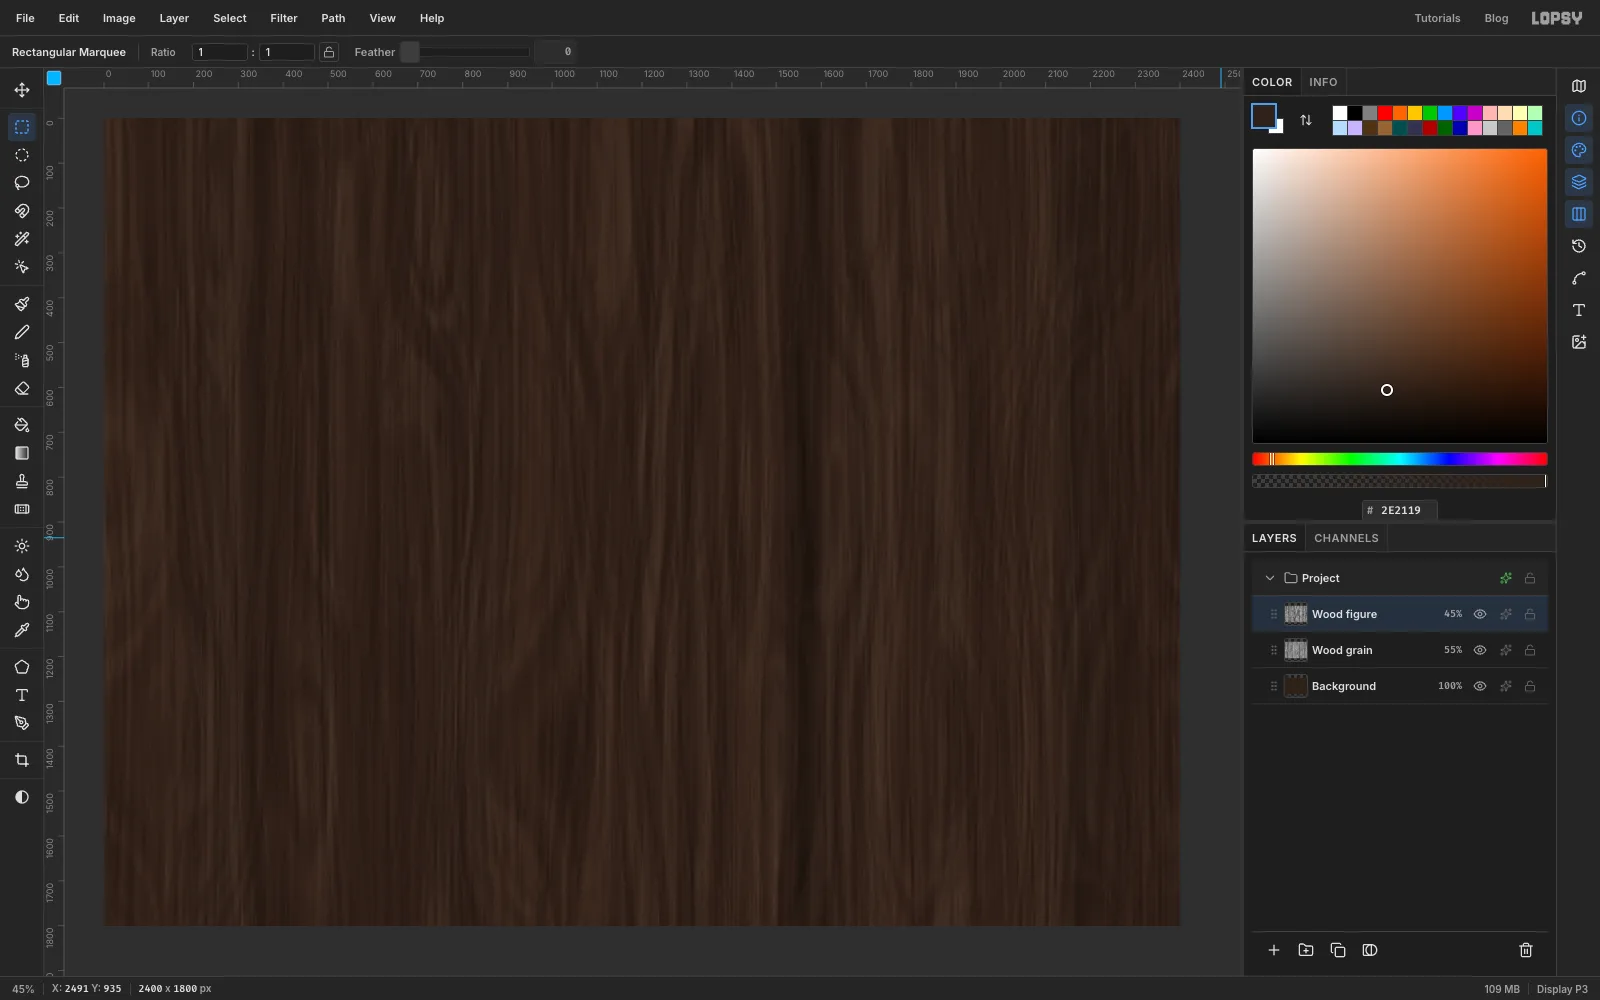
Wood grainwith Angle90and Distance40. That smears the strands along their own length. - Click the effects button on the layer's row to open its effects drawer, and set the blend mode to Overlay. Then click the layer's opacity percentage and set it to
55%. - Click Add Layer, name it
Wood figure, and run Fibers again with Variance30and Strength6. A low Strength makes wavy, tangled strands. - Blur it with Motion Blur (
90,25), set it to Soft Light and drop it to45%.
The second, wavier pass breaks up the straight lines so the wood has some figure.
- Run Filter → Motion Blur… on
-
Place guides for the paper
Fanfold paper is about 15 by 11 inches, so the sheet is 2000 by 1608 px here. Each edge has a half-inch strip with the sprocket holes.
- Click the top ruler at
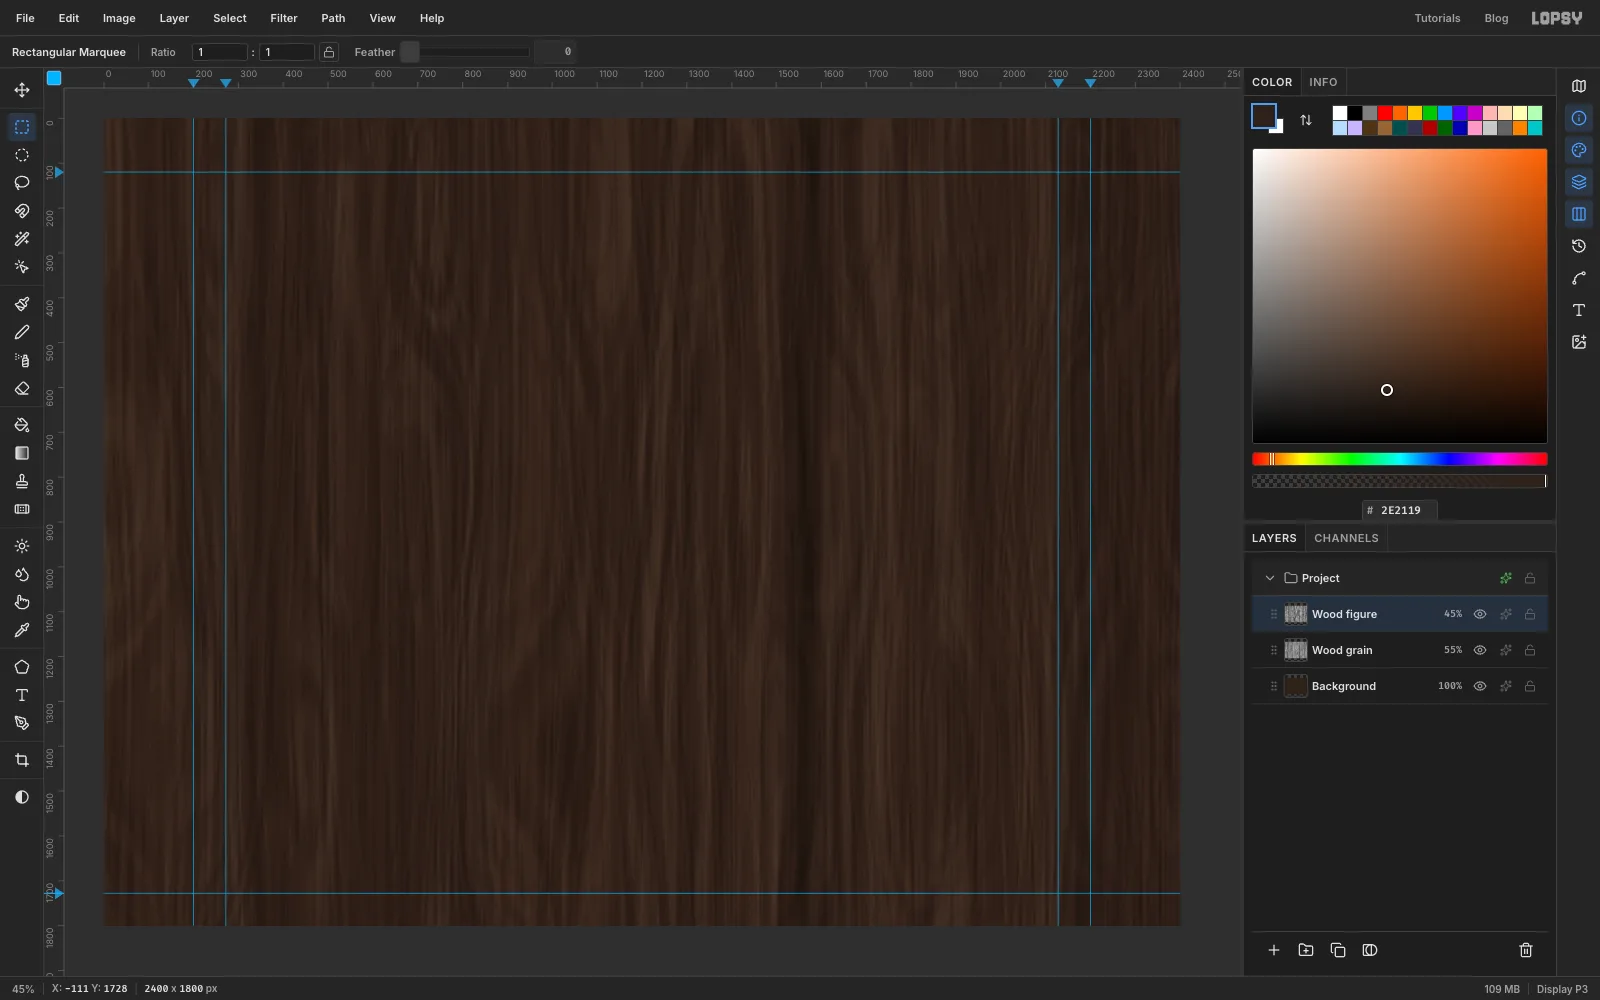
200,272,2128and2200to drop four vertical guides. The two inner ones mark the tractor strips. - Click the left ruler at
120and1728for the top and bottom of the sheet.
A single click on a ruler makes a guide; you don't drag them out. Marquee edges snap to guides, which saves a lot of fiddling in the next steps.
- Click the top ruler at
-
Lay down the paper
- Click New Group and name it
Printout. Everything printed on the sheet will go in here. - Inside it, click Add Layer and name it
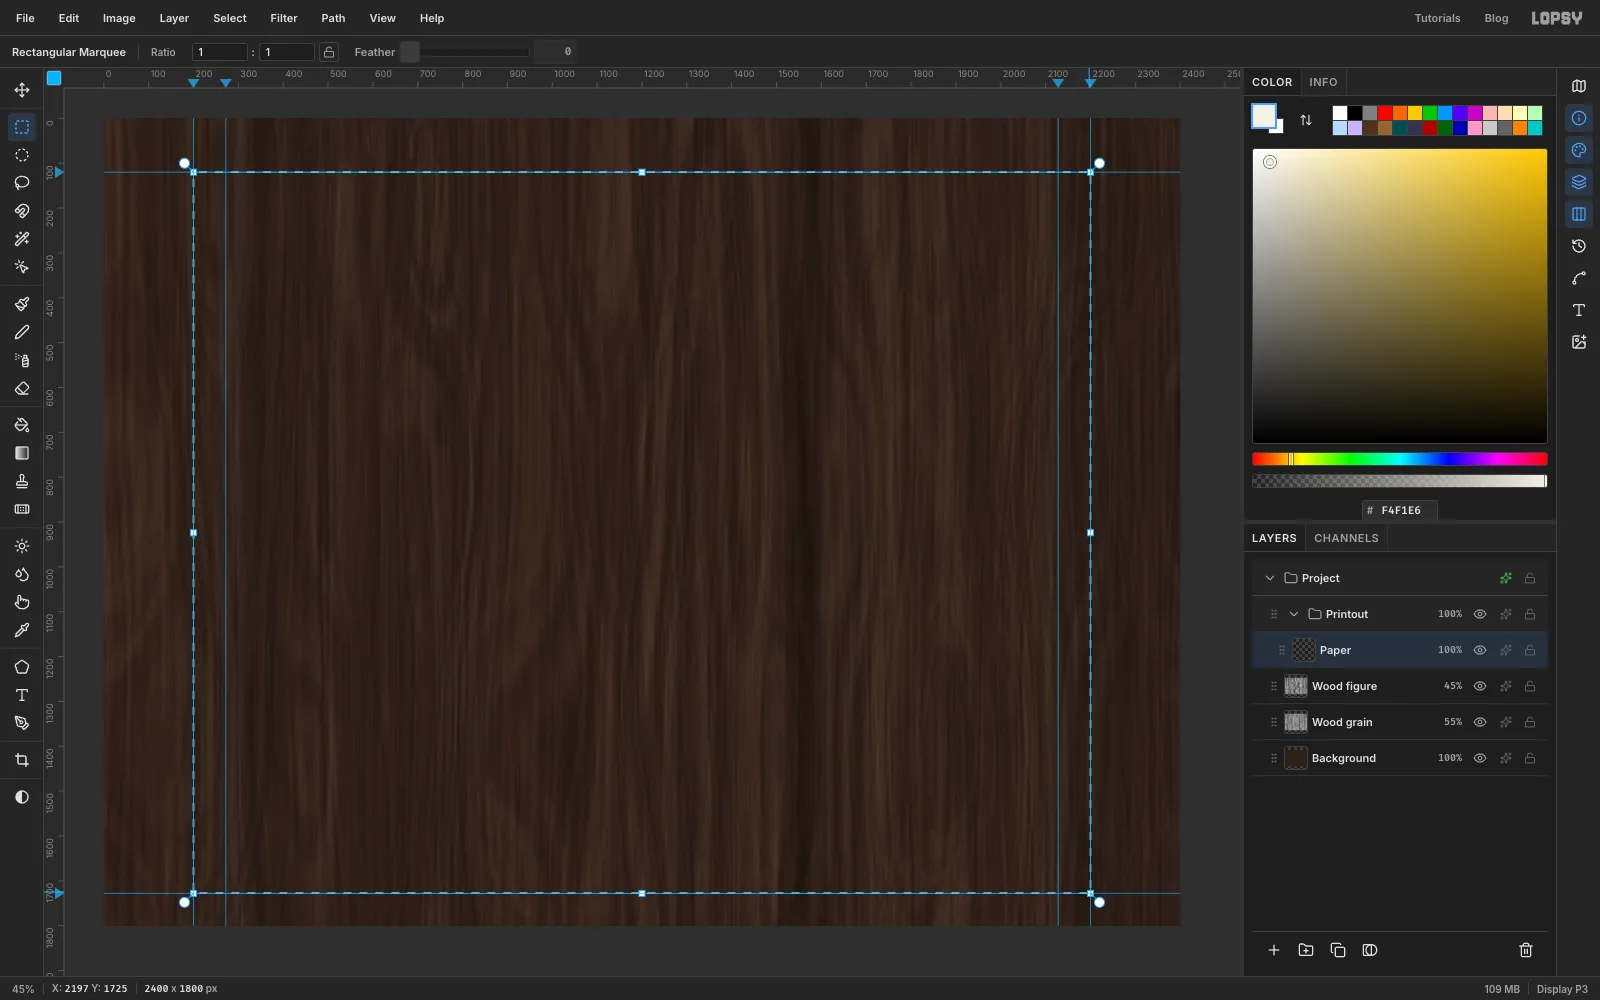
Paper. - Set the foreground to off-white . With the Rectangular Marquee, drag from the top-left guide corner to the bottom-right one. The edges snap onto the guides.
- Choose Edit → Fill, then deselect with Cmd+D.
- Click New Group and name it
-
Draw the first green bar
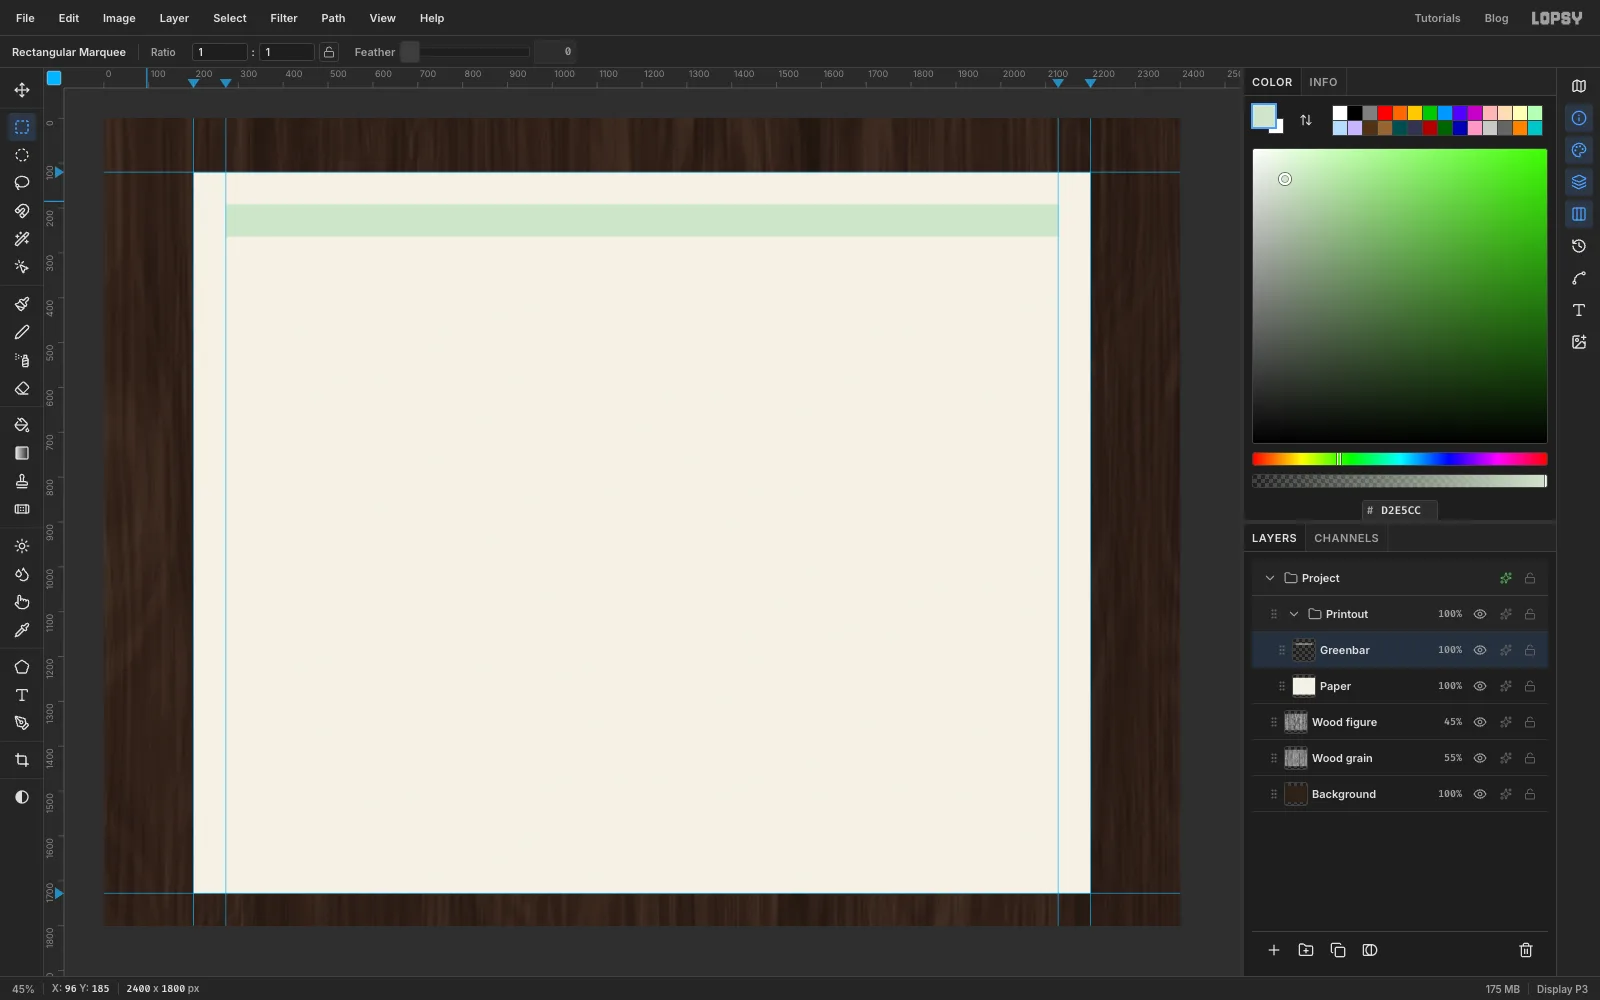
Green-bar paper alternates three lines of green with three lines of white. At 24 px per printed line, each band is 72 px tall.
- Add a layer called
Greenbarand set the foreground to pale green . - Drag a marquee between the two inner guides, from
192down to264. That's one band, starting one band below the top of the sheet. - Fill it and deselect.
- Add a layer called
-
Repeat the band by doubling
Instead of drawing eleven bands, copy what you have and double it each time:
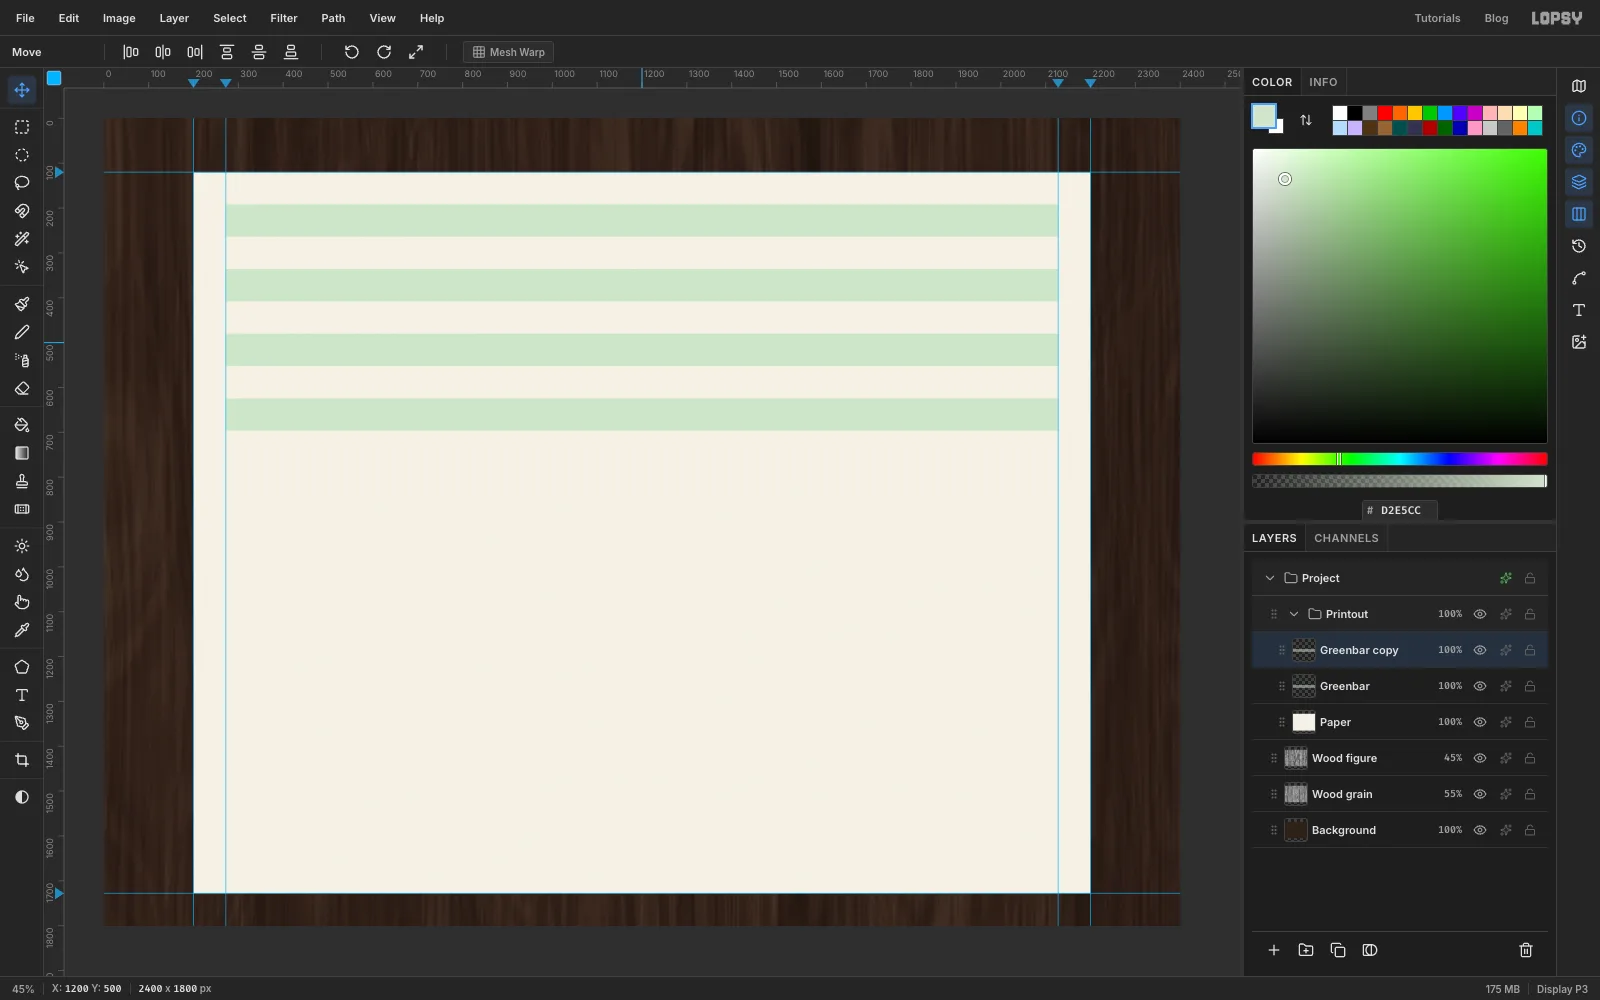
- Choose Layer → Duplicate Layer, then click the copy's row in the Layers panel.
- With the Move tool, drag the copy straight down by
144px (one green band plus one white one). Use the arrow keys for the last pixel or two. - Press Cmd+E to merge it down. You now have 2 bands.
- Do it again, moving the copy by
288px to get 4 bands, then by576px to get 8.
Each round doubles the count, and the spacing stays exact because you're moving a copy of bands that are already spaced correctly.
-
Finish the green bars
Duplicate once more and move the copy down by
1152px, then merge it. Some bands now hang off the bottom of the paper. Select everything below the bottom guide with a marquee and press Delete.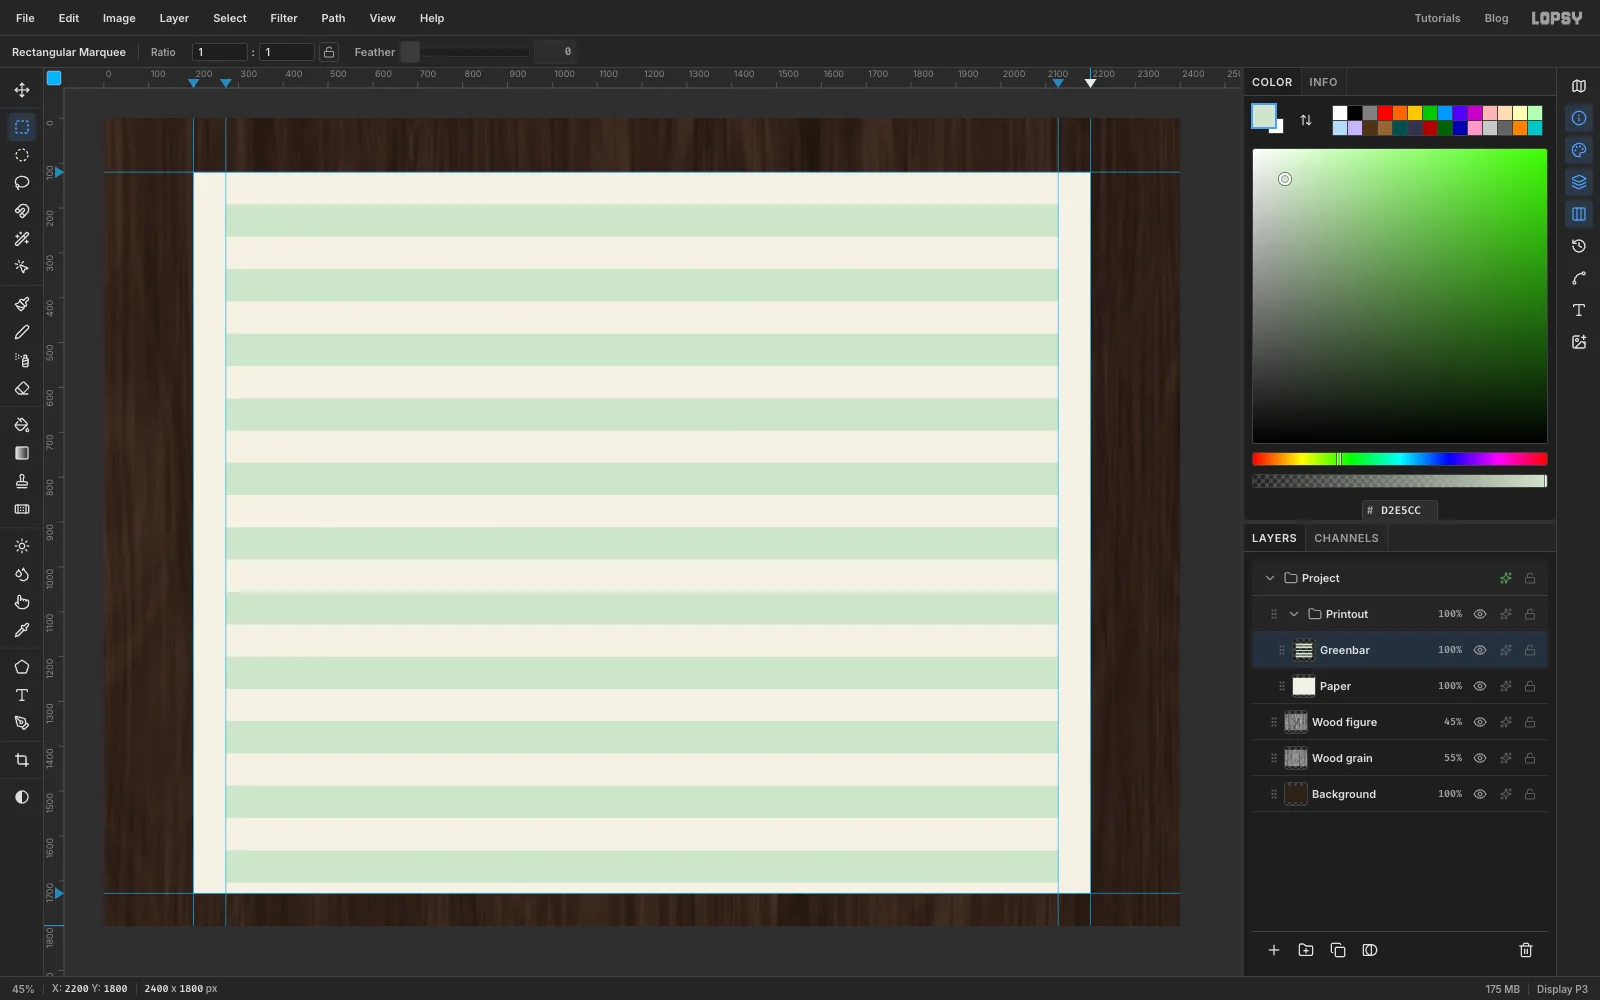
-
Mark the tractor holes
The sprocket holes sit in the middle of each strip, one every 72 px, so they line up with the bands.
- Add a layer called
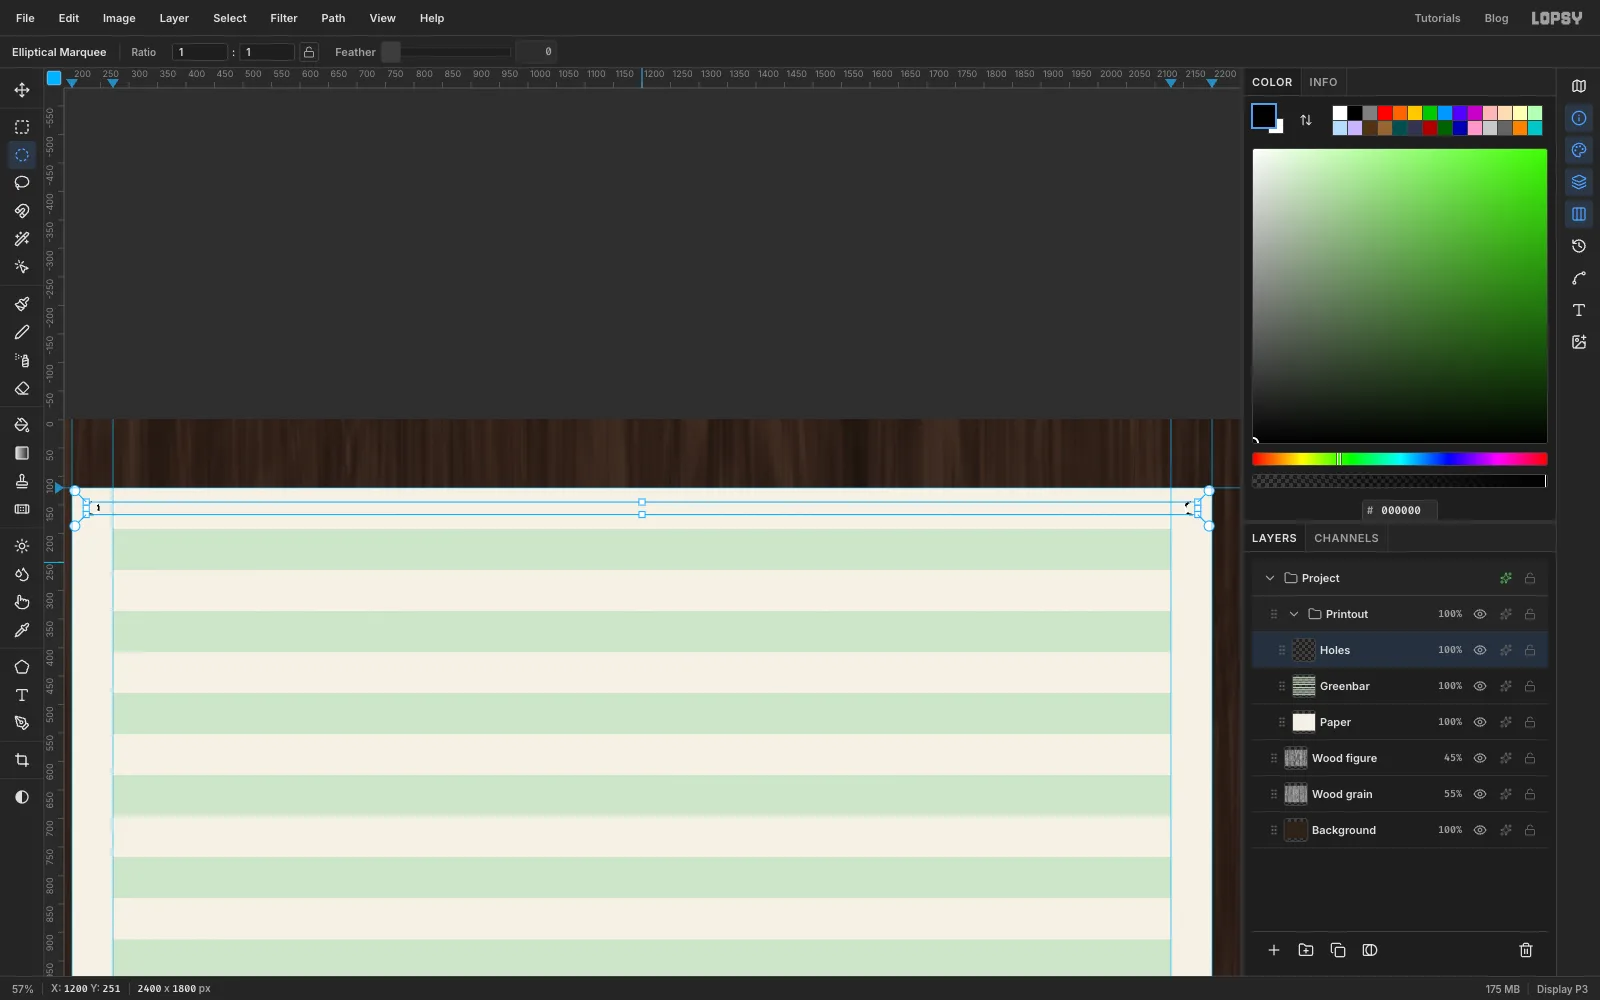
Holesand set the foreground to black. - With the Elliptical Marquee, drag a 22 px circle centred at
236, 156, near the top of the left strip. - Hold Shift and drag a second circle at
2164, 156on the right strip. Shift adds it to the selection. - Fill both and deselect.
- Add a layer called
-
Double the holes down the strips
Use the same doubling trick: duplicate, move the copy down by
72, merge. Then repeat with144,288,576and1152. Delete any holes that land below the paper.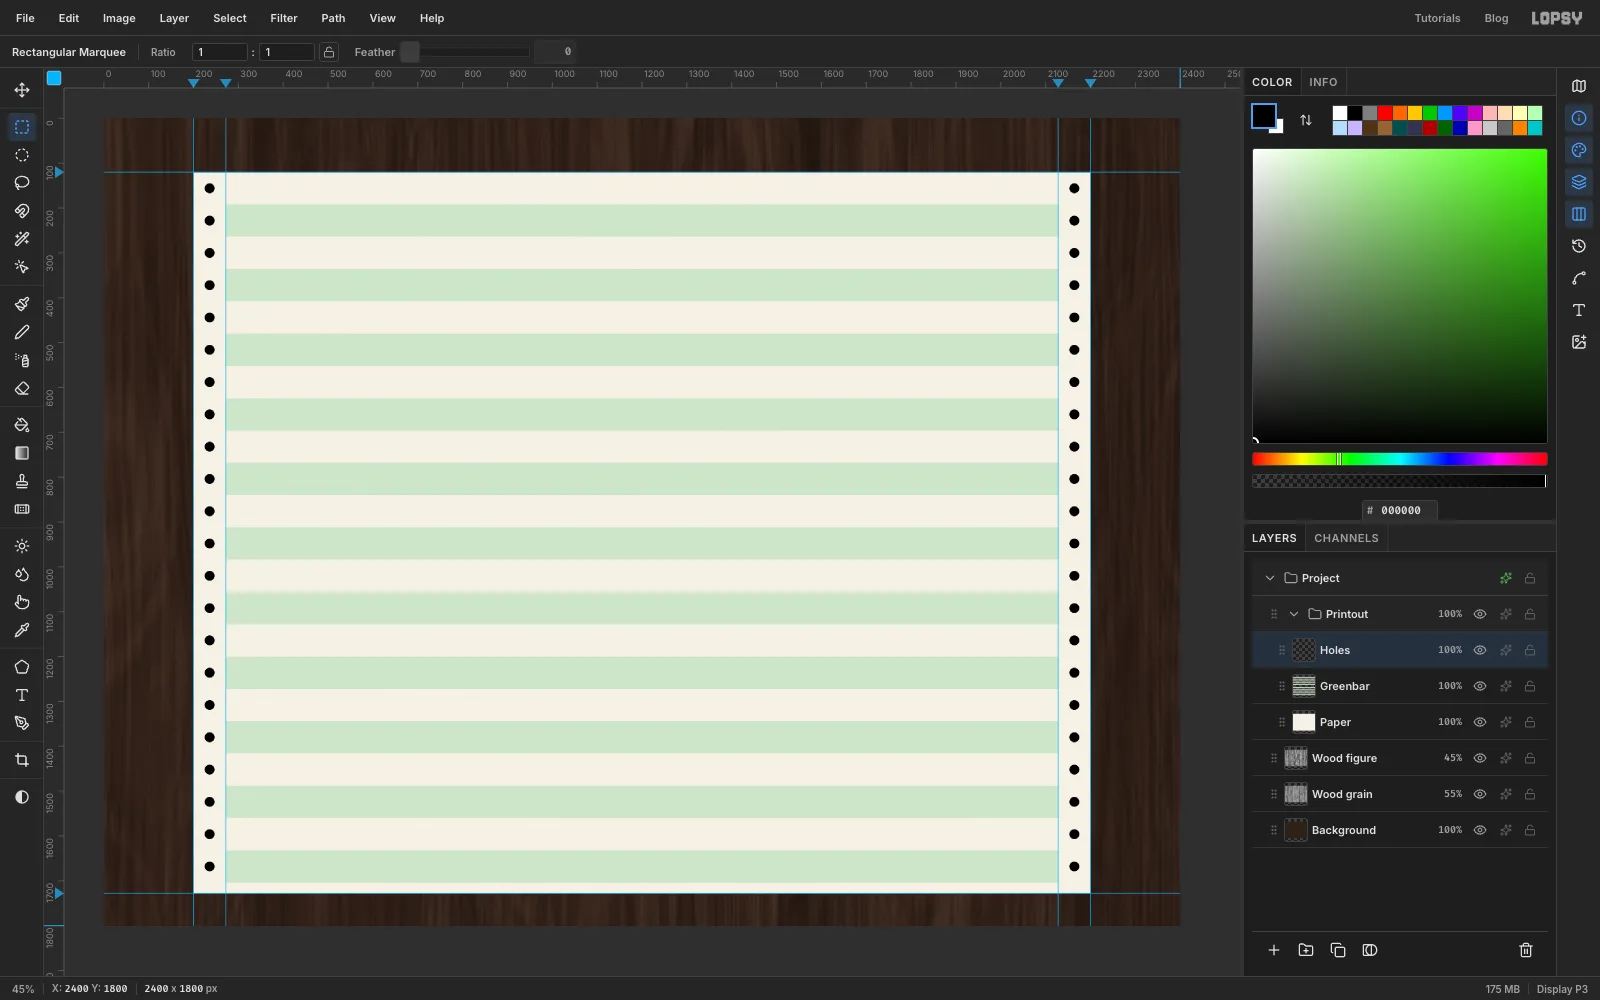
-
Load the holes as a selection
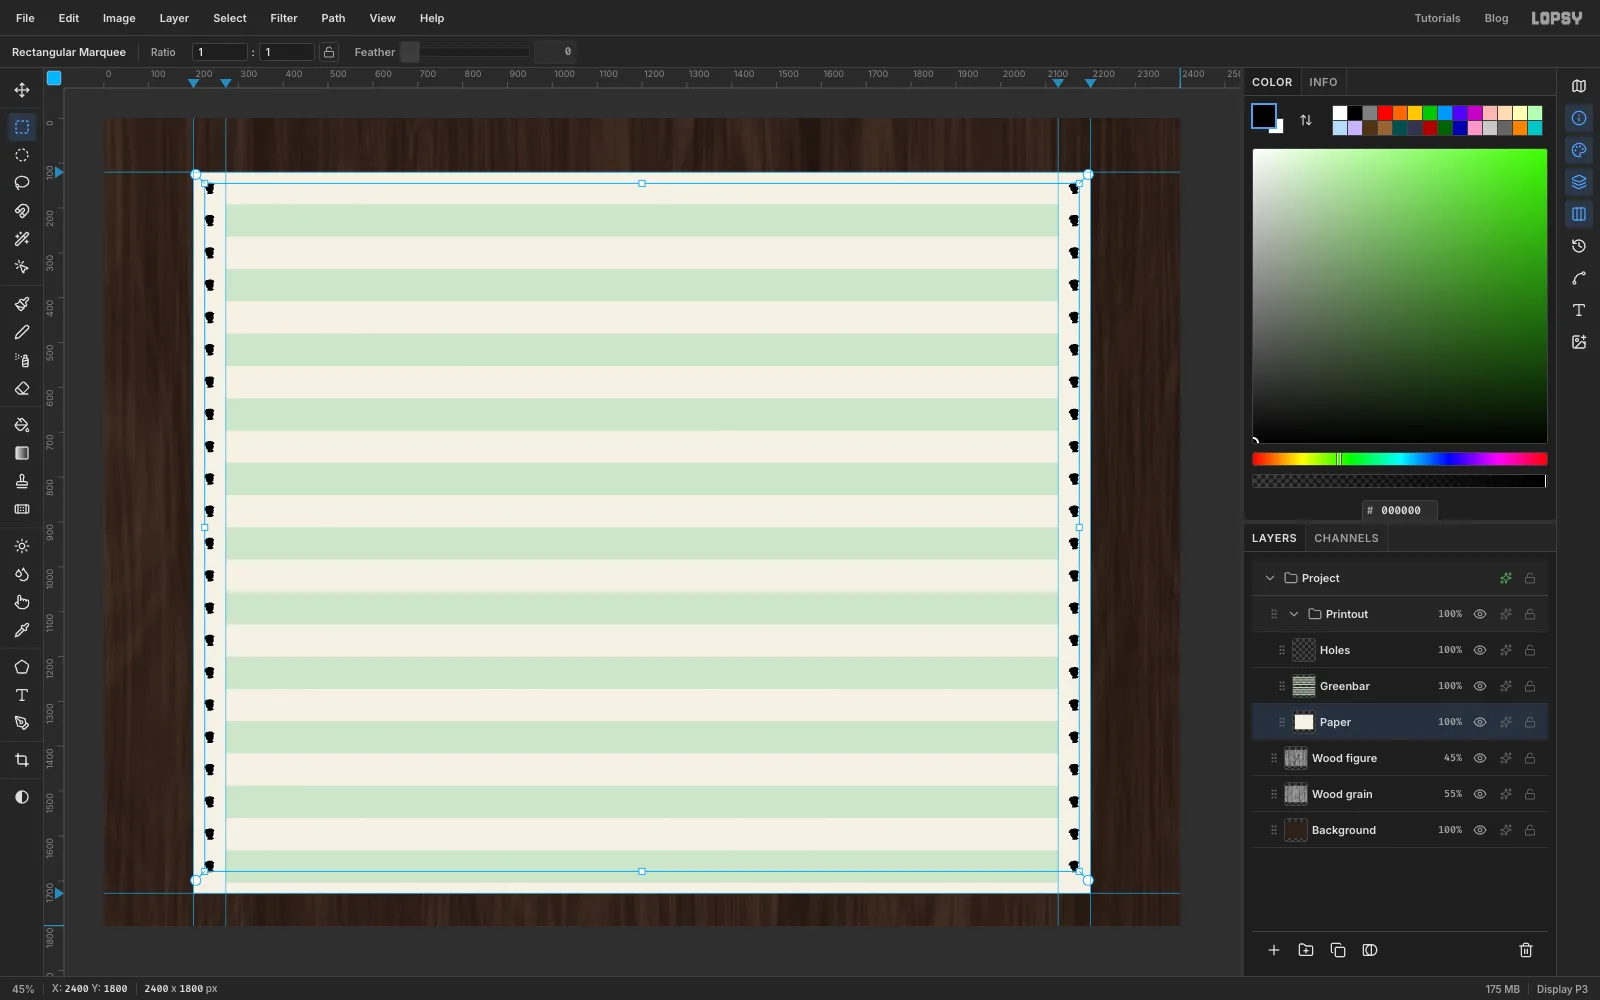
- Cmd-click the
Holeslayer's thumbnail. That loads its pixels as a selection. - Click the
Paperrow to make it the active layer. The selection stays.
- Cmd-click the
-
Punch the holes
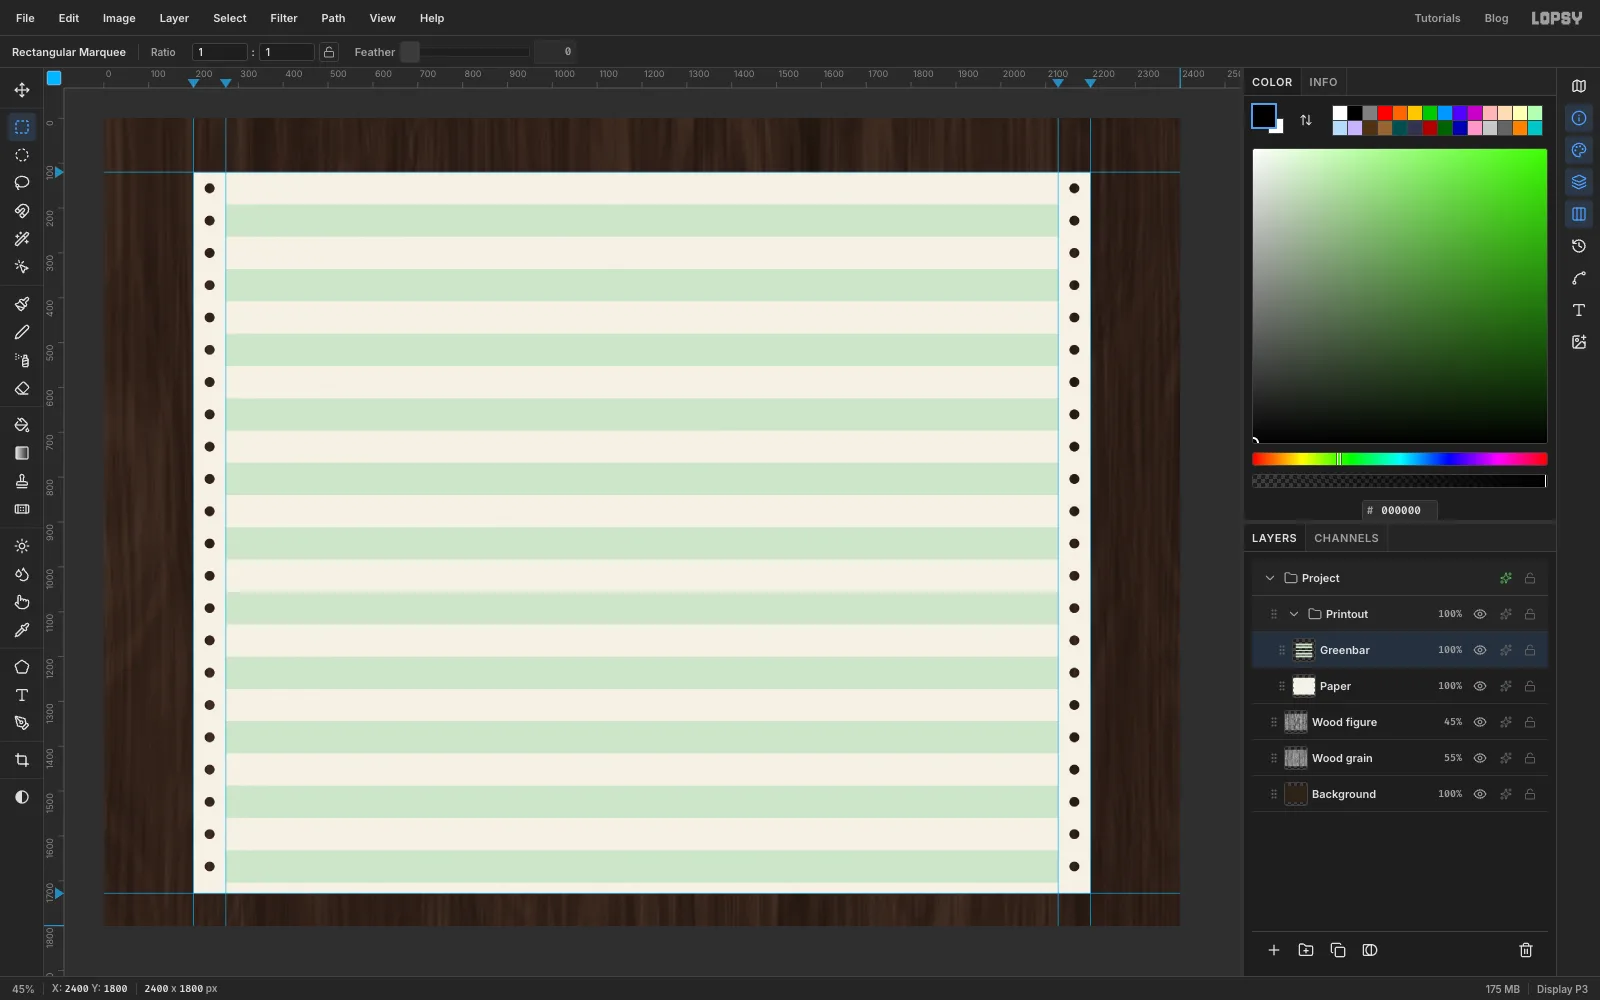
- Press Delete to cut the holes out of the paper, then deselect.
- Delete the
Holeslayer with the trash button. You don't need it any more.
-
Make a dash brush
Fanfold paper has a perforated line between the tractor strip and the page. You'll draw it with a brush that prints one dash per dab.
- Add a layer called
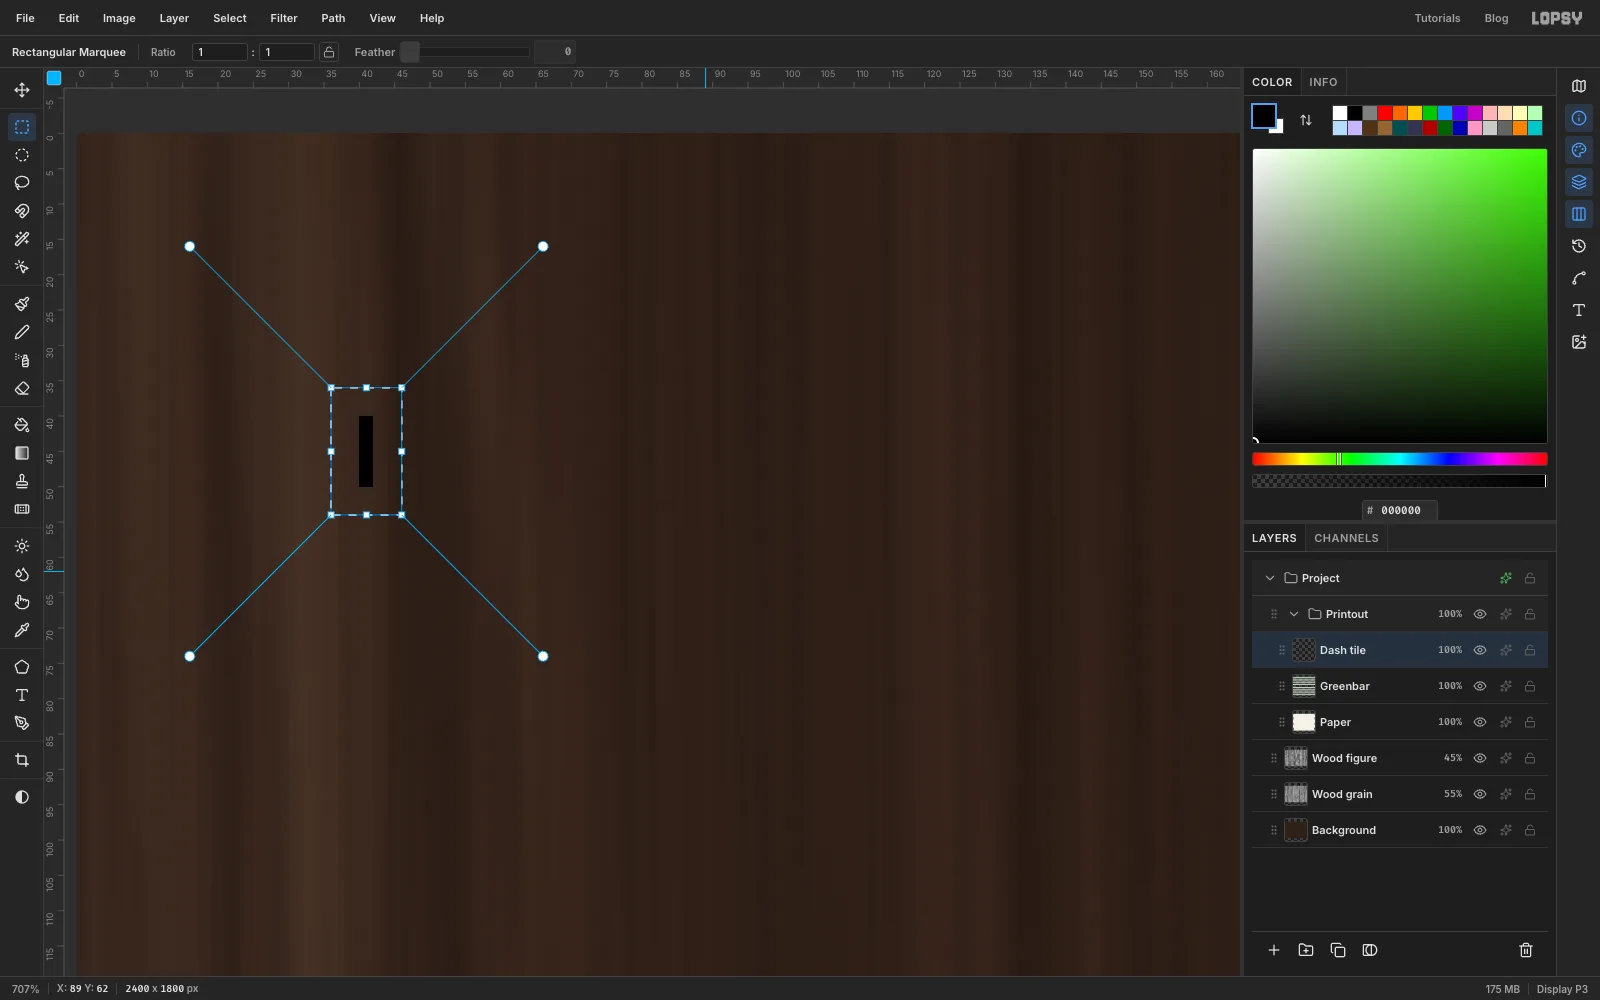
Dash tileand zoom right in on an empty corner. With the Rectangular Marquee, select a rectangle 2 px wide and 10 px tall, then Edit → Fill it with black. - Marquee around it and choose Edit → Define Brush…. Name it
Perforation dash. - Delete the
Dash tilelayer.
Lopsy trims the new tip to the dark pixels, so the brush is exactly one dash.
- Add a layer called
-
Draw the perforations
- Add a layer called
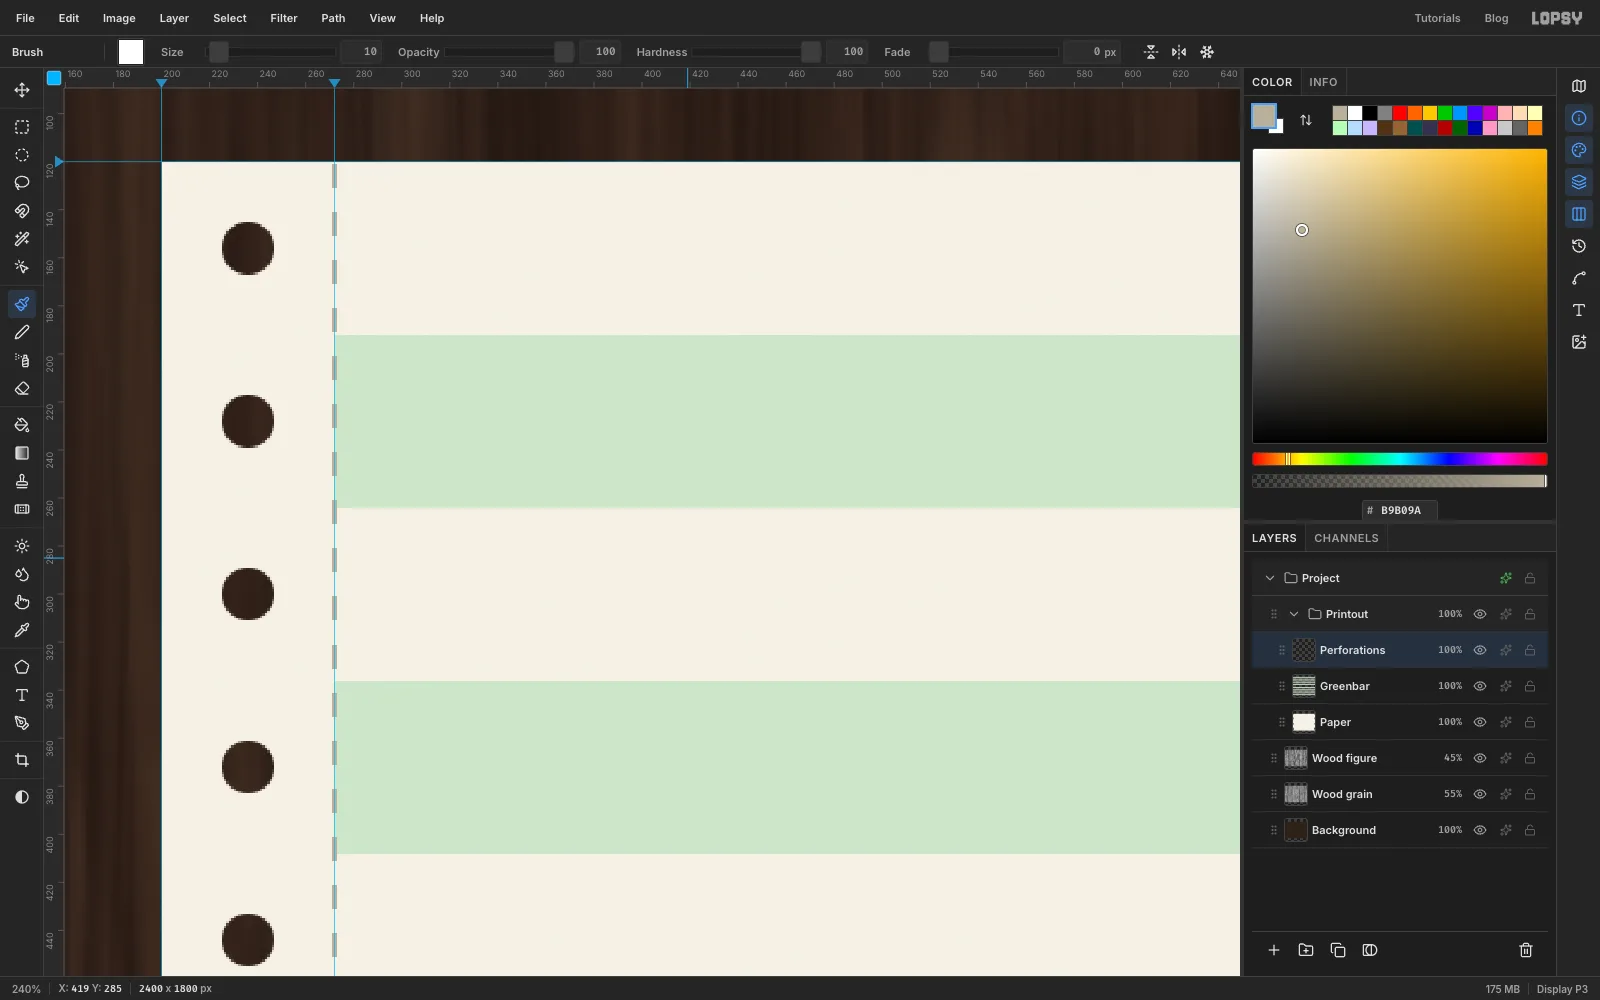
Perforationsand pick the Brush. ThePerforation dashpreset is already active. - Open the brush presets (click the tip thumbnail in the options bar), go to Shape and set Spacing to
200%. That puts one dash-length of gap between dashes. - Set the foreground to . Click at the top of the left inner guide, then Shift-click at the bottom. Shift-click draws a straight line from the last dab.
- Do the same on the right inner guide.
- Add a layer called
-
Give the paper some tooth
- Add a layer called
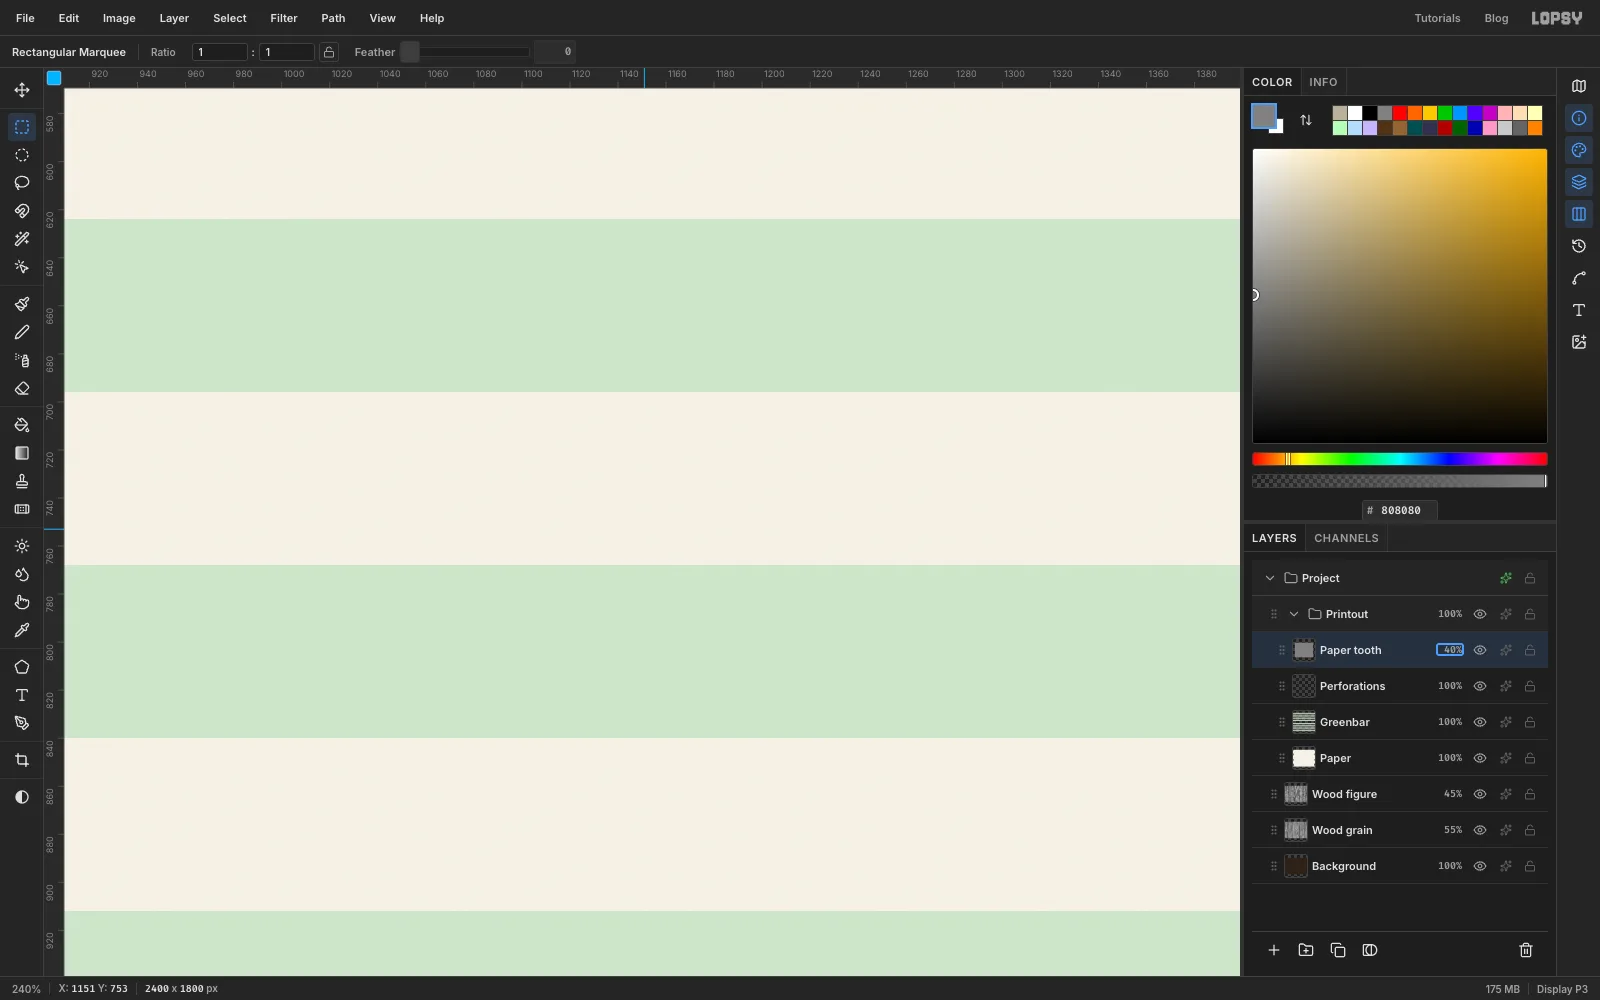
Paper toothand fill it with mid grey . - Run Filter → Add Noise… with Amount
22, Mono and Gaussian. - Cmd-click the
Paperthumbnail, choose Select → Inverse and press Delete, so the grain only covers the sheet. - Set the layer to Overlay at
40%.
Grey disappears in Overlay, so only the speckle shows. That's paper grain.
- Add a layer called
-
Lift the paper off the desk
Open the effects drawer on
Paperand turn on Drop Shadow: Offset X16, Offset Y28, Blur44, Opacity75, shadow colour . The holes show the shadow through them too, which helps sell the paper.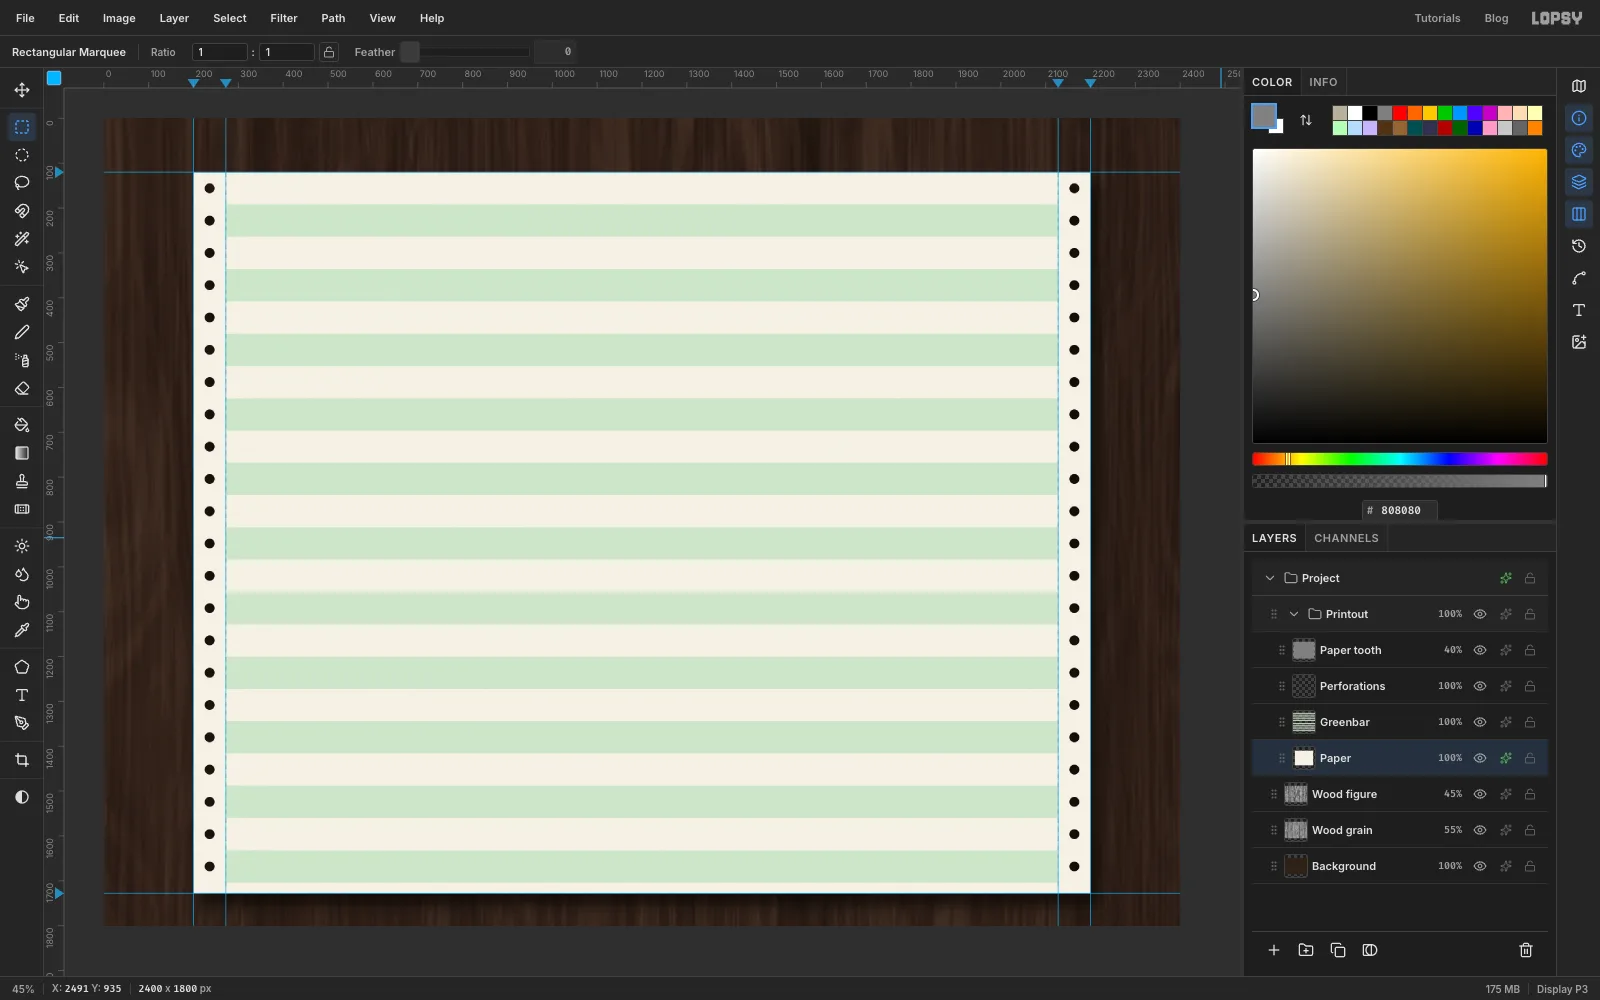
-
Print the banner
Line-printer banners were built from the letters themselves. Write yours in a plain-text editor first, where it's easy to line up the columns:
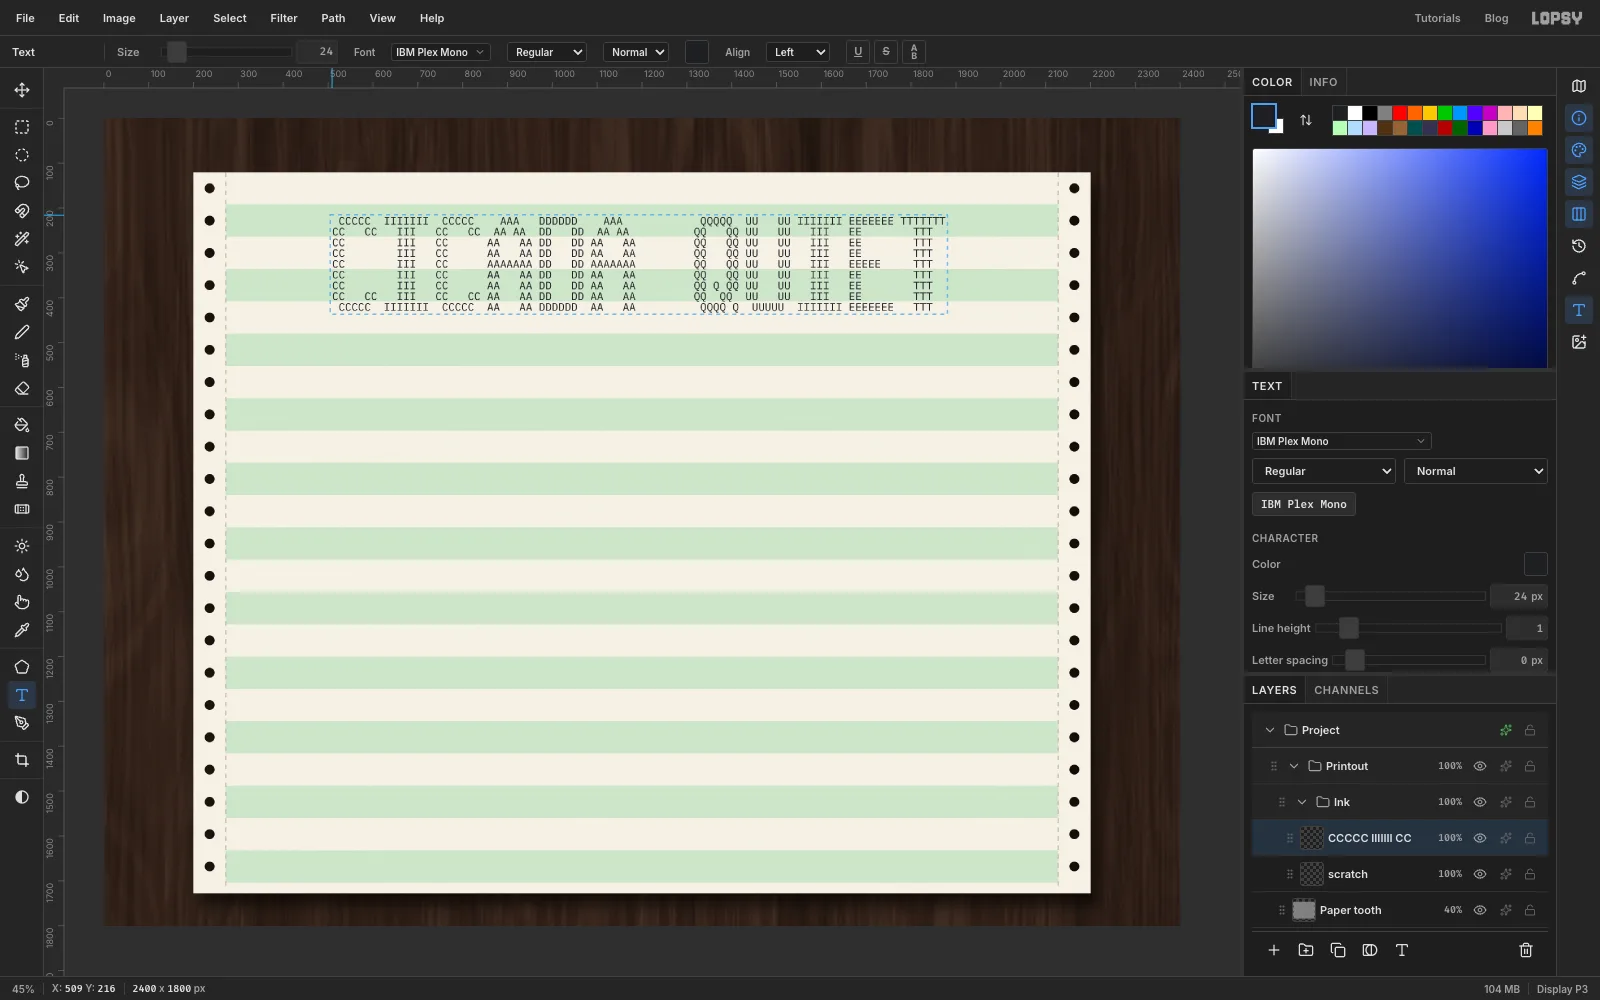
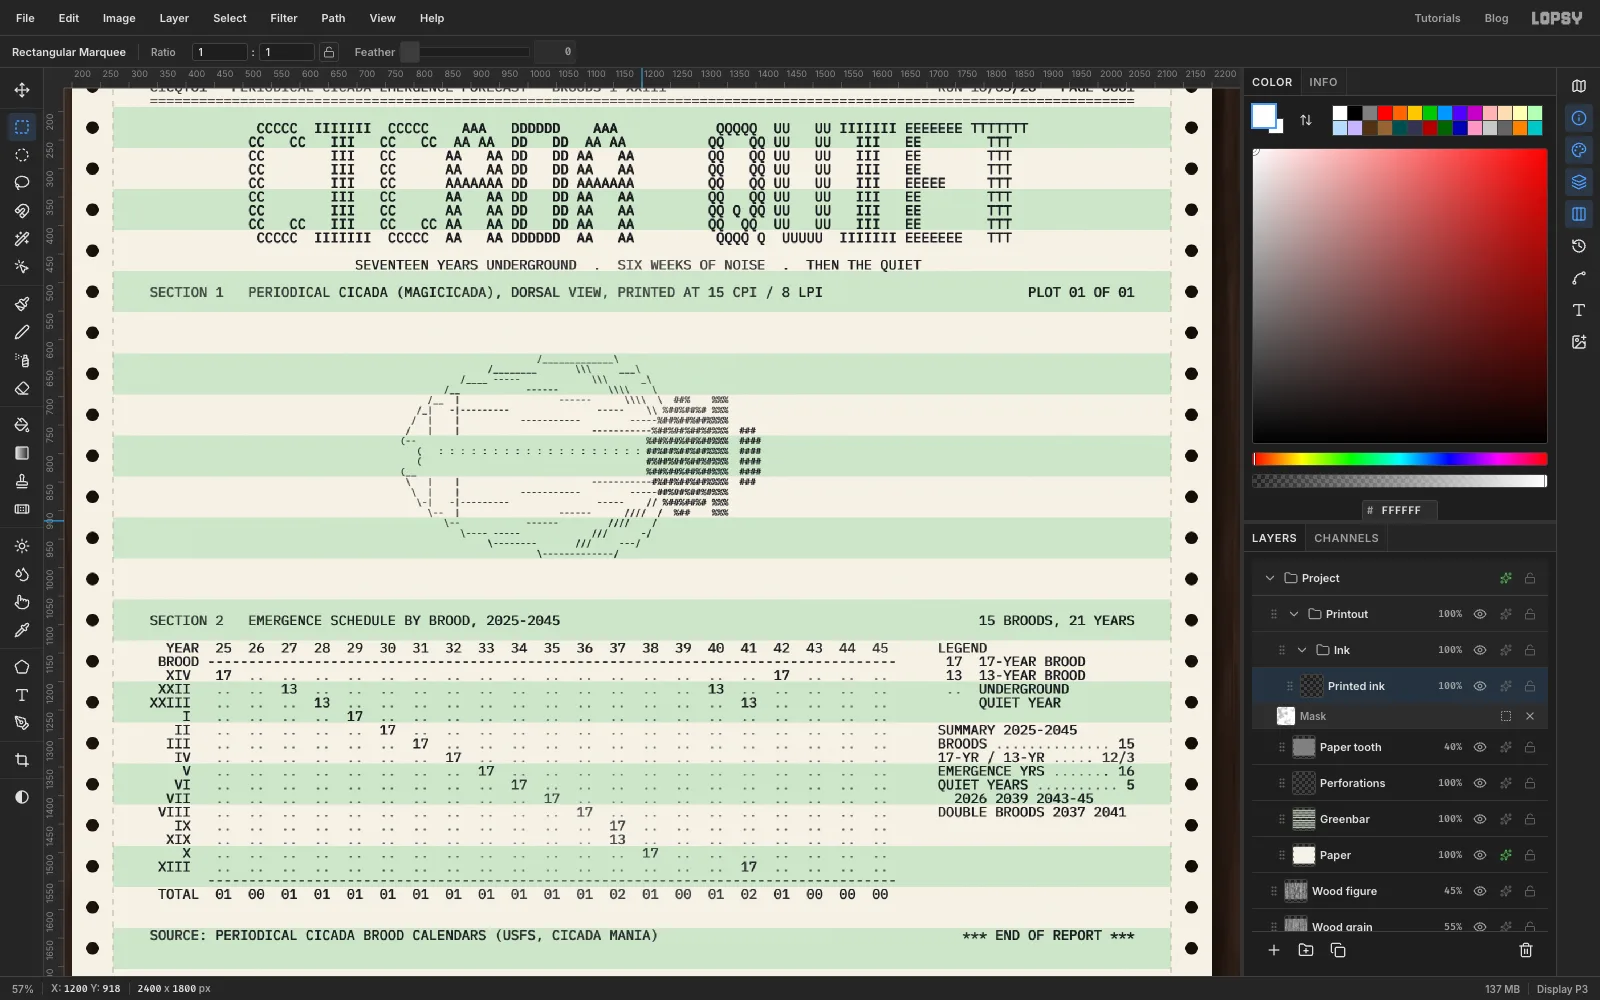
- Each letter is 7 characters wide and 9 lines tall, drawn with its own letter: the C is made of Cs, the Q of Qs.
- Strokes are two characters thick. The top of the C is
CCCCCand its sides areCC CC. The I isIIIIIIItop and bottom withIIIin between. - Put one space between letters, and a blank 7-character "letter" between the two words. The whole banner is 95 characters wide.
- Press Cmd+; to hide the guides. Select
Paper toothand click New Group to make a group calledInkinsidePrintout. Add a spare layer calledscratchinside it. Select it before each new block of text: if a text layer is selected, changing the font size restyles that layer instead of setting up the next one. - Pick the Text tool. In the options bar, choose IBM Plex Mono, size
24, colour . - Click at about
509, 216and paste the banner (Cmd+V). Press Tab to commit. That spot is line 4 of the page, 12 characters in from the left margin of the text, which centres the 95-character banner on the 120-character line. - In the Text panel, set Line height to
1.
IBM Plex Mono is 0.6 em wide, so at 24 px every character is 14.4 px and every line is 24 px. That makes three printed lines exactly one green band.
-
Print the cicada
The drawing is printed in "condensed" mode, at 15 characters per inch and 8 lines per inch. Draw it in your text editor, about 81 characters wide and 22 lines tall, with the head pointing right:
- Wings: an oval outline, with
/,\,_and-on the edges and(at the rounded tip. Add a dotted:seam where the two wings meet, and a few long-veins fanning out from the base. - Thorax: a block of
#and%. - Head: a short band of
#with a one-column gap in front of the thorax. - Eyes: leave a 4-character gap on each corner of the head, two lines above it and two below. They'll be printed in red later.
Select
scratch, set the Text tool's size to16, then click at about631, 606and paste. Set Line height to1.125. At 16 px a character is 9.6 px and a line is 18 px, which is 15 CPI and 8 LPI.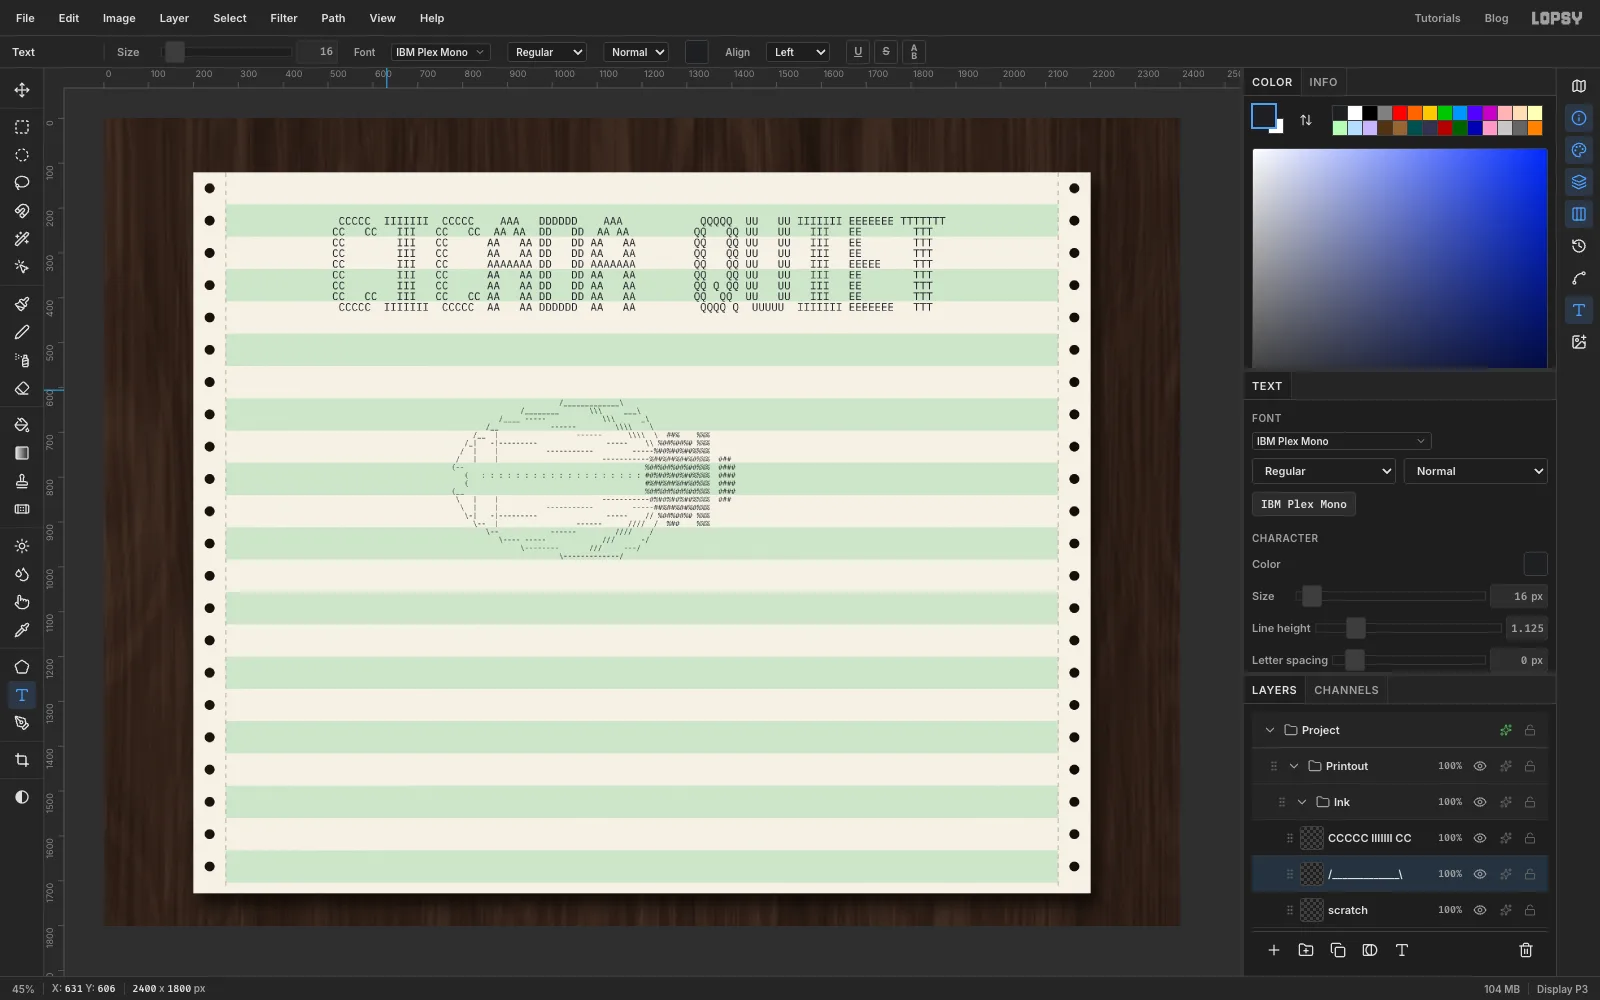
- Wings: an oval outline, with
-
Print the report
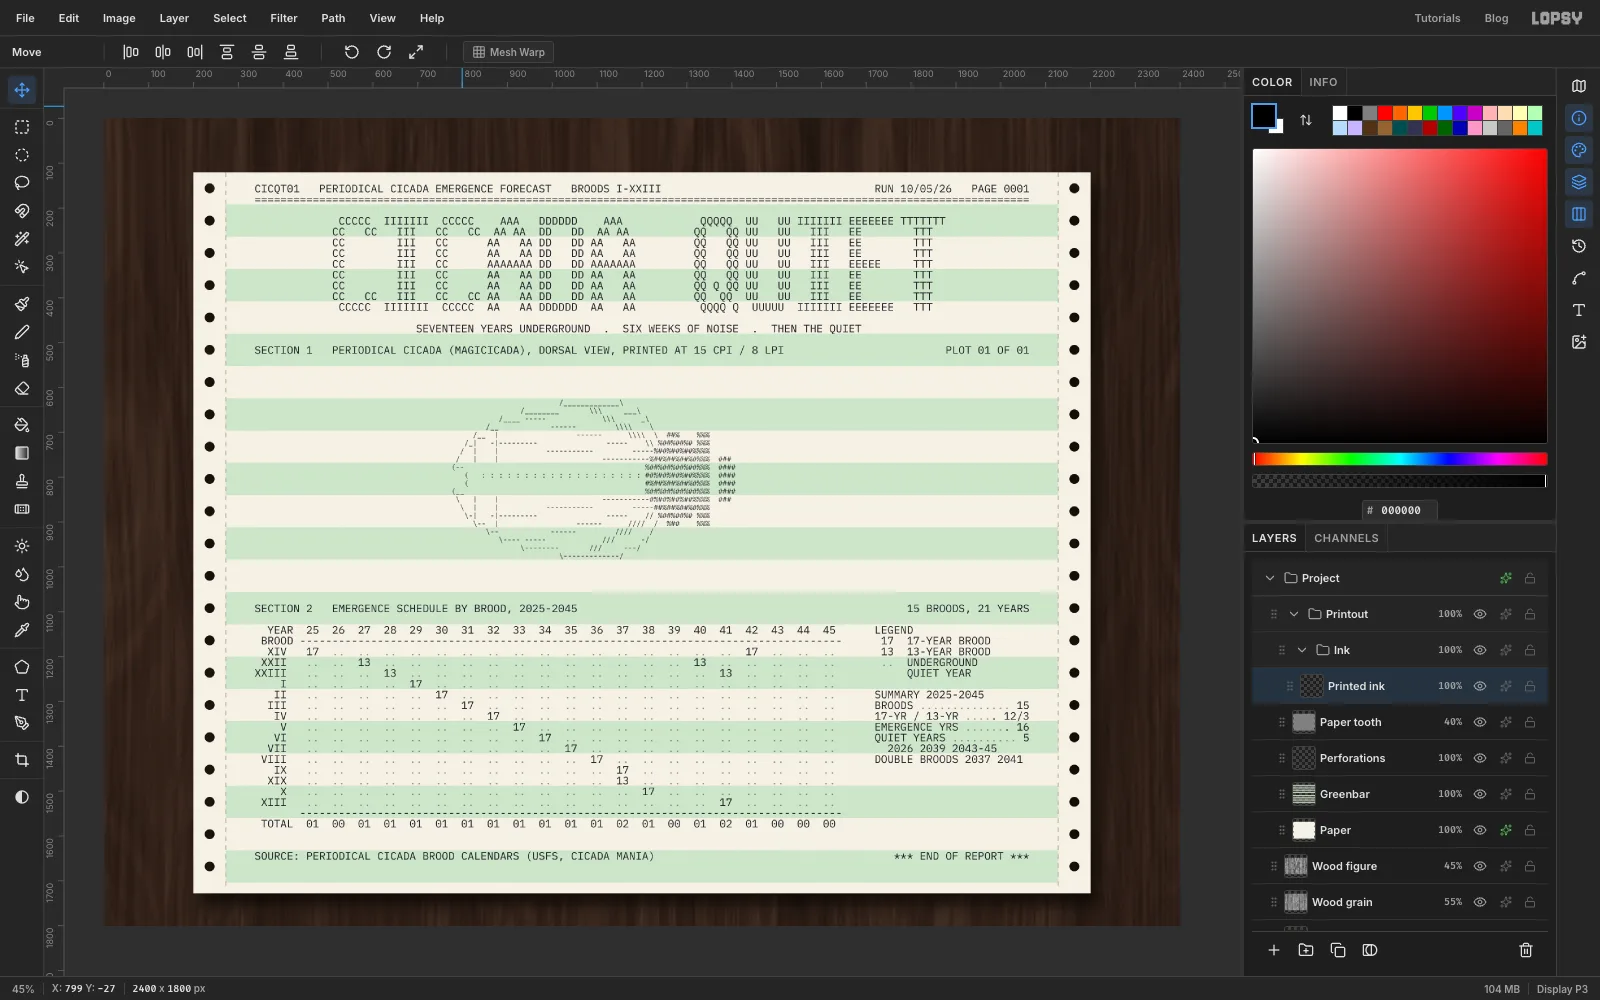
The rest of the page is one text layer of 63 lines, 120 characters wide. Build it in your editor. Here's the data, one brood per row, in the order they come up:
- 17-year broods: XIV 2025 and 2042, I 2029, II 2030, III 2031, IV 2032, V 2033, VI 2034, VII 2035, VIII 2036, IX 2037, X 2038, XIII 2041
- 13-year broods: XXII 2027 and 2040, XXIII 2028 and 2041, XIX 2037
- Row order: XIV, XXII, XXIII, I to IX, XIX, X, XIII. That gives the diagonal staircase.
And here's the layout:
- Line 1: the header
CICQT01 PERIODICAL CICADA EMERGENCE FORECAST BROODS I-XXIII, withRUN 10/05/26 PAGE 0001pushed to the right edge. Line 2 is 120=signs. - Line 14: the tagline
SEVENTEEN YEARS UNDERGROUND . SIX WEEKS OF NOISE . THEN THE QUIET, centred. - Line 16:
SECTION 1 PERIODICAL CICADA (MAGICICADA), DORSAL VIEW, PRINTED AT 15 CPI / 8 LPI, withPLOT 01 OF 01on the right. Leave lines 17 to 39 empty for the drawing. - Line 40:
SECTION 2 EMERGENCE SCHEDULE BY BROOD, 2025-2045, with15 BROODS, 21 YEARSon the right. - The chart, from line 42: each year gets a 4-character cell. The header row reads
YEAR 25 26 27 …, and the next line isBROODfollowed by a row of dashes under the years. Each brood row starts with its name, right-aligned in 5 characters. Its emergence year shows the cycle,17or13. Leave the other cells blank for now; the dots come next. A second row of dashes closes the chart. - TOTAL row: counts zero-padded to two digits (
01,00,02), so they sit under the years. - Legend and summary: on the right from column 96. The legend reads
17 17-YEAR BROOD,13 13-YEAR BROOD,UNDERGROUNDandQUIET YEAR. Leave space in front of the last two for the dot and the highlighter swatch. The summary listsBROODS 15,17-YR / 13-YR 12/3,EMERGENCE YRS 16,QUIET YEARS 5(with2026 2039 2043-45on the line below) andDOUBLE BROODS 2037 2041. Right-align the numbers and leave the gaps between label and number as spaces for now; the leader dots go on the dots layer next. - Footer:
SOURCE: PERIODICAL CICADA BROOD CALENDARS (USFS, CICADA MANIA)on line 63, with*** END OF REPORT ***on the right.
Select
scratchagain and set the size back to24. Click at336, 144, the left margin of the text, one line below the top of the sheet, and paste. Set Line height to1.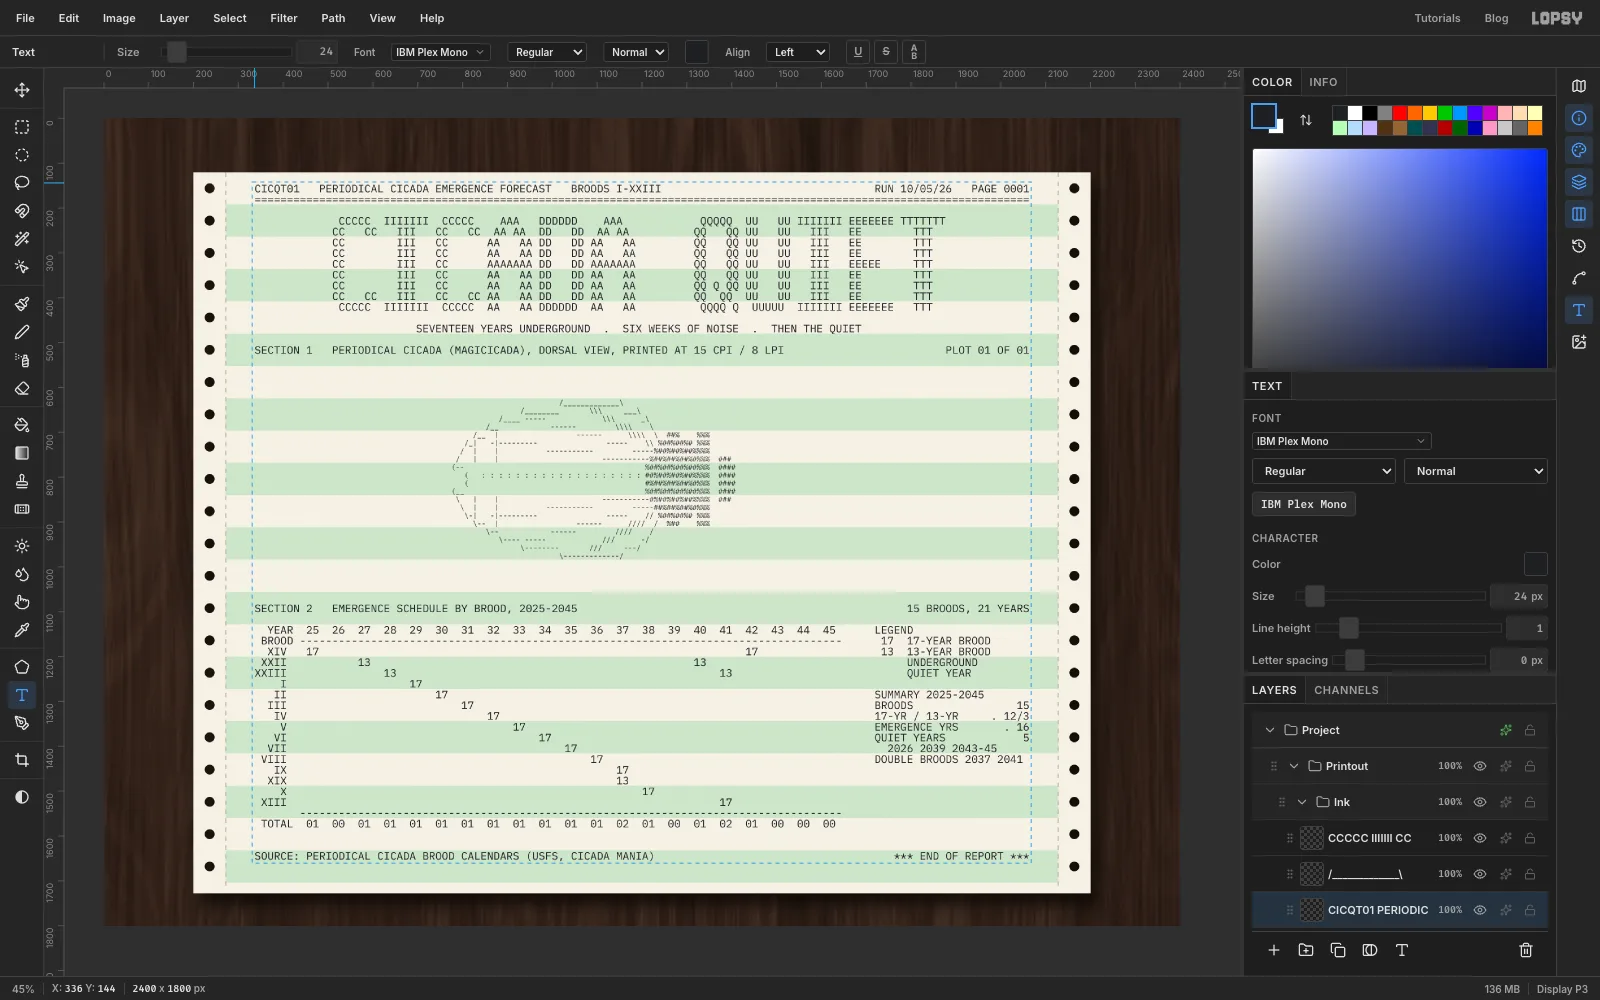
-
Fade the filler dots
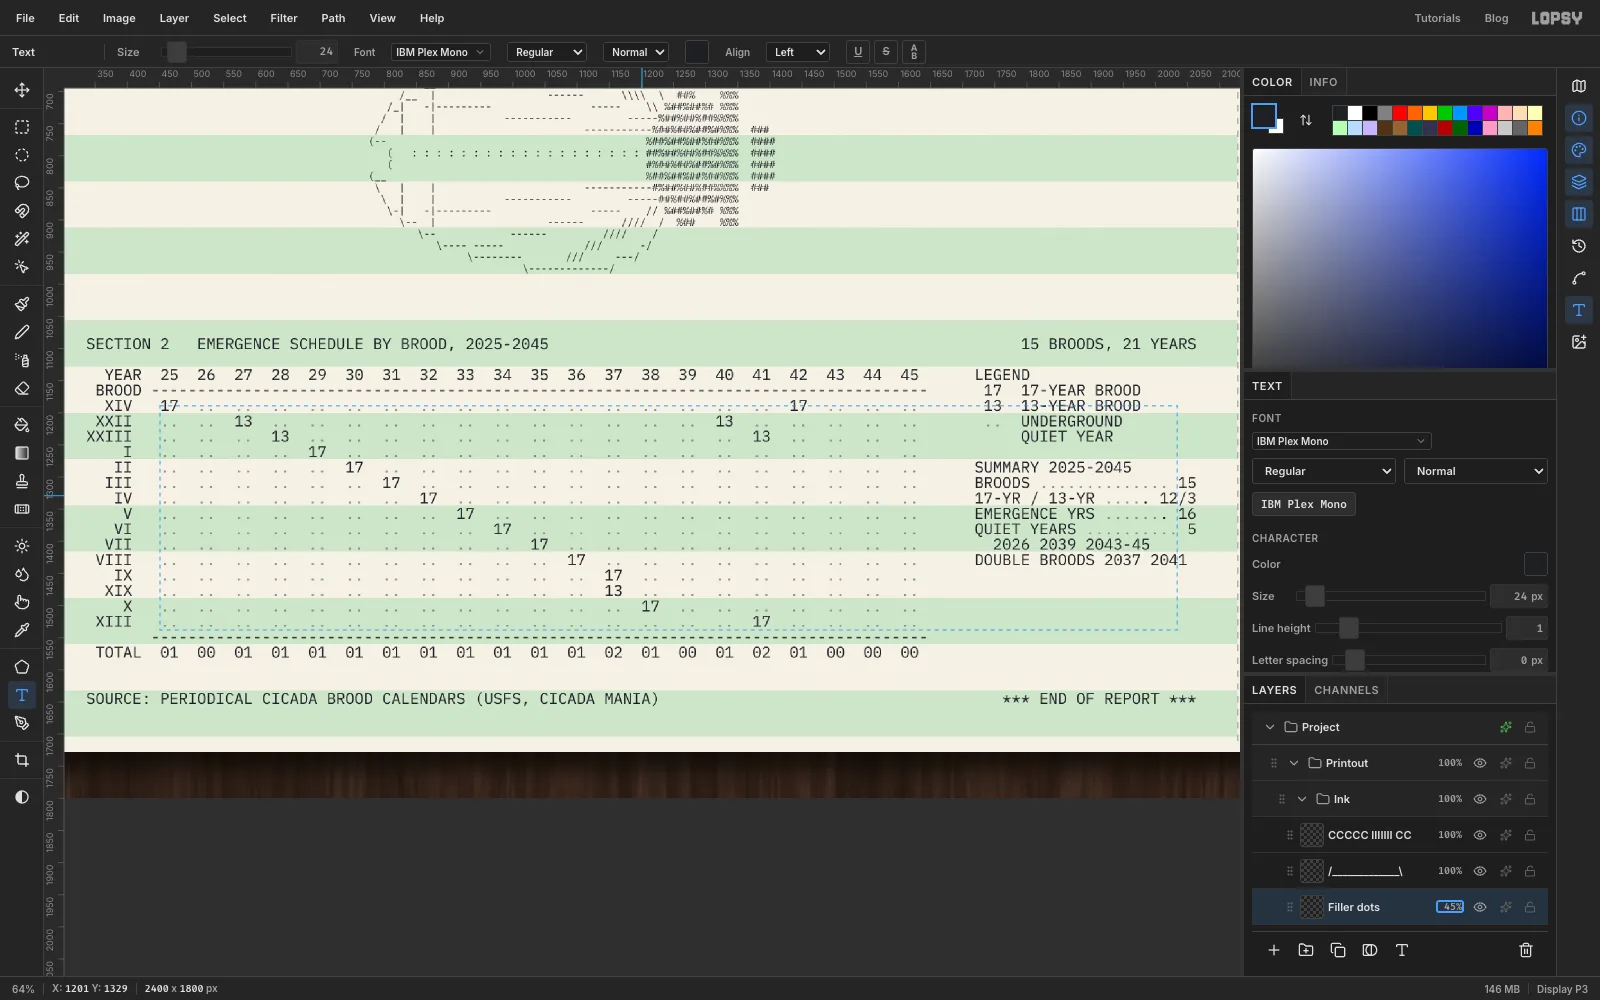
Every empty cell gets
..for "underground", along with the dot leaders in the summary. Printed as dark as the data, they would bury the staircase of17s, so they go on their own, lighter layer:- In your editor, make a copy of the report with
..in every empty chart cell, in front ofUNDERGROUND, and as leader dots in the summary. Then turn everything except the dots into spaces. - Back in Lopsy, with the report layer active, choose Layer → Duplicate Layer.
- Check that the copy's row is the highlighted one, so you don't overwrite the report. Then click into the text with the Text tool, press Cmd+A and paste the dots-only version. Press Tab. Because it's a copy of the report, it stays exactly in register.
- Rename it
Filler dotsand set its opacity to45%.
- In your editor, make a copy of the report with
-
Merge the ink into one layer
- Delete the
scratchlayer. - Select
Filler dotsand press Cmd+E to merge it into the report. Merging bakes its 45% opacity in. - Select the banner, the top text layer in
Ink, and press Cmd+E until everything is one layer. Rename itPrinted ink.
From here on the type is pixels, which you need for the strike effects.
- Delete the
-
Double-strike the page
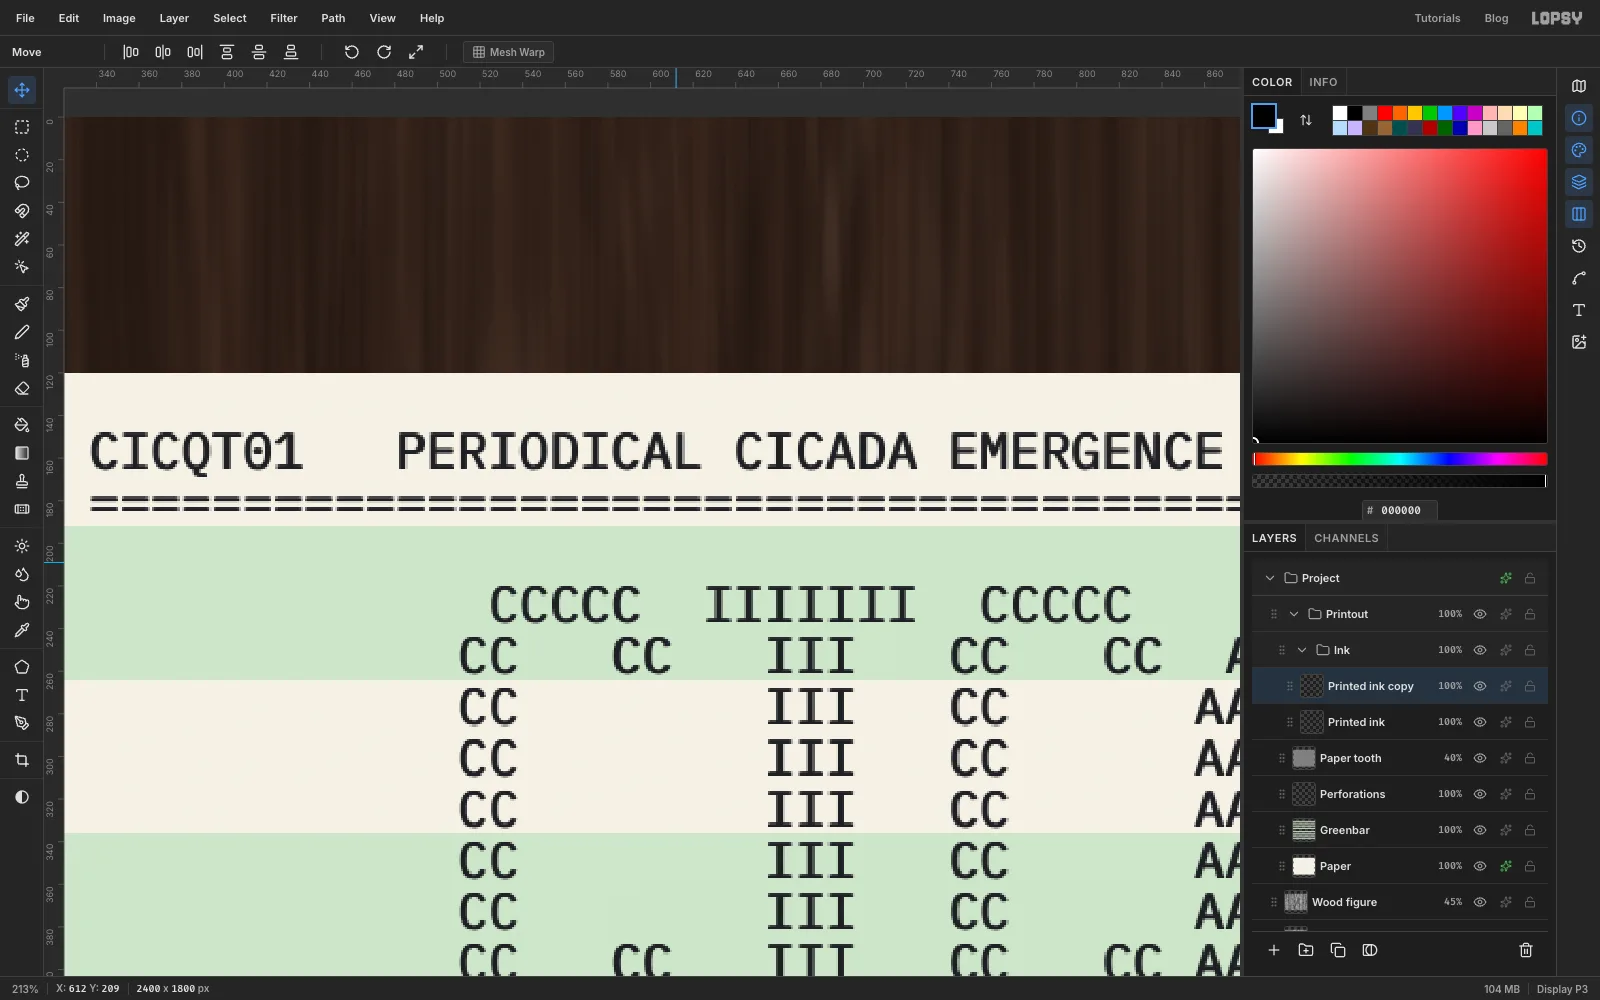
Impact printers often hit each character twice. Fake it:
- Duplicate
Printed inkand click the copy's row. - With the Move tool, press → once to nudge it 1 px right.
- Press Cmd+E to merge it back down.
- Duplicate
-
Give the banner a third strike
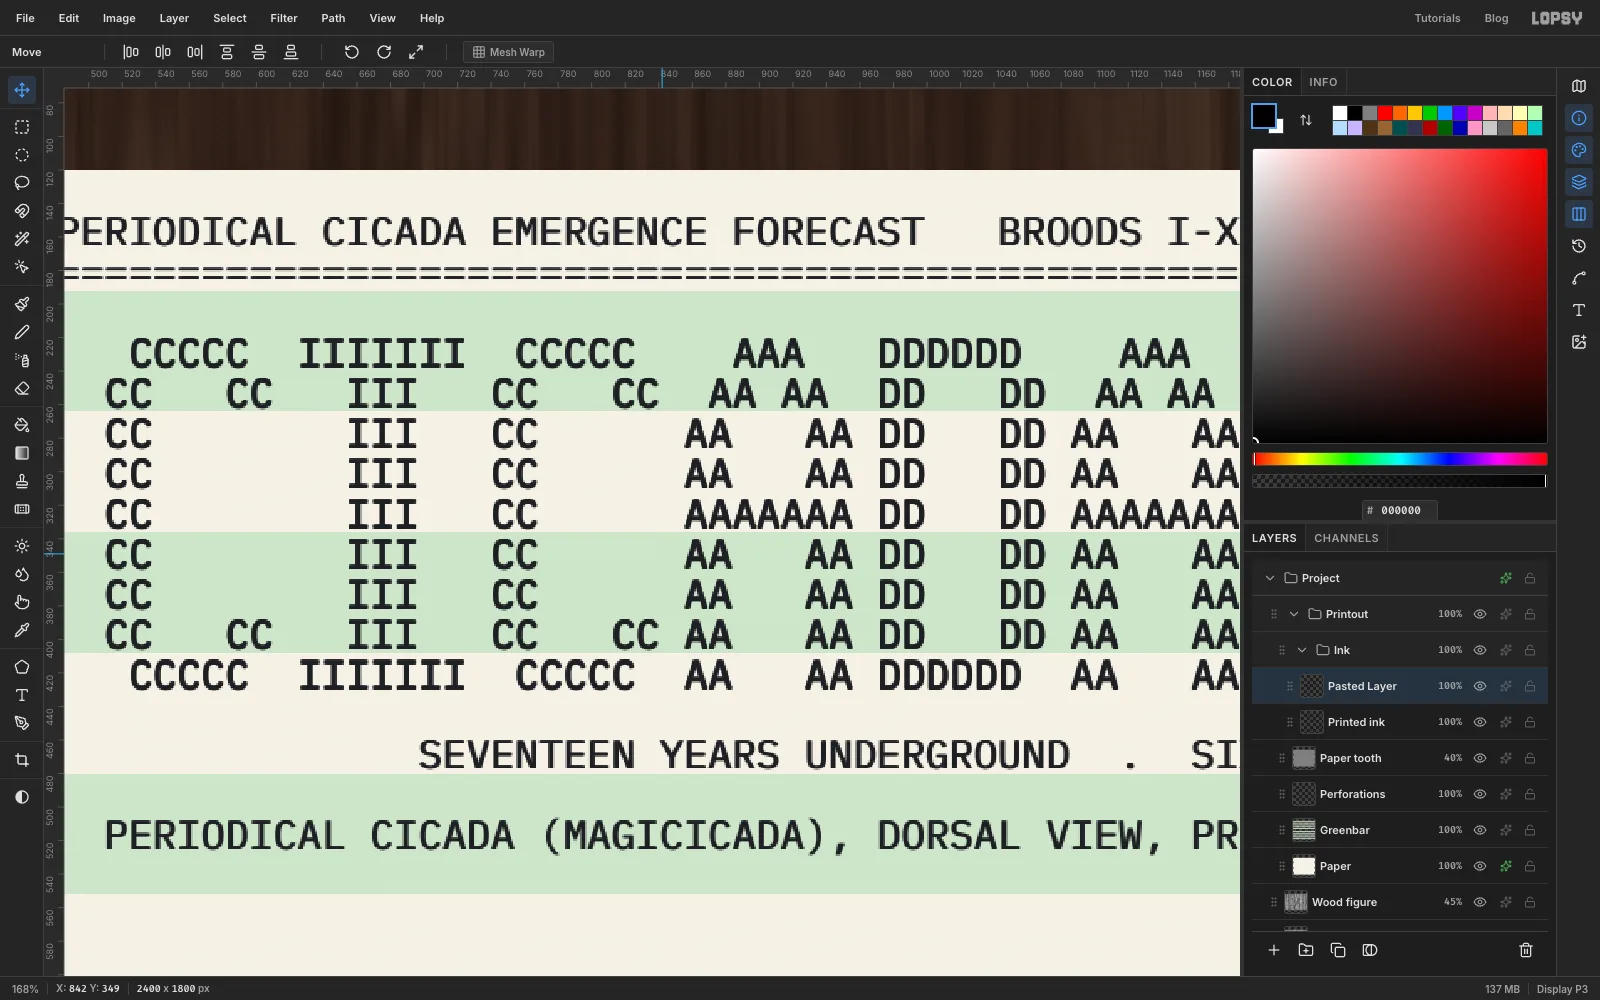
The title should be the darkest type on the page.
- Marquee around the banner and press Cmd+C then Cmd+V. Pasting something you copied in Lopsy puts it back in the same place, on a new layer.
- Deselect, switch to the Move tool, press ↓ once, and merge it down.
-
Add grain and bleed to the ink
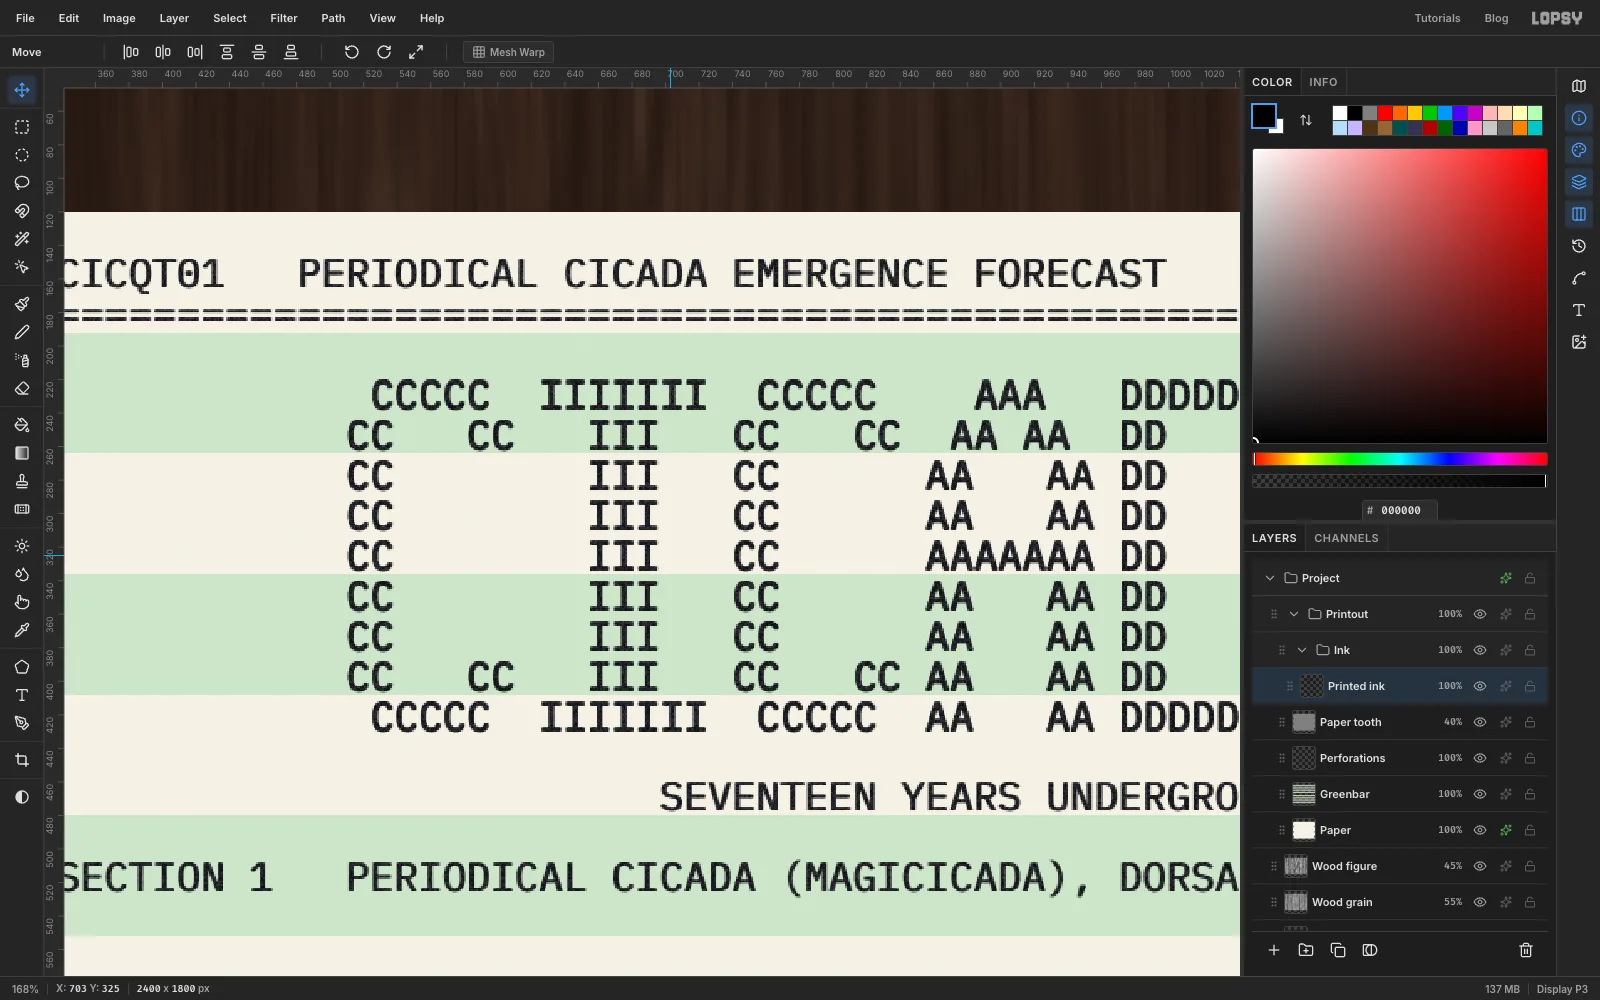
On
Printed ink:- Run Add Noise… with Amount
35, Mono and Uniform. This roughs up the ink. - Run Gaussian Blur… with Radius
1. This makes the ink bleed slightly into the paper. - Set the layer to Multiply, so the green bands show through the ink as they would on real paper.
- Run Add Noise… with Amount
-
Vary the strike pressure with a mask
Real print hammers don't hit evenly, so some patches come out paler.
- Click Add Mask, then click the mask thumbnail (Edit mask for Printed ink). Filters now work on the mask.
- Run Filter → Clouds… with Scale
6. - Run Filter → Brightness/Contrast… with Brightness
45and Contrast-60. The mask now ranges from about 75% to full, so the ink never fades too far. - Set the foreground to white, marquee around the banner and Edit → Fill. The title stays at full strength.
- Click the layer's name to leave mask editing.
-
Print the eyes in red
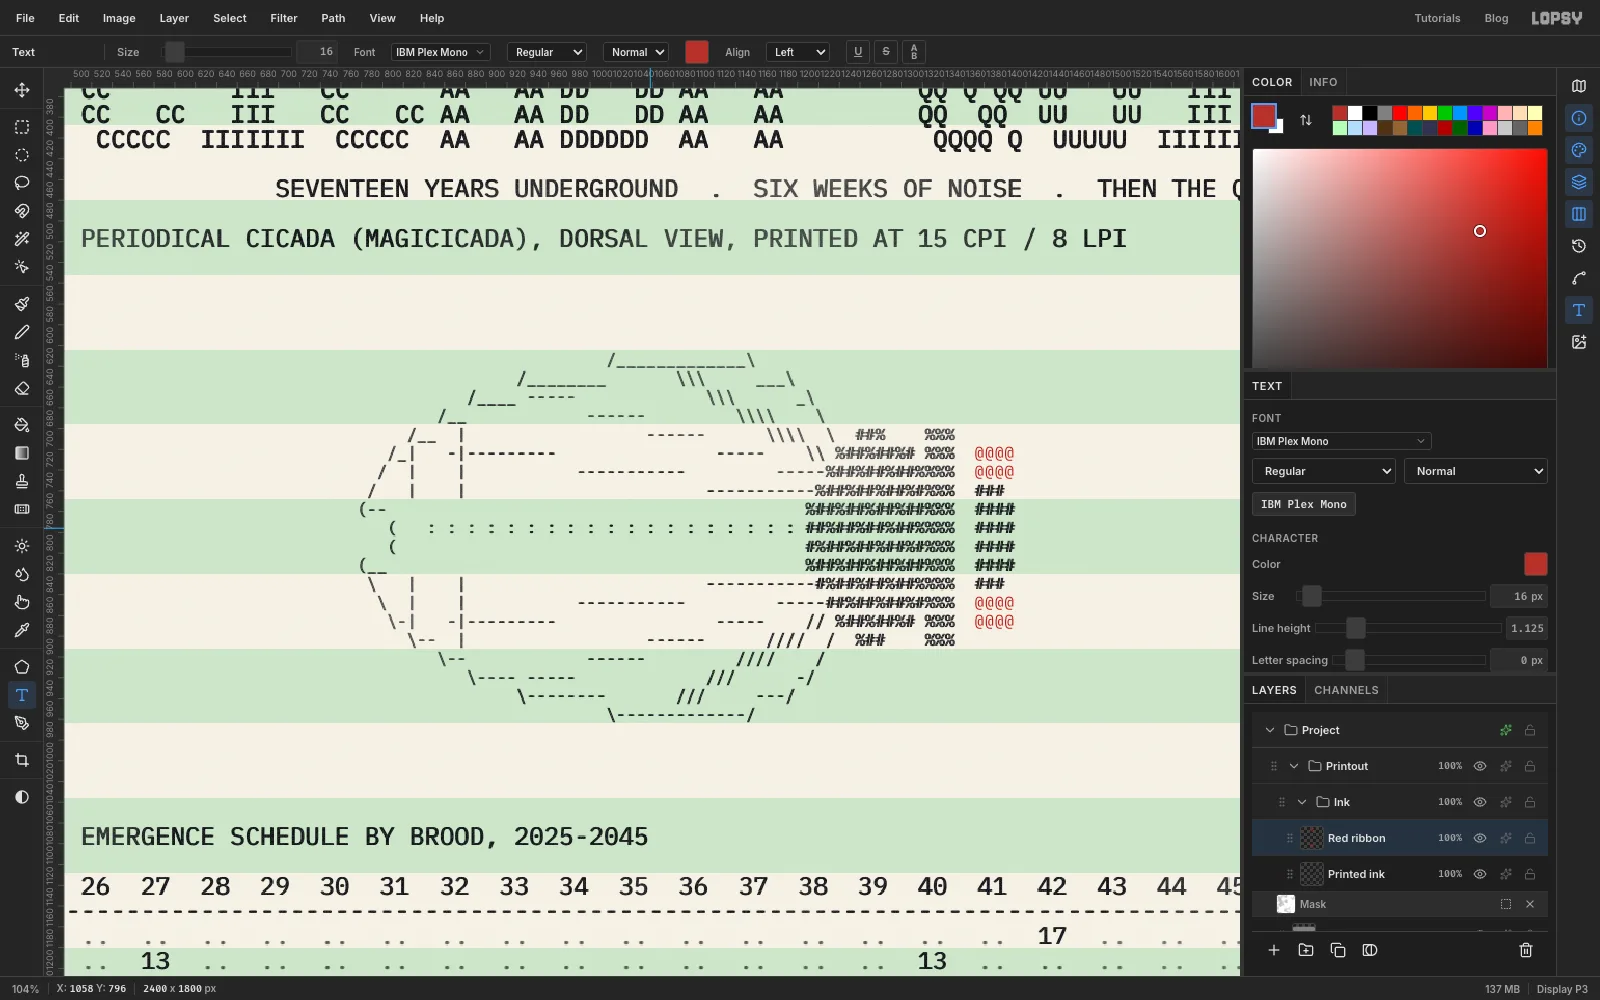
Many line printers had a two-colour ribbon. Use the red half for the eyes, the one feature that says "periodical cicada".
- Select
Printed ink, set the foreground to , and set the Text tool's size to16. - In your editor, make a copy of the cicada drawing that keeps only the eyes: two rows of
@@@@in each of the gaps you left on the head's corners, with everything else turned into spaces. - Click at the same spot you used for the cicada plot and paste it. Set Line height to
1.125. - Rename it
Red ribbon, click Rasterize Layer, and set it to Multiply.
- Select
-
Highlight the quiet years
- Select
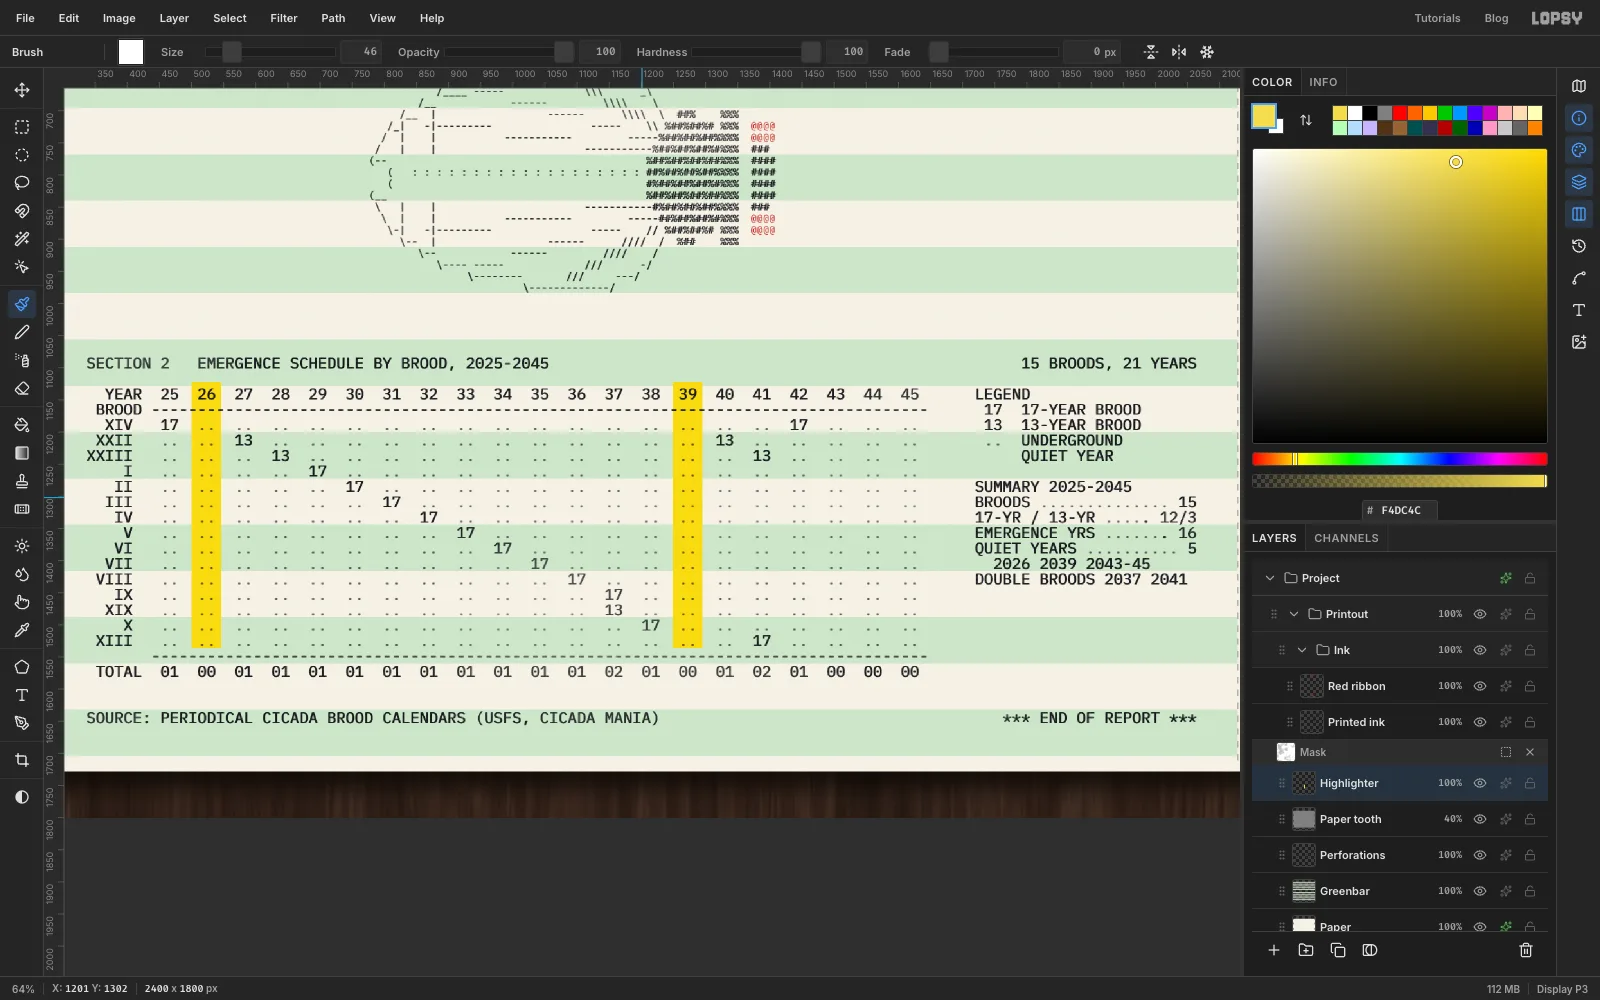
Paper toothand add a layer calledHighlighter. It sits under the ink, so the type stays crisp on top. - Pick the Brush, open the presets and choose Square. Set Size
46, Hardness100. - Set the foreground to . Click just above the 2026 heading, then Shift-click down at the dashed line above TOTAL. Do the same for 2039.
- Select
-
Finish the highlighting
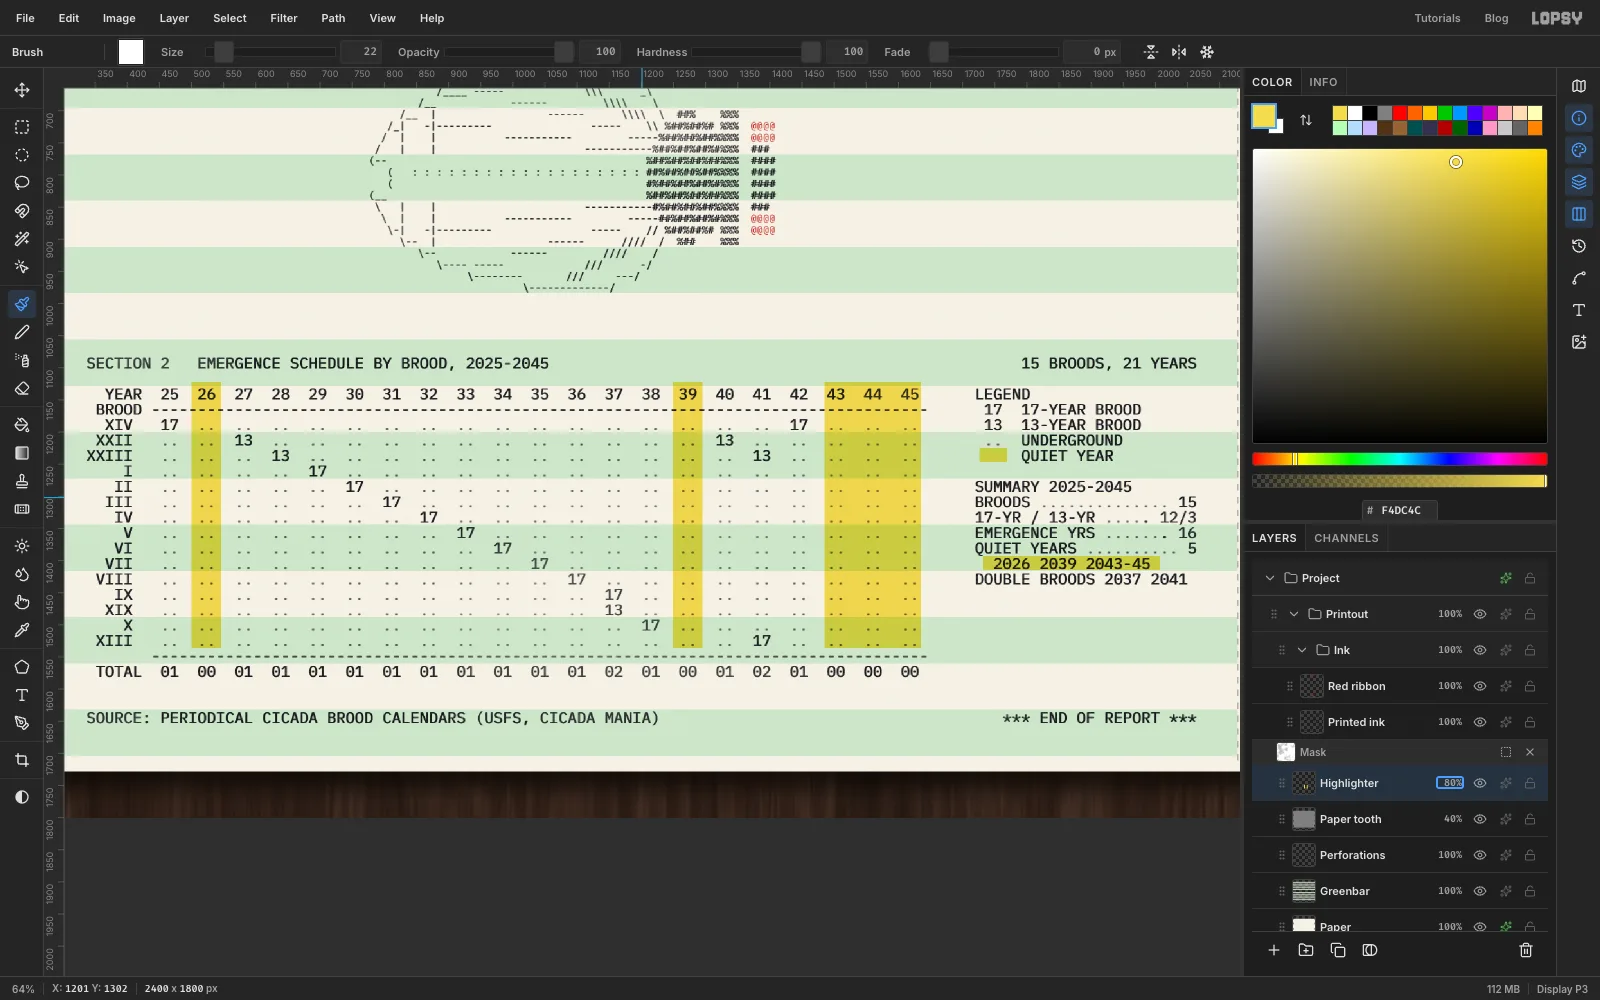
- Change the Size to
150and draw one wide stroke over the 2043, 2044 and 2045 columns, with the same top and bottom as the other two bars. - Set the Size to
22. Draw a short stroke in the legend, in front ofQUIET YEAR. That's the key. - Draw one more along the
2026 2039 2043-45line in the summary. - Set the layer to Multiply at
80%. The yellow turns olive over the green bands, like real highlighter.
- Change the Size to
-
Circle the empty totals
- Select
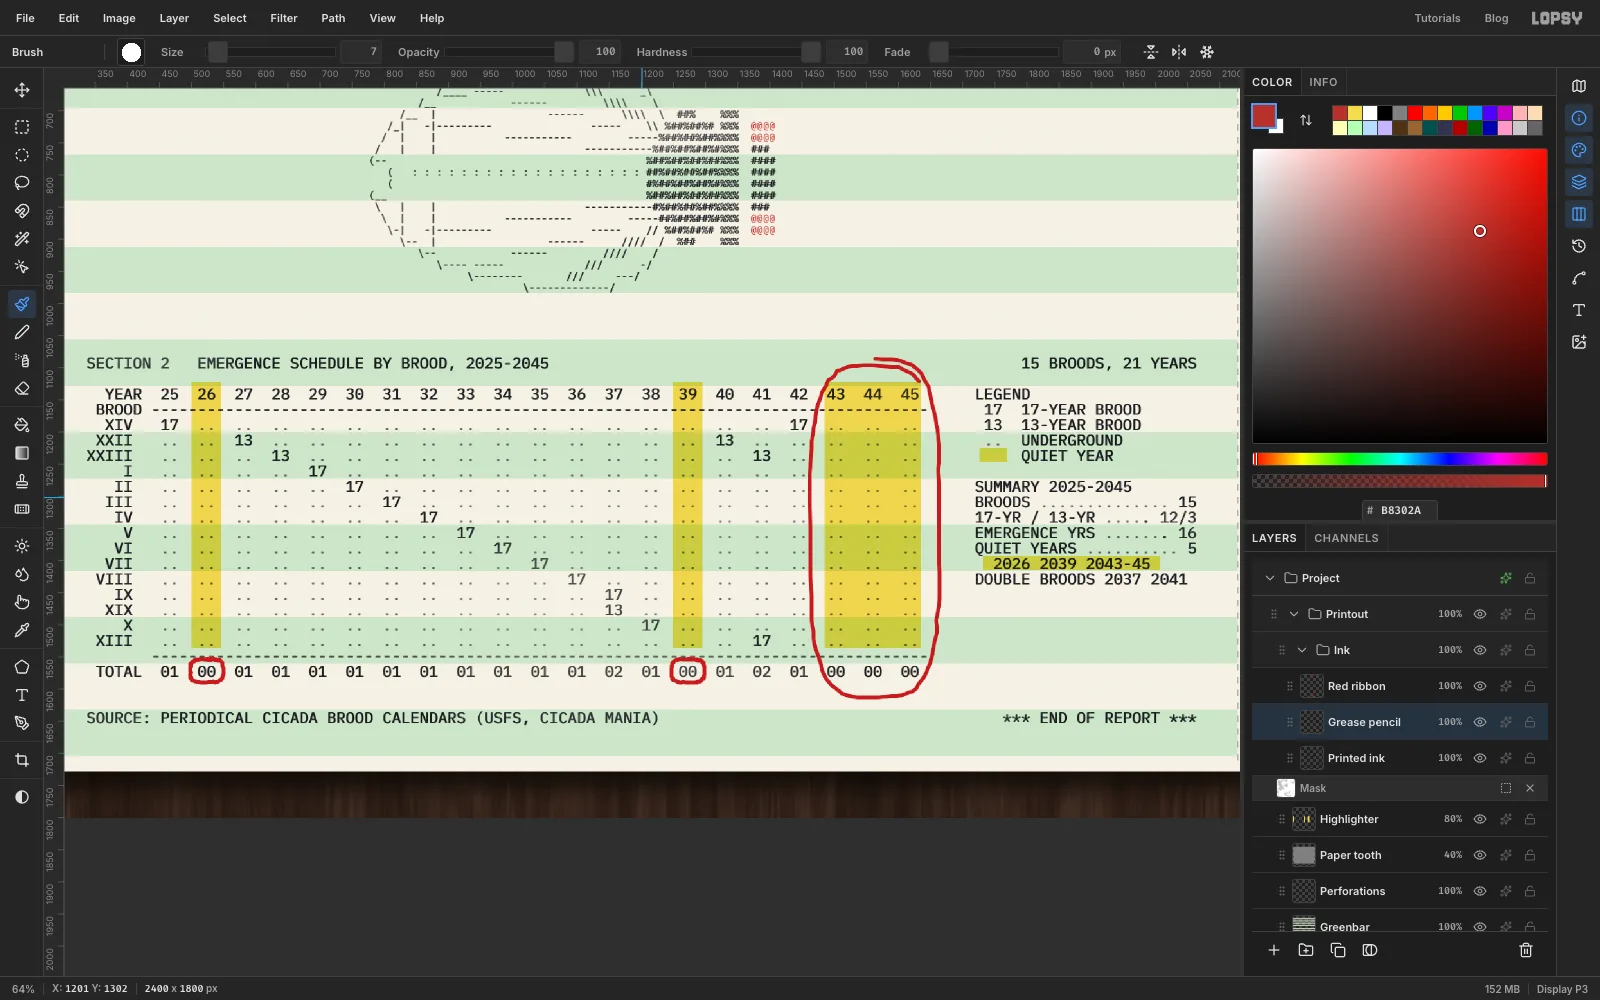
Printed inkand add a layer above it calledGrease pencil. - Choose the Hard Round preset at Size
7and set the foreground to . - Draw a loose loop around the whole 2043–2045 block, from just above the year headings to below the
00 00 00totals. Let the end overshoot the start, like a real pencil loop. Keep it in the gaps either side of the columns, so it doesn't cross42or43. - Draw small rings around the
00totals under 2026 and 2039. - Draw a slightly wavy line under QUIET in the banner.
- Select
-
Write the note
- Pick the Text tool and choose Caveat Brush at size
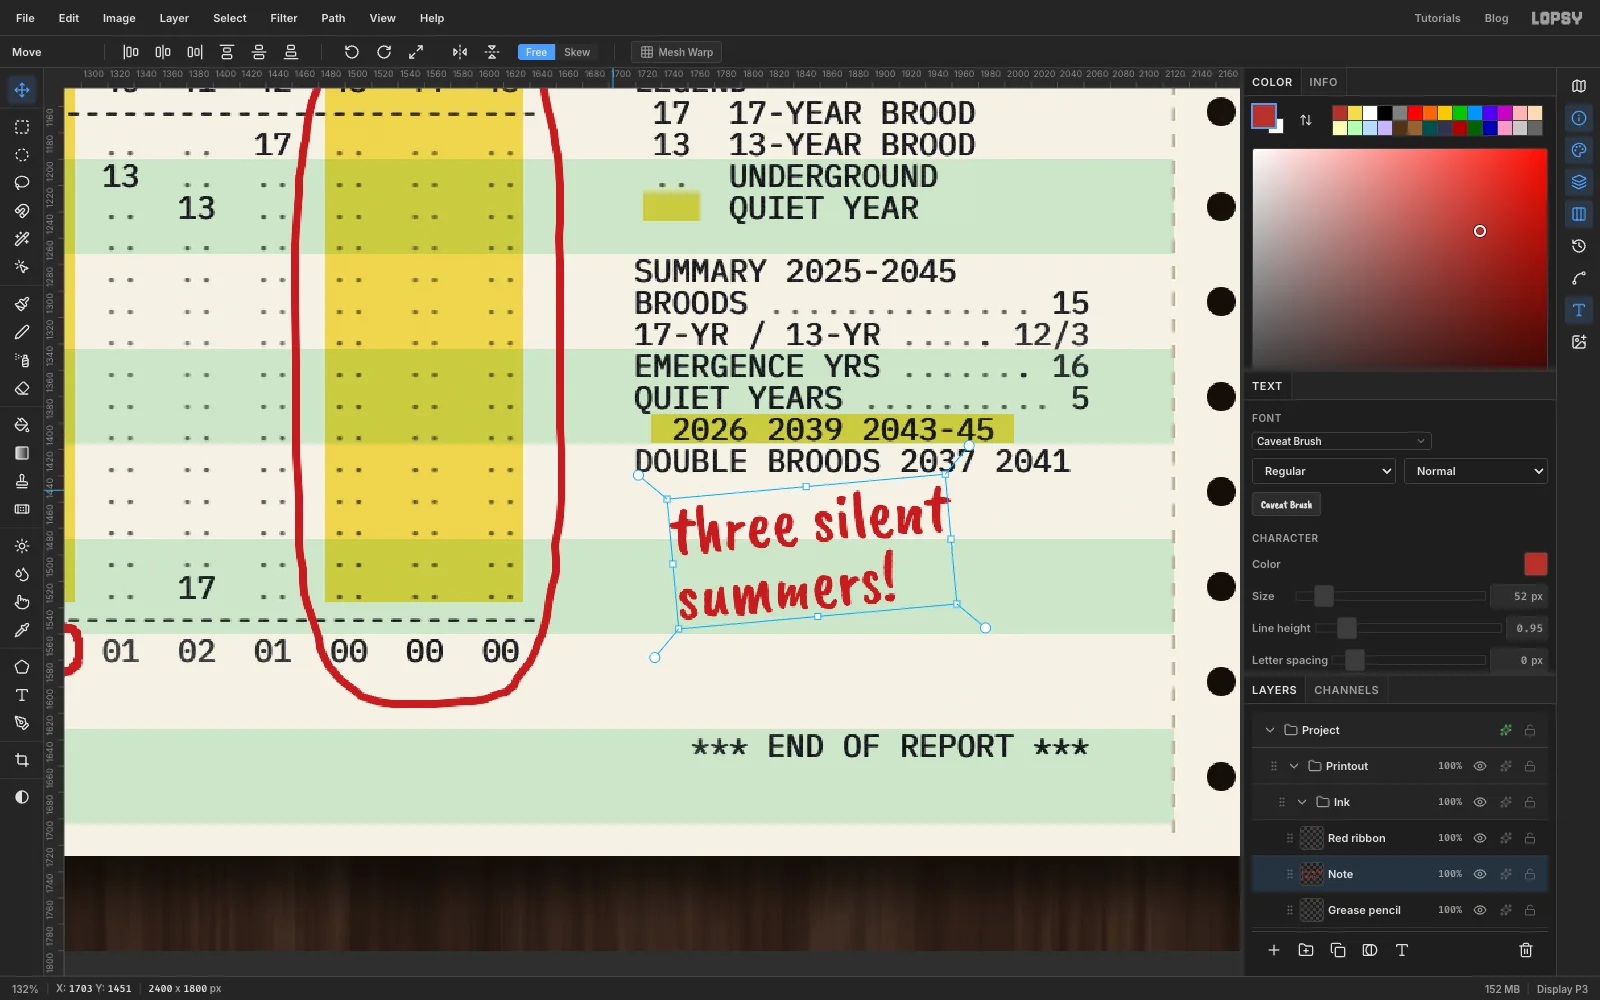
52. The foreground should still be the pencil red . - Click in the empty space under the summary, type
three silent, press Enter, typesummers!and press Tab. - Rename the layer
Noteand set Line height to0.95so the two lines sit together. - With the Move tool, drag just outside a corner of the note's box to tilt it about 5° anticlockwise. Press Cmd+D to commit.
- Pick the Text tool and choose Caveat Brush at size
-
Point the note at the loop
Select
Grease pencilagain and pick the Brush. Draw a short curve from the start of "three" to the right edge of the loop, then two short strokes for the arrowhead.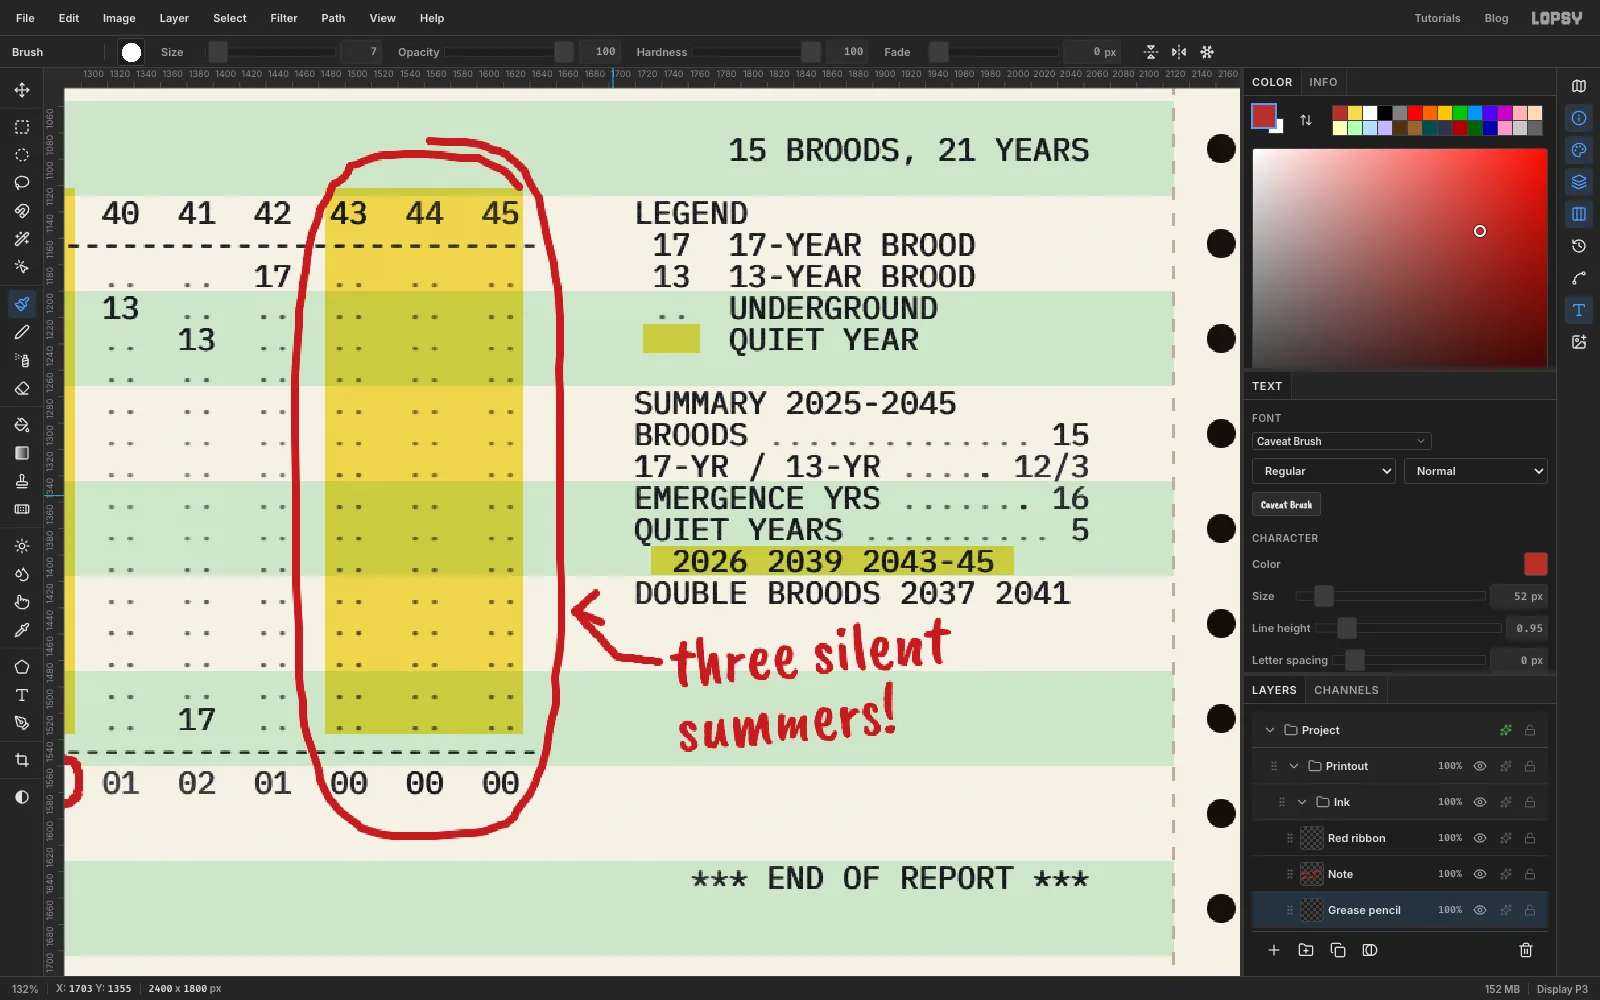
-
Make the pencil skip like wax
The note is still crisp vector text. Make it the same pencil as the rings:
- Select
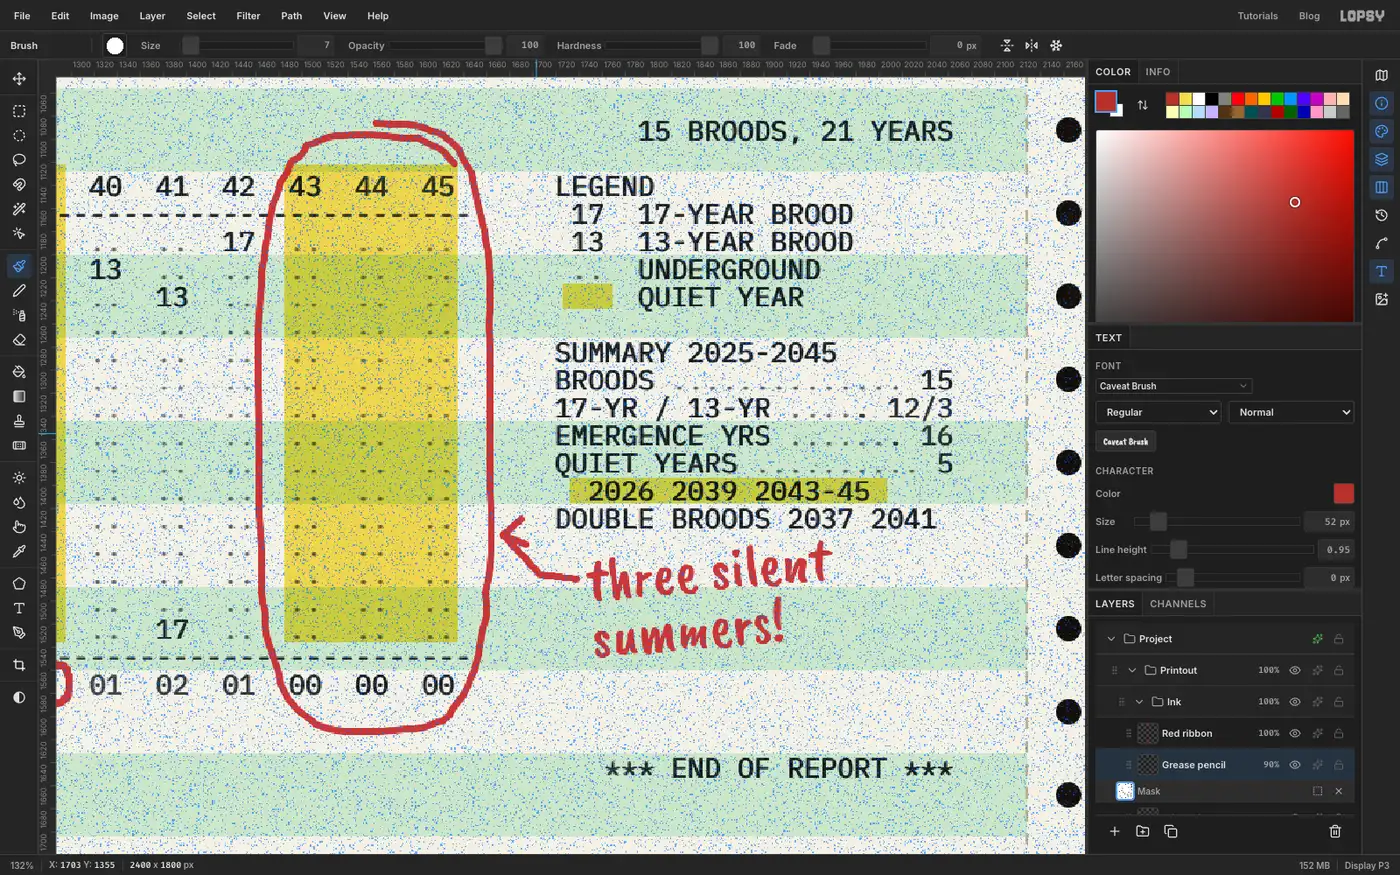
Note, click Rasterize Layer and press Cmd+E to merge it intoGrease pencil. Set the layer's opacity to90%. - Click Add Mask, then the mask thumbnail.
- Run Add Noise… at Amount
100(Mono, Uniform), then Filter → Threshold… at Level214. - Click the layer's name to leave mask editing.
About a fifth of the mask turns black in tiny specks (the blue speckle in the screenshot is Lopsy's mask overlay), so the red skips over the paper grain the way wax does.
- Select
-
Scale the printout
The sheet nearly touches the bottom of the canvas. Shrink and turn the whole group at once:
- Click the
Printoutrow and press Cmd+D so nothing is selected. The Move tool's handles now frame everything in the group. - Hold Cmd and drag the bottom-right handle up and to the left until the sheet is about 95% of its size. Cmd keeps the proportions.
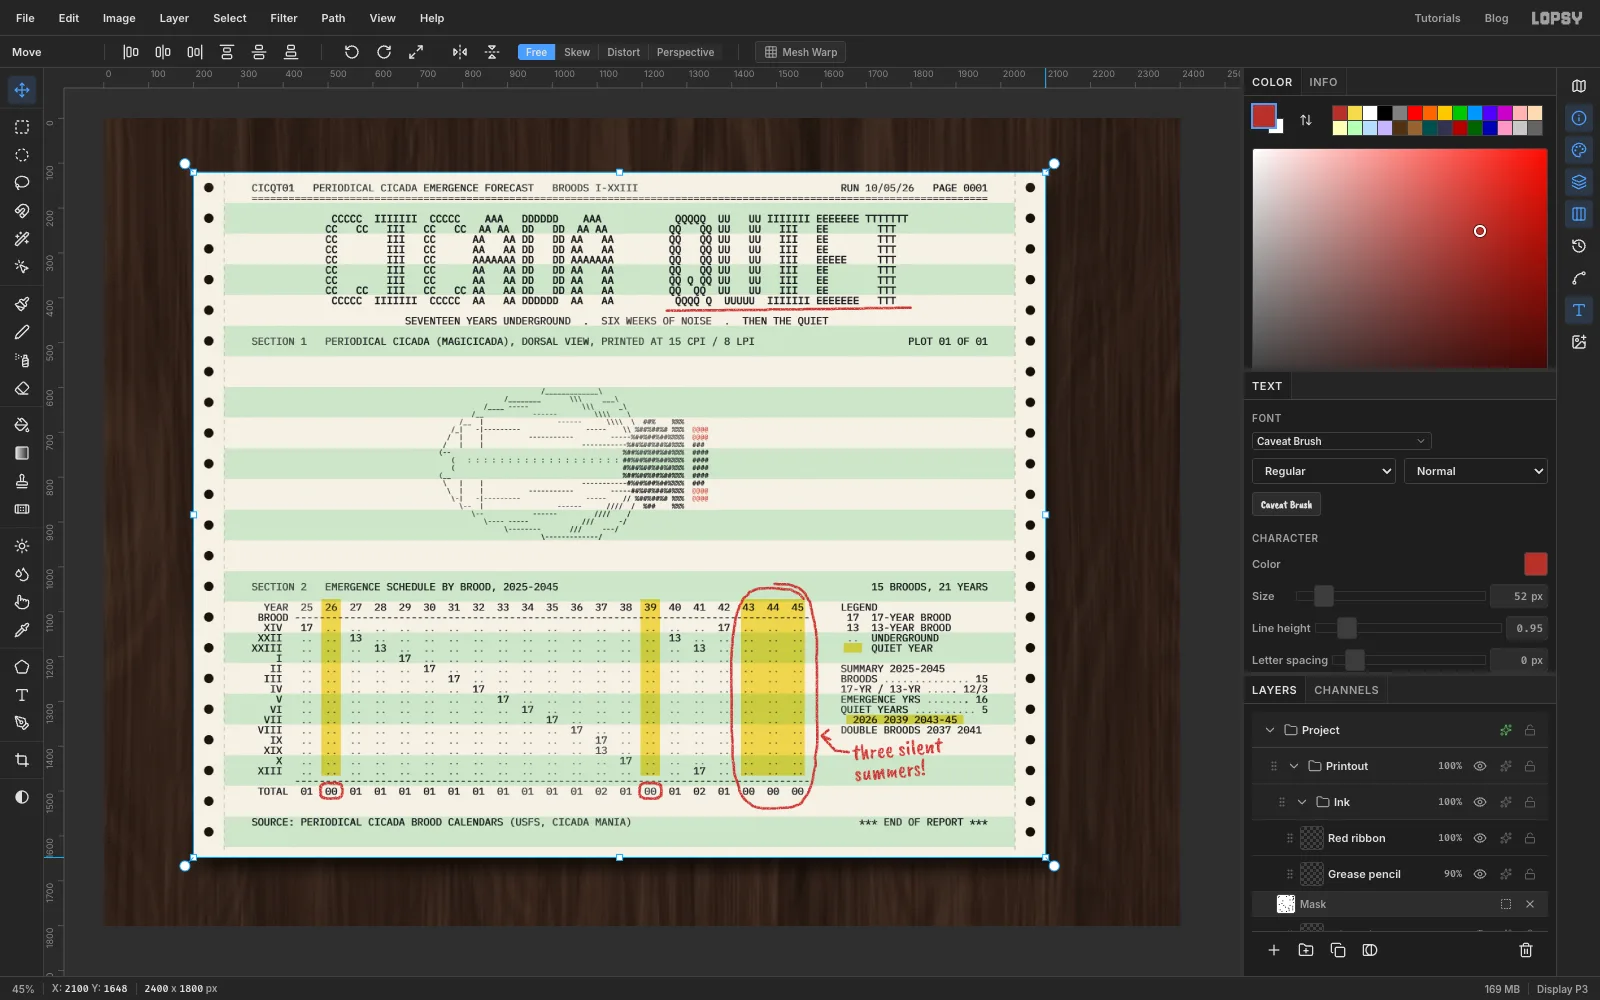
- Click the
-
Turn the printout
Drag just outside the top-left corner handle to rotate the group a degree or two anticlockwise (1.6° here). A small tilt makes it look like a sheet that was dropped on the desk. Press Cmd+D to commit.
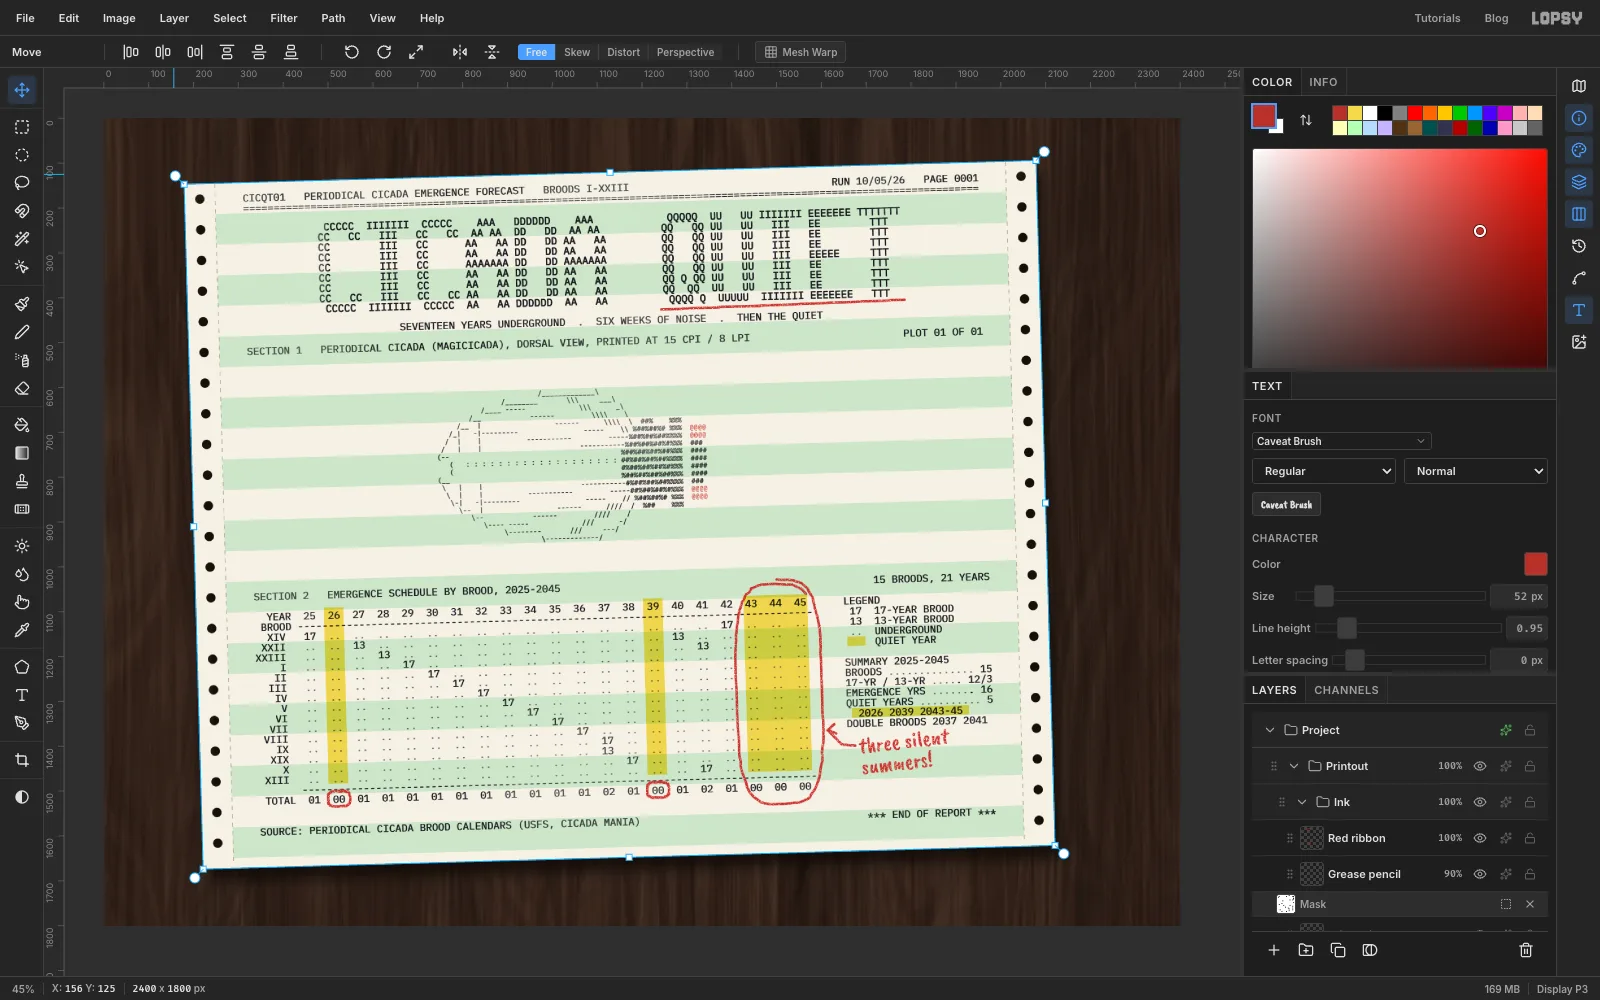
-
Centre the sheet
With the Move tool, drag the group so the sheet sits in the middle and a little high, with wood showing on all four sides.
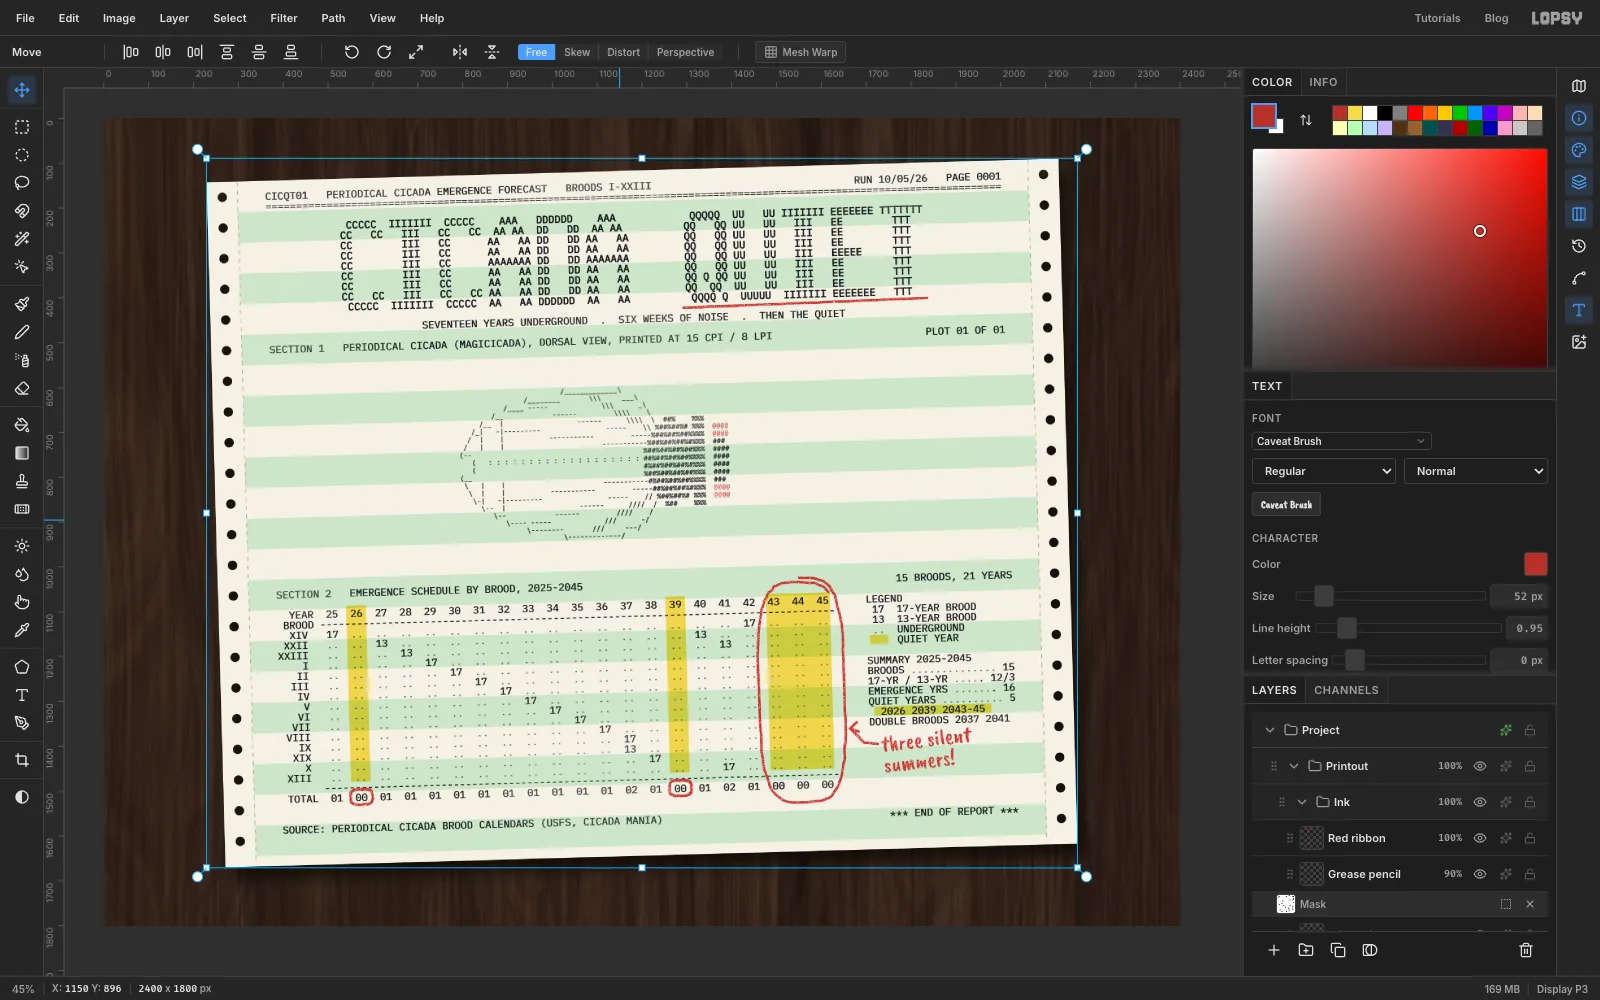
-
Bring in a cicada photo
Find a dorsal (top-down) photo of a periodical cicada on a plain dark background. The USGS Bee Lab's public-domain specimen photos are ideal. This one is a Magicicada cassini, about 1200 px wide.
- Click the
Printoutrow, so the photo lands at the top of the group. - Copy the image in your browser and press Cmd+V in Lopsy. It arrives as a new layer at the top-left. Rename it
Specimen photo.
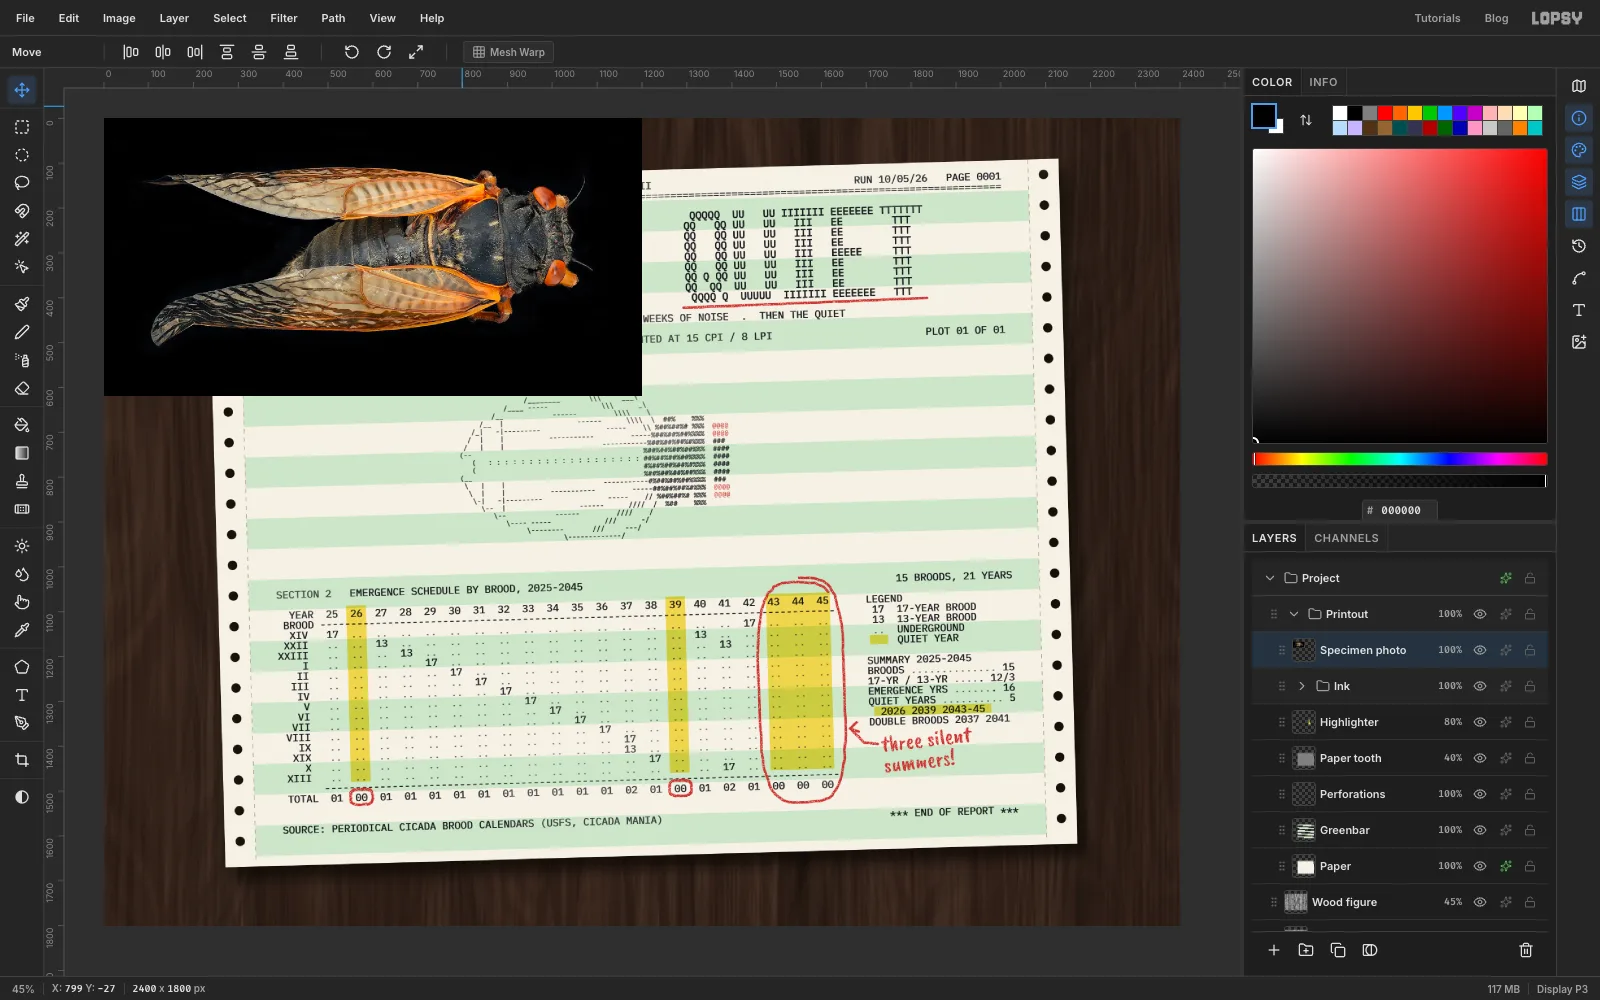
- Click the
-
Select the cicada
- Pick the Magic Wand, set Tolerance to
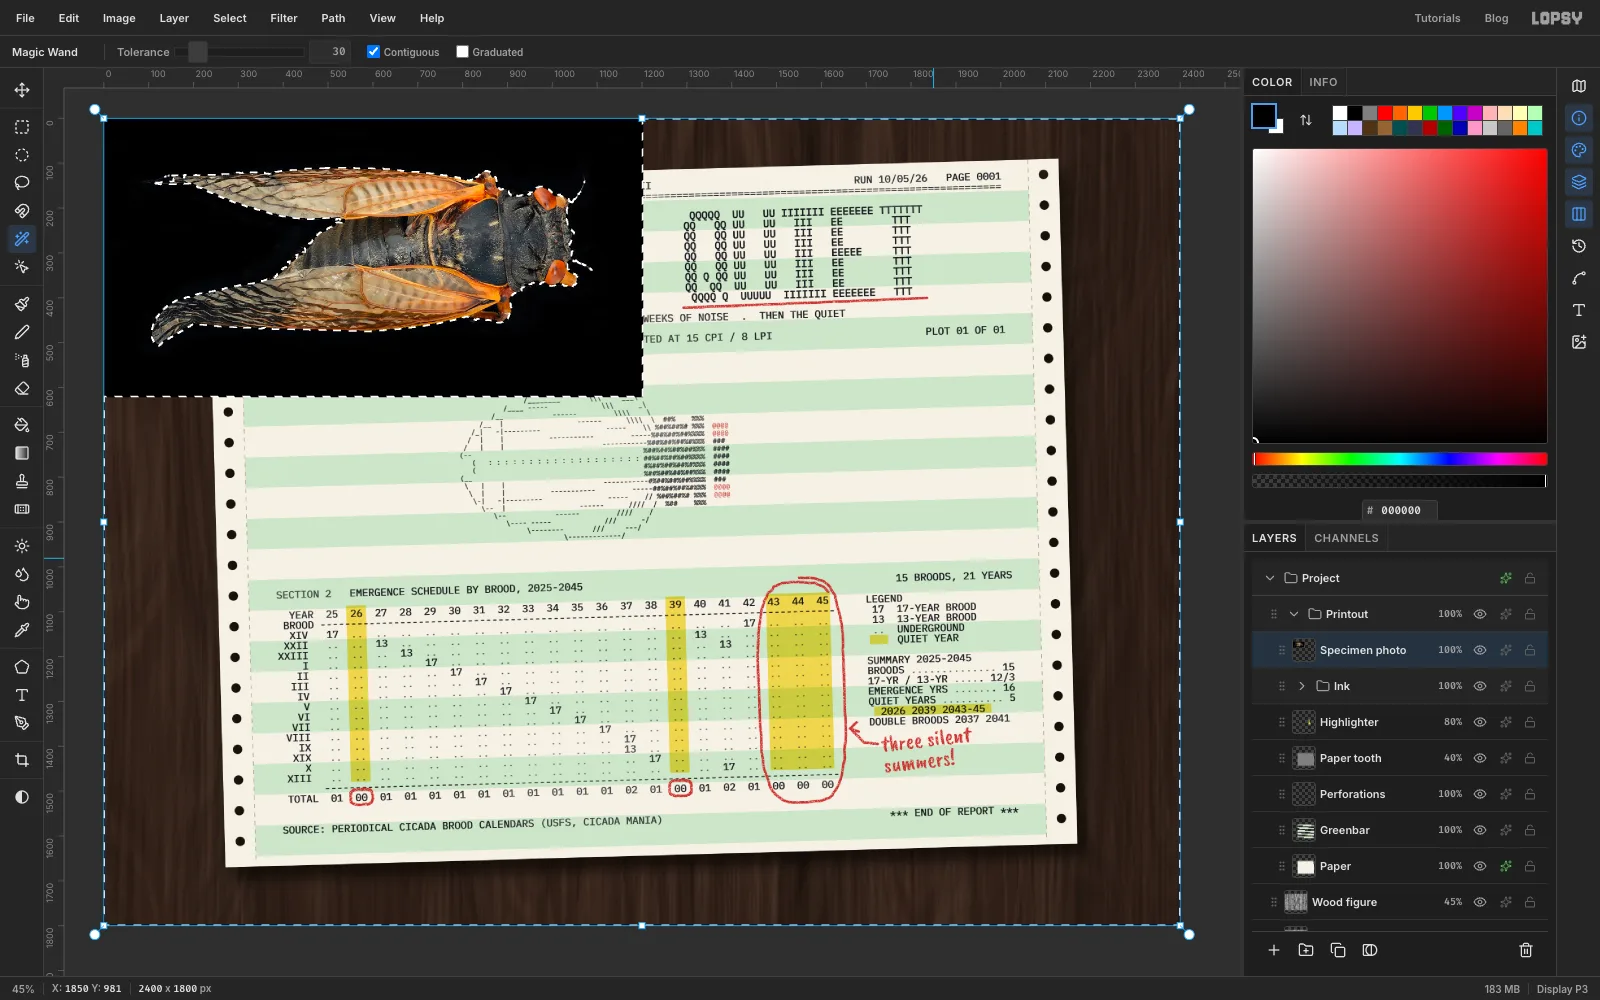
30with Contiguous on, and click the black background. - Choose Select → Inverse to select the cicada instead.
- Choose Select → Shrink… by
1and Select → Feather… by1to clean the edge. - Press Cmd+X then Cmd+V to lift the cicada onto its own layer, in place. Rename it
Cicadaand deselect. - Click the
Specimen photorow and delete it with the trash button.
- Pick the Magic Wand, set Tolerance to
-
Separate the body from the wings
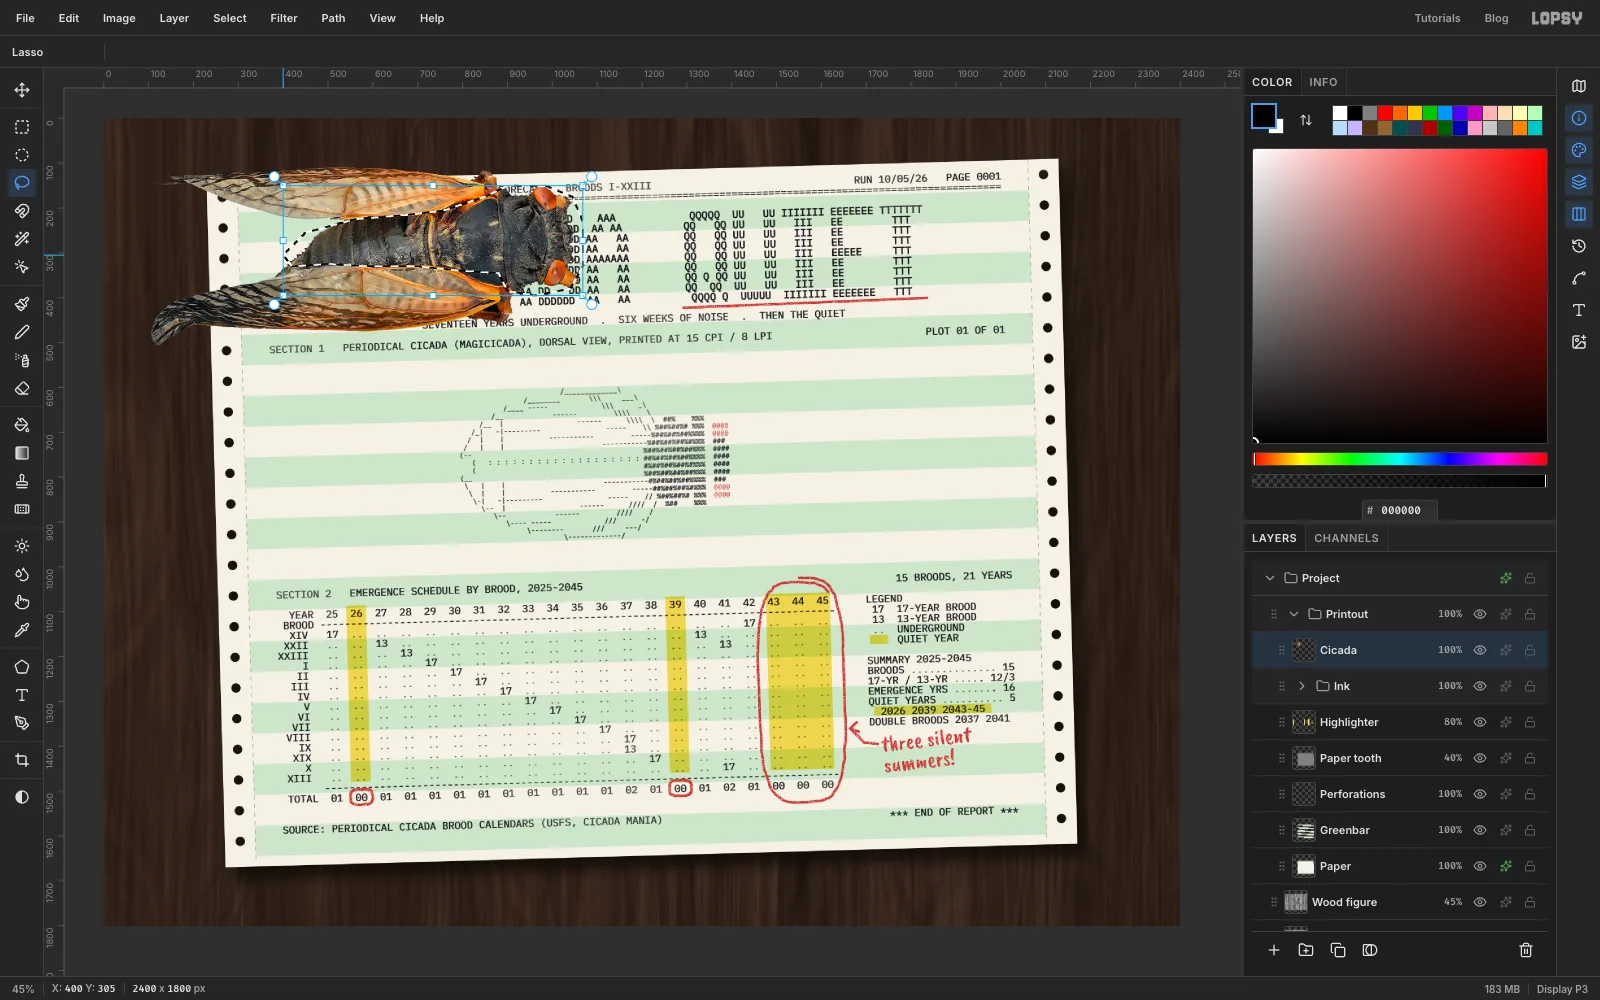
Cicada wings are clear. On the black background they look solid, so they need to let the paper through.
With the Lasso, draw around the body only: the head and eyes, the thorax, and the strip of abdomen between the two wings.
-
Make the wings see-through
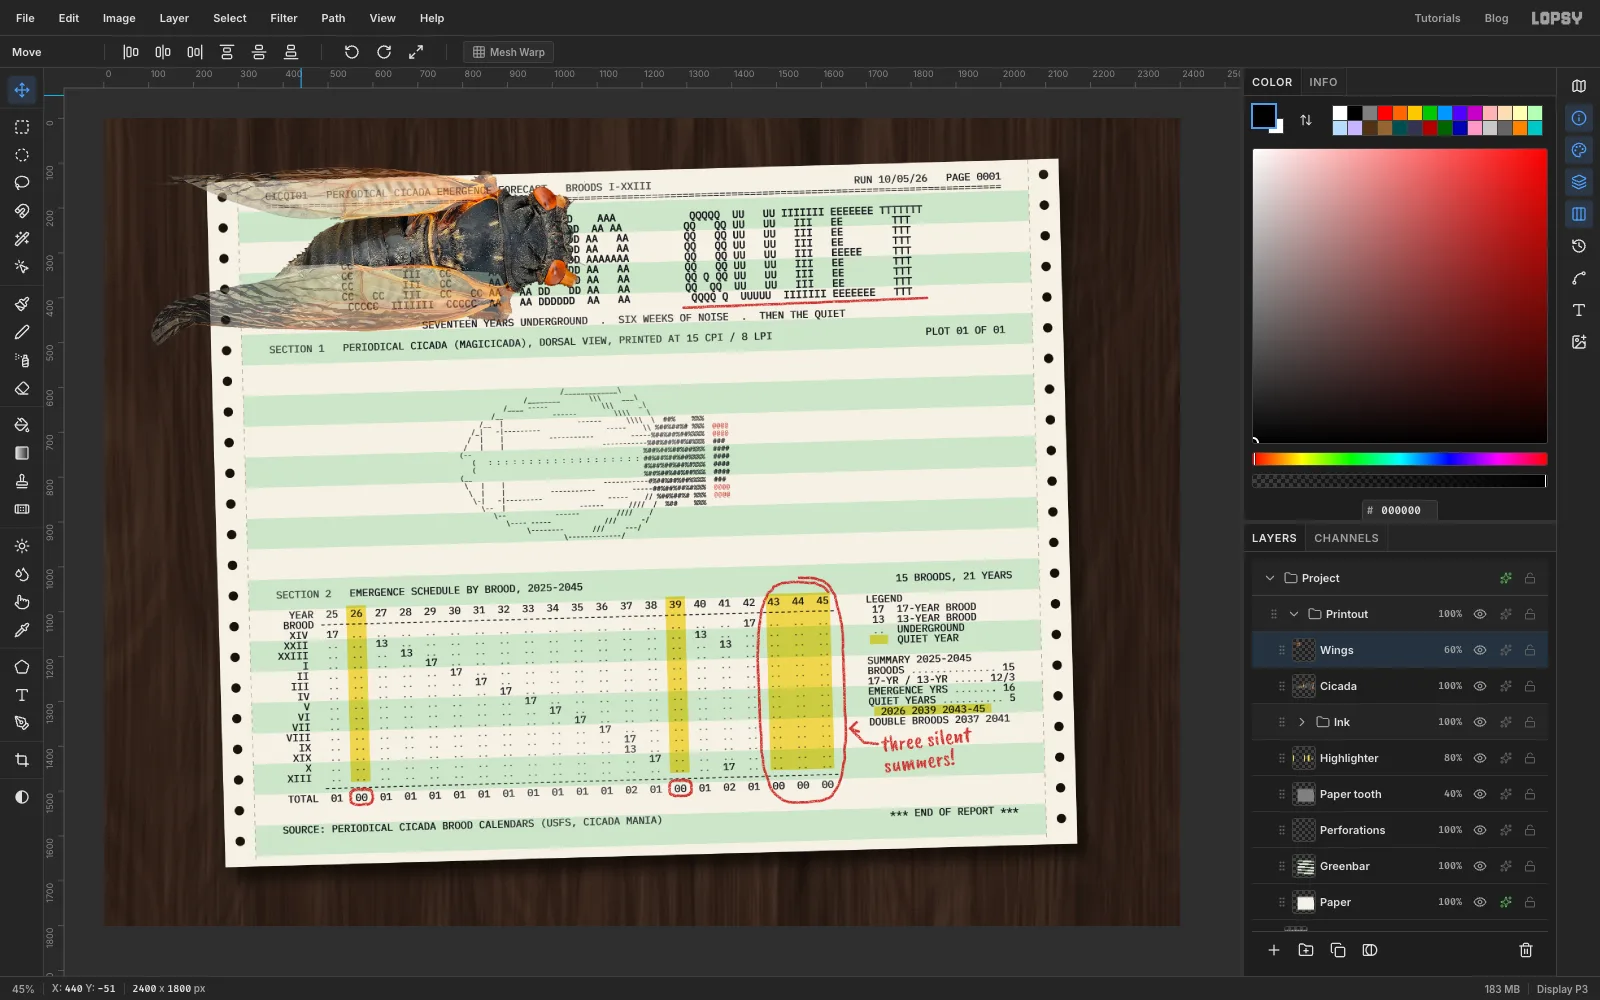
- Choose Select → Inverse, so everything except the body is selected.
- Press Cmd+X then Cmd+V. The wings land on a new layer in place. Rename it
Wingsand set its opacity to60%.
-
Scale both layers together
- Click
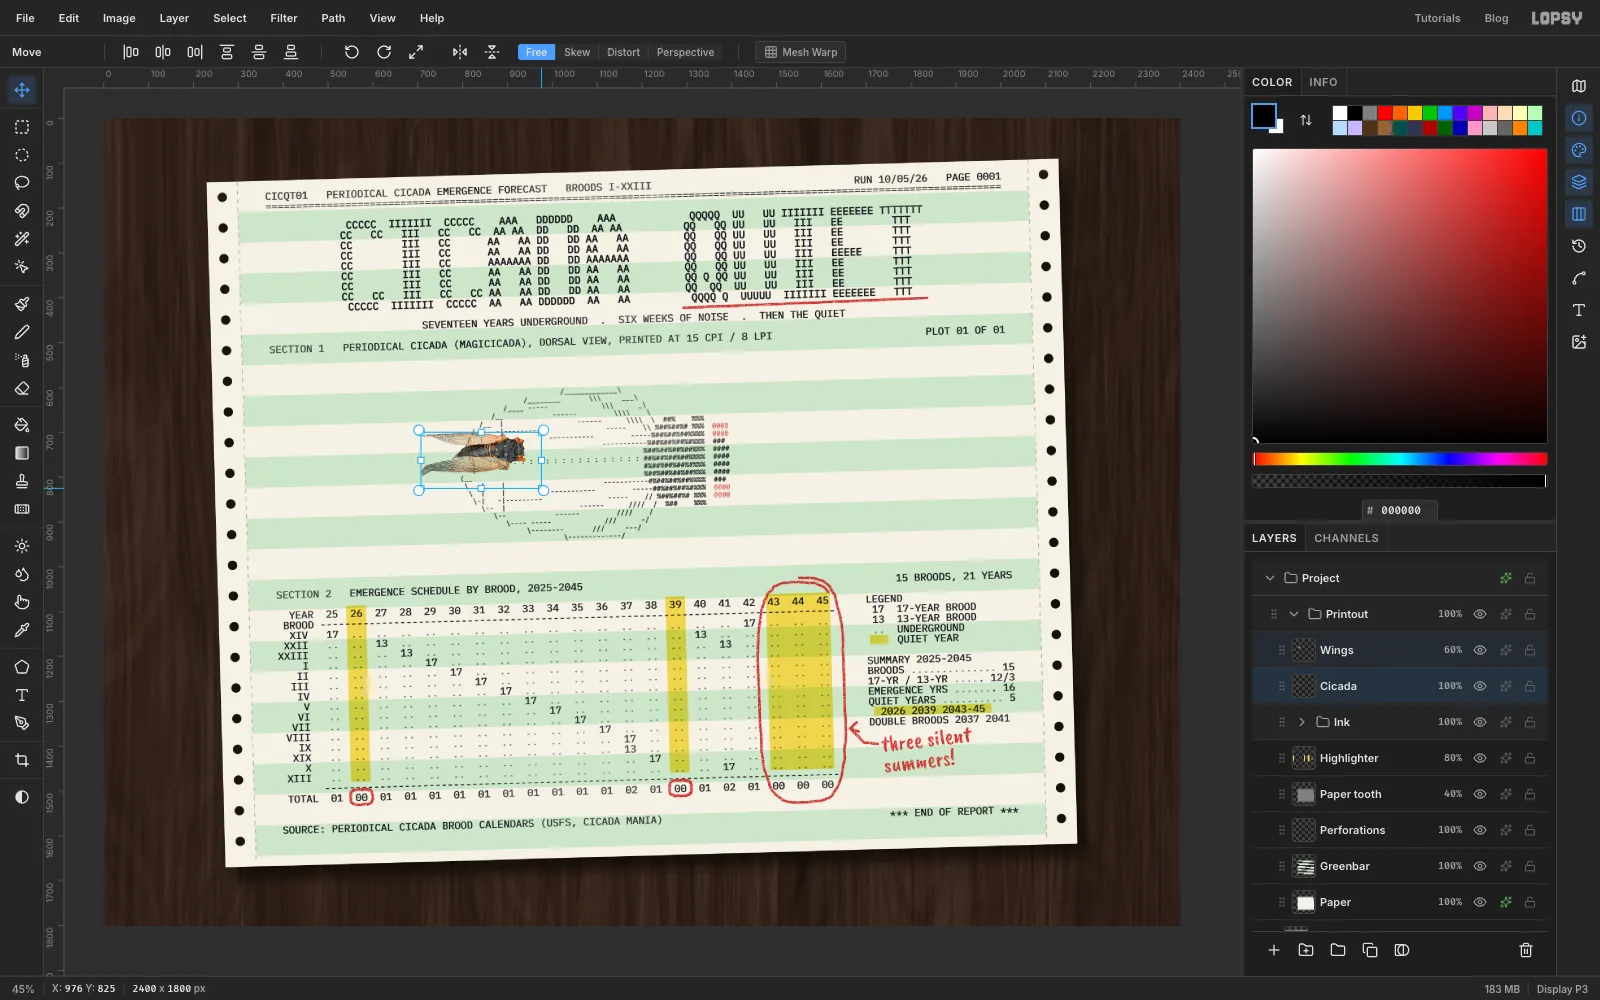
Cicada, then Shift-clickWings, so both are selected. - With the Move tool, drag them into the middle of the canvas, where there's room to work.
- Cmd-drag a corner handle until the cicada is about a quarter of its size, about 240 px long.
- Drag outside a corner to rotate it about 5° clockwise, so its body lines up with the ASCII drawing. Press Cmd+D.
- Click
-
Place it and give it a shadow
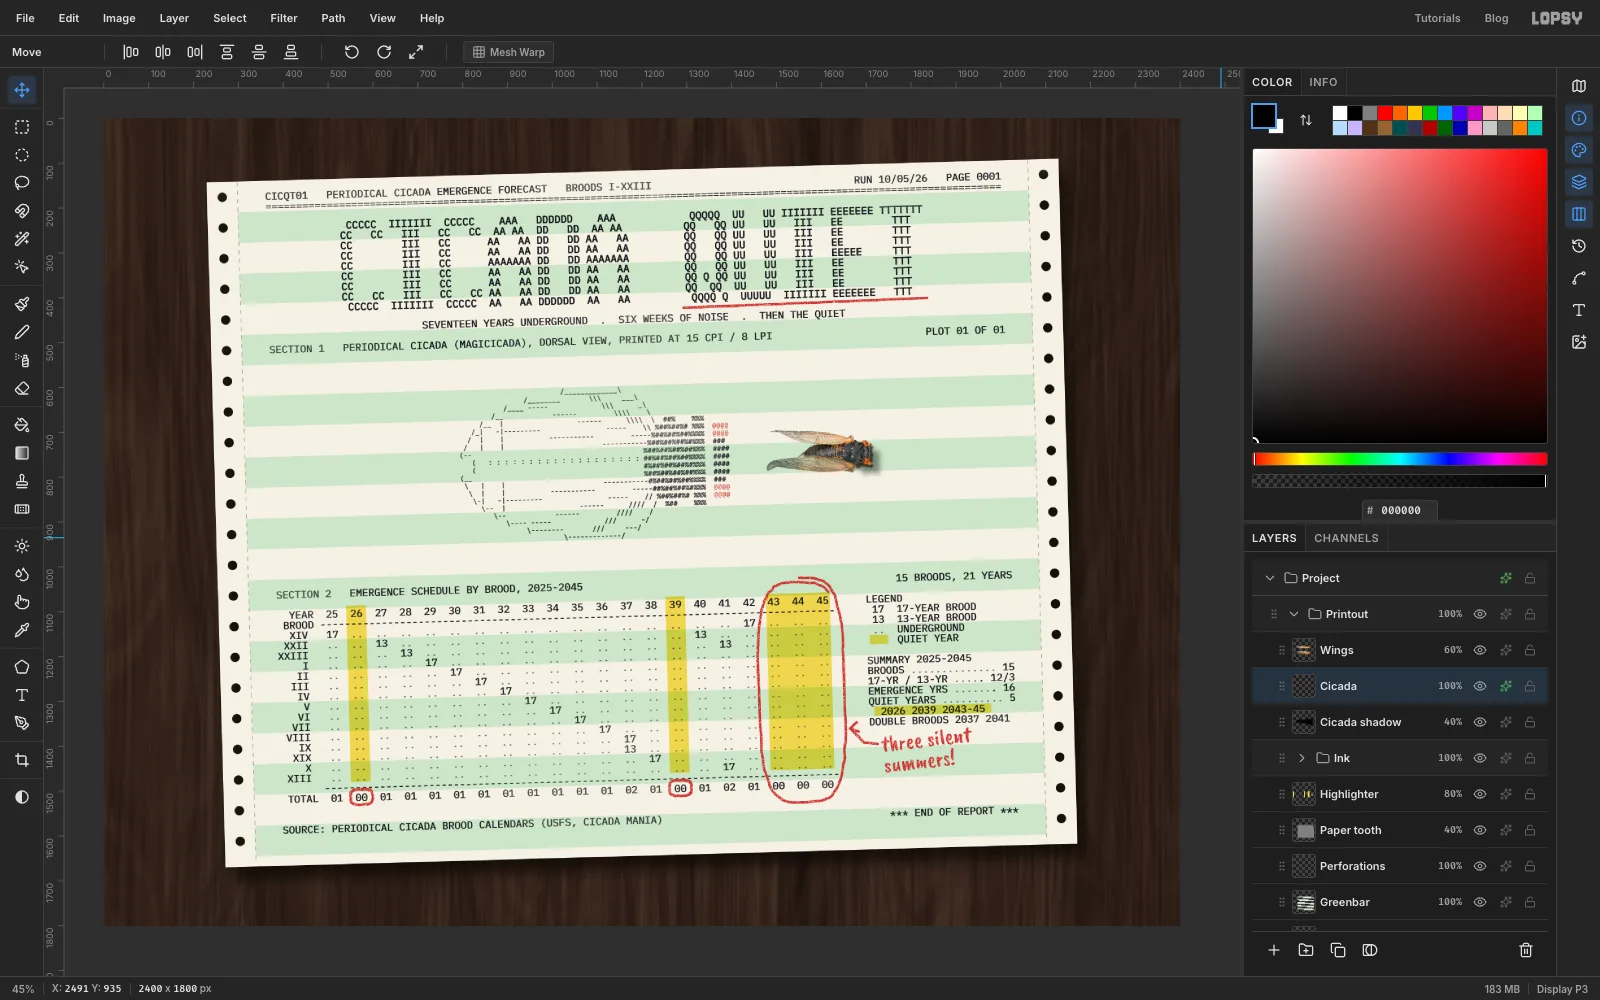
- Drag the cicada onto the paper, to the right of the ASCII cicada and facing the same way.
- Select
Cicada, duplicate it, and select the original underneath. Rename itCicada shadow. - Cmd-click its thumbnail, set the foreground to black, choose Edit → Fill and deselect.
- Run Gaussian Blur… with Radius
16. With the Move tool, press Shift+→ twice and Shift+↓ twice to push it 20 px down and right, and set its opacity to40%. - Rename the copy back to
Cicadaand give it a small Drop Shadow (Offset4, 6, Blur5, Opacity70) for the contact shadow.
-
Light it with a desk lamp
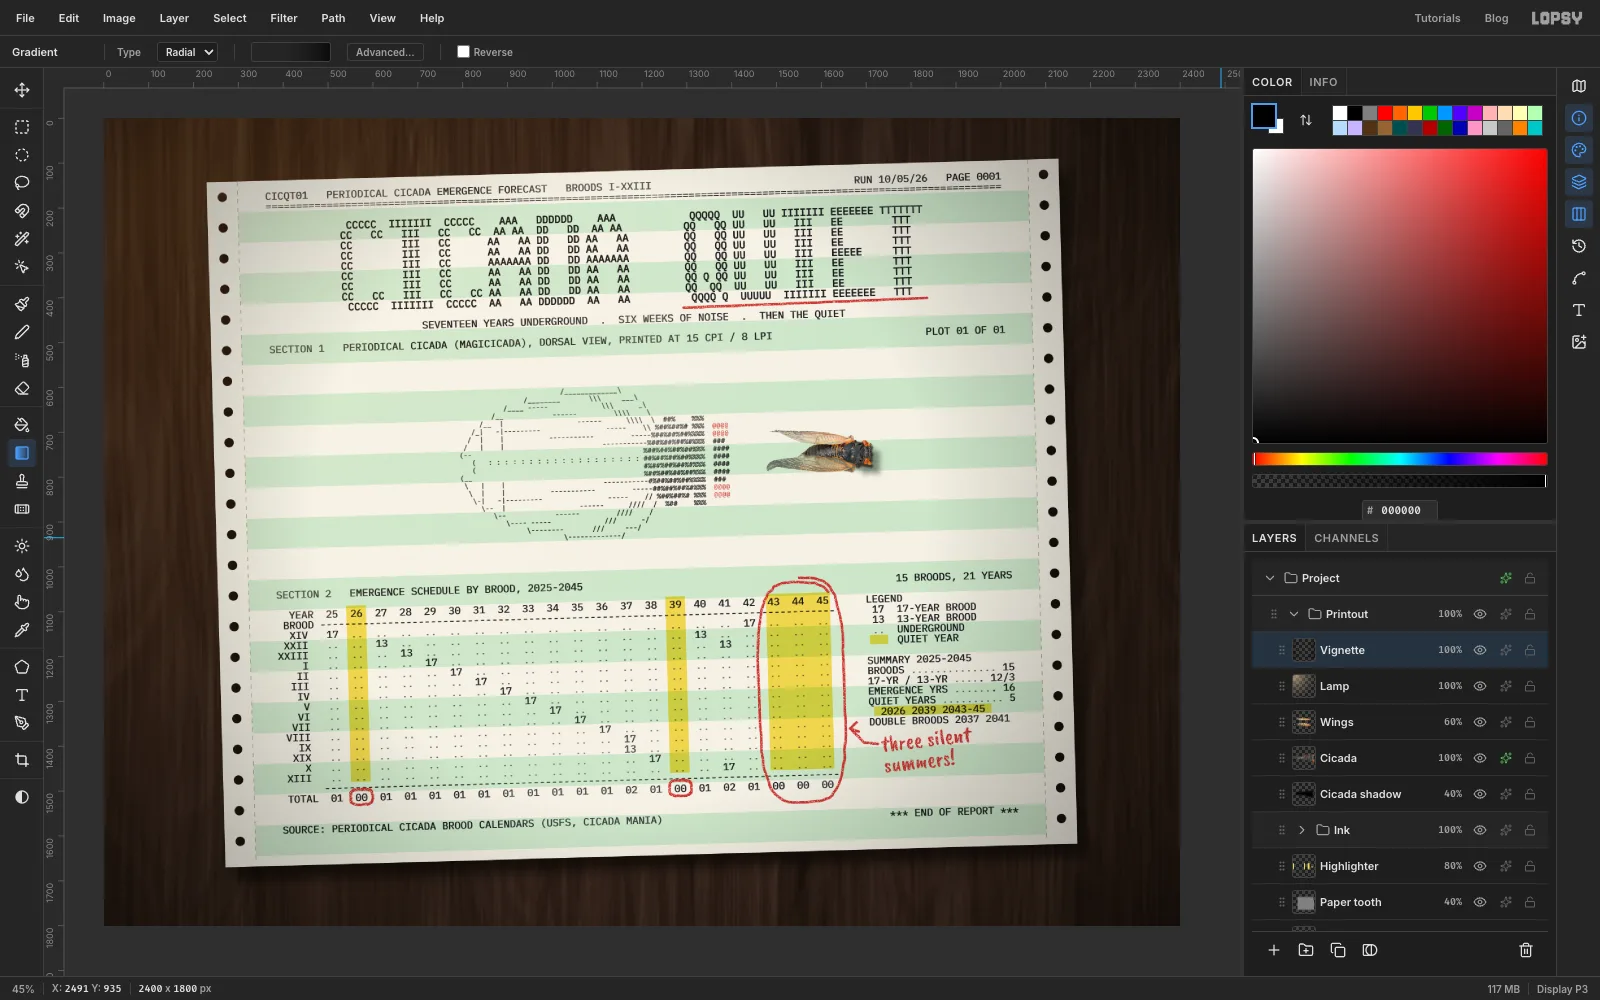
- Select
Wingsand add a layer calledLamp. Pick the Gradient tool, set it to Radial, and open Advanced…. Make the stops at 55% opacity, 20% halfway, and 0% at the end. - Drag from the top-left of the desk toward the middle of the sheet, and set the layer to Soft Light.
- Add a layer called
Vignettewith a radial gradient: transparent black in the middle, about 30% at three-quarters of the way, and about 70% at the edge. Drag from the middle of the sheet to past the bottom-right corner, then set it to Multiply.
Keep the lamp's hotspot over the wood, not the banner. Soft Light lifts dark ink, and the title should stay the blackest thing on the page.
- Select