Design a Baroque Restaurant Menu
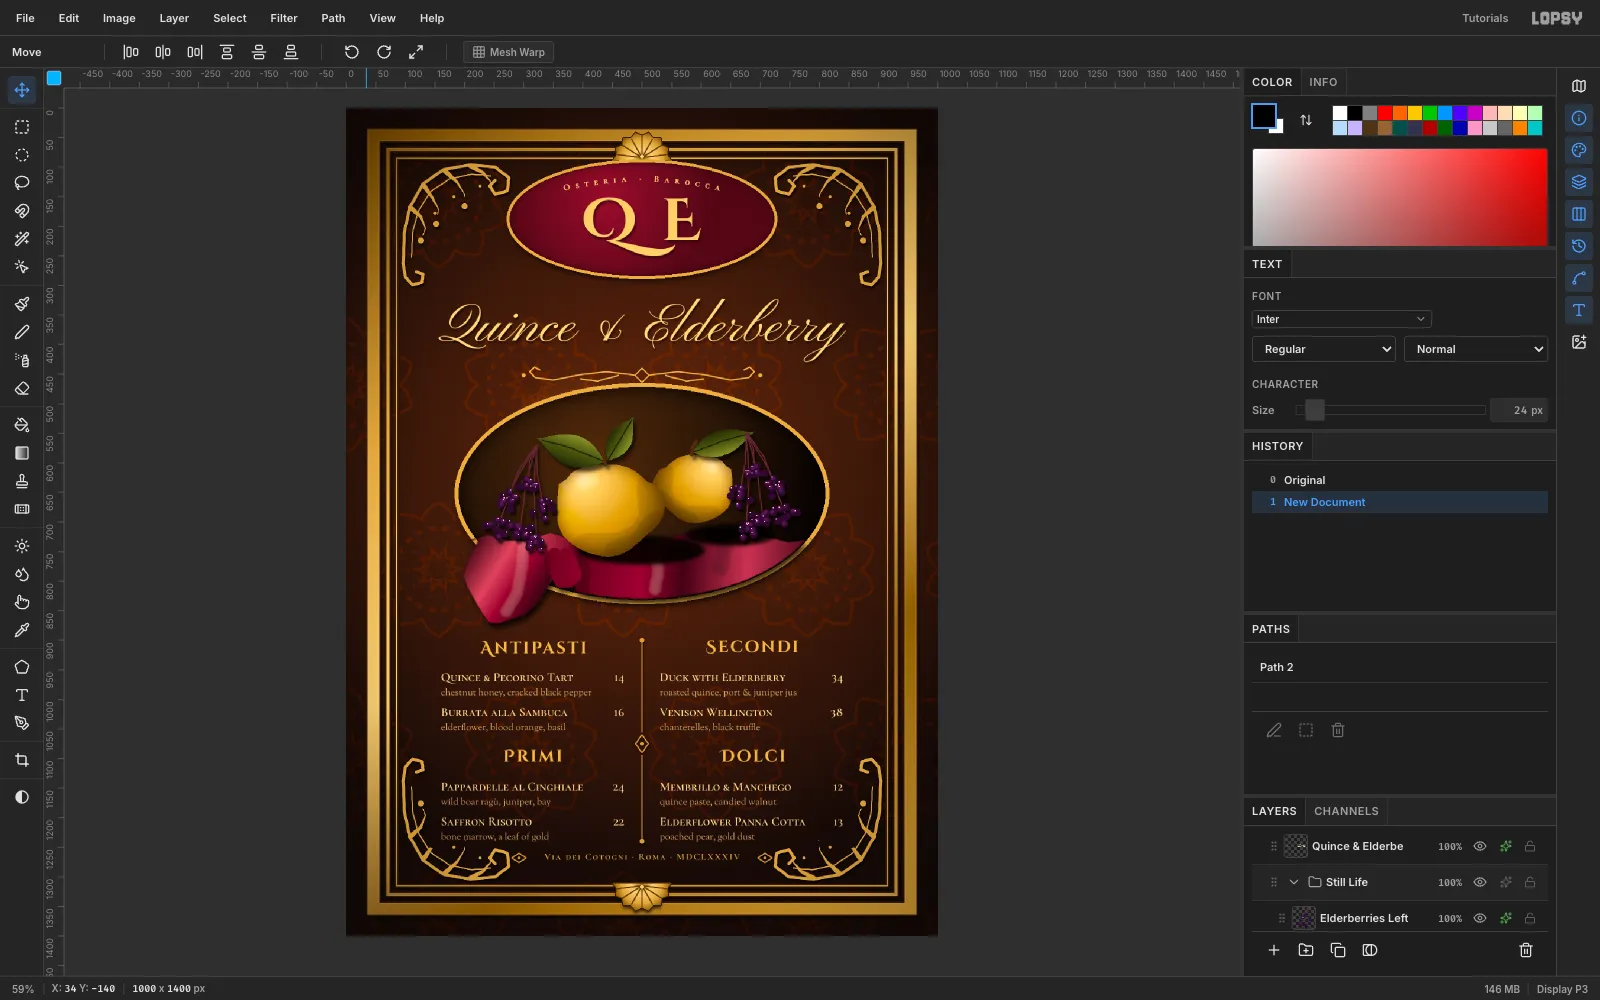
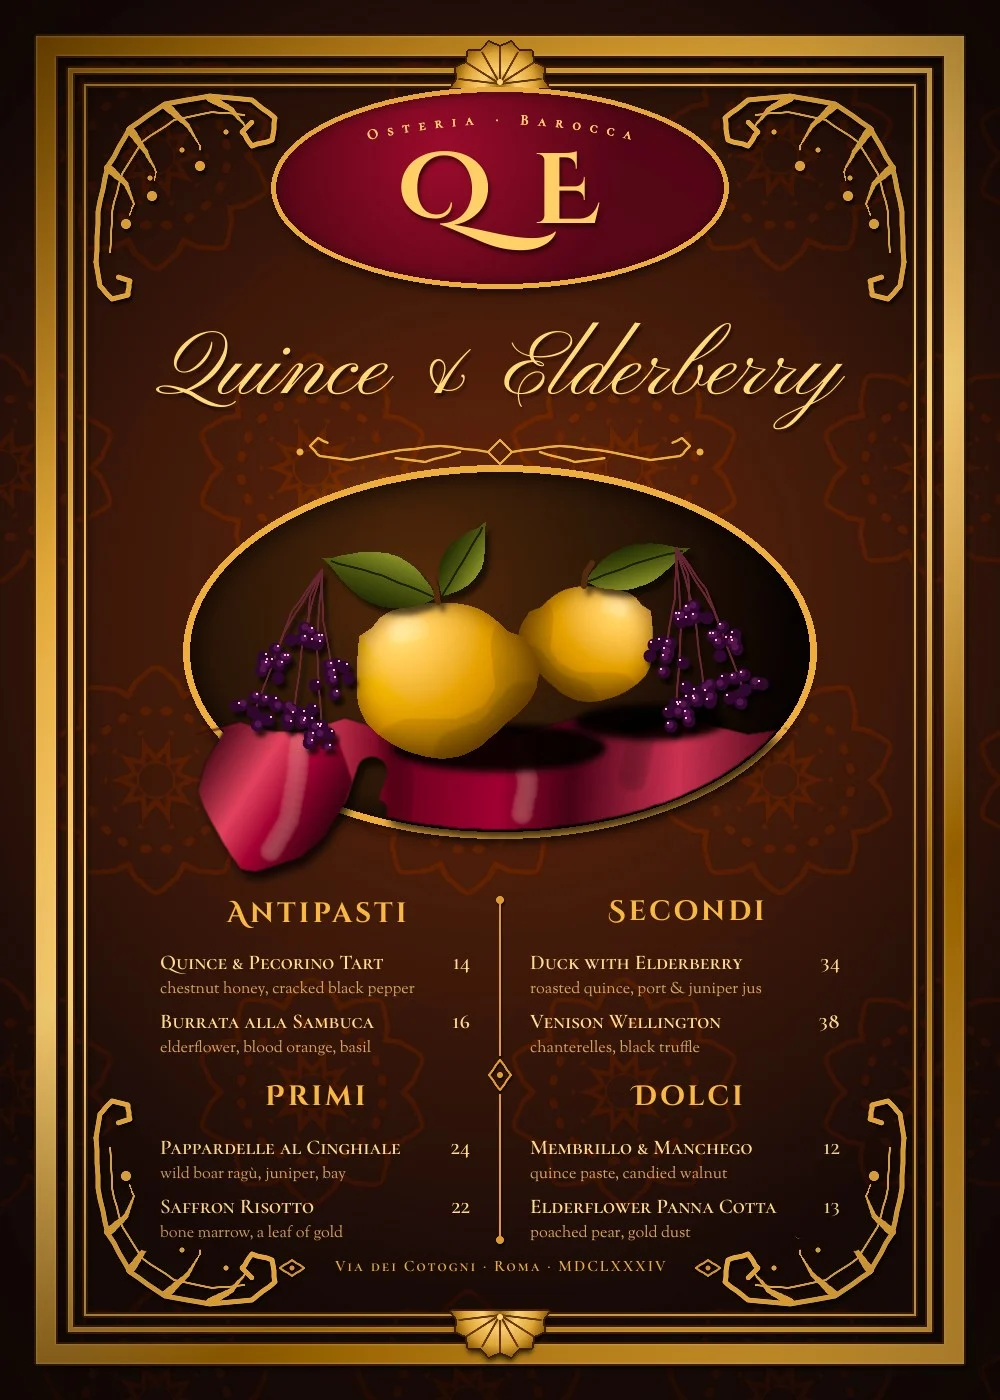
Make a gilded Baroque menu in Lopsy with a kaleidoscope damask, a gold frame and cartouche, a candle-lit quince still life, and curved text.
-
Look at the finished menu
Baroque design is about drama:
- deep shadows with warm light coming out of them (chiaroscuro)
- gold ornament that curls and repeats
- a centrepiece that looks like an old-master painting
In this tutorial you'll make a 1000 × 1400 px menu for Quince & Elderberry, an imaginary candle-lit osteria. It has:
- a damask wallpaper made with the Kaleidoscope filter and Pattern Fill
- a triple gilded frame
- acanthus corners painted with 4-way symmetry
- flipped shell crests
- a crimson cartouche snapped to the grid
- curved text on a Pen path
- a velvet-and-quince still life, shaded with Dodge/Burn, Oil Paint and cast shadows
- a two-column menu with a right-aligned price column
The palette:
- near-black oxblood ground
#140B09 - a gold ramp:
#7A5418,#D9B25Fand#F3DE9C - crimson
#4A0F1Cand#8A2033 - quince yellow
#C99A2E - elderberry purple
#2A0A34 - olive
#4F5B23
-
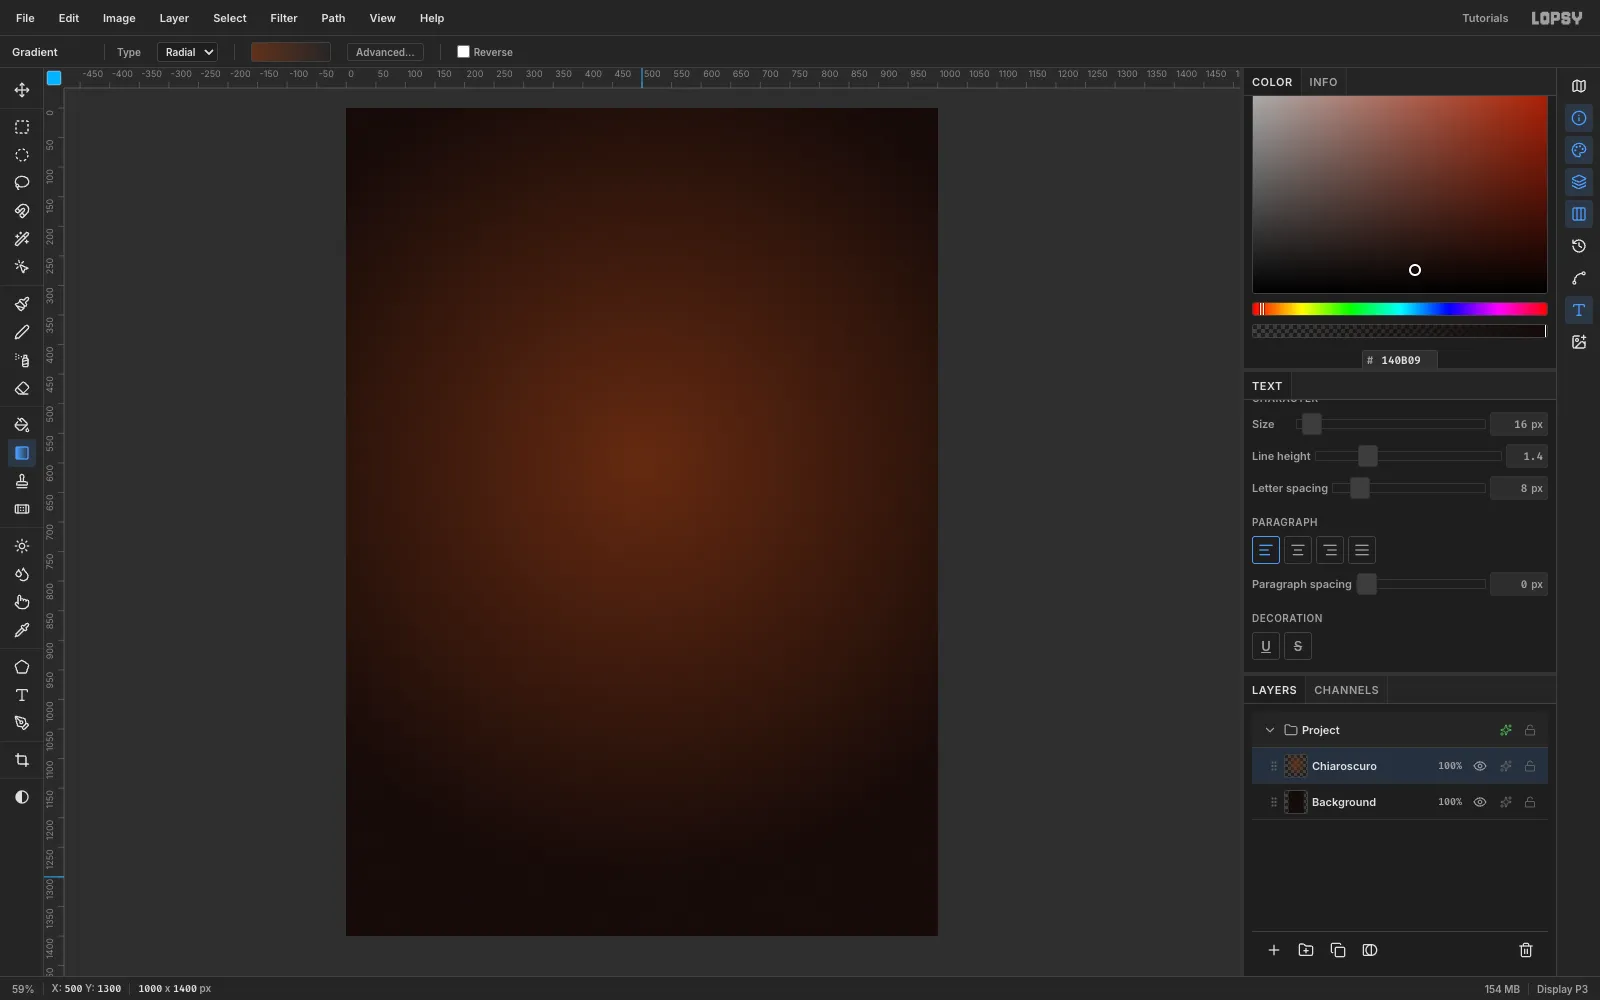
Lay a dark ground with a warm glow
Create a 1000 × 1400 document with a white background. Select
Background, set the foreground to#140B09and choose Edit → Fill.Rename
Layer 1toChiaroscuro. Choose the Gradient tool, set Type to Radial and click Advanced…:- Make both stops
#6B3219. - Drag the first stop's opacity to about 85% and the second stop's opacity to 0.
- Click Done.
Drag from (500, 600) down to (500, 1300). This is the pool of candlelight that everything else will sit in.
- Make both stops
-
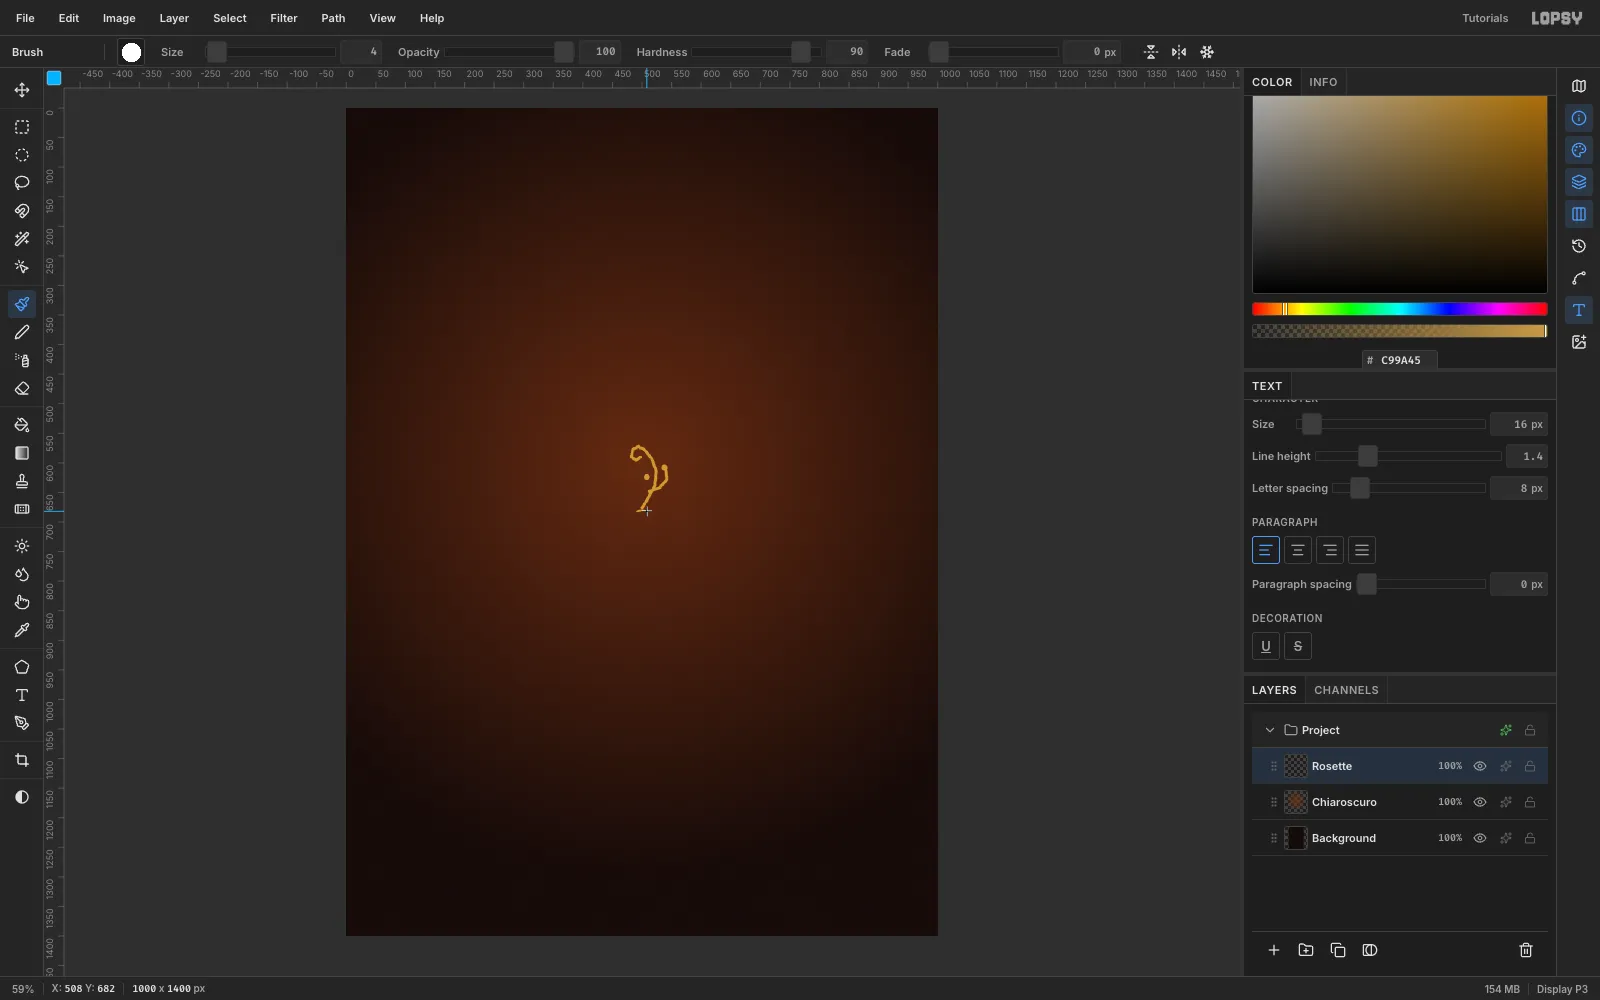
Sketch one wedge of a rosette
Add a layer called
Rosette. Choose the Brush (B) with colour#C99A45, Size6and Hardness90. From the canvas centre (500, 700), draw straight up:- a scroll about 130 px tall that curls over at the top
- a small side frond
- two size-11 dots
Keep all of it inside a narrow wedge above the centre. The Kaleidoscope only samples a thin slice of the image.
-
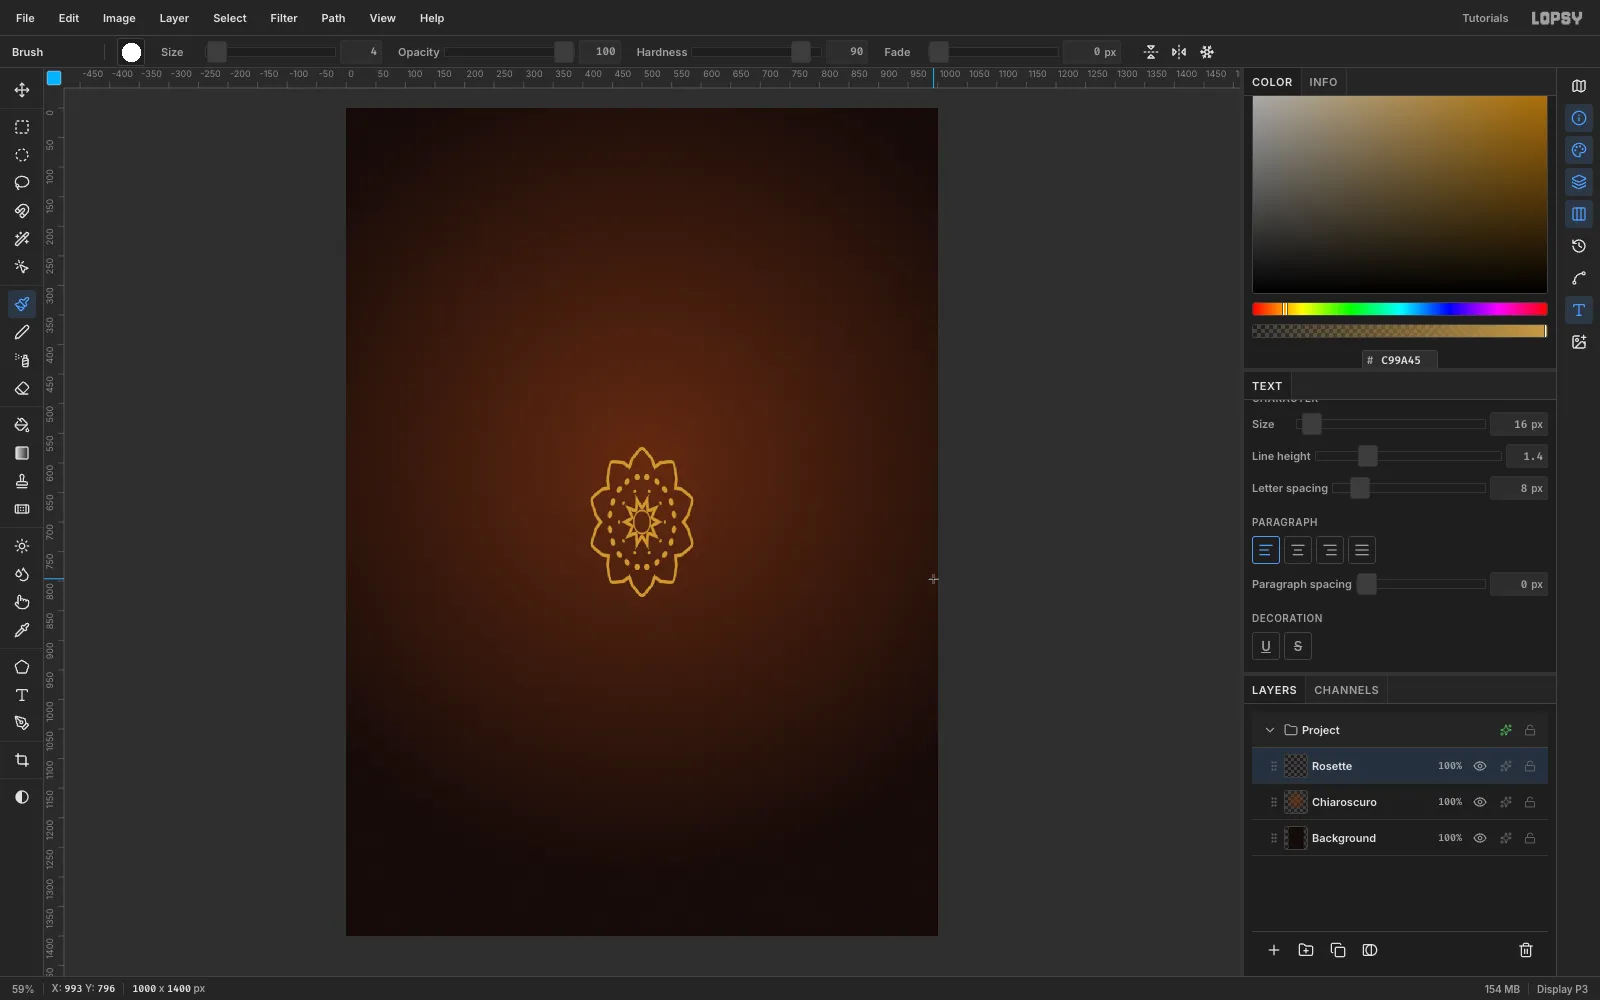
Mirror it with the Kaleidoscope filter
Choose Filter → Kaleidoscope…, set Segments to
10and Rotation to270, then click Apply. A rotation of 270° points the sampled wedge straight up, where you drew. At 0° it samples to the right of the centre and gives an empty layer.On a portrait canvas the rosette comes out about 1.4× taller than it is wide. That's the next thing to fix.
-
Squash the rosette round
With the Rectangular Marquee (M), select (408, 568) to (592, 832). Press V for the Move tool. Drag the bottom-middle handle up to y =
752, so the box is 184 px square. Press Cmd+D to commit.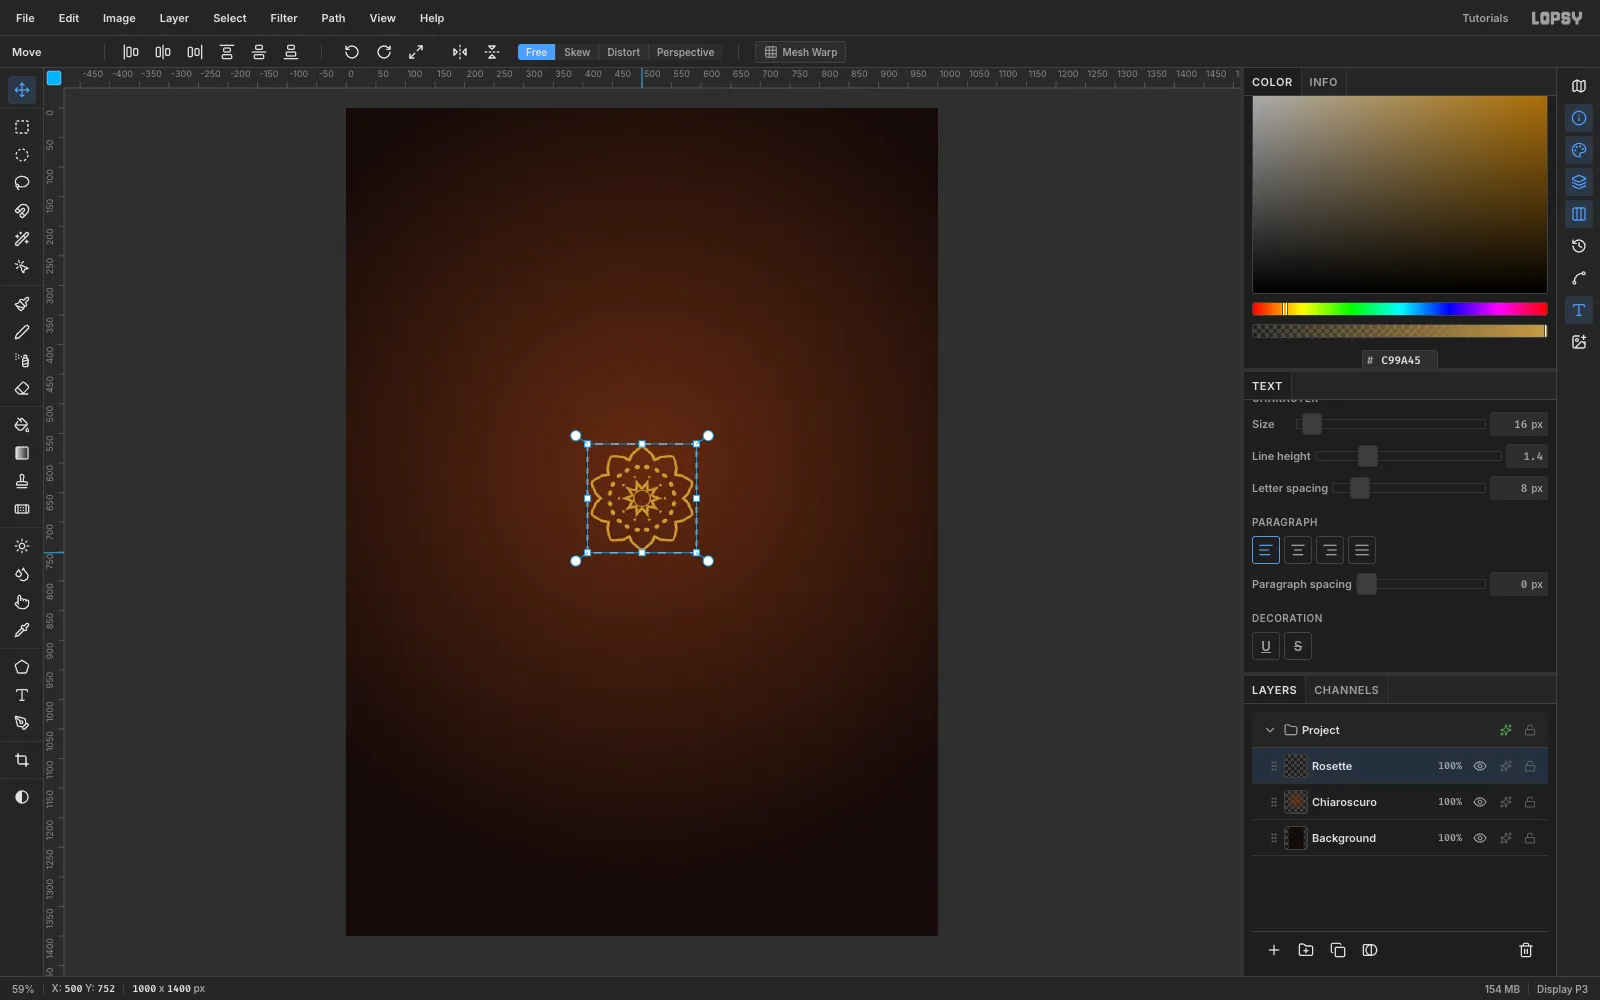
-
Turn it into a half-drop damask
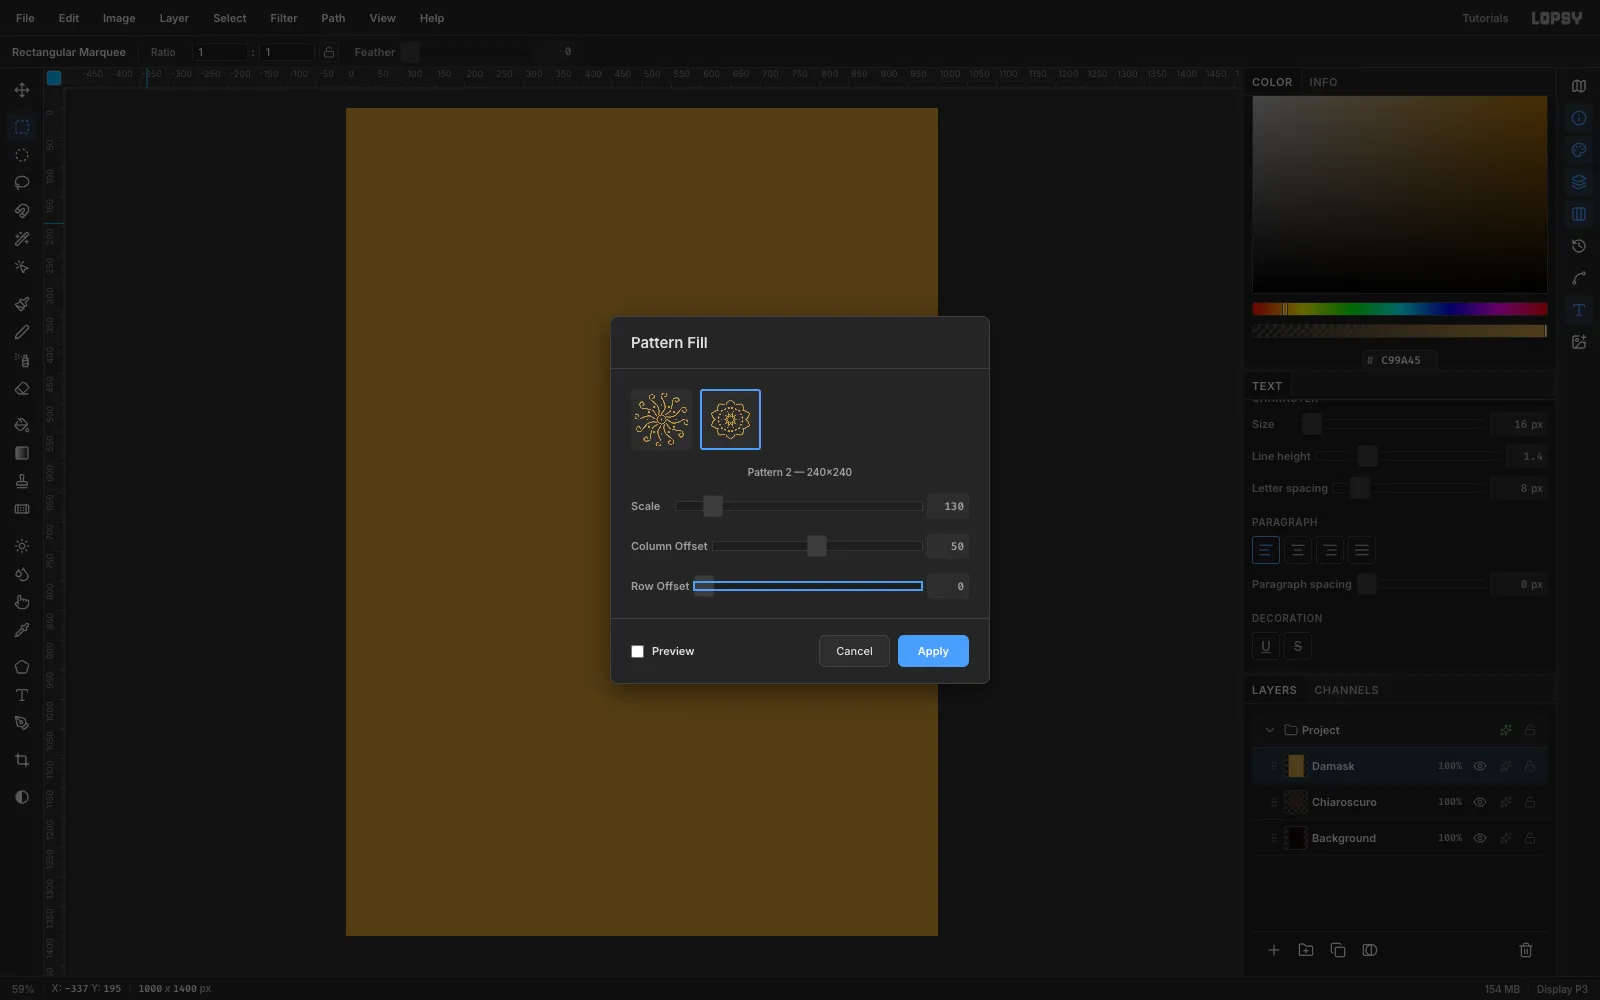
- Marquee a 240 × 240 tile around the rosette, from (380, 540), and choose Edit → Define Pattern.
- Deselect and delete the
Rosettelayer. - Add a layer called
Damask. With no selection, choose Edit → Fill so the layer covers the whole canvas. - Choose Edit → Fill with Pattern…. Set Scale to
130and Column Offset to50for a classic half-drop repeat, then click Apply.
-
Knock the damask back
Open the
Damasklayer's effects button and set Blend to Soft Light. Click its opacity (100%) in the Layers panel and click the slider at about 60%. The wallpaper should whisper, not compete with the menu.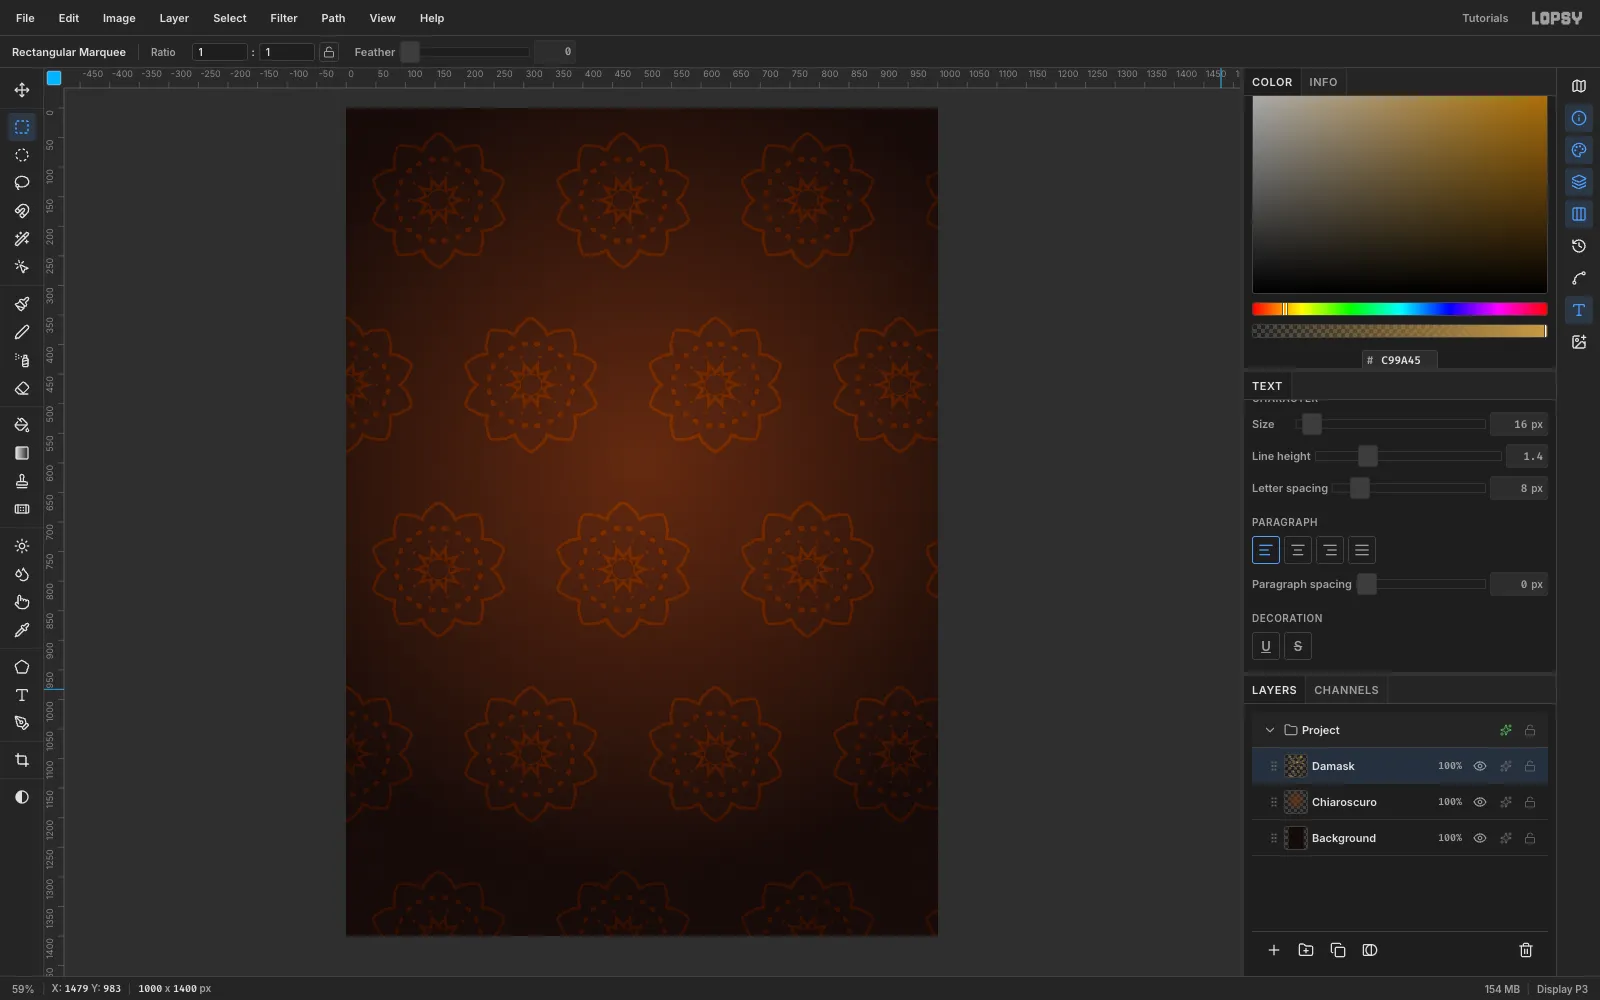
-
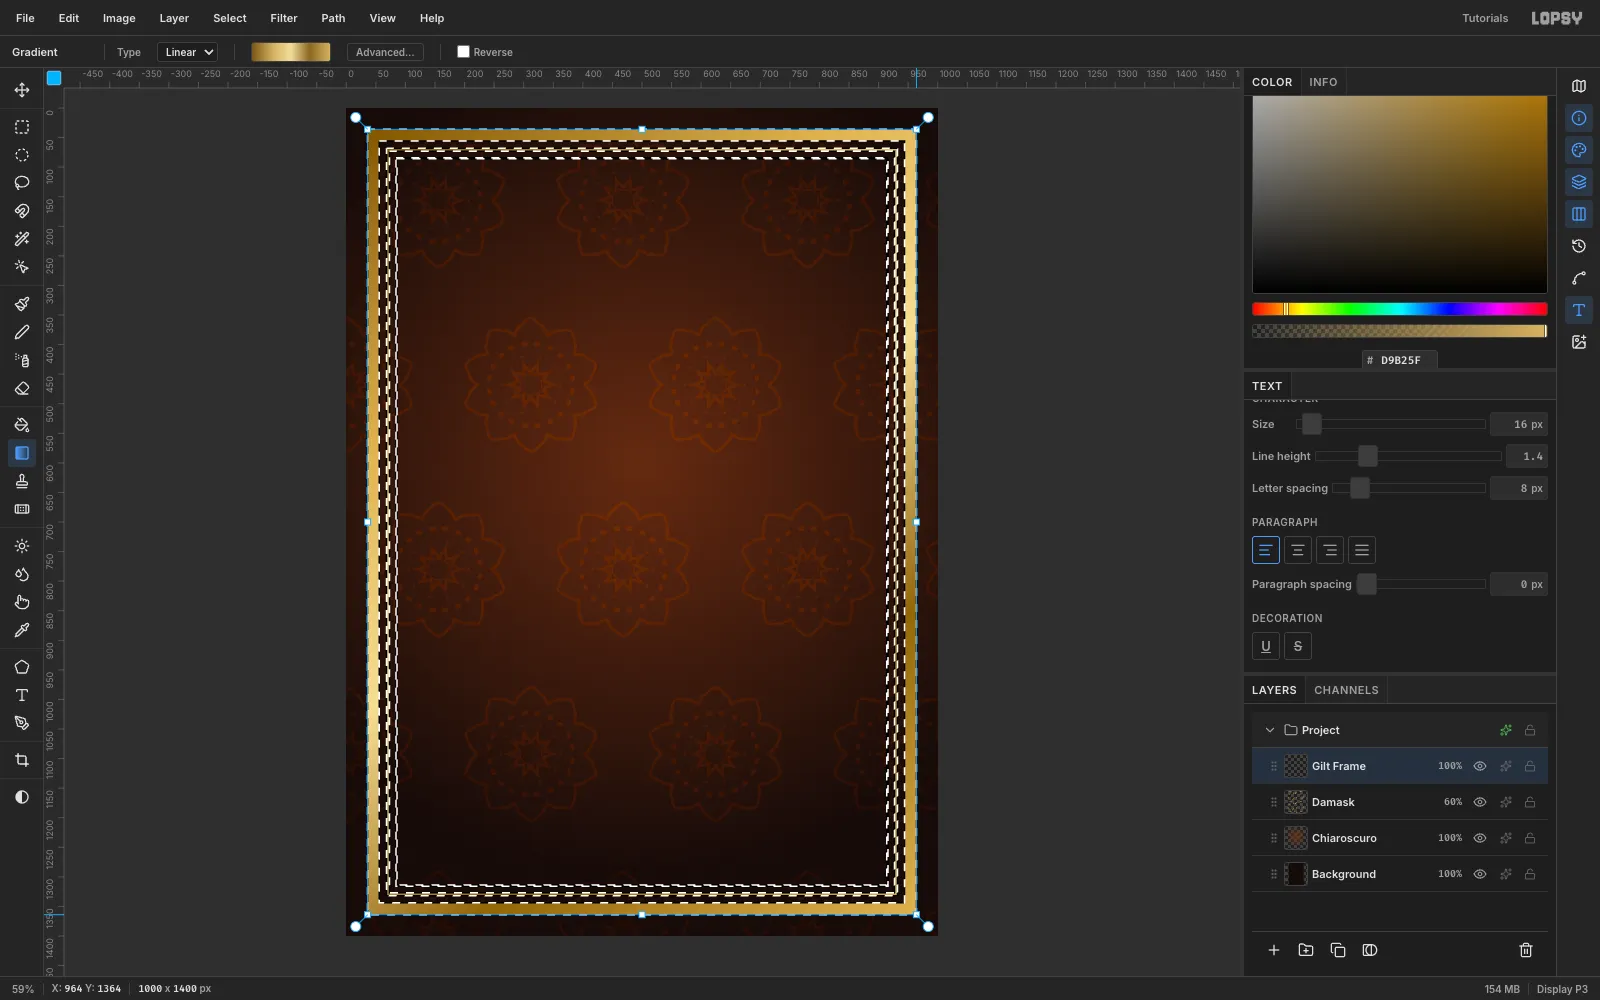
Cut three gilt rings
Add a layer called
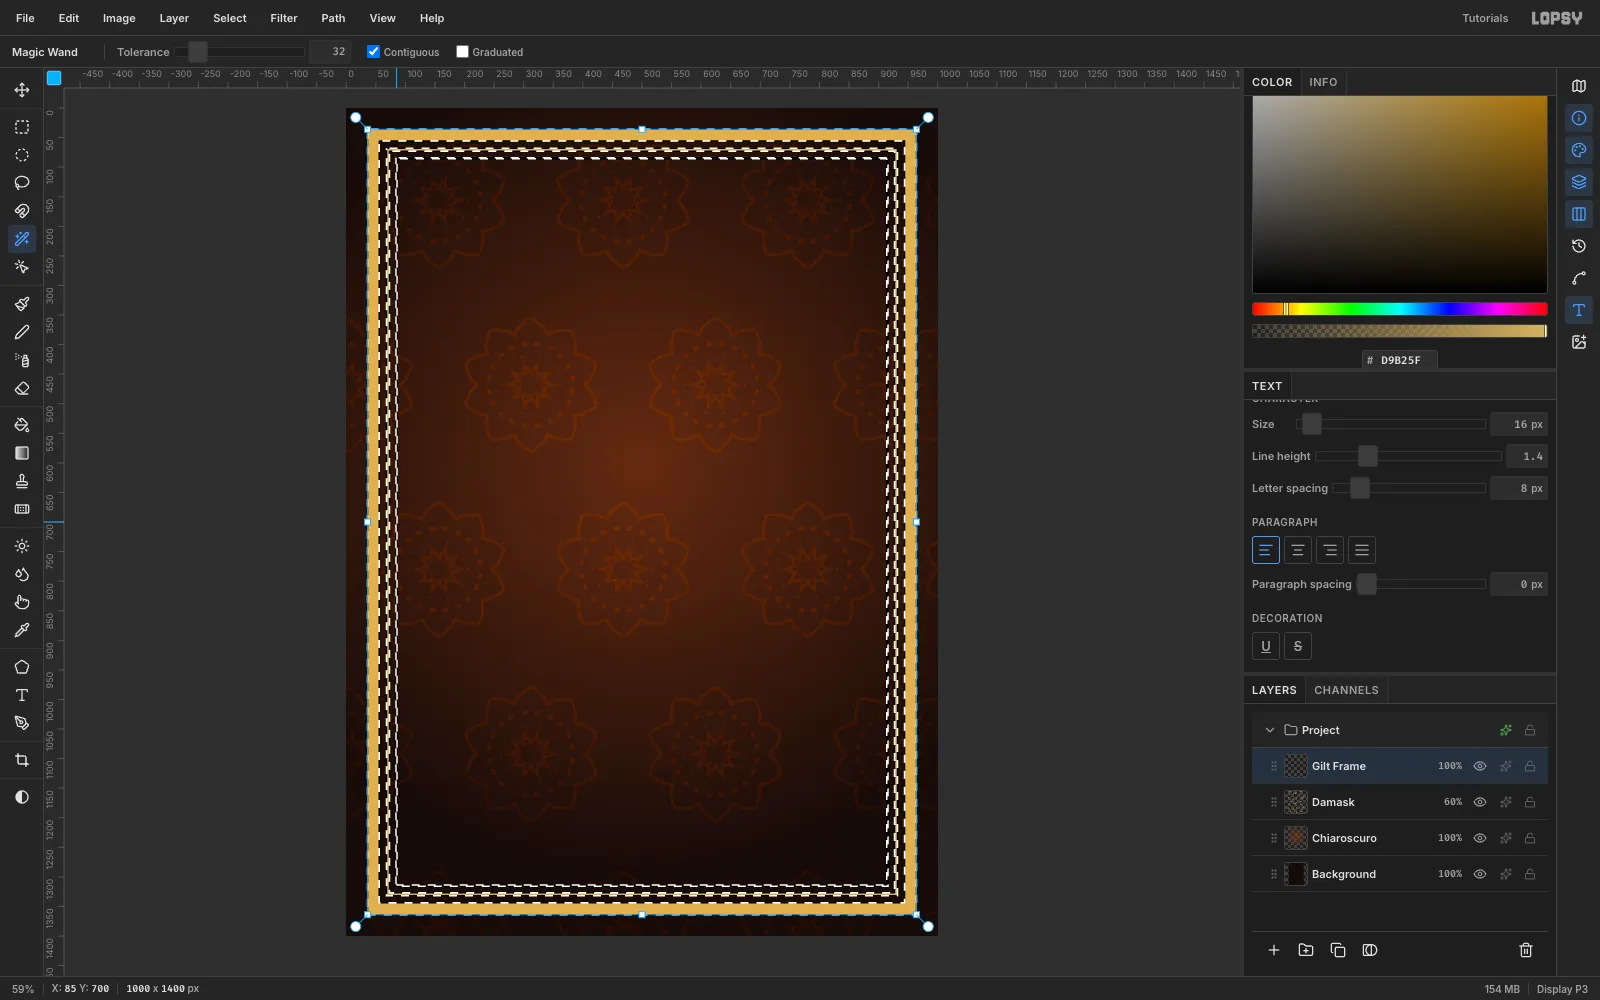
Gilt Frameand set the foreground to#D9B25F. Press Cmd+D before every marquee: a drag that starts inside a live selection moves the outline instead of drawing a new one.- Marquee (36, 36) to (964, 1364) and choose Edit → Fill. Then marquee (56, 56) to (944, 1344) and press Delete.
- Fill (68, 68) to (932, 1332), then delete (73, 73) to (927, 1327).
- Fill (84, 84) to (916, 1316), then delete (86, 86) to (914, 1314).
Choose the Magic Wand (W). Click the outer ring, then Shift-click the two inner rings to add them to the selection.
-
Gild the frame
Choose the Gradient tool, set Type to Linear, and in Advanced… set five stops:
- 0%:
#7A5418 - 28%:
#D9B25F - 50%:
#F3DE9C - 74%:
#8C6420 - 100%:
#D9B25F
Drag from the top-left corner (36, 36) to the bottom-right (964, 1364). The gradient only lands inside the wand selection.
Deselect, then add three layer effects:
- Drop Shadow: X
3, Y5, Blur8, Opacity75, colour#050201 - Stroke: Width
2, colour#3A2208 - Inner Glow: Size
4, Opacity55, colour#FFF1C4, for a polished edge
- 0%:
-
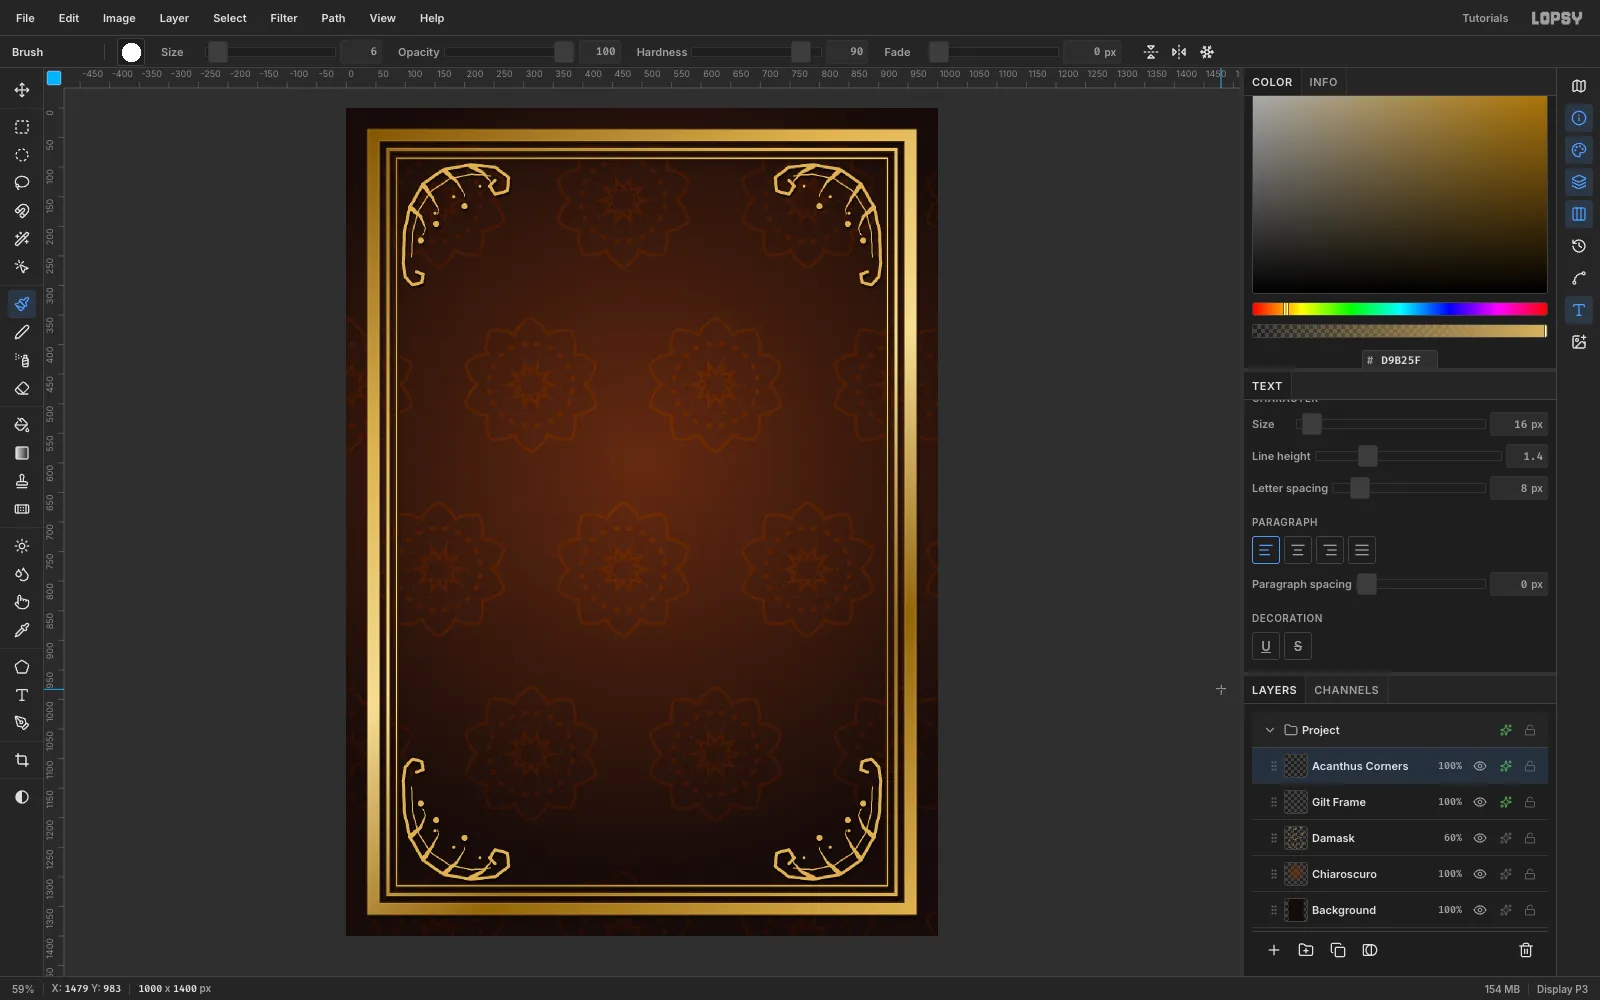
Paint acanthus corners with 4-way symmetry
Add a layer called
Acanthus Corners. Choose the Brush with#D9B25Fand Hardness90, and turn on both Symmetry Horizontal and Symmetry Vertical in the options bar. Every stroke in the top-left corner now appears in all four.- At Size
6, draw a big C-scroll from (96, 262) up and around to (252, 100), and finish with a small volute. - Add a curl at the bottom end.
- At Size
2.8, draw an echo line just inside it. - Open the brush presets, set Taper to
60, and draw a few short size-9 leaf ribs across the scroll. - Set Taper back to
0and add size-11 and size-6 dots.
Turn symmetry off, then add:
- Drop Shadow: X
2, Y4, Blur5, Opacity75 - Inner Glow: Size
2, Opacity70, colour#F3DE9C
- At Size
-
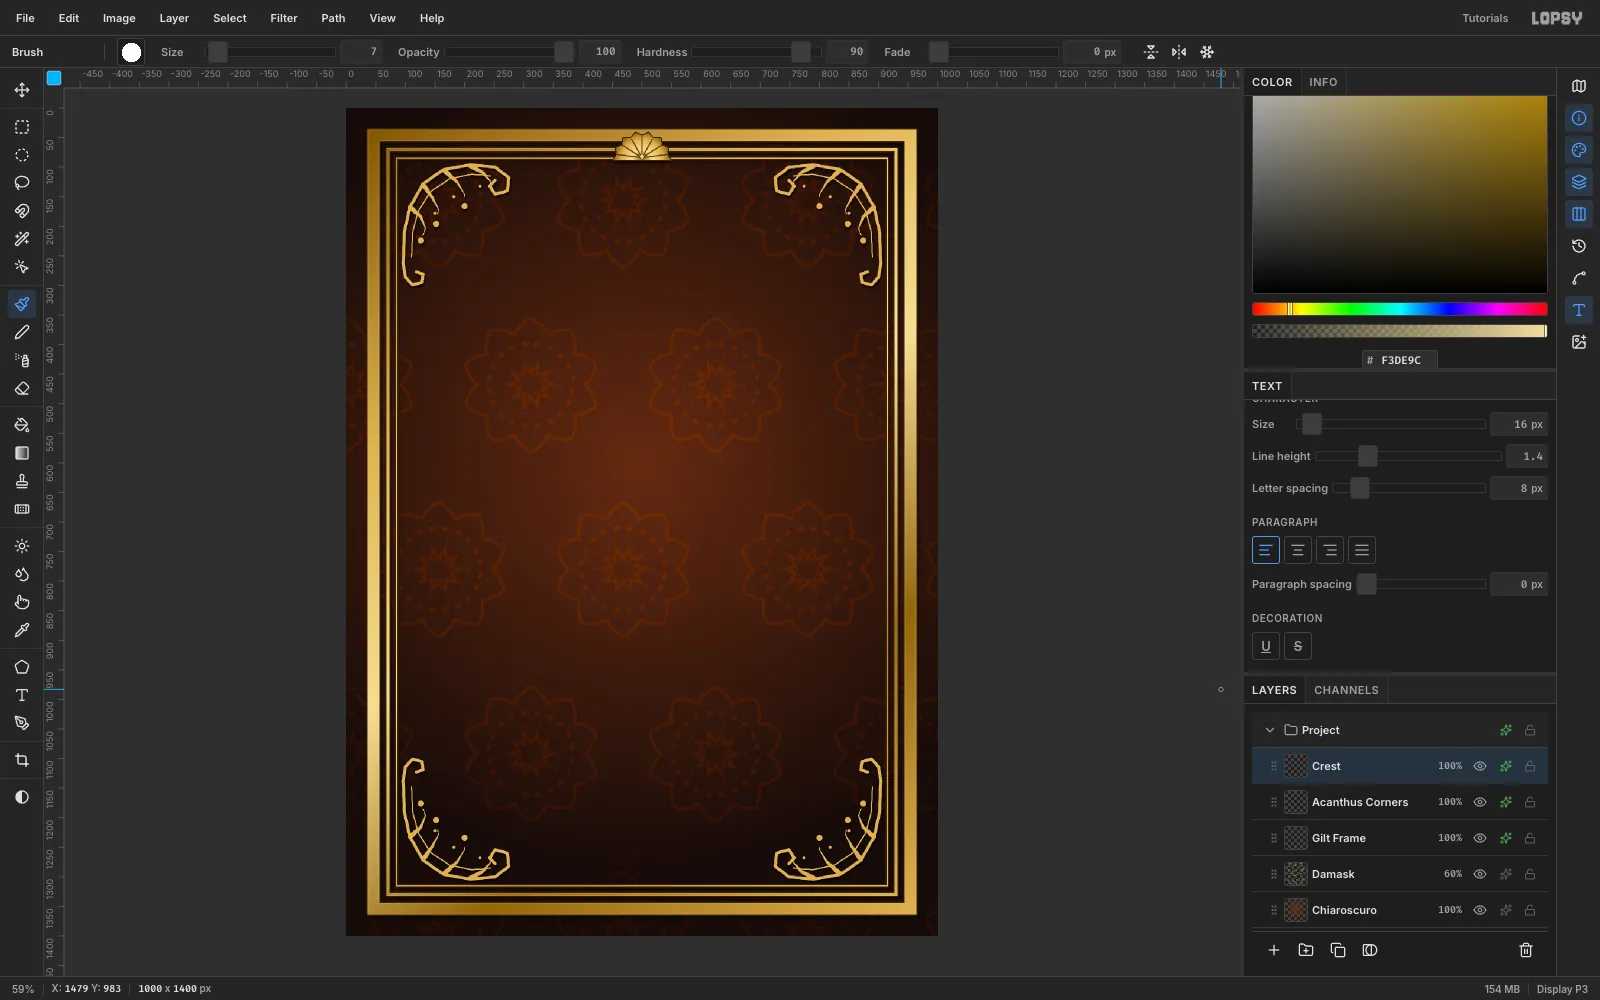
Add a shell crest
Add a layer called
Crest.- With the Lasso (L), trace a half-disc 46 px in radius sitting on (500, 88) and opening upwards.
- Fill it with a Radial gradient:
#8C6420,#F3DE9Cat 35%,#D9B25Fat 70% and#7A5418. Drag from (500, 88) to (500, 38). - Brush the ribs in
#5C3D0Eat Size2.8. Click the hinge at (500, 84), then Shift-click seven points around the arc; each Shift-click draws a straight line. - Add a
#F3DE9Cboss dot at Size7. - Give it a Drop Shadow (Y
5, Blur8) and a 2 px#3A2208Stroke.
-
Duplicate and flip the crest
With the Move tool active, click Duplicate Layer, then click the
Crest copyrow so it's the only selected layer. Marquee tightly around the copy and click Flip Vertical in the Move options bar. Press Cmd+D.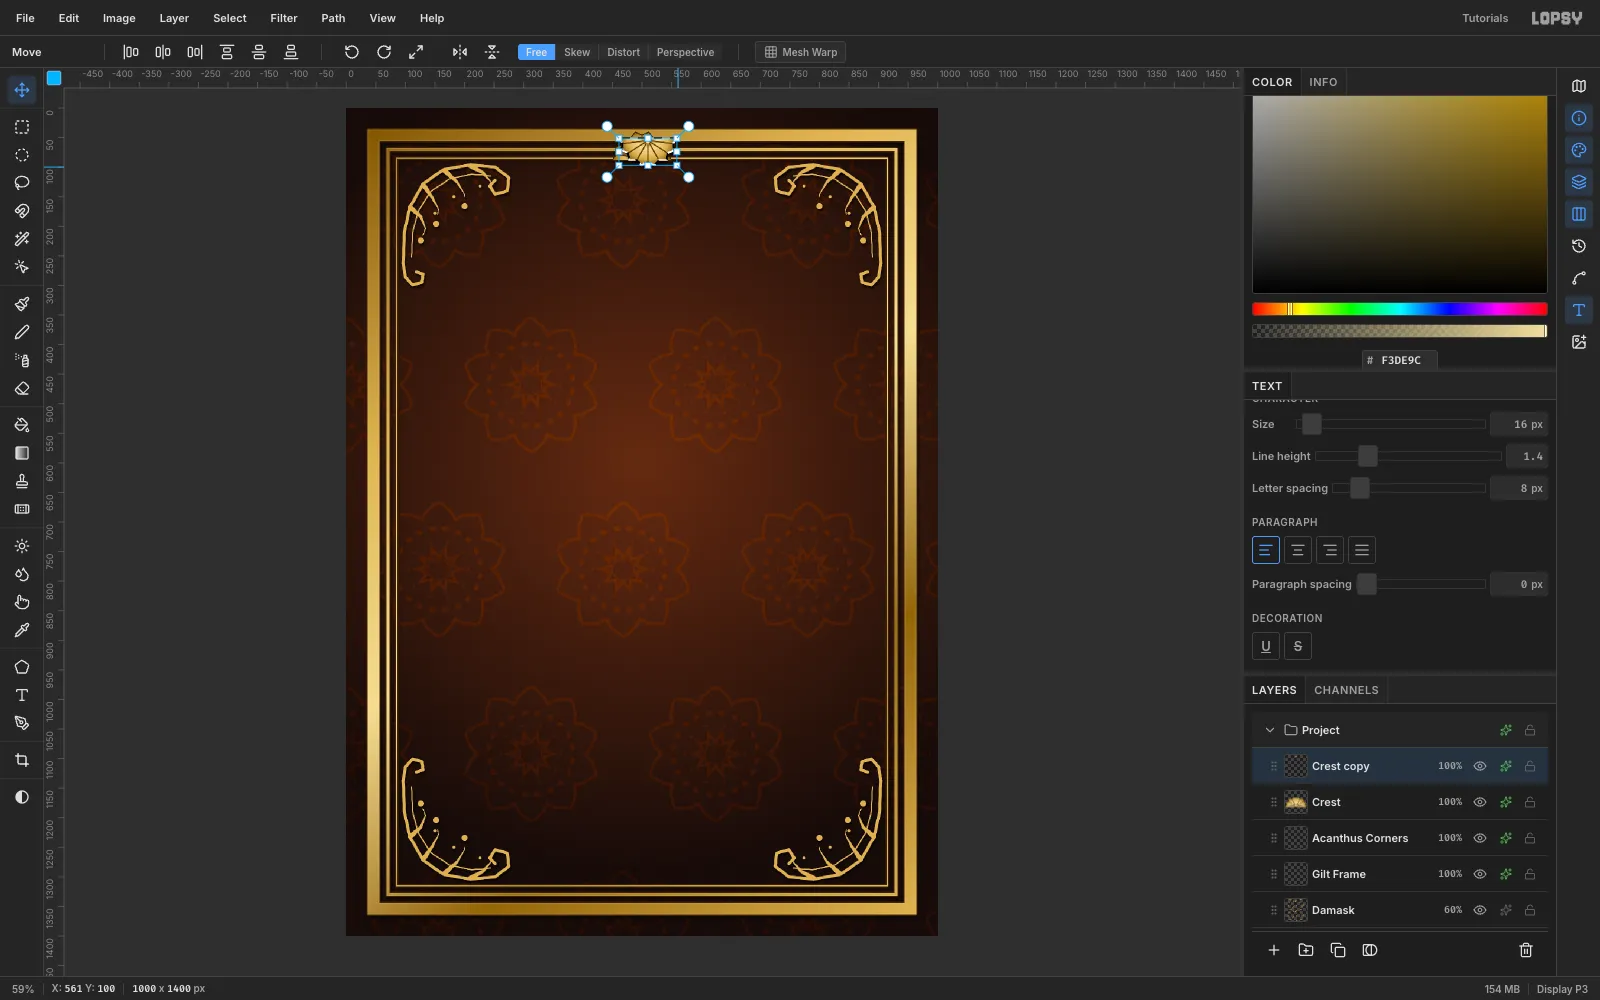
-
Drop the crest to the bottom
Drag the flipped copy with the Move tool until its flat edge sits on the inner rule at y ≈
1311, centred on x = 500. Now the frame is symmetrical top to bottom.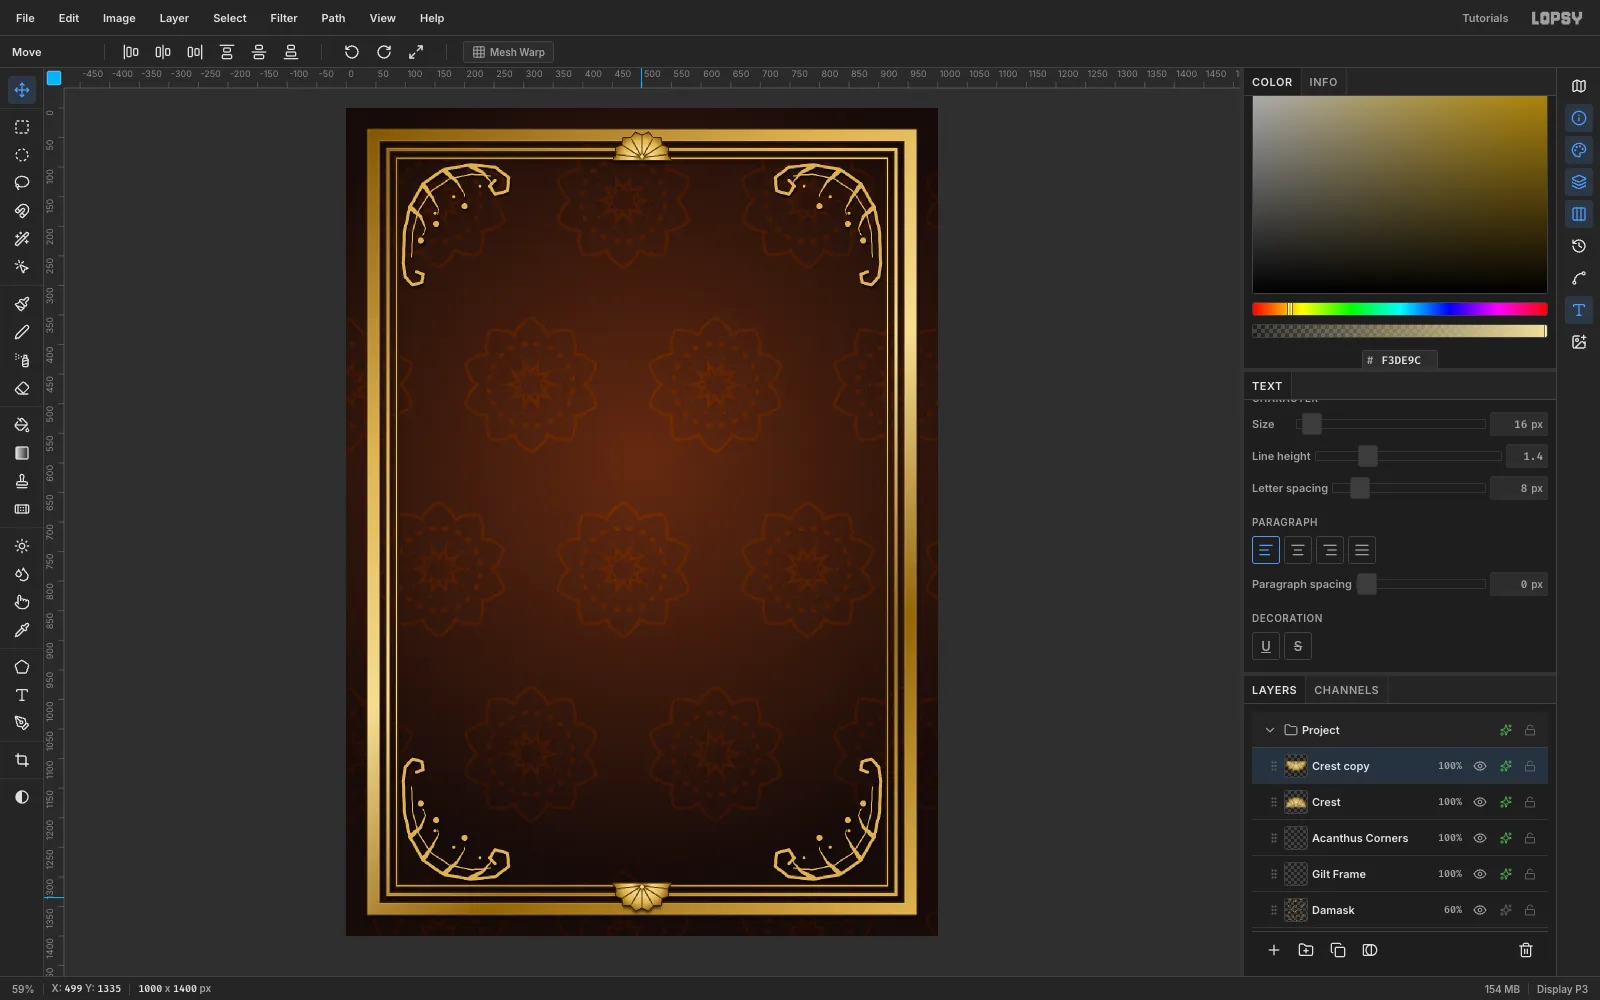
-
Snap an oval cartouche to the grid
Add a layer called
Cartouche. Choose View → Show Grid. The grid is 32 px and Snap is on. With the Elliptical Marquee, drag from about (281, 95) to (721, 281). It snaps to the grid at 276, 92 to 724, 284.Fill it with
#4A0F1C. Then drag a Radial gradient of#8A2033, fading from full to zero opacity, from (440, 150) to (440, 330).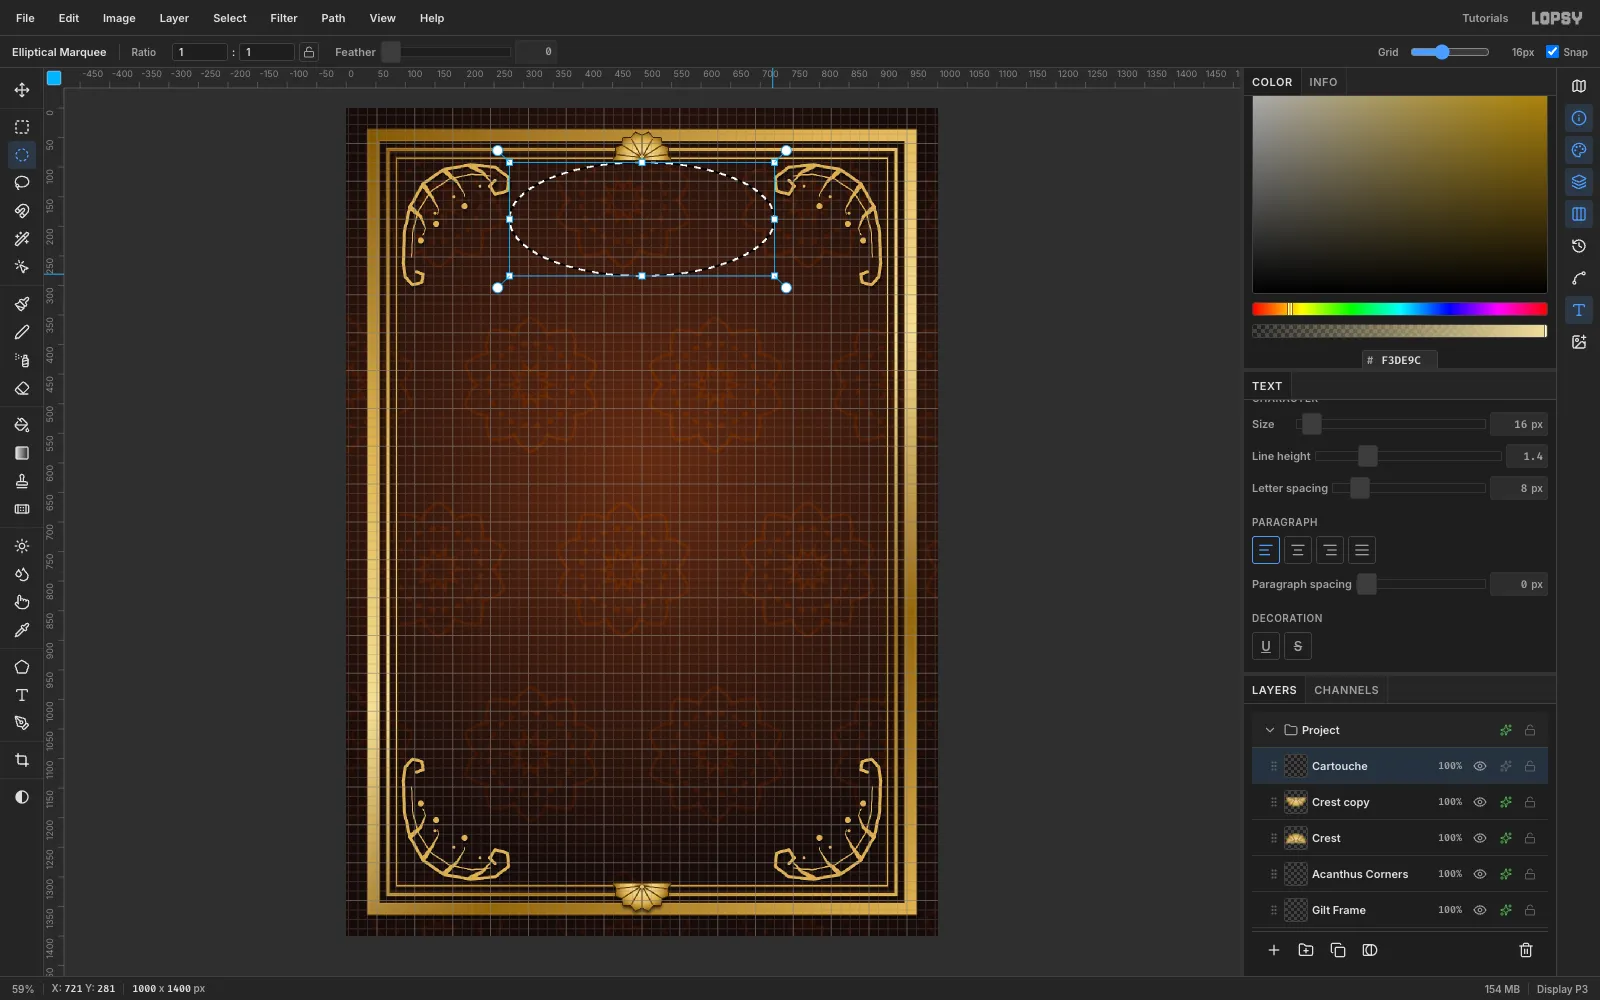
-
Finish the cartouche
Deselect, turn View → Show Grid off and untick Snap in the options bar. Add three effects to the cartouche:
- Stroke: Width
5,#D9B25F - Inner Glow: Size
18, Opacity70,#1A0408, for depth - Drop Shadow: Y
8, Blur16, Opacity75
Click an empty spot away from the cartouche with the Text tool (T). Pick Cinzel Decorative, weight Bold, size
100, colour#F0D48A, and typeQ E. Press Tab to commit. Move it to the centre of the cartouche, with its top at about y = 152, and give it a small warm Drop Shadow.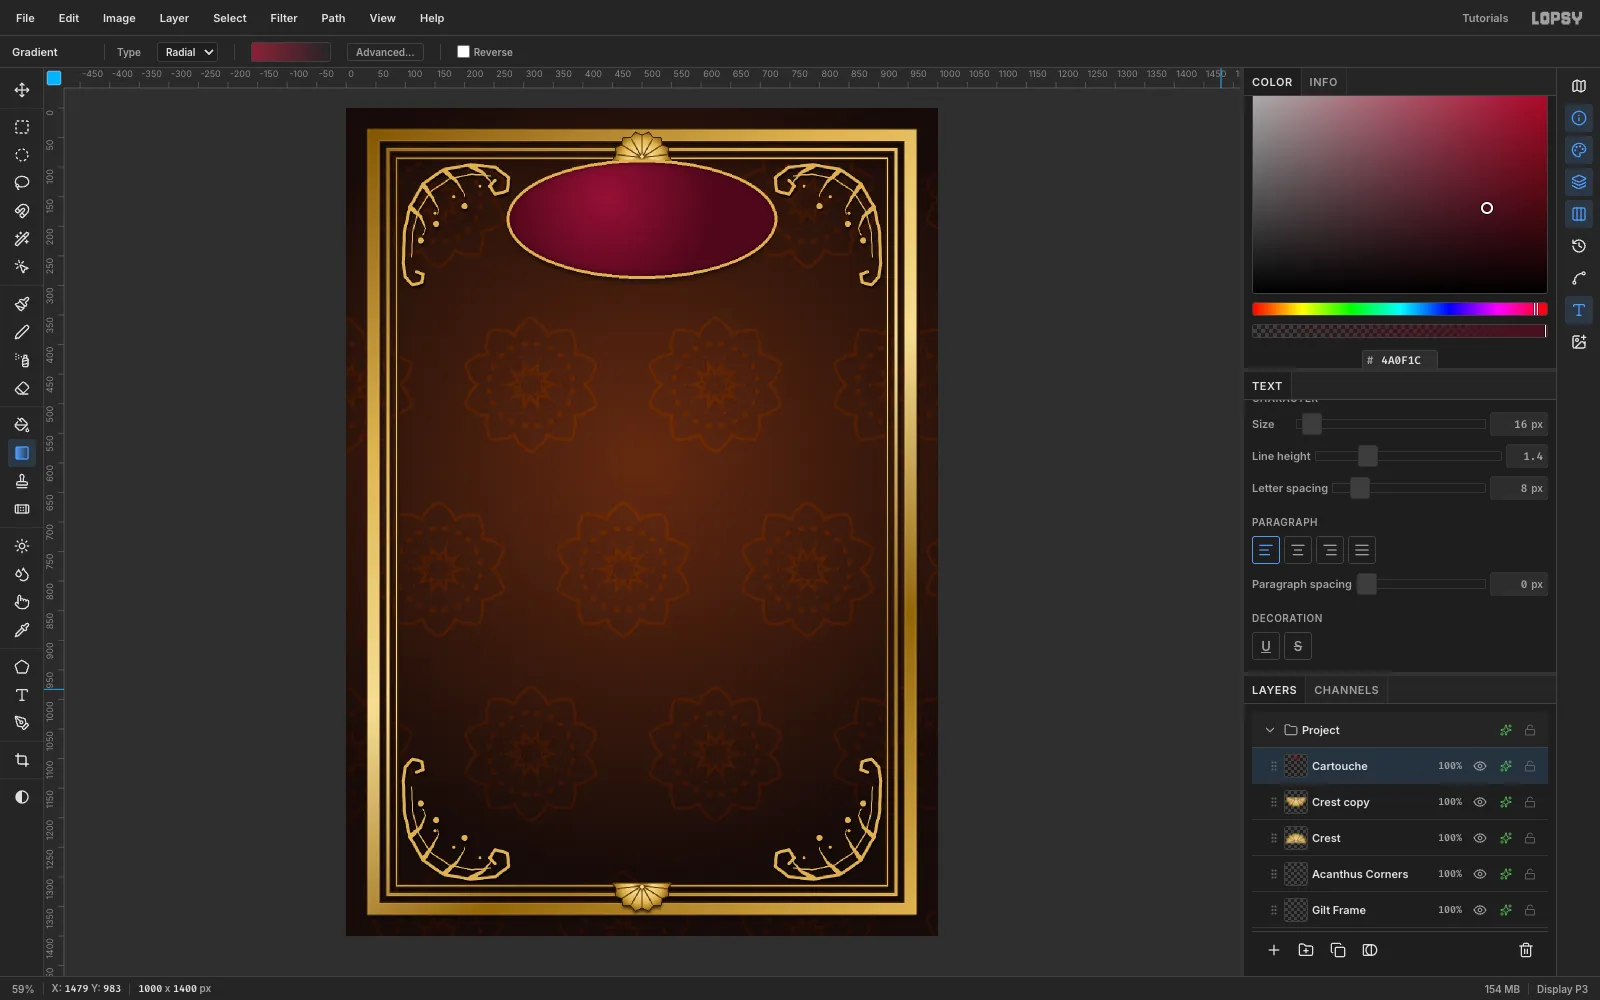
- Stroke: Width
-
Draw an arc with the Pen tool
Choose the Pen Tool (P):
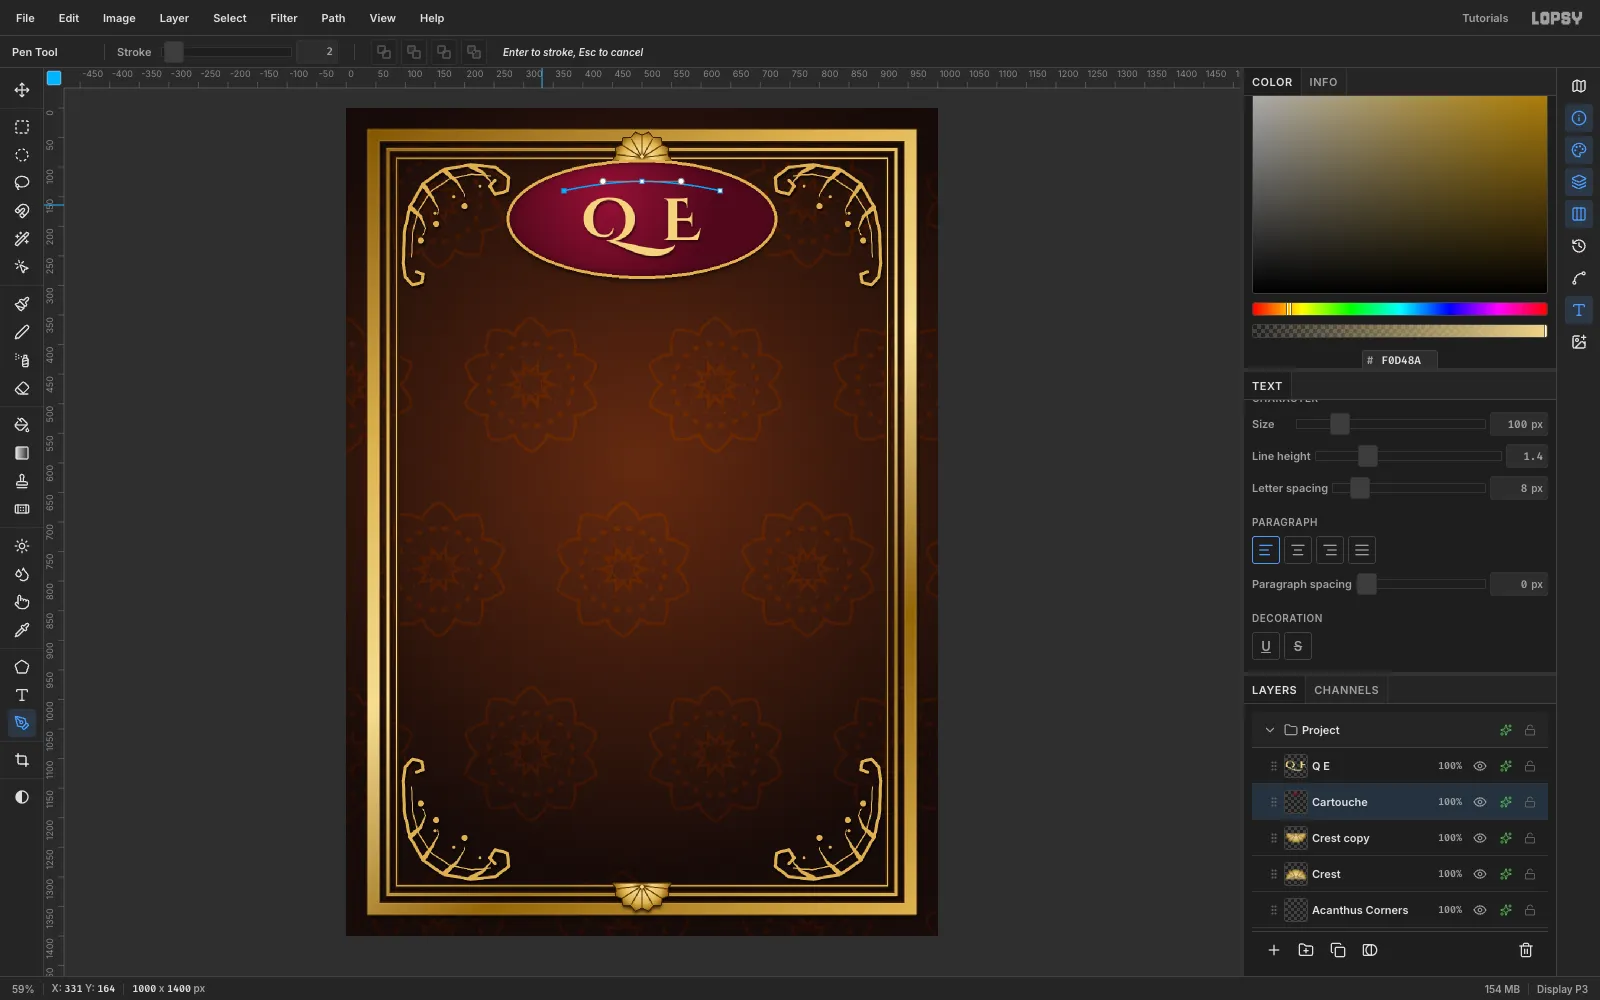
- Click (368, 140).
- Drag from (500, 124) to (566, 124). This makes a smooth anchor with horizontal handles.
- Click (632, 140).
- Click Commit path in the options bar.
-
Set curved text on the path
Select the
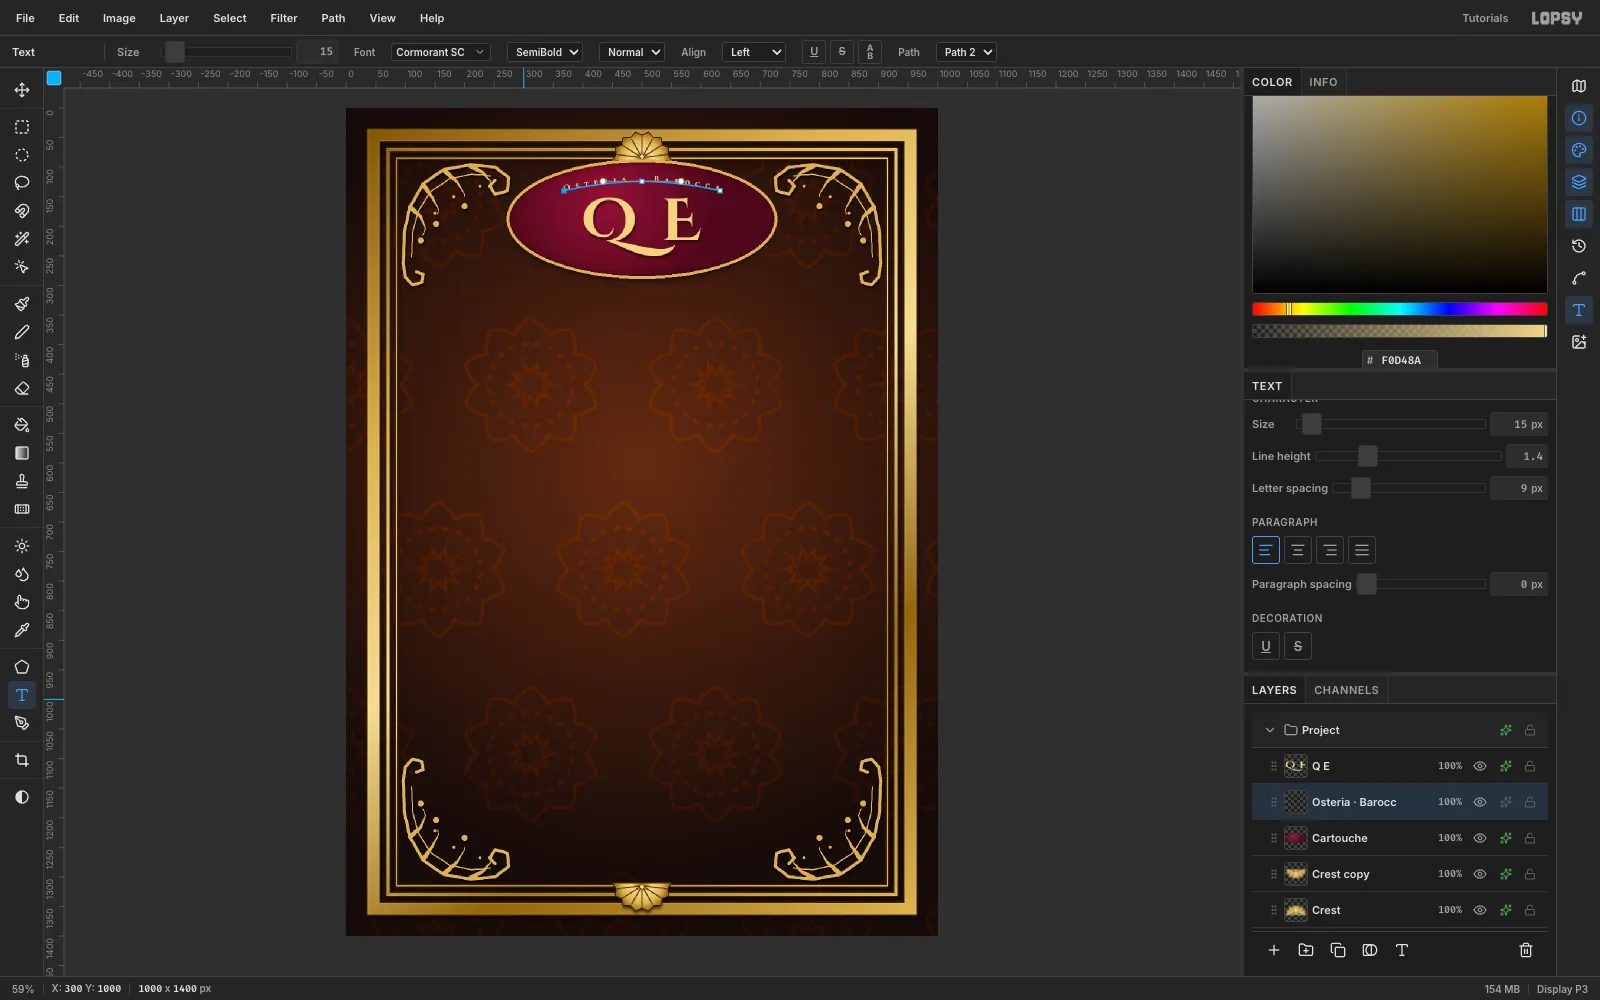
Cartouchelayer. TypeOsteria · Baroccain empty space with these settings:- Cormorant SC, SemiBold, size
15, colour#F0D48A - Letter spacing
9in the Text panel
Press Tab. With the text layer still active and the Text tool selected, choose your path from the Path dropdown in the options bar. The words wrap around the arc.
- Cormorant SC, SemiBold, size
-
Set the script title and a mirrored flourish
Type
Quince & Elderberryin Pinyon Script at92, colour#F3DE9C.Centre it with its top at about y = 322 and add a soft Drop Shadow (Y
4, Blur4, Opacity50).Add a
Title Flourishlayer. Turn on Symmetry Vertical, then Cmd-click (500, 452) to move the mirror axis there. Now paint the right half at Size3.5: a wave from (512, 452) out to a curl at (690, 446), a dot at (700, 452), and a lozenge at the centre. The left half draws itself. Turn symmetry off.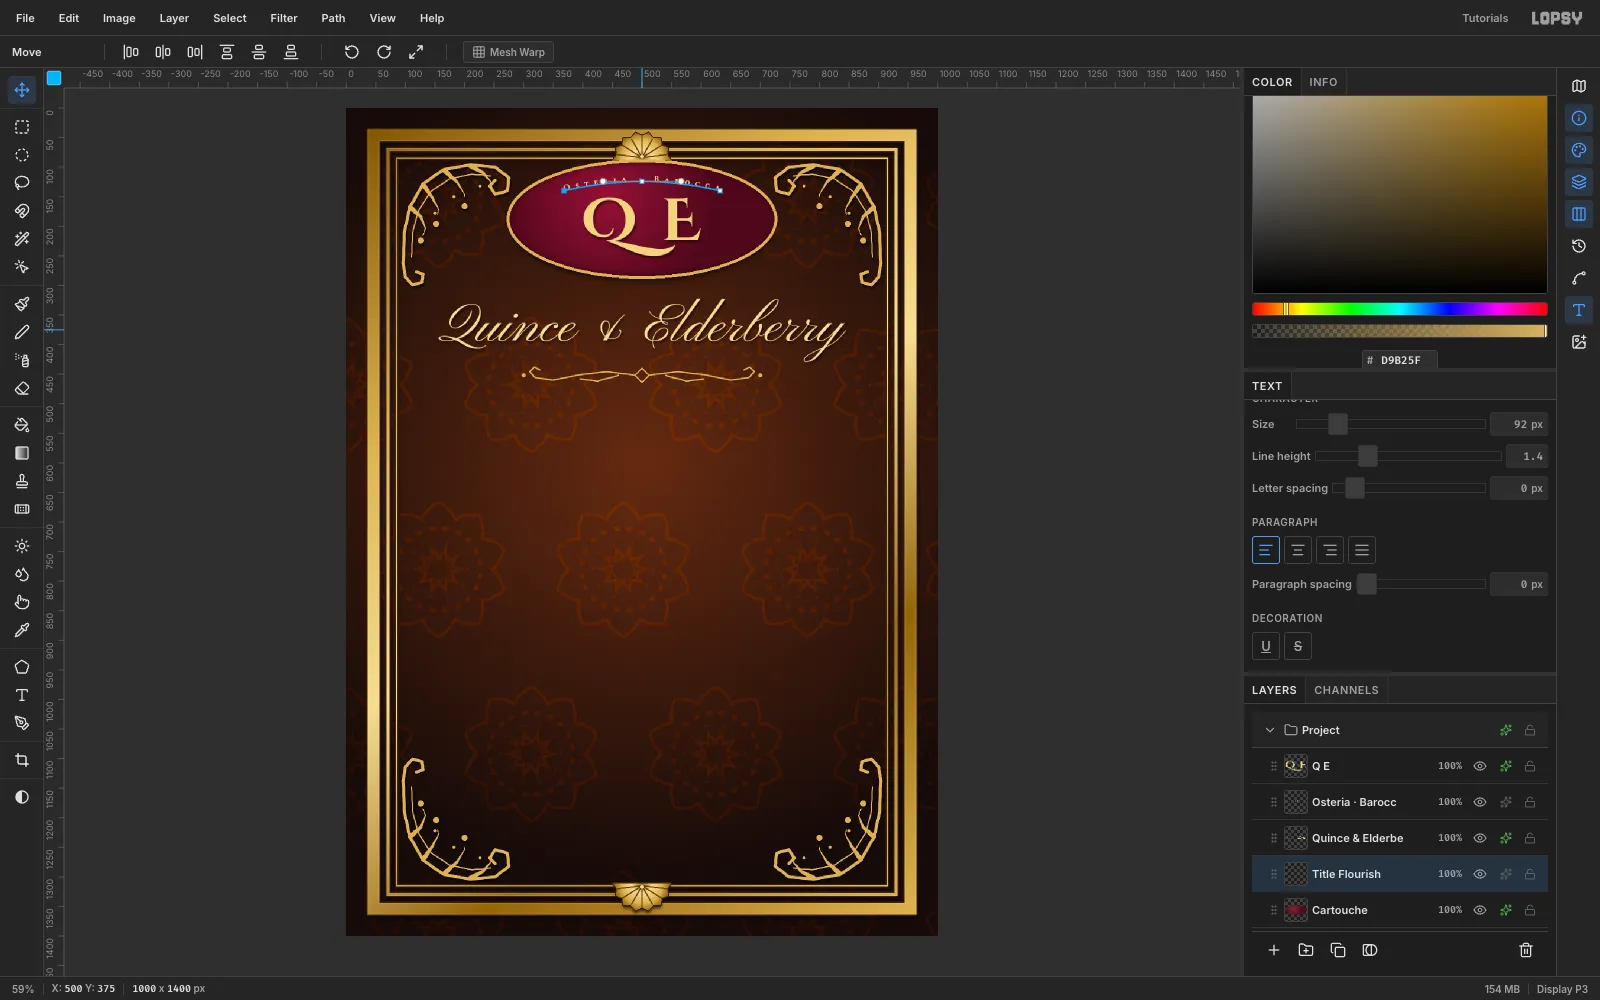
-
Build a dark niche for the still life
With
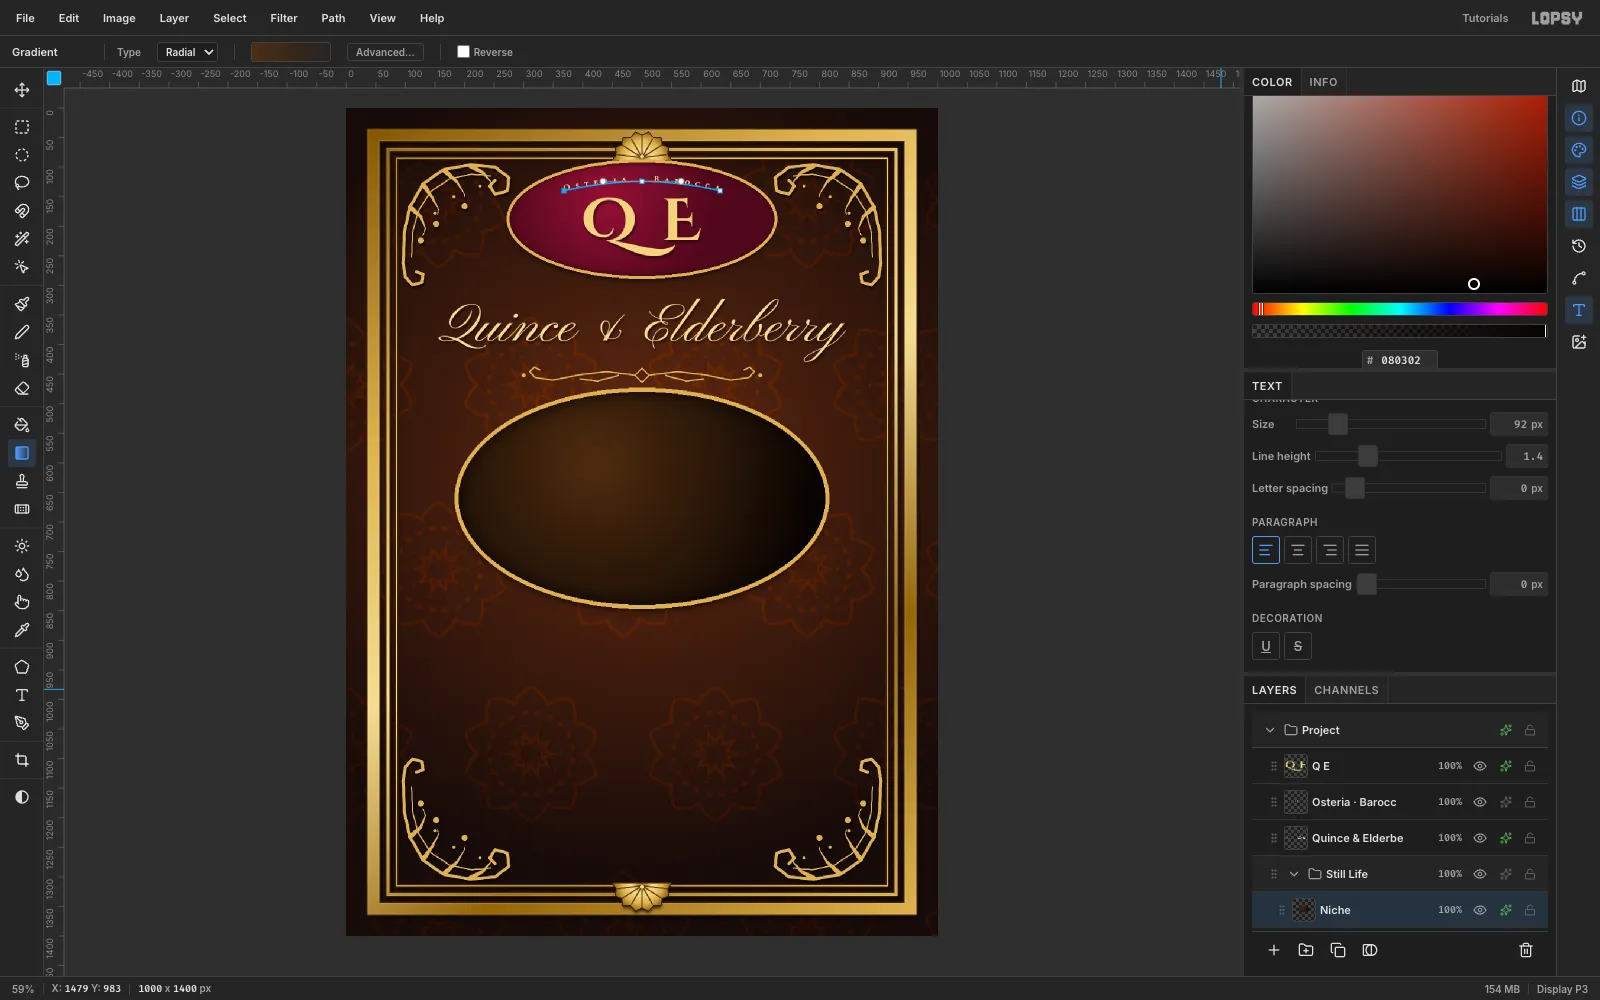
Title Flourishactive, click New Group and name itStill Life. Inside it, add aNichelayer:- Draw an elliptical marquee from (190, 480) to (810, 840) and fill it with
#080302. - Drag a Radial gradient with stops
#4A2C14,#3B2410at 55%, and a transparent end, from (420, 600) to (720, 820). The light falls from the upper left. - Add a 7 px
#D9B25FStroke. - Add a big black Inner Glow (Size
40, Opacity90) so the corners sink into darkness. - Add a Drop Shadow.
- Draw an elliptical marquee from (190, 480) to (810, 840) and fill it with
-
Lay velvet over the ledge
Add a
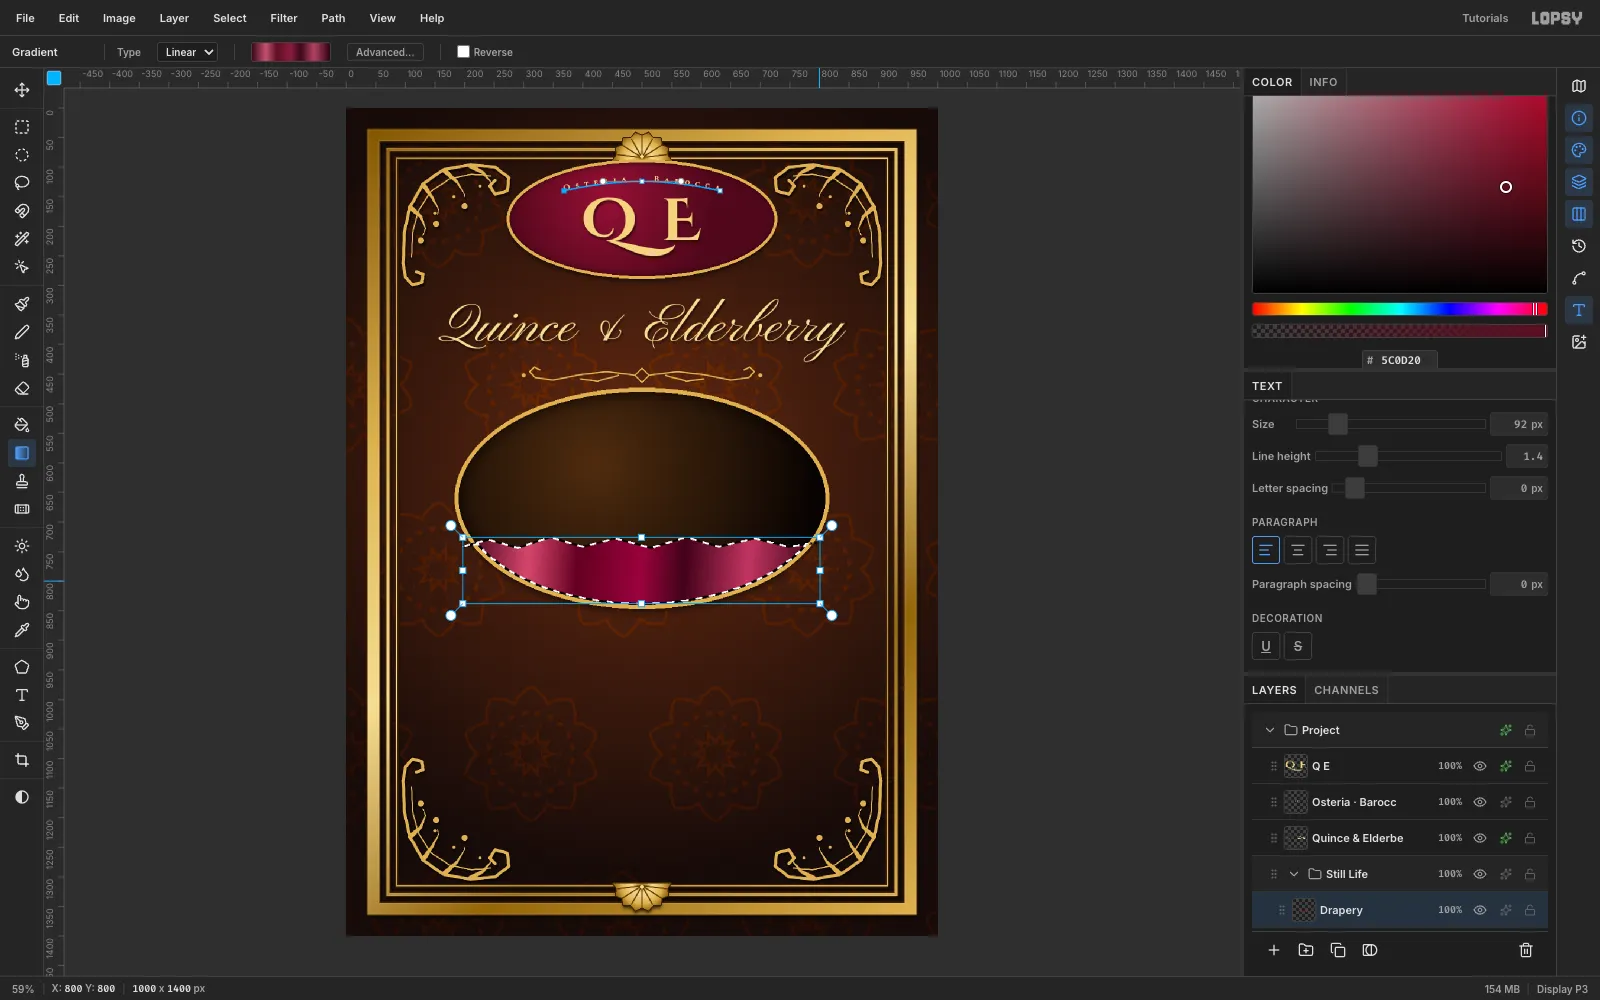
Draperylayer. With the Lasso, trace a wavy "ledge" edge across the niche at about y 726–744, then follow the lower arc of the oval back to the start. Fill with#5C0D20.In Advanced…, make a folds gradient with seven stops that alternate dark and light:
- 0%:
#3A0816 - 18%:
#C8506A - 32%:
#5A0C1E - 50%:
#8E1B3A - 62%:
#3A0816 - 80%:
#B4405C - 100%:
#2A050F
Drag it from (200, 760) to (800, 800).
- 0%:
-
Let the cloth break the frame
A classic Baroque move is to let something spill over the frame. On the same layer, lasso a flap from (226, 736) down past the oval's edge to about (214, 874) and back up to (352, 790). Fill it and drag a five-stop gradient of
#2A050F,#C8506A,#8E1B3A,#3A0816and#1E0308diagonally across it.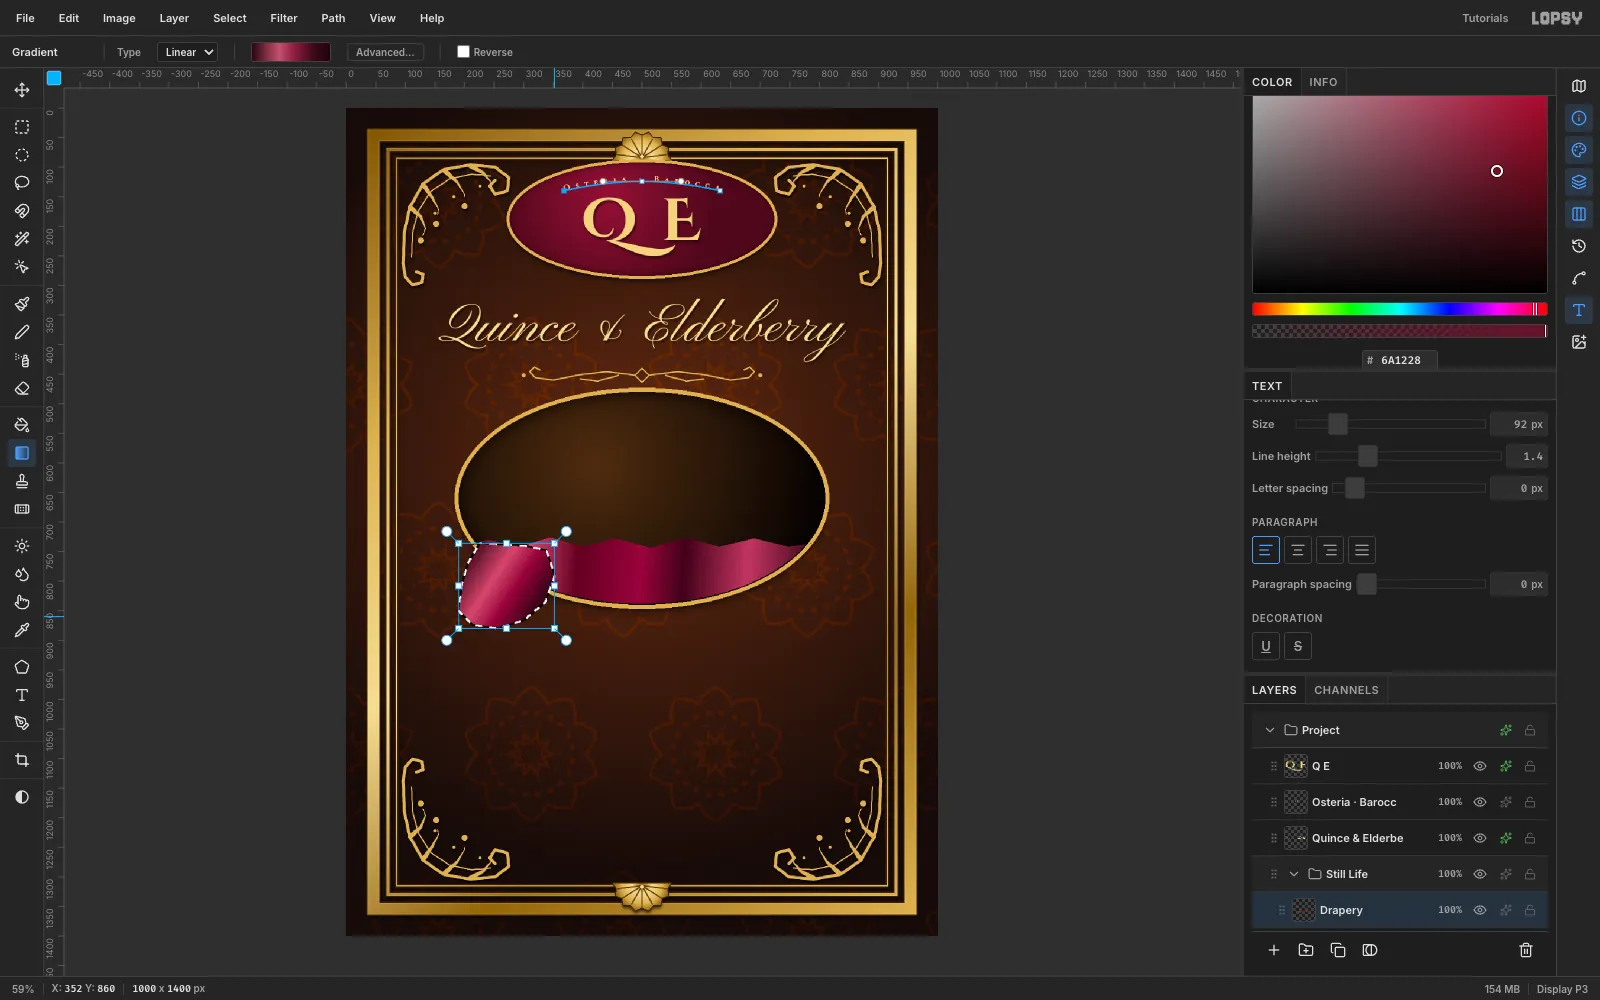
-
Model the folds with Dodge and Burn
Deselect and choose Dodge/Burn (O):
- Dodge at Size
22, Exposure22, down the fold crests. - Switch to Burn at Size
30, Exposure20, down the troughs.
Add a Drop Shadow (X
4, Y8, Blur12). Then apply Filter → Gaussian Blur… at Radius3to soften the brush marks.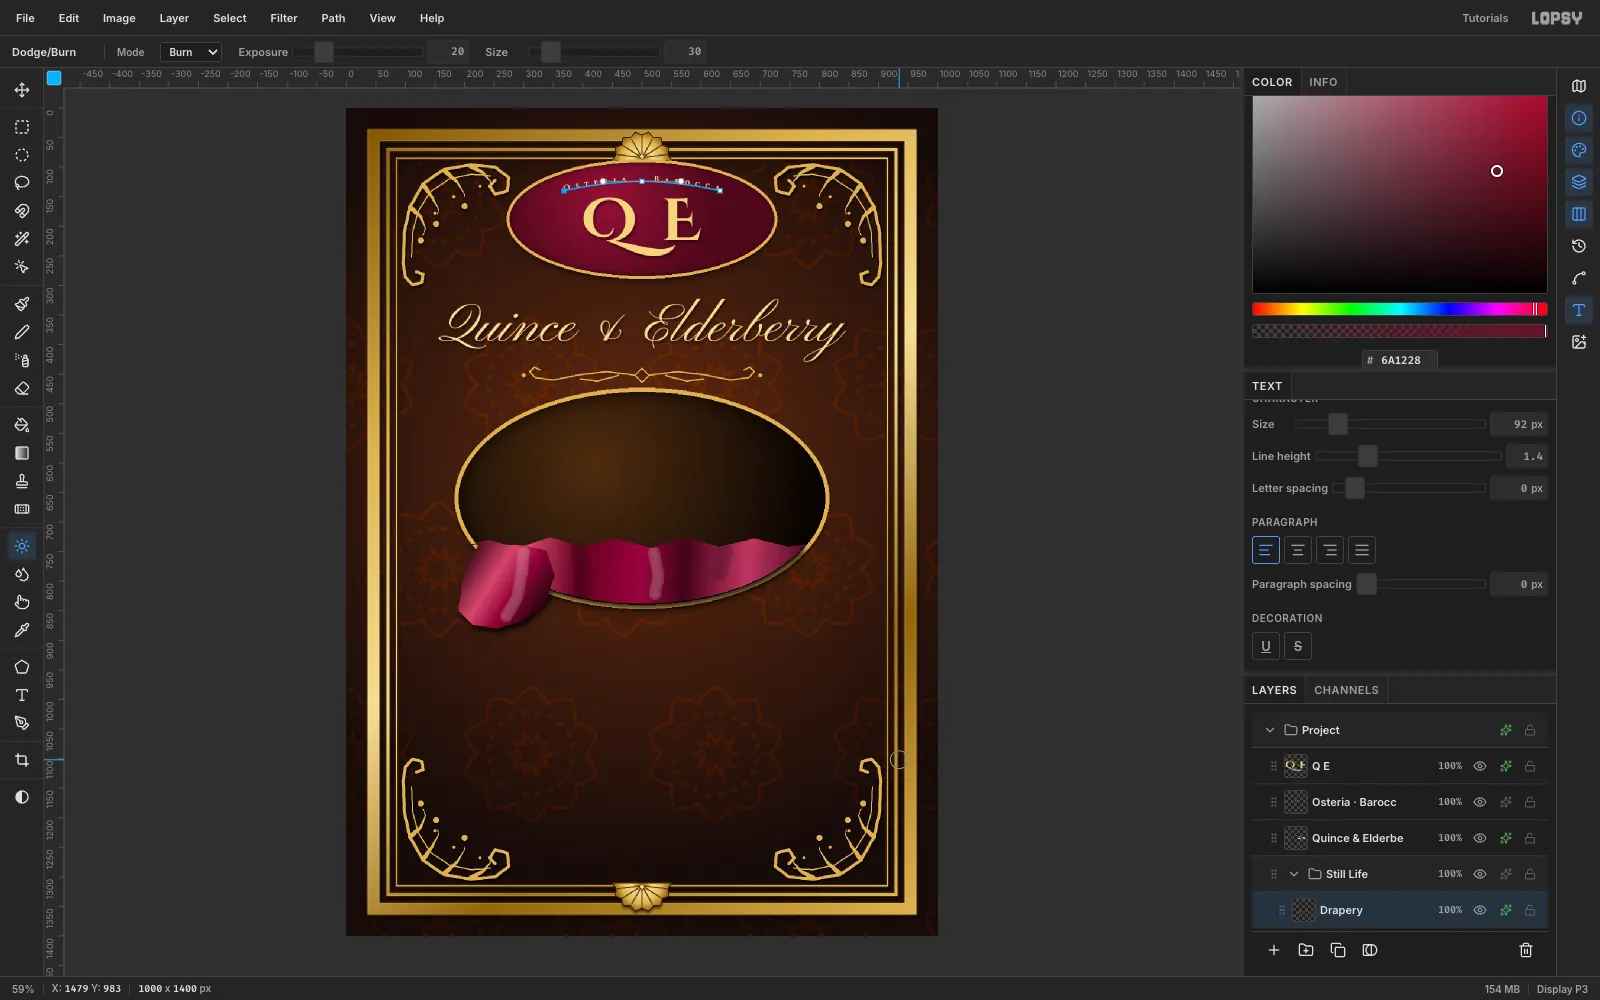
- Dodge at Size
-
Paint a quince with a radial gradient
Add a
Cast Shadowslayer first:- Fill two flat ellipses in
#1A0A05: (392, 732) 214 × 48, and (575, 712) 150 × 36. - Gaussian Blur them at
10. - Set the layer to Multiply.
Now add a
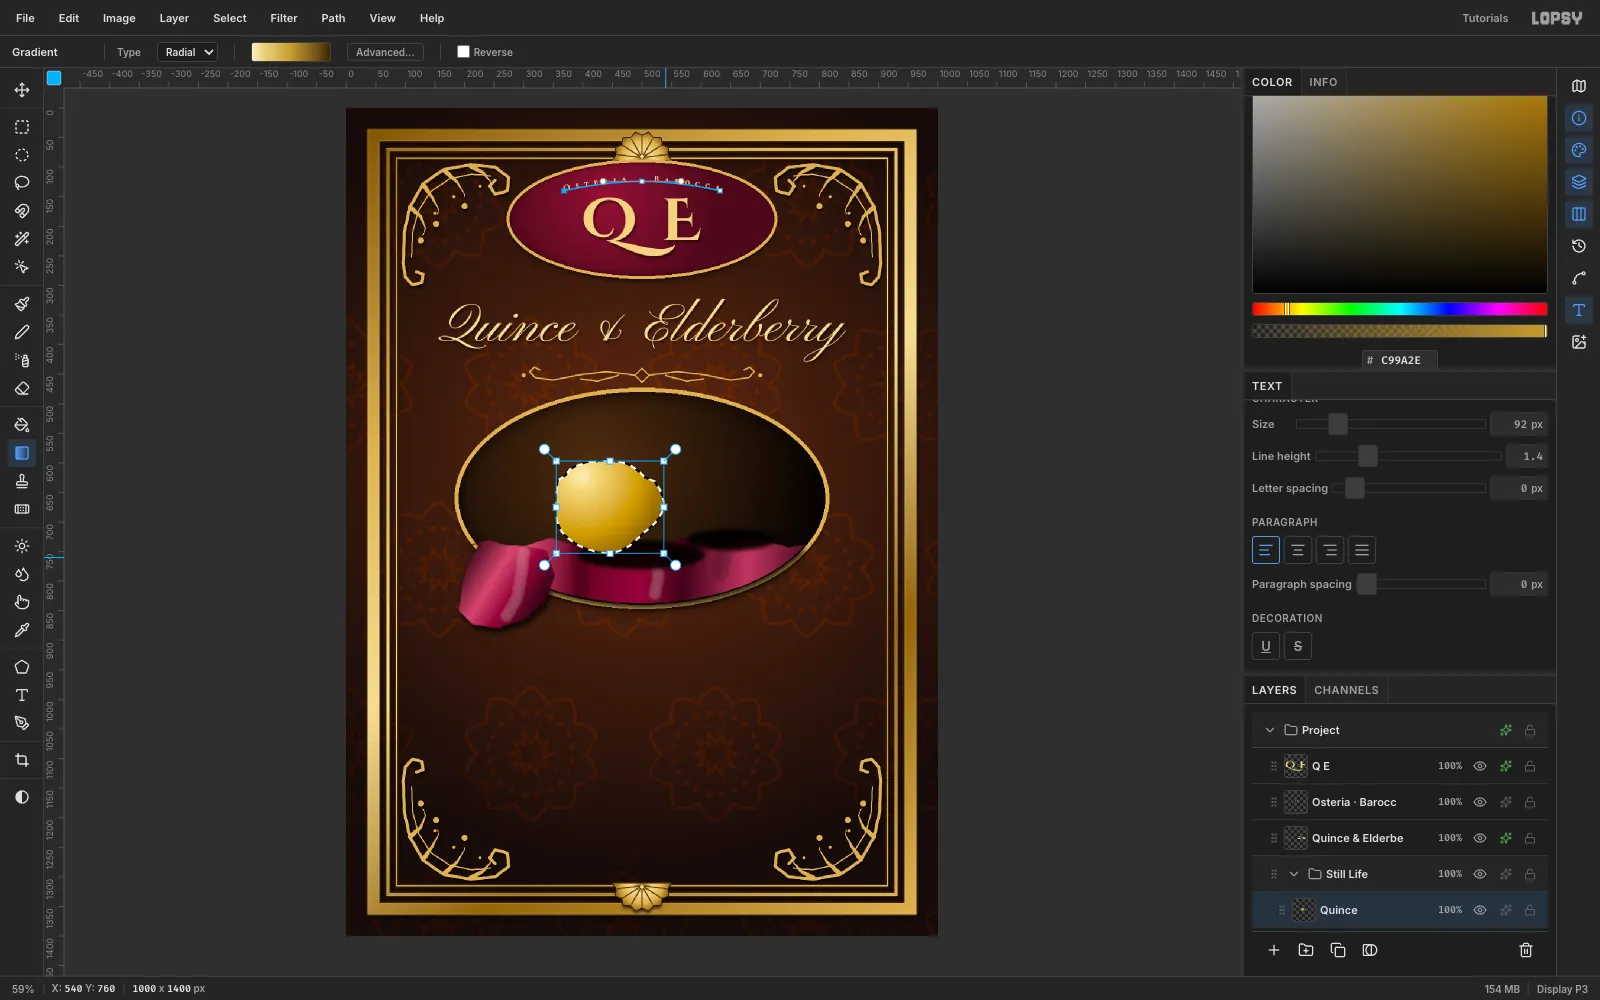
Quincelayer. Lasso a slightly lumpy circle about 176 px across, centred at (440, 668), narrowing a little towards the top. Fill it with#C99A2E. Drag a Radial gradient from the highlight at (398, 622) to (540, 760) with these stops:- 0%:
#FFF1C4 - 12%:
#F2D98A - 50%:
#C99A2E - 85%:
#6B4A12 - 100%:
#3A2606
- Fill two flat ellipses in
-
Give the fruit weight
Deselect.
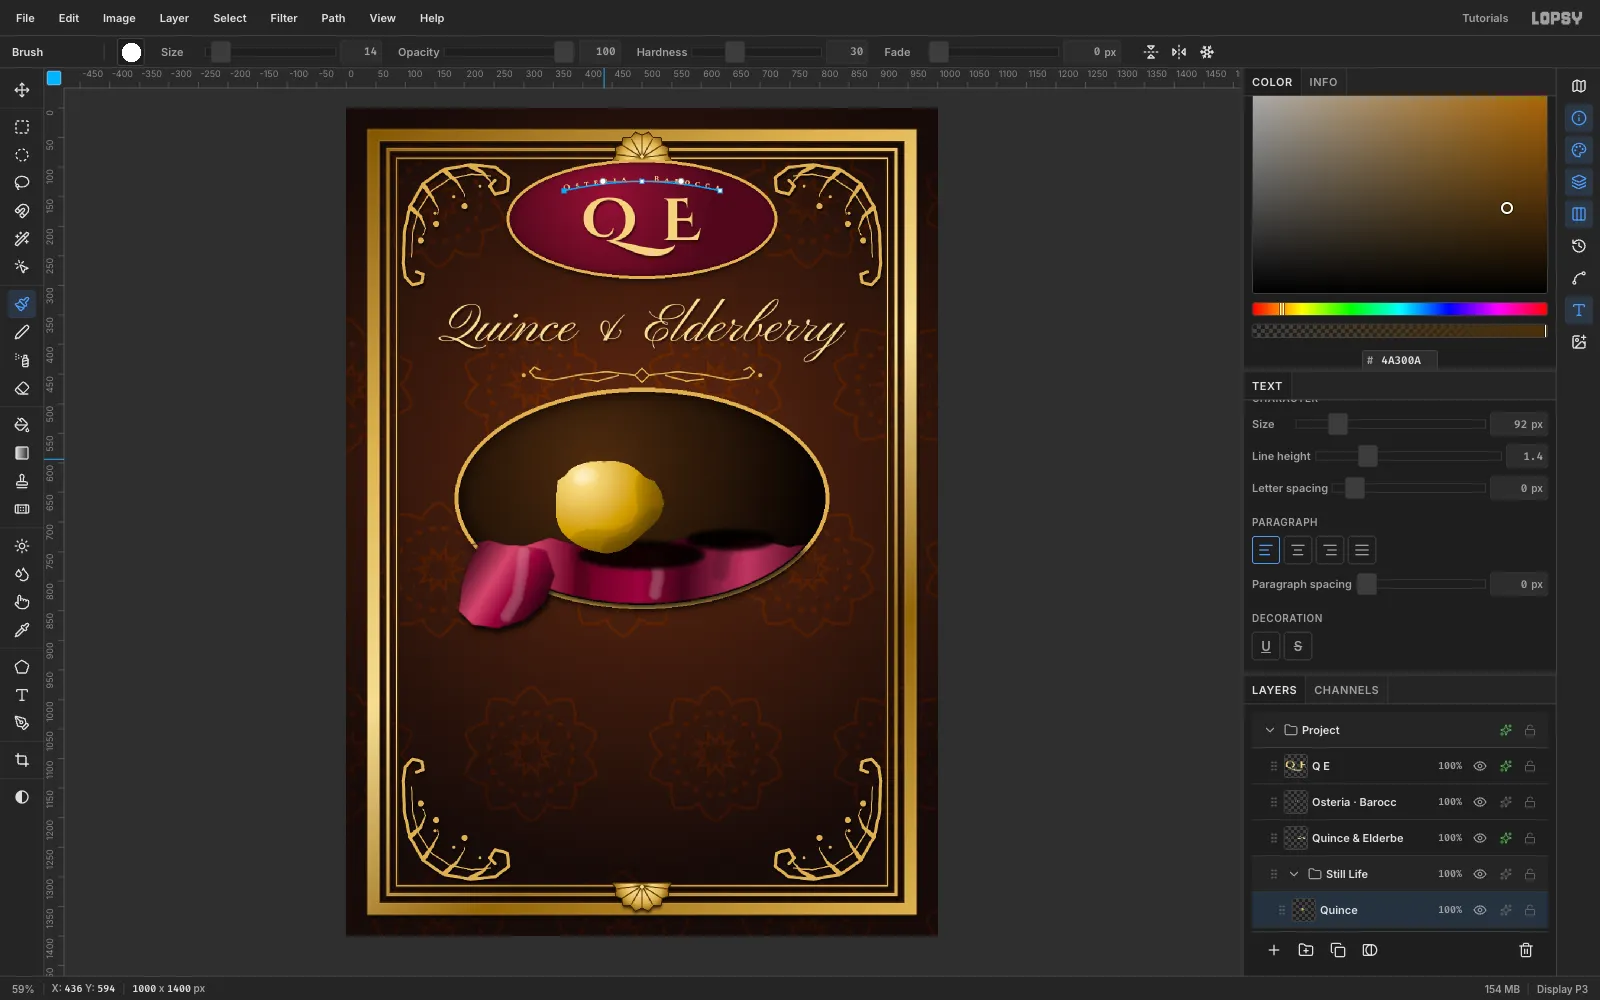
- With Burn at Size
80, Exposure18, sweep the lower-right third. Go over it again at Size50. - Dodge a tiny highlight at Size
26. - Brush a soft stem cavity at the top:
#4A300A, Size14, Hardness30, Opacity70. - Add an Inner Glow (Size
34, Opacity70,#4A2804) to round the edge. - Nudge the quince down so it sits on its shadow.
- With Burn at Size
-
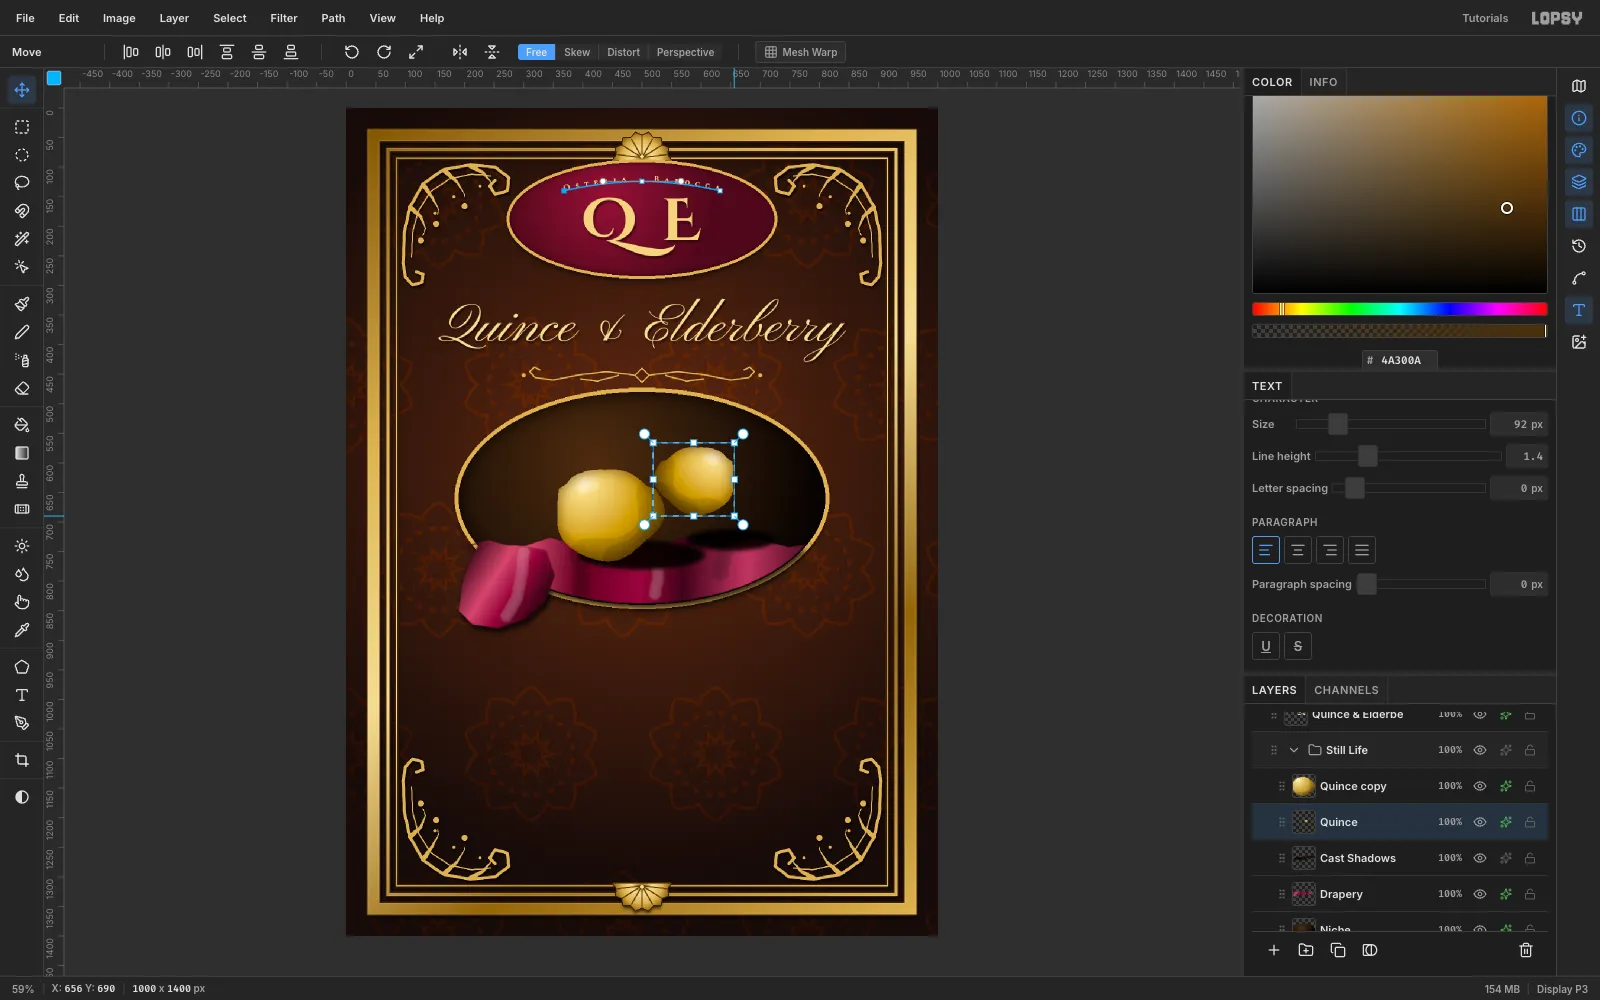
Duplicate, flip and scale a second quince
With the Move tool, click Duplicate Layer. The copy lands 10 px down and right, so drag it back, then rename the copy
Quince Front. The original, underneath it, becomesQuince Back:- Select
Quince Backand marquee around it. - Click Flip Horizontal, then press Cmd+D.
- Marquee it again and Cmd-drag the bottom-right handle in to about 74%. Cmd keeps the proportions.
- Press Cmd+D.
- Select
-
Tuck the second quince behind
Move
Quince Backso its centre is near (584, 650), partly hidden behind the front fruit. Apply Filter → Oil Paint… (Radius3, Sharpness1.5) to both quinces. The flat gradients turn into brushy, painterly patches of colour.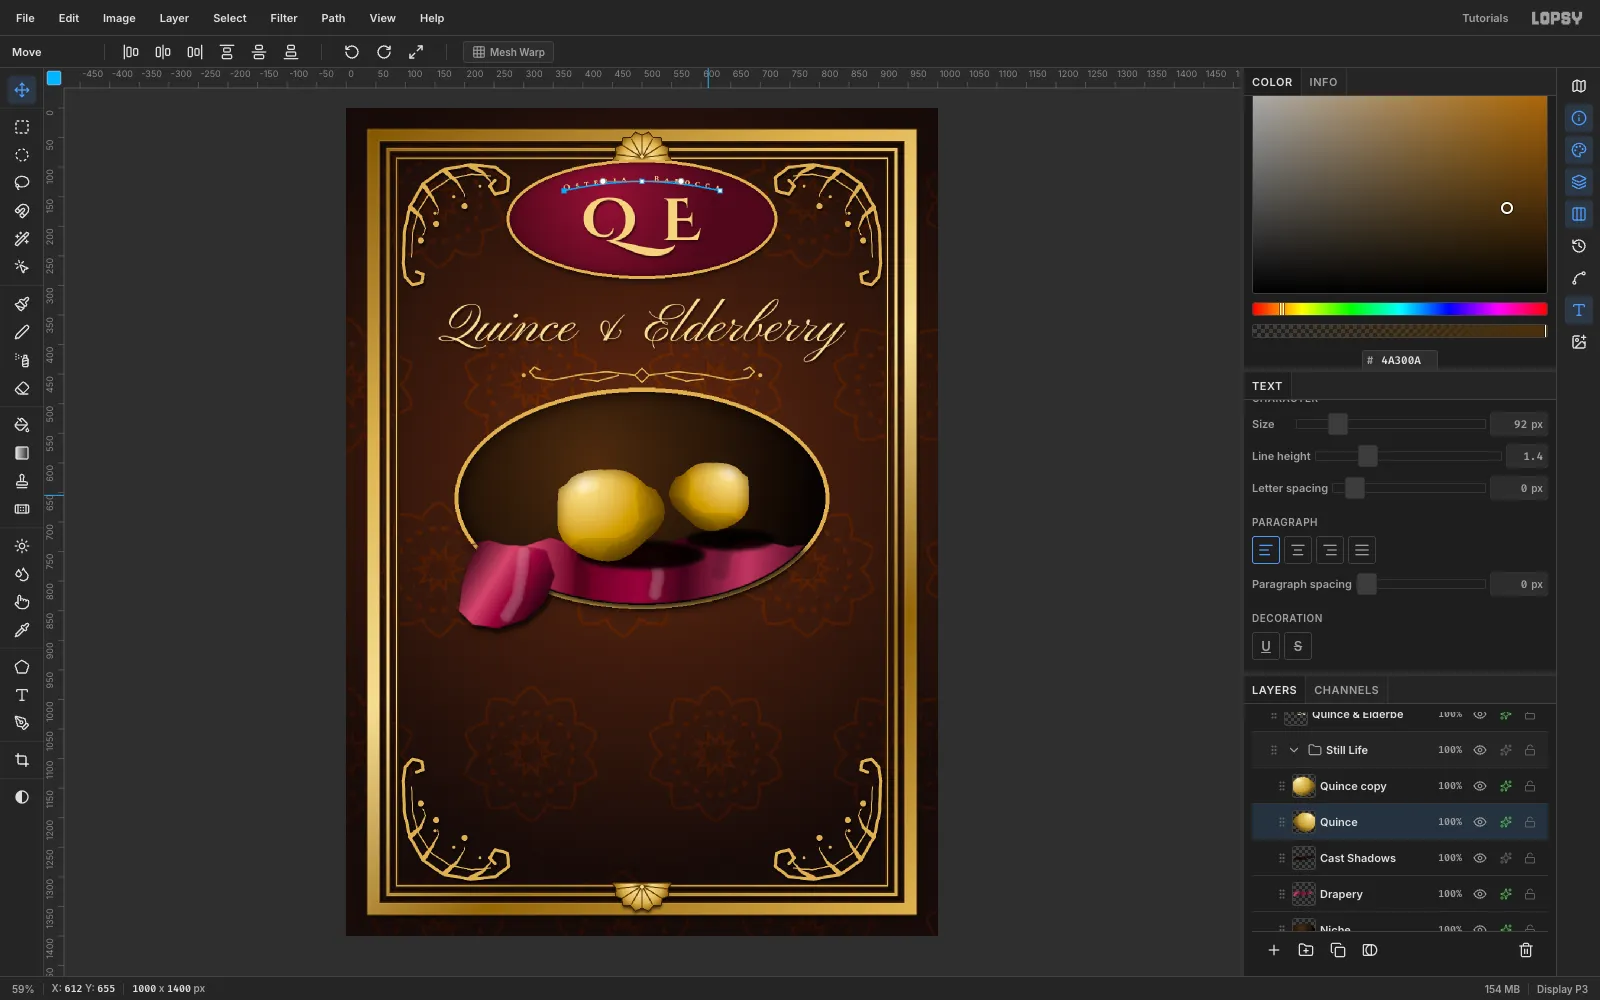
-
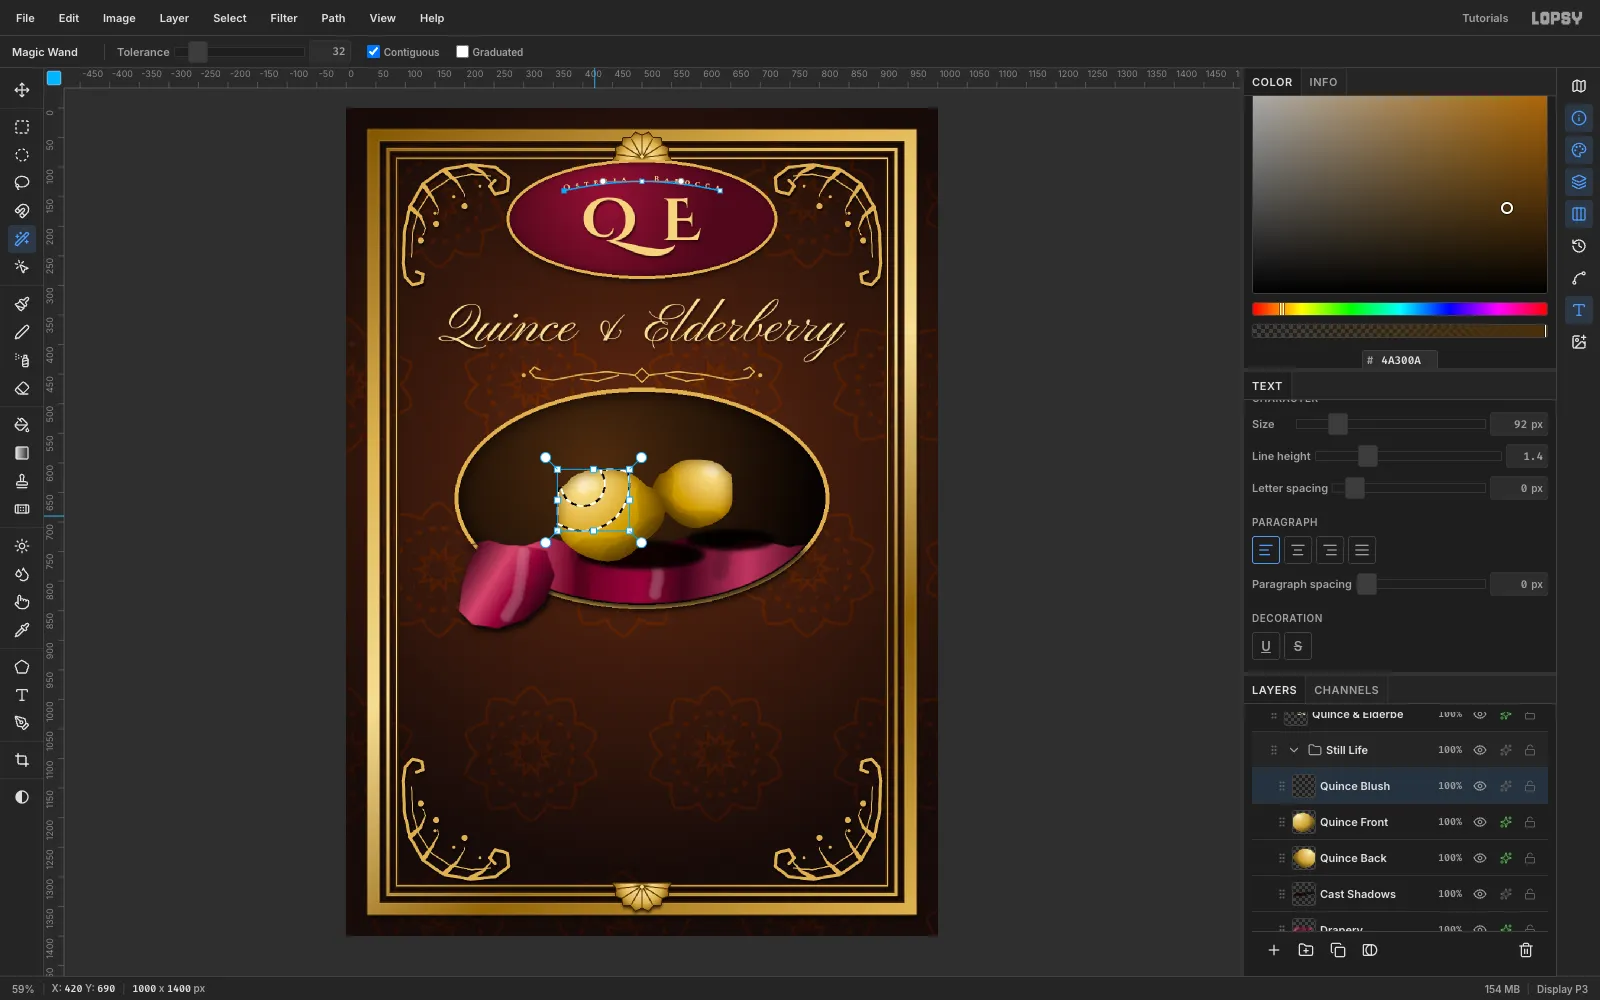
Blush the quince inside a selection
Add a
Quince Blushlayer.- Make
Quince Frontactive and click it with the Magic Wand. - Switch back to
Quince Blush. - Paint a soft
#8A8A3Ablush (Size70, Hardness0, Opacity80) on the lower left. The selection keeps it on the fruit. - Deselect and set the layer to Soft Light. Real quinces keep a green tinge.
- Make
-
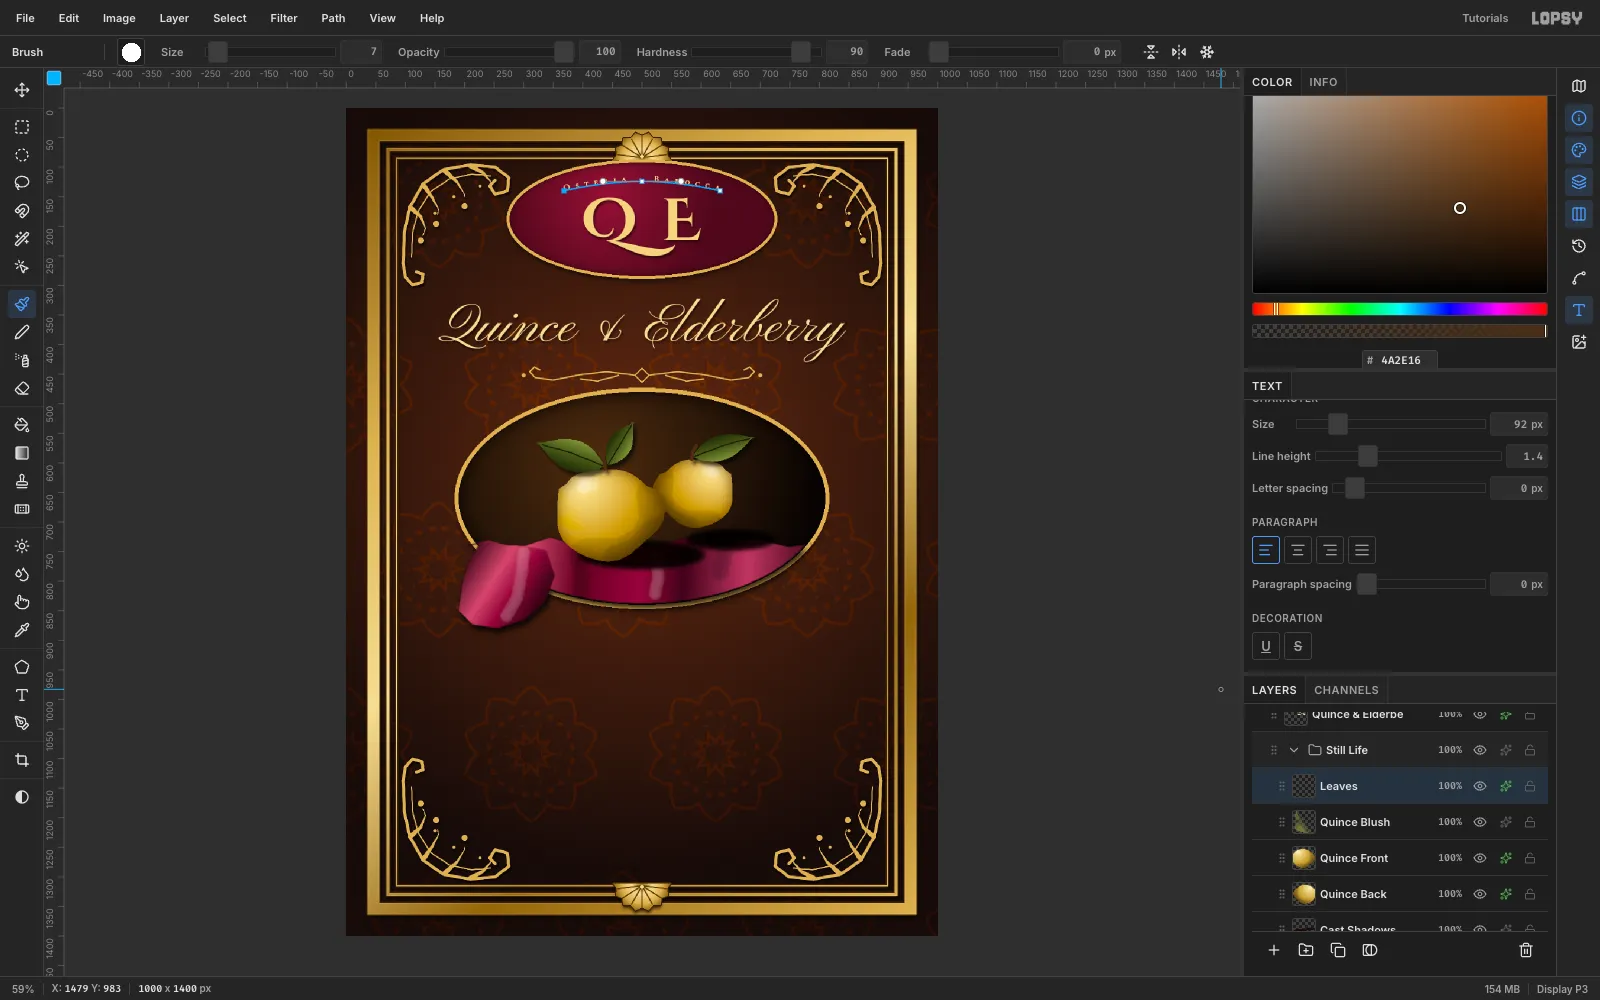
Add leaves and stems
On a
Leaveslayer:- Lasso three pointed leaves from the stems at (436, 606) and (586, 590).
- Fill each with
#4F5B23, then drag a linear gradient across it:#1C2408,#4F5B23and#8A9A48. - Brush the midribs in
#1A2006at Size2.8. - Brush short
#4A2E16stems at Size7. - Add a Drop Shadow.
-
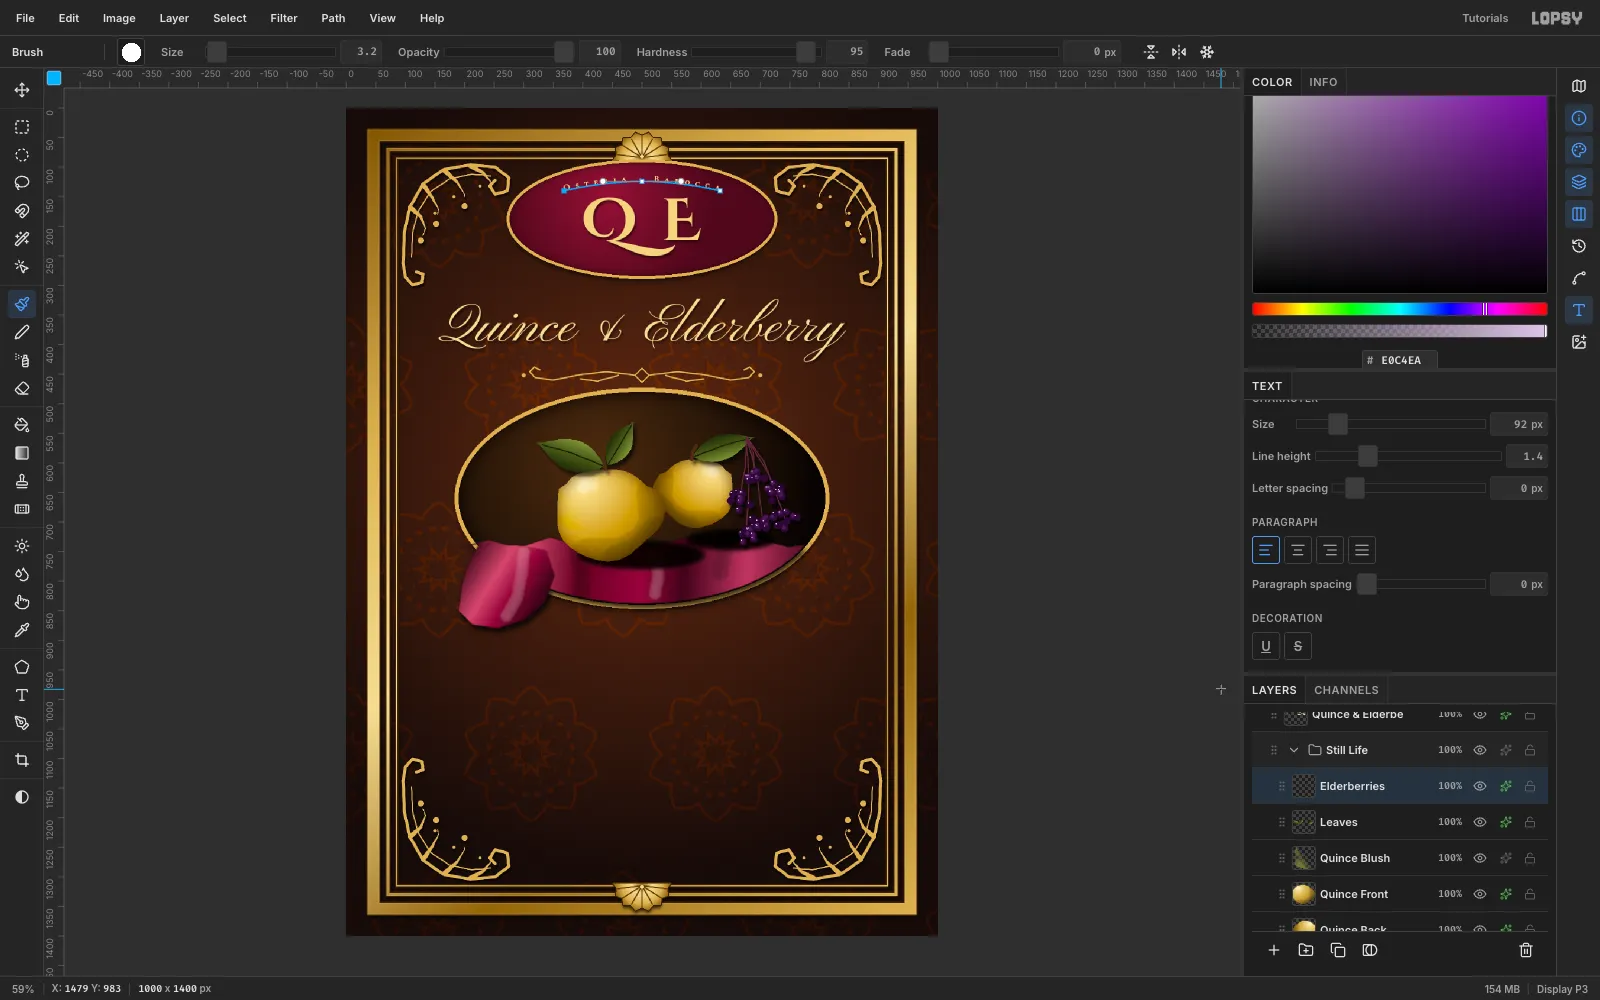
Brush an elderberry cluster
On an
Elderberrieslayer:- Draw thin
#5B2A3Cstems (Size3) from (676, 556) out to six small umbels. - Click about 60 berries at Size
14, Hardness95, in#2A0A34. - Go over half of them again at Size
8in#4A1A5Ato round them. - Add pale
#E0C4EAglints at Size3.2, up and to the left of each berry. - Add a Drop Shadow.
- Draw thin
-
Copy, paste and flip the cluster
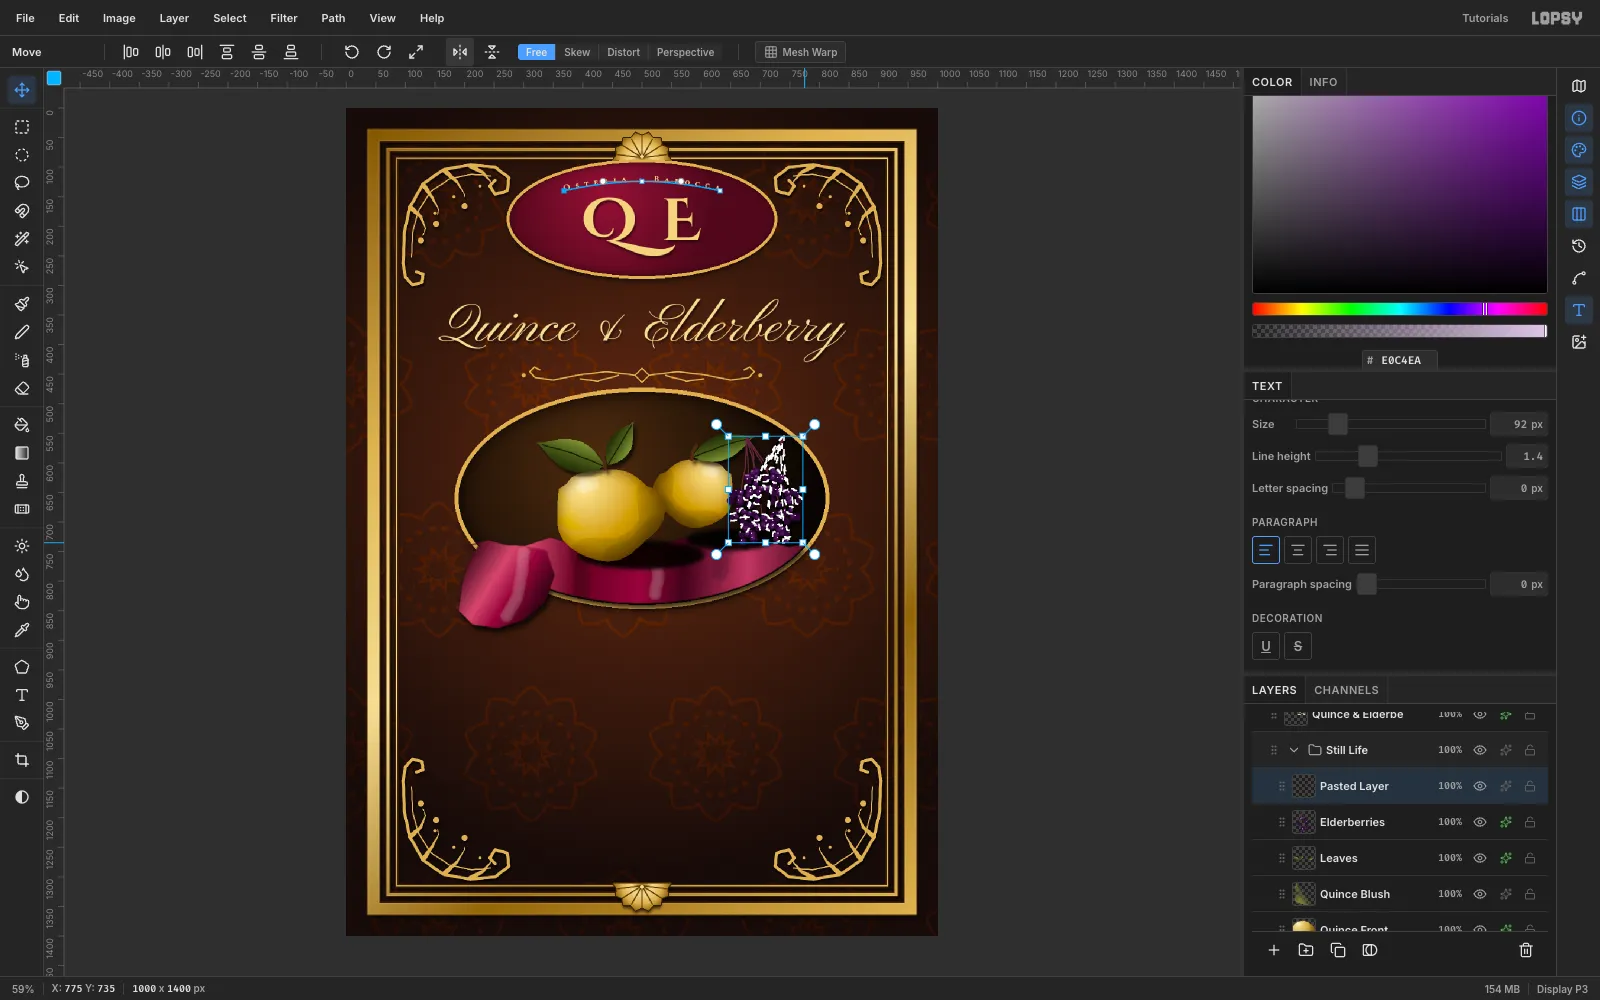
Marquee (640, 545) to (775, 735). Press Cmd+C and then Cmd+V; the paste lands in place on a new layer. Draw the same marquee again, then click Flip Horizontal and press Cmd+D.
-
Move the second cluster
Move the pasted cluster to the left side, centred near (290, 662), where it spills over the velvet flap. Rename it
Elderberries Leftand give it the same Drop Shadow.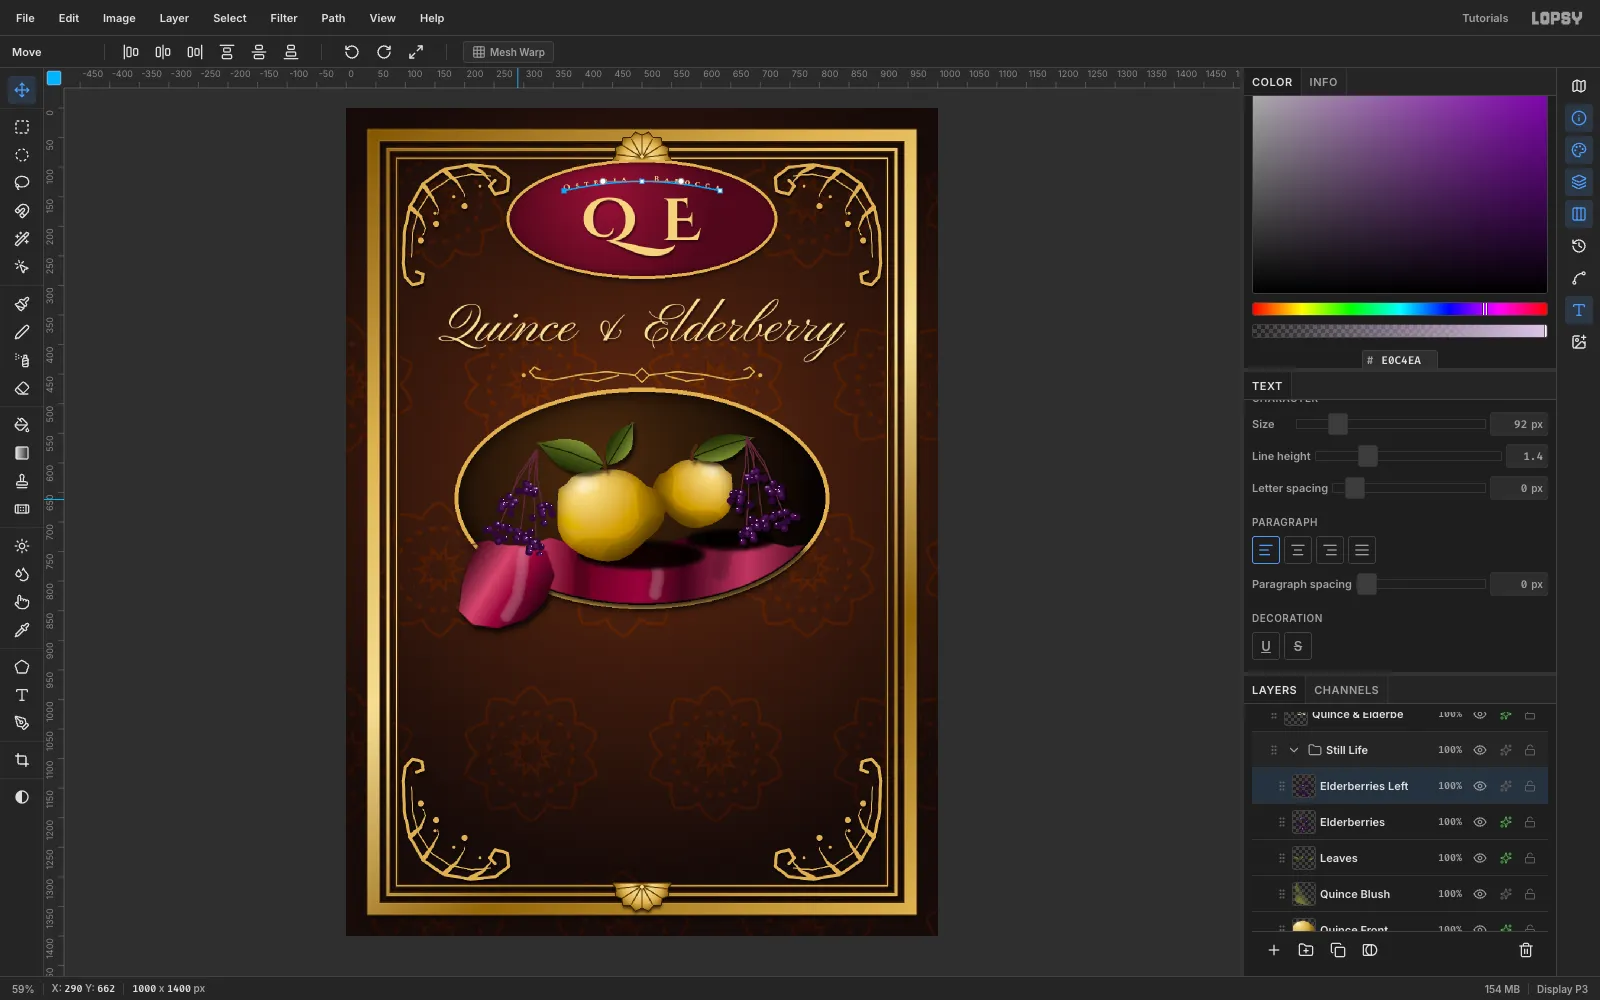
-
Set a two-column menu with a price column
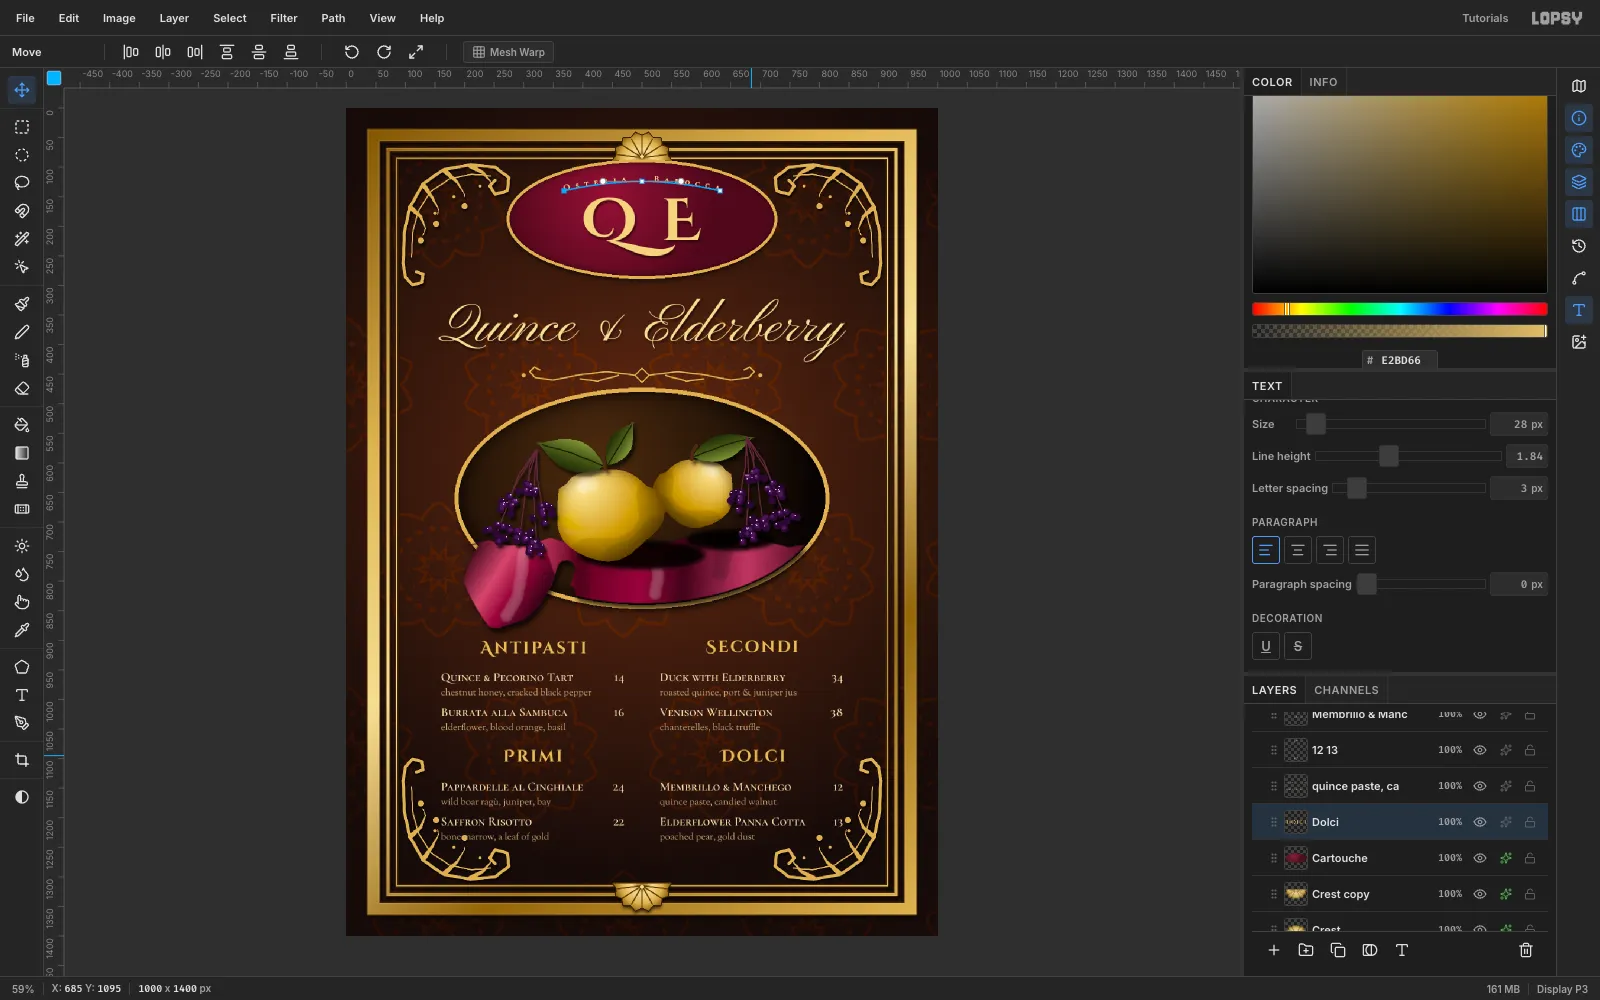
Each section is four text layers:
- Heading: Cinzel Decorative Bold, 28,
#E2BD66, letter spacing 3. - Dish names: Cormorant SC SemiBold, 21,
#F1DFB0, line height 1.4. - Prices: the same as the names, but set to Align Right.
- Descriptions: Sorts Mill Goudy, 16,
#C4A57A, line height 1.84, placed 27 px below the names.
The names, prices and descriptions are area text 340 px wide (drag with the Text tool). Put a blank line between the two items so that each description falls into the gap under its dish.
Positions:
- Left column: names at x = 160, prices ending at x = 470.
- Right column: names at x = 530, prices ending at x = 840.
- Headings at y = 900 and 1085, with the items 48 px below each one.
- Heading: Cinzel Decorative Bold, 28,
-
Add a divider and footer
On a
Dividerslayer, draw the column divider in#CAA052at Size2.8:- Click (500, 905), then Shift-click (500, 1055).
- Do the same from (500, 1095) to (500, 1235).
- Add a lozenge at y = 1075 and dots at both ends.
Draw two small diamond fleurons at (292, 1268) and (708, 1268).
Type the footer
Via dei Cotogni · Roma · MDCLXXXIVin Cormorant SC at16with letter spacing2and centre it at y = 1260.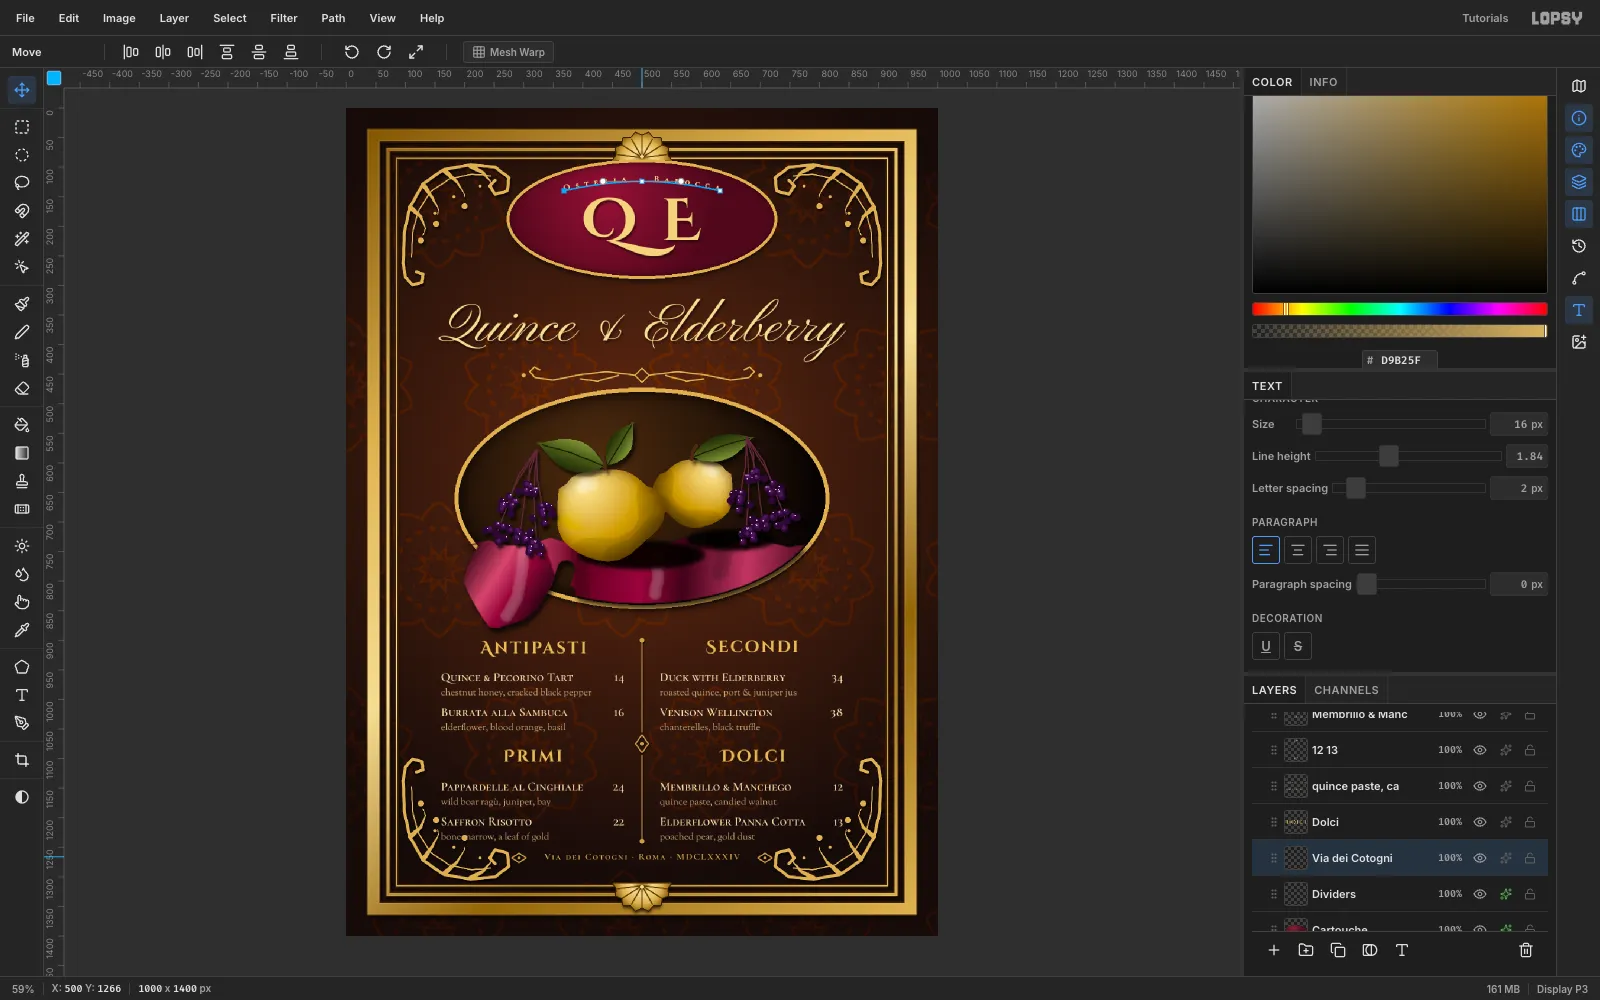
-
Trim the hem and clear the corners
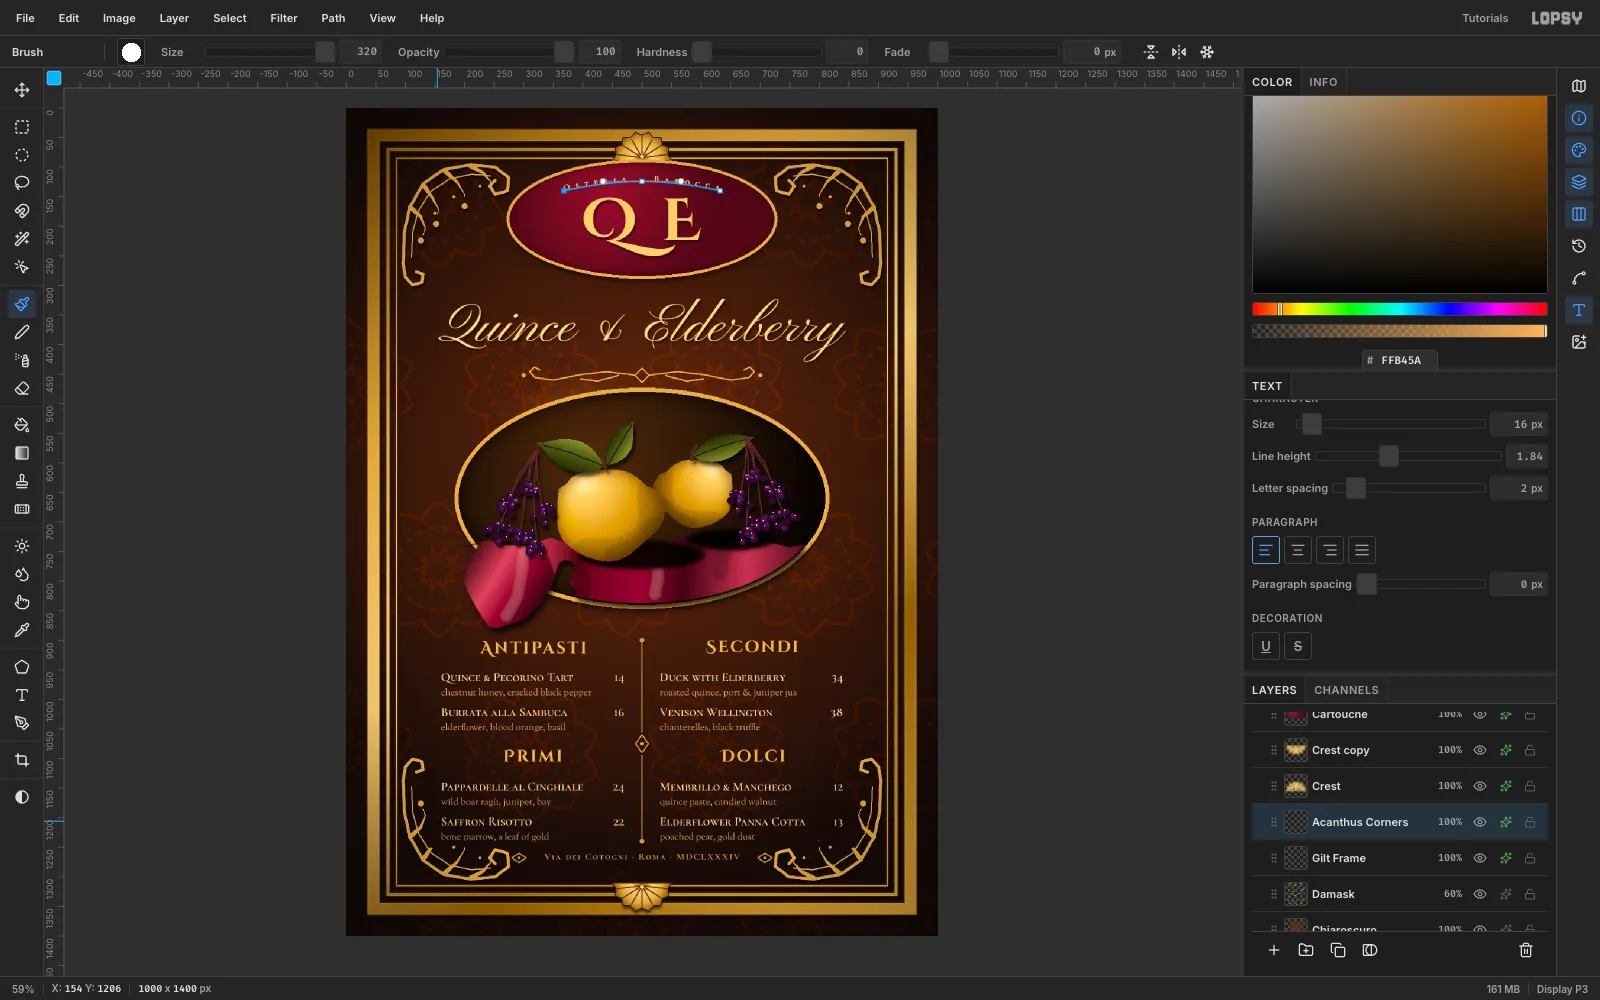
Tidy up:
- Drapery: use the Eraser (E) at Size
34to shave the flap's rounded bottom corners into a hanging point. - Any gaps: fill them with the Clone Stamp (S). Alt-click good velvet at (420, 766), then paint over the gap.
- Corners: on
Acanthus Corners, turn on Symmetry Vertical and erase the few dots that touch the Primi items. The matching dots on the right disappear too, so the corners stay symmetrical.
- Drapery: use the Eraser (E) at Size
-
Light a candle glow
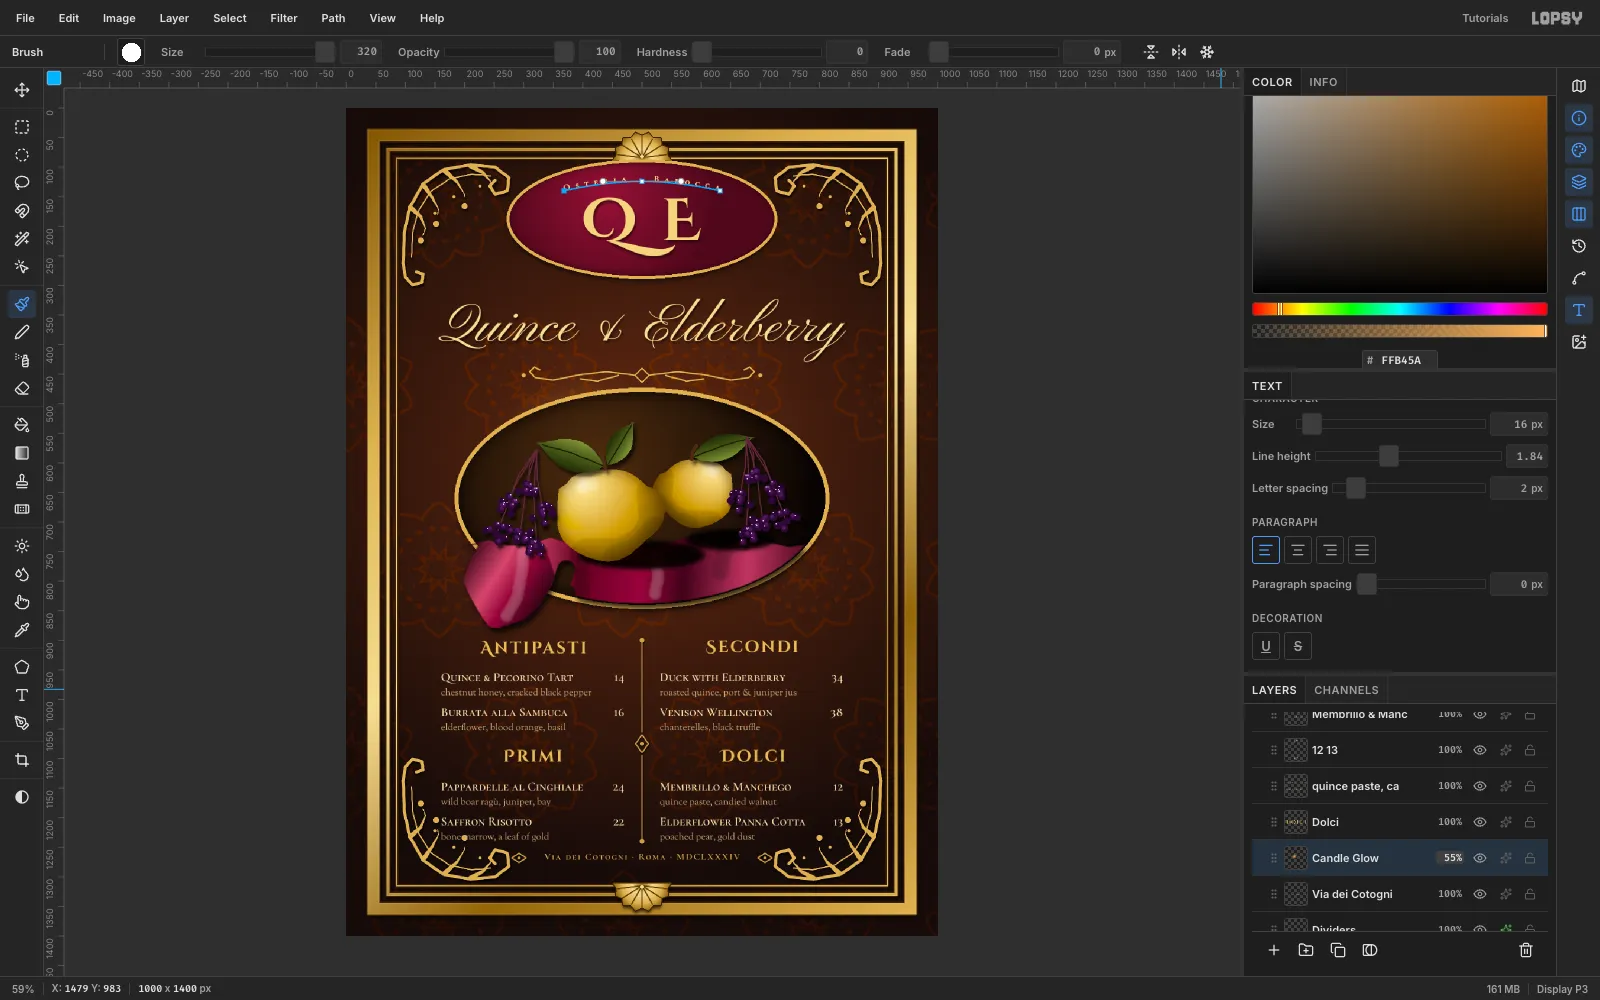
Add a
Candle Glowlayer at the top:- Click once at (400, 600) with a
#FFB45Abrush at Size320, Hardness0. - Apply Gaussian Blur at
60. - Set the layer to Screen at
55%.
The highlight on the fruit now has a light source.
- Click once at (400, 600) with a
-
Finish with a vignette and warm filter
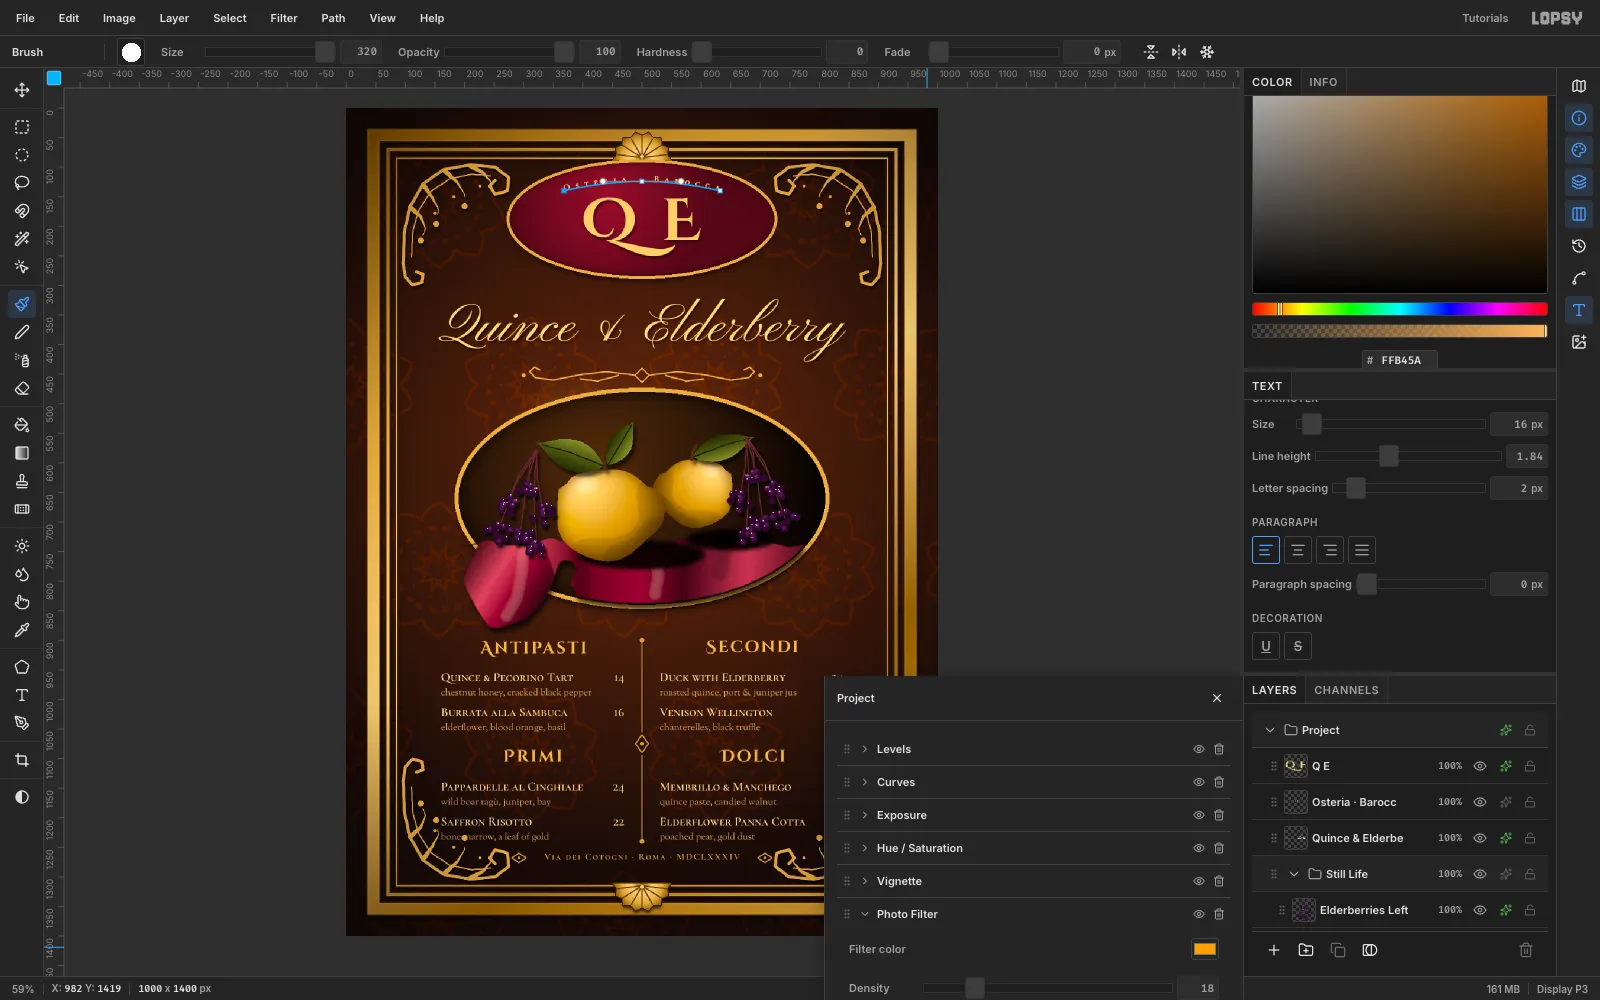
Open the Project group's effects drawer and click Add Adjustment:
- Vignette at
45 - Photo Filter at Density
18
This darkens the edges like an old varnished canvas and warms the whole page.
- Vignette at
-
Export the finished menu
In the Paths panel, click the selected path so its overlay stops showing. You can still move the whole still life as one piece: select the
Still Lifegroup and drag it with the Move tool.Choose File → Quick Export PNG for the artwork, and File → Save Project to keep the layered
.lopsyfile.