Design a Screen-Print Style Restaurant Menu
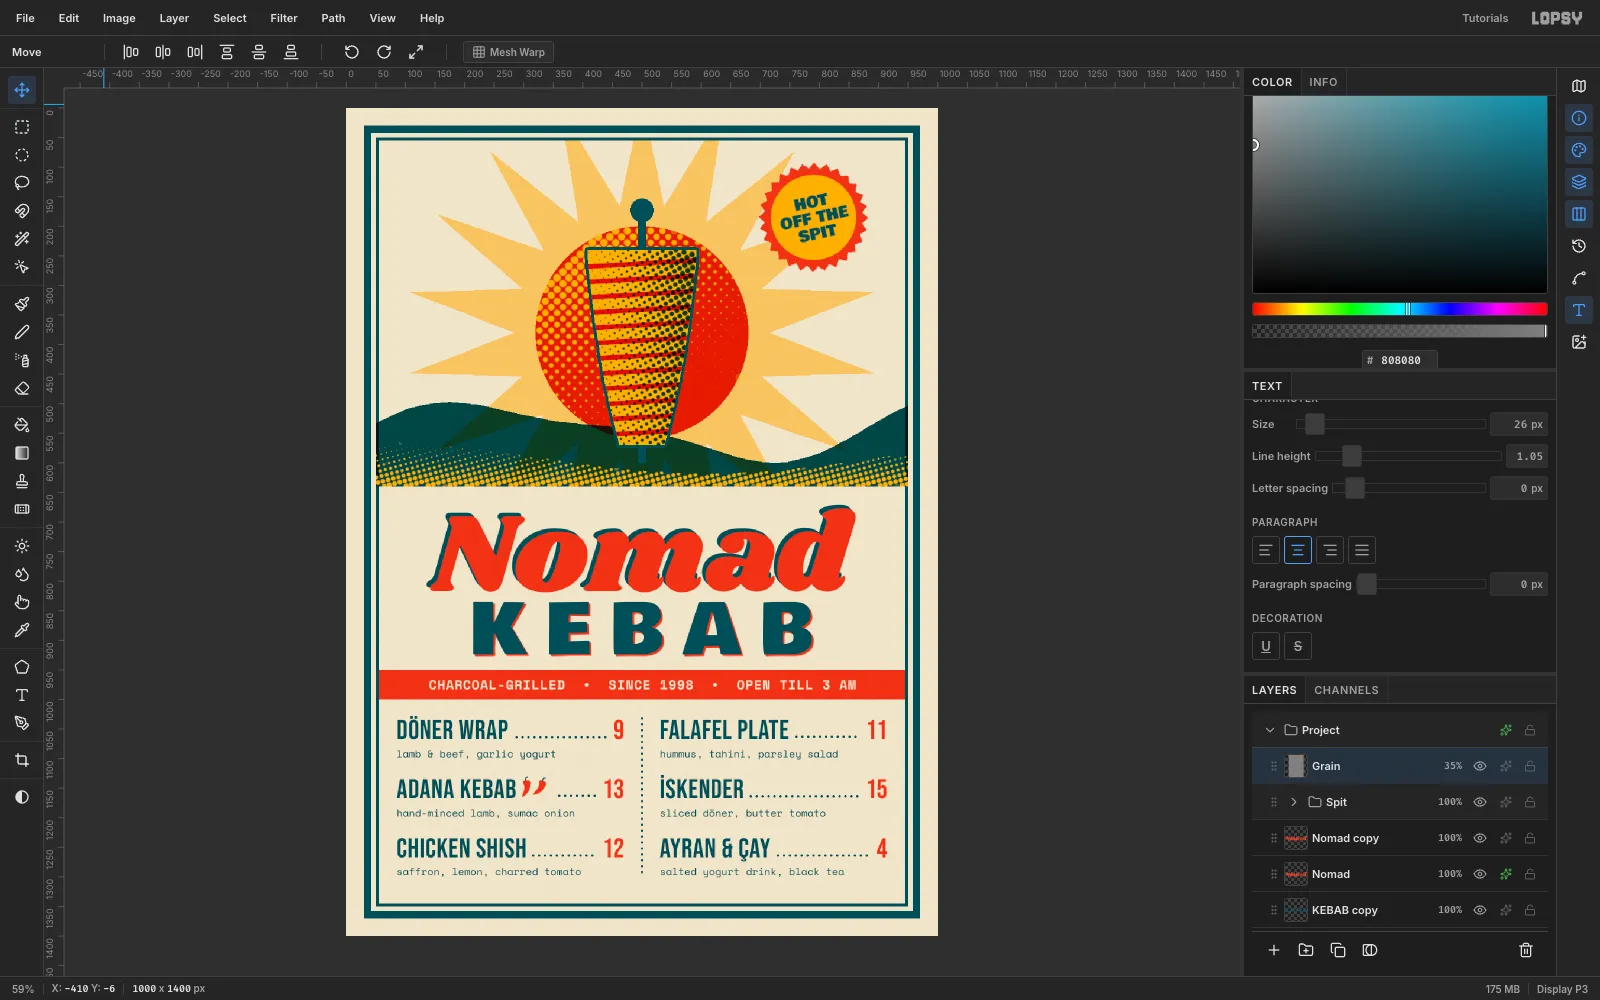
Make a three-ink screen-print kebab menu in Lopsy with halftone dots, Multiply overprints, a misregistered headline, dotted price leaders and a rotated badge.
A screen print is built one ink at a time. Each ink is pushed through its own stencil, so the look comes from a few simple habits:
- a small, fixed set of inks
- overprints, where two inks overlap and make a third, darker colour
- halftone dots standing in for shading
- plates that never line up perfectly (misregistration)
In this tutorial you'll use those habits to make a menu for Nomad Kebab, a late-night kebab shop. At the top, a döner spit stands in front of a desert sunrise. Under it sits a chunky two-colour headline and a two-column menu with dotted leaders.
Along the way you'll use:
- lasso, marquee and ellipse fills
- the Halftone and Add Noise filters
- Multiply blend modes and Color Overlay / Stroke effects
- Google fonts, letter spacing and right-aligned area text
- brush spacing for dotted lines
- scale and rotate handles, copy and paste, and layer groups
There are only three inks, on cream paper:
- tomato
#E0452B - mustard
#F2B233 - deep teal
#1D4E57 - paper
#EFE4CC
-
Set up the paper and a double-rule border
Open Lopsy. In the New Document dialog, set Width
1000and Height1400, choose a White background and click Create.Select Background, type
EFE4CCinto the Color panel's hex field and choose Edit → Fill. Click the top ruler at x50,500and950, and the left ruler at y50,640and1350, to drop six guides.Rename Layer 1 to
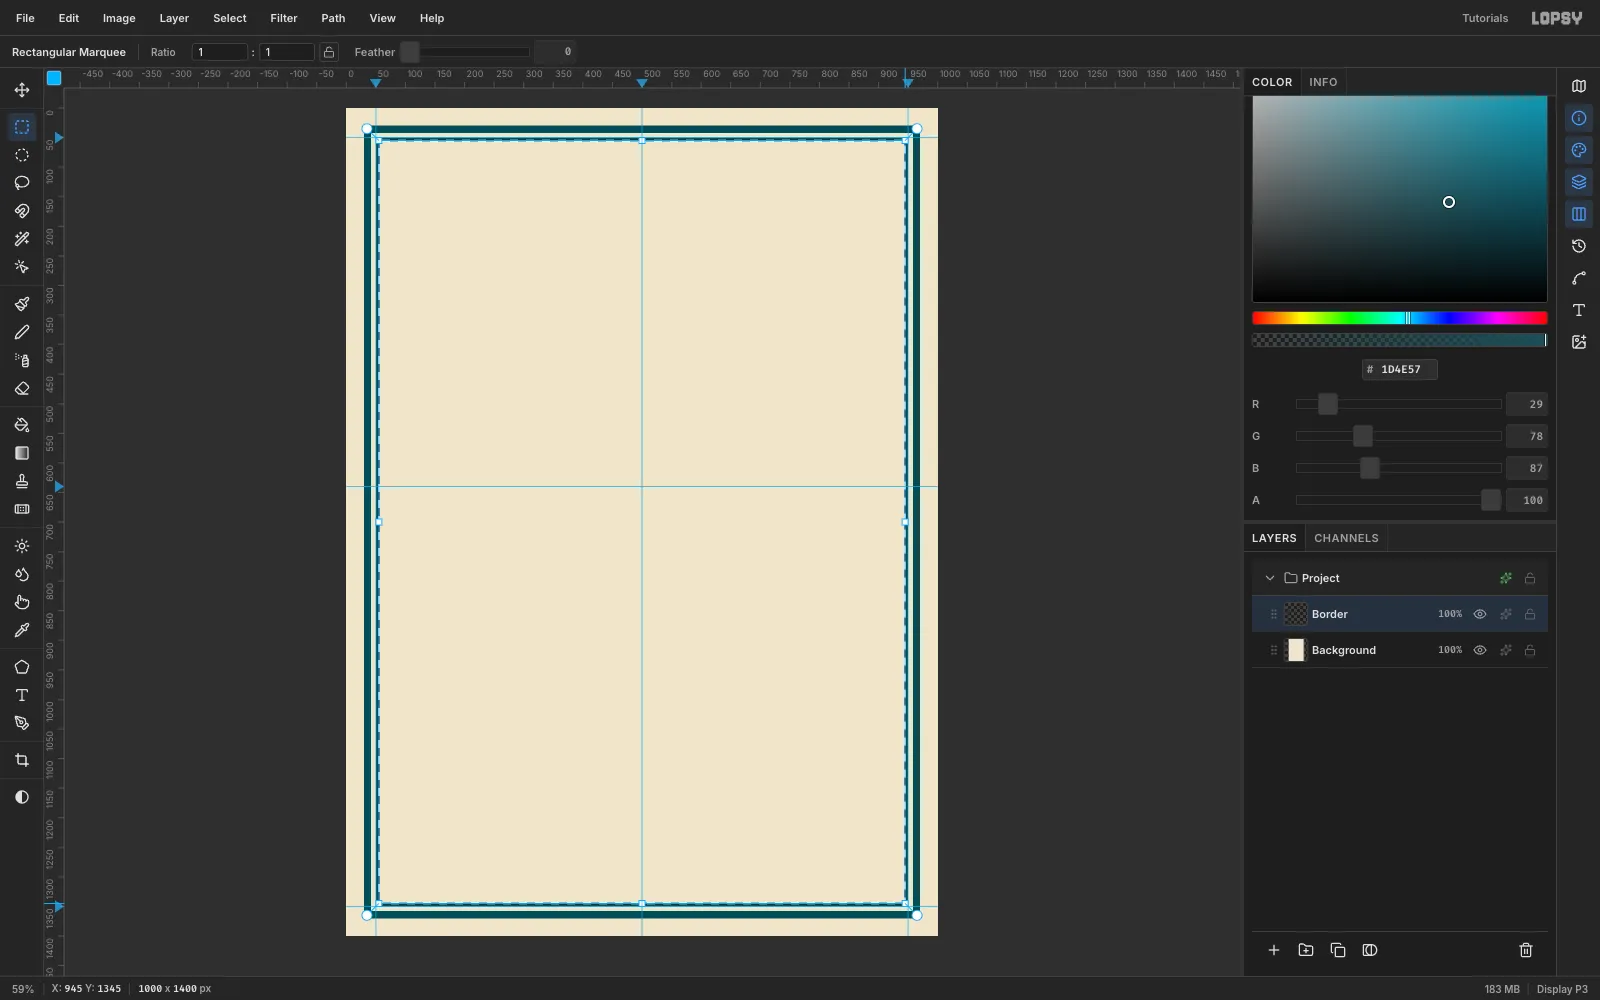
Borderand set the foreground to teal#1D4E57. With the Rectangular Marquee (M), build two frames:- Drag from (30, 30) to (970, 1370), choose Edit → Fill, then marquee (42, 42) to (958, 1358) and press Delete. That leaves a 12 px rule.
- Marquee (50, 50) to (950, 1350), Fill, then marquee (55, 55) to (945, 1345) and press Delete. That leaves a thin 5 px inner rule.
-
Lasso a sunburst
Click Add Layer and name it
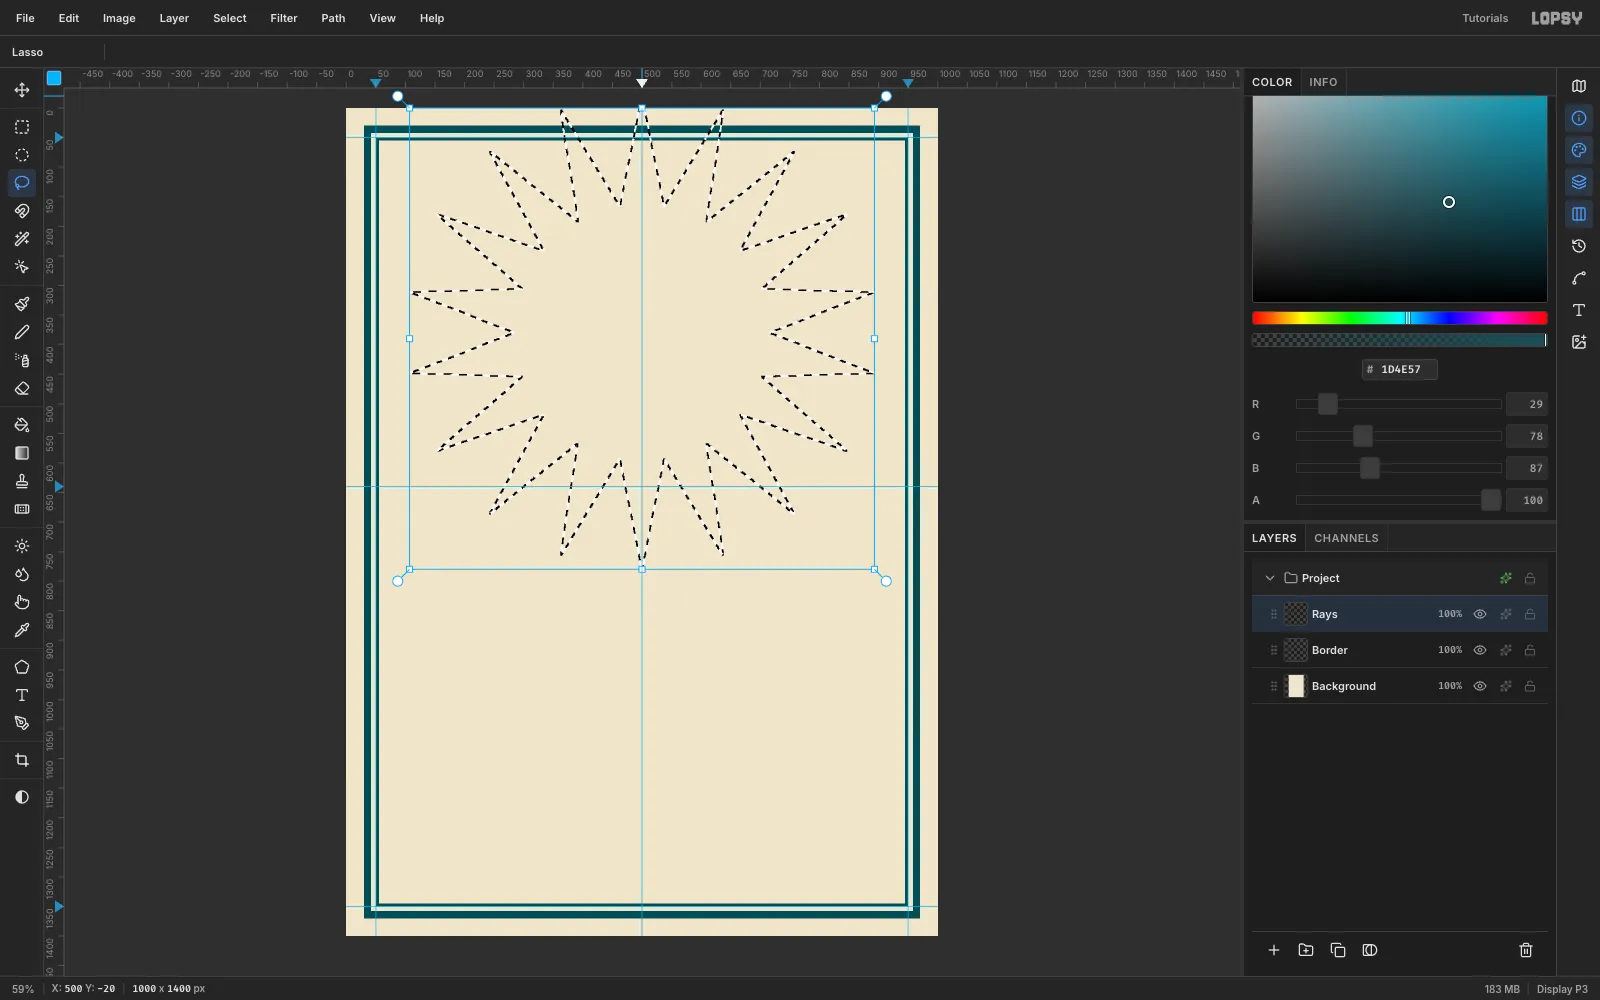
Rays. With the Lasso (L), click around a star centred on (500, 380). Alternate between points 400 px out and 215 px out, 18 of each, so the tips run off the top of the scene.Fill it with mustard
#F2B233. Then trim the rays to the scene:- Marquee (55, 55) to (945, 640).
- Choose Select → Inverse and press Delete.
- Click the layer's opacity and set it to
60%.
-
Overprint a red sun with Multiply
Add a layer called
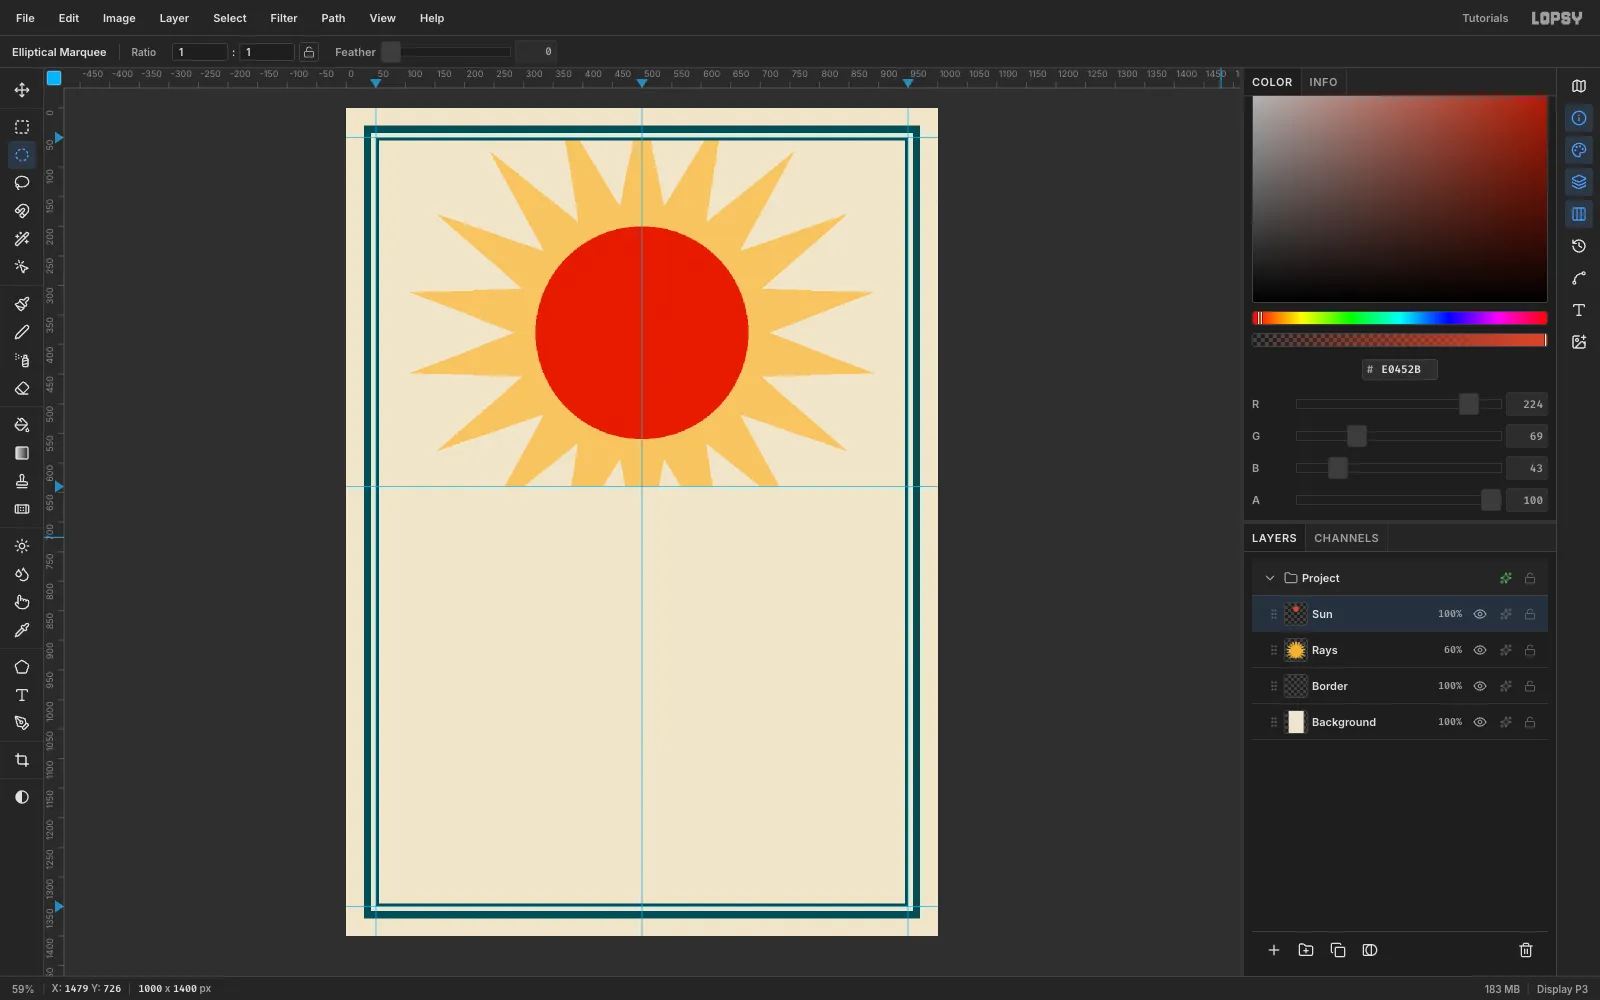
Sun. With the Elliptical Marquee, drag a 360 × 360 circle from (320, 200). Fill it with tomato#E0452B, then press Cmd+D.Click the layer's ✦ (Layer effects) button and set Blend to Multiply. In screen printing, a second ink on top of the first darkens it. Multiply gives you that overprint for free, and everything you stack from now on reads as real ink on paper.
-
Draw a gradient for the sun's dots
Add a layer called
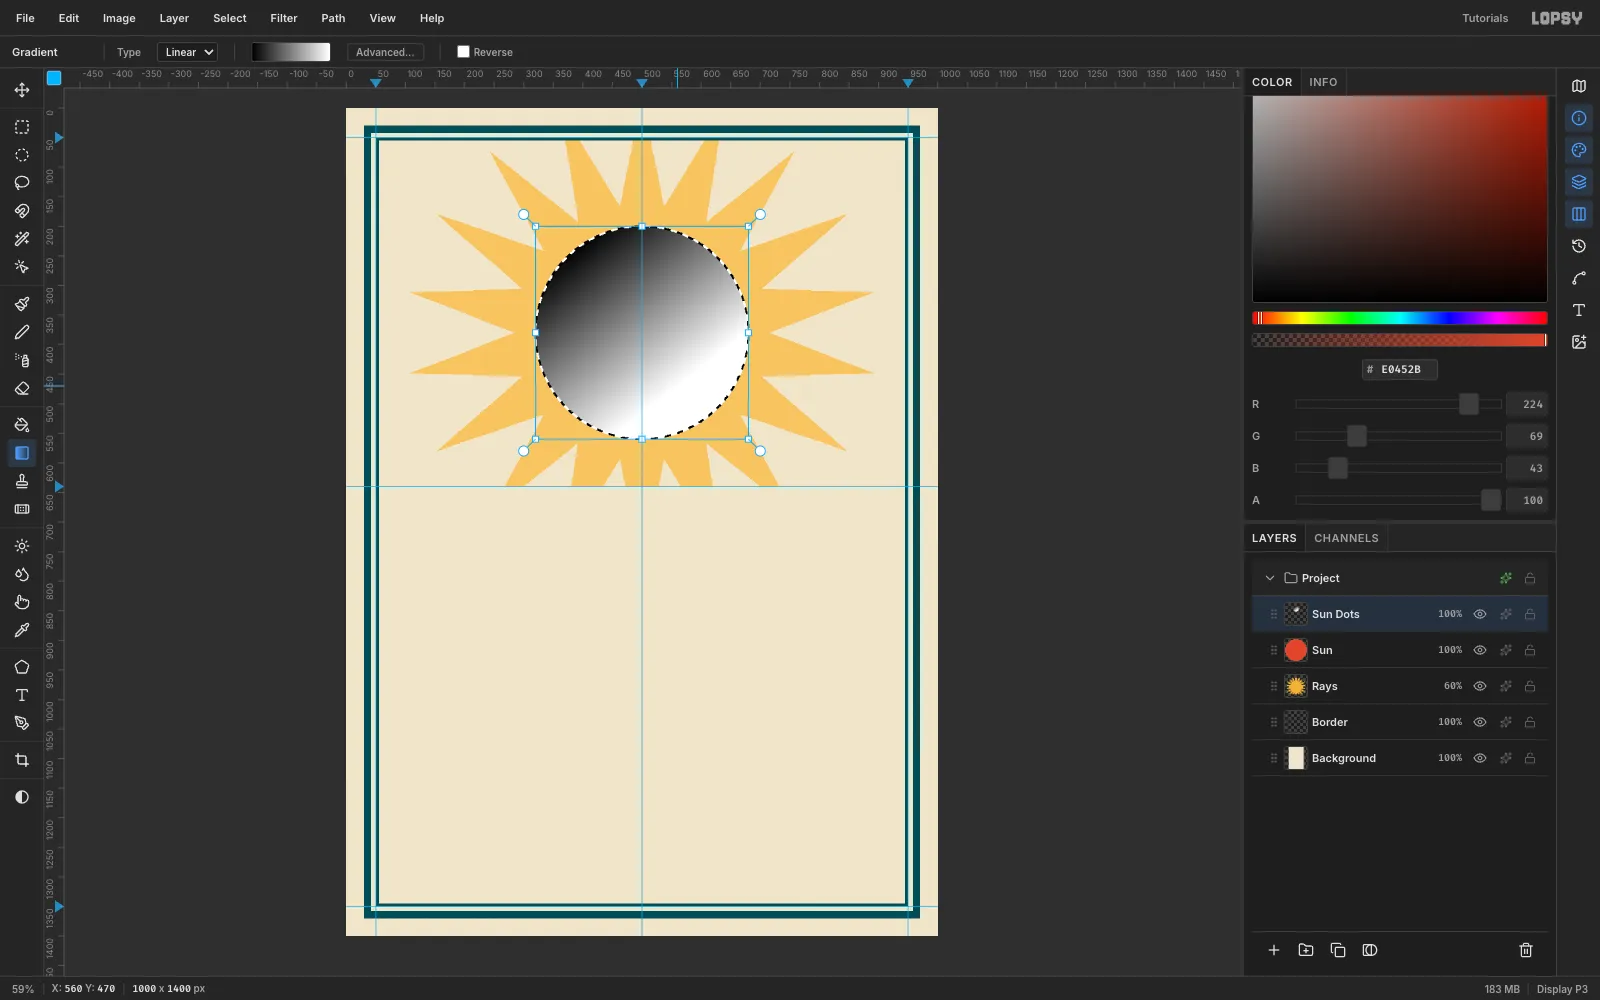
Sun Dotsand marquee the same 360 px circle again. Pick the Gradient tool. It starts black to white, so drag from the upper left (380, 240) to the lower right (560, 470).The dark end of the gradient becomes big dots and the light end becomes small ones.
-
Turn the gradient into halftone
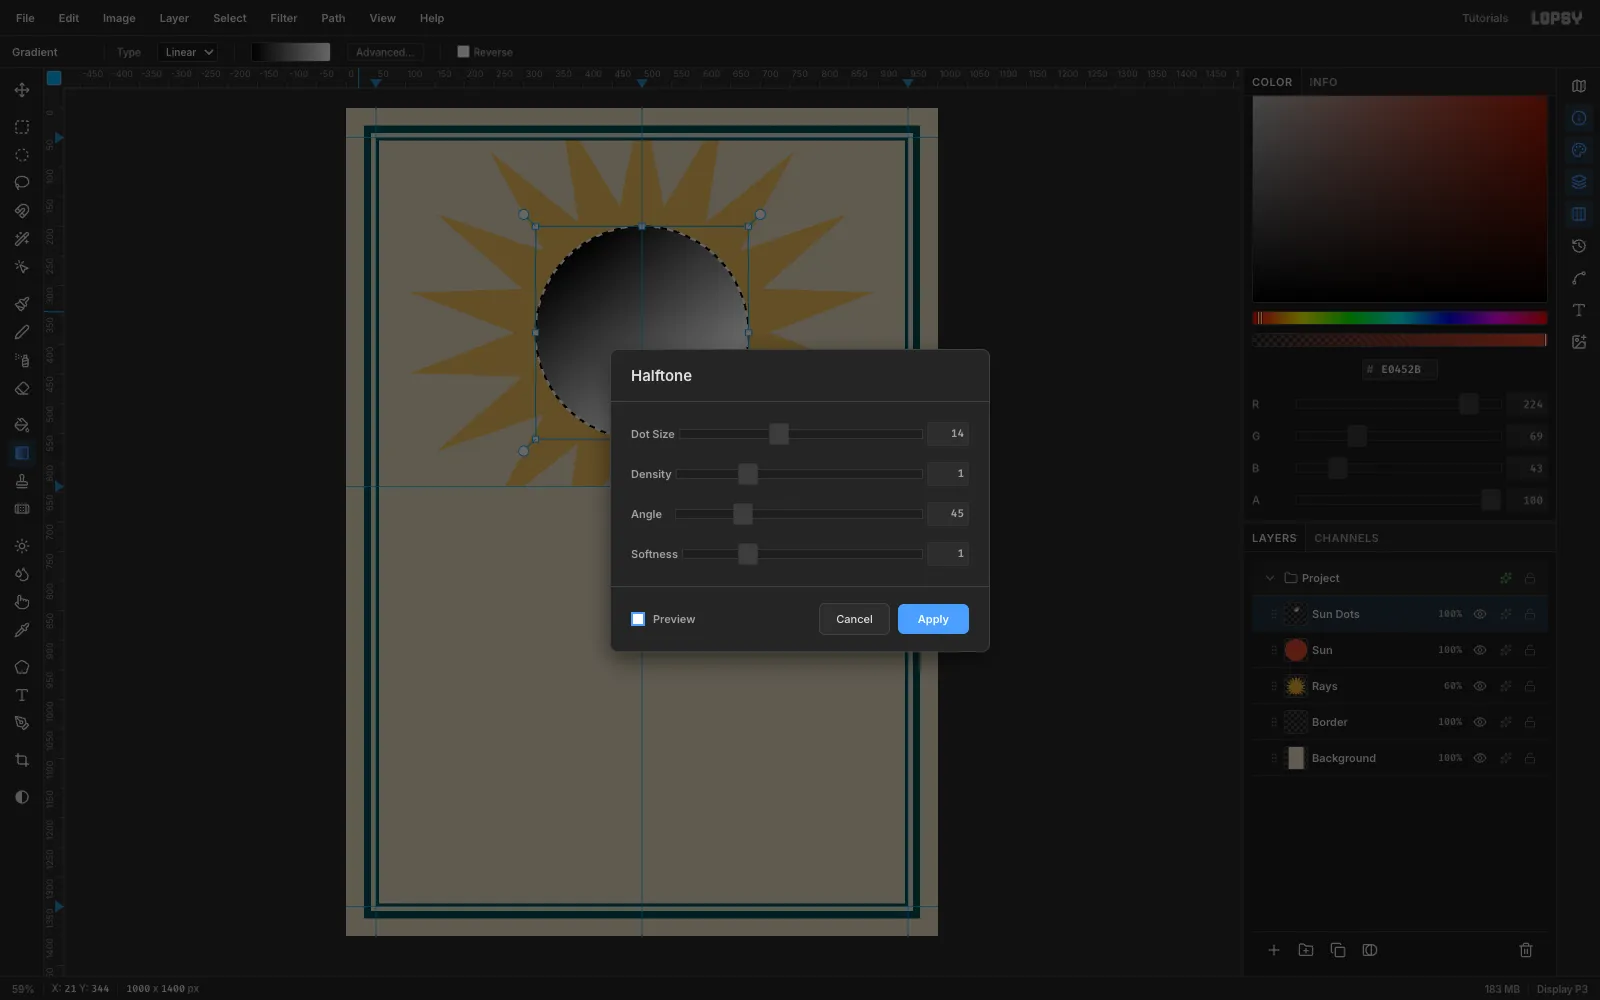
Choose Filter → Halftone… and set:
- Dot Size
14 - Density
1 - Angle
45 - Softness
1
Click Apply, then press Cmd+D. The filter keeps each cell's colour as the dot and makes the gaps transparent.
- Dot Size
-
Colour the dots mustard
Open ✦ on
Sun Dots, tick Color Overlay and set its colour to#F2B233. The grey dots become a mustard highlight printed over the red sun, which is the classic two-ink halftone blend.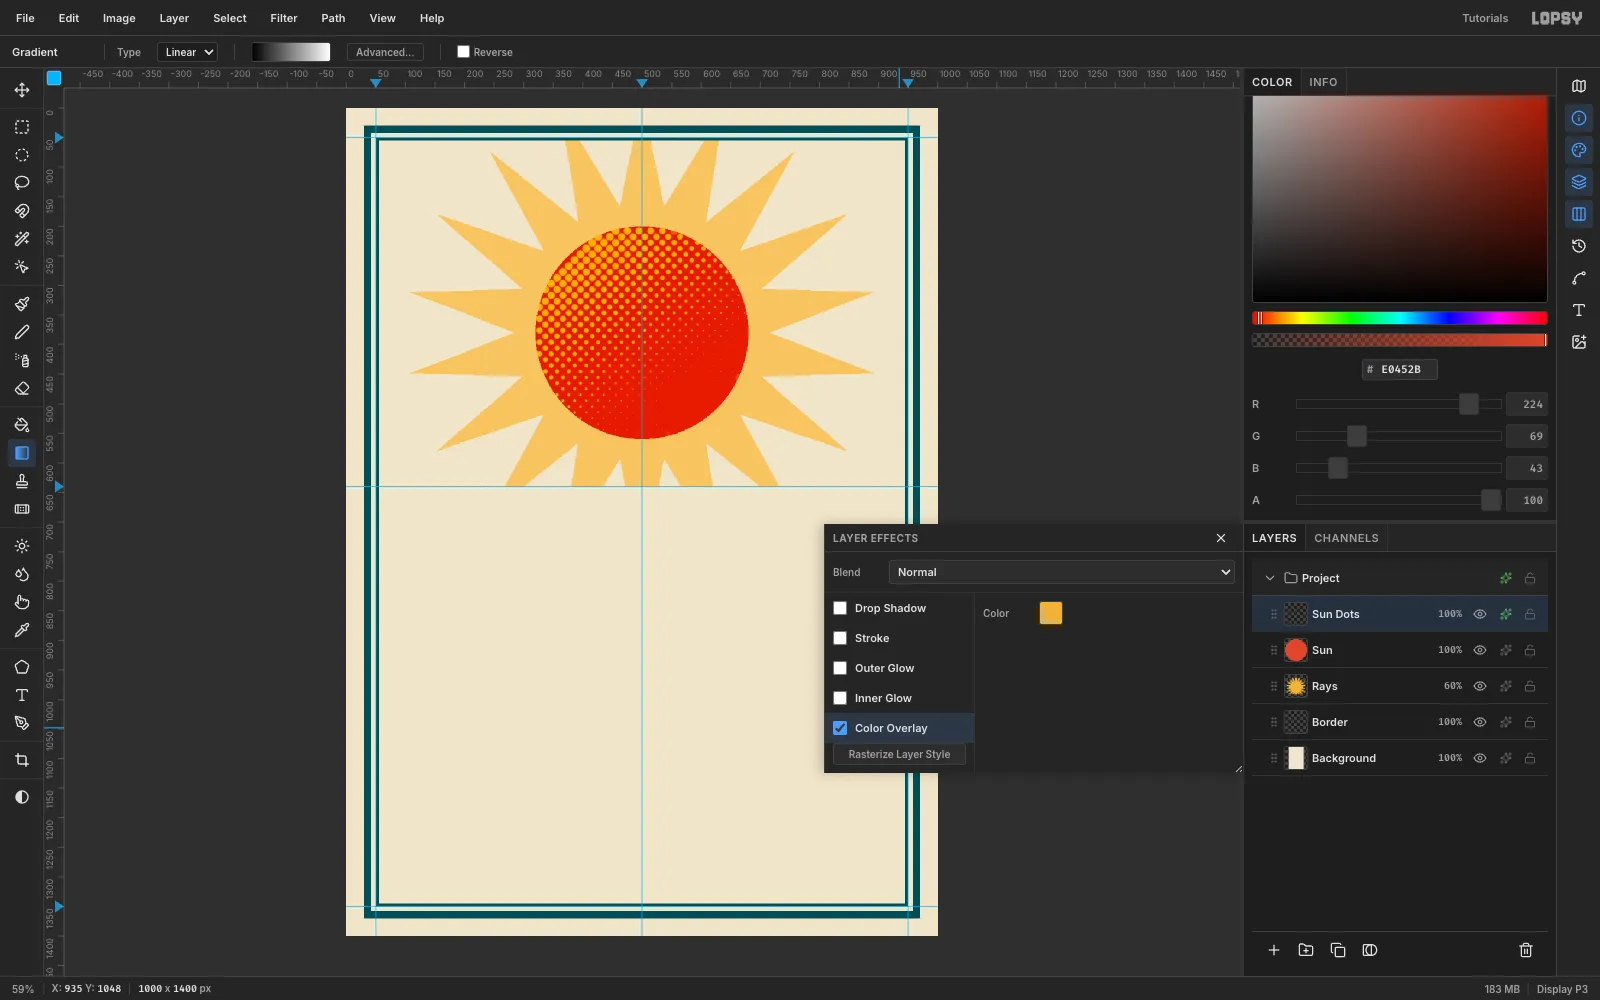
-
Add teal dunes on Multiply
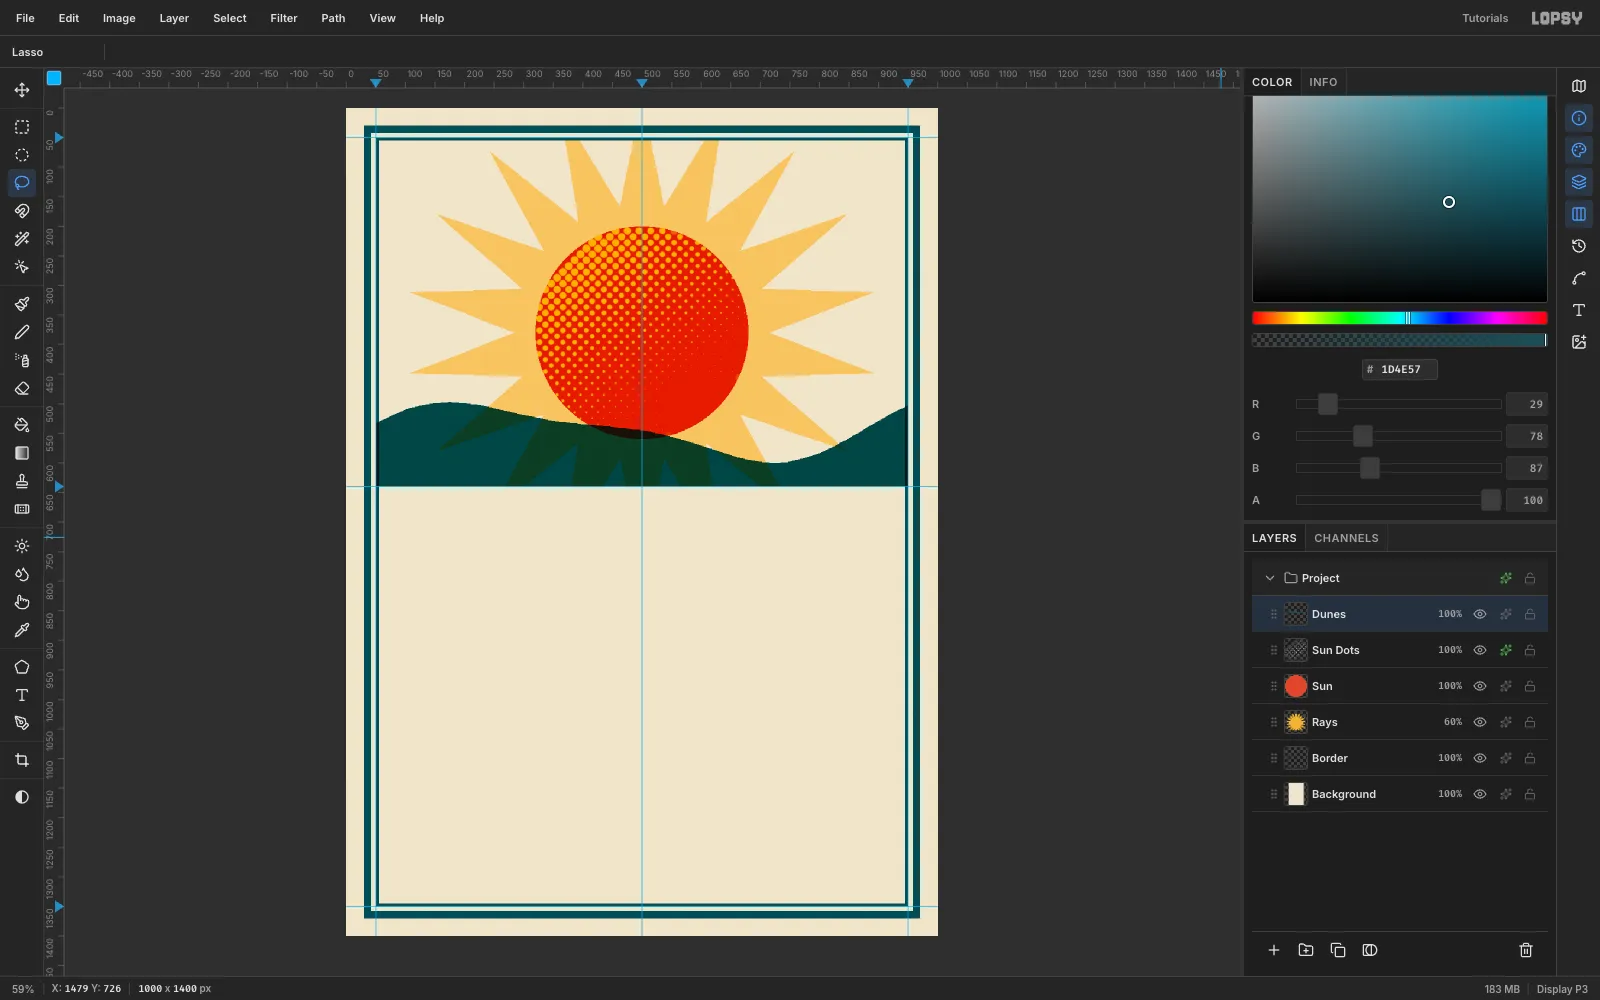
Add a layer called
Dunes. With the Lasso, click a gently rolling horizon from (50, 500) across to (950, 460), then down to (950, 640) and back along the bottom to (50, 640). Fill it with teal.Set the layer to Multiply. Where the teal crosses the rays and the sun, you now get darker olive and brown overprints, and no fourth ink.
-
Print a dotted foreground dune
Add a layer called
Dune Dotsand lasso a lower, shallower wave between about y 566 and 640. Drag the Gradient from the bottom (500, 640) up to (500, 570).Run Filter → Halftone… with Dot Size
9, Angle15and Softness1, press Cmd+D, then add a mustard Color Overlay. The dots swell toward the bottom edge like sand in the foreground.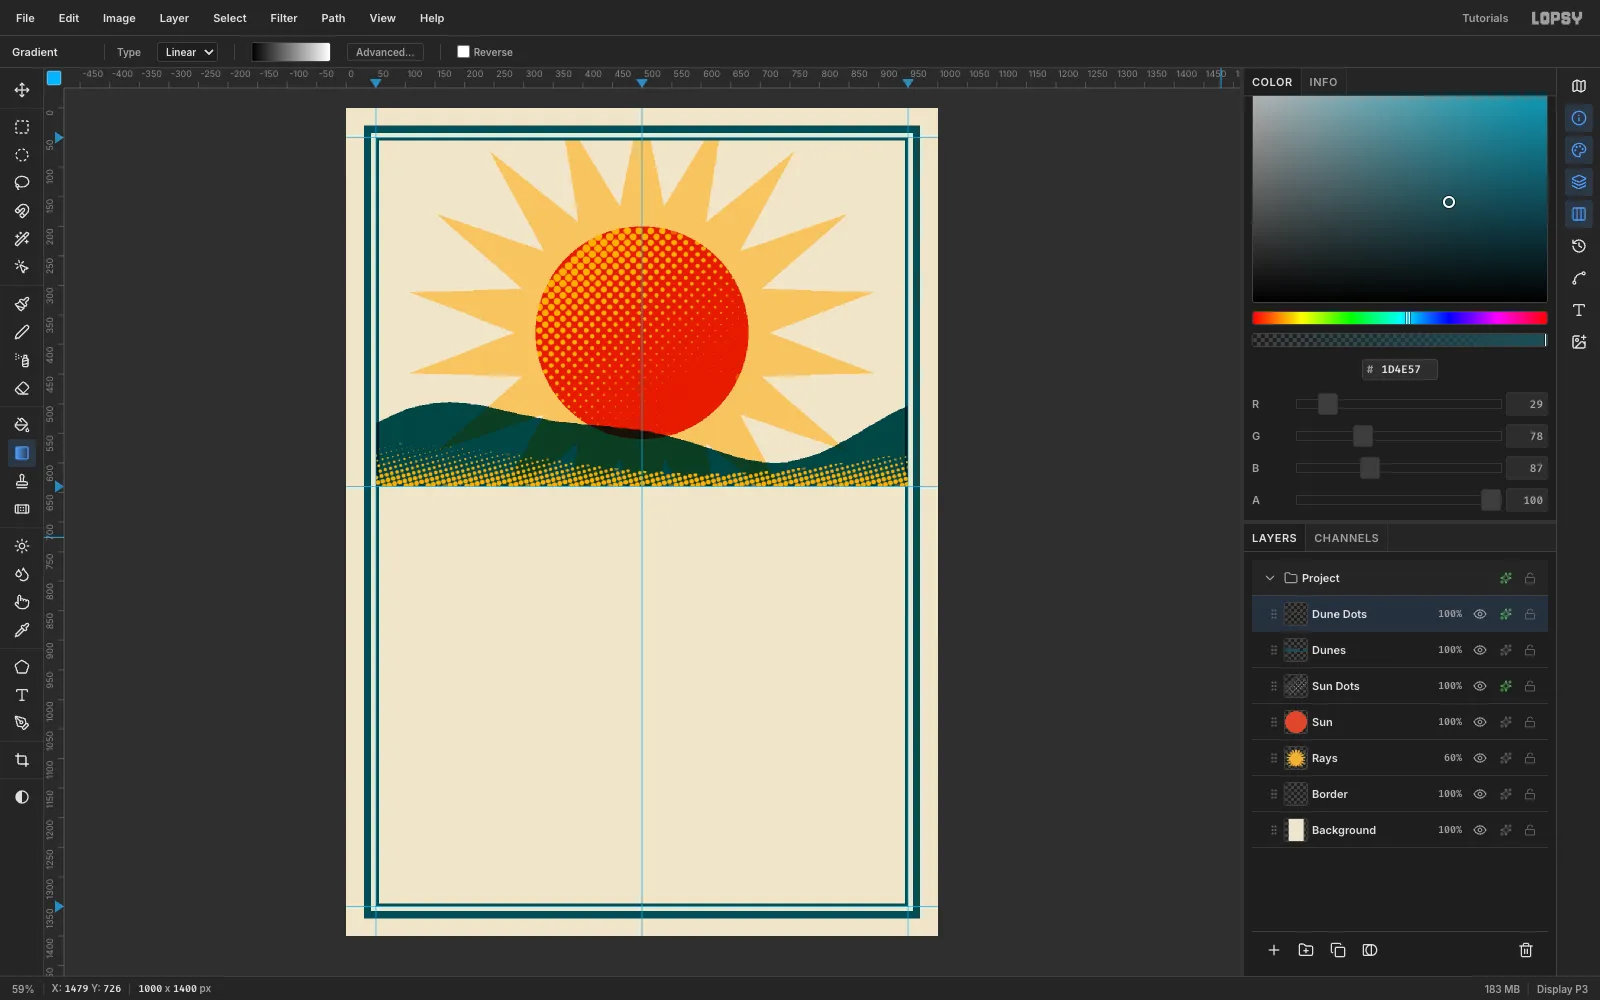
-
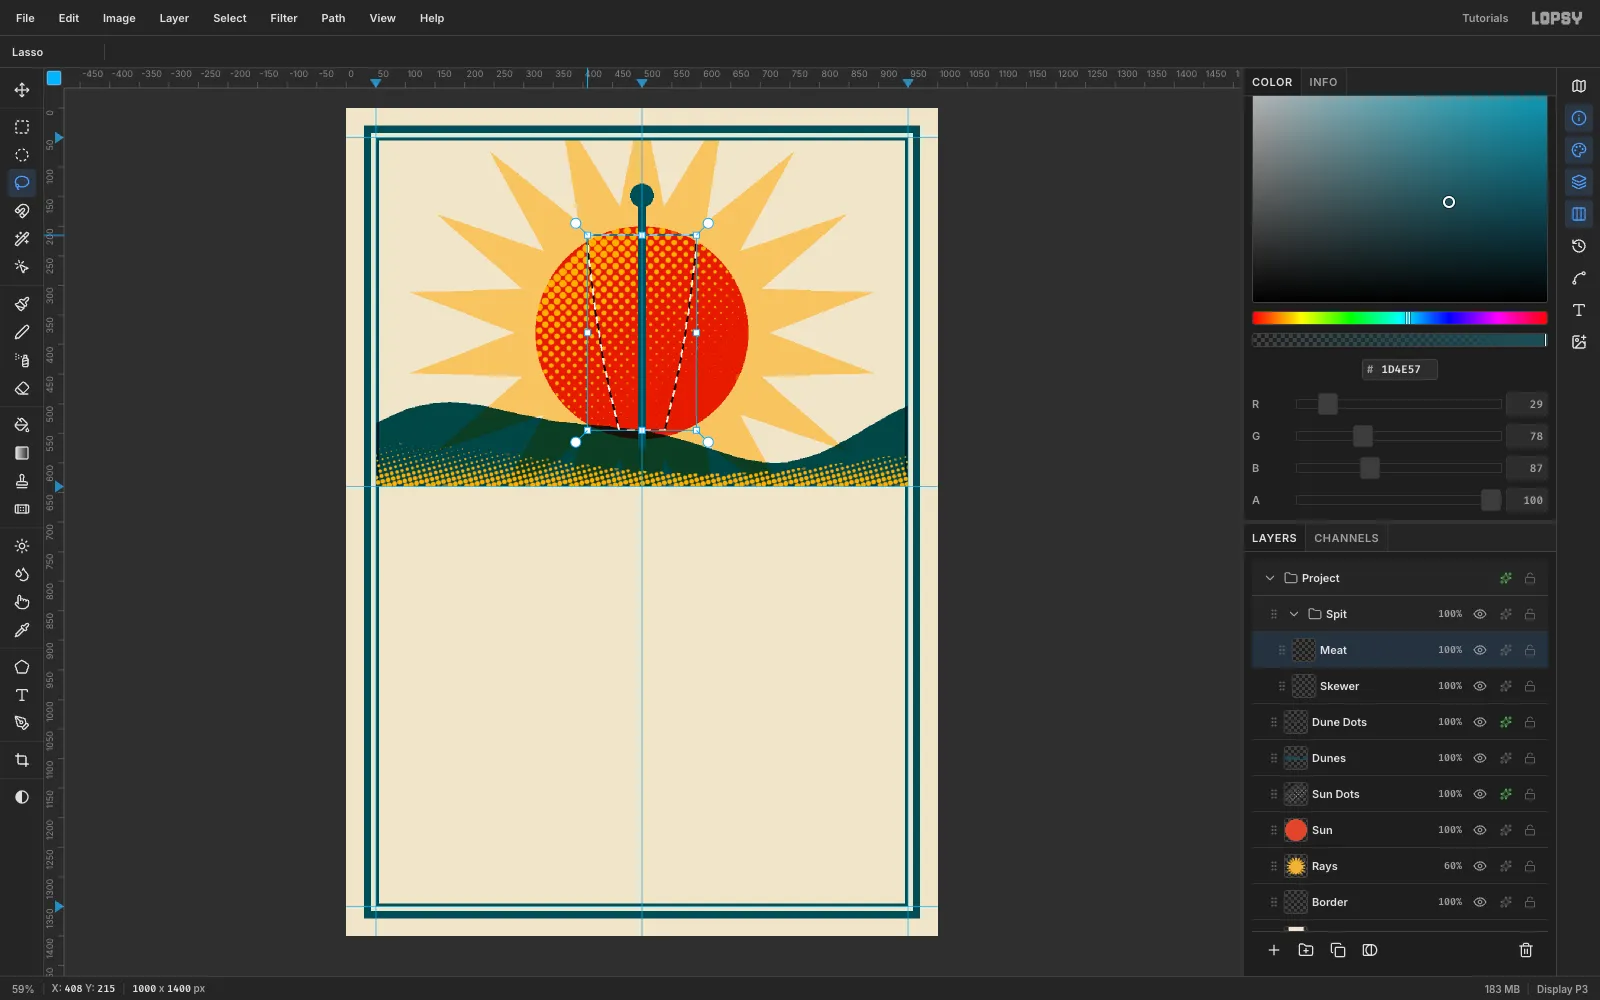
Lasso the döner cone
In the Layers panel, click Dune Dots, click New Group and name the group
Spit. Inside it:- Add a layer called
Skewer. Fill a 14 px wide teal bar from (493, 150) down to y 575, and a 40 px teal disc on top at (480, 128). - Add a layer called
Meatand lasso a cone that's 184 px wide at y 215 and tapers to about 76 px at y 545. - Fill it with mustard, and keep the selection active.
- Add a layer called
-
Paint stripes inside the selection
Add a layer called
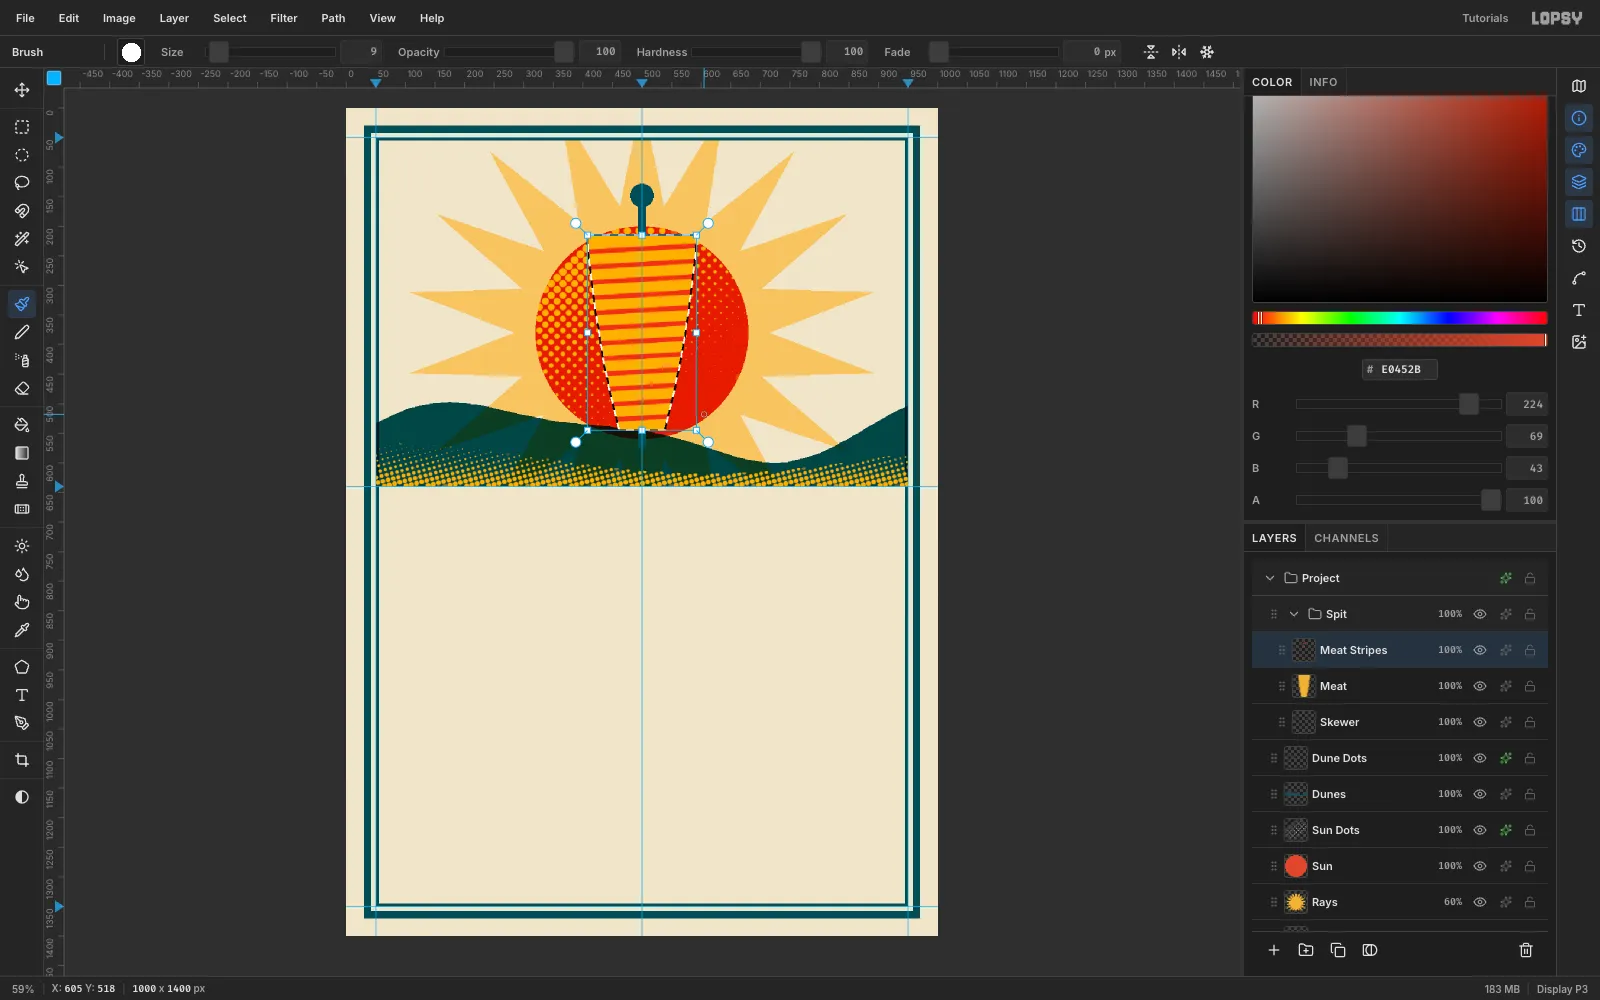
Meat Stripes. Pick the Brush (B) and set Size9, Hardness100, and tomato as the colour.Starting at y 238 and moving down every 26 px, click on the left of the cone, then Shift-click on the right, a little higher, to draw a slanted line. The active selection clips every stroke to the cone.
Press Cmd+D and set the layer to Multiply. The red over mustard turns the colour of seared meat.
-
Shade and outline the cone
Add
Meat Shadeand lasso the cone again. Drag a gradient from the right edge (600, 380) to the left edge (395, 380), then run Halftone with Dot Size10, Angle30and Softness1. Give it a teal Color Overlay and set it to Multiply. The dots grow toward the right edge, so the cone looks round.Select
Meat, open ✦, tick Stroke, and set the colour to teal, Width5and position outside. That gives a printed keyline.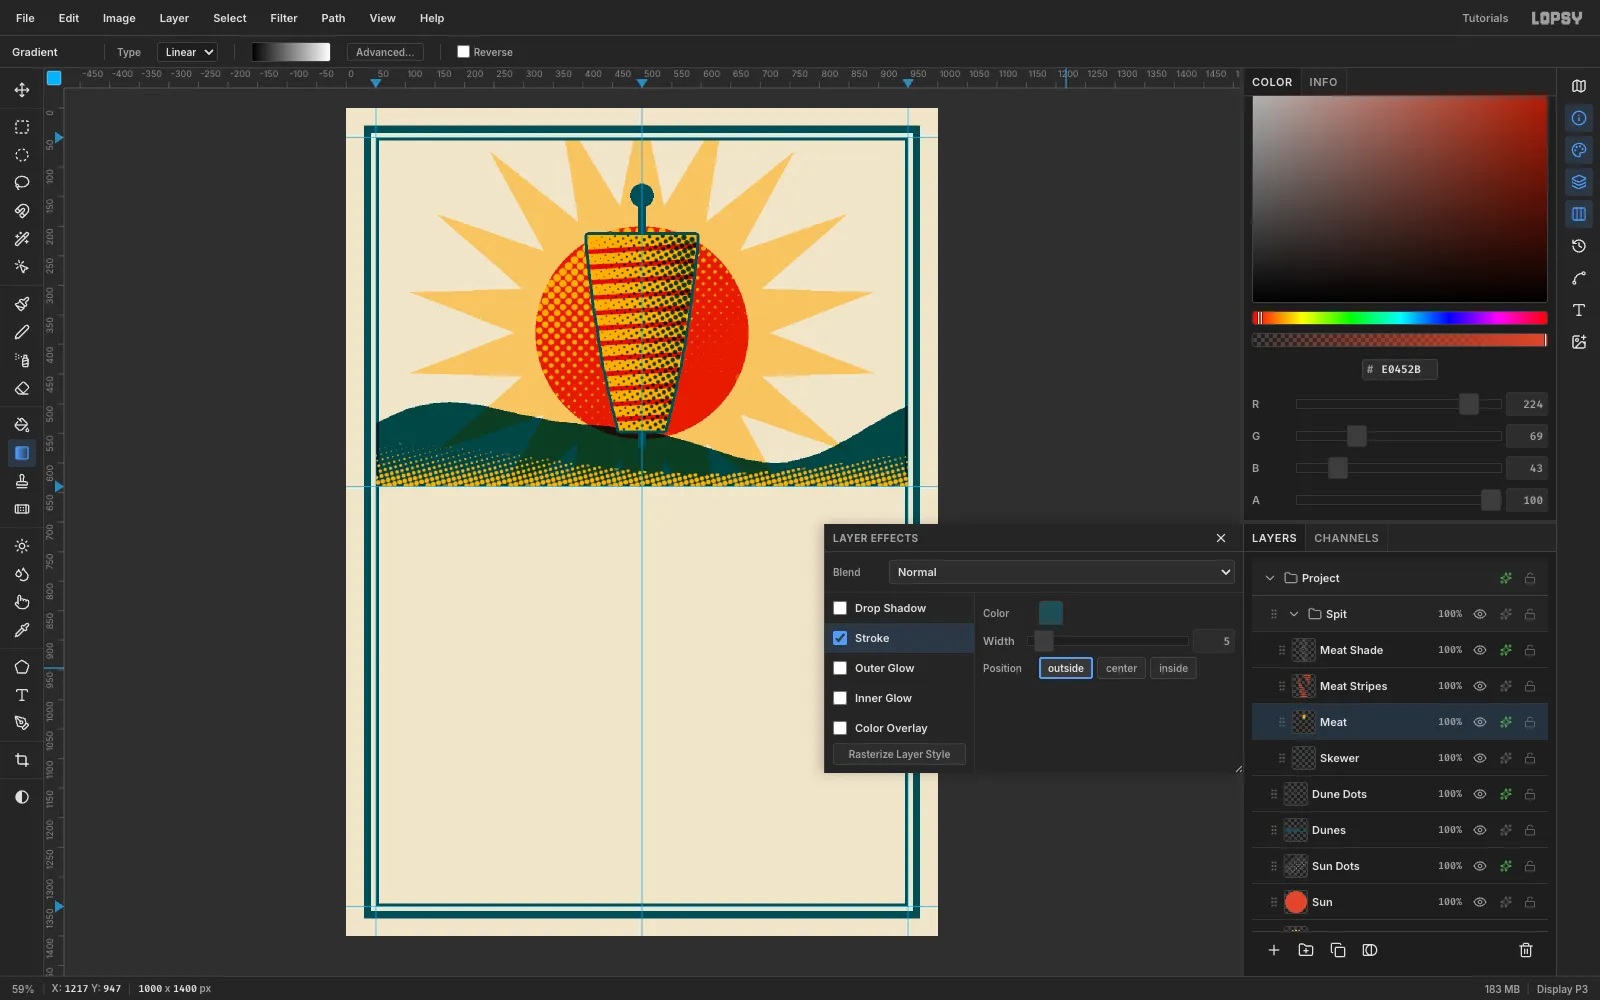
-
Move the whole spit as a group
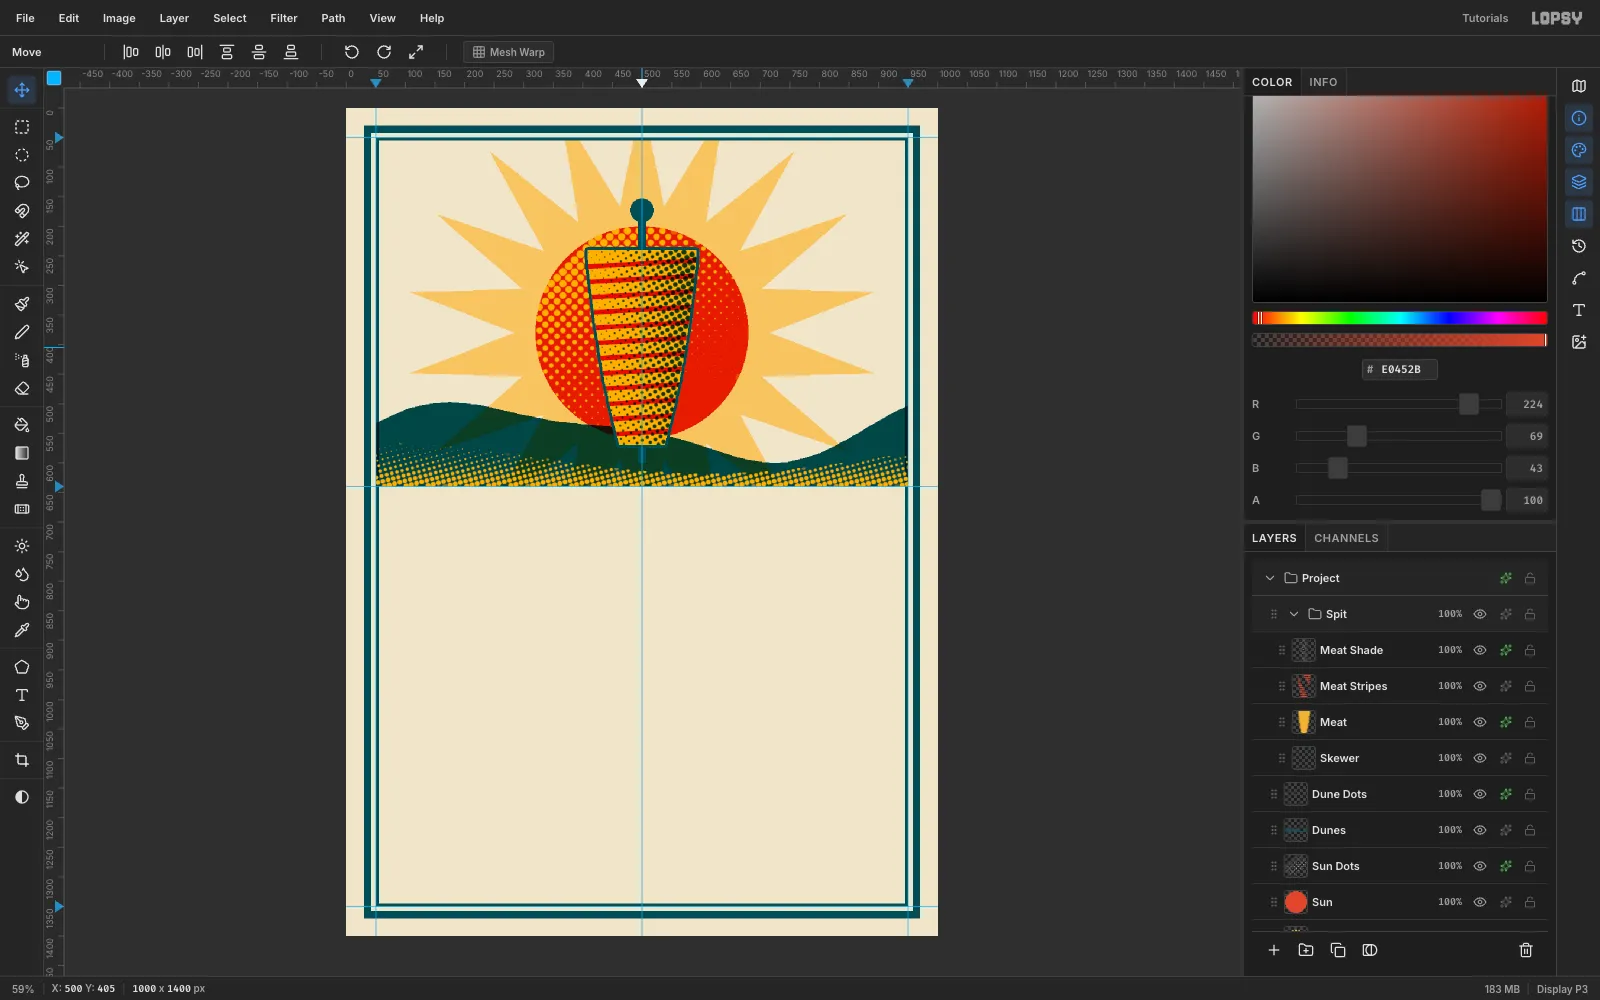
Click the Spit group row, press V for Move, and drag the spit 25 px down so the skewer sinks into the dunes. All four layers move together.
Try Cmd+Z and Cmd+Shift+Z. The group jumps back and forth exactly.
-
Set the headline in Shrikhand
Click Dune Dots, so the new text is anchored on a raster layer. Press T for Text, then set:
- Size
190 - Font Shrikhand (search for it in the font menu)
- tomato as the colour
Click in empty space near the top of the canvas, type
Nomadand press Tab to commit. Switch to Move and drag the word down so its letters start at about y 670, centred on the 500 guide.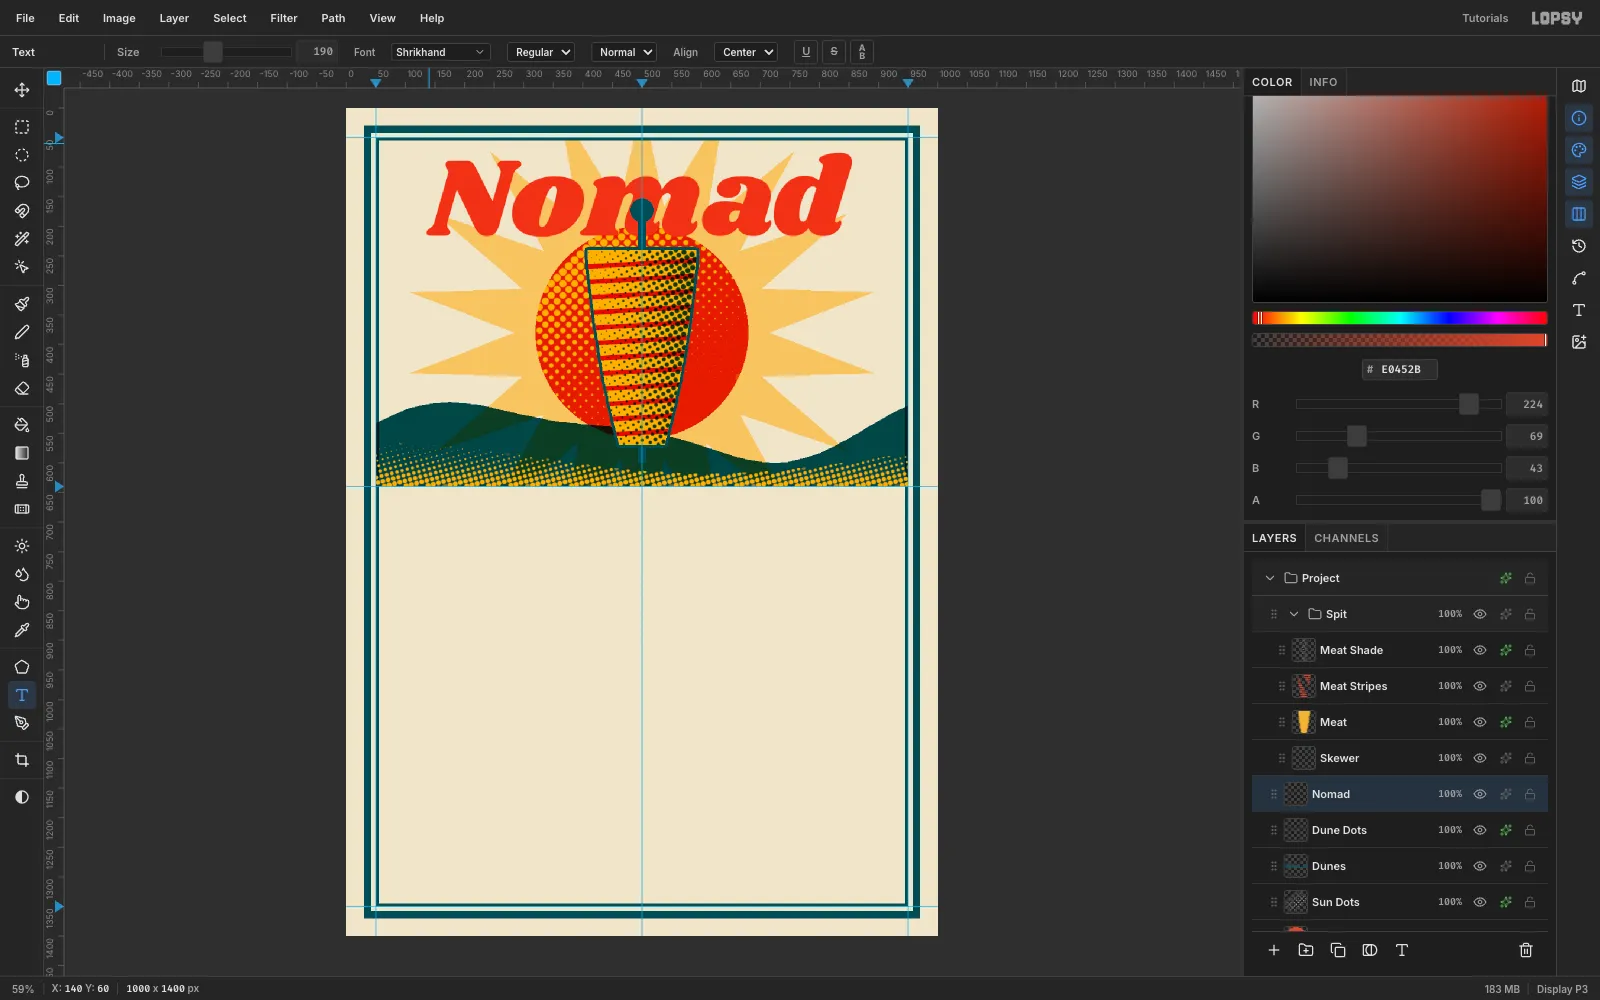
- Size
-
Misregister the headline
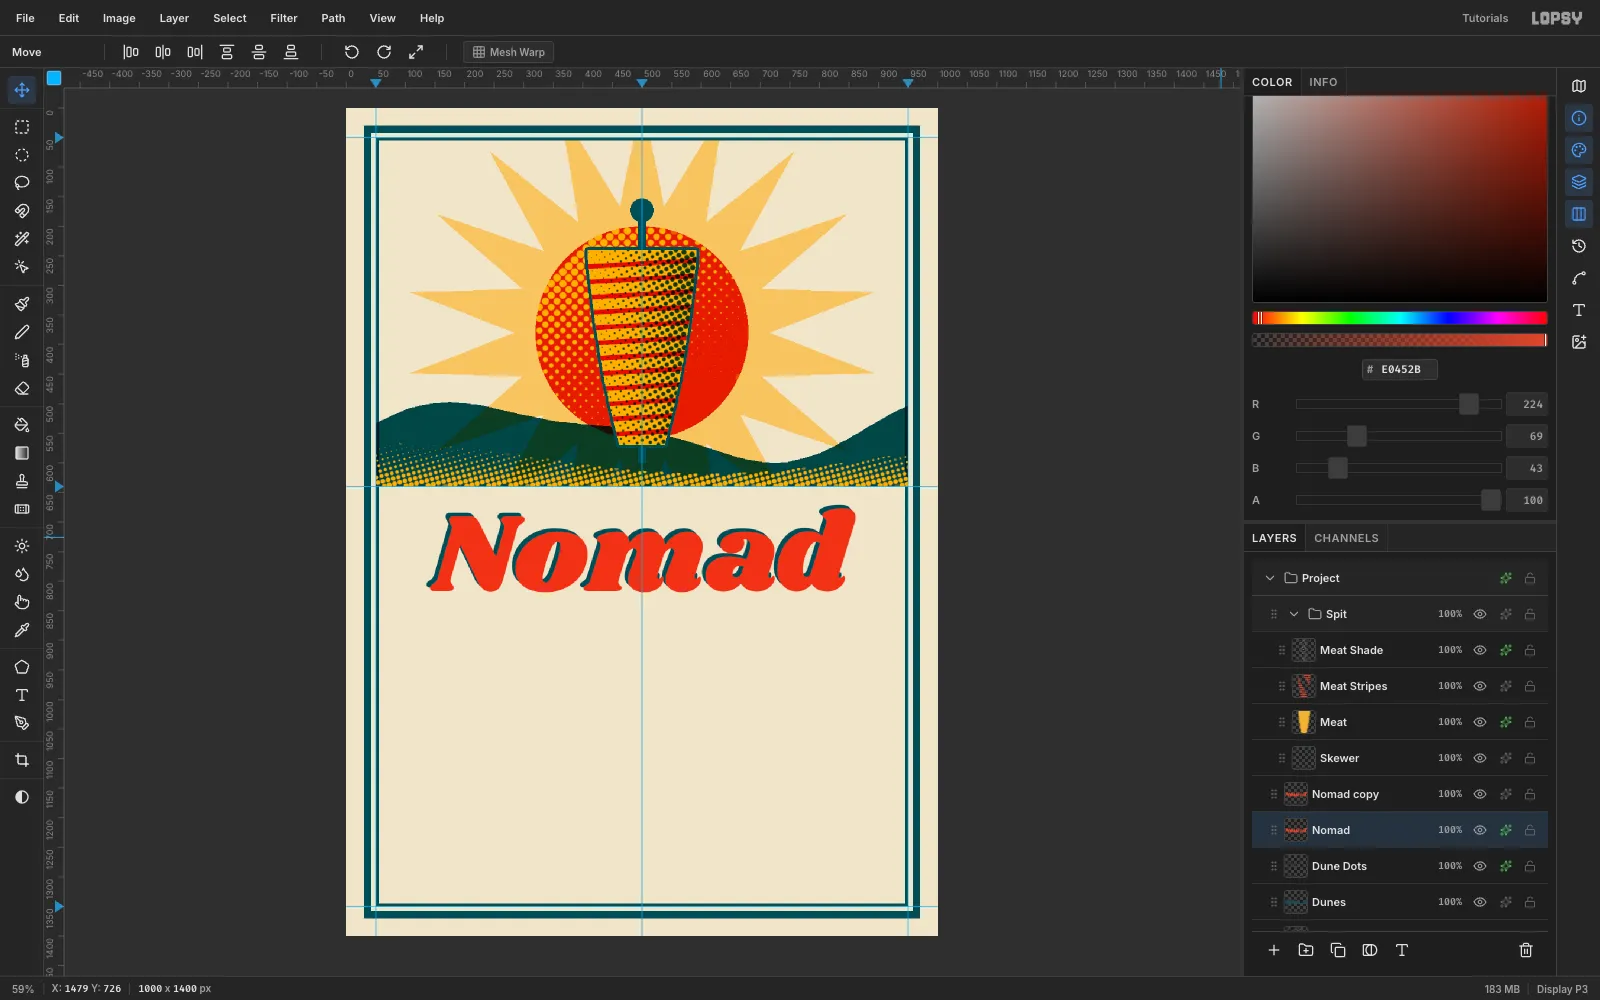
Click Duplicate Layer in the Layers panel, then click the copy's row so only the copy is selected. The copy lands 10 px down and right. Nudge it back with ← and ↑ four times each, which leaves it 6 px off the original.
Now select the original Nomad layer and give it a teal Color Overlay. The red copy prints on top, and the teal plate peeks out at the top left, just like a loose screen.
-
Add KEBAB with a red offset
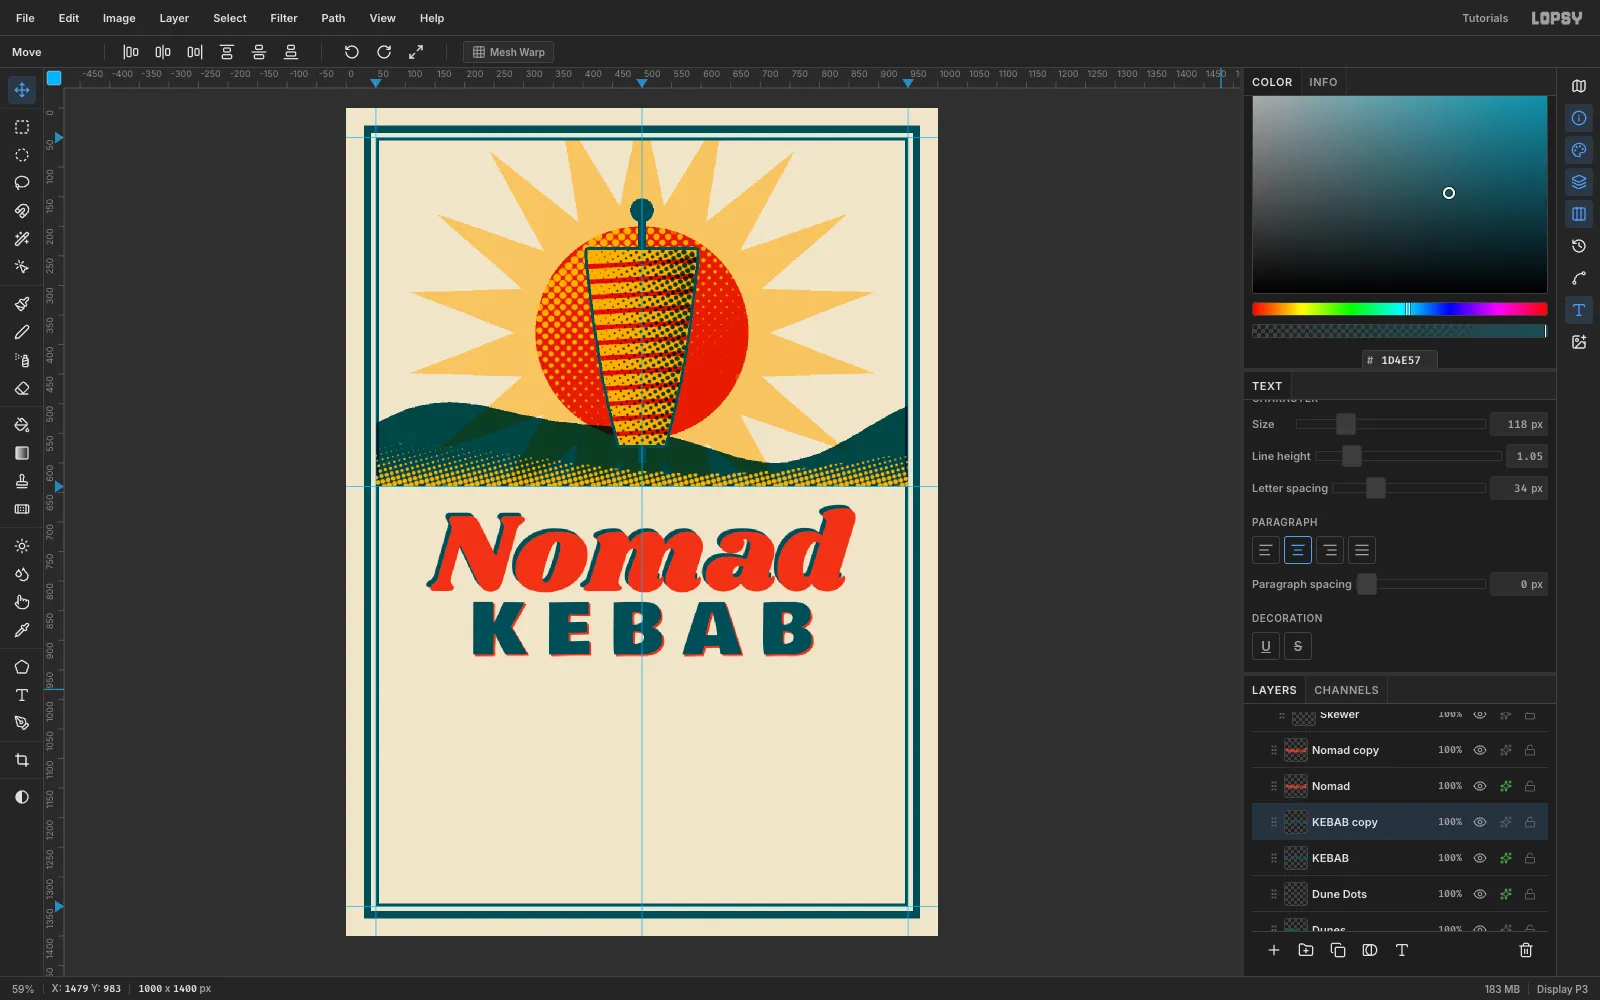
Click Dune Dots again and open the Text panel. Set Letter spacing to
34. TypeKEBABin Bowlby One at118px in teal, then move it under the headline, centred.Repeat the misregistration the other way round:
- Duplicate Layer, click the copy's row, and press Shift+← and Shift+↑ to put it back in place.
- Give the original a tomato Color Overlay.
- Nudge the original 3 px right and 3 px down.
A thin red edge now shows at the lower right of each letter.
-
Print the tagline banner
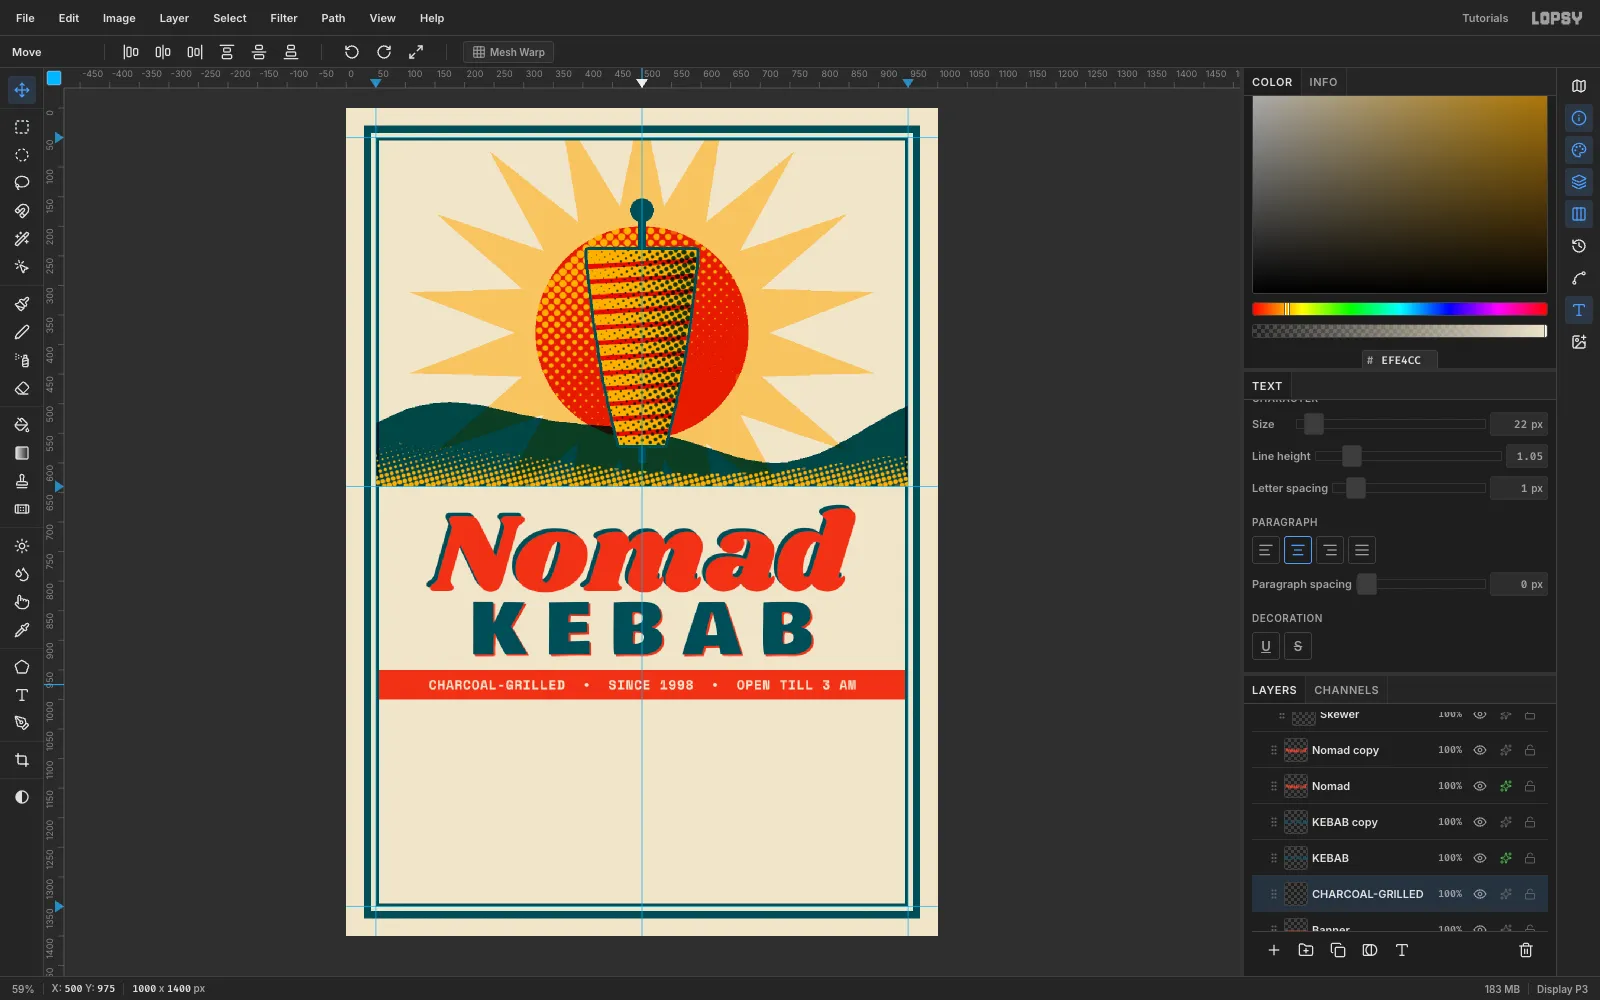
Add a layer called
Banner, marquee (55, 950) to (945, 1000) and fill it with tomato. Set the Text panel's Letter spacing back to1, then typeCHARCOAL-GRILLED • SINCE 1998 • OPEN TILL 3 AM. Use Space Mono, Bold,22px, in paper cream#EFE4CC.Paste the bullets from the clipboard if your keyboard can't type them. Then Move the line so it sits centred in the band.
-
Build the left menu column
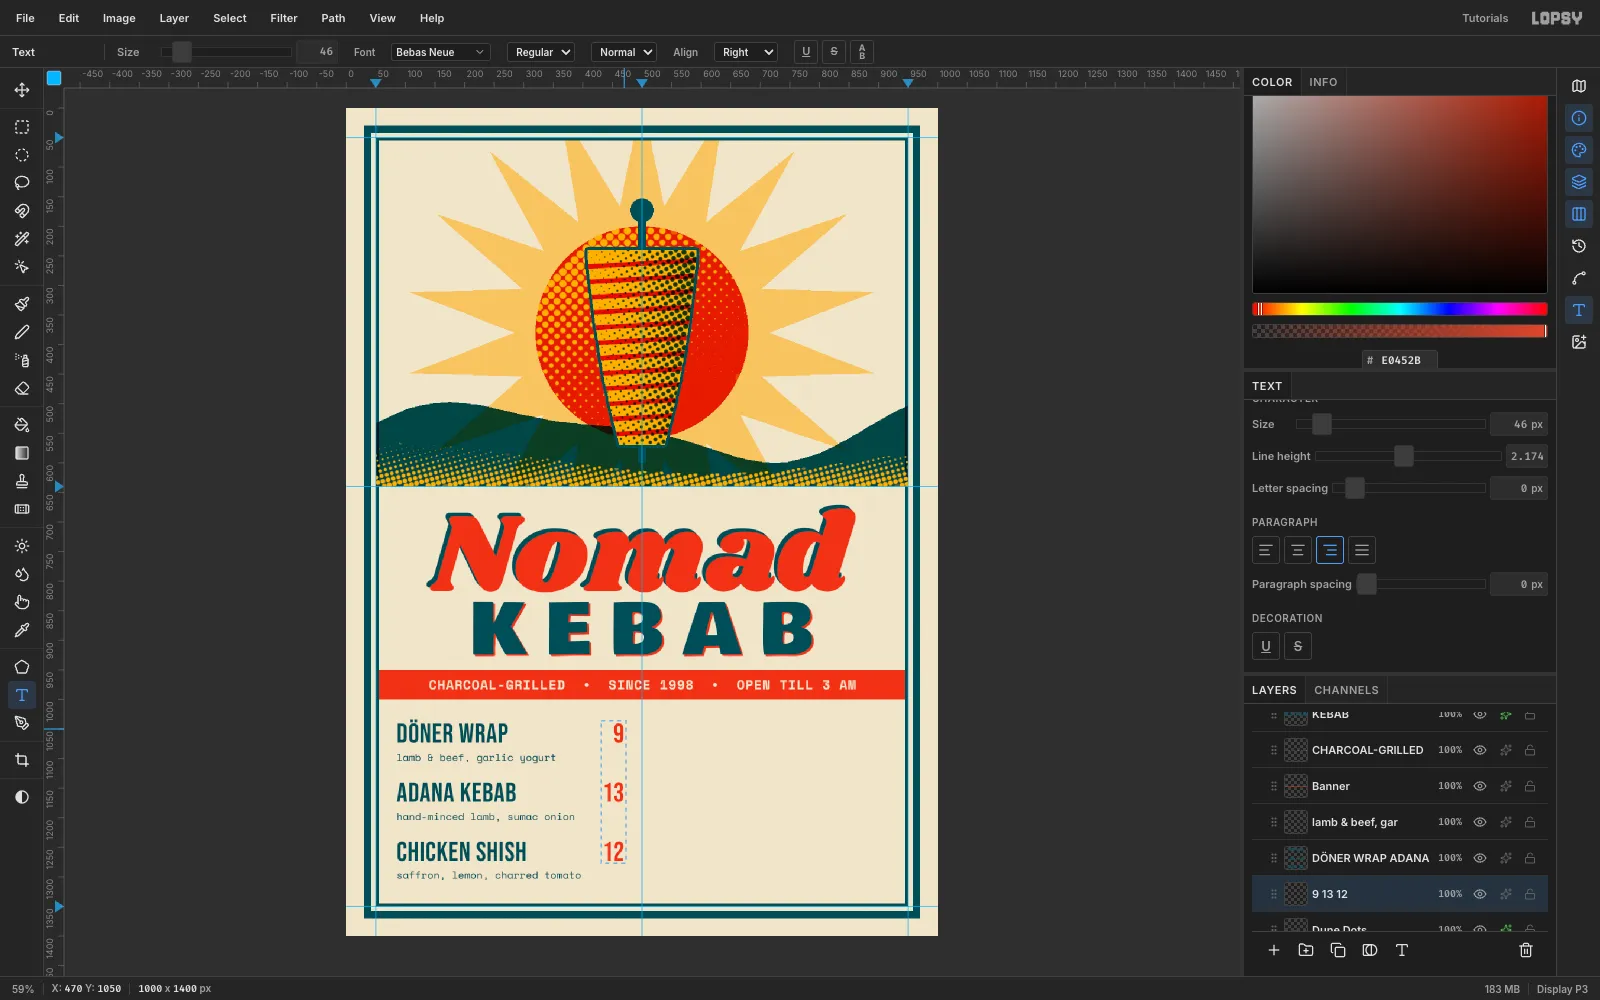
The column is three separate area-text layers, all anchored on Dune Dots. Create an area-text box by dragging with the Text tool. Make the descriptions first, so later drags never start inside an existing text box.
- Descriptions: Space Mono Regular,
17px, teal. Set Line height1.4and Paragraph spacing76. Drag a box from (85, 1086) to x 405 and type the three lines:
lamb & beef, garlic yogurthand-minced lamb, sumac onionsaffron, lemon, charred tomato
- Items: Bebas Neue,
46px, teal, Line height2.174(a 100 px pitch). Drag from (85, 1010) to x 390 and typeDÖNER WRAP,ADANA KEBABandCHICKEN SHISH, one per line. - Prices: Bebas Neue,
46px, tomato, Align right. Drag a narrow box from (408, 1010) to x 470 and type9,13and12.
- Descriptions: Space Mono Regular,
-
Build the right menu column
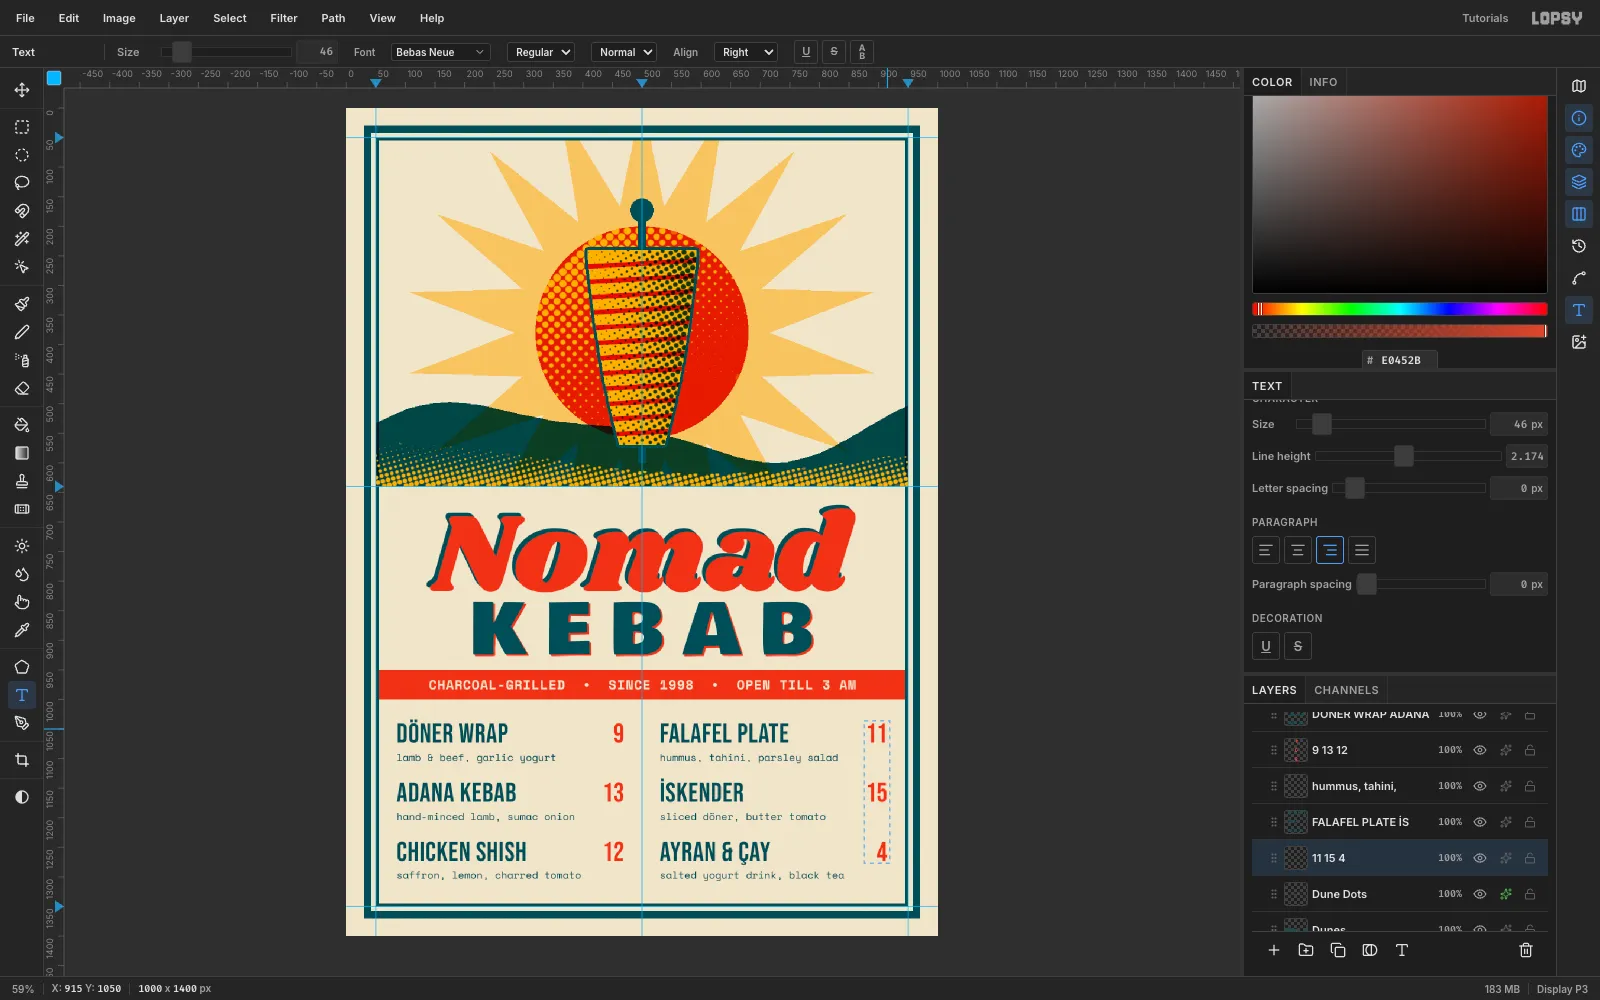
Repeat the three layers on the right half:
- Descriptions from (530, 1086):
hummus, tahini, parsley saladsliced döner, butter tomatosalted yogurt drink, black tea
- Items from (530, 1010):
FALAFEL PLATE,İSKENDERandAYRAN & ÇAY. - Right-aligned prices from (853, 1010) to x 915:
11,15and4.
The 100 px pitch lines every price up with its item.
-
Space out the brush for dots
Click Dune Dots, then add a layer called
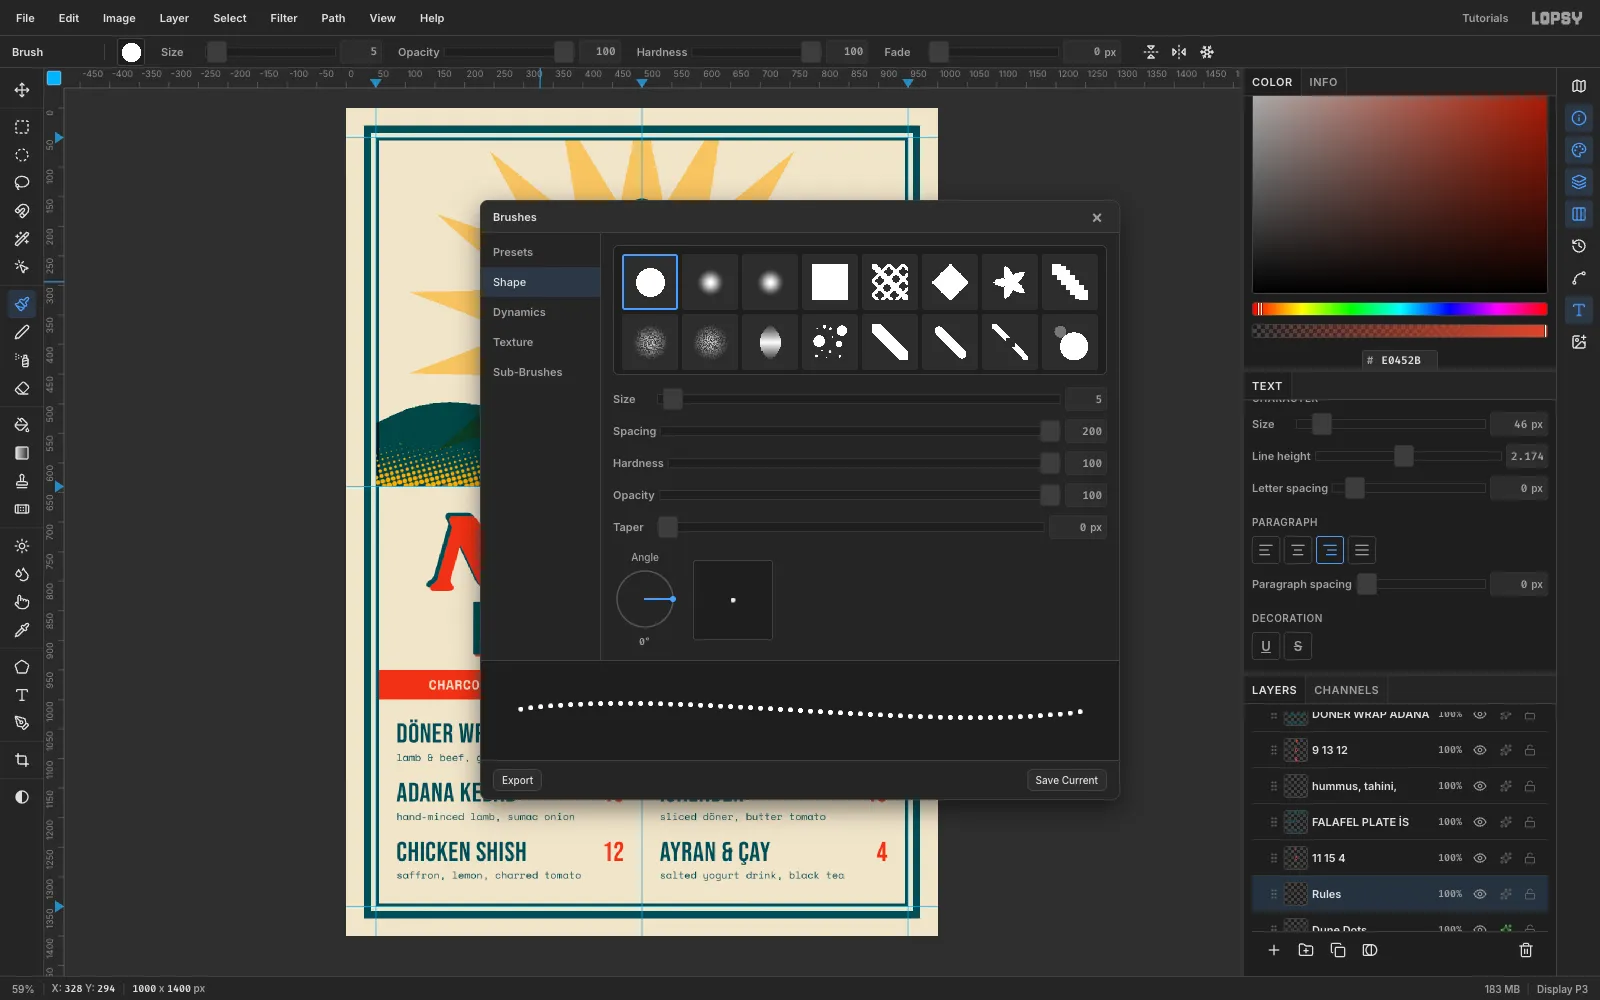
Rules. Pick the Brush, set Size5and Hardness100, and open the brush presets. On the Shape tab, set Spacing to260.Each dab now lands well apart from the last, so a stroke becomes a row of round dots.
-
Draw dotted leaders and a divider
In teal, click at (500, 1038) and Shift-click at (500, 1300) to draw the column divider. Then do the same for each leader, just above the baseline, from the end of each item to its price:
- left column at y 1070, 1169 and 1270
- right column at y 1069, 1170 and 1270
Leave a gap after
ADANA KEBABfor the chilli.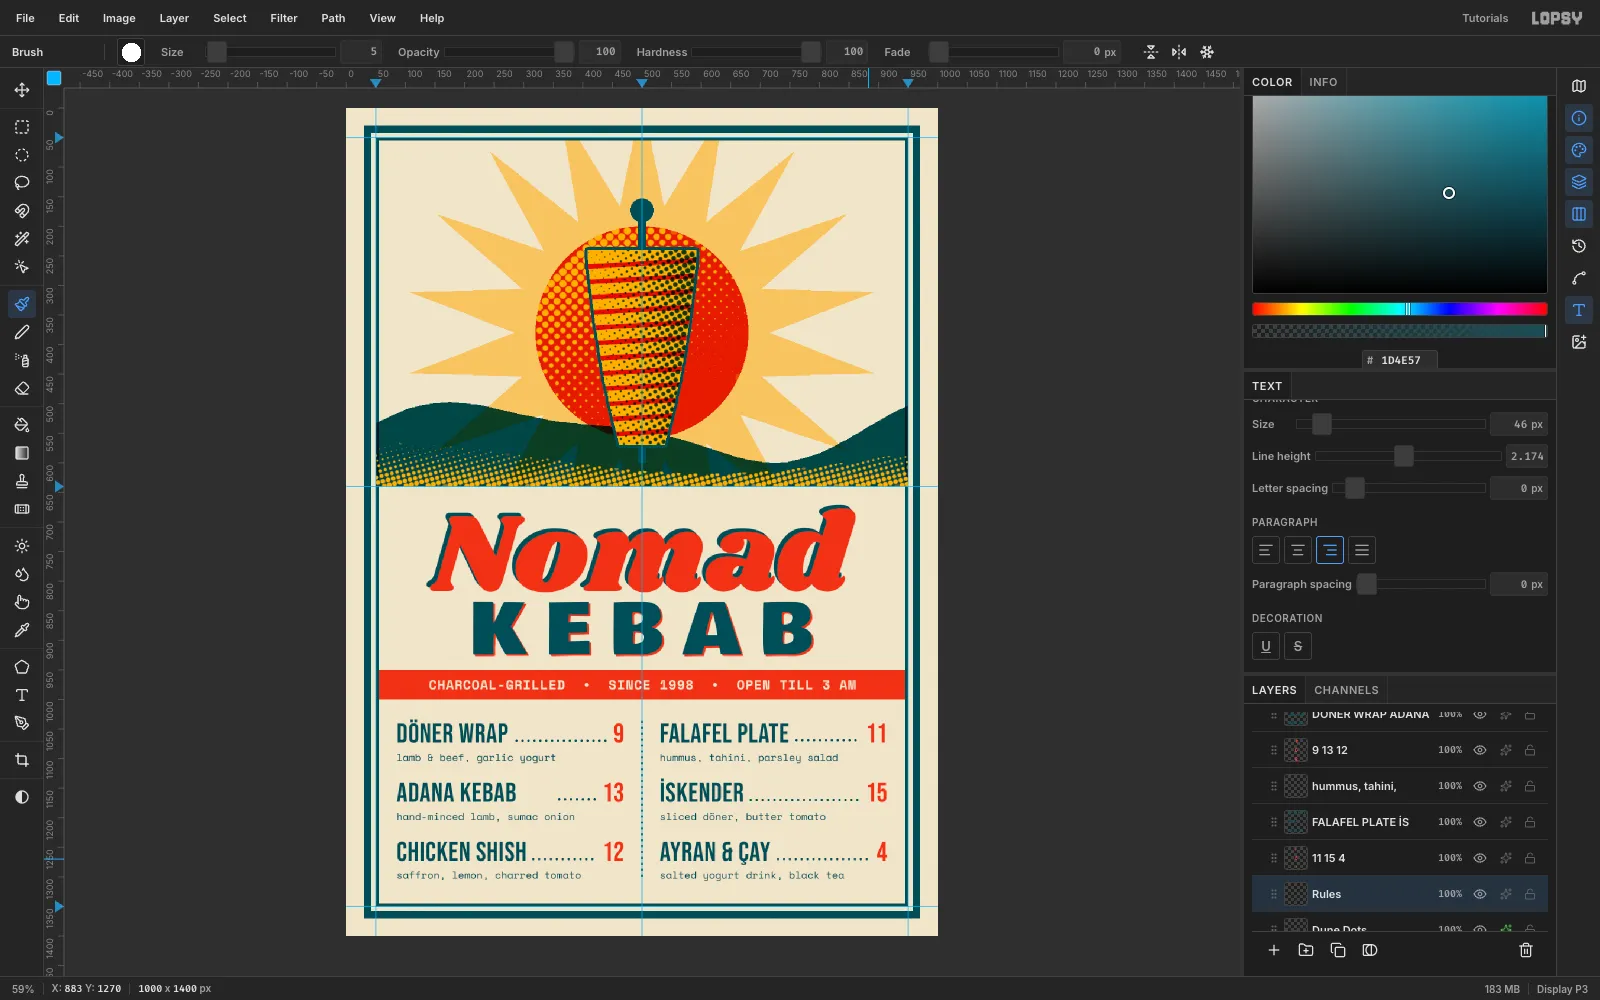
-
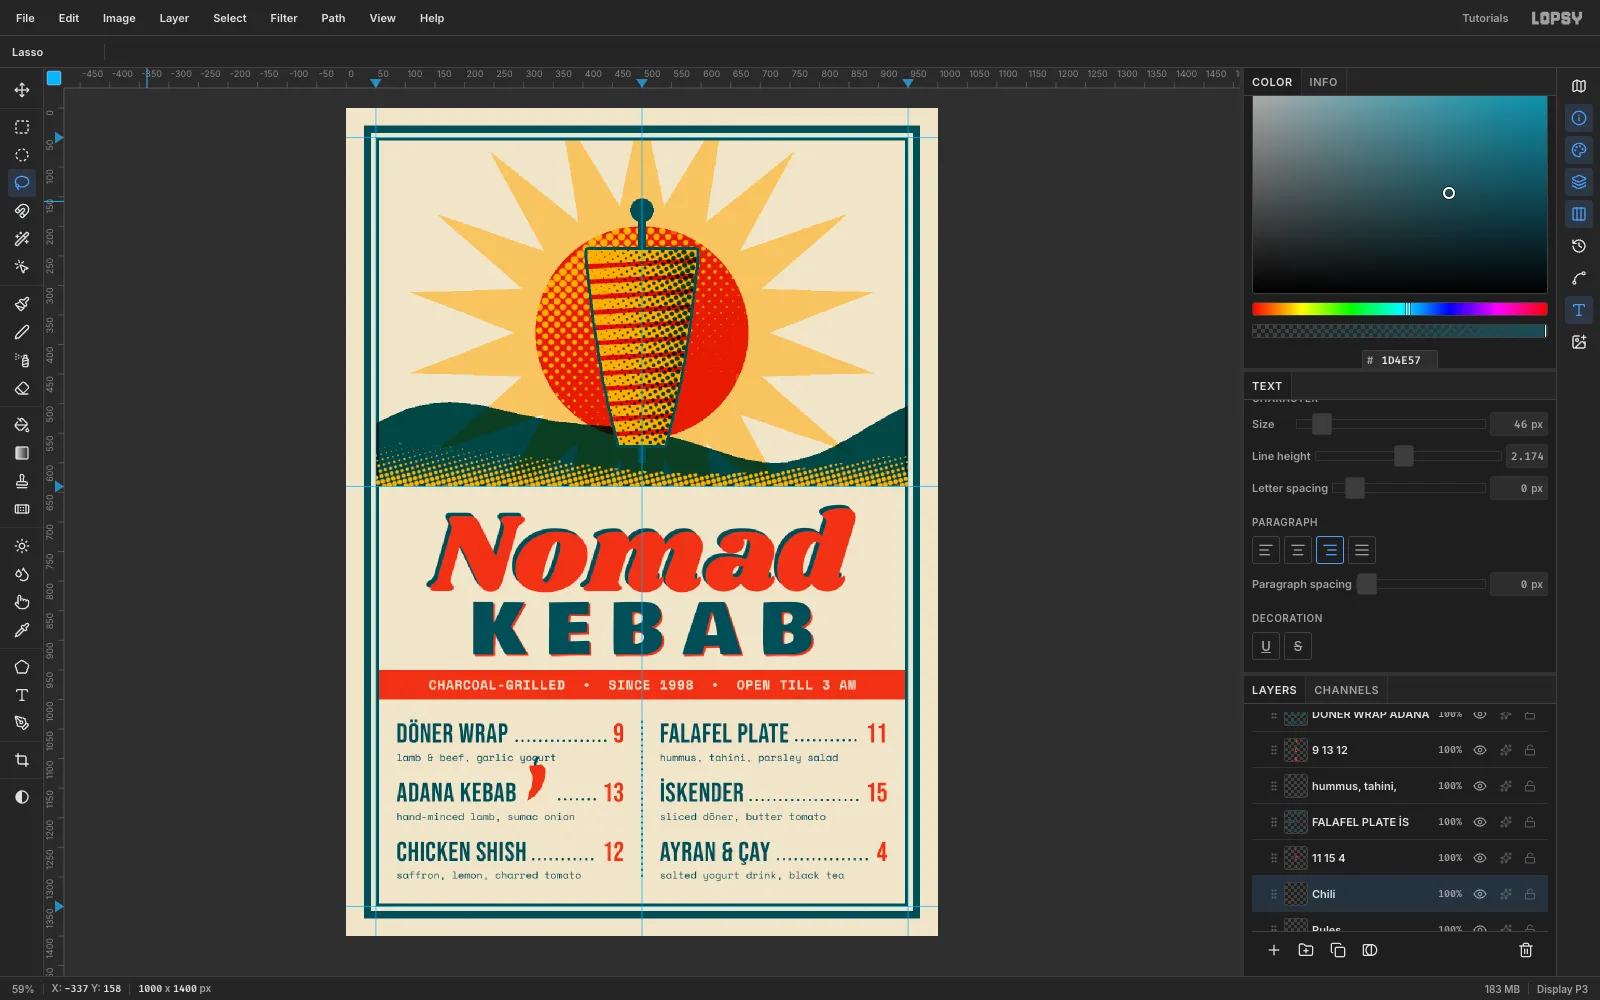
Lasso a chilli
Add a layer called
Chili. Working at double size is easier, so lasso a curved pod about 30 × 60 px starting near (306, 1110), and fill it with tomato. Lasso a thin stem on top and fill it with teal.Keep it to two inks, so it reads as part of the print rather than an emoji.
-
Scale the chilli down
Marquee around the chilli and switch to Move. Hold Shift and drag the bottom-right handle up and left until the chilli is about half size. Press Cmd+D to commit the scale.
Then drag it into the gap after
ADANA KEBAB, so it lines up with the capitals.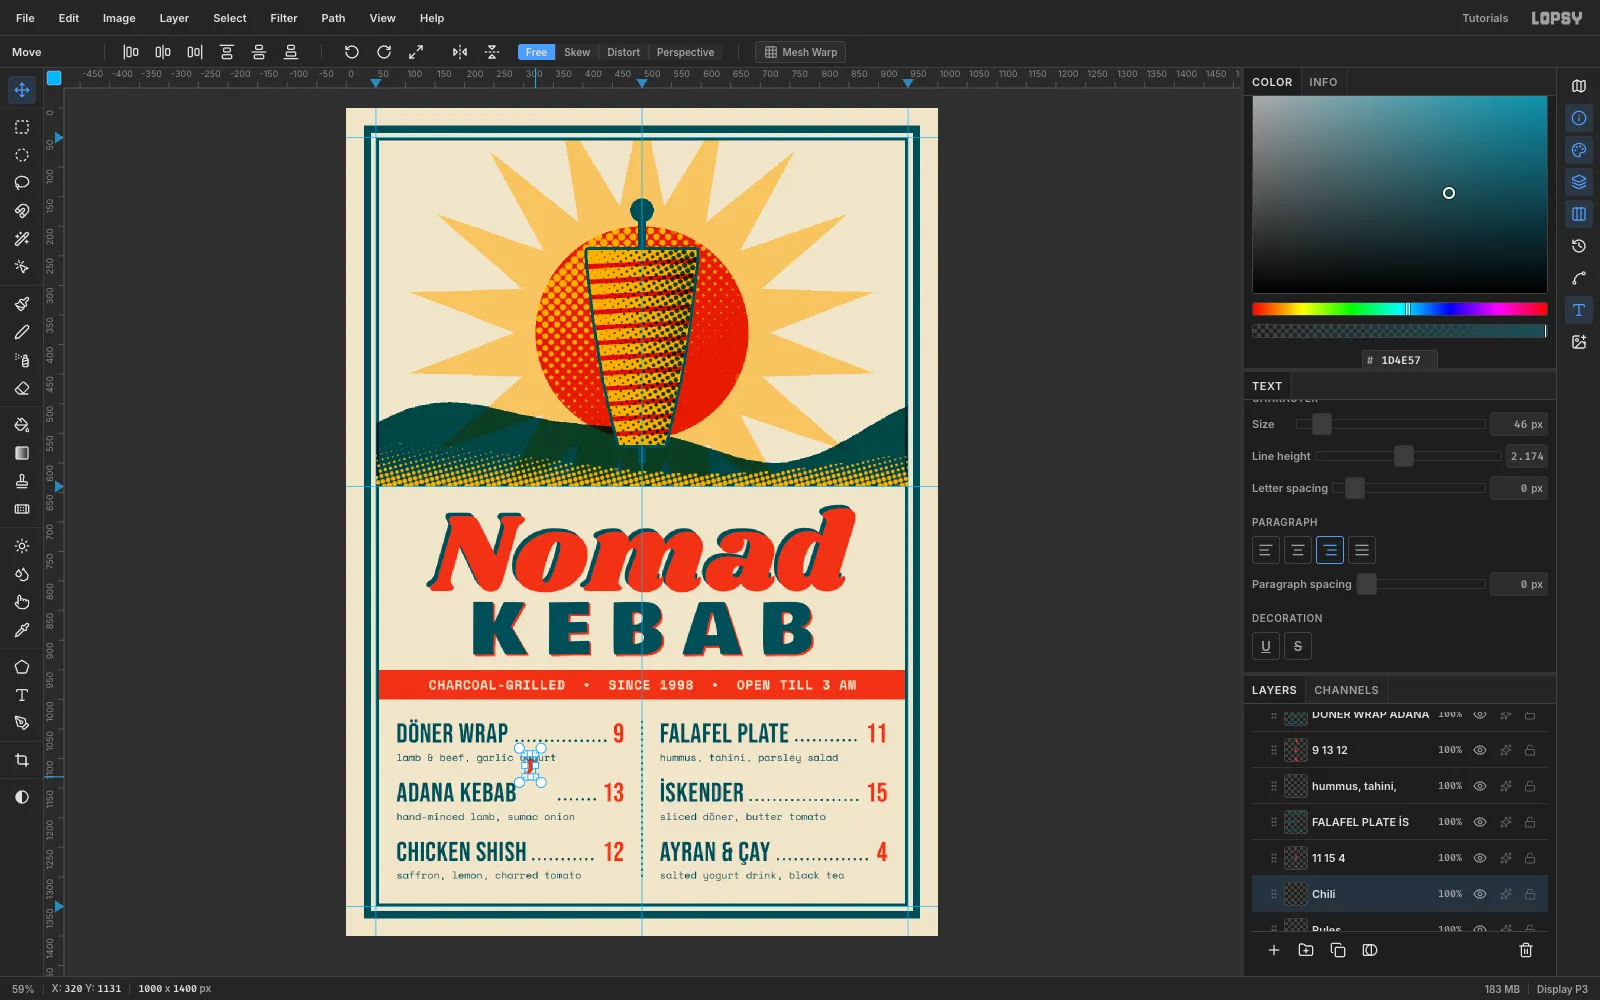
-
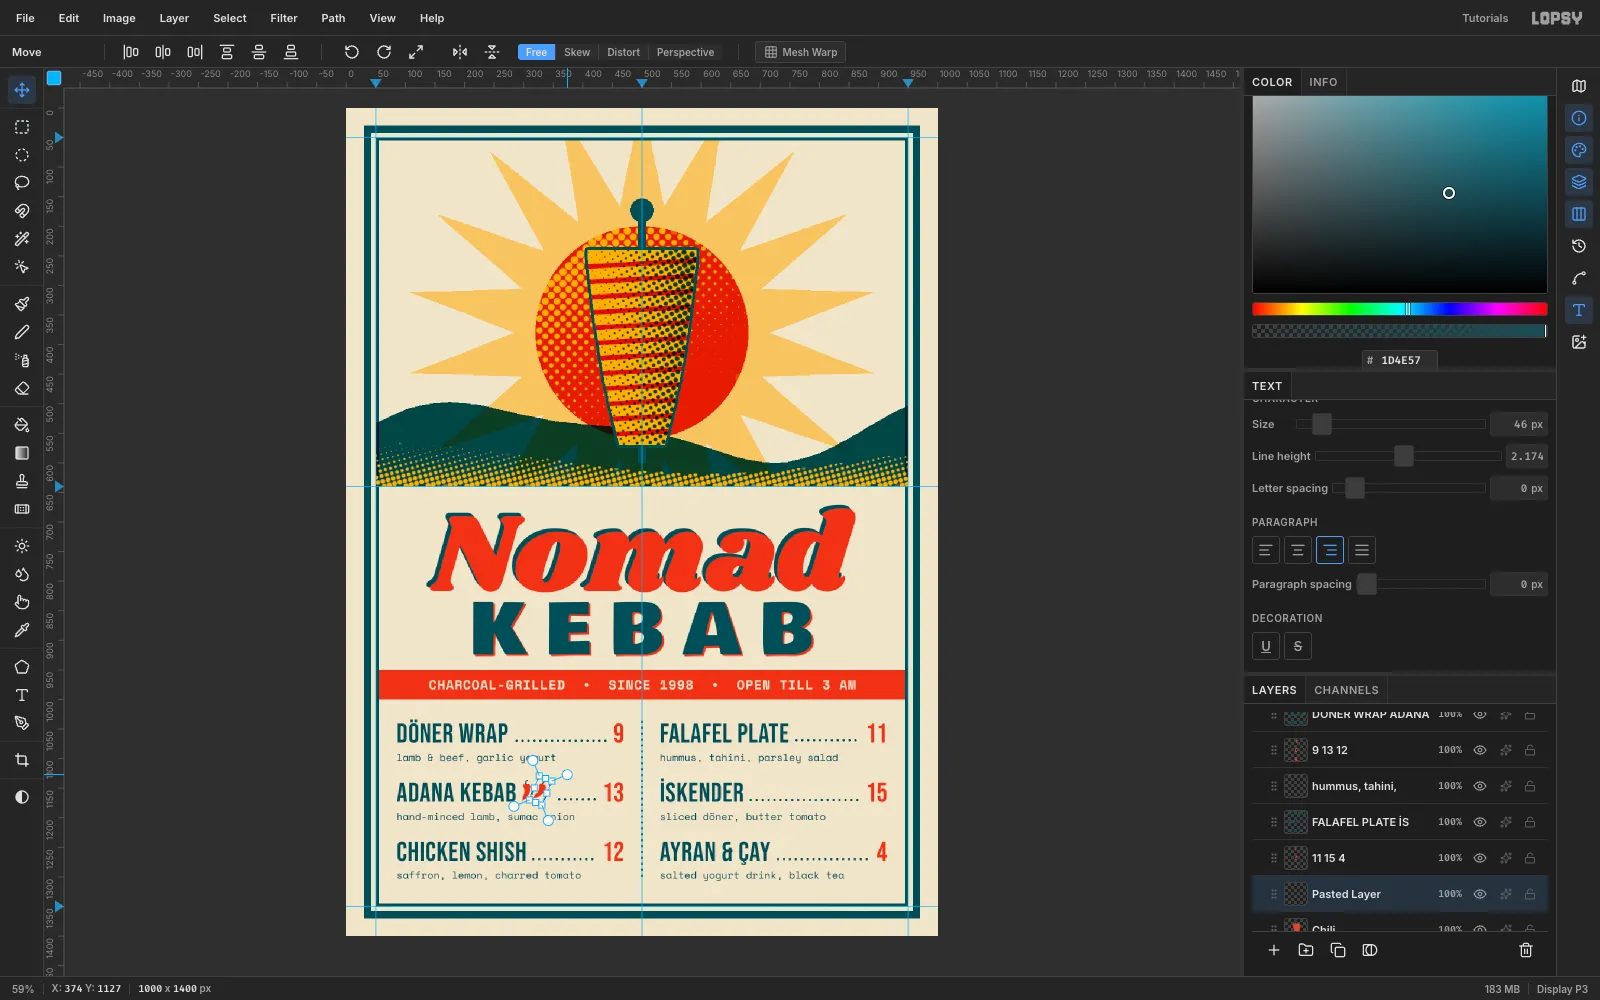
Paste and rotate a second chilli
Marquee the chilli and press Cmd+C, then Cmd+V. The paste lands in place on a new layer.
- Move the paste 24 px to the right, then press Cmd+D.
- Marquee it again. Drag just outside the top-right corner (the cursor turns into a crosshair) to rotate it about 22°, then press Cmd+D.
- Choose Layer → Merge Down to fold it into
Chili.
Two chillies mean extra hot.
-
Build the badge seal
Click Dune Dots and add a layer called
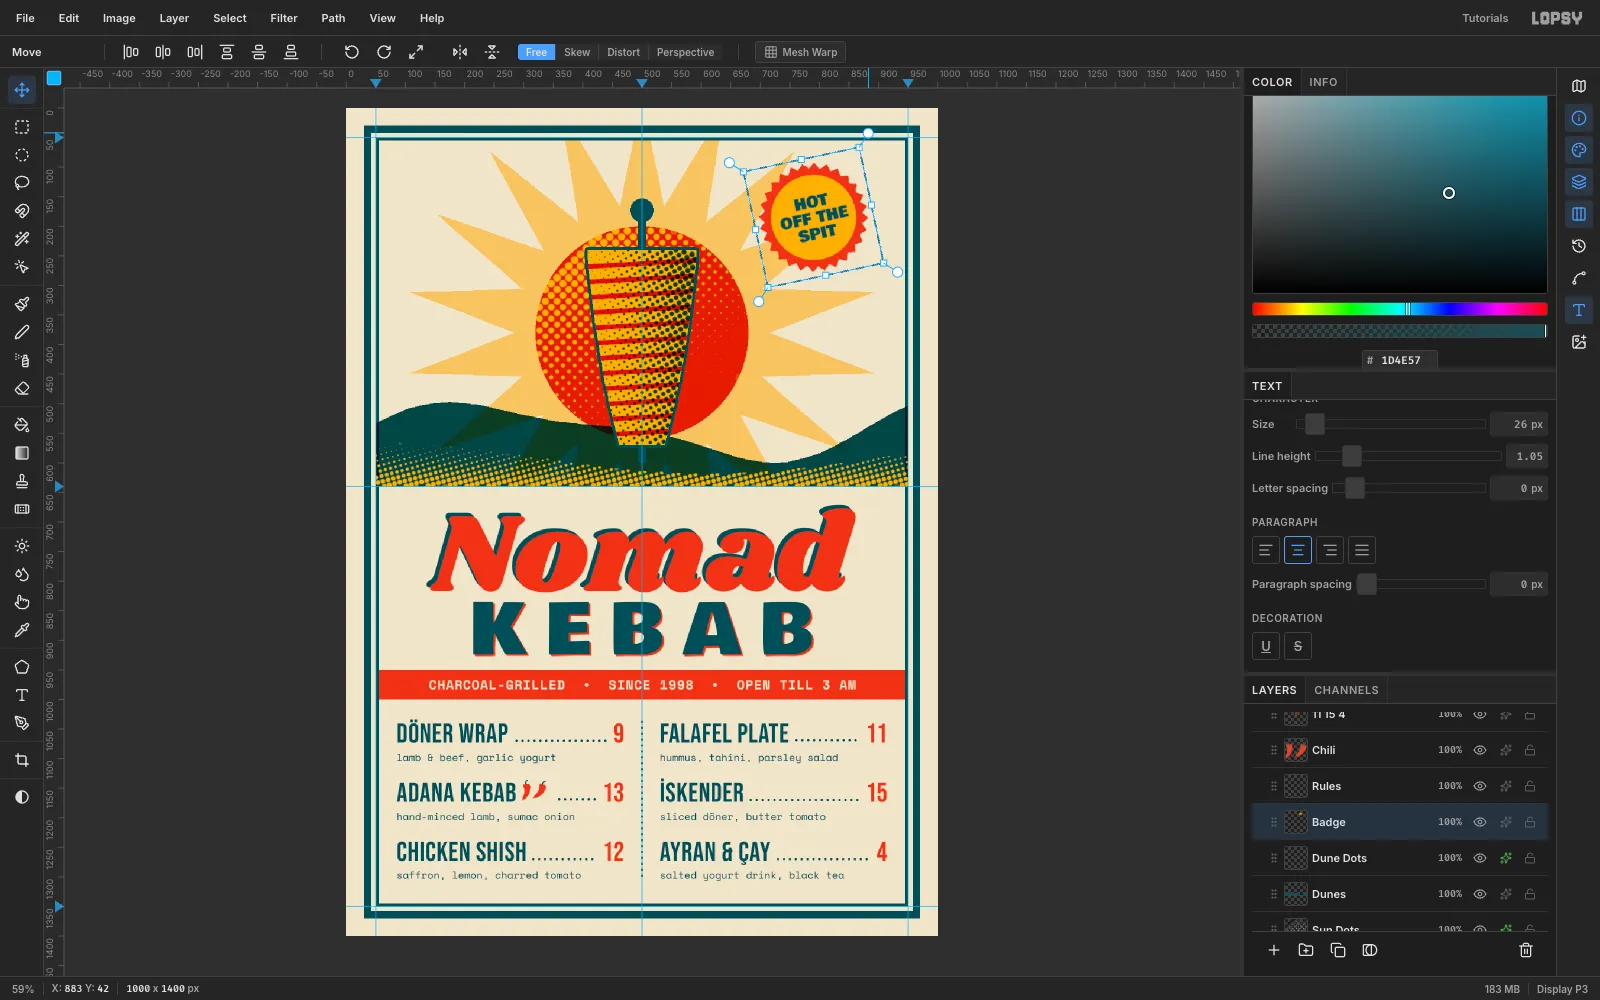
Badge. Lasso a 28-point seal around (790, 185), alternating 92 px and 83 px from the centre. Fill it with tomato. Then drag a 144 px ellipse from (718, 113) and fill it with mustard.Drag an area-text box across the disc and type
HOT/OFF THE/SPIT, one word group per line. Use Bowlby One,26px, teal, Align center and Line height1.05. Centre it on the disc, click Rasterize Layer, then Layer → Merge Down.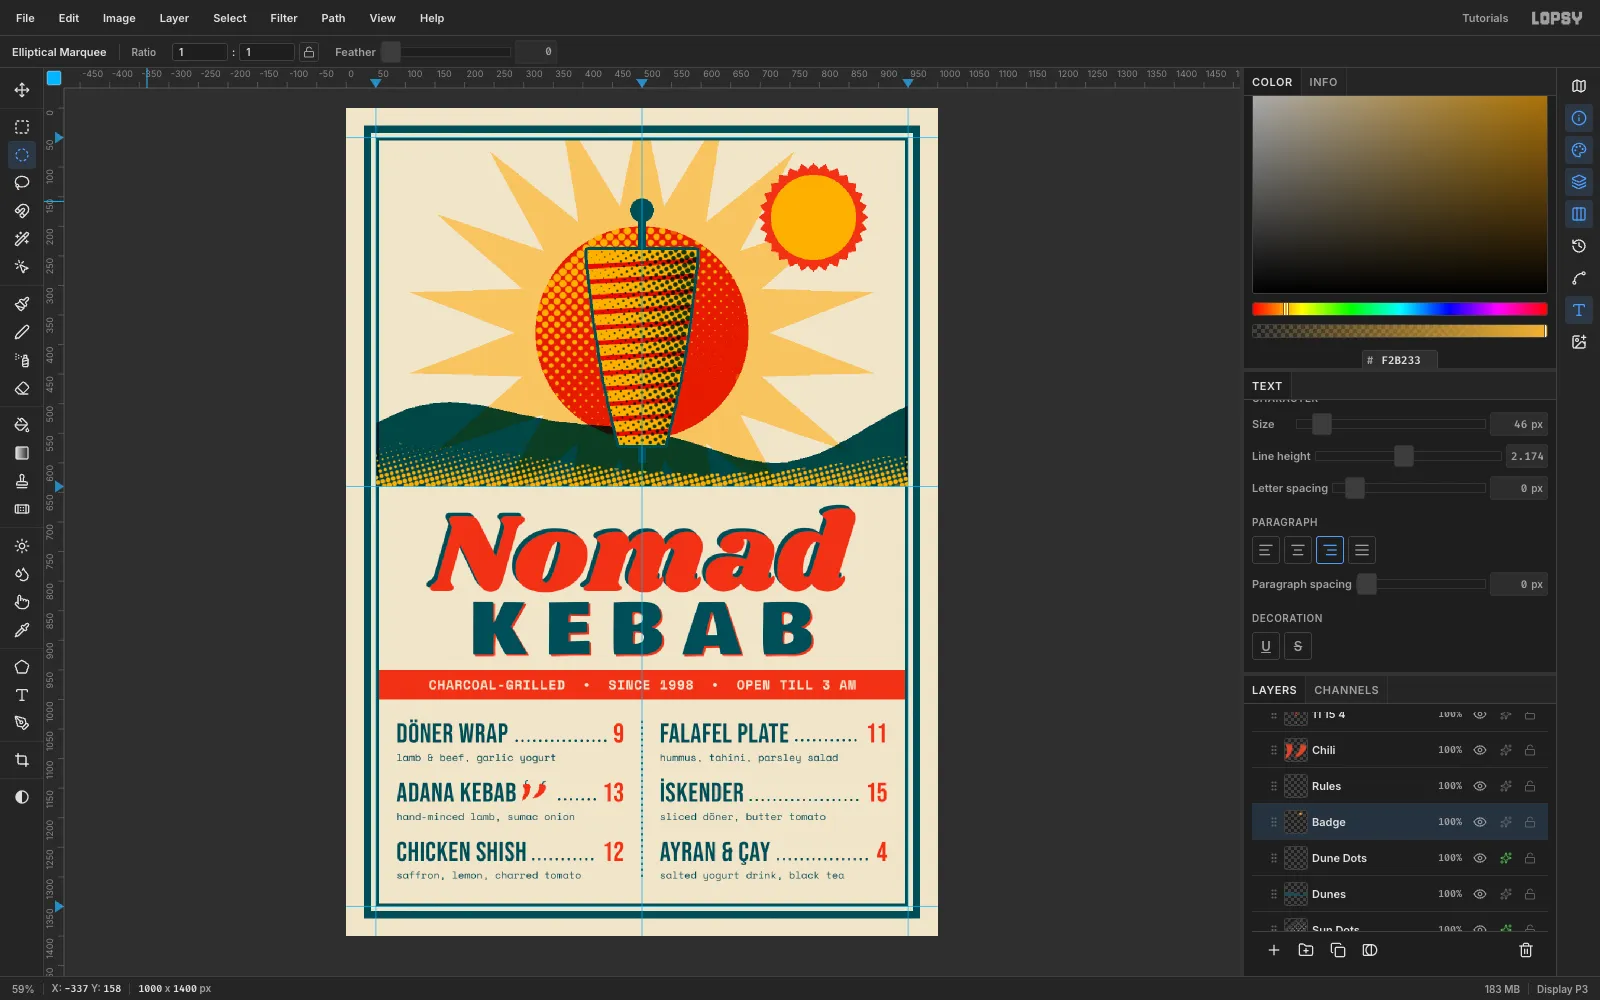
-
Tilt the badge
Marquee around the badge and switch to Move. Drag the rotate handle anticlockwise about 12°, then press Cmd+D. A slight tilt makes it feel slapped on after printing.
-
Select the menu layers
Click the top description layer, then Cmd-click each of the other menu layers: both item columns, both price columns, the other description layer,
RulesandChili.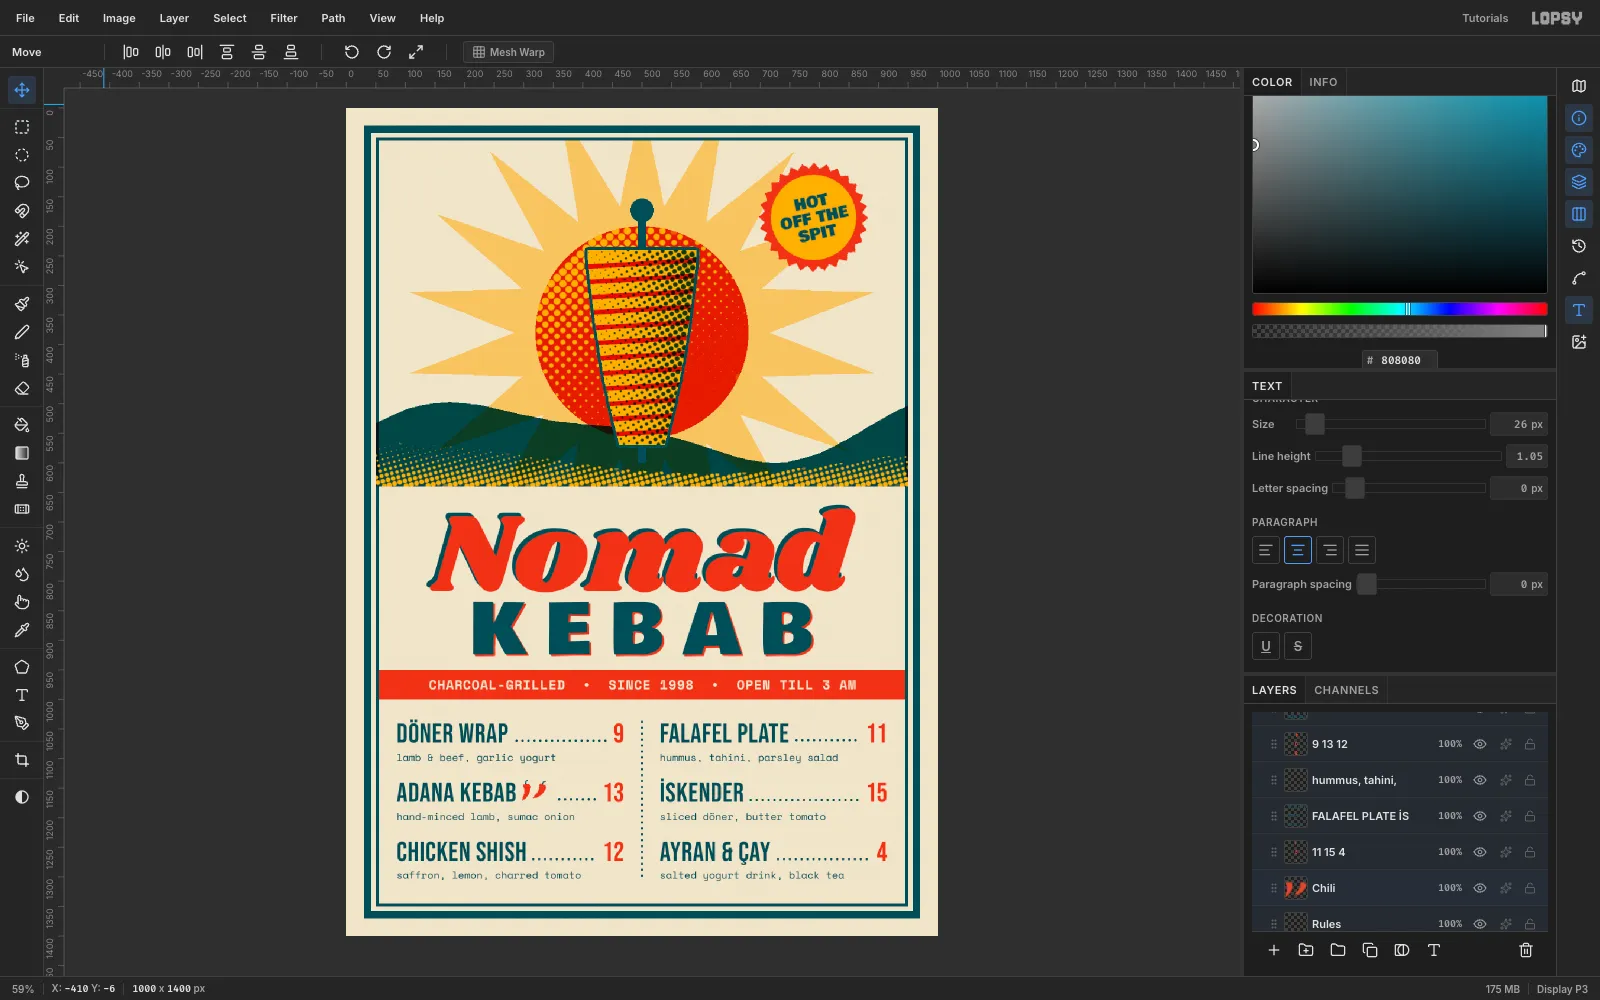
-
Group and nudge the menu
Choose Layer → Group Layers and rename the group
Menu. Press V, then Shift+↑ once and ↓ four times. That lifts the whole menu 6 px, so the space above and below the columns is even.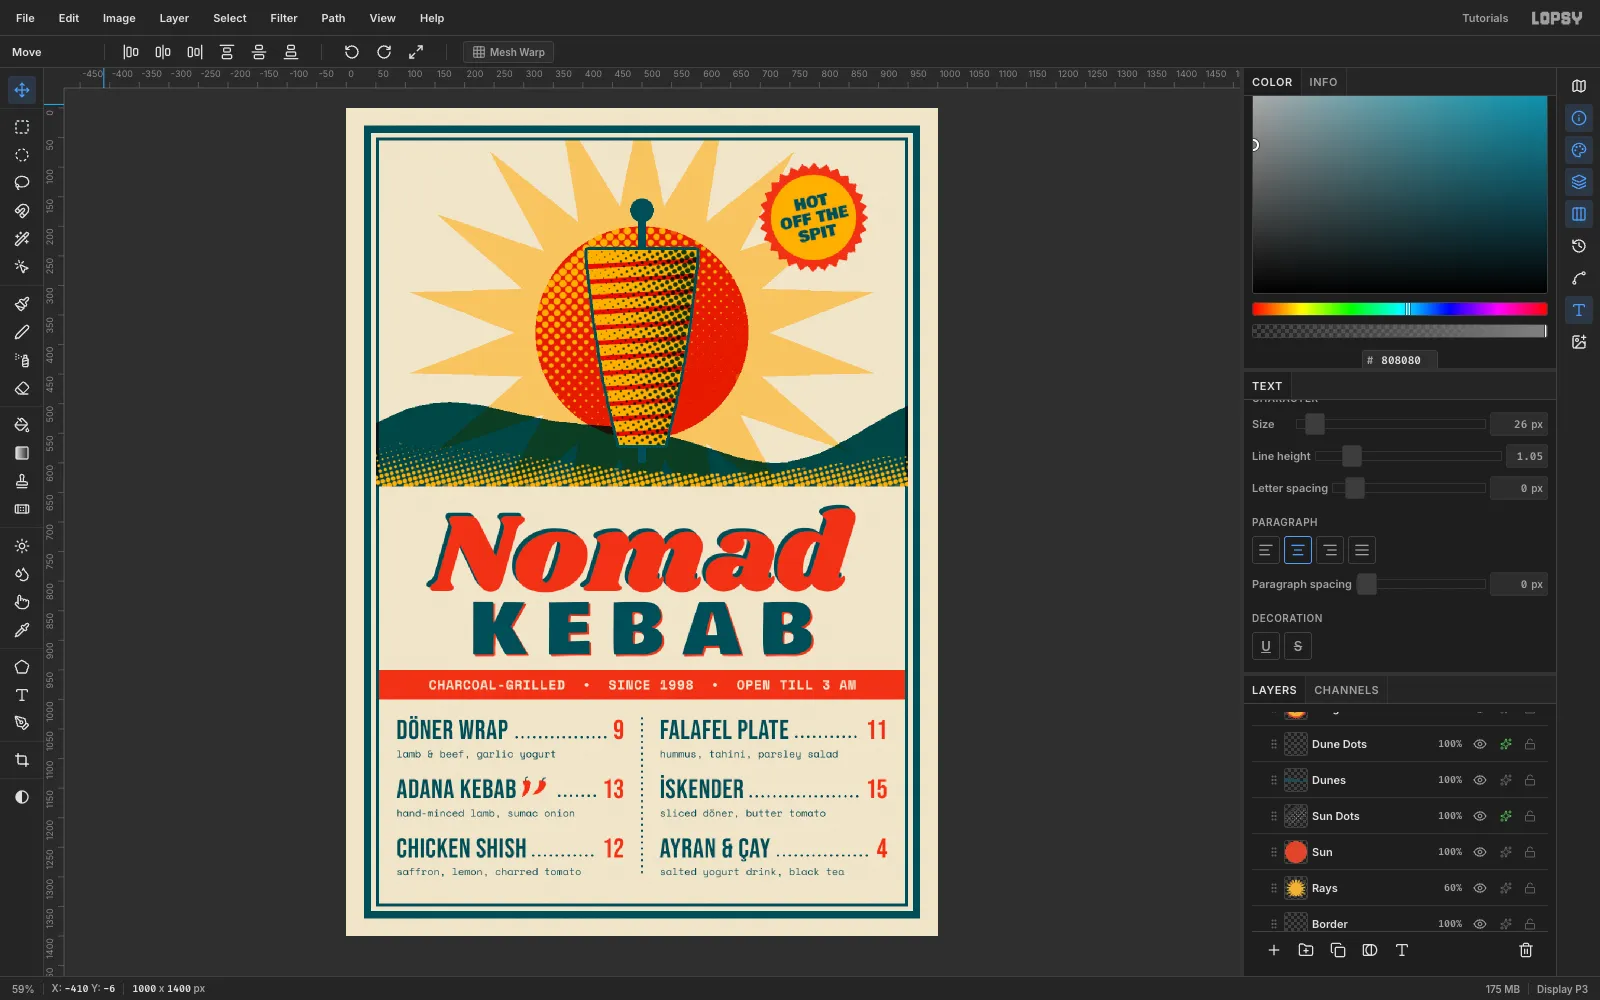
-
Add paper grain and ink texture
Real prints are never flat. Pick Filter → Add Noise… with Mono and Gaussian on these layers:
- Background: Amount
8, for paper tooth - Sun and Banner: Amount
12, for ink texture
Then click the top headline layer and add a layer called
Grain. Fill it with#808080and run Add Noise at40. Set it to Overlay at35%opacity. Drag its row above the collapsed Spit group so the grain covers everything.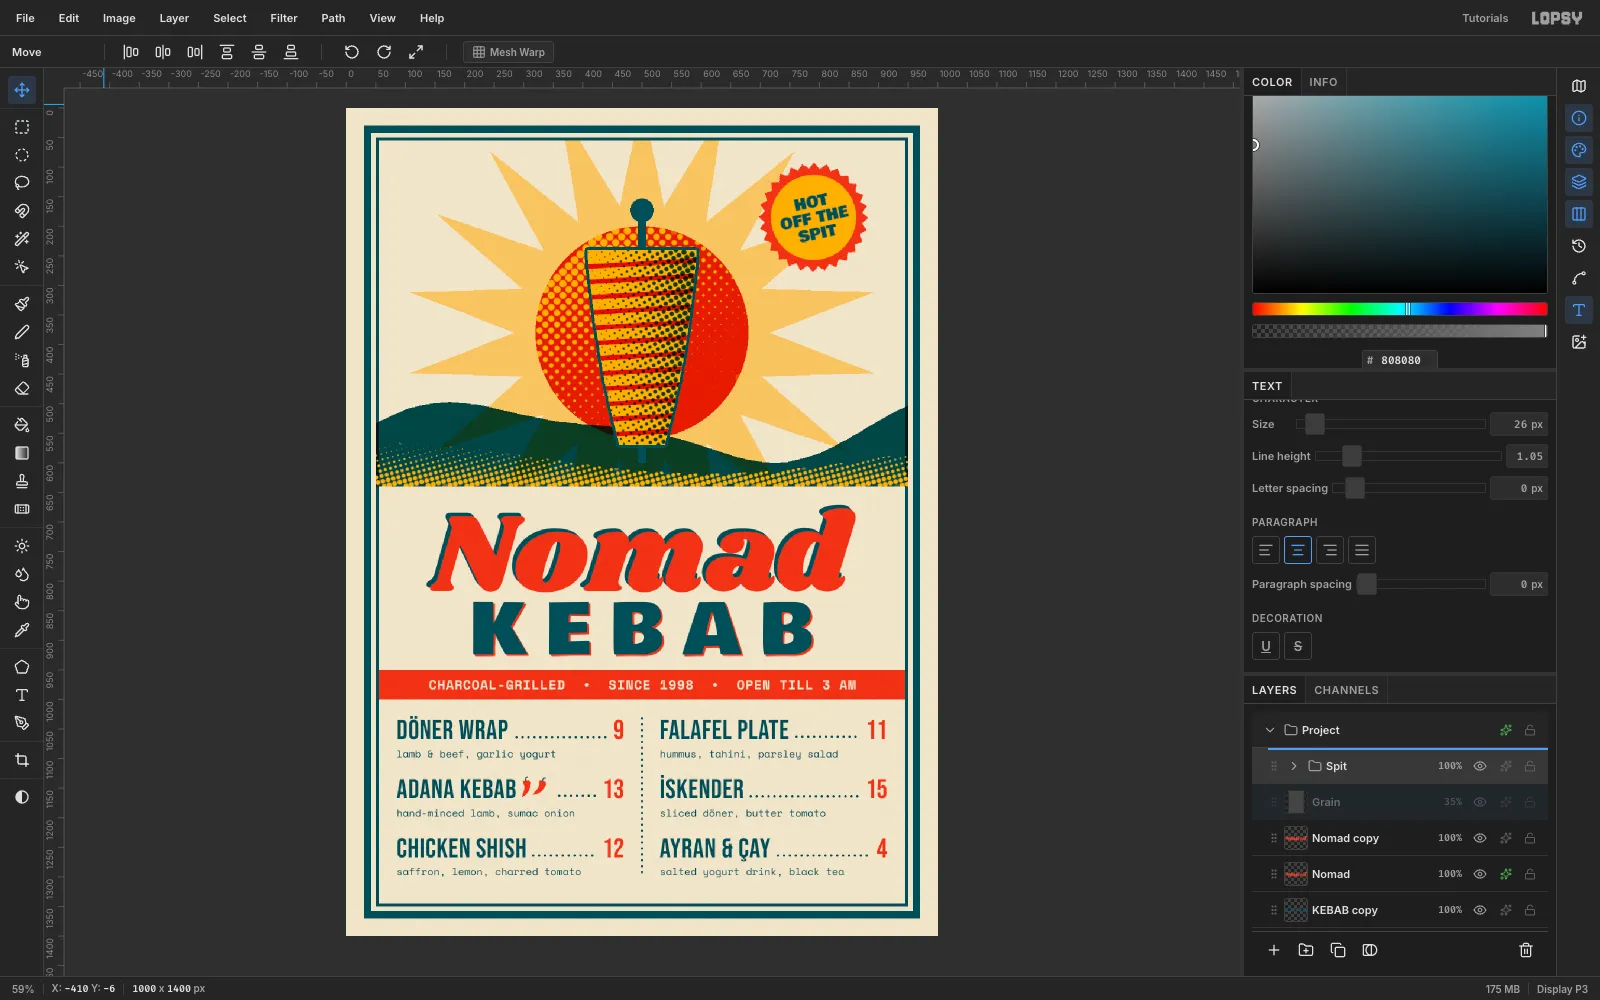
- Background: Amount
-
Export the finished menu
Hide the guides with View → Show Guides. Then use File → Quick Export PNG for the image and File → Save Project to keep every layer editable.
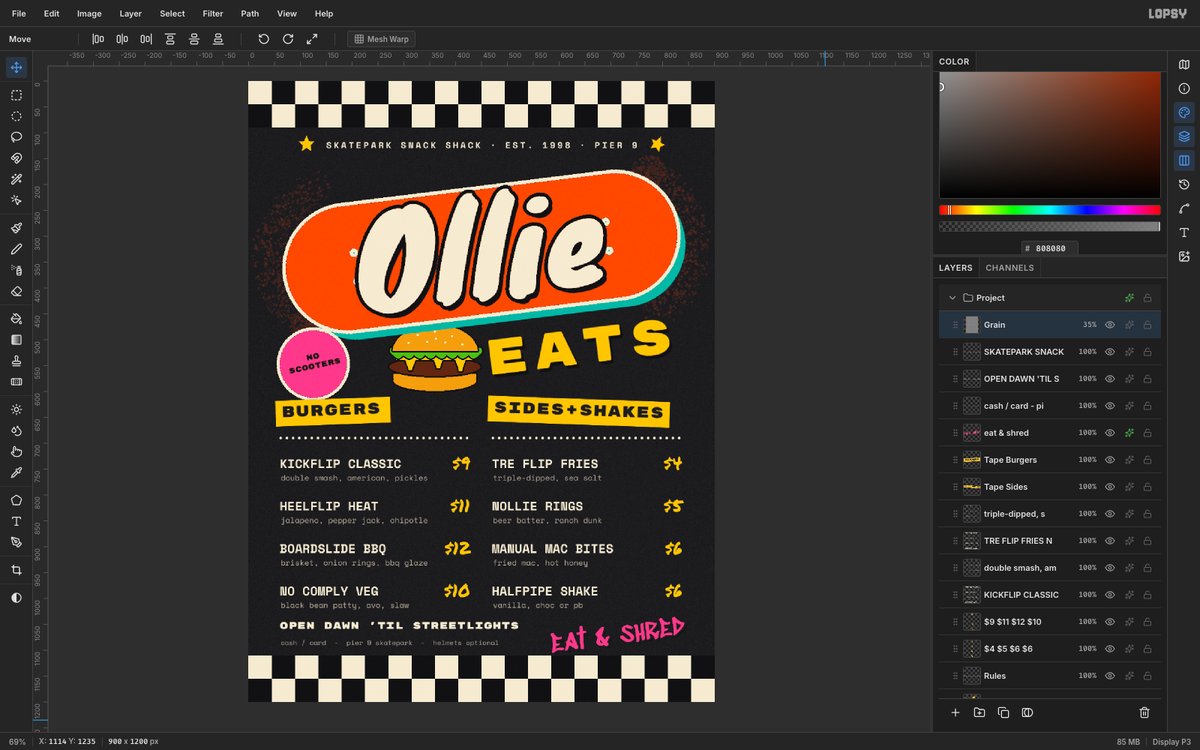
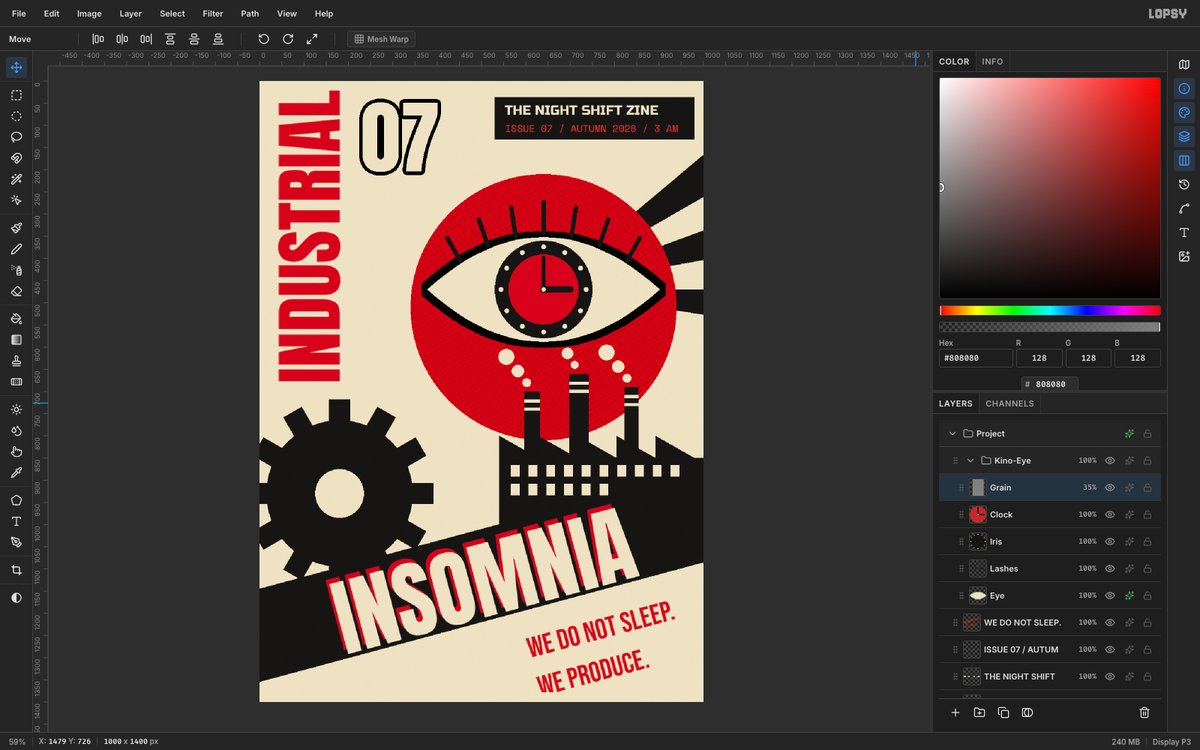
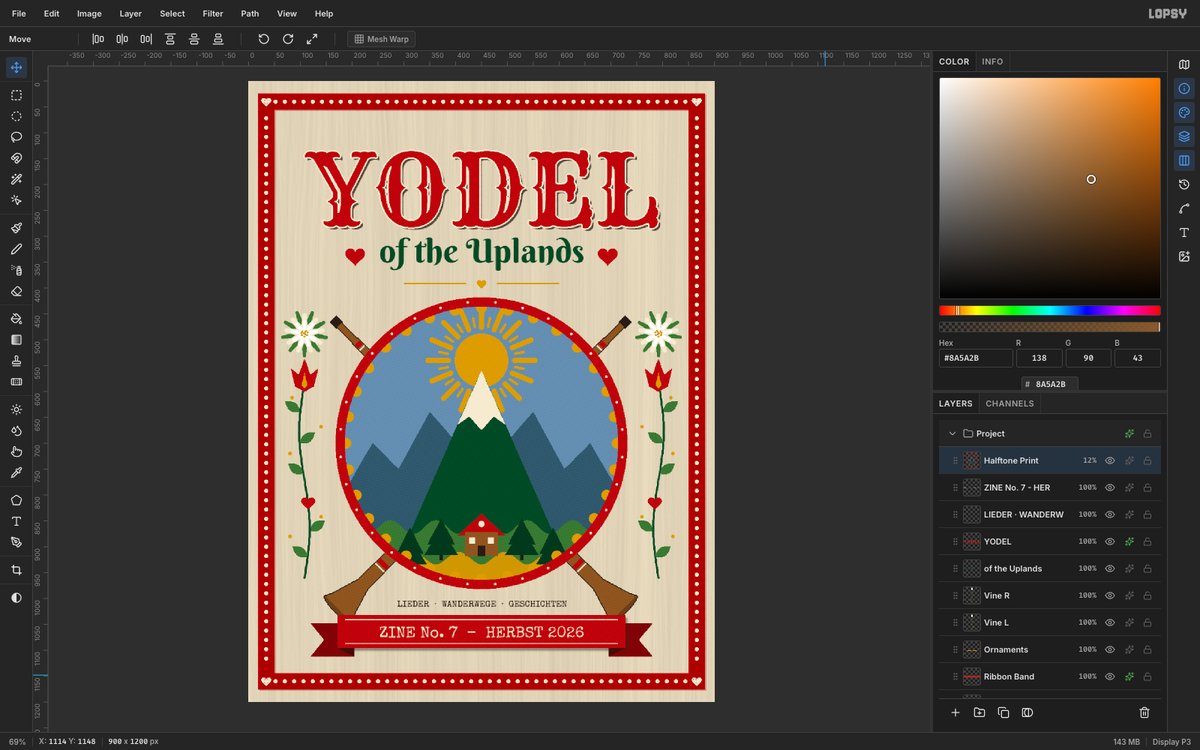
Try the same method on a gig poster or a beer label. Pick three inks, let Multiply make the fourth, and put dots wherever you would normally shade.