Design a Constructivist Zine Cover in Lopsy
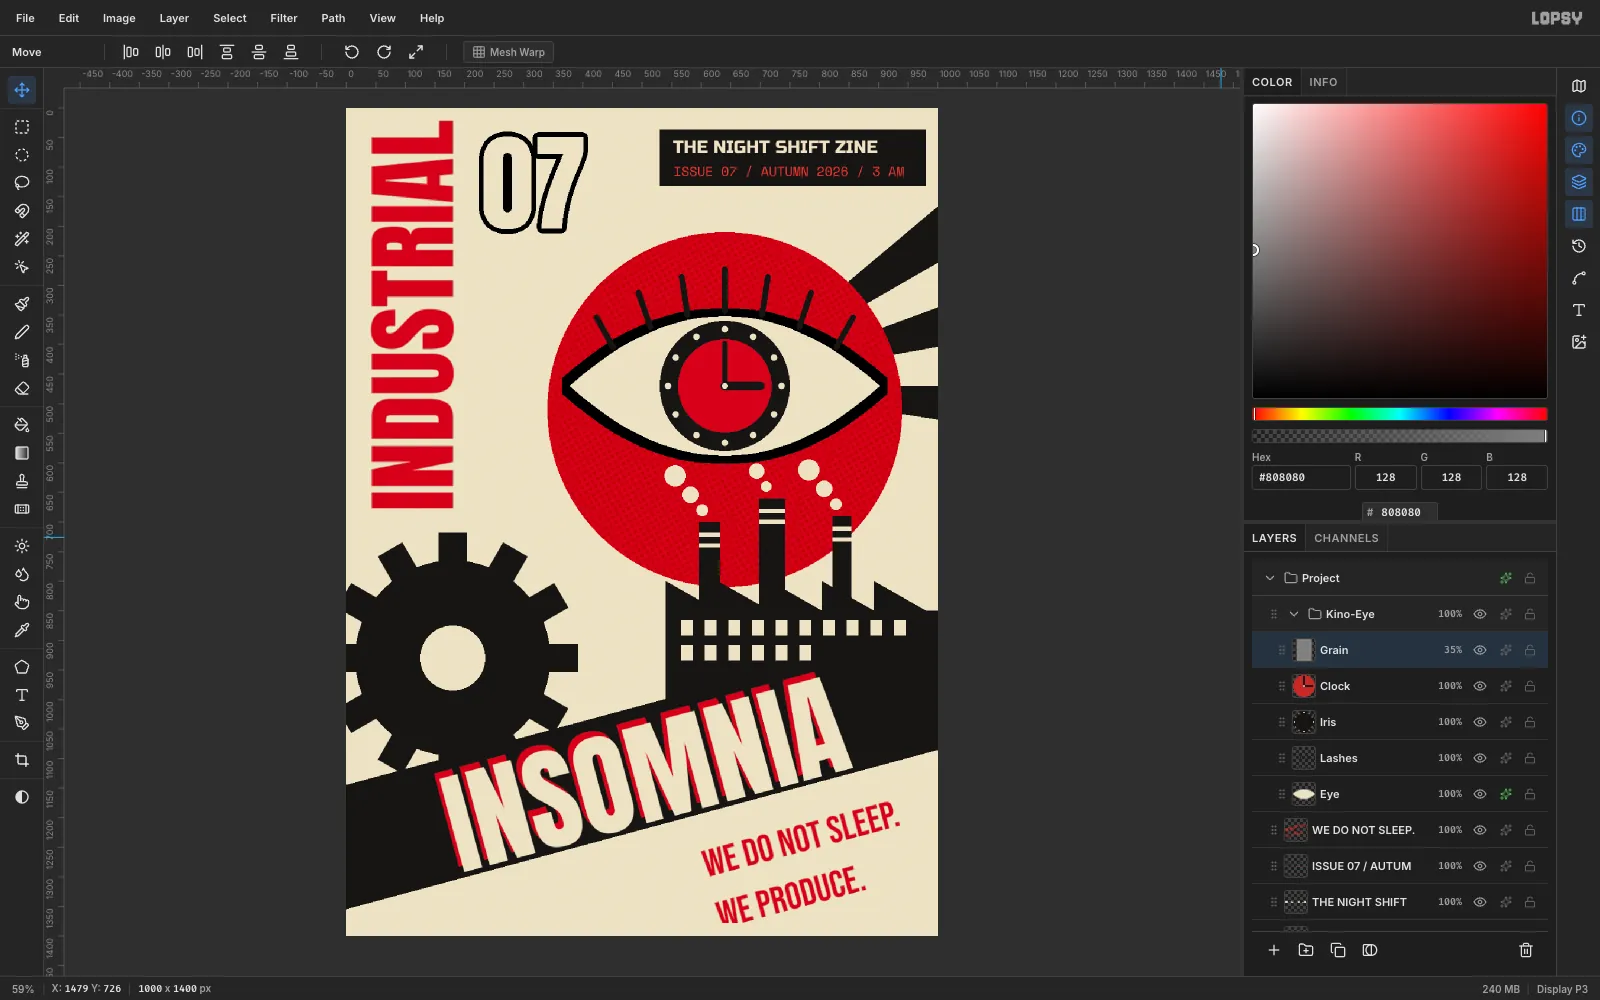
Make a constructivist zine cover in Lopsy with a clock-eyed kino-eye, a rotated gear, a factory skyline, misregistered diagonal type and halftone texture.
Constructivist designers like Rodchenko, the Stenberg brothers and Klutsis built covers from a few loud parts: a flat red disc, black machine silhouettes, and heavy condensed type set vertically or on a steep diagonal. Dziga Vertov's kino-eye, a camera lens drawn as a human eye, turns up again and again.
In this tutorial you'll use that vocabulary for the cover of a made-up zine, Industrial Insomnia, issue 07 of The Night Shift Zine. The eye can't close because its iris is a clock stuck at 3 AM. You'll draw everything with selections and the brush, build a gear by rotating pasted copies, and finish with misregistered type and halftone print texture.
The palette is: cream #ECE2C6, red #C62828 and ink black #171514.
-
Create the zine canvas
Open Lopsy. In the New Document dialog, type
1000for Width and1400for Height, choose a White background, and click Create. That's close to the A5 proportion most zines are printed at.Select the Background layer and set the foreground to
#ECE2C6in the Color panel's hex field. Press G for the Paint Bucket and click the canvas. Then double-click Layer 1 and rename itRays.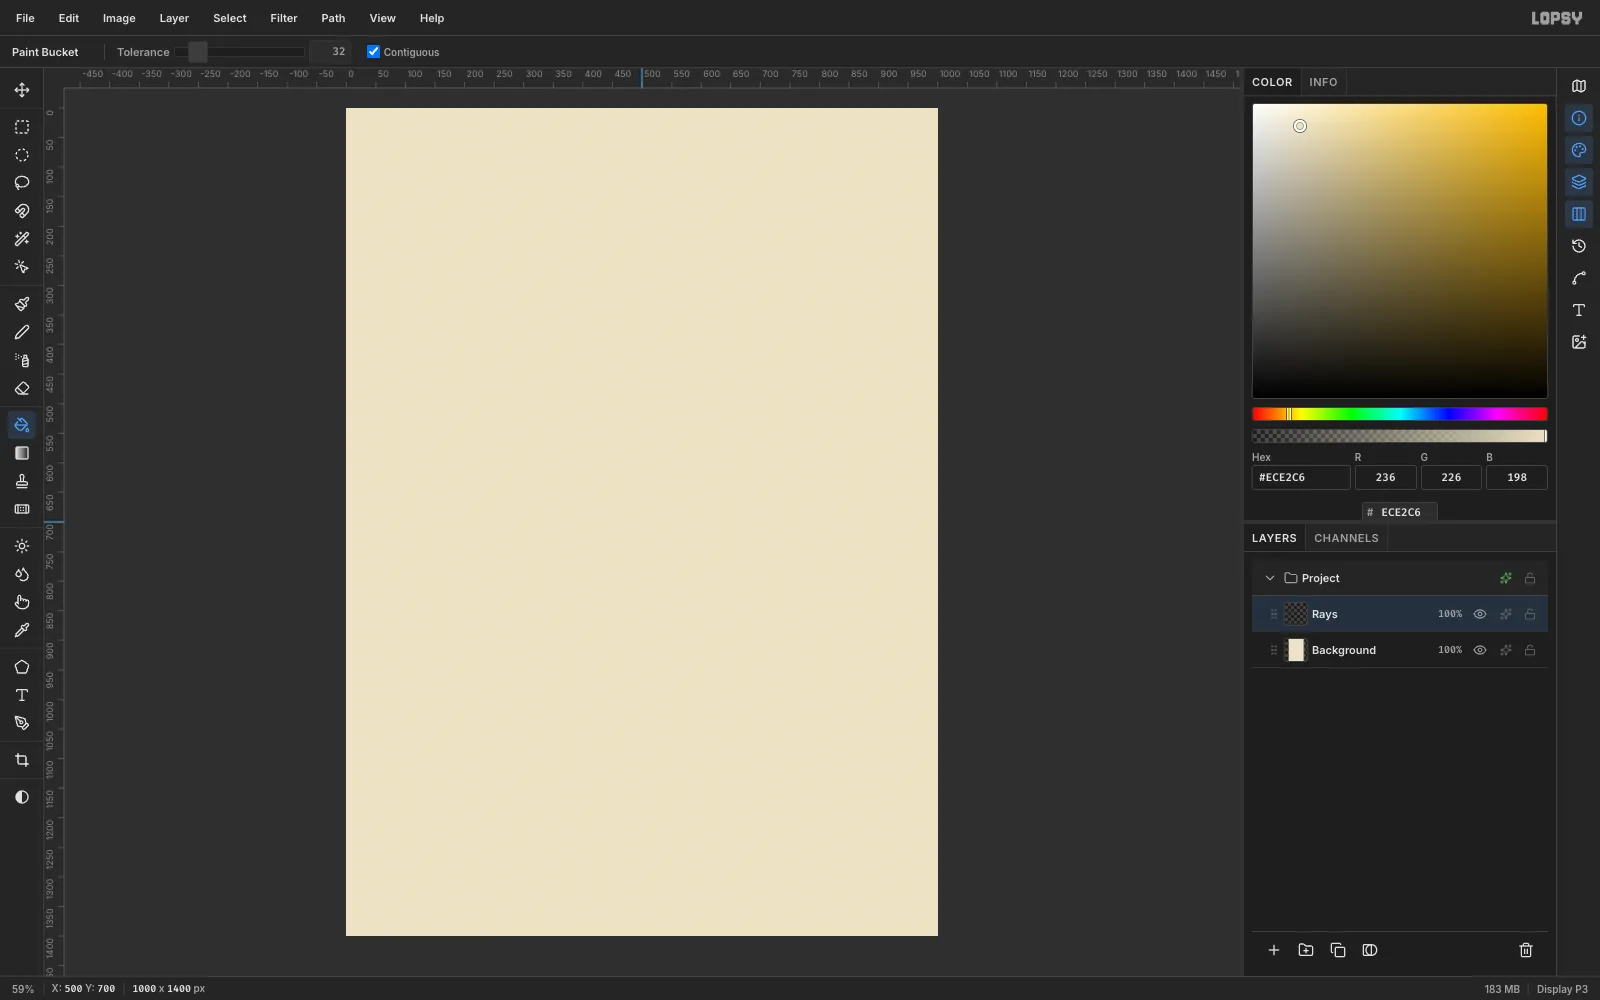
-
Lasso a searchlight ray
The rays will seem to shine out from behind the eye, so they all start at the eye's centre, (640, 470). Press L for the Lasso. Press the mouse down at that point, drag out past the right edge of the canvas at about y = 150, come down to about y = 250, and drag back to the start.
Set the foreground to
#171514, click inside the wedge with the Paint Bucket and press Cmd+D to deselect.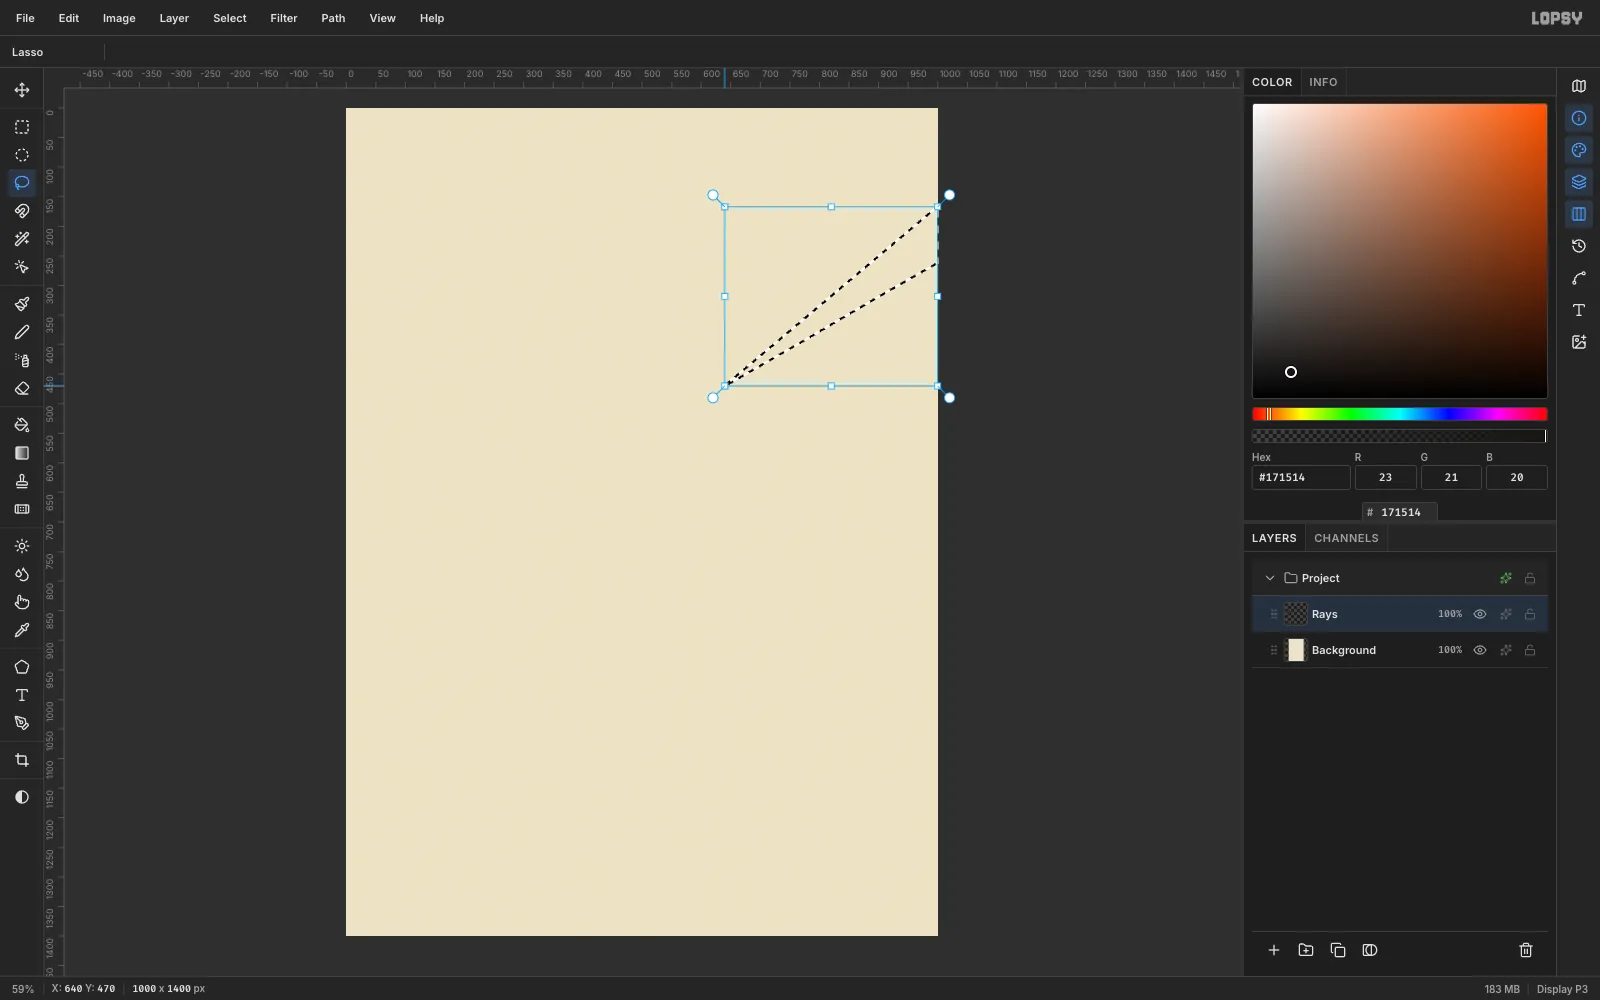
-
Add two more rays
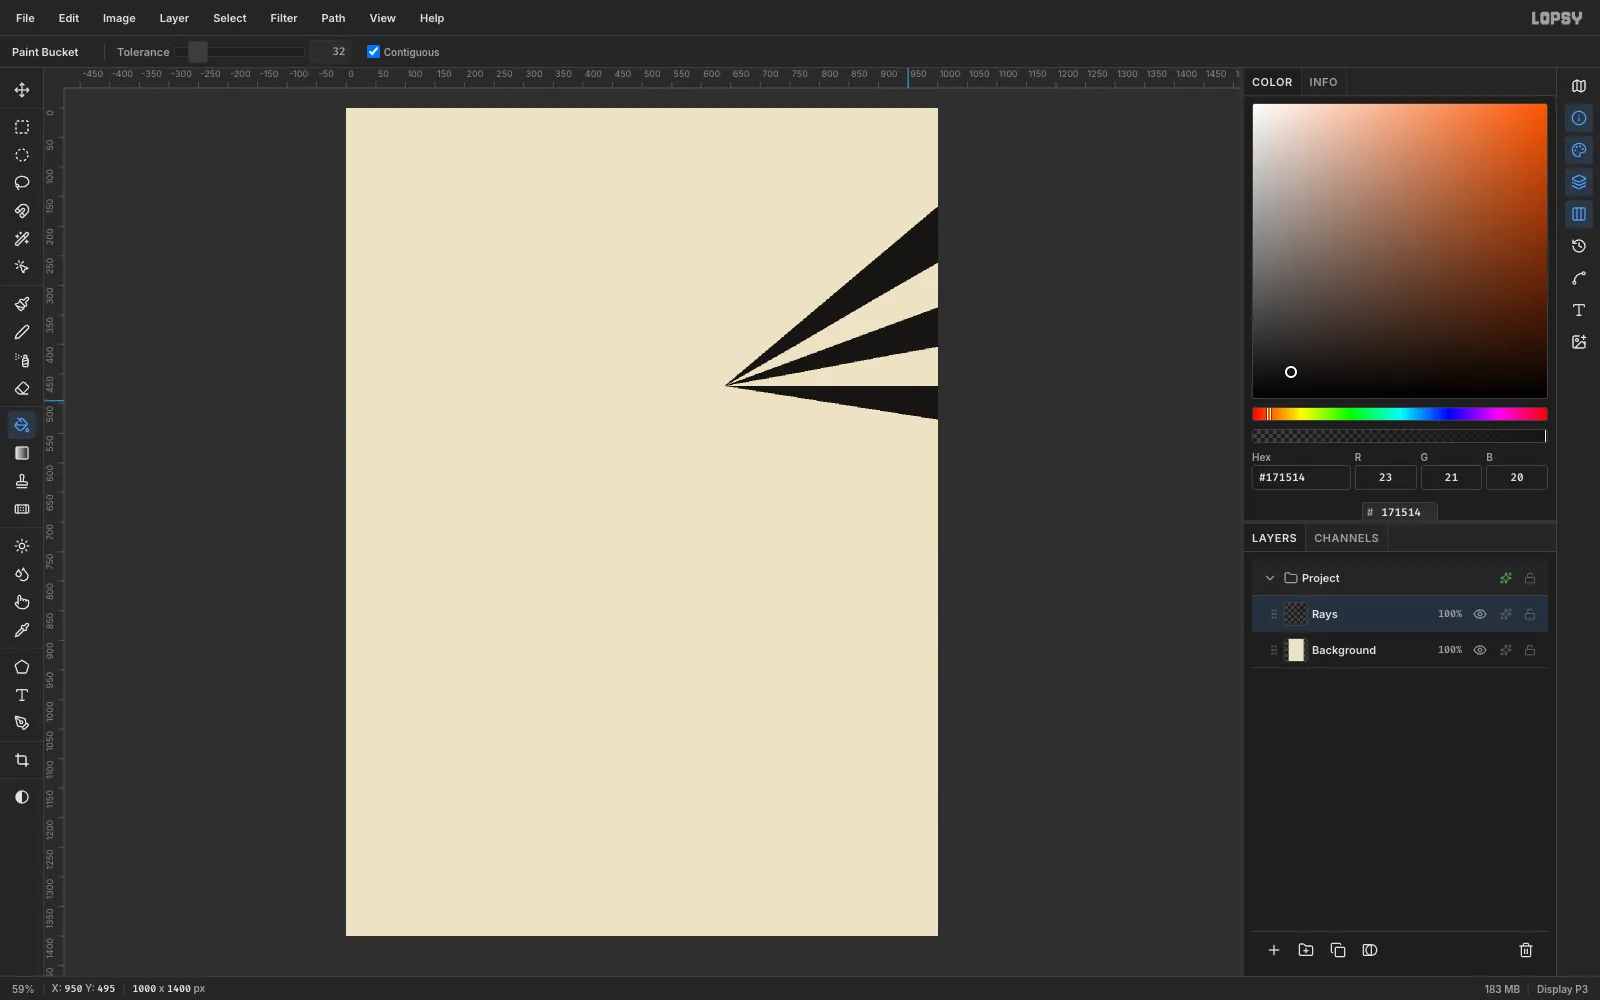
Lasso and fill two more wedges from the same point. The second one reaches the right edge between y = 330 and 400, and the last, thinner one between y = 470 and 530. Rays of different widths look more dynamic than evenly spaced ones.
-
Draw the red sun
Click Add Layer and name it
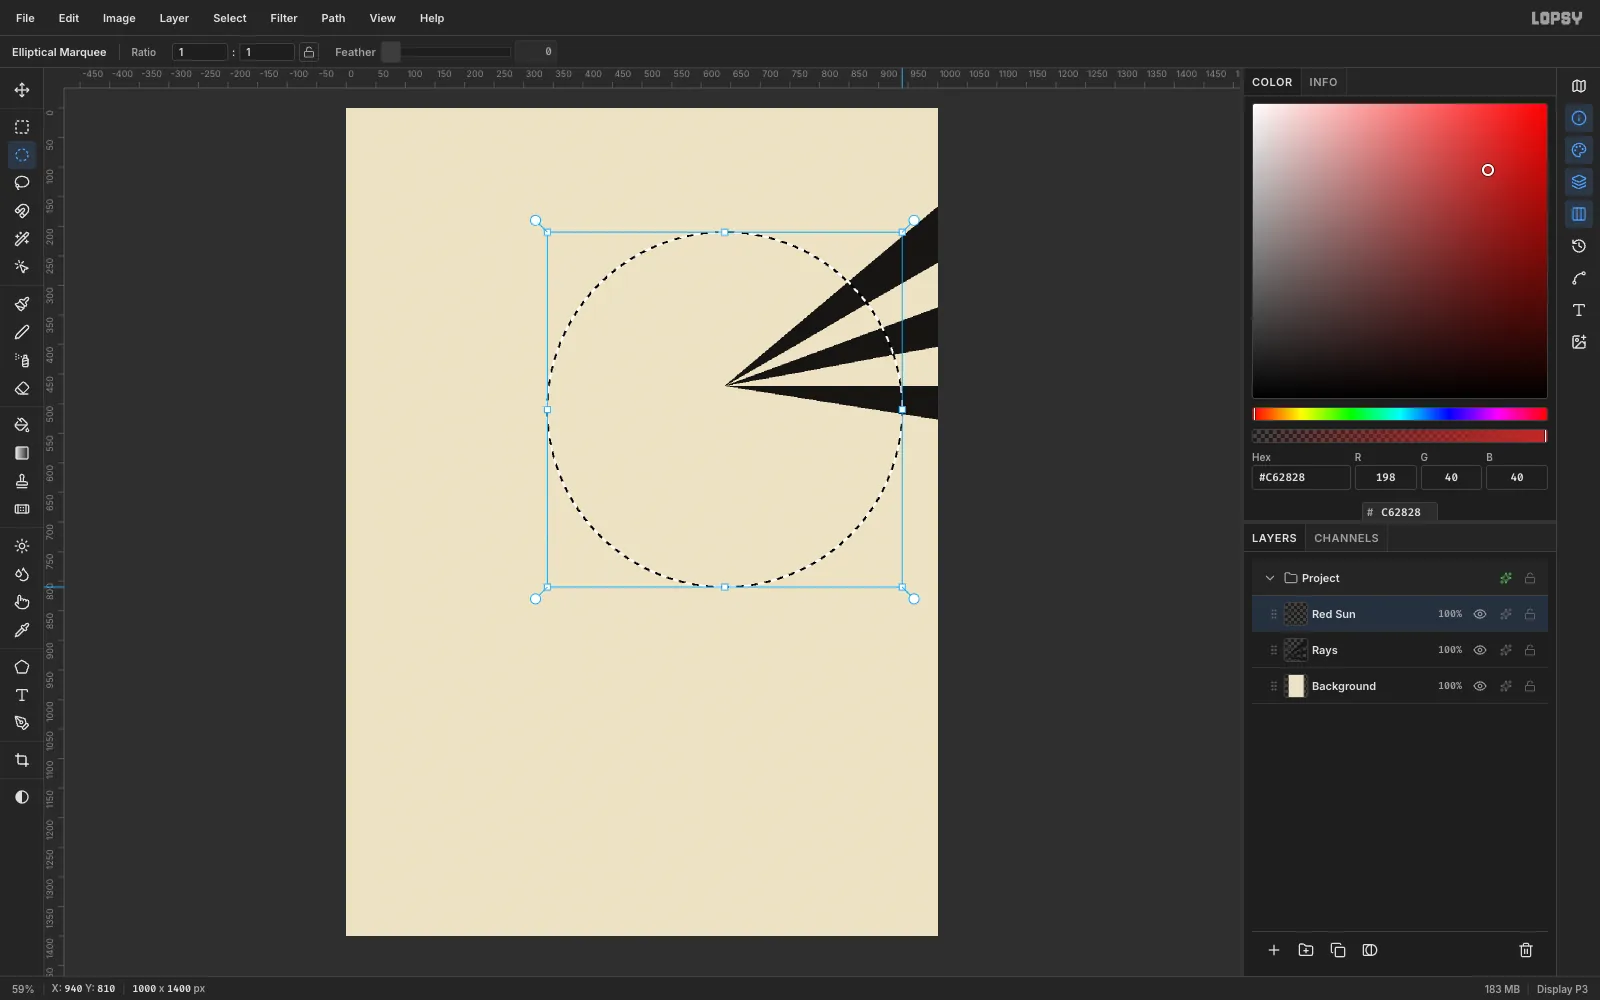
Red Sun. Pick the Elliptical Marquee, hold Cmd and drag from (340, 210) to (940, 810) to make a perfect circle 600 px across. Set the foreground to#C62828and fill it with the Paint Bucket. Press Cmd+D.The circle hides where the rays start, so they now seem to come out from behind the sun.
-
Add halftone dots to a copy
Click Duplicate Layer and rename the copy
Sun Halftone. Choose Filter → Halftone…, set Dot Size to10, Angle to30and Softness to0.5, tick Preview, and click Apply.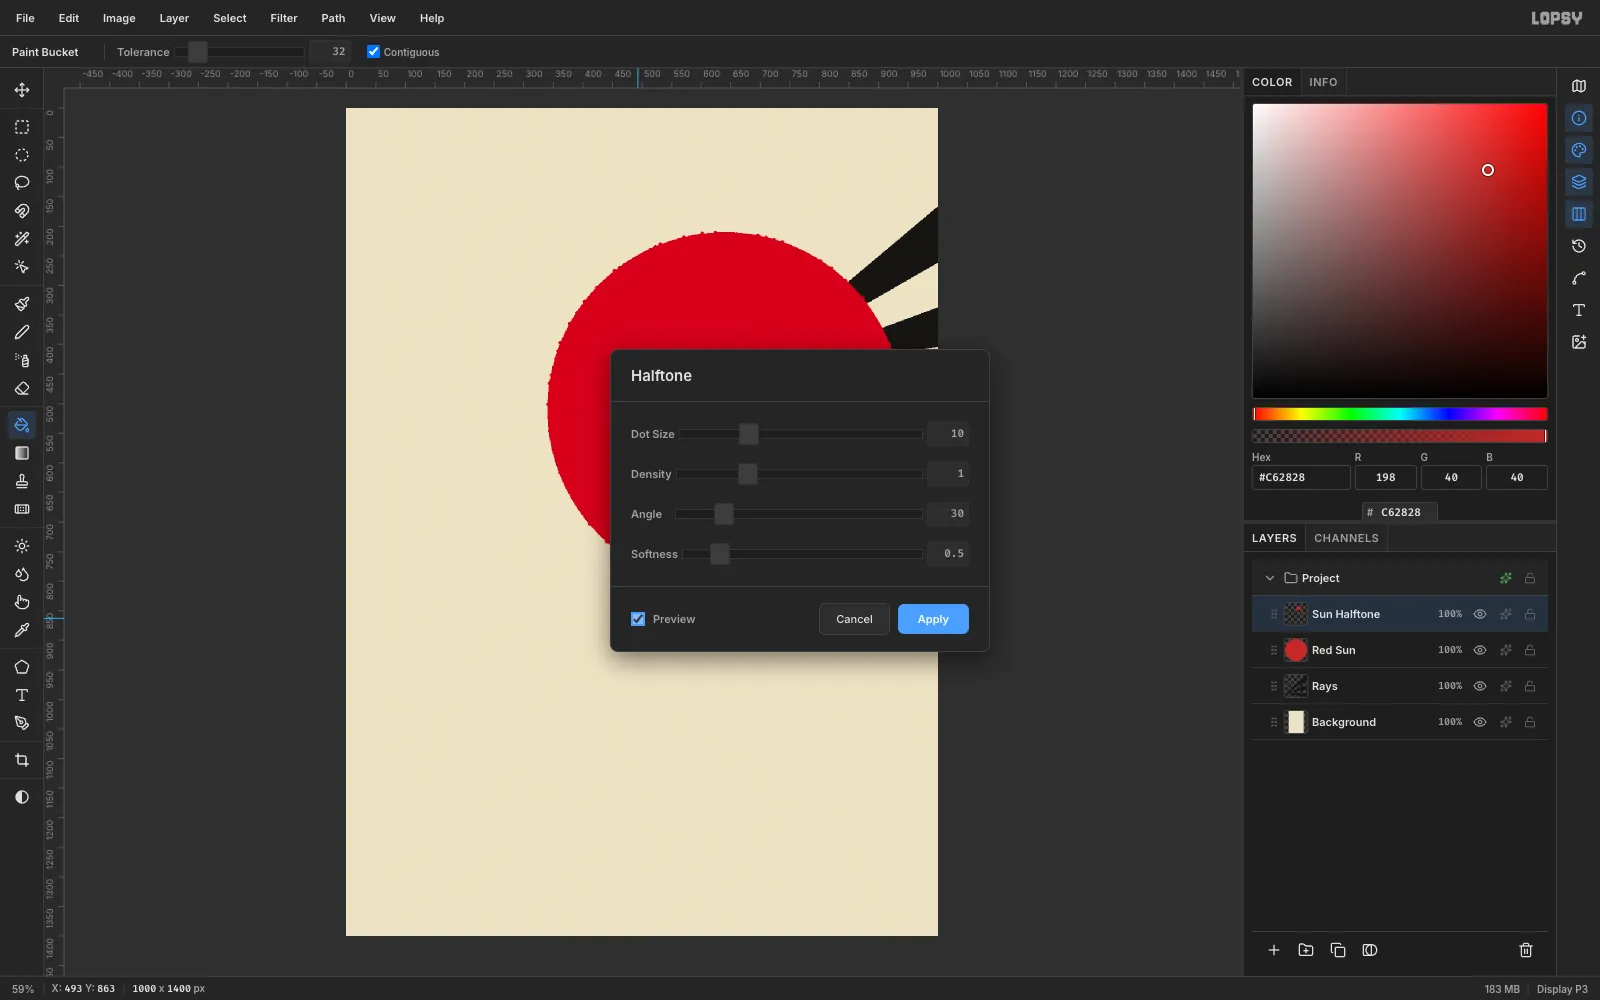
-
Trim the ragged edge
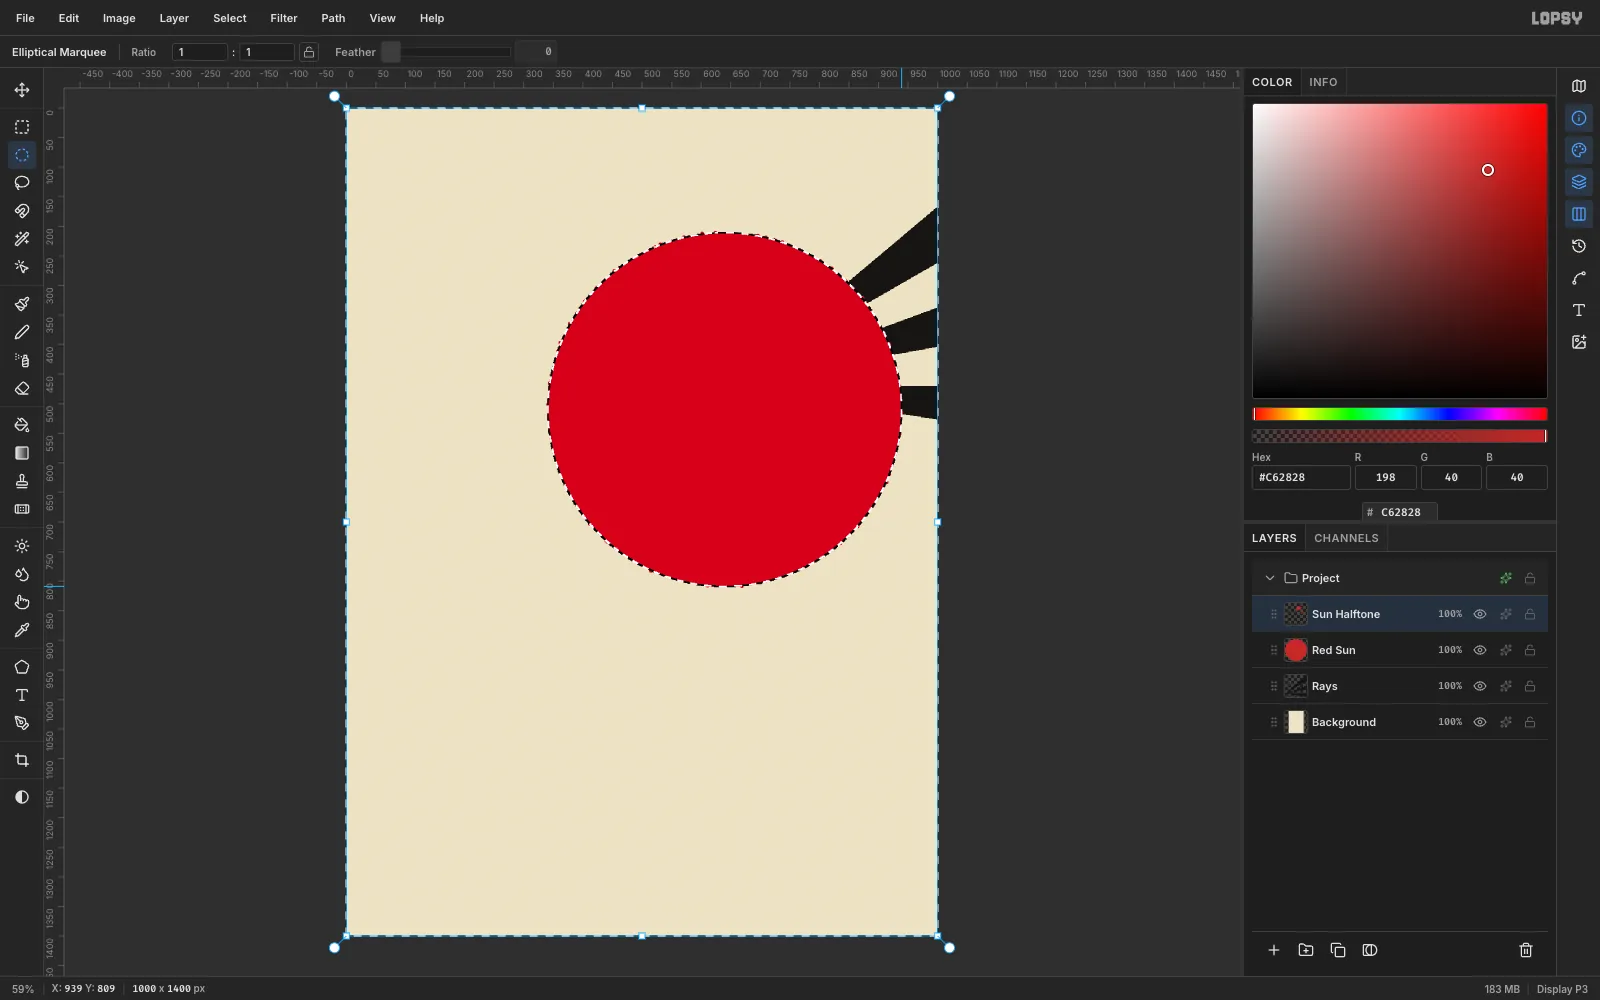
Halftone dots along the edge stick out past the circle. To trim them, draw the same circle again with the Elliptical Marquee, press Cmd+Shift+I to invert the selection, and press Delete. Deselect with Cmd+D.
-
Multiply the dots into the red
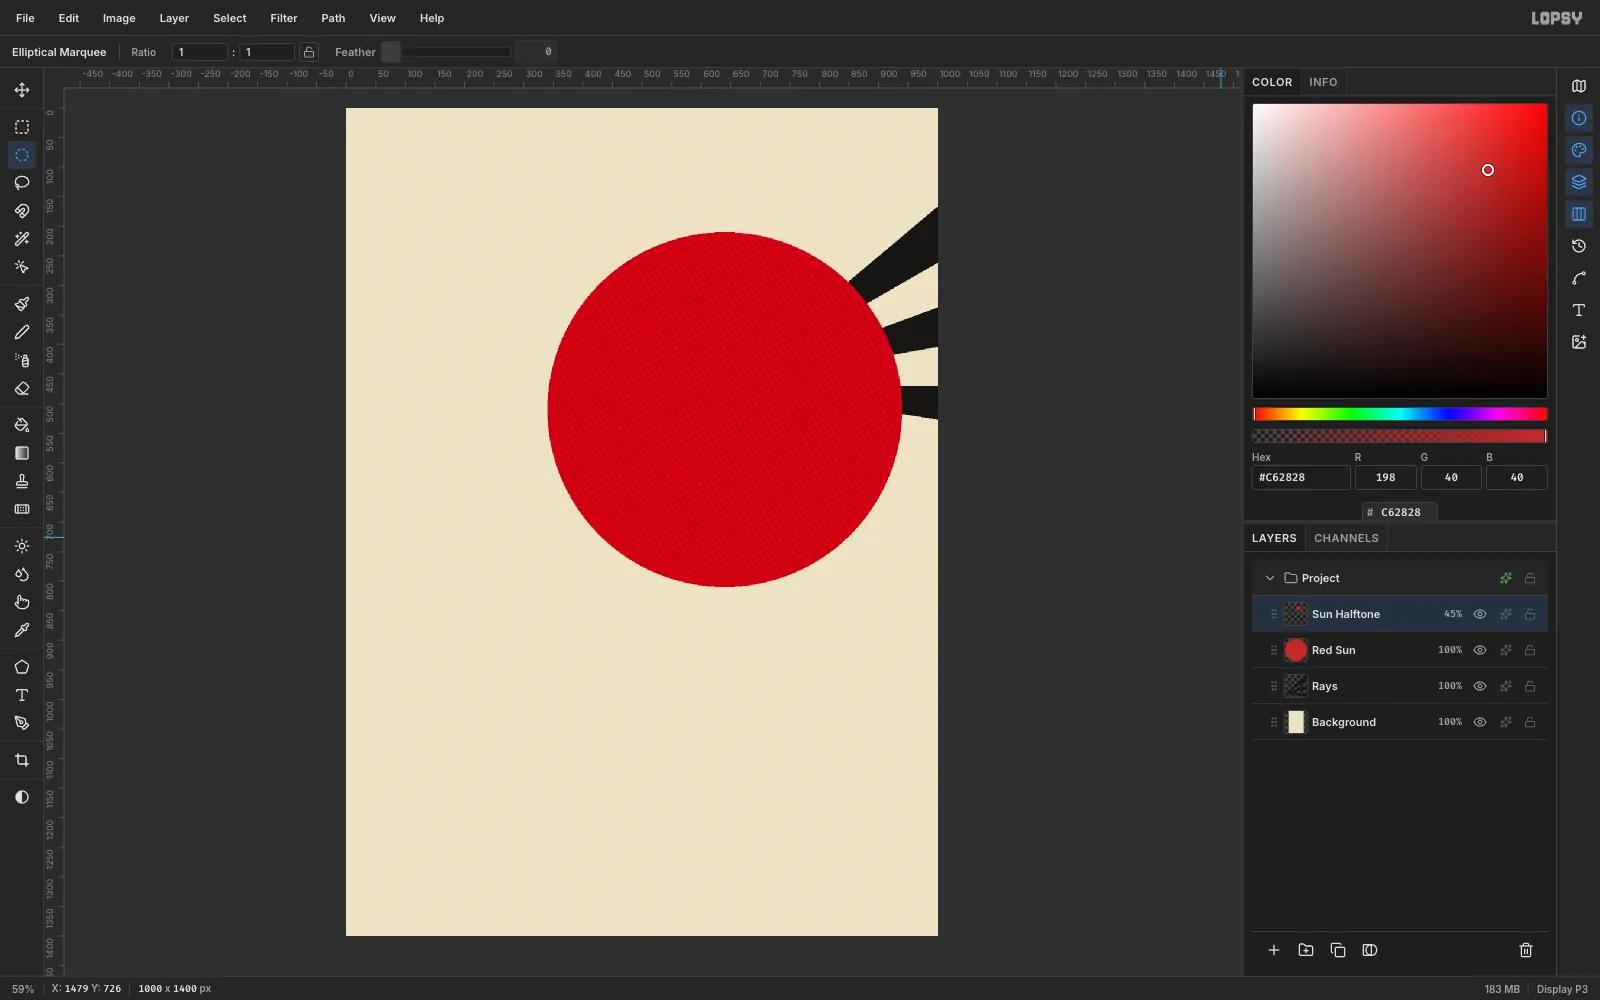
Open the layer's Layer Effects (the sparkle icon on its row), set the blend mode to Multiply, and close the panel. Then set the layer's opacity to about 45%. The dots now read as ink texture, but the red still looks red.
-
Lasso the eye
Select
Sun Halftoneand click New Group in the Layers panel. Name the groupKino-Eyeand add a layer inside it calledEye.Lasso an almond shape centred on (640, 470), about 524 px wide and 236 px tall. Trace two gentle arcs that meet in points at the left and right. Fill it with cream
#ECE2C6.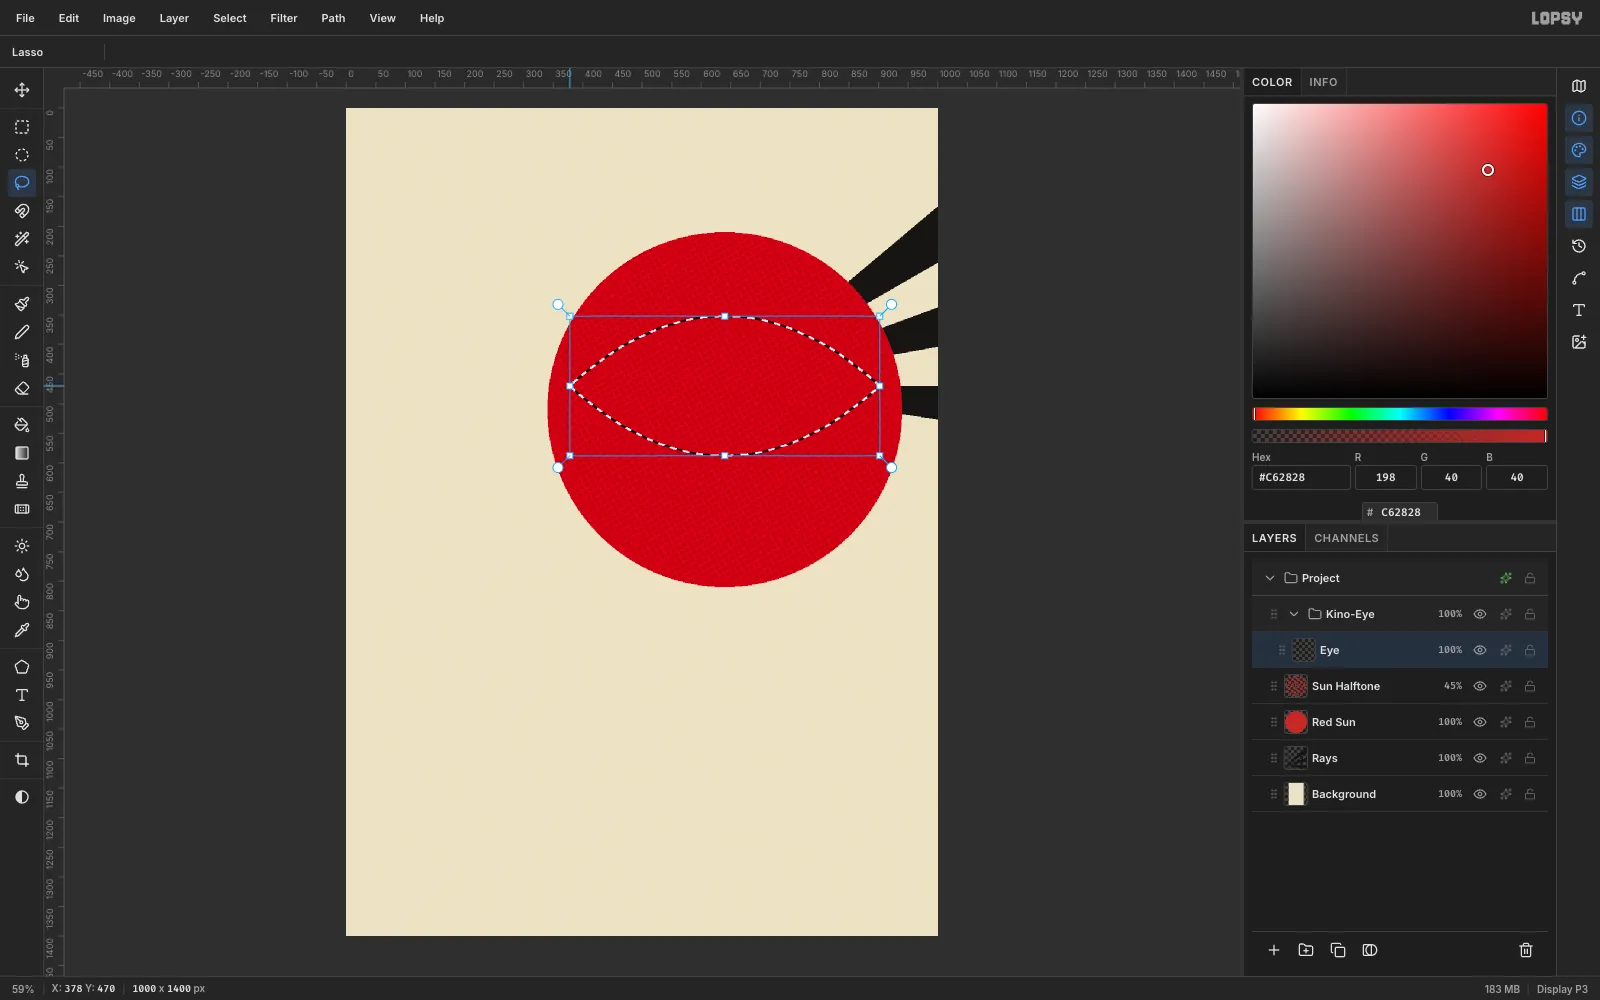
-
Outline the eye with a Stroke effect
Open the
Eyelayer's Layer Effects, turn on Stroke and set Width to13. The default black works. A live effect is easier to change later than a painted outline.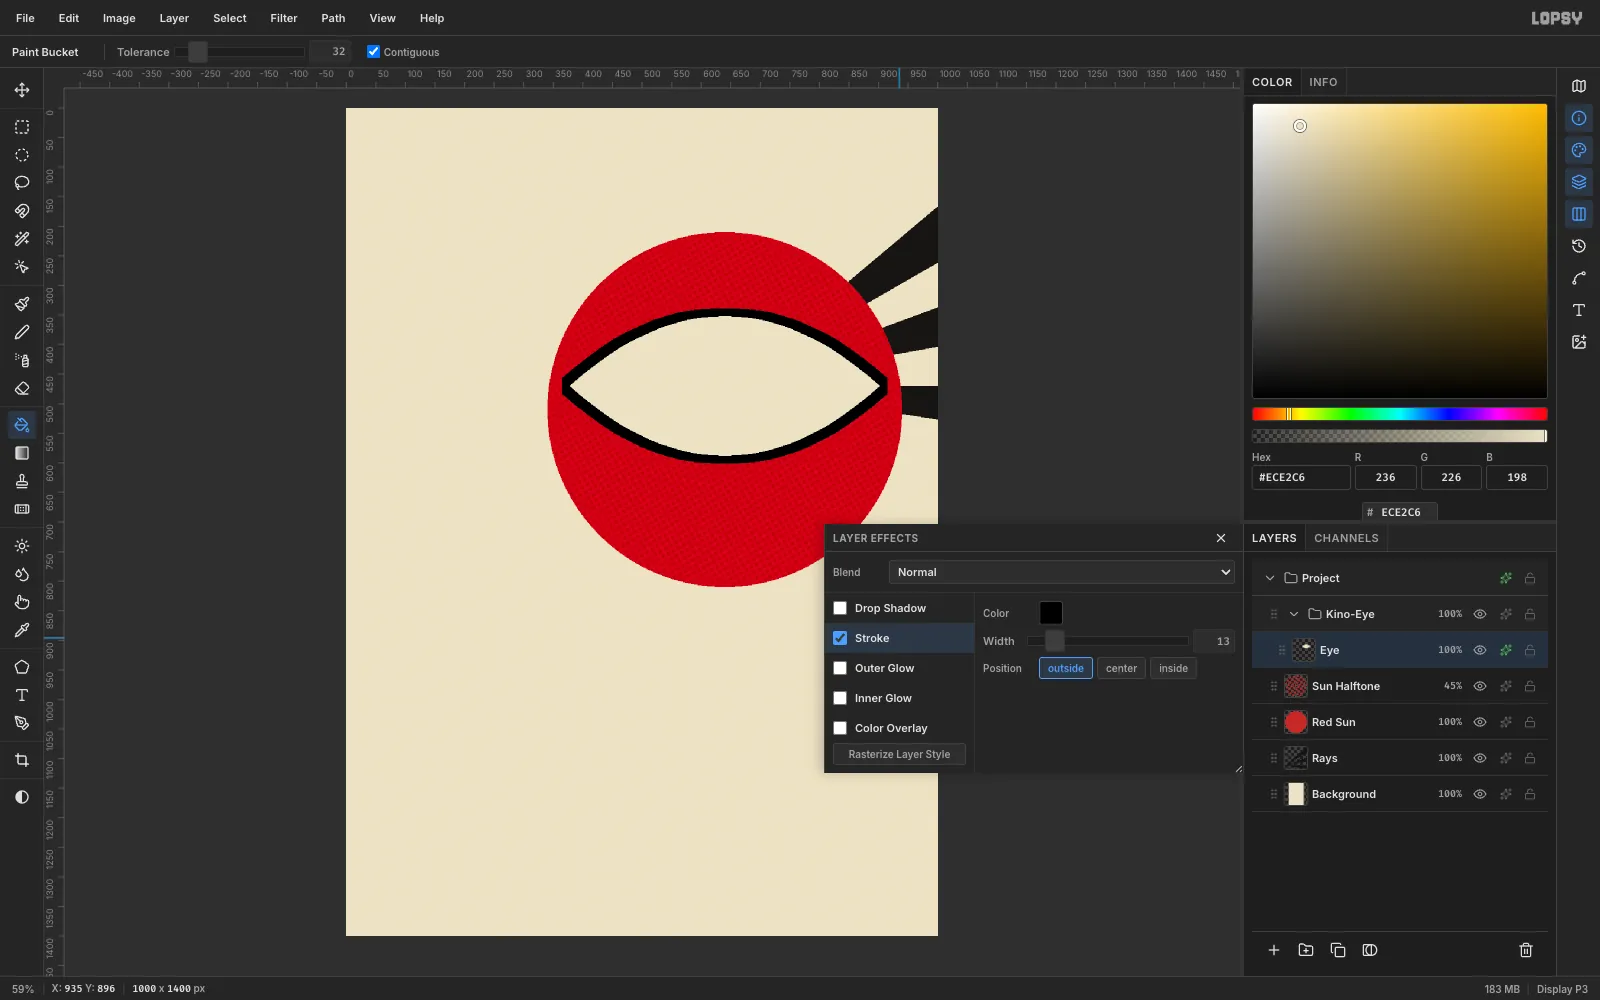
-
Shift-click the lashes
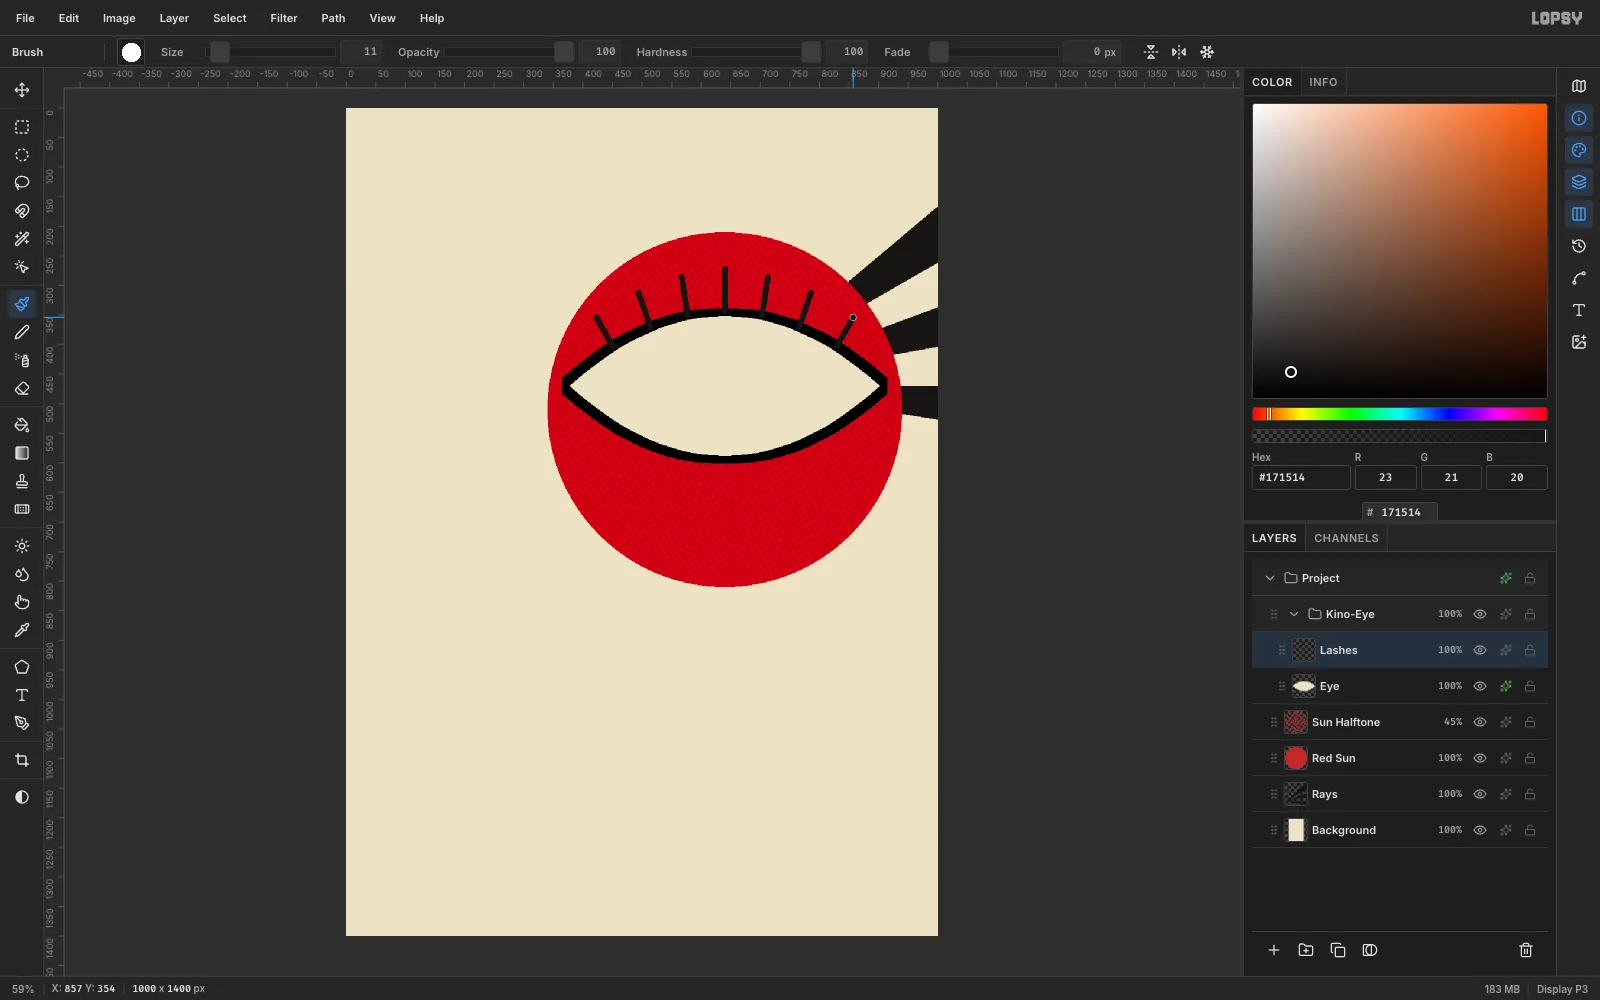
Add a
Lasheslayer. Press B for the Brush and set Size to11, Hardness to100and Opacity to100, with the foreground black.For each lash, click once on the upper lid. Then hold Shift and click 60–70 px further out, on a line pointing away from a spot below the eye. That fans the seven lashes out like rays. Make the middle lashes a little longer than the outer ones.
-
Paint clock ticks with radial symmetry
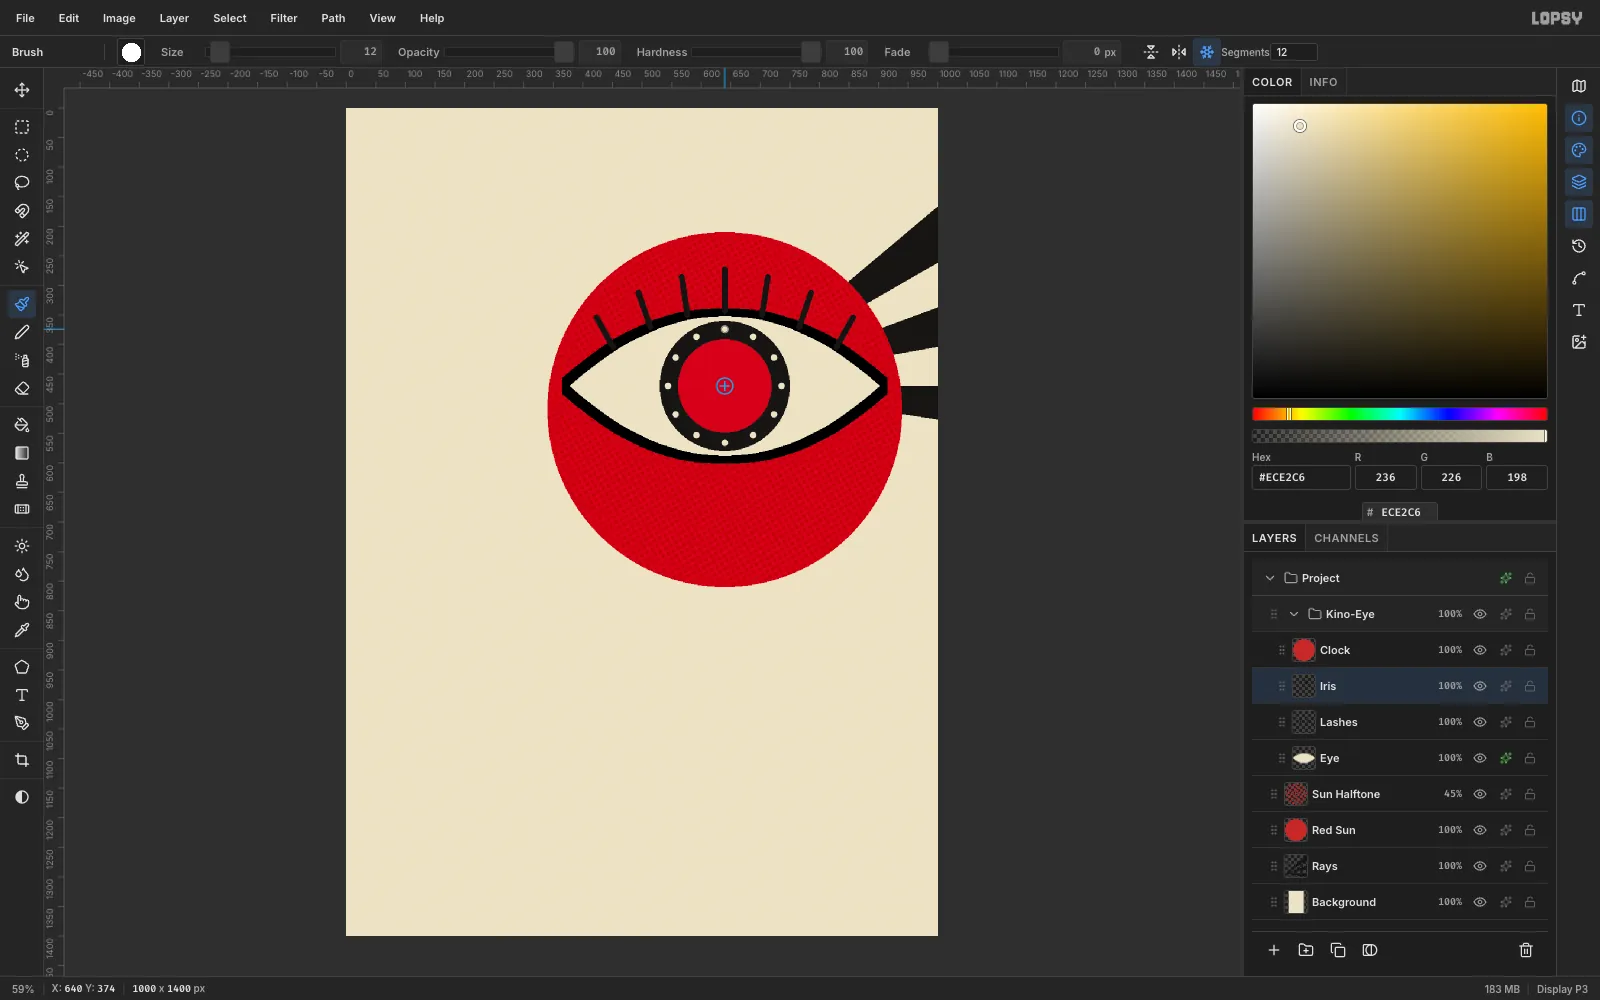
Add an
Irislayer and fill a black circle 220 px across centred on the eye. Add aClocklayer above it and fill a red circle 158 px across, also centred.Select
Irisagain and set the foreground to cream. With the Brush at Size12, click the Radial Symmetry button in the options bar and change the segment count to12. Hold Cmd and click the centre of the clock to move the symmetry centre there. Then click once just inside the rim at 12 o'clock. All twelve ticks appear at once.Click Radial Symmetry again to turn it off before you go on. While it's on, it takes over every Cmd+click.
-
Set the hands to 3 AM
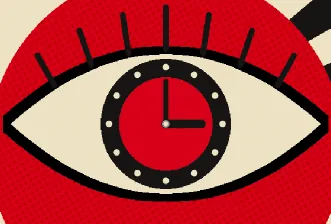
Select
Clockand set the foreground to black. Use the brush's Shift-click line trick again:- At Size
16, click the centre, then Shift-click 60 px to the right for the hour hand. - At Size
10, click the centre, then Shift-click about 72 px up for the minute hand. - Switch to cream and click once at the centre for a pivot dot.
- At Size
-
Rotate pasted copies into a gear
Select
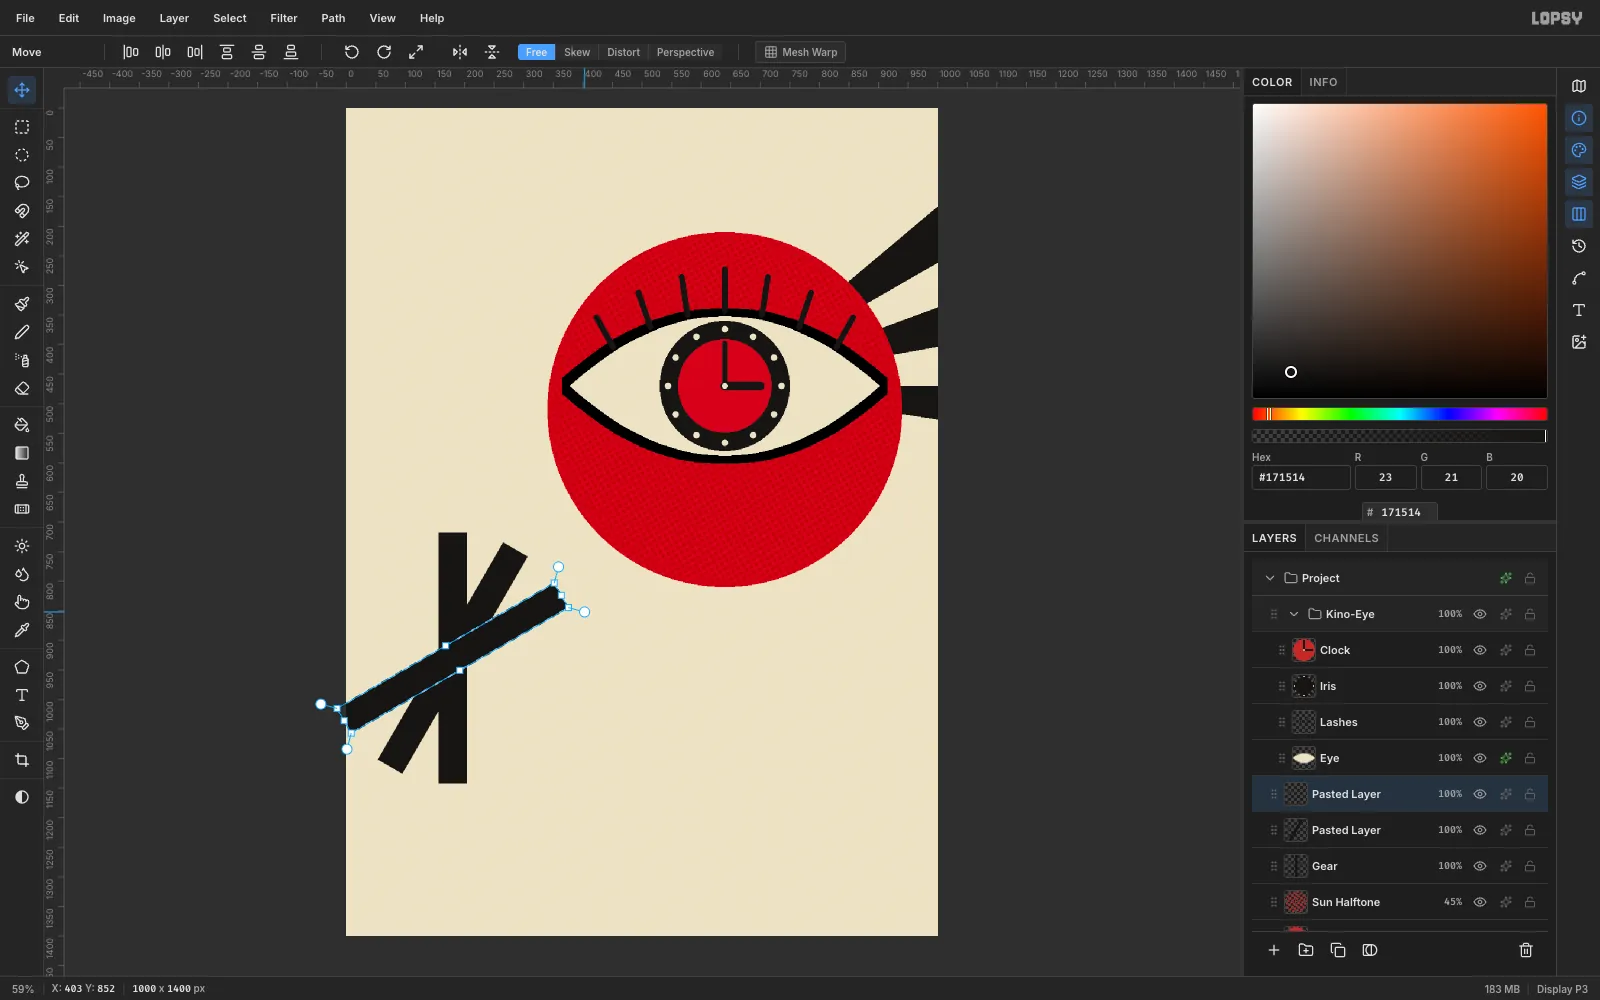
Sun Halftoneand add a layer calledGear. It sits below the Kino-Eye group. Make a rectangular marquee 48 × 424 px with its top-left at (156, 718) and fill it black. That bar is two opposite teeth. Press Cmd+C to copy it and Cmd+D to deselect.Press Cmd+V. The copy is pasted in place on a new layer. Draw the same marquee over it, press V for Move, hold Cmd and drag a round rotation handle. Cmd snaps the rotation to 15° steps, so stop at 30°. Press Enter, then Cmd+D.
-
Finish the ring of teeth
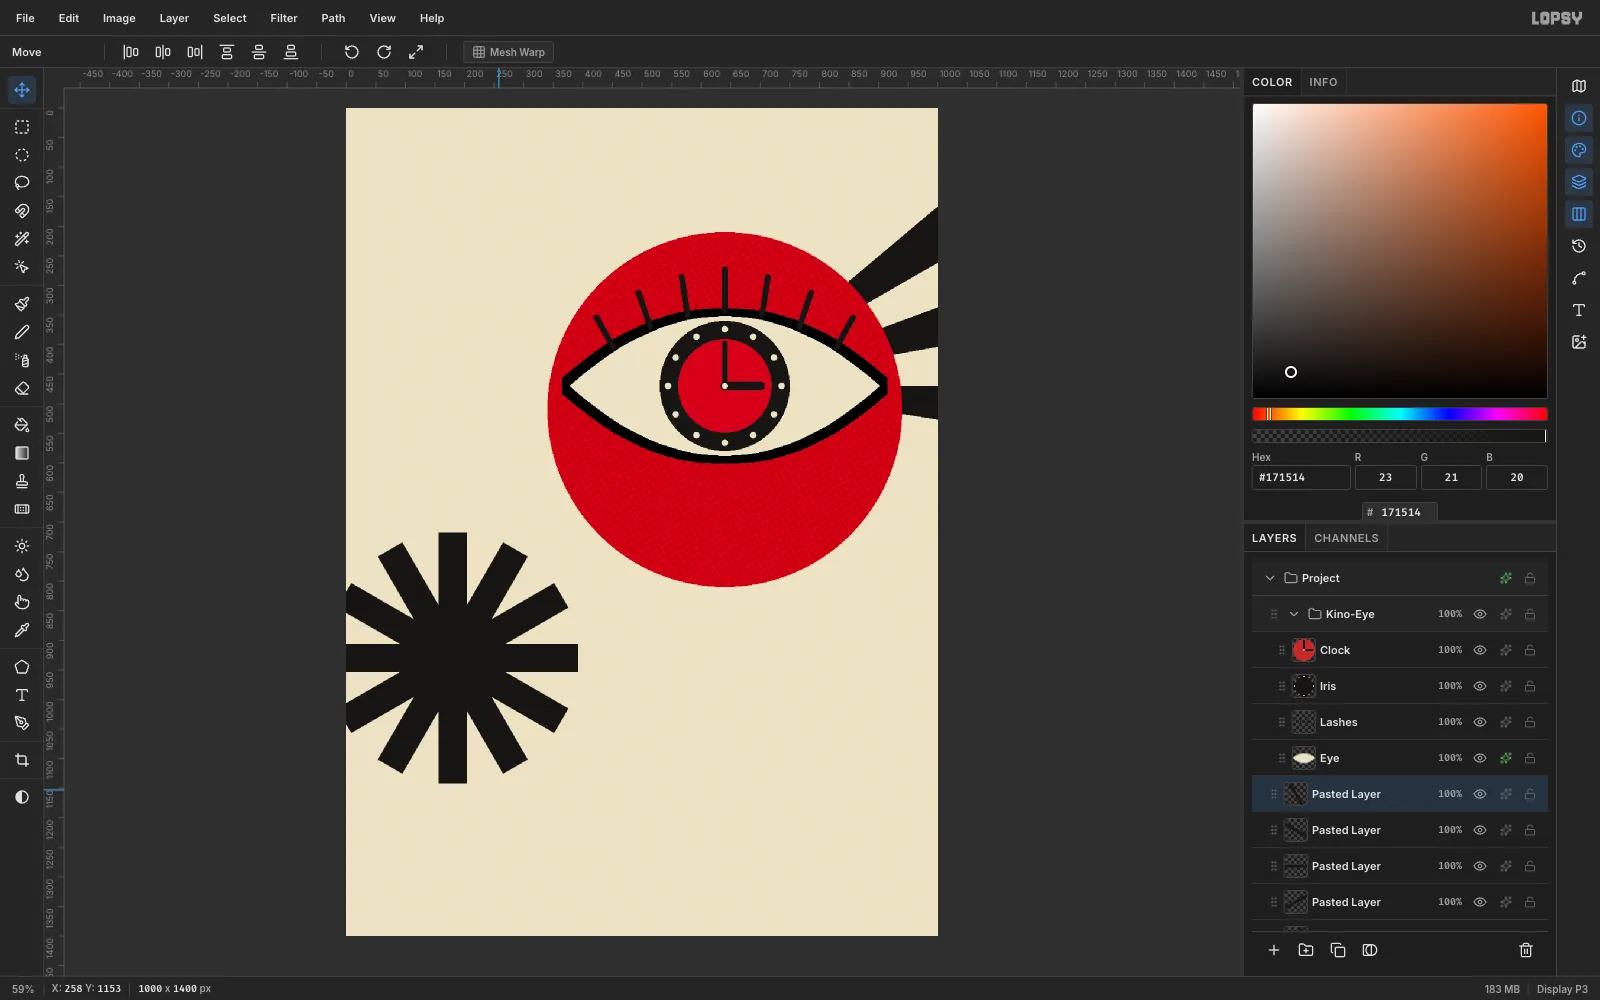
Repeat the paste, marquee and rotate for 60°, 90°, 120° and 150°. Six crossed bars give you twelve evenly spaced teeth.
-
Add the hub and axle hole
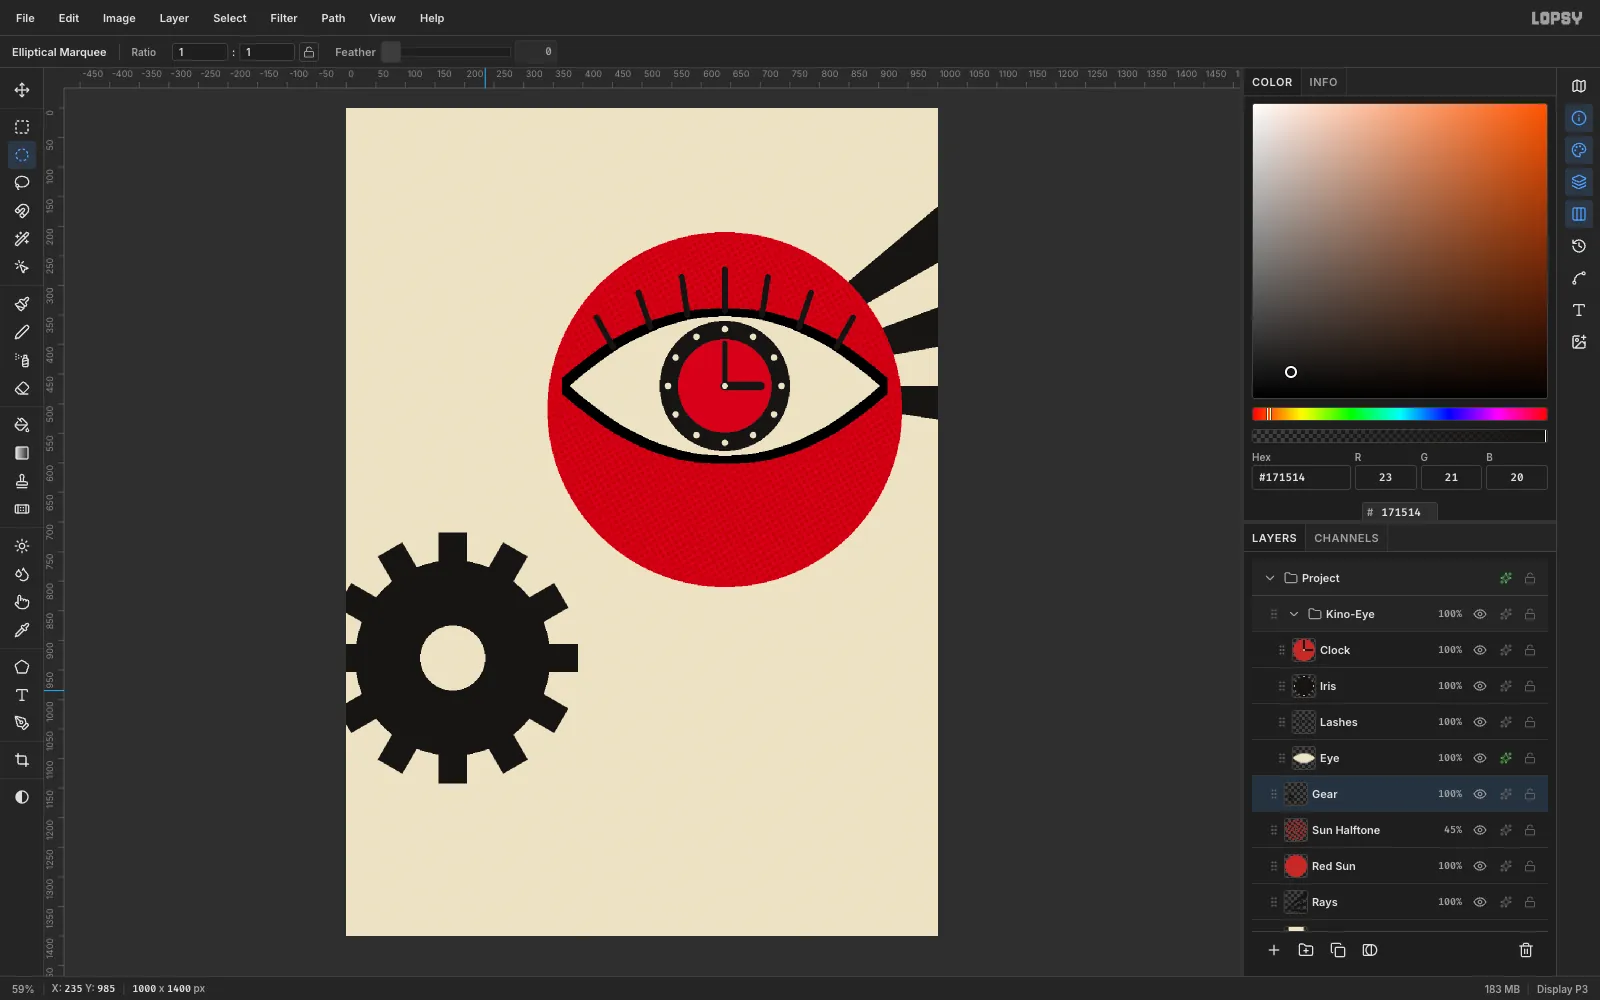
Choose Layer → Merge Down five times to merge all the copies into
Gear. Make an elliptical marquee 330 px across centred on (180, 930) and choose Edit → Fill to fill the hub. Then make a 110 px circle in the same centre and press Delete to punch out the axle hole.The teeth on the left run off the canvas. A cropped machine part feels bigger than one shown whole.
-
Lasso the diagonal band
Add a layer called
Band. Lasso a band that rises about 15° from left to right, with corners at (0, 1150), (1000, 870), (1000, 1080) and (0, 1360), and fill it black. The bottom of the gear now tucks behind the band.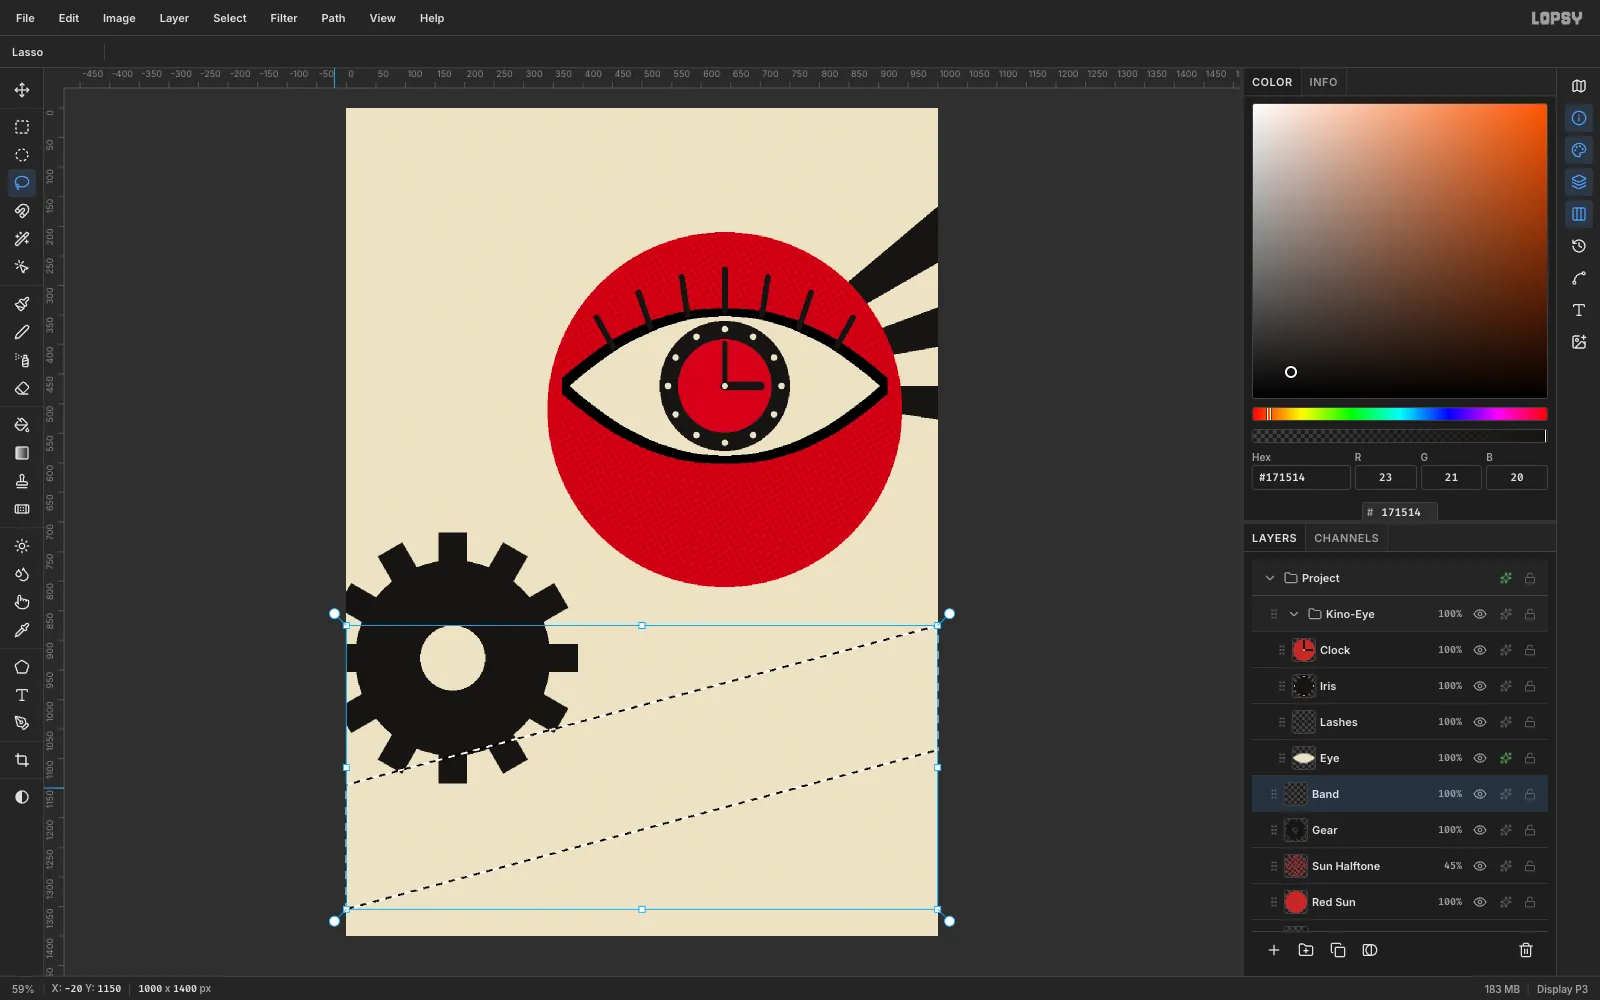
-
Type INSOMNIA on the band
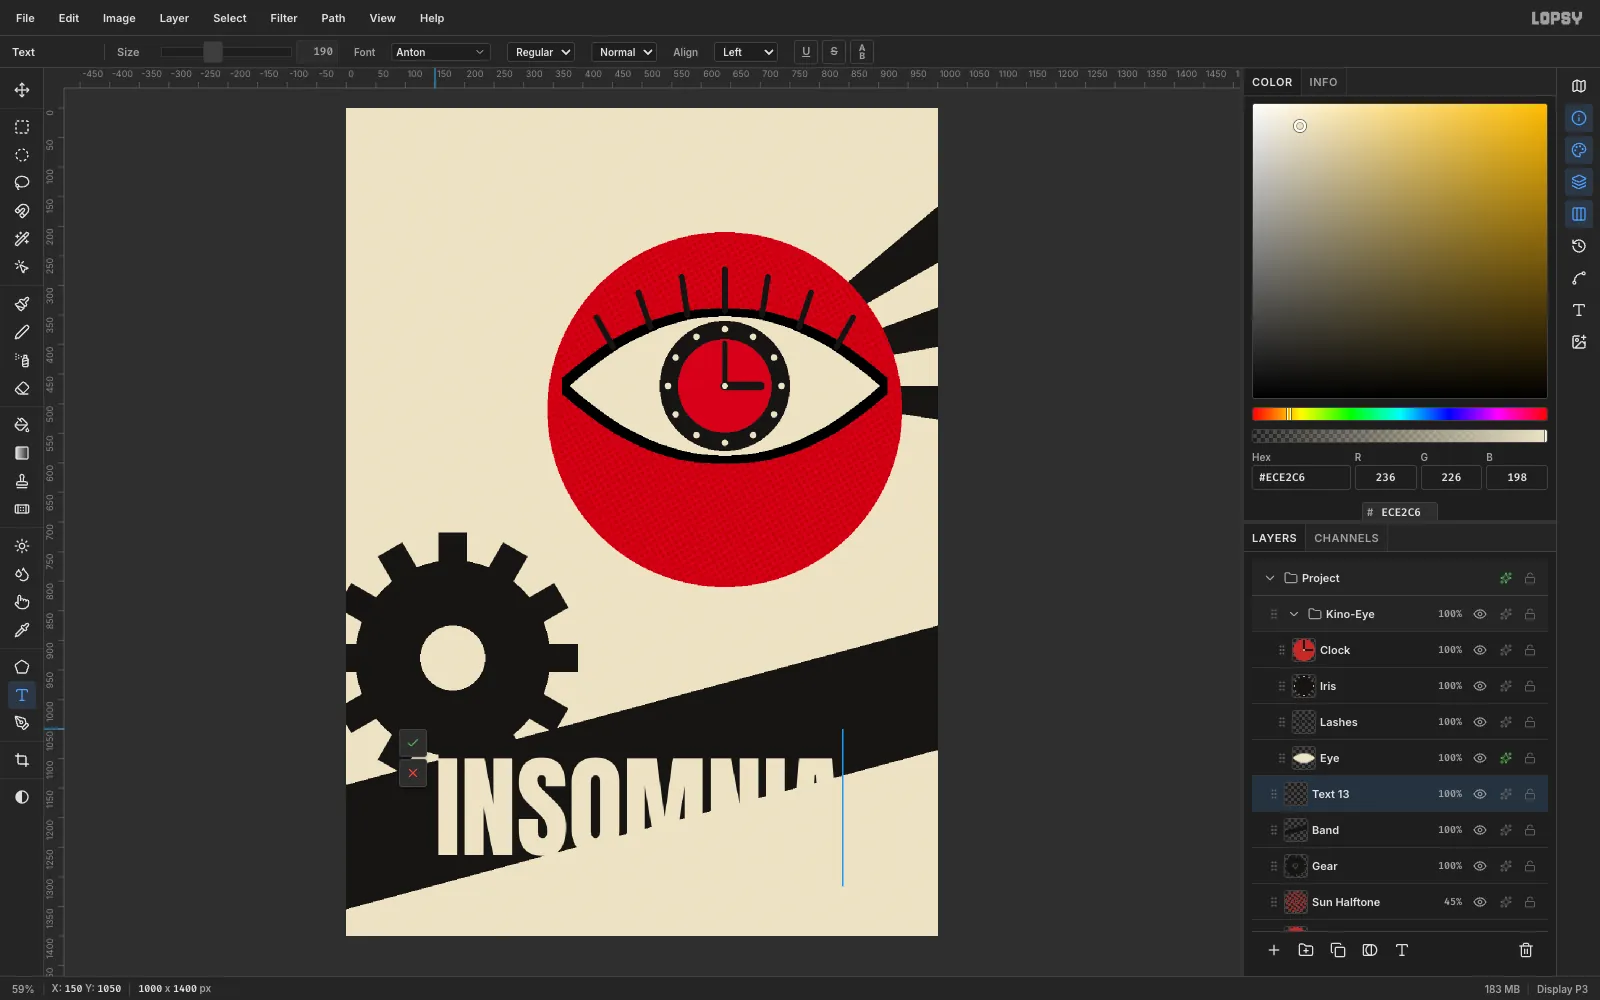
Press T for the Text tool. Open the font browser, search for Anton and click it. Set Size to
190and the foreground to cream. Click on the band at about (150, 1050) and typeINSOMNIA. Press Tab to commit.Typing over the black band means you can see the cream letters while you work on them.
-
Rotate the headline to the band's angle
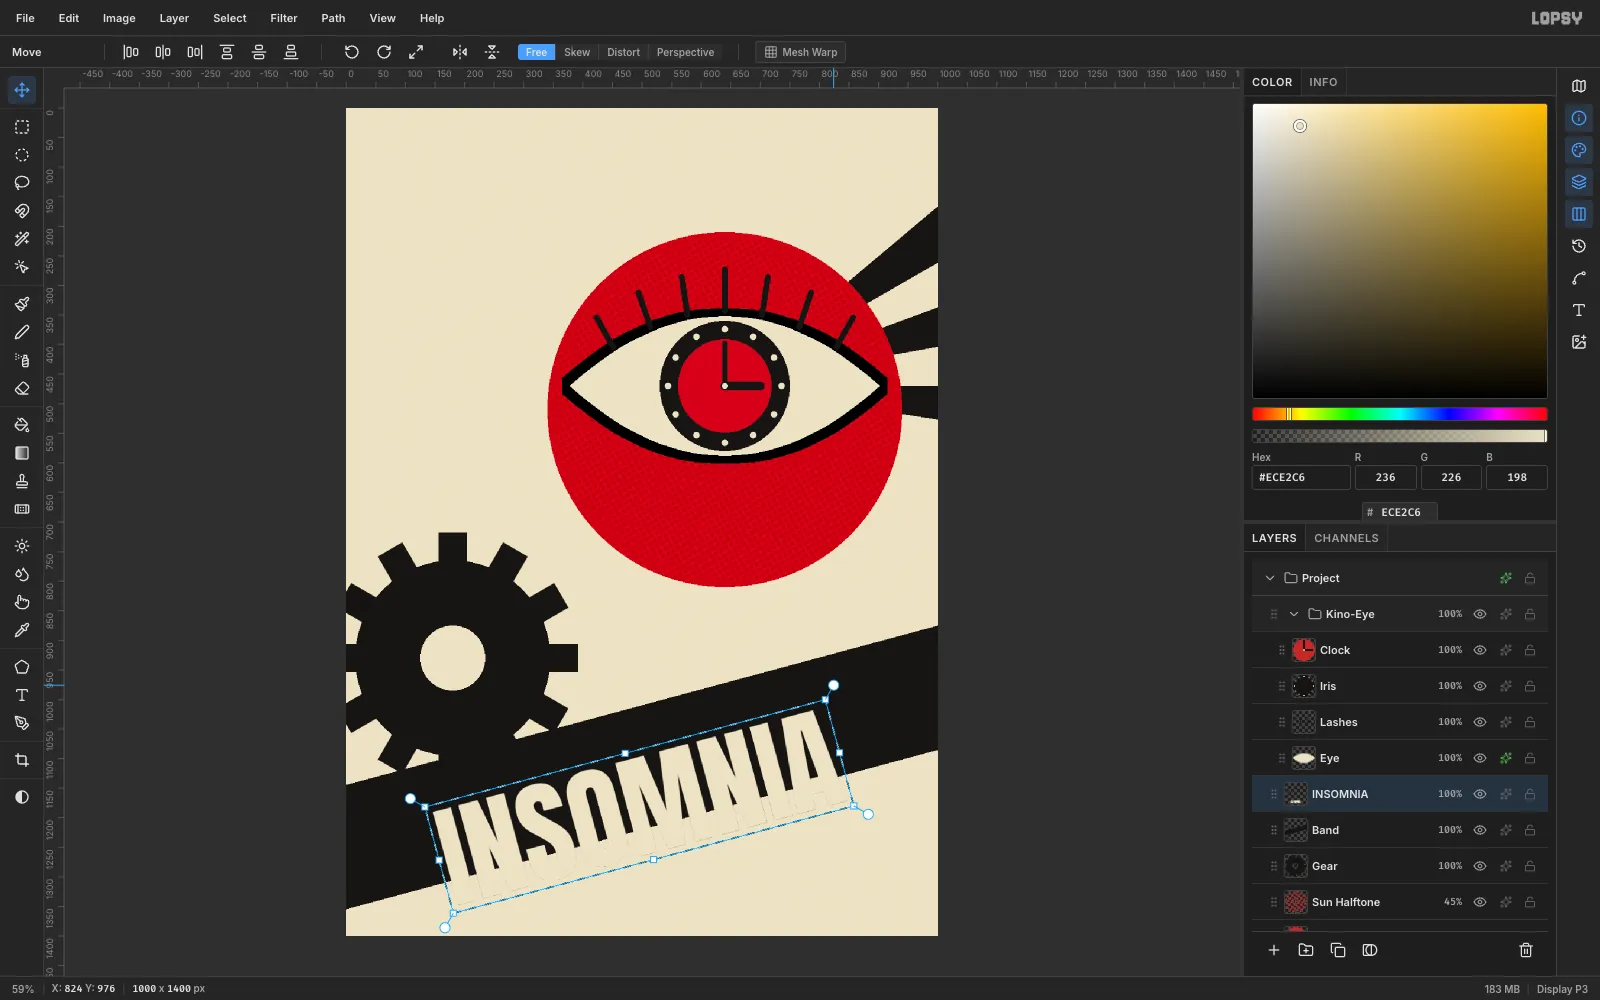
Click Rasterize Layer at the bottom of the Layers panel. Draw a rectangular marquee around the word and press V. Hold Cmd and drag a rotation handle to −15°, press Enter, then Cmd+D.
Then drag the word with the Move tool until it sits centred on the band, with its middle at about (520, 1117).
-
Build a red misregistration
Old two-colour presses rarely lined the plates up exactly. To fake that, click Duplicate Layer and move the copy until it sits 9 px right and 9 px down from the original. Then select the original INSOMNIA layer underneath, open its Layer Effects, turn on Color Overlay and set the colour to
#C62828.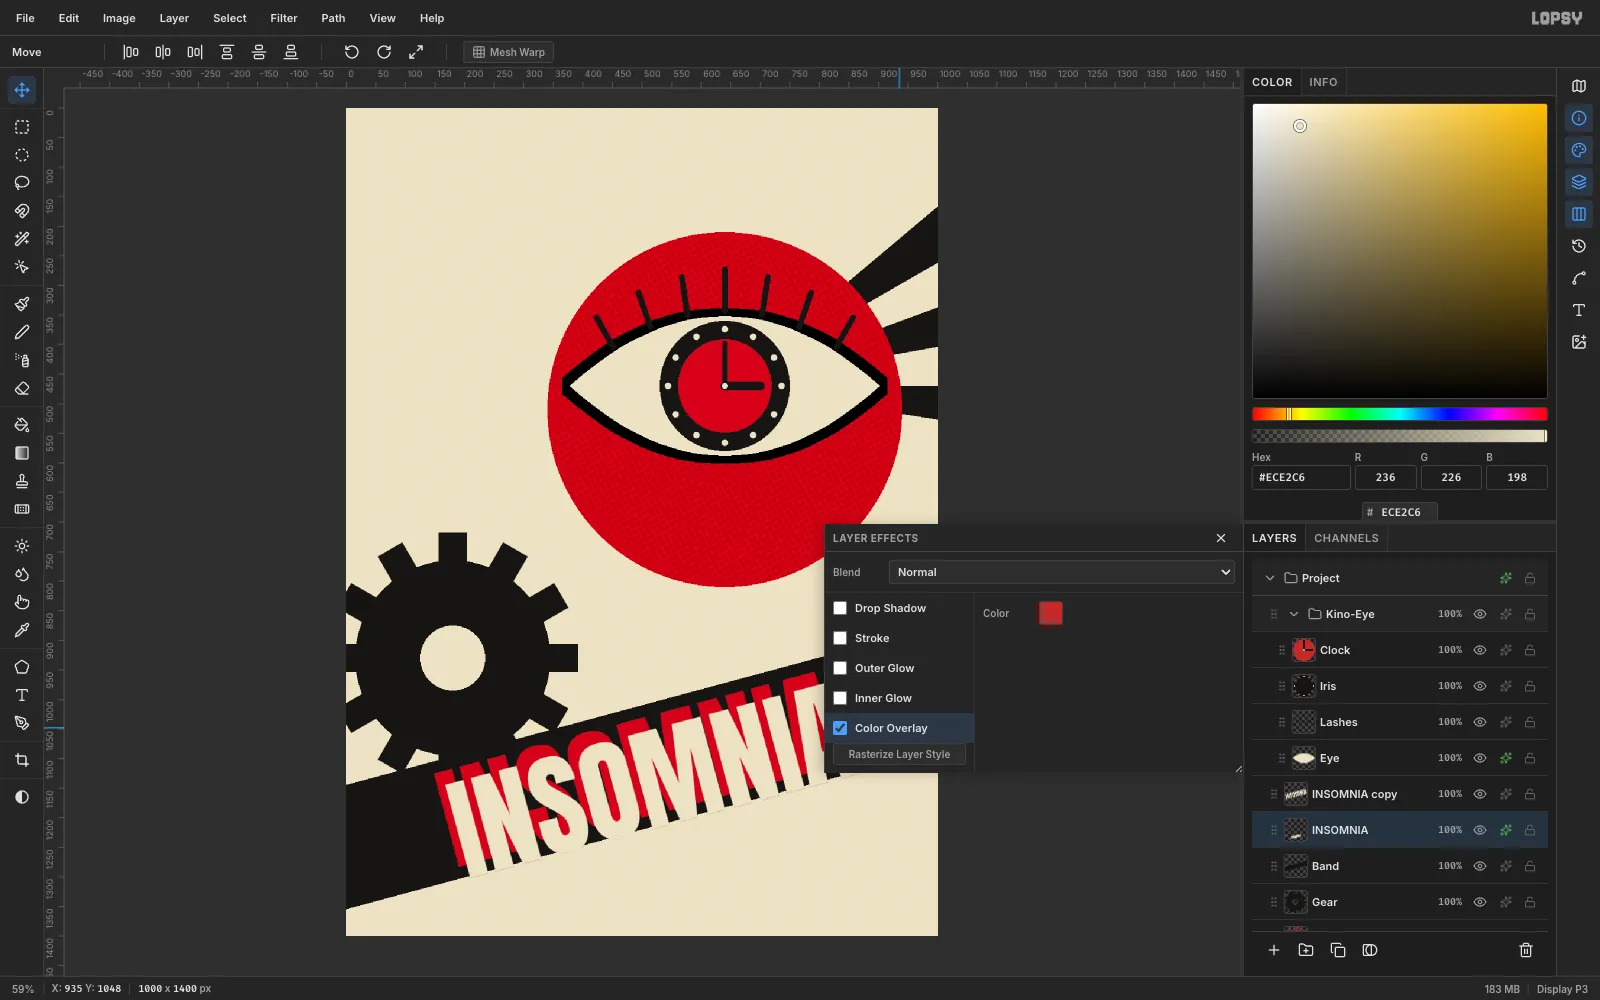
-
Check the offset
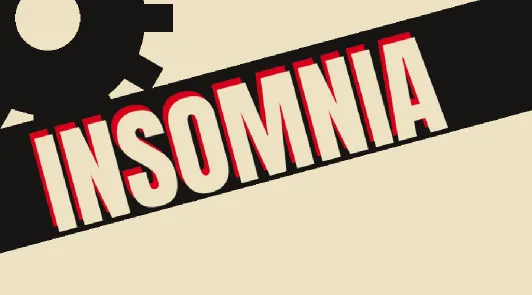
The red shows only along the top and left of each letter, like a plate that slipped during the print run. If the edge looks too thick, move the cream copy a few pixels back towards the original.
-
Lasso the factory roof
Select
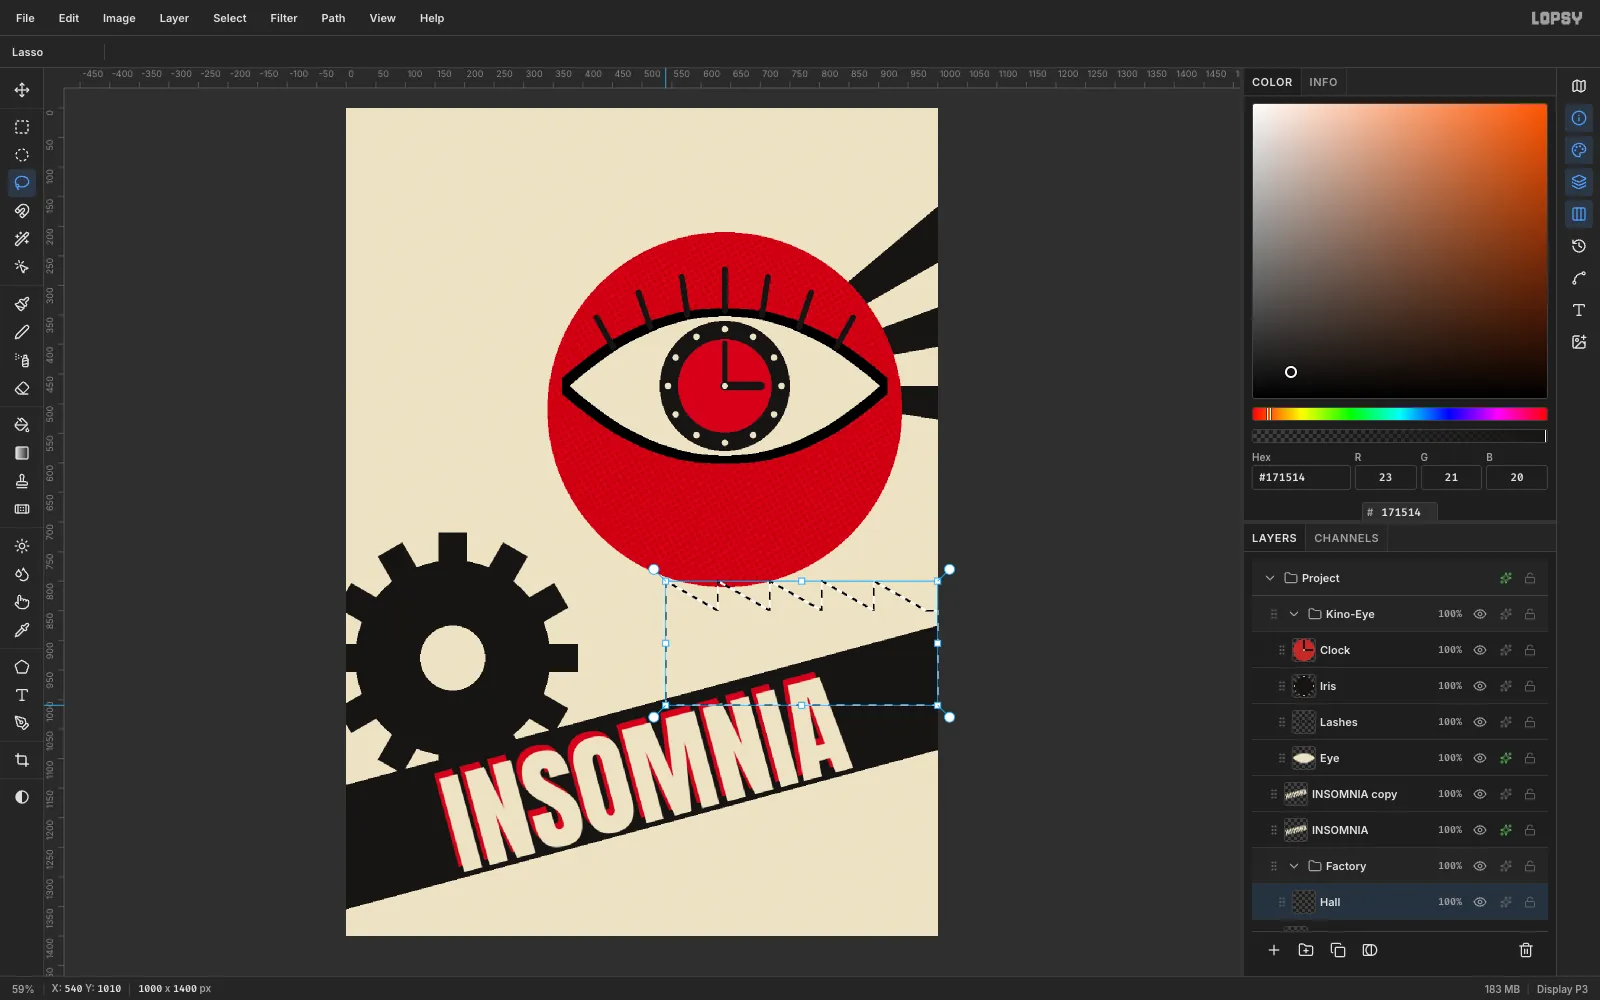
Bandand click New Group. Name itFactory. It goes in above the band but below the headline, so the letters stay on top. Add aHalllayer inside it.Lasso a sawtooth roofline. Start at (540, 1010), go up to (540, 850), then zig up and down five times: up to y = 800, and back down to y = 850 every 88 px. Finish at the right edge and come back down to y = 1010. Fill it black.
-
Add windows and chimneys
Add these layers inside the Factory group:
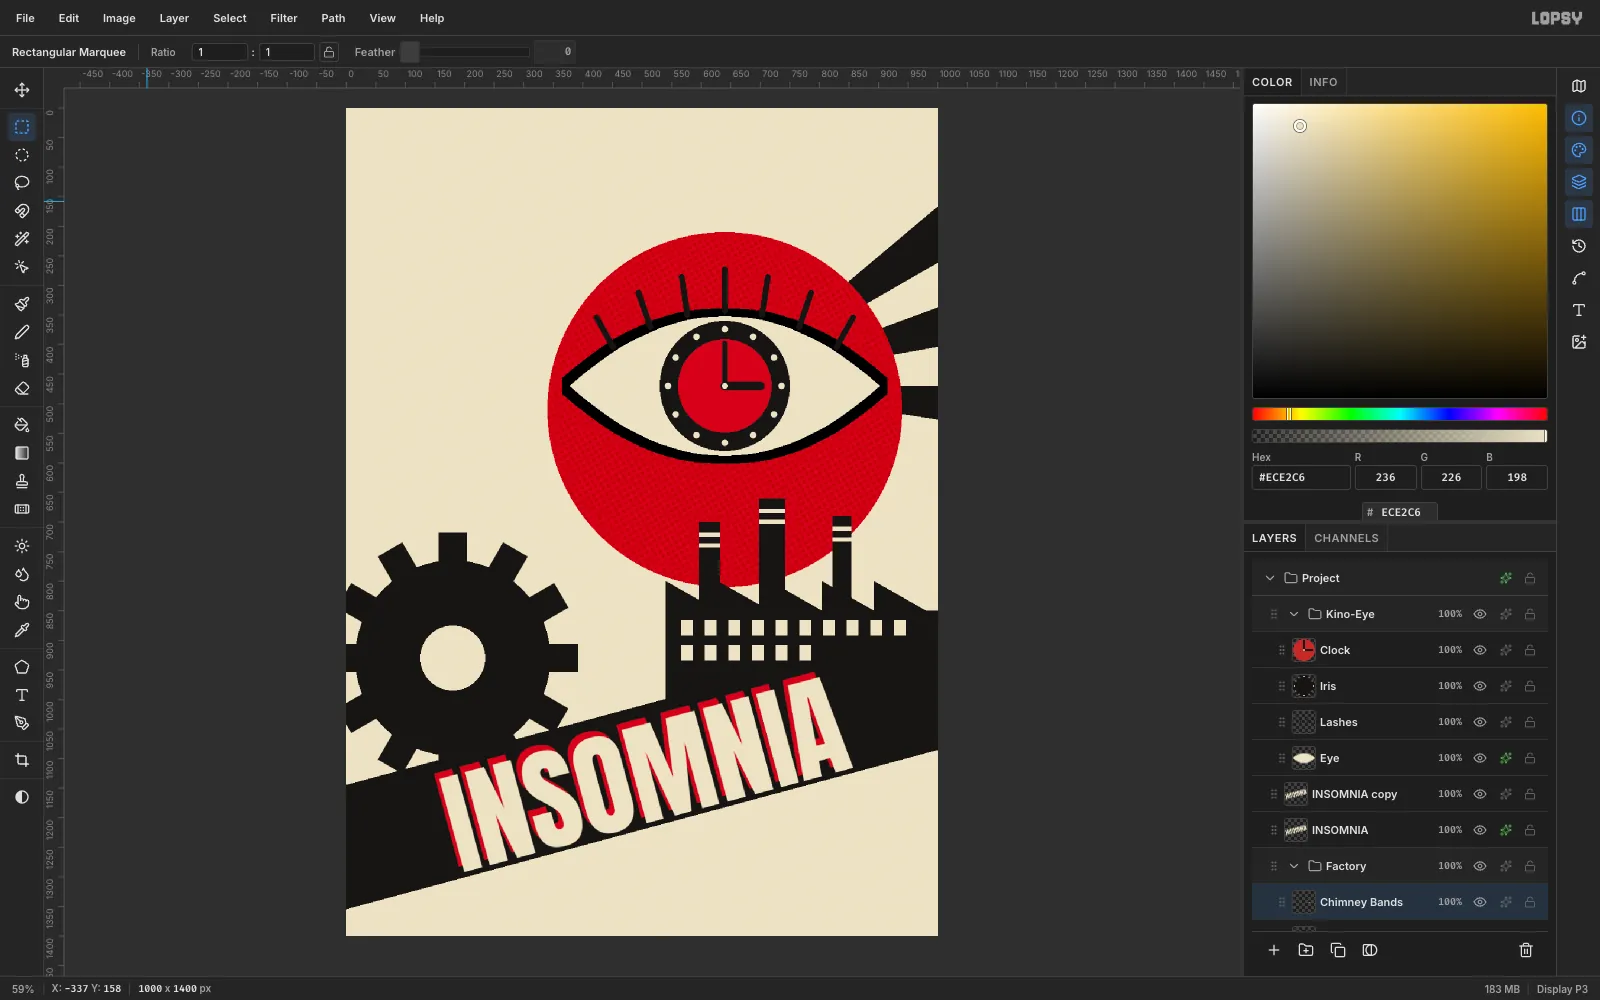
Windows: cream 20 × 26 px rectangles every 40 px, in two rows at y = 866 and y = 908. Marquee each one and use Edit → Fill.Chimneys: three black rectangles down to y = 860. Make them 36, 44 and 32 px wide, starting at x = 596, 698 and 822, with their tops at y = 700, 660 and 690.Chimney Bands: two thin cream stripes near the top of each chimney.
The chimneys stand in front of the sun, which gives the cover its depth.
-
Puff out cream steam
Add a
Steamlayer at the top of the Factory group. Above each chimney, fill two or three cream circles with the Elliptical Marquee. Start at about 20 px across and make each one bigger as it rises up and to the left.Flat, stepped puffs suit the style better than soft, brushed smoke, and cream on red is the cover's strongest contrast.

-
Set INDUSTRIAL vertically
Select the top INSOMNIA layer so the new text goes in above it. Set the foreground to red and the Size to
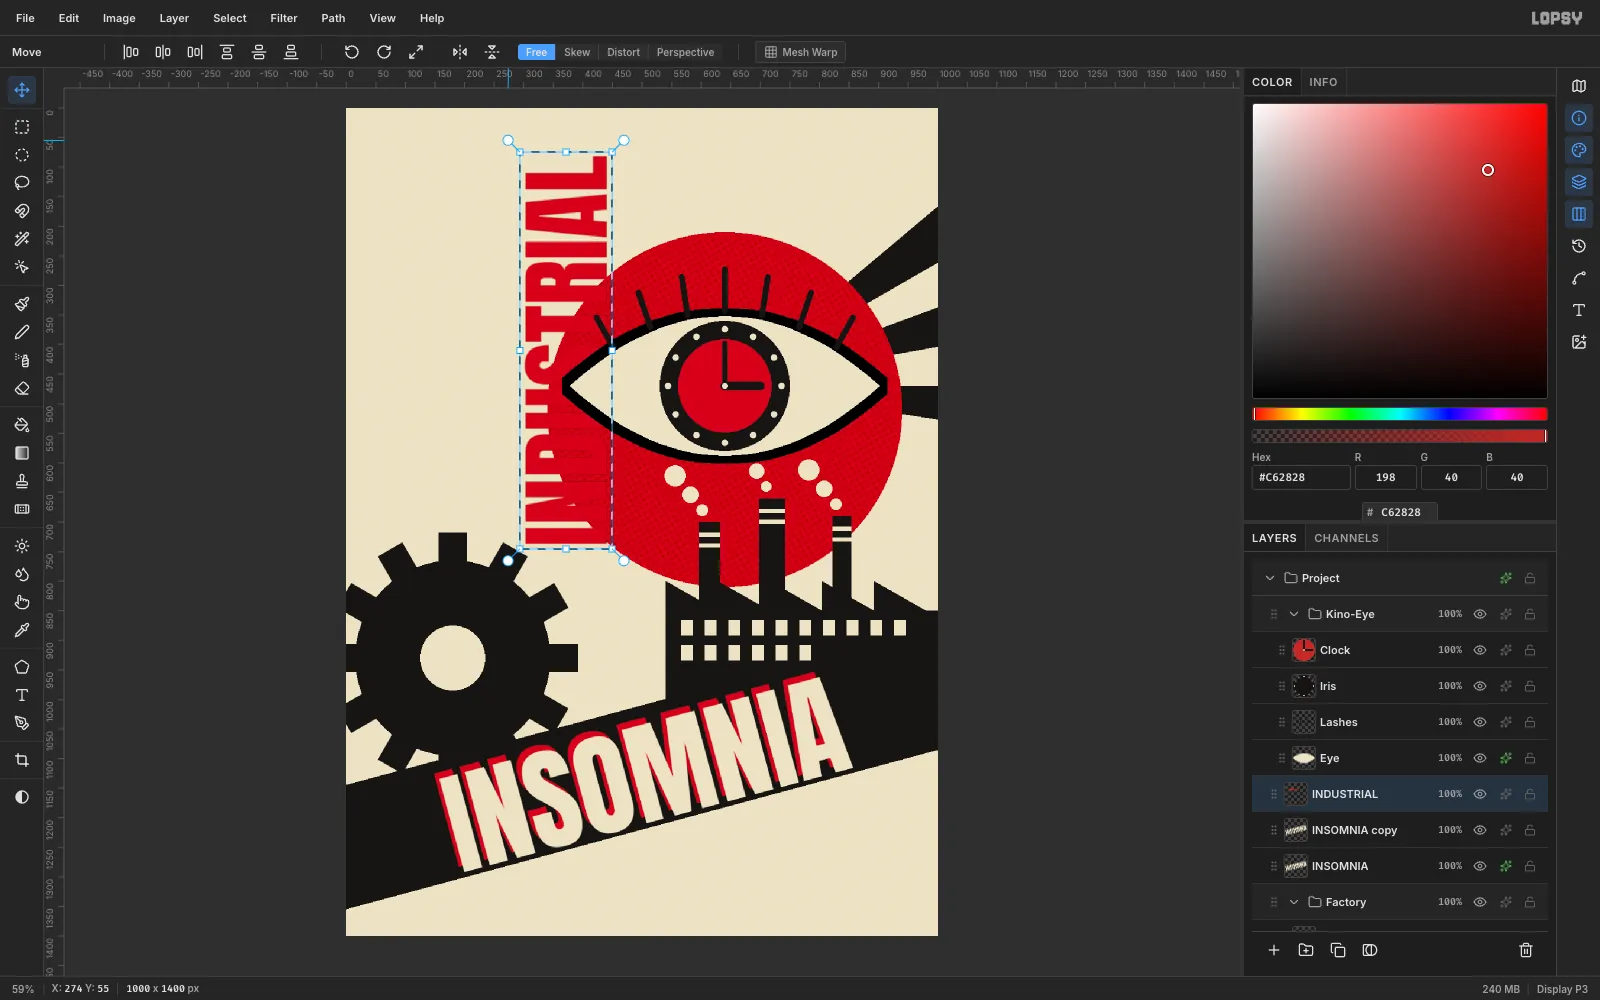
160. Click at (40, 300) in the empty top-left area, typeINDUSTRIAL, and press Tab.Rasterize it, marquee it, and rotate it −90° so it reads from bottom to top. Press Enter, then move it to the left edge, from about y = 20 down to y = 676. That leaves a clear gap above the gear's top tooth.
-
Outline the issue number
Set the Size to
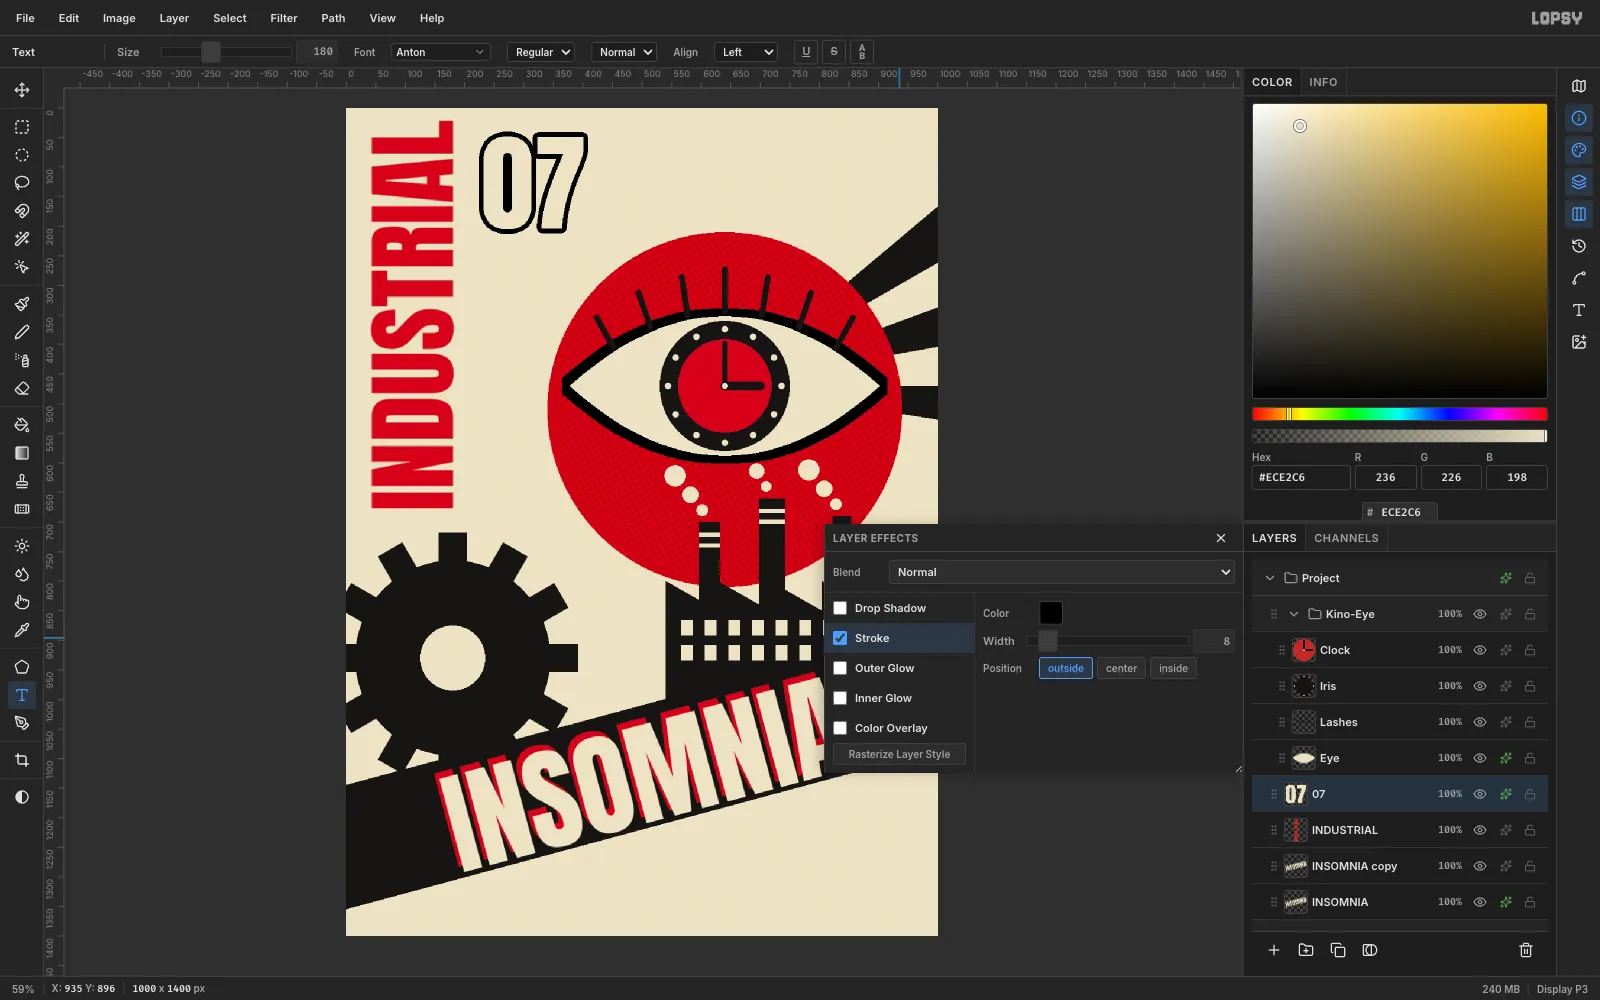
180and the foreground to cream. Click at (228, 2) and type07, then press Tab and rasterize it. Open its Layer Effects and turn on Stroke with Width8.The number is cream on cream, so all you see is the black outline. It's clearly readable but stays lighter than INDUSTRIAL.
-
Build the masthead
Add a
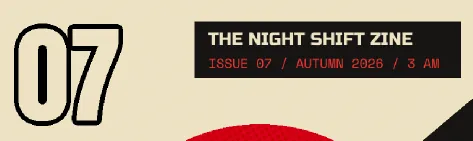
Mastheadlayer and fill a black rectangle 450 × 96 px with its top-left at (530, 36). Then set two lines of type inside it:THE NIGHT SHIFT ZINEin cream Russo One at Size30, clicked in at (552, 46).ISSUE 07 / AUTUMN 2026 / 3 AMin Space Mono Regular at Size22, in a brighter red#E0463A, clicked in at (553, 92).
Rasterize each line when you finish it.
-
Rotate the slogan
Switch to Bebas Neue at Size
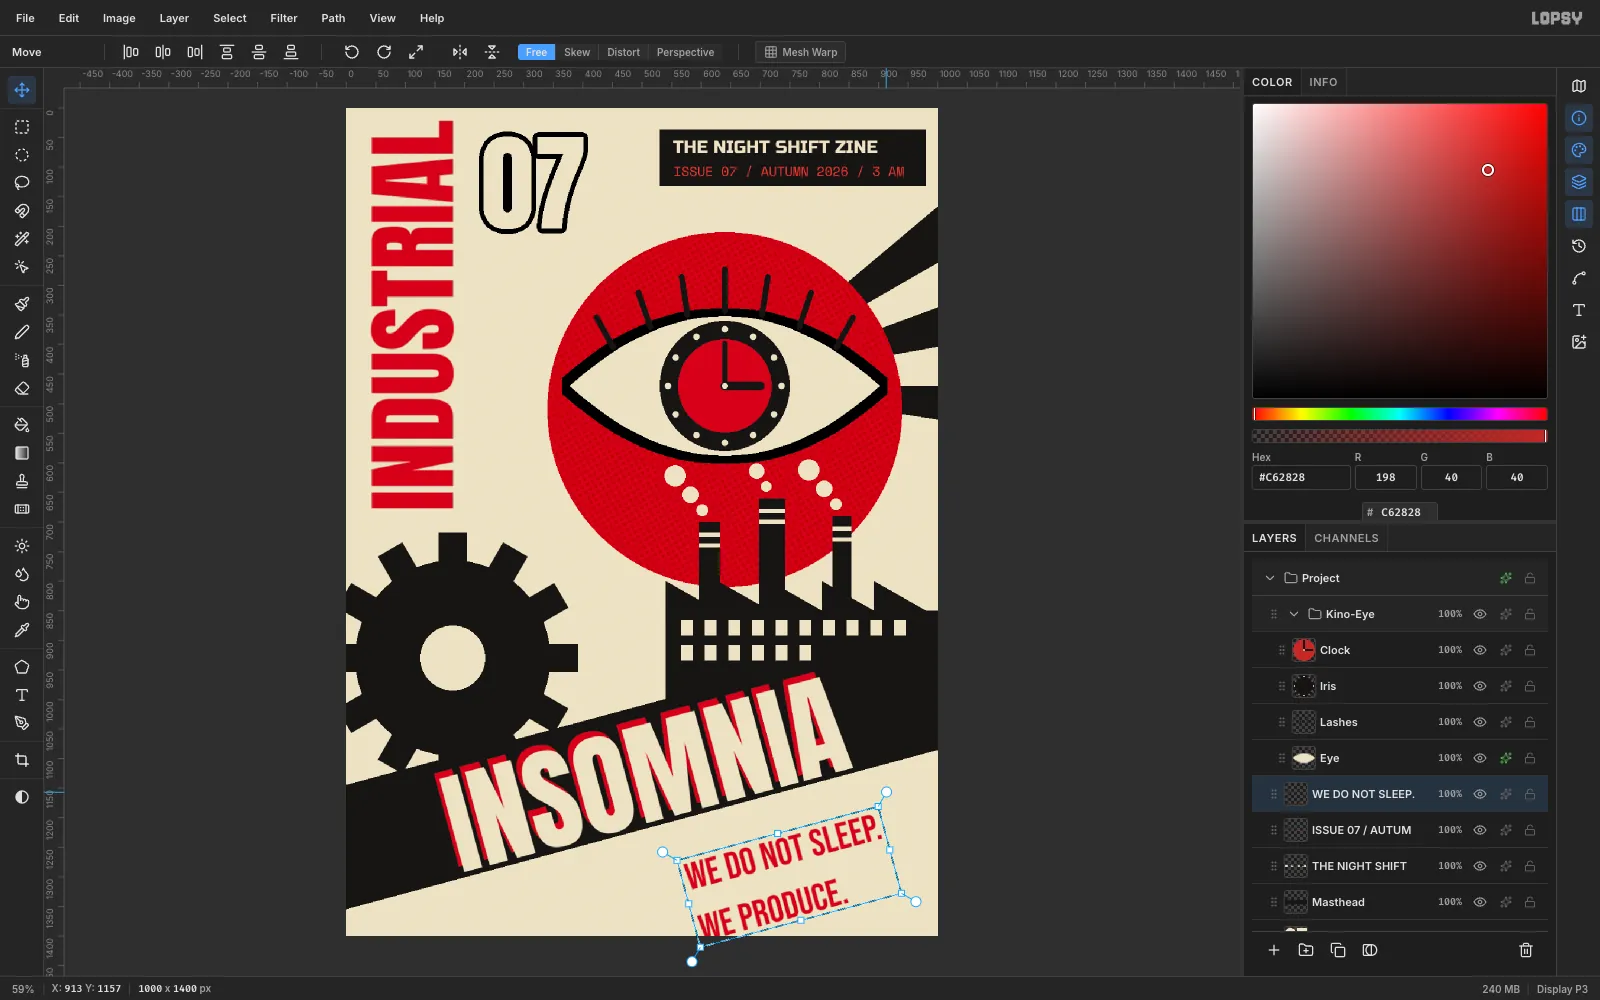
64in red. Click at (580, 1215), typeWE DO NOT SLEEP., press Enter, and typeWE PRODUCE.. Press Tab and rasterize the layer.Marquee the two lines and rotate them −15° so they run parallel to the band. Then move them up and right until they sit in the cream triangle under the band, with a clear margin above the bottom of the canvas.
-
Add paper grain
Select
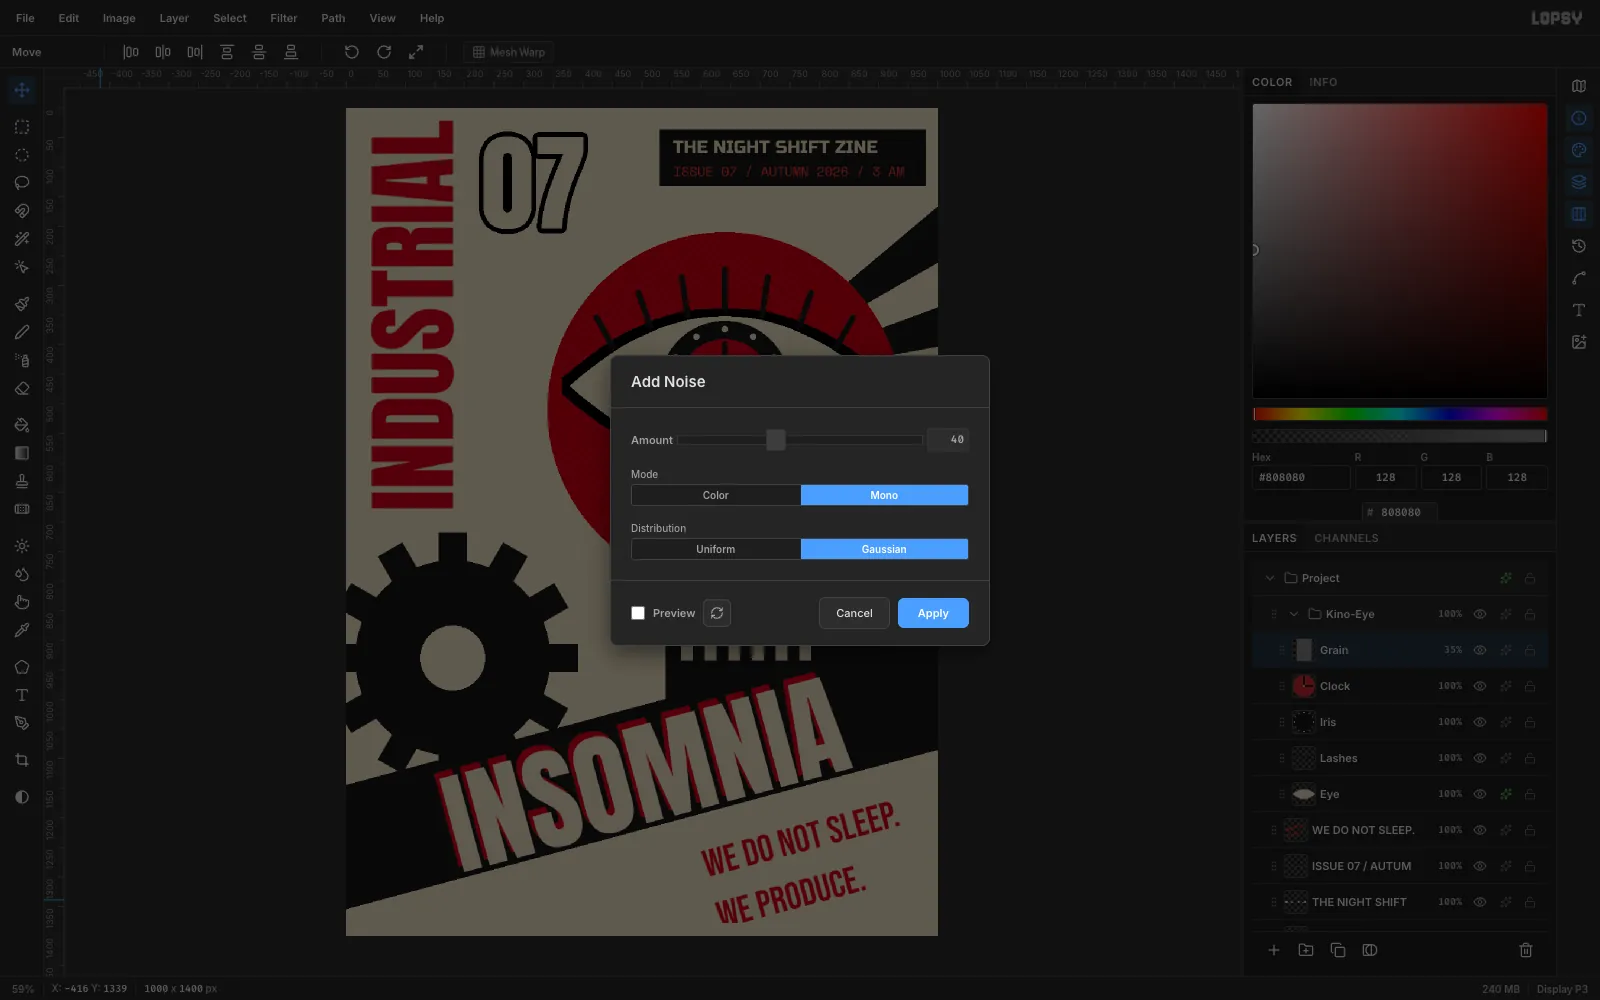
Clockand add a layer calledGrain. Set the foreground to#808080, press Cmd+A, and choose Edit → Fill. Then choose Filter → Add Noise…, set Amount to40, pick Mono and Gaussian, and click Apply.Set the Grain layer's blend mode to Overlay and its opacity to about 35%. Mid-grey disappears in Overlay, so only the speckle is left. That's enough to make the flat inks look printed.
-
Export the finished cover
Choose File → Quick Export PNG to export the cover, and File → Save Project to keep an editable
.lopsyfile with all the layers and groups.For a follow-up issue, keep the grid and change the hero. Try a megaphone in the disc, a different time on the clock, or a second band running the other way. For another take on the same style, see the propaganda poster invitation.