Design a Constructivist Magazine Cover in Lopsy
Make a Lissitzky-style magazine cover in Lopsy with a red wedge, a pattern-filled honeycomb disc, a geometric bee, rotated type and a halftone print texture.
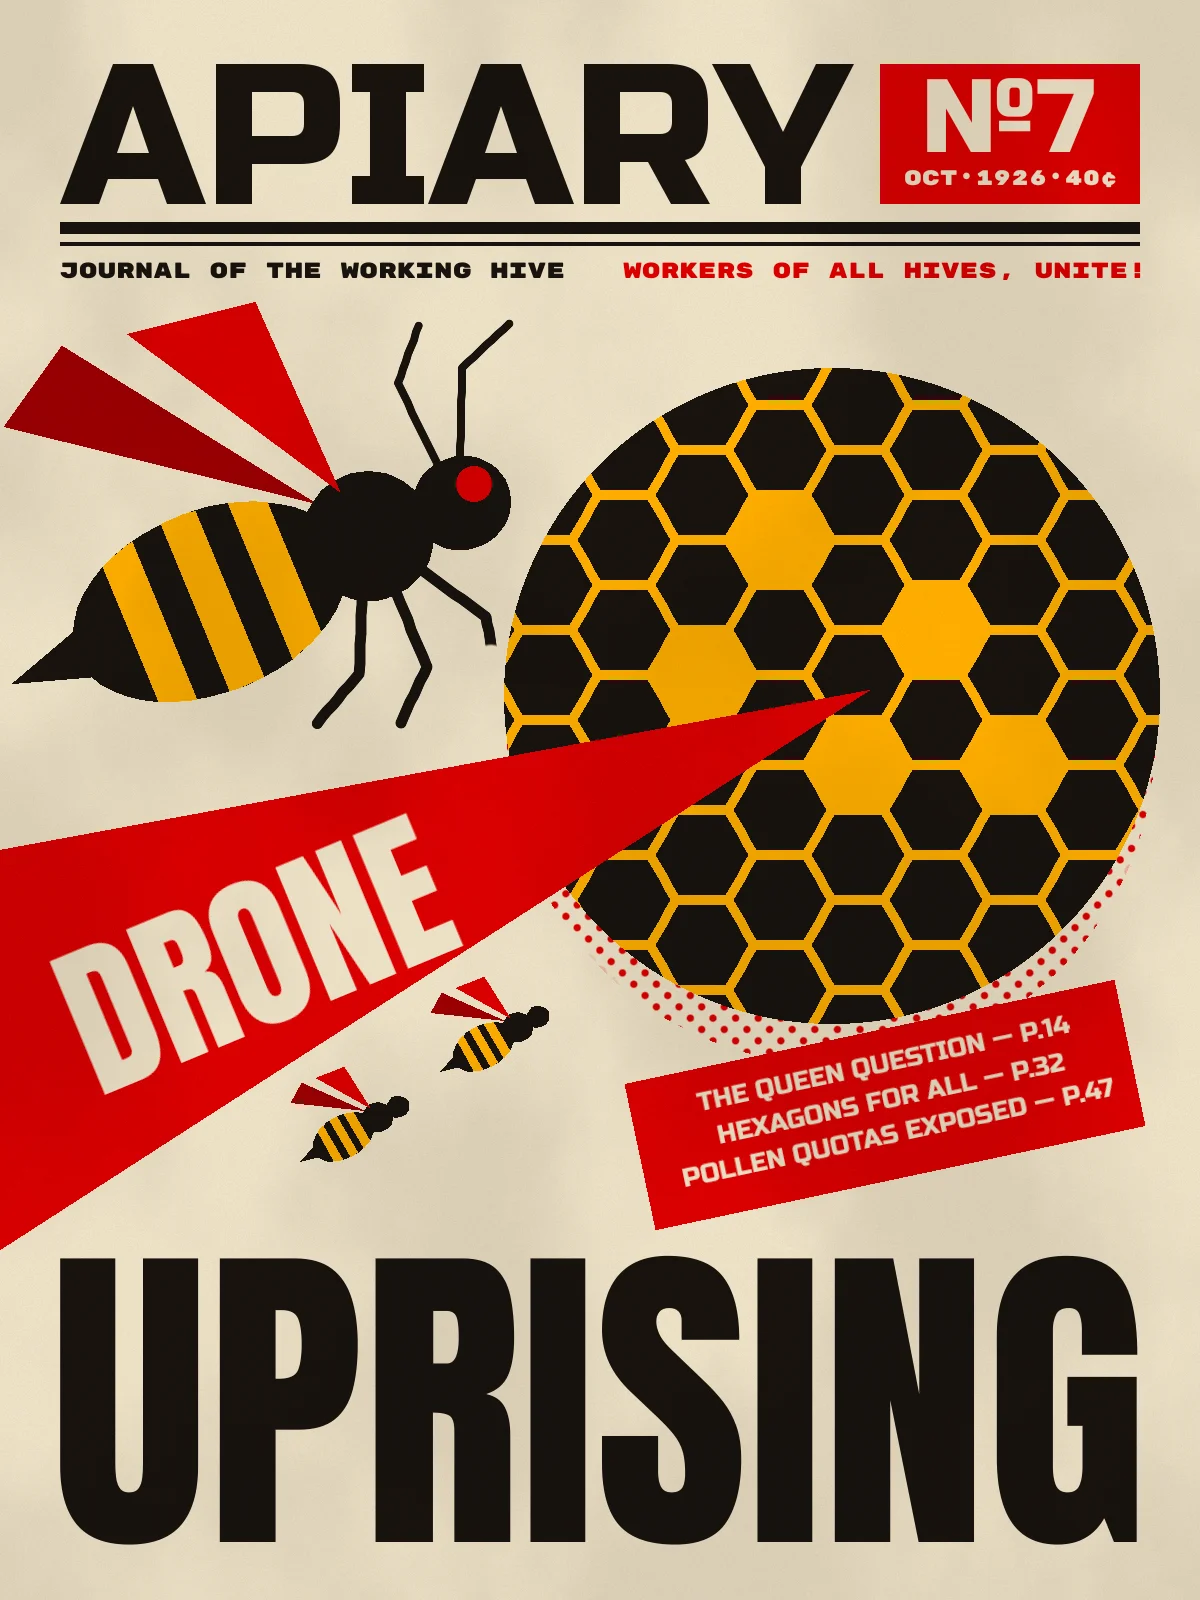
El Lissitzky's 1919 poster Beat the Whites with the Red Wedge is about as simple as political graphics get: a red triangle stabs into a circle. The Soviet constructivists who came after him, including Rodchenko, the Stenberg brothers and Klutsis, kept to the same short list: flat red, black and cream, steep diagonals, and heavy condensed type.
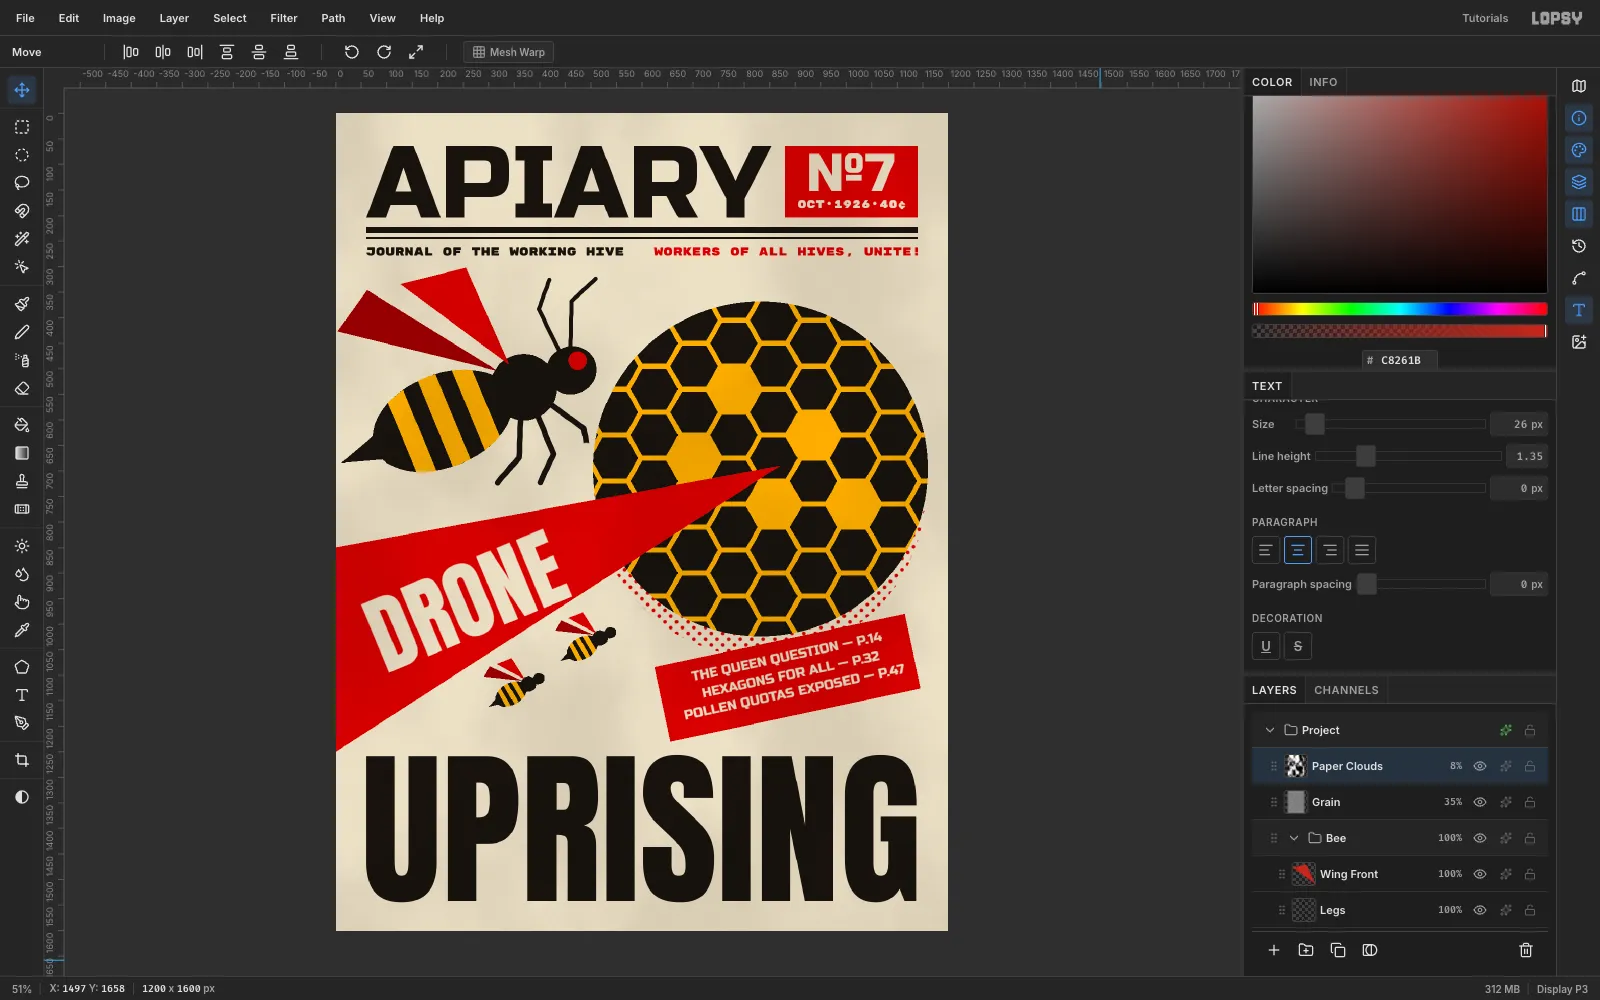
In this tutorial you'll use that list for the cover of a made-up magazine, APIARY, Journal of the Working Hive. Issue No. 7 covers the Drone Uprising: a red wedge drives into a black hive disc, and a geometric worker bee leads the charge. You'll pattern-fill a honeycomb, print a red halftone shadow, and draw the bee from rotated lasso shapes. Then you'll copy and paste a swarm, rotate type onto the wedge, and finish with a paper and grain texture. The document is 1200 × 1600 px.
The palette:
- Paper
#EAE0C8 - Ink black
#17130F - Constructivist red
#C8261B, with#8E1A12for shadowed wings - Honey ochre
#F2B01E
-
Lay down the paper
Choose File → New, check that Unit is Pixels, and enter 1200 × 1600 with a White background. Set the foreground color to
#EAE0C8, select the Background layer and choose Edit → Fill. Then run Filter → Add Noise… with Mono and Amount 6. The flat cream picks up a faint newsprint tooth.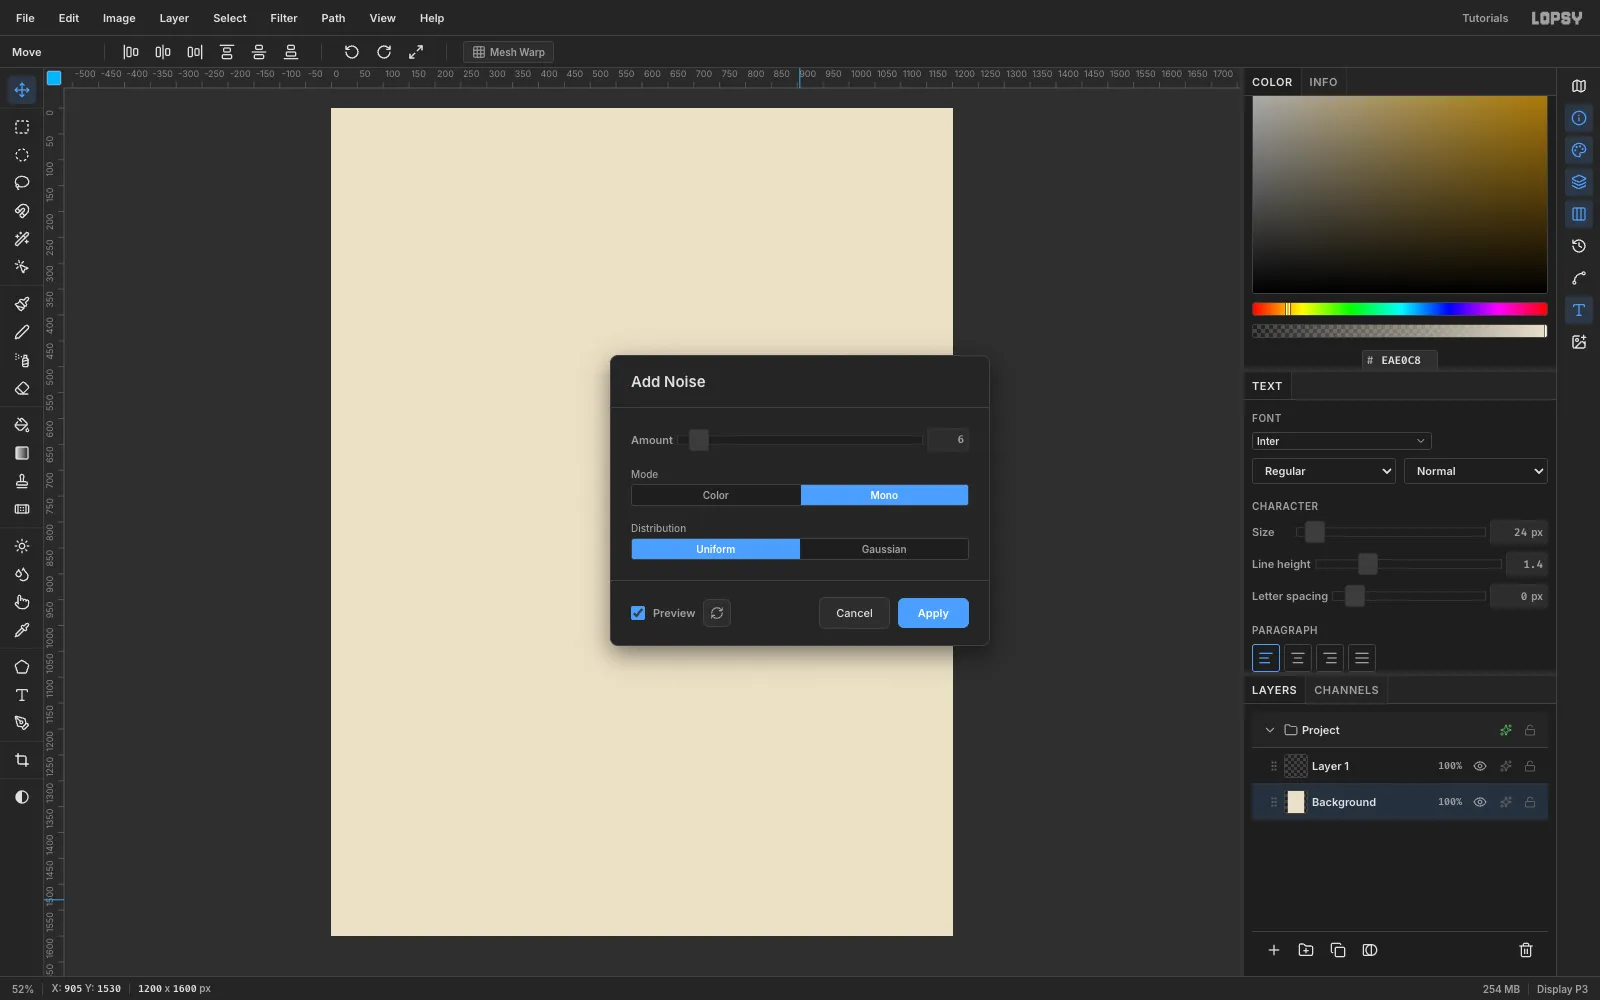
-
Set margins with guides and a grid
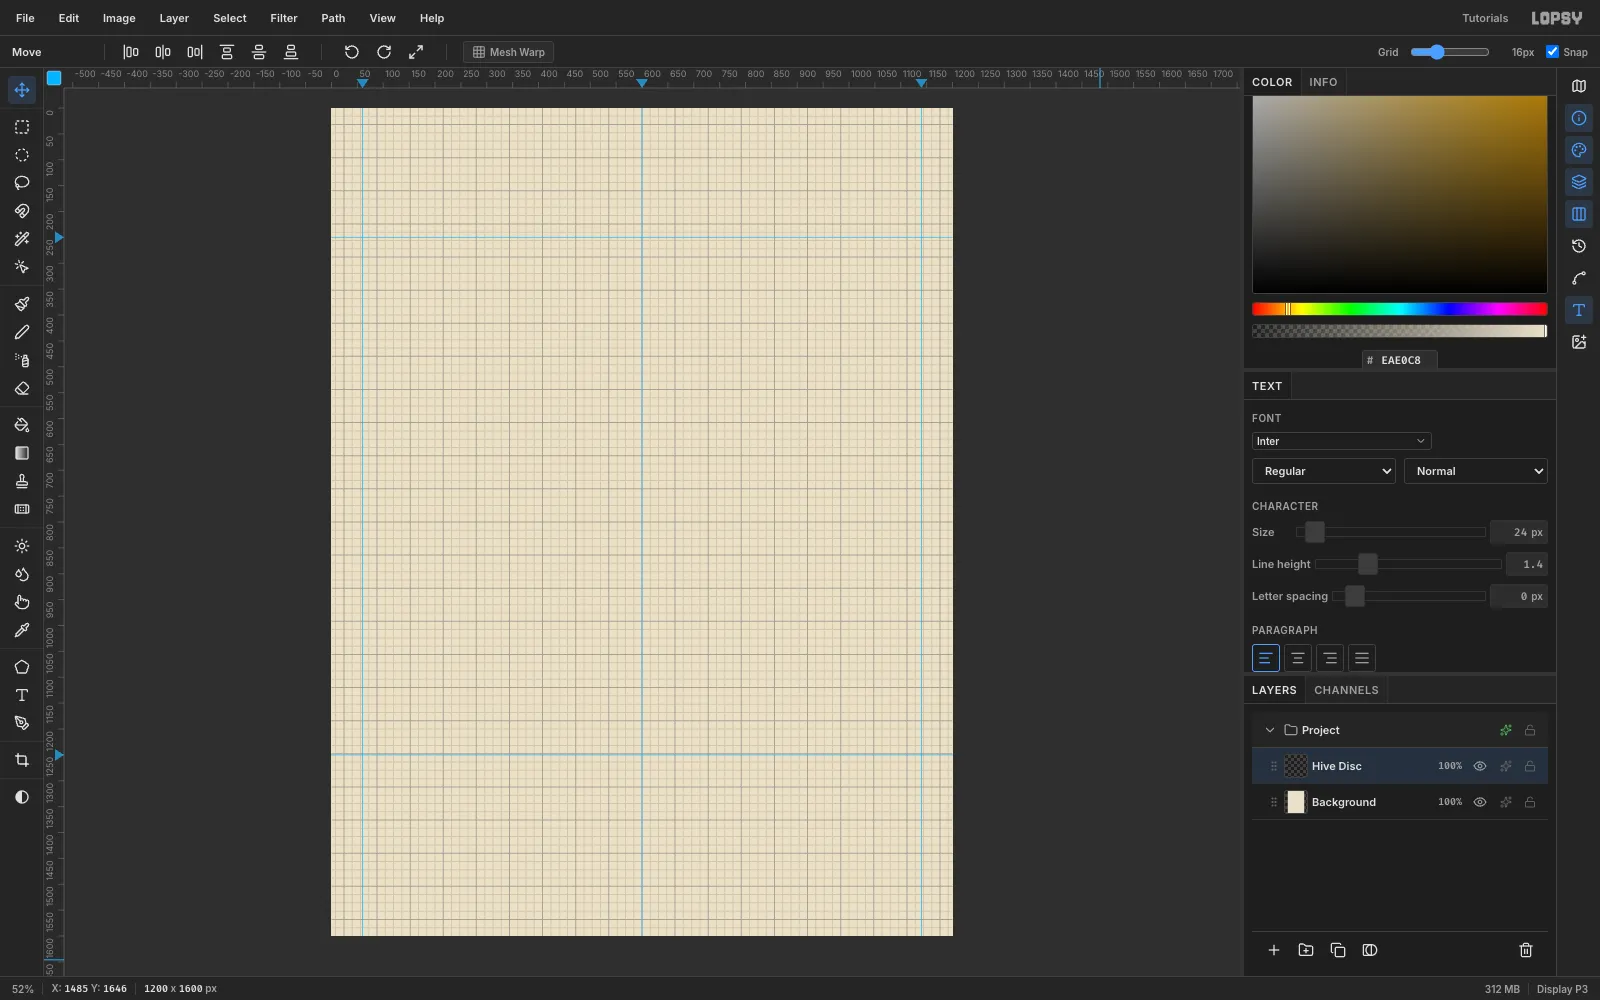
Click the top ruler at x = 60, 600 and 1140 to drop three vertical guides, and the left ruler at y = 250 and 1250 for two horizontal ones. The outer guides are your 60 px margins. The horizontal guides mark the bottom of the masthead and the top of the headline. Turn on View → Show Grid, which also turns on Snap, at the default 16 px.
-
Draw the hive disc
Rename Layer 1 to Hive Disc. Pick the Elliptical Marquee and drag a 656 × 656 circle with its top-left corner near (504, 368). With Snap on, the corners lock to the grid. Fill it with ink black
#17130Fusing Edit → Fill, then deselect with Cmd+D.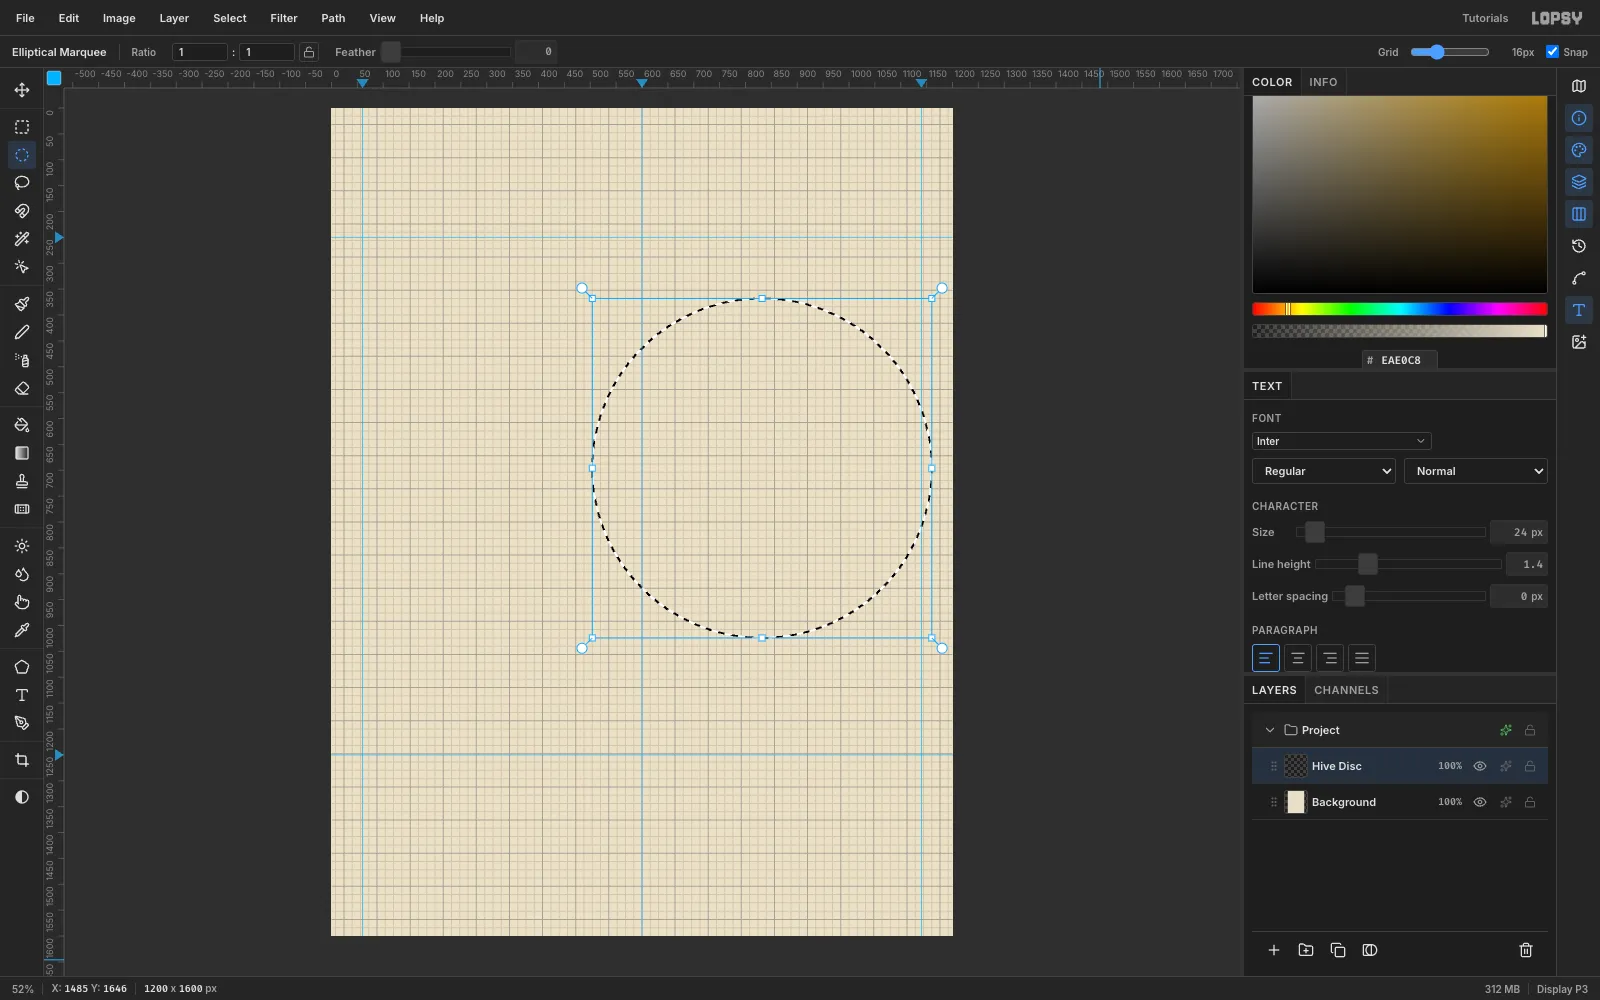
-
Print a halftone shadow
Untick Snap. Select the Background and click Add Layer to put a Disc Halftone layer under the disc. Draw the same 656 px circle offset by about +44, +44, fill it with mid grey
#8A8A8A, deselect, and run Filter → Halftone… with Dot Size 16, Angle 45 and Softness 1. A flat grey turns into an even grid of round dots.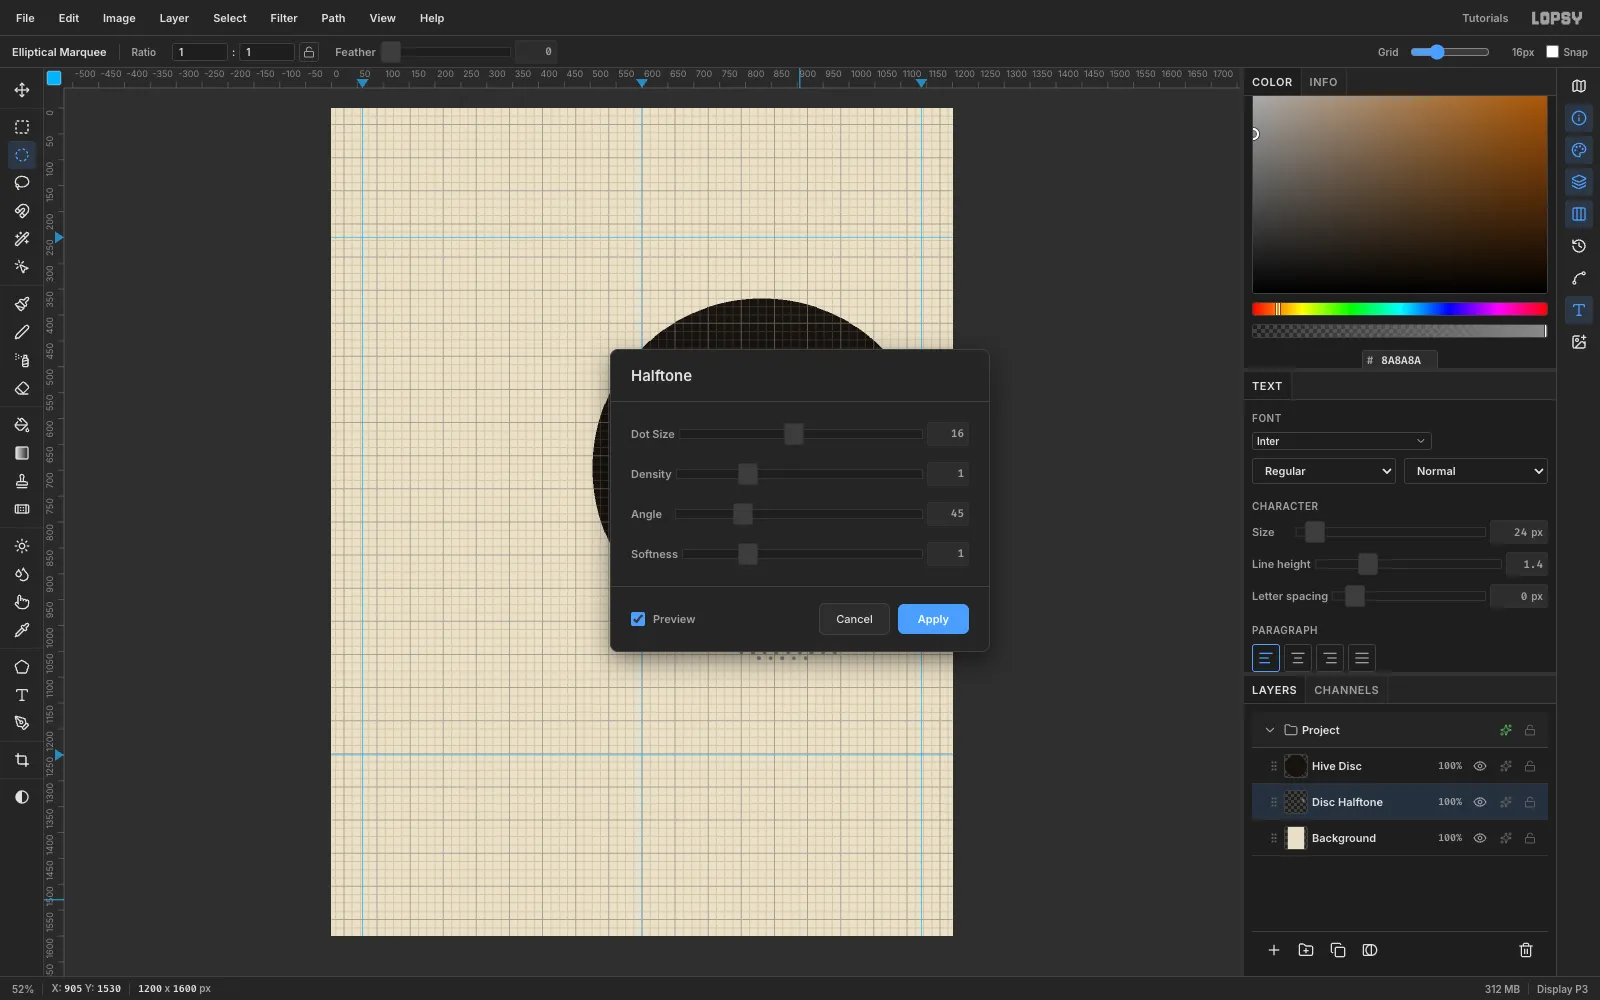
-
Turn the dots red
Open the layer's effects (the effects button on its row), enable Color Overlay and set it to
#C8261B. Halftone dots spill a little past the circle, so draw a circle 8 px smaller over the dots, choose Select → Inverse and press Delete. What's left is a crisp crescent of red dots, like a misregistered second ink.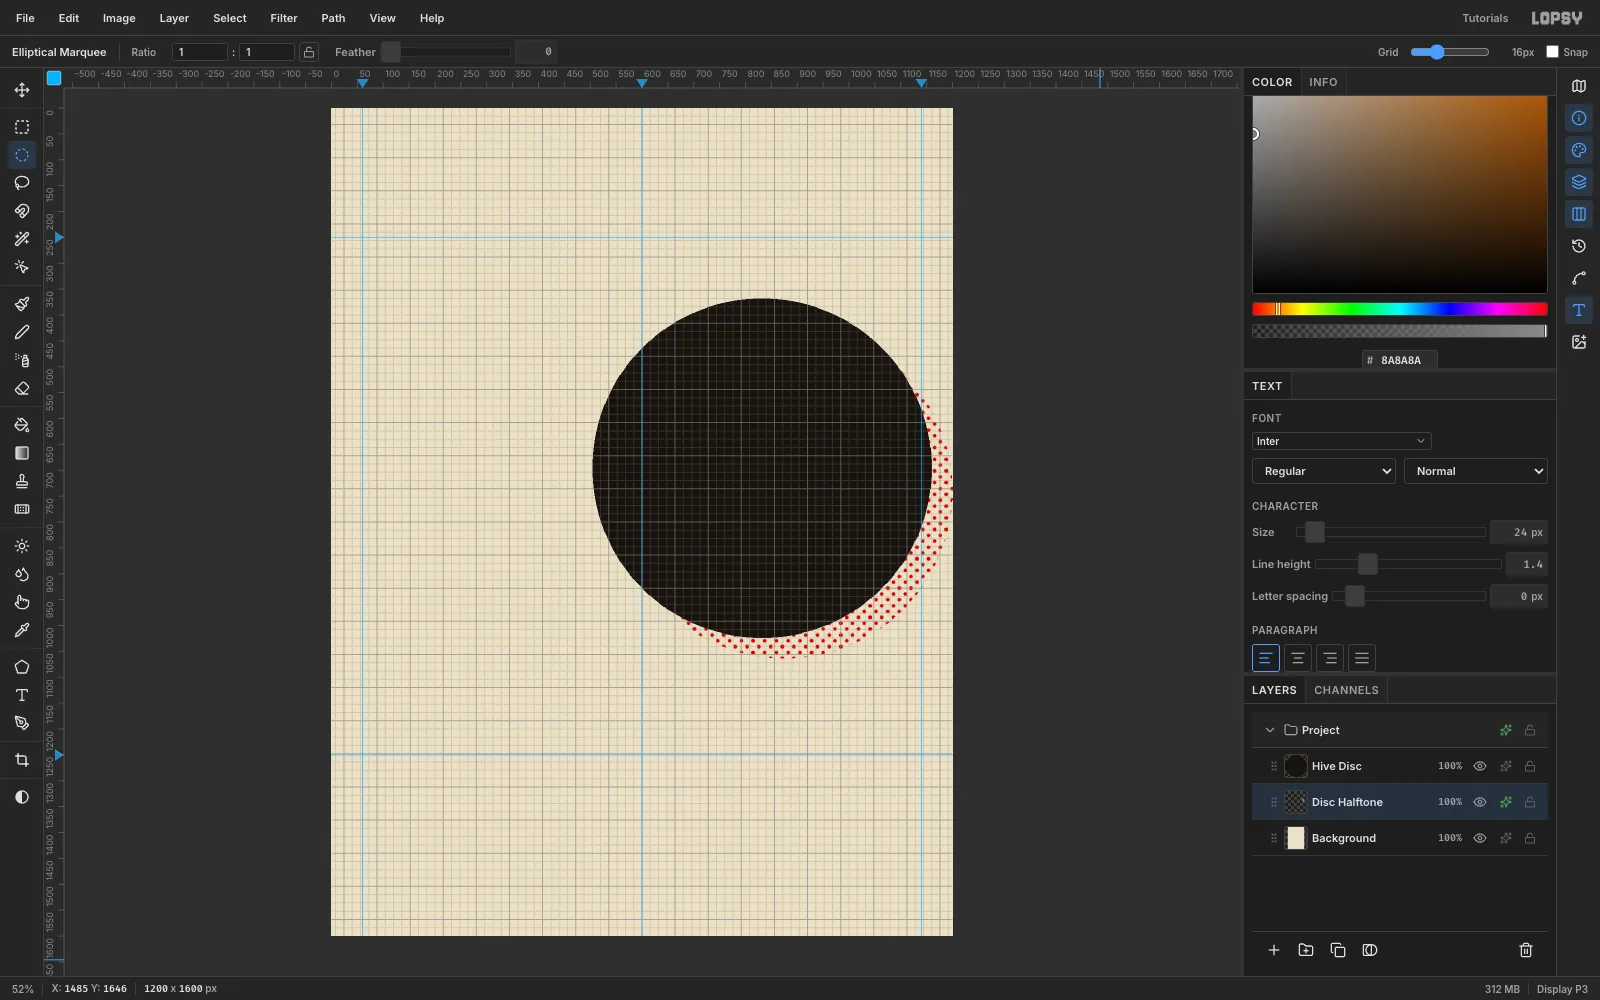
-
Build a honeycomb tile
Add a temporary Tile layer. Marquee a rectangle and fill it with ochre
#F2B01E. Then, for each cell, use the Lasso to draw a flat-topped hexagon (radius about 46 px) and press Delete to punch it out. Space the cell centres 156 px apart horizontally and 90 px vertically, with an extra cell in the middle of each block. The punched-out lattice leaves honeycomb walls about 10 px thick. Marquee exactly one repeat, 156 × 90, choose Edit → Define Pattern, then delete the Tile layer.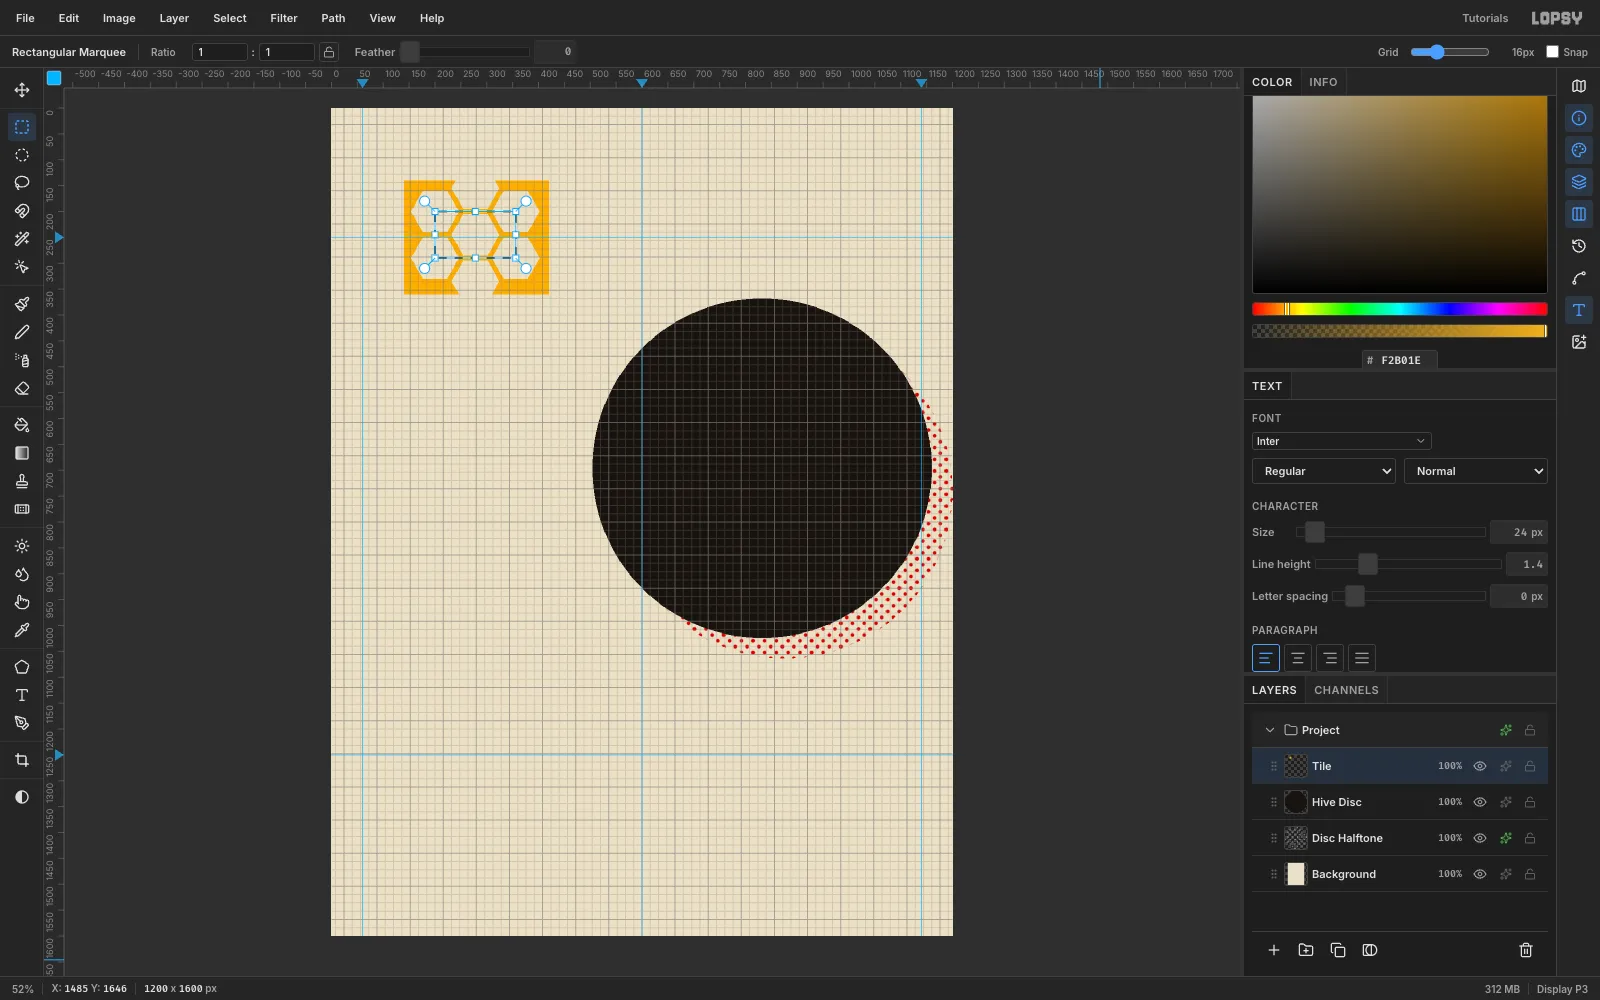
-
Fill the disc with honeycomb
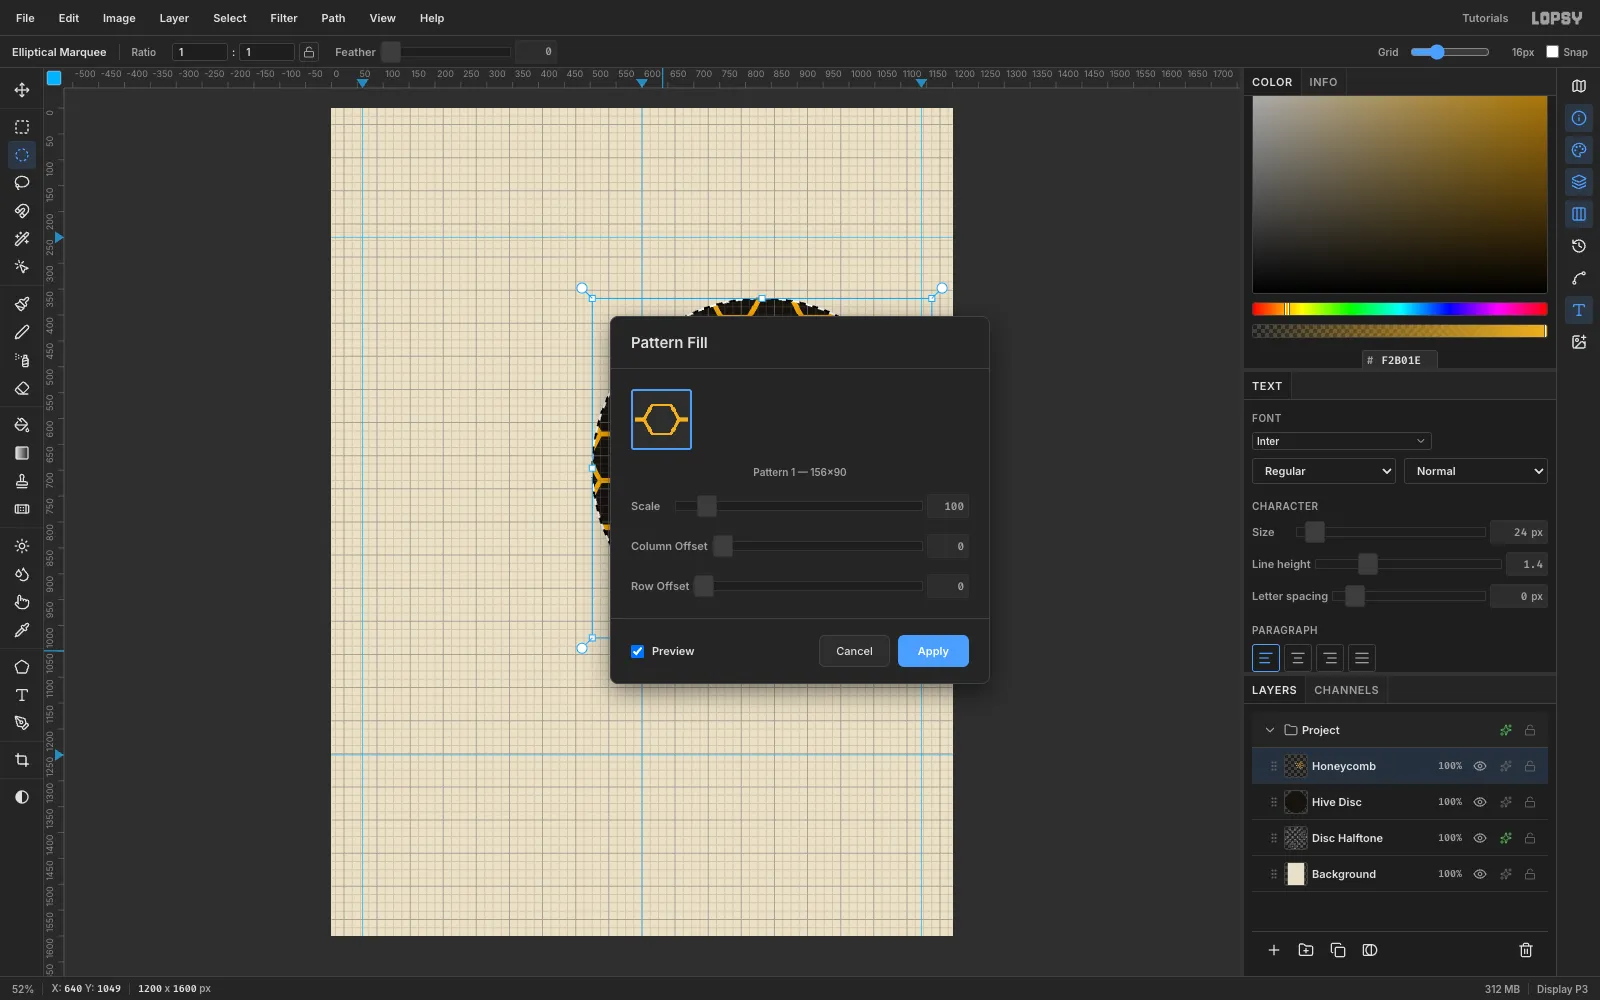
Select Hive Disc and add a Honeycomb layer above it. Draw the same 656 px circle as the disc (not a smaller one, or the cells stop short of the rim and leave a black ring). Choose Edit → Fill with Pattern…, pick your pattern, turn on Preview and Apply at Scale 100.
-
Fill a few cells with honey
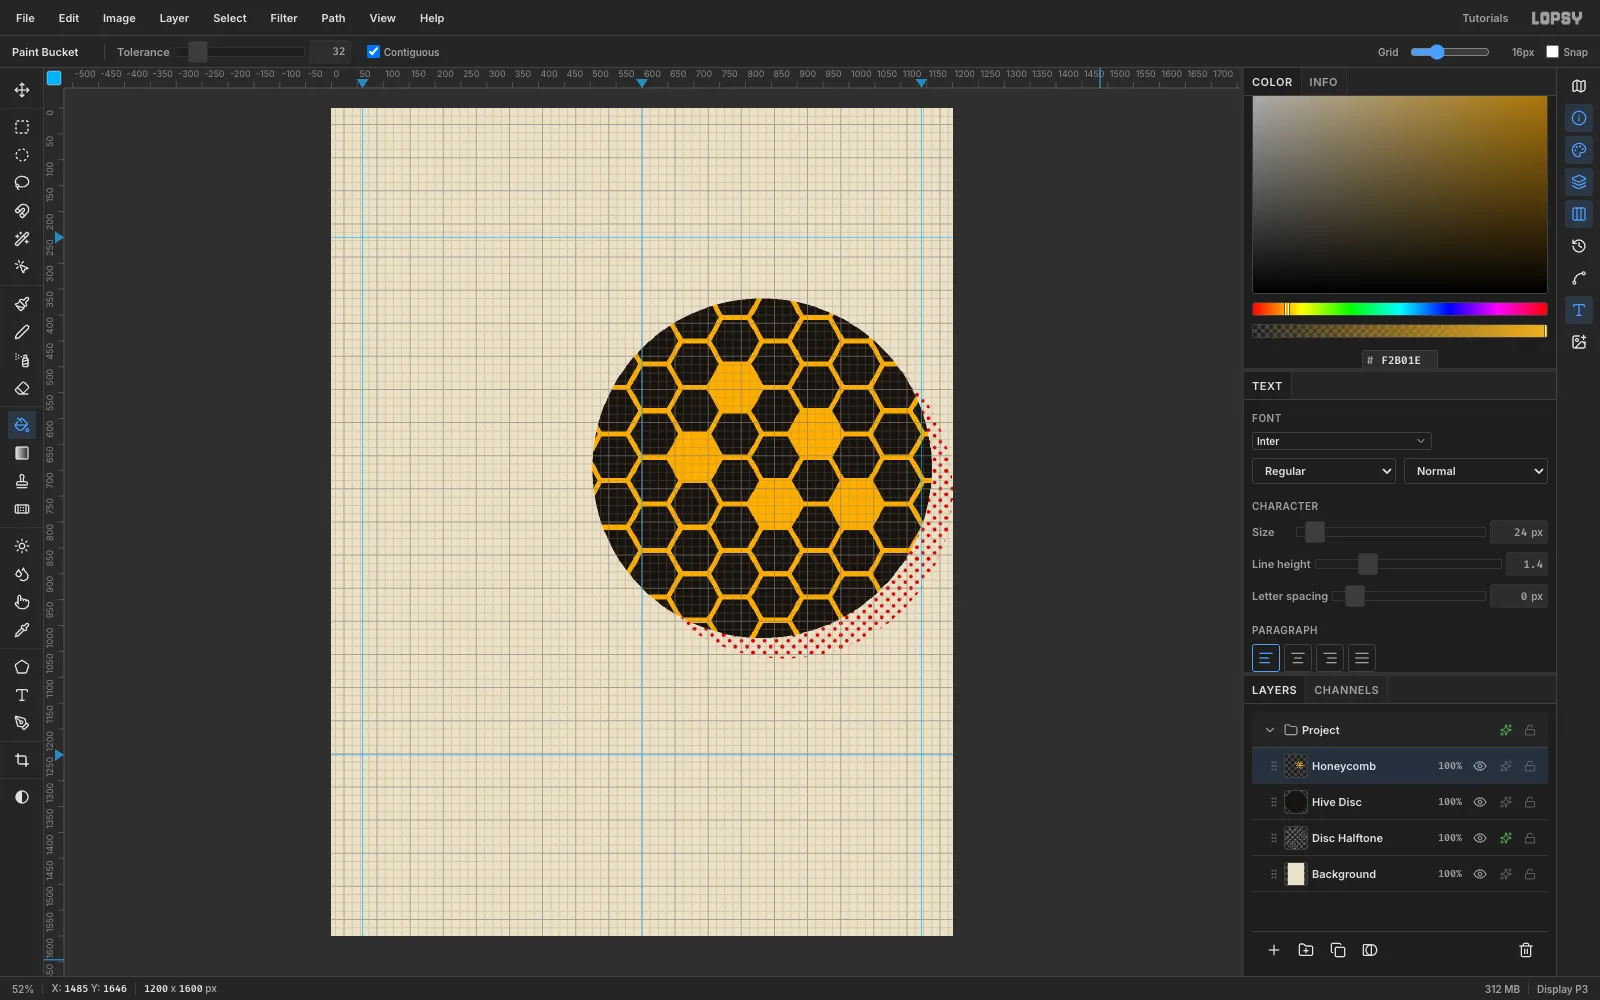
Choose the Paint Bucket with the foreground still ochre and click inside five cells that don't touch each other. The walls hold each fill inside its hexagon. Stay away from the cut cells at the rim: they're open to the transparent area outside the disc, so the fill floods the whole layer. If that happens, undo with Cmd+Z.
-
Drive in the red wedge
Add a Red Wedge layer above the honeycomb. With the Lasso, click through three points: (0, 850), (870, 690) and (0, 1250). This gives a long triangle whose tip stabs into the disc. Fill it with
#C8261B, deselect, and give it grit with Filter → Add Noise…, Mono, Amount 10.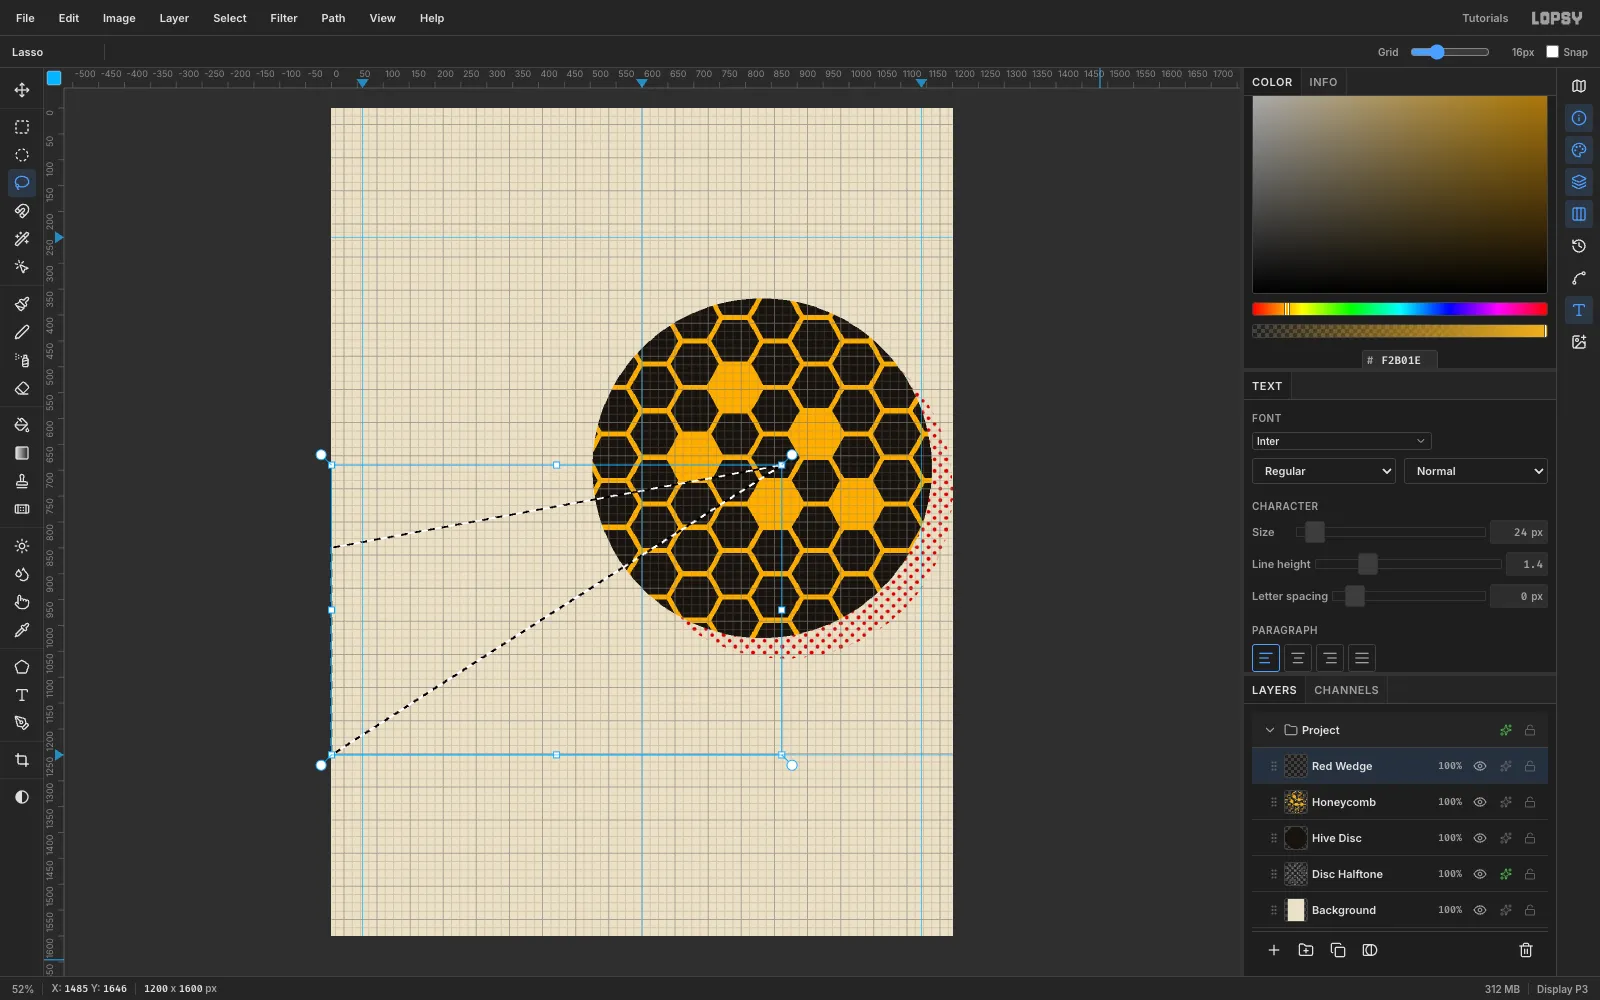
-
Cut the bee's wing and body
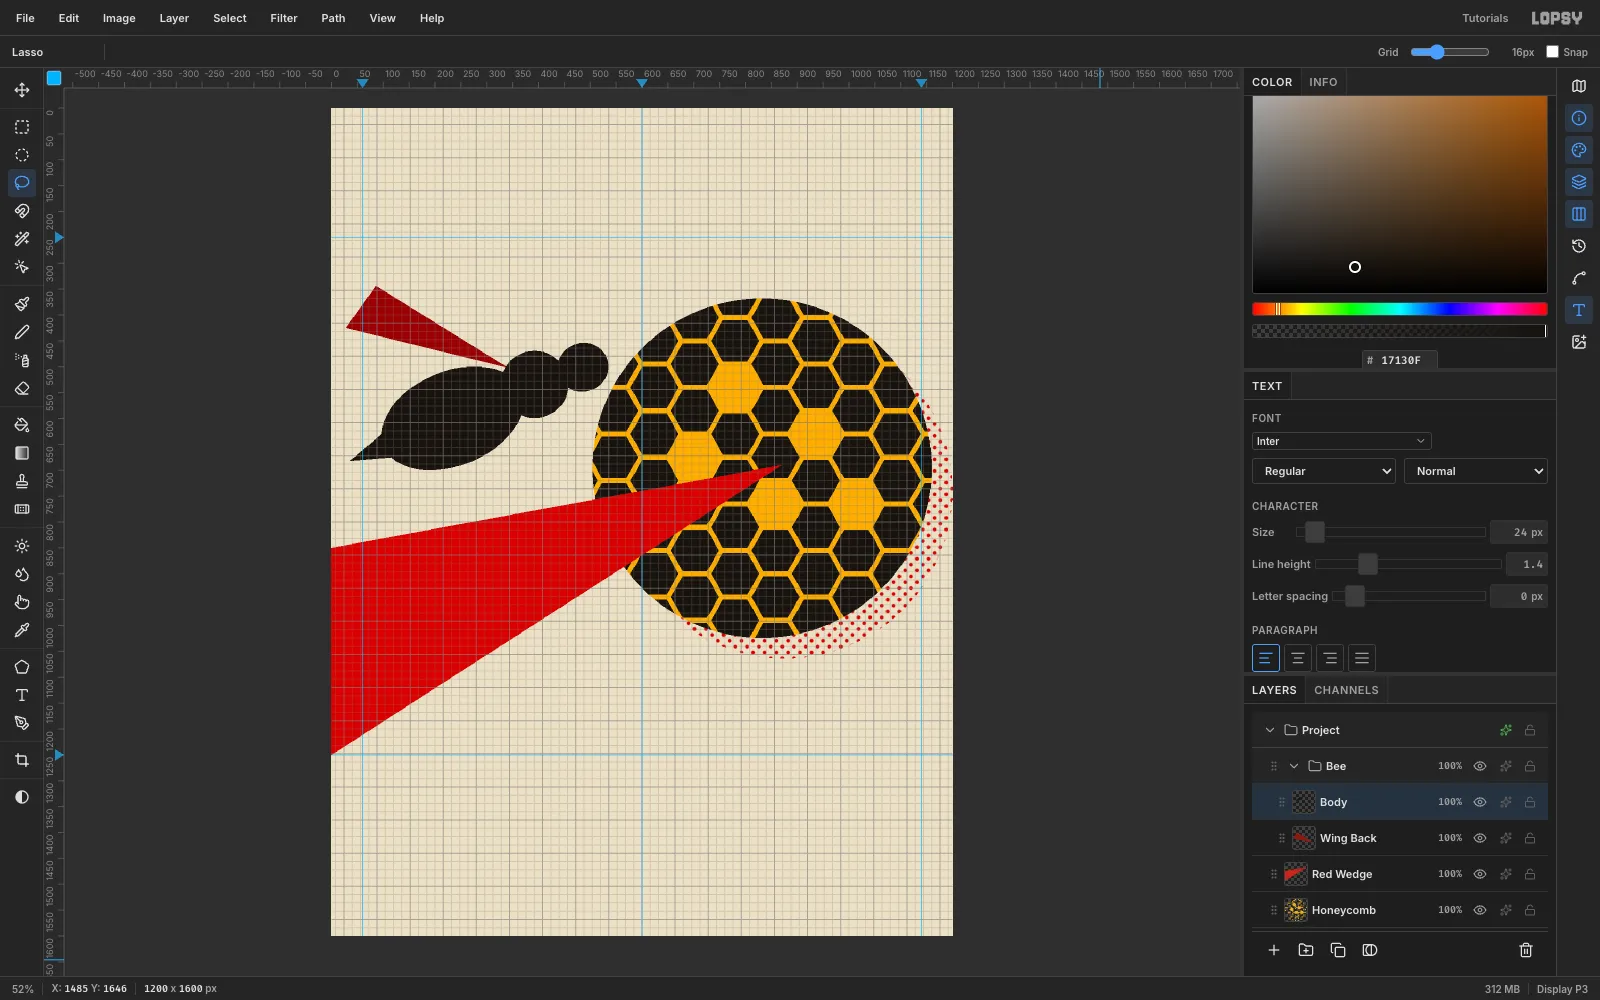
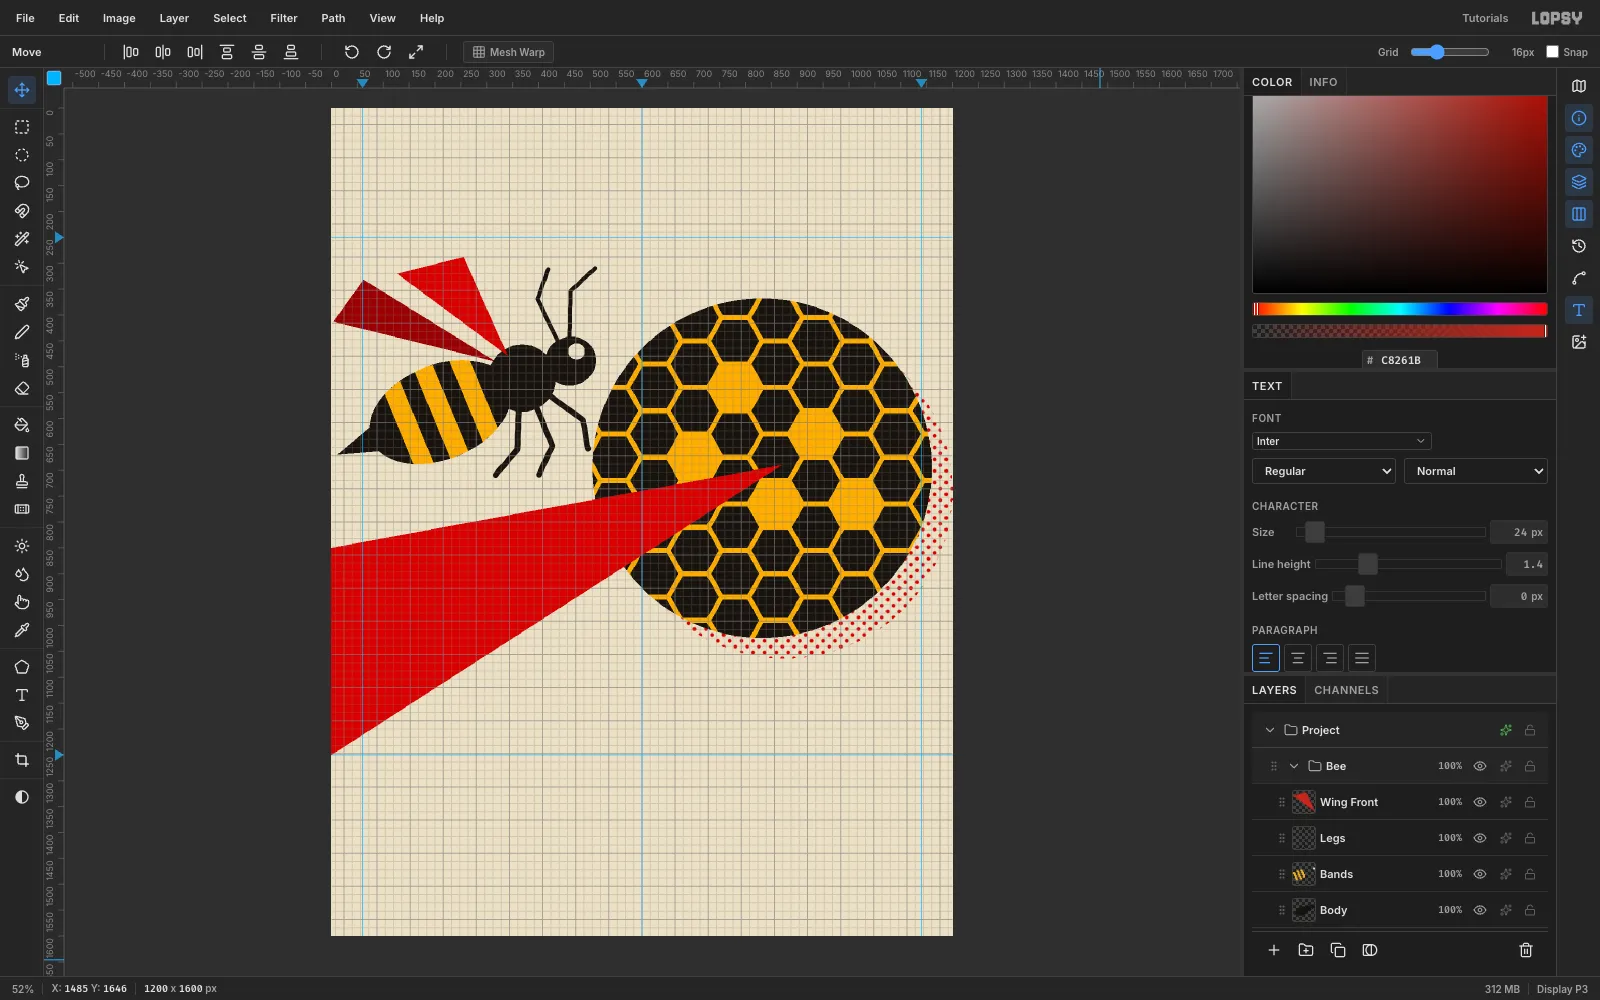
Select Red Wedge and click New Group. Name the group Bee. Inside it, build the bee from lasso polygons, every piece tilted about −22° so the bee climbs parallel to the wedge:
- Wing Back: a long, sharp triangle in dark red
#8E1A12, sweeping up and back from the thorax. - Body (ink black): an oval abdomen about 290 × 180 px, a pointed stinger triangle, a round thorax, and a smaller round head.
Keep everything flat, with no outlines. Constructivist illustration is cut paper, not line drawing.
- Wing Back: a long, sharp triangle in dark red
-
Add stripes, legs, antennae and the front wing
On a Bands layer, lasso three ochre bands that follow the curve of the abdomen. On a Legs layer, use the Brush at Size 12, Hardness 100 to draw three angular two-segment legs. Switch to Size 9 for two antennae. Finish with a Wing Front layer: a second sharp triangle in
#C8261B, overlapping the first. Two reds read as two wings without any outline.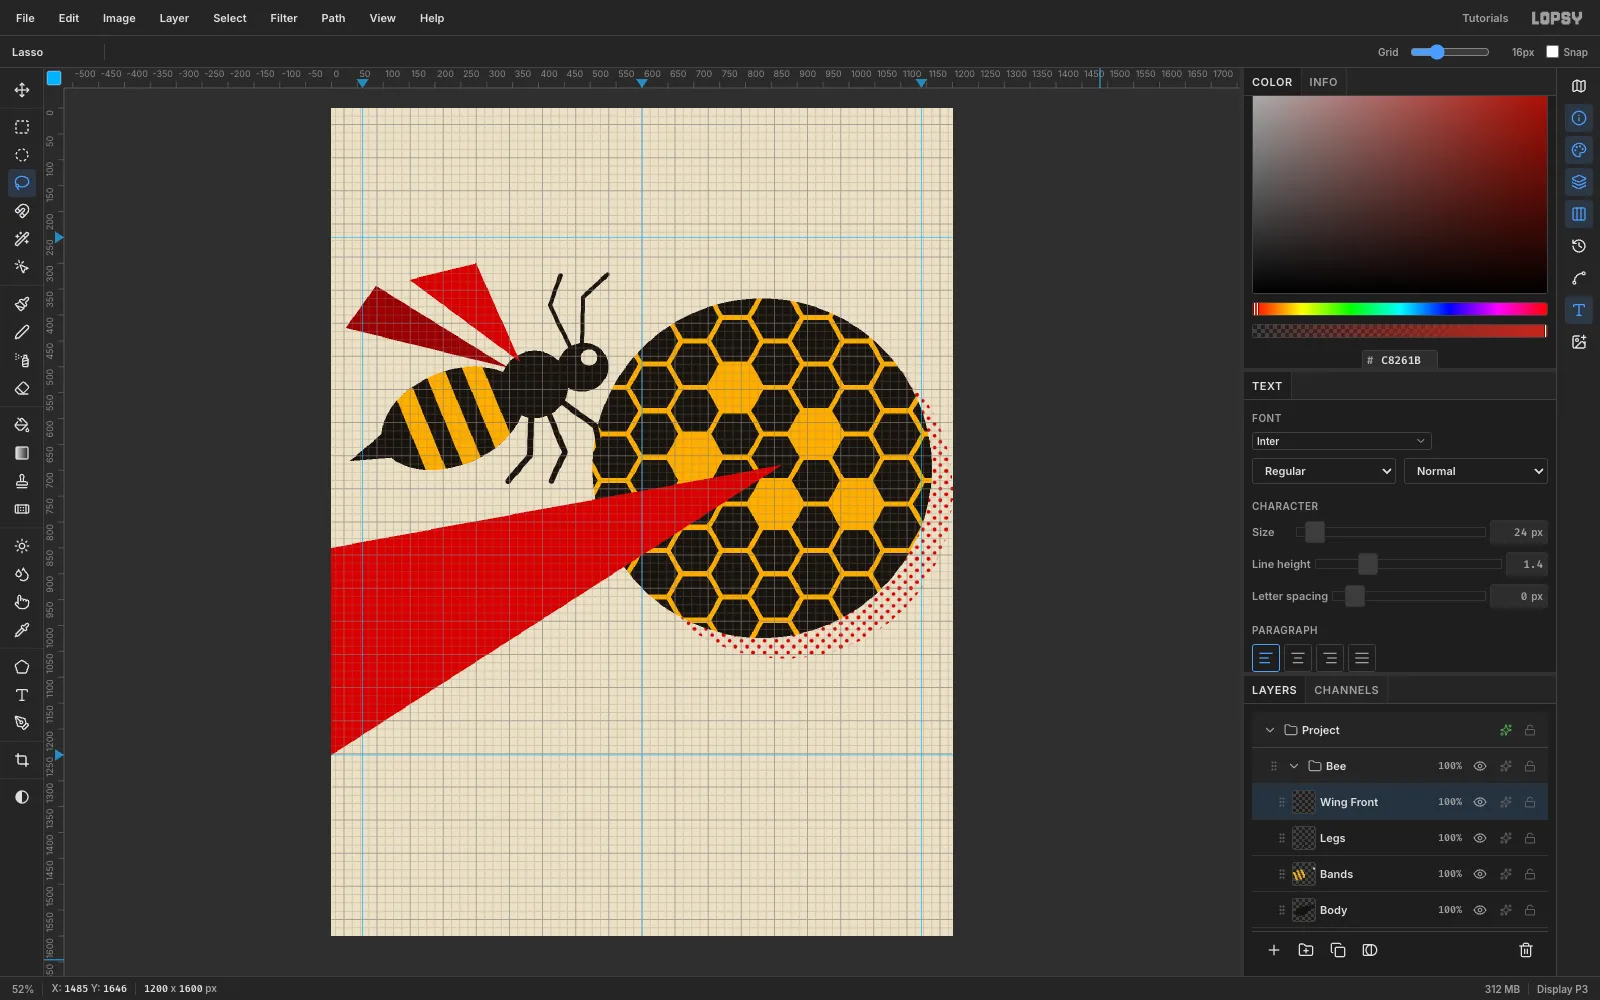
-
Move the bee as one group
Click the Bee group row and drag with the Move tool. All five layers move together. Nudge the bee up and left until its legs clear the disc. Press Cmd+Z and Cmd+Shift+Z to compare: the group returns exactly to where it was.
-
Draw one small bee
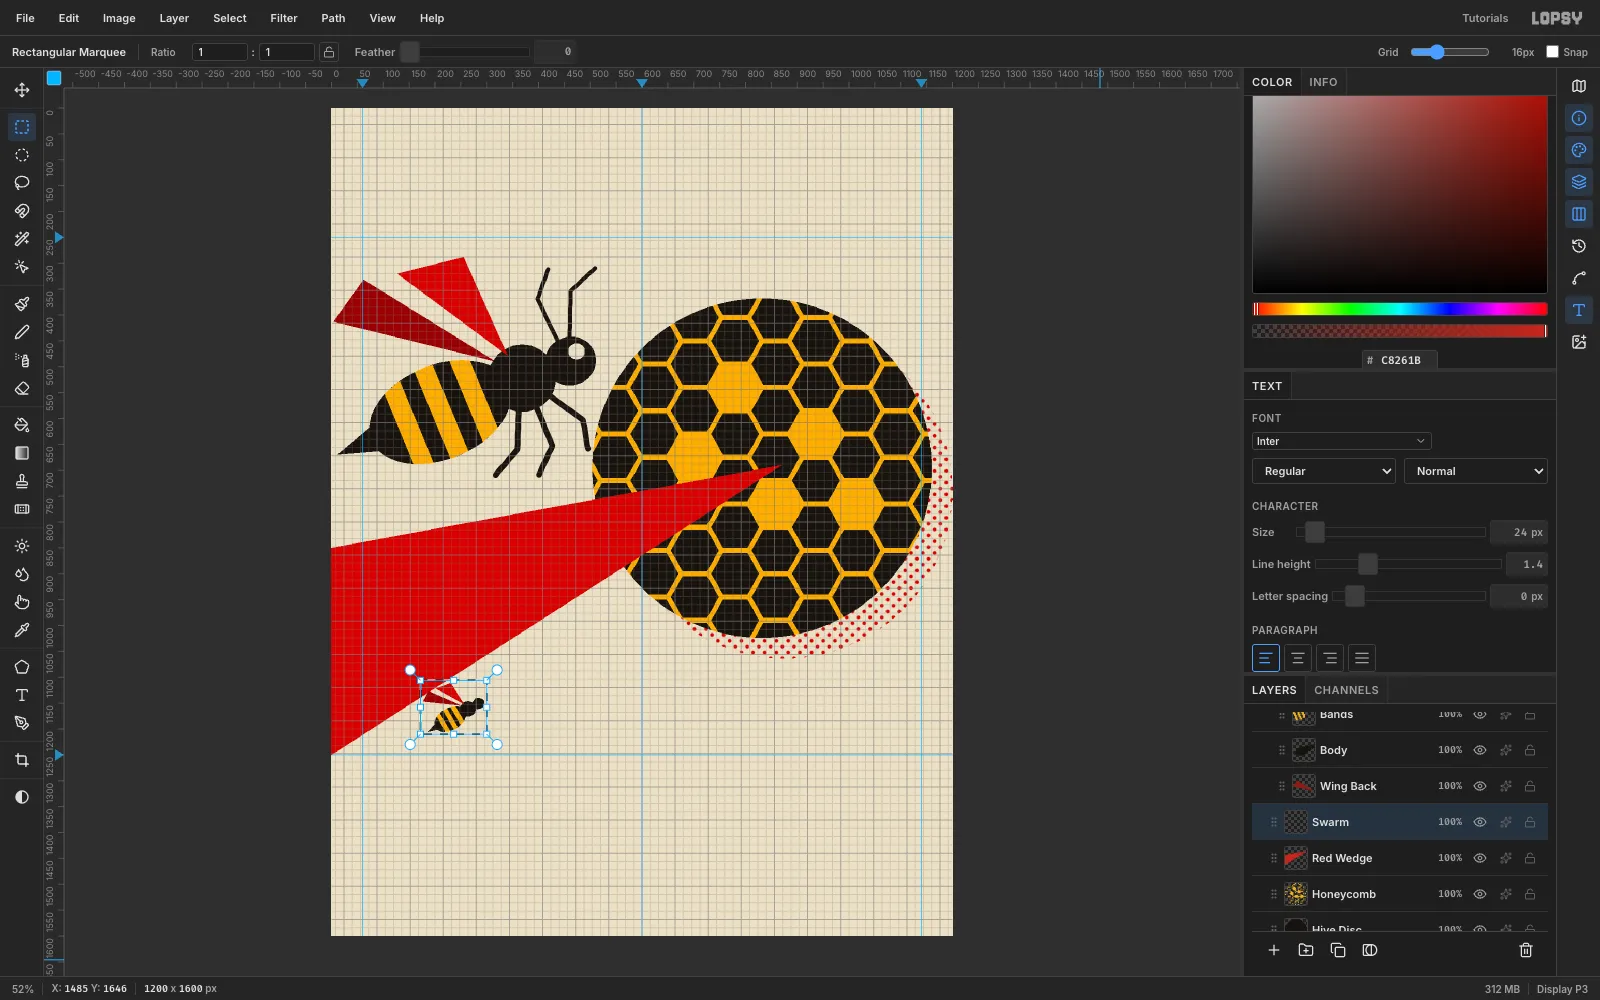
Select Red Wedge and add a Swarm layer. Using the same shapes at about 30 % size and −30°, draw a small bee just below the wedge's lower edge: dark red back wing, black body, ochre bands and red front wing. Then drag a Rectangular Marquee snugly around it.
-
Copy and paste the swarm
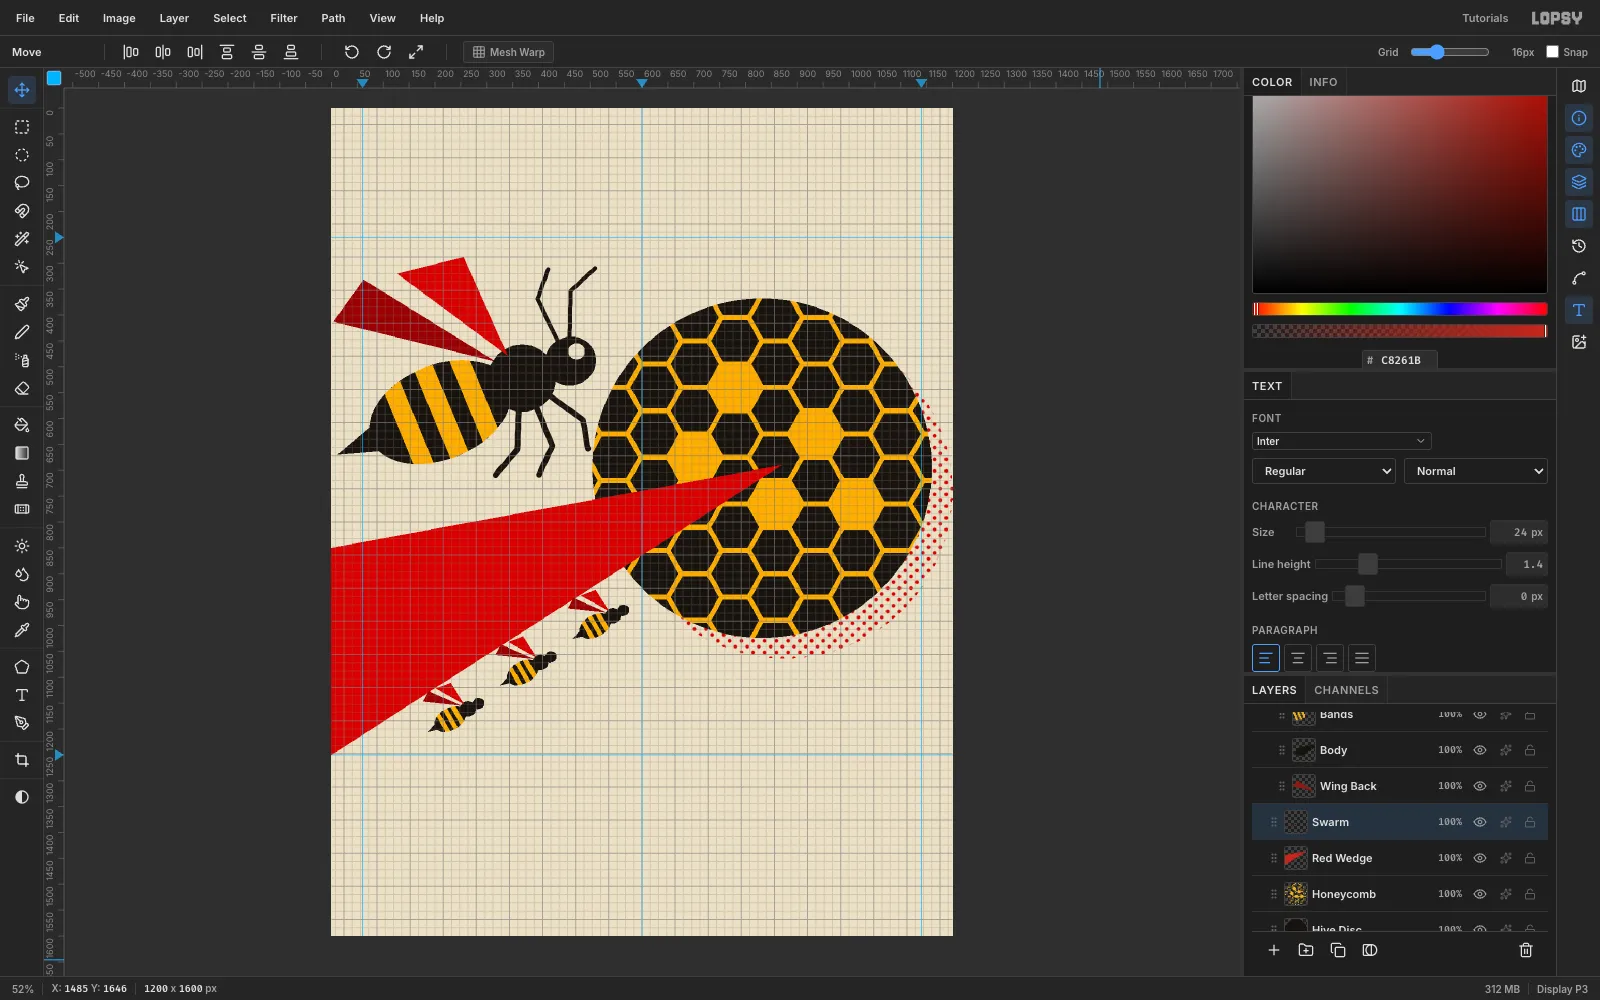
Press Cmd+C then Cmd+V. The paste lands in place on a new layer. Drag it up and to the right with the Move tool, about +140, −90. Repeat from the Swarm layer with an offset of +280, −180. Then select the top pasted layer and choose Layer → Merge Down twice to fold both copies back into Swarm.
-
Set the UPRISING headline
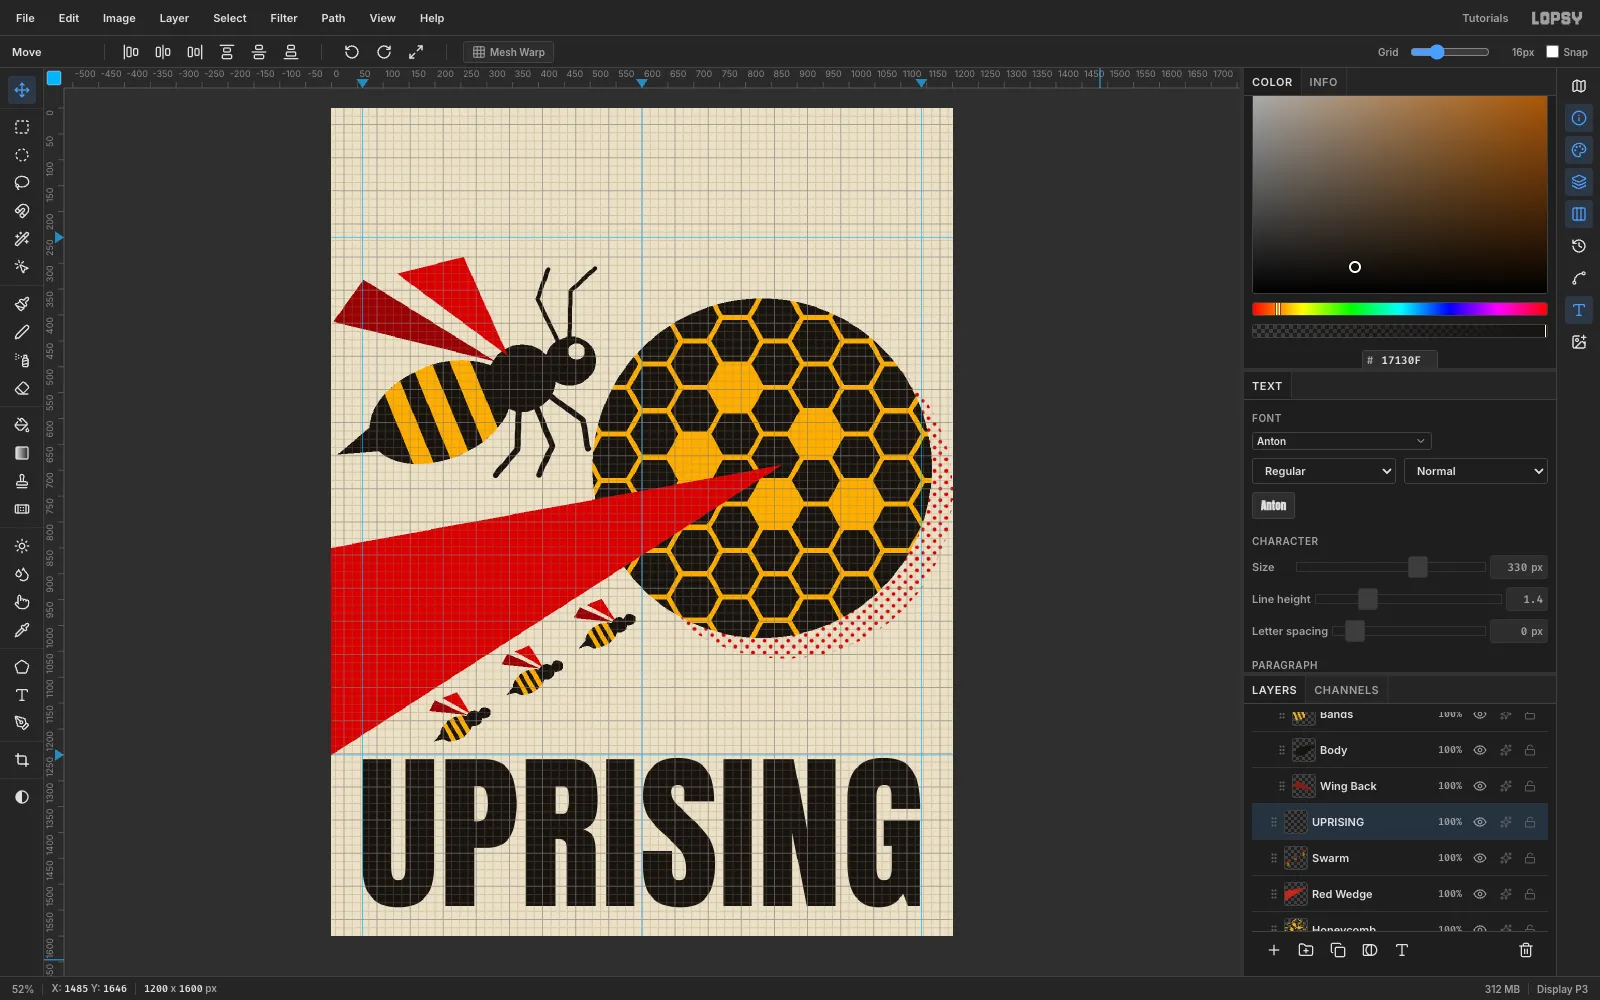
Choose the Text tool and set the font to Anton and the size to 330 before clicking. Then click in empty space below the wedge, type UPRISING in ink black and press Tab to commit. Move it so the letters run from the left guide to the right guide, with the top of the caps at about y = 1255.
-
Rotate DRONE to match the wedge
Set Anton 168 in cream
#EAE0C8. Click in the empty masthead area, type DRONE and commit. On the paper it's almost invisible for now. Select the DRONE layer, marquee tightly around the word, and drag the rotate handle just outside the top-right corner until it turns −22.5°, the angle of the wedge. Press Cmd+D to commit the transform.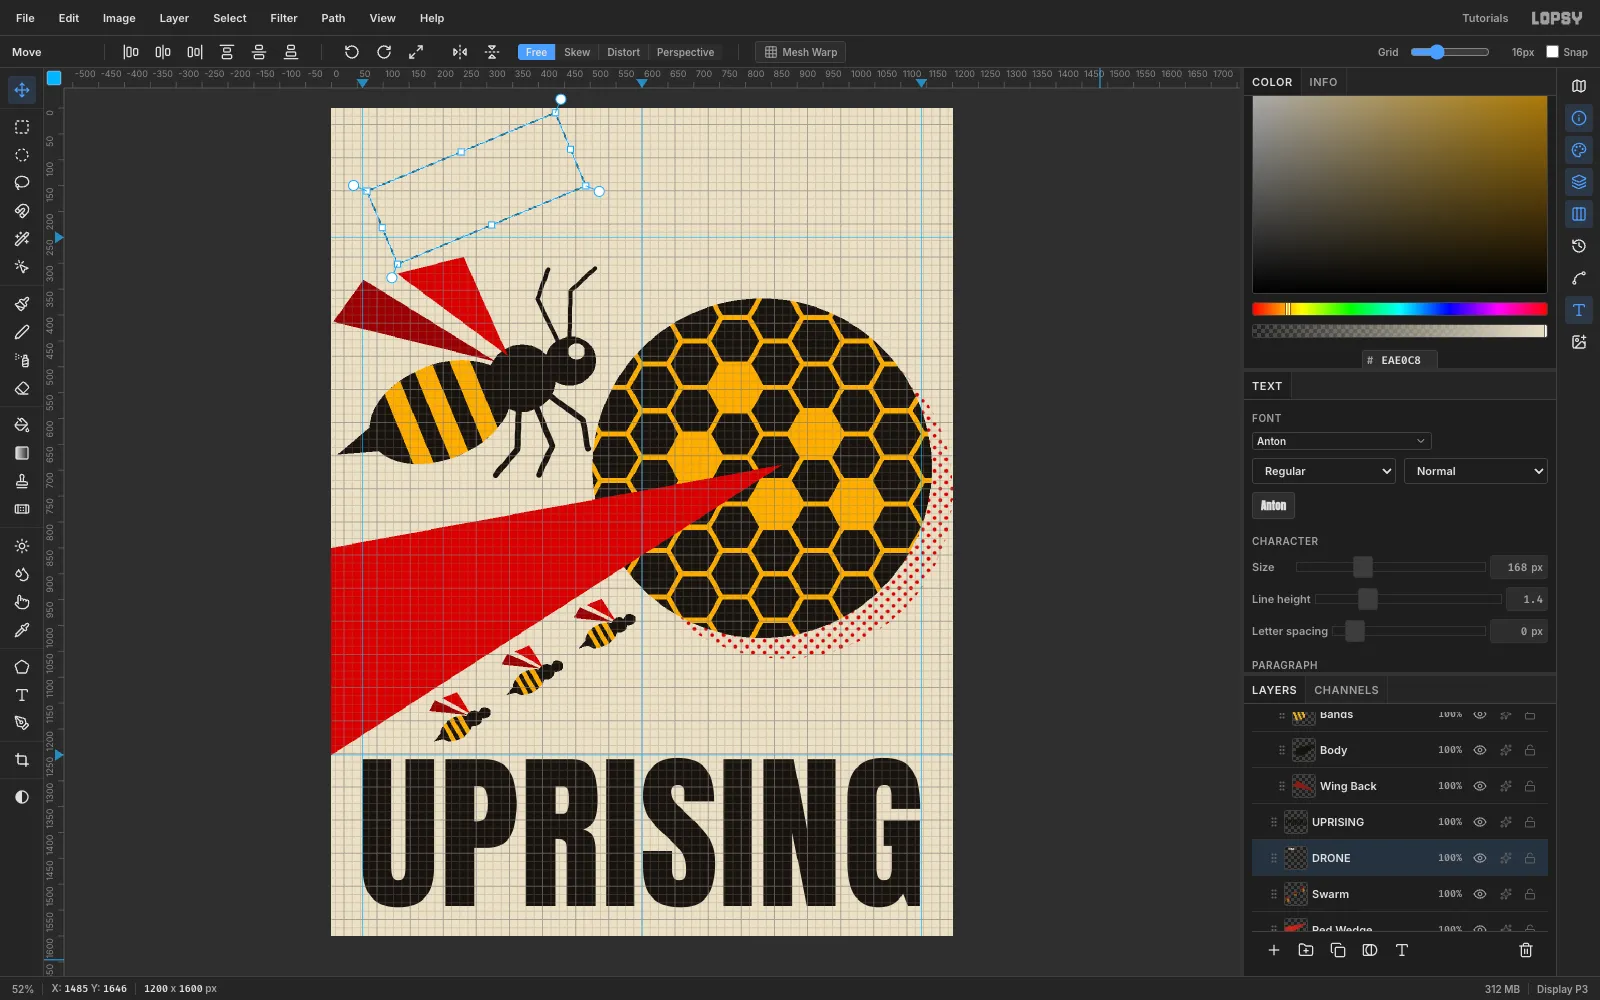
-
Slide DRONE onto the wedge
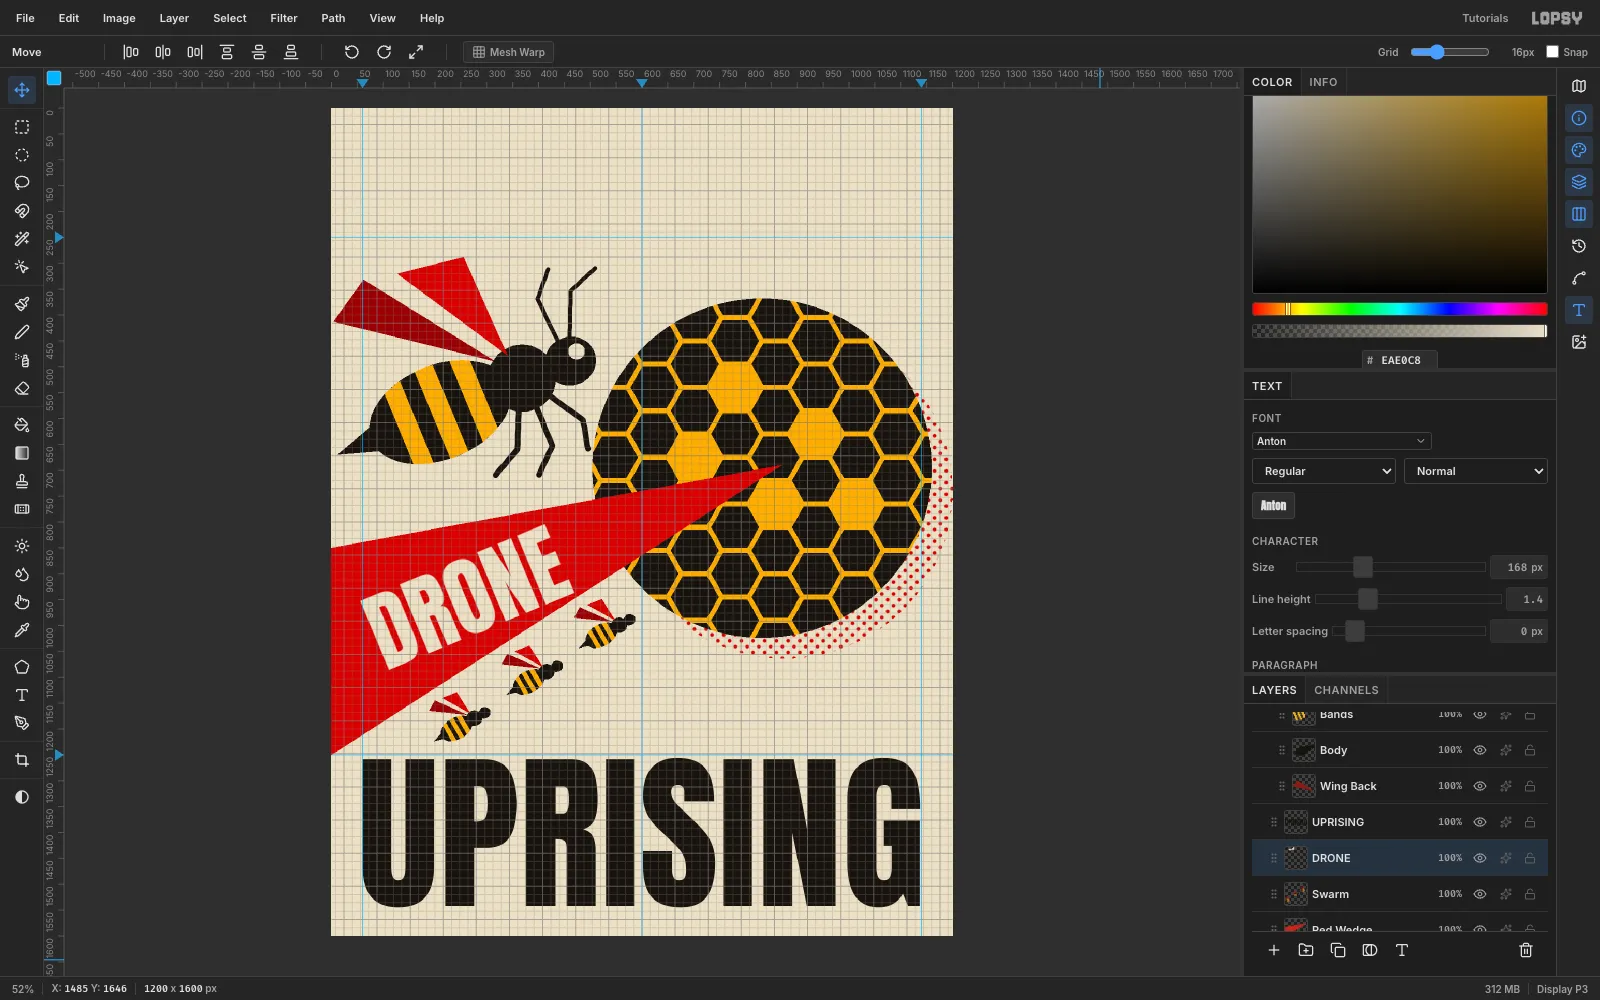
With the Move tool, drag DRONE down onto the wedge. Center it on the wedge's midline, toward the wide end where there is room for the cap height. Keep a little red visible above the "NE" and below the "D".
-
Stack the masthead
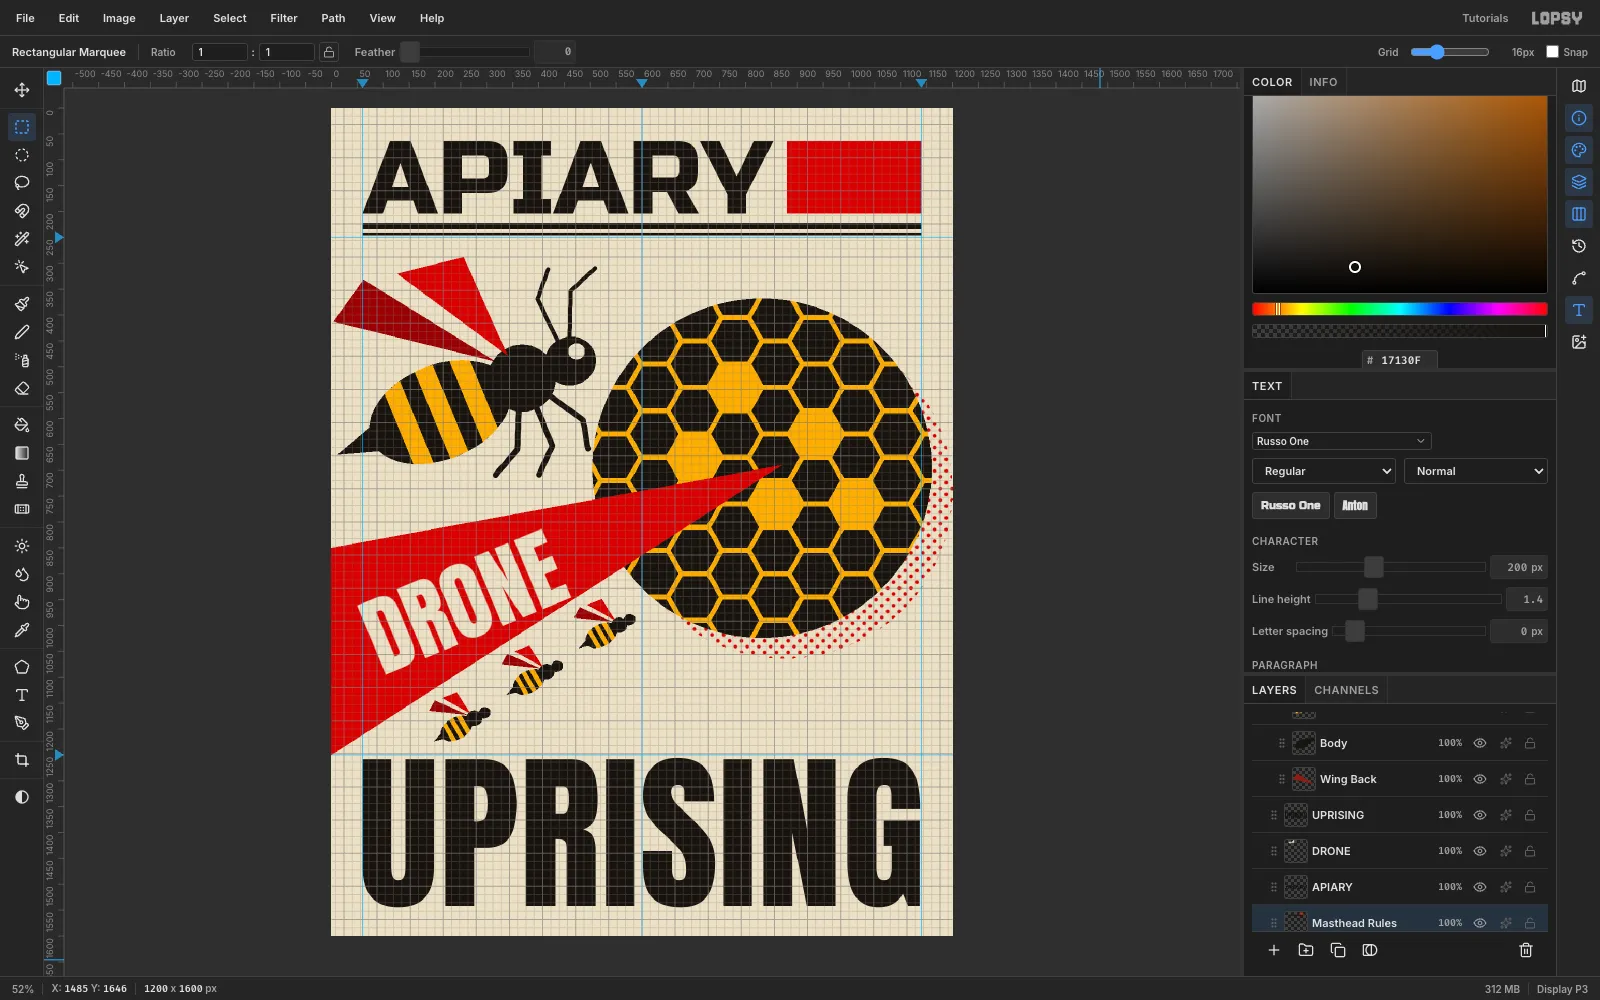
Set APIARY in Russo One 200, ink black, and move it to the top-left margin (60, 64). On a Masthead Rules layer, marquee-fill three shapes:
- a red issue box, 260 × 140 at (880, 64)
- a 12 px black rule across the margins at y = 222
- a 4 px rule at y = 242
-
Add the issue number and taglines
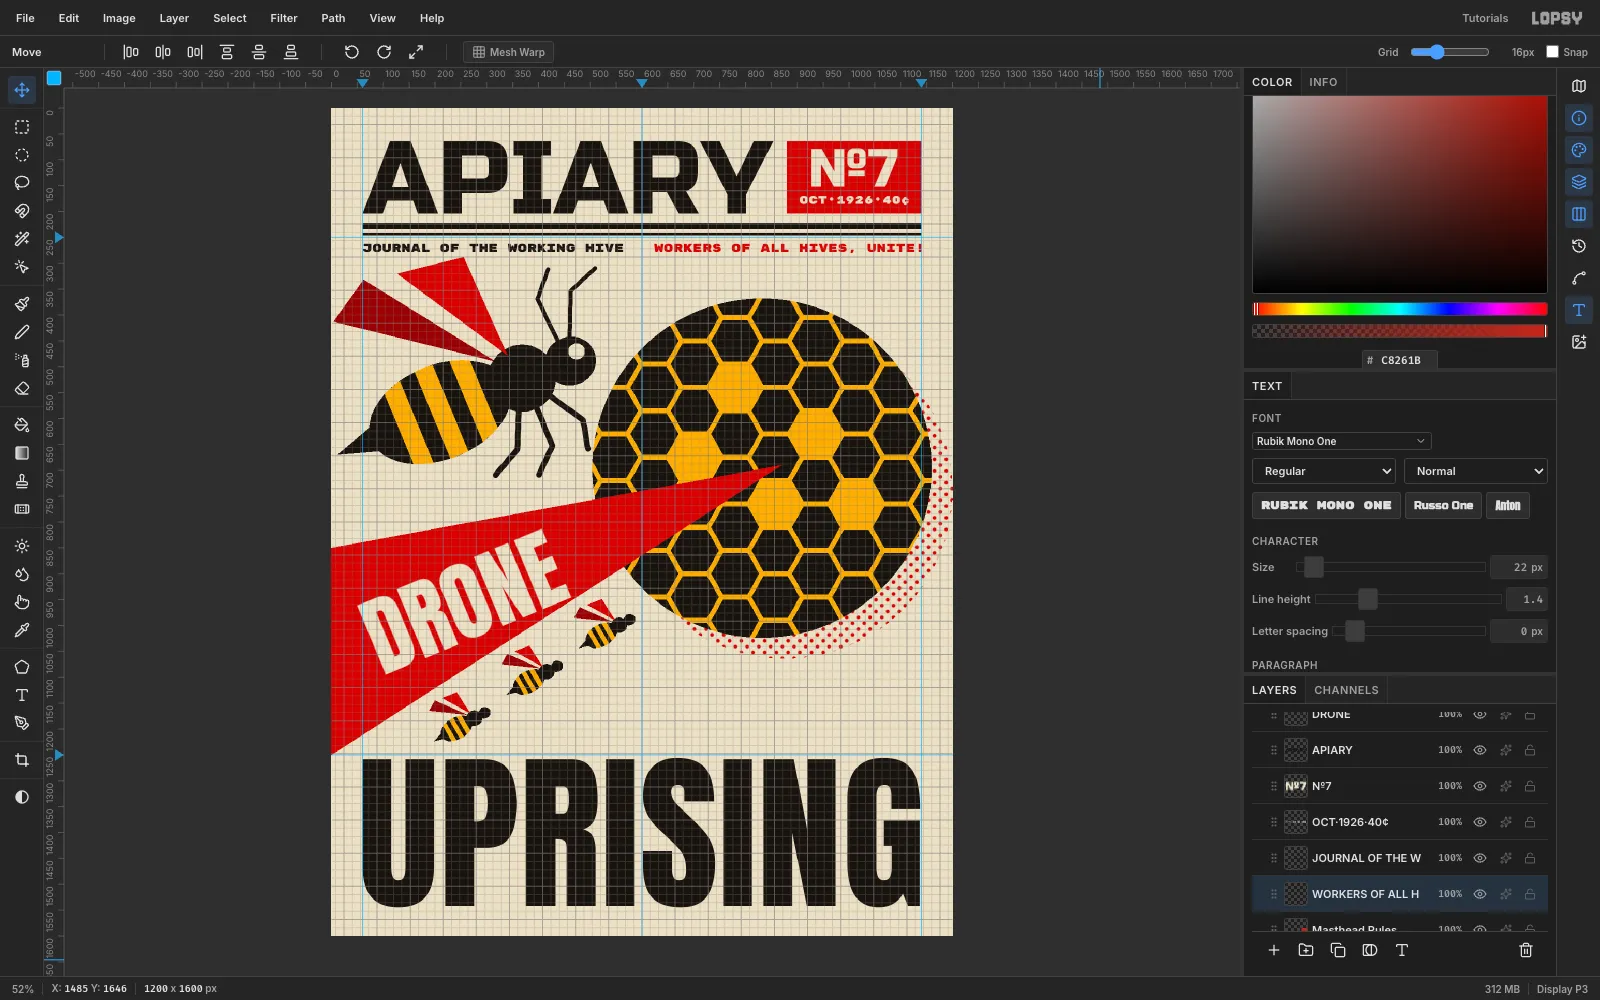
Paste №7 into the issue box in Russo One 104, cream. Pasting with Cmd+V is the easiest way to type the № sign. Below it, set OCT·1926·40¢ in Rubik Mono One 21. Under the rules, add JOURNAL OF THE WORKING HIVE in black and WORKERS OF ALL HIVES, UNITE! in red, both Rubik Mono One 22. Align the first to the left margin and the second to the right.
-
Lasso a tilted coverline slab
Constructivist covers rarely have just one diagonal. Add a Coverline Bar layer and lasso a 500 × 150 rectangle tilted −12°, centred near (885, 1105), so it tucks under the disc. Fill it with
#C8261Band add the same Mono Amount 10 noise as the wedge.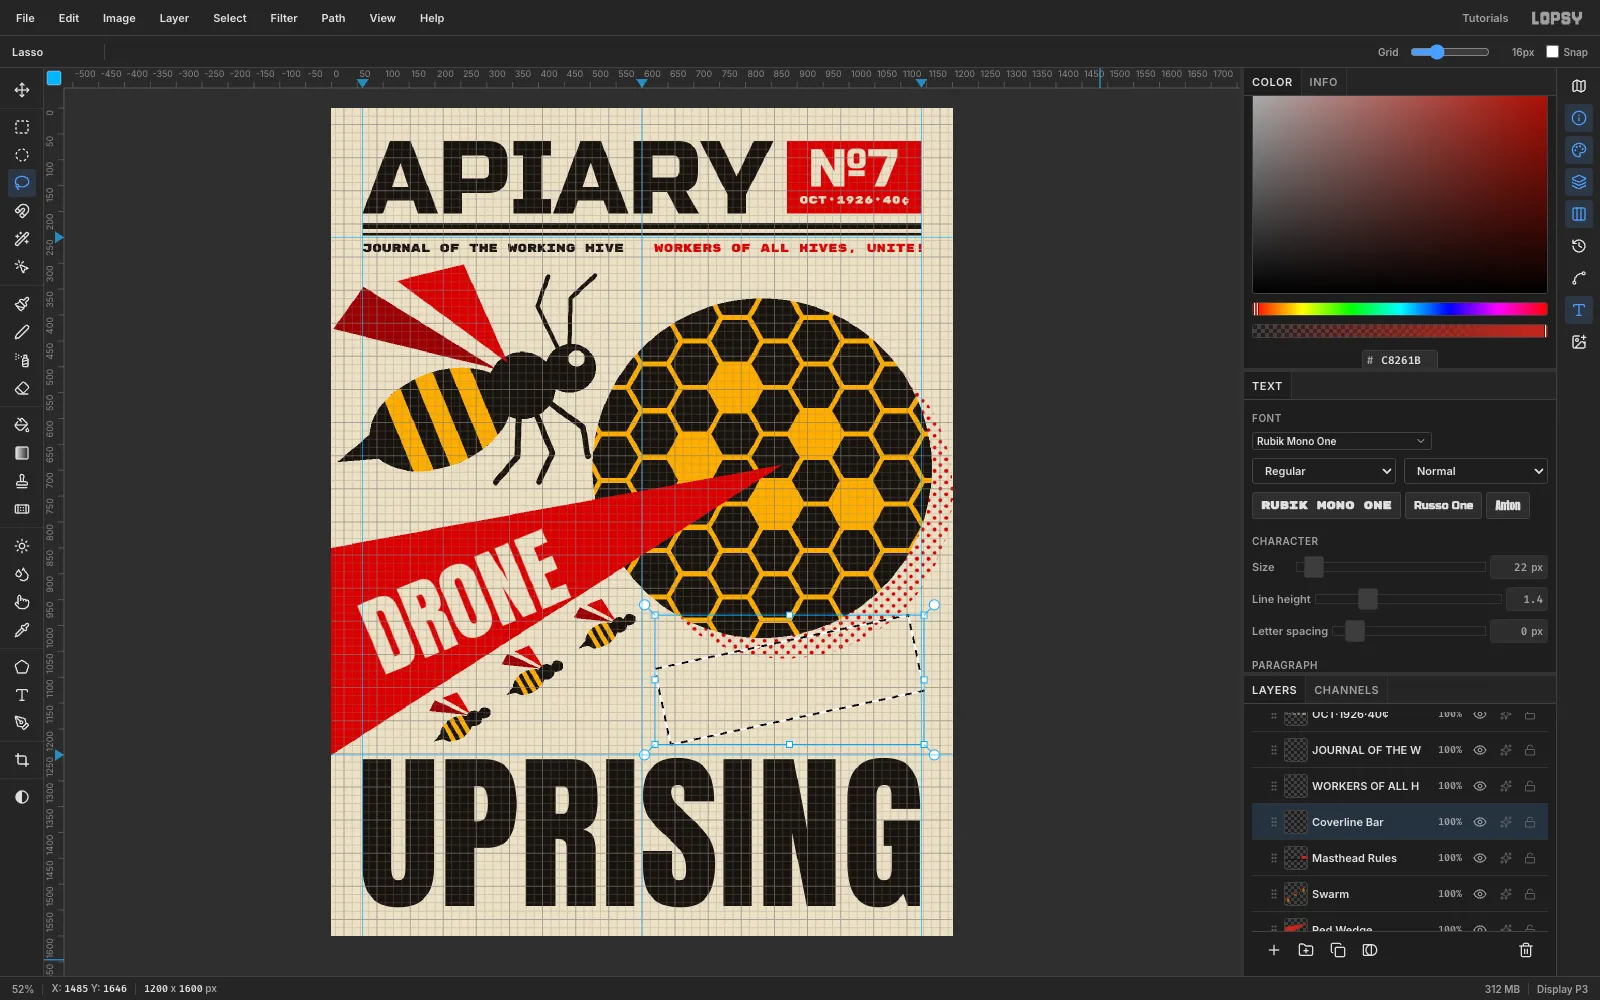
-
Set and rotate the coverlines
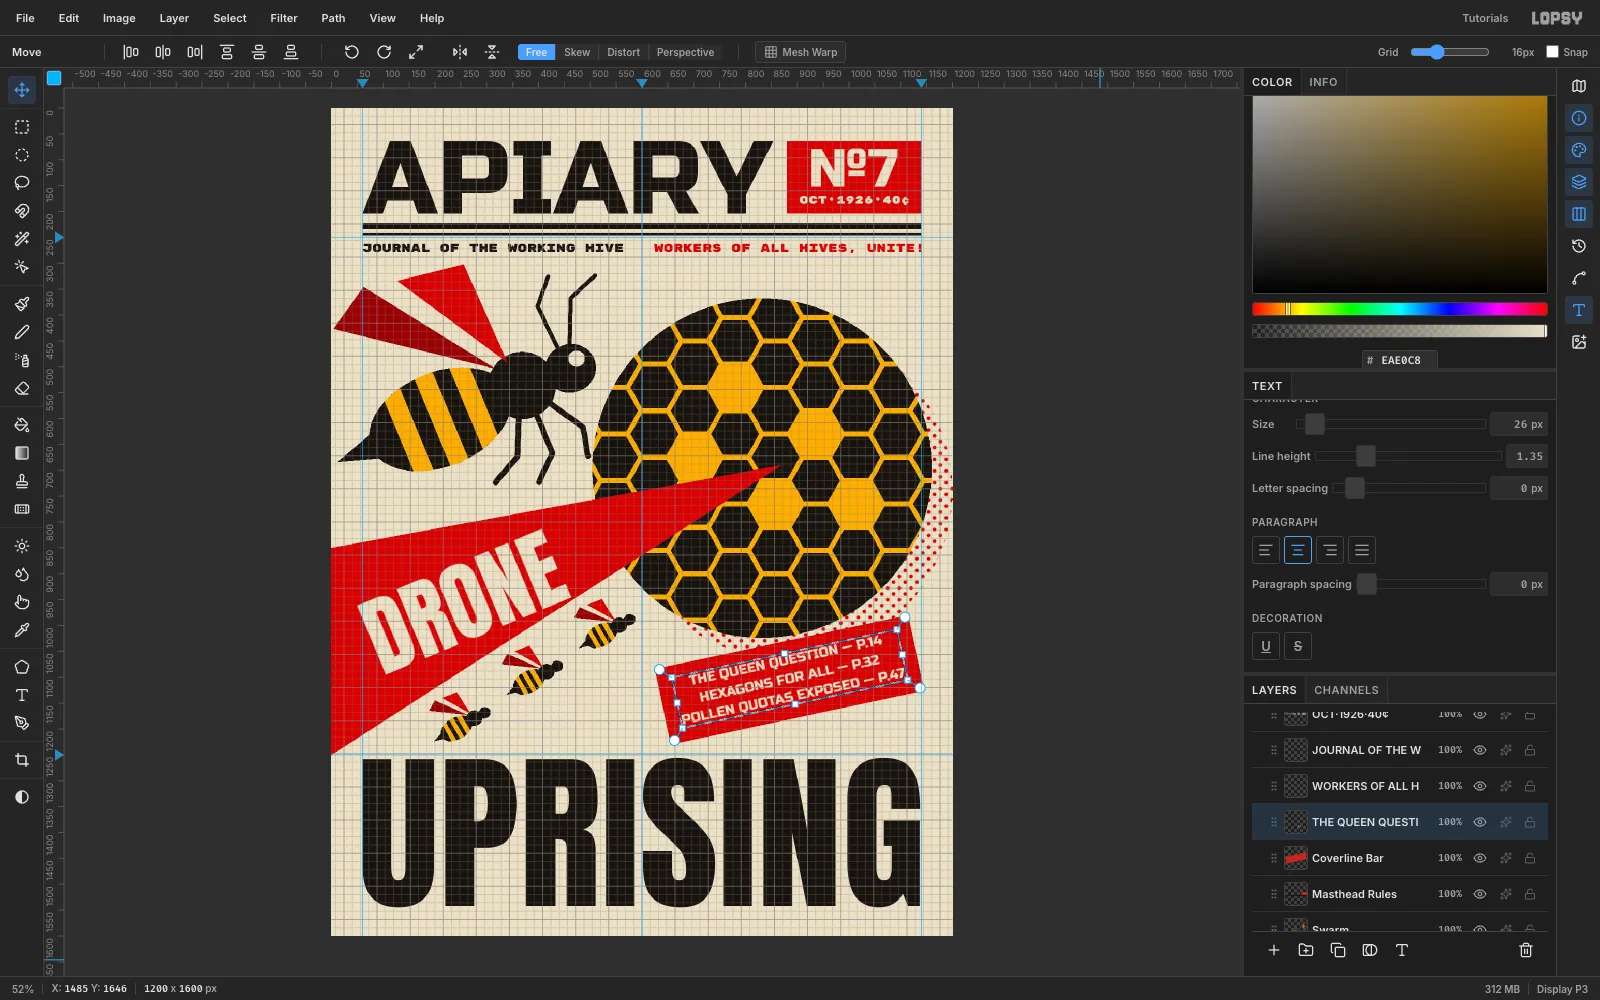
Drag a Text box about 470 px wide over the slab. Set Russo One 26, Line height 1.35, Align center, cream, and type three lines:
- THE QUEEN QUESTION — P.14
- HEXAGONS FOR ALL — P.32
- POLLEN QUOTAS EXPOSED — P.47
Commit with Tab. Then marquee the text and rotate it −12°, the same angle as the slab.
-
Center the coverlines on the slab
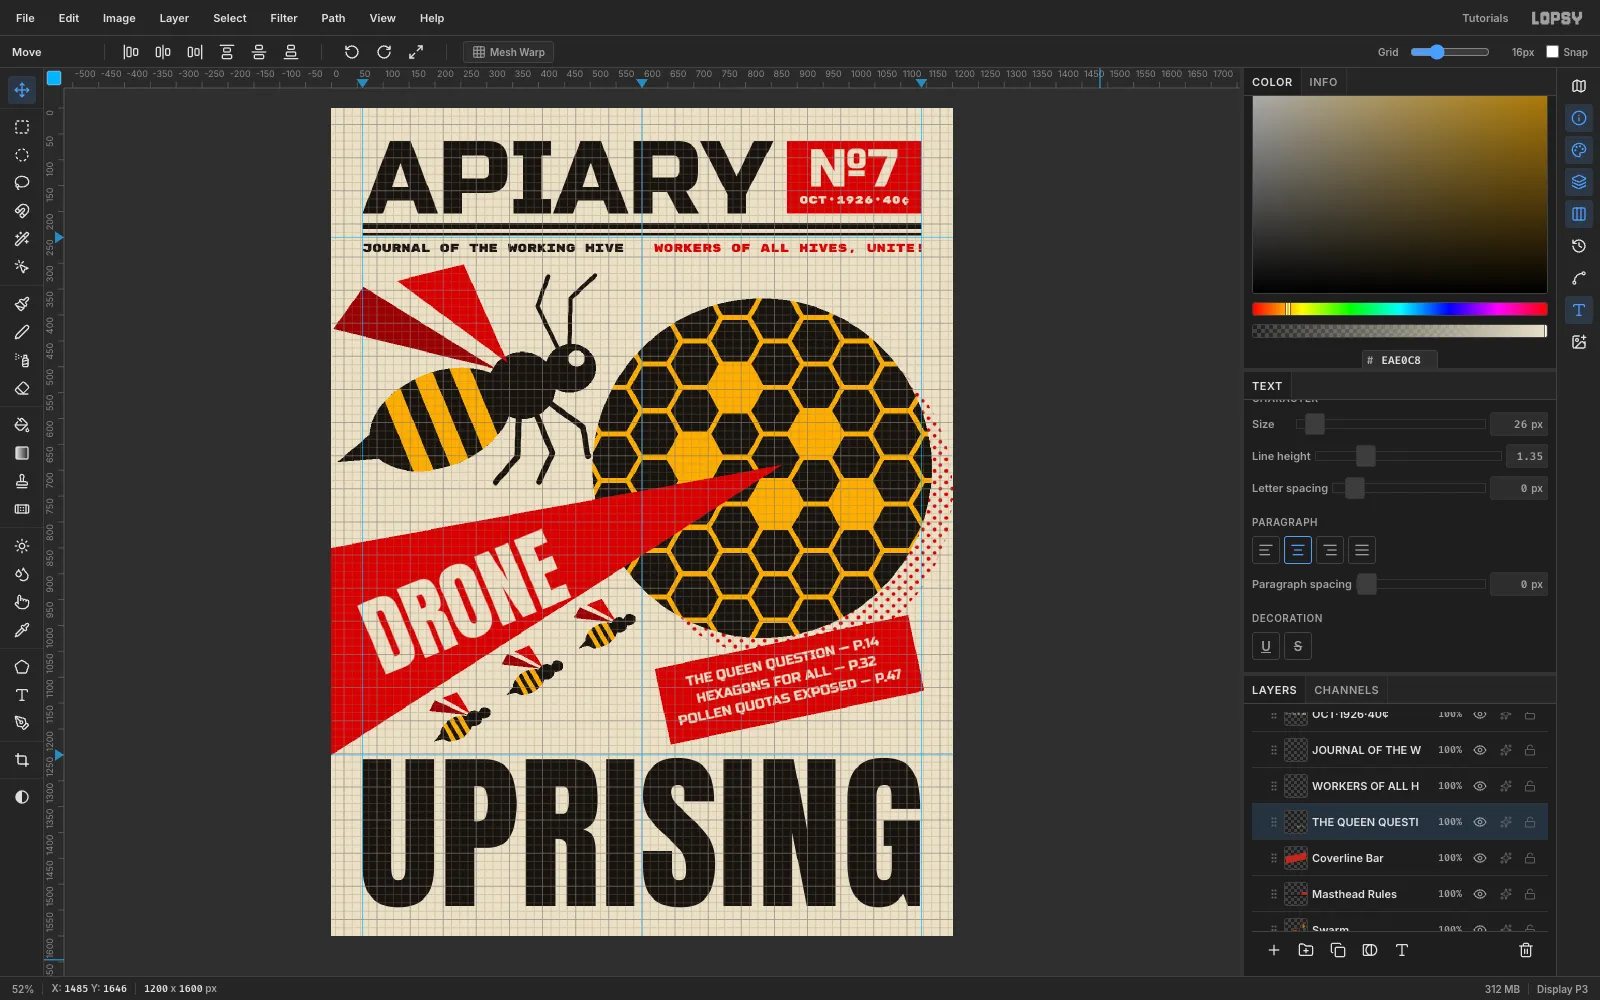
Press Cmd+D to commit, then drag the text so it sits centred on the slab with even red margins on every side. The slab now makes a second diagonal against the steeper wedge.
-
Add a grain layer
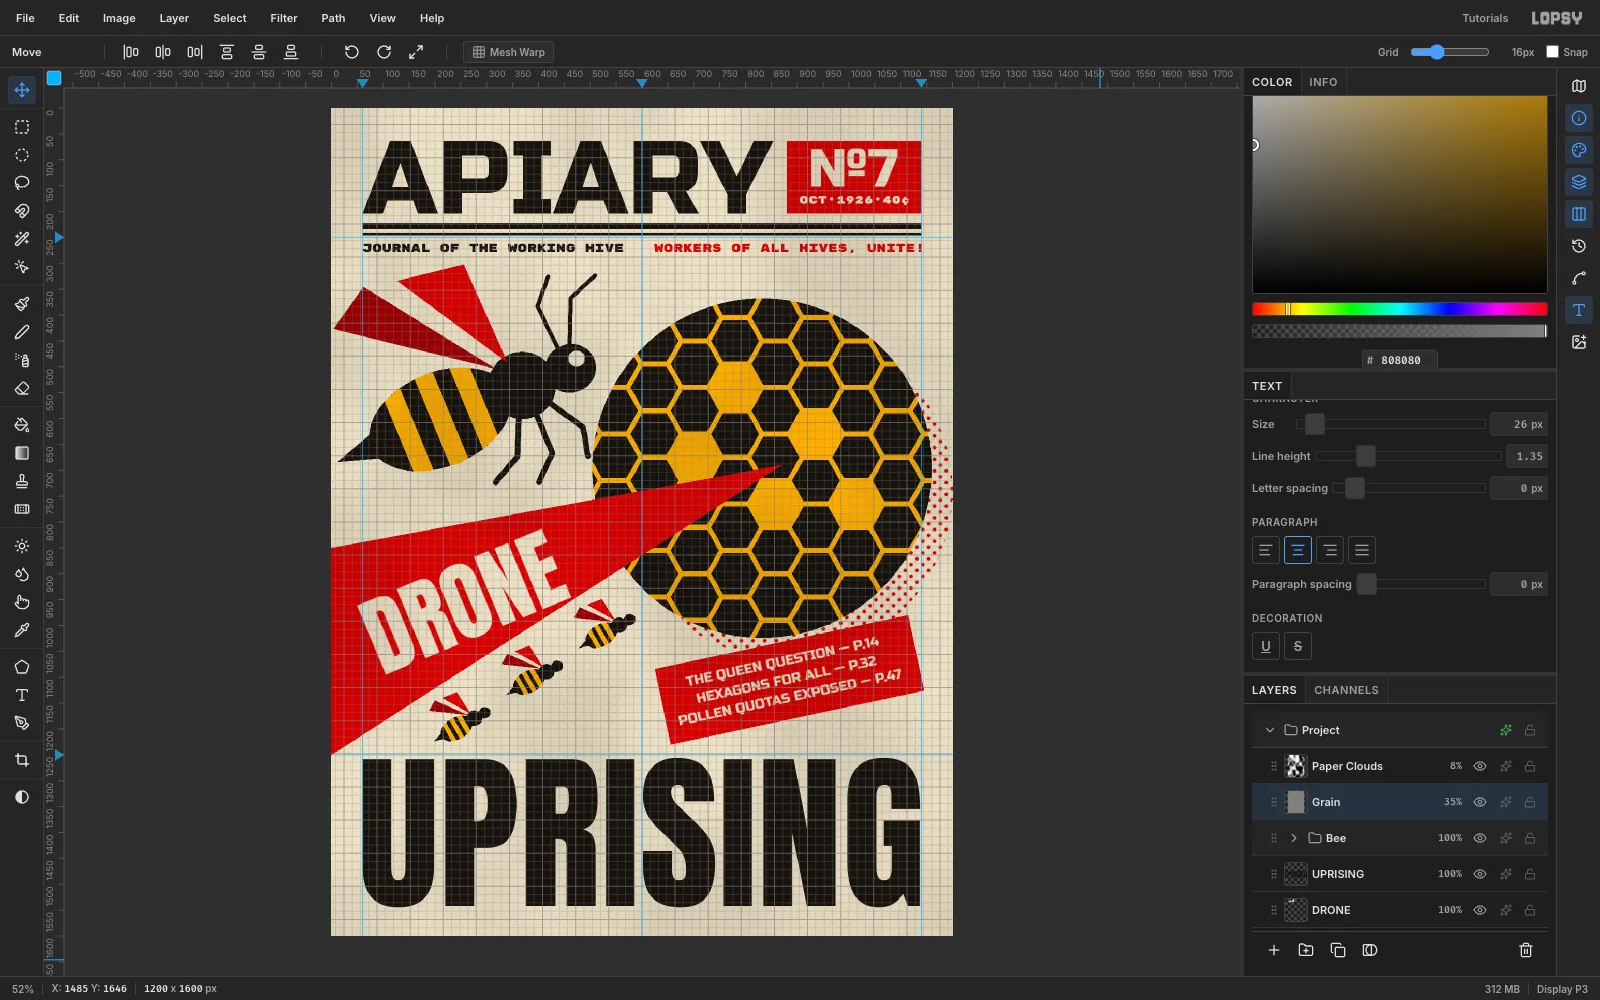
For print texture, add a Paper Clouds layer, run Filter → Clouds…, set its blend mode to Multiply and its opacity to 8 %. Then add a Grain layer, fill it with
#808080, and run Add Noise with Mono, Gaussian, Amount 50. Set Grain to Overlay at 35 %. Mid grey is neutral in Overlay, so only the speckle shows.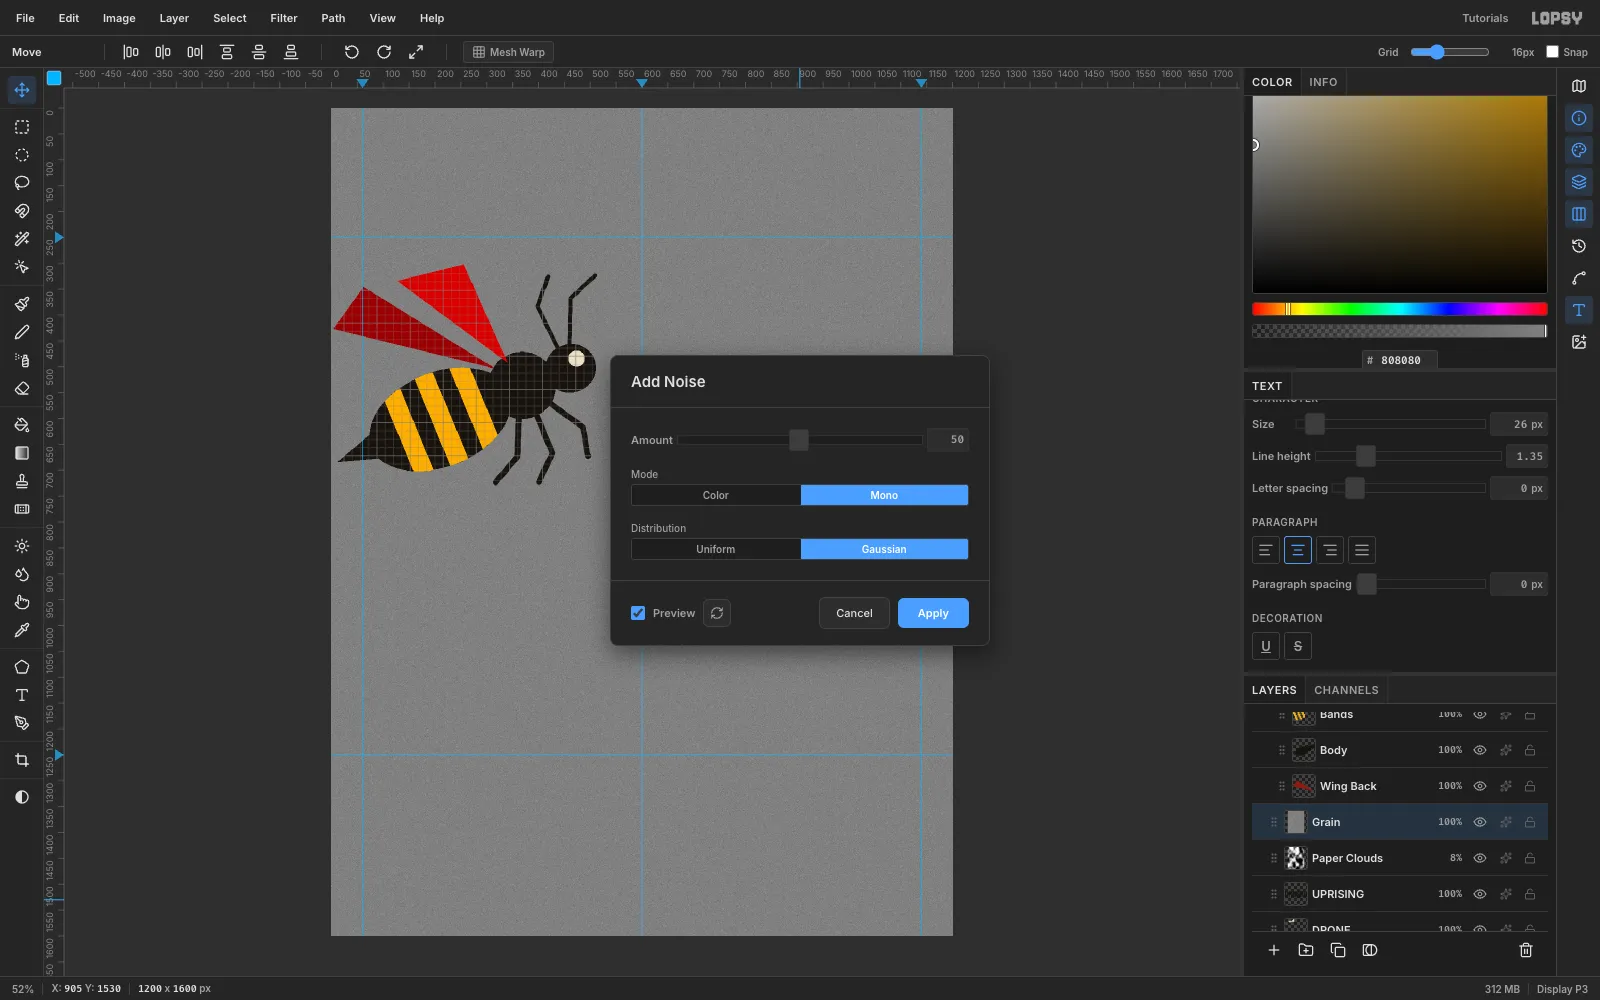
-
Put the texture on top of everything
The texture layers were created under the Bee group, so the bee would look too clean. Collapse the group, then drag each texture layer by its grip above the Bee row. Now one paper surface covers the ink, the wedge and the bee.
-
Polish the tangents
Check the cover for near-misses:
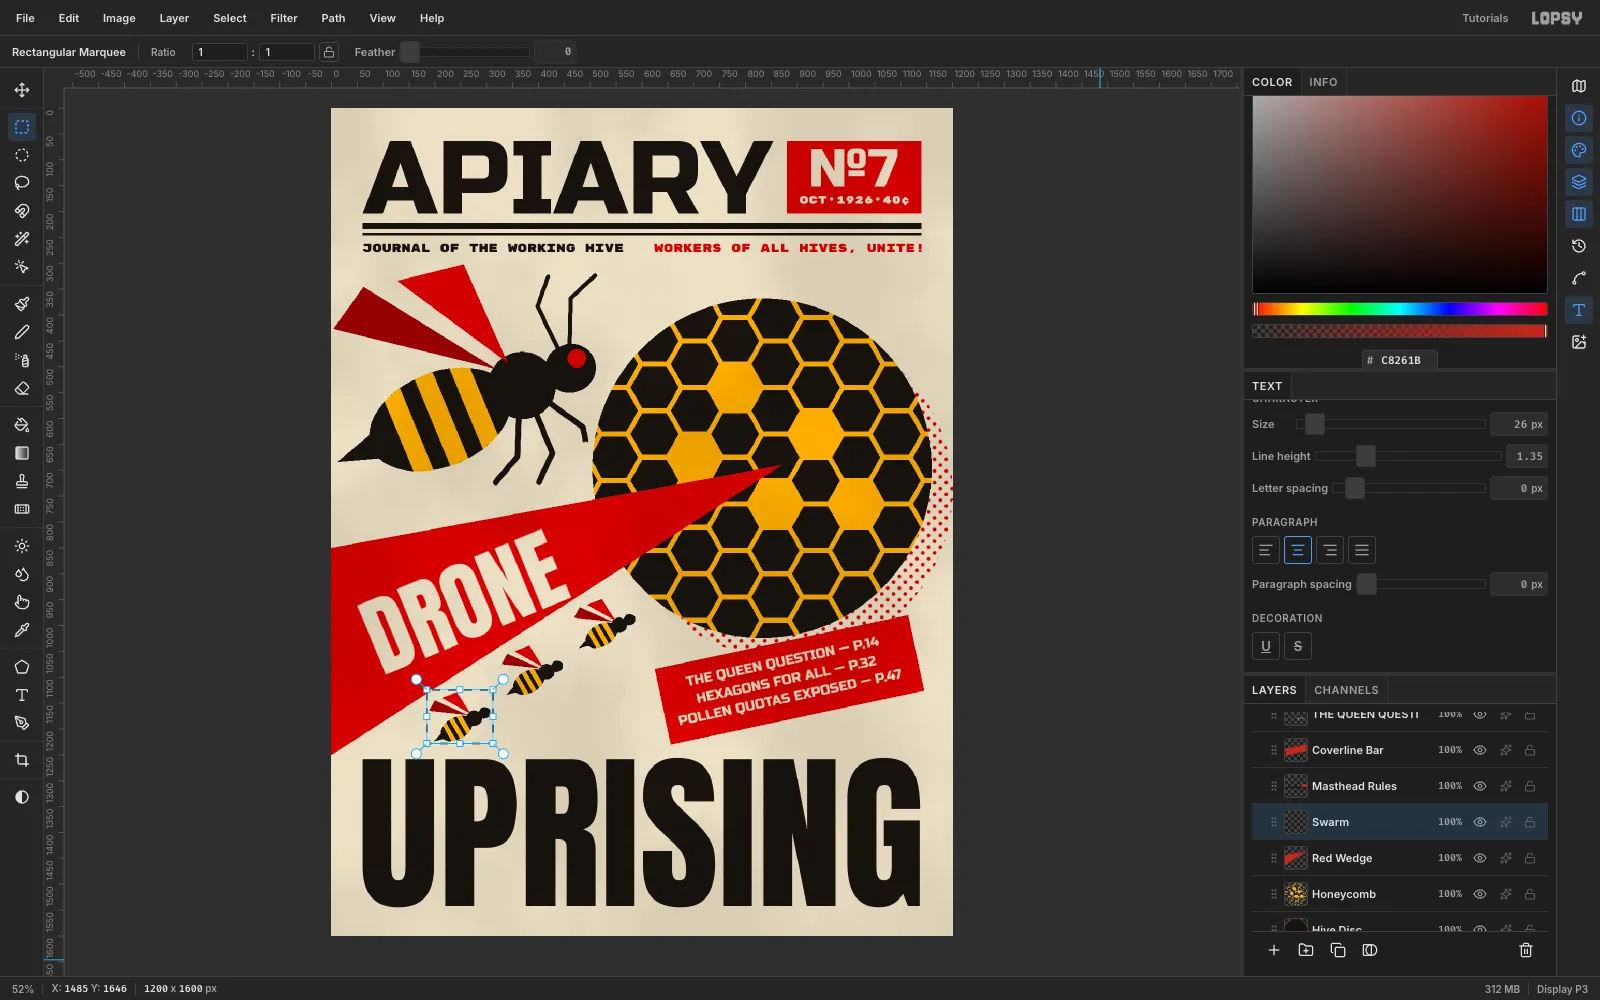
- Leg tip. Erase the tip of the bee's front leg (Eraser, Size 34) so it no longer kisses the disc.
- Eye. Circle-select the bee's eye on the Bands layer and fill it red. A flat red dot is more on-style than a cartoon highlight.
- Swarm. Marquee the lowest small bee and press Delete so UPRISING has room. Then move the Swarm layer so the last two bees sit under the wedge.
- Halftone. Move the halftone layer about 45 px left so the dots stay inside the page.
- Coverlines. Nudge the text a few pixels to even out the slab's margins.
-
Export the cover
Hide the grid and guides from the View menu, then choose File → Quick Export PNG for the finished cover. Use File → Save Project to keep the layers editable. To make another issue, swap the wedge and disc for a different pair of shapes and keep the palette.