Design a Skate-Style Restaurant Menu
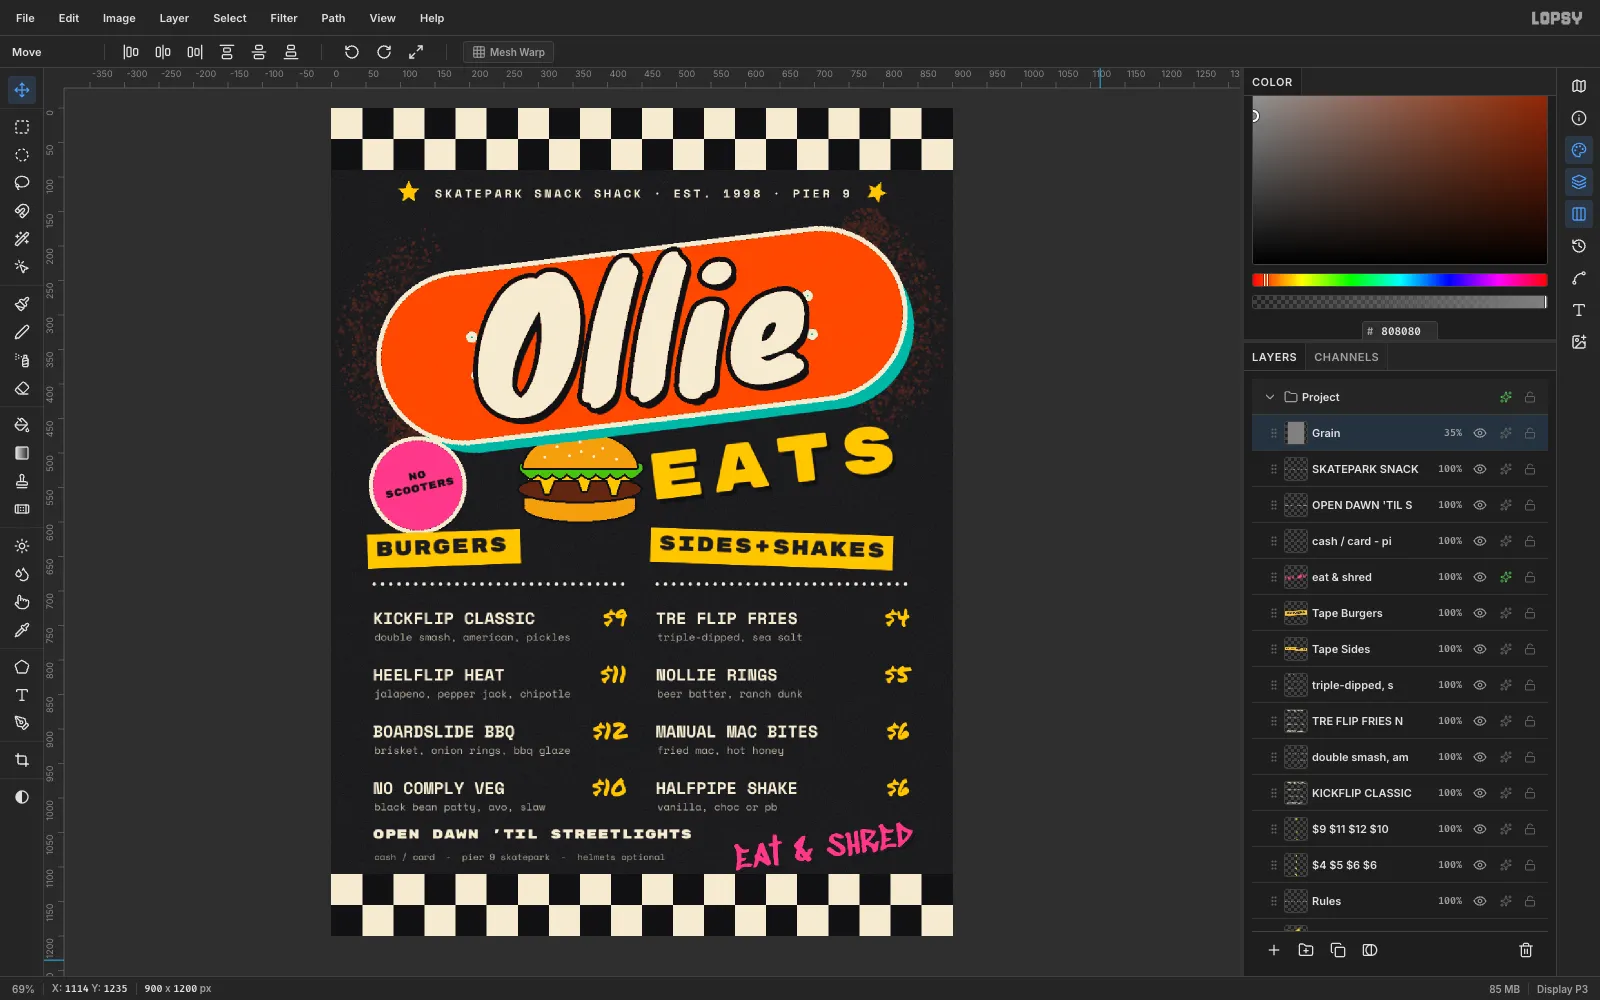
Make a skatepark burger-shack menu in Lopsy with a checkerboard pattern, a tilted skateboard-deck logo, a burger drawn in a group, stickers and aligned prices.
Skate graphics come from the shop wall and the grip tape:
- Vans-style checkerboards
- chunky brush lettering
- stickers slapped on at an angle
- a hard offset shadow instead of a soft one
In this tutorial you'll use that look for a menu for Ollie Eats, a burger shack at the skatepark. The logo is a tilted skateboard deck. Under it sit two columns of trick-named burgers and sides, with prices in marker.
Along the way you'll use:
- Define Pattern and Fill with Pattern
- marquee, ellipse and lasso fills
- rotation handles, layer effects and a layer group
- Google fonts, including right-aligned area text
- the Spray tool and a noise overlay
The palette is grip-tape charcoal #1C1C1F, cream #F4EBD3, orange #FF5A1F, teal #1FB5A6, mustard #FFC93C and pink #FF4F8B.
-
Make a grip-tape background
Open Lopsy. In the New Document dialog, set Width
900and Height1200, then click Create.Select Background, set the foreground to
#1C1C1Fin the Color panel's hex field, press G for the Paint Bucket and click the canvas. Then choose Filter → Add Noise…, pick Mono and Gaussian, set Amount to18and click Apply. The fine grain reads as grip tape.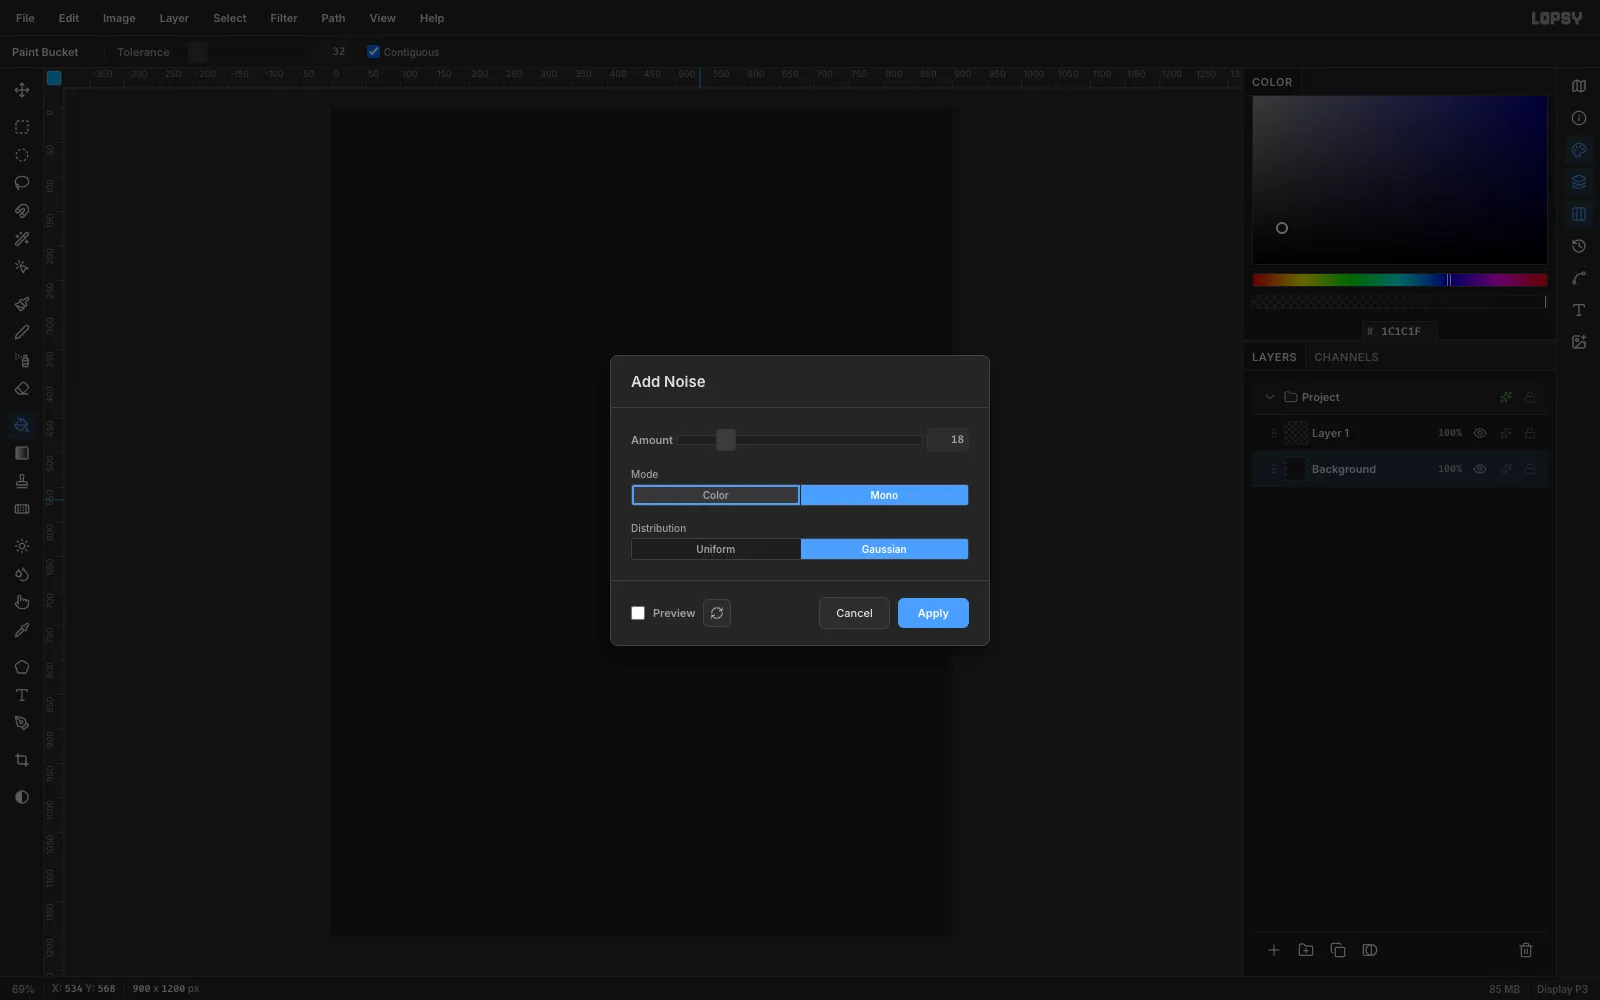
-
Paint a checker tile and define a pattern
Select Layer 1. With the Rectangular Marquee (M), draw four 45 px squares and fill each with Edit → Fill:
- cream
#F4EBD3at (0, 0) and (45, 45) - near-black
#111114at (45, 0) and (0, 45)
Marquee the whole 90 × 90 tile from (0, 0) to (90, 90) and choose Edit → Define Pattern. Then press Delete to clear the tile and rename the layer
Checker Top.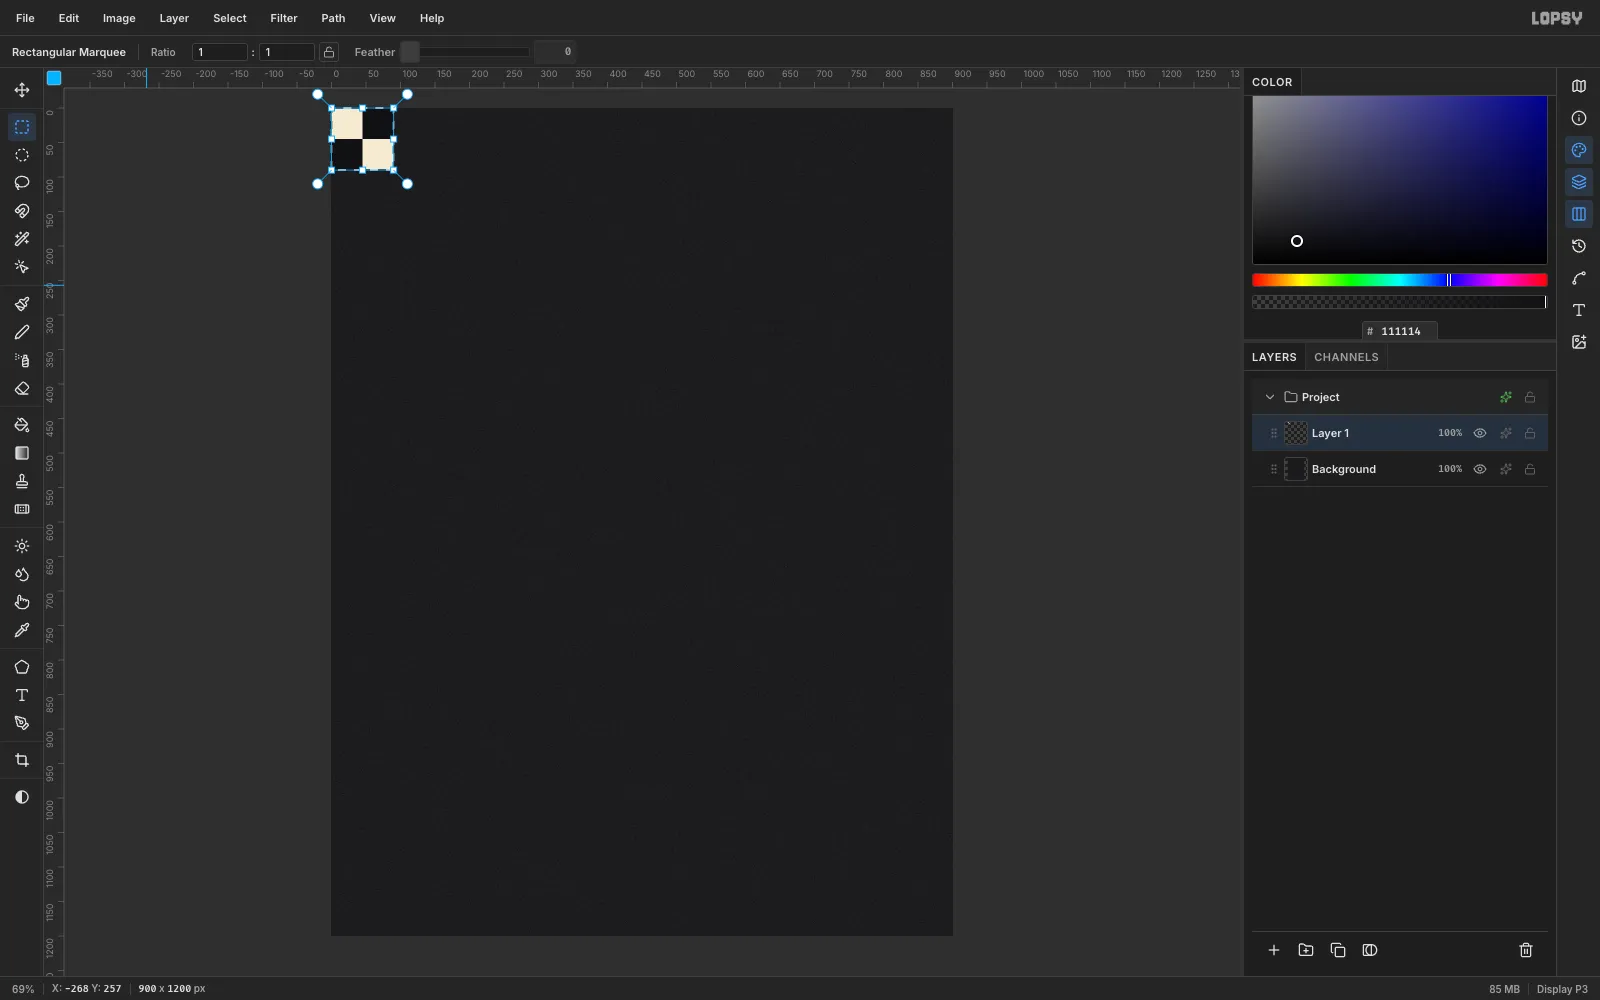
- cream
-
Fill the top band with the pattern
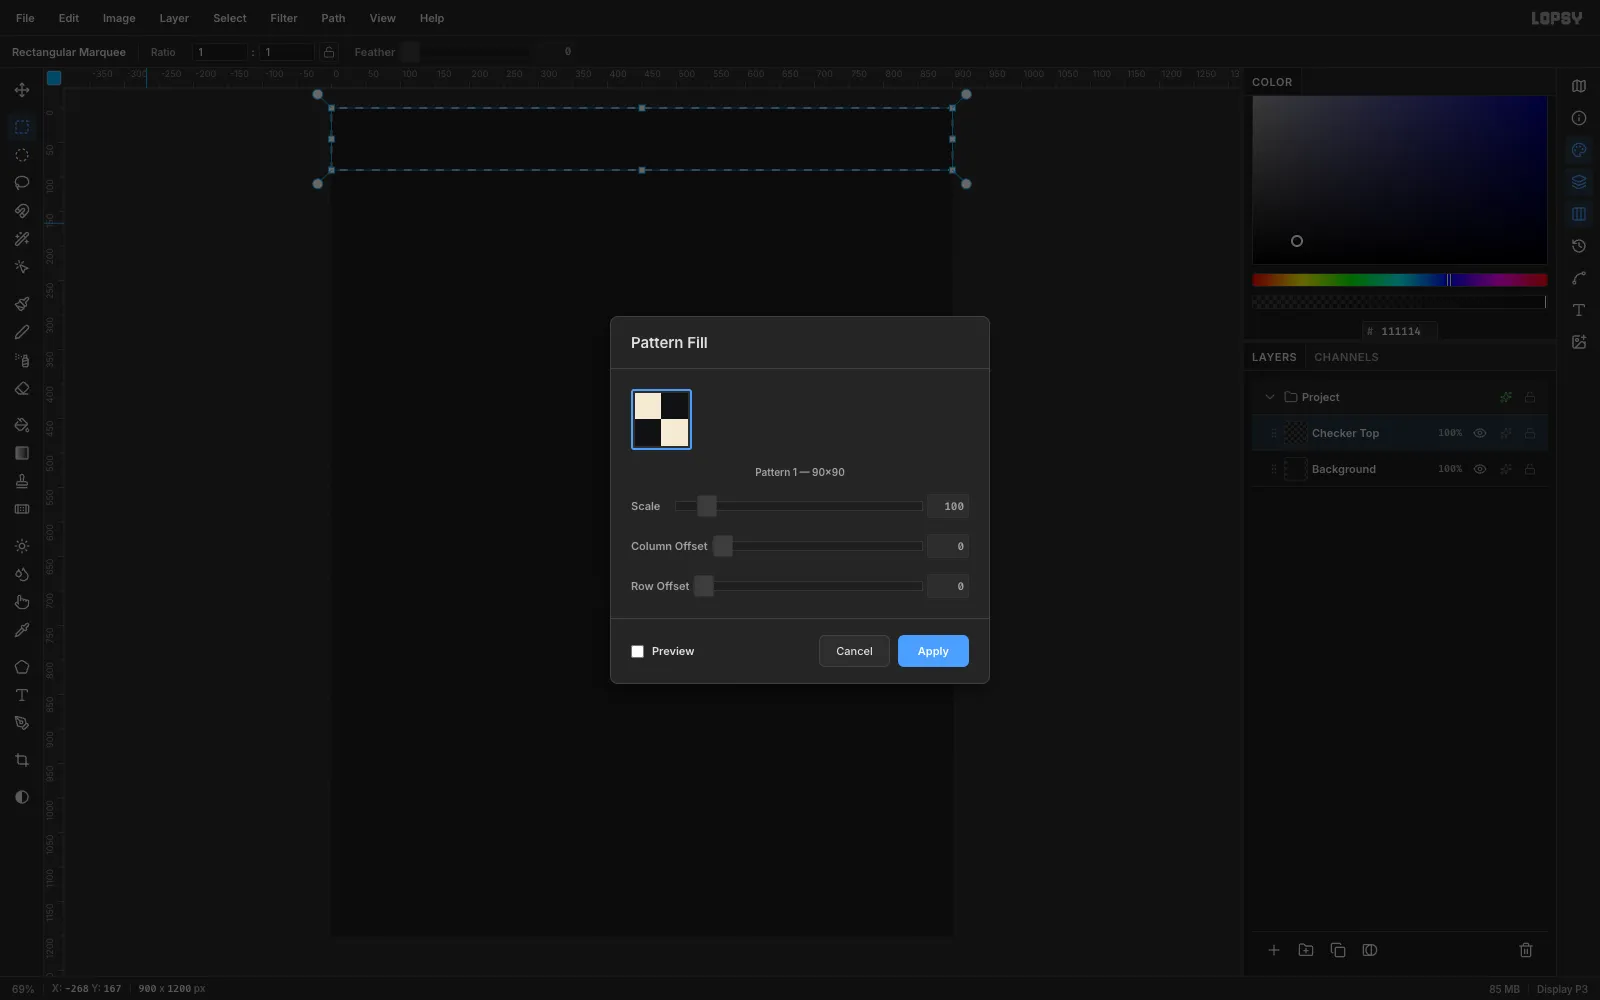
Marquee from (0, 0) to (900, 90) and choose Edit → Fill with Pattern…. Leave Scale and the offsets alone and click Apply. Ten tiles fill the band exactly.
-
Copy the band to the bottom
With the band still selected, press Cmd+C and then Cmd+V. The paste lands in place on a new layer. Press V for the Move tool and drag it straight down by 1110 px so it sits on the bottom edge. Rename it
Checker Bottom.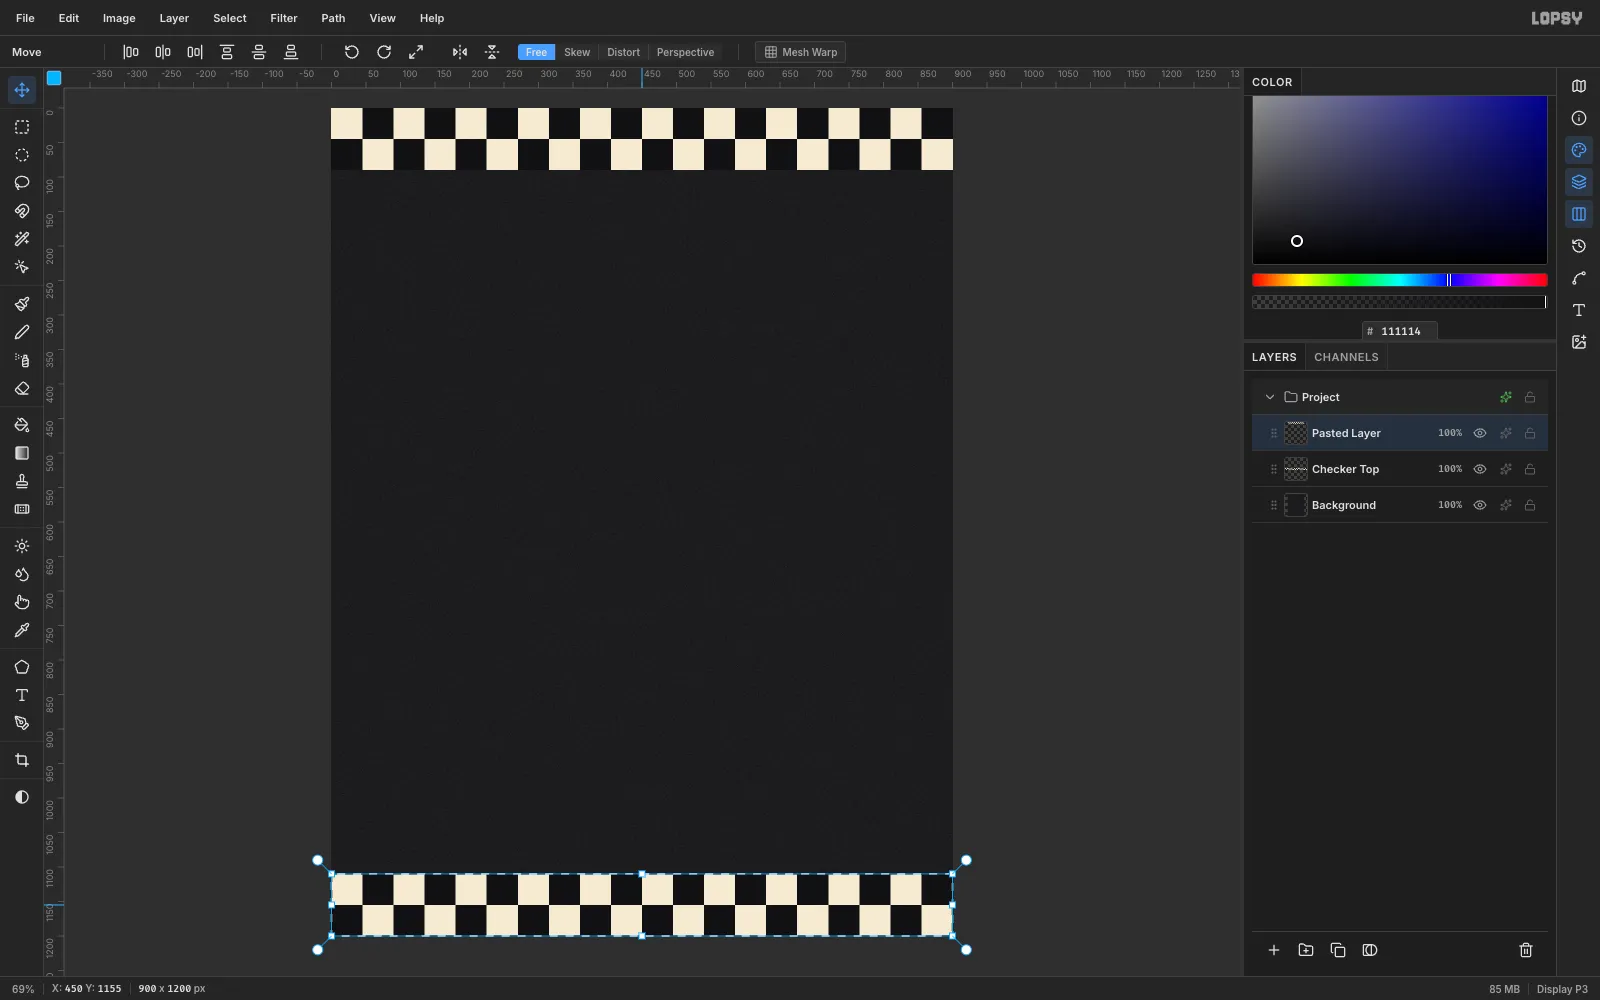
-
Add guides
Click the top ruler at
60,450and840for vertical guides: the two margins and the gutter between the menu columns. Click the left ruler at600, where the menu starts, and at1030, where the footer starts.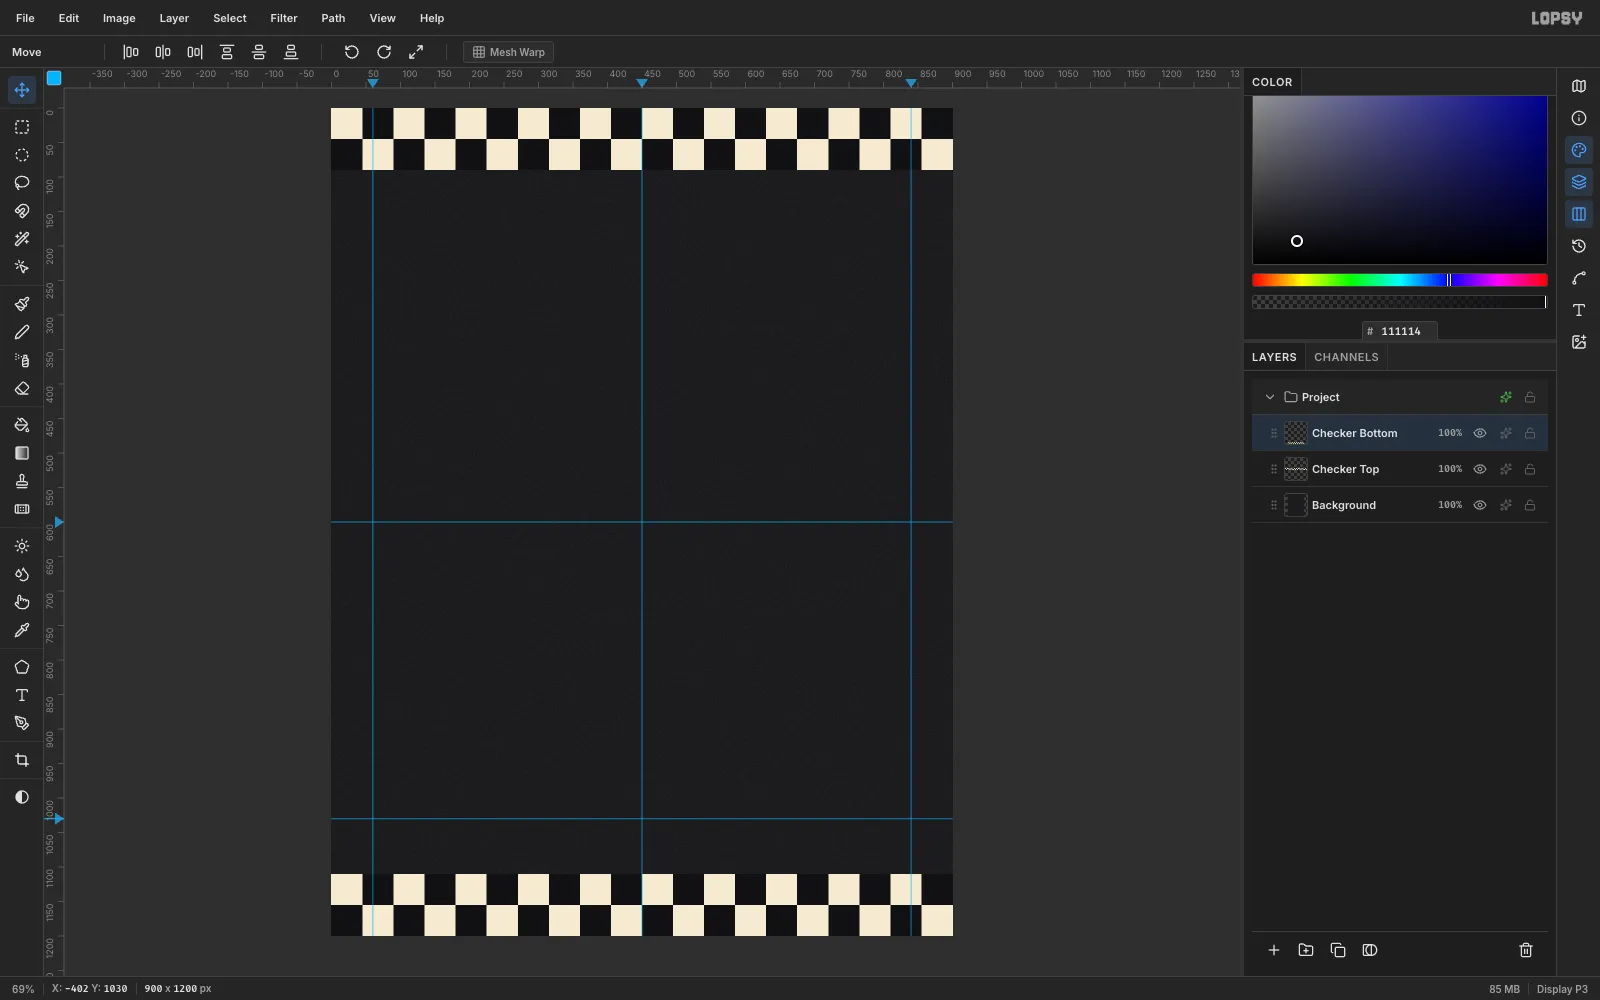
-
Build the skateboard deck
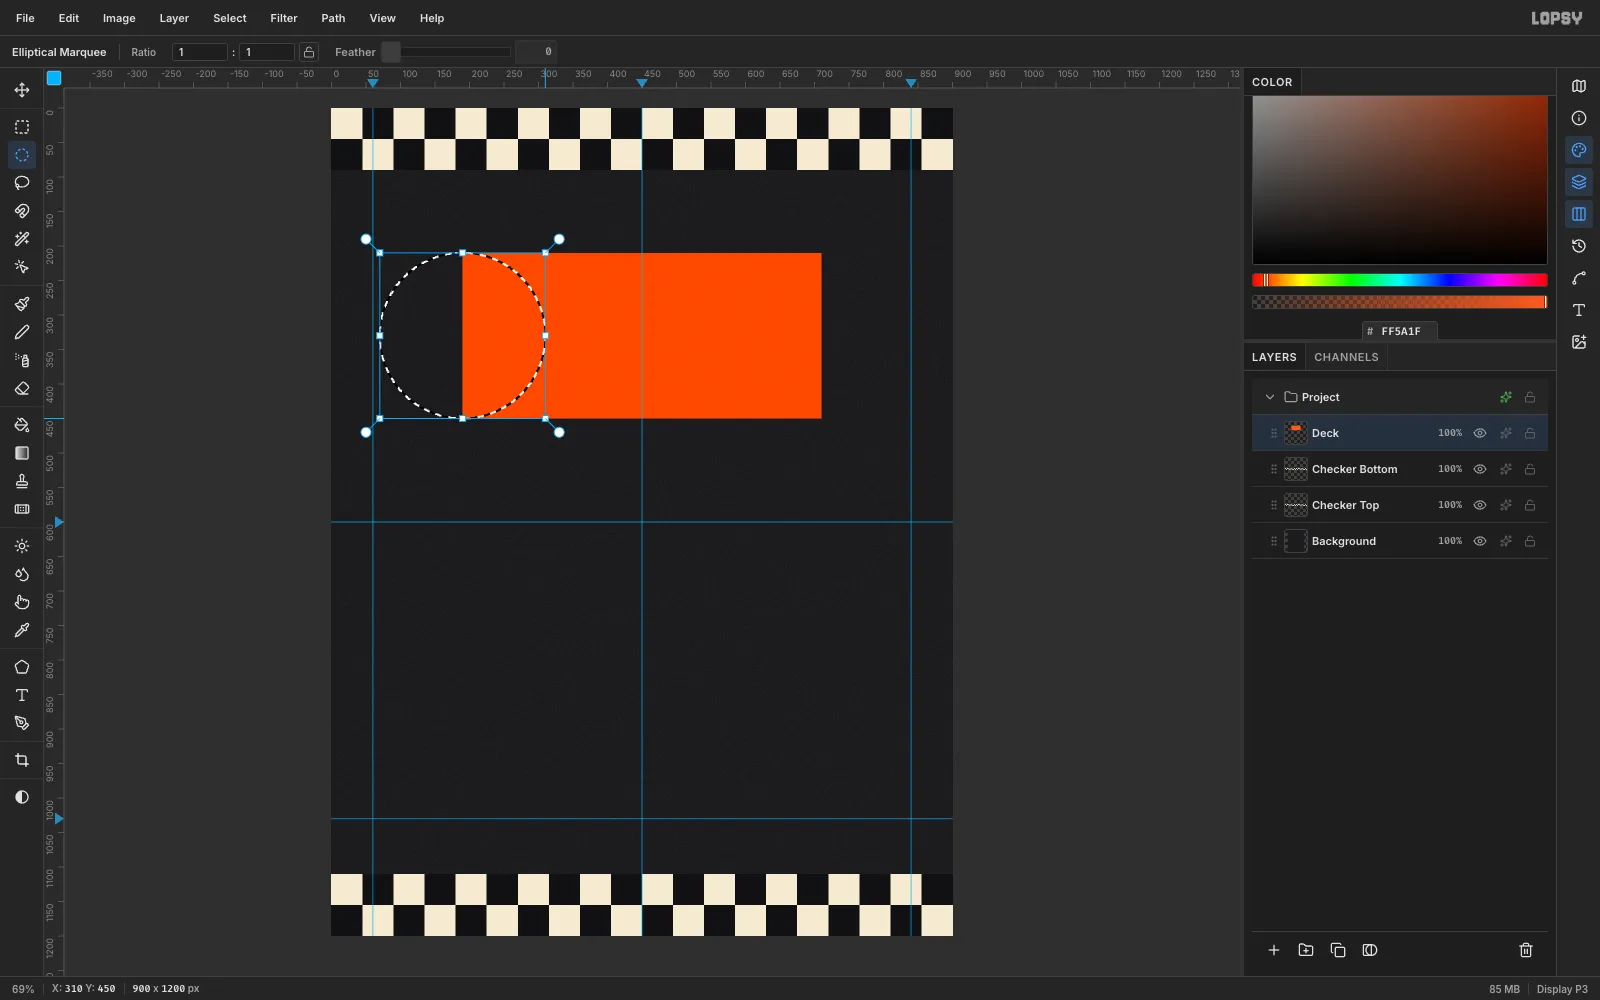
Click Add Layer and name it
Deck. Set the foreground to orange#FF5A1F.- Marquee from (190, 210) to (710, 450) and use Edit → Fill.
- Choose the Elliptical Marquee, drag a 240 × 240 circle from (70, 210) and fill it. That's the nose.
- Drag another 240 × 240 circle from (590, 210) and fill it for the tail.
-
Punch the bolt holes
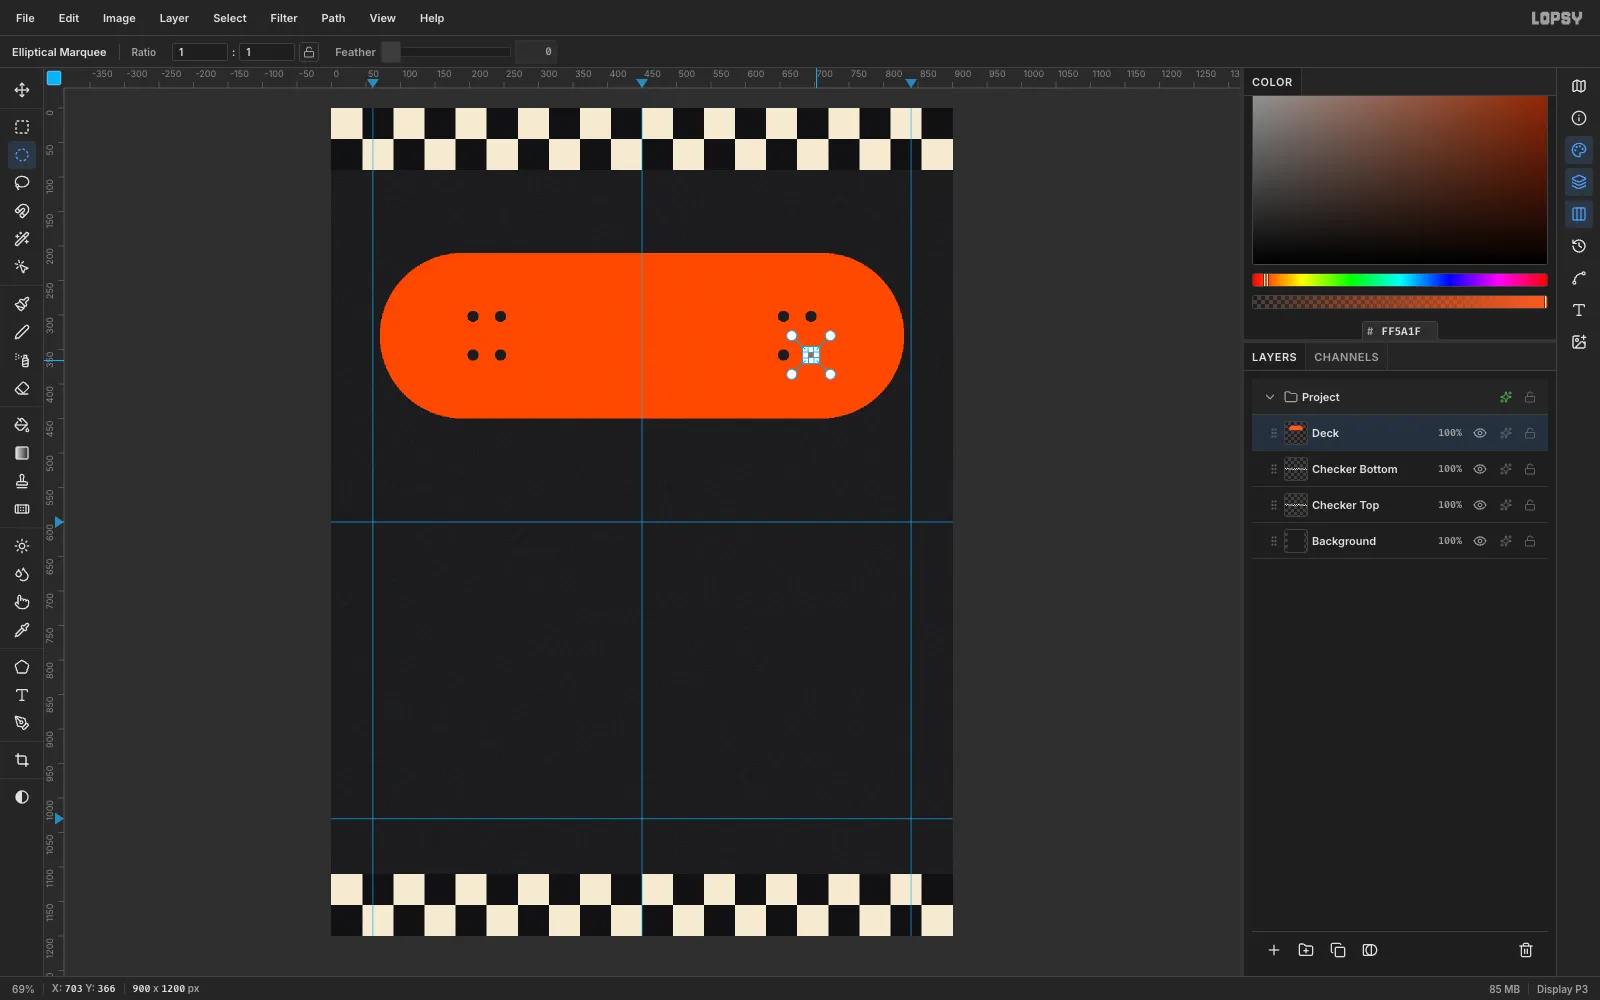
Trucks bolt on with four holes at each end. With the Elliptical Marquee, drag a 16 px circle centred on each of these points and press Delete. The grip tape shows through.
- x
205and245, at y302and358 - x
655and695, at y302and358
Press Cmd+D when you're done.
- x
-
Tilt the deck
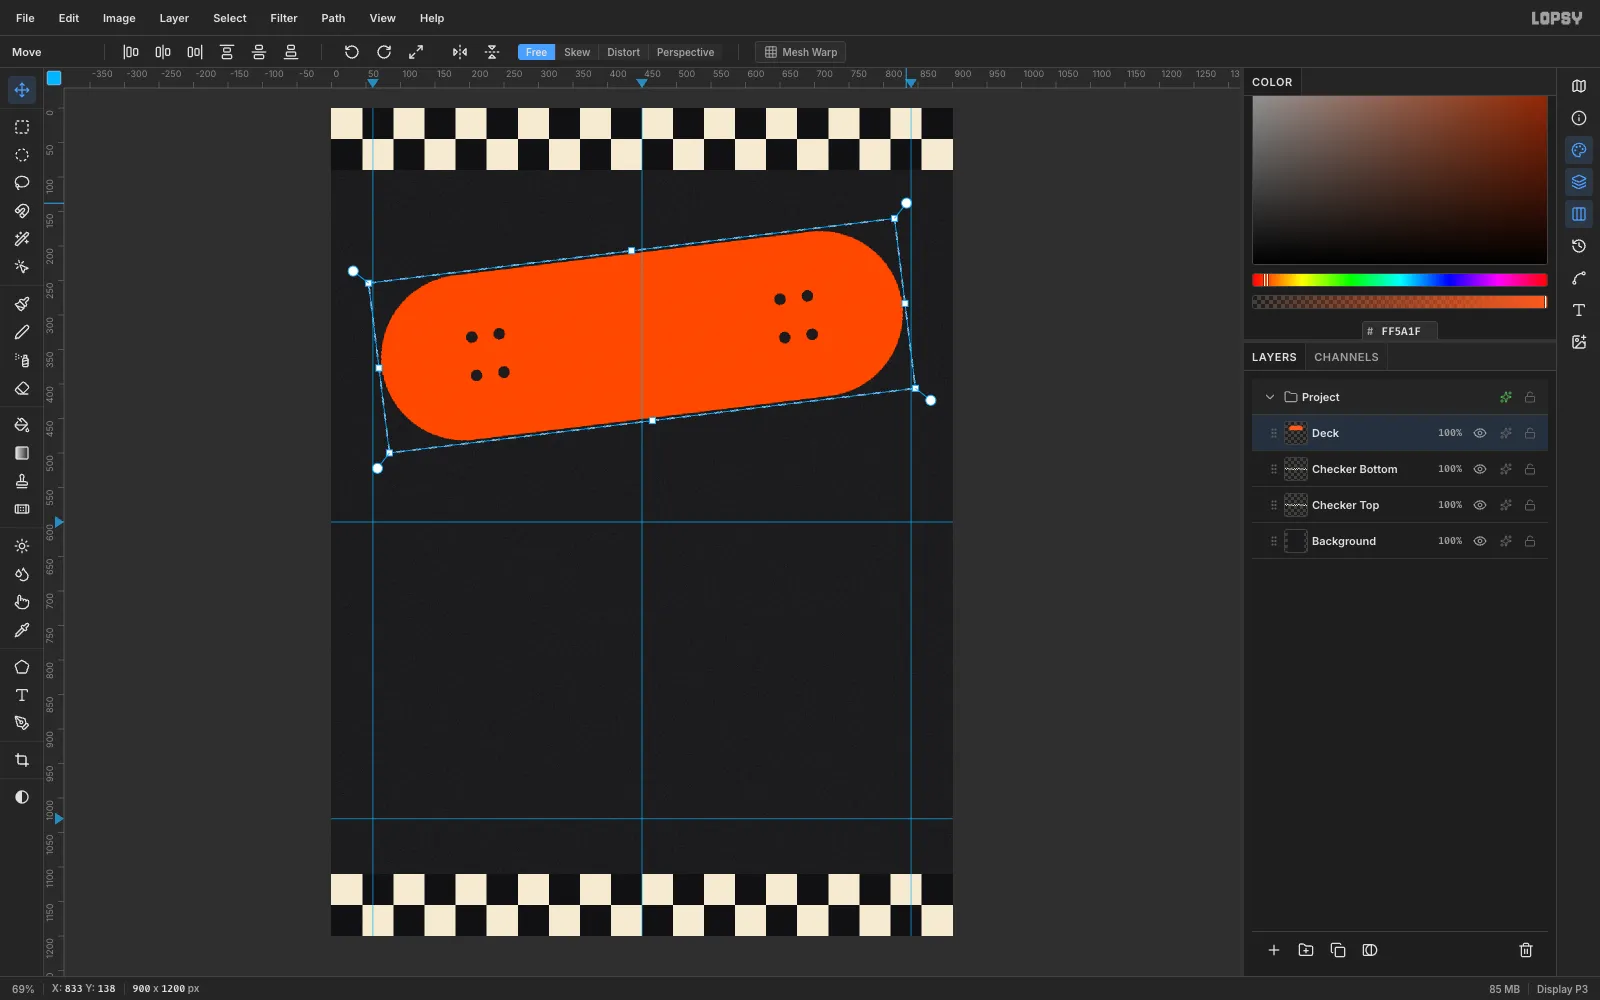
Marquee around the whole deck, from (66, 206) to (834, 454), and press V. Round handles appear just outside the corners. Drag the top-right one upward to rotate the deck about 7° counter-clockwise, so it climbs to the right. Press Enter to commit and Cmd+D to deselect.
-
Give the deck a stroke and a hard shadow
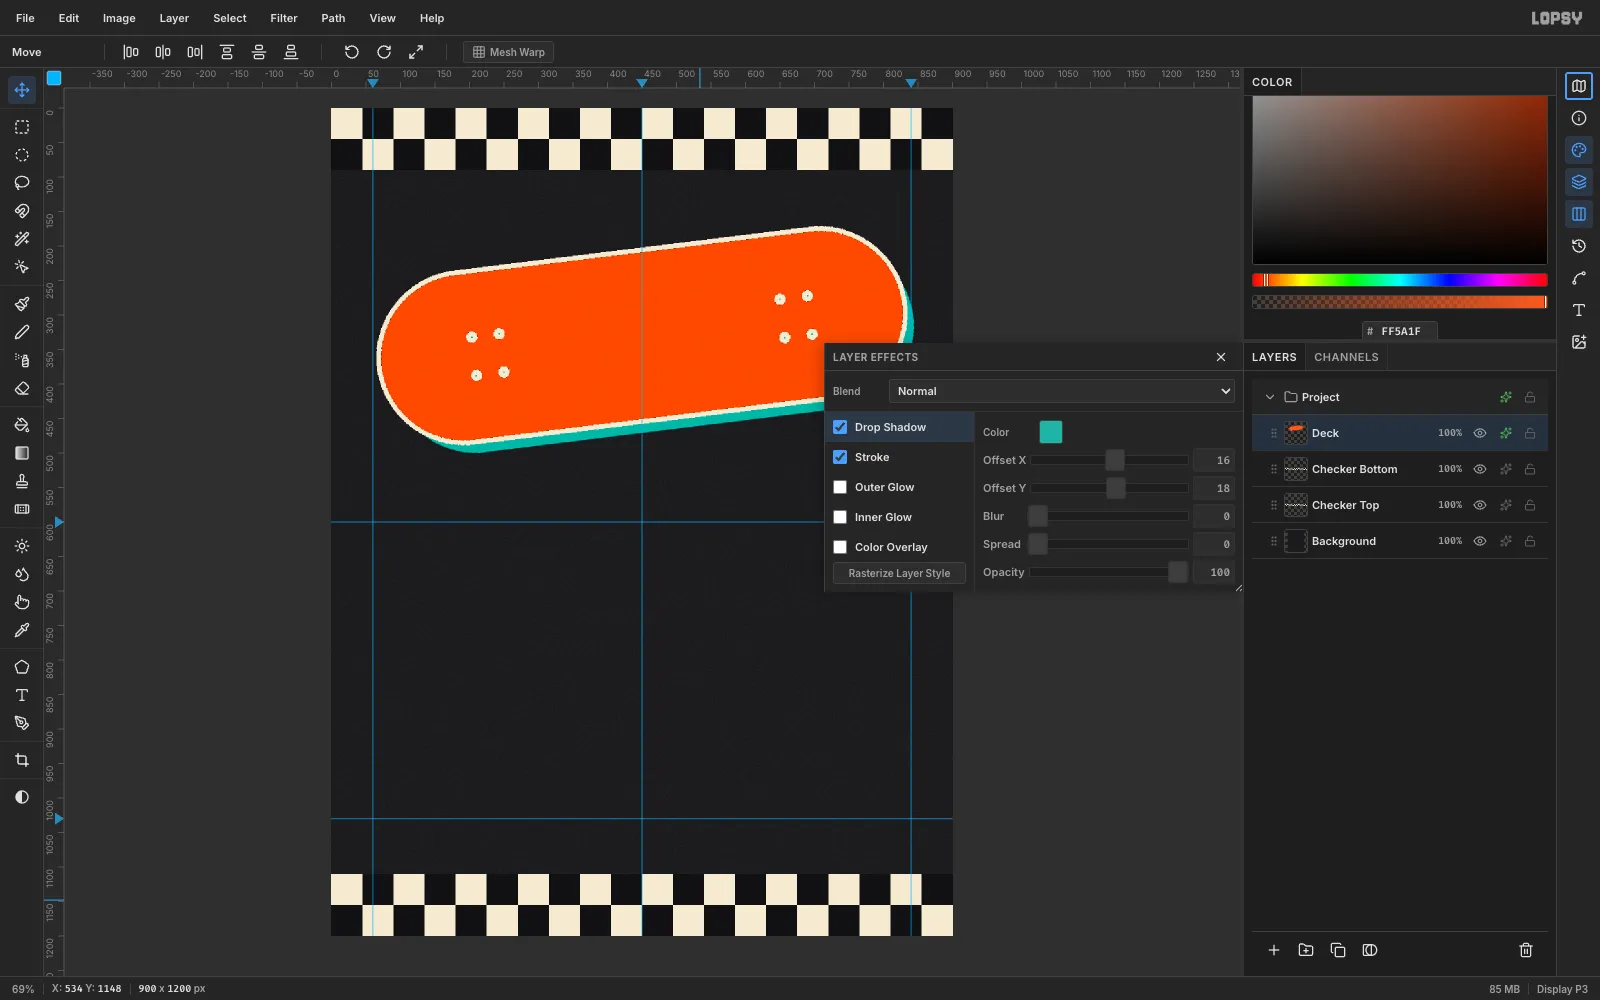
Open the deck's effects with the ✦ button on its layer row.
- Tick Stroke. Set the colour to cream
#F4EBD3and Width to7. - Tick Drop Shadow. Set the colour to teal
#1FB5A6, Offset X16, Offset Y18, Blur0and Opacity100.
A zero-blur shadow is the retro sticker look. The stroke also rings each bolt hole, like hardware.
- Tick Stroke. Set the colour to cream
-
Set the title in Knewave
With Deck selected, press T. Set the foreground to cream. Pick Knewave in the Font browser and type
240in Size.Then click empty canvas at (150, 560), type
Ollieand press Tab.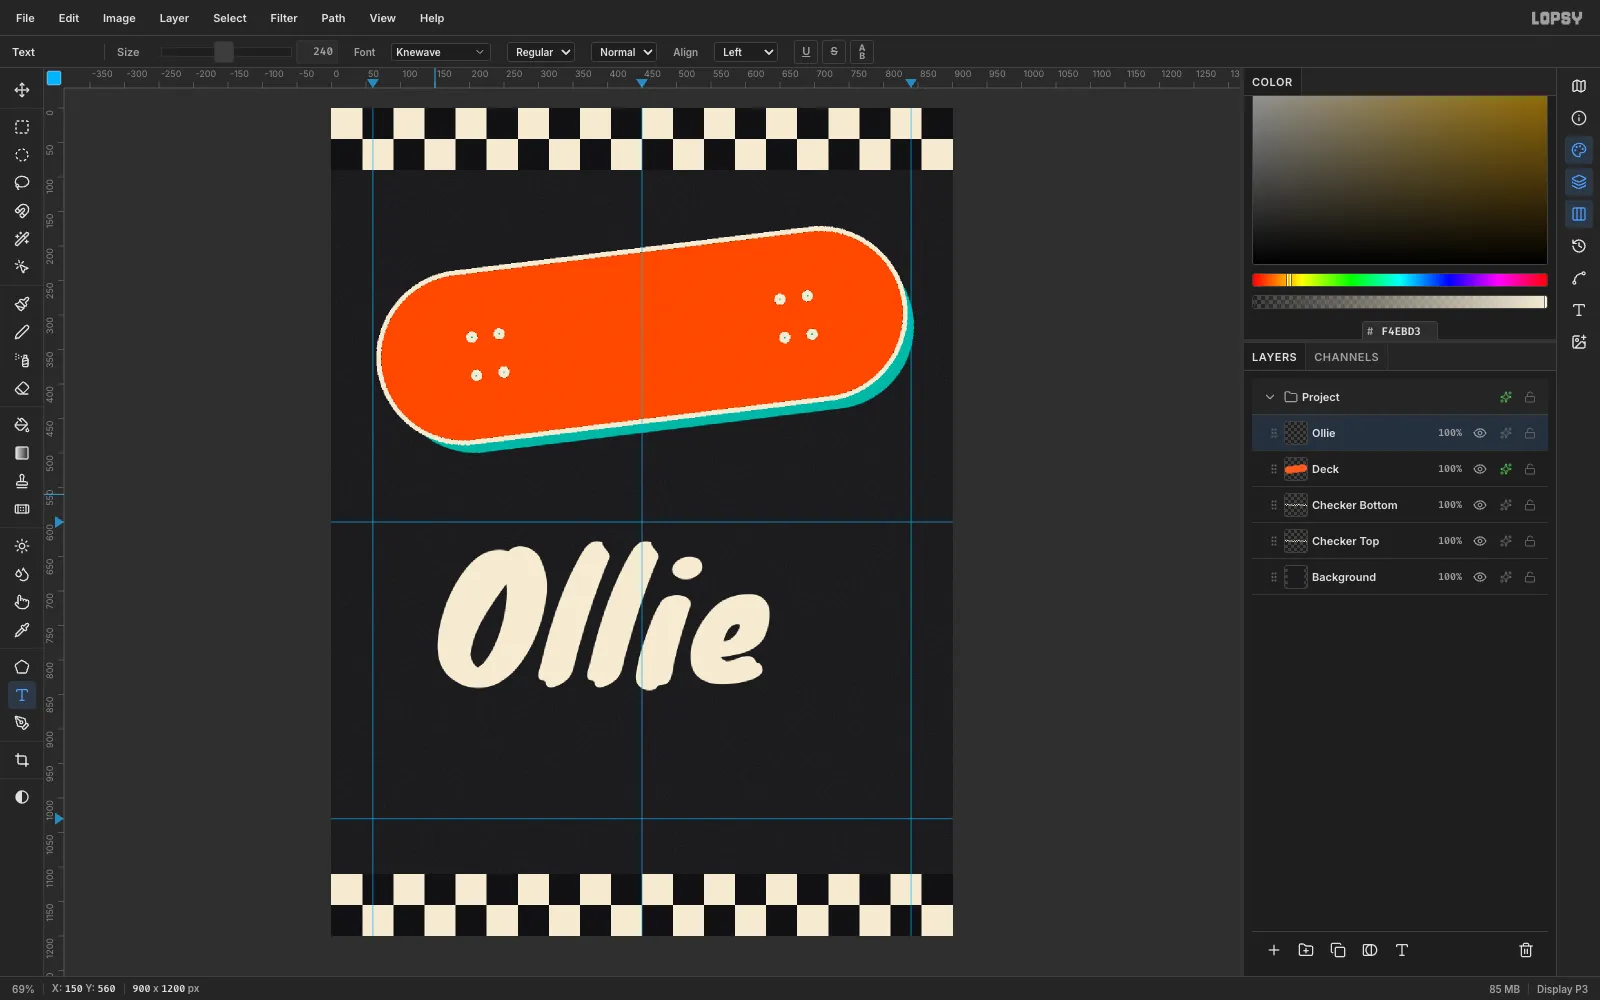
-
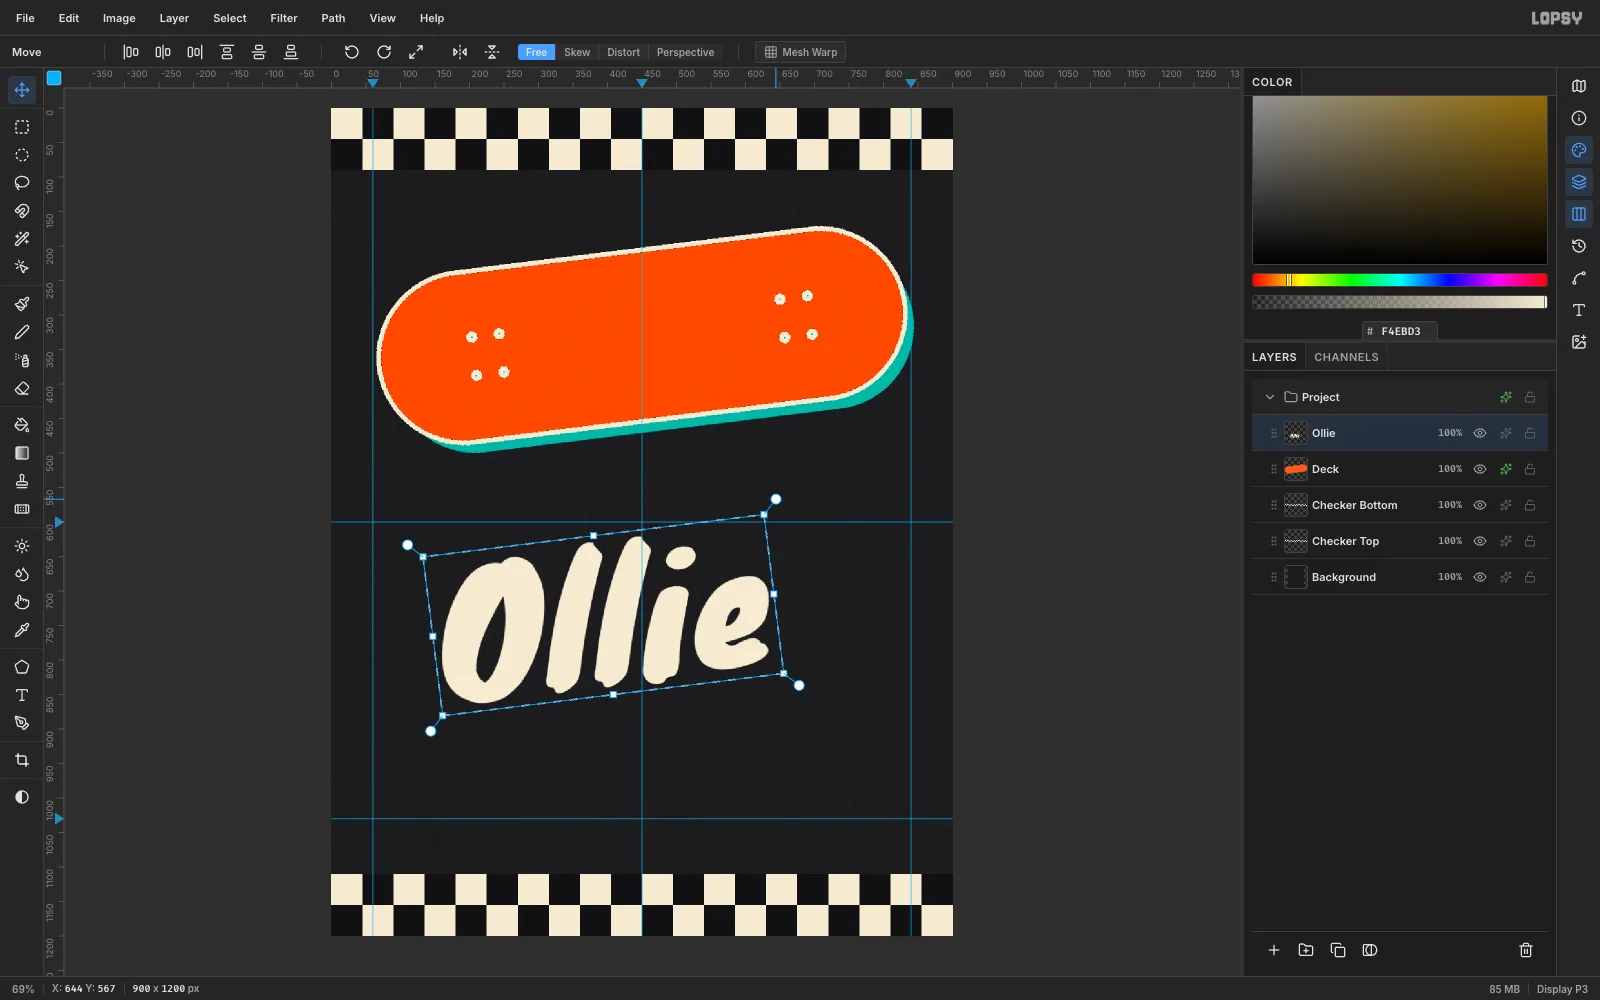
Rotate the title
Click Rasterize Layer at the bottom of the Layers panel. Marquee around the word, press V, and drag a corner rotation handle to turn it the same 7° counter-clockwise as the deck. Press Enter, then Cmd+D.
-
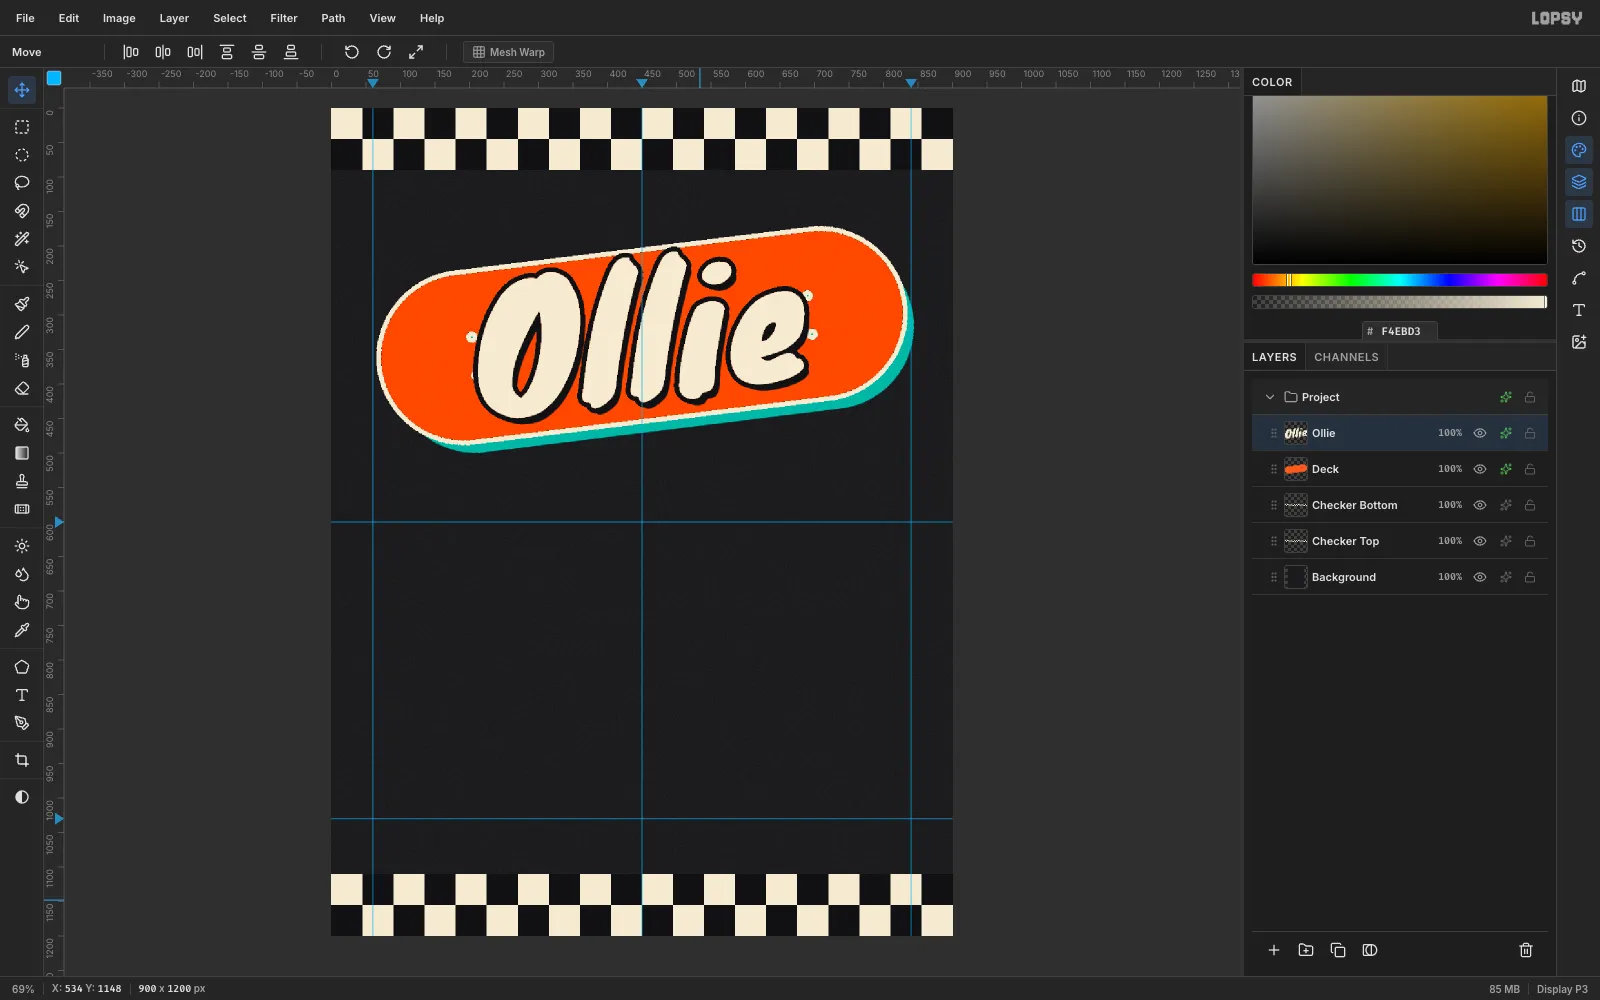
Put the title on the deck
With the Move tool, drag the word up onto the deck so it sits in the middle. In its effects, add:
- Stroke in ink
#111114, Width7 - Drop Shadow in ink, offset
7/9, Blur0, Opacity100
The black outline keeps the cream letters clear of the orange and the bolt holes behind them.
- Stroke in ink
-
Add EATS in Rubik Mono One
Select Ollie and press T. Set the foreground to mustard
#FFC93C, the font to Rubik Mono One and the size to96. In the Text panel, set Letter spacing to12. Click empty canvas, typeEATSand press Tab.Rasterize it and rotate it 7° counter-clockwise like the deck. Then drag it under the deck's right half so it's centred at about (638, 512). Give it a Drop Shadow in ink, offset
5/6, Blur0.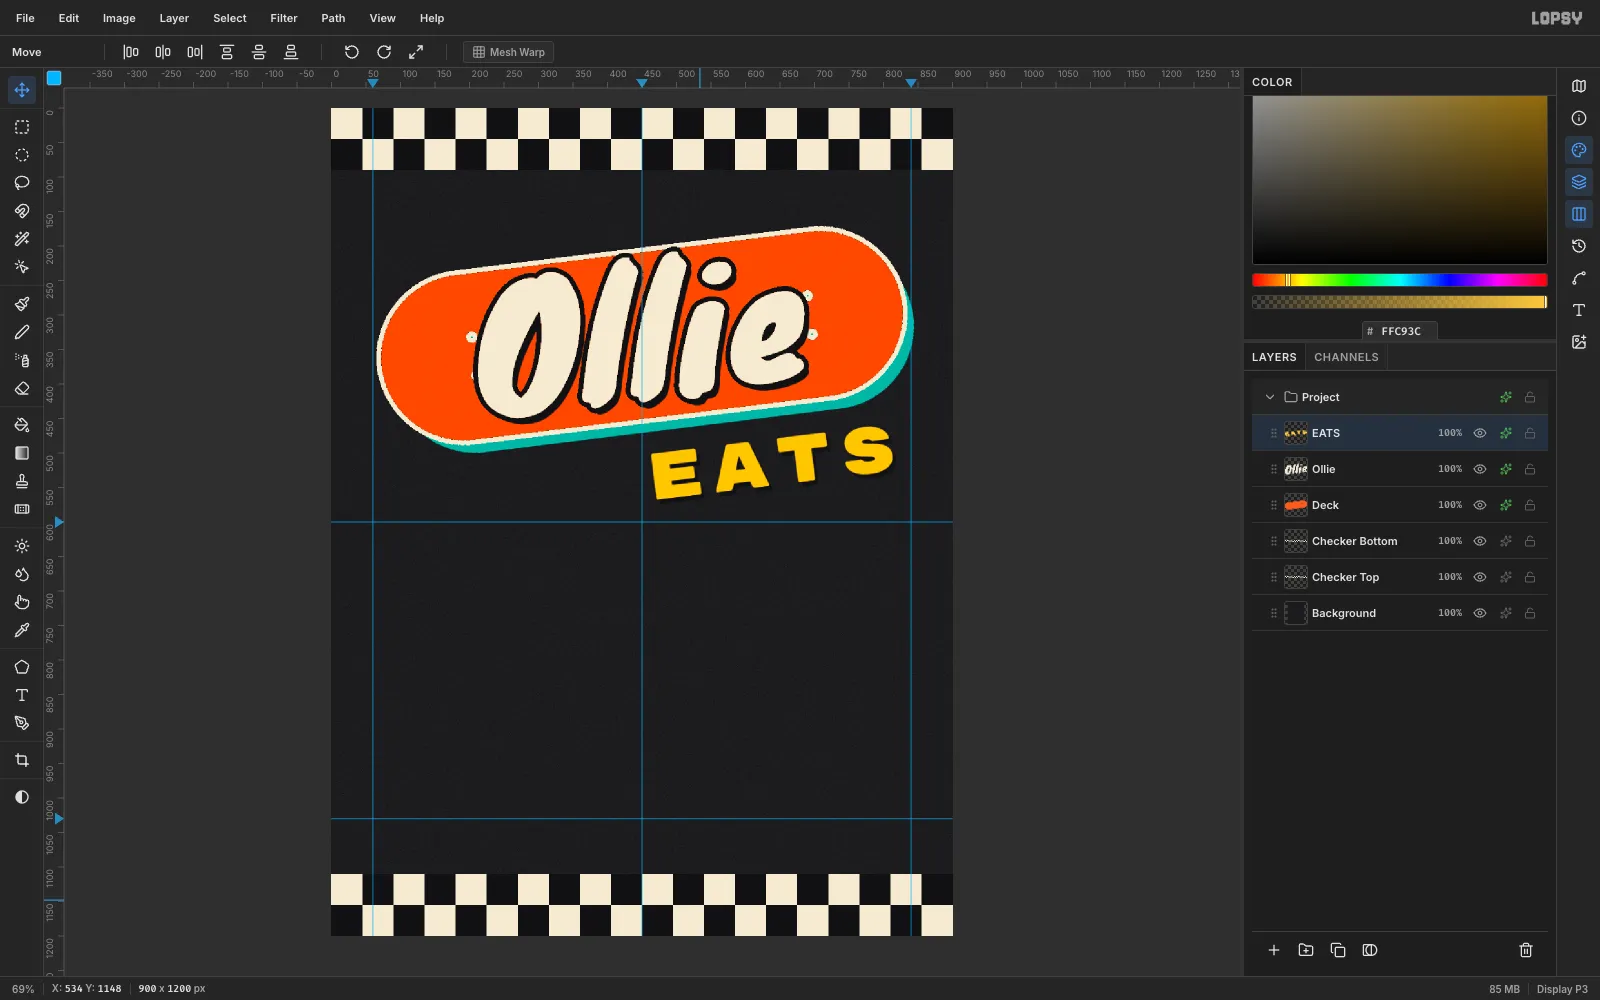
-
Start a burger in a group
Select Checker Bottom and click New Group. Name it
Burger. Starting from that layer puts the group under the deck in the stack, so the bun can tuck behind it later.With the group selected, Add Layer puts each new layer inside it. Build the burger bottom-up, each part on its own layer:
- Bun Bottom (
#E9A23B): fill a 161 × 40 ellipse at (90, 548). Marquee from (82, 531) to (258, 564) and press Delete to flatten its top. Then fill a 161 × 10 strip at (90, 555). - Patty (
#5B2A17): fill a 176 × 35 ellipse at (82, 524). - Cheese (mustard): fill a 150 × 11 bar at (95, 517). Then use the Lasso (L) to draw three downward-pointing drips under it, filling each with Edit → Fill.
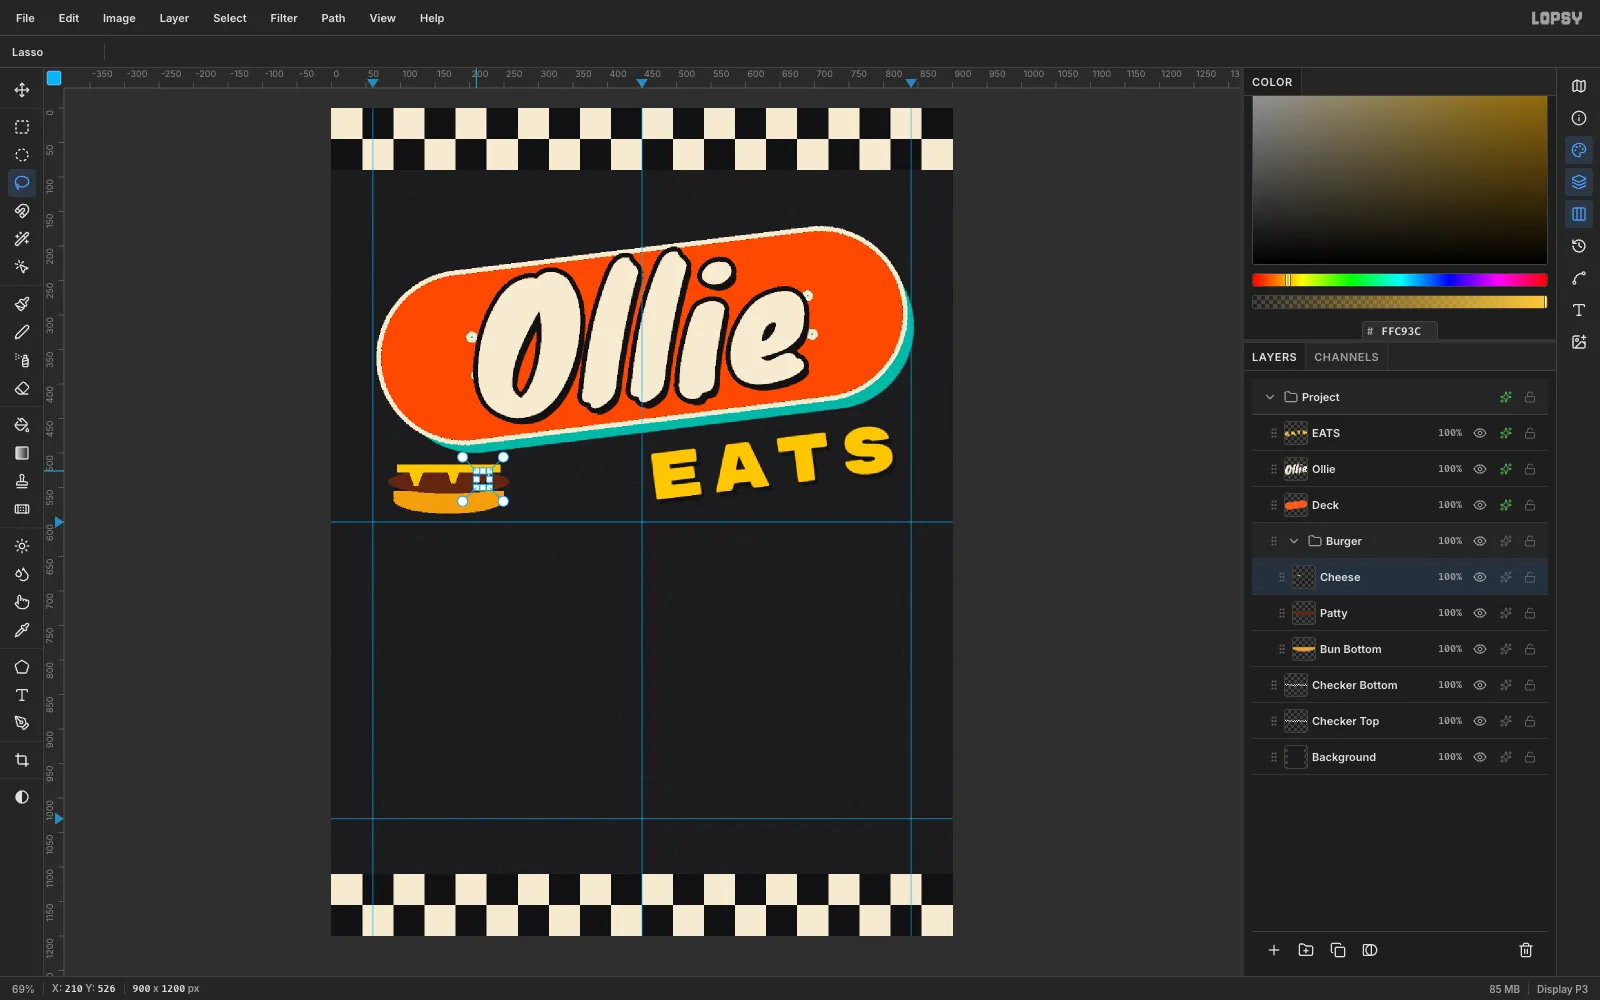
- Bun Bottom (
-
Finish the burger
- Lettuce (
#6BBF3B): press B. In the brush presets, set Size14, Hardness100and Spacing10. Drag a zigzag from (89, 510) to (256, 510), about 8 px high. - Bun Top (
#E9A23B): fill a 165 × 106 ellipse at (88, 460). Marquee from (82, 511) to (258, 577) and press Delete to keep only the dome. - Seeds: set the brush Size to
5and the colour to#F8F0DC, then click eight dots on the dome.
Finally, give each of the five layers a Stroke in ink, Width
3, for a cartoon outline.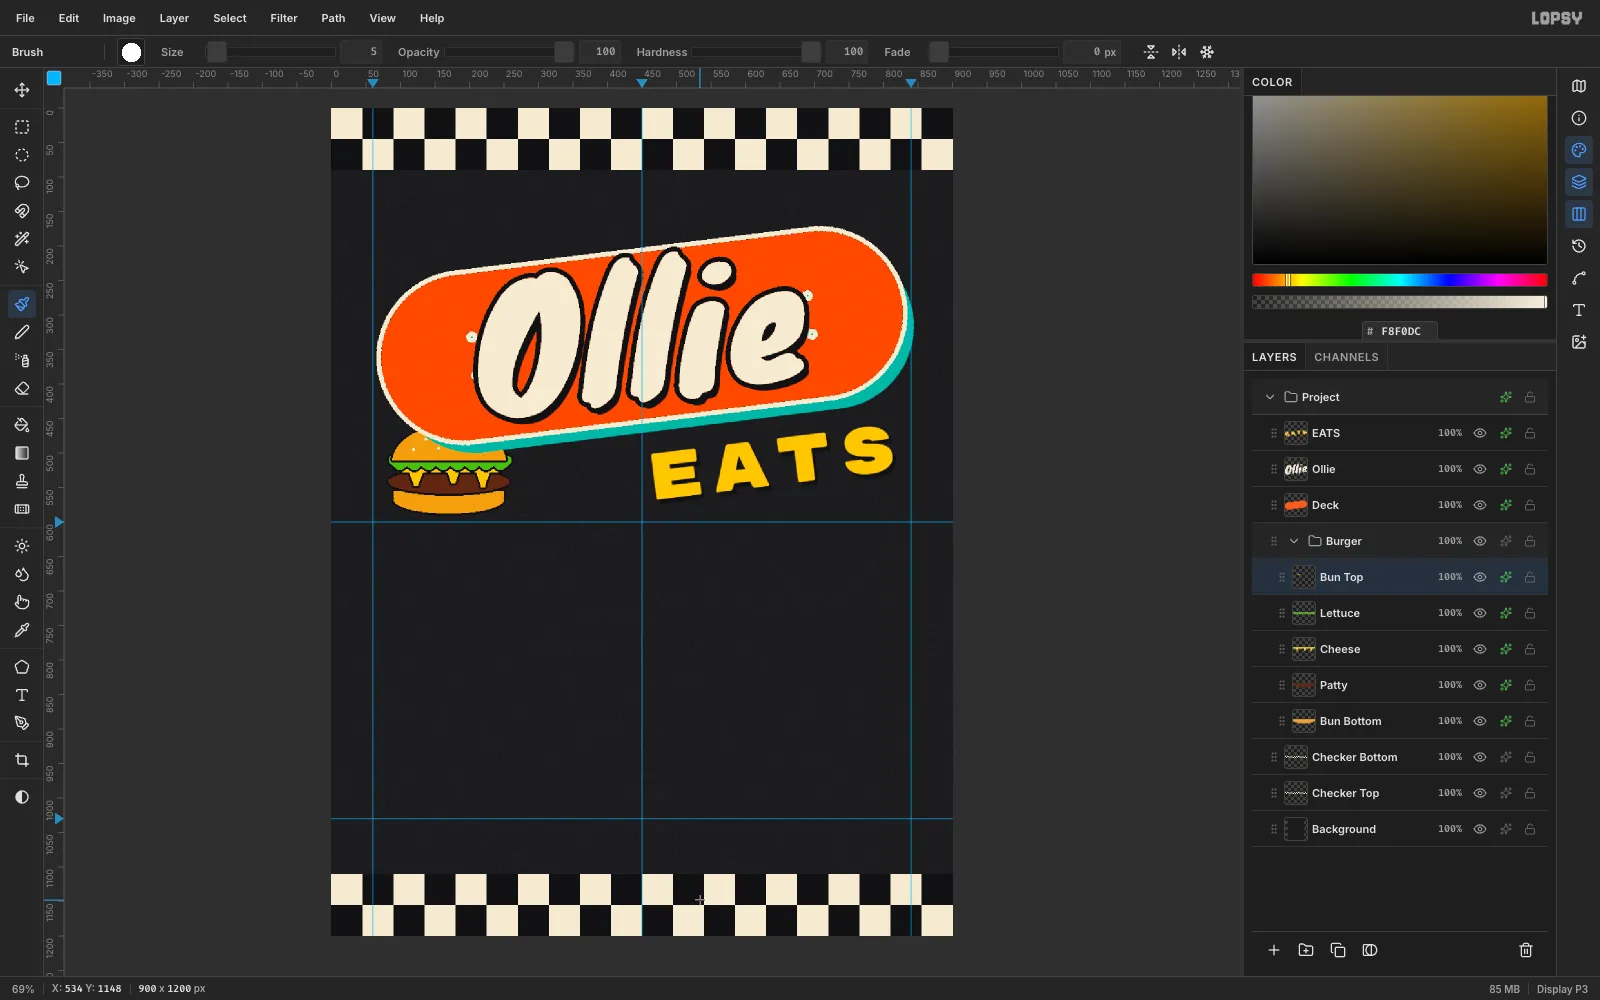
- Lettuce (
-
Move the whole group
Click the Burger group row, press V, and drag anywhere on the burger. All five parts move together. Drop it about 190 px right and 11 px down, so its right edge sits about 10 px from the E and the top of the bun hides under the deck's teal shadow. The burger and EATS now read as one logo.
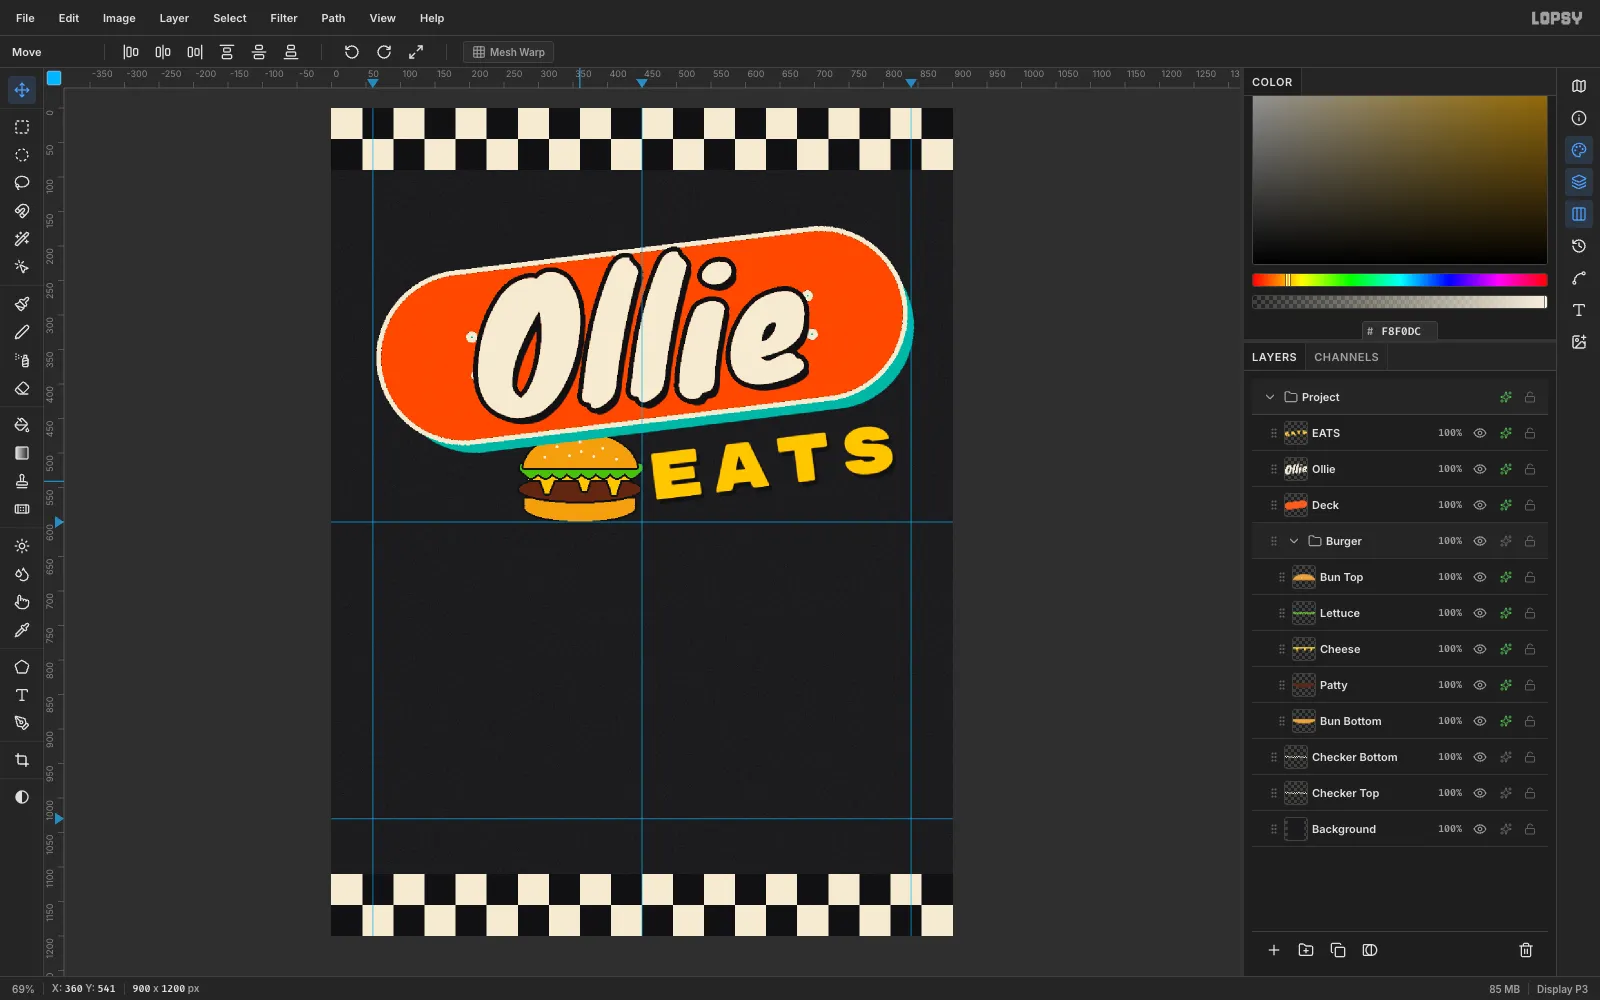
-
Slap on a sticker
Select EATS, add a layer named
Sticker, and fill a 130 × 130 circle at (60, 482) with pink#FF4F8B.Type the label in Rubik Mono One
15, ink, Line height1.2. Click at (76, 525) and type three spaces,NO, Enter,SCOOTERS, then Tab. The spaces centre the short word, because every letter in a mono font is the same width.Choose Layer → Merge Down to merge the words into the circle. Rotate the sticker 12° counter-clockwise, then add a Stroke in cream
6and an ink Drop Shadow at5/6, blur0.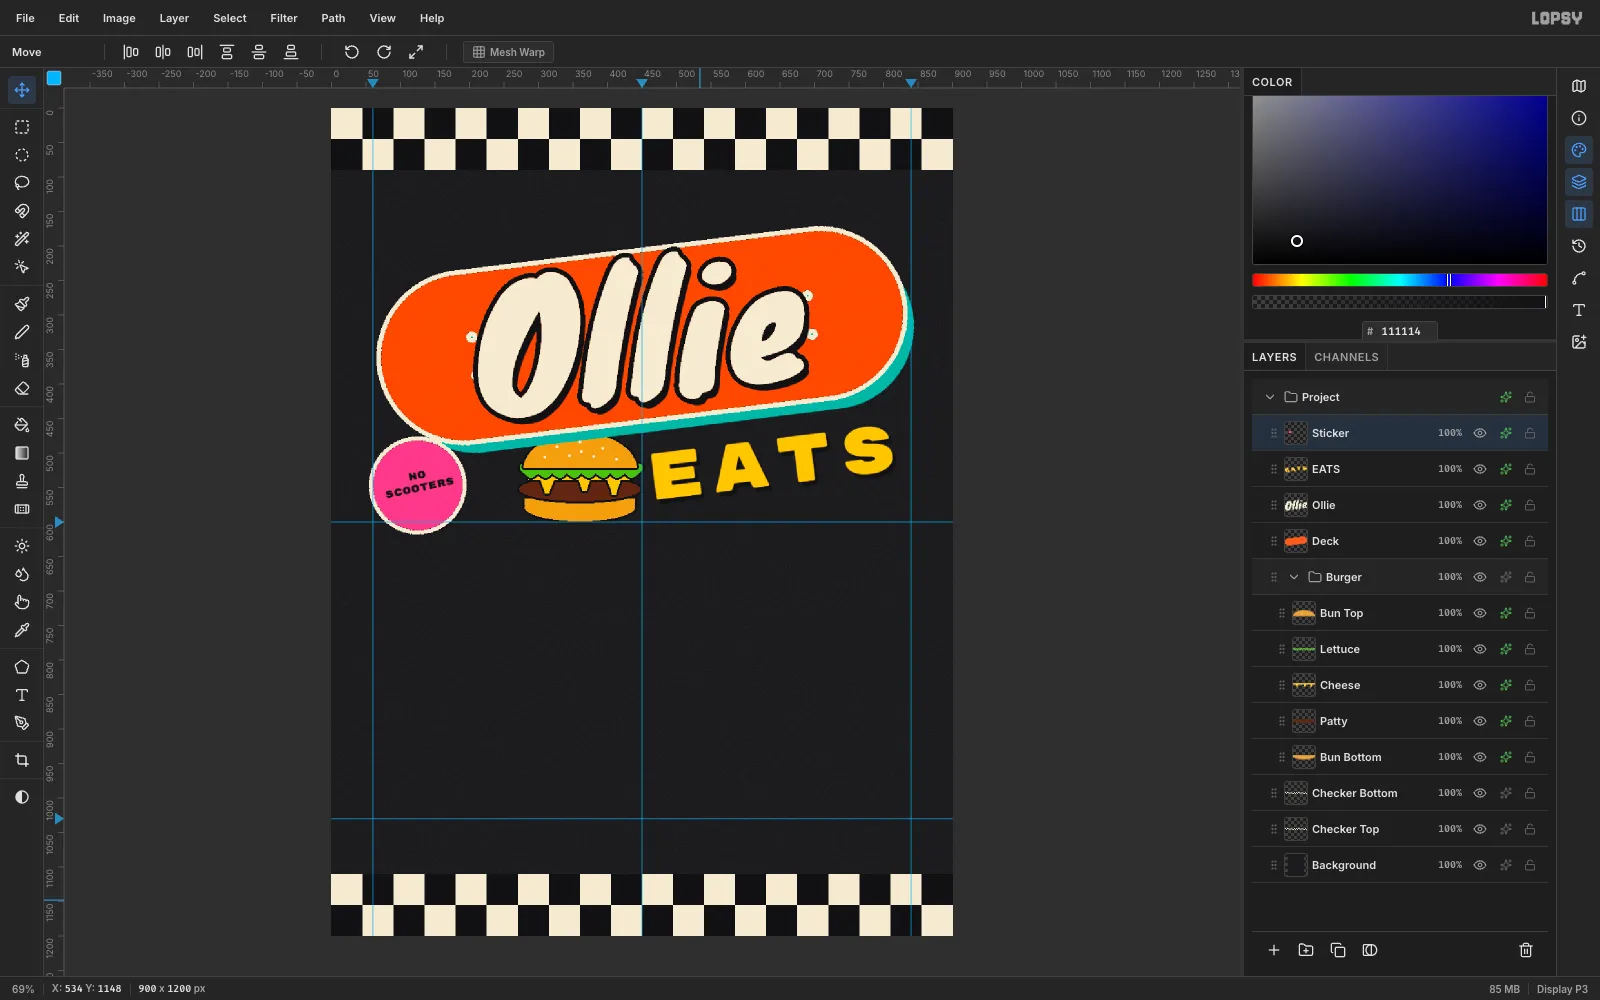
-
Add the tagline and stars
Set Space Mono Bold
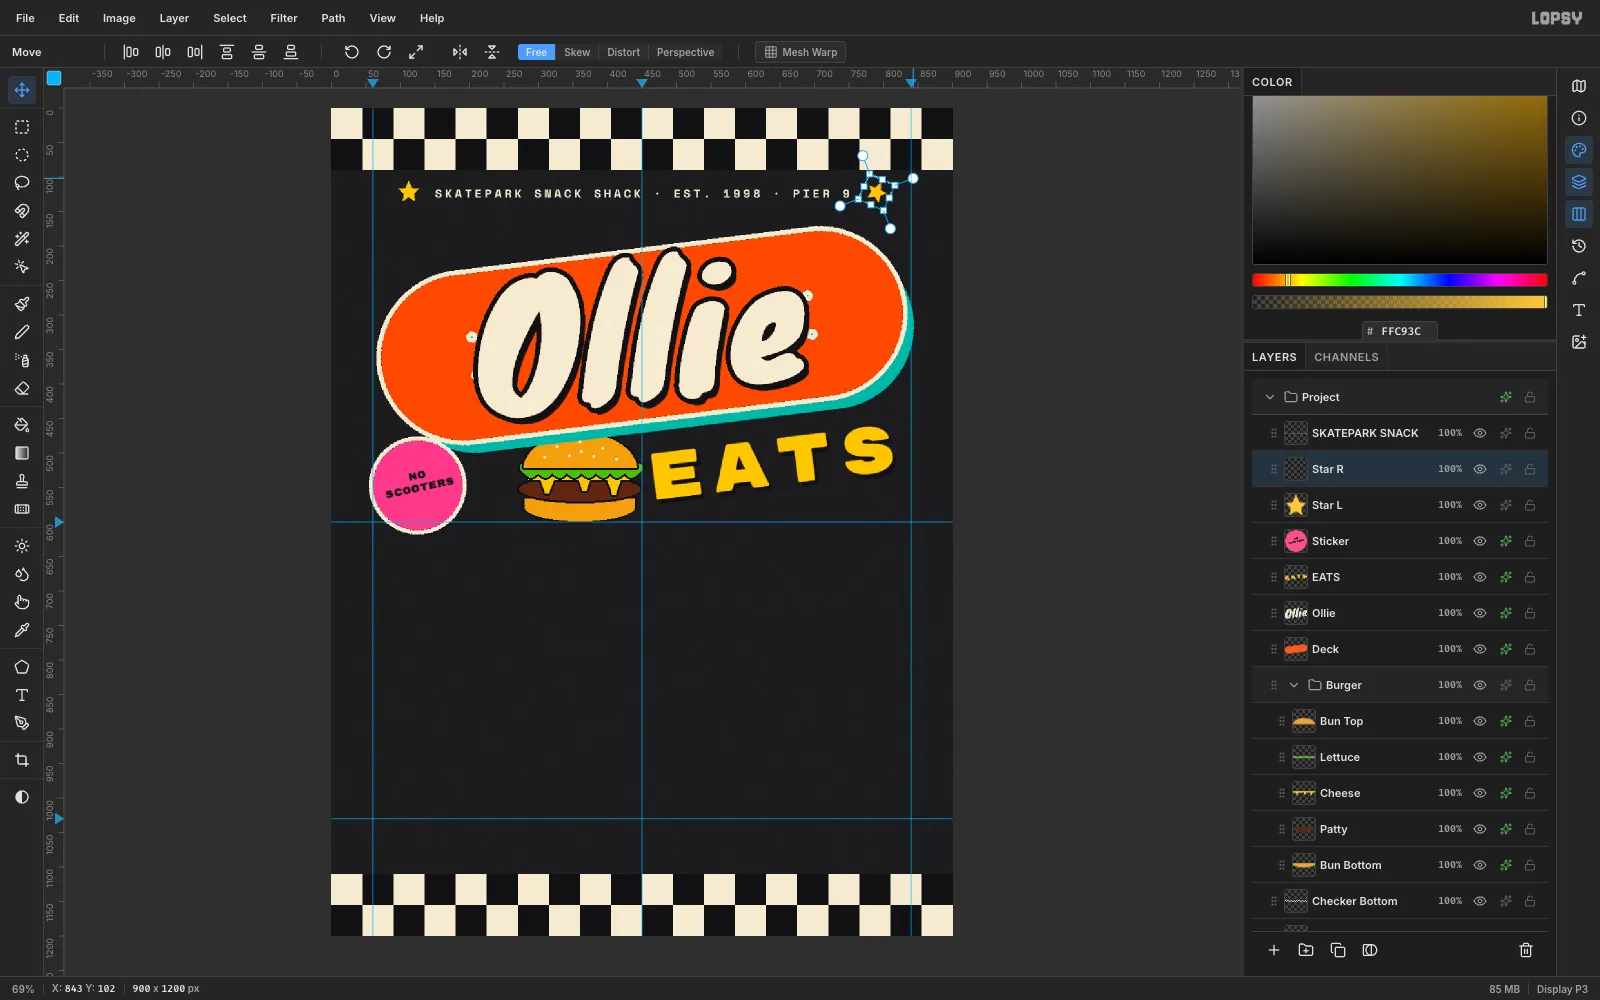
17, cream, Letter spacing4. Click at (150, 112) and typeSKATEPARK SNACK SHACK · EST. 1998 · PIER 9. If the middle dots won't type, paste the line in with Cmd+V.Add a layer named
Star L. With the Lasso, draw a five-point star around (112, 122), about 32 px across, and fill it with mustard. Press Cmd+C and Cmd+V, rename the pasteStar R, and drag it to (790, 122).A paste in place has no selection, so marquee around the star again before you rotate it. Turn it about 24° clockwise so the pair doesn't look copy-pasted, then press Enter.
-
Set the footer and a graffiti tag
Set the footer now, before the menu columns (see the tip in the menu columns step).
OPEN DAWN 'TIL STREETLIGHTSin Rubik Mono One19, cream, Letter spacing1, clicked at (60, 1040).cash / card - pier 9 skatepark - helmets optionalin Space Mono Regular13,#B9B09C, at (62, 1076).
For the tag, set Sedgwick Ave Display
56in pink. Click in empty space and typeeat & shred. Rasterize it, drag it into open canvas, rotate it 8° counter-clockwise, and drop it bottom-right, centred at about (712, 1066). A Stroke in#1C1C1F4plus an ink shadow at4/4makes it look like a sticker on the wall.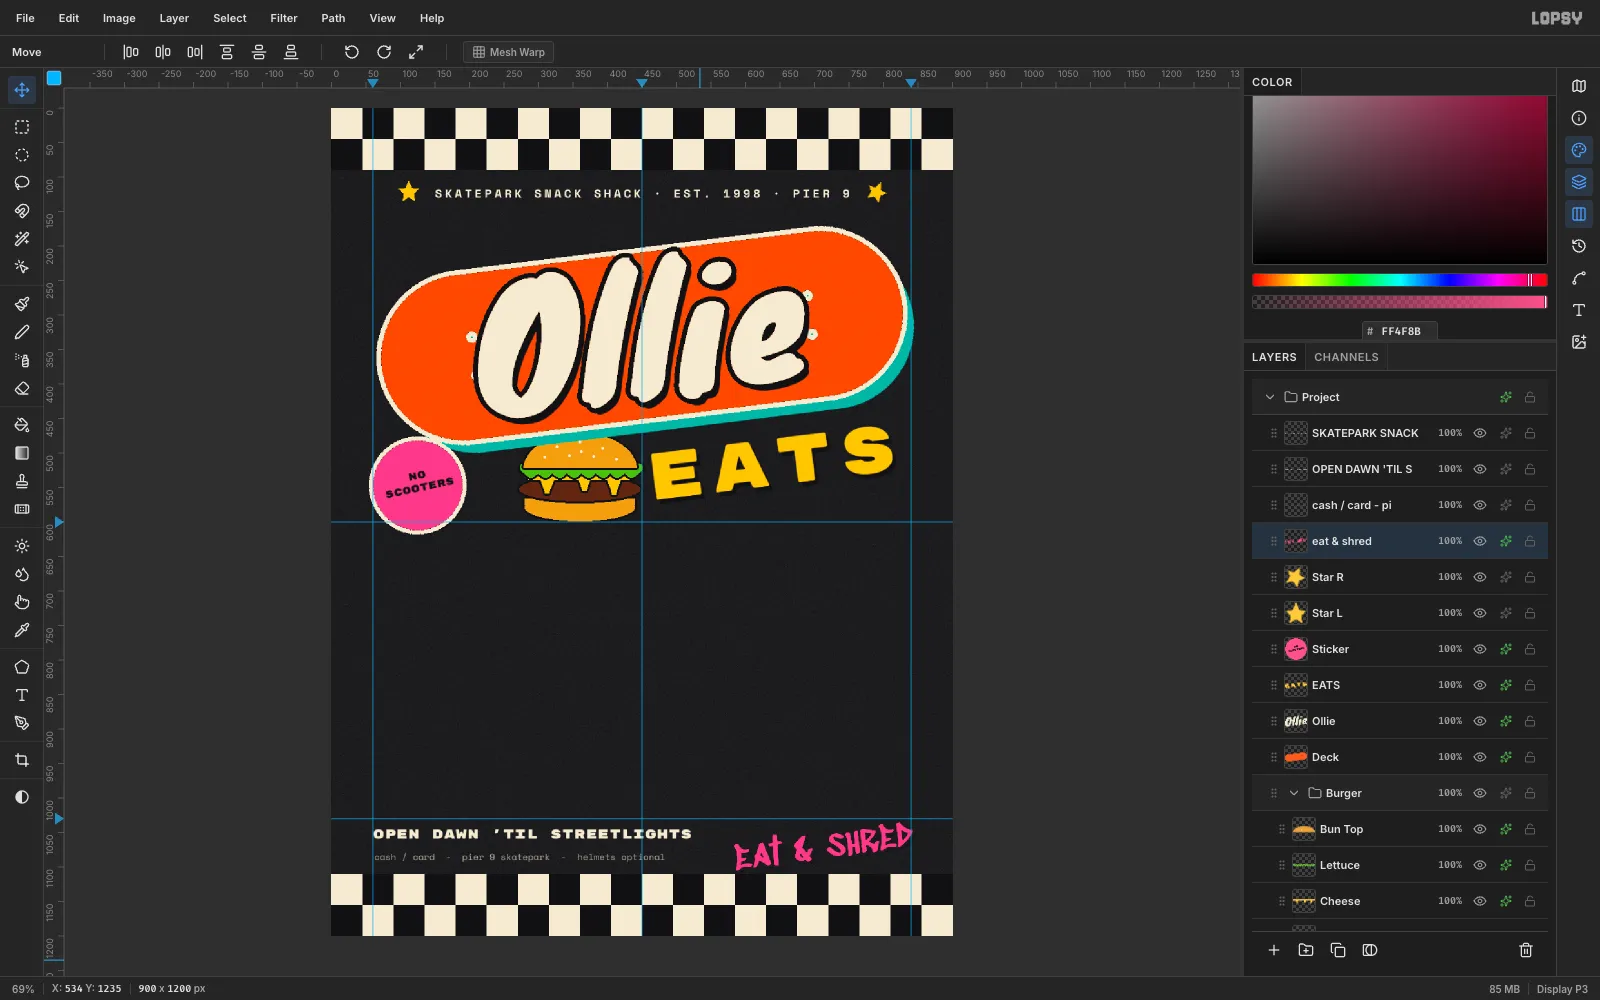
-
Tape up the section headers
Add a layer named
Tape Burgersand fill a 222 × 50 rectangle at (52, 614) with mustard. TypeBURGERSon it in Rubik Mono One30,#1C1C1F, Letter spacing2, clicked at (64, 616). Then Merge Down and rotate the strip 2° counter-clockwise.Do the same for
Tape Sides: a 352 × 50 strip at (462, 614) readingSIDES+SHAKES, rotated 2° clockwise. Tilting the two strips opposite ways looks hand-taped.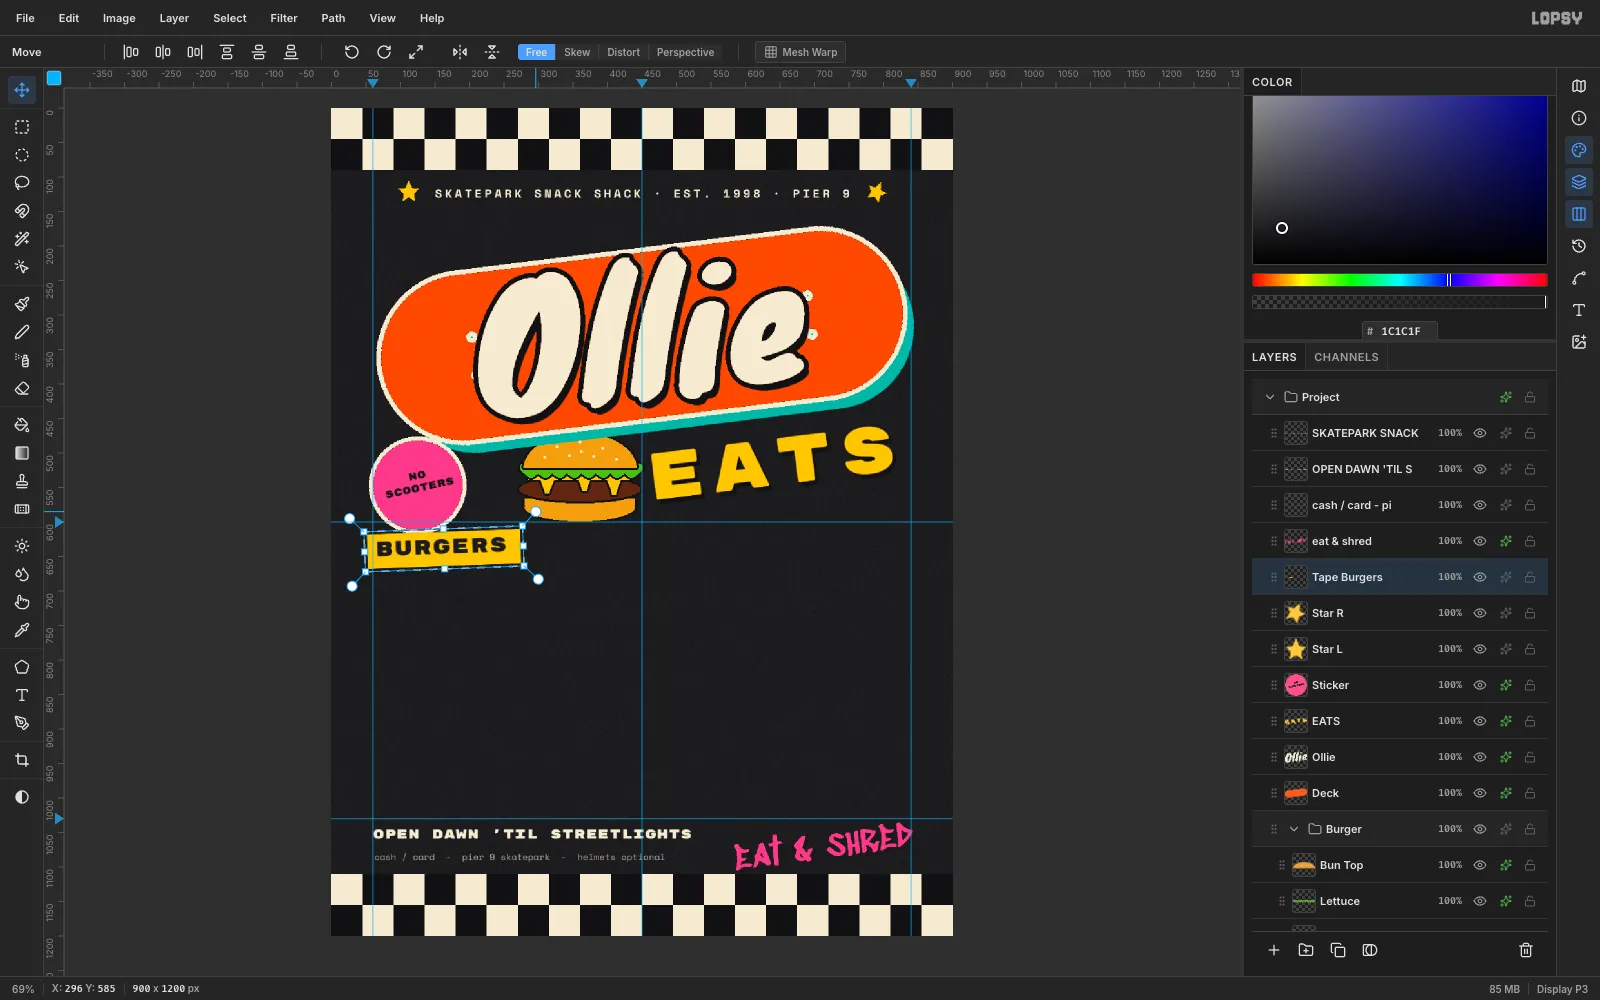
-
Draw dotted rules
Add a layer named
Rulesand press B. In the brush presets, set Size6, Hardness100and Spacing260. With spacing that wide, the brush stamps separate dots.With cream as the foreground, click (62, 690) and Shift-click (428, 690). Then click (472, 690) and Shift-click (838, 690). Set Spacing back to
10afterwards.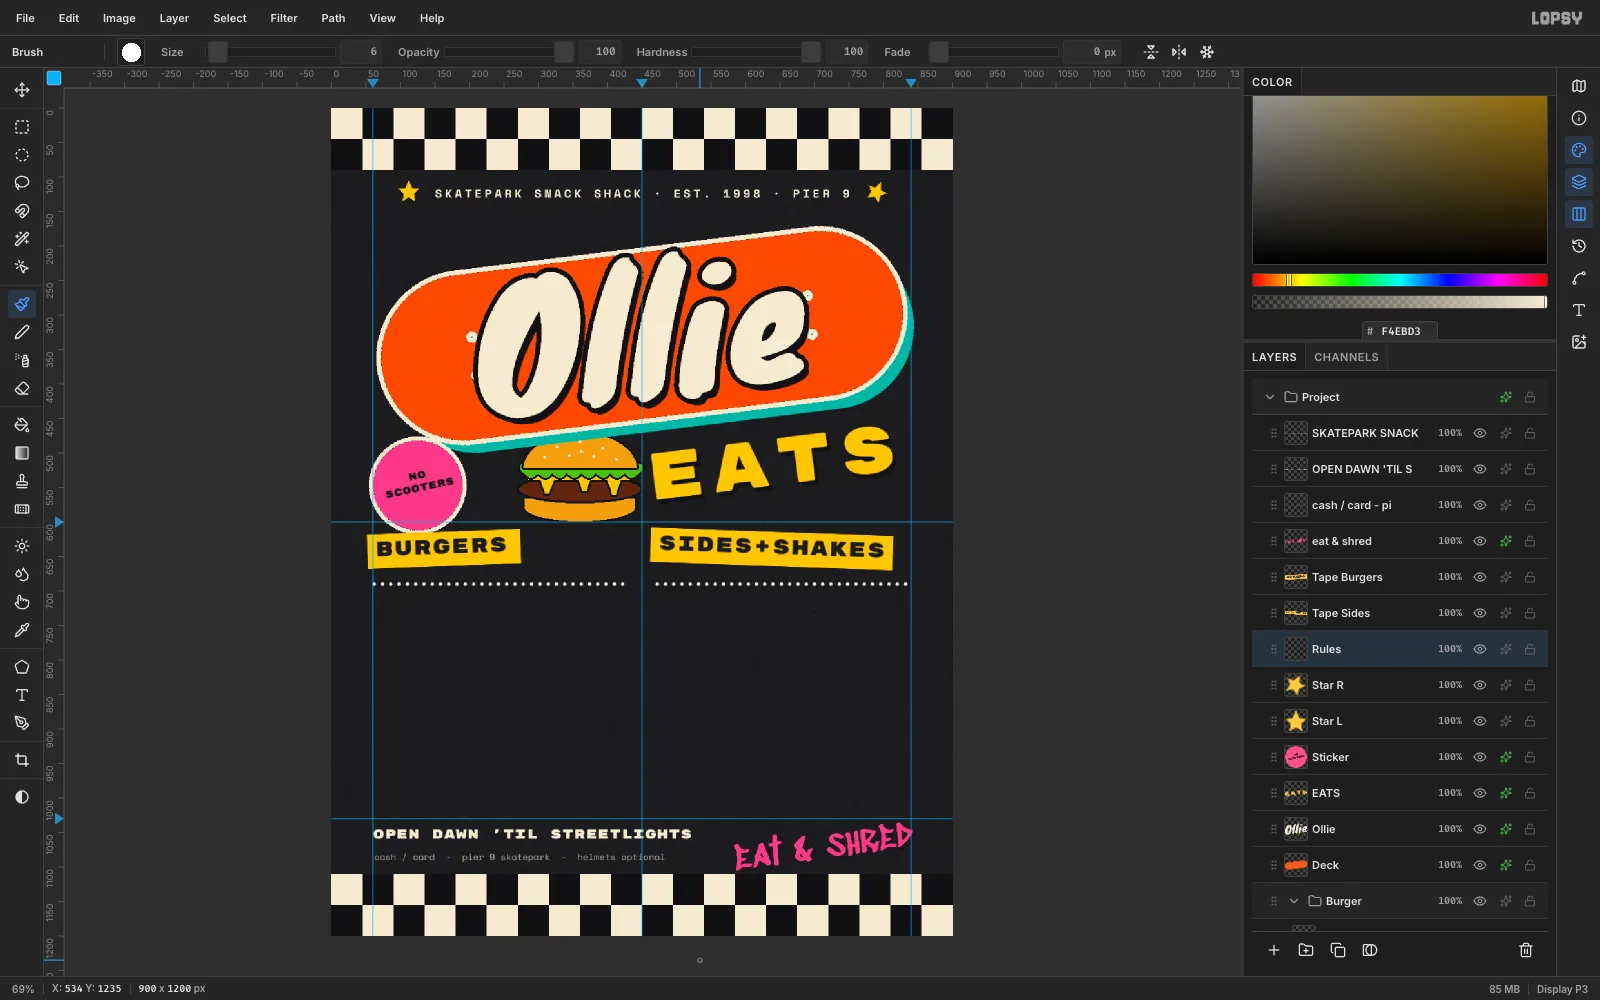
-
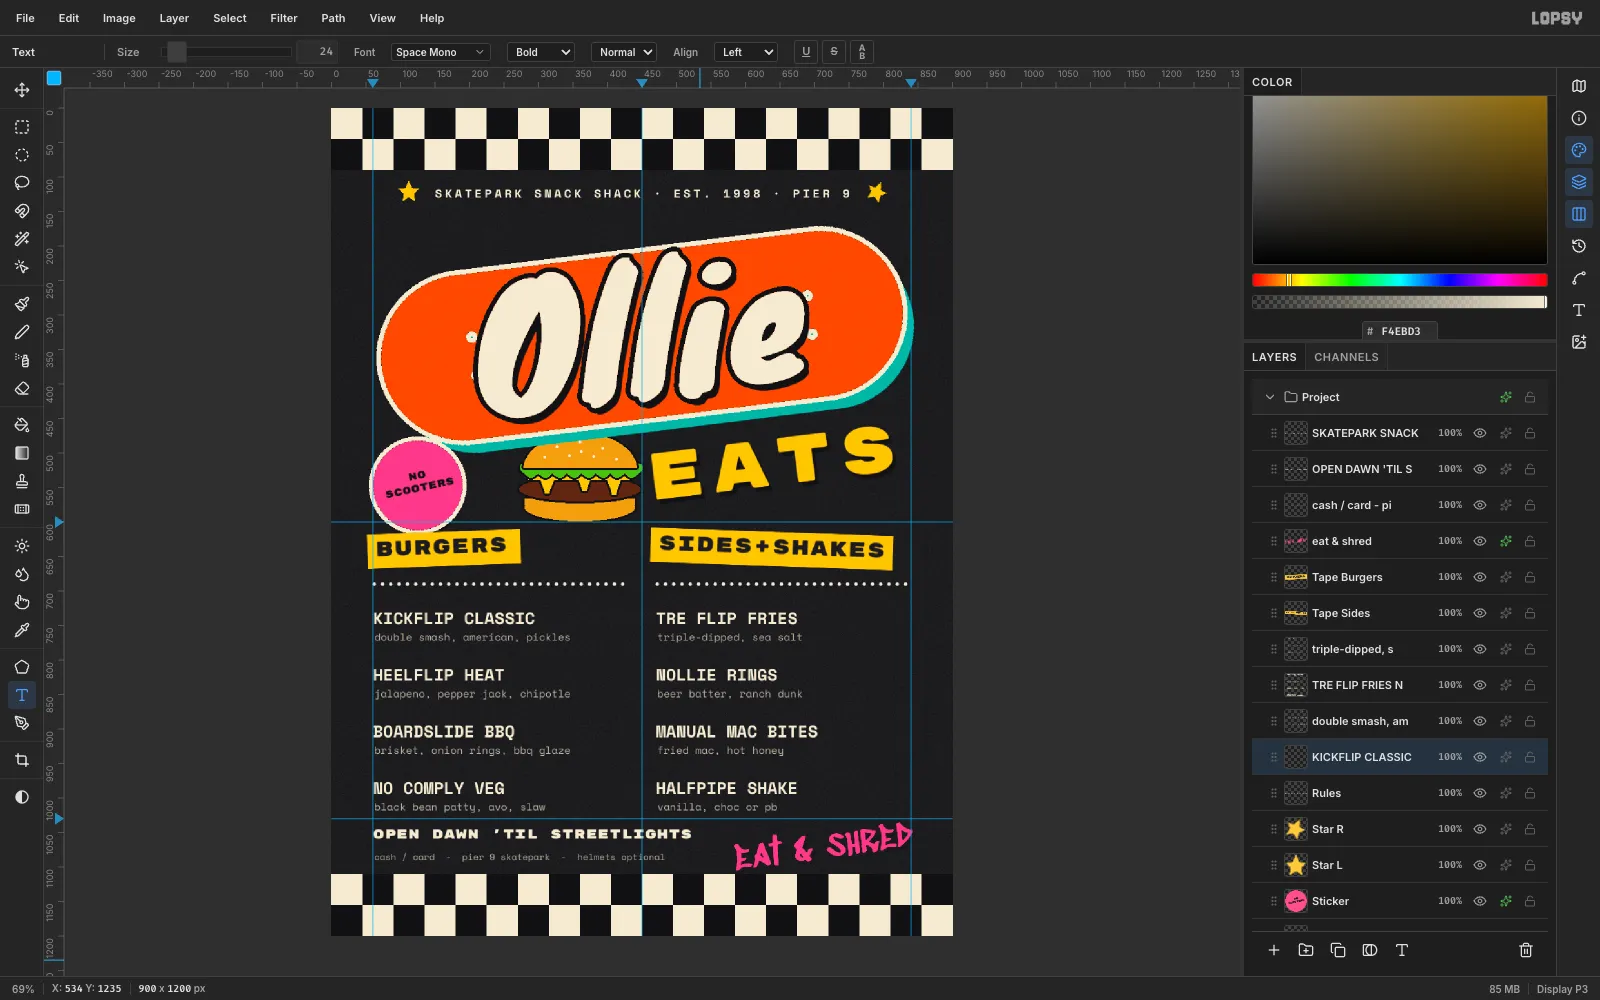
Set the menu columns
Each column is two multi-line text layers. The item names are one layer and the descriptions another, spaced to the same 82 px rhythm:
- Descriptions: Space Mono Regular
15,#B9B09C, Line height1.4, Paragraph spacing61. - Names: Space Mono Bold
24, cream, Line height3.42, Paragraph spacing0.
Create the right column first: descriptions at (472, 756), then names at (470, 698). Then do the left column: descriptions at (62, 756), names at (60, 698). The descriptions end up 14 px under their names, so each pair reads as one item.
- Descriptions: Space Mono Regular
-
Right-align the prices
Point text ignores alignment, so the prices use area text. Set Permanent Marker
34, mustard, Line height2.41, and set Align to Right. Then drag a box with the Text tool from (340, 700) to (428, 760), type the four prices on separate lines, and press Tab.Drag a second box from (750, 700) to (838, 760) for
$4,$5,$6,$6. The right column now ends exactly on the 840 guide. Use the Move tool and Up to nudge each price layer until the numbers sit on the item names' baselines.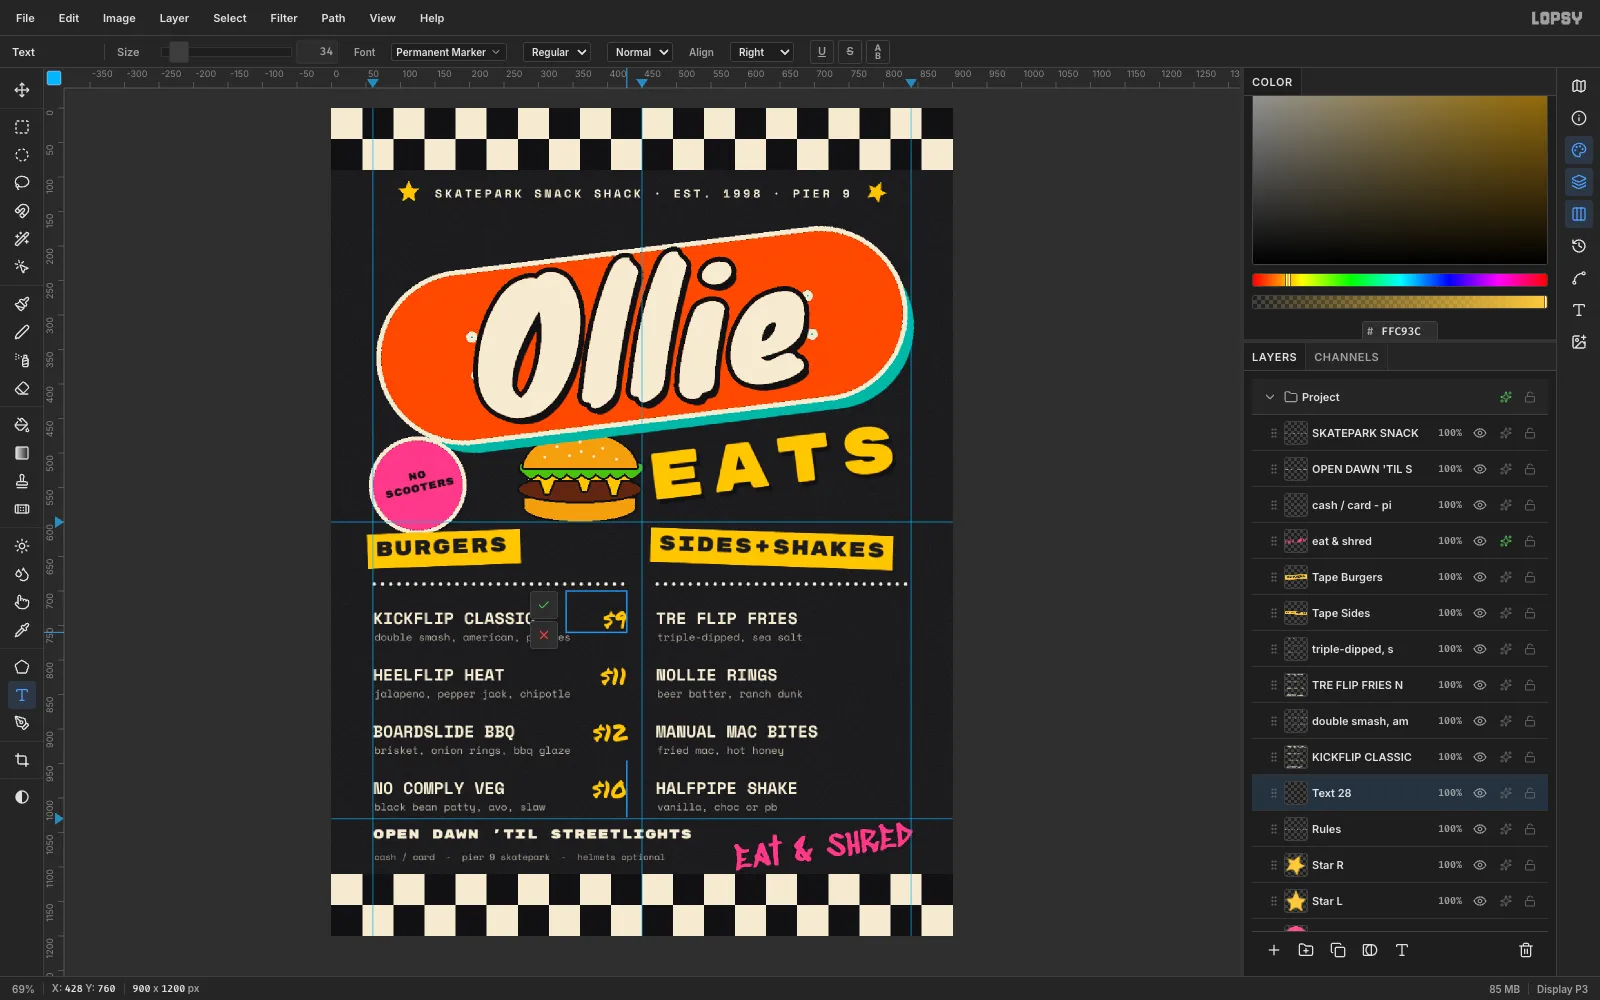
-
Spray some overspray
Select Background and add a layer named
Overspray. Press J for the Spray tool and set Size70, Density45and Opacity60. With orange as the foreground, spray one arc around the deck's nose and another around its tail. Use long, sweeping drags, because very short moves lay down almost nothing.Set the layer's row opacity to
45%. The speckle then looks like paint that missed the deck.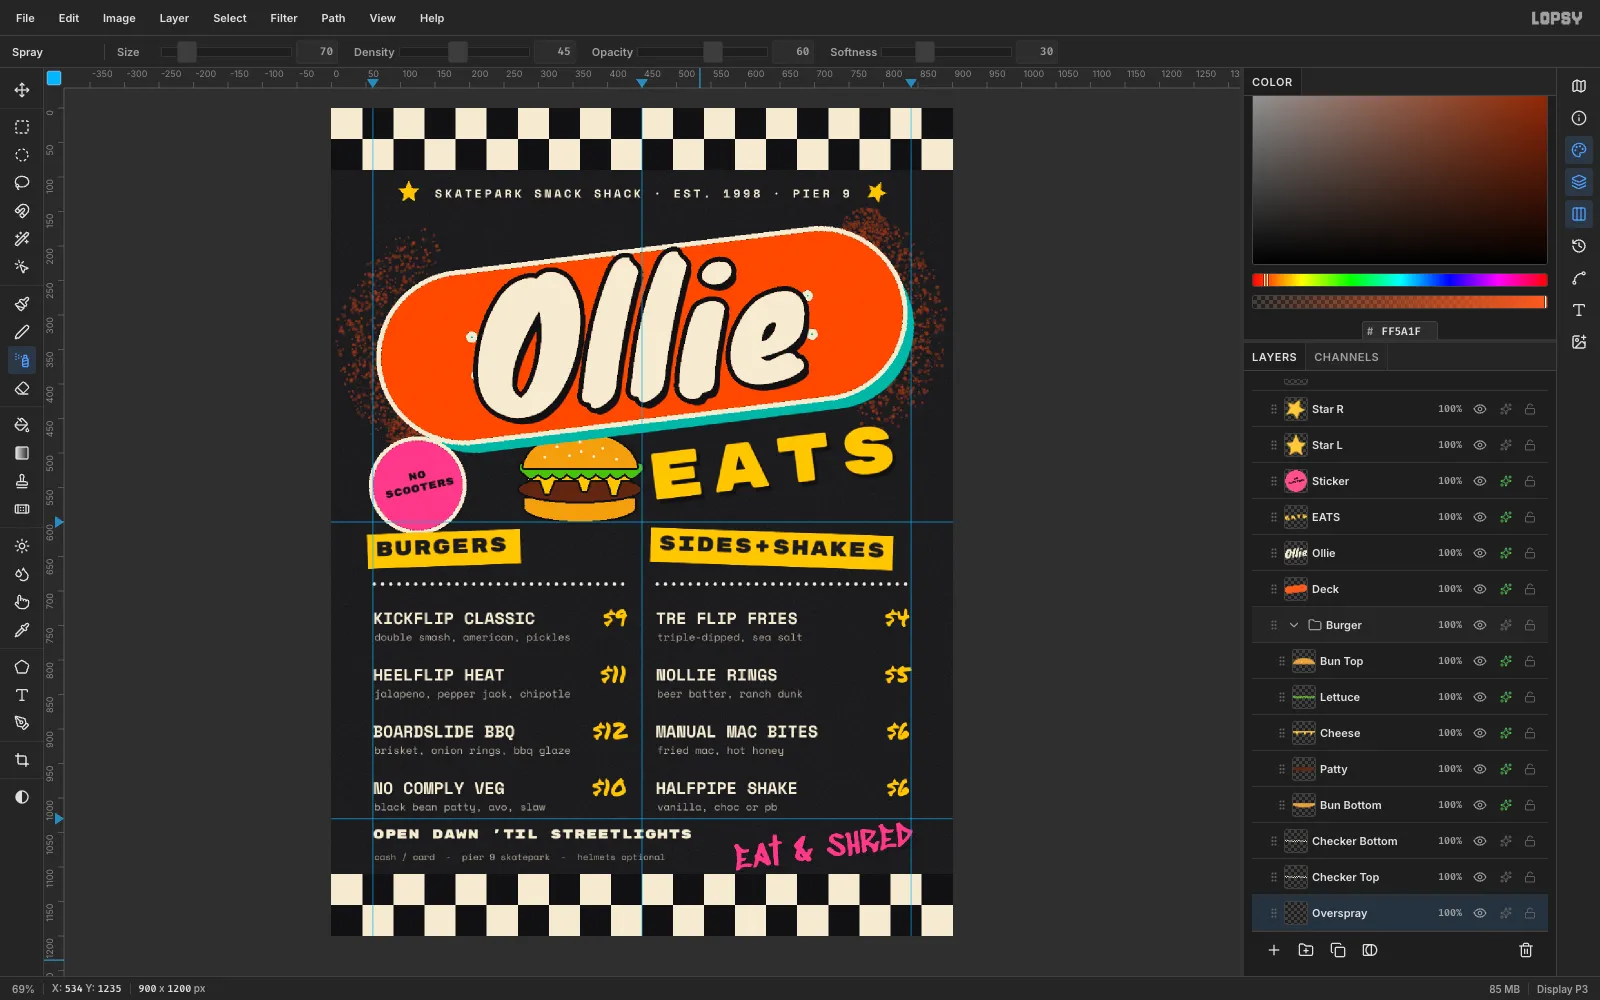
-
Add a grain overlay
Select the top layer in the stack and add a layer named
Grain. Set the foreground to#808080and choose Edit → Fill. Then use Filter → Add Noise… with Amount40, Mono and Gaussian.In the layer's effects, set Blend to Overlay, then set the row opacity to
35%. Mid-grey disappears in Overlay, so only the noise shows, as a printed-paper grain over everything.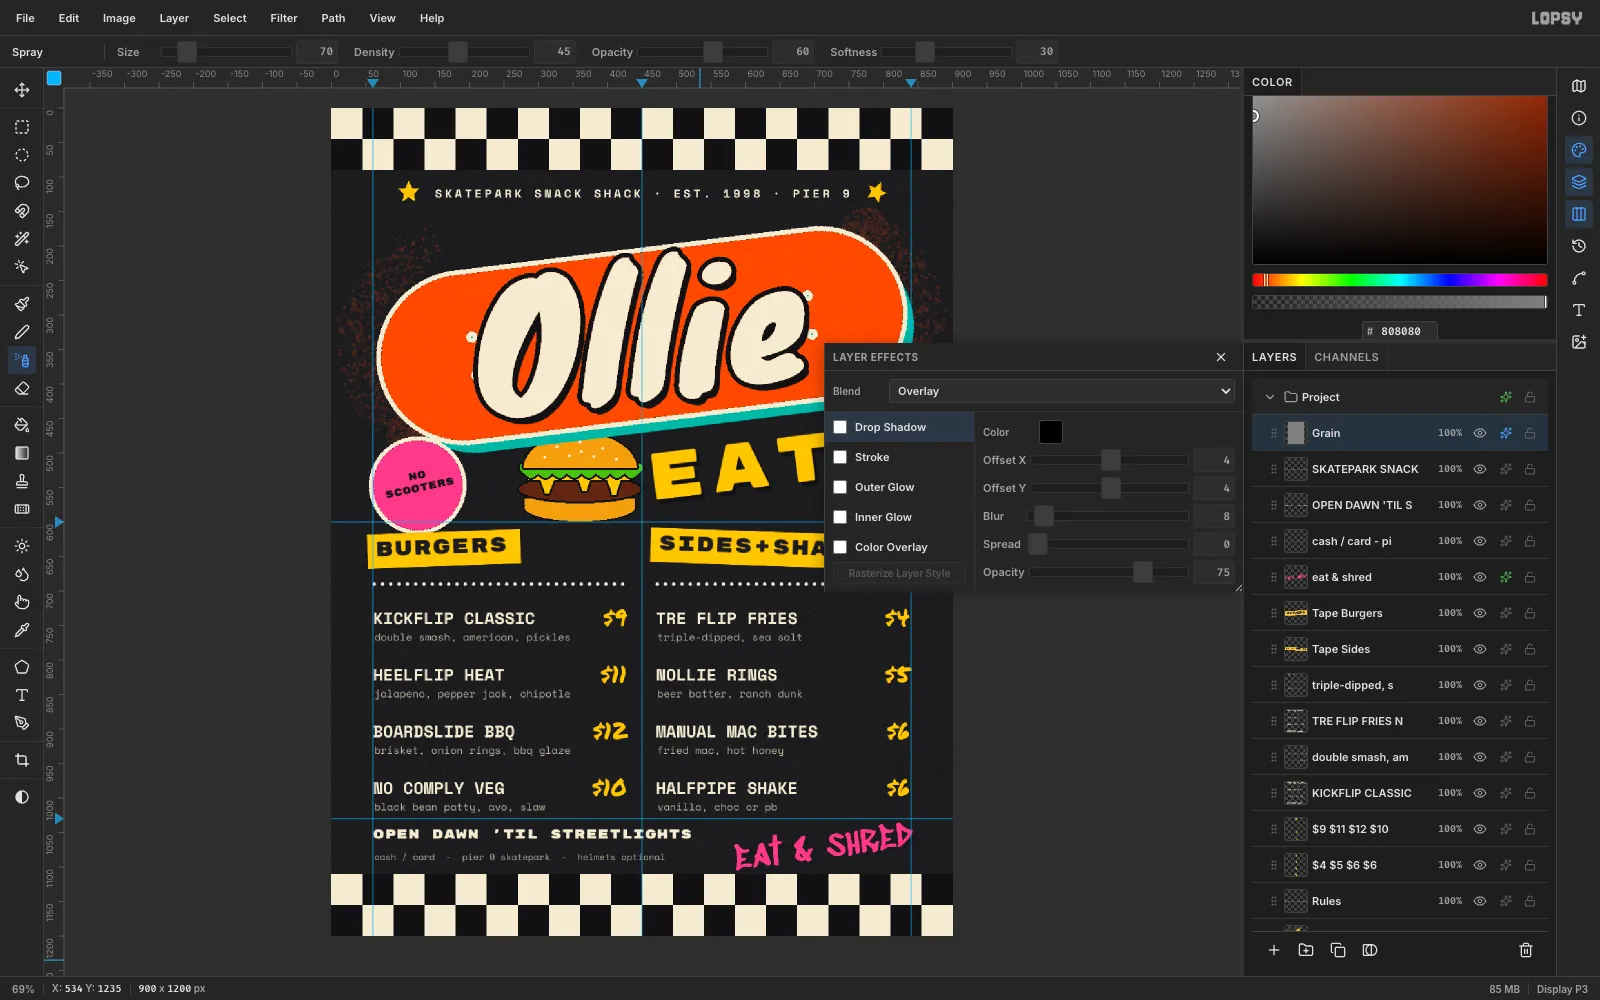
-
Export the menu
Turn off View → Show Guides to check the layout. Then choose File → Quick Export PNG for the image, and File → Save Project to keep every layer, group and effect editable for next season's menu.
To keep going, swap in your own trick-named dishes, or recolour the deck and its shadow for a night-session version.