Make a Screen-Print Style Data Visualization Poster
Build a screen-printed infographic in Lopsy with eight fried eggs drawn to scale, knockouts, Multiply overprints, halftone shading and misregistration.
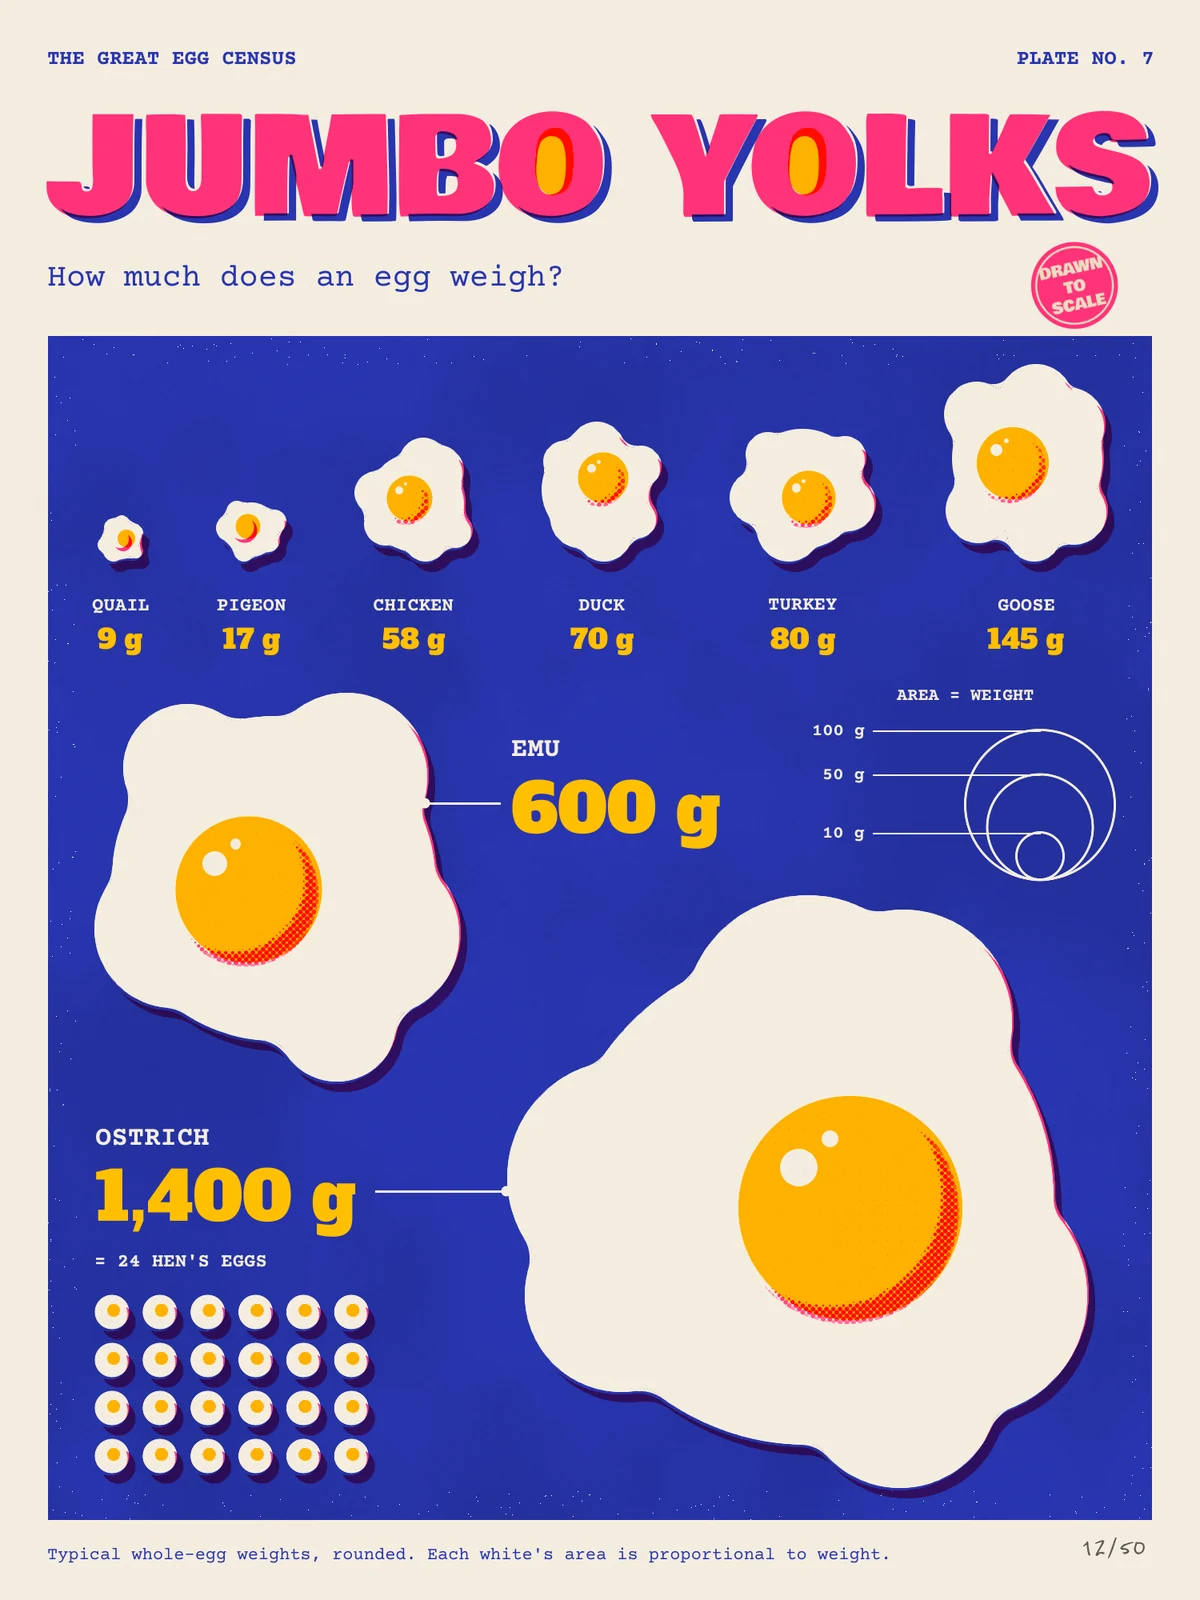
A screen print is built one ink at a time, each pushed through its own stencil onto the paper. That limit is also the style's charm, and it suits a data visualization surprisingly well. A chart needs a few flat, honest colours, and a screen print has nothing else.
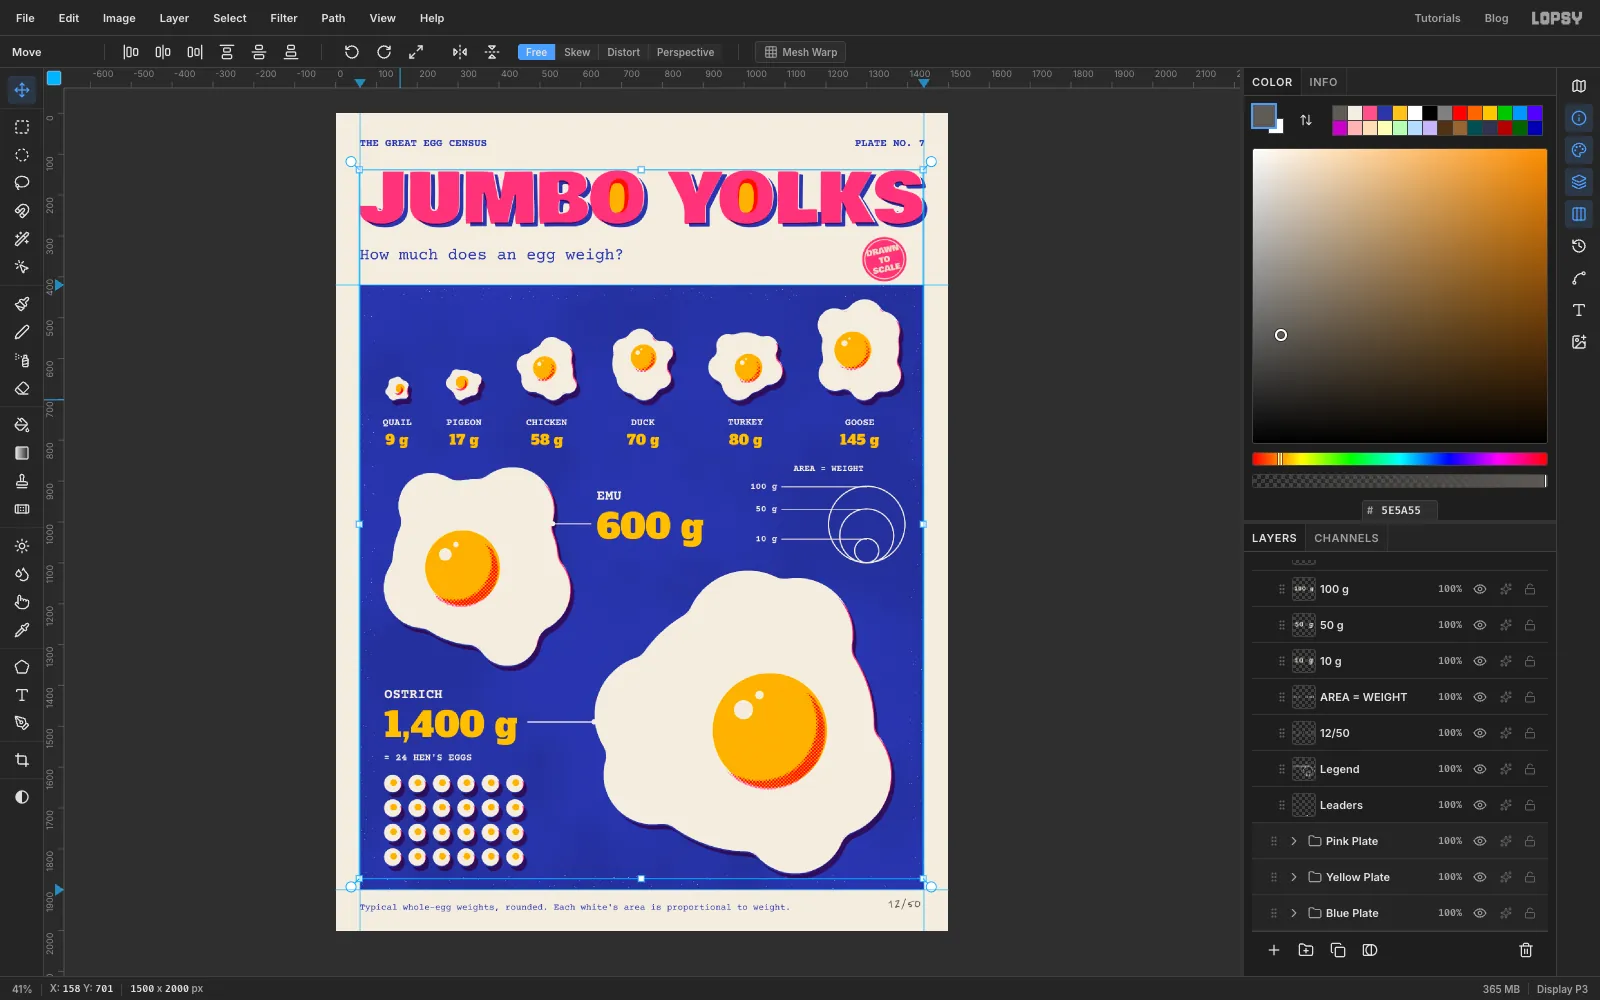
In this tutorial you'll make Jumbo Yolks, a poster that compares the eggs of eight birds by drawing each one as a fried egg. The white of each egg is sized so that its area is proportional to the egg's weight, from a 9 g quail egg to a 1,400 g ostrich egg. Along the way you'll use the classic screen-print moves:
- A flood of ink with knockouts. The blue panel is one solid ink with the egg whites cut out of it, so they show the bare paper.
- Overprints. The yellow and pink inks are set to Multiply, so pink over yellow prints a hot orange-red, and pink over blue prints a dark violet shadow.
- Halftone dots for shading.
- Misregistration, where each ink sits a couple of pixels off from the others.
The weights are typical whole-egg weights, rounded: quail 9 g, pigeon 17 g, chicken 58 g, duck 70 g, turkey 80 g, goose 145 g, emu 600 g and ostrich 1,400 g.
The fonts are free Google Fonts:
- Bowlby One for the headline and the stamp
- Alfa Slab One for the weights
- Courier Prime (Bold and Regular) for labels and small print
- Reenie Beanie for the pencilled edition number
The palette:
-
Paper
-
Ultramarine ink
-
Yolk ink
-
Fluorescent pink ink
-
Graphite
pencil, not an ink
Lopsy keeps everything inside a top-level Project group, so the plates you make below all sit inside it. New layers land just above whichever layer is selected, and inside a group if that group is selected.
-
Create a 1500 × 2000 document
Open Lopsy. In the New Document dialog, set Width to
1500and Height to2000pixels, keep the White background and click Create. That's a 3:4 portrait, which prints well at 18 × 24 inches.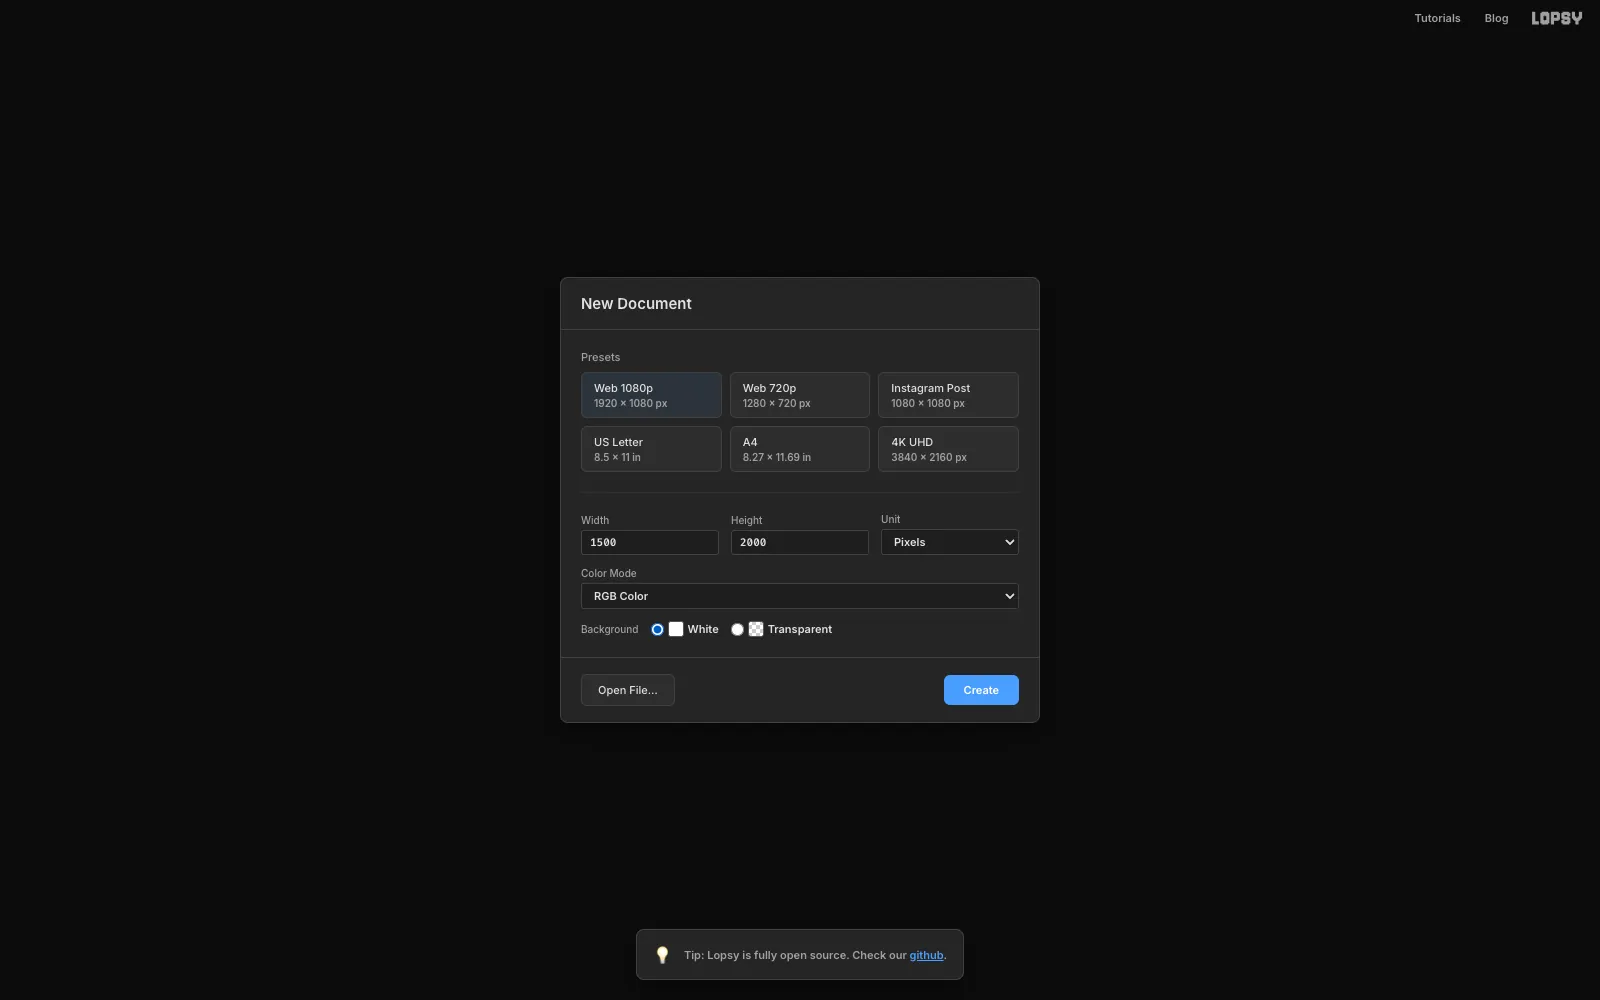
-
Lay down the paper and the guides
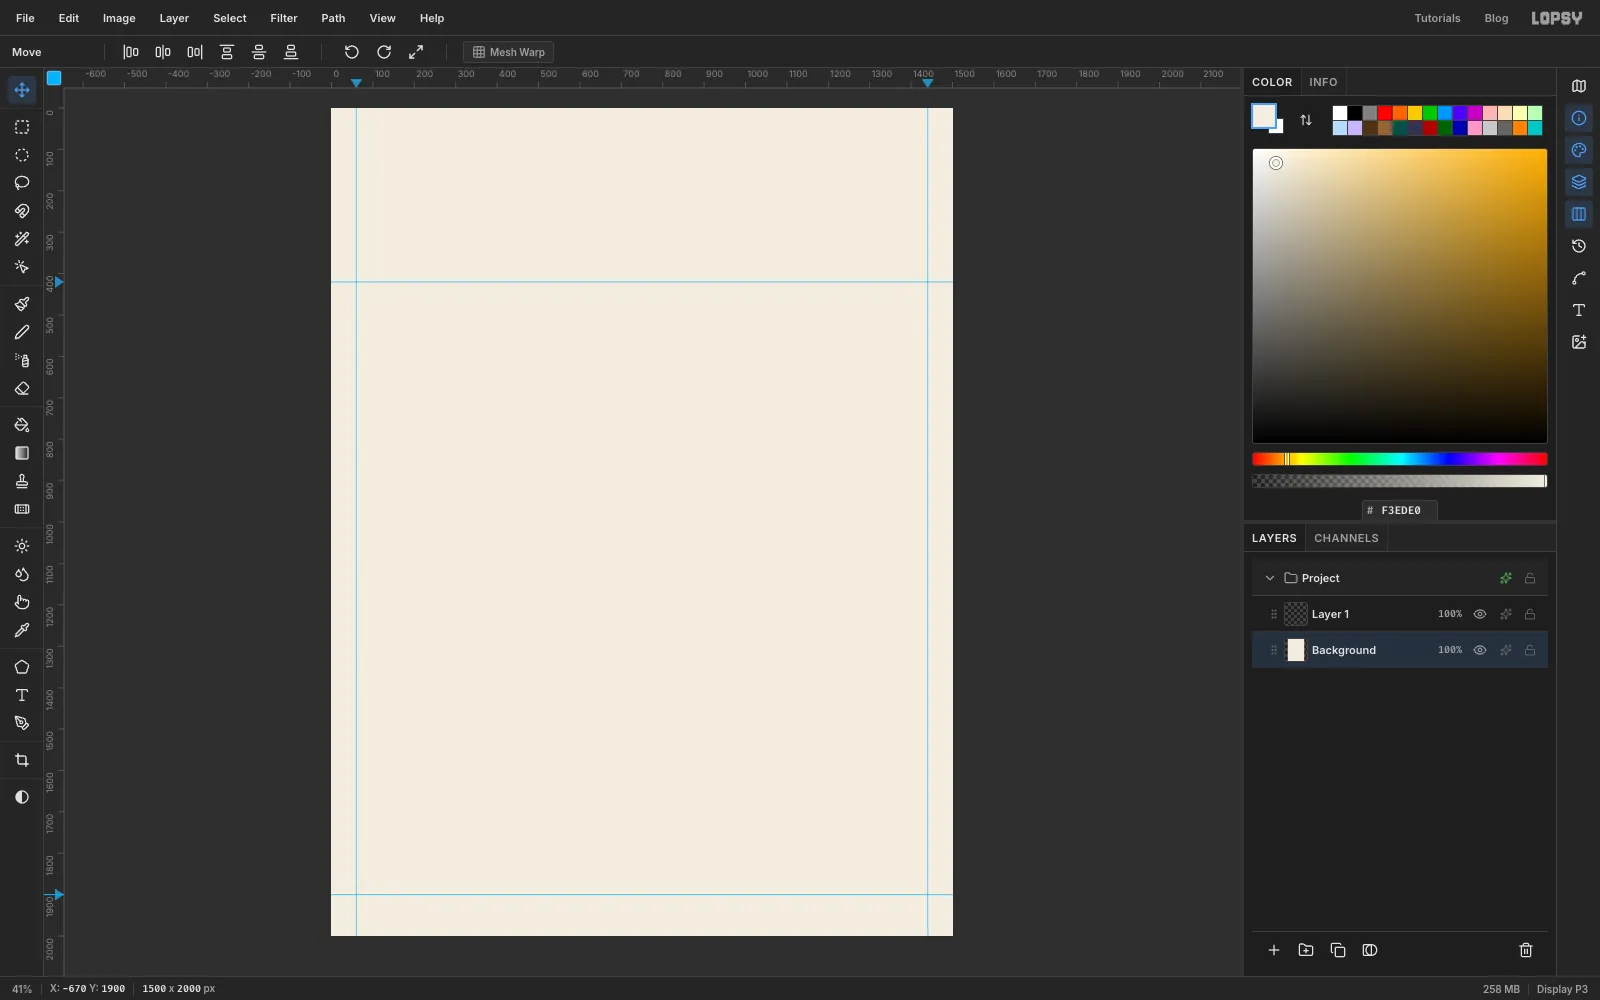
Select Background, set the foreground colour to and choose Edit → Fill. Give the paper a little tooth with Filter → Add Noise…: Amount
4, Mono.Now add four guides. Each one is a single click on a ruler:
- Click the top ruler at 60 and 1440. These are the side margins.
- Click the left ruler at 420 and 1900. These are the top and bottom of the blue panel.
-
Flood the panel with blue
Each ink gets its own group in the Layers panel, called a plate. Select Layer 1, click New Group at the bottom of the Layers panel and rename the group
Blue Plate. With Blue Plate selected, click Add Layer. The new layer lands inside the group. Rename itFlood. You can delete the empty Layer 1 now.Pick the Rectangular Marquee and drag from the top-left guide crossing to the bottom-right one. With Snap to Guides on (it is by default), the marquee locks onto the guides. Set the foreground to , choose Edit → Fill, and then, with the selection still active, run Add Noise… at Amount
6, Mono. The noise gives the ink a fine grain. Press Cmd+D to deselect.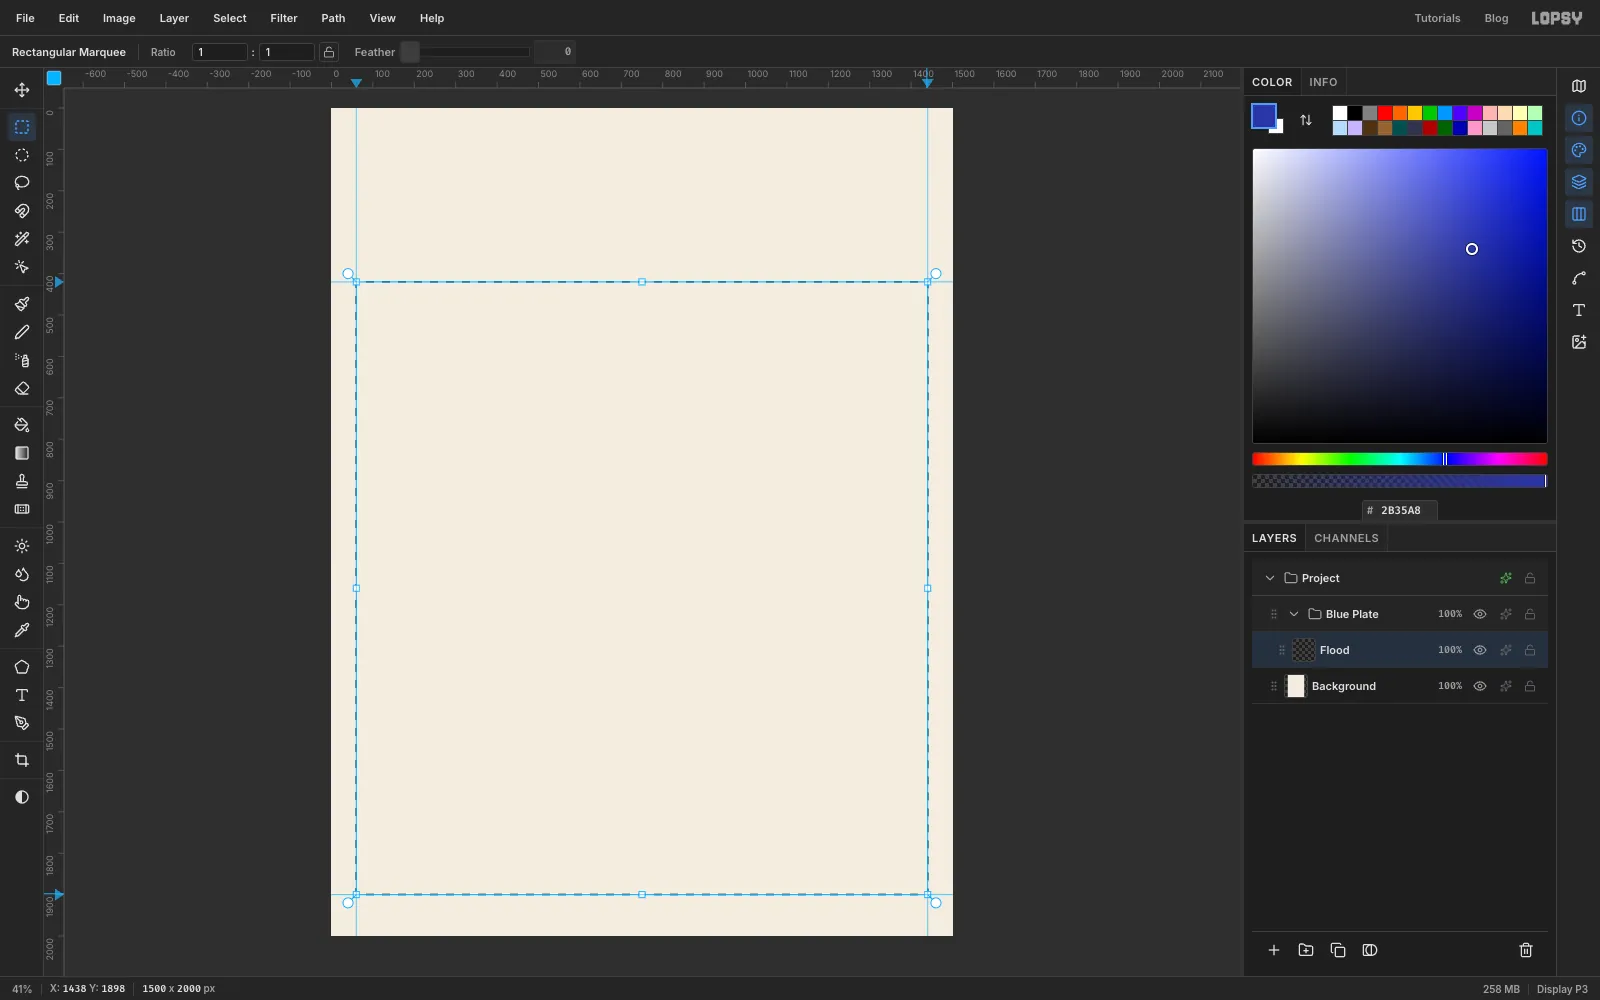
-
Sketch the egg whites as circles
This is where the data comes in. To make an egg's area proportional to its weight, its radius has to grow with the square root of the weight. With the ostrich egg at a radius of 350 px, each egg's radius is 350 × √(weight ÷ 1400):
- Quail 28 px, pigeon 39, chicken 71, duck 78
- Turkey 84, goose 113, emu 229, ostrich 350
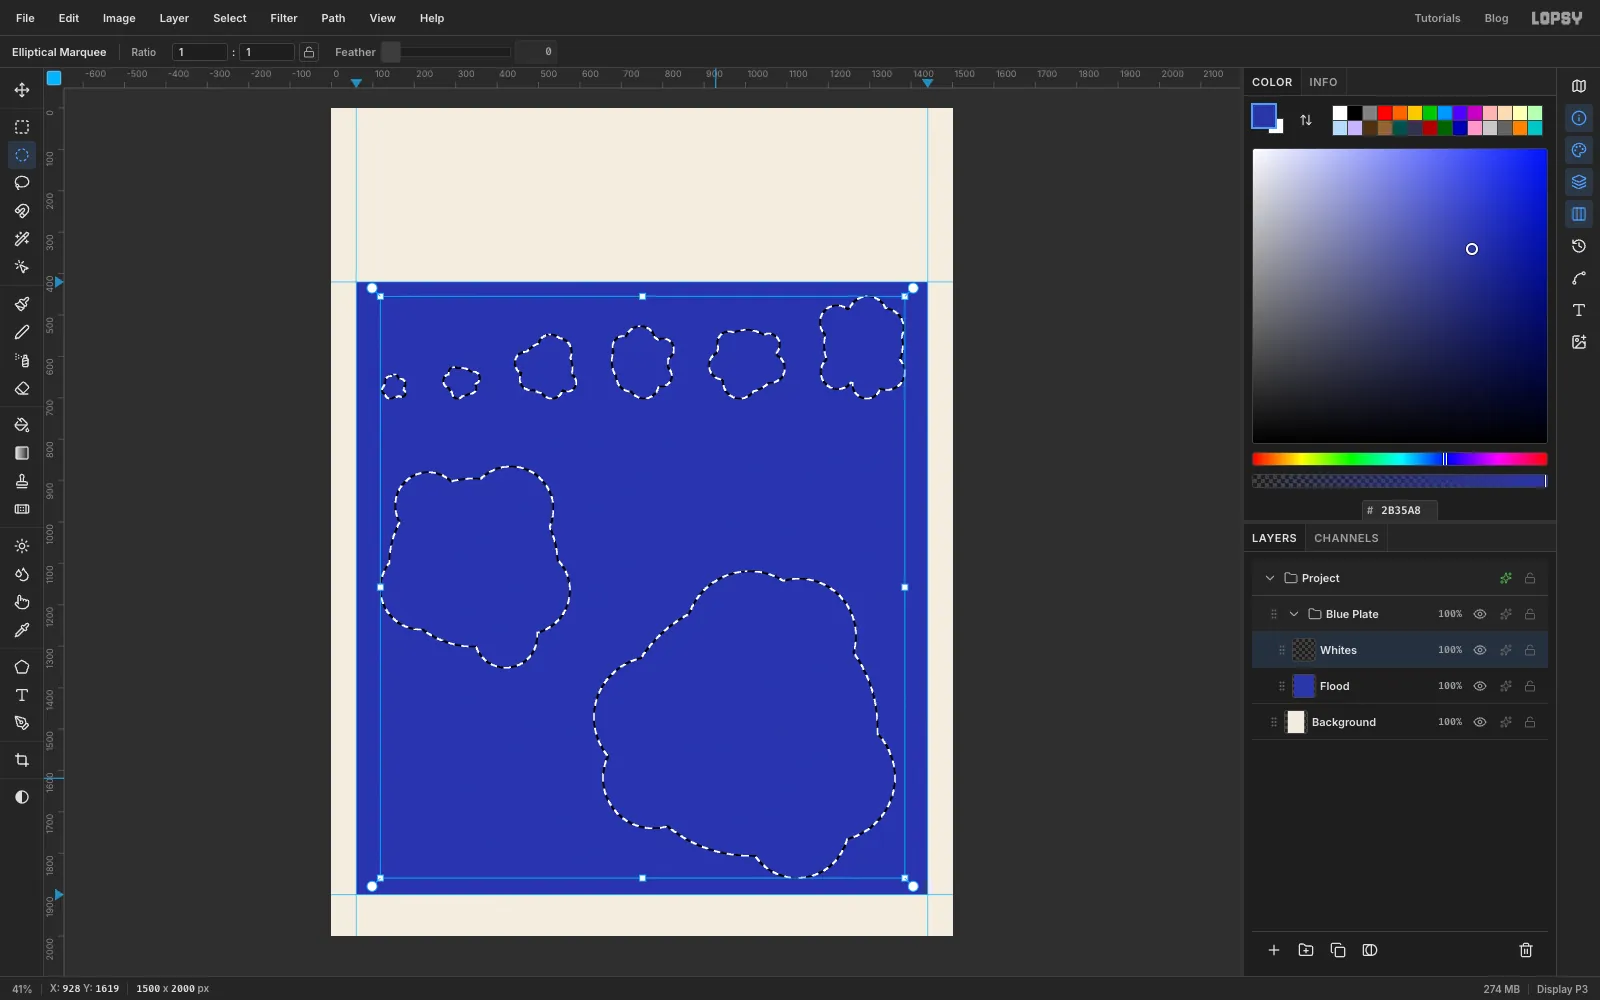
Select Blue Plate, add a layer and name it
Whites. A fried egg white isn't a circle, so build each one from several overlapping circles:- With the Elliptical Marquee, hold Cmd (Ctrl) to keep the shape a circle and drag a main circle about 1.7 times the egg's radius across. That works out to roughly 48 px for the quail, 66 for the pigeon, 121 for the chicken, 133 for the duck, 143 for the turkey, 192 for the goose, 389 for the emu and 595 for the ostrich.
- Hold Shift as well and drag five or six smaller circles around its rim, each about 0.6–0.9 times the radius across. Let some poke out and some stay tucked in. Shift adds each one to the selection.
Lay the eggs out like this:
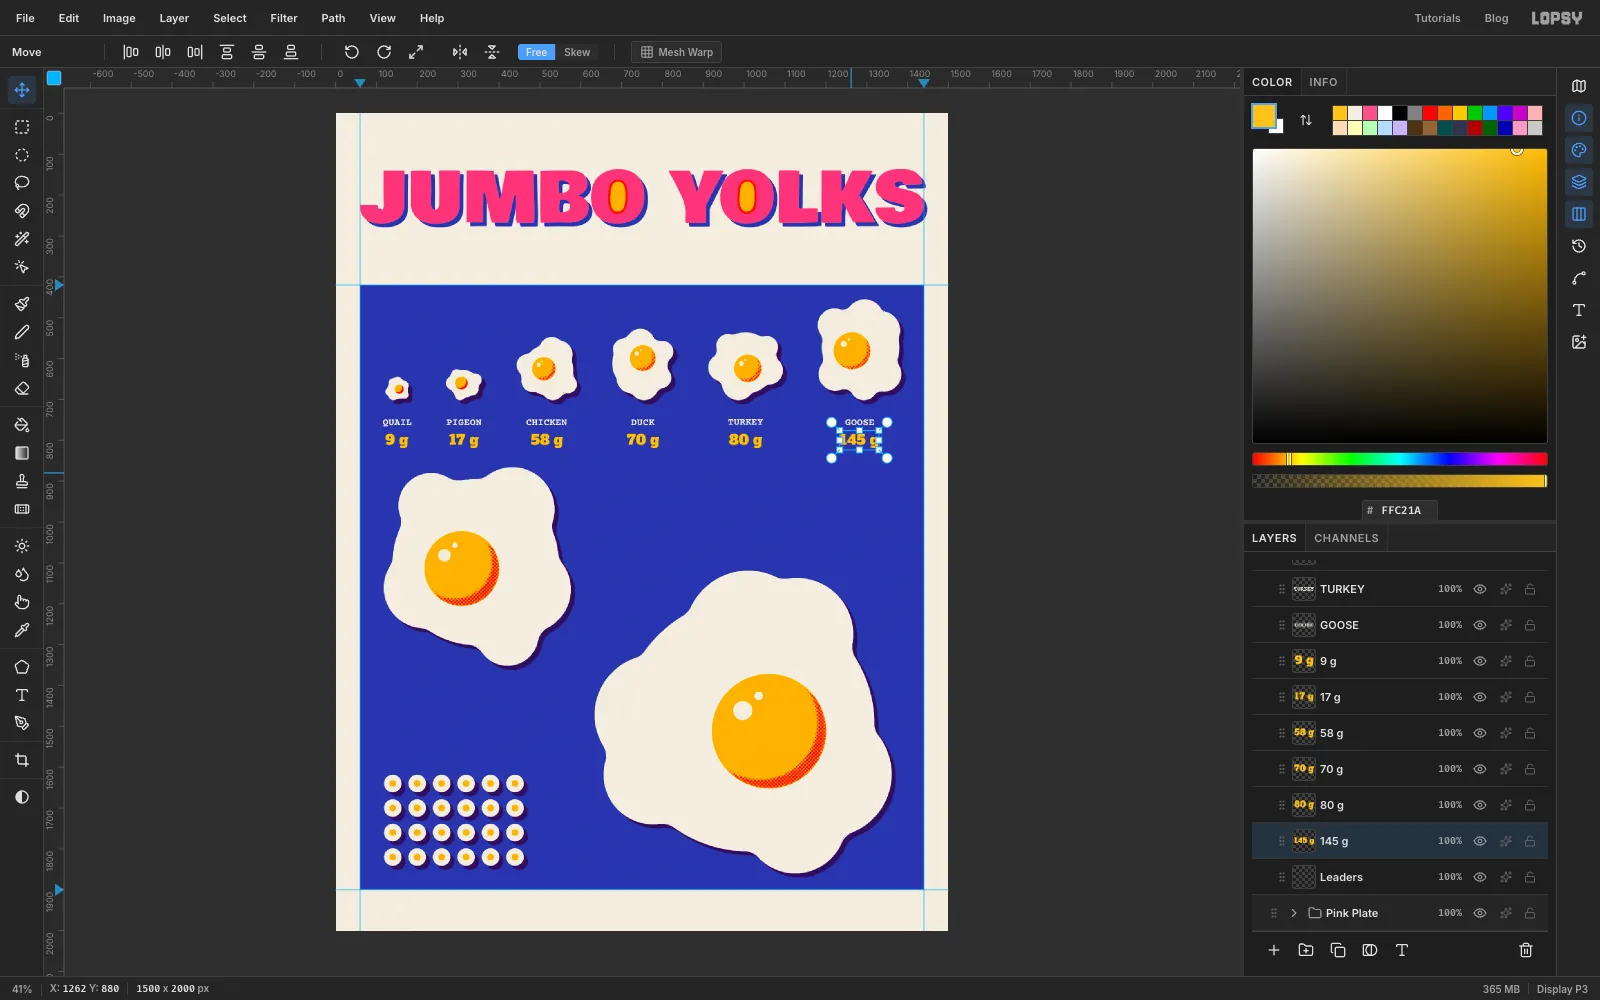
- The six small eggs go in a row near the top of the panel, smallest on the left. Line up their bottoms, about 280 px below the top of the panel, not their centres.
- The emu goes on the left, about a third of the way down the panel.
- The ostrich goes at the bottom right.
Leave the bottom-left corner and the space right of the emu free for labels.
-
Round the outlines with Grow and Shrink
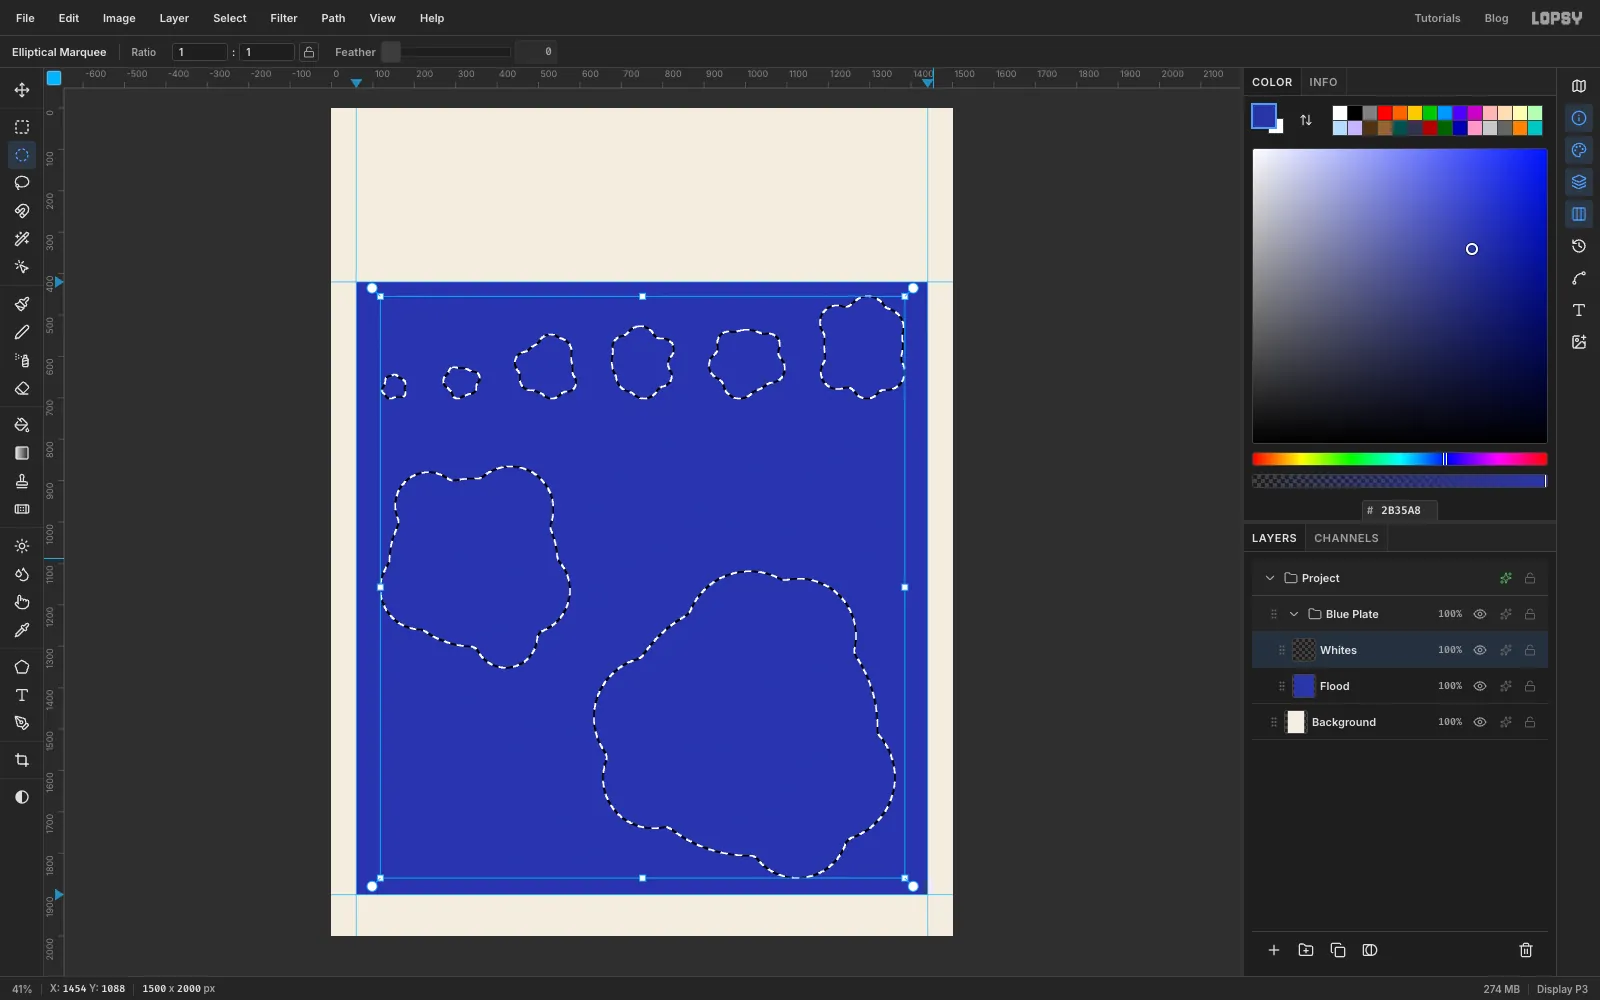
Where two circles meet there's a sharp notch. Choose Select → Grow… and enter
20, then Select → Shrink… by the same20. Growing fills the notches, and shrinking brings the outline back to its original size, so the selection keeps its lobes but loses the sharp corners. Because the shape barely changes size, the areas stay close to the data.Set the foreground to the paper colour and choose Edit → Fill.
-
Smooth the two big eggs a little more
A 20 px rounding is right for the small eggs but too subtle on the giants. Cmd-click the Whites thumbnail to select everything on the layer. Then, with the Rectangular Marquee, hold Shift+Alt and drag a box around the emu and the ostrich. Shift+Alt intersects, so only the two big eggs stay selected.
Now Grow by
45and Shrink by45, then Edit → Fill again. Doing this separately keeps the small eggs from merging into each other: a 45 px grow would bridge the gaps between them.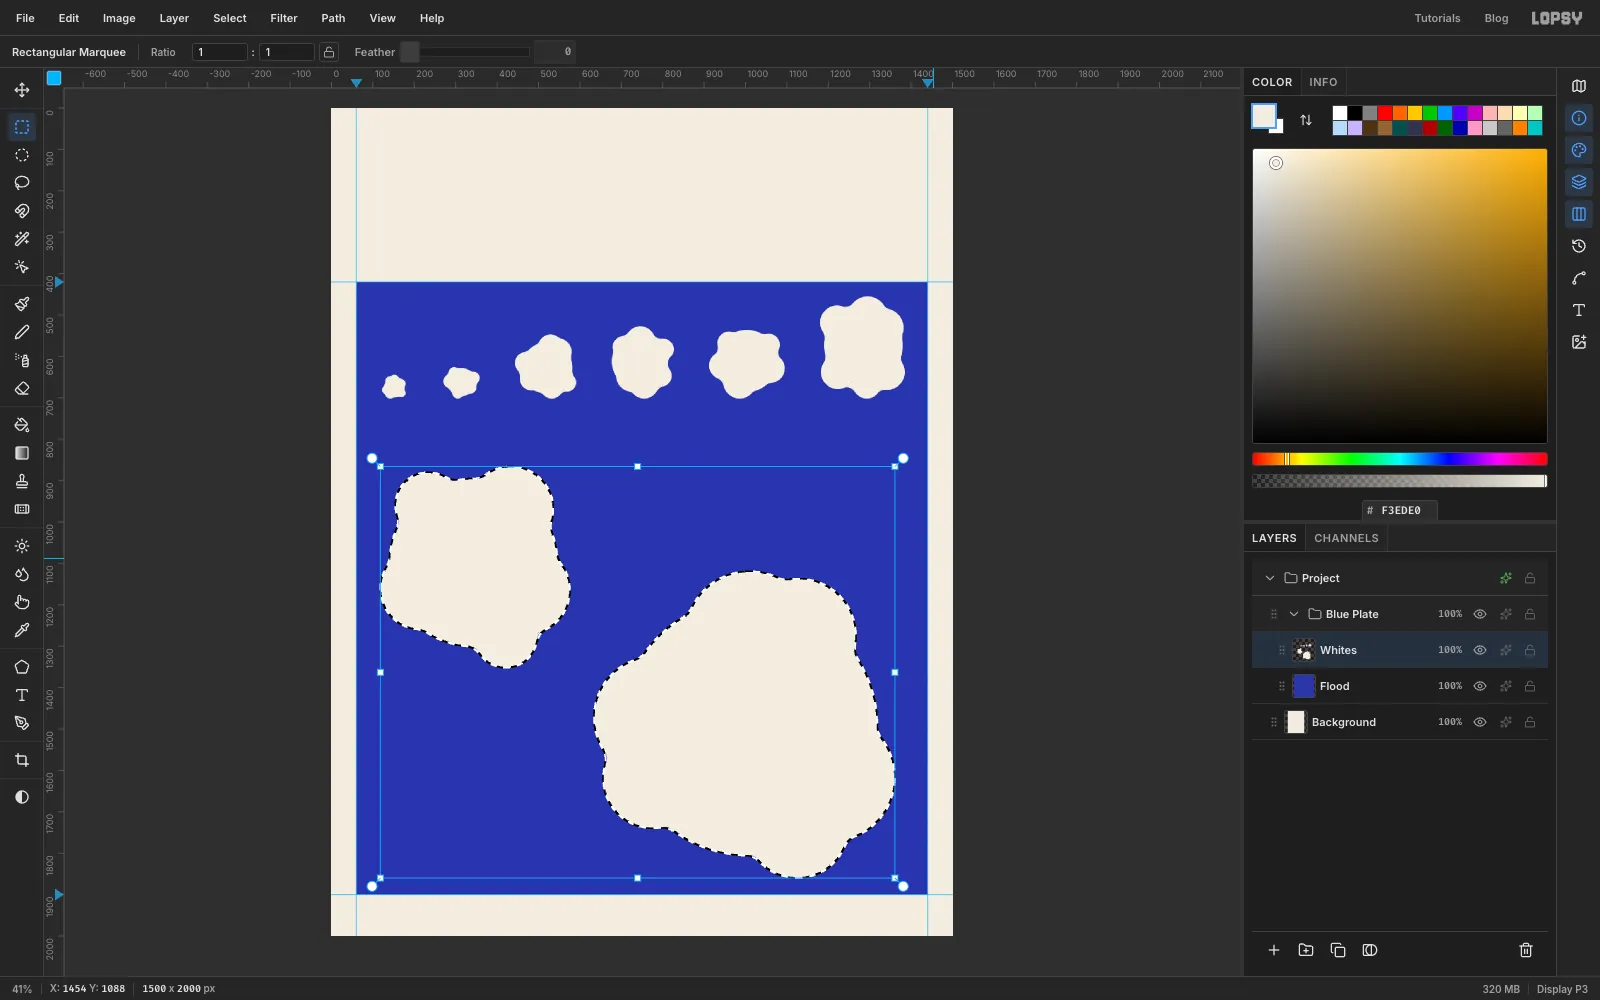
-
Paint 24 hen's eggs with brush spacing
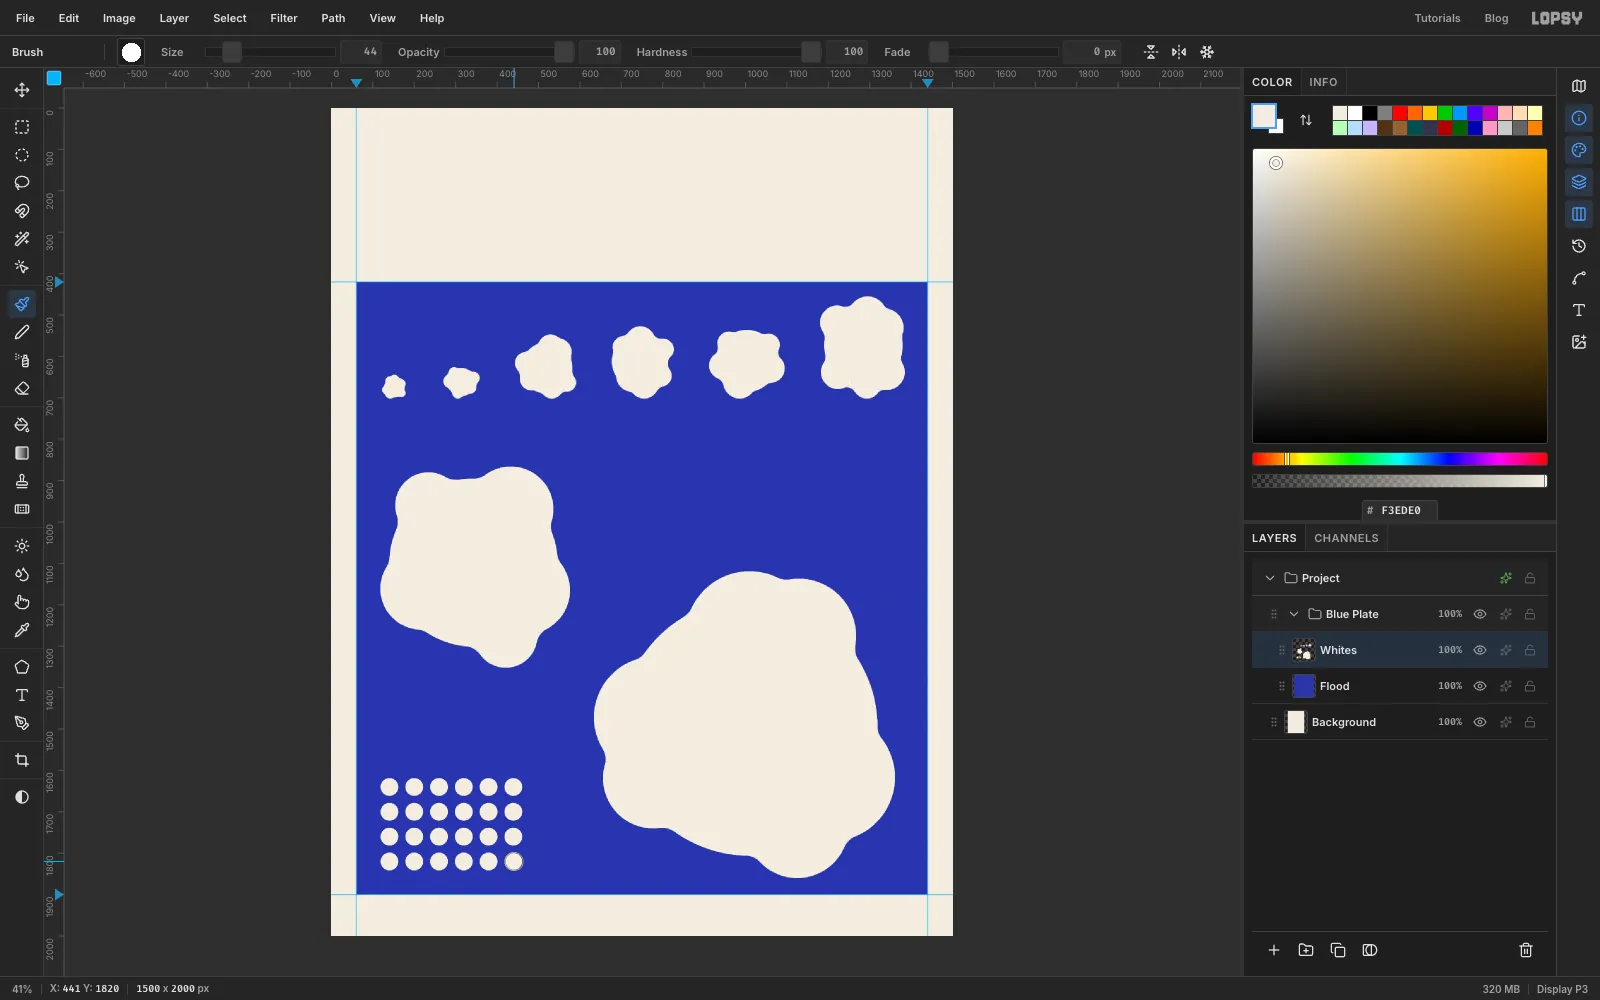
The poster's punchline is that one ostrich egg weighs as much as 24 hen's eggs (1,400 ÷ 58 ≈ 24), so draw that as a little 6 × 4 grid of icons.
Select the Brush, open the brush presets and go to the Shape tab. Choose Hard Round and set Size
44, Hardness100, Opacity100and Spacing136. Spacing is a percentage of the size, so the dabs land 44 × 1.36 ≈ 60 px apart.On the Whites layer, still painting in the paper colour, click once in the bottom-left corner of the panel, about 80 px in from the left edge and about 260 px above the bottom of the panel. Then Shift-click 300 px to the right. The brush draws a straight line from the first click to the second, and the spacing turns it into exactly six dots. Repeat for three more rows, each 60 px lower.
-
Knock the whites out of the flood
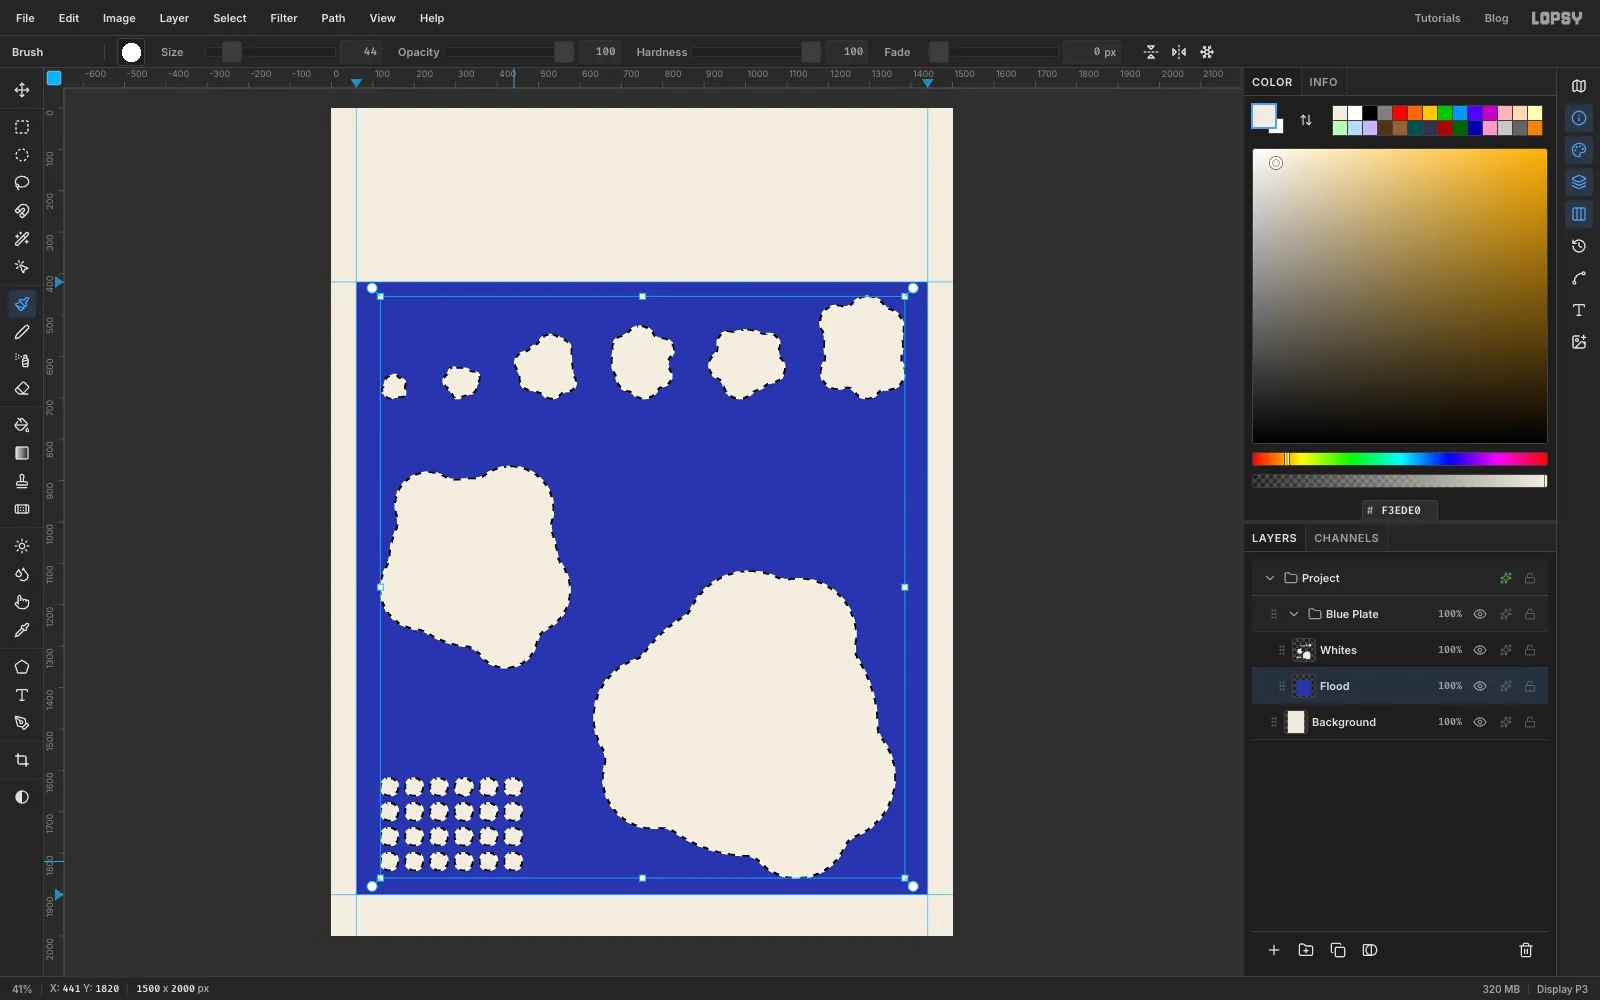
You can't print cream over blue, so the whites have to be holes in the blue ink. Cmd-click the Whites thumbnail, select Flood, and press Delete. Then hide Whites with its eye icon. The eggs now show the bare paper, grain and all. Keep the Whites layer, because you'll load its outline several more times.
-
Make the yellow and pink plates
Collapse Blue Plate with its arrow, select it, and click New Group. Name it
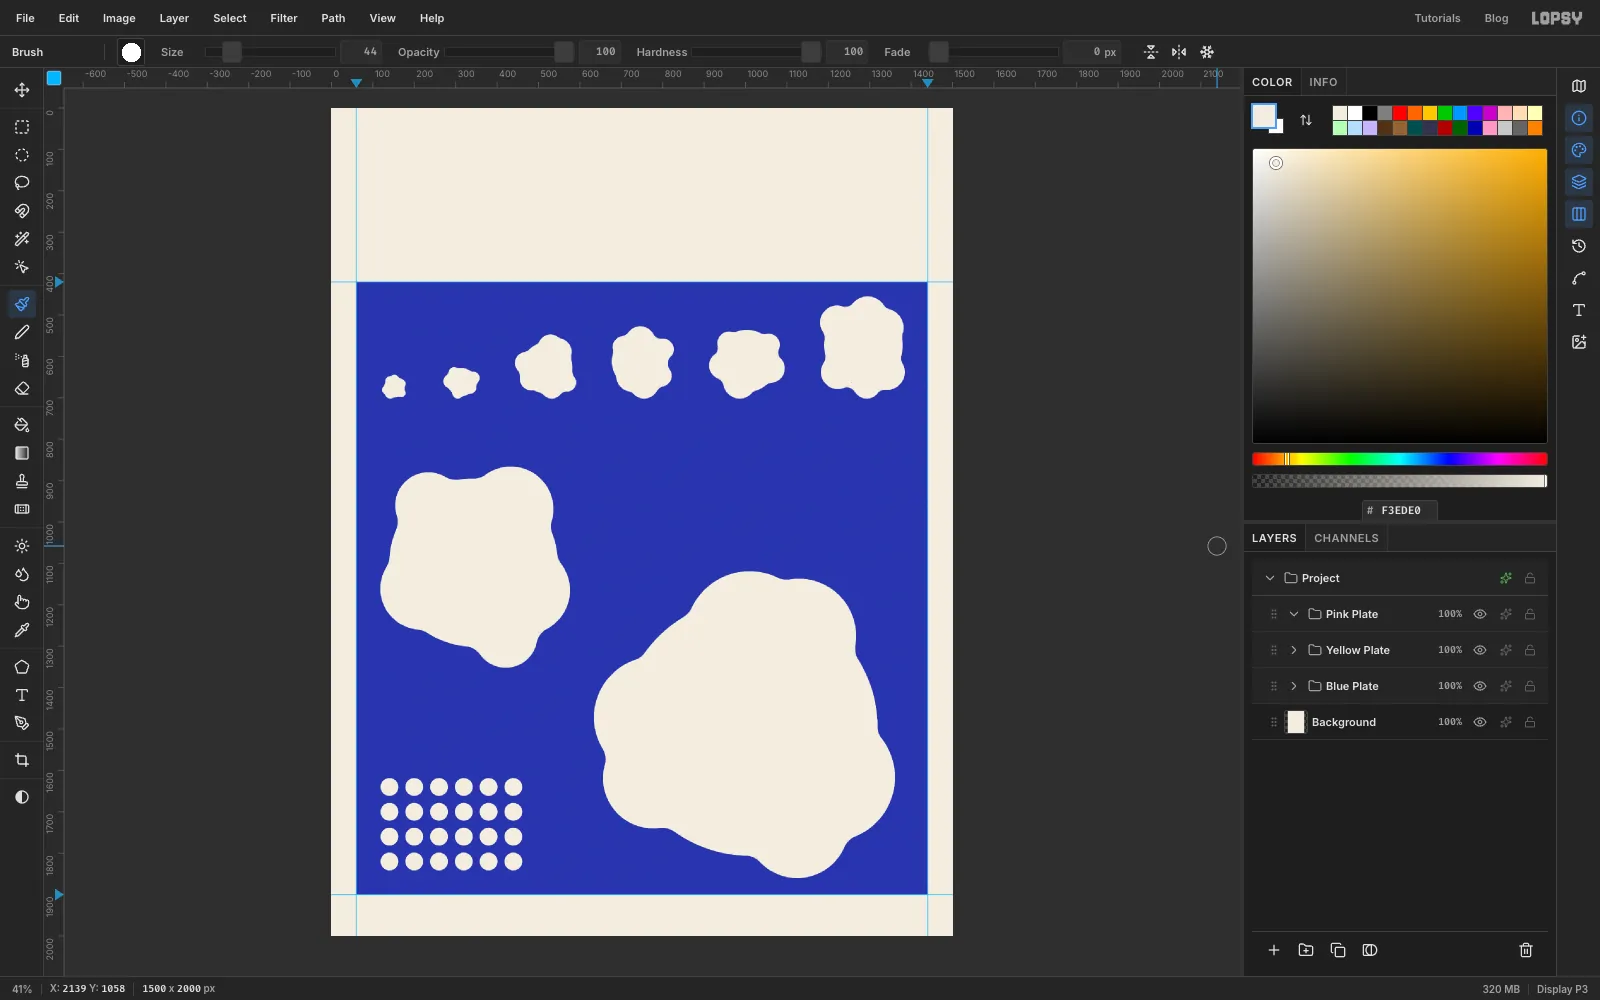
Yellow Plate. Collapse that, select it, and make one more group calledPink Plate. Collapsing the selected group first makes each new group a sibling instead of nesting it inside.Select Yellow Plate, open its effects drawer with the button on its row, and set Blend to Multiply. Do the same for Pink Plate. Now wherever yellow or pink lands on another ink, it darkens it the way real transparent ink does.
-
Print a pink shadow behind every egg
Select Pink Plate and add a layer named
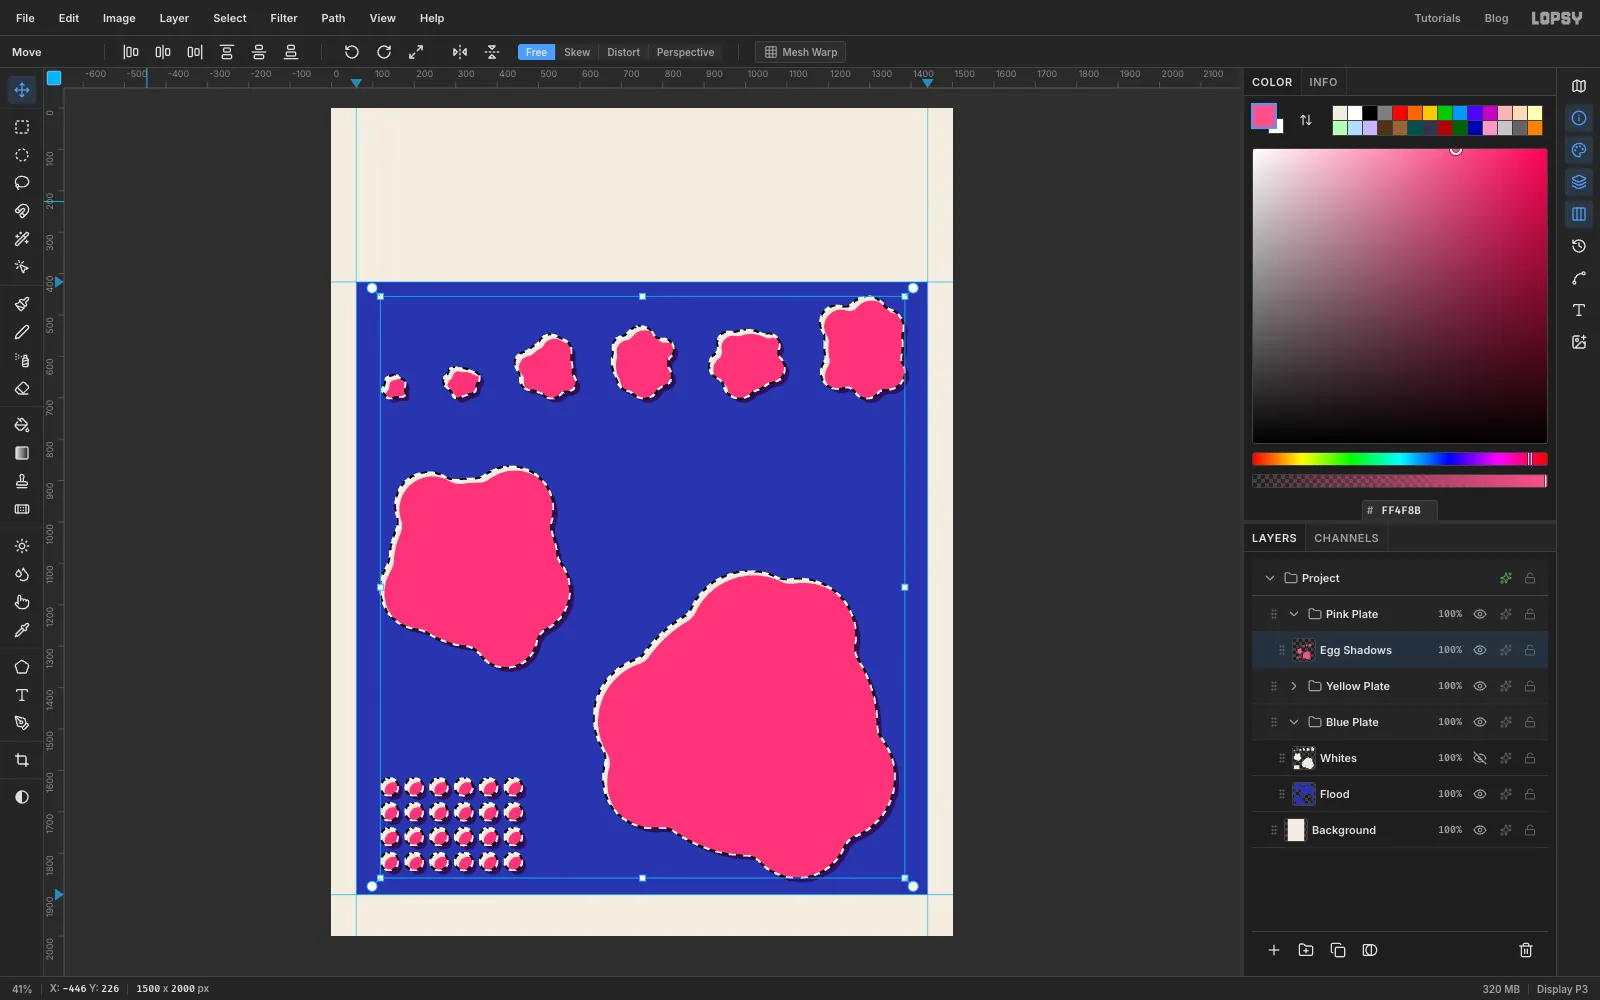
Egg Shadows. Cmd-click the Whites thumbnail (expand Blue Plate to reach it), select Egg Shadows, set the foreground to and choose Edit → Fill. Deselect.With the Move tool, press Shift+→ and Shift+↓ once each. Shift makes the arrow keys move 10 px, so the pink shifts 10 px down and to the right. Then Cmd-click Whites again, select Egg Shadows and press Delete. Only a thin crescent of pink is left, just outside each egg. Because the plate multiplies, pink over blue prints a dark violet, which reads as a shadow.
-
Add the yolks with the Shape tool
Select Yellow Plate and add a layer named
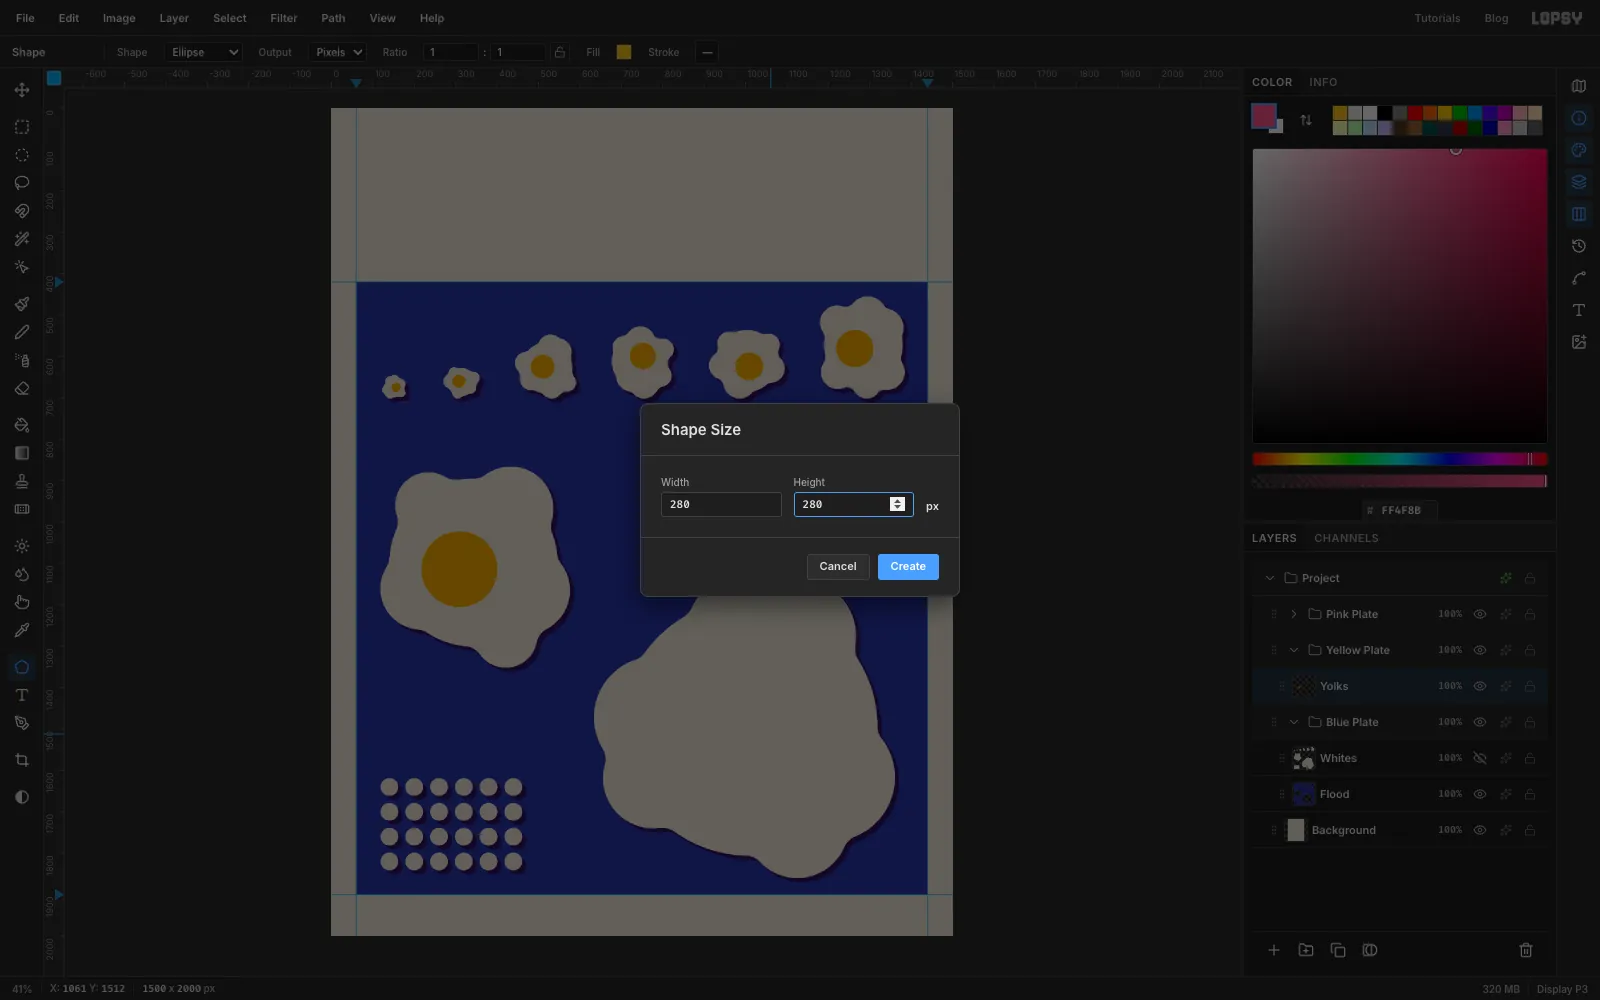
Yolks. Choose the Shape tool, set Shape to Ellipse and Output to Pixels. Click the Fill swatch and typeFFC21Ainto its hex field. If a stroke swatch is showing, click it and choose Remove stroke.Instead of dragging, click where a yolk should go. A click opens the Shape Size dialog, where you can type an exact width and height. The shape is centred on the spot you clicked. Make each yolk about 80% of its egg's radius across, set a little off-centre the way a real yolk slides:
- Quail
22, pigeon31, chicken57, duck63 - Turkey
67, goose90, emu183, ostrich280
- Quail
-
Give the hen's eggs tiny yolks
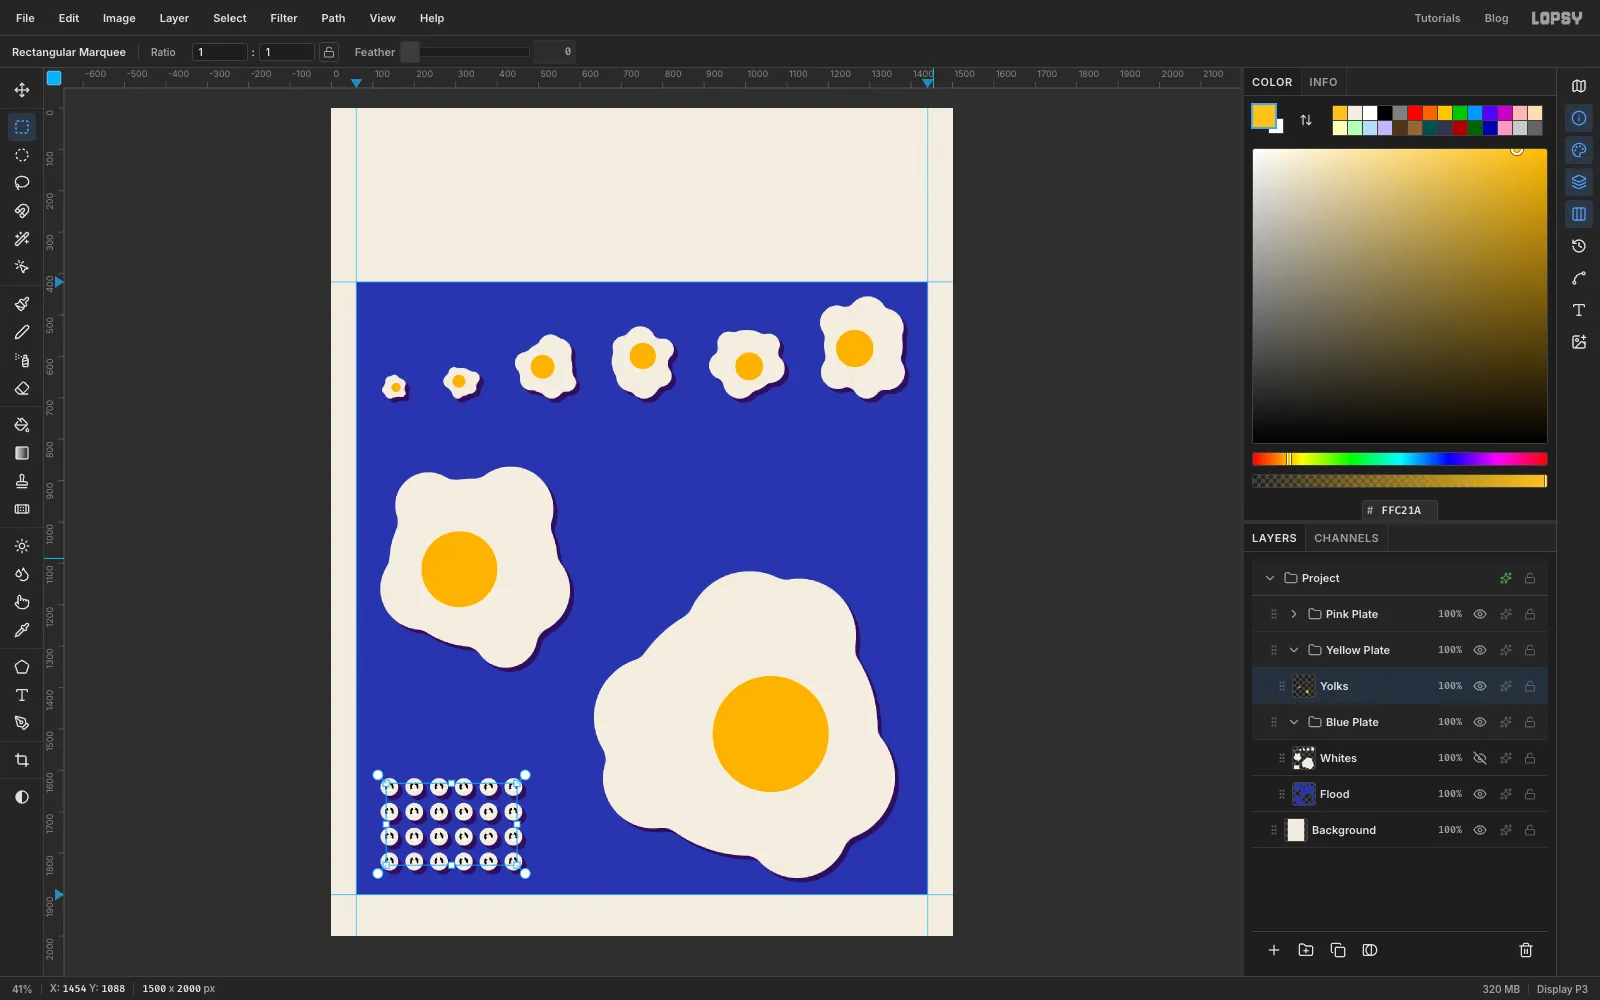
The 24 icons need yolks too, and Shrink can make all of them at once. Cmd-click Whites, then hold Shift+Alt and drag a rectangle around just the grid to keep only the 24 dots. Select → Shrink… by
13turns each 44 px dot into an 18 px circle, centred where the dot was.Select Yolks, set the foreground to , choose Edit → Fill and deselect.
-
Map out where the yolks are shaded
Real yolks are domes, so give them a shaded edge on the lower right. First you'll make a black-and-white map of the shading, then turn it into halftone dots.
Select Egg Shadows in the Pink Plate and add a layer named
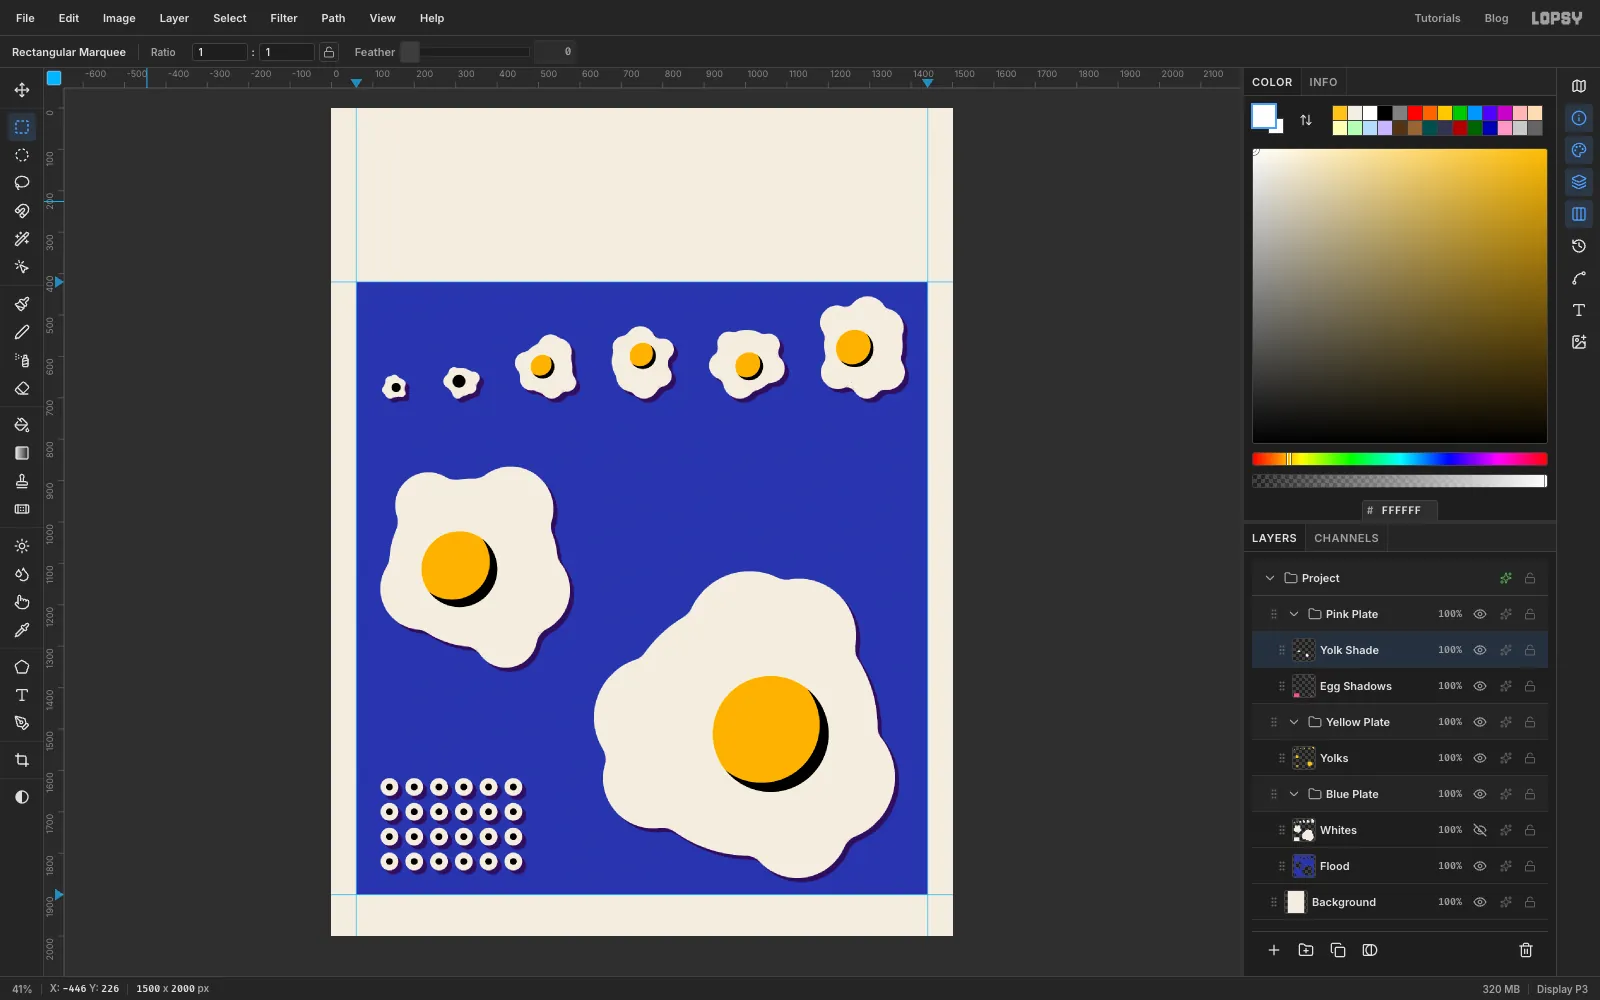
Yolk Shade. Cmd-click Yolks, set the foreground to black and Edit → Fill. The yolks turn black.Now cut the black back to a crescent. Set the foreground to white. Cmd-click Yolks again, then with the Rectangular Marquee Shift+Alt-drag a box around the chicken, duck, turkey and goose to keep just those four. With the marquee tool still active, tap ← and ↑ to slide the selection outline about 7 px up and to the left. Select Yolk Shade and Edit → Fill. White covers everything except a crescent at the lower right.
Repeat for the ostrich and the emu, nudging the selection about 20 px this time, so the bigger yolks get thicker crescents. The quail, pigeon and hen yolks stay solid black for now. You'll deal with them in the next two steps.
The white areas are invisible on the poster because white multiplied by anything changes nothing.
-
Turn the shading into halftone dots
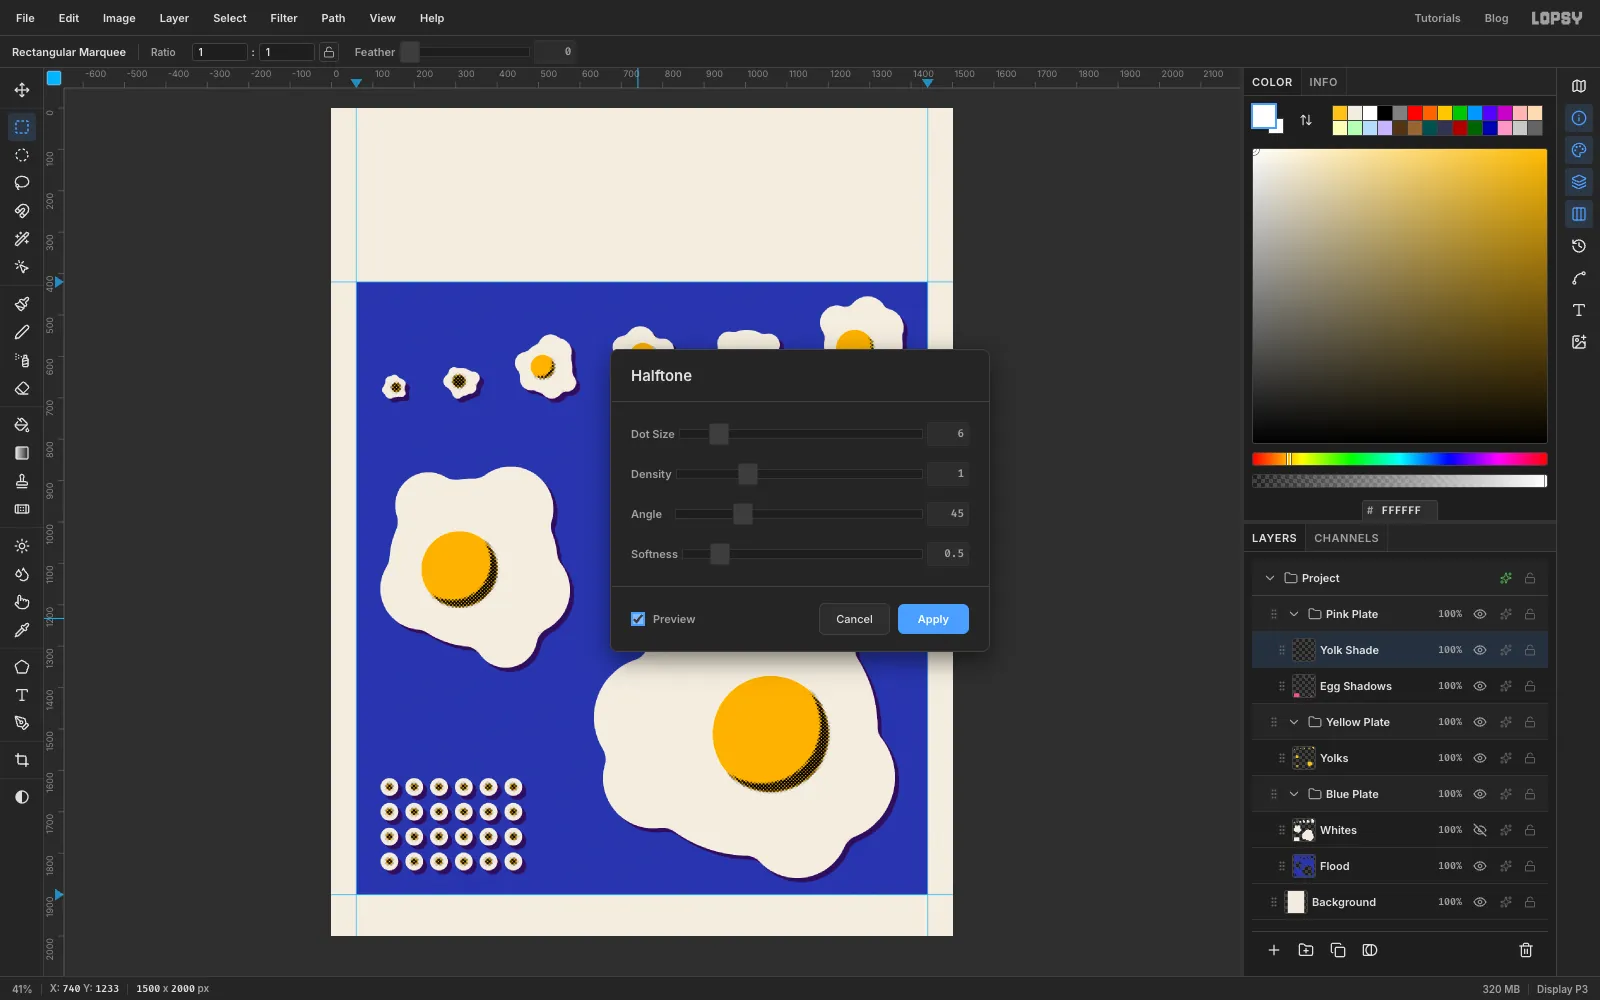
With Yolk Shade selected, run Filter → Gaussian Blur… with a radius of
7to soften the crescents into a gradient. Then choose Filter → Halftone… and set Dot Size6, Angle45and Softness0.5, and leave Density at1. Turn on Preview to check the dots, then Apply. Dense black becomes big dots and the fade becomes small ones. White areas become transparent.The blur spread the dots a little past the yolks, so trim them: Cmd-click Yolks, choose Select → Inverse, select Yolk Shade and press Delete. Then drag a marquee around the 24-egg grid and press Delete again, so those icons stay clean.
-
Finish the small yolks and ink the dots pink
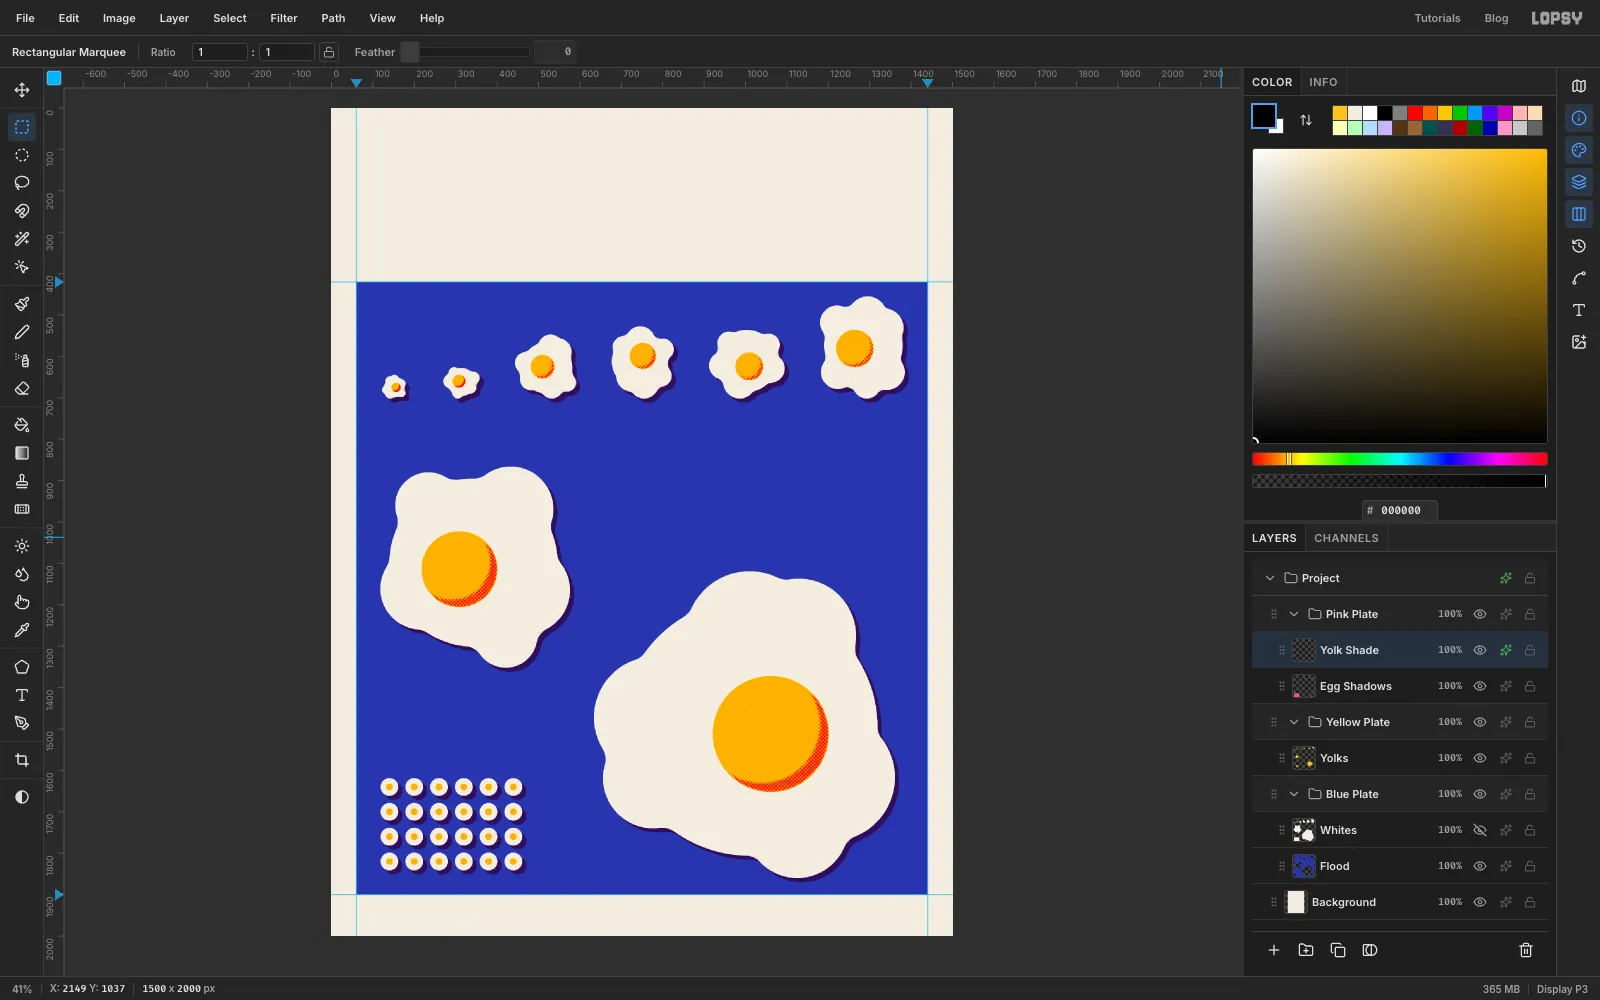
The two smallest yolks are only a few dots wide, so give them a solid crescent instead. Set the foreground to black. Cmd-click Yolks, Shift+Alt-drag a box around just the quail and pigeon, and Edit → Fill on Yolk Shade. Then nudge the selection outline about 4 px up and to the left with the arrow keys and press Delete. A thin black crescent remains on each.
Now open the effects drawer for Yolk Shade, enable Color Overlay and set it to . Every dot turns pink, and because the Pink Plate multiplies, pink on yellow prints a hot orange-red.
-
Knock out the yolk highlights
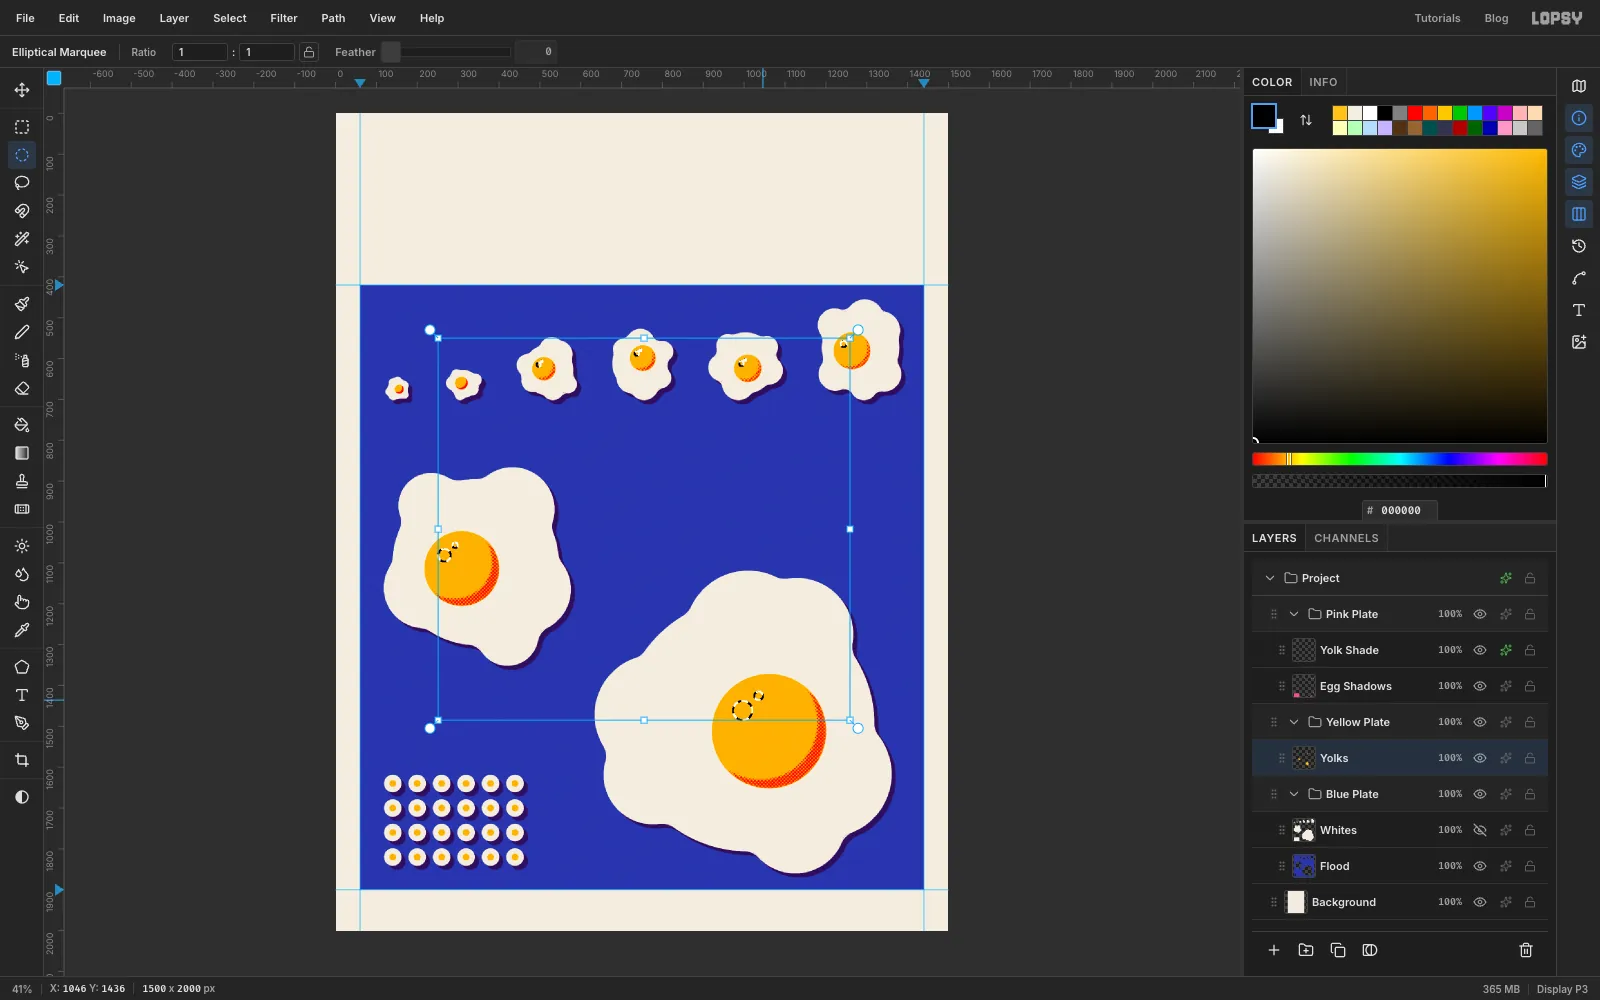
A wet yolk catches the light. With the Elliptical Marquee, Cmd-drag a small circle on the upper left of the chicken's yolk, about a third of the yolk's radius across. Then Cmd+Shift-drag a tiny one just above and to the right of it. Do the same on the duck, turkey, goose, emu and ostrich yolks, adding to the selection each time.
Select Yolks and press Delete. The highlights are holes in the yellow ink, so they show the paper, just like the whites.
-
Set the headline
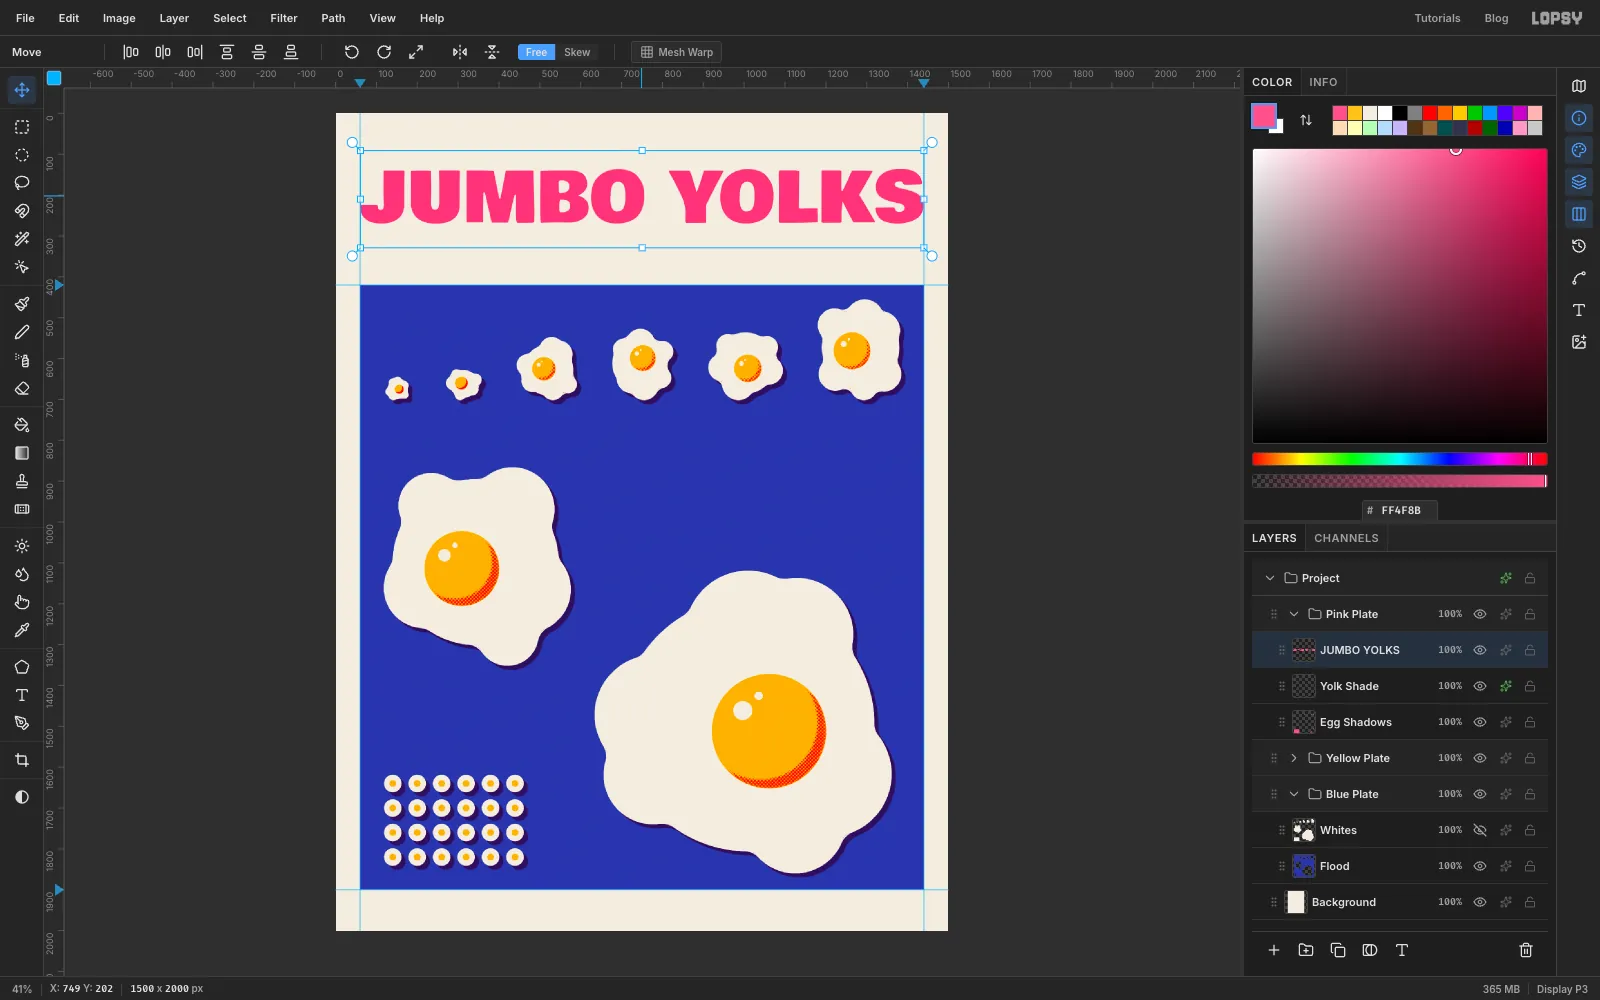
Select Yolk Shade so the headline lands in the Pink Plate. Choose the Text tool, pick Bowlby One, set Size to
170and the colour to , then click in the top margin and typeJUMBO YOLKS. Press Tab to commit.Switch to the Move tool and drag the headline so its left edge sits on the left guide, a little below the top margin. At 170 px it runs almost exactly from guide to guide, which makes the page feel deliberate.
-
Fill the O's with yolk
Turn the two O's into eggs. Select the headline layer, choose the Magic Wand with Contiguous on, and click inside the first O. Shift-click inside the second O to add it. Then Select → Grow… by
6, so the yellow will tuck under the pink letter.Expand Yellow Plate, select Yolks, add a layer named
Title Yolks, set the foreground to and choose Edit → Fill. Where the grown yellow overlaps the pink letter, the overprint makes a thin orange-red rim. Printers call that overlap a trap.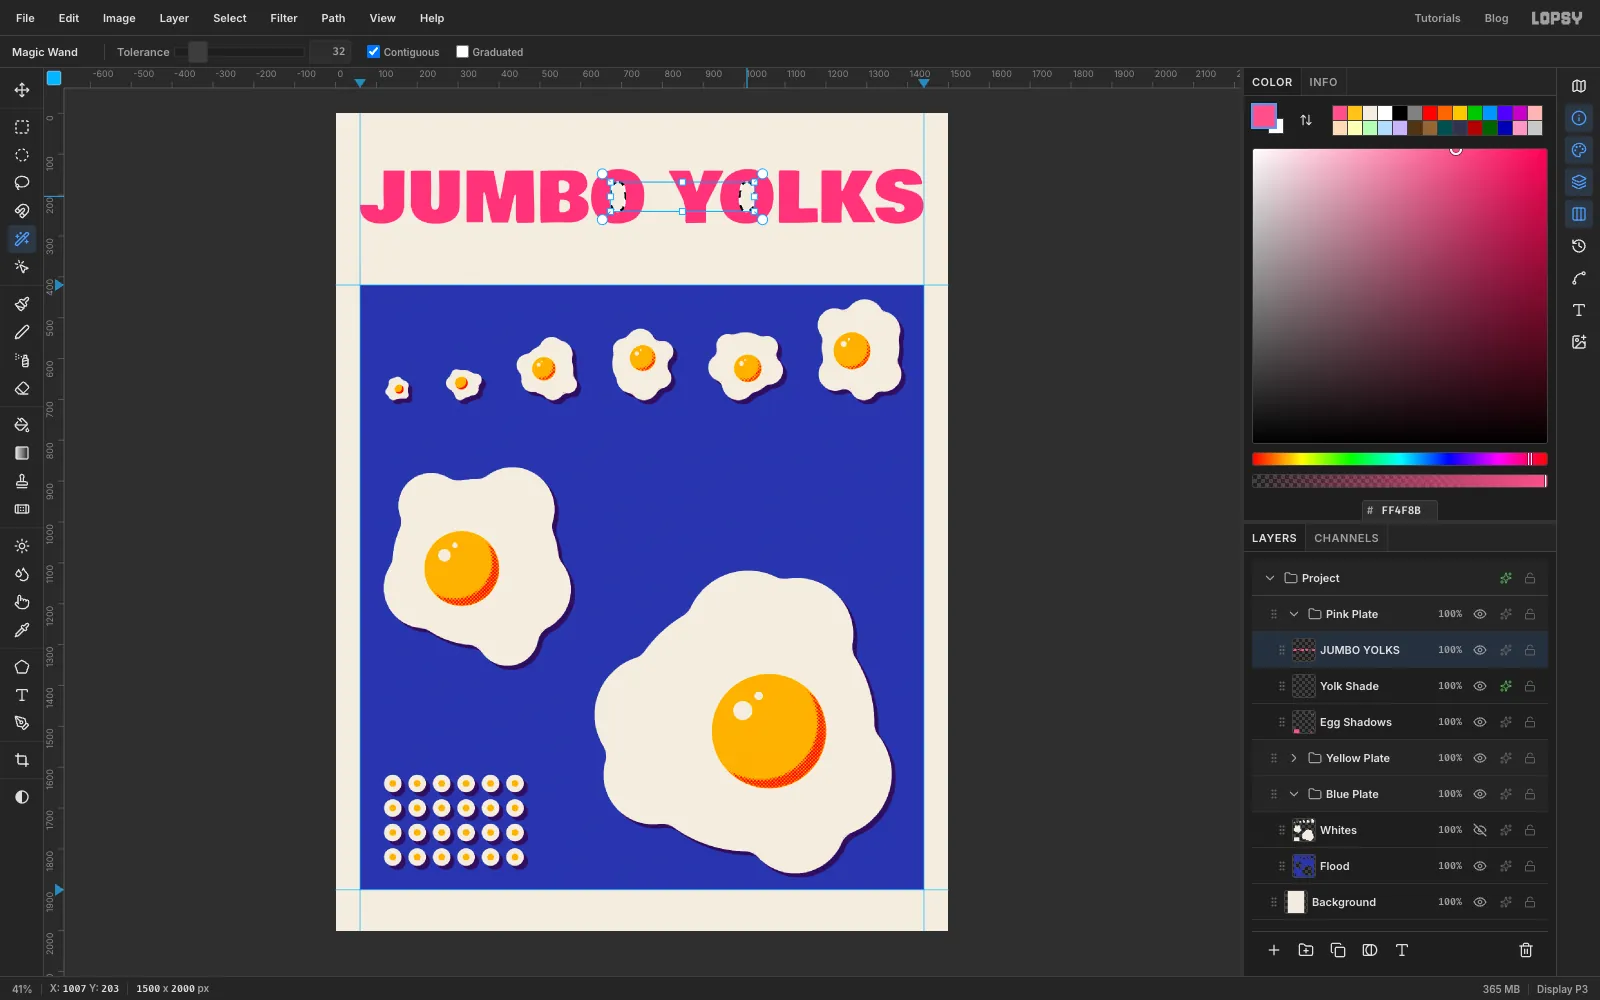
-
Add a blue offset shadow to the headline
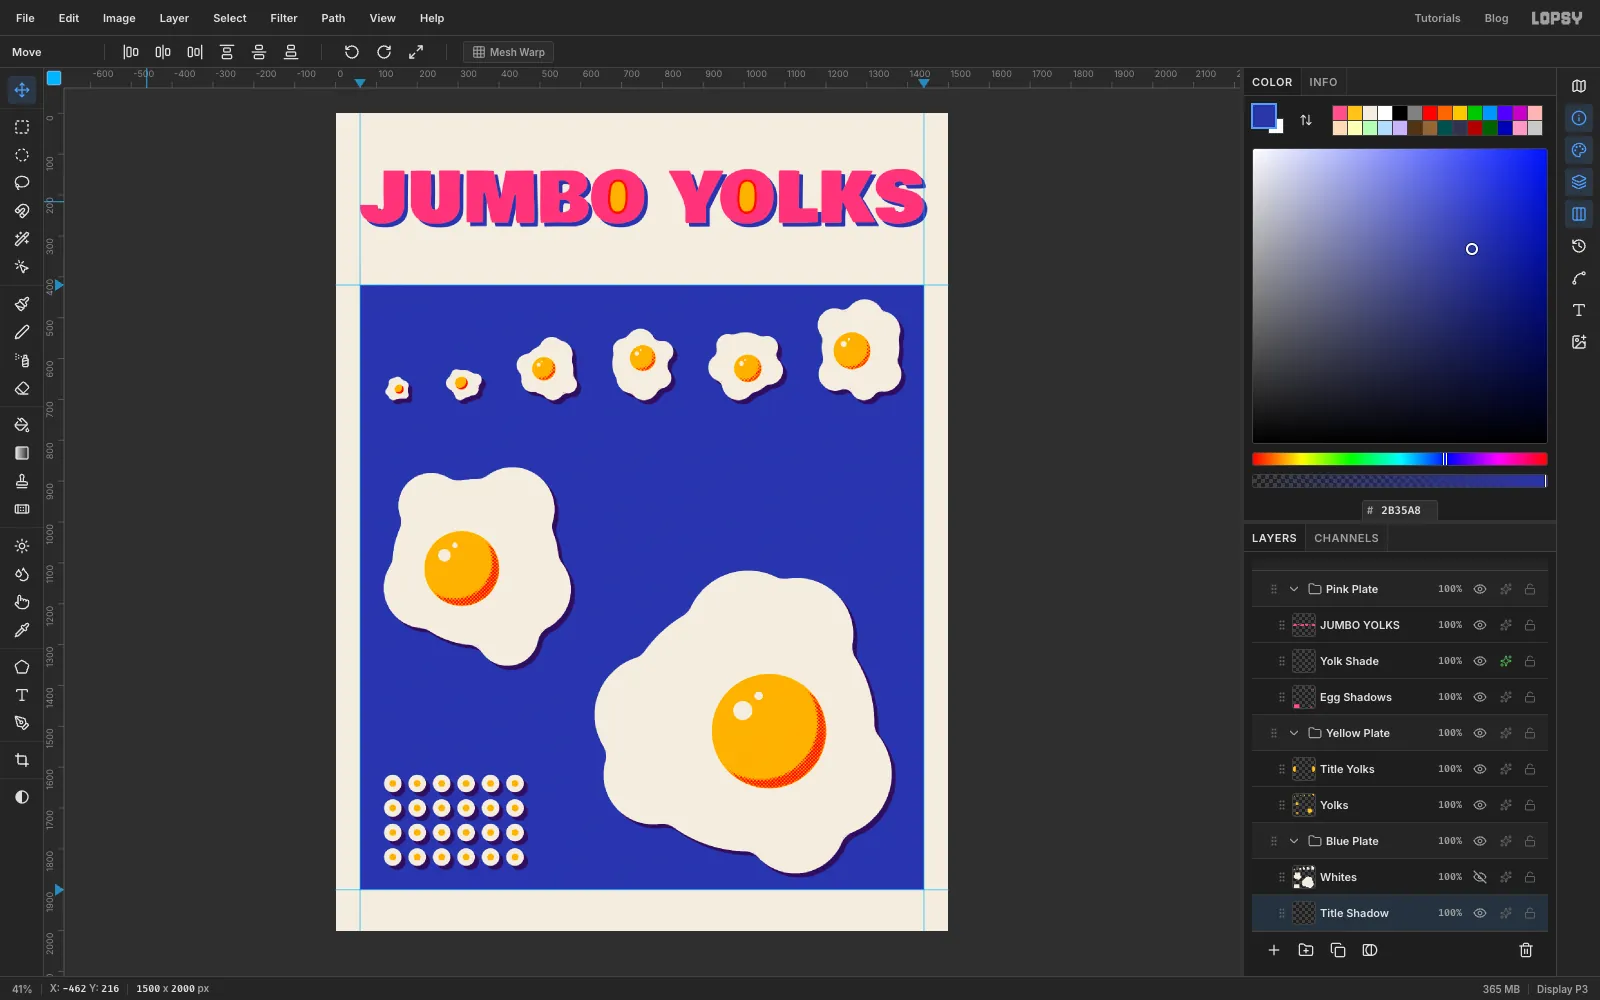
Cmd-click the headline's thumbnail, expand Blue Plate, select Flood and add a layer named
Title Shadow. Set the foreground to , choose Edit → Fill and deselect. With the Move tool, nudge the layer about 9 px down and to the right with the arrow keys.If you left it there, the pink would print over the blue and the headline would turn a muddy violet. Knock the letters out of the shadow: Cmd-click the headline thumbnail again, select Title Shadow and press Delete. Then Cmd-click Title Yolks and delete that too. Now only the blue offset shows, and the pink stays pink.
-
Label the row of eggs
Labels print in opaque ink, so they sit on top of everything. Strictly, a printer would knock these out of the blue too. Keeping the type opaque and on top means it stays editable, and at this size nobody can tell. Collapse the three plates, select Pink Plate, click New Group and name it
Type. Select Type and add a layer calledLeadersto hold the lines you'll draw later.With Leaders selected, set the text to Courier Prime, weight Bold, size
24, colour . Type each bird's name in capitals. Make the weights in Alfa Slab One at size34in , for example9 g.Centre each name under its egg, about 45 px below the row's common bottom line, and each weight just below its name. Use the Move tool, with the arrow keys for the last few pixels. Because the eggs share a bottom line, every label sits the same distance from its egg.
-
Label the emu and ostrich
The two giants get bigger labels: the name in Courier Prime Bold at
34, the weight in Alfa Slab One at84.- Put EMU and 600 g in the open blue to the right of the emu.
- Put OSTRICH and 1,400 g at the left edge of the panel, under the emu and above the grid. Set
= 24 HEN'S EGGSin Courier Prime Bold at24just above the grid.
Each big label needs a line pointing at its egg. Select Leaders, choose the Pencil, set Size to
3and the colour to the paper cream. Click just left of 600 g, level with the middle of the number, then Shift-click on the emu's edge to draw a straight line. Do the same from the end of 1,400 g to the ostrich's edge. Finish each line with a single click of the Brush at size14right on the egg's edge. The dot shows exactly which egg the label belongs to.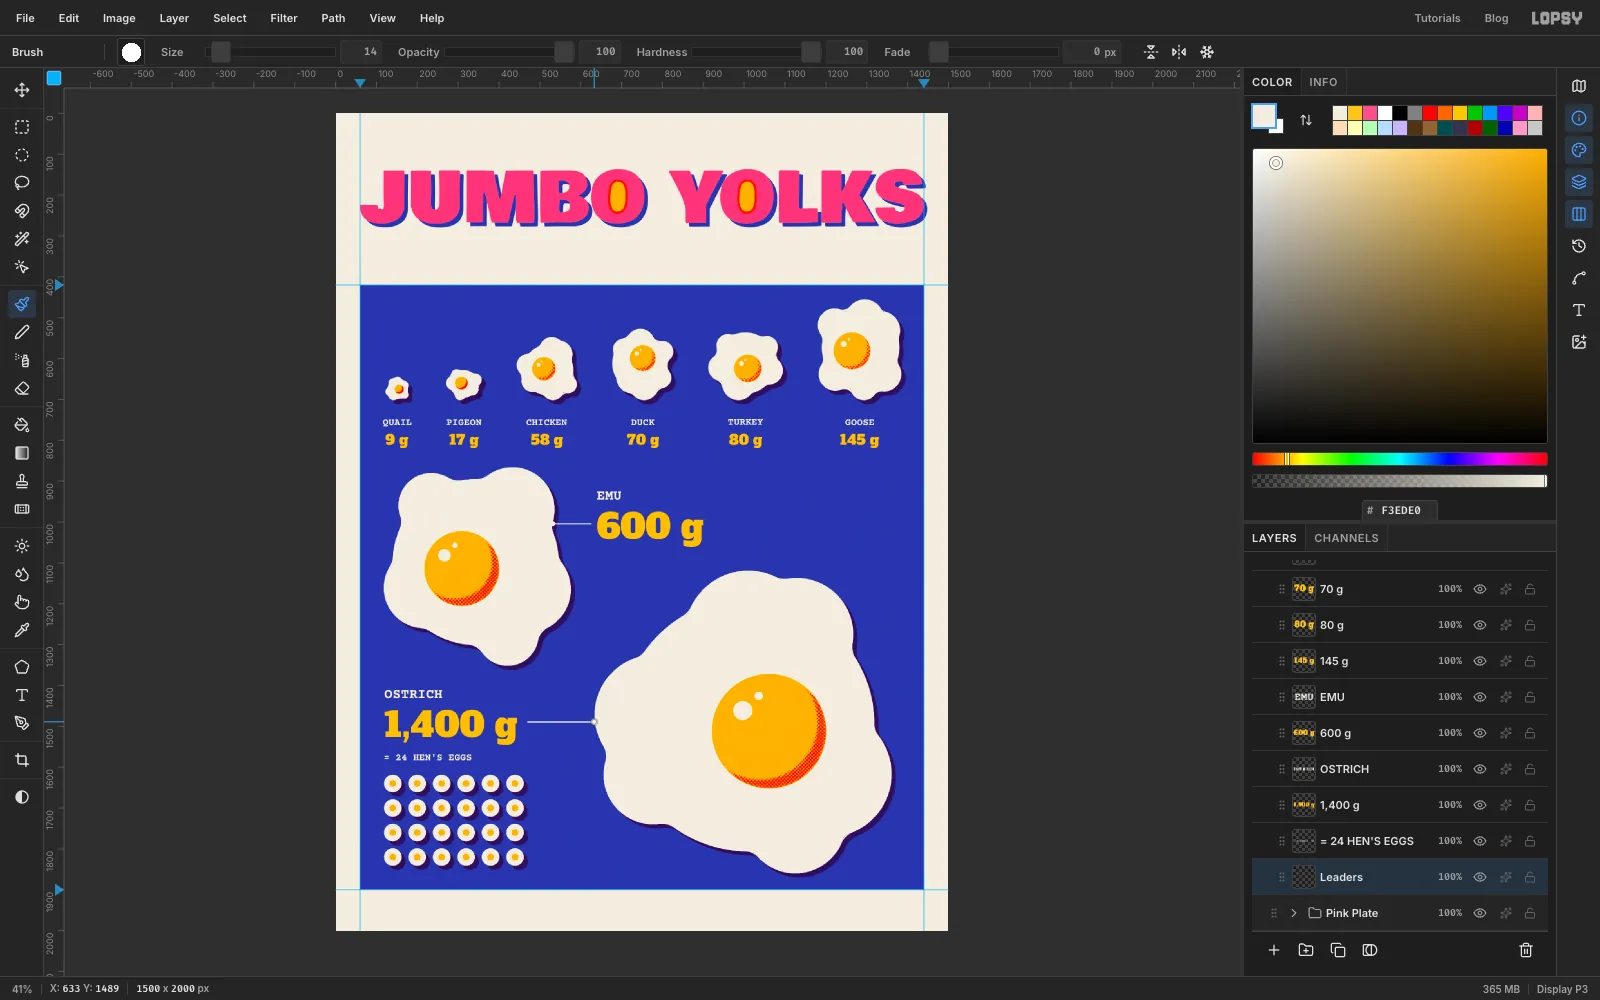
-
Draw a size legend
A bubble chart needs a key showing what a size means. Select Leaders and click Add Layer, then name the new layer
Legend. Choose the Shape tool, click the Fill swatch and choose Remove fill, then add a stroke in with Width3.Use the same formula as the eggs: 100 g is 187 px across, 50 g is 132 px and 10 g is 59 px. Click to create each ring with the Shape Size dialog, placing their centres so all three rings share one bottom edge, in the open blue under the goose, to the right of the emu label.
With the Pencil at size
2, click at the top of each ring, then Shift-click about 200 px to its left to draw a straight line. Then add the labels100 g,50 gand10 gin Courier Prime Bold at22, right-aligned at the end of each line. Centre the headingAREA = WEIGHTin Courier Prime Bold at22above the legend, with clear space between it and the row of weights above.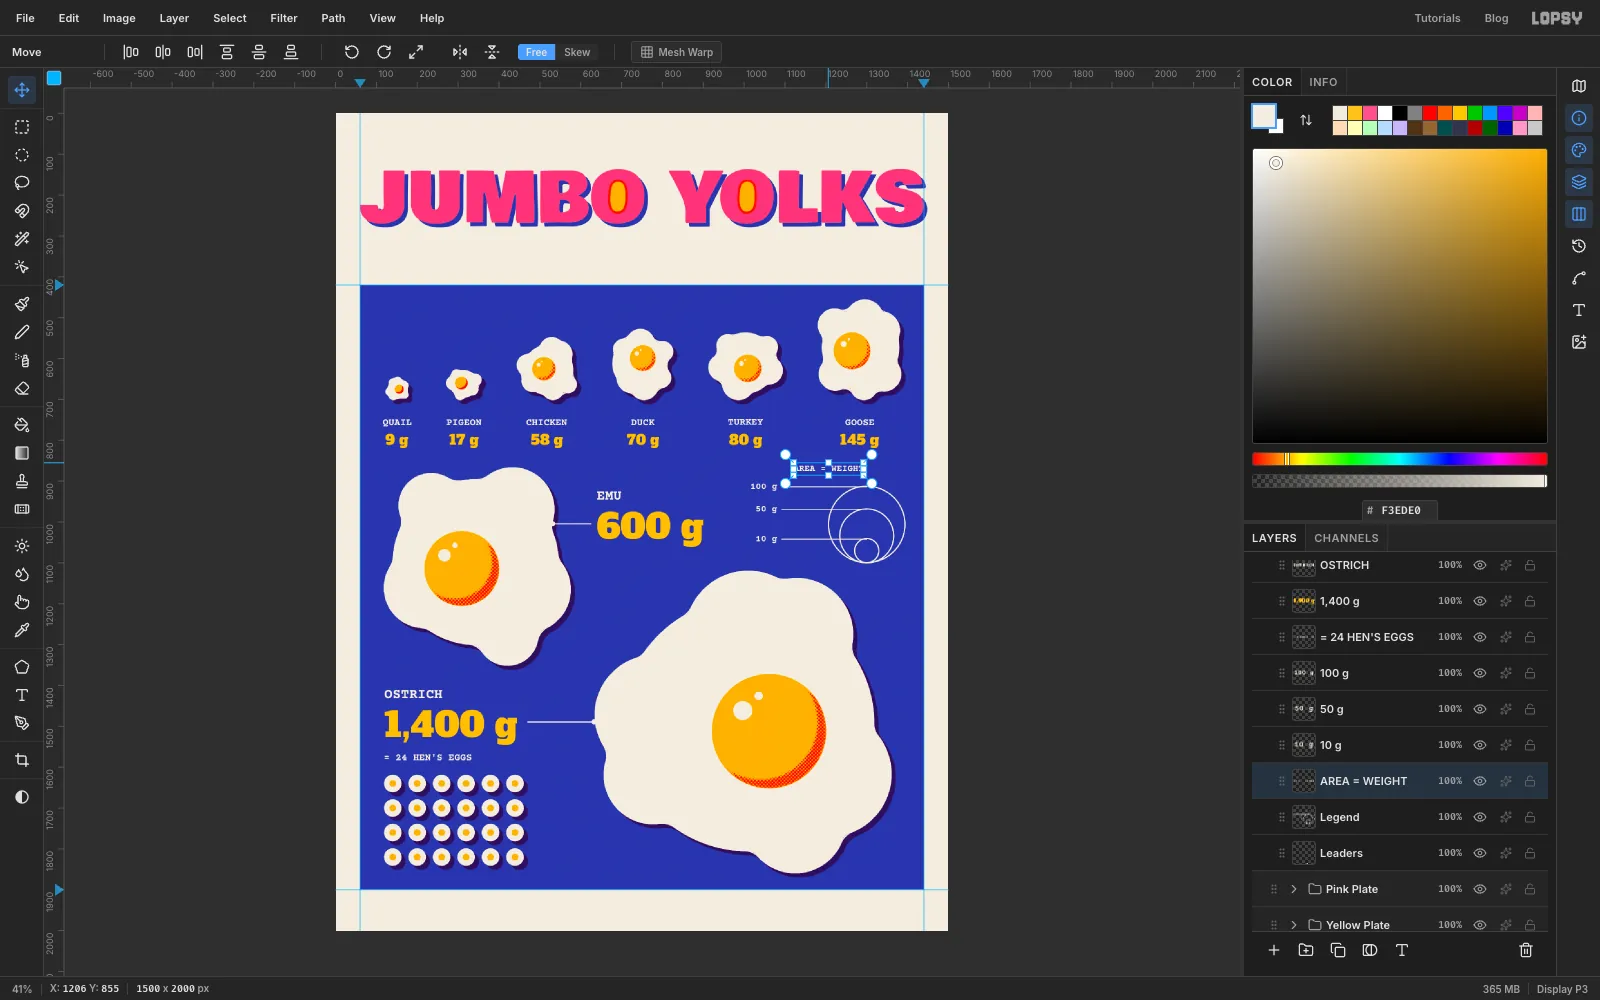
-
Add the blue type
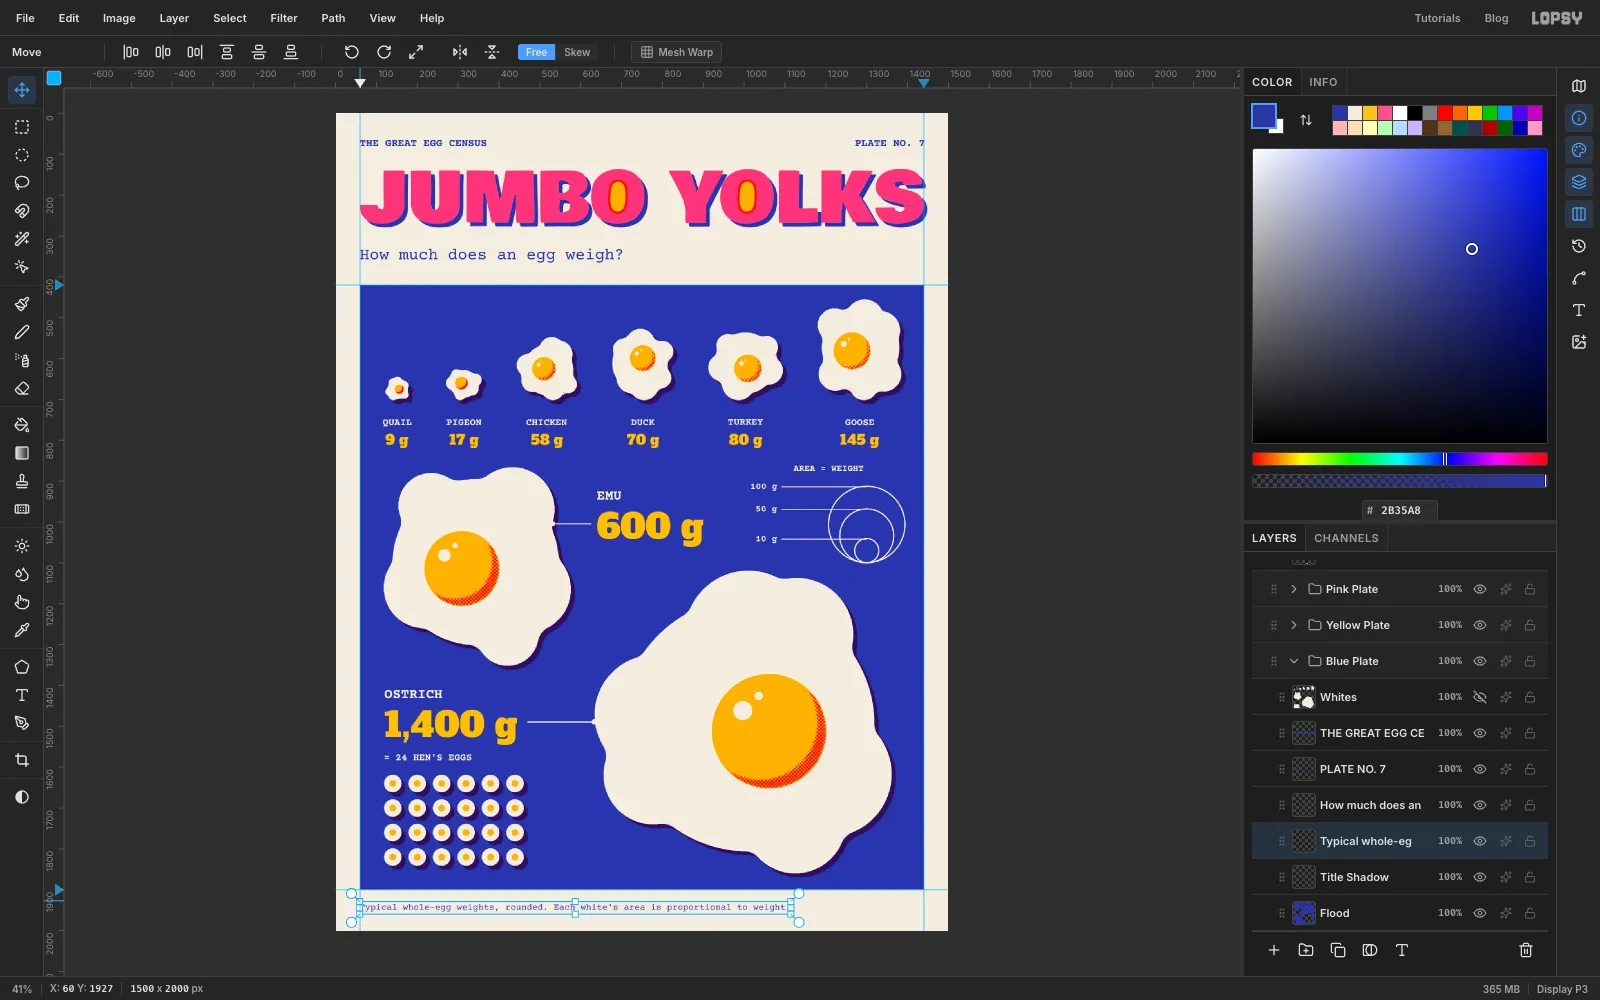
The small print is part of the blue plate. Select Title Shadow and set Courier Prime in :
THE GREAT EGG CENSUS(Bold,26) flush with the left guide near the top edge, andPLATE NO. 7flush with the right guide on the same line.How much does an egg weigh?(Regular,40) on the left, halfway between the headline and the panel.Typical whole-egg weights, rounded. Each white's area is proportional to weight.(Regular,22) in the bottom margin, under the panel.
The footnote matters: a data poster should say where its numbers come from and how to read them.
-
Give the blue ink some texture
Flat digital blue looks like a screen, not ink. Two layers fix it, both in Blue Plate, directly above Flood:
- Uneven ink. Select Flood, click Add Layer and name the new layer
Ink Mottle. Run Filter → Clouds… with a Scale of6. Set its blend mode to Multiply and its opacity to10%. Then Cmd-click Flood, choose Select → Inverse and press Delete, so the clouds touch only the blue. - Pinholes. Add a layer named
Pinholes, fill it with mid-grey , and run Add Noise… at100Mono, then Gaussian Blur… at1. Run Filter → Threshold… at about176, so only a few specks of noise turn white. Set the layer's blend mode to Screen, which hides the black.
Real screens get pinholes near the edges of the stencil. Marquee the whole panel, Shrink the selection by
36and press Delete to clear the middle. Then Cmd-click Flood, choose Select → Inverse and delete again. That leaves specks only on the blue, in a band along its edges.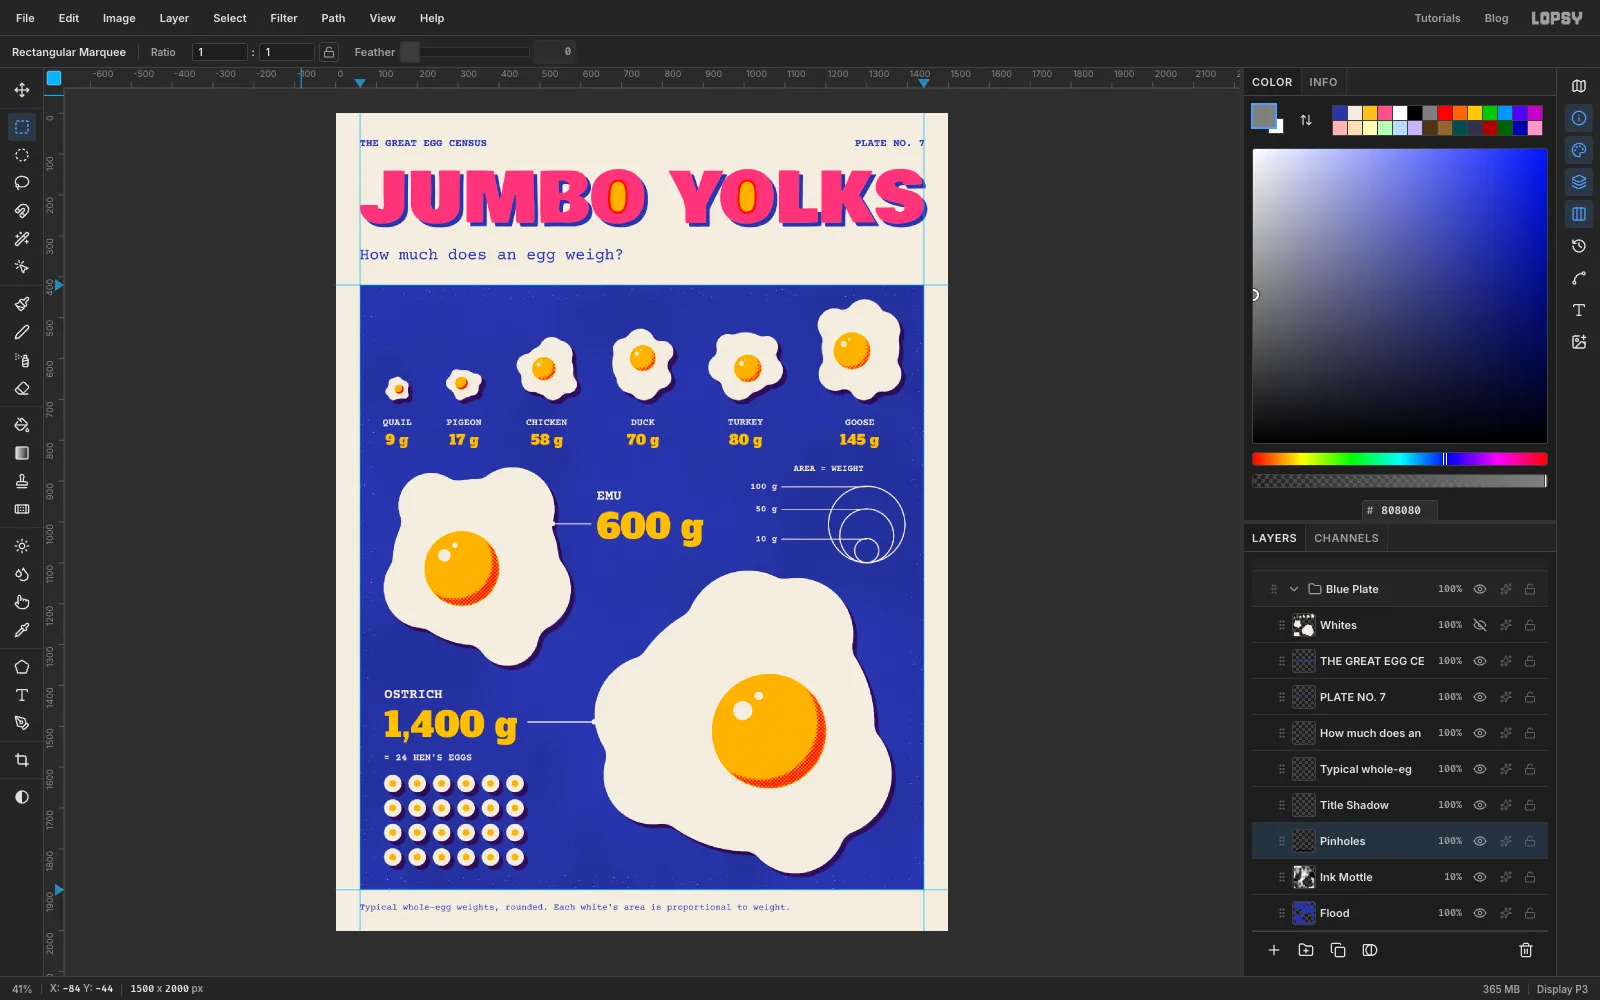
- Uneven ink. Select Flood, click Add Layer and name the new layer
-
Make a stamp
Expand Pink Plate, select the headline and add a layer named
Stamp. With the Shape tool, set the fill to and remove the stroke, then click to create a136×136circle to the right of the subtitle. Switch to a cream3px stroke with no fill and click the same spot without moving the mouse for a120×120ring.Type
DRAWN,TOandSCALEas three separate text layers in Bowlby One at24in the paper colour, and centre them in the ring. Then select each word's layer in turn, from the bottom up, and choose Layer → Merge Down until they're all part of Stamp.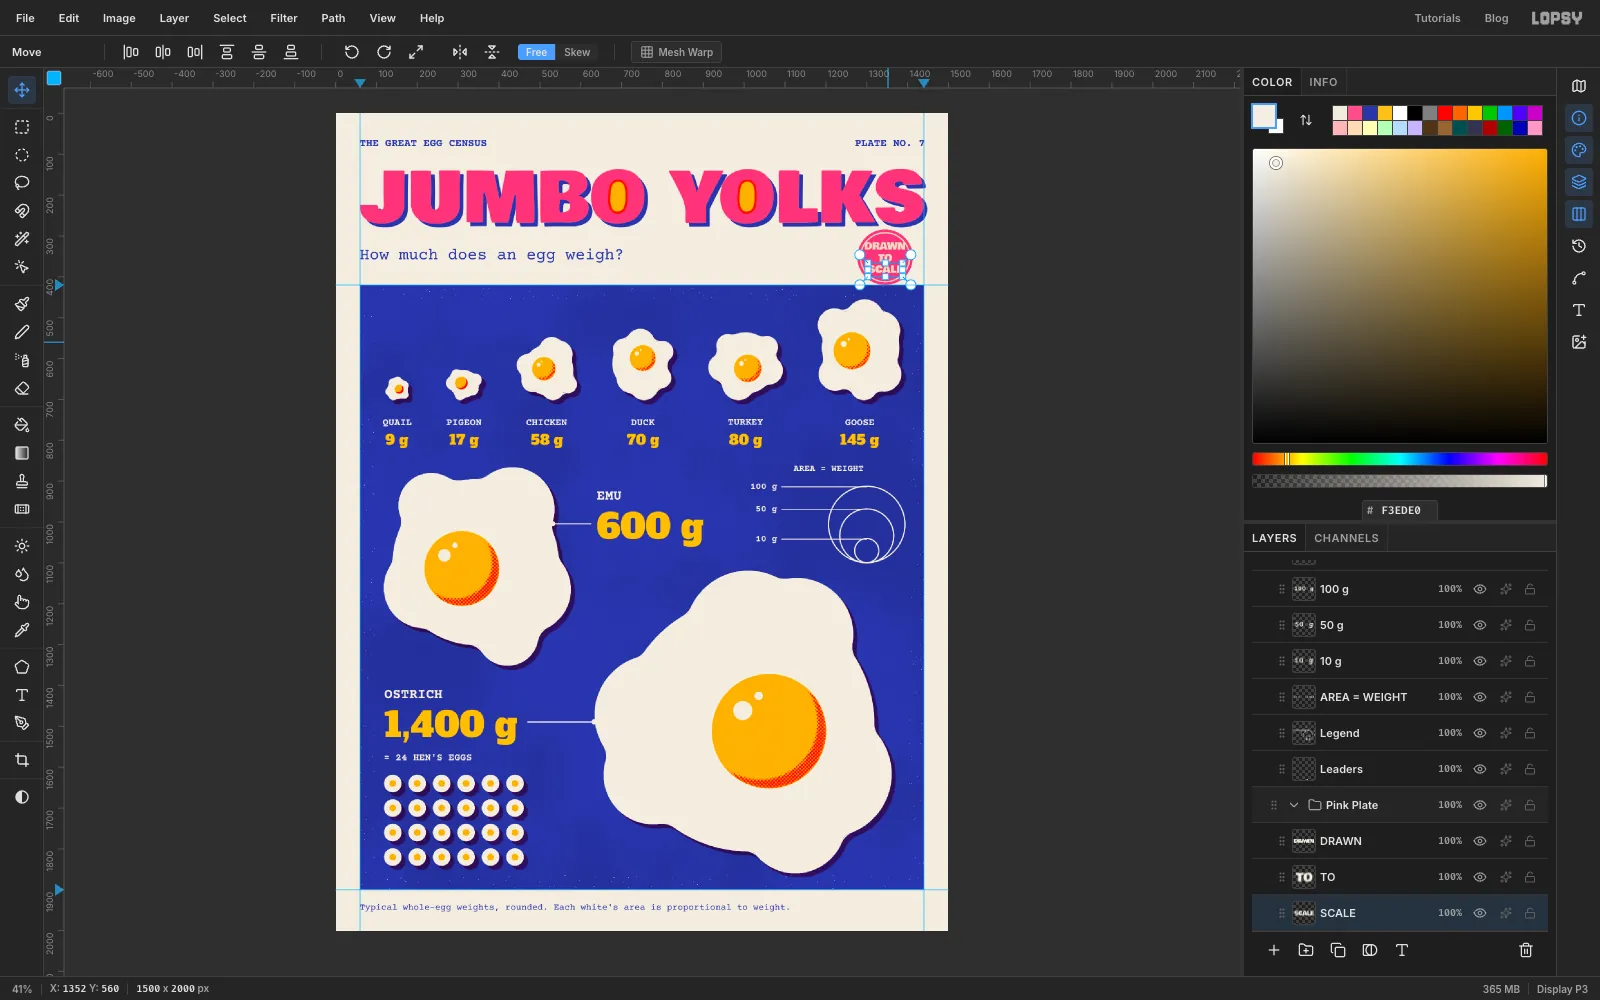
-
Scale and tilt the stamp
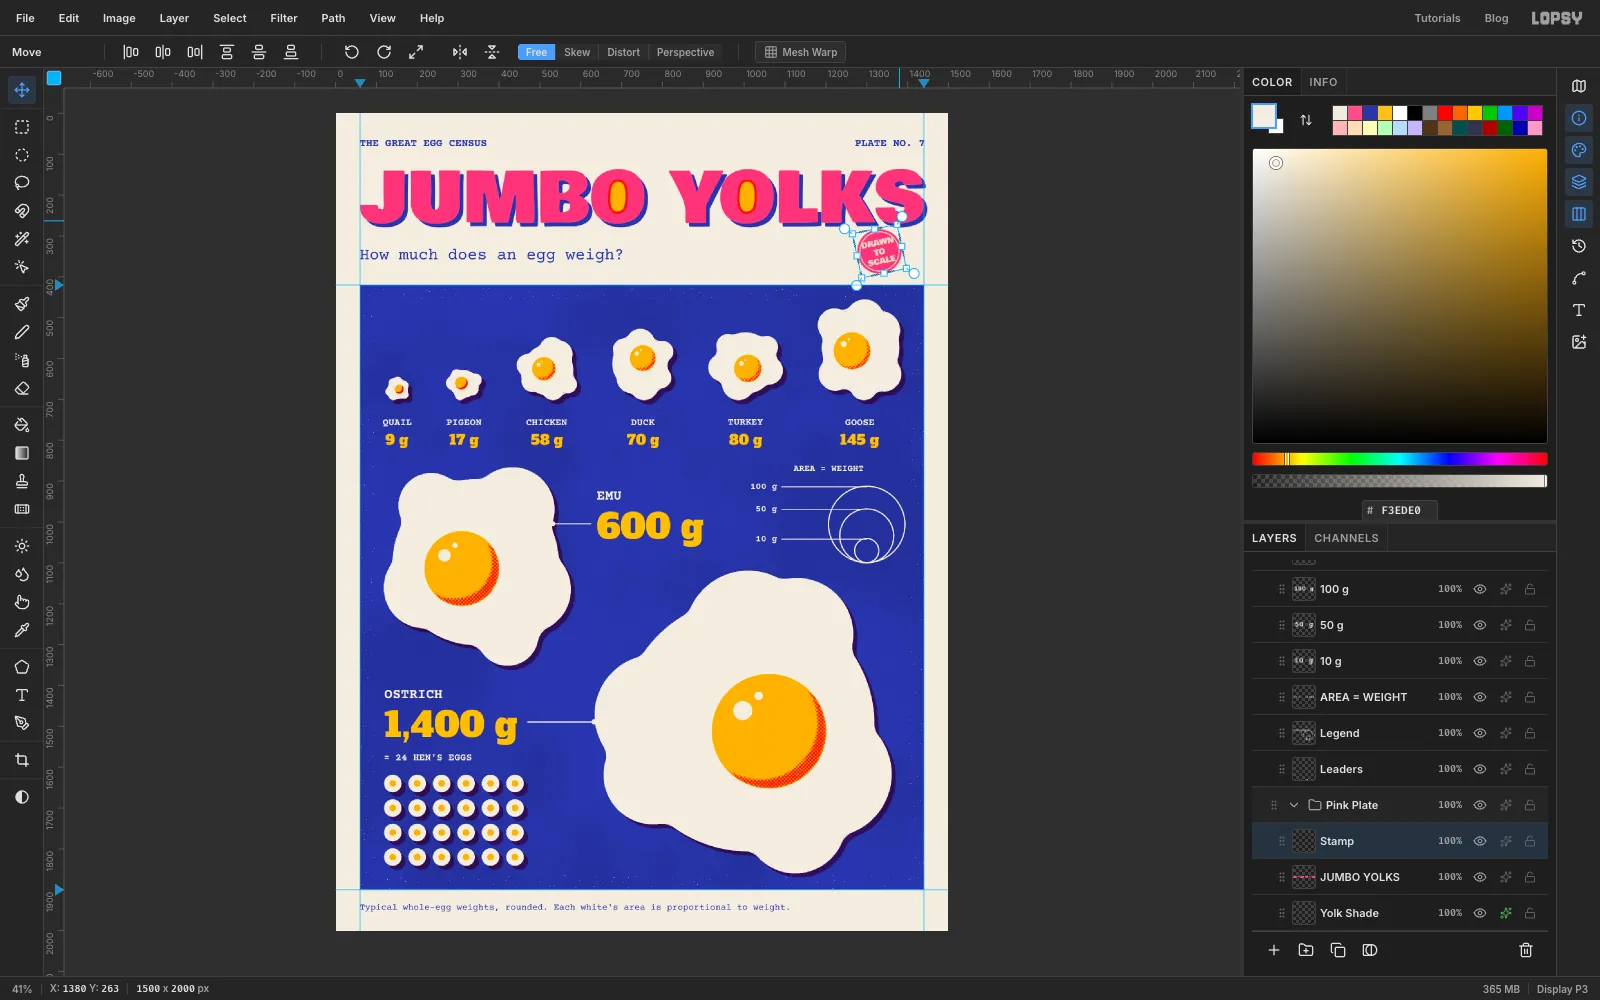
At 136 px the stamp crowds the panel. Draw a rectangular marquee just around it and switch to the Move tool. Hold Cmd and drag the bottom-right handle in toward the centre until the box is about 80% of its size. Cmd keeps the proportions.
Next, move the pointer just outside a corner until it shows the rotate cursor, and drag counter-clockwise about 12°. Press Enter to apply and Cmd+D to deselect. Nudge the stamp with the arrow keys until it sits in the paper margin, clear of both the headline above and the blue panel below.
-
Pencil the edition and misregister the plates
Hand-pulled prints are signed and numbered in pencil. Select Legend and type
12/50in Reenie Beanie at48in . Line it up with the right guide, sitting on the same baseline as the footnote. Click Rasterize Layer (the T button at the bottom of the Layers panel), then run Add Noise… at35Mono, so the grey picks up a graphite grain.Last, knock the inks out of register, as if the screens shifted between passes. Select the Yellow Plate group and, with the Move tool, nudge it about 2 px right and 2 px up with the arrow keys. Select Pink Plate and nudge it about 2 px left and 3 px down. Now the pink shadows peek out on one side of each egg, the orange-red trap shows in the title's O's, and the halftone sits a hair off the yolks. Keep it to two or three pixels. Any more and it reads as a mistake rather than a print.
Save with File → Save Project, and export with File → Quick Export PNG.