Design a Botanical Plate Thriller Movie Poster
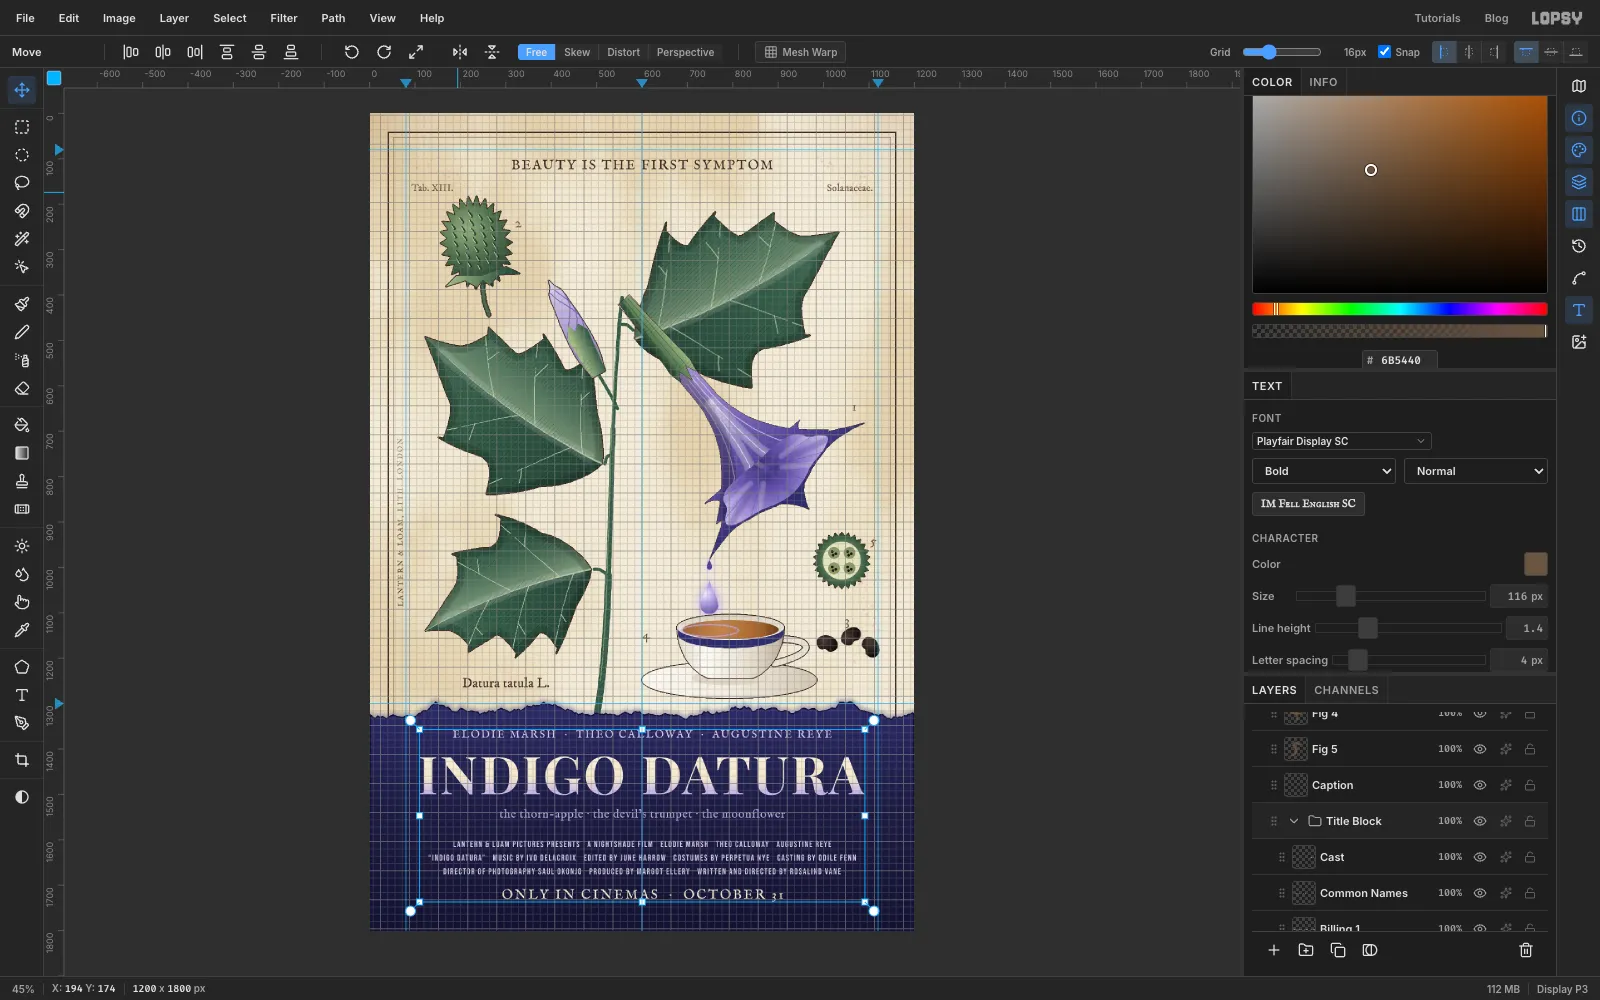
Make a vintage botanical-plate movie poster in Lopsy, with a hand-coloured thorn-apple, a poison drop, engraving hatch and an indigo ink title band.

Nineteenth-century botanical plates are calm and exact. A plant is drawn once, coloured by hand and numbered, and its parts float around it on cream paper. That calm makes a good disguise for a thriller. This poster for an imaginary film, Indigo Datura, is a specimen plate of a purple thorn-apple (Datura), a beautiful and very poisonous plant. Its flower drips one glowing drop into a teacup, and an indigo ink band rises from the bottom to carry the title.
You'll build a 1200 × 1800 px poster with lasso fills, gradients, the Dodge and Burn tool, tapered brush strokes, a home-made engraving pattern, layer effects, groups and text. The plant takes the most time. Take it one part at a time and keep every part on its own layer.
The palette:
-
Paper
-
foxing
-
sepia ink
-
Leaves
-
lit side
-
veins
-
Corolla
-
Throat
-
Ink band
-
tide-line
-
Title
-
Poison drop
-
glow
-
Start the paper and give it a laid grain
Choose File → New and make a 1200 × 1800 document with a white background. Select Background and choose Edit → Fill with paper cream . The new document also comes with an empty Layer 1 at the top. You can leave it there for now and delete it before you start the ink band.
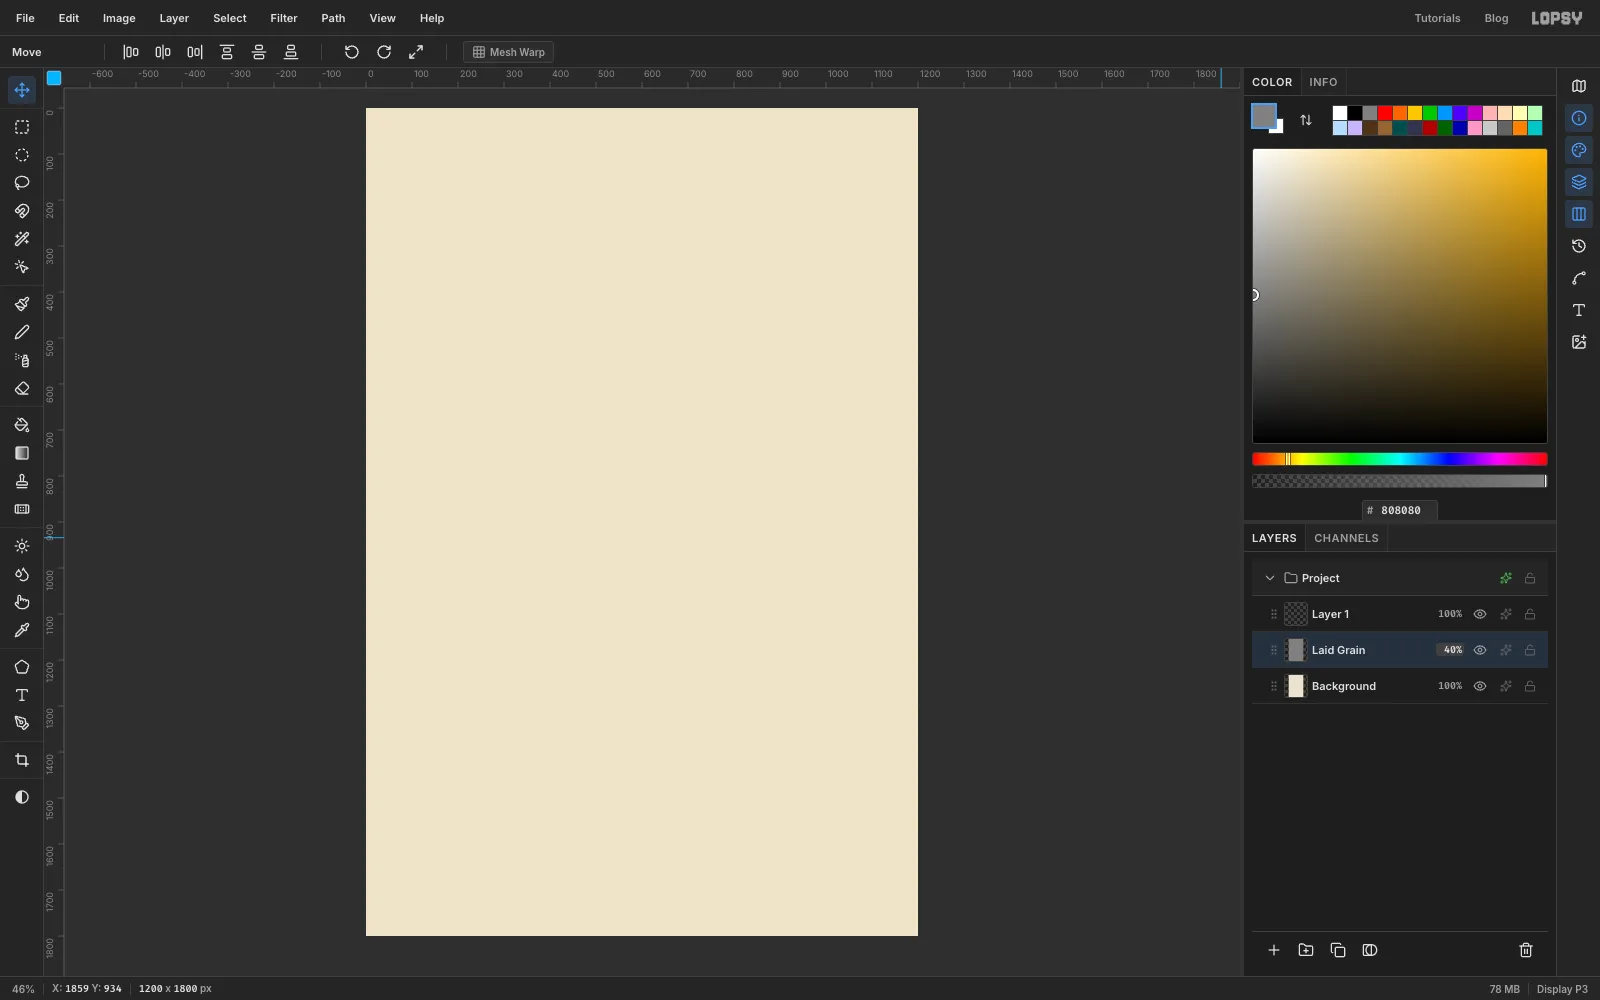
Old rag paper has a fine horizontal grain. Add a layer called Laid Grain, fill it with mid grey , then:
- Filter → Add Noise…, Amount 45, Mono.
- Filter → Motion Blur…, Angle 0, Distance 60. The specks smear into horizontal streaks.
- In the layer's effects drawer set the blend mode to Overlay, and drop the layer to about 40% opacity.
-
Age the sheet with clouds and a burnt vignette
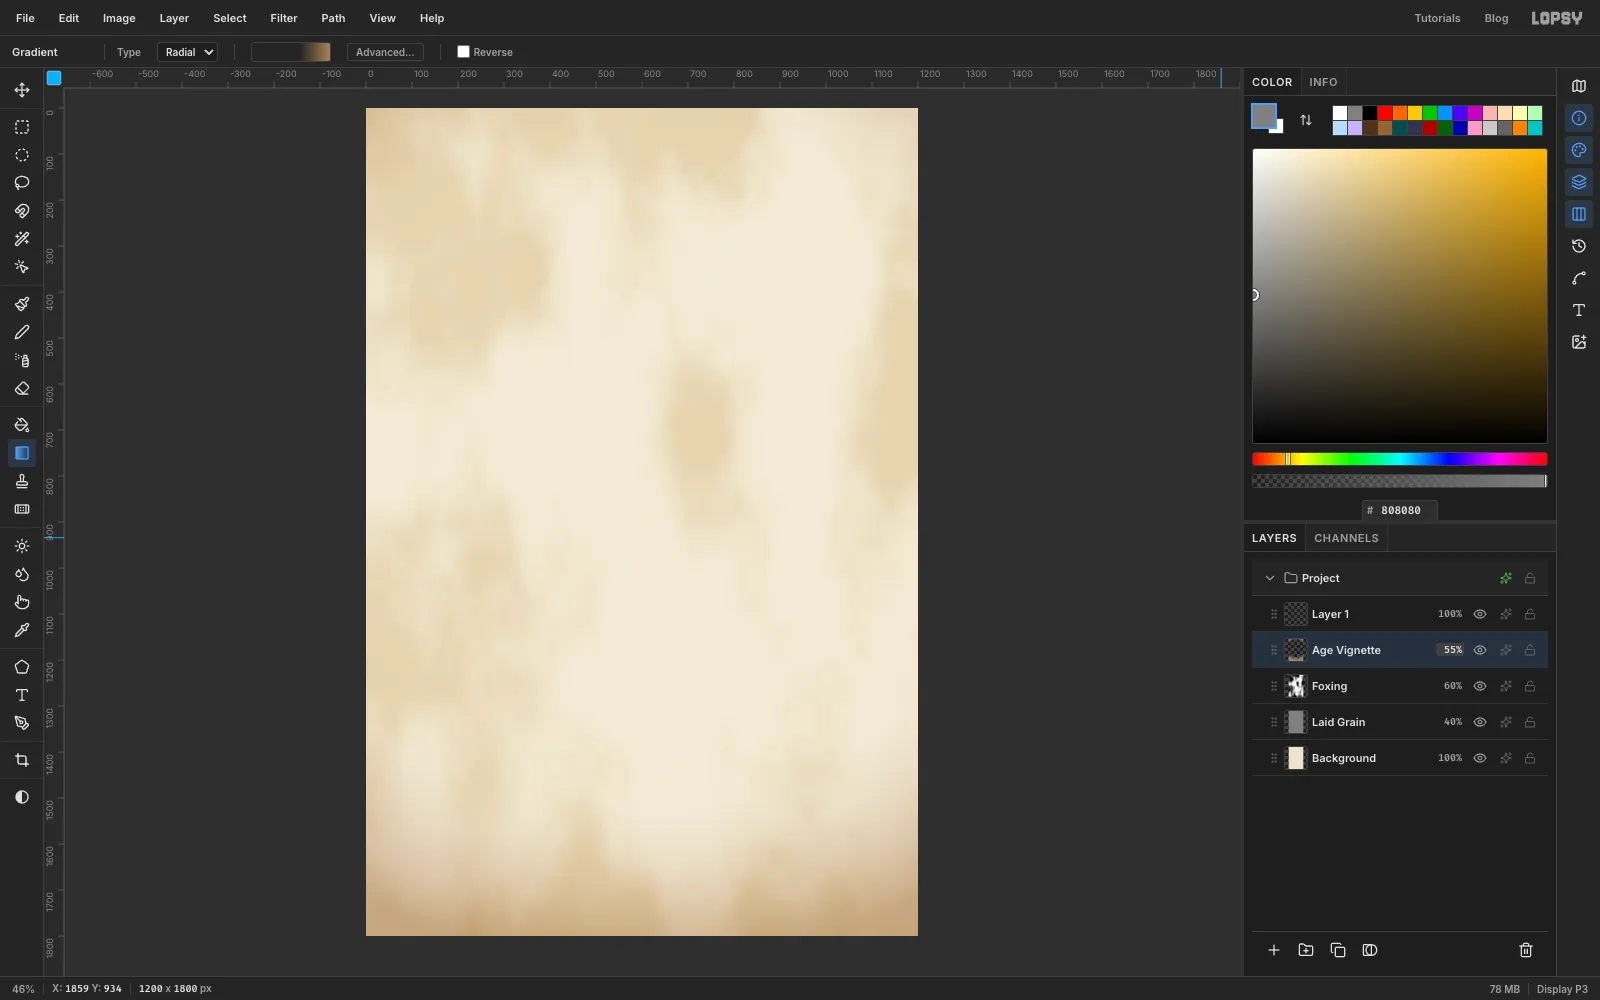
Add a layer called Foxing, fill it with and run Filter → Clouds… at Scale 5. Set it to Soft Light at about 60%. The grey disappears and leaves gentle blotches in the paper.
For the browned edges, add Age Vignette. Pick the Gradient tool, choose Radial, open Advanced… and set three stops: transparent white at 0%, transparent white at 62%, and at 100%. Drag from just above the centre of the page down past the bottom edge. Set the layer to Multiply at about 55%.
-
Spray on some foxing spots
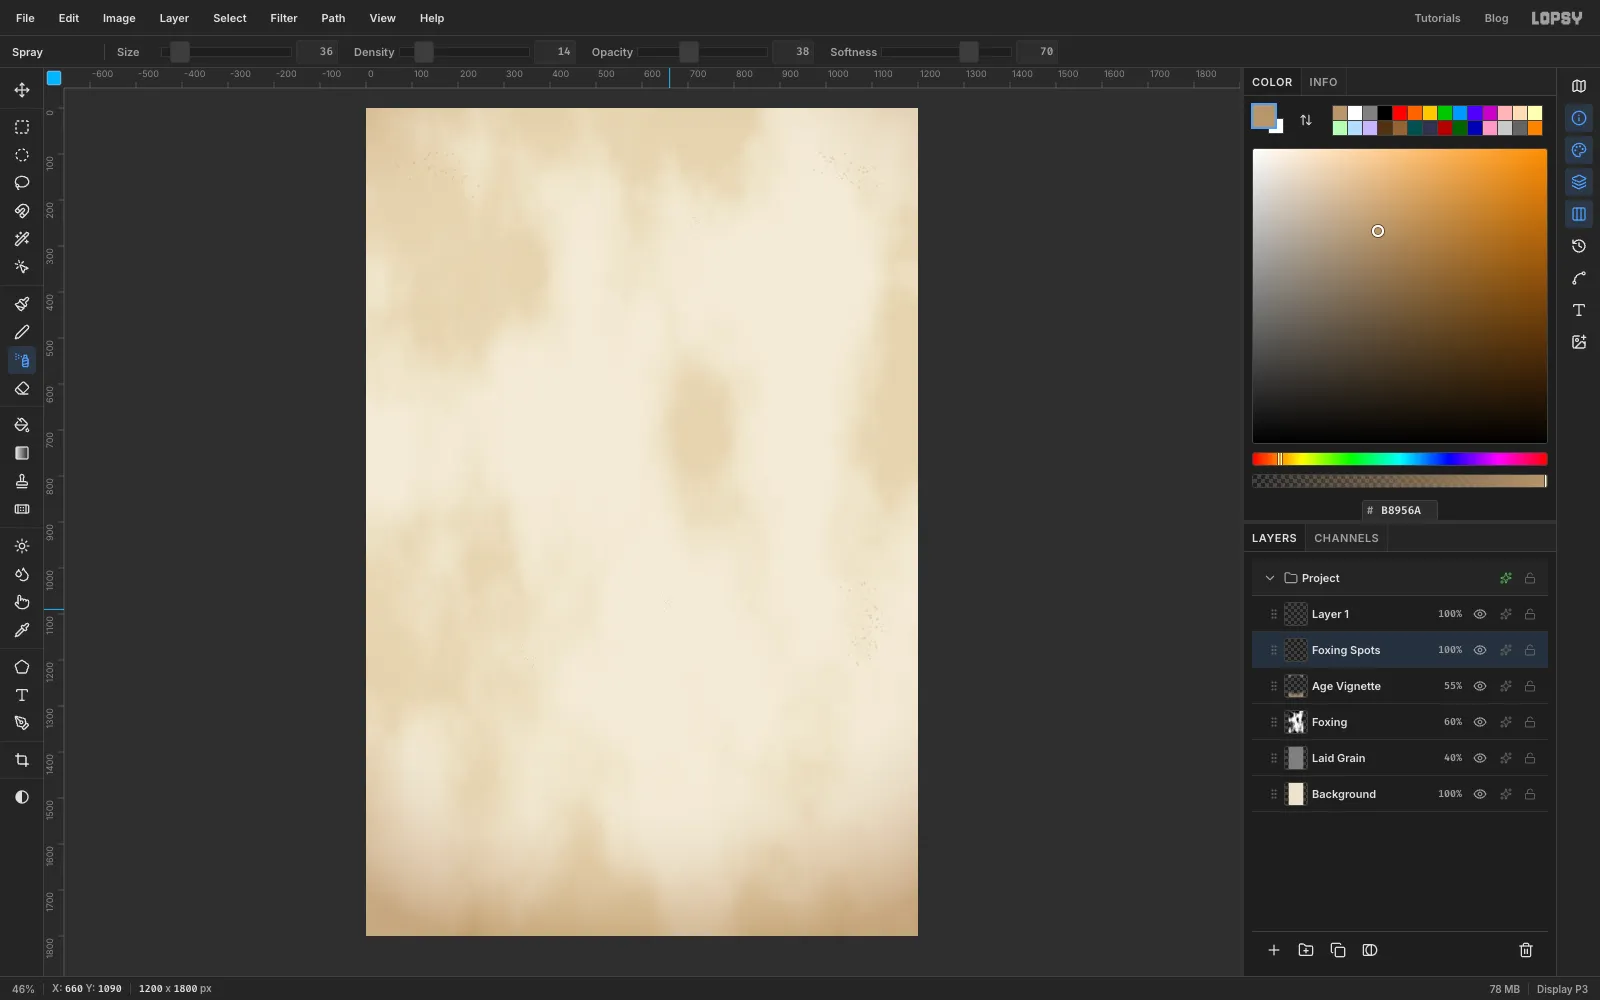
Foxing is the brown freckling old paper picks up. Add a layer called Foxing Spots and choose the Spray tool with Size 70, Density 14 and Opacity 38, in . Make a few short dabs in the top corners and on the right edge, then drop the Size to 36 for two or three smaller clusters in the open paper. Keep it sparse. A few spots read as age, and a lot of them read as dirt.
-
Add guides and the double plate rule
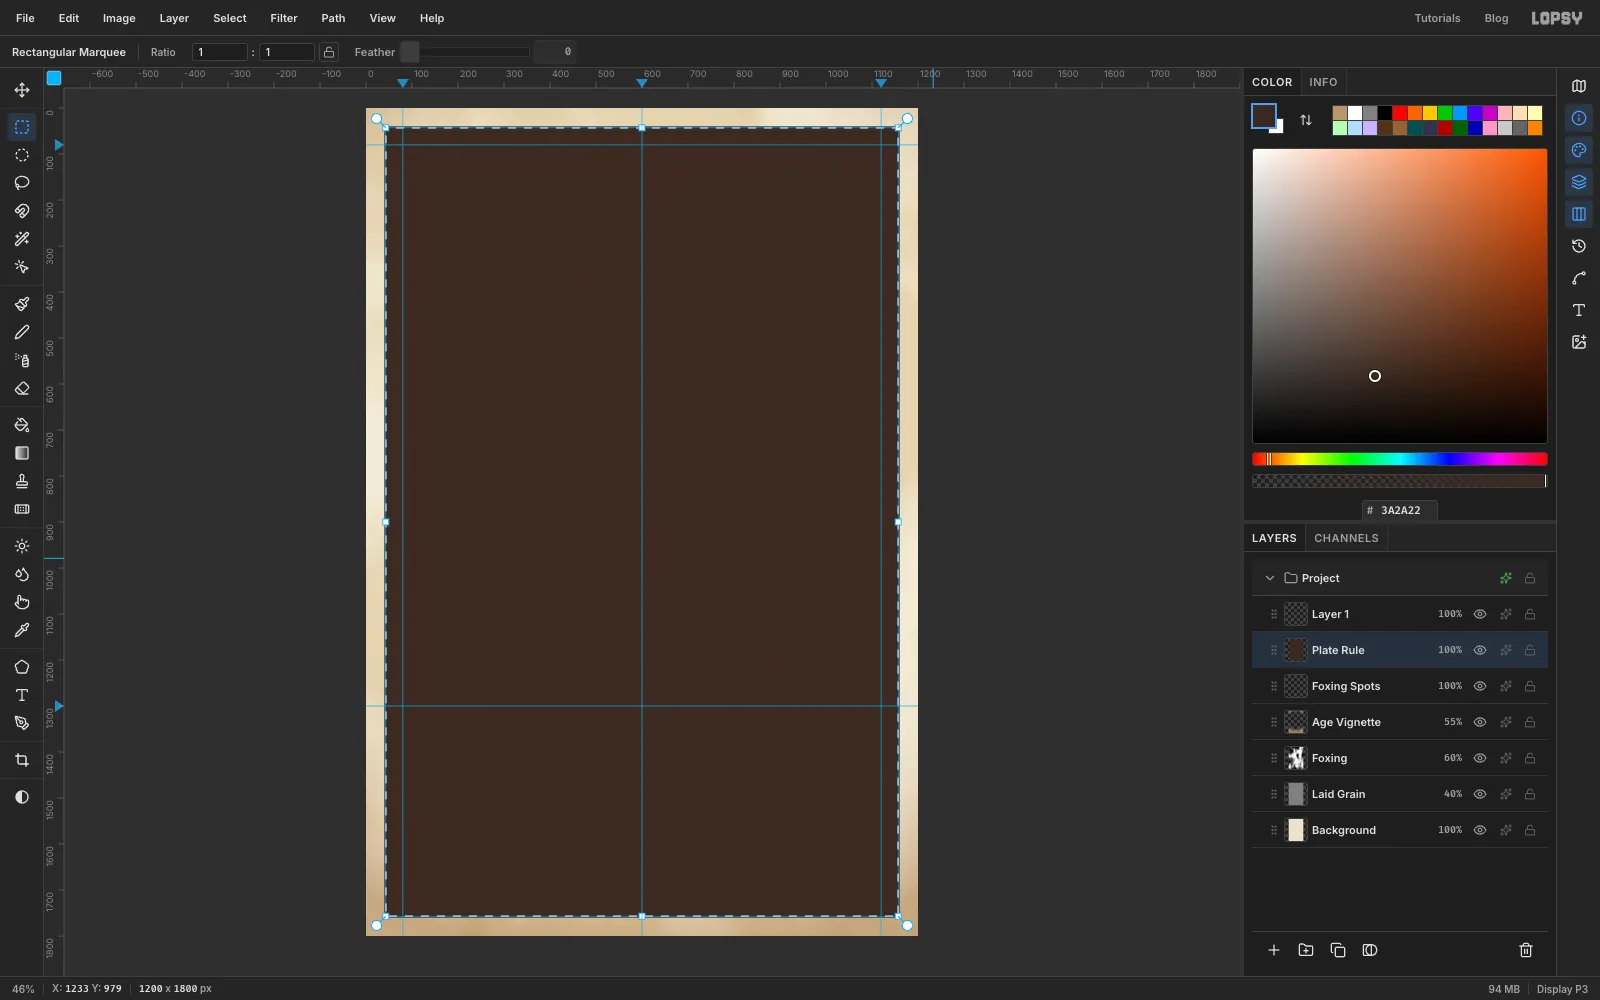
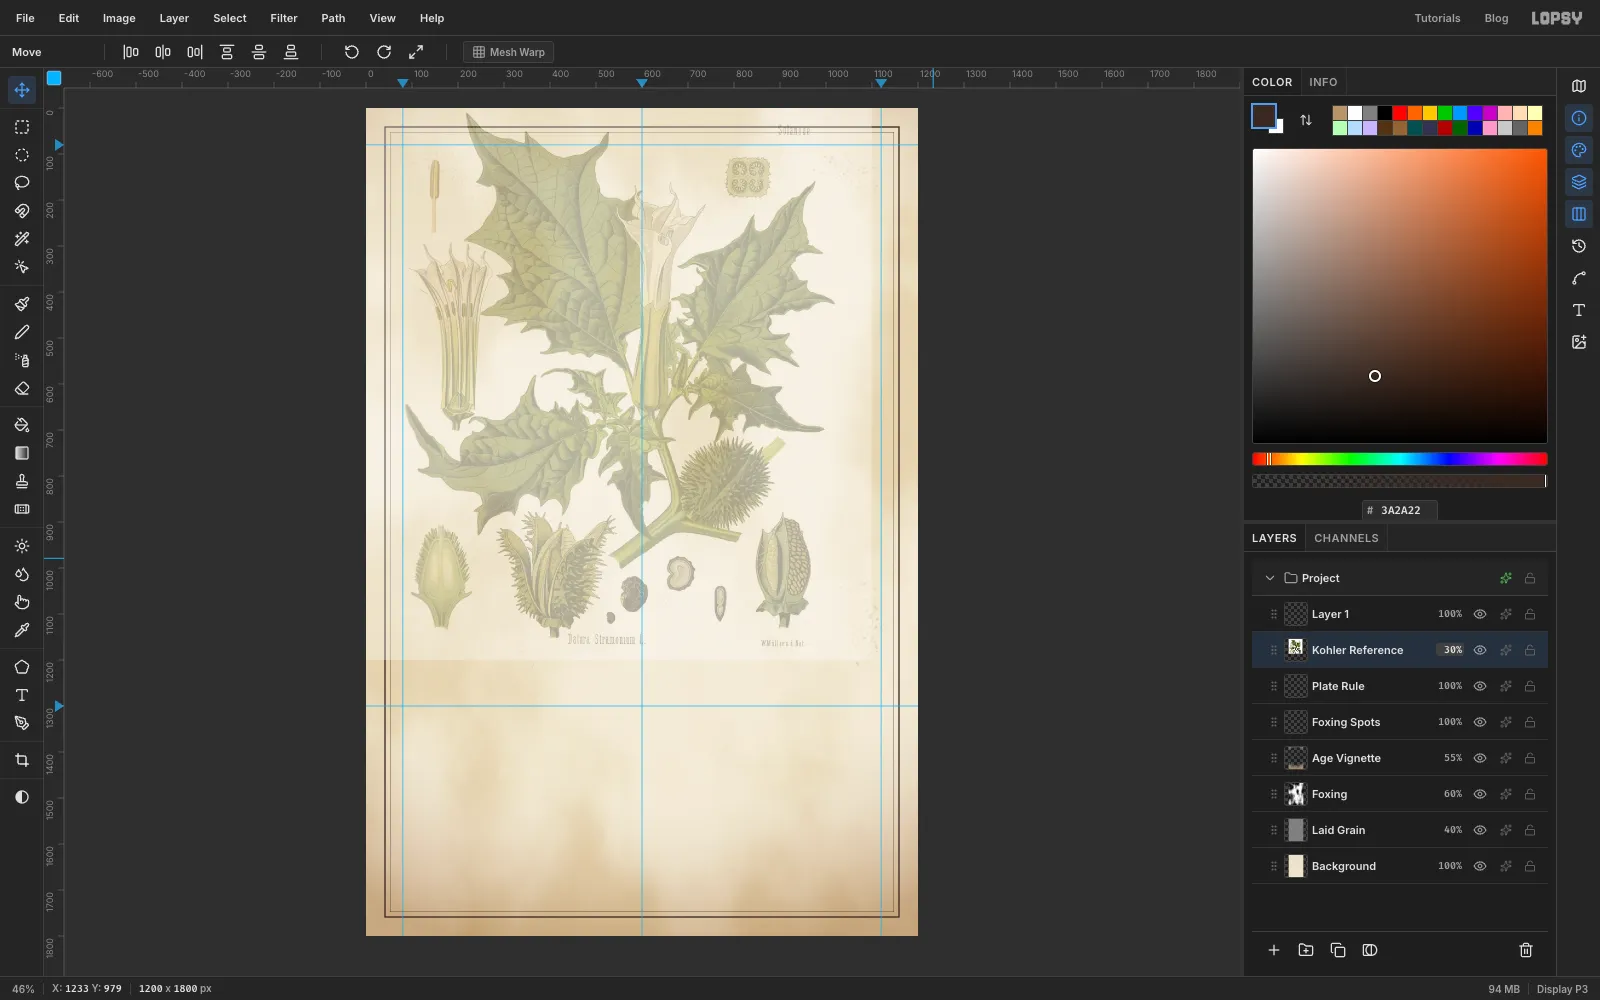
Click the top ruler at 80, 600 and 1120 to drop vertical guides for the margins and the centre line. Click the left ruler at 80 and 1300. The lower one marks where the ink band will start.
Add a layer called Plate Rule. With the Rectangular Marquee, drag from 40 px in at the top left to 40 px in at the bottom right. Watch the X / Y readout in the status bar at the bottom of the window as you drag. Set the foreground to sepia and choose Edit → Fill. Then choose Select → Shrink… by 3 px and press Delete. You're left with a 3 px frame. Repeat with a marquee 52 px in, shrinking by 1, for the hairline inside it.
-
Drop in a reference plate
Botanical artists draw from specimens and older plates. Find a public-domain plate of Datura stramonium. Franz Köhler's Medizinal-Pflanzen (1887) on Wikimedia Commons is a good one. Drag the image file straight onto the canvas. It lands on a new layer. Rename it Kohler Reference and set it to 30%.
Use it to study how the leaves are lobed, how the trumpet tube pleats, and how spiny the seed capsule is. You won't trace it. Your plant will droop to one side so its flower can drip into a cup.
-
Paint a tapering stem with a forked bud stalk
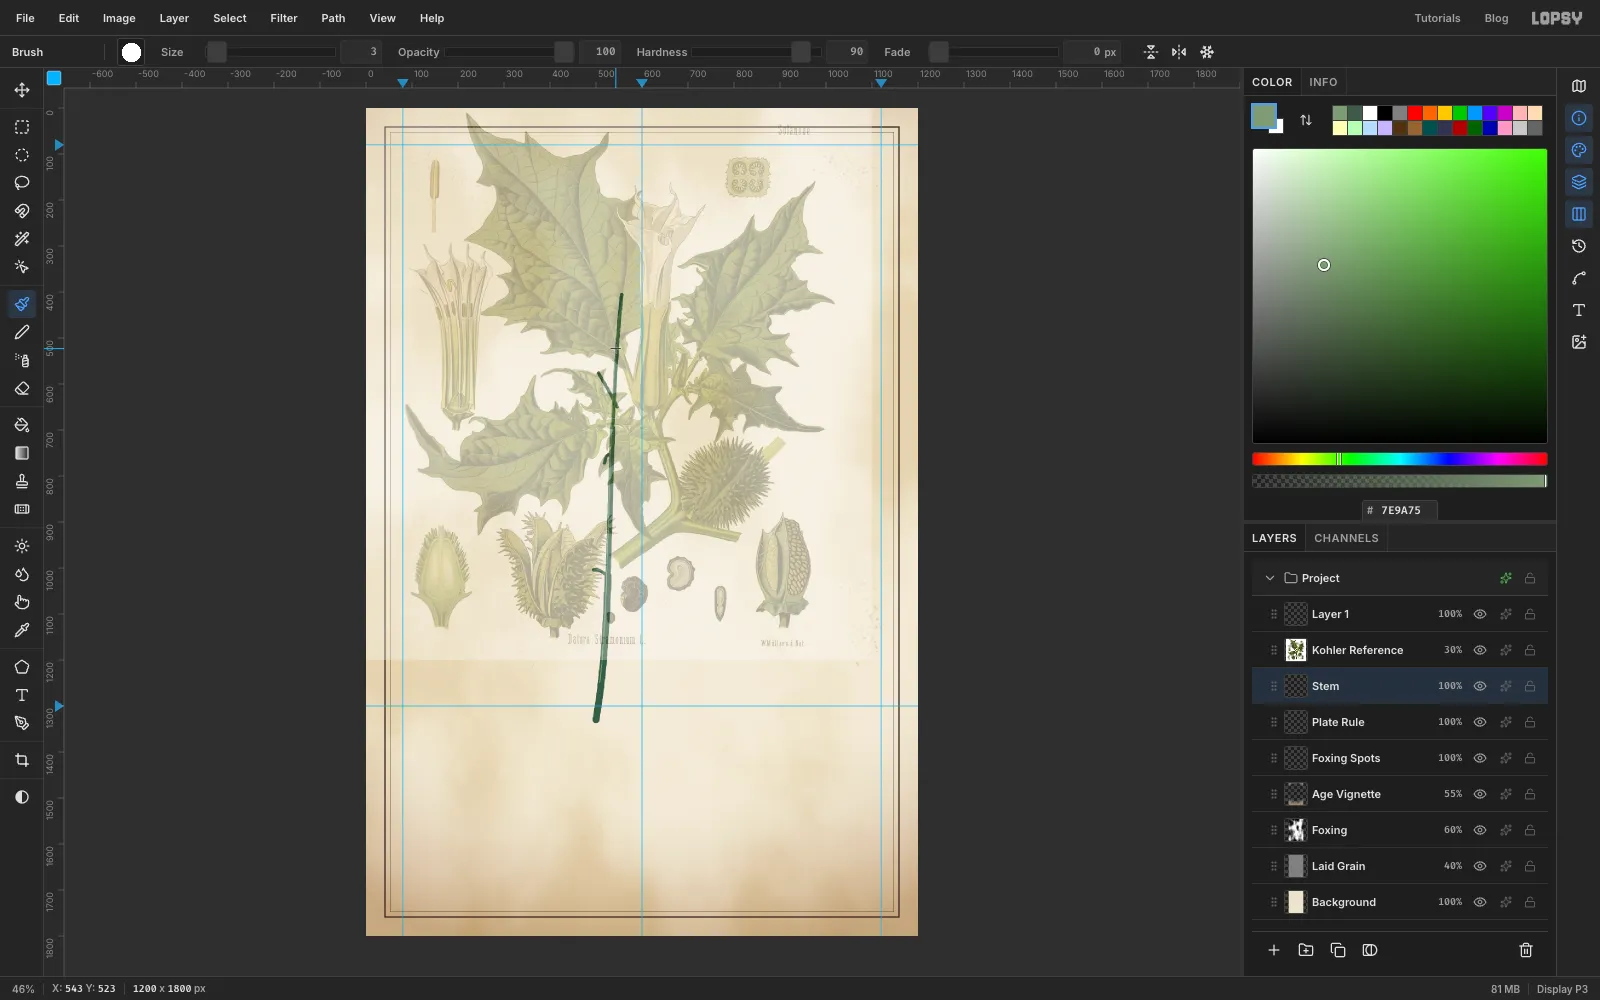
Add a layer called Stem above Plate Rule. Choose the Brush, pick the Hard Round preset and set Hardness to 90, in .
Paint the stem in three strokes so it tapers:
- Size 16 from just below the lower guide up about a third of the page.
- Size 12 for the middle third.
- Size 9 for the last part. Curve it gently and finish a little left of centre, about a quarter of the way down the page. The flower hangs from there.
At Size 8, paint a short stalk forking up and to the left about a third of the way down the stem. That's where the bud goes. Then paint two short petioles (leaf stalks) out to the left, one about 40% of the way down the page and one about 55%. Each sticks out about 30 px. Finish with a Size 3 highlight in just left of the stem's centre line.
-
Lasso a leaf and lay in two washes
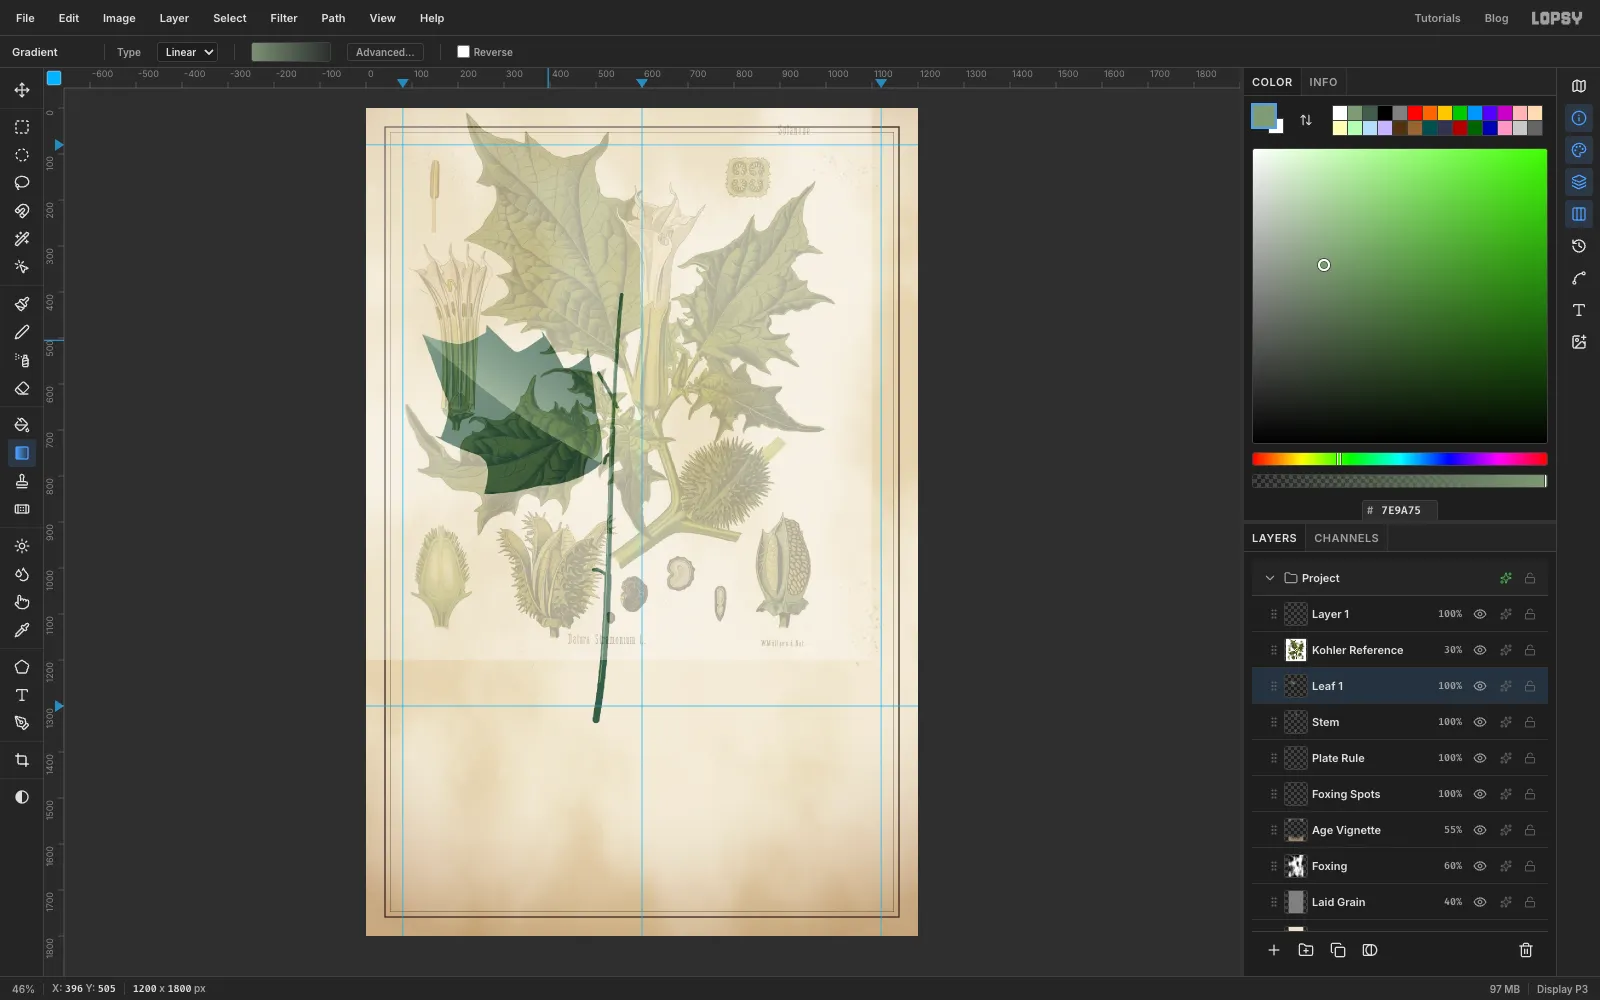
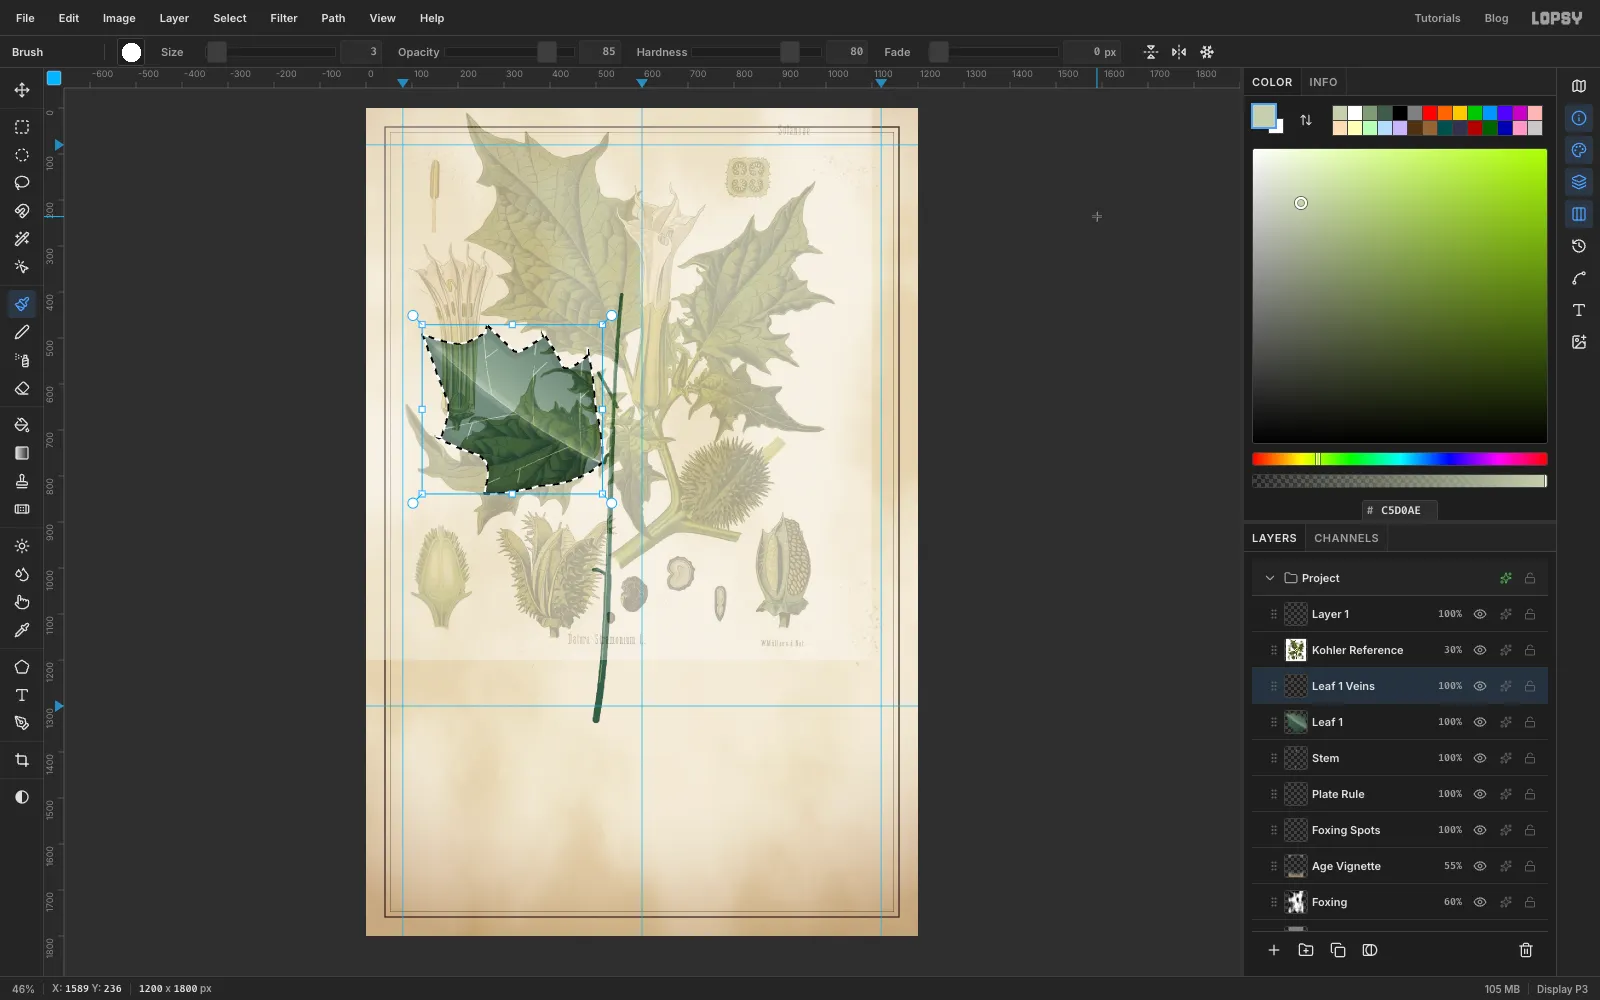
Datura leaves are big and lopsided, with a few large, forward-pointing lobes. Add a layer called Leaf 1. The leaf is about 480 px long and 300 px wide, pointing from the upper petiole towards the upper-left corner.
With the Lasso, start at the end of the petiole. Draw the top edge out to the tip with three lobes. Make each lobe a broad triangle about 50–60 px deep with a sharp point that leans towards the tip, with a shallow rounded notch between lobes. Come back along the lower edge with two lobes and close at the petiole. Make the lower side start a little further out than the upper side, so the base is lopsided.
Pick the Gradient tool, choose Linear, and set three stops: , at 55% and . Drag from the base of the leaf to its tip.
Now lasso just the upper half: from an imaginary line running from the petiole to the tip (where the midrib will go) up to the top edge. Use a two-stop gradient from at about 85% opacity to at about 15%, dragged from the midrib out towards the edge. The gradient blends over what's there, so you get a lit half and a shaded half.
-
Model the blade with Burn and Dodge
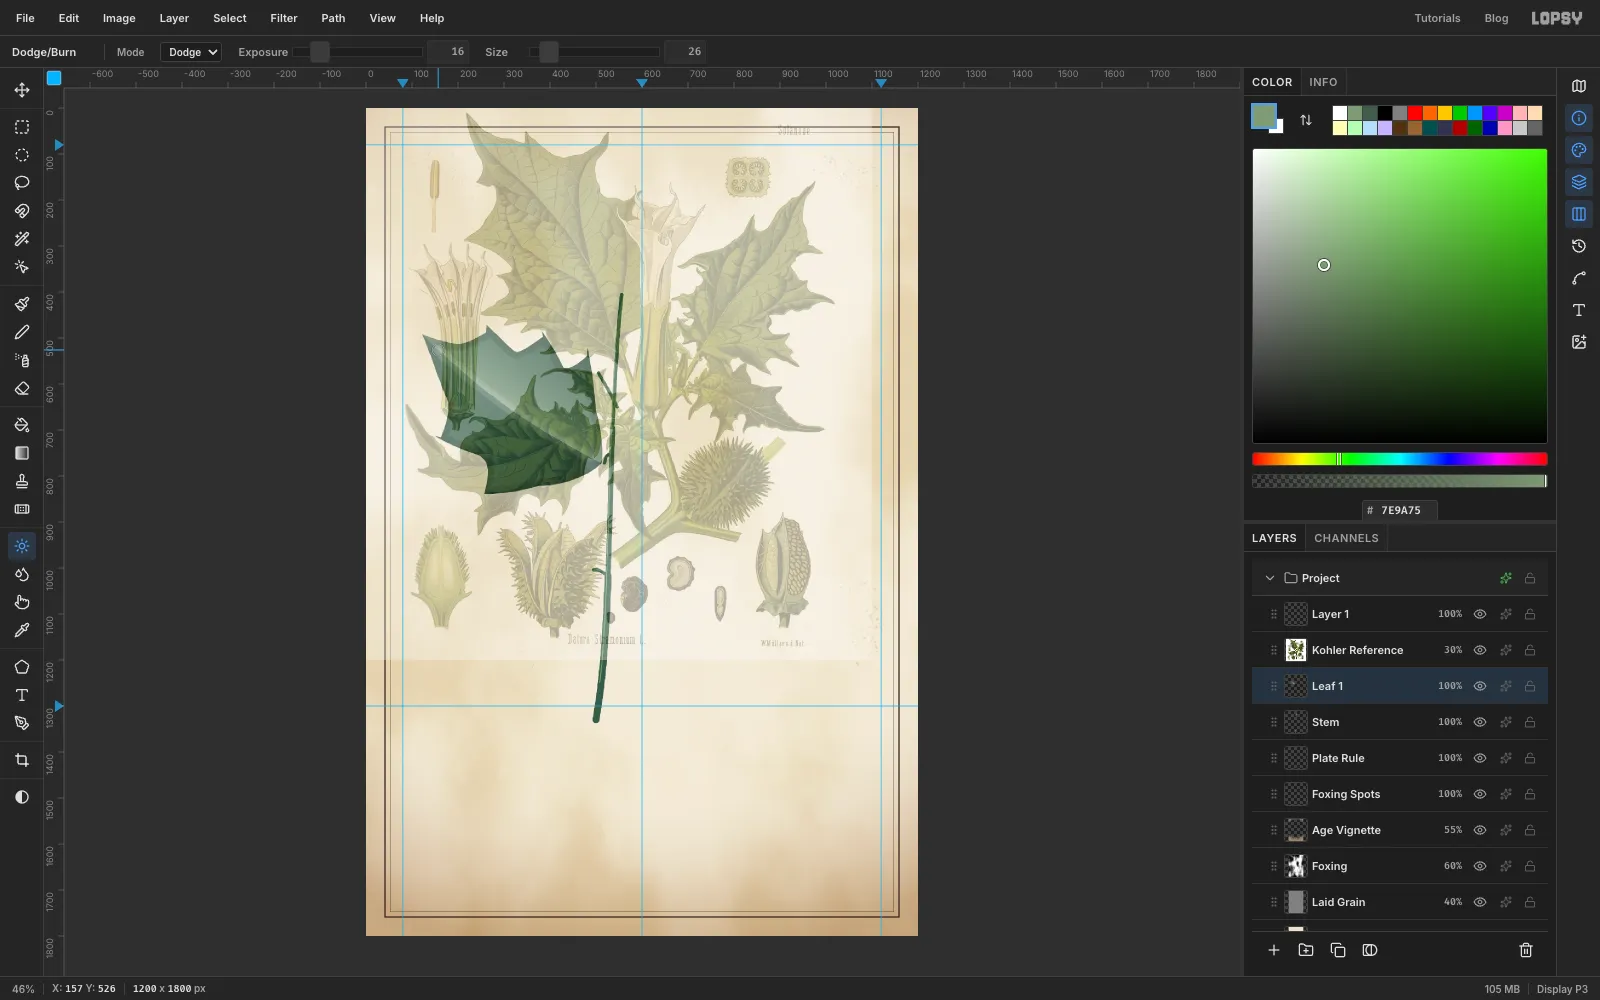
Cmd-click the Leaf 1 thumbnail to load the leaf as a selection. This keeps the next strokes inside it.
Choose the Dodge / Burn tool:
- Set the mode to Burn, Exposure 22, Size 34, and trace once all the way round the inside of the edge.
- Switch to Dodge, Exposure 16, Size 26, and run once along that imaginary line from the base to the tip.
The leaf now curves down at the margins and rises along its spine.
-
Draw tapered, branching veins
Add a layer called Leaf 1 Veins and Cmd-click the leaf thumbnail again. Use the Brush at Opacity 85 in .
Open the brush tip thumbnail at the left of the options bar to get the Brushes window. On the Shape tab, set Taper. Taper is a distance in pixels over which the stroke thins to nothing, so set it to about the length of the stroke you're about to paint:
- Taper 450, Size 5: paint the midrib from the base to the tip.
- Taper 150, Size 3: paint a vein from the midrib out to each lobe tip, curving slightly forward. Add one or two short side branches running off each vein towards the edge.
Set Taper back to 0, deselect with Cmd+D, and choose Layer → Merge Down to fold the veins into the leaf.
-
Repeat for the lower leaf
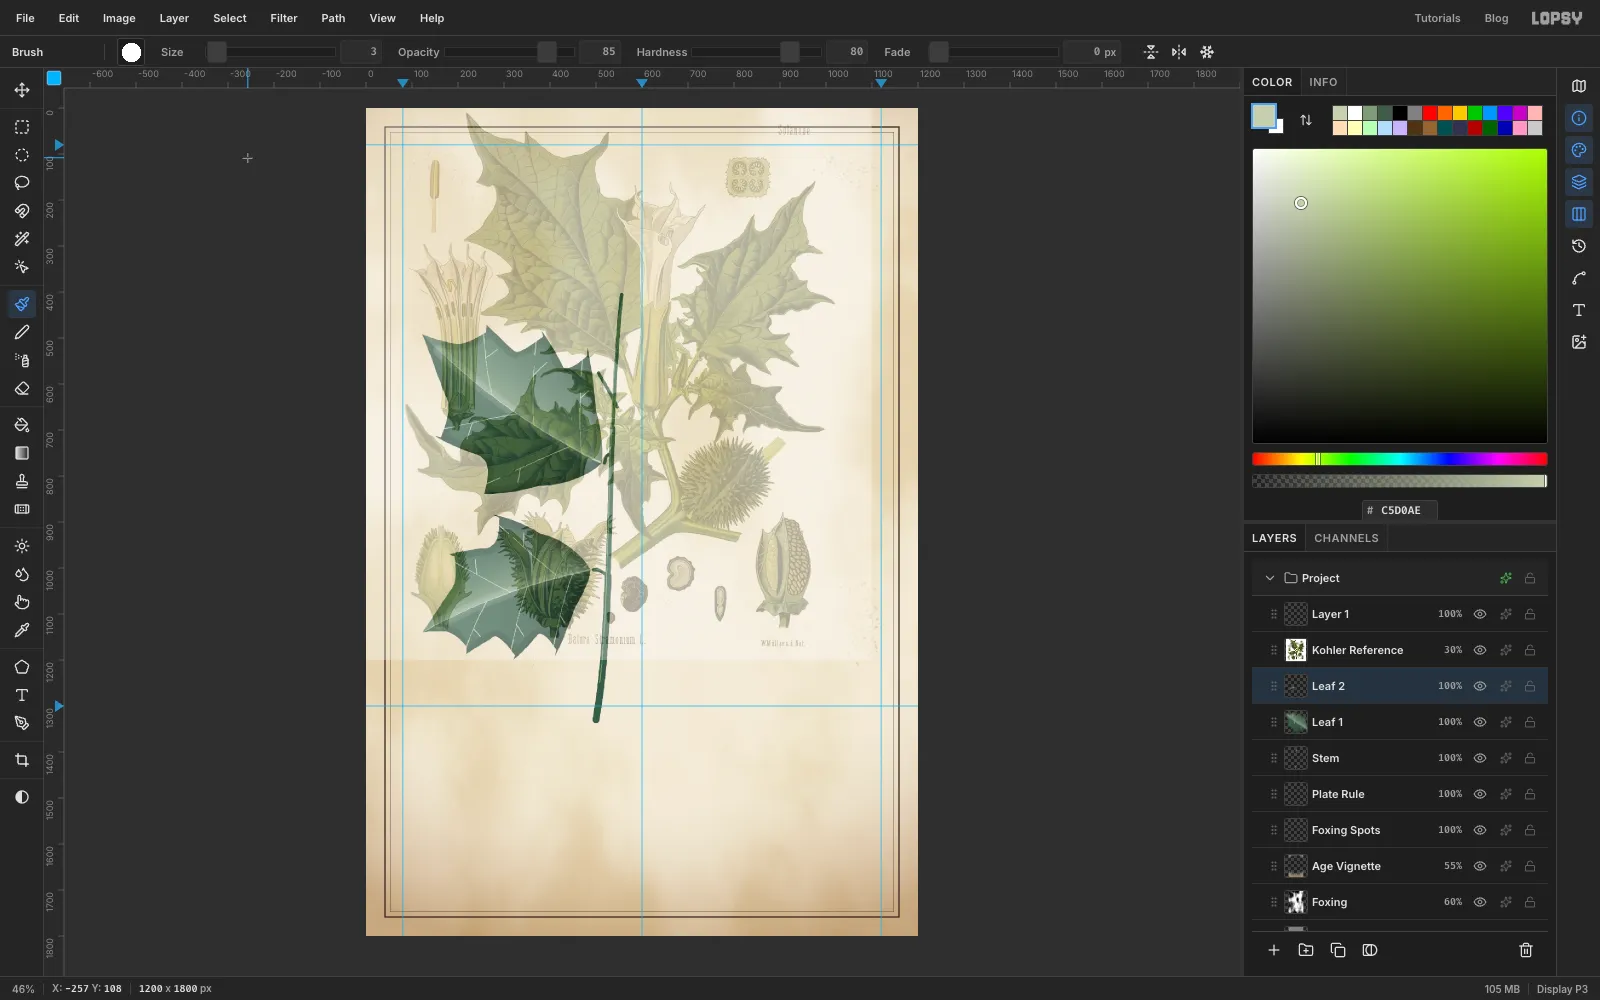
Select Leaf 1, add a layer called Leaf 2, and repeat the last three steps for a smaller leaf, about 380 × 250 px, on the lower petiole. Point this one down and to the left. Give it two lobes on the top edge and three below so it isn't a copy of the first.
-
Paste and flip a copy for the right-hand leaf
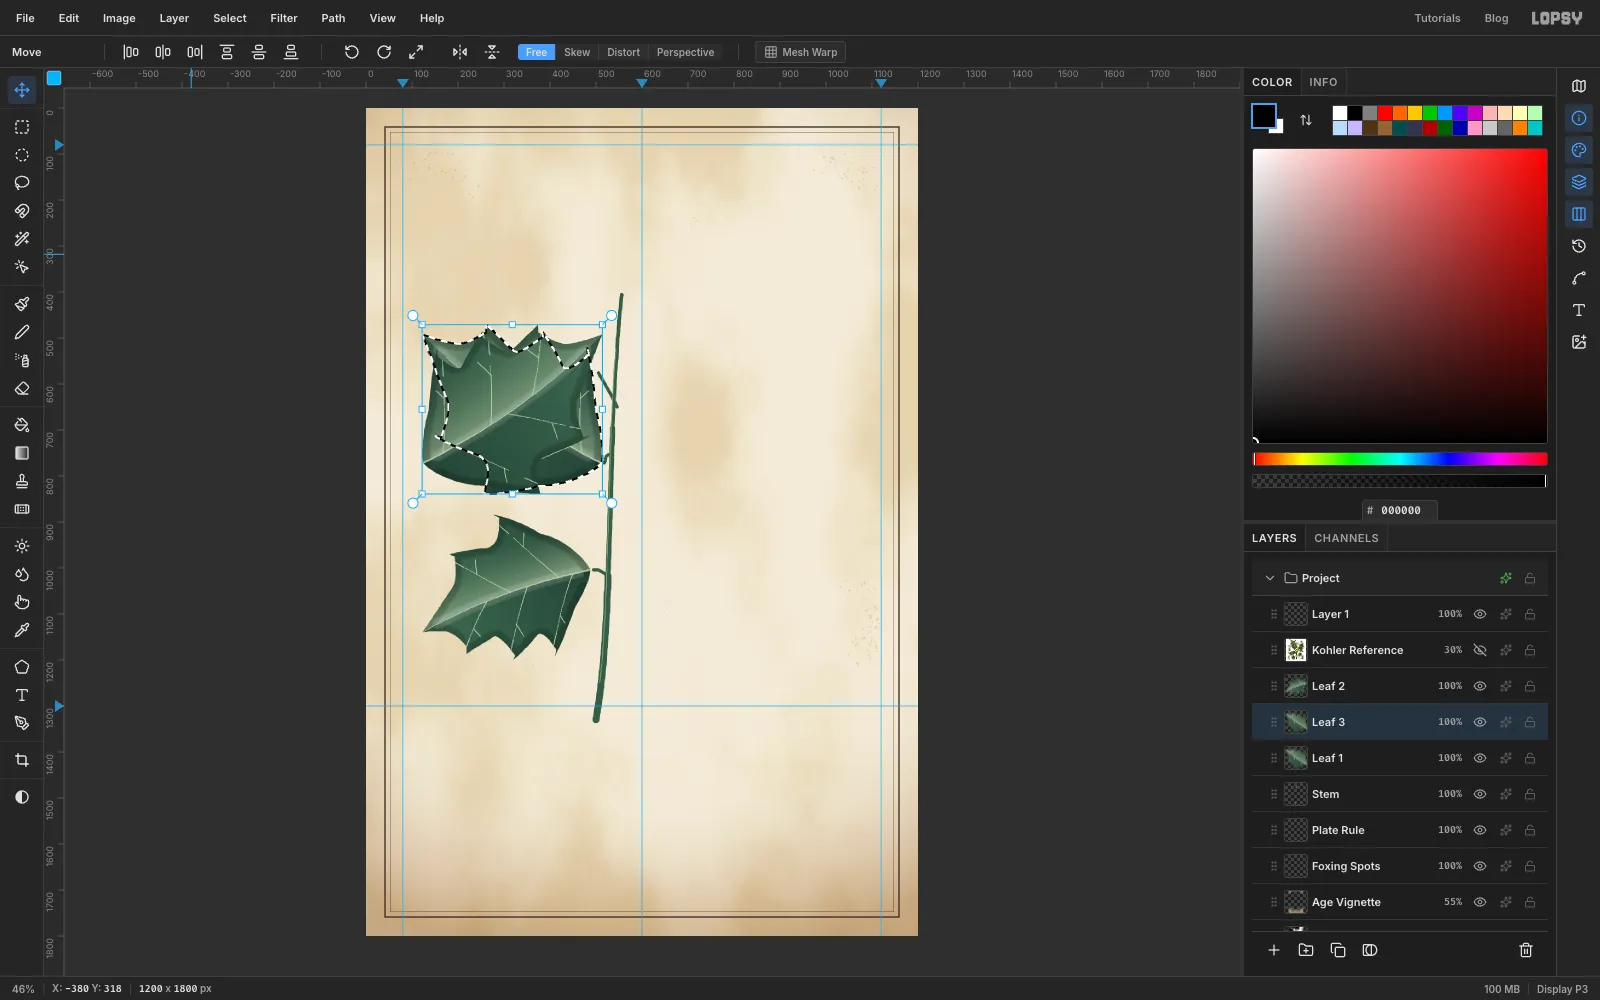
The right side needs a big leaf too. Rather than draw a third, mirror the first. Hide the Kohler Reference layer so you can see the plant clearly.
Cmd-click Leaf 1's thumbnail, then press Cmd+C and Cmd+V. The copy pastes in place on a new layer. Rename it Leaf 3. With the pasted pixels still selected, choose Image → Flip Horizontal. The copy flips inside its own box, so it sits on top of the original but points the other way.
-
Move, rotate and scale the third leaf
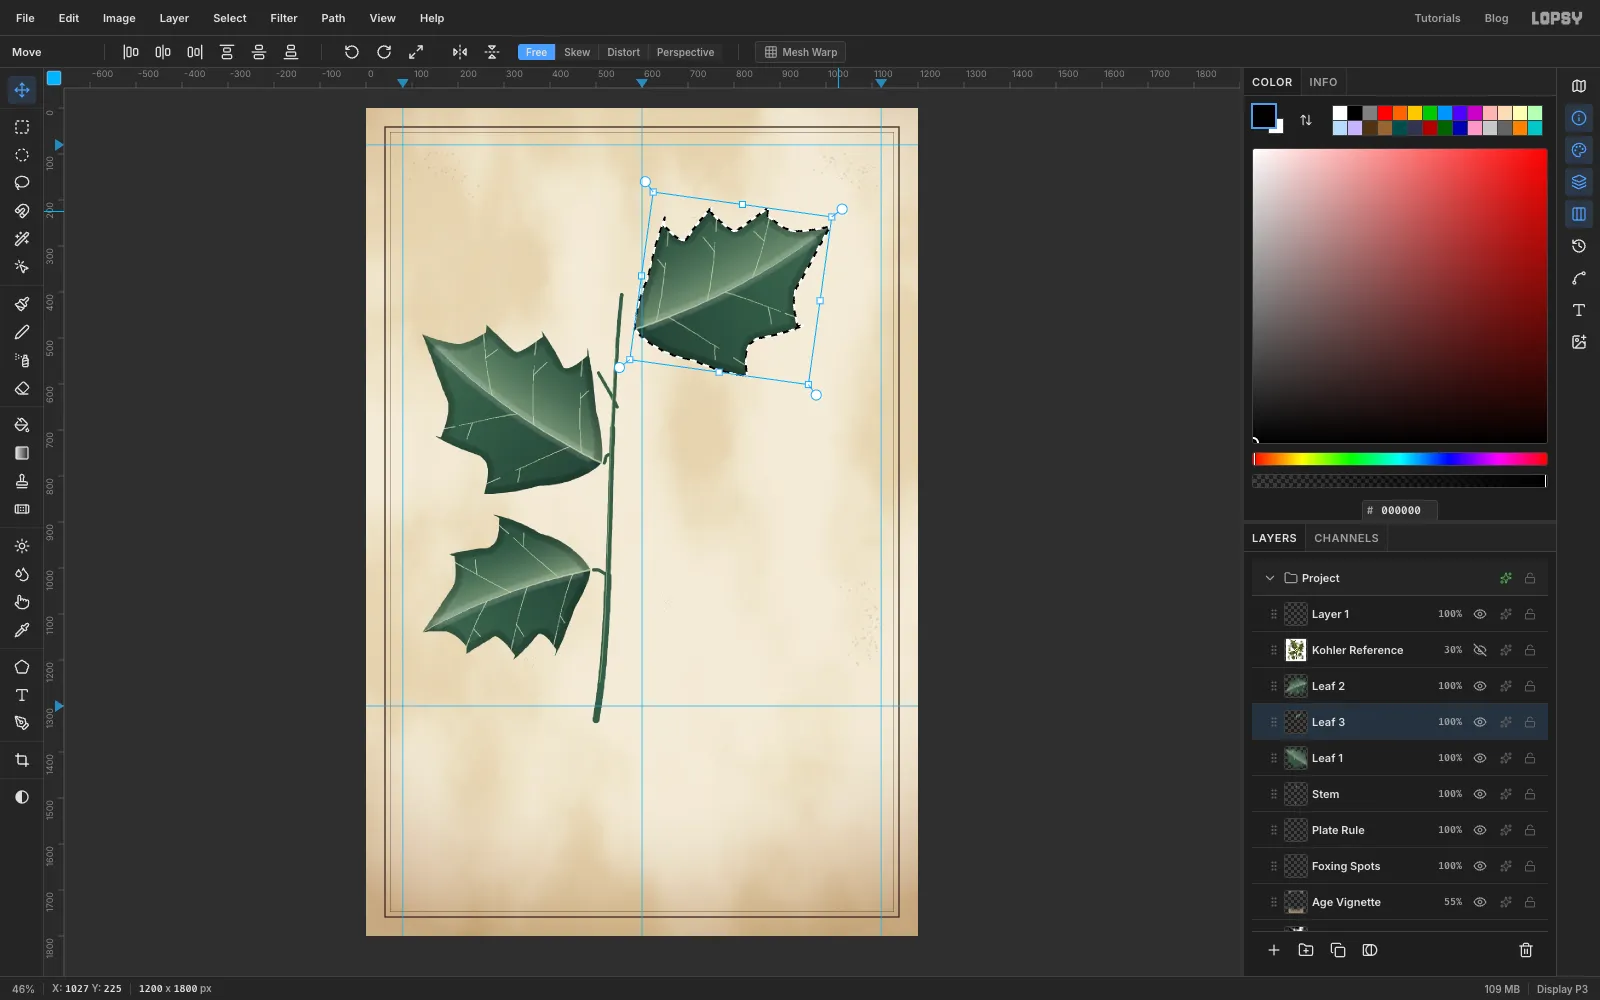
With the Move tool, drag inside the selection to carry the leaf over to the right of the stem, with its base just right of the stem top. Then:
- Grab the round rotate handle just outside the top-right corner of the box and drag about 8° clockwise. Press Cmd+D to apply it.
- Cmd-click the leaf thumbnail again. Hold Cmd and drag the bottom-right corner handle out a little, about 6%, to scale the leaf evenly. Press Cmd+D to apply it.
Select the Stem layer and paint a short Size 8 petiole from the stem to the base of the new leaf.
-
Ink the leaf outlines
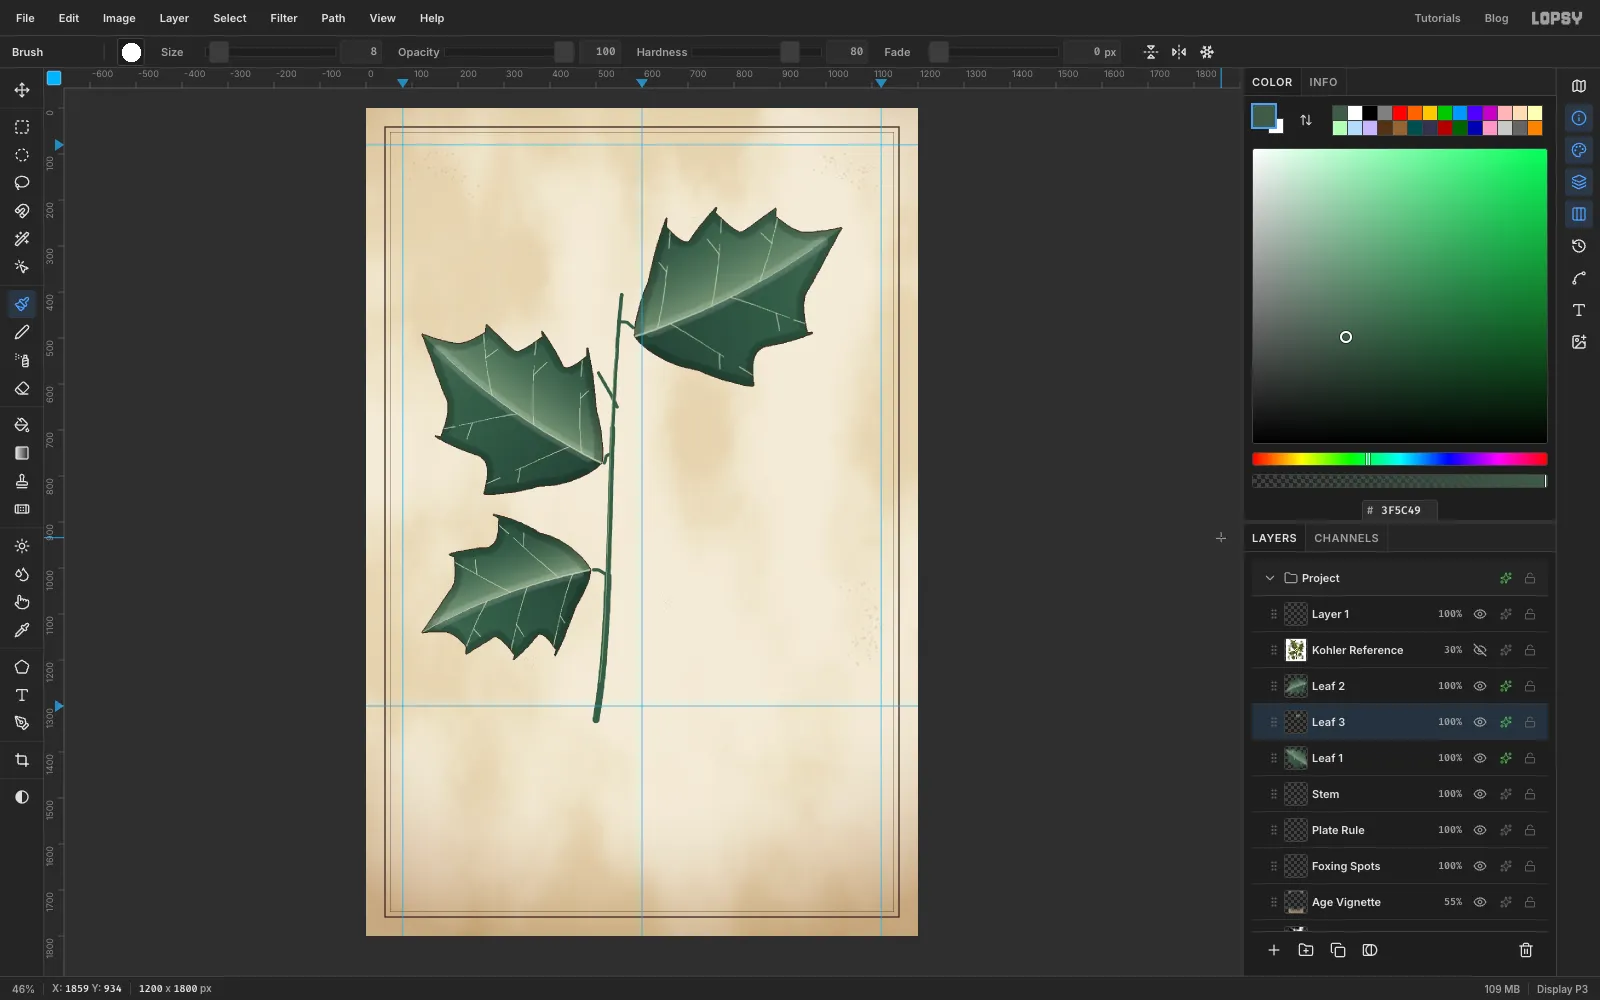
Plates were printed from an engraved line and then coloured by hand, so every part gets a thin ink edge. For each leaf, open its Layer effects (the sparkle button on its row), turn on Stroke, set Width 2 and the colour to sepia , and choose Outside.
-
Paint the twisted bud
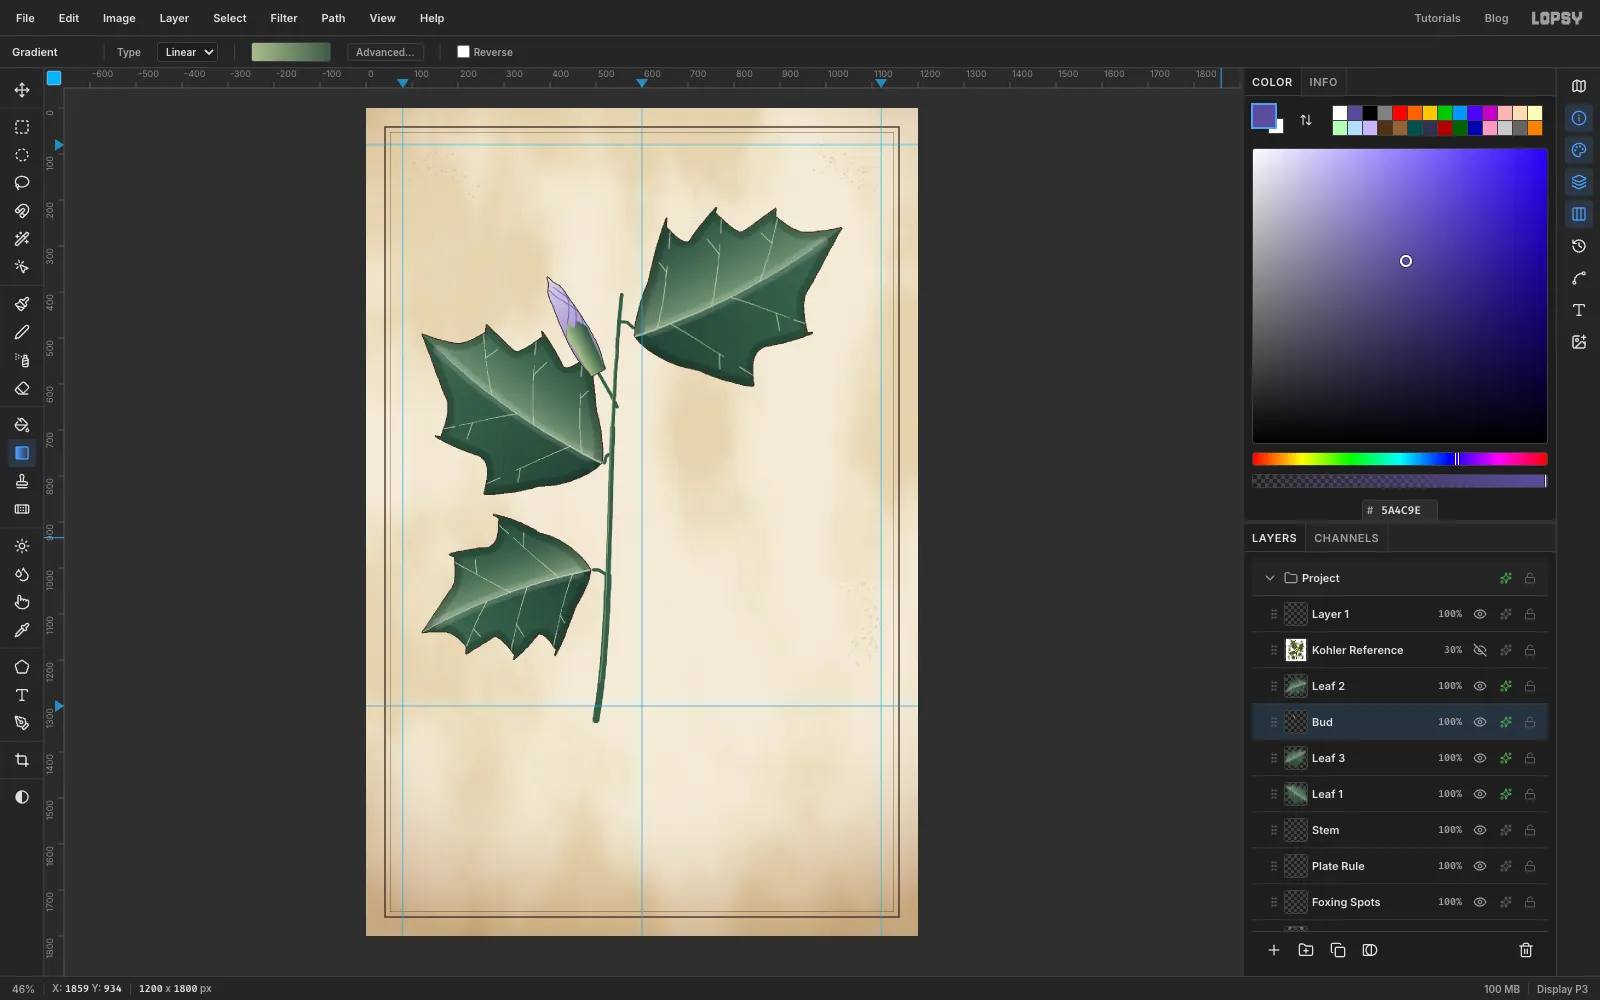
Select Leaf 3 and add a layer called Bud. Lasso a slender spindle about 220 px long, pointing up and to the left from the end of the bud stalk. Fill it with a linear gradient from through to , dragged from the base to the tip.
Brush three curved lines along the bud at Size 3, Opacity 70 in violet so it looks twisted. Then lasso the green sheath around its lower half with a couple of pointed teeth. Fill it with a gradient from to , dragged across the sheath. Add a 2 px sepia Stroke outline.
-
Select the trumpet and its five points
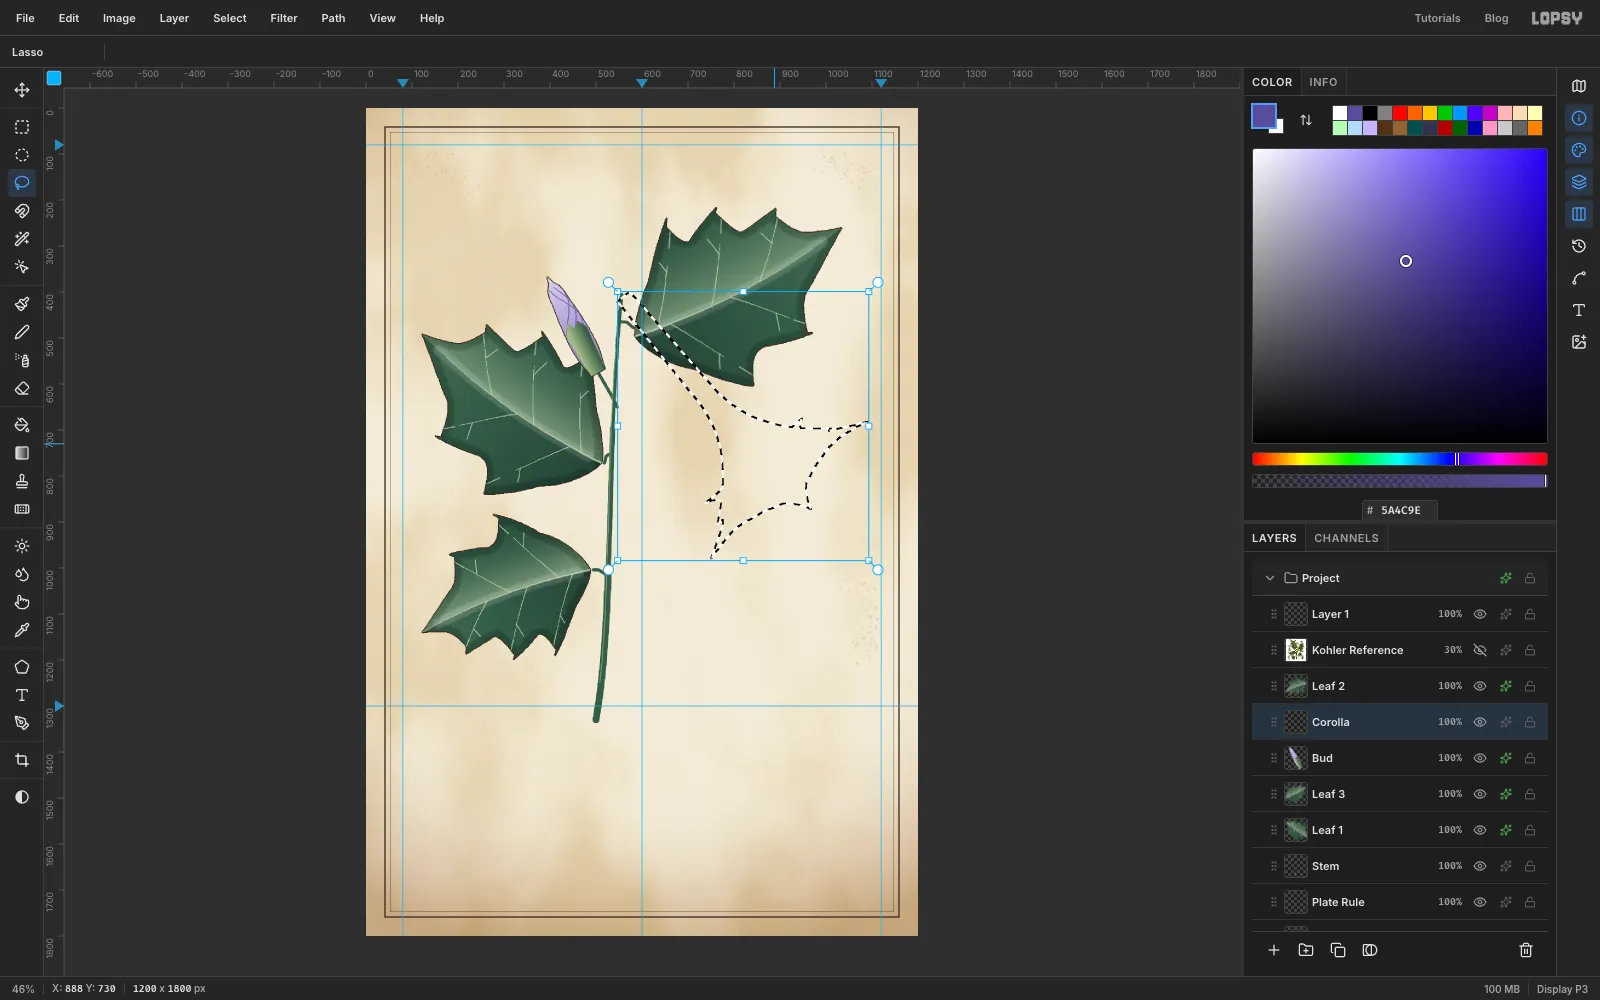
Add a layer called Corolla. The flower hangs from the top of the stem and droops down and to the right at about 50°. It's roughly 500 px long, and its mouth opens to about 320 px across.
With the Lasso, draw the trumpet in one go. Start about 35 px wide at the stem top and keep the tube slim, about 50 px, for the first half. Then let it flare quickly. Finish with the mouth: a tilted oval about 320 px across that faces down and towards you.
Now hold Shift and lasso each of the five points round the rim. Space them evenly round the oval. Make each one a slim triangle about 80 px long with gently curved sides, whose base overlaps the rim so Shift merges it with the trumpet.
-
Shade the corolla and pleat it
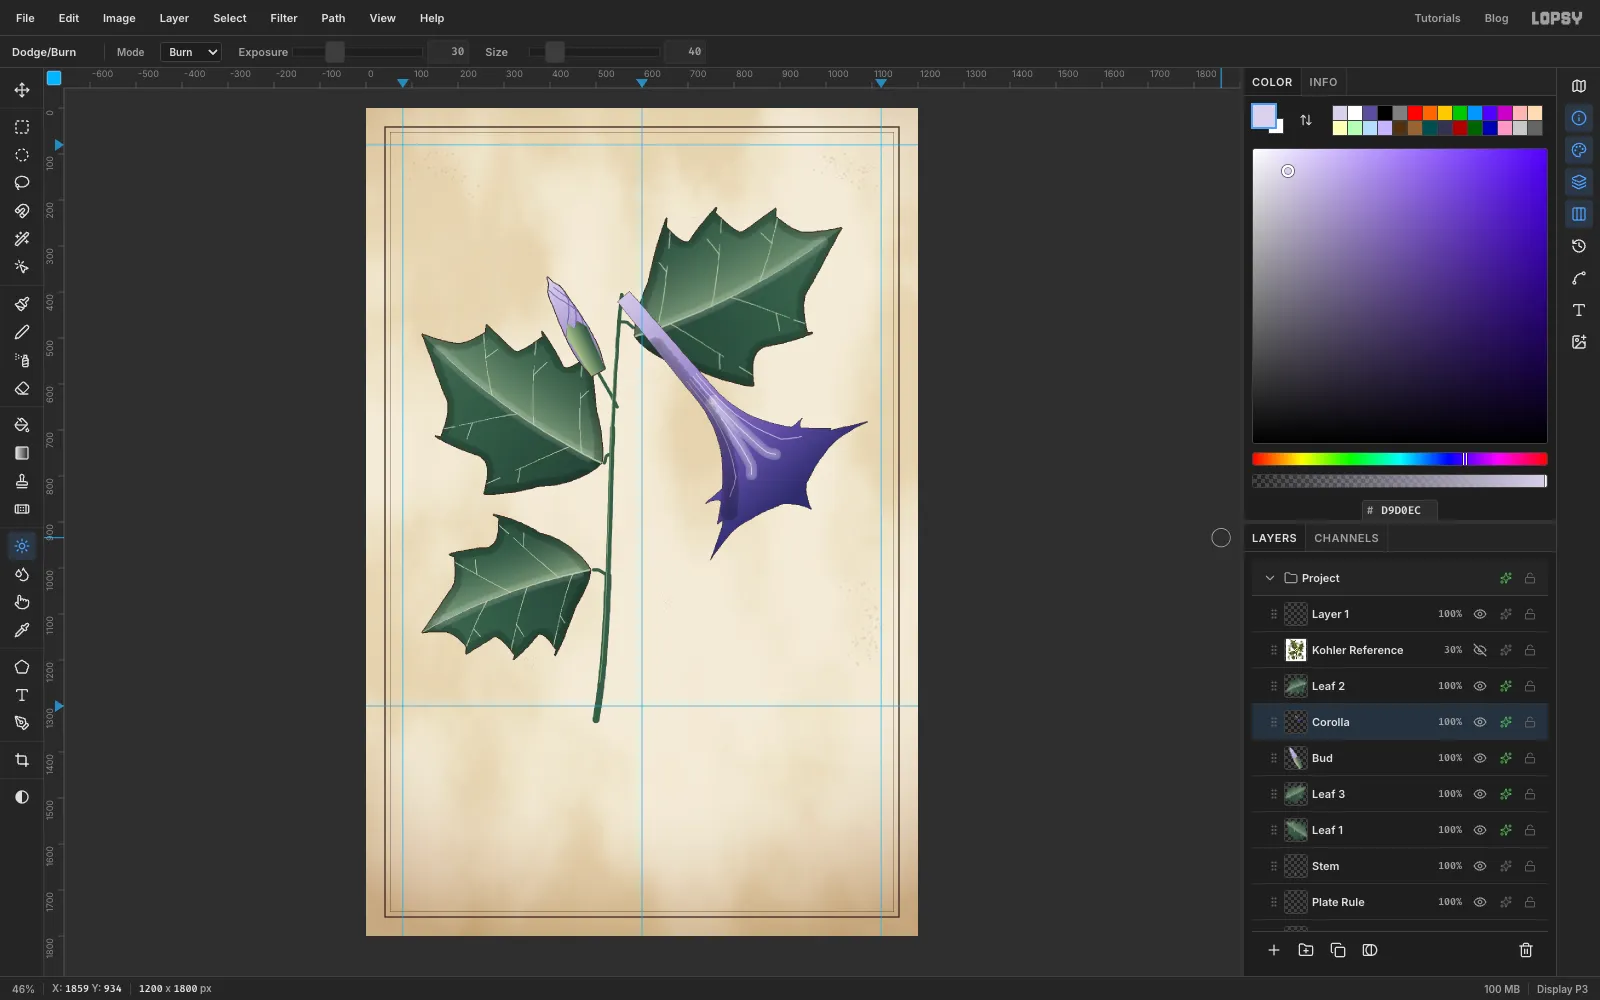
With the selection still active, drag a Linear gradient along the flower from the stem end to the mouth with four stops: , at 45%, at 78% and .
Brush four pleat lines down the tube at Size 3, Opacity 75 in , flaring out with the trumpet. Then with Dodge / Burn:
- Dodge, Exposure 35, Size 26: run along the two middle pleats.
- Burn, Exposure 30, Size 40: run along the lower edge of the tube.
Deselect and add a 1 px sepia Stroke. Keep it thinner than the leaves' outline so the flower stays delicate.
-
Open the throat with a violet star
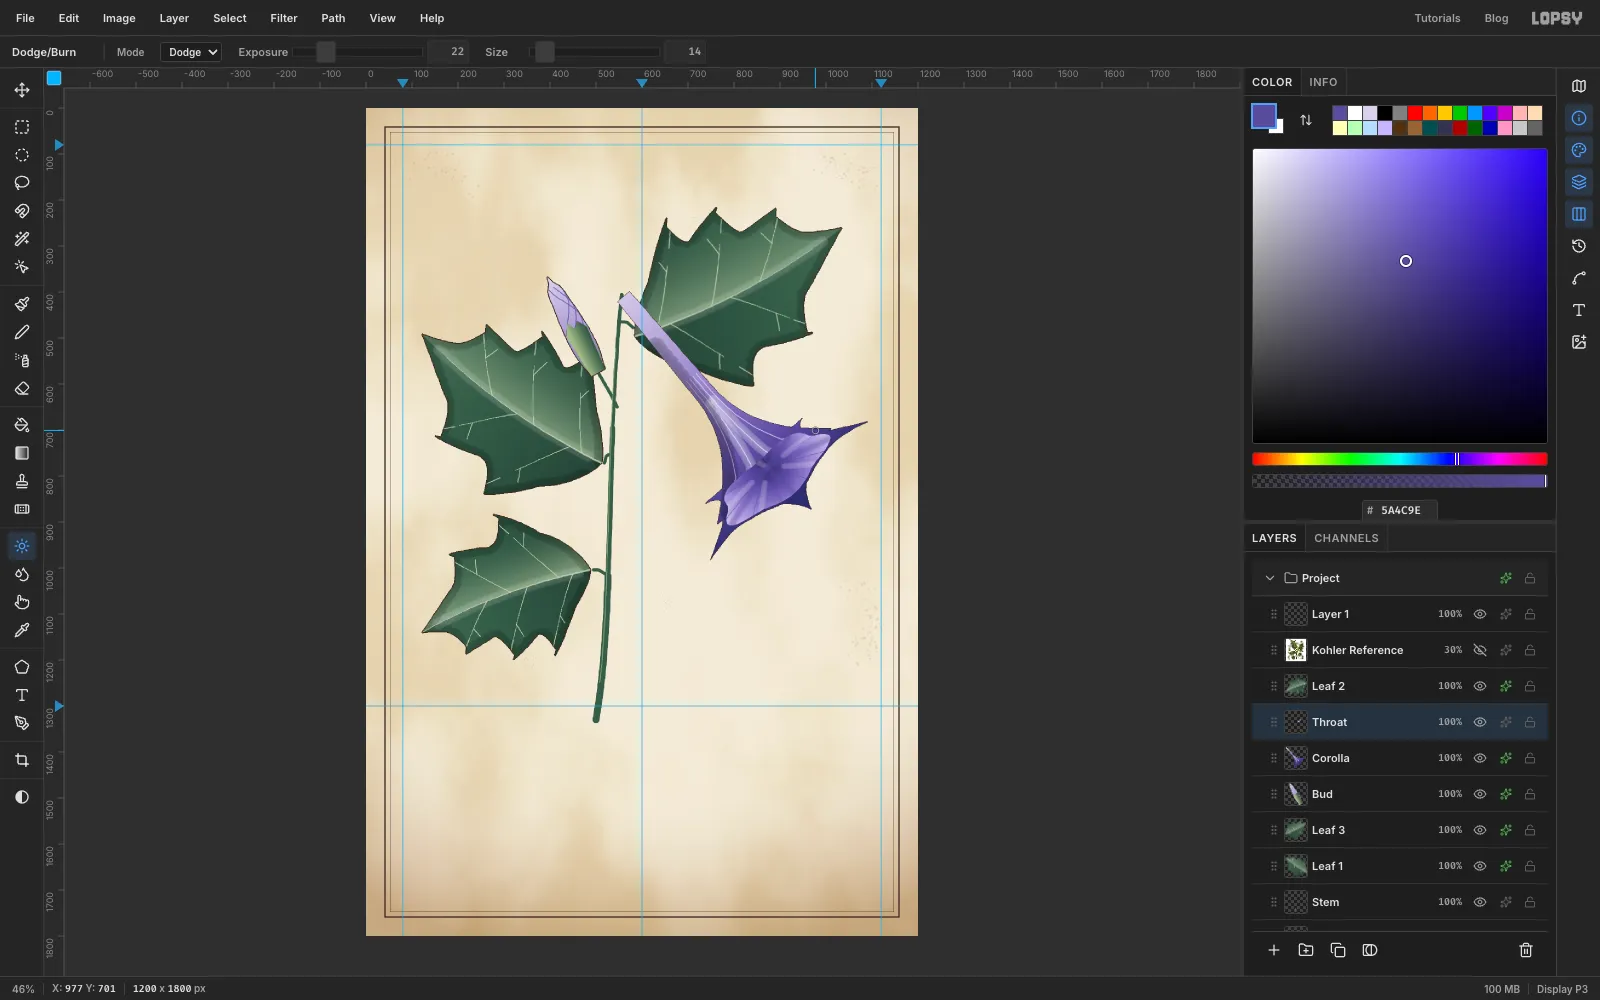
Add a layer called Throat. Lasso the open face of the flower. Follow the mouth just inside the rim and dip the edge slightly between the points so the face has five shallow lobes.
Drag a Radial gradient from a spot a little up the tube from the centre of the face out to the far rim, with five stops: , at 25%, at 55%, at 82% and .
Then, still inside the selection:
- Brush at Size 22, Hardness 20, Opacity 40 in . Paint one stroke from the centre out to each of the five points. That's the flower's star.
- Brush at Size 2, Opacity 55: add ten fine nectar lines radiating from the centre.
- Dodge at Exposure 22, Size 14: paint a short ridge between each pair of star rays to suggest the folded pleats.
-
Sheathe the base in a ribbed calyx
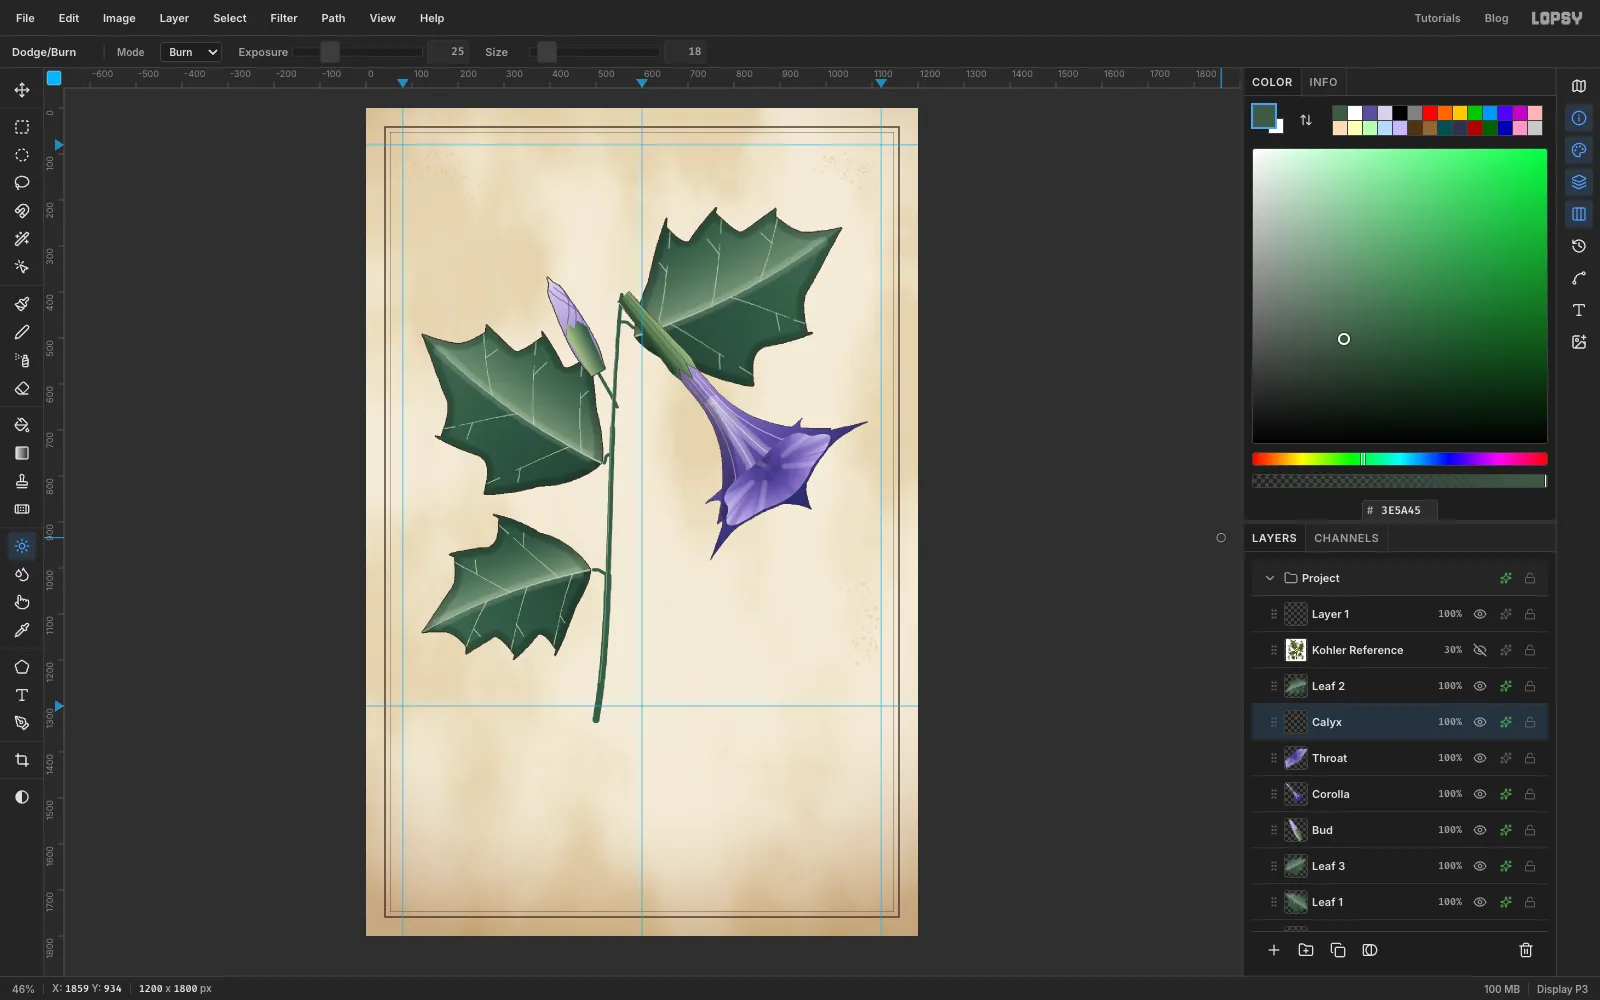
Add a layer called Calyx. Lasso a sheath around the first third of the trumpet, about 195 px long. Make it about 30 px wide at the stem, widening to about 55 px. End it in pointed teeth about 30 px long, of which you'll see three from this side. Fill it with a linear gradient dragged across it, from through to .
Brush three thin rib lines along it at Size 2 in . Burn once down its shadow side, then deselect and add a 1 px sepia Stroke.
-
Draw the spiny capsule, Fig. 2
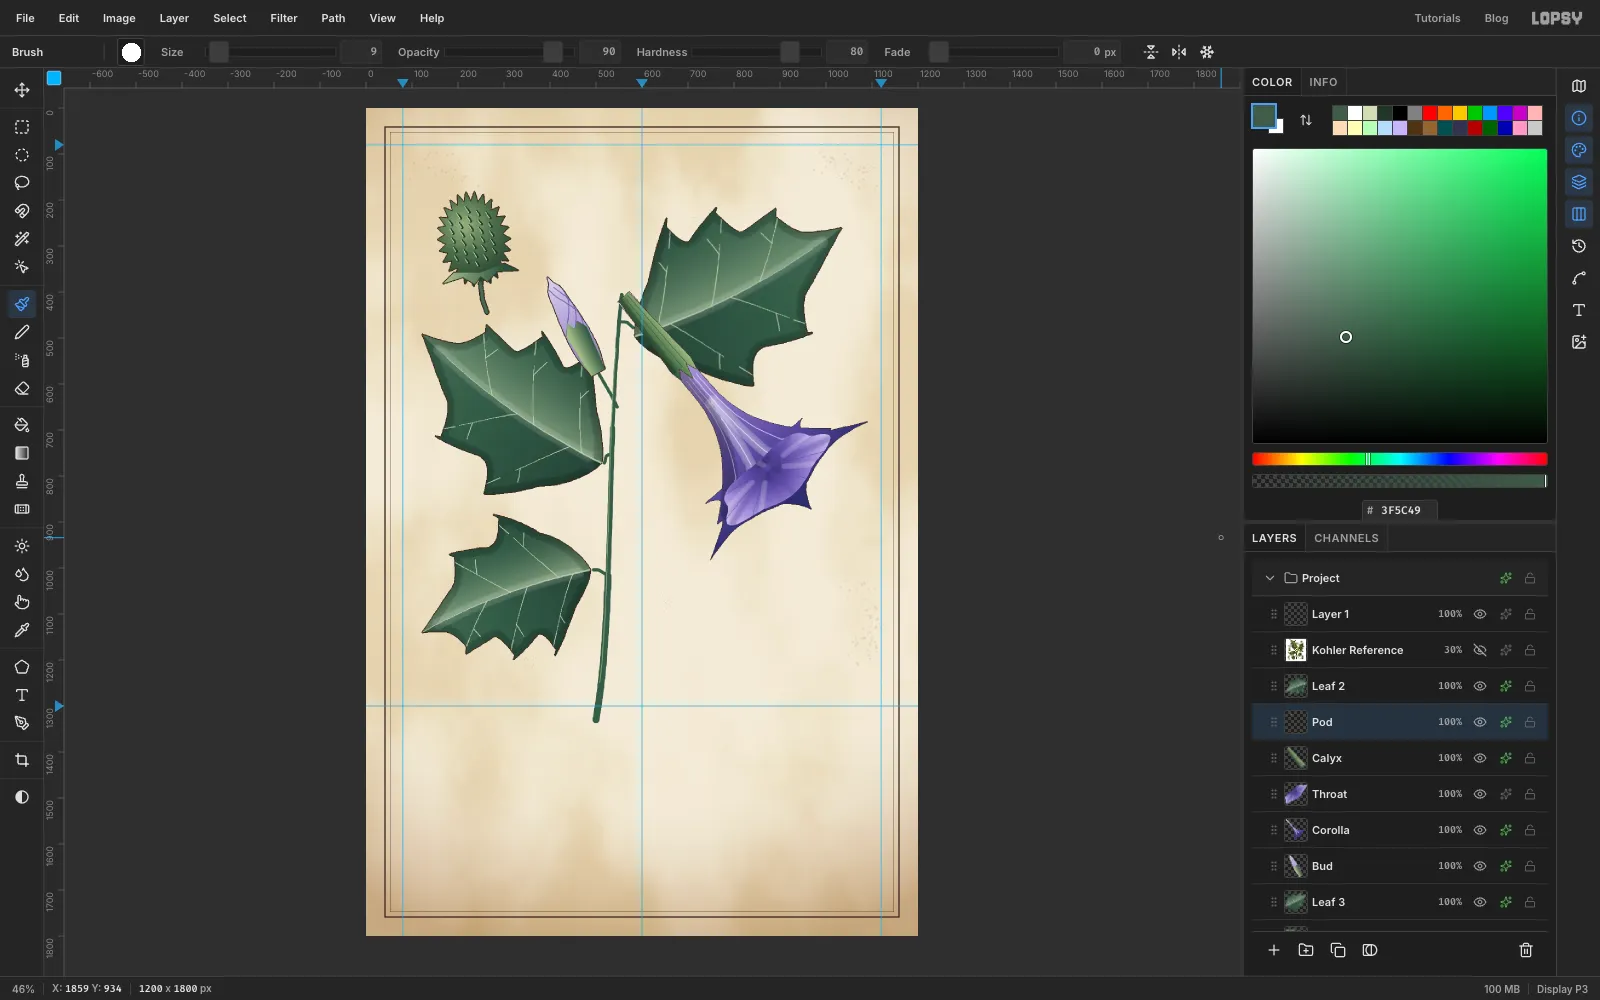
The thorn-apple's seed capsule goes at the top left as its own figure. Add a layer called Pod. Lasso an upright oval about 125 × 165 px with a ring of short spikes around the outline. Fill it with a Radial gradient from through to . Start the drag up and to the left of centre so the light comes from the top left.
For the spines, set the Brush's Taper to 16:
- Size 7 in : paint a short stroke for each spine, staggered in rows.
- Size 3 in : repeat them just to the left as highlights.
Set Taper back to 0. Lasso a ragged collar under the capsule and fill it with the calyx gradient, add a short Size 9 stalk, and give the layer a 2 px Stroke.
-
Copy and turn the seeds, Fig. 3
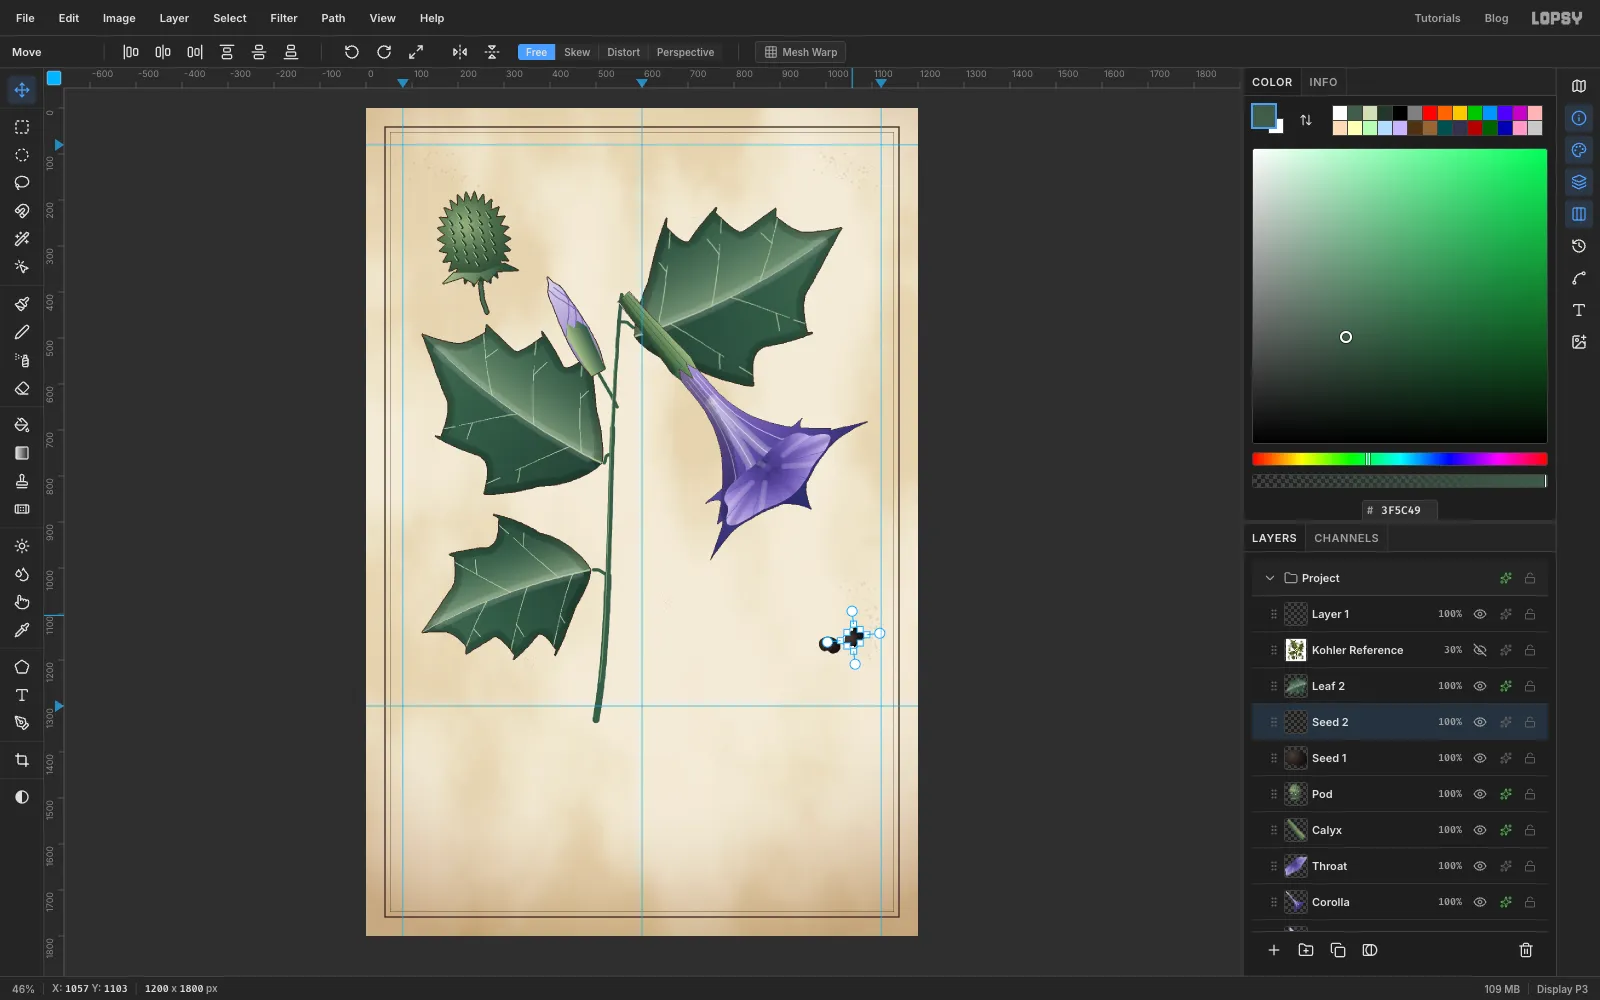
Add a layer called Seed 1. Seeds go at the lower right, inside the right margin guide and a little above where the saucer will sit. Lasso a kidney shape about 48 × 36 px and fill it with a radial gradient: , at 55% and . Run Filter → Add Noise… at 18, Mono, for a pitted seed coat.
Cmd-click the seed thumbnail, copy and paste it, and drag the copy beside the first. Rotate it with the round corner handle and press Cmd+D to apply it. Do it once more for a row of three seeds, each turned a different way.
-
Add a capsule cross-section, Fig. 5
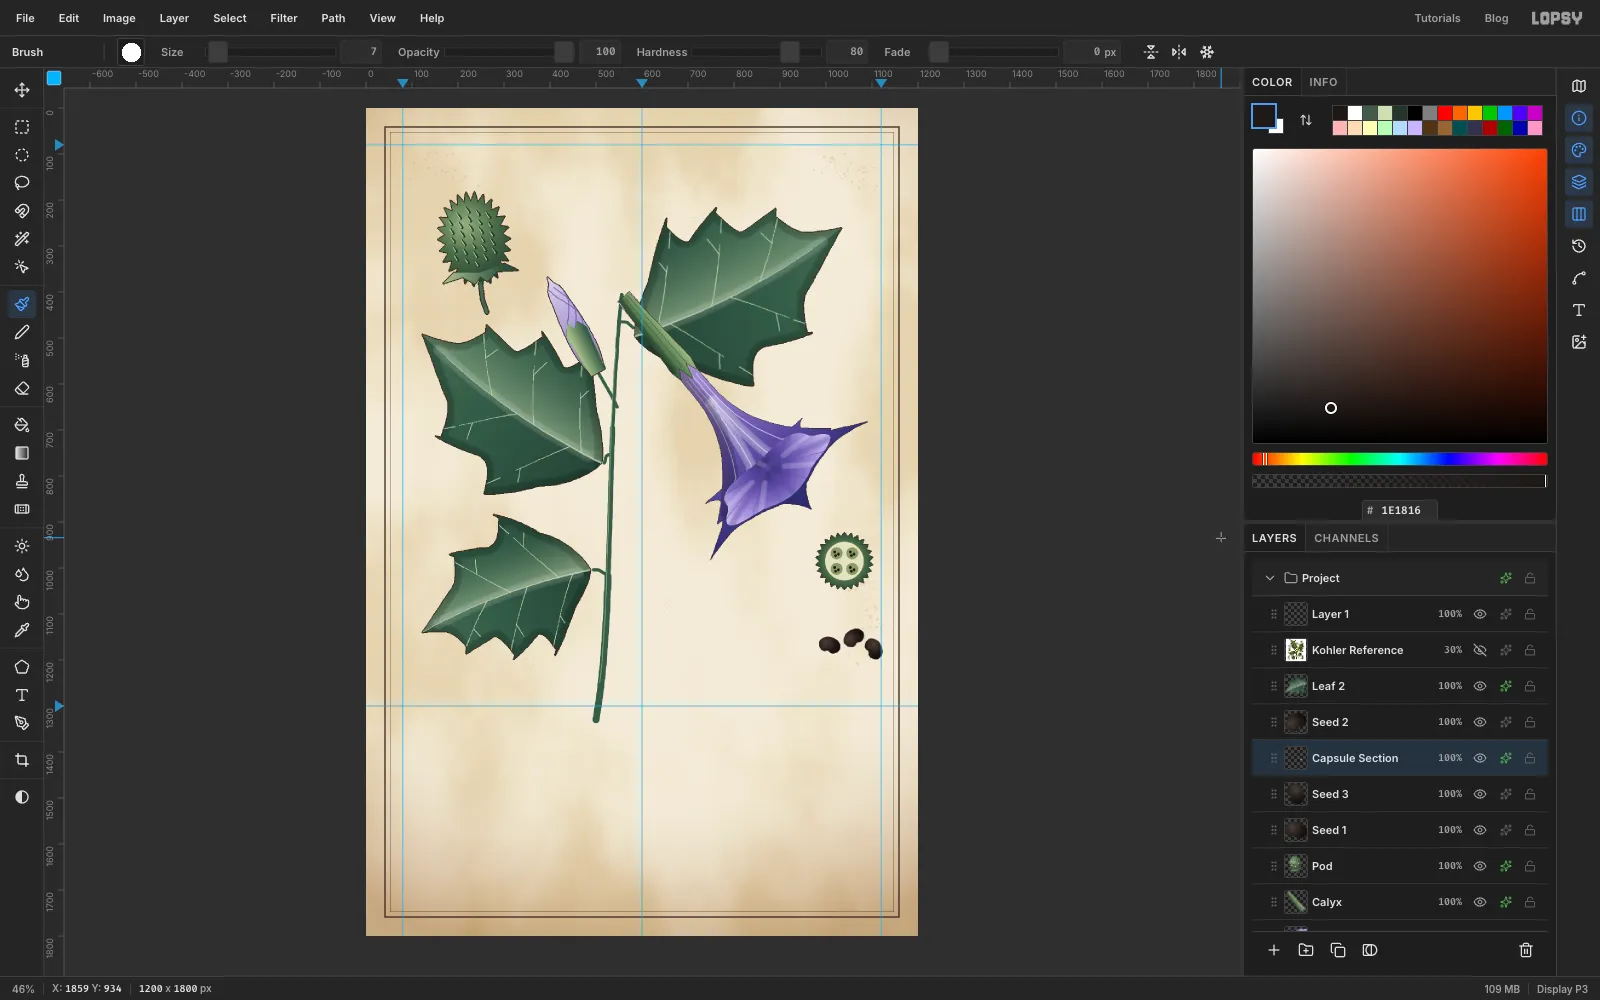
Plates often show a slice through the fruit. Add a layer called Capsule Section above the seeds. Lasso a circle about 125 px across, in the open paper right of the flower, with a fine sawtooth edge. Fill it with a radial gradient from through to .
With the Elliptical Marquee, select a slightly smaller circle in the middle and fill it with . Marquee one small circle in each quarter, holding Shift to add the next three, and fill them with . Click the Brush at Size 7 in three times in each chamber for seeds. Add a 1 px Stroke.
-
Start the teacup group: saucer and Pen handle
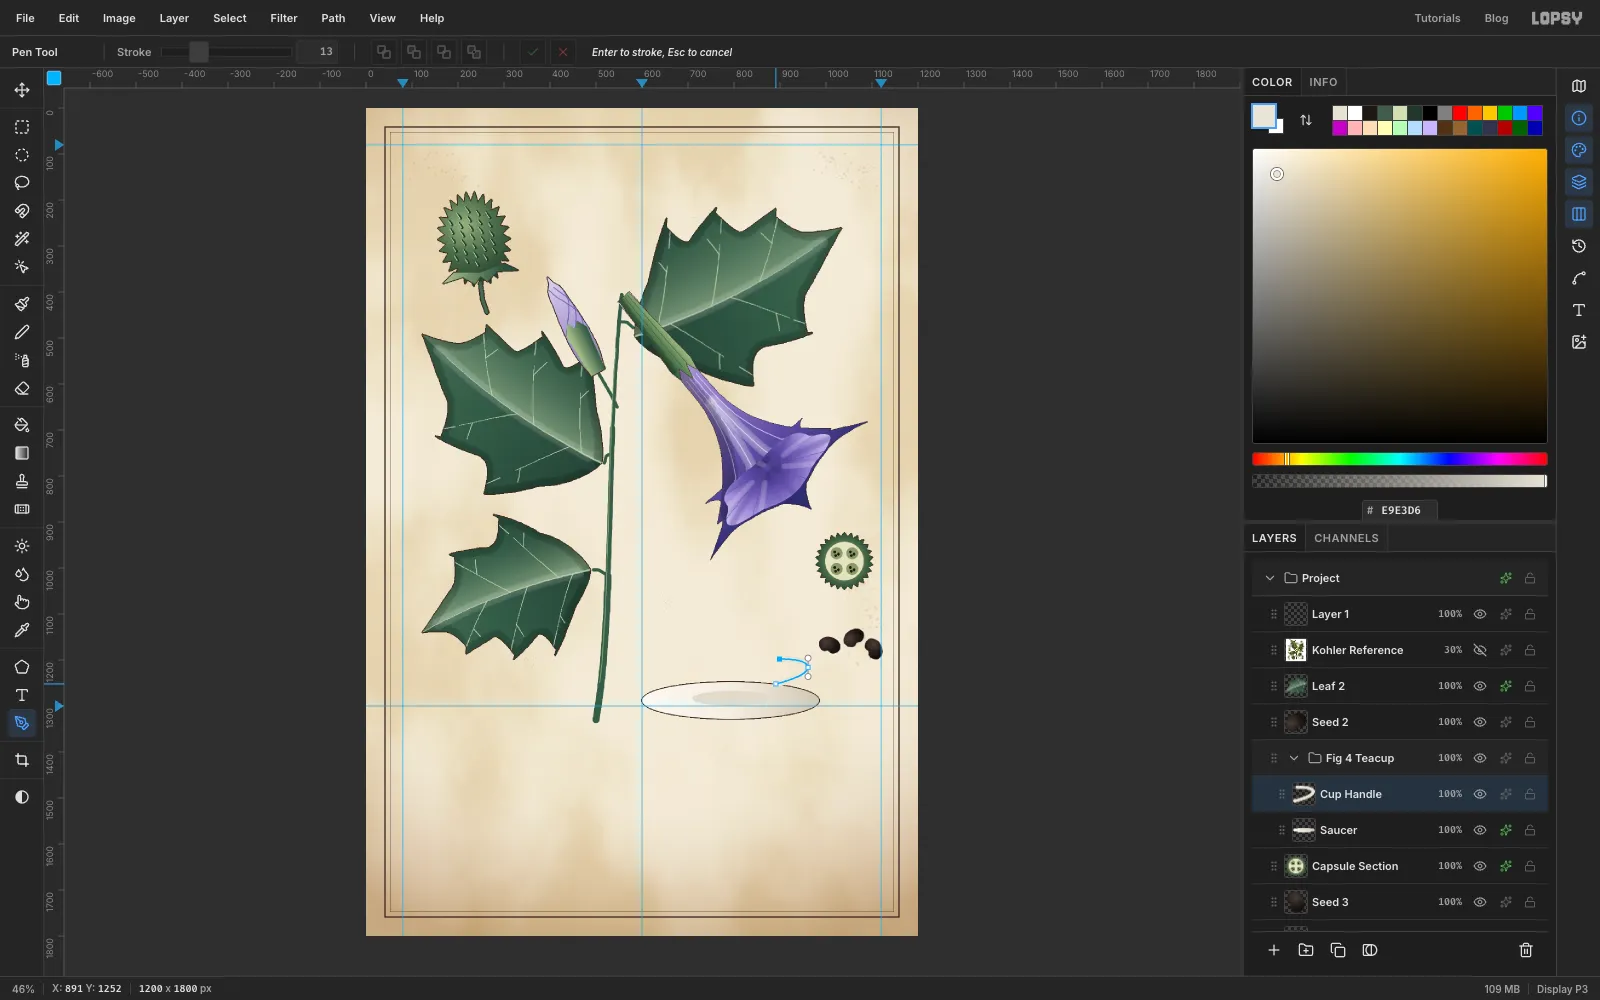
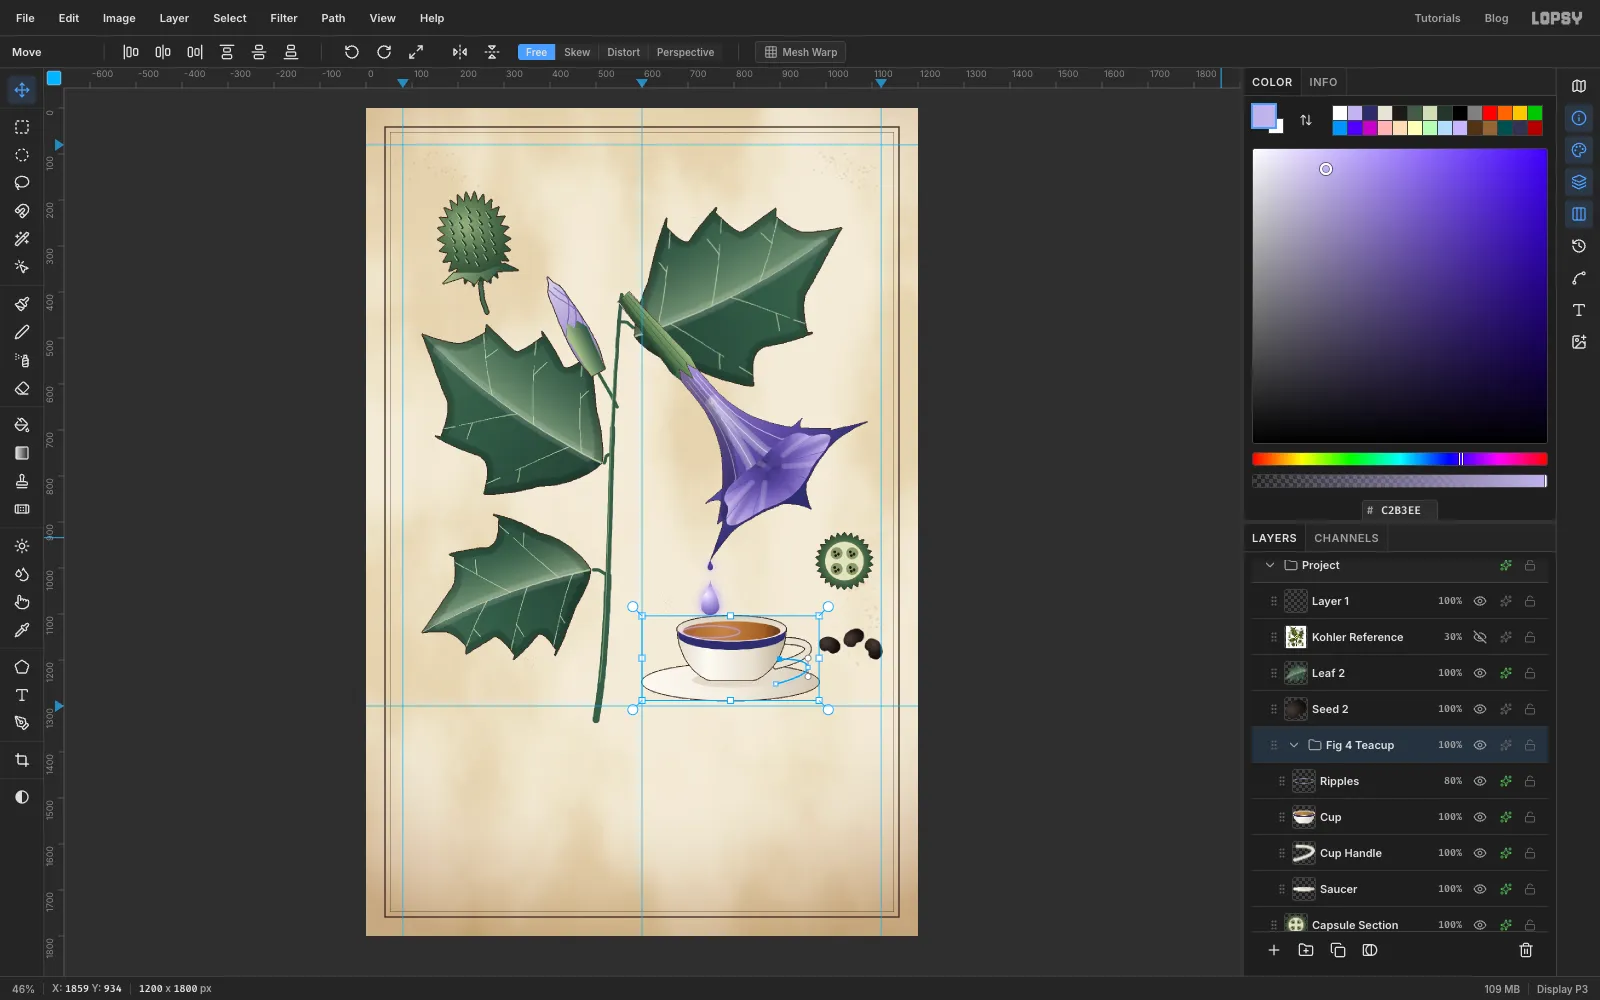
Click the New Group button at the bottom of the Layers panel and name the group Fig 4 Teacup. Layers you add while it's selected go inside it.
- Saucer: add a layer called Saucer. Marquee a wide ellipse about 380 × 80 px, centred under the flower's lowest point and just above the lower guide, and fill it with a linear gradient from through to , left to right. Fill a smaller inner ellipse with for the well, and add a 2 px Stroke.
- Cup Handle: the handle sits behind the cup, so draw it first. Add a layer called Cup Handle, set the foreground to , choose the Pen tool and set its Stroke to 13. The cup will be about 240 px wide, centred over the saucer. Click about 105 px right of that centre and about 90 px above the saucer's centre, just under where the rim will be. Click-drag out about 60 px further right to bend the loop, then click back about 55 px below your first click, beside where the cup's body will be. Press Enter to stroke the path. The blue path outline stays on screen for a while afterwards. It's only a guide and isn't part of the picture. Give the handle a 2 px sepia Stroke so its edges are inked.
-
Build the porcelain cup and tea
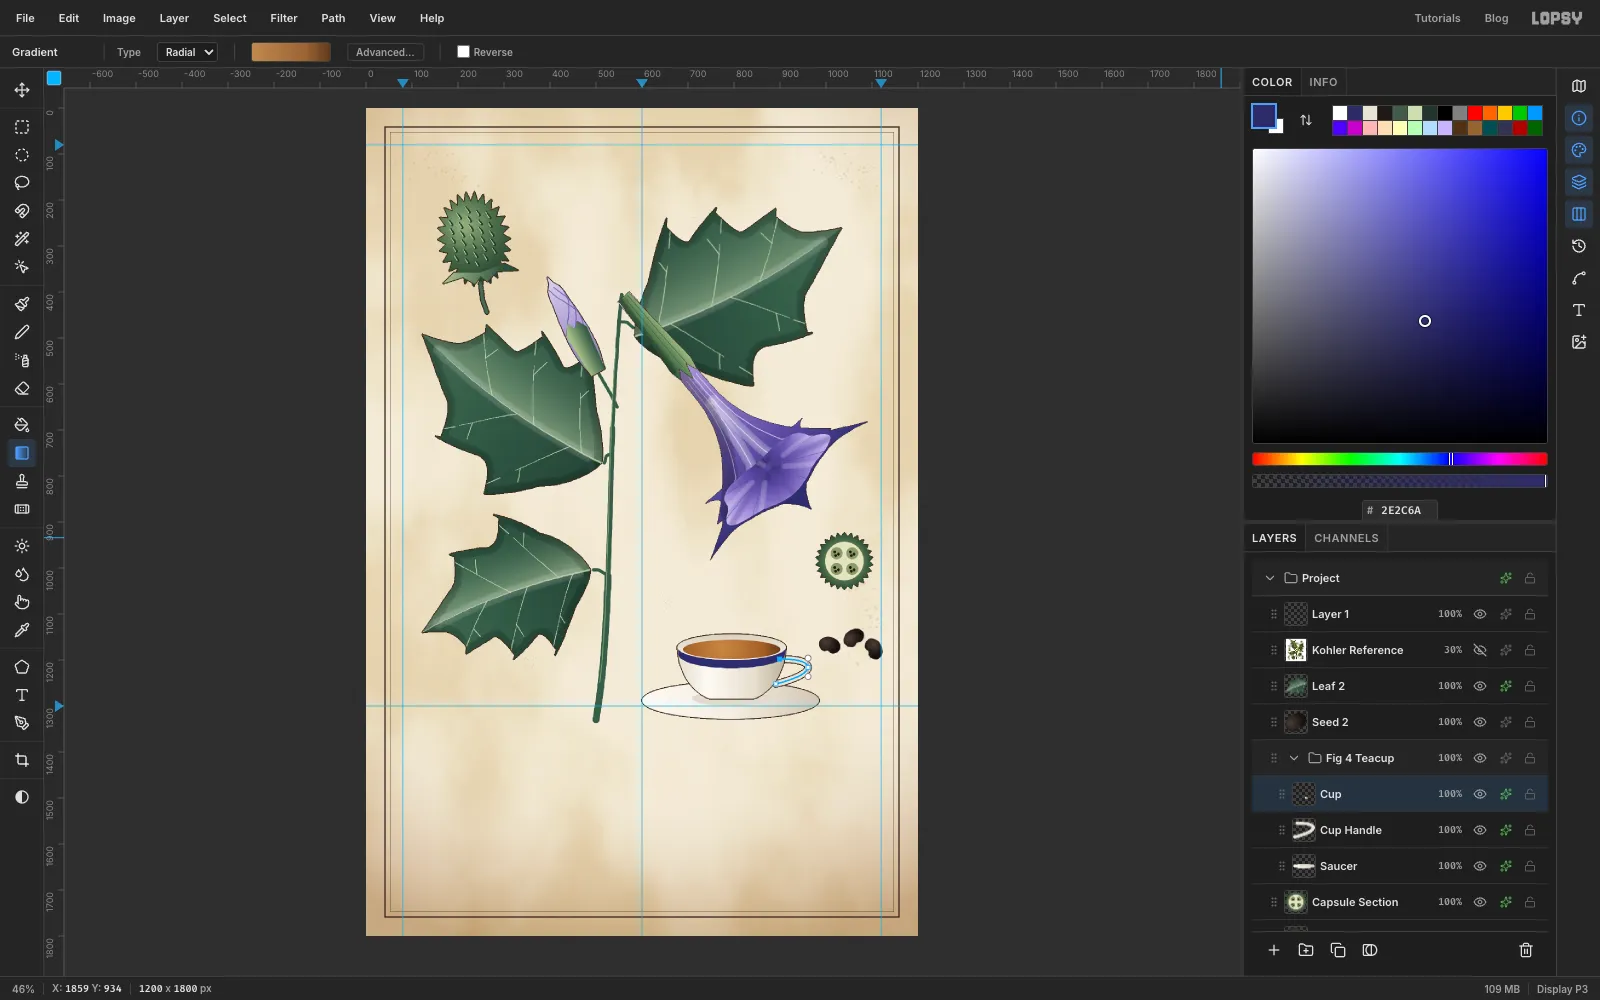
Add a layer called Cup. It's about 240 px across at the rim, and the bowl is about 110 px deep:
- Lasso the bowl: along the front of the rim, round and down to a foot about 90 px wide, and back up the other side. Fill it with a linear gradient across it: , at 28%, at 70% and . That's a rounded porcelain highlight.
- Lasso a band about 15 px deep just under the rim, following its curve, and fill it with indigo .
- Marquee the rim ellipse (about 240 × 56 px) and fill it with a gradient from to , top to bottom.
- Marquee a slightly smaller ellipse for the tea and drag a Radial gradient from through to .
Add a 2 px sepia Stroke.
-
Let the poison drop fall
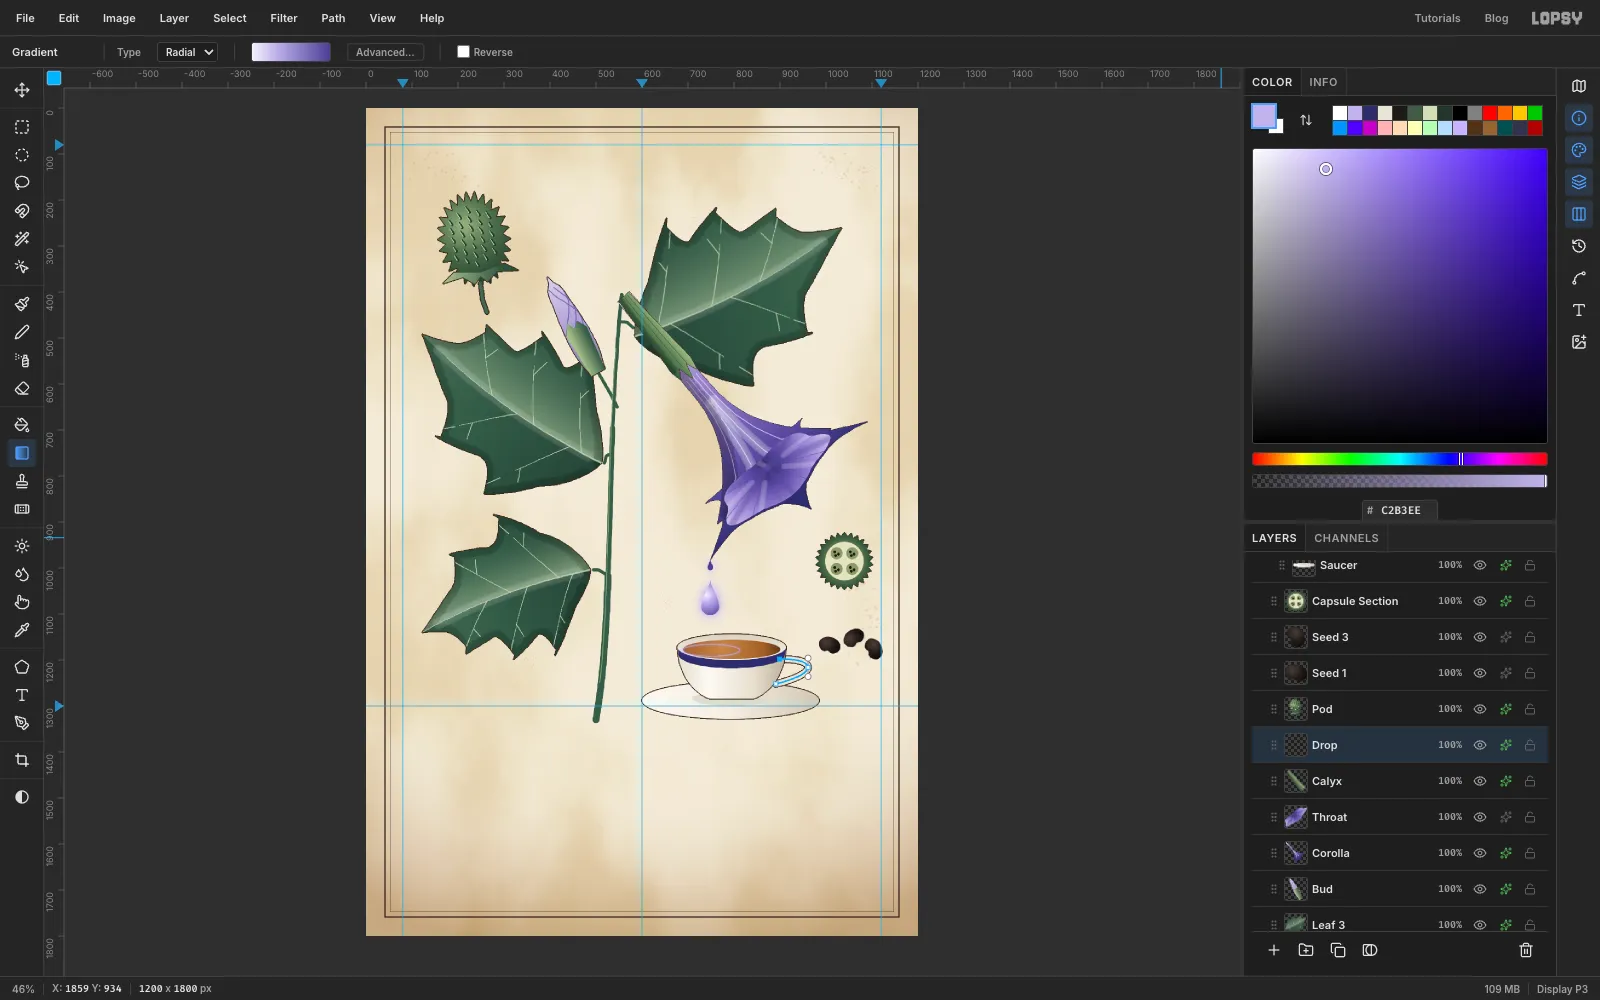
This drop is the whole film, so let it glow.
- Ripples: add a layer called Ripples. Marquee three ellipses of increasing size, centred under the flower's lowest point. Fill each with , shrink it by 2 px and press Delete to leave a ring. Soften the rings with Filter → Gaussian Blur… at 2, set the layer to 80%, then add an Outer Glow of Size 10, Opacity 60 in .
- Drop: the drop belongs to the flower, not the cup, so click the Calyx layer first (outside the group), then add a layer called Drop. Lasso a small drop hanging from the lowest point of the flower, then Shift-lasso a big teardrop about 40 × 75 px halfway to the cup. Drag a Radial gradient from its upper left with , at 35% and . Add an Outer Glow of Size 34, Opacity 90 in .
-
Nudge the whole teacup group into place
The saucer should sit on the paper, clear of the ink band to come. Click the Fig 4 Teacup group row, choose the Move tool, and press Shift+Up four times. That moves everything in the group, saucer, handle, cup and ripples, up 40 px together. The drop stays where it is.
-
Lasso the indigo ink band
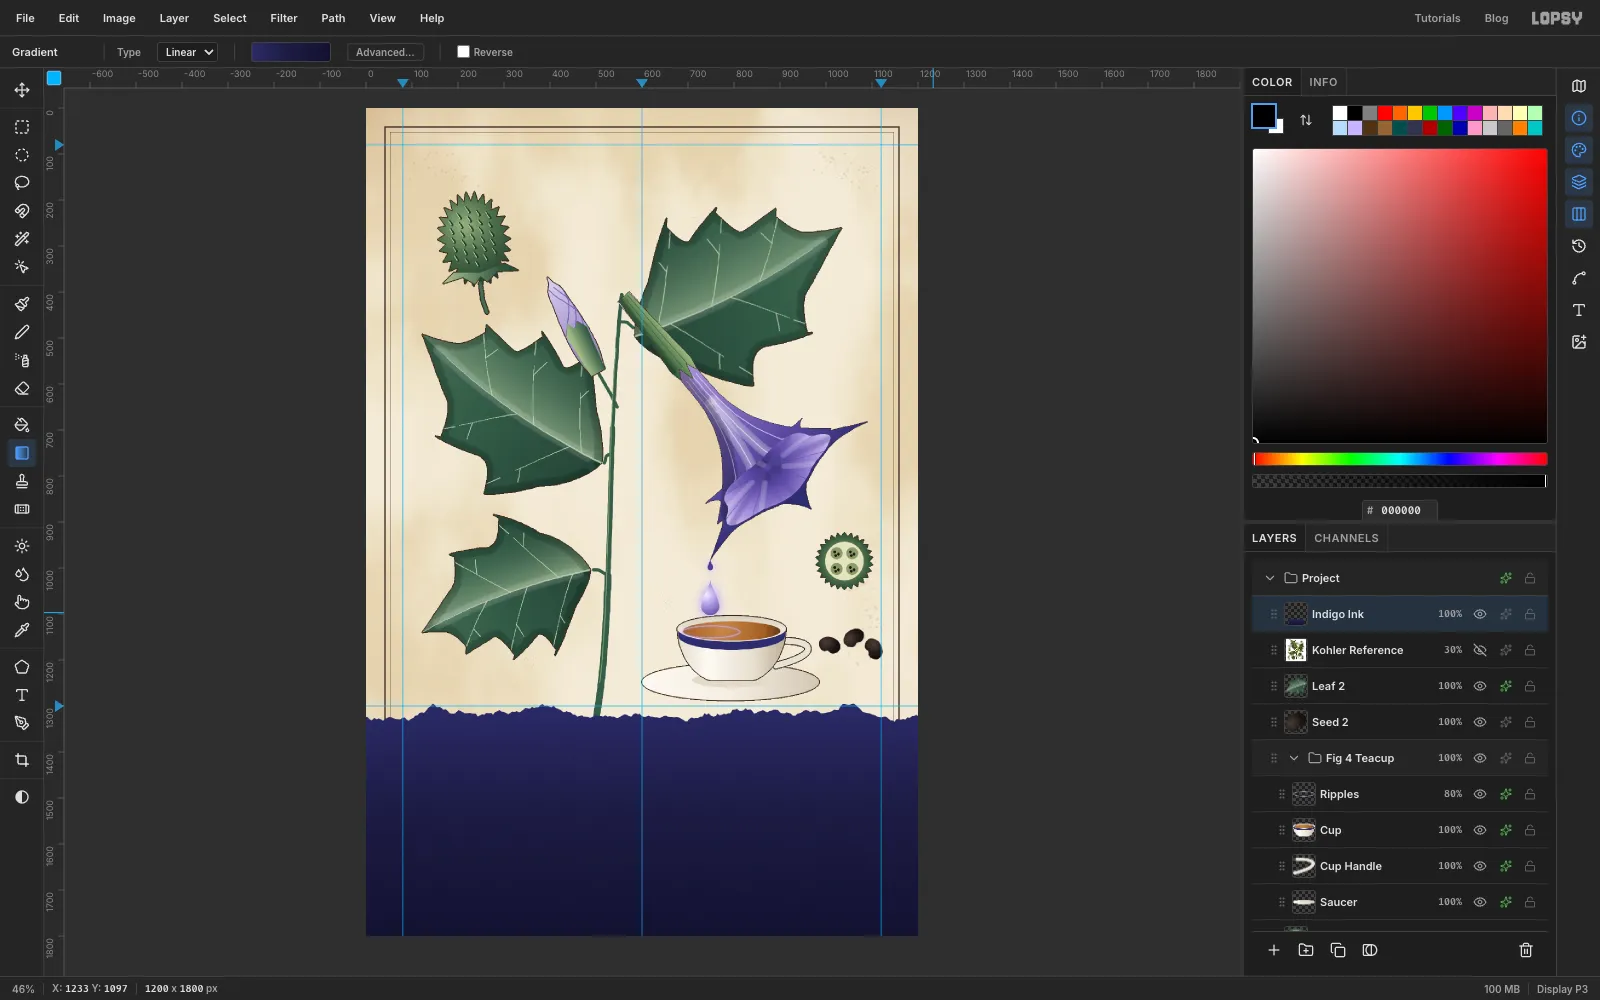
The bottom of the plate is soaked in indigo, as if the paper had been dipped. First delete the empty Layer 1. Then click the Kohler Reference layer and add a layer called Indigo Ink above it.
With the Lasso, draw an irregular line across the page just below the lower guide. Wobble it a little and let it rise in three small rounded blooms, the way wet ink creeps up paper. Keep it low under the saucer. Then go down and around the bottom corners to close the selection.
Drag a linear gradient from top to bottom: , at 45% and . Run Add Noise… at 6, Mono, for granulation, and deselect.
-
Add a tide-line and a wet halo
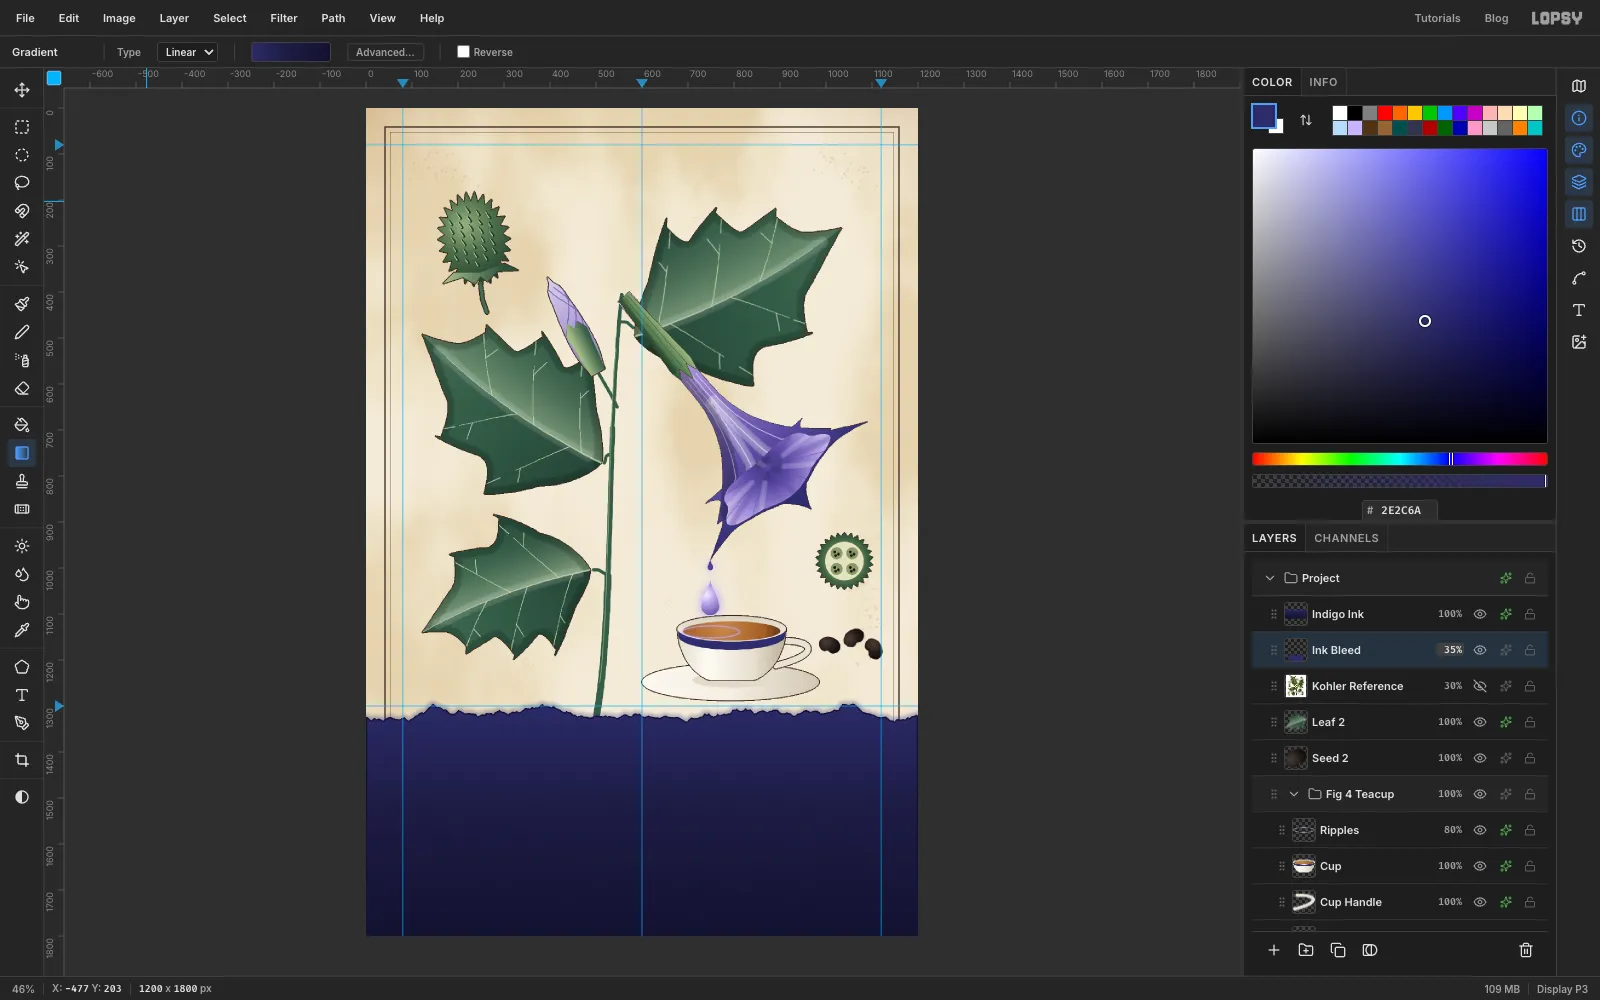
When watercolour dries, the pigment collects at the edge. Open Indigo Ink's layer effects and add a Stroke of Width 3 in , positioned Inside. It follows the edge as a darker tide-line.
For the wet halo, click Kohler Reference again and add a layer called Ink Bleed, so it sits under the band. Cmd-click Indigo Ink's thumbnail, then Select → Grow… by 6 and Select → Feather… by 8. Fill with , deselect, and set the layer to 35%.
-
Set the plate header
With the Text tool:
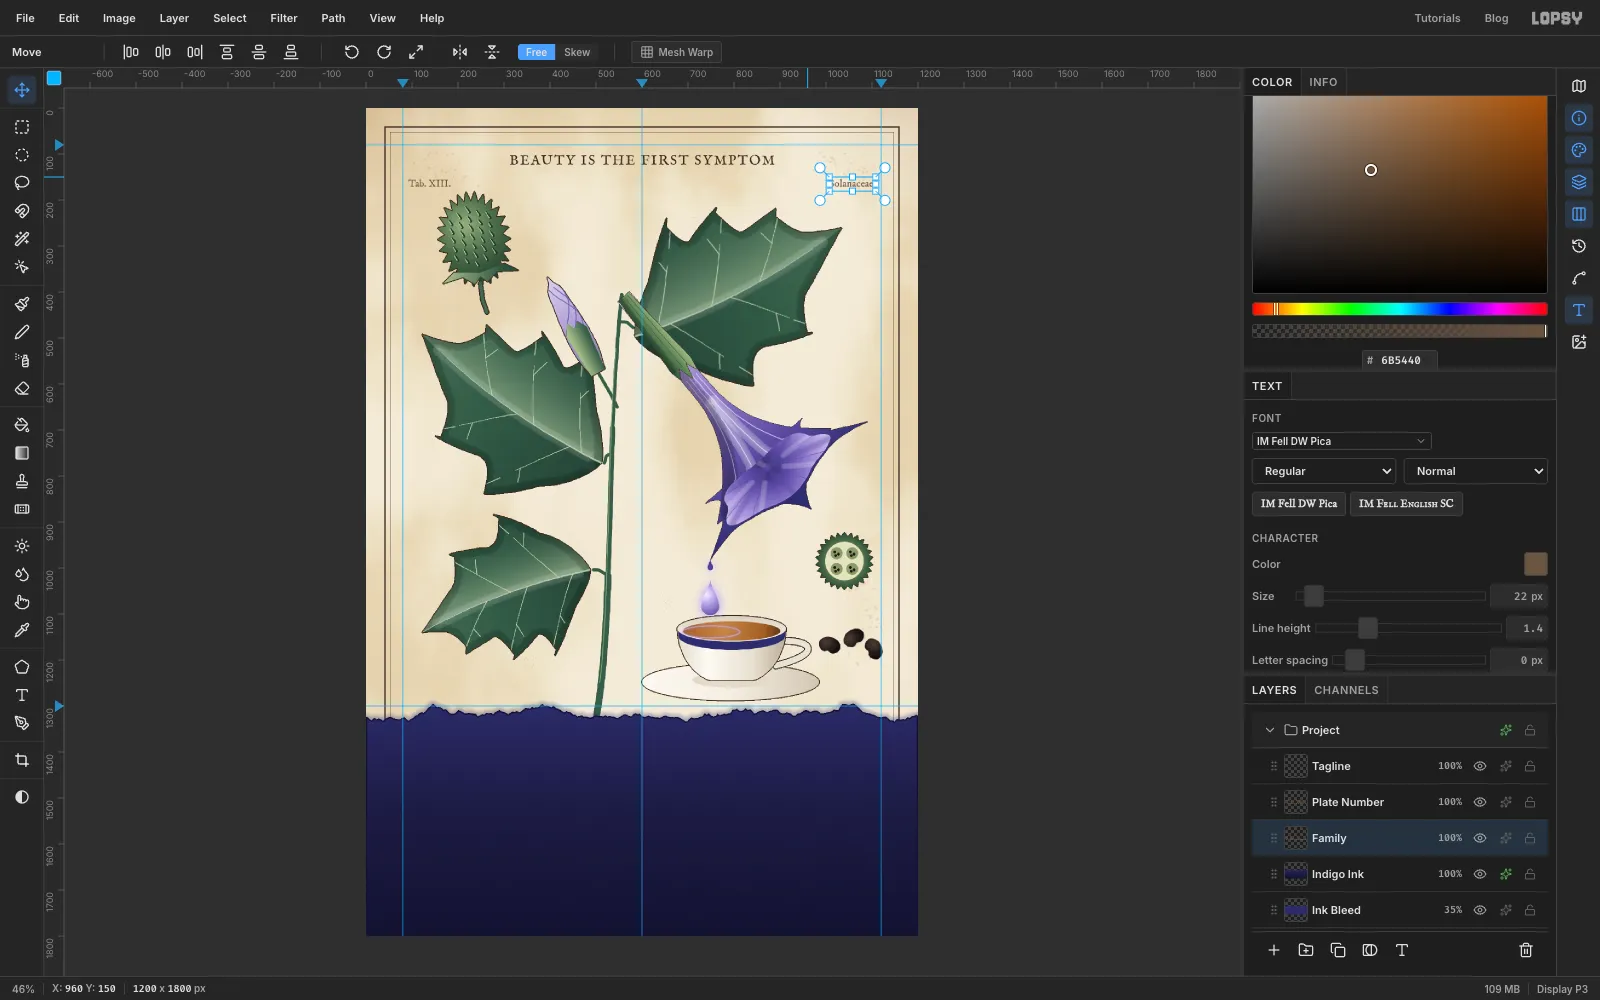
- Tagline: IM Fell English SC, 30 px, letter spacing 3, sepia : BEAUTY IS THE FIRST SYMPTOM. Centre it over the centre guide, about 110 px from the top.
- Plate number and family: IM Fell DW Pica, 22 px in . Tab. XIII. at the left margin guide and Solanaceae. ending on the right margin guide, about 40 px below the tagline.
-
Number the figures and caption the plate
Add the figure numbers in IM Fell DW Pica, 30 px, . Place each one close to its figure without touching it:
- 1 beside the flower's upper point
- 2 to the right of the capsule
- 3 above the seeds
- 4 to the left of the cup
- 5 above and right of the cross-section
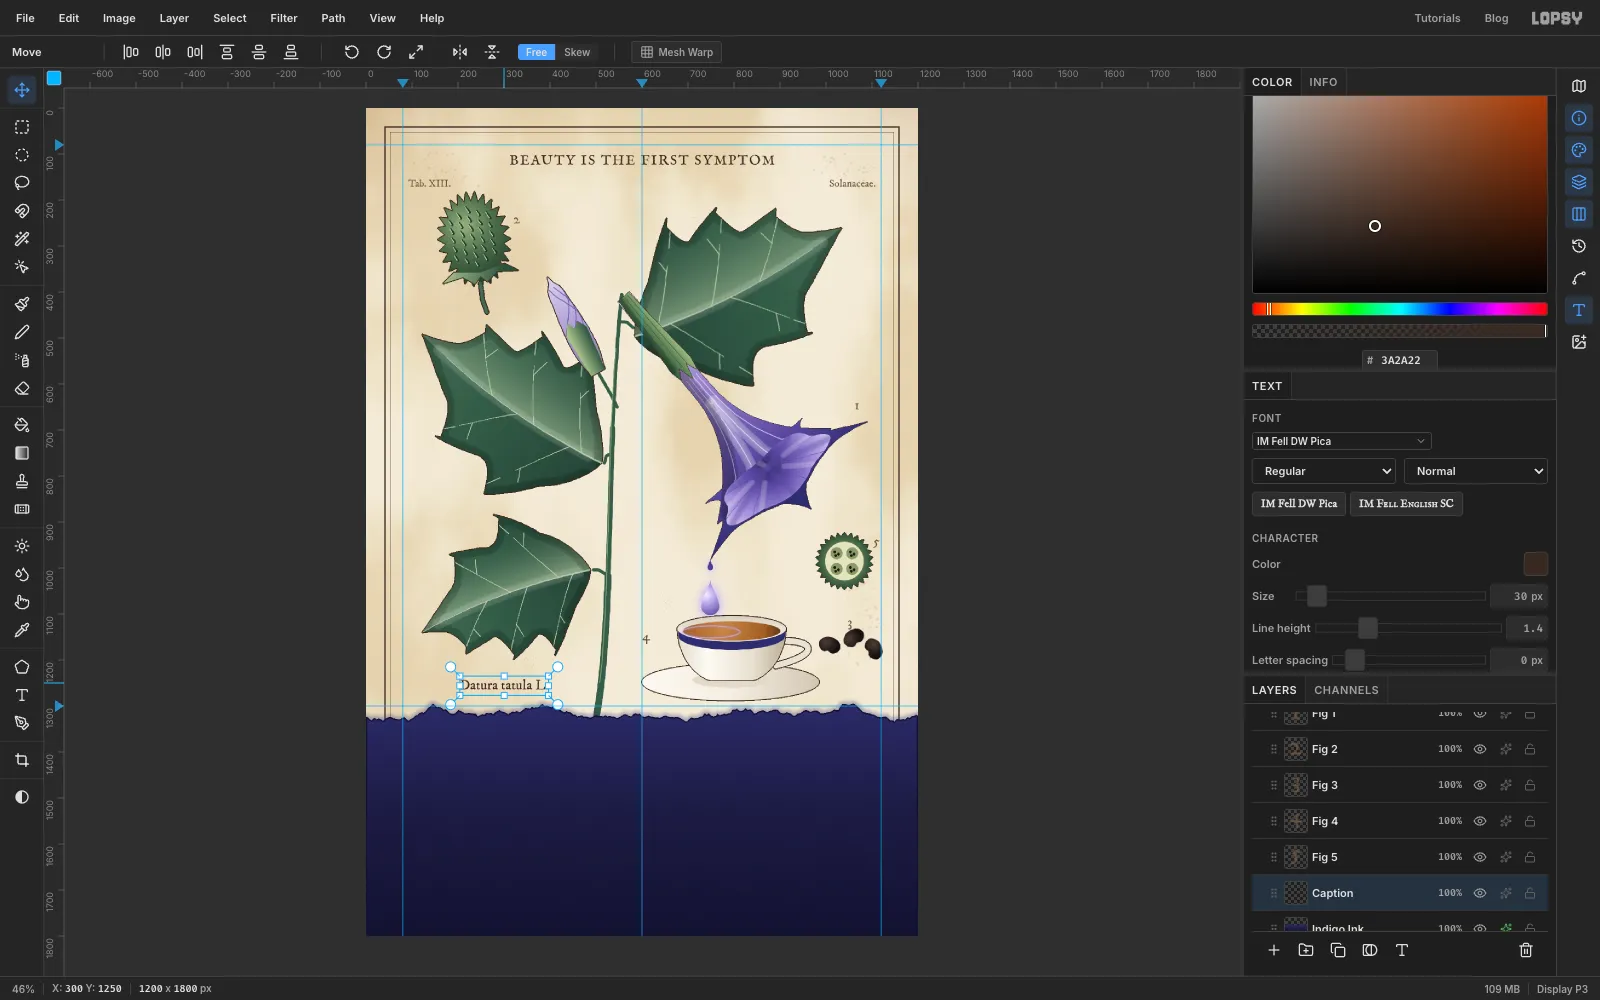
Then type the botanical name Datura tatula L. (the purple thorn-apple) at 30 px in sepia. Centre it under the lower leaf, well clear of the ink edge.
-
Set the title and select its letters
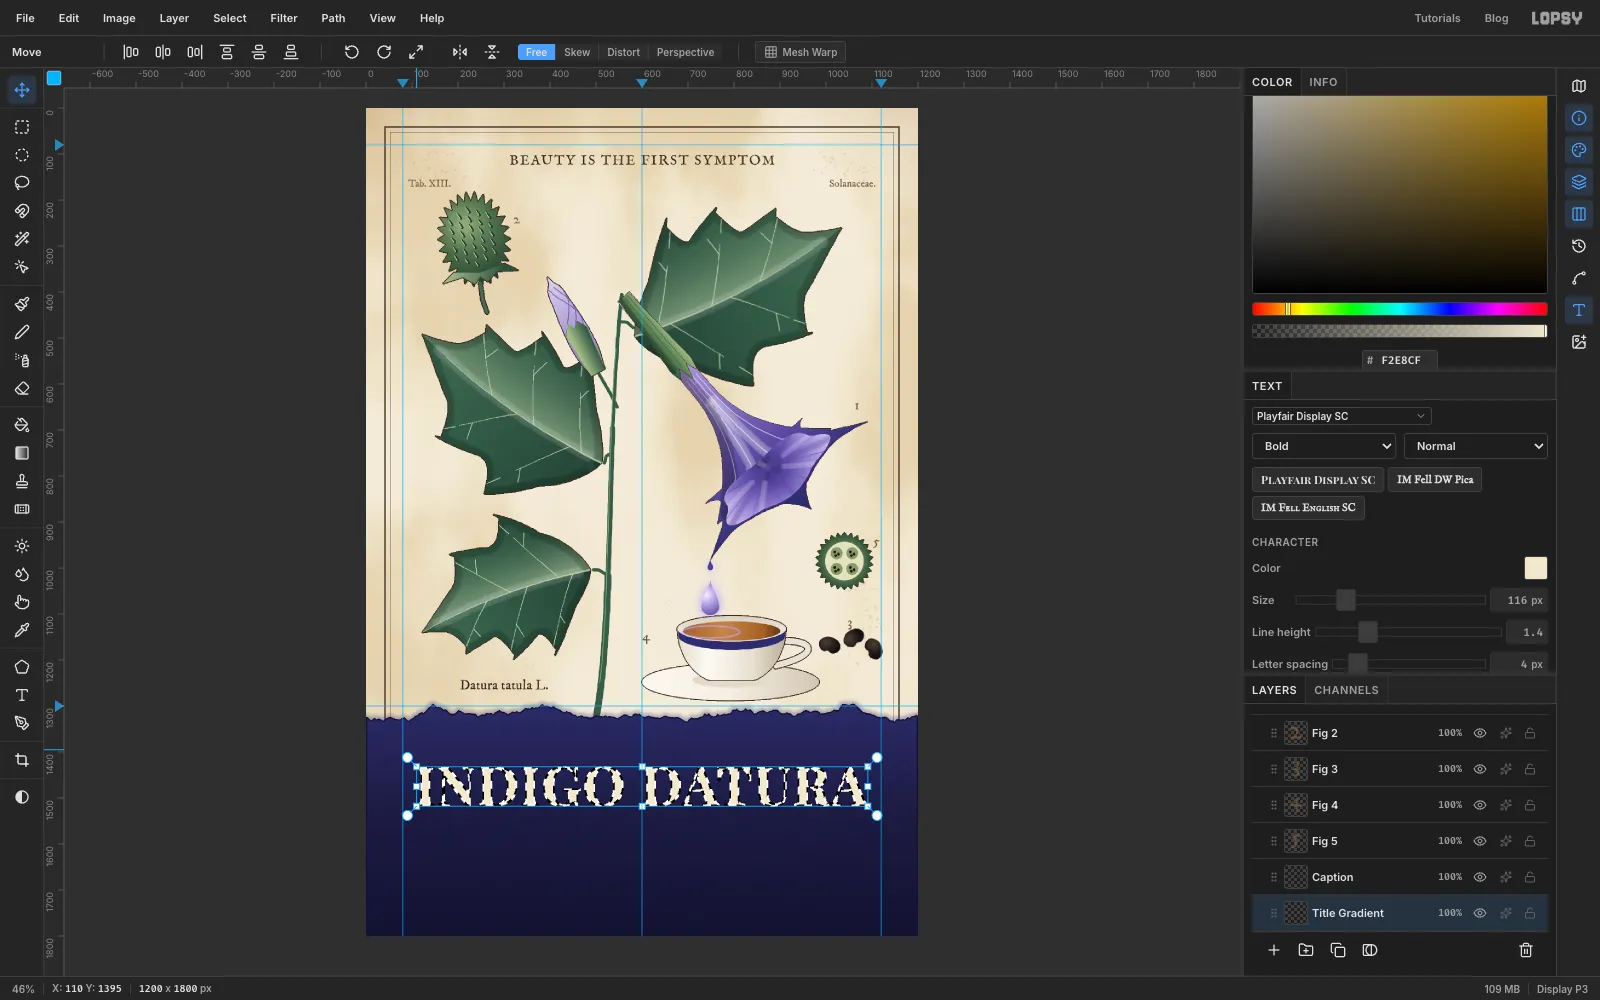
Type INDIGO DATURA in Playfair Display SC, Bold, letter spacing 4, in cream , somewhere in the ink band. Raise the Size until the title is about 980 px wide. That was 116 px here, leaving equal margins. With the Move tool, centre it on the centre guide about 150 px below the ink edge.
Cmd-click the title's thumbnail to select the shapes of its letters. Then add a layer called Title Gradient.
-
Fill the letters with a cream-to-lilac gradient
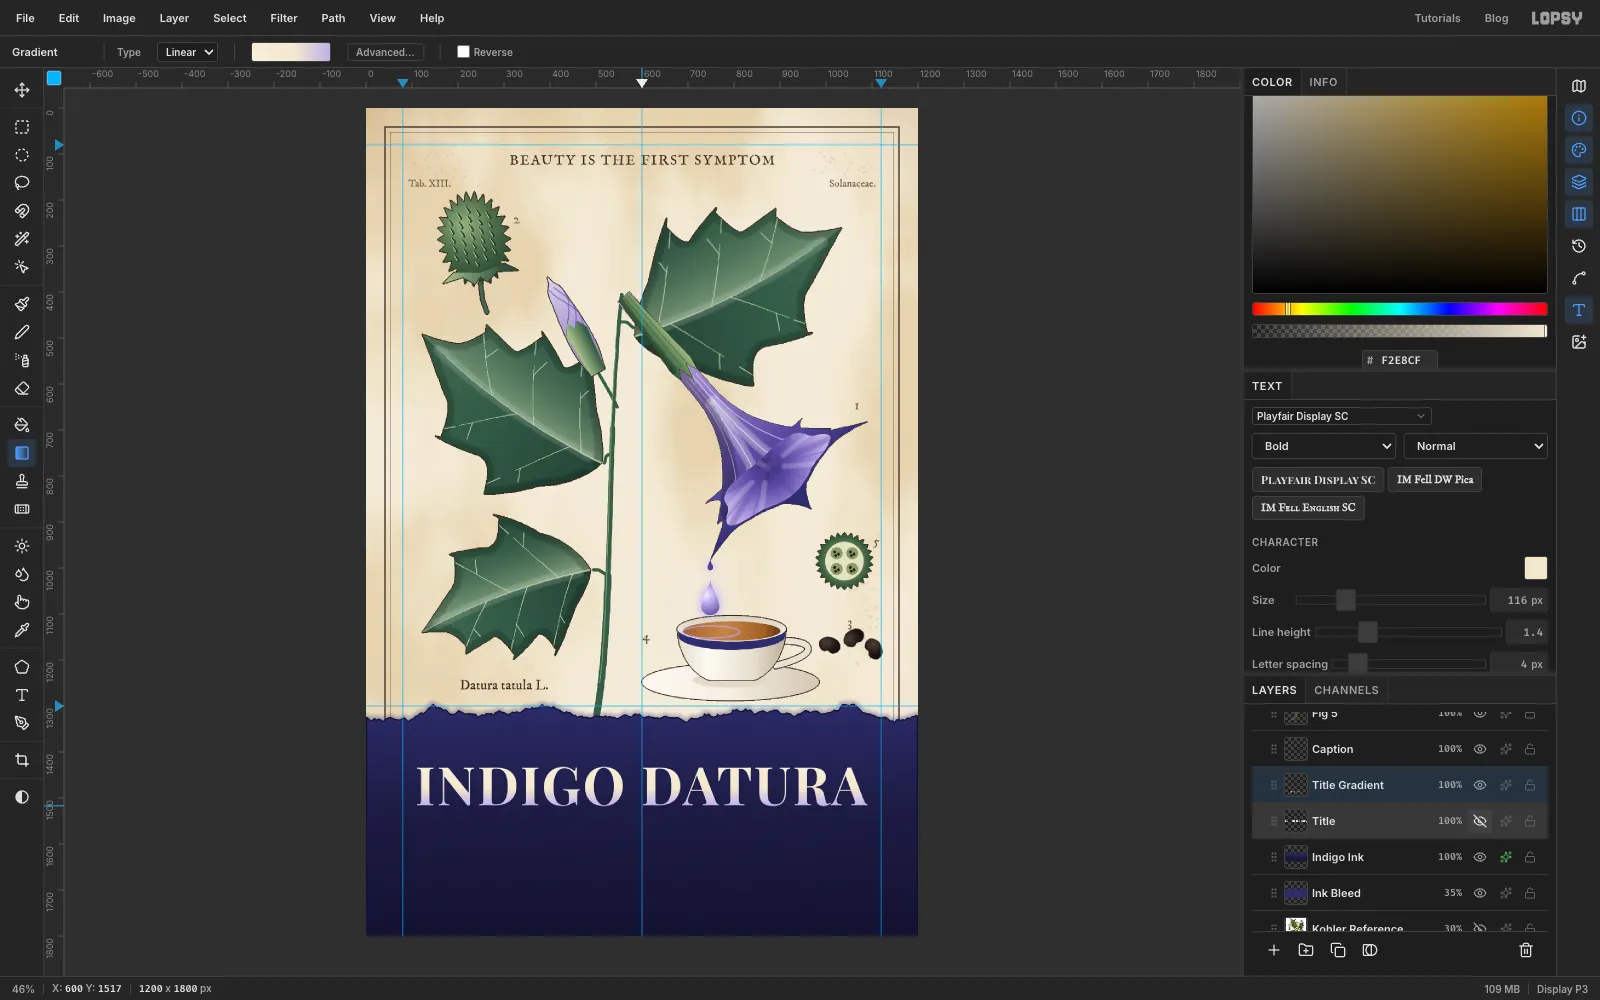
With the letters still selected, drag a Linear gradient from the top of the capitals to their baseline: , at 55% and . Deselect, then hide the original Title layer. Keep it in case you want to change the wording later.
-
Add the cast, common names, billing and date
Each of these is centred on the centre guide:
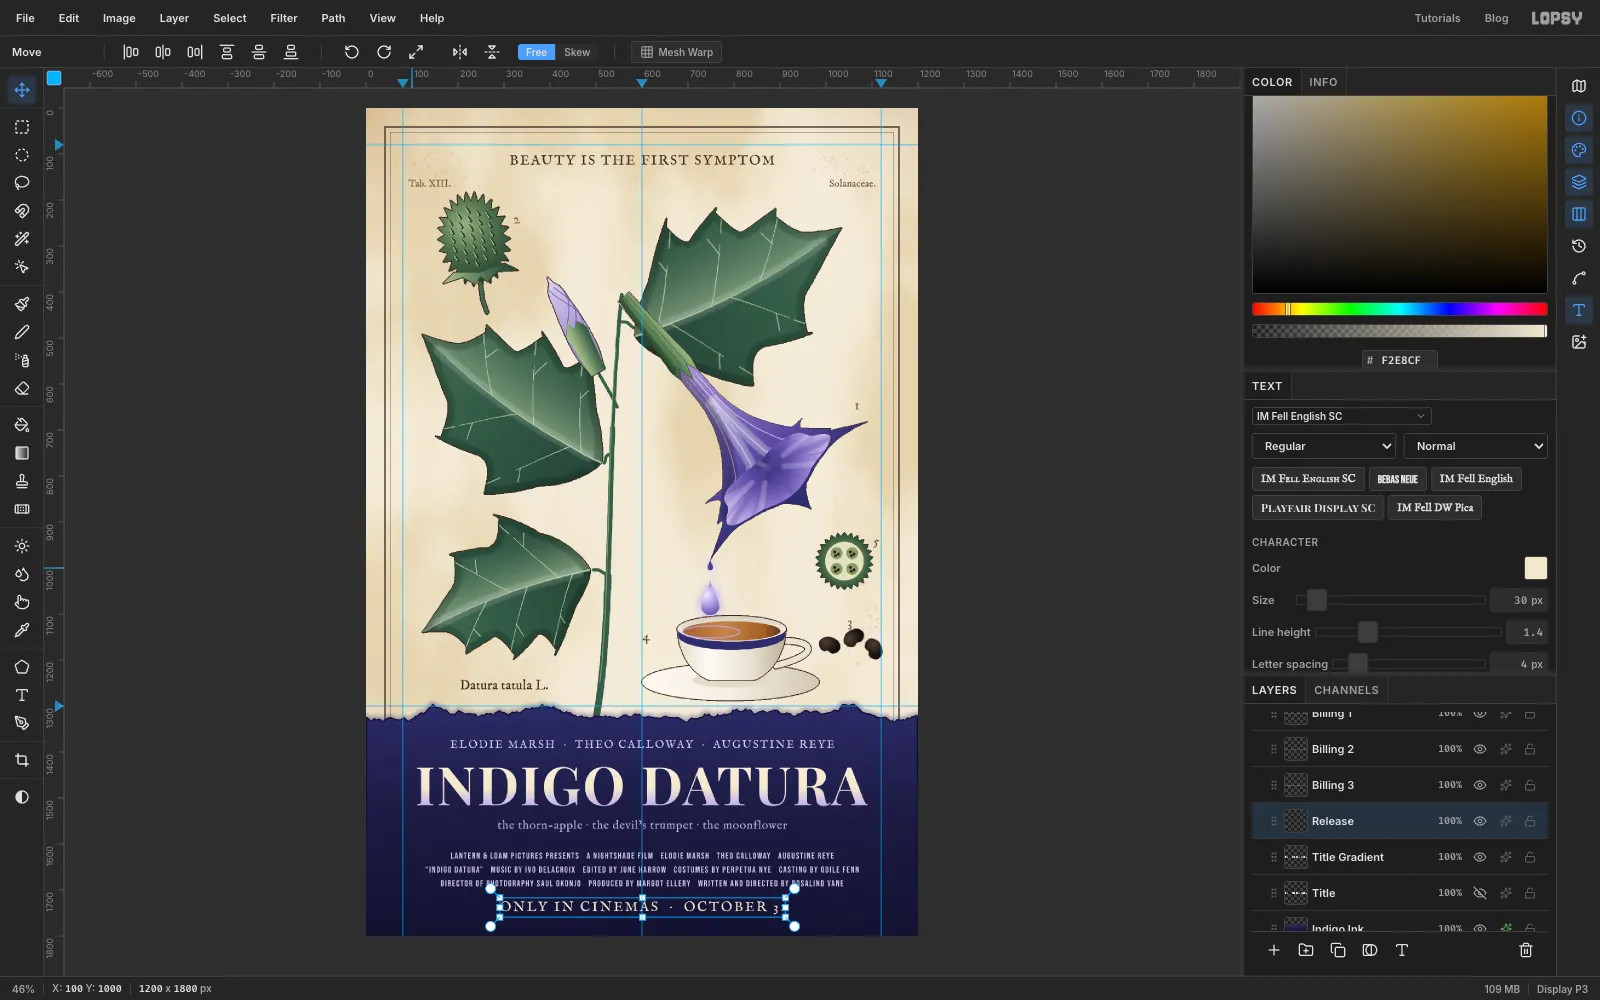
- Cast: IM Fell English SC, 24 px, spacing 3, : ELODIE MARSH · THEO CALLOWAY · AUGUSTINE REYE, about 60 px below the ink edge.
- Common names: IM Fell English, 26 px, : the thorn-apple · the devil's trumpet · the moonflower, just under the title.
- Billing block: Bebas Neue, 19 px, spacing 2, . Make three separate text layers, each about 900 px wide, 30 px apart. Write your own credits or use the three lines below. Leave three spaces between credits, and use curly quotes around the title, as real billing blocks do.
- Release: IM Fell English SC, 30 px, spacing 4, cream: ONLY IN CINEMAS · OCTOBER 31, about 70 px from the bottom.
The billing lines used here:
- LANTERN & LOAM PICTURES PRESENTS A NIGHTSHADE FILM ELODIE MARSH THEO CALLOWAY AUGUSTINE REYE
- “INDIGO DATURA” MUSIC BY IVO DELACROIX EDITED BY JUNE HARROW COSTUMES BY PERPETUA NYE CASTING BY ODILE FENN
- DIRECTOR OF PHOTOGRAPHY SAUL OKONJO PRODUCED BY MARGOT ELLERY WRITTEN AND DIRECTED BY ROSALIND VANE
-
Make an engraving hatch pattern
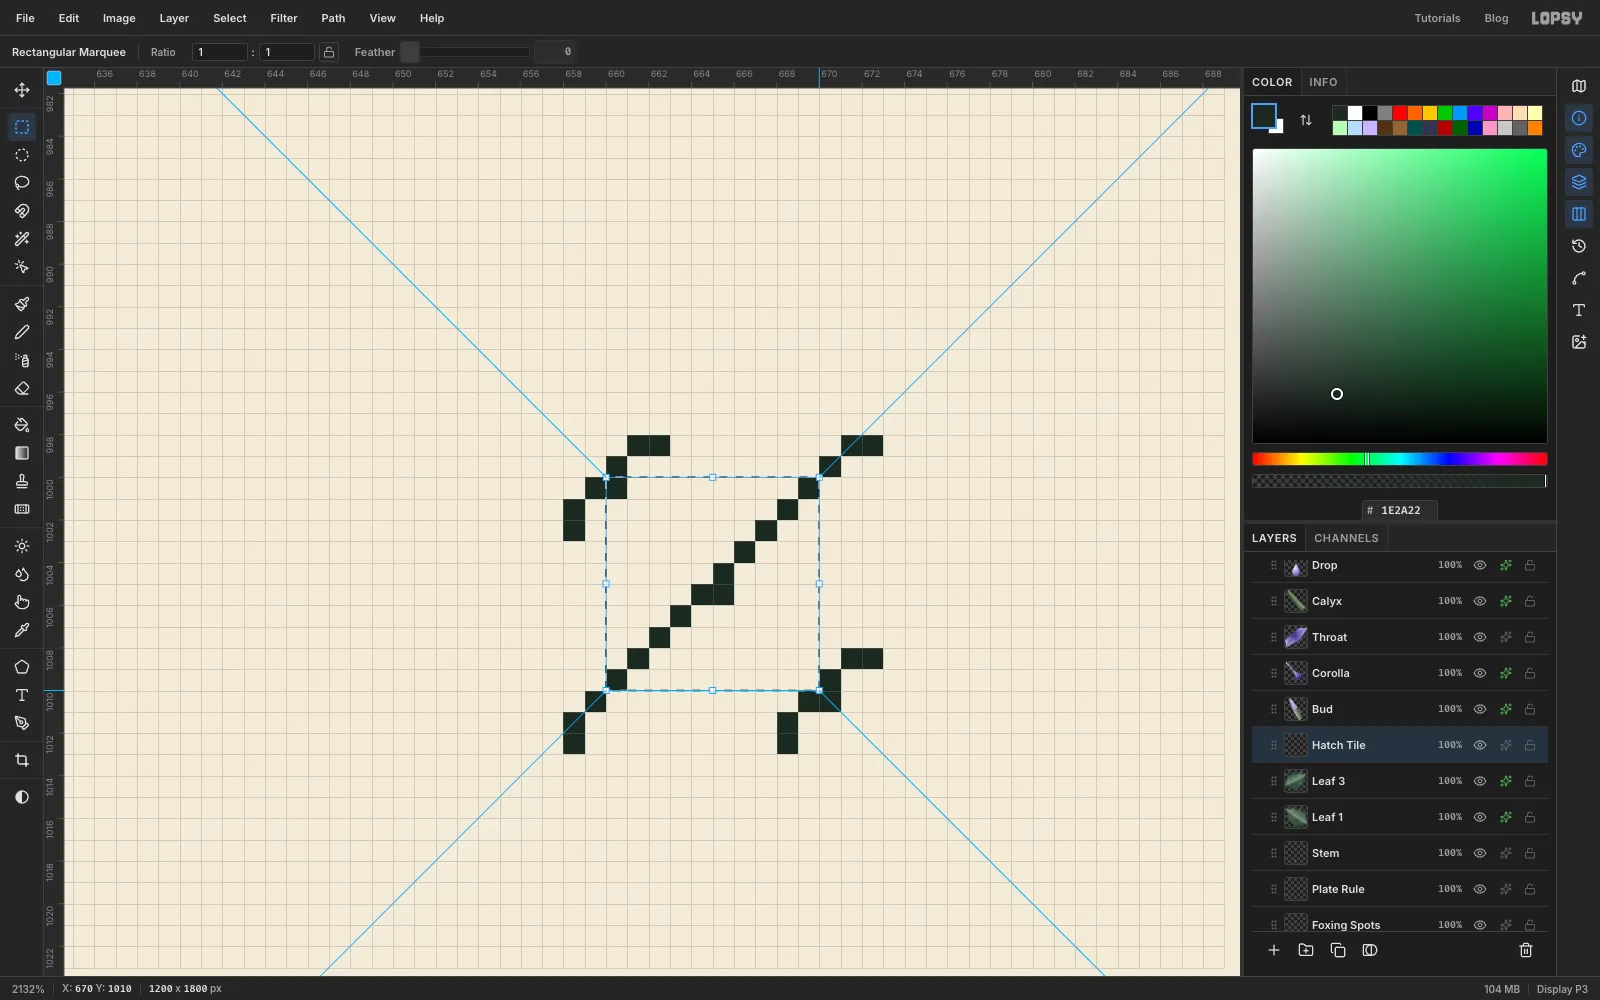
Engraved plates are shaded with fine parallel lines. Make a tile and repeat it. Add a temporary layer, then zoom right in on an empty patch of paper. Hold Ctrl and scroll until single pixels are big squares. Pick the Pencil at Size 1 in :
- Click, then Shift-click to draw a diagonal line across a 10 × 10 px square, from corner to corner and a pixel or two beyond each end.
- Add short stubs of the next diagonals at the two opposite corners. The pencil line is a pixel thick, and the stubs make the tiles join without gaps.
- Marquee exactly that 10 × 10 square and choose Edit → Define Pattern.
Delete the temporary layer and press Cmd+0 to fit the page again.
-
Hatch the leaves and stem
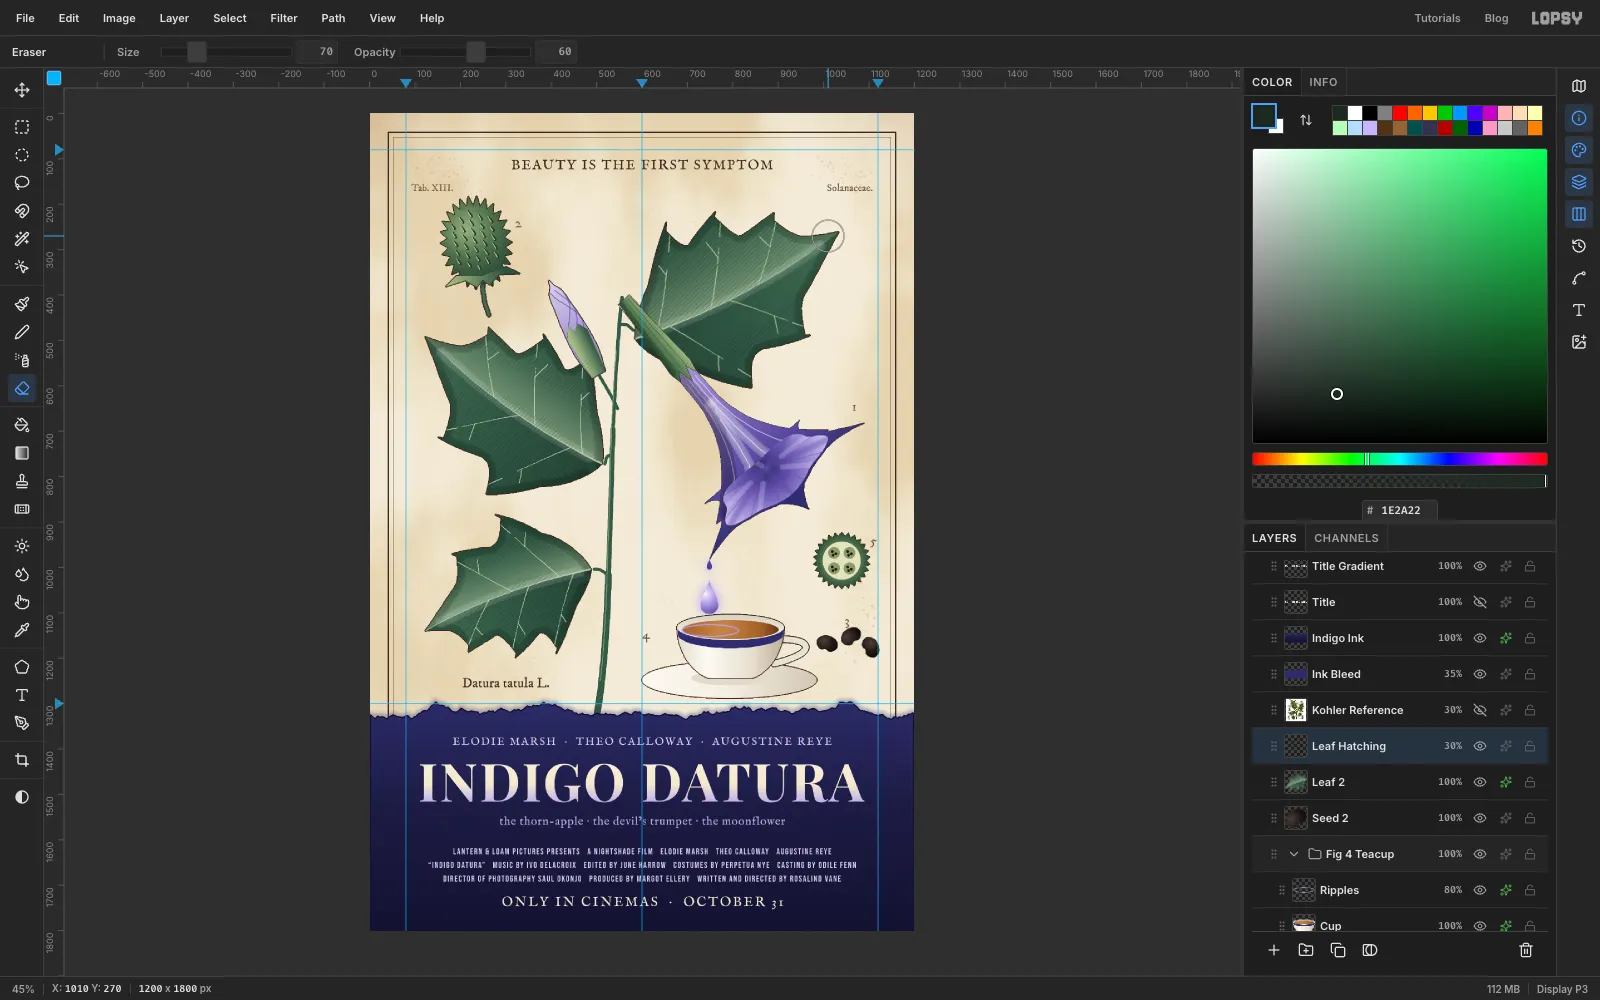
Click the topmost leaf layer in the stack (Leaf 2 here) and add a layer called Leaf Hatching, so the hatch sits above every leaf. Fill one part at a time:
- Cmd-click Leaf 1's thumbnail and choose Edit → Fill with Pattern… → Apply.
- Do the same for Leaf 2, Leaf 3 and the Stem.
Set the layer to Multiply at 30%. Real engravers left the lit side lighter, so take the Eraser at Size 70, Opacity 60 and sweep once over the lit half of each leaf.
-
Rotate a printer's imprint up the margin
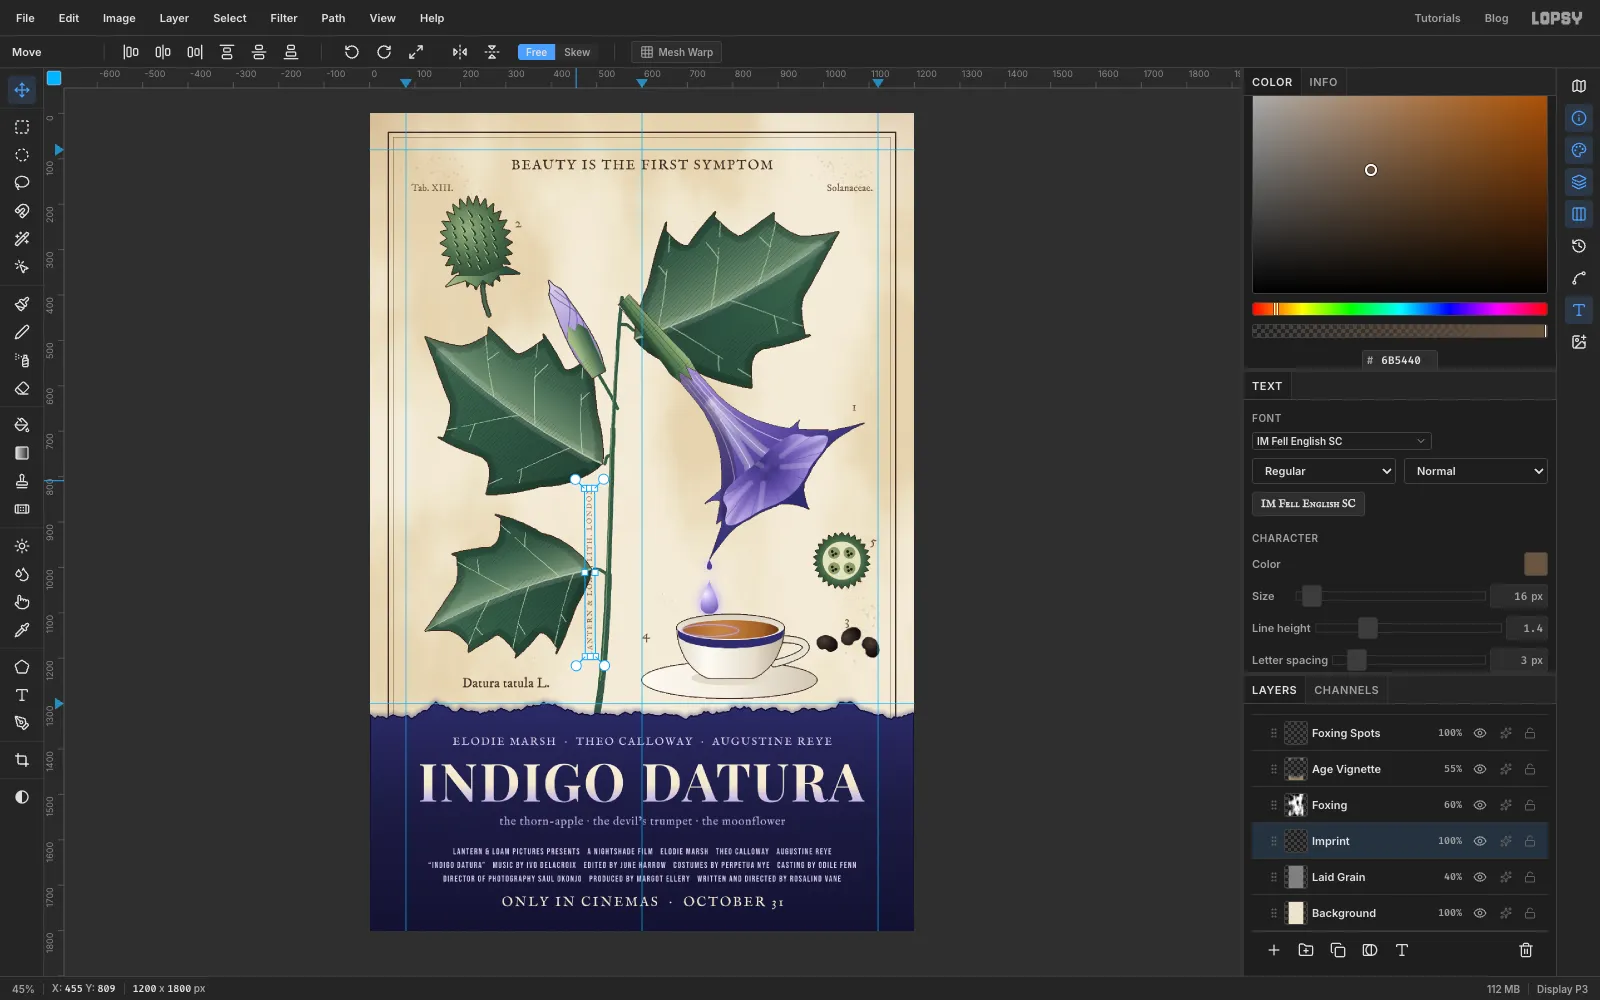
Old plates carry the lithographer's name in tiny type. Click the Laid Grain layer so the imprint sits under the ageing layers and gets tinted like the rest of the print. Then type LANTERN & LOAM, LITH. LONDON in IM Fell English SC, 16 px, spacing 3, in .
With the Move tool, drag the round rotate handle at the top-right corner 90° anticlockwise so the line reads from bottom to top. Press Cmd+D to apply it. Drag it over to the left margin, then nudge it with the arrow keys until it's centred between the inner rule and the margin guide, halfway down the plate.
-
Group the title block and set it on the grid
In the Layers panel, click the Title row, then Shift-click the Cast row to select every title-block layer in between. Choose Layer → Group Layers and name the group Title Block.
Turn on View → Show Grid. The first time you show it, Snap switches on too. With the group selected and the Move tool active, each arrow-key press now moves the block one grid square (16 px). Press Up once so the block sits evenly between the ink edge and the bottom of the page. Then turn the grid back off.
To finish, delete the Kohler Reference layer, choose Edit → Clear Guides, deselect, and choose File → Quick Export PNG. Save the project with File → Save Project so you can come back to it.