Design a Cut-Paper Collage Record Label Logo
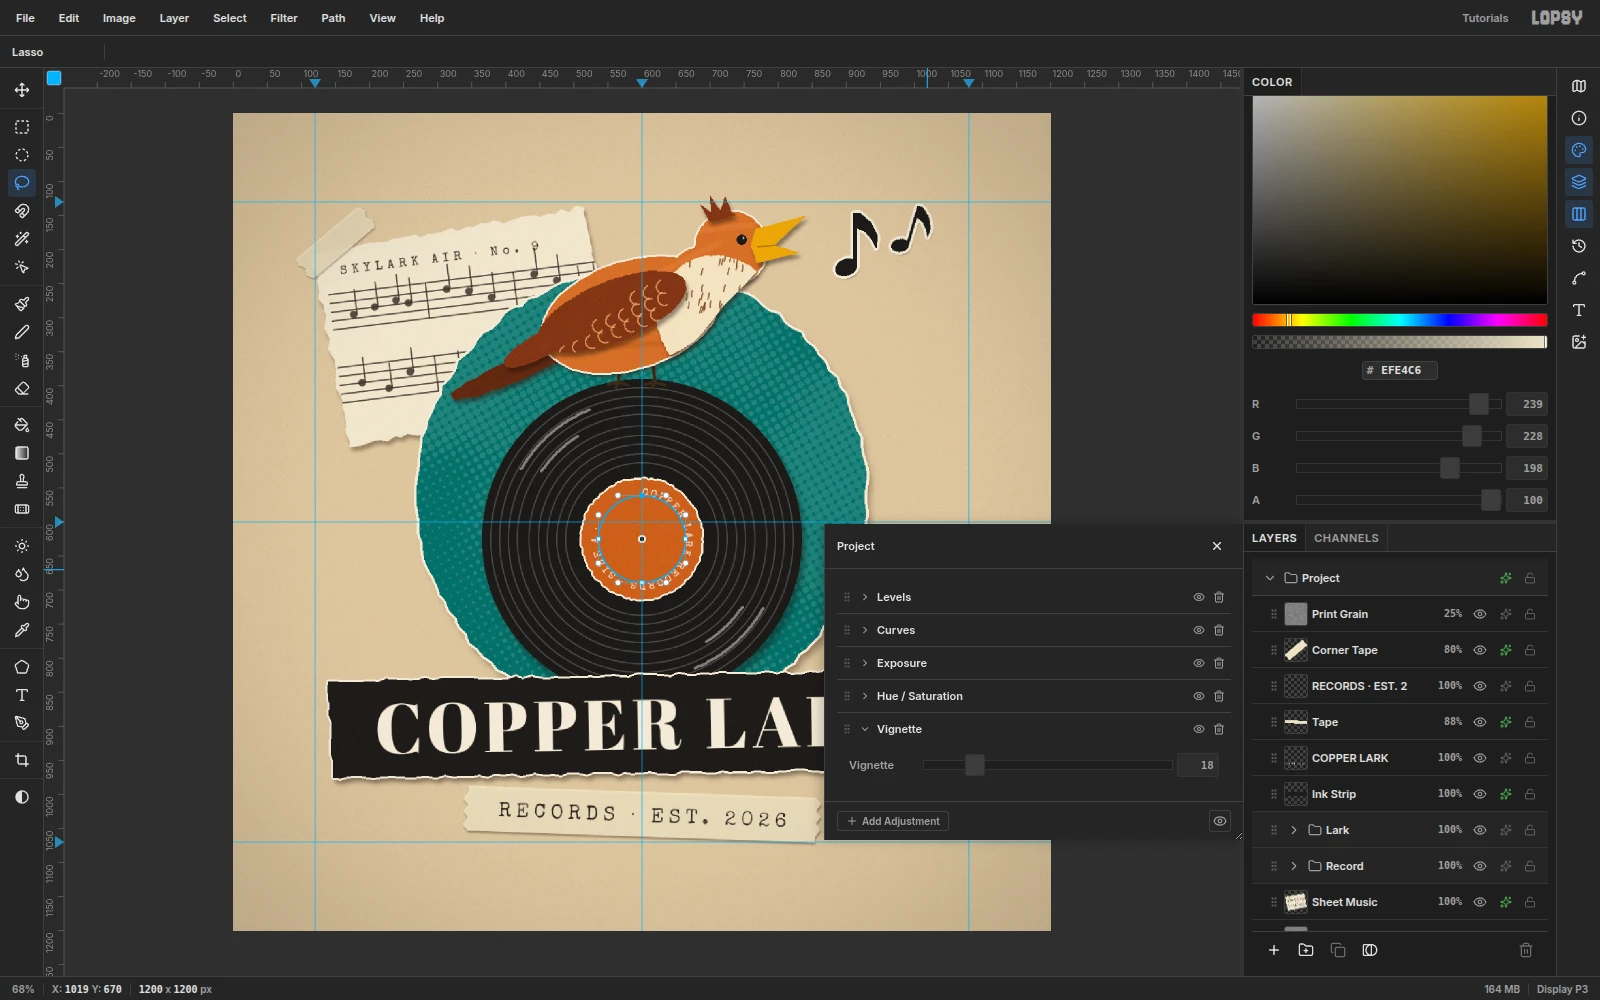
Build a torn-paper collage logo in Lopsy, with a singing lark on a vinyl record, halftone paper, text on a circular path and a tape tagline.
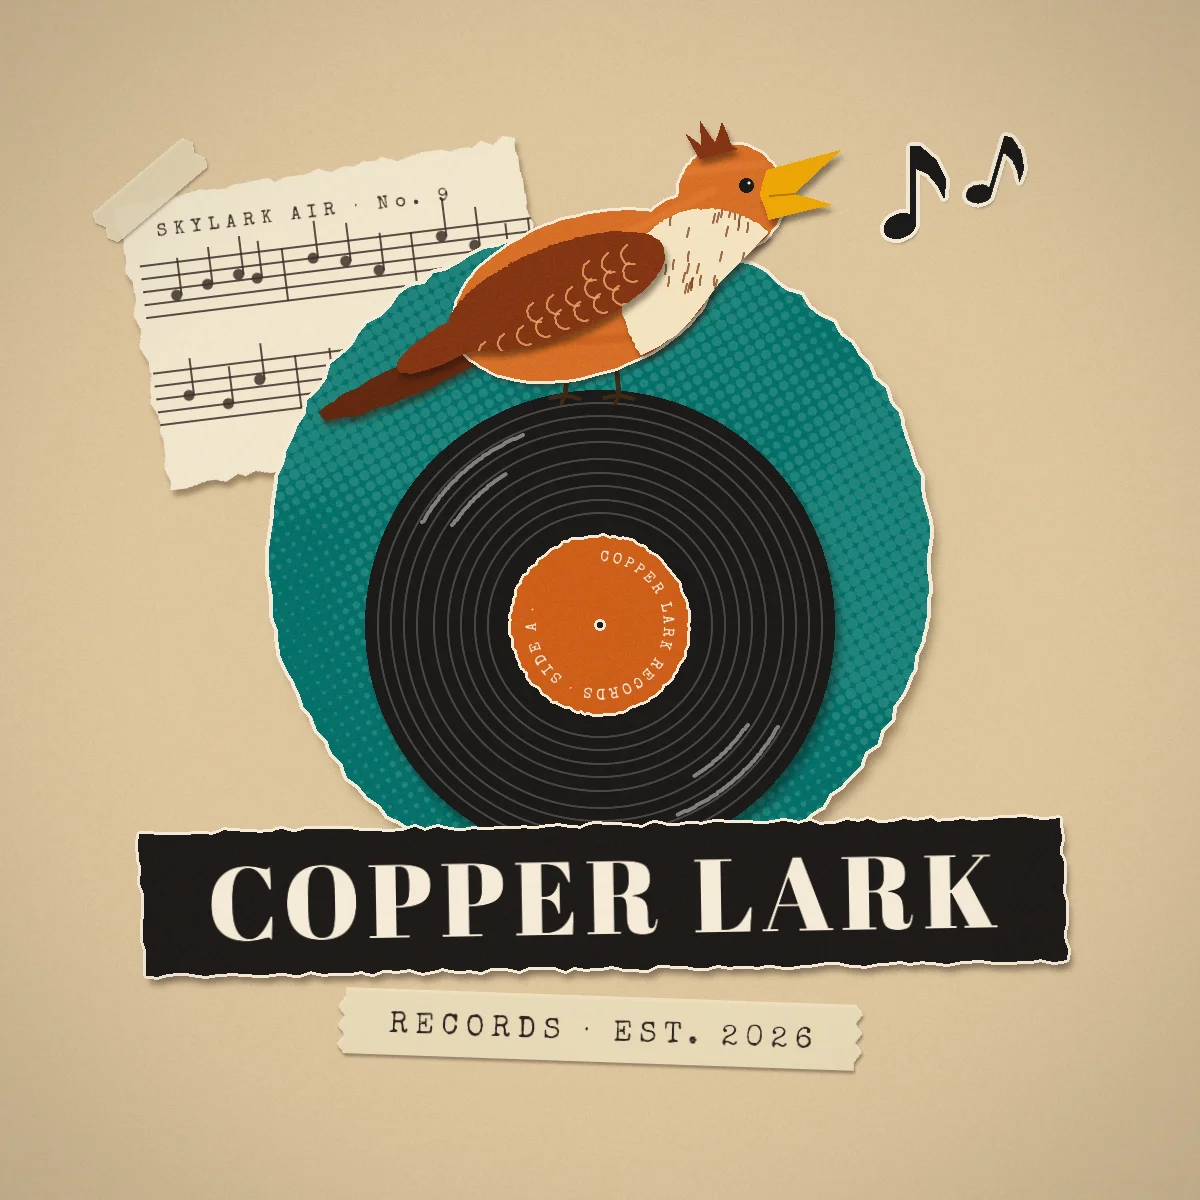
Cut-paper collage suits a small record label because it looks handmade: layered scraps, torn edges with a white paper core, soft shadows where one sheet lifts off another, and printed textures like halftone and sheet music. It's the look of Eric Carle's painted-tissue animals crossed with an indie label's hand-glued flyers.
In this tutorial you'll make a 1200 × 1200 px logo for a fictional label, Copper Lark Records. You'll cut every piece in Lopsy with the Lasso, marquees and the Shape tool. Nothing is imported.
The palette is kraft paper and five "papers":
- Kraft
#D9C6A2, cream paper#EFE6D0, torn-edge cream#F2EAD8 - Teal
#2F6E69with halftone dots in#6FB3A8 - Vinyl black
#1C1A18, copper label#C0652F - The lark: rust
#C9743A, wing brown#7A3A1E, tail#5B2C17, breast#F1E3C4, beak#E2A93B
Fonts: Abril Fatface for the wordmark and Special Elite for the typewriter details.
-
Lay down kraft paper and guides
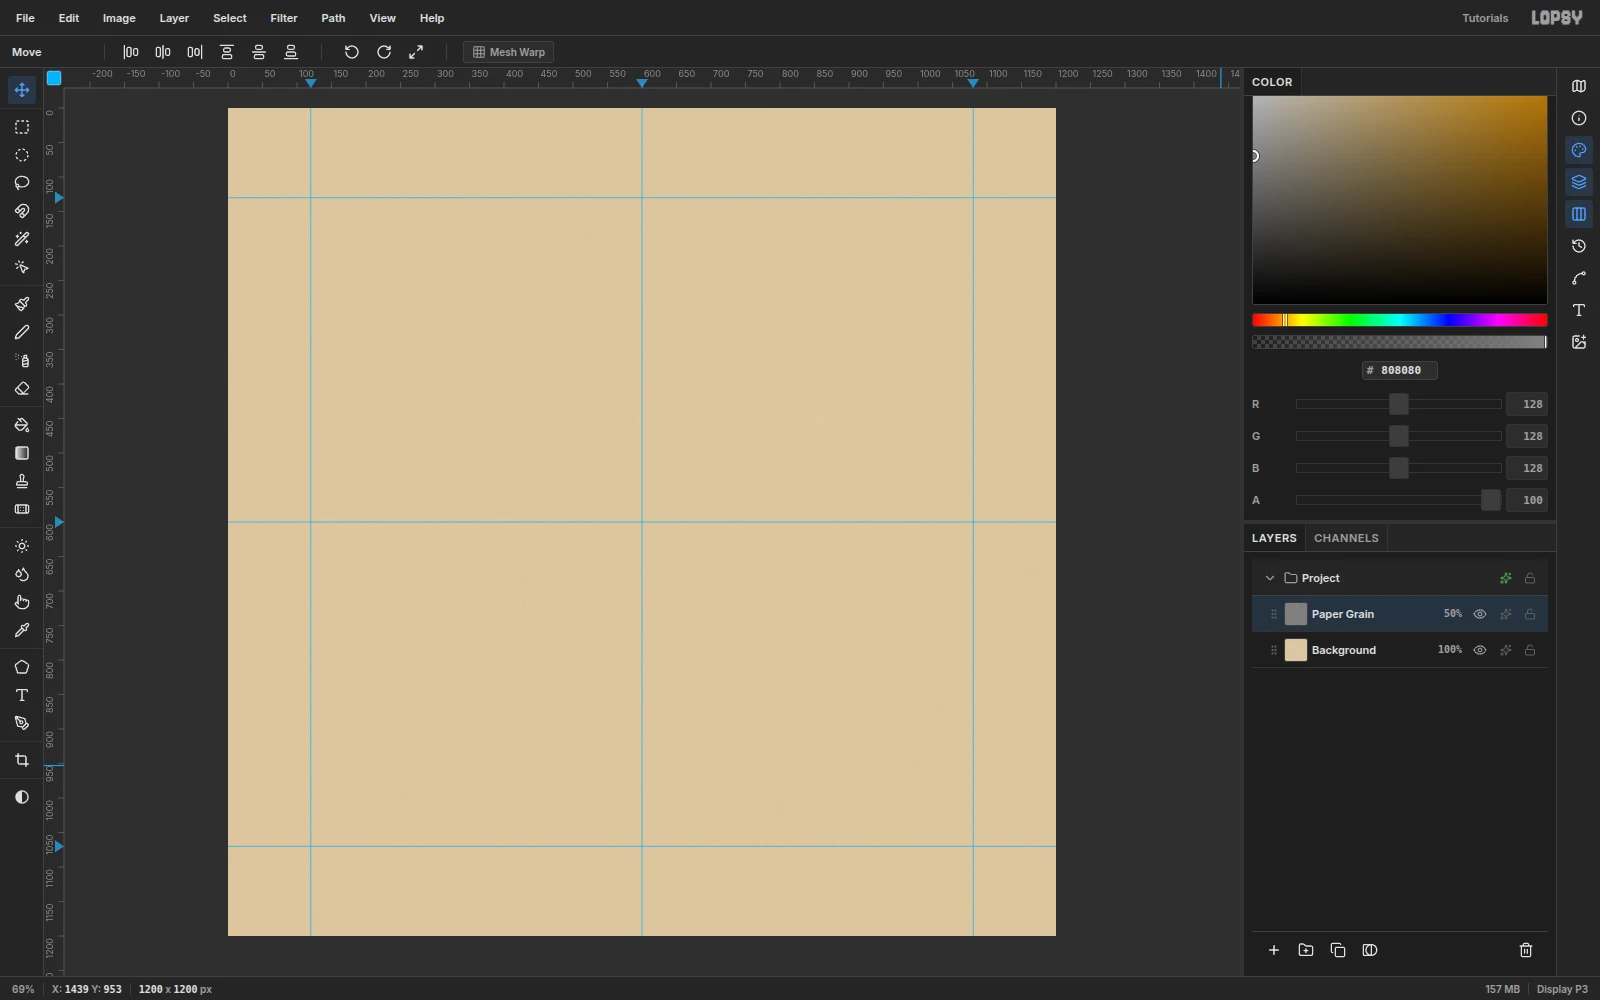
Create a 1200 × 1200 document with a white background. Click the
Backgroundlayer, set the foreground to#D9C6A2and choose Edit → Fill.Click the top ruler at
120,600and1080for vertical guides, then the left ruler at130,600and1070for horizontal ones. The outer guides are your safe margins, and the center guides help you line up the badge.Rename
Layer 1toPaper Grainand give it some texture:- Fill it with
#808080. - Choose Filter → Add Noise…, set Amount to
45, pick Mono and Gaussian, and click Apply. - Choose Filter → Gaussian Blur… with a Radius of
1. - Open the layer's effects drawer (the sparkle icon), set Blend to Overlay, and set the layer opacity to 50%.
The gray disappears and only a fine paper tooth is left on the kraft.
- Fill it with
-
Tear a scrap of sheet music
Click Add Layer and name it
Sheet Music. Pick the Lasso and drag a rough rectangle from about (140, 160) to (545, 140), (565, 420) and (160, 448). Wiggle the pointer a little along each side so the edges look torn rather than cut.Set the foreground to
#EFE6D0and choose Edit → Fill. Keep the selection, and run Filter → Add Noise… at10so the paper isn't perfectly flat.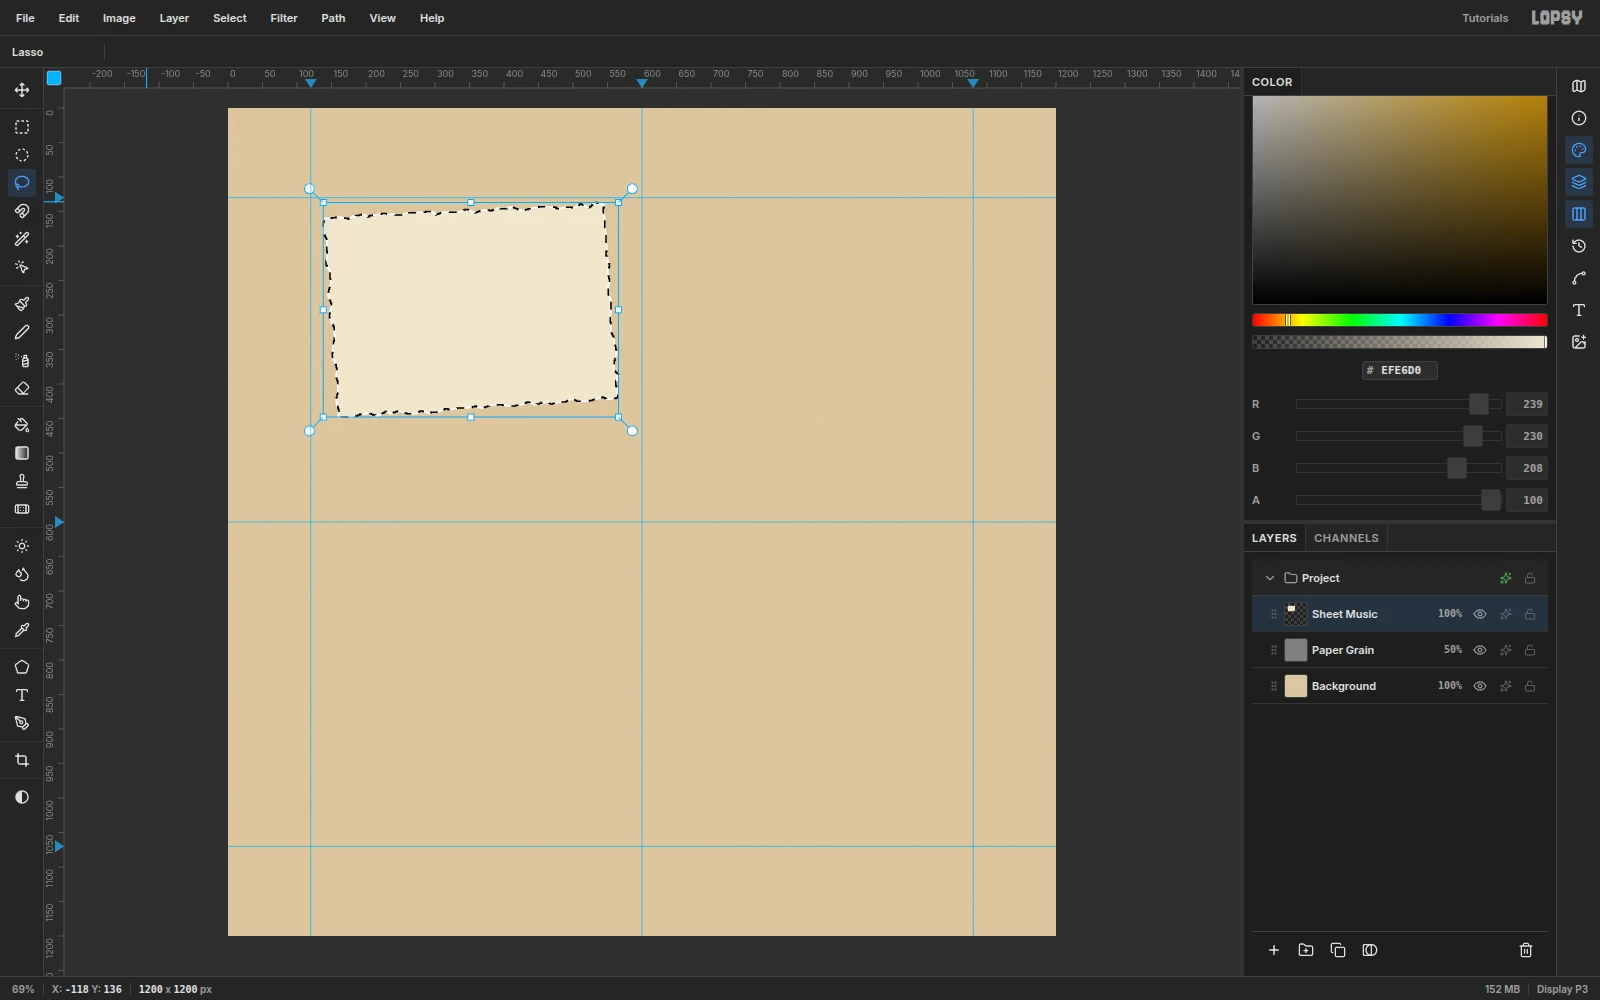
-
Rule the staves and notes
Keep the selection active so nothing spills off the paper. Pick the Brush, set Size
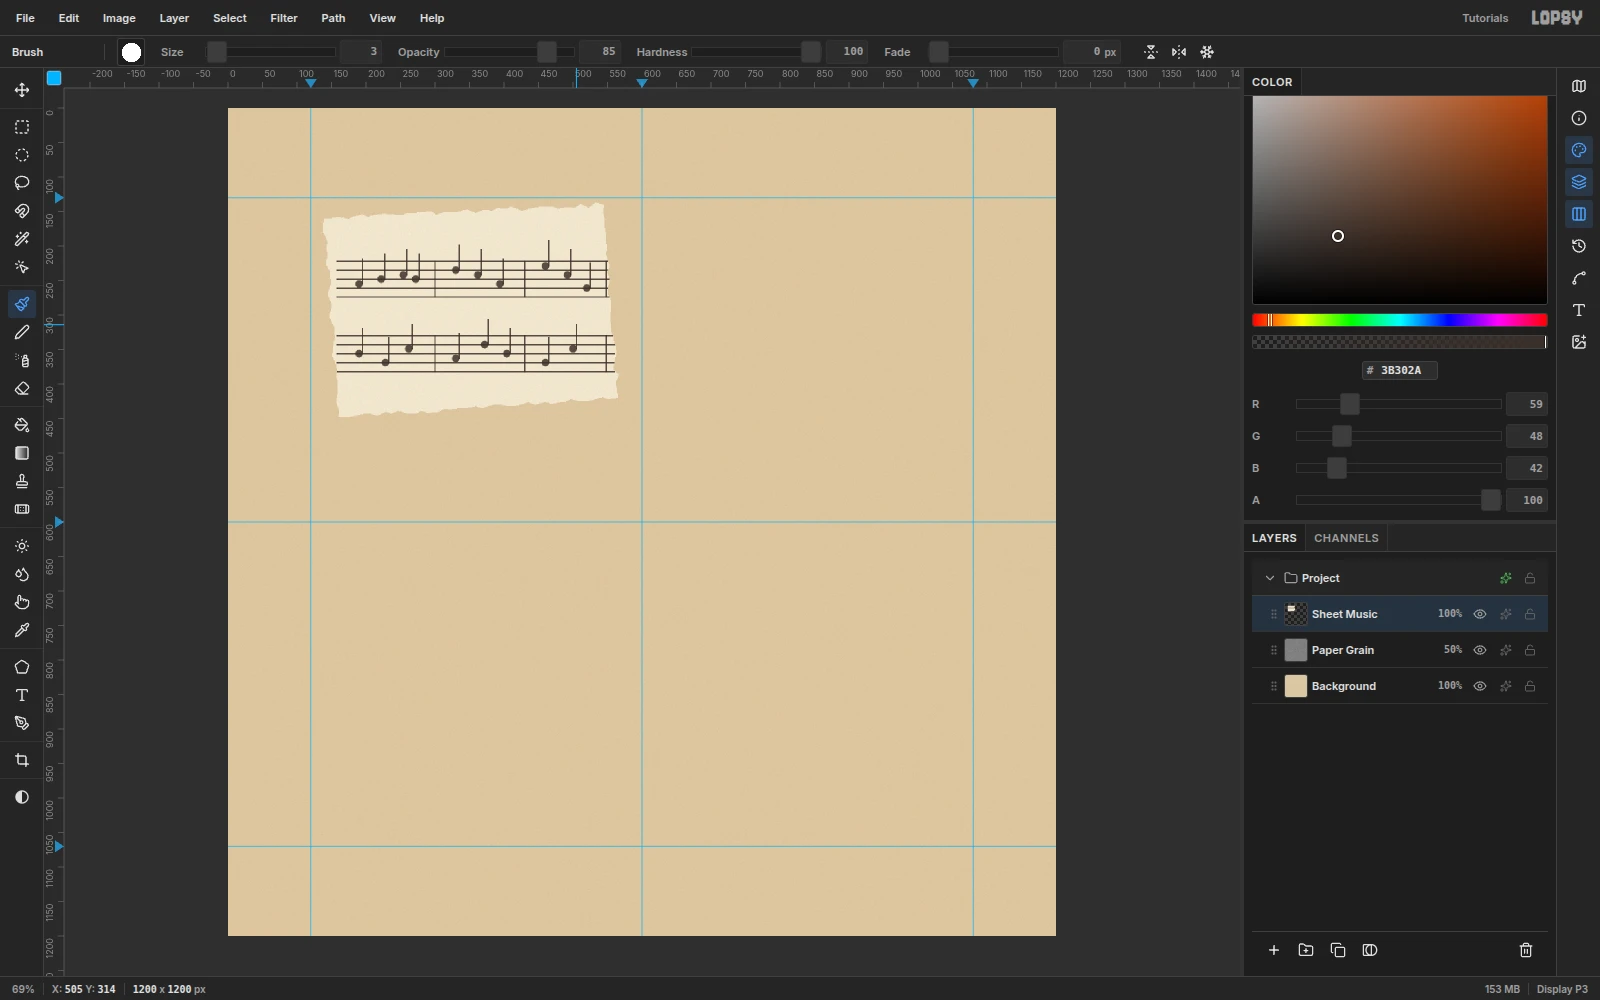
3, Hardness100and Opacity85, and set the foreground to#3B302A.- Staff lines: click at the left edge, then Shift-click at the right edge to draw a straight line. Draw five lines 13 px apart starting at y = 222, and five more starting at y = 330.
- Bar lines: Shift-click short verticals at x = 300, 430 and 548.
- Notes: set Size to
12and click a note head on a line or in a space. Then go back to Size3and Shift-click a 36 px stem straight up from the right side of each head. Keep every stem the same length so it reads as real notation.
Press Cmd+D to deselect.
-
Type a title and merge it down
Pick the Text tool, choose Special Elite in the font browser, set Size to
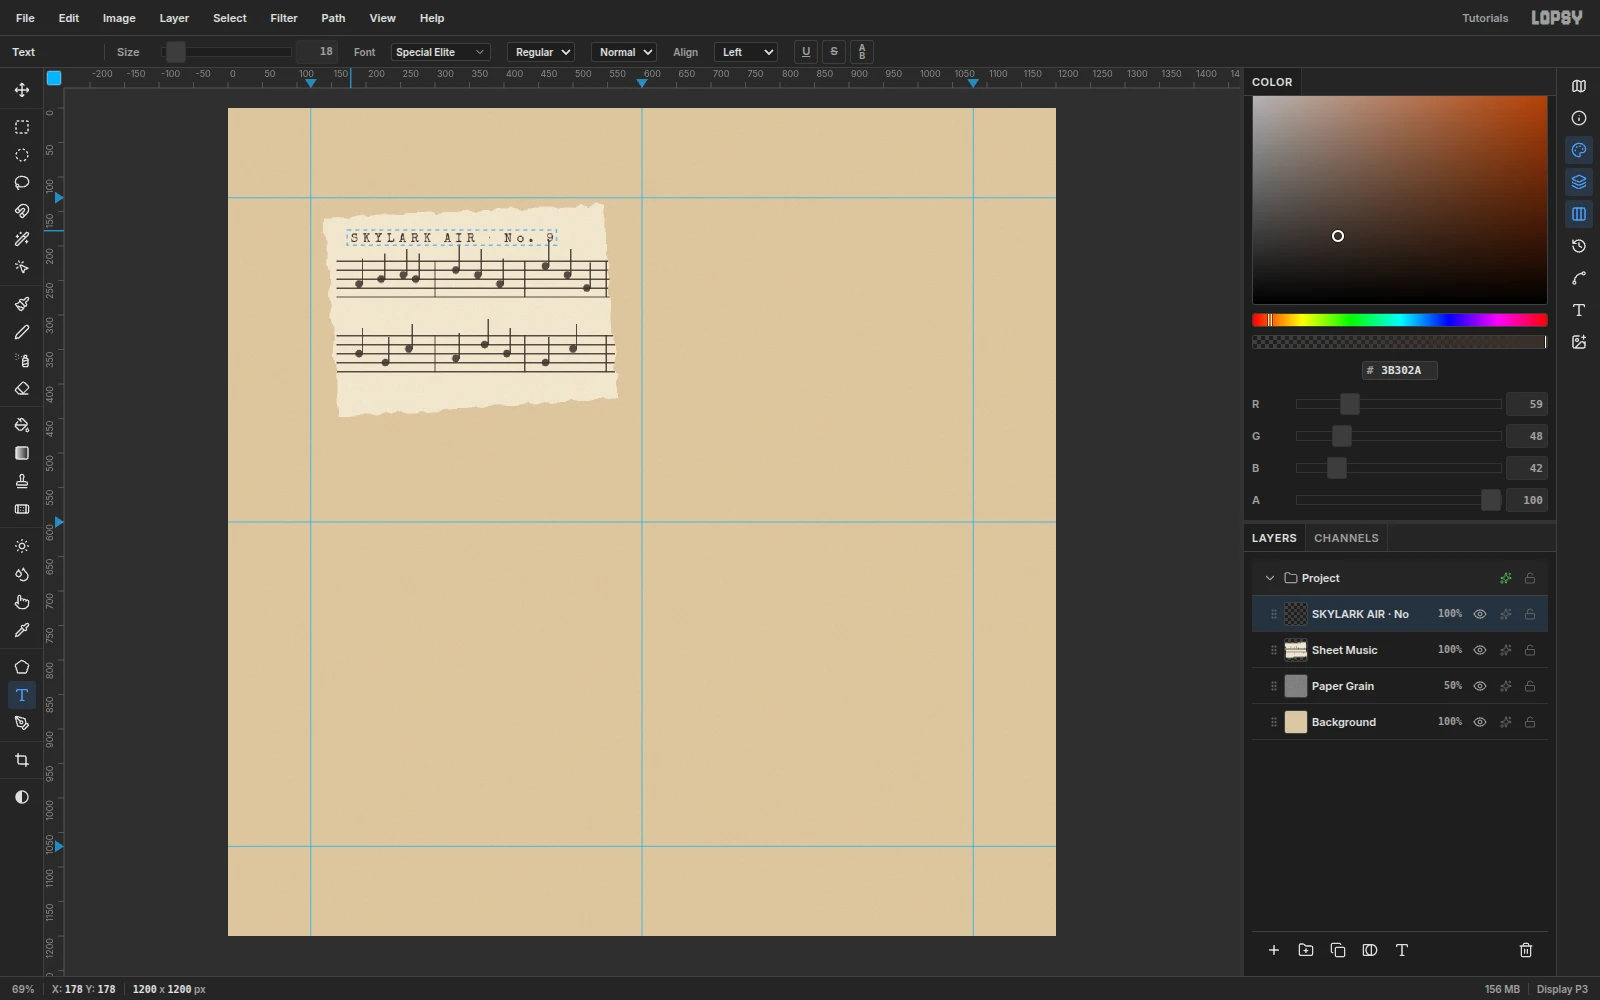
18, and click at (178, 178). TypeSKYLARK AIR · No. 9and press Tab to commit.With the text layer active, press Cmd+E (Merge Down). The title becomes part of the paper, so it turns with the scrap in the next step.
-
Rotate the scrap and tuck it in
Open the Sheet Music layer's effects drawer and turn on Drop Shadow: color
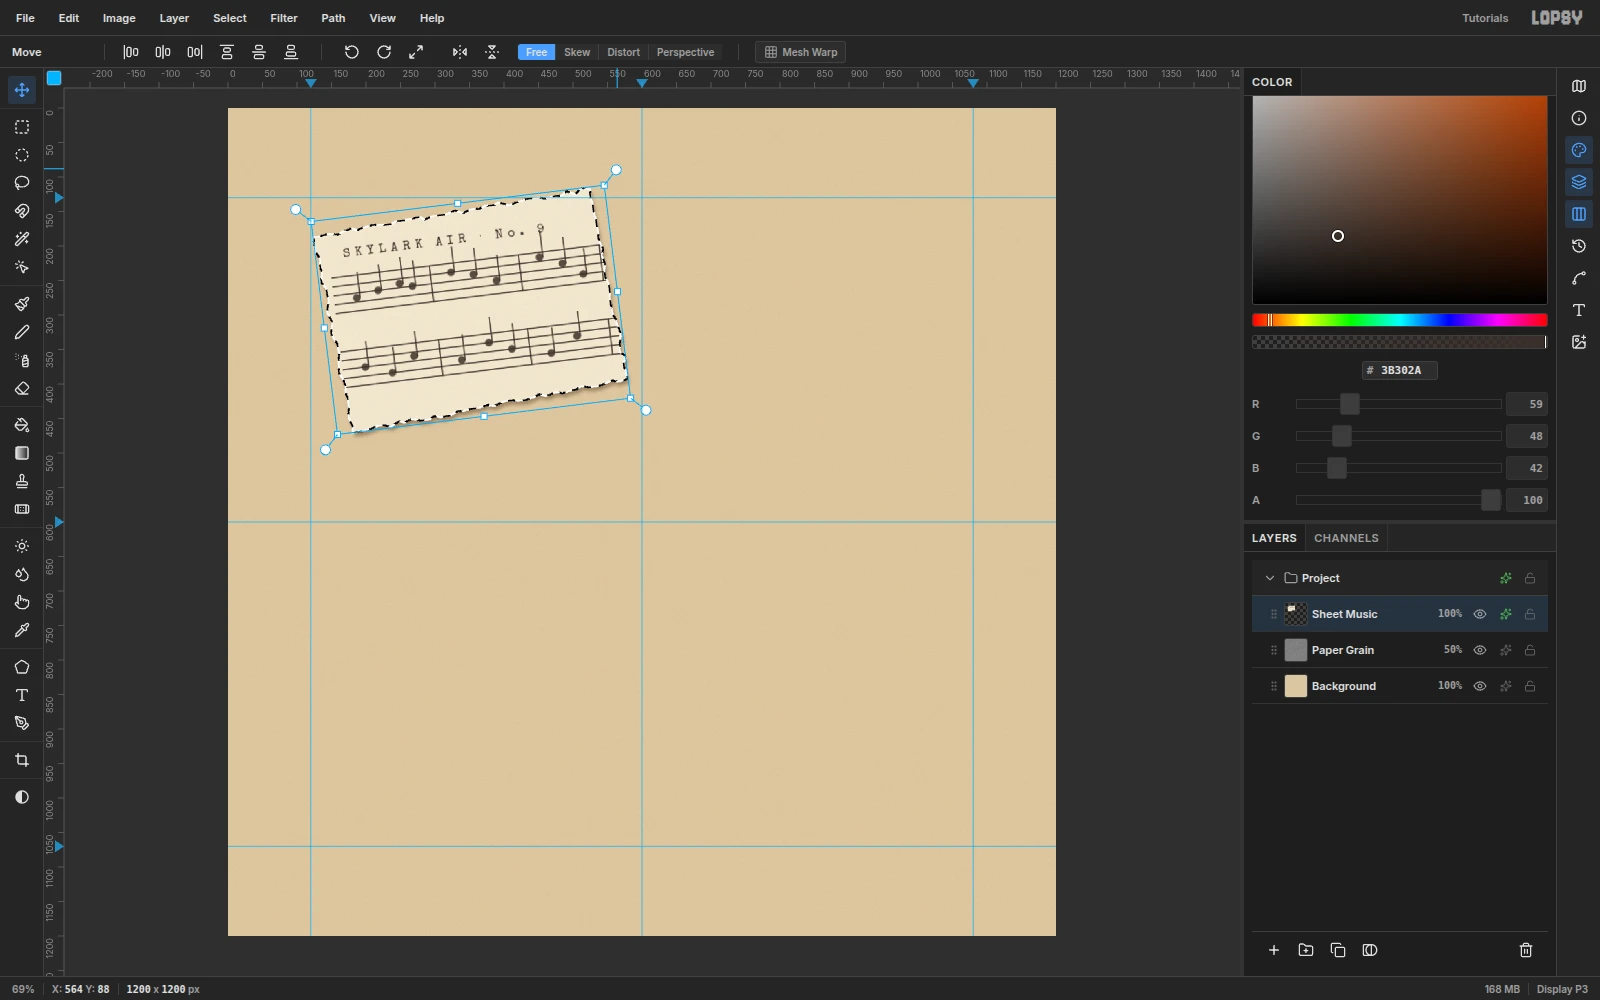
#3A2410, Offset X3, Offset Y6, Blur8, Opacity40.Cmd-click the layer thumbnail to select its pixels, then press V for the Move tool. Drag just outside the top-right corner handle to rotate about −7°, and press Enter. Drag the scrap so its left edge sits on the 120 px guide and its right side will slide behind the badge you make next.
-
Cut the teal disc
Click Add Layer and name it
Teal Disc. With the Lasso, drag a circle around (600, 560) with a radius of about 330 px. It spans roughly (270, 230) to (930, 890). Let the line wobble by a few pixels. A perfect circle looks die-cut, and a slightly uneven one looks torn by hand.Fill with
#2F6E69, run Add Noise… at12, and deselect.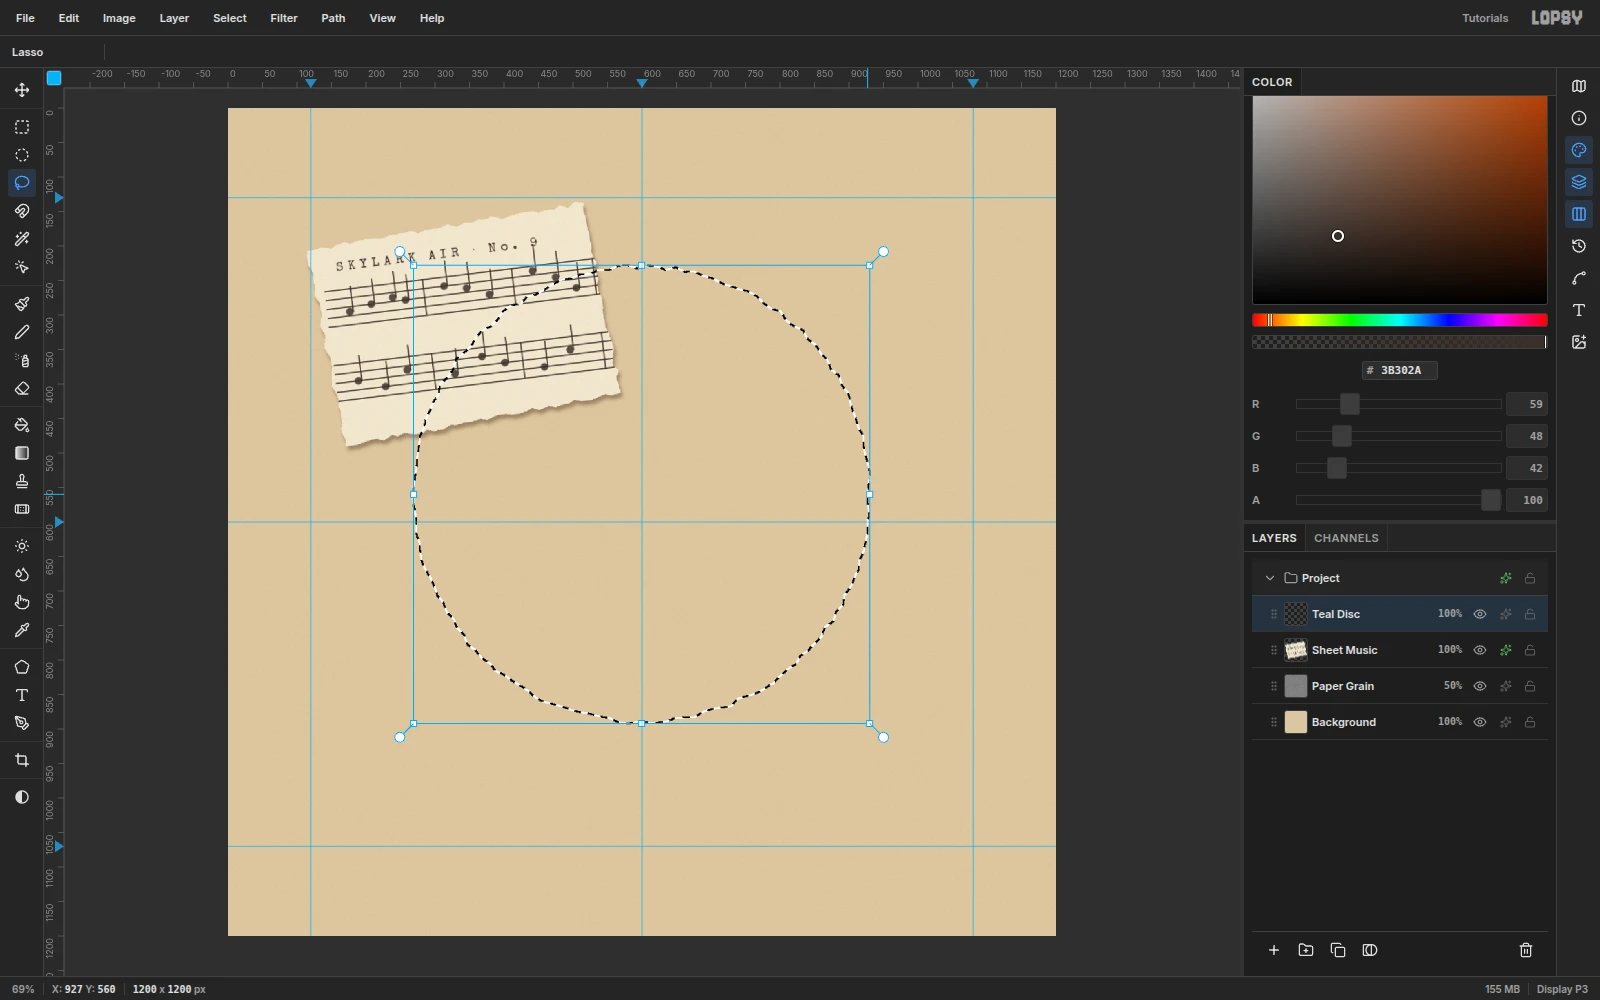
-
Print halftone dots on the disc
Collage papers are often pages from old magazines, so give the teal a printed dot texture.
- Add a layer named
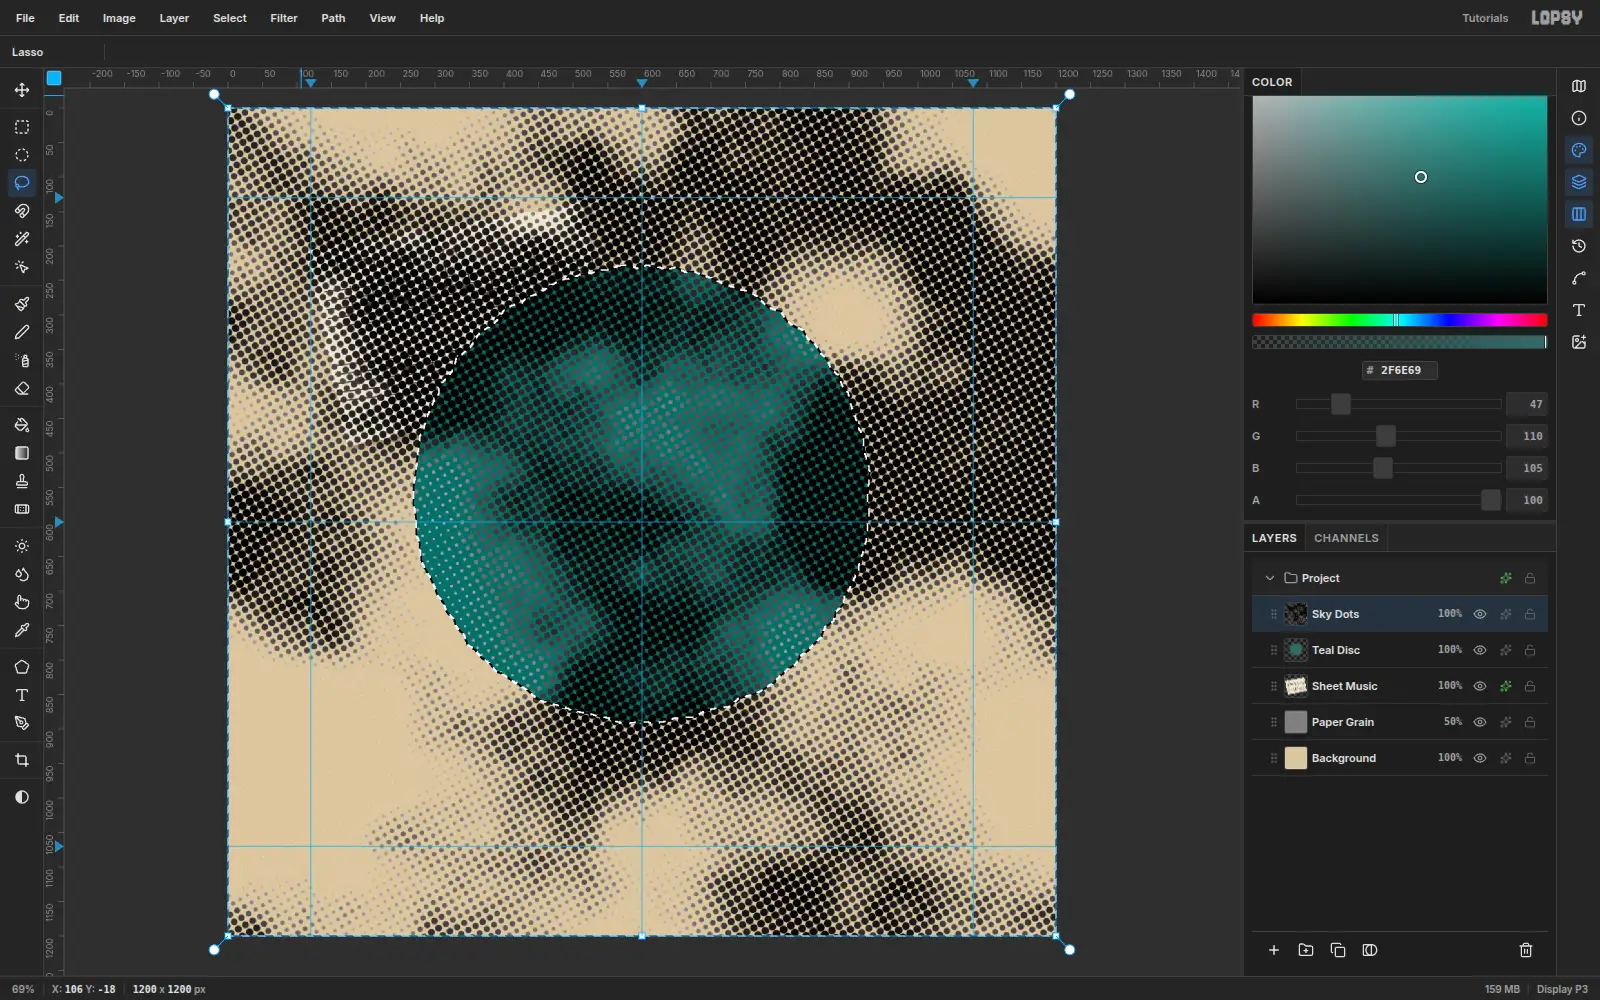
Sky Dots. Choose Filter → Clouds… with a Scale of4. - Choose Filter → Halftone… and set Dot Size to
12and Angle to30. - Cmd-click the Teal Disc thumbnail, click the
Sky Dotsrow, and choose Select → Inverse. Press Delete, then Cmd+D. - In Sky Dots' effects, turn on Color Overlay with
#6FB3A8, and set the layer opacity to 30%.
The dark dots turn into soft, lighter teal mottling that stays inside the disc.
- Add a layer named
-
Give the disc a torn white edge
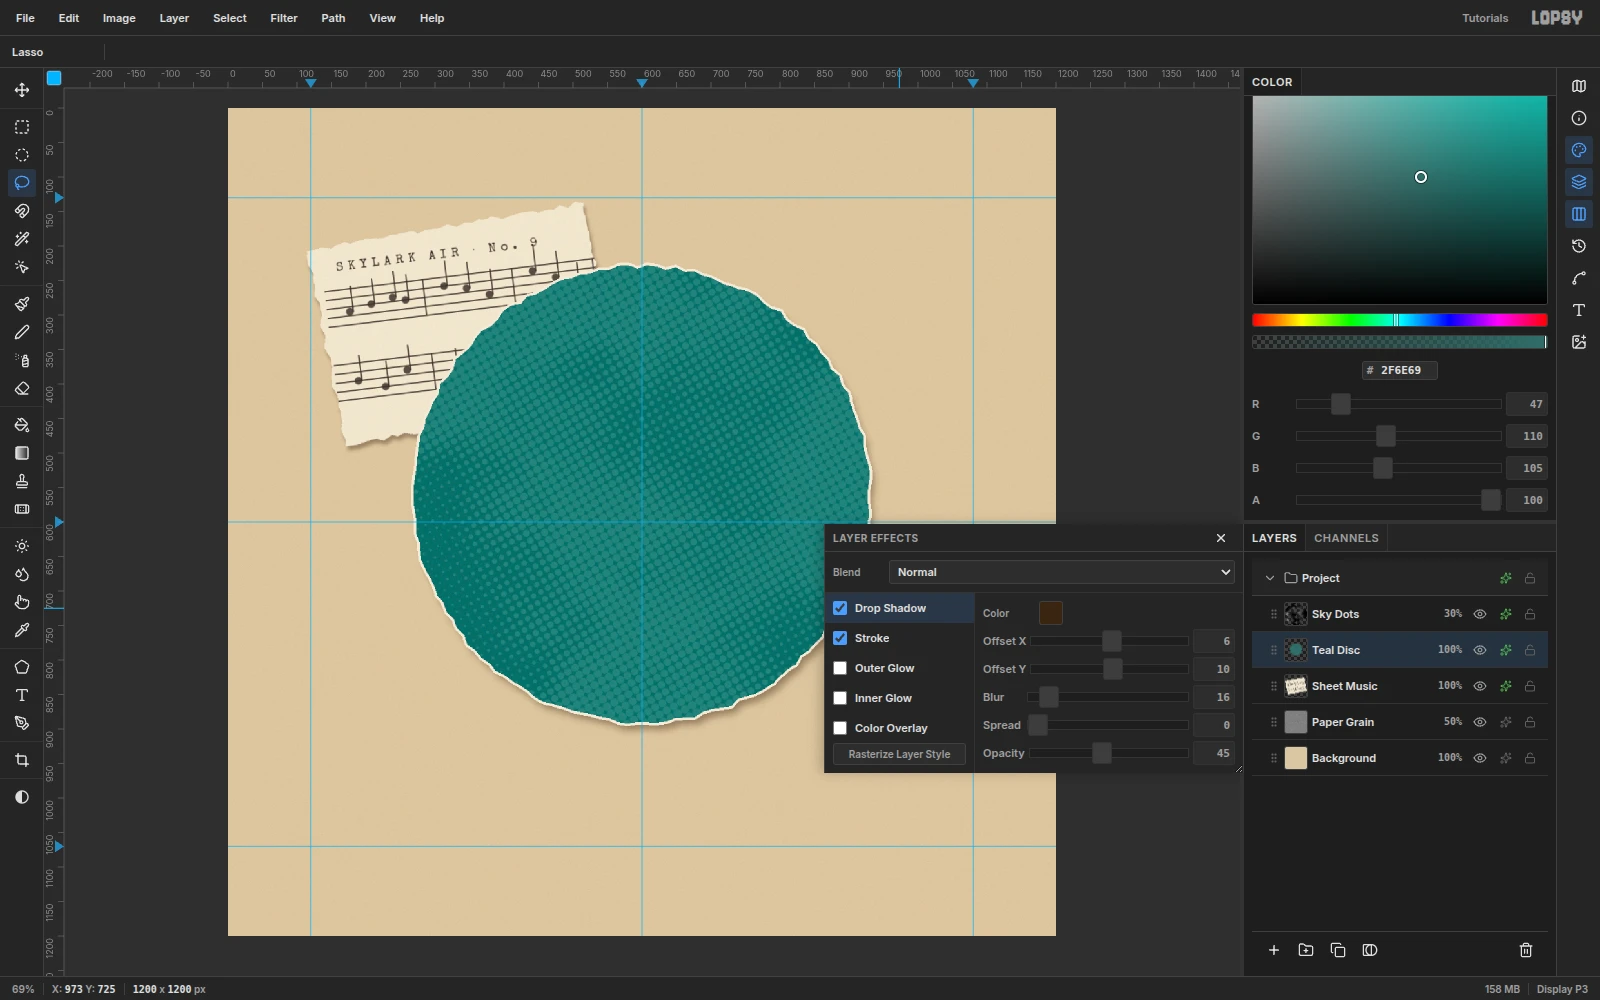
When you tear real paper, the white core shows along the edge. In Teal Disc's effects:
- Stroke: color
#F2EAD8, Width4, position Outside - Drop Shadow:
#3A2410, offsets6/10, Blur16, Opacity45
Use deeper shadows for pieces that sit higher in the stack. The disc gets 10 px, the bird will get 6 px and the tape will get 3 px.
- Stroke: color
-
Build the vinyl record
Add a layer named
Vinyl. With the Elliptical Marquee, drag from (365, 390) to (835, 860), fill with#1C1A18, add Add Noise… at4, and deselect.For the grooves, pick the Shape tool. Set Shape to Ellipse, click the Fill swatch and choose Remove fill, then add a Stroke in a dark gray (about
#494747) at Width2.Drag rings with radii of about 222, 209, 196, 183, 166, 152, 139, 125 and 112 px. Then give Vinyl a Drop Shadow (
#10201E,5/9, Blur14, Opacity50).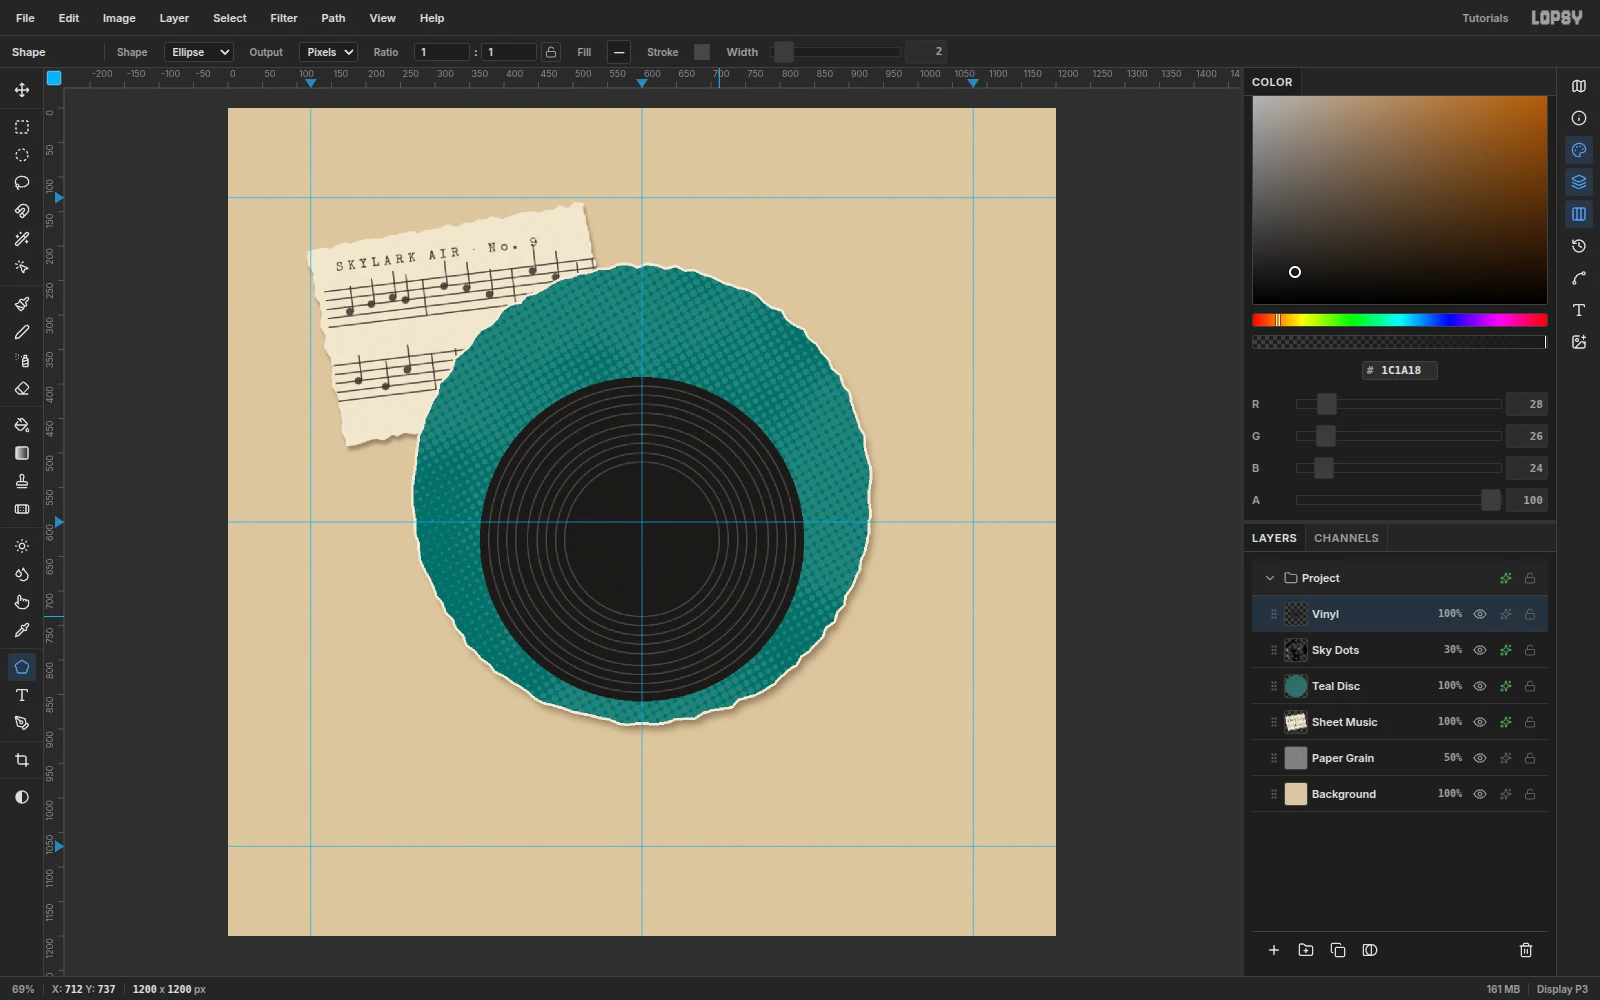
-
Add a crisp shine and the copper label
Shine: Add a layer named
Vinyl Shine. Use the Brush at Size5, Hardness100, Opacity45in white, and drag two short arcs in the upper left and two in the lower right, following the grooves. Cmd-click the Vinyl thumbnail, clickVinyl Shine, choose Select → Inverse, press Delete and deselect. Set the blend mode to Screen. Thin, hard arcs look like printed shine. A soft airbrush blob looks digital.Label: Add a layer named
Label. Lasso a slightly wobbly 88 px-radius circle at (600, 625), fill with#C0652F, and add noise at14. Use the Elliptical Marquee to select a 12 px circle in the middle, press Delete for the spindle hole, and add a 3 px cream Stroke.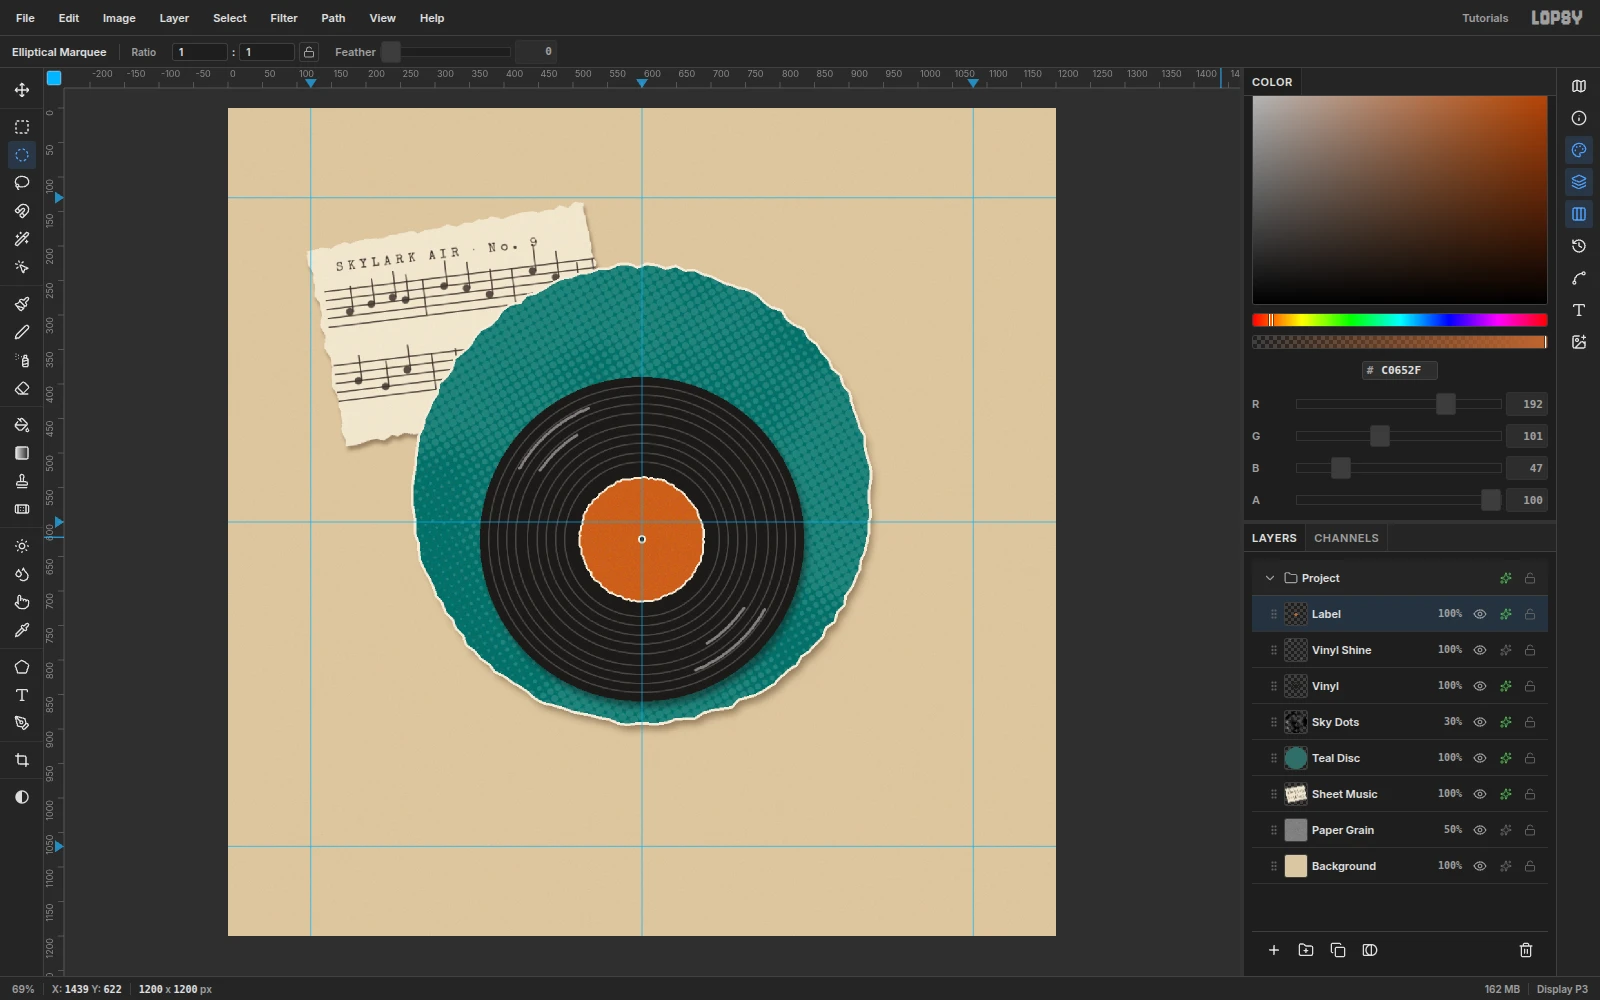
-
Draw a circular path for the label text
Pick the Shape tool again and set Output to Path. Drag from the label's center (600, 625) to (664, 689). This creates
Path 1, a 64 px circle. Set Output back to Pixels afterwards.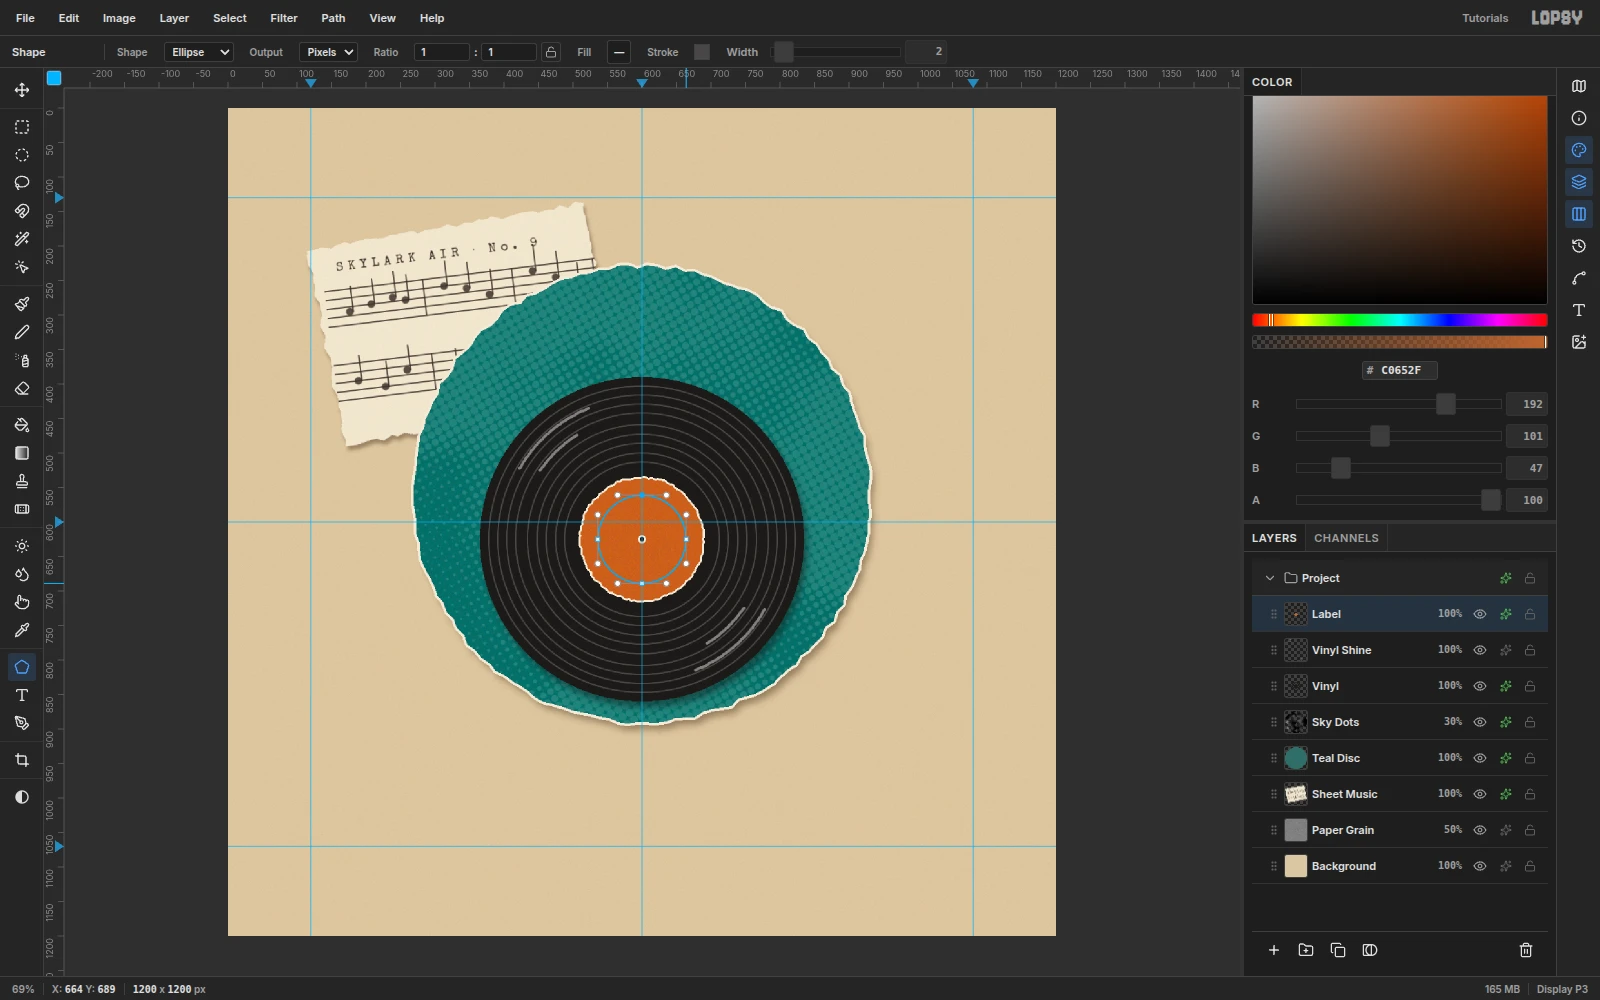
-
Set the label text on the path
Set the foreground to
#F2EAD8. With the Text tool in Special Elite at Size15, click on the label and typeCOPPER LARK RECORDS · SIDE A ·. In the options bar, set Path to Path 1 and press Tab.In the Text panel, set Letter spacing to
3. The path is only about 400 px around, and any text past the end of the path isn't drawn. With too much tracking the end of the line disappears.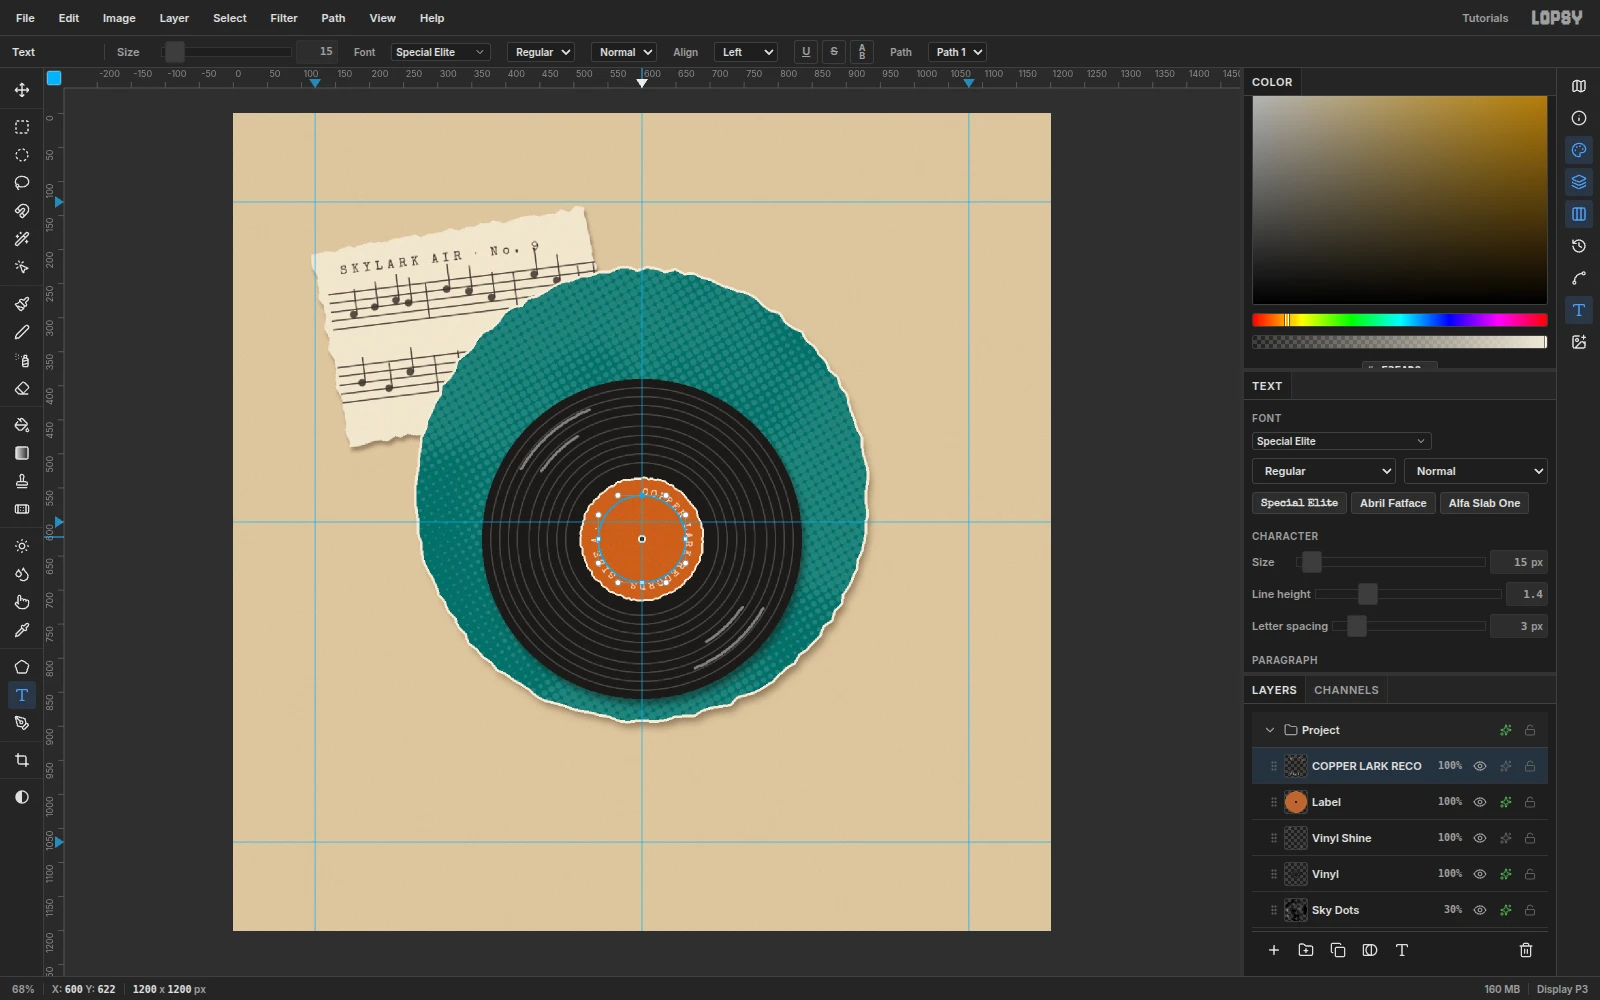
-
Group the record
Click the label text layer, Shift-click
Teal Disc, and choose Layer → Group Layers. Double-click the new group and rename itRecord. Collapse it to keep the panel tidy.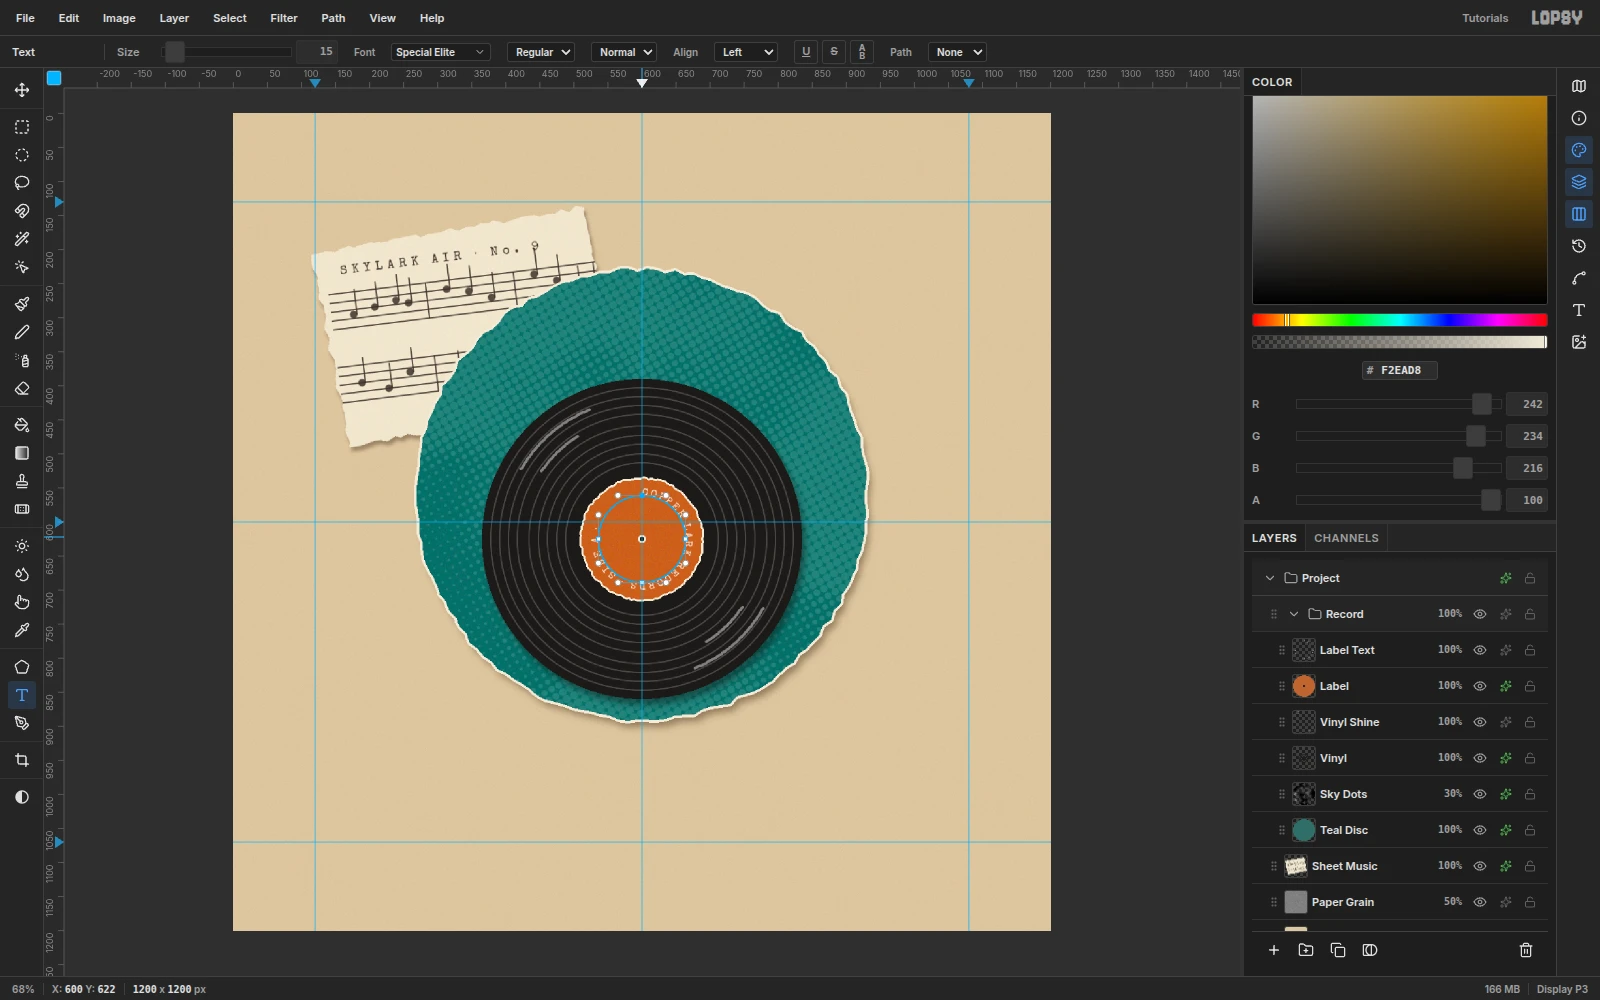
-
Cut the lark's body in three pieces
Click
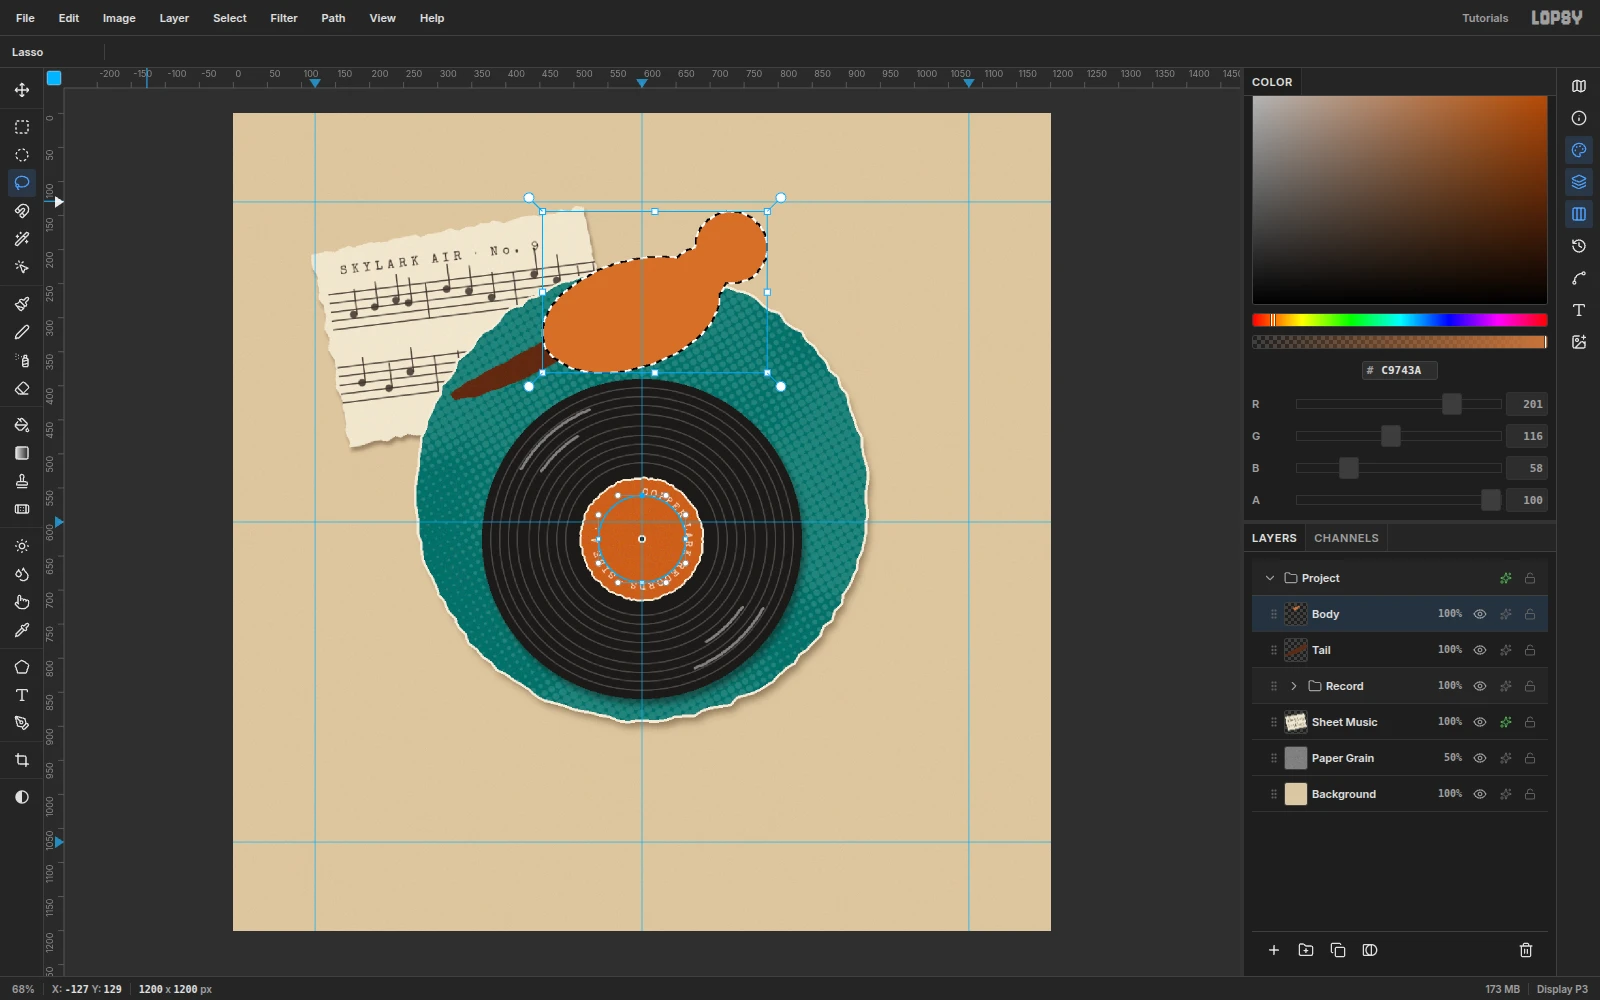
Sheet Musicand add a layer namedTail. Drag its grip above theRecordgroup so the lark sits on top of the record. Lasso a long, tapering tail from about (320, 420) up to (500, 335) and fill it with#5B2C17.Add a layer named
Body. The Lasso always replaces the selection, so build the body from three fills on the same layer, all in#C9743A:- A tilted oval for the body, about 270 × 155 px, centered near (584, 296) and tipped up toward the head.
- A round head, about 106 px across, centered at (731, 197).
- A smaller oval for the neck at (682, 240) that joins them and leaves a slight dip along the back.
Now Cmd-click the Body thumbnail to load all three as one selection.
-
Paint the body and tail
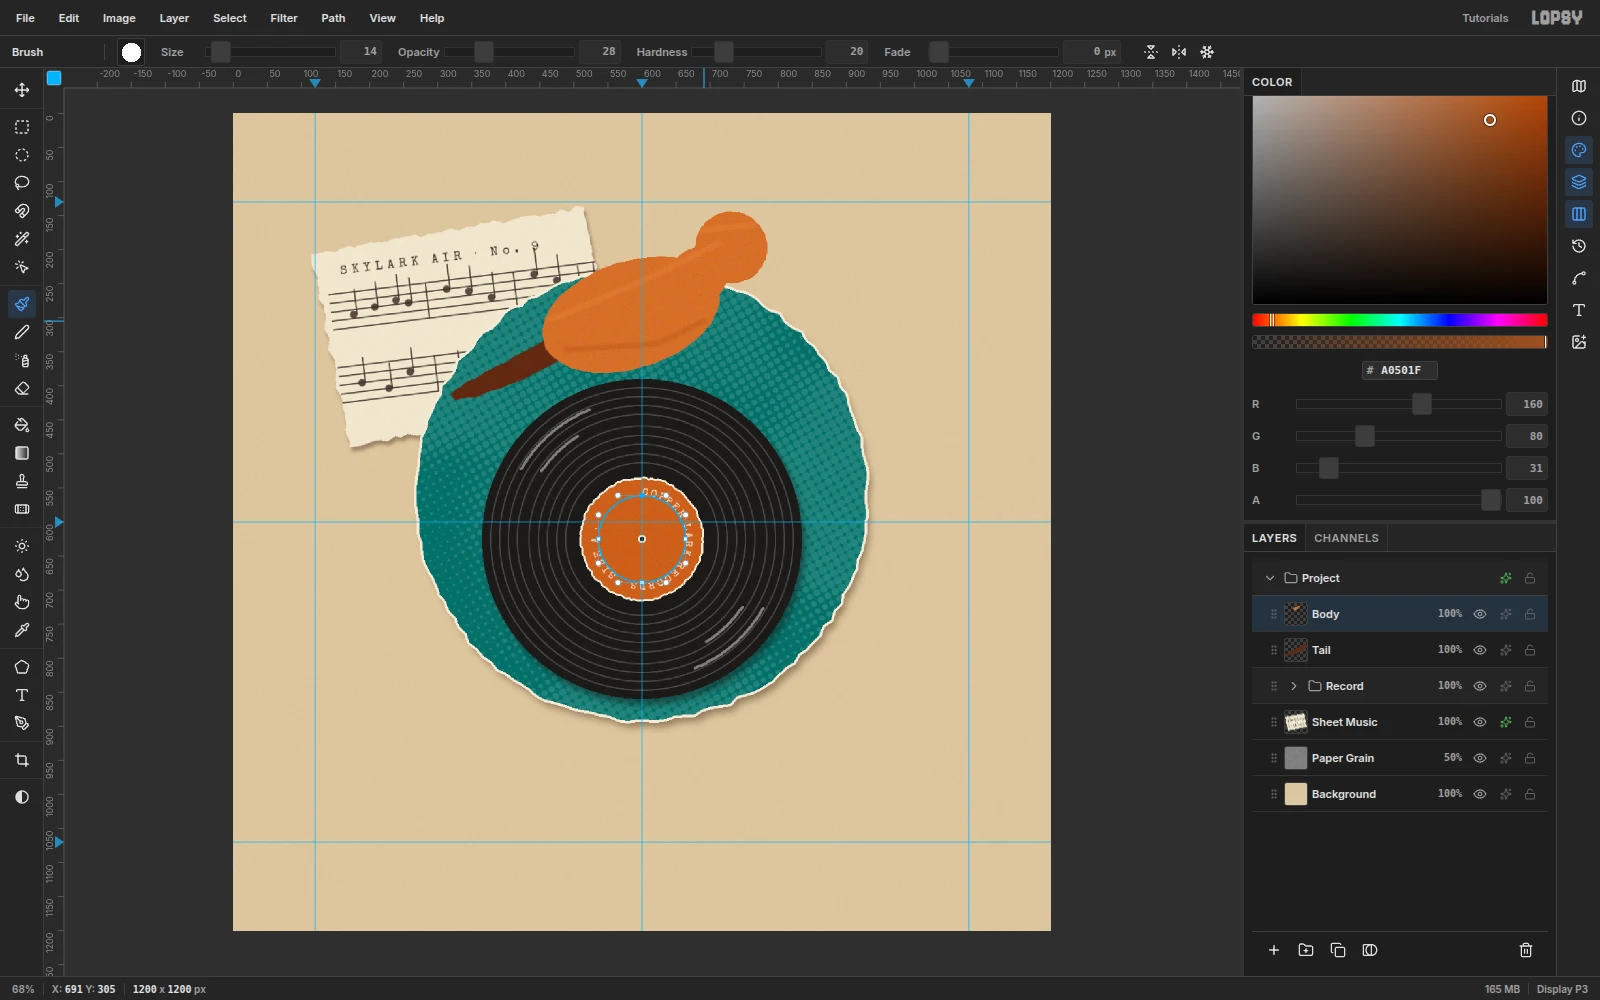
With the body selection still active, add noise at
14. Then paint soft streaks with the Brush at Size14, Hardness20, Opacity28:#E39152along the back and over the head, where light hits#A0501Falong the belly
The selection keeps every stroke on the paper. Deselect.
-
Add a streaked cream breast
Add a layer named
Breast. Lasso a crescent from under the beak down the front of the body to the belly, and fill with#F1E3C4. Add noise at10.Larks have streaks, not spots. Spots read as a thrush. With the Brush at Size
3and#7A4E2C, drag about 30 short strokes, each 9 px long and nearly vertical, packed mostly on the upper breast.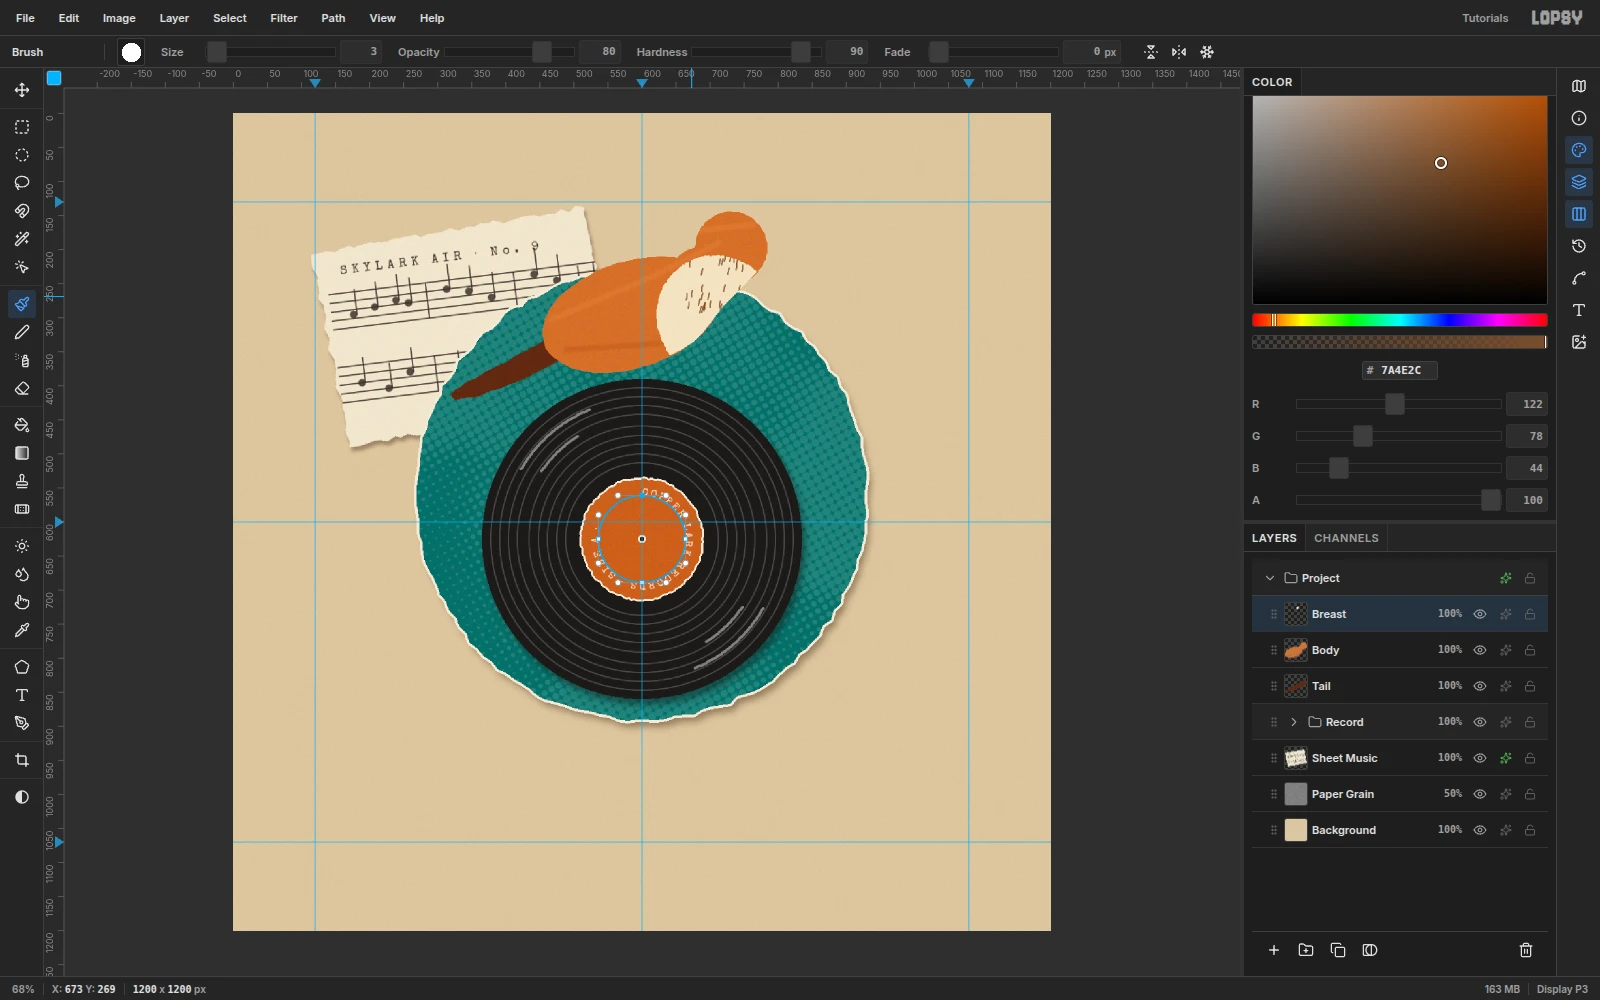
-
Cut the wing and scallop its feathers
Add a layer named
Wing. Lasso a long leaf-shaped folded wing, about 270 × 100 px, from the shoulder at (680, 262) back to a point at (435, 365). Fill with#7A3A1Eand add noise at14.With the Brush at Size
3in#E0AA72, draw three staggered rows of small U-shaped arcs, each about 20 px wide and opening toward the head. The pale edges read as overlapping feathers.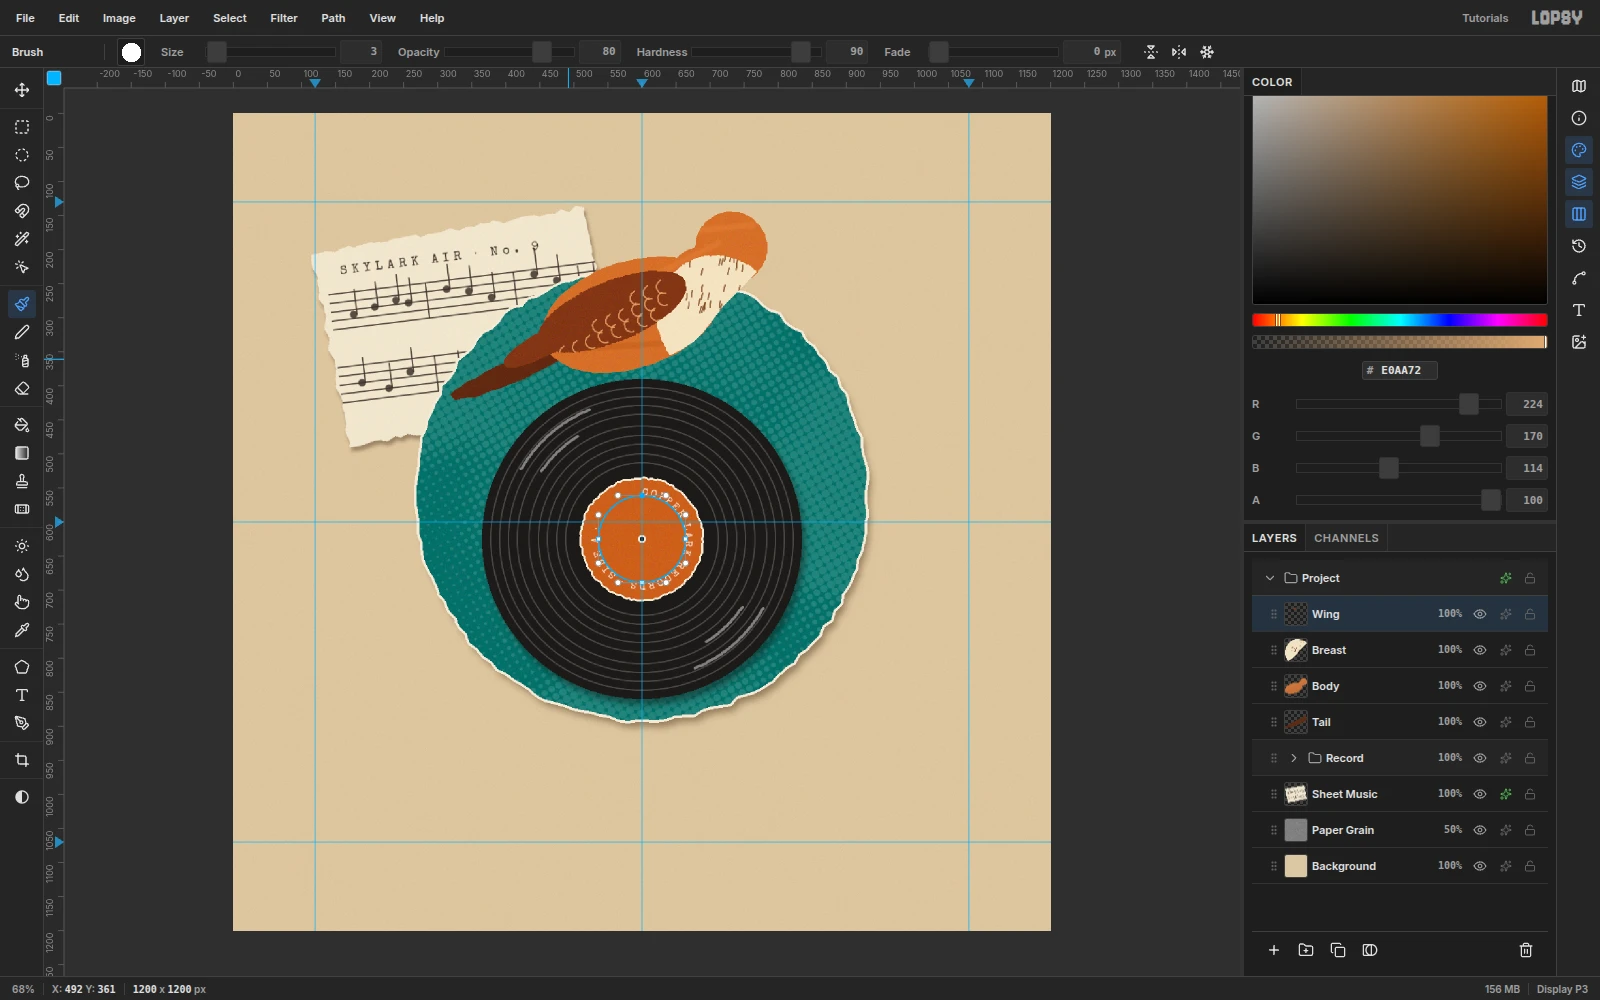
-
Add the crest, beak, eye and legs
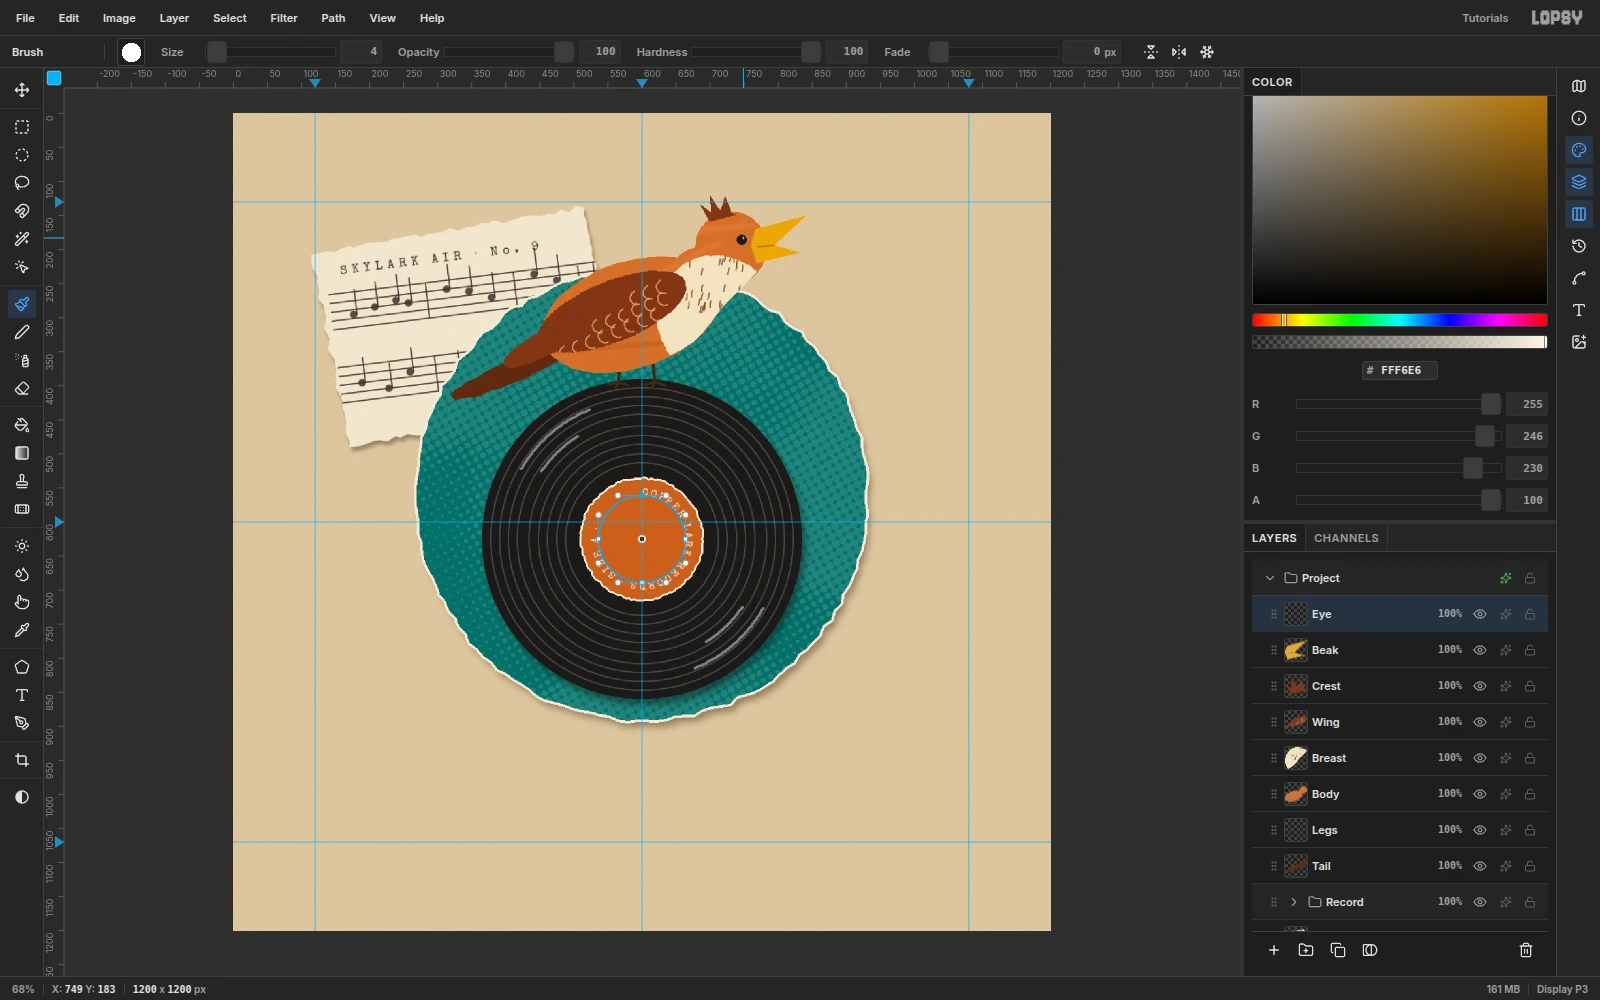
- Legs: Click
Tailand add a layer namedLegs, so it sits under the body. Use the Brush at Size6in#3B2A1Aand Shift-click two legs from the belly down to the record's rim at about y = 400. Add three short toes on each at Size5. - Crest: Above
Wing, add a layer namedCrestand lasso a small ragged tuft of three or four points rising from the back of the crown. Fill with#7A3A1E. Keep it short and flush with the head. A tall single spike looks like a horn. - Beak: Add a layer named
Beakand lasso one piece with an open V that starts inside the face, so it stays attached. Fill with#E2A93B, then brush a 3 px gape line in#9C6A18. - Eye: Add a layer named
Eyeand fill a 15 px elliptical marquee with#1C1A18. Click a 4 px#FFF6E6highlight dab near the top right.
- Legs: Click
-
Lift the lark off the page
Give Tail, Body, Wing, Breast, Crest and Beak a Drop Shadow in
#1A1008with offsets3/6, Blur8and Opacity45. Give Body a 3 px cream Stroke too, so the whole bird gets the same torn-paper outline as the disc.Click
Eye, Shift-clickTail, choose Layer → Group Layers, and name the groupLark.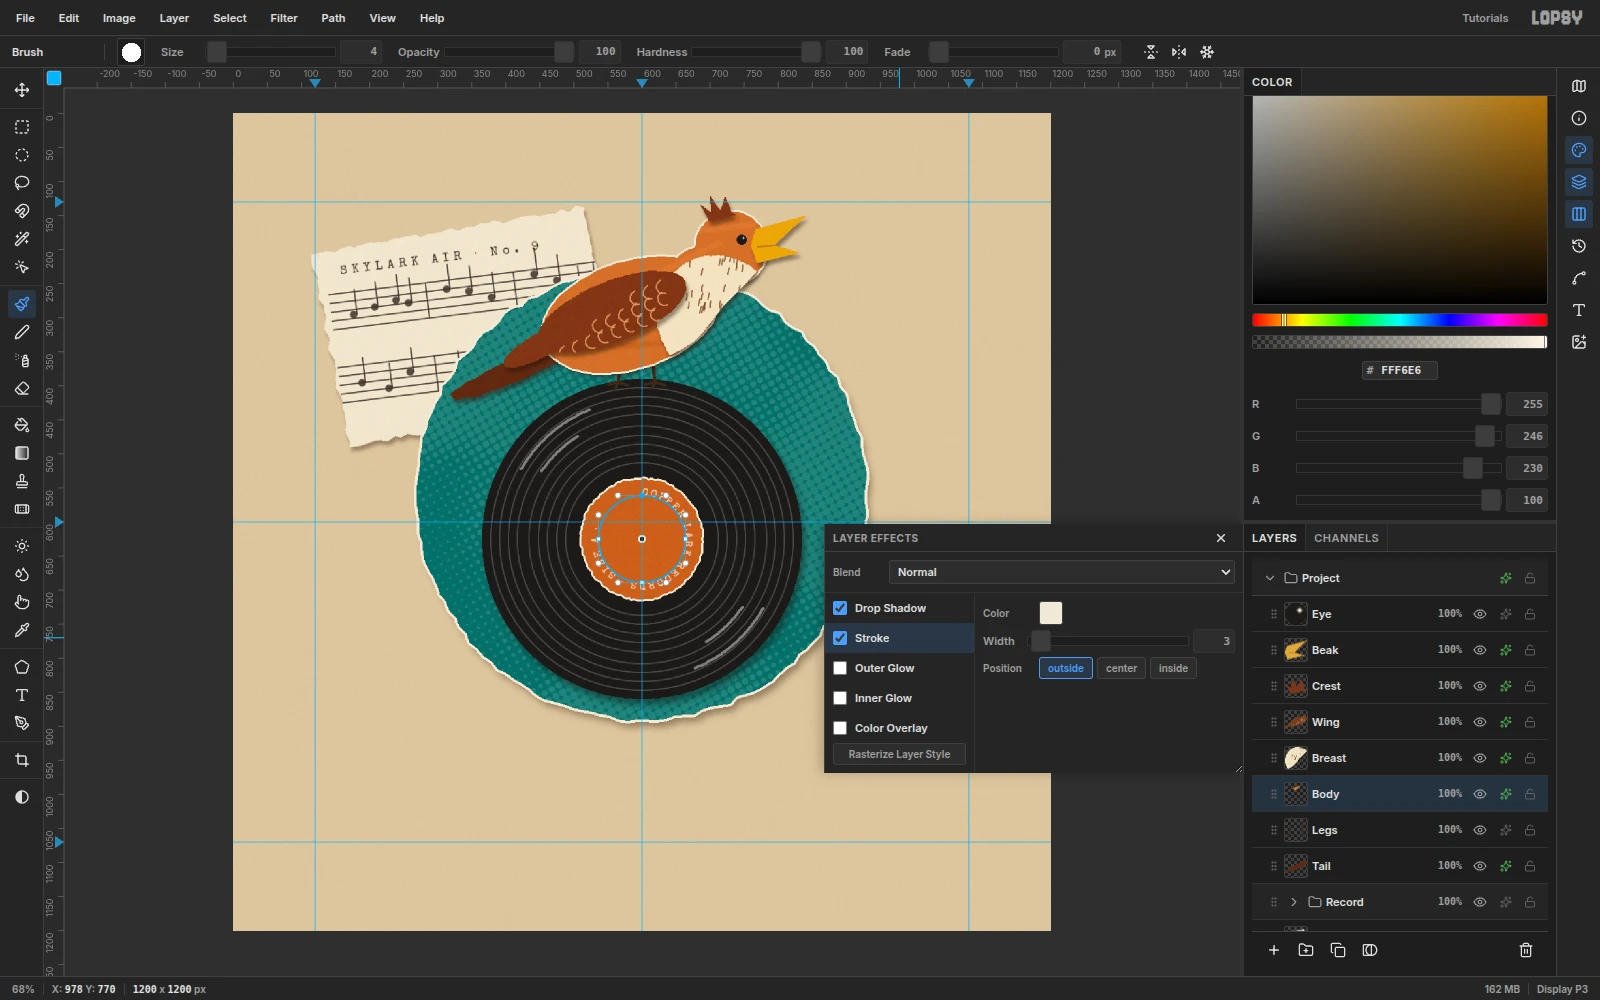
-
Cut a paper music note
With
Eyeselected, add a layer namedNote 1. Build the note from three Lasso fills in#1C1A18:- A tilted oval head, about 34 × 24 px, centered at (900, 226).
- A 6 px-wide stem from the head up to y = 148.
- A curved flag from the top of the stem sweeping down to the right.
Give it a 4 px cream Stroke and a small Drop Shadow (
2/4, Blur5, Opacity40) so it matches the other paper pieces.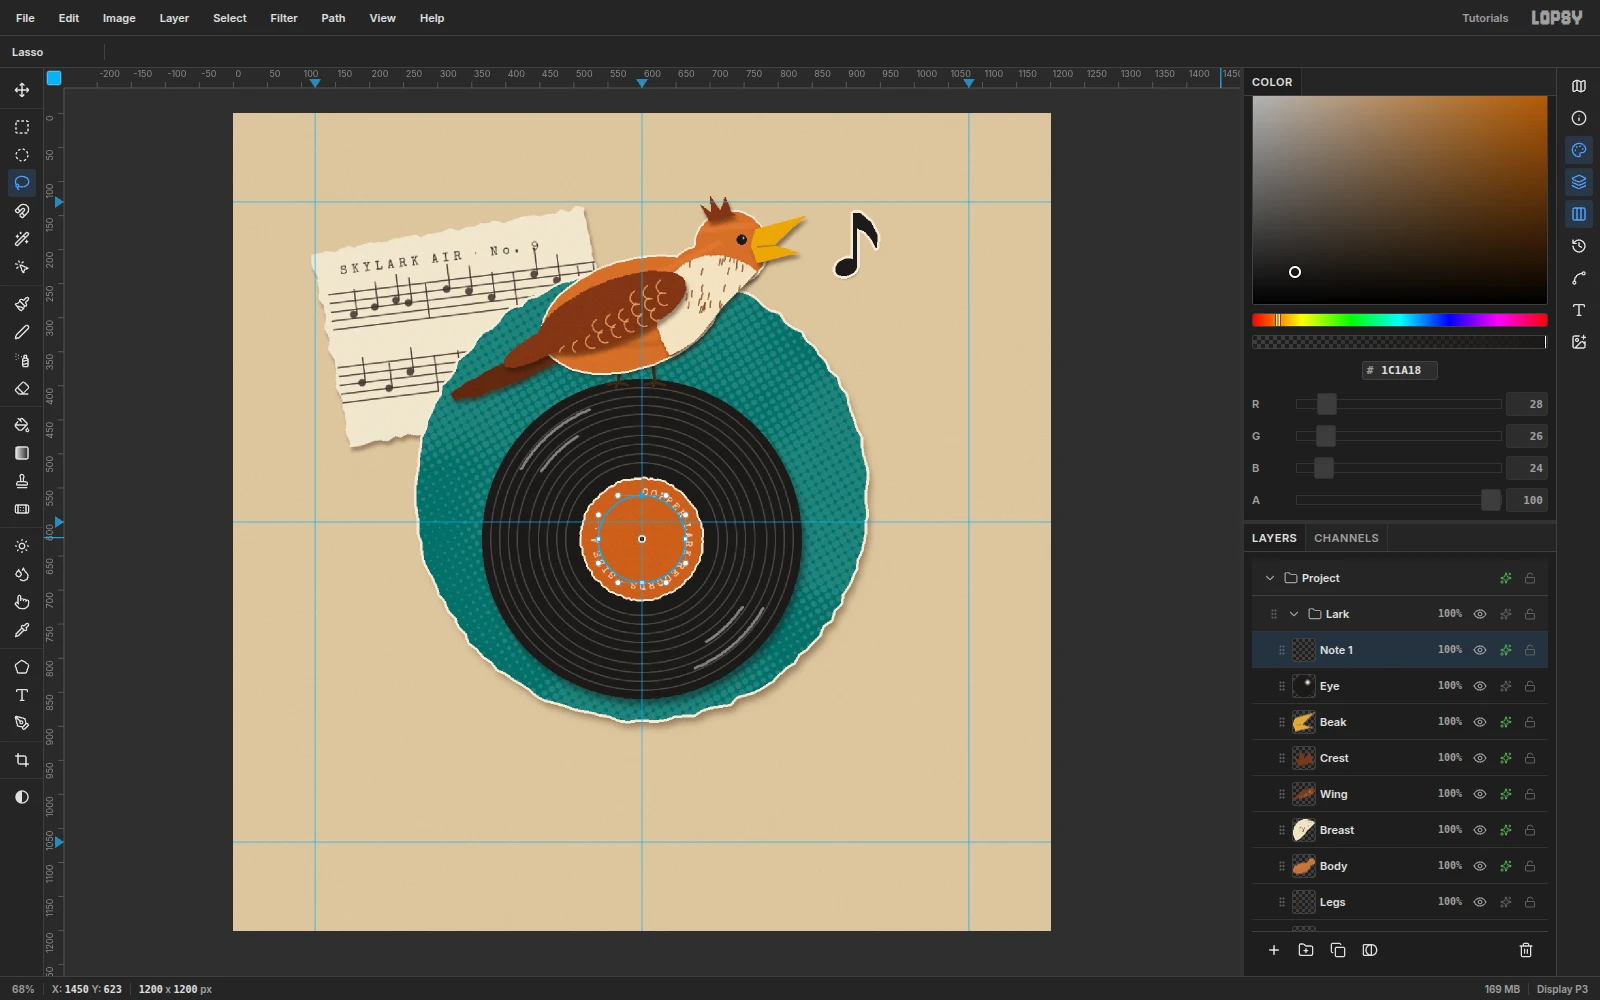
-
Copy, scale and rotate a second note
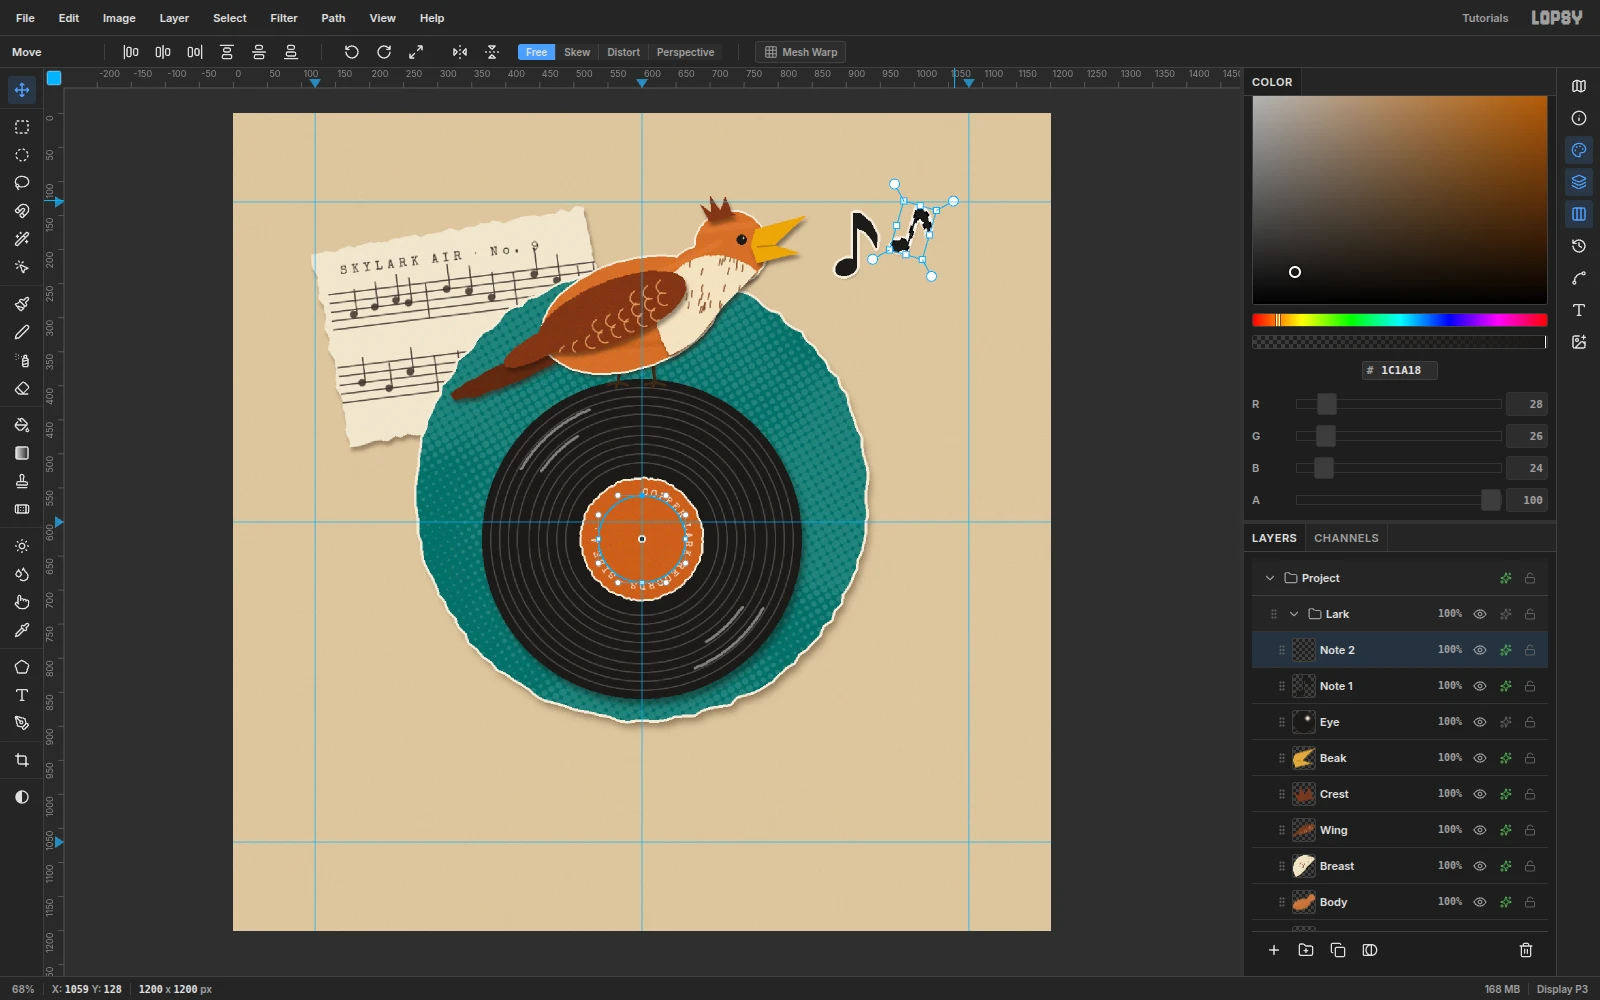
Drag a Rectangular Marquee around the note from (875, 138) to (955, 248), press Cmd+C, then Cmd+V. The copy is pasted in place on a new layer. Rename it
Note 2.With the Move tool:
- Drag from inside the selection up and to the right, to about (1000, 170).
- Drag the bottom-right corner handle in to scale it to about 80%.
- Drag just outside a corner to rotate it about 16°, then press Enter.
Pasted pixels don't bring layer effects with them, so add the same cream Stroke and Drop Shadow to Note 2.
-
Tear the black wordmark strip
Collapse the
Larkgroup, then add a layer namedInk Stripand drag it aboveLark. Lasso a torn band from (140, 834) to (1060, 818), (1066, 960) and (146, 976). It tilts up about one degree to the right.Fill with
#1E1B19and add noise at10. Add a 3 px cream Stroke and a Drop Shadow (4/8, Blur10, Opacity45).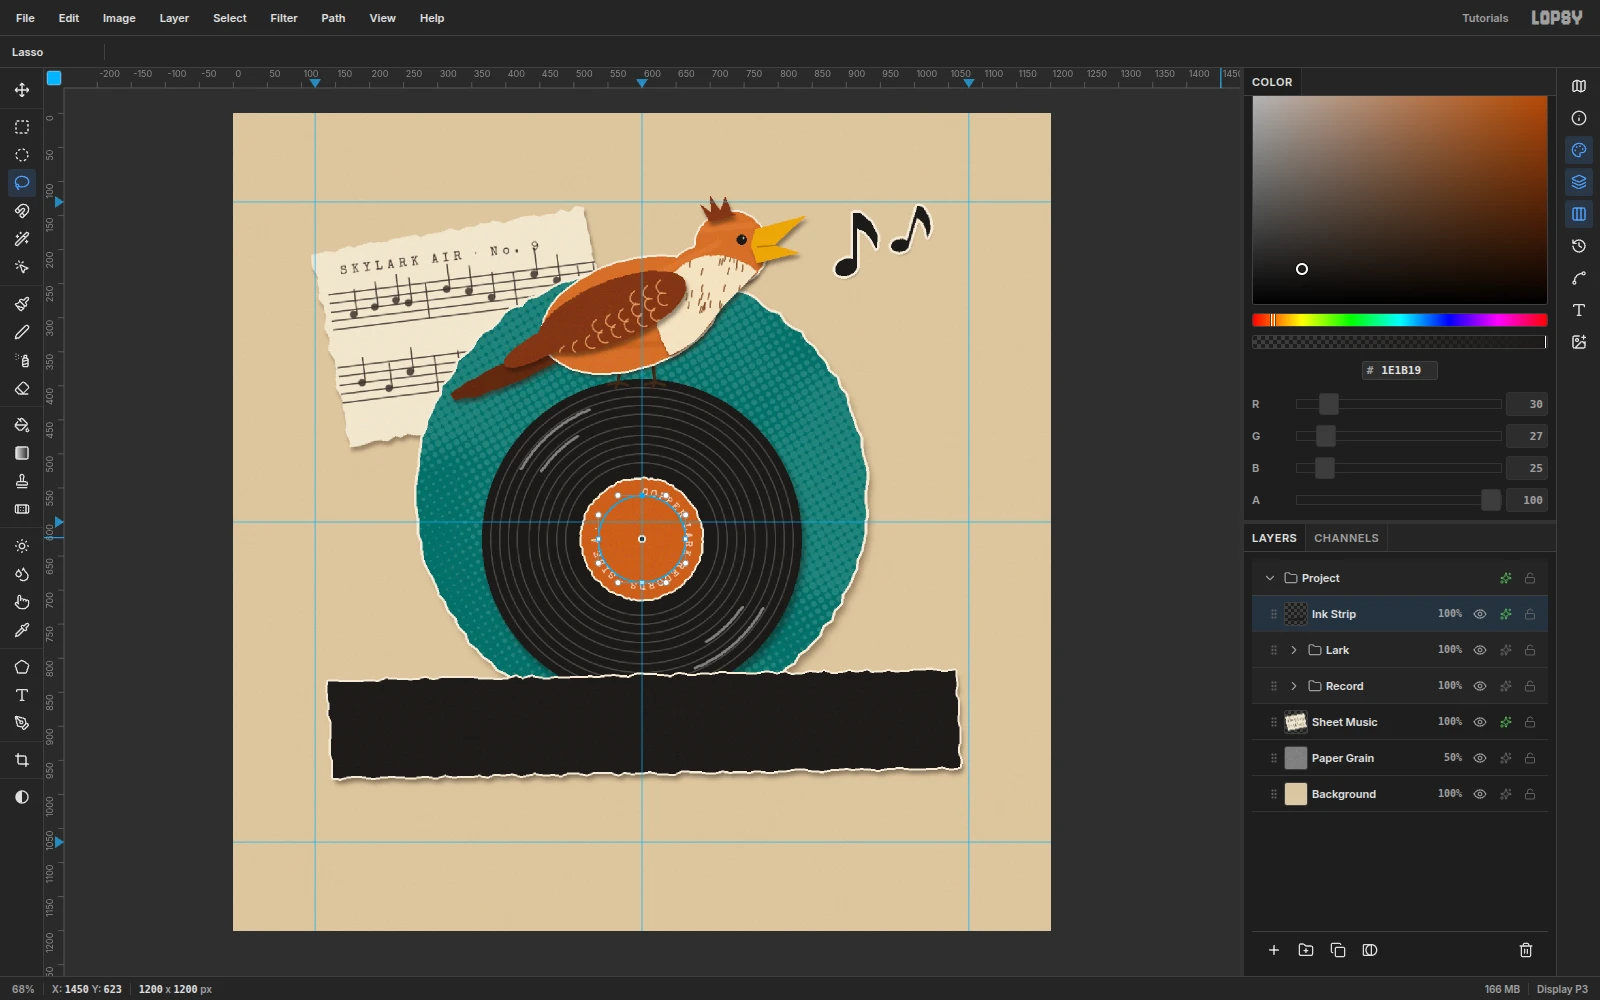
-
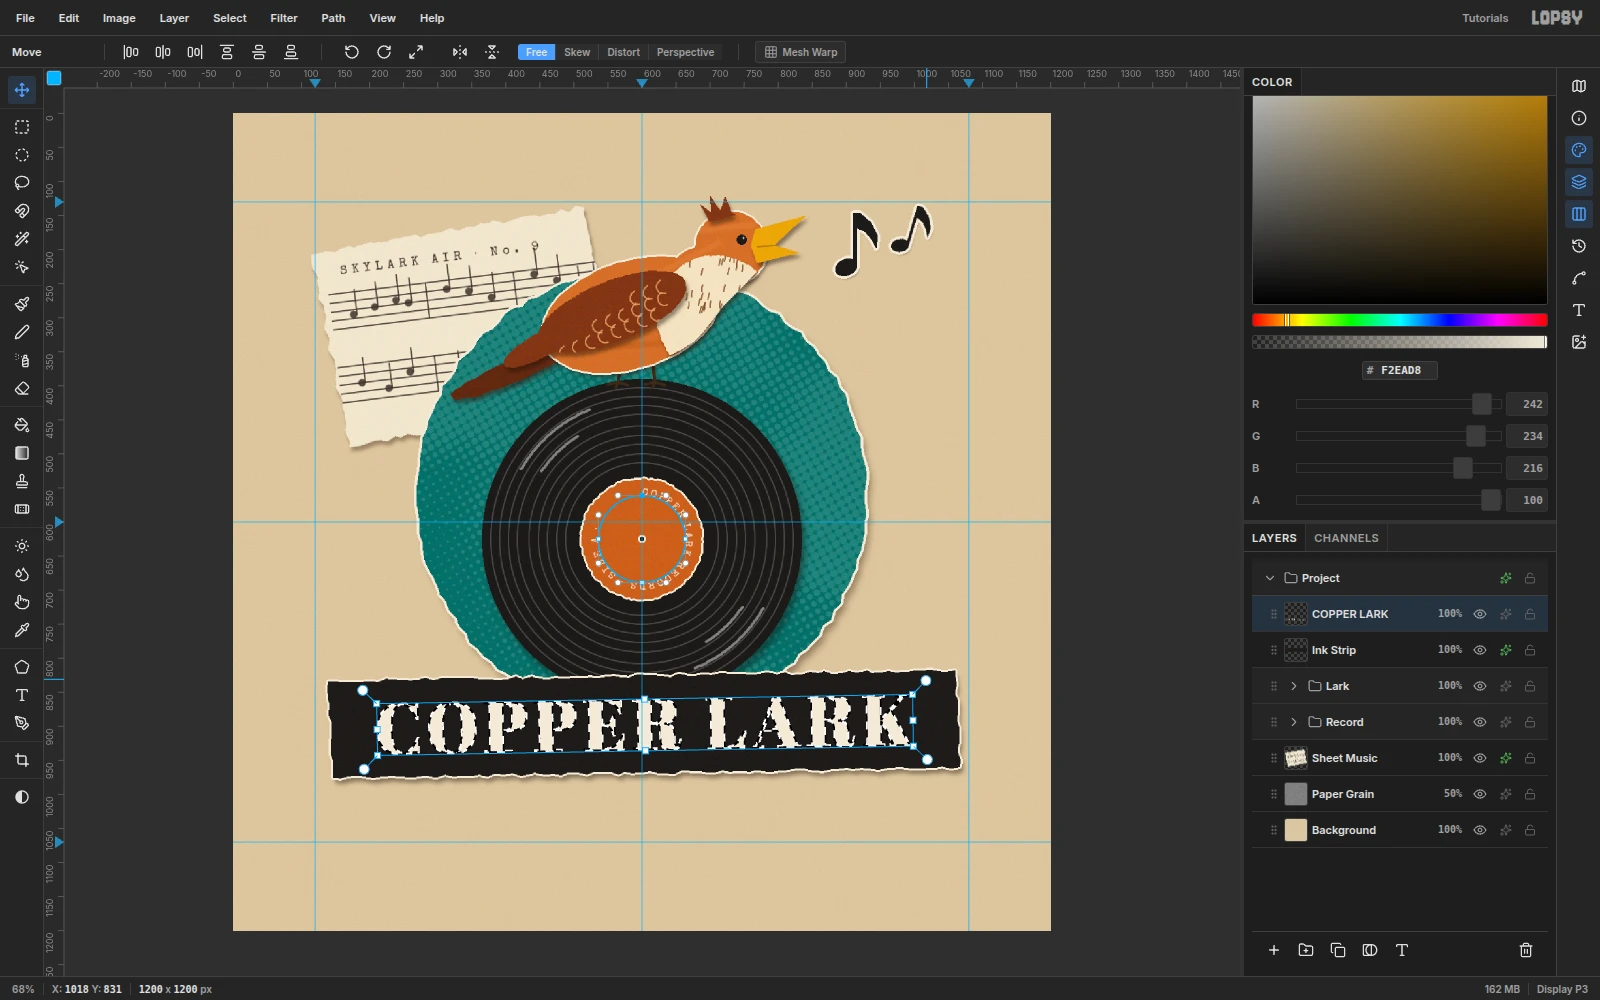
Set the wordmark and track it out
Set the foreground to
#F2EAD8. Use the Text tool with Abril Fatface at Size104, click on the strip, typeCOPPER LARK, and press Tab.In the Text panel, set Letter spacing to
7. Abril Fatface's heavy capitals crowd each other at 0. A little tracking opens up the word space and makes the line read as a logo.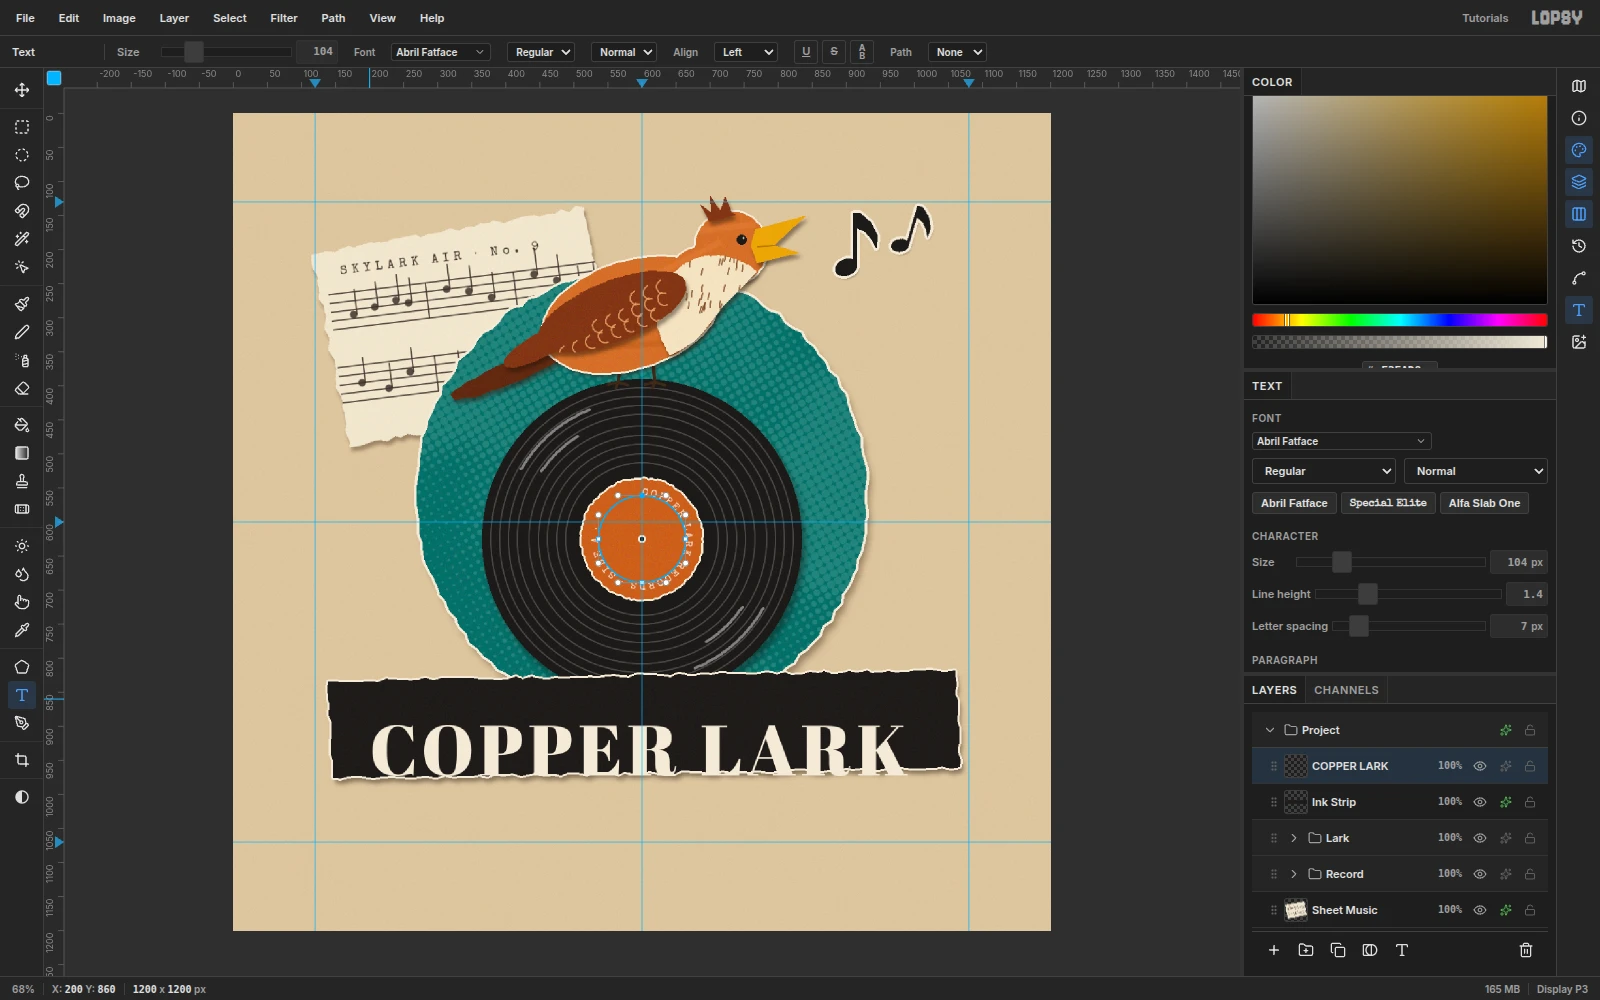
-
Seat the wordmark and match the tilt
Center the type optically inside the paper. The strip's middle is at about (603, 897), and 104 px Abril Fatface capitals are about 74 px tall. With the Move tool, nudge with the arrow keys (Shift moves 10 px) until the caps sit from about y = 860 to y = 934. That leaves about 34 px of black above and below, and about 70 px on each side.
Cmd-click the text layer's thumbnail and rotate about −1° to follow the strip's tilt, then press Enter. The name has no descenders, so nothing hangs below the baseline.
-
Add a masking-tape tagline
Add a layer named
Tape. Lasso a band from x = 345 to 855 and y = 996 to 1062, zigzagging the two short ends like torn tape. Fill with#EFE4C6, add noise at8, set the layer to 88%, and add a light Drop Shadow (1/3, Blur4, Opacity35). Select its pixels and rotate it about +2°.Set the foreground to
#2A2420. Use Special Elite at Size30to typeRECORDS · EST. 2026, then rotate it +2° as well. Nudge it until it's centered on the tape, with about 44 px of clear tape at each end.Add one more short tape strip named
Corner Tape, about 116 × 38 px, rotated −40° over the sheet music's top-left corner at 80% opacity. Now the scrap looks taped down.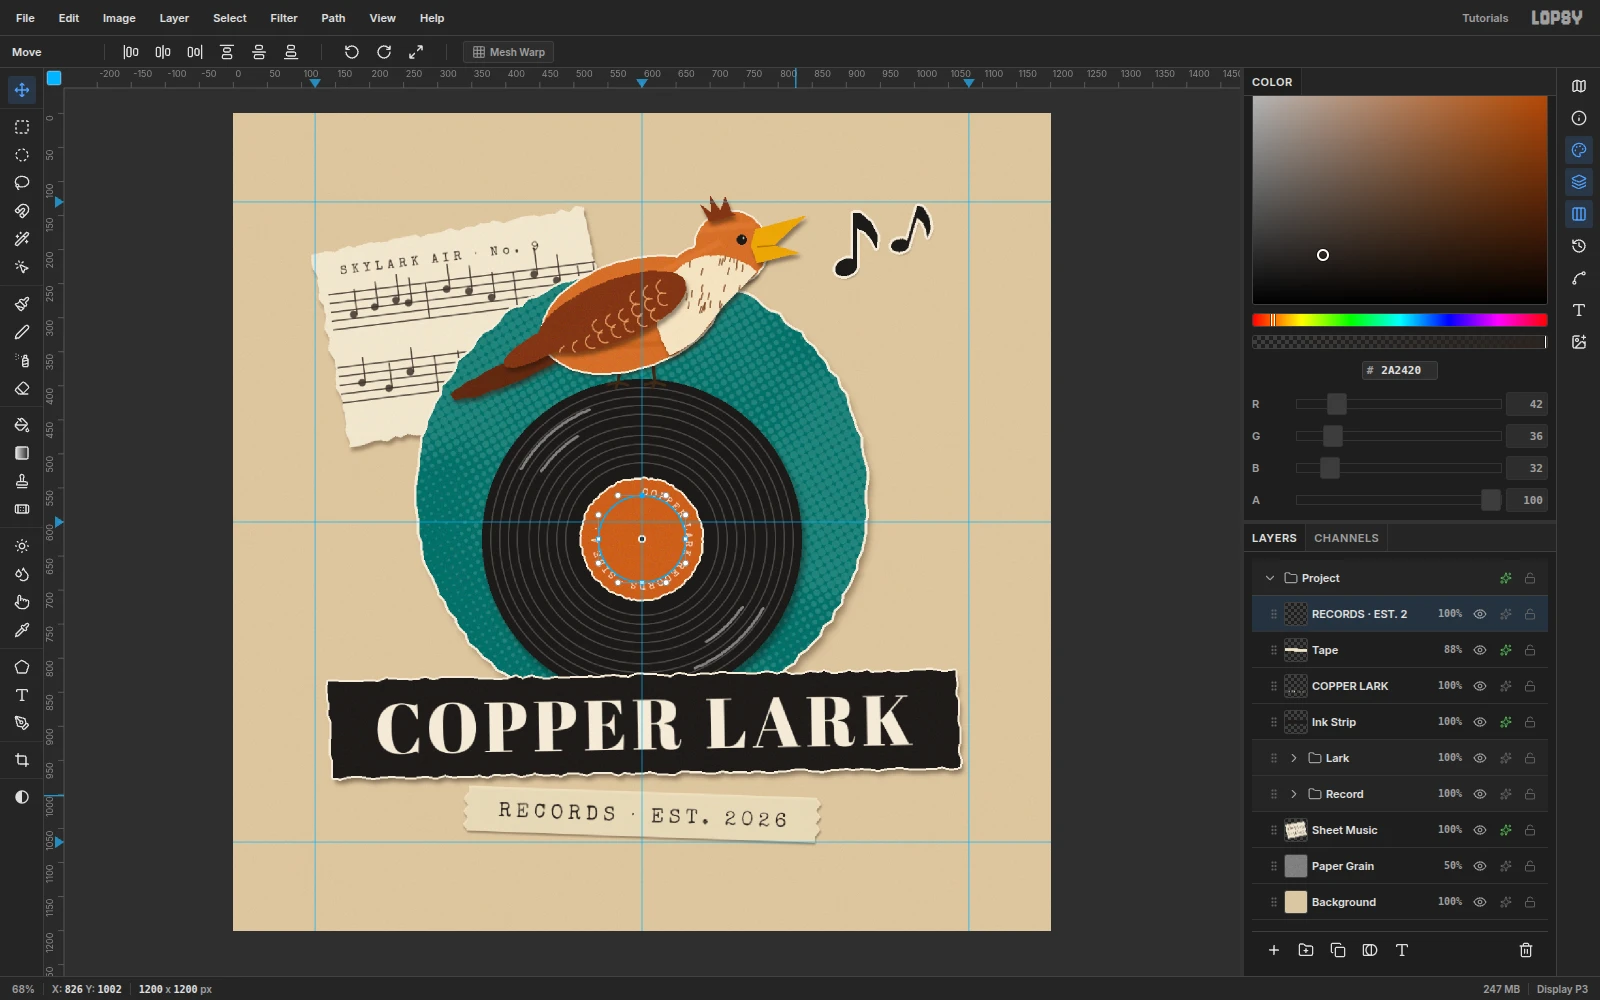
-
Finish with grain and a vignette
Click
Paper Grainand click Duplicate Layer. Rename the copyPrint Grain, drag it to the top of the stack, and set it to 25%. The overlay grain now runs across every paper piece, which ties them together as one printed sheet.Click the
Projectgroup, open its drawer, and choose Add Adjustment → Vignette at18for a gentle darkening at the corners.Save with File → Save Project, then File → Quick Export PNG.