Design a Cyberpunk Data Visualization Dashboard in Lopsy
Build an amber cyberpunk dashboard in Lopsy with a radial 24-hour bar chart, a perspective grid floor, text on a circle, a pen-drawn line chart and scanlines.
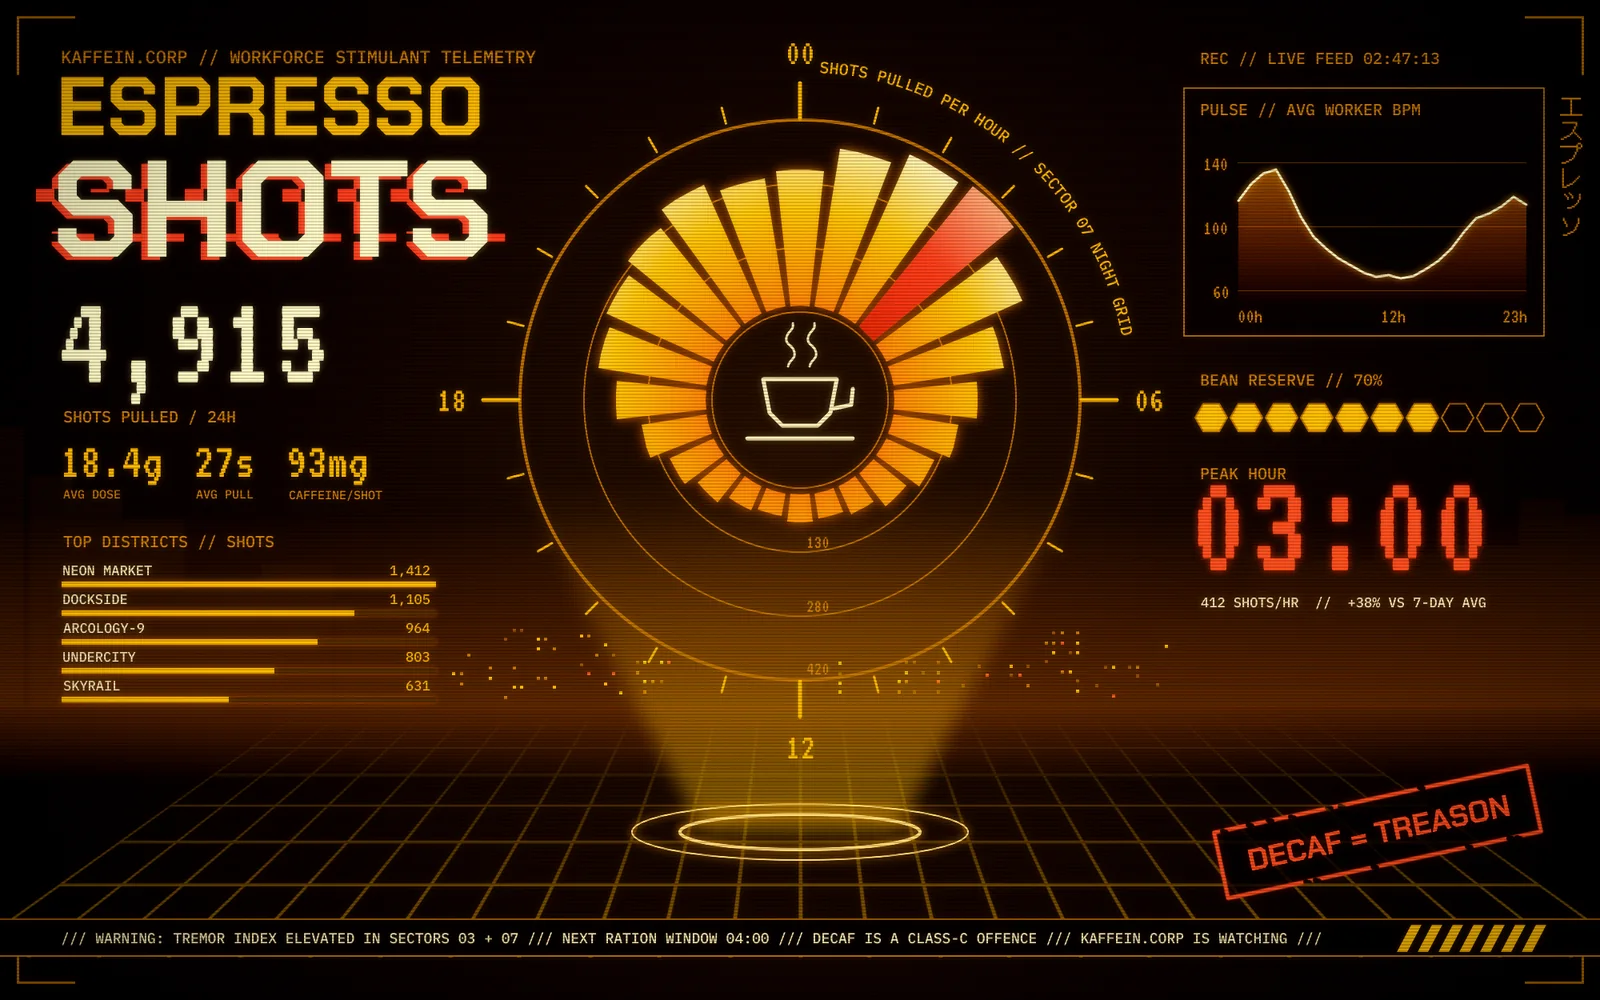
Most cyberpunk art is magenta and cyan. This one goes the other way, back to the amber monitors of old terminals. It keeps the genre's other habits:
- one colour of light on black, with a single red saved for the thing that matters
- a HUD that frames the picture: corner brackets, a ticker, tiny labels in monospace
- a hologram: the main chart floats over a grid floor, lit from a projector ring
- a little menace in the copy
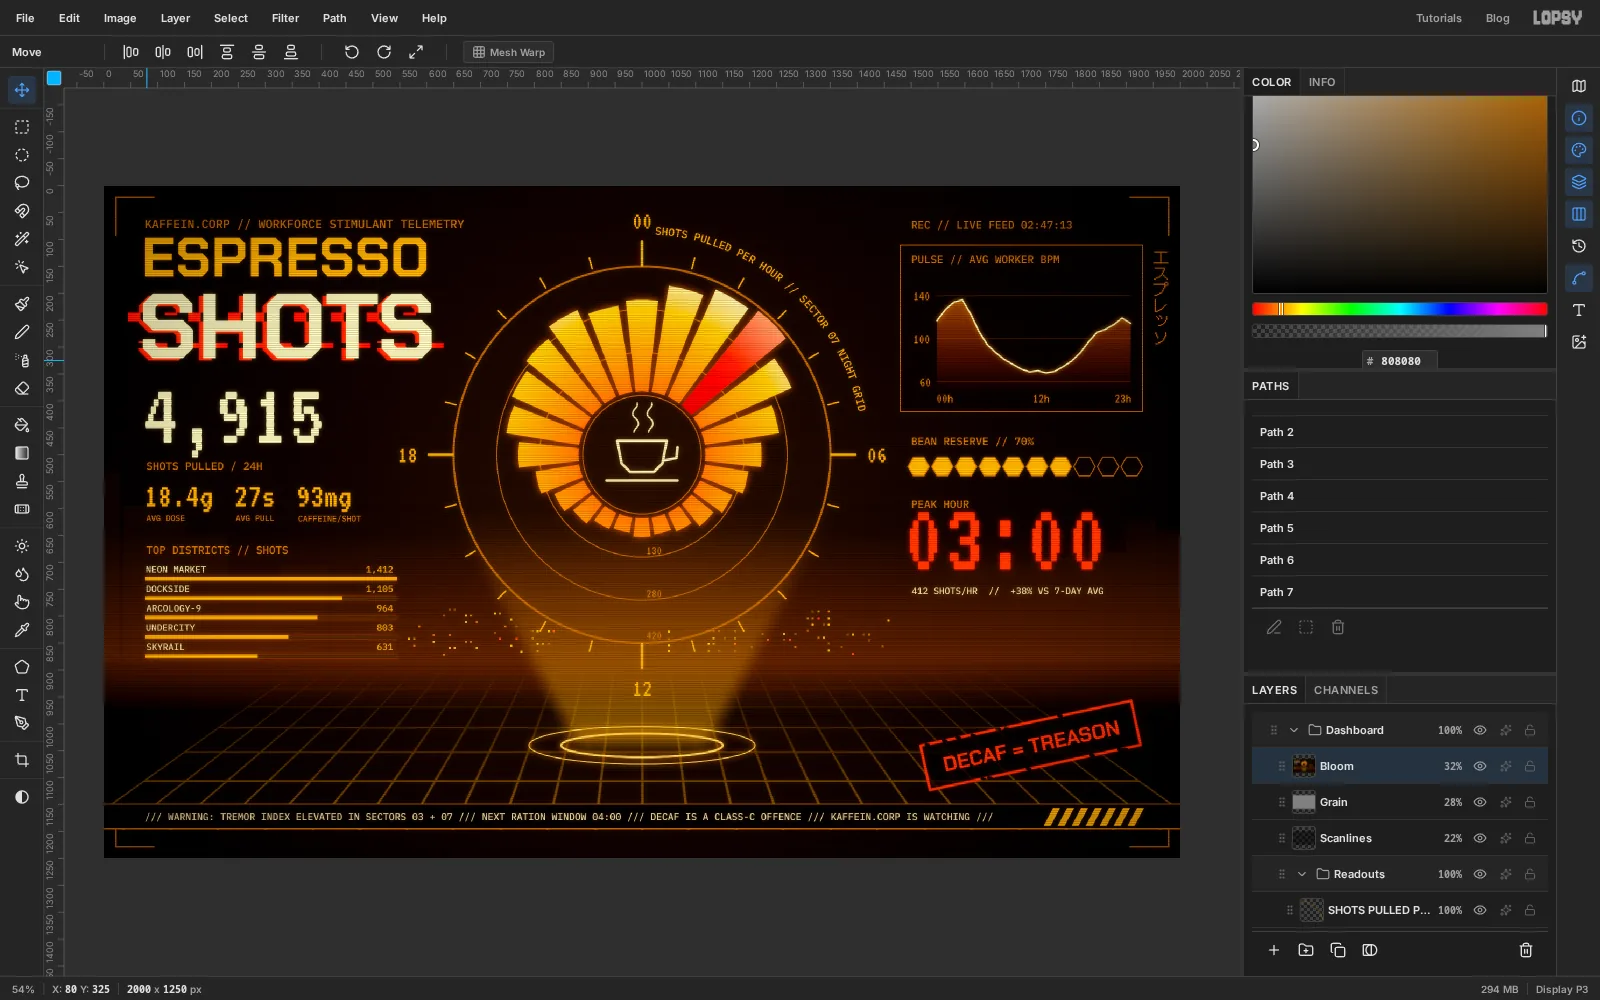
You'll build Espresso Shots, a dashboard for a made-up megacorp that tracks how much coffee its night shift drinks. It has four small charts on one 2000 × 1250 px board: a radial bar chart of shots per hour, a bar chart of districts, a line chart of heart rate and a ten-cell meter.
The tools you'll use:
- the Pencil with Shift-click lines and the Move tool's Perspective mode for the grid floor
- a layer mask with a gradient to fade the floor into the distance
- the Shape tool for rings, panels and hexagons, with its click-for-exact-size dialog
- the Brush with Radial Symmetry to draw 24 tick marks in one stroke
- the Lasso with Shift to add, a Radial Gradient, and Cmd-click plus Shift+Alt to intersect selections
- the Pen for an icon and a line chart
- text on a path, vertical text, and five Google fonts
- ruler guides that marquees snap to
- Skew, group rotation and arrow-key nudges
- Outer Glow, the Screen and Overlay blend modes, group adjustments, Define Pattern, Add Noise and Copy Merged
The palette is amber on black:
-
Void
-
Amber
-
dim amber
-
label amber
-
Pale
-
cream
-
ring light
-
Alert red
-
readout red
-
deep red
-
Skyline
-
bar track
-
grid line
-
panel
-
band
-
Glow orange
-
glow amber
-
haze
The type is Chakra Petch Bold for the title and stamp, VT323 for every number, IBM Plex Mono Medium for labels and DotGothic16 for the katakana.
-
Start with a warm, dark background
Choose File → New and make a document 2000 wide and 1250 high. Rename Layer 1 to Void.
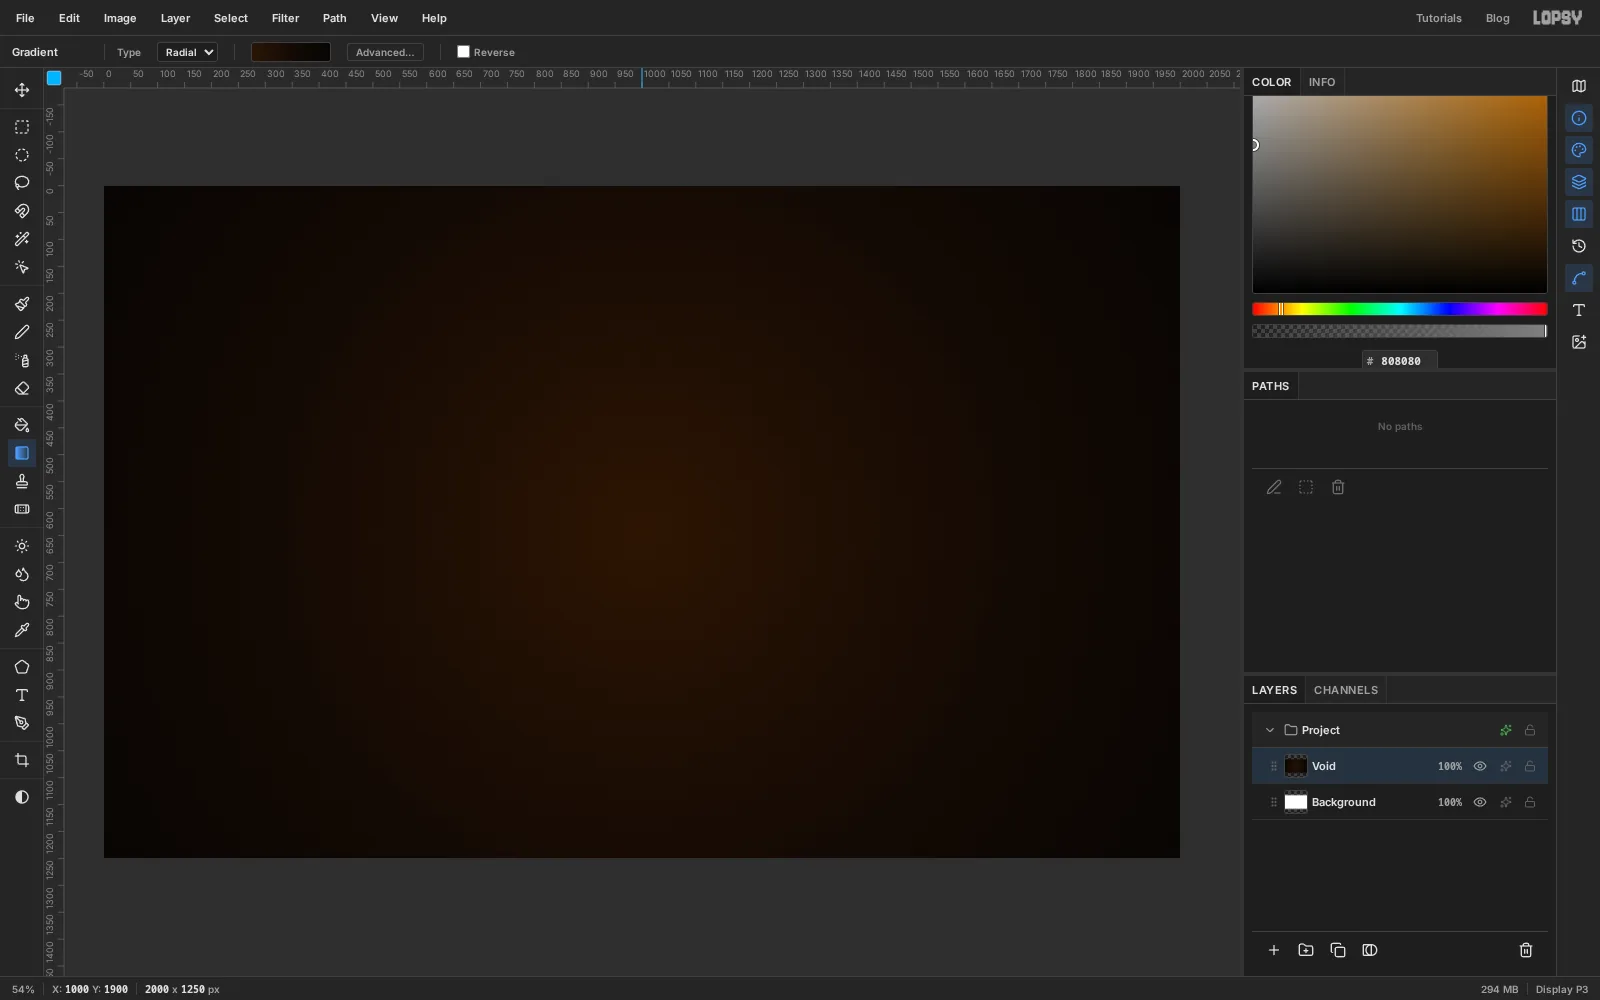
Pick the Gradient tool, set Type to Radial and click Advanced…. Give the gradient three stops: at the left, a little past the middle and at the right. Click Done, then drag from the centre of the canvas straight down until you're well past the bottom edge. The middle of the board ends up a touch warmer than the corners, which is all the light the background needs.
-
Draw a flat grid with the Pencil
Add a layer called Floor. Take the Pencil, set Size to 3 and the foreground to .
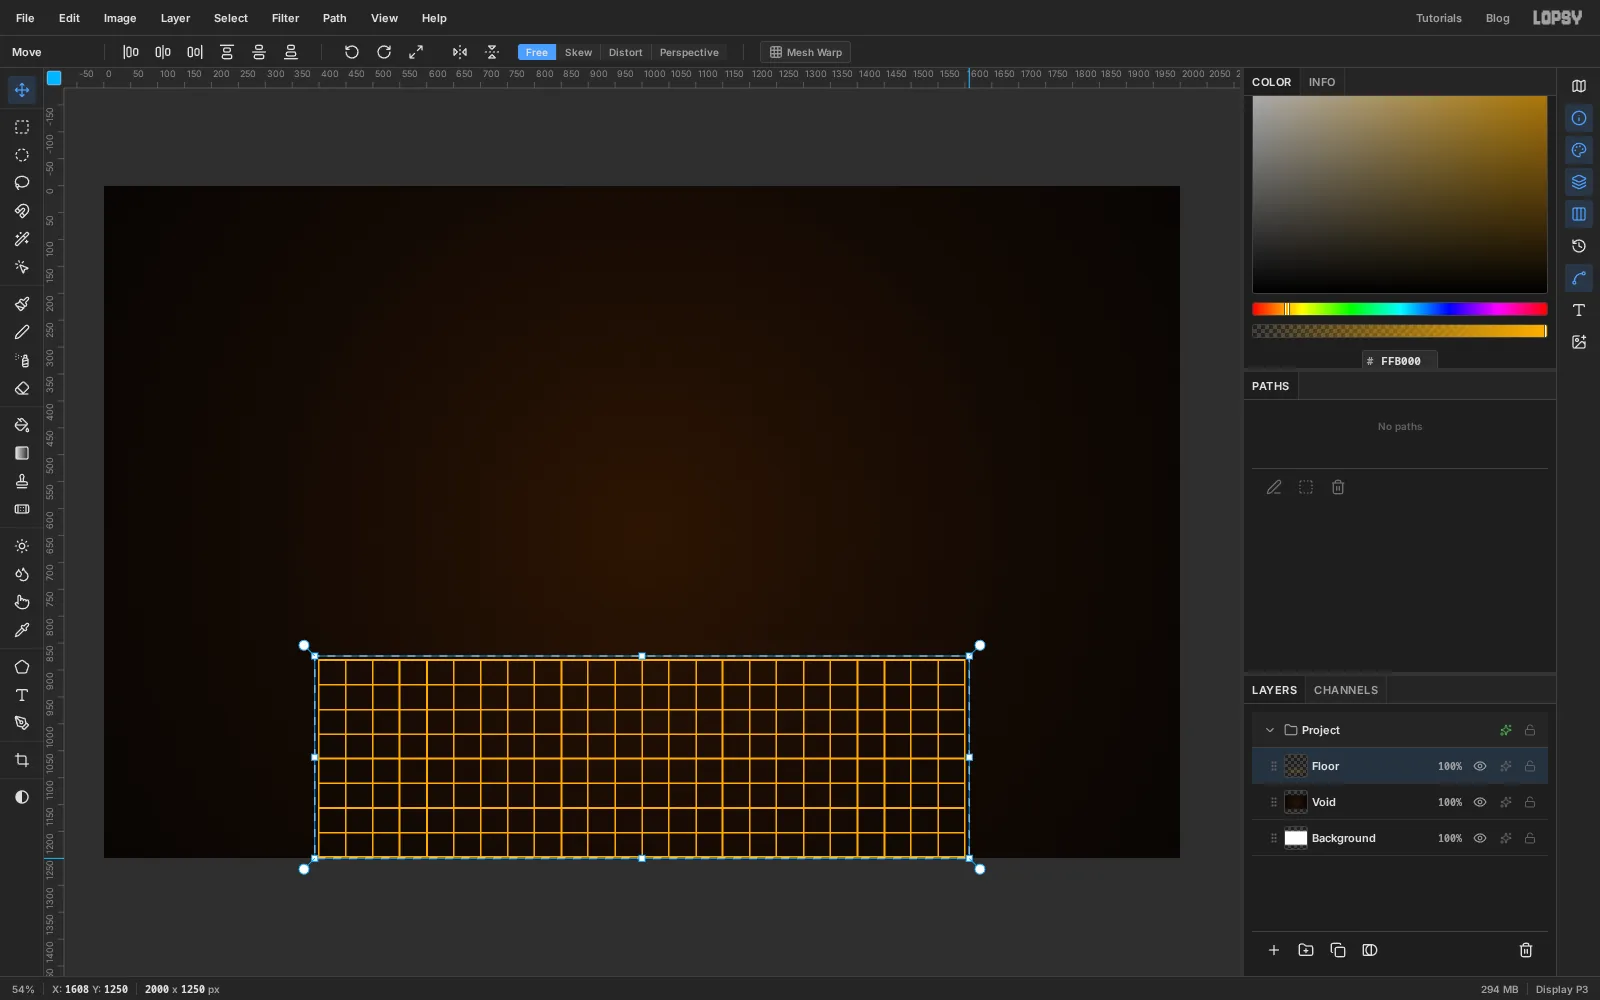
A click followed by a Shift-click draws a straight line between the two points. Draw about 25 vertical lines that way, roughly 50 px apart, across the middle of the bottom third of the canvas. Leave a fifth of the width empty on each side, because the next step stretches the grid outward. Then draw nine horizontal lines across them, evenly spaced, to make squares.
The grid looks wrong for a floor, and that's fine. Drag a Rectangular Marquee around the whole grid with a few pixels to spare, so you don't slice a line in half, and switch to the Move tool.
-
Tip the grid into perspective
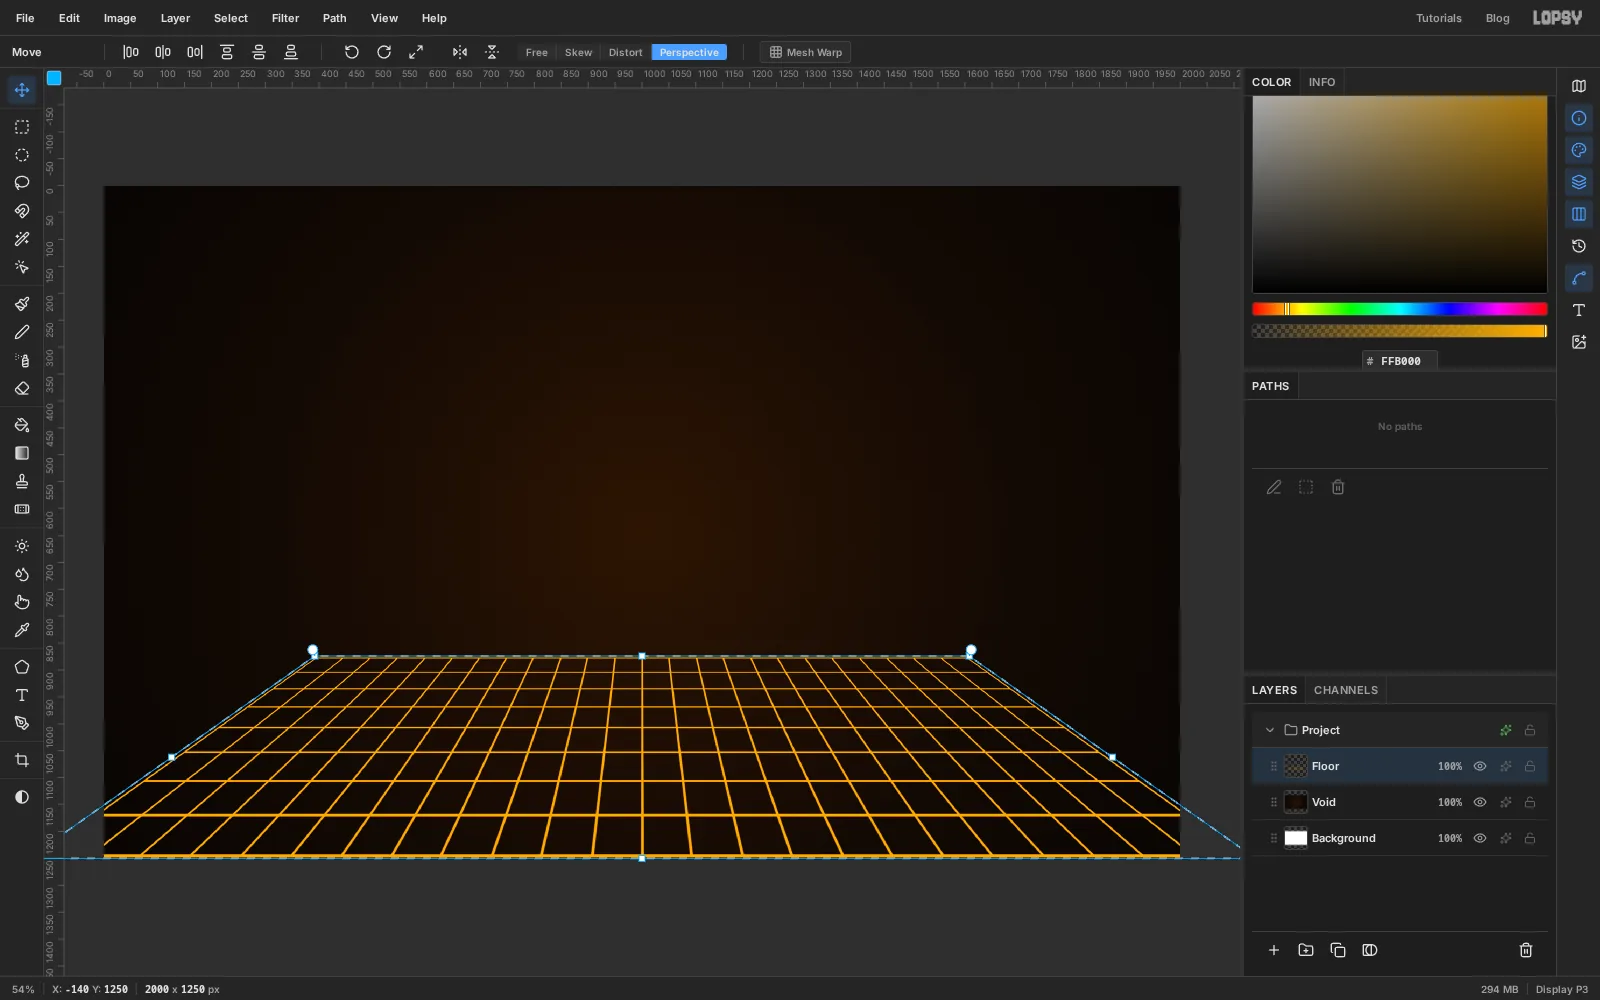
With the selection live, the Move tool's options bar shows four transform modes. Click Perspective, then drag the bottom-left handle straight out to the left, past the edge of the canvas. The bottom-right corner mirrors it, and the squares turn into floor tiles that get shorter as they recede.
Press Cmd+D to commit. If you undo at this point the flat grid comes back with its selection, so it's cheap to try a second time.
-
Fade the floor into the distance
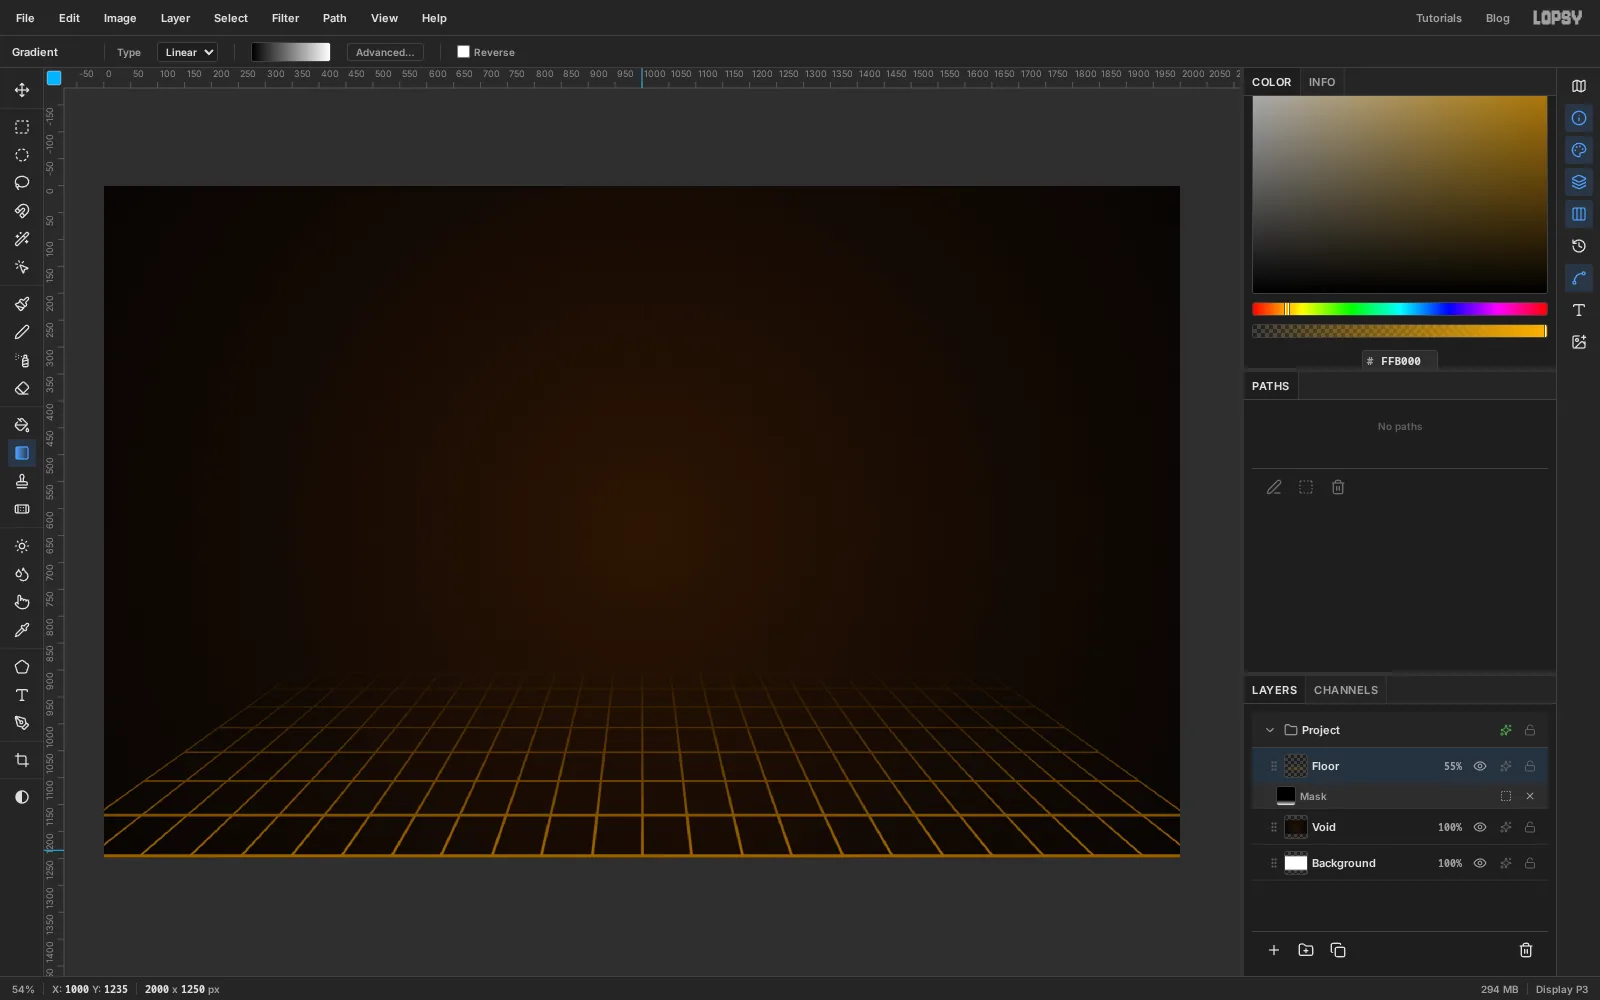
With Floor active, click Add Mask under the Layers panel. You're now painting on the mask, which the canvas shows with a blue tint. Take the Gradient tool and set it to Linear. It still holds the three brown stops from the background, so click Advanced…, delete the middle stop, make the two that are left black and white, and click Done. Drag from the horizon end of the floor down to the bottom edge. Black hides and white shows, so the far end of the grid melts away.
Click the Floor row to leave the mask, then click its opacity button and bring the layer down to 55%.
-
Block in a skyline with one selection
Click Void and add a layer above it called Skyline, so the city sits behind the floor.
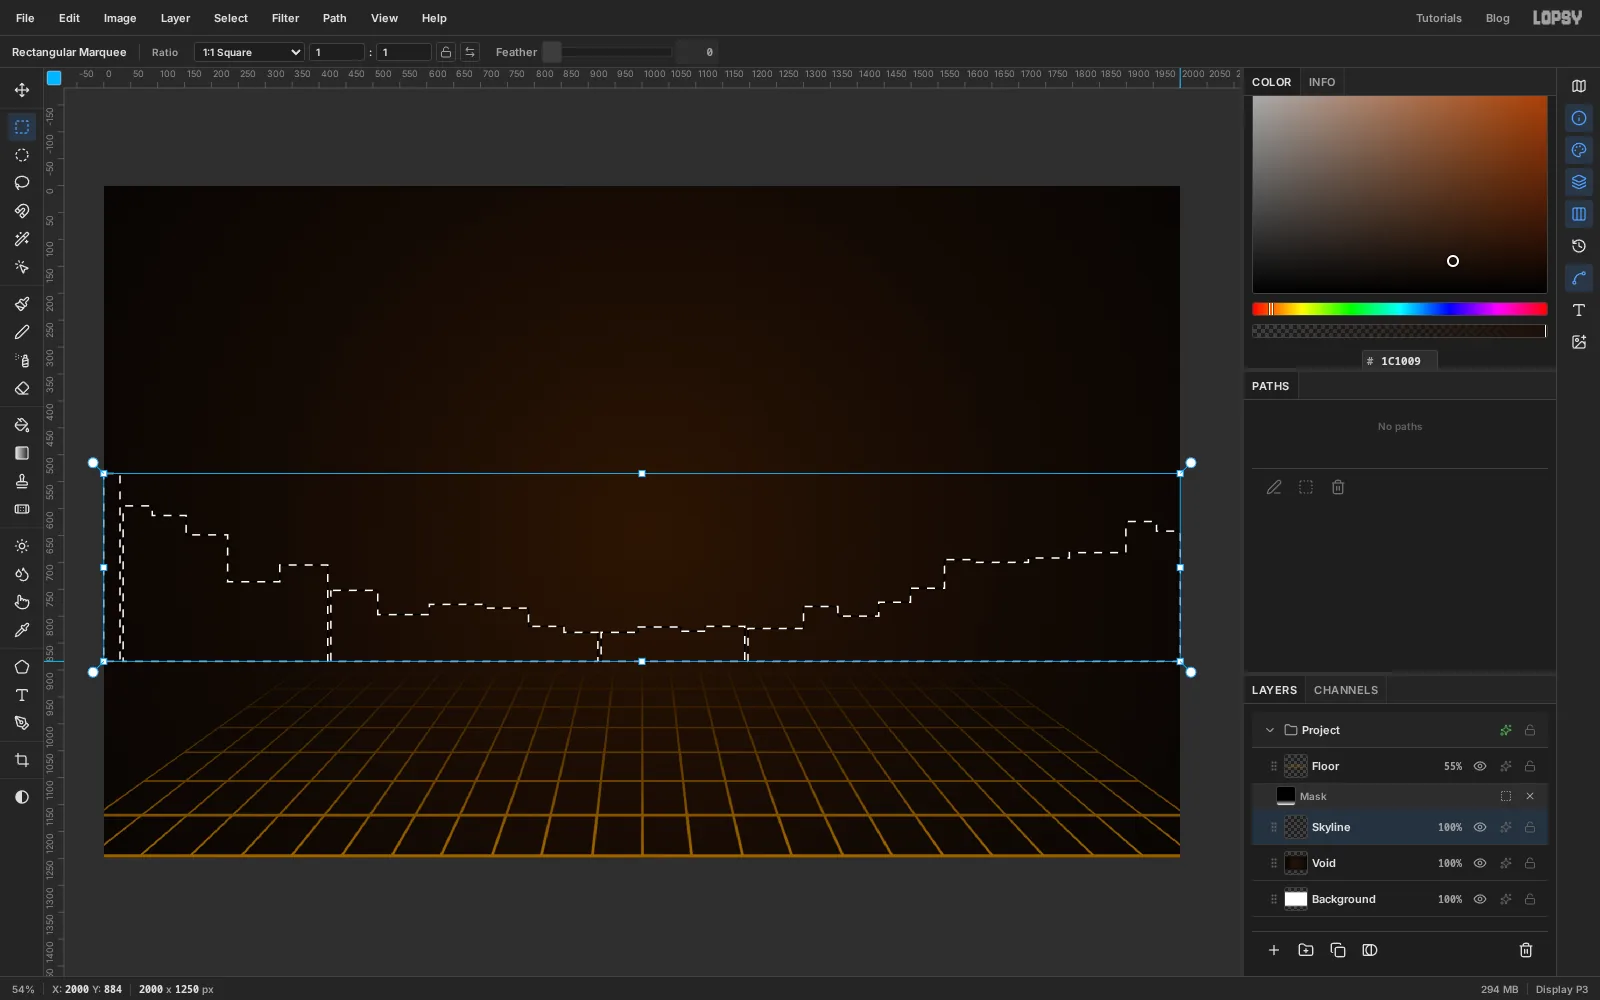
Take the Rectangular Marquee and drag a tall, narrow box standing on the horizon at the far left. Hold Shift and drag the next building beside it, then keep going across the canvas. Make them tall at the edges and short in the middle, where the chart will go. Every Shift-drag adds to the same selection.
Set the foreground to , choose Edit → Fill and press Cmd+D. Bring the layer down to 55% so the buildings read as haze.
-
Light the windows and the horizon
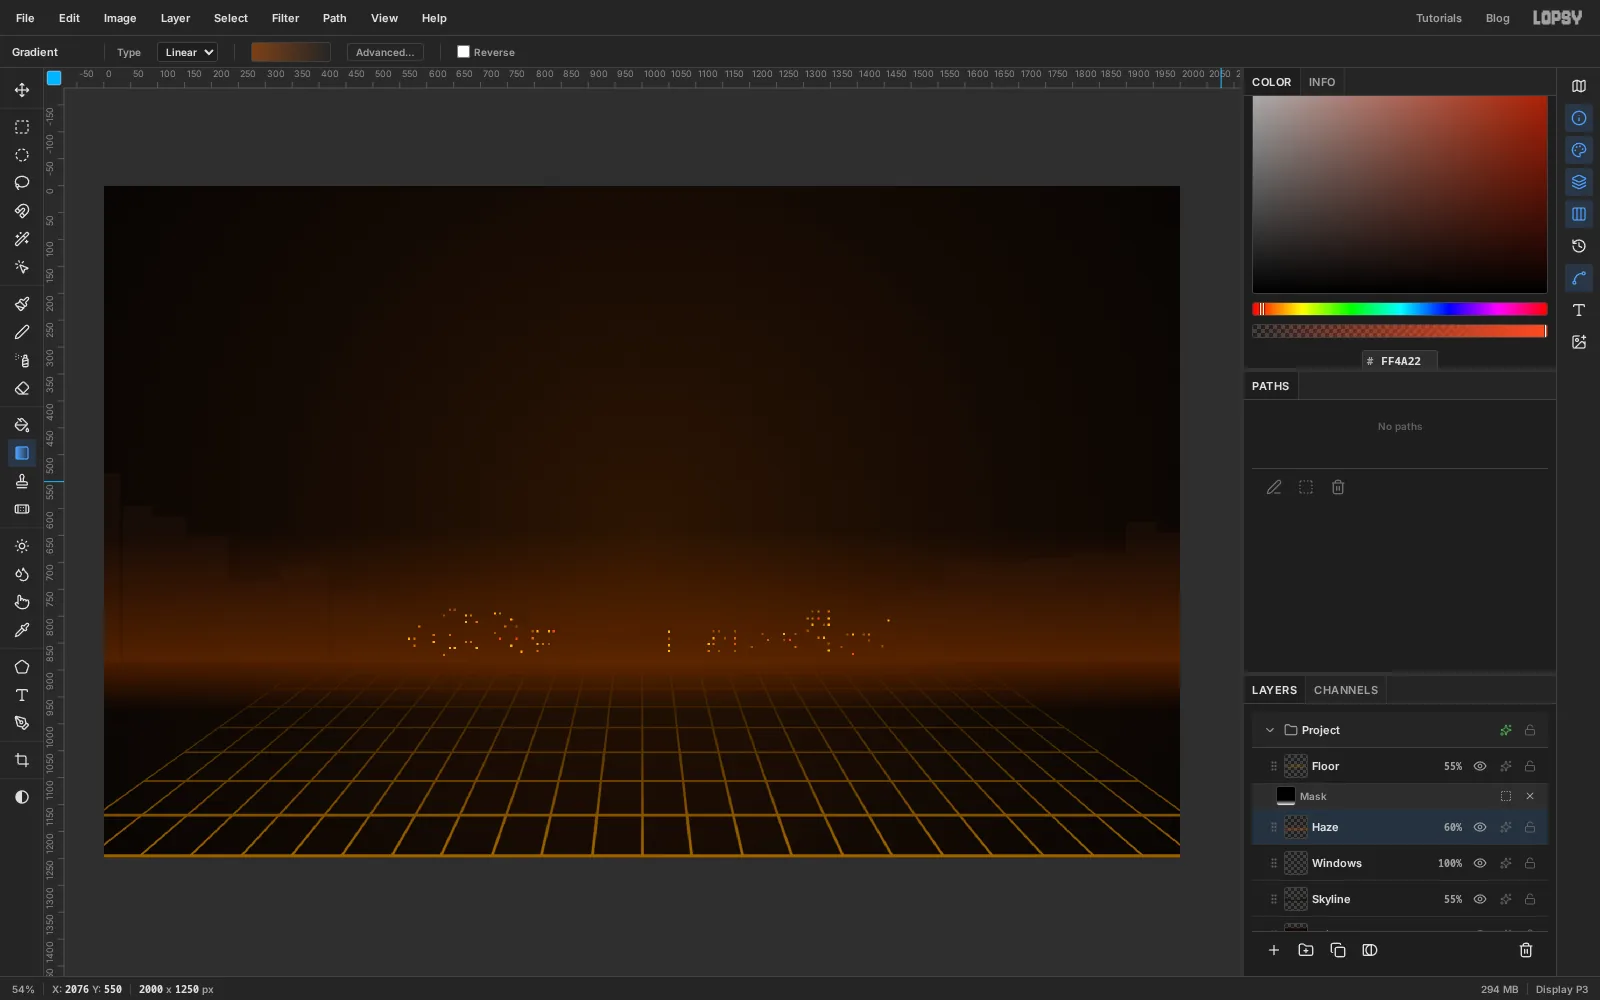
Add a layer called Windows. With the Pencil at Size 4, dot a hundred or so windows over the buildings in the middle of the canvas, in , and , with a handful in . Keep them out of the outer quarter on each side. Those areas will hold text, and a stray dot next to a number reads as a decimal point.
Add a layer called Haze. Drag a marquee across the full width, from about a quarter of the way up the sky down to the horizon. In the Gradient Editor make a two-stop gradient of at 0% opacity and at 40%, and drag from the top of the selection to the horizon. Then select a shallow strip just under the horizon and drag the same gradient the other way, so the glow spills onto the floor instead of stopping at a hard line. Deselect, open the layer's effects (the sparkle button on its row), set the blend mode to Screen and lower the layer to 60%.
-
Draw the dial's rings
Click Floor, then click New Group under the Layers panel and name the group Dashboard. Add a layer inside it called Rings.
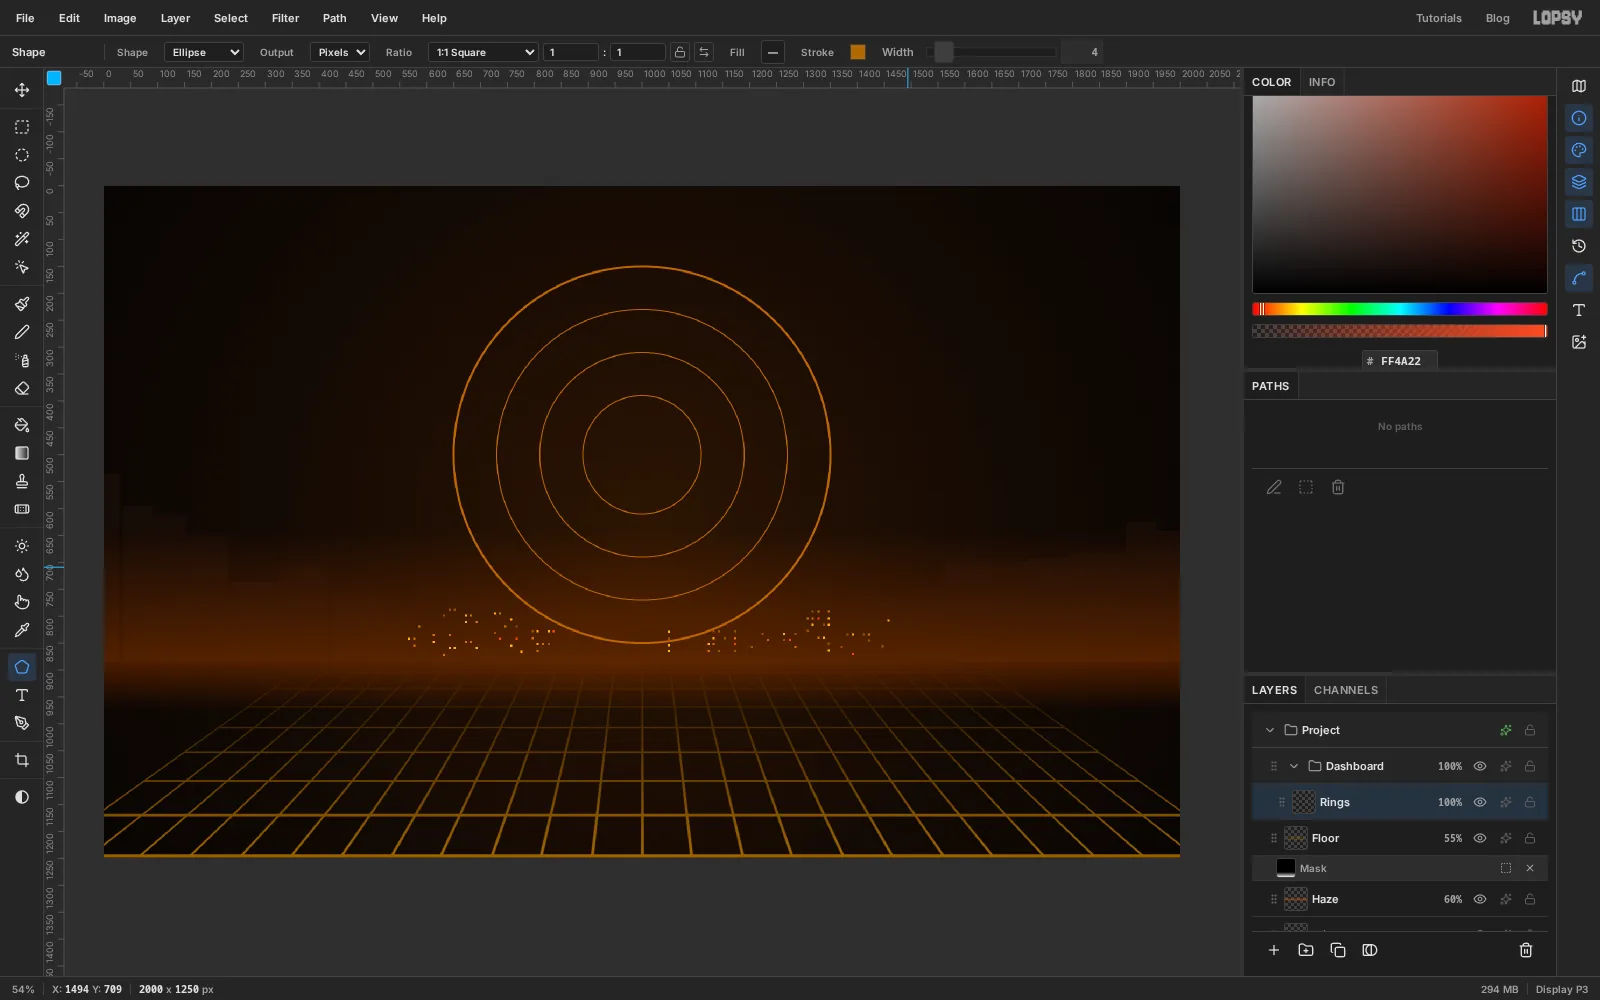
Pick the Shape tool and choose Ellipse. Click the Fill swatch and choose Remove fill, then add a Stroke of with Width 2.
Click once, without dragging, a little above the centre of the canvas. A dialog asks for a size: enter 220 × 220 and click Create. Click the same spot twice more for 380 × 380 and 540 × 540. Set Width to 4 and make the outer ring 700 × 700. A shape made this way is centred on the click, so the four rings share a centre.
-
Mark the hours with radial symmetry
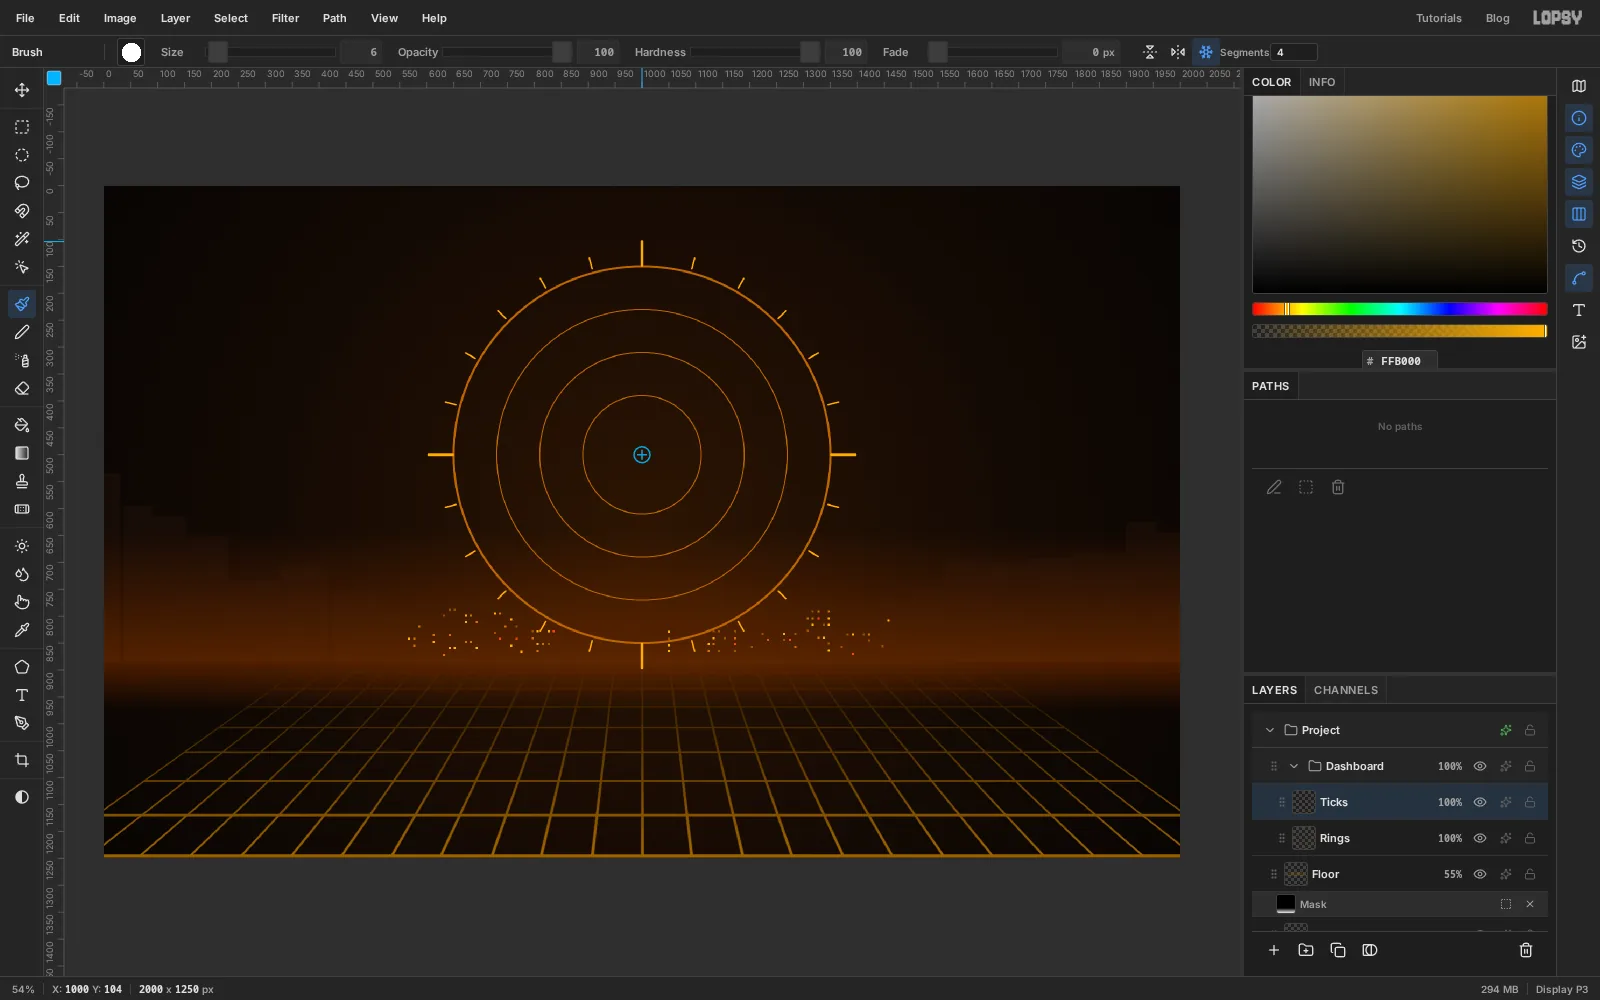
Add a layer called Ticks. Take the Brush, set Size 4 and Hardness 100, and use .
In the options bar click Radial Symmetry and type 24 into Segments. Symmetry turns around the centre of the canvas, which isn't the centre of the dial, so Cmd-click the middle of the rings to move it. A small crosshair shows where it is.
Now draw one short stroke outward from the top of the outer ring. All 24 hour marks appear at once. Change Segments to 4 and Size to 6, and draw a longer stroke from the same place for the quarter marks. Click Radial Symmetry again to turn it off.
-
Lasso one wedge for each hour
Click Rings and add a layer called Bars, so the bars sit under the ticks.
This is the data, the number of shots pulled in each hour from midnight:
- 00–05: 310, 365, 398, 412, 340, 255
- 06–11: 190, 150, 120, 96, 70, 58
- 12–17: 64, 52, 60, 84, 110, 150
- 18–23: 205, 250, 268, 290, 322, 296
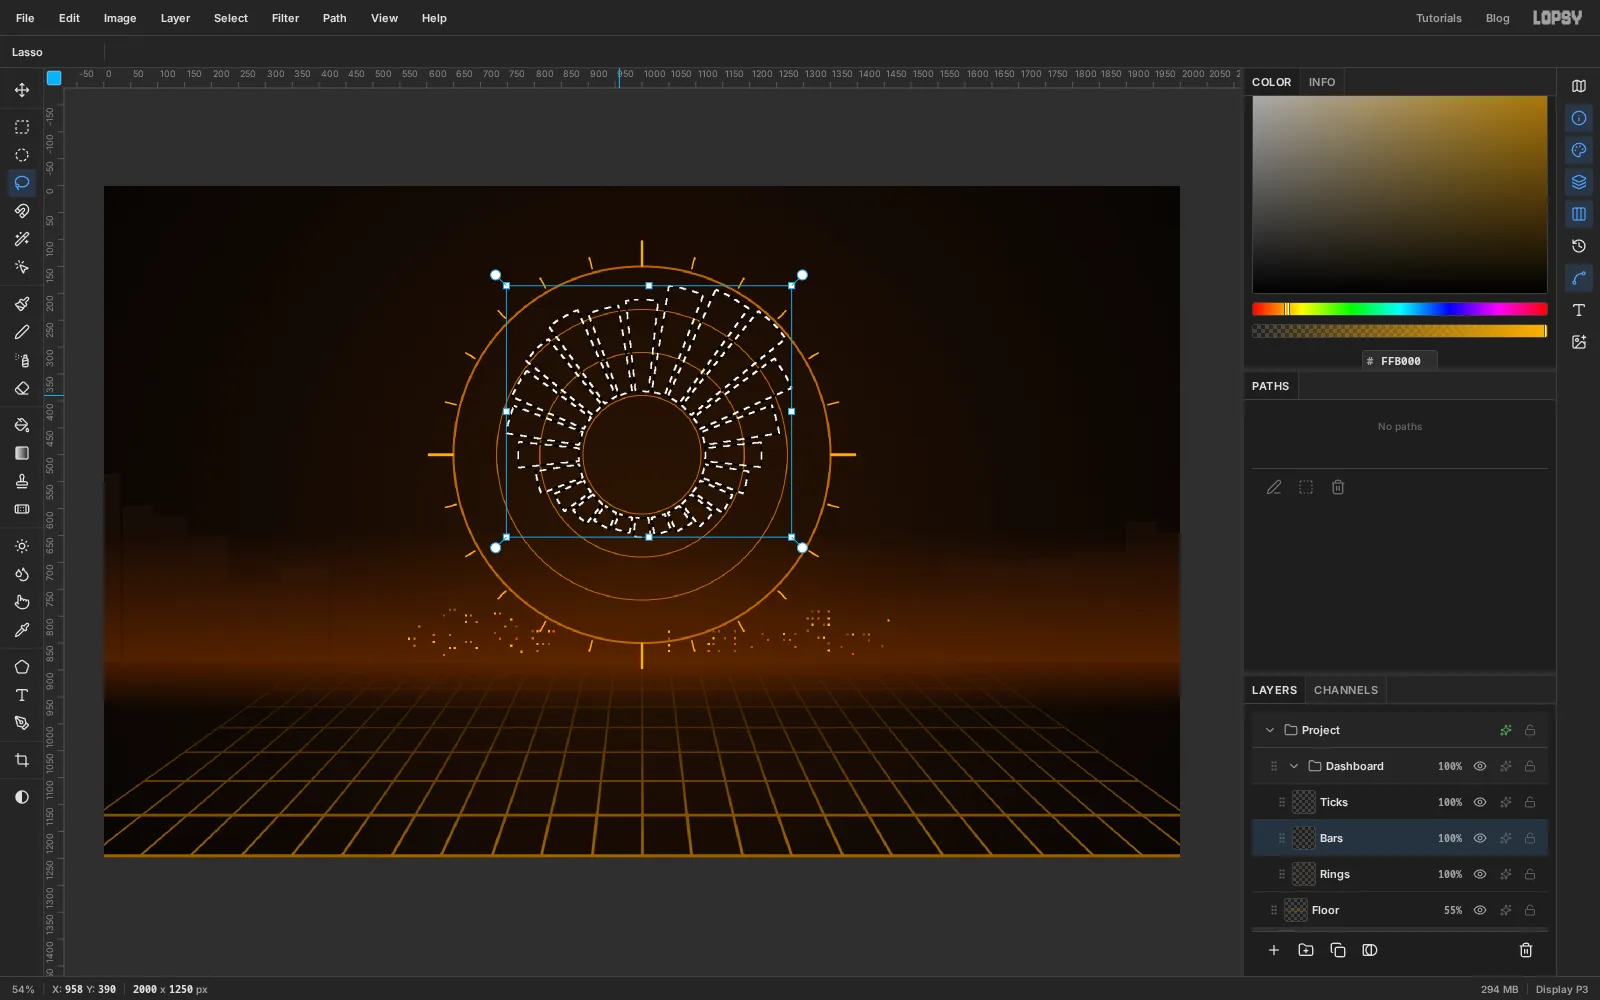
With the Lasso, trace a wedge that starts on the inner ring at the 12 o'clock tick and runs outward. Each hour gets the space between two ticks, less a small gap. The busiest hour, 412 at three o'clock in the morning, should stop just short of the outer ring, and every other bar is that length in proportion. The rings help: the middle two sit at about 130 and 280 shots.
Hold Shift and trace the next wedge, and carry on clockwise around the dial. Each one is its own undo step, so a wobbly wedge costs you one Cmd+Z.
-
Fill the bars with a radial gradient
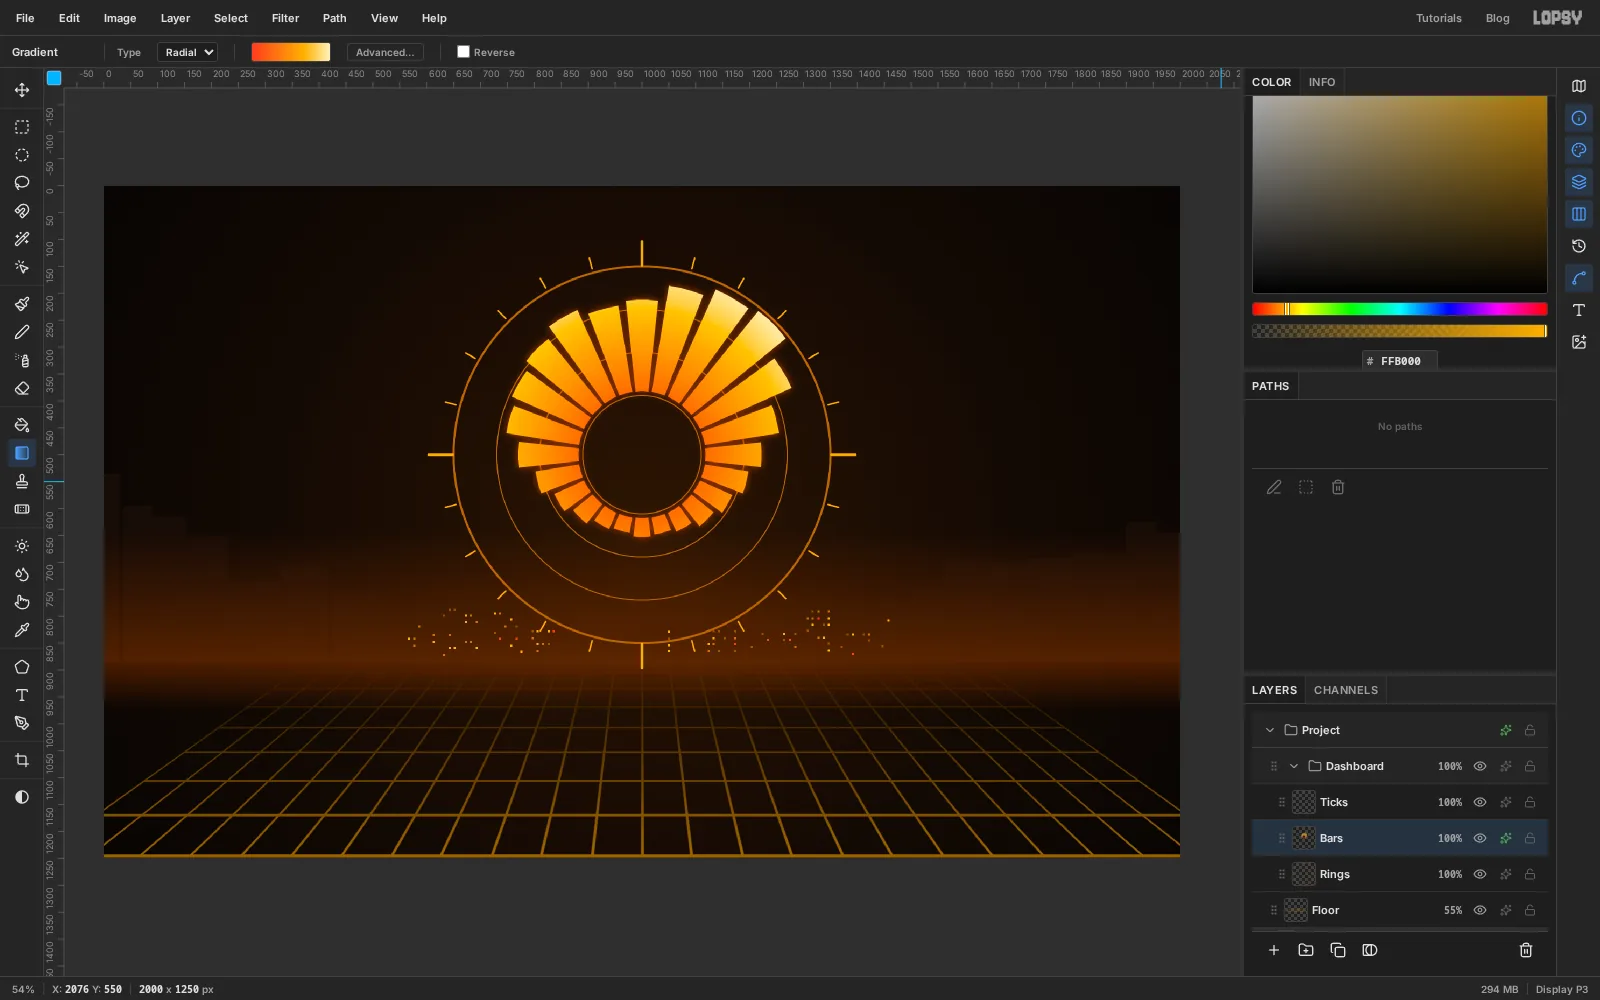
Keep the selection. Set the Gradient tool to Radial and build three stops: about a third of the way along, at two thirds and at the end. Drag from the centre of the dial to the outer ring.
Because the gradient is centred on the dial, colour now means the same thing as length. Short bars stay orange and only the busy hours reach the pale end. Press Cmd+D.
Open the layer's effects, tick Outer Glow and set Size 22, Opacity 55 and the colour .
-
Turn the peak hour red
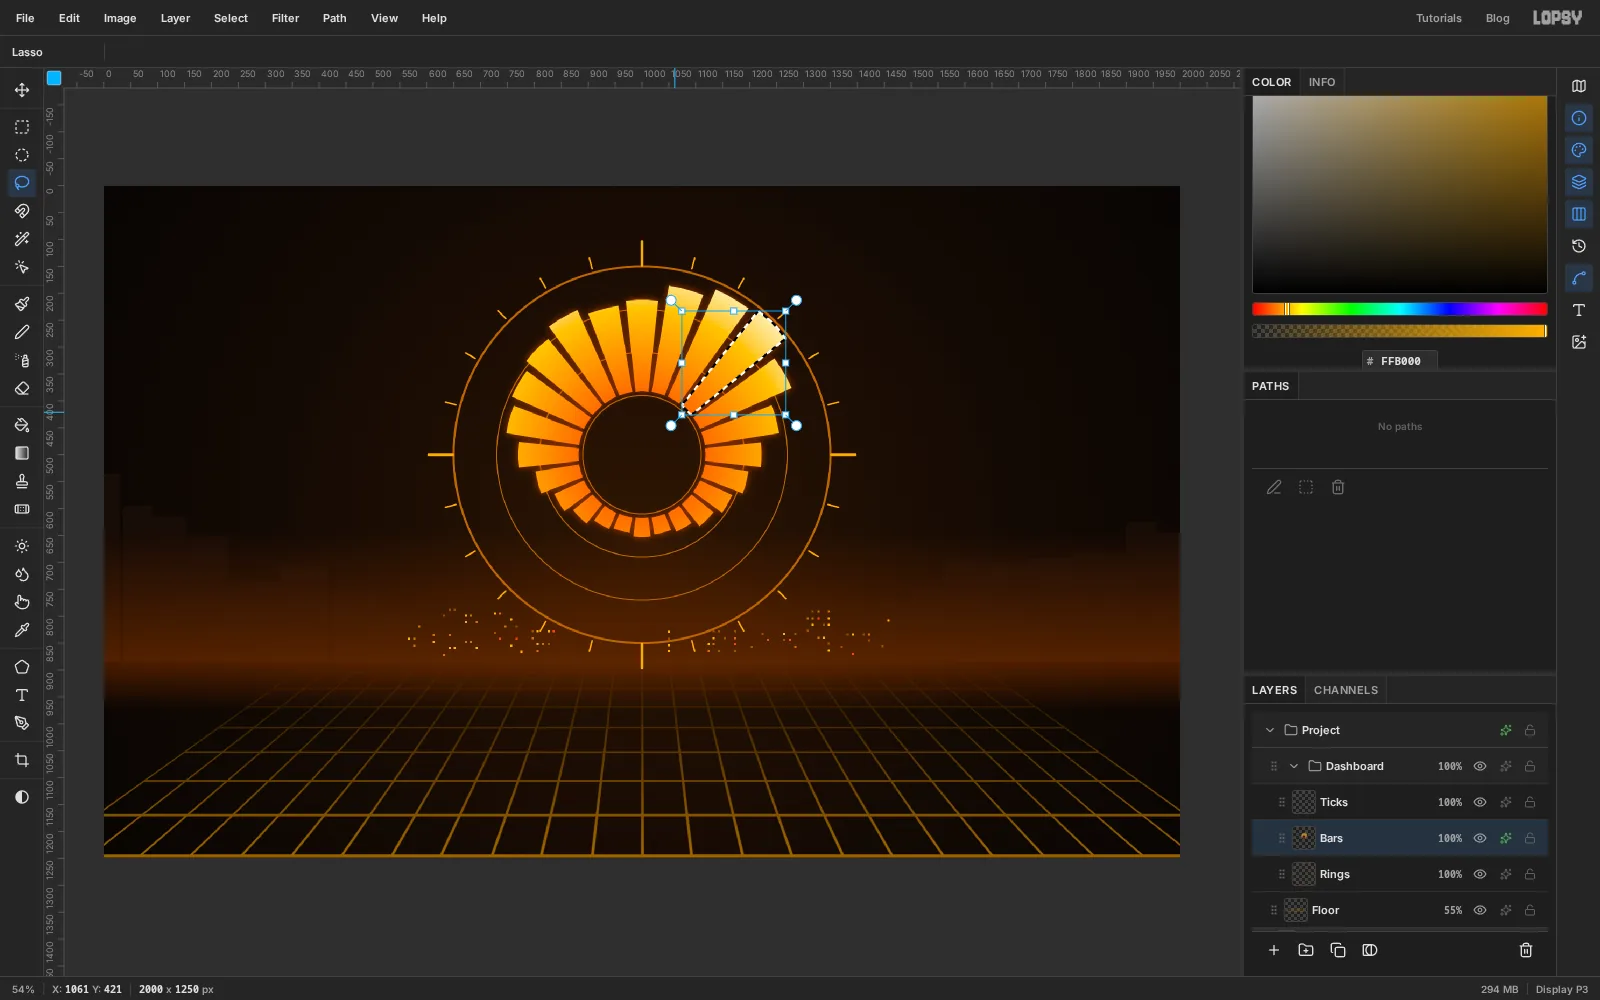
Cmd-click the Bars thumbnail to load every bar as a selection. Take the Lasso, hold Shift+Alt and draw a loose loop around the 03:00 wedge. Holding both keys keeps only the overlap, so you get a clean selection of that one bar however rough the loop is.
Drag a new Radial gradient from the centre to the outer ring, this time → → . Deselect. The one red bar is the point of the whole chart, and it will match a red readout on the right later.
-
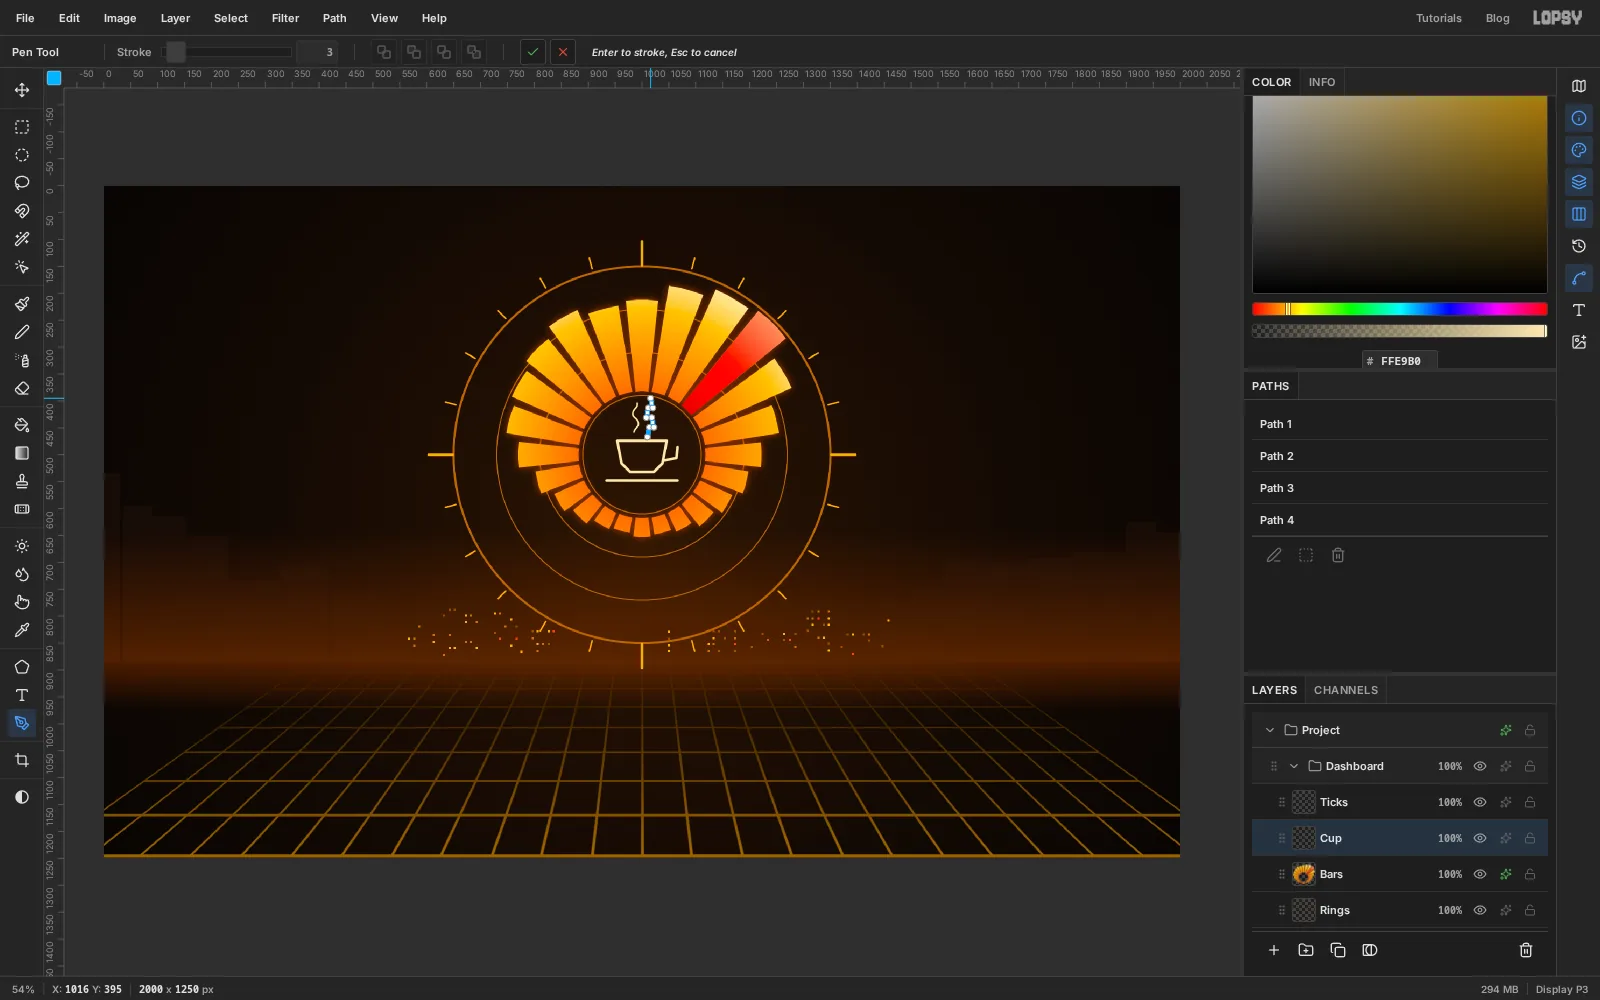
Draw the cup with the Pen
Add a layer called Cup and set the foreground to . Take the Pen and set Stroke to 5.
Click six points for the bowl of the cup: two for the rim, then down and around the base. Click the first point again to close the shape and press Enter, which strokes the path in the foreground colour. Click four points for the handle and press Enter, then two for the saucer and Enter again.
Set Stroke to 3 for the steam. This time drag a little as you place each of four points going upward. Dragging pulls curve handles out of the point, and nudging them left and right in turn gives the line its wobble. Press Enter, then draw a second wisp beside it.
The last path stays highlighted in blue. Open the Paths panel and click its row to deselect it.
-
Project the dial from the floor
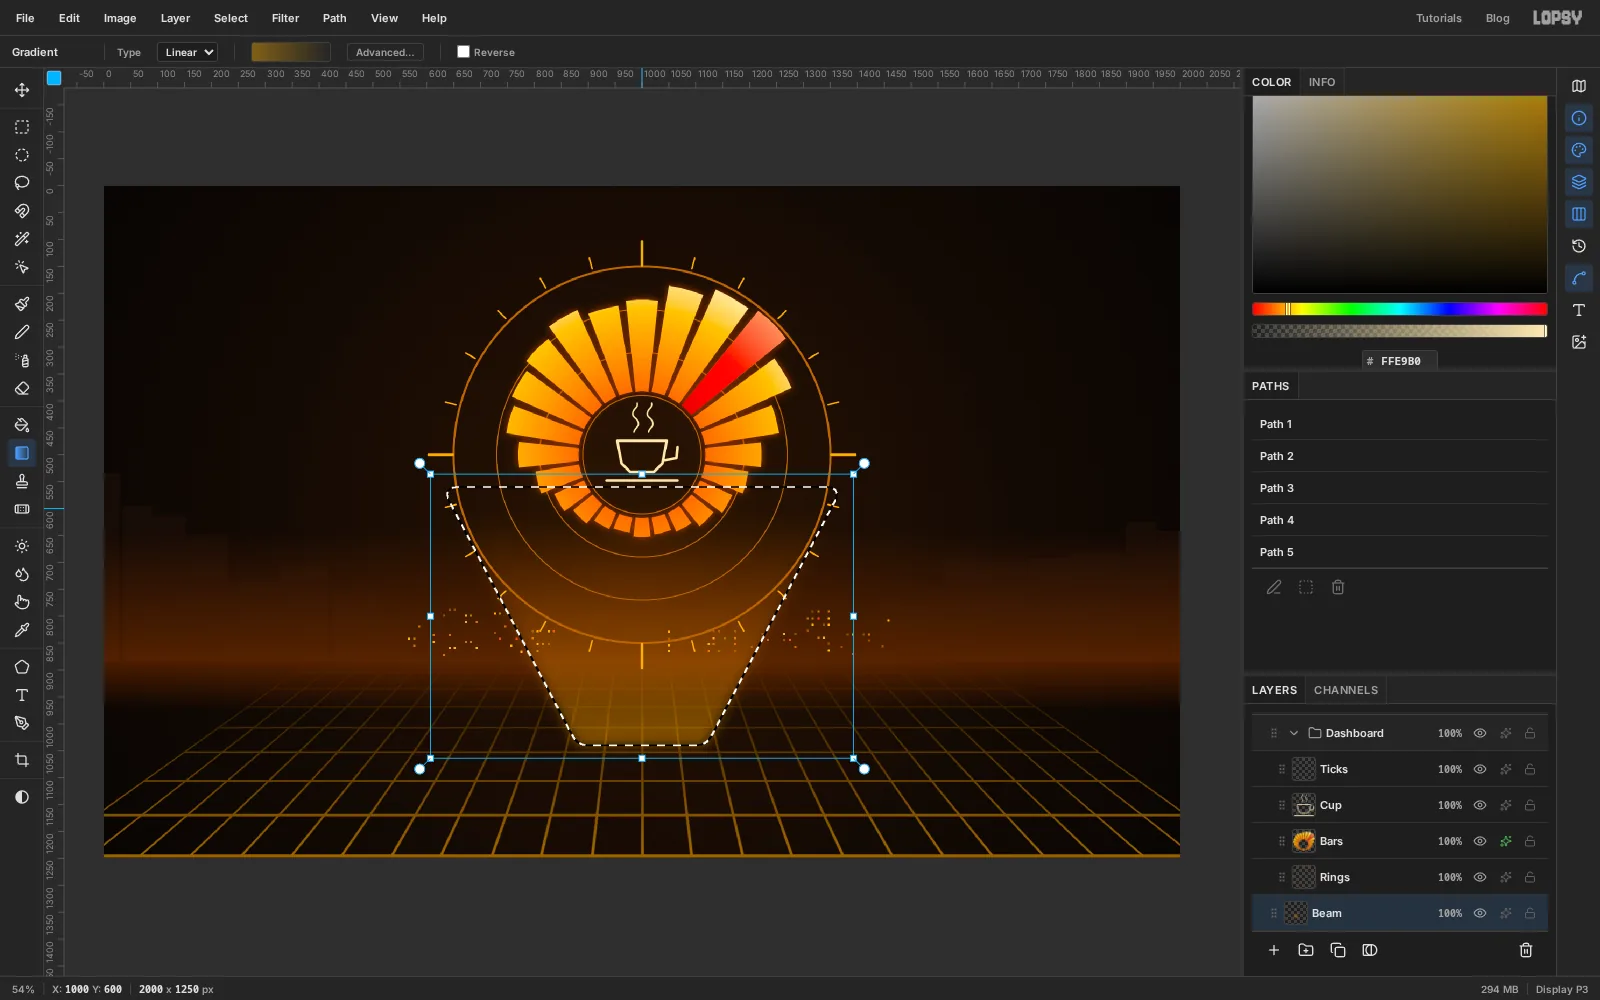
Click Floor and add a layer called Beam, so the light falls behind the dial.
With the Lasso, draw a tall trapezoid: narrow on the floor below the dial and as wide as the dial's middle at the top. Choose Select → Feather… and enter 24. Drag a Linear gradient from the bottom of the selection to the top, from at 42% opacity to at 0%. Deselect and set the layer to Screen.
-
Add the projector ring
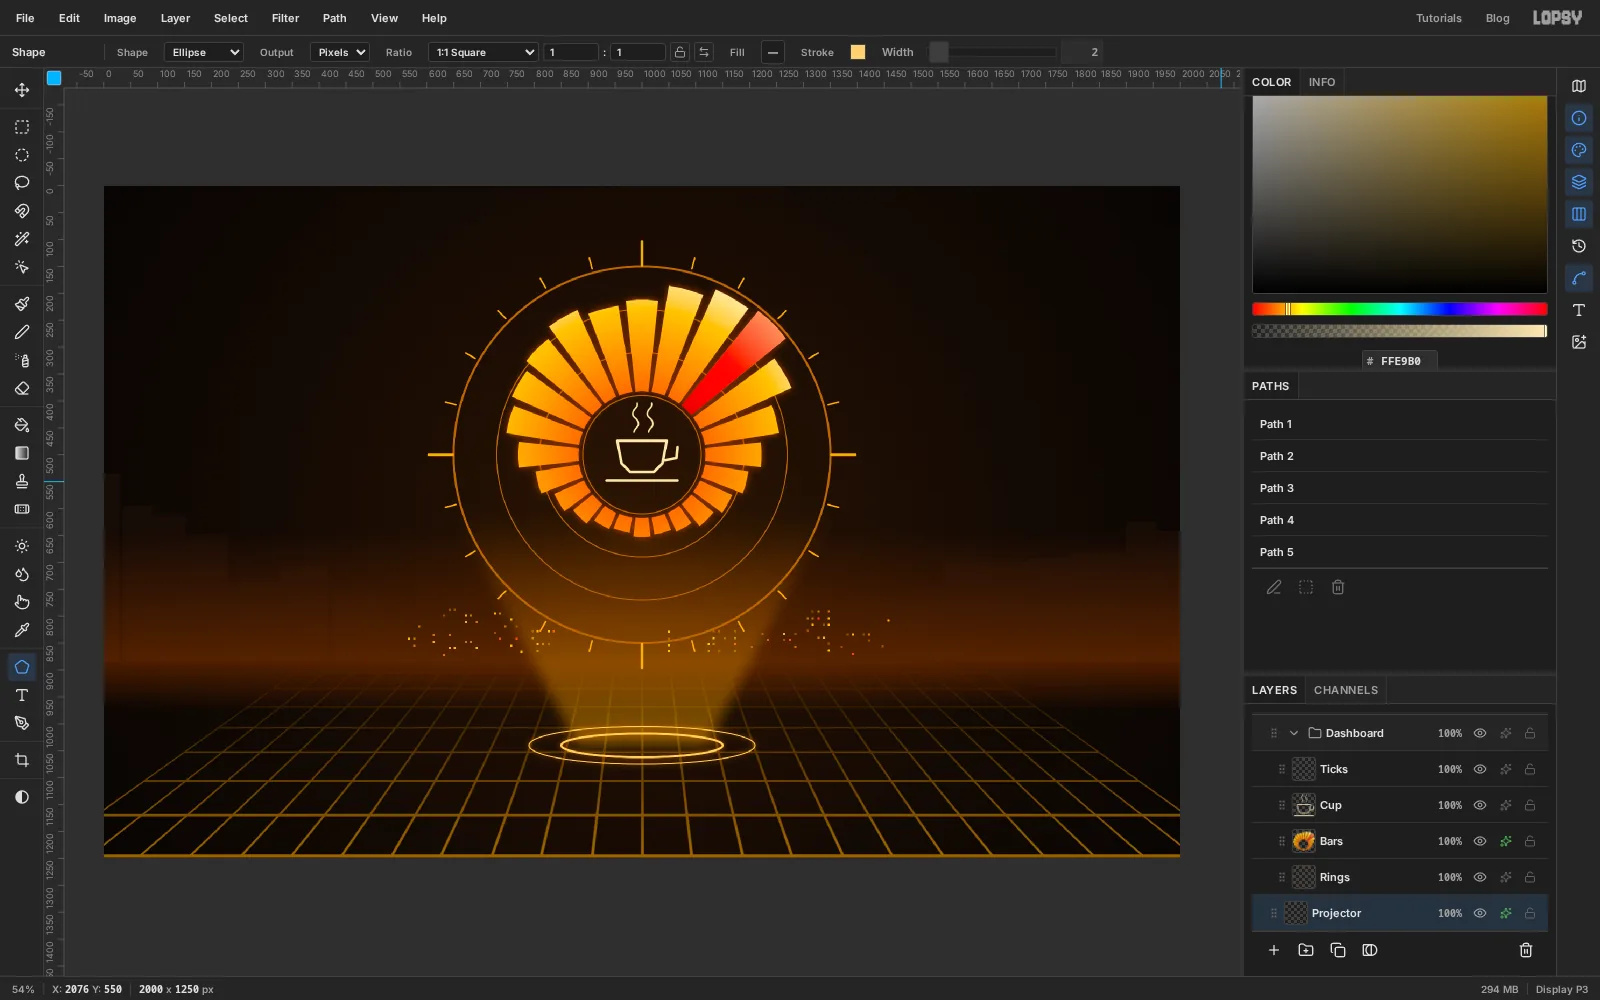
Add a layer called Projector. With the Shape tool still on Ellipse and no fill, set the stroke to and Width 4. Click the floor at the foot of the beam and make an ellipse 300 × 44. Change Width to 2, click the same spot and make a second one 420 × 70.
A circle seen from the side is a flat ellipse, so these two read as rings lying on the floor. Give the layer an Outer Glow of Size 16, Opacity 70 in .
-
Set the title
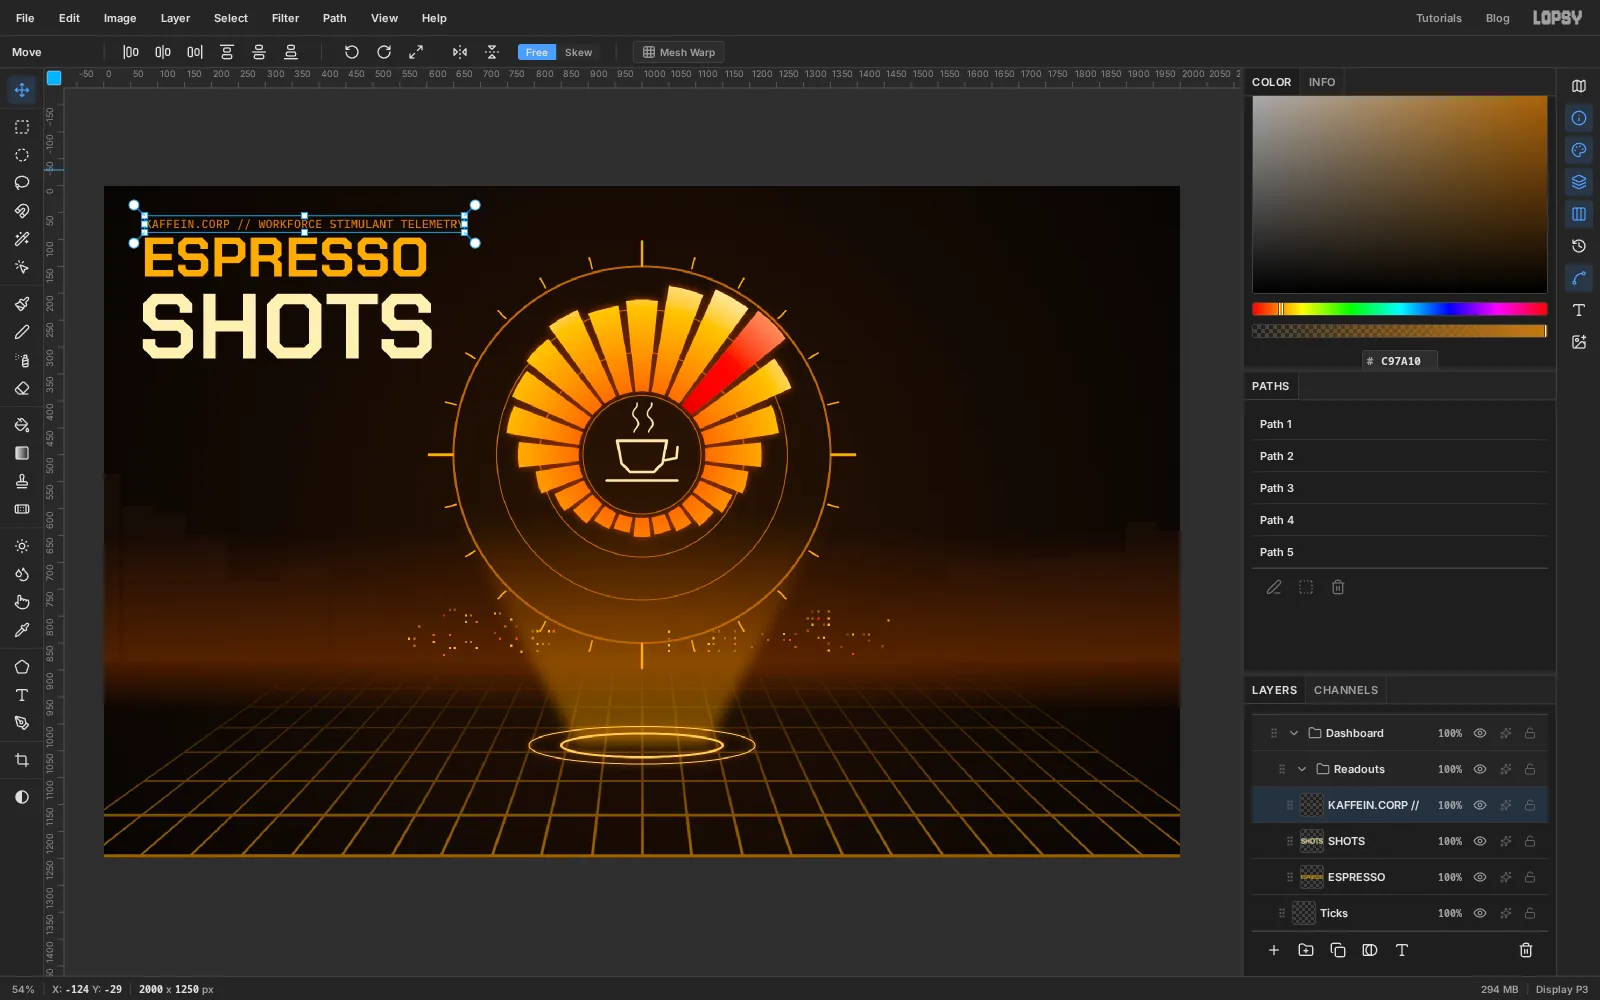
Click the Dashboard group and click New Group to make a second group inside it. Name it Readouts. All the type and the small charts go in here.
Type three lines with the Text tool and move each into the top-left corner:
- ESPRESSO in Chakra Petch, Bold, size 104, colour
- SHOTS in the same font at size 172, colour
- KAFFEIN.CORP // WORKFORCE STIMULANT TELEMETRY in IBM Plex Mono, Medium, size 22, colour
The two words have different lengths, so the sizes are chosen to make them the same width. Stack them with a small gap and line up their left edges, with the small line sitting just above.
-
Slice a red ghost behind the title
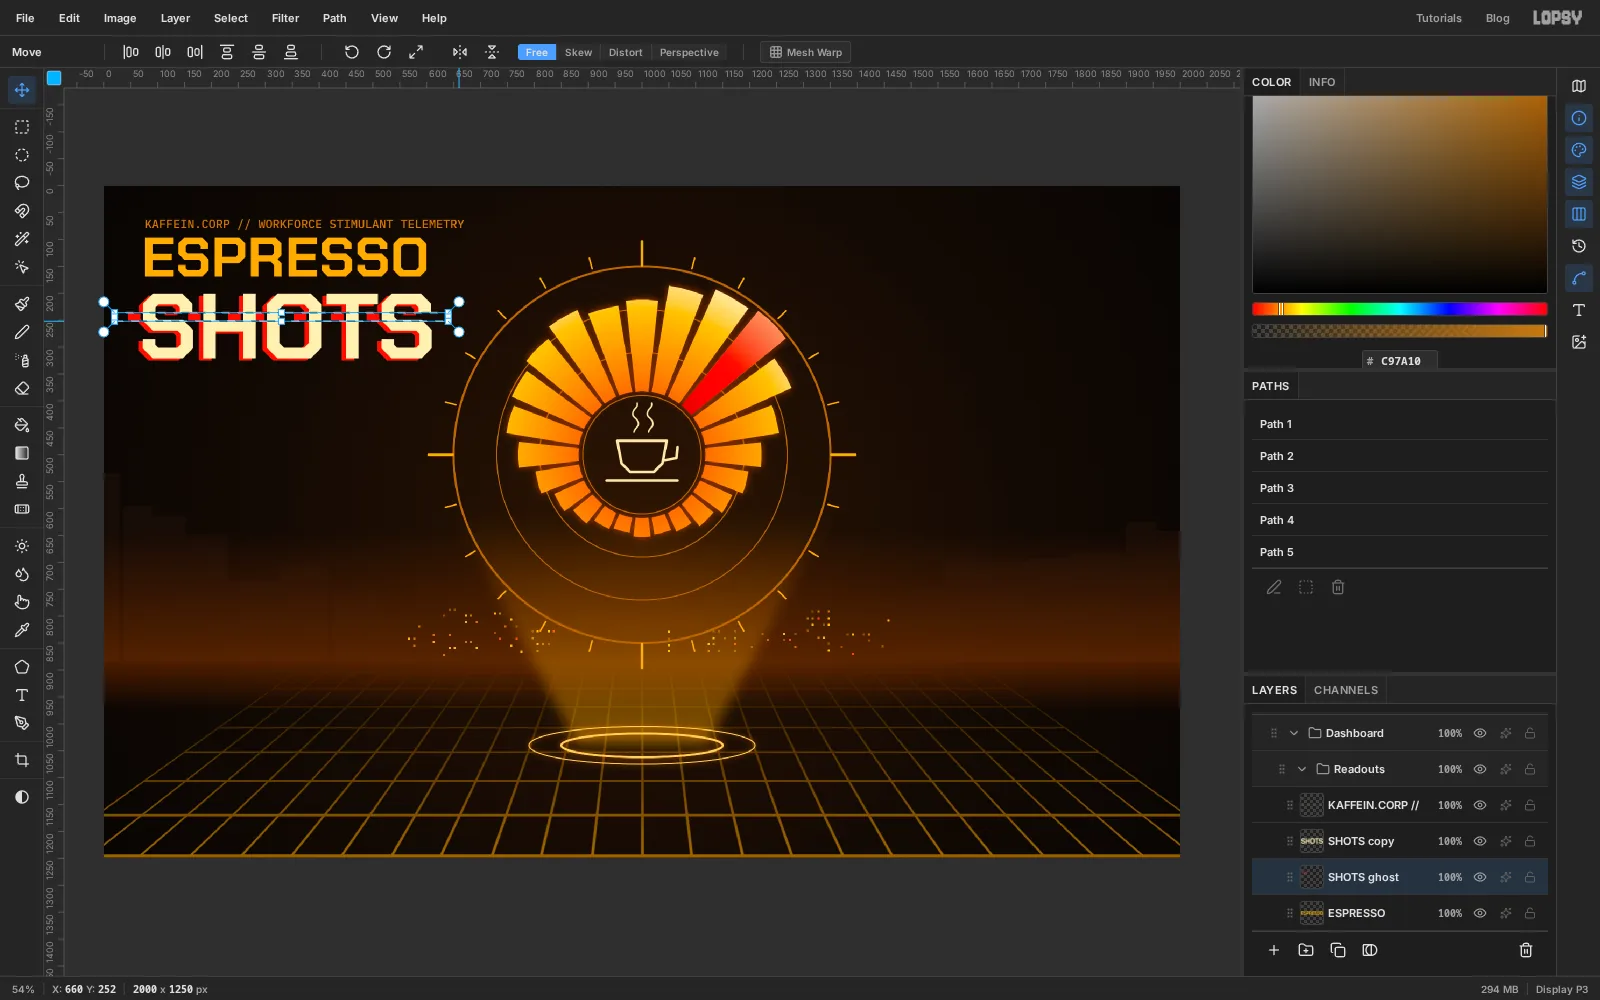
Click the SHOTS layer and choose Layer → Duplicate Layer. The copy lands on top, so work on the original underneath. Click it, and with the Text tool active click the Text color swatch in the options bar and enter . Rename the layer SHOTS ghost.
Switch to the Move tool and tap ← eight times and ↓ four times. A red edge appears down the left of every letter.
Click Rasterize Layer under the Layers panel, because the next part needs pixels. Drag a thin marquee across the upper part of the word, switch back to the Move tool and press Shift+← twice. Each press moves the selected strip 10 px, and the red slides out from behind the letters. Deselect.
-
Finish the glitch
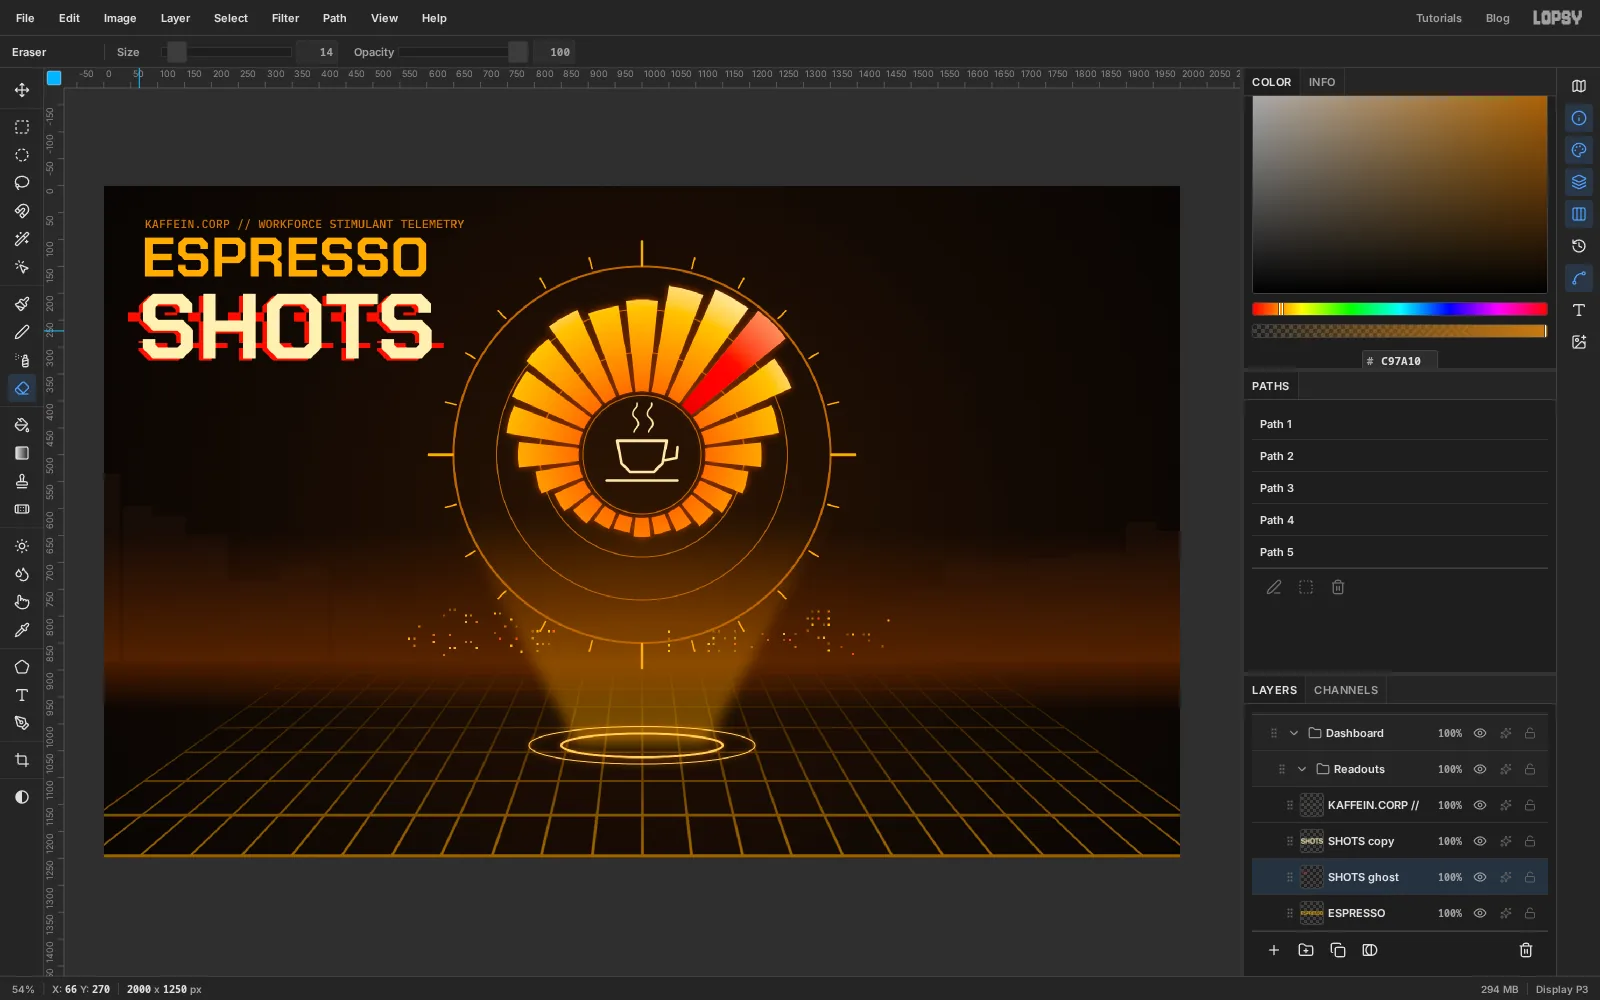
Drag a second, thinner marquee lower down, switch to the Move tool again and press Shift+→ three times, then deselect. Two slices are enough. With the Eraser at Size 14, take a bite out of the red at the far left so the ghost isn't a perfect copy.
-
Wrap a caption around the dial
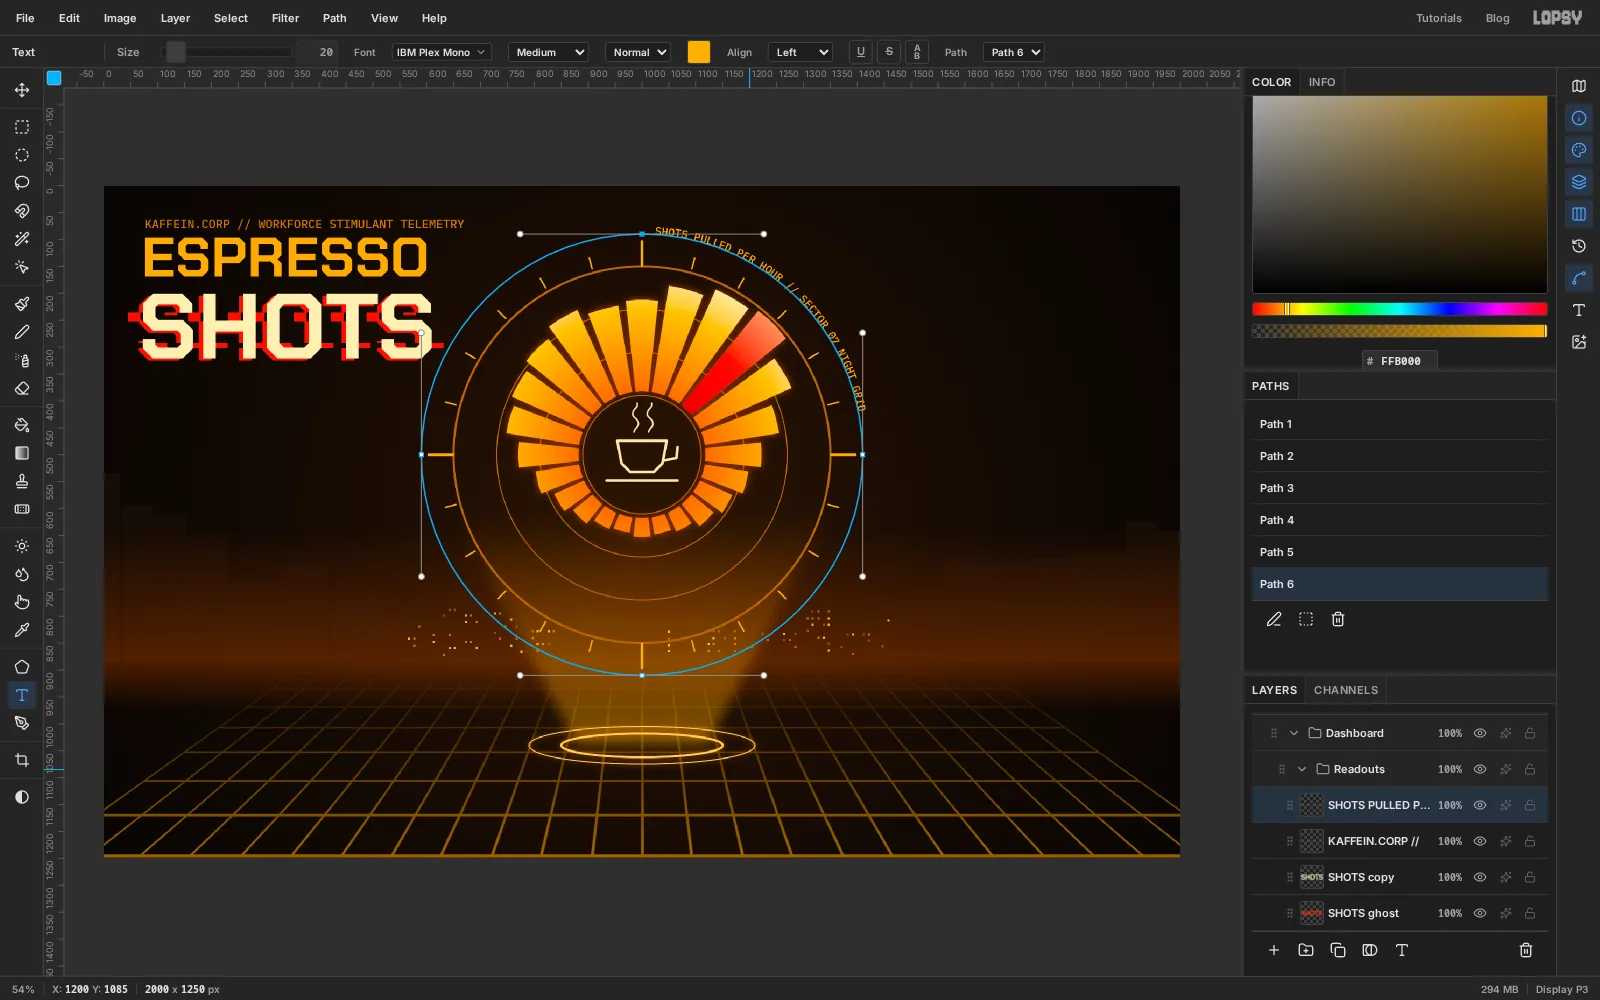
Text can follow any path, and the Shape tool can make paths. Pick the Shape tool, set Output to Path, hold Cmd to keep the shape a circle, and drag from the centre of the dial outward until it clears the long tick marks. Nothing is painted. The circle shows up in the Paths panel instead. Set Output back to Pixels.
Type SHOTS PULLED PER HOUR // SECTOR 07 NIGHT GRID in IBM Plex Mono Medium, size 20, colour , with two spaces in front. In the Text options bar, open the Path dropdown and choose the last path in the list. The line bends onto the circle, starting at the top and running clockwise. The two spaces move it clear of the 12 o'clock tick, and the caption is short enough to end before the tick at the right.
Deselect the path in the Paths panel.
-
Label the hours and the scale
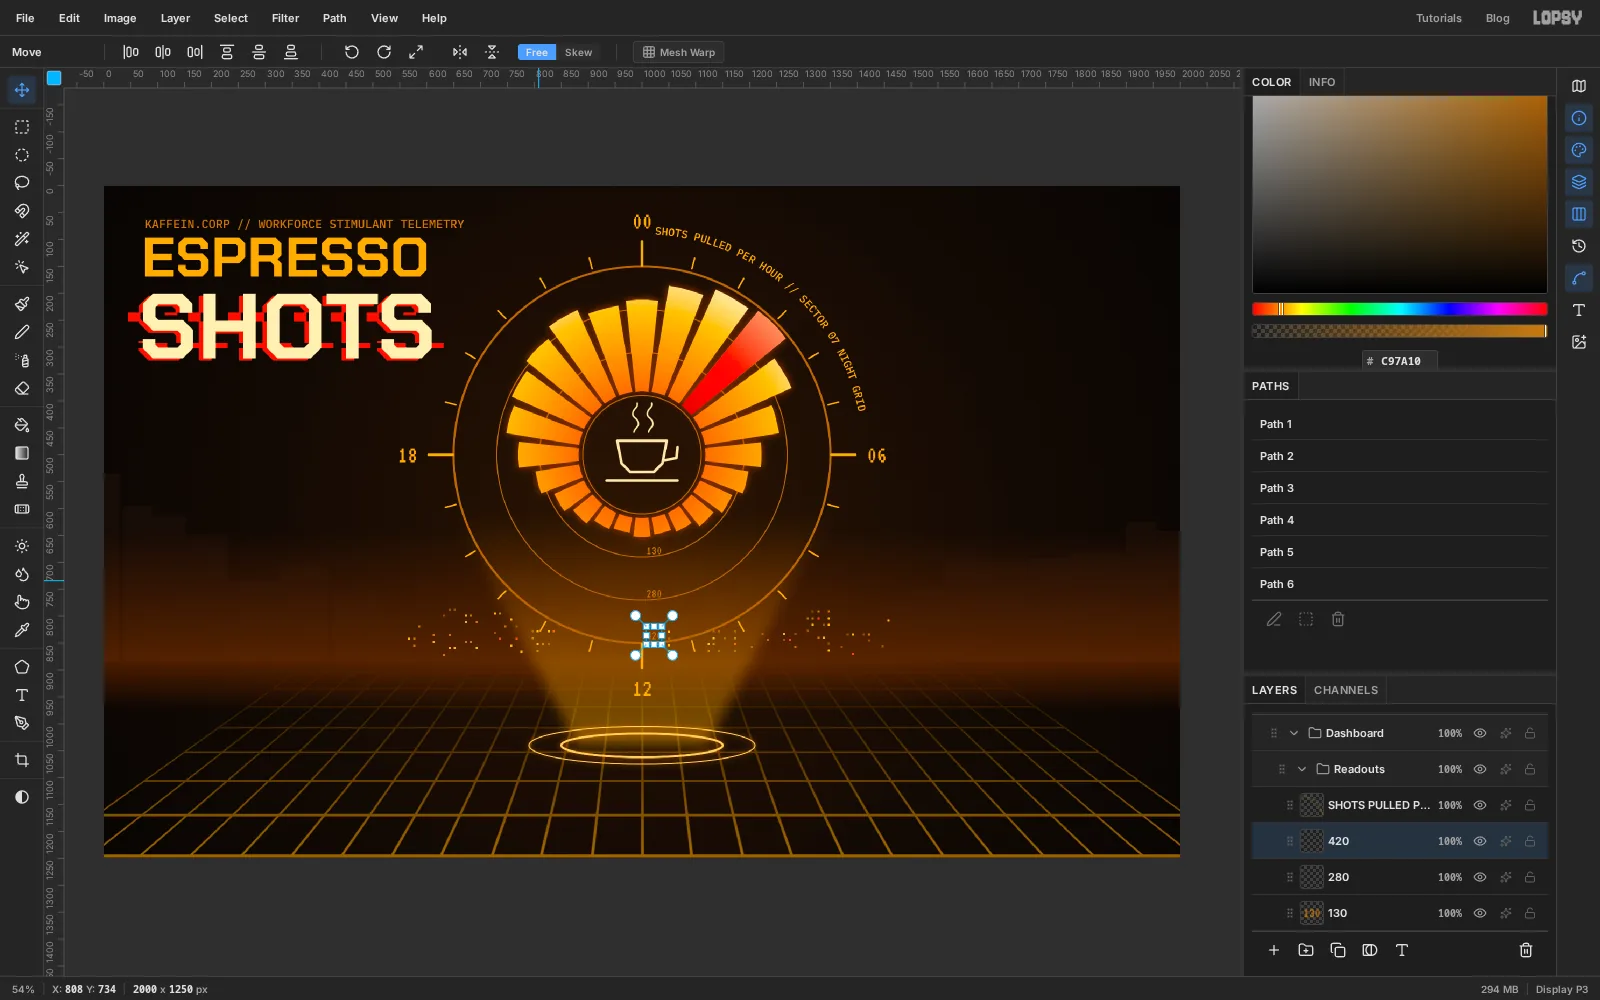
Type 00, 06, 12 and 18 in VT323, size 46, colour , and put one beyond each long tick. Keep the gap between tick and number the same on all four sides.
A radial chart needs a scale or the bars are only decoration. Type 130, 280 and 420 in VT323 at size 24, colour , and sit each just inside its ring at the bottom of the dial, where the bars are shortest and leave room.
-
Add the headline number and three small stats
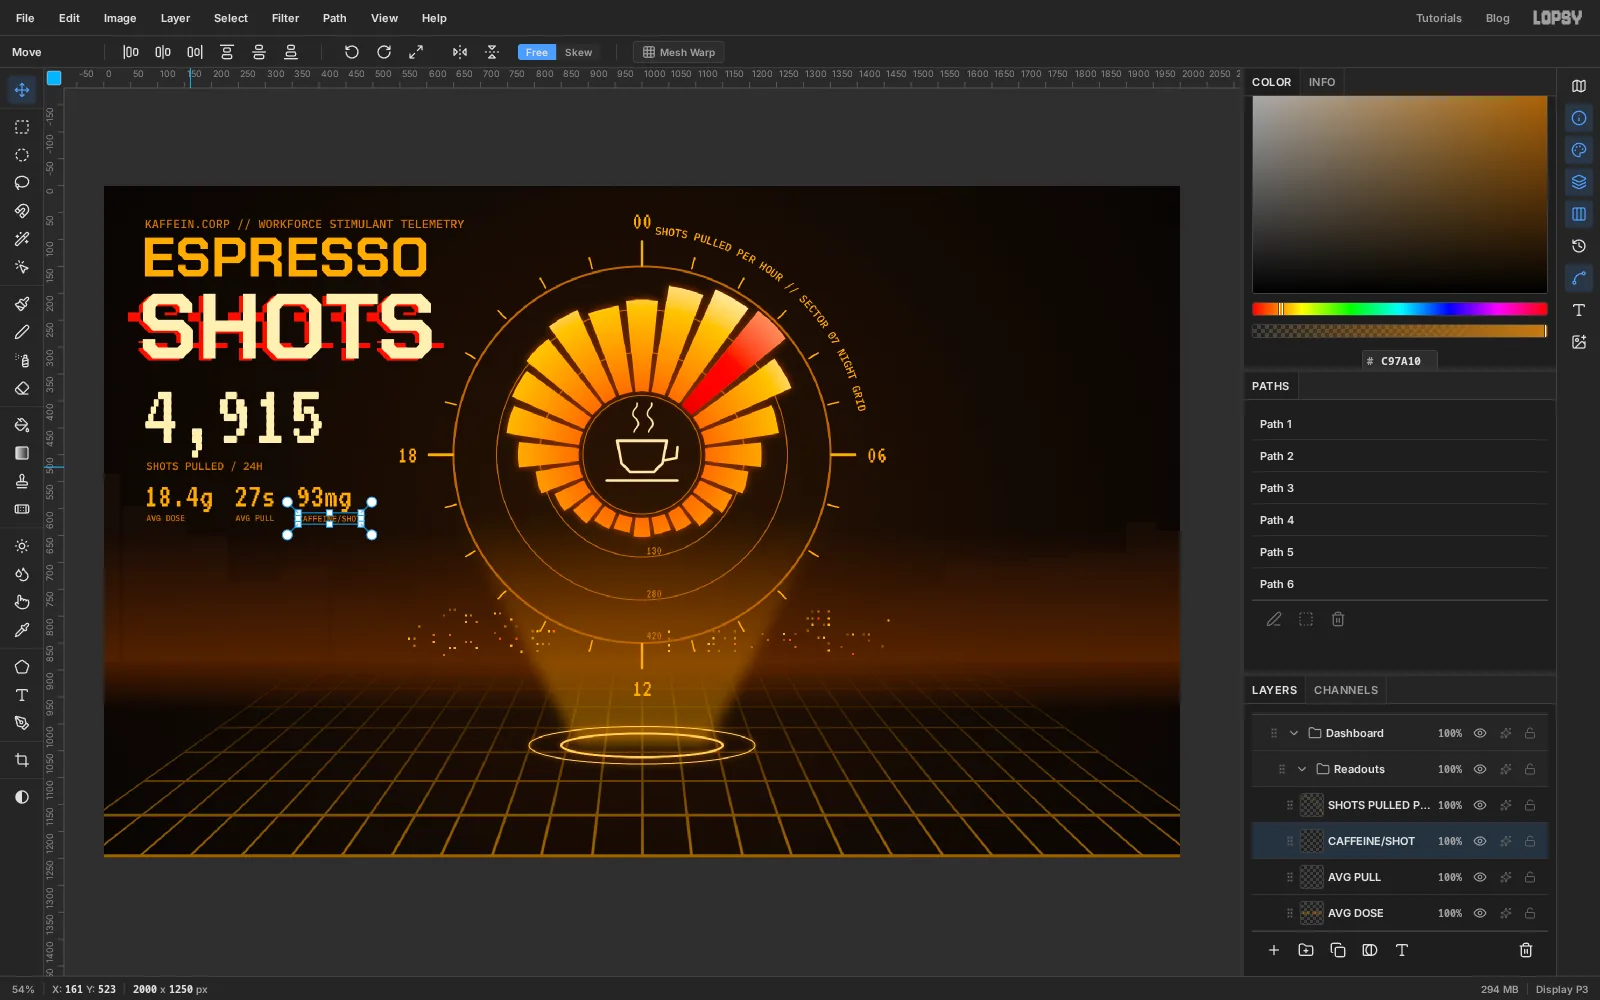
Under the title, type 4,915 in VT323 at size 170, colour . It's the sum of the 24 hourly values, so the board agrees with itself. Label it SHOTS PULLED / 24H in IBM Plex Mono Medium, size 20, .
Below that, type 18.4g, 27s and 93mg in VT323 at size 64, , in a row with equal gaps between them. Give each a label in IBM Plex Mono at size 15: AVG DOSE, AVG PULL and CAFFEINE/SHOT, with each label's left edge under its number's left edge.
-
Rule the district chart with guides
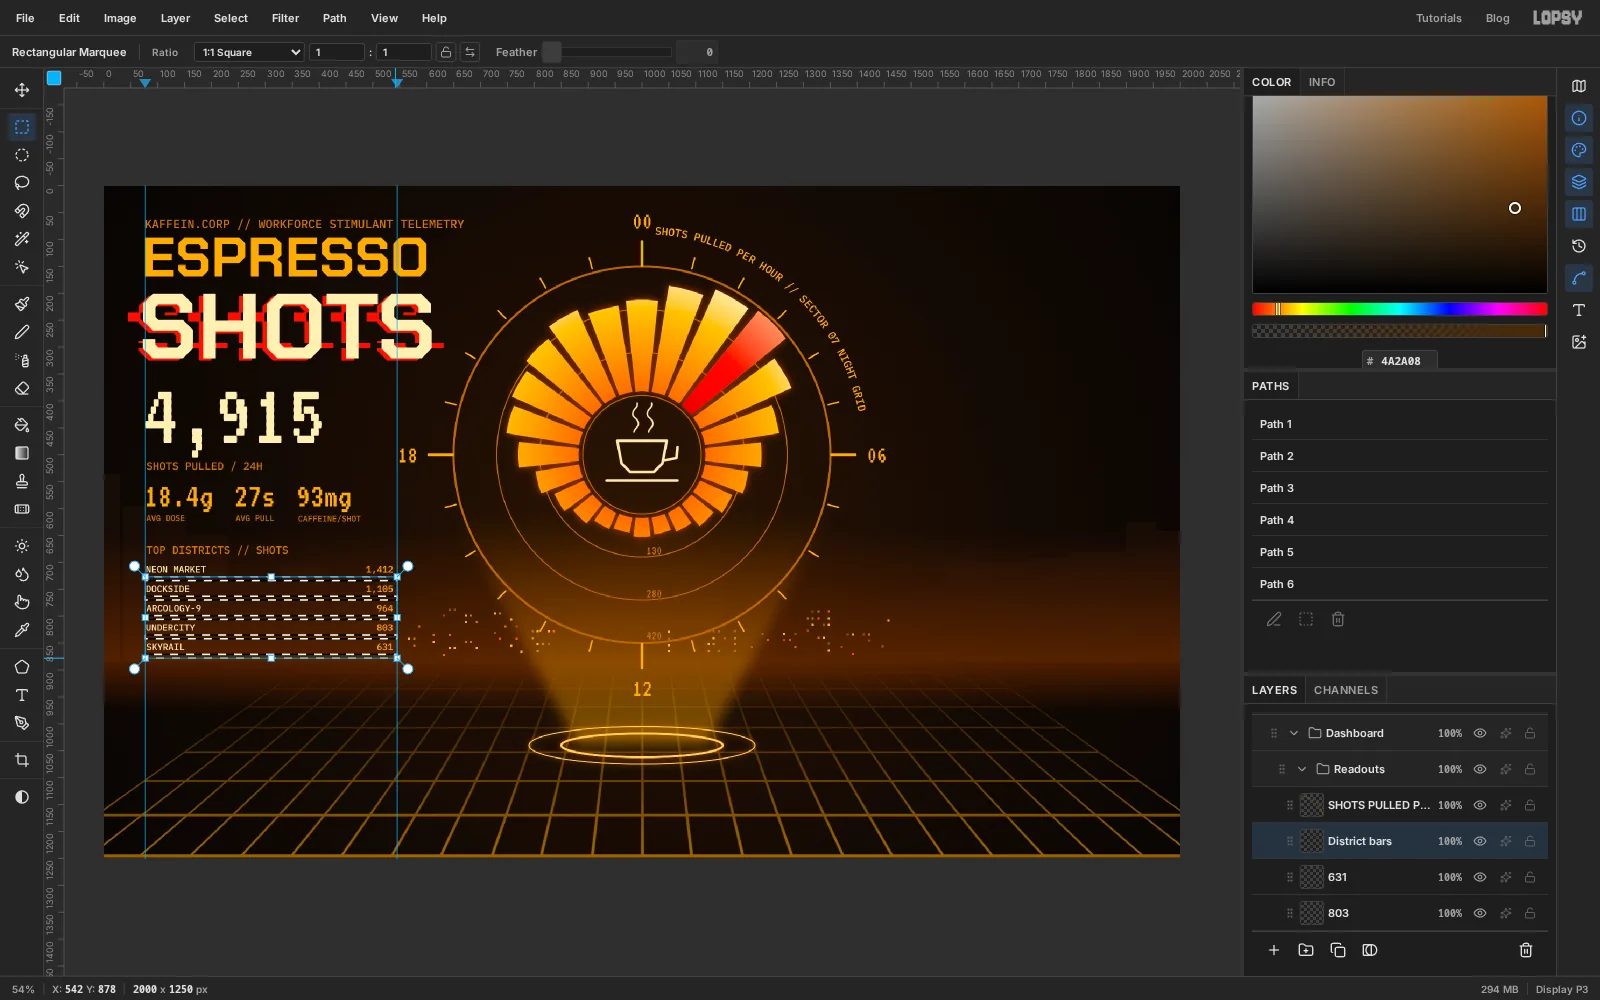
Type the heading TOP DISTRICTS // SHOTS (IBM Plex Mono, size 20, ), then five names down the left in size 17, colour : NEON MARKET, DOCKSIDE, ARCOLOGY-9, UNDERCITY and SKYRAIL. Put their values at the right in : 1,412, 1,105, 964, 803 and 631. Leave room under each row for a bar.
Click the top ruler above the left edge of the names, then above the right edge of the values. Each click drops a vertical guide.
Add a layer called District bars. With the Rectangular Marquee, drag a thin box under the first row from one guide to the other. You only need to get close, because the edges snap to the guides. Hold Shift and add a box under each of the other rows. Fill them with . These are the empty tracks.
-
Fill the district bars
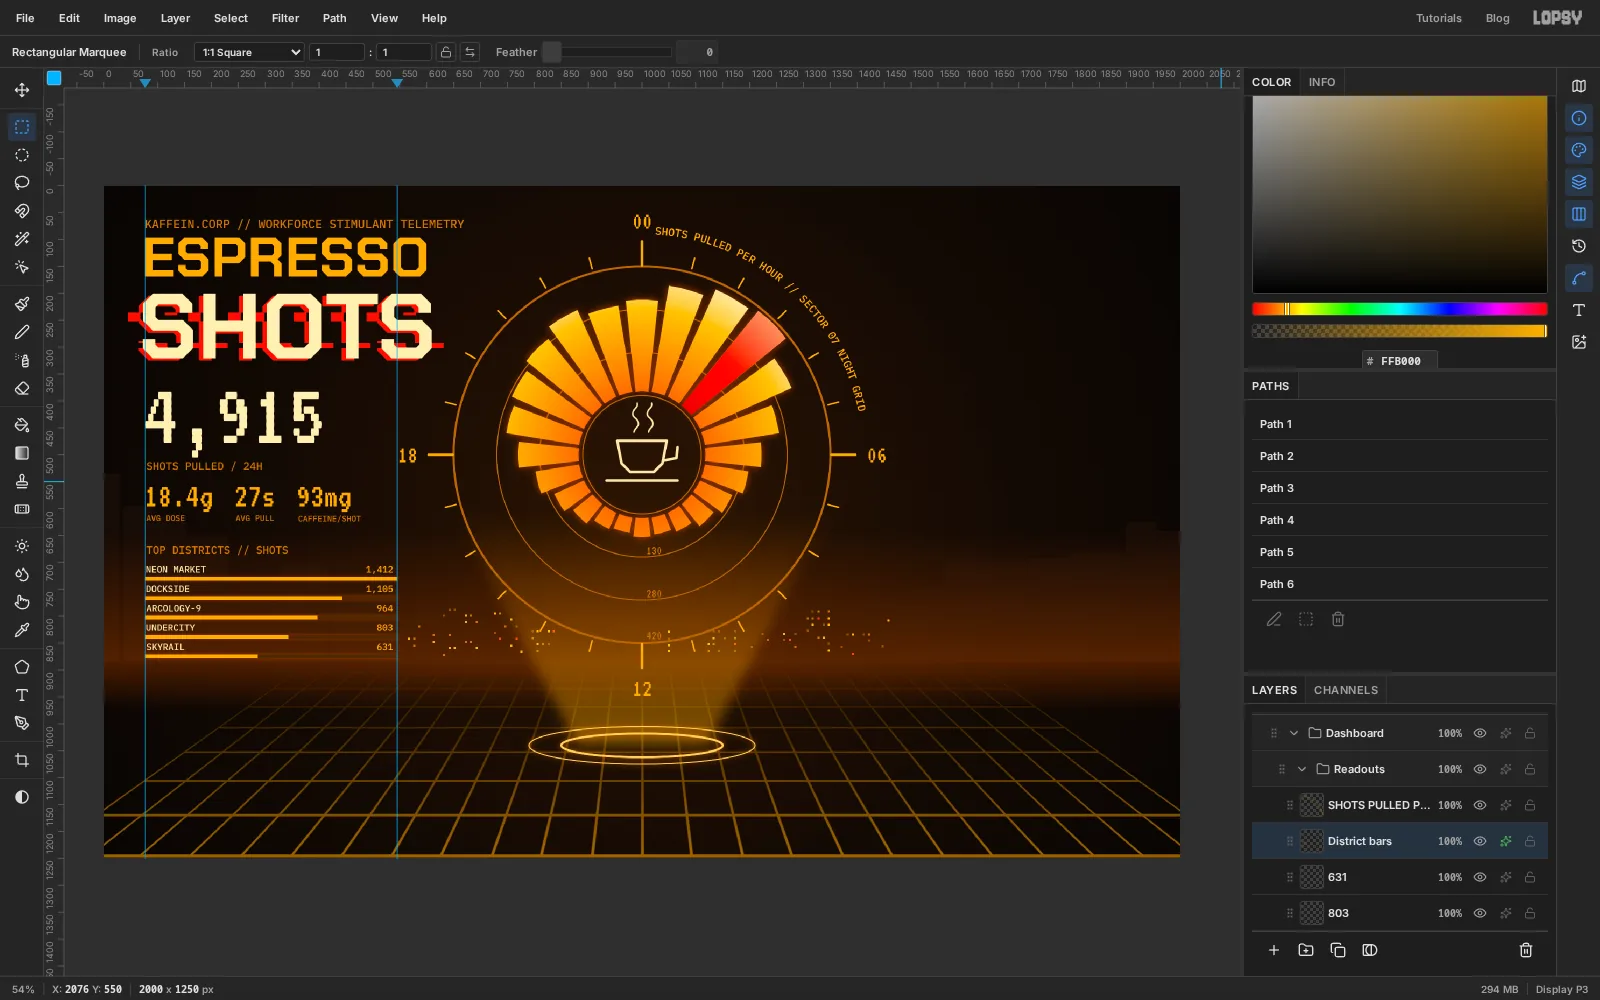
Deselect, set the foreground to , and select five new boxes over the tracks, again with Shift. Start each on the left guide. The first runs the full width for 1,412 and the others stop in proportion: about 78%, 68%, 57% and 45% of the way across. Fill and deselect.
Give the layer an Outer Glow of Size 8, Opacity 45 in . That's less than the dial gets, so the dial stays the brightest thing on the board.
-
Build the pulse panel and its area
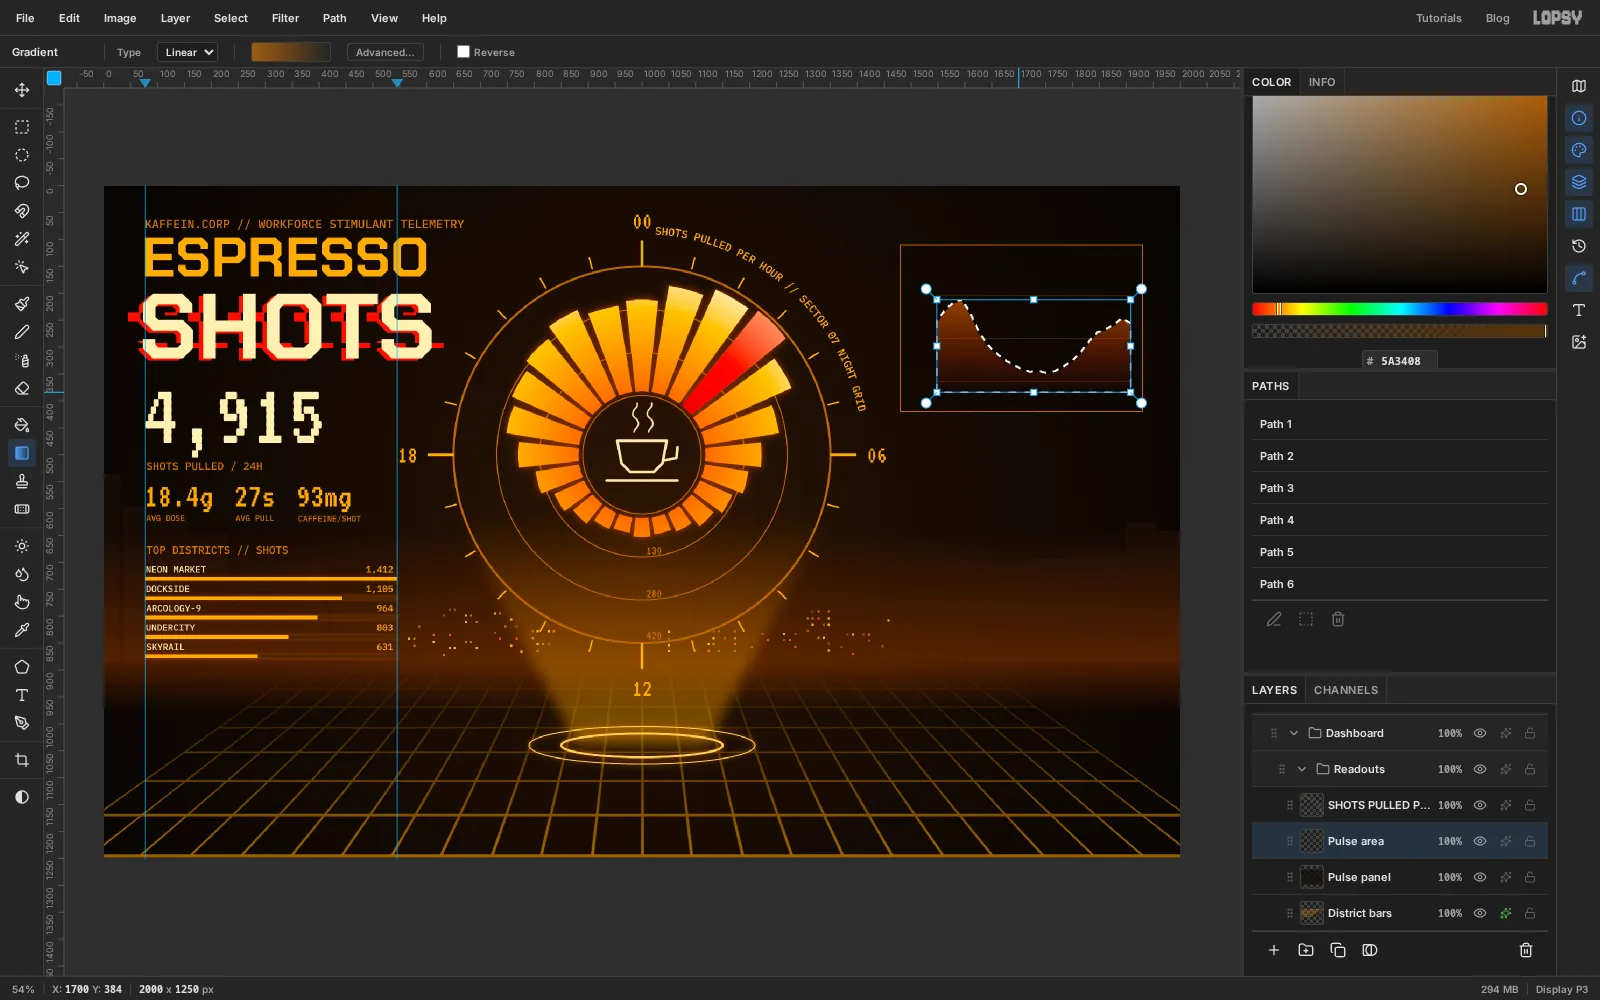
Add a layer called Pulse panel. With the Shape tool on Rectangle, set the fill to at 70% opacity and the stroke to , Width 2. Click in the top-right corner and make a panel 450 × 310.
With the Pencil at Size 1 and , Shift-click three horizontal gridlines across the panel, for 140, 100 and 60 beats a minute.
Add a layer called Pulse area. With the Lasso, trace the shape under the curve: high at the left where the night shift peaks, dipping to its lowest around midday, climbing again through the evening, then straight down the right side and back along the bottom gridline. Drag a Linear gradient down through it from at 55% opacity to at 0%.
-
Draw the line with the Pen
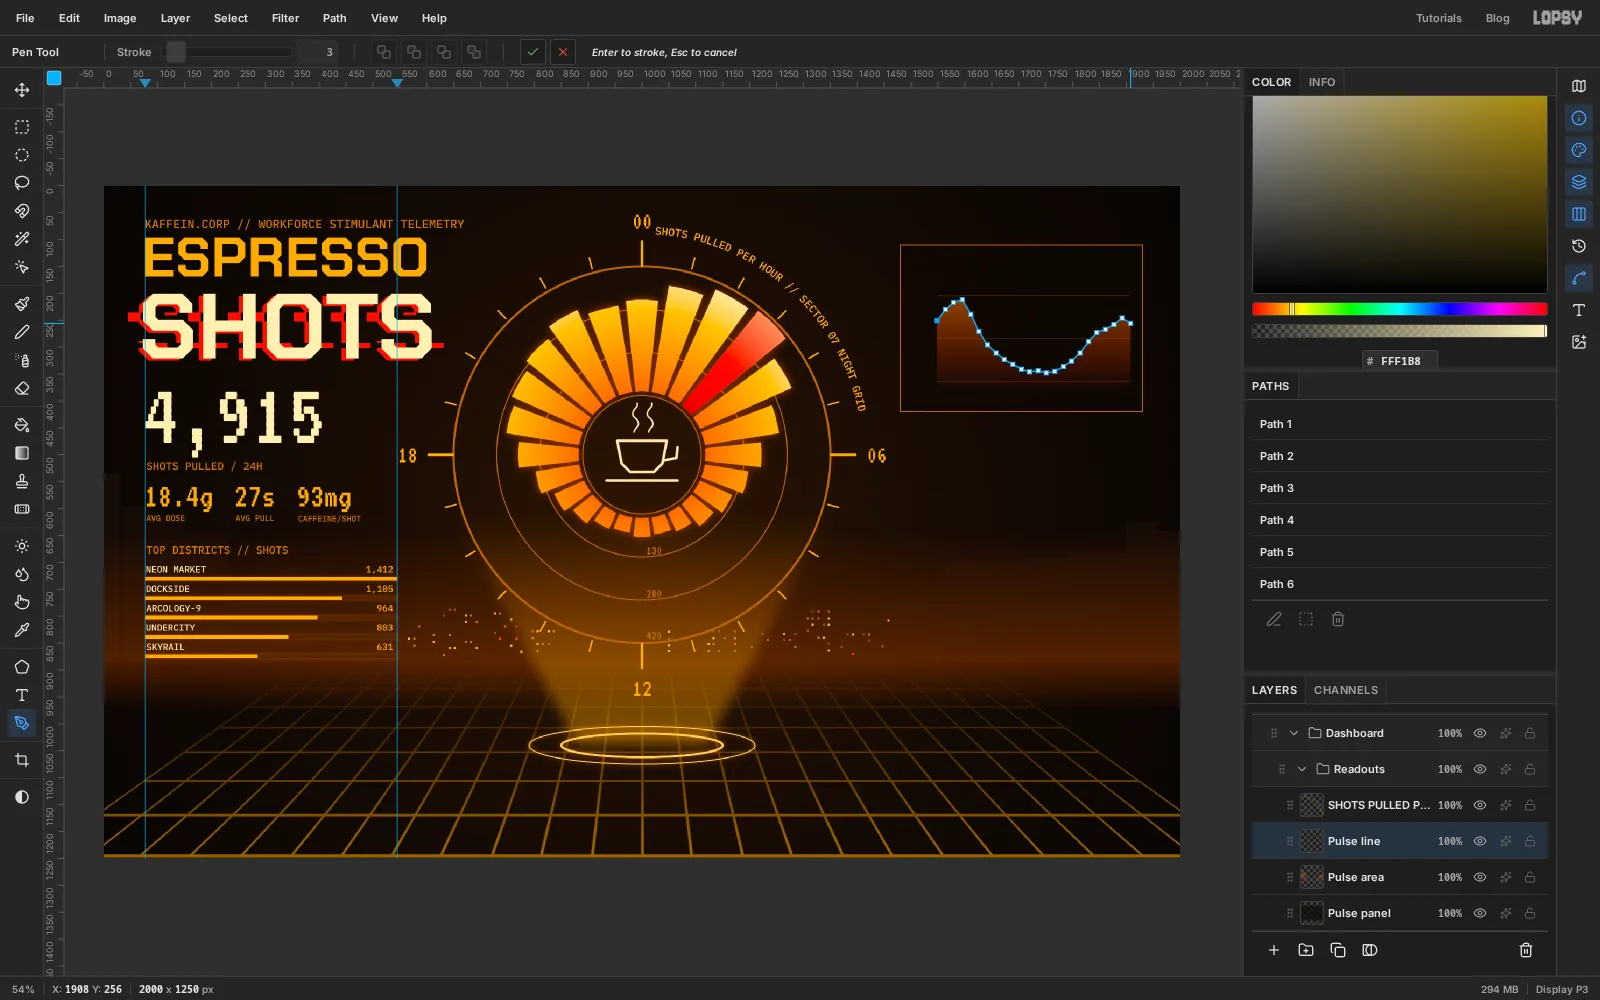
Deselect and add a layer called Pulse line. Set the foreground to , take the Pen and set Stroke to 3. Click along the top of the area from left to right, one point for each hour, then press Enter to stroke it. Deselect the path in the Paths panel.
Give the line an Outer Glow of Size 10, Opacity 70 in .
-
Label the panel
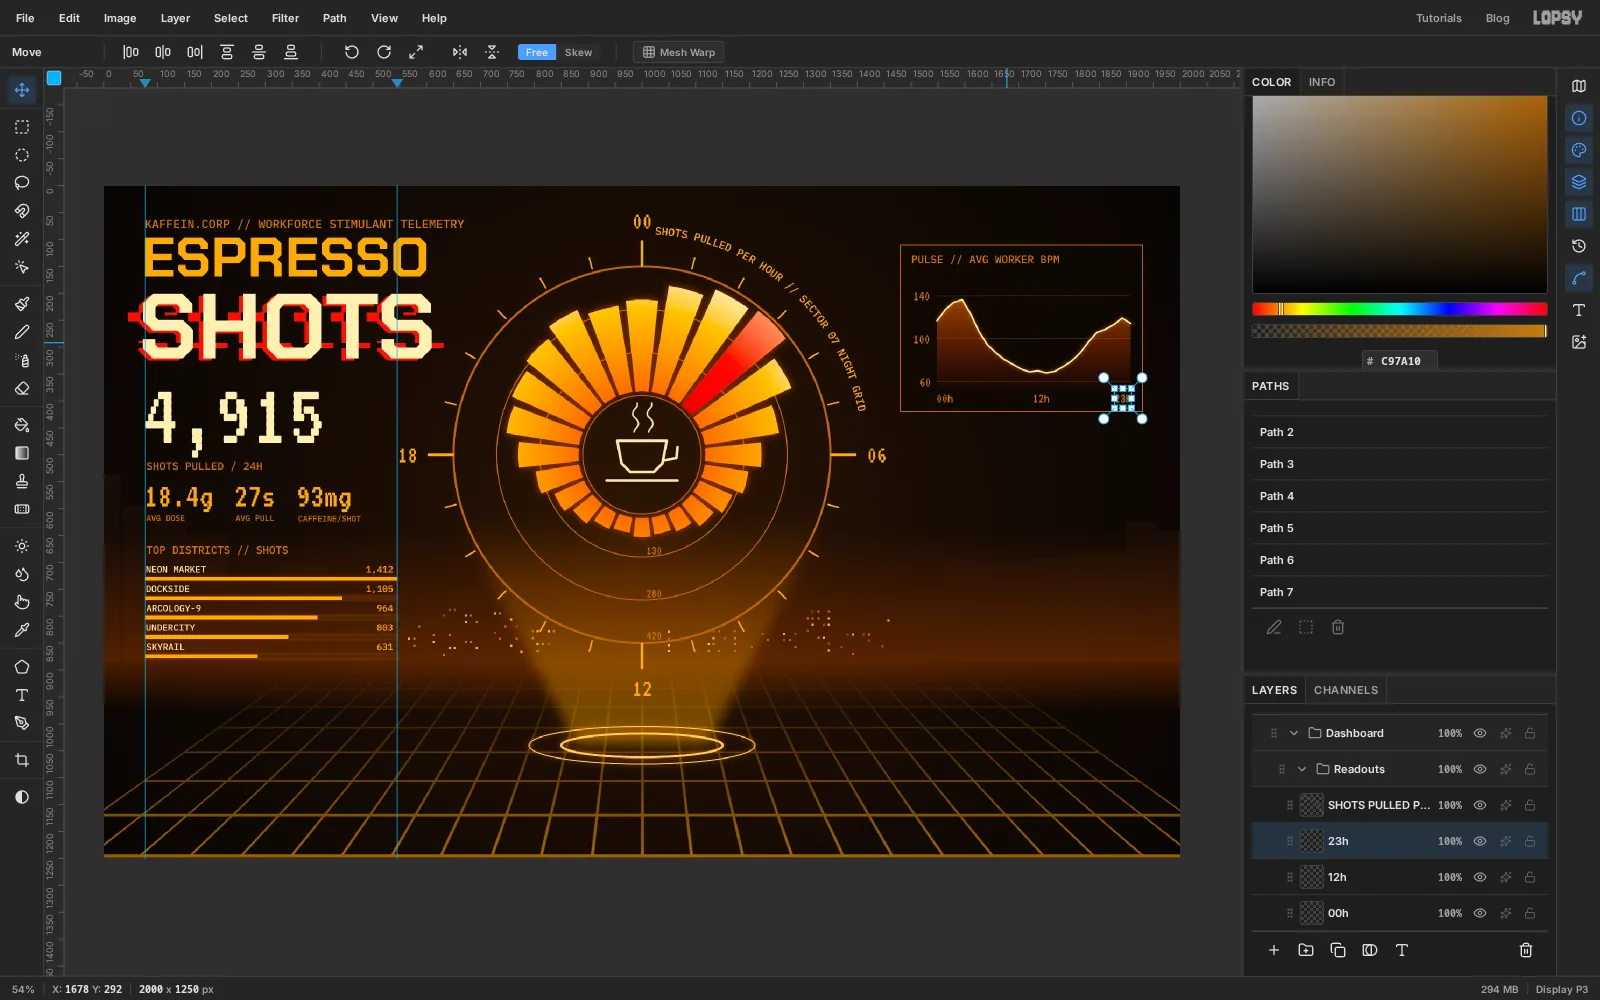
Type PULSE // AVG WORKER BPM in the panel's top-left corner (IBM Plex Mono, size 20, ). In VT323 at size 26, put 140, 100 and 60 beside their gridlines, and 00h, 12h and 23h under the plot. Line 00h up with the left end of the curve and 23h with the right end, and leave the same space below the labels as there is above the title.
-
Add the hexagon meter and the peak readout
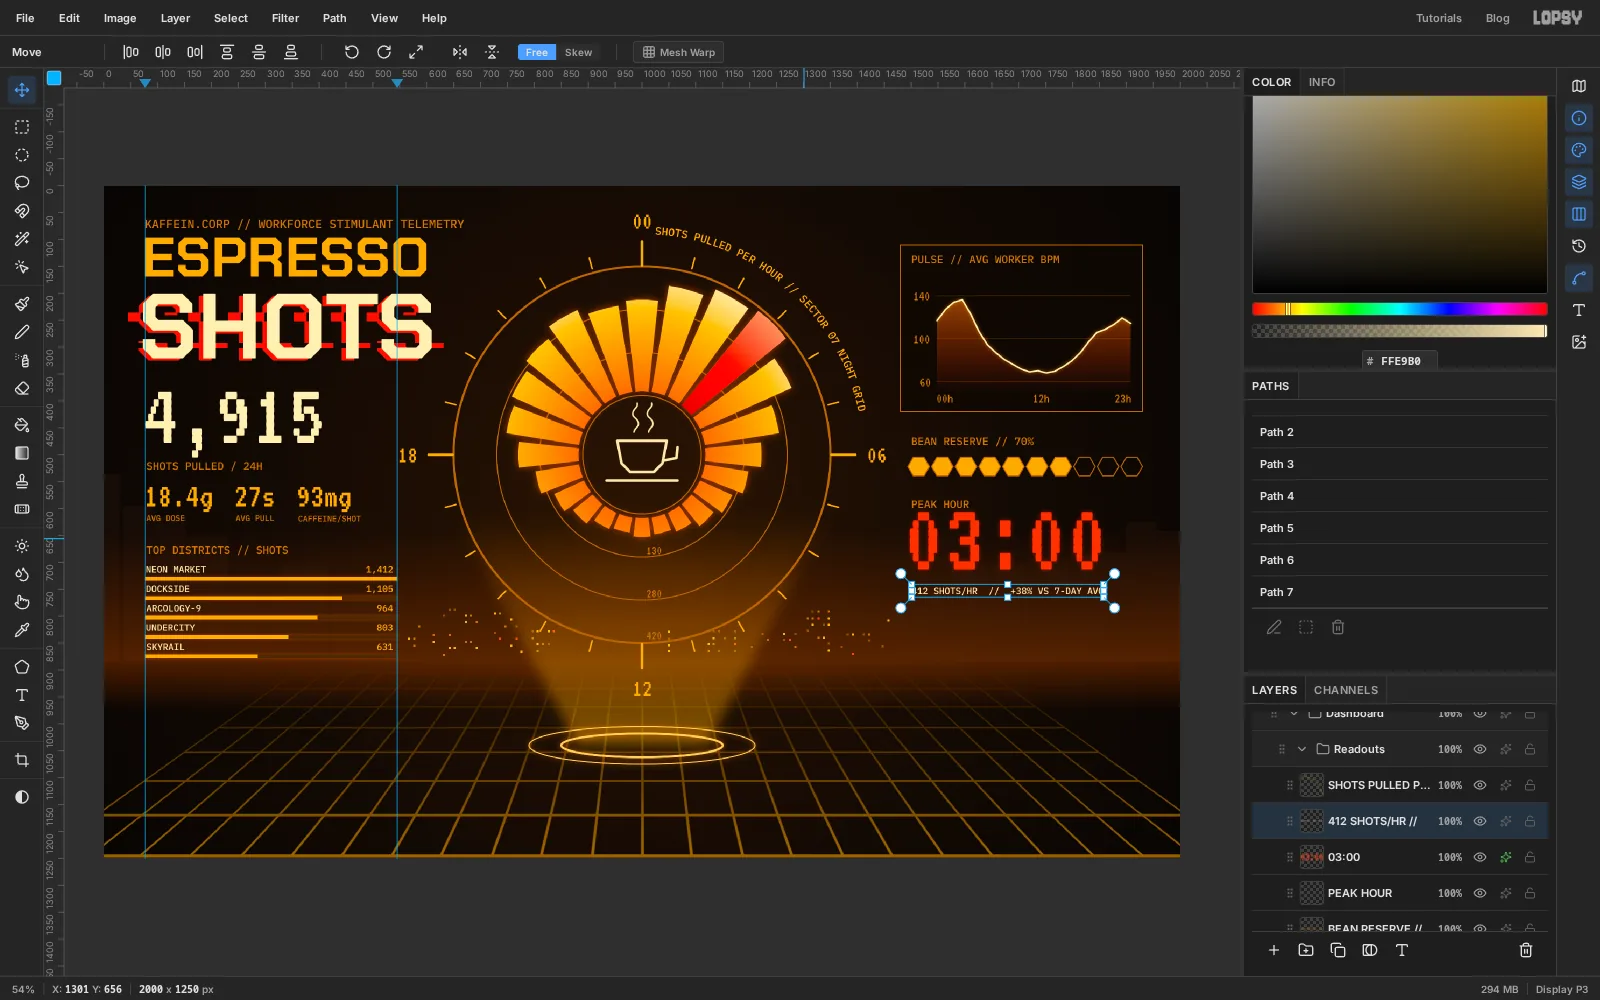
Type BEAN RESERVE // 70% under the panel in the label style. Add a layer called Hex meter, switch the Shape tool to Polygon and set Sides to 6. Set the fill to at full opacity (it is still at 70% from the panel) and keep the stroke at Width 2. Click to make a 40 × 40 hexagon, then six more in a row, each 44 px along. Choose Remove fill and make three more, which come out as outlines. Seven of ten filled is 70%. Check that the row ends level with the right edge of the panel.
Under it, type PEAK HOUR as a label, then 03:00 in VT323 at size 190, colour . Give it an Outer Glow of Size 12, Opacity 45 in . Keep the glow small, because pixel type goes soft quickly. Finish with 412 SHOTS/HR // +38% VS 7-DAY AVG in IBM Plex Mono at size 17, , tucked close under the digits.
The red here matches the red wedge on the dial, so the two read as one fact.
-
Frame the board and skew the hazard stripes
Add a layer called HUD frame. With the Pencil at Size 3 and , Shift-click an L-shaped bracket into each corner of the canvas, a little in from the edge.
Add a layer called Ticker band. Select a strip the full width of the canvas near the bottom and fill it with . Deselect, then rule a Size 2 pencil line along its top and bottom edges.
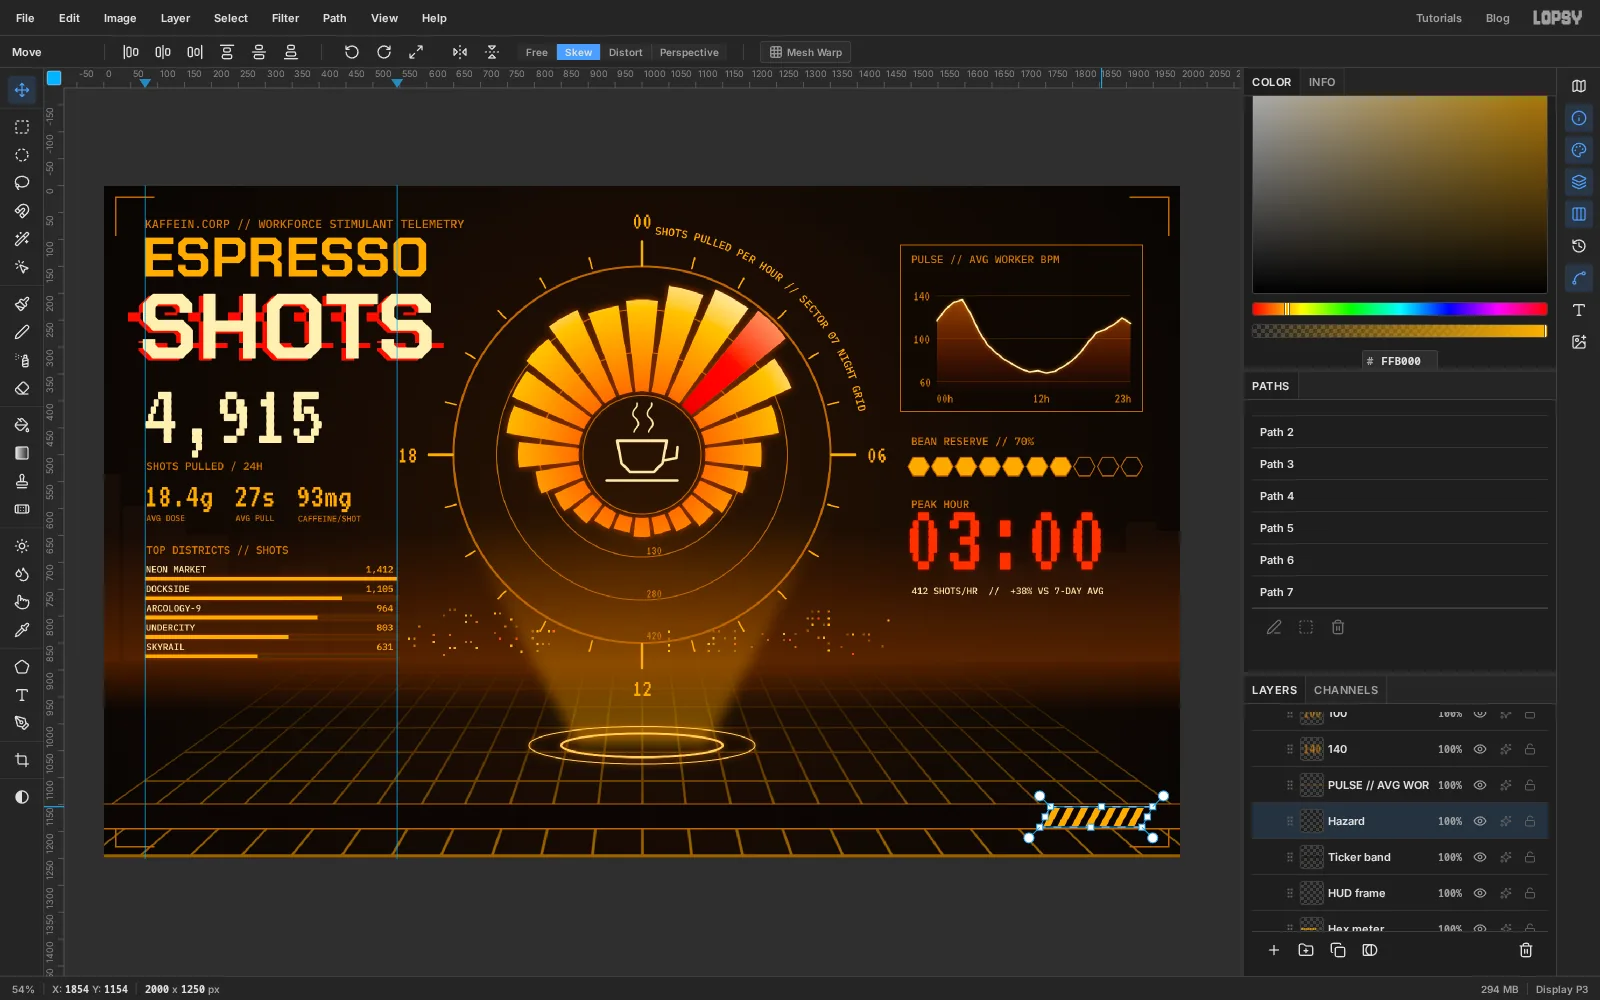
Add a layer called Hazard. At the right end of the band, select seven narrow upright bars with Shift and fill them with . Deselect, drag one marquee around all seven, switch to the Move tool and click Skew. Drag the top-middle handle a short way to the right and the bars lean over into hazard stripes. Press Cmd+D. Check that the stripes end level with the right edge of the panel above.
-
Write the ticker
Click Floor, select everything below the band and press Delete, so the grid stops at the ticker and the bottom brackets sit on clean black. Deselect, then click the top layer inside Readouts. New text lands just above the active layer, and the ticker has to sit above the band, not behind it.
Type the ticker in IBM Plex Mono Medium, size 18, :
/// WARNING: TREMOR INDEX ELEVATED IN SECTORS 03 + 07 /// NEXT RATION WINDOW 04:00 /// DECAF IS A CLASS-C OFFENCE /// KAFFEIN.CORP IS WATCHING ///
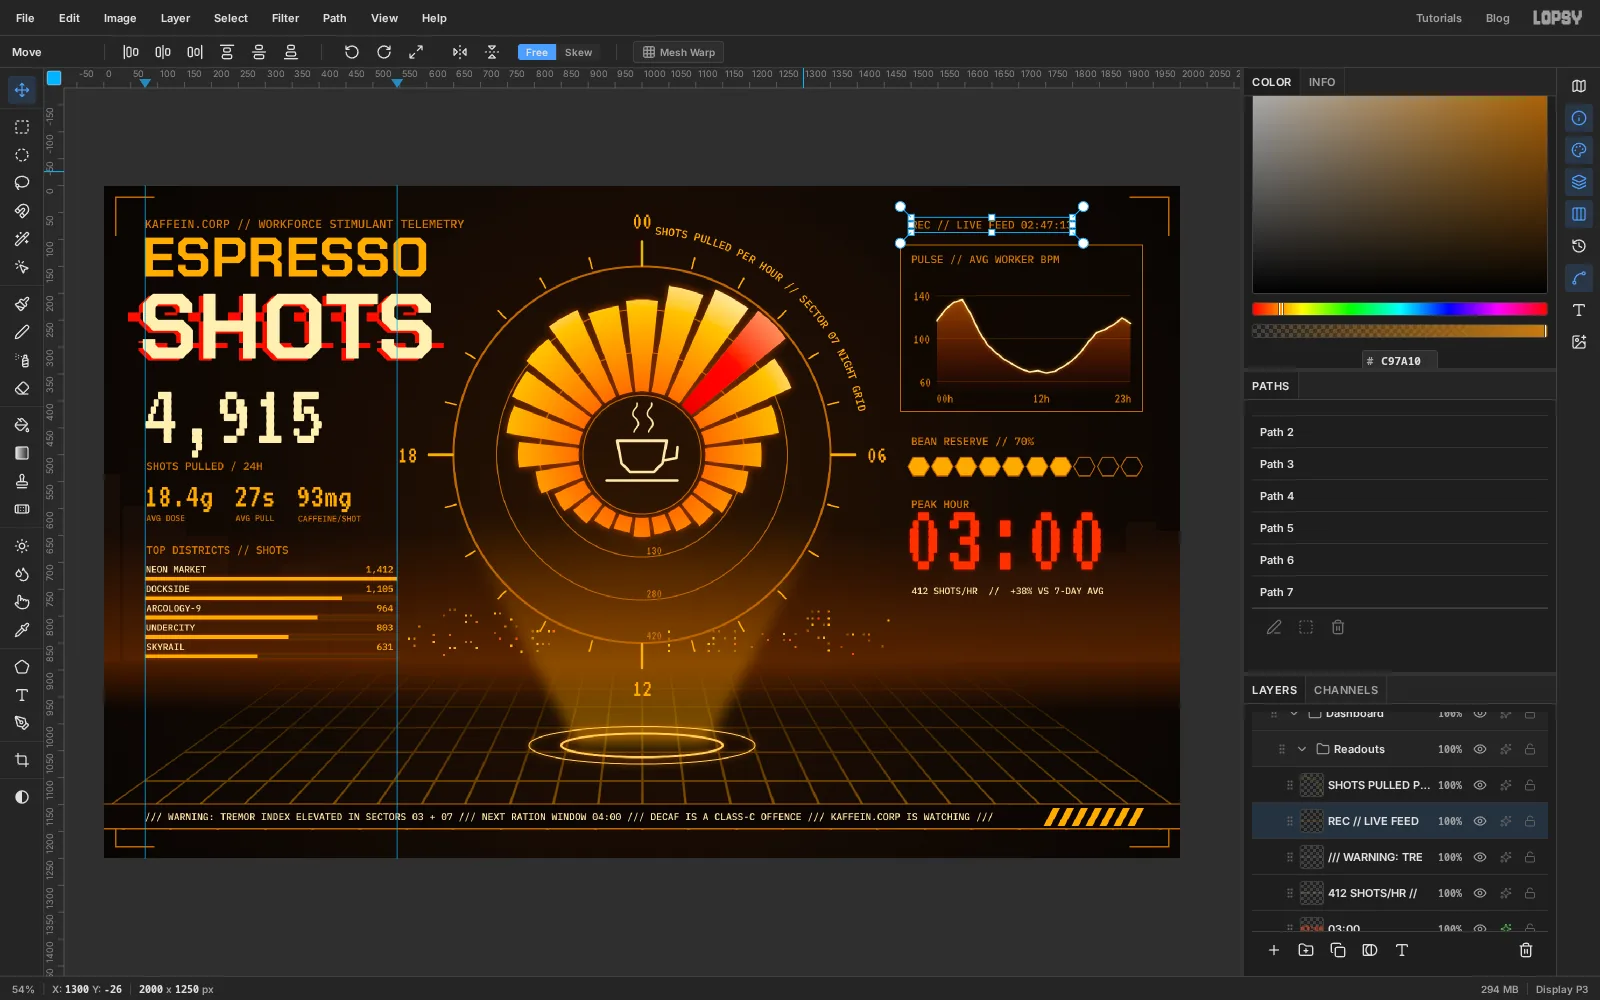
Centre it in the band's height and start it on the same left edge as the title. It should stop short of the stripes. Then type REC // LIVE FEED 02:47:13 at size 20 in above the pulse panel, level with the small line over the title.
-
Seat the stamp text in its frame
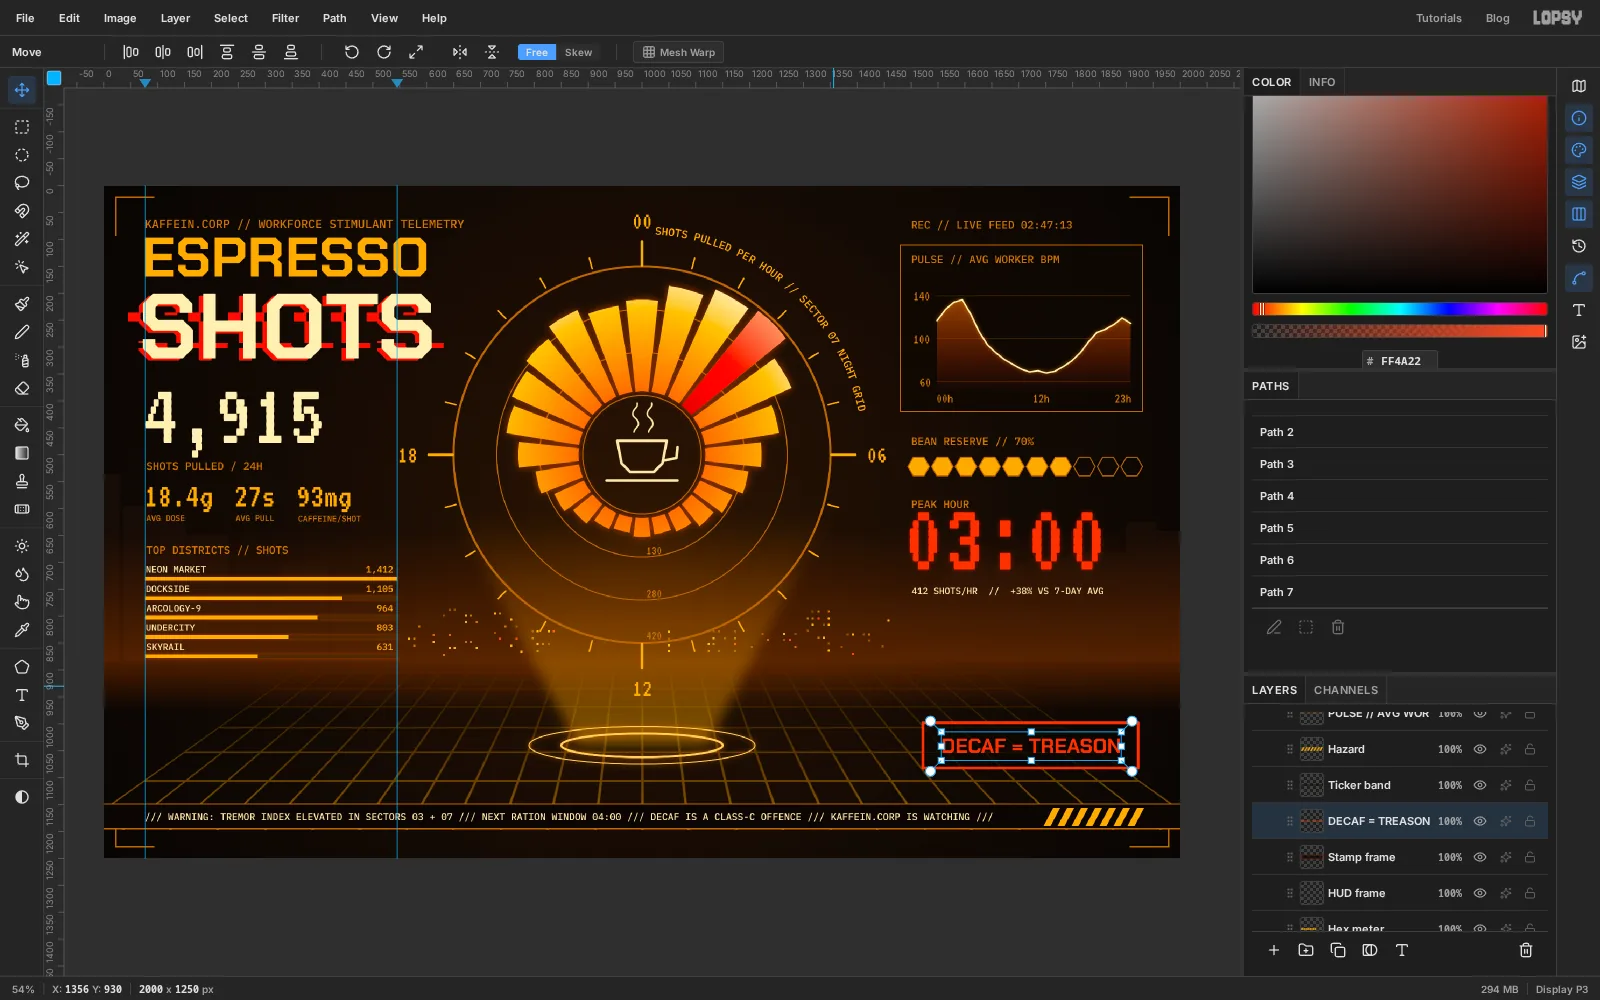
Add a layer called Stamp frame. With the Shape tool on Rectangle, set the fill to at 75% and the stroke to , Width 5, and make a box 400 × 84 on the floor at the lower right. The fill stops the grid showing through the lettering.
Type DECAF = TREASON in Chakra Petch Bold, colour . Size 38 leaves a comfortable margin at both ends. Move it until the space above the capitals matches the space below them, and the left and right margins match too.
-
Rotate the stamp as a group
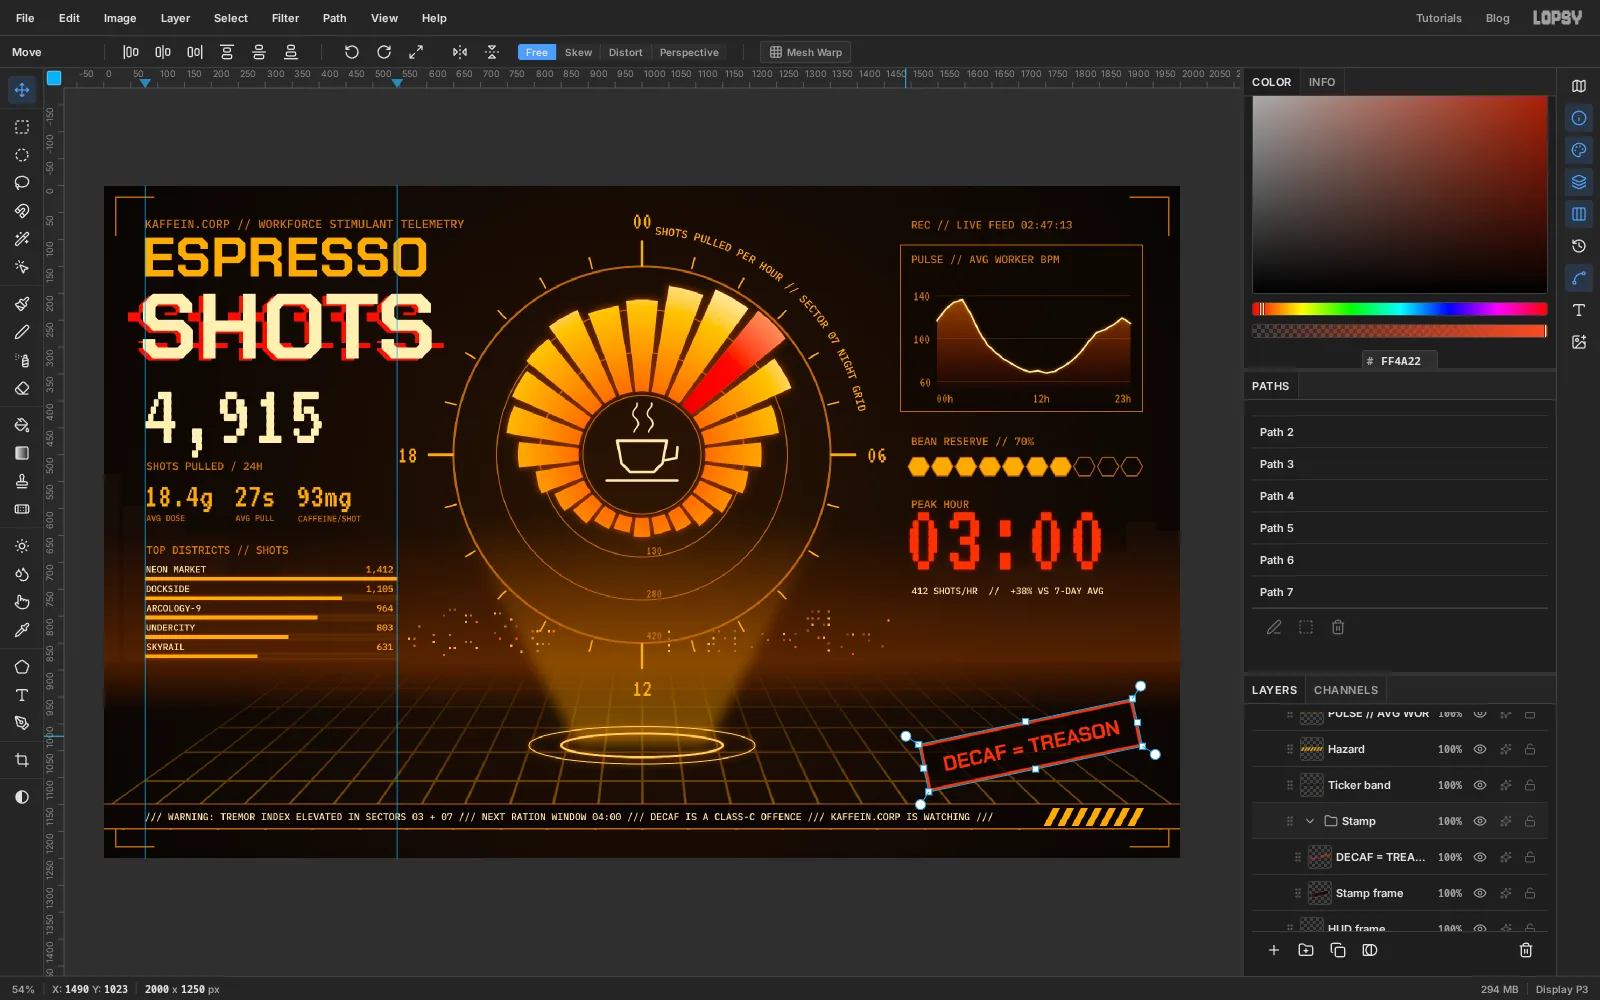
Click the text layer, Shift-click Stamp frame and choose Layer → Group Layers. Name the group Stamp.
With the group selected and the Move tool active, handles frame both layers. Drag just outside a corner to rotate the pair about 12° anticlockwise, then press Cmd+D. The text stays live inside the rotated group, so you can still fix a typo.
-
Distress the stamp
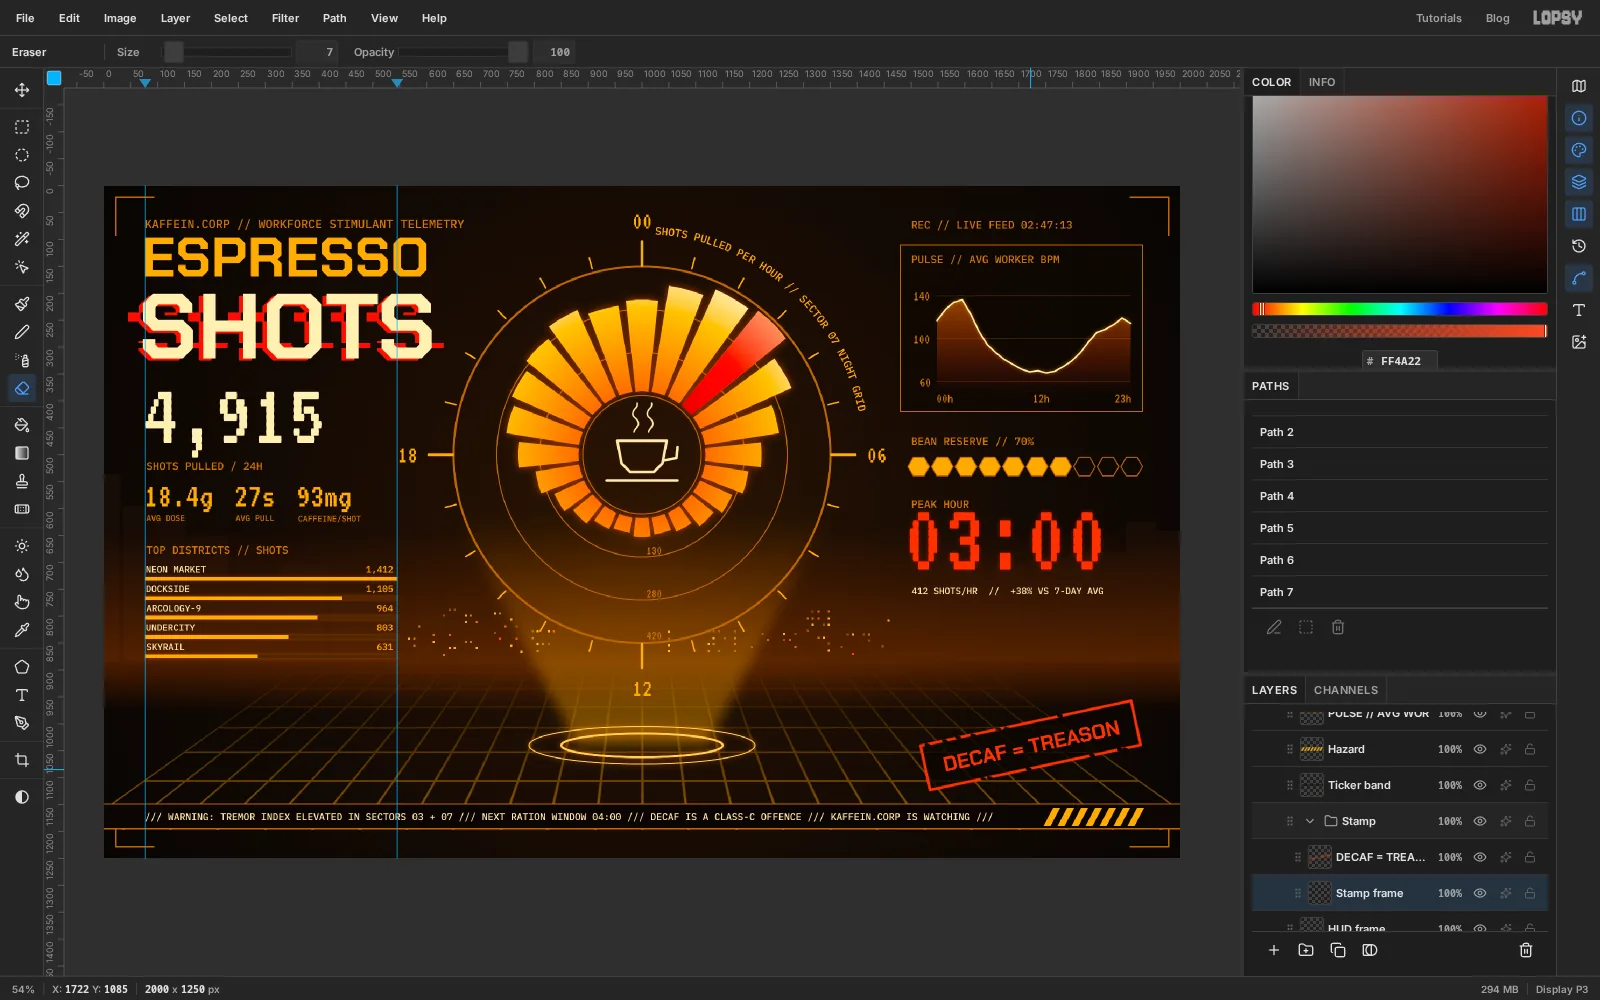
Click Stamp frame inside the group. With the Eraser at Size 7, dab a dozen short bites out of the outline, as if the ink didn't take everywhere.
-
Add vertical katakana
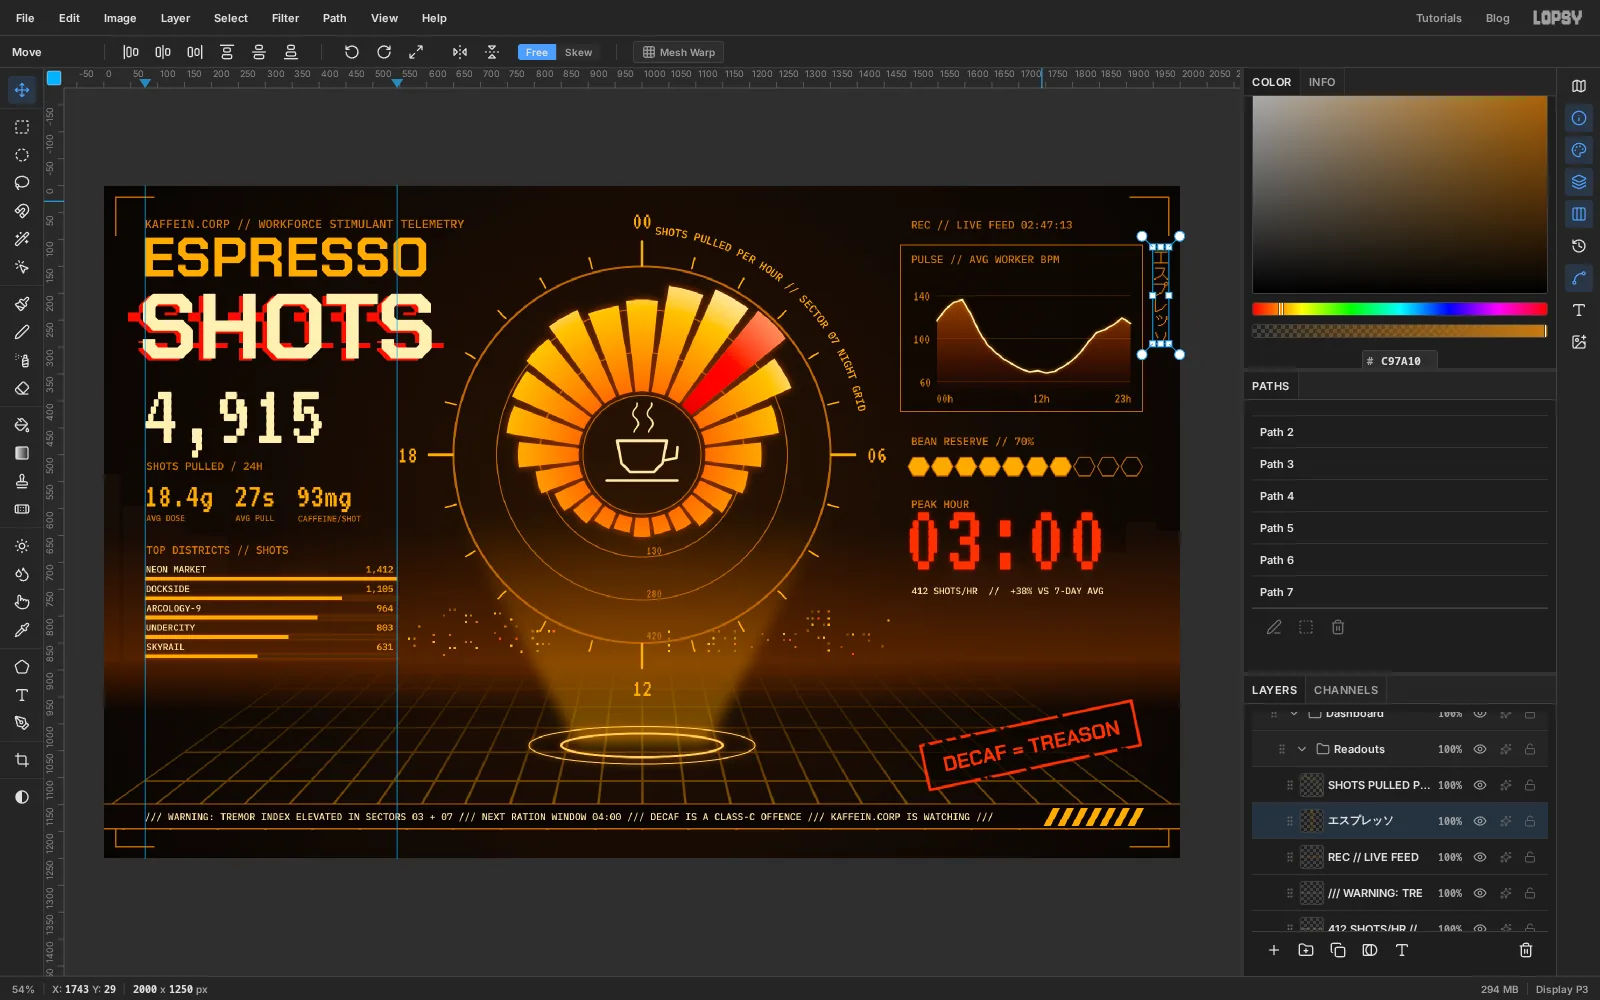
Type エスプレッソ (espresso) in DotGothic16, size 30, colour . With the layer active, click the Vertical toggle in the Text options bar, the stacked A over B. The characters stack downward. Move the column into the right margin beside the pulse panel, with its top level with the panel's top.
-
Grade the whole board
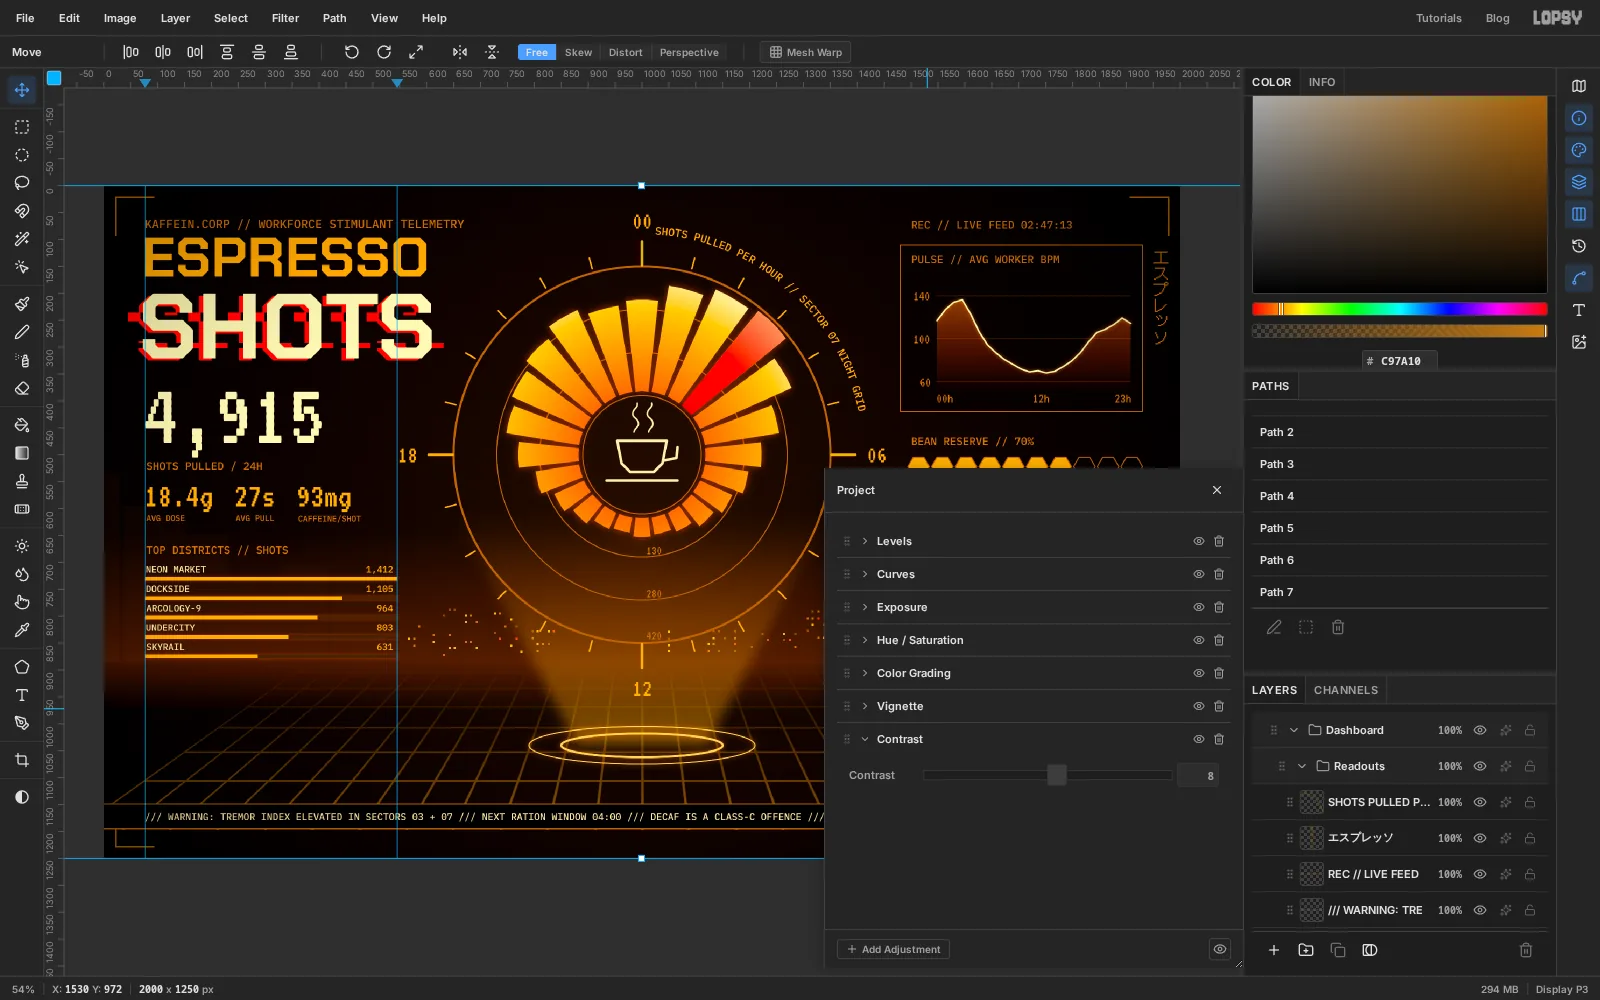
Choose Layer → Adjustment Layer…. Lopsy keeps adjustments on the Project group, where they apply to everything inside it without changing any pixels. Close the note that explains this. The drawer already lists Levels, Curves, Exposure, Hue / Saturation and Color Grading, all neutral; leave them alone. Click Add Adjustment, choose Vignette and set it to 40. Add Contrast and set it to 8. Close the drawer.
The vignette pulls the corners down so the eye stays on the dial.
-
Make scanlines from a tiny pattern
Click the Dashboard group and add a layer called Scanlines.
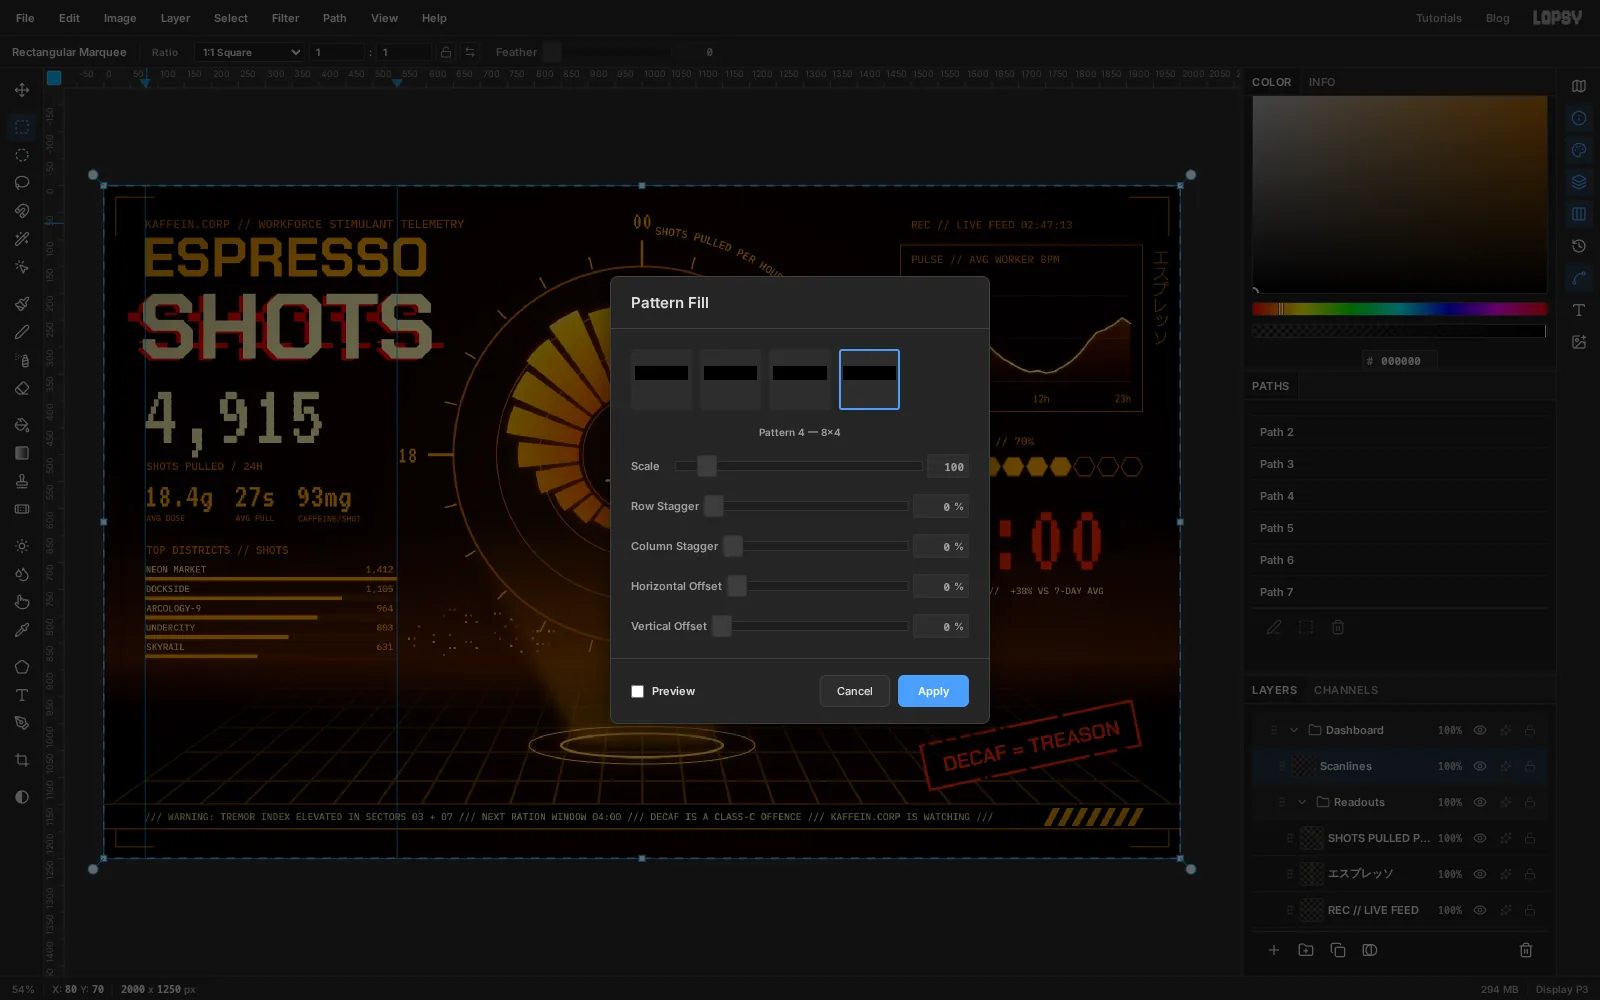
With the Rectangular Marquee, click once in the canvas without dragging. A dialog asks for the corners: enter 0, 0 to 8, 2 and click Select. Fill that sliver with black and press Cmd+D. Click once more and select 0, 0 to 8, 4, which is the black strip plus the same height of nothing below it. Choose Edit → Define Pattern.
Press Cmd+A, choose Edit → Fill with Pattern…, pick the new tile (it's the last one if you've defined patterns before) and click Apply. Deselect and lower the layer to 22%.
-
Add grain
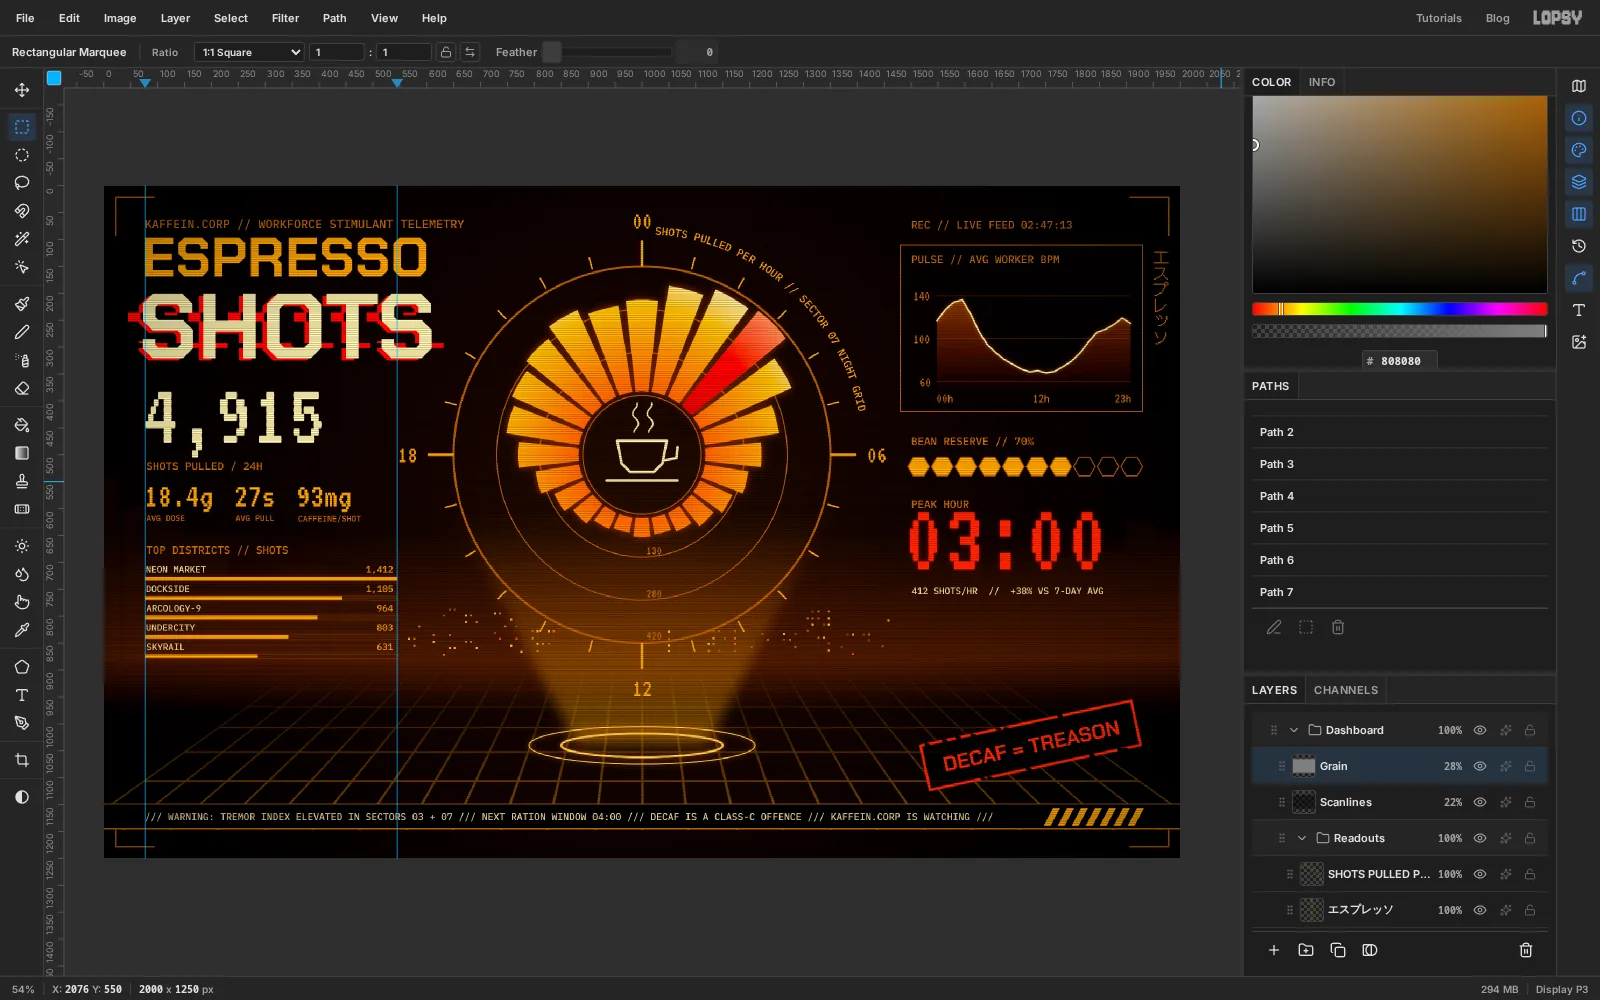
Add a layer called Grain. Press Cmd+A, fill it with and deselect. Choose Filter → Add Noise…, set Amount to 30, choose Mono and click Apply. Set the layer to Overlay at 28%. Mid-grey disappears in Overlay, so only the speckle is left.
-
Finish with a bloom pass
Press Cmd+A, choose Edit → Copy Merged and press Cmd+V. You get a flat copy of the whole picture on a new layer. Deselect and rename it Bloom. Choose Filter → Gaussian Blur… with Radius 14, then set the layer to Screen at 32%. Every bright thing now bleeds a little into the dark around it, the way a tube monitor does.
Choose Edit → Clear Guides, then File → Quick Export PNG.
To make the board your own, change the 24 numbers first. Redraw the wedges, move the red to your new peak, and update the total and the peak readout so the board still adds up.