Make a Steampunk Gauge Data Visualization Poster
Build a brass pressure gauge that's really a radial bar chart of steam engine horsepower, with Sunburst gears, leather and rivets, in Lopsy.
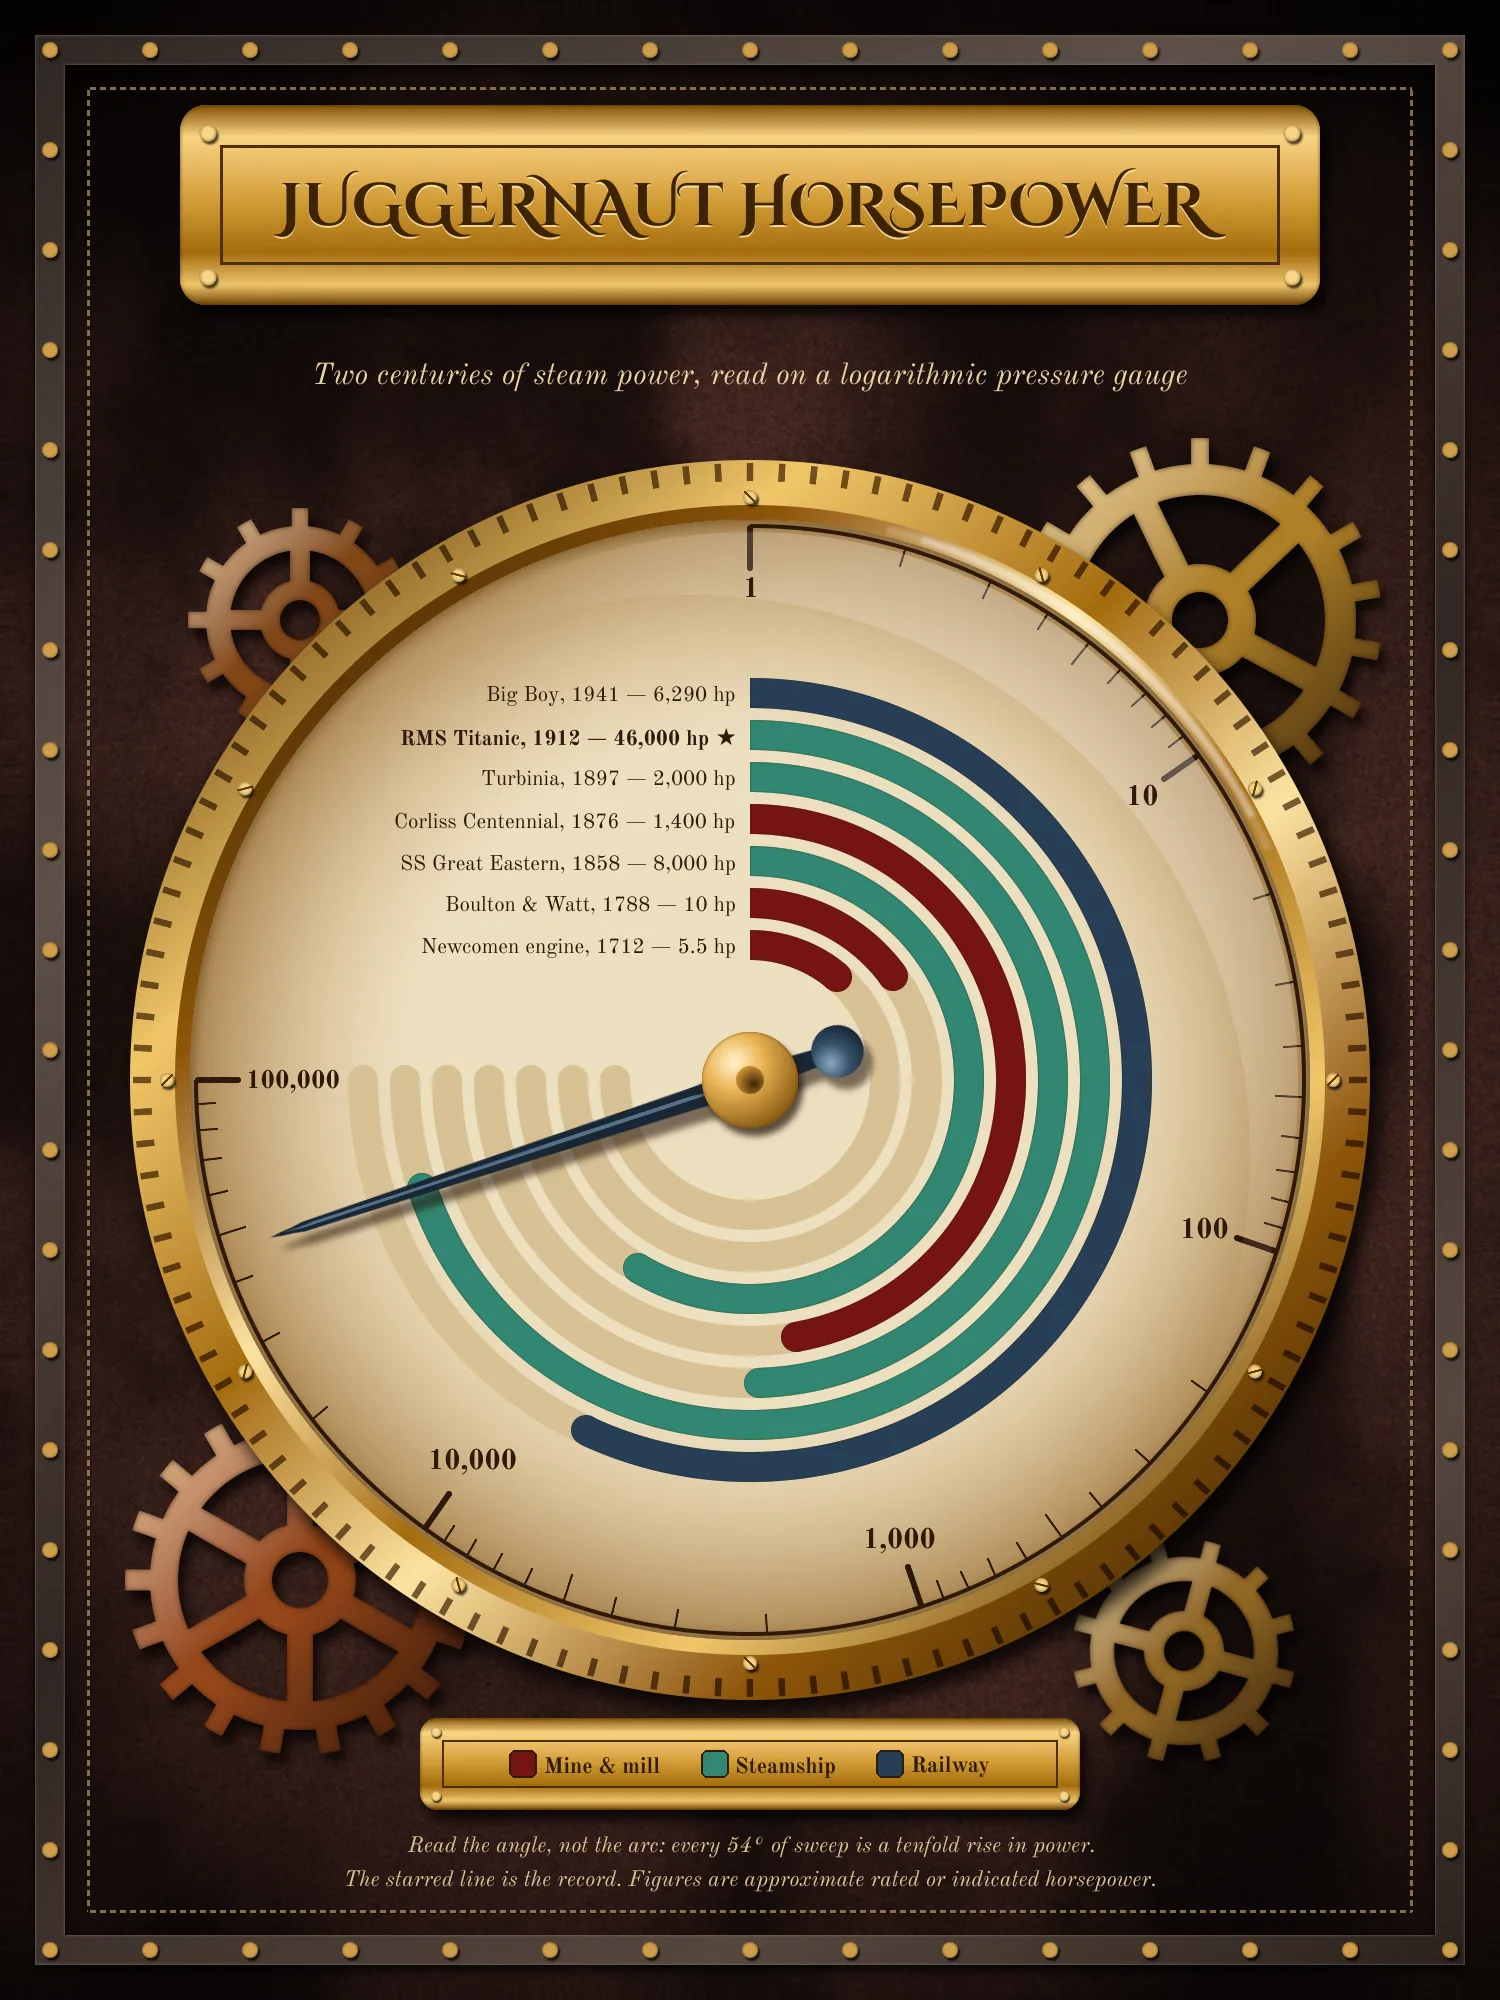
Victorian engineers lived by their gauges. Every boiler room had a brass pressure gauge with a cream dial, a black needle and a knurled rim. This tutorial uses one of those gauges as a chart.
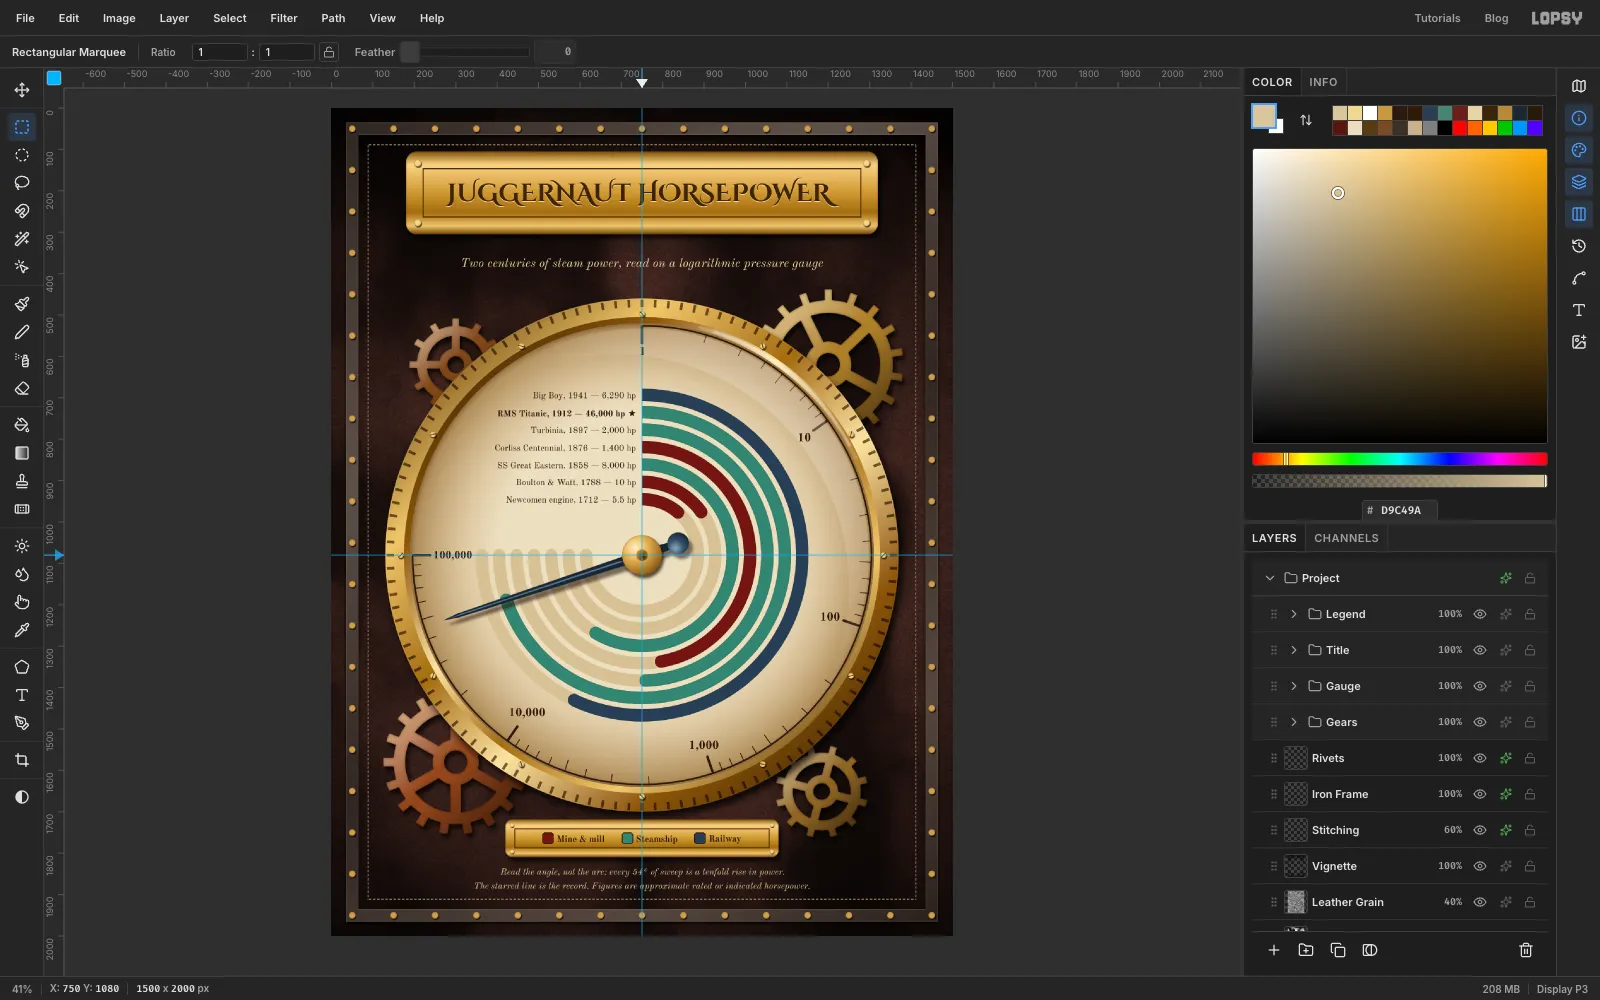
The poster is called Juggernaut Horsepower. It compares seven famous steam engines, from Thomas Newcomen's 1712 mine pump to the Union Pacific Big Boy locomotive of 1941. Each engine is one ring on the dial, and the ring's length shows its power. The oldest engine is the innermost ring and the newest is the outermost, so the rings grow outwards like a tree.
The numbers run from about 5 hp to 46,000 hp. On an ordinary scale the small engines would be invisible, so the dial uses a logarithmic scale: every 54° of sweep is a tenfold rise in power, and five tenfold steps fill 270°. The angle for any engine is:
- Newcomen engine, 1712: 5.5 hp, 40.0° (mine & mill)
- Boulton & Watt, 1788: 10 hp, 54.0° (mine & mill)
- SS Great Eastern, 1858: 8,000 hp, 210.8° (steamship)
- Corliss Centennial, 1876: 1,400 hp, 169.9° (mine & mill)
- Turbinia, 1897: 2,000 hp, 178.3° (steamship)
- RMS Titanic, 1912: 46,000 hp, 251.8° (steamship)
- Big Boy, 1941: 6,290 hp, 205.1° (railway)
The figures are the usual approximate rated or indicated horsepower. The poster is 1500 × 2000 px. You'll use:
- Filter → Sunburst to cut gear teeth and the knurled bezel
- Define Pattern and Fill with Pattern for rivets and stitching
- the Elliptical Marquee with Shift, Alt and Shift+Alt to add, subtract and intersect rings
- the Brush with Radial Symmetry for evenly spaced screws
- the Move tool's rotate handle, Copy and Paste
- Clouds, Add Noise, Emboss, Brightness/Contrast, Gaussian Blur and Hue/Saturation
- Drop Shadow, Inner Glow and Stroke effects, plus Overlay, Multiply and Screen blend modes
- the Text tool with Cinzel Decorative and Old Standard TT
The palette is brass and enamel on oxblood leather:
-
Leather
-
iron
-
thread
-
Brass
-
Copper gears
-
Dial
-
ring tracks
-
ink
-
Mine & mill
-
steamship
-
railway
-
Needle
-
footnotes
-
Create the document and set guides
Choose File → New, set Unit to Pixels, and enter 1500 by 2000. Keep the White background and click Create.
Click the top ruler at 750 to make a vertical guide down the centre. Then click the left ruler at 1080 to make a horizontal guide. The gauge will sit where they cross.
-
Lay down the leather
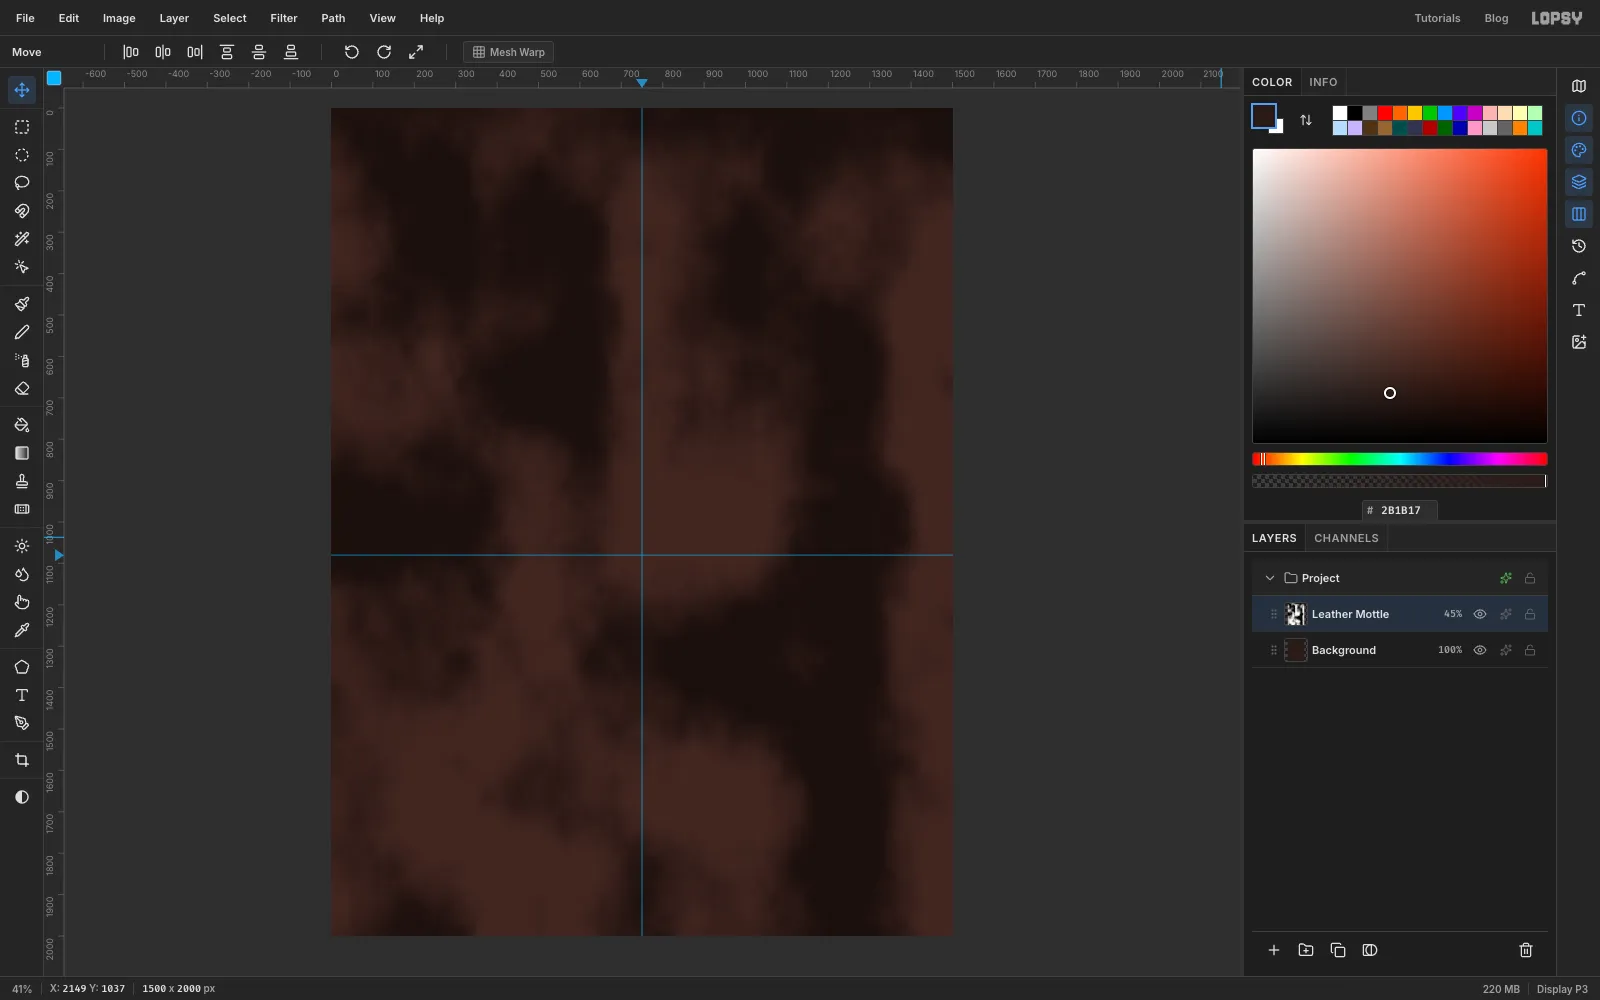
Select the Background layer, set the foreground colour to and choose Edit → Fill. With nothing selected it fills the whole layer.
A new document also comes with an empty Layer 1. Double-click its name and rename it Leather Mottle, then choose Filter → Clouds… with Scale 6. Open the layer's effects with the ✦ button, set the blend mode to Overlay, and lower the layer's opacity to 45%. The grey clouds now just lighten and darken the brown.
-
Add pebble grain
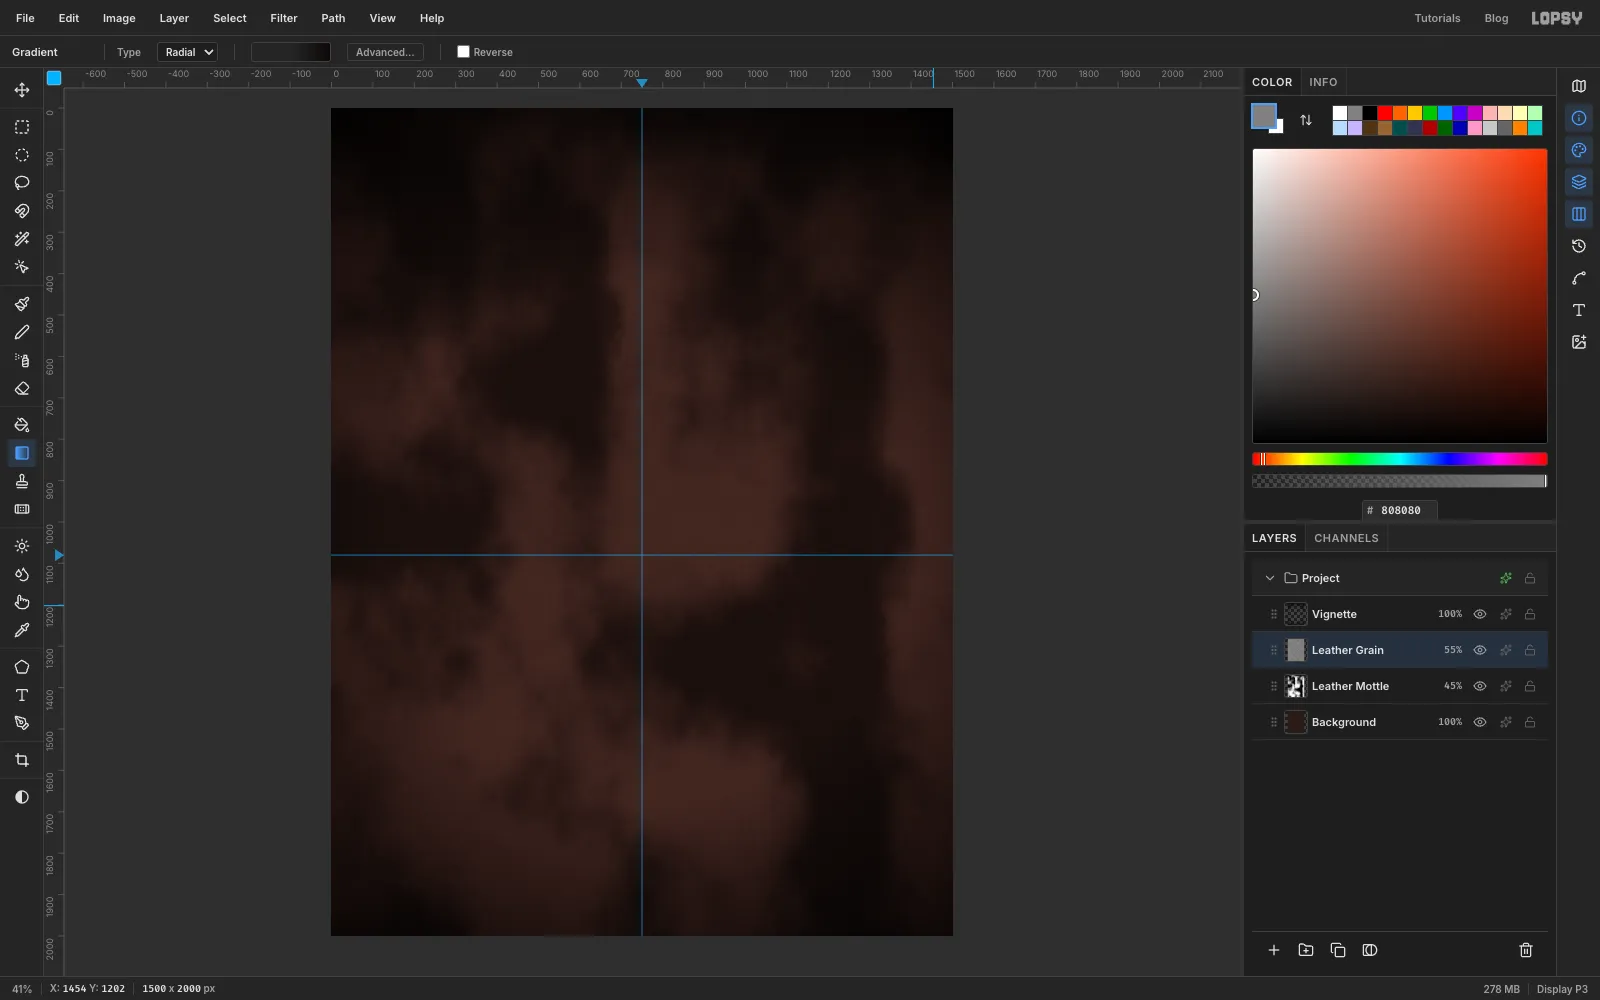
Click Add Layer, name it Leather Grain, fill it with mid grey , and run these filters in order:
- Add Noise: Amount 100, Mono, Gaussian.
- Gaussian Blur: Radius 3. This turns single-pixel noise into small bumps.
- Emboss: Angle 135, Strength 100. The bumps are now lit from the top left.
- Brightness/Contrast: Contrast 100. Apply it twice, because the emboss on its own is very faint.
Set the layer to Overlay at 40%. It reads as pebbled hide.
-
Darken the edges
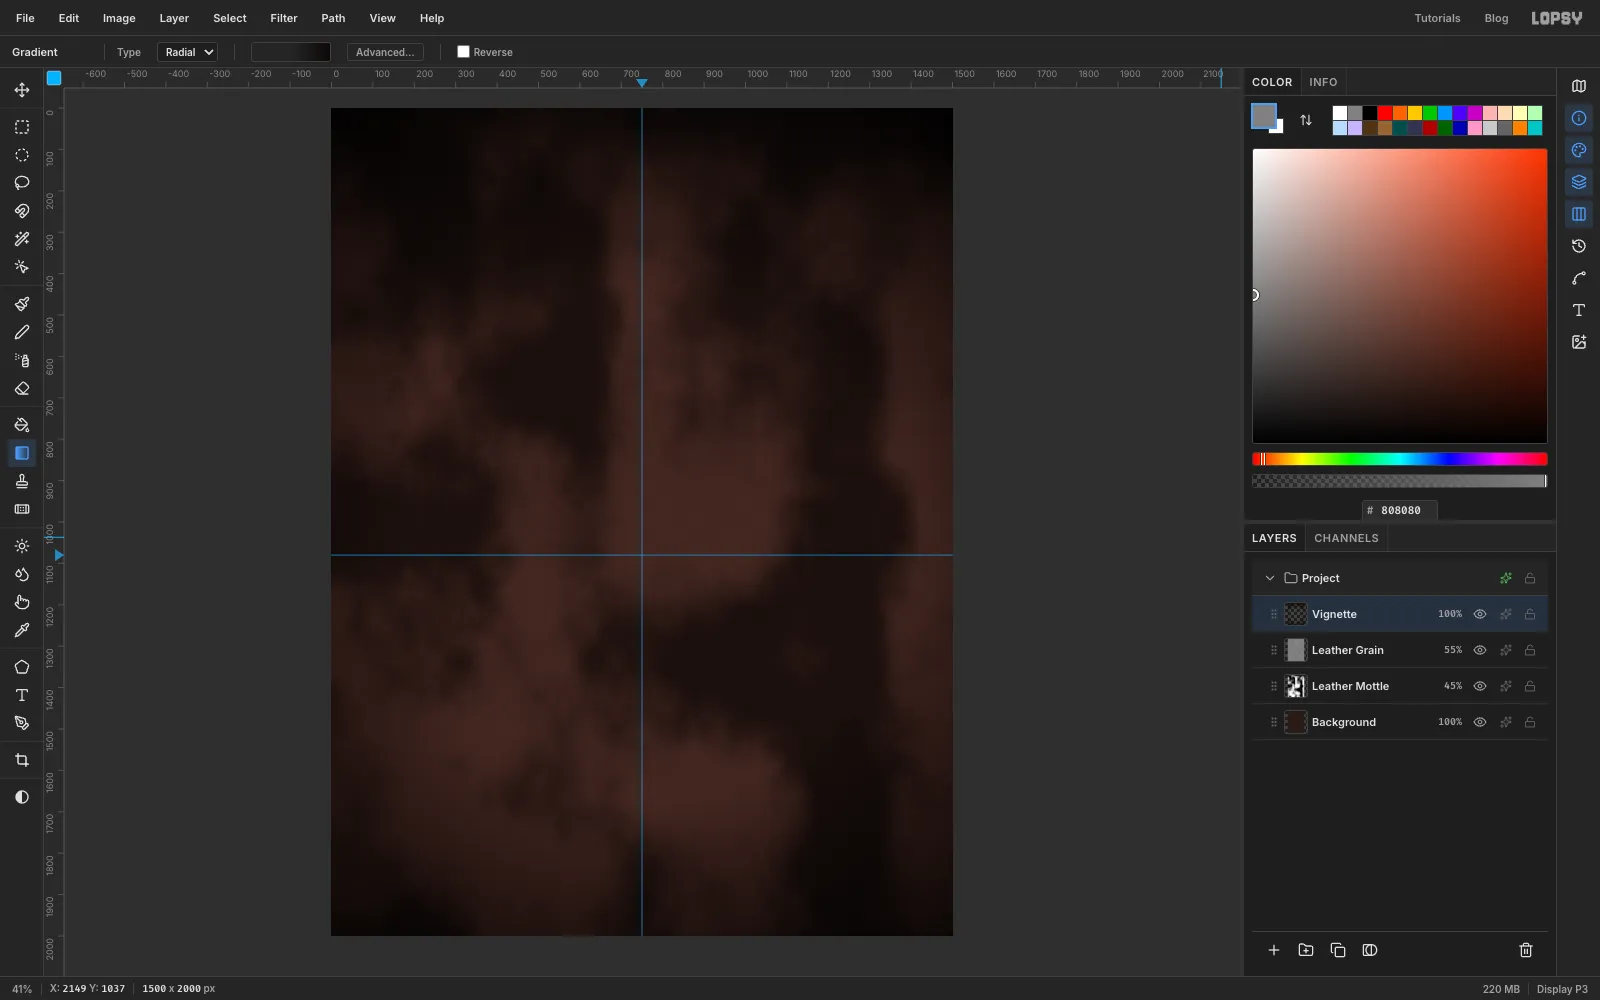
Add a layer called Vignette. Pick the Gradient tool, set Type to Radial and click Advanced…. Make three black stops:
- the left end fully transparent
- a second stop at 50%, also transparent
- the right end at 90% opacity
Drag from the middle of the page out past the right edge, then set the layer to Multiply.
-
Build the iron frame
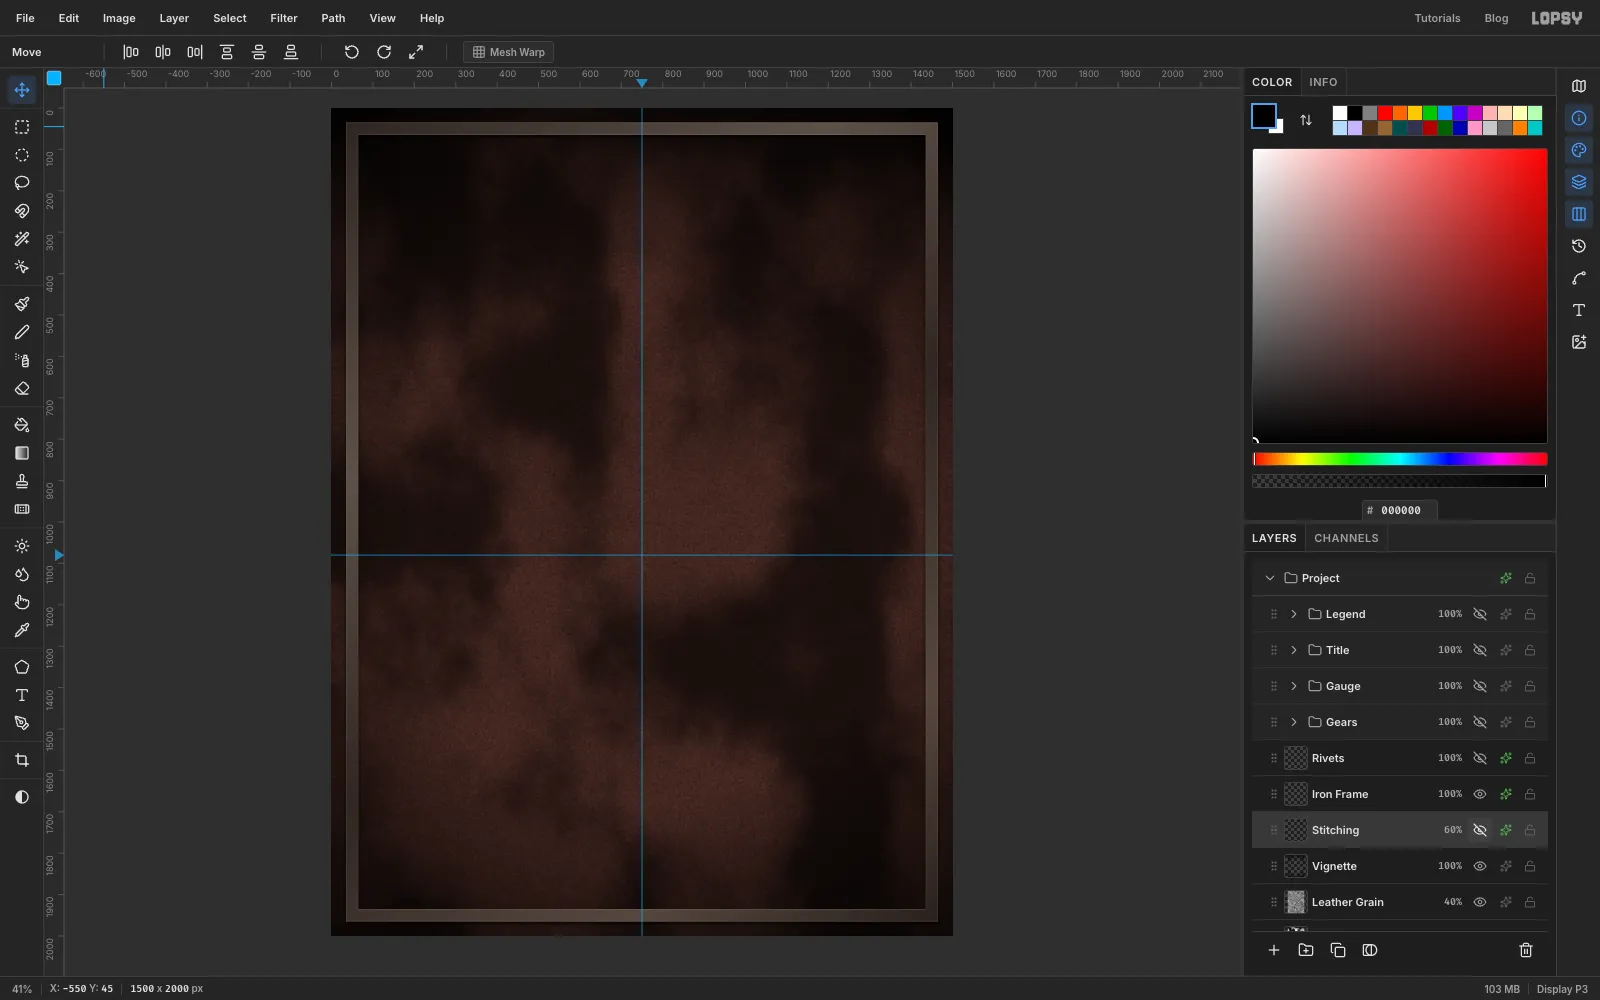
Add a layer called Iron Frame. Select a rectangle from 35, 35 to 1465, 1965 and fill it with . Choose Select → Shrink… by 30 and press Delete. That leaves a 30 px band round the page.
Cmd-click the layer's thumbnail to select the band. Drag a linear gradient from the top-left corner to the bottom-right corner with five stops: , , , and . The alternating stops make the iron catch the light unevenly. Deselect, then:
- add Mono noise at 10
- add Inner Glow in with Size 4 and Opacity 60
- add Drop Shadow with Offset 0 / 6, Blur 14 and Opacity 75
-
Rivet it with a pattern
Add a layer called Rivets:
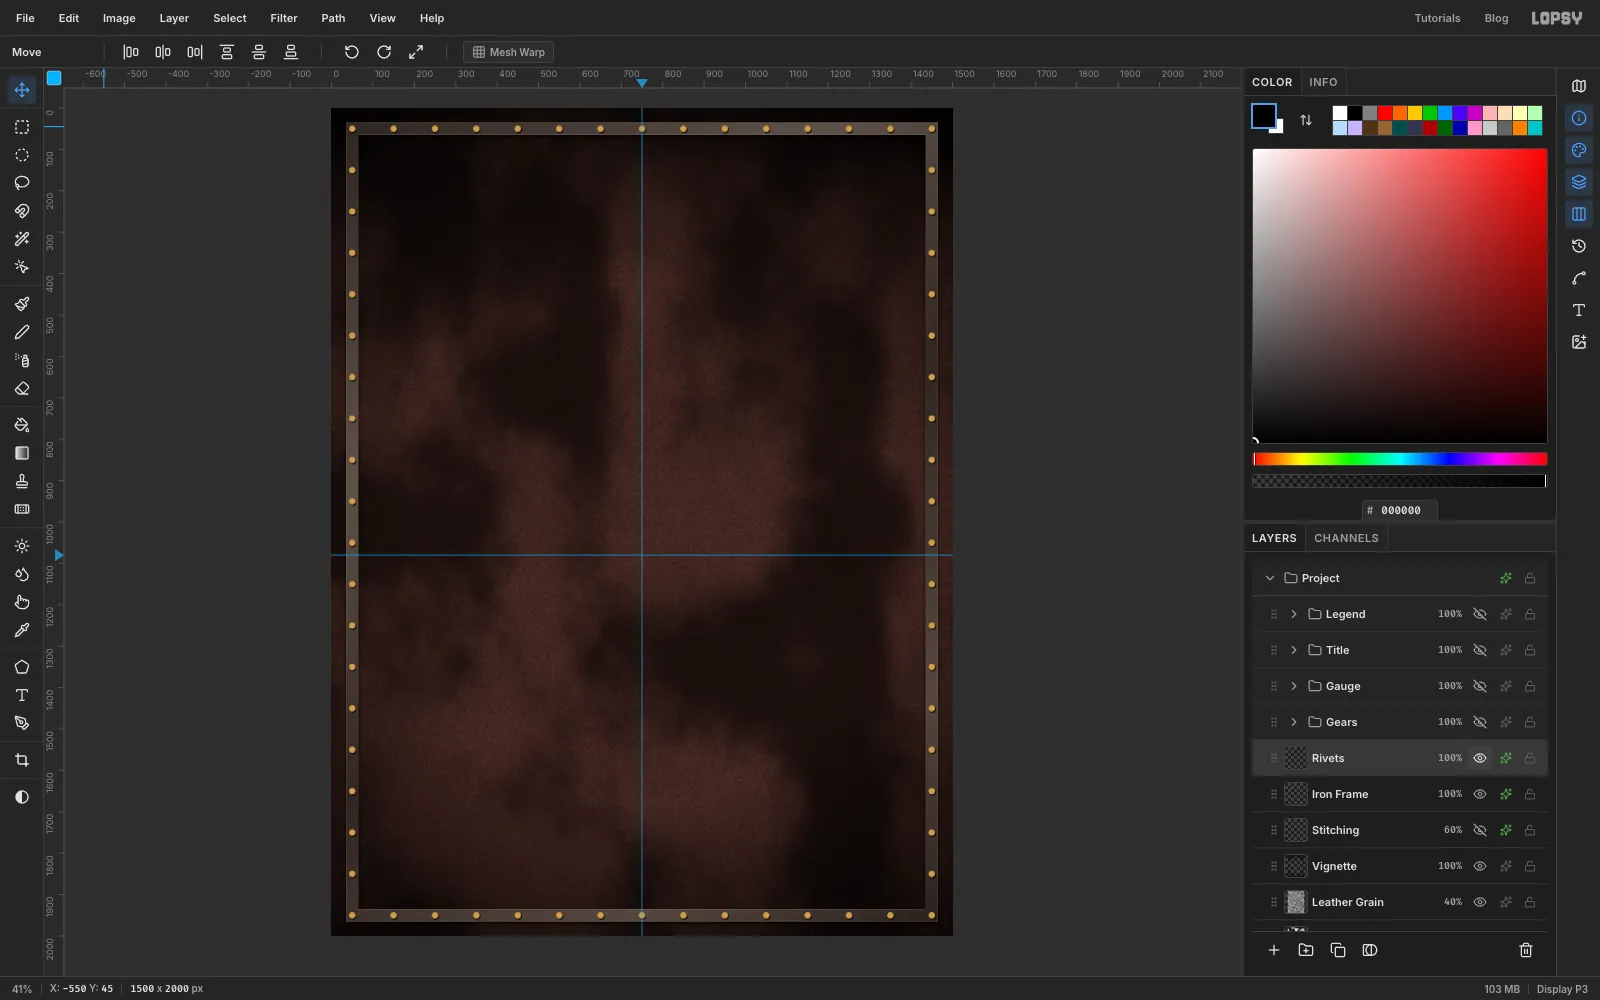
- Select a 16 px circle from 42, 42 to 58, 58 and fill it with .
- Press Cmd+D so your next click opens the corners dialog instead of just deselecting. Select 0, 0 to 100, 100 and choose Edit → Define Pattern. That captures one rivet in a 100 px tile.
- Press Delete to clear the tile.
- Select the outside of the frame (35, 35 to 1465, 1965), then Alt-drag the inside (65, 65 to 1435, 1935) to subtract it.
- Choose Edit → Fill with Pattern… and click Apply.
The tiles line up with the page corner, so a rivet lands every 100 px, right on the middle of the band. Deselect, and give the layer an Inner Glow in (Size 4, Opacity 85) and a small Drop Shadow (Offset 2 / 3, Blur 3, Opacity 75). The rivets now look domed.
-
Stitch the leather
Patterns make dashed thread too. First make two tiny tiles on a scratch layer, using the click-to-type marquee dialog. Press Cmd+D before each click so the dialog opens instead of the click just deselecting:
- Fill 0, 0 → 6, 3 with . Select 0, 0 → 10, 3 and choose Define Pattern. That's a 6 px dash with a 4 px gap.
- Fill 0, 10 → 3, 16, select 0, 10 → 3, 20 and Define Pattern again for the up-and-down version.
- Delete the scratch layer.
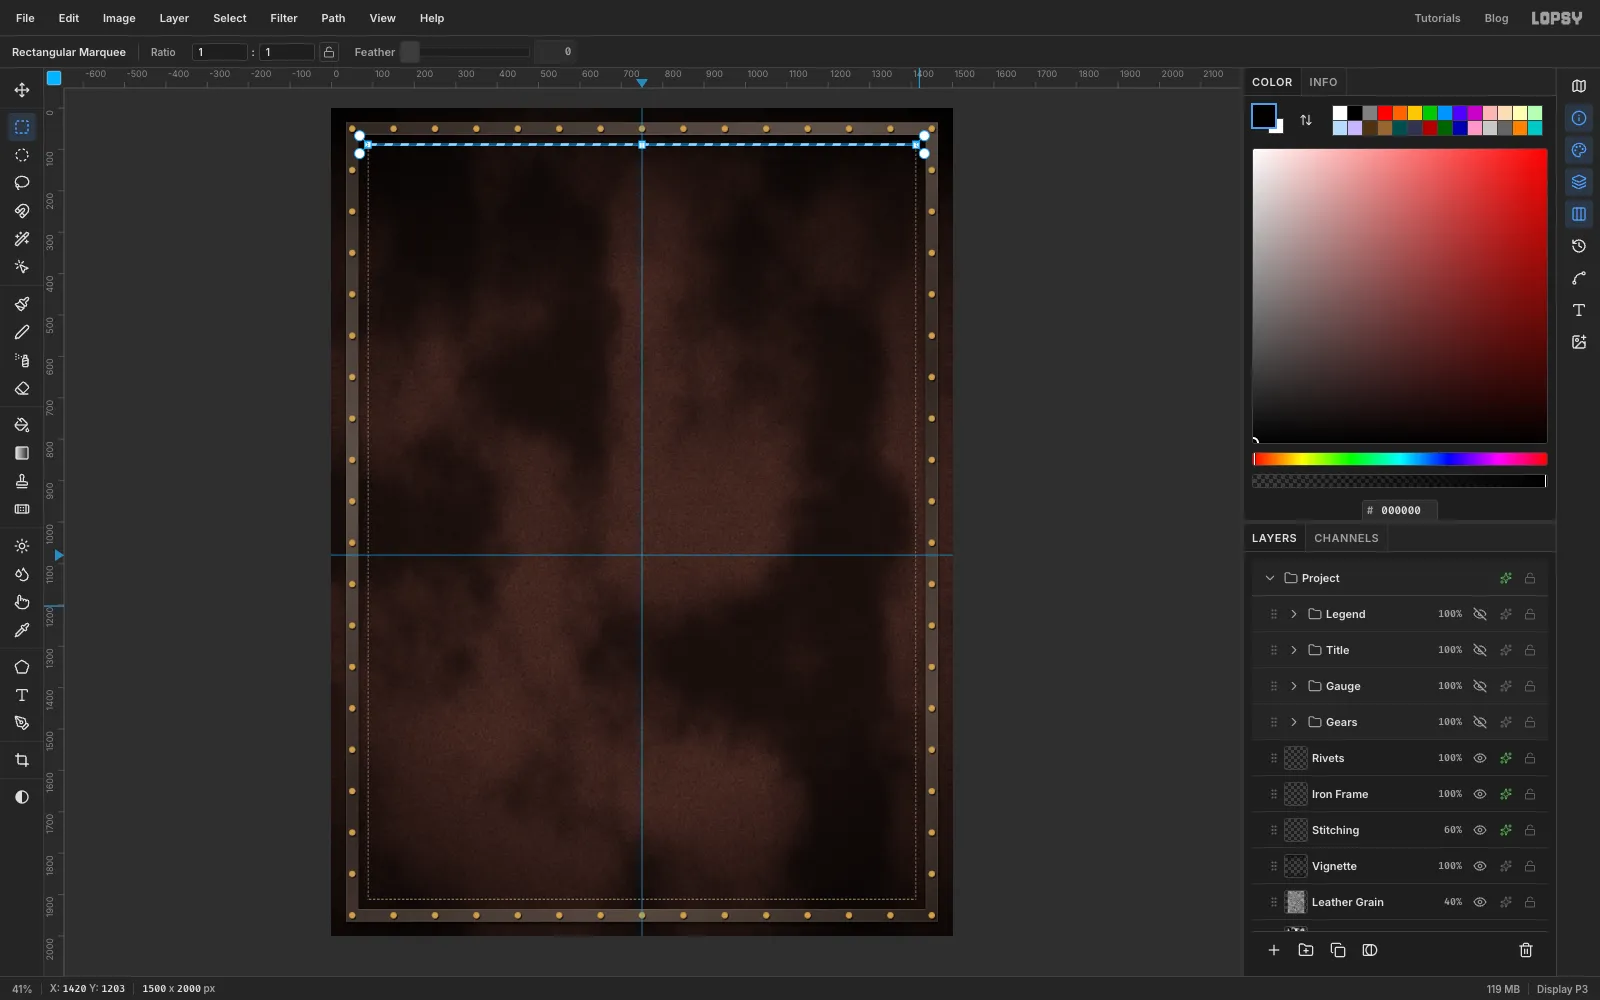
Add a layer called Stitching and drag it below Iron Frame. Then:
- Select a 3 px strip from 88, 87 to 1412, 90.
- Choose Fill with Pattern and pick the horizontal tile.
- Repeat for the bottom strip, 88, 1910 → 1412, 1913.
- Do the two sides with the vertical tile: 87, 88 → 90, 1912 and 1410, 88 → 1413, 1912.
Add a Drop Shadow in near-black (Offset 1 / 1, Opacity 85) to tuck the thread into the leather, and set the layer to 60%.
-
Cut the first gear with Sunburst
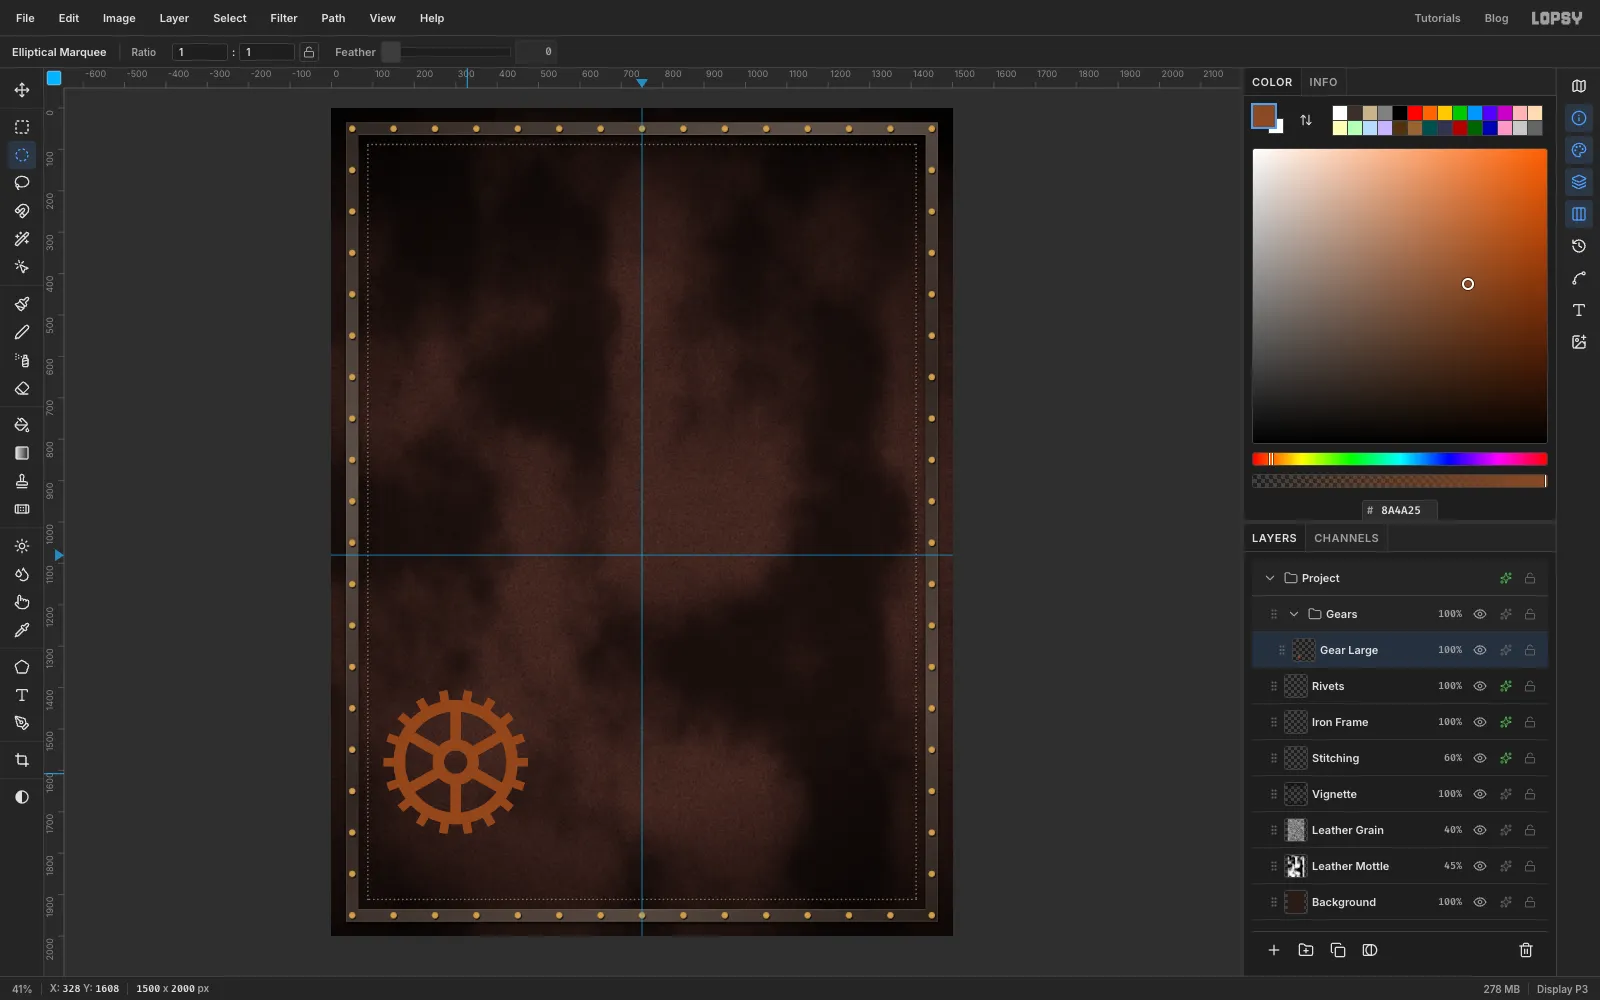
Choose Layer → New Group and name it Gears. Add a layer inside it called Gear Large and set the foreground colour to copper . The gear is centred on 300, 1580.
- Teeth. Select a circle of radius 175 (corners 125, 1405 to 475, 1755). Choose Filter → Sunburst… and set:
- Rays 18, Length 12, Width 50, Taper 50
- Center X 20, Center Y 79
A Taper of 50 gives parallel-sided rays, which look like gear teeth. Sunburst's centre is a percentage of the page: 300 is 20% of 1500, and 1580 is 79% of 2000. The selection trims the rays to the tooth tips.
- Body. Select a circle of radius 150 on the same centre and choose Edit → Fill.
- Spokes. Select a circle of radius 122, then Alt-drag a circle of radius 56 to subtract the middle. Hold Alt and lasso six thin bars, about 26 px wide, from the hub out to the rim, to take them out of the selection too. Press Delete. What's left are six spokes.
- Axle hole. Select a circle of radius 28 and press Delete.
-
Add three more gears
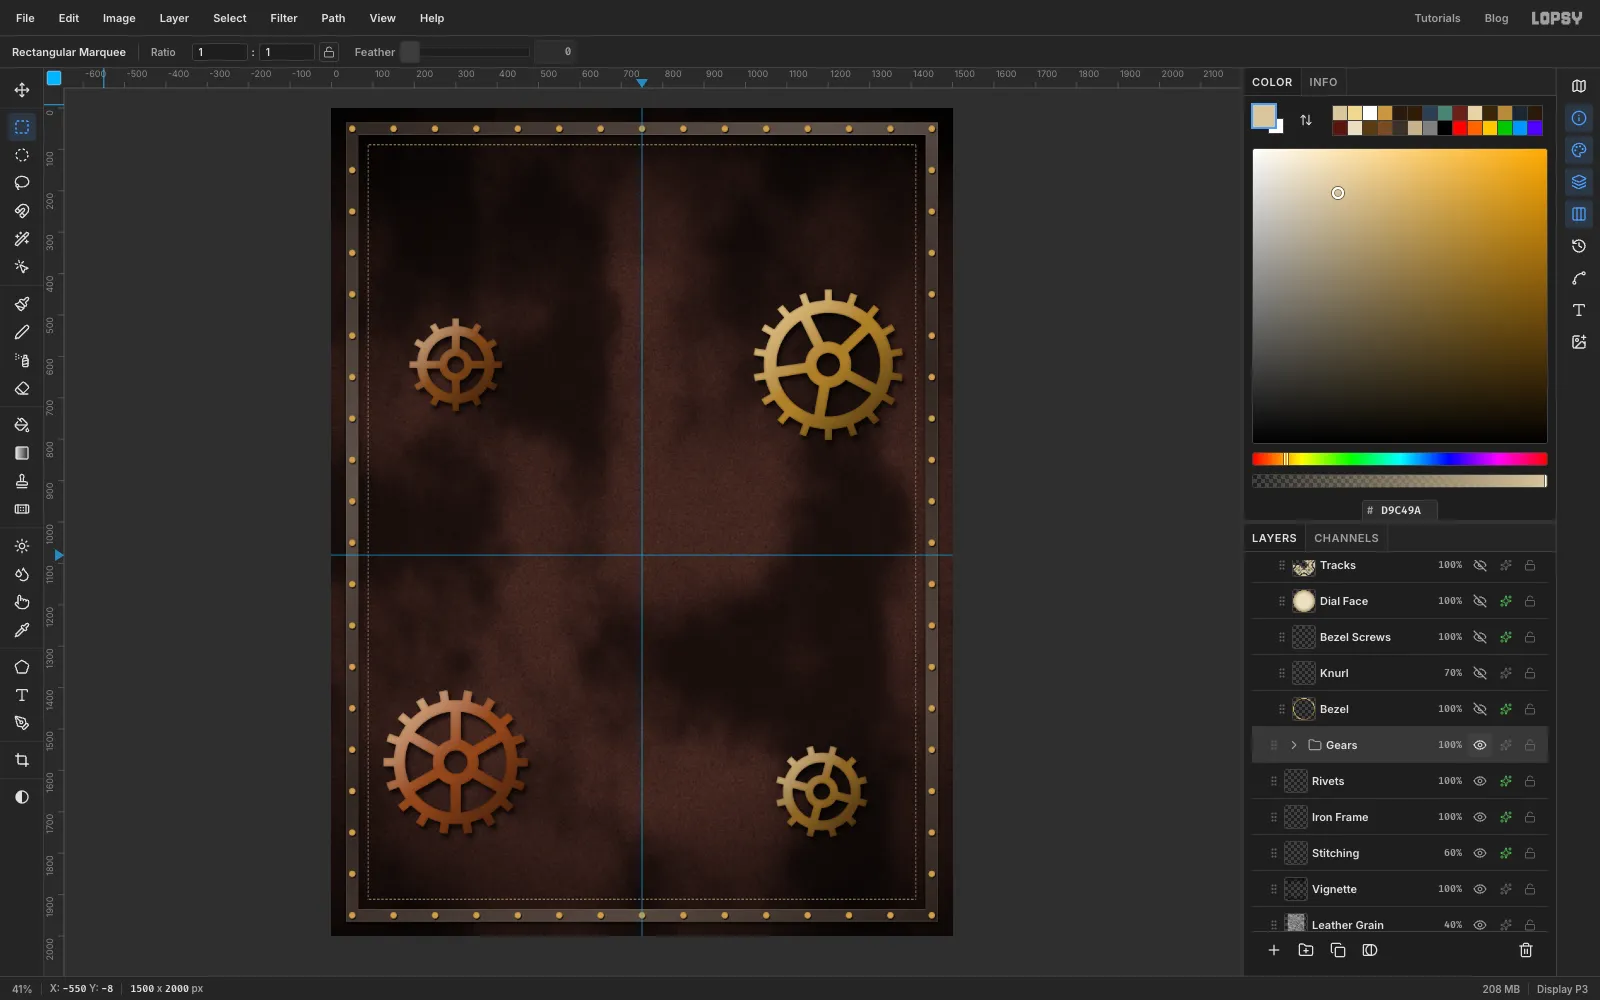
Make two more gears the same way, each on its own layer:
- Gear Small: brass , centred on 1200, 620 (Center X 80, Center Y 31). Teeth to radius 182, body radius 156, 18 rays, Length 10, Width 55, Rotation 10, five spokes.
- Gear Pinion: dark copper , centred on 300, 620 (20, 31). Teeth to radius 112, body radius 94, 12 rays, Length 7, Width 55, four spokes.
For the fourth gear, copy the pinion:
- Select a square around the pinion and press Cmd+C, then Cmd+V. The paste lands in place on a new layer. Rename it Gear Tiny.
- With the Move tool, drag it down so its centre sits at about 1185, 1650.
- Select a square around it, hold Cmd and drag a rotate handle round by one 15° step, so its teeth don't match the pinion's.
- Press Cmd+D to deselect and commit the rotation.
- Use Filter → Hue/Saturation… with Hue +10, Saturation −15 and Lightness +6 to shift it towards brass.
Now shade each gear the same way:
- Cmd-click its thumbnail to select it.
- Drag a linear gradient diagonally across it with four stops: cream at 55%, clear, clear, then dark at 55%.
- Add Inner Glow in (Size 8, Opacity 70).
- Add Drop Shadow with Offset 6 / 10, Blur 16, Opacity 75.
Keep the same shadow on every gear so the light comes from one place.
-
Select the bezel ring
Make a new group called Gauge and drag it above Gears in the Layers panel. Add a layer called Bezel inside it.
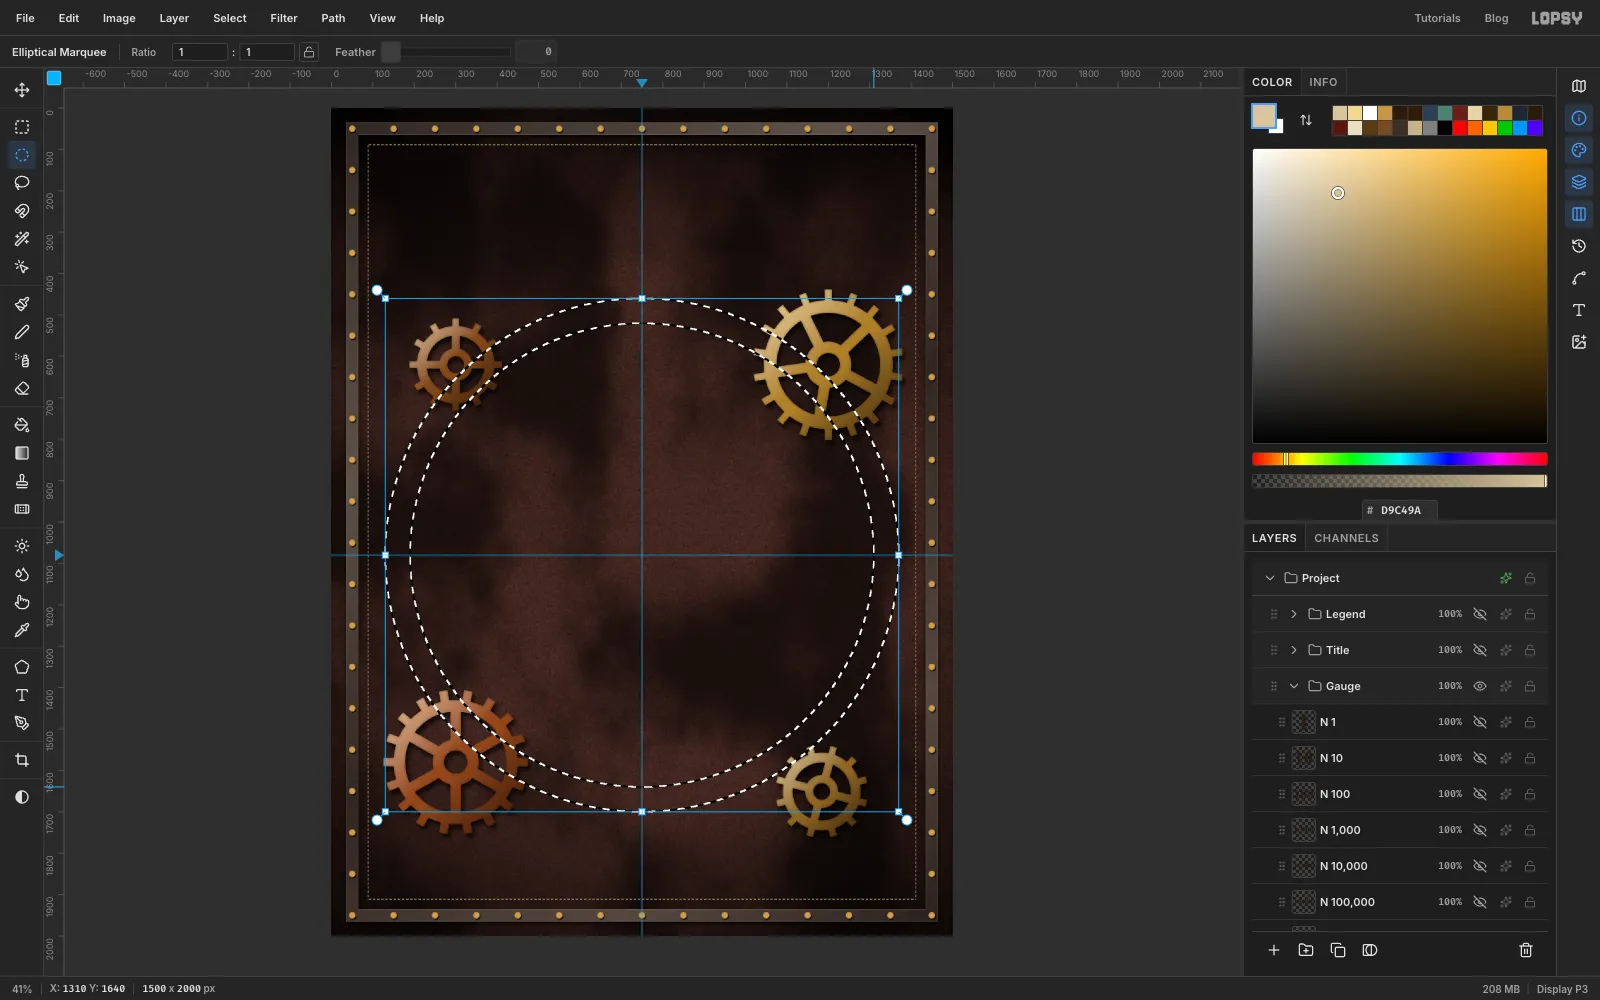
With the Elliptical Marquee, select a circle from 130, 460 to 1370, 1700. That's radius 620 around the gauge centre; hold Cmd while dragging to keep it round. Then hold Alt and drag a second circle from 190, 520 to 1310, 1640 (radius 560) to cut out the middle.
Every gear overlaps this ring, so they'll look as though they turn behind the gauge.
-
Fill it with brass
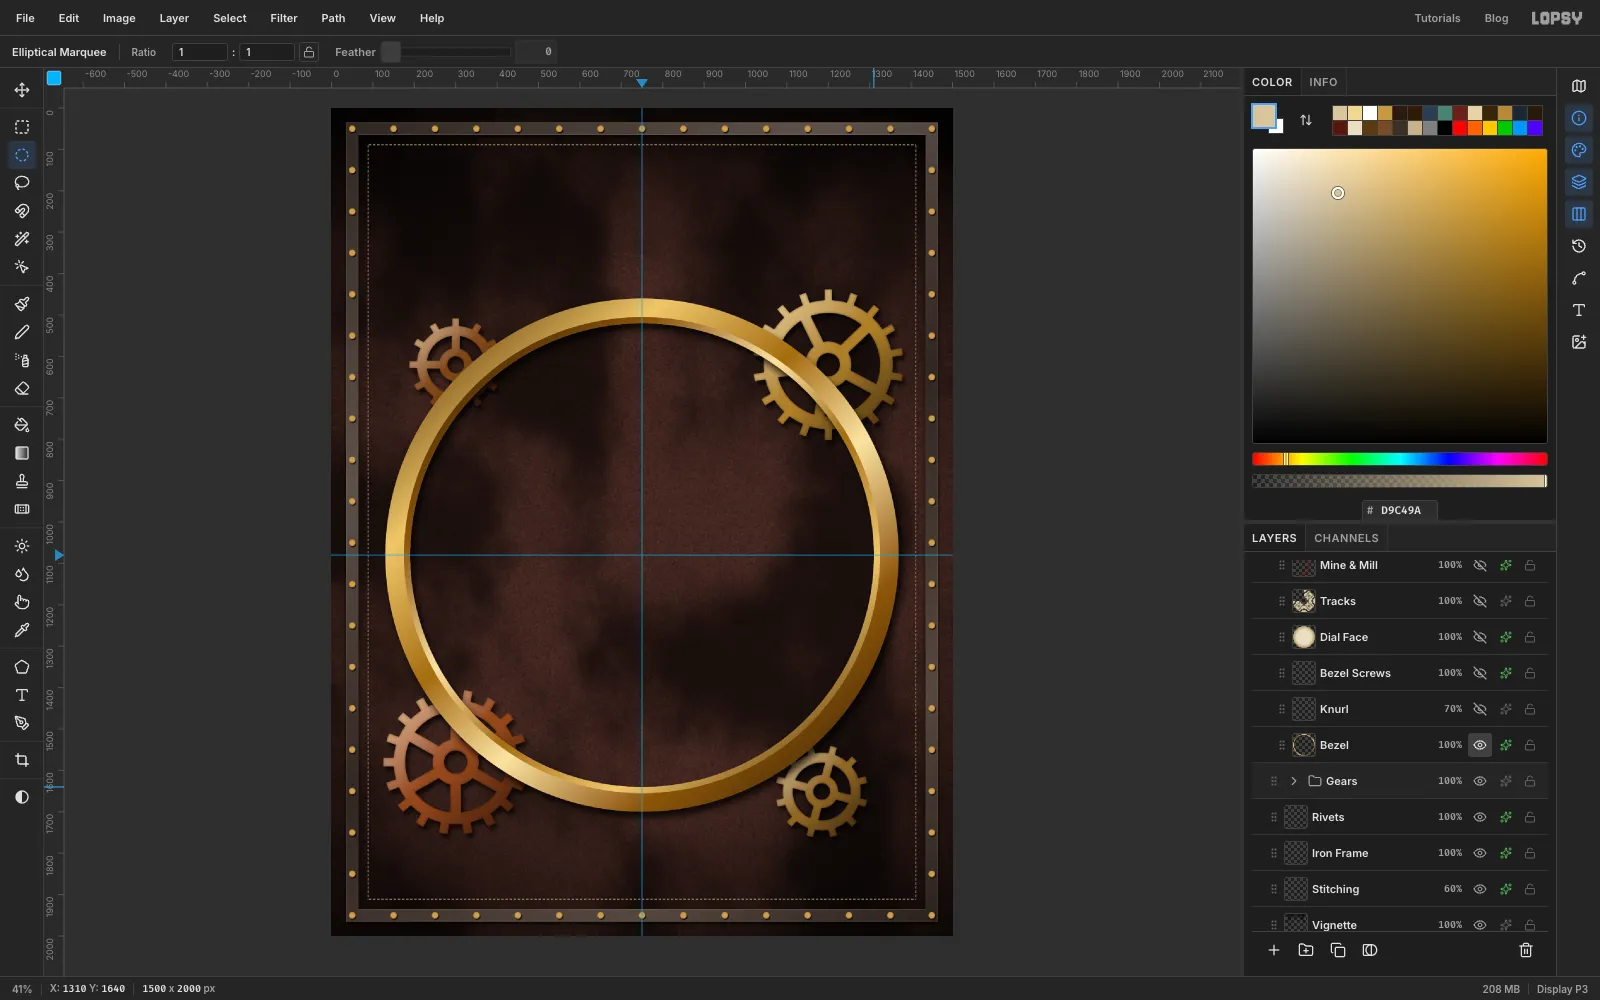
Pick the Gradient tool, set Linear and open Advanced…. Brass looks polished when light and dark bands alternate, so use six stops:
- 0%
- 22%
- 42%
- 60%
- 80%
- 100%
Drag across the ring from its upper left to its lower right.
For a stepped inner lip, select a thinner ring (radius 575, minus radius 560). Drag the same gradient the opposite way, lower right to upper left. The reversed bands read as a bevel.
Deselect and add Drop Shadow: Offset 8 / 14, Blur 26, Opacity 80.
-
Knurl the rim
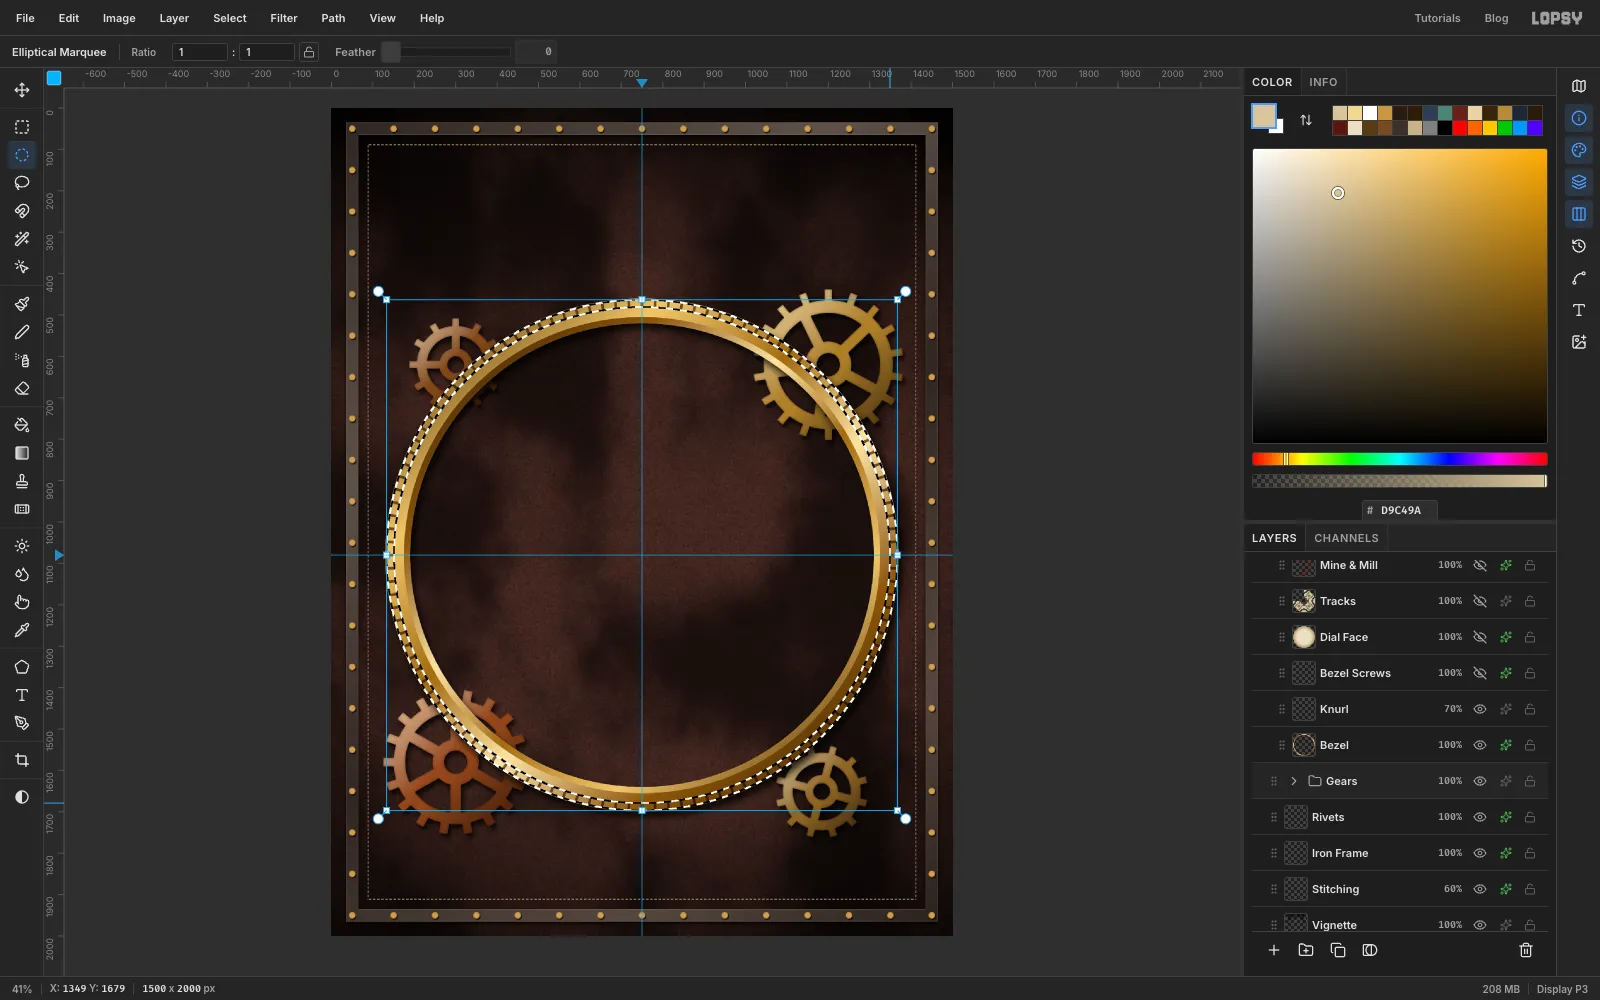
Add a layer called Knurl. Select a ring from radius 617 in to radius 599, and set the foreground to .
Run Filter → Sunburst… with Rays 120, Length 50, Width 38, Taper 50, Center X 50 and Center Y 54. Inside the narrow ring, 120 parallel rays become machined grooves.
Deselect, set the layer to Multiply and lower it to 70%.
-
Add slotted screws with Radial Symmetry
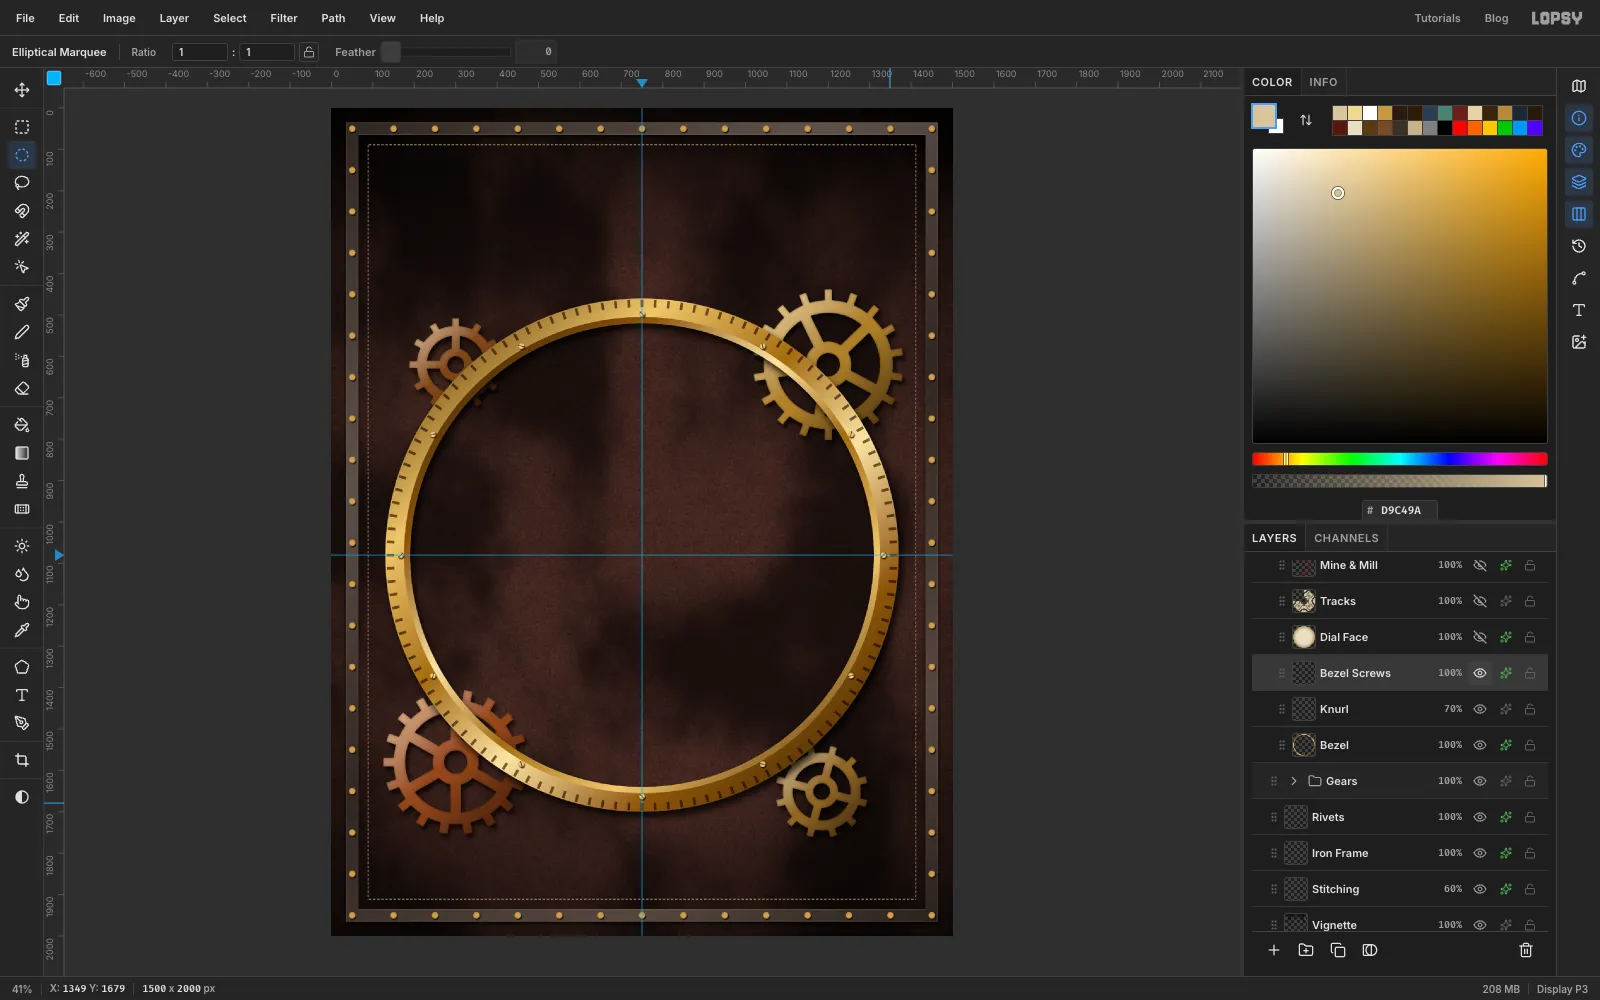
Add a layer called Bezel Screws. Pick the Brush with Size 15 and Hardness 100, and set the foreground to pale brass .
- Turn on Radial Symmetry in the options bar and set Segments to 12.
- Cmd-click the centre of the gauge, where the guides cross. That moves the symmetry centre there.
- Click once at 750, 497, just inside the knurling. You get twelve screw heads.
- Set the brush to Size 3 and the colour to . Click at 745, 492 and Shift-click at 755, 502 to draw a short diagonal line across the top screw. Every screw gets a slot.
Turn Radial Symmetry off. Add Inner Glow in (Size 5, Opacity 85) and a small Drop Shadow (Offset 2 / 3, Blur 3).
-
Paint the enamel dial
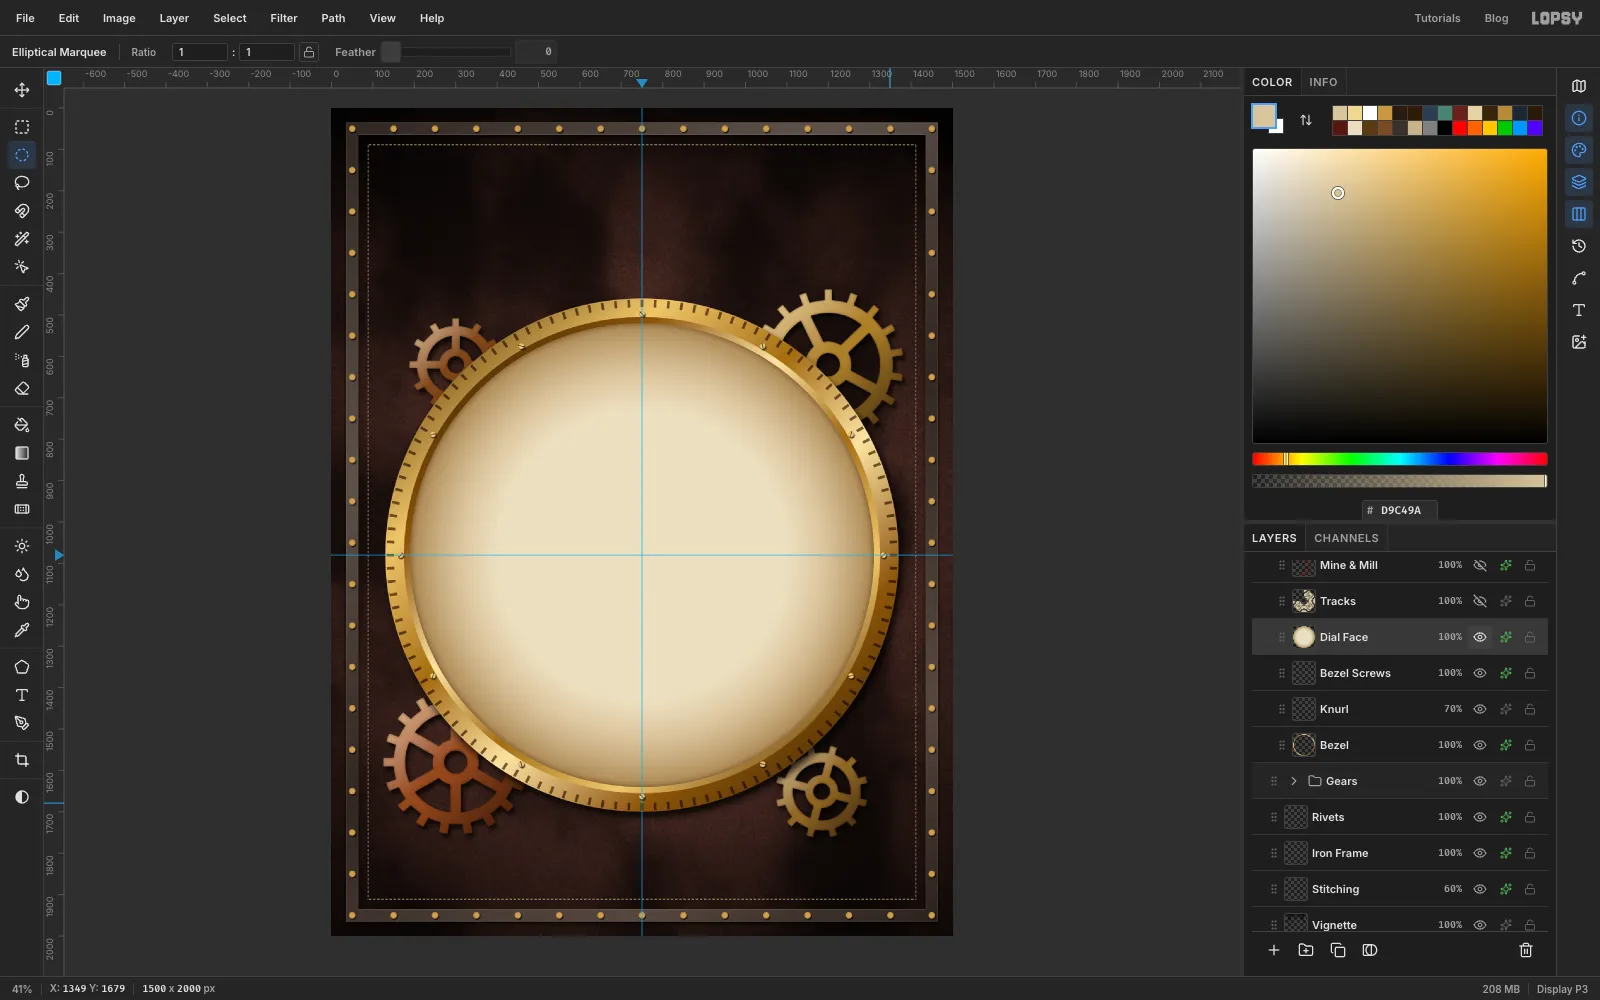
Add a layer called Dial Face. Select a circle of radius 560 and fill it with cream .
Age it with a radial gradient inside the selection:
- clear at the centre
- , still clear, at 62%
- at 75% opacity at the rim
Drag from the centre to the rim.
Add Mono noise at 6 and an Inner Glow in (Size 22, Opacity 60). The glow is the shadow the bezel casts onto the dial.
-
Lay the ring tracks
First switch off View → Snap to Guides. Small circles drawn right on the guides would otherwise snap flat.
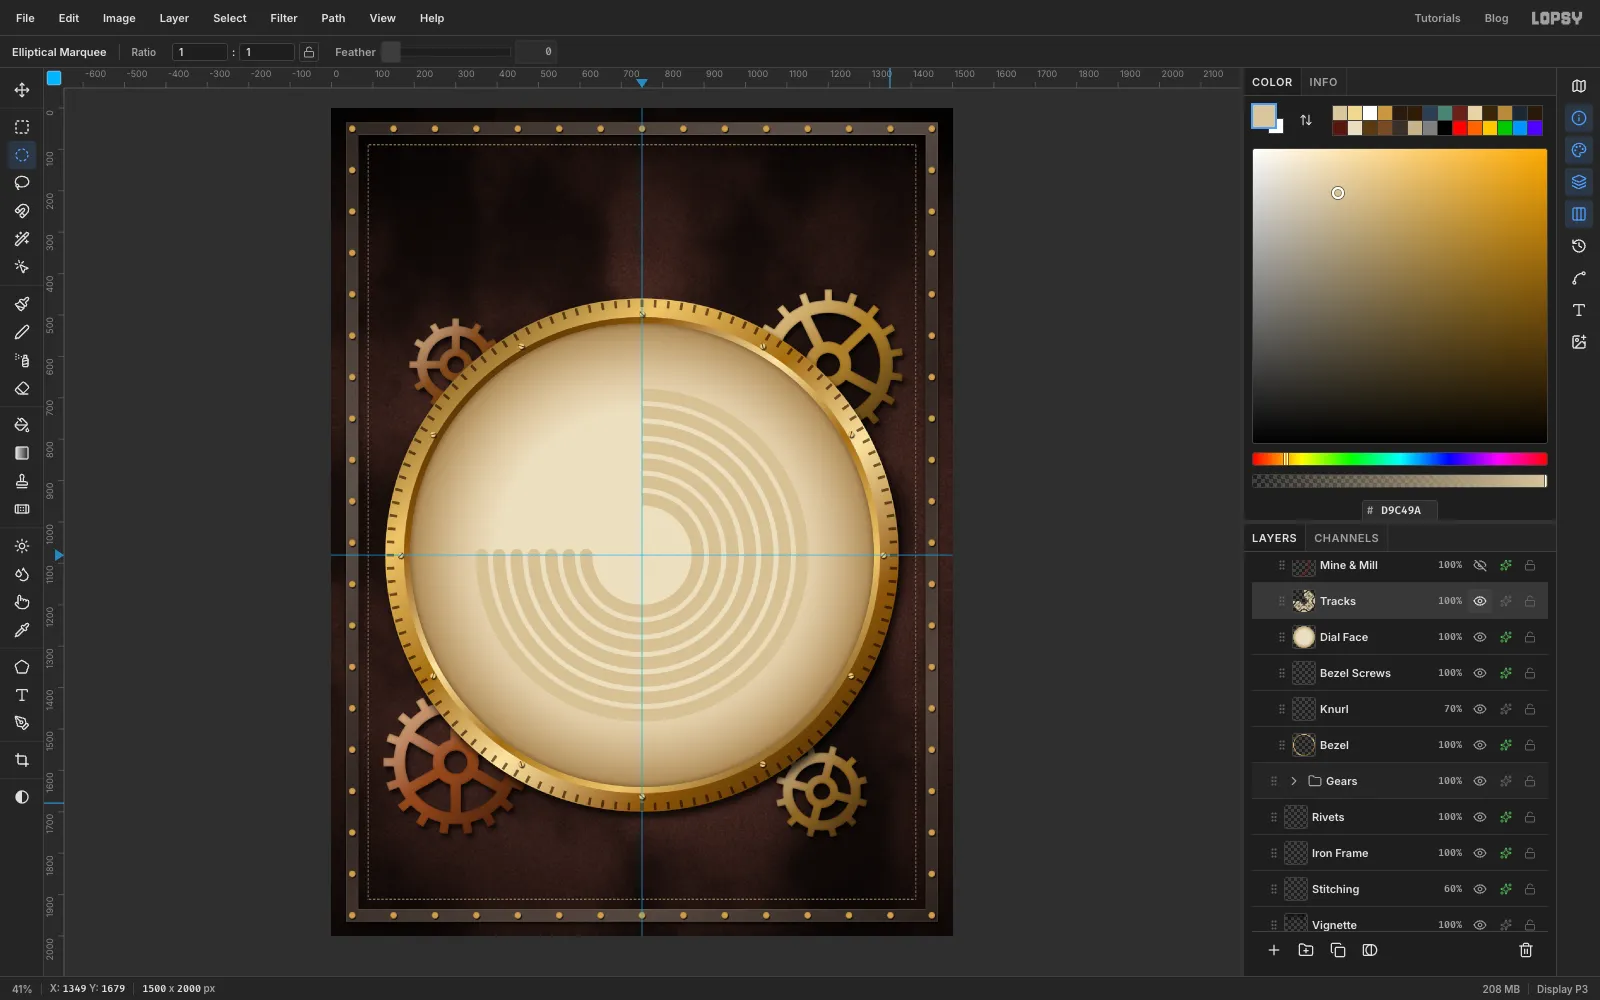
Add a layer called Tracks and set the foreground to . Each ring is 30 px wide with a 12 px gap, so its middle radius is 15 px in from the outside:
- Ring 1, Newcomen: radius 150 to 120
- Ring 2, Boulton & Watt: 192 to 162
- Ring 3, Great Eastern: 234 to 204
- Ring 4, Corliss: 276 to 246
- Ring 5, Turbinia: 318 to 288
- Ring 6, Titanic: 360 to 330
- Ring 7, Big Boy: 402 to 372
For each ring:
- Select the outer circle, then Alt-drag the inner one to subtract it.
- Switch to the Rectangular Marquee, hold Alt and drag a rectangle from 330, 660 to the guide crossing at 750, 1080. That removes the top-left quarter.
- Choose Edit → Fill.
- Round off the 9 o'clock end with a filled 30 px circle centred on the horizontal guide, at x = 750 − the middle radius. For ring 1 that's 615, 1080; for ring 7 it's 363, 1080.
The empty top-left quarter is where the labels will go.
-
Select a data ring
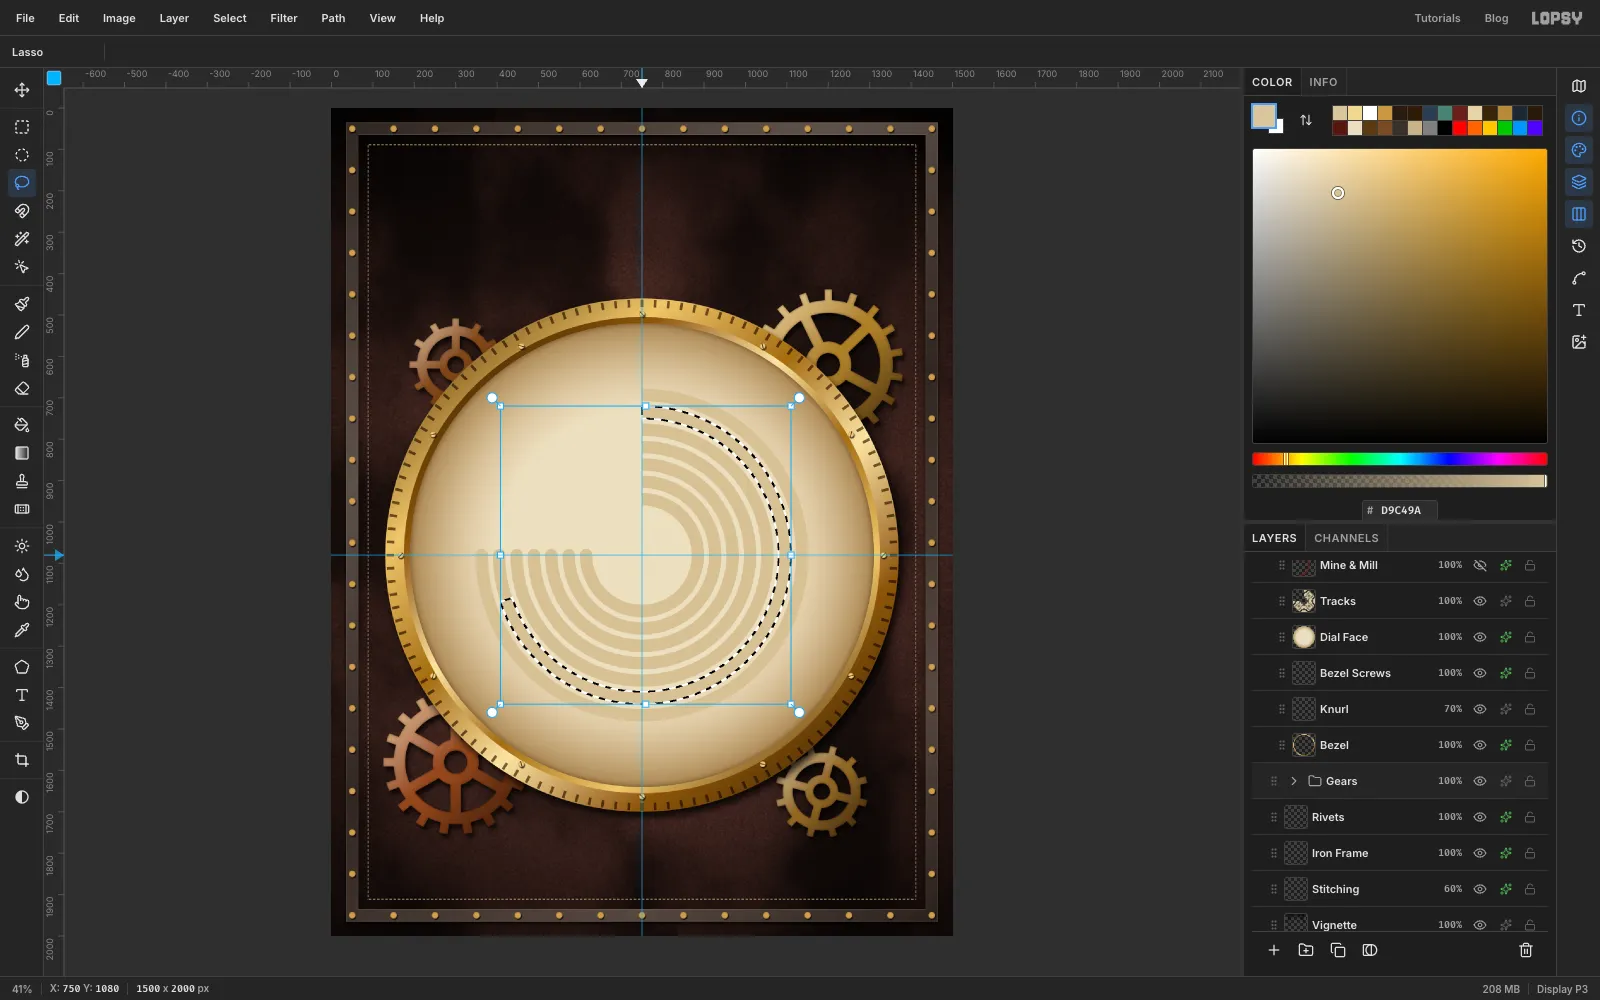
The coloured rings are made the same way, except each one stops at its engine's angle. Select the ring, then hold Shift+Alt and lasso a wedge that keeps only the part you want. Shift+Alt intersects, so only the overlap stays selected.
Draw the wedge like this:
- Start at the gauge centre, 750, 1080, and go straight up past the rim.
- Sweep round clockwise outside the dial.
- Come back in through the end point below, and finish at the centre.
The end points sit on the line from the centre at each engine's angle, 480 px out:
- Newcomen 1059, 712
- Boulton & Watt 1138, 798
- Corliss 834, 1553
- Turbinia 764, 1560
- Big Boy 546, 1515
- Great Eastern 504, 1492
- Titanic 294, 1230
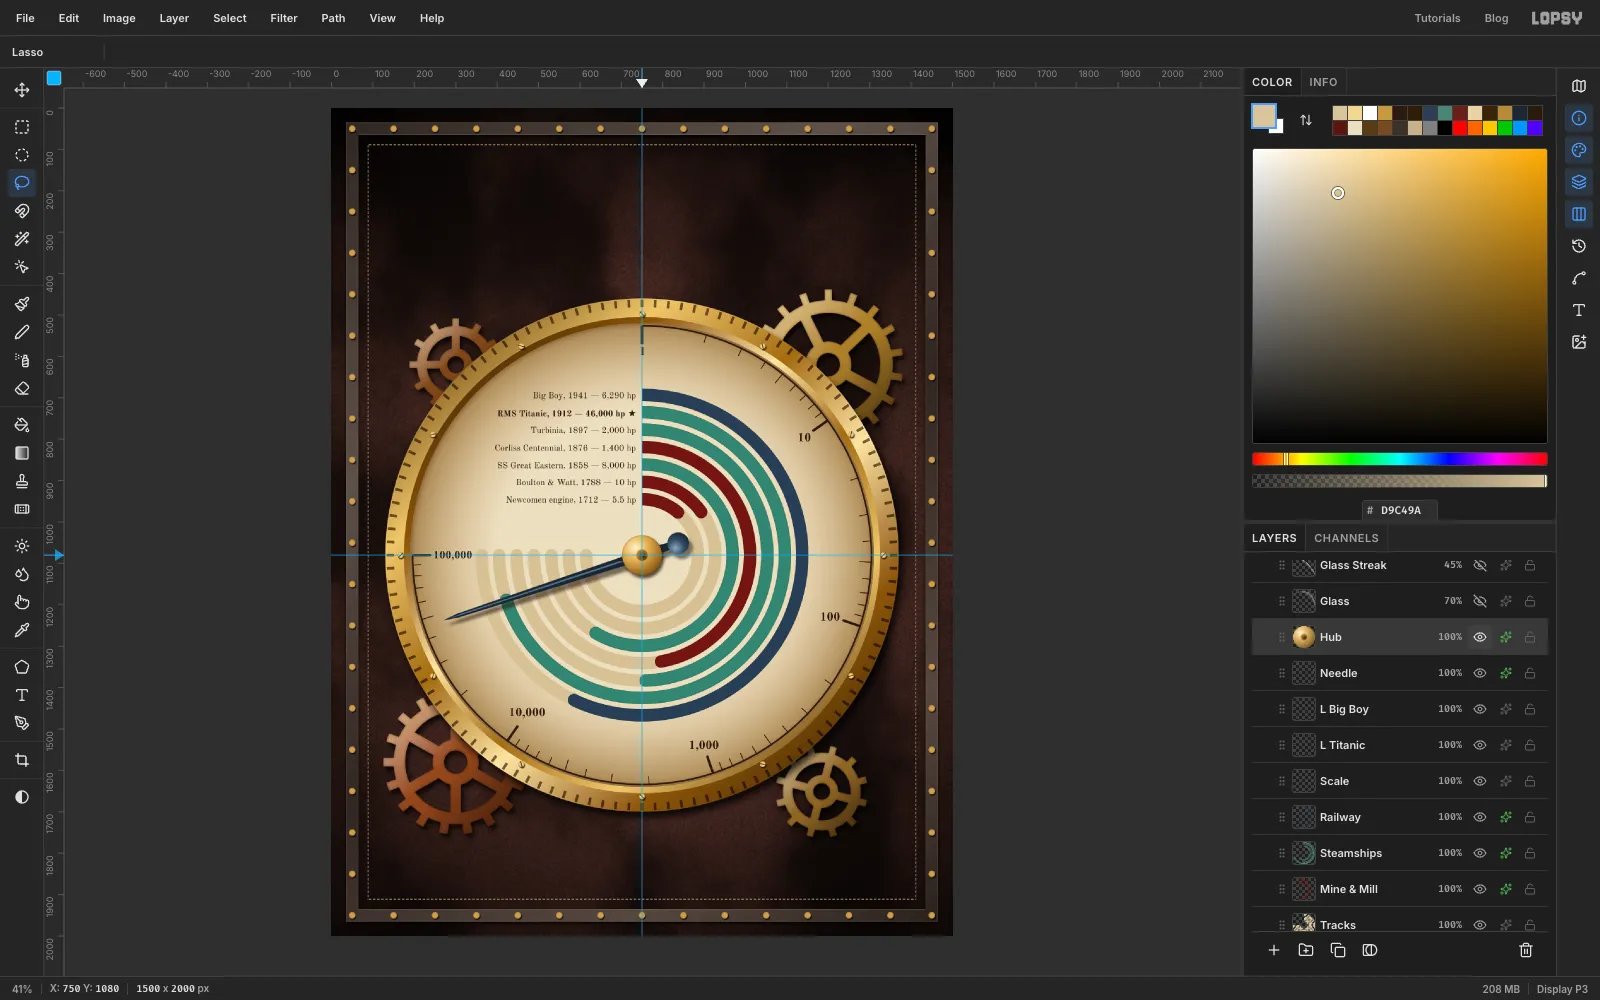
For your own data, a point r px out at angle θ is at x = 750 + r × sin θ, y = 1080 − r × cos θ. The picture shows the Titanic ring at 251.8°.
-
Fill the data rings
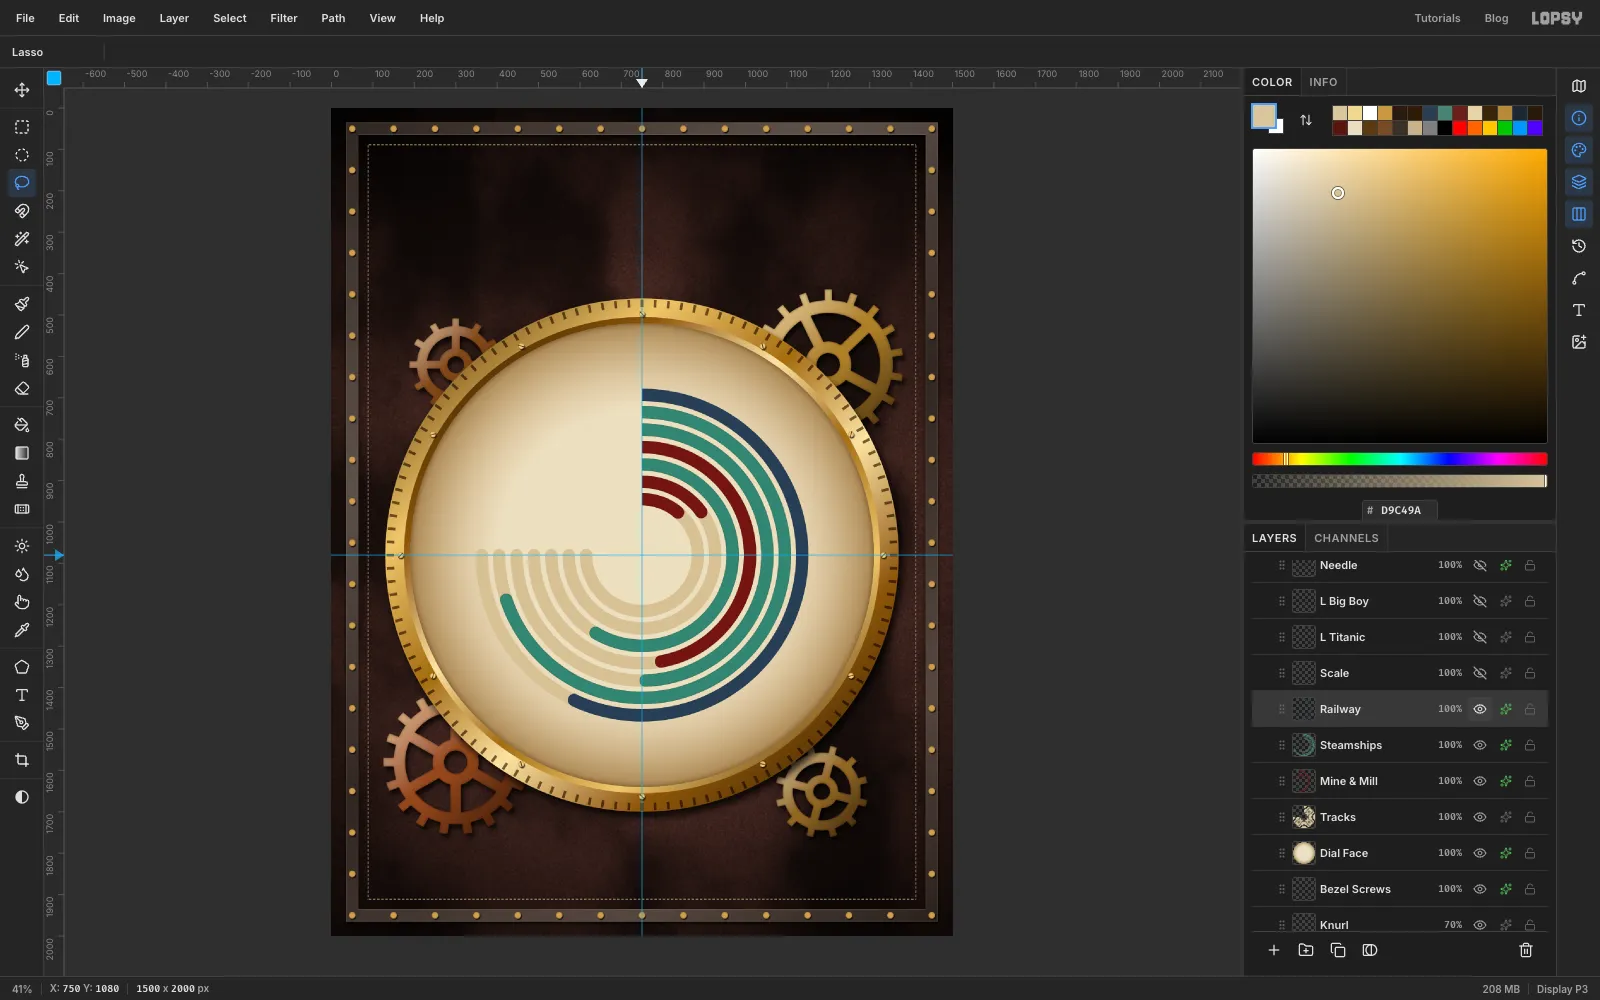
Make one layer per category and fill its rings, rounding each ring's end with a 30 px circle centred on the middle radius at that angle. Use the formula from the previous step with r = the ring's middle radius; the Titanic cap, for example, is centred on 422, 1188:
- Mine & Mill in oxblood : Newcomen, Boulton & Watt and Corliss
- Steamships in verdigris : Great Eastern, Turbinia and Titanic
- Railway in blued steel : Big Boy
To make each layer read as fired enamel rather than flat colour, add Mono noise at 5 and an Inner Glow in (Size 3, Opacity 55).
-
Draw the scale and numerals
Add a layer called Scale and set the foreground to .
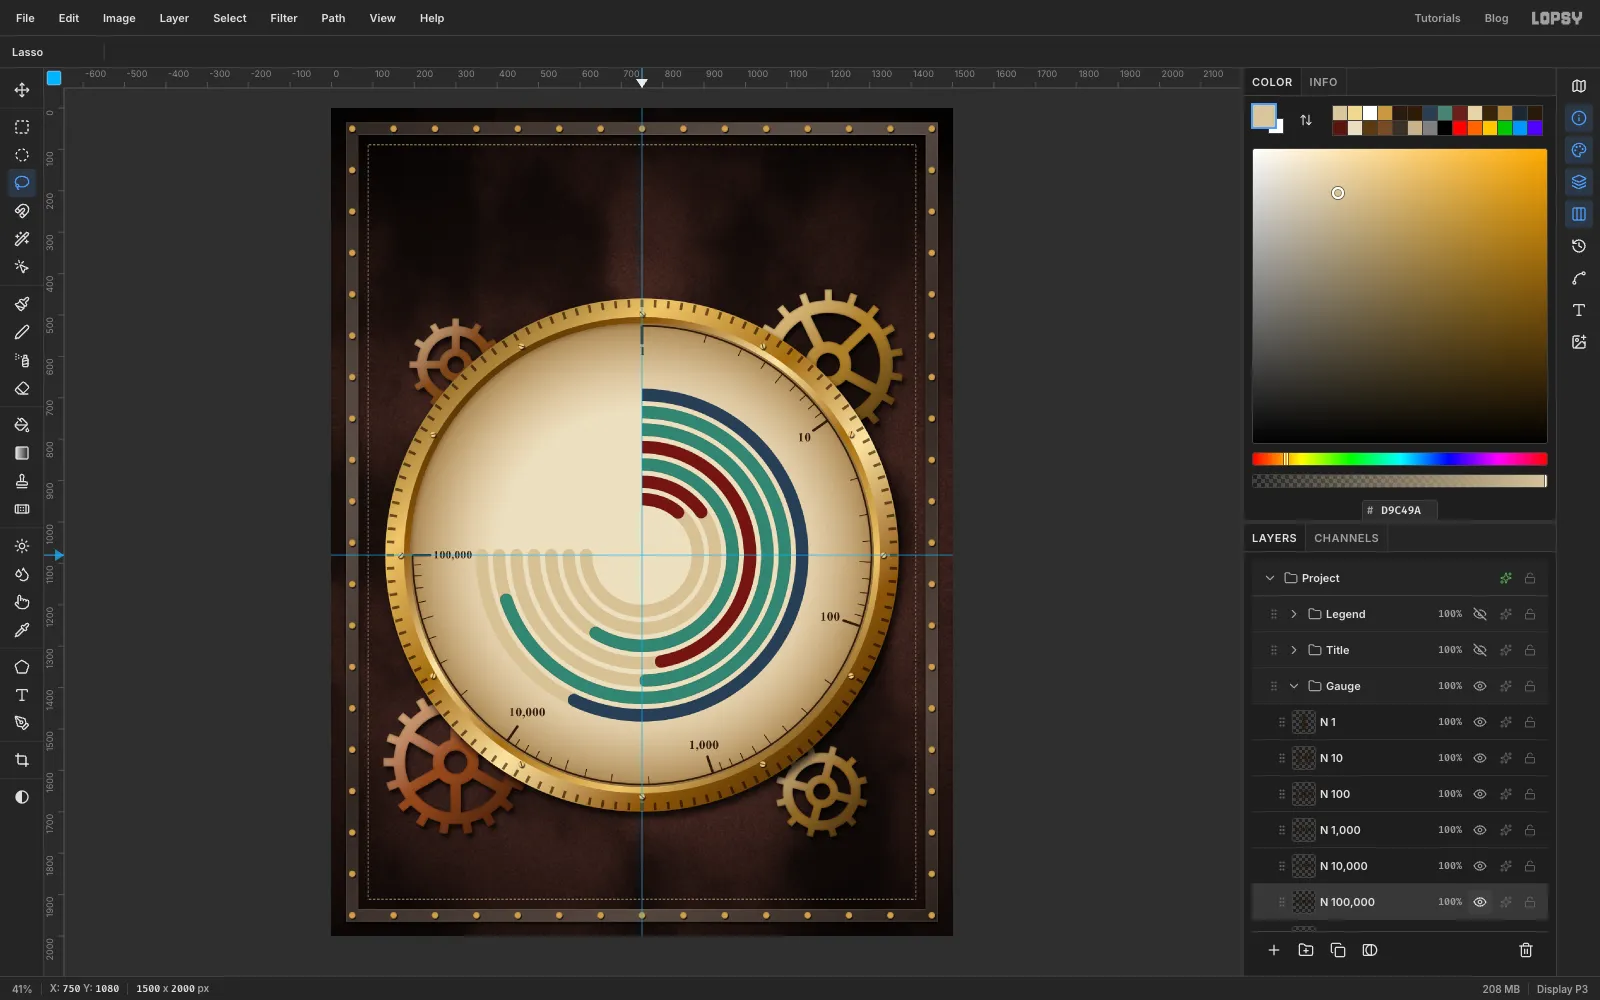
Rule. Select a ring from radius 556 to 552, Alt-subtract the top-left quarter as before, and fill.
Major ticks. Use the Brush at Size 7. For each tick, click the inner point and Shift-click the outer one:
- 1 hp (0°): 750, 568 to 750, 528
- 10 hp (54°): 1164, 779 to 1197, 756
- 100 hp (108°): 1237, 1238 to 1275, 1251
- 1,000 hp (162°): 908, 1567 to 921, 1605
- 10,000 hp (216°): 449, 1494 to 426, 1527
- 100,000 hp (270°): 238, 1080 to 198, 1080
Minor ticks. Switch to Size 3 and draw shorter ticks from radius 535 out to the rule, using the same x = 750 + r × sin θ, y = 1080 − r × cos θ formula with r = 535 and 552. Inside each decade they sit this many degrees past the major tick: ×2 at 16.3°, ×3 at 25.8°, ×4 at 32.5°, ×5 at 37.7°, ×6 at 42.0°, ×7 at 45.6°, ×8 at 48.8° and ×9 at 51.5°. Start the ×5 tick a little further in, at 526, so it stands out. Being off by a pixel here won't show. What matters is that the gaps shrink across each decade, which is how a reader can tell the scale is logarithmic.
Numerals. Pick the Text tool, choose Old Standard TT, Bold, Size 28, colour . Type 1, 10, 100, 1,000, 10,000 and 100,000 as separate layers. Keep them upright and nudge each one with the arrow keys until it sits just inside its major tick. (The 1 at 12 o'clock hides under the centre guide in this picture.) 100,000 is the widest, so drop it to 25 px and centre it on the 9 o'clock guide, between the tick and the ring caps.
-
Label each ring
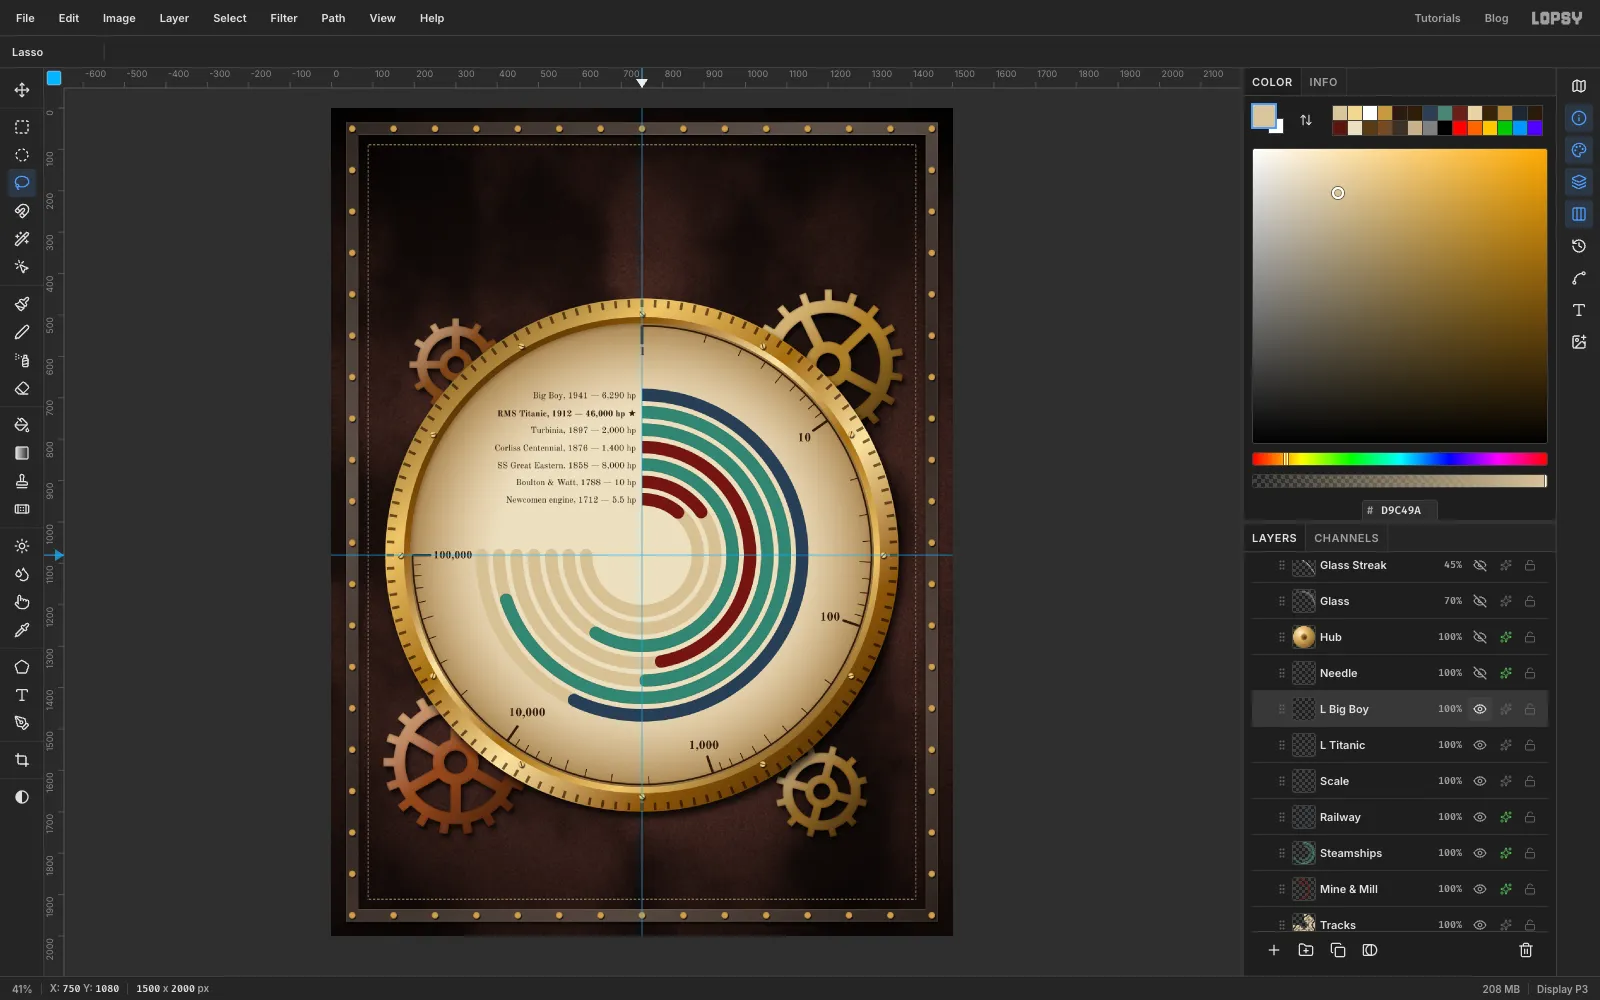
With the Text tool still on Old Standard TT, set Regular, Size 21. Type one label per ring, from Newcomen engine, 1712 — 5.5 hp to Big Boy, 1941 — 6,290 hp.
Each label's right edge sits 16 px left of the vertical guide, at x 734. Its capitals are centred on the middle of its ring, which crosses the guide at:
- Big Boy 693
- Titanic 735
- Turbinia 777
- Corliss 819
- Great Eastern 861
- Boulton & Watt 903
- Newcomen 945
Use the Move tool's arrow keys for the last few pixels.
Titanic is the record, so set its label in Bold, in near-black , with a ★ at the end. Don't use a ring colour for emphasis: oxblood would make the Titanic look like a mill engine.
-
Fit the needle and hub
Add a layer called Needle and set the foreground to . Draw it pointing straight up from the centre, then turn it into place.
- Shaft. Lasso a slim tapered shape from the centre up to the point at 750, 575, about 26 px wide at the hub. Add a short tail reaching 70 px below the centre, and fill it.
- Counterweight. Fill a 52 px circle centred on 750, 1172. Give it a radial gradient from through to so it looks like turned steel.
- Highlight. Lasso a thin sliver up the middle of the shaft and fill it with .
To rotate it about the hub, select a tall box centred on the gauge centre, 710, 560 to 790, 1600. With the Move tool, drag a rotate handle until the needle points at the end of the Titanic ring: 251.8° clockwise, or about 108° anticlockwise. Press Cmd+D to commit. Add a Drop Shadow with Offset 9 / 12, Blur 10 and Opacity 55.
Hub. Add a layer called Hub:
- Fill a circle of radius 48 with .
- Drag a radial gradient from through to , starting a little above-left of centre.
- Select a cap of radius 14 and drag a small radial gradient from to .
- Give the hub a Drop Shadow (Offset 5 / 8, Blur 10) and an Inner Glow in (Size 5, Opacity 60).
-
Put glass over the dial
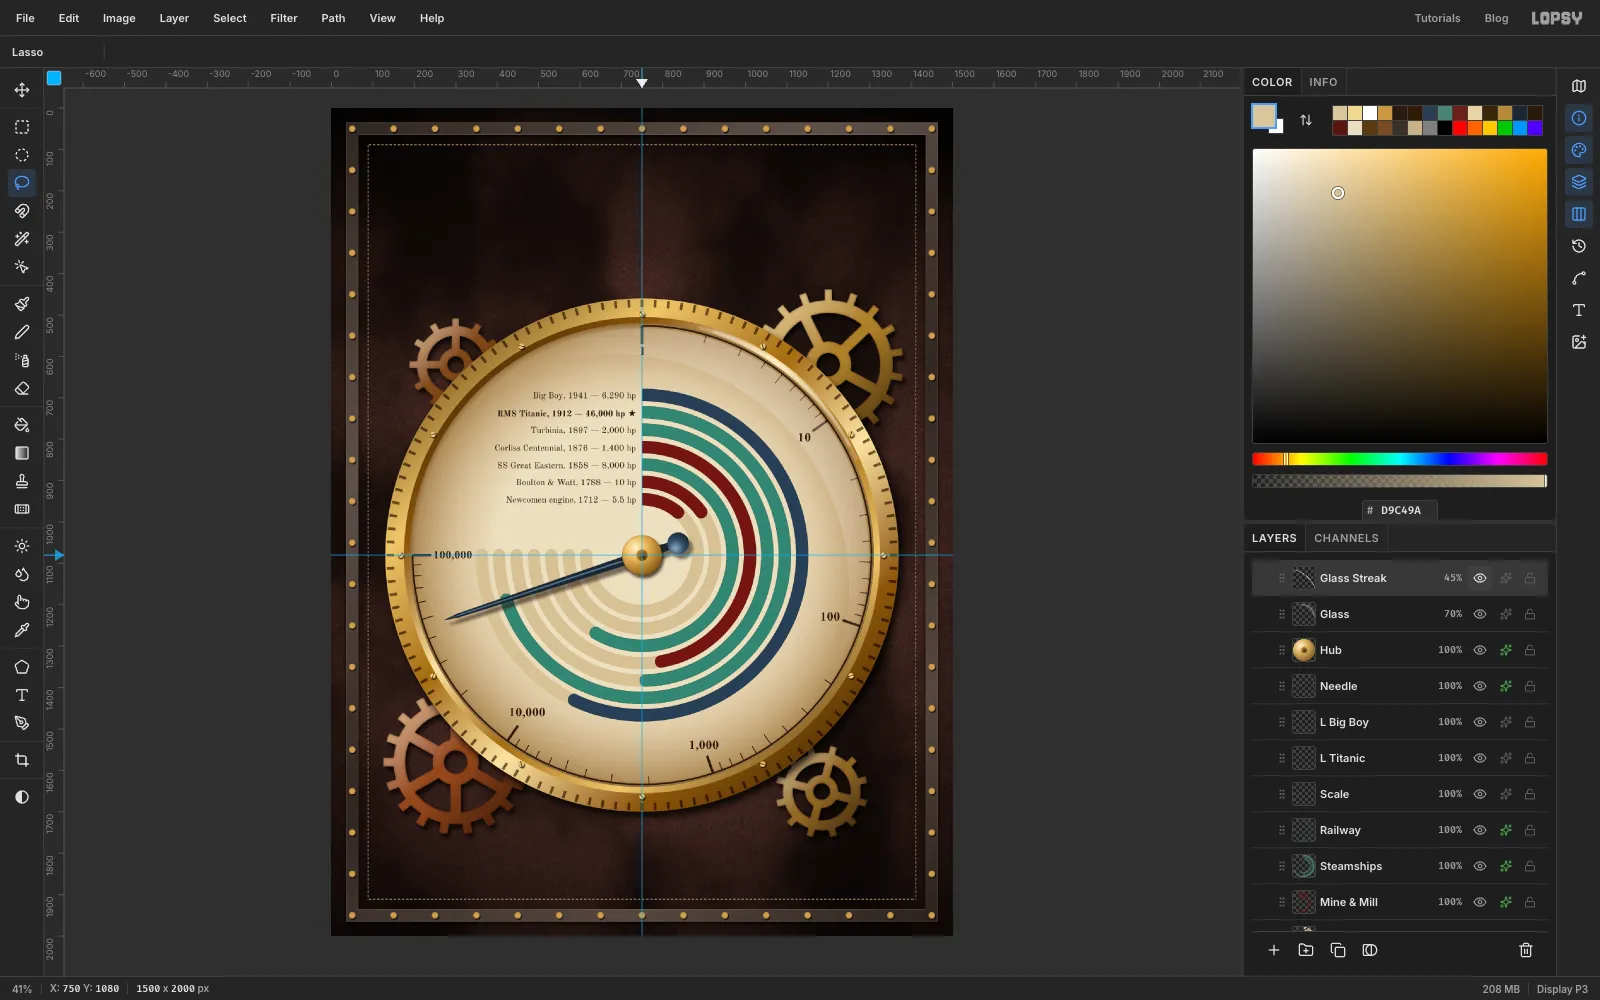
Add a layer called Glass.
- Select a circle of radius 548 on the gauge centre.
- Alt-drag a second circle of radius 560 centred on 690, 1155 (corners 130, 595 to 1250, 1715), 60 px left and 75 px down. That leaves a crescent at the upper right.
- Drag a linear gradient from the upper right towards the centre: white at 45%, then 5%, then clear.
- Set the layer to Screen at 70%.
The crescent stays clear of the labels, so they keep their contrast.
For a rim reflection, add a layer called Glass Streak:
- Select a ring from radius 571 to 563. Intersect it with a wedge from about 1 o'clock to 2 o'clock.
- Fill it with white and Gaussian Blur it by 5.
- Set the layer to Screen at 45%.
- Take the Eraser at Size 80, Opacity 60% and click once on each end so the streak fades out.
-
Engrave the title plate
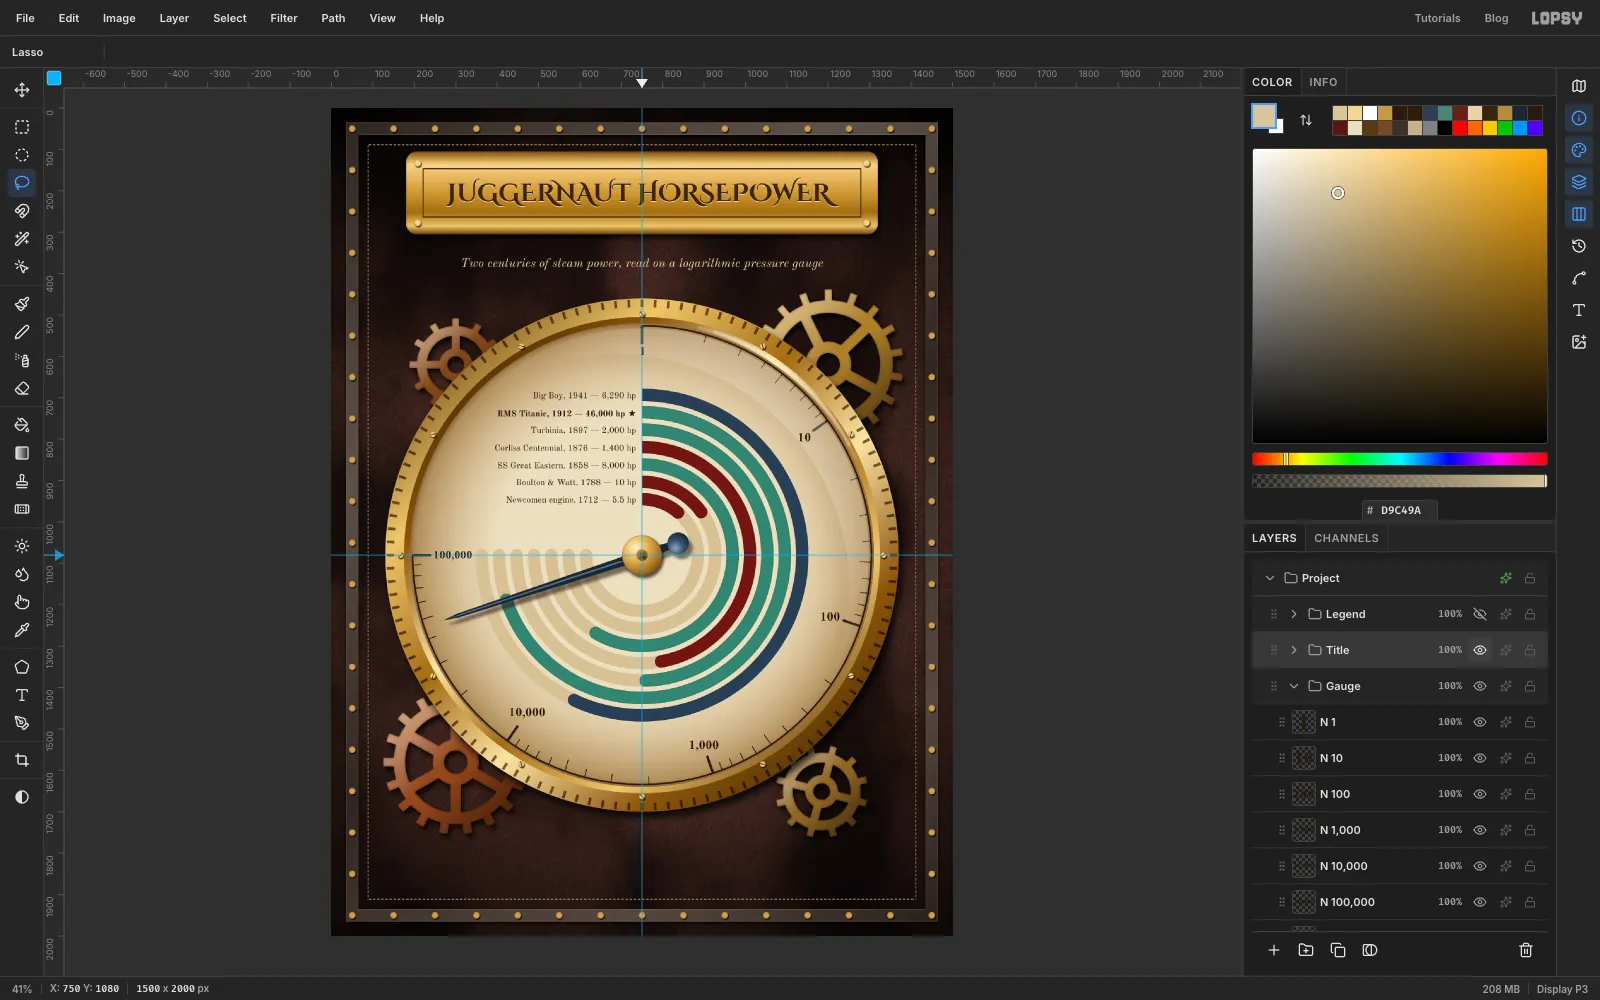
Make a group called Title above Gauge and add a layer called Title Plate.
- Plate. Pick the Shape tool with Rectangle and Corner Radius 26. Shapes draw from the centre, so drag from 750, 205 to 1320, 305.
- Brass. Cmd-click the thumbnail and drag a gradient from the top edge to the bottom edge, holding Cmd to keep it straight. Use stops , , , , and . Add a Drop Shadow (Offset 6 / 10, Blur 18, Opacity 80) and an Inner Glow in (Size 6, Opacity 70).
- Engraved border. On a new layer, Cmd-click the plate thumbnail, Shrink by 40, fill with , Shrink by 3 more and press Delete.
- Rivets. On another new layer, click four brush dabs (Size 18, ) at 208, 133, 1292, 133, 208, 277 and 1292, 277. Give them the same glow and shadow as the frame rivets.
Type JUGGERNAUT HORSEPOWER in Cinzel Decorative, Bold, Size 60, colour , and centre it in the plate. A Drop Shadow in pale with Offset 0 / 2 and Blur 1 gives the letters a pressed-in look.
Under the plate, type the subtitle in Old Standard TT Italic, size 30, in , centred on the guide at about y 376.
-
Add the legend and notes
Make a group called Legend above Title.
- Plate. Draw a second plate with the Shape tool: drag from the centre at 750, 1764 to 1080, 1810, with Corner Radius 18.
- Finish. Use the same brass gradient and effects as the title plate. Add an engraved border 22 px in, and four Size 11 rivets about 15 px in from each corner.
- Chips. On a Legend Chips layer, draw three 24 px rounded squares (Corner Radius 4) in the three ring colours, centred on y 1764. Give the layer a Stroke of Width 2 in .
- Labels. Type Mine & mill, Steamship and Railway beside the chips in Old Standard TT Bold 22. Leave 10 px between each chip and its word and 44 px between pairs, and centre the row on the guide.
Below the plate, add two centred footnotes in Old Standard TT Italic 22, colour , about 33 px apart:
- Read the angle, not the arc: every 54° of sweep is a tenfold rise in power. An outer ring draws a longer arc for the same angle, so this line tells the reader how to compare them.
- The starred line is the record. Figures are approximate rated or indicated horsepower.
Export with File → Quick Export PNG and save the project with File → Save Project.