Draw a Steampunk Tattoo Flash Sheet
Draw a steampunk tattoo flash sheet in Lopsy with lasso-cut brass pieces, keylines, sticker halos, pepper shading, a gilt title and a motto on a curved path.
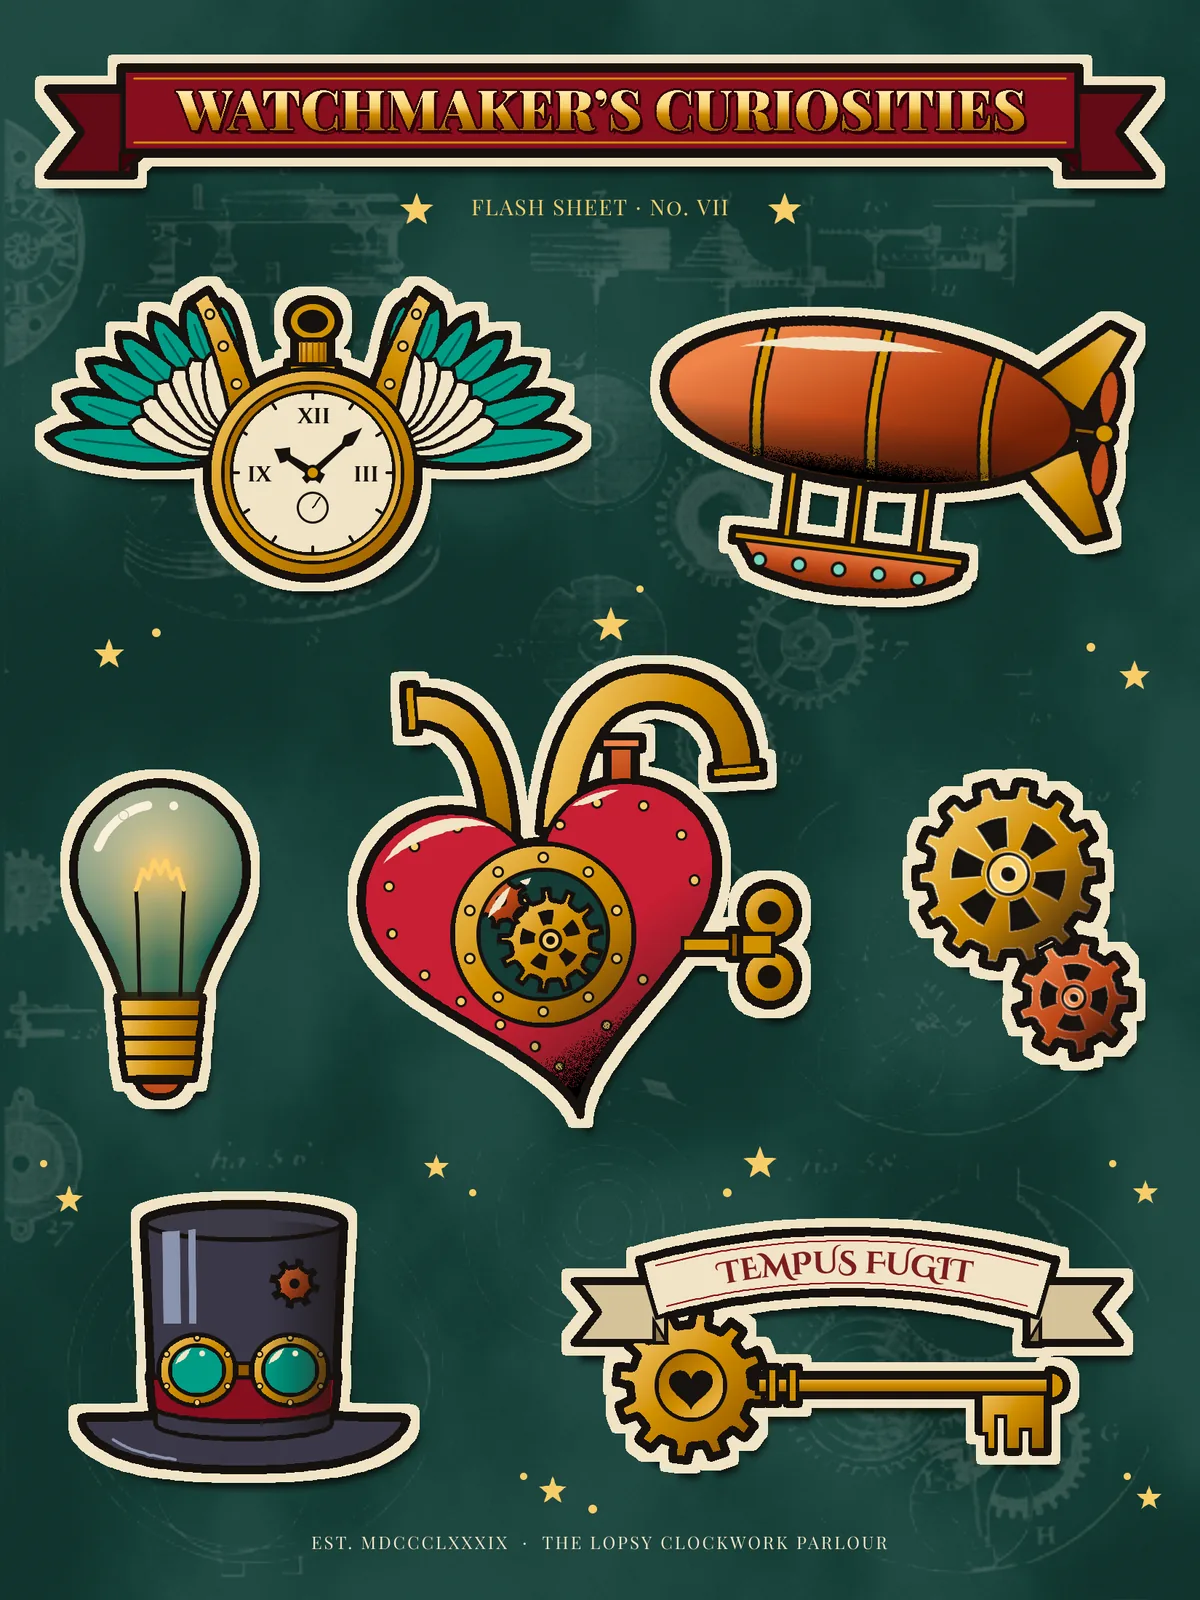
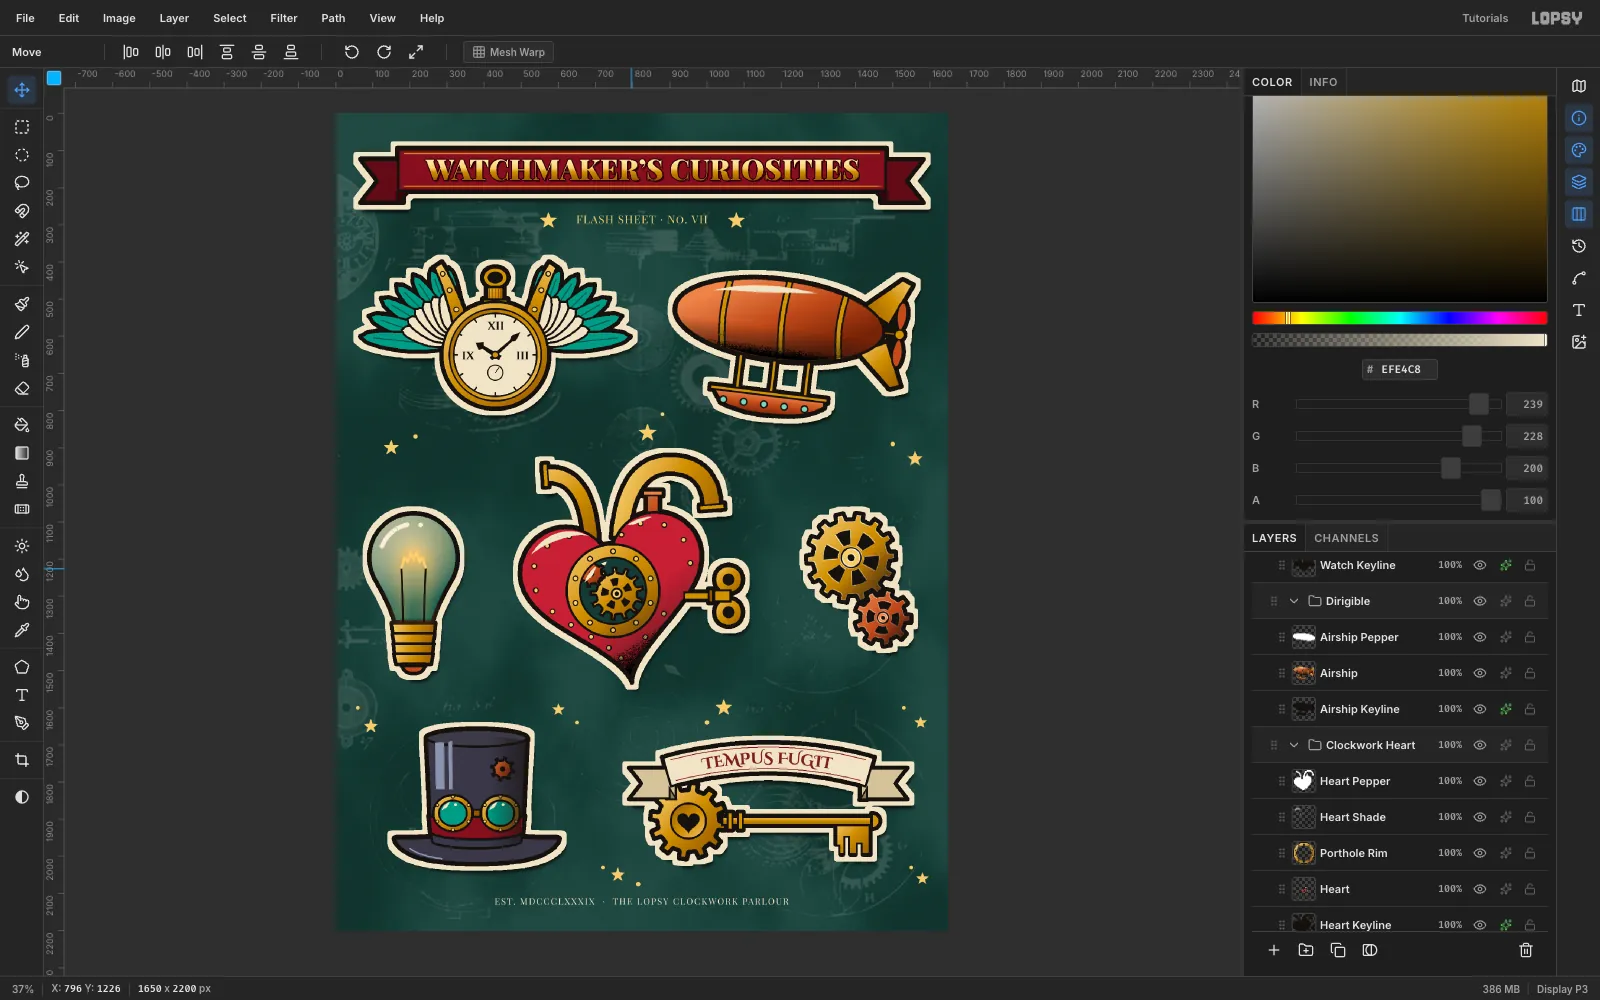
A flash sheet is the page of ready-to-tattoo designs on a tattoo parlour's wall. It has bold outlines, a small palette and every piece framed so a client can point and pick. This one is a steampunk sheet of seven Victorian curiosities: a winged pocket watch, an airship, a clockwork heart, an Edison bulb, a pair of cogs, a goggled top hat and a skeleton key.
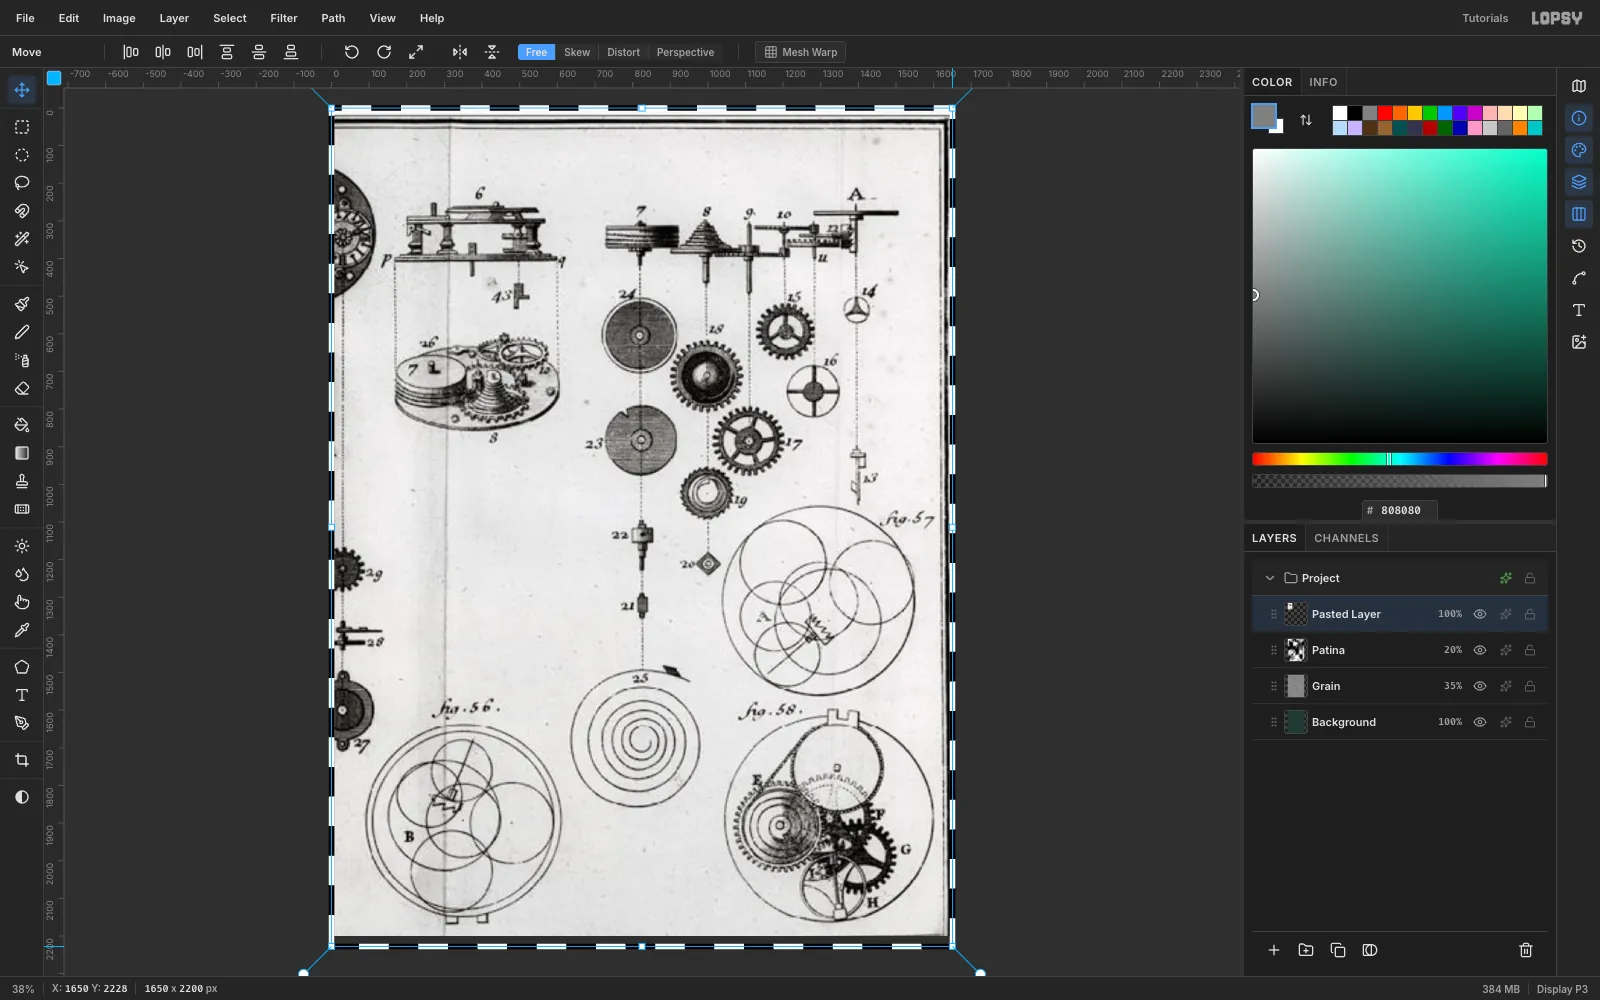
It's mostly drawn. Every shape is a Lasso or Elliptical Marquee selection filled with ink and then with colour. The only photo is a public-domain 1741 engraving of watch parts by Antoine Thiout, from Wikimedia Commons. It becomes a ghost texture in the paper.
One recipe draws every piece, from back to front:
- Fill the shape with ink
#15110E. - Fill the same selection again with its colour, Select → Shrink-ed 5–7 px. That leaves an even black outline between overlapping parts.
- For metal, fill with a gradient instead of a flat colour.
The palette:
- Sheet: verdigris
#1F3B35 - Ink:
#15110E - Ivory:
#EFE4C8 - Brass:
#F0CF78→#C8952F→#8A5A1C - Copper:
#E08A55→#B4532A→#6E2A12 - Teal:
#3F9A86 - Reds: oxblood
#7C1D23and heart red#B8323A
-
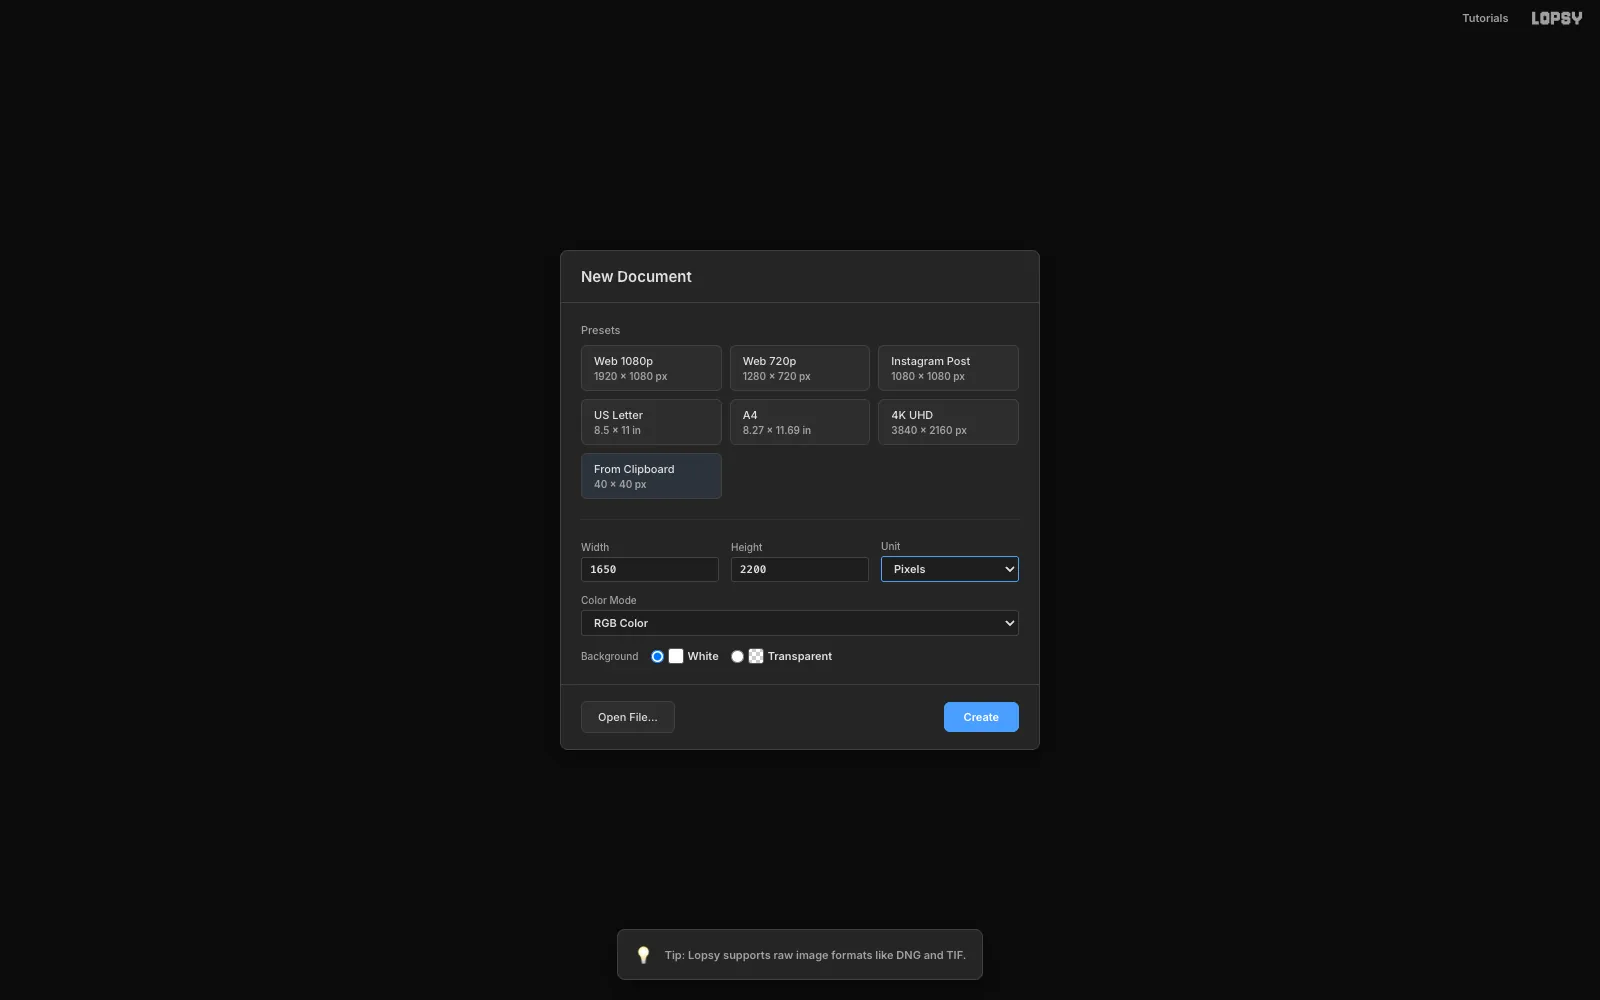
Start a 1650 × 2200 sheet
Choose File → New, check that Unit says Pixels, and enter 1650 × 2200. That's 3:4, about the shape of an 11 × 14 inch flash sheet. Click Create.
-
Emboss a leather grain
Click Background, set the foreground to
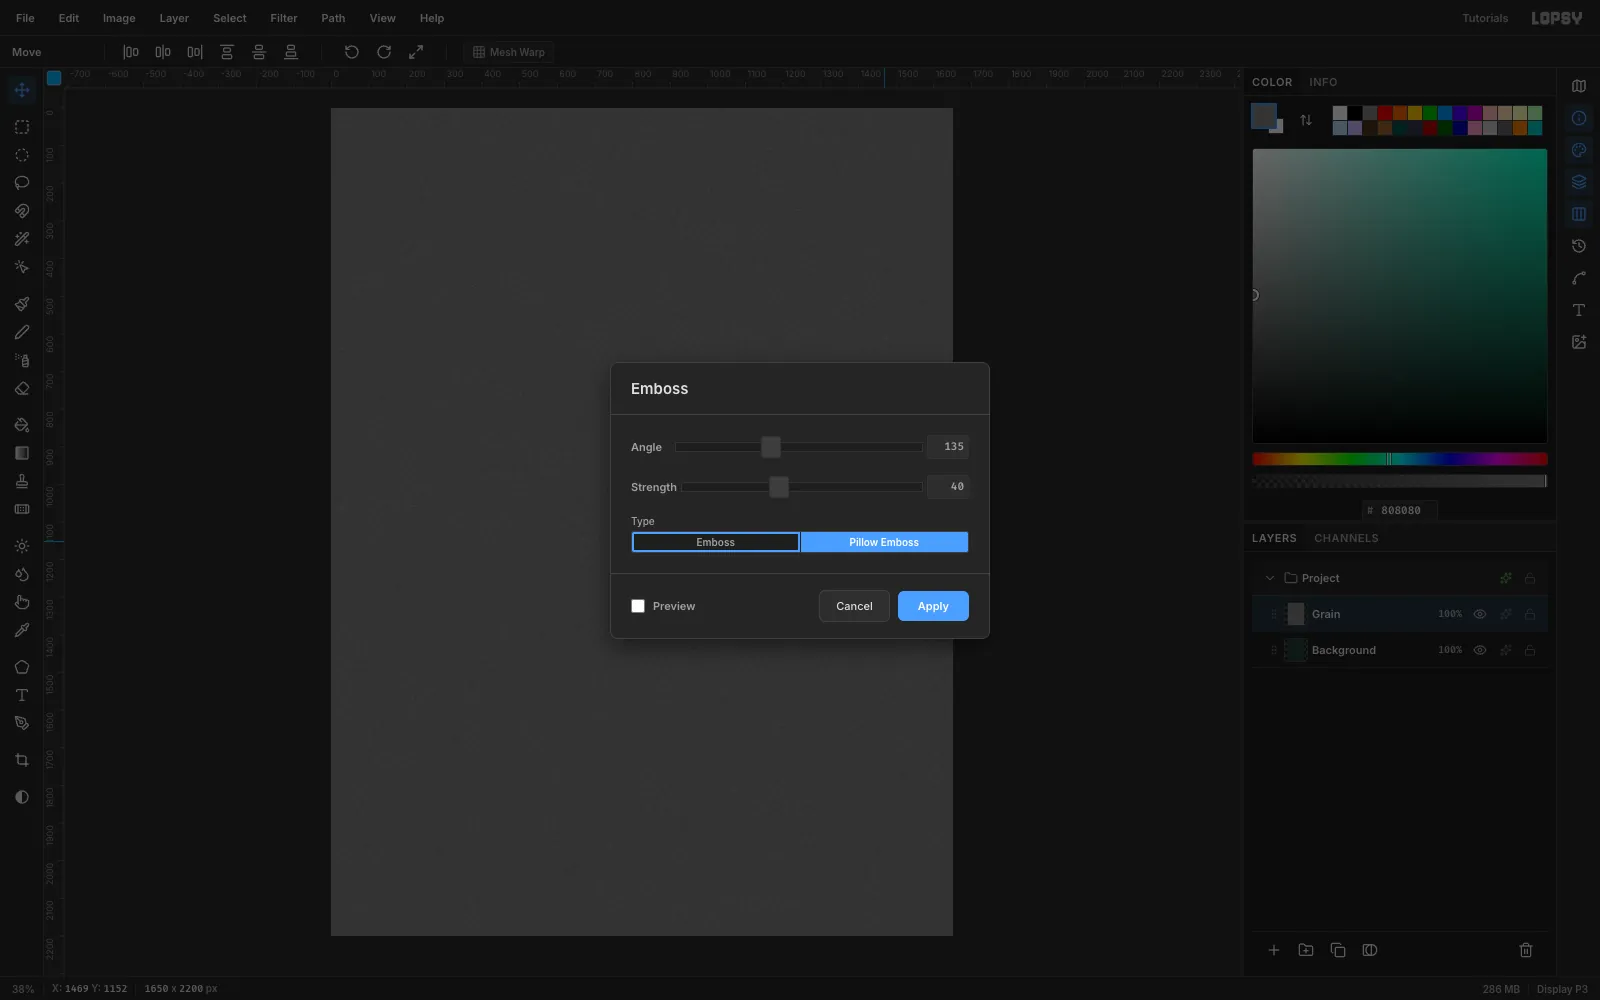
#1F3B35and choose Edit → Fill. Rename Layer 1 to Grain, fill it with#808080, and run three filters:- Filter → Add Noise…: Amount 60, Mono.
- Filter → Gaussian Blur…: Radius 2.
- Filter → Emboss…: Pillow Emboss, Angle 135, Strength 40.
In the Layers panel, set the layer's blend mode to Overlay and its opacity to 35%.
-
Mottle the patina with Clouds
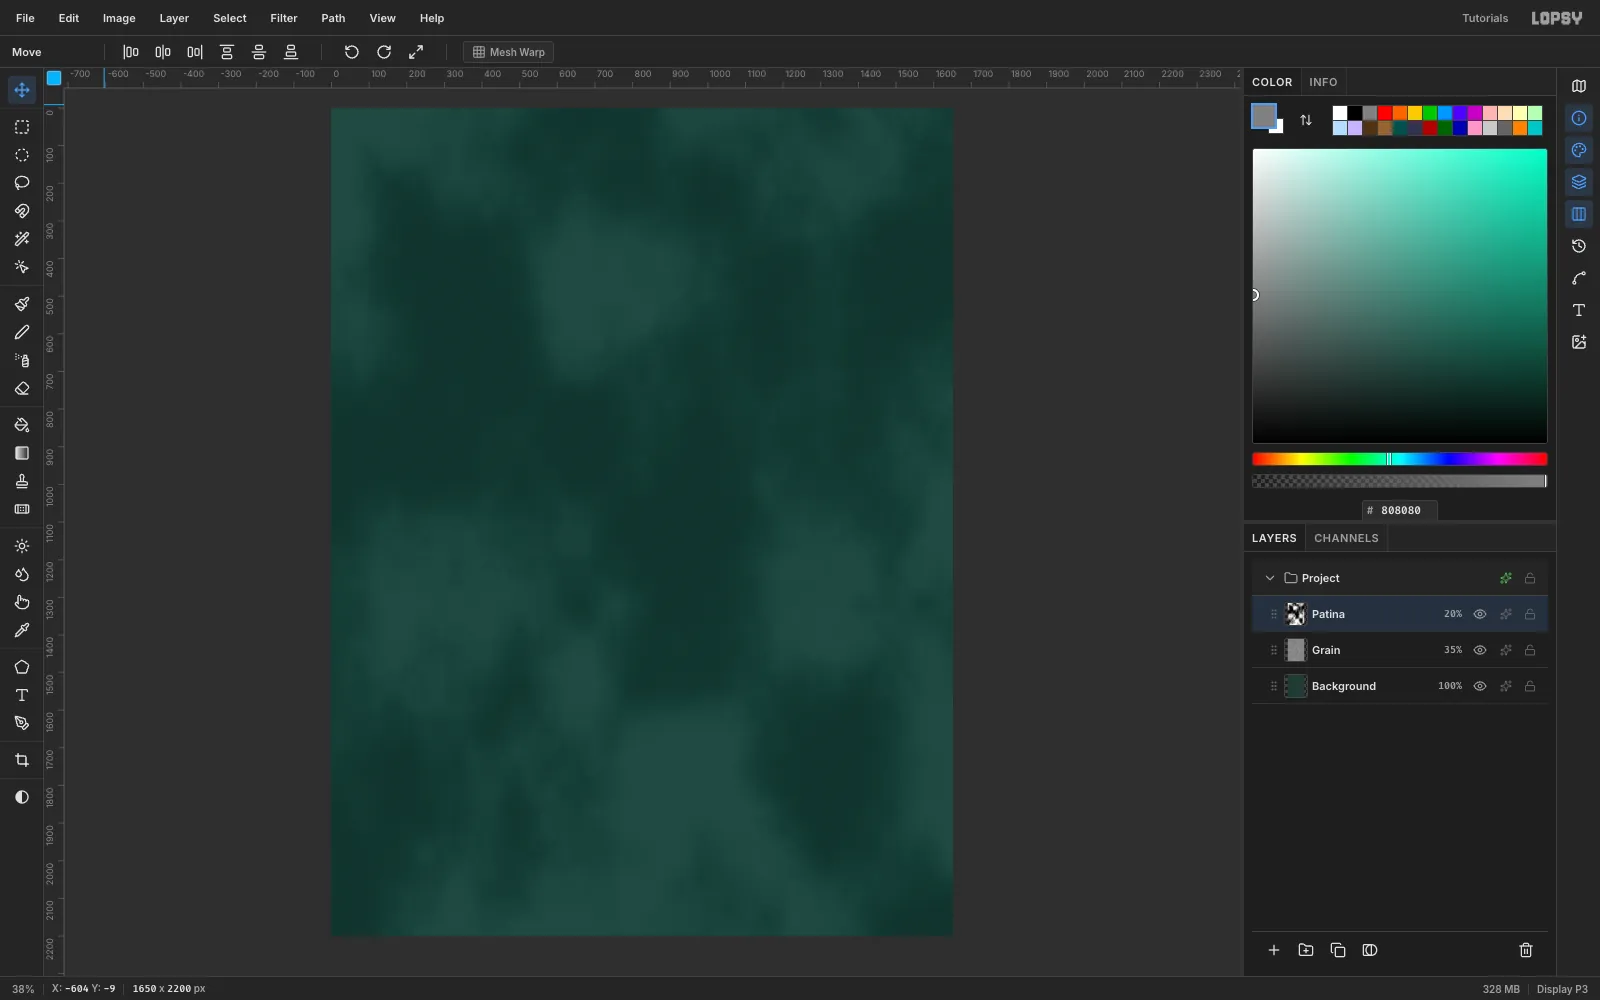
Add a layer named Patina, fill it with grey, and run Filter → Clouds… at the default scale. Set it to Soft Light at 20%. The big soft blotches read as oxidised copper. Keep them faint, because the designs have to sit on top of them.
-
Paste and scale the engraving
Copy the Thiout engraving in your browser and press Cmd+V. External pastes land at the top-left corner, already selected, with the Move tool active.
Hold Cmd and drag the bottom-right corner handle until the image covers the sheet. Cmd keeps the scale uniform. Press Cmd+D to commit, then rename the layer Engraving.
-
Turn it into a ghost
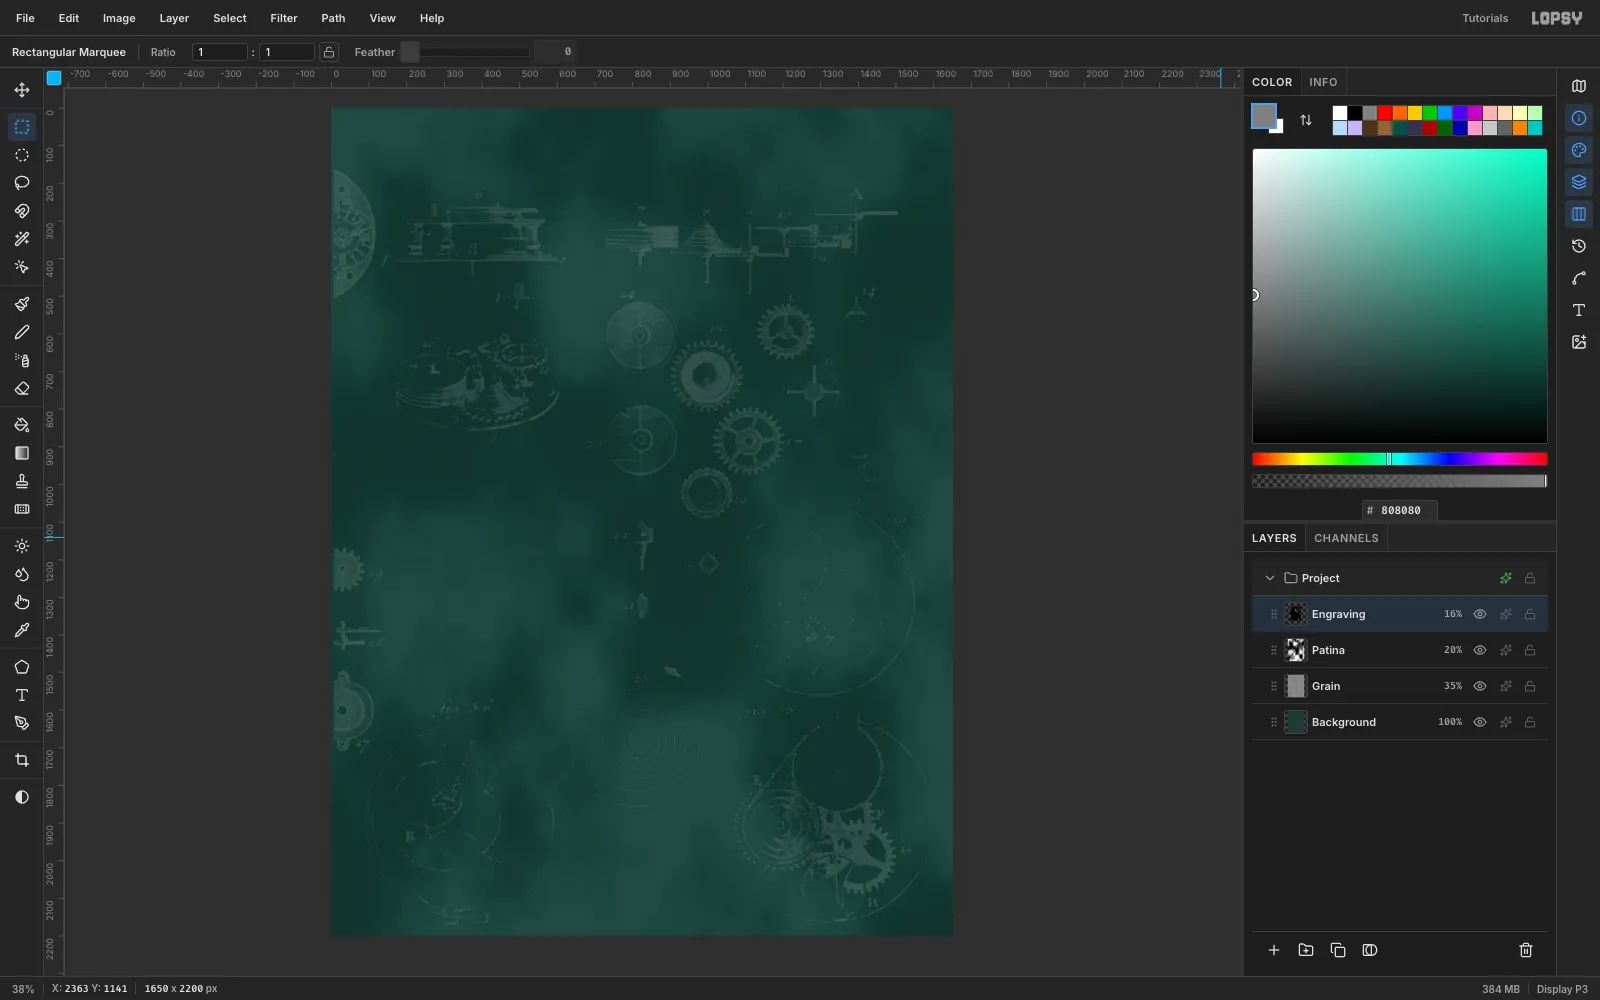
- Run Filter → Desaturate, then Filter → Invert. The paper turns black and the lines turn white.
- Filter → Brightness/Contrast… with Brightness −45 and Contrast 70 crushes the paper to pure black.
- Marquee the scan's frame lines along the top and right edges and press Delete.
- Set the layer to Screen at 16%. Black vanishes in Screen, so only the gears and springs remain, like a watermark.
-
Cut a wing from layered feathers
Make a group with the New Group button in the Layers panel and name it Winged Watch. Add an empty layer named Watch Keyline (you'll fill it later), then a layer named Wing above it.
Draw the wing from the back forward:
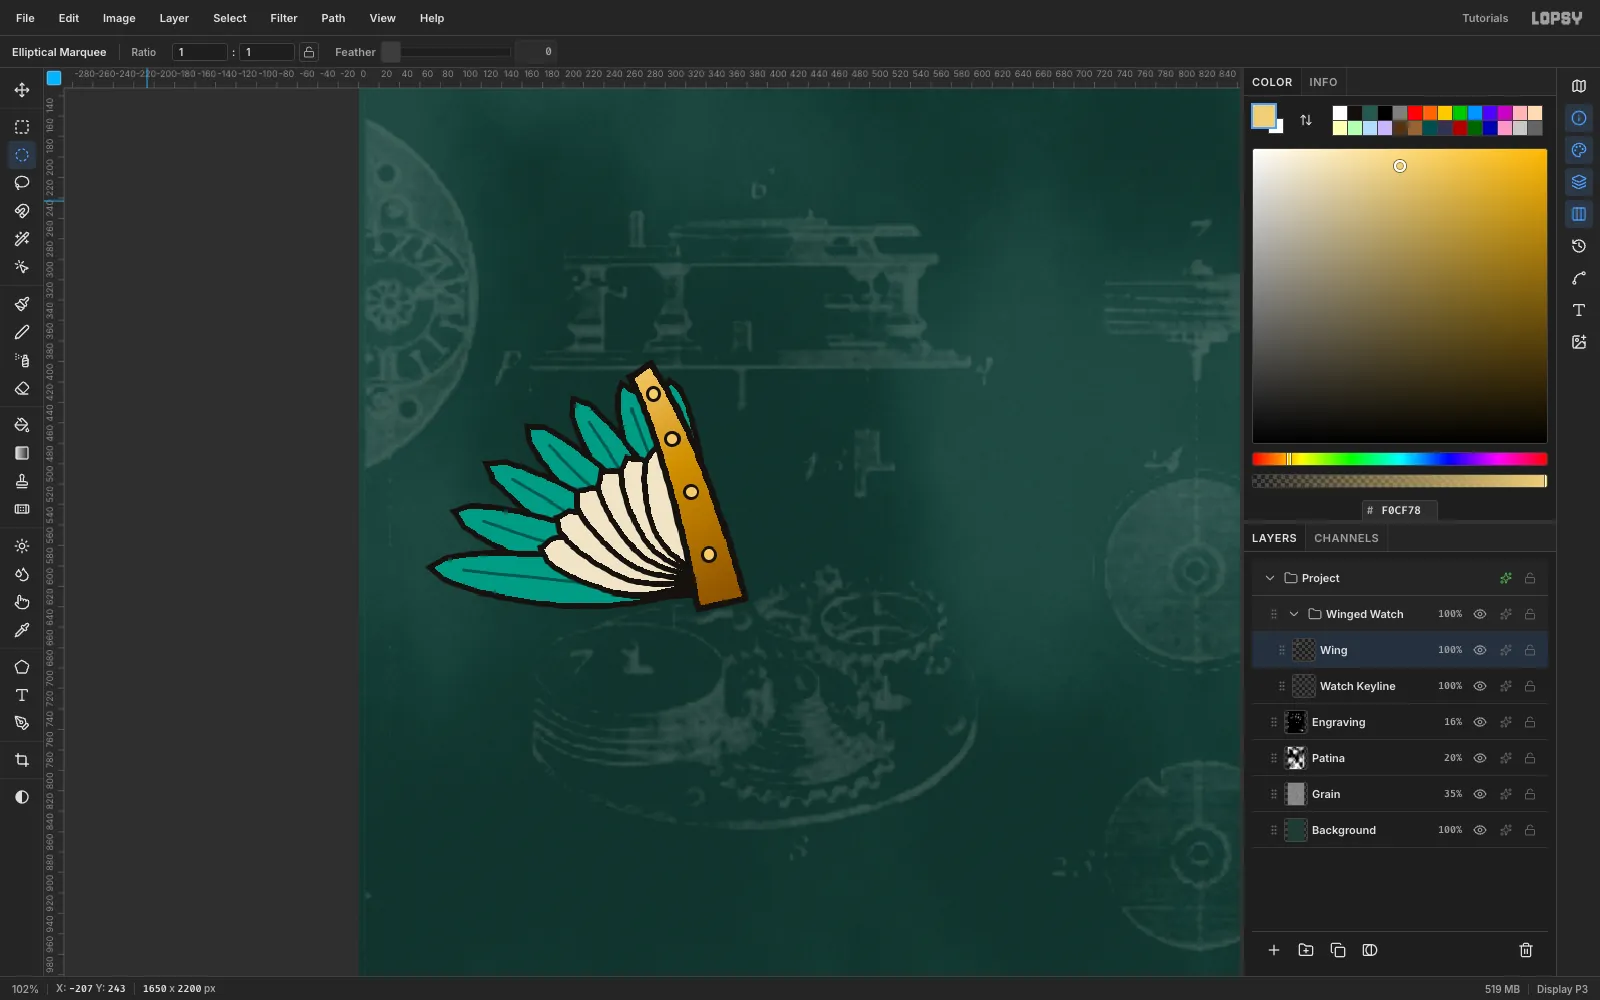
- Seven long feathers, fanning from pointing left to pointing up. For each one, lasso a rounded-tip feather, fill it ink, then Shrink 5 and fill teal. Add a darker teal quill line with a 4 px Brush.
- Six shorter cream feathers on top, with the same ink-then-shrink fill.
- A curved brass arm along the leading edge, filled with the brass gradient and finished with four rivets.
-
Mirror it with Duplicate and Flip
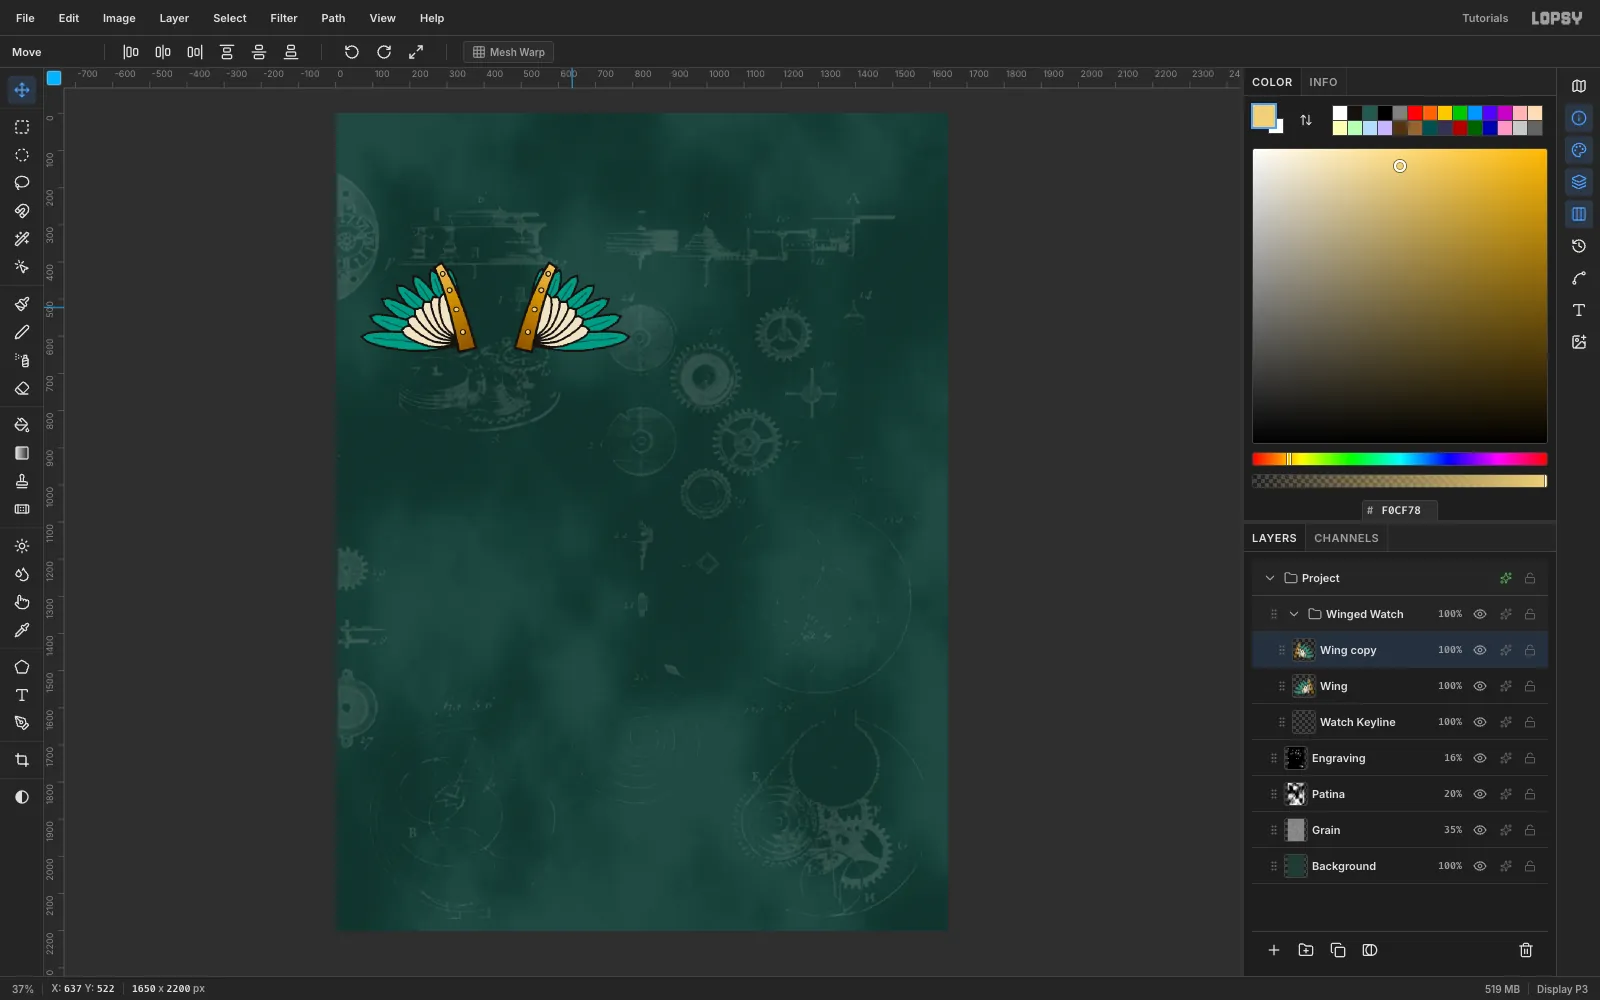
With Wing active, choose Layer → Duplicate Layer, then click the copy's row. Image → Flip Horizontal mirrors it about the canvas centre.
Drag it with the Move tool so it mirrors the first wing about the watch centre (x 430), then finish with the arrow keys. Choose Layer → Merge Down to join the pair.
-
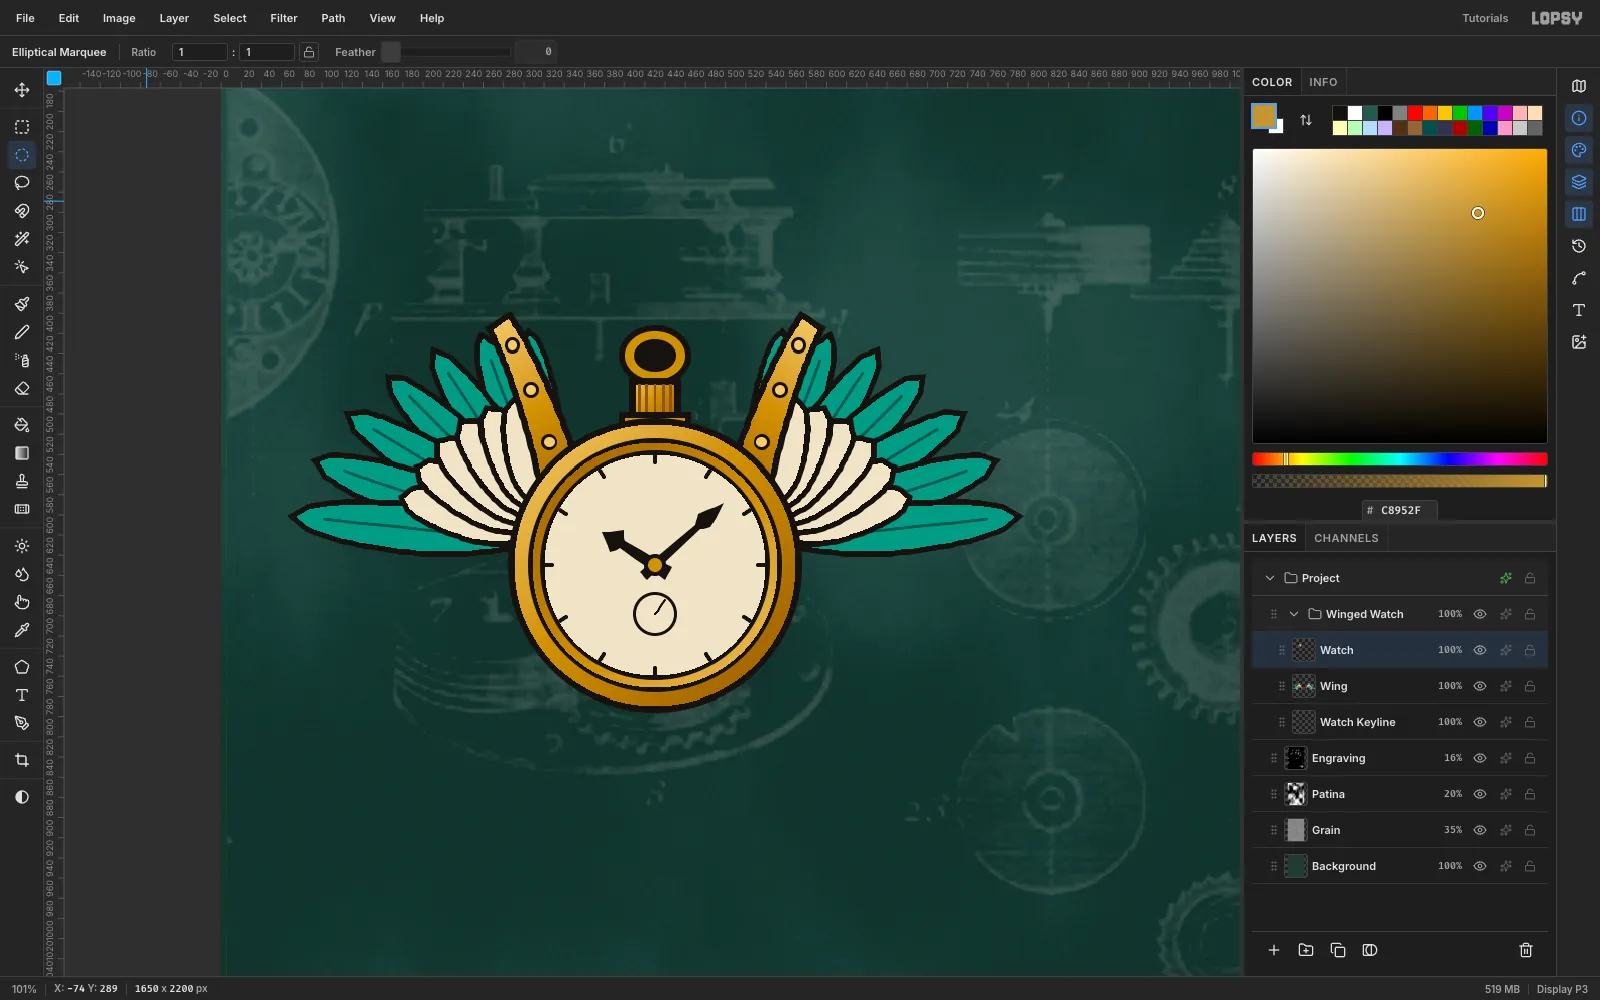
Build the pocket watch
On a new Watch layer, stack Elliptical Marquee fills:
- The case: a 146 px radius circle in ink, then the brass gradient dragged top-left to bottom-right.
- An inner bezel with the gradient reversed.
- A cream dial.
Add a knurled crown and bow on top. Then add 5 px brush ticks at every five minutes, a small seconds sub-dial where VI would be, and two spade-tipped hands at 10:08. Merge Watch down onto Wing and rename the result Watch Art.
-
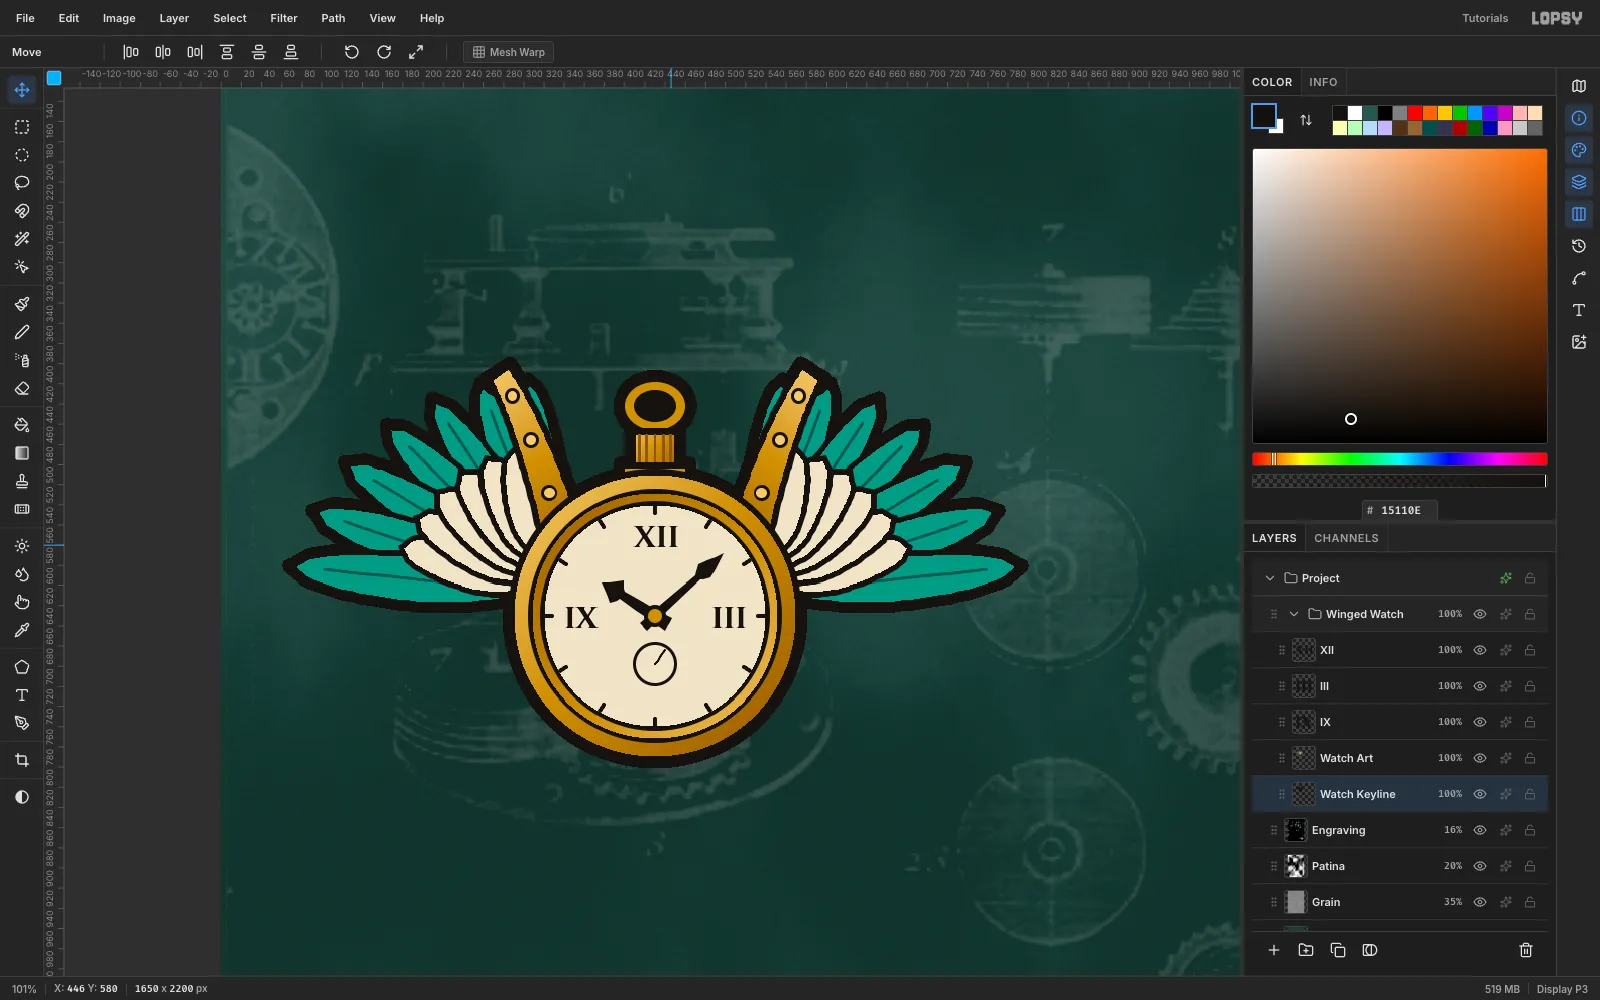
Add the outer keyline and numerals
A heavier outer line makes each design read from across the room:
- Cmd-click the Watch Art thumbnail to load its shape as a selection.
- Choose Select → Grow… and enter 5.
- Click the empty Watch Keyline row and choose Edit → Fill with ink.
Set XII, III and IX in Cinzel Bold at 30 px. Create each one in empty canvas, then move it onto the dial, inside the ticks.
-
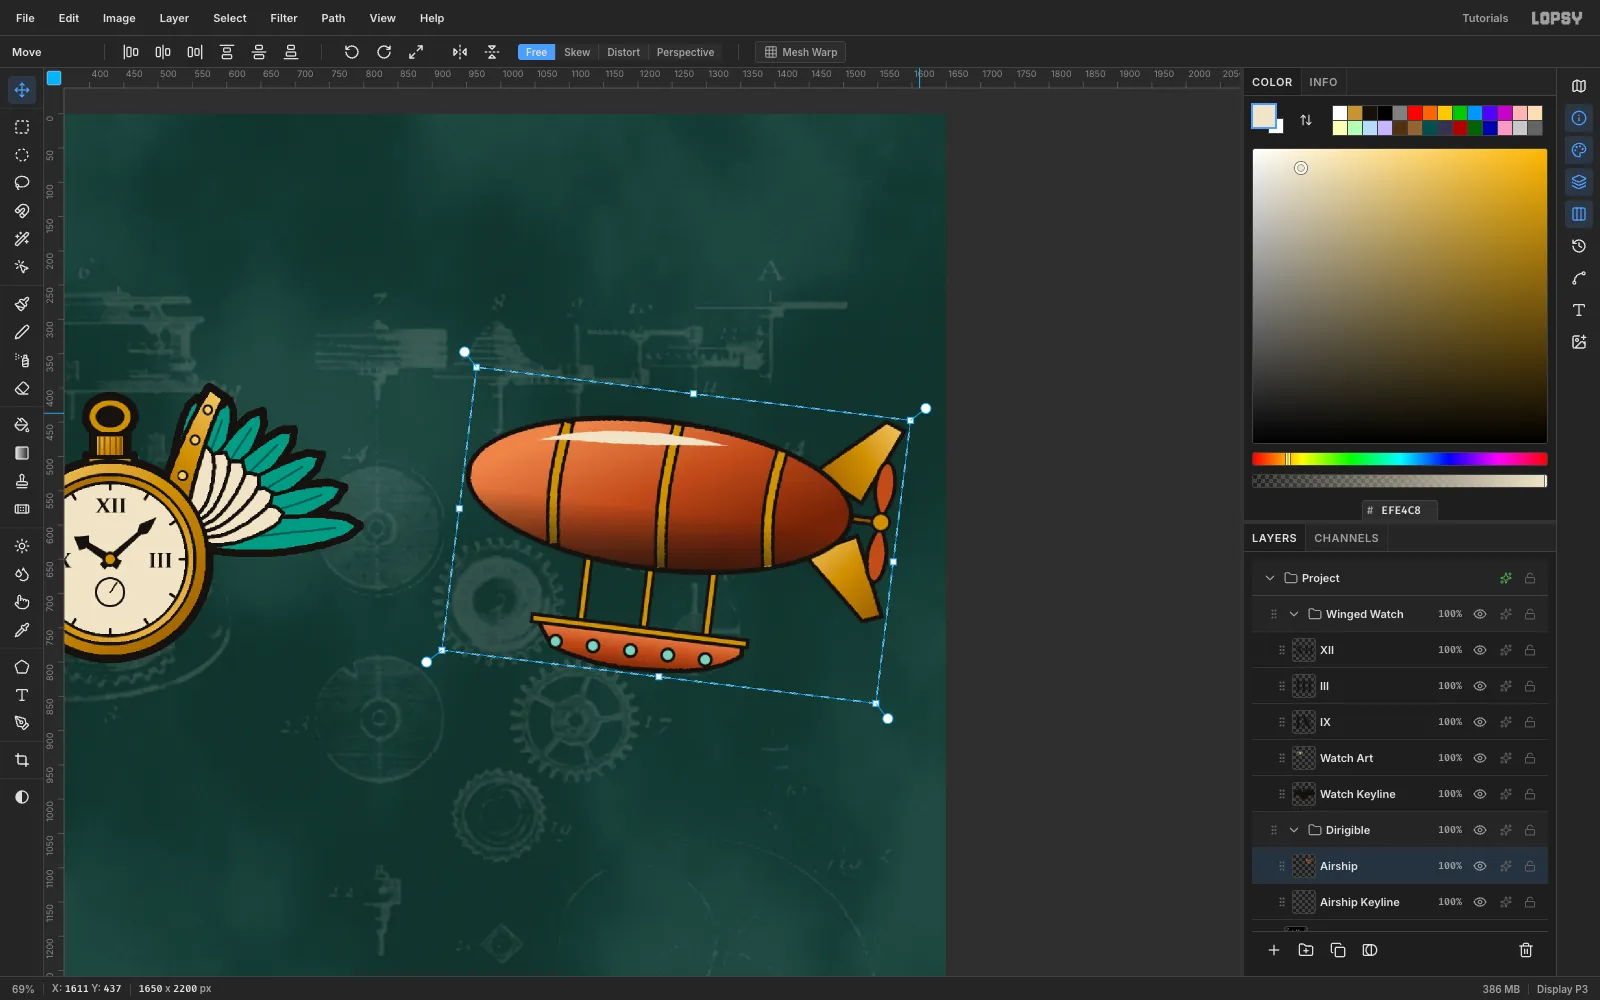
Draw and rotate the airship
In a Dirigible group, add an Airship Keyline layer, then draw the airship on an Airship layer:
- Envelope: an Elliptical Marquee filled with the copper gradient, plus three brass straps.
- Tail: two brass fins and a copper two-blade propeller.
- Gondola: three brass struts, then a copper hull with teal portholes.
On an Airship Shade layer, draw a cream crescent highlight along the top and a soft black gradient on the belly, then merge it down.
To tilt the nose up, marquee the whole airship and switch to Move. Drag the round handle outside the top-right corner about 7° clockwise, then press Cmd+D. Grow the keyline from the rotated shape.
-
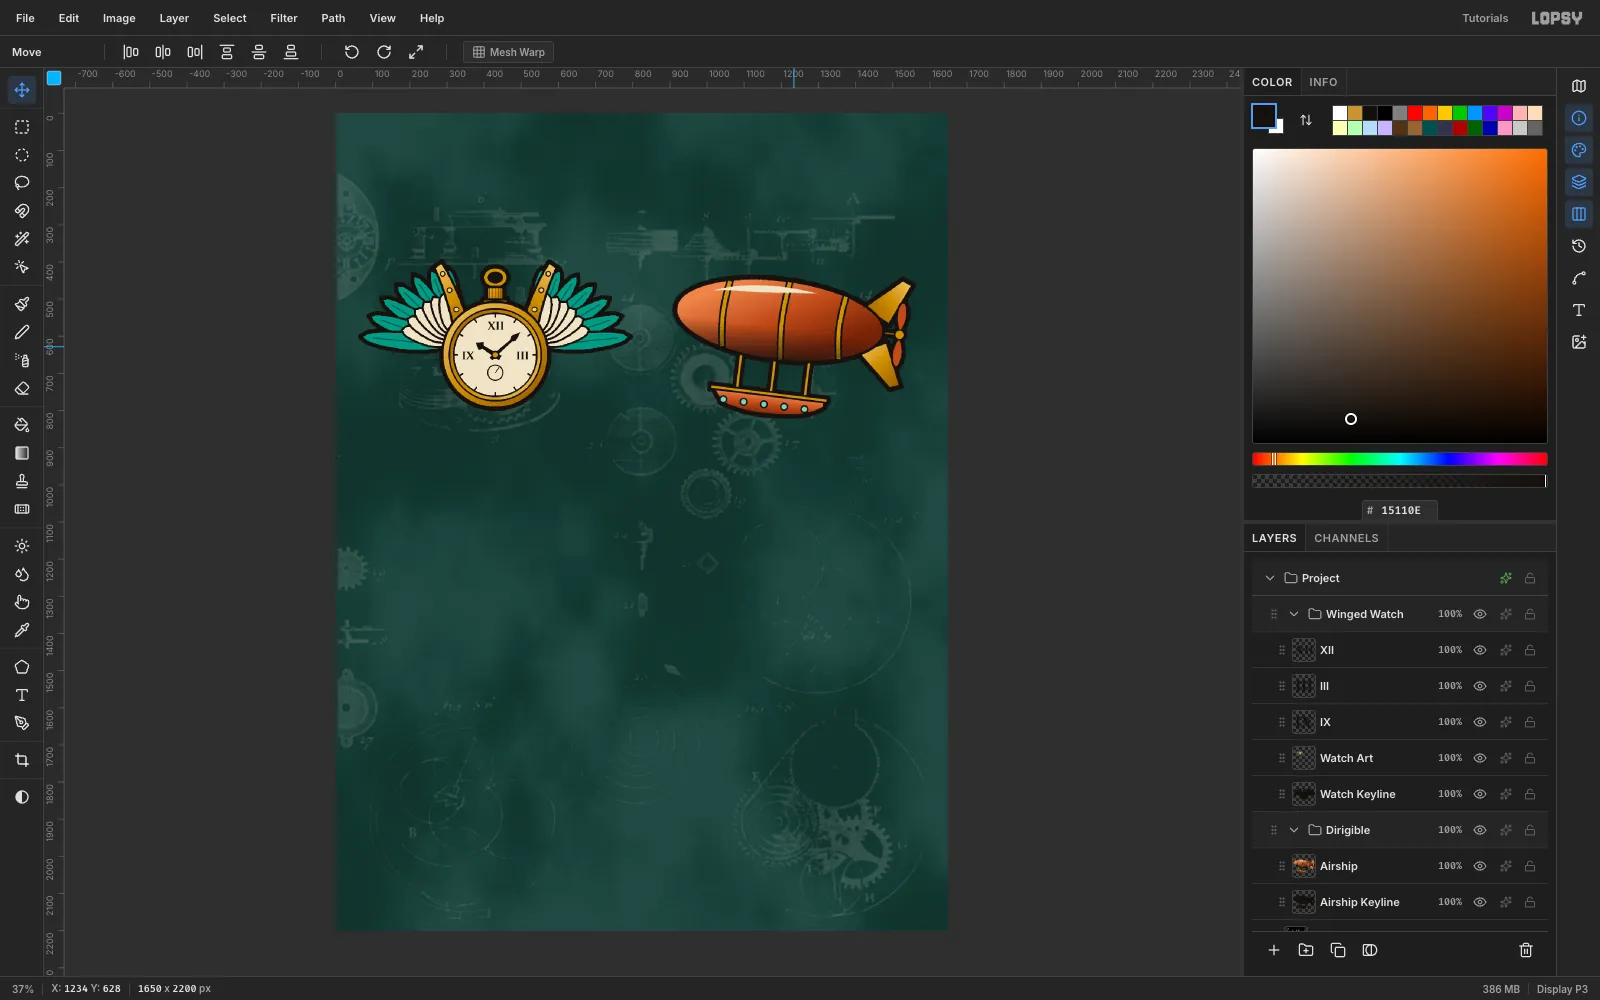
Move a whole group
The rotation pushed the propeller too close to the right edge. Click the Dirigible group row and drag on the canvas with Move. The art and its keyline move together, 36 px left. Groups are the easiest way to keep multi-layer pieces aligned.
-
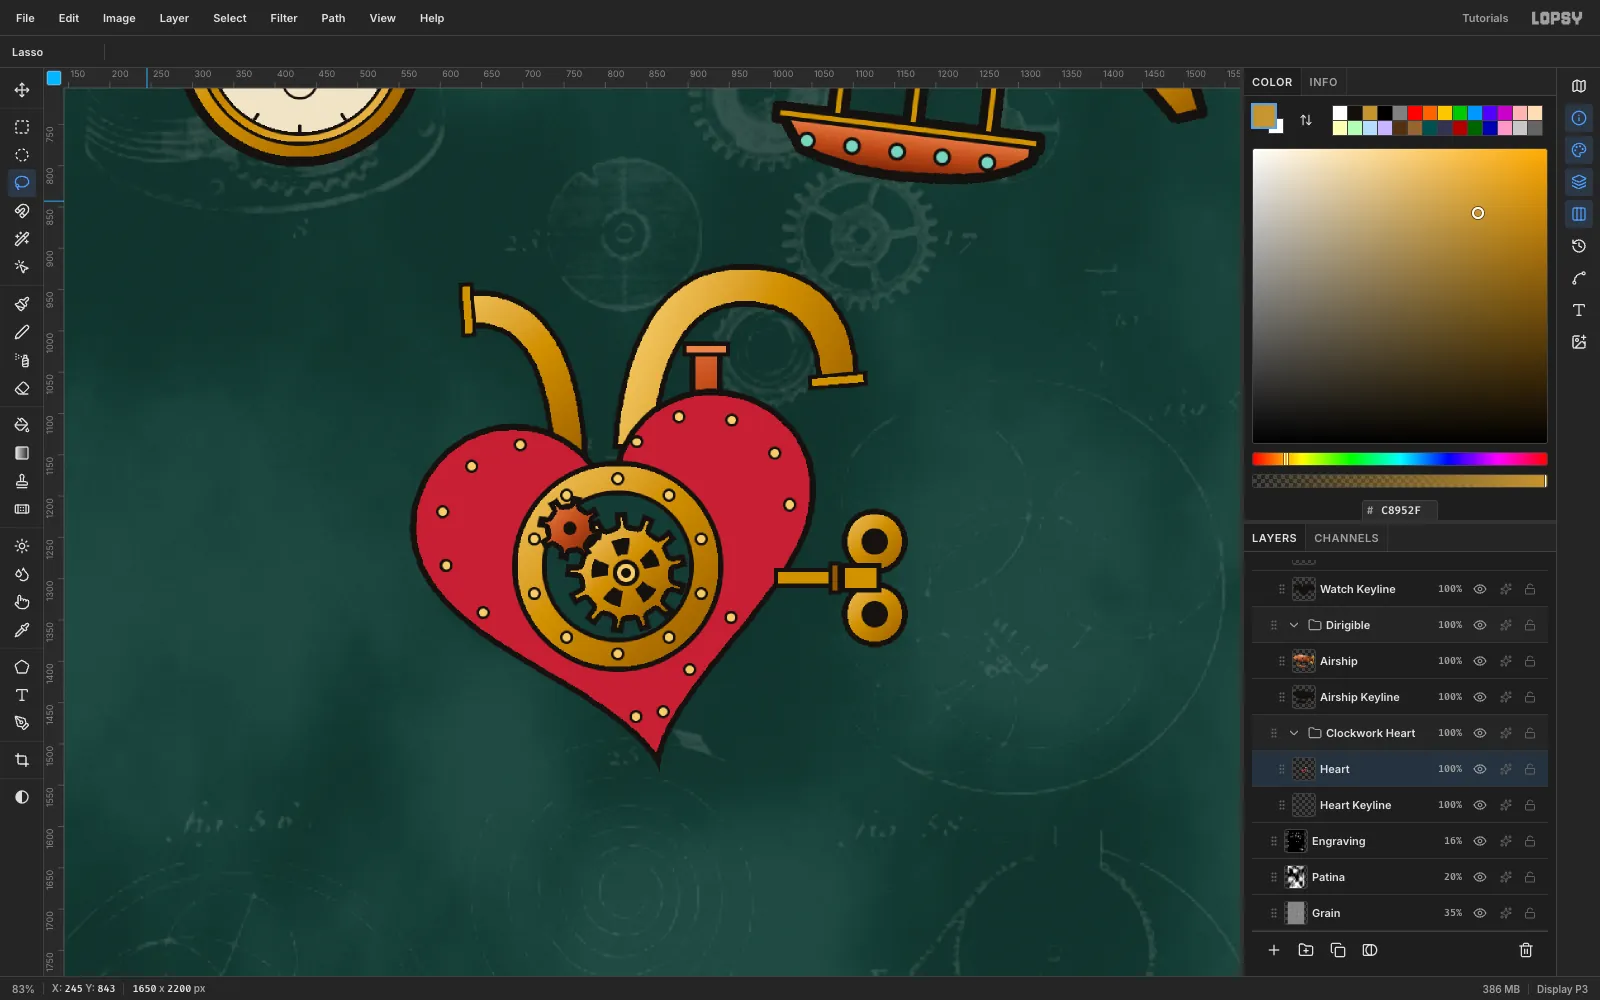
Draw the clockwork heart
In a Clockwork Heart group, draw from back to front:
- Pipes: three brass and copper pipes, each drawn as a curved band selection and filled with a gradient, plus flanges.
- The heart: a heart-shaped lasso in ink, then Shrink 7 and fill
#B8323A. - A brass porthole: a dark glass disc with a spoked brass gear and a small copper gear behind the glass.
- A wind-up key: a figure-eight key on the right side.
- A riveted seam: brass rivets inset about 30 px from the edge.
-
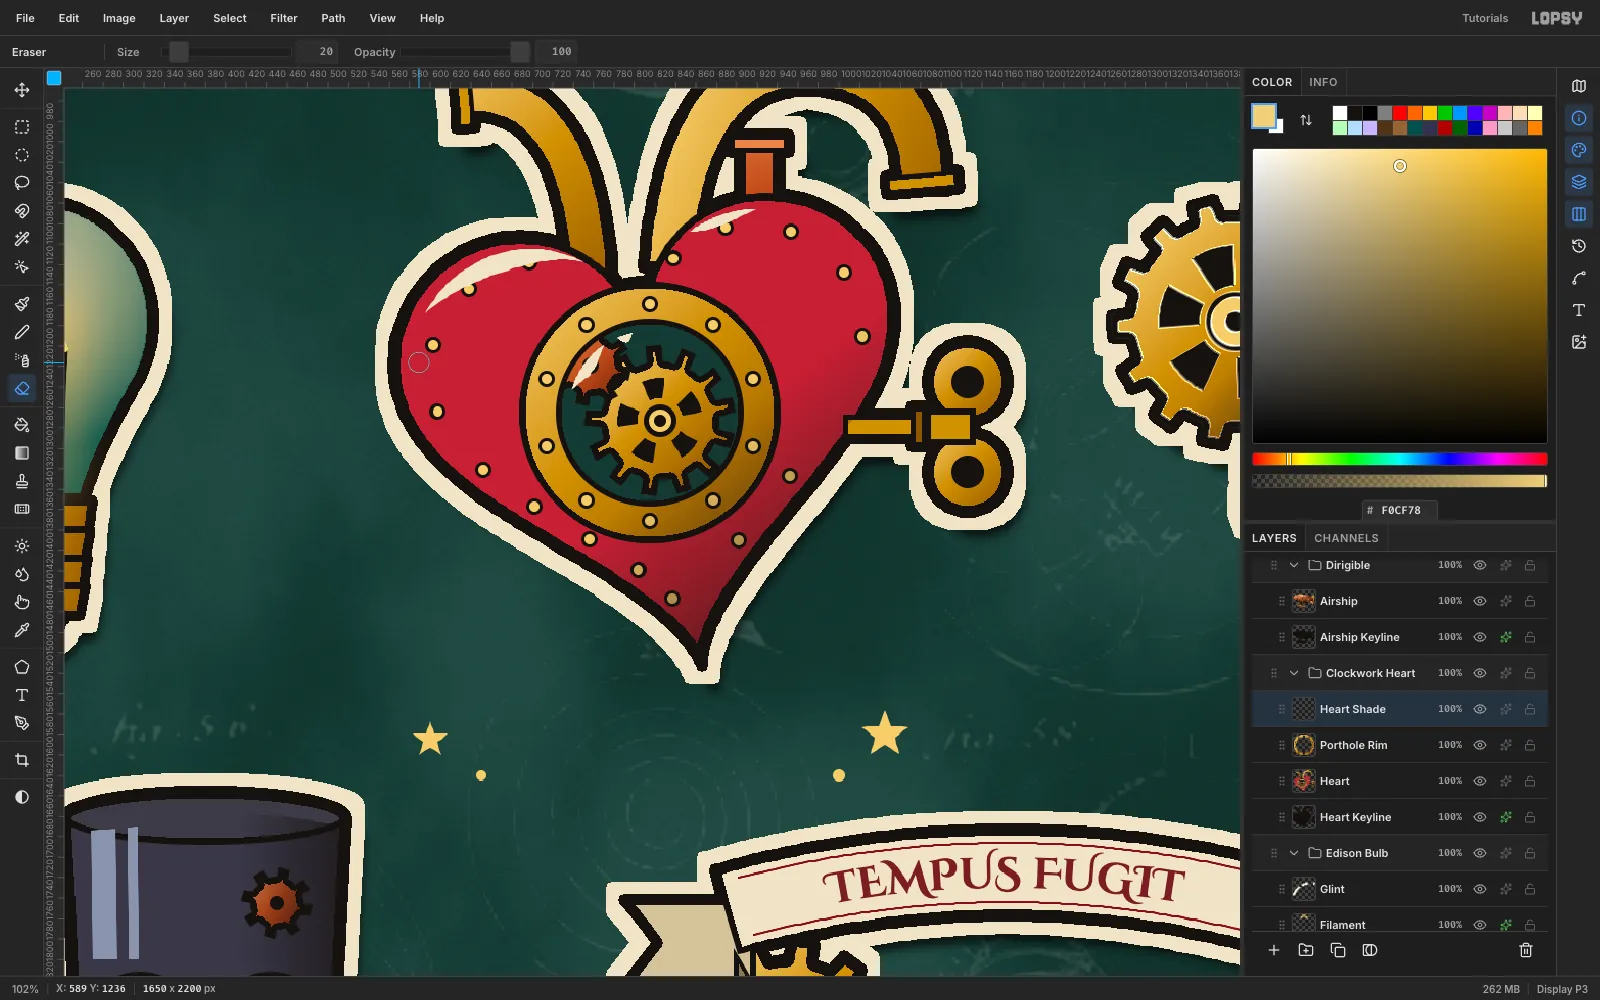
Seat the porthole and finish the rivets
The small copper gear overlapped the bezel, which looked wrong. Redraw the brass rim and its ten rivets on a Porthole Rim layer above Heart. Then select a circle the size of the glass and press Delete to reopen the window. The gear now sits behind the rim.
On Heart Shade:
- Add cream crescent highlights on each lobe and two glints on the glass.
- Add a black whip-shade gradient on the lower right.
Where the rivets gap or bunch, add or paint over one. Use the Eraser to remove any stray dot.
-
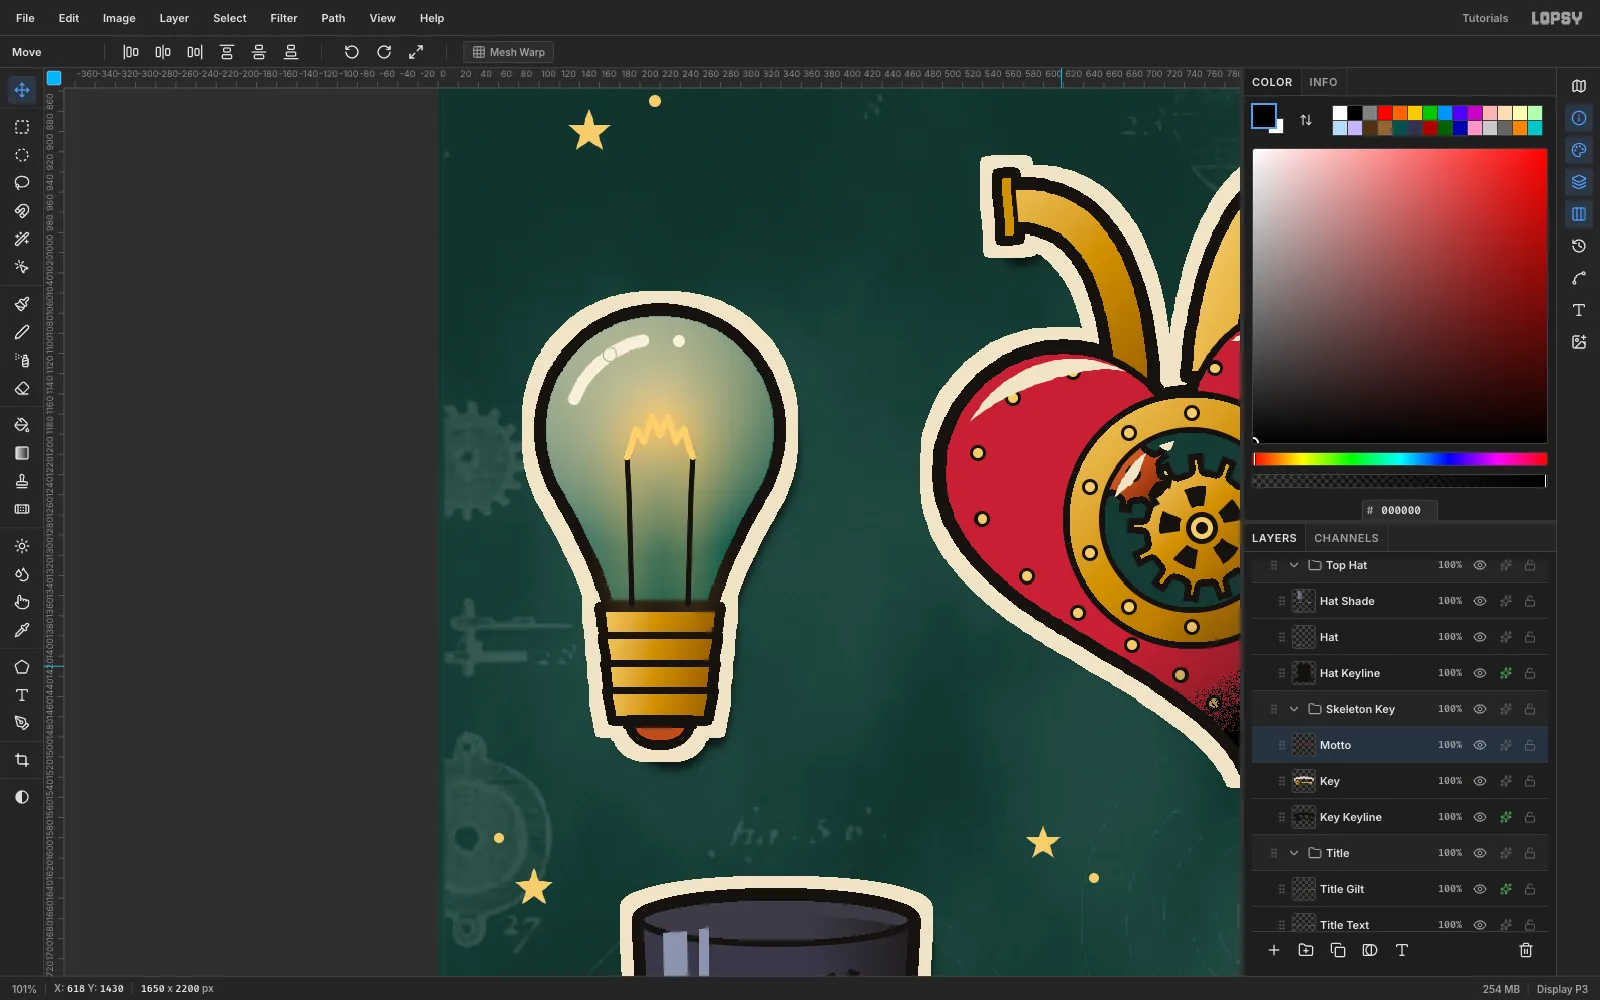
Light the Edison bulb
Build the bulb's glass and brass screw base the same way on a Bulb layer. Then light it:
- Lamp Light: lasso the glass, Shrink 7, and drag a radial amber gradient (
#FFB84A, 75% alpha to 0%) out from the filament. Set the layer to Screen. - Filament: two ink support wires and a zigzag in
#FFD27A, with an Outer Glow in#FFC45A(Size 50, Spread 25). - Glint: one 13 px Brush arc along the upper-left of the glass, plus a dot.
- Lamp Light: lasso the glass, Shrink 7, and drag a radial amber gradient (
-
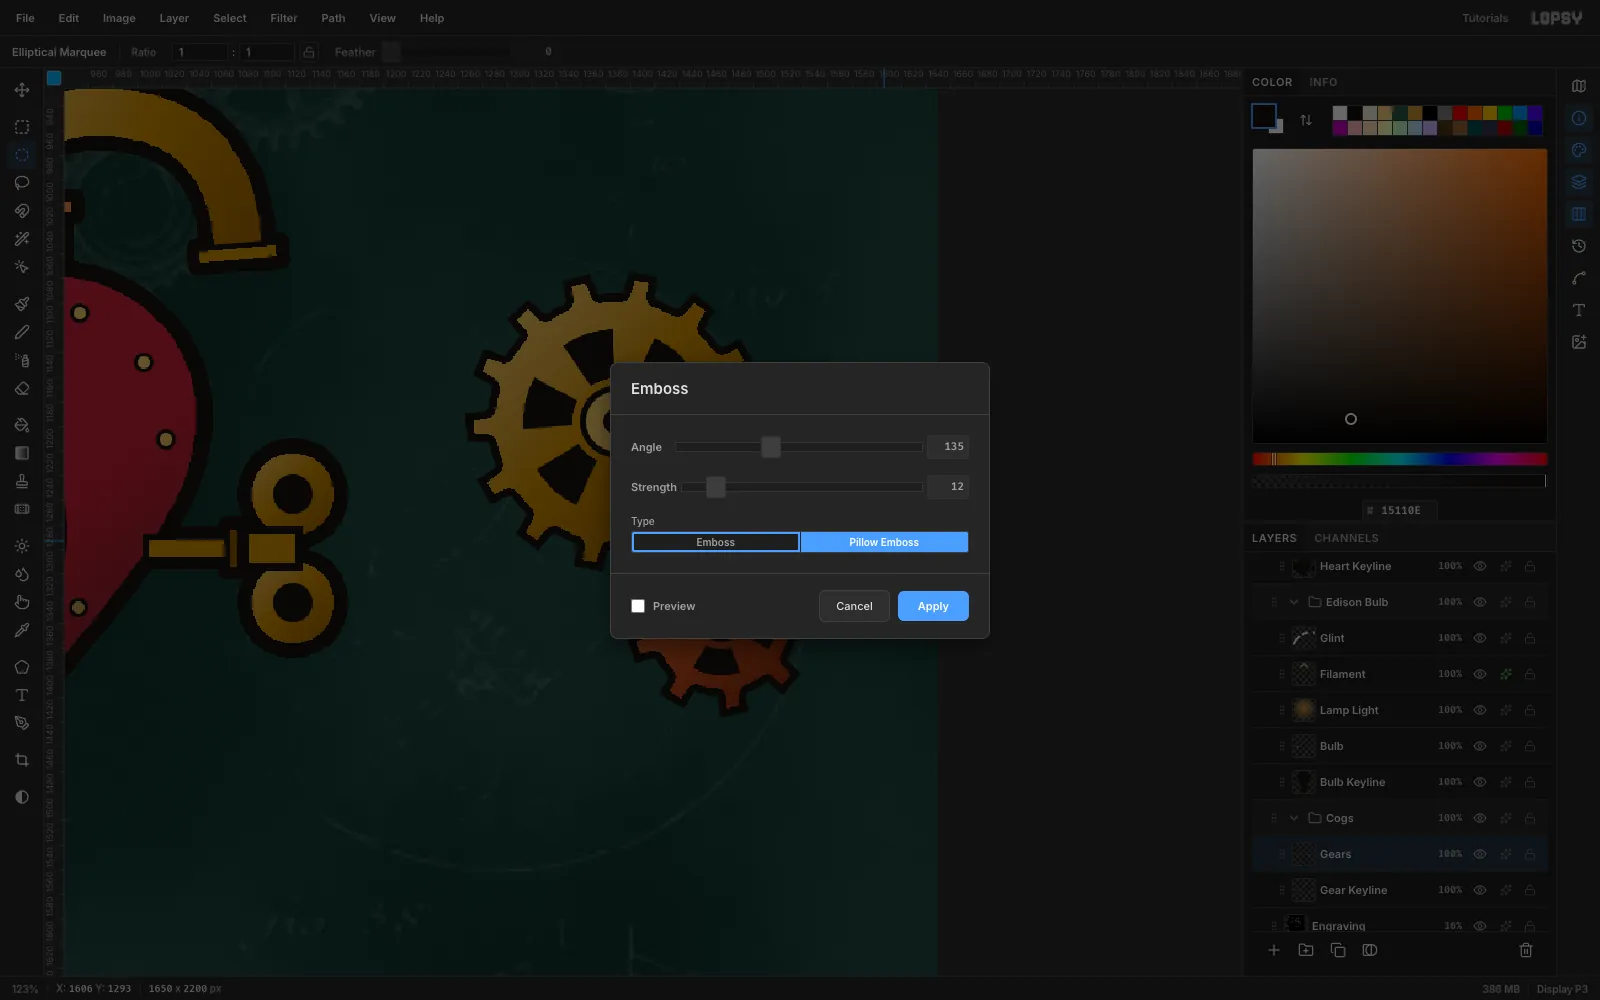
Emboss the cogs
Cogs mesh when a tooth of one gear points into a gap in the other. Space their centres at the sum of the pitch radii, and match the tooth sizes: 14 teeth on the big gear and 9 on the small.
After filling both with gradients, run Filter → Emboss…: Pillow Emboss, Angle 135, Strength 12. The top-left edges pick up a machined bevel. Add a black whip gradient on each gear's lower right.
-
Add the top hat and goggles
Draw the brim as one ellipse, then the crown, top oval and oxblood band over it. Push the goggles up so they overlap the band, as if they were resting on the hat.
The silk sheen is two hard pale-blue stripes (
#8C93AB) on the crown's left, plus a thin line along the front of the brim. Flash avoids airbrushed highlights.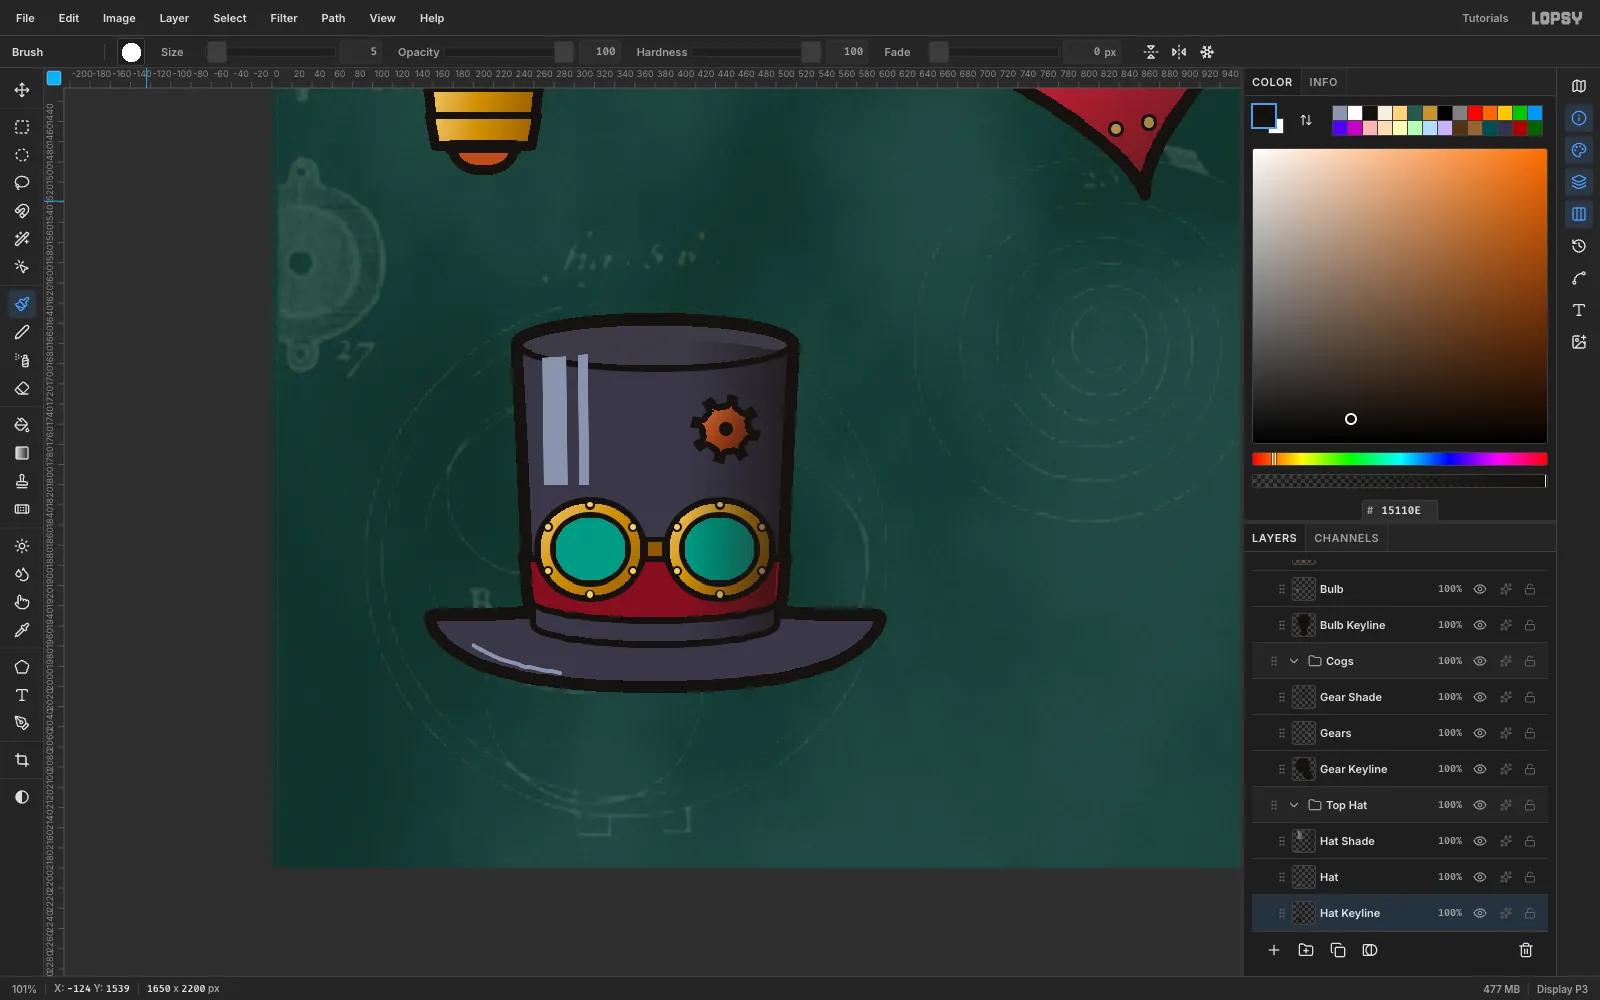
-
Hang a banner over the skeleton key
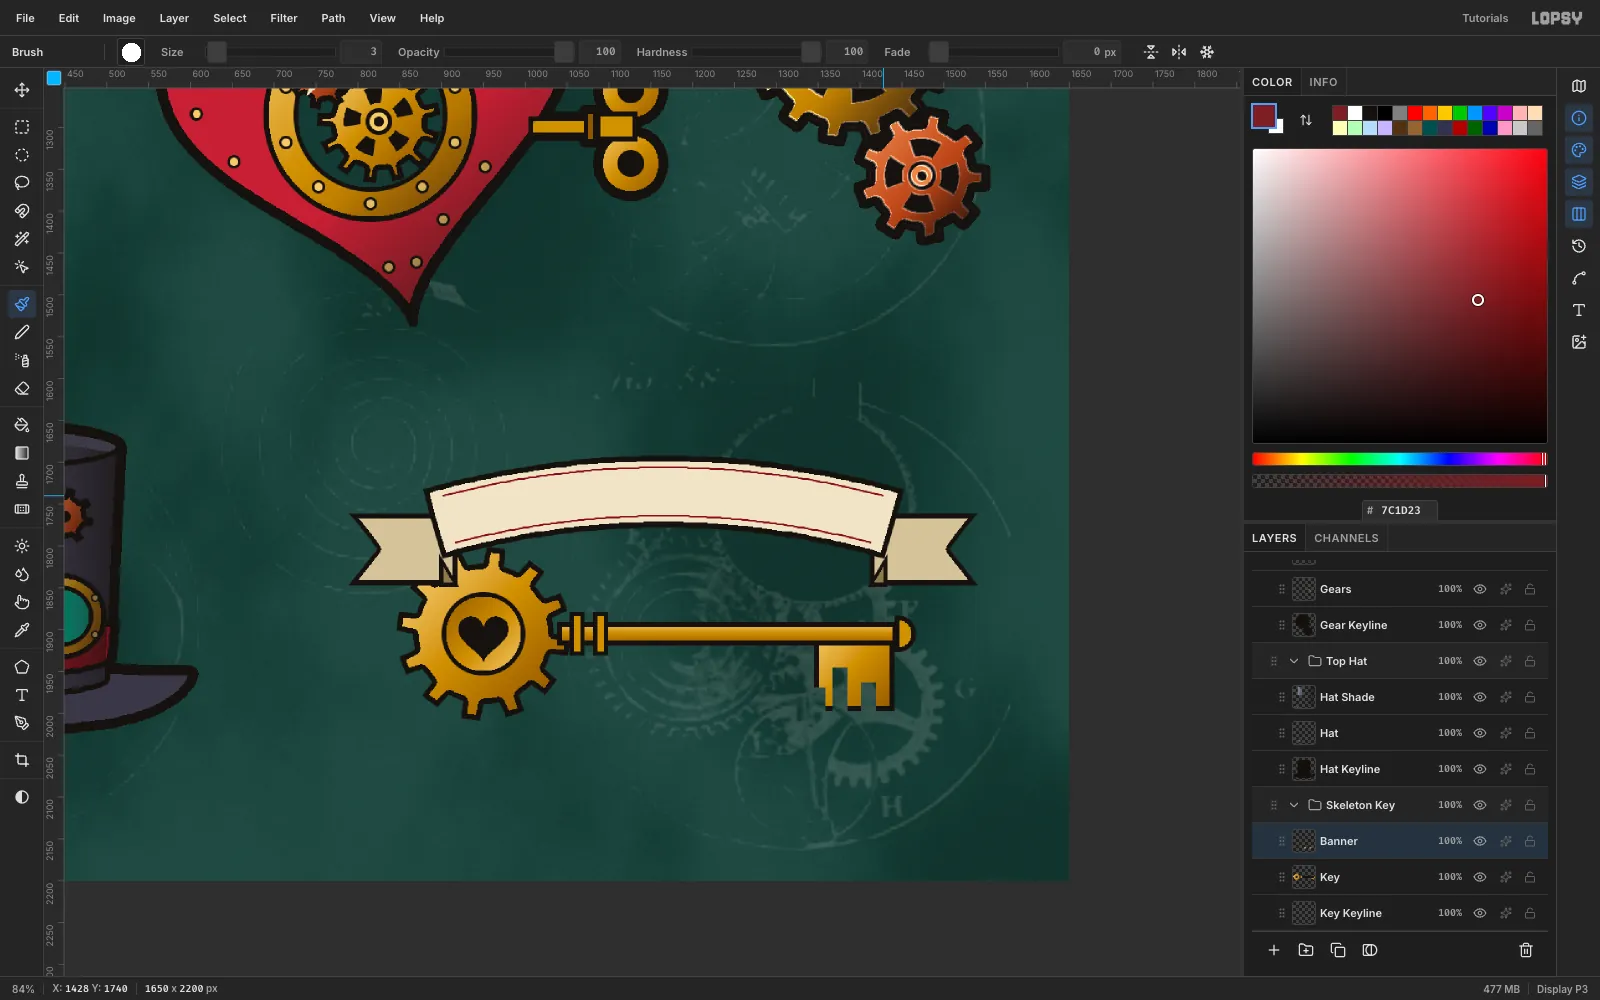
The key's bow is a 12-tooth gear with a round hole and a heart cut-out, on a brass shaft with two collars. Cut notches into the bit with small marquee Deletes.
Above the key, the banner is an arc band 86 px tall with two thin oxblood rules. It has swallowtail tails tucked behind it, with dark fold triangles where they turn under. Merge the banner onto the key so they share one keyline.
-
Set a gilt title
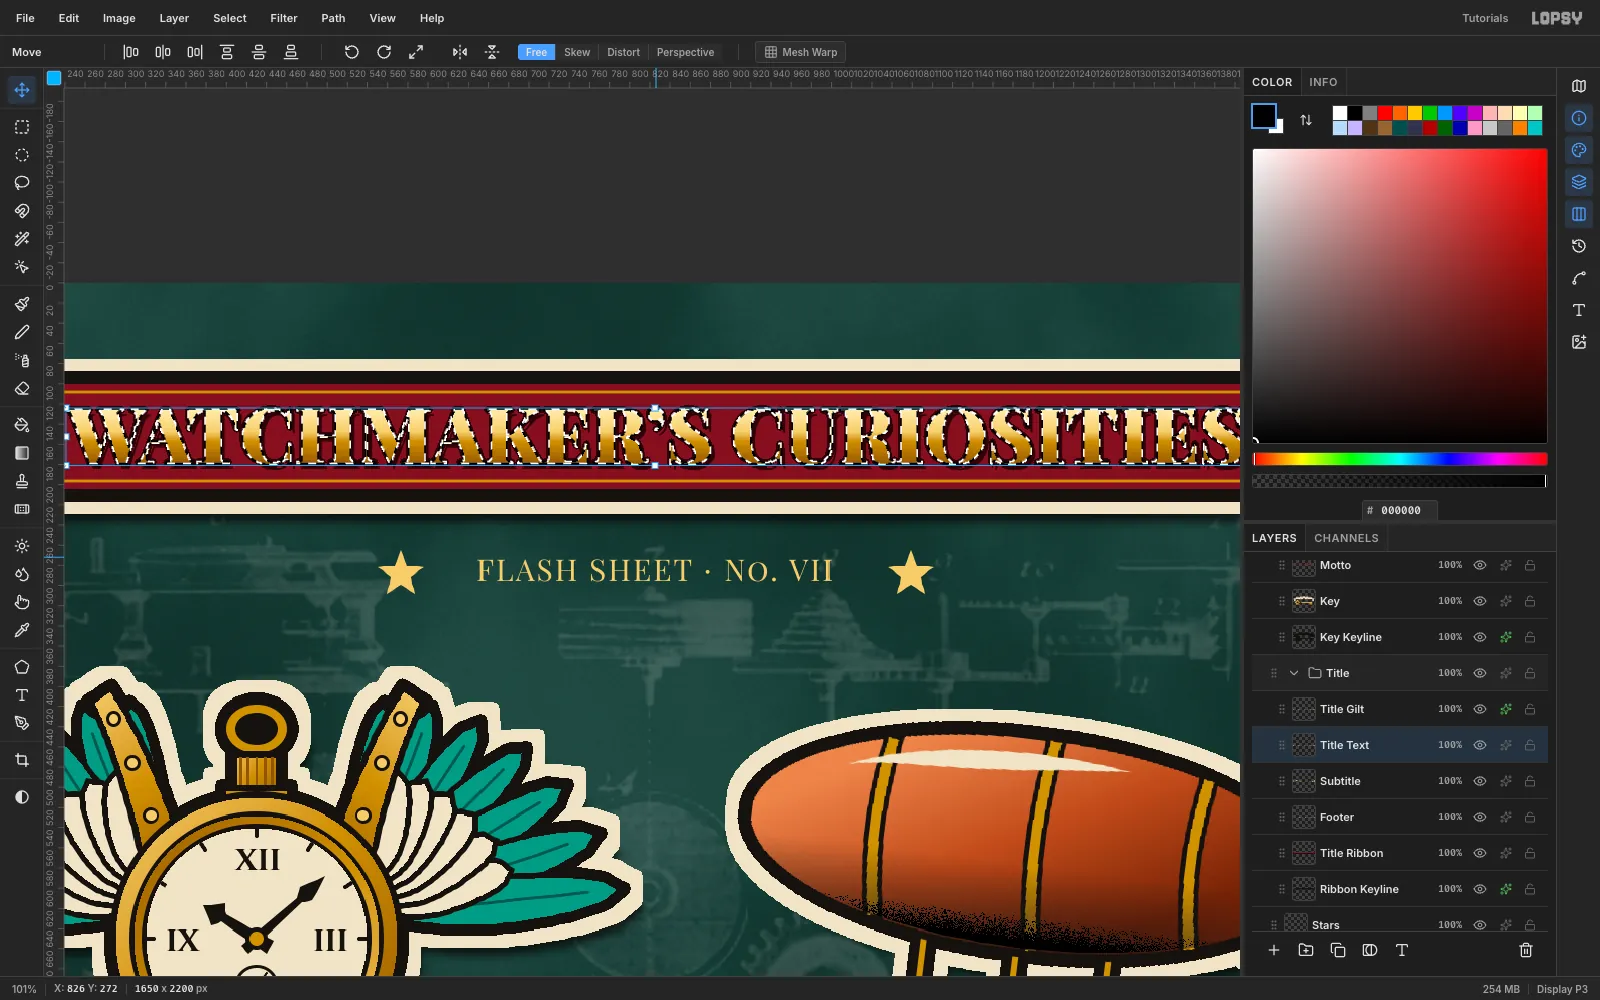
The ribbon is an oxblood band with brass rules and notched tails. Set the title in Playfair Display SC, Black, 76 px. Paste a curly apostrophe (’), because a straight tick looks cheap in a didone. Use Align center horizontally to centre it, then Move it between the rules.
To gild it:
- Cmd-click the text thumbnail and add a Title Gilt layer.
- Drag a four-stop gold gradient from the top of the letters to the bottom.
- Give the layer a 3 px dark Stroke and a hard 4 × 5 px Drop Shadow (Blur 0).
Set the subtitle and footer in Playfair Display SC Regular, with 2–3 px letter spacing.
-
Curve the motto along the banner
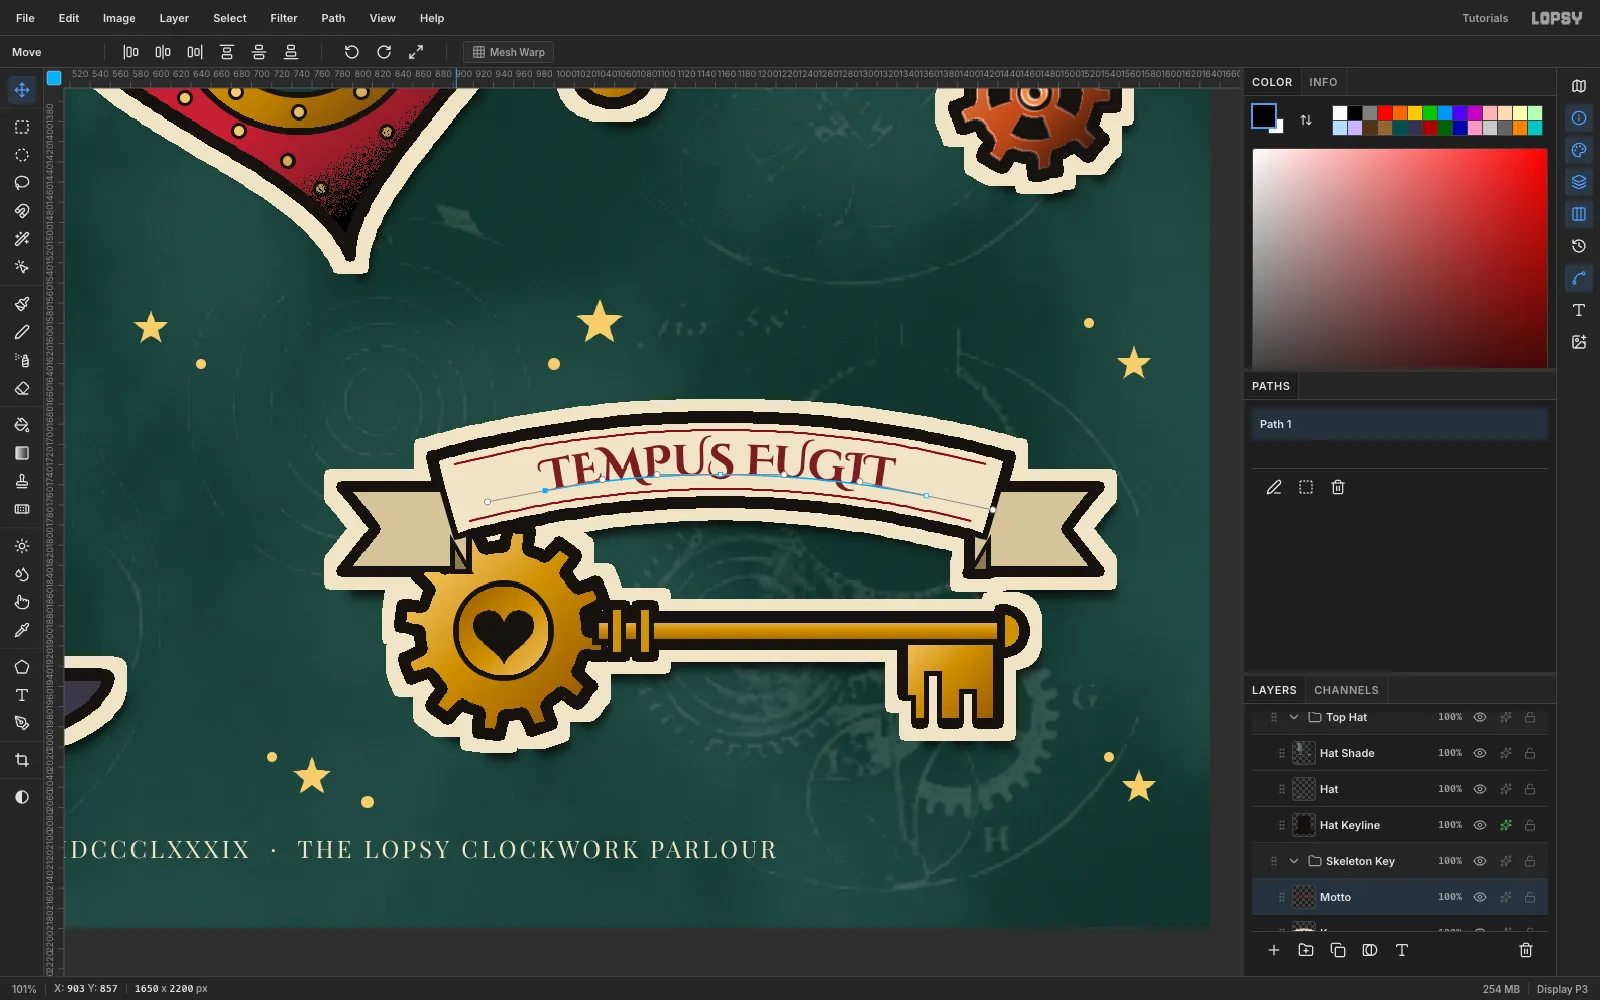
- Type TEMPUS FUGIT in Cinzel Decorative Bold at 42 px in oxblood, and note its width.
- Draw a three-anchor Pen arc, the same length plus a little slack, about 15 px below the banner's centre line, and click Commit path.
- With the text layer selected, pick the path in the Text options' Path menu.
The caps then sit centred between the rules, and the swashes stay clear of them.
-
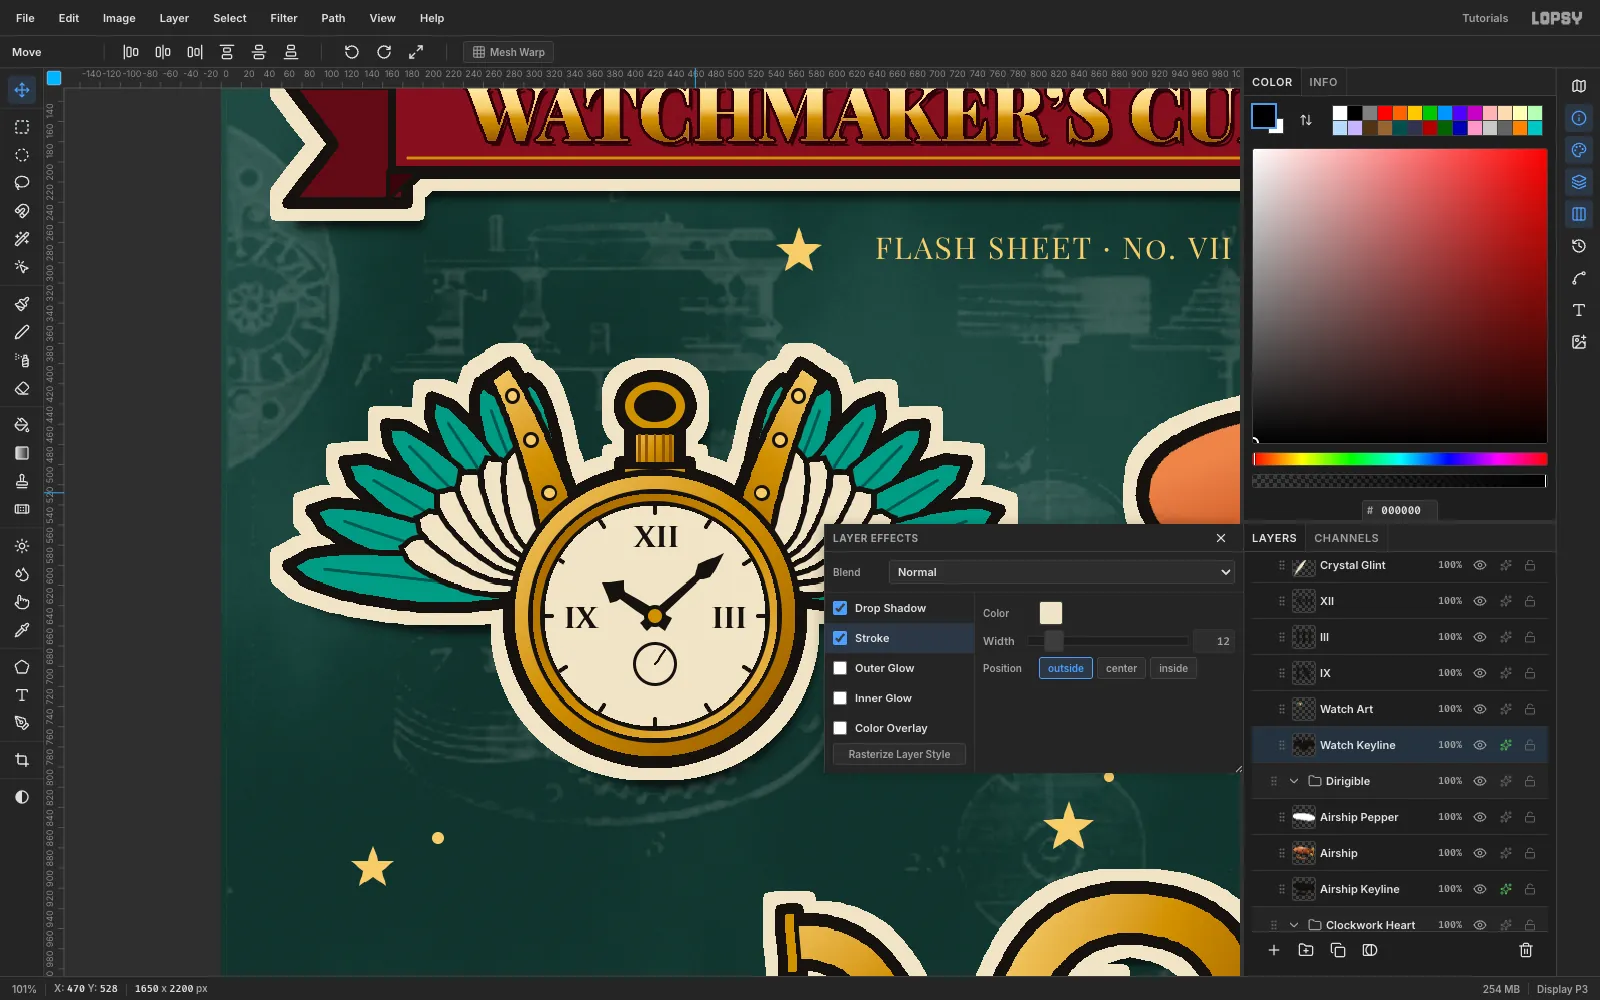
Give every piece a sticker halo
On each Keyline layer, open Layer effects:
- Stroke: cream
#EFE4C8, Width 12, Outside. - Drop Shadow:
#050706, 12 × 20, Blur 14, 75%.
The keyline gives the halo its clean outer edge, so the designs read as die-cut stickers on the dark sheet.
- Stroke: cream
-
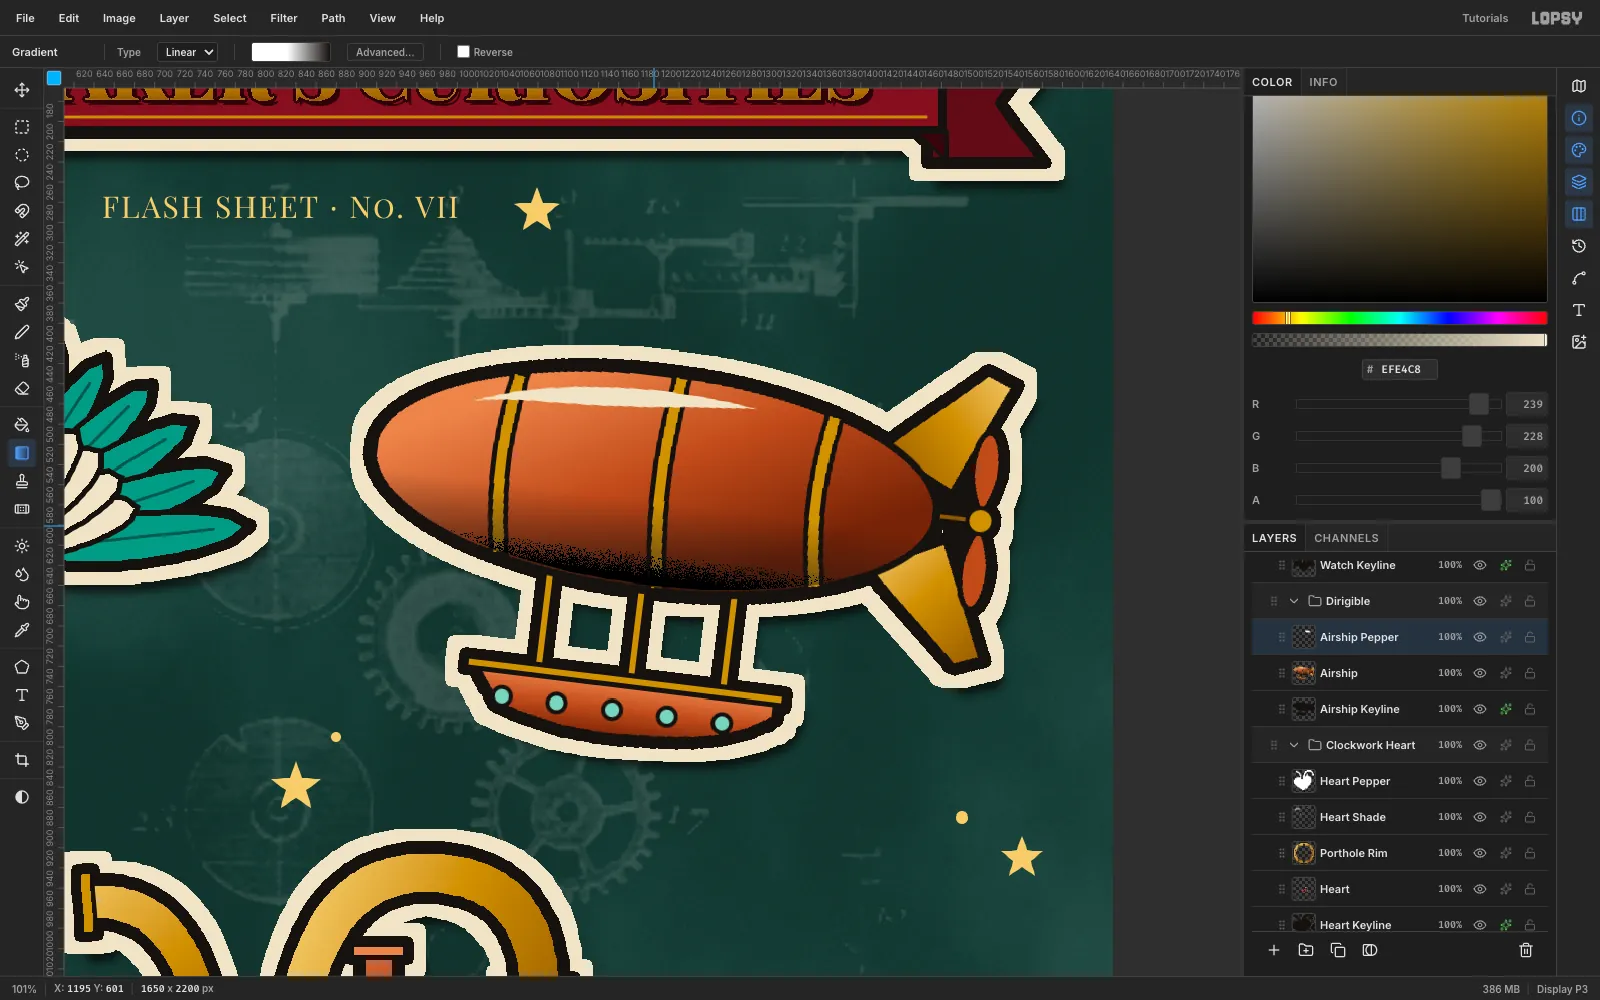
Pepper the shadows
Tattoo shading breaks up into dots instead of fading smoothly. On a new layer above the airship:
- Lasso the envelope and drag a white → white → black gradient toward the belly.
- Run Add Noise at 90, Mono.
- Run Filter → Threshold… at Level 128.
- Set the layer to Multiply.
The solid black at the edge breaks into pepper dots as it fades. Repeat on the heart's tip. Keep the selection tight: anything past the gradient's end turns solid black.
-
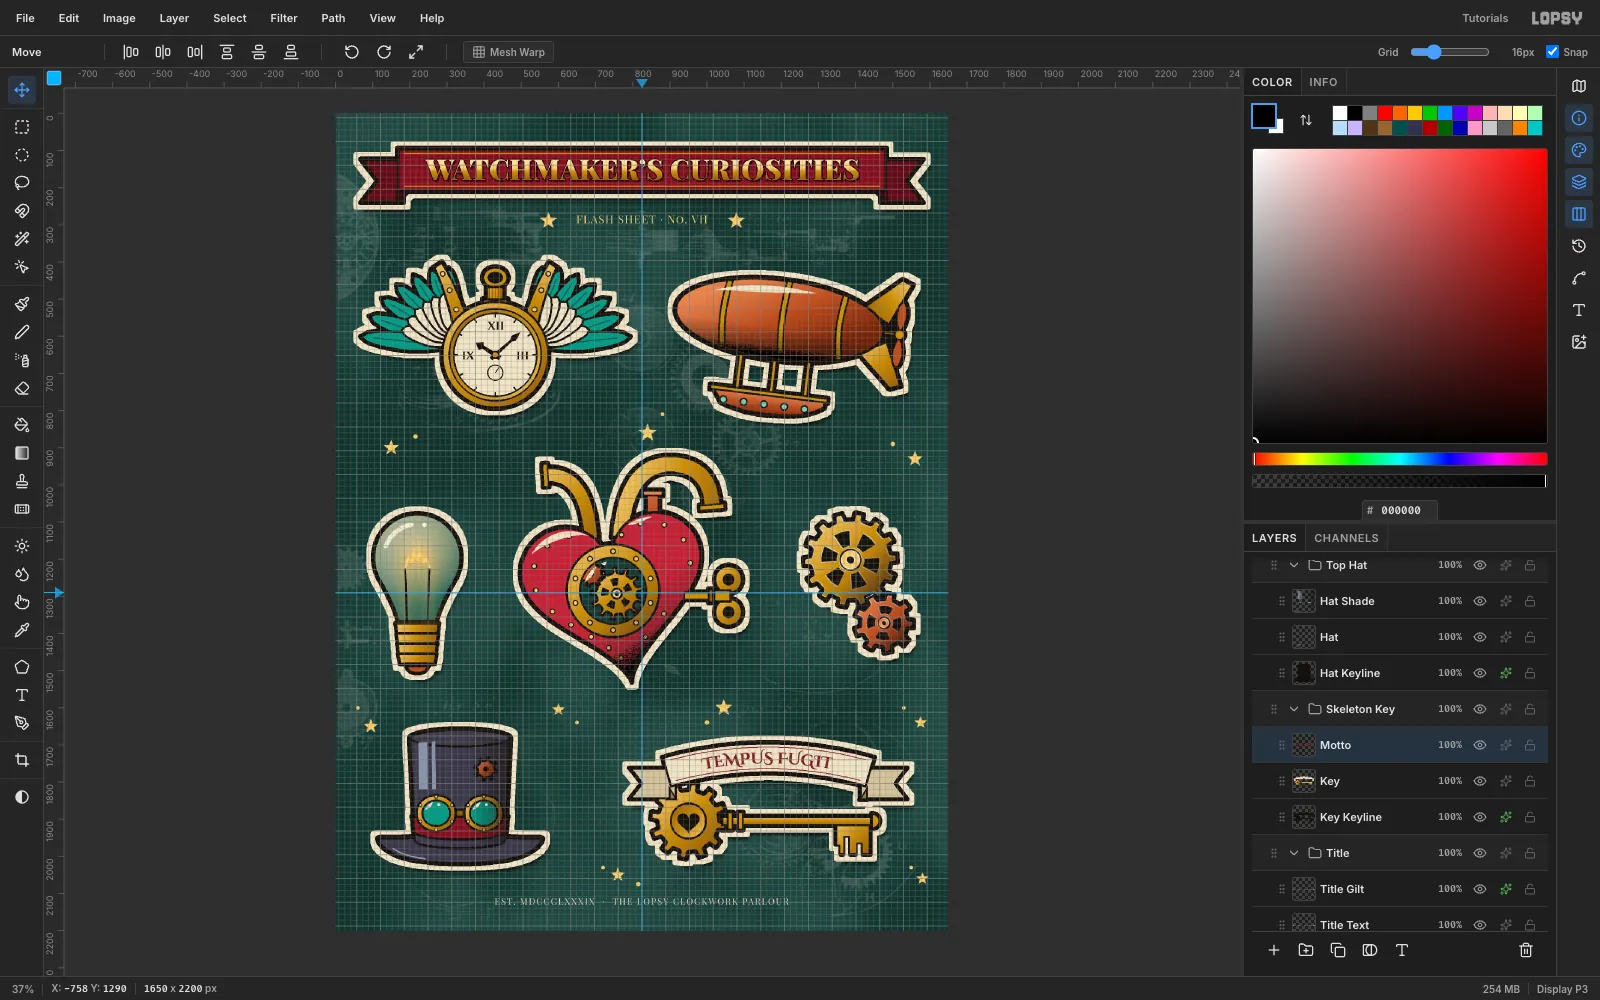
Check the balance with guides
Choose View → Show Grid. Click the top ruler at x 825 and the left ruler at the middle row to drop guides. Compare the gaps between the halos and the distance from each halo to the sheet edge. Here, the bulb floated alone while the heart crowded the cogs.
-
Rebalance the rows
Fix the spacing by moving whole groups:
- Clockwork Heart: 68 px left.
- Top Hat: 45 px left.
- Edison Bulb: 10 px right.
- Cogs: scaled up slightly with a Cmd-corner drag, then their keyline refilled.
Then turn the grid off, choose Edit → Clear Guides, and use File → Quick Export PNG.