Design a Drippy Skate Snack Shack Menu
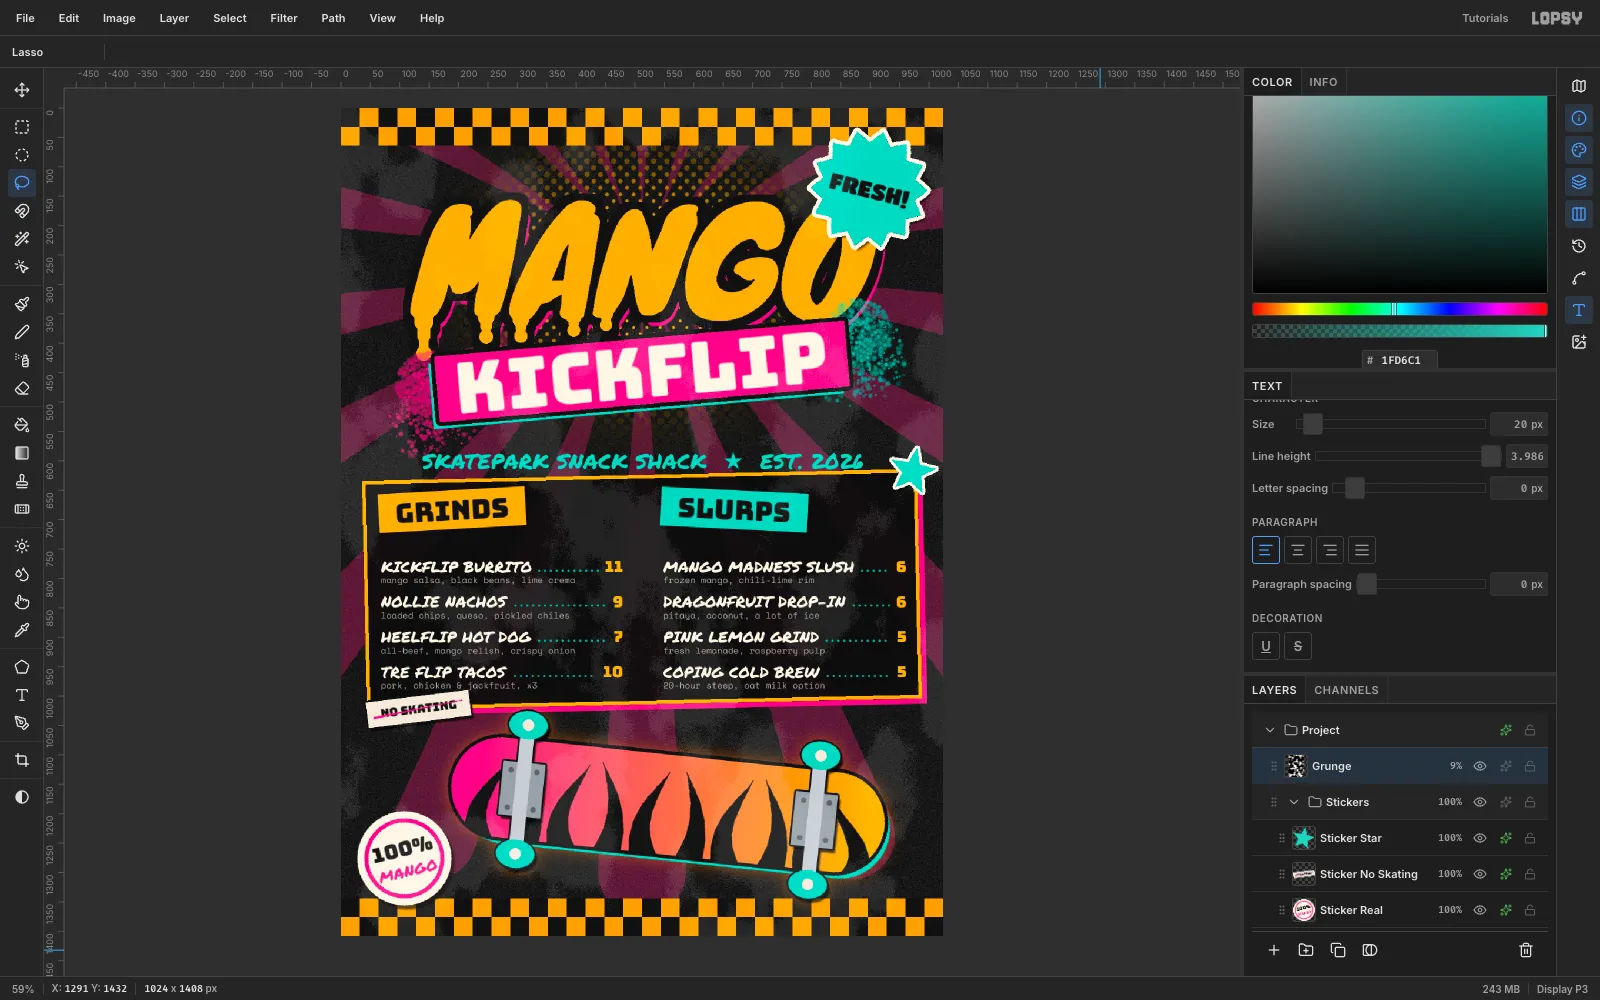
Make a skatepark snack-shack menu in Lopsy with grip-tape texture, a sunburst, melting title lettering, a flame-graphic skateboard and die-cut stickers.
-
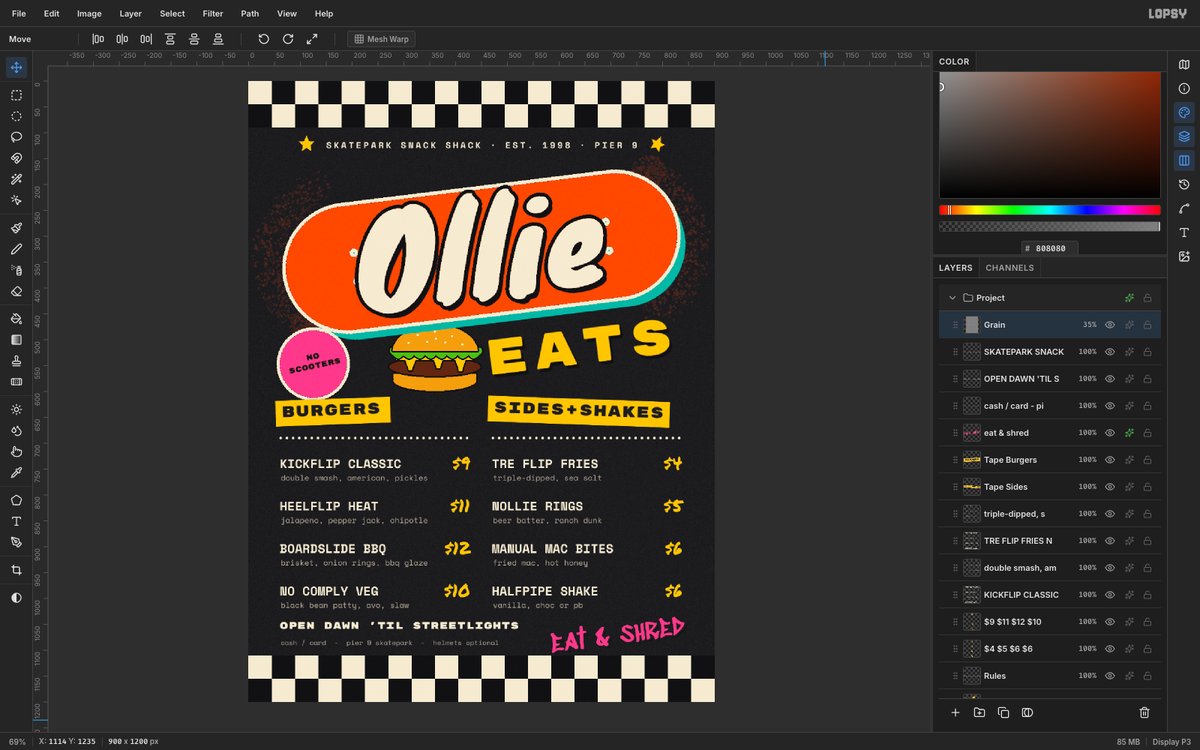
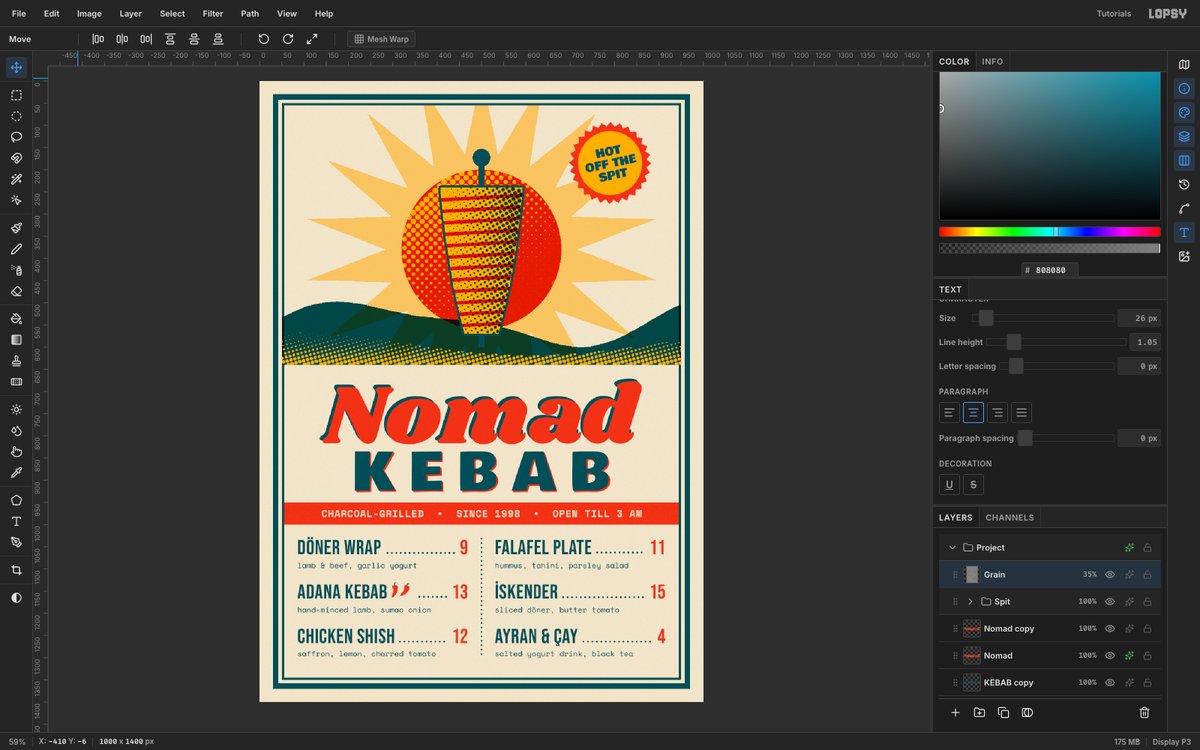
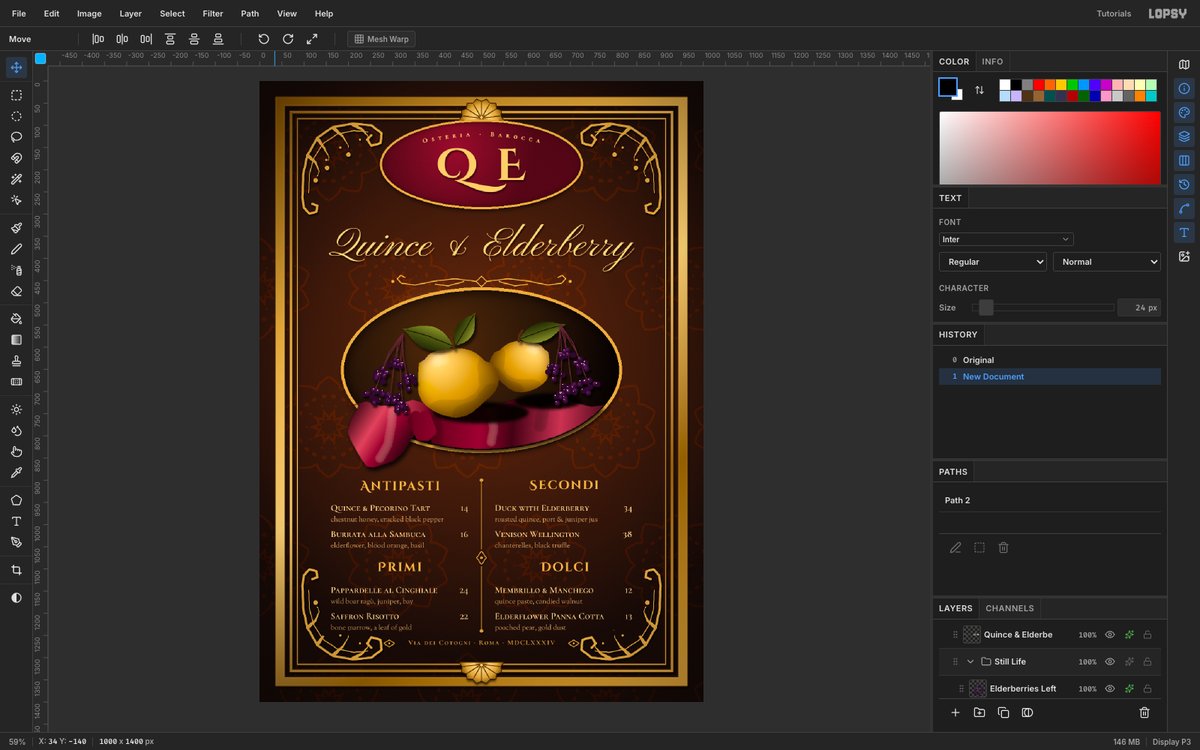
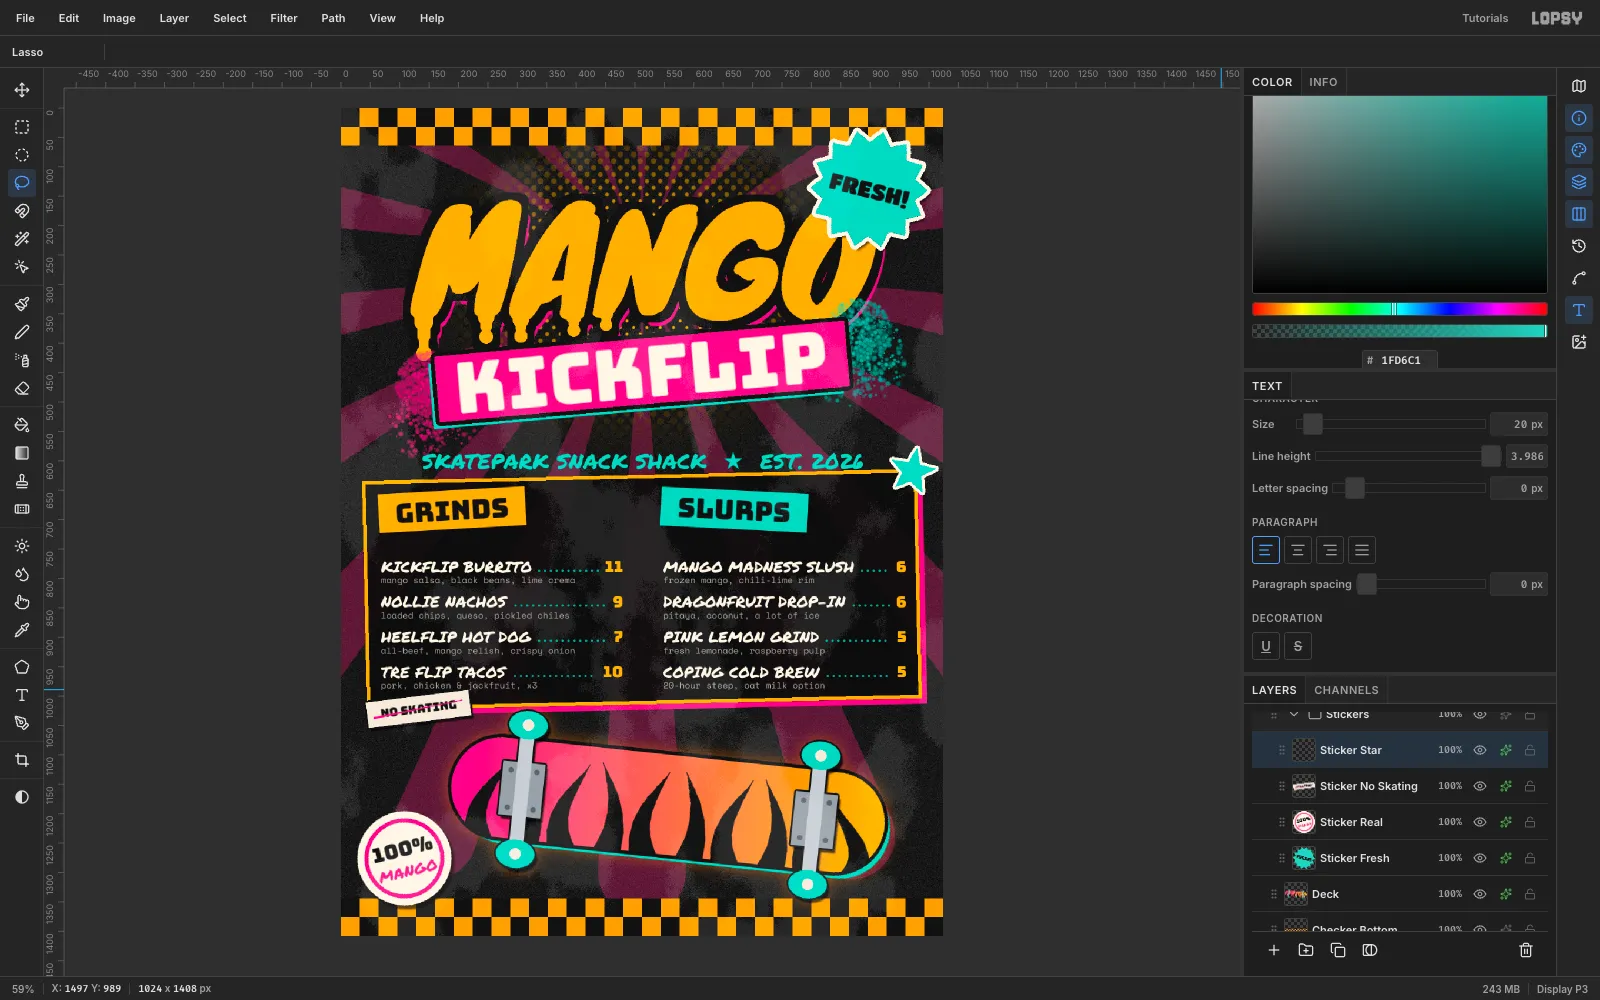
Look at the finished menu
Skate graphics borrow from the shop wall:
- grip-tape grain and Vans-style checkerboards
- loud title lettering with hard offset shadows
- flames on the deck
- stickers slapped on at an angle
In this tutorial you'll build a 1024 × 1408 menu for Mango Kickflip, a snack shack at the skatepark. Along the way you'll use:
- Add Noise, Halftone, Clouds and Threshold
- copy and paste on a snapping grid
- a tapered brush with Radial Symmetry
- Google fonts, point text and right-aligned area text
- the Move tool's scale and rotate handles
- Stroke, Drop Shadow, Outer Glow and Color Overlay effects
- the Spray tool, a Gradient clipped by the Magic Wand, and a layer group
The palette is grip black
#171717, mango#FFB321, checker orange#FFA51F, hot pink#FF2E88, teal#1FD6C1and cream#FFF6E6.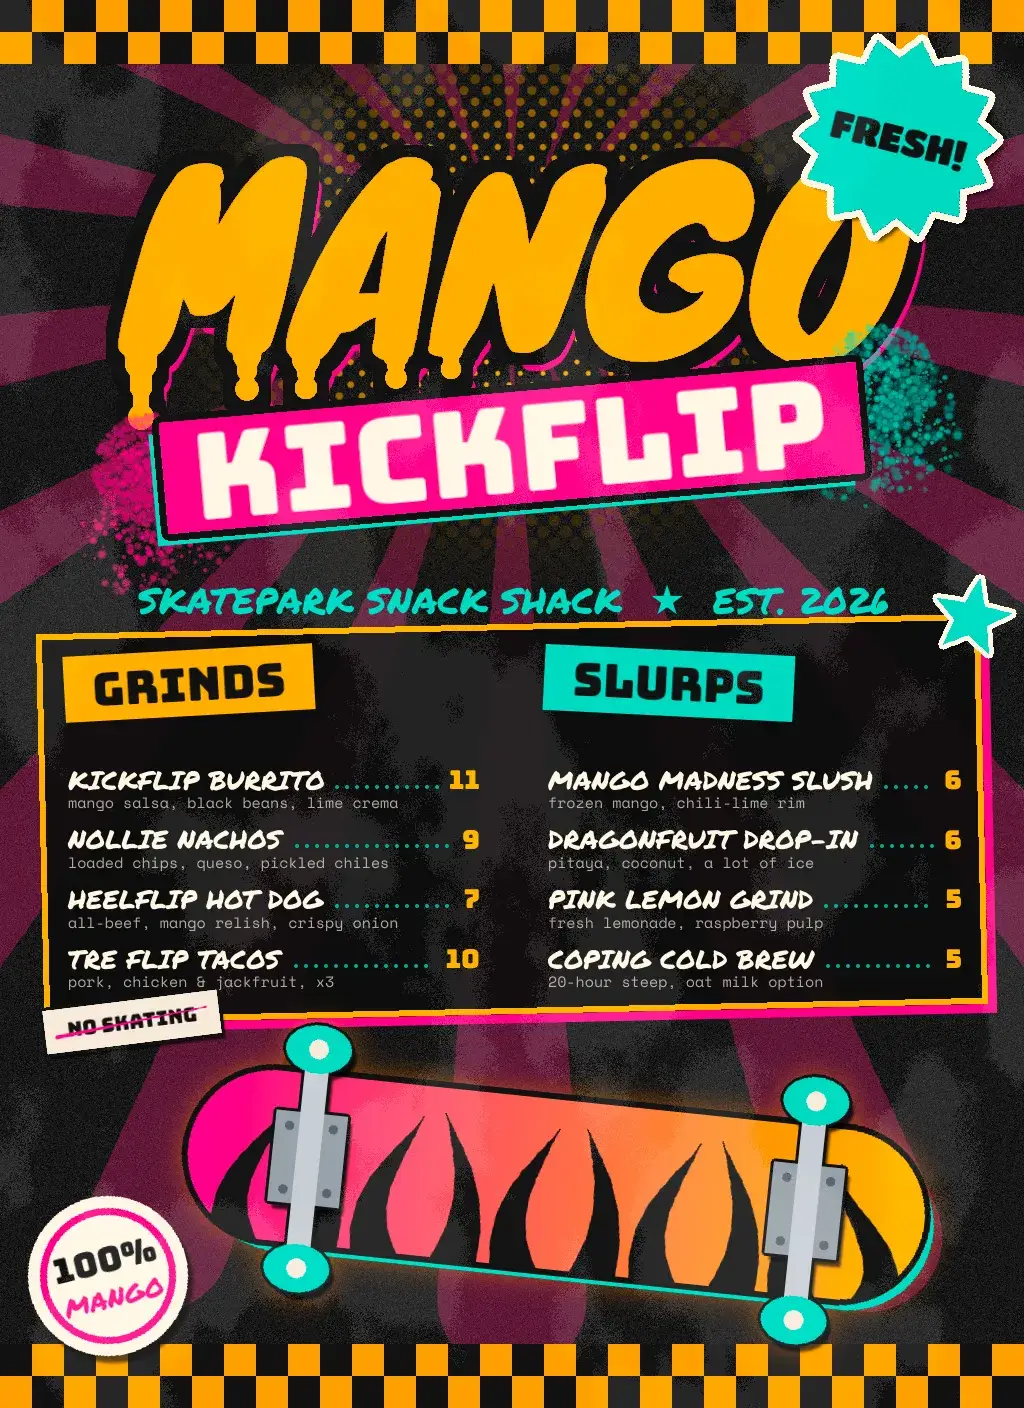
-
Make a grip-tape background
Open Lopsy. In New Document, set Width
1024and Height1408, then click Create.Rename
Layer 1toGrip Tape. Set the foreground to#171717and choose Edit → Fill. Then choose Filter → Add Noise, pick Mono and Gaussian, set Amount to45and click Apply. You get the fine sandpaper grain of grip tape.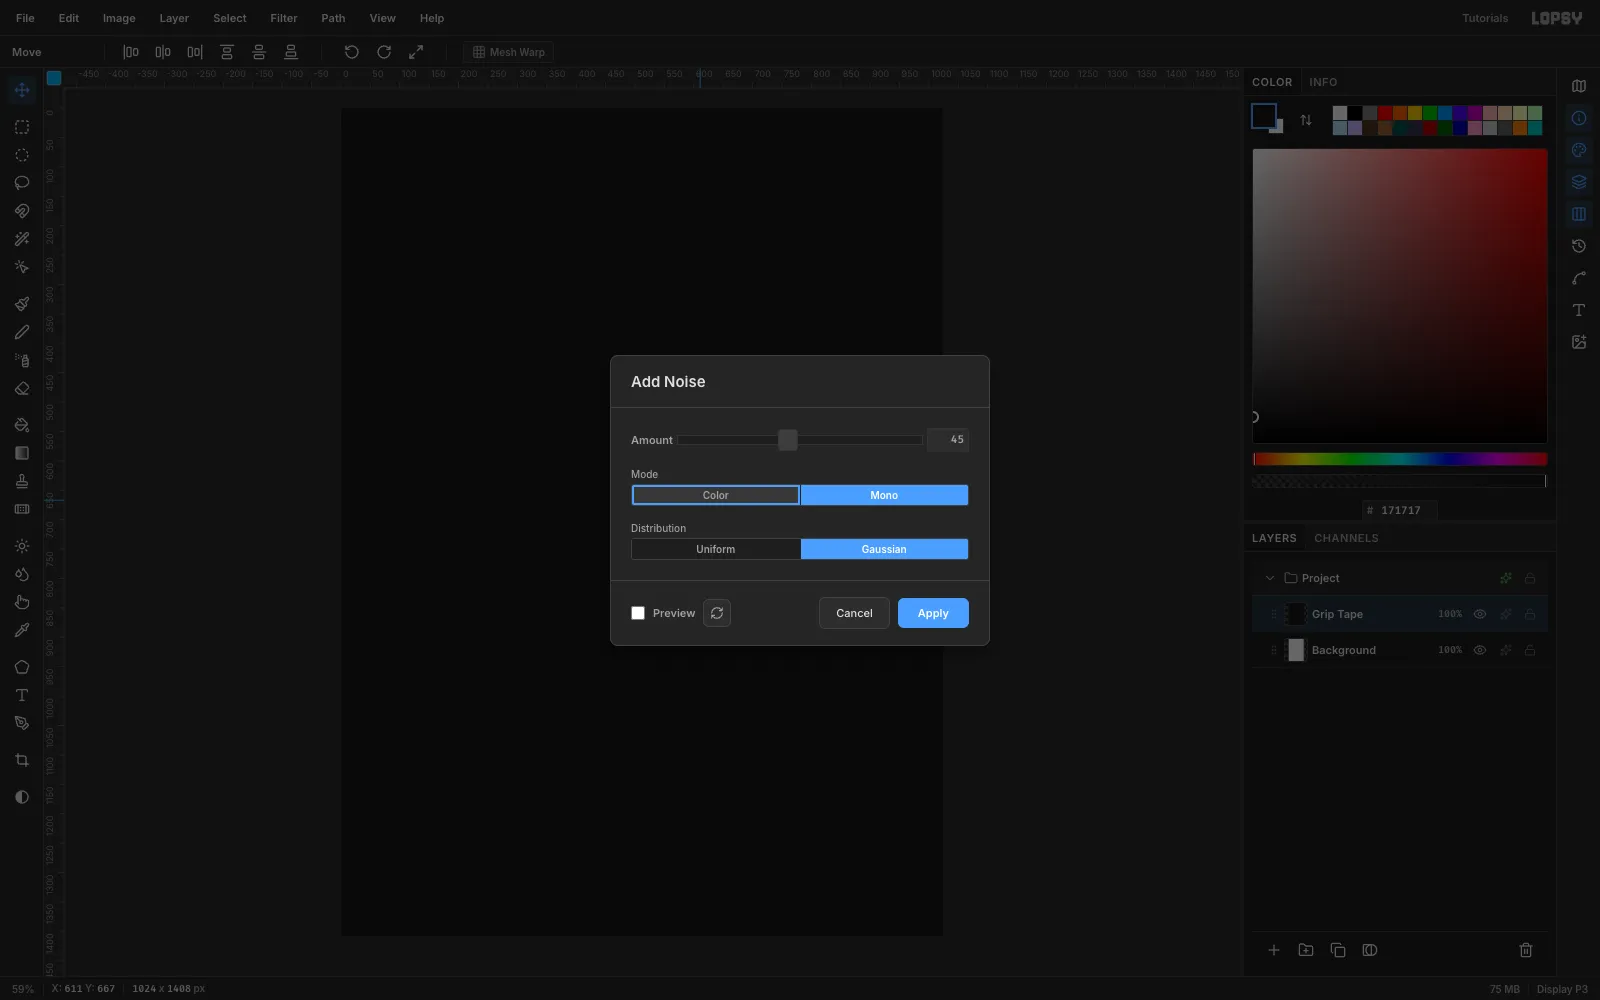
-
Double a checker tile across the top
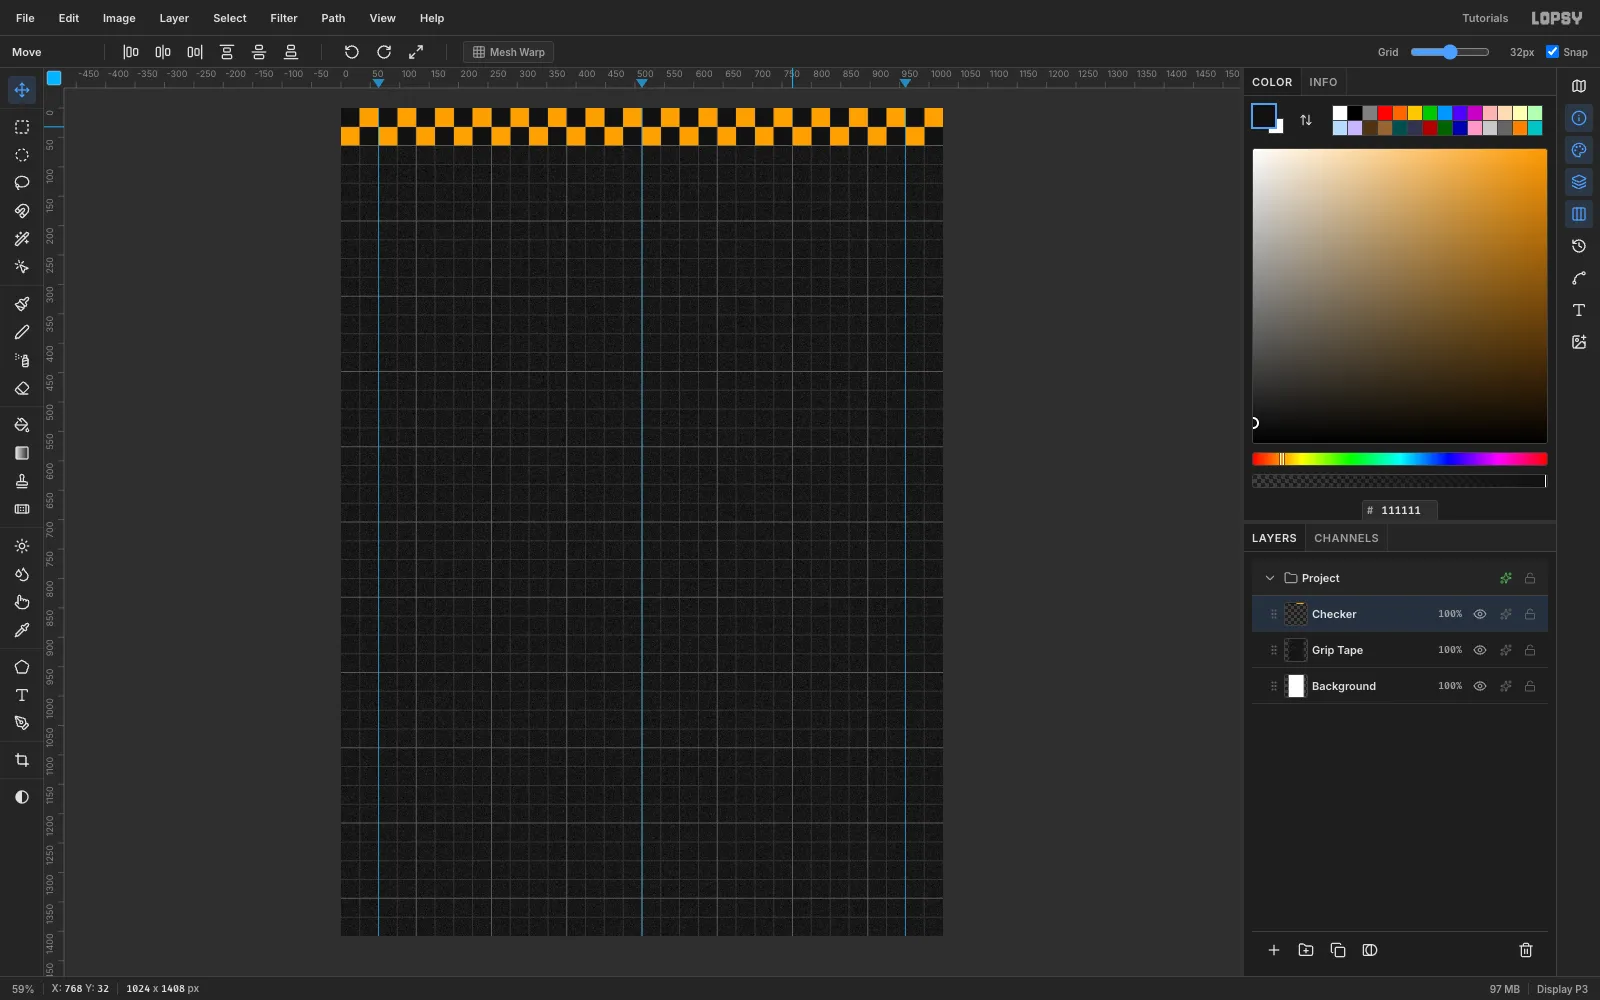
Choose View → Show Grid and drag the Grid slider in the options bar to
32px. Snap switches on with the grid.Add a layer named
Checker:- Marquee the strip from
0,0to1024,64and fill it with#FFA51F. - Fill two black
#111111squares:0,0to32,32and32,32to64,64. That's a 64 × 64 tile. - Marquee the tile, press Cmd+C then Cmd+V, and drag the paste 64 px to the right with the Move tool (V). The grid snaps it into place.
- Press Cmd+D and Cmd+E to merge it down.
Repeat with a 128, 256 and 512 px wide marquee. Four doublings fill the row.
- Marquee the strip from
-
Duplicate the band to the bottom
Click Duplicate Layer in the Layers panel, then click the copy's row. With the Move tool, drag it down until it snaps to the bottom edge (
y = 1344). Rename itChecker Bottom.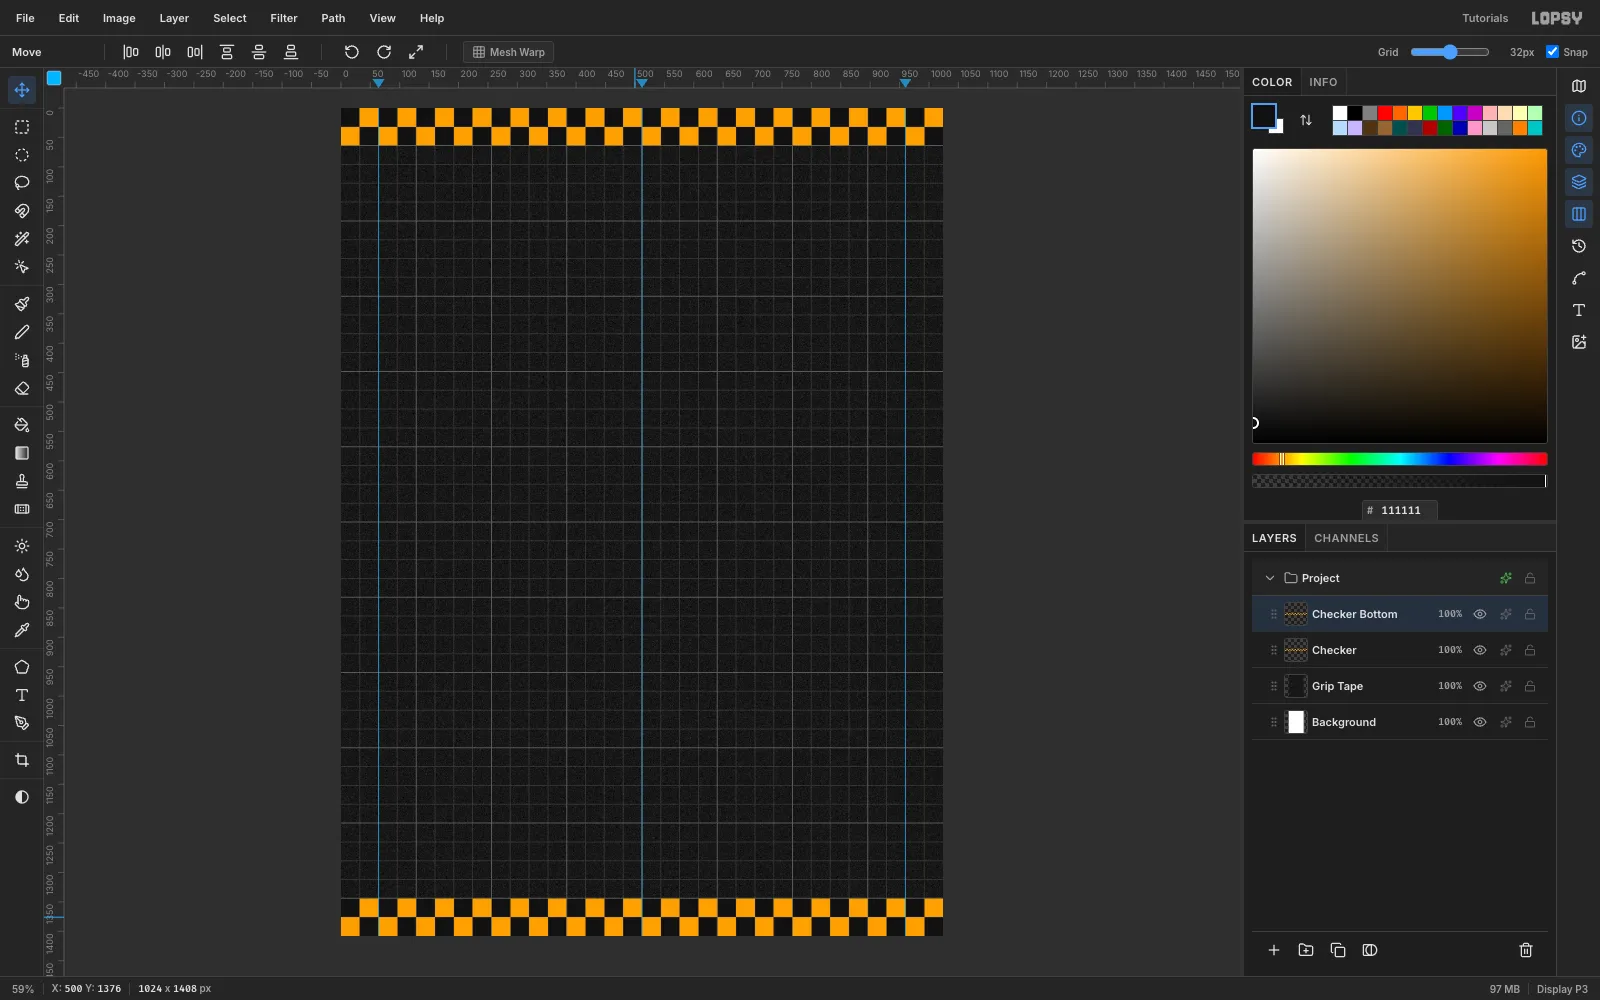
-
Paint a sunburst with radial symmetry
Select
Grip Tapeand add a layer namedRays. Choose the Brush (B):- Size
150, Hardness100 - in the Brushes modal, Taper
950and Spacing5
Click Radial Symmetry in the options bar and set Segments to
18. Cmd-click the canvas at about512,260to move the symmetry centre there.Set the foreground to
#FF2E88. Drag one stroke from near the bottom of the canvas straight up to the centre. The taper narrows each ray to a point.Turn Radial Symmetry off, then set the
Rayslayer's opacity to28%.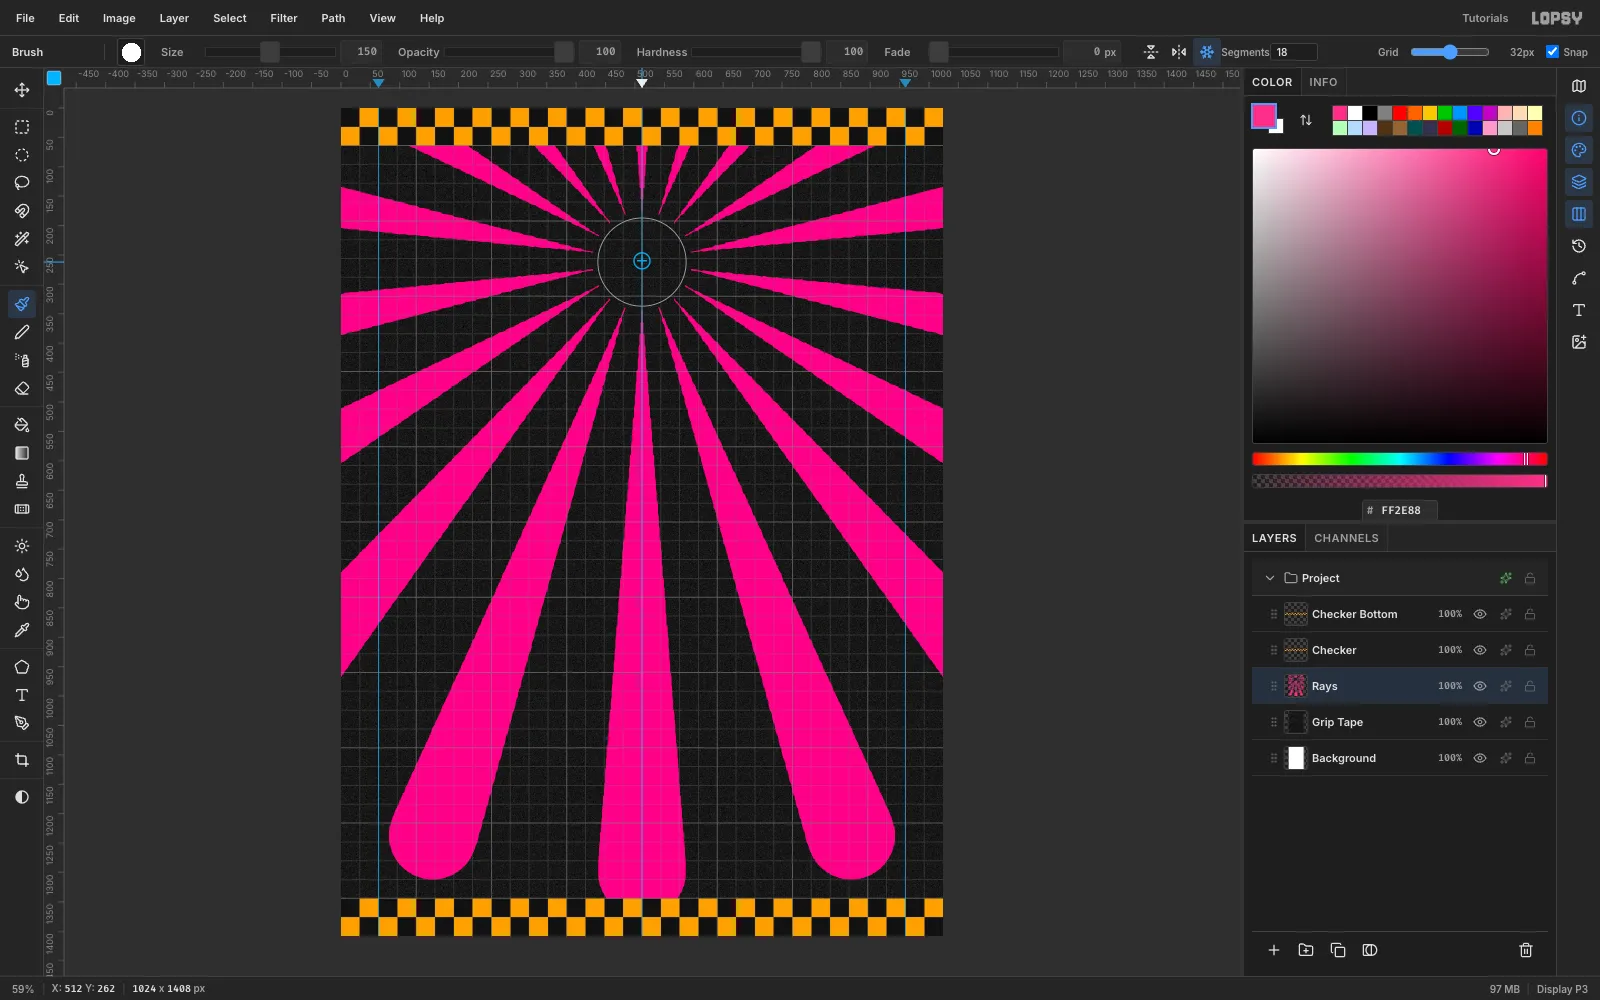
- Size
-
Add a halftone glow behind the title
Add a layer named
Halftone Glow. Draw an Elliptical Marquee from about212,70to812,510, fill it with#FFB321and deselect.Apply Filter → Gaussian Blur at Radius
70. Then apply Filter → Halftone with:- Dot Size
16 - Density
1 - Angle
45 - Softness
1
The blurred edge turns into dots that shrink as they fade.
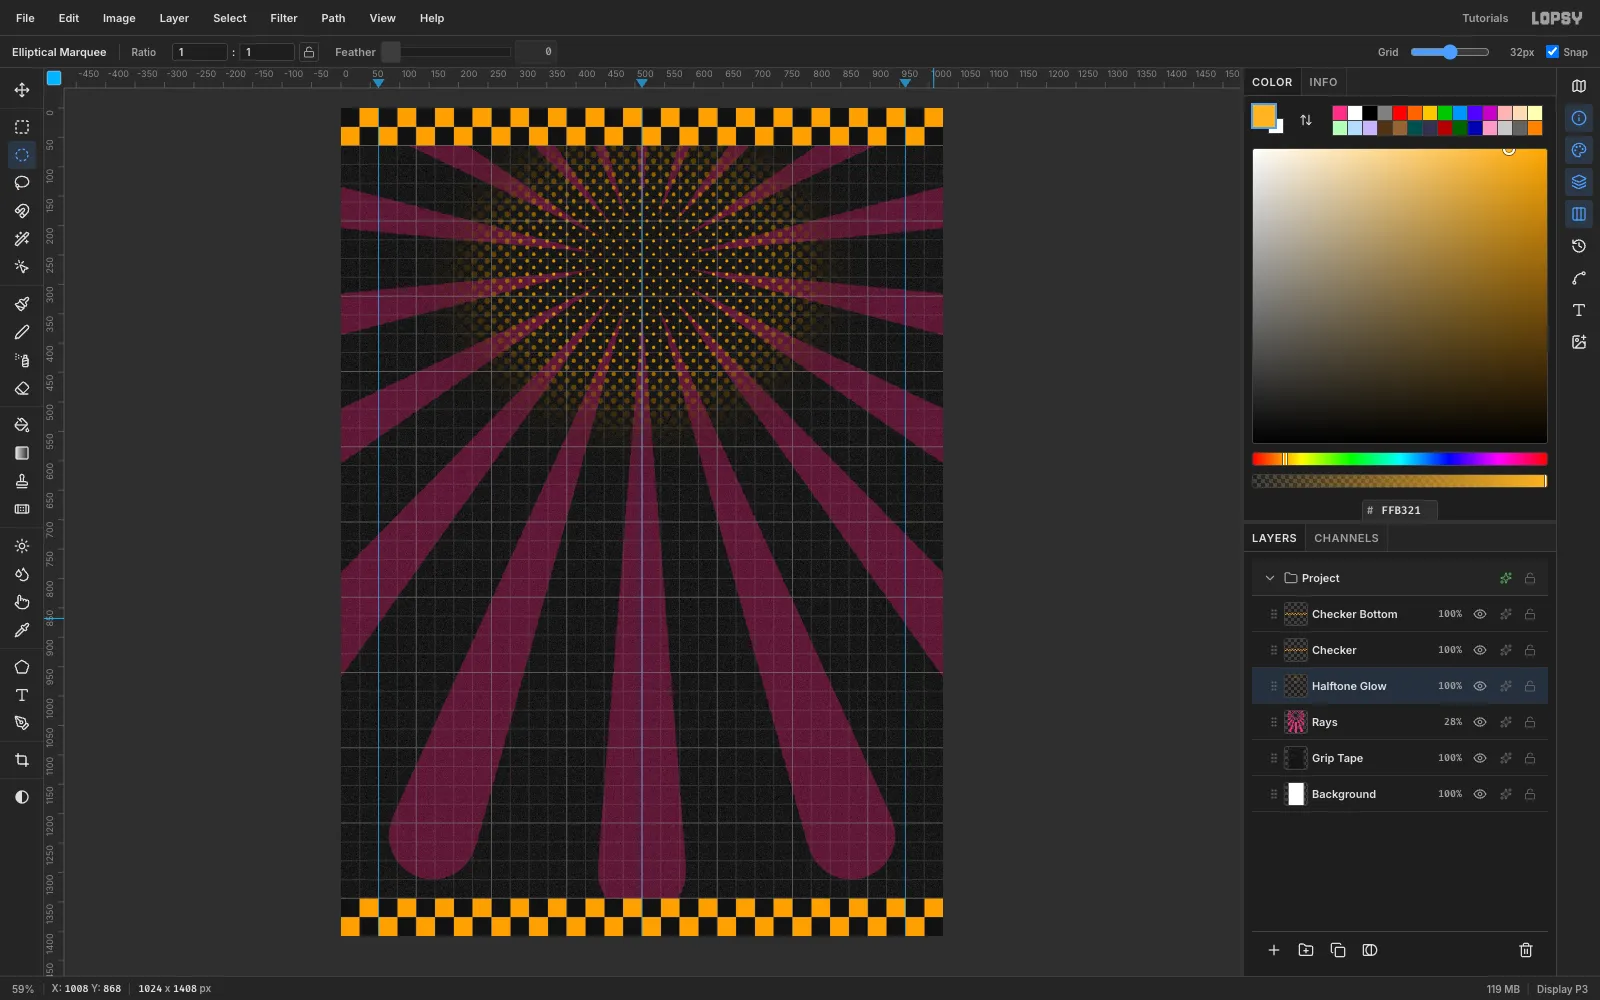
- Dot Size
-
Set the MANGO title
Choose the Text tool (T), set Size to
230and the font to Knewave, and set the foreground to#FFB321. Click near110,100and typeMANGO. Press Tab to commit, then drag it with Move until it's centred.Open the layer's effects with the ✦ button on its row:
- Stroke:
#111111, Width12 - Drop Shadow:
#FF2E88, Offset X14, Offset Y18, Blur0, Spread10, Opacity100
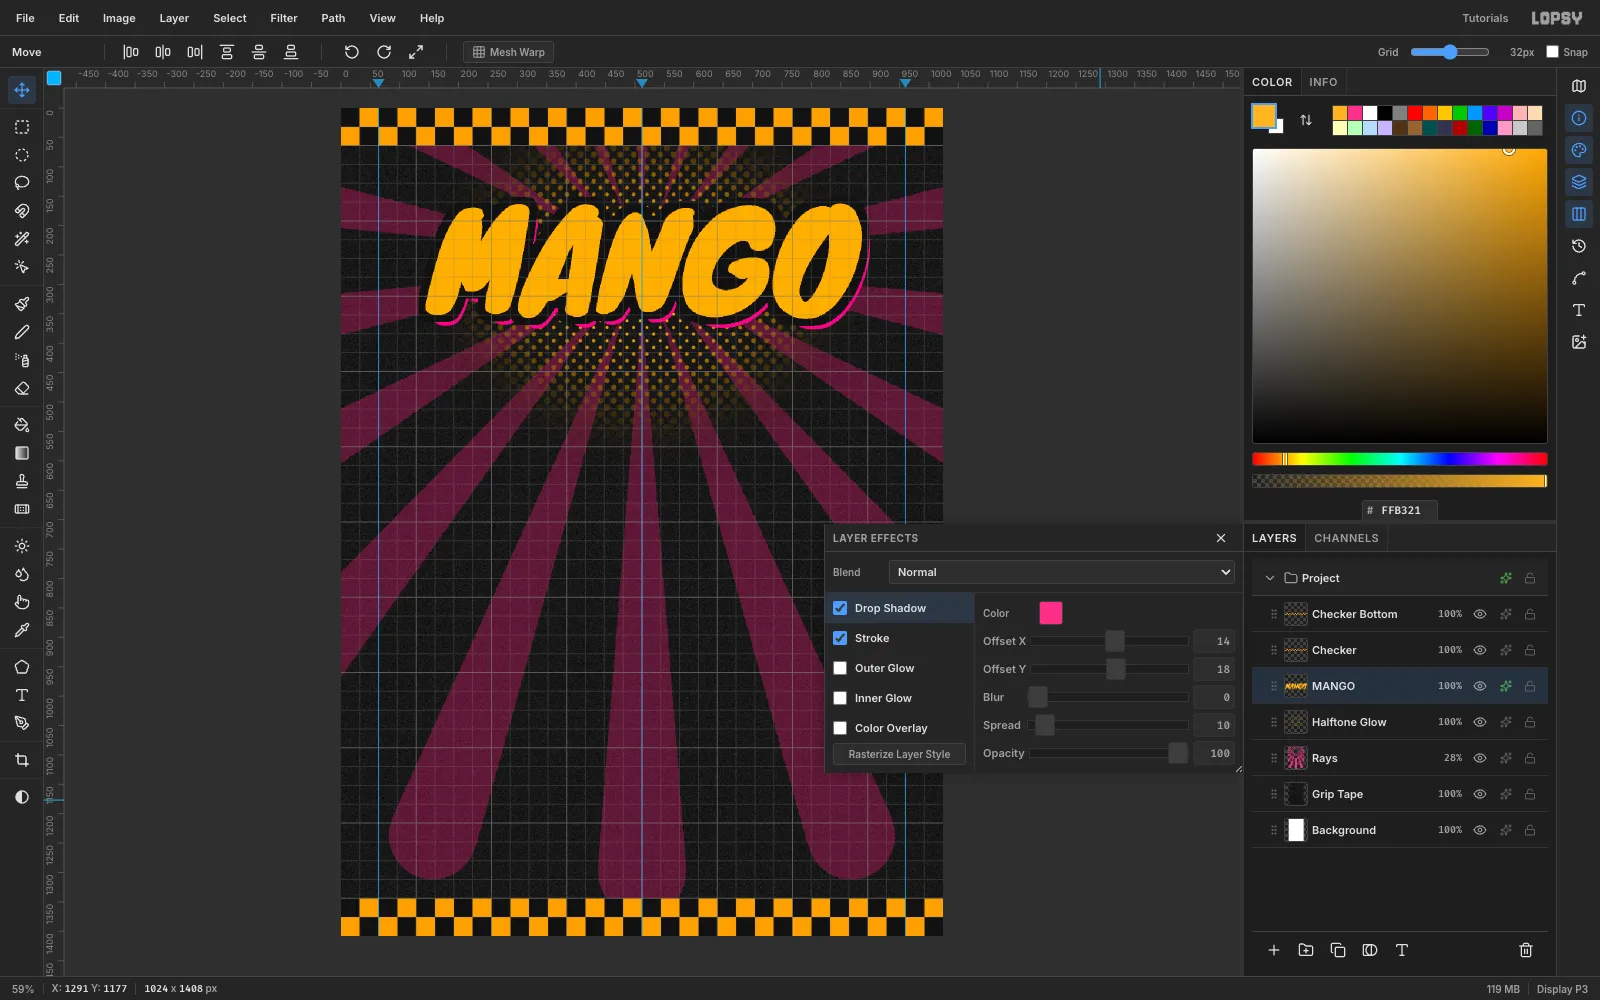
- Stroke:
-
Scale the KICKFLIP type
Select a raster layer, add a layer named
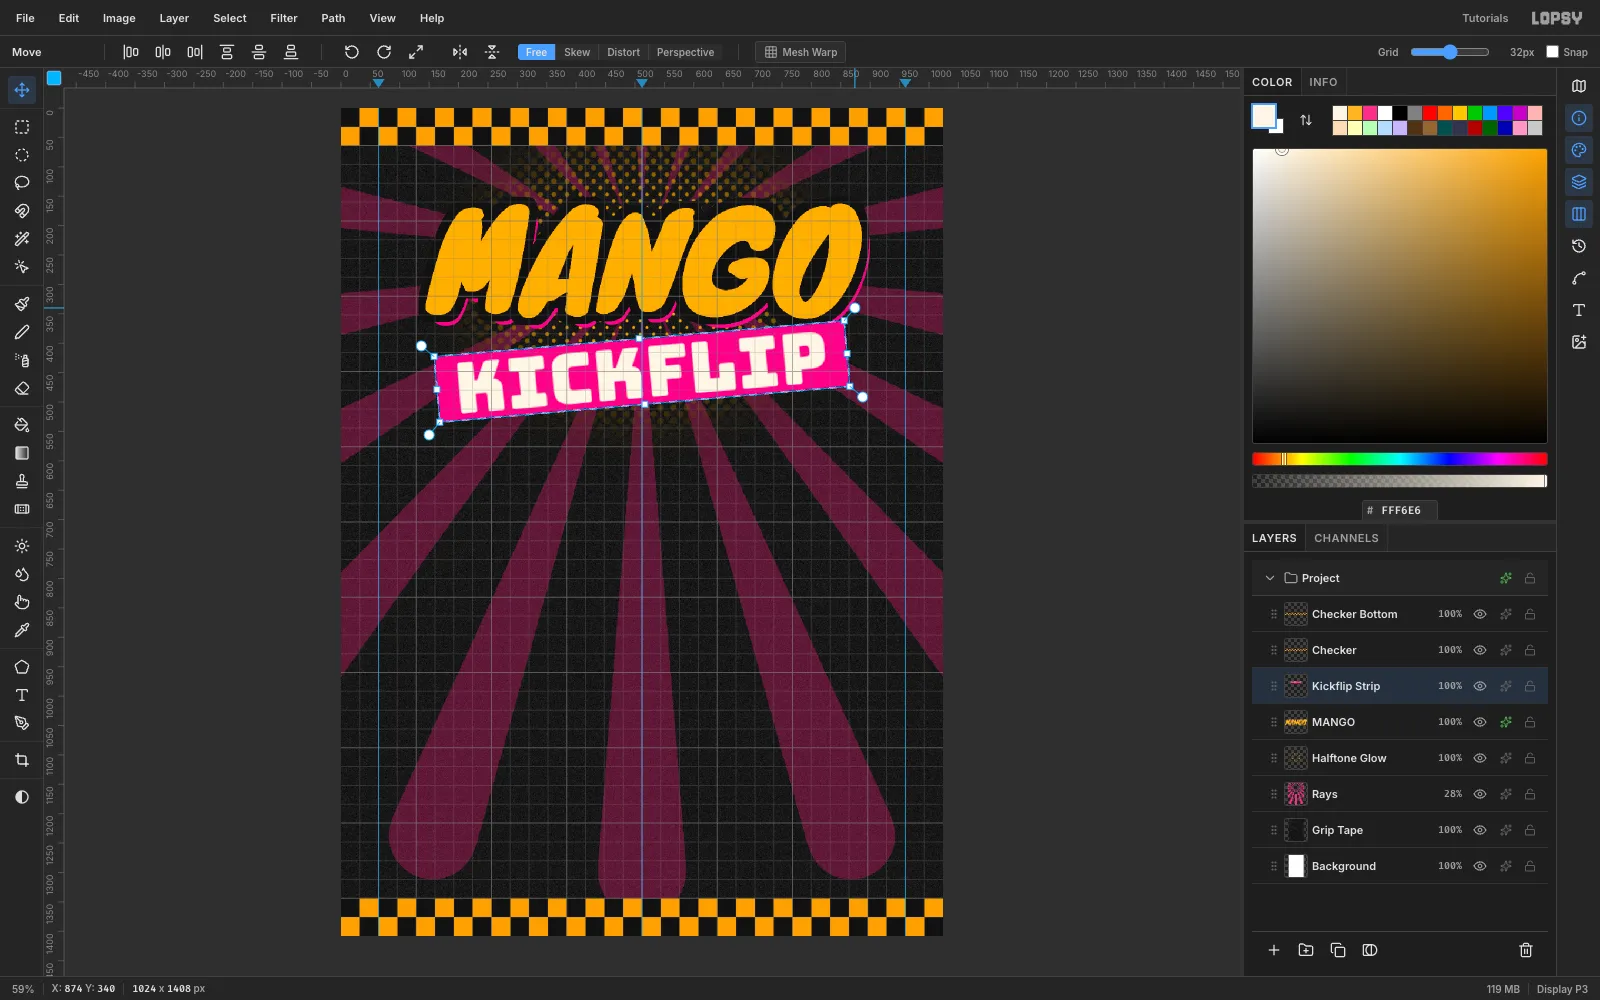
Kickflip Strip, and fill a marquee from162,392to862,504with#FF2E88.Set cream
#FFF6E6Bungee type at92and typeKICKFLIPin empty space lower down. Click Rasterize Layer at the bottom of the Layers panel.Marquee the word, switch to Move, and Shift-drag the bottom-right handle out to about 130%. Press Cmd+D to commit the scale.
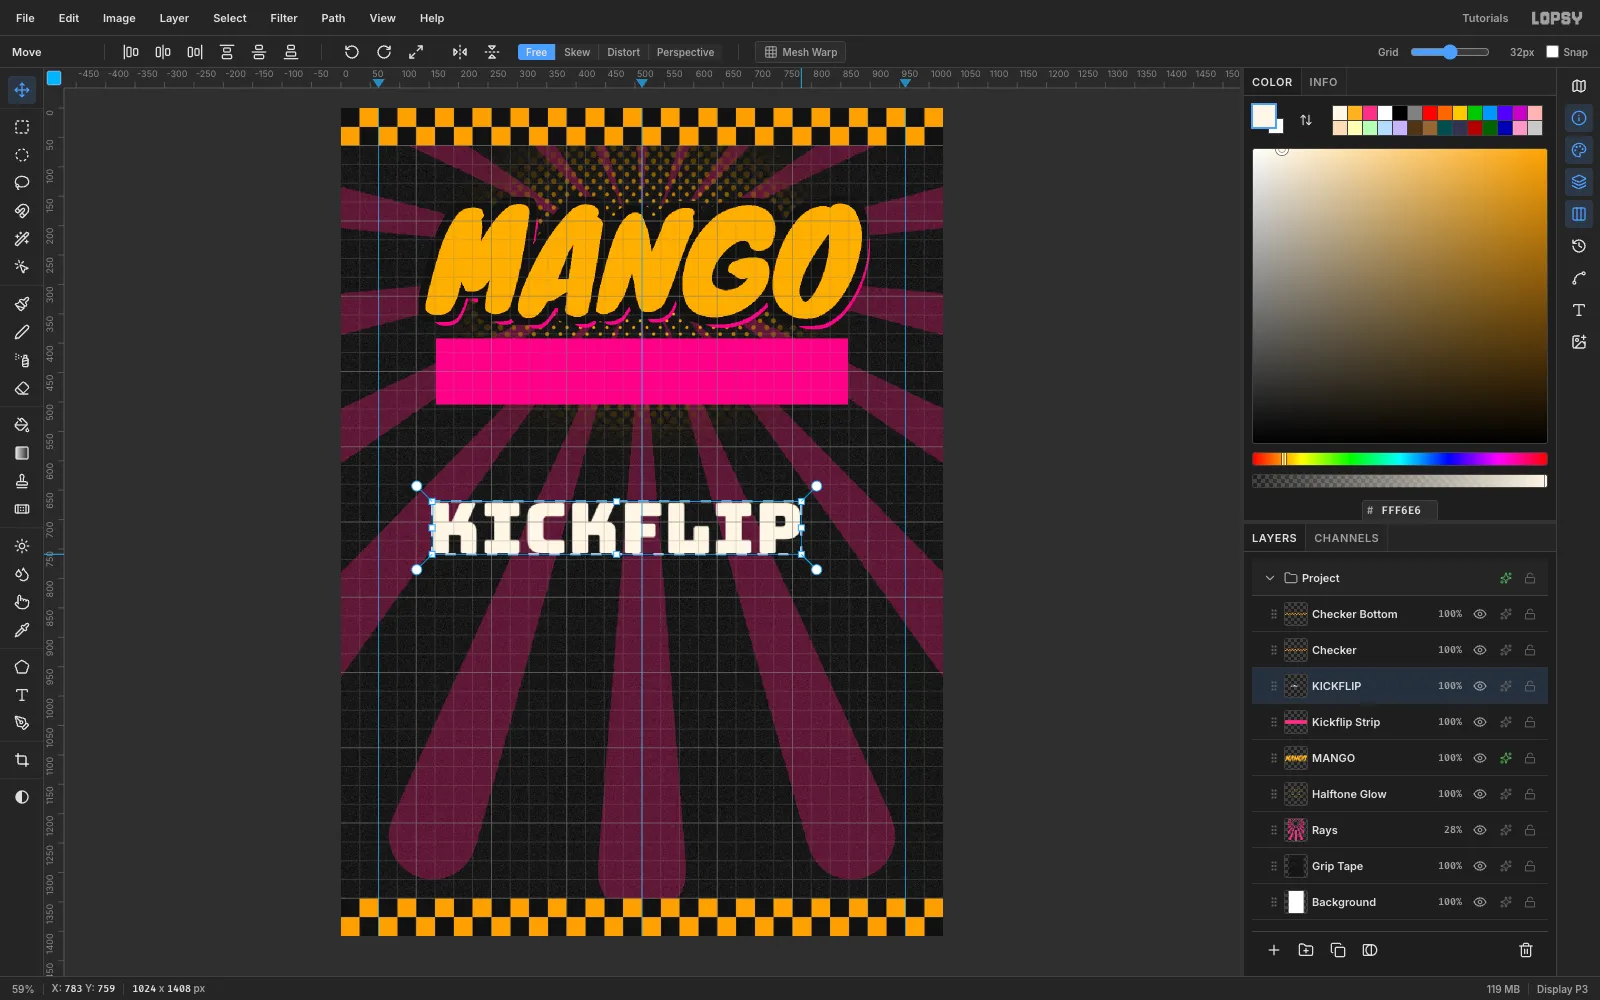
-
Merge and rotate the bar
Drag
KICKFLIPonto the centre of the pink strip and press Cmd+E to merge it down. Marquee the whole bar, then drag just outside a corner handle to rotate it about 5° so it rises to the right. Press Cmd+D.The bar overlaps the bottom of MANGO like a slapped-on sticker.
-
Style the bar and add a tagline
Give
Kickflip Stripthese effects:- Stroke:
#111111, Width7 - Drop Shadow:
#1FD6C1, Offset X-10, Offset Y12, Blur0, Spread6
Then type the tagline in Permanent Marker, size
36, colour#1FD6C1:SKATEPARK SNACK SHACK ★ EST. 2026. Paste it with Cmd+V so the ★ comes through. Centre it under the bar at abouty = 584.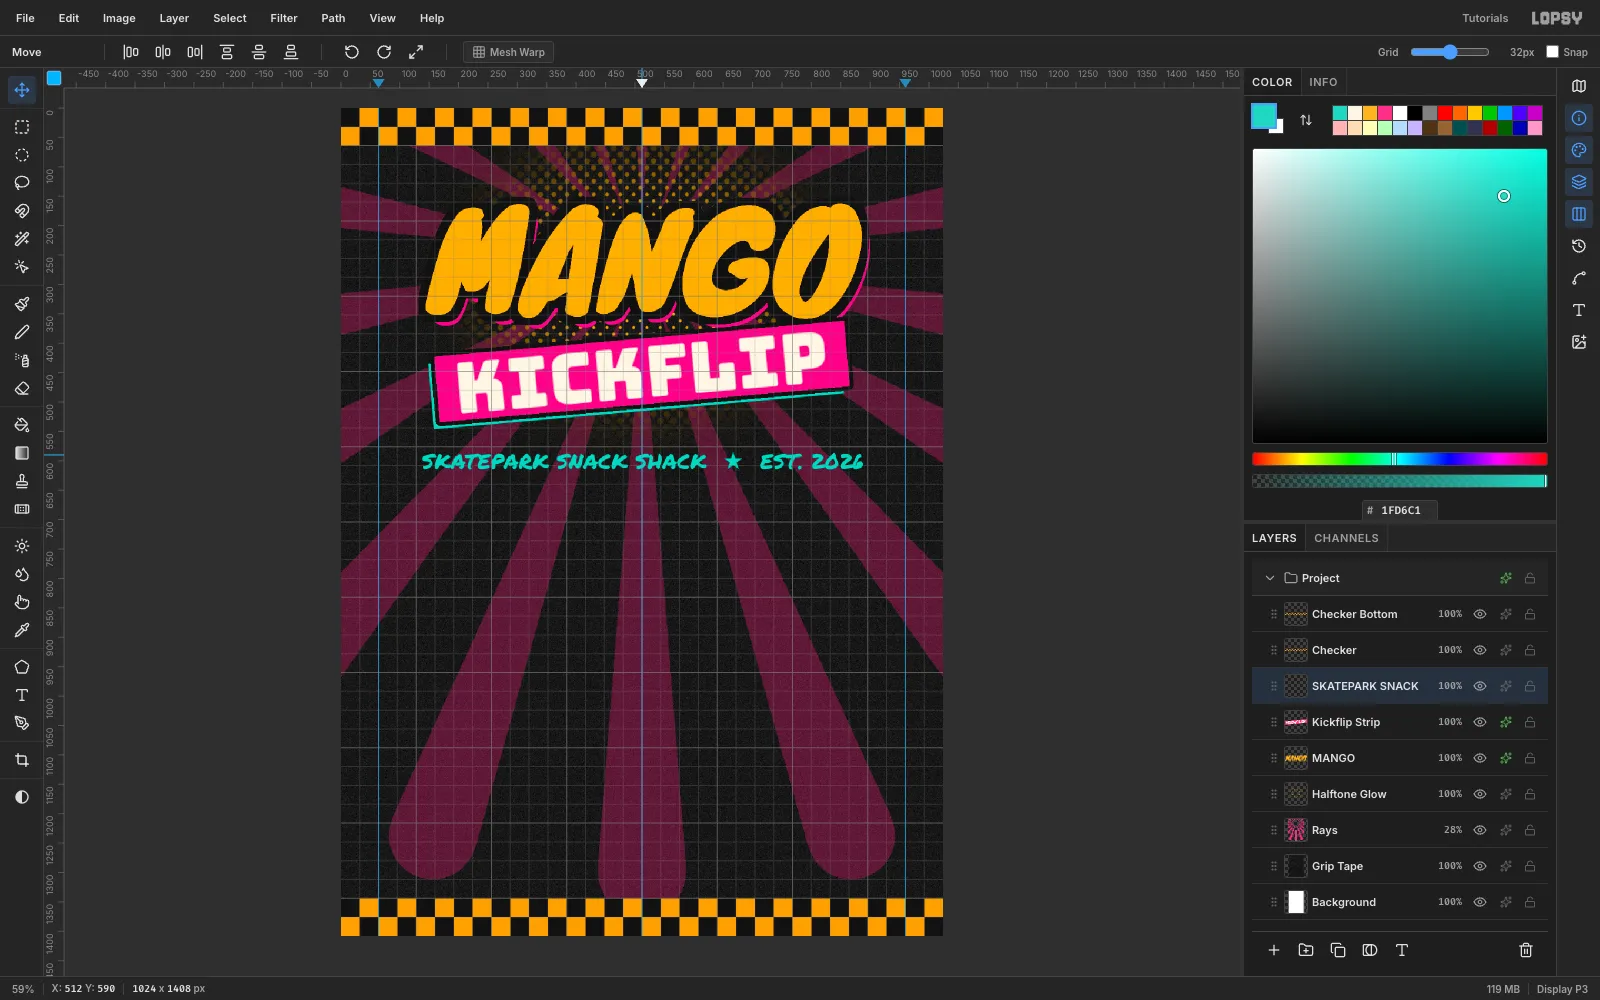
- Stroke:
-
Make taped section headers
For each header, add a layer and fill a 250 × 66 marquee at
y = 650:Header Grindsatx = 64in#FFB321Header Slurpsatx = 544in#1FD6C1
Type the label in black Bungee
46, rasterize it, and drag it onto the tag. Merge it down, then rotate the tag 3°:GRINDScounter-clockwise andSLURPSclockwise.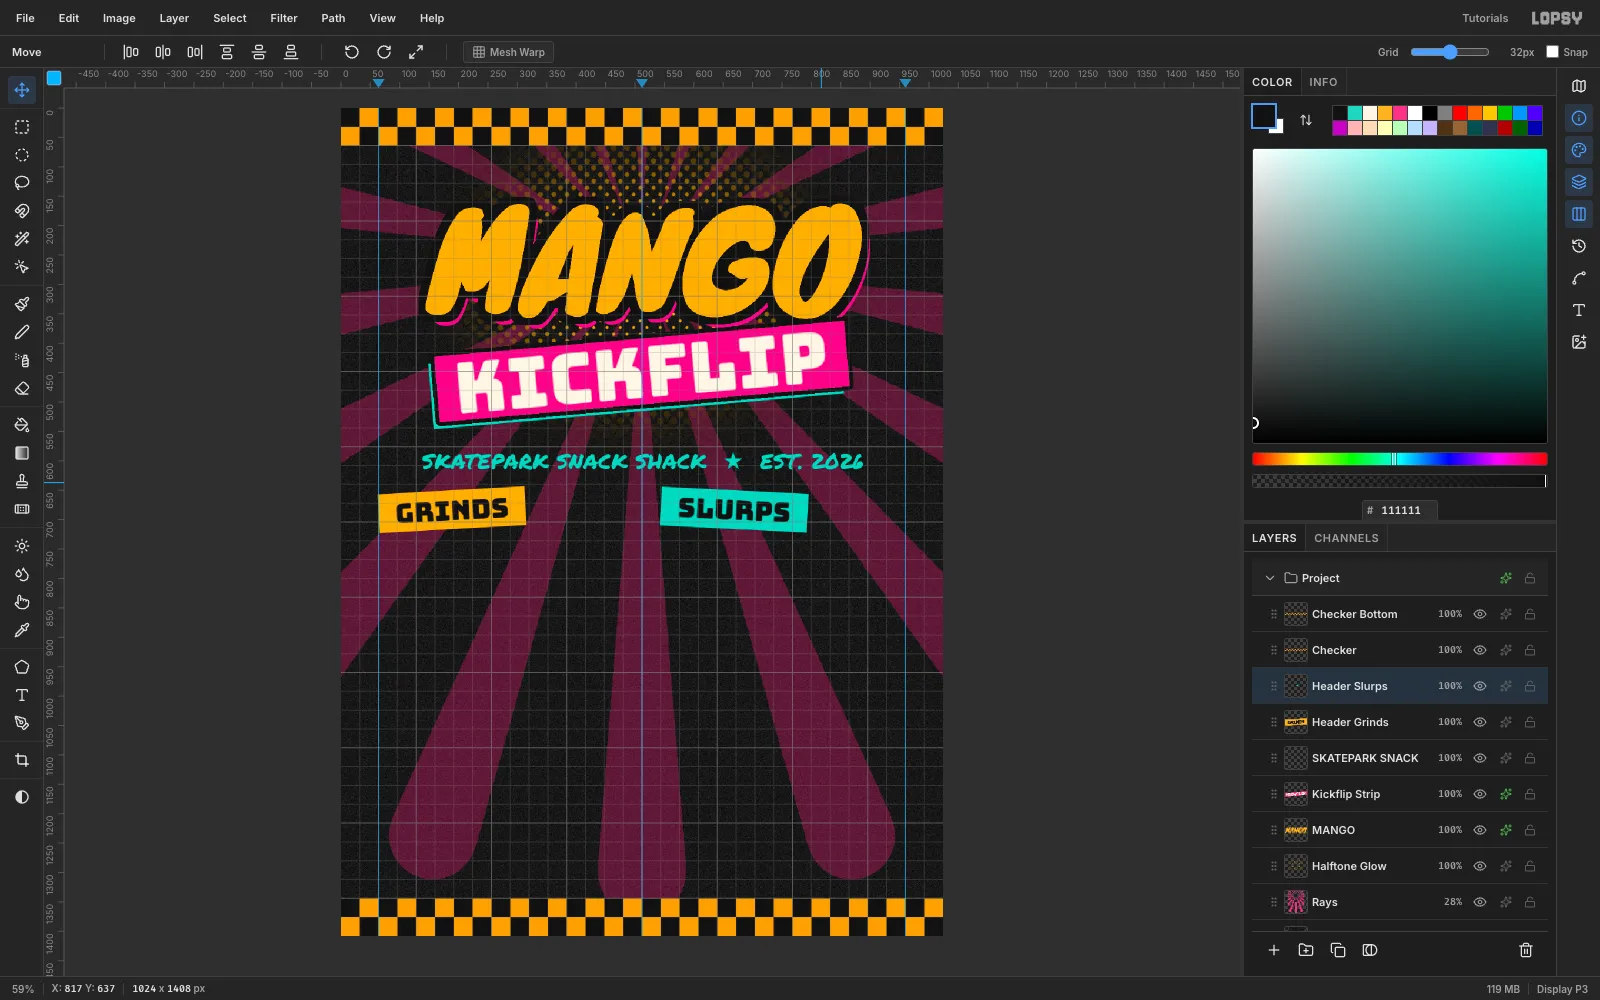
-
Set the items with area text
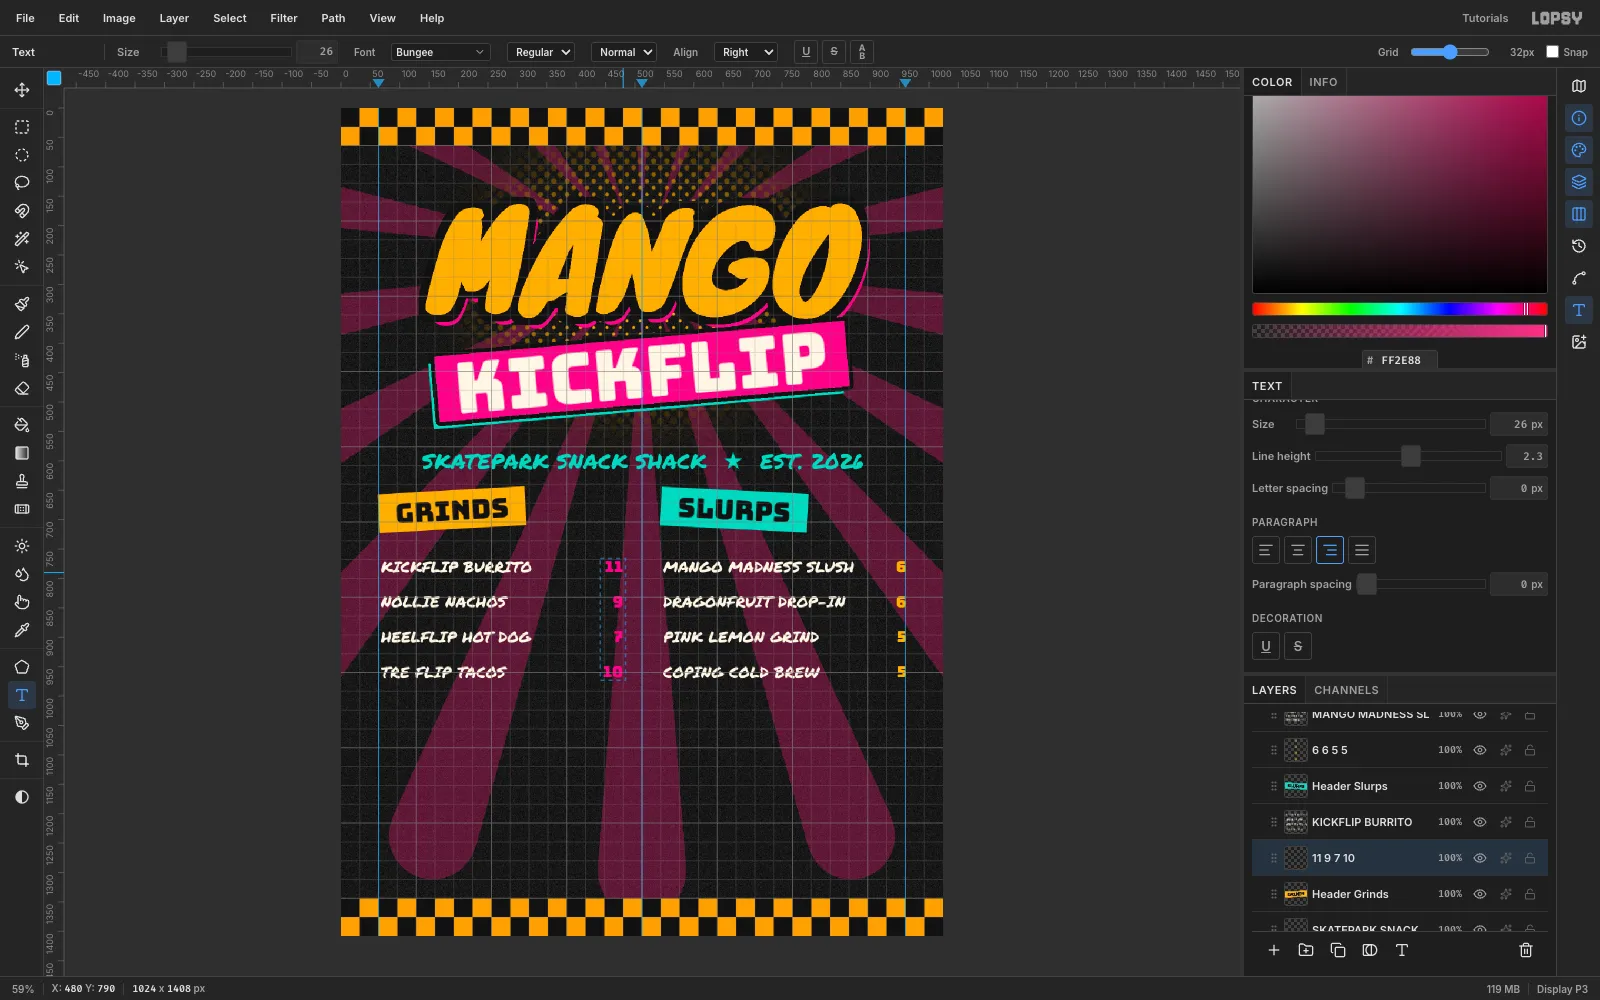
Open the Text panel from the right-hand toolbar. For each column, drag a text box instead of clicking. That makes area text with a fixed width.
- Names: Permanent Marker
26, Line height2.3, cream. Drag from68to432(left) and548to912(right), then paste four lines. - Prices: Bungee
26, Line height2.3, Align right. Use boxes420–480and912–962.
Using the same size and line height keeps every price level with its item.
- Names: Permanent Marker
-
Back the menu with a board
Select
Halftone Glowso the new layer lands beneath the type, and add a layer namedMenu Board. Fill a marquee from40,624to984,1014with#0C0C0C. Give it an orange#FFB321Stroke set to inside.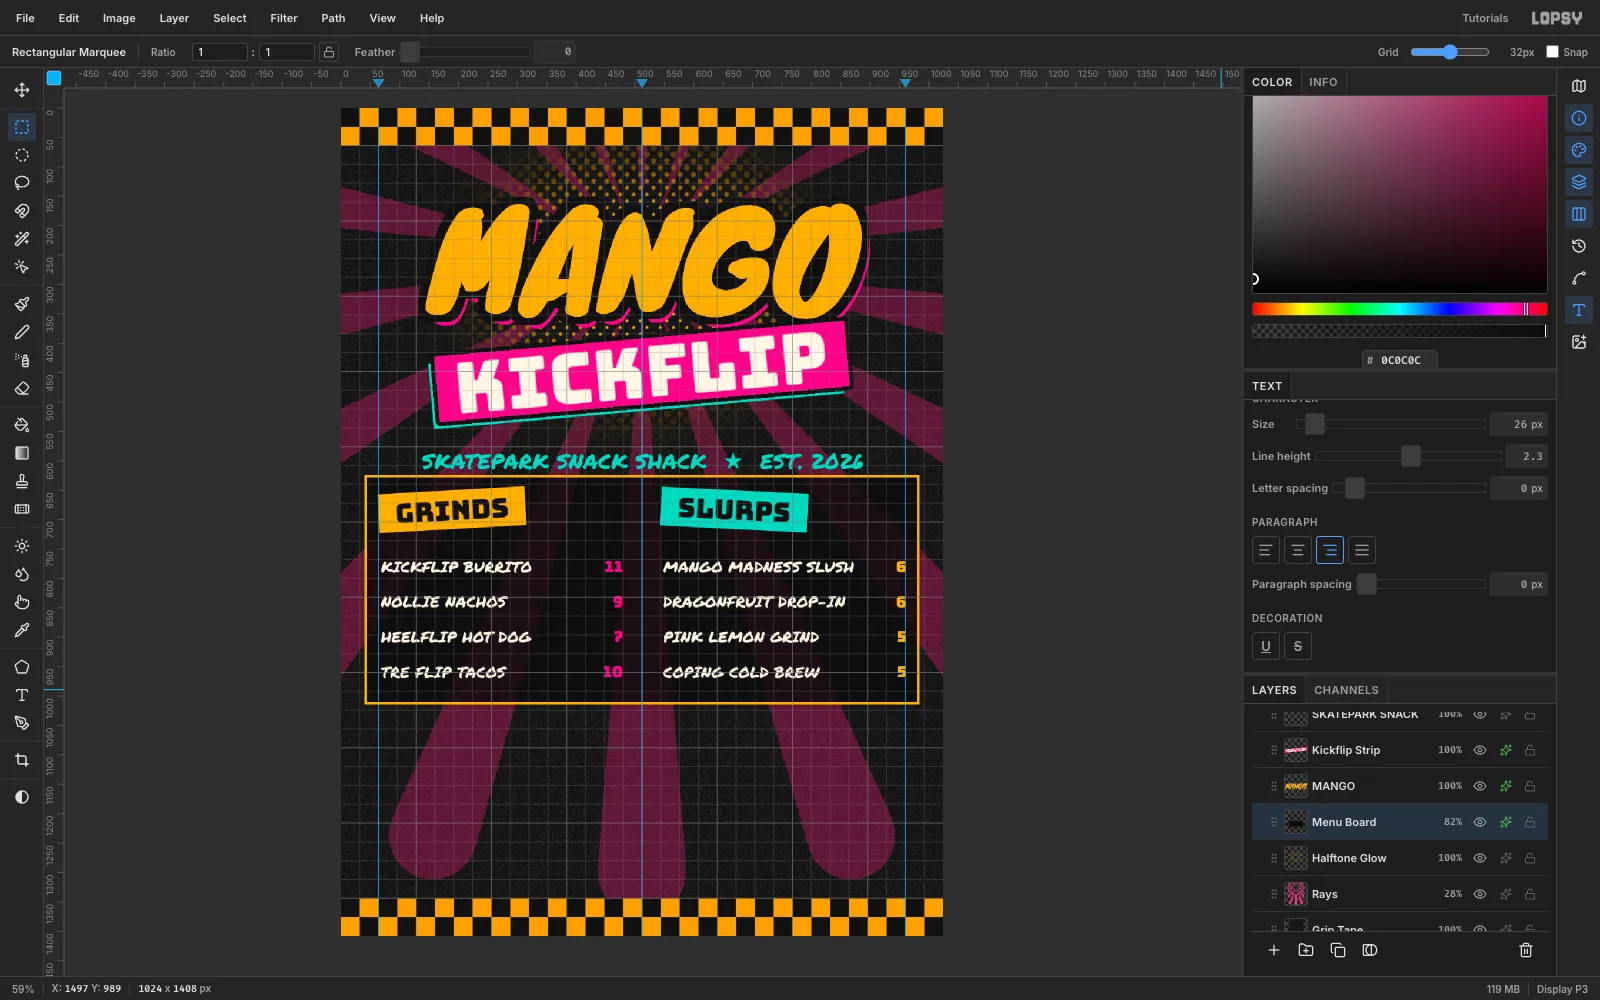
-
Draw dotted leaders
Add a layer named
Leadersabove the board. Choose the Brush with Size5and Hardness100. In the Brushes modal, set Taper to0and Spacing to300, which spaces the dabs out into dots.For each row, click just after the item name, then Shift-click just before the price. Each pair of clicks makes one straight dotted line. Set the layer to
75%opacity.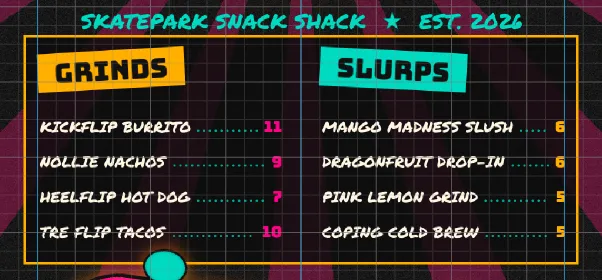
-
Make the board solid and tilt it
The rays showing through hurt legibility. Raise
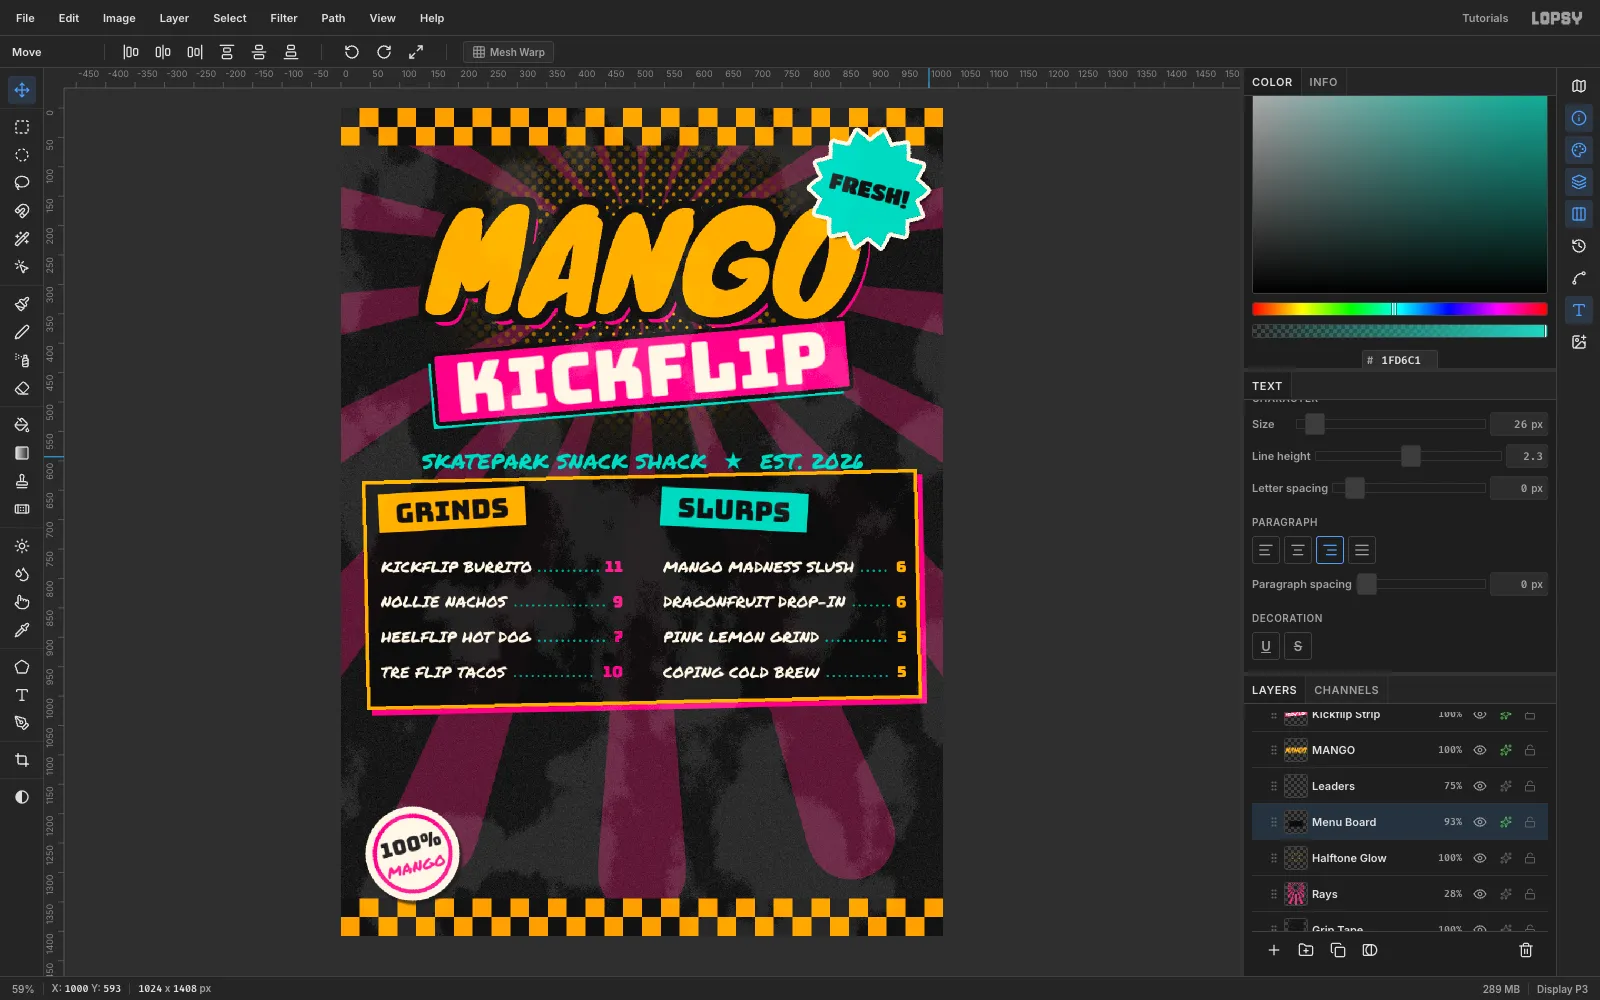
Menu Boardto93%, set its Stroke Width to6, and add a Drop Shadow of#FF2E88at offset9,9with Blur0.Marquee the board and rotate it about 1° counter-clockwise. That's just enough to look pasted on.
-
Add descriptions and match the prices
Type each column's descriptions as area text in Space Mono
15, colour#F5EBDC. Set Line height to3.9867, which is 59.8 ÷ 15, so each line lands under its item. Move each block 7 px below the first item. Use ArrowUp / ArrowDown for 1 px nudges. Set both layers to70%opacity.Give the pink price column a Color Overlay of
#FFB321, so every price reads as the same kind of information.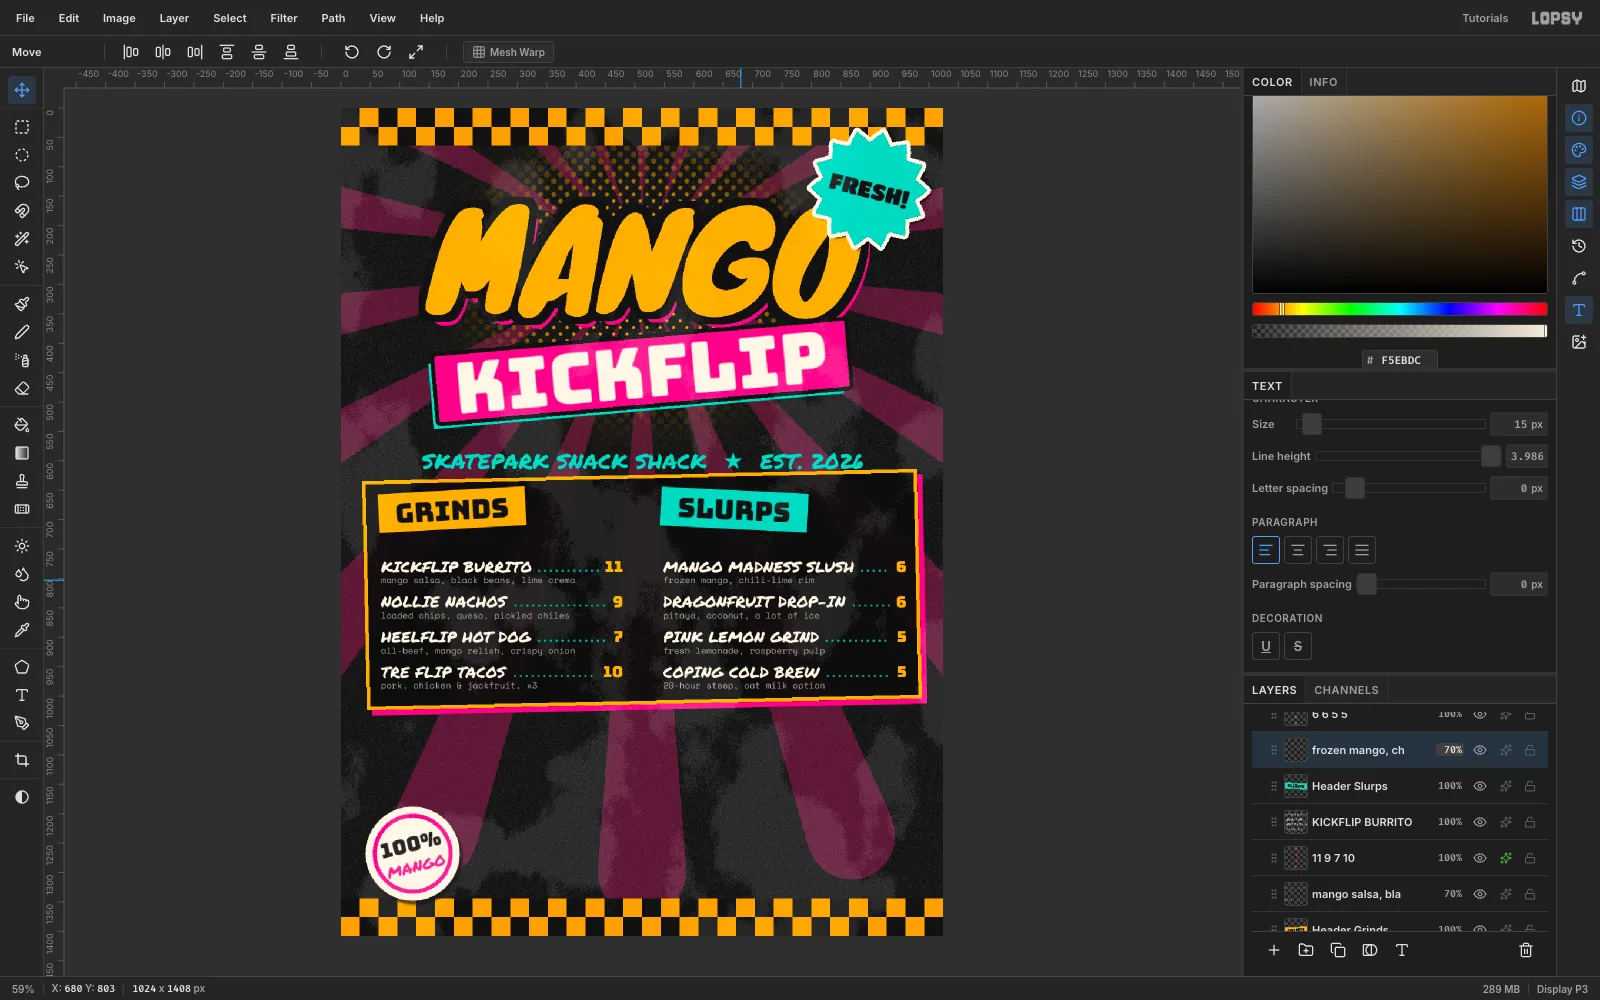
-
Rasterize and enlarge MANGO
Select
MANGO, click Rasterize Layer, and marquee the lettering. Shift-drag the bottom-right handle out by about 7%, then press Cmd+D and drag it back to centre. The Stroke and Drop Shadow effects stay live on the raster layer.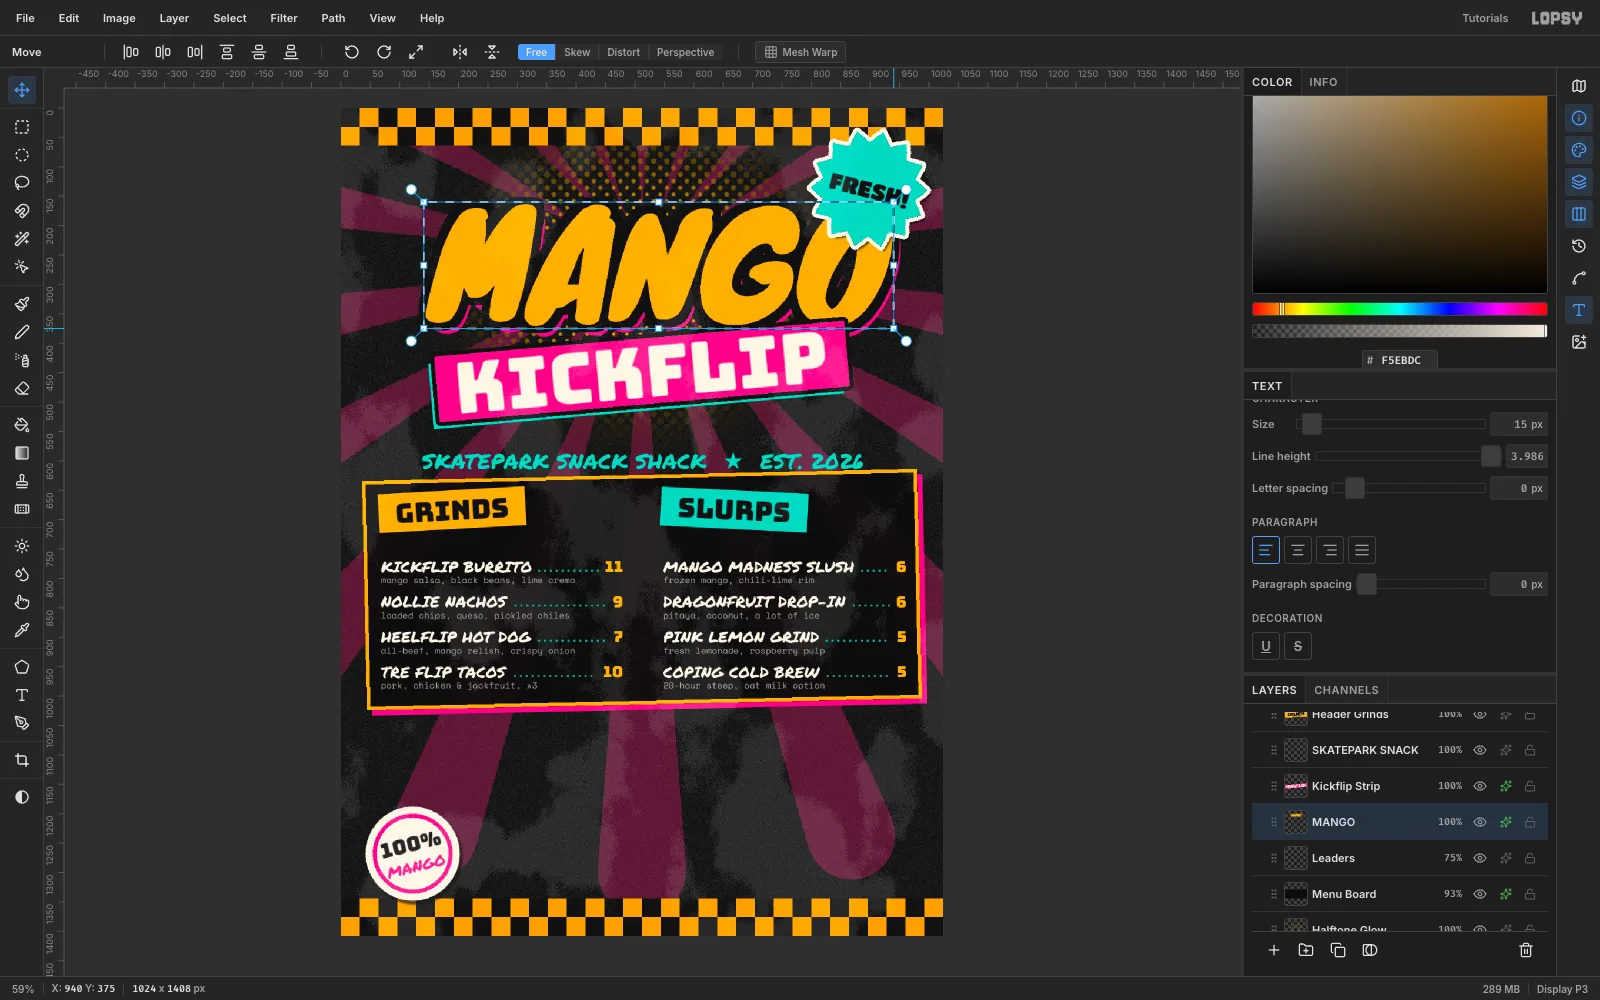
-
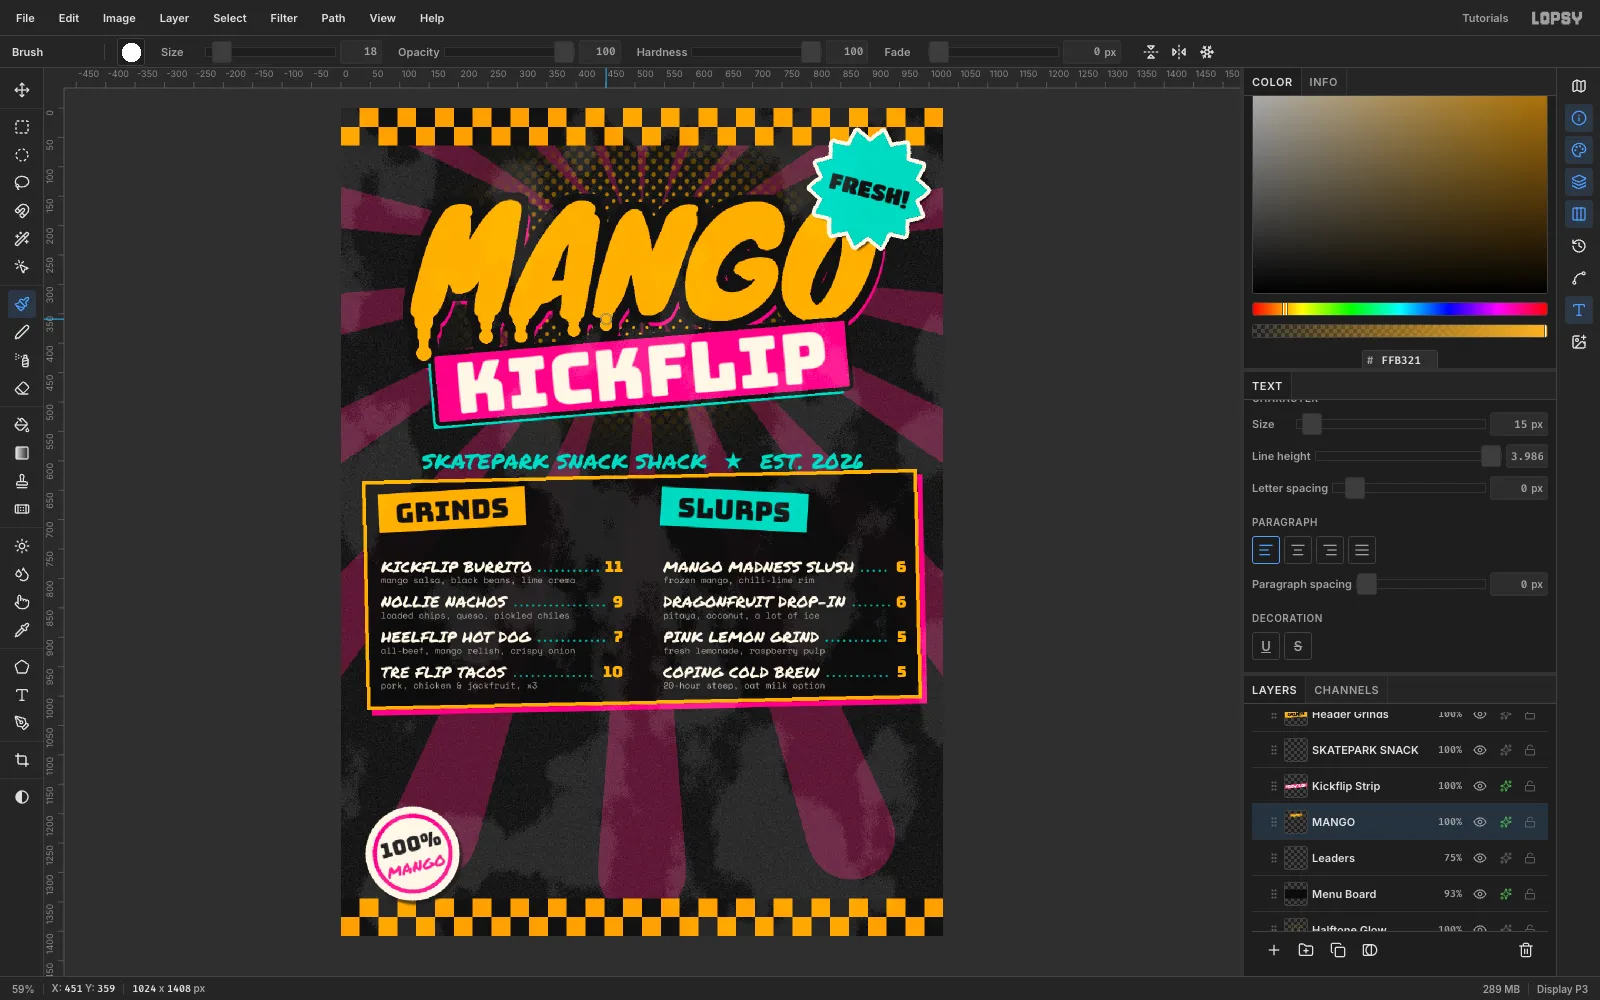
Melt the title with drips
With
MANGOstill selected, choose the Brush with Hardness100and the foreground#FFB321. Under the feet of the M, A and N:- Drag a short vertical stroke, 20 to 70 px long, at Size
13–18. - Click a dab 9 px wider at the bottom for the drop.
- Brush a wider, shorter stroke at the top so the drip flares into the letter.
Because the drips are painted on the title layer itself, its black stroke and pink shadow wrap around them.
- Drag a short vertical stroke, 20 to 70 px long, at Size
-
Tuck spray bursts behind the bar
Select
MANGOand add a layer namedSpray Paint, which lands just under the bar. Choose Spray (J) with Size110, Density100and Opacity95. Spray a small pink#FF2E88burst behind the bar's left end, and a teal#1FD6C1one behind its right end.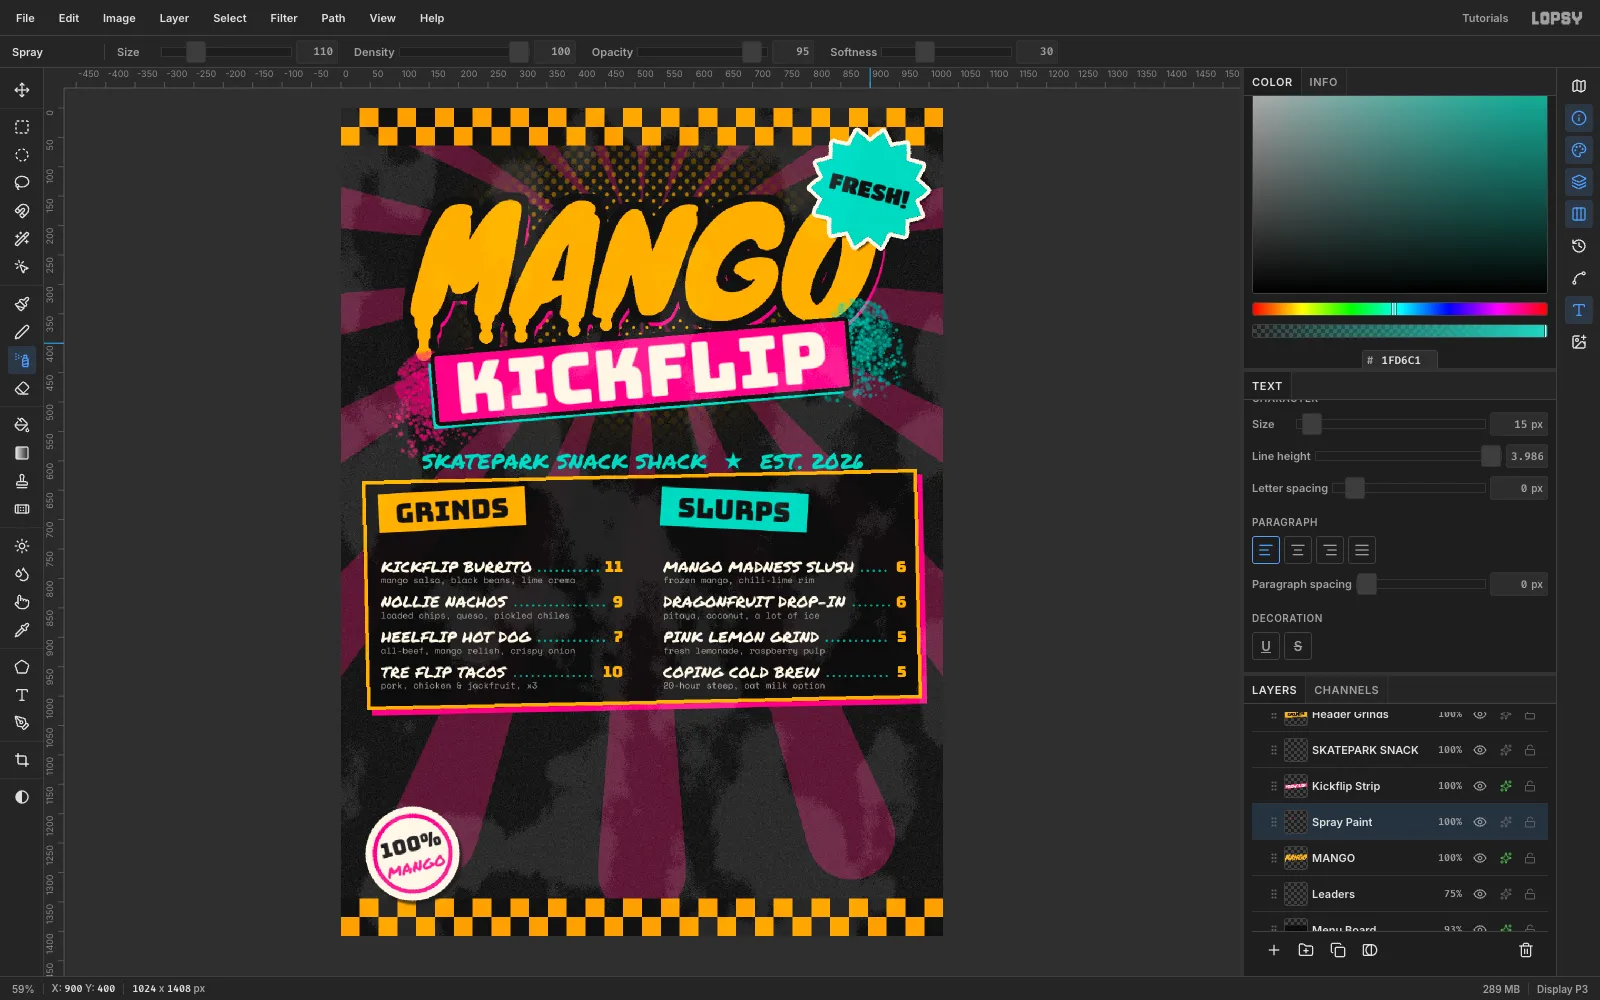
-
Shape the skateboard deck
Select
Checker Bottomand add a layer namedDeck. Build the pill shape with three fills:- a rectangle from
271,1100to841,1270 - 170 px circles at each end,
186,1100and756,1100
Click it with the Magic Wand (W) to select the whole shape. Choose the Gradient tool and click Advanced…. Set the stops to
#FF2E88and#FFB321with the hue strip and colour square, then drag across the deck from end to end.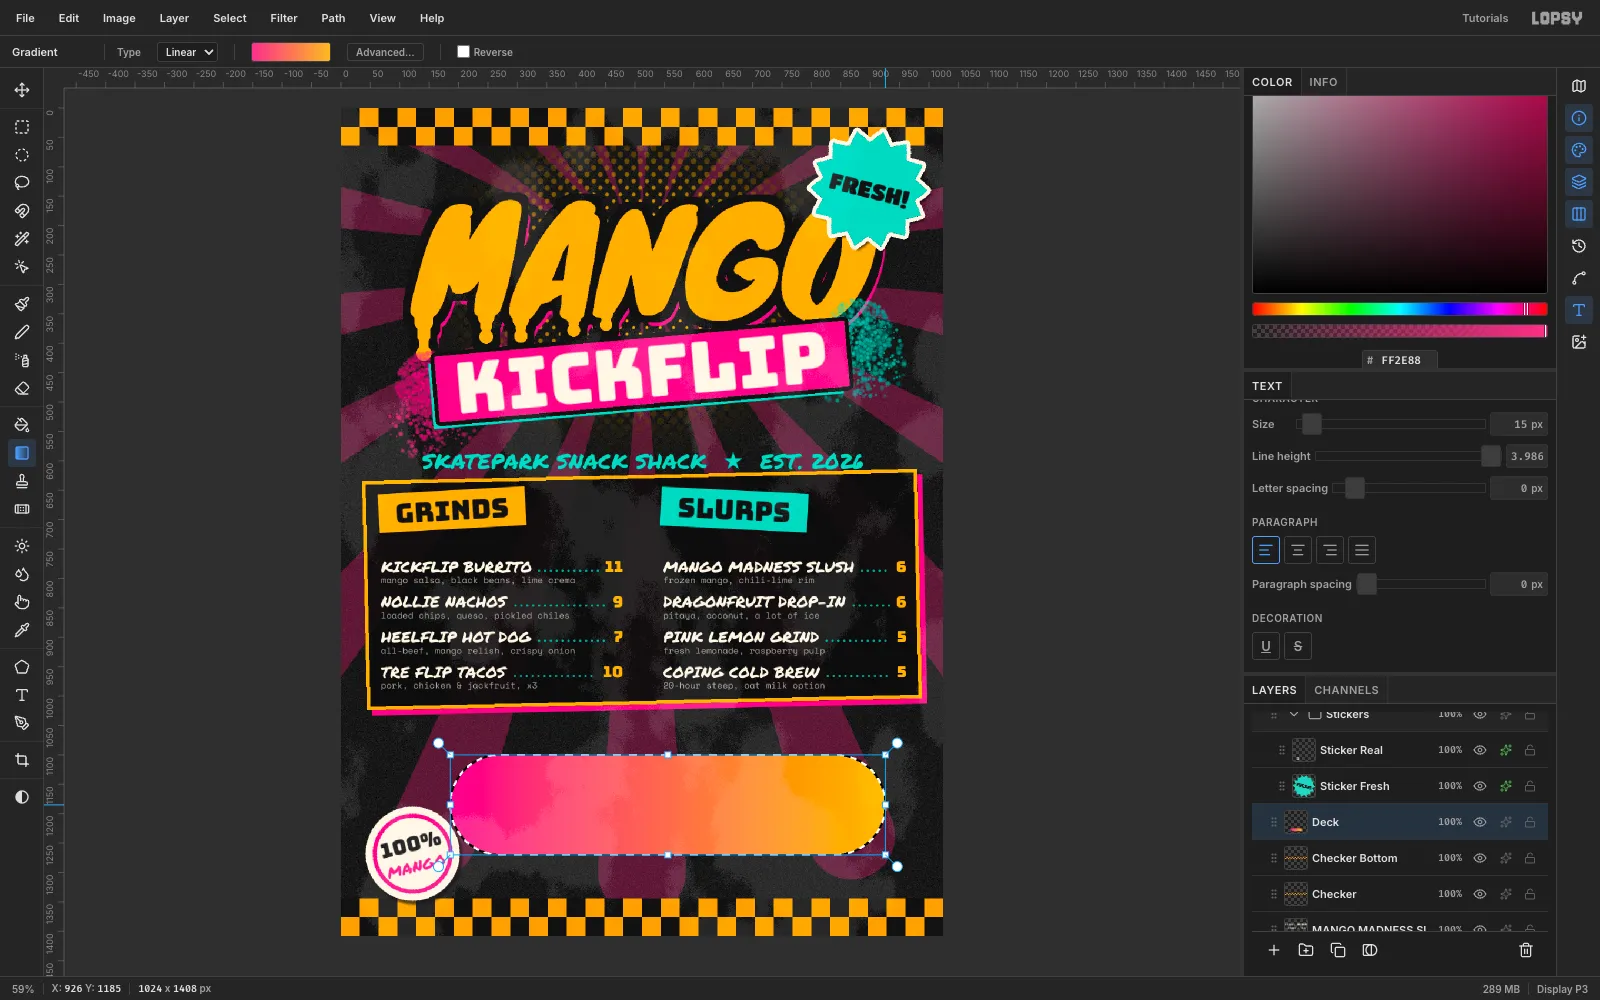
- a rectangle from
-
Paint flames on the deck
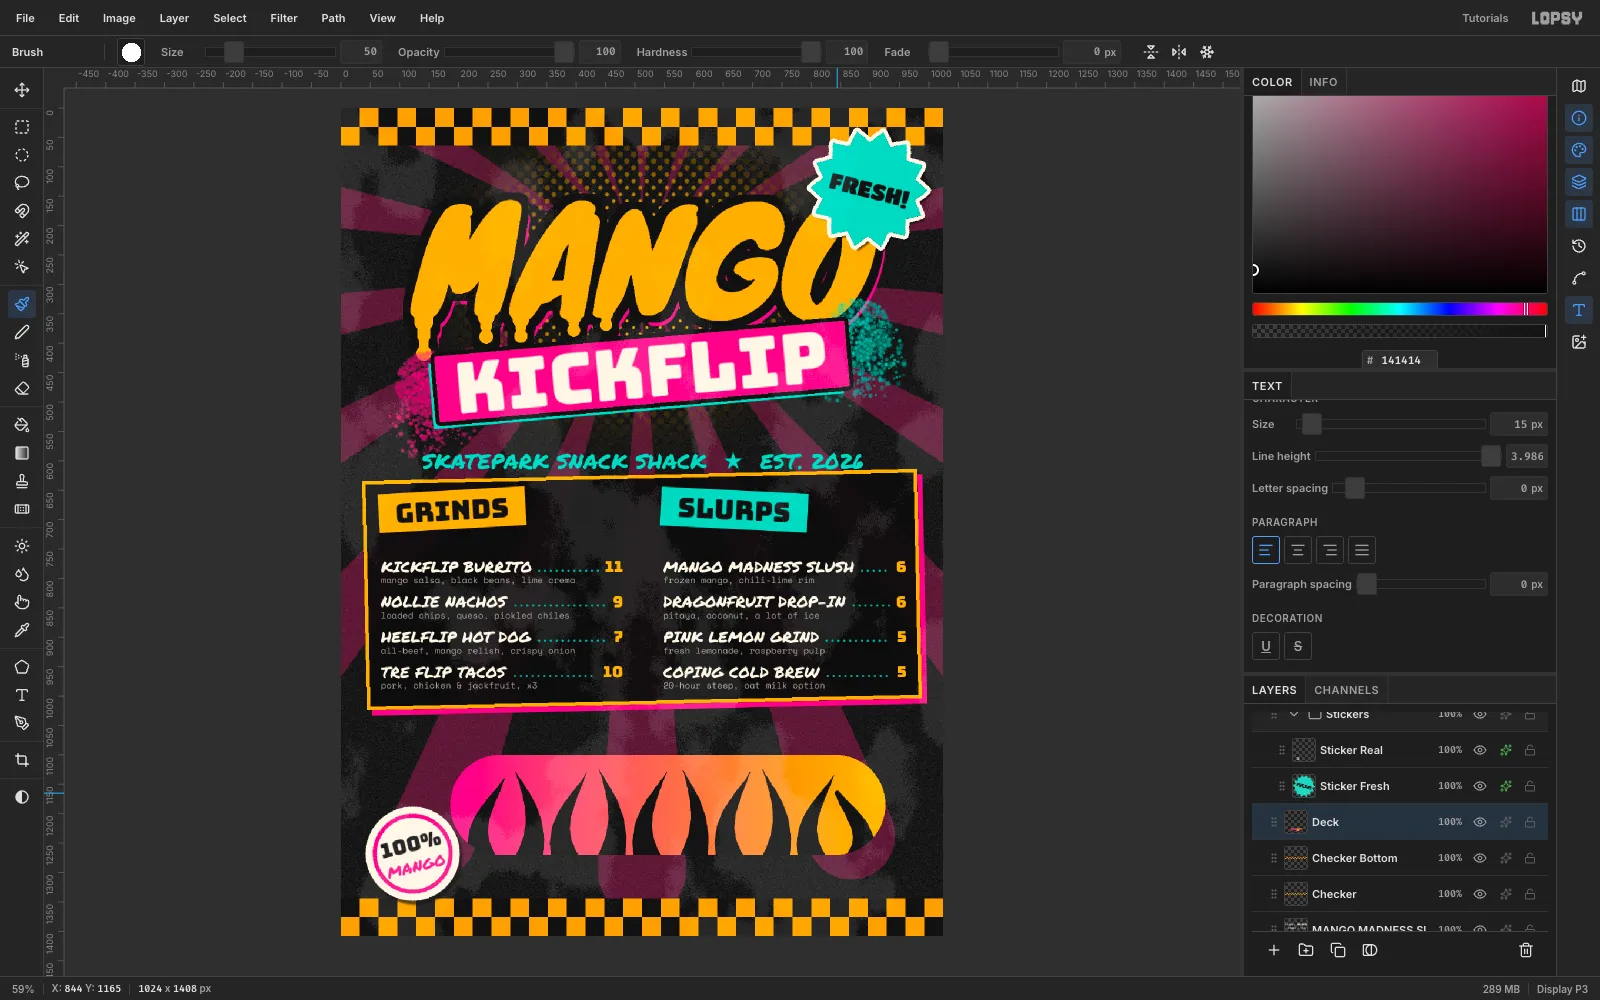
Keep the selection active. It stops the brush from painting outside the deck. Choose the Brush: Size
50, Taper170, colour#141414.Drag ten slightly curving strokes from below the deck's bottom edge upward. Alternate their lengths between about 120 and 175 px. The taper turns each stroke into a flame tip.
-
Outline the deck and cast a hard shadow
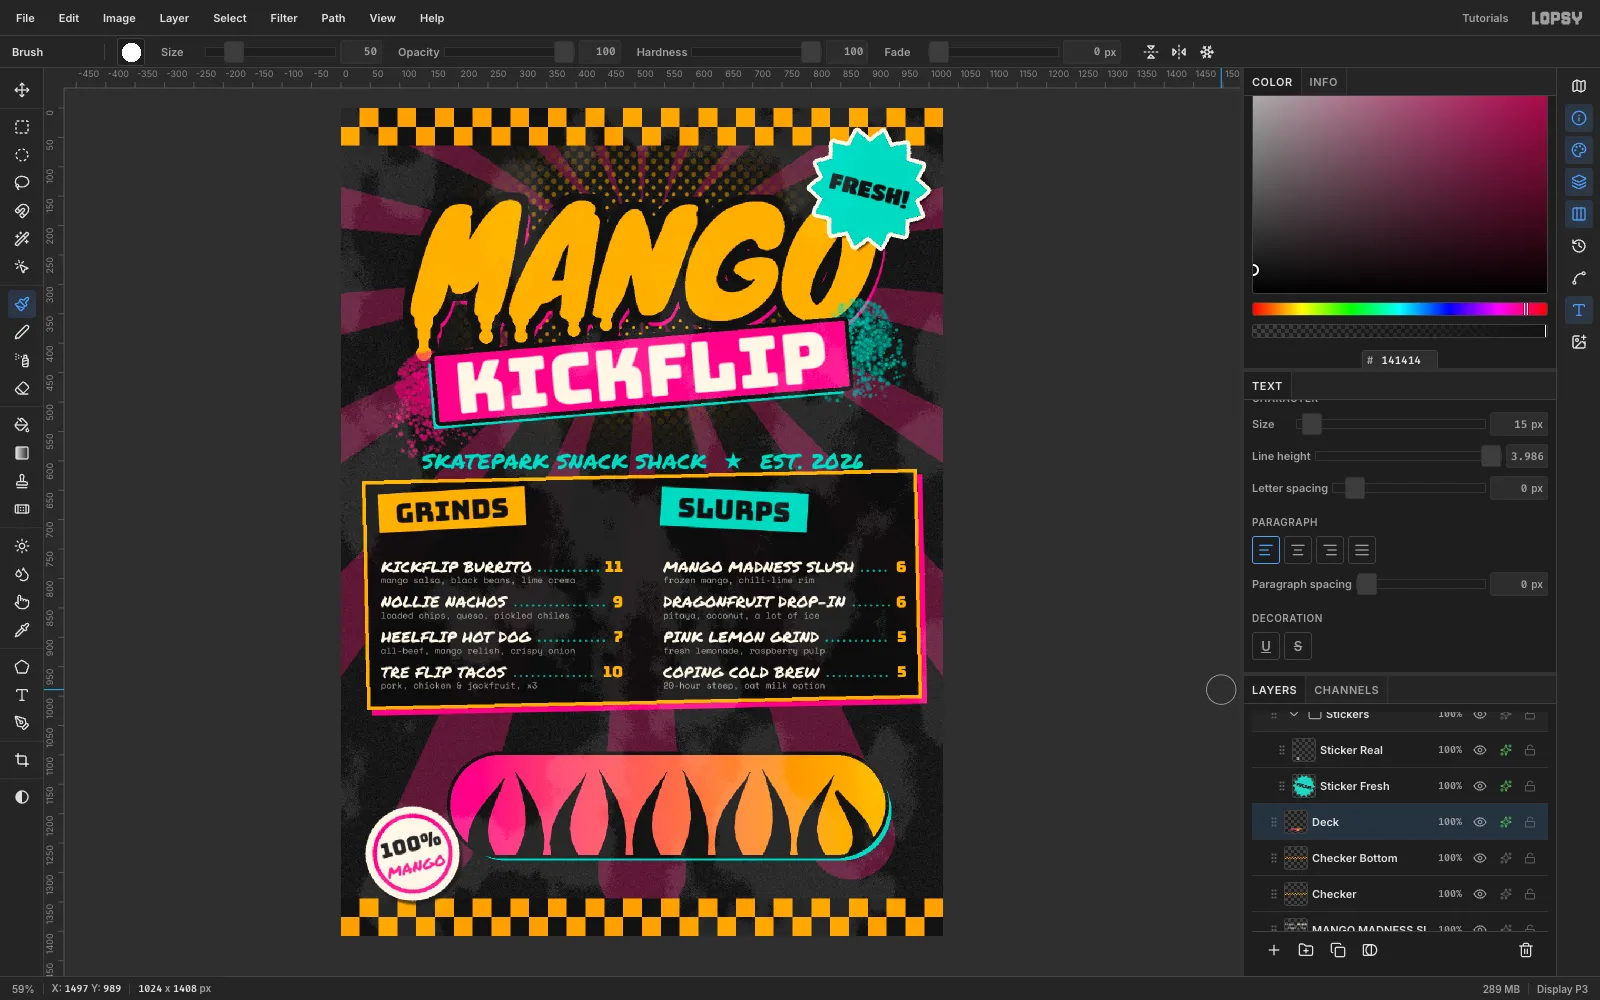
Deselect, then add these effects to
Deck:- Stroke:
#111111, Width6 - Drop Shadow:
#1FD6C1, offset10,10, Blur0, Spread4
- Stroke:
-
Add trucks and wheels on their own layer
Add a layer named
Hardware. For trucks centred atx = 306andx = 806:- a
#9AA1A8baseplate, 72 × 92 - a
#C9CED3hanger bar, 24 × 212 - four
#5E656Bbolt dots on the baseplate - 66 × 48 teal ellipse wheels past each edge of the deck
- a cream hub dot on each wheel
Give
Hardwarea black Stroke of3and a Drop Shadow of black at offset5,7, Blur4,75%. The shadow makes the trucks sit on the graphic instead of cutting through it.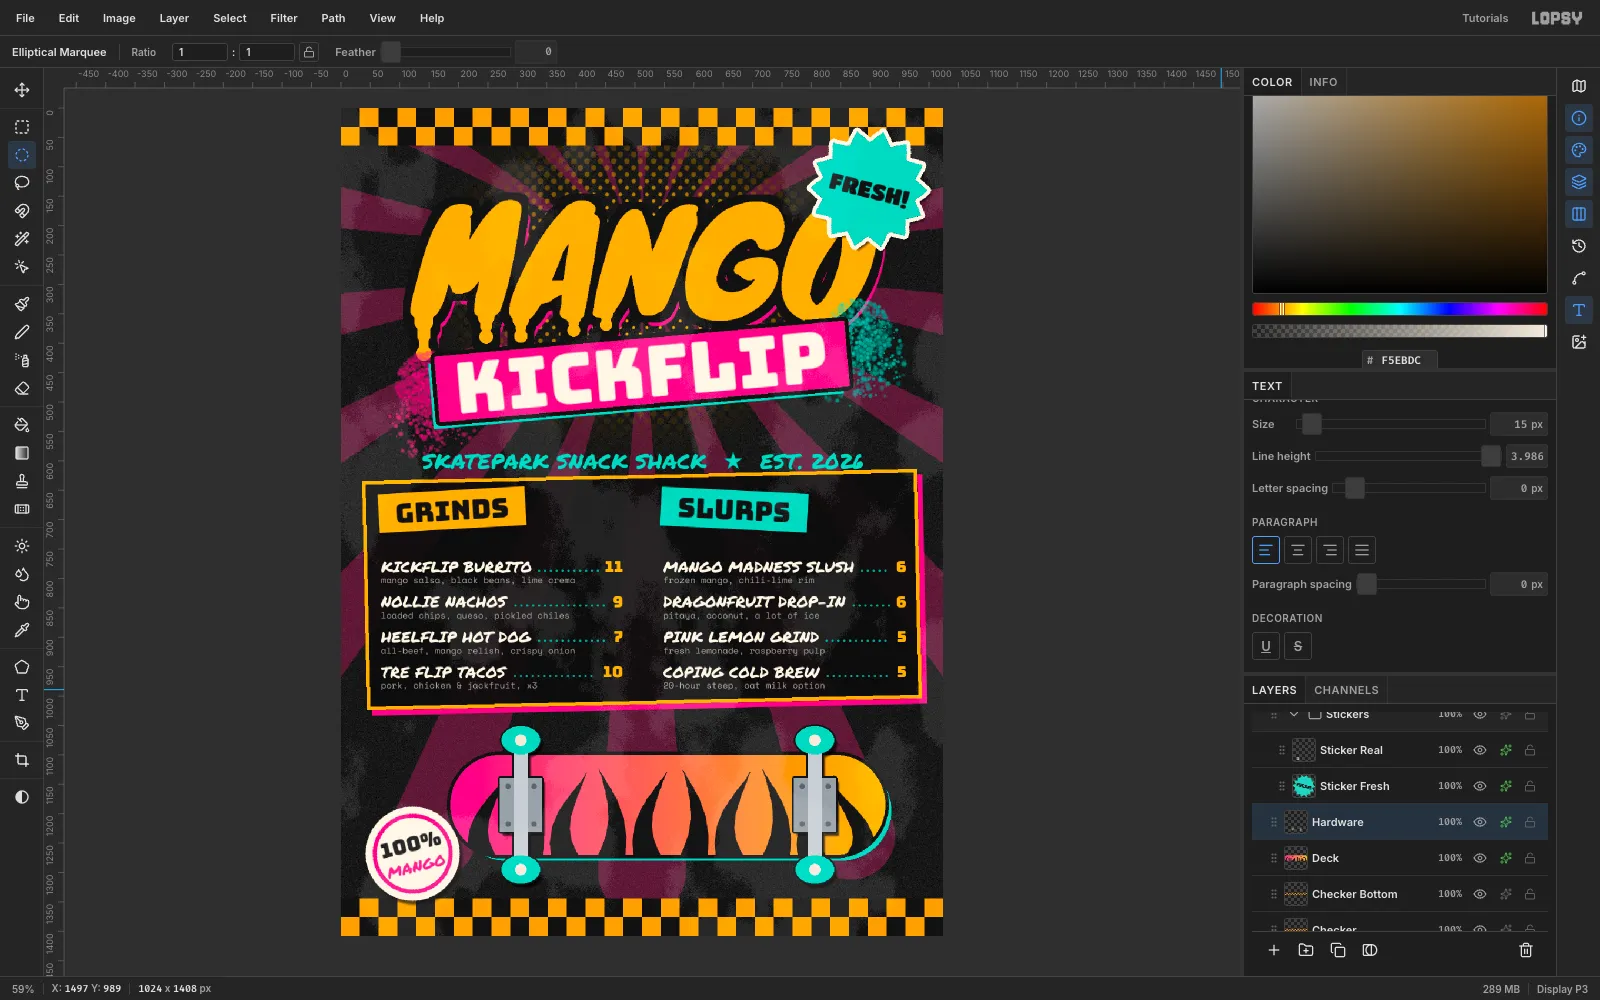
- a
-
Merge and tilt the board
Press Cmd+E to merge
HardwareintoDeck. Merge Down bakes both layers' effects into the pixels, so the composite doesn't change.Marquee the board, rotate it about 6° clockwise, and press Cmd+D. Add an Outer Glow of
#FF8A1F(Size36, Spread8, Opacity45) for heat.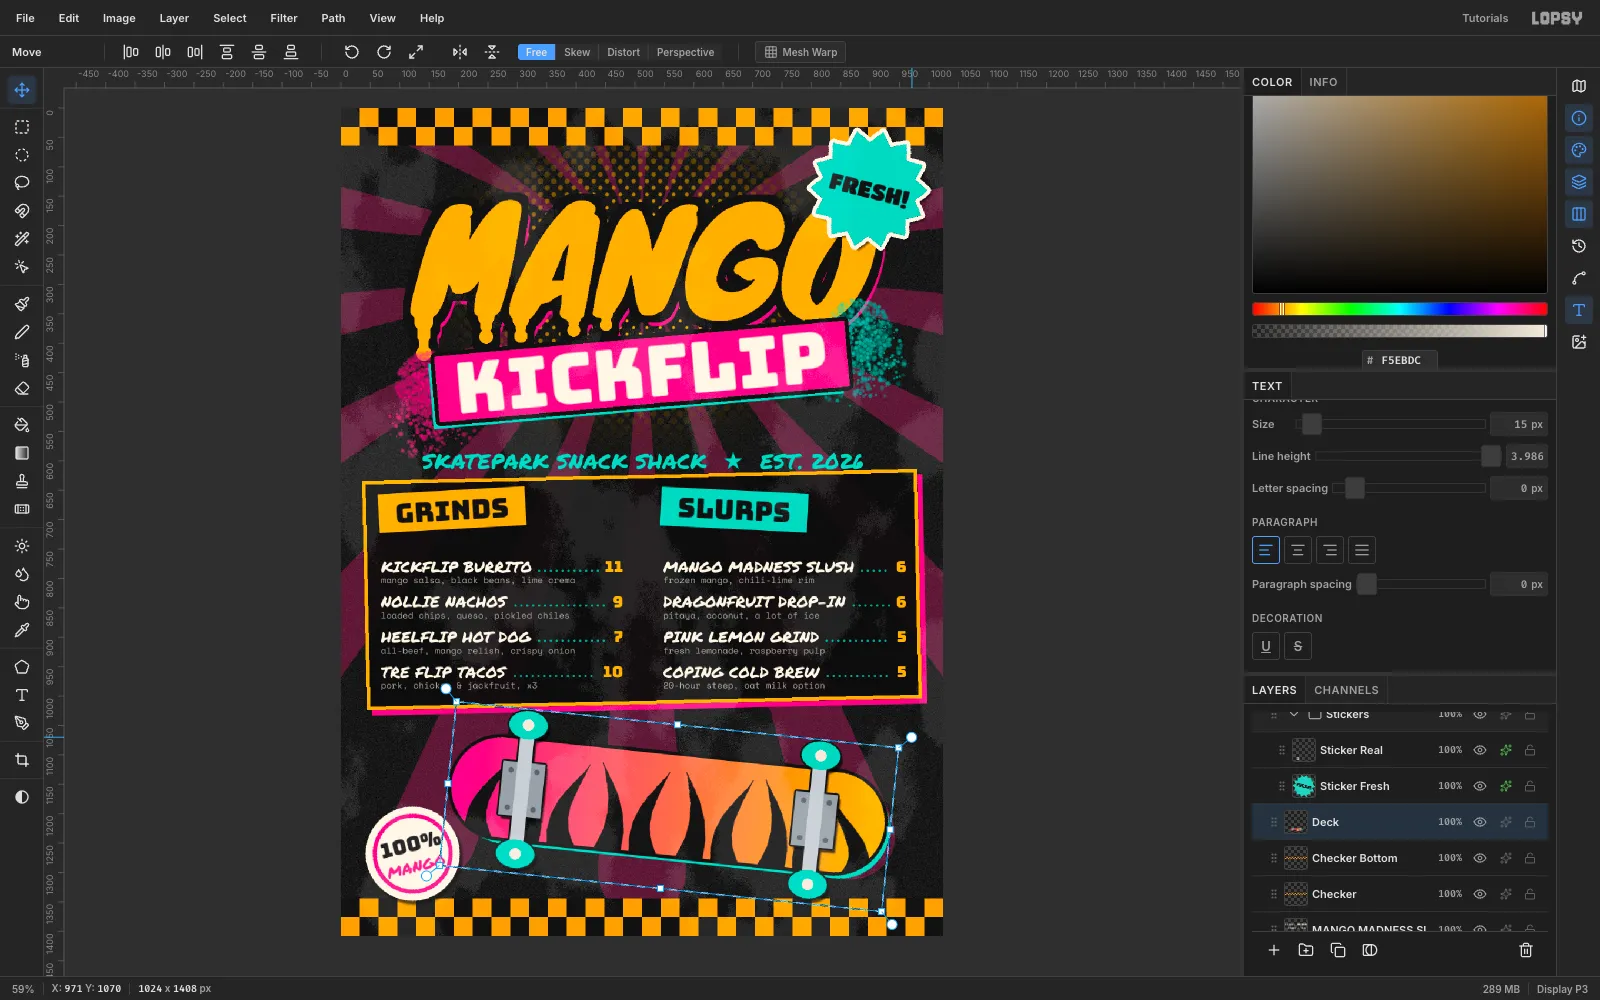
-
Slap on a starburst sticker
Add a layer named
Sticker Fresh. Draw a 14-point star with the Lasso (outer radius100, inner radius80) around898,138. Fill it with#1FD6C1.Type
FRESH!in black Titan One38in empty space, rasterize it, drag it onto the star and merge it down. Add a cream Stroke of7for the die-cut edge and a soft black Drop Shadow, then rotate the sticker 14°.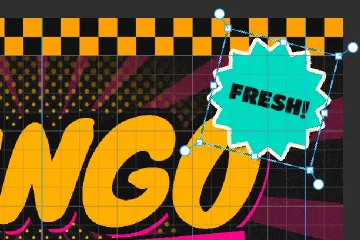
-
Add a round badge
On a new layer, fill three concentric circles:
- cream, 160 px
- pink, 136 px
- cream, 122 px
Merge in
100%in black Bungee34andMANGOin pink Permanent Marker26. Add a drop shadow, rotate the badge -14°, and park it in the bottom-left corner.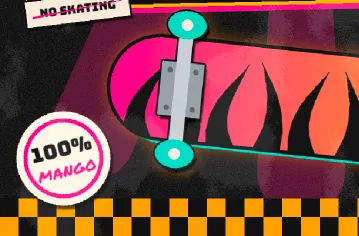
-
Scatter small stickers
Stickers look best stuck over edges:
- a cream
NO SKATINGlabel in Bungee20, struck through with a pink Shift-click brush line and tilted -7° over the board's bottom-left edge - a small five-point teal star with a cream stroke on the board's top-right corner
- a cream
-
Make a worn-print grunge layer
Add a layer named
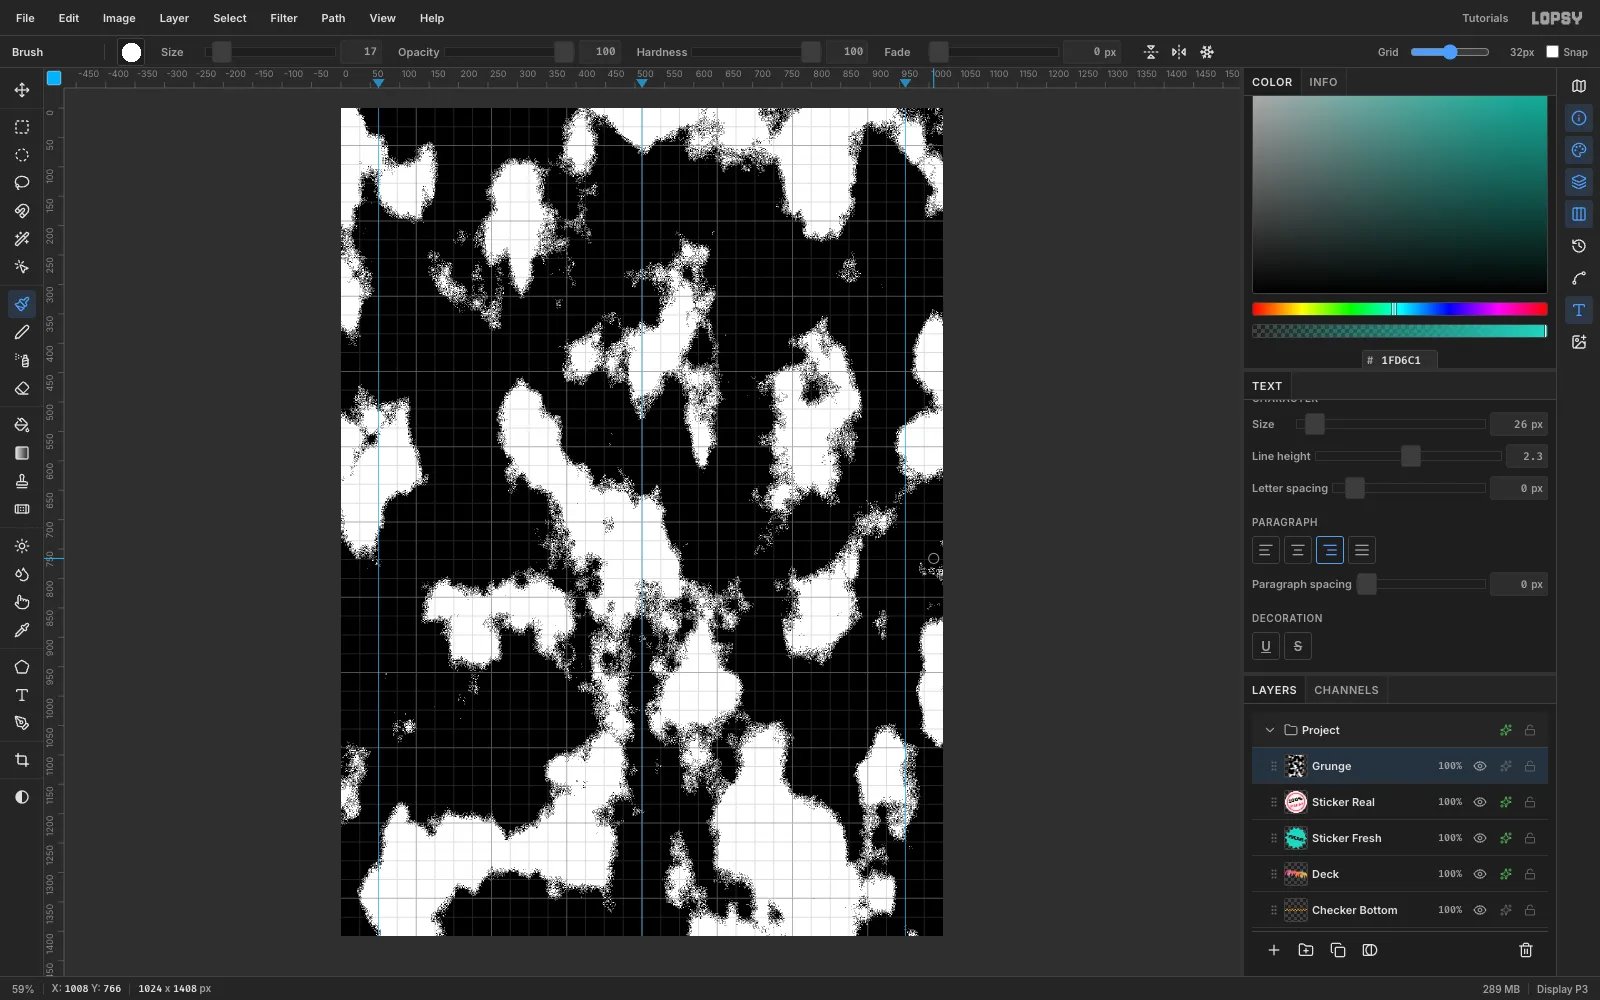
Grungeat the top of the stack. Apply these filters in order:- Filter → Clouds at Scale
10 - Filter → Add Noise: Mono, Uniform, Amount
70 - Filter → Threshold at Level
175
You get speckled white blotches.
- Filter → Clouds at Scale
-
Group the stickers and finish
Open the ✦ drawer on
Grunge, set Blend to Screen, and drop its opacity to9%. It fades the ink in patches, like a worn screen print.Click
Sticker Fresh, Shift-click the other stickers, and choose Layer → Group Layers. Rename the groupStickers. Now you can move all the stickers at once, or hide them to check the layout underneath.Hide the grid and guides, then export with File → Quick Export PNG and save a
.lopsyproject so you can reprint the menu when the prices change.