Design an Engraved Book Cover with a Moonlit Halo
Make a Doré-style engraved novel cover in Lopsy, with a ship frozen in pack ice under concentric moon rings, a hatched iceberg and shadowed old type.
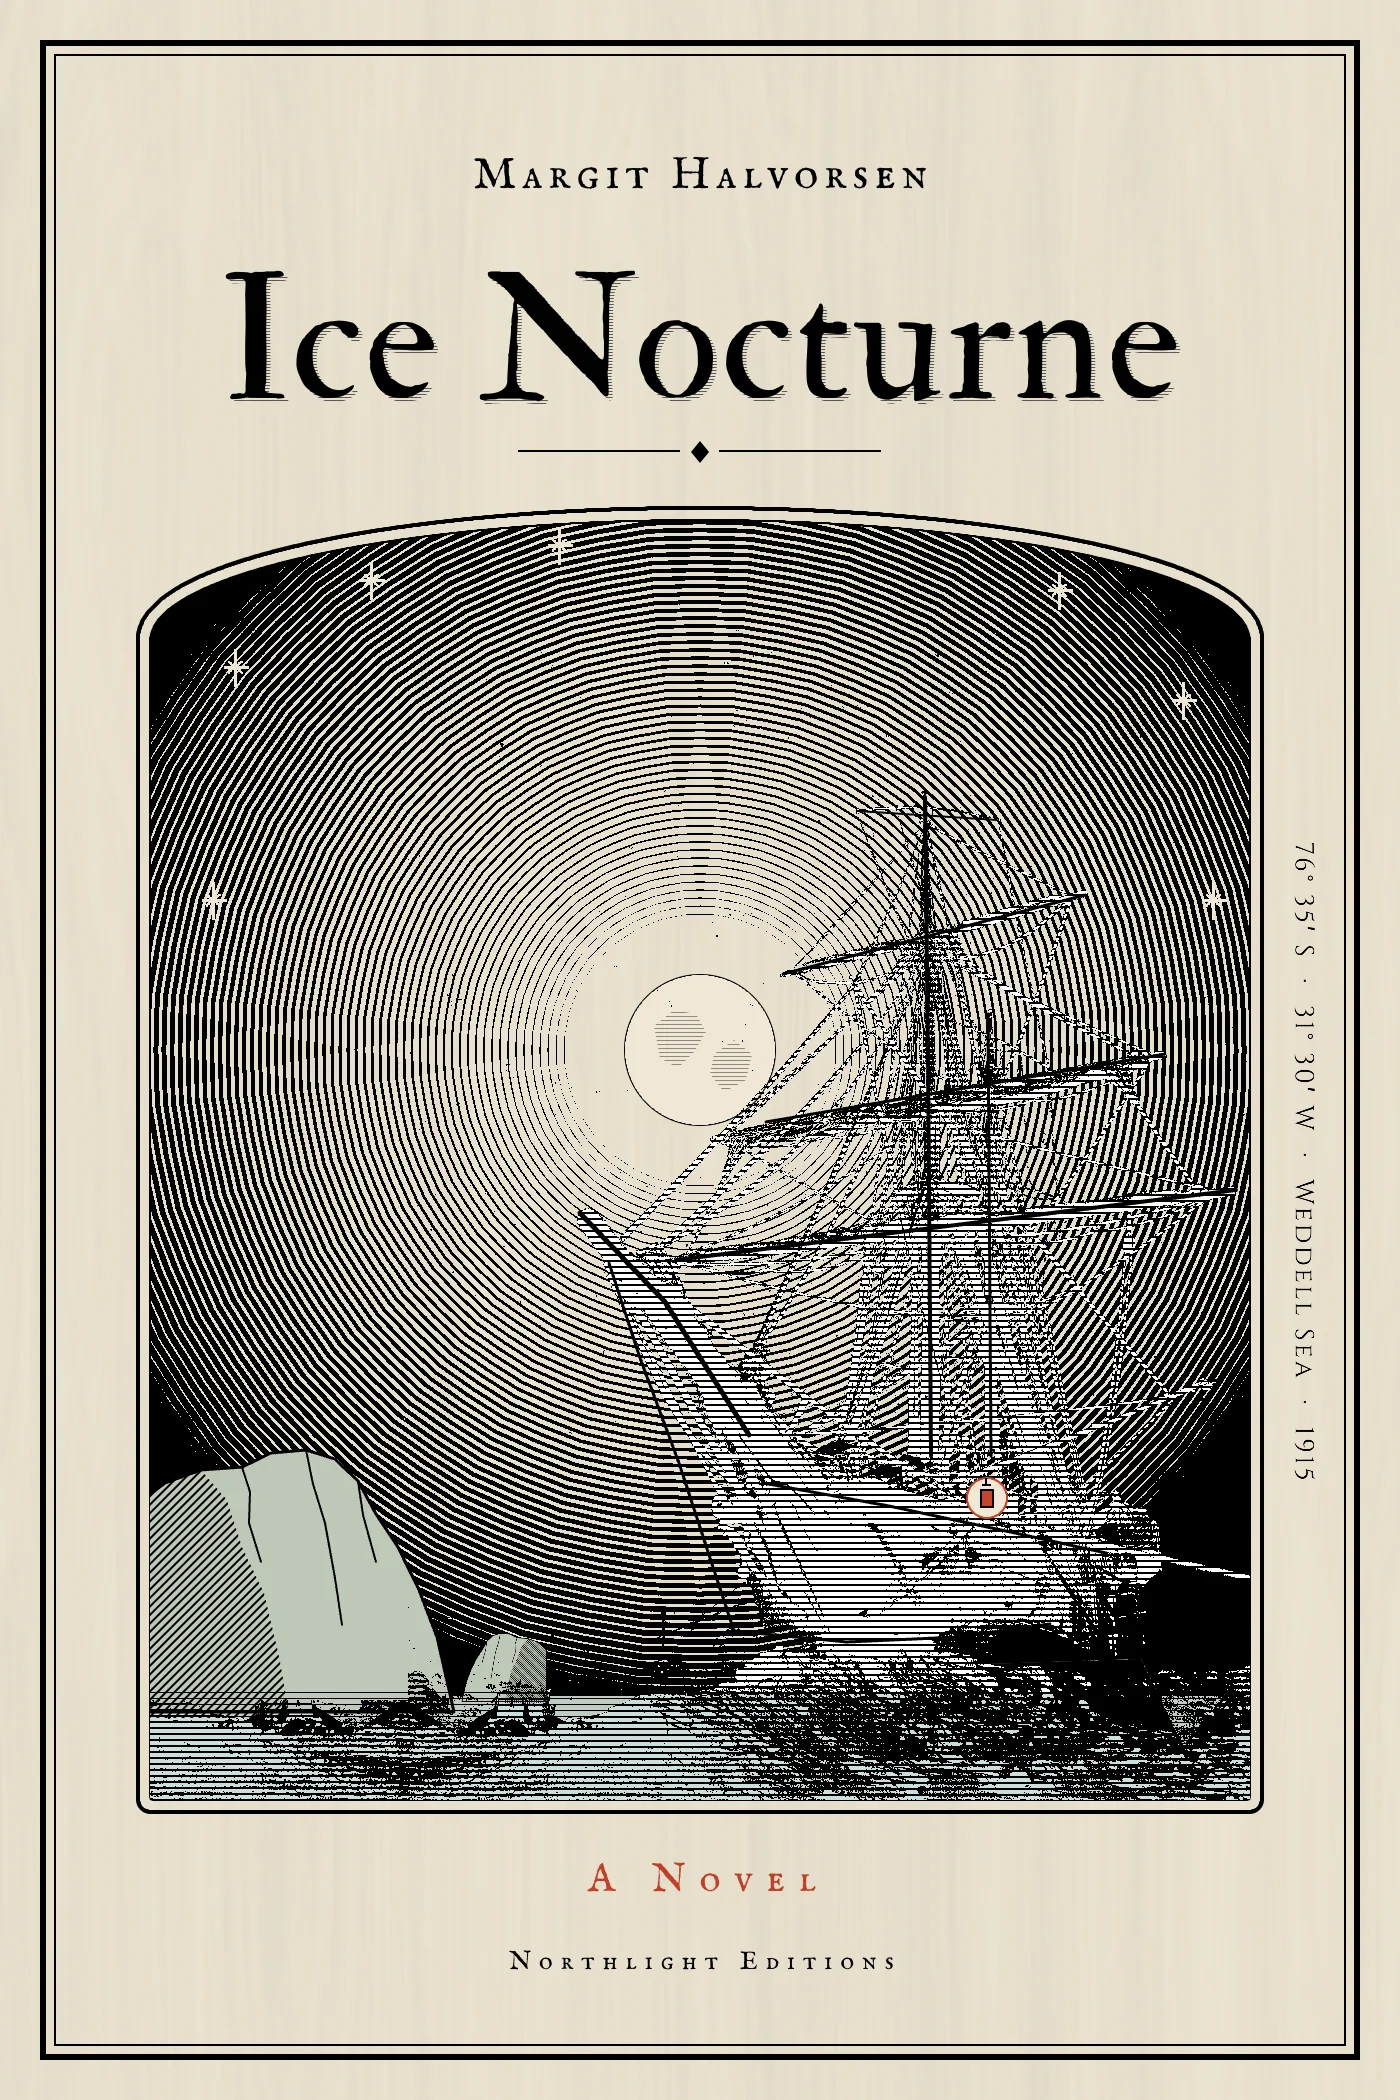
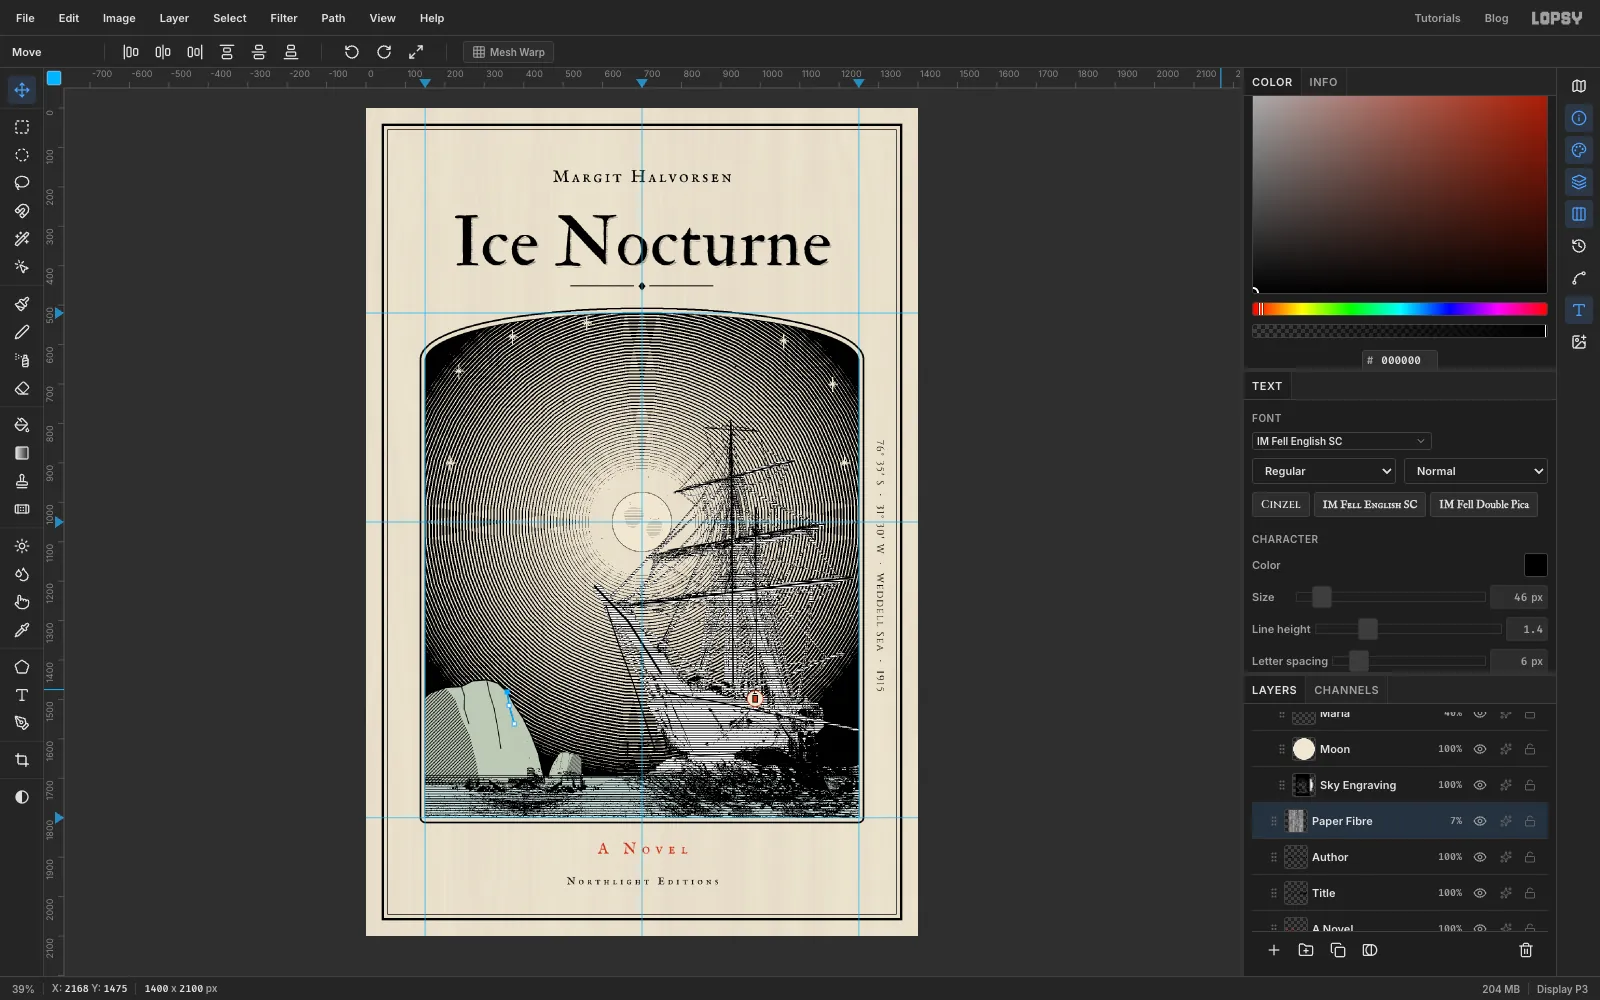
This tutorial makes the front cover of an imaginary literary novel, Ice Nocturne. It's a 1400 × 2100 px cover in the style of a 19th-century line engraving, like Gustave Doré's plates for The Rime of the Ancient Mariner. It's printed in black ink on cream paper, plus two flat colours: a glacier-teal hand-tint and one vermilion accent.
The picture is Shackleton's ship Endurance, frozen into the Weddell Sea in the winter of 1915. It's engraved from Frank Hurley's famous night photograph, Endurance night 1915 SLNSW.jpg, which is on Wikimedia Commons and in the public domain. Download the 1280 px wide preview (1280 × 1731). Hurley lit the ship with flash powder, so it stands out frost-white against a black sky. That makes it easy to cut out.
You never engrave a line by hand. Every engraved area is made the same way. First you make a soft grey picture. Then you lay evenly spaced, slightly blurred black lines over it in Multiply and run Threshold. Where the grey is dark, the lines come out thick and merge. Where it's light, they come out thin or vanish. The new trick here is the sky. The Kaleidoscope filter folds straight lines into concentric rings around the moon.
Along the way you'll use:
- ruler guides and the exact-corners marquee dialog
- the Pencil with Shift-click straight lines
- Define Pattern and Fill with Pattern
- a radial gradient
- the Kaleidoscope, Gaussian Blur, Desaturate, Threshold and Fibers filters
- the Move tool's rotate and scale handles, including Cmd to snap and keep proportions
- the Magic Wand with Contiguous off, and the Lasso with Alt to subtract
- the Pen tool, with Path to Selection and Enter to stroke a path
- copy, paste and Flip Horizontal
- Grow, Shrink and Select → Inverse
- Cmd-clicking layer thumbnails to load a layer's shape as a selection
- the Spray tool
- Group Layers and a group mask
- Text in IM Fell English SC, IM Fell Double Pica and Cinzel
The palette:
-
Paper
-
Ink
-
Glacier tint
Multiply at 45%
-
Vermilion
-
Sky tone greys
-
Set up the paper and guides
Open Lopsy. In the New Document dialog, set Width to
1400and Height to2100and click Create. You get a whiteBackgroundand an emptyLayer 1.- Click the
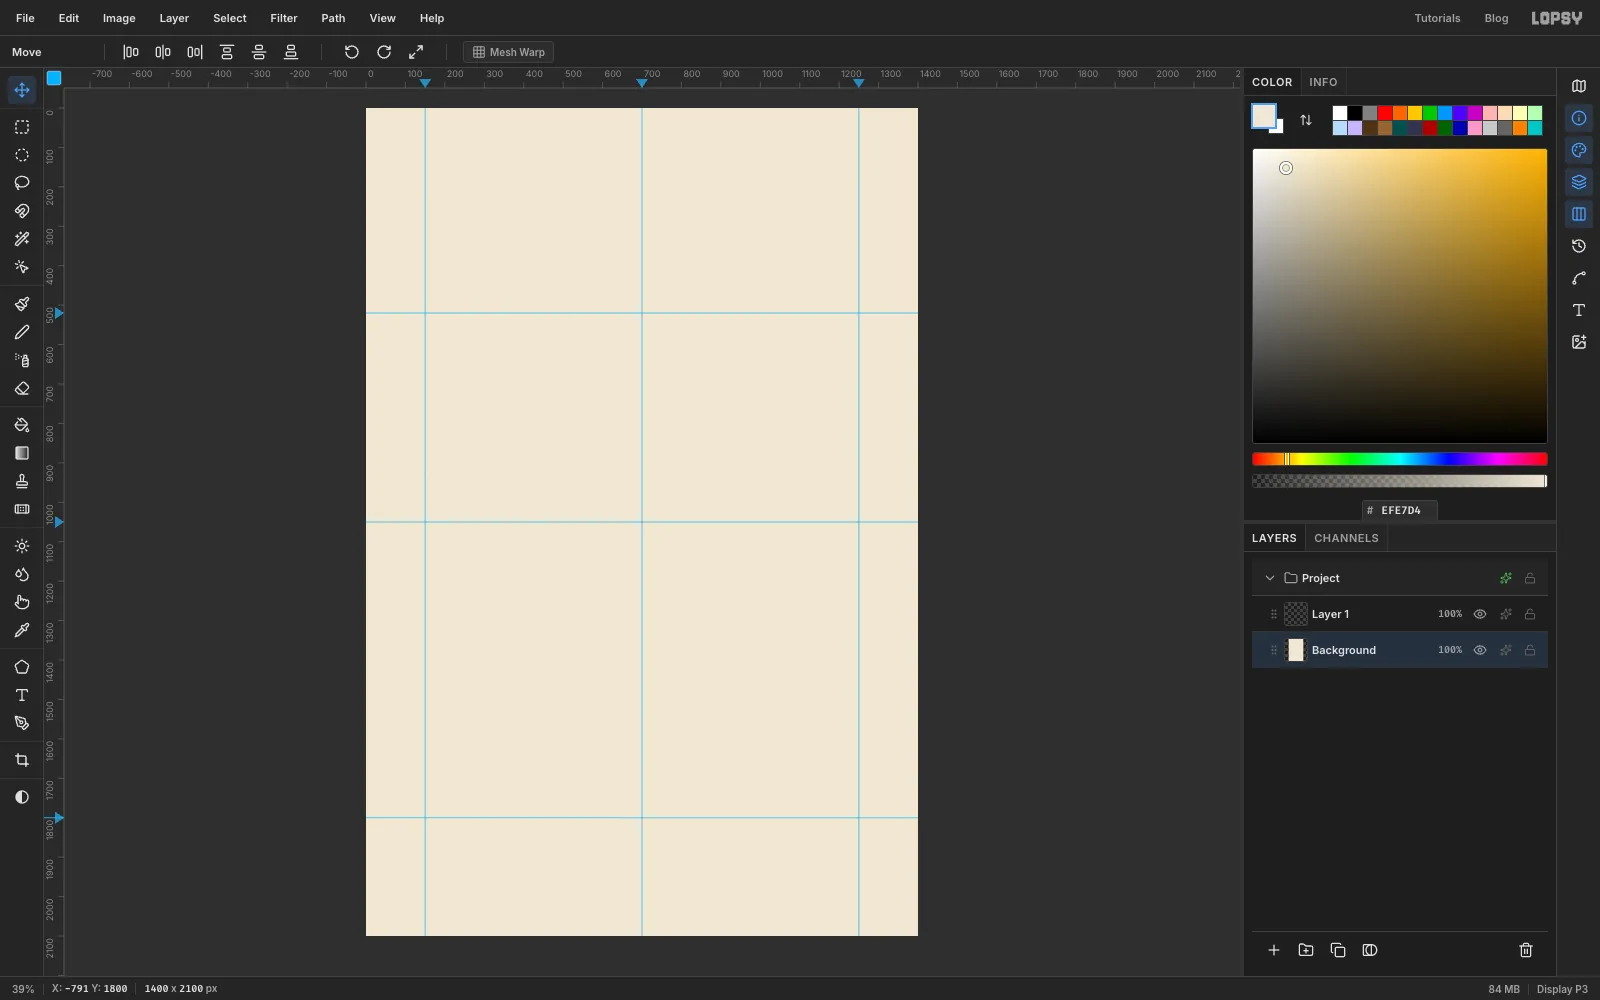
Backgroundrow in the Layers panel. Set the foreground colour to by typing it into the hex field of the Color panel, then choose Edit → Fill. - Click the top ruler at 150, 700 and 1250 to drop three vertical guides. Then click the left ruler at 520, 1050 and 1800 for three horizontal guides.
The outer guides frame the engraved plate. The centre of the canvas, 700, 1050, is where the moon goes. That matters later, because the Kaleidoscope filter always works around the canvas centre.
- Click the
-
Paint the sky's tone
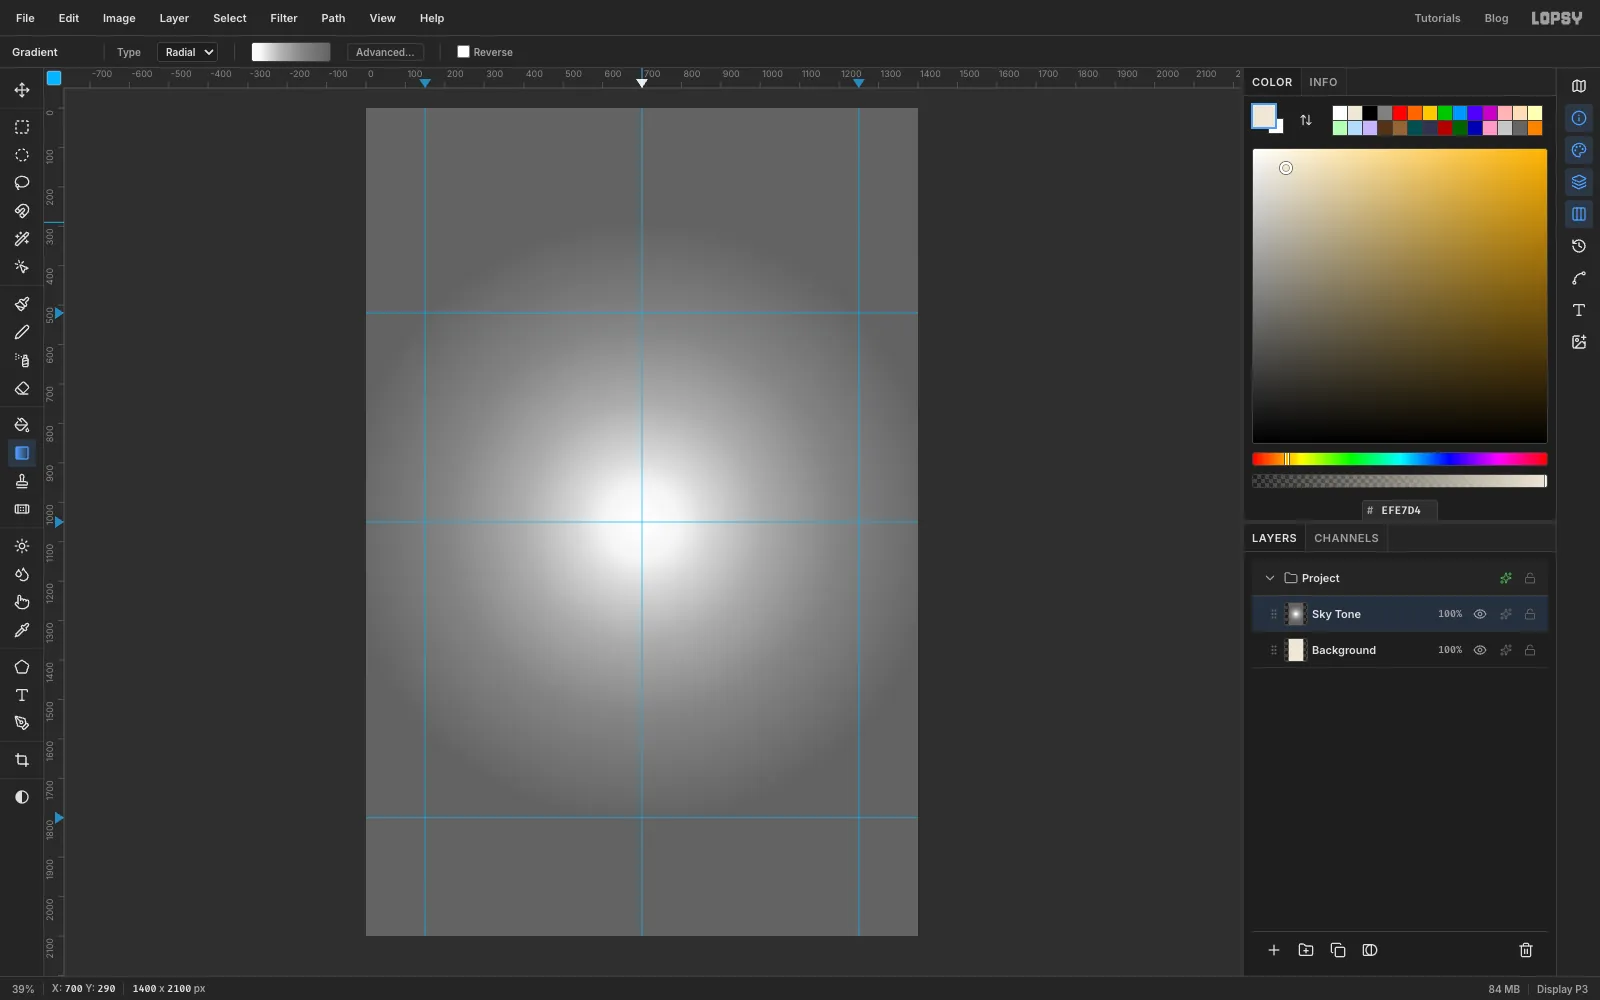
This grey picture decides how thick the sky's lines will be. White makes no lines, so the moon will get a clean glowing halo. The darker greys towards the edges will make lines that thicken until the night goes solid black.
- Click
Layer 1, double-click its name and rename itSky Tone. - Pick the Gradient tool in the toolbox. It has no keyboard shortcut. Set Type to Radial and click Advanced….
- Click the handle row to add stops, click each handle and type its colour into the hex field. Use at 0%, at 13%, at 22%, at 40%, at 65% and at 100%. Click Done.
- Drag from the centre guide crossing (700, 1050) straight up to 700, 290. The drag length is the radius.
- Click
-
Make a rule cell
The sky's lines start as a pattern: a 2 px black line in an 8 px cell.
- Click Add Layer at the bottom of the Layers panel and rename the new layer
Sky Rules. Set the foreground to white () and choose Edit → Fill. - Pick the Pencil (
N), set Size to2and the foreground to black. - Click at 704, 60, then hold Shift and click at 704, 300. You get a straight vertical line.
- Pick the Rectangular Marquee (
M). Click once on the canvas without dragging to open the Rectangular Selection dialog. Enter From700,100and To708,108and press Enter. This 8 × 8 box holds white with the black line running through it. - Choose Edit → Define Pattern, then Select → Deselect (Cmd+D).
- Click Add Layer at the bottom of the Layers panel and rename the new layer
-
Fill the layer with soft vertical rules
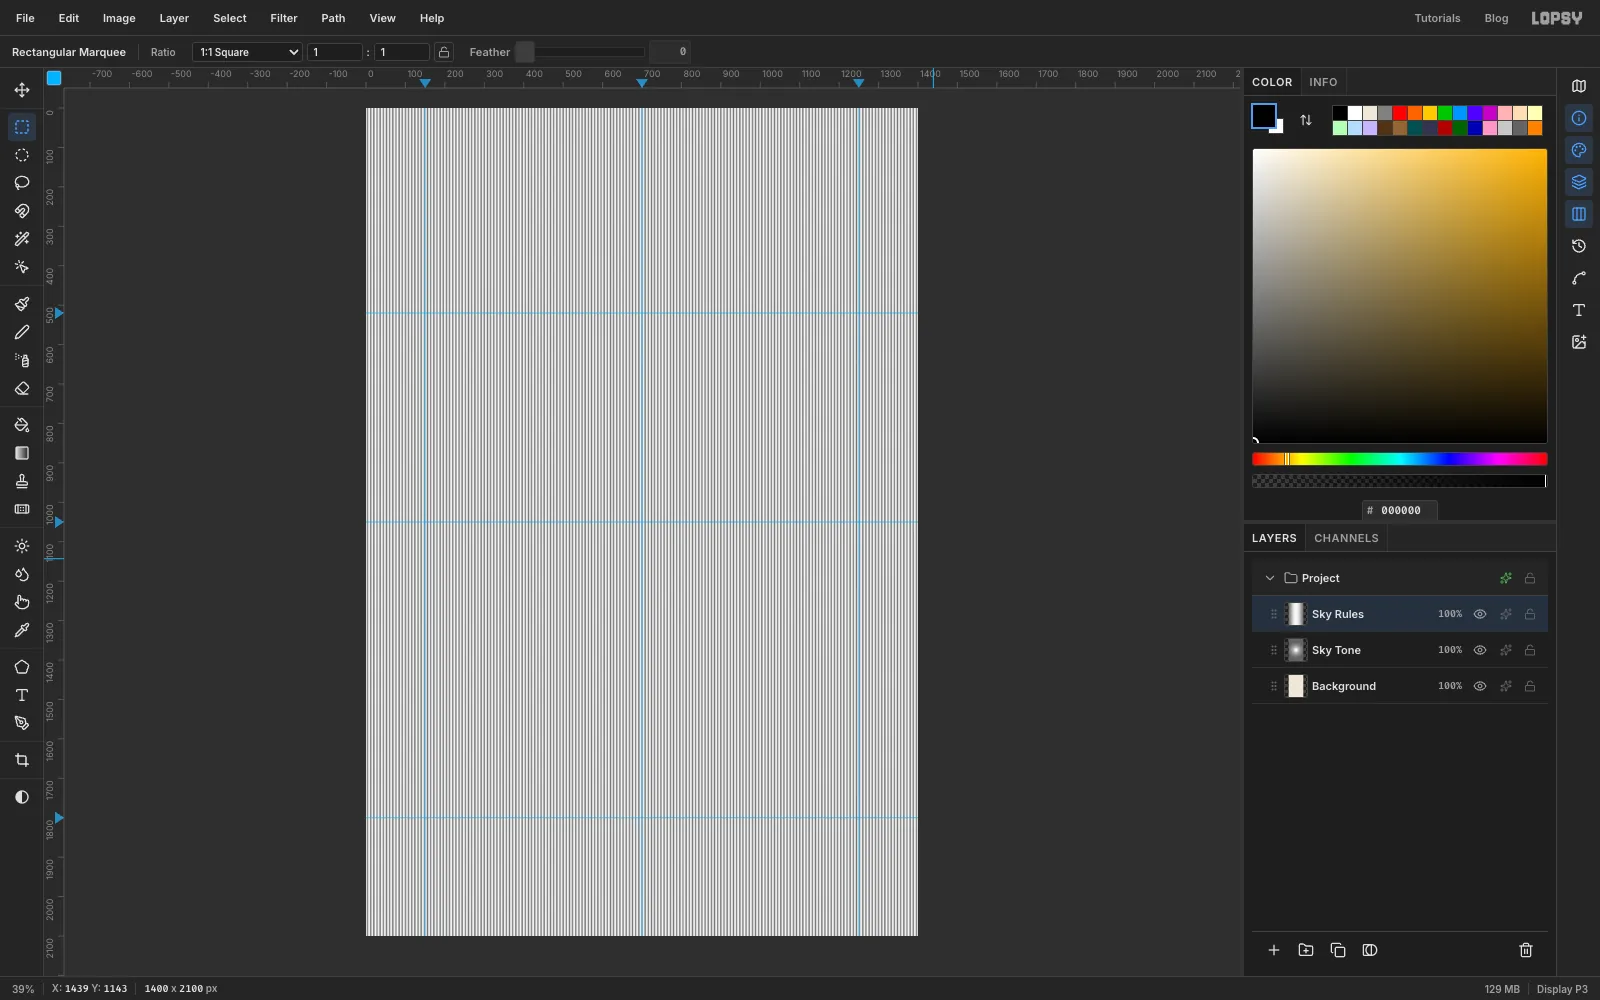
- Choose Edit → Fill with Pattern…, click the pattern you just made and click Apply. The whole layer fills with vertical rules 8 px apart.
- Choose Filter → Gaussian Blur…, set Radius to
4and click Apply.
The blur is what makes the engraving trick work. A blurred line is darkest at its centre and fades out. When it is multiplied over a grey and thresholded, a darker grey keeps more of that fade, so the line comes out thicker.
-
Tilt the rules a hair
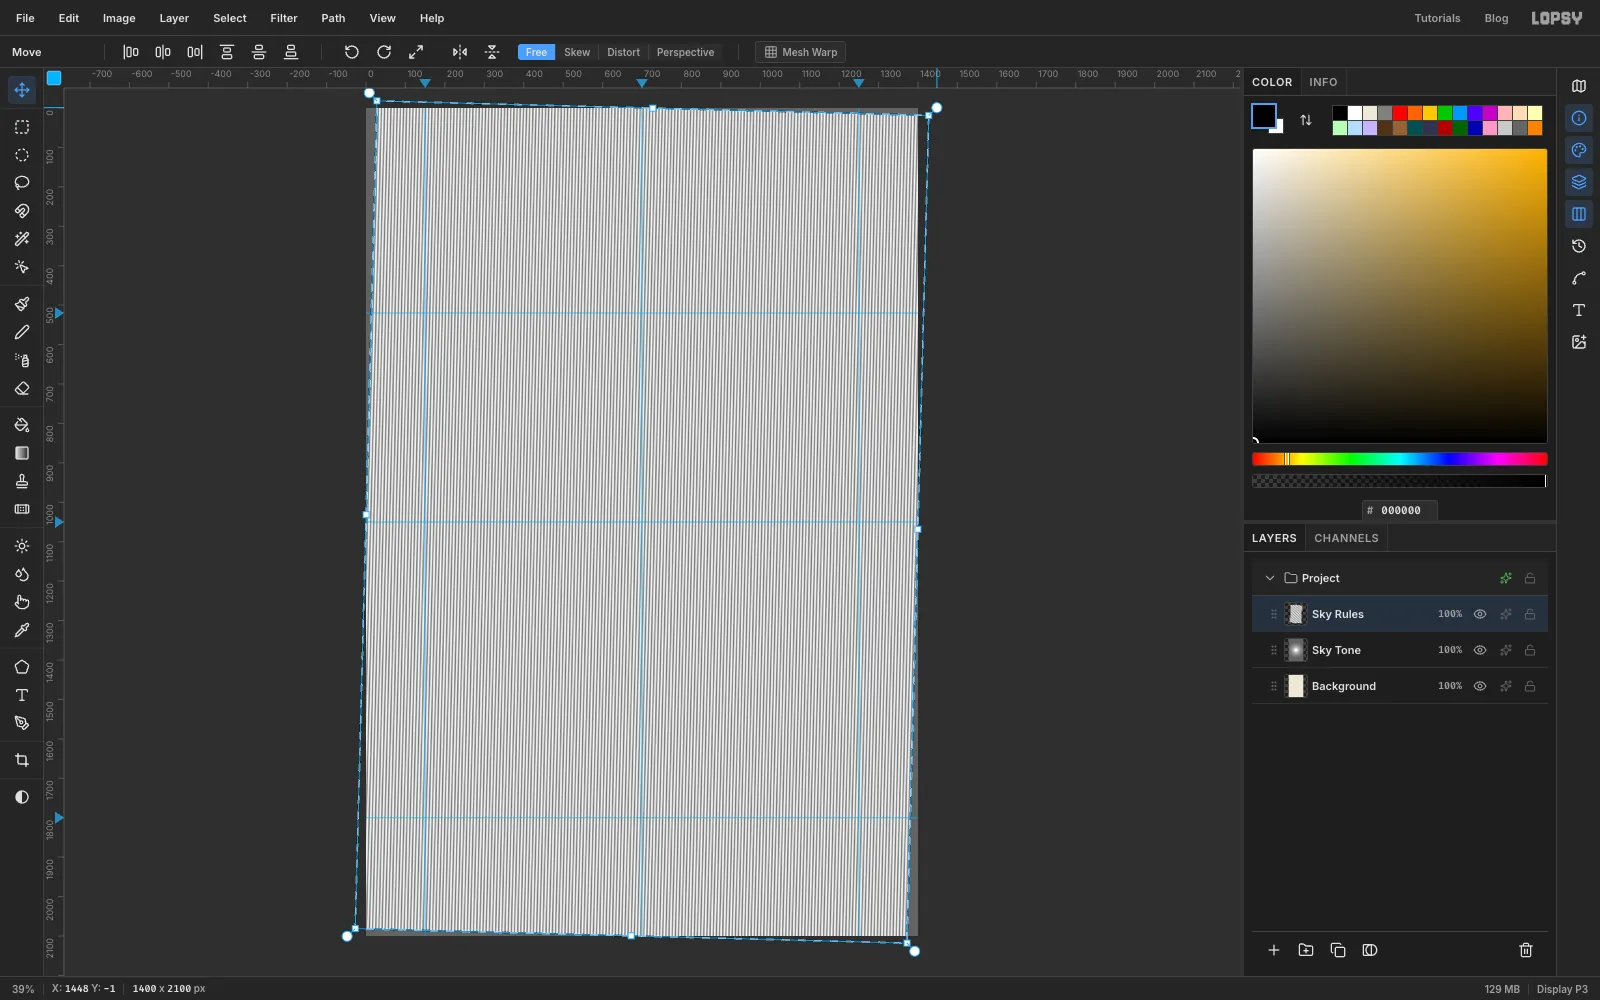
If the rules are perfectly vertical, the rings made from them in the next step show a lighter cross through the moon. That's where the ring facets sit exactly on the pixel grid. A slight tilt fixes it.
- Press Cmd+A to select all. Pick the Move tool (
V). - Hover just outside the top-right corner handle until the cursor becomes a curved arrow. Drag a little clockwise, until the box has turned about 1.5°. The exact amount doesn't matter. Anything between 1° and 3° works.
- Press Enter to apply, then Cmd+D to deselect.
- Press Cmd+A to select all. Pick the Move tool (
-
Fold the rules into rings with Kaleidoscope
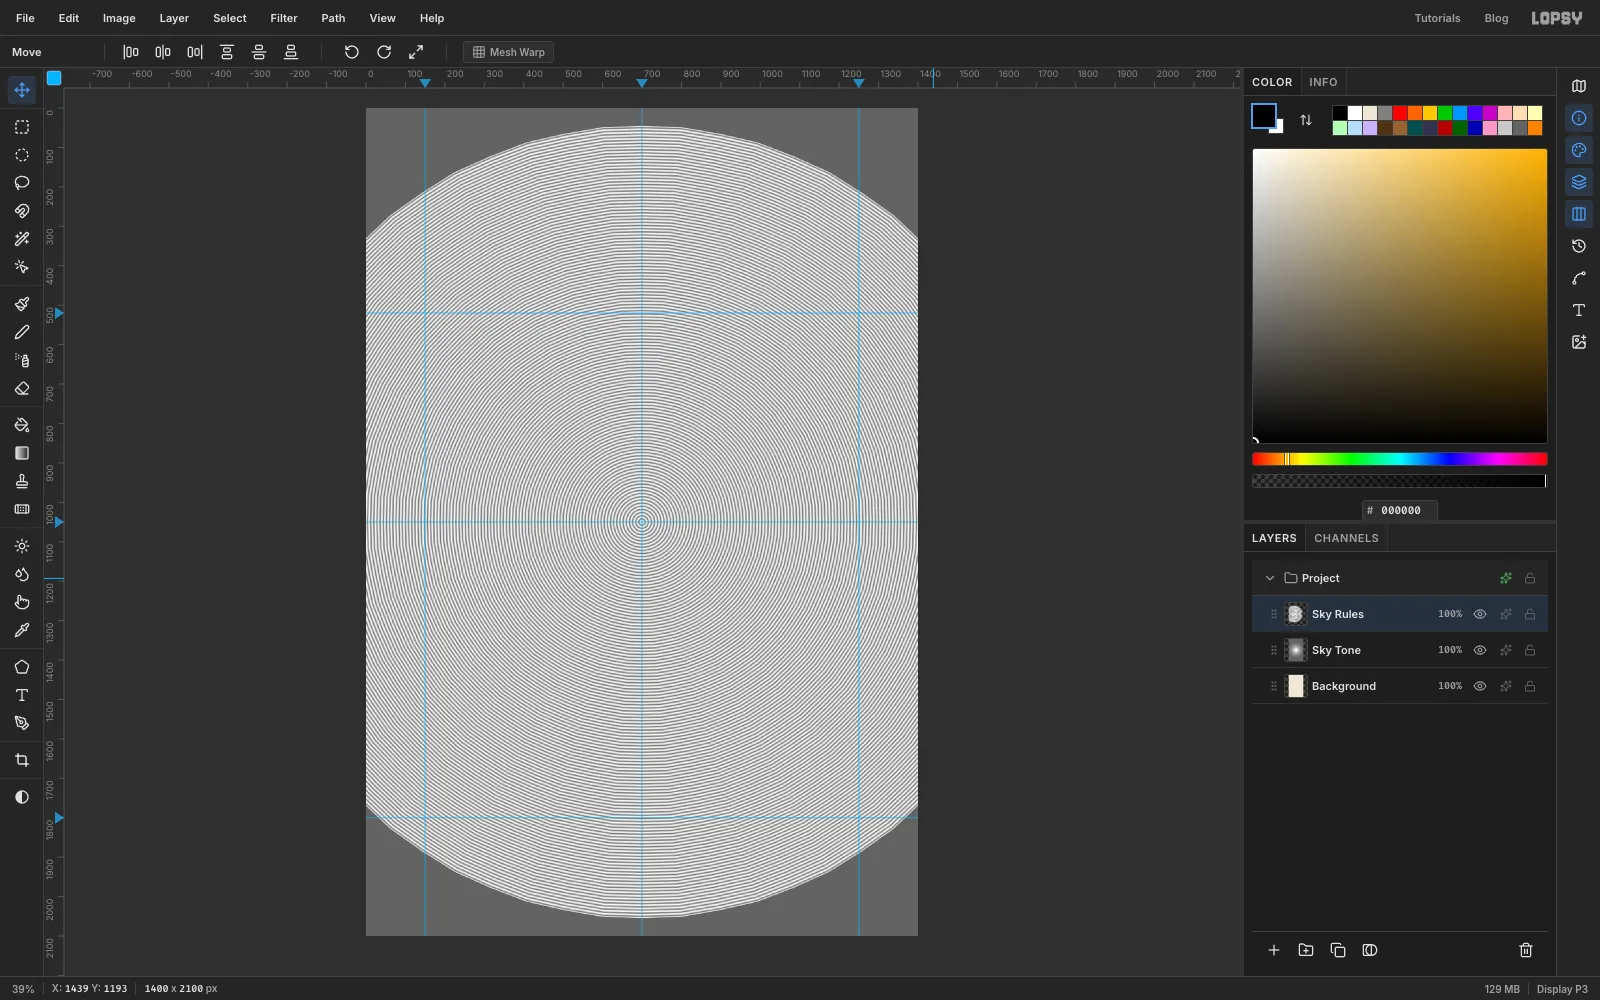
The Kaleidoscope filter takes one wedge of the layer just right of the canvas centre and mirrors it around the full circle. A vertical line in that wedge comes back as a ring. Rings only reach as far as the layer does, though, and the canvas edge is only 700 px from the centre. So you'll first slide the layer to the right so it hangs past the edge.
- With the Move tool still active and
Sky Rulesselected, press Shift+Right 30 times and Right 4 times. That's 304 px. The layer now runs off the right side of the canvas, which is fine. - Choose Filter → Kaleidoscope…, set Segments to
32(the maximum) and leave Rotation at0. Click Apply.
The rings are really many-sided polygons, not true circles. At engraving scale, nobody will notice.
- With the Move tool still active and
-
Lay the rings over the tone
- Choose Filter → Gaussian Blur… with Radius
1to smooth the rings after the fold. - Click the effects button on the
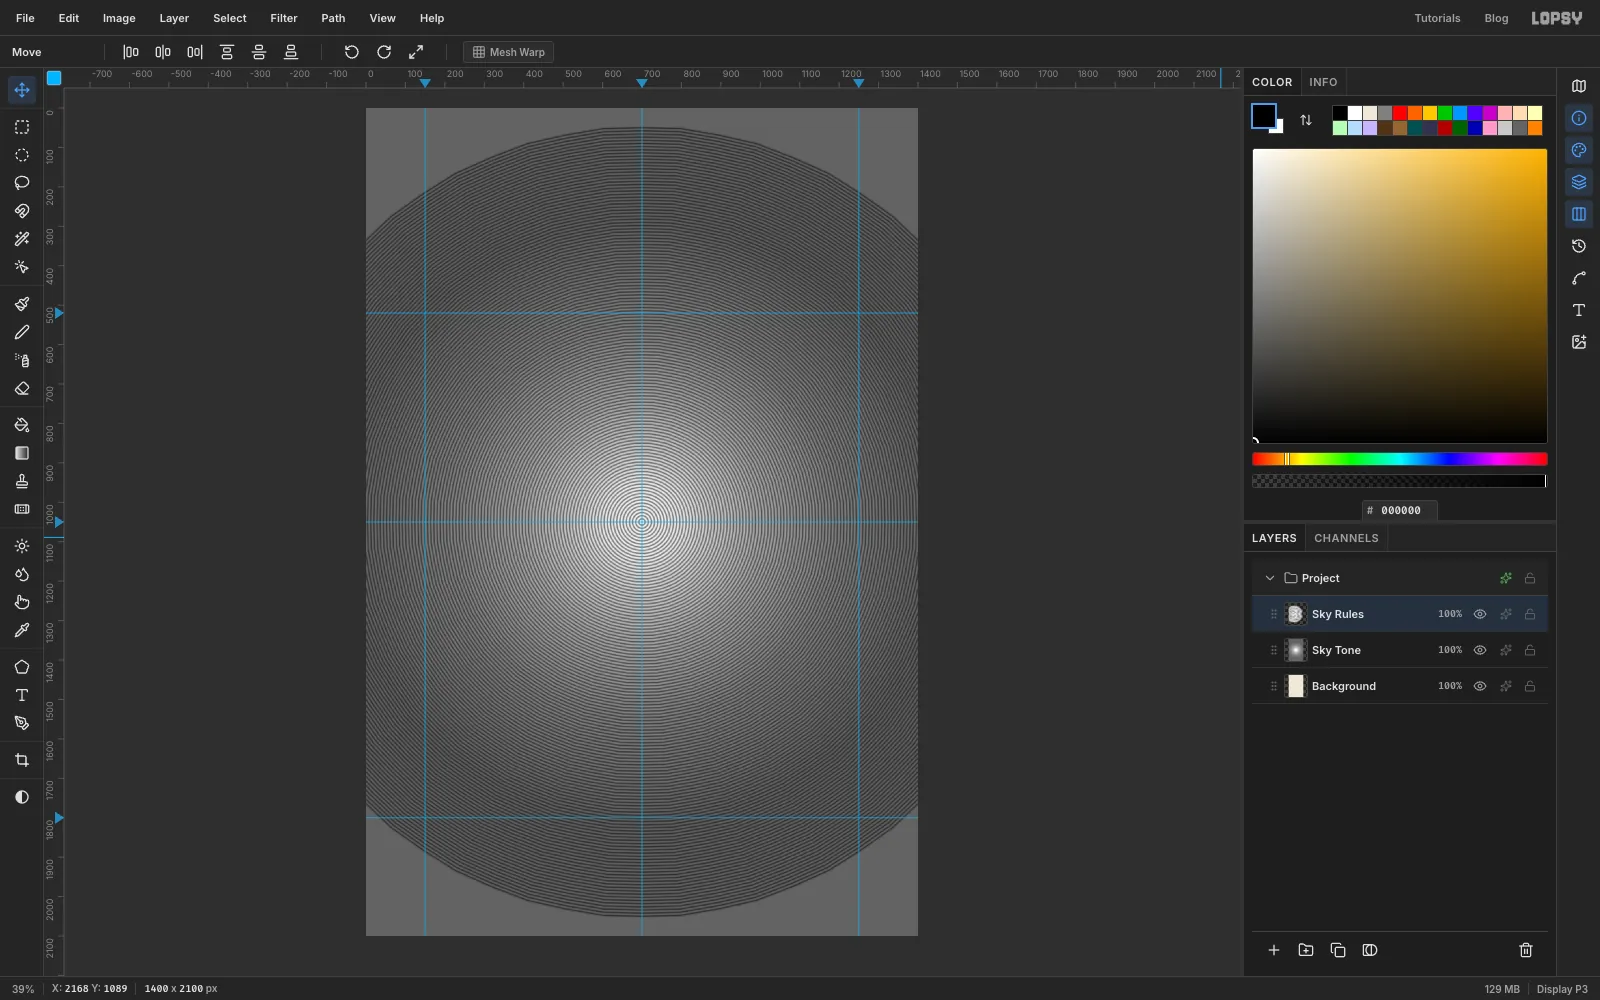
Sky Rulesrow, the sparkle icon. This opens the layer's Effects drawer. Set the Blend dropdown at its top to Multiply and close the drawer.
The rings are now darkened by the grey underneath them, but they're still soft. Threshold sharpens them in the next step.
- Choose Filter → Gaussian Blur… with Radius
-
Engrave the sky with Threshold
- With
Sky Rulesselected, choose Layer → Merge Down to merge it intoSky Tone. Rename the resultSky Engraving. - Choose Filter → Threshold…, set Level to
110and click Apply. - Pick the Magic Wand (
W). Turn Contiguous off and set Tolerance to10. Click the white at the centre of the canvas. Every white pixel in the layer is selected. - Press Delete, then Cmd+D.
Only black lines are left now, over the cream
Background. The lines are thin near the centre, where the moon will go, and thicken outward until they merge into a solid night sky.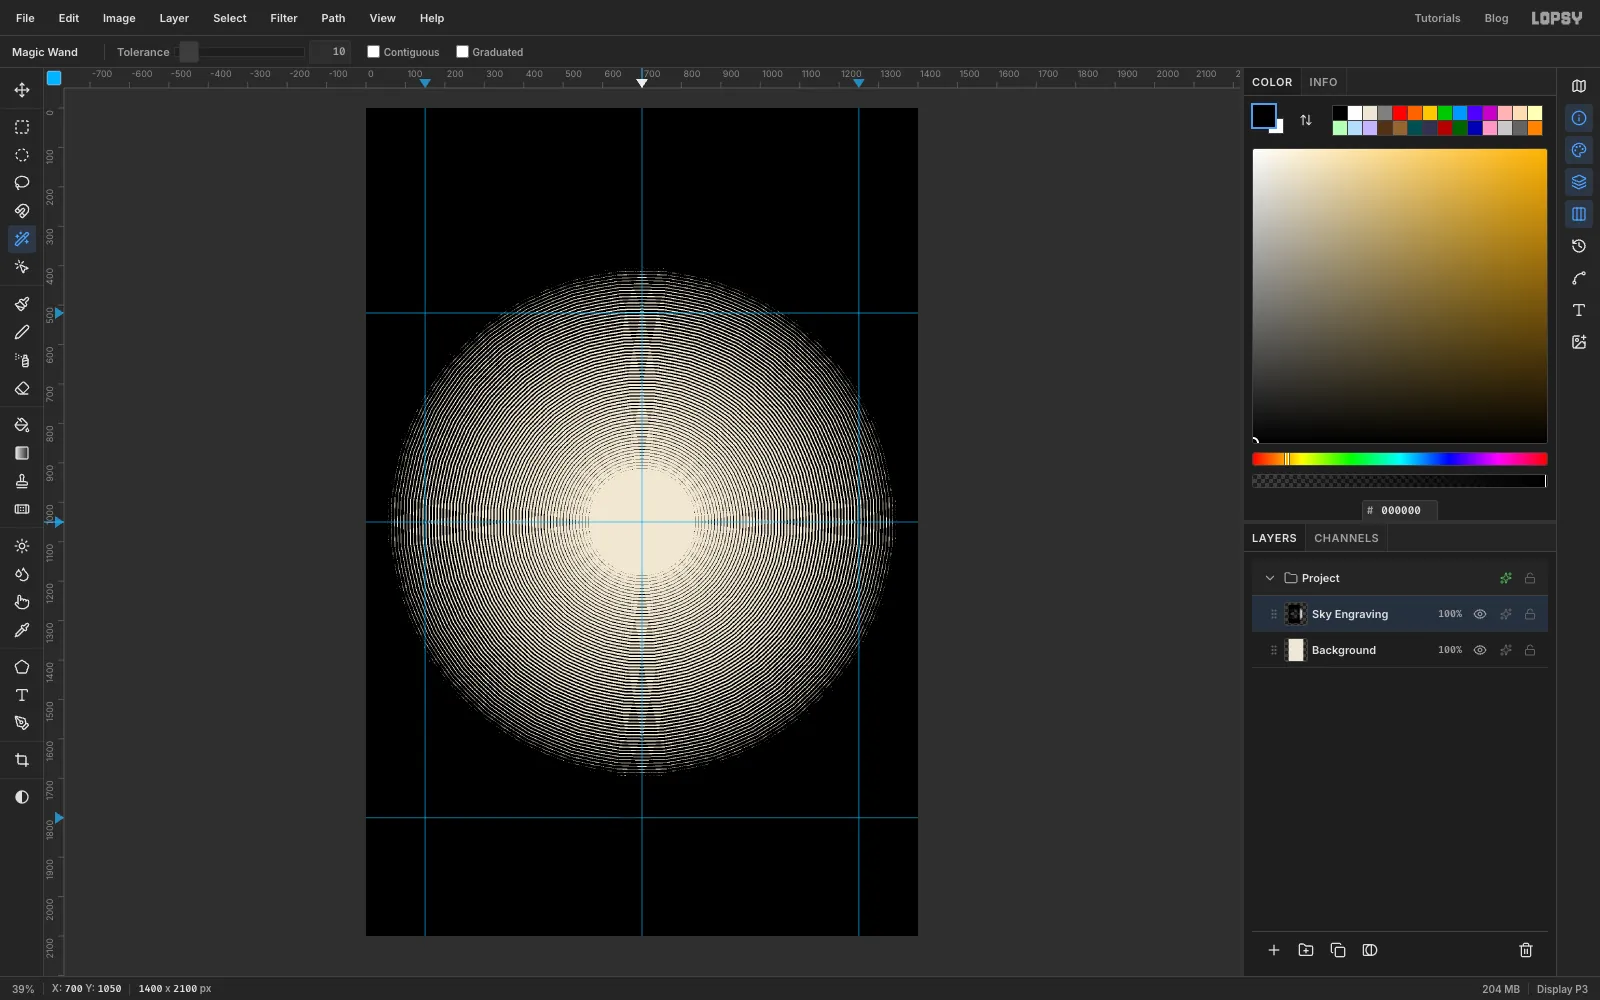
- With
-
Drop in Hurley's photo
With
Sky Engravingselected, drag the downloaded photo from your file browser onto the canvas. It lands on a new layer aboveSky Engraving, at full size, with the Move tool and its handles active. Rename the layerEndurance Photo.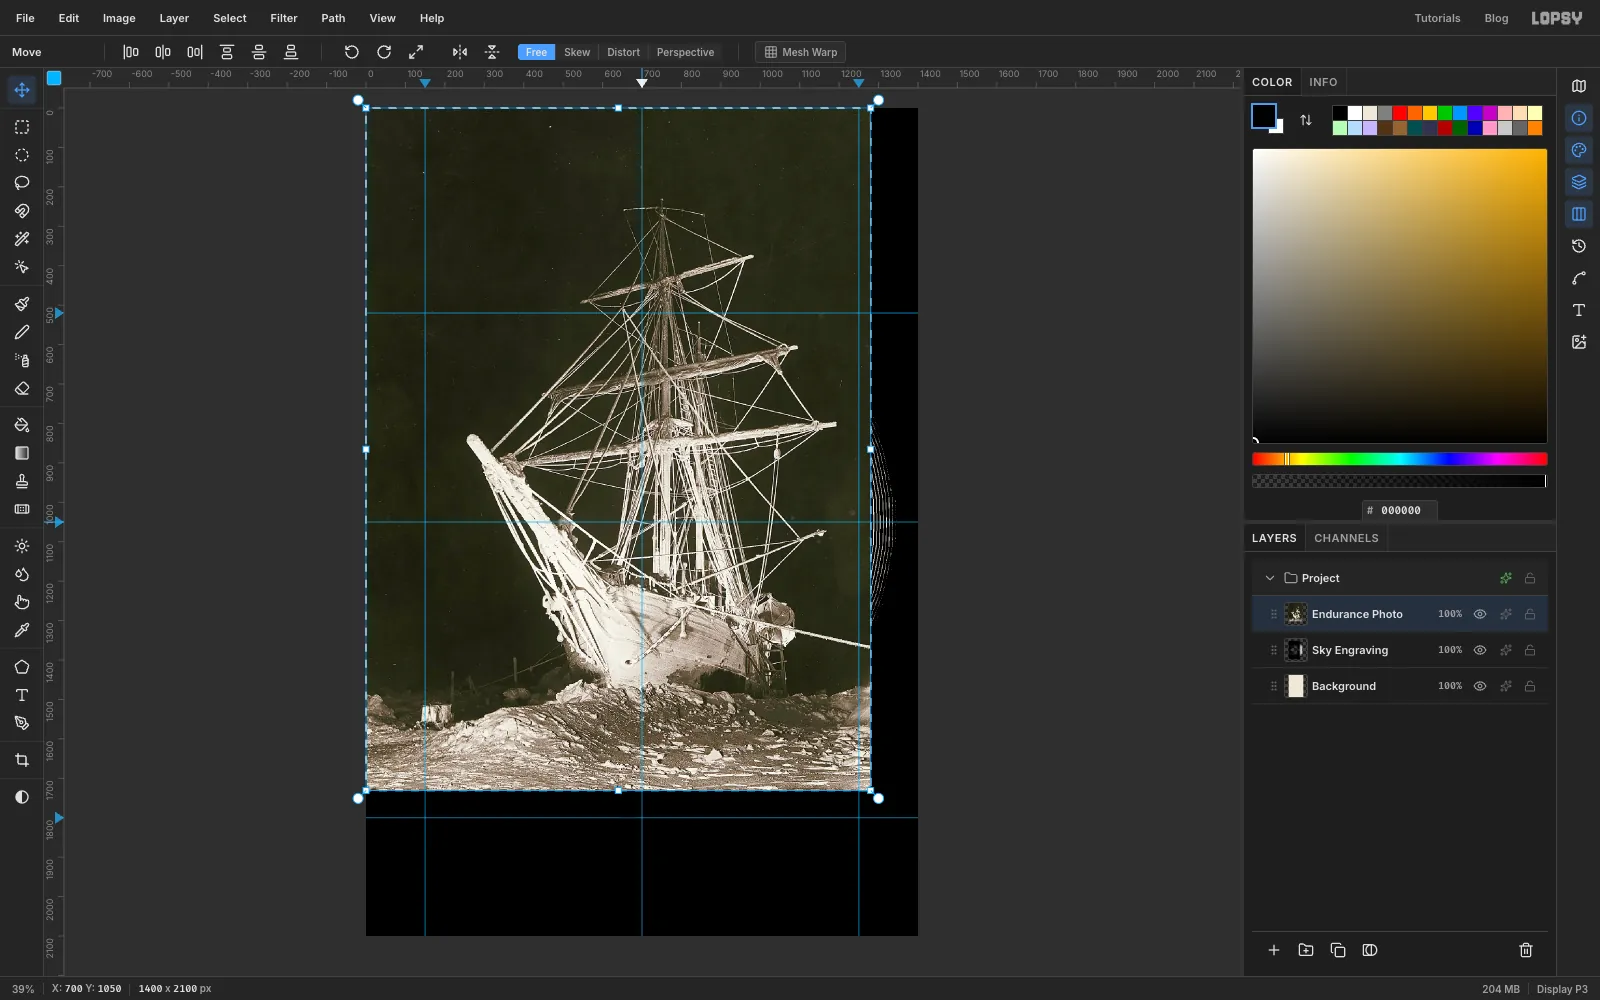
-
Scale the photo to the plate
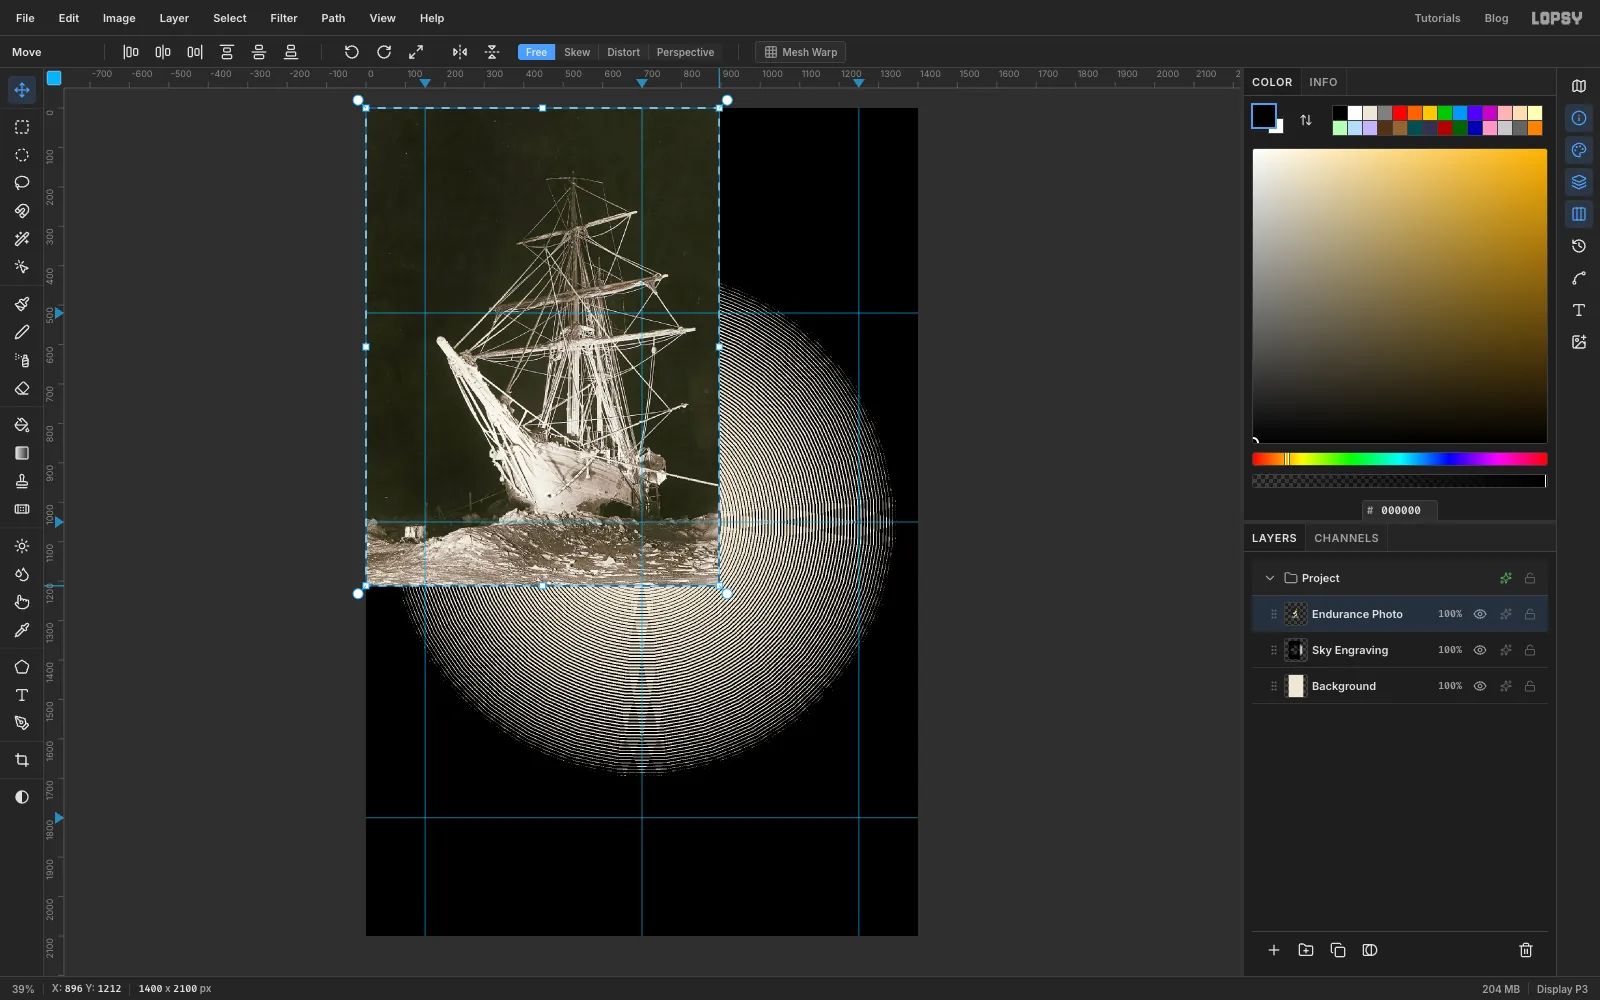
- The photo lands with its top-left corner at 0, 0. Hold Cmd and drag the bottom-right corner handle up and to the left. Cmd keeps the proportions. Stop when the right edge reaches 896 on the top ruler, which is 70% of the original width. This number matters: later selections assume the photo's bottom edge ends up at y 1842.
- Press Enter to apply.
-
Place the ship
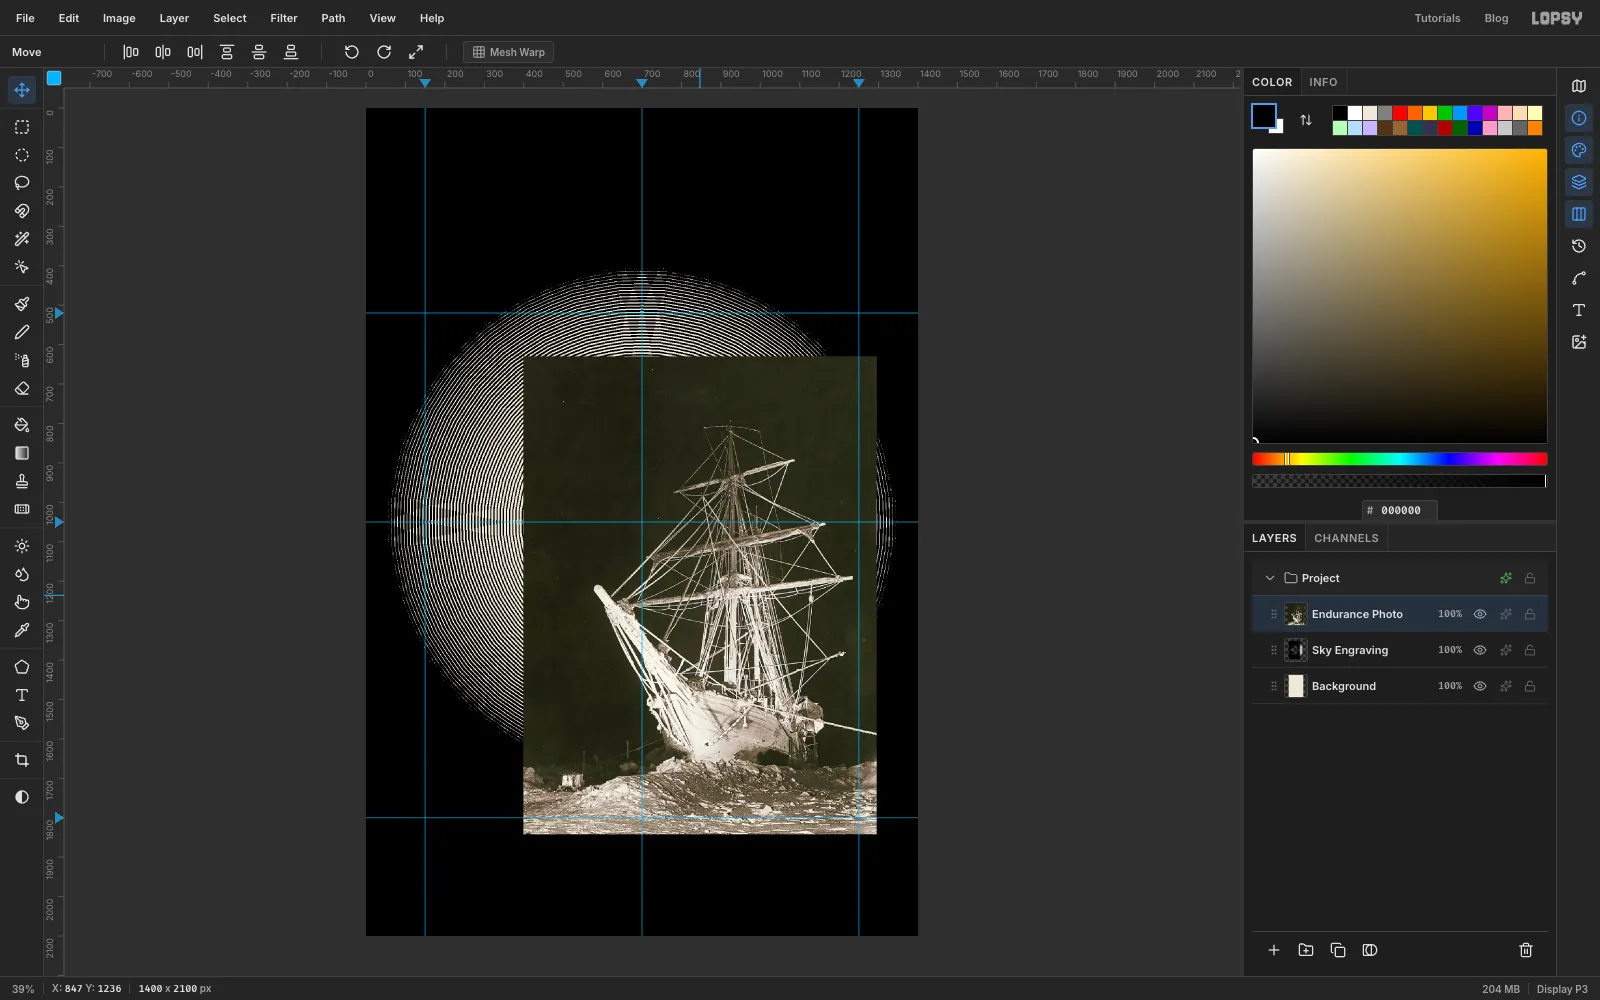
Drag the photo with the Move tool so that its top-left corner sits at 399, 630. Then use the arrow keys to get it exact. The Info panel shows the layer's X and Y.
This position puts the canvas centre, where the moon will go, in the patch of black sky between the bowsprit and the foremast. The ship stands to its right, and the pack ice runs along the bottom of the plate.
-
Select the photo's sky
- Choose Filter → Desaturate, then Filter → Gaussian Blur… with Radius
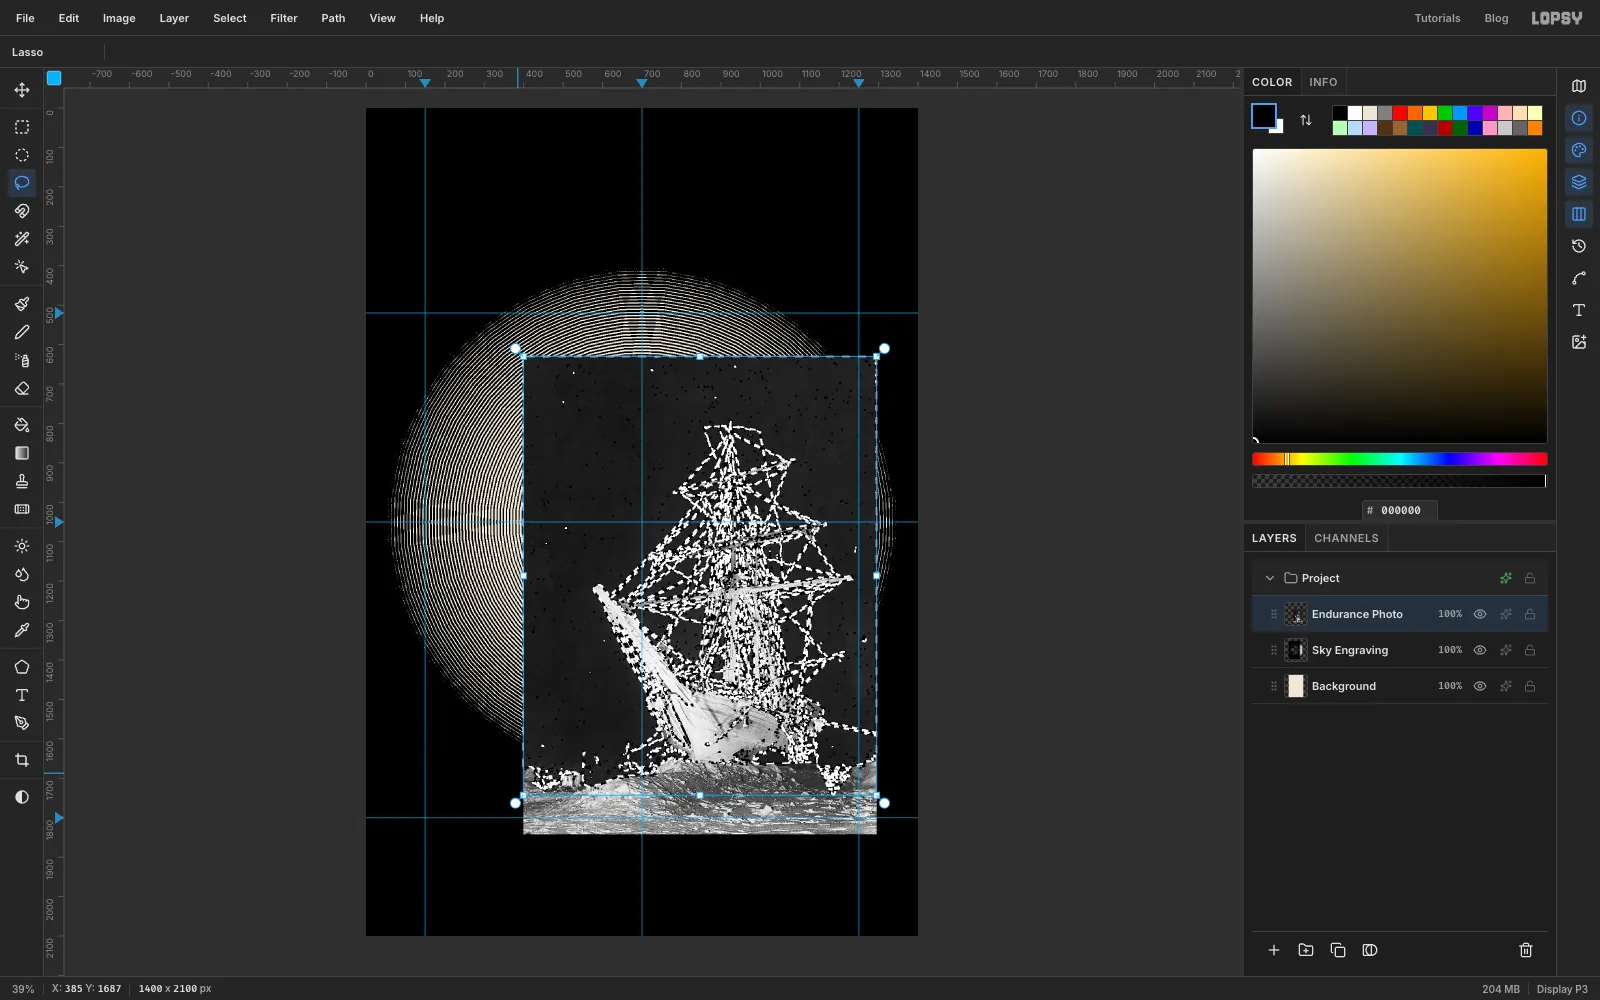
1. The blur stops the wand from picking up single noisy pixels. - Pick the Magic Wand. Turn Contiguous off, set Tolerance to
34, and click the black sky in the photo's top-right corner. The whole sky is selected, including the gaps between the ropes, but not the frosted ship. - The dark crevices in the pack ice got selected too, and you want to keep them. Pick the Lasso (
L). Hold Alt and draw around the ice along the bottom of the photo. Start just under its moonlit top edge, which runs at about y 1690 to 1750, and go around the bottom of the photo. That takes the ice out of the selection.
- Choose Filter → Desaturate, then Filter → Gaussian Blur… with Radius
-
Cut the sky away
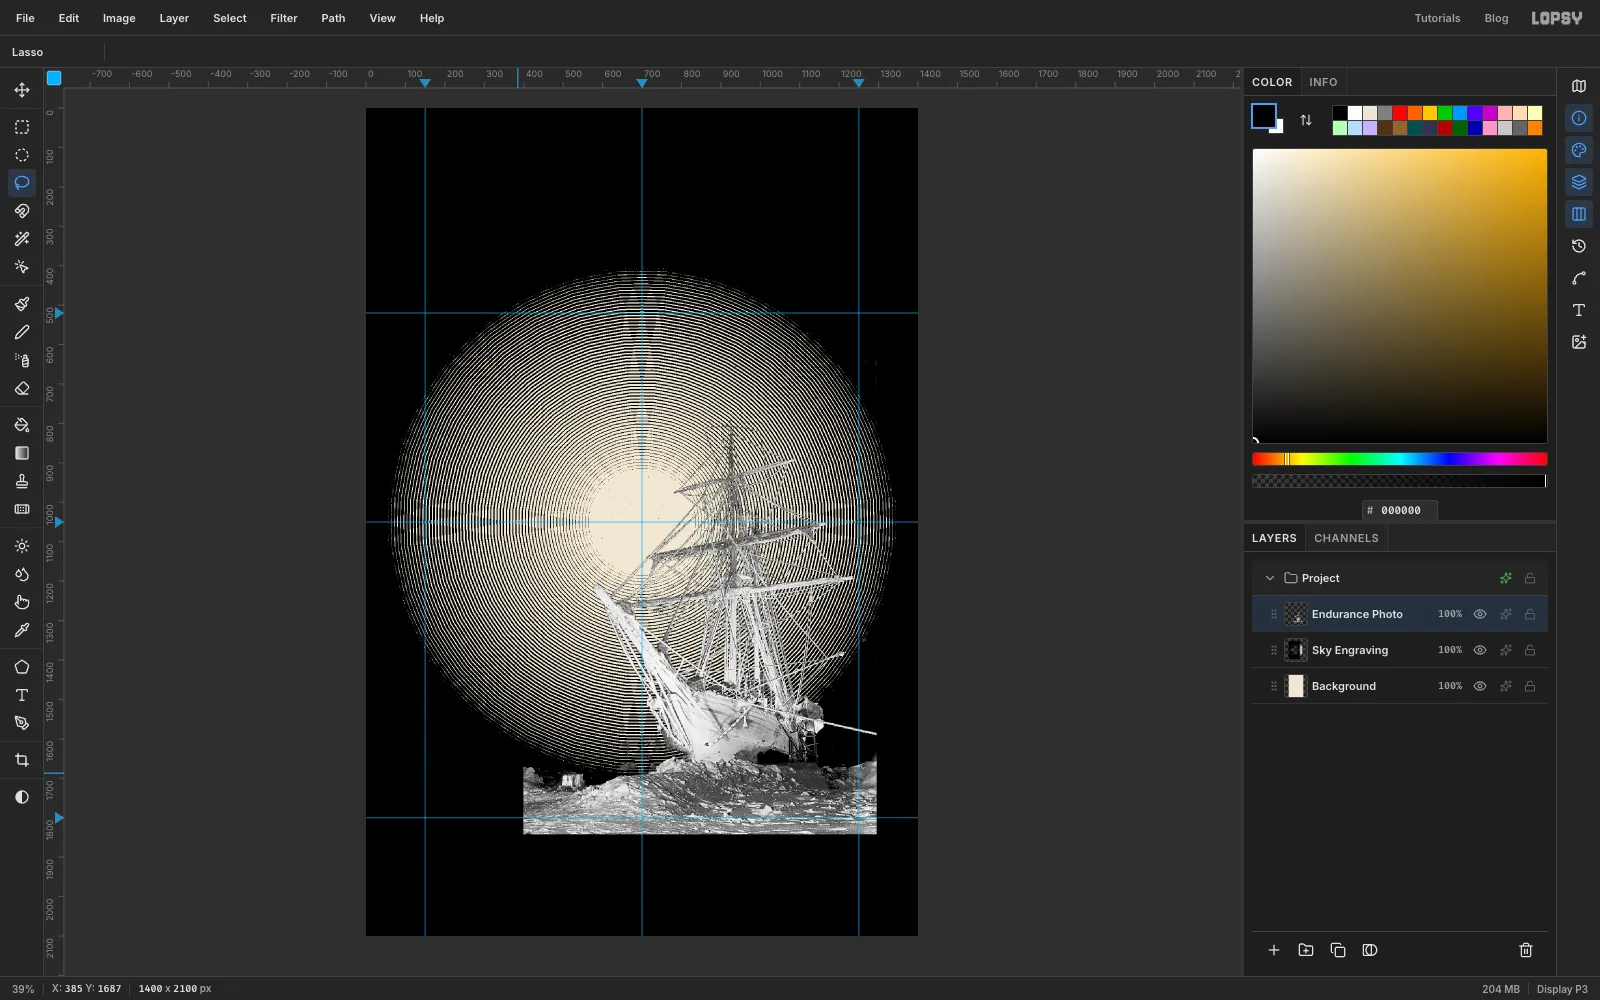
Press Delete, then Cmd+D. The photo now shows the ship and the ice, with the engraved sky showing through the rigging.
-
Rule the ship
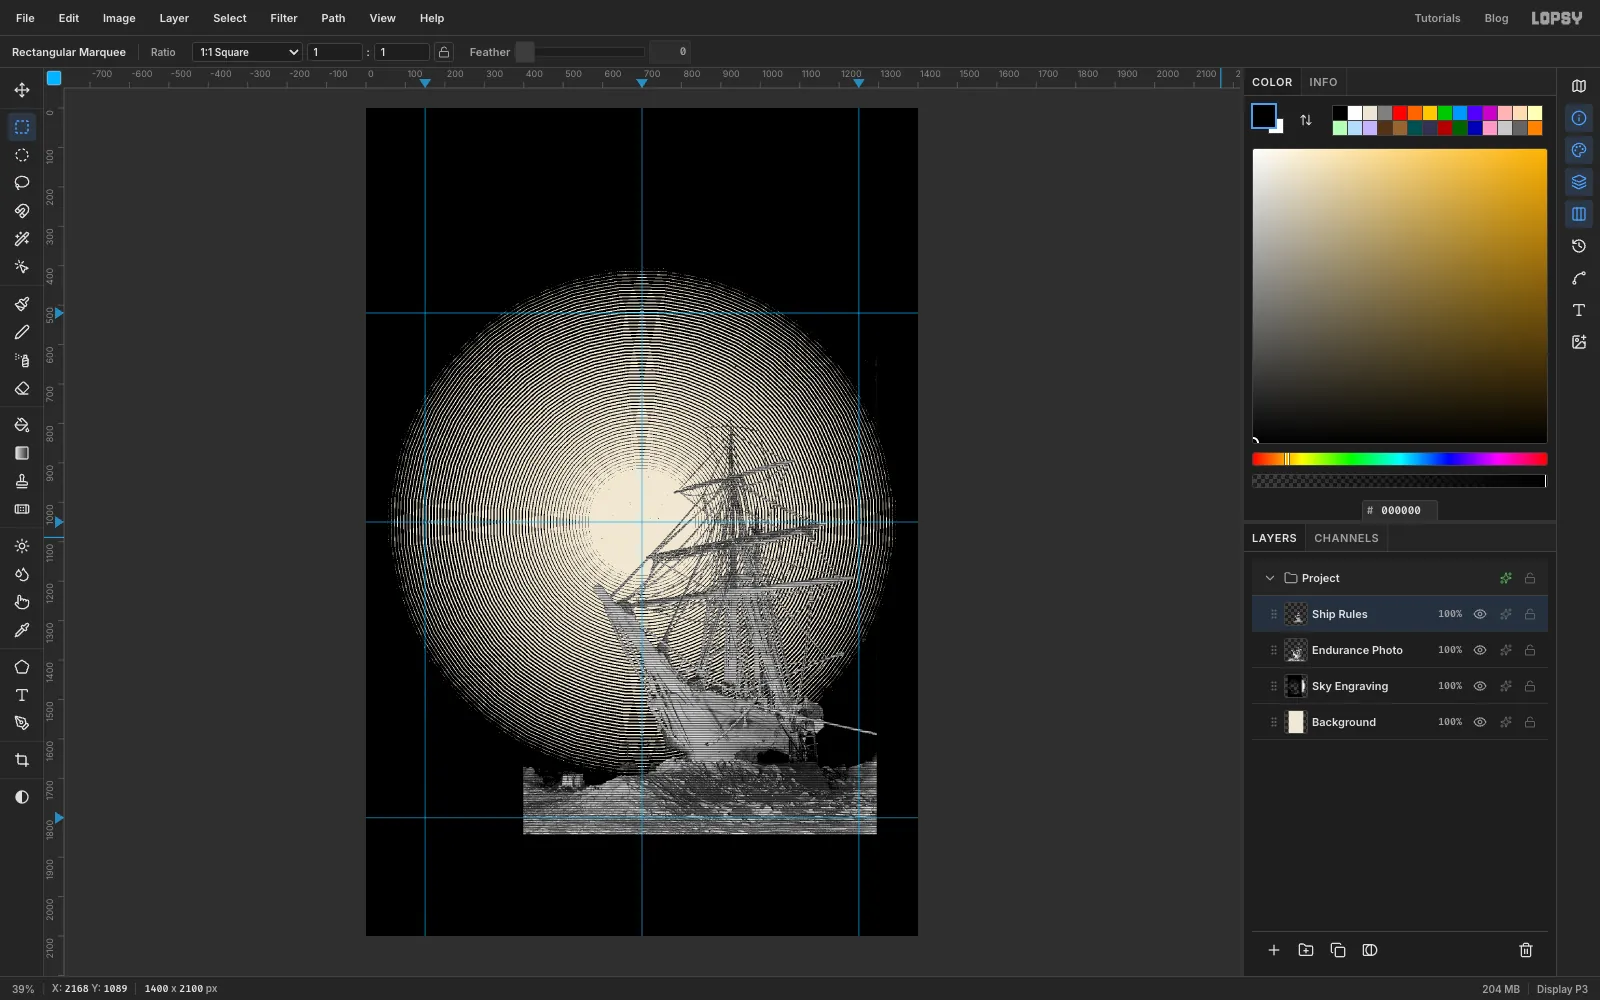
The ship gets the same treatment as the sky, but with finer horizontal lines.
- Click Add Layer. A new layer always appears directly above the selected one. Rename it
Ship Rules, set the foreground to white and choose Edit → Fill. - With the Pencil at Size
2in black, click at 60, 302 and Shift-click at 300, 302 for a horizontal line. - Use the marquee dialog to select From
100,300To106,306. Choose Edit → Define Pattern, deselect, then Edit → Fill with Pattern… with the new pattern. Run Gaussian Blur with Radius3. - Cmd-click the
Endurance Photothumbnail in the Layers panel. This loads the ship's shape as a selection. - Click
Sky Engravingand press Delete. That clears the rings inside the ship, so they won't run through the hull. - Choose Select → Inverse, click
Ship Rulesand press Delete. That clears the rules outside the ship. Deselect. - Open the
Ship RulesEffects drawer and set Blend mode to Multiply.
- Click Add Layer. A new layer always appears directly above the selected one. Rename it
-
Engrave the ship
- With
Ship Rulesselected, choose Layer → Merge Down and rename the resultShip Engraving. - Choose Filter → Threshold… with Level
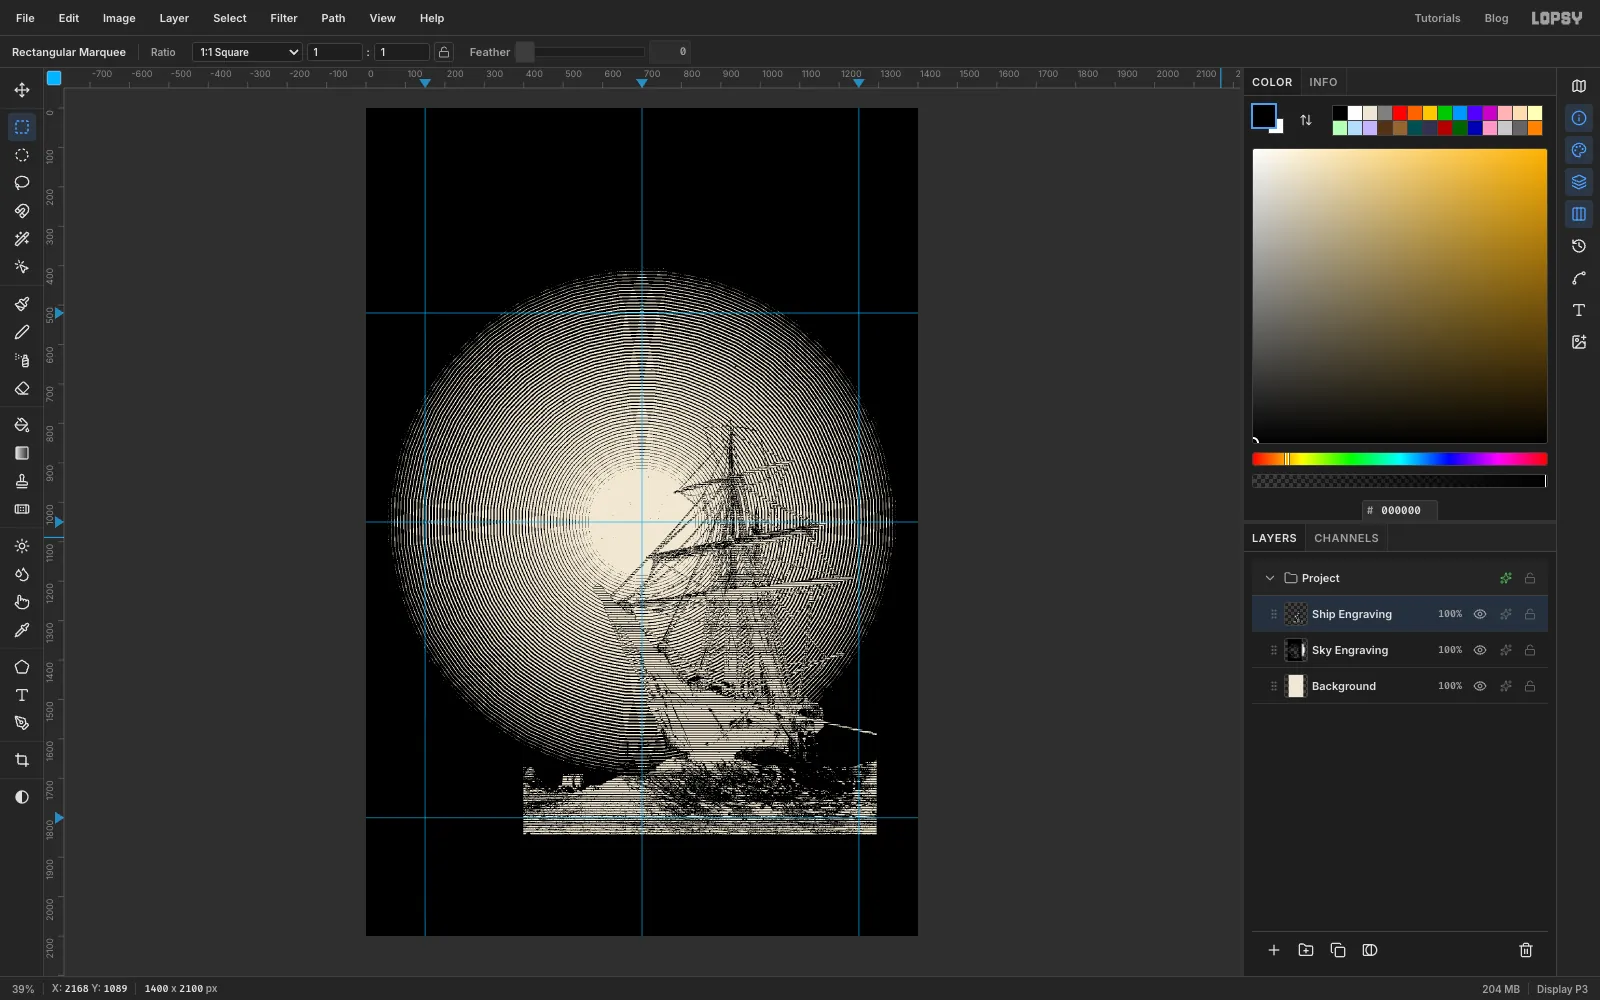
96. - Set the layer's Blend mode to Multiply. The white drops out, and only the ink prints over the paper.
- With
-
Redraw the spars with the Pen
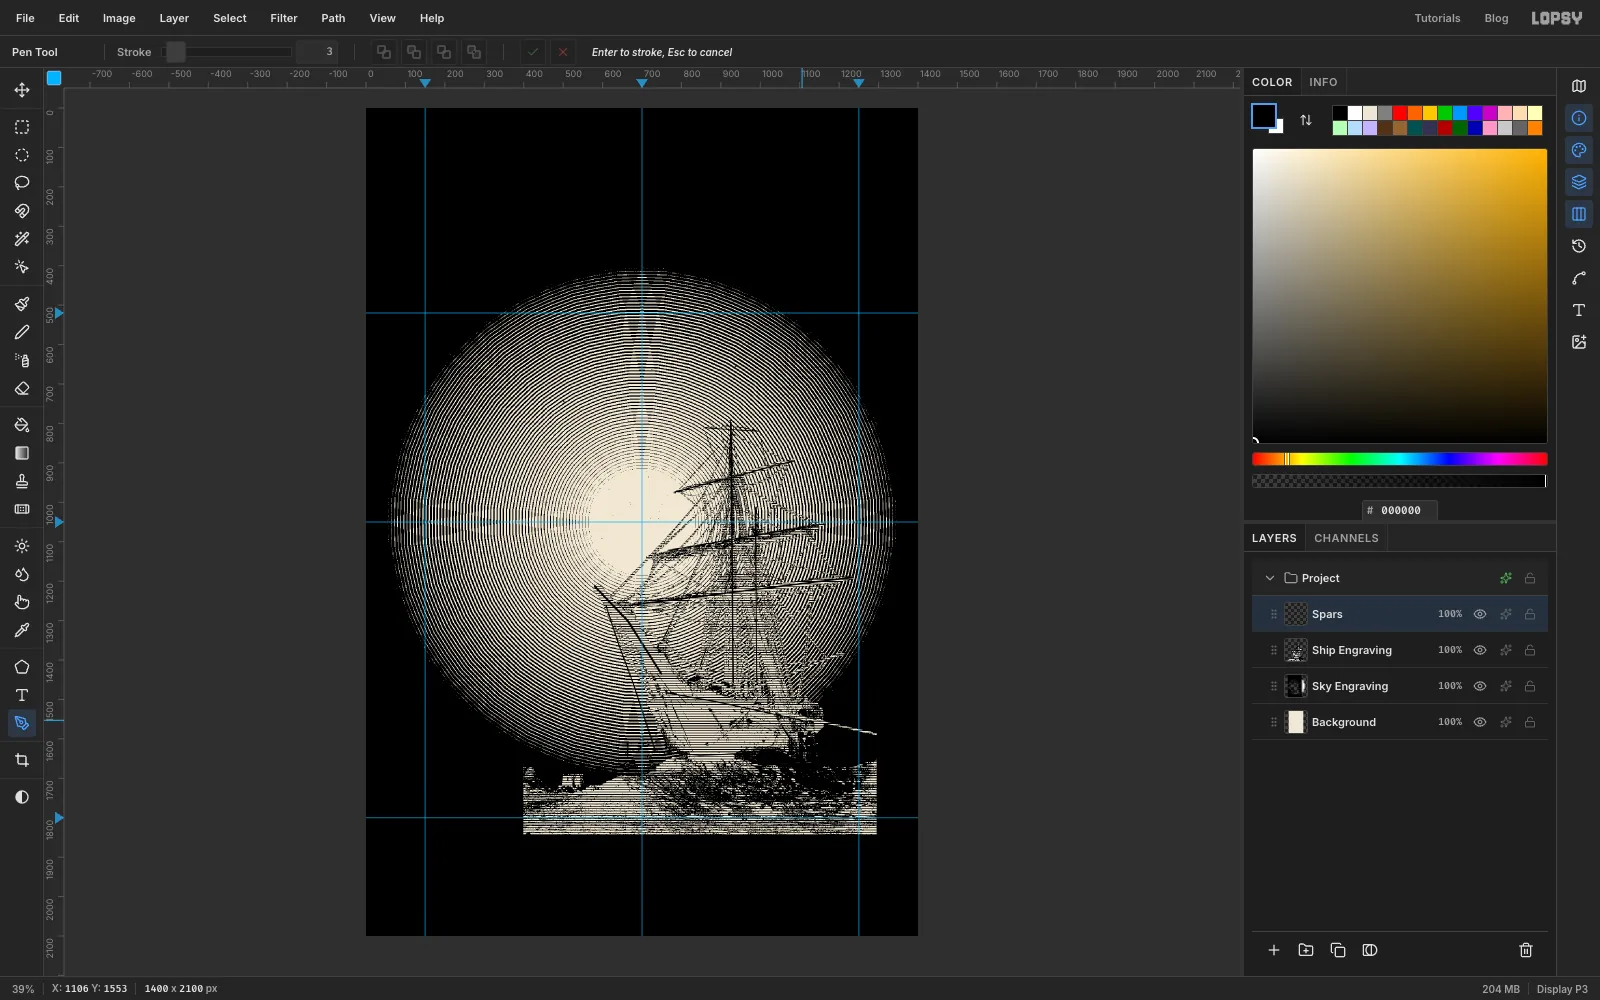
The threshold breaks up thin spars. Real engravers would draw them with a firm burin line, and you'll do the same with the Pen.
- Click Add Layer and rename it
Spars. Set the foreground to black. - Pick the Pen (
P) and set Stroke in the options bar to the width you want. Click once at each end of a spar, then press Enter. Enter strokes the path in the foreground colour. - After each stroke, open the Paths panel and click Delete Path. Otherwise your next click can land on the old path and edit it.
Draw these over the engraved spars. Each is two or three clicks:
- the main mast, from its top at about 925, 797 down to the deck at 931, 1456, at width
4 - the thinner mast behind it, from 988, 1014 to 991, 1456, at width
3 - the top yard, from 858, 811 to 998, 820, at width
2 - the next yard down, from 783, 974 to 1085, 895, at width
3 - the third yard, from 766, 1122 to 1166, 1054, at width
3. Starting it there keeps it clear of the moon. - the lowest and longest yard, from 676, 1260 to 1236, 1190, at width
4 - the bowsprit, from its tip at 580, 1213 through 665, 1302 to the bow at 749, 1435, at width
5
Then draw three hull lines at width
3:- the bow (stem): 609, 1264 → 641, 1358 → 679, 1463 → 711, 1561 → 734, 1631
- the waterline: 734, 1631 → 847, 1642 → 959, 1637 → 1050, 1624
- the deck edge (sheer): 763, 1483 → 889, 1506 → 1015, 1533 → 1106, 1553
- Click Add Layer and rename it
-
Copy a piece of the pack ice
The photo stops at x 399, so the plate's left side has no ice. You'll borrow some.
- Click
Ship Engraving. Use the marquee dialog to select From400,1630To660,1842. - Press Cmd+C.
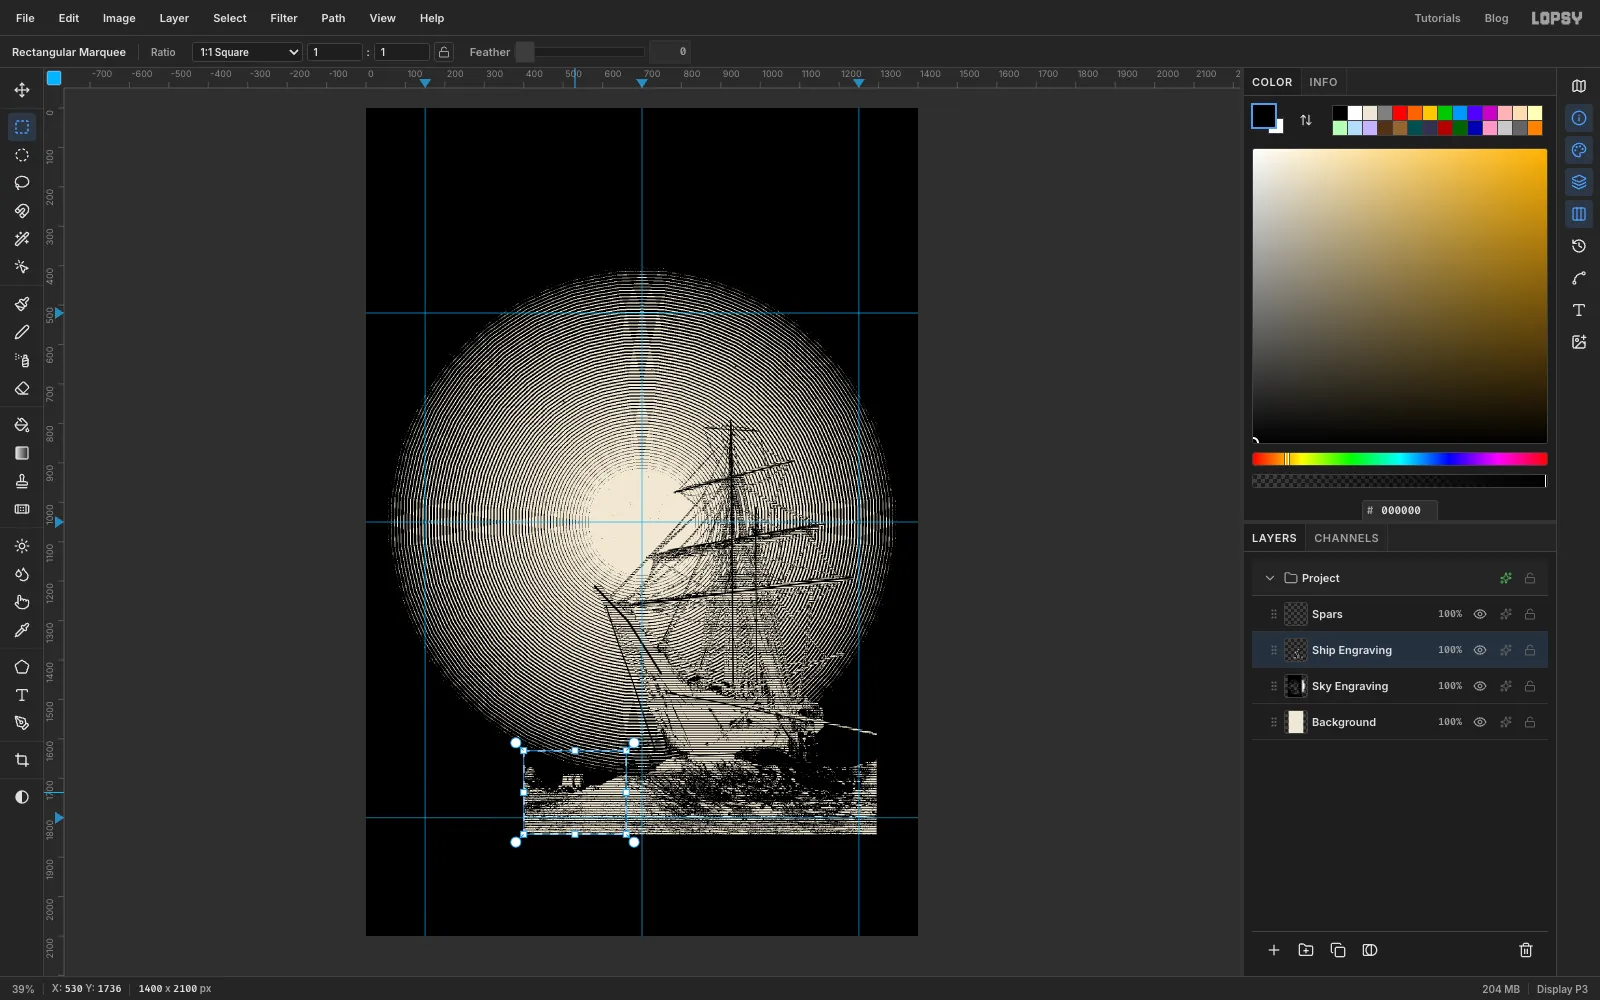
- Click
-
Paste and flip it
- Press Cmd+V. The ice pastes in place on a new layer, with the Move tool active. Rename the layer
Ice Extensionand set its Blend mode to Multiply. - Click Flip Horizontal in the Move tool's options bar. A mirrored copy doesn't look like an obvious repeat.
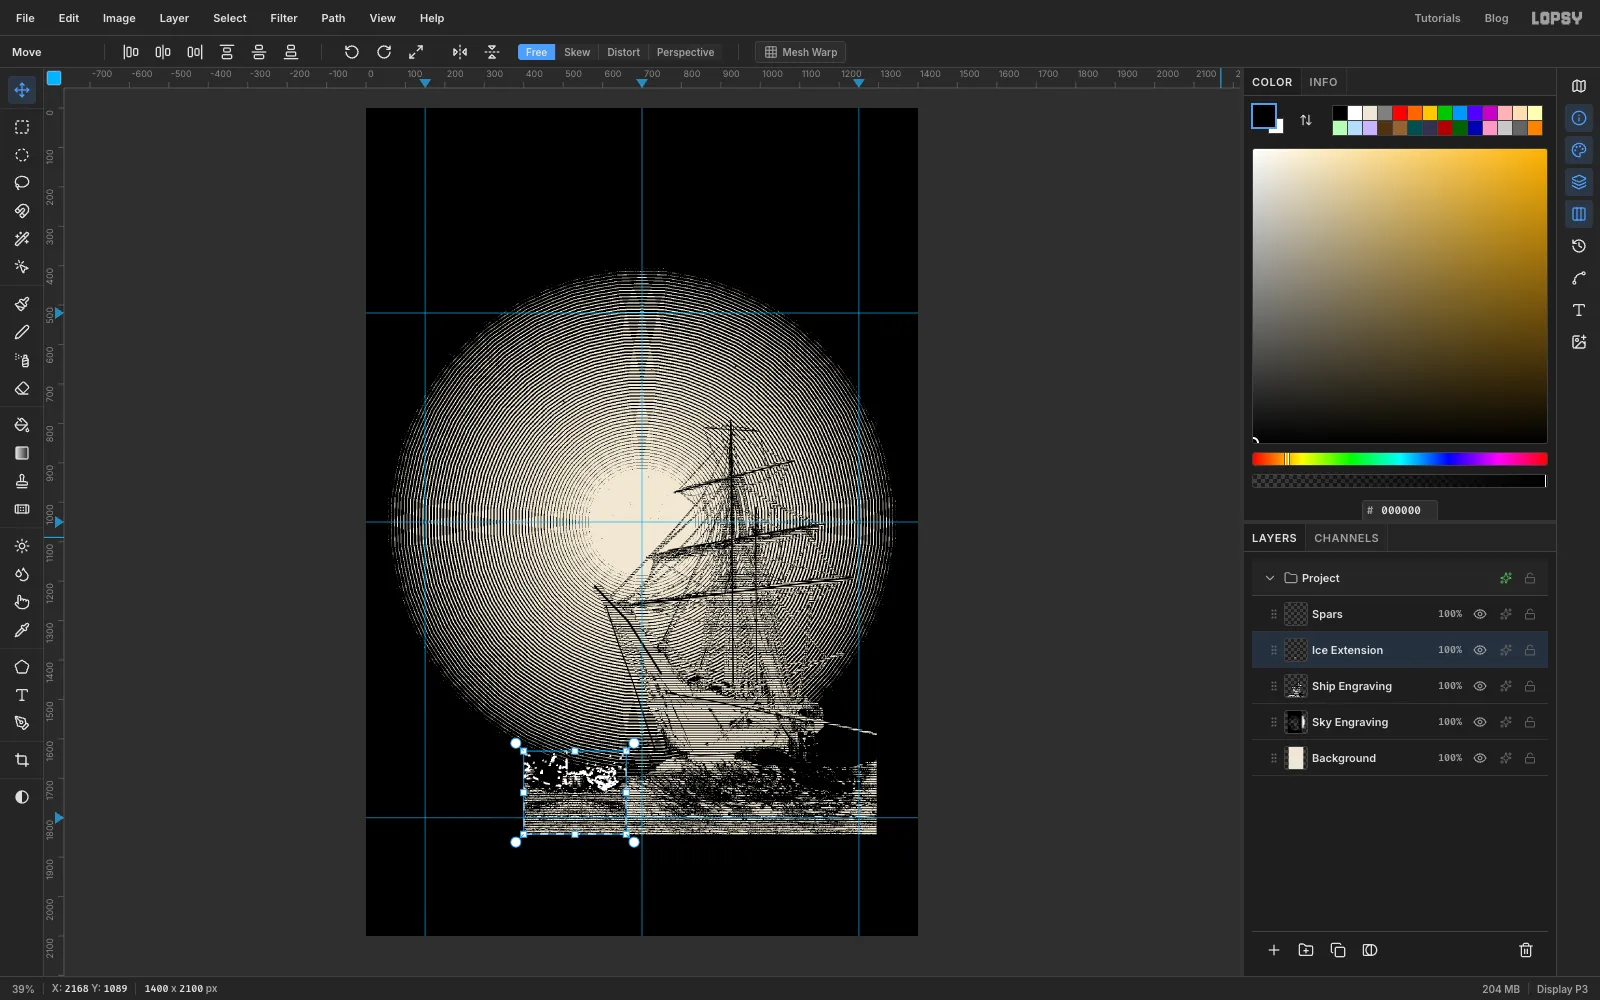
- Press Cmd+V. The ice pastes in place on a new layer, with the Move tool active. Rename the layer
-
Place the extra ice
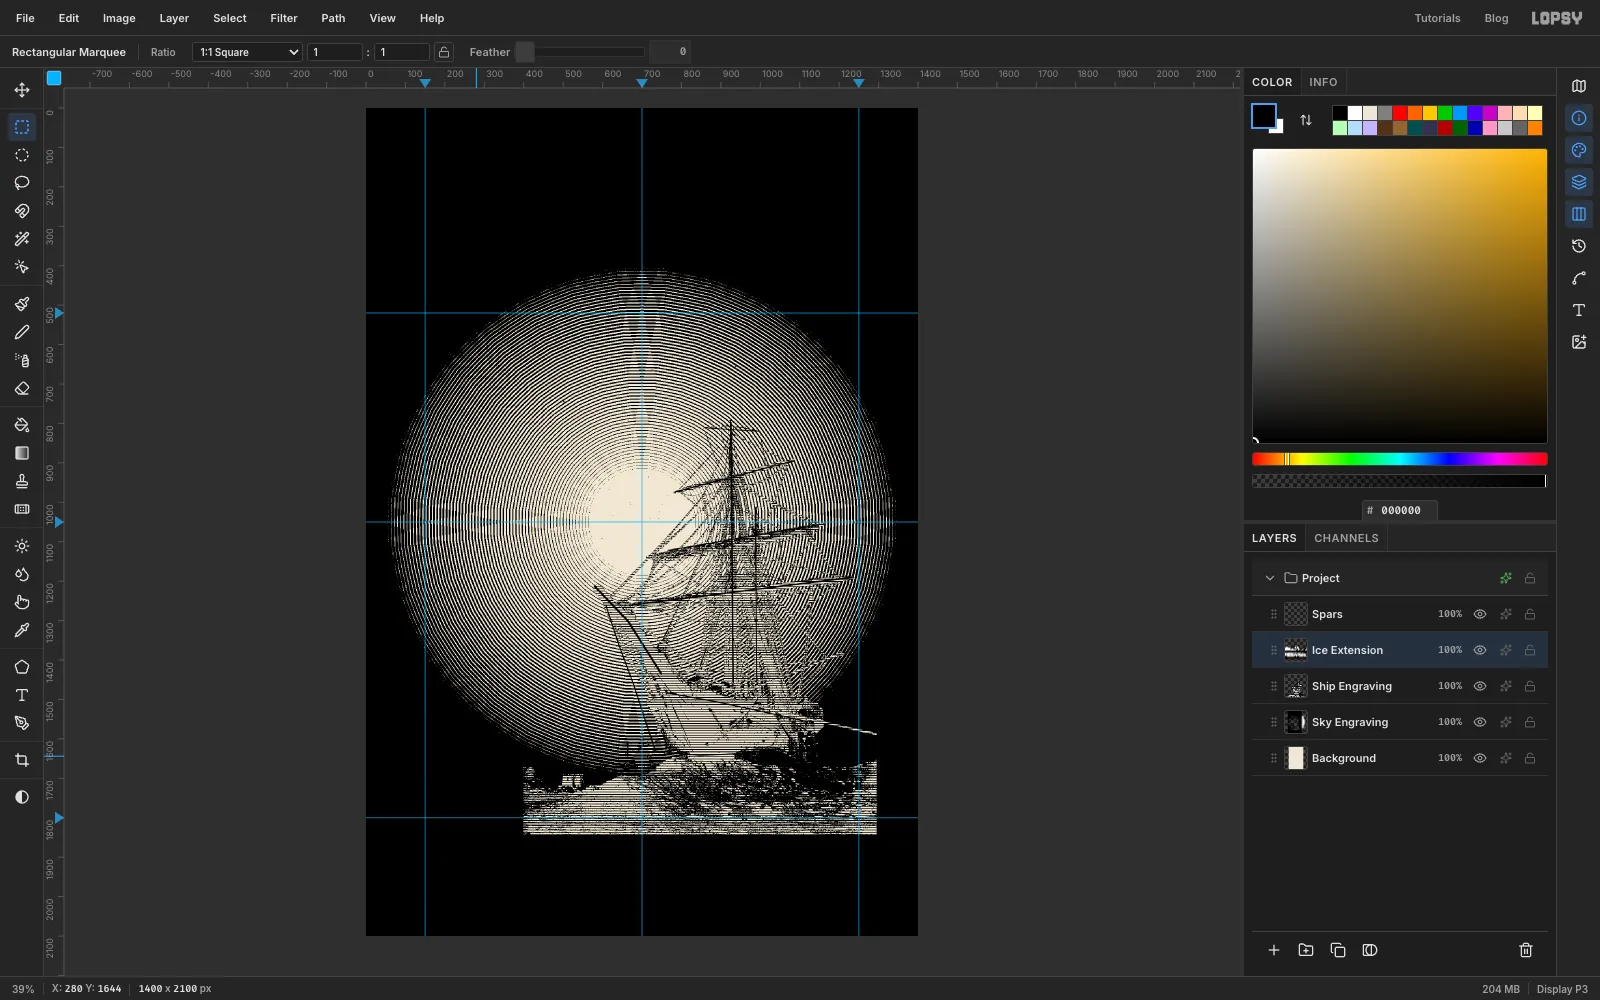
- Deselect, then drag the layer with the Move tool so its top-left corner is at 150, 1630.
- The top edge of the copy is ragged. Use the marquee dialog to select From
140,1600To420,1700and press Delete. Deselect.
-
Rule a continuous sea under the ice
The rings still show through the gaps in the ice, and you can see a seam where the copy meets the photo. One continuous field of horizontal lines underneath hides both.
- Click
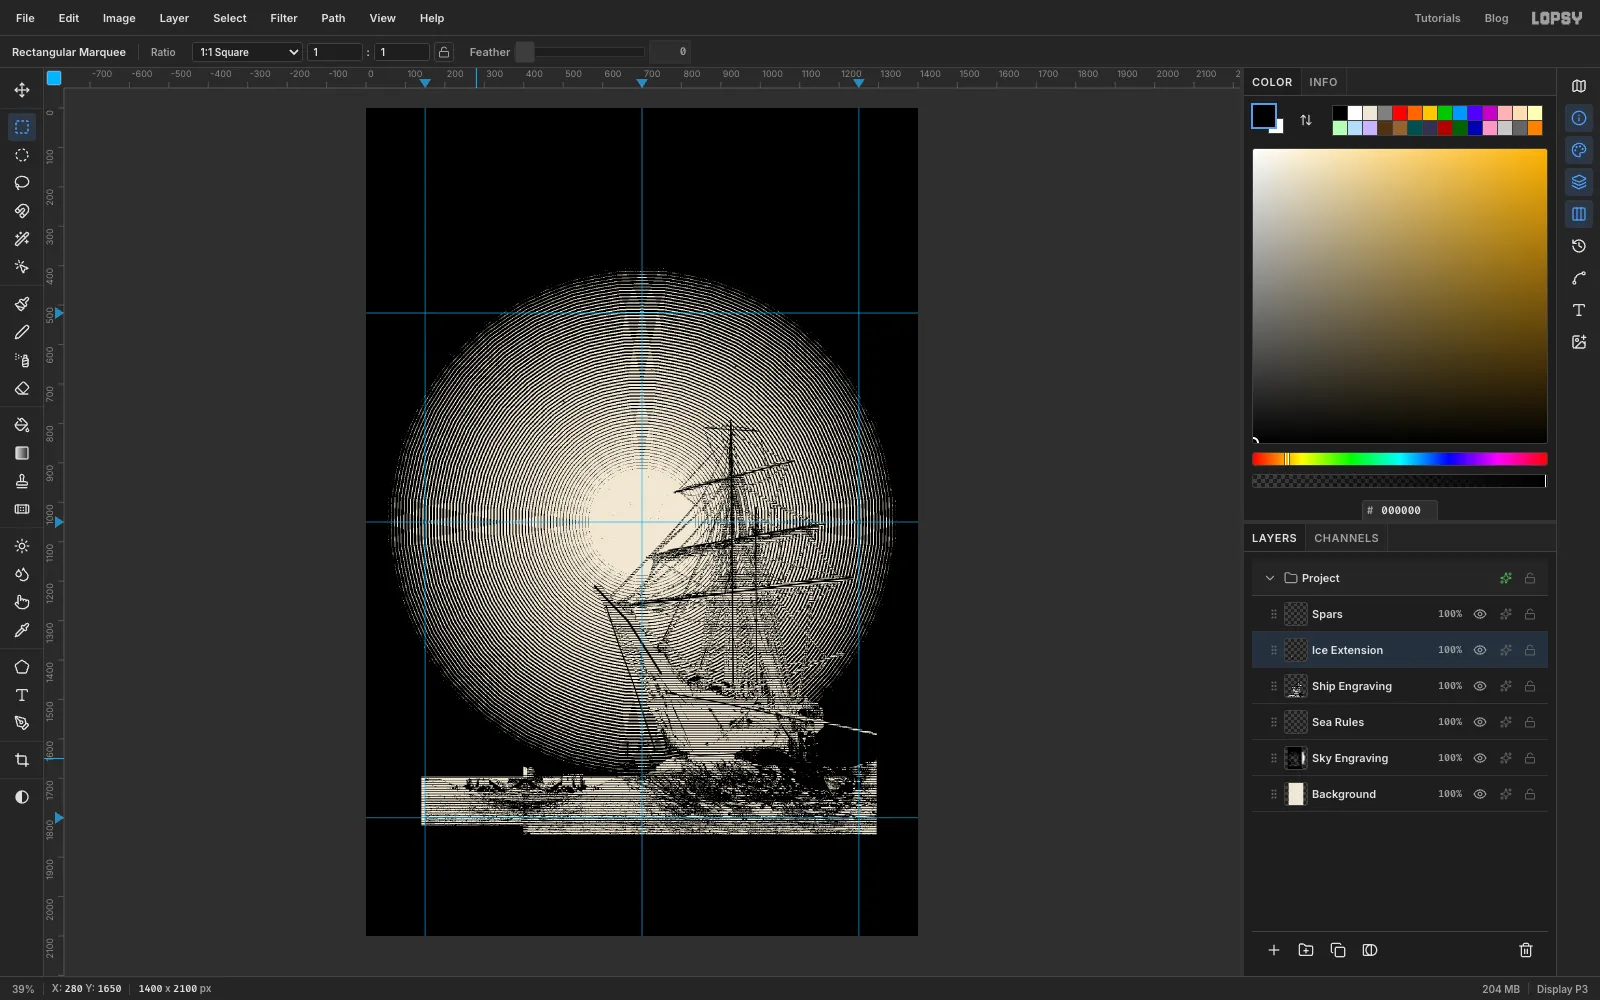
Sky Engraving, select From140,1696To1260,1820and press Delete. - Click Add Layer and rename it
Sea Rules. - With the Pencil at size
2in black, draw a short line in the top margin, from 60, 21 to 200, 21. Select From100,20To106,26and choose Define Pattern. This tile is transparent apart from the line, so the pattern won't cover what's underneath. - Select From
50,10To210,32and press Delete to remove the helper line. - Select From
140,1690To1260,1820and choose Fill with Pattern… with the new pattern. Deselect. - Finally, click
Ship Engraving, select From390,1380To408,1700and press Delete. This removes a thin dotted edge the threshold left along the photo's left side.
- Click
-
Draw the iceberg with the Pen
- Click
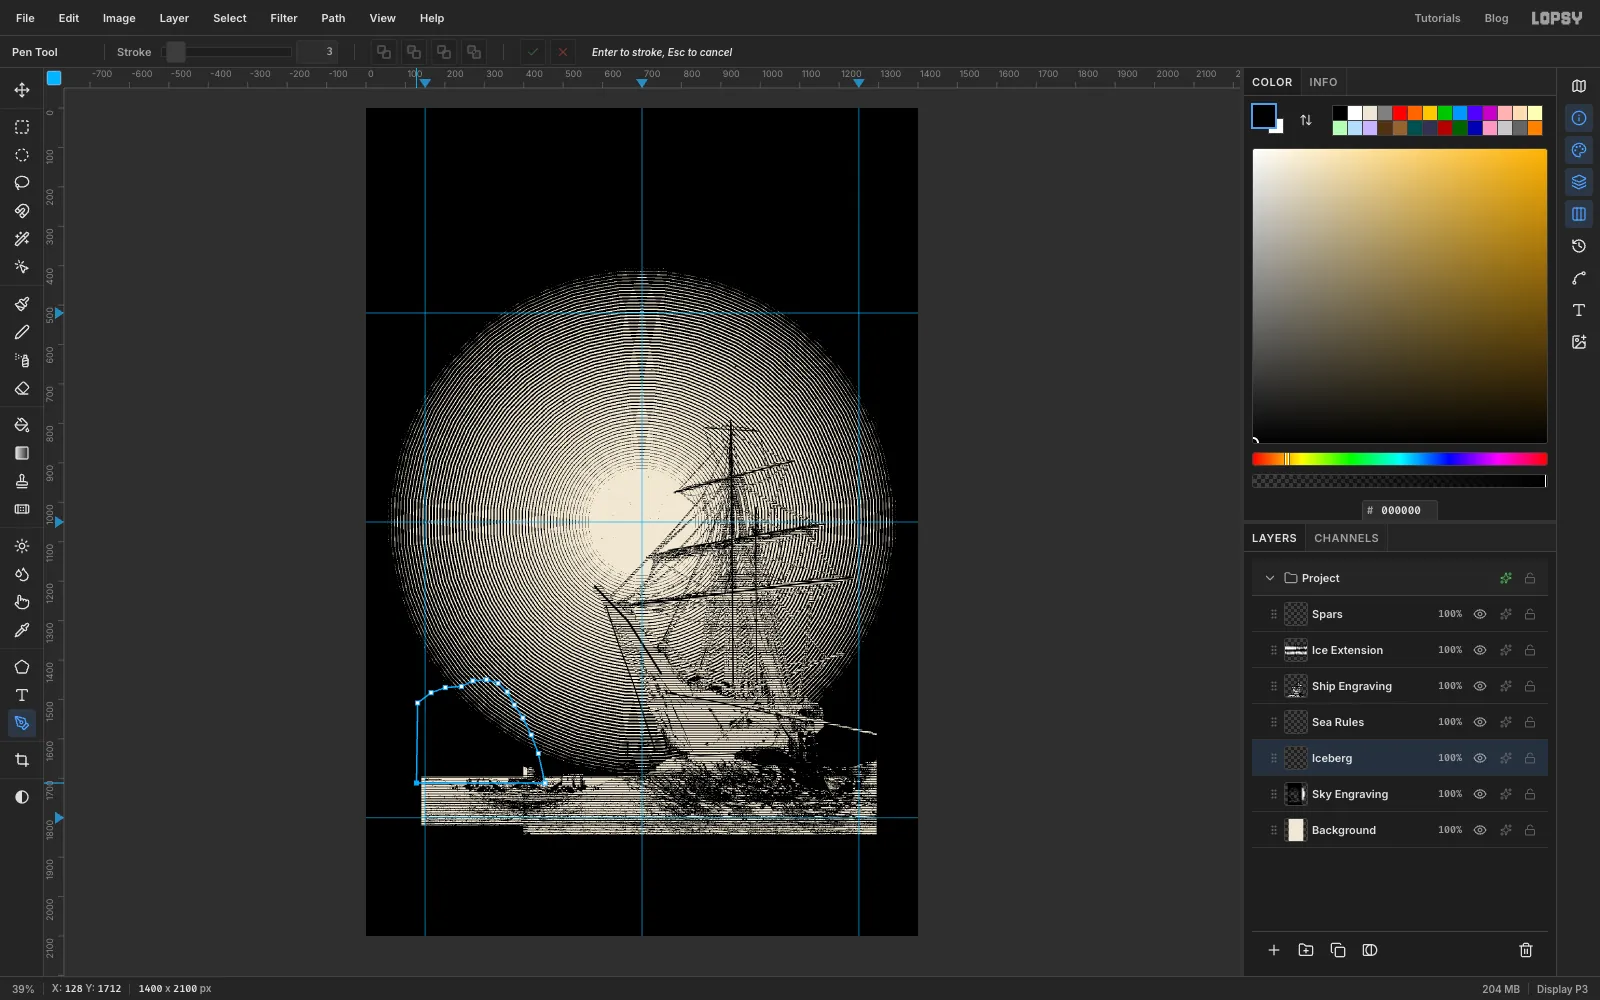
Sky Engraving, then Add Layer. Rename the new layerIceberg. It sits just above the sky, under everything else. - With the Pen, click corner points around a tabular berg. Start on the horizon at 128, 1712. Go up the left side to about 131, 1509, then along a lumpy, nearly flat top that peaks at about 306, 1450. Bring the right side down in a long slope to 454, 1712. Click the first point again to close the path.
- Click
-
Fill and outline the berg
- In the Paths panel, click Path to Selection. Leave the path there.
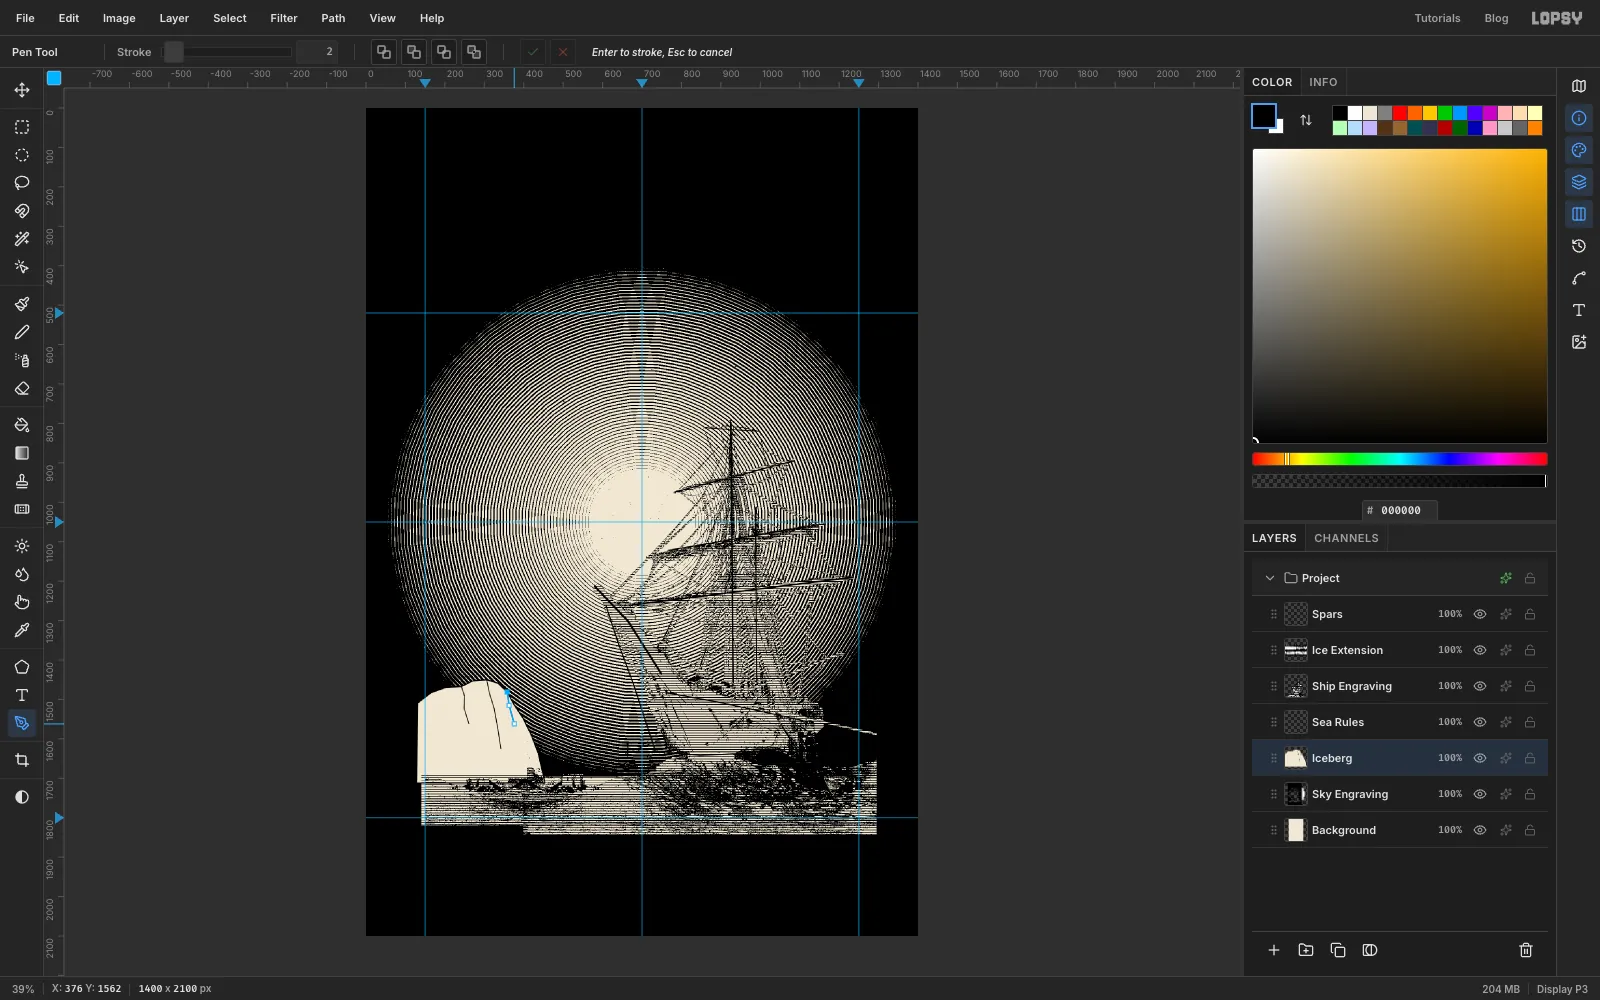
- Set the foreground to , choose Edit → Fill, then deselect. The berg now covers the rings behind it.
- Set the foreground to black. With the Pen tool active, set Stroke to
3and press Enter. The selected path is stroked as the outline. Then click Delete Path. - Set Stroke to
2and draw three open paths from the top edge down the lit face. Press Enter after each one, then click Delete Path. These are the cracks. Each should run 100 to 150 px and wander a little.
-
Make a hatch tile
- Click Add Layer and rename it
Berg Hatch. - With the Pencil at size
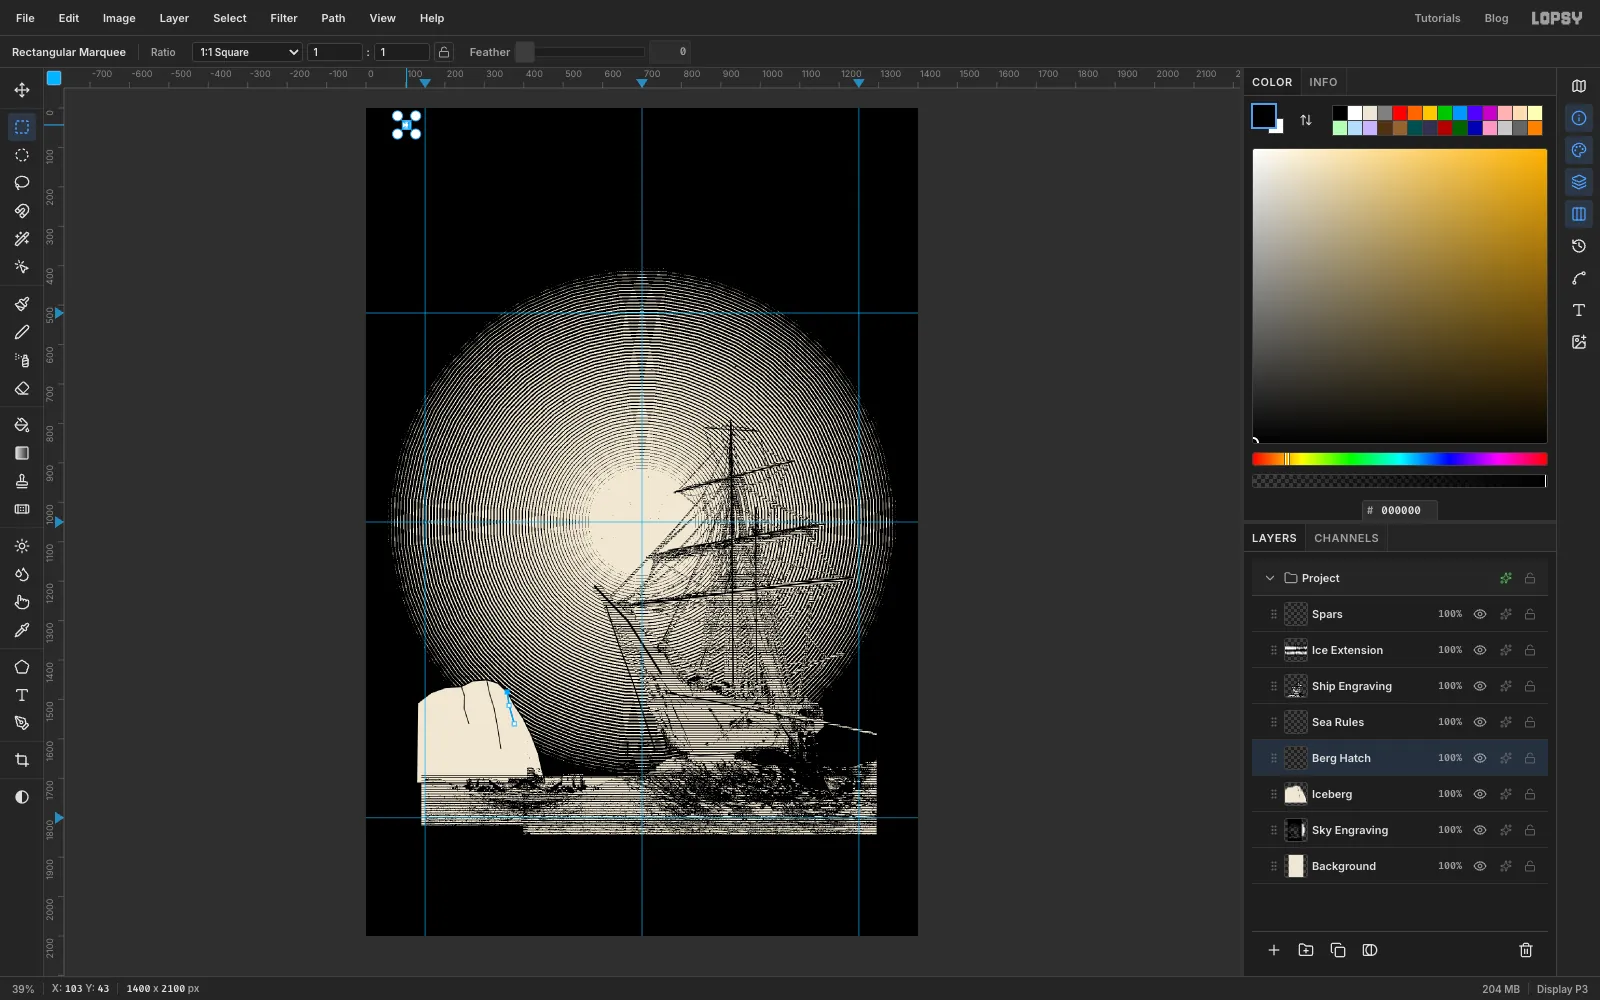
2, draw a short line from 60, 41 to 300, 41. - Select From
100,40To106,46and choose Define Pattern. You'll delete the helper line along with everything else outside the berg's shadow in the next steps.
- Click Add Layer and rename it
-
Fill and rotate the hatching
- Select From
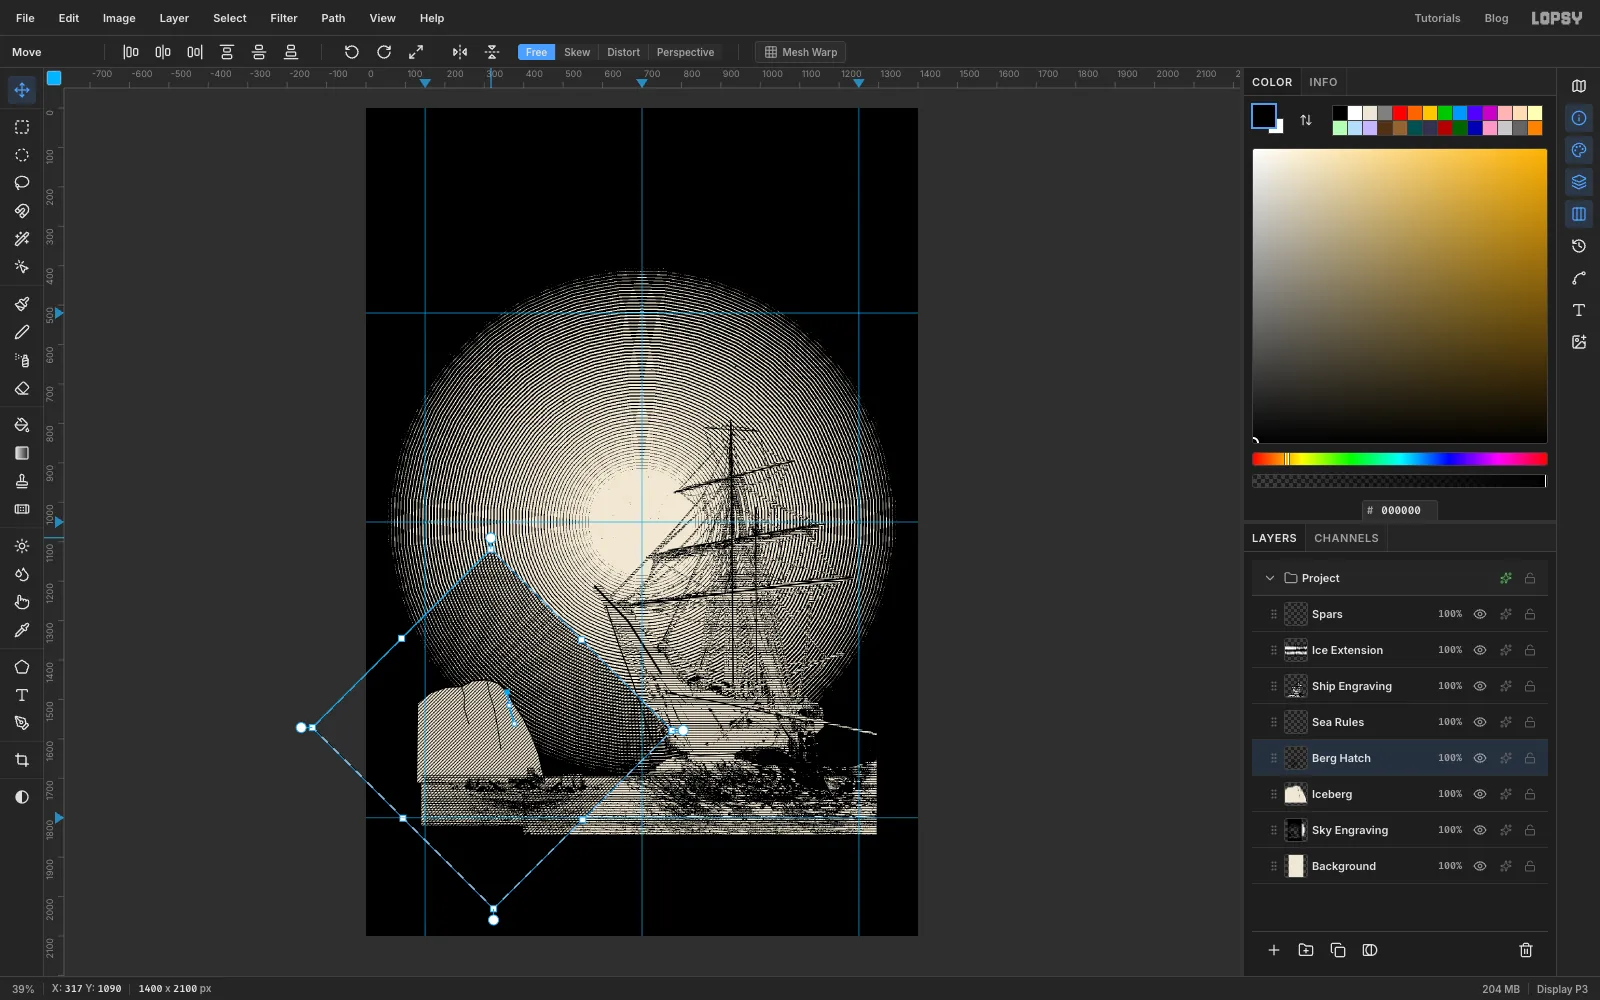
0,1250To640,1900, a box well bigger than the berg, and choose Fill with Pattern… with the new tile. - With the selection still active, pick the Move tool. Hold Cmd and drag the top-right rotate handle anticlockwise until the hatching turns 45°. Cmd snaps the angle in 15° steps. Press Enter, then deselect.
- Select From
-
Keep the hatching on the shadow face
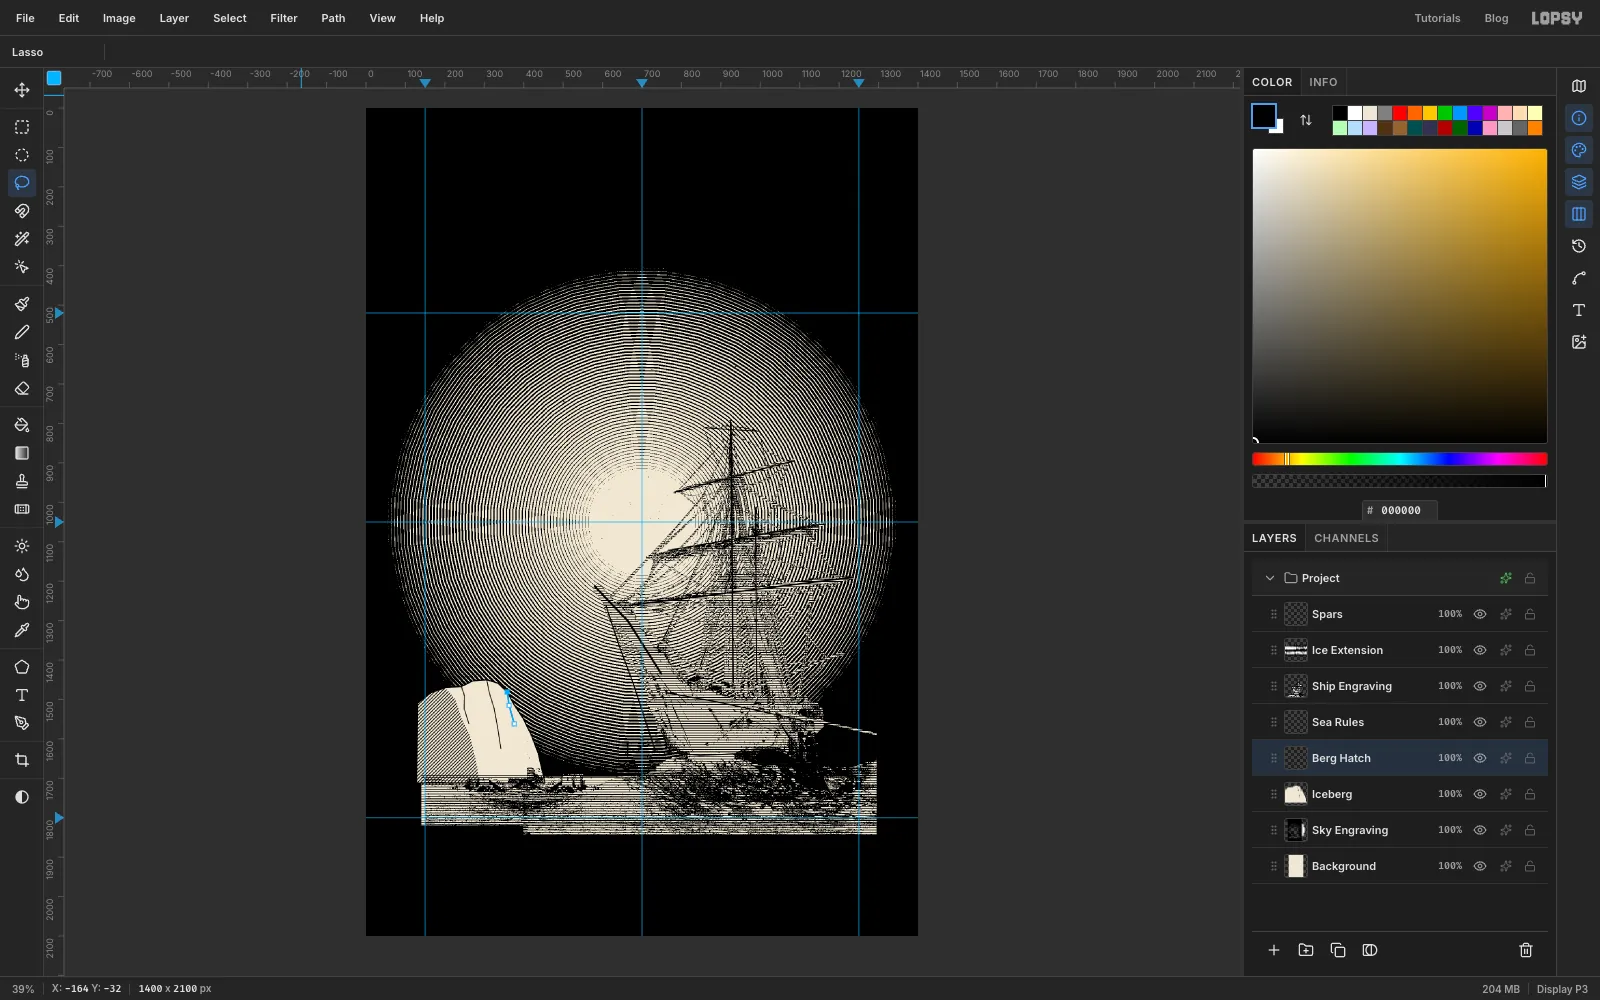
The moon is up and to the right of the berg, so the left cliff is in shadow.
- With the Lasso, trace the shadow face. Run from the bottom-left corner up the left edge, along the top to about 201, 1470, and then down a slanting line through about 242, 1547 to about 290, 1716 on the horizon.
- Choose Select → Inverse and press Delete. Deselect.
-
Add a distant berg
- With
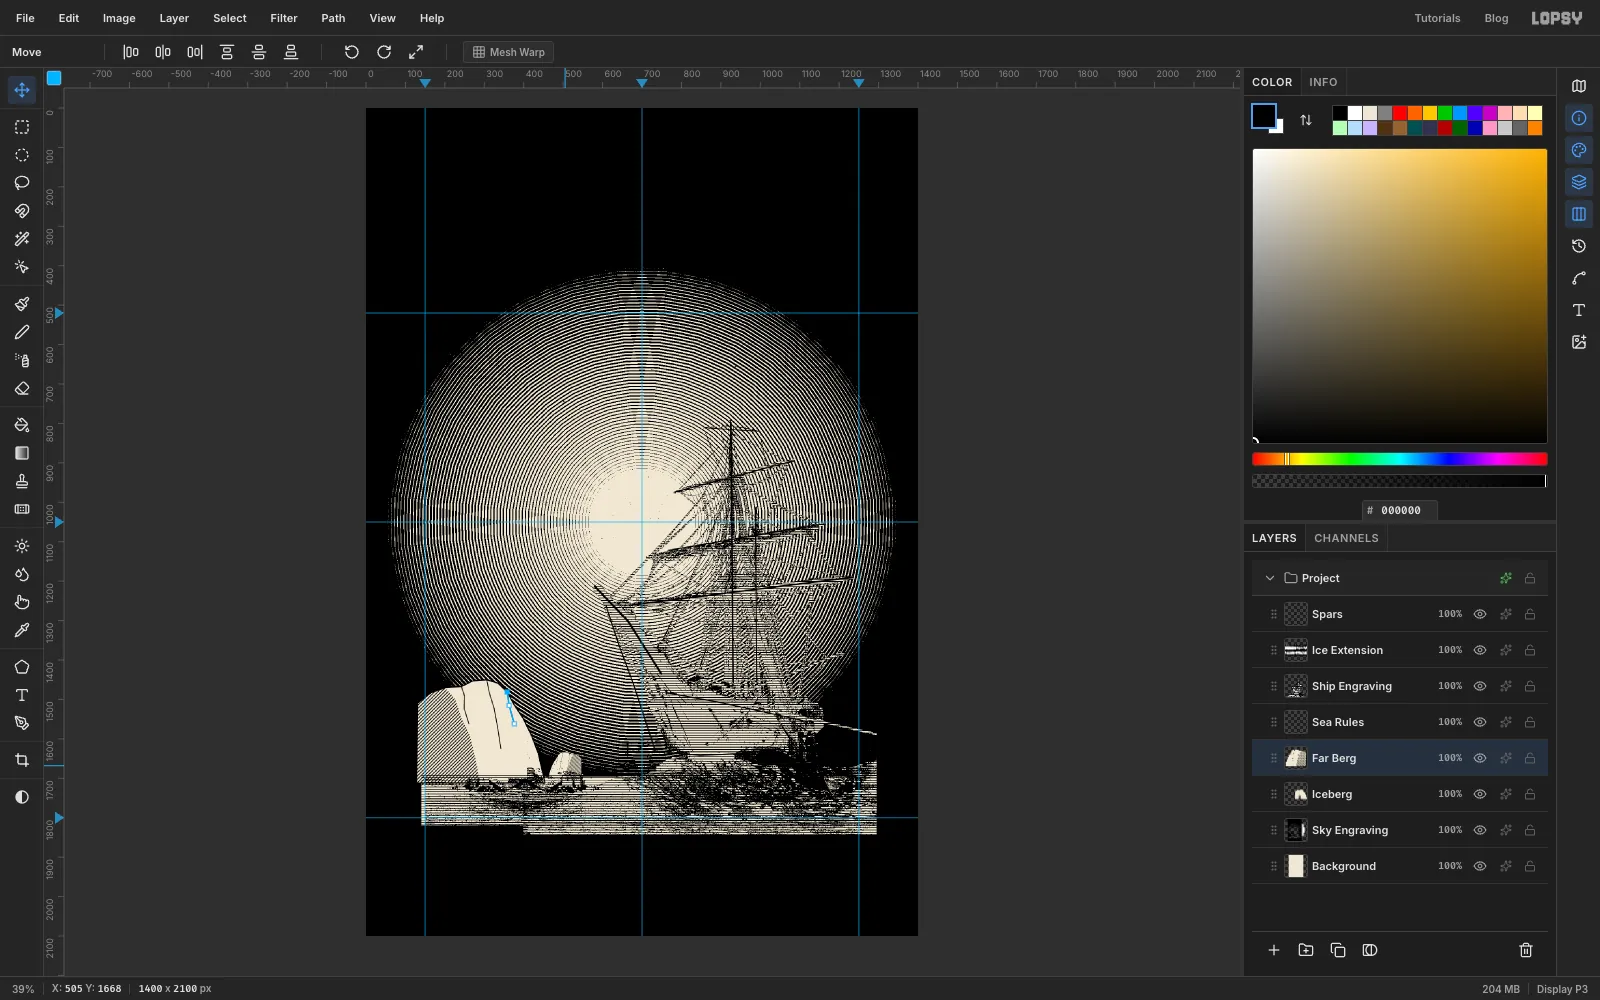
Berg Hatchselected, choose Layer → Merge Down to merge the hatching intoIceberg. - Draw a marquee around the berg, then copy and paste it. Rename the pasted layer
Far Bergand click Flip Horizontal in the Move tool's options bar. - Hold Cmd and drag the bottom-right corner handle inward until the copy is about a quarter of the original's size, about 100 px wide. Press Enter.
- Move it onto the horizon just to the right of the big berg, so its base sits at about y 1702 and its left edge at about x 462.
- With
-
Engrave the moon
- Click
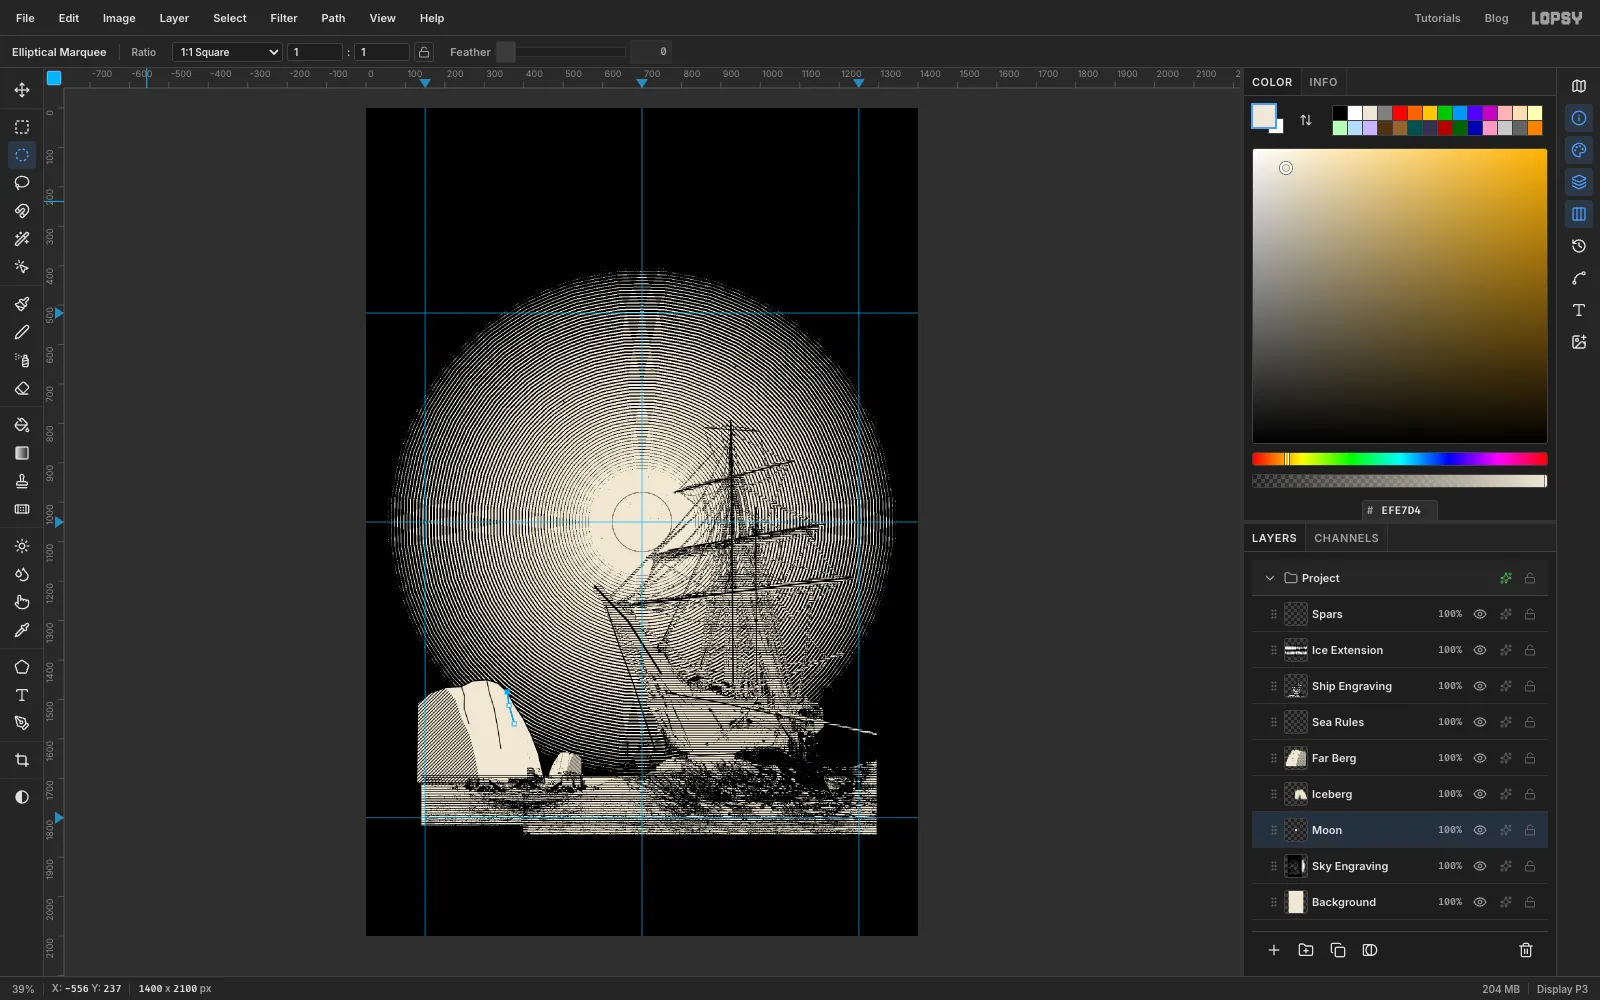
Sky Engraving, then Add Layer, and rename the new layerMoon. - Pick the Elliptical Marquee, click once on the canvas to open its dialog, and enter From
624,974To776,1126. That's a 152 px circle centred on the canvas. - Fill it with black. Choose Select → Shrink… by
1and fill with . That leaves a hairline outline. Deselect.
- Click
-
Hatch the moon's seas
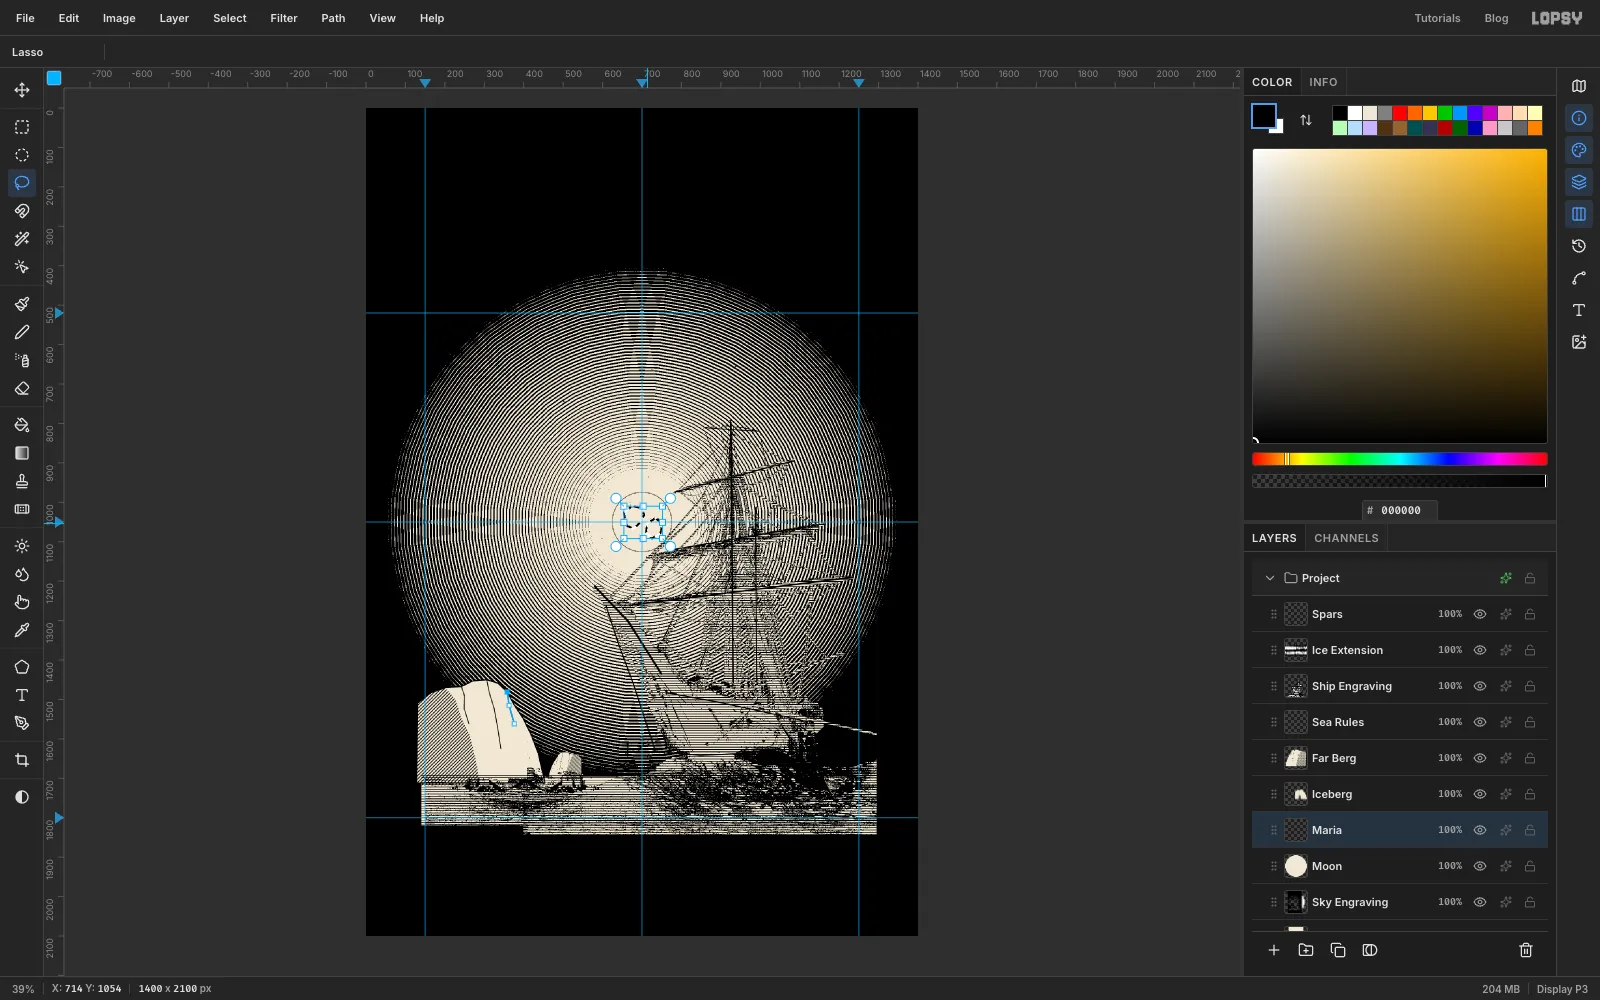
The dark seas on the moon are called maria. Two soft patches of fine hatching are enough to suggest them.
- Click Add Layer and rename it
Maria. - With the Pencil at size
1, draw a helper line from 60, 21 to 200, 21. Define a pattern from From100,20To104,24, then delete the helper line. - With the Lasso, draw an irregular patch on the upper left of the moon. Hold Shift and draw a second patch lower right.
- Choose Fill with Pattern… with the fine tile, deselect, and set the layer's opacity to 40% using the opacity control on its row.
- Click Add Layer and rename it
-
Cut the first star
Stars on an engraving are cut out of the ink, so you draw them in the paper colour.
- Click Add Layer and rename it
Stars. Pick the Pencil and set the foreground to . - At size
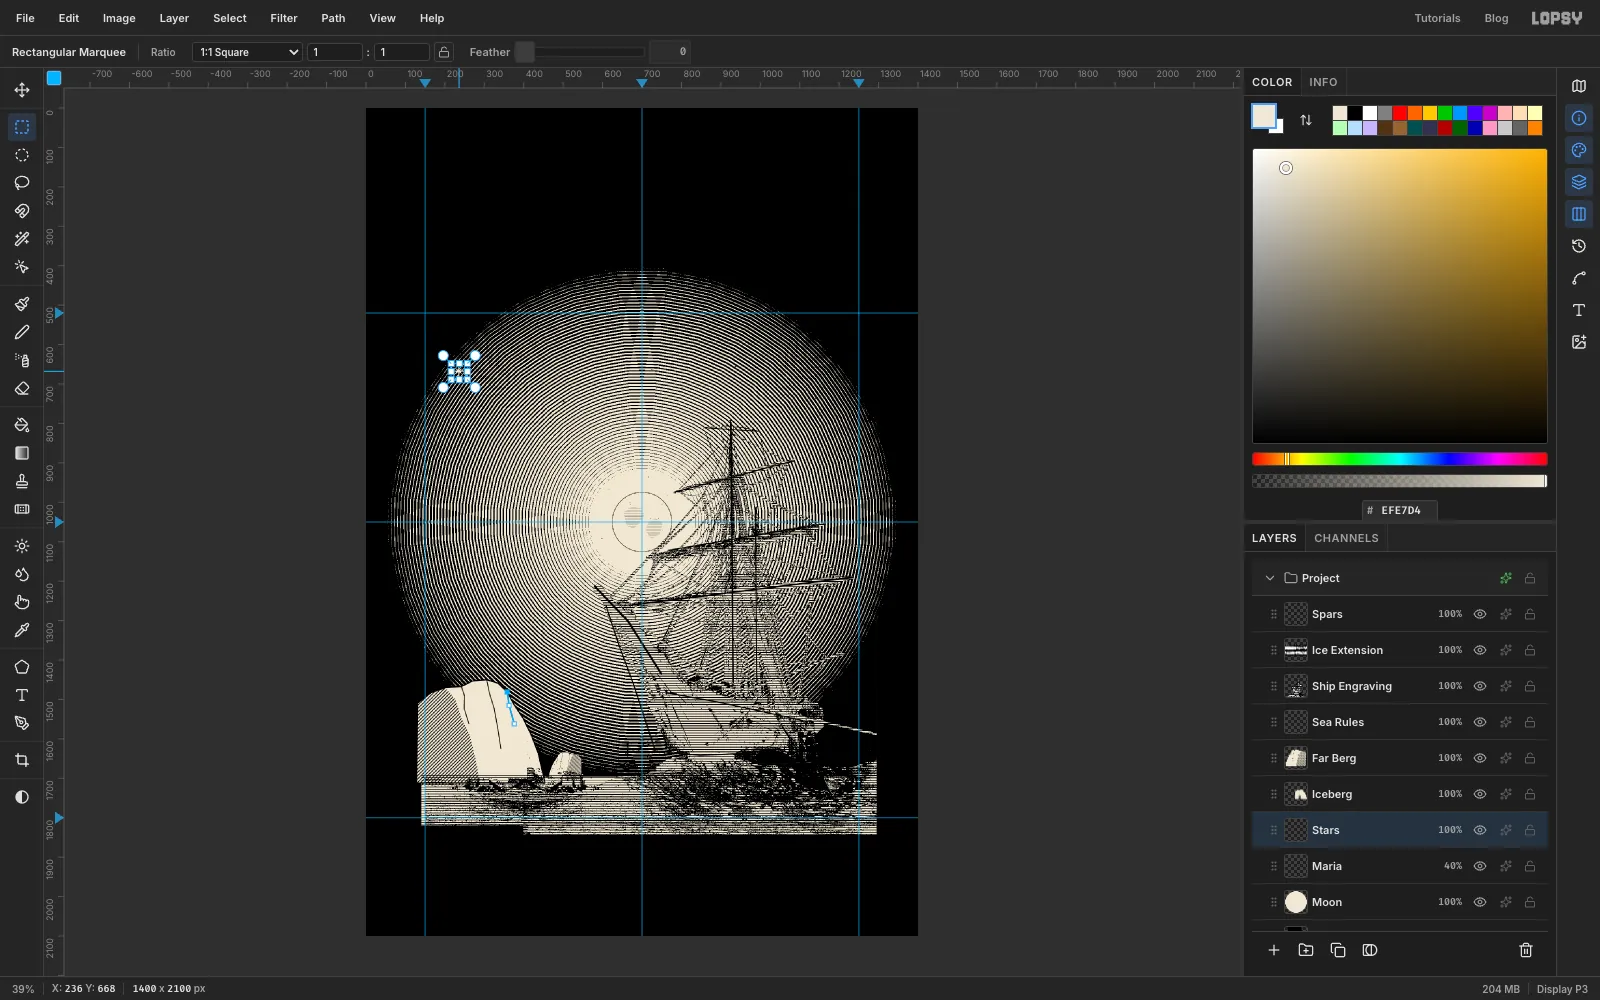
3, click at 236, 651 and Shift-click at 236, 685. Then click at 225, 668 and Shift-click at 247, 668. At size2, add two short diagonals the same way, from 230, 662 to 242, 674 and from 230, 674 to 242, 662. - Draw a marquee around the star, about 41 × 41 px, and press Cmd+C.
- Click Add Layer and rename it
-
Scatter the stars
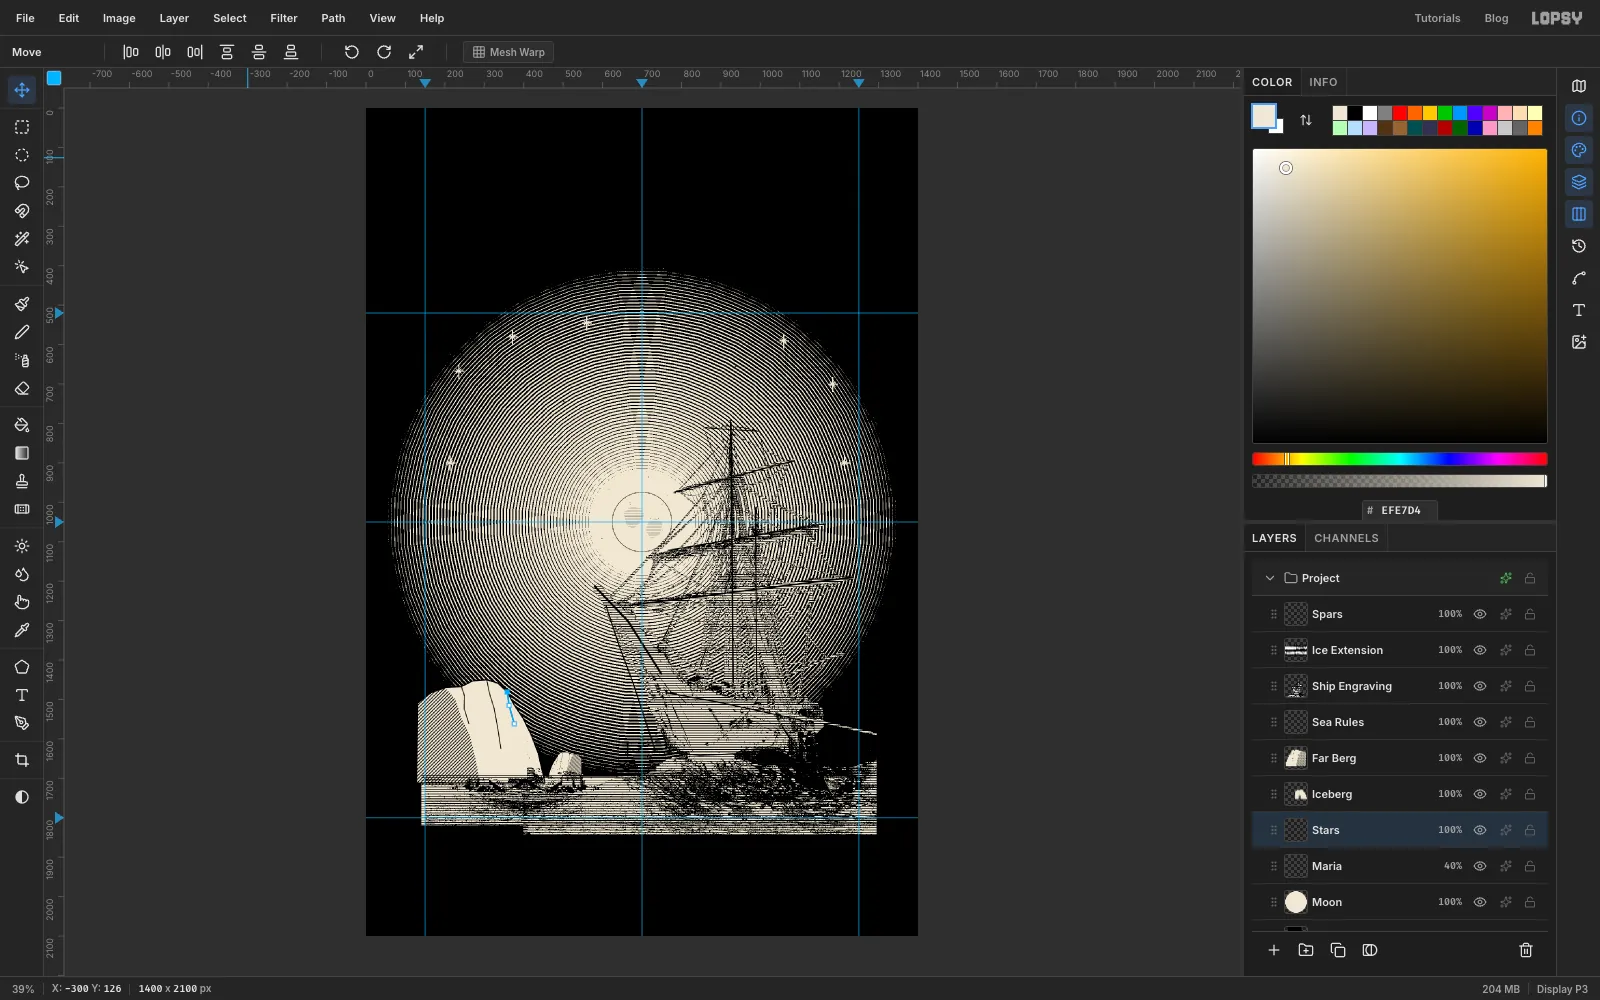
Repeat this six times: press Cmd+V, drag the pasted copy to a dark part of the sky with the Move tool, then choose Layer → Merge Down so it joins
Stars. For two of the copies, hold Cmd and drag a corner handle inward a little before merging, then press Enter, so they come out smaller.Keep the stars in the outer ring of darkness. The upper corners of the plate and the sky well above the ship work best. A star in the bright halo would vanish.
-
Hang the lantern
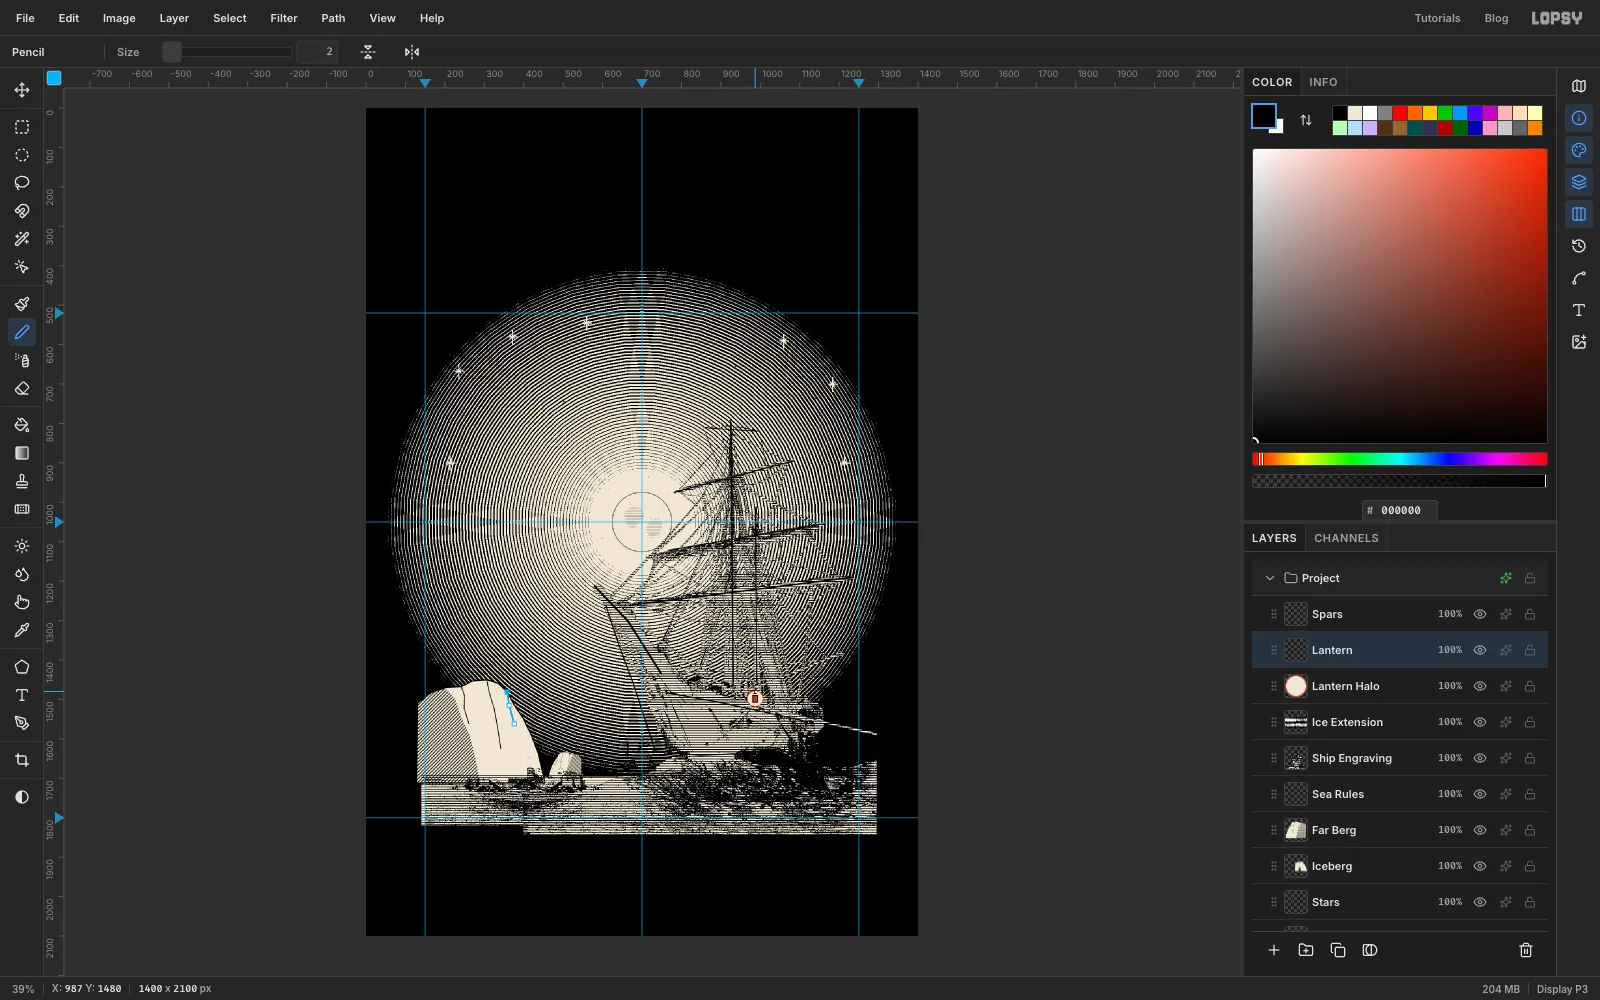
The lantern is the only warm light in the picture, so keep it small and crisp.
- Click
Ice Extension, then Add Layer, and rename the new layerLantern Halo. - Select a circle with the elliptical marquee dialog, From
966,1477To1008,1519. Fill it with , shrink the selection by2and fill with . This knocks the hull lines out of the halo and leaves a crisp 2 px ring. - Add another layer,
Lantern. Deselect, then use the Rectangular Marquee dialog to select From980,1489To994,1508. Fill with black, shrink by2and fill with vermilion. With the Pencil at size2in black, add a short cap line on top and a hook above it.
- Click
-
Select the areas to tint
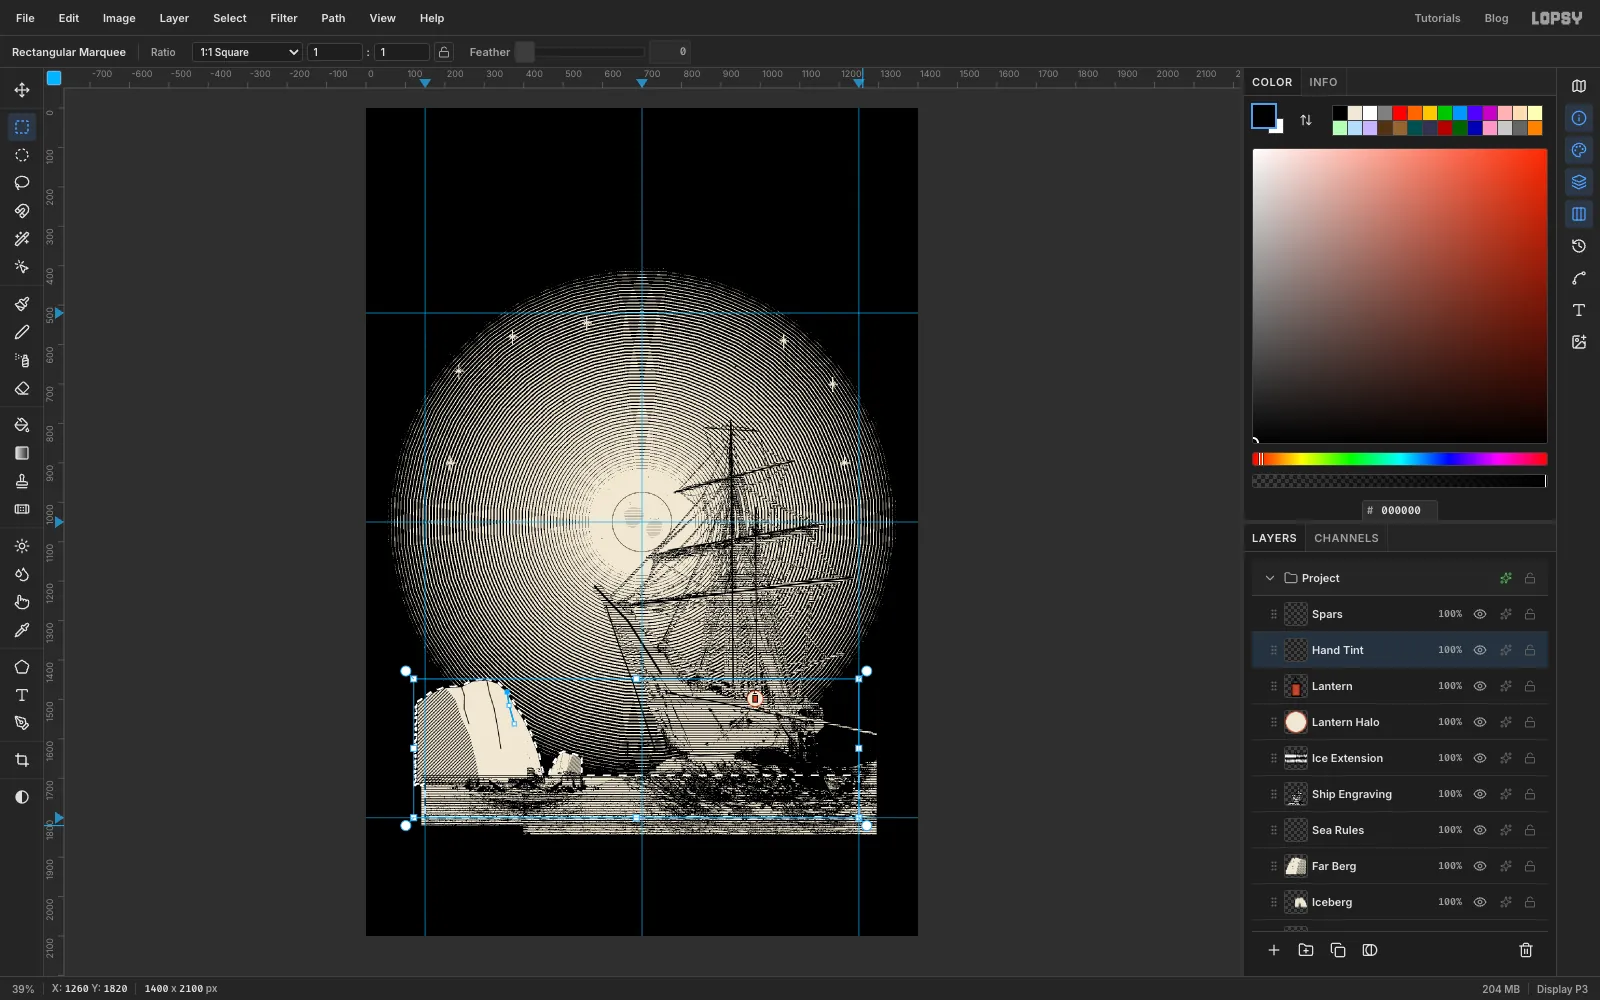
Hand-tinted prints were coloured with flat washes. You'll lay one wash of glacier teal over the ice.
- Select From
140,1692To1260,1820. That's the band of pack ice. - Hold Cmd+Shift and click the
Icebergthumbnail to add the berg's shape. - Do the same with the
Far Bergthumbnail.
- Select From
-
Lay the teal wash
- Click
Lantern, then Add Layer, and rename itHand Tint. Set its Blend mode to Multiply. - Fill the selection with , deselect, and set the layer's opacity to 45%.
To add a few warm glints of lantern light on the ice, stay on
Hand Tintand pick the Spray tool (J). The Multiply blend softens the glints so they look like reflected light rather than paint. Set Size40, Density6, Opacity80and Softness30, set the foreground to vermilion, and make one short drag on the ice straight below the lantern, at about y 1745.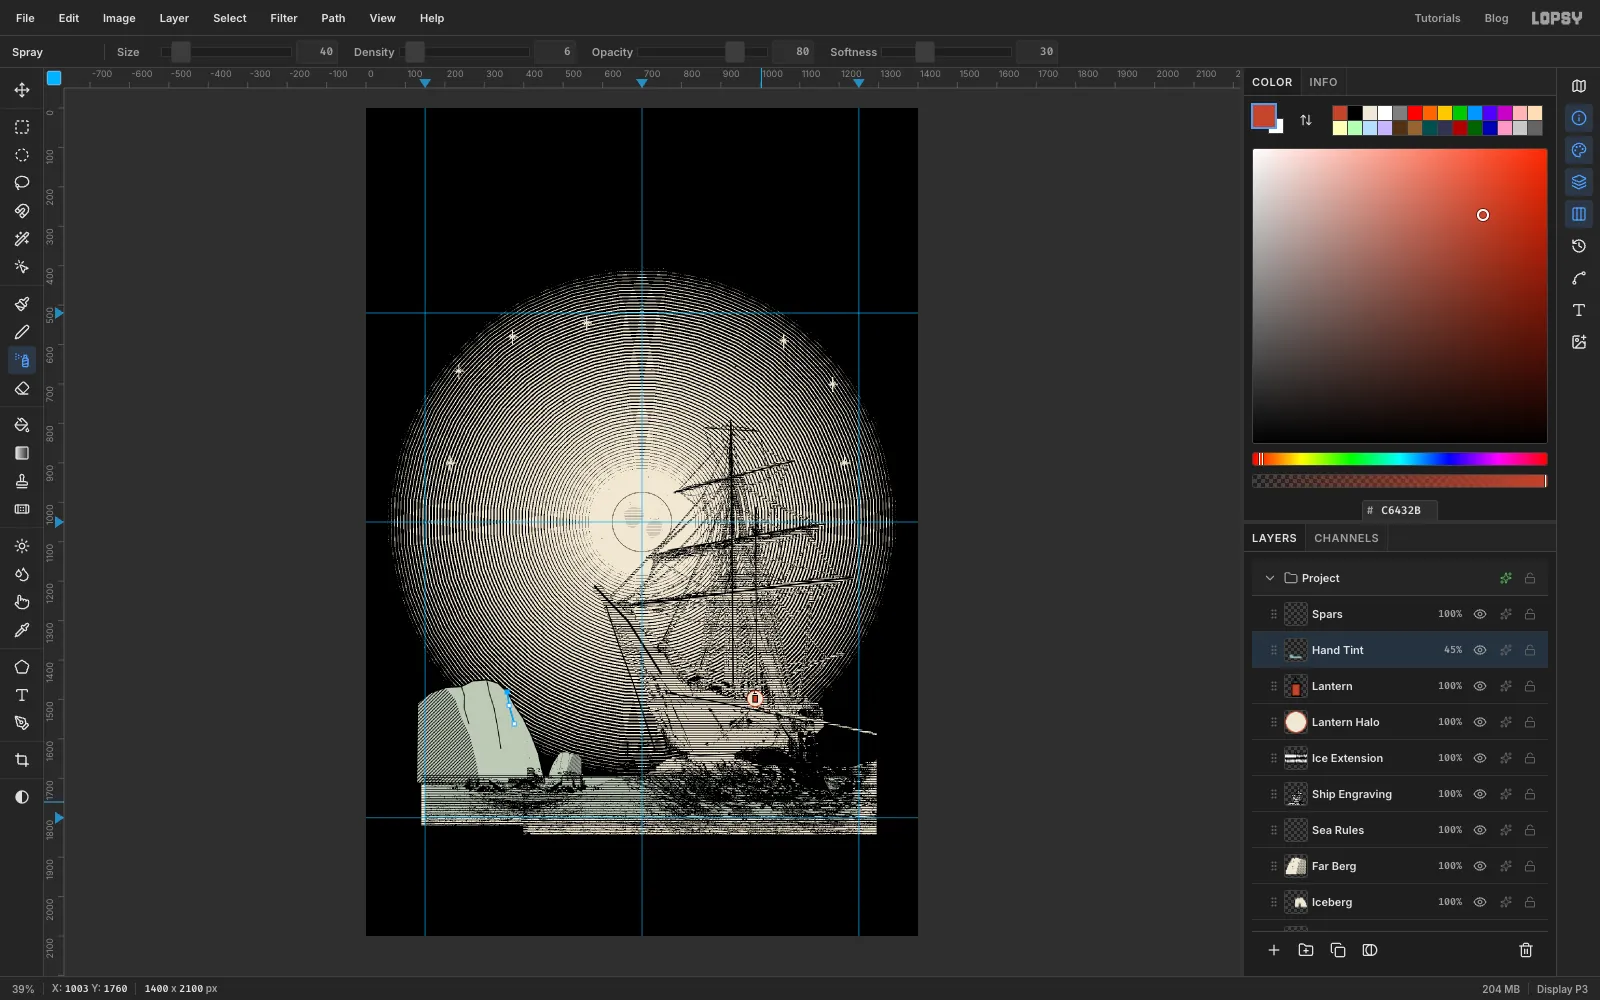
- Click
-
Select the arched plate
- Click
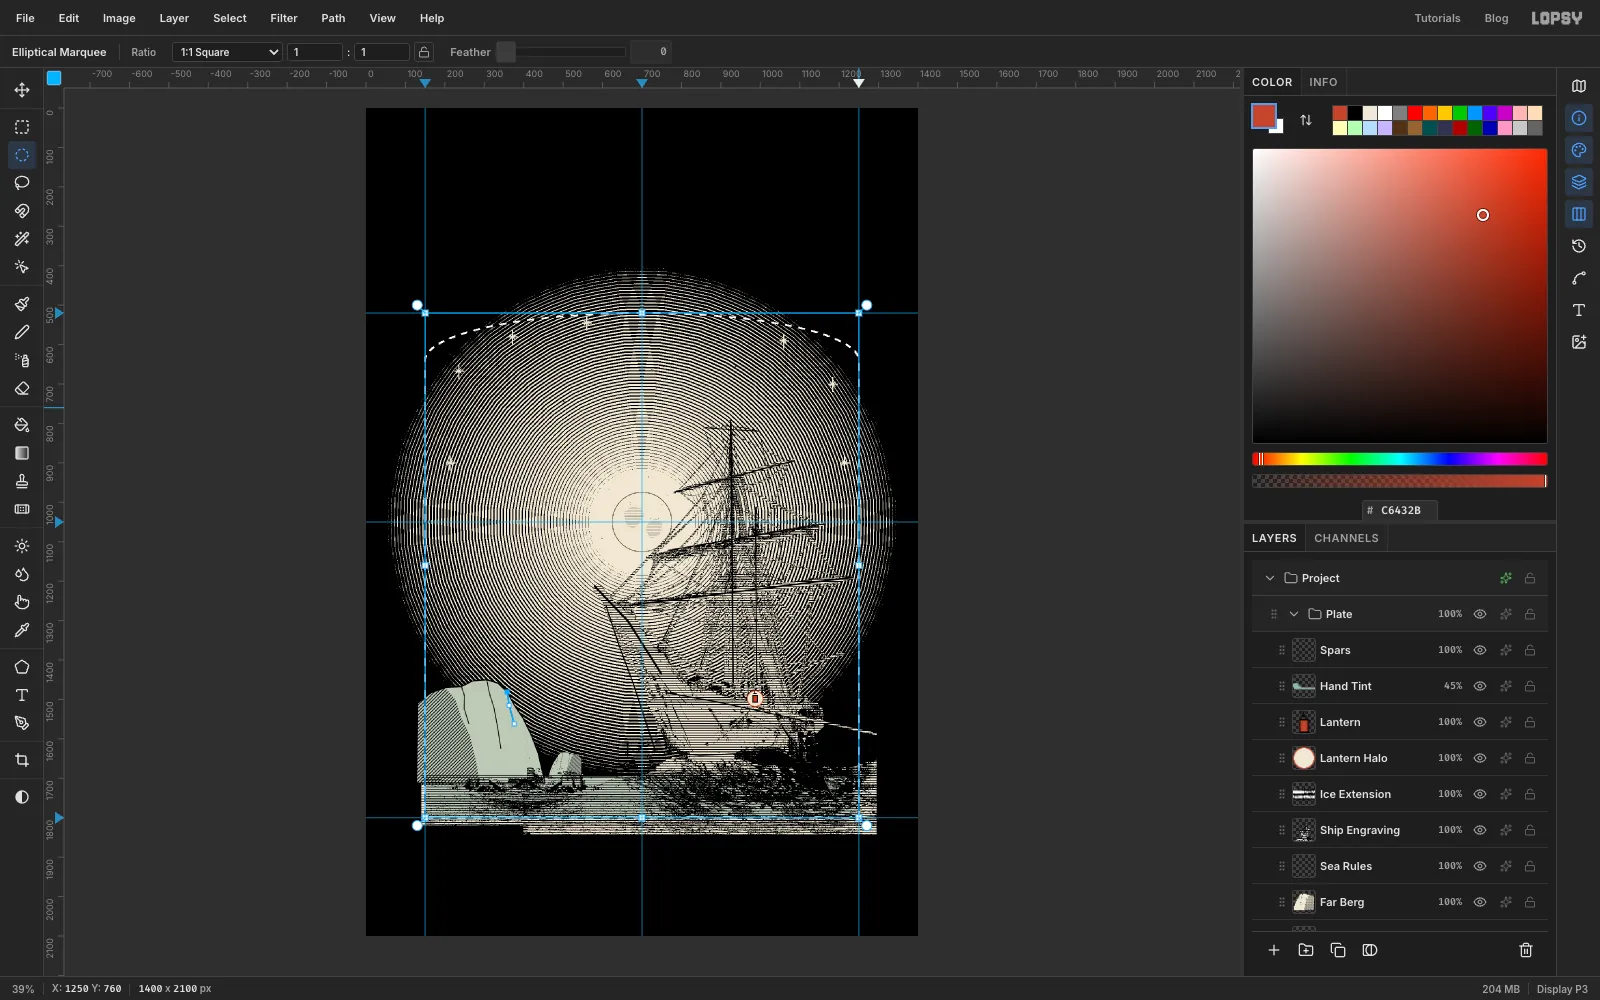
Sky Engraving, then Shift-clickSpars, the top layer of the plate. All the plate's layers are now selected. - Click Group Layers at the bottom of the Layers panel and rename the group
Plate. - Use the Rectangular Marquee dialog to select From
150,640To1250,1800. - Pick the Elliptical Marquee. Check that the lock next to Ratio in the options bar is off, then hold Shift and drag from 150, 520 to 1250, 760. That adds a shallow arch across the top.
- Click
-
Mask the plate
With the
Plategroup selected, click Add Mask at the bottom of the Layers panel. The mask copies the selection, so everything in the group is now trimmed to the arch. The layers underneath are untouched, so you can still move or redo any of them.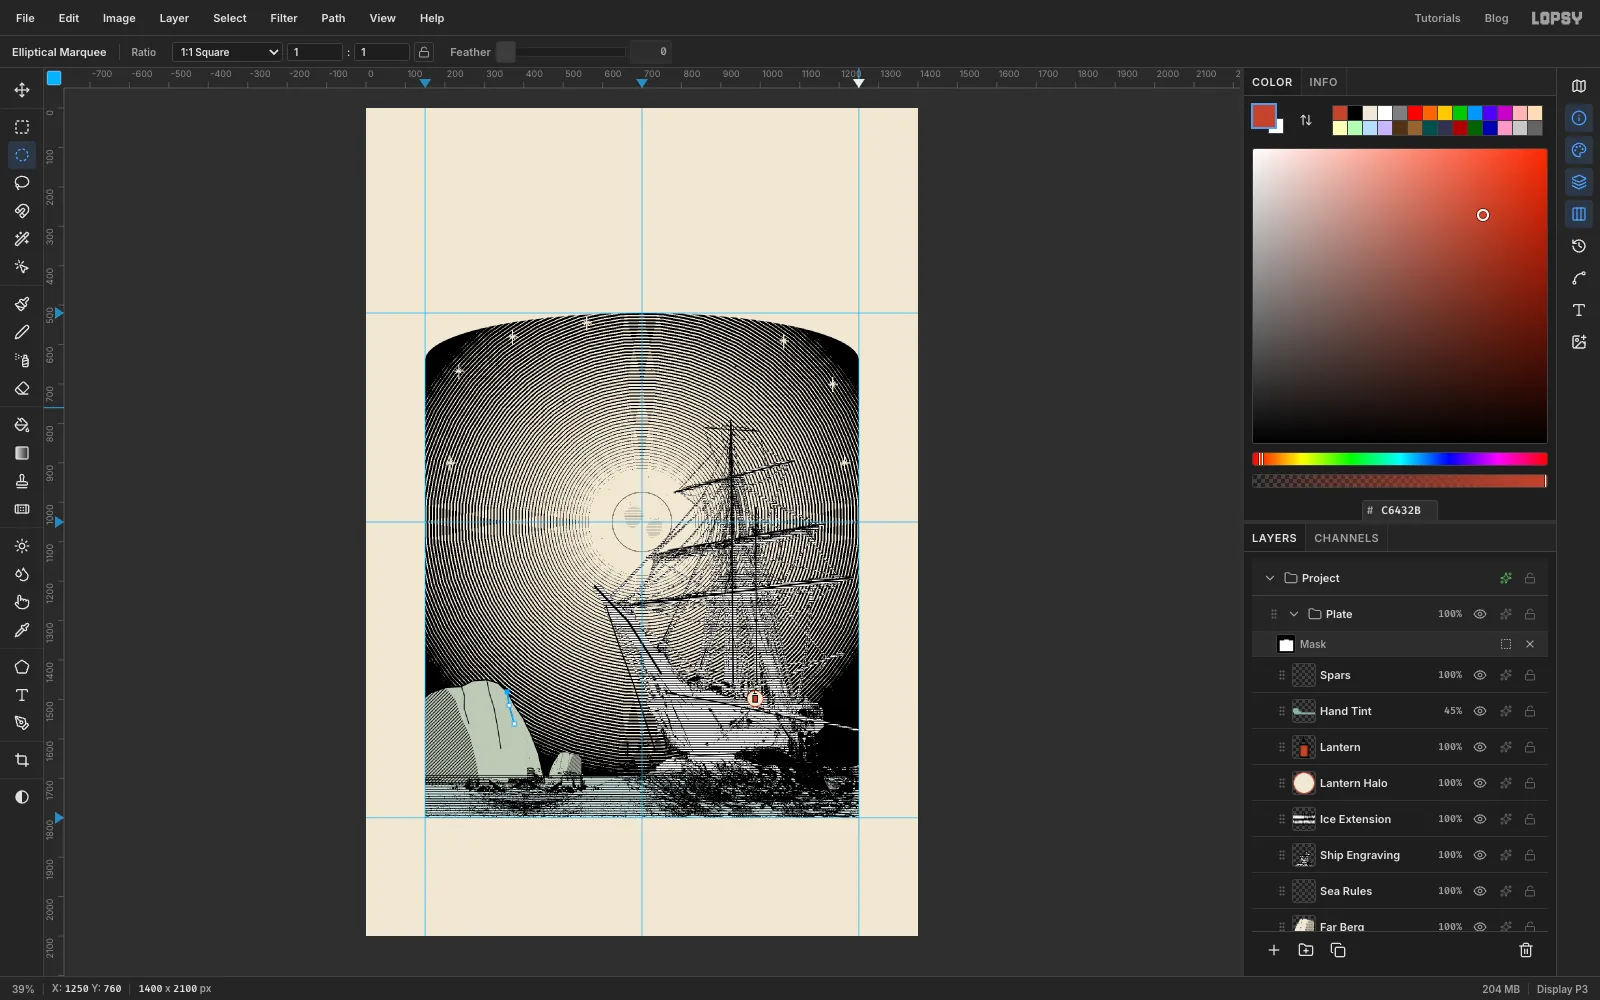
-
Rule a frame around the plate
- Click
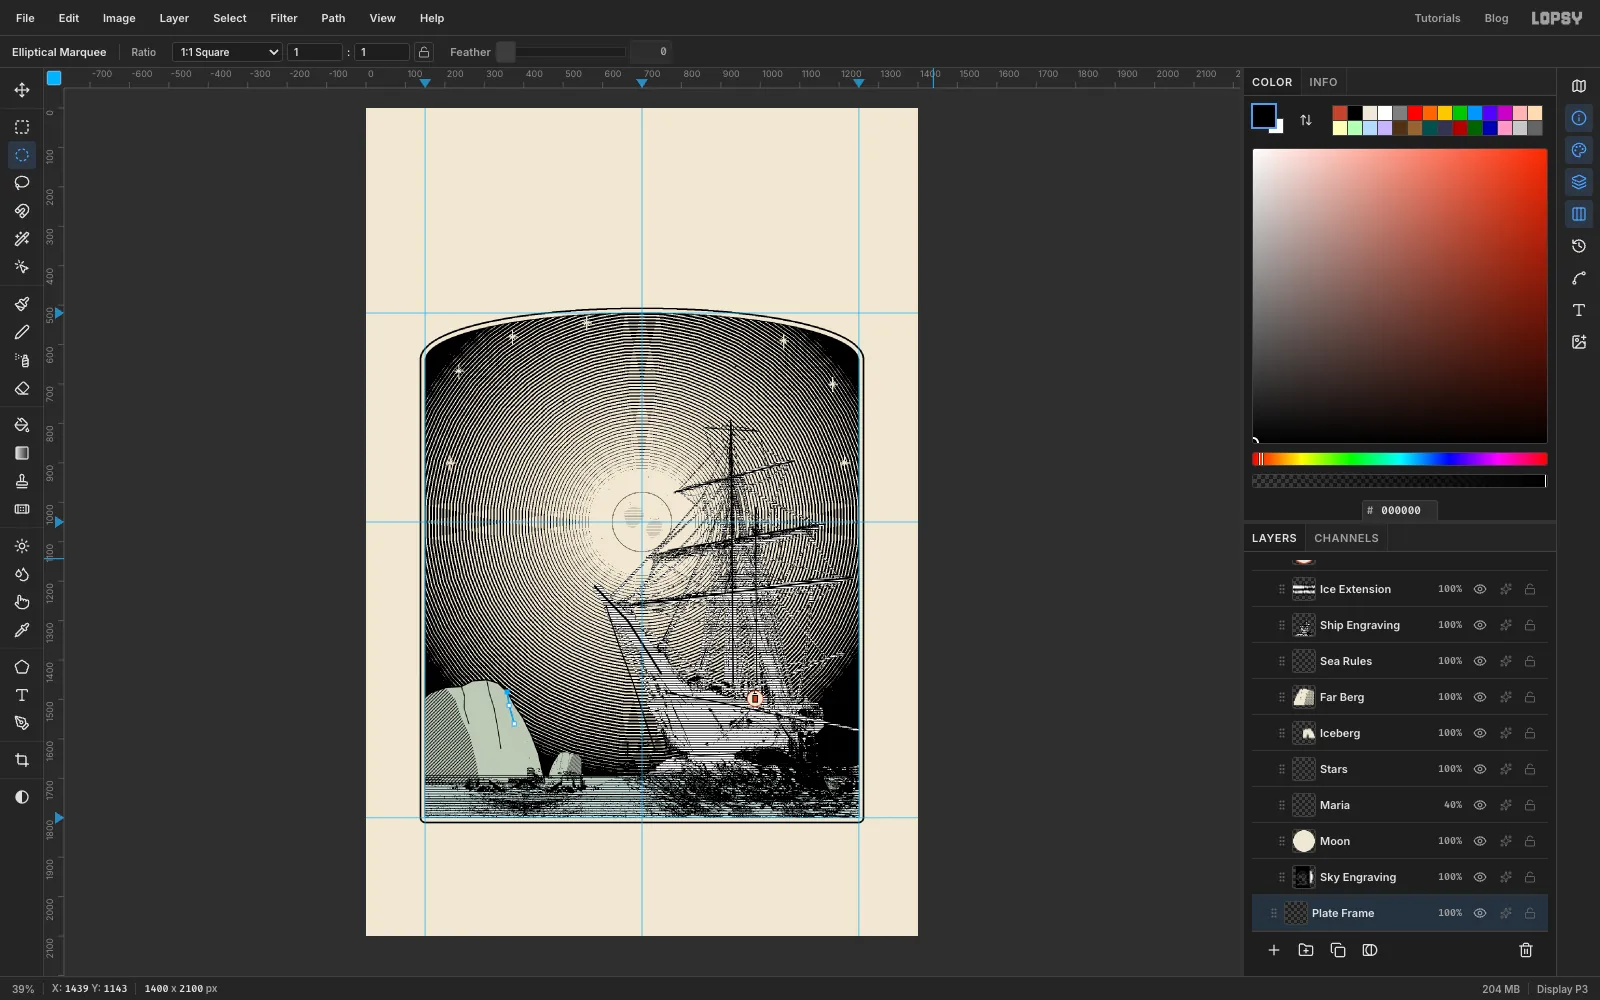
Background, then Add Layer, and rename itPlate Frame. - Make the plate selection again, the same rectangle and Shift-drag arch as before.
- Choose Select → Grow… by
14and fill with black. Shrink by4and press Delete. That leaves a 4 px ring outside the plate. - Shrink by
9and fill with black, then shrink by2and press Delete. That adds a 2 px ring right on the plate's edge. Deselect.
- Click
-
Rule the cover's border
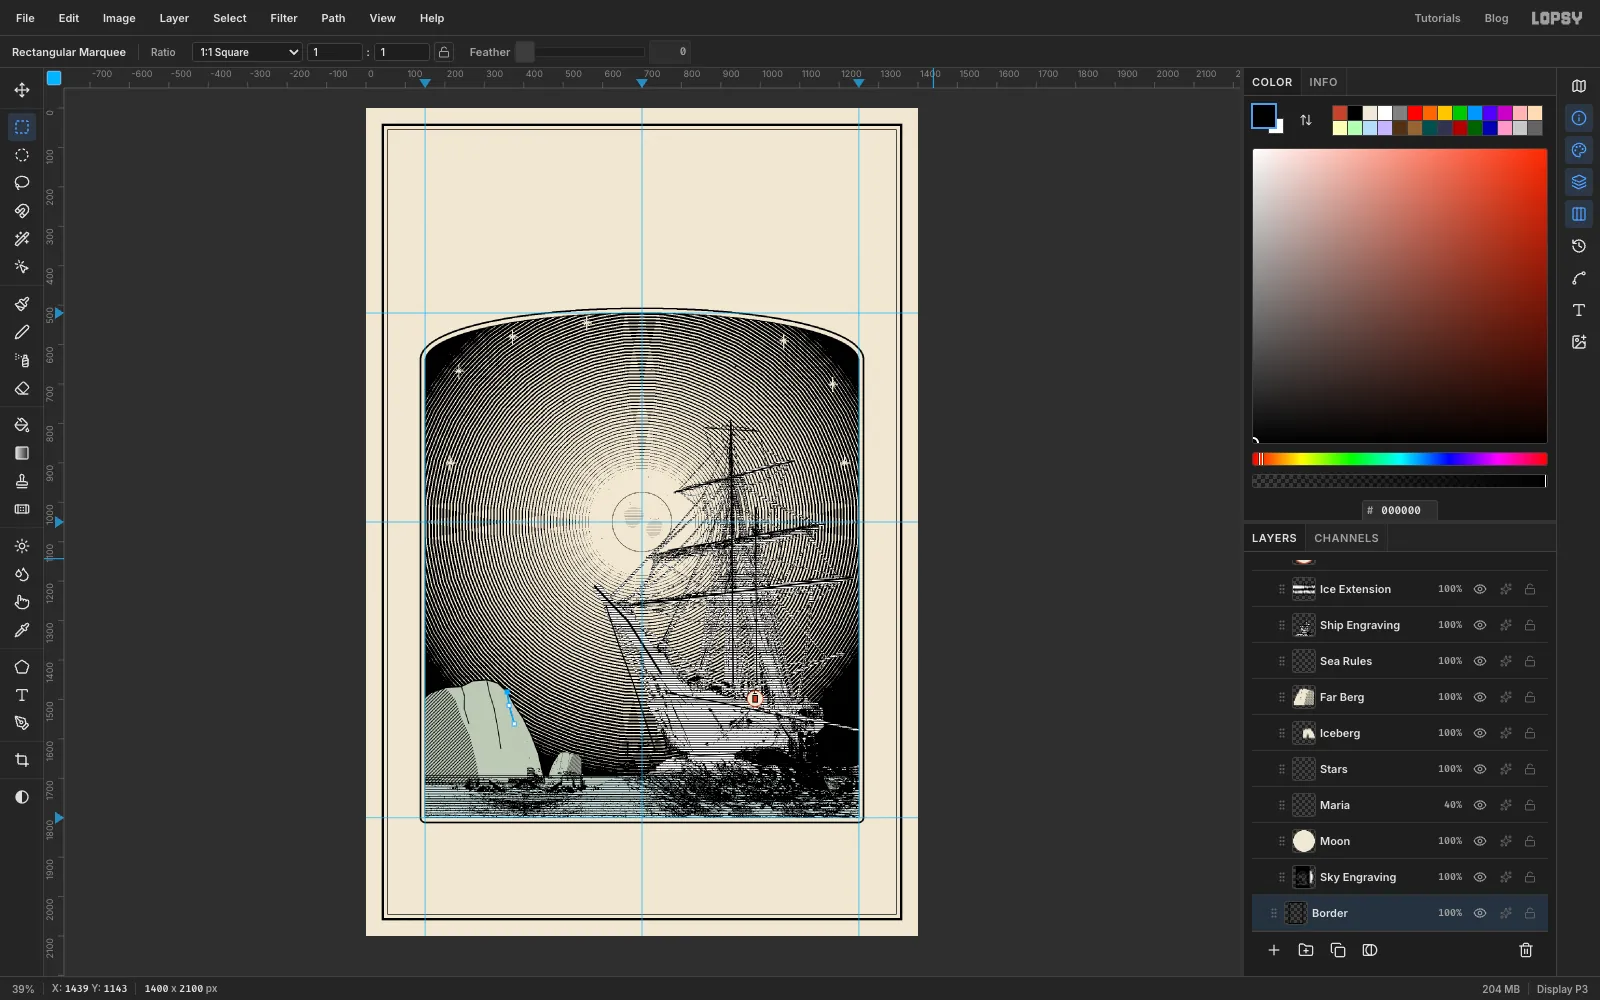
- Click Add Layer and rename it
Border. - Select From
40,40To1360,2060. Fill with black, shrink by6and delete. Then shrink by8, fill, shrink by2and delete.
The result is a 6 px outer rule with a 2 px inner rule 8 px inside it.
- Click Add Layer and rename it
-
Set the author and title
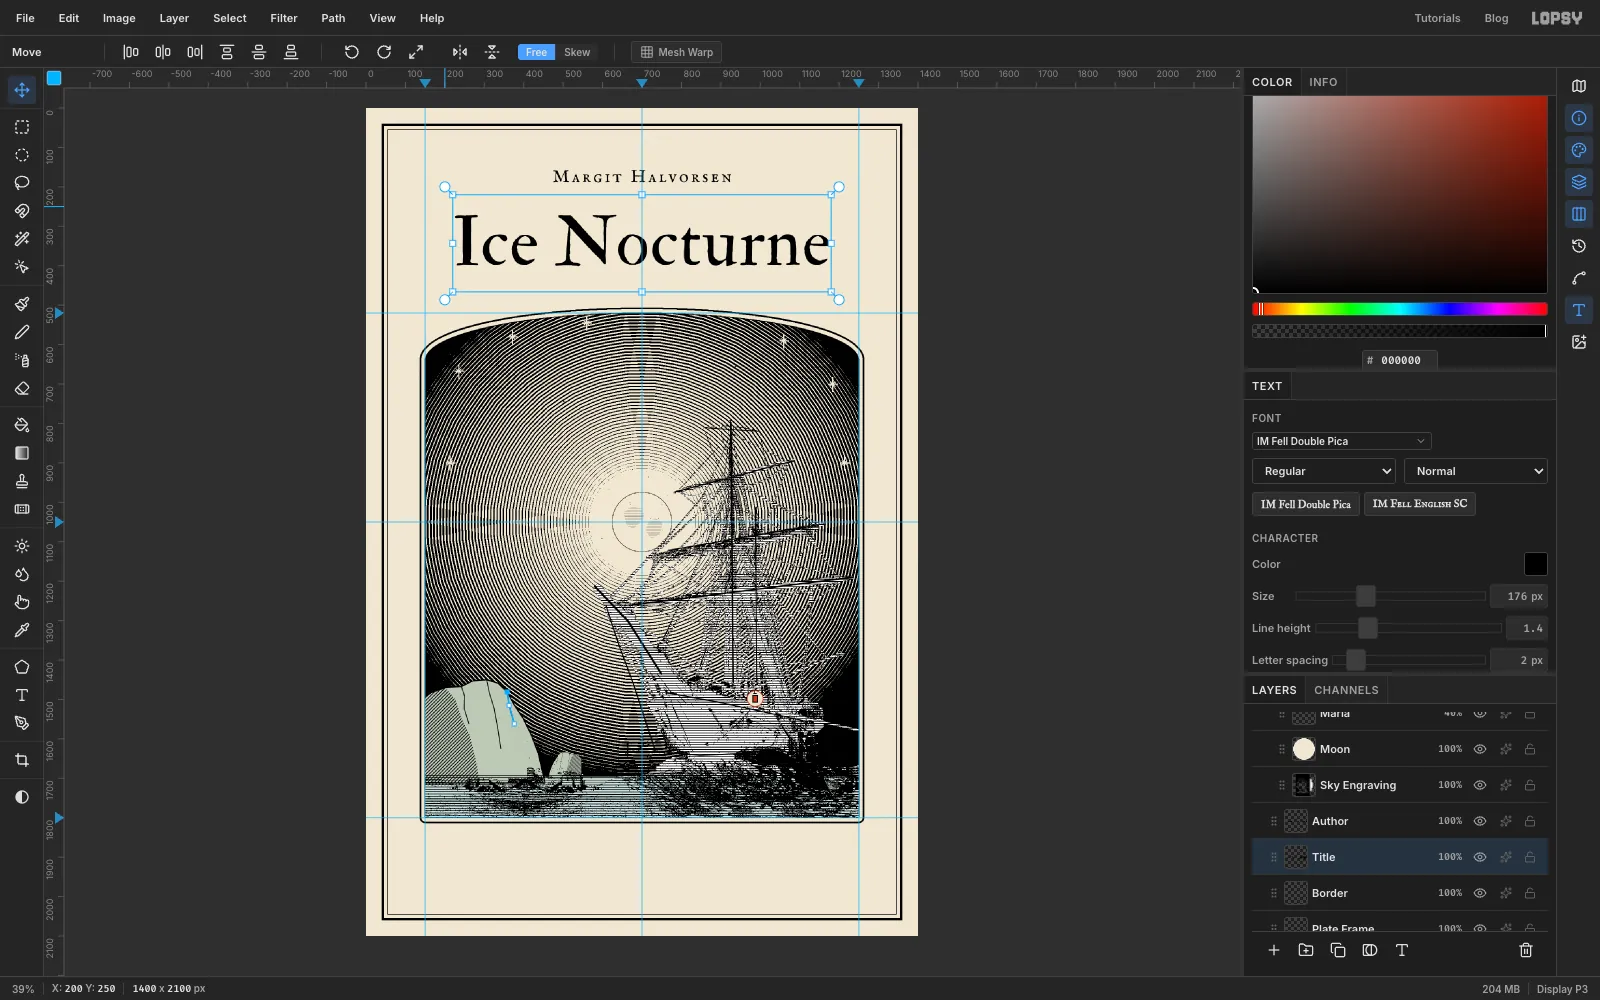
- With
Borderselected, pick the Text tool (T). In the options bar, set Size to46and the font to IM Fell English SC. Set the colour to black, click above the plate and typeMargit Halvorsen. Press Tab to finish. Rename the layerAuthor. In the Text panel, set Letter spacing to6. - Click
Borderagain so the next text doesn't restyle this one. Make a second text layer,Ice Nocturne, in IM Fell Double Pica at size176with letter spacing2. Rename itTitle. - Centre each one with the Move tool and arrow keys, measuring by the visible letters. The author's letters should be centred on 700, 172 and the title's on 700, 335. The title then runs from about x 226 to 1175, with its capitals from y 271 to 400.
- With
-
Select the title's letters
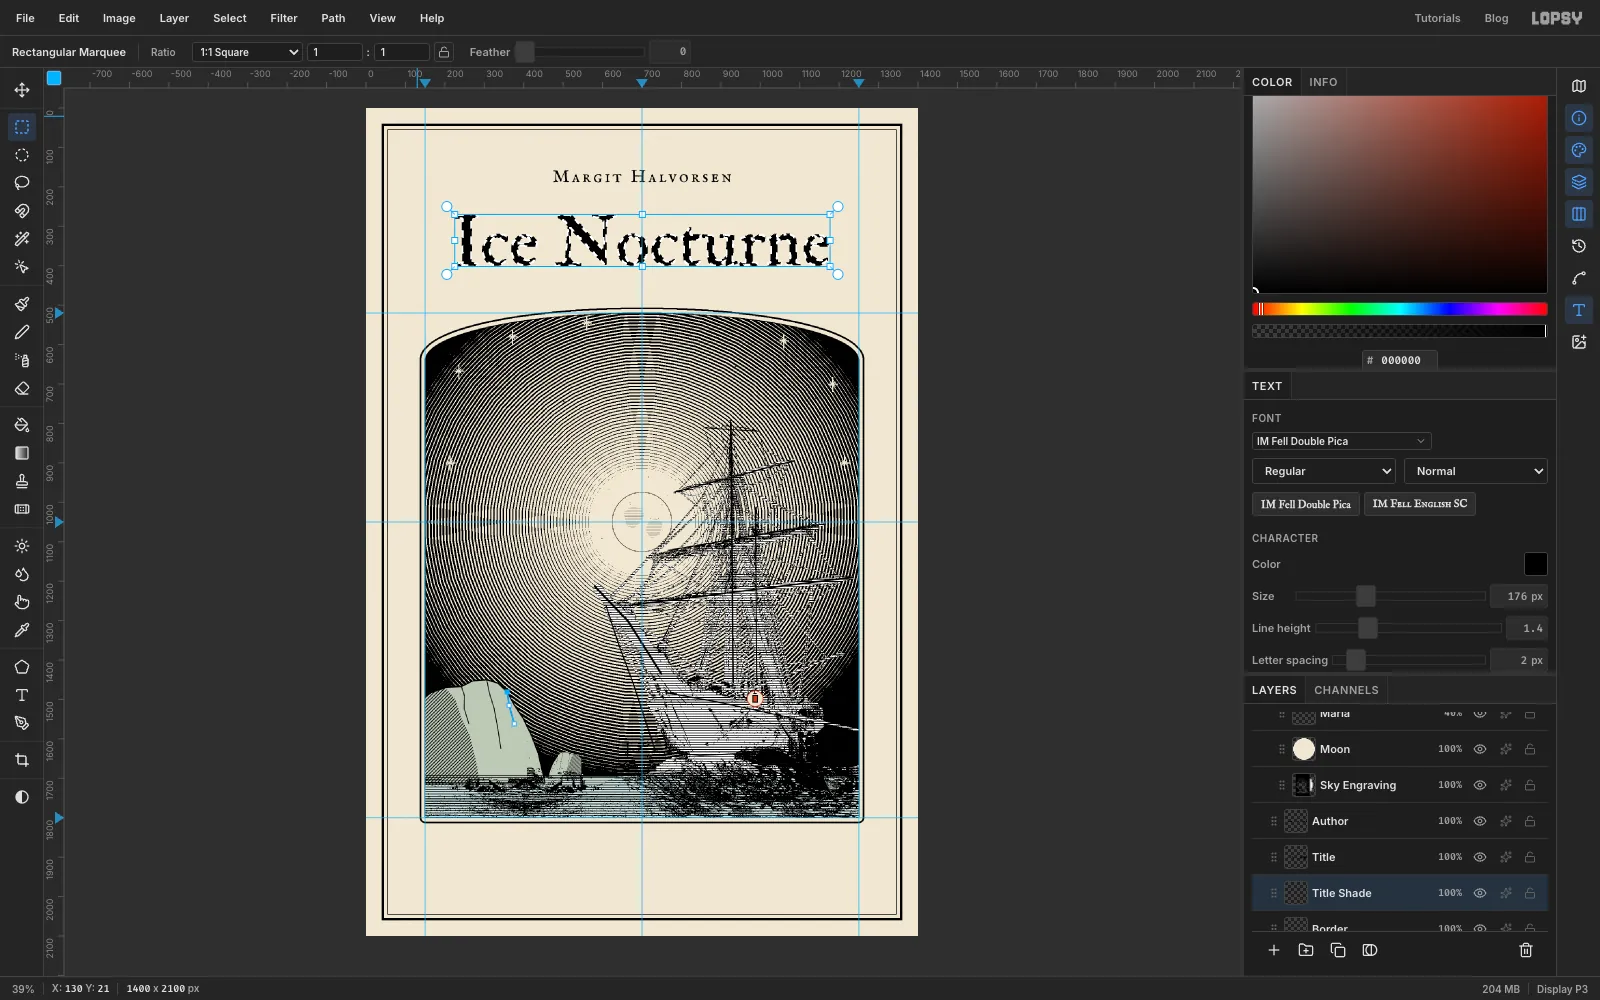
The title gets a shadow made of engraved lines.
- Click
Border, then Add Layer, and rename the new layerTitle Shade. It sits under the title. - Make a fine tile. With the Pencil at size
1in black, draw a helper line from 60, 21 to 200, 21. Define a pattern from From100,20To103,23, then delete the helper line. - Cmd-click the
Titlethumbnail to select its letters.
- Click
-
Fill and offset the shadow
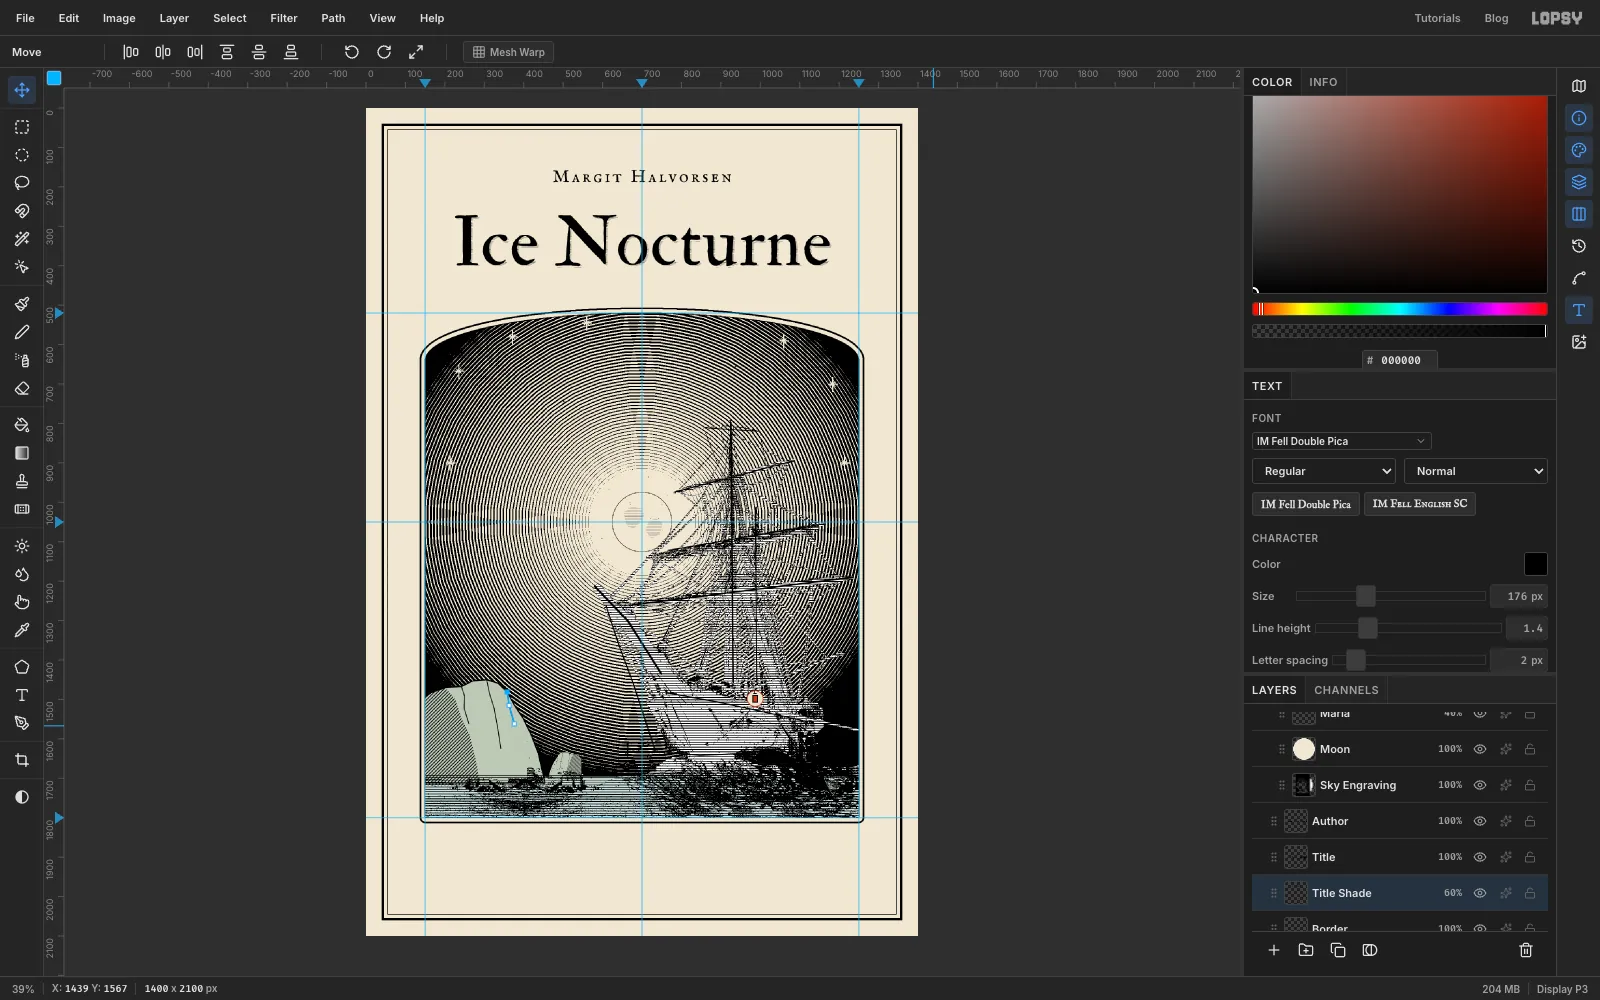
- Choose Fill with Pattern… with the 3 px tile, then deselect.
- With the Move tool, press Right four times and Down four times.
- Set the layer's opacity to 60%.
The hatching sticks out only below and to the right of each letter, so the letters look raised off the page.
-
Add the rule ornament
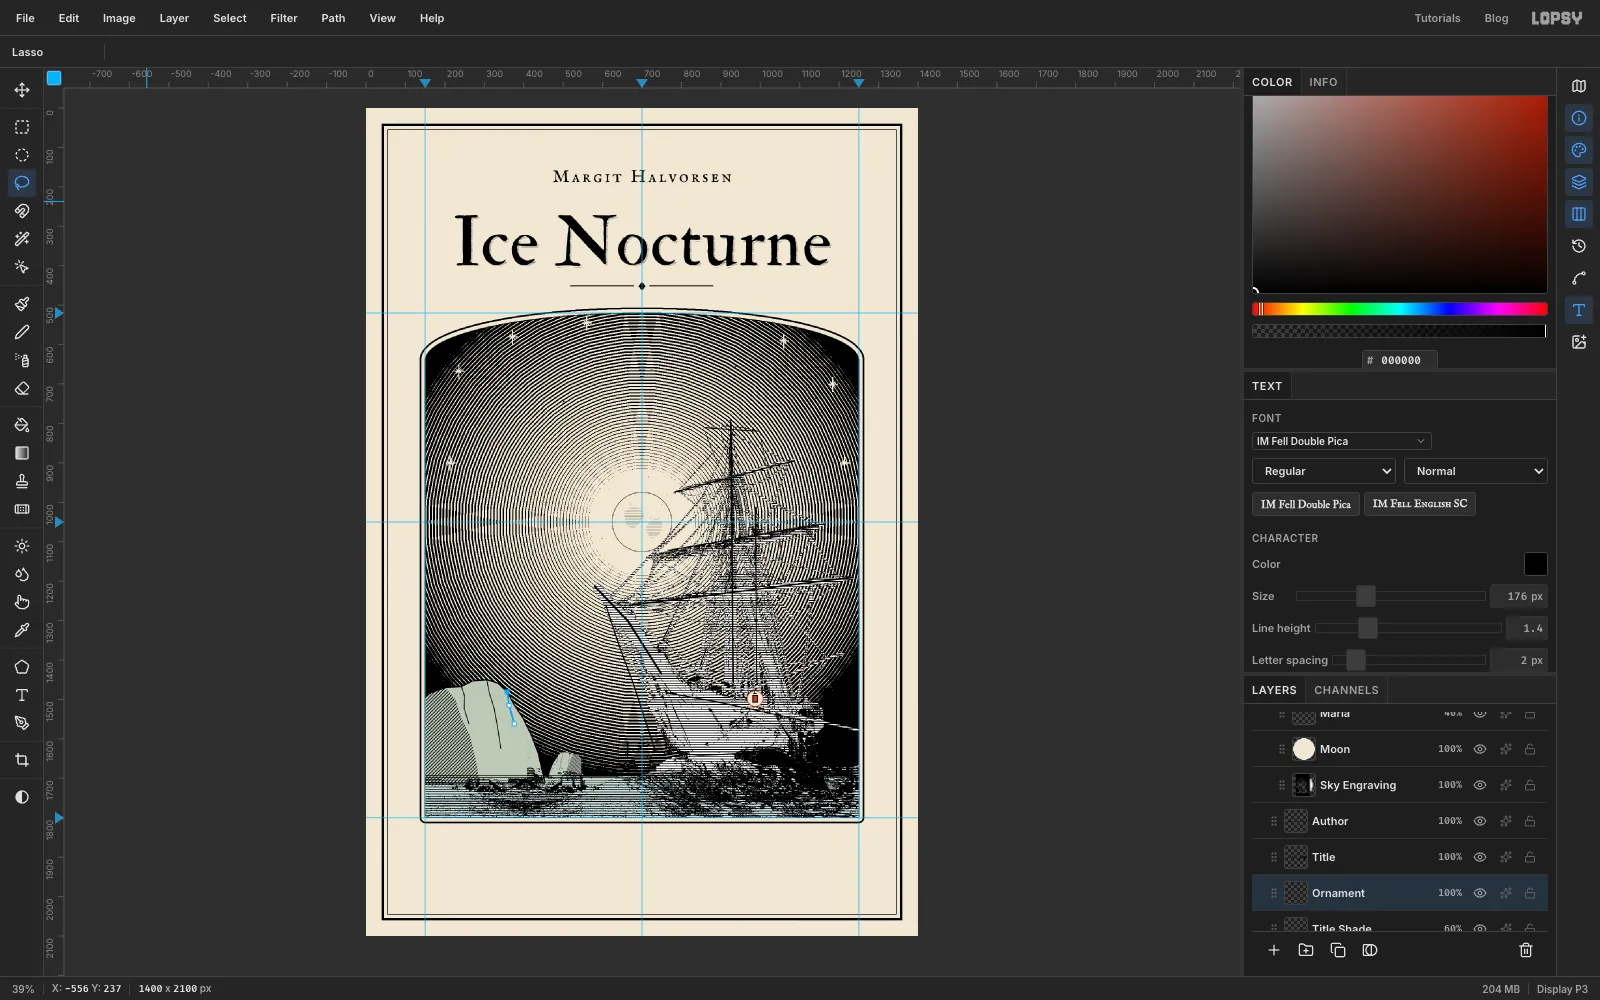
- Click Add Layer and rename it
Ornament. - With the Pencil at size
2in black, draw two lines at y 452: one from 520 to 680, and one from 720 to 880. - With the Lasso, draw a small diamond in the gap, about 18 px wide and 22 px tall, centred on 700, 452. Fill it with black and deselect.
- Click Add Layer and rename it
-
Set the imprint
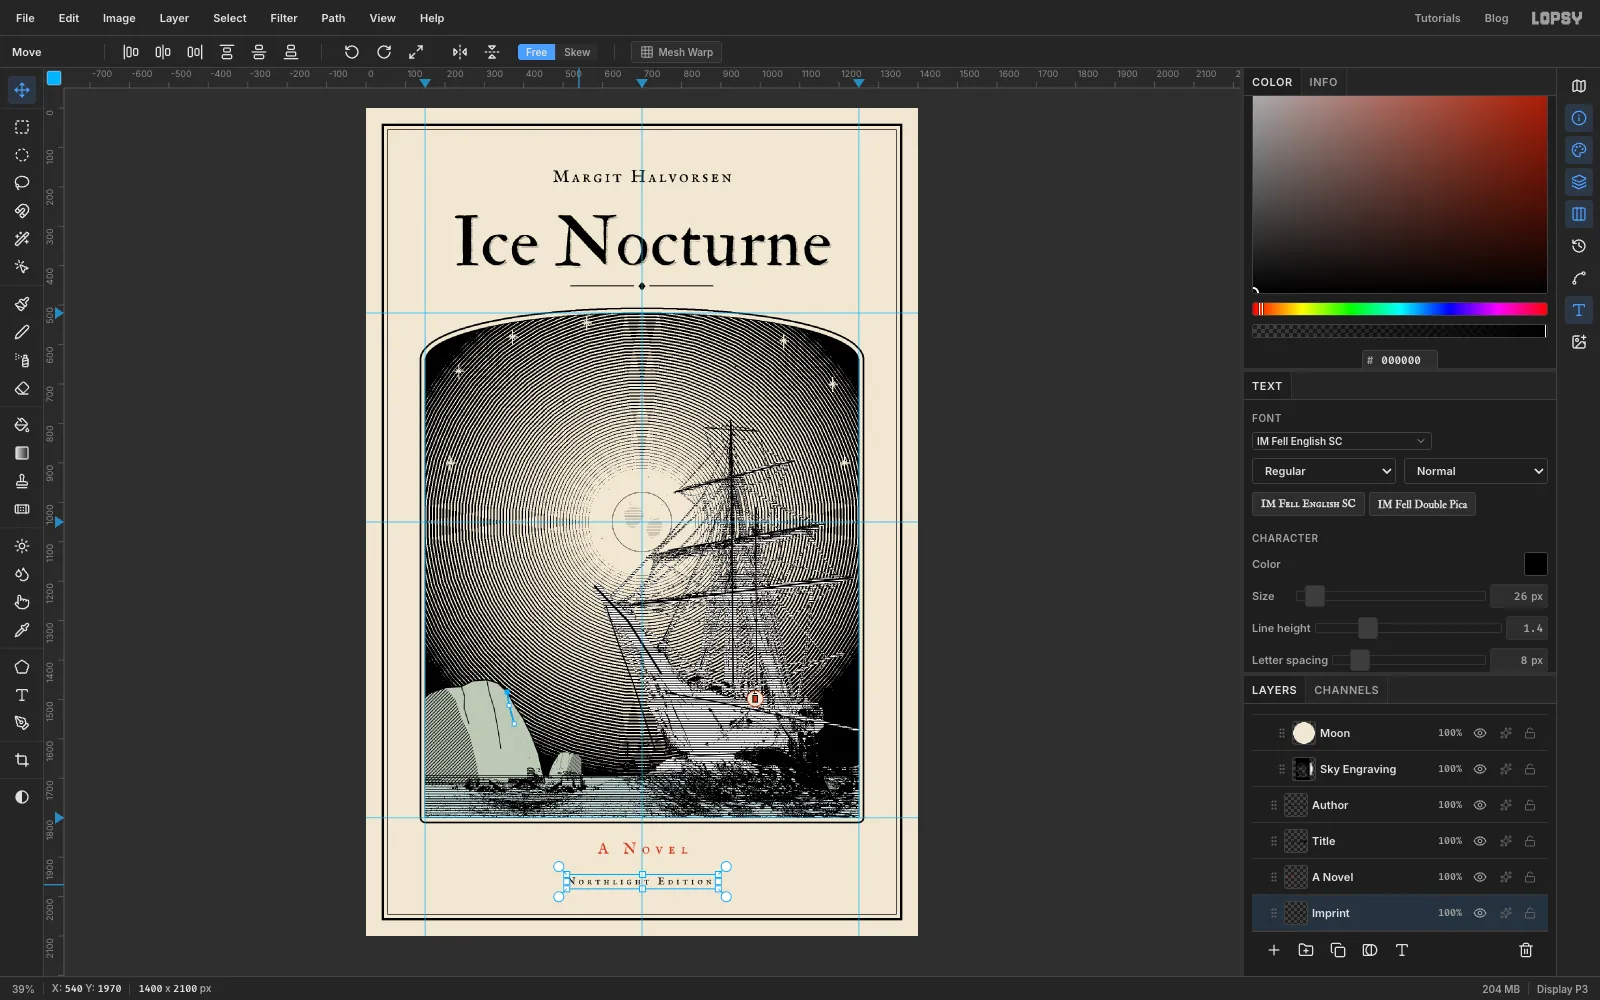
- With
Ornamentselected, make a text layerA Novelin IM Fell English SC at size40, in , with letter spacing14. Centre its letters on 700, 1876. - Click
Ornamentagain. MakeNorthlight Editionsin the same font at size26, black, with letter spacing8, and rename the layerImprint. Centre its letters on 700, 1959.
The two lines are spread evenly between the plate frame and the border.
- With
-
Turn the coordinates up the margin
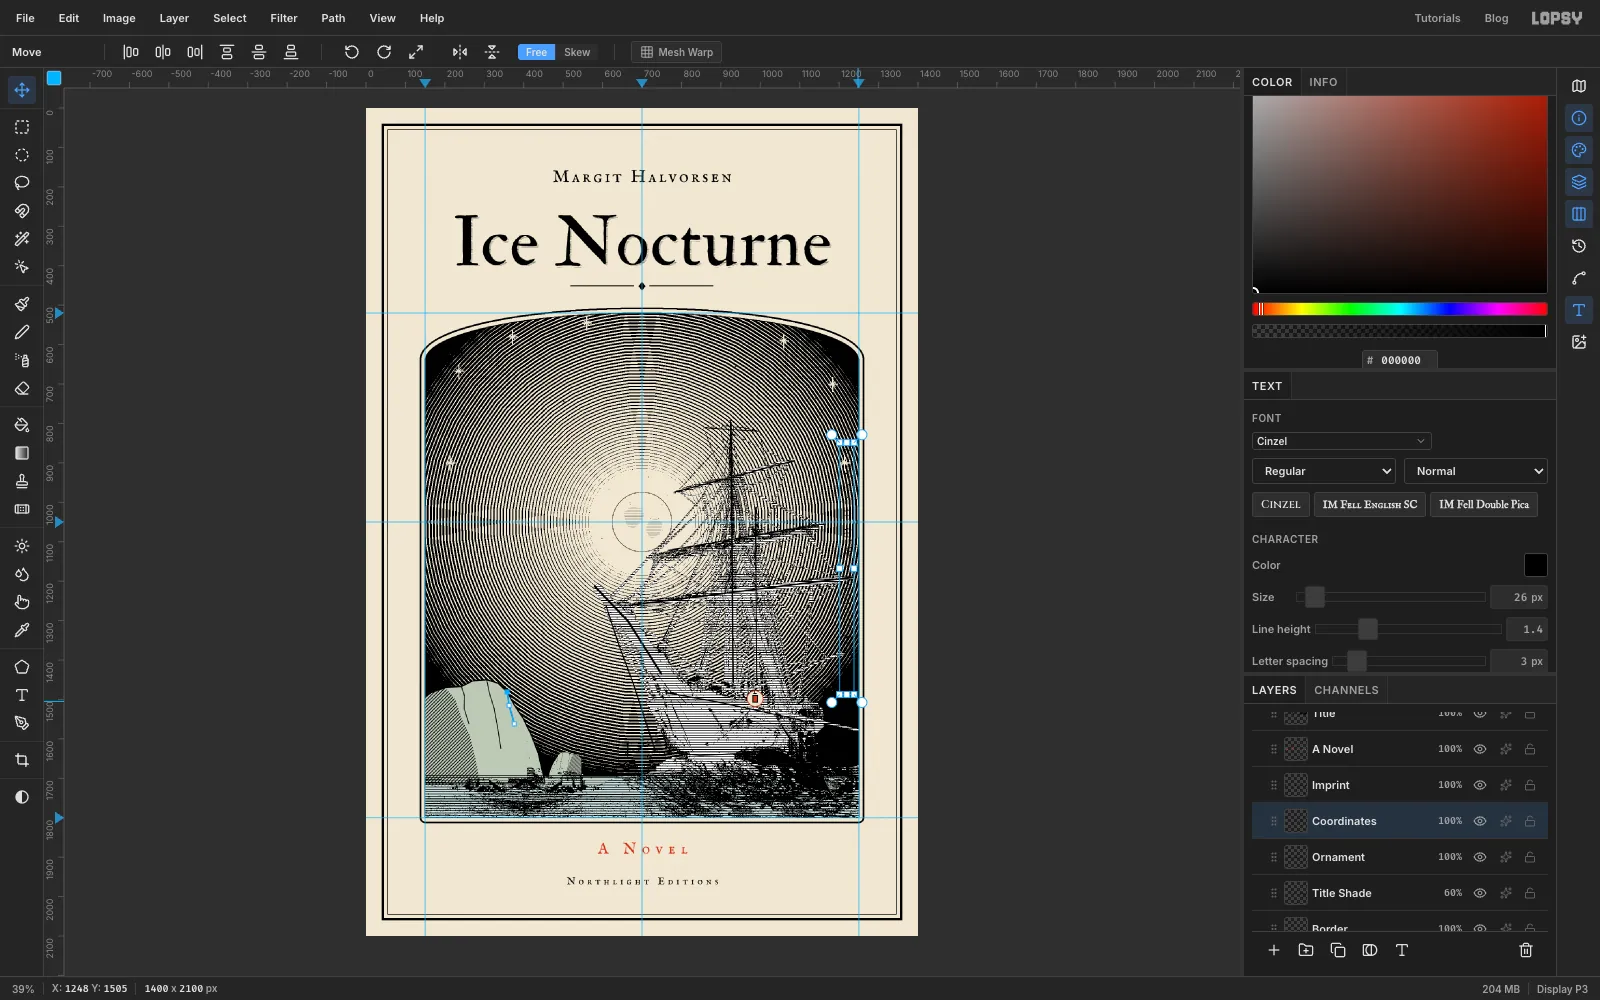
- Click
Ornament. Make a text layer in Cinzel at size26with letter spacing3:76° 35′ S · 31° 30′ W · Weddell Sea · 1915, and rename itCoordinates. Use the prime mark′after the minutes, not an apostrophe. Cinzel is used here because its figures all sit on the baseline (lining figures), so the 1 reads as a 1. - With the Move tool, hold Cmd and drag the text's rotate handle clockwise until it snaps to 90°. Press Enter.
- Click
-
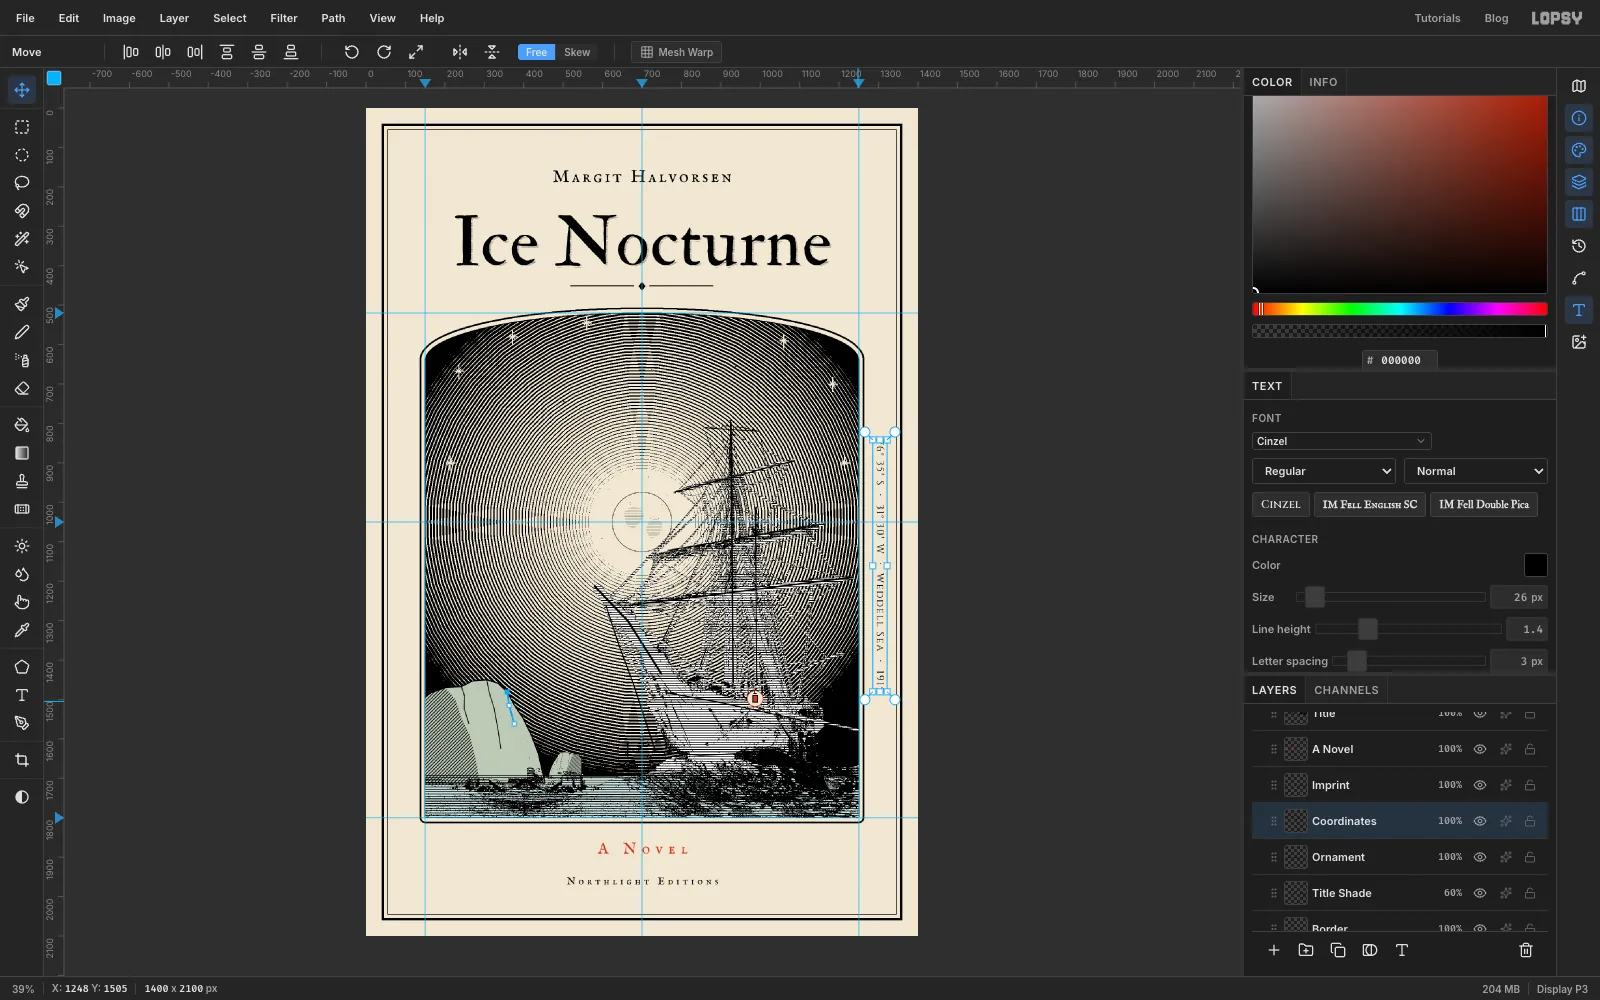
Centre the coordinates in the gutter
Move the rotated text so it's centred on 1304, 1160. That's halfway between the plate frame (about x 1264) and the border's inner rule (about x 1345), and level with the middle of the plate.
-
Add paper fibre
- Click
Author, then Add Layer, and rename itPaper Fibre. - Choose Filter → Fibers… with Variance
24and Strength10, then Gaussian Blur with Radius1. - Set the layer's Blend mode to Multiply and its opacity to 7%.
At this strength it reads as paper. Any stronger and it starts to look like wood grain.
- Click
-
Group the type, then save and export
- Click
Author, then Cmd-clickTitle,Title ShadeandOrnament. Click Group Layers and rename the groupTitle Block. - Do the same with
A Novel,ImprintandCoordinates, and call that groupImprint Block.
With the type grouped, you can move a whole block at once. Select
Title Blockand drag it with the Move tool, and all four layers go together. Cmd+Z puts it back.Choose File → Save Project to keep a
.lopsywith every layer, then File → Quick Export PNG for the finished cover.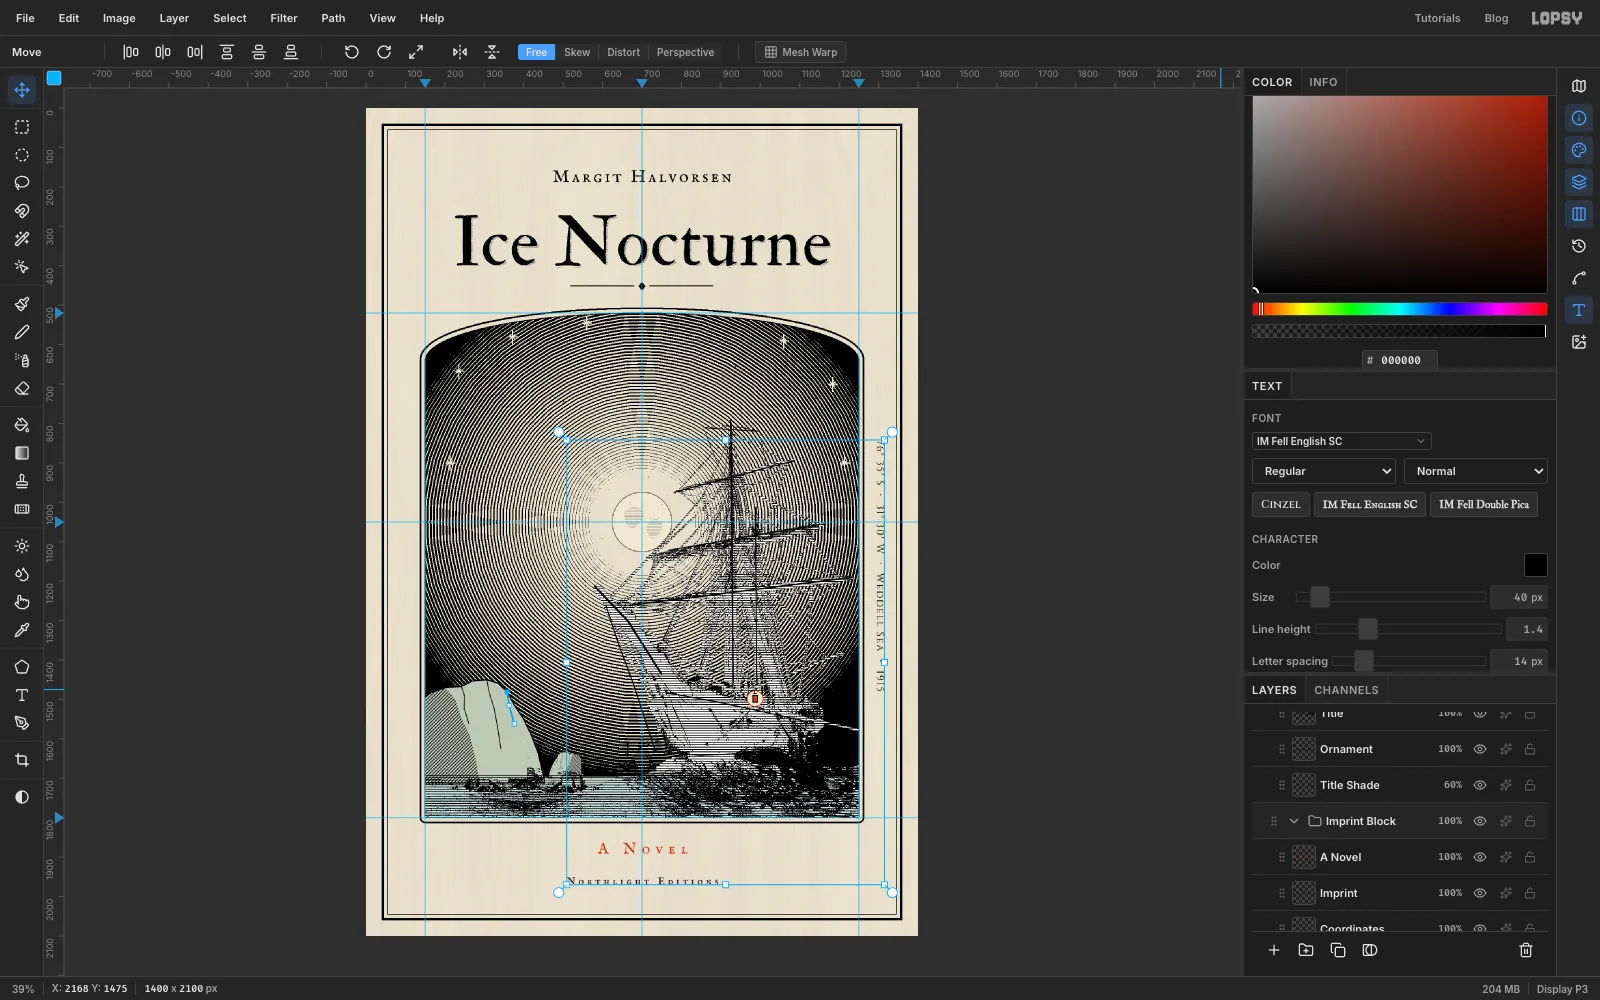
- Click