Design an Etching-Style Shop Flier from a Porcupine Photo
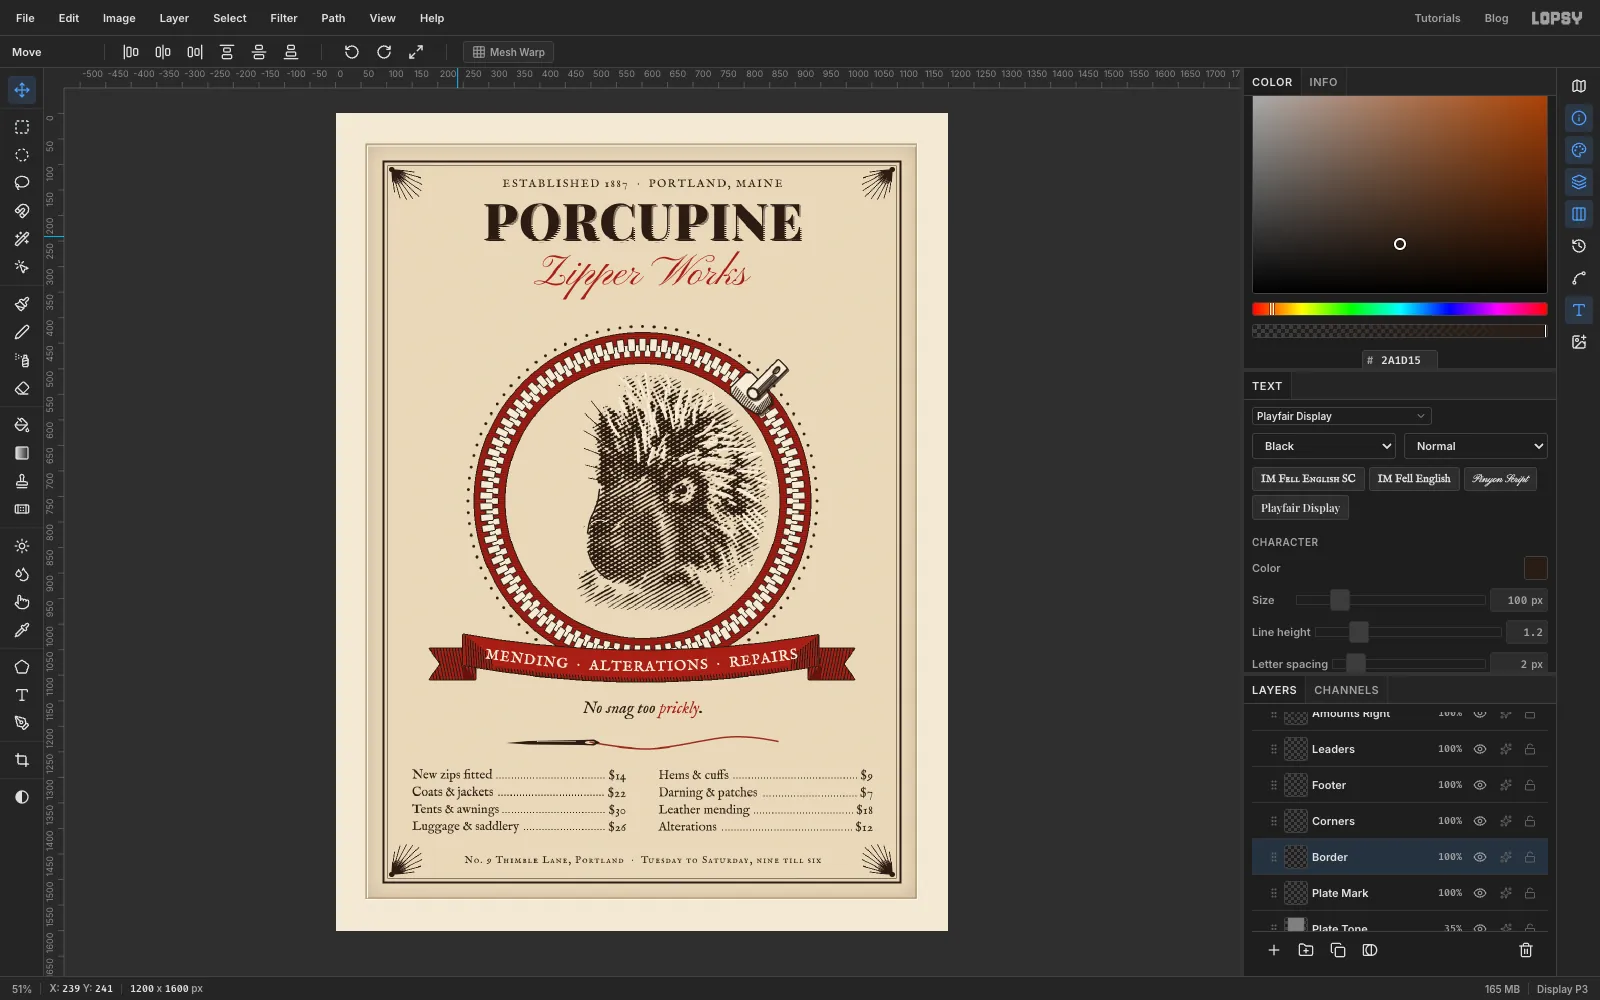
Make a Victorian copperplate trade flier in Lopsy. Turn a porcupine photo into a line engraving, then frame it in a zipper of Sunburst teeth with a ribbon and engraved type.
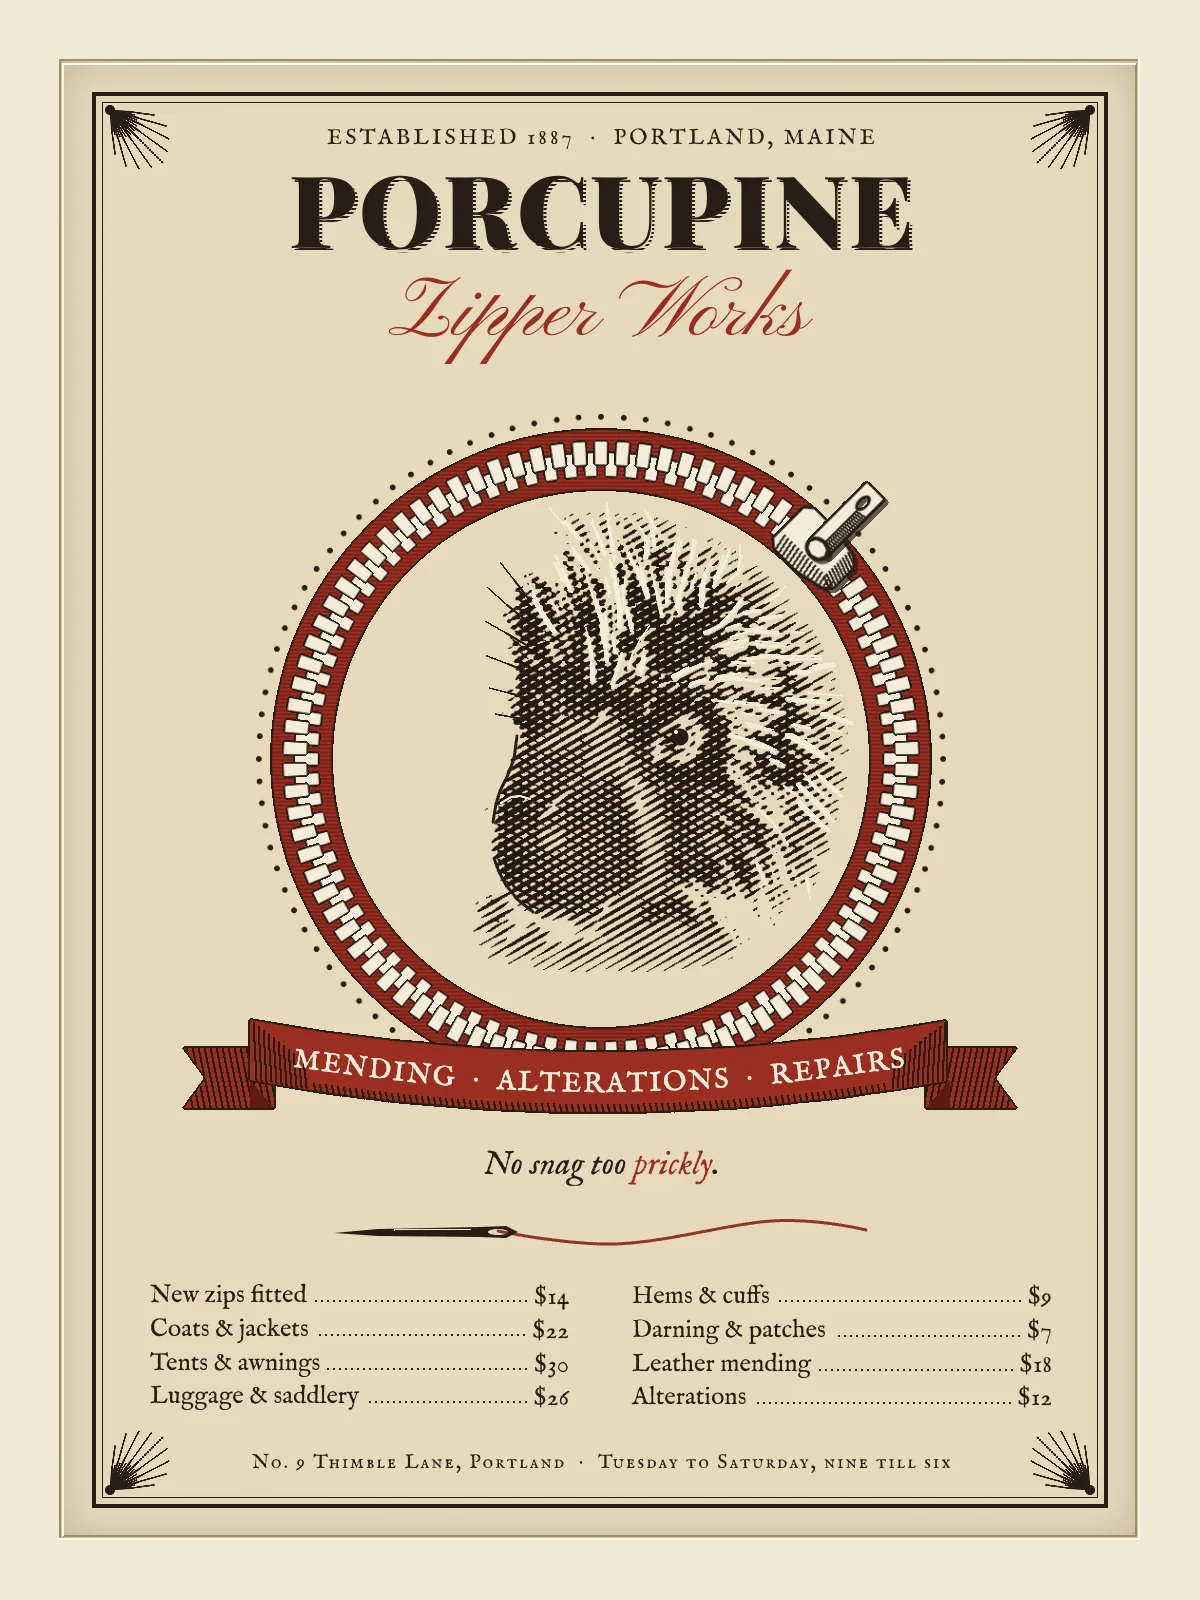
Before photography could be printed, shops advertised with engraved trade cards and handbills. An engraver cut the picture into a copper plate as lines, the printer added type set in heavy display capitals and a curly script, and the job came off the press in black ink with perhaps one extra colour. In this tutorial you'll make one for an imaginary repair shop: Porcupine Zipper Works, a 1200 × 1600 px flier.
The centrepiece is a porcupine's head, turned into a line engraving from a photo. You'll lay a layer of soft stripes over the photo at half opacity and run Threshold. Where the photo is dark, the stripes fatten into heavy lines. Where it's light, they thin away. A second set of stripes at a different angle adds cross-hatching in the shadows. The porcupine then sits inside a frame that suits the shop: a ring of zipper teeth, cut with the Sunburst filter.
The photo is Porcupine NPS11952 from the U.S. National Park Service, on Wikimedia Commons. It's in the public domain. Download the full-size version (1915 × 1355 px). Any close-up of a porcupine's head in profile works the same way. The numbers below assume this photo.
Along the way you'll use:
- Add Noise, Motion Blur, Gaussian Blur, Unsharp Mask, Desaturate, Brightness/Contrast, Threshold and Sunburst
- Define Pattern (twice: a stripe tile for the line screen and a rule tile for the title shade) and Edit → Fill with Pattern
- the Rectangular and Elliptical Marquee (with their exact-size dialog), the Lasso, Shrink and Feather and Select → Inverse
- Cmd-clicking layer thumbnails to select a layer's shape
- the Brush with Taper and Radial Symmetry, the Pencil with Shift-click lines, and the Eraser
- the Pen tool, both to stroke a curve and to make a path for text on a path
- Text in Playfair Display, Pinyon Script, IM Fell English and IM Fell English SC, with one word recoloured
- copy and paste, Flip Horizontal / Vertical, and rotating and scaling with the Move tool, including whole groups
- Duplicate Layer, Merge Down, Group Layers, New Group and Rasterize Layer
- Inner Glow, Stroke and Drop Shadow, and the Multiply, Lighten, Soft Light and Overlay blend modes
- the Reference drawer, ruler guides and undo / redo
The palette:
-
Paper
-
plate
-
Ink
sepia-black
-
Spot red
-
red fold
-
Cream metal
zipper teeth, slider, quill highlights
-
Plate-mark shadow
-
plate-mark light
-
Set up the document and guides
Create a new document 1200 × 1600 px with a White background.
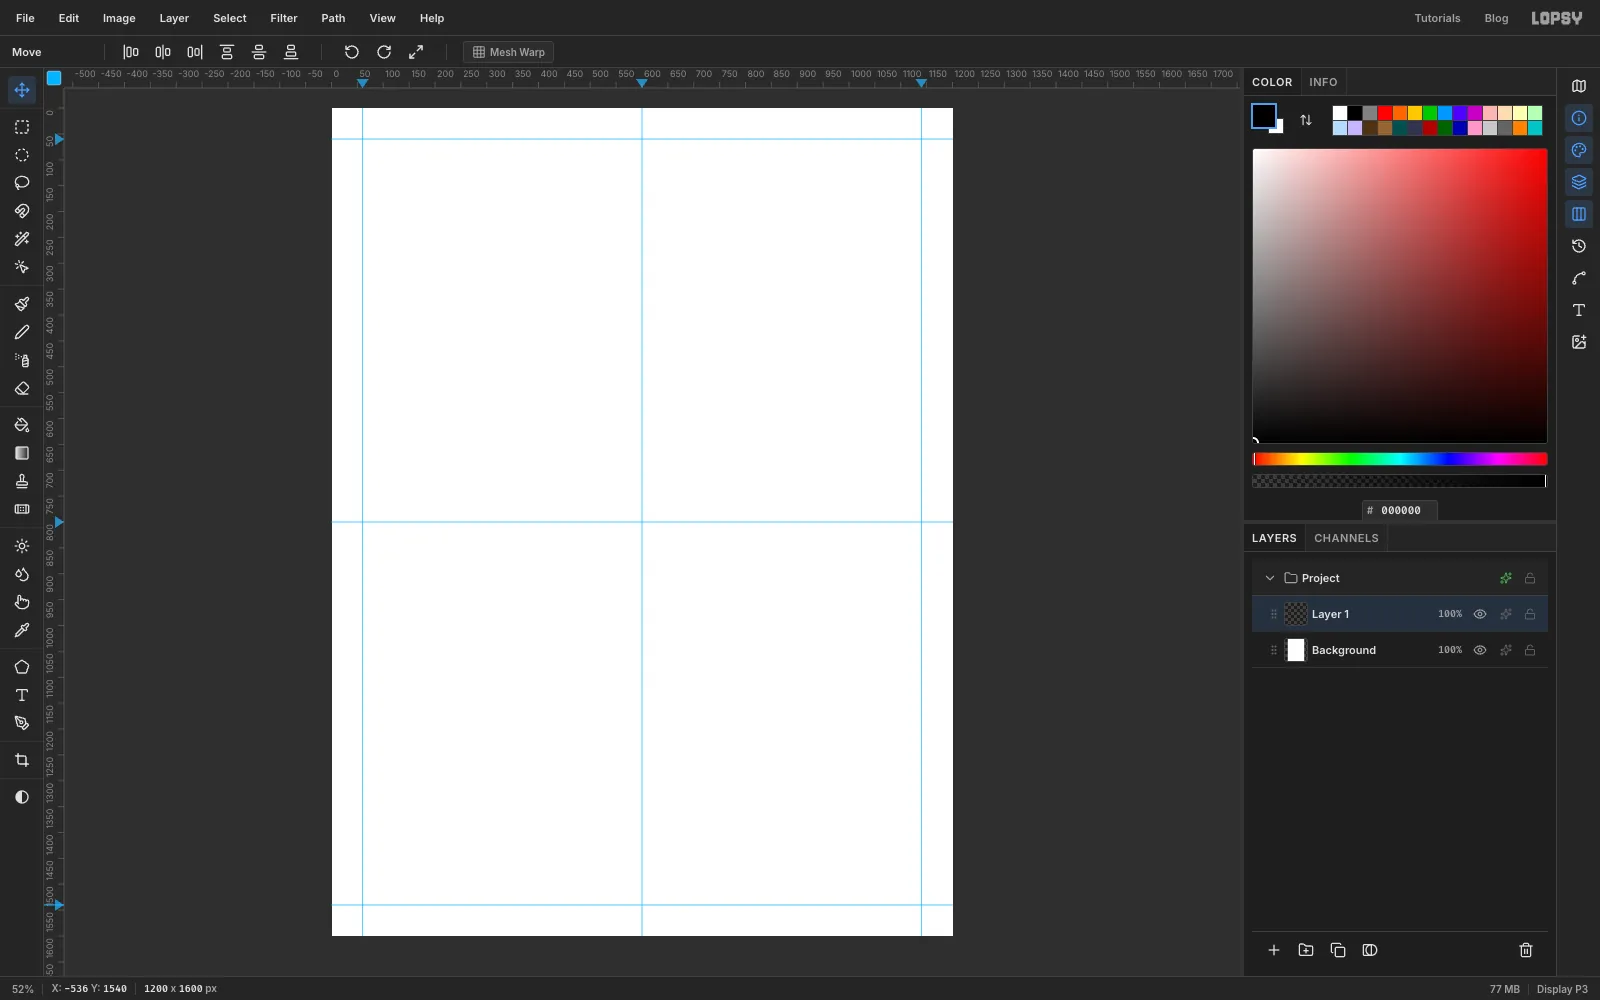
Click the rulers to drop guides. Click the top ruler at 600 for the centre line, then at 60 and 1140. Click the left ruler at 800 for the middle, then at 60 and 1540. The four outer guides mark the edge of the copper plate. The status bar shows the cursor's position, so you can check where you are.
-
Lay down the paper and the plate
In the Layers panel, rename Background to Paper and fill it with (Edit → Fill).
Paper has a little tooth. Select Layer 1, rename it Paper Grain, fill it with mid-grey and run Filter → Add Noise at 30, then Gaussian Blur at 1. Set its blend mode to Soft Light and its opacity to 30%. Grey is invisible in Soft Light, so only the speckle shows.
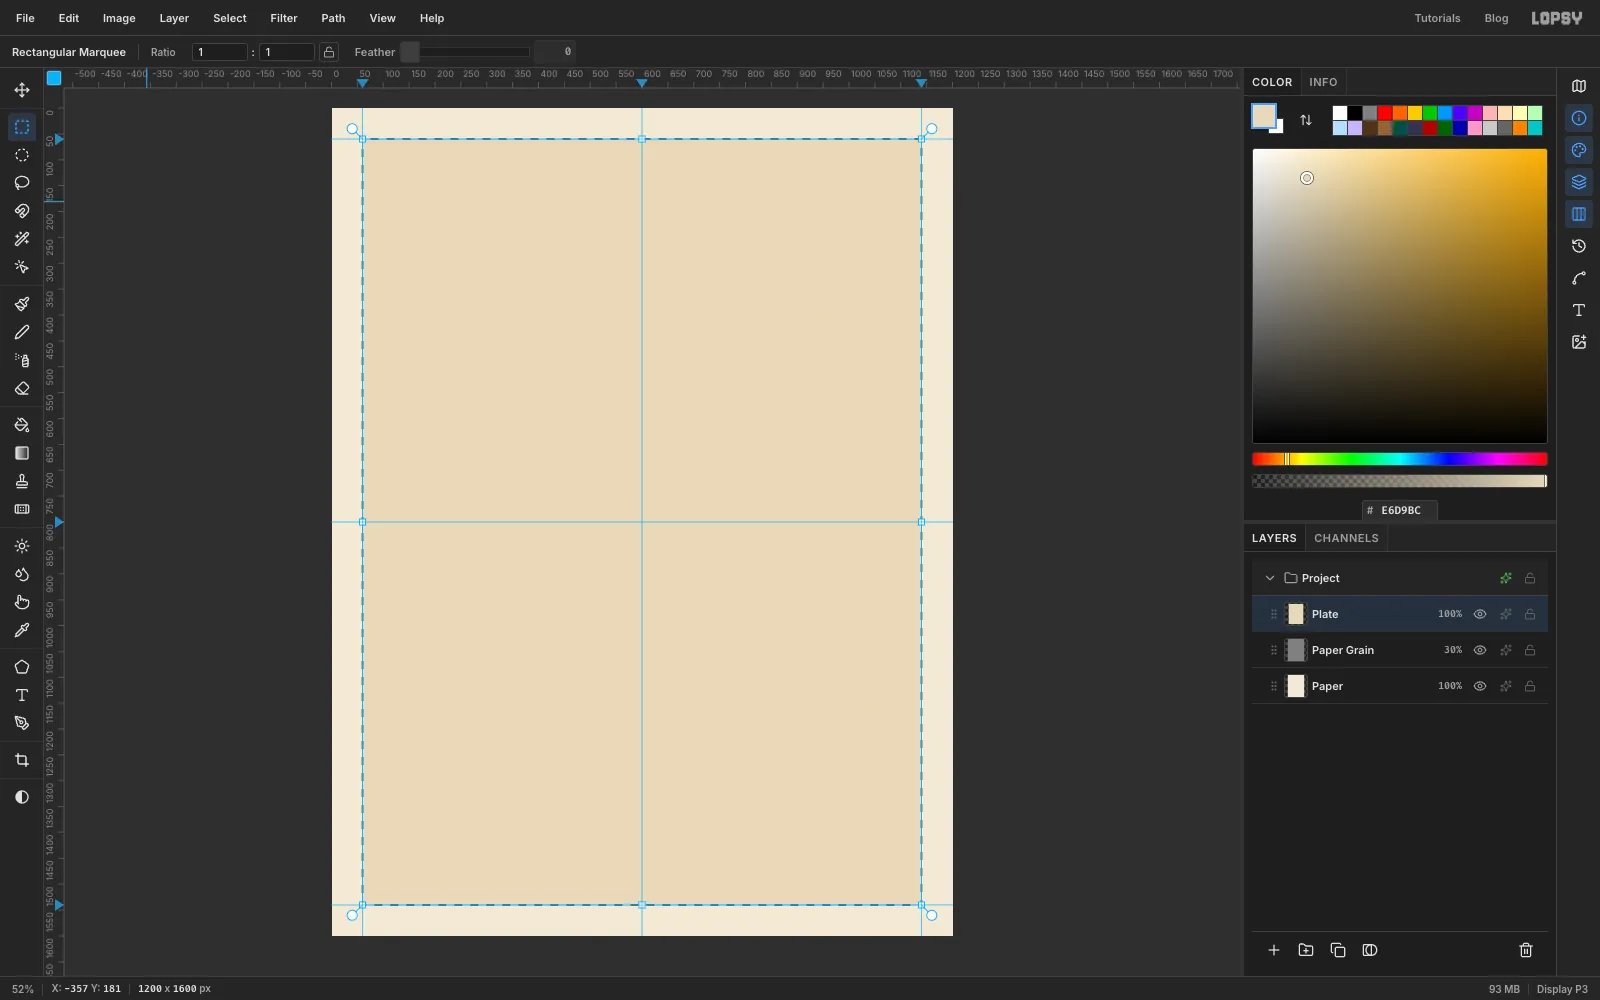
Add a new layer called Plate. Choose the Rectangular Marquee and, with nothing selected, click once on the canvas. A dialog opens where you can type exact corners. Enter 60, 60 to 1140, 1540 and press Select. Fill it with , then press Cmd+D to deselect.
-
Add plate tone and a plate mark
When a printer wipes a plate, a little ink is left in it, mostly near the edges. Open the Plate layer's effects and add an Inner Glow in ink , Size 90, Opacity 22.
Add a layer called Plate Tone. Select the plate area again (60, 60 to 1140, 1540), fill it with , run Add Noise at 40, then Motion Blur at an Angle of 4 and a Distance of 90. That gives long, faint streaks like a wiping rag. Deselect, set the layer to Overlay and its opacity to 35%.
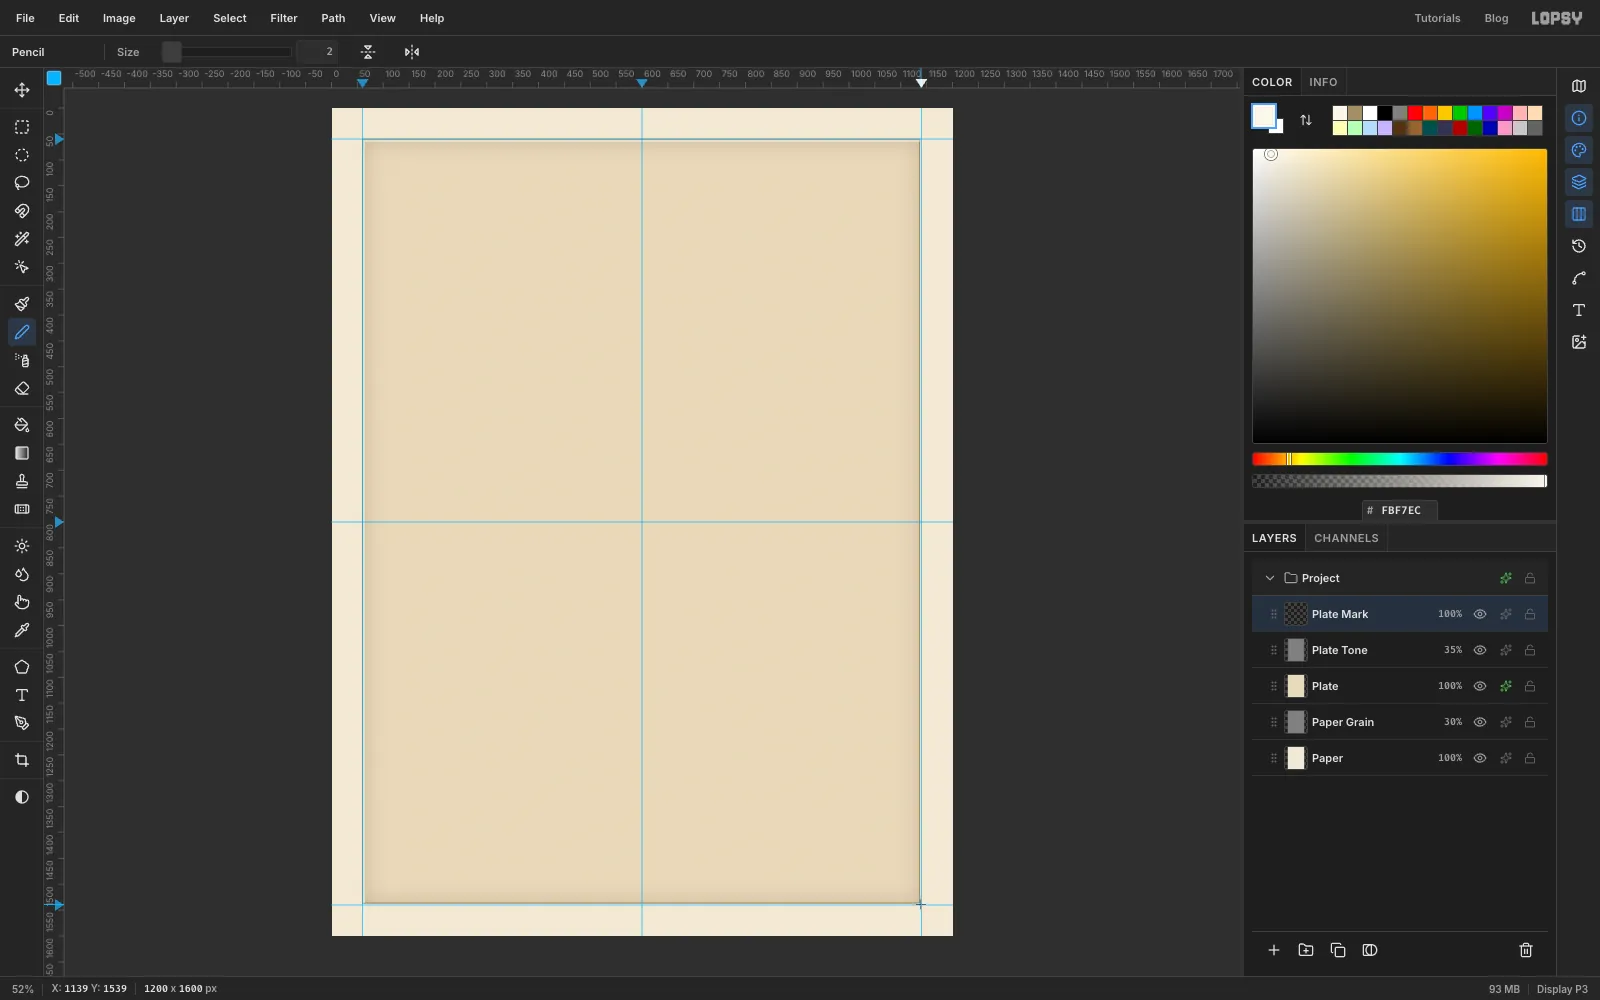
The press pushes the plate into the paper and leaves a bevelled edge. Add a layer called Plate Mark and choose the Pencil at Size 2. In , click the plate's top-left corner and Shift-click the top-right corner to draw a straight line along the top edge. Draw another down the left edge. Then draw the bottom and right edges 4 px inside the plate. Switch to and do the opposite: draw the top and left lines 4 px inside, and the bottom and right lines on the edge itself. Light falls on one side of the bevel and shadow on the other.
-
Rule a double border
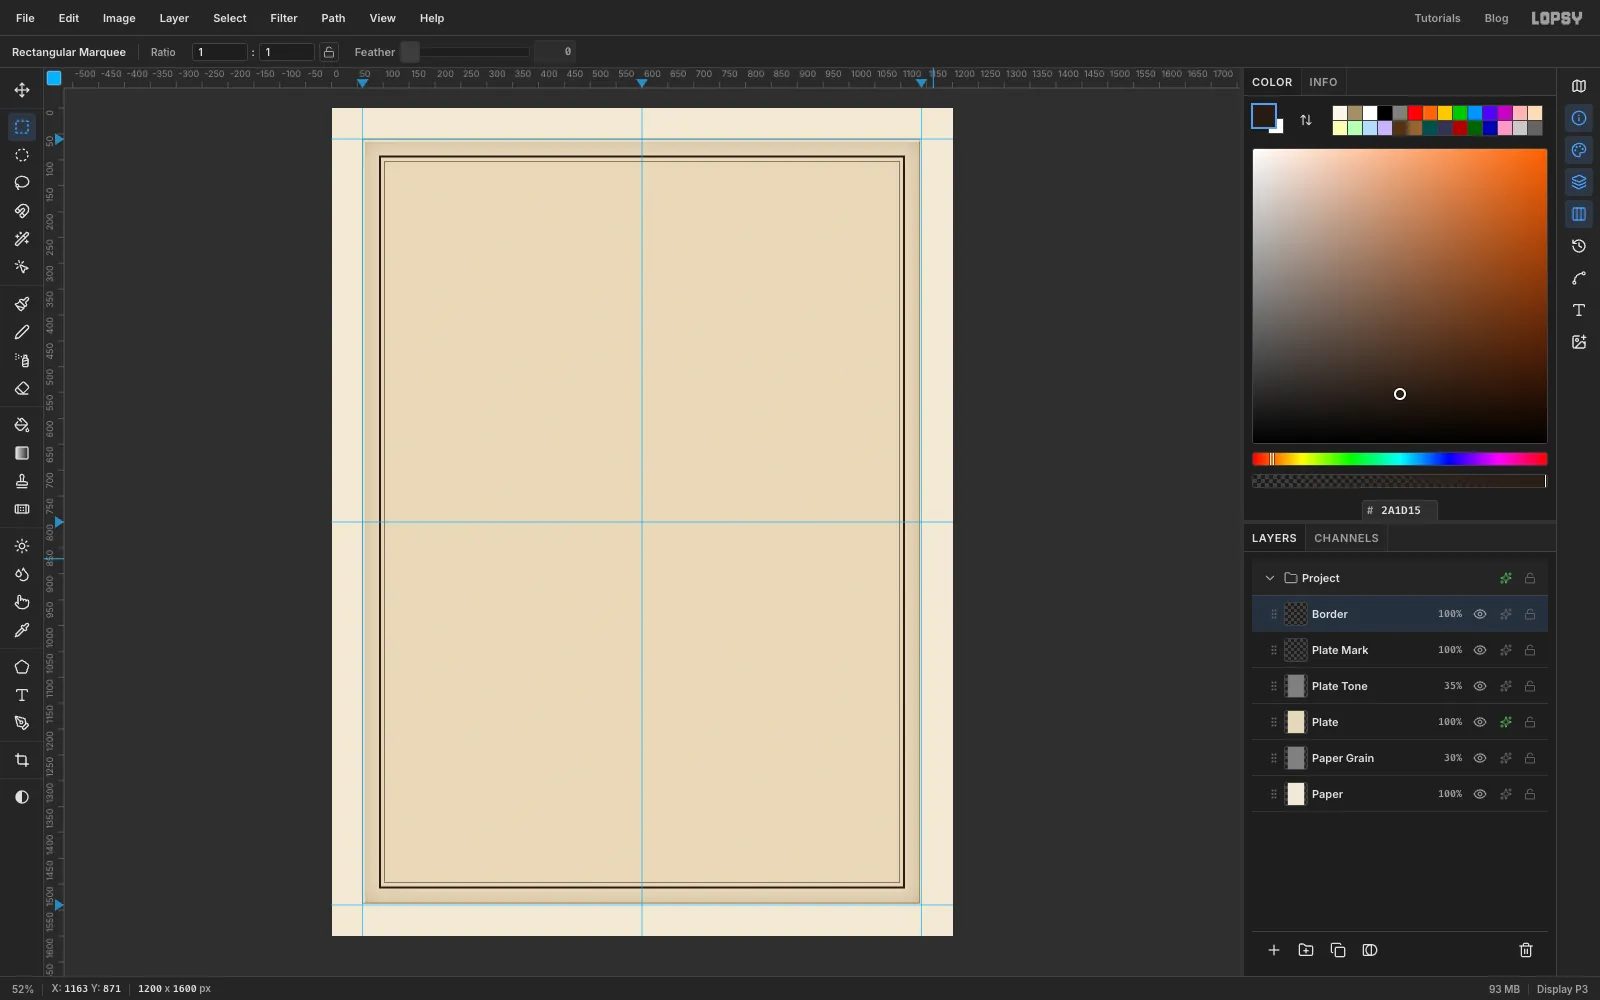
Add a layer called Border. With the exact-corners dialog, select 92, 92 to 1108, 1508 and fill it with ink . Choose Select → Shrink by 4 and press Delete to leave a 4 px frame. Deselect.
Now select 102, 102 to 1098, 1498, fill it, Shrink by 1 and press Delete. You now have a heavy outer rule and a hairline inside it, the classic engraver's double rule. Deselect.
-
Drop in the porcupine photo
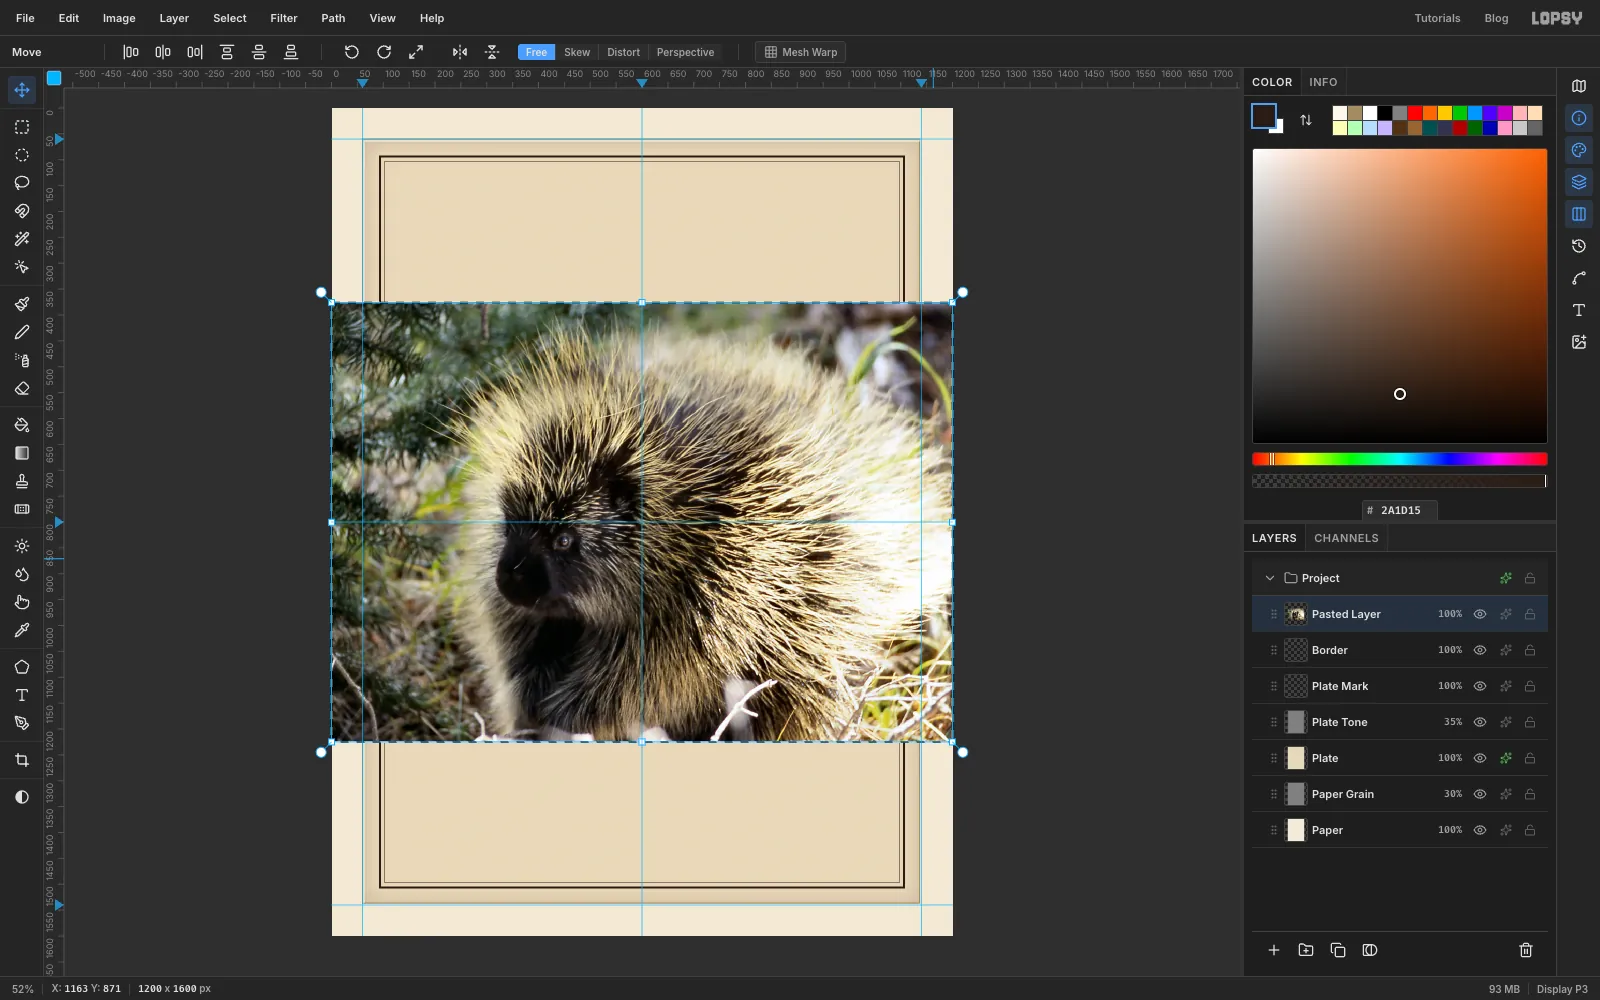
With Border selected, drag the photo file from your desktop onto the canvas. Lopsy adds it as a new layer and shrinks it to fit the canvas. It selects the pasted pixels and switches to the Move tool, so you can transform it straight away.
-
Scale the photo up and place the head
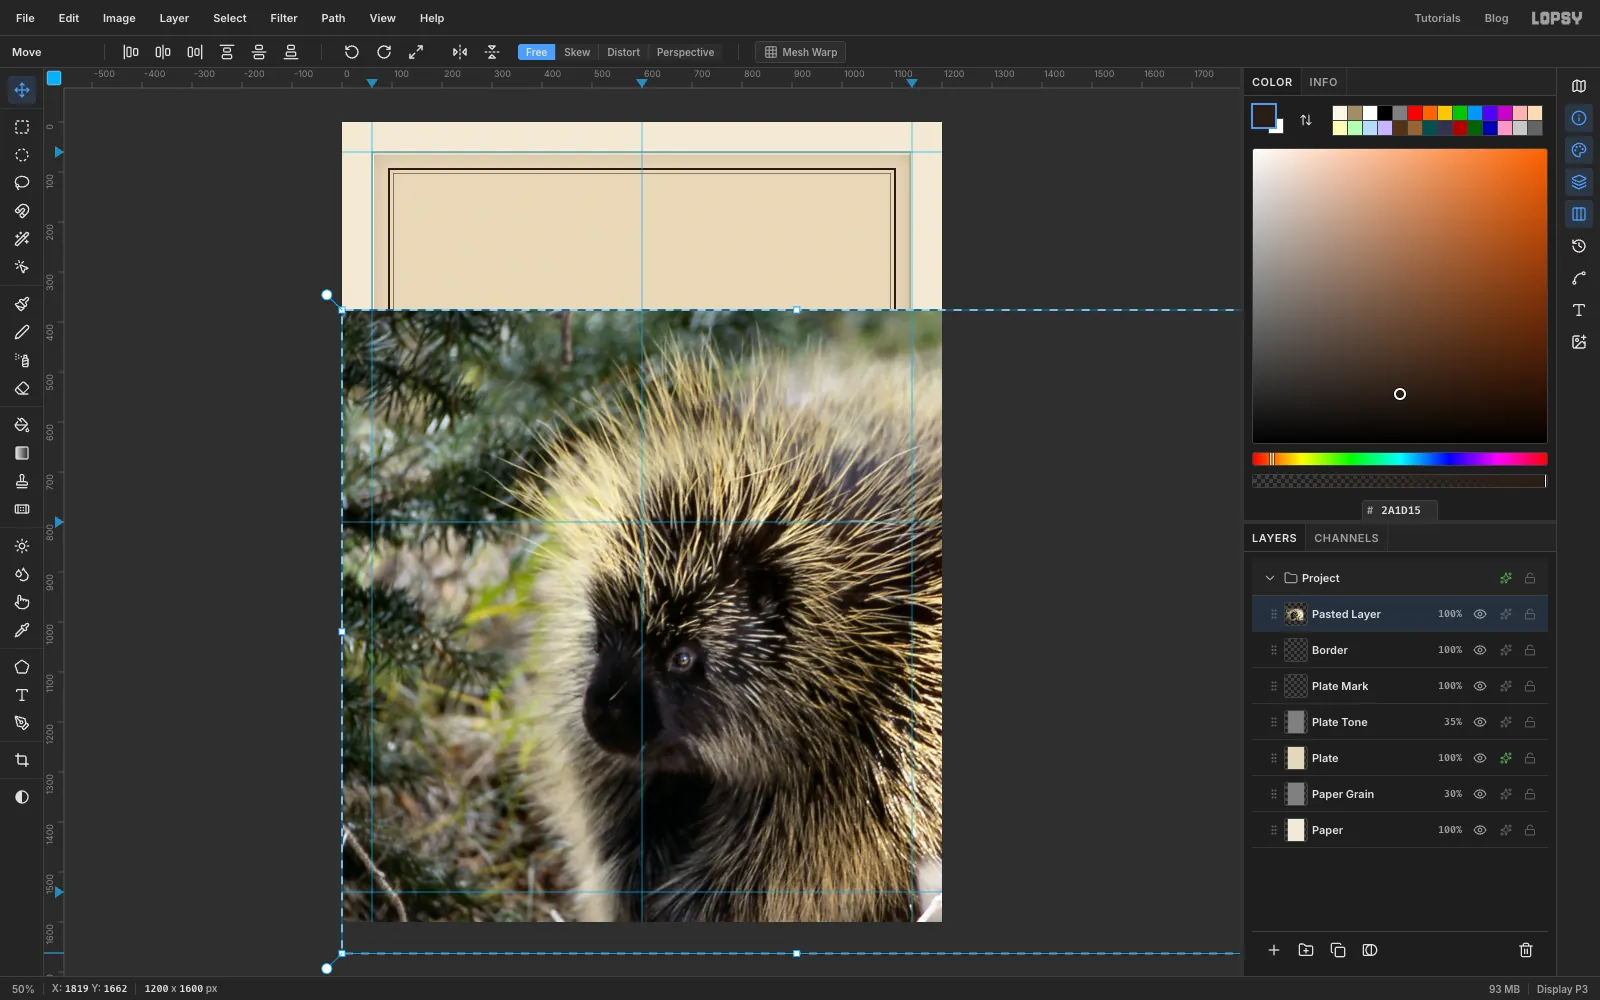
Zoom out one step (Cmd+-) so you can reach the bottom-right corner handle. Hold Cmd to keep the proportions and drag that handle out until the photo is about 1820 px wide, 95% of its original size. Much of it will hang off the right side; that's fine.
Drag the photo so the porcupine's eye sits about 85 px right of the centre guide and about 20 px above the middle guide, with the snout pointing left. Press Cmd+D to drop it and Cmd+0 to zoom back to fit. Rename the layer Porcupine.
-
Prepare the tone and lasso out the background
An engraving needs a clean, punchy grey image to work from.
- Choose Filter → Desaturate.
- Run Brightness/Contrast with Brightness 45 and Contrast 70.
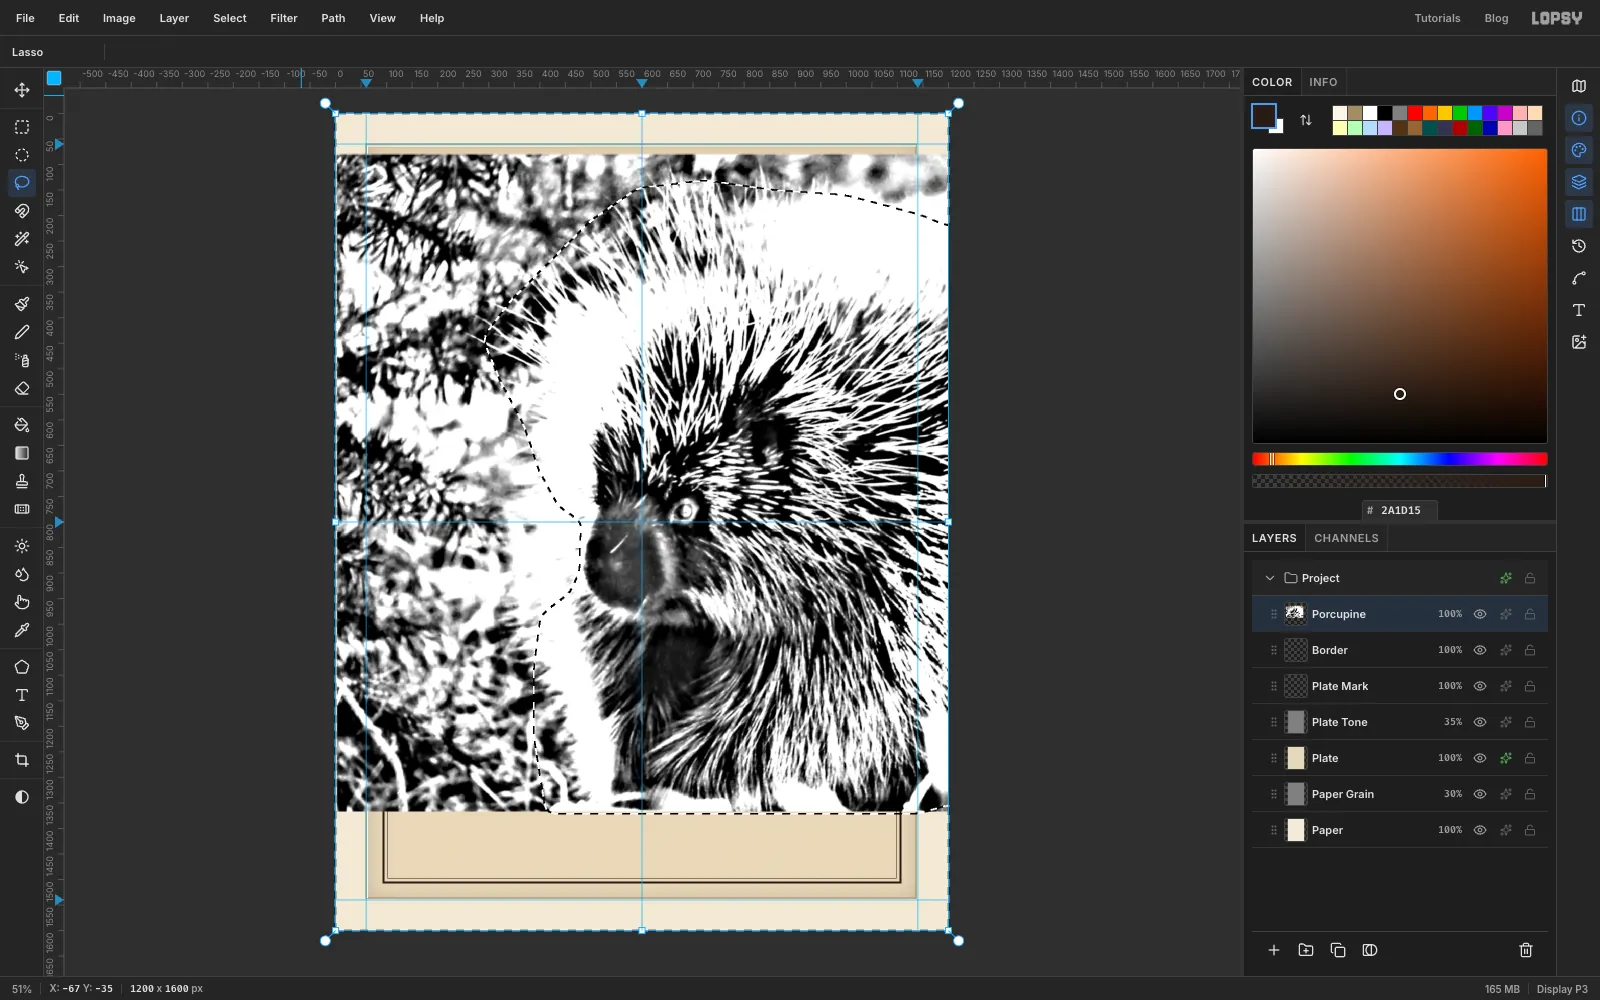
- The snout and cheek are nearly black, so the lines would fill in there. Lasso loosely around the snout and cheek, Feather by 20, and run Brightness/Contrast again with Brightness 15, then deselect.
- Run Unsharp Mask at Radius 30, Amount 1.5, Threshold 0 to make the quills stand out.
- Run Gaussian Blur at 2 to smooth the noise.
Now remove the busy fir branches. With the Lasso, draw loosely around the porcupine: start below the chin, go up the front of the face, over the quills on top of the head and down the back. Feather the selection by 22, choose Select → Inverse, and fill with white.
-
Fade the portrait into a circle
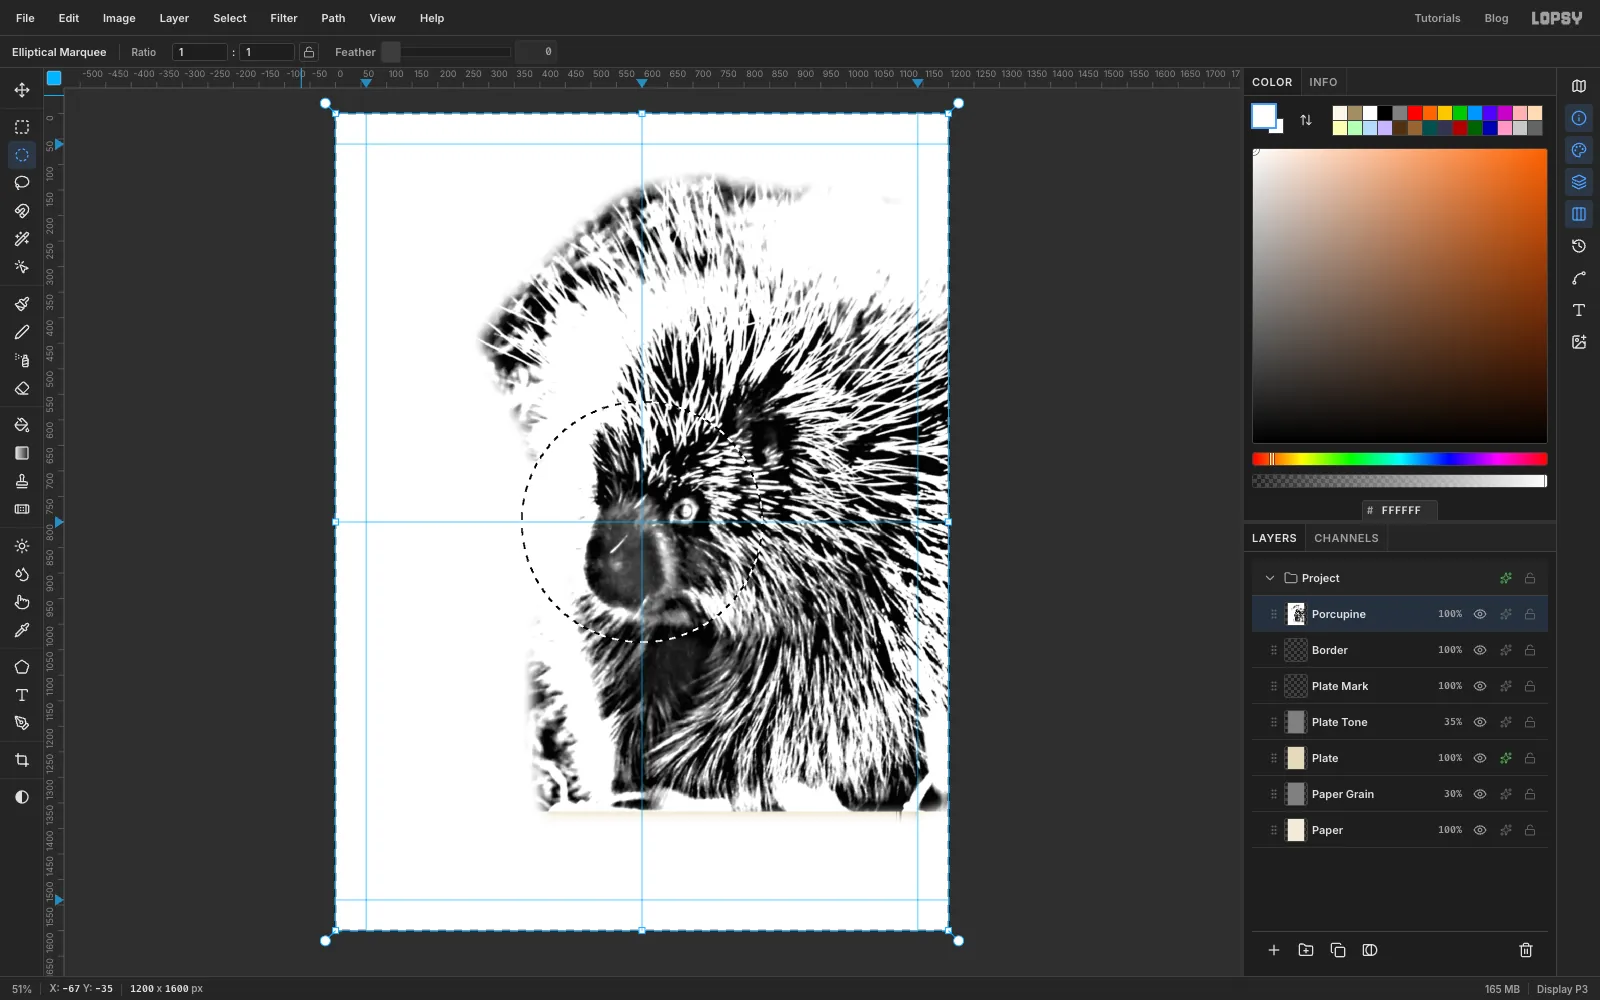
Old engravings fade out at their edges instead of stopping hard. Choose the Elliptical Marquee, click once on the canvas to open its exact-size dialog, and enter 364, 564 to 836, 1036. That is a 472 px circle on the centre guides. Feather it by 40, choose Select → Inverse and fill with white.
The neck runs off the bottom of the frame, so fade that as well. Deselect, then select an ellipse from 270, 990 to 930, 1250, Feather it by 60 and fill with white. Deselect.
-
Make a stripe pattern and rotate the first screen
Add a layer called Tile. Select 0, 0 to 16, 8 and fill it white, then select 0, 0 to 16, 4 and fill it black. Select the full 16 × 8 tile again and choose Edit → Define Pattern. Delete the Tile layer; the pattern is saved.
The shadows get a second set of lines first. Select Porcupine and choose Layer → Duplicate Layer. Rename the copy Crosshatch.
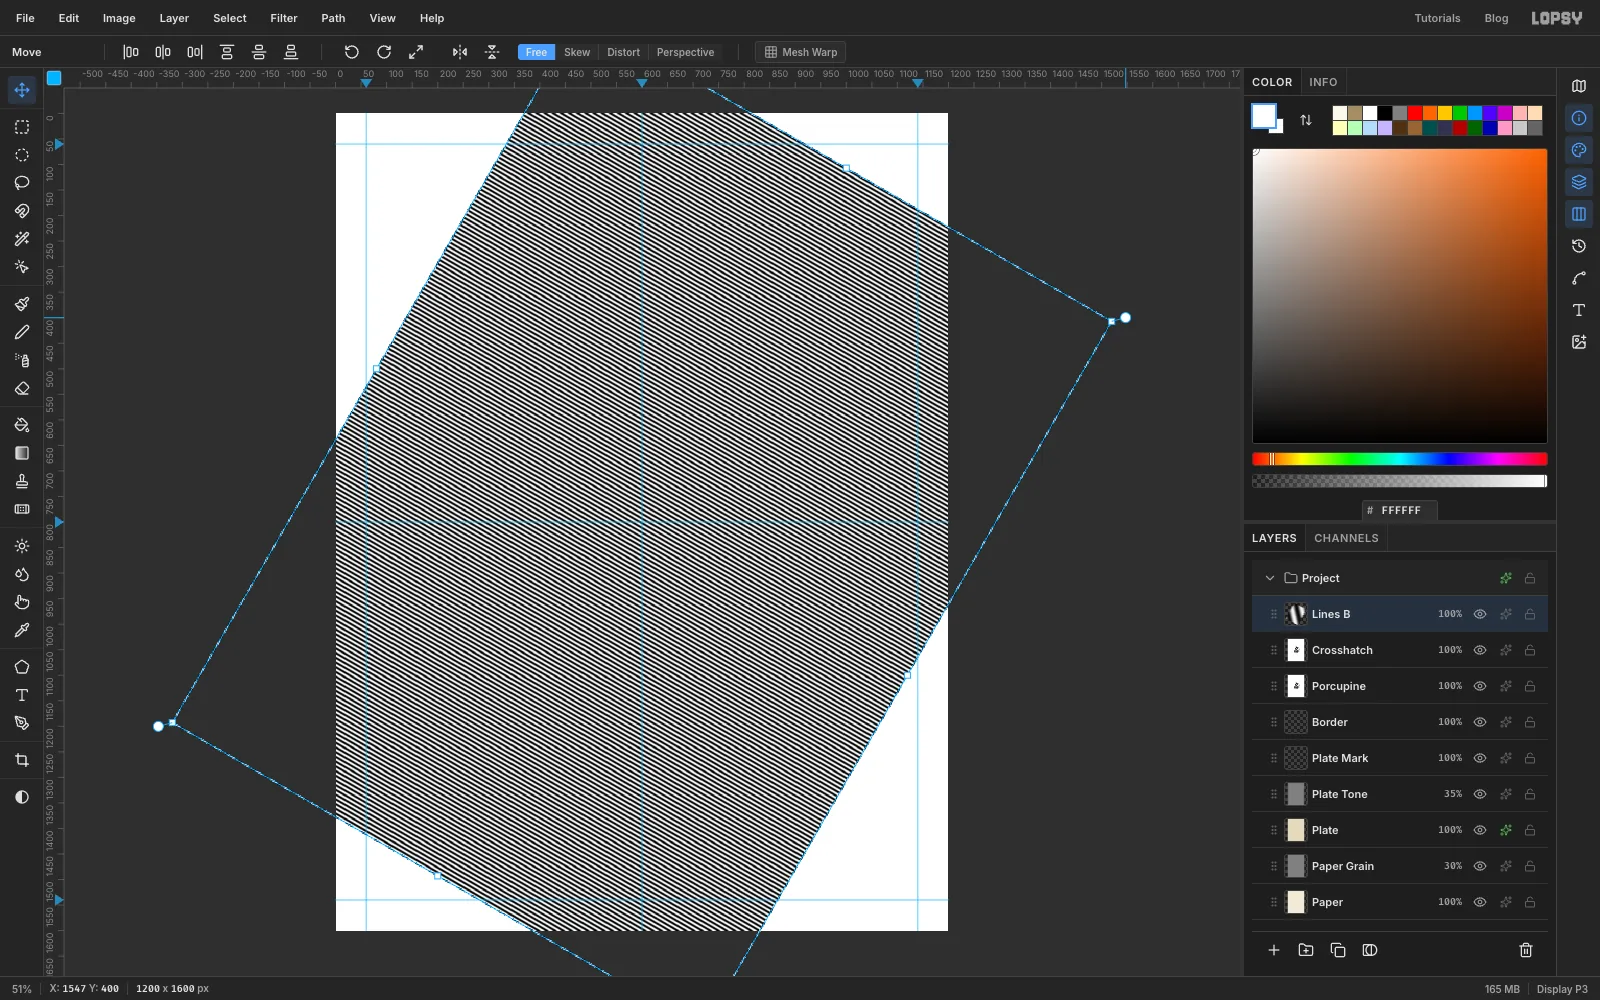
Above it, add a layer called Lines B. Choose Select → All, fill it white, then choose Edit → Fill with Pattern and pick your stripe tile. Run Gaussian Blur at 2 so each stripe becomes a soft ridge.
Choose the Move tool. Hold Cmd and drag the rotation handle at the top-right corner clockwise: Cmd snaps to 15° steps, so stop at 30°. Press Cmd+D to apply.
-
Threshold the cross-hatching
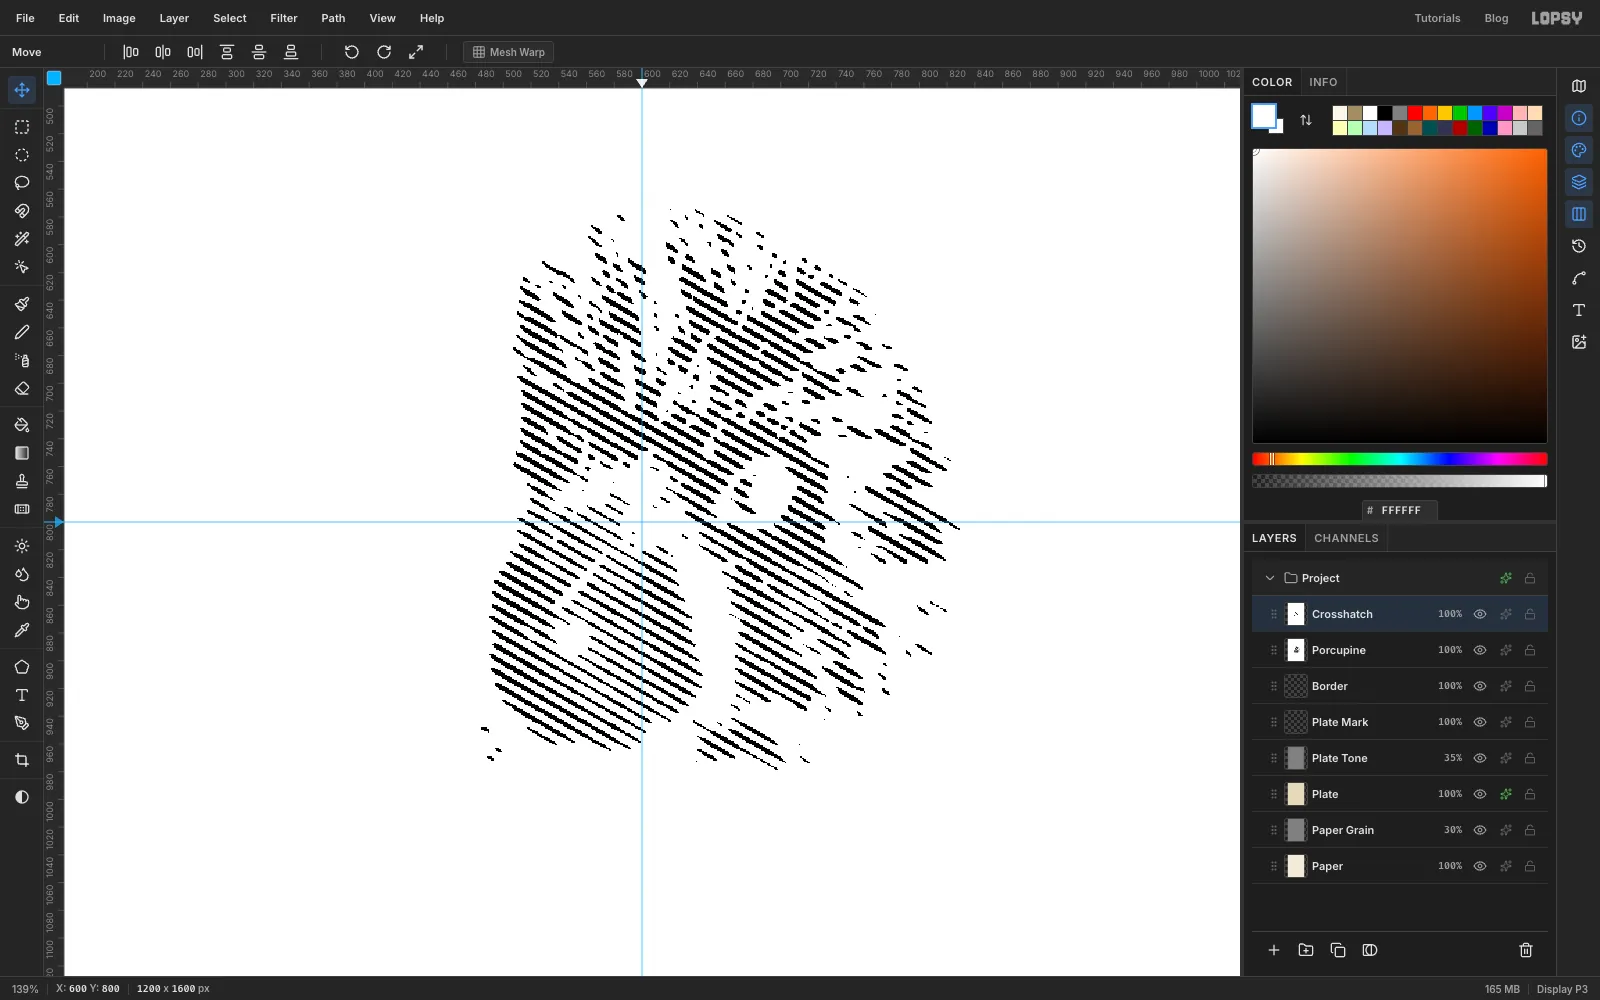
Set Lines B to 50% opacity and choose Layer → Merge Down to merge it into Crosshatch. Run Filter → Threshold at 50.
Only the darkest tones push the stripes below 50, so this leaves short lines in the deep shadows and nothing anywhere else.
-
Lay the main line screen
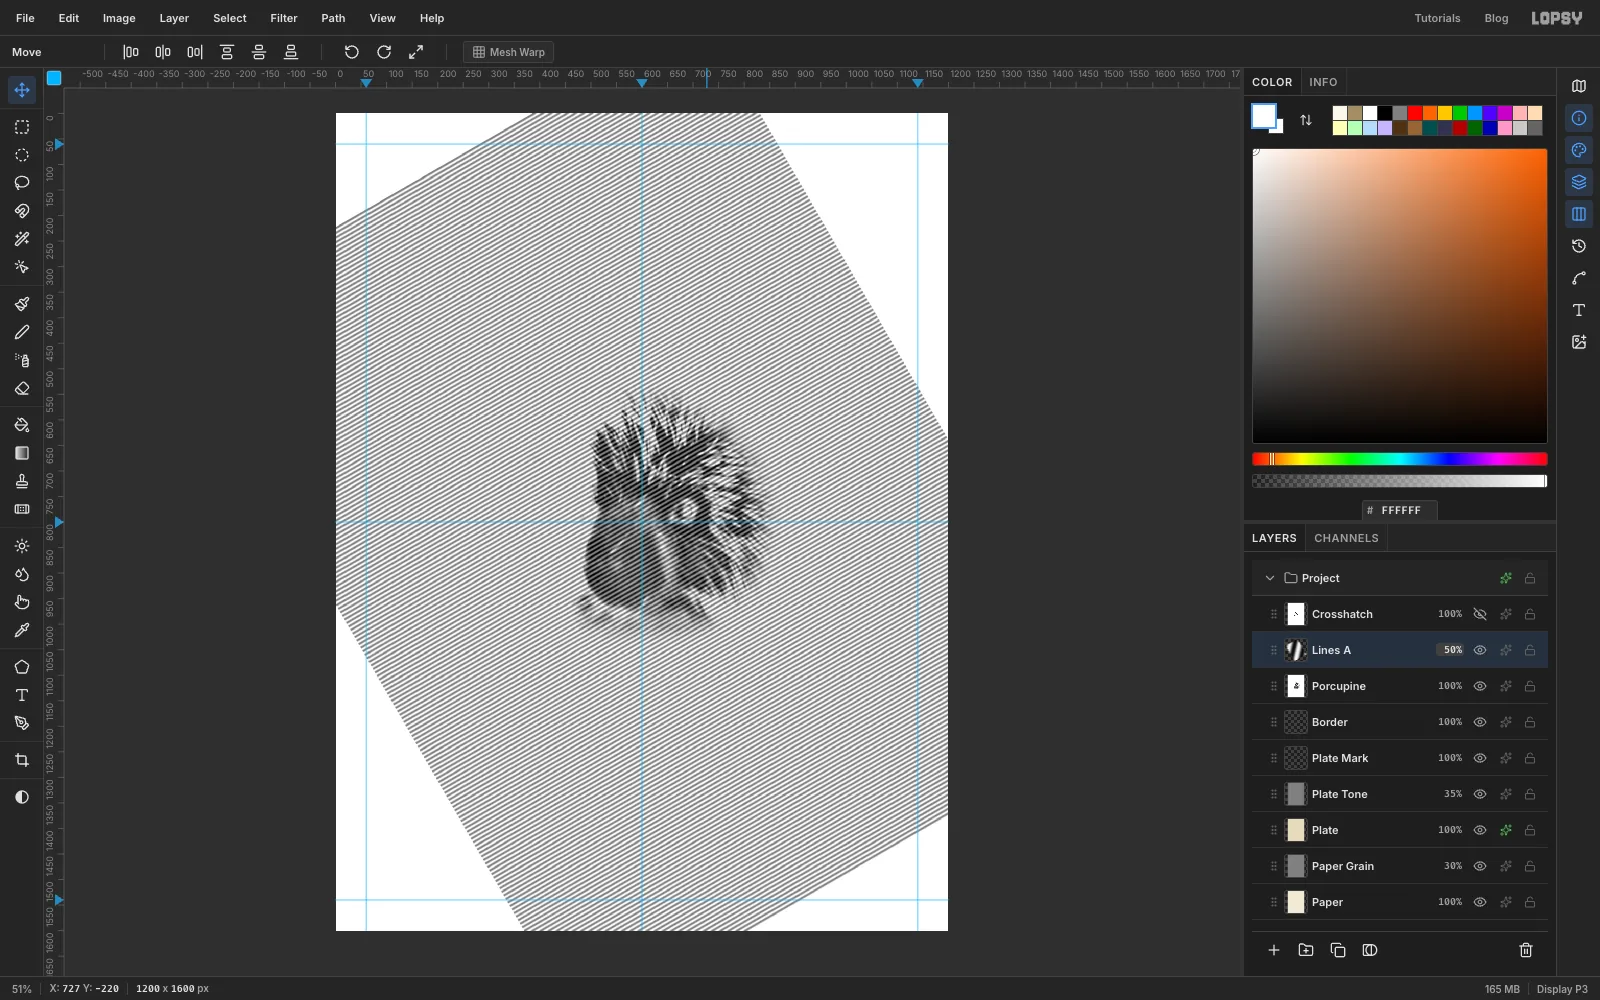
Hide Crosshatch for now with its eye icon, so you can see what you're doing underneath. Select the Porcupine layer and add another layer above it called Lines A. Choose Select → All, fill it white, Fill with Pattern with the same tile, and run Gaussian Blur at 2. With the Move tool, hold Cmd and rotate it 30° the other way (anticlockwise). Press Cmd+D, then set its opacity to 50%.
Through the stripes you can still see the grey porcupine. That mix is what Threshold will read.
-
Threshold the portrait
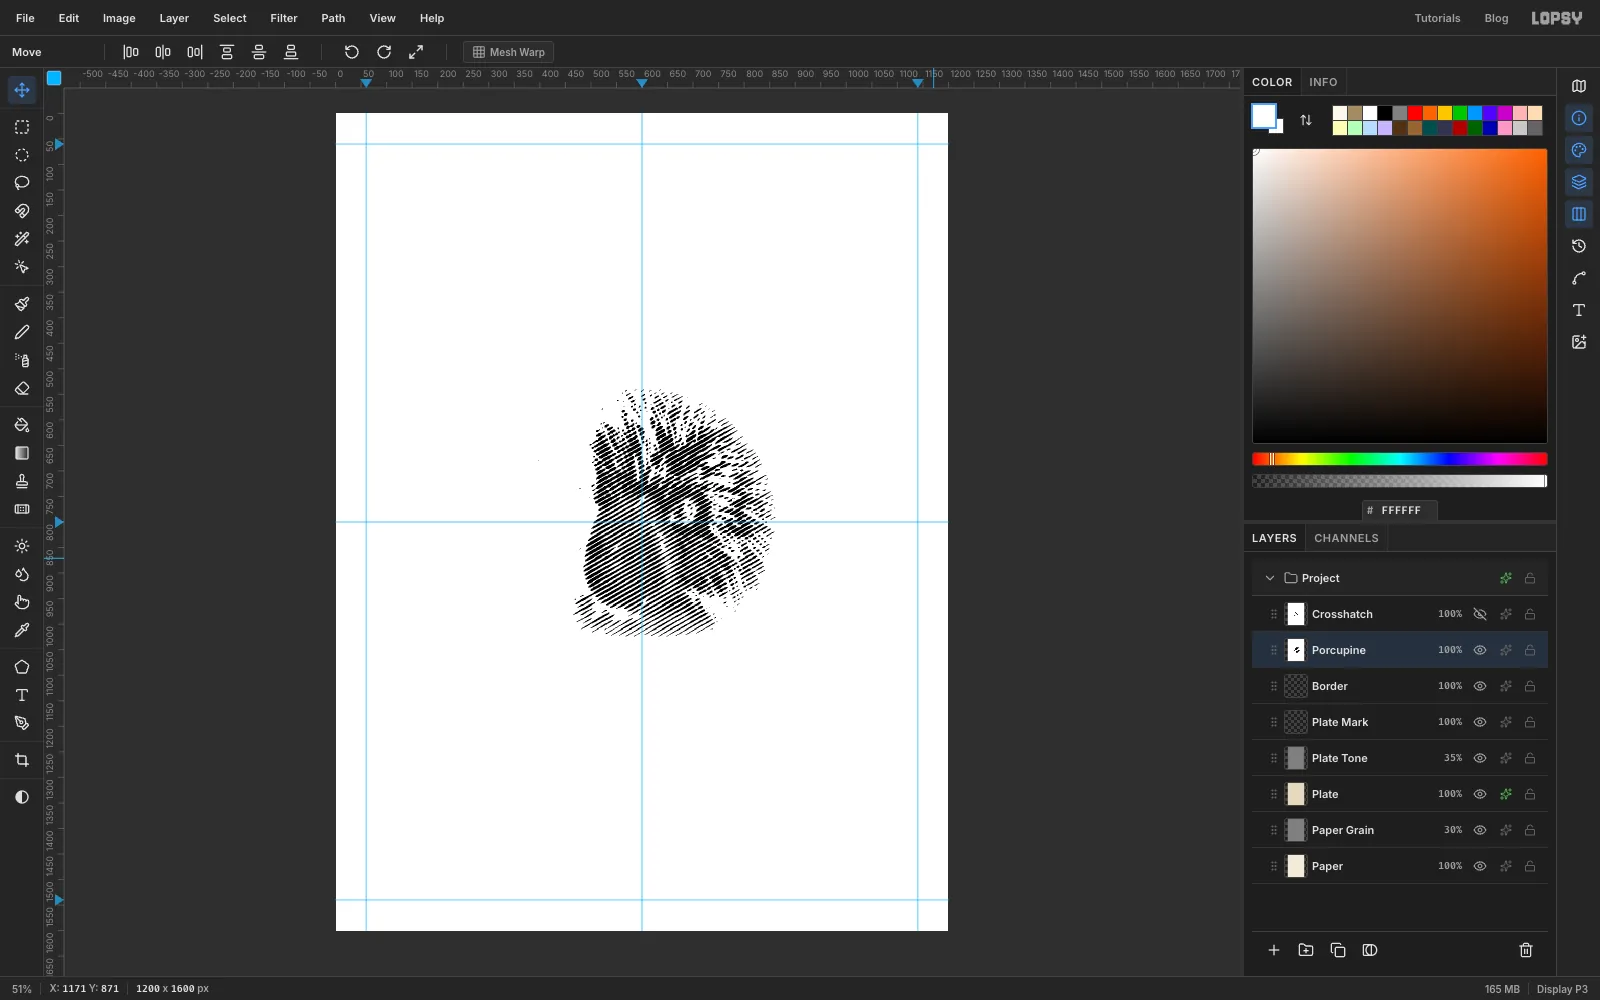
Merge Down Lines A into Porcupine and run Threshold at 118. The whole head turns into lines: thick where the fur is dark, thin across the quills, and gone in the white background.
-
Combine the two screens
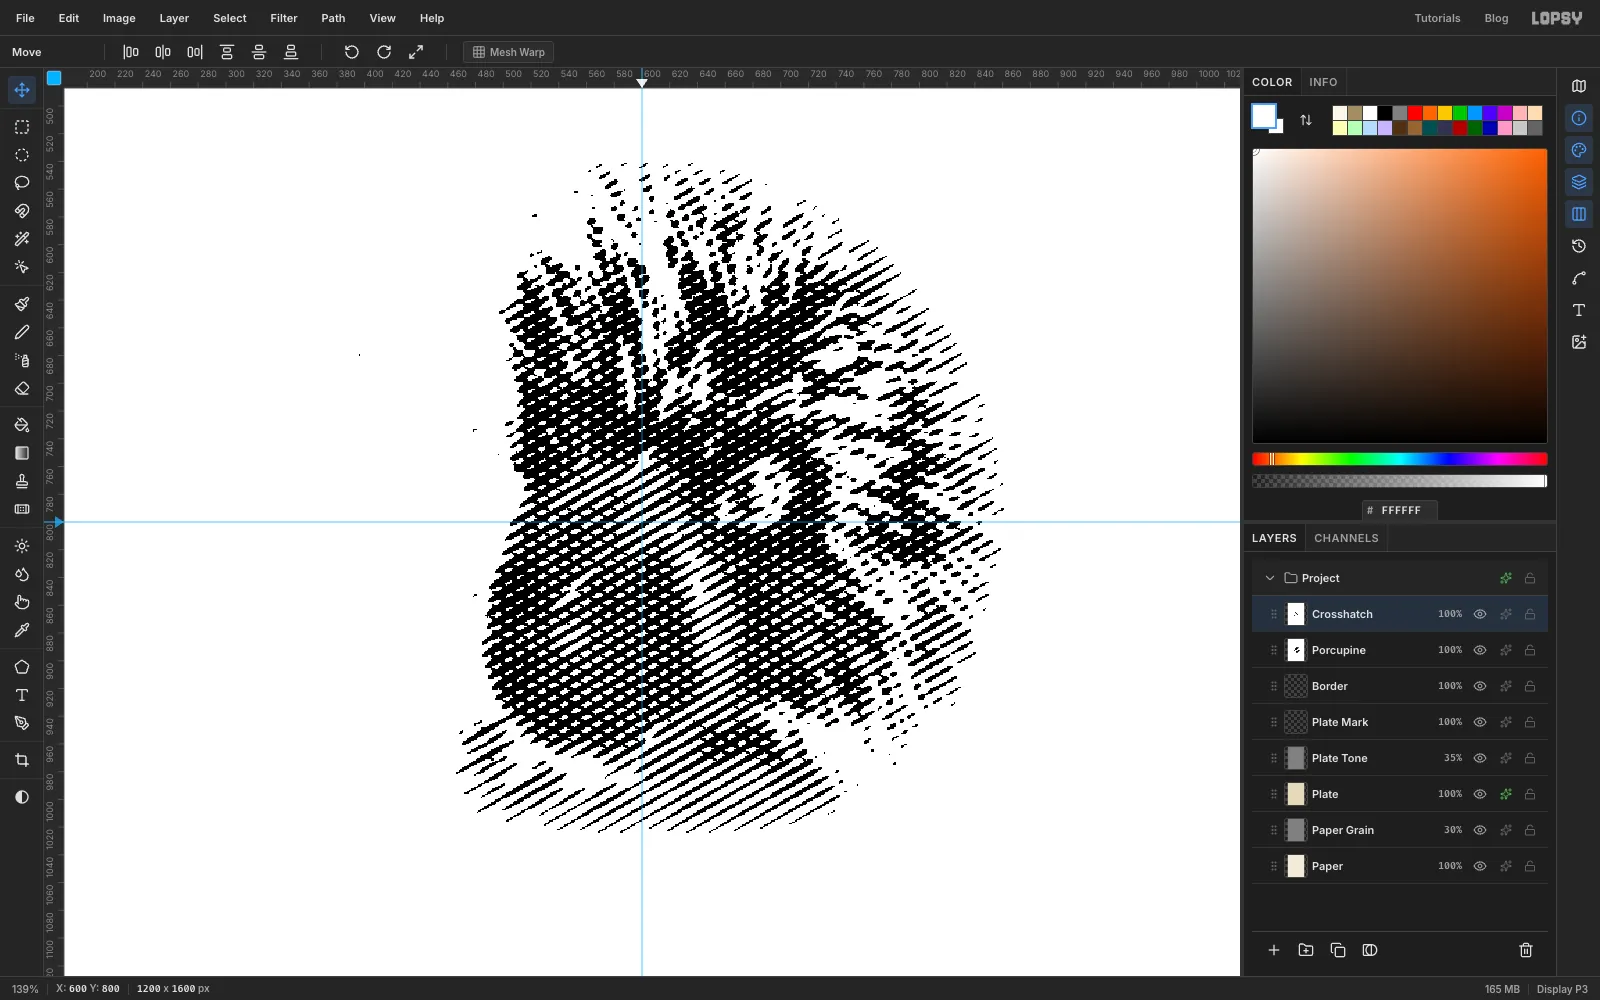
Show Crosshatch again, select it and set its blend mode to Multiply. Its white disappears and its lines fall across the main screen, so the darkest shadows are now cross-hatched. Merge Down to combine them into the Porcupine layer.
-
Print it in sepia ink inside a circle
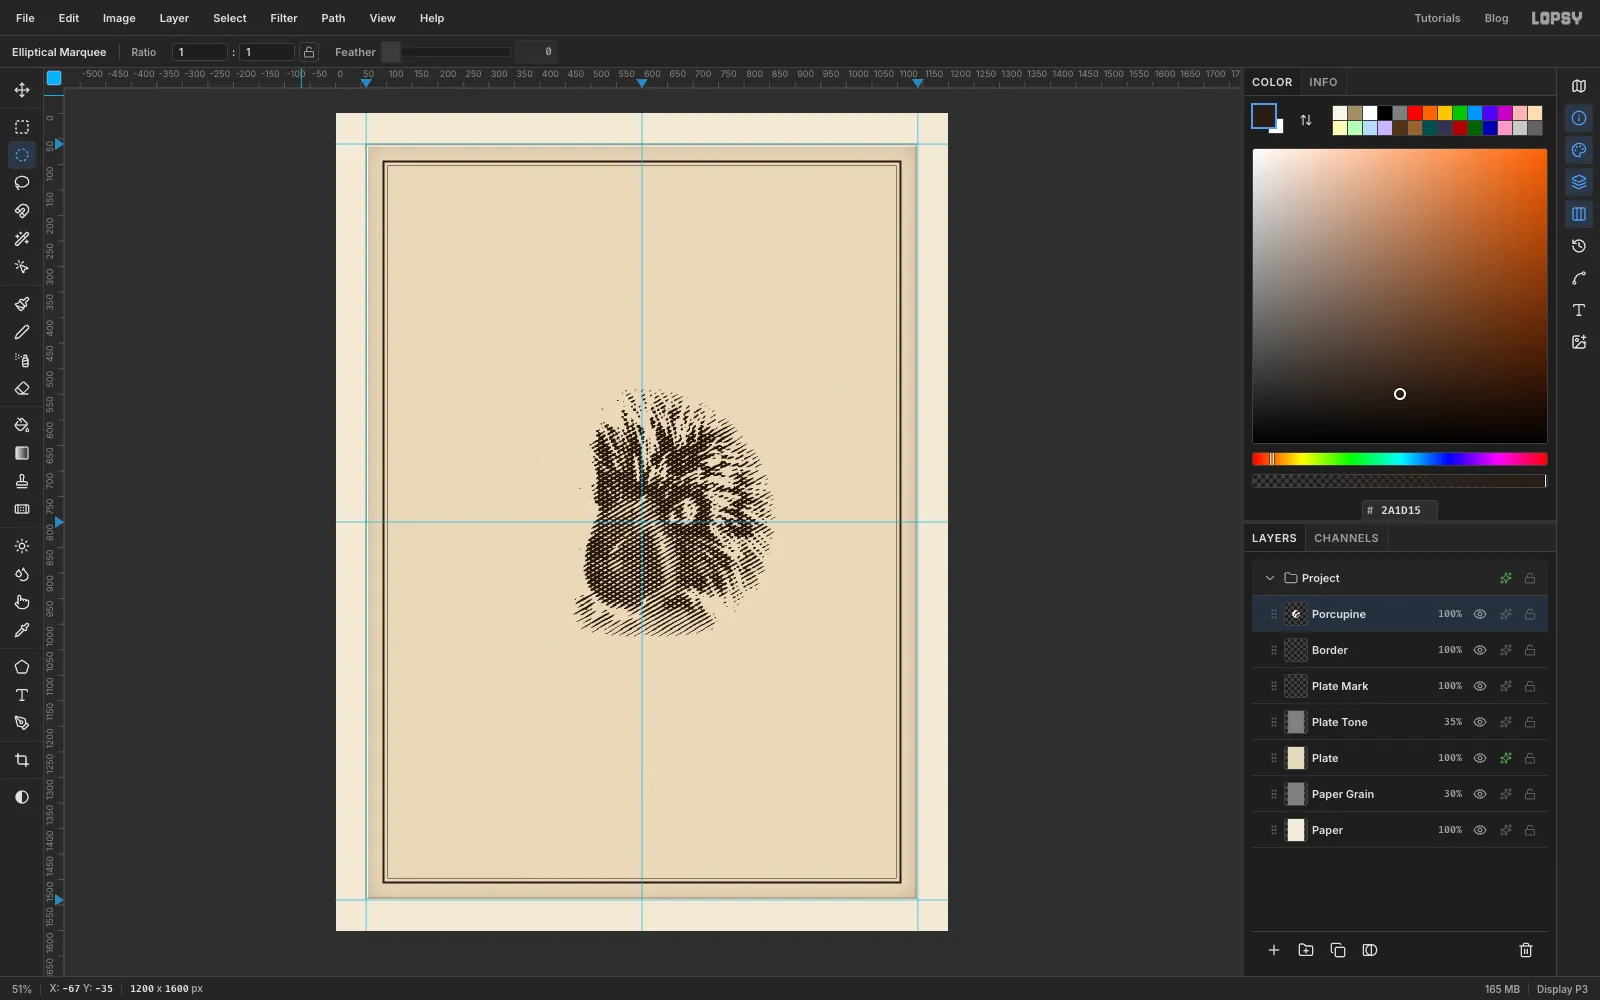
Pure black looks digital. Add a layer, select all and fill it with ink . Set it to Lighten and Merge Down. Black becomes sepia and white stays white.
Set the Porcupine layer to Multiply so its white vanishes and the plate shows through. Then select a circle from 318, 518 to 882, 1082, choose Select → Inverse and press Delete to trim the edge. Deselect.
-
Make the red zipper tape
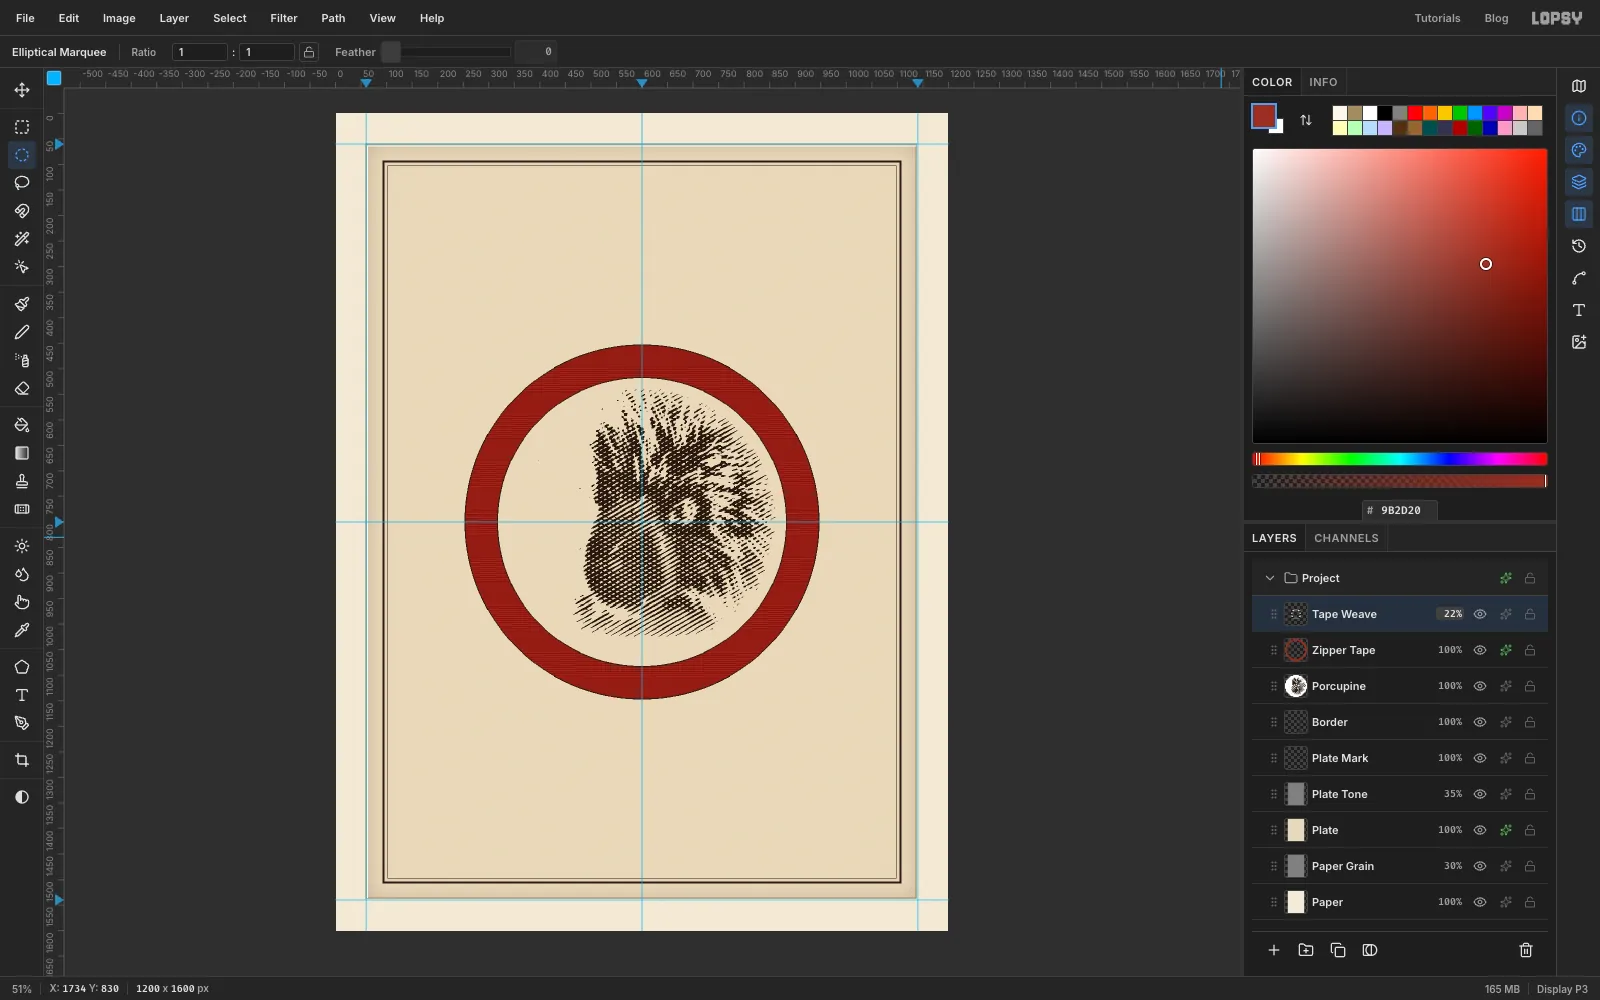
Add a layer called Zipper Tape. Select a circle from 254, 454 to 946, 1146, fill it with spot red , then select 316, 516 to 884, 1084 and press Delete. You're left with a ring. Give it a Stroke effect of 2 in ink.
For a woven look, Cmd-click the Zipper Tape thumbnail to select the ring. Add a layer called Tape Weave, Fill with Pattern with the stripe tile at Scale 50, and deselect. Set it to Multiply at 22%.
-
Cut the zipper teeth with Sunburst
A zipper's teeth are evenly spaced around the ring, and Sunburst paints evenly spaced rays.
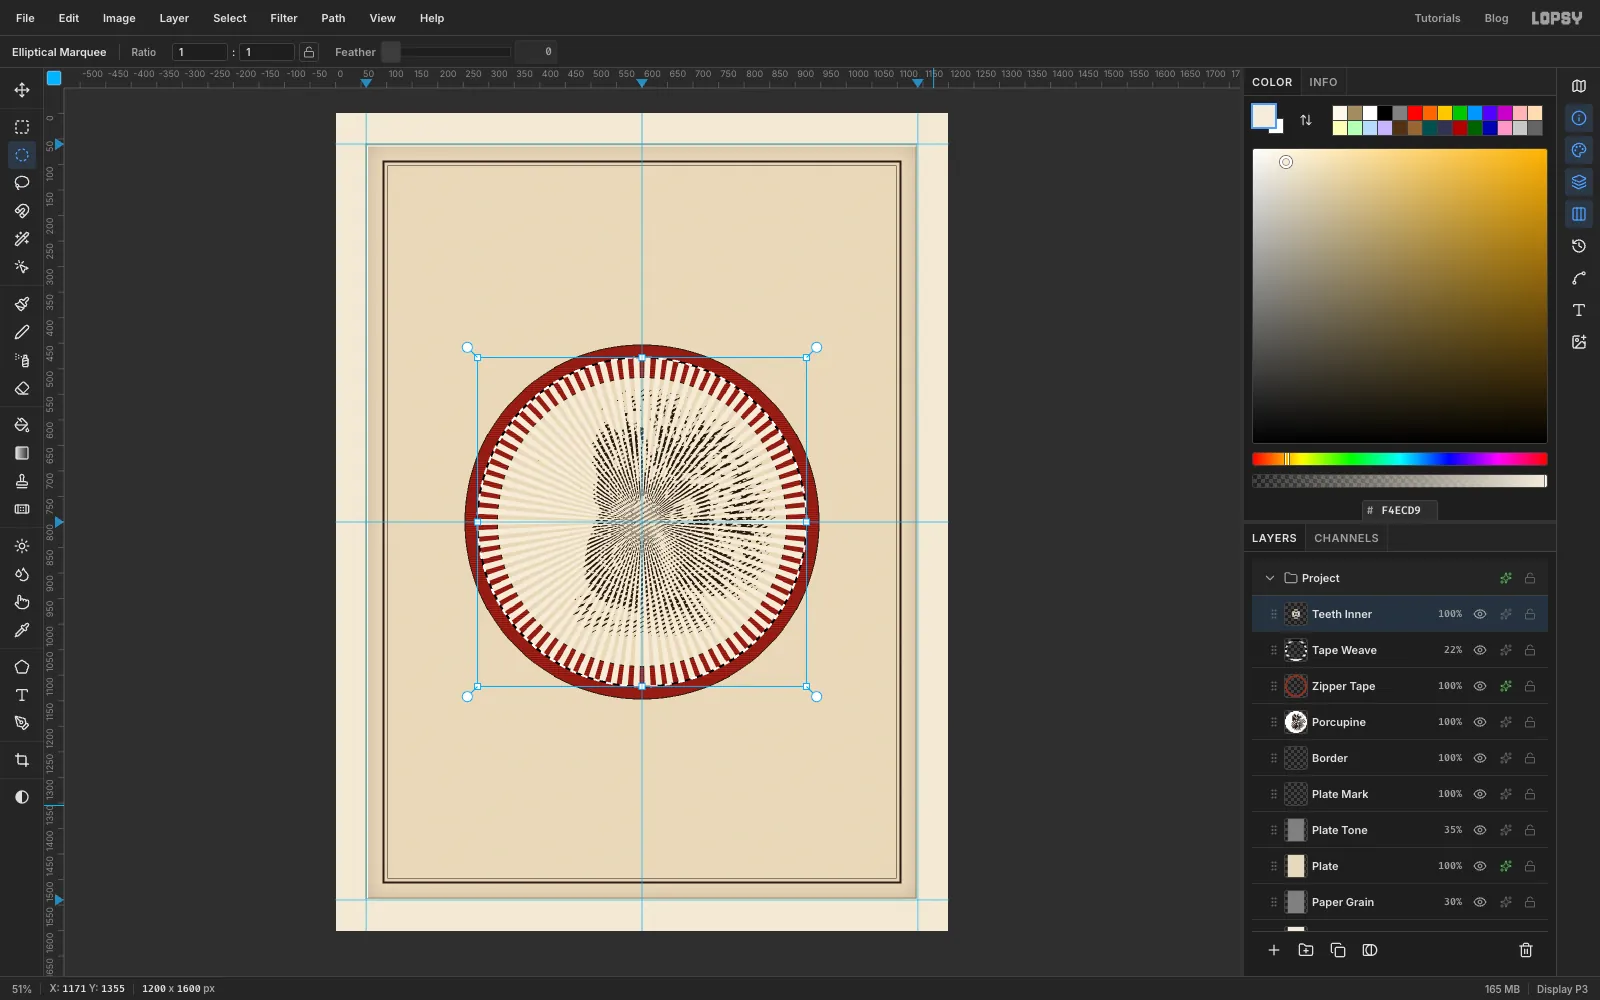
Add a layer called Teeth Inner. Select a circle from 278, 478 to 922, 1122 and set the foreground to cream . Run Filter → Sunburst with Rays 90, Length 100, Width 55, Taper 0, Rotation 0 and the centre at 50 / 50. The rays fill the circle like a fan.
Select 302, 502 to 898, 1098 and press Delete to hollow out the middle. Each ray becomes a short, chunky tooth. Add a Stroke of 2 in ink.
-
Interlock a second row
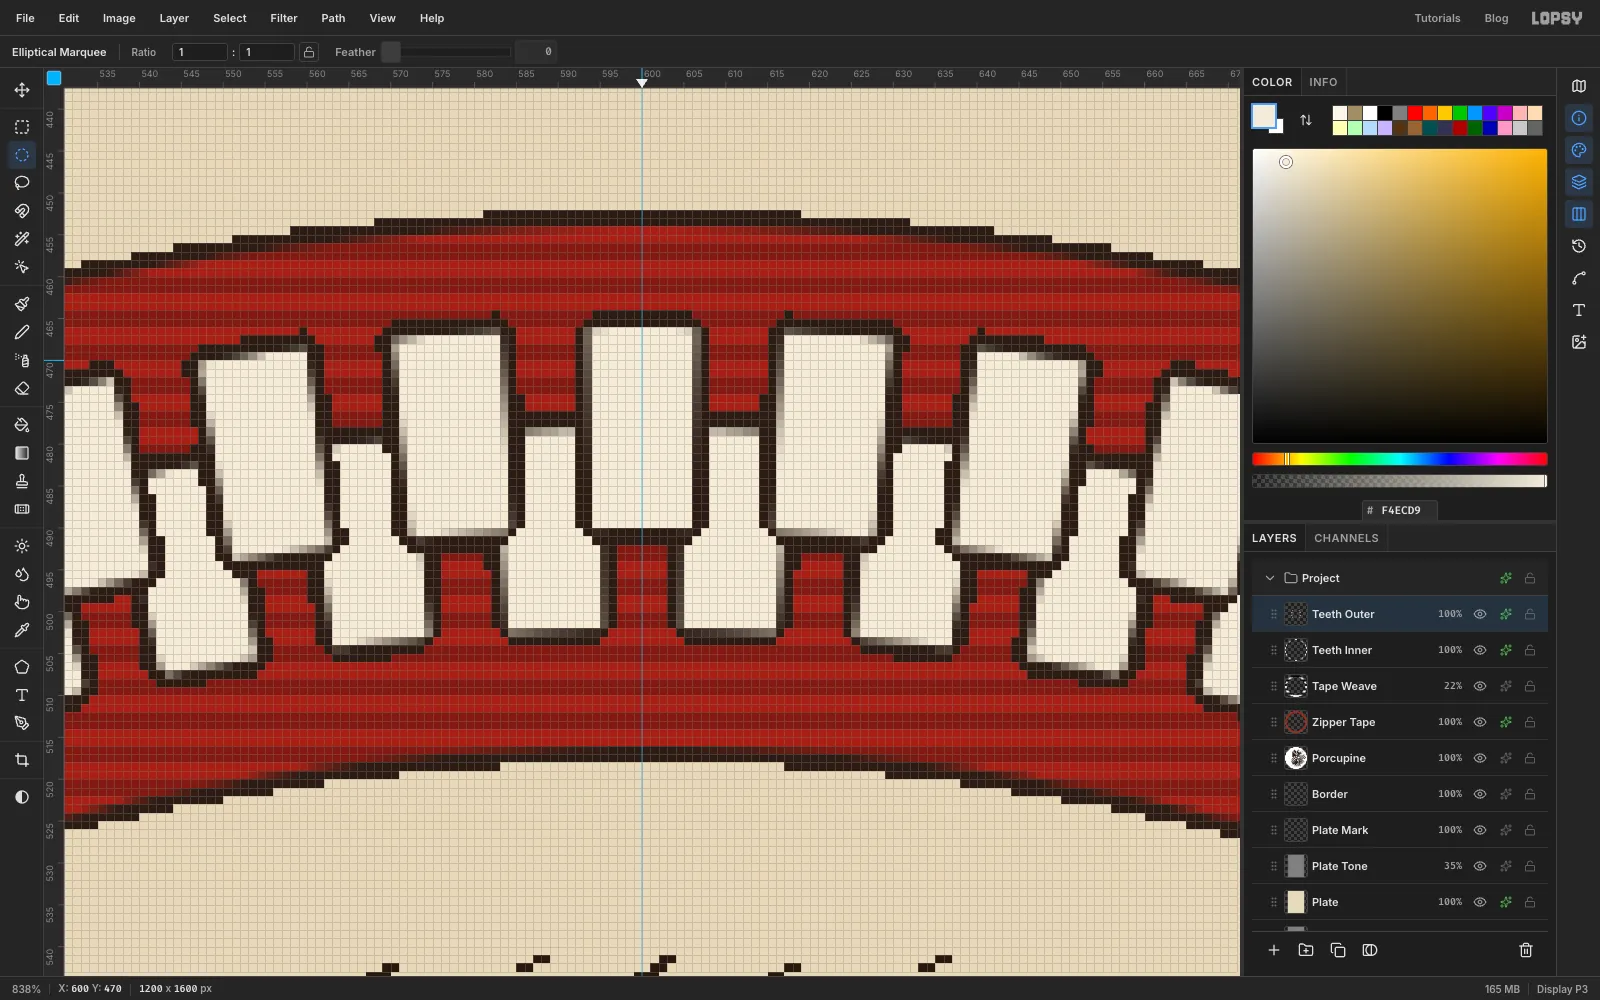
Add a layer called Teeth Outer and do the same with a slightly larger ring. Select 266, 466 to 934, 1134, run Sunburst with the same settings but Rotation 2, then delete 290, 490 to 910, 1110. Stroke it the same way.
With 90 rays each slot is 4°, so a rotation of 2° moves every tooth half a slot. The outer teeth fall between the inner ones, as on a real zipper.
-
Add a bead rule with Radial Symmetry
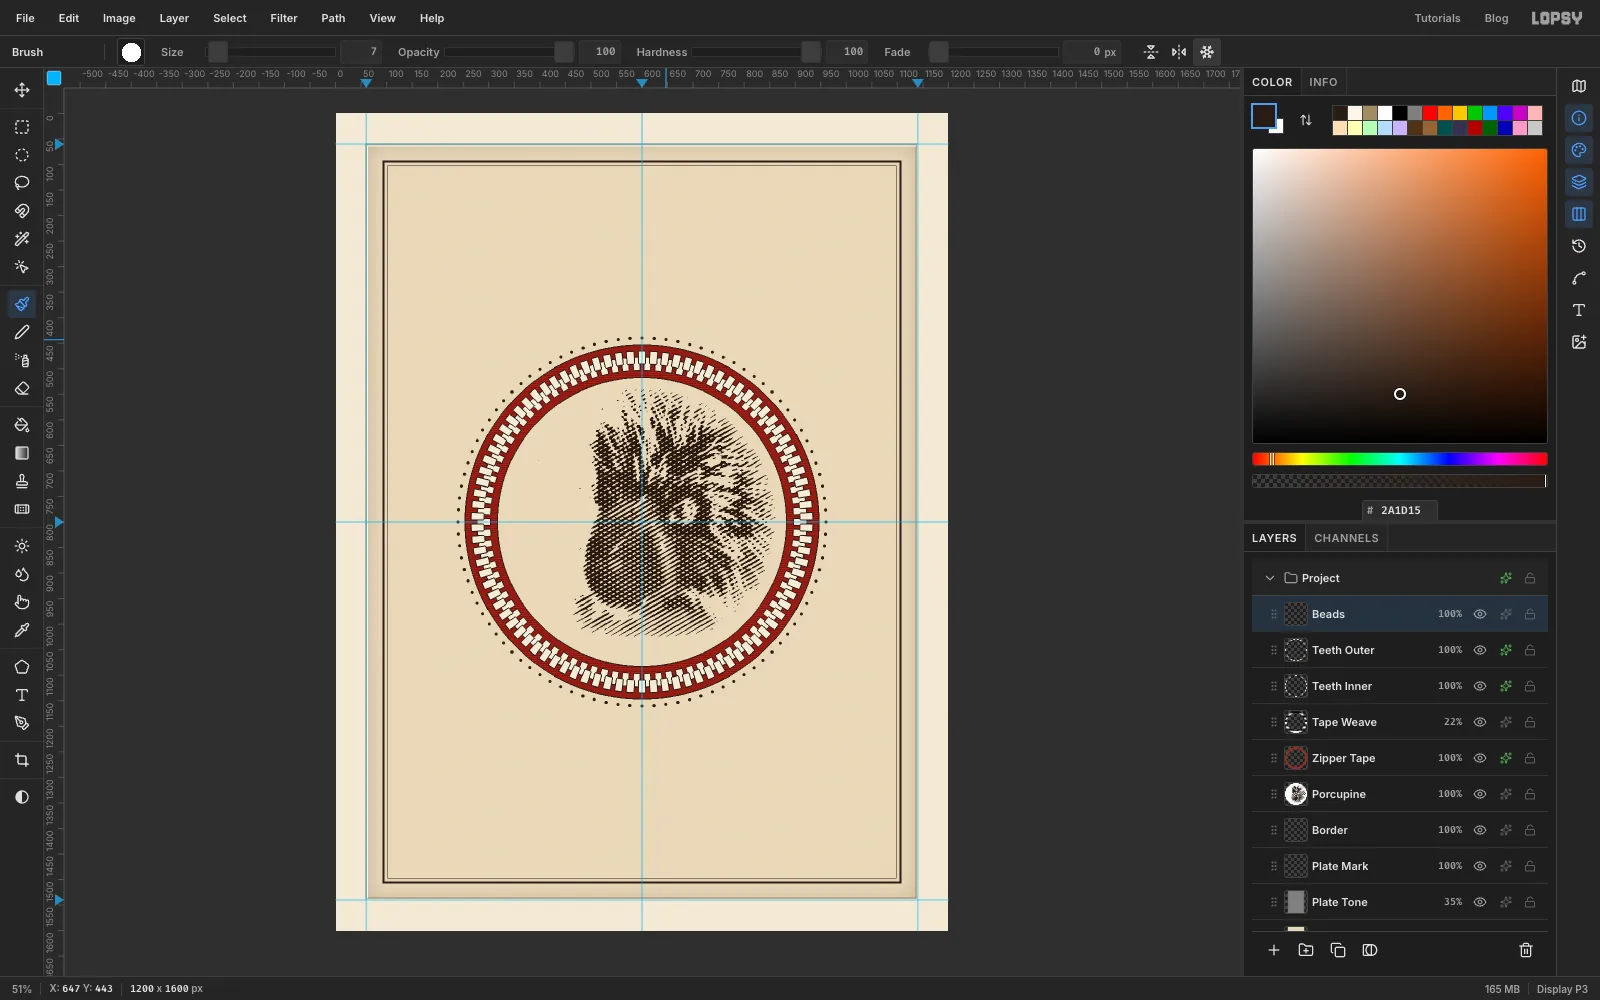
Add a layer called Beads and choose the Brush. In the options bar, turn on Radial Symmetry and set Segments to 32. The symmetry centre is the canvas centre, which is also the centre of the ring. Set Size 7, then open the brush settings and set Hardness 100.
In ink, click once just above the top of the ring, 360 px above the centre, at 600, 440. That one click places 32 dots. Click twice more a little to the right along the same circle, each about 23 px further round, to fill the ring with 96 beads. Turn Radial Symmetry off when you're done.
-
Draw the slider and pull tab
Click the New Group button at the bottom of the Layers panel and name the group Slider. You'll draw the slider upright at twelve o'clock and rotate it into place later.
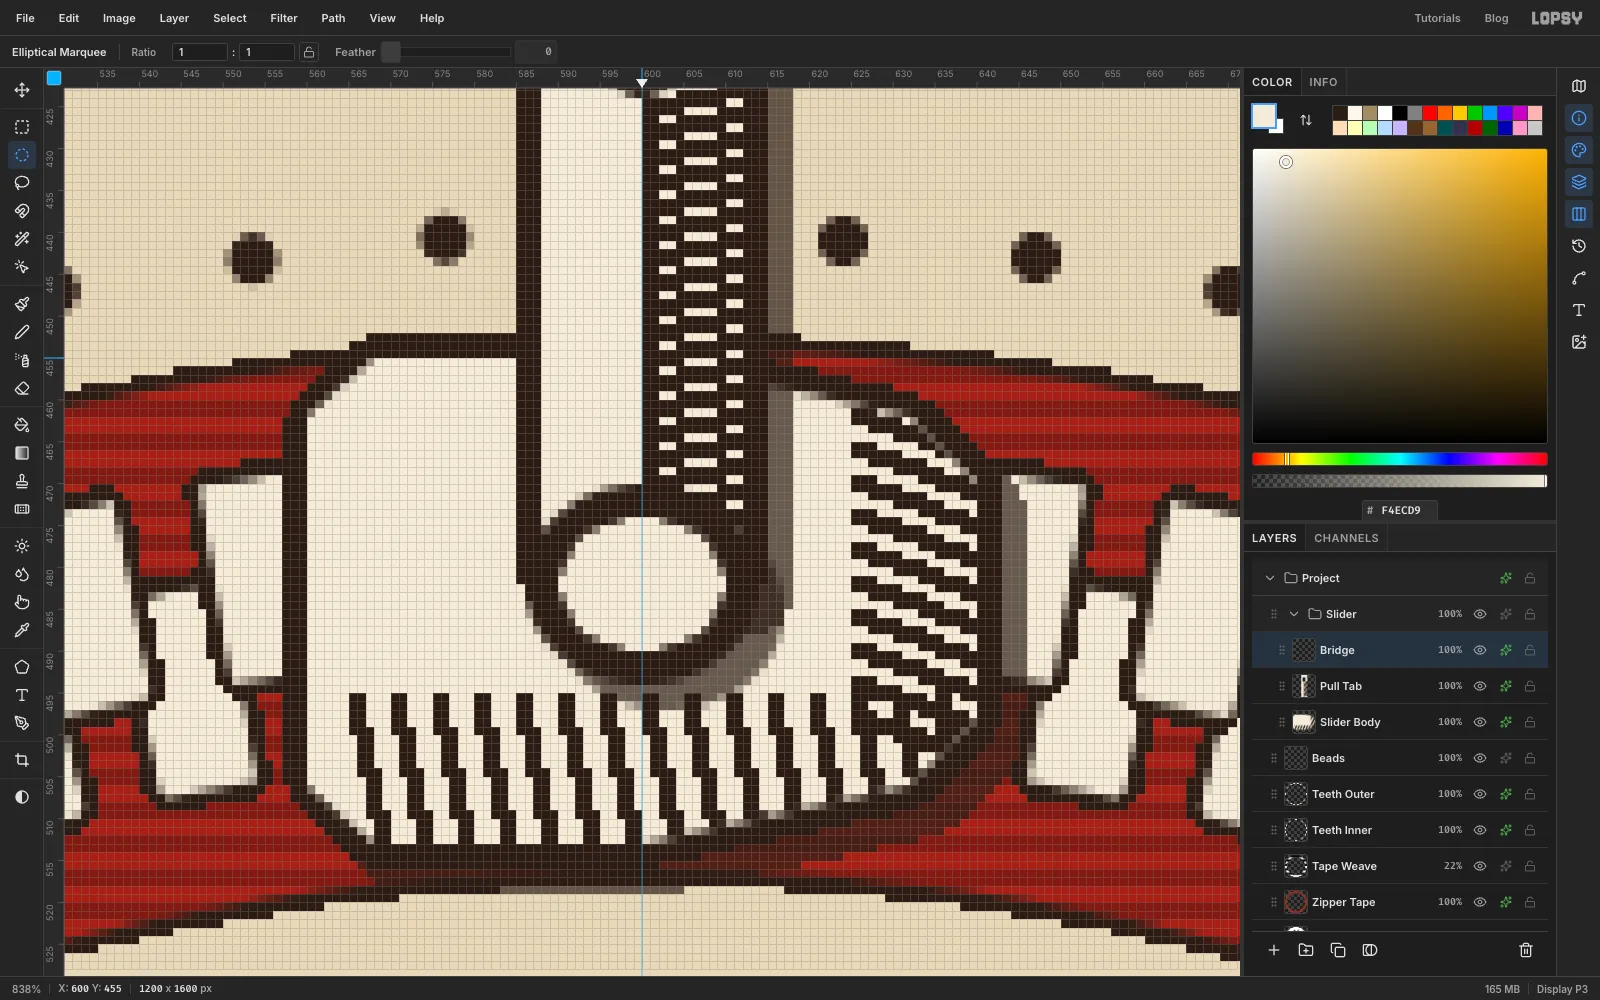
- Add a layer called Slider Body. With the Lasso, draw a box with clipped corners, about 80 px wide and 60 px tall, over the teeth at twelve o'clock. Fill it with cream .
- Keep the selection, choose the Pencil at Size 2 and, in ink, hatch the lower edge with short slanted Shift-click lines about 5 px apart. Add a few more down the right side. The selection stops the lines spilling out. Deselect and give the layer a Stroke of 3 in ink.
- Add a layer called Pull Tab. Select 588, 396 to 612, 482, fill it cream, then select an ellipse from 594, 404 to 606, 424 and press Delete to cut the slot. Cmd-click the thumbnail and hatch the right half with short Pencil lines. Give it a Stroke of 3.
- Add a layer called Bridge. Select an ellipse from 586, 470 to 614, 494, fill it with ink, Shrink by 4, fill with cream and deselect.
Give each of the three layers a hard Drop Shadow: Offset 3, 3, Blur 0, Opacity 70, in ink. A hard shadow suits the engraved look.
-
Rotate the slider group into place
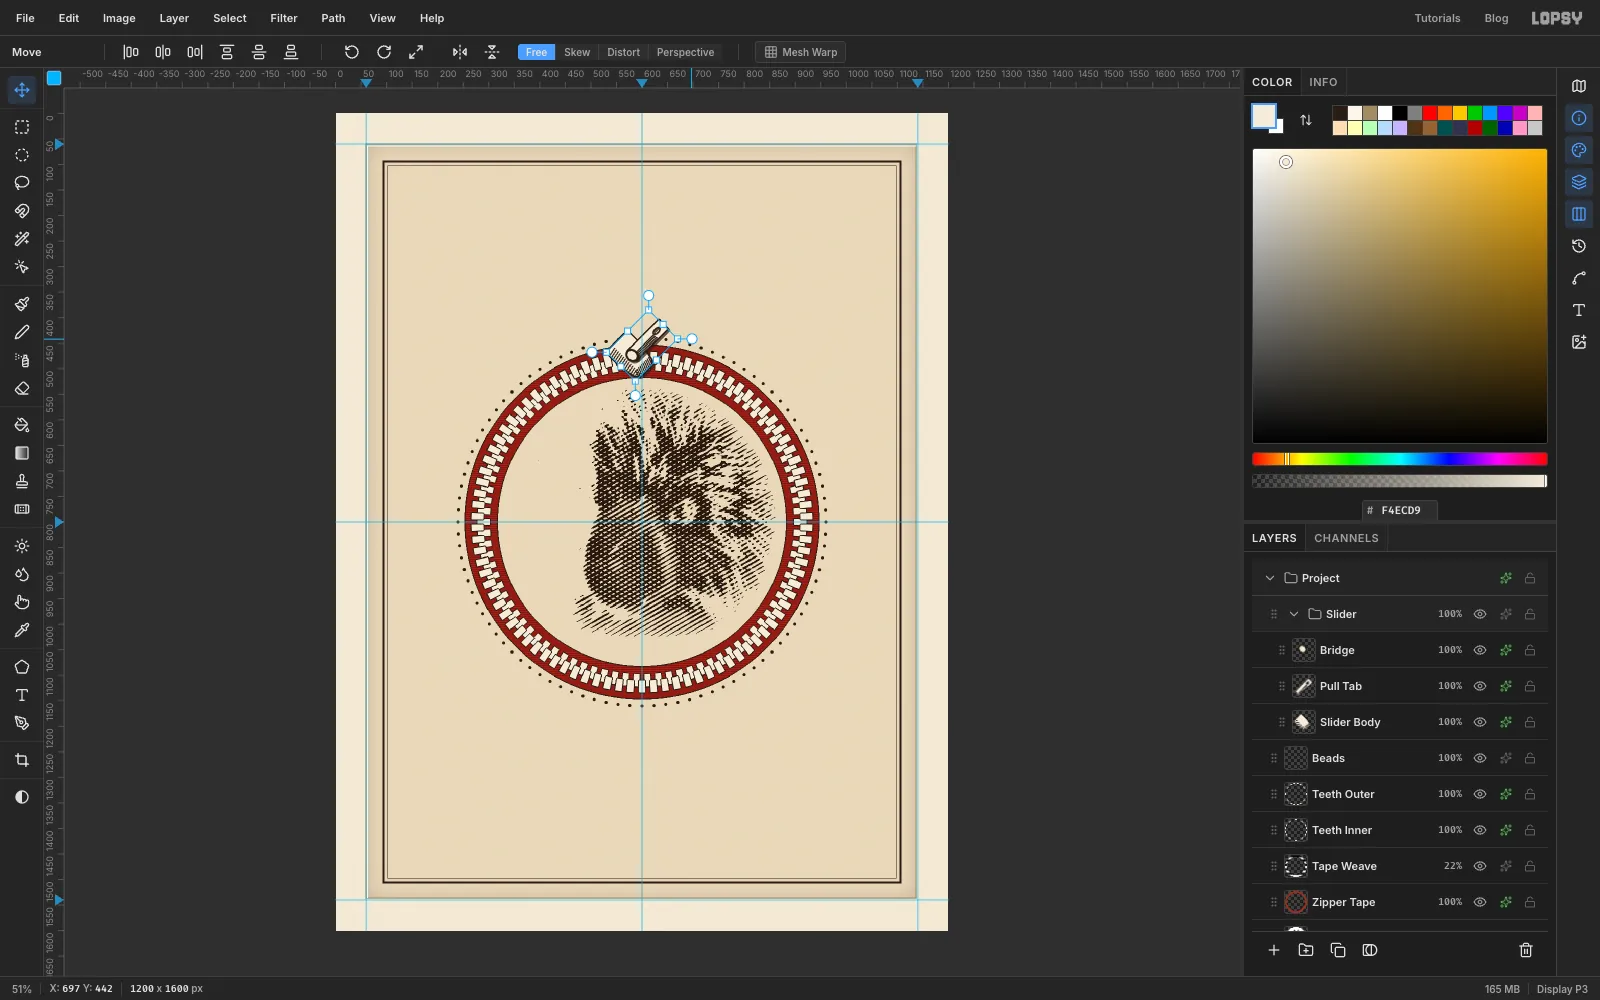
Click the Slider group's row and choose the Move tool. The handles go around all three layers. Hold Cmd and drag the rotation handle clockwise to 45°, then press Cmd+D.
Try Cmd+Z and Cmd+Shift+Z here. The group should snap back upright and then return to exactly the same angle.
Now drag the group down and to the right until the slider sits on the teeth at half past one (the body's centre at about 823, 577), and fine-tune with the arrow keys so it sits squarely on the teeth.
-
Group the medallion and scale it down
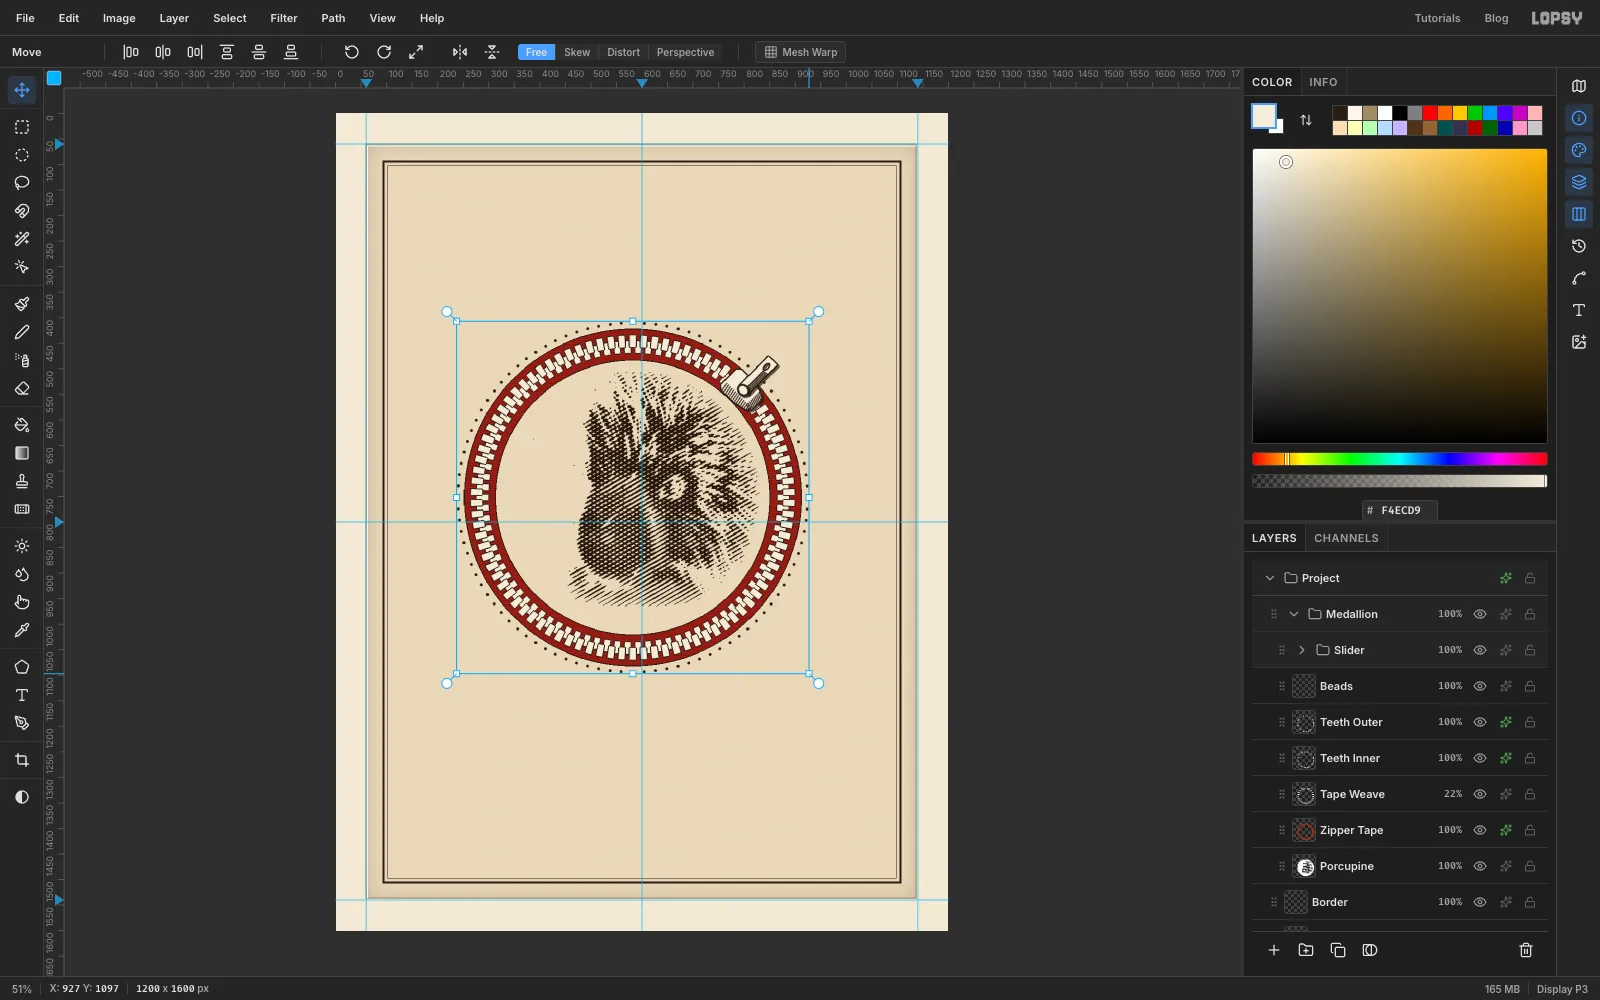
Collapse the Slider group. Click Porcupine, then Shift-click Slider to select everything from the engraving up to the slider. Choose Layer → Group Layers and name the group Medallion.
Choose the Move tool and press Shift+Up three times to lift the whole group 30 px, leaving room for the price list. Then hold Cmd and drag the group's bottom-right corner handle inwards to 95%. Nudge it back onto the vertical centre guide so the ring's centre sits about 42 px above the middle guide (600, 758).
-
Set the masthead
Click the Border row first, so the text tool doesn't restyle another text layer. Set the type in empty space low on the canvas, then move it up. Text clicks near existing text would edit that text instead.
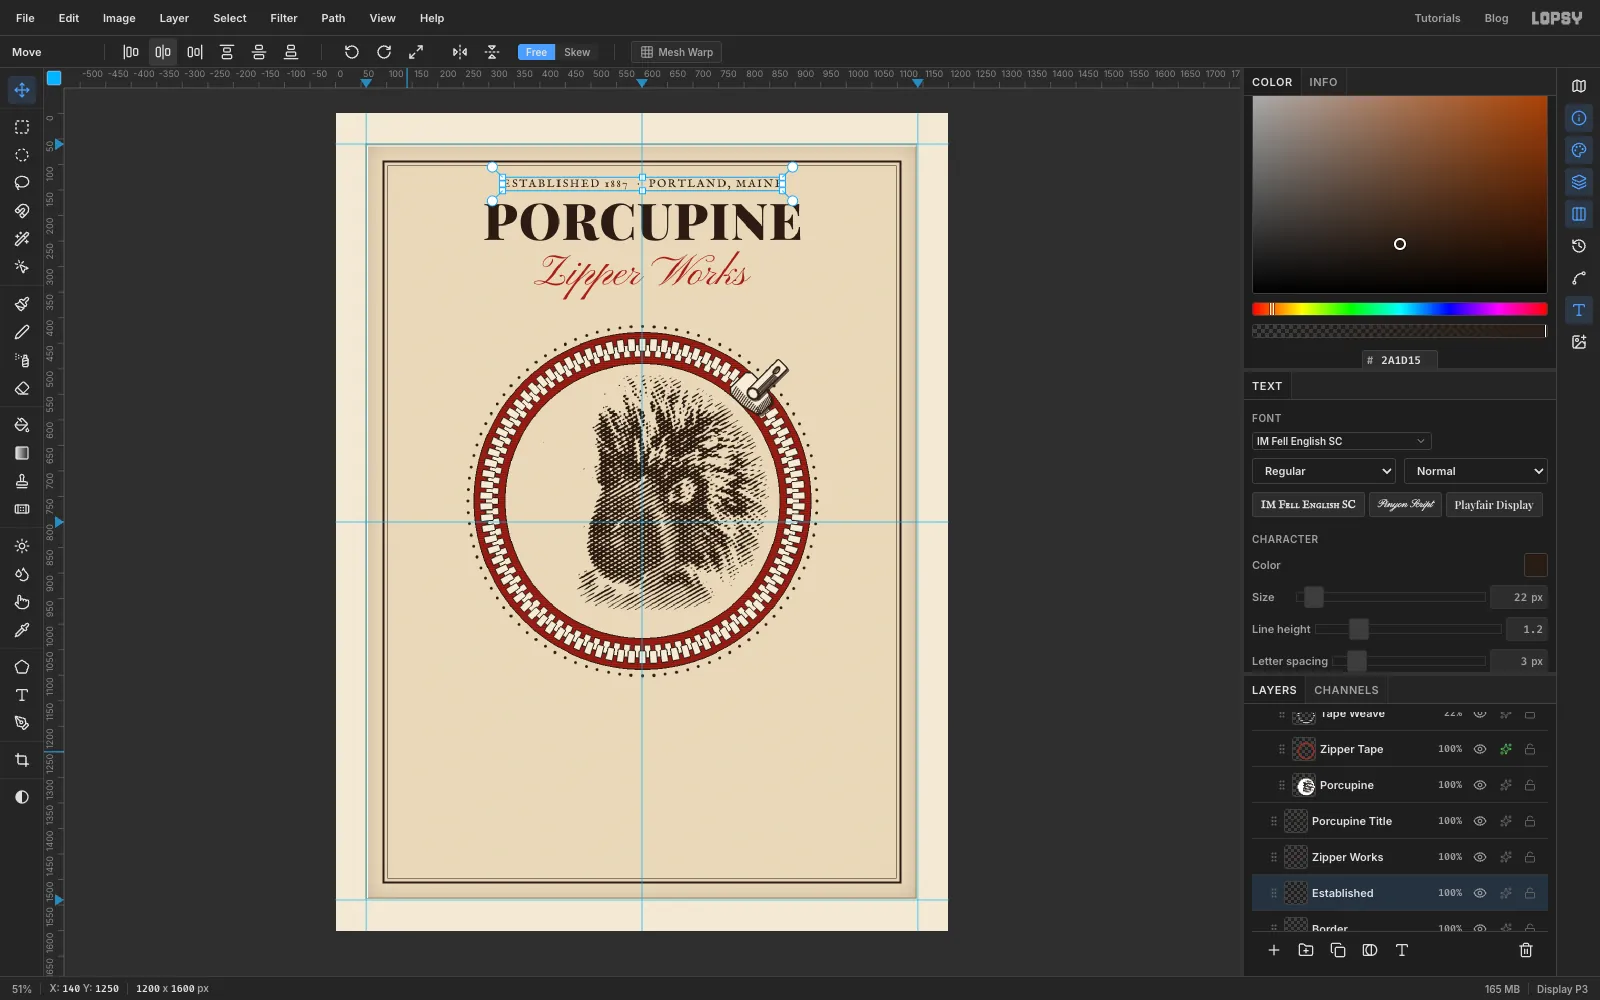
- PORCUPINE: Playfair Display, weight Black, 100 px, ink, letter spacing 2. Name the layer Porcupine Title.
- Zipper Works: Pinyon Script, 84 px, spot red. Name it Zipper Works.
- ESTABLISHED 1887 · PORTLAND, MAINE: IM Fell English SC, 22 px, ink, letter spacing 3, with two spaces either side of the middle dot. Name it Established.
Commit each line with Tab and click Border again before starting the next one. Then, for each one, choose the Move tool and click Align center horizontally in the options bar, and use the arrow keys to set its height. The small caps sit at about y 128, the top of PORCUPINE at 176, and Zipper Works at 270. Leave a clear gap under the small caps so the 7's tail doesn't touch the capitals.
-
Make a ribbon tail and mirror it
Click the Medallion group's row and collapse it, then click New Group. The new group lands above Medallion, so the ribbon will sit in front of the ring. Name it Ribbon.
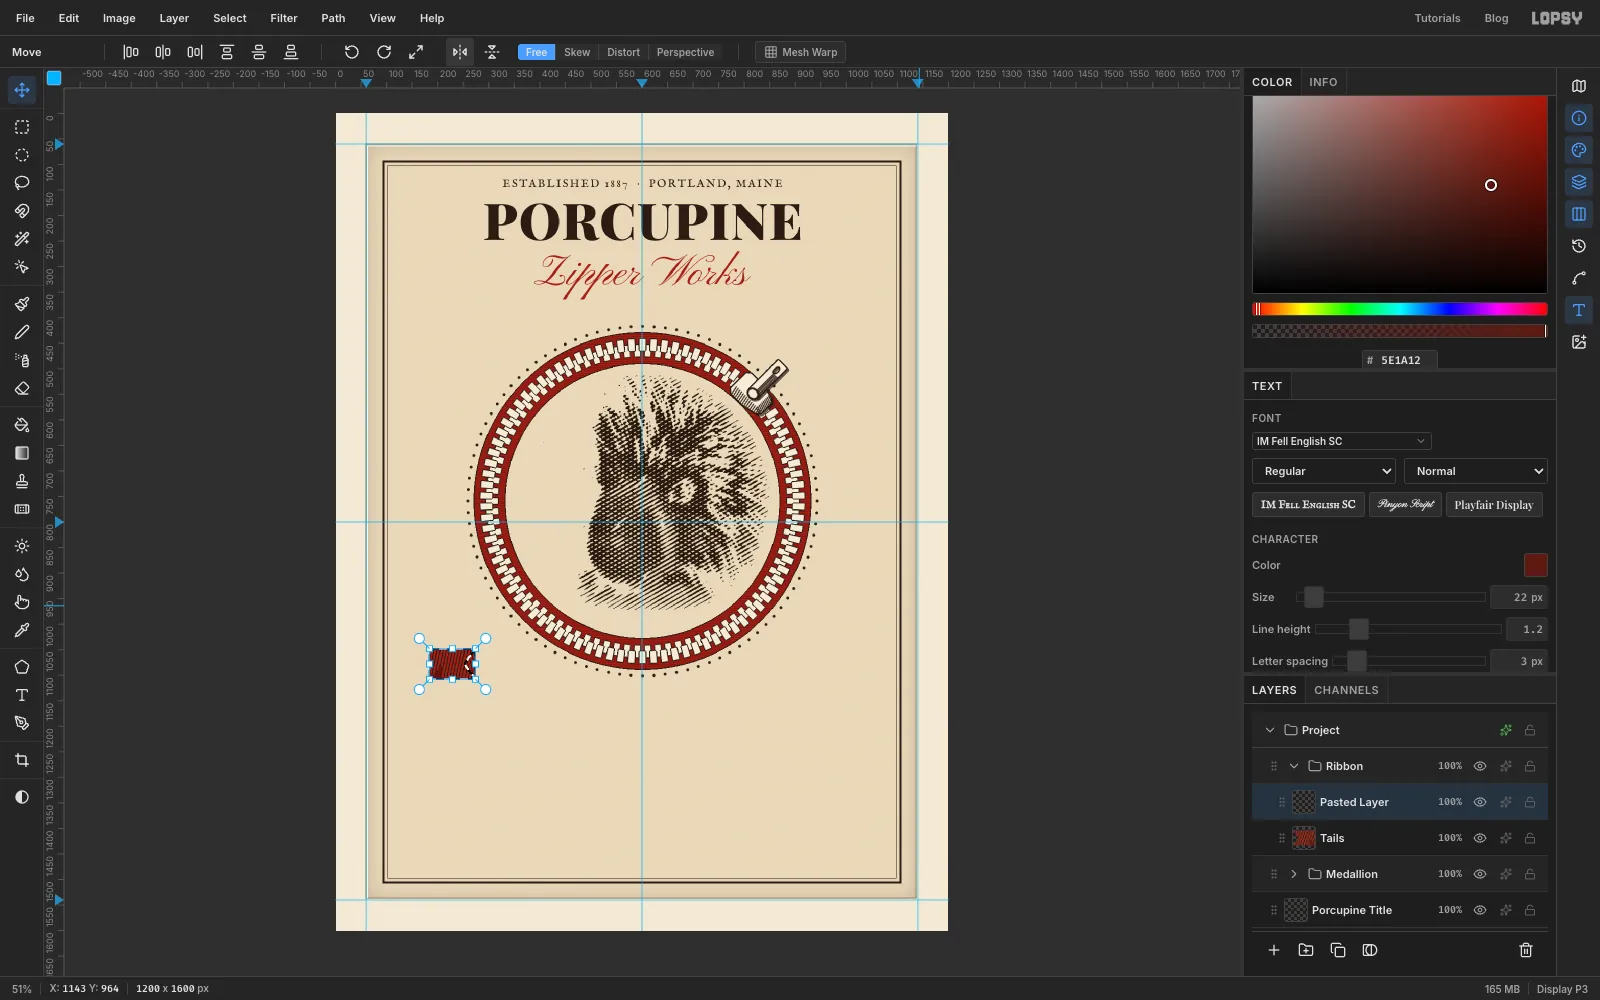
Add a layer called Tails. With the Lasso, draw a swallowtail at the lower left of the ring, about 90 px wide: a rectangle with a V cut into its outer end, starting under where the band will end at x 250. Fill it with spot red. While it's still selected, hatch it with diagonal ink Pencil lines (Size 2) to shade it. Then lasso a small triangle where the band folds behind the tail and fill it with the darker red .
Select a box around the tail, press Cmd+C and Cmd+V. The paste lands in place and is selected with the Move tool active. Click Flip Horizontal in the options bar, then drag the copy across to the matching spot at the right end and line it up with the arrow keys. Deselect, Merge Down the copy into Tails, and give Tails a Stroke of 2 in ink.
-
Draw the ribbon band
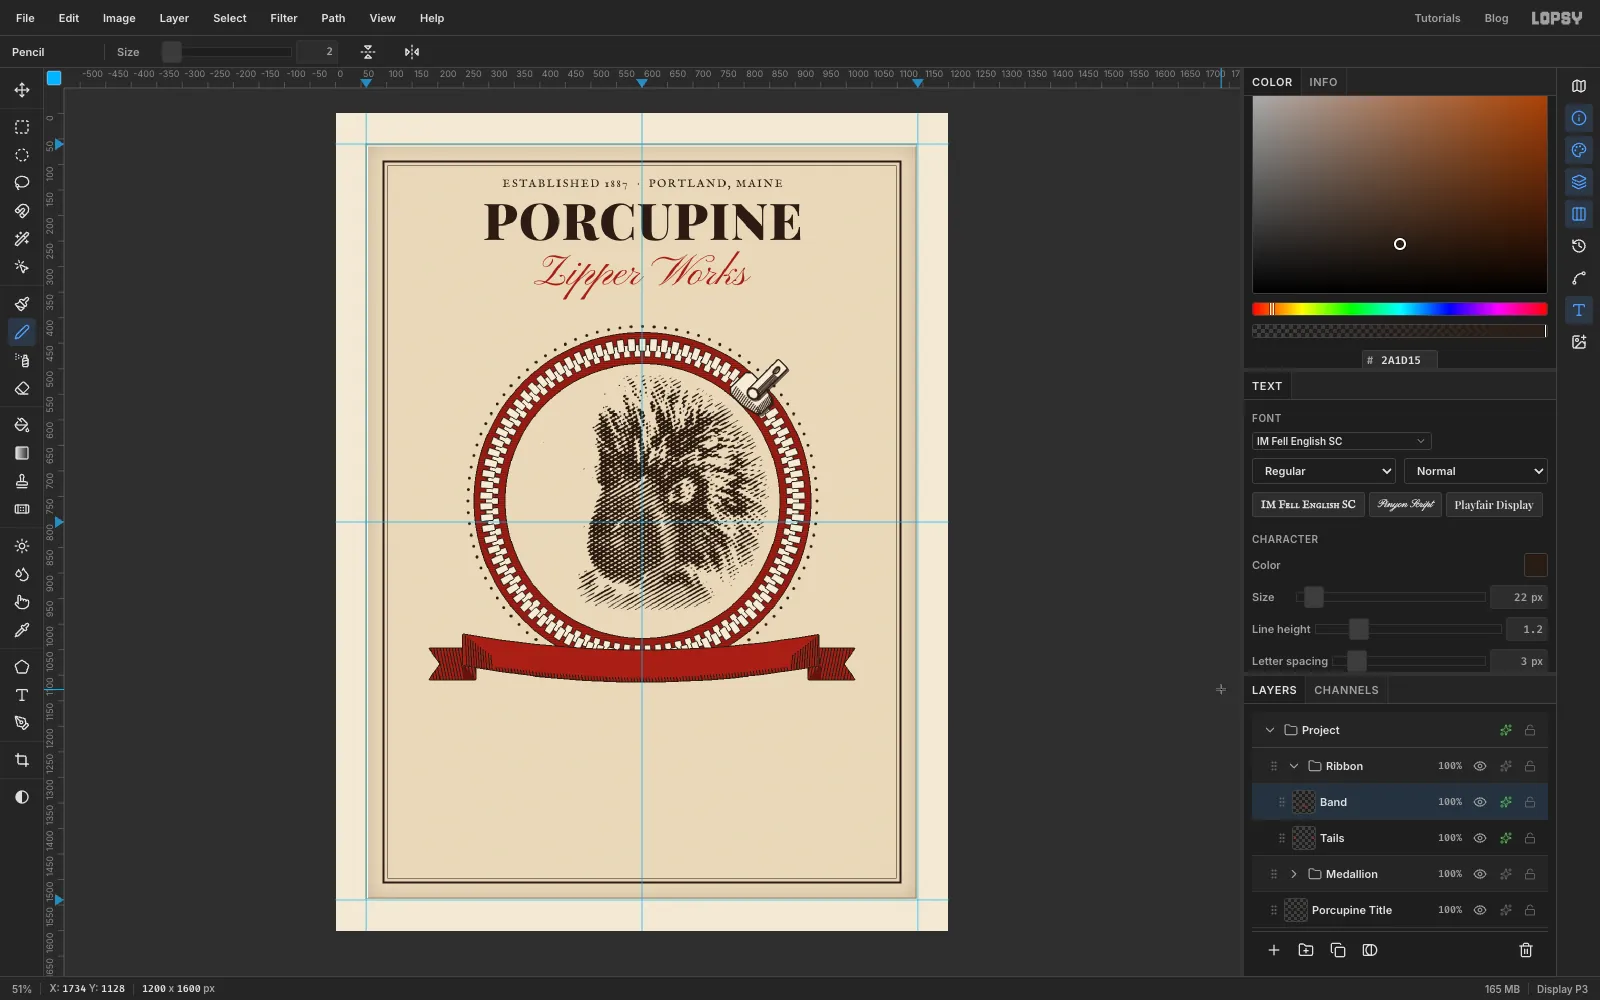
Add a layer called Band. Lasso a gently curved band, 60 px tall, from x 250 to 950. Its centre line is at y 1082 in the middle and rises 32 px to about y 1050 at each end. Fill it with spot red.
Keep the selection and use the Pencil to hatch where the band turns under at each end: about ten short ink lines that get closer together towards the end. Add a row of short ticks just inside the lower edge to round the band. Deselect and give it a Stroke of 2.
-
Set the ribbon text on a path
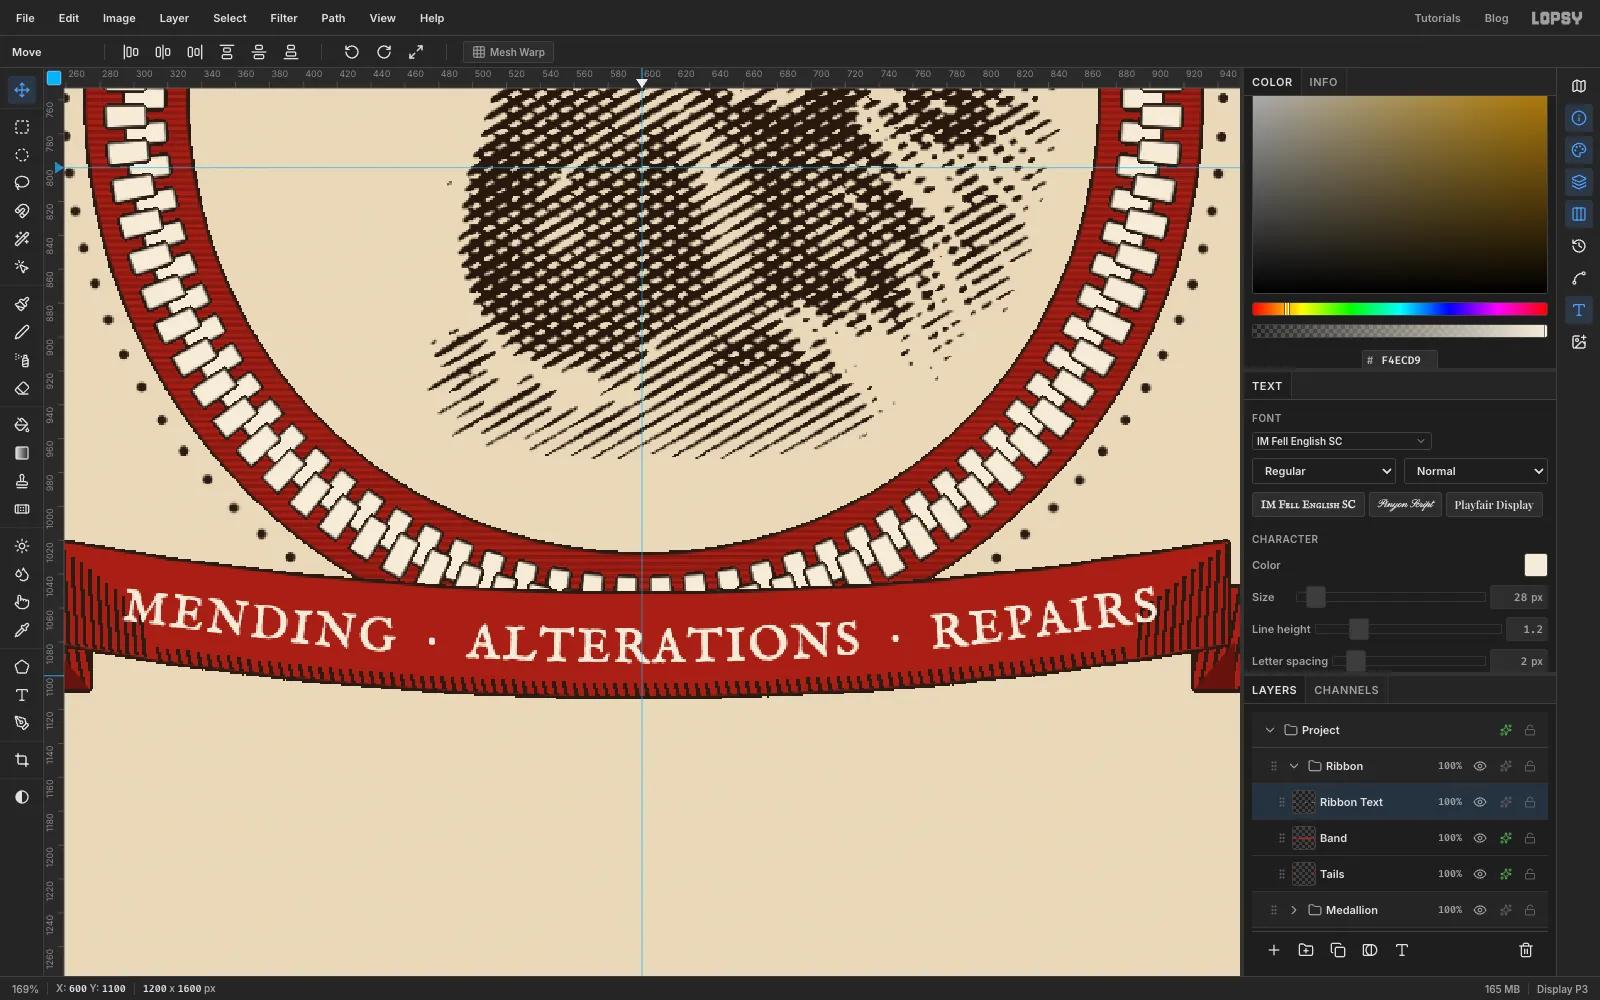
Choose the Pen tool. Click from left to right along the middle of the band, 10 px below its centre line, at x 260, 430, 600, 770 and 940. On the three middle anchors, drag a little to the right along the curve to pull out handles so the path stays smooth. Commit it with the ✓ button in the options bar so the path isn't stroked.
Set MENDING · ALTERATIONS · REPAIRS (two spaces either side of each dot) in IM Fell English SC, 28 px, cream, letter spacing 2, with Align set to Center. Type it in empty space and commit with Tab. With the text layer still selected, choose your new path from the Path menu in the Text options bar. The words wrap onto the curve, centred, with equal room at both folds. Open the Paths panel from the panel toolbar and click the path's row to hide its outline.
-
Write the tagline and colour one word
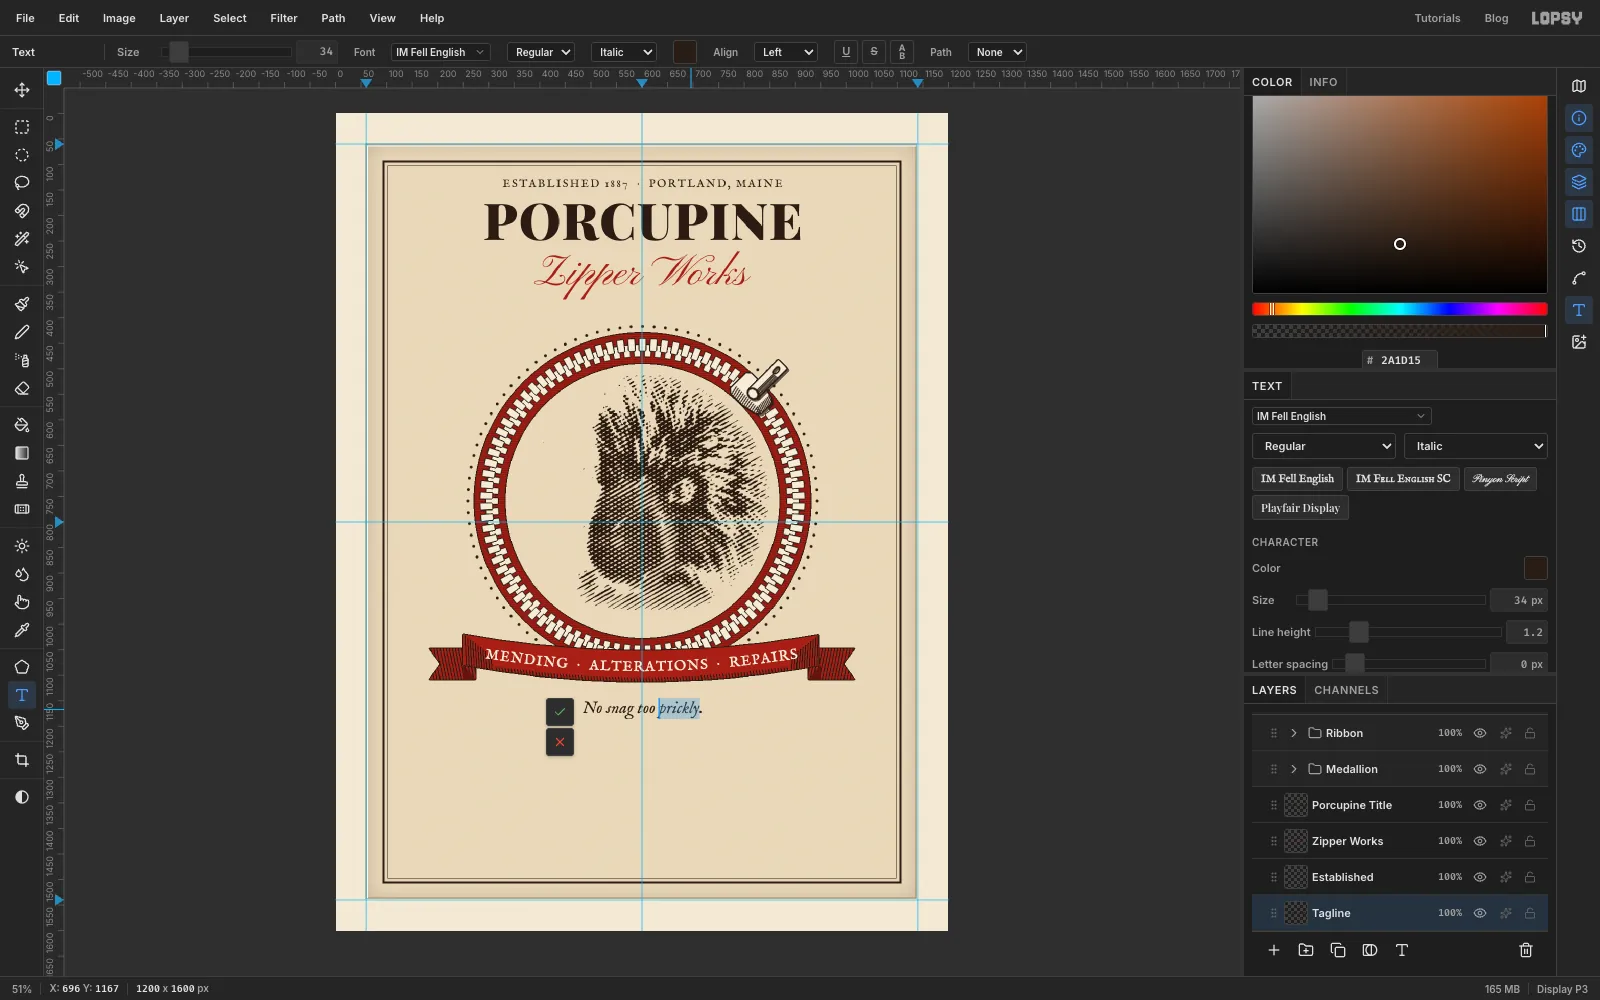
Click Border, then set No snag too prickly. in IM Fell English, Italic, 34 px, ink, and name the layer Tagline. Centre it and nudge its top to about y 1150.
Click into the text with the Text tool and drag across the word prickly to select it, leaving the full stop out. Click the Text color swatch in the options bar and enter . Commit with the ✓ button next to the text. Only that word turns red, as if the printer had added a second colour.
-
Add a needle and thread
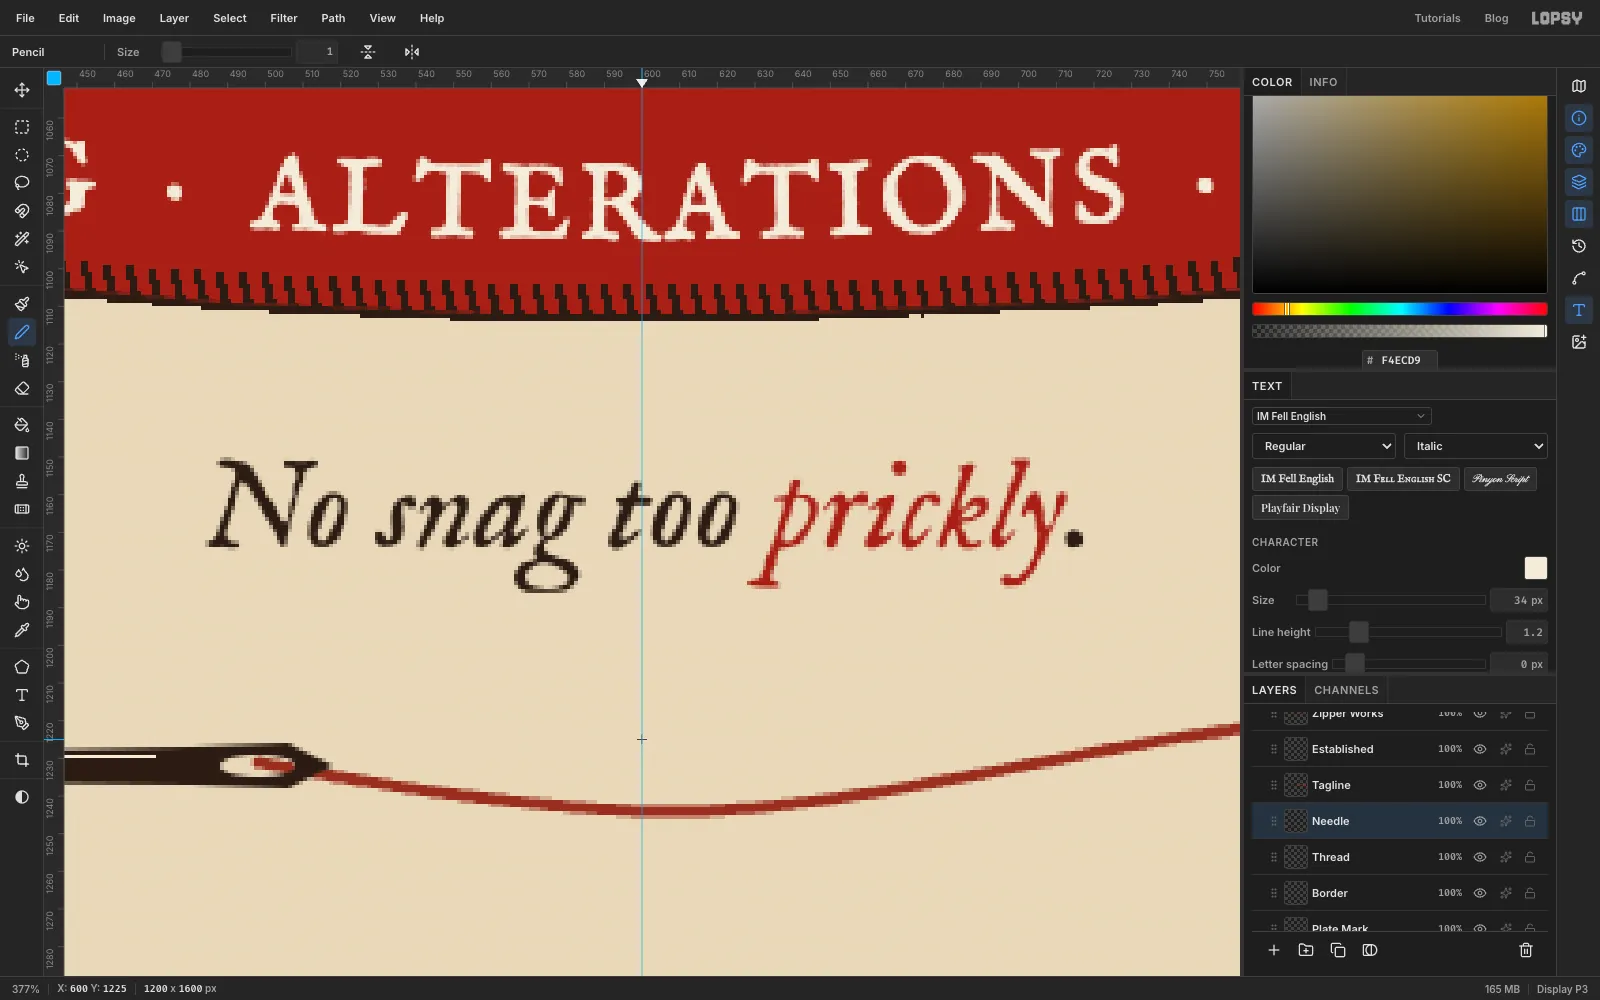
Click Border and add a layer called Thread. Choose the Pen tool, set Stroke to 3 and the foreground to spot red. Click to start about 100 px left of the centre guide at about y 1230. Drag out a smooth anchor on the centre guide a little below that line, another about 160 px right of centre a little above it, and click to end about 270 px right of centre. The thread makes a lazy S. Press Enter to stroke it, then hide the path outline in the Paths panel.
Add a layer called Needle. Lasso a long, thin needle that ends at the start of the thread: about 185 px long, 12 px thick at the eye end and sharp at the left. Fill it with ink. Select a small ellipse at the right end, 488, 1229 to 508, 1235, and press Delete to open the eye around the thread. Deselect, then draw one 1 px cream Pencil line along the shaft as a highlight.
-
Set the price list
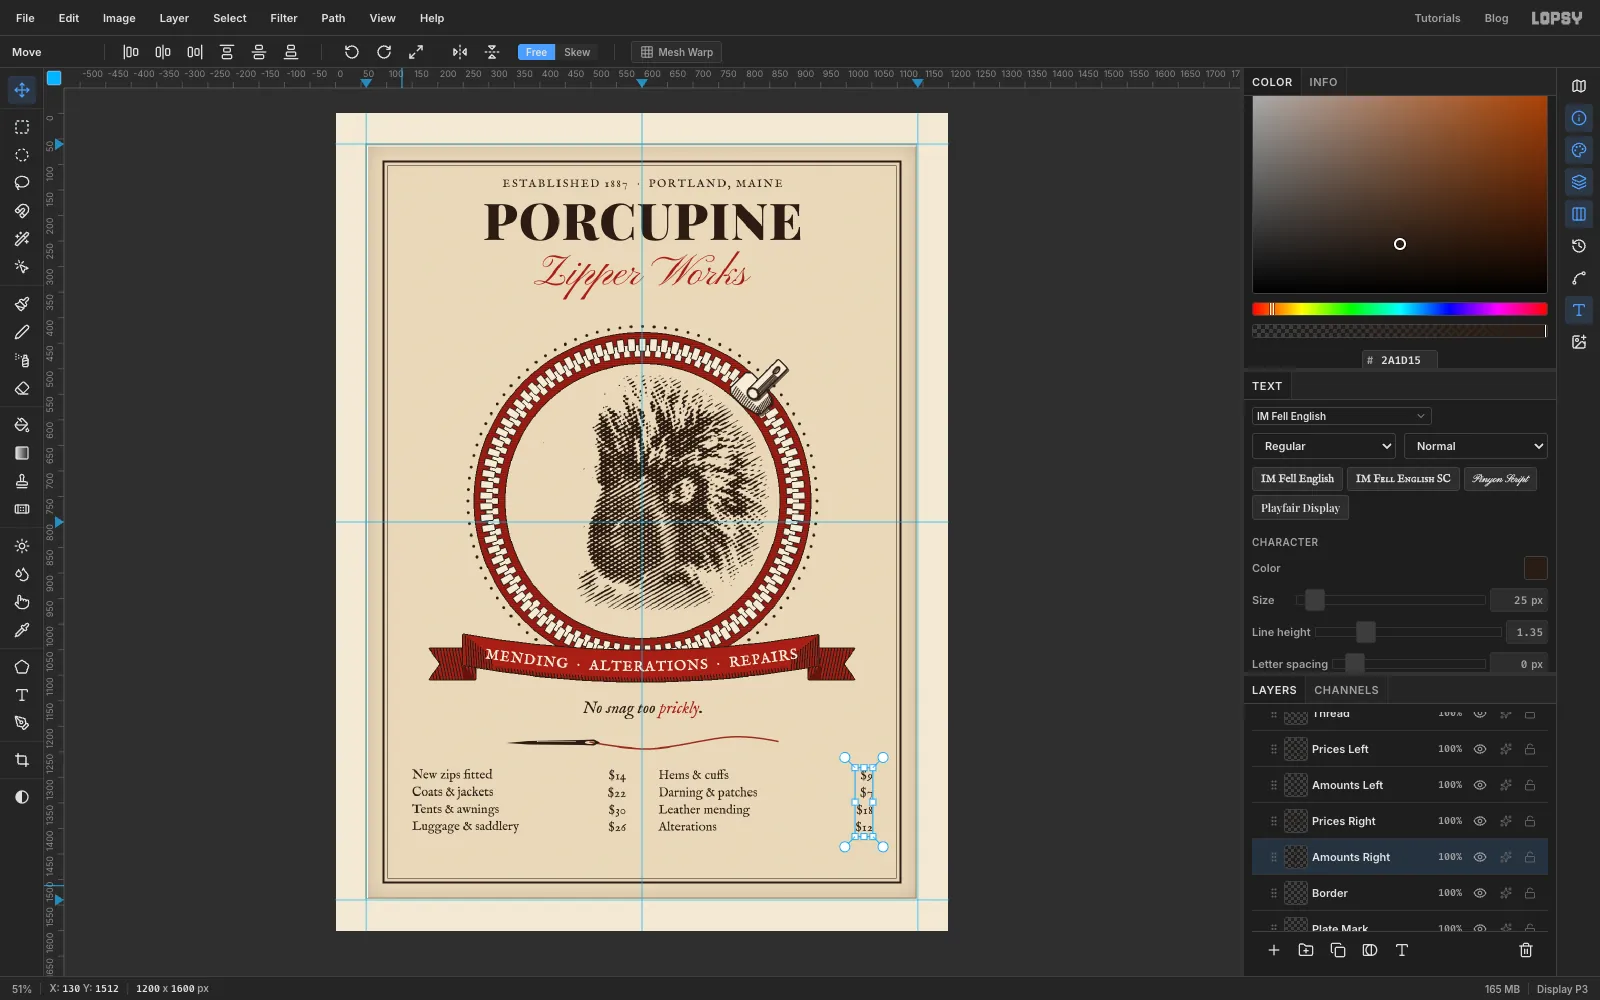
Use four text layers, all IM Fell English, 25 px, ink, Line height 1.35. Make each in empty space and then move it into place:
- Prices Left, left-aligned: New zips fitted / Coats & jackets / Tents & awnings / Luggage & saddlery. Its left edge goes at x 150.
- Amounts Left, right-aligned: $14 / $22 / $30 / $26. Its right edge goes at x 568.
- Prices Right: Hems & cuffs / Darning & patches / Leather mending / Alterations. Its left edge goes at x 632.
- Amounts Right, right-aligned: $9 / $7 / $18 / $12. Its right edge goes at x 1050.
Put the tops of all four at about y 1284 so the lines match across the columns.
-
Draw dotted leaders
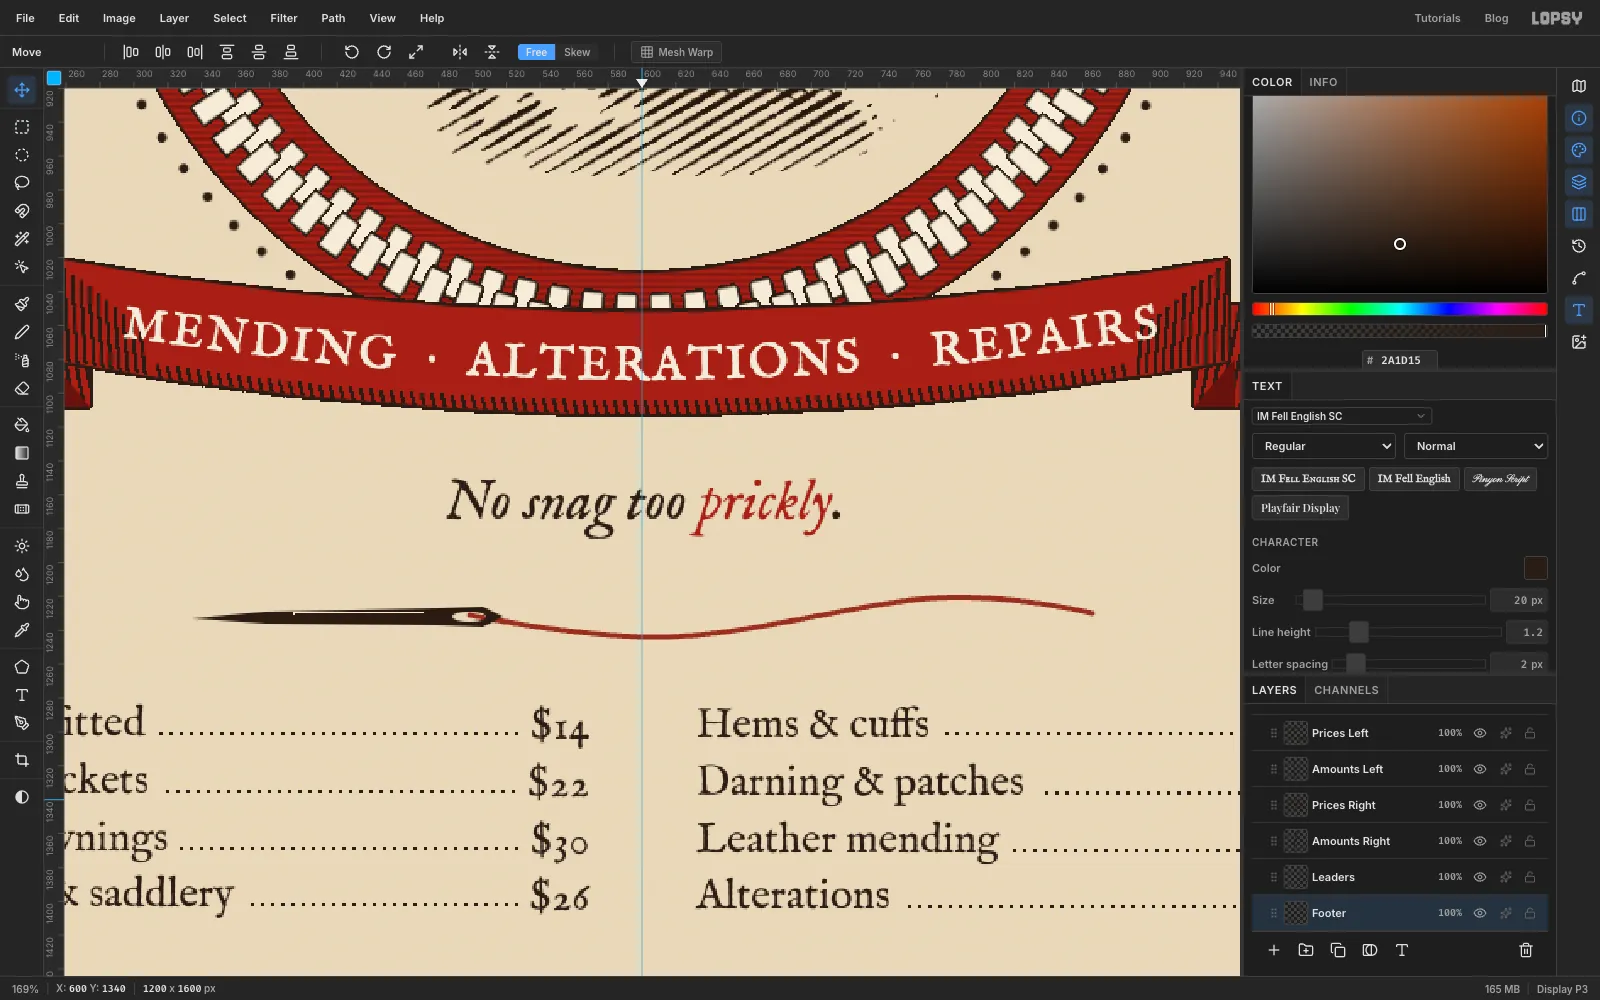
Add a layer called Leaders. Choose the Brush at Size 3, then in the brush settings set Hardness 100 and Spacing 200%. At 200% each dab sits a full dab-width from the next, so a stroke becomes a row of dots.
For each line, click about 9 px before the price, then Shift-click just after the item name. Keep the dots on the text baseline. Because the prices are right-aligned, starting at the price keeps that gap the same on every line.
Finally, add the footer: No. 9 Thimble Lane, Portland · Tuesday to Saturday, nine till six in IM Fell English SC, 20 px, letter spacing 2, with two spaces either side of the dot. Name it Footer, centre it and nudge its top to about y 1454.
-
Burnish the quills
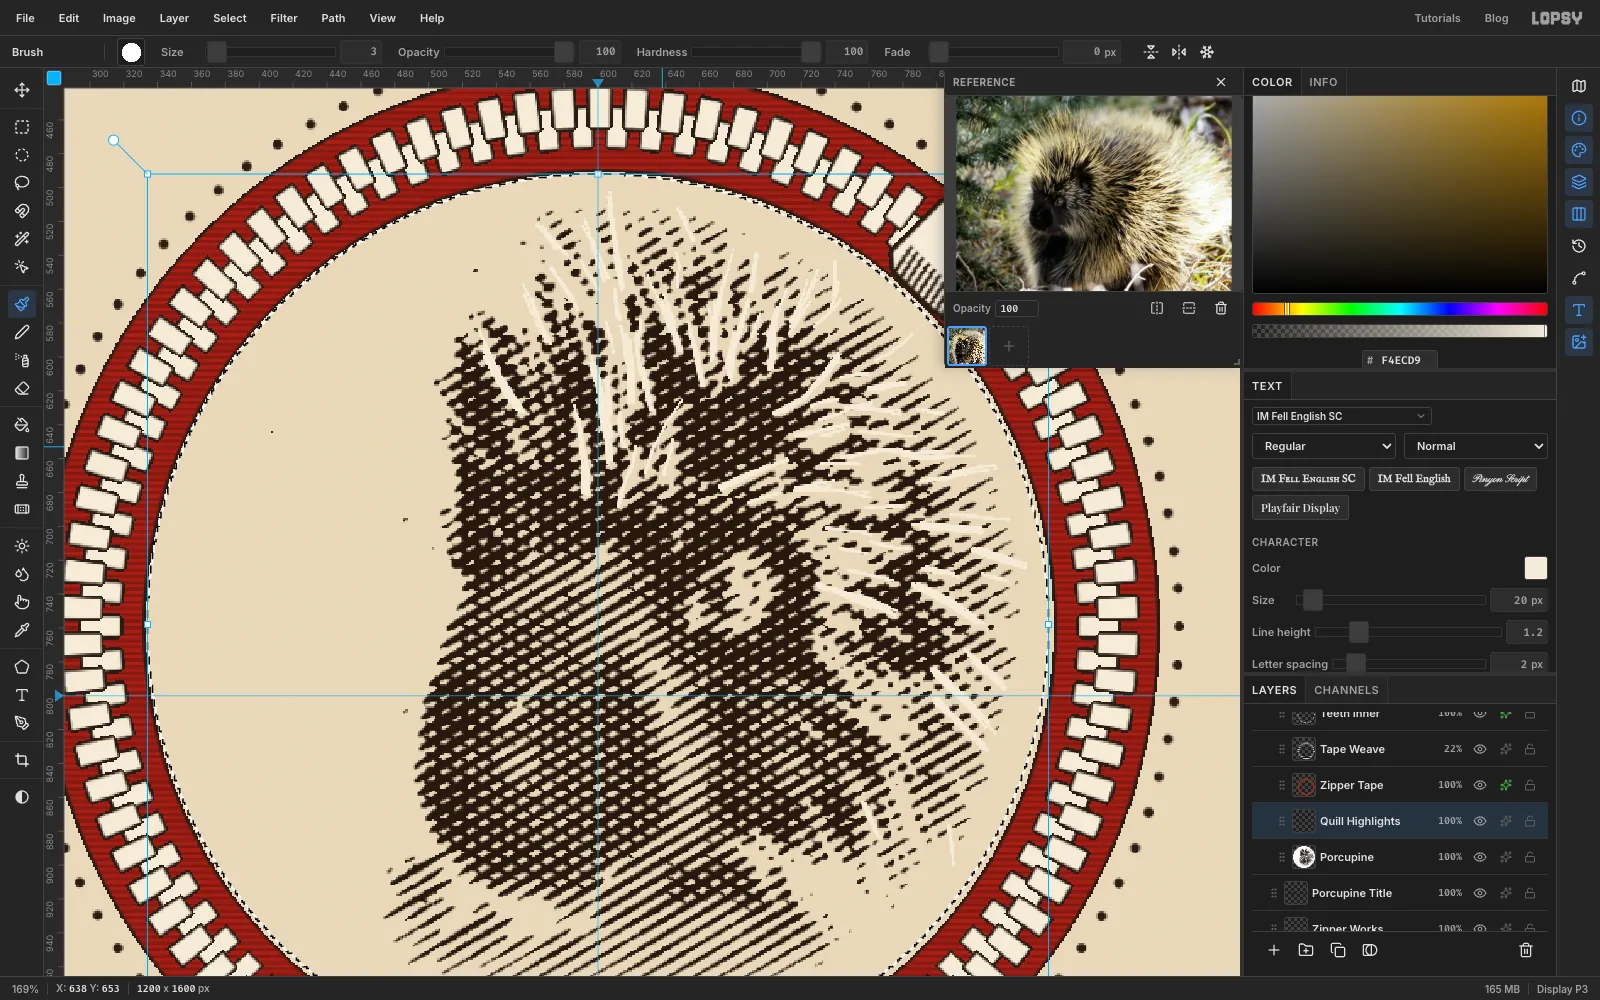
Engravers burnish highlights back into a plate. Open the Reference drawer from the panel toolbar and load the porcupine photo, so you can see where the bright quills run.
Expand the Medallion group, select Porcupine and add a layer above it called Quill Highlights. Select a circle just inside the zipper, 334, 492 to 866, 1024, so nothing spills onto the teeth. Choose the Brush at Size 3, Hardness 100, Spacing 10%, with Taper 45 in the brush settings, and cream .
Taper thins a stroke from where it starts, so start each stroke at the root of a quill and flick outwards. Follow the pale quills in the photo: they fan up and back from the crown and sweep back along the cheek. Paint a few hundred short strokes of different lengths. Leave the face clear.
-
Ink the eye and the snout
Deselect. On the Porcupine layer, use the Eraser at Size 14 to click away any stray specks the line screen left in the empty paper.
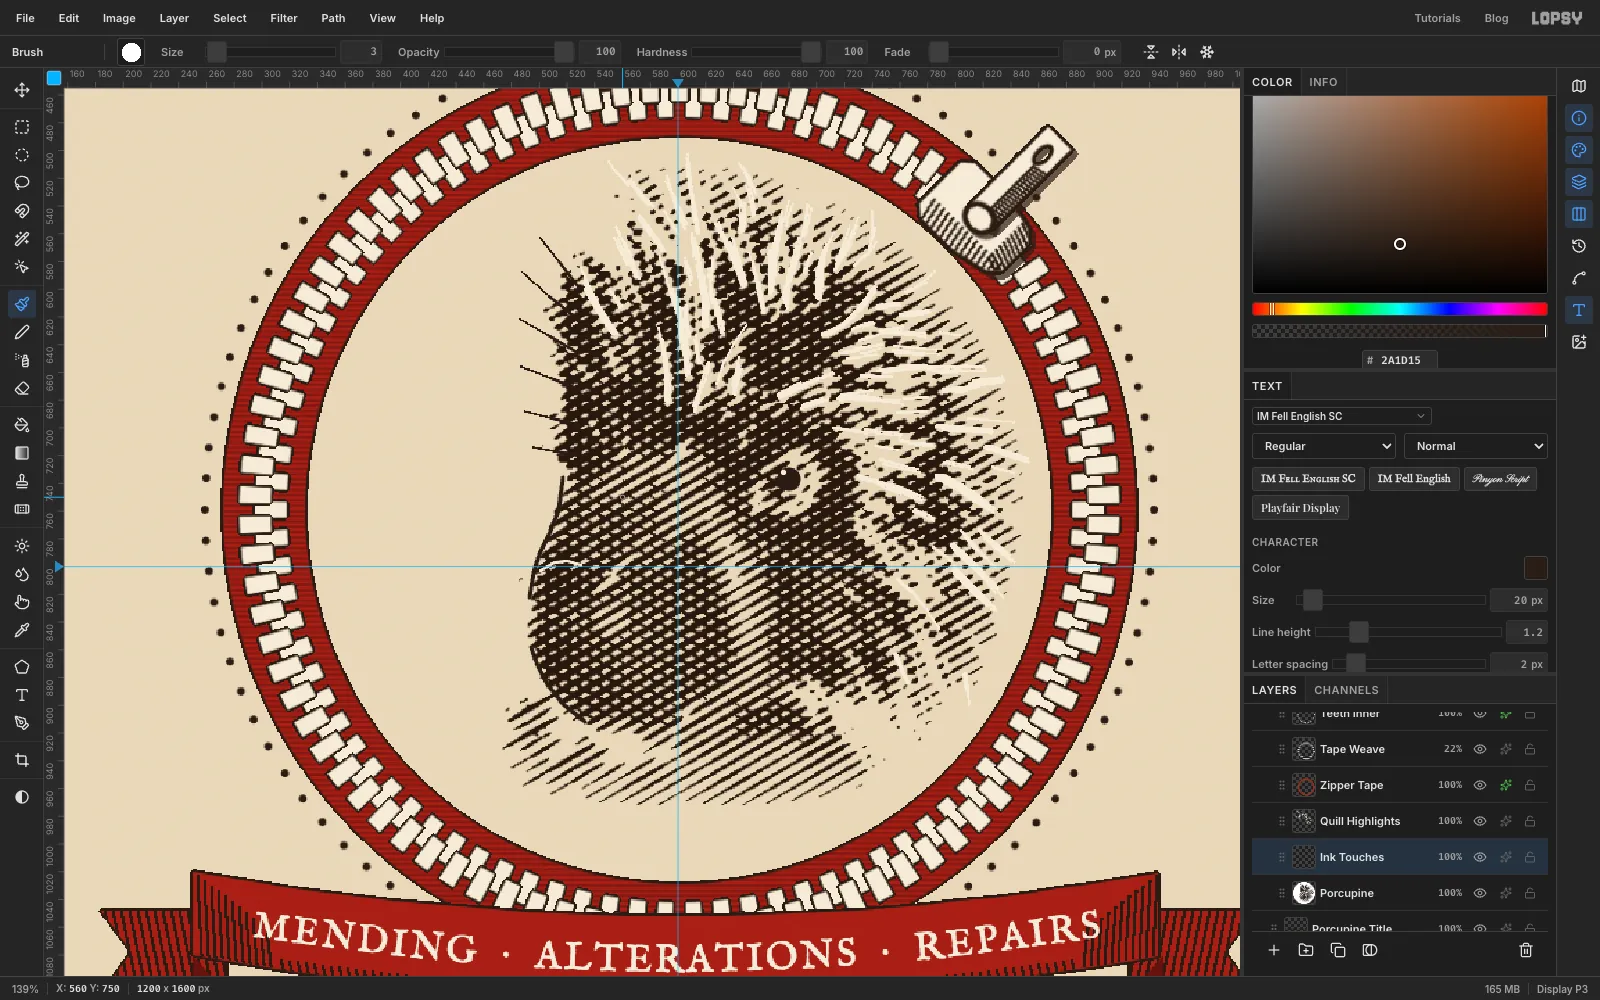
Add a layer called Ink Touches. With the Brush at Taper 0:
- At Size 18, click once in ink over the eye.
- At Size 5, click once in cream at its upper left for the catchlight.
- At Size 3, paint a short cream curve over the bridge of the nose.
With the Pen tool at Stroke 3, trace the front of the snout in two strokes with a small break at the nose, pressing Enter after each. An engraver's contour is never one unbroken wire. Last, set the Brush back to Taper 48 and flick six dark quills up and to the left from the forehead, above the snout, so the top of the head reads as rounded rather than cut off. Close the Reference drawer when you're done.
-
Engrave a shade under the title
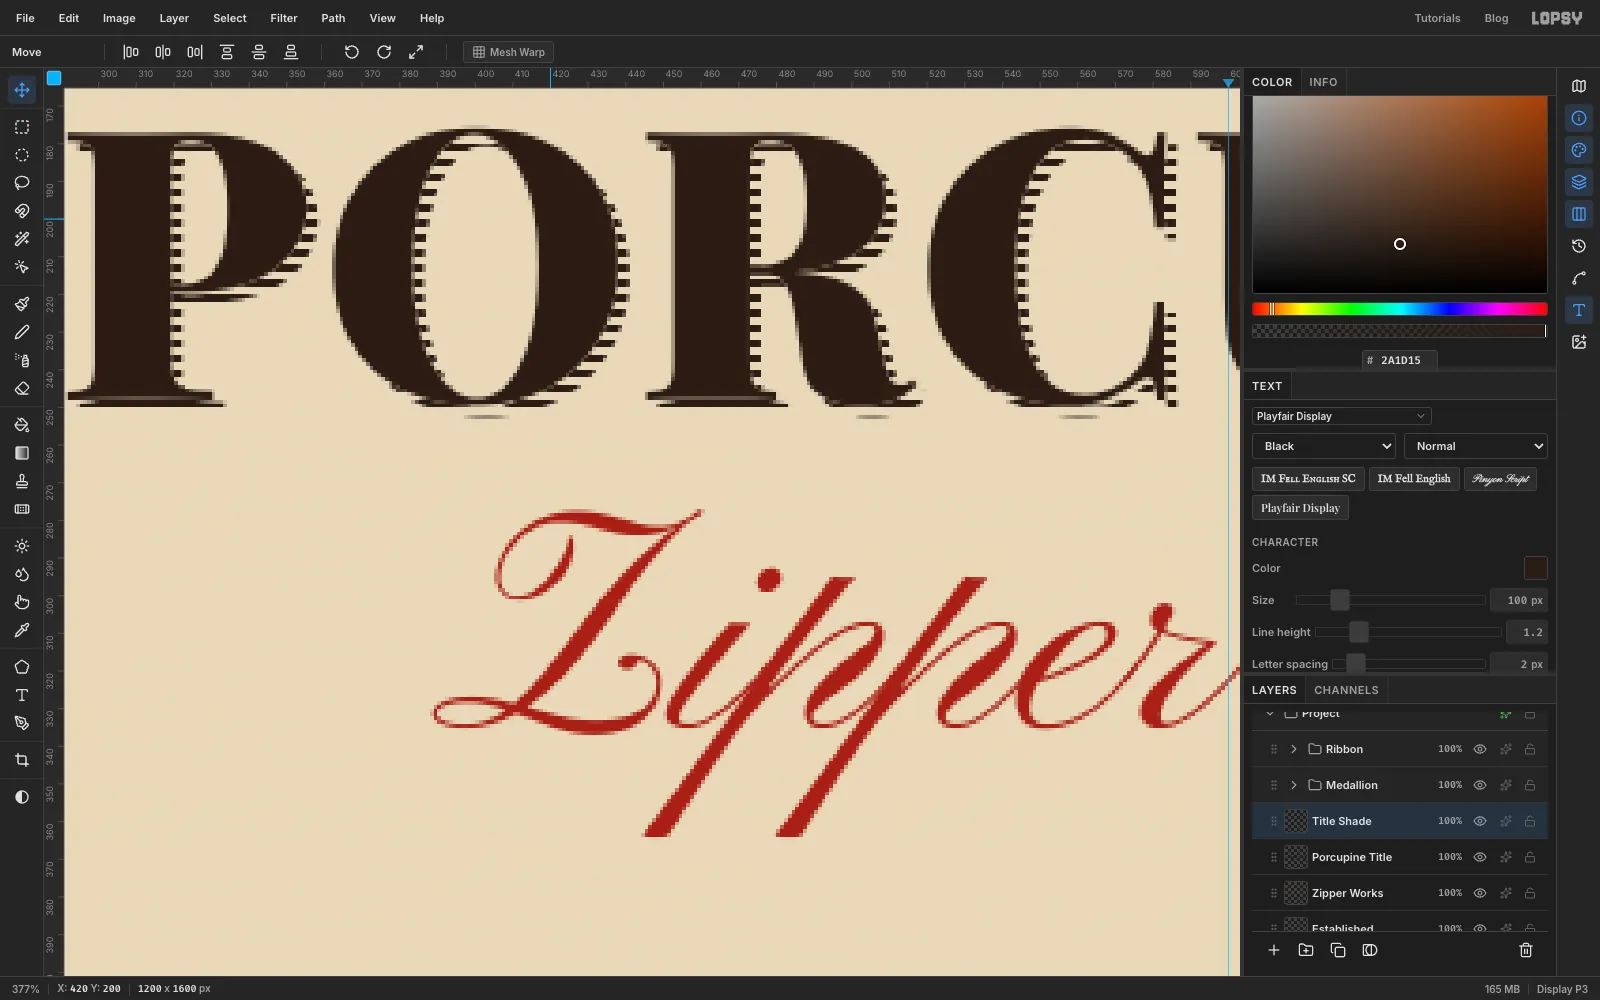
Victorian display type often has a shade made of fine rules. Add a layer called Rule Tile. Select 0, 0 to 12, 2 and fill it with ink, then select 0, 0 to 12, 4 and choose Edit → Define Pattern. Half the tile is transparent, so the pattern is ink rules with gaps between them. Delete the Rule Tile layer.
Select Porcupine Title, choose Duplicate Layer and rename the copy Title Shade. Click Rasterize Layer at the bottom of the Layers panel. With the Move tool, nudge it 3 px right and 3 px down.
Cmd-click the Title Shade thumbnail, press Delete, then choose Edit → Fill with Pattern with the rule tile. The letters are now ruled. To keep the rules only in the offset, Cmd-click the Porcupine Title thumbnail, click the Title Shade row and press Delete. Deselect.
-
Draw a quill-fan corner ornament
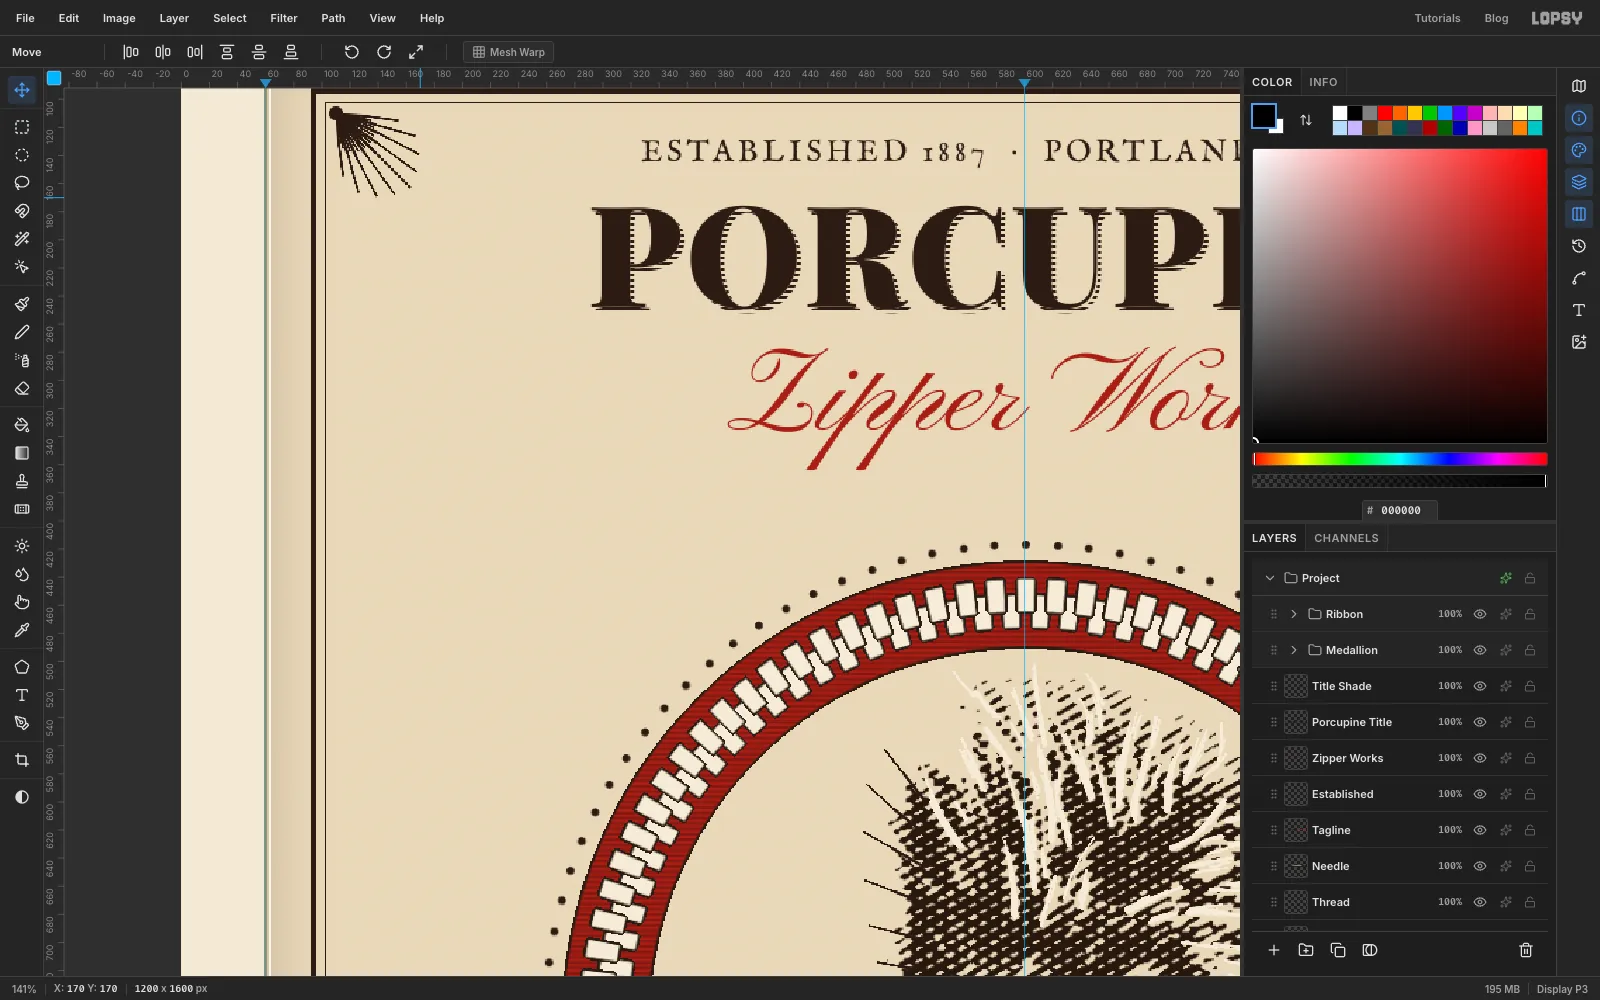
Click Border and add a layer called Corners. Choose the Brush at Size 3 with Taper 72. Starting each stroke at the inner corner of the border (110, 110), flick out nine quills from almost horizontal to almost vertical. Make them longest in the middle (about 75 px) and shortest at the ends (about 45 px).
Set Size 2 and Taper 30 and add eight short quills, about 30 px long, between the long ones. Finish with a single Size 11 dot at the root with Taper 0.
-
Copy the ornament to all four corners
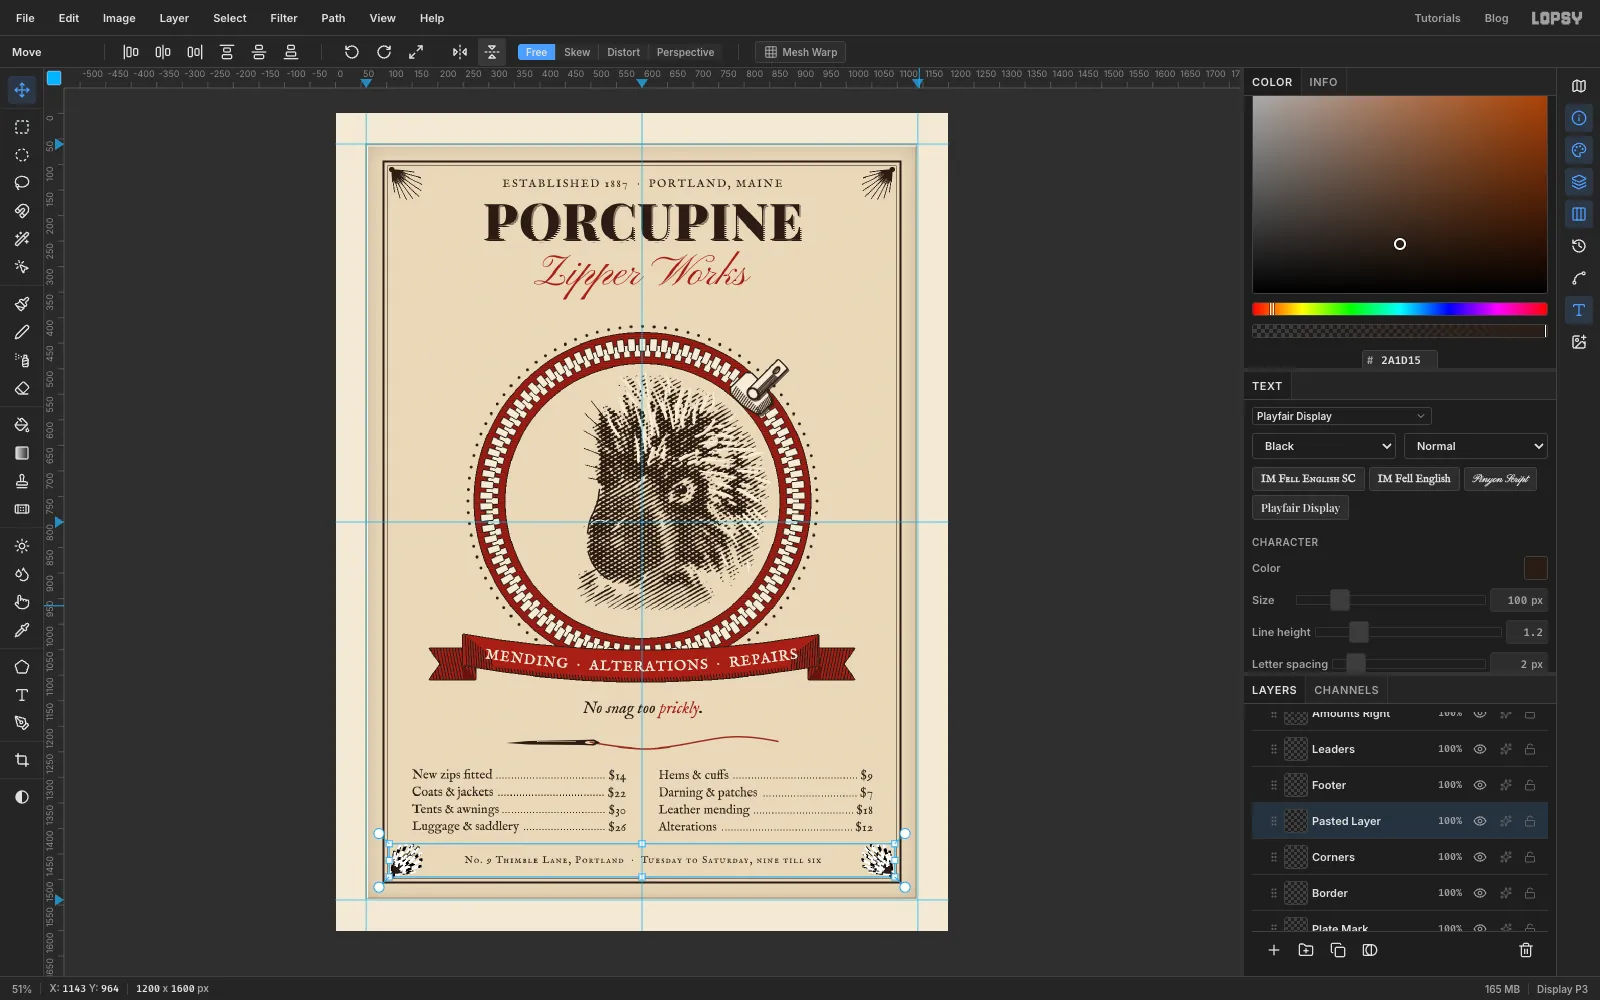
Select a box around the fan (104, 104 to 200, 200), press Cmd+C and then Cmd+V. Click Flip Horizontal in the Move options and drag the copy to the top-right corner, then line it up with the arrow keys. Deselect and Merge Down.
Now select a strip across the whole top of the border (104, 104 to 1096, 200), copy and paste it, click Flip Vertical, and drag the pair down to the bottom corners, lining them up with the arrow keys. Deselect and Merge Down.
-
Finish and export
Choose View → Show Guides to hide the guides and look the flier over. Then choose File → Quick Export PNG for the finished image and File → Save Project to keep a
.lopsyyou can come back to.