Design a Grunge Field-Guide App Mockup
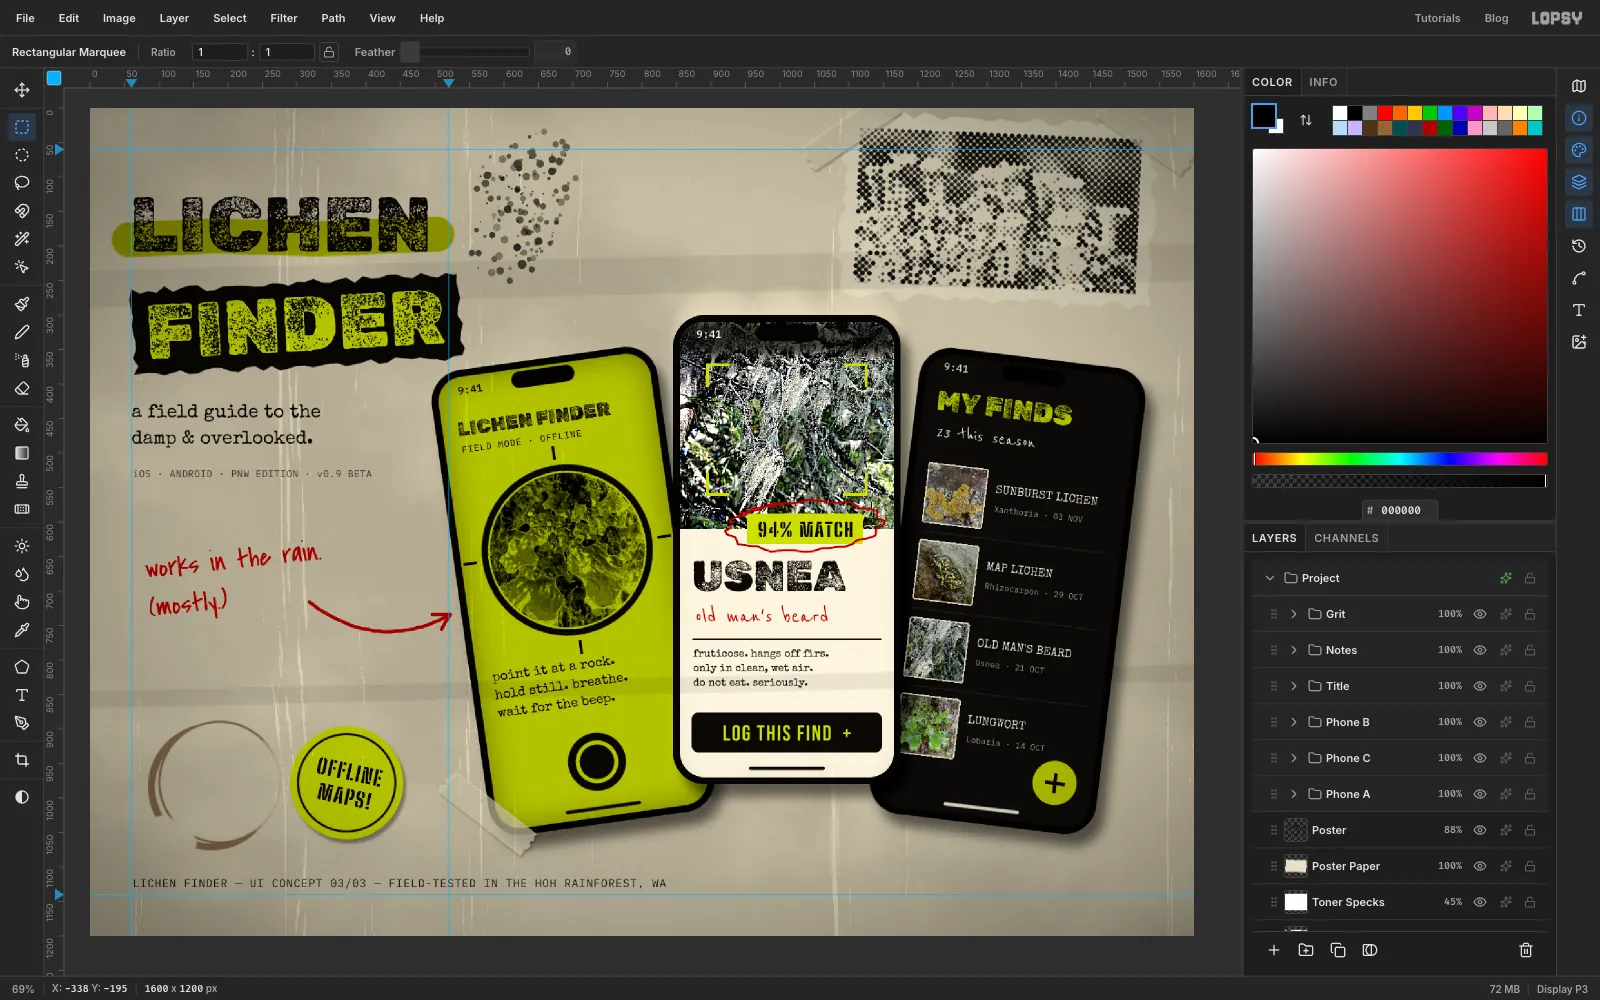
Mock up three phone screens for a lichen field-guide app in Lopsy, on a photocopied wall with halftone, tape, coffee rings, xerox grain and a tilted phone fan.
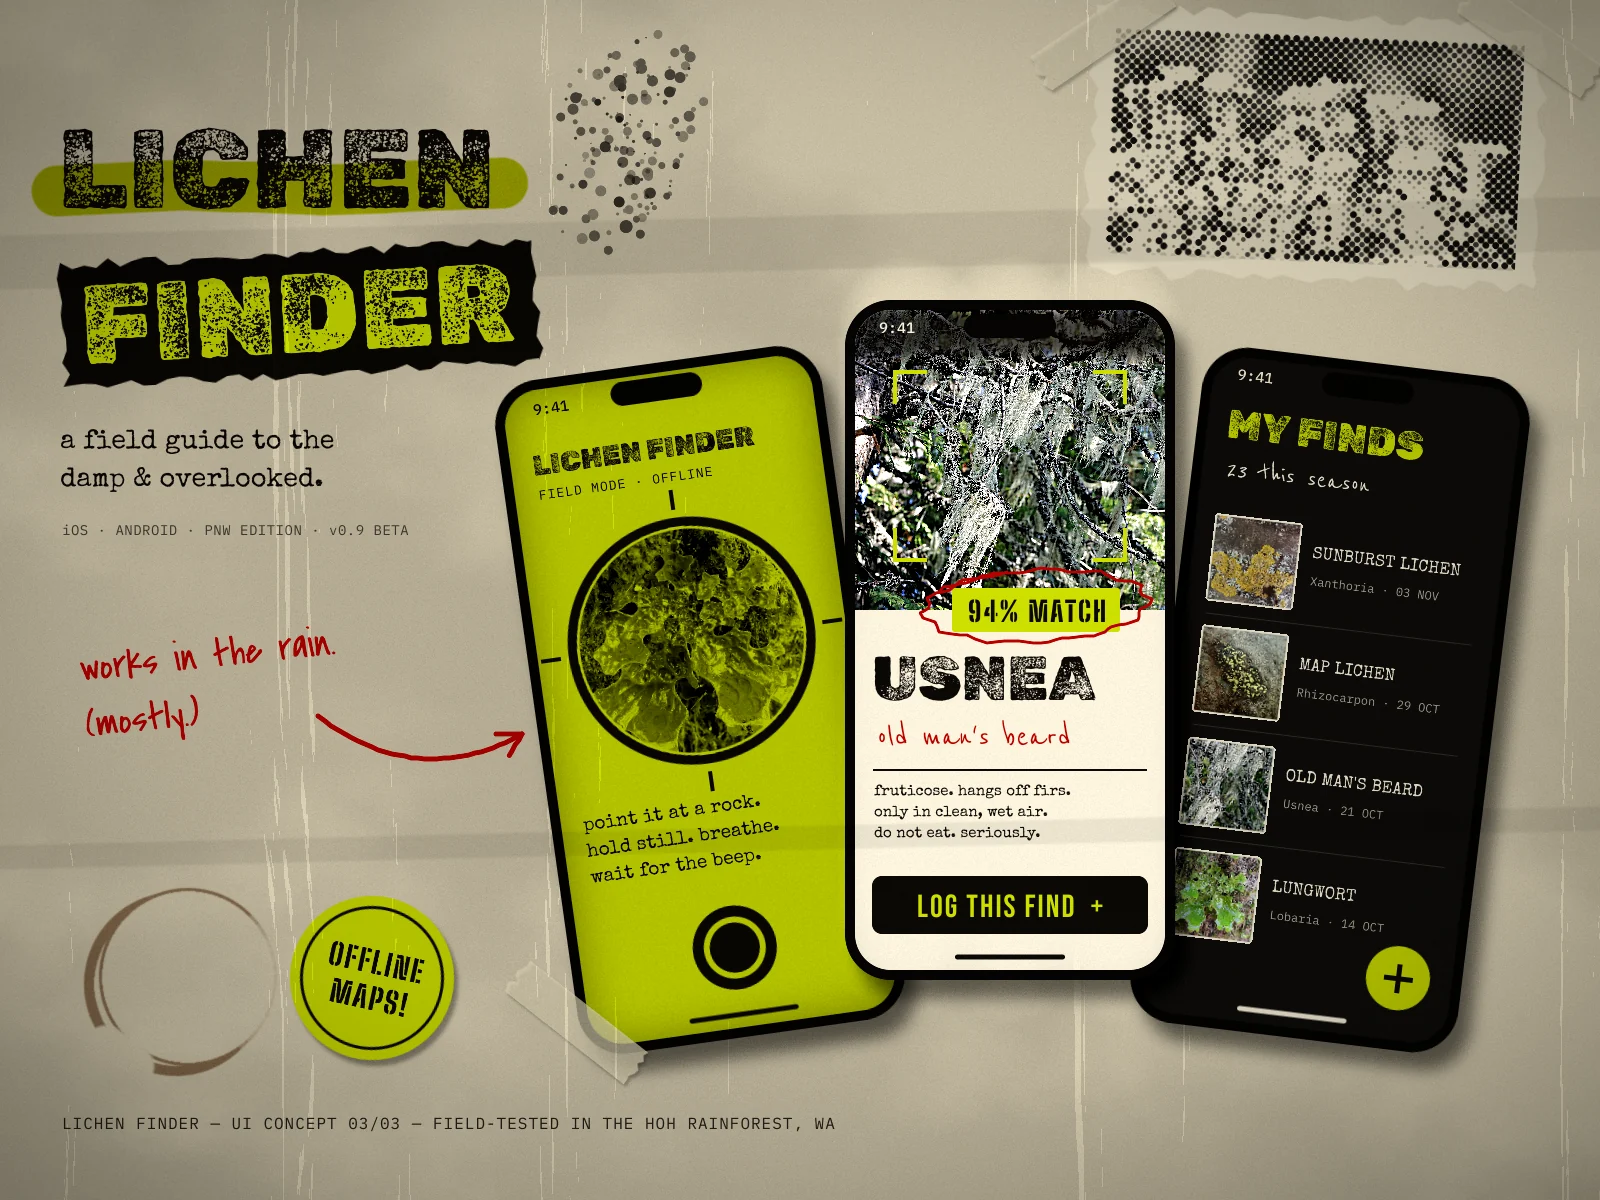
Grunge design is what happened to print in the early 90s, when designers like David Carson at Ray Gun and Art Chantry in Seattle let the photocopier, the scalpel and the marker pen show. Type is distressed, photos are xeroxed until they turn into dots, paper is torn and taped, and everything has a little dirt on it. It suits subjects that are a bit damp and overlooked, so this tutorial uses it for a lichen app.
You'll make a presentation shot for Lichen Finder, a made-up field guide for the lichens of the Pacific Northwest. The canvas is 1600 × 1200 px, the shape of a portfolio shot. It holds three phone screens, each in its own layer group:
- Phone A, a lime "scan" screen with a circular viewfinder, tilted to the left
- Phone B, a cream "result" screen showing the lichen it found, in front
- Phone C, a black "My Finds" log with photo thumbnails, tilted to the right
Behind them is a photocopied paper wall with a taped-up halftone poster. In front are a title lockup, a sticker, a coffee ring, a handwritten aside and a layer of photocopier grit.
You'll use:
- guides, the Rectangular and Elliptical Marquee, the Lasso, Select → Inverse, and Option-drag to subtract from a selection
- the Shape tool's click-to-create Shape Size dialog, for exact rounded rectangles and circles
- Add Noise, Clouds, Fibers, Threshold, Brightness/Contrast, Desaturate, Halftone, Hue/Saturation, Unsharp Mask and Gaussian Blur
- dropped photos, scaled with the Move tool's handles, cropped and clipped to a screen shape
- Copy and Paste, Duplicate Layer, New Group, and rotating a whole group (live text and all) with one handle drag
- Multiply and Overlay layers, a layer mask, and the document's Vignette and Contrast adjustments
- the layer effects Drop Shadow, Inner Glow and Stroke
- the Brush, Pencil, Eraser and Spray tools
- live text in Rubik Dirt, Special Elite, IBM Plex Mono, Reenie Beanie, Covered By Your Grace, Bebas Neue and Big Shoulders Stencil
The five lichen photos are CC0 images from Wikimedia Commons: Lichen genus Usnea, Old man's beard, British Columbia by Commons user ImagePerson, Lobaria pulmonaria by Vesa Oikonen, Xanthoria parietina by sofiemeeus, Rhizocarpon geographicum by Randal, and Cladonia asahinae (pixie cup lichen) by Bernard Spragg. I downloaded each one at 960 px wide. Any close-up lichen photos will work. If you use different ones, draw your own crop boxes around the subject instead of typing the numbers below.
The palette:
-
Xerox paper
-
poster paper
-
tape
-
Ink
-
phone body
-
night screen
-
Lichen lime
-
Cream screen
-
grey
-
divider
-
Marker red
-
coffee
-
Lay down the paper
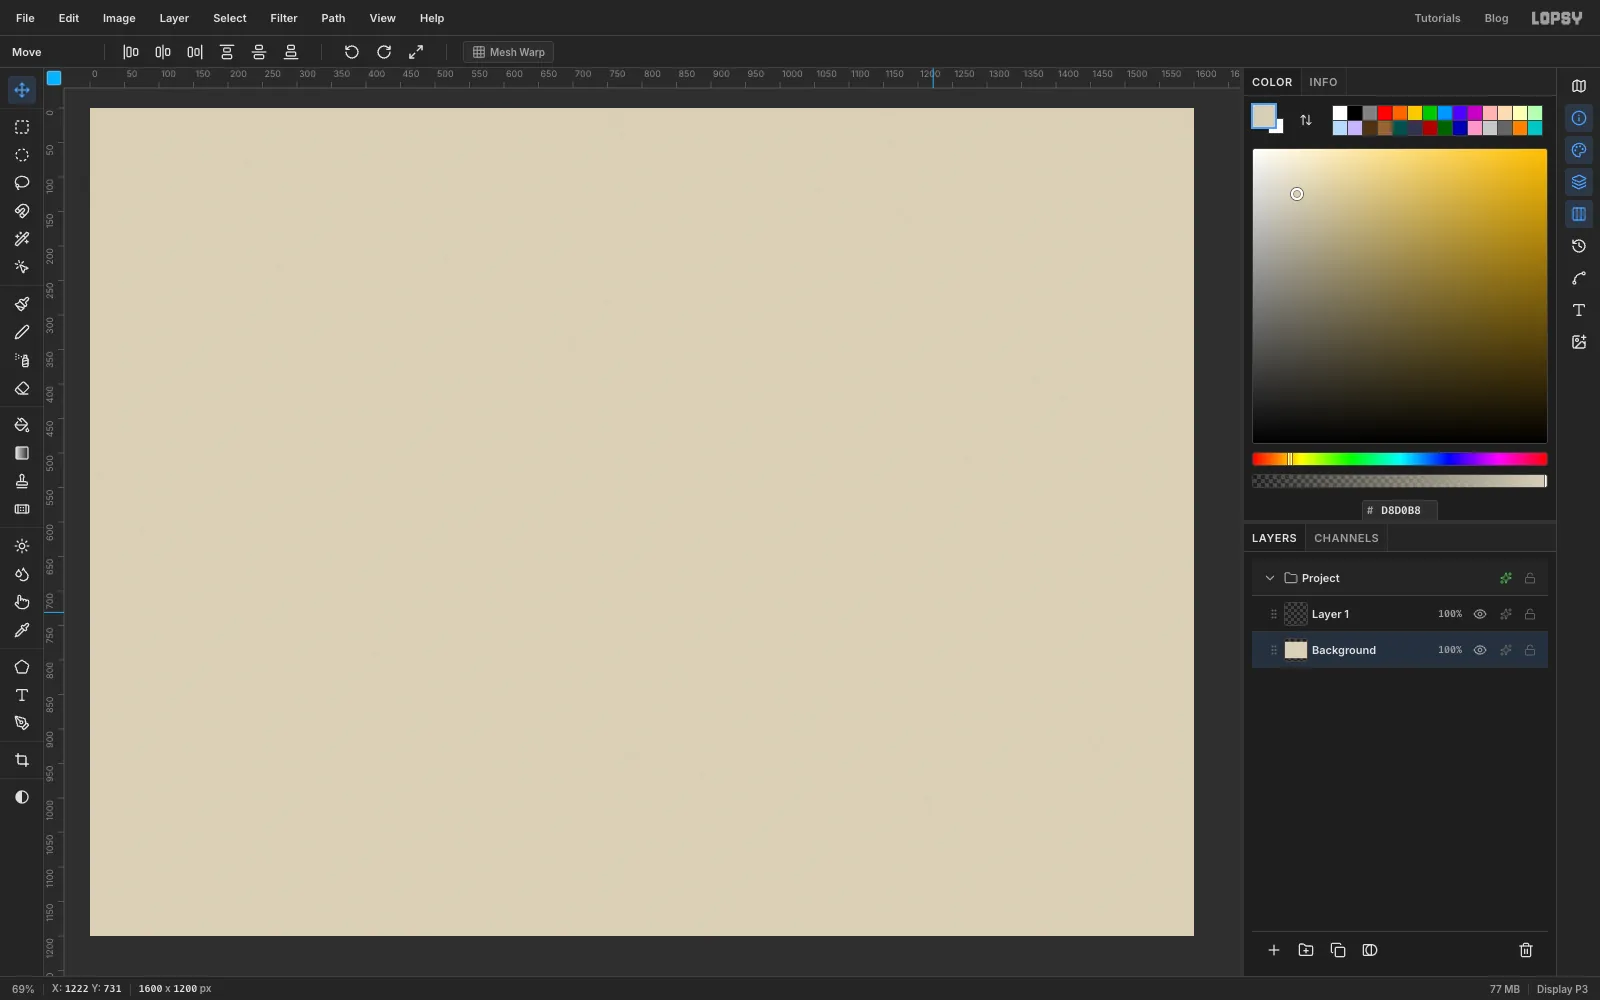
Choose File → New, keep the units on Pixels, and make the document 1600 wide and 1200 high.
Select the Background layer, set the foreground colour to xerox paper and choose Edit → Fill. Then choose Filter → Add Noise: Amount 14, Mode Mono, Distribution Gaussian. That gives the paper a fine tooth.
Click the top ruler to drop vertical guides at 60 and 520, and the left ruler for horizontal guides at 60 and 1140. The guides at 60 and 1140 are the outer margins, and 520 marks the right edge of the title column.
Select the empty Layer 1 and click Delete Layer at the bottom of the Layers panel. You won't need it.
-
Add soft stains
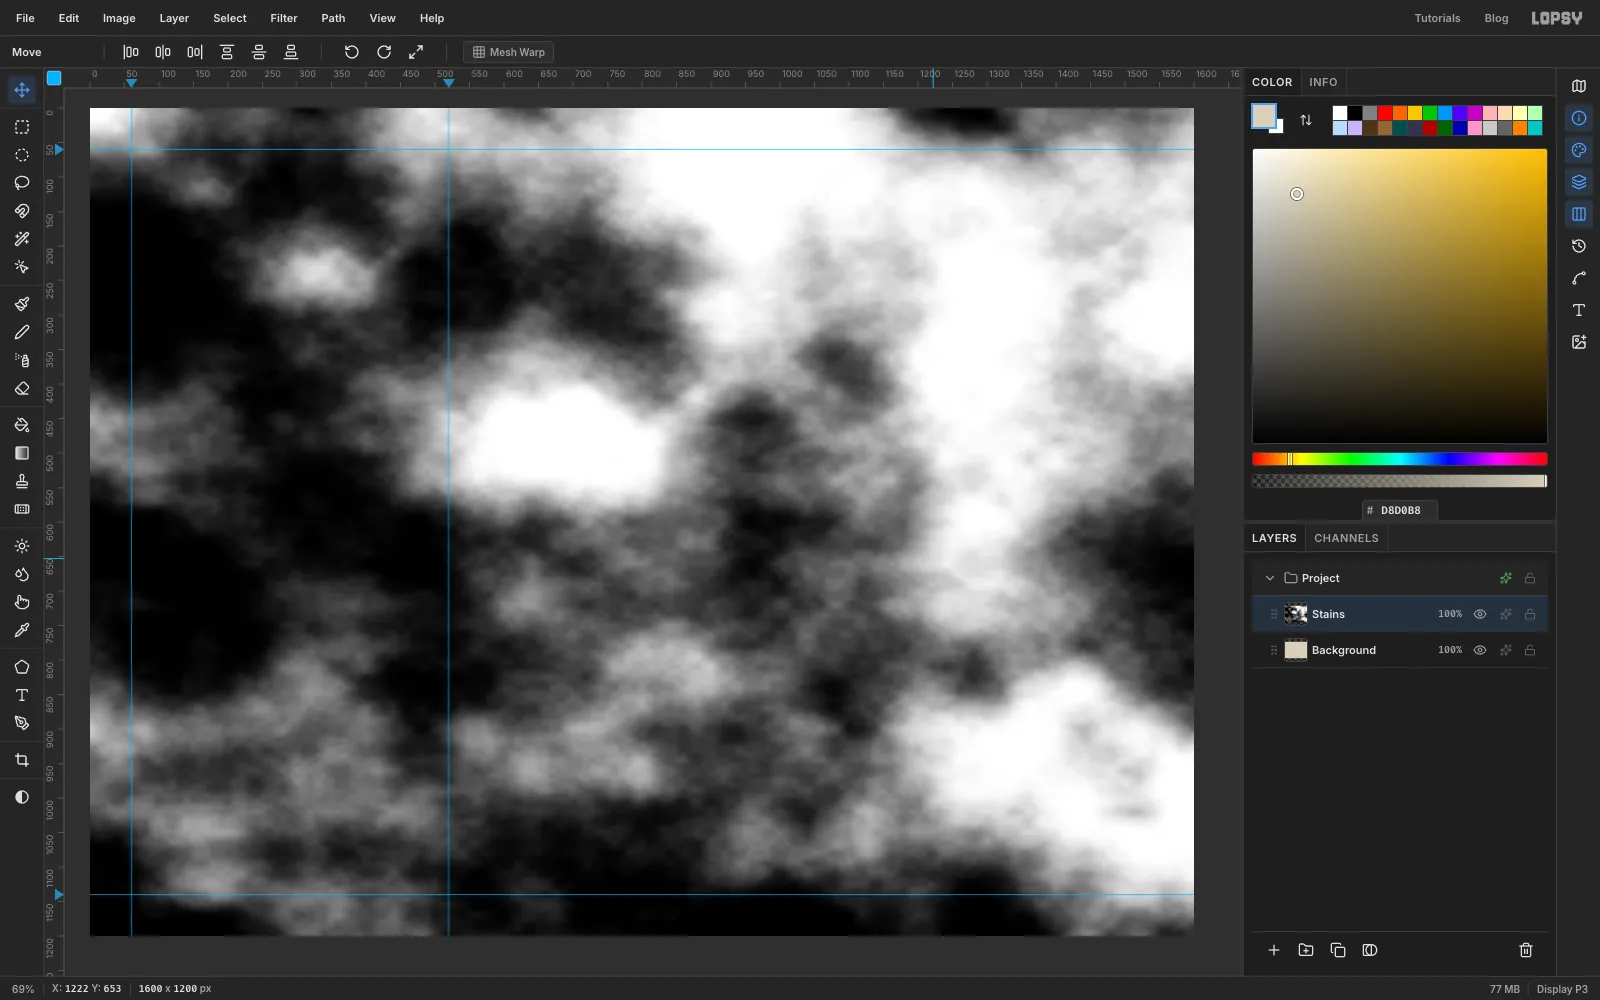
Photocopies are never evenly grey. Select Background and click Add Layer at the bottom of the Layers panel, then double-click the new layer's name and call it Stains.
Choose Filter → Clouds with Scale 5. The layer fills with grey cloud shapes. Then choose Filter → Brightness/Contrast with Brightness 10 and Contrast 30 to give the clouds a little more shape.
-
Speckle it with toner
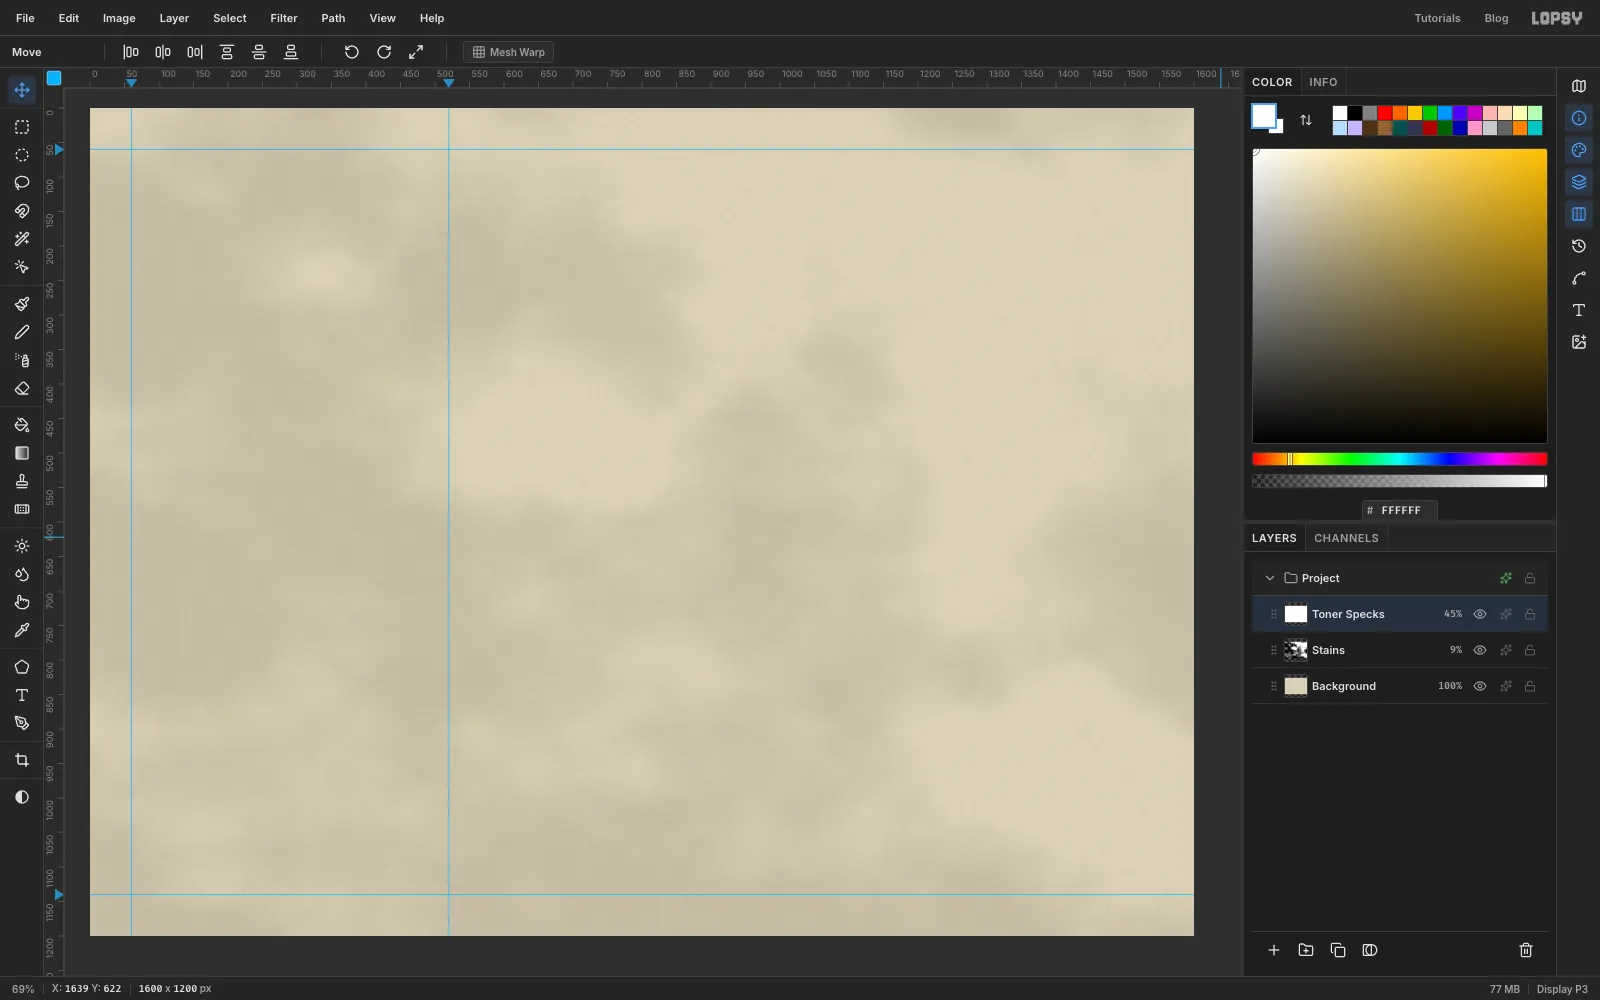
Open the layer effects for Stains (the effects button on its row). Set the blend mode to Multiply and close the drawer. Then click the opacity number on the layer row and drag it down to 9%. Now the stains just darken the paper unevenly.
A cheap photocopier also leaves specks of toner. Click Add Layer and name it Toner Specks. Set the foreground to white and choose Edit → Fill. Then:
- Filter → Add Noise, Amount 100, Mode Mono. The white turns into dense salt and pepper.
- Filter → Threshold, Level 40. Only the very darkest noise pixels stay black. Everything else turns white.
Set Toner Specks to Multiply at 45%. The white disappears and only the specks remain. They're tiny, so zoom in to 100% to see them. At full size they give the sheet a gritty, photocopied feel.
-
Tear a sheet and crop the photo
With Toner Specks selected, click Add Layer and name it Poster Paper.
Take the Lasso (L) and draw a rough rectangle in the top-right corner, from about X 1090, Y 18 to X 1540, Y 280. Wobble your hand a little along each edge so it looks torn rather than cut. Set the foreground to poster paper , choose Edit → Fill, and press Cmd+D.
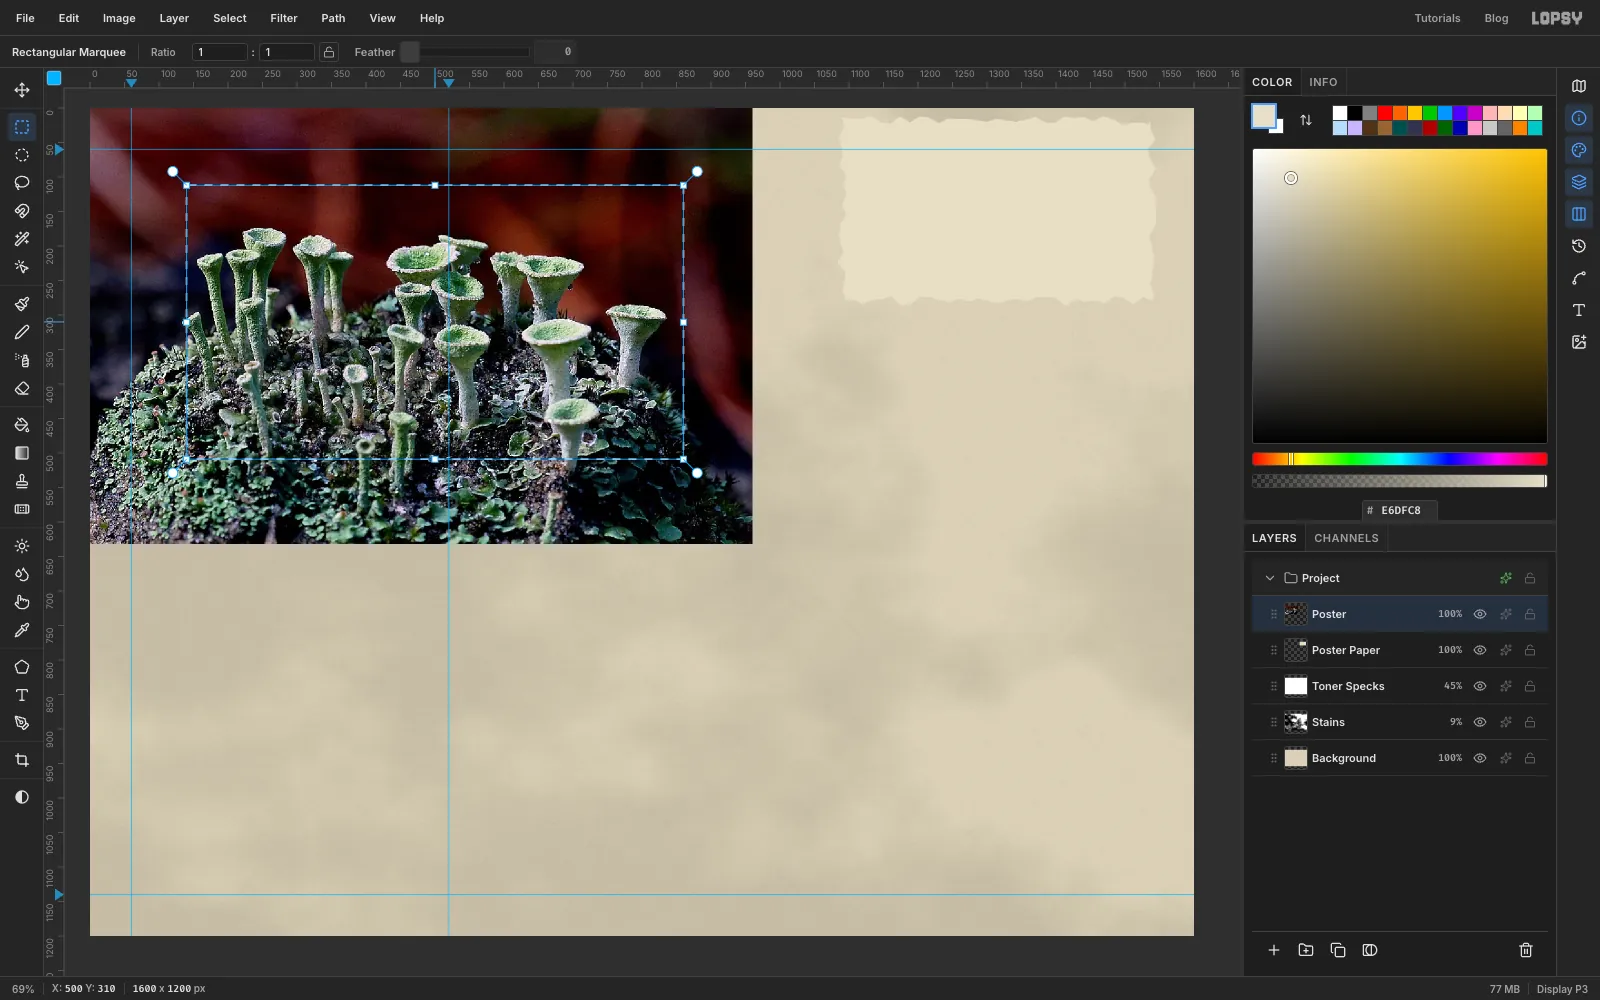
Now drag the pixie-cup lichen photo from your desktop onto the canvas. It lands full size as a new layer in the top-left corner. Rename it Poster and press Cmd+D.
A poster this small only reads if the subject fills it, so crop first. Click once with the Rectangular Marquee (M) to open its dialog and type the corners 140, 112 and 860, 509. That's a box around the cluster of goblets, the same shape as the print area. Choose Select → Inverse, press Delete, and keep going.
-
Scale the crop down
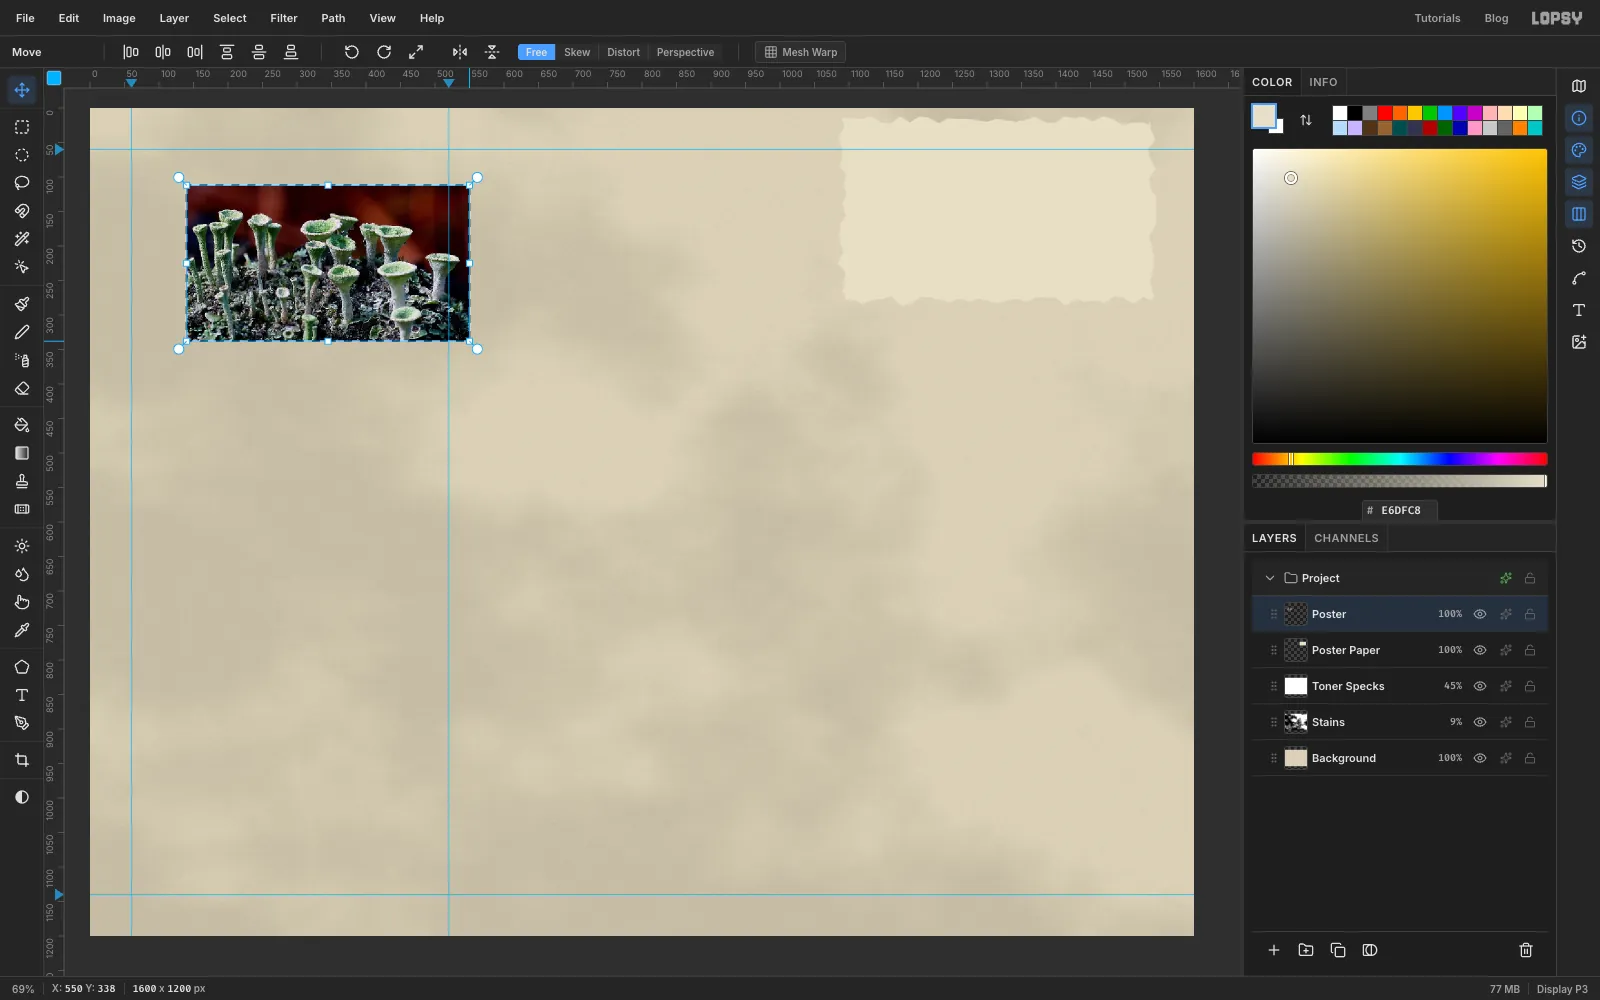
Open the marquee dialog again with the same corners, 140, 112 and 860, 509, so the crop is selected. Take the Move tool (V), hold Cmd and drag the bottom-right corner handle inwards until the crop is 410 px wide. Cmd keeps the proportions. Press Enter and then Cmd+D.
-
Place the photo on the poster
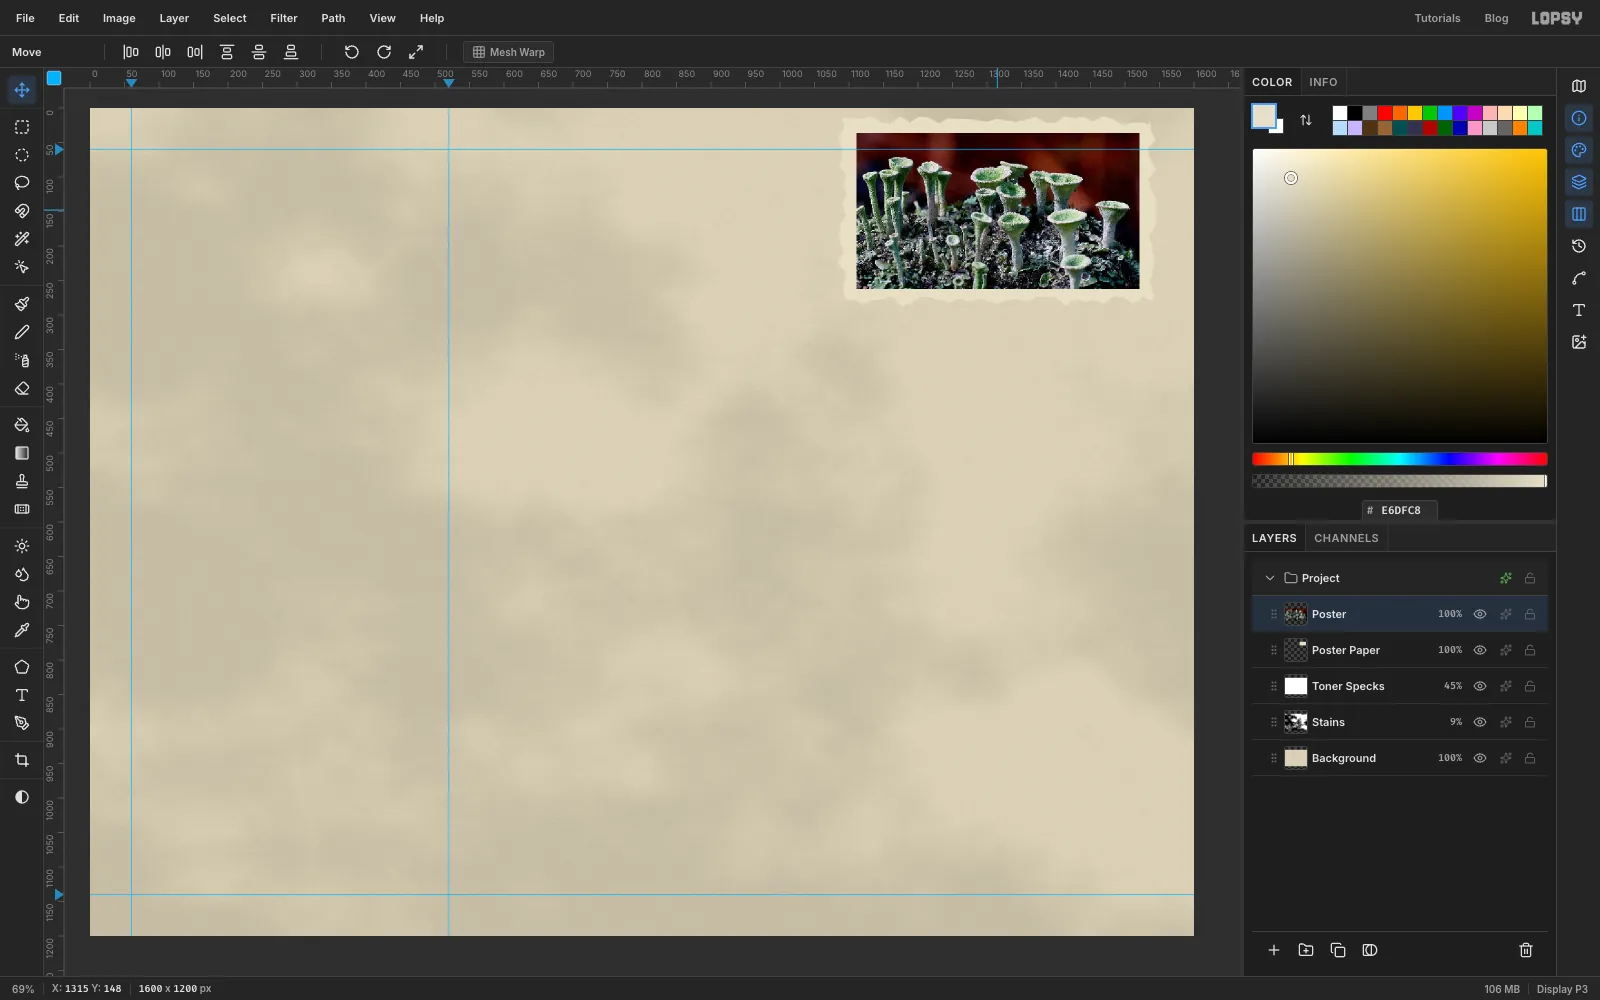
Drag the photo with the Move tool until its top-left corner sits at X 1110, Y 36. That leaves a 20 px margin of paper on the left and right, like a print on a sheet.
-
Photocopy it into dots
With Poster still selected:
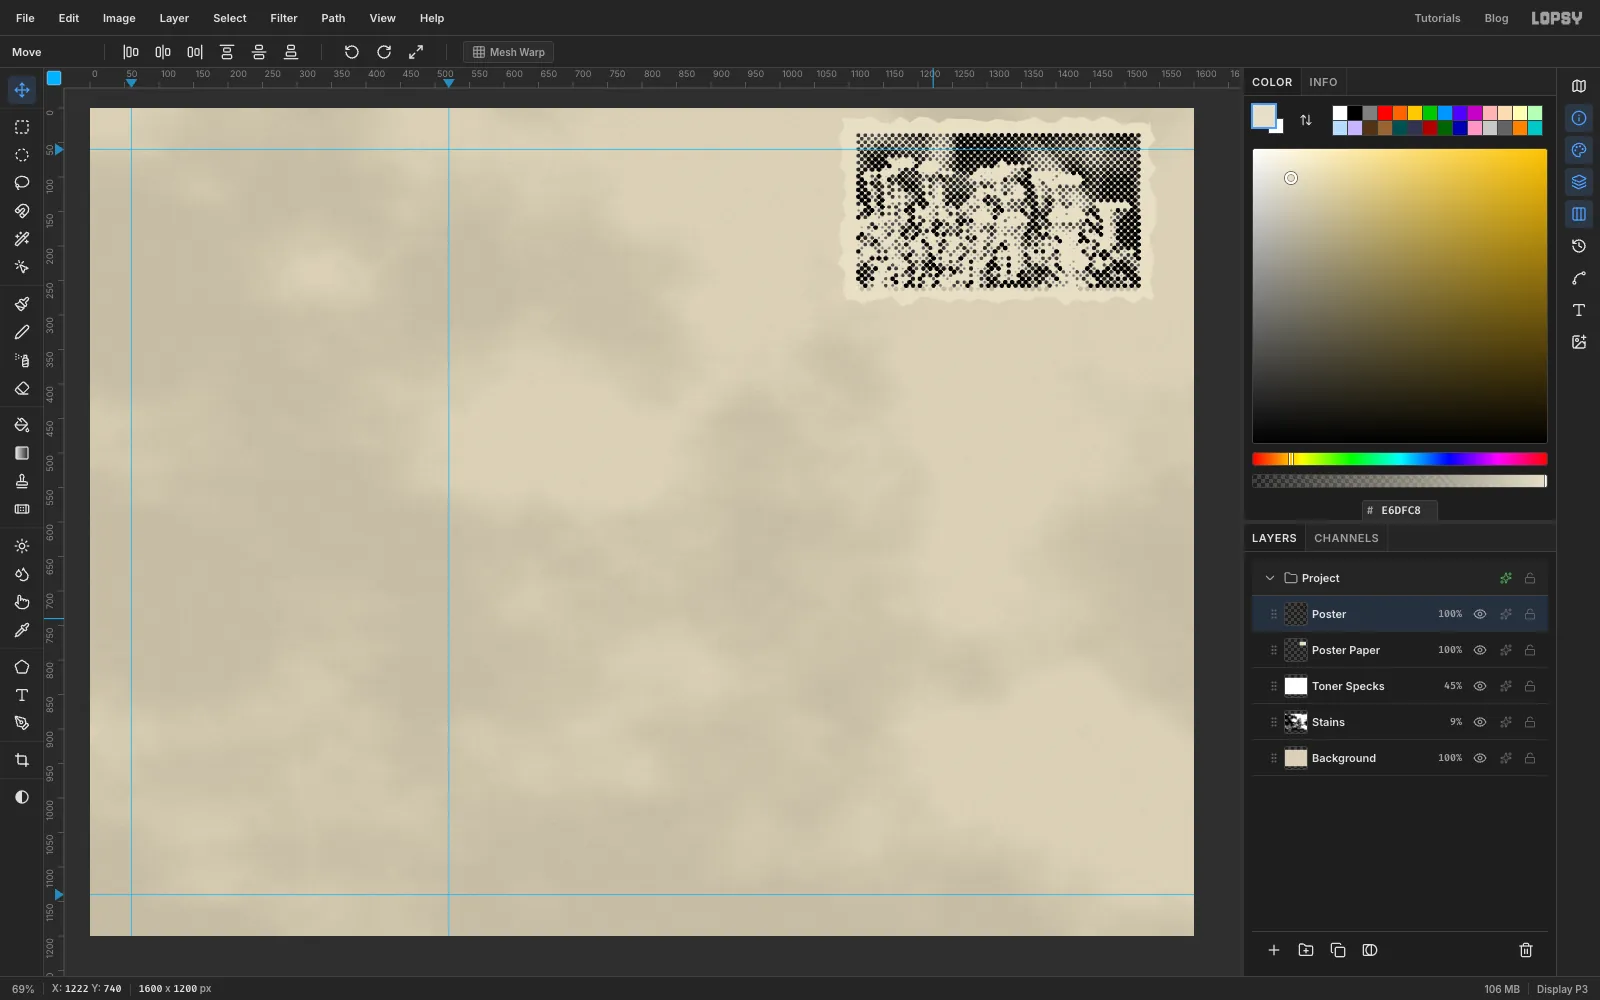
- Filter → Desaturate, to drop the colour.
- Filter → Brightness/Contrast, Brightness 28, Contrast 80. Push it hard. A photocopy has no subtle midtones, and you want the pale cups to separate from the dark soil.
- Filter → Halftone, Dot Size 7, Angle 45, Softness 0.6.
Halftone turns the photo into black dots and leaves the white parts transparent, so the paper underneath shows through as the "white" of the print.
-
Blend the print into the paper
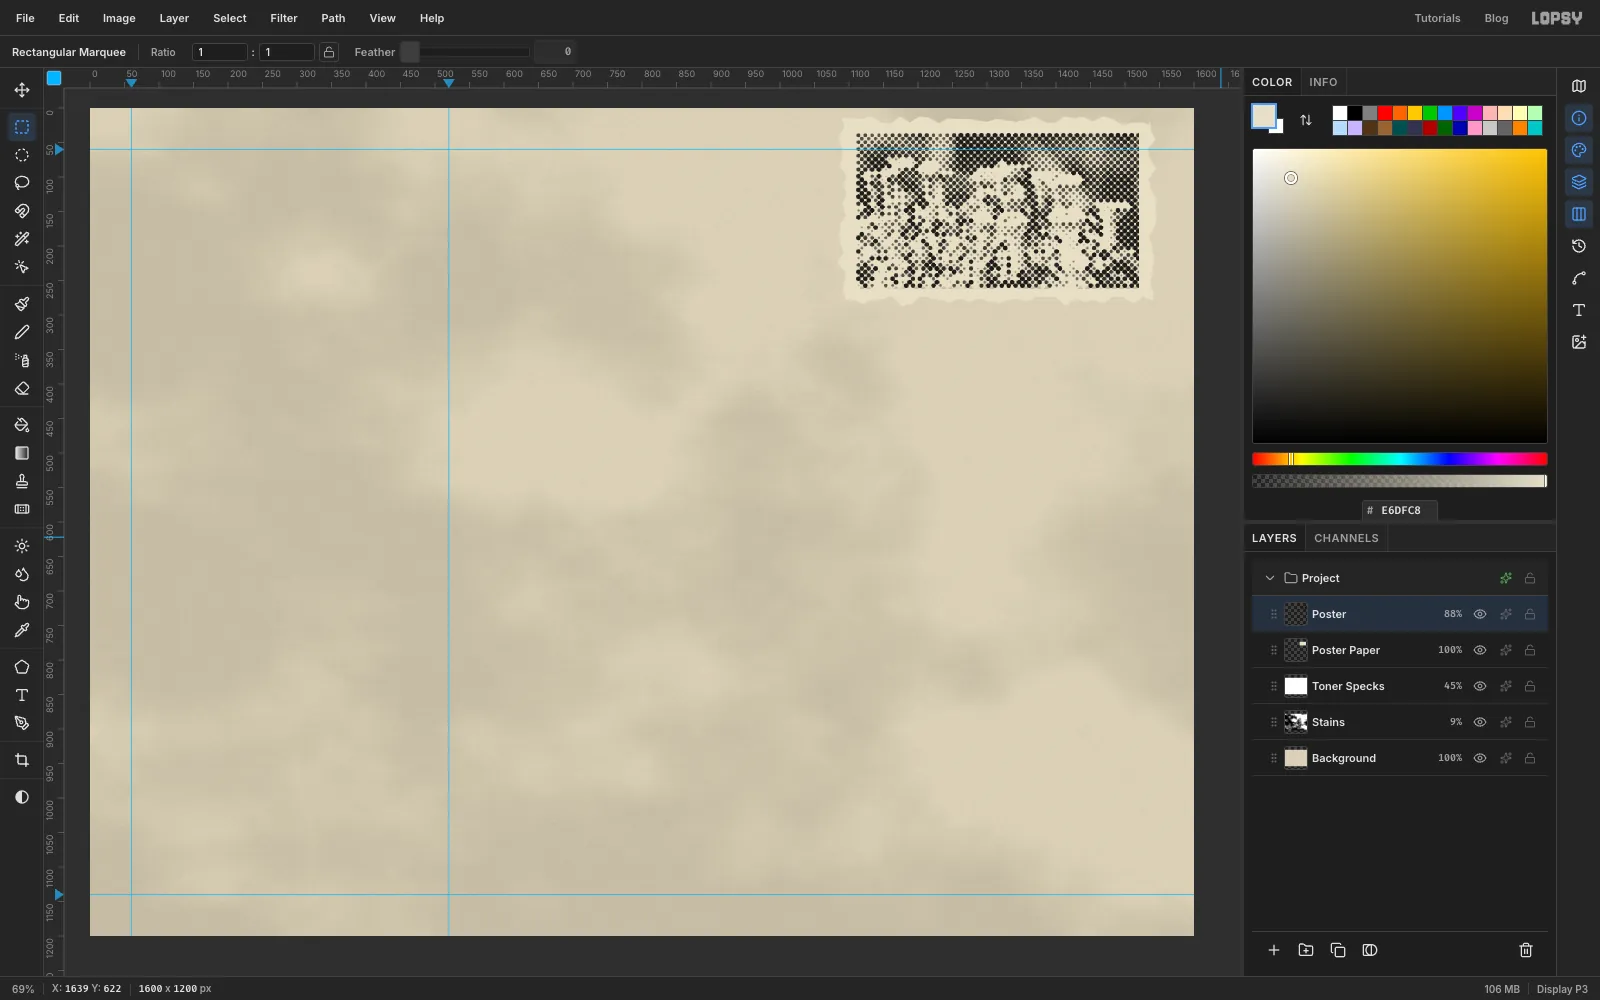
Set Poster to Multiply at 88%. Now the dots sit in the paper instead of on top of it, and the paper's colour shows through as the white of the print.
-
Build the first phone body
Each phone gets its own group. Select Poster and click New Group at the bottom of the Layers panel. Name the group Phone A, then click Add Layer to put a layer inside it and name the layer A Body.
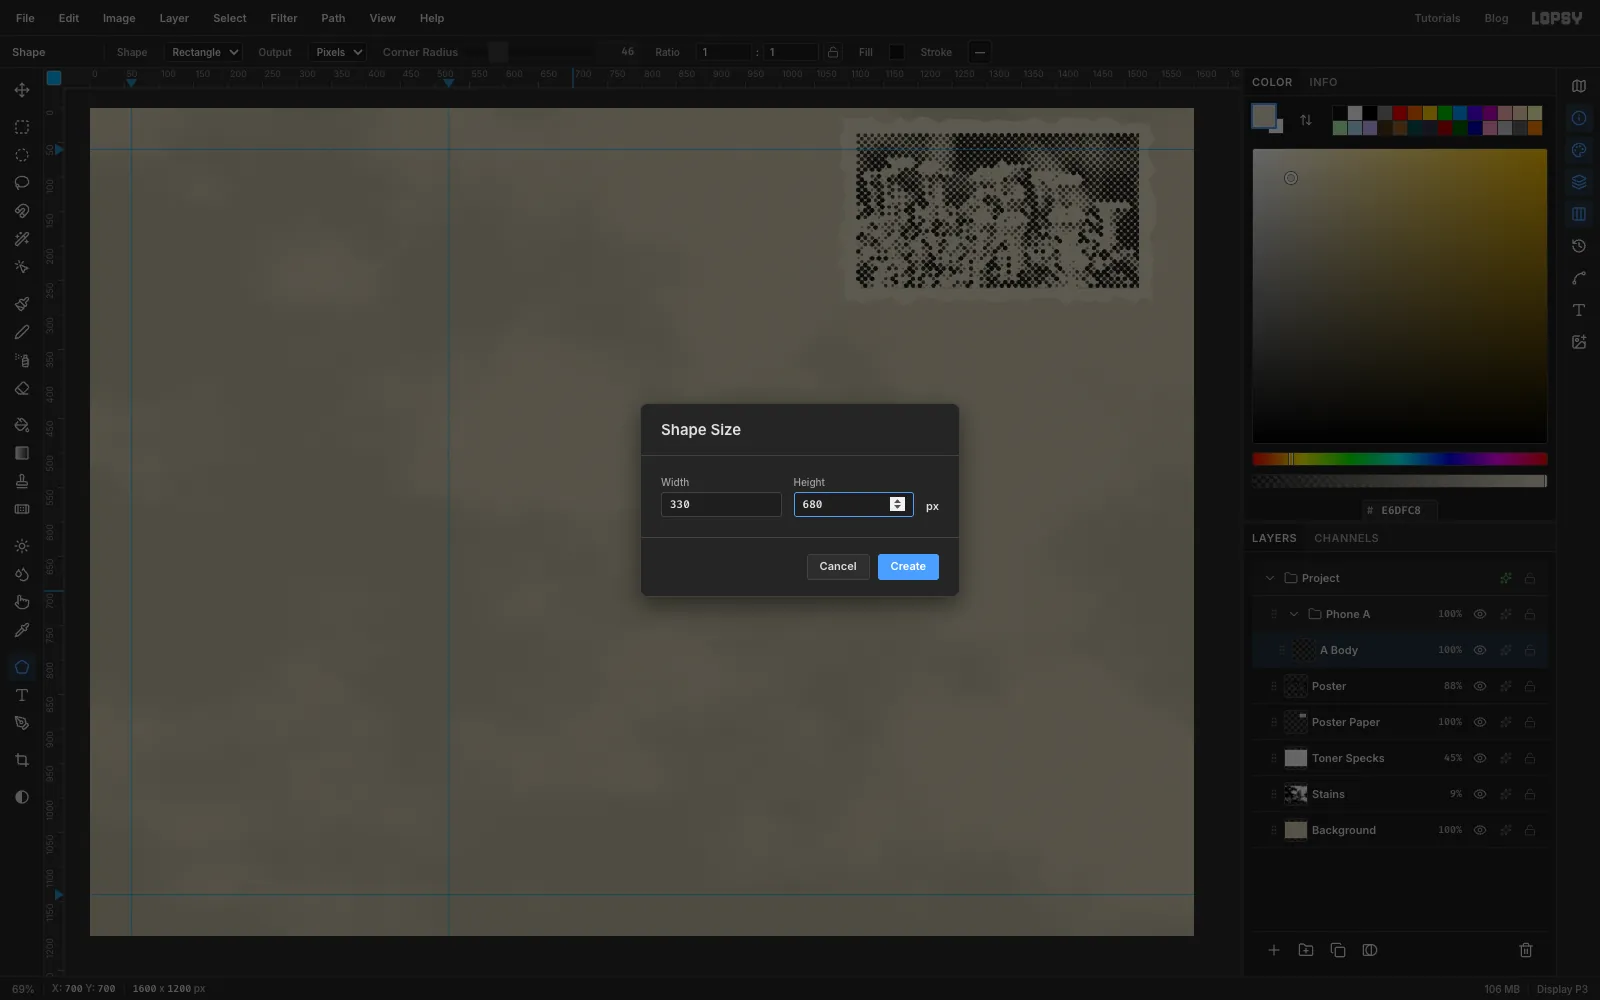
Take the Shape tool (U). In the options bar choose Shape Rectangle, Output Pixels and Corner Radius 46. Click the Fill swatch and type . If a Stroke colour is set, click its swatch and choose Remove stroke.
Click once (don't drag) at X 700, Y 700. The Shape Size dialog opens. Type Width 330 and Height 680 and click Create. The rounded phone body is centred on your click.
Open the effects for A Body, turn on Drop Shadow and set Offset X 12, Offset Y 18, Blur 24 and Opacity 50.
-
Add a lime screen
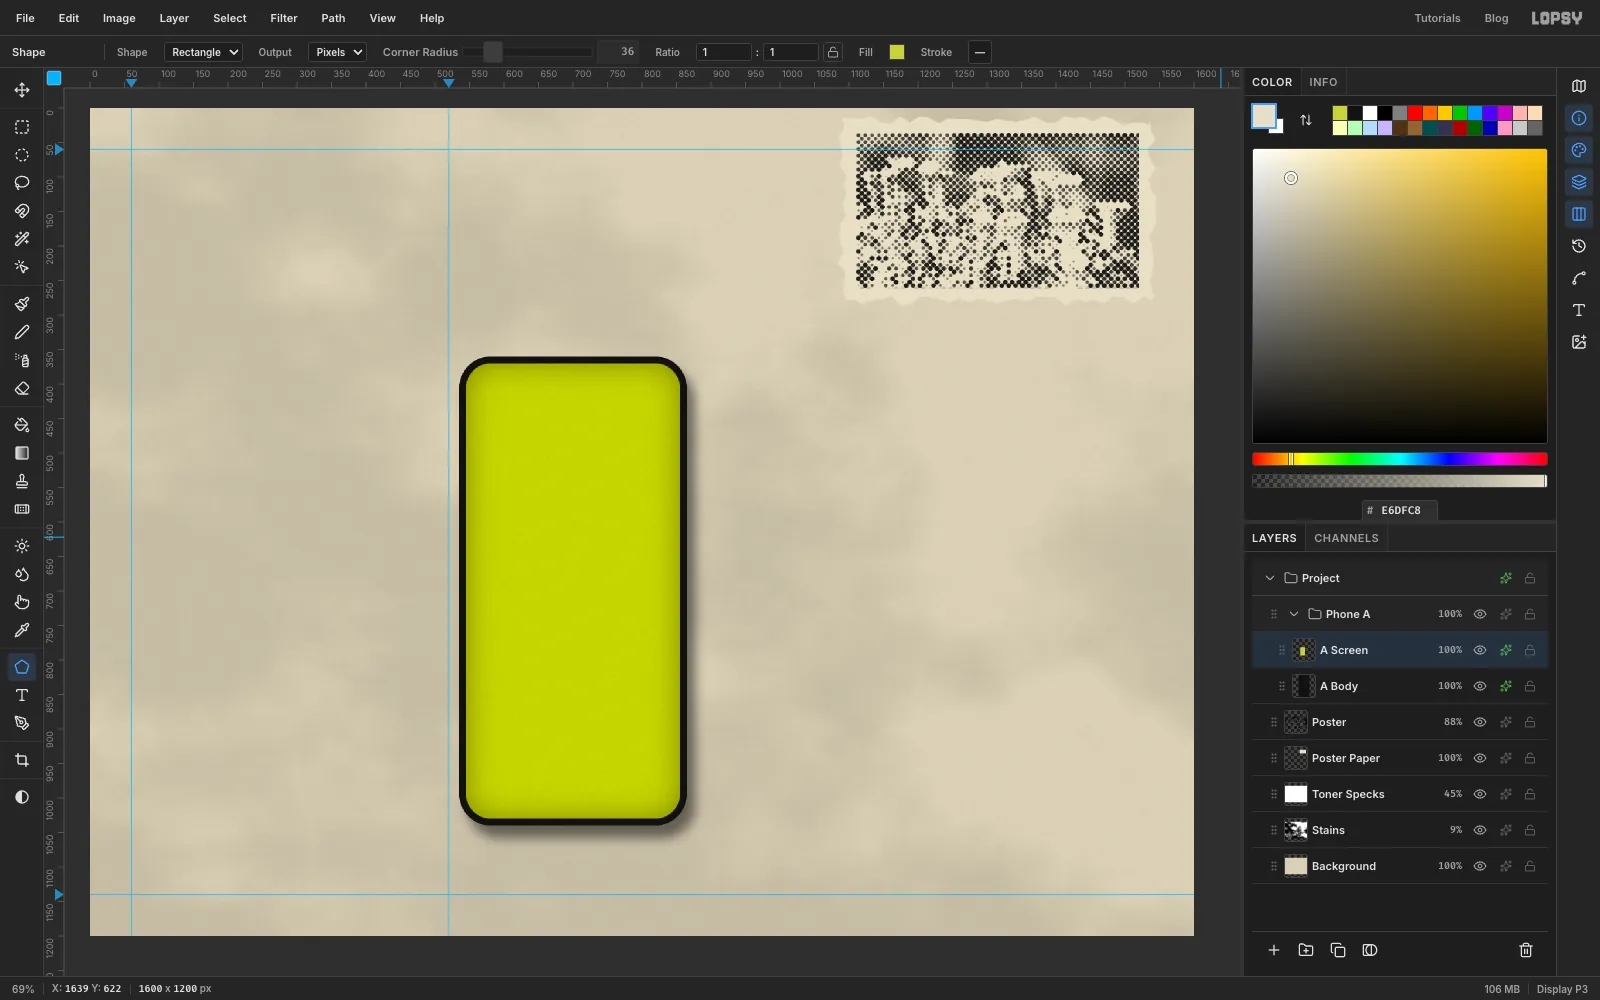
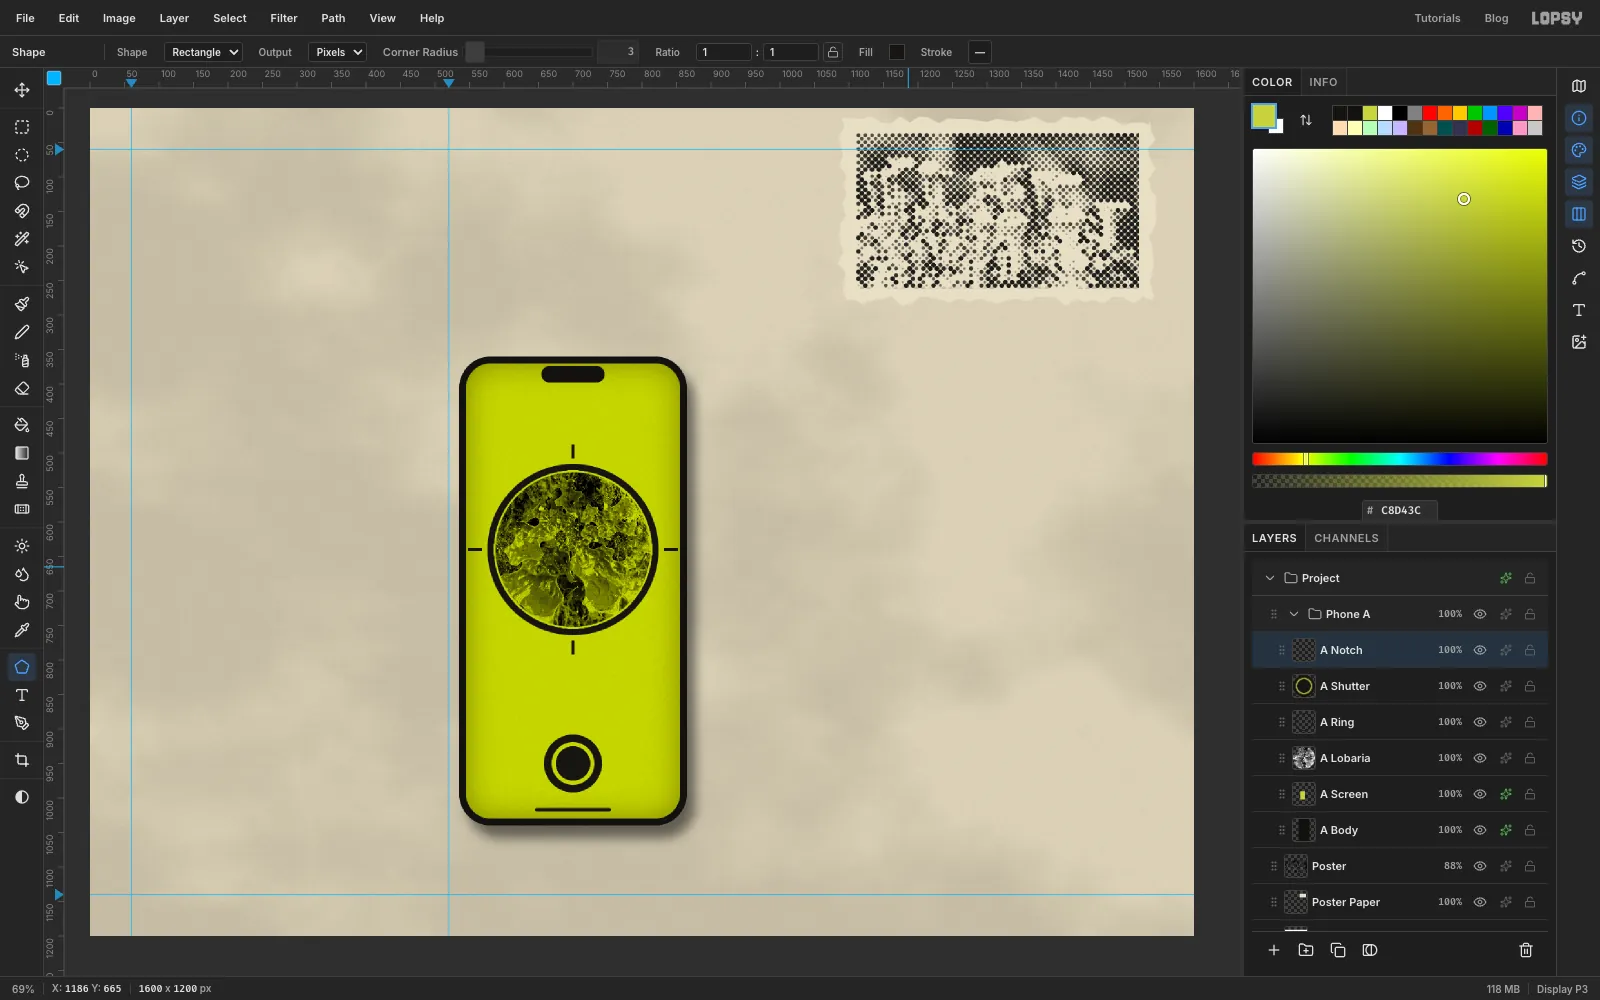
Click Add Layer and name it A Screen. With the Shape tool, set Corner Radius to 36 and the Fill to lichen lime . Click once at X 700, Y 700 again and create a 310 × 660 rectangle. That leaves a 10 px black bezel all round.
Give the screen some grit with Filter → Add Noise: Amount 12, Mode Mono. Then open its effects and turn on Inner Glow: Size 70, Opacity 40, colour ink . The darkened edges make the screen look printed rather than lit.
-
Cut a round viewfinder
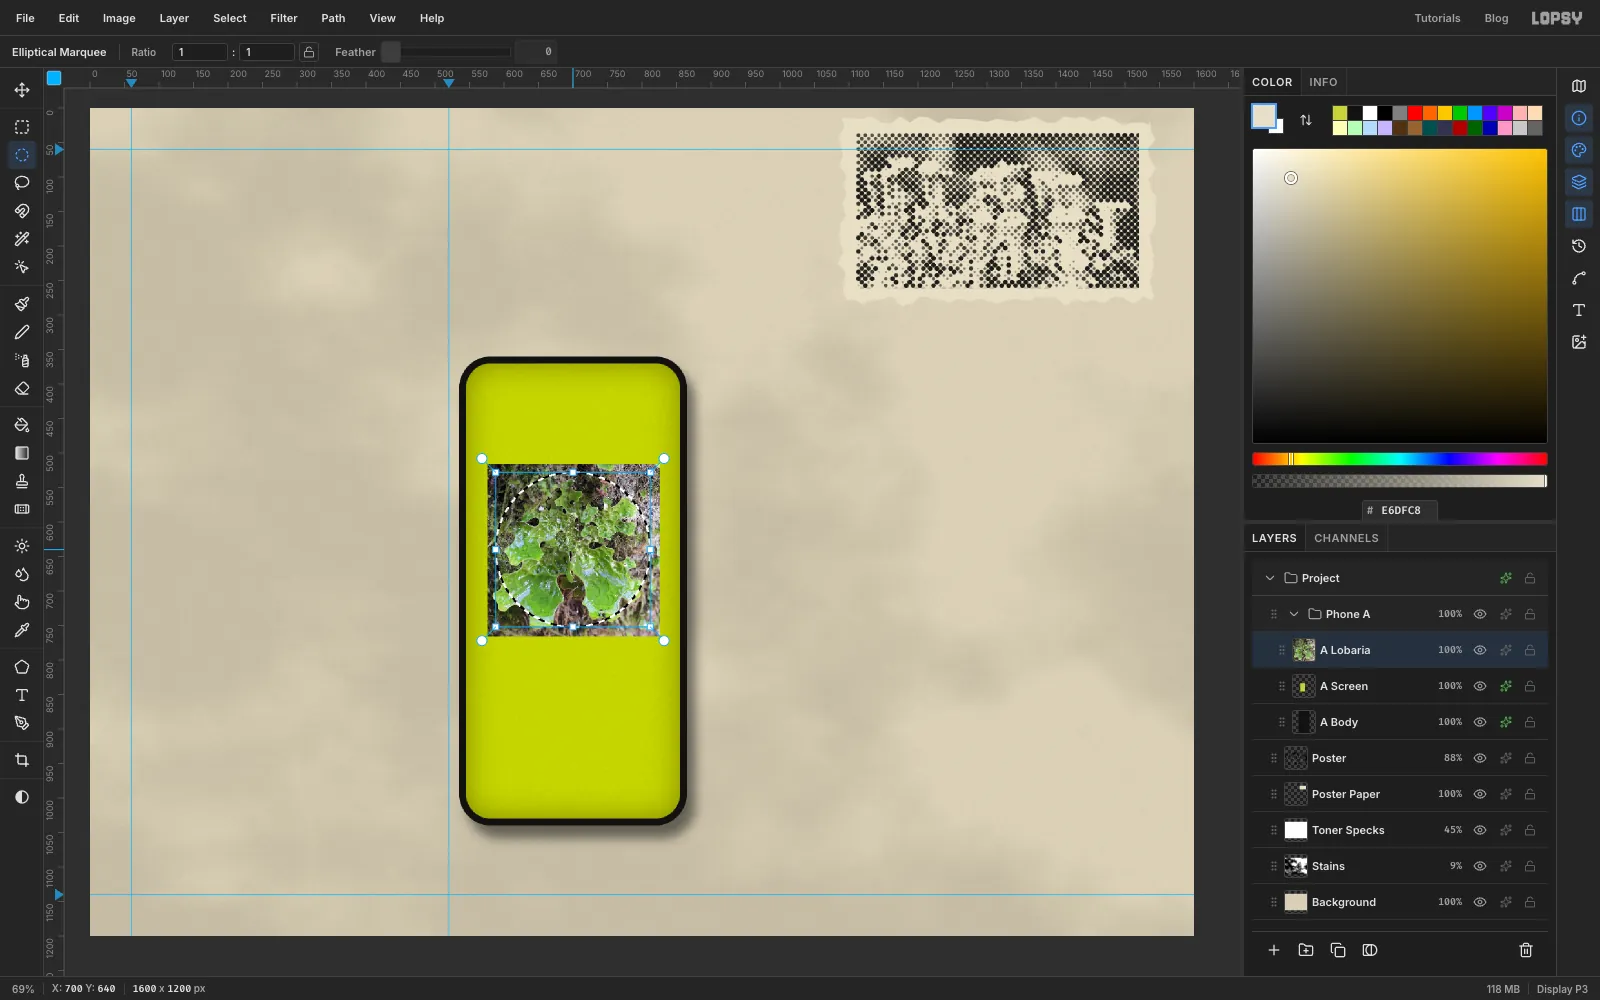
Drop the lungwort (Lobaria) photo onto the canvas and rename it A Lobaria. It lands above A Screen, inside the group. Cmd-drag its bottom-right handle until it's 250 px wide, press Enter and Cmd+D. Then drag it with the Move tool until it's centred at about X 700, Y 640, in the upper half of the screen.
Take the Elliptical Marquee and click once to open its dialog. Type the corners 588, 528 and 812, 752. That's a circle 224 px across, centred on the photo.
-
Duotone the viewfinder and draw the camera chrome
Choose Select → Inverse, press Delete and then Cmd+D. Now make it duotone:
- Filter → Desaturate.
- Filter → Brightness/Contrast, Brightness 5, Contrast 40.
- Set the layer's blend mode to Multiply. The grey photo takes on the lime of the screen beneath it.
The ring. Click Add Layer and name it A Ring. Use the Elliptical Marquee dialog for a circle from 576, 516 to 824, 764, and fill it with ink . Then choose Select → Shrink, enter 9, press Delete and Cmd+D. You're left with a 9 px ring.
The tick marks. Take the Pencil (N) at Size 4, in ink. Click just outside the ring at the top (X 700, Y 506), then hold Shift and click at Y 490. That draws a short straight line. Release Shift and do the same at the bottom, left and right, starting each tick with a plain click.
The shutter. Click Add Layer and name it A Shutter. With the Shape tool set to Ellipse and ink fill, click once at X 700, Y 950 and create an 84 × 84 circle. Marquee a circle from 669, 919 to 731, 981, fill it with lime, Shrink by 4 and press Delete. That cuts a thin lime ring into the button. Finish with a 50 × 50 ink ellipse at the same centre.
The notch and home bar. Last, add a layer called A Notch. With the Shape tool set to Rectangle, draw a 92 × 24 ink rectangle with Corner Radius 12 at X 700, Y 386 for the camera notch. Then set Corner Radius to 3 and draw a 110 × 5 one at X 700, Y 1017 for the home bar.
-
Type the scan screen
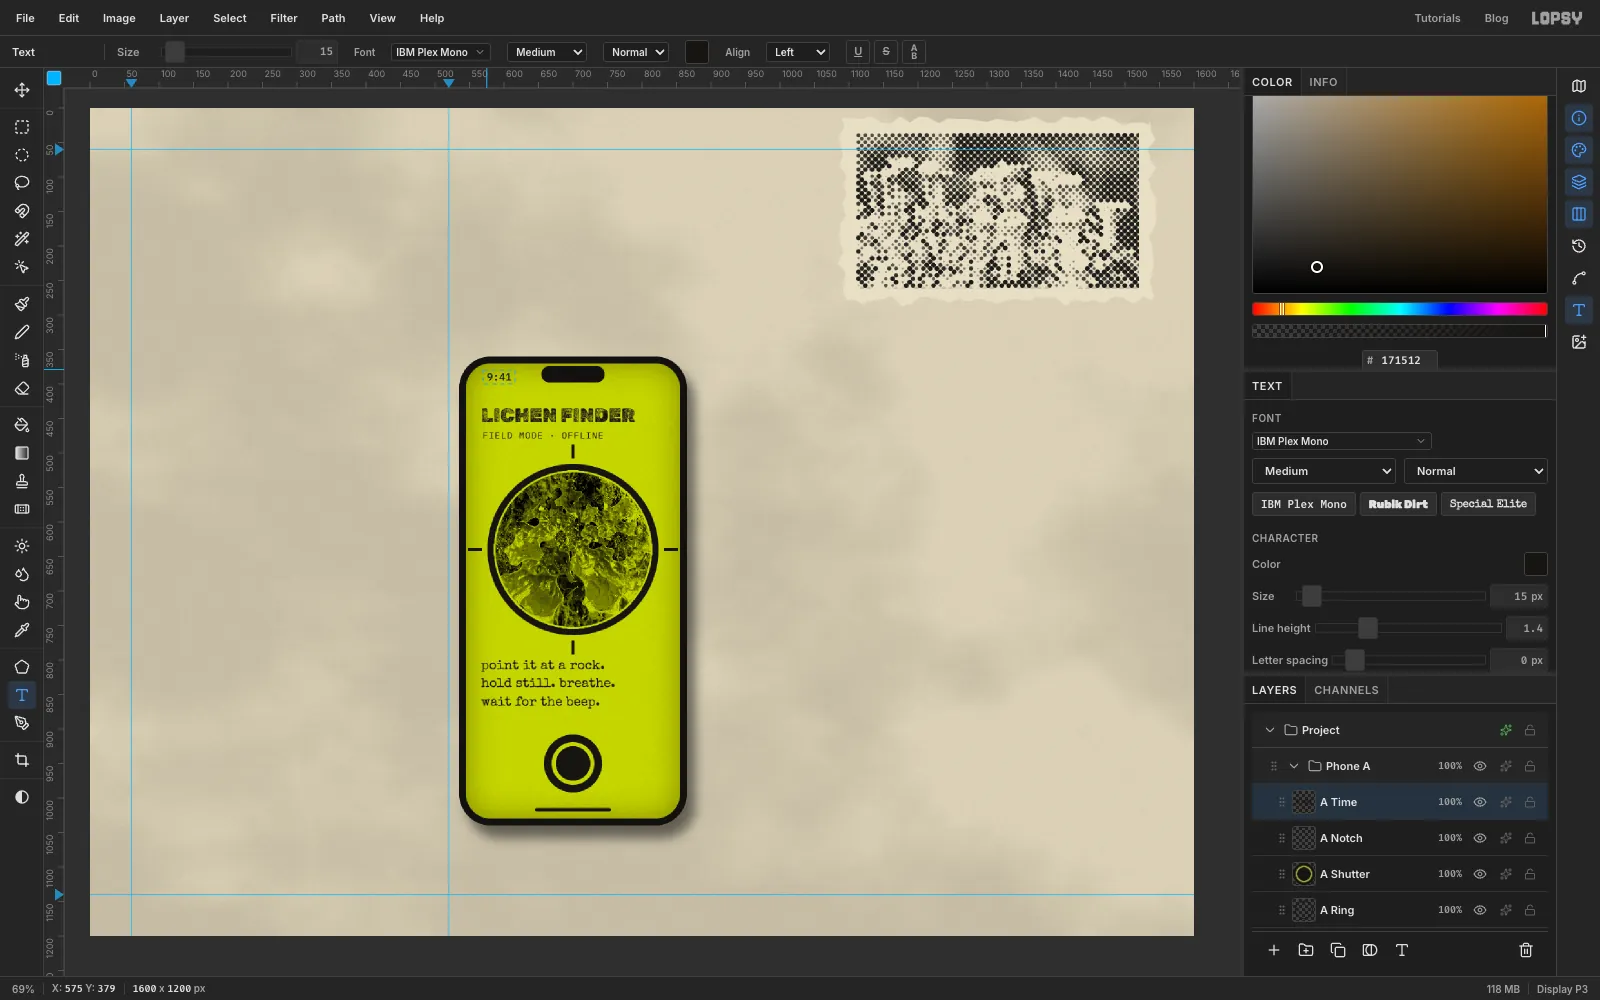
Before each new piece of text, select a non-text layer (here, A Screen). With a text layer active, changing the font or size in the options bar would restyle that layer instead. Also work from the bottom up: a click inside an existing text box edits that text instead of starting a new one.
Take the Text tool (T). Then for each line, set the font, size and colour, click at the given point (it becomes the top-left of the text), type, and press Tab to finish:
Everything on this screen lines up on a left edge at X 567, 22 px inside the screen.
- Special Elite, 19 px, ink, at Y 796:
point it at a rock., Enter,hold still. breathe., Enter,wait for the beep. - IBM Plex Mono, 13 px, ink, at Y 466:
FIELD MODE · OFFLINE. In the Text panel, set Letter spacing to 1. - Rubik Dirt, 28 px, ink, Letter spacing 0, at Y 426:
LICHEN FINDER. - Select A Notch first. Then IBM Plex Mono Medium, 15 px, ink, at Y 379, but a little further in at X 575 so it clears the rounded corner:
9:41.
Rubik Dirt is already distressed, so the header looks worn without any extra work.
- Special Elite, 19 px, ink, at Y 796:
-
Start the field log phone
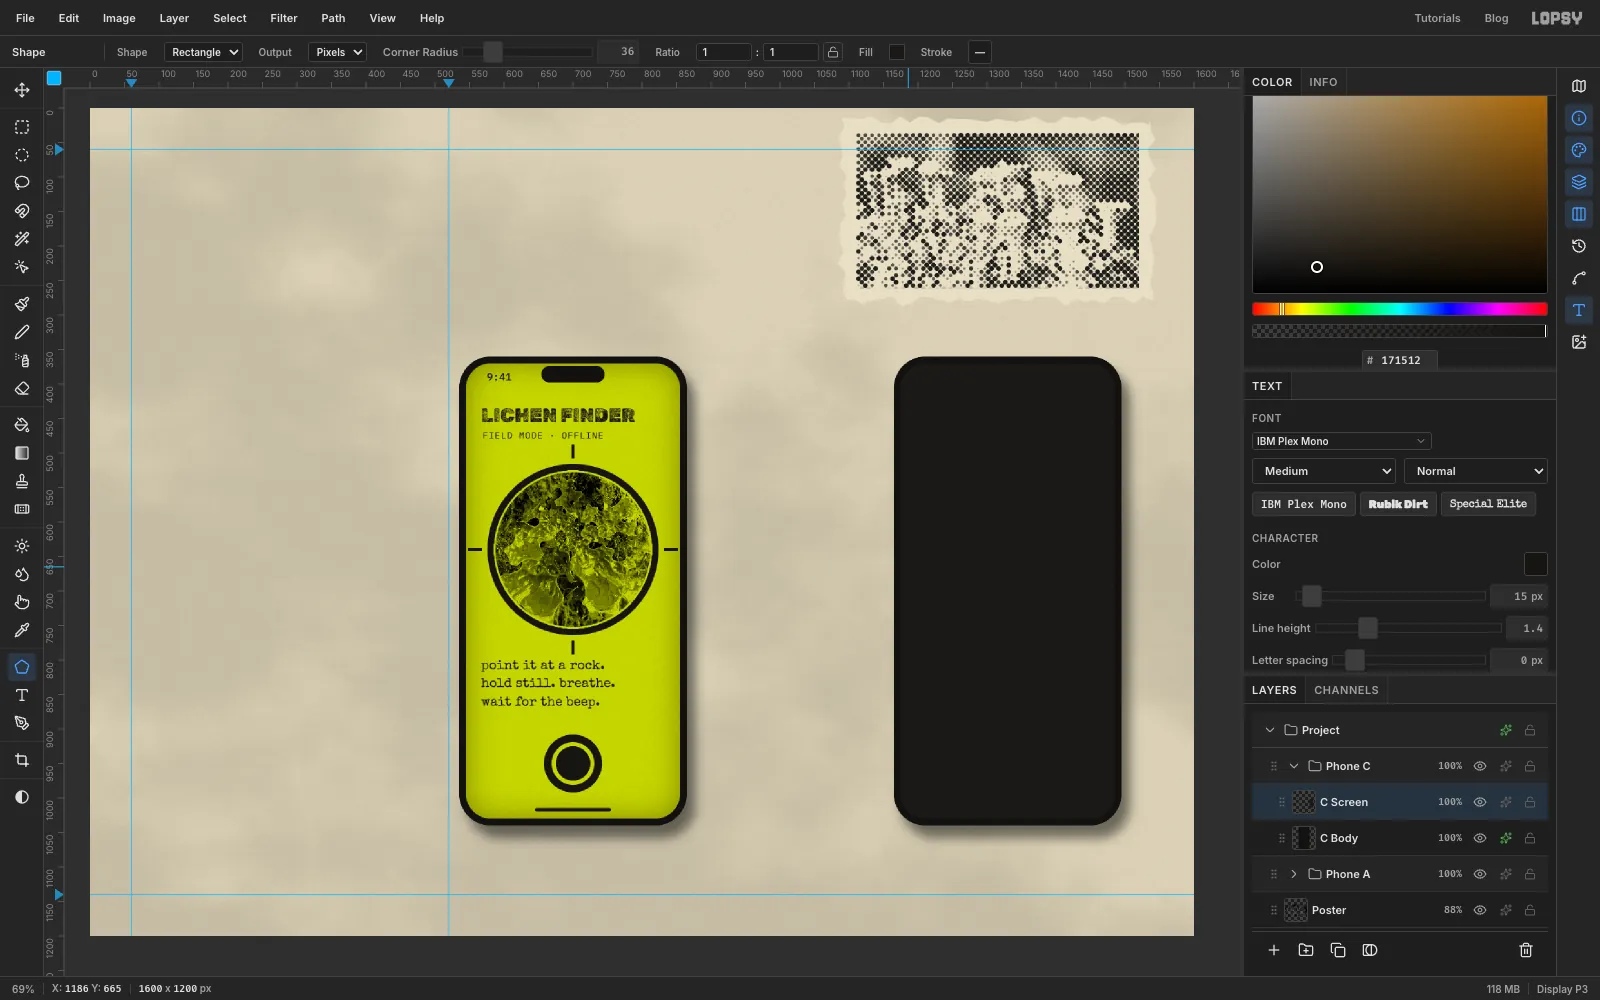
Click the arrow on the Phone A group to collapse it, then click its row and click New Group. Because the collapsed group was selected, the new group lands next to it rather than inside it. Name it Phone C.
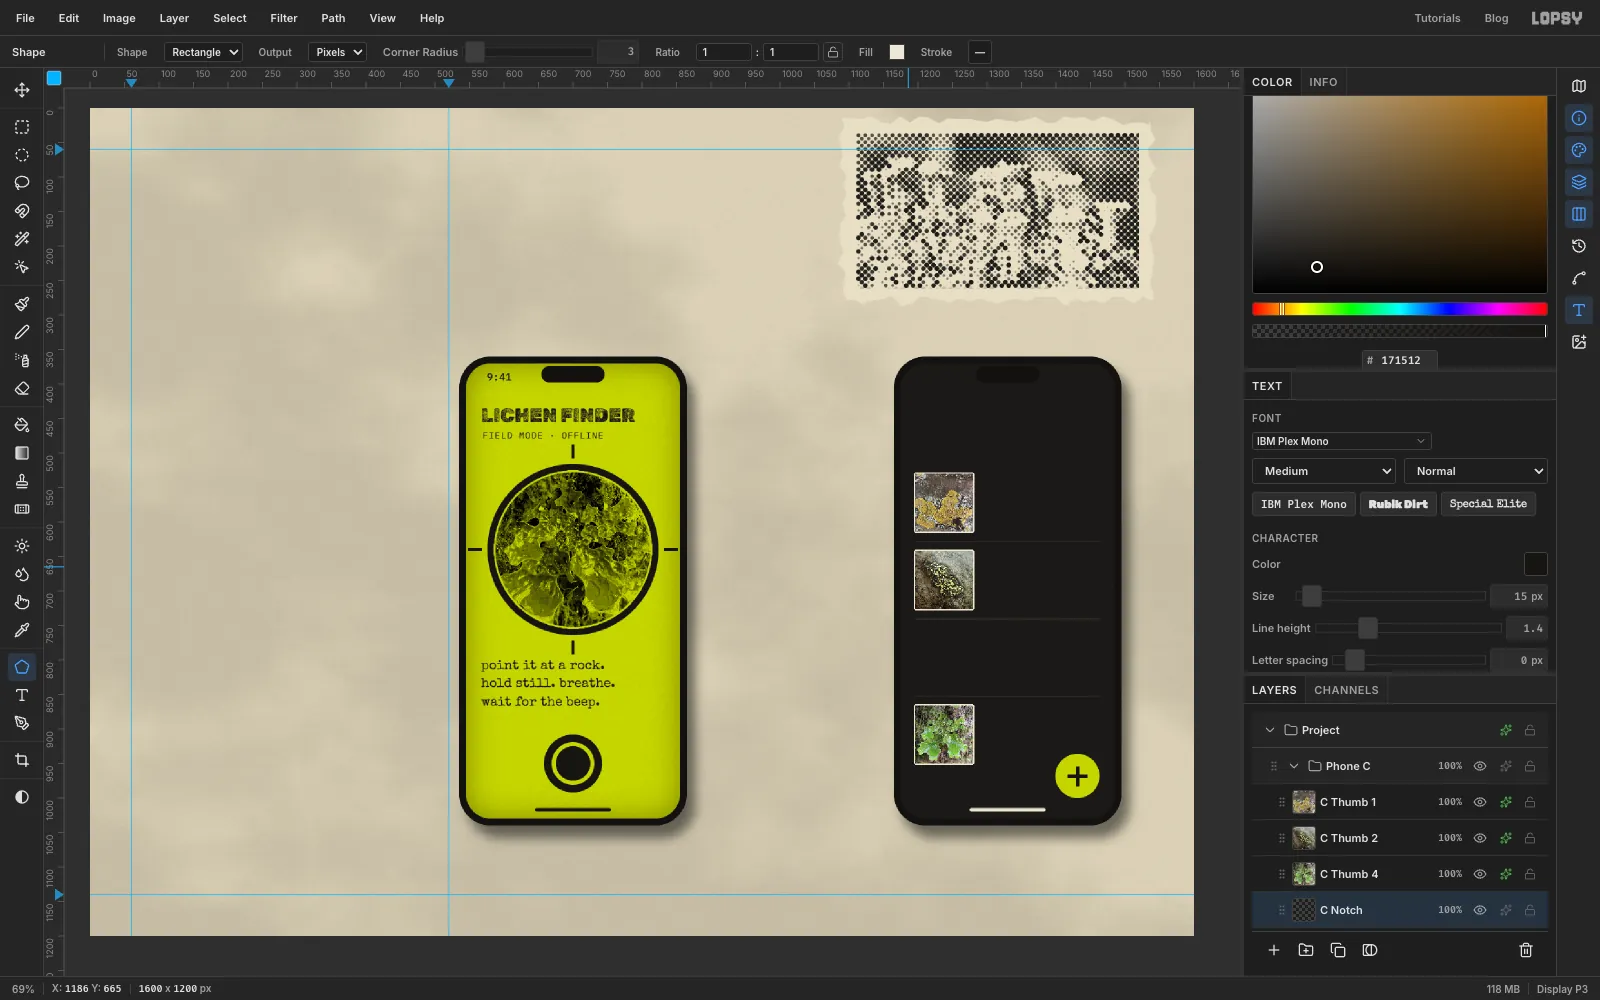
Inside it, build the body and screen exactly as before, but centred at X 1330, Y 700: C Body (330 × 680, radius 46, , with the same Drop Shadow) and C Screen (310 × 660, radius 36, night ).
-
Crop square thumbnails
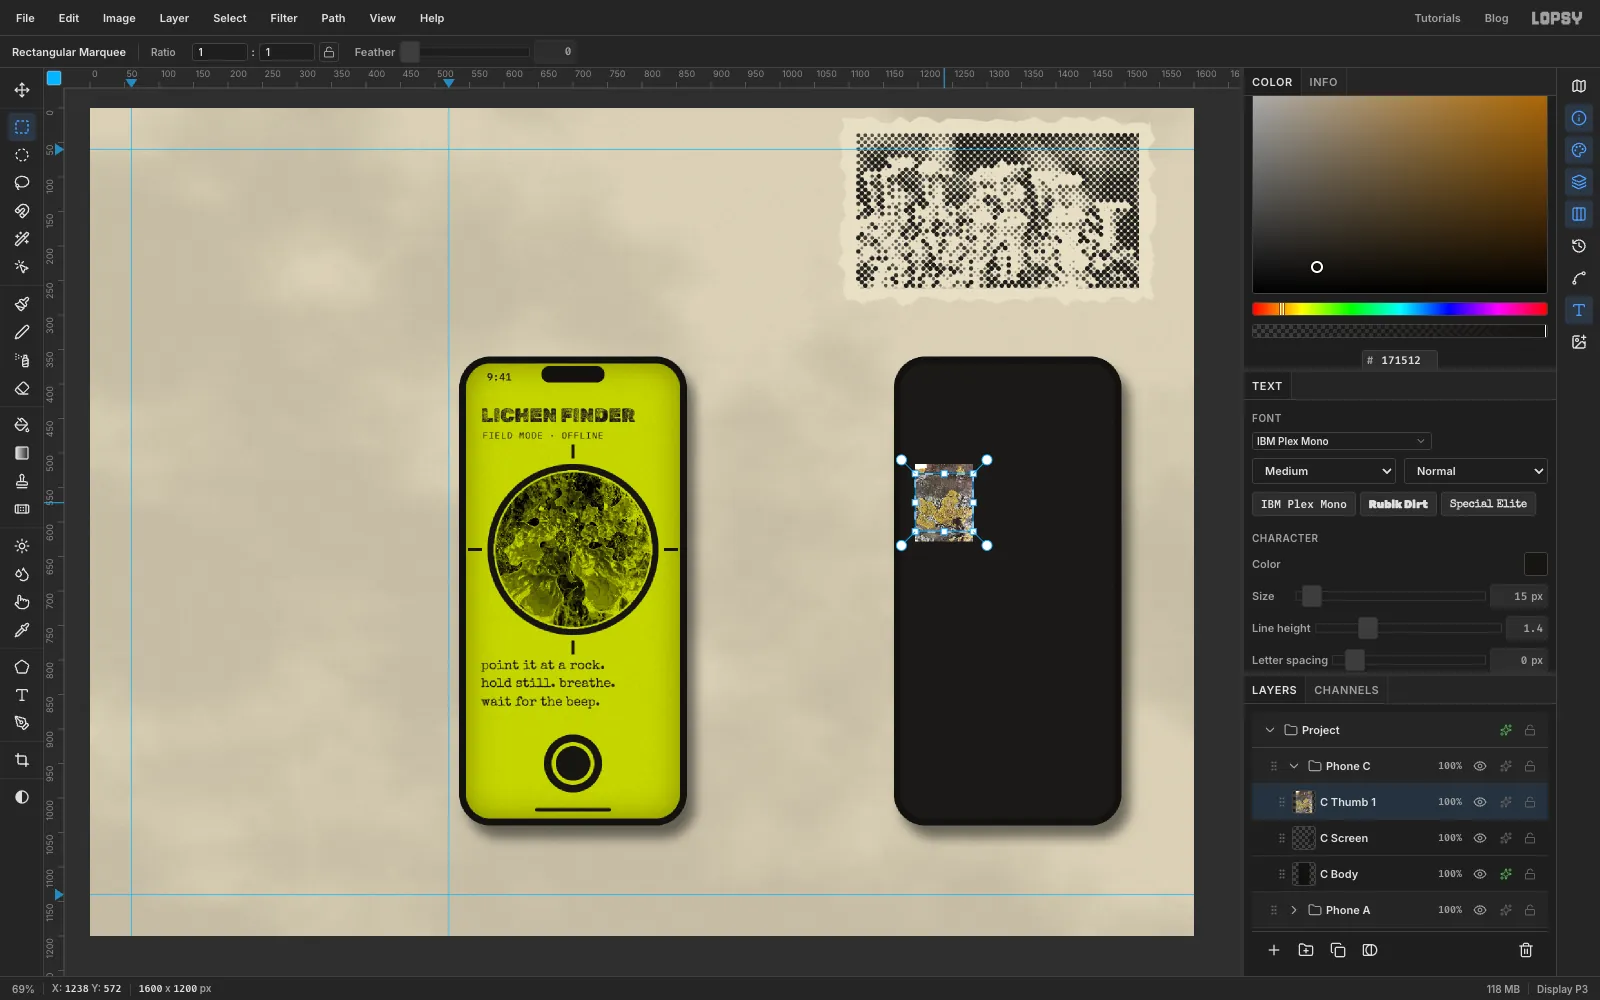
The log lists four finds, one row every 112 px starting at Y 530. Each row has an 84 px square photo whose left edge is at X 1196.
Select C Screen, drop the sunburst lichen (Xanthoria) photo, and rename it C Thumb 1. Cmd-drag its corner handle until it's 84 px wide. It's a portrait photo, so it's taller than that. Press Enter and Cmd+D, then move it so its top-left corner is at X 1196, Y 516.
Click once with the Rectangular Marquee and type the corners 1196, 530 and 1280, 614. Choose Select → Inverse, press Delete and then Cmd+D. Open its effects and add a Stroke, Width 2, colour cream . That's a little photo border.
Do the same for two more photos. Select C Screen before each drop so it lands in the group:
- Map lichen (Rhizocarpon), named C Thumb 2. It's a landscape photo, so scale it to 112 px wide so that it's 84 px tall. Put its top-left at X 1182, Y 642, crop to 1196, 642 – 1280, 726, and add the same Stroke.
- Lungwort (Lobaria), named C Thumb 4. It's square, so scale it to 84 px. Place it at X 1196, Y 866, crop to 1196, 866 – 1280, 950, and add the same Stroke.
Leave the third row empty for now.
-
Add dividers and a plus button
Select C Screen and add a layer called C Dividers. With the Pencil at Size 1 and colour , click at X 1196, Y 628 and Shift-click at X 1463, Y 628. Repeat at Y 740 and 852.
Add a layer called C Fab. Draw a 64 × 64 lime ellipse at X 1431, Y 968. Then switch the Pencil to Size 5 and ink. Click at X 1419, Y 968 and Shift-click at X 1443, Y 968. Release Shift, then click at X 1431, Y 956 and Shift-click at X 1431, Y 980. That's the plus sign.
Add C Notch with the notch (92 × 24, Corner Radius 12, ink, at X 1330, Y 386) and the home bar (110 × 5, Corner Radius 3, at X 1330, Y 1017). Make the home bar cream this time so it shows on the dark screen.
-
Type the field log
Select C Screen before each new text and work from the bottom row up. For each row, type the small line first and then the name above it:
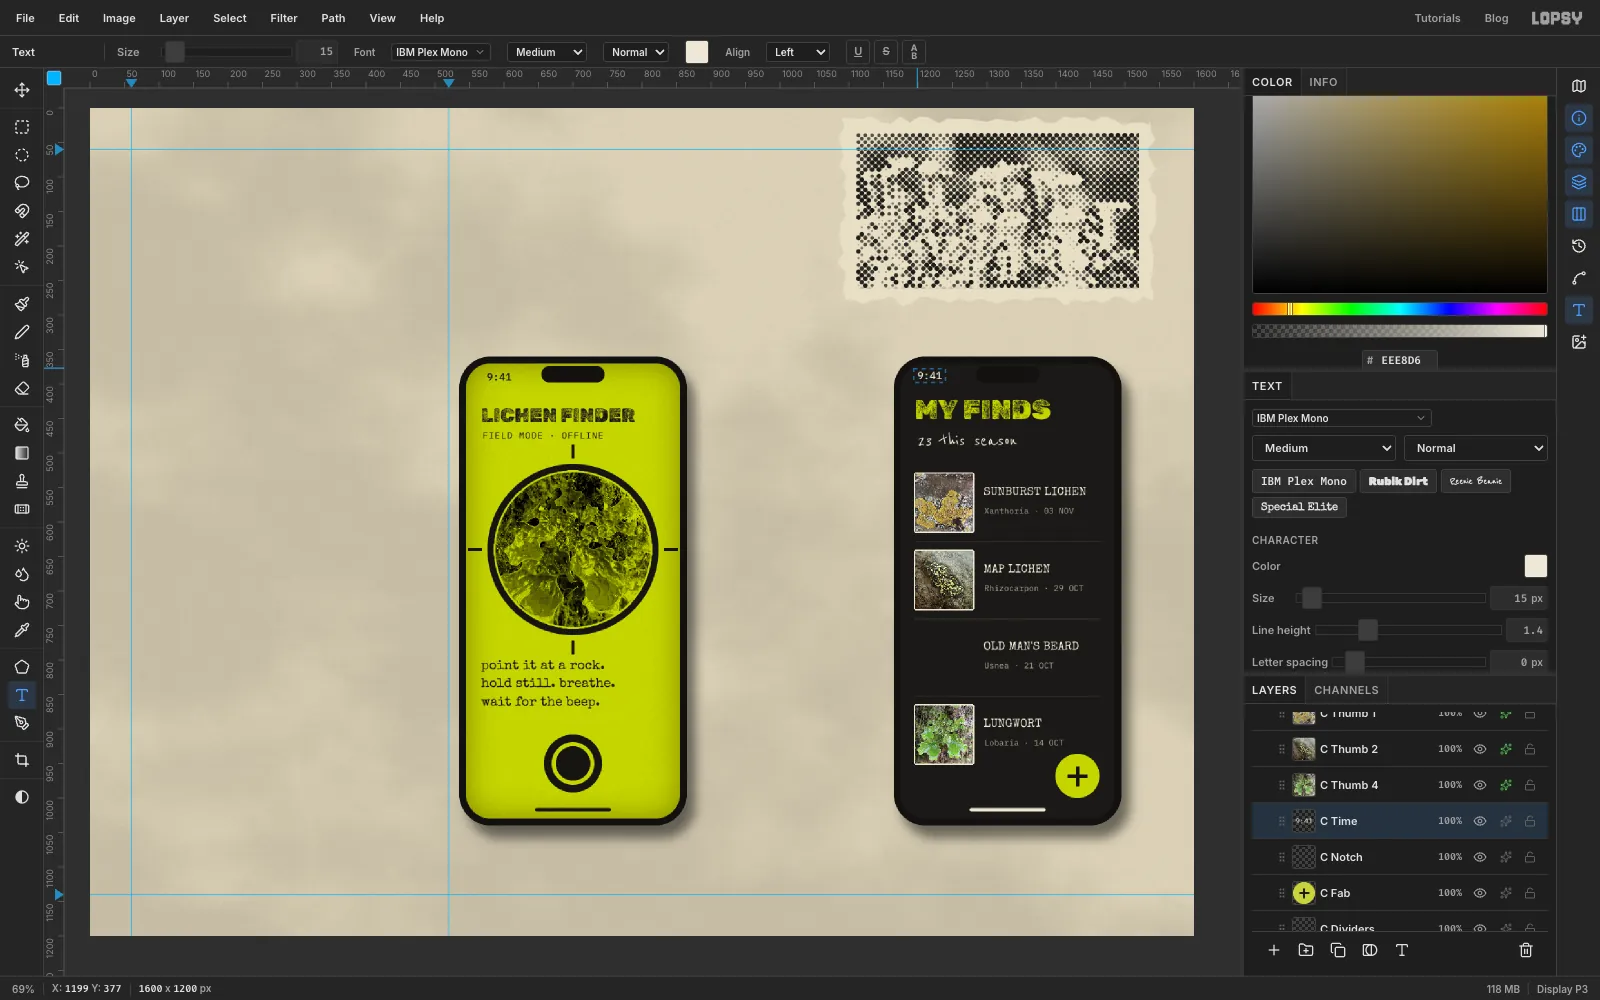
All of them start at X 1295, just right of the thumbnails. The names are Special Elite, 17 px, cream . The small lines are IBM Plex Mono, 12 px, grey .
- Row 4:
Lobaria · 14 OCTat Y 912, thenLUNGWORTat Y 882. - Row 3:
Usnea · 21 OCTat Y 800, thenOLD MAN'S BEARDat Y 770. - Row 2:
Rhizocarpon · 29 OCTat Y 688, thenMAP LICHENat Y 658. - Row 1:
Xanthoria · 03 NOVat Y 576, thenSUNBURST LICHENat Y 546.
Then the header, still from the bottom up:
- Reenie Beanie, 30 px, cream, at X 1199, Y 462:
23 this season. - Rubik Dirt, 40 px, lime, at X 1195, Y 410:
MY FINDS. - Select C Notch, then IBM Plex Mono Medium, 15 px, cream, at X 1199, Y 377:
9:41.
- Row 4:
-
Start the result phone
Collapse Phone C, select its row and click New Group. Name the group Phone B. It's the top group, so it sits in front of the other two phones.
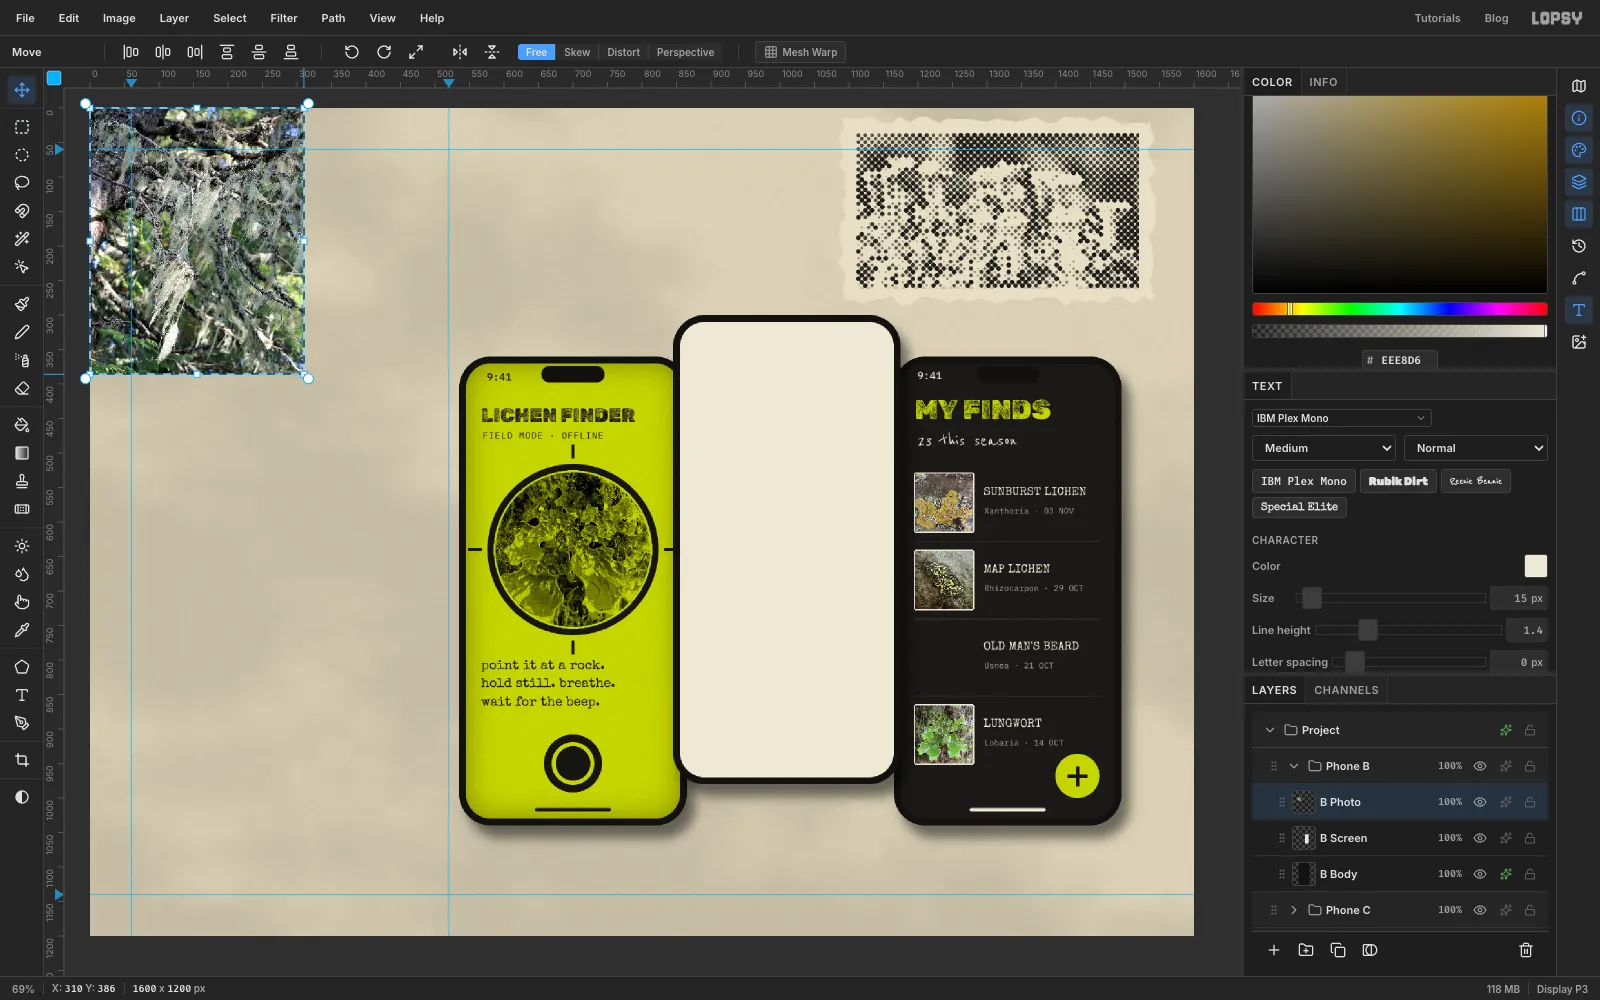
Build B Body and B Screen centred at X 1010, Y 640, with the screen in cream . Give the screen Add Noise, Amount 8, Mode Mono.
Drop the old man's beard (Usnea) photo, rename it B Photo, and Cmd-drag its corner handle until it's 310 px wide, the full width of the screen. Press Enter and Cmd+D, then move it so its top-left corner sits at X 855, Y 270.
-
Clip the photo to the screen
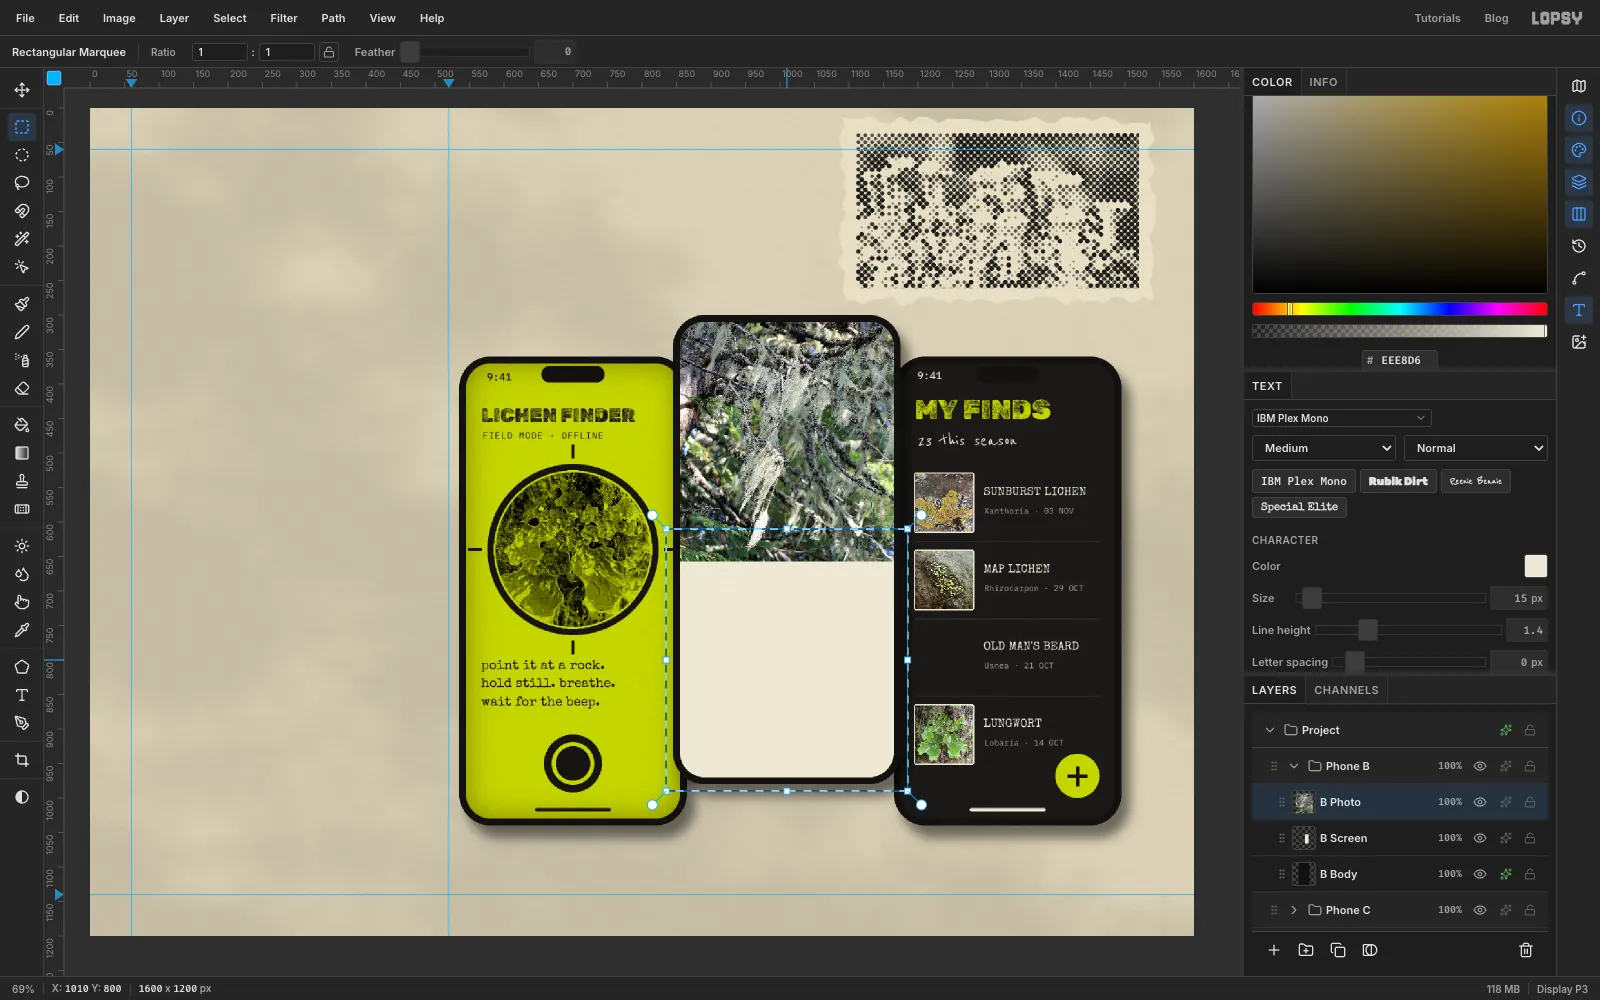
The photo's square corners poke out past the rounded screen. To trim them, Cmd-click the thumbnail of B Screen in the Layers panel. That loads the screen's shape as a selection. Click the B Photo row so you're editing the photo, choose Select → Inverse and press Delete, then Cmd+D.
Now cut the photo off at Y 610. Use the Rectangular Marquee dialog with corners 835, 610 and 1185, 990, press Delete and Cmd+D.
Tone it down so it looks printed rather than glossy:
- Filter → Hue/Saturation, Saturation −30.
- Filter → Brightness/Contrast, Brightness −4, Contrast 18.
- Filter → Unsharp Mask, Radius 2, Amount 0.8.
-
Scrim, scan brackets, sticker and button
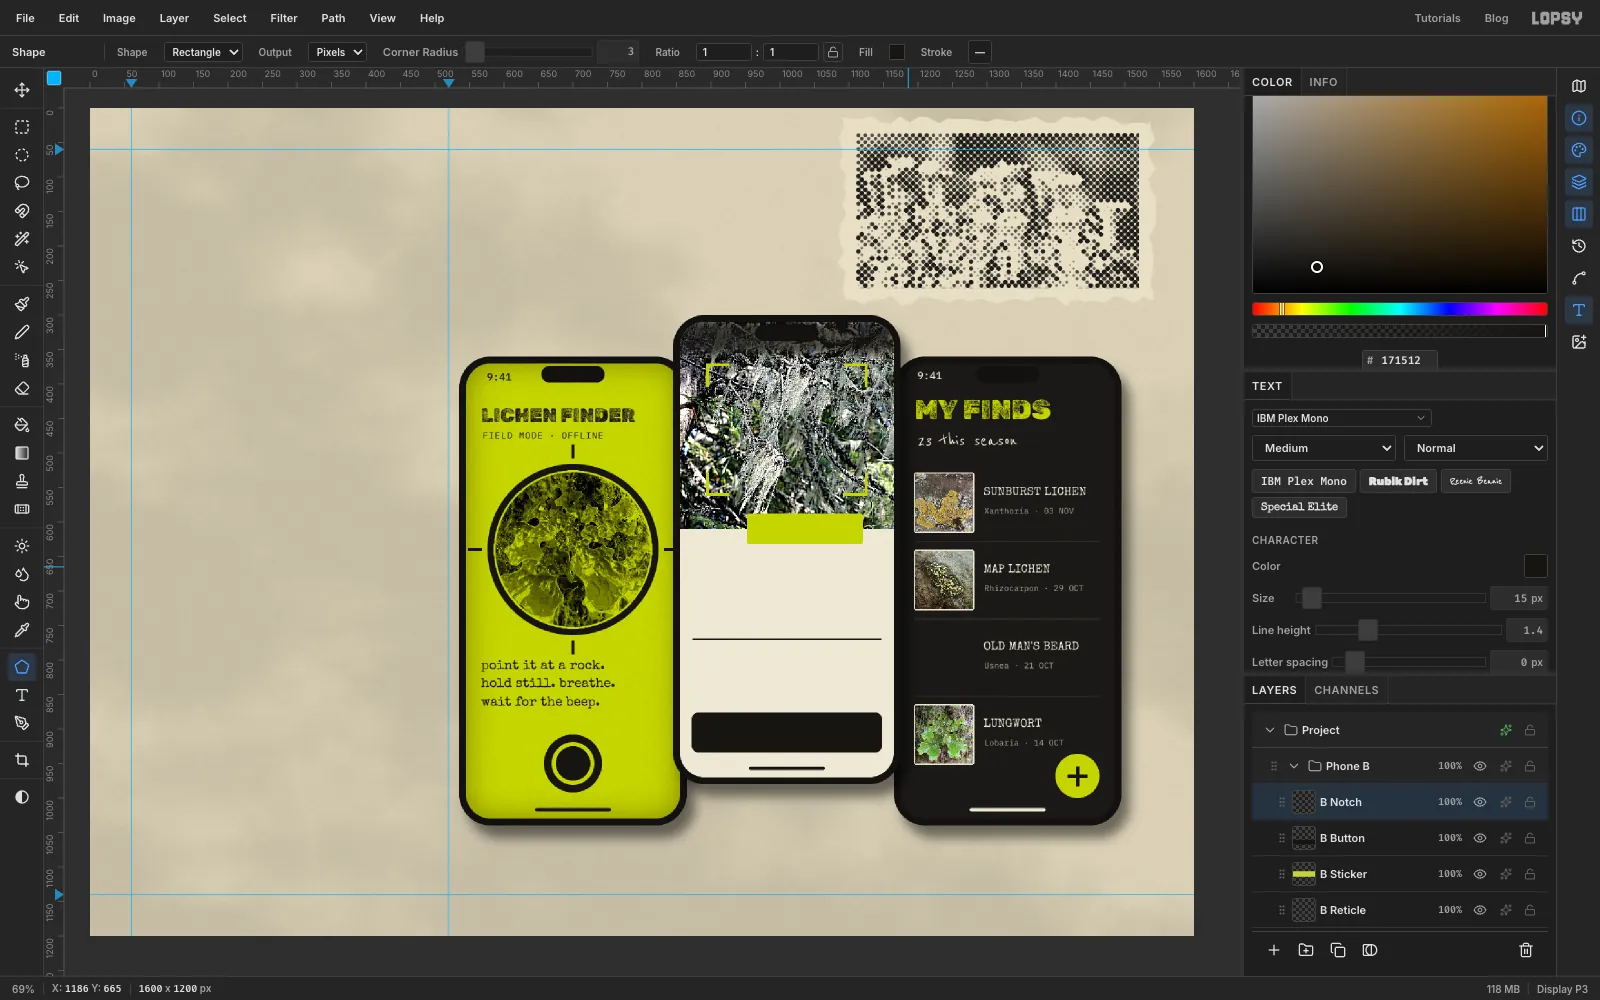
Several small pieces go on this screen. Click Add Layer for each one and name it as given:
- Scrim. The time in the status bar won't read over a busy photo, so add B Scrim. Marquee from 855, 310 to 1165, 356, fill it with ink, and deselect. Run Filter → Gaussian Blur with Radius 18. Clip it to the screen the same way as the photo (Cmd-click B Screen's thumbnail, select B Scrim, Select → Inverse, Delete, Cmd+D). Then drop its opacity to 75%.
- Scan brackets. Add B Reticle and take the Pencil at Size 4 in lime. The brackets mark the corners of the box 895, 372 – 1125, 560. For each corner, click the end of one arm (30 px from the corner), Shift-click the corner, then Shift-click the end of the other arm. Release Shift before you start the next corner.
- Match sticker. Add B Sticker. With the Shape tool (Rectangle, Corner Radius 3, lime fill), click at X 1036, Y 610 and create a 168 × 44 rectangle. It sits on the photo's bottom edge.
- Button and divider. Add B Button and create a 276 × 58 ink rectangle with Corner Radius 10 at X 1010, Y 905. On the same layer, use the Pencil at Size 2 in ink: click at X 874, Y 770 and Shift-click at X 1146, Y 770 for a divider.
- Notch and home bar. Add B Notch. Create a 92 × 24 ink rectangle with Corner Radius 12 at X 1010, Y 326, then a 110 × 5 one with Corner Radius 3 at X 1010, Y 957.
-
Type the result screen
From the bottom up again:
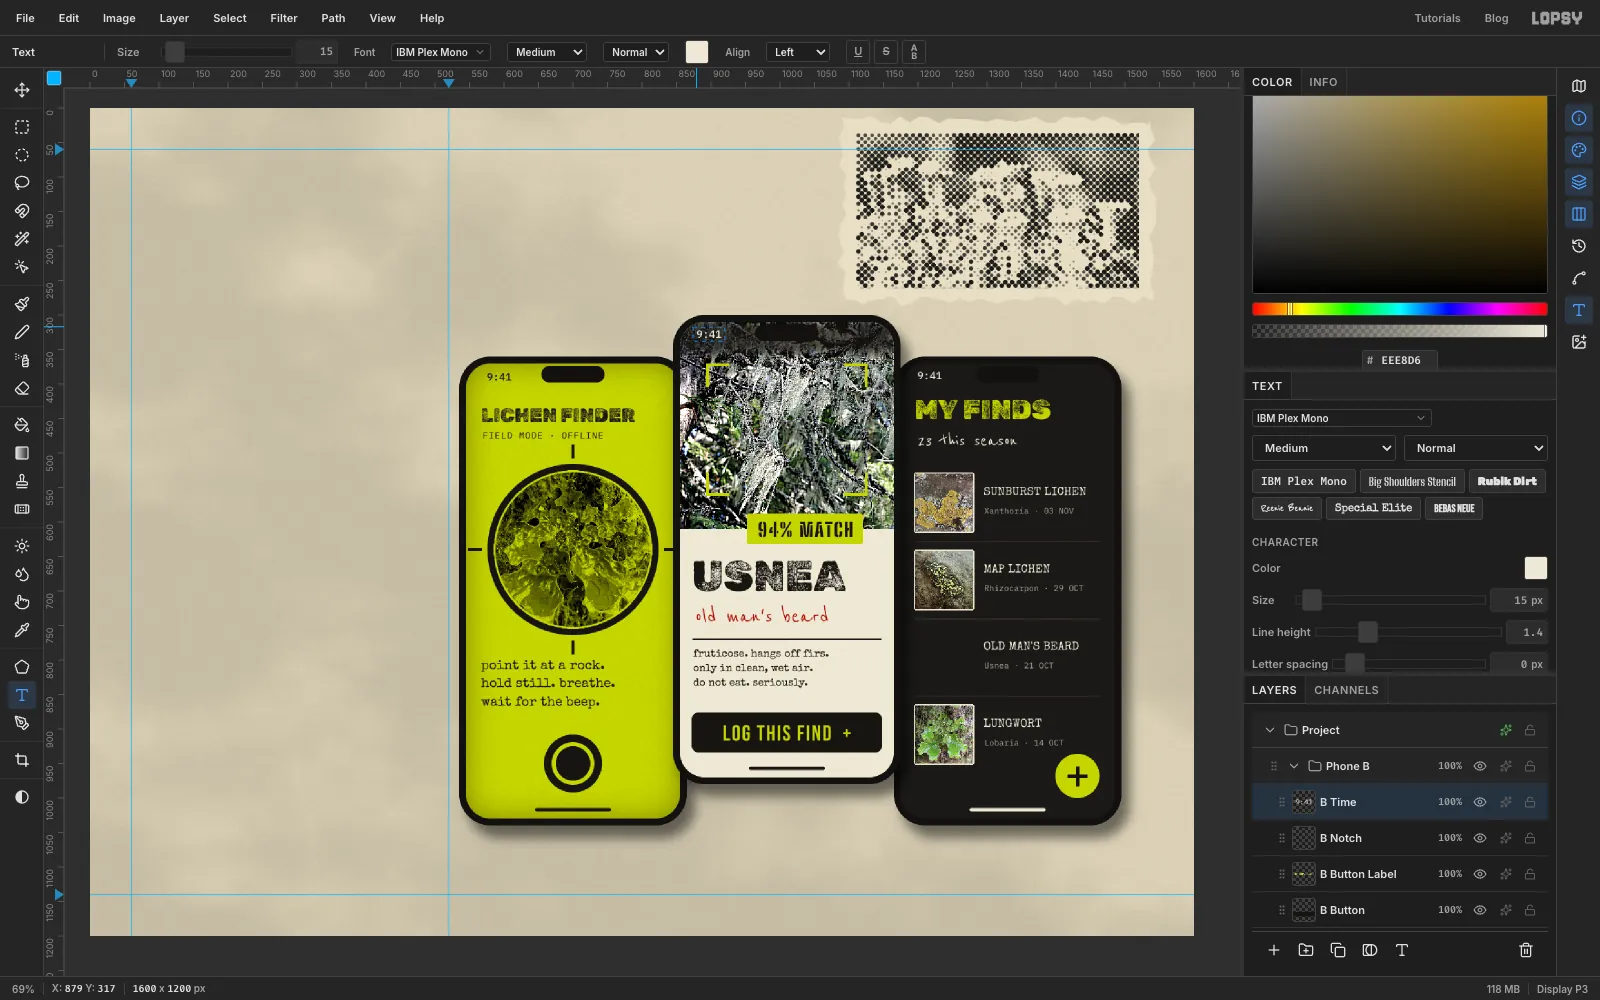
- Select B Button. Type Bebas Neue, 32 px, lime,
LOG THIS FIND +(two spaces before the plus), with Letter spacing 2, clicking at about X 930, Y 886. Then centre it on the button with the Move tool's arrow keys. Each press moves 1 px, and Shift moves 10 px. Aim for equal space on the left and right and above and below the capitals. - Select B Screen. The body text lines up on a left edge at about X 873. Special Elite, 15 px, ink, Letter spacing 0, at Y 782:
fruticose. hangs off firs./only in clean, wet air./do not eat. seriously. - Reenie Beanie, 36 px, marker red , at Y 712:
old man's beard. - Rubik Dirt, 62 px, ink, at Y 636:
USNEA. - Select B Sticker. Big Shoulders Stencil ExtraBold (800), 28 px, ink, Letter spacing 2, clicked at about X 980, Y 594:
94% MATCH. Centre it on the sticker with the arrow keys. - Select B Notch. IBM Plex Mono Medium, 15 px, cream, Letter spacing 0, at X 879, Y 317:
9:41.
- Select B Button. Type Bebas Neue, 32 px, lime,
-
Copy a thumbnail from the photo
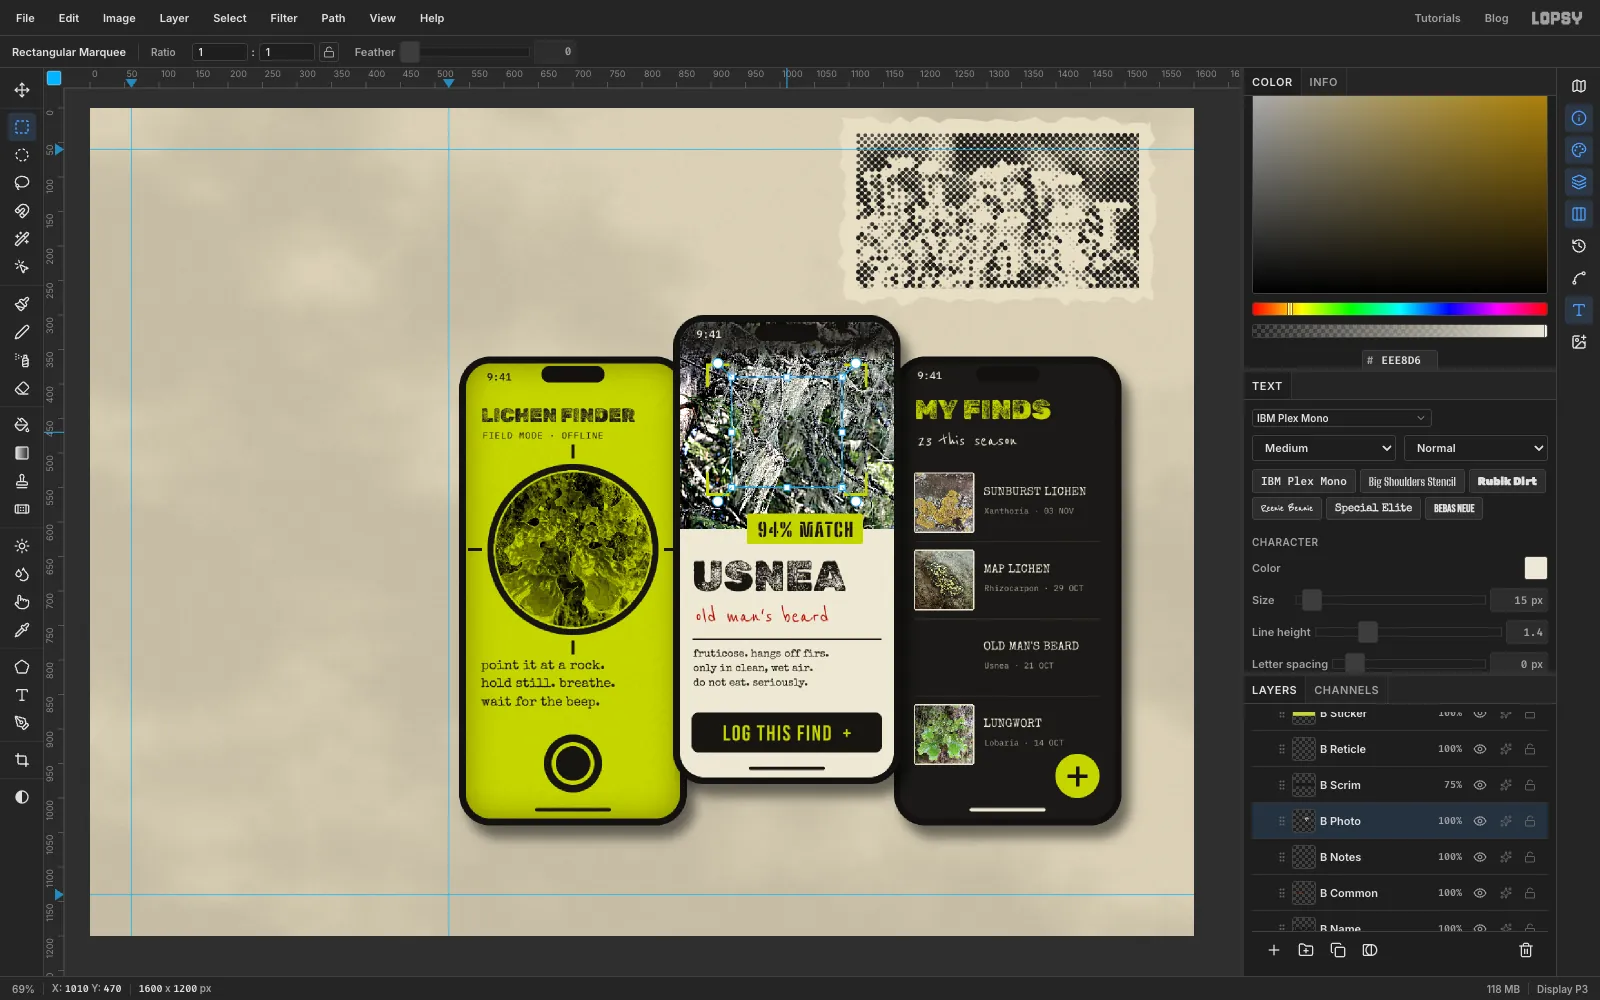
The log's third row is old man's beard too, so borrow it from the big photo. Select B Photo and use the Rectangular Marquee dialog to select 930, 390 – 1090, 550, a 160 px square of hanging strands. Press Cmd+C.
-
Paste it into the field log
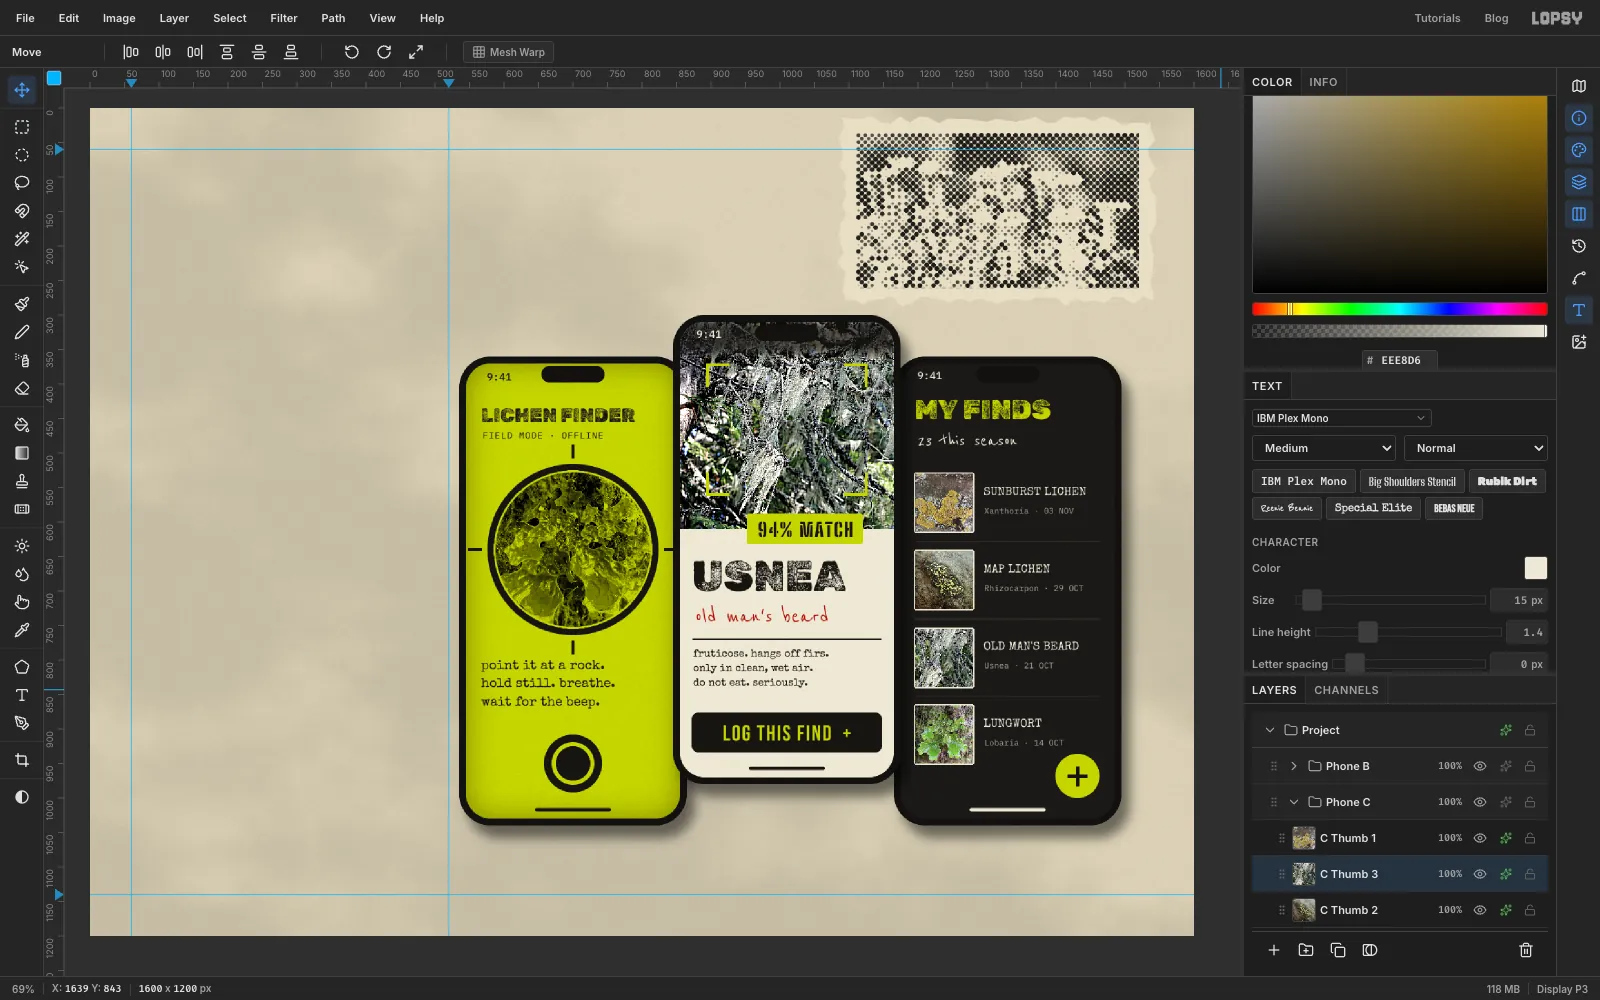
Collapse Phone B, expand Phone C, and select C Thumb 2. Press Cmd+V. The square pastes as a new layer just above C Thumb 2, in the same spot it came from. That spot is behind Phone B, so click the eye on the Phone B row to hide that group while you work. Press Cmd+D and rename the layer C Thumb 3.
Select the pasted square again with the marquee dialog (930, 390 – 1090, 550), then Cmd-drag its bottom-right handle in until it's 84 px wide. Press Enter and Cmd+D. Move it to X 1196, Y 754, the empty third row, and give it the same cream Stroke, Width 2. Click the eye on Phone B again to bring it back.
-
Fan out the phones
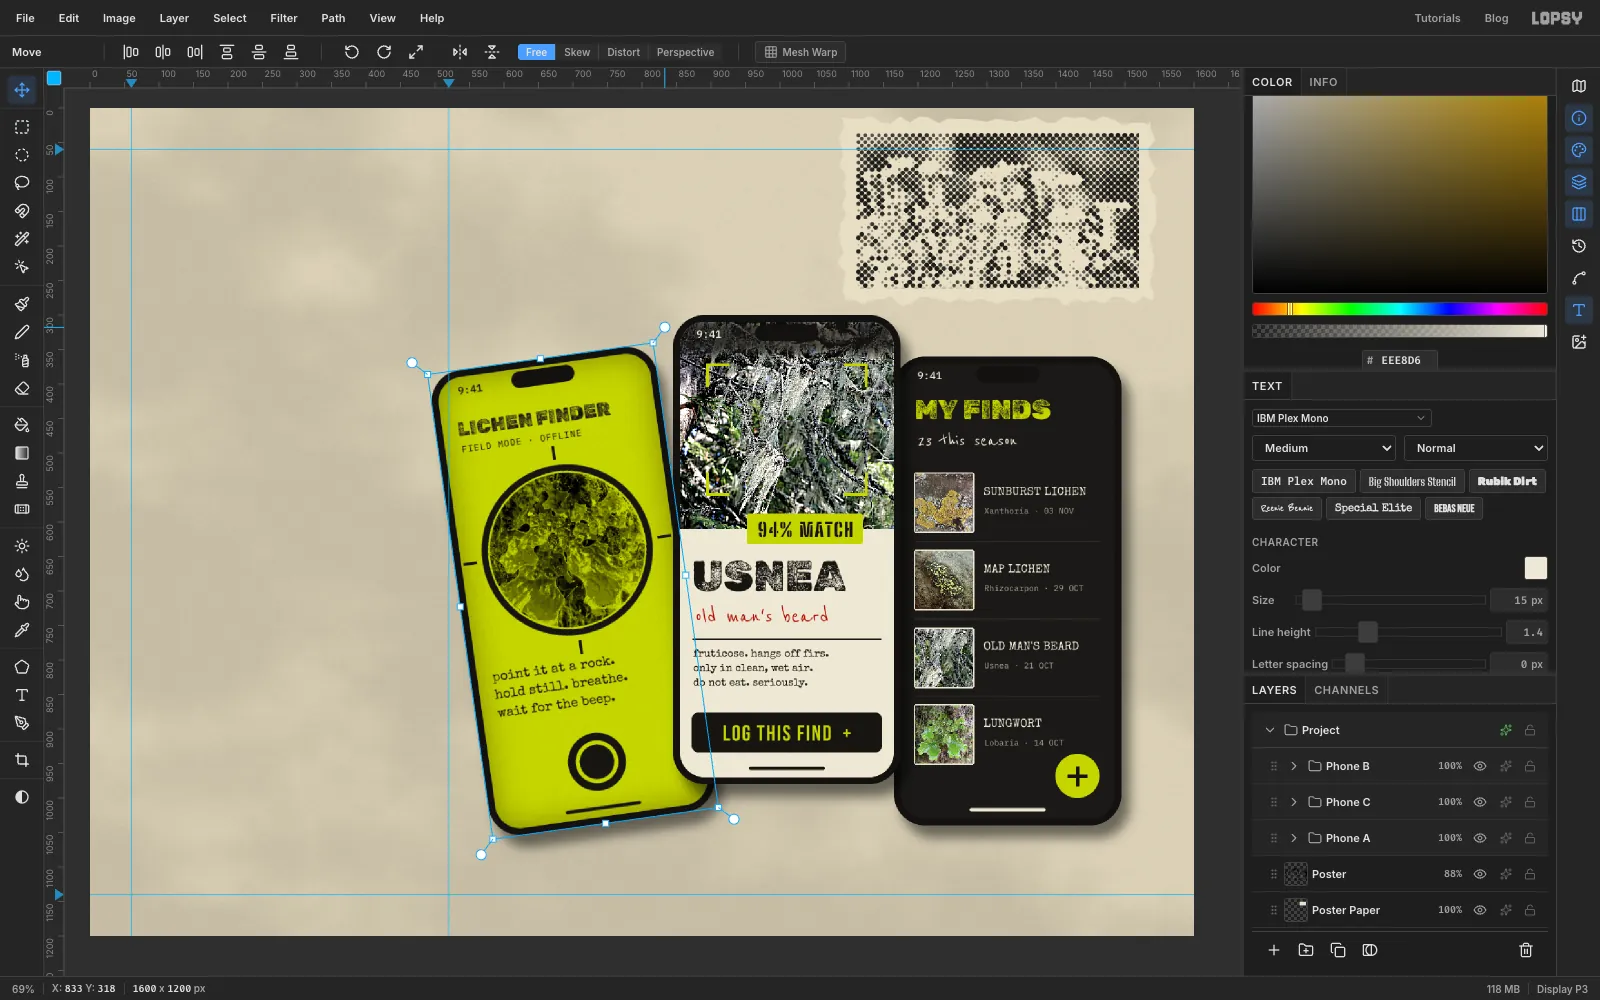
Here's where groups pay off. Collapse the groups, click the Phone A group's row, and press Cmd+D so nothing is selected. Take the Move tool. Handles appear around everything in the group.
Drag the top-right rotation handle (the round one just outside the corner) counter-clockwise, about 8°, so the phone leans left. Lopsy doesn't show the angle while you drag. As a guide, 8° moves the phone's top-left corner about 45 px to the left. Hold Cmd while dragging if you'd rather snap to 15° steps. Everything turns together, and the text stays live and editable. Press Enter to finish.
Do the same with Phone C, turning it about 7° clockwise, so its top-right corner moves about 40 px right.
-
Tilt the poster
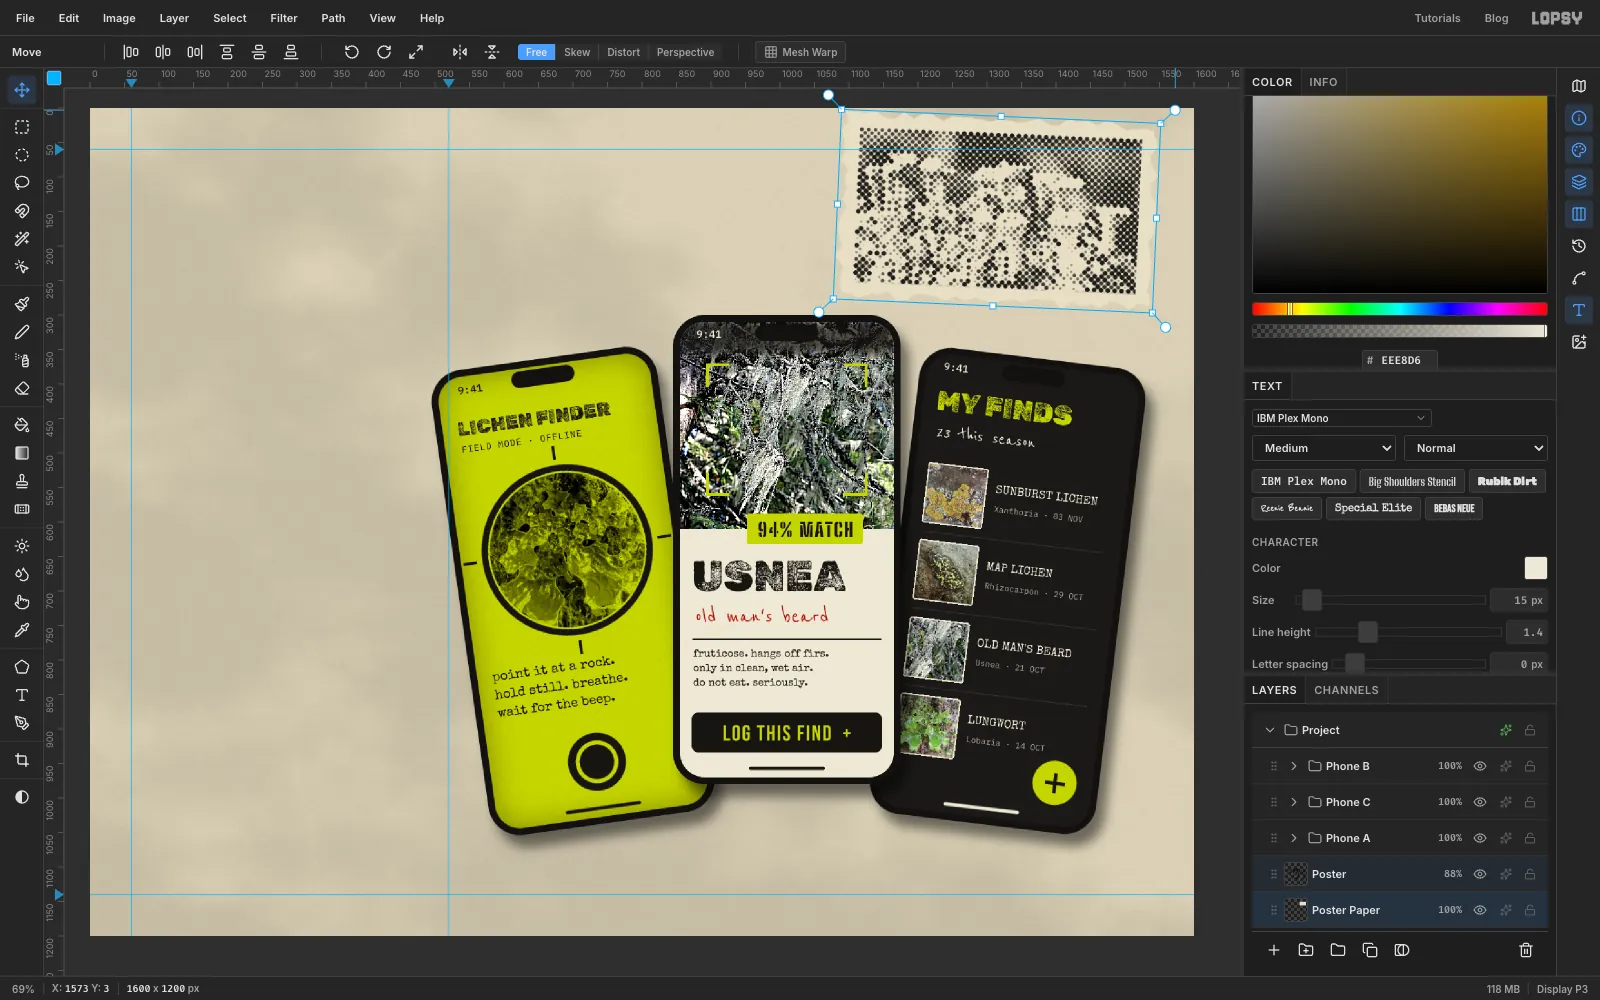
The poster has two layers, the paper and the print, so turn them together. Click Poster Paper, then Shift-click Poster so both are selected. Press Cmd+D, and with the Move tool drag a rotation handle about 2.5° clockwise, just enough that the poster's top edge visibly runs downhill. Press Enter.
-
Type the title and draw the swash
Collapse Phone B, select it, and click New Group. Name it Title. Inside it, click Add Layer twice and name the layers Swash (lower) and Finder Strip (upper).
Rough the title in by eye first, a little right of the margin, and line the whole group up with the guide at the end. That's easier than placing each piece exactly.
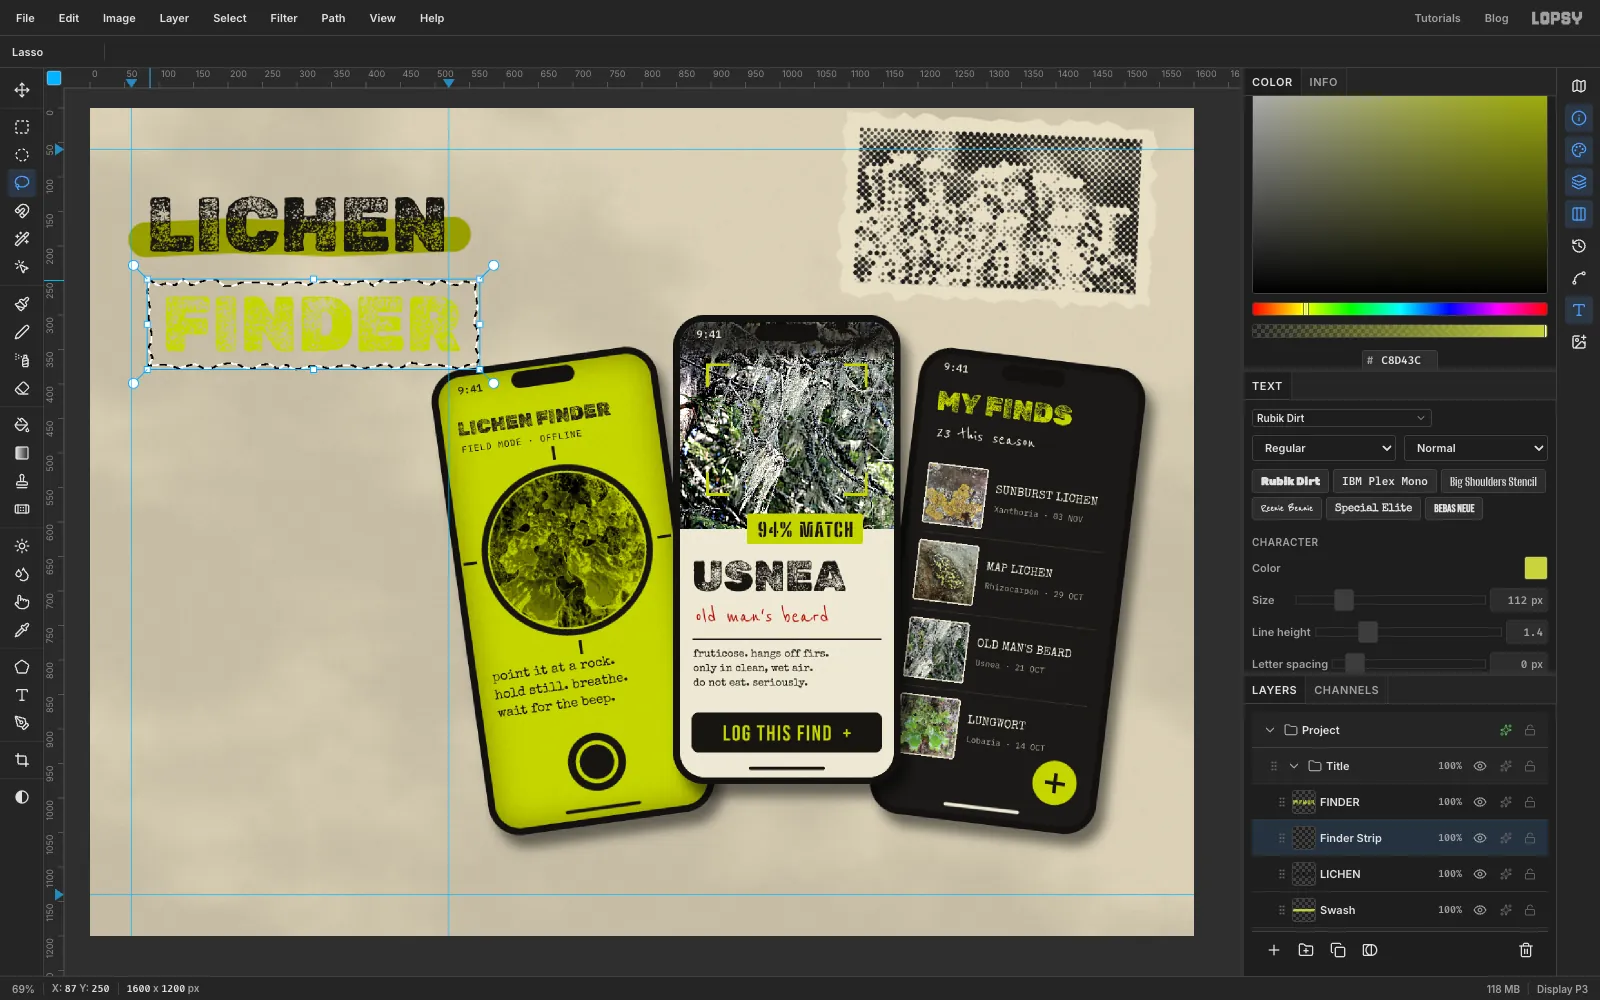
Select Finder Strip and type Rubik Dirt, 112 px, lime, Letter spacing 0:
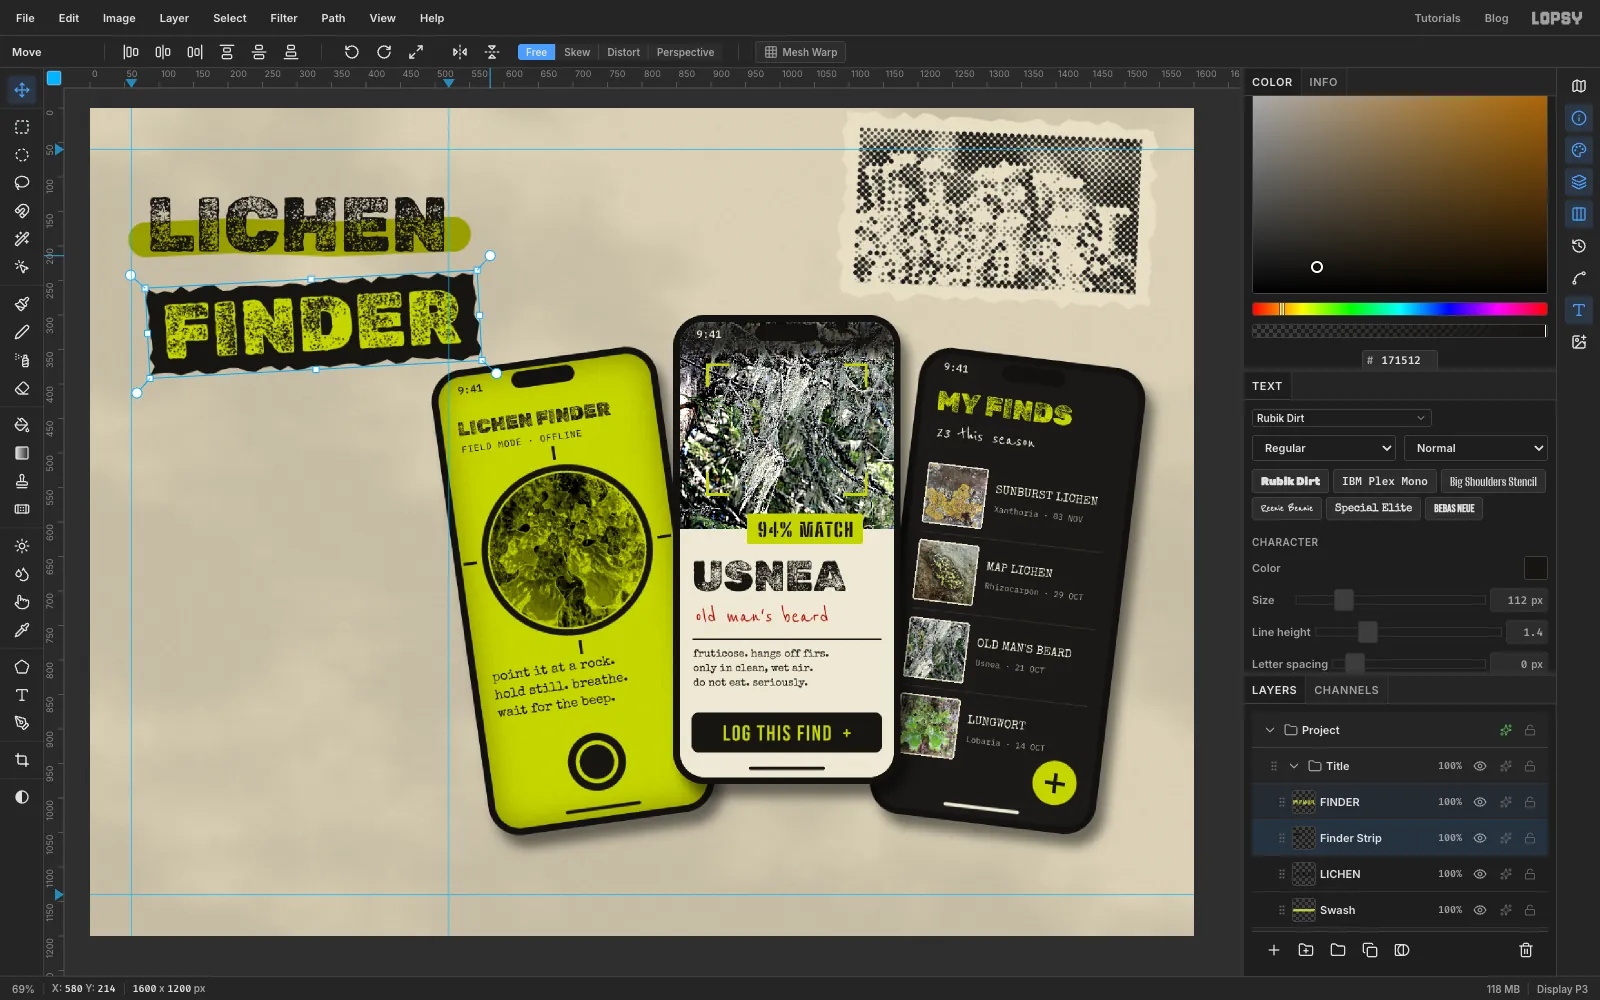
FINDERat about X 104, Y 236. Then select Swash and typeLICHENin the same font and size in ink at about X 82, Y 92.Select Swash. Take the Brush (B) with Size 54, Hardness 88 and Opacity 100, in lime. Drag one slightly wavy stroke along the lower half of LICHEN, from just before the L to just past the N, like a highlighter pen. Set Swash to Multiply so the paper grain shows through the marker.
Select Finder Strip. With the Lasso, draw a rough rectangle about 20 px larger than FINDER on every side. Keep your hand moving in little zigzags along each edge so it looks ripped off a page.
-
Fill the torn strip
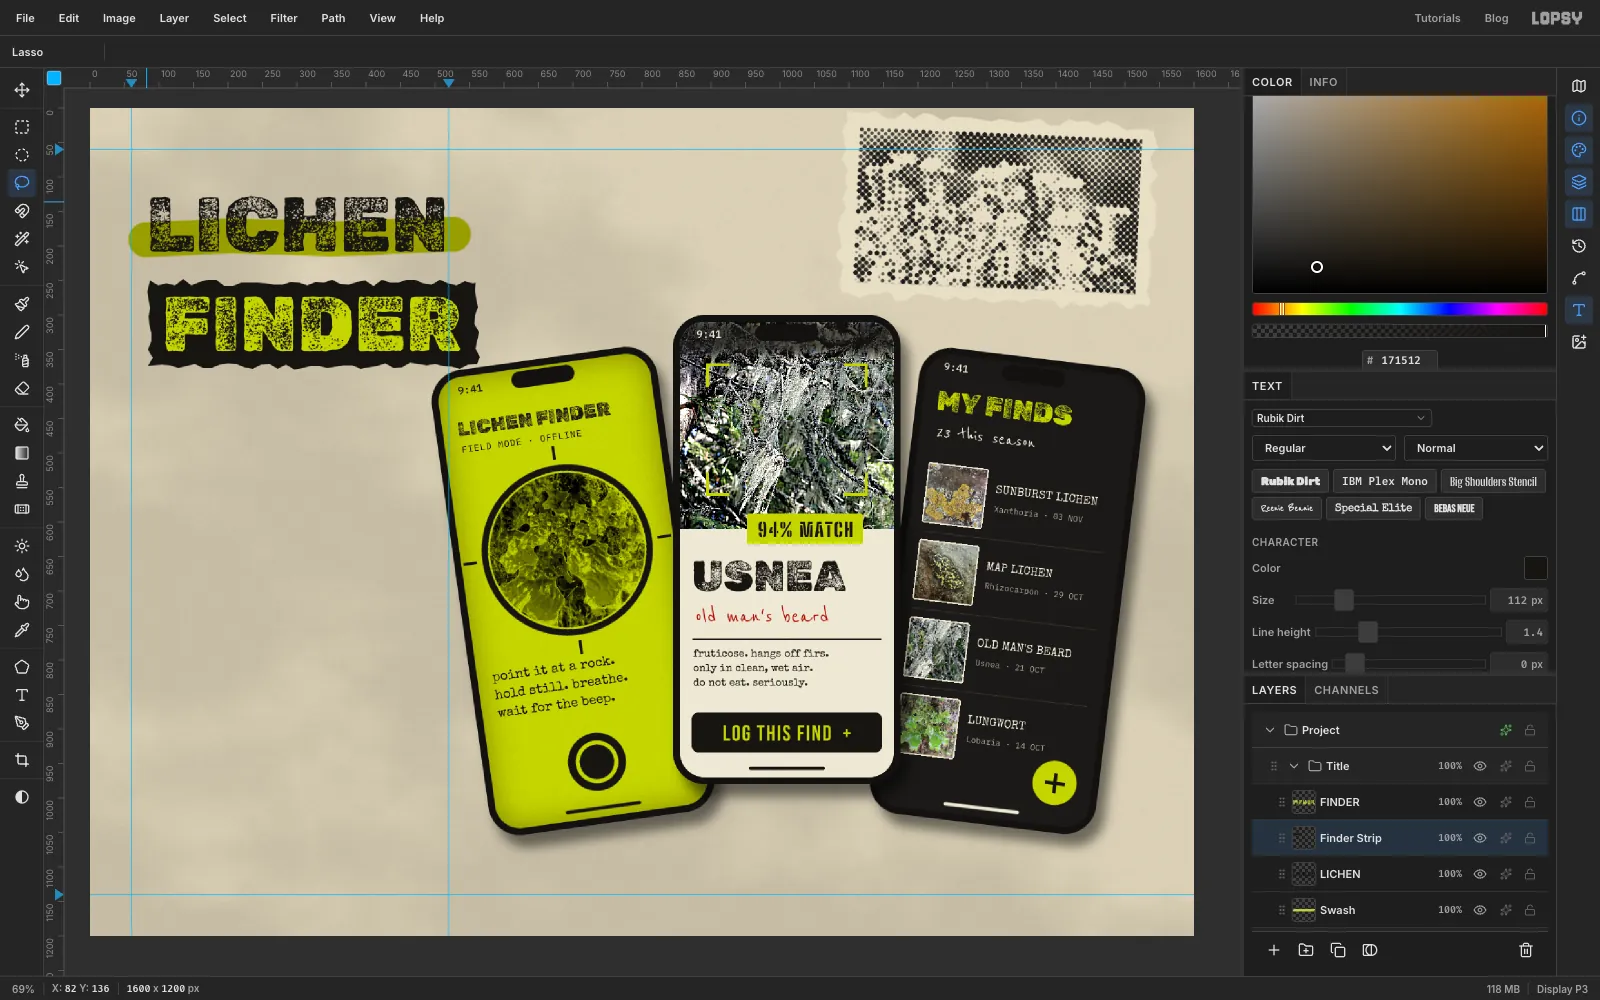
Fill the selection with ink and press Cmd+D. The FINDER text is above the strip, so the lime letters now sit on black paper.
-
Tilt the strip and its word
Tilt the strip and its word together. With Finder Strip selected, Shift-click the FINDER text row so both are selected. Press Cmd+D, take the Move tool, and drag a rotation handle about 3° counter-clockwise, so the strip's right end rises about 20 px. Press Enter. The text stays live.
-
Add the tagline
Select Swash (a raster layer) and add two more texts, the lower one first:
- IBM Plex Mono, 14 px, , Letter spacing 0.5, at X 86, Y 520:
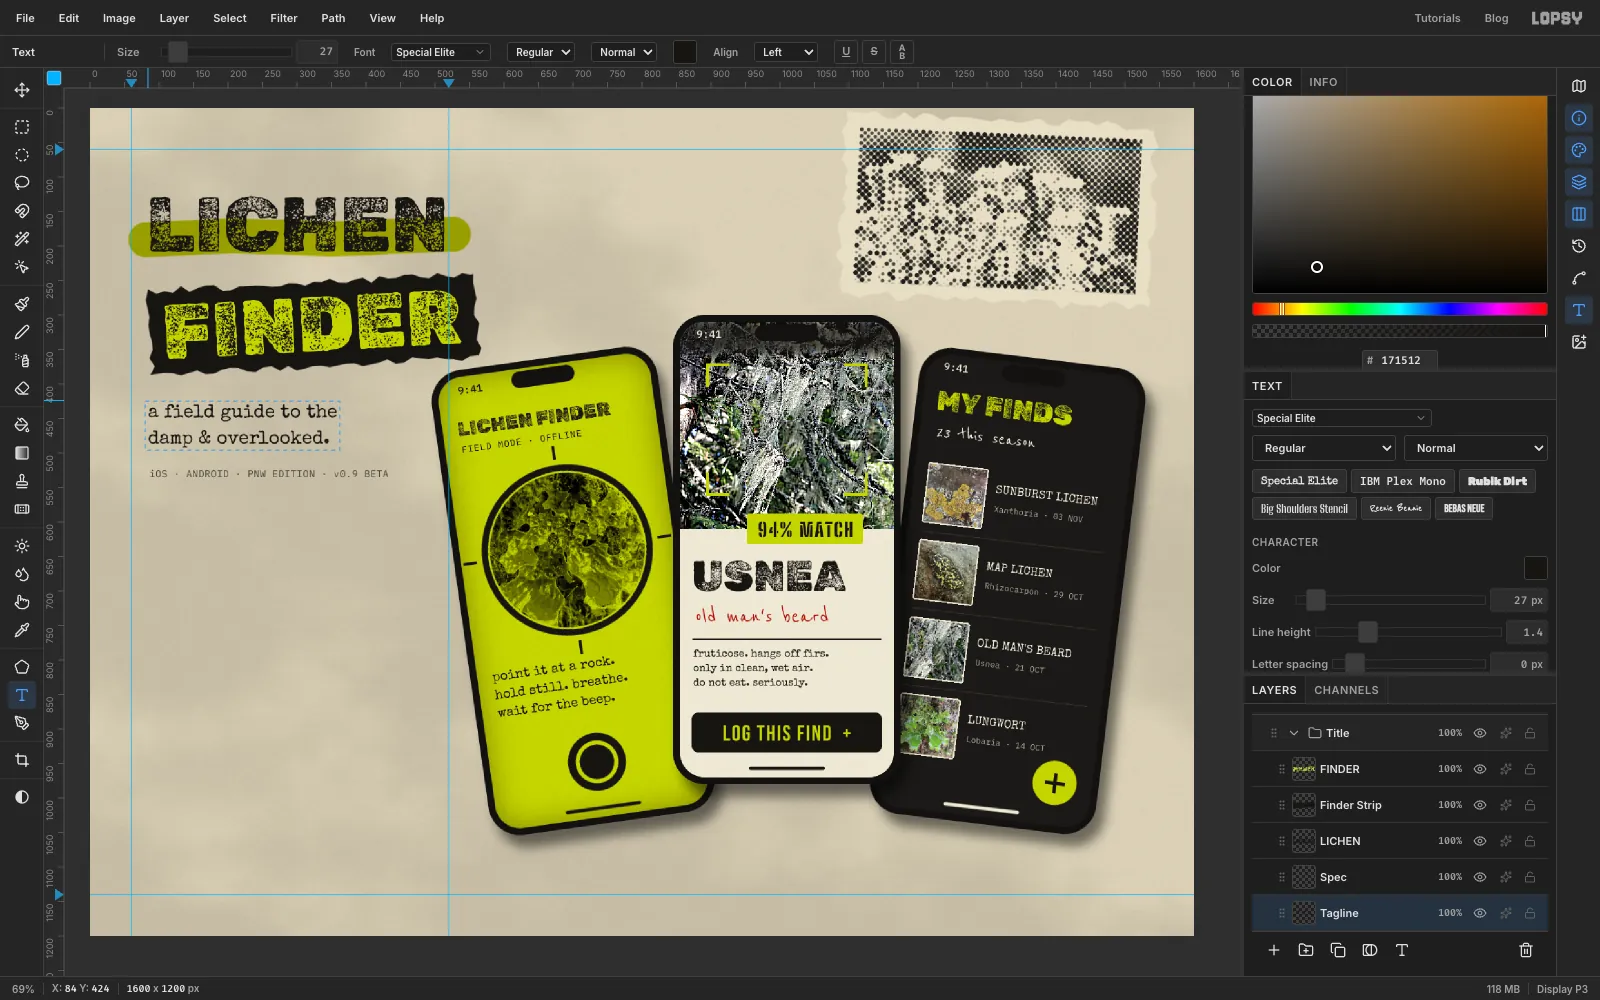
iOS · ANDROID · PNW EDITION · v0.9 BETA. - Special Elite, 27 px, ink, Letter spacing 0, at X 84, Y 424:
a field guide to the, Enter,damp & overlooked.
- IBM Plex Mono, 14 px, , Letter spacing 0.5, at X 86, Y 520:
-
Line the title up with the margin
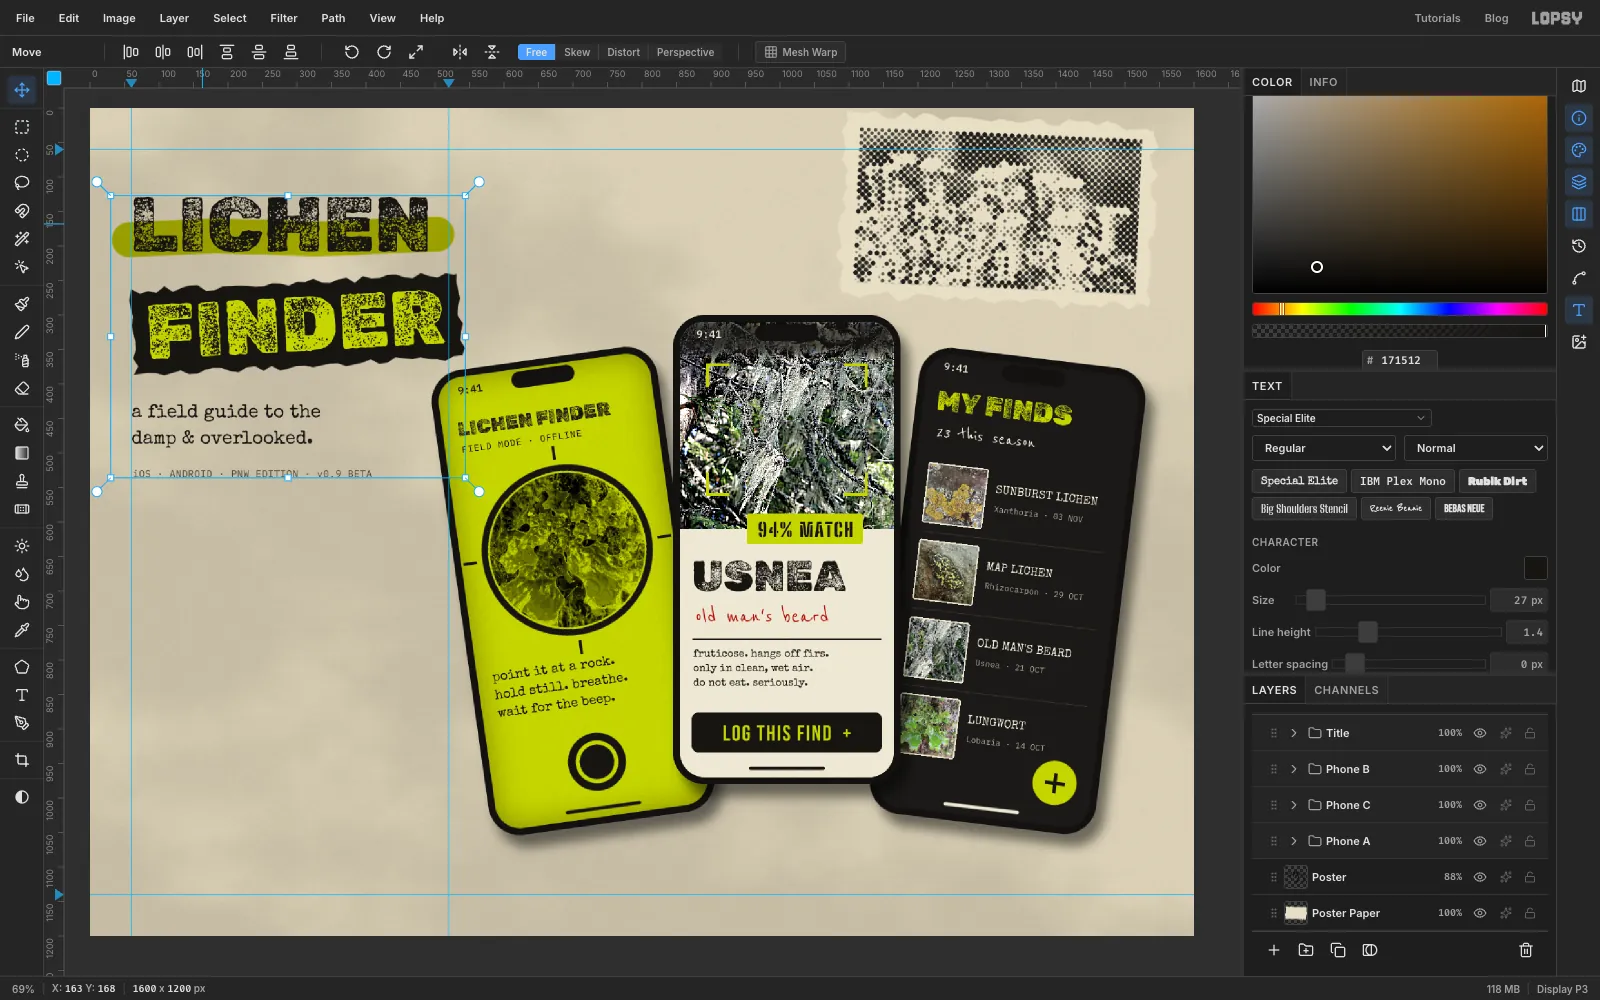
Collapse Title and click its row. Press Cmd+D and take the Move tool. Drag the whole group left, or nudge it with the arrow keys, until the left edge of the L in LICHEN sits on the guide at X 60. That's about 24 px: Shift+Left twice, then Left four times. Every layer in the group moves together.
-
Stain it with coffee
Select the Title group and click New Group. Call it Notes. Inside it, add a layer called Coffee Ring.
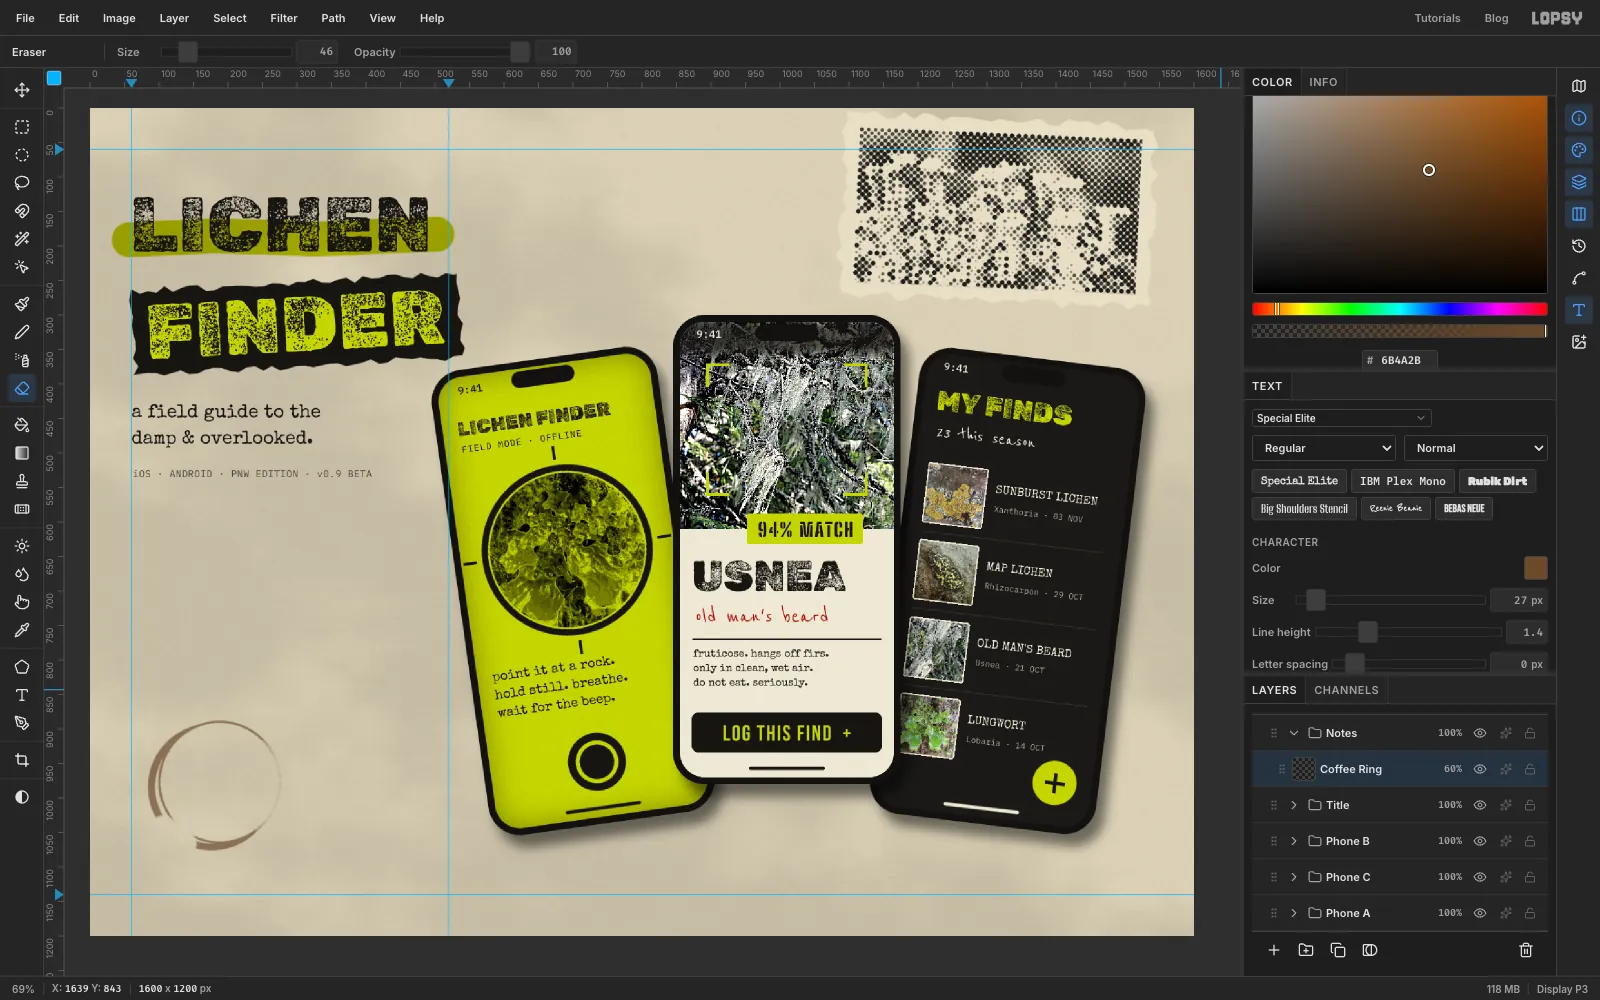
With the Elliptical Marquee dialog, select 84, 892 – 268, 1076. Fill it with coffee , choose Select → Shrink by 10, press Delete and deselect. Mugs leave doubled rings, so do it once more, slightly offset, from 99, 888 – 277, 1066, with Shrink 3.
Run Filter → Gaussian Blur, Radius 2. Then take the Eraser (E) at Size 46 and drag one short stroke across the lower left of the ring to break it. Set the Eraser's Opacity to 45% and drag a second stroke down the right side of the ring, so that side of the rim comes out thinner and paler, the way a real stain dries. Set the Opacity back to 100% and set the layer to Multiply at 60%.
-
Make a sticker
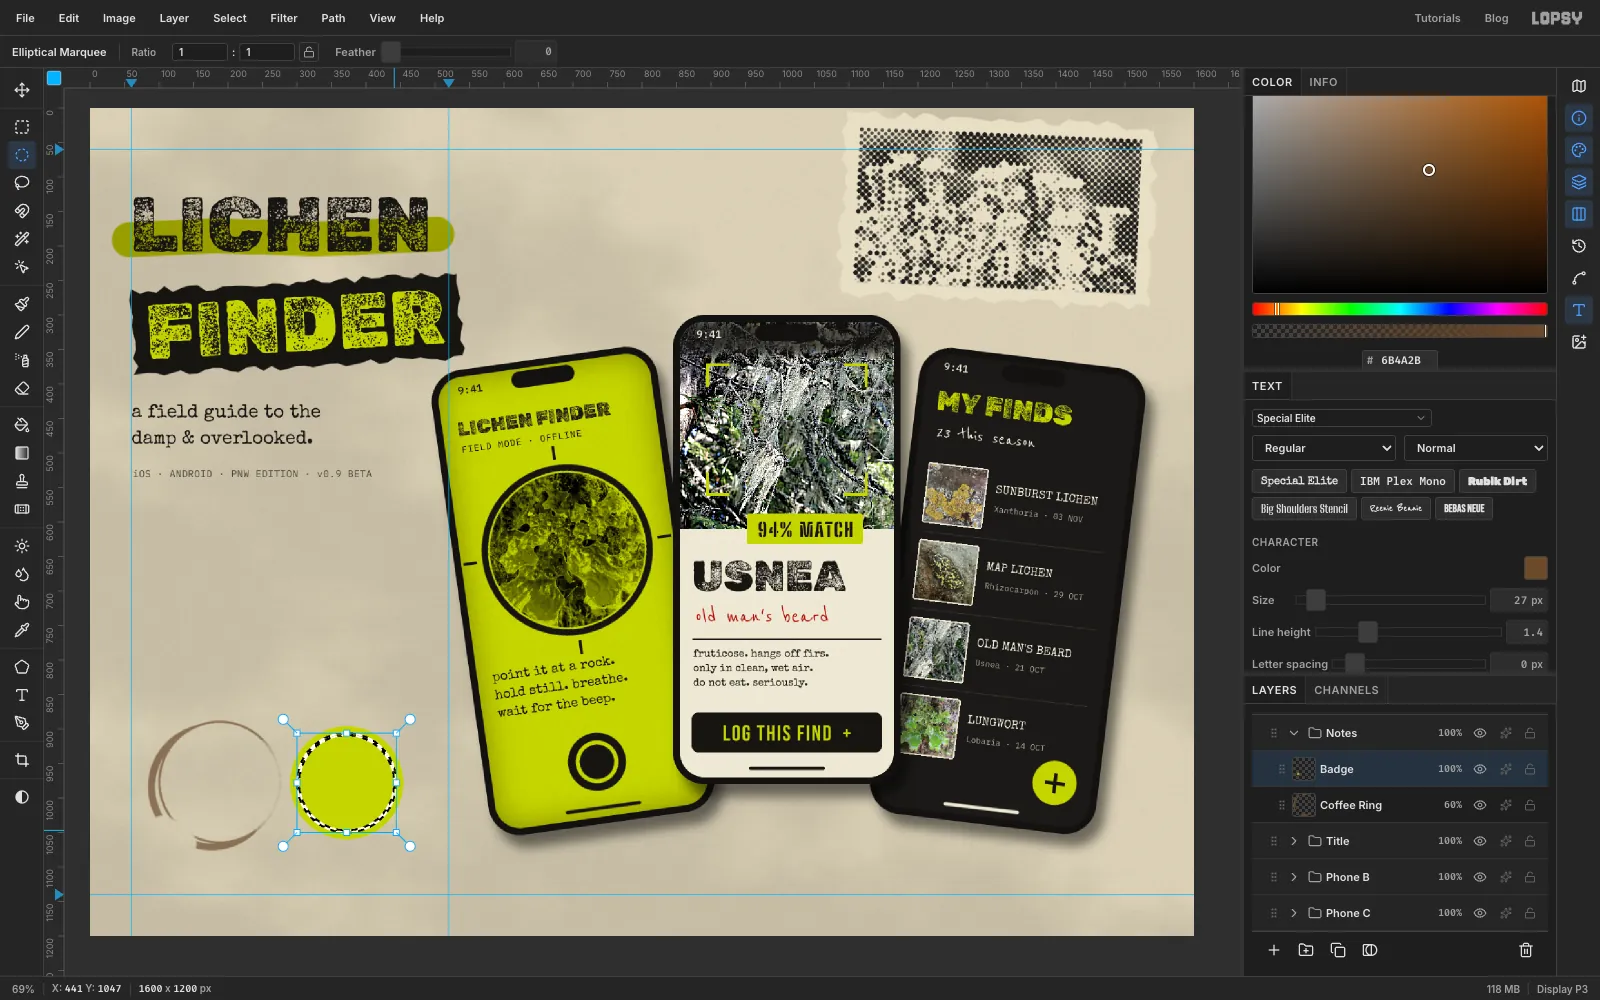
Add a layer called Badge. With the Shape tool, create a 164 × 164 lime Ellipse at X 372, Y 978.
For the thin inner ring, open the Elliptical Marquee dialog and select 300, 906 – 444, 1050. Then hold Option and drag a second circle from 303, 909 to 441, 1047. Zoom in to 200% or more for this and watch the X and Y in the status bar, since you're aiming for a ring only 3 px wide. Option subtracts the second circle, so only the ring is left selected. Fill it with ink and deselect. Unlike Shrink-and-Delete, this leaves the lime inside the ring alone.
-
Letter and turn the sticker
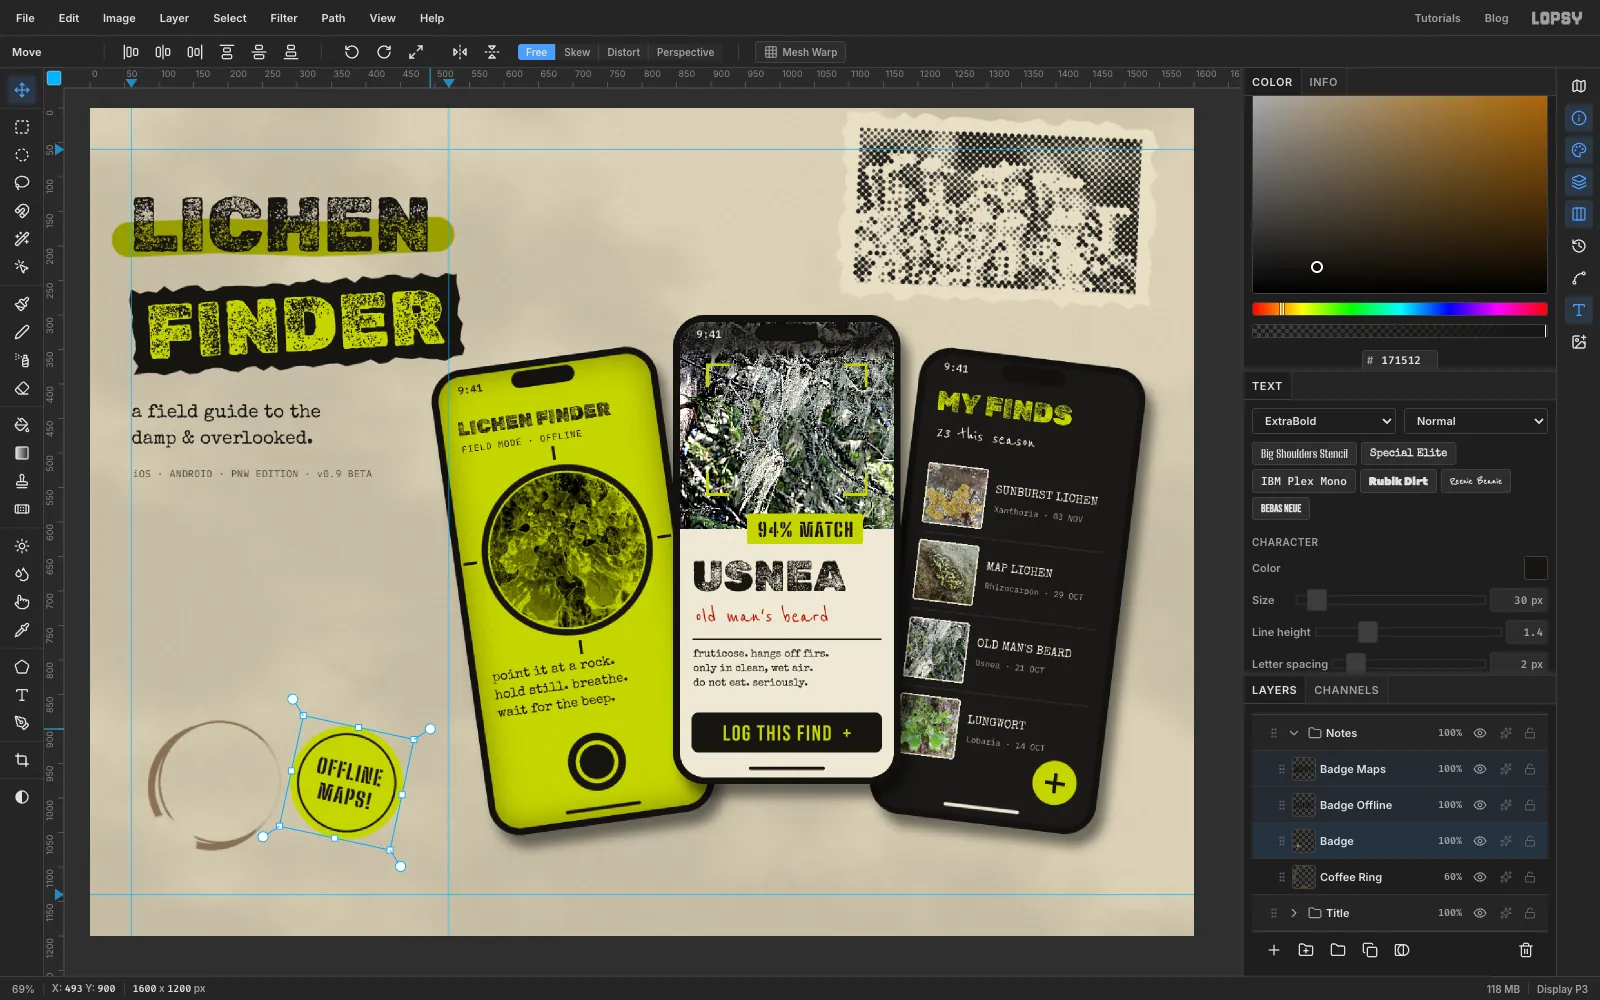
With Badge selected, type
MAPS!in Big Shoulders Stencil ExtraBold, 30 px, ink, Letter spacing 2, clicking at about X 342, Y 982. Select Badge again and typeOFFLINEthe same way at about X 324, Y 934. Use the arrow keys to centre each word across the badge, OFFLINE about 18 px above the centre and MAPS! about 18 px below it.Click Badge, then Shift-click the MAPS! text row to select the badge and both words. Press Cmd+D and rotate them together about 12° clockwise with the Move tool, a clear tilt, as if the sticker went on in a hurry. Press Enter. Then give Badge a small Drop Shadow: Offset X 4, Offset Y 6, Blur 6, Opacity 35.
-
Scribble a note and an arrow
Select Coffee Ring and type Covered By Your Grace, 40 px, marker red, Letter spacing 0, at X 82, Y 628:
works in the rain., Enter,(mostly.). To tilt live text, press Cmd+D, take the Move tool and drag the corner rotation handle of the text's box about 6° counter-clockwise, so the note runs gently uphill. Press Enter.Select Badge and add a layer called Arrow. With the Brush at Size 6, Hardness 95, in red, drag a lazy curve from just under the note to the left edge of the lime phone, around X 522, Y 734. Add the arrowhead with two short strokes back from the tip.
Finally, with Badge selected, add the footer in IBM Plex Mono, 16 px, , Letter spacing 1, at X 62, Y 1112:
LICHEN FINDER — UI CONCEPT 03/03 — FIELD-TESTED IN THE HOH RAINFOREST, WA.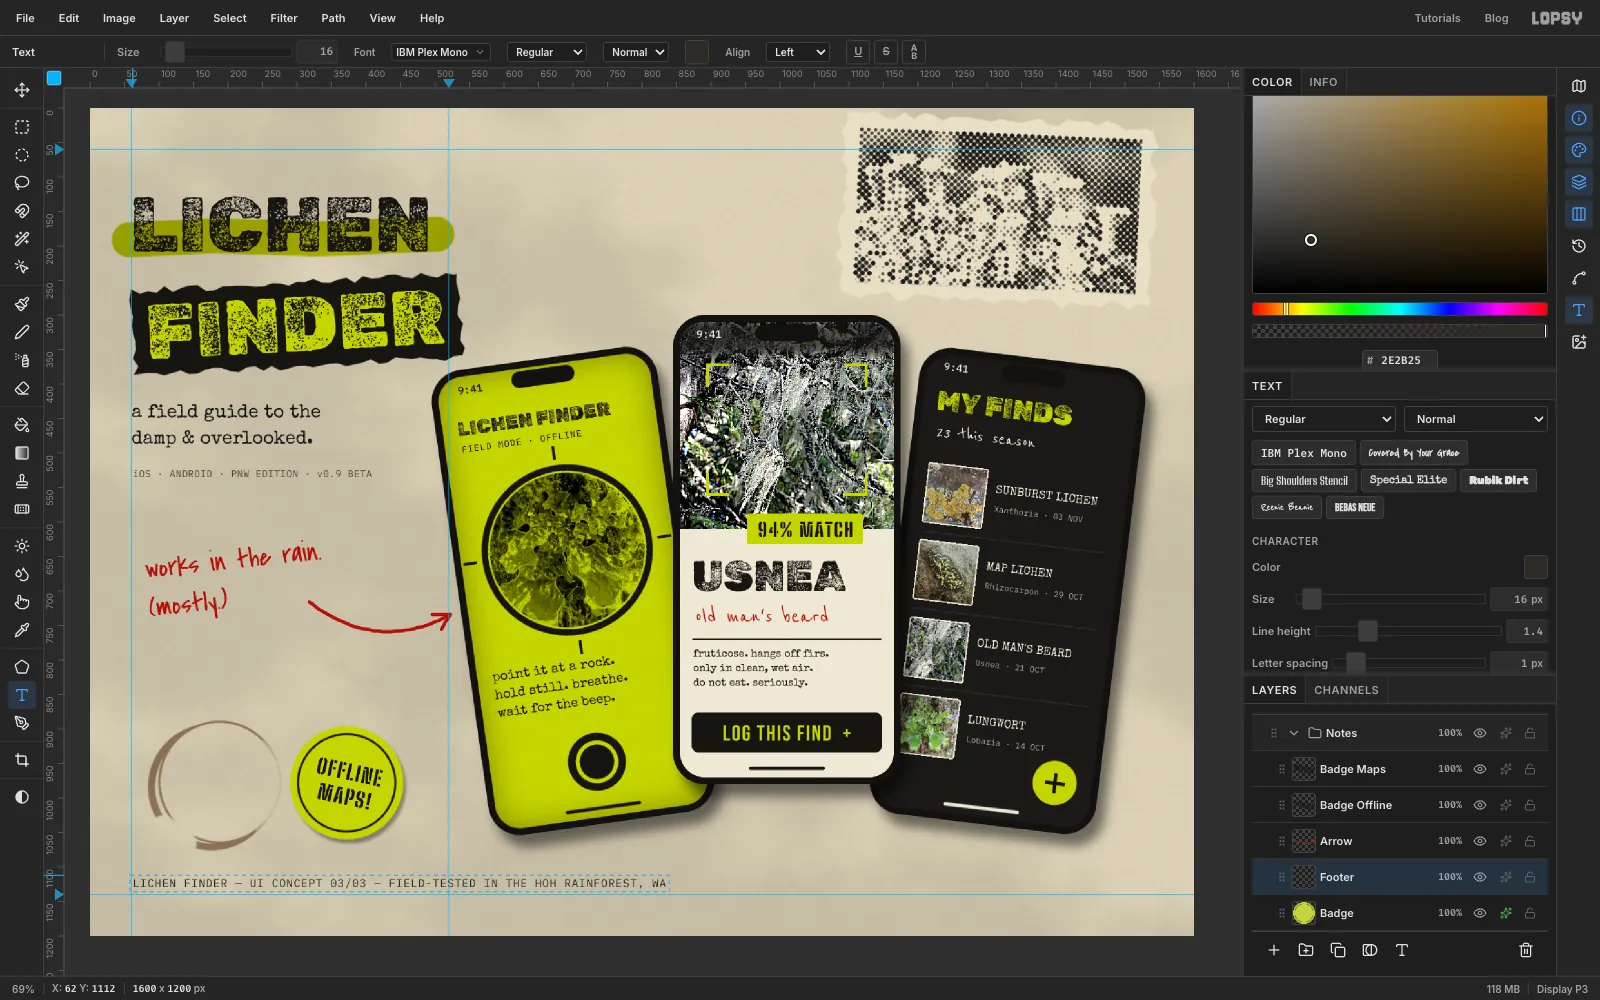
-
Tape things down
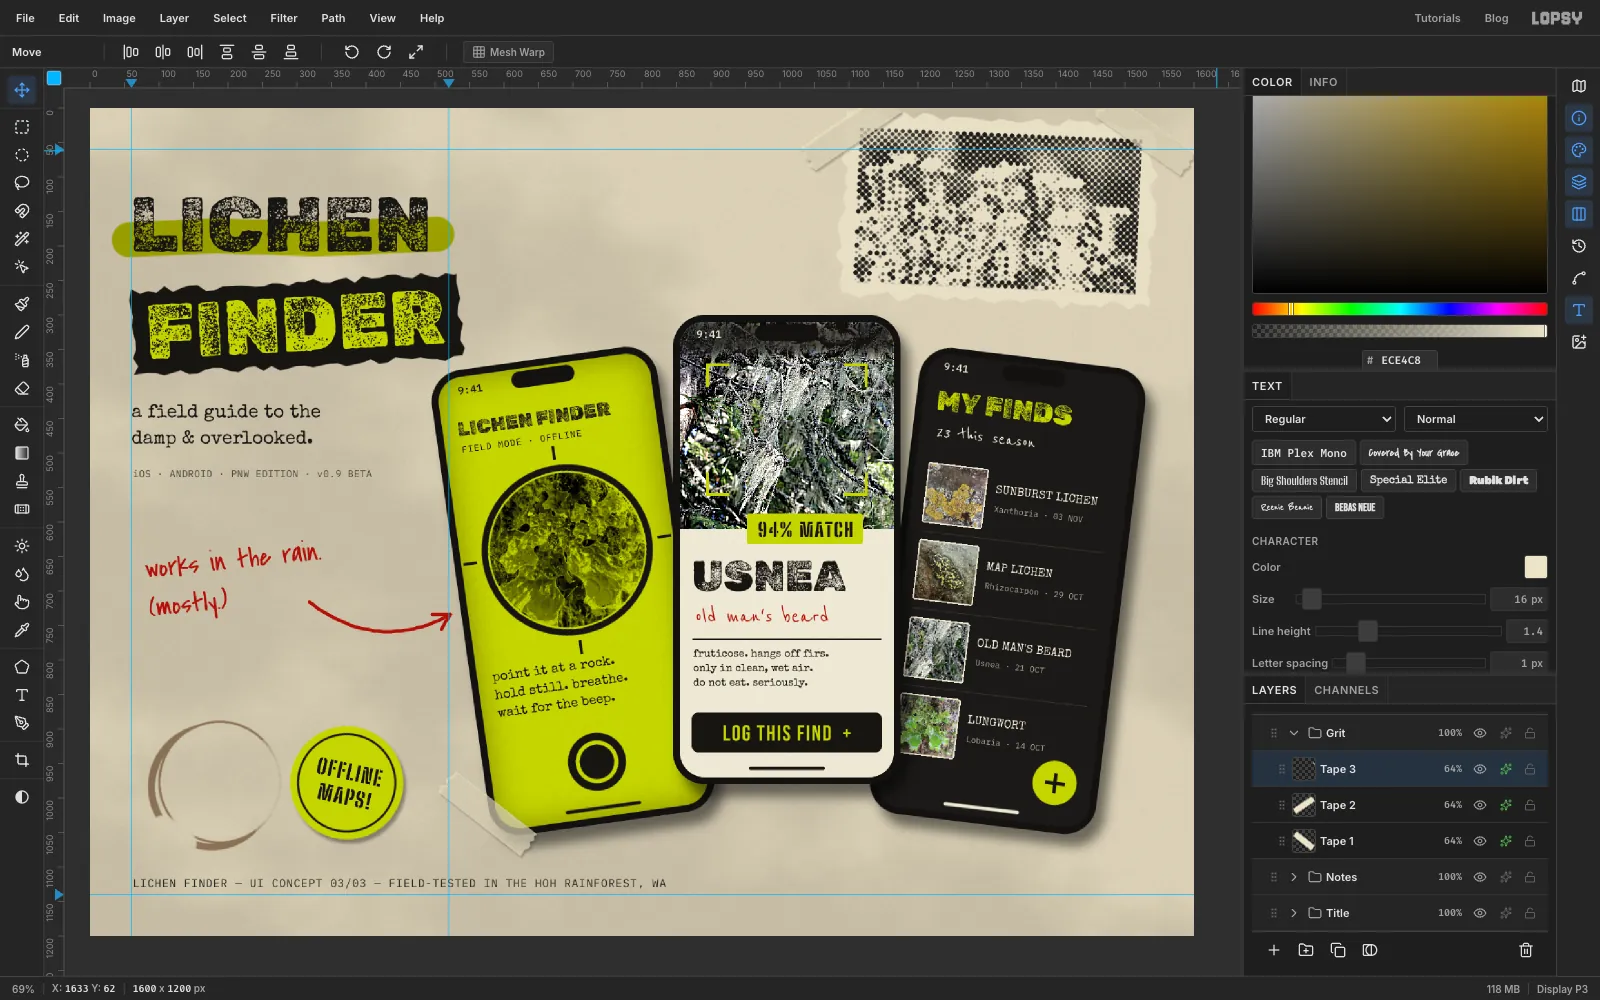
Collapse Notes, select it, and click New Group. Call it Grit. Inside, add a layer called Tape 1.
Draw one strip of tape with the Lasso, about 150 × 40 px, anywhere on empty wall. Make the long sides straight and the short ends ragged, as if torn. Fill it with tape , deselect, and add Add Noise with Amount 16, Mode Mono. Set the layer opacity to 64% and give it a faint Drop Shadow: Offset X 2, Offset Y 3, Blur 4, Opacity 22.
Click Duplicate Layer twice to make Tape 2 and Tape 3. For each strip, click its row and drag it with the Move tool to its spot. Then Cmd-click its thumbnail to select its pixels, and turn it with one of the round rotation handles just outside the corners:
- Tape 1: over the bottom-left corner of the lime phone, about 38° clockwise.
- Tape 2: over the poster's top-left corner, about 34° counter-clockwise.
- Tape 3: over the poster's top-right corner, about 36° clockwise.
Press Enter and Cmd+D after each one.
-
Spray ink and circle the match
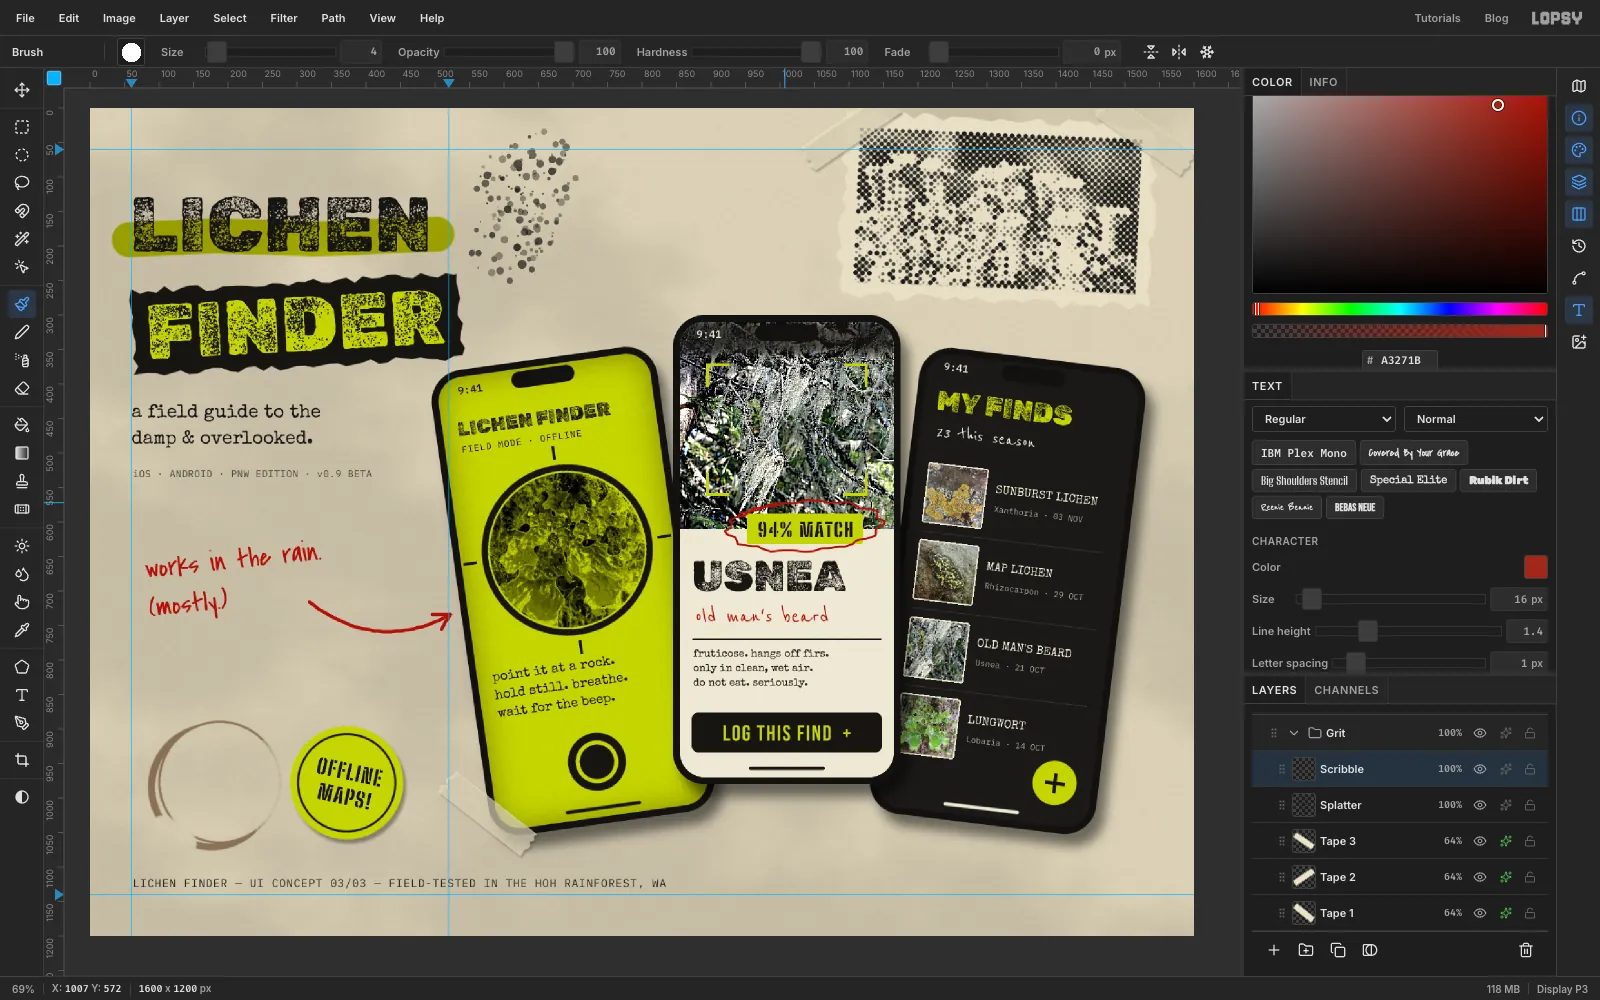
Add a layer called Splatter. Take the Spray tool (J) and set Size 110, Density 40, Opacity 95 and Softness 5, in ink. Click four times in a loose cluster up and to the right of LICHEN, around X 600 to 660, Y 90 to 200, clear of the swash. Each click is one burst of dots.
Add a layer called Scribble. With the Brush at Size 4, Hardness 100, in marker red, draw one quick loop around the 94% MATCH sticker, a little more than once round and wide enough not to touch the sticker, the way you'd circle something in a magazine. Keep it inside the centre screen and clear of USNEA.
-
Add photocopier grain and streaks
Add a layer called Xerox Grain. Fill it with mid grey , then run Add Noise: Amount 45, Mode Mono, Distribution Gaussian. Set it to Overlay at 45%. Mid grey vanishes in Overlay, so only the grain stays.
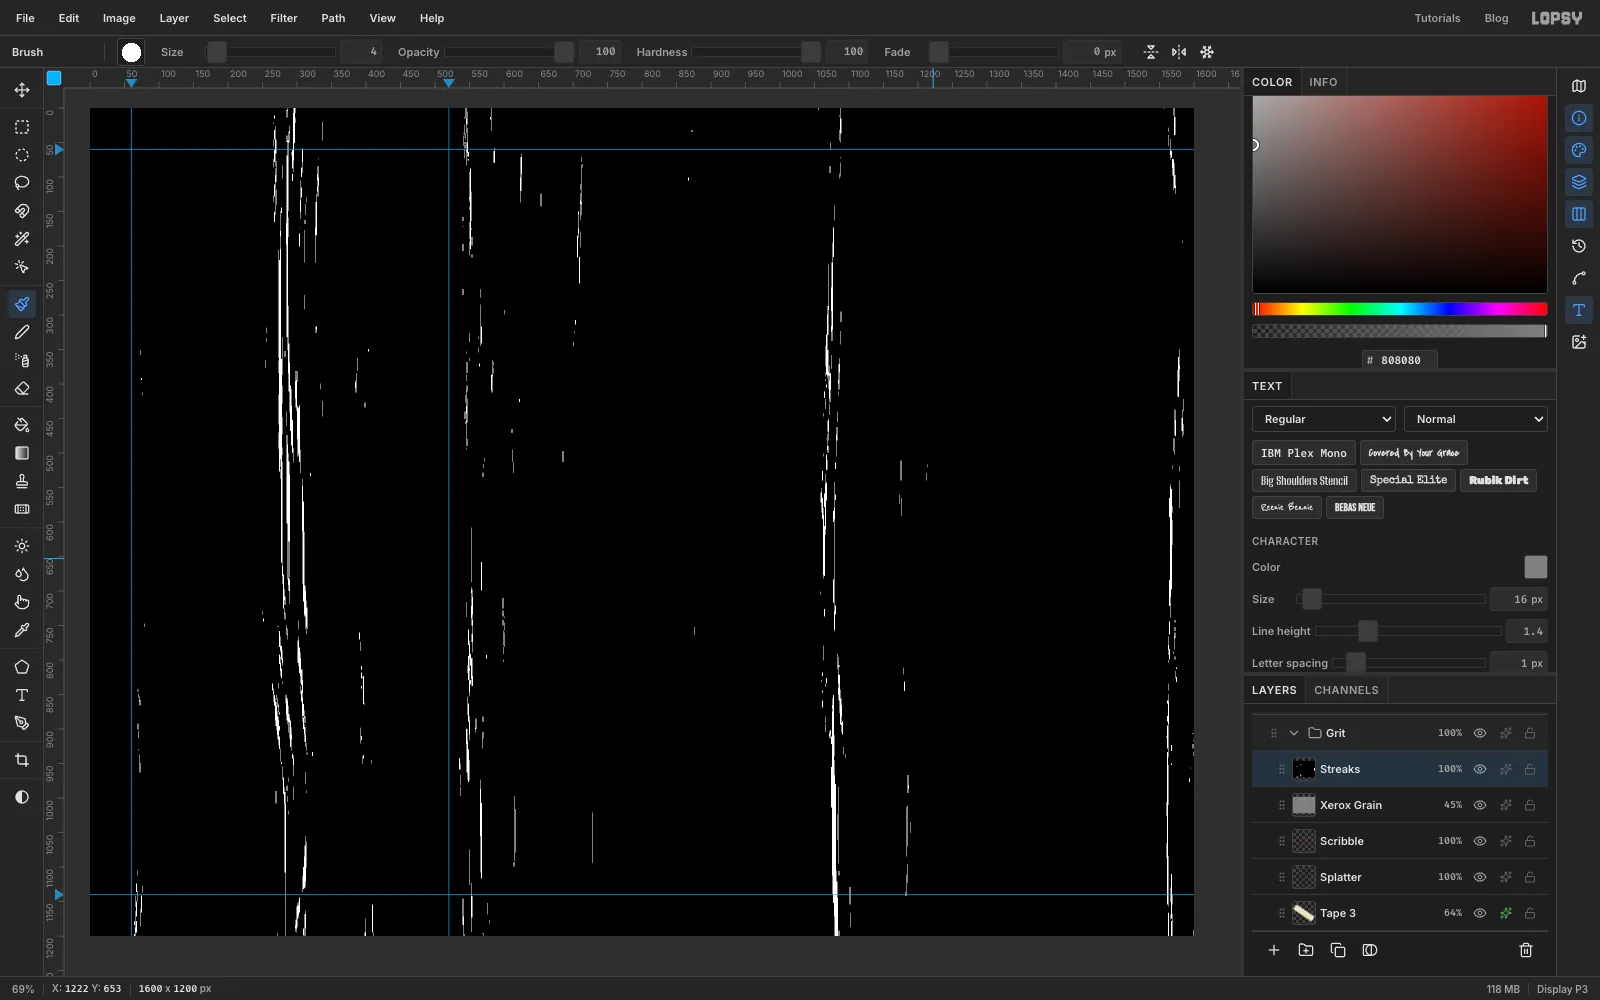
Add a layer called Streaks and run Filter → Fibers with Variance 40 and Strength 50. That fills the layer with vertical fibres. Then run Filter → Threshold at Level 205. Almost everything turns black and only the brightest fibres survive as thin white streaks. The layer hides the whole picture for a moment, which is fine.
-
Blend the streaks and add scan bands
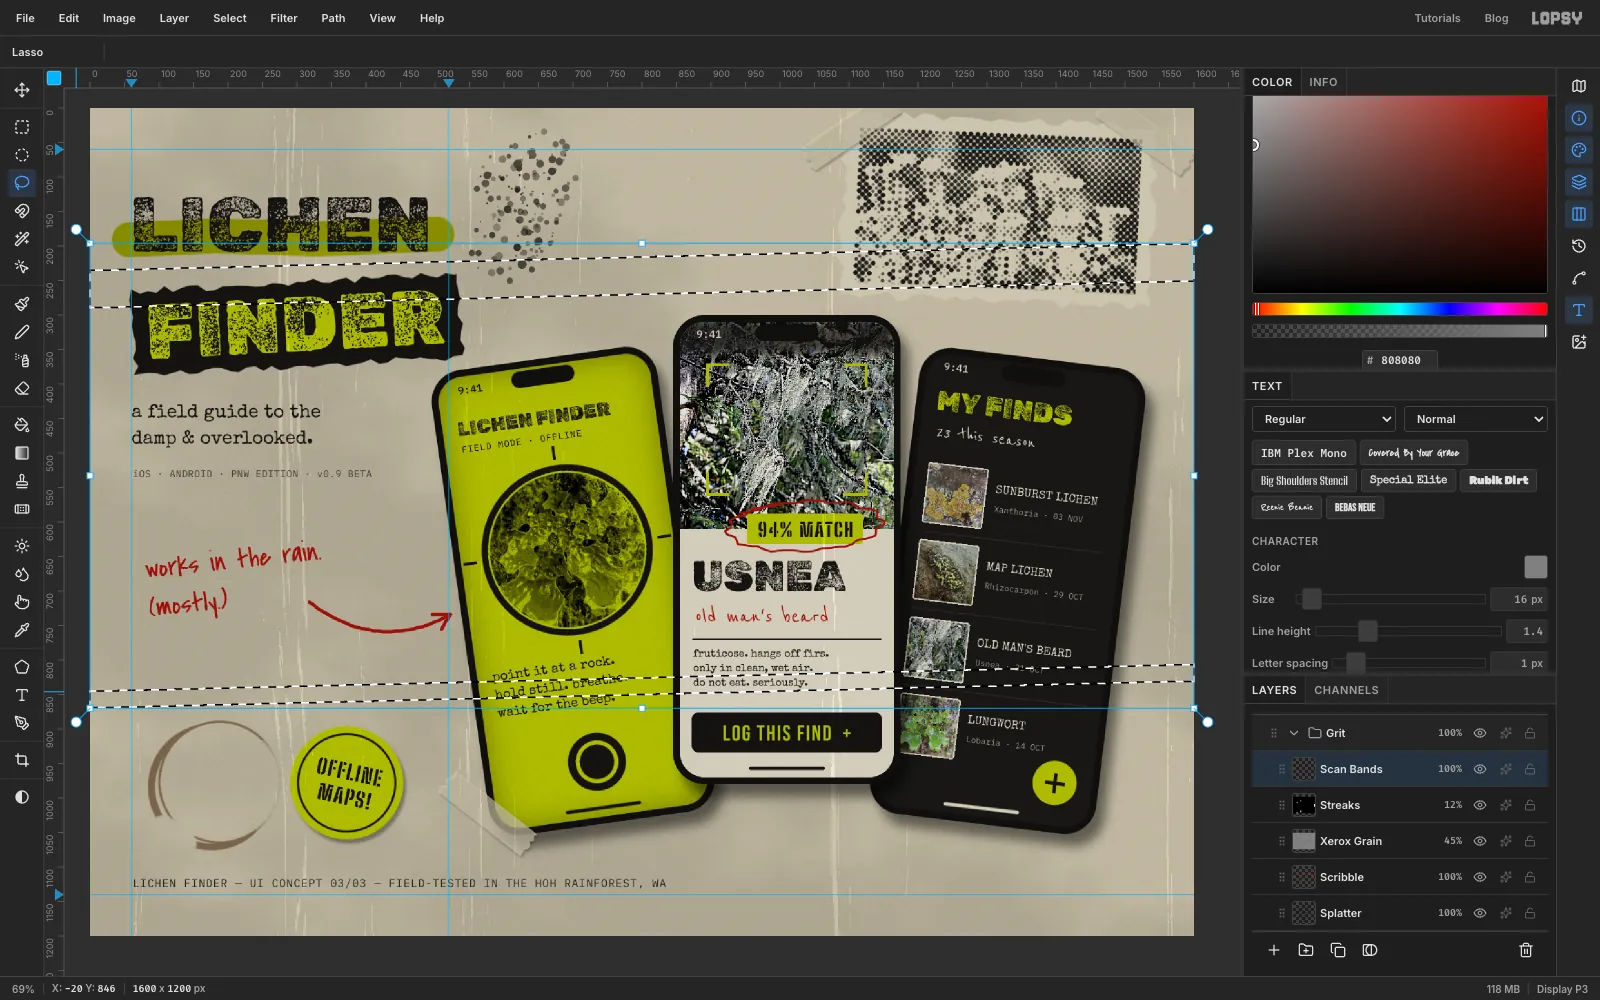
Set Streaks to Multiply at 12%. The black now darkens the whole sheet very slightly, and the white fibres show through as pale scratches, like dust on the copier glass.
Copiers also leave soft bands where the light bar wobbles. Add a layer called Scan Bands. With the Lasso, drag a long thin band across the whole sheet that falls slightly from right to left, about 50 px tall, around Y 200 to 290. Hold Shift and drag a thinner band lower down, around Y 806 to 870. Shift adds the second band to the selection.
Fill with ink, deselect, run Gaussian Blur at Radius 3 to soften the edges just a little, and set the layer to Multiply at 7%.
-
Keep the hero screen clean
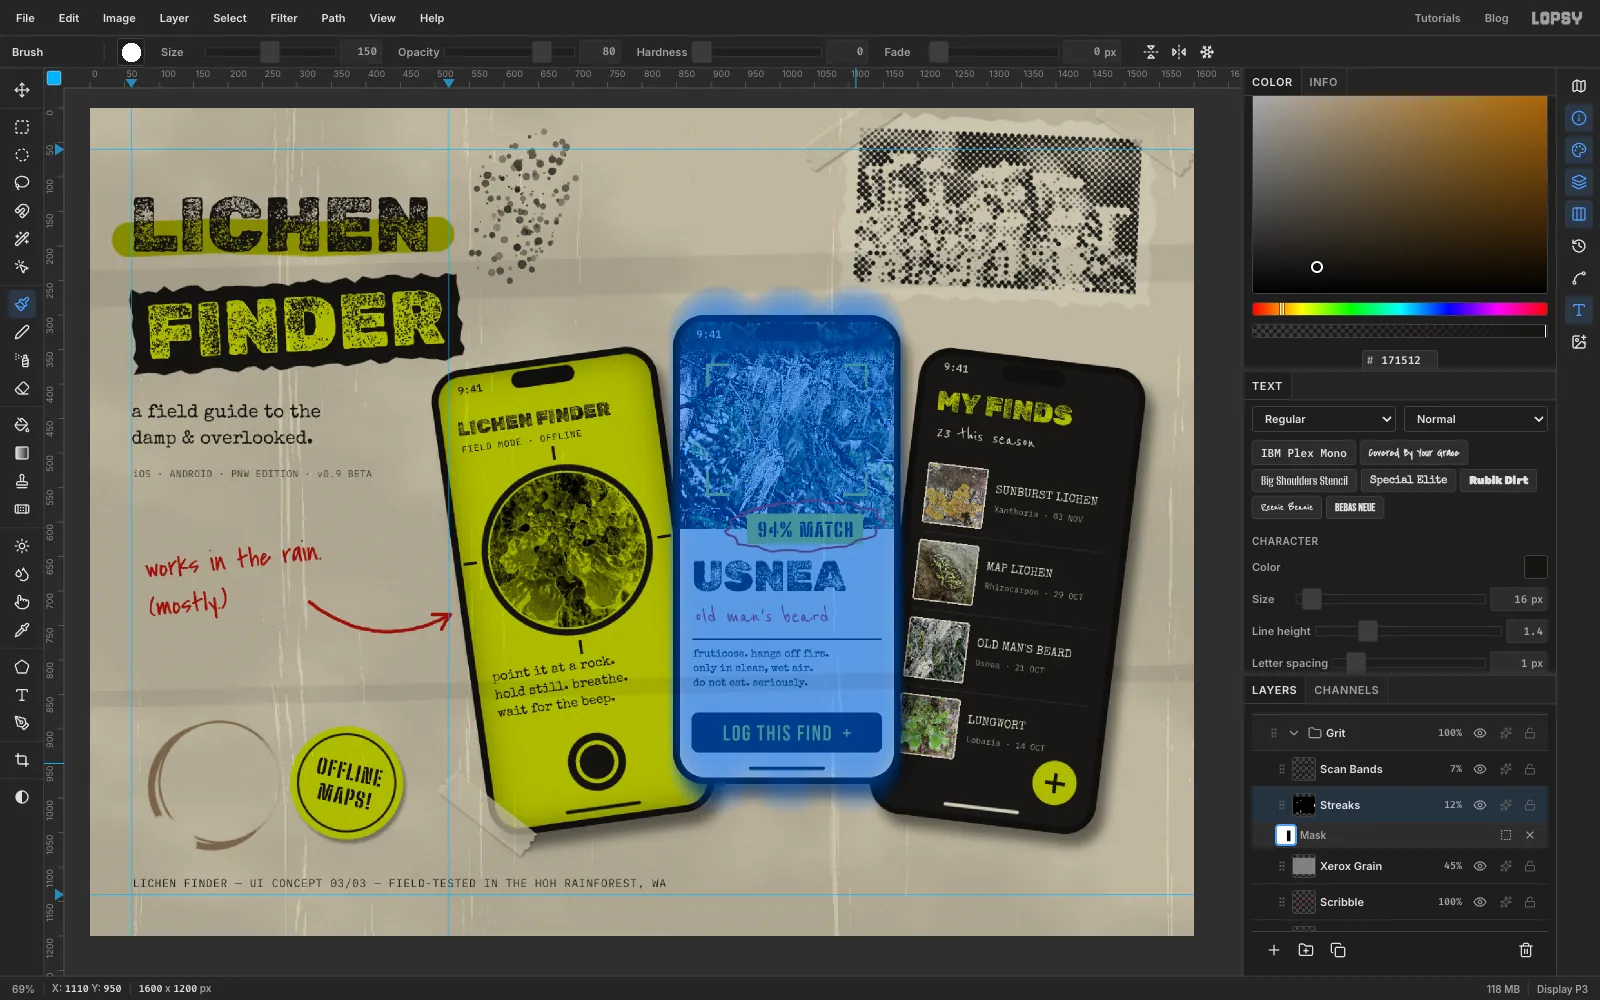
The streaks are nice on the wall but distracting on the hero screen. Select Streaks and click Add Mask at the bottom of the Layers panel. Click the mask thumbnail so you're painting on the mask.
Set the foreground to black and take the Brush with Size 150, Hardness 0 and Opacity 80. Paint three vertical strokes down the centre phone, from top to bottom, a little apart so they cover the whole screen. In a mask, the brush hides. While you're editing a mask, Lopsy tints the hidden area blue so you can see where you've painted. Then click the Streaks layer name to stop editing the mask, and set the brush Opacity back to 100.
-
Darken the edges
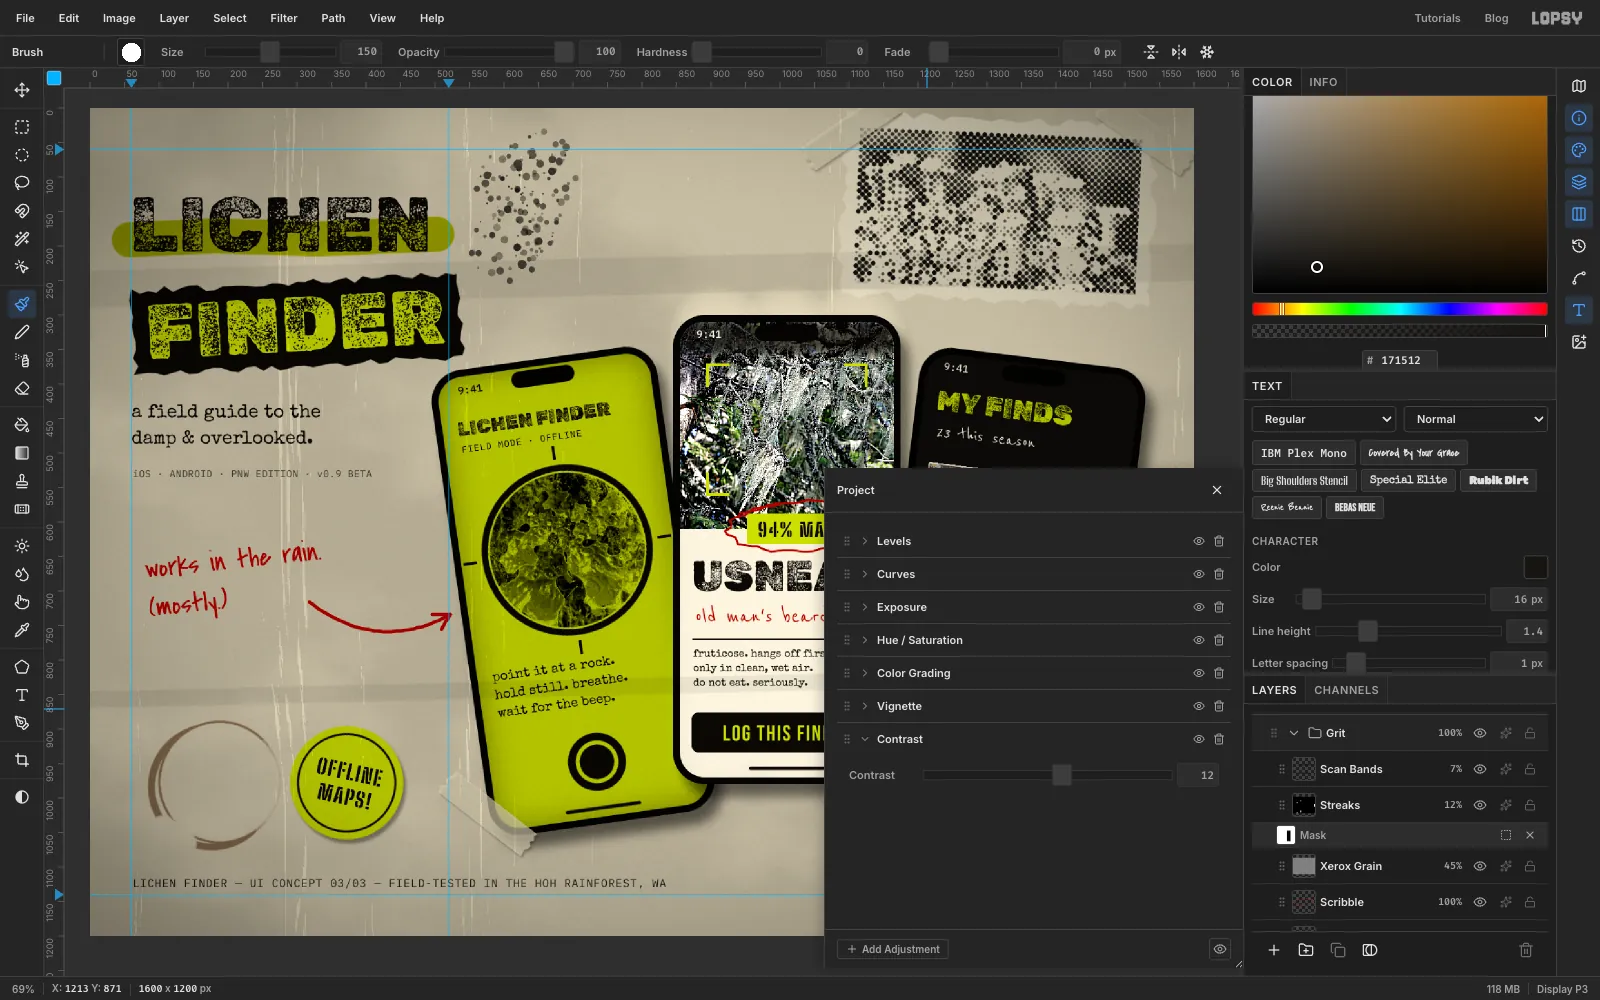
Choose Layer → Adjustment Layer… and click Got it in the note that appears. Lopsy puts adjustments on a group, and this opens the stack for the whole document.
Click Add Adjustment → Vignette and set it to 42. Photocopies always come out darker at the edges. Then click Add Adjustment → Contrast and set it to 12. Close the drawer.
-
Save and export
Choose File → Save Project to keep a
.lopsyfile with every layer, group, mask and adjustment still editable. Then use File → Quick Export PNG for the finished image.The three screens are live groups, so you can swap in a different lichen, retype a name or re-tilt a phone without rebuilding anything. Try a second set of screens in moss green on cream for a "day mode" shot.