Make a Halftone Iceland Geyser Poster
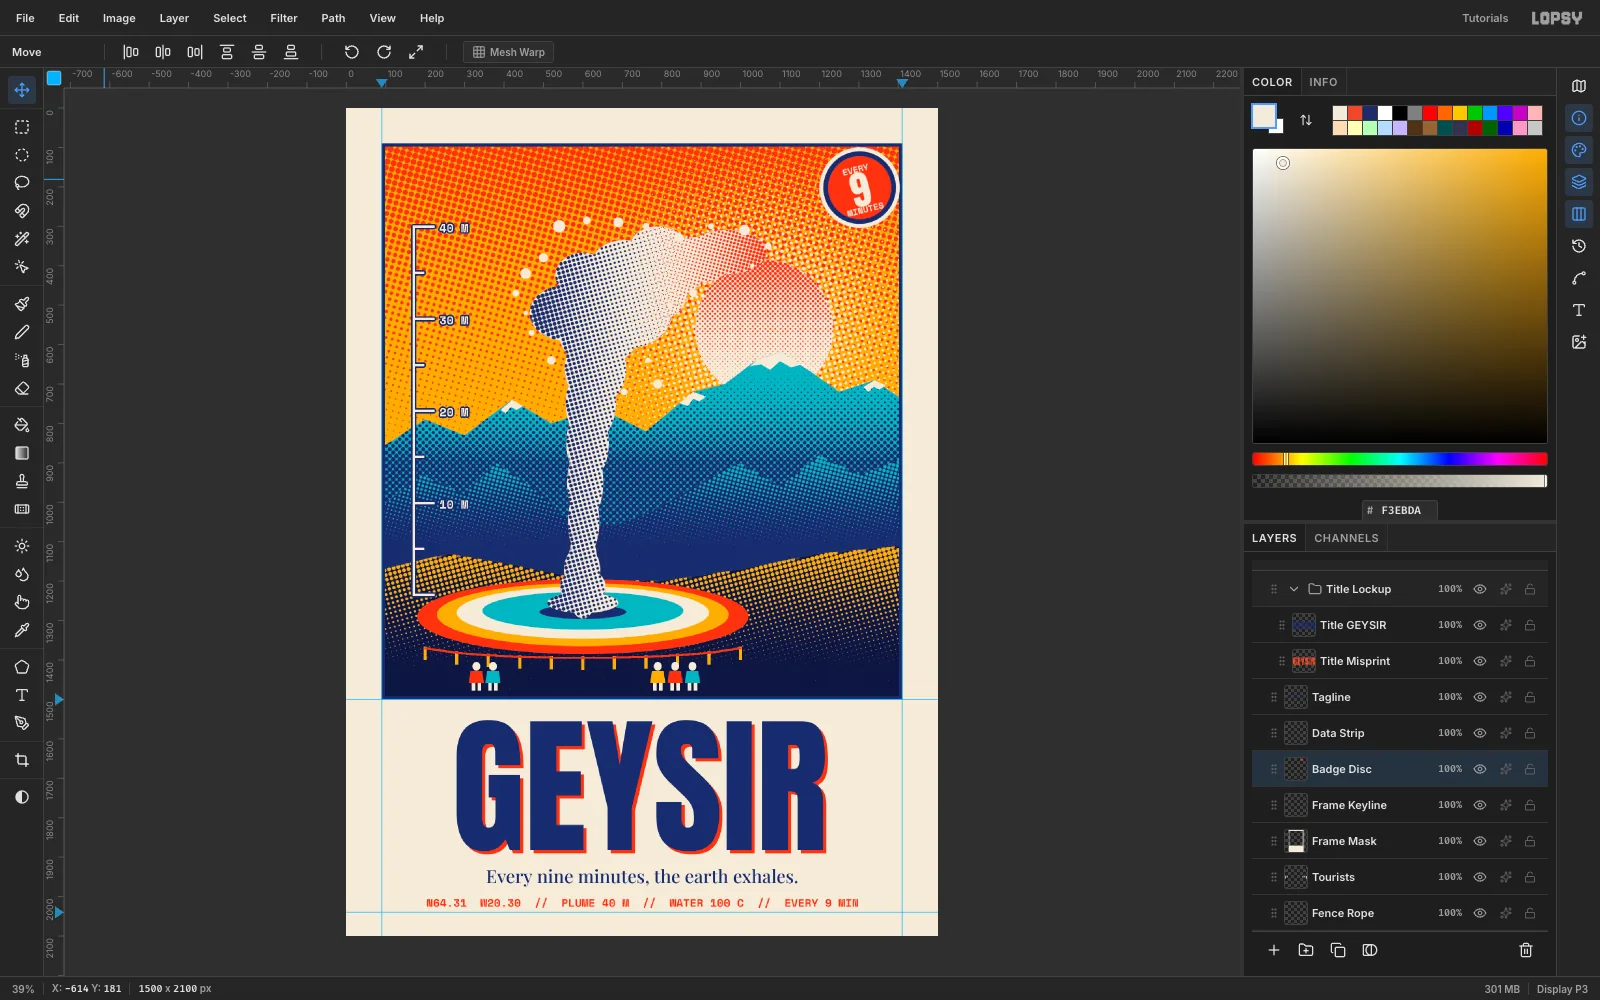
Screen-print an erupting Icelandic geyser poster in Lopsy. Five inks, halftone dots on every shadow, a height scale, a rotated badge and a big GEYSIR title.
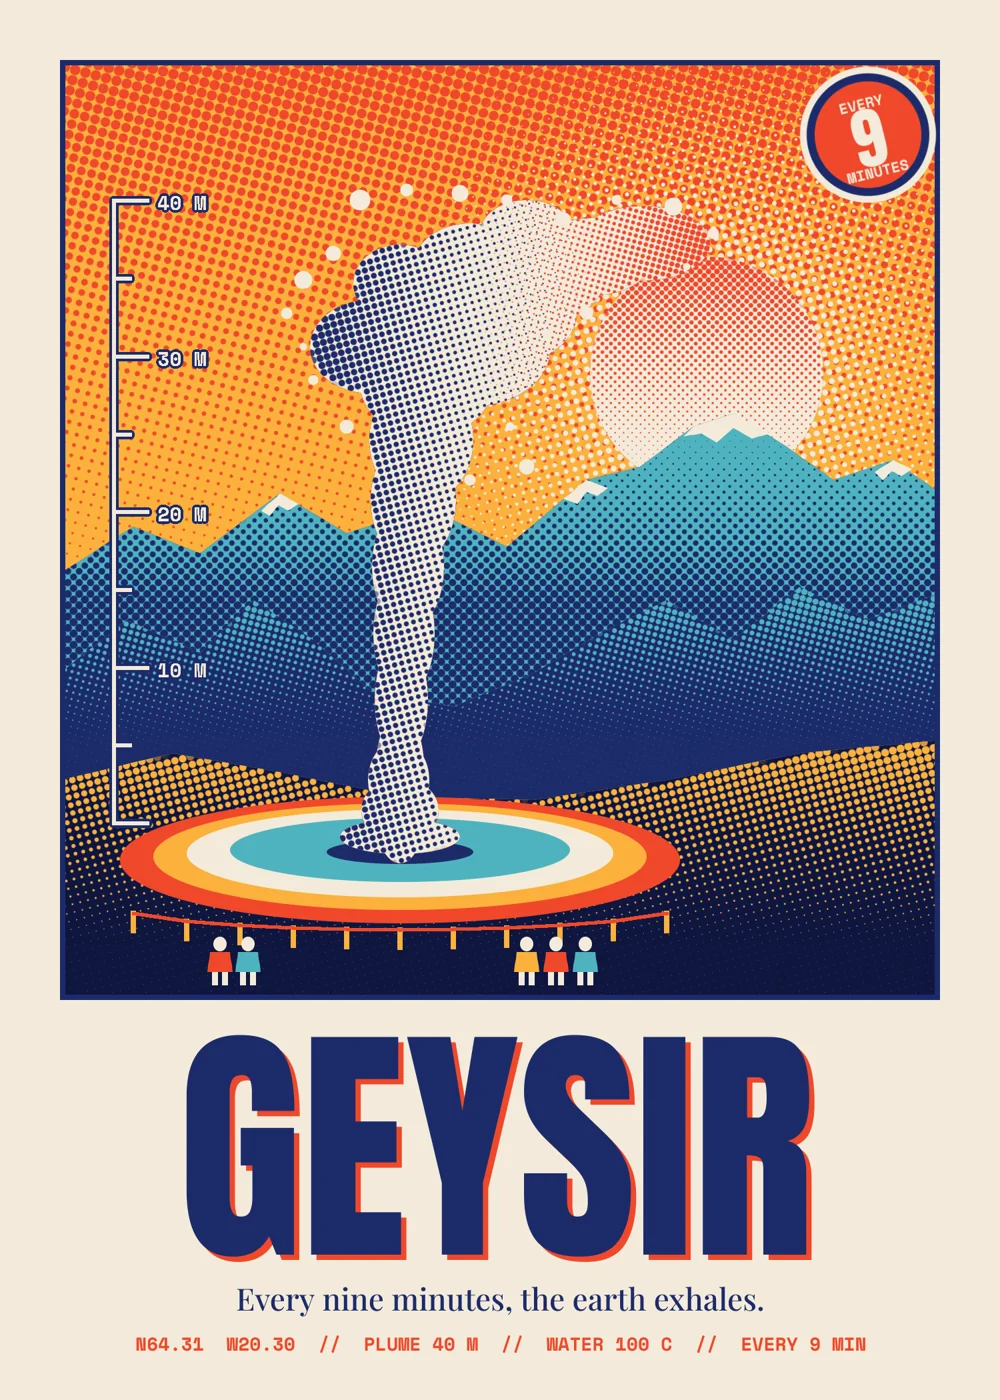
Travel posters of the 1960s and 70s were printed in a handful of flat inks, and every shadow was made of halftone dots. A tiny dot reads as a light tone and a fat dot reads as a dark one, so five colours were enough to paint a whole landscape. This tutorial rebuilds that look in Lopsy for GEYSIR, a 1500 × 2100 px poster of an Icelandic geyser mid-eruption.
The trick is one move that you'll repeat about ten times. Paint a black-to-white gradient in a selection on its own layer, run Filter → Halftone, then recolour the dots with a Color Overlay and bake it in with Rasterize Layer Style. Black becomes big dots, white vanishes, and the gradient turns into a screen of dots that fades out.
Along the way you'll also use:
- Rectangular Marquee, Elliptical Marquee and Lasso fills
- Linear and Radial gradients, and Select → Inverse
- the Pencil with Shift-click straight lines, and a Brush for spray droplets
- Stroke layer effects on text, and Space Mono, Anton and Playfair Display type
- groups, Snap to Layers, guides, undo / redo, and layer reordering by dragging
- Merge Down, the transform handles for rotation, and Nudge with the arrow keys
The palette is five inks on cream paper:
-
Paper
-
Indigo
-
deep night
-
Coral
-
Saffron
-
Teal
-
Set up the paper
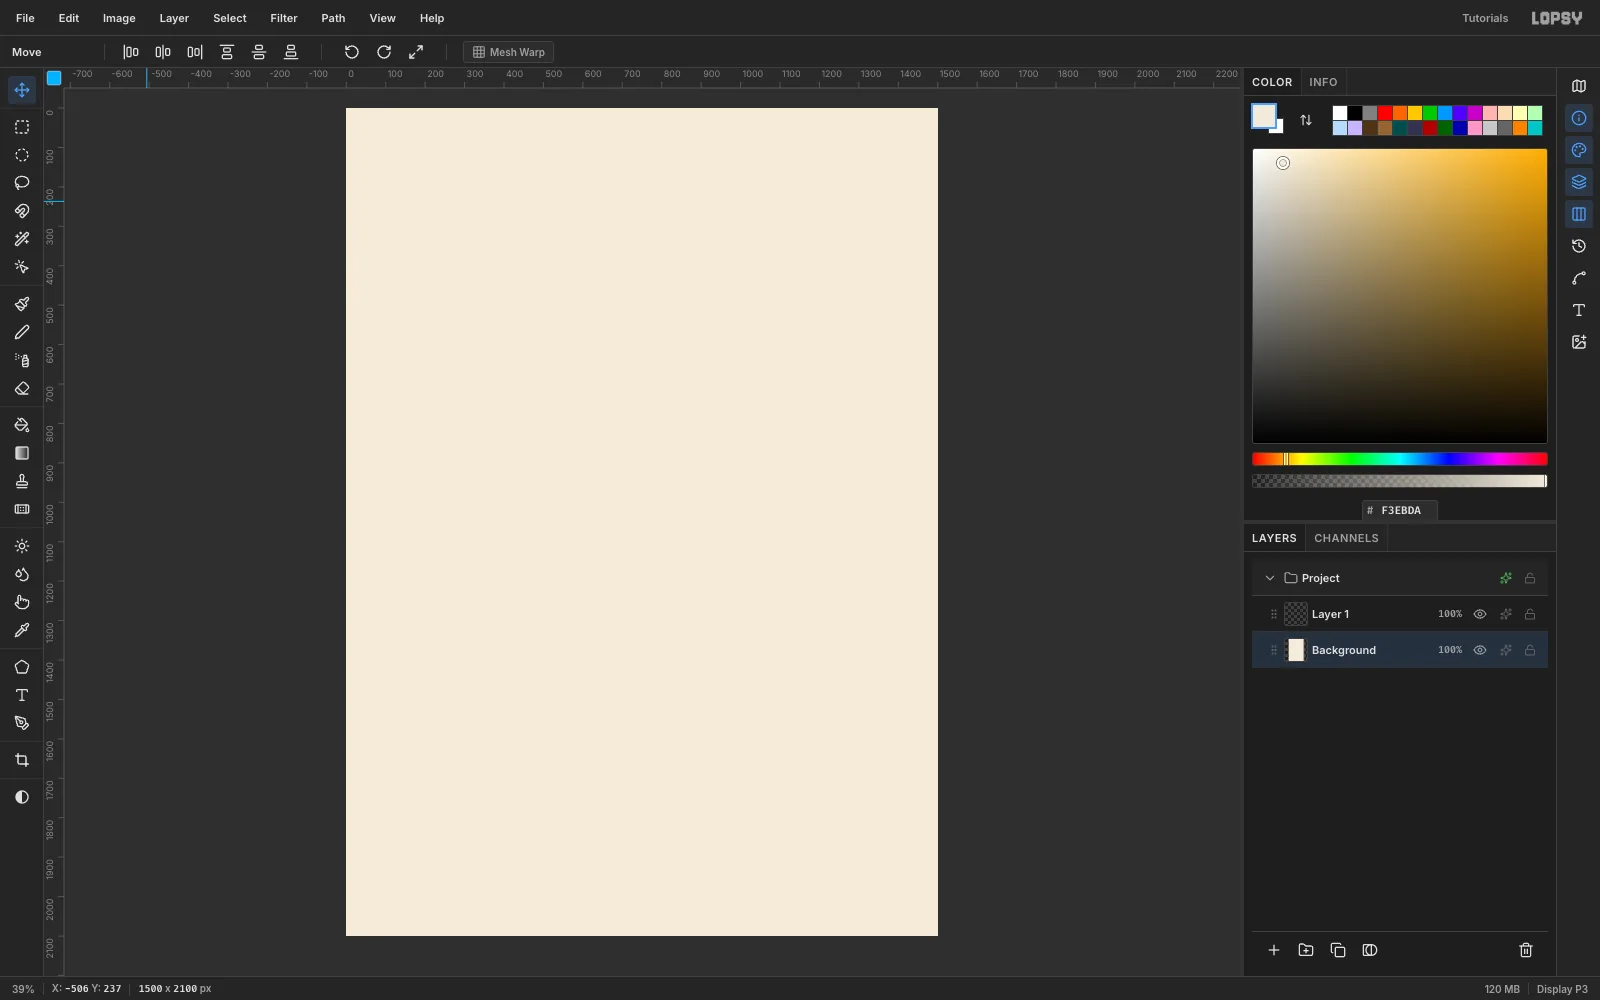
Choose File → New, set the units to Pixels, make the document 1500 × 2100 and click Create. Select the Background layer, set the foreground colour to and choose Edit → Fill. The whole sheet turns to cream. This is the paper colour, and the unprinted border around the picture will stay this colour at the end.
-
Mark out the picture
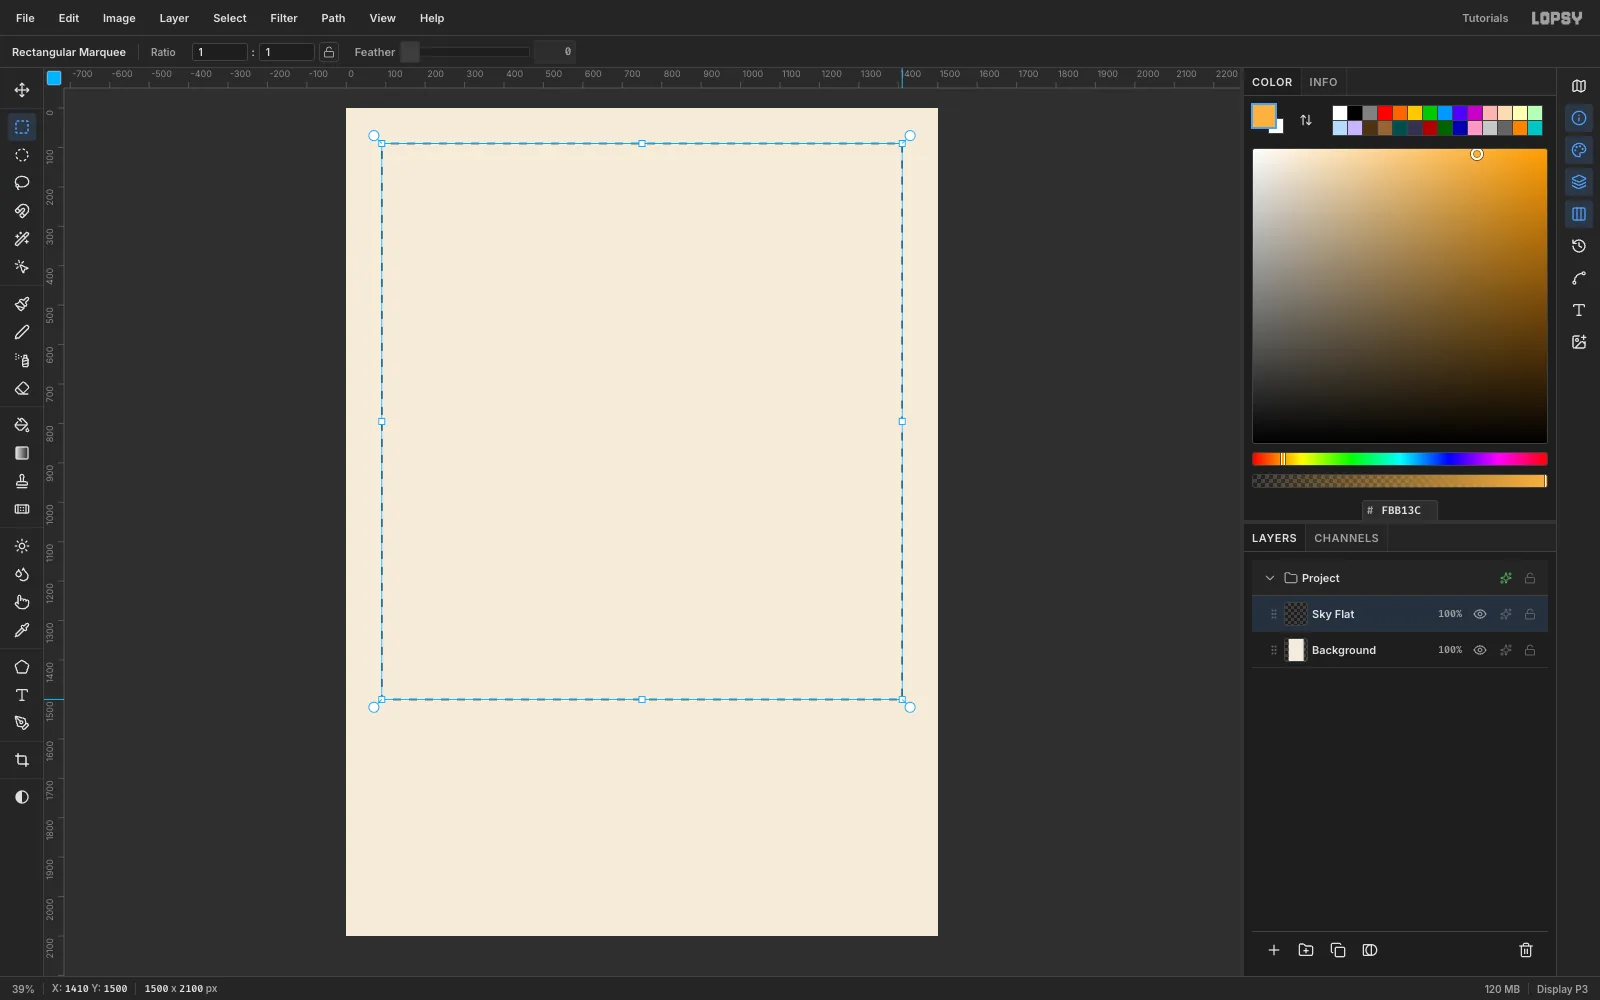
Rename Layer 1 to Sky Flat by double-clicking its name. Set the foreground to saffron . Pick the Rectangular Marquee (M) and drag out the picture area. Leave an even cream border on the left, right and top, and a much deeper band at the bottom for the title. The Marquee options show the exact size if you want to check it.
-
Fill the sky
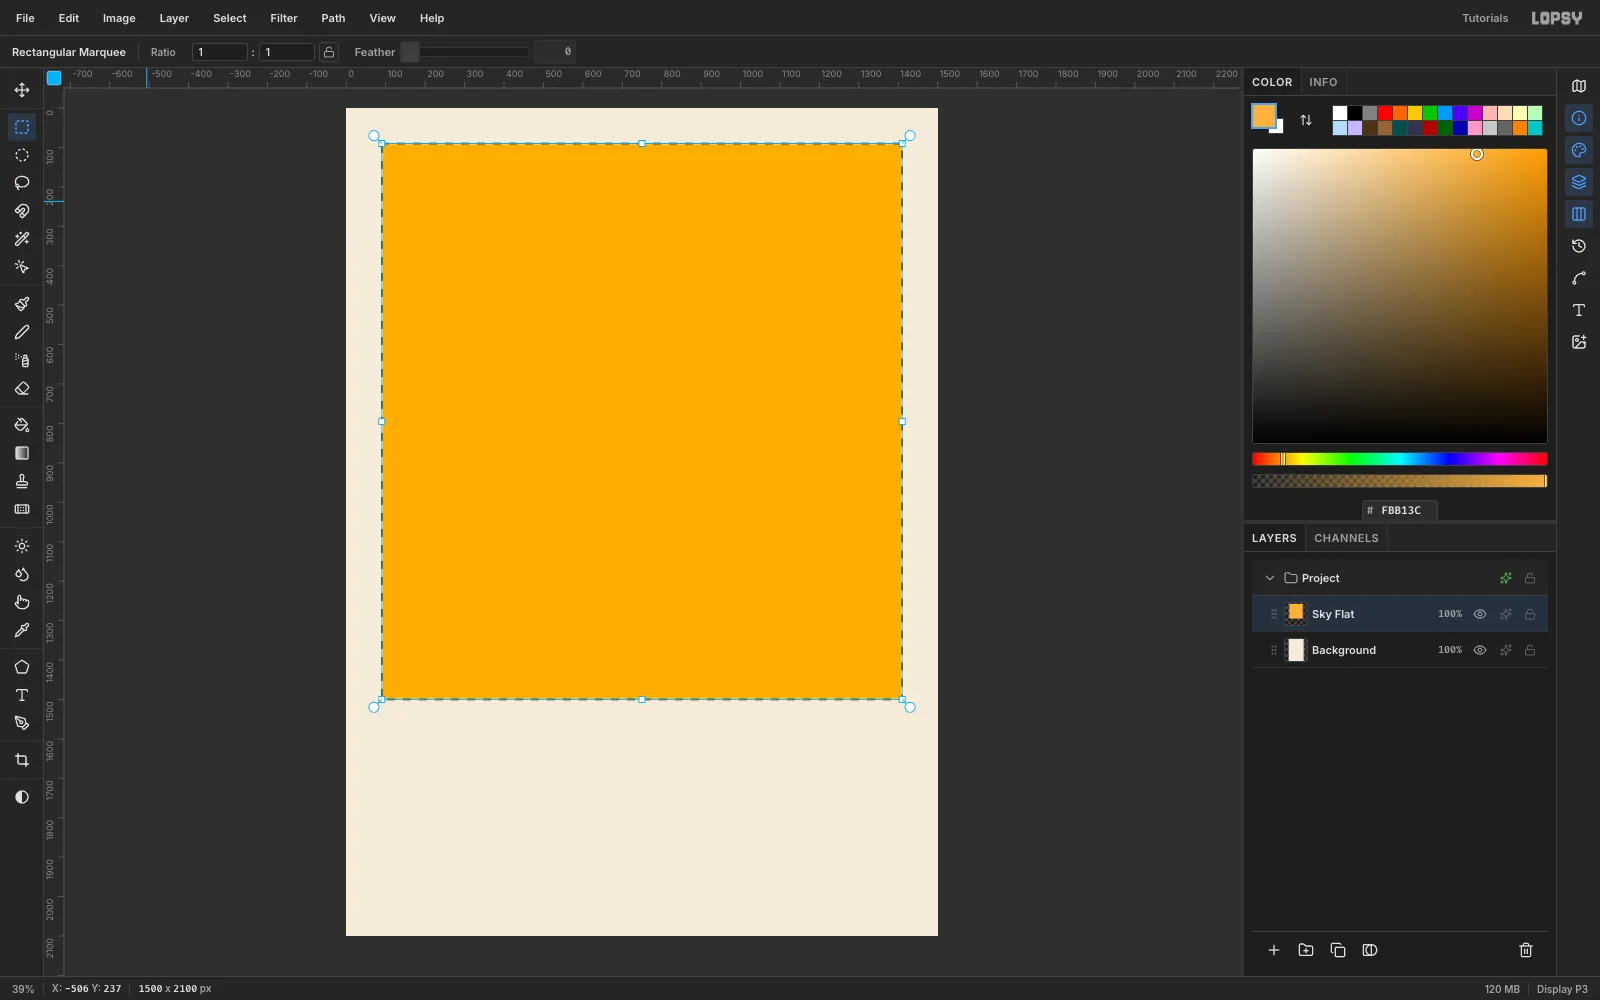
With the marquee still active, choose Edit → Fill. This flat saffron is the first ink. Keep the selection. You'll reuse it for the next layer.
-
Screen the sky with coral dots
- Add a layer and rename it Sky Dots Coral. The selection survives the new layer.
- Set the foreground to black and the background to white. Pick the Gradient tool, set it to Linear, and drag from the top of the picture down about halfway.
- Choose Filter → Halftone…. Set Dot Size 16, Angle 75 and leave Density and Softness at their defaults. Click Apply.
- Open the layer's effects, switch on Color Overlay and pick coral .
- Click Rasterize Layer Style so the colour is baked into the dots.
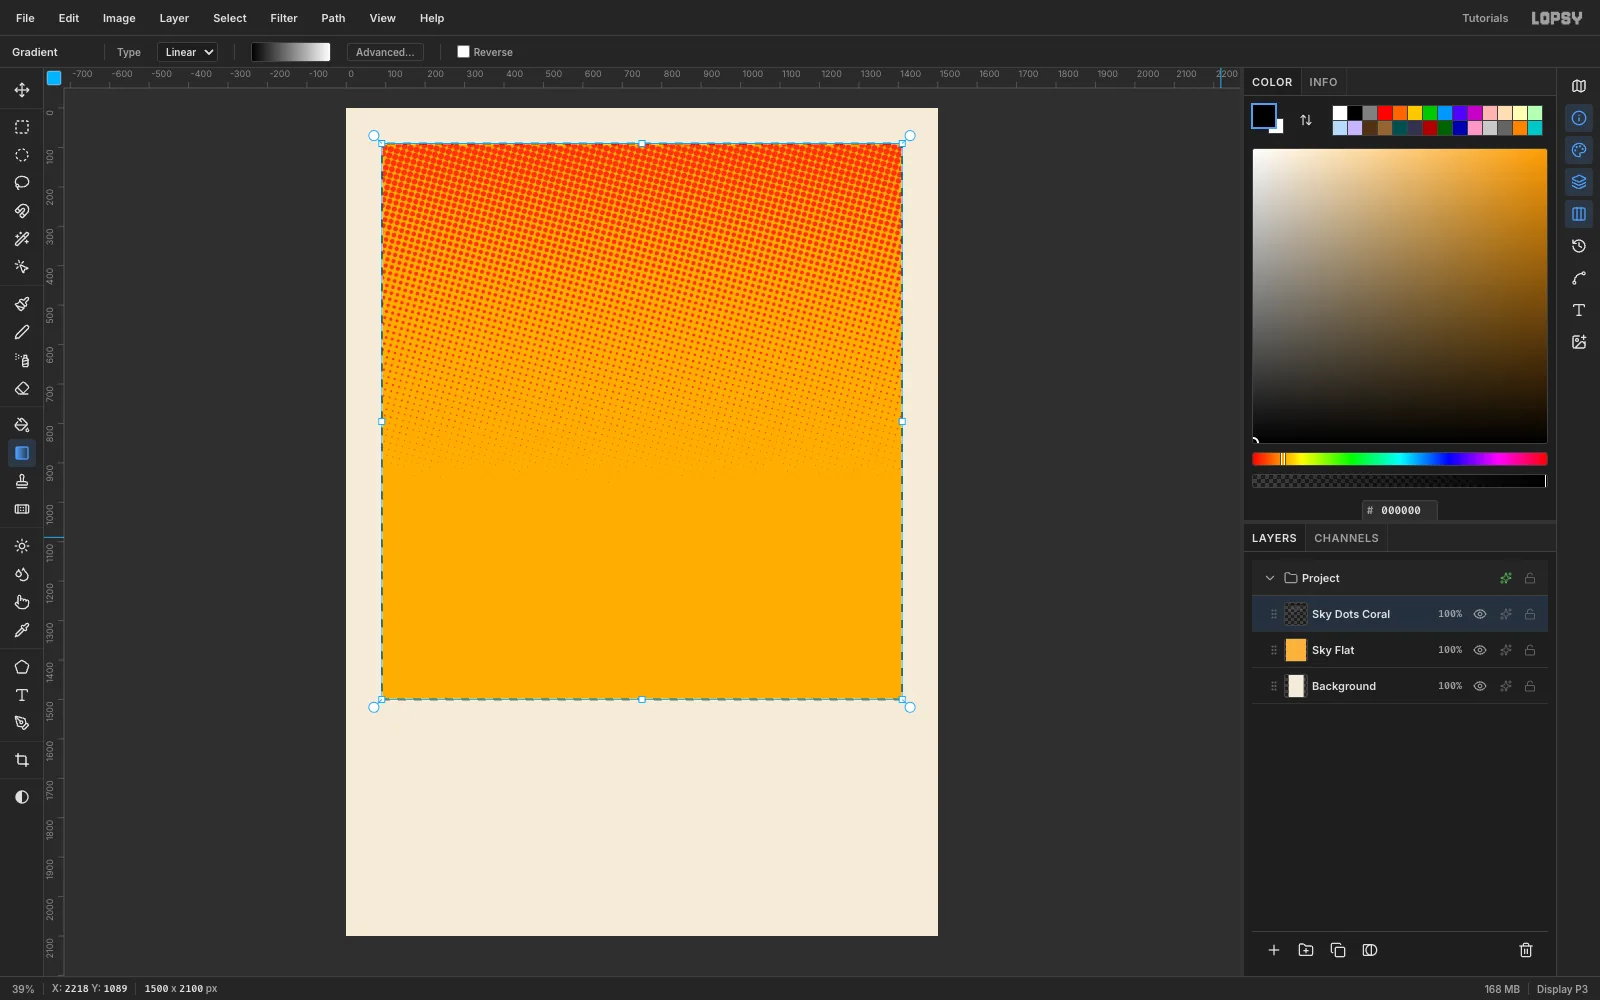
The gradient started black at the top, so the dots are biggest there. Because the dots are coral on saffron, the sky already glows like a hot dawn.
-
Draw the halo for the sun
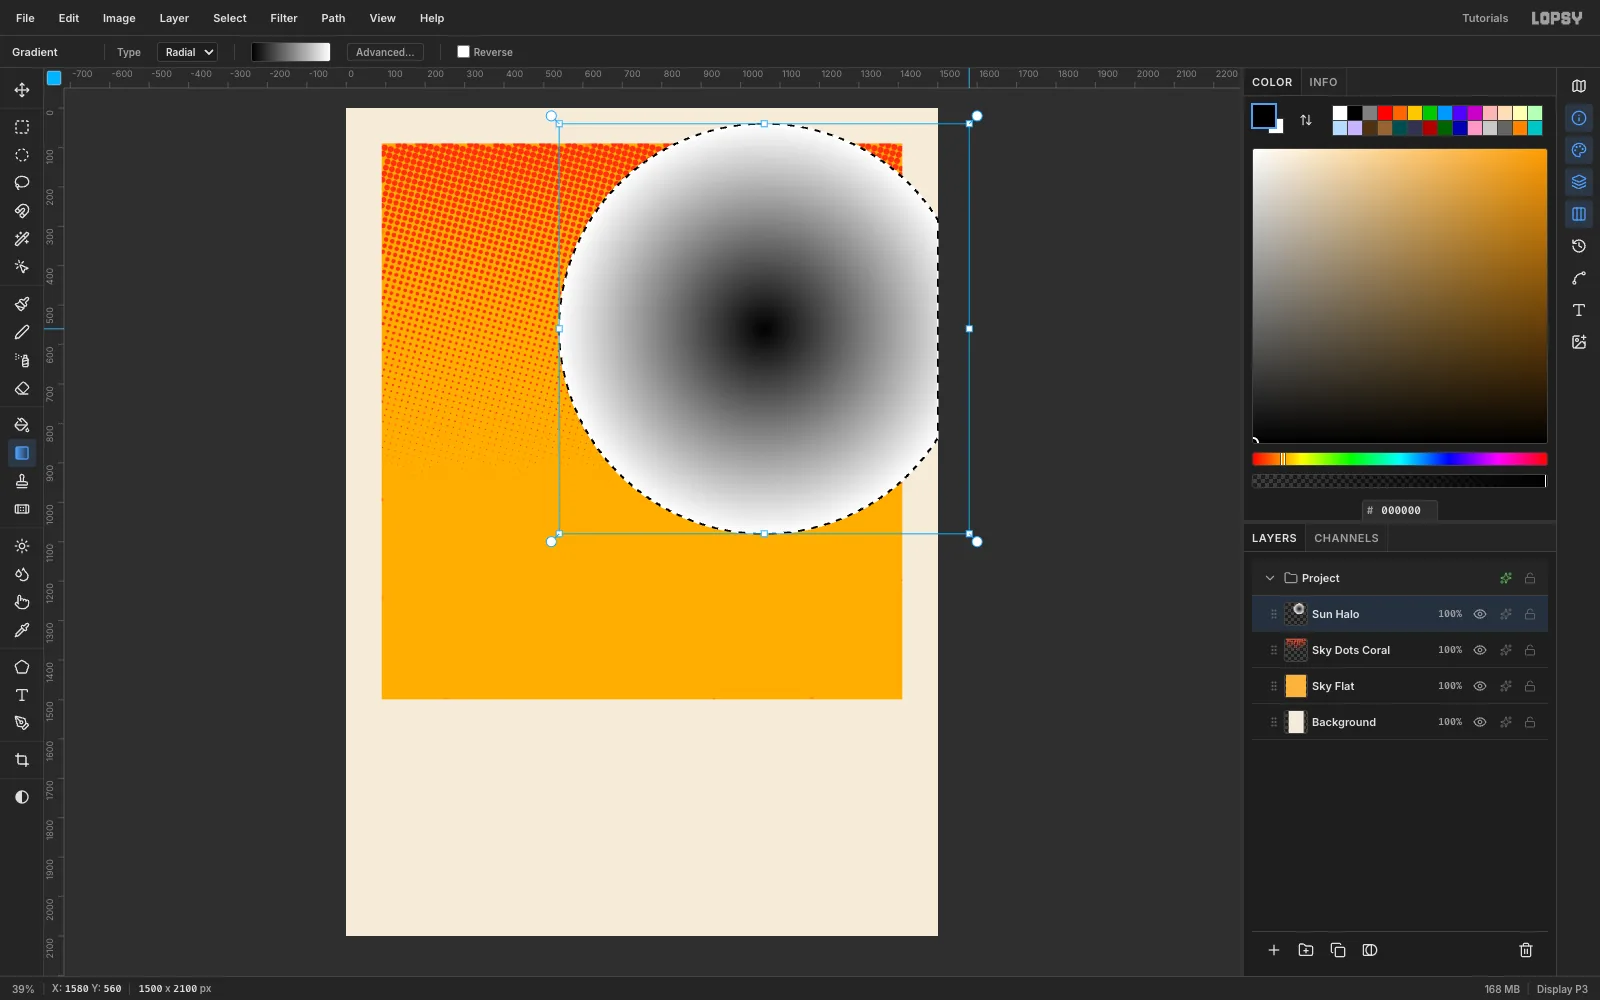
Add a layer called Sun Halo. With the Elliptical Marquee, drag a big circle out from the upper right of the sky so it reaches past the edge of the picture. Pick the Gradient tool again and switch its type to Radial. Drag from the centre of the circle out to its edge. The gradient is black in the middle and white at the rim.
-
Turn the halo into dots
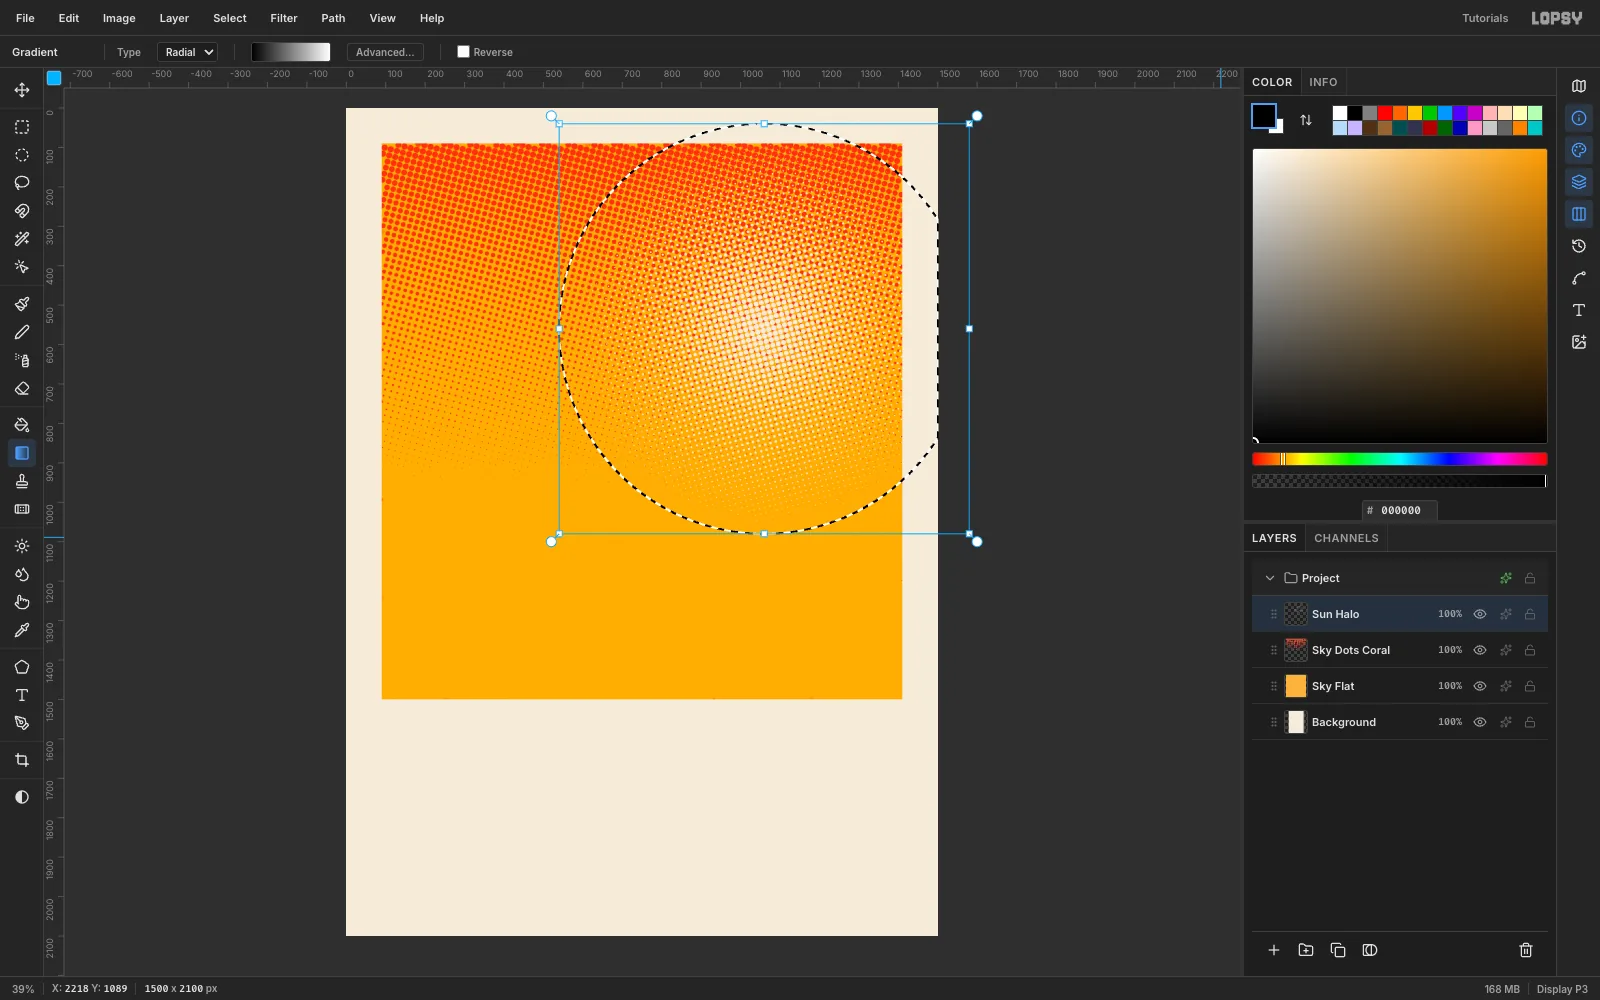
Run Filter → Halftone… with Dot Size 14 and Angle 15. Turn on Color Overlay in cream and click Rasterize Layer Style. The glow around the sun is made of dots that thin out toward the edge. No blur was needed.
Using a different angle from the sky dots (15° instead of 75°) keeps the two screens from forming a distracting moiré.
-
Add the sun disc
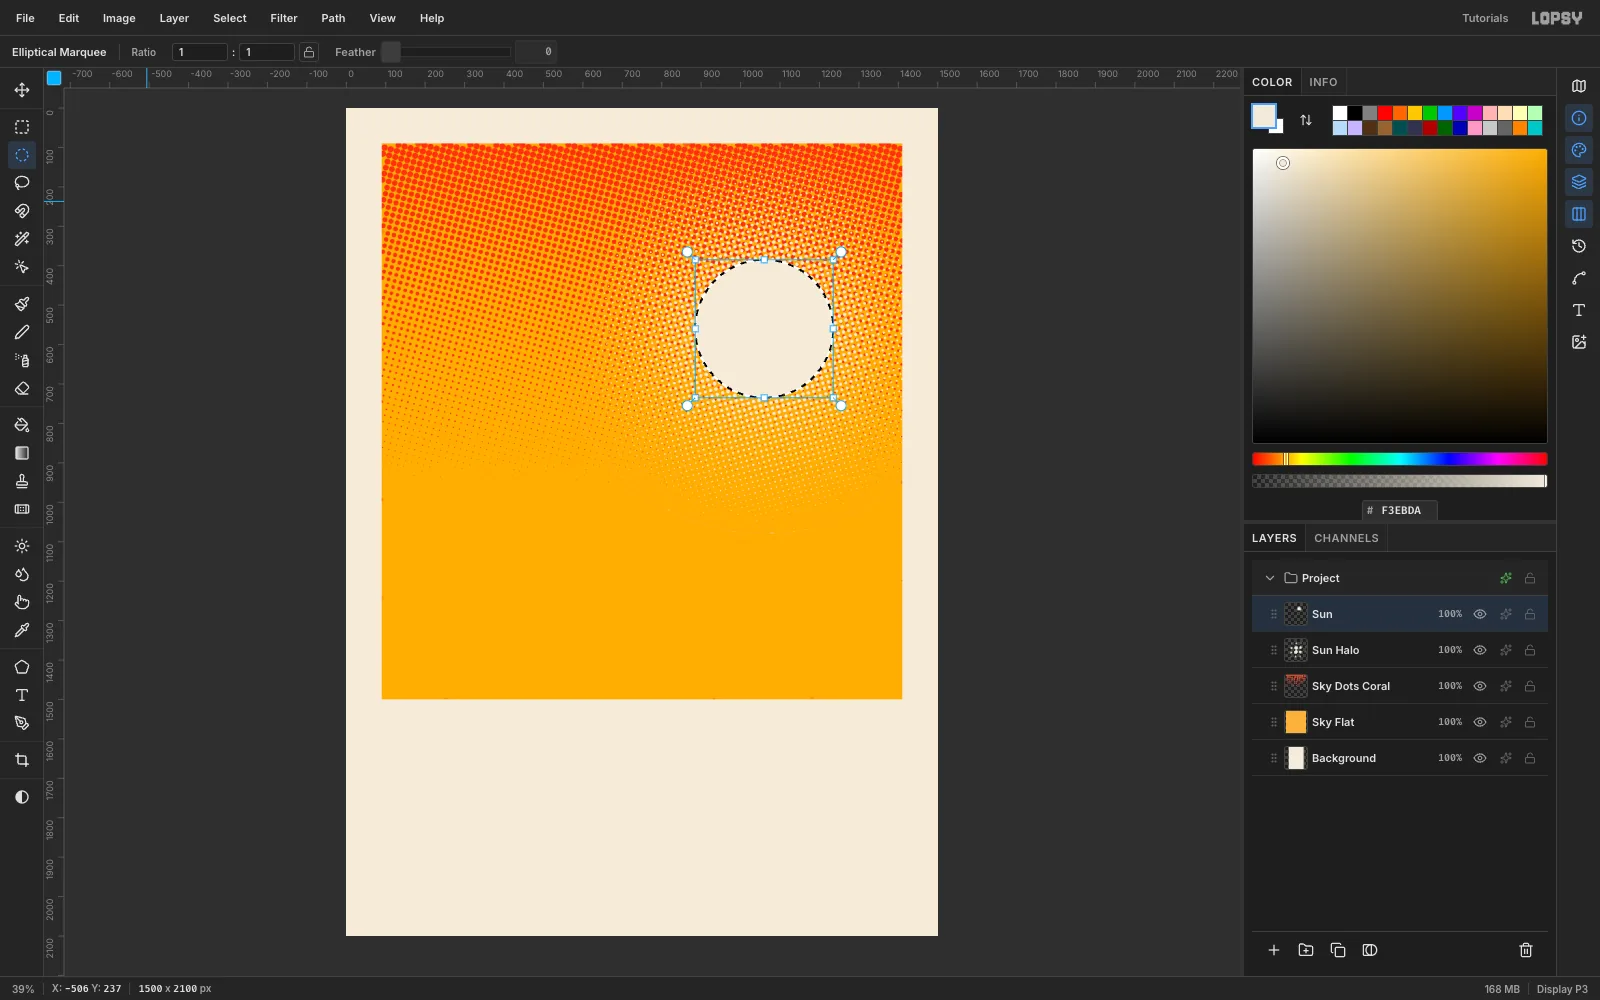
Add a layer called Sun, set the foreground to cream and draw a smaller Elliptical Marquee circle in the centre of the halo. Choose Edit → Fill. This flat disc is the sun.
-
Shade the sun with dots
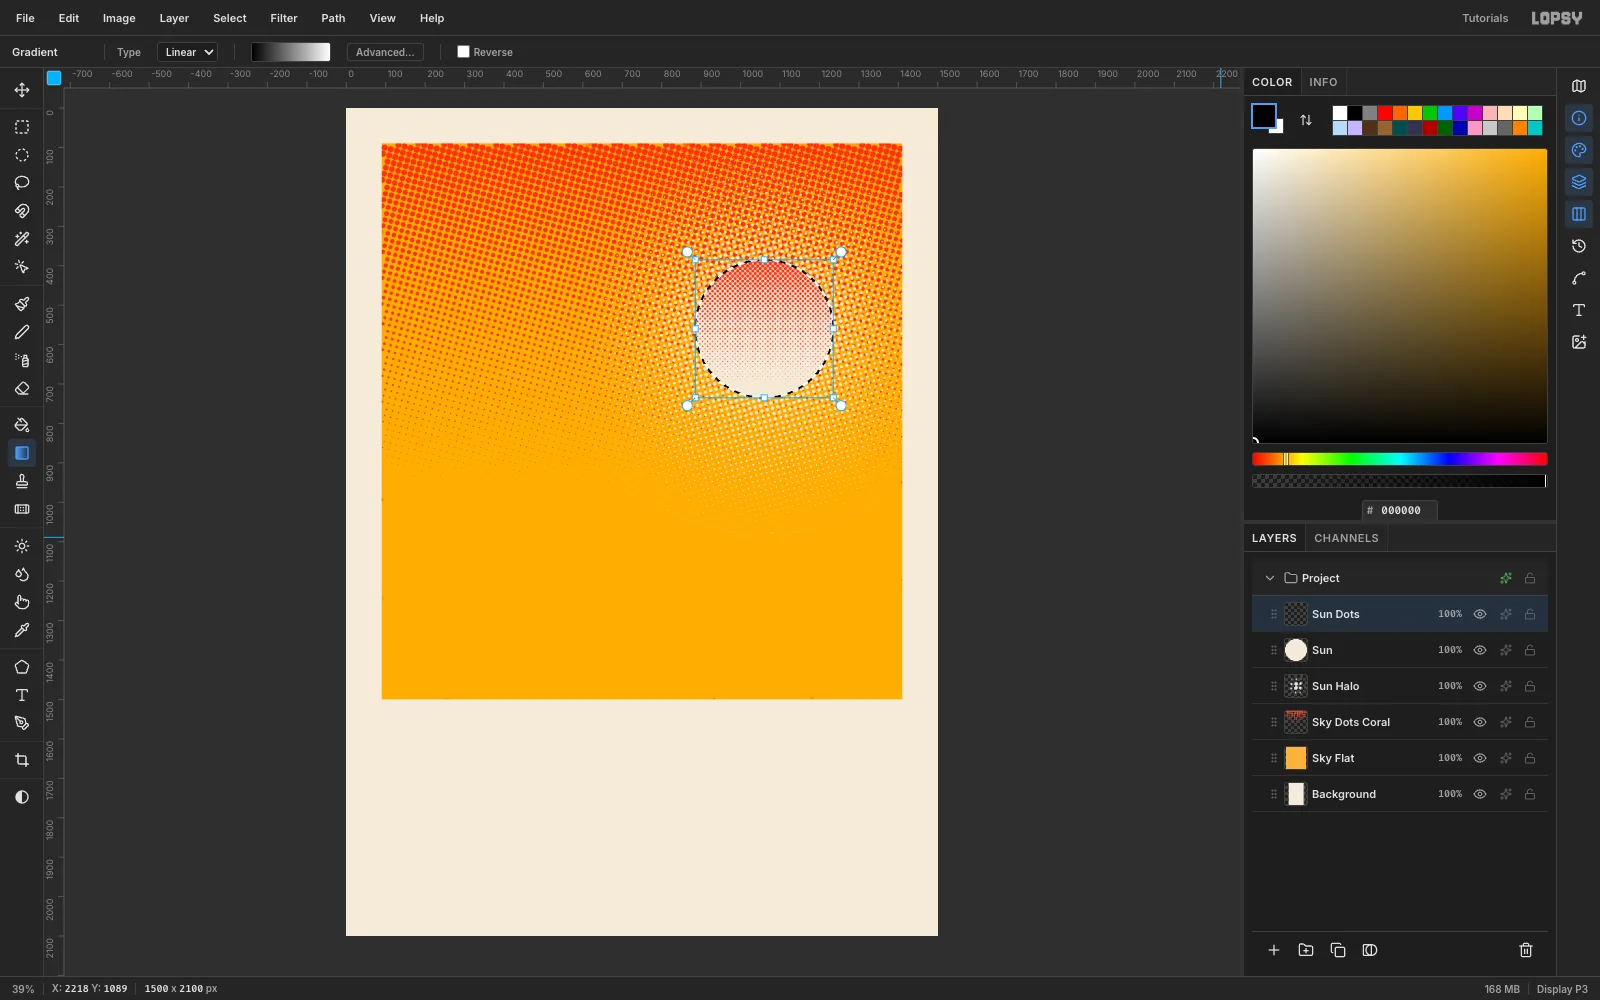
Add Sun Dots with the same circle still selected. Reset the colours to black and white, then set the Gradient tool back to Linear and drag from the top of the disc to its bottom. Run Halftone at Dot Size 9 and Angle 45, add a Color Overlay of coral , and Rasterize Layer Style. The top of the sun is shaded with coral dots and the bottom stays clean cream, which makes it look like it's setting into the heat.
-
Cut the far mountains with the Lasso
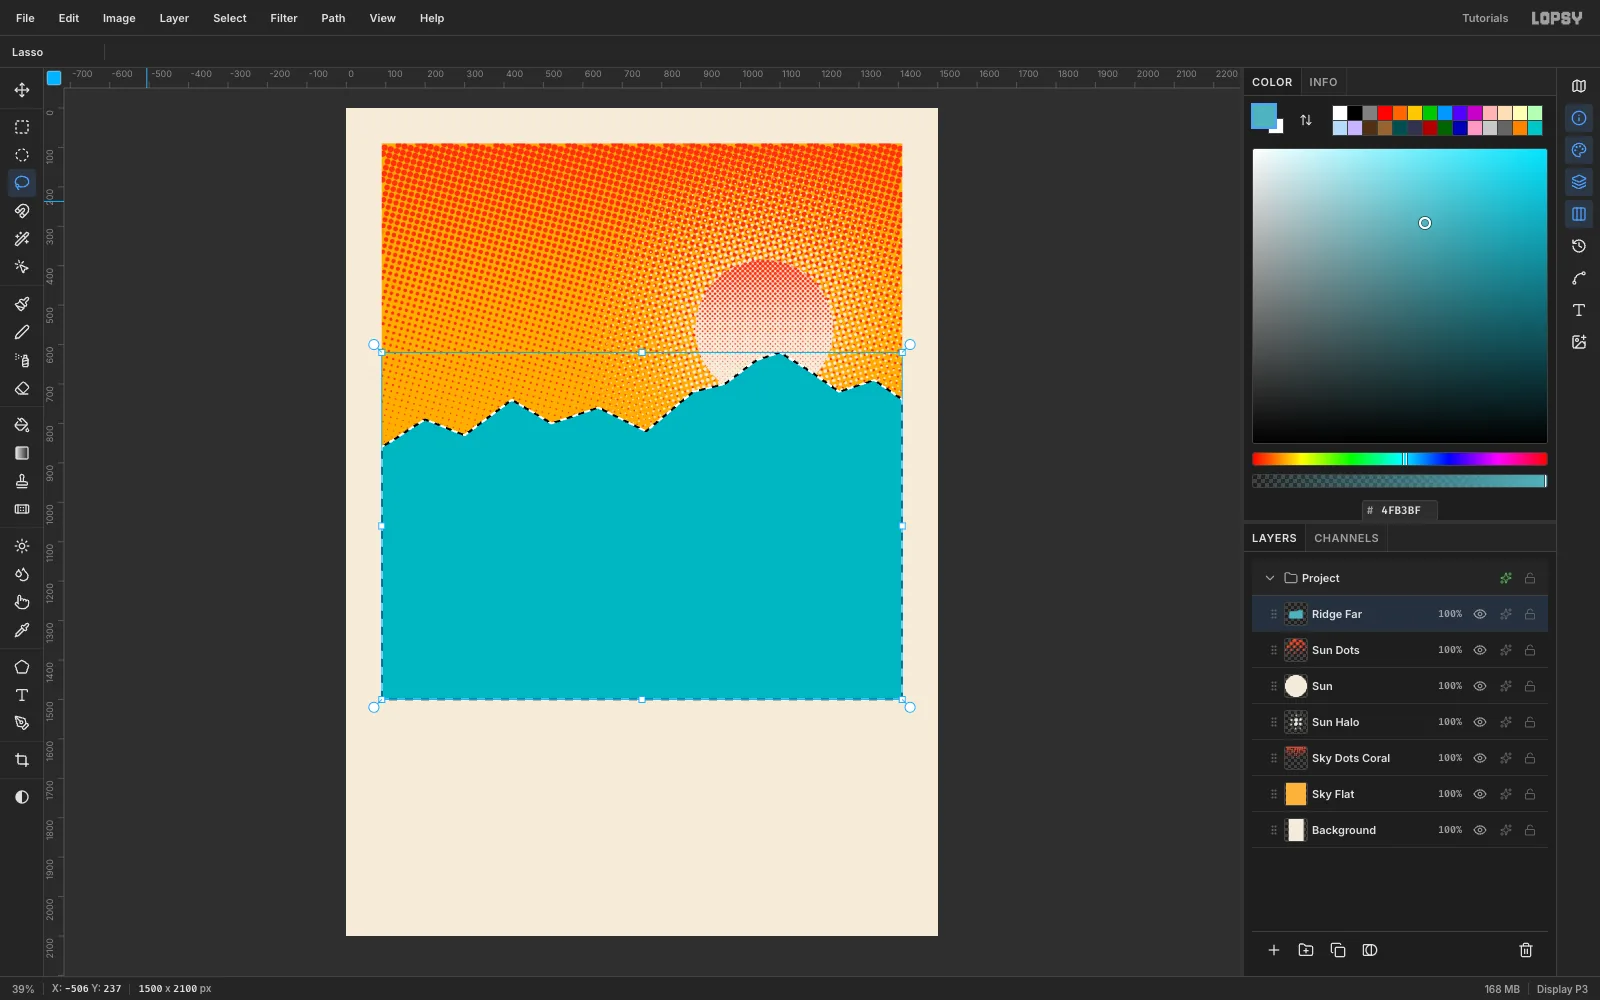
Add a layer called Ridge Far and set the foreground to teal . Pick the Lasso (L) and click a zigzag of peaks across the picture, low on the left, one tall peak a little right of the middle, then down the right. Click down the right edge, along the bottom, and back up the left edge to close the shape, so the lasso covers everything below the skyline. Choose Edit → Fill.
-
Print dots on the far mountains
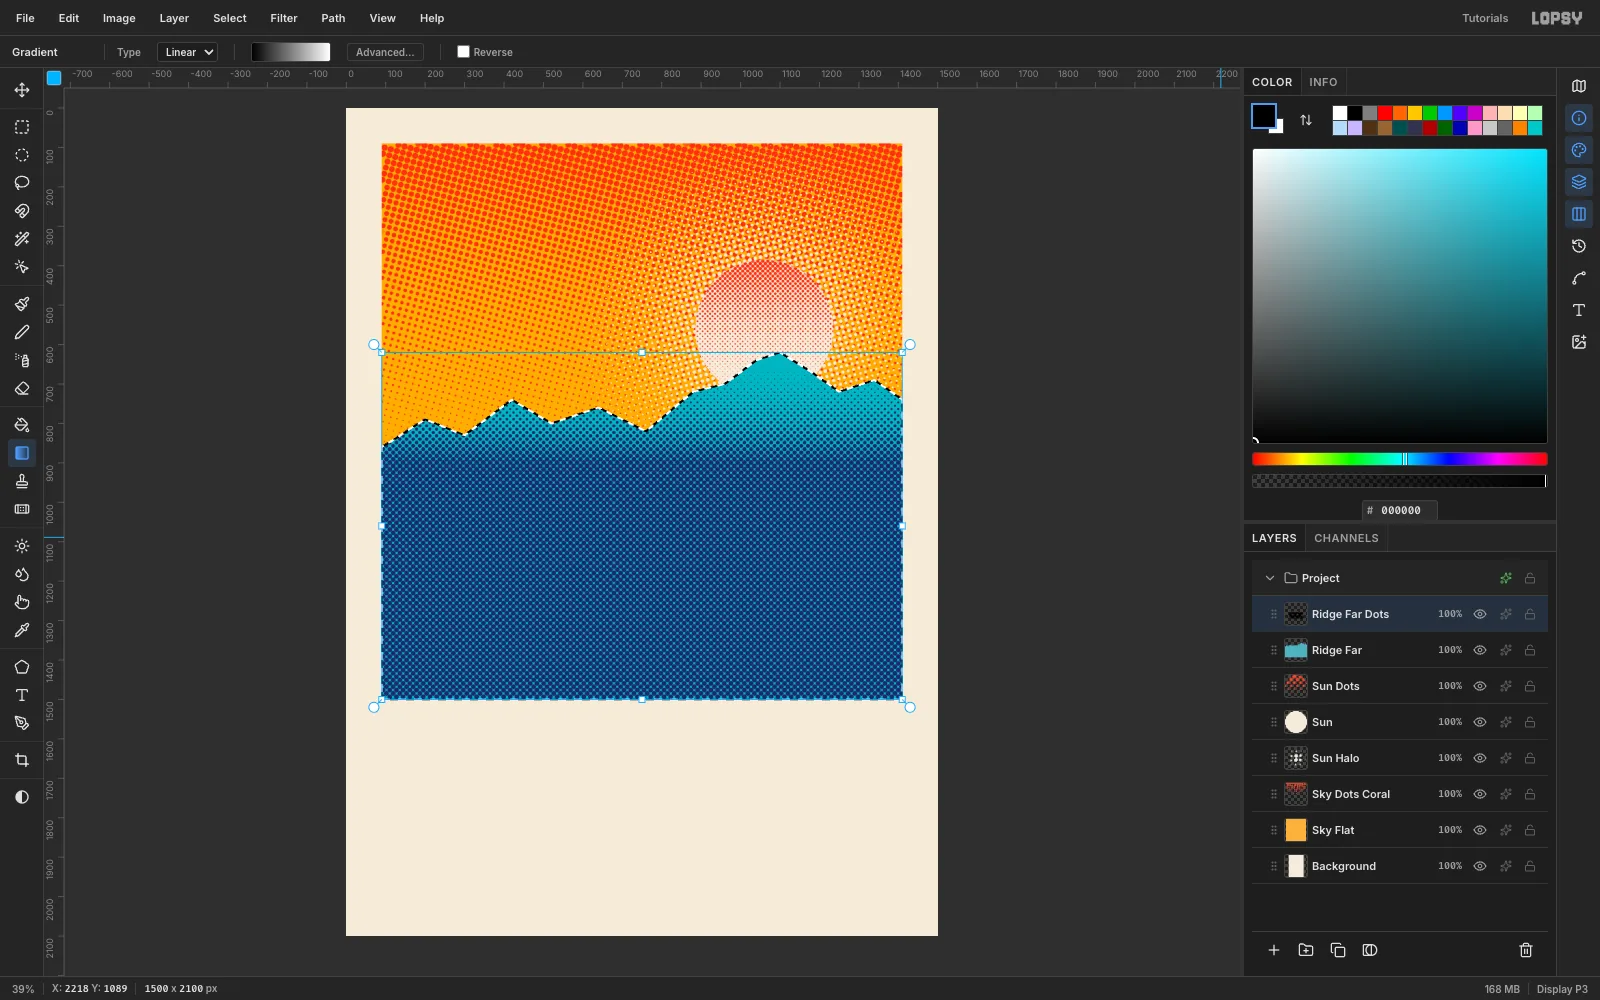
Add Ridge Far Dots. Keep the same selection, switch to the Linear gradient with black and white, and drag upward, from the base of the mountains to just under the tallest peak. Run Halftone at Dot Size 12 and Angle 45. Colour the dots indigo with a Color Overlay and Rasterize Layer Style. This puts the mist at the foot of the range.
-
Cut the nearer ridge
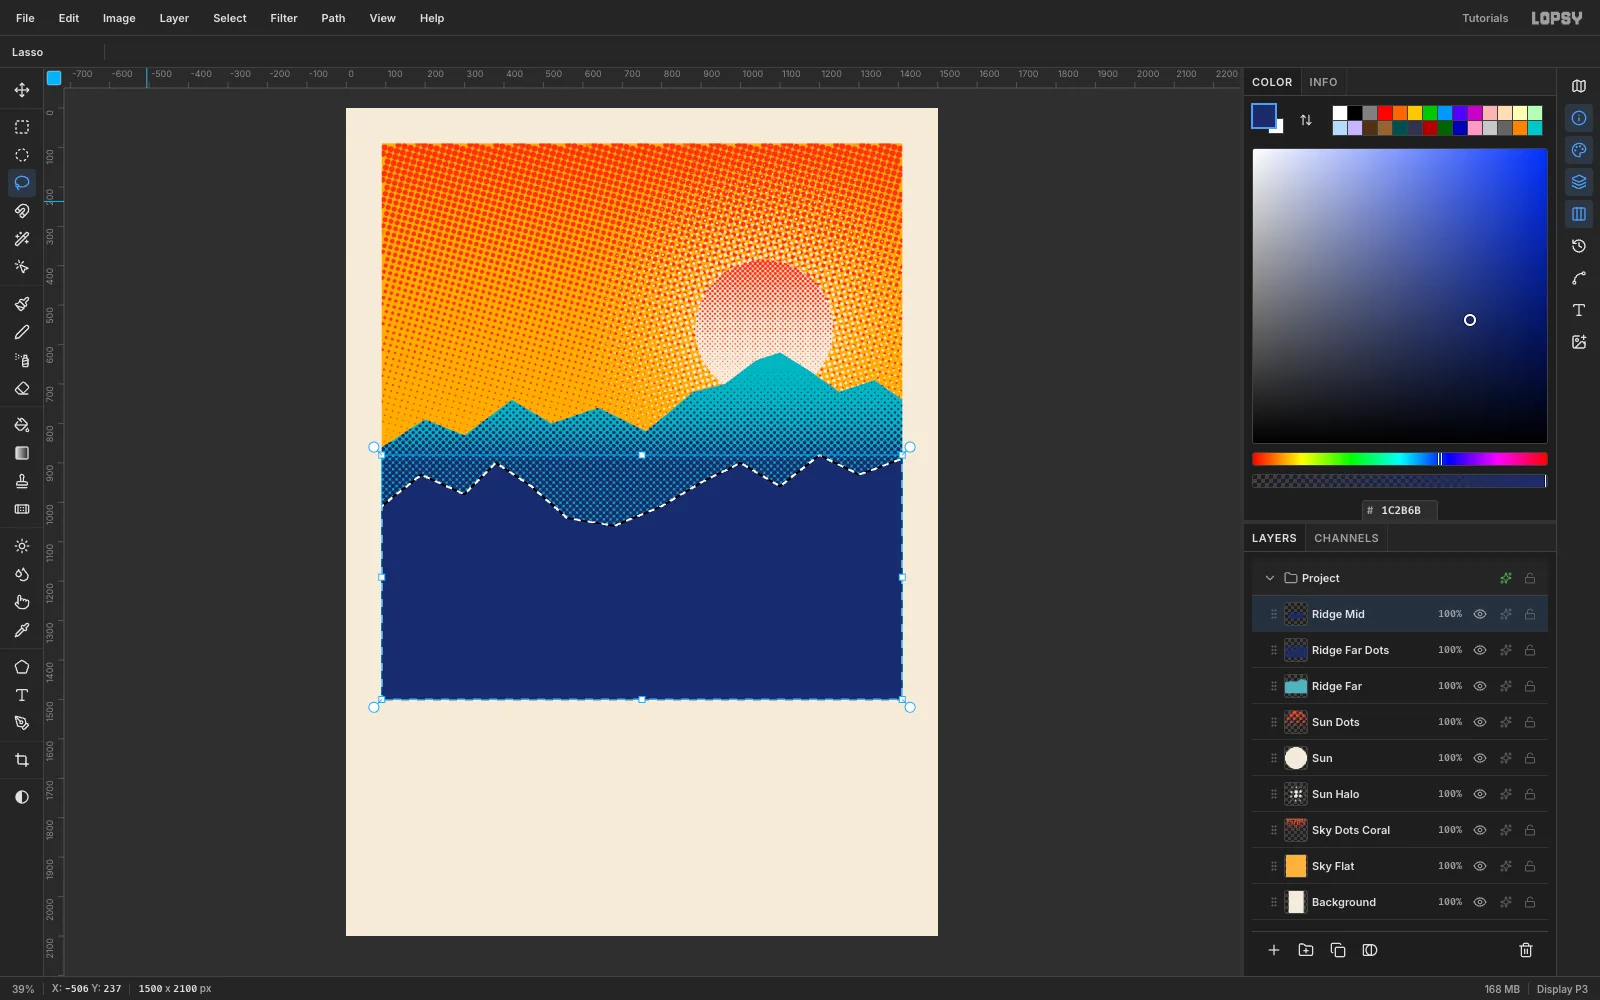
Add Ridge Mid and set the foreground to indigo . Use the Lasso the same way as before, but make this skyline lower and gentler. Close the shape along the bottom of the picture and fill it.
-
Give the ridge a teal rim light
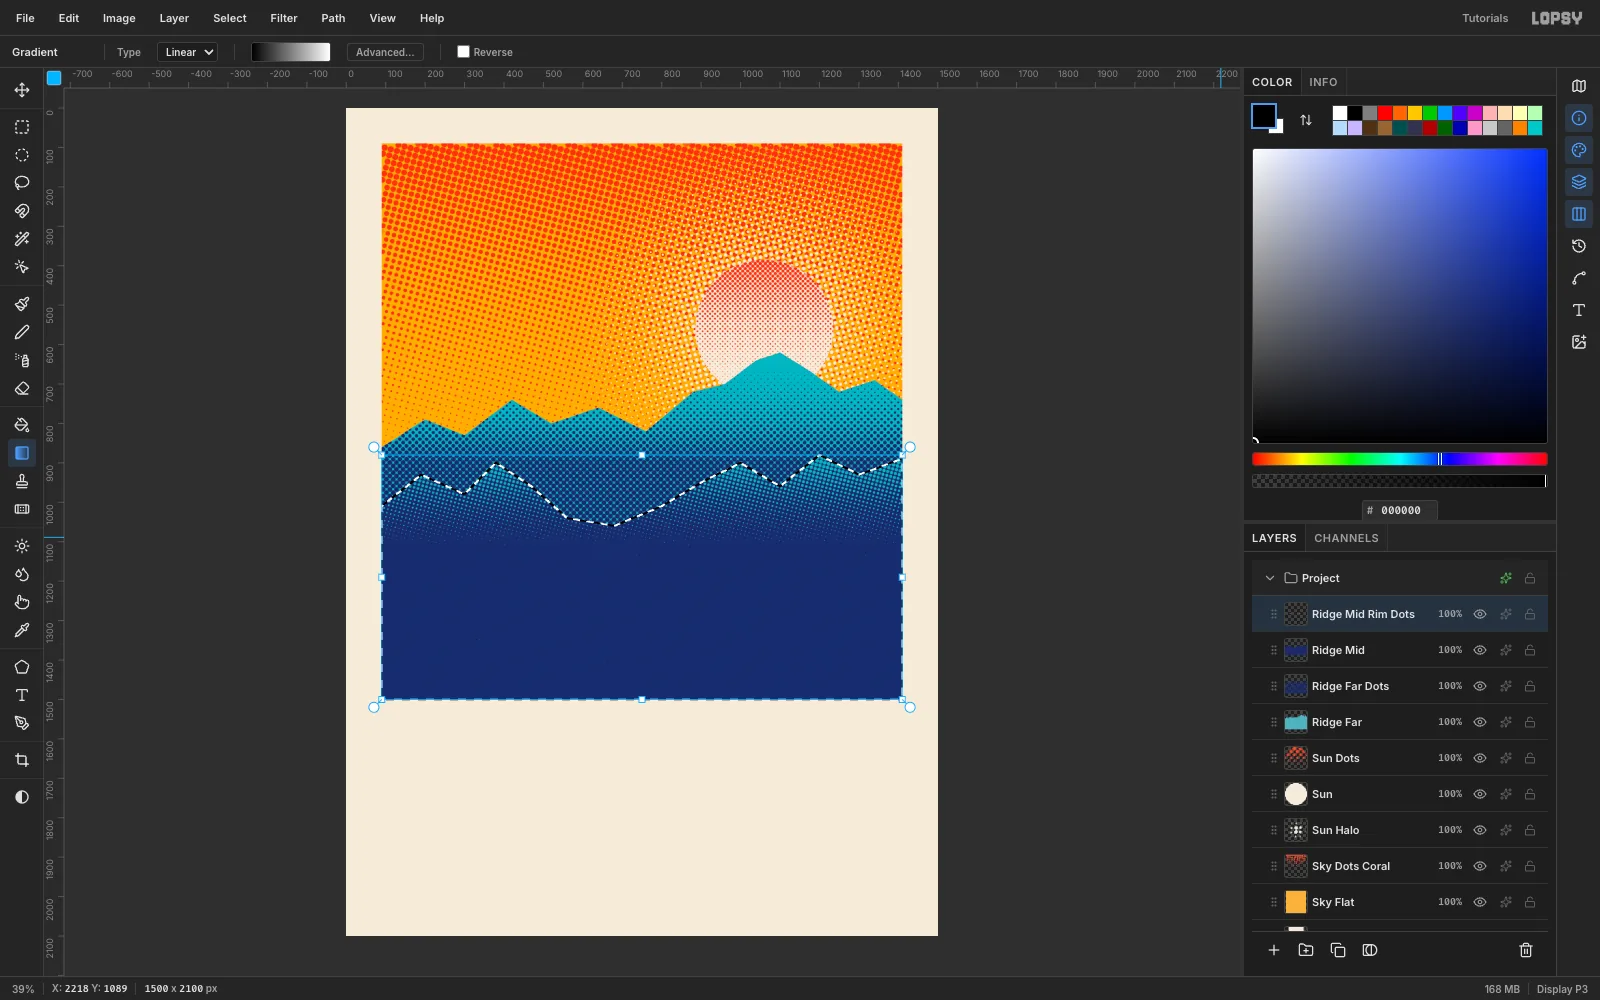
Add Ridge Mid Rim Dots. This time drag the Linear gradient downward from the top of the ridge, so black sits on the crest. Run Halftone at Dot Size 10 and Angle 75, colour the dots teal , and Rasterize Layer Style. The dots read as light catching the ridge from the sunset.
-
Lay down the basin
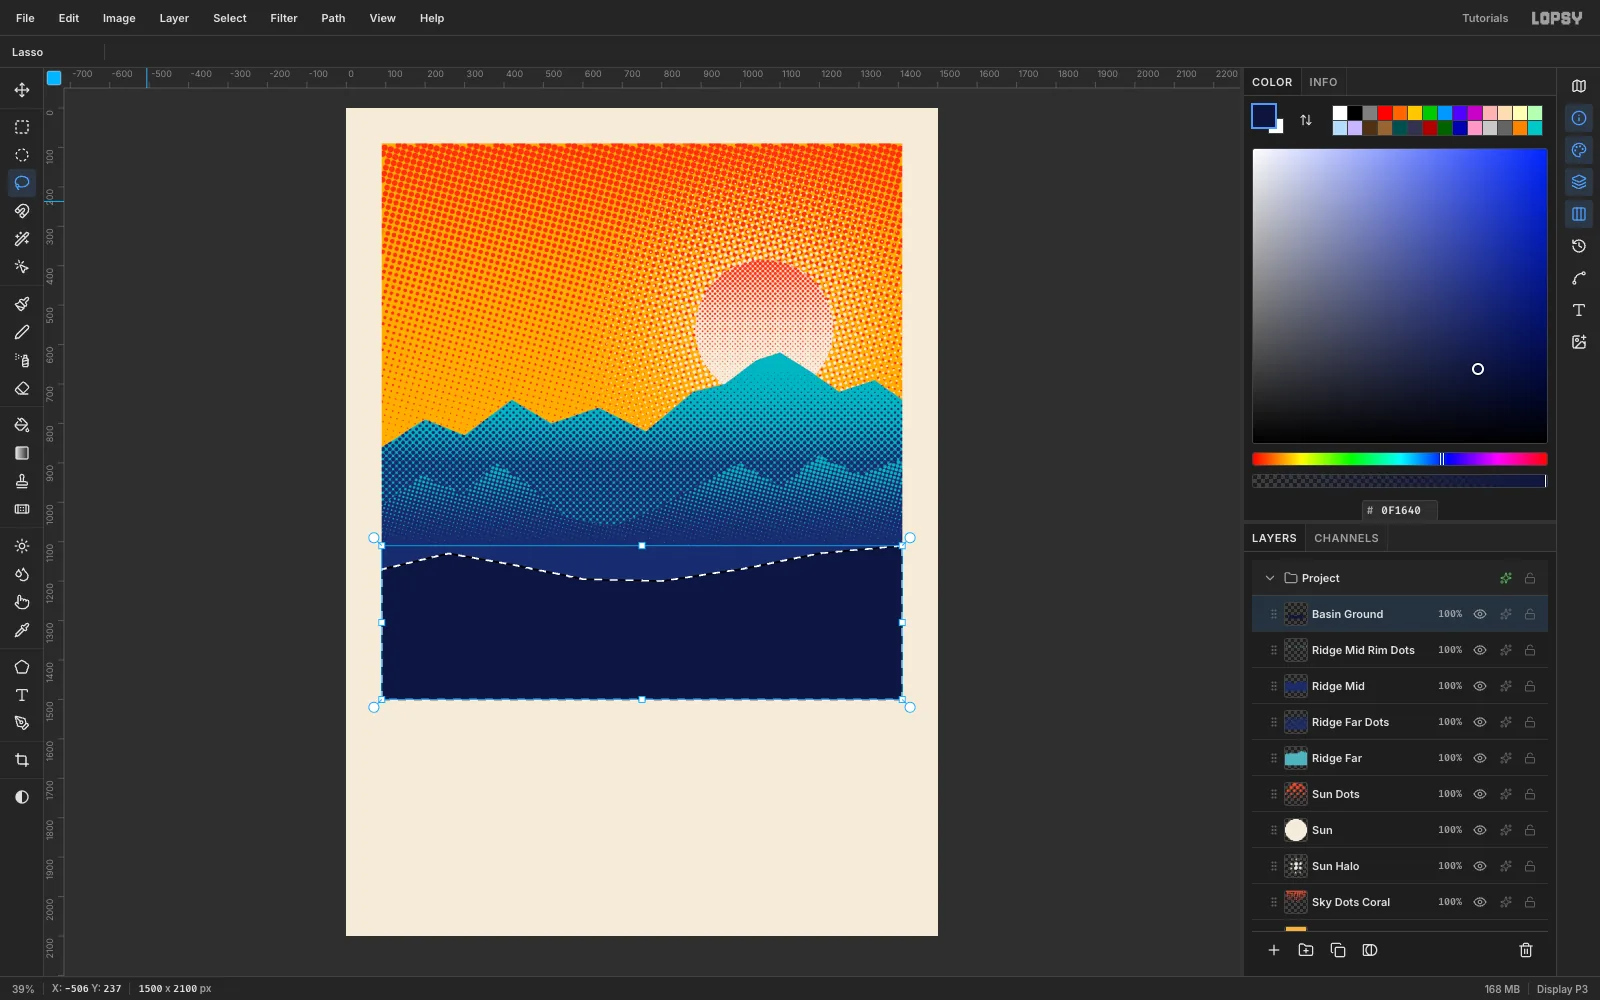
Add Basin Ground, set the foreground to deep night and Lasso a low, gently wavy horizon across the picture, closing it along the bottom edge. Fill it. This dark plain is where the geyser will sit.
-
Build the terraces
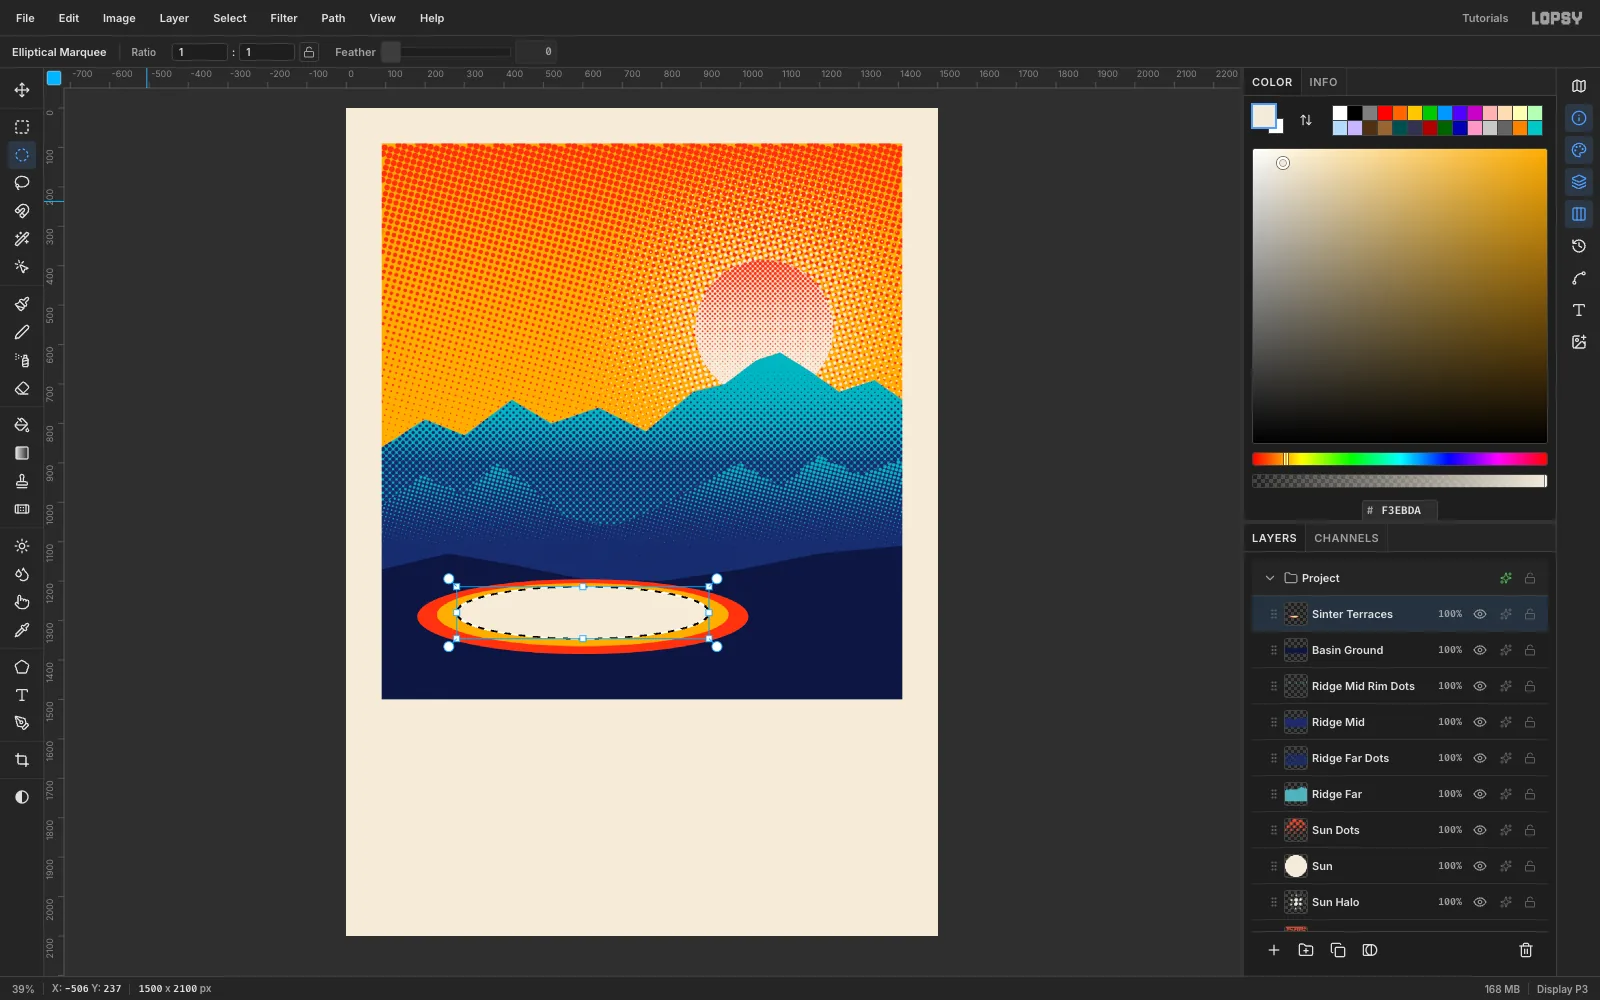
Add Sinter Terraces. Use the Elliptical Marquee to draw a wide, flat oval just left of the centre of the basin and fill it coral. Draw a slightly smaller oval inside it and fill it saffron, then a smaller one still and fill it cream. Each oval is shorter than the last, so you see three coloured rings like the stepped pools around a real geyser.
-
Add the pool
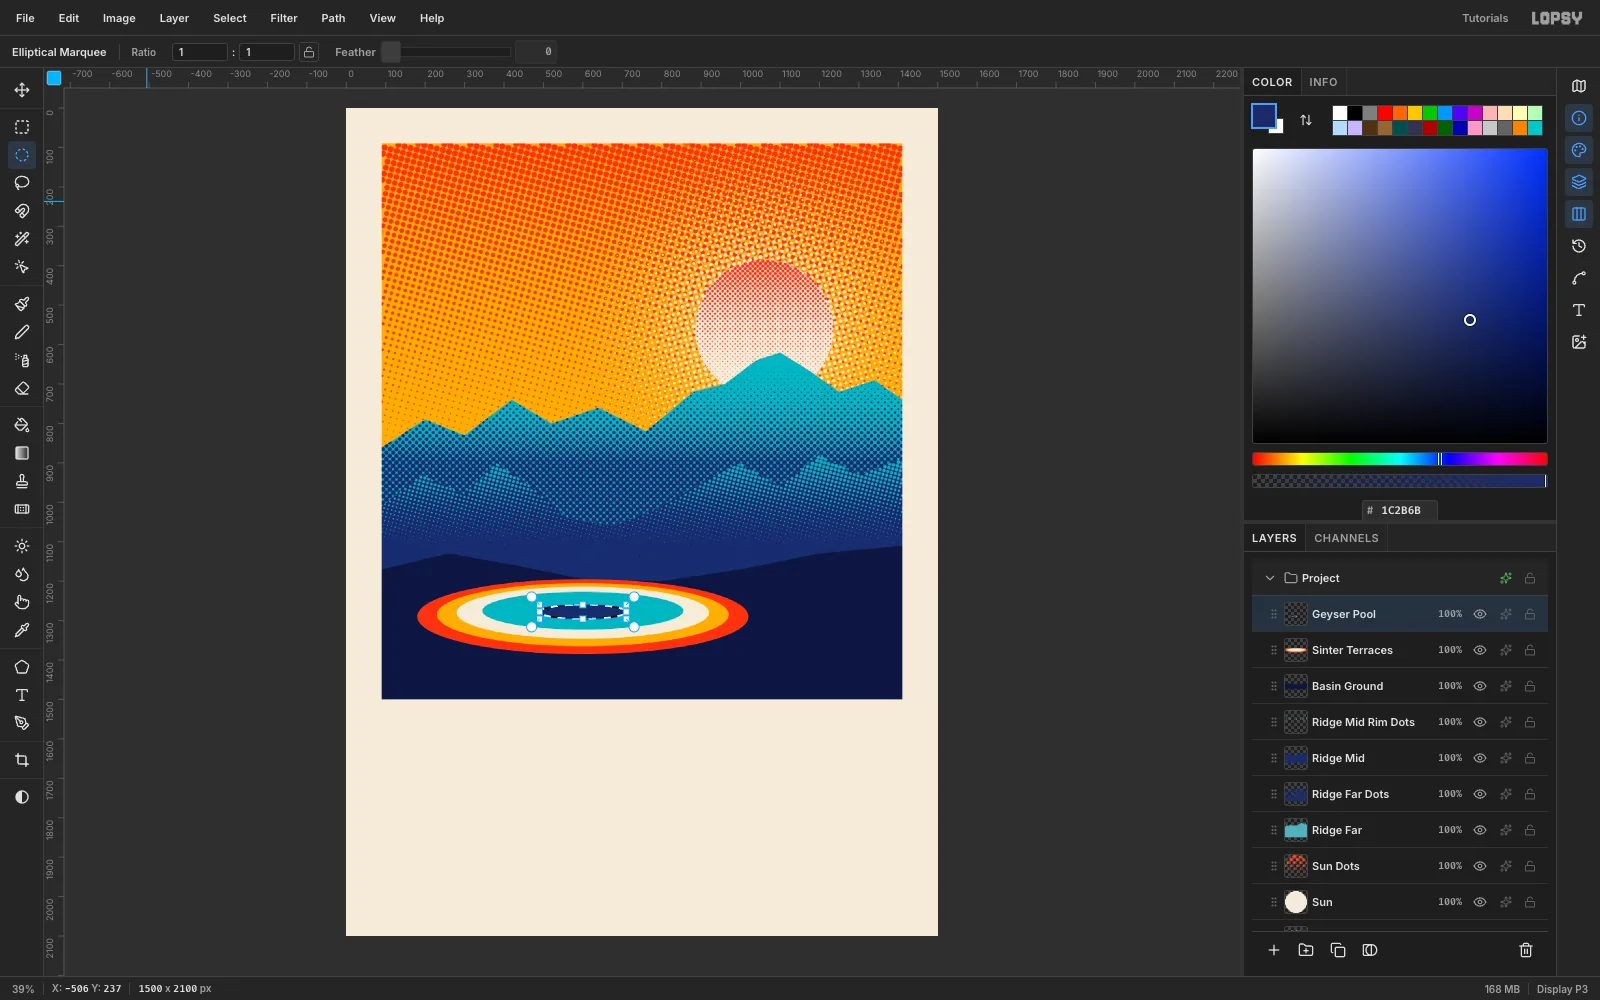
Add Geyser Pool. Fill a smaller flat oval in teal inside the cream ring, then a tiny dark indigo oval, , in its centre. That dark spot is the vent.
-
Build the steam column
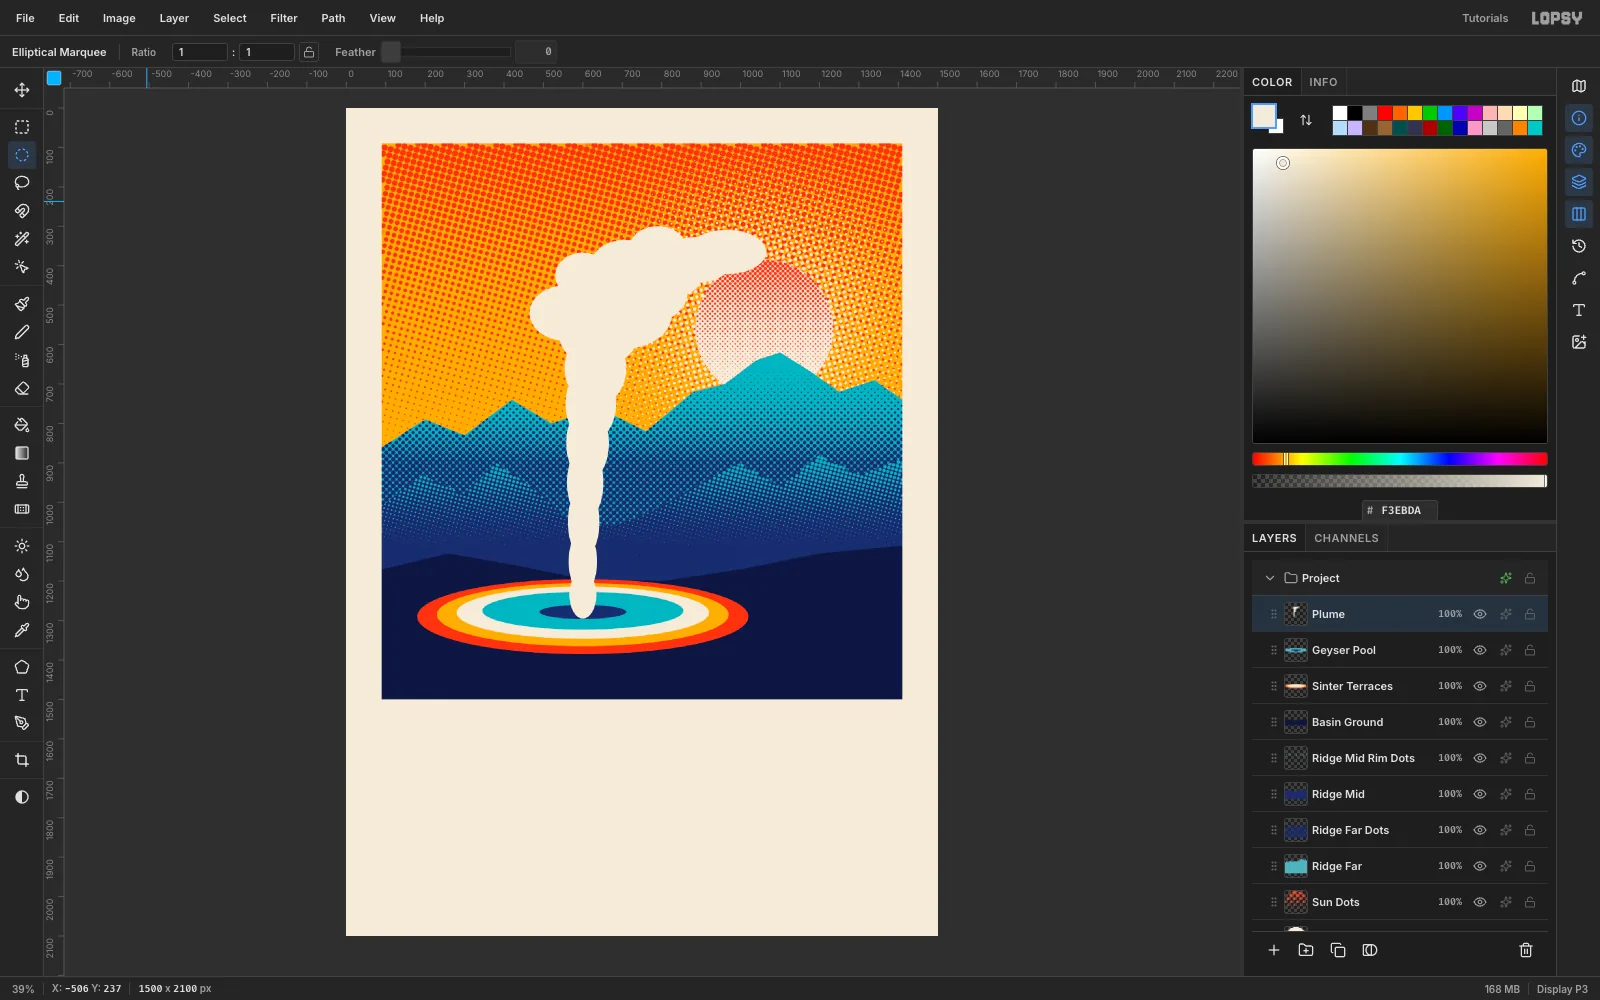
Add a layer called Plume and set the foreground to cream. With the Elliptical Marquee, fill about eighteen overlapping ovals, fill after each one. Start with narrow, tall ones at the vent and make them wider and shorter as you climb. At the top, cluster four or five big ovals into a cloud, then add a few smaller ovals trailing off to the right, which is the way the wind is blowing. Deselect with Cmd+D.
The overlapping ovals give the column its bumpy silhouette, and you can always Cmd+Z a bad one.
-
Flare the base
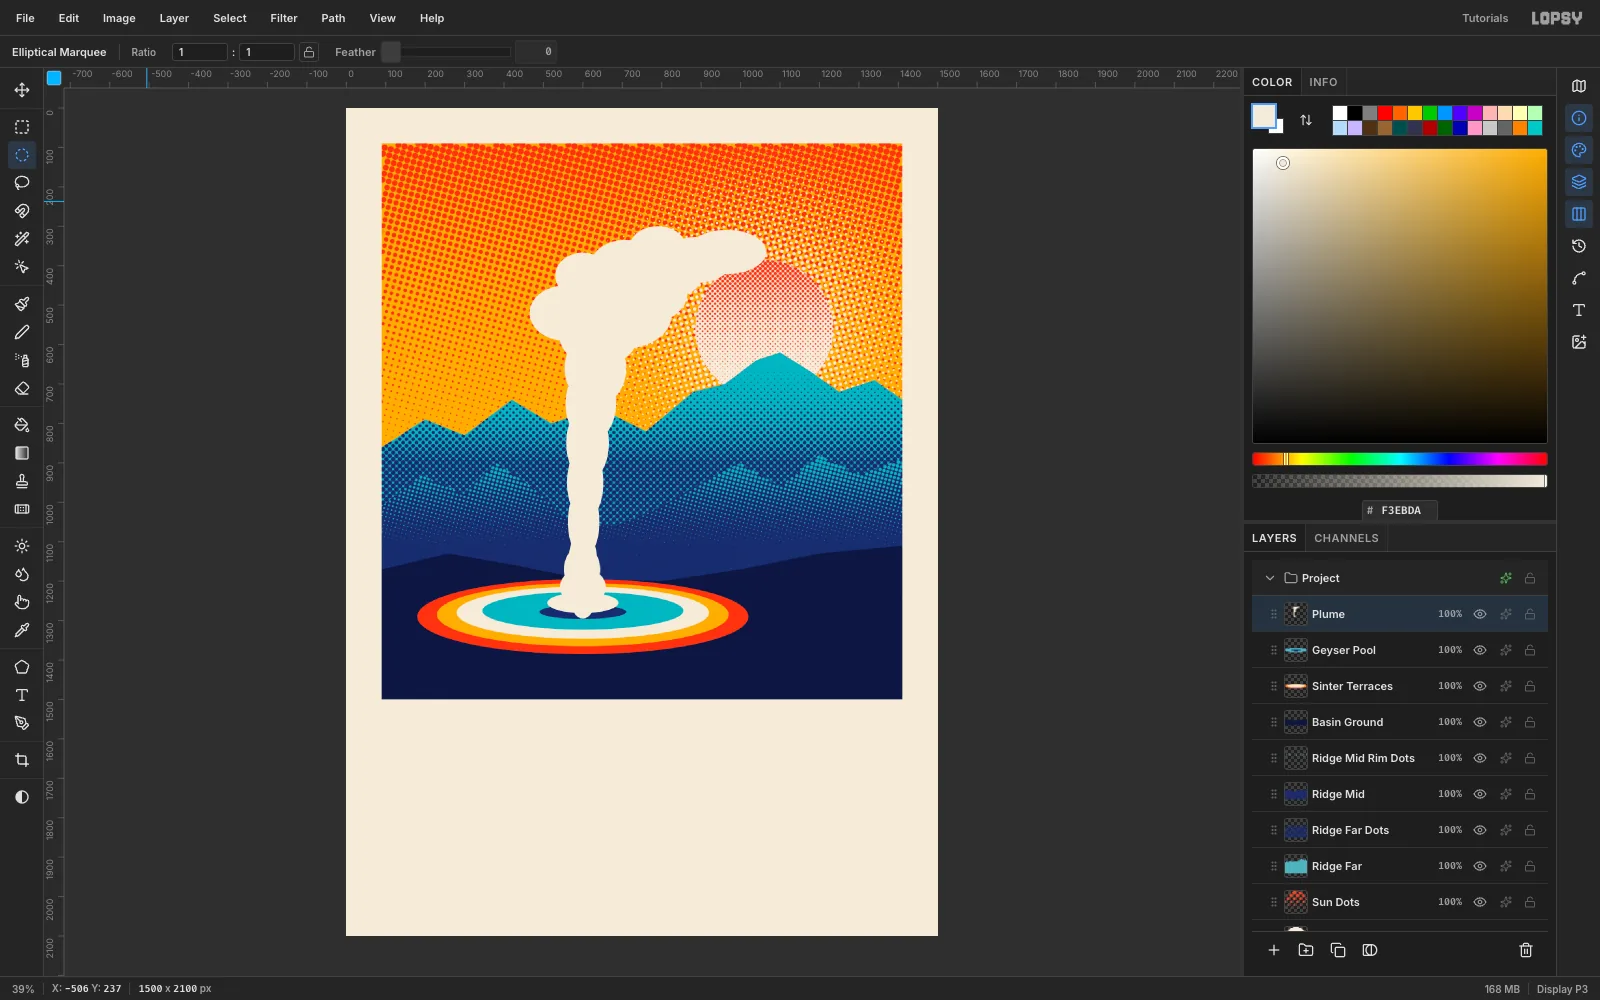
Still on Plume, fill three more ovals at the bottom: a wide, flat one across the pool, a medium one above it, and a taller one on top. This flares the base the way a real eruption spreads at the vent.
-
Select the plume
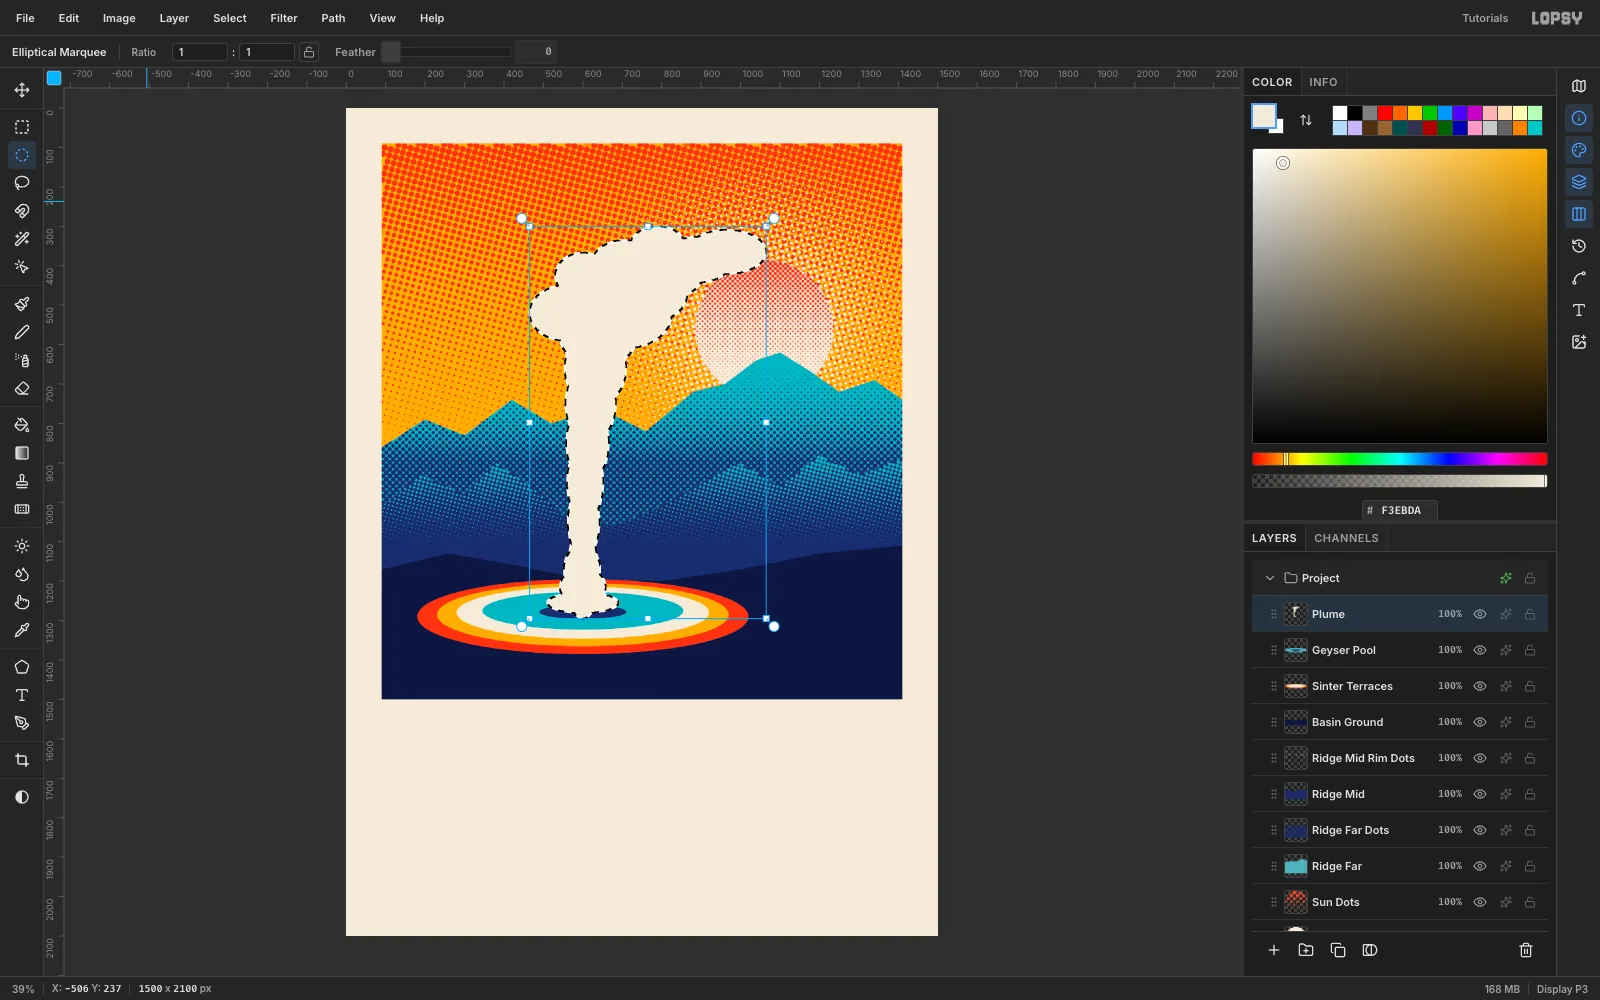
Hold Cmd and click the Plume layer's thumbnail. Lopsy turns the layer's pixels into a selection. Every shading layer for the plume will be clipped to this shape, so it never spills past the edge.
-
Shade the plume with indigo dots
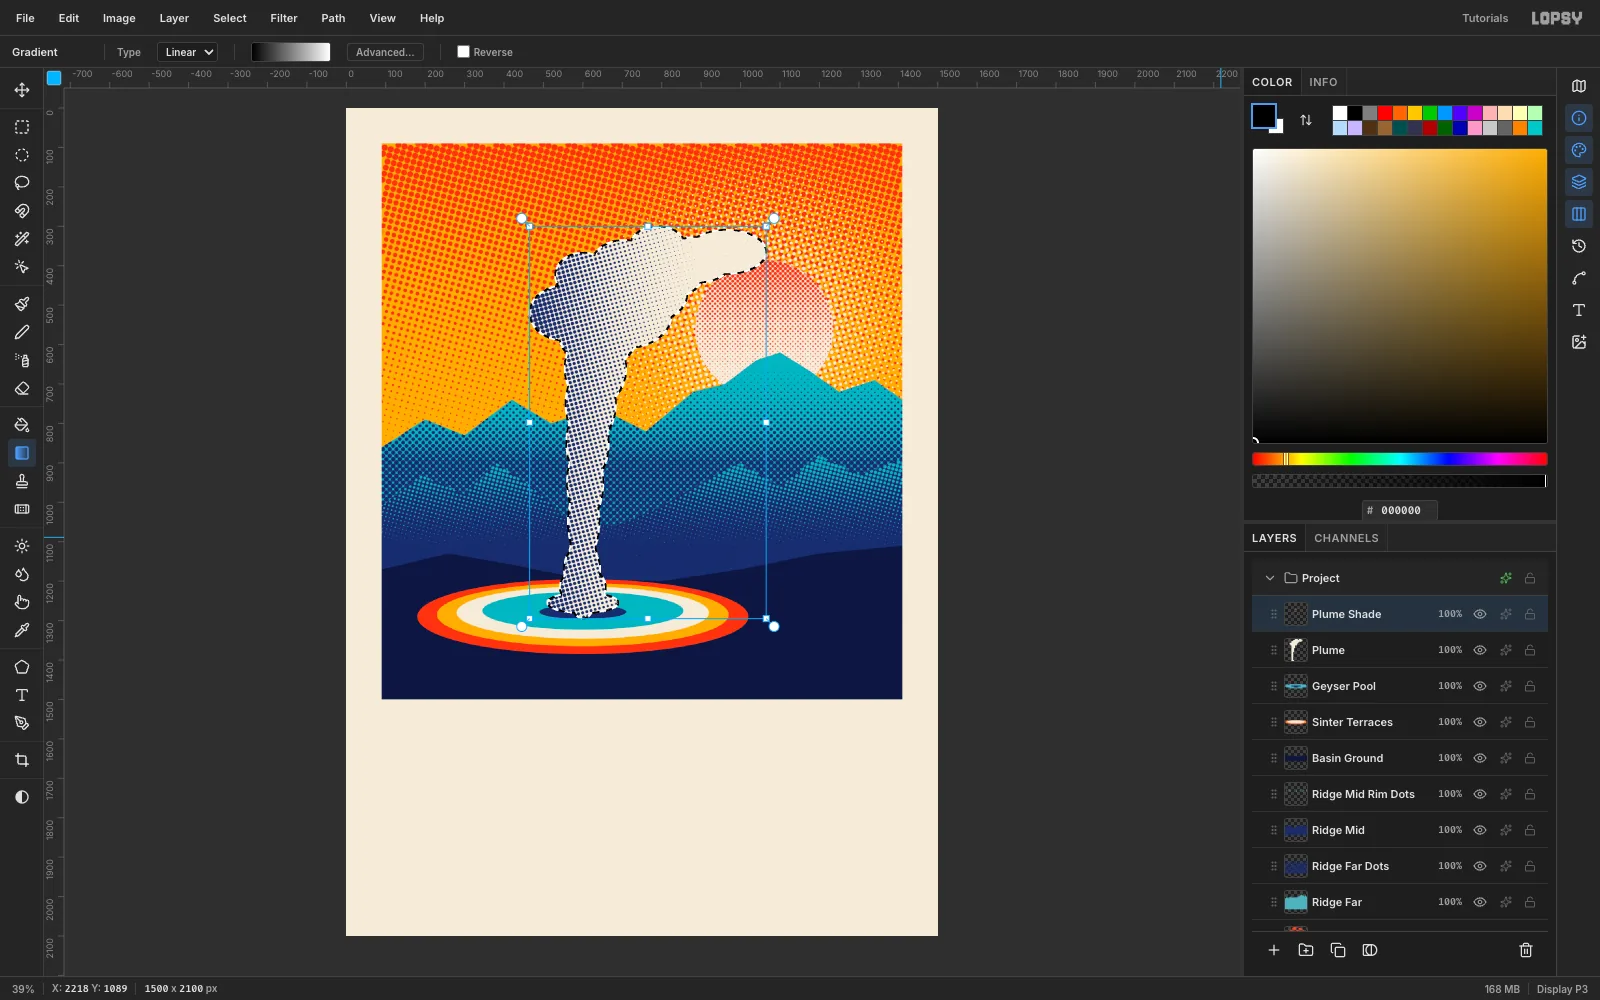
Add Plume Shade. Reset to black and white, choose the Linear gradient and drag left to right across the column, from past its left edge to a little beyond its centre. Run Halftone at Dot Size 11 and Angle 15, colour it indigo and Rasterize Layer Style. The shadow side of the plume is now a screen of dots.
-
Rim light the plume with coral dots
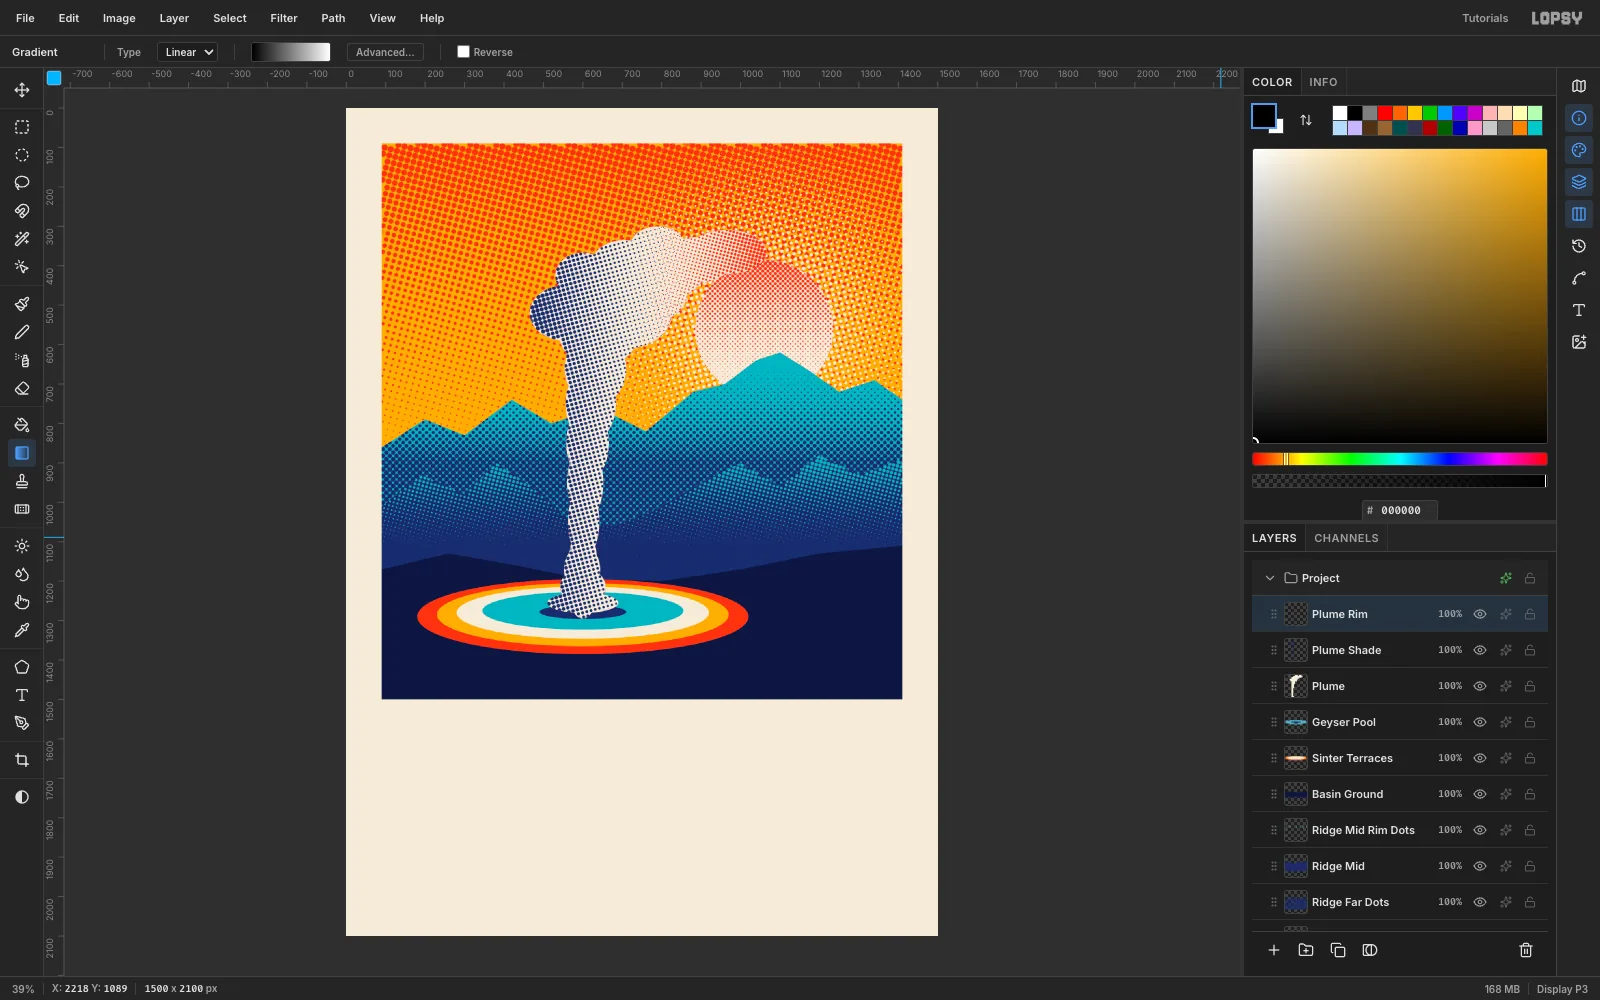
Add Plume Rim. Keep the selection and drag the gradient the other way, right to left, from beyond the sun side of the column into its middle. Run Halftone at Dot Size 9 and Angle 75, tint the dots coral and Rasterize Layer Style. Press Cmd+D to deselect.
Using a different angle from the shadow makes the two screens look like separate plates, the way real overprinting does.
-
Add a glow to the ground
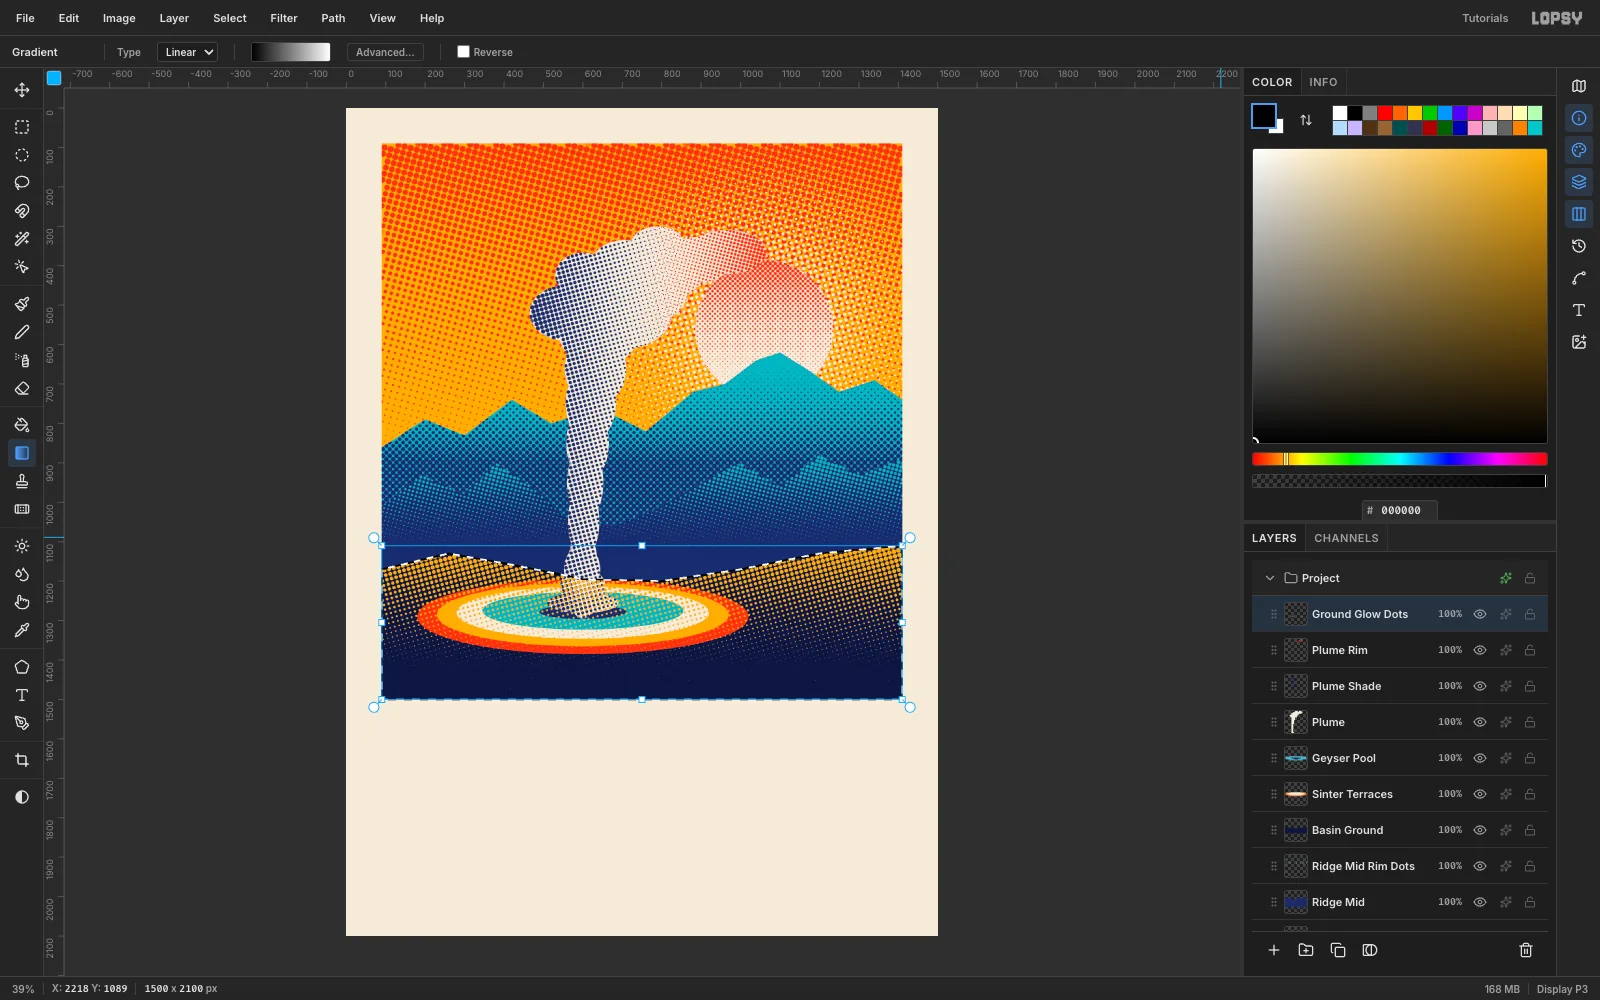
Hold Cmd and click the thumbnail of Basin Ground to select the ground. Add Ground Glow Dots. Drag a Linear gradient downward from the horizon to the foot of the picture, run Halftone at Dot Size 12 and Angle 15, tint it saffron and Rasterize Layer Style. Press Cmd+D to deselect.
The glow is above the terraces in the stack, so it overprints the pool, which is wrong. You'll fix that in a couple of steps, but first a quick test.
-
Test undo
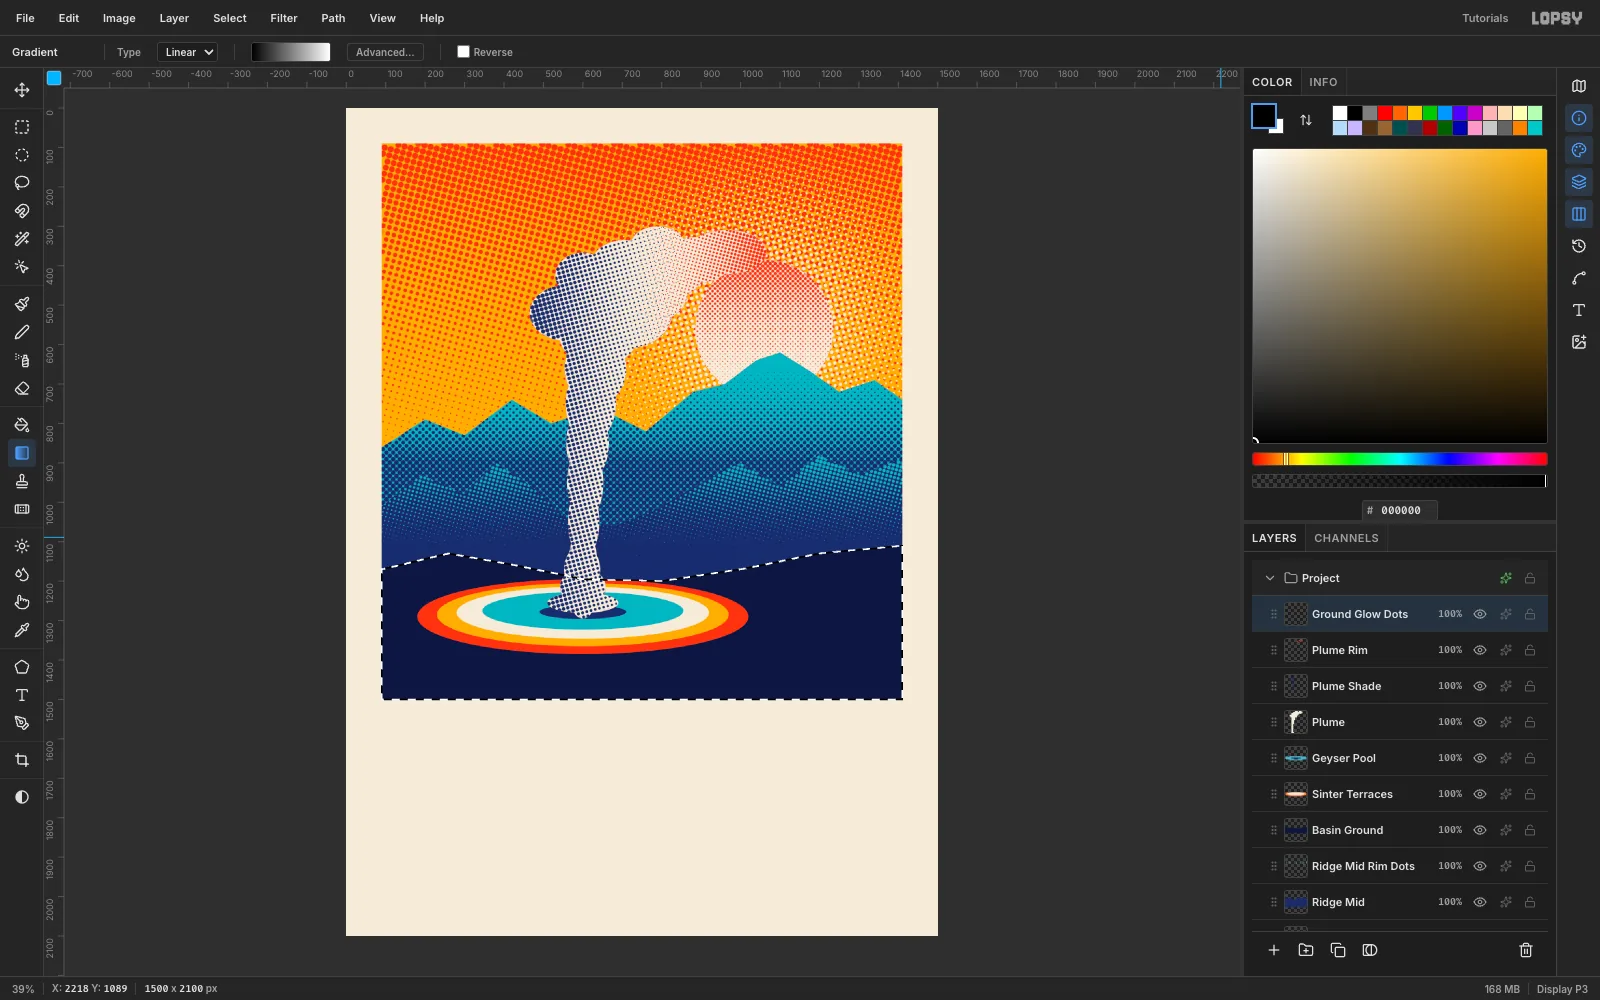
Press Cmd+Z four times. Only the ground-glow work peels back (the Rasterize Layer Style, the Color Overlay, the Halftone and the gradient), so the saffron dots vanish and the basin selection is still there. The plume shading is untouched. Doing an undo test now and then is a good habit, so you know your history is trustworthy.
-
Redo it all
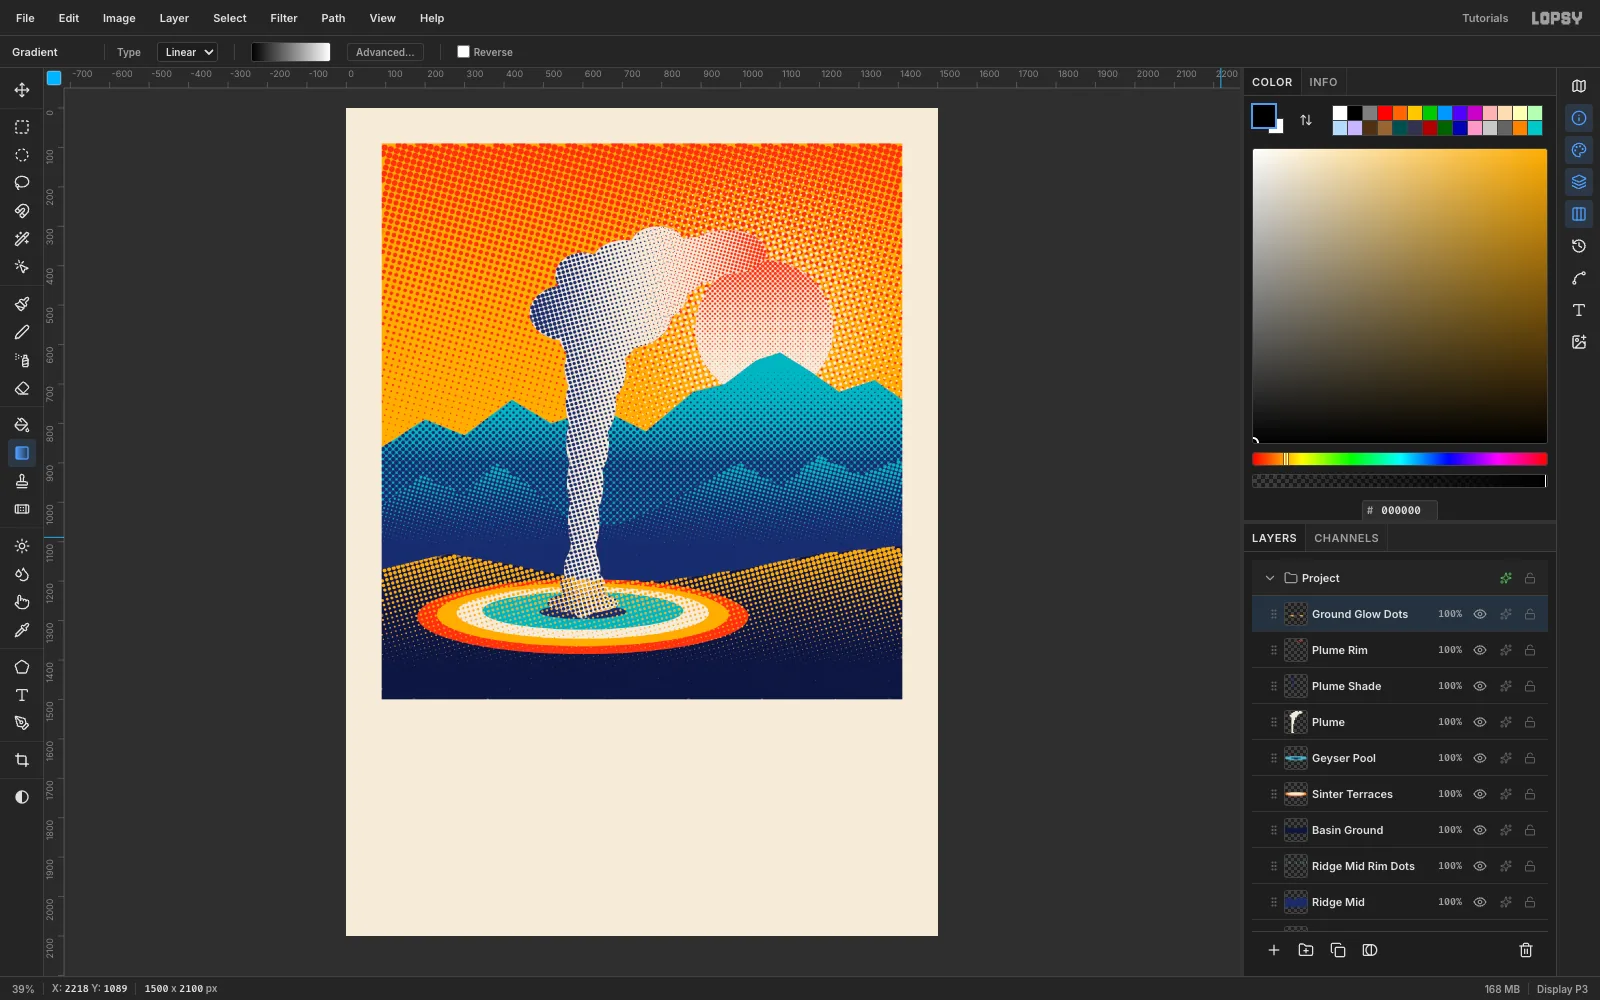
Press Cmd+Shift+Z four times. The ground glow comes back exactly as it was. Compare the dots to the earlier screenshot. They should look identical.
-
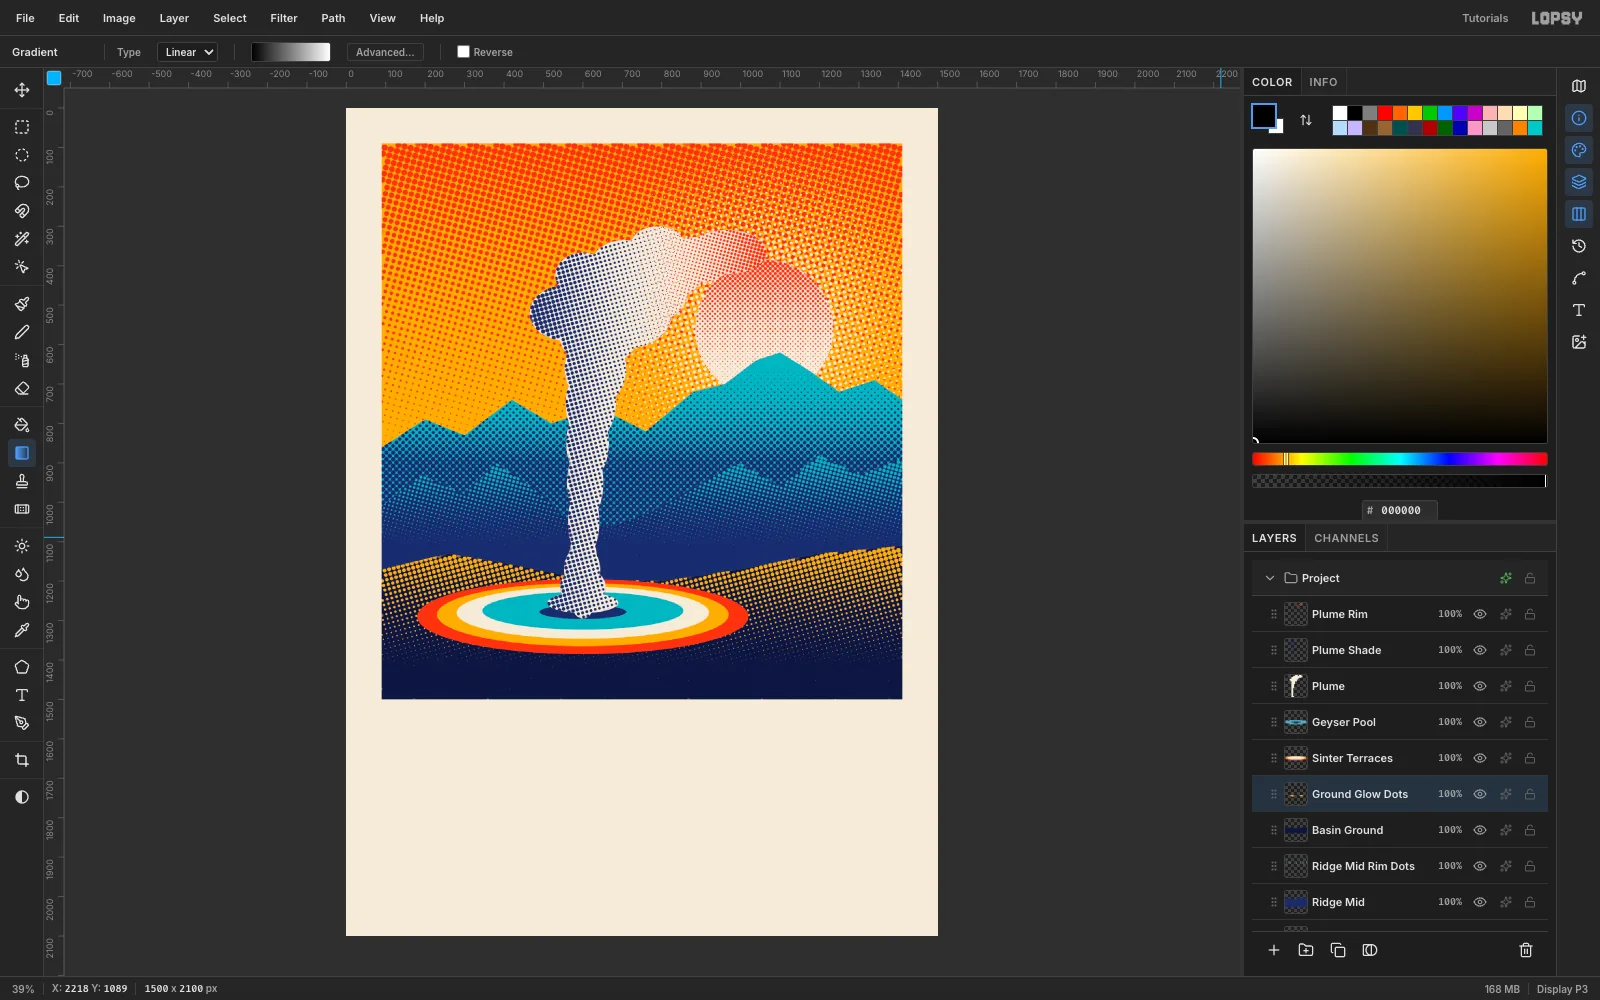
Slide the glow under the terraces
In the Layers panel, drag Ground Glow Dots down until it sits just below Sinter Terraces. The coloured rings now stand clear of the dots, and the glow reads as light spilling out of the pool across the dark ground.
-
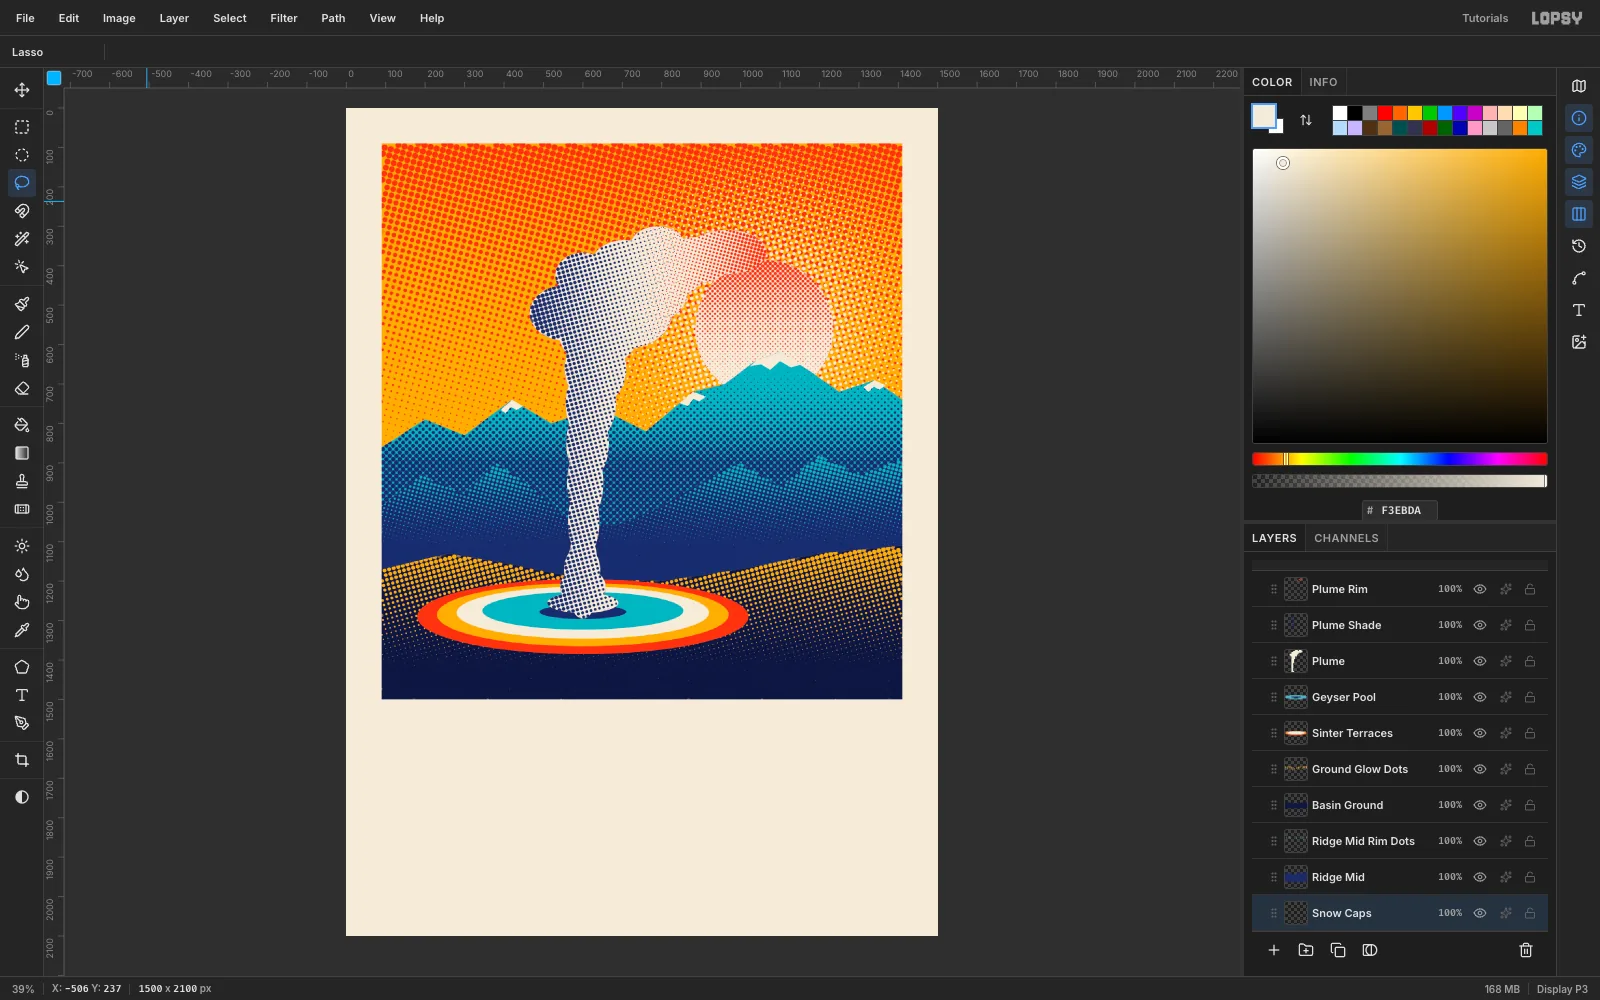
Cap the peaks with snow
Select Ridge Far Dots in the Layers panel so the new layer lands above the mountains, and add Snow Caps. Set the foreground to cream, pick the Lasso, and click a small jagged cap around the top of the tallest peak. Click back to the start to close it and fill it. Repeat for three of the other peaks, making those caps smaller.
-
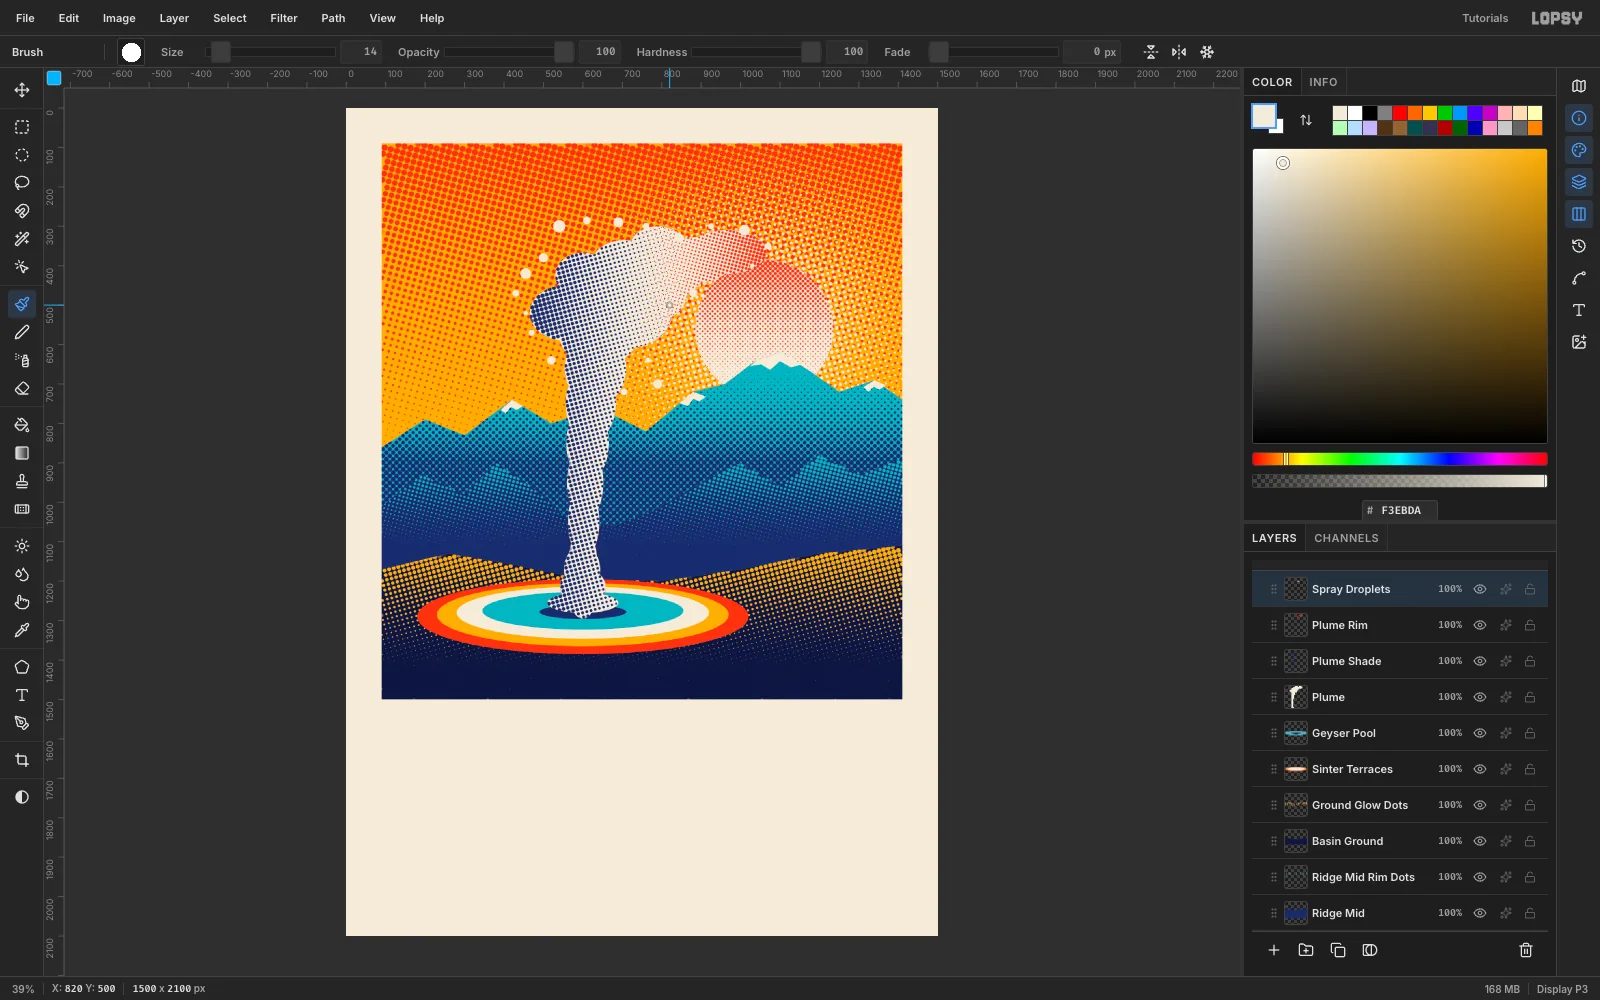
Spatter the spray
Select Plume Rim, the top plume layer, so the new layer lands above it, and add Spray Droplets. Pick the Brush, set the foreground to cream, the Hardness to 100 and click once for each droplet. Change the Size between clicks, from about 12 px to 32 px, and scatter the drops above and around the cloud. Put a few bigger ones near the top and smaller ones near the plume.
-
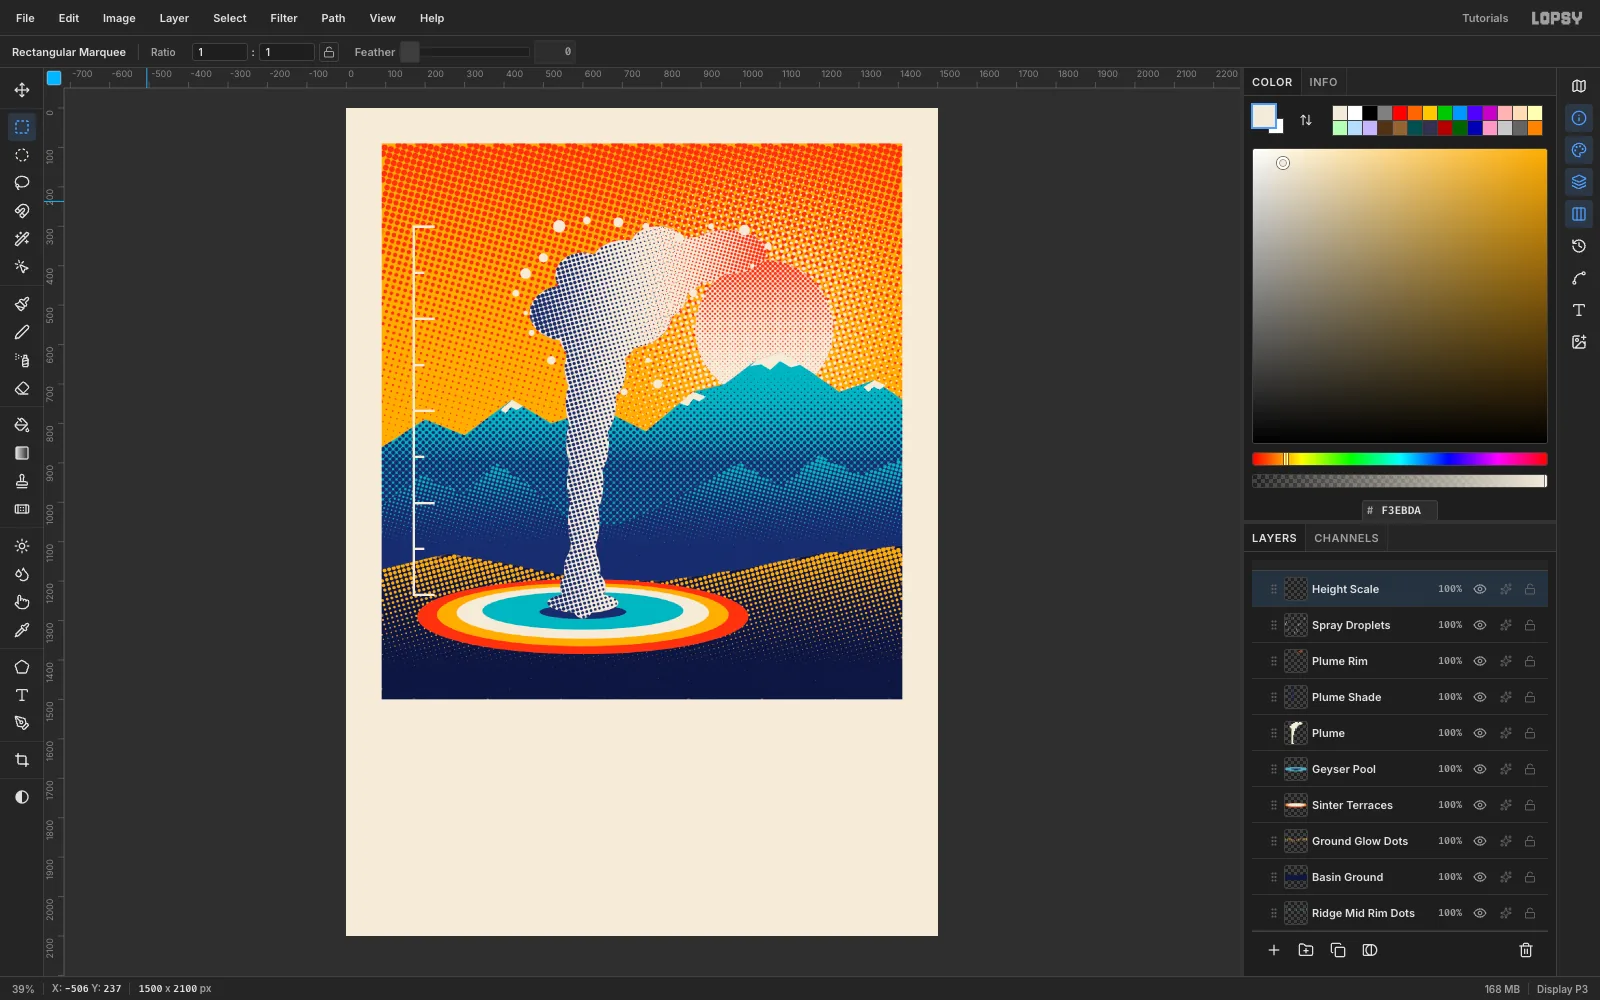
Draw the height scale
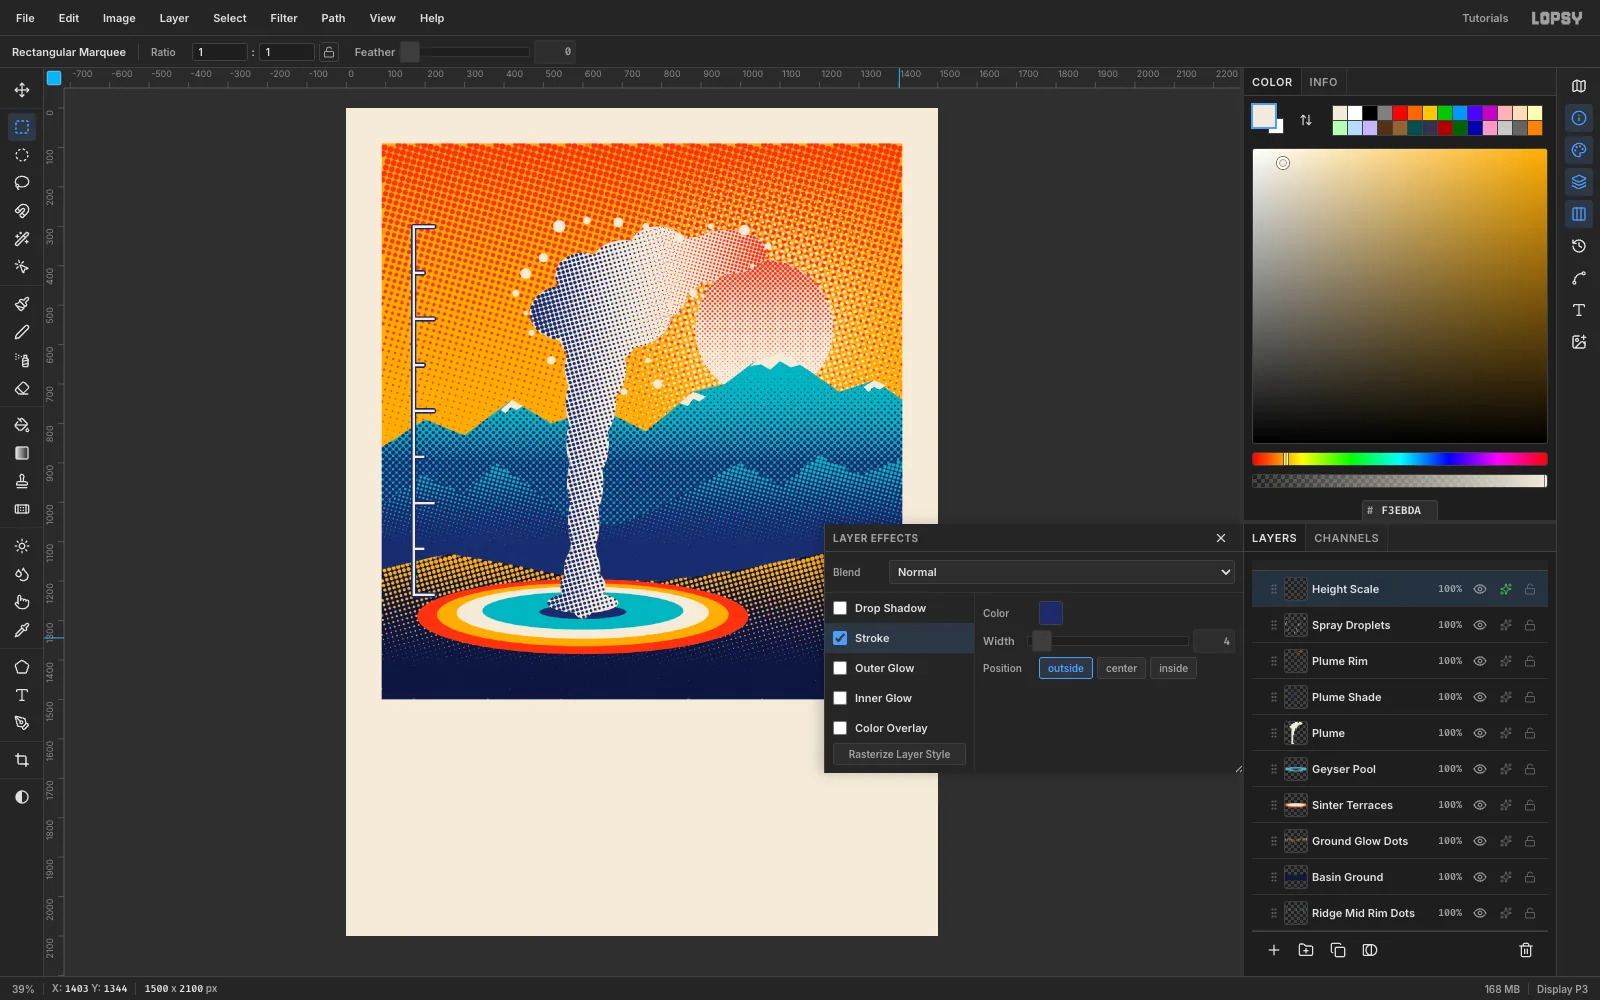
Add a layer called Height Scale. With the Rectangular Marquee, fill a very narrow cream vertical bar (about 6 px wide) up the left side of the picture, from the dark ground near the bottom to nearly the top. Then draw nine short, thin horizontal rectangles across it at even gaps, alternating long and short ticks, and fill each one.
-
Outline the scale
Open the layer's effects, add Stroke with indigo and set the Width to 4. The outline keeps the cream bars legible over the sky and the mountain dots.
-
Label the scale
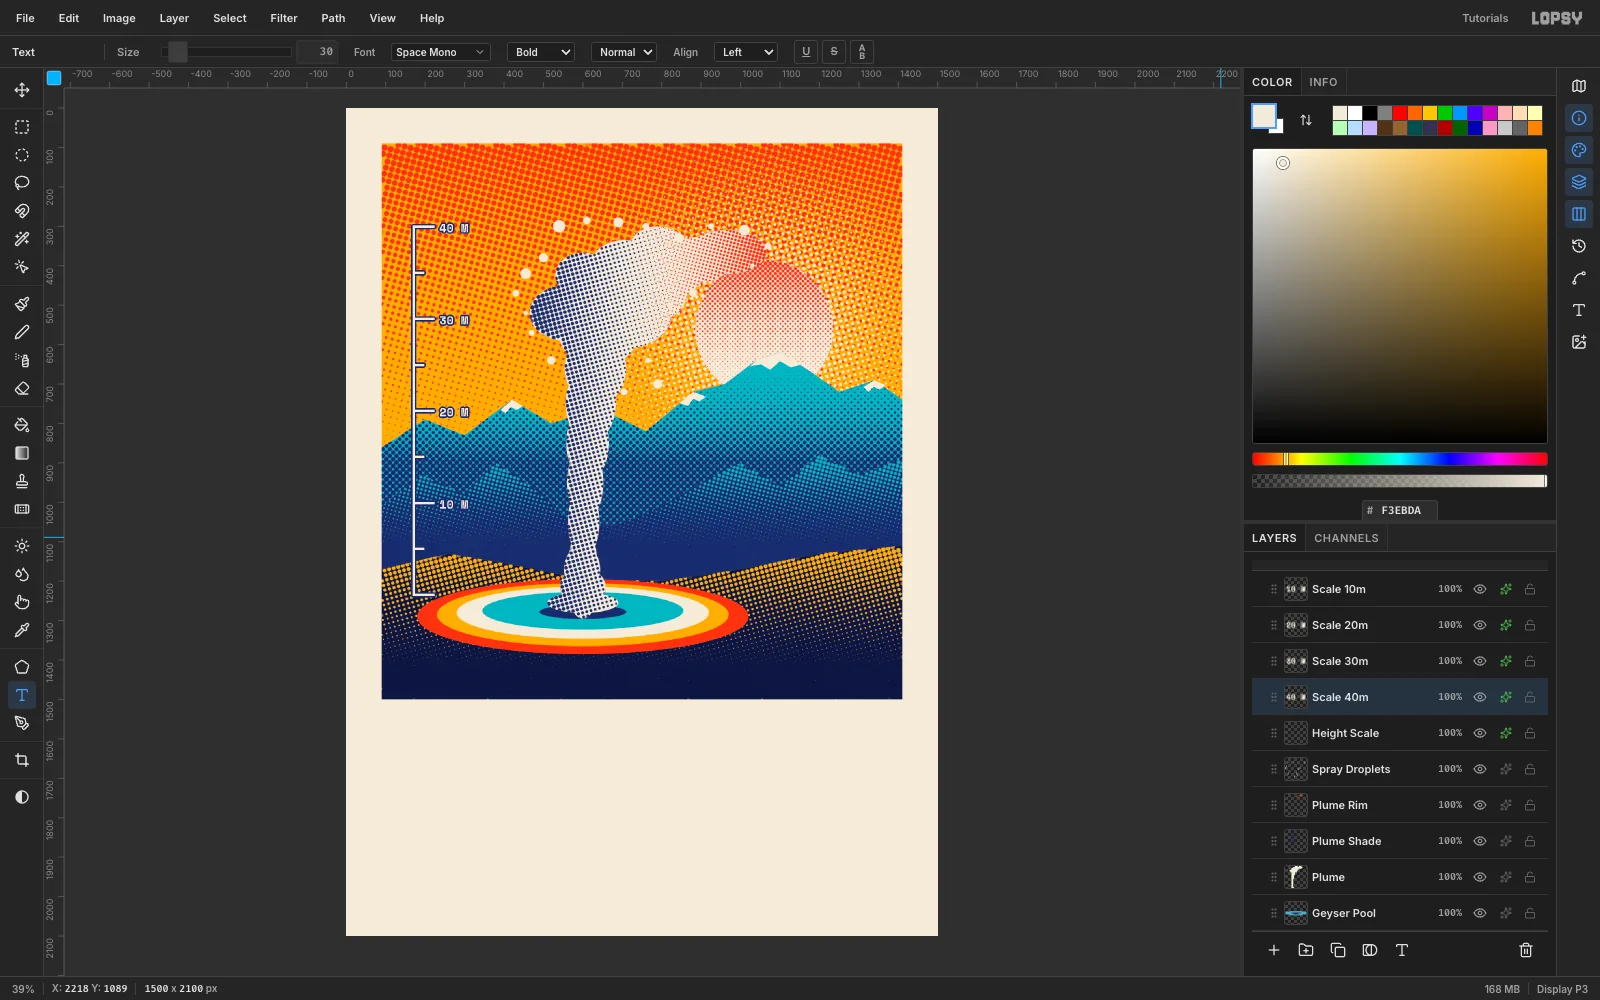
Pick the Text tool. Select the Height Scale layer first, so the text is created next to it, and click in the empty sky right of the first long tick. Type 10 M, then set the font to Space Mono, the weight to Bold and the size to 30, with a cream colour. Add a Stroke effect to the label, width 4 in indigo, and press Esc. Rename the layer Scale 10m. Repeat for 20 M, 30 M and 40 M (naming them Scale 20m, Scale 30m and Scale 40m), using every second tick and always clicking on an empty bit of sky, never on another label. Clicking inside an existing label would edit it.
-
Plant the fence posts
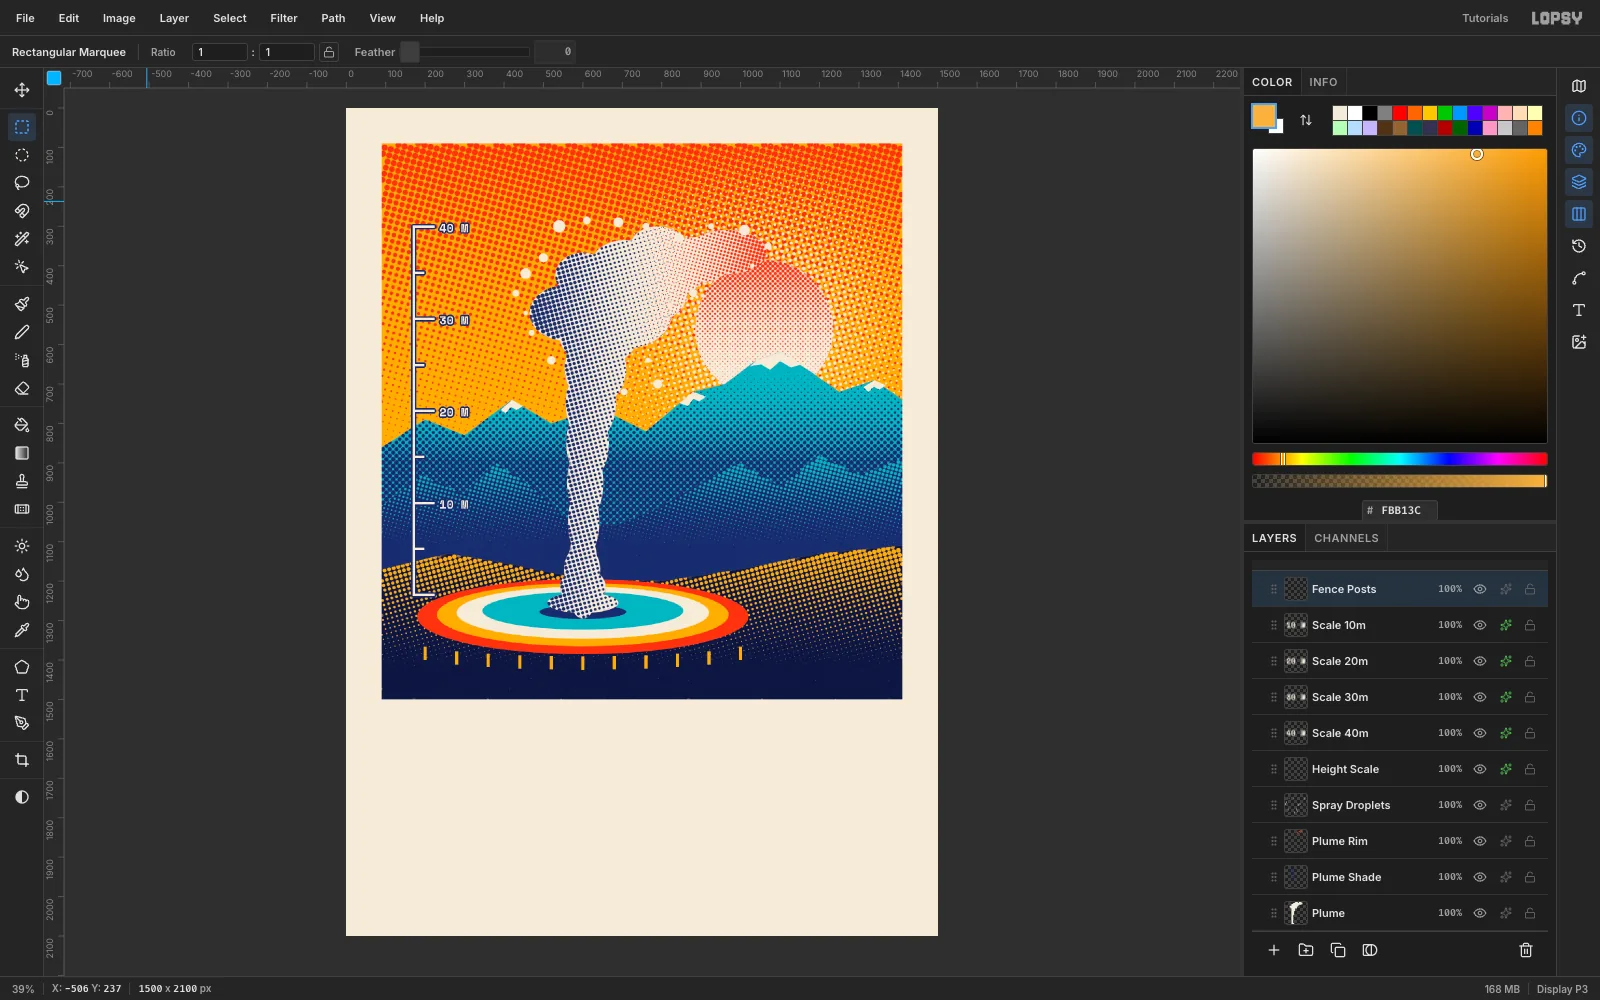
Select the Scale 10m label layer and add Fence Posts, so the layer sits above the labels. Set the foreground to saffron. With the Rectangular Marquee, fill a narrow, tall rectangle, then repeat about ten times. Space the posts evenly across the front of the pool and make the middle posts a touch lower than the end ones so they bow along the curve of the terrace.
-
String the rope with the Pencil
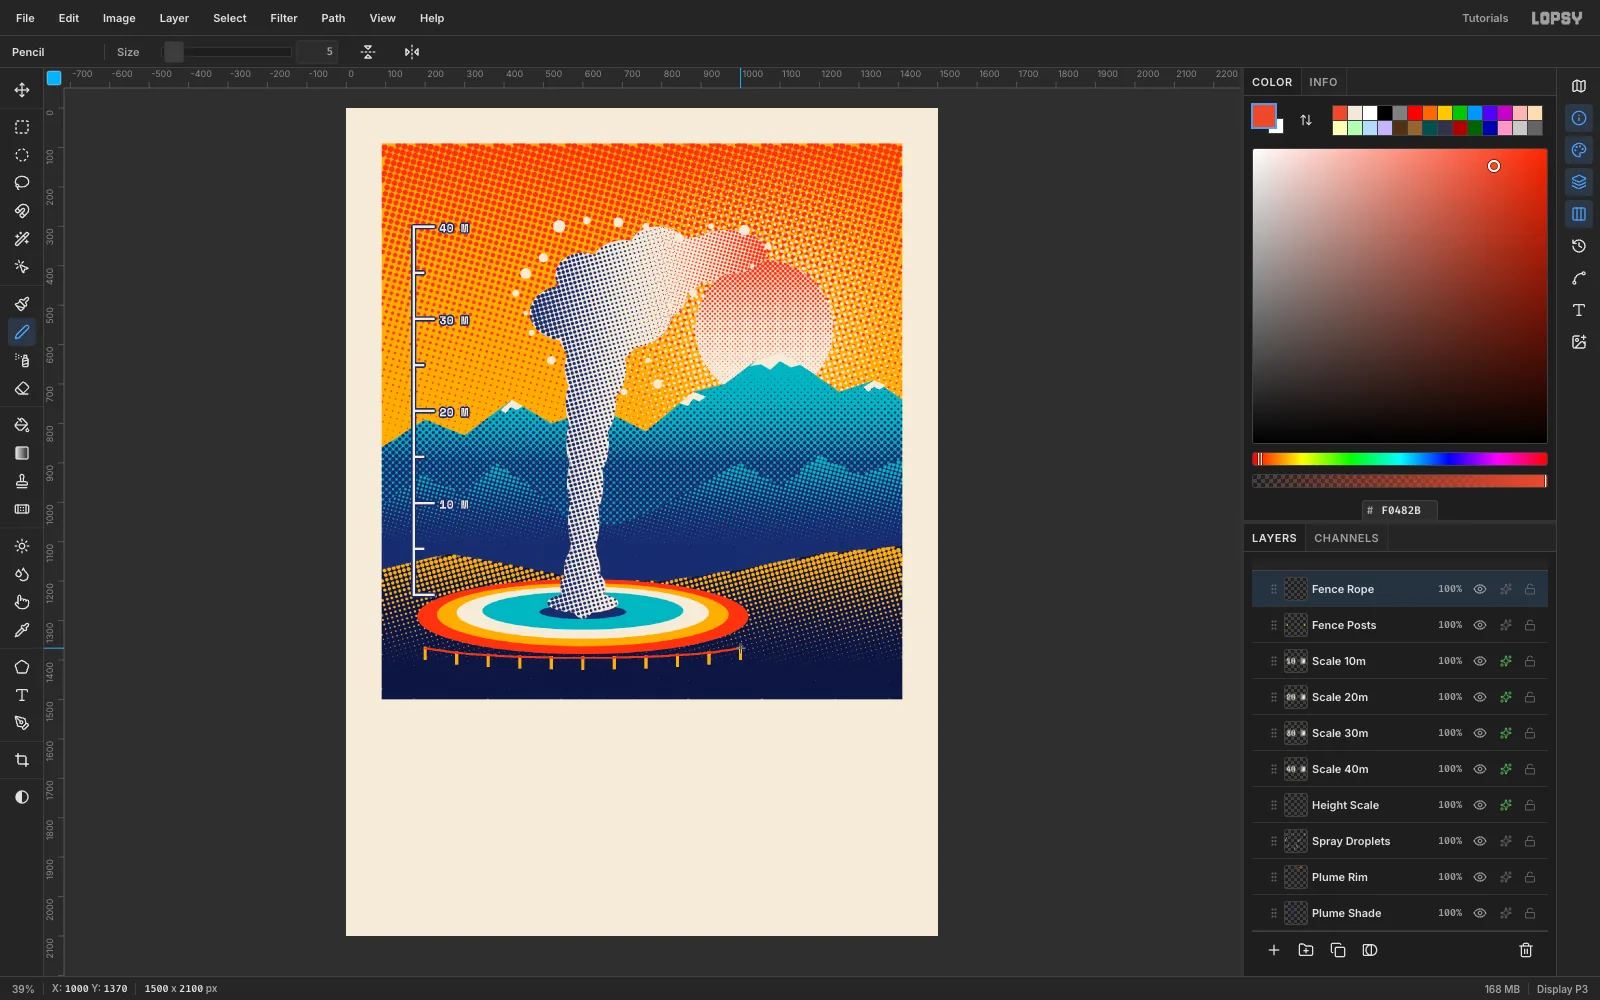
Add Fence Rope, set the foreground to coral , pick the Pencil and set the Size to 5. Click once on the first post top. Now hold Shift and click on the next post top, and the Pencil draws a straight line between them. Keep holding Shift and click on each remaining post in turn. The rope bends a little at each post, like a real sagging line.
-
Sketch the tourists
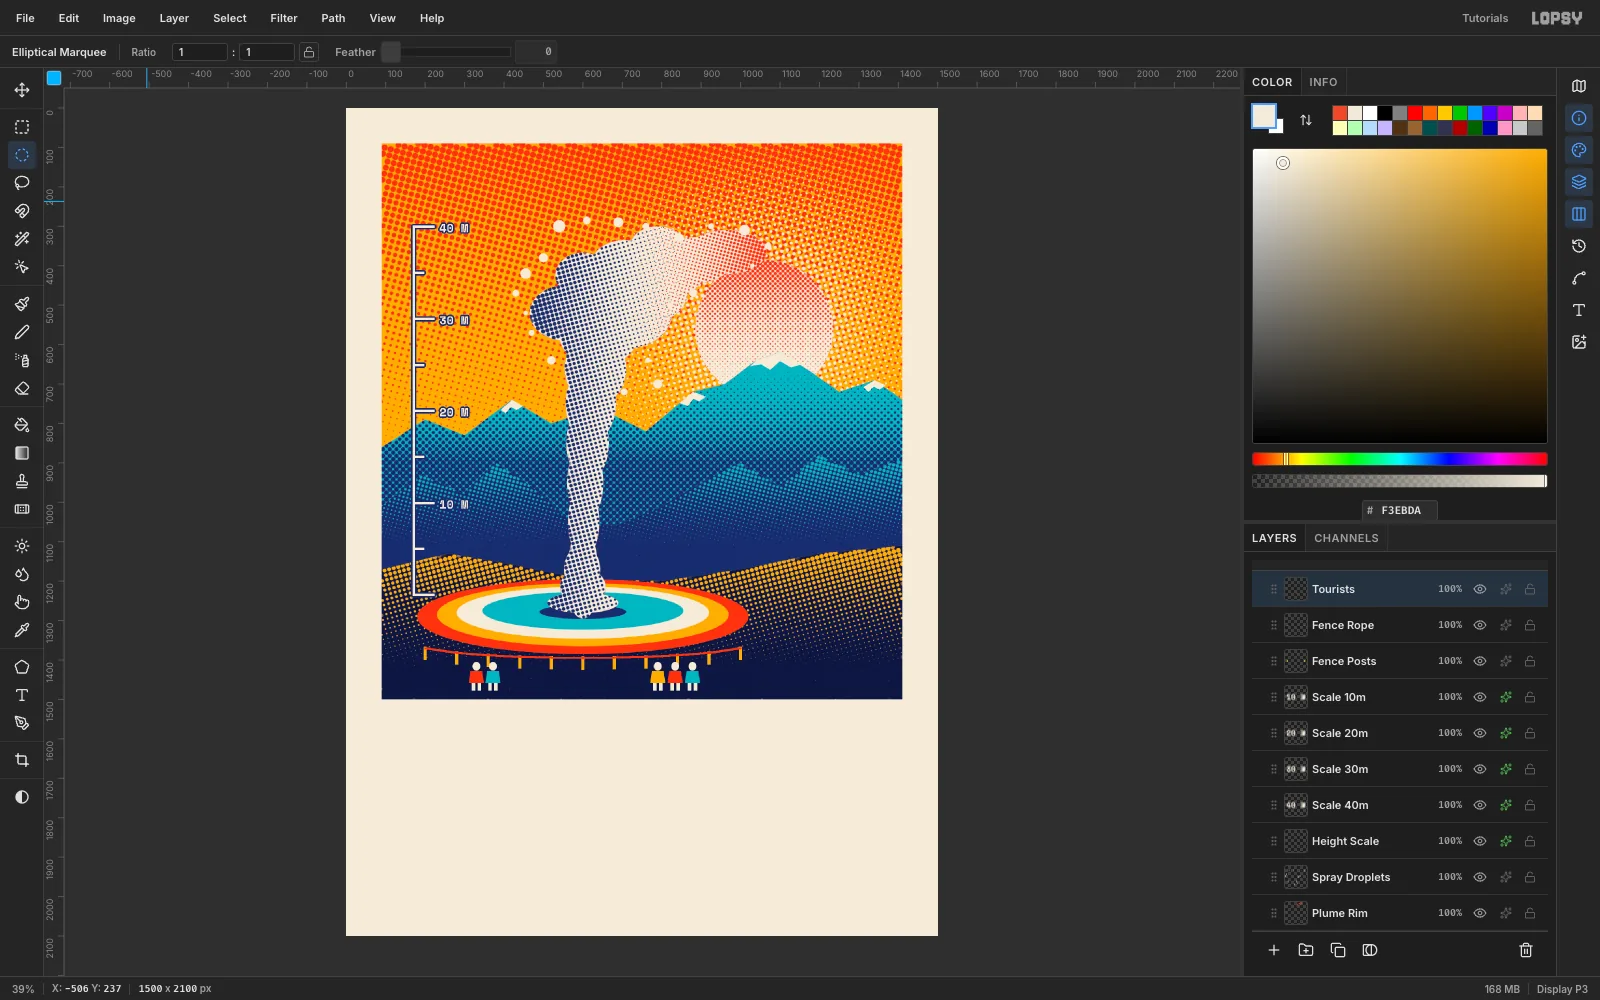
Add Tourists. For each figure, use the Rectangular Marquee to fill two narrow cream legs, use the Lasso to fill a four-point trapezoid coat in coral, teal or saffron, and use the Elliptical Marquee to fill a small cream head. Make two figures on the left and three on the right. At this size they're only about 80 px tall, which is exactly what makes the geyser look huge.
-
Frame the picture
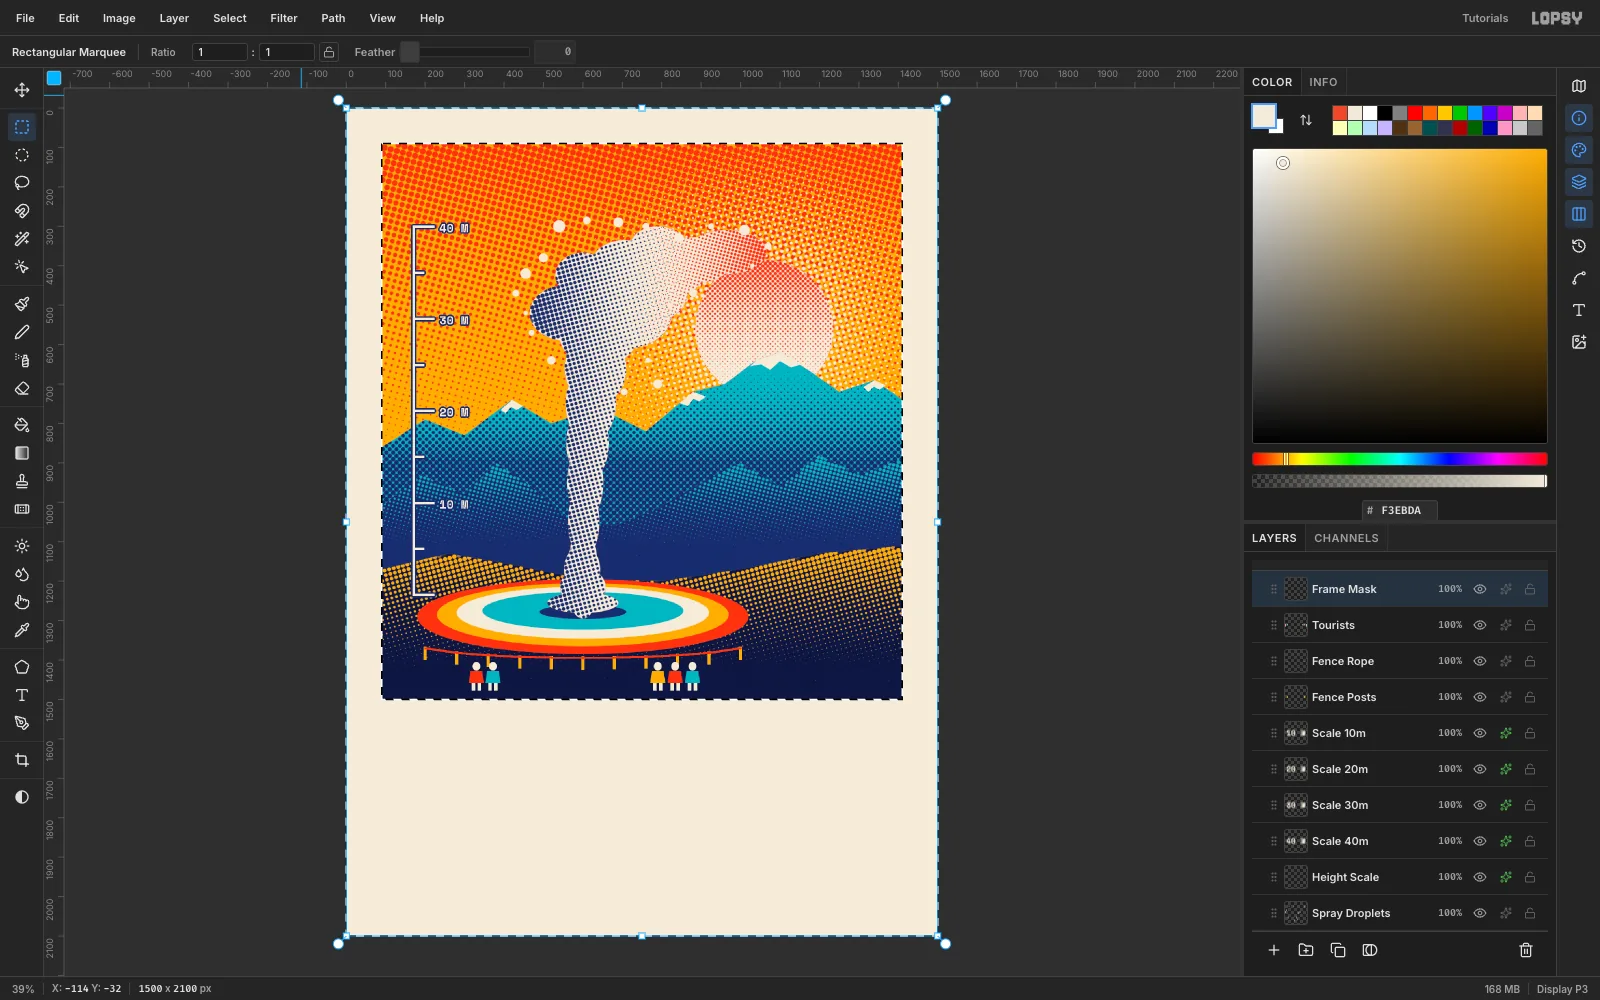
Add Frame Mask. Set the foreground to cream and marquee the picture rectangle again, with the same edges you used for the sky. Choose Select → Inverse and Edit → Fill. Everything outside the picture becomes clean paper again, which hides any dots or tourists that bled over the edges. Deselect.
-
Add a keyline
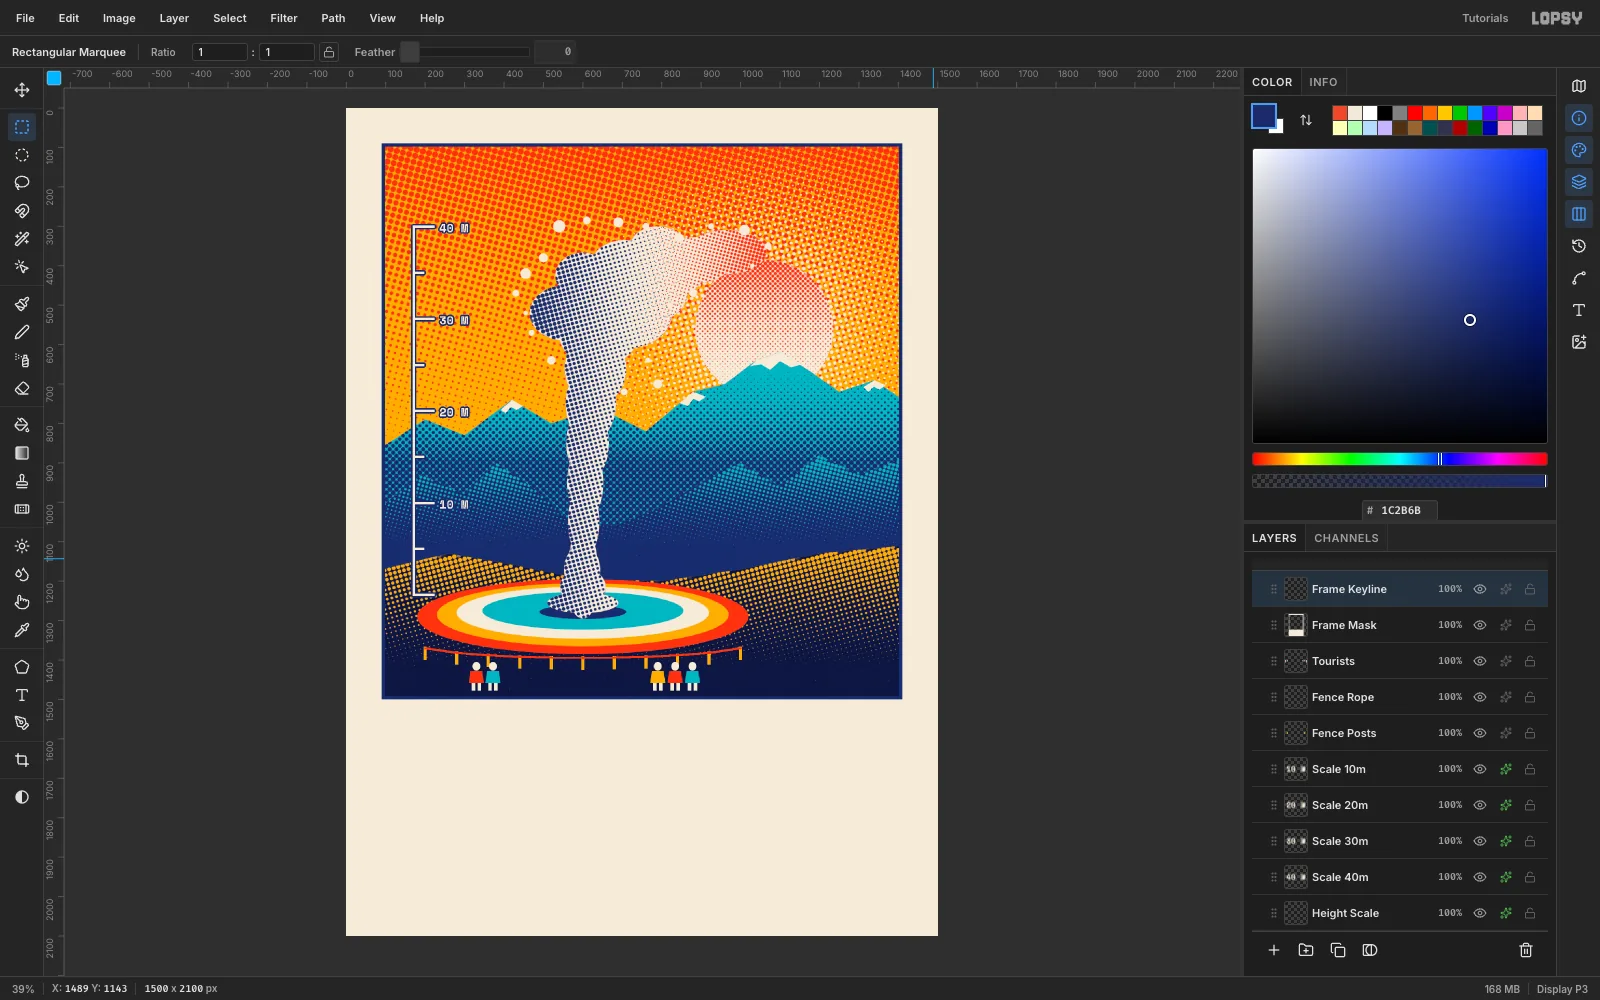
Add Frame Keyline and set the foreground to indigo . Marquee the picture rectangle again, Edit → Fill it, then choose Select → Shrink… by 8 and press Delete. What remains is an 8 px indigo outline. Deselect.
-
Set the title
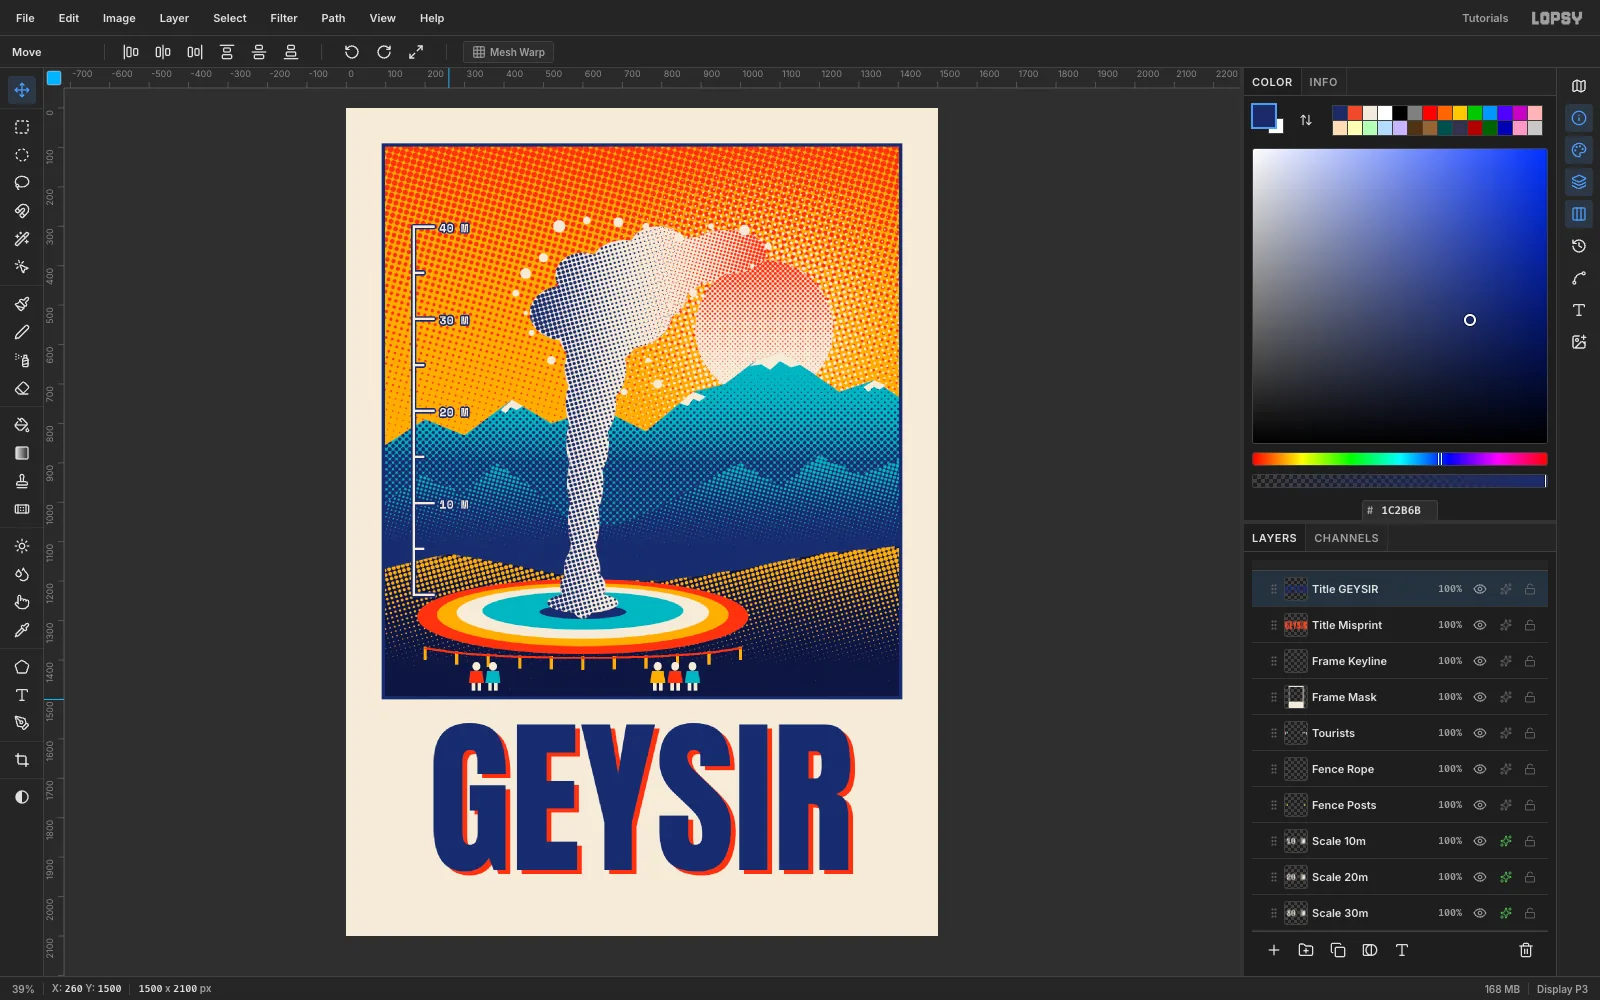
Select Frame Keyline so text lands above it. Pick the Text tool and click in the band under the picture. Use Anton, weight Regular, size about 430, in coral , and type GEYSIR. Rename the layer Title Misprint. With the Move tool, click Align center horizontally in the options bar.
Select Frame Keyline again so the next text doesn't land on the first one, and make another GEYSIR in indigo at the same size, clicking in an empty part of the band. Name it Title GEYSIR and centre it too. If it landed below the coral copy, drag it above the coral copy in the Layers panel. Then nudge the indigo word up and to the left with the arrow keys (the coral copy ends up about 8 px right and 8 px down from it) so a thin edge of coral peeks from the lower right of each letter. This is the misprint look, a second plate that missed registration.
-
Add the tagline
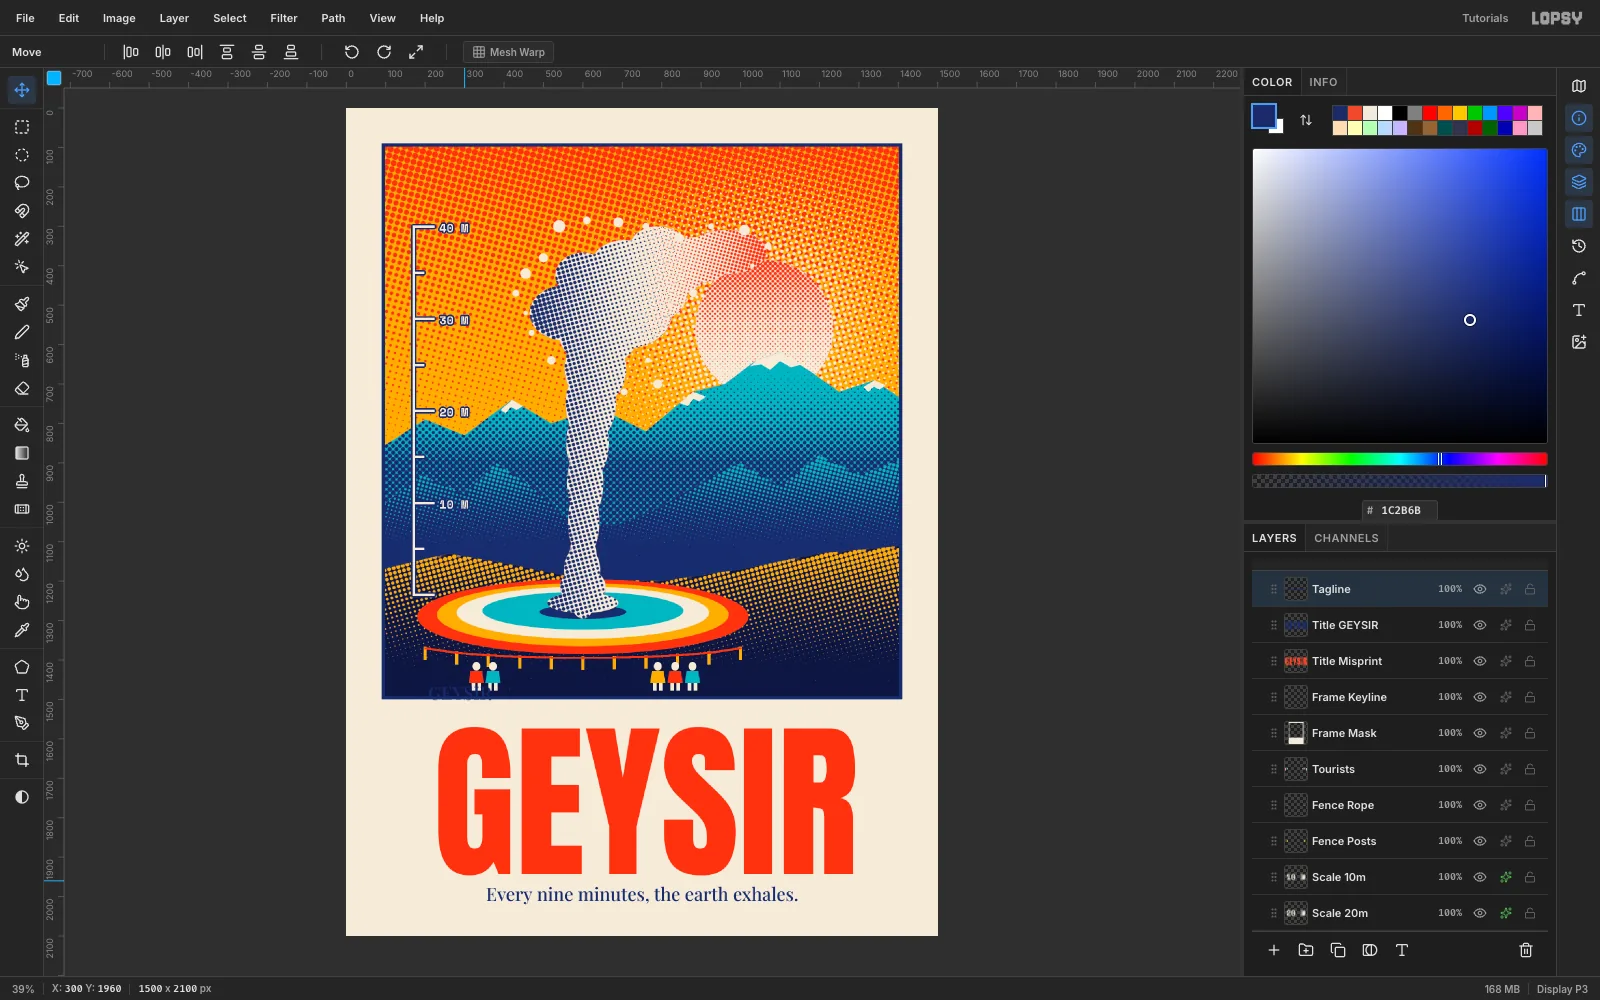
Select Frame Keyline so the text lands above it, pick the Text tool and click in the empty cream space under the title. Choose Playfair Display, weight Medium, size 46, in indigo, and type Every nine minutes, the earth exhales. Press Esc, then use Align center horizontally. Rename it Tagline.
-
Add the data strip
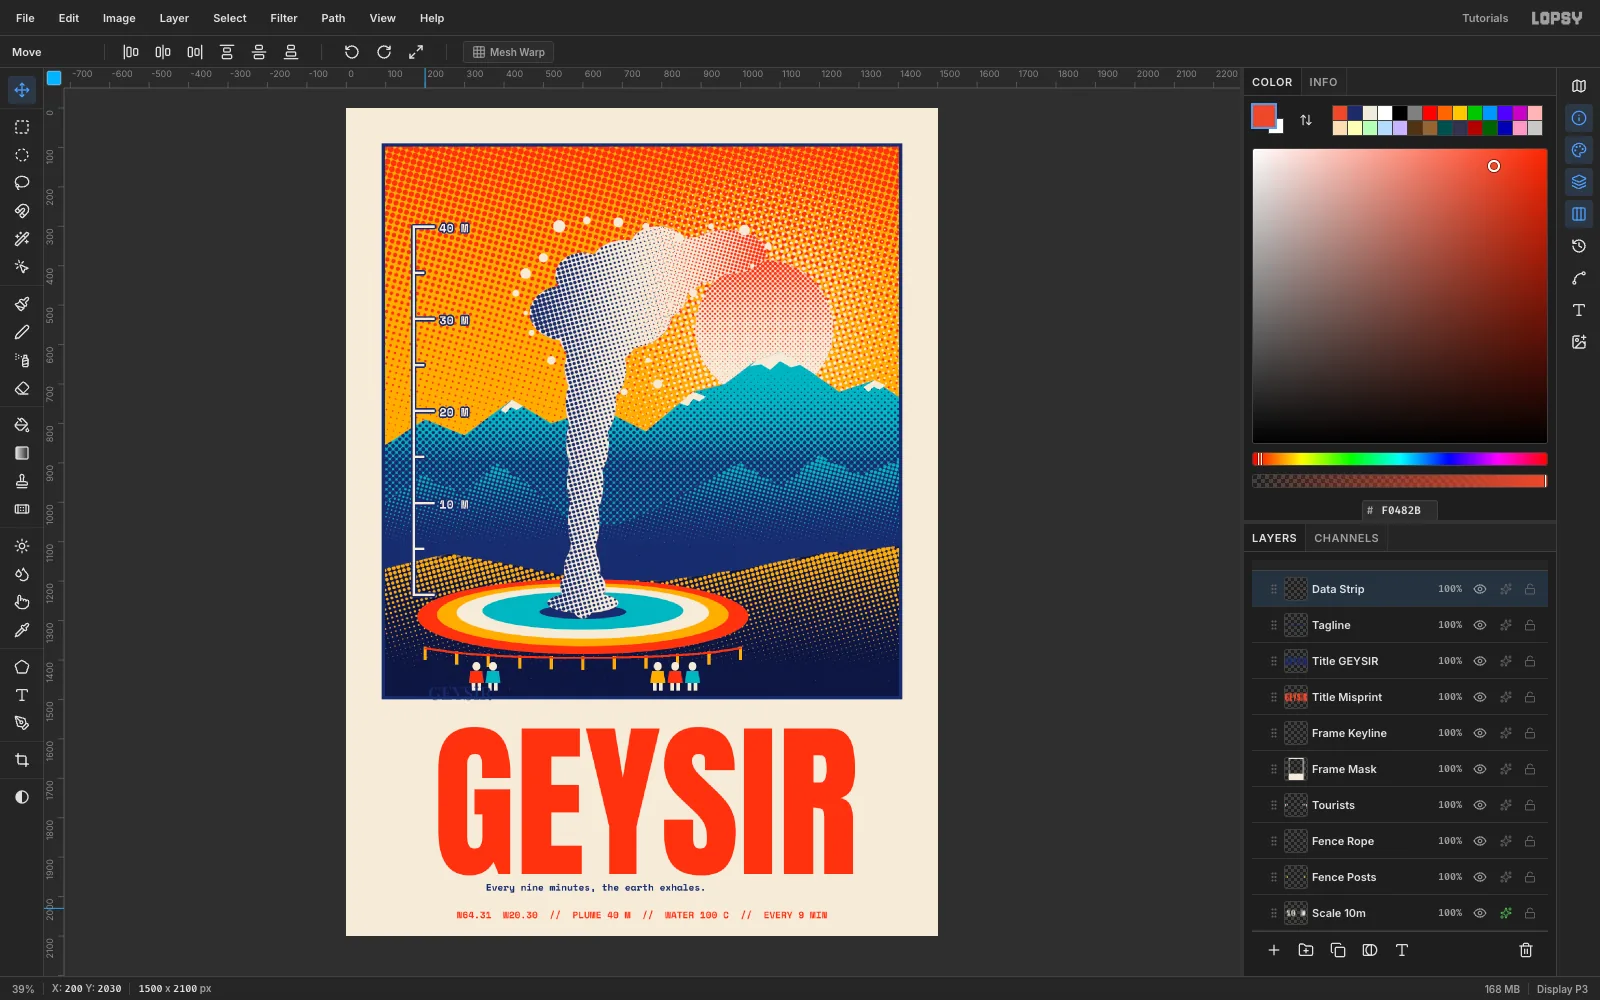
Select Frame Keyline again, pick the Text tool and click in the margin at the very bottom. Choose Space Mono, weight Bold, size 24, coral and type N64.31 W20.30 // PLUME 40 M // WATER 100 C // EVERY 9 MIN. Centre it. A serif tagline over a monospaced strip mixes a poster-like voice with a field-guide one. Don't worry if the strip sits tight against the bottom edge. You'll adjust it at the end.
-
Drop guides to check the margins
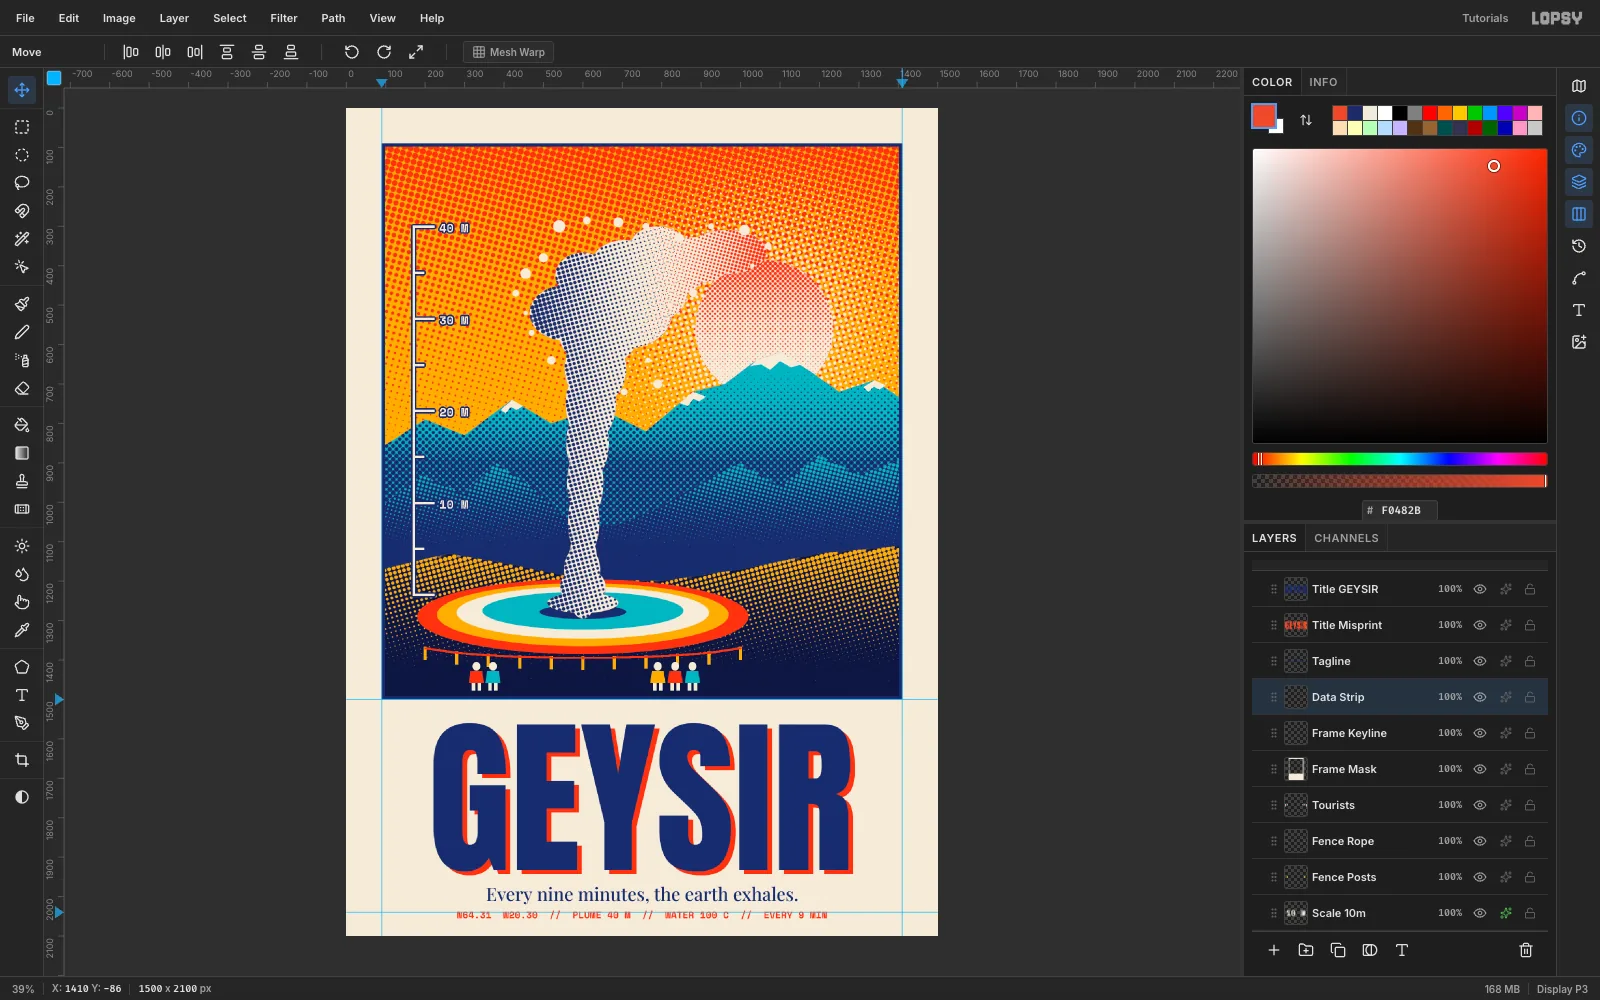
Make sure View → Show Rulers and Show Guides are on. Click once on the top ruler near each edge of the picture to drop a vertical guide, then click the left ruler at the top of the title band and again near the bottom. (Dragging from a ruler doesn't make a guide. You click.) The title should sit centred between the vertical guides, and the lines of text should sit between the horizontal ones.
-
Group the title
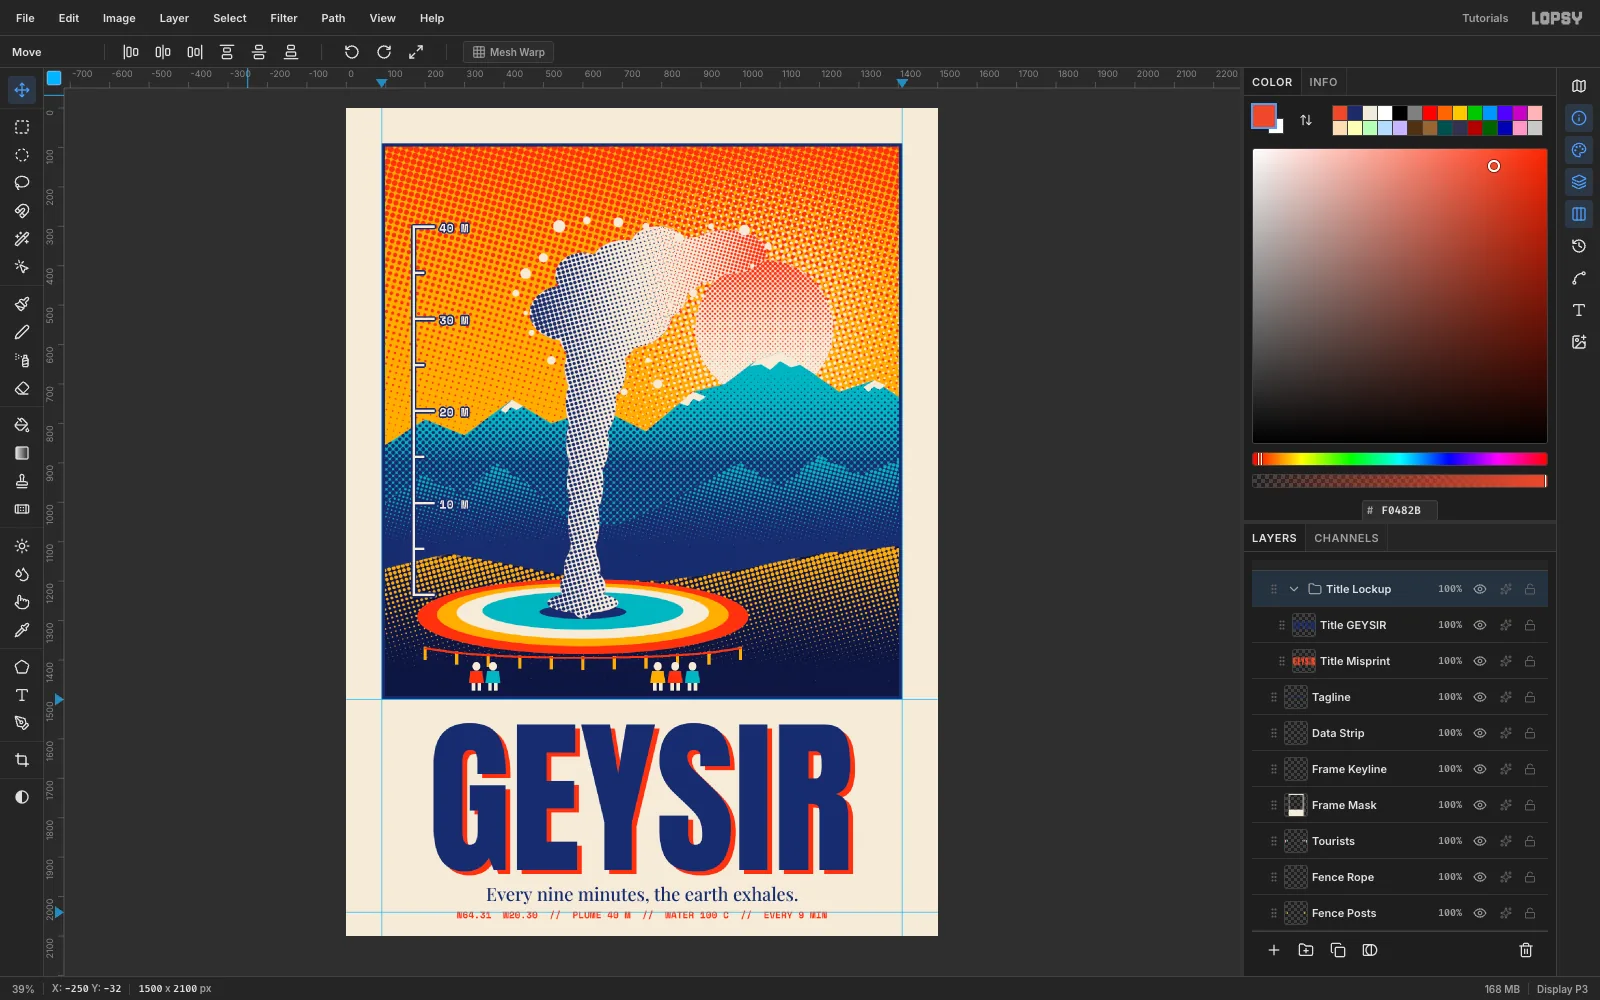
Click Title GEYSIR in the Layers panel, then Shift-click Title Misprint, and choose Layer → Group Layers (Cmd+G). Rename the group Title Lockup. Now the two halves of the title travel together and the misprint offset can't drift.
-
Move the group with Snap to Layers
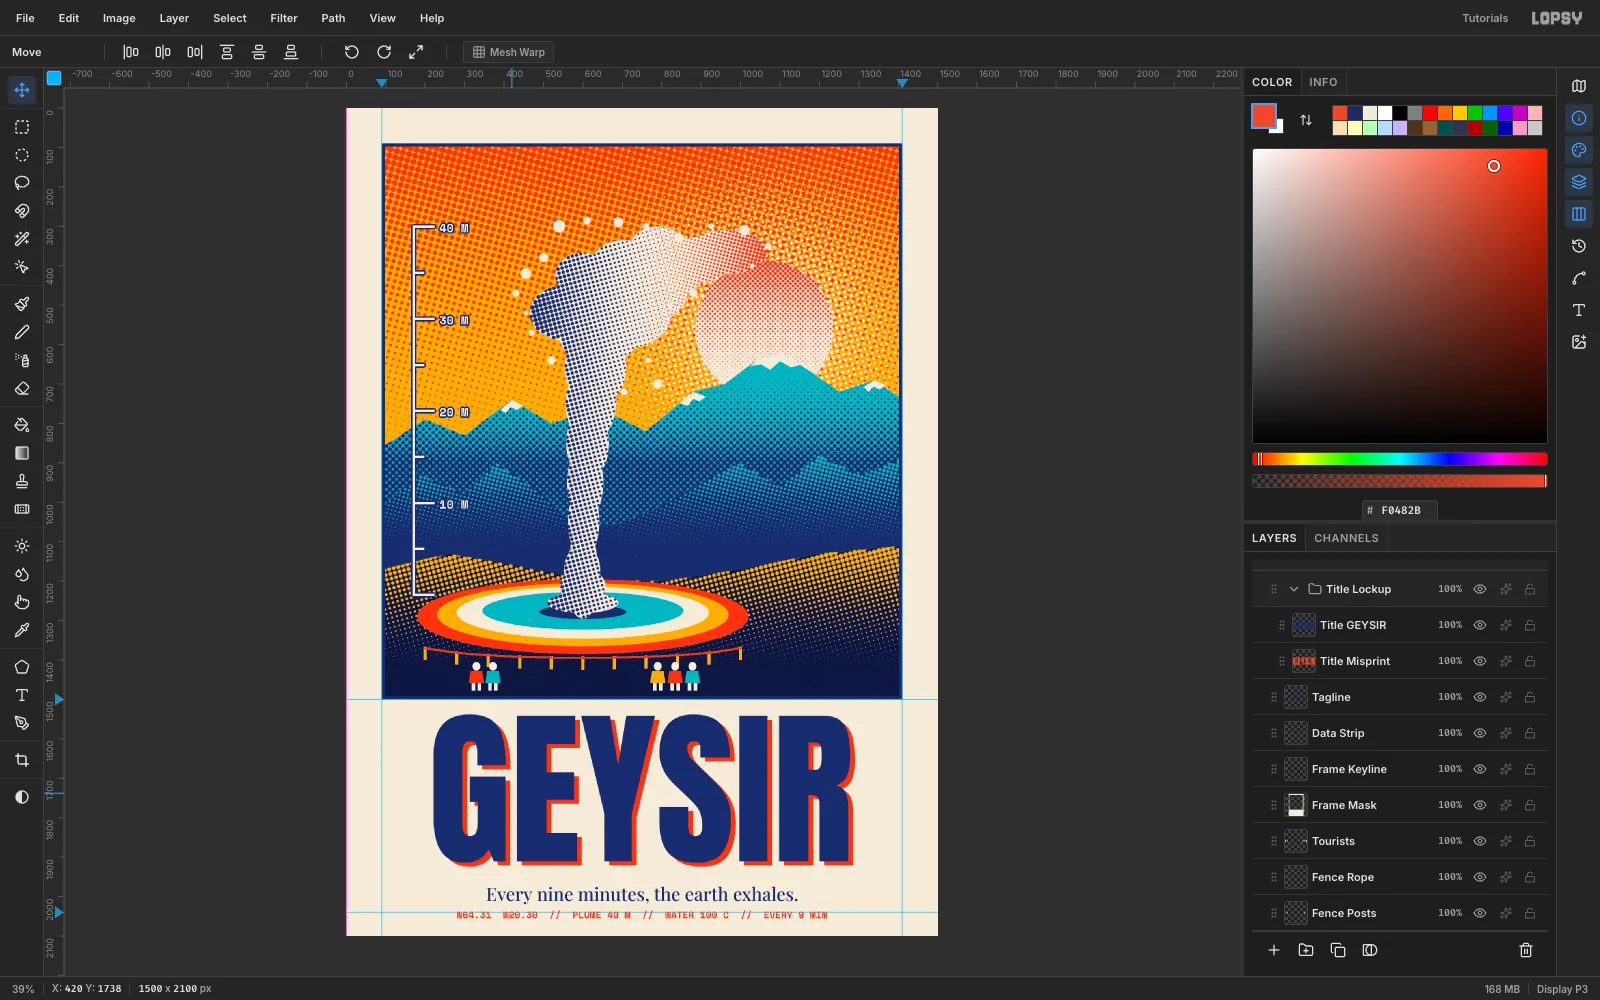
Turn on View → Snap to Layers. Select Title Lockup, pick the Move tool, then drag from inside the lettering a short way up. Both halves of the title move together, and the group's edges will snap to nearby layers and guides as it passes them. Release the mouse to drop it.
-
Undo and redo the group move
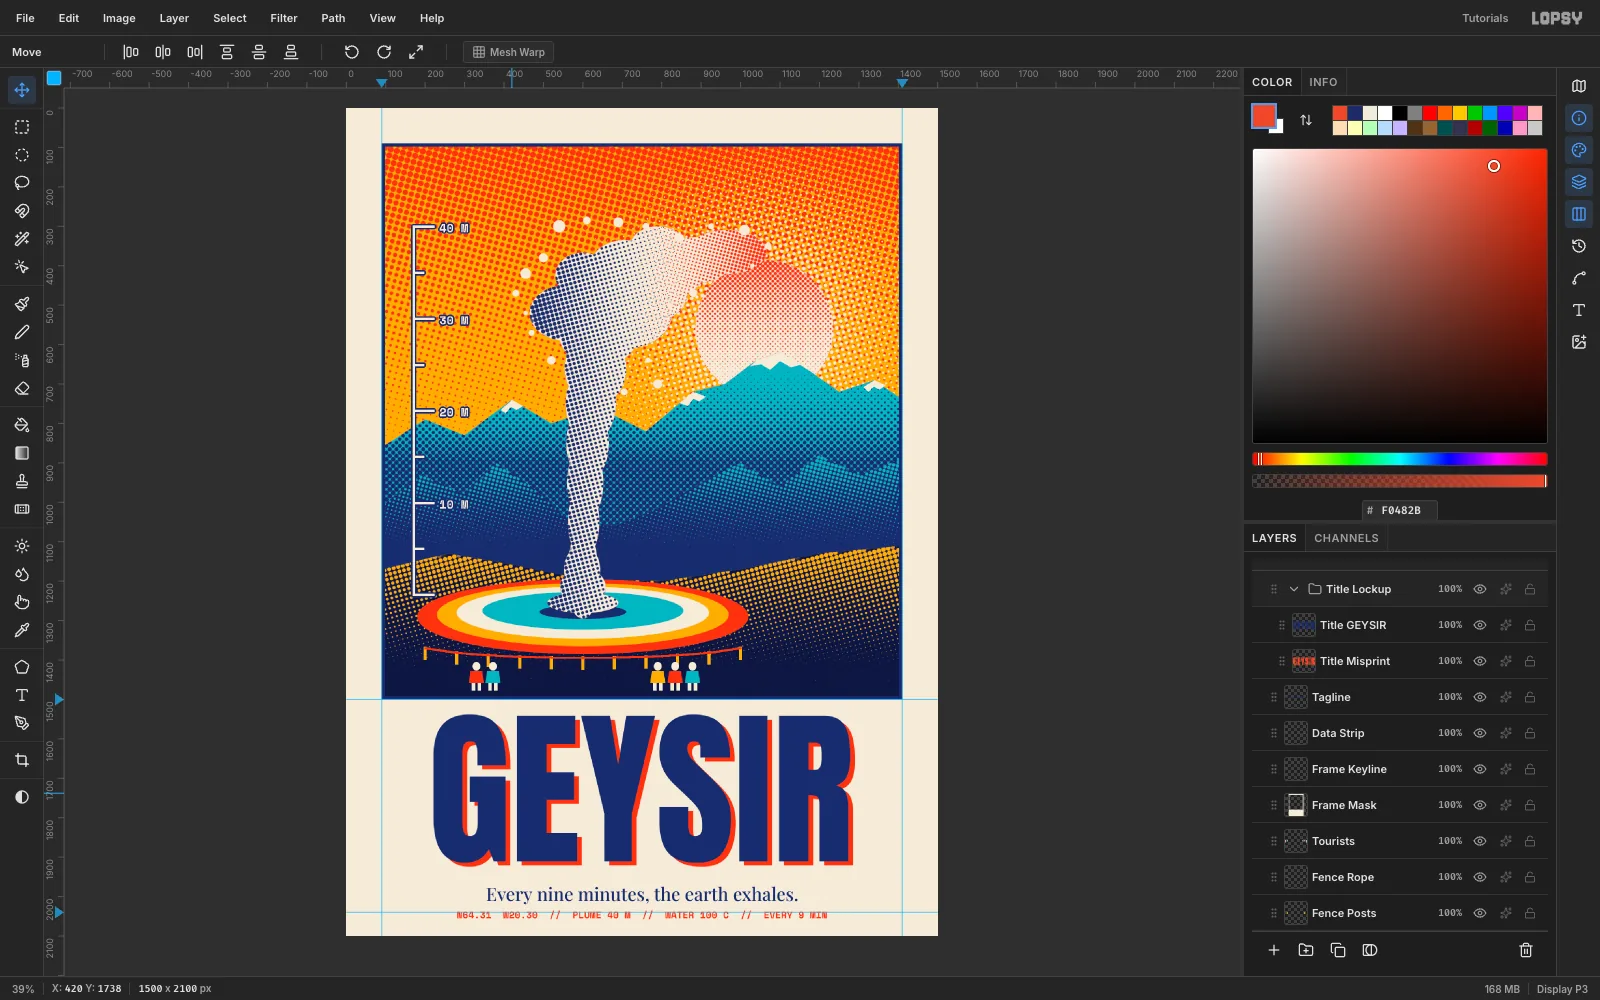
Press Cmd+Z once. Both halves of the title jump back together. Then press Cmd+Shift+Z and they land back where you dropped them, with the coral copy still offset from the indigo one by the same amount. A group move is one history step.
-
Draw the badge
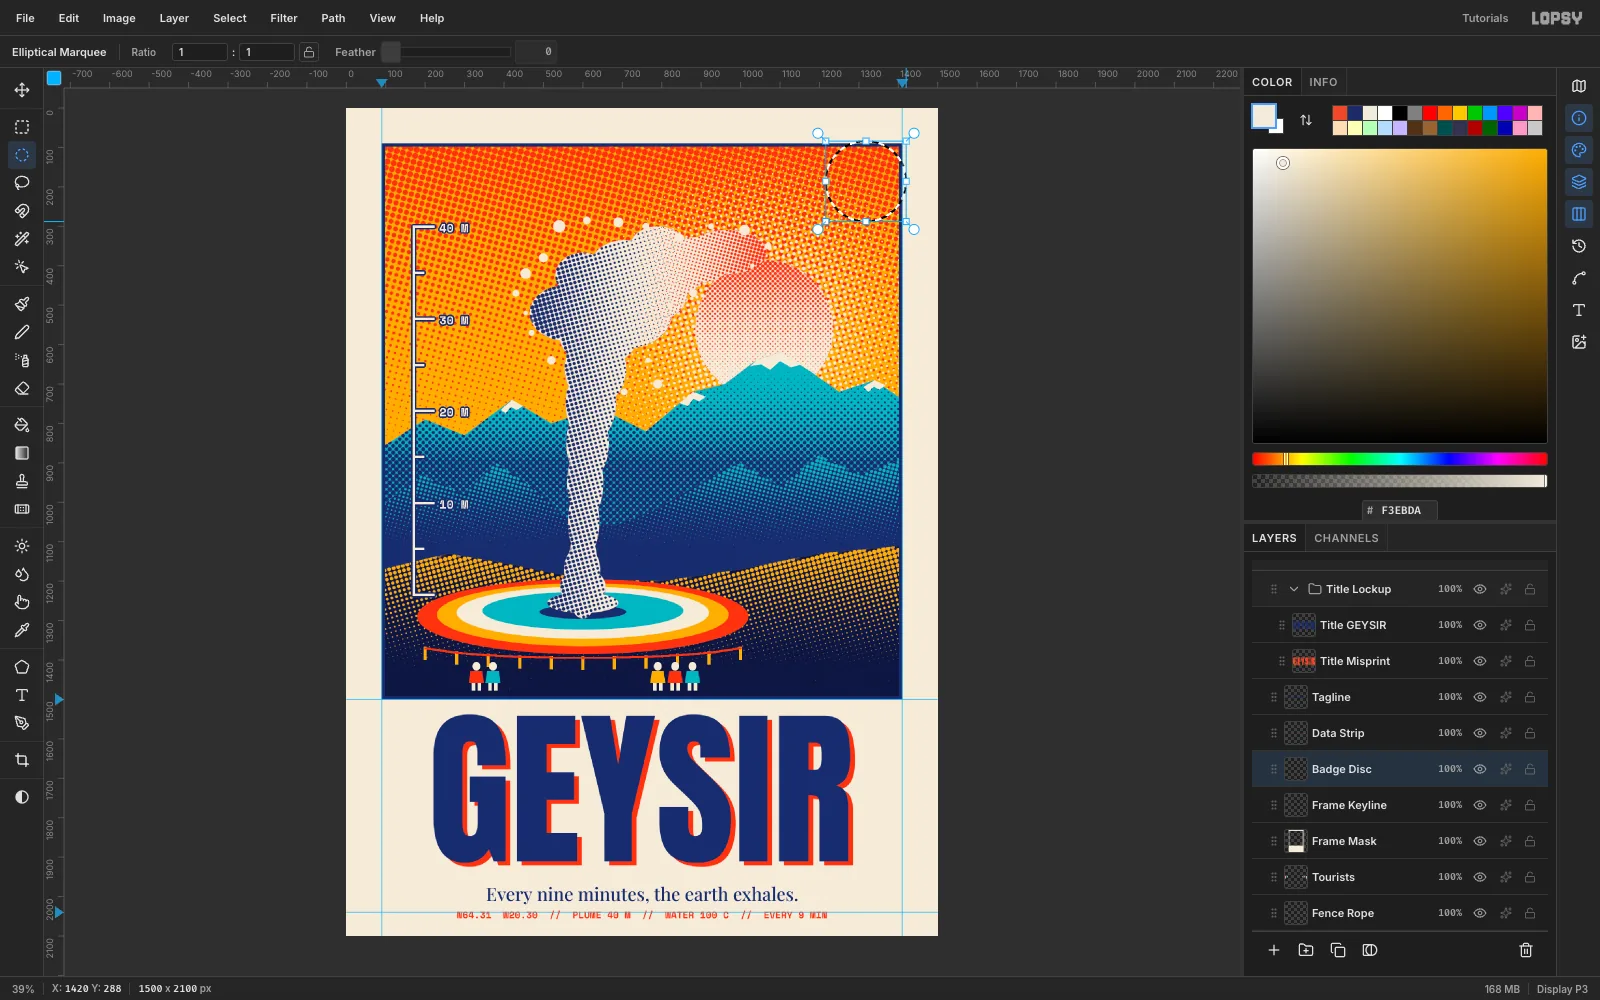
Select Frame Keyline and add a layer called Badge Disc. Set the foreground to cream. With the Elliptical Marquee, draw a circle about 200 px across over the top right corner of the picture, overlapping the frame a little. (You'll pull it inside at the end.) Press Edit → Fill. Don't deselect yet.
-
Layer the badge rings
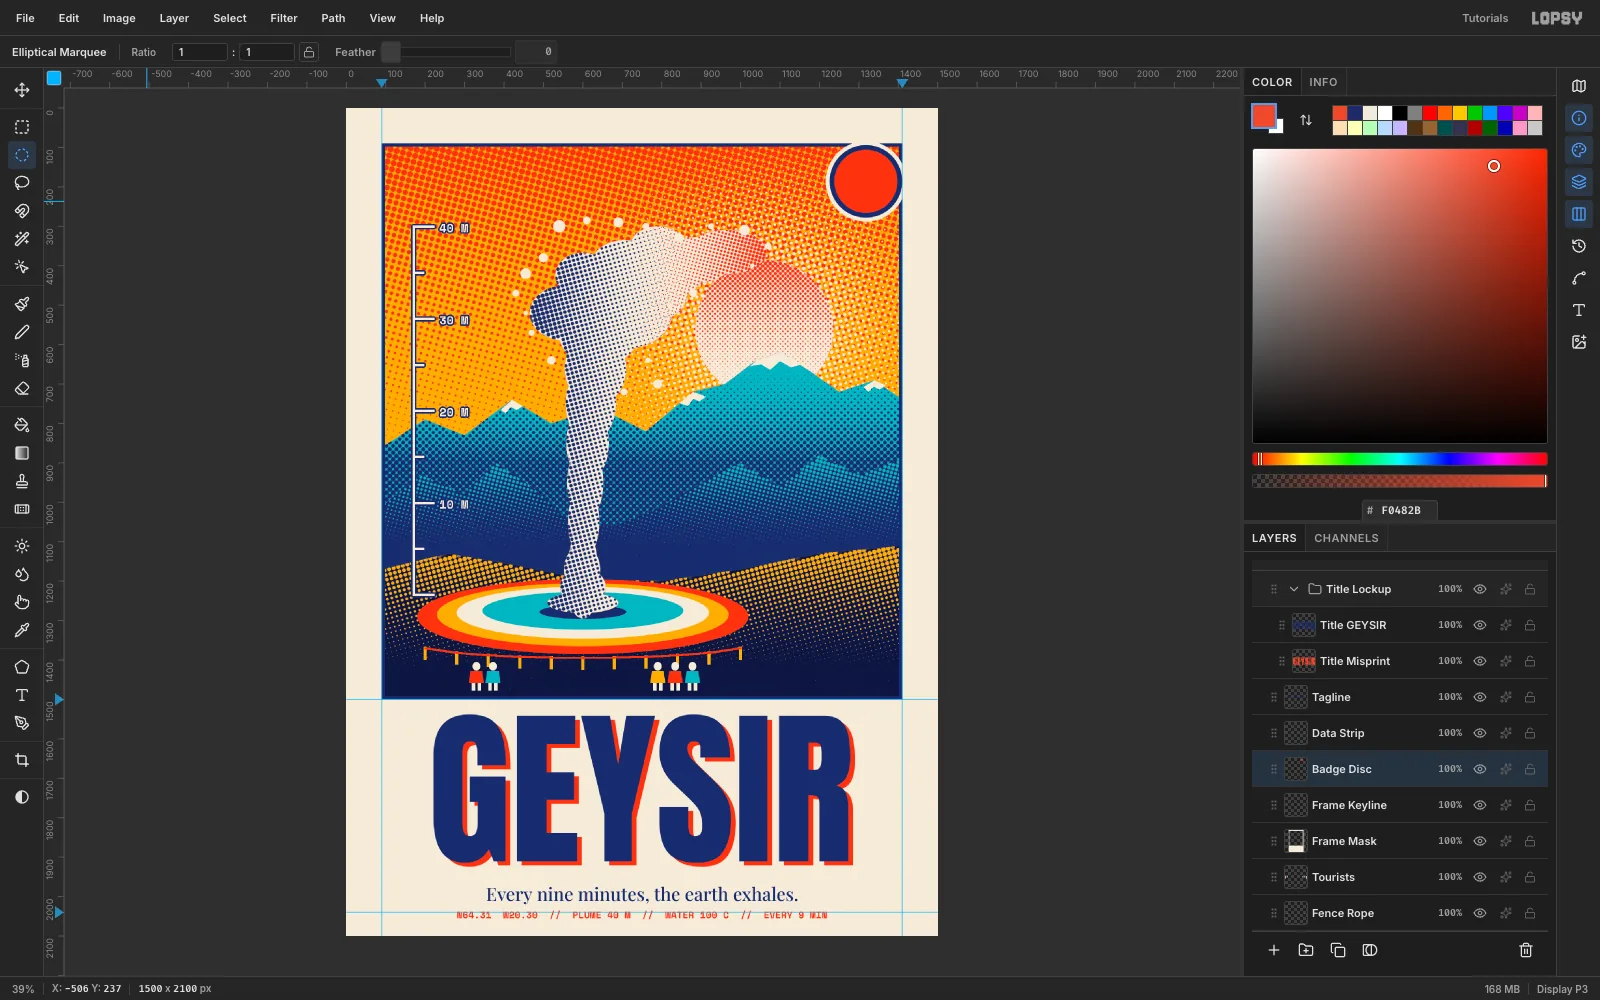
Draw a second circle from the same centre that's 10 px smaller on every side (about 184 px across) and fill it indigo. Then draw a third that's 12 px smaller again on every side (about 160 px across) and fill it coral. Deselect. Three concentric fills give the cream, indigo and coral rings of a printed seal.
-
Letter the badge
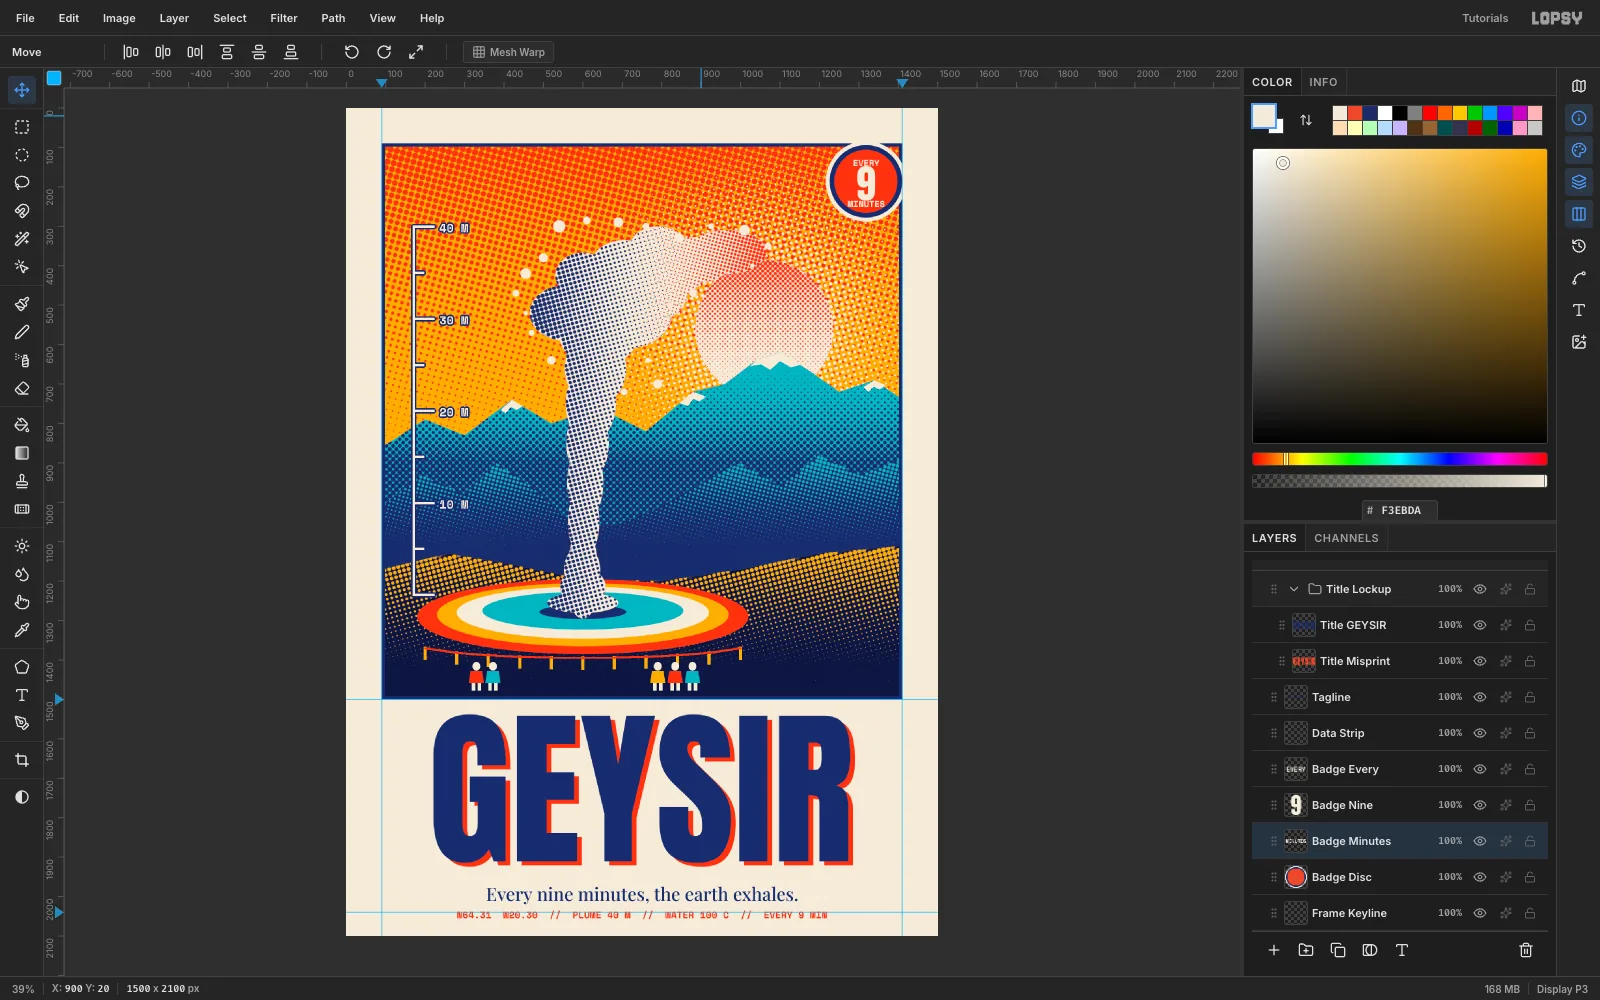
Select Badge Disc and, using the Text tool, click on an empty part of the canvas for each of three labels, so you don't hit another text's box. Make EVERY in Space Mono Bold 22, a big 9 in Anton at size 100, and MINUTES in Space Mono Bold 22, all in cream. Then select each text layer and drag it with the Move tool onto the disc. Fine-tune with the arrow keys (Shift moves 10 px) until EVERY sits above the 9 and MINUTES below it, all centred on the disc.
Keep the nudges few. Every arrow press adds a history step, so a long run of them is slow. Drag close first, then tap.
-
Merge the badge
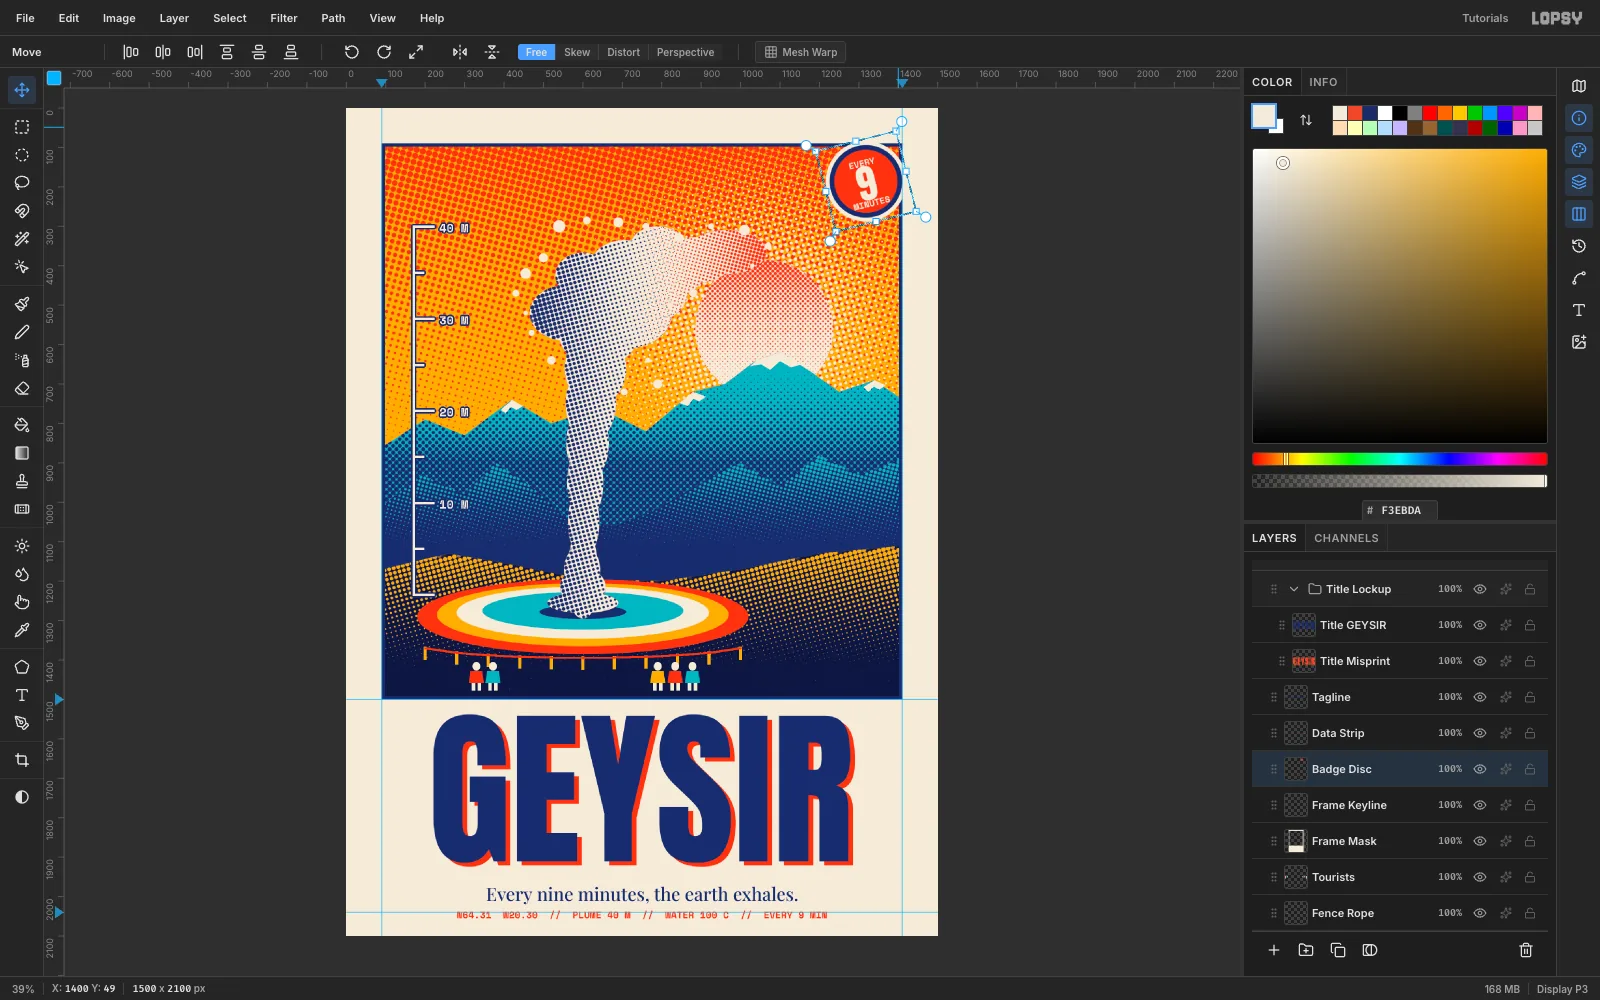
Text can't be rotated cleanly once it's merged, so merge first. Select MINUTES, which sits directly above Badge Disc, click Rasterize Layer at the bottom of the Layers panel, then choose Layer → Merge Down. Do the same with 9 and then EVERY. Each label sinks into Badge Disc, which now holds the whole badge. Drag a Rectangular Marquee around the badge, pick the Move tool, and the transform handles appear.
-
Rotate the badge
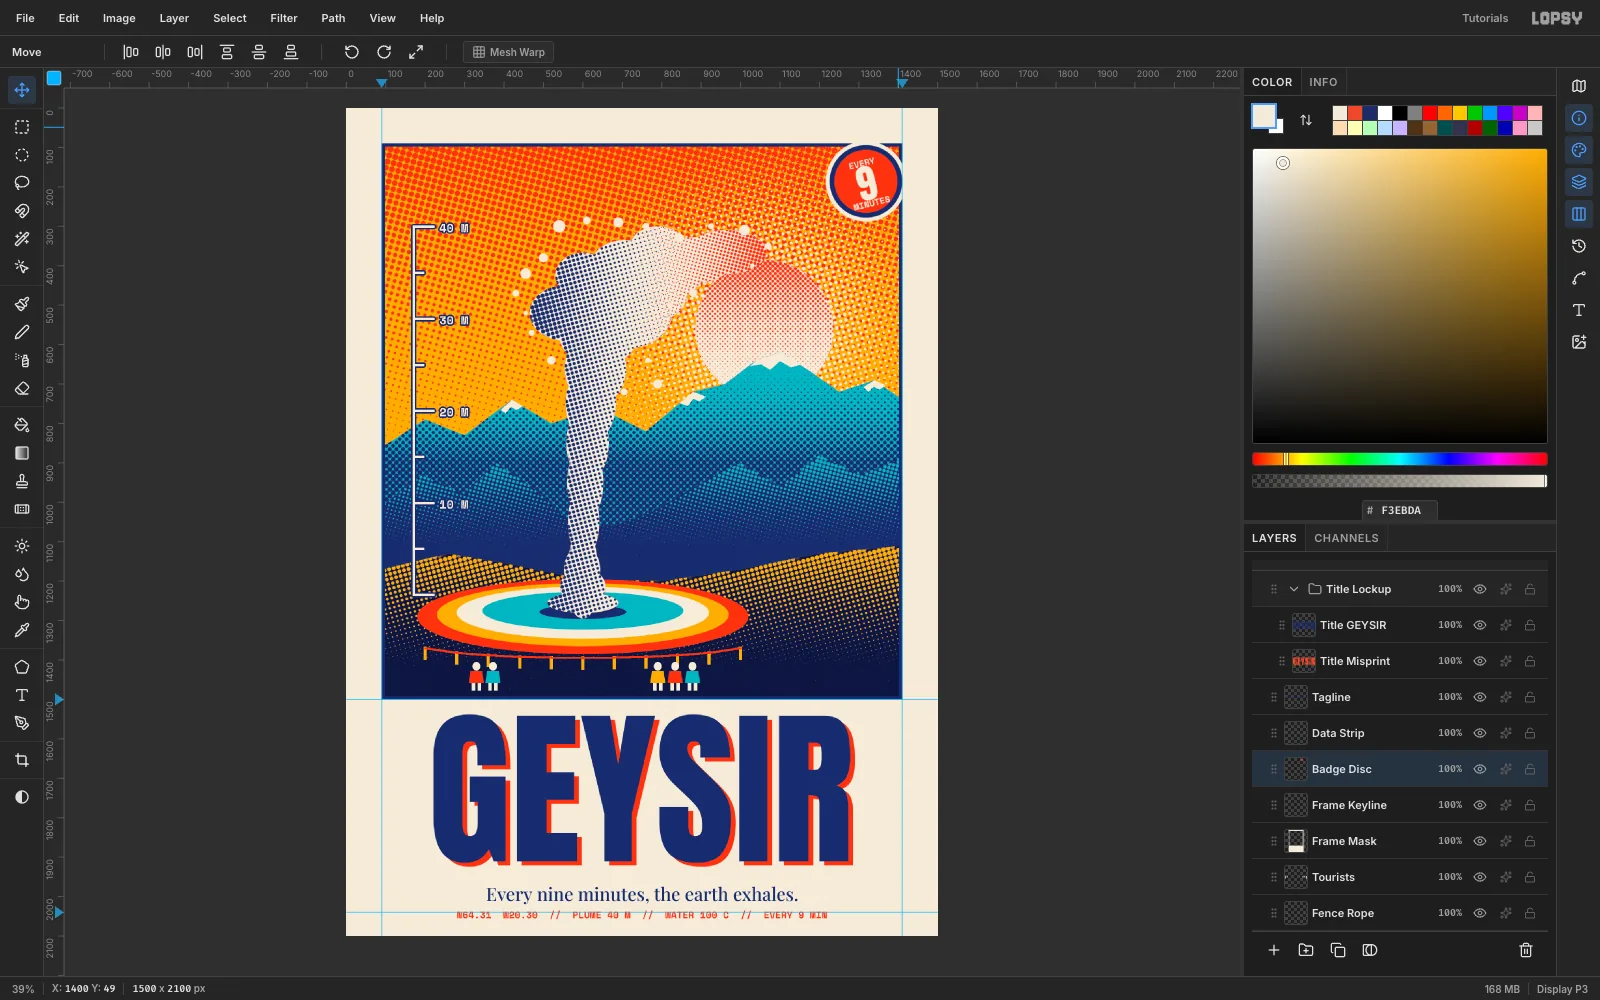
Move the pointer just outside a corner handle until the cursor changes to the rotate icon. Drag counter-clockwise by about 14 degrees. Release, and press Cmd+D to commit and deselect. A badge a little off-level always looks more hand-stamped than one that's straight.
-
Tighten the layout and finish
Make a last pass, because the title is a little too big and crowds the bottom. Select Title GEYSIR with the Text tool and set the Size to 380, then do the same for Title Misprint and set the data strip to 28. With the Move tool, nudge the title lockup a little right and down so it's centred under the picture, lift the tagline up a little, pull the data strip up so it clears the bottom edge, and pull the badge a little way down and left, so it sits inside the keyline. Use the arrow keys, and Shift with an arrow for a 10 px jump. Then choose File → Quick Export PNG to save the poster.
Zoom in and out one last time and check the dots at 100%. If every shading layer shares one of two angles (15° and 75°, plus 45° on the sun and mountain), the screens will look like separate plates and the poster will feel printed rather than painted.