Make a Neon Sign Poster on a Brick Wall Photo
Build a glowing neon saloon poster in Lopsy with Pen-tool tubes, outline-tube lettering, inner and outer glows, light spill and Bloom on a brick photo.
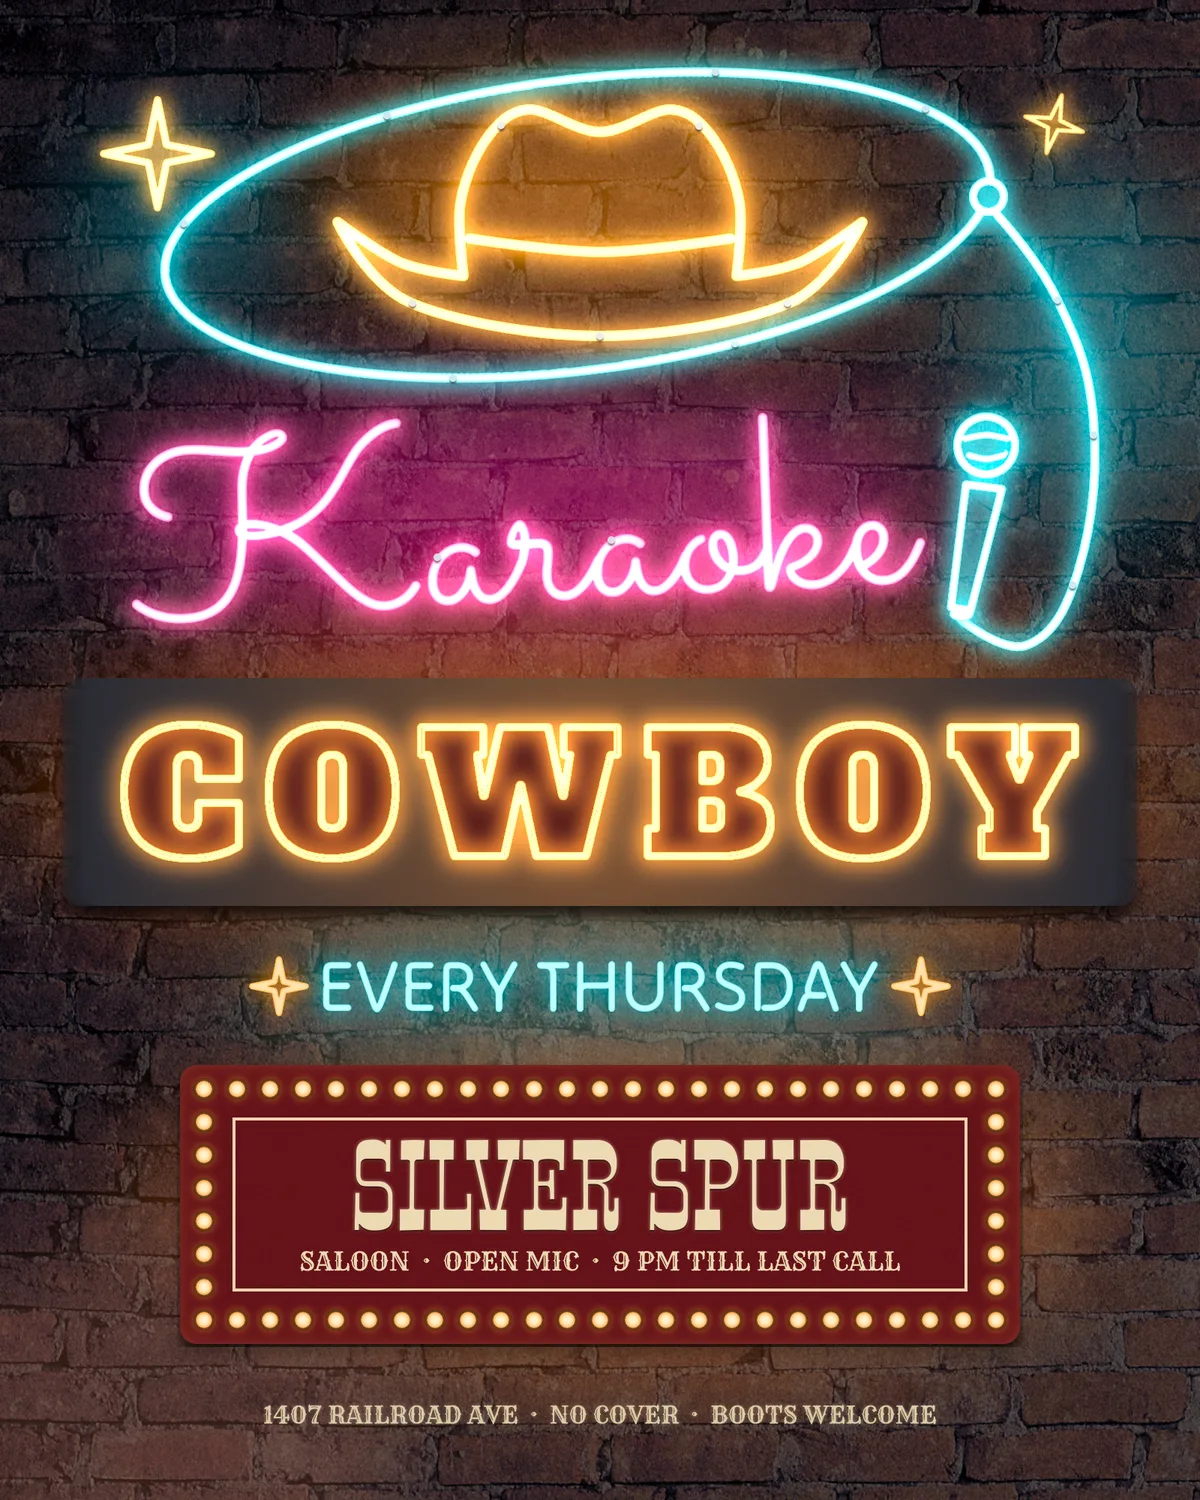
Real neon is glass tube bent over a flame. It's one even line with rounded ends and a white-hot core, and its light washes over whatever it's mounted on. This tutorial fakes all of that for a poster advertising Karaoke Cowboy, a made-up Thursday open-mic night at the Silver Spur Saloon:
- a brick-wall photo graded down to night
- tubes drawn with the Pen tool and Stroke Path, or cut from selections with Shrink
- outline-tube lettering traced around painted letter faces
- Inner Glow for the hot core, Outer Glow for the halo, then light pools and a Bloom pass that make the bricks look lit
The wall is the CC0 photo Red brick wall (Unsplash).jpg from Wikimedia Commons. Crop its left 1400 × 1750 px and scale it to 1600 × 2000 px before you start.
The palette:
-
Night tint
-
Amber tube
-
amber glow
-
Turquoise tube
-
turquoise glow
-
Pink tube
-
pink glow
-
Raceway
-
letter faces
-
Board
-
cream paint
-
bulbs
Every tube is drawn in its pale core colour. The saturated colour only ever comes from the glow effects, and that's what makes it read as lit glass and not paint.
-
Paste the brick wall photo
- Create a 1600 × 2000 px document (File → New, Unit = Pixels, White background).
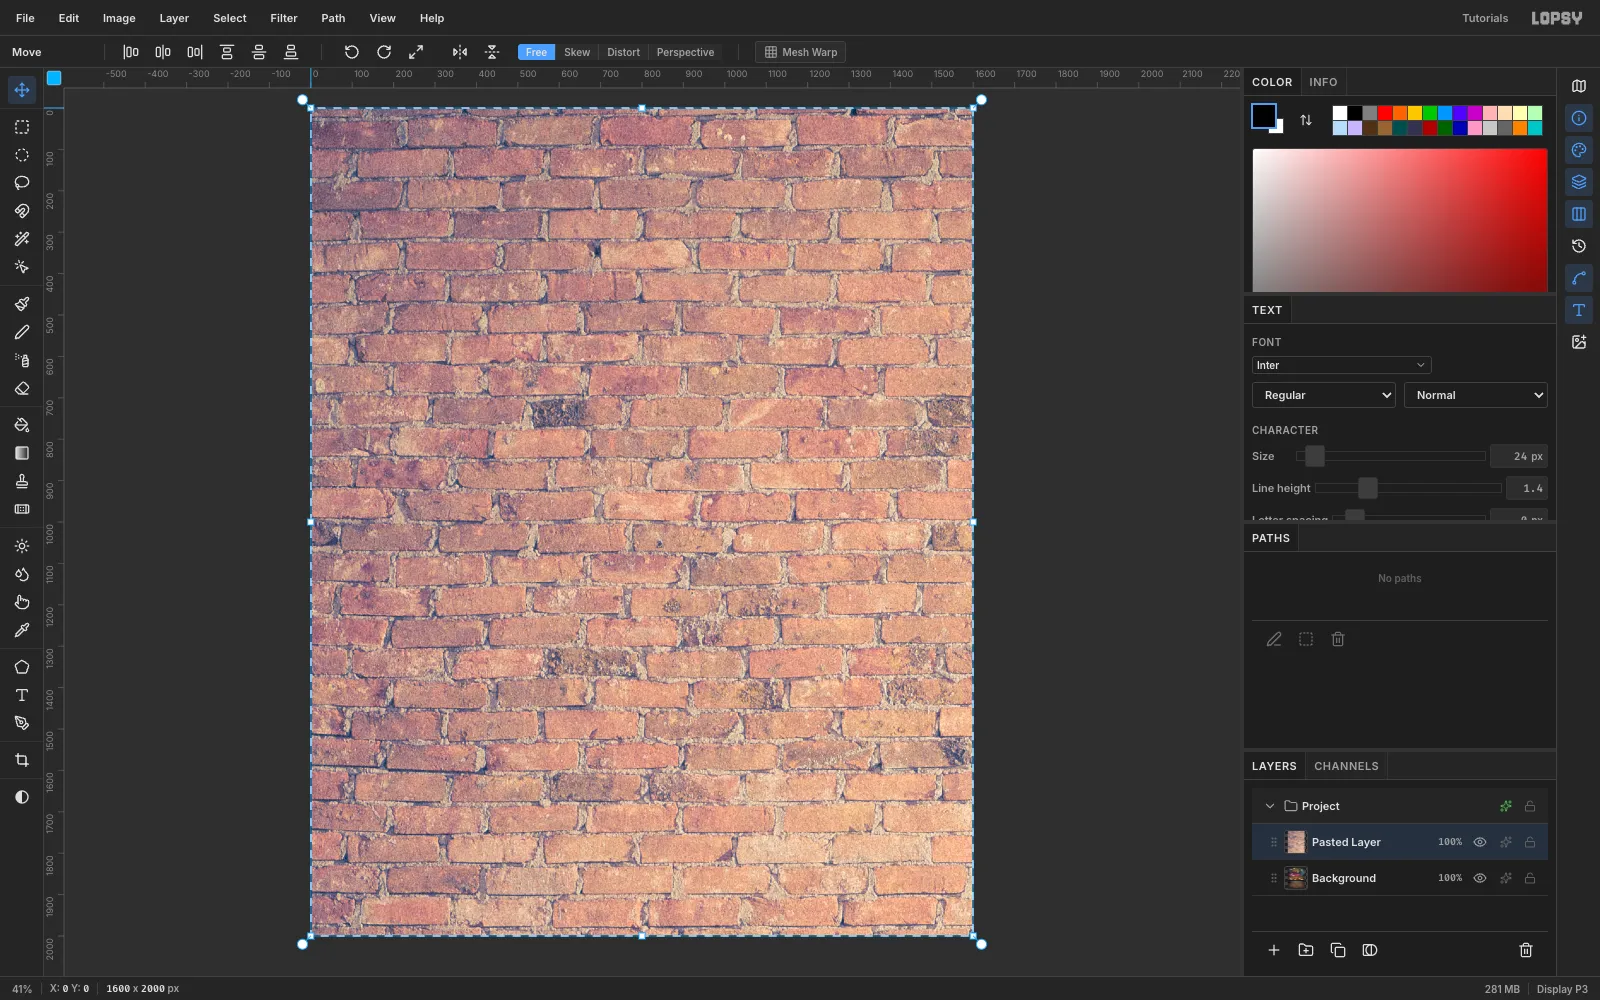
- Copy the cropped brick photo in your image viewer and press Cmd+V in Lopsy. A clipboard image is fitted to the canvas, centred and selected with the Move tool.
- Press Cmd+D to drop the selection, and rename the layer
Brick Wall.
-
Grade the wall down to night
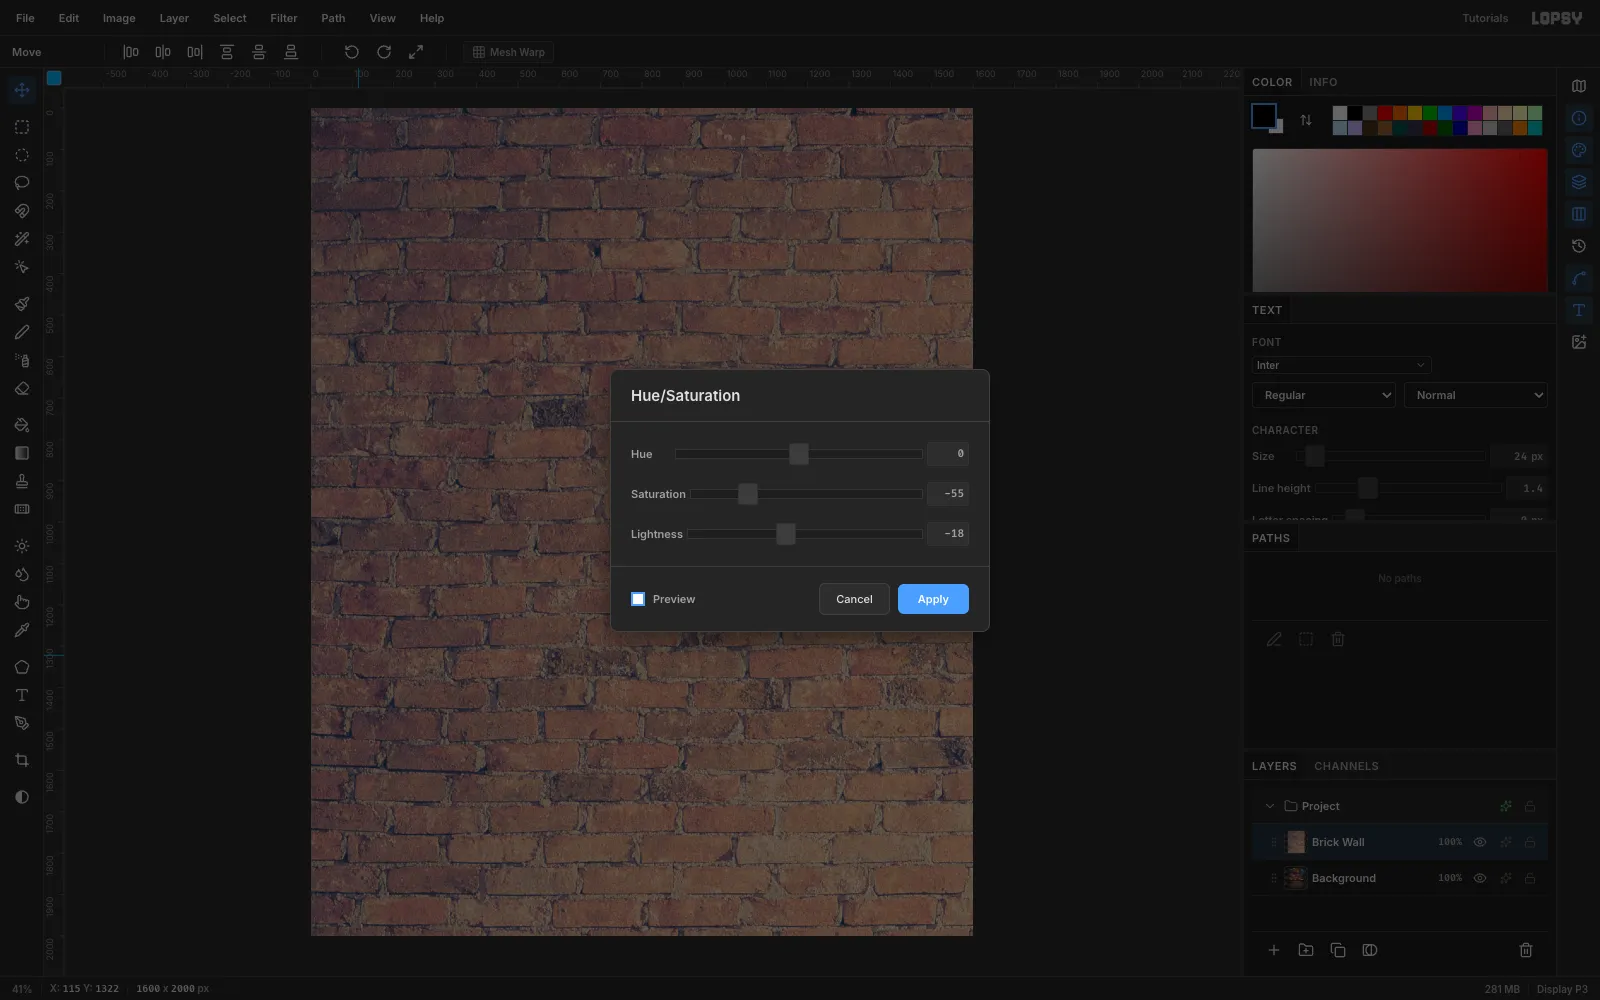
- Run Filter → Hue/Saturation with Hue 0, Saturation −55, Lightness −18.
- Run Filter → Brightness/Contrast with Brightness −10, Contrast +20.
Go easy here. Lightness is added straight onto the HSL lightness, so −38 crushes mid-tone bricks to black. Brightness adds its value straight on as well.
-
Add a night tint and guides
- Add a layer named
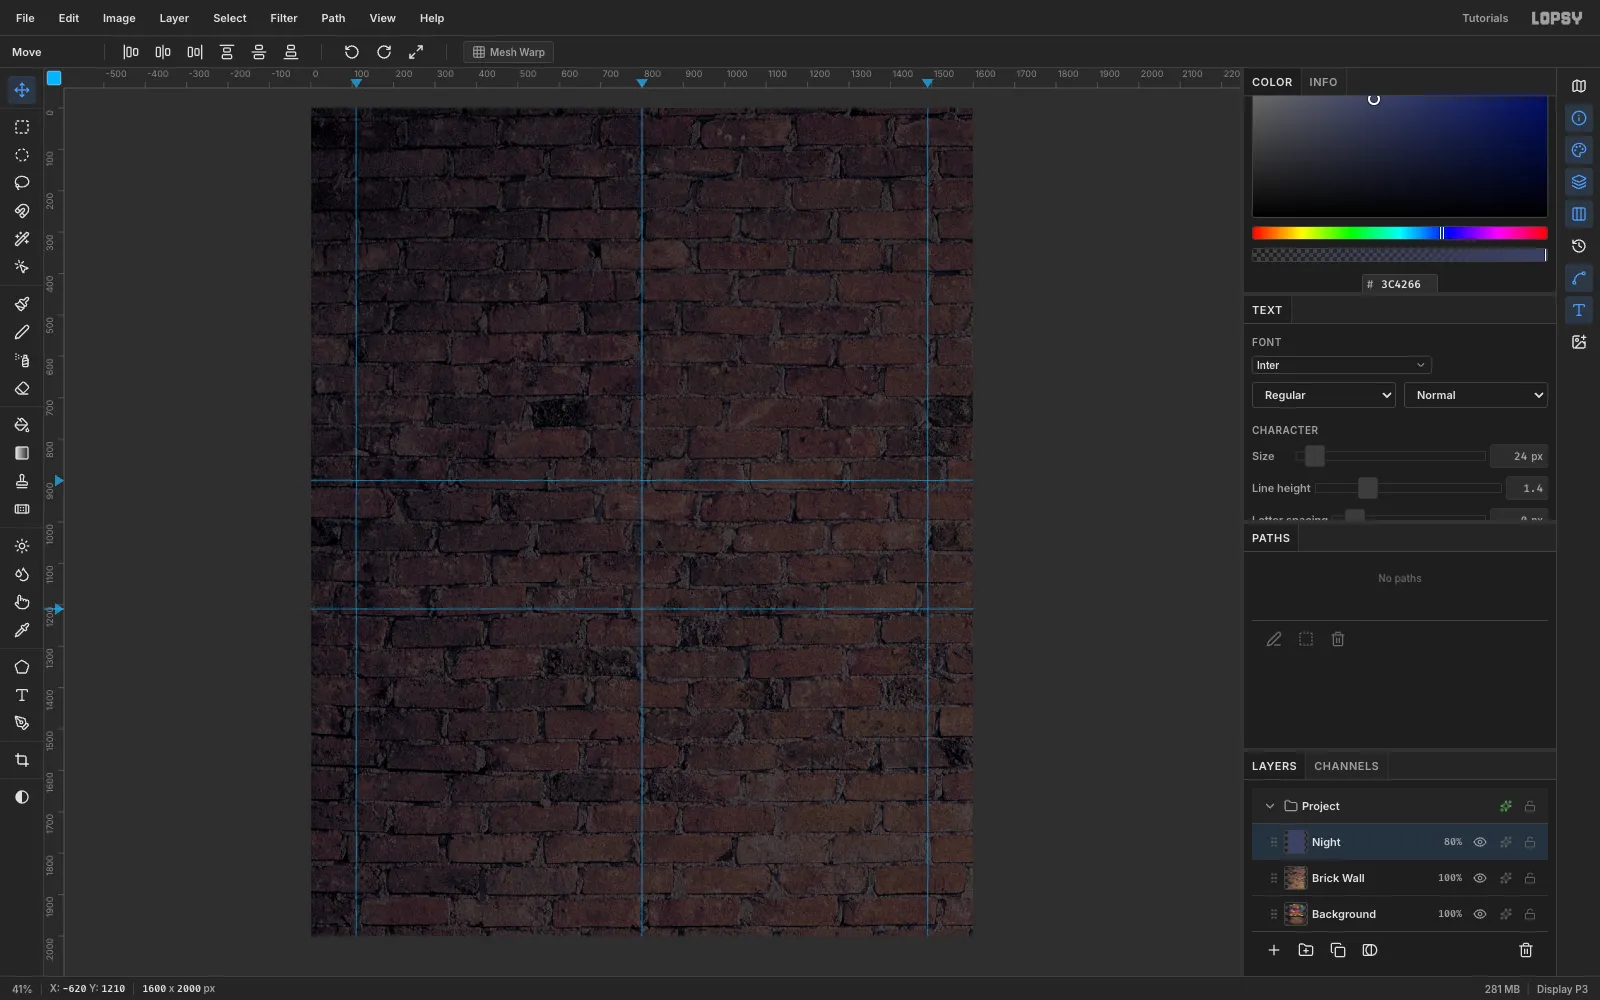
Night, fill it with (Edit → Fill with nothing selected), set it to Multiply in the effects drawer's Blend menu, and drop the row opacity to 80%. - Click the top ruler at x 110, 800 and 1490 for vertical guides: the margins and the centre line. Click the left ruler at y 900 and 1210 for the top and bottom of the main sign.
- Add a layer named
-
Draw the cowboy hat with the Pen tool
- Make a group
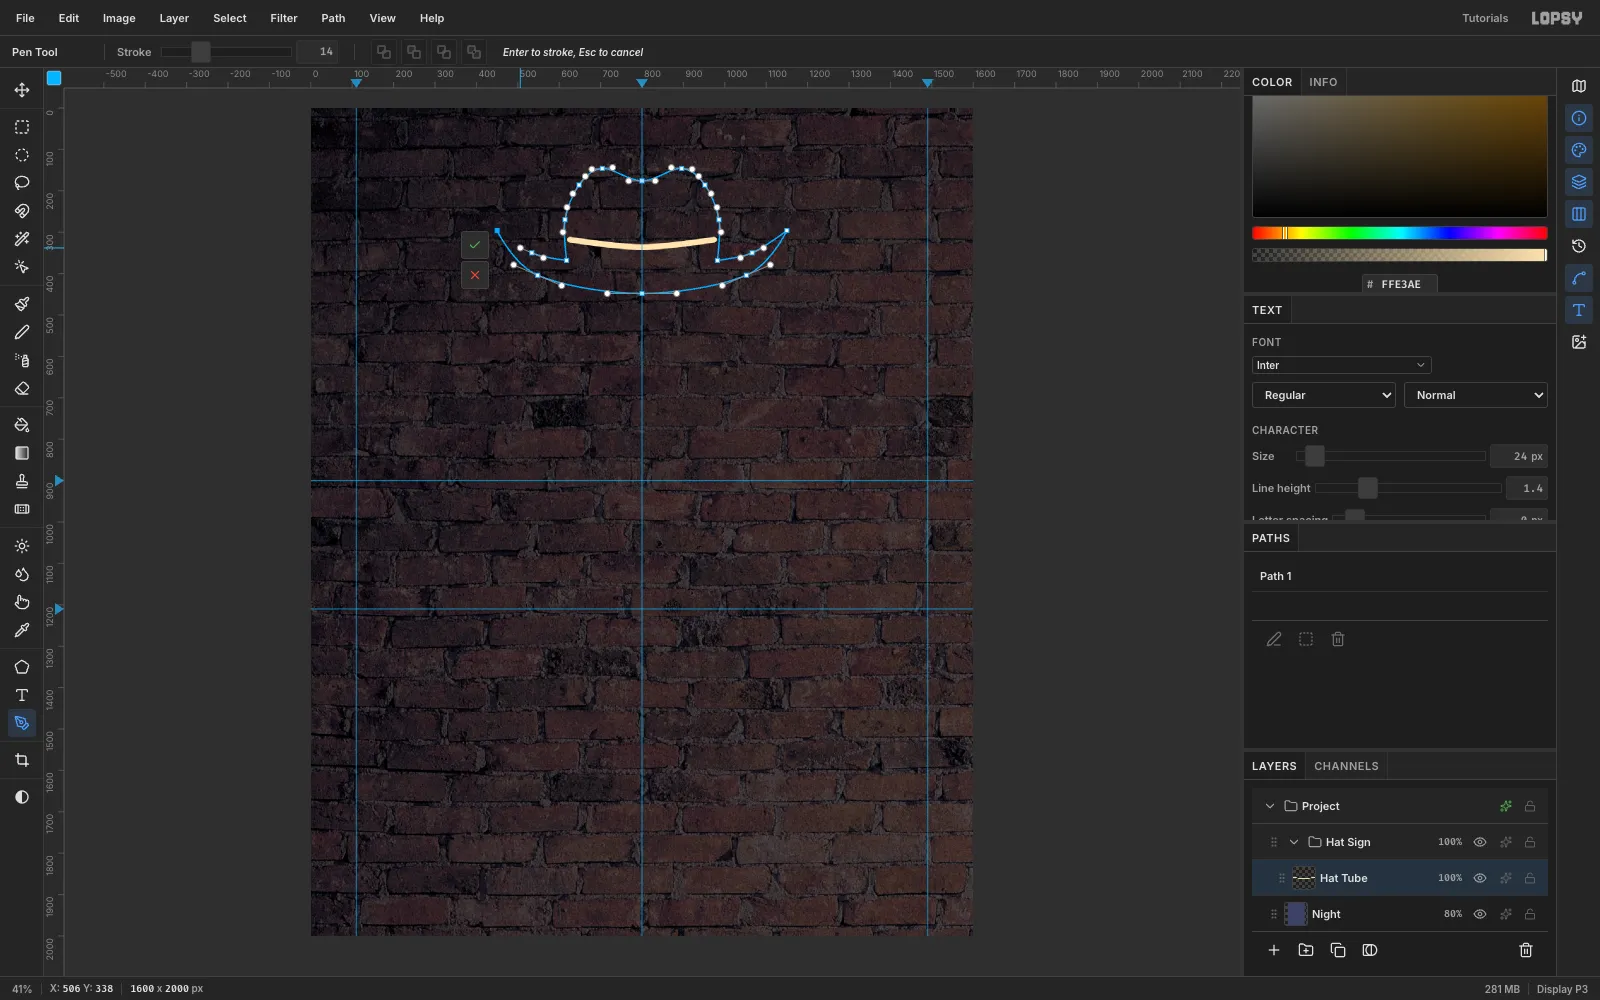
Hat Signand inside it a layerHat Tube. Set the foreground to . - Pick the Pen tool and set Stroke to 14 in the options bar.
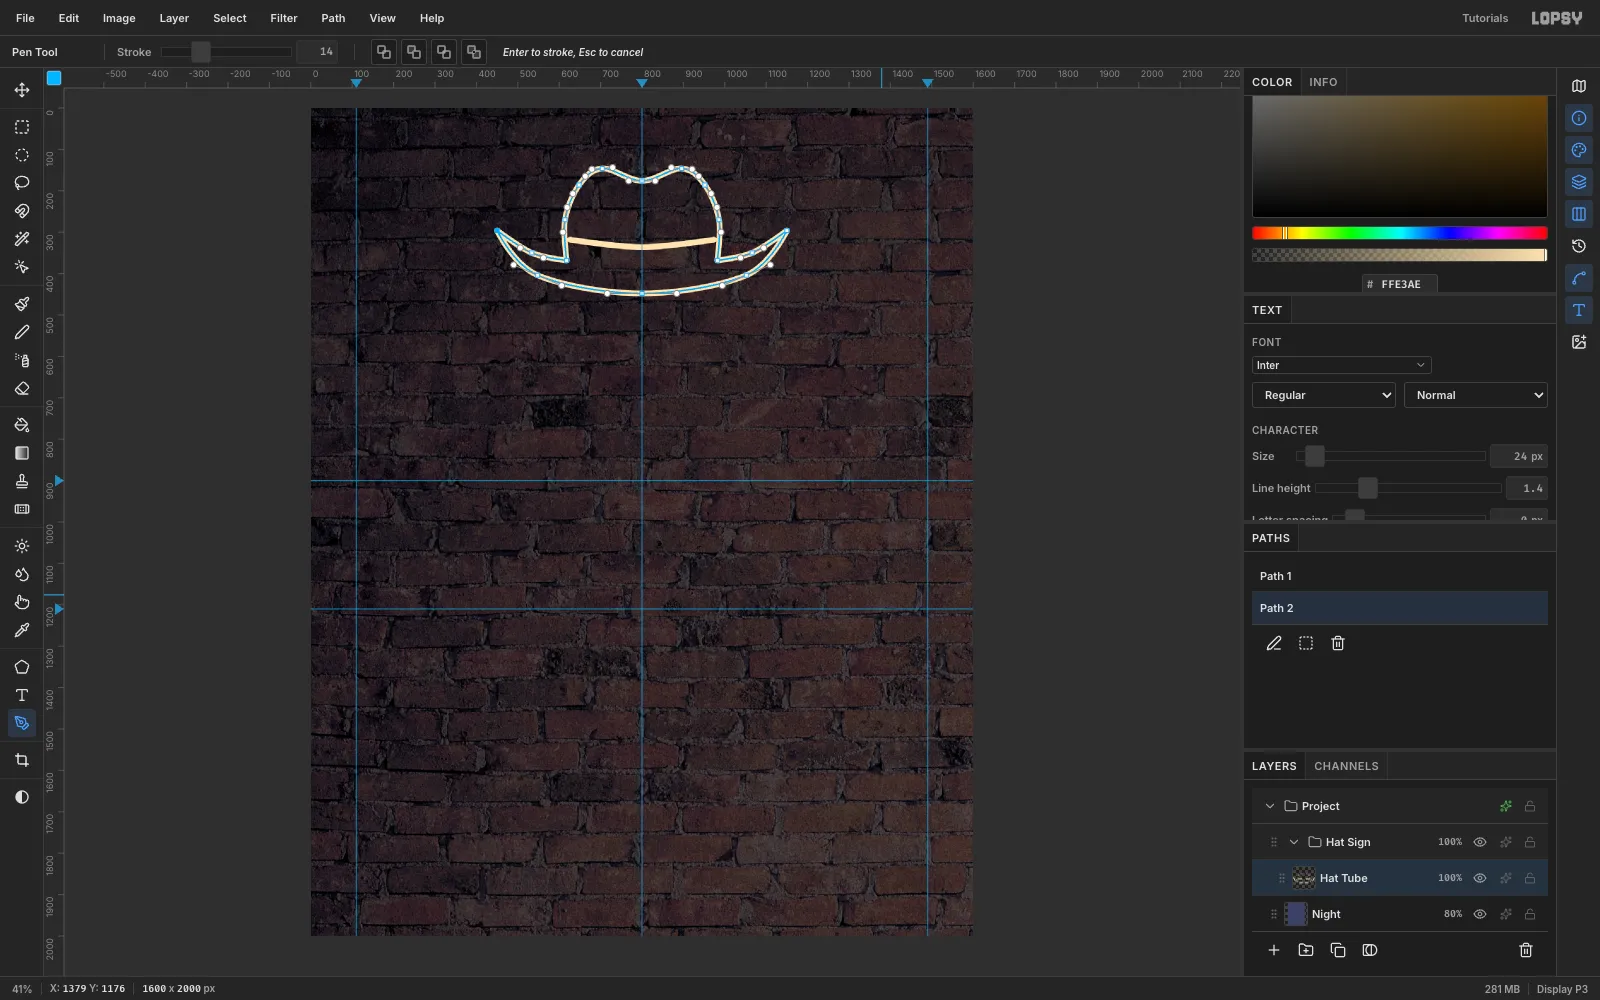
- Draw the hat band first: click (626, 318), drag out a smooth point at (800, 336), click (974, 318), then press Enter. Enter adds the path and strokes it.
- Now the outline. Click the brim tips (450, 296) and (1150, 296) and the crown corners (618, 368) and (982, 368). Every other point is a press-and-drag that pulls out handles. Go along the brim's underside, up the right side of the crown, across the dented top (dip to (800, 176)) and back down the left.
- Make a group
-
Close and stroke the hat outline
Click back on the first anchor to close the outline, then press Enter to stroke it at 14. Deselect the path's row in the Paths panel afterwards to hide its anchors.
-
Cut a lasso ring with Shrink
- Add
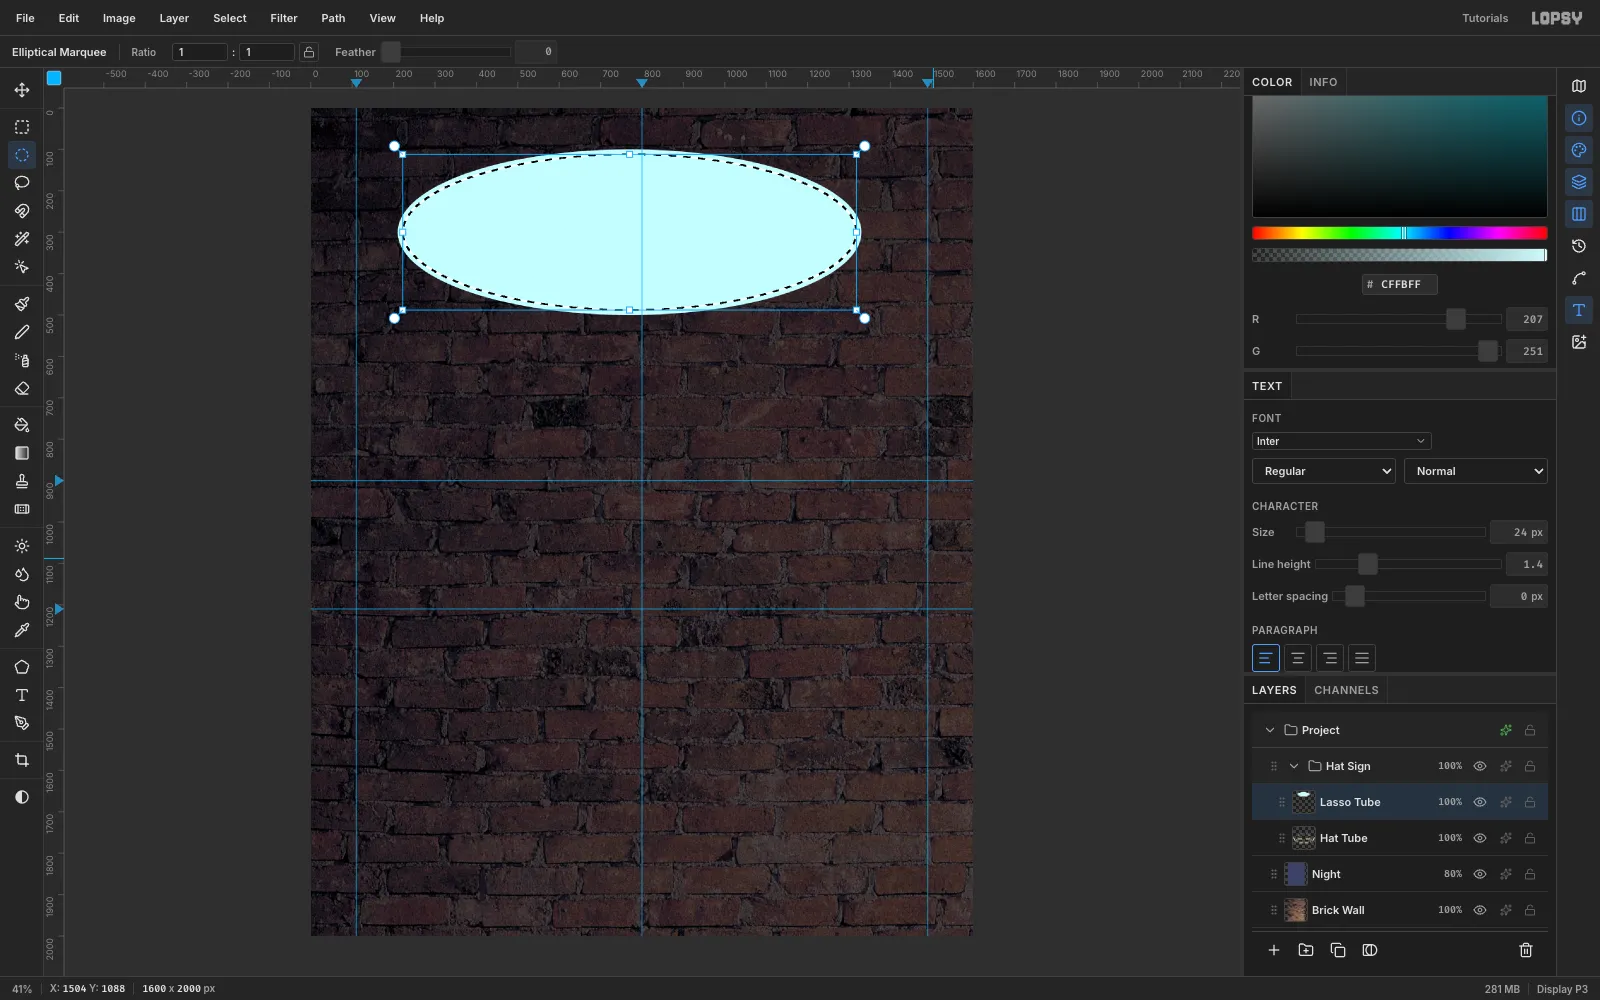
Lasso Tubeand set the foreground to . - Drag an Elliptical Marquee from (210, 100) to (1330, 500) and fill it.
- Run Select → Shrink by 12 and press Delete. What's left is a ring of perfectly even width: a tube.
- Add
-
Rotate the lasso
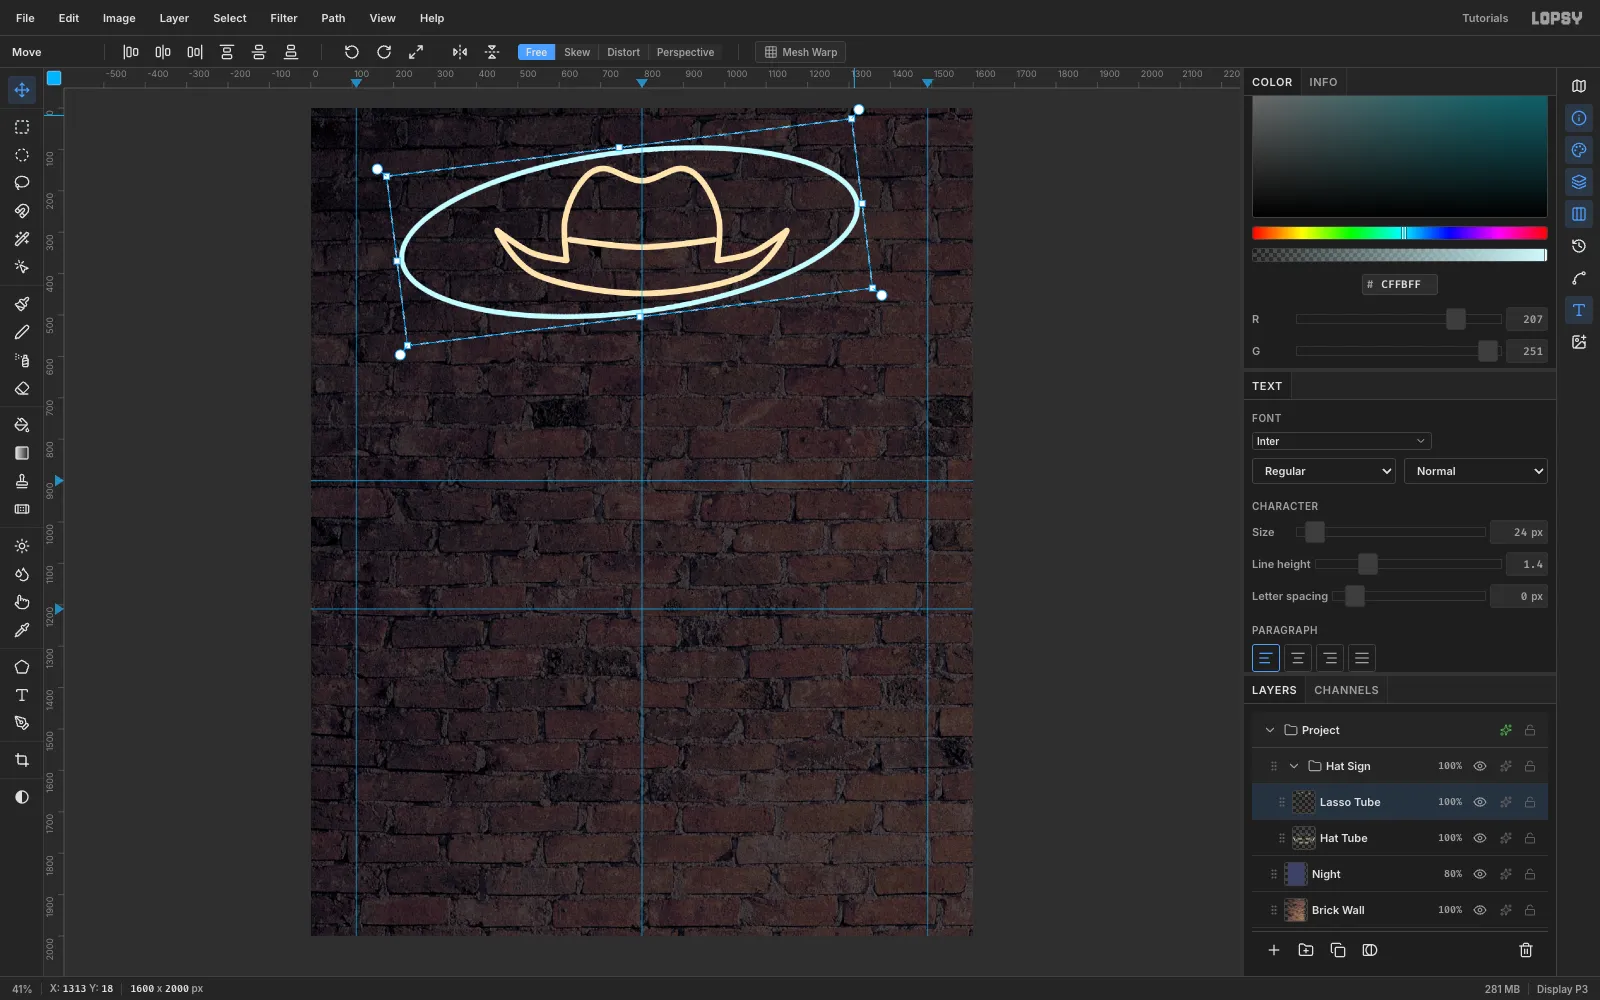
Drag a rectangular marquee just outside the ring, switch to the Move tool, and drag the rotation handle (just outside the top-right corner, where the cursor turns into a crosshair) by −7°. Press Cmd+D to commit. The tilt makes it read as a rope in motion and not a badge.
-
Add the honda, the cord and the microphone
- Honda knot: on
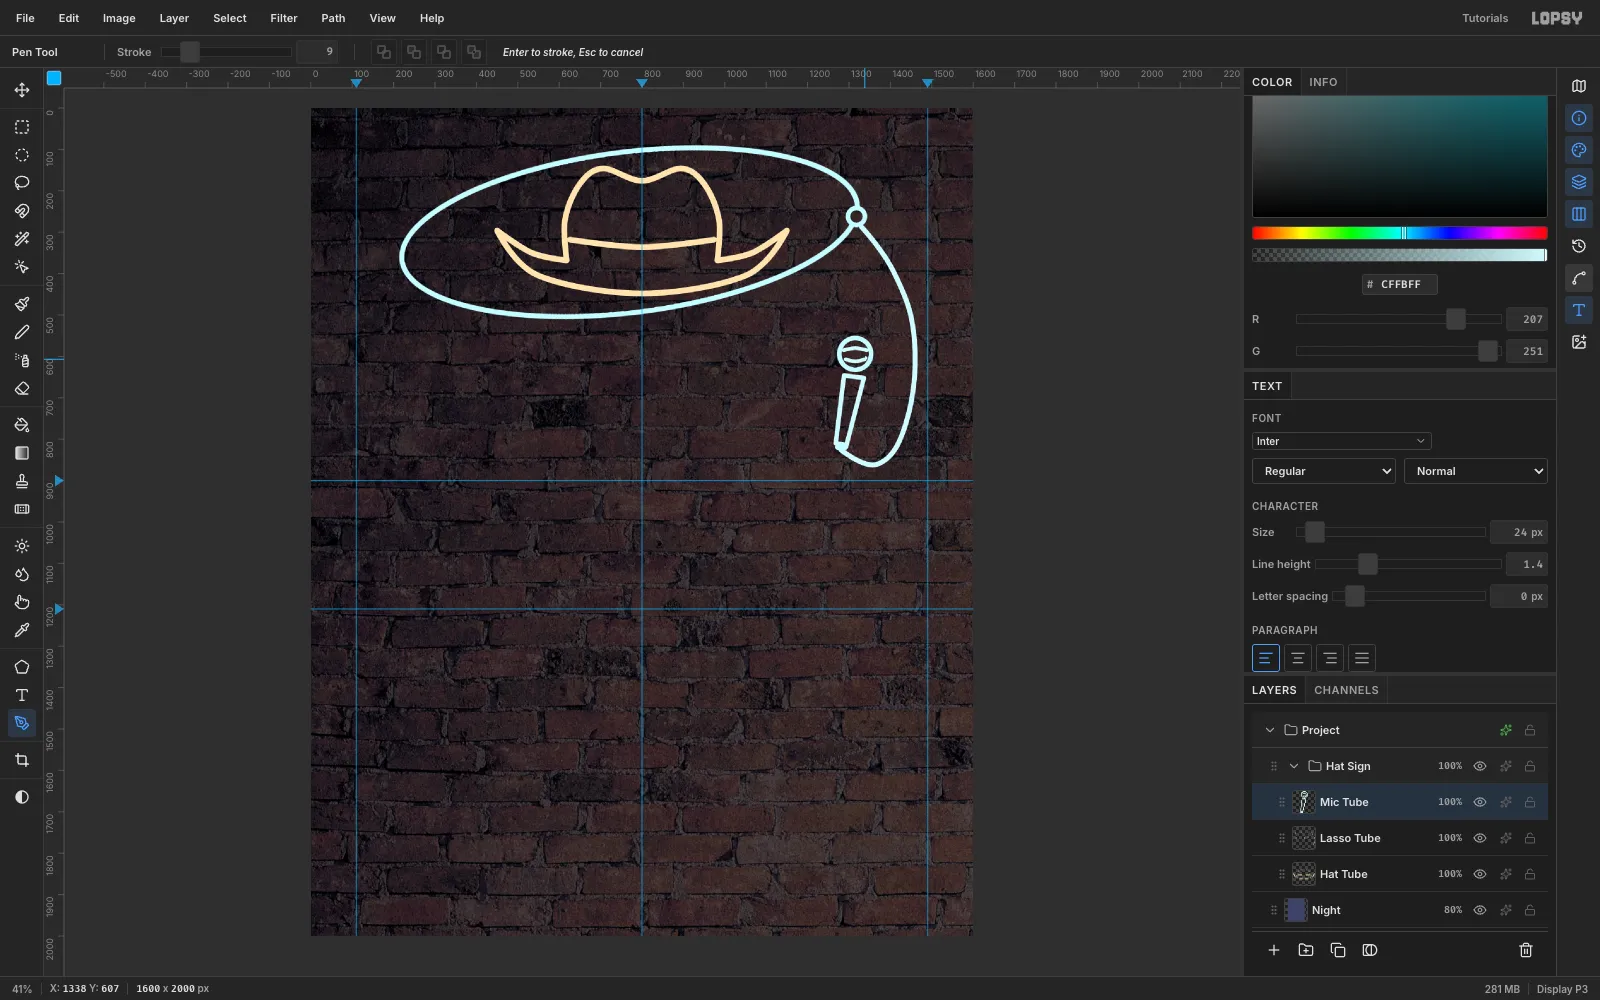
Lasso Tube, marquee a 52 px circle centred at (1318, 262), fill it, Shrink 11, then Delete and deselect. The hole cuts through the loop, so the rope looks like it passes through the knot. - Cord: with the Pen at width 12, click (1330, 287), drag smooth points through (1410, 400), (1458, 560), (1438, 760) and (1370, 860), click (1281, 826), and press Enter.
- Microphone: on a new layer
Mic Tube, make an 88 px ring centred at (1315, 594) the same way (Shrink 11). Add two short Pen grille lines at width 9 across it, keeping a gap at each end. Then set Stroke to 11 and draw a closed four-point handle from (1288, 646) down to (1268, 810) / (1294, 814) and back up to (1336, 652). Click the first anchor to close it and press Enter. Finish with a small filled ellipse at the bottom as an end cap where the cord plugs in.
- Honda knot: on
-
Write "Karaoke" in a monoline script
- Select
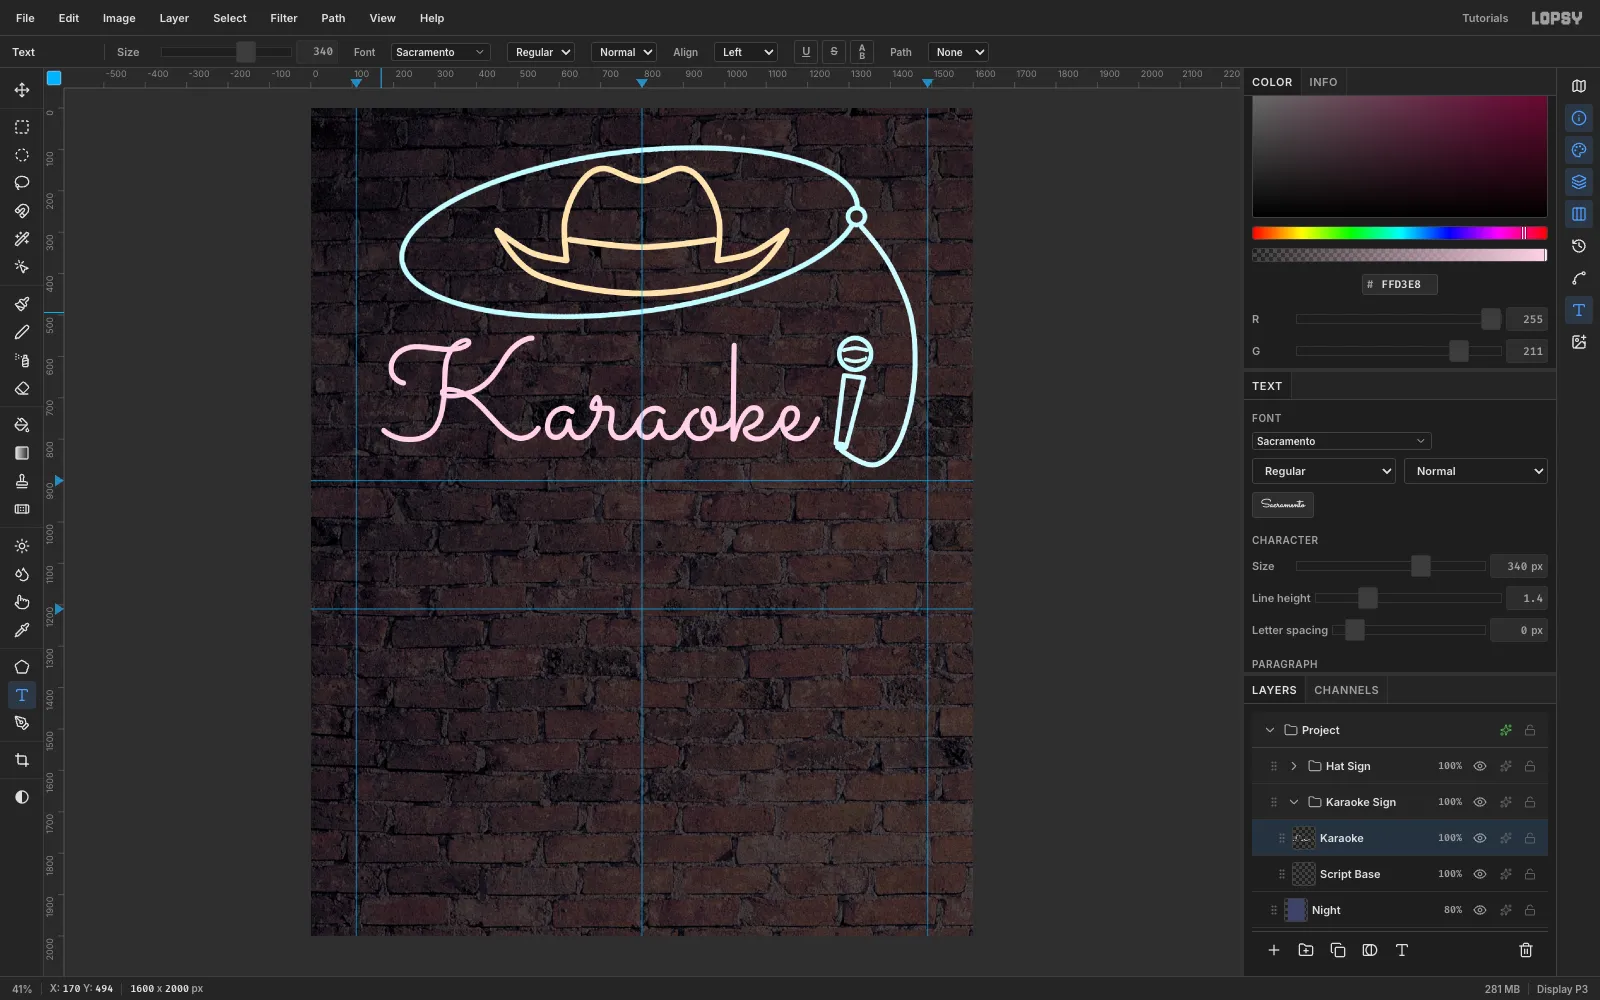
Night, then make a groupKaraoke Signand an empty layerScript Baseinside it. - Pick the Text tool. Choose Sacramento, Size 340, colour , and click at (170, 494). Type
Karaokeand press Tab.
Sacramento is a monoline script, about 13 px wide at this size everywhere. That makes it a ready-made neon tube.
- Select
-
Rasterize and tilt the script
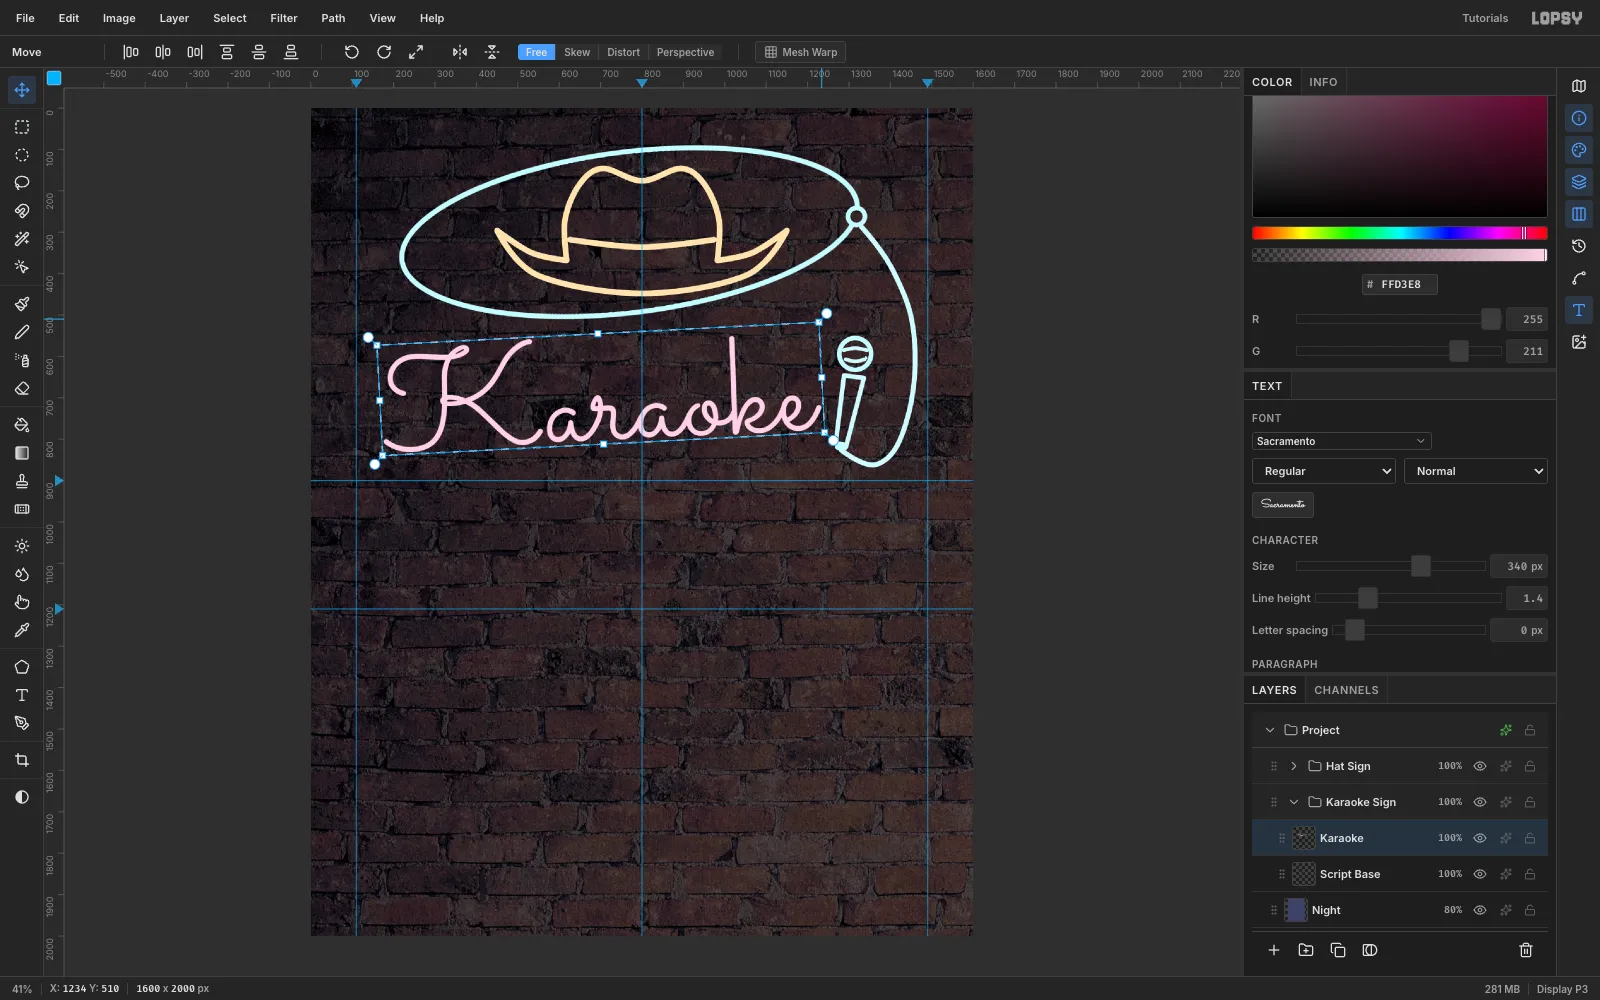
Click Rasterize Layer in the Layers footer before transforming, because rotating live text doesn't stick. Marquee the word, and rotate it −3° with the Move tool's rotation handle so it climbs towards the mic. Then Cmd+D.
-
Draw the raceway
Neon letters are mounted on a metal box called a raceway.
- Select
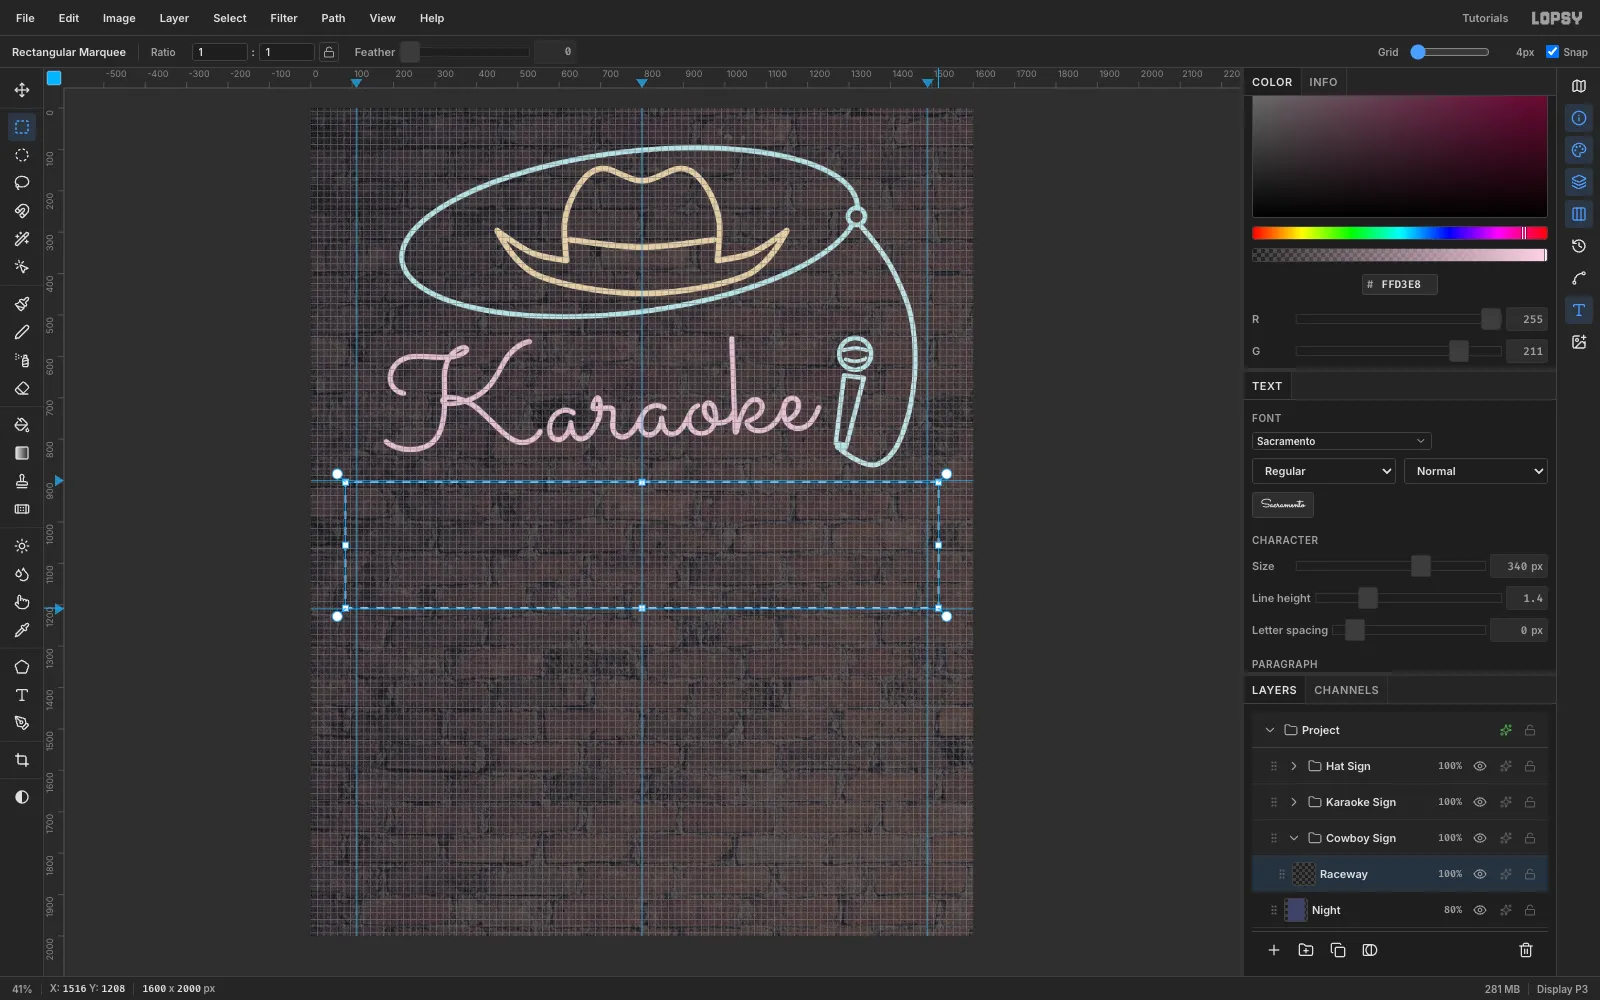
Night, then make a groupCowboy Signand a layerRaceway. - Pick the Shape tool. Set Shape to Rectangle, Corner Radius to 24, the Fill to and no stroke, with Output on Pixels.
- Click once at (800, 1056) and enter 1432 × 304. The box runs from (84, 904) to (1516, 1208).
- Select
-
Brush the metal
Cmd-click the
Racewaythumbnail to select the box, then run Filter → Add Noise (Amount 22, Mono, Gaussian) and Filter → Motion Blur (Angle 0, Distance 60). The blur stretches the noise into brushed grain. Deselect.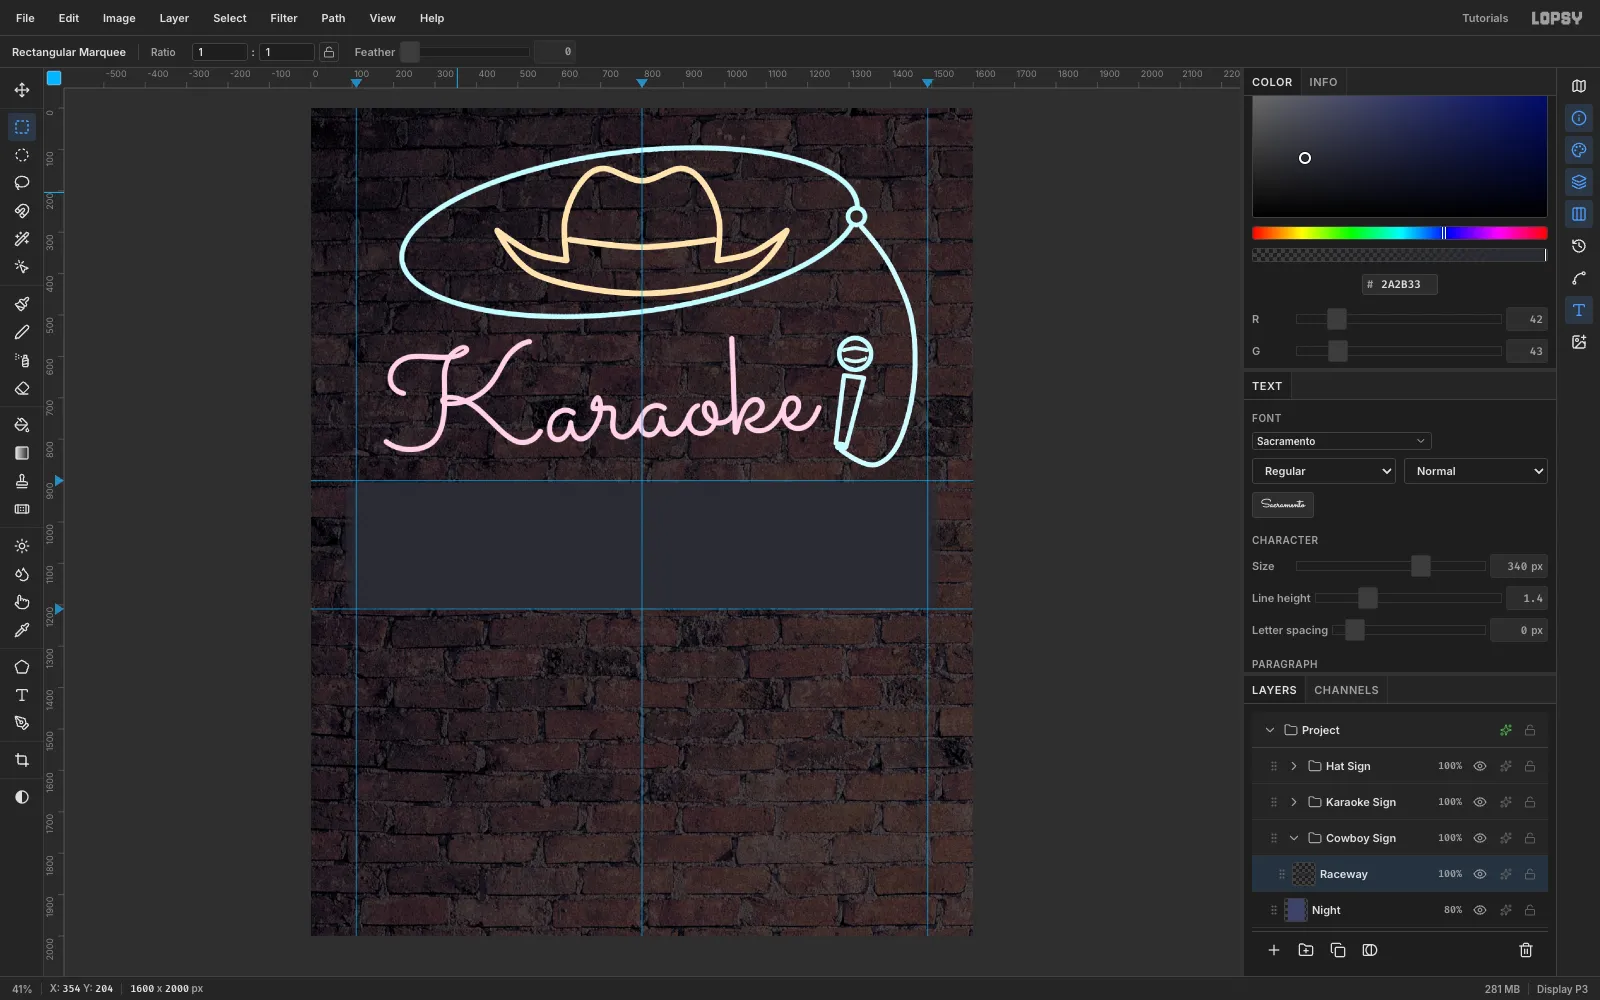
-
Paint the letter faces
Set the Text panel's Letter spacing to 34 before clicking, so each letter gets room for its own tube. Then type
COWBOYin Alfa Slab One, Size 220, colour , and name the layerCOWBOY Faces. Use the Move tool's Align center horizontally with nothing selected, then arrow-nudge until the top of the ink sits at y 966.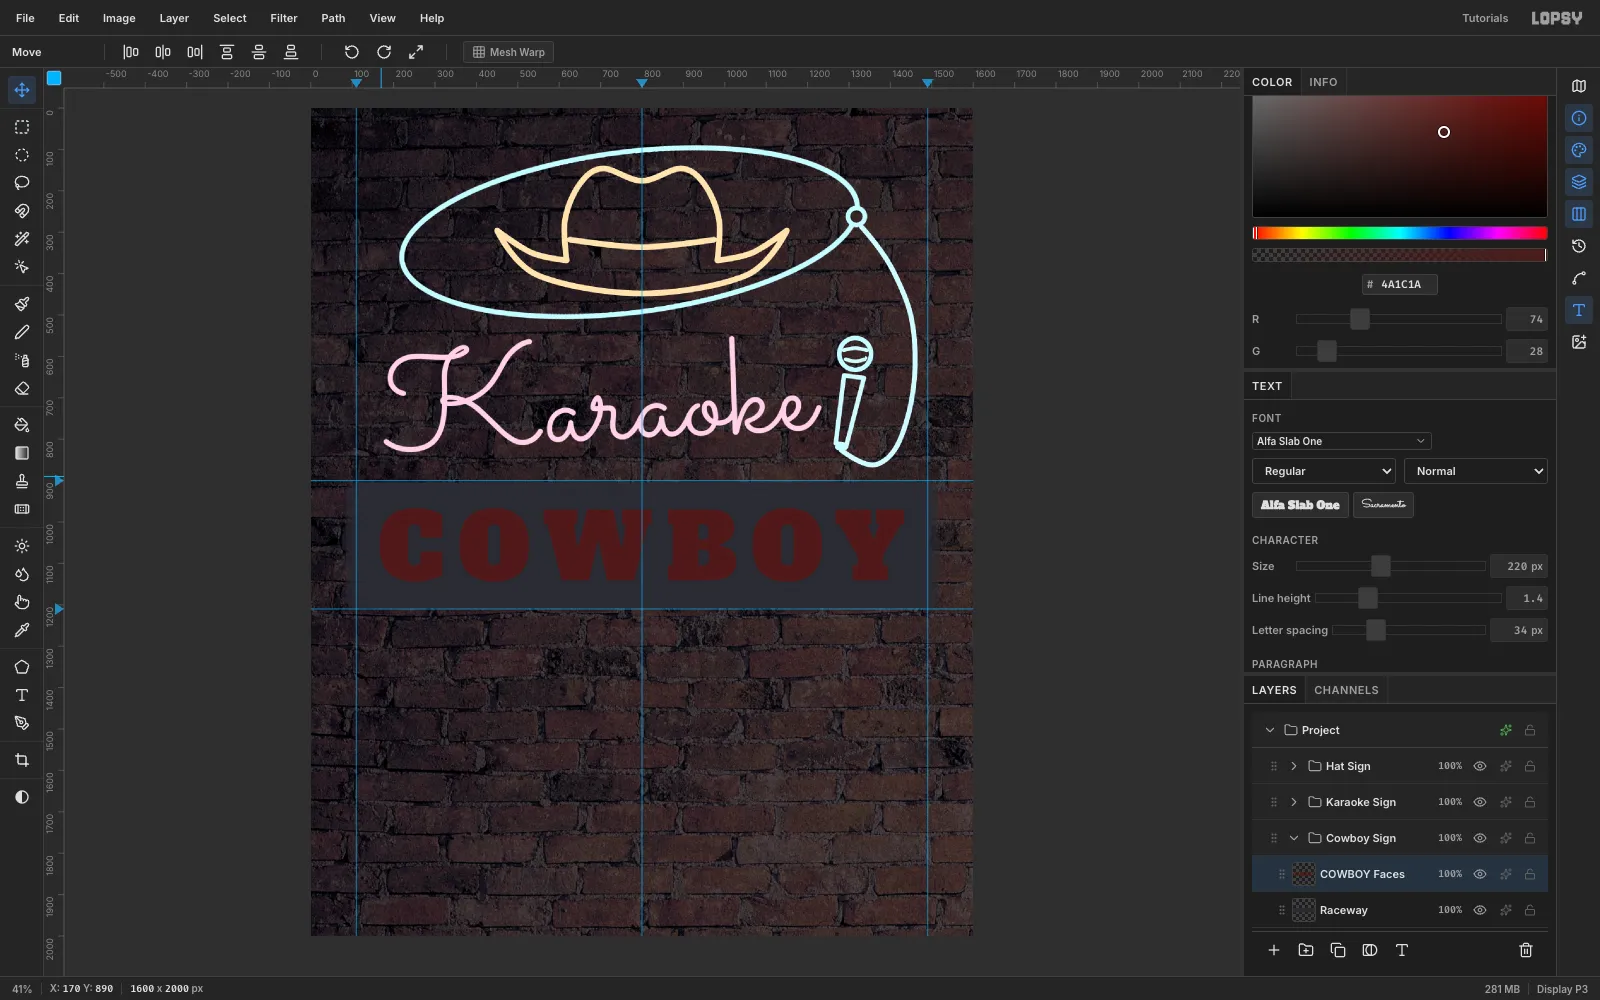
-
Trace outline tubes around the letters
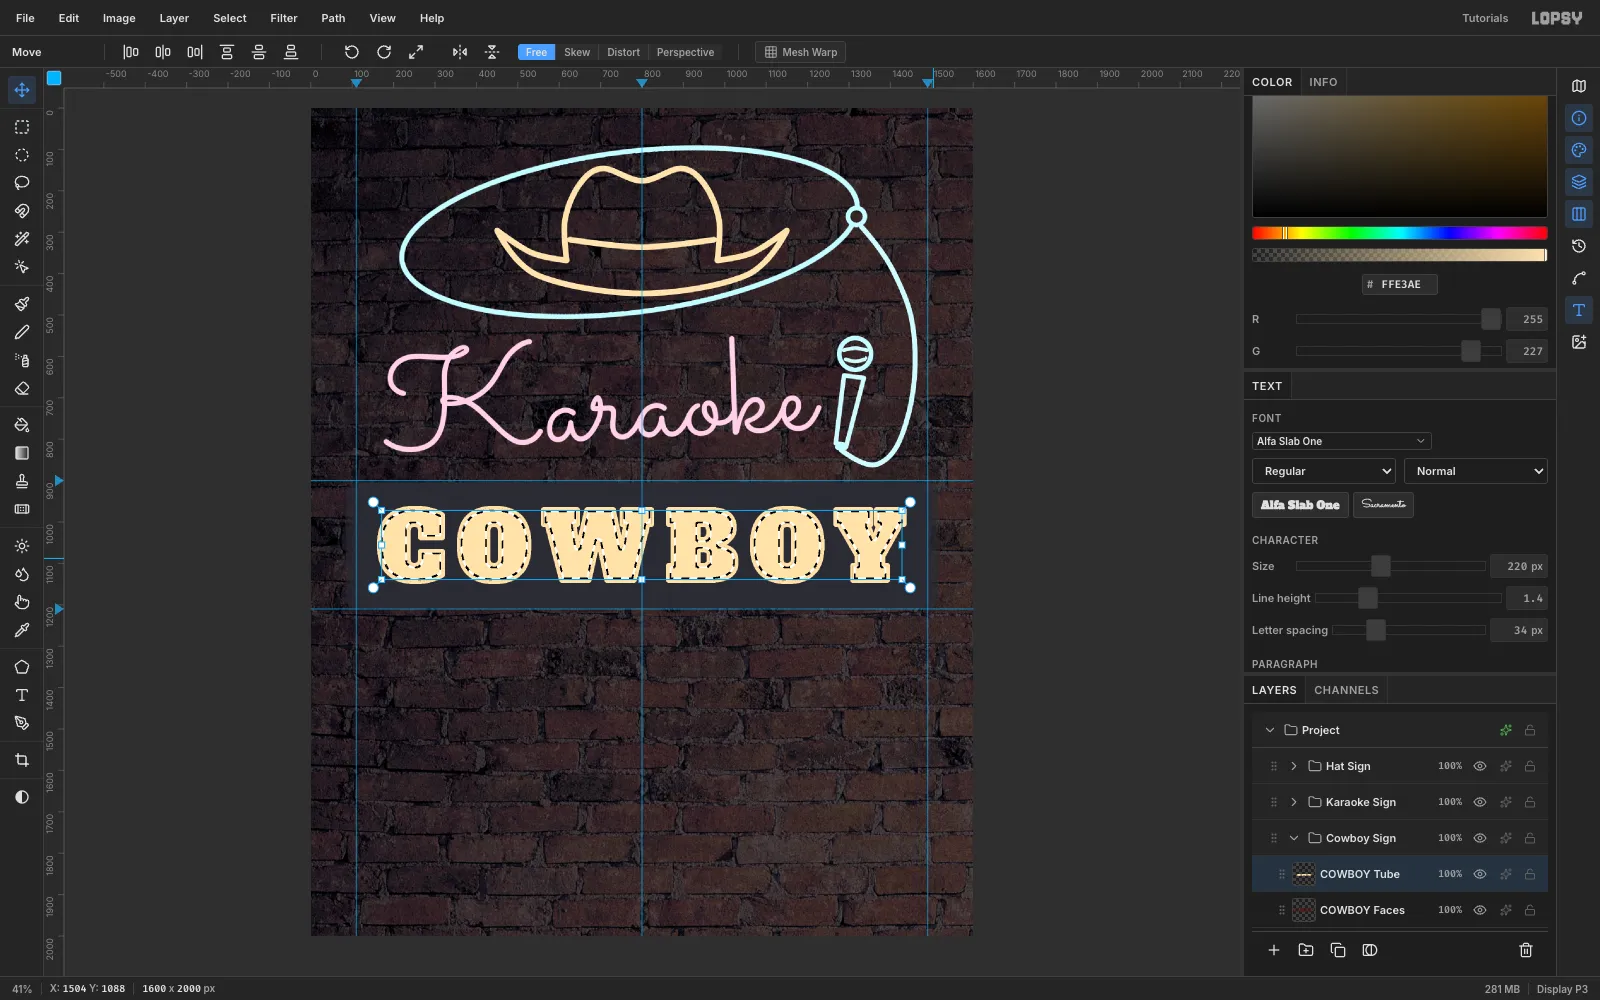
- Add
COWBOY Tubeabove the faces and set the foreground to . - Cmd-click the
COWBOY Facesthumbnail to select the letter shapes. Then Select → Grow 6 and fill. - Deselect, Cmd-click the thumbnail again, Select → Shrink 5, and press Delete.
You're left with an 11 px tube that straddles every letter edge and follows the W's notches and the Y's crotch. A large Grow bridges narrow notches with a straight tube, so keep the Grow small and let half the tube sit inside the letter.
- Add
-
Light the raceway from behind the letters
Add
Raceway Spilljust aboveRacewayand Cmd-click the raceway thumbnail. Open the Gradient tool's Advanced… editor, set Radial from at 100% to at 0%, and drag from (800, 1056) to (1500, 1056). Deselect, then set the layer to Screen at 40%. Metal sitting a few centimetres behind lit tubes always picks up their colour.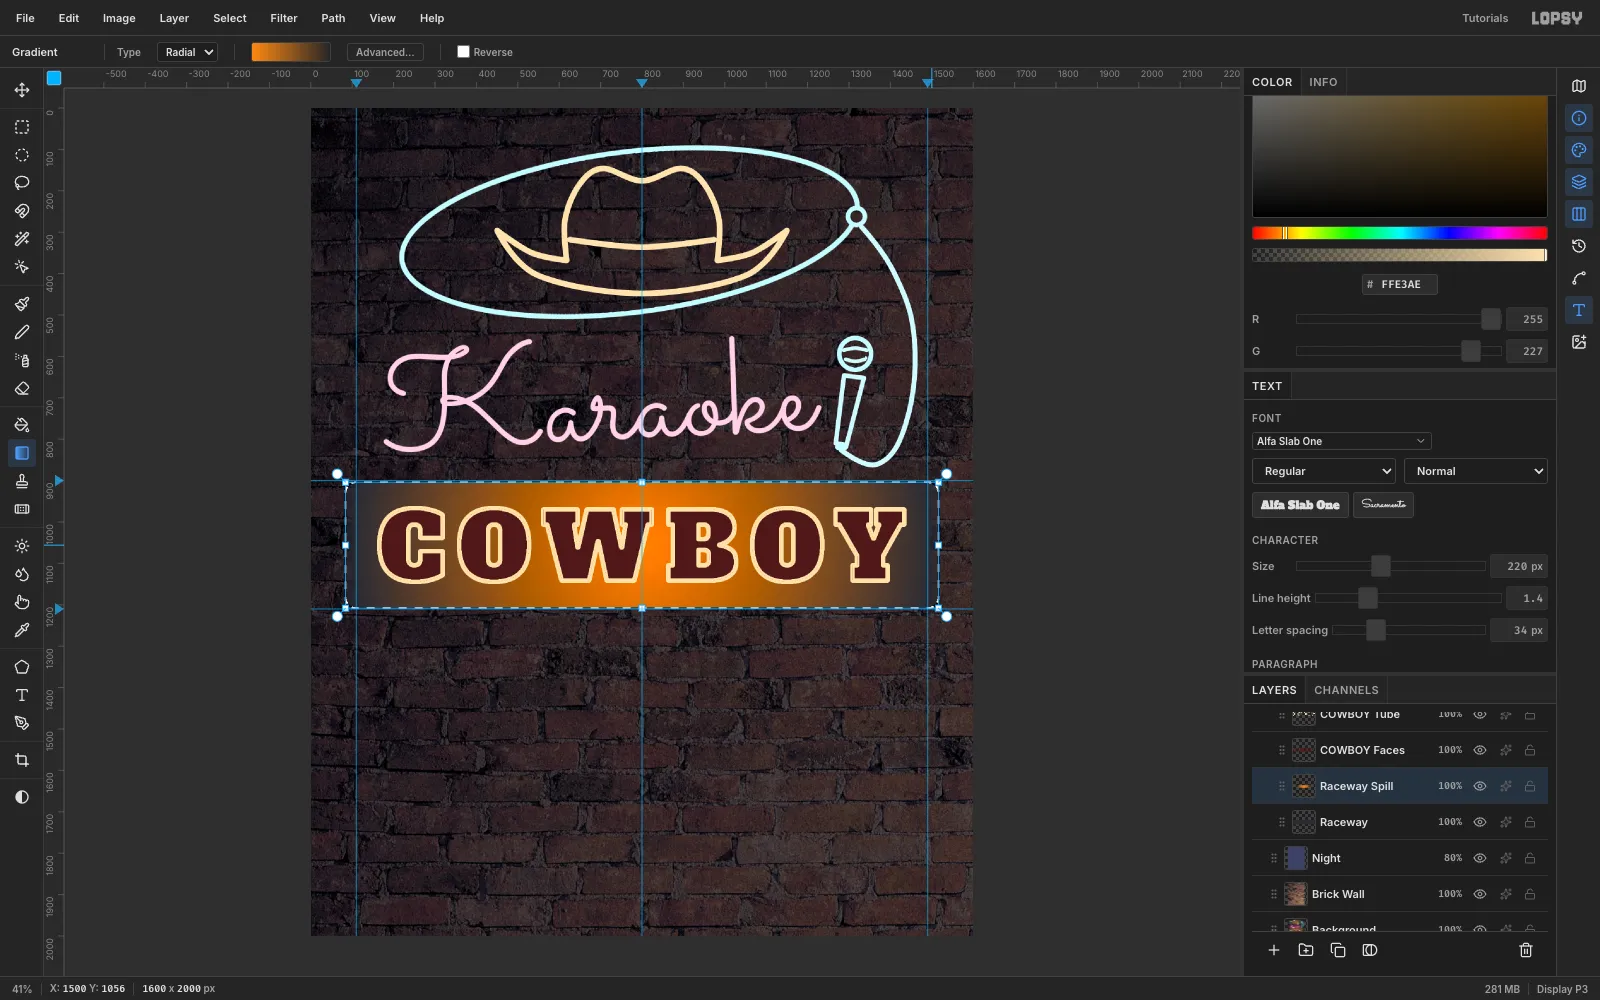
-
Copy, scale and rotate a sparkle
- On a
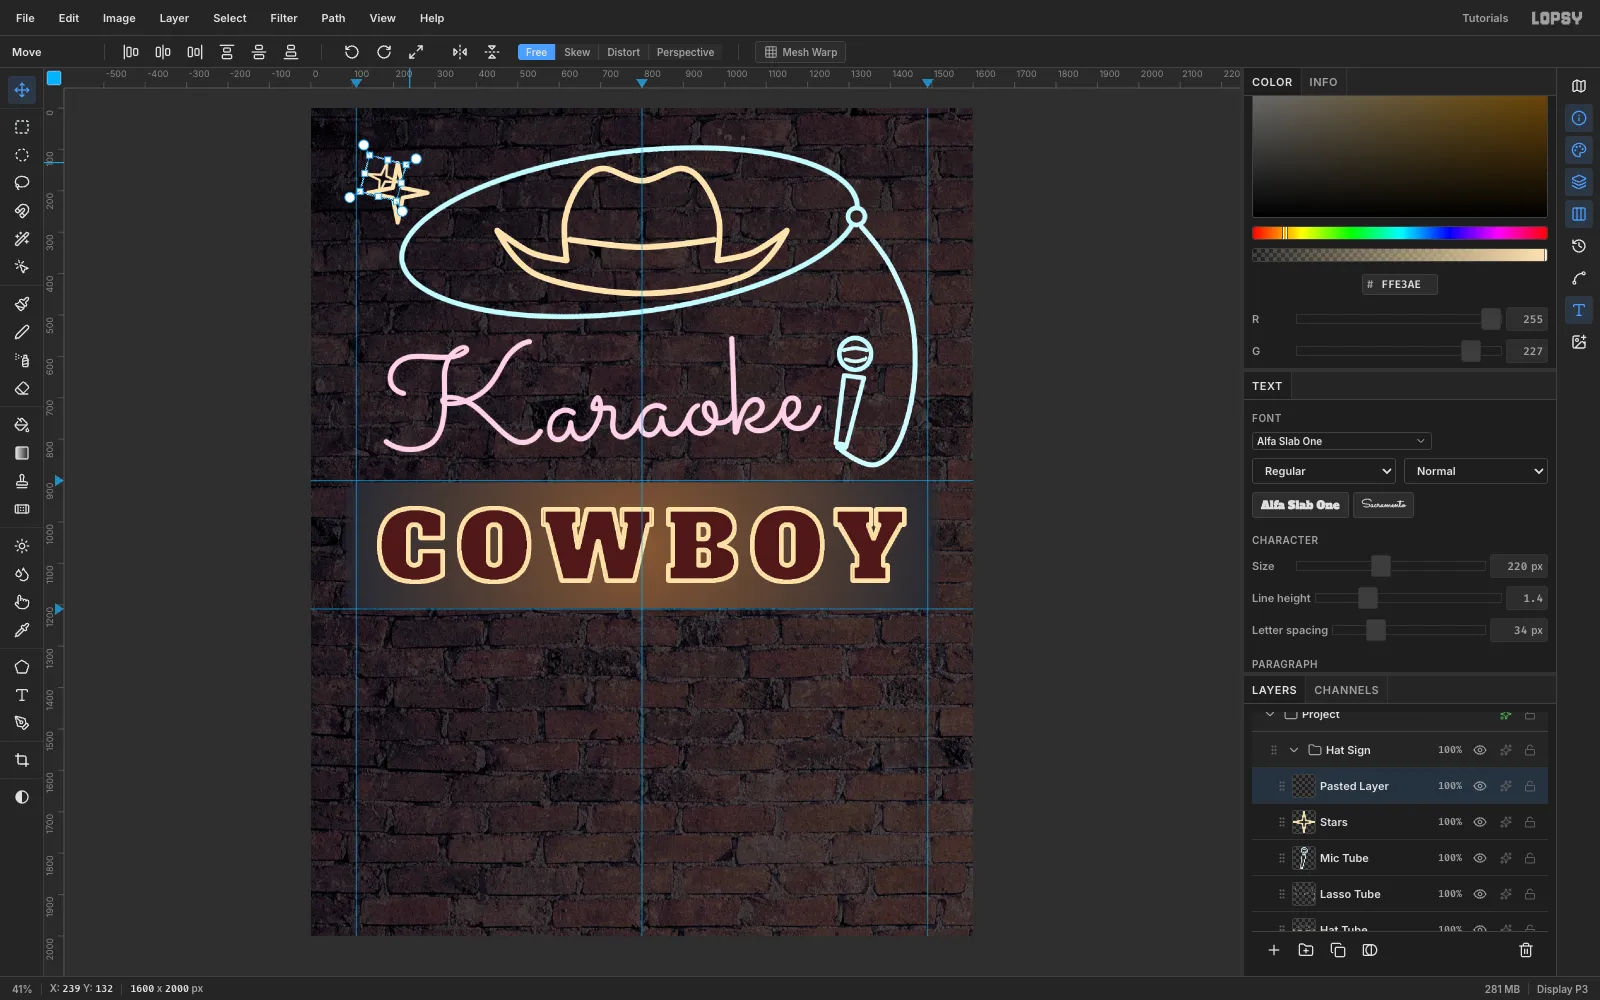
Starslayer inHat Sign, Pen a closed 8-point sparkle at width 10: tips 72 px from (210, 205), inner points 17 px. Click the first anchor to close it and press Enter to stroke it. - Marquee it, Cmd+C, then Cmd+V. The paste lands in place on its own layer, selected, with the Move tool ready.
- Cmd-drag a corner handle to scale it to 55%.
- Rotate it 15°.
- Drag it to (1405, 165), outside the loop, and press Cmd+D. Then Layer → Merge Down into
Stars.
- On a
-
Build the marquee board and its bulbs
- Select
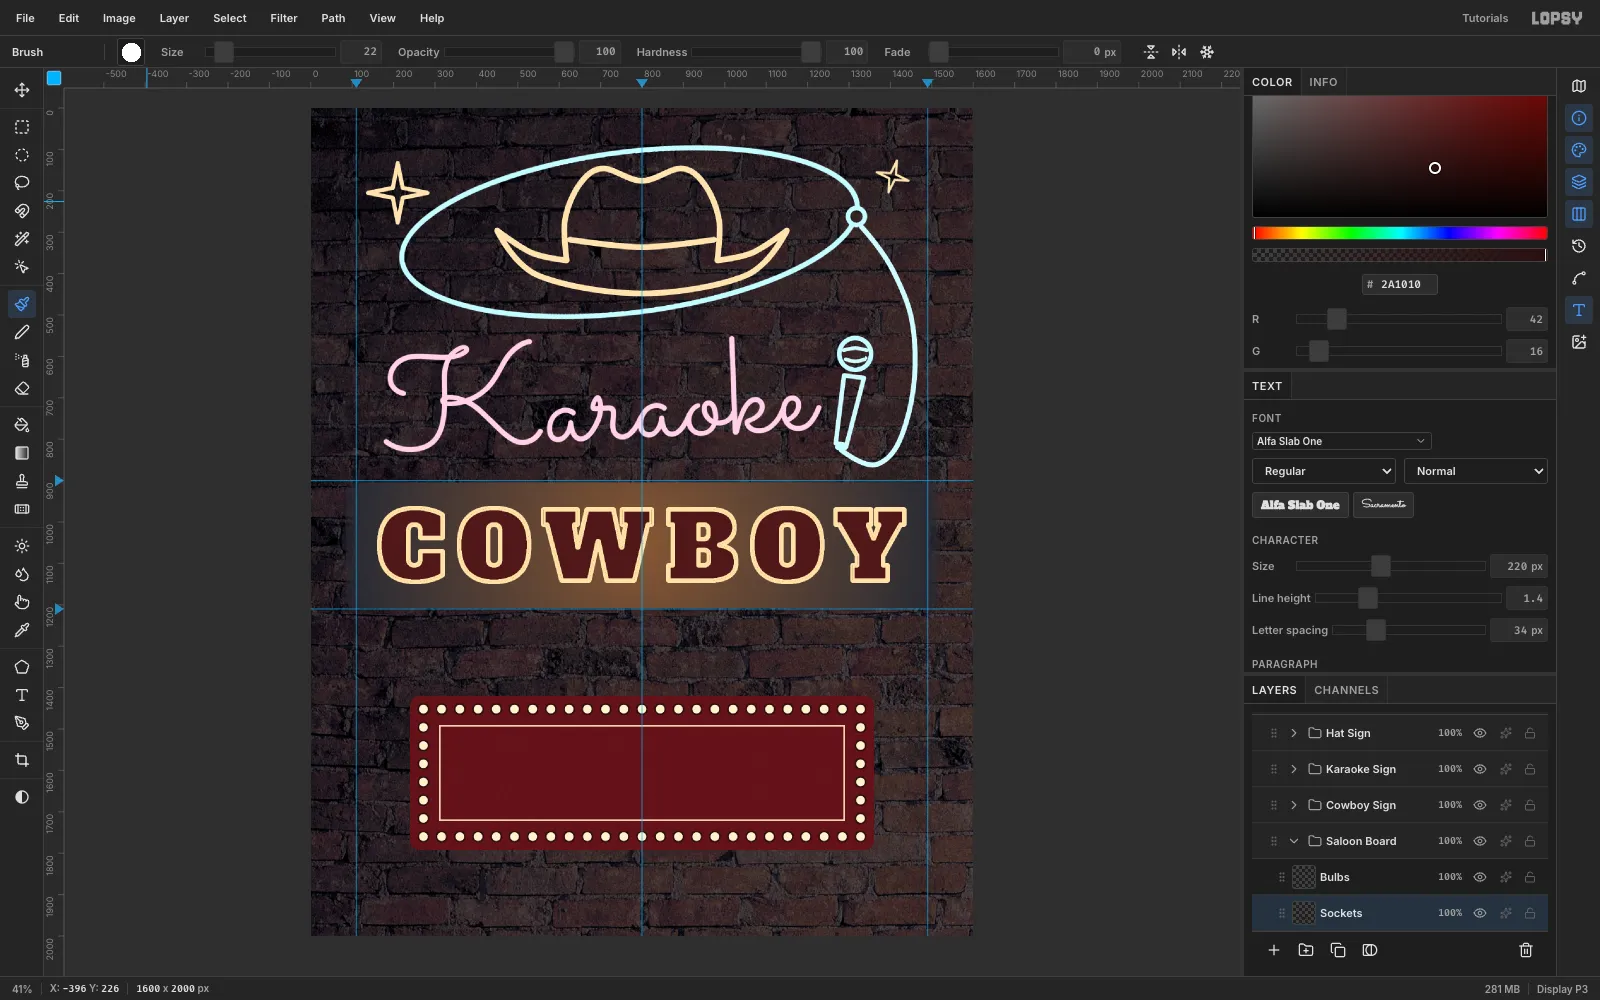
Nightand make a new groupSaloon Boardwith a layerBoard. With the Shape tool (Rectangle, Corner Radius 22, Fill ), click at (800, 1606) and enter 1120 × 372, which fills (240, 1420)–(1360, 1792). Cmd-click the thumbnail and add Noise 10 for painted grain. - On
Pinstripe, fill the rectangle (310, 1490)–(1290, 1722) with , then Shrink 4 and Delete for a hairline frame. - On
Bulbs, open the brush-tip thumbnail (the Brushes modal). On the Shape tab set Size 22, Hardness 100 and Spacing 200%: one dab every 44 px. - Click (272, 1452), then Shift-click (1328, 1452), (1328, 1760), (272, 1760) and back to the start. The side lengths are multiples of 44, so a bulb lands exactly in every corner.
- Under
Bulbs, addSockets. Cmd-click the bulbs thumbnail, Grow 4, and fill .
- Select
-
Set the board type, the tagline and the footer
Before each line, click
Bulbsand set up the text as listed, with Letter spacing 0. Create each line in empty canvas, Align center horizontally, then nudge it to its top edge:SILVER SPUR: Smokum 160, , top at y 1519SALOON · OPEN MIC · 9 PM TILL LAST CALL: Rye 34, top at 1667. That gives even 25 px gaps between frame, headline, subline and frame.EVERY THURSDAY: Tilt Neon 96, , top at 1281, halfway between the raceway and the board. On a newThursday Starslayer, Pen two small sparkles beside it at x 372 and 1228.1407 RAILROAD AVE · NO COVER · BOOTS WELCOME: Rye 32, , top at 1872
On a Mac, type the
·characters with Option+Shift+9.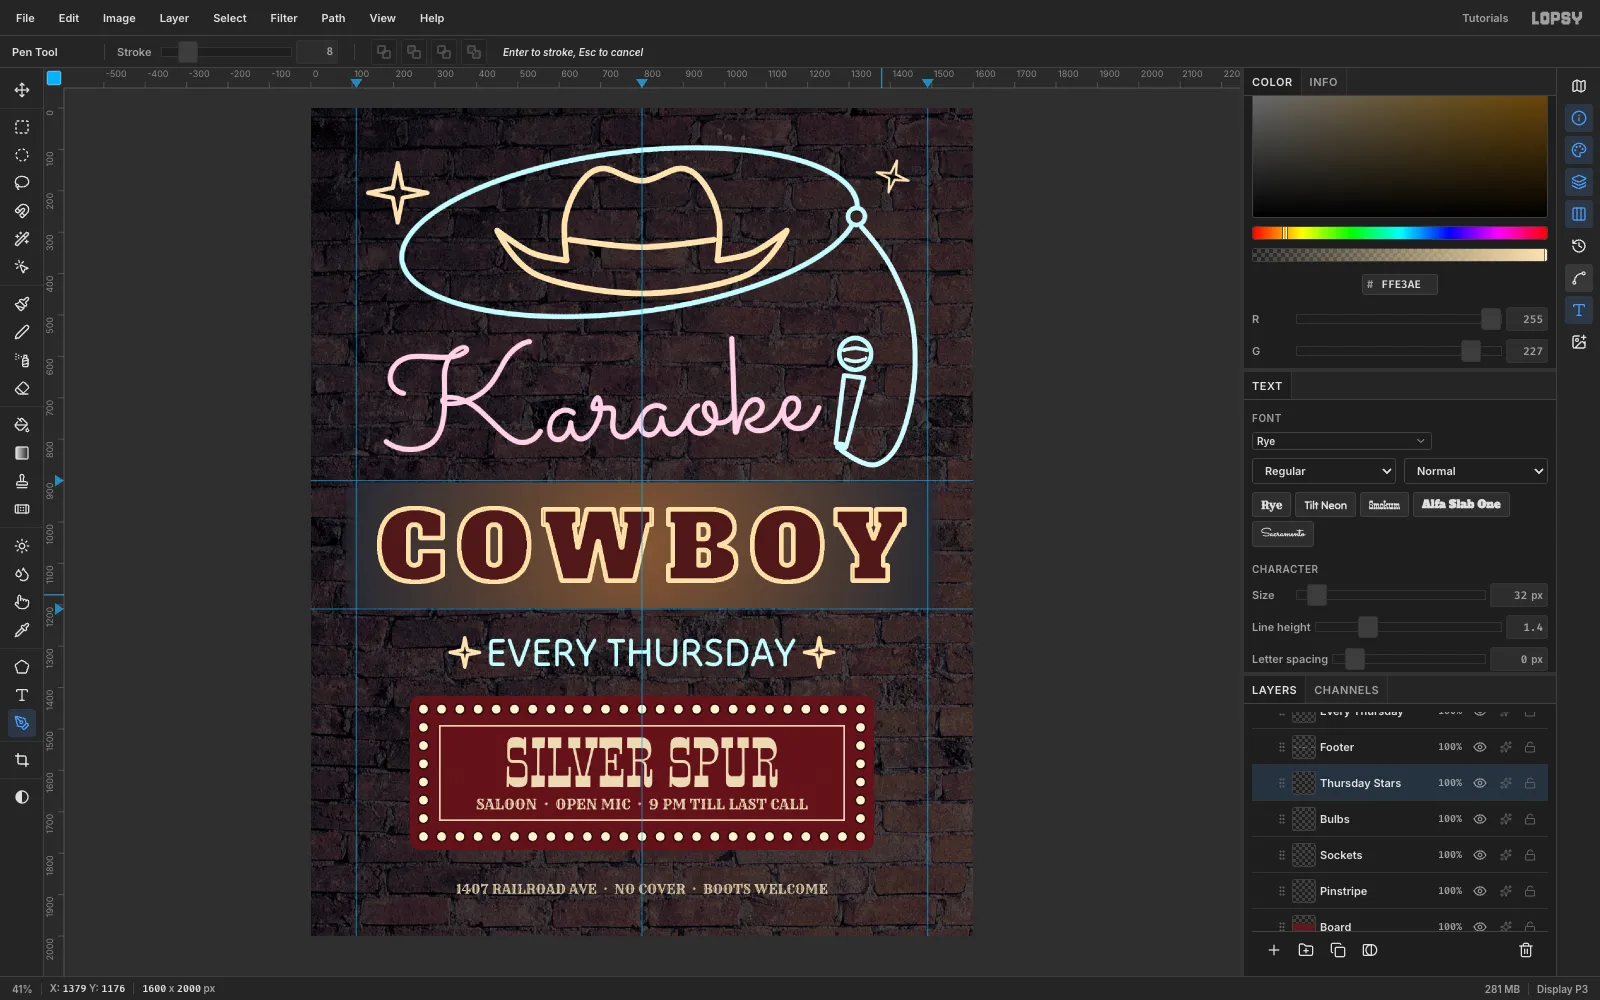
-
Clip the tubes to the wall
Real tubes hang on little glass standoffs. On a
Standoffslayer at the top ofHat Sign, set a hard brush to Size 11 with colour . Click once on the centre of a tube every 250–400 px along the lasso, the cord, the hat and the script. Give the layer a Drop Shadow (0, 3, blur 4, 70%) so the clips sit off the wall.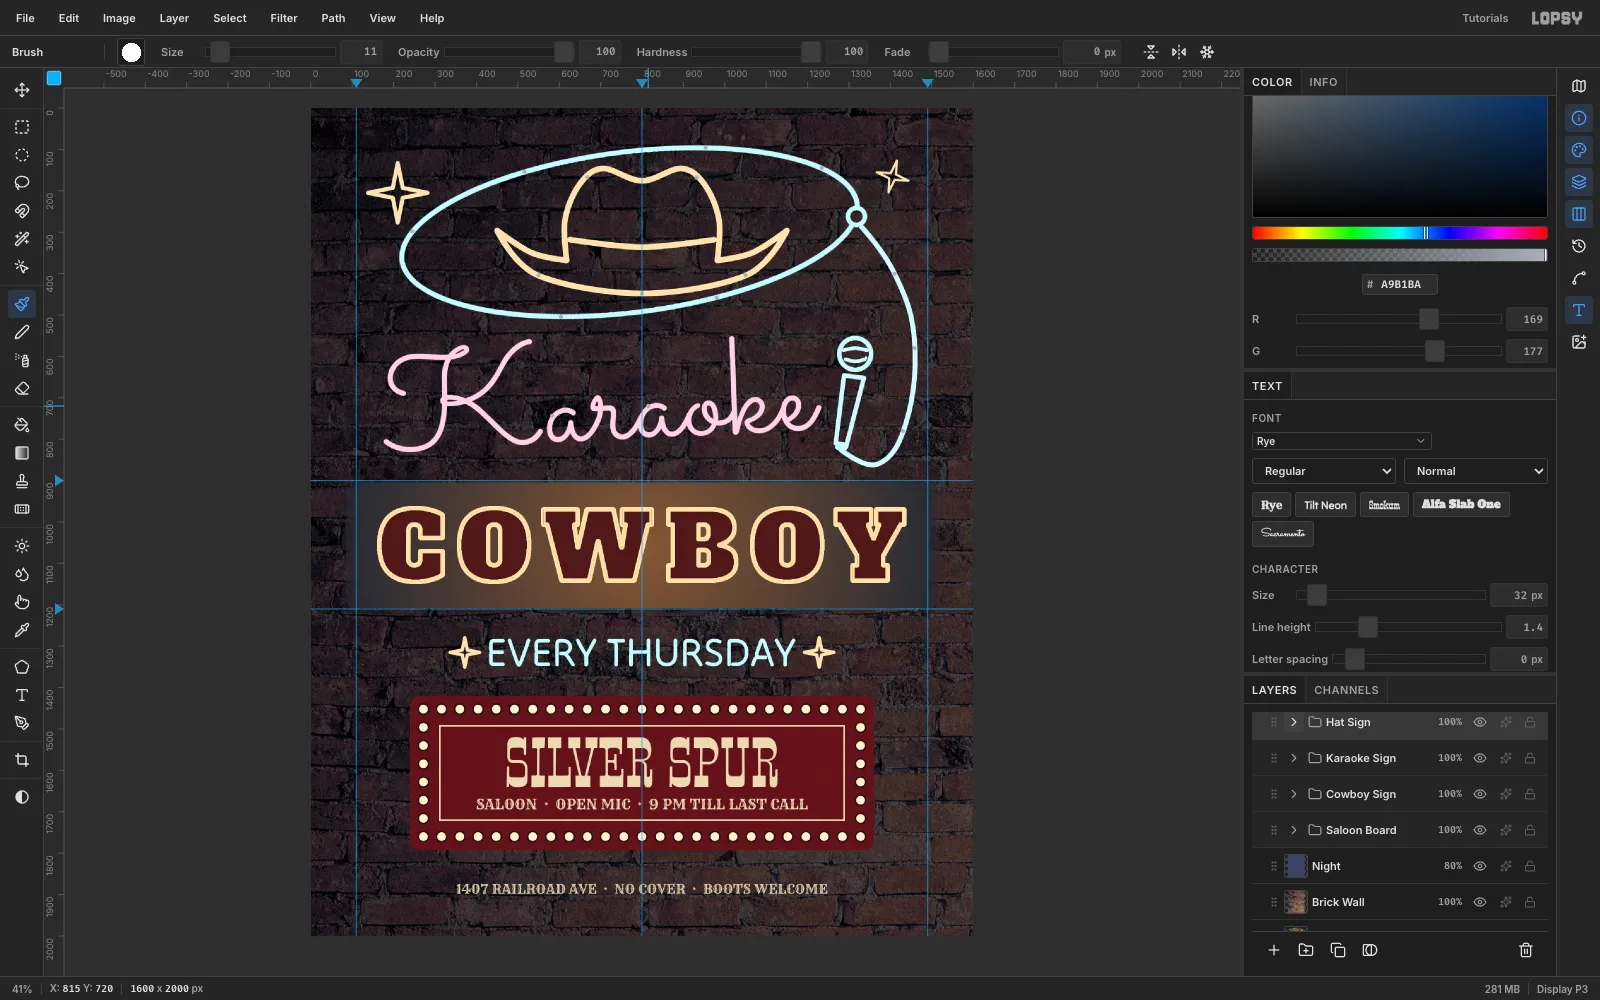
-
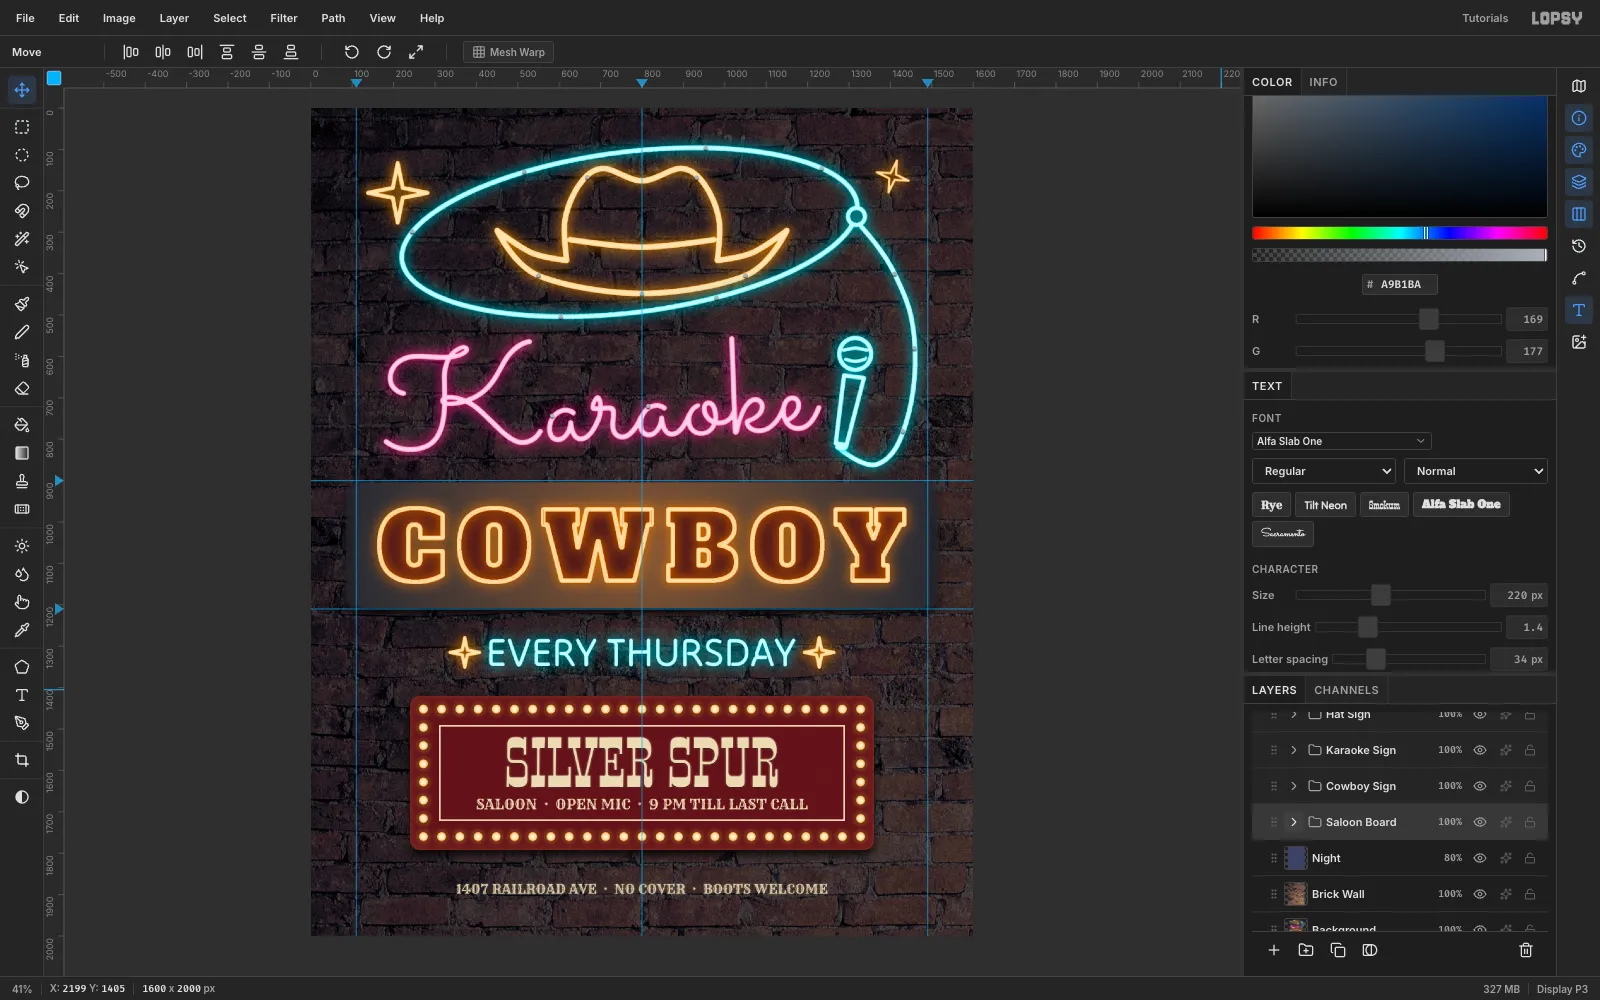
Light the tubes with Inner and Outer Glow
Open the effects drawer on
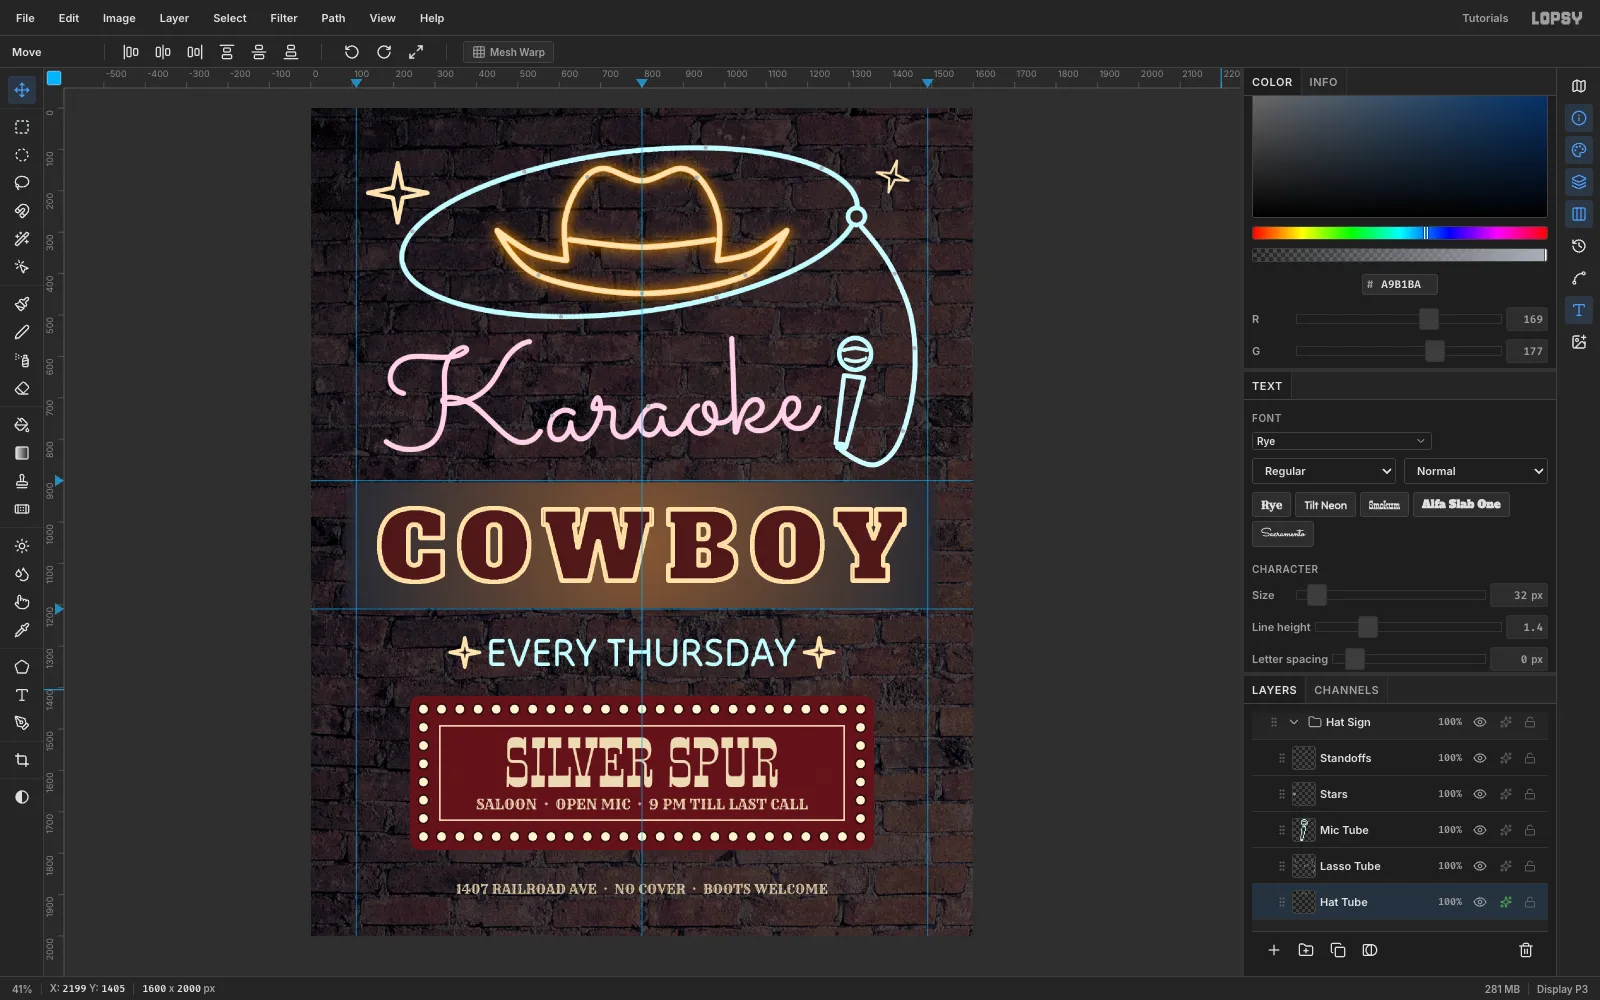
Hat Tubeand enable both glows in amber :- Inner Glow: Size 4, Spread 30, Opacity 100. The edges turn saturated amber while the centre stays pale: the hot core.
- Outer Glow: Size 40, Spread 14, Opacity 85. That's the halo.
-
Switch on every sign
Repeat the same two glows on every tube layer in its own colour:
Lasso Tube,Mic Tube: turquoiseKaraoke: pinkCOWBOY Tube:Stars,Thursday Stars: amberEvery Thursday: Inner Glow Size 3, Spread 0, which keeps a visible white core in the thinner strokes
Then the supporting cast:
COWBOY Faces: a faint amber Inner Glow (12 / 0 / 30%).Bulbs: an Inner Glow in (9 / 10 / 100%) for hot centres, and an Outer Glow in (18 / 16 / 80%).Board: an Inner Glow in (30 / 0 / 22%) so the bulbs light the red, plus a Drop Shadow (0, 14, blur 28, 75%).Racewaygets the same shadow.SILVER SPUR: a tight 6 px cream Outer Glow and a 2 px dark Drop Shadow.
-
Paint light spill on the bricks
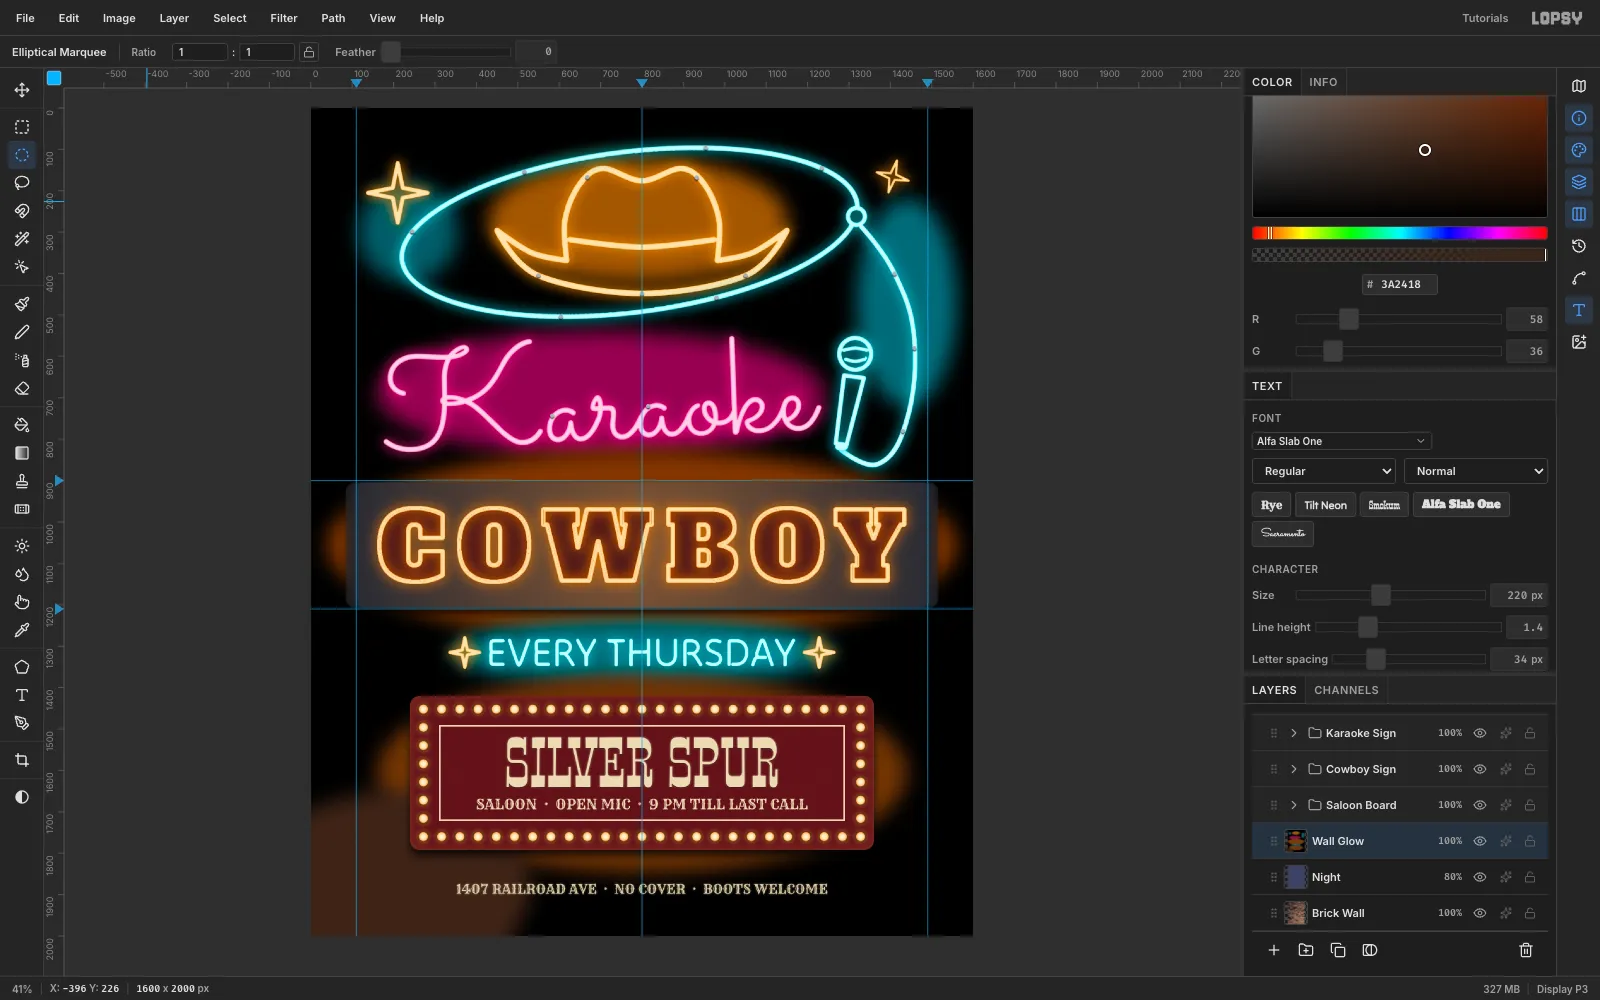
Add
Wall GlowaboveNightand fill it black. For each sign, make an elliptical marquee around it, Select → Feather 50, and fill it with a dark version of that sign's colour:- amber behind the hat
- teal beside the rope and under EVERY THURSDAY
- magenta behind the script
- orange around COWBOY
- brown around the board
- dim in the bottom-left corner, so it doesn't die to black
Run Gaussian Blur 70 and set the layer to Screen at 85%. The black disappears, and the bricks light up in pools that match their sources.
-
Finish with a Bloom pass
- Hide
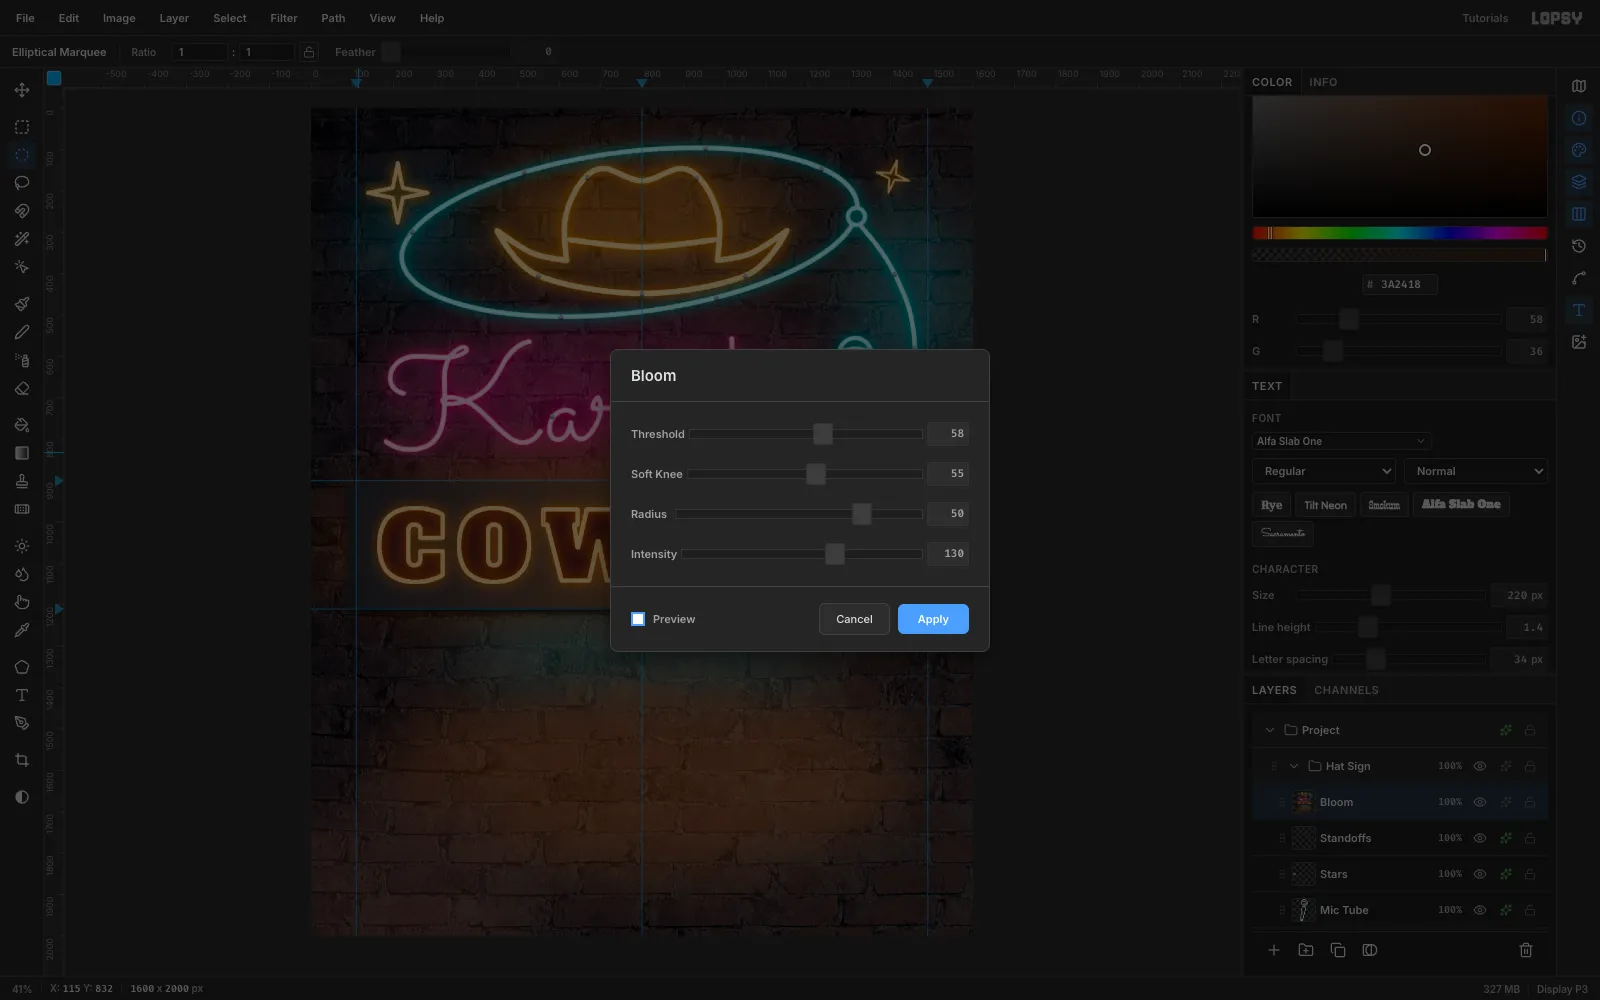
Saloon Boardand run Edit → Copy Merged, then paste at the top ofHat Signand name the layerBloom. Show the board again. - Run Filter → Bloom (Threshold 58, Soft Knee 55, Radius 50, Intensity 130). Set the layer to Lighten at 65%.
- Marquee the board area (236, 1416)–(1364, 1796) on
Bloomand press Delete. The copy was made with the board hidden, so it holds bricks there, and Lighten would show them through the dark red paint.
Turn the guides off (View → Show Guides) and export. The bloom softens every tube's edge into the haze you see around real neon at night.
- Hide