Design a Neon Sign Roller Disco Flyer
Build a glowing neon sign flyer in Lopsy with tube outlines, Inner and Outer Glow, a patterned brick wall and colored light spill.
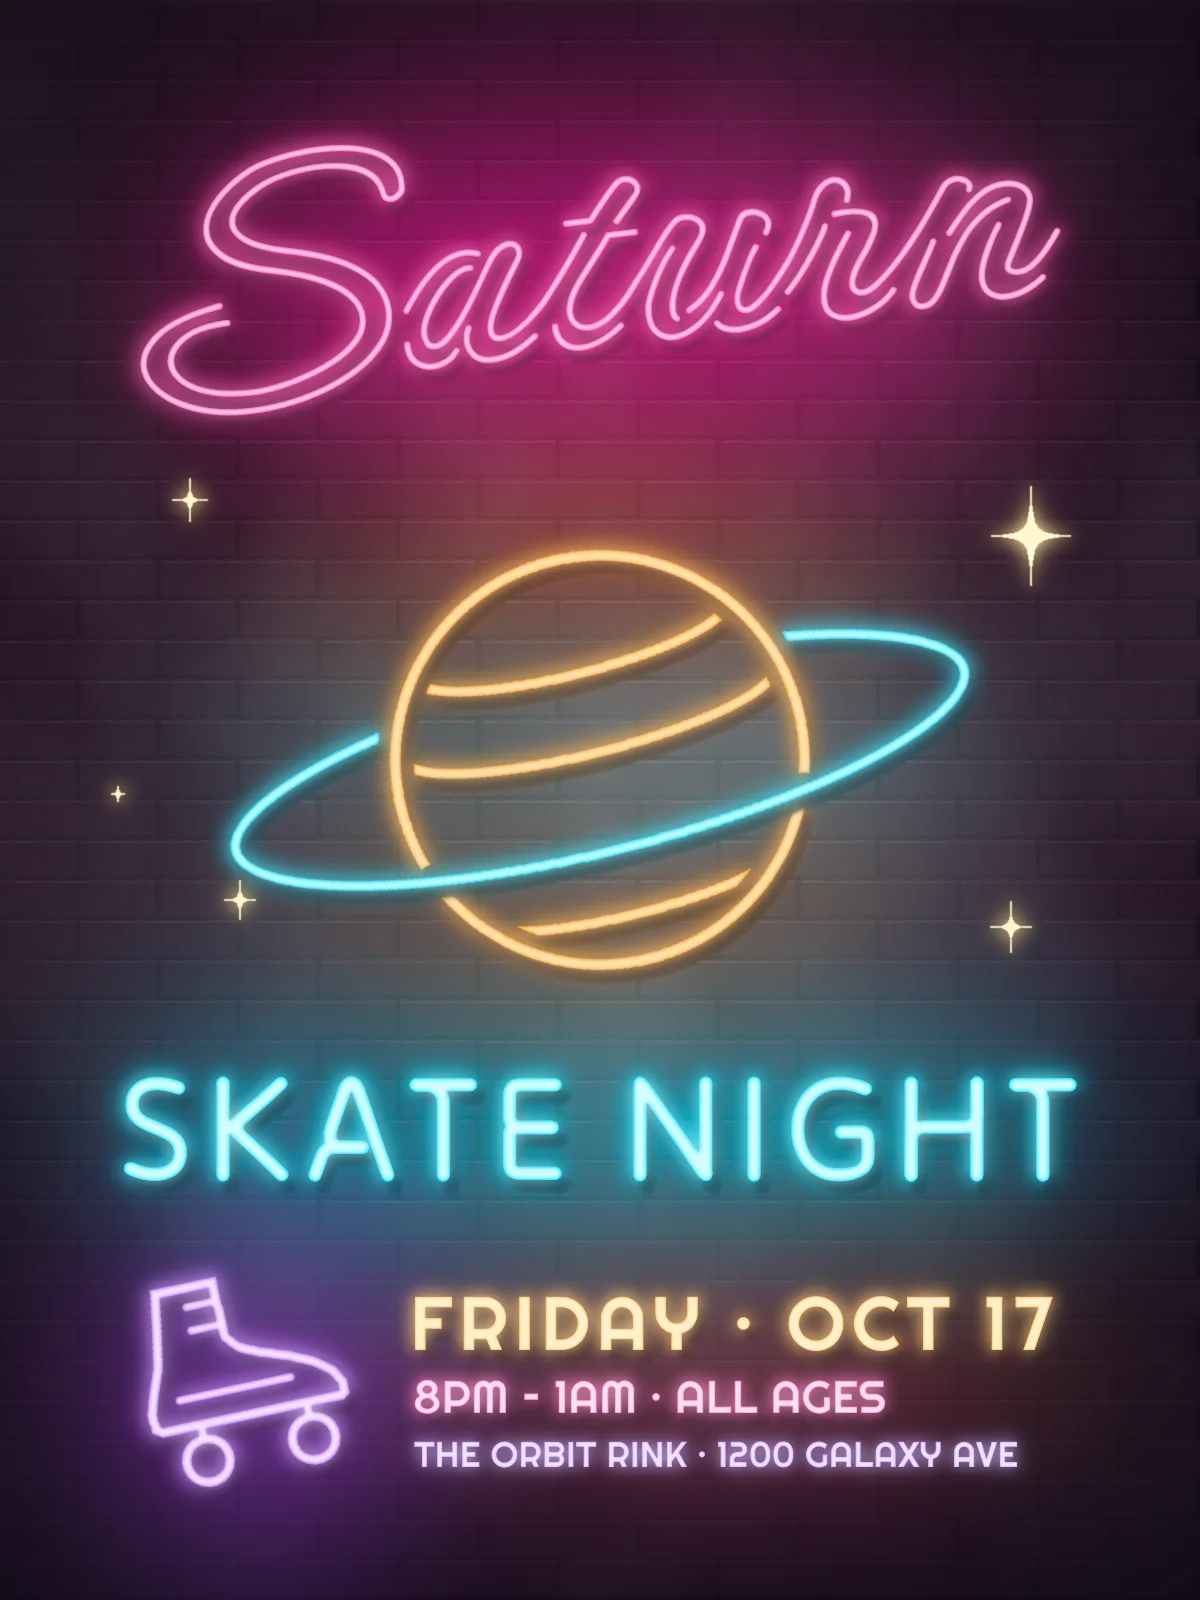
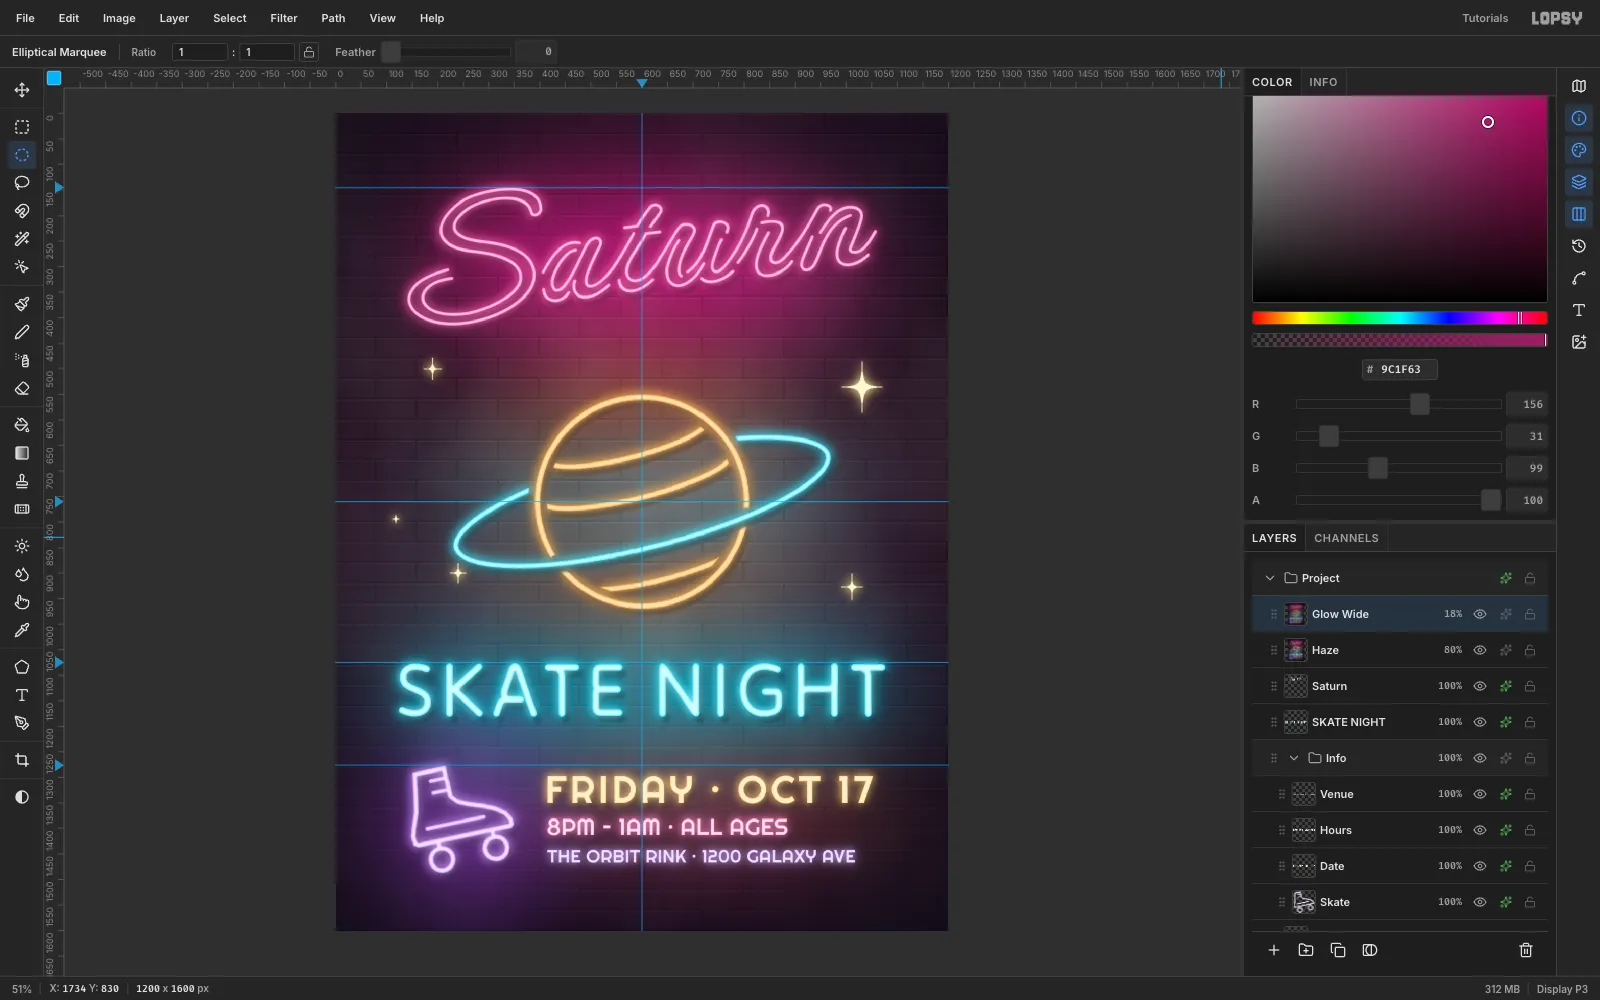
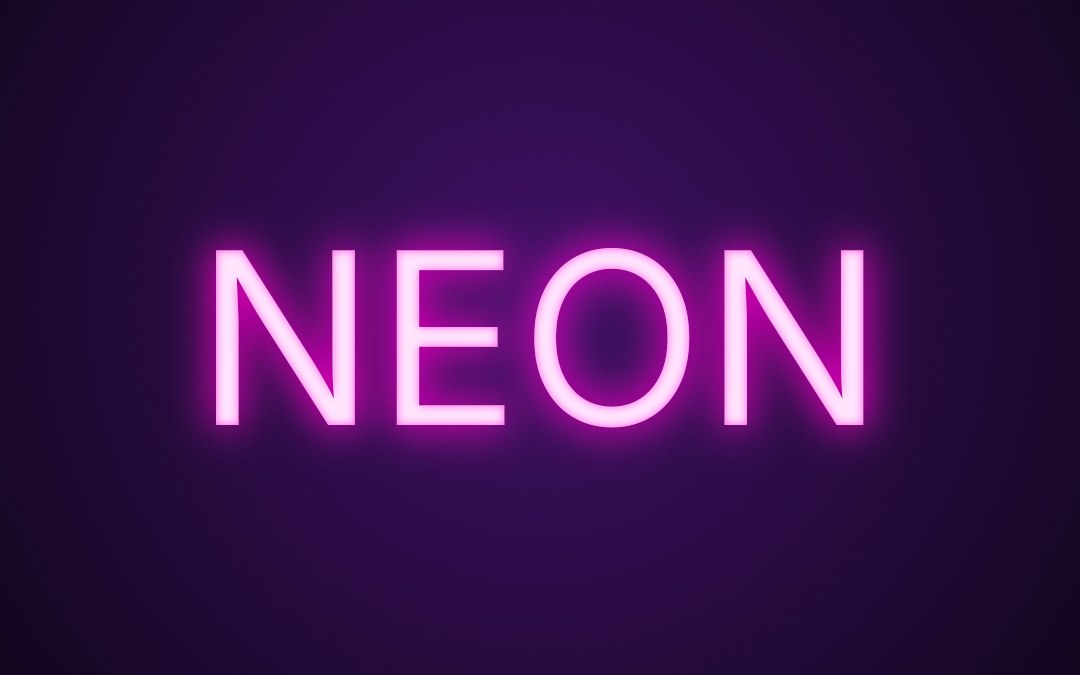
A real neon sign is a thin glass tube with a white-hot core. Colored light bleeds around it, it throws a shadow on the wall, and it tints everything nearby. In this tutorial you'll fake all of that in Lopsy for Saturn Skate Night, a 1200 × 1600 px flyer for a roller disco.
You'll draw tubes with marquee fills and Select → Shrink, and cut gaps where tubes cross, just as a sign bender would. Each tube gets three layer effects: Inner Glow, Outer Glow and Drop Shadow. Pools of blurred colored light finish the effect.
The palette:
- Brick wall
#452738, mortar#0B070D, background#140E18 - Hot pink
#FF2D95, amber#FF9A1F, cyan#16D9FF, violet#A64DFF - Tube cores: pale tints such as
#FFD3EEand#FFE2B0, so the Inner Glow can color the edges
-
Draw a brick tile
Choose File → New, set the unit to Pixels, and create a 1200 × 1600 document. Click the rulers to add guides. Click the top ruler at 600 for a centre line. Click the left ruler at 145, 760, 1075 and 1276 for the tops of the headline, the planet's centre, SKATE NIGHT and the information block.
Fill the Background with
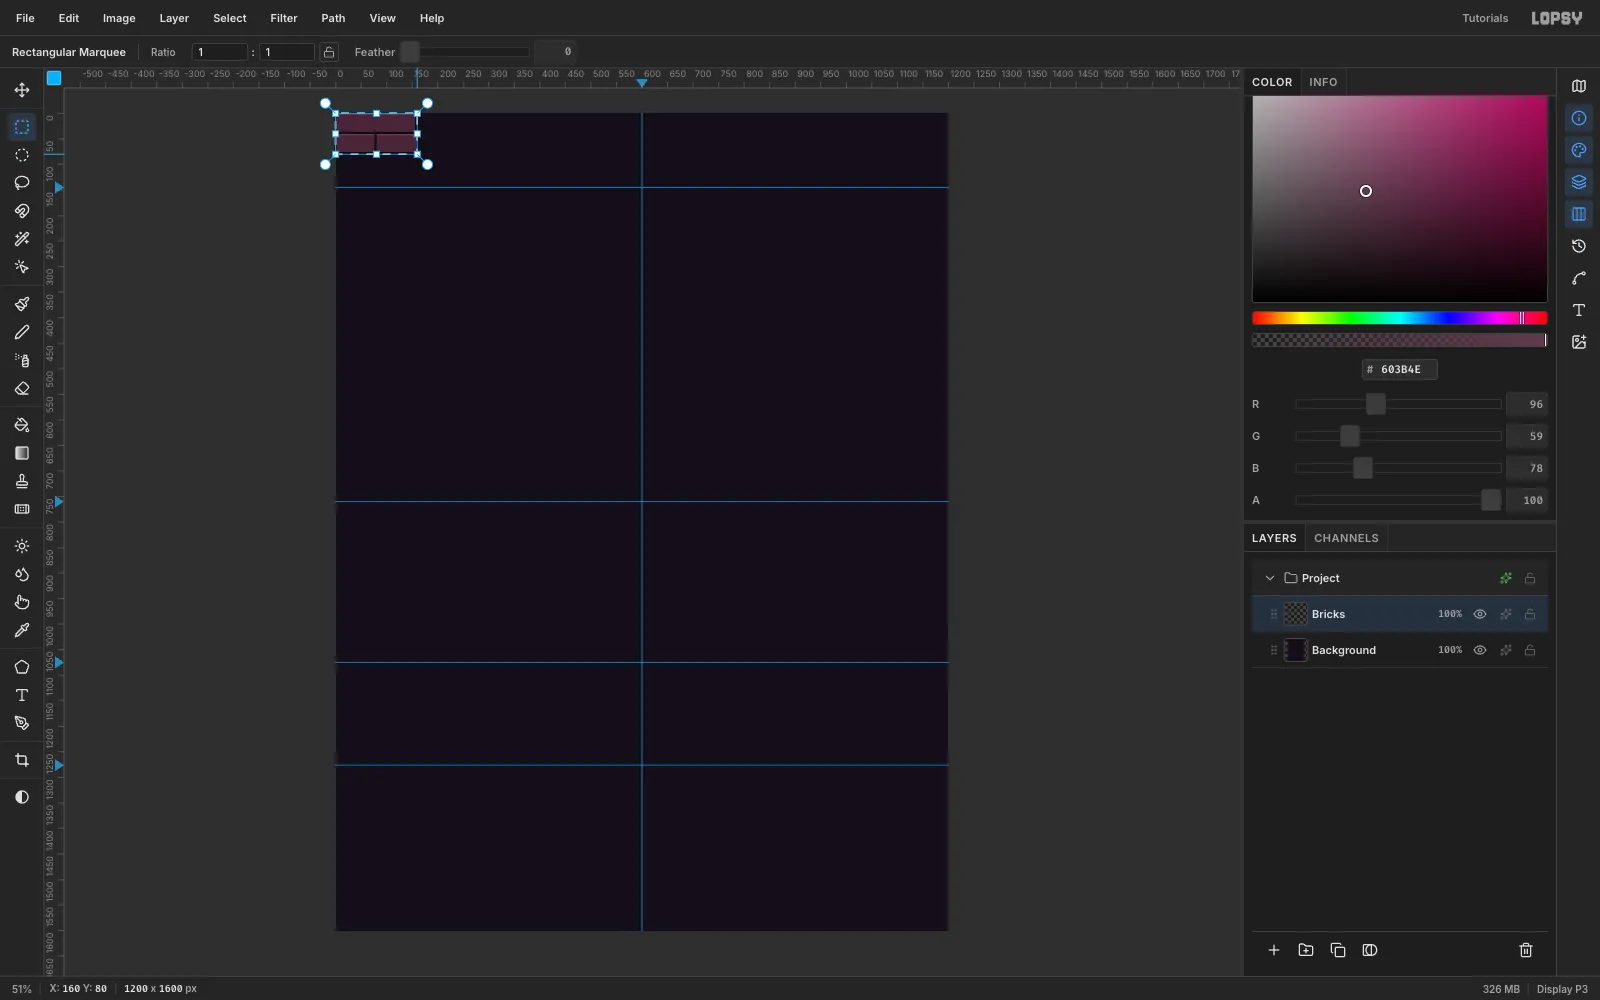
#140E18. On Layer 1 (rename it Bricks), build one tile of a running bond in the top-left corner using the Rectangular Marquee and Edit → Fill:- Fill a 160 × 80 rectangle with the mortar colour
#0B070D. - Fill three bricks with
#452738: the full top brick (0,0) 156 × 36, and two half-bricks (0,40) 76 × 36 and (80,40) 80 × 36. - Fill a 3 px strip of
#603B4Ealong the top of each brick. This catches the light.
- Fill a 160 × 80 rectangle with the mortar colour
-
Tile it across the wall
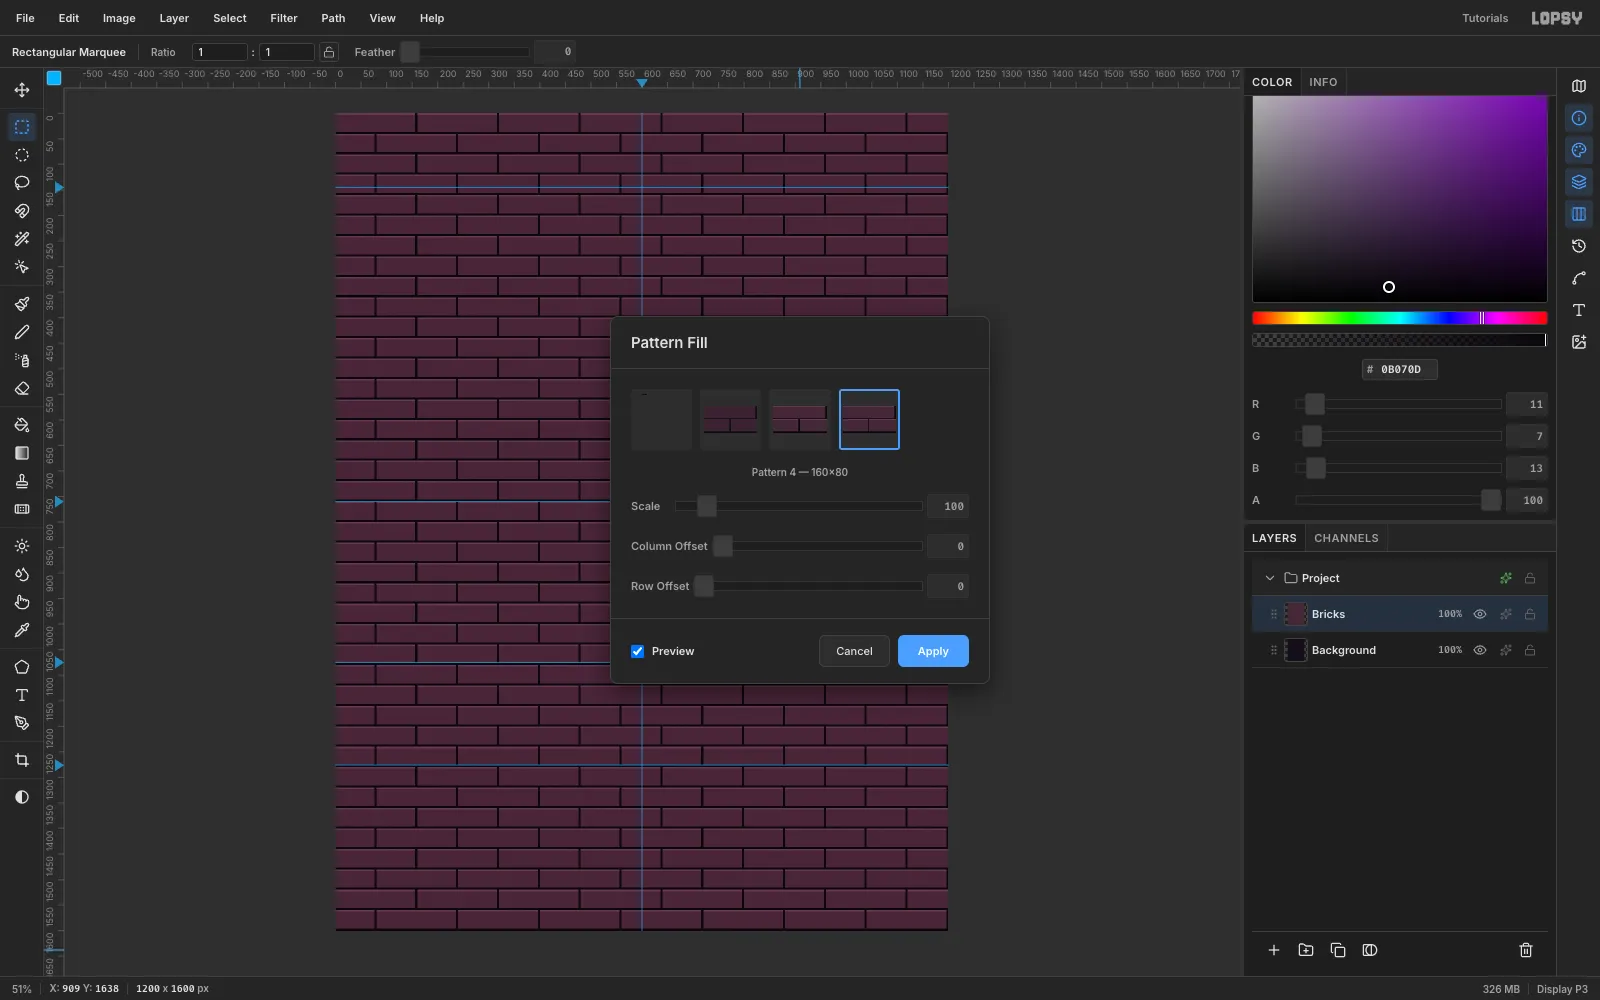
Draw a marquee exactly over the tile, 0,0 to 160,80. Turn Snap off if the grid is on. Choose Edit → Define Pattern.
Press Cmd+D to deselect, then fill the whole layer with the mortar colour so there are no transparent gaps. Choose Edit → Fill with Pattern..., pick the 160 × 80 brick pattern and click Apply.
-
Add grain to the bricks
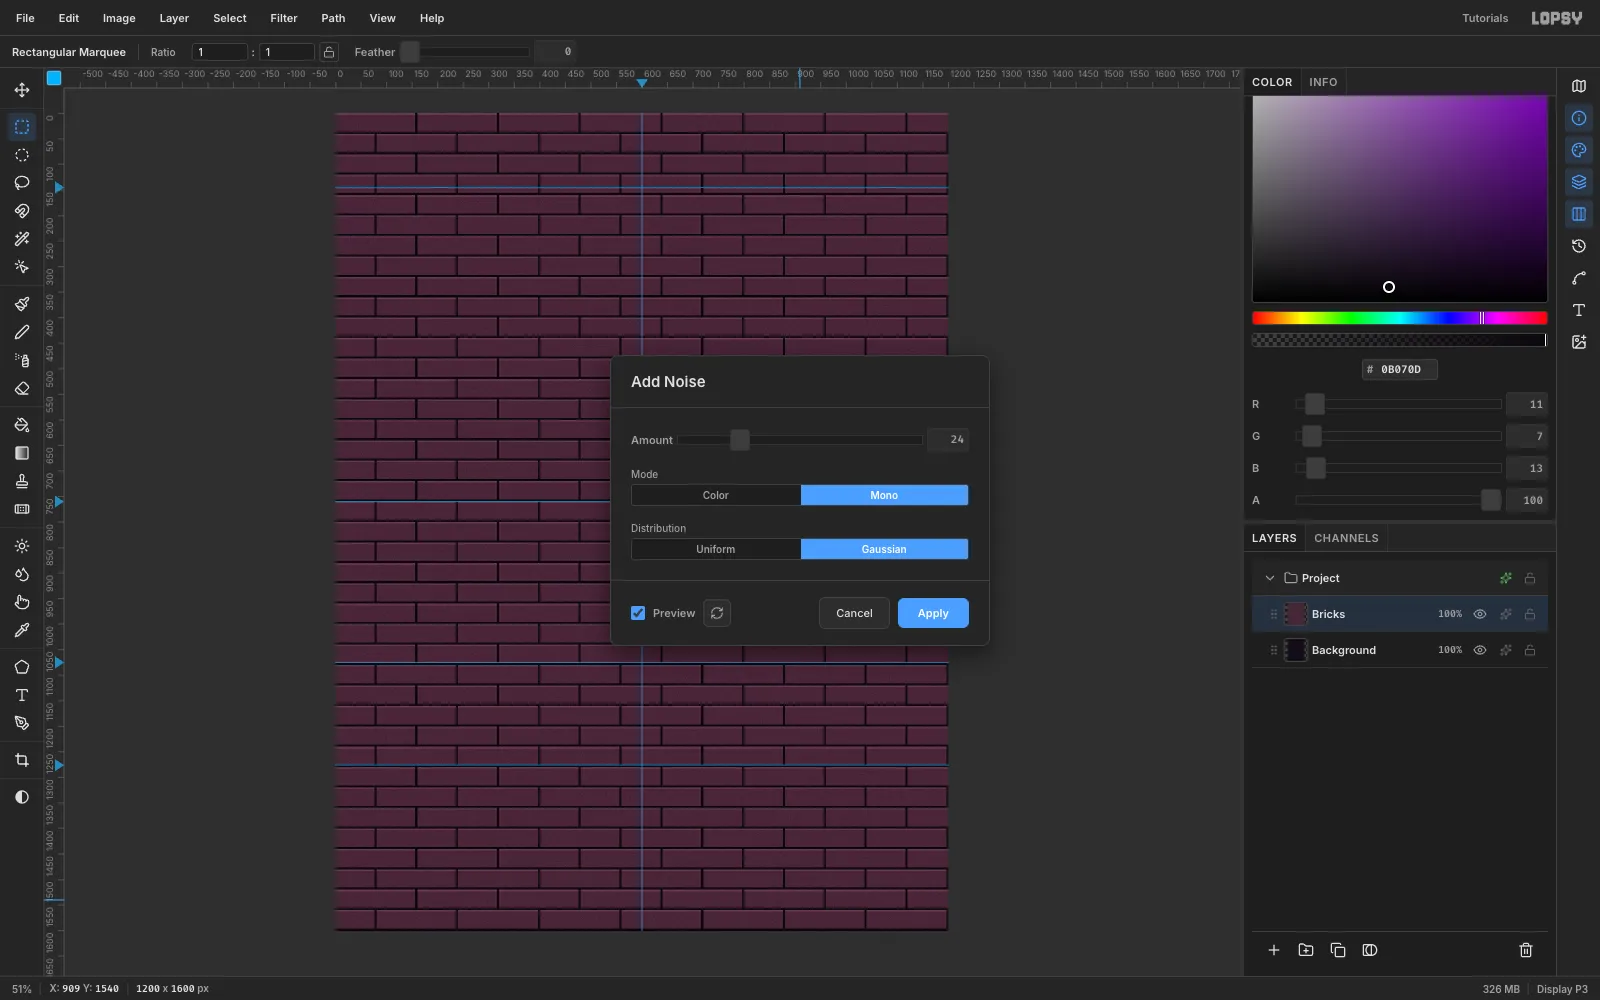
Flat bricks look like vector art. With Bricks active, choose Filter → Add Noise..., click Mono and Gaussian, set Amount to 24 and apply.
-
Darken the wall
Neon only glows against darkness.
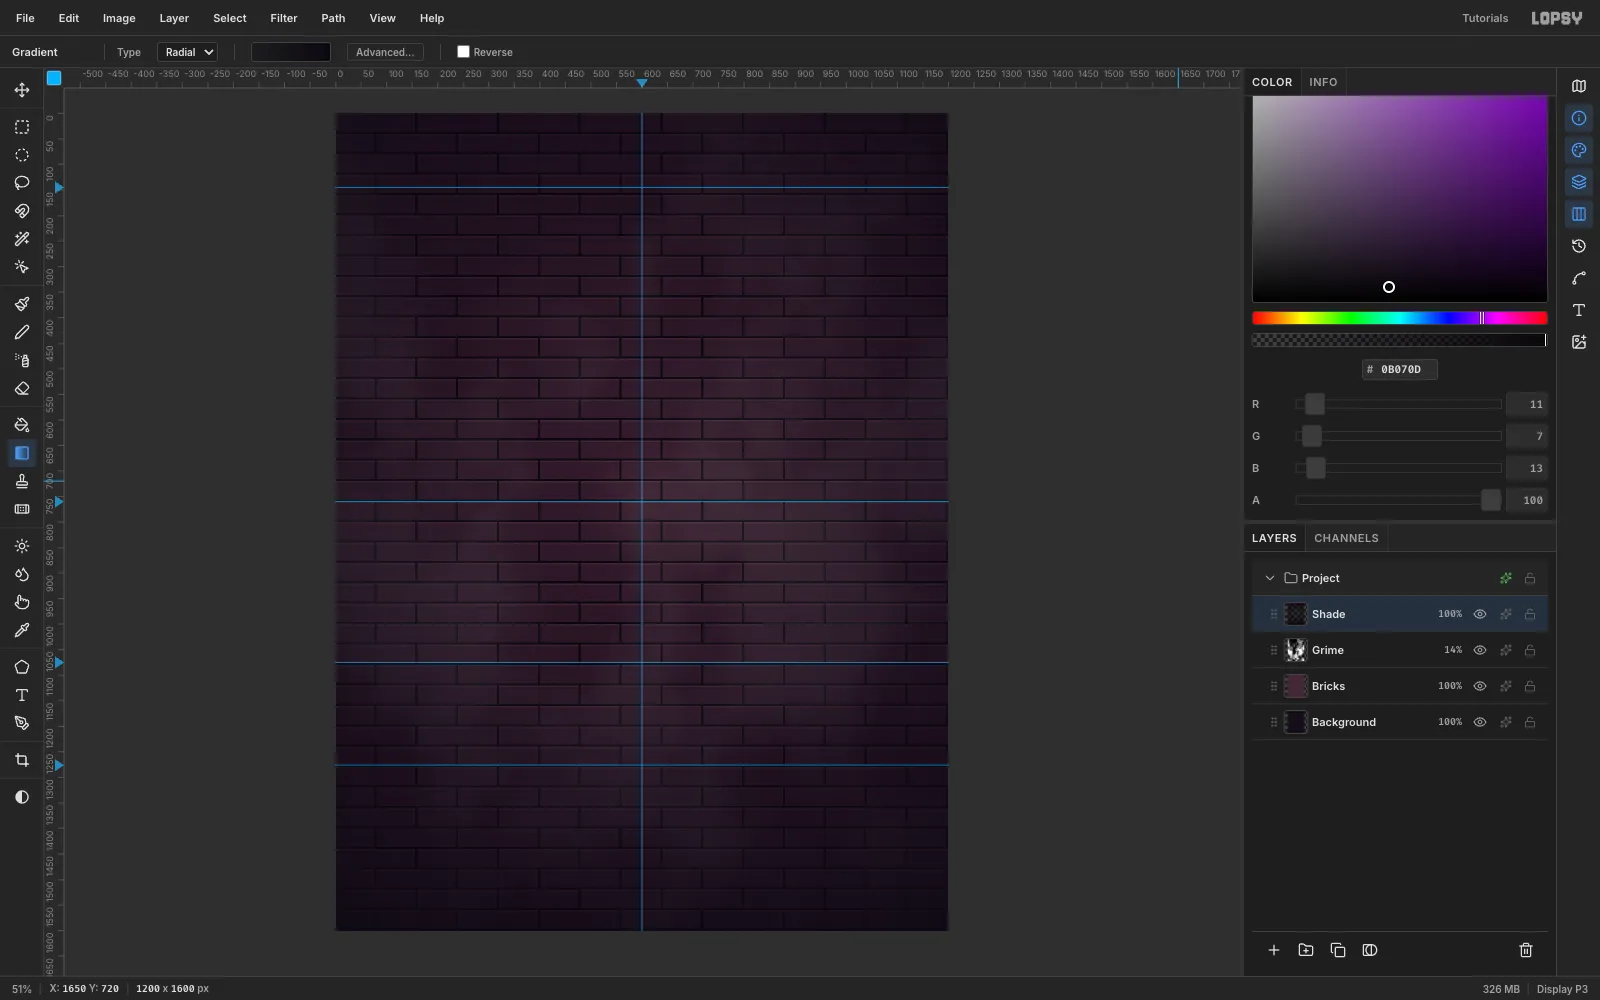
- Add a layer called Grime and run Filter → Clouds.... Set its blend mode to Screen at 14% opacity, which gives the bricks a faint uneven sheen.
- Add a layer called Shade and select the Gradient tool with Type set to Radial.
- In Advanced..., set both stops to
#0A0610, with about 30% opacity on the left stop and 93% on the right. - Drag from the middle of the wall (600, 720) about 1050 px outward. The centre stays readable and the corners drop away.
-
Bend the planet tube
Every tube in this flyer is built the same way. Fill a shape, shrink the selection by the tube width, then delete the middle.
Add a layer called Planet. With the Elliptical Marquee, drag a 420 px circle centred on (600, 760) and fill it with the pale amber core colour
#FFE2B0. Choose Select → Shrink…, set 10 px, click Apply, and press Delete. What's left is a 10 px ring.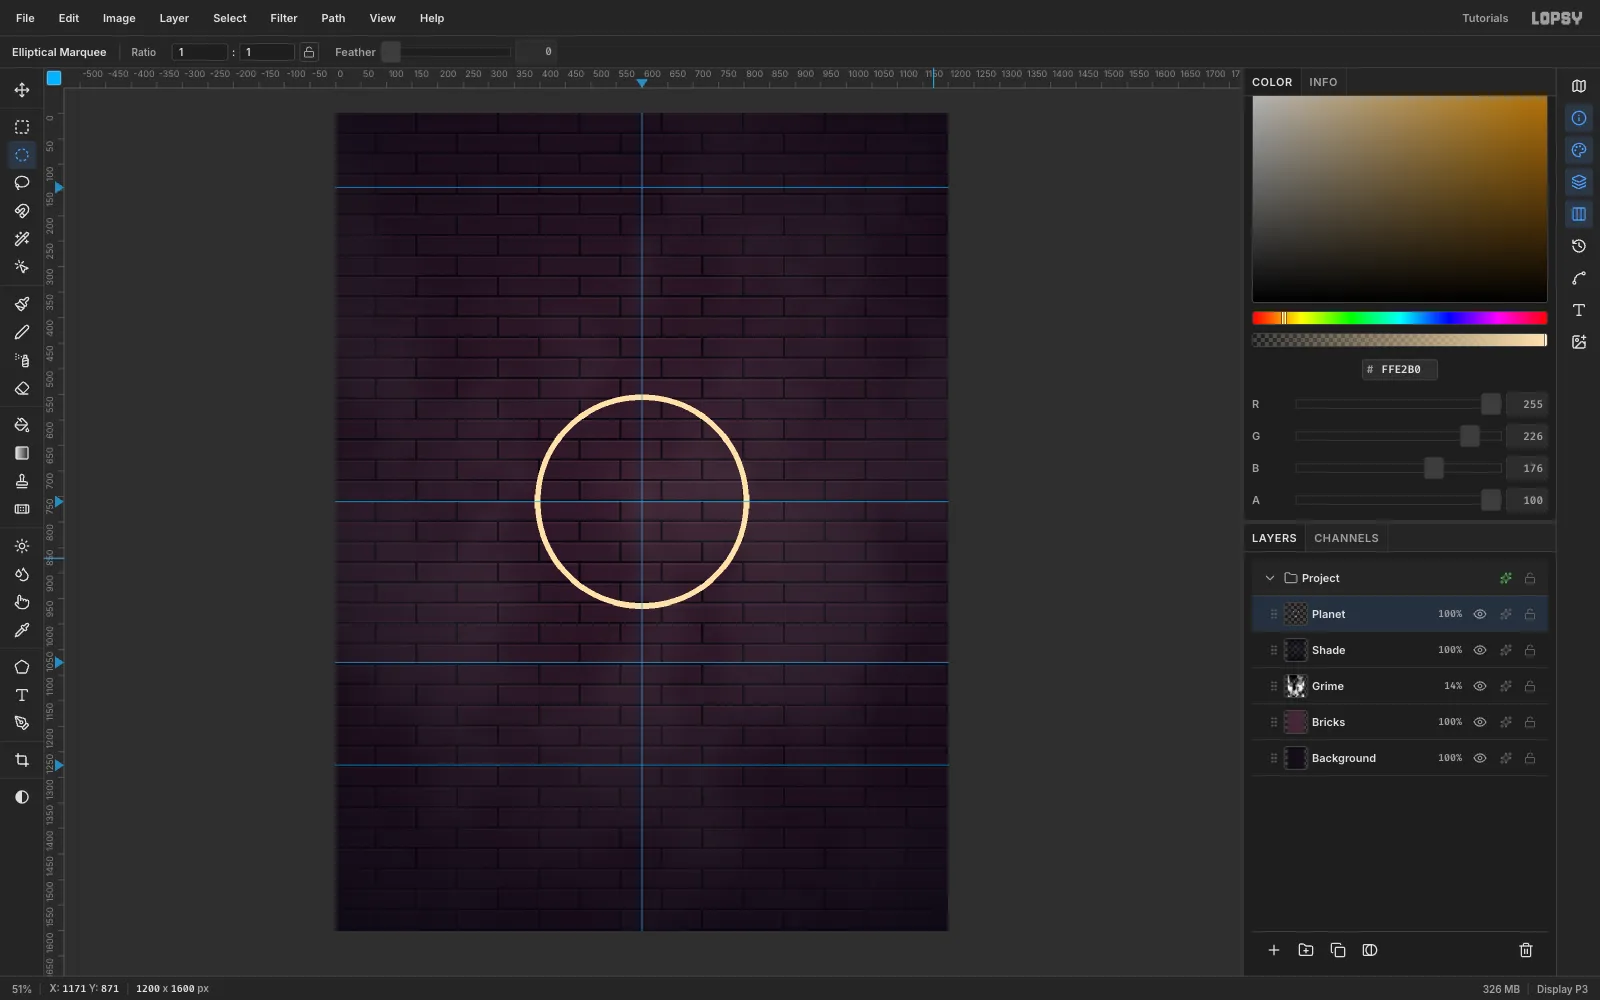
-
Clip each latitude band
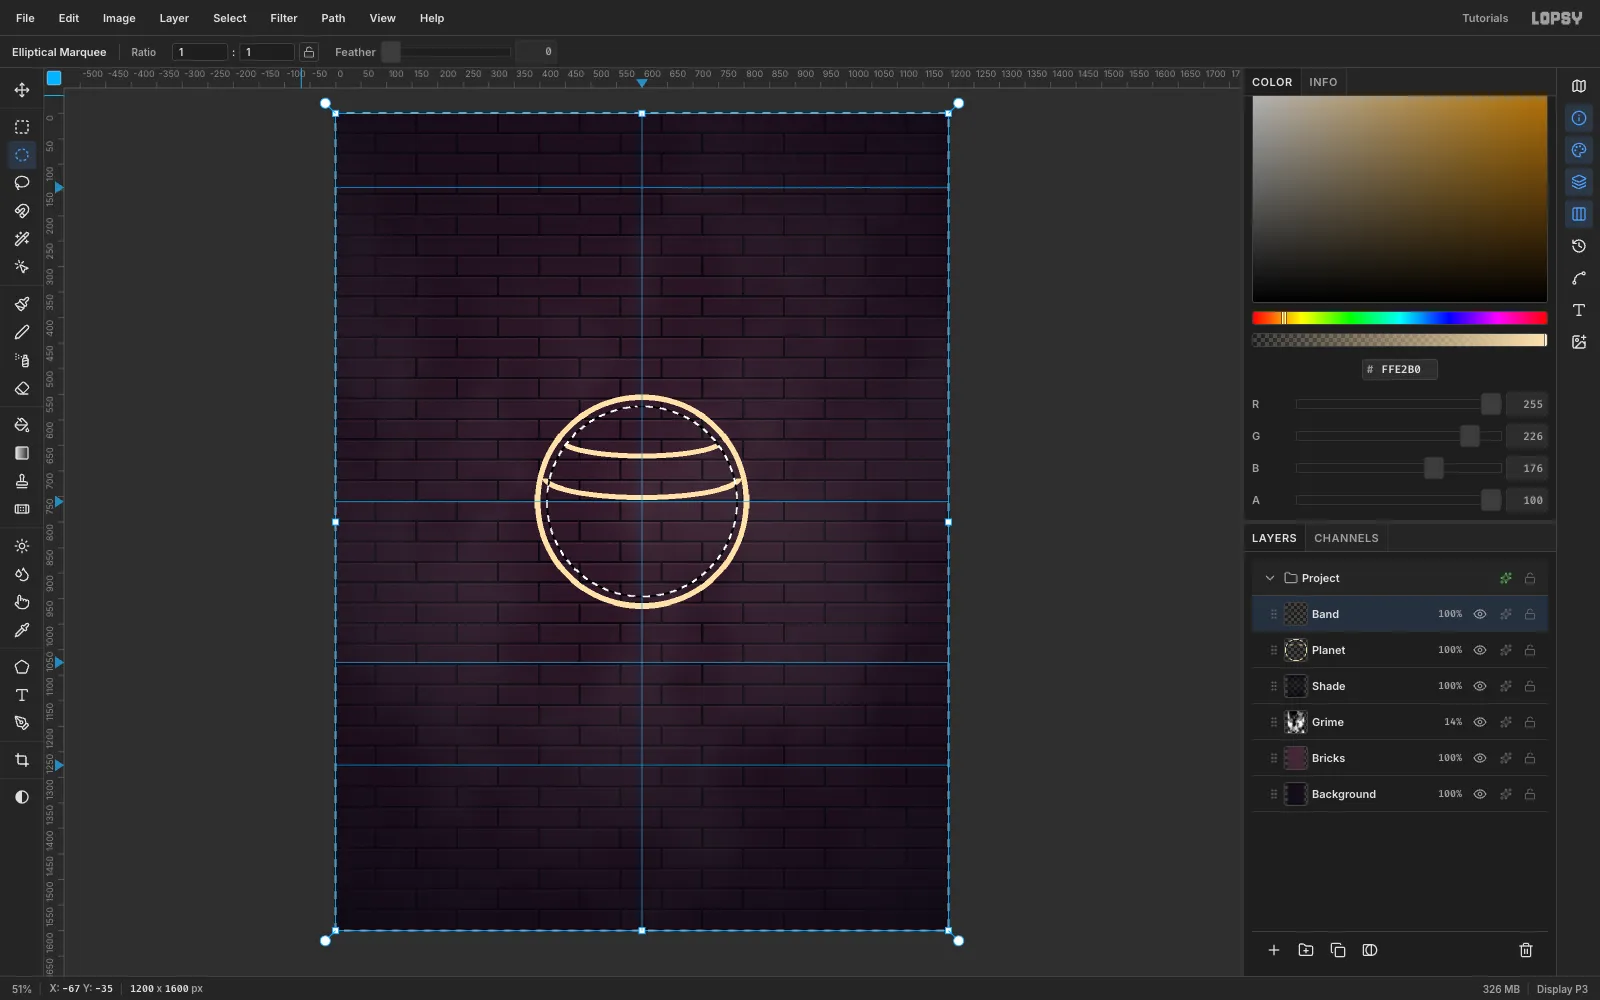
Saturn's bands should curve around the sphere instead of running straight across it. For each band, add a new layer and draw a flat elliptical ring the same way (fill, Shrink 9, Delete). Then:
- Marquee the top half of that ellipse and press Delete. That leaves the lower arc, a "smile" that reads as a line of latitude.
- Draw a 372 px circle centred on the planet and choose Select → Inverse. Press Delete so the band stops 14 px inside the outline.
- Choose Layer → Merge Down to merge the band into Planet.
Use three bands: two above the middle of the planet and one near the bottom.
-
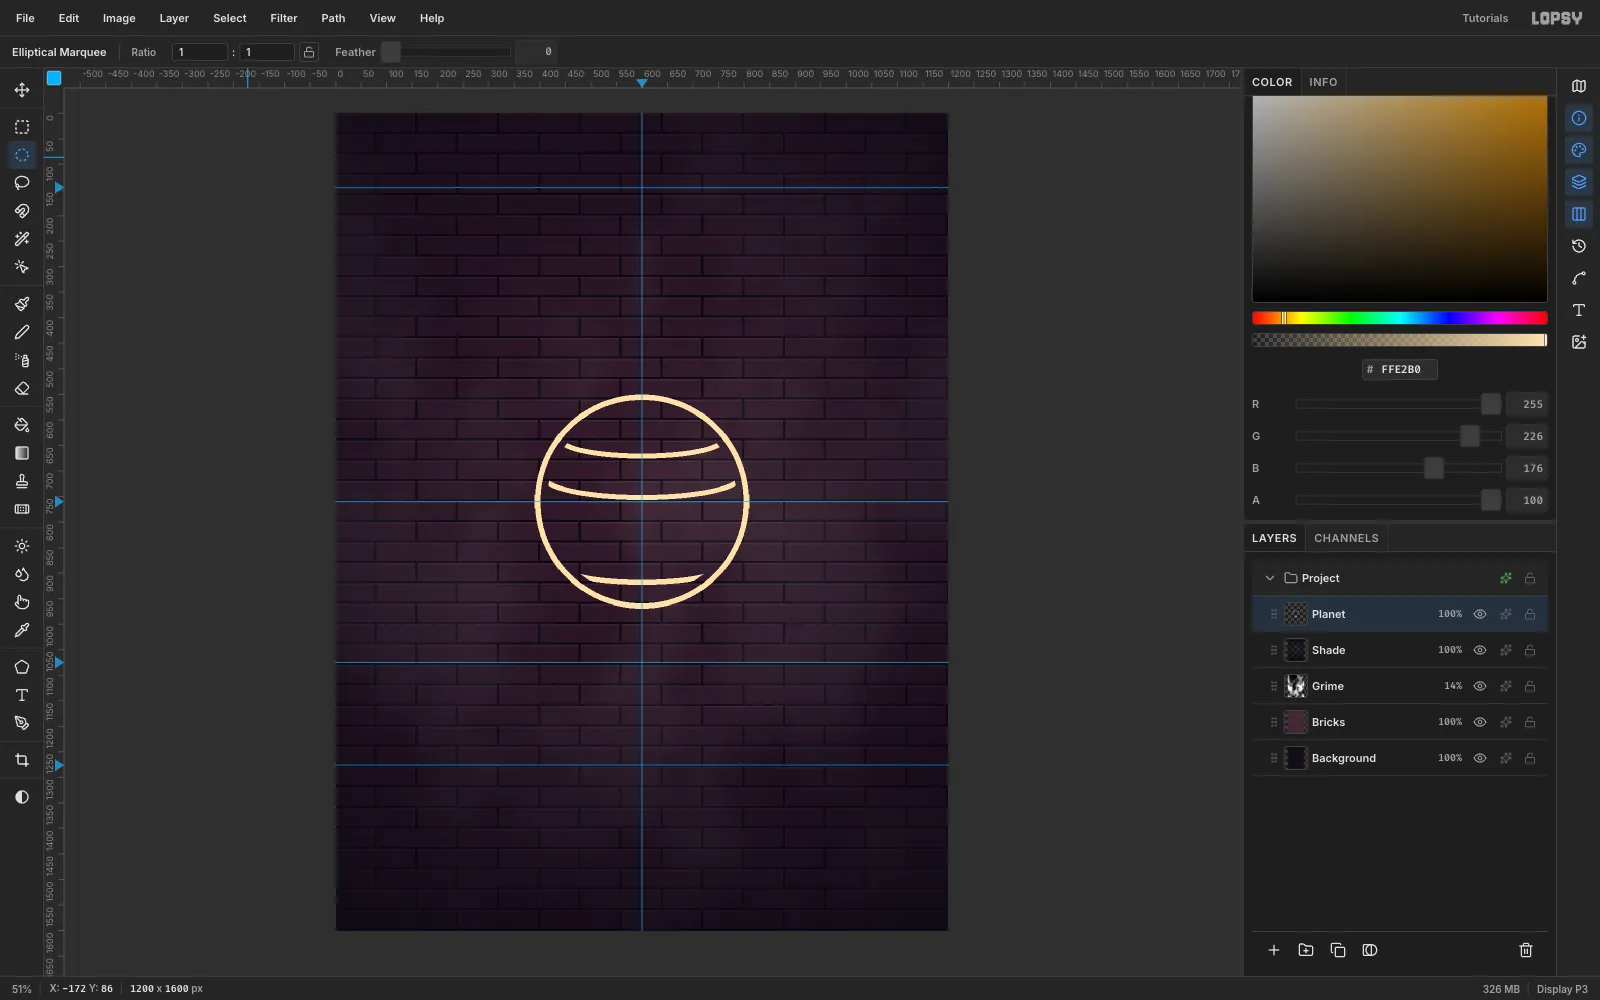
Check the bands
The bands follow the curve of the sphere and stop short of the outline at both ends. The gap in front of them is where the ring will pass.
-
Cut the ring's back arc
Add a layer called Ring and make a 760 × 192 elliptical tube (Shrink 9) in pale cyan
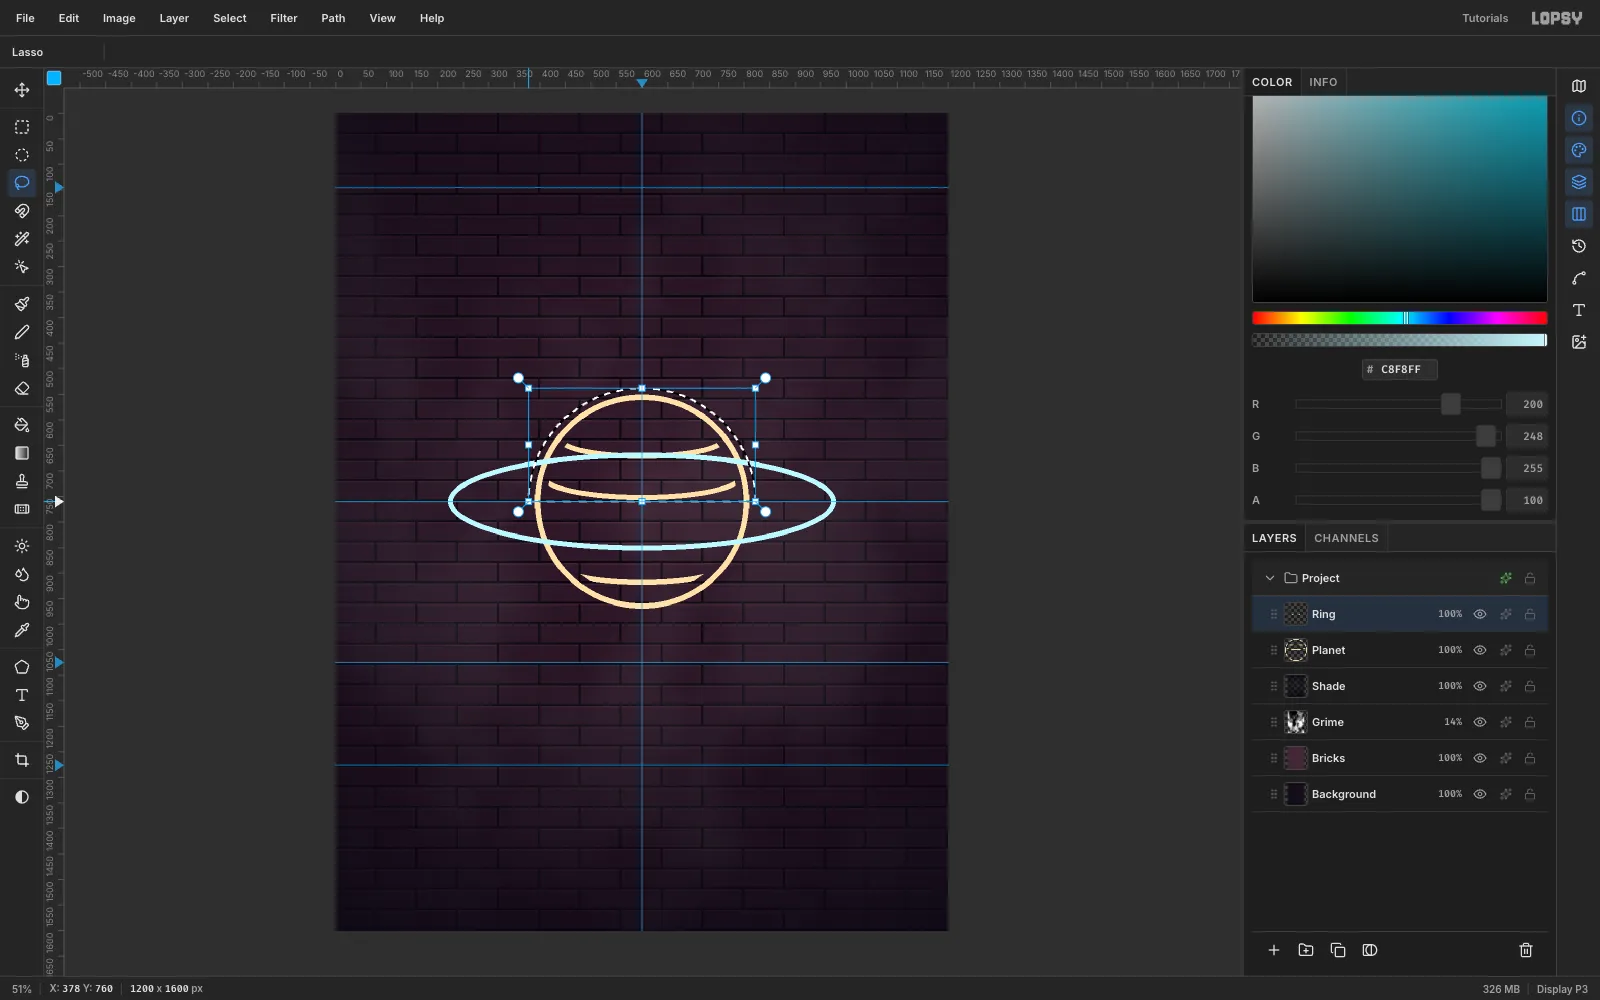
#C8F8FF, centred on the planet.On a real sign the back of the ring is hidden behind the planet. With the Lasso, trace a half-circle just outside the planet's outline over the top half, then press Delete. The back arc disappears inside the planet, and the ring ends leave a small gap before the outline.
-
Leave gaps where tubes cross
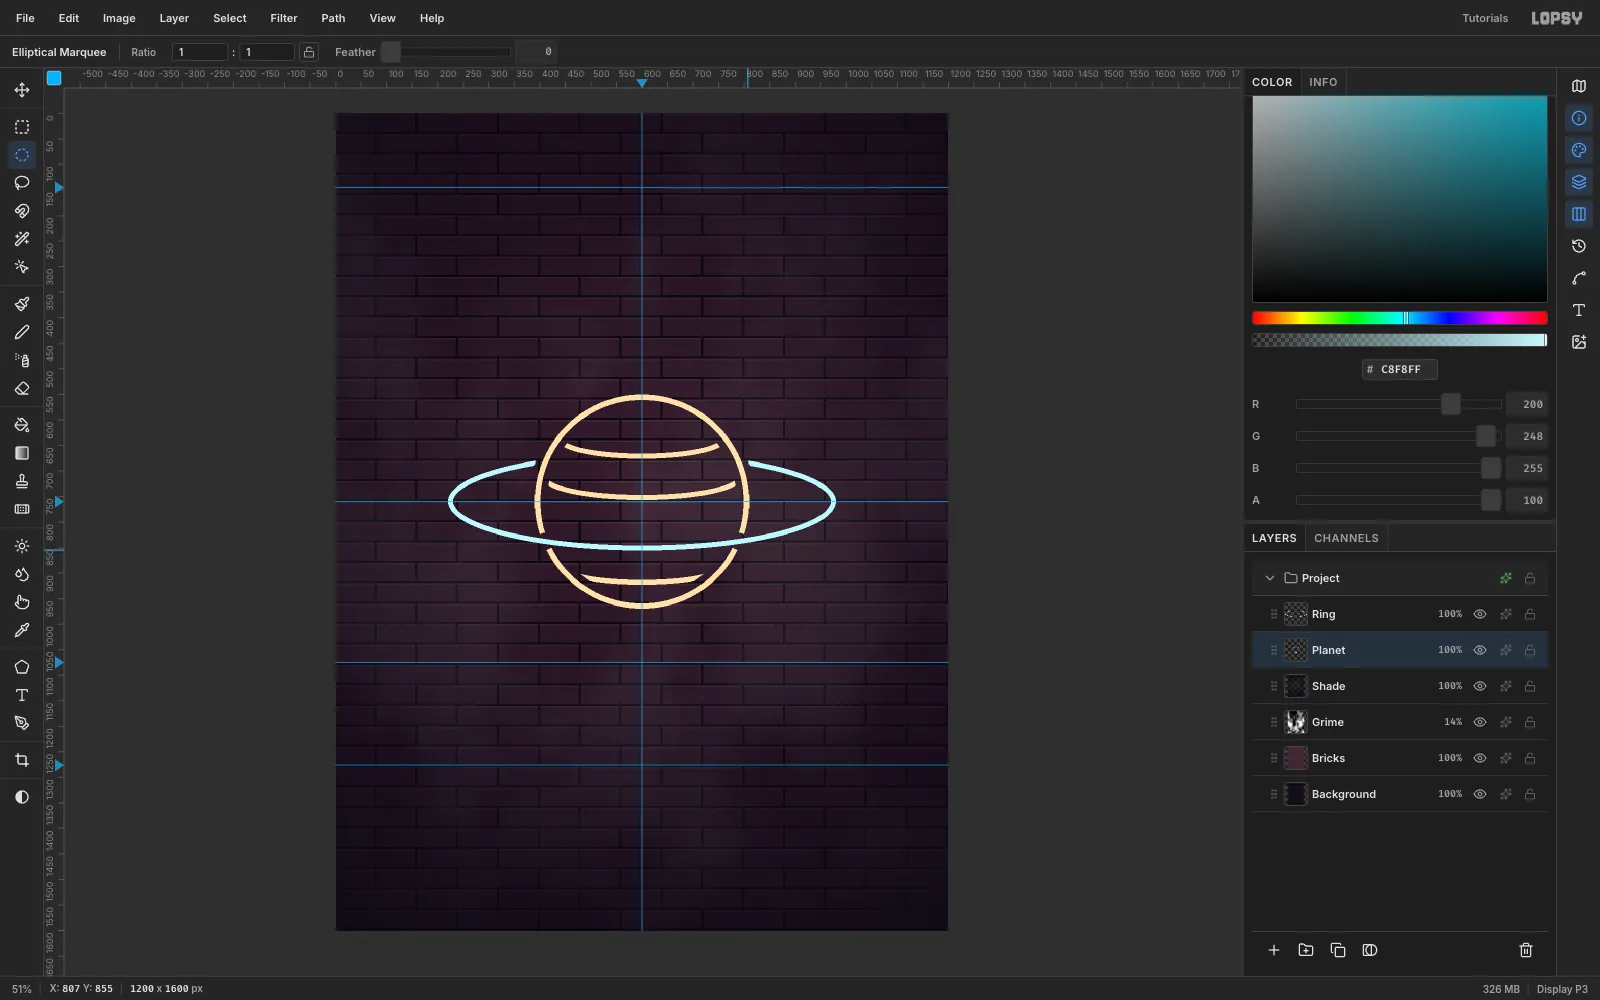
Neon tubes never overlap. A bender leaves a gap where one tube passes in front of another. On Planet, draw two small 34 px circles where the front of the ring crosses the outline, and press Delete in each.
-
Tilt the planet and ring together
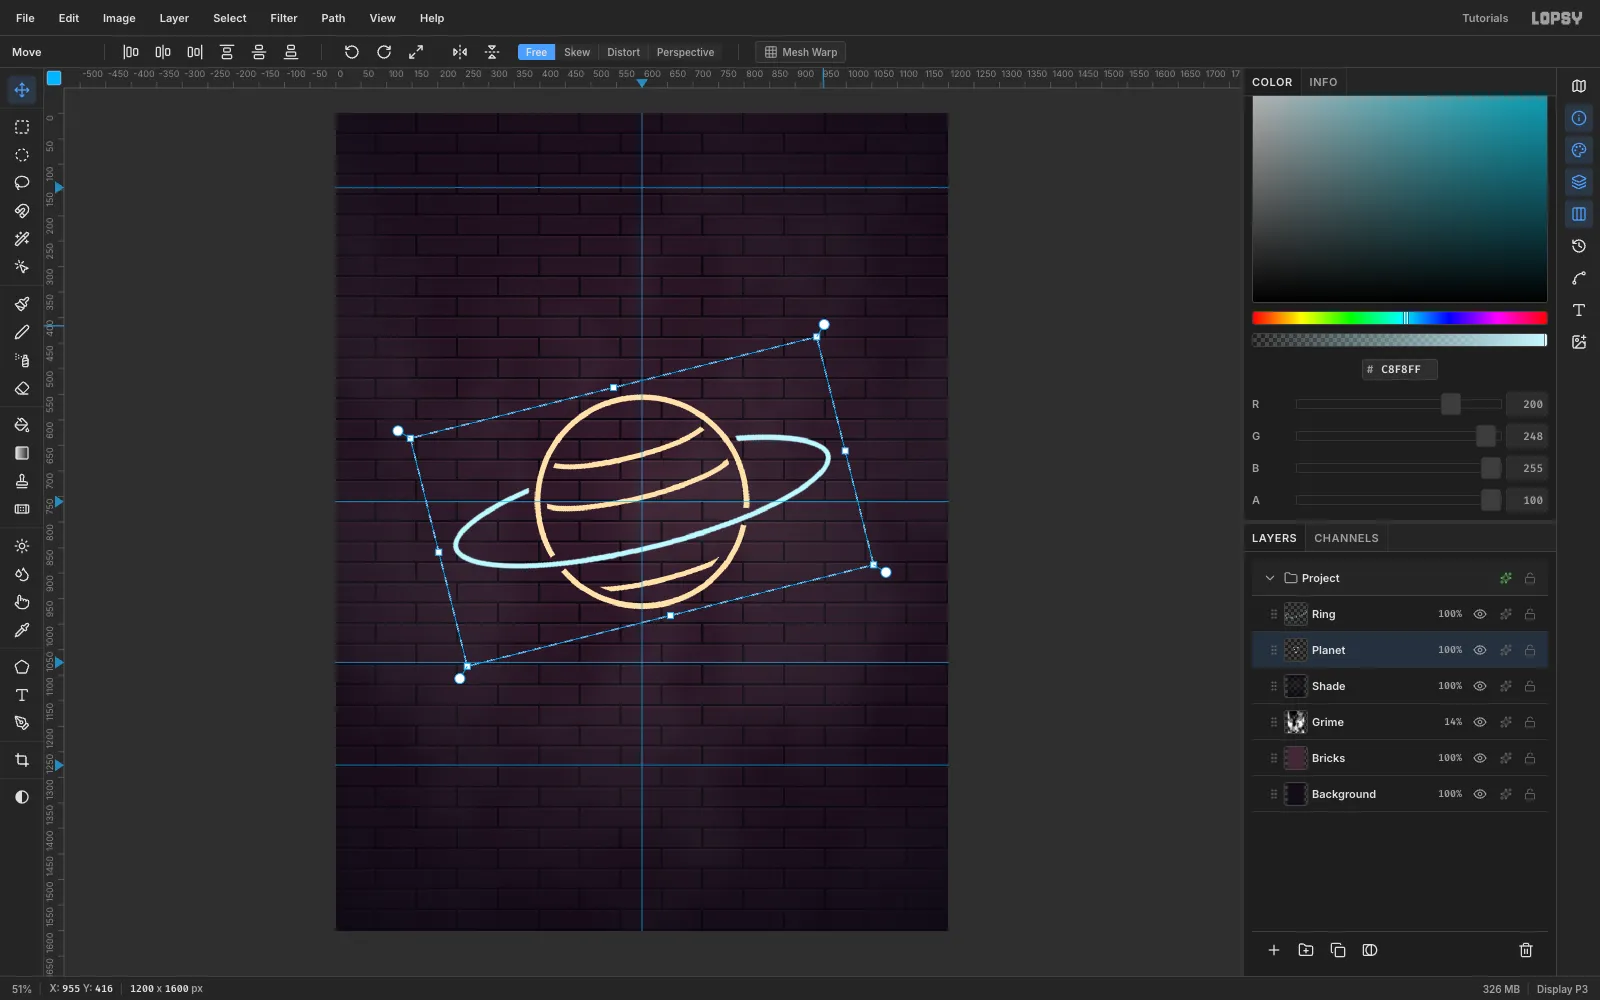
Draw the same marquee on each layer so they share a pivot: 190, 530, 820 × 460, centred on the planet. Select the Move tool, drag the rotate handle outside the top-right corner 14° counter-clockwise, and press Cmd+D to commit. Repeat on the other layer with the identical marquee. The gaps you cut line up perfectly again.
-
Smooth the tube edges
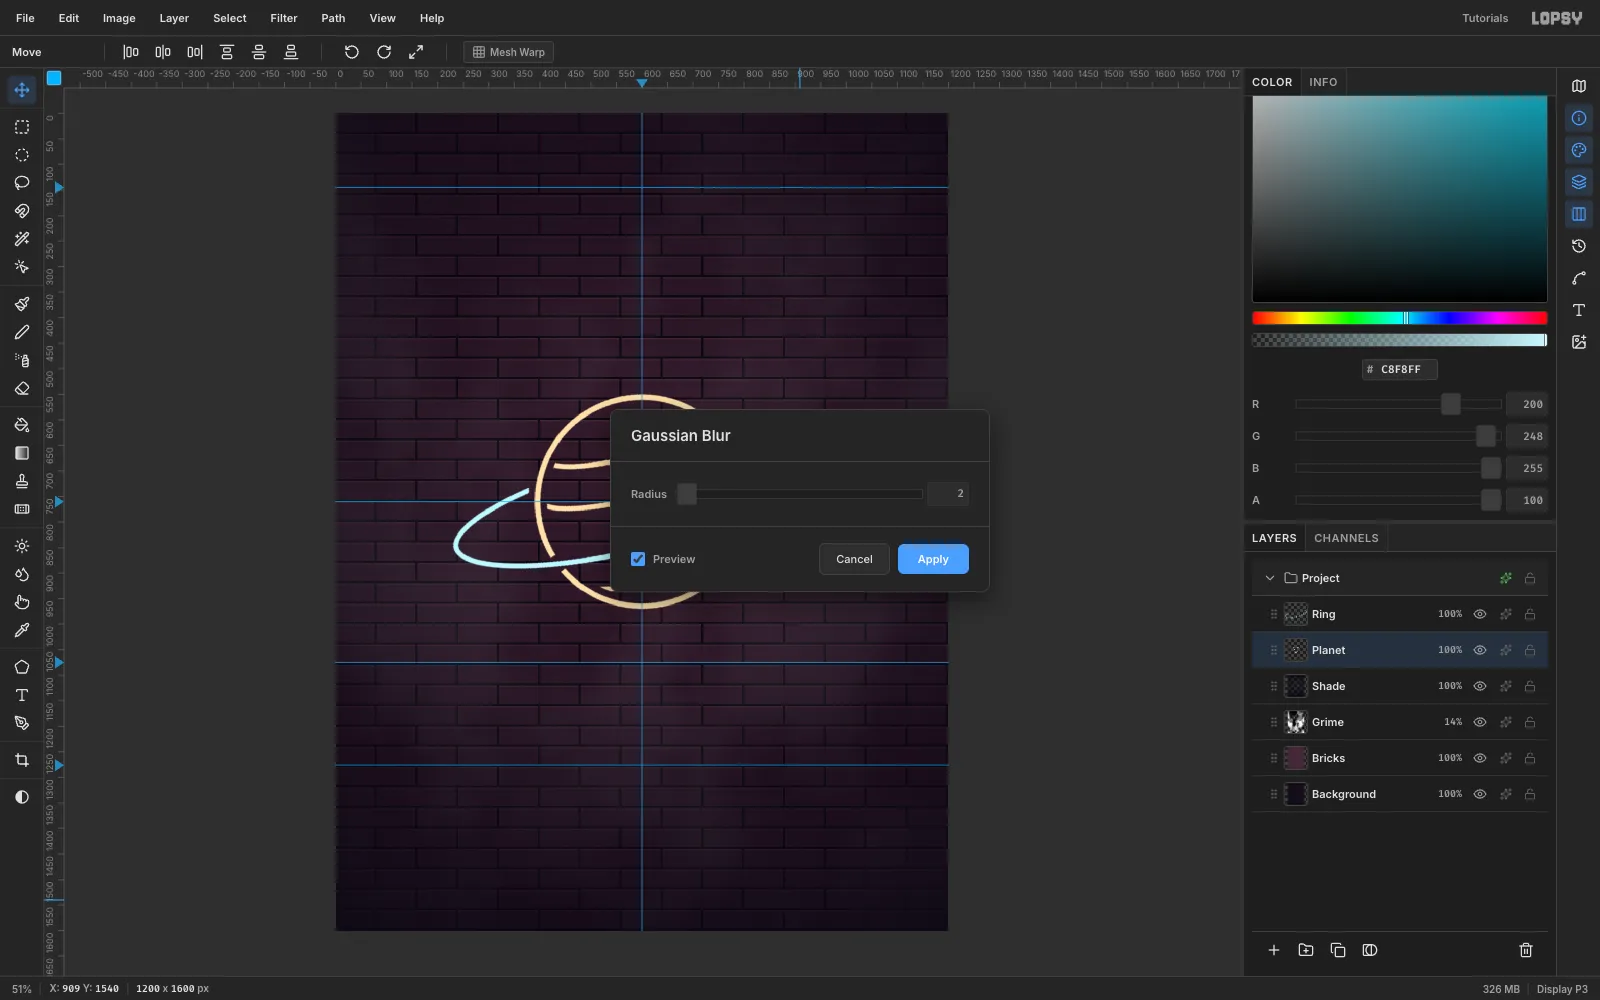
Marquee fills are hard-edged, so the tubes look slightly jagged. Run Filter → Gaussian Blur... at Radius 2 on each tube layer. This works as anti-aliasing without making the tube look blurry.
-
Light the tubes
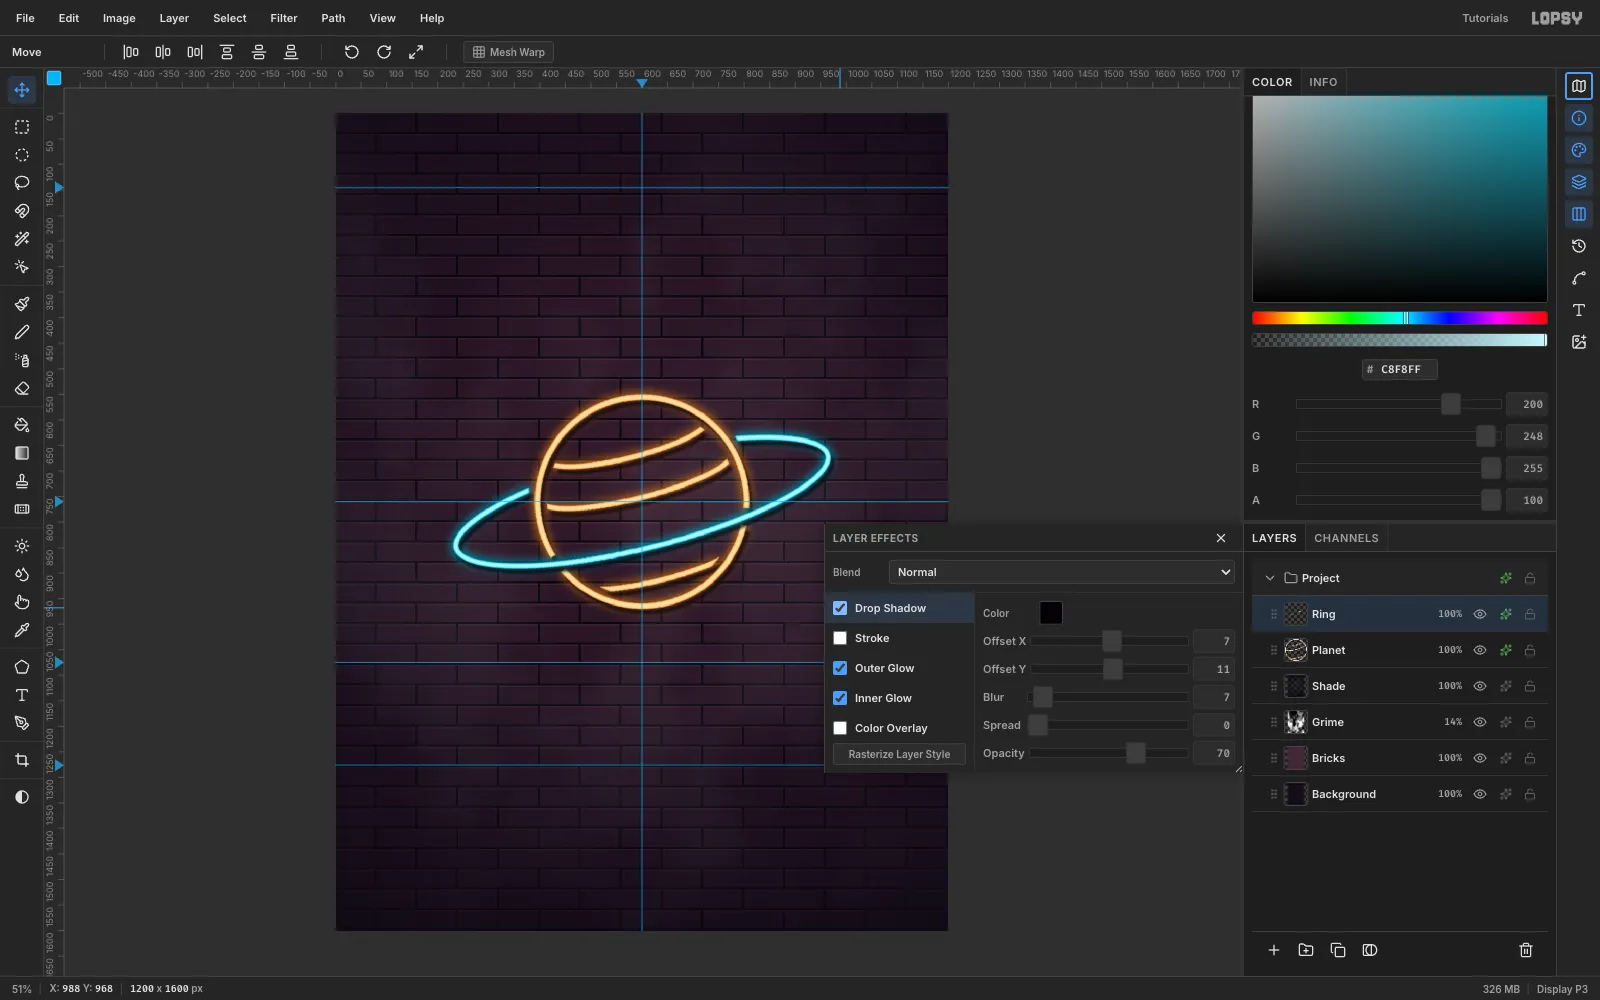
Open the layer effects (the ✦ button on the layer row) and enable three effects:
- Inner Glow: the tube colour (
#FF9A1Ffor the planet,#16D9FFfor the ring), Size 5, Spread 30, Opacity 100. This colours the edges and leaves the pale core looking white-hot. - Outer Glow: the same colour, Size 26, Spread 18, Opacity 85.
- Drop Shadow: near-black
#050208, Offset 7 / 11, Blur 7, Opacity 70. The tube now seems to stand off the wall.
- Inner Glow: the tube colour (
-
See the planet light up
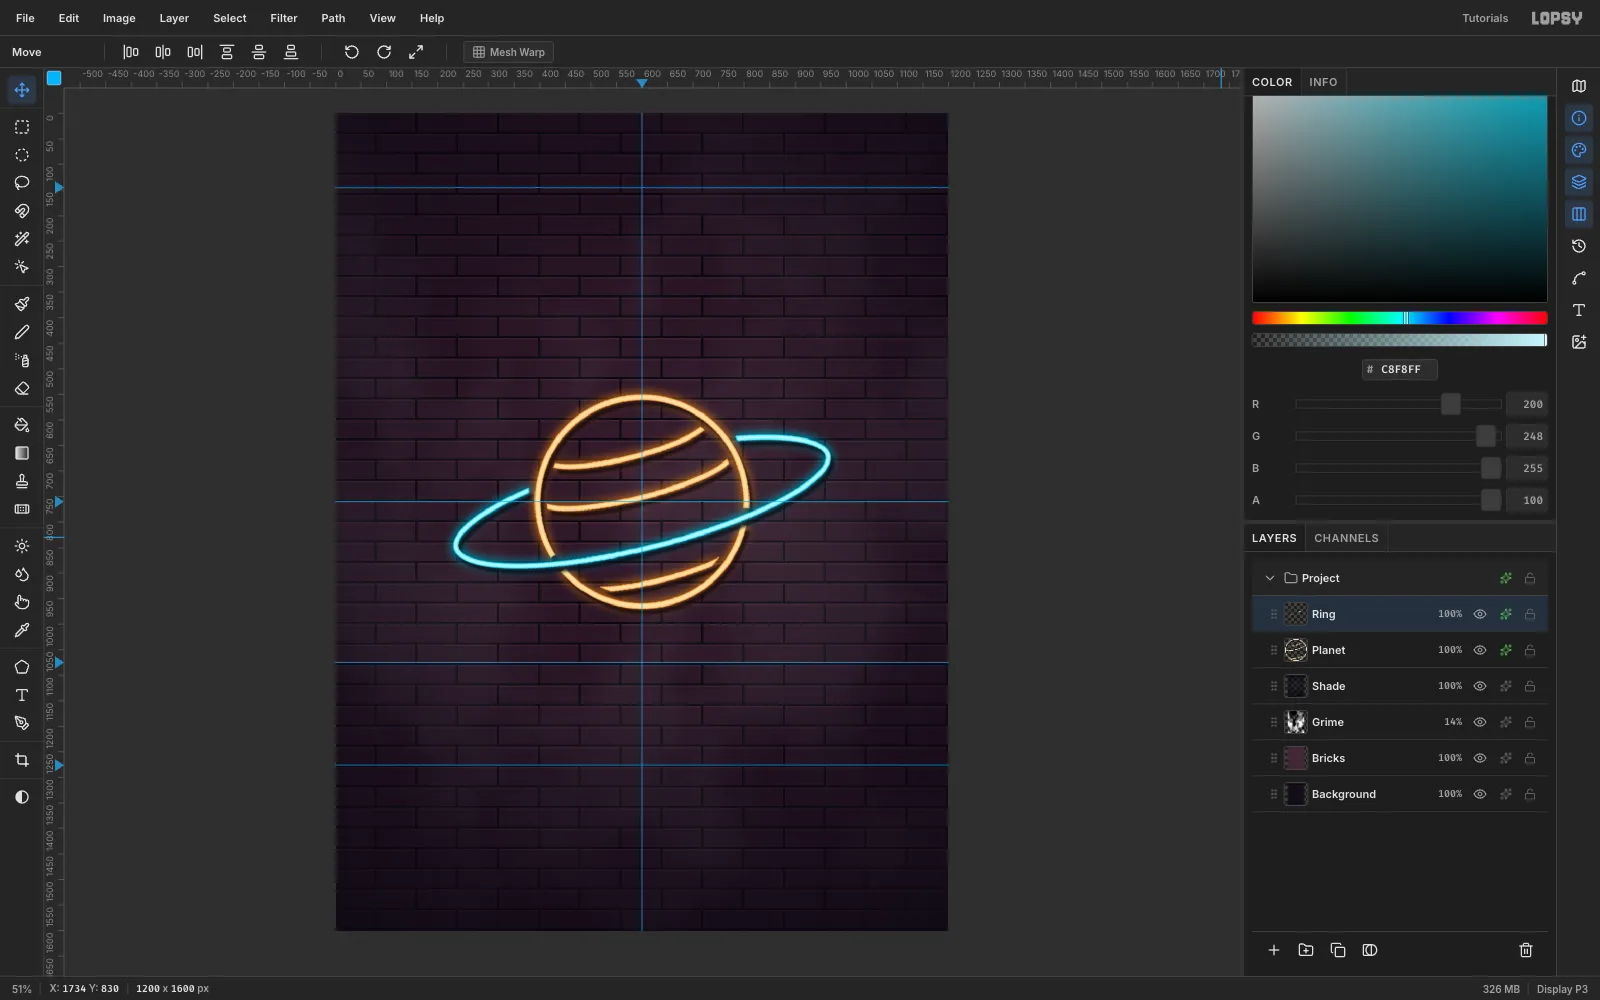
That's the whole neon recipe: a pale core, a coloured edge, a halo and a shadow. Everything else in the flyer reuses it.
-
Set the script headline
Click a raster layer such as Ring first, so the text settings don't restyle another text layer. Select the Text tool and choose Neonderthaw (a Google font drawn as single tube strokes). Set 314 px and the colour
#FFD3EE, then click in the empty space at the top and type Saturn.Give it the same three effects in hot pink
#FF2D95: Inner Glow Size 4, Outer Glow Size 30, Spread 20.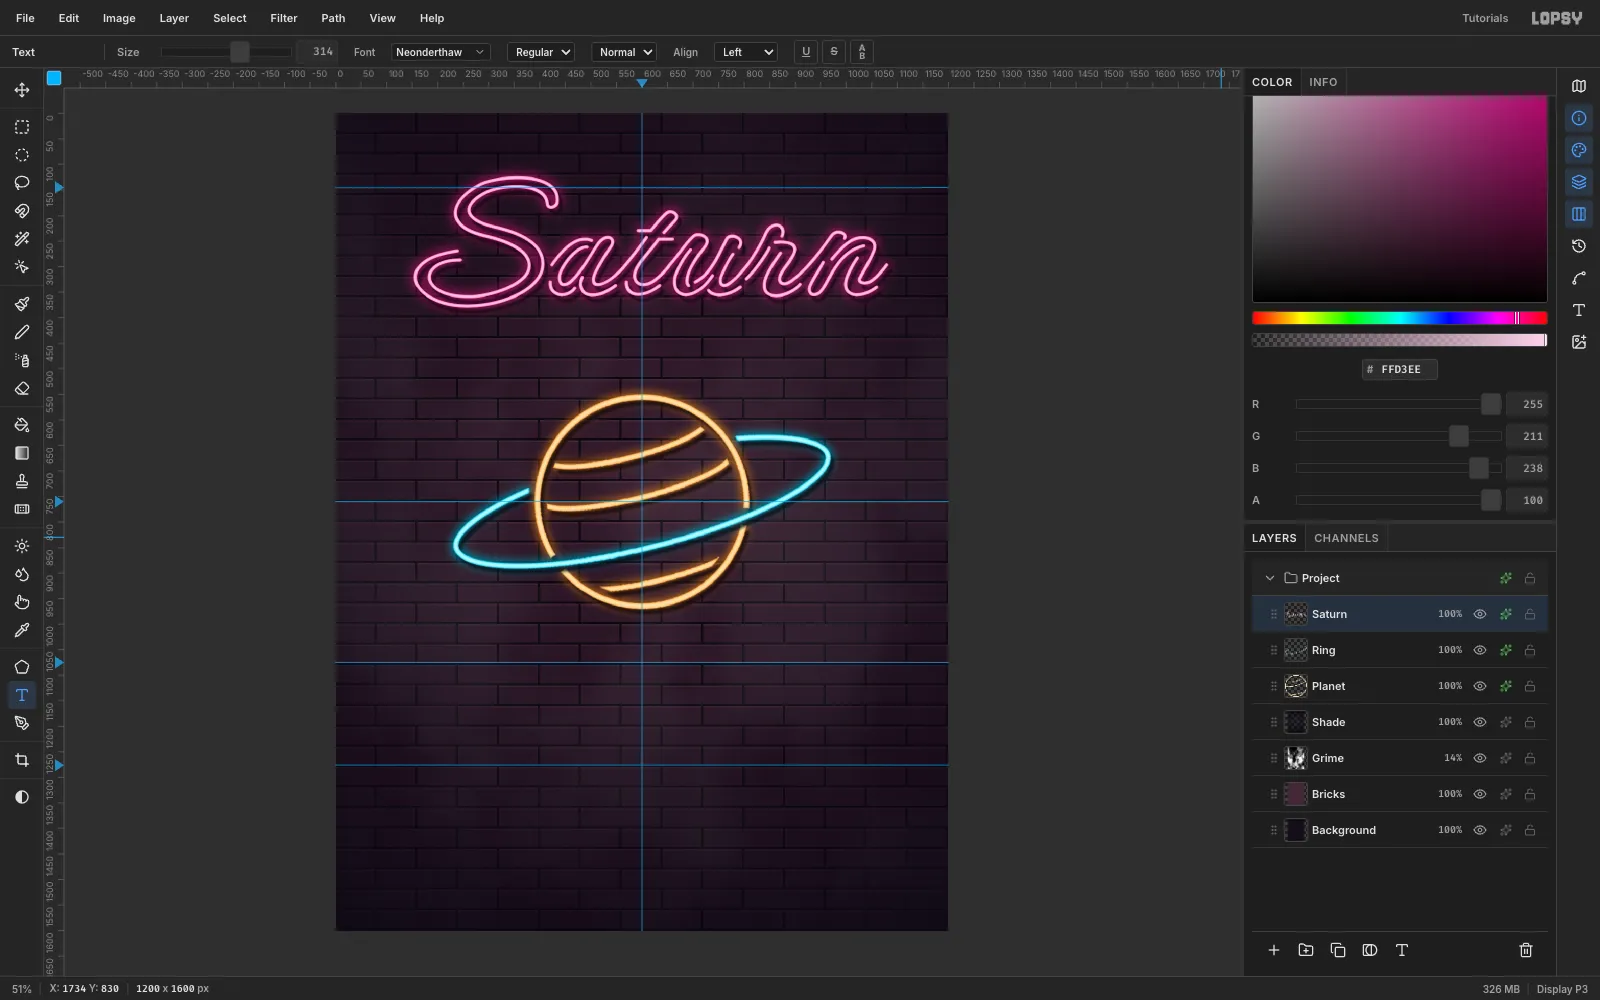
-
Tilt the script
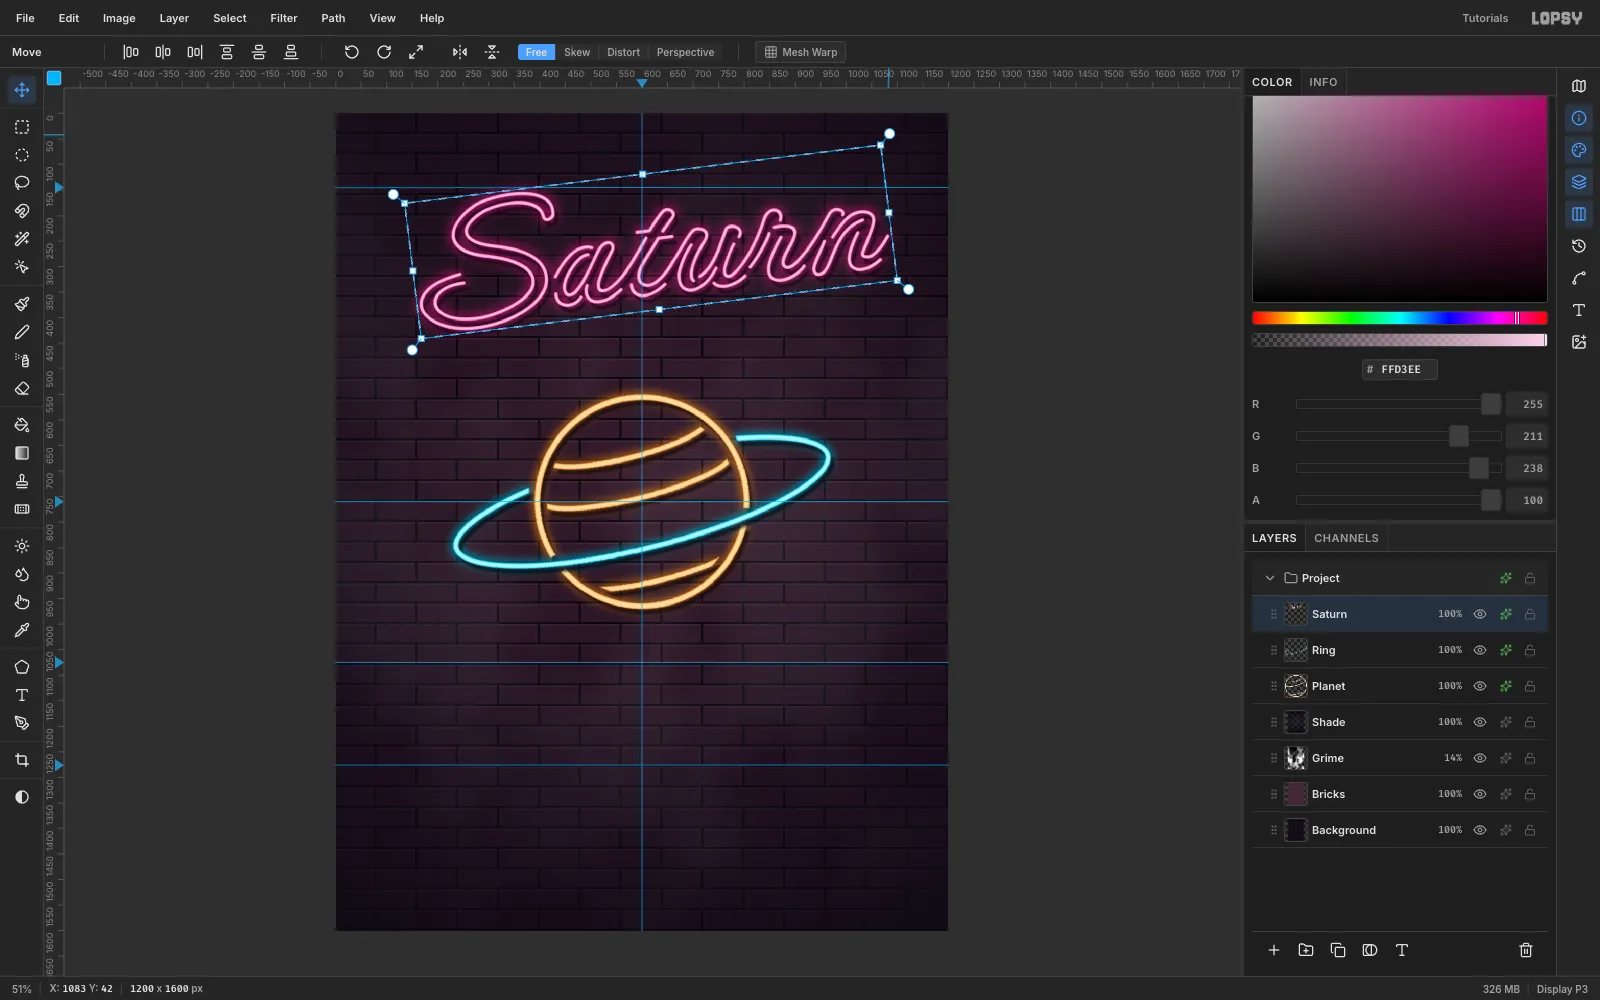
Script neon looks livelier with a slight upward lean. Marquee around the word, switch to Move, and drag the rotate handle 7° counter-clockwise. Press Cmd+D, then use the arrow keys to nudge it until the pink core is centred on the 600 guide with its top on the 145 guide. The text stays editable.
-
Track out SKATE NIGHT
Click a raster layer again. Type SKATE NIGHT in Tilt Neon at 150 px in
#D8FBFF, clicking just above the 1075 guide. In the Text panel, set Letter spacing to 10 px so the capitals don't touch.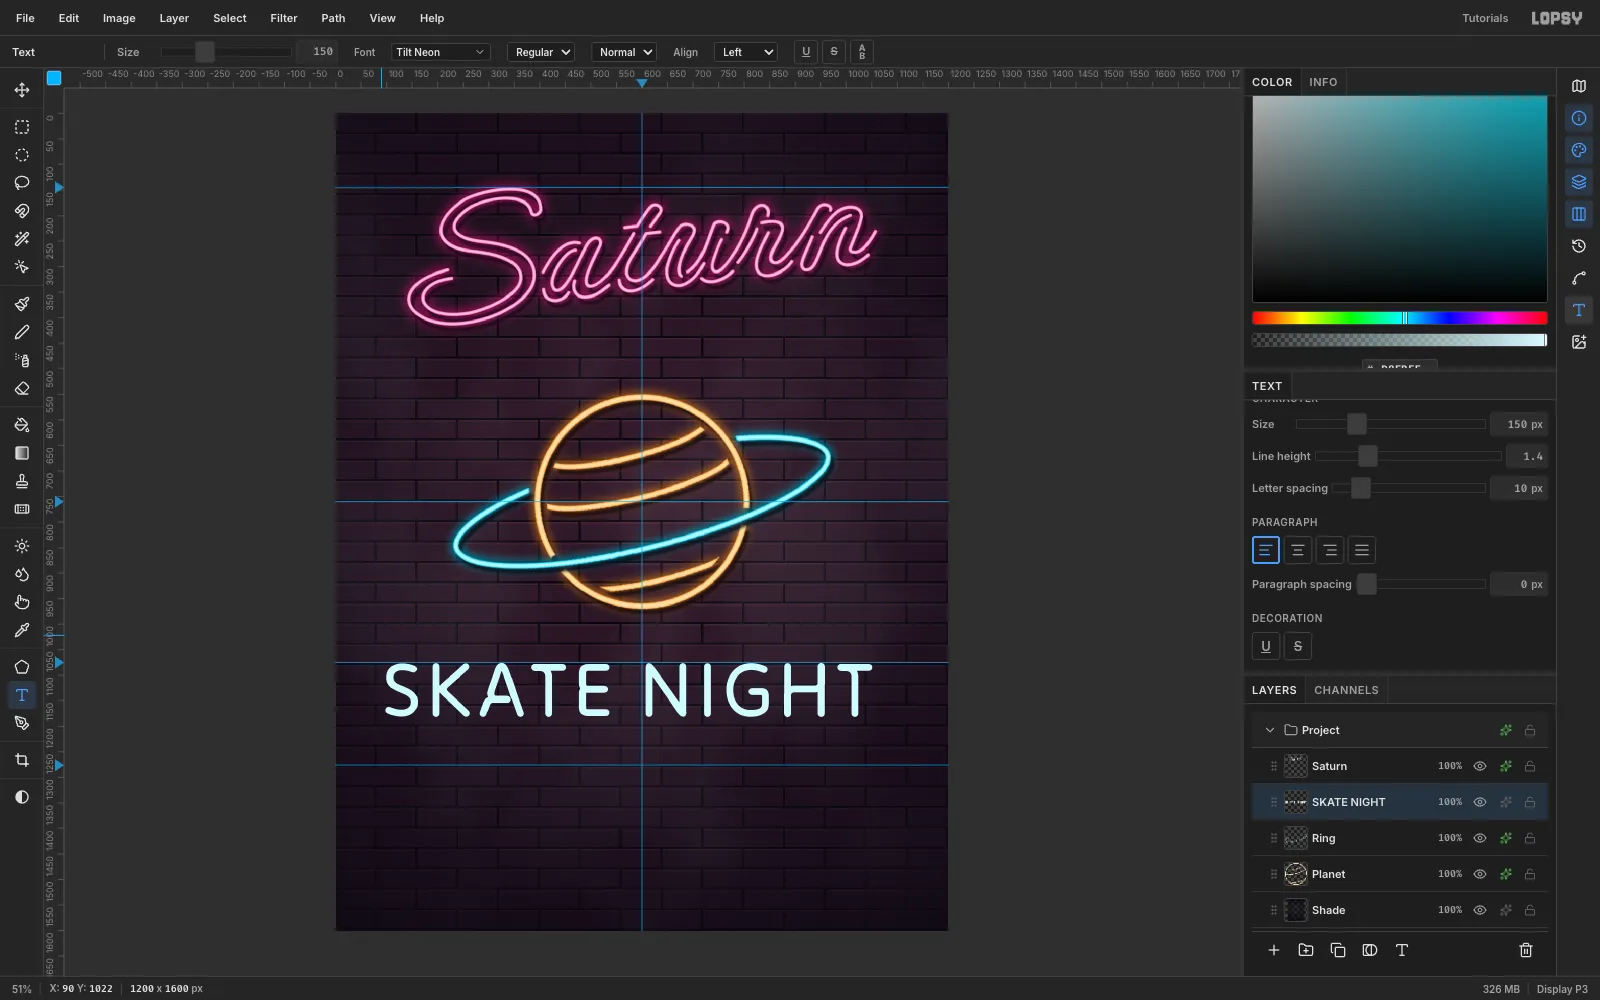
-
Centre it and make it glow
With the Move tool, click Align center horizontally in the options bar. Add the tube effects in cyan
#12D6FF(Inner Glow 6, Outer Glow 30 / Spread 20).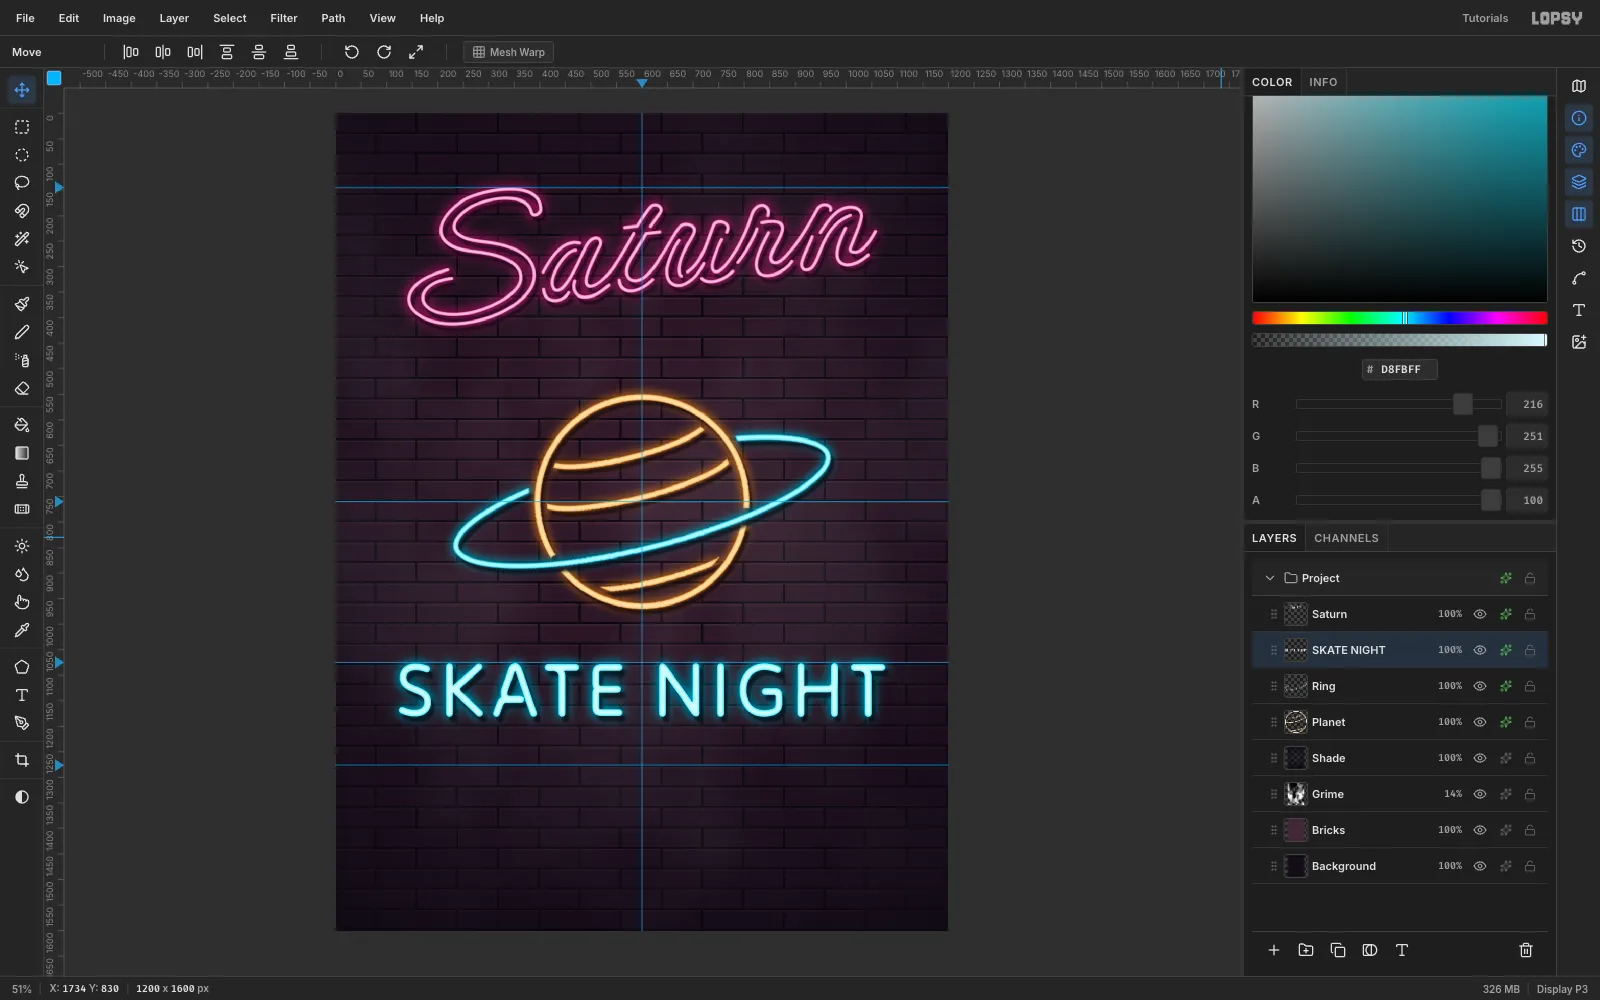
-
Draw the roller skate
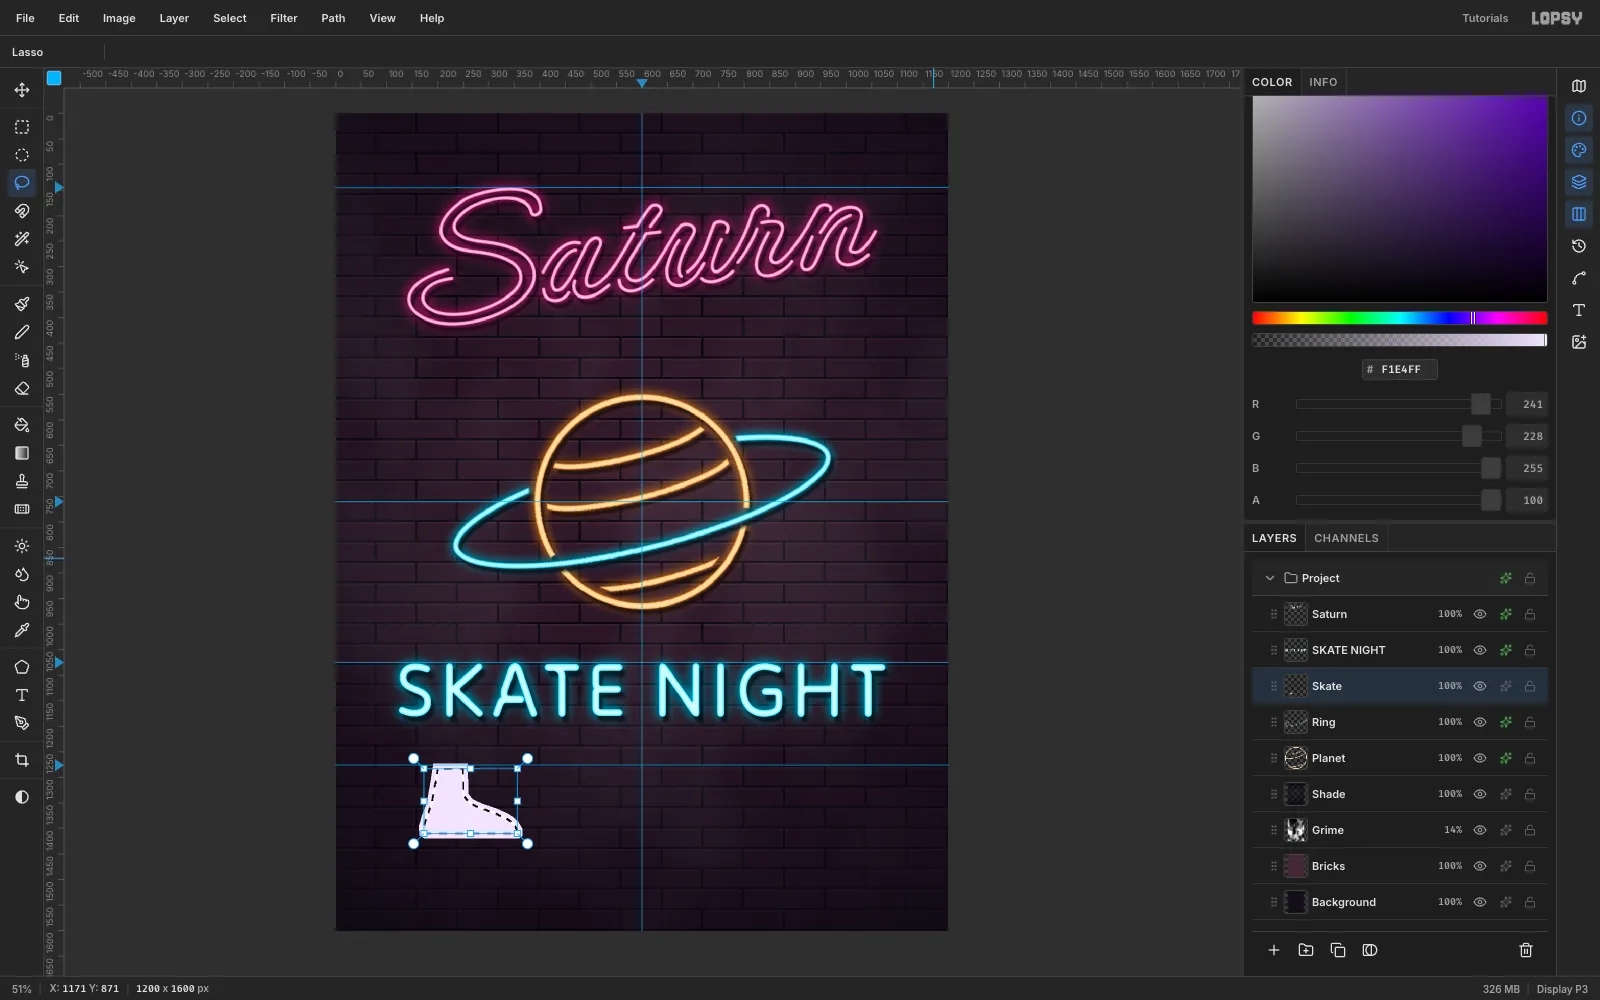
Add a layer called Skate. Trace the boot with the Lasso: a tall cuff, a curved instep down to a rounded toe, and a flat sole. Fill it with lilac
#F1E4FF, then Shrink 9 and press Delete to leave the outline.Add two wheel rings (48 px circles, Shrink 9). Fill short 8 px stubs joining each wheel to the sole. Fill capsules for two laces and a side stripe: a rectangle with a circle at each end.
-
Light the skate
Run Gaussian Blur 2 on the skate, then add the tube effects in violet
#A64DFF. Rotate it 12° counter-clockwise so the toe kicks up.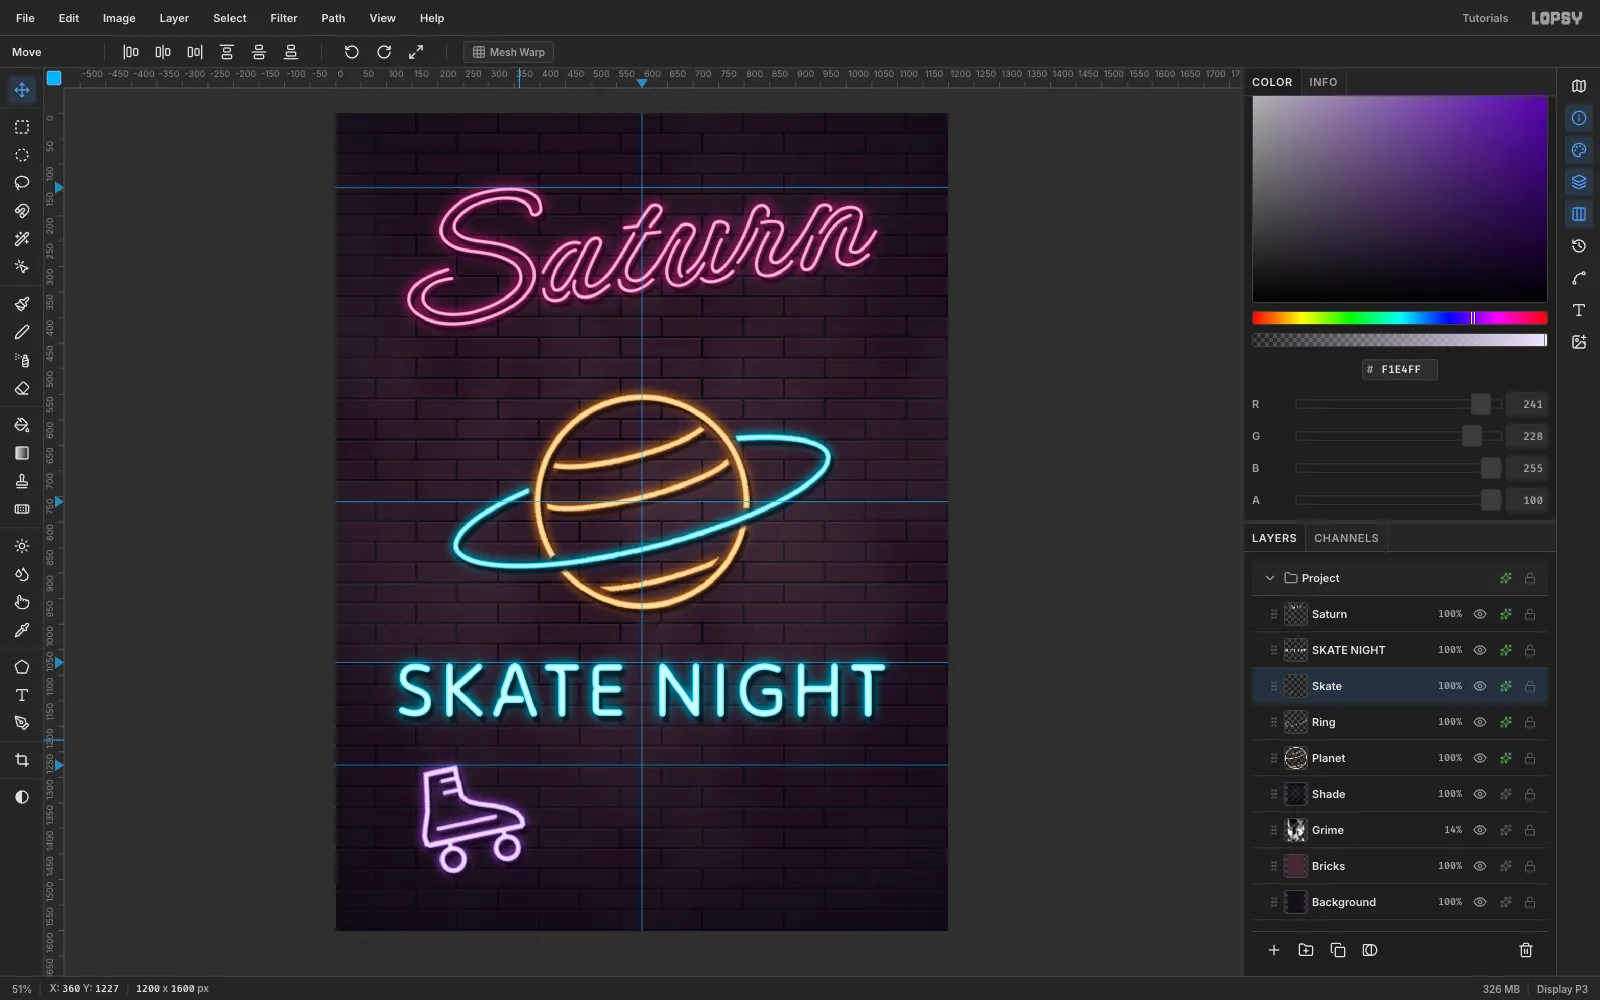
-
Add the event details
Create the lines bottom-up in empty canvas, so a new click doesn't land inside an existing text box:
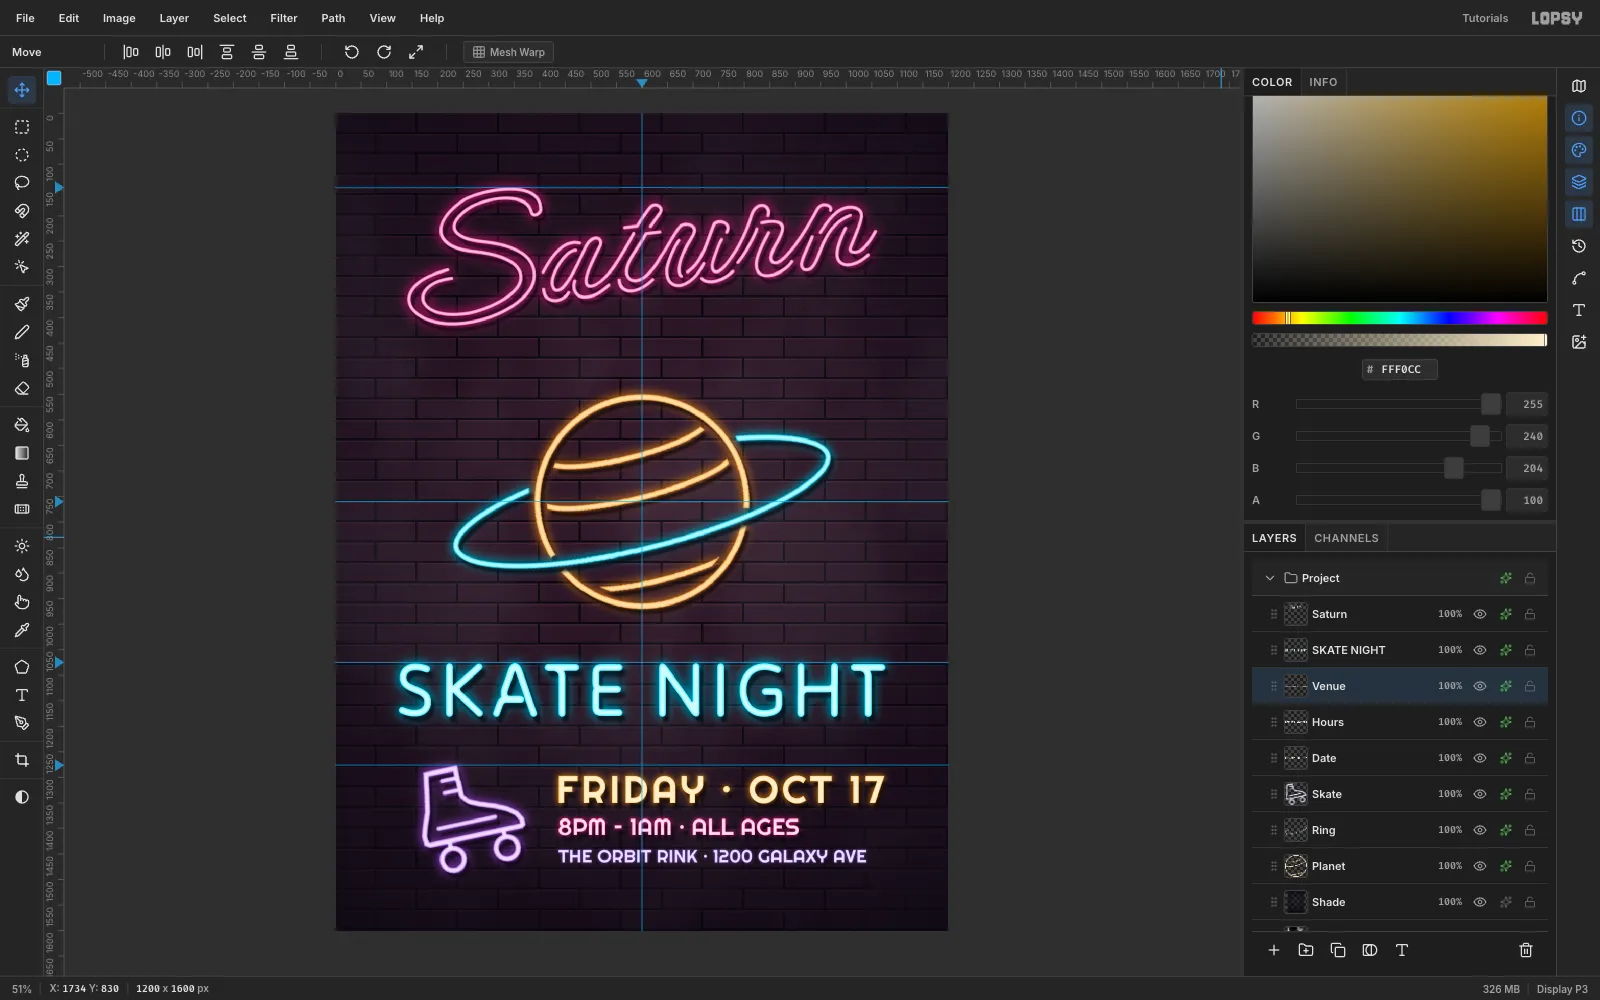
THE ORBIT RINK · 1200 GALAXY AVE: Righteous 36 px,#EDE3FF8PM – 1AM · ALL AGES: Righteous 46 px,#FFE0F2FRIDAY · OCT 17: Righteous 76 px,#FFF0CC, Letter spacing 6
Line up the left edges, and nudge until the gaps between the lines are equal (about 28 px). The block should sit centred on the skate icon. Give each line a small tube in its colour: Inner Glow 2–3, Outer Glow 10–18.
-
Group the information block
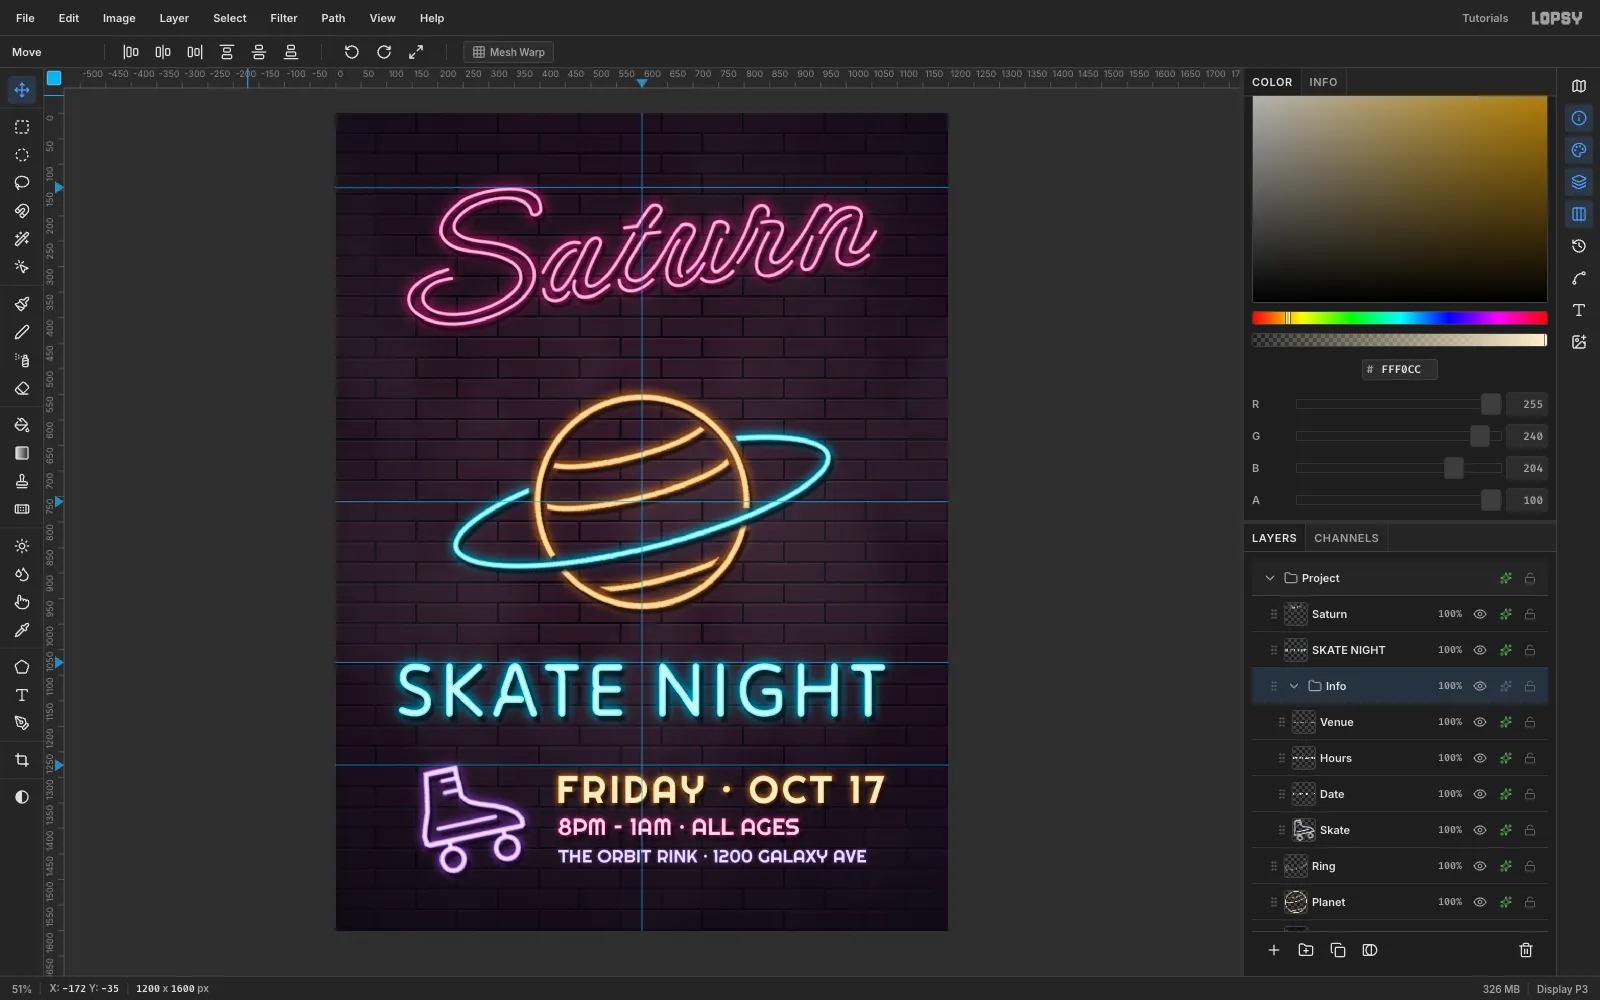
Click the top text layer, then Shift-click Skate to select all four. Choose Layer → Group Layers and rename the group Info.
-
Centre the group
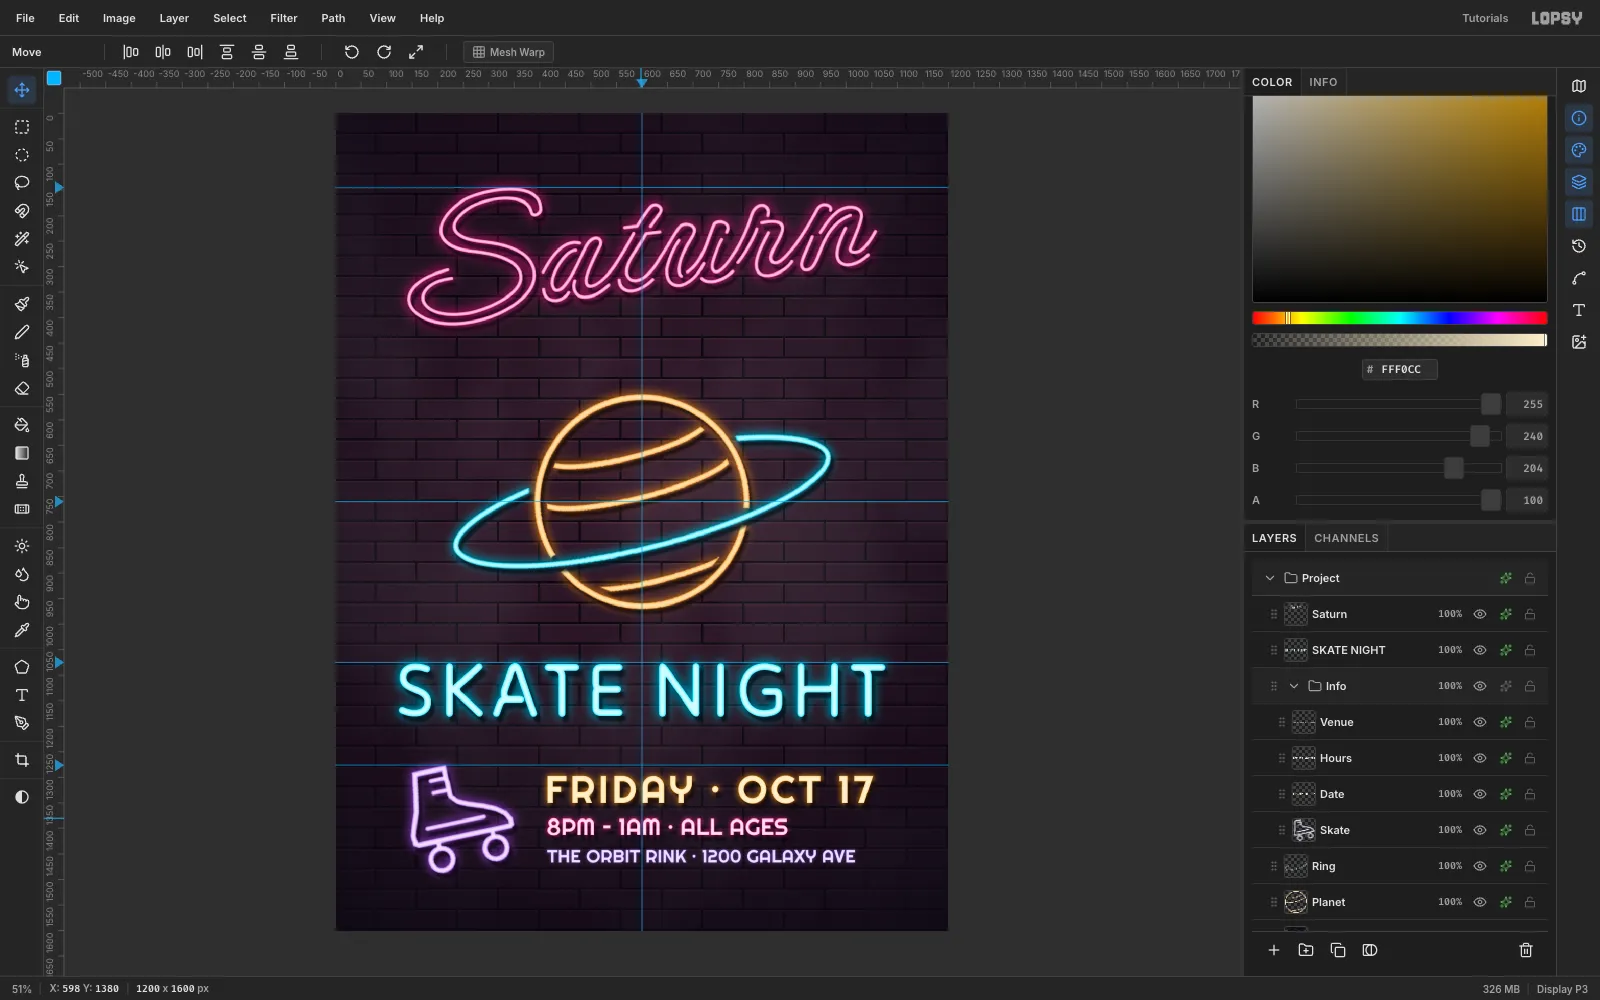
With Info active, drag with the Move tool to move the whole group at once, until the block from the skate to the end of the date is centred on the 600 guide.
-
Scatter a few stars
On a layer called Stars above the ring, lasso five four-pointed sparkles in
#FFF7D1. Make one large (about 100 px across) and the rest small. Place them unevenly so no two mirror each other. Blur them by 2 and add an Outer Glow in#FFC93C.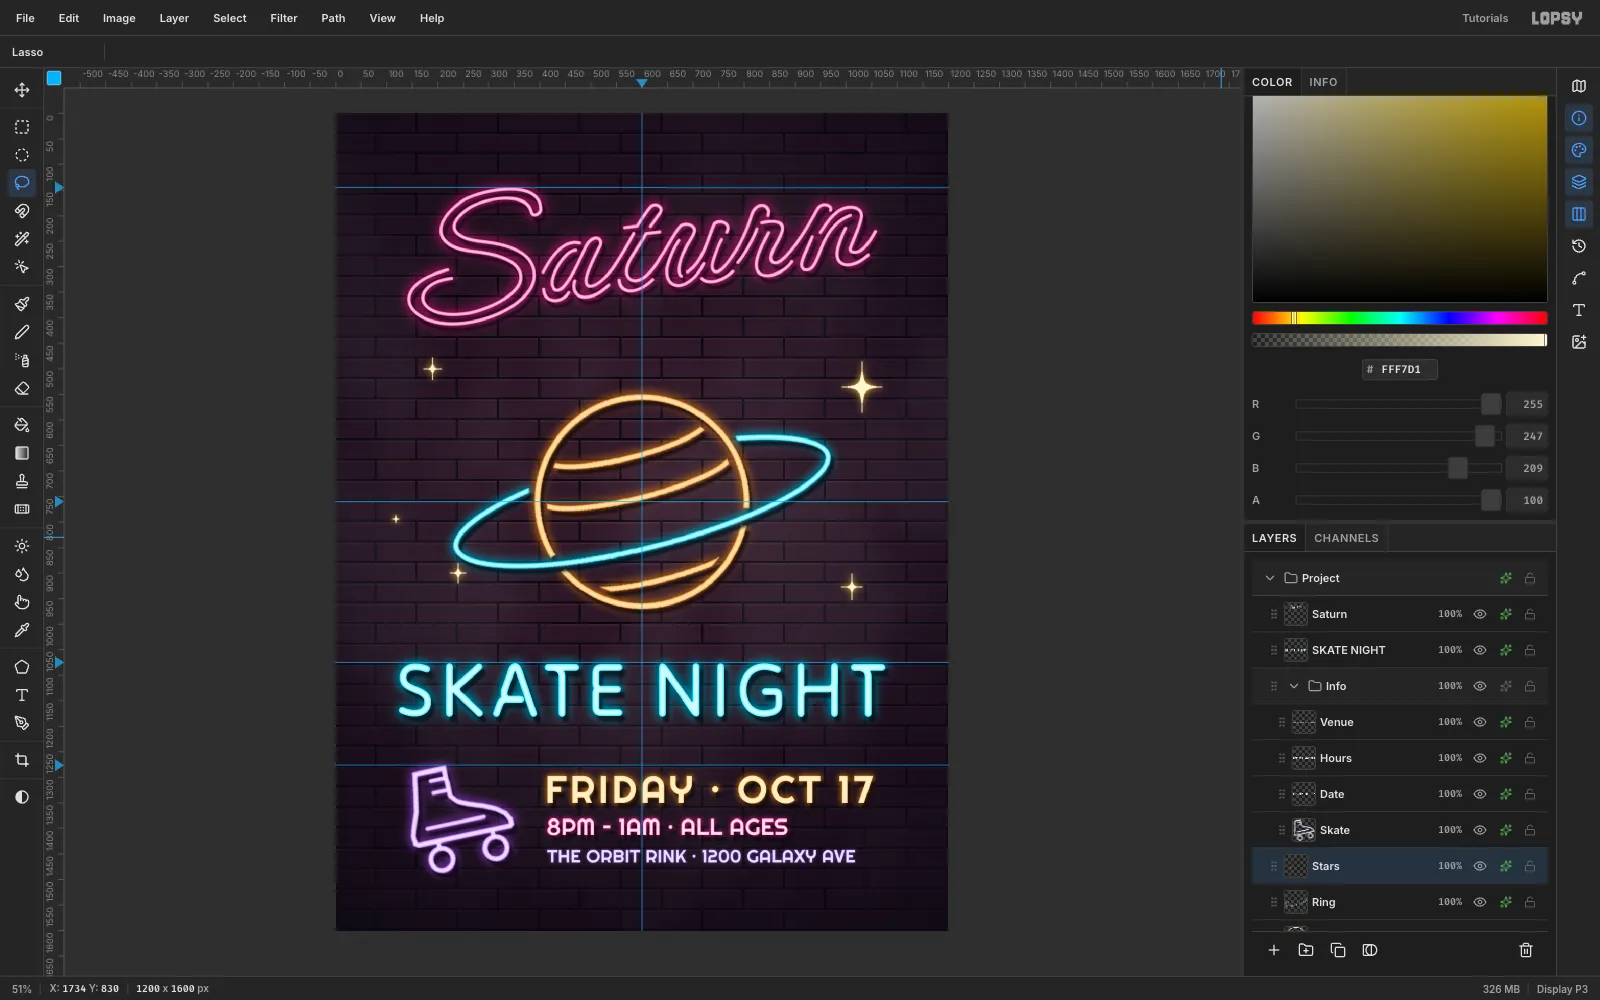
-
Paint pools of colored light
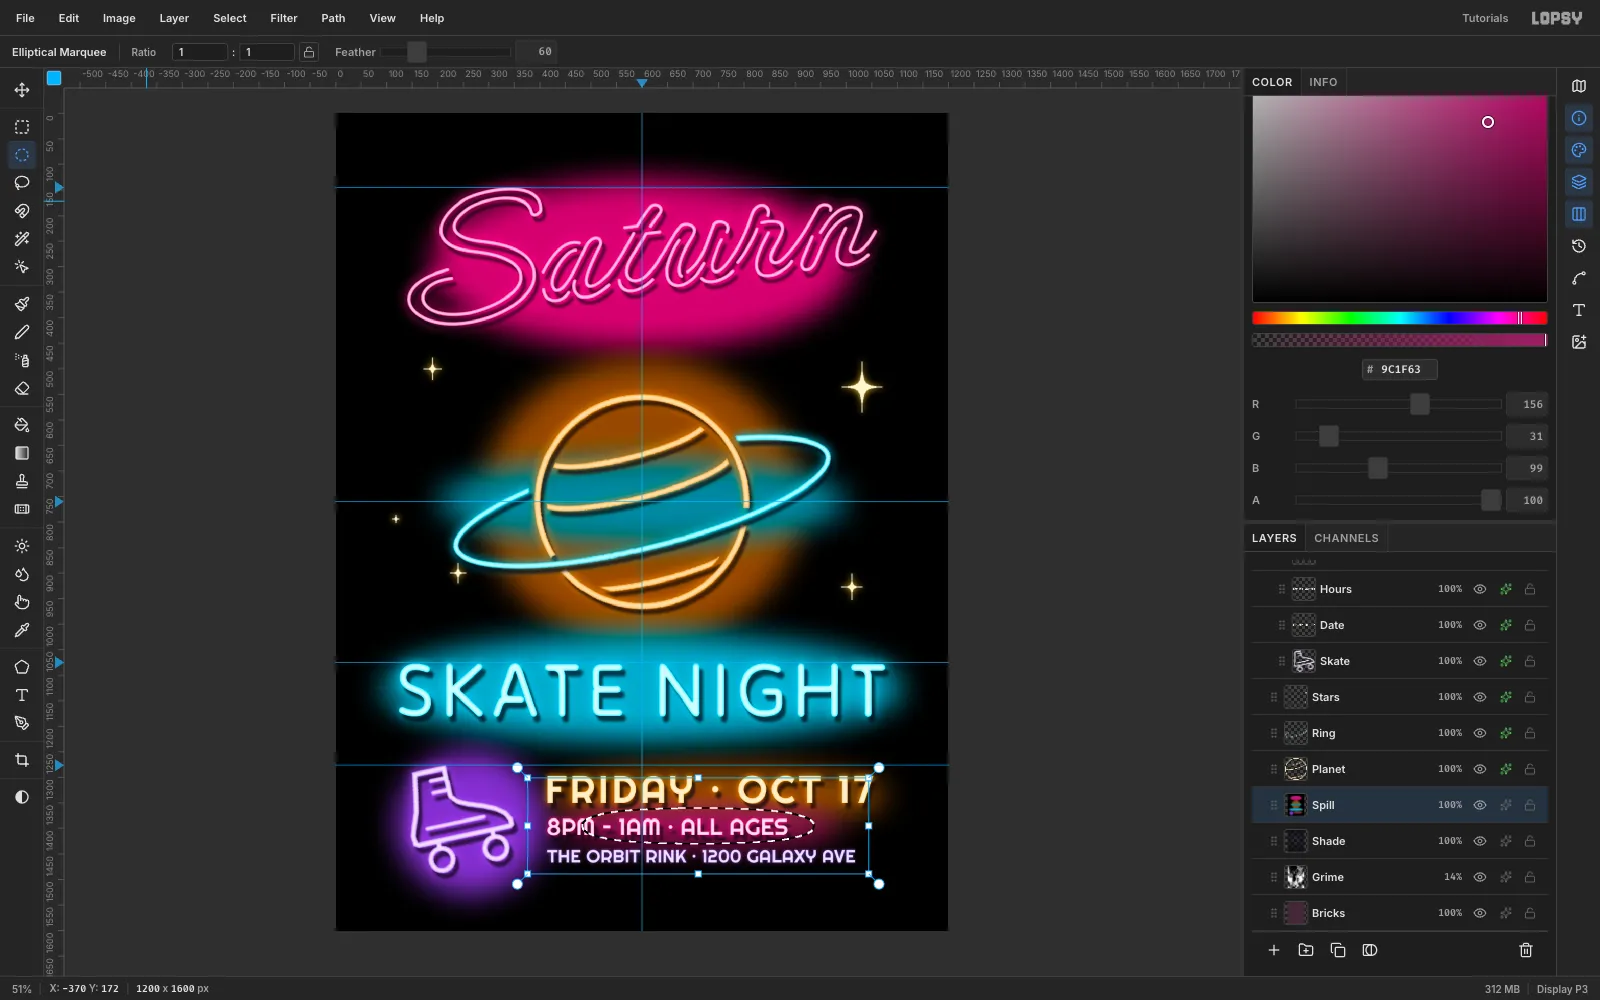
Neon tints the wall around it. Add a Spill layer above Shade and fill it completely with black, which is invisible in Screen mode. Set the Elliptical Marquee's Feather to 60. Fill ellipses behind each sign in a darker version of its colour:
- dark pink behind Saturn
- brown-amber in a large pool around the planet
- teal along the ring and under SKATE NIGHT
- violet at the skate
- amber and pink behind the text
Reset Feather to 0 afterwards.
-
Soften the light into the wall
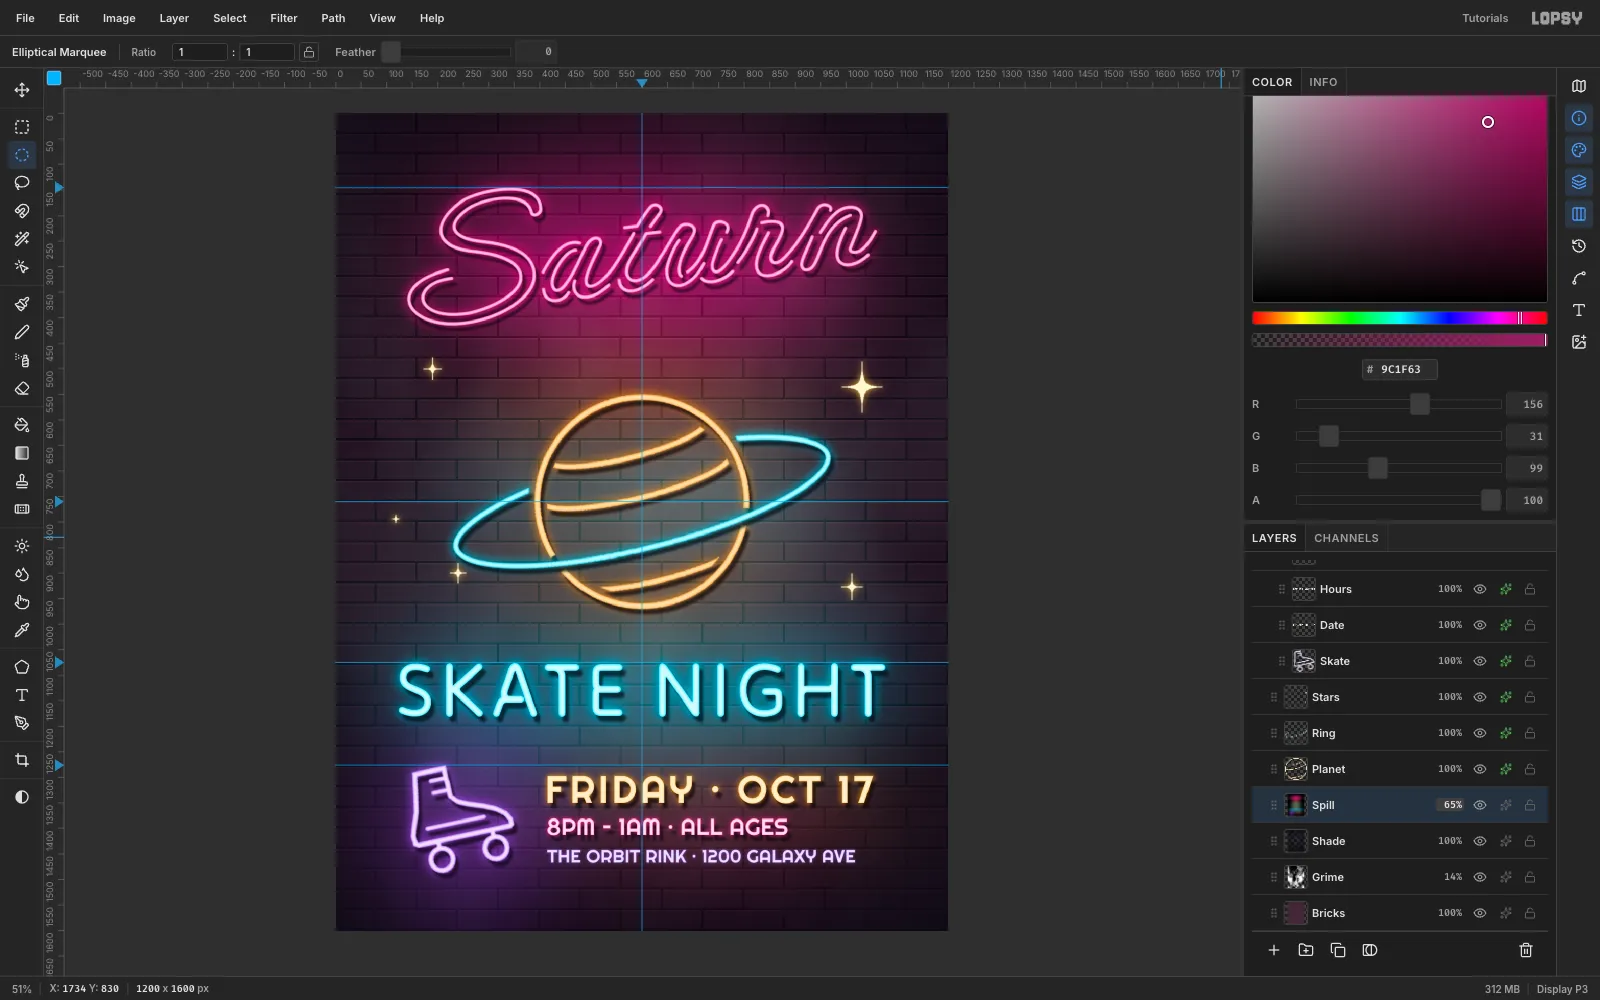
Run Gaussian Blur at 90 on Spill, set its blend mode to Screen and its opacity to 65%. The black base means the blur has nothing transparent to darken, and Screen ignores the black completely.
-
Add a wide halo
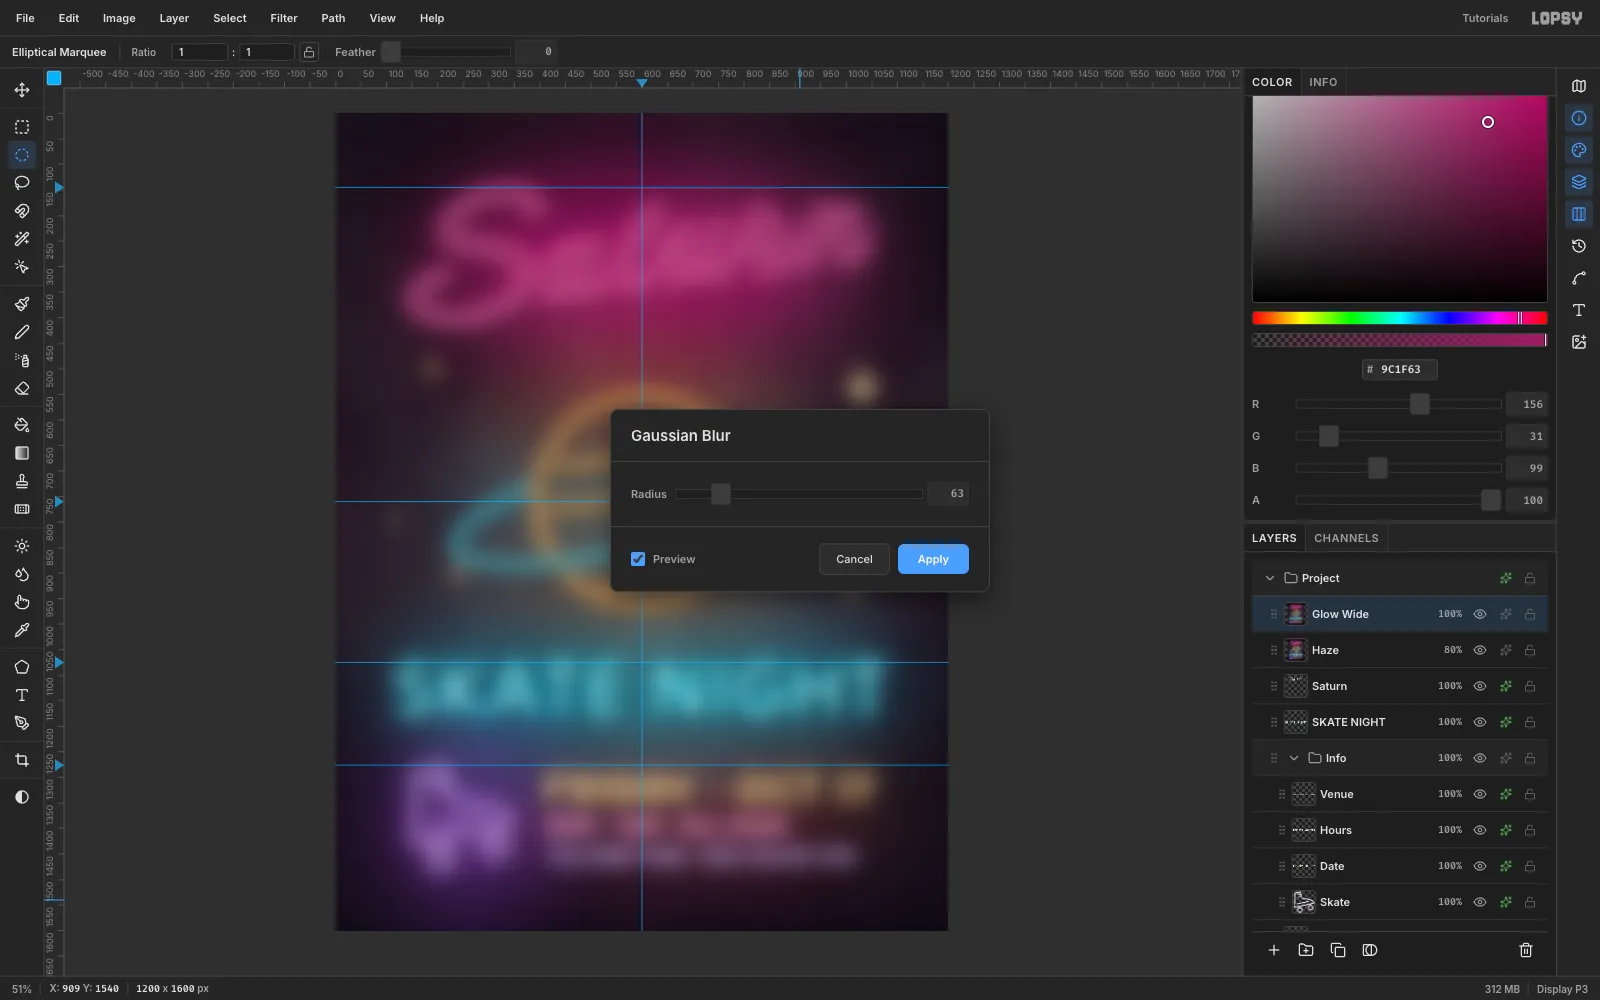
Click the top layer and choose Edit → Copy Merged. Wait a couple of seconds, then press Cmd+V.
- Name the paste Haze. Blur it at 26, set it to Lighten at 80%.
- Paste again and name it Glow Wide. Blur it at 63, set it to Screen at 18%.
This adds the soft bloom a camera sees around bright neon.
-
Finish and export
Hide the guides if you like, then choose File → Quick Export PNG for the flyer and File → Save Project to keep an editable
.lopsycopy.To make another night, double-click the date or venue text and retype it. Then repeat the Copy Merged haze step so the glow matches the new words.