Make an Iridescent Damselfly Birthday Card from a Photo
Turn a damselfly photo into a moonlit, iridescent birthday card in Lopsy, with a gradient-map night grade, oil-slick colour, soap bubbles and foil script.
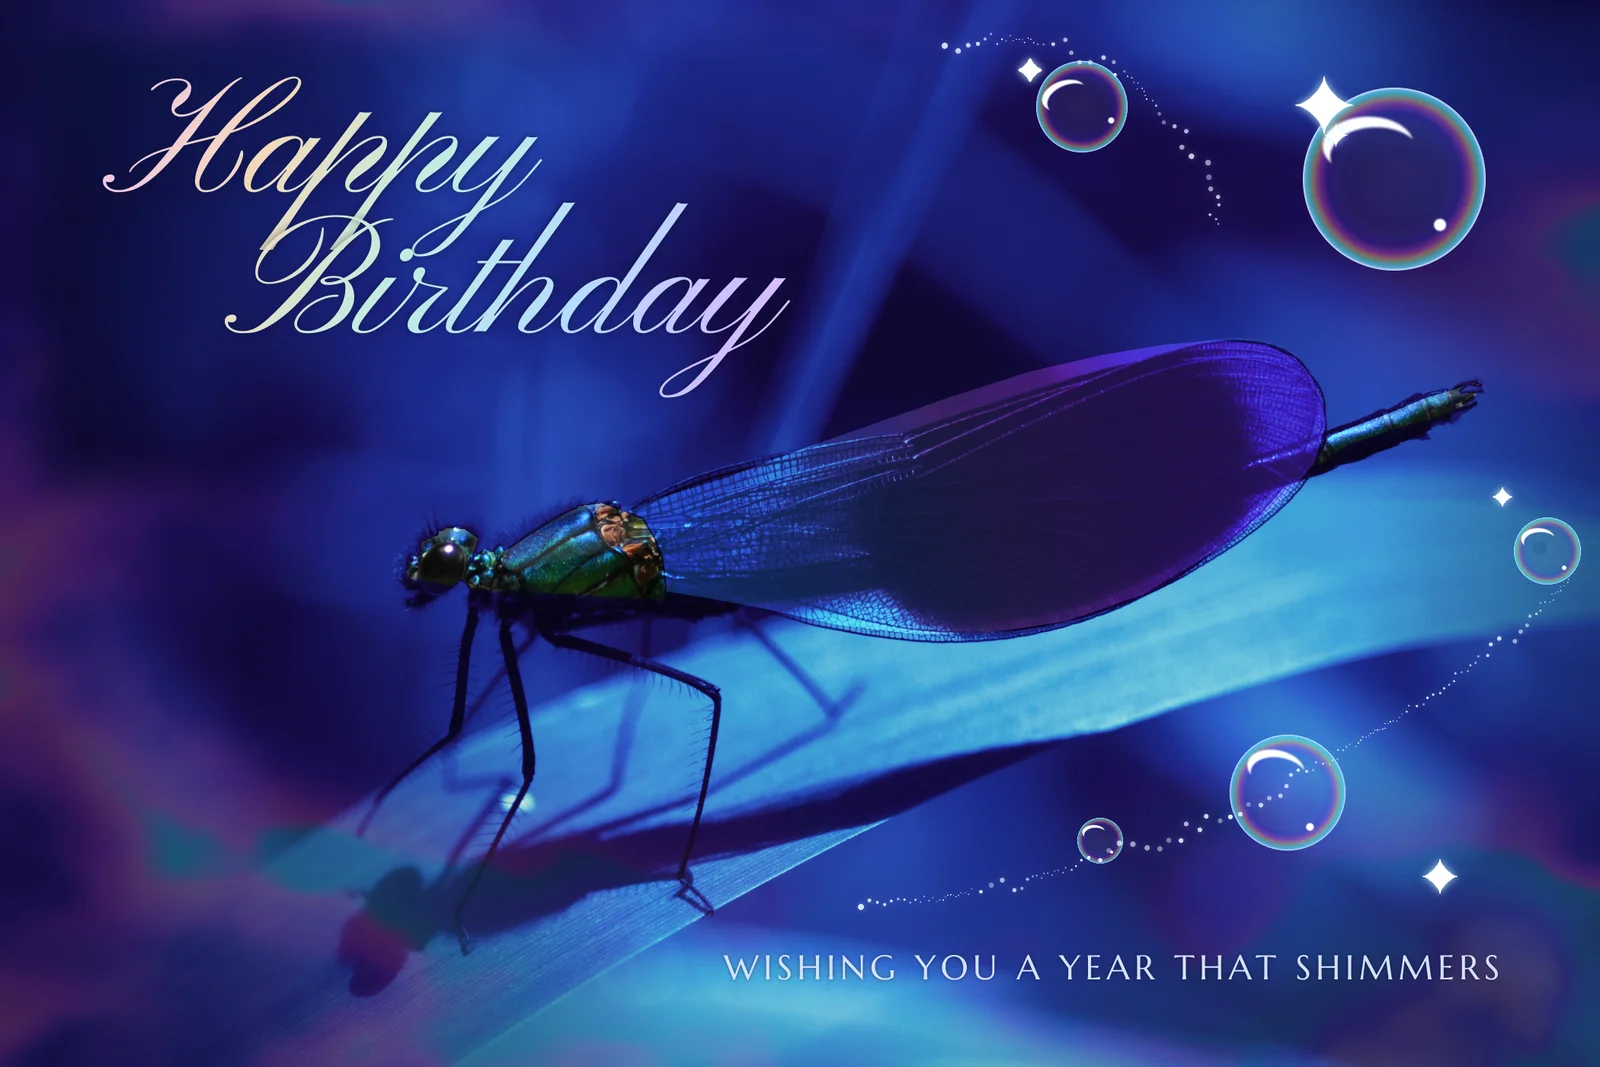
Iridescence is colour that changes as the light or angle changes. You see it on soap bubbles, oil on a wet road, beetle shells and the wings of the banded demoiselle, a damselfly whose whole body shines metallic blue-green.
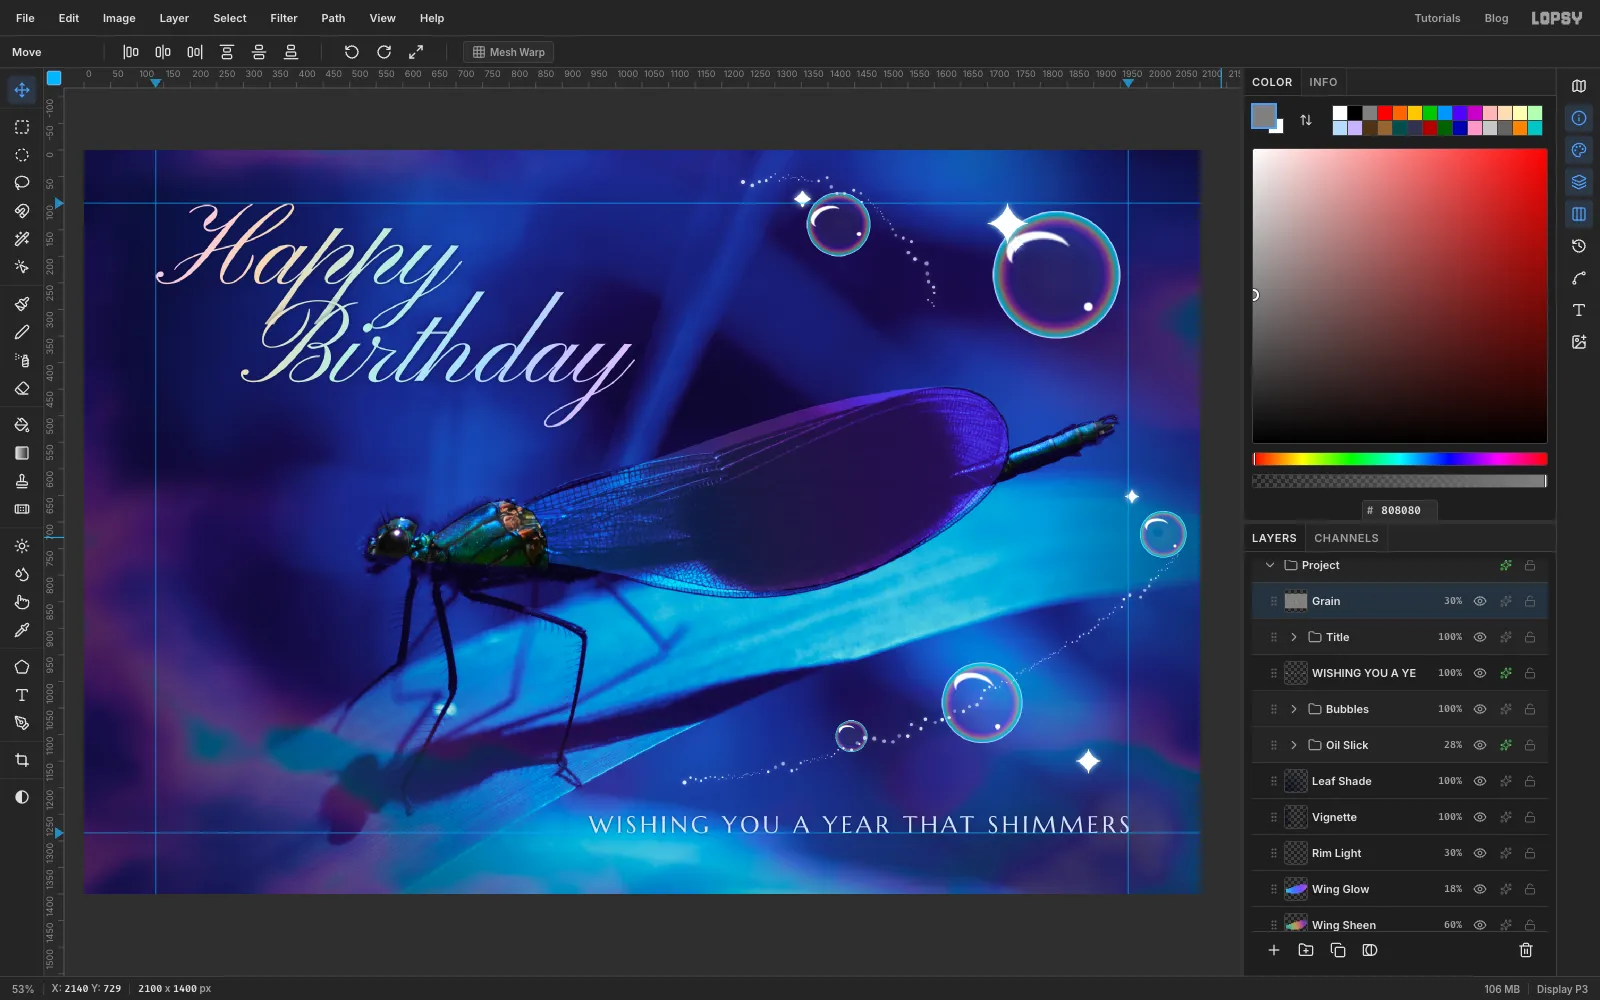
In this tutorial you'll make Demoiselle Ultramarine, a 2100 × 1400 px birthday card front built on a photo of a male banded demoiselle. You'll turn the sunny green photo into a deep blue night with a Gradient Map, keep the insect's real metallic colour by cutting it out first, and then add colour only where iridescence belongs: a sheen on the wing, a faint oil-slick film in the corners, soap bubbles with rainbow rims, and pastel foil on the script title.
The photo is Calopteryx splendens.jpg) by Thomas Bresson on Wikimedia Commons, licensed CC BY 2.0, so credit the photographer if you share your card. To follow along, open its Commons page and download the 2,560 px wide version. Any side-on photo of a dragonfly or damselfly on a plain, blurred background works too.
Along the way you'll use:
- pasting and scaling a photo, the Lasso, Feather, the Magic Wand and Shrink to cut out a subject
- a layer mask painted with a soft brush, and another made with a radial gradient
- Gradient Map adjustments on groups, for the night grade and for the oil-slick colours
- Smoke, Gaussian Blur and Add Noise
- Dodge, Sponge, and the Color Dodge, Screen, Multiply and Overlay blend modes
- Copy Merged, copy and paste, scaling and rotating with the Move tool, and the Eraser
- a scattered, jittered Brush for sparkle dust, plus Outer Glow and Drop Shadow
- ruler guides, the grid, text in Pinyon Script and Marcellus SC, and letter spacing
- grouping layers and moving a group as one
The palette:
-
Night grade
-
Oil-slick film
-
Wing sheen
-
Wing glow
-
Bubble rim
-
Title foil
-
Shade navy
-
title glow
-
caption shadow
-
Title
-
caption
-
rim light
-
sparkle glow
-
dust
-
Paste the photo
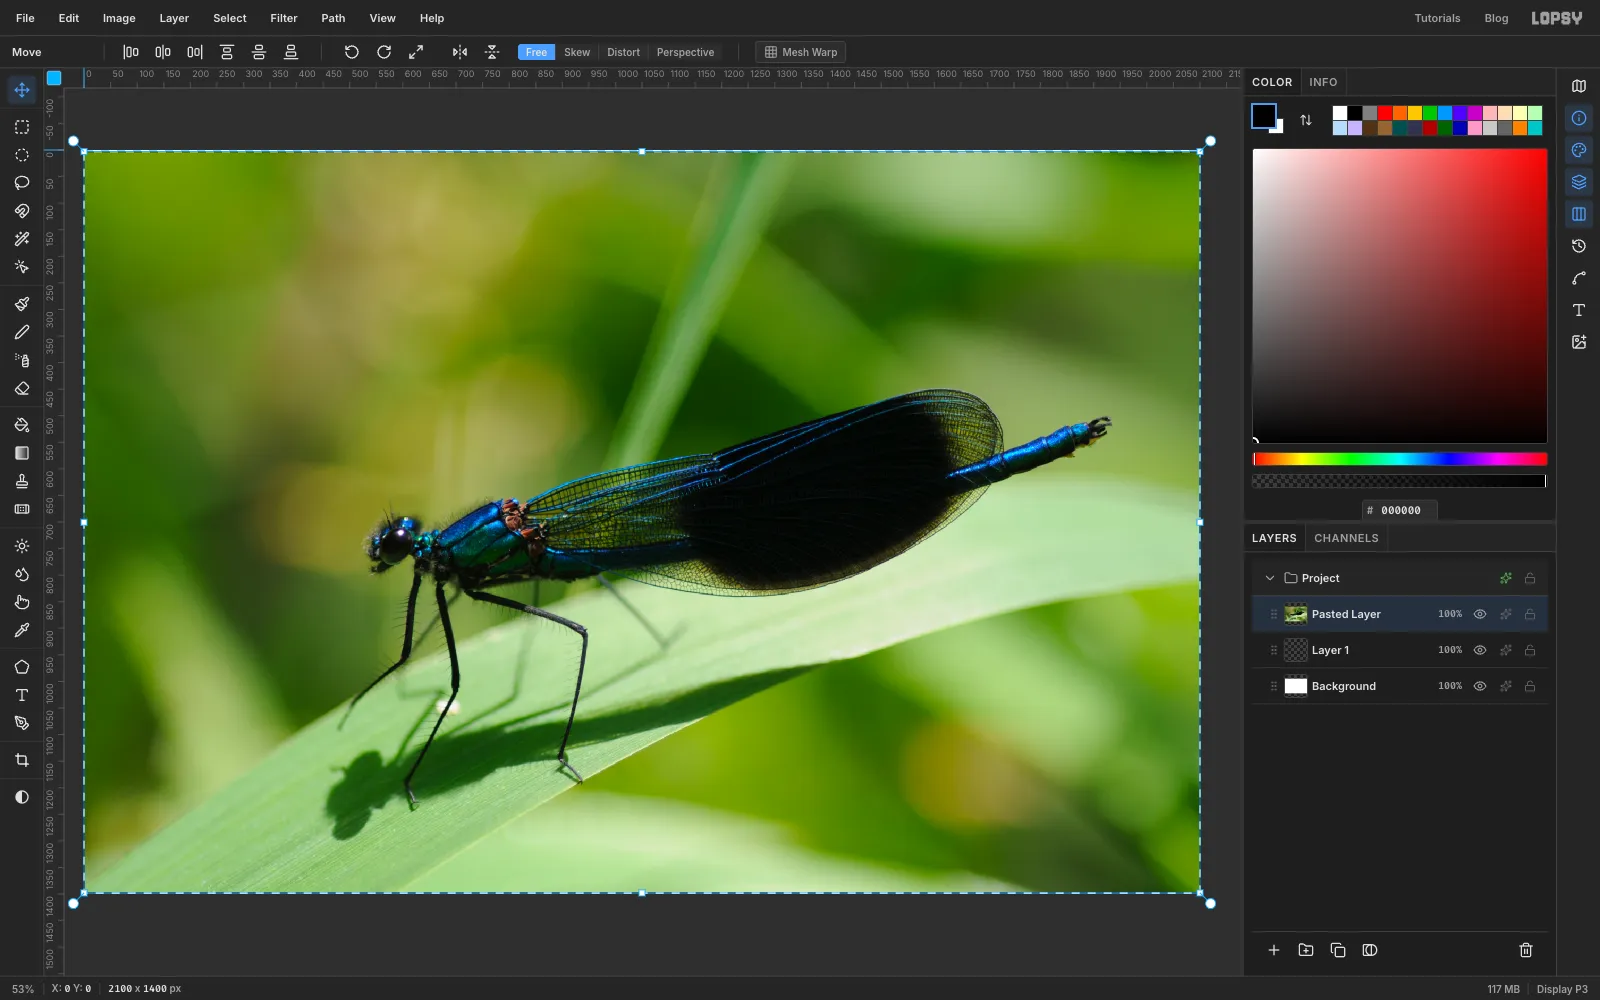
Choose File → New, keep the unit on Pixels, and create a 2100 × 1400 document. Open the downloaded photo in another app, copy it, and paste it into Lopsy with Cmd+V. Lopsy shrinks an oversized paste to fit the canvas and switches to the Move tool, with the photo selected.
-
Scale it to cover the canvas
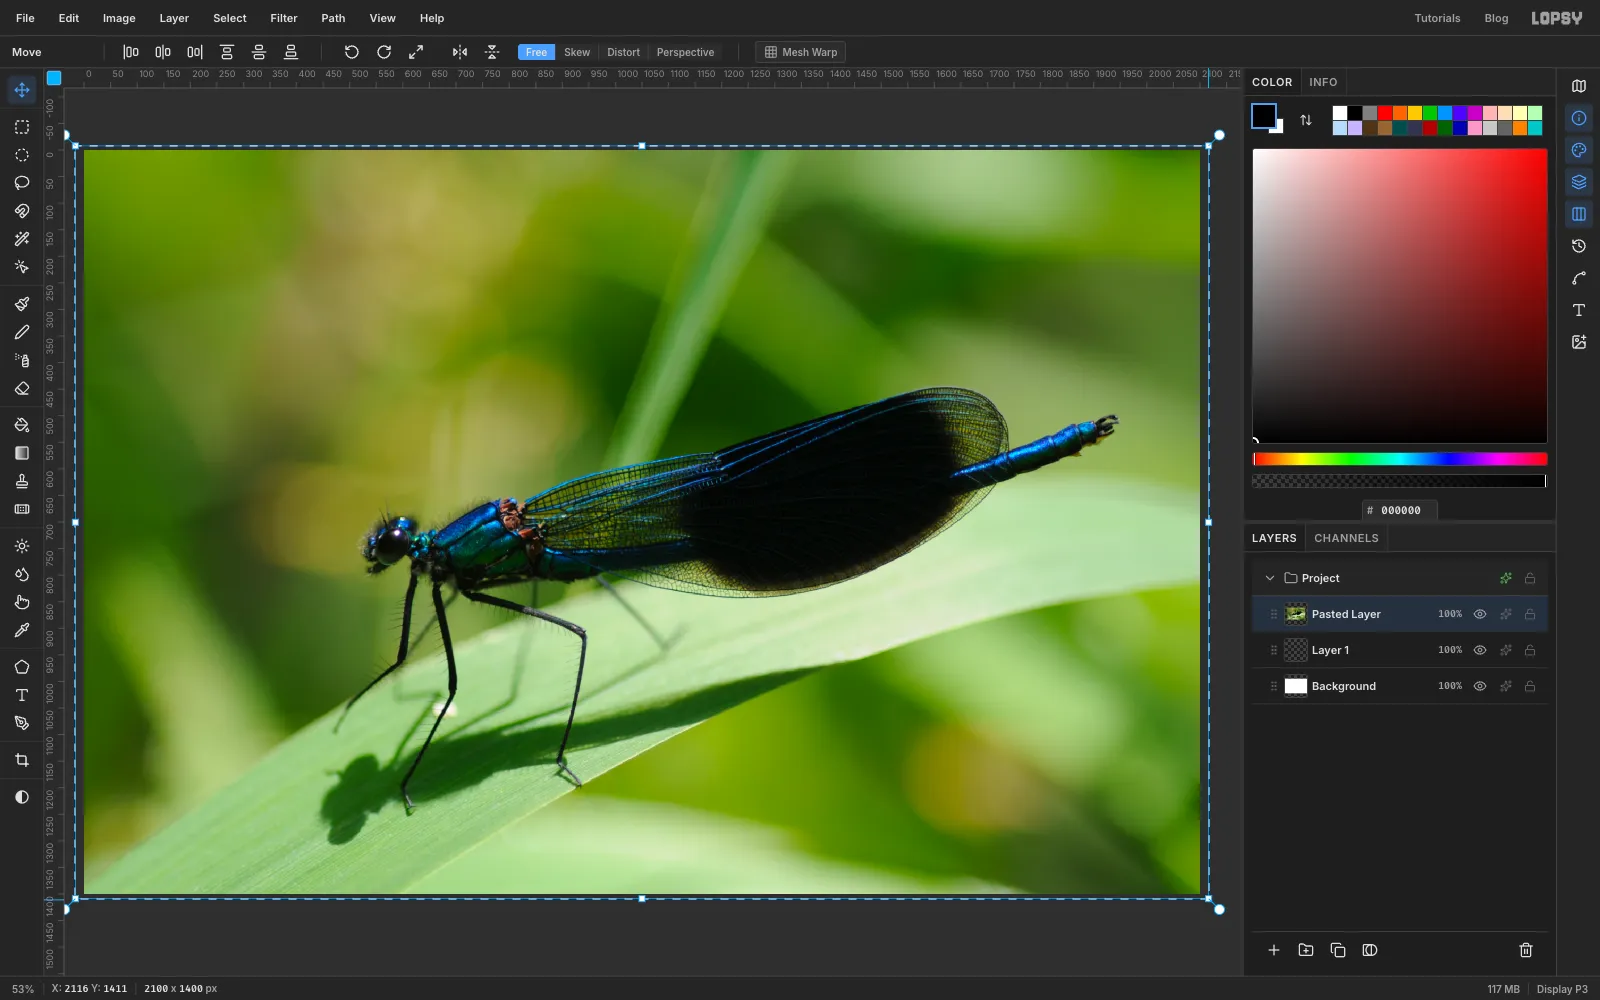
The photo is a slightly different shape from the canvas, so it leaves a hairline of white at the top and bottom. Hold Cmd and drag the top-left corner handle a little up and out, then do the same with the bottom-right handle, until the photo covers every edge. Cmd keeps the proportions. Press Cmd+D to commit, and rename the layer Photo.
-
Lasso the head, thorax and tail
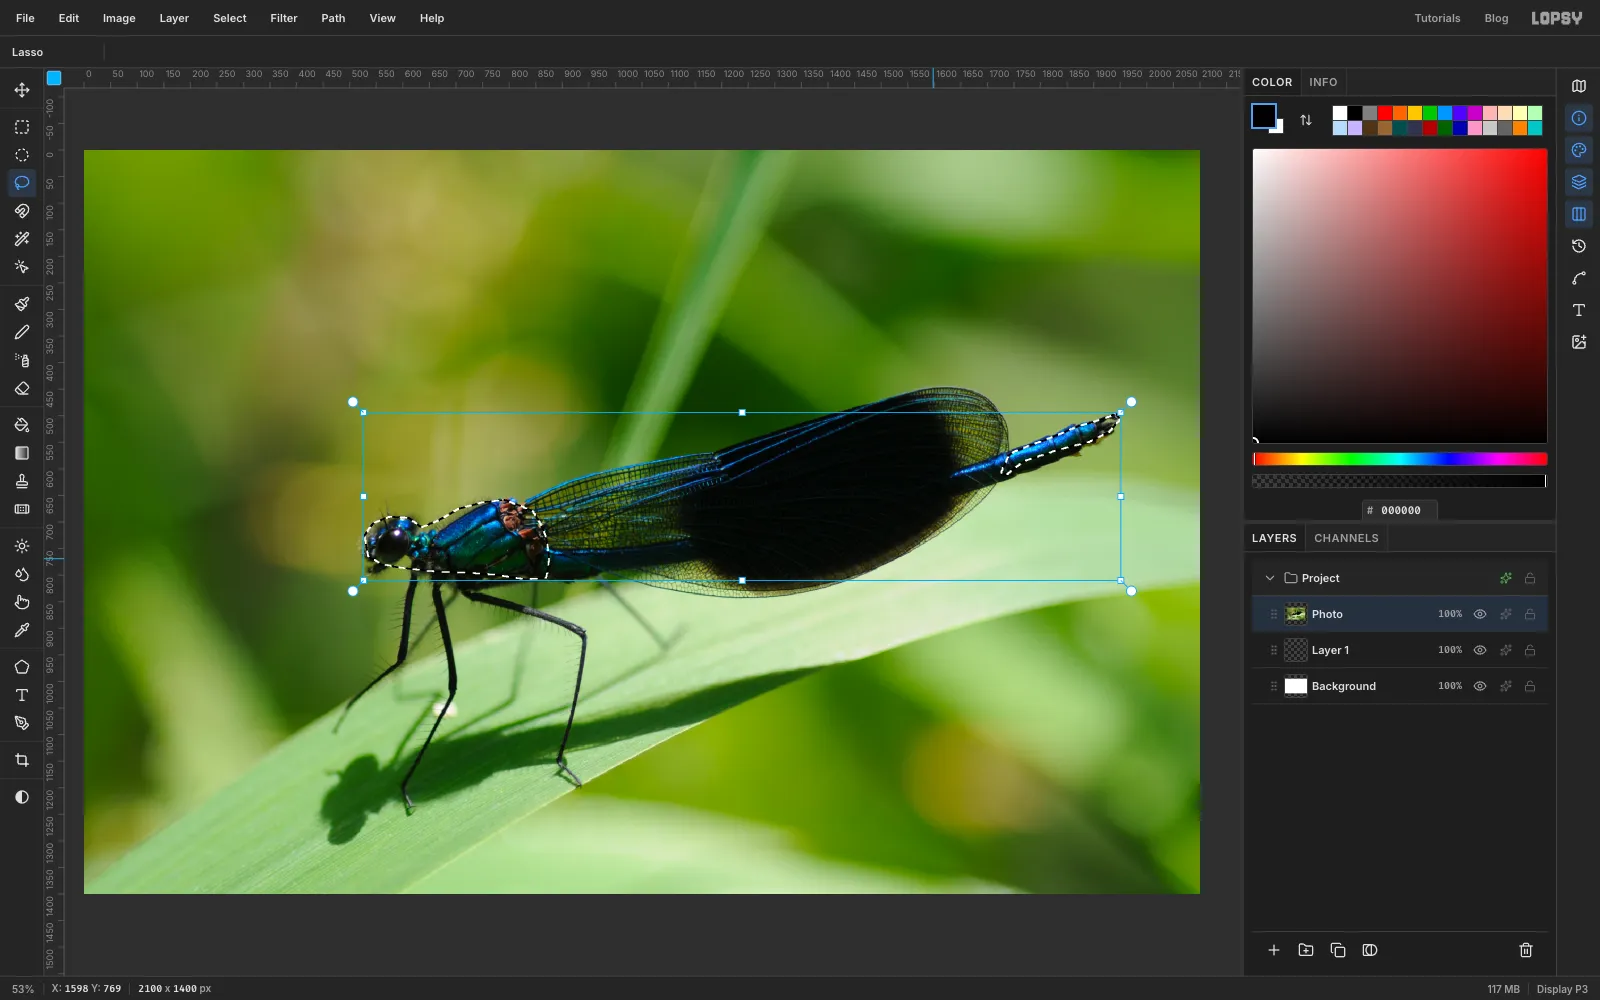
You'll turn the background blue in a moment, and that would turn the insect blue as well. So copy its metallic parts onto their own layer first.
Pick the Lasso and trace closely around the eye, head and thorax, ending at the wing root. Don't include the legs or the wing. Then hold Shift and lasso the tail where it sticks out past the wing tip, to add it to the selection. Choose Select → Feather… with 2 px so the edges aren't razor sharp.
-
Wand away the leftover background
Press Cmd+C and Cmd+V. The copy pastes in exactly the same place. Rename it Demoiselle.
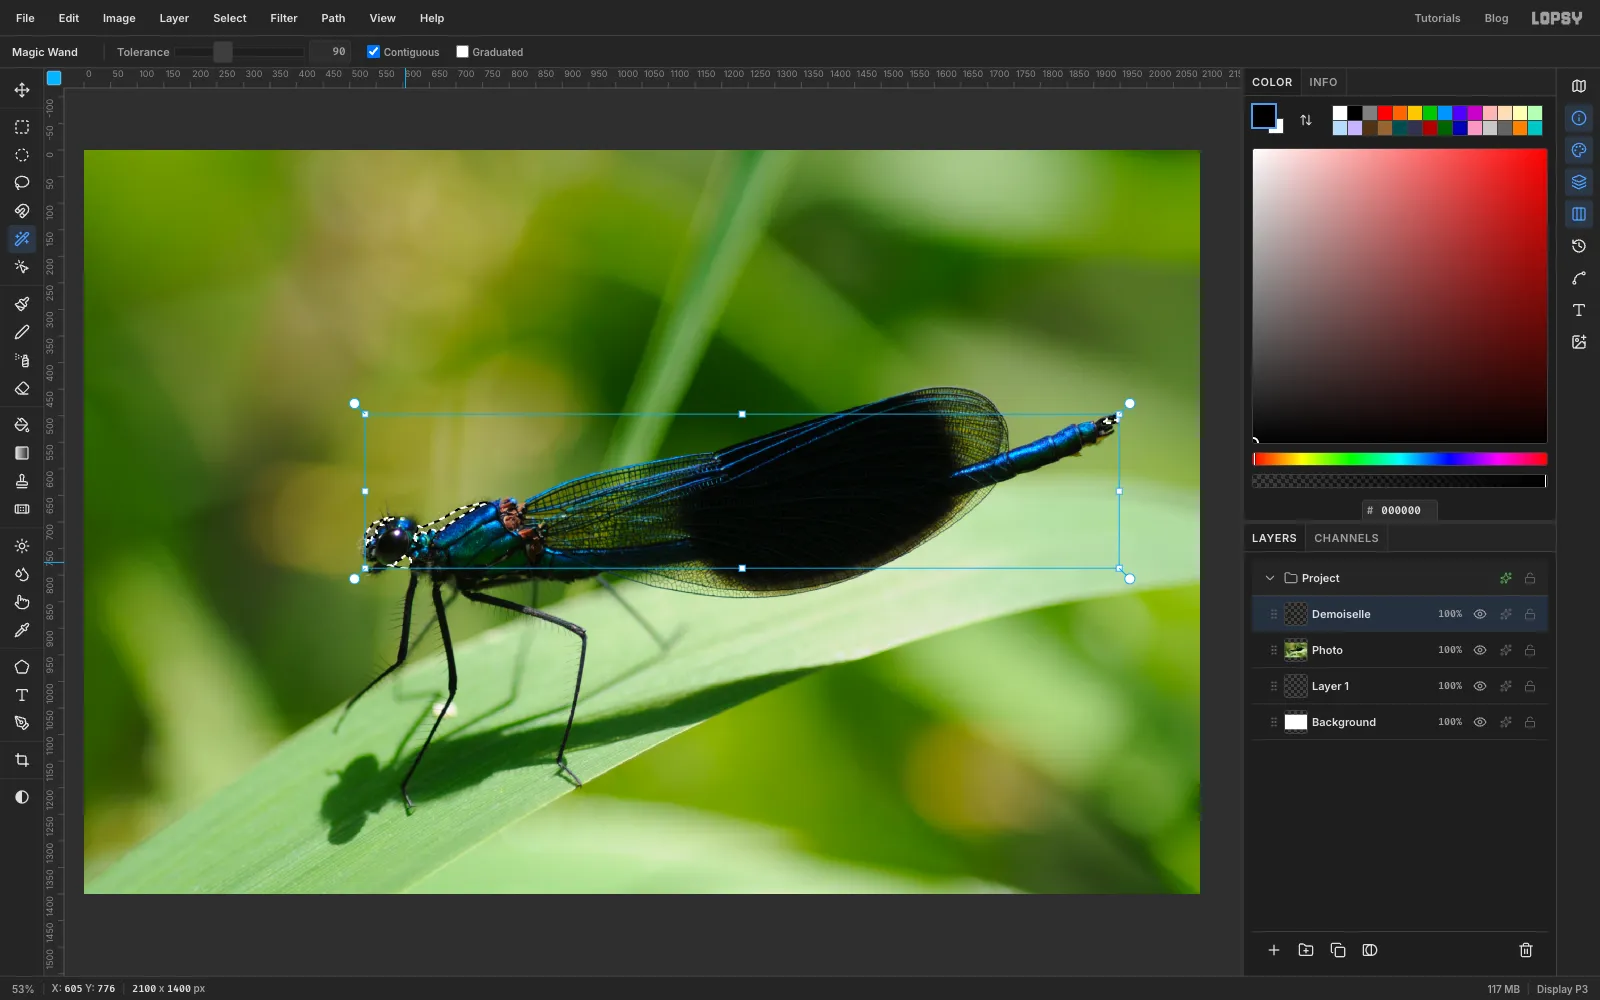
A hand-traced lasso always catches a little background. Pick the Magic Wand, set Tolerance to 90 and leave Contiguous on. Click the pale green rim along the top of the tail. Then Shift-click the olive rim above the thorax, in front of the face and behind the eye. Each Shift-click adds to the selection. Press Delete, then Cmd+D.
-
Trim the edge by two pixels
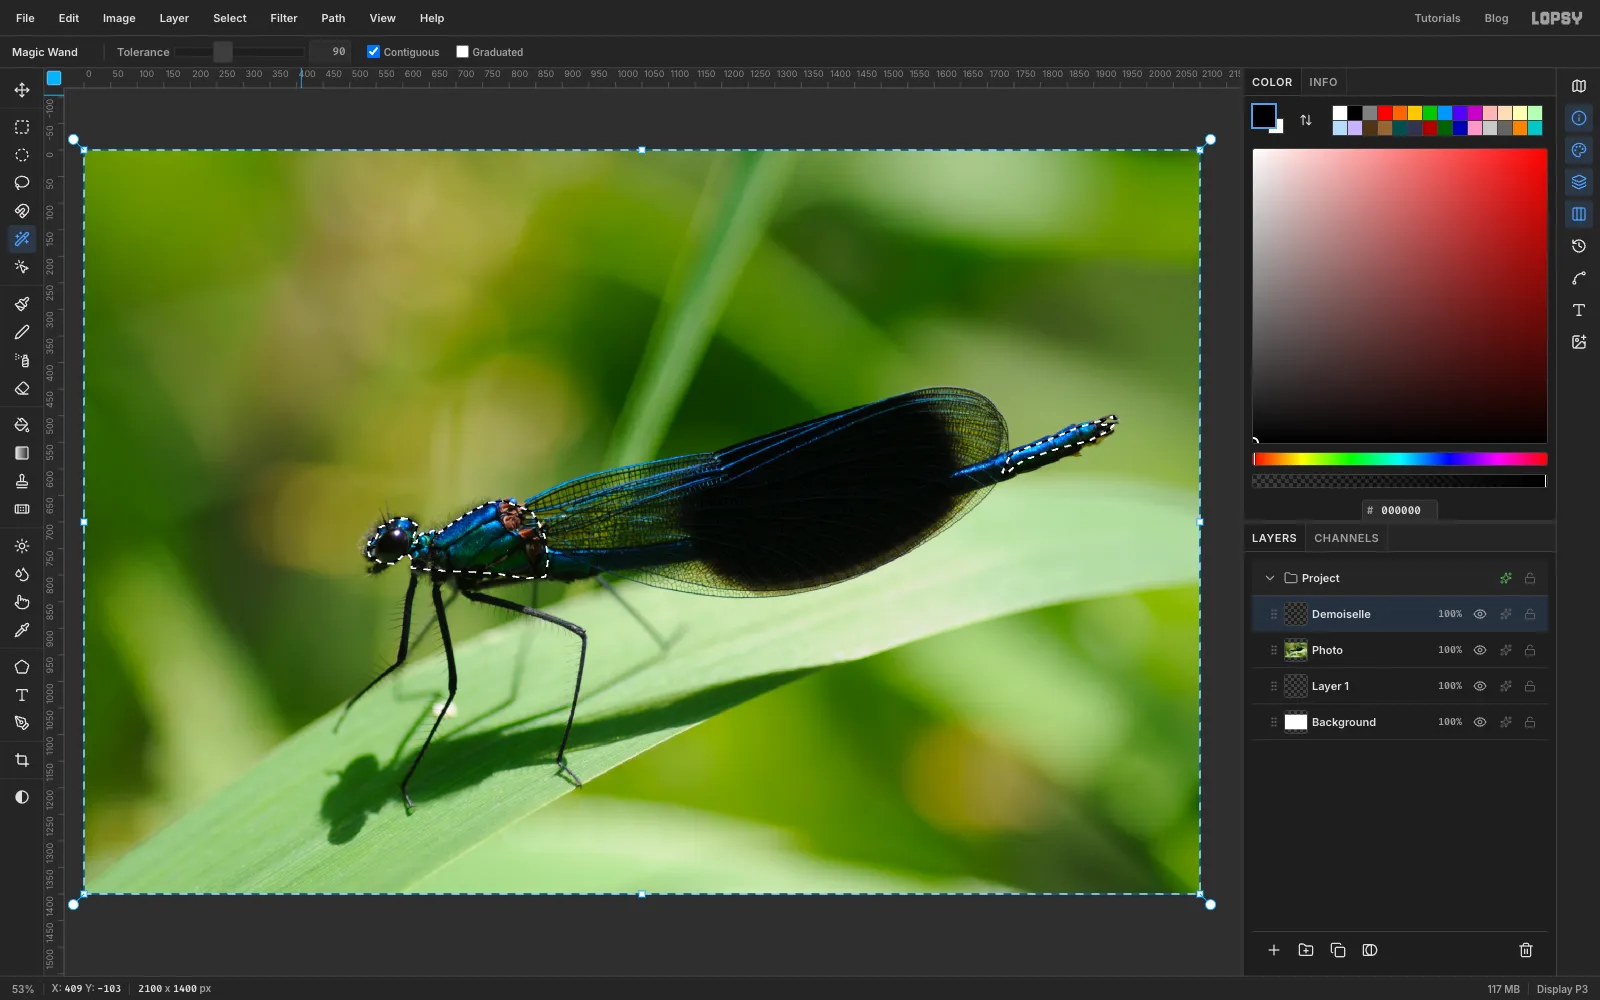
Cmd-click the Demoiselle thumbnail in the Layers panel to load its shape as a selection. Choose Select → Shrink… with 2 px, then Select → Inverse. Now everything except the body, minus a 2 px border, is selected. Press Delete and Cmd+D. That shaves off the last hairline of background.
-
Soften the cut with a mask
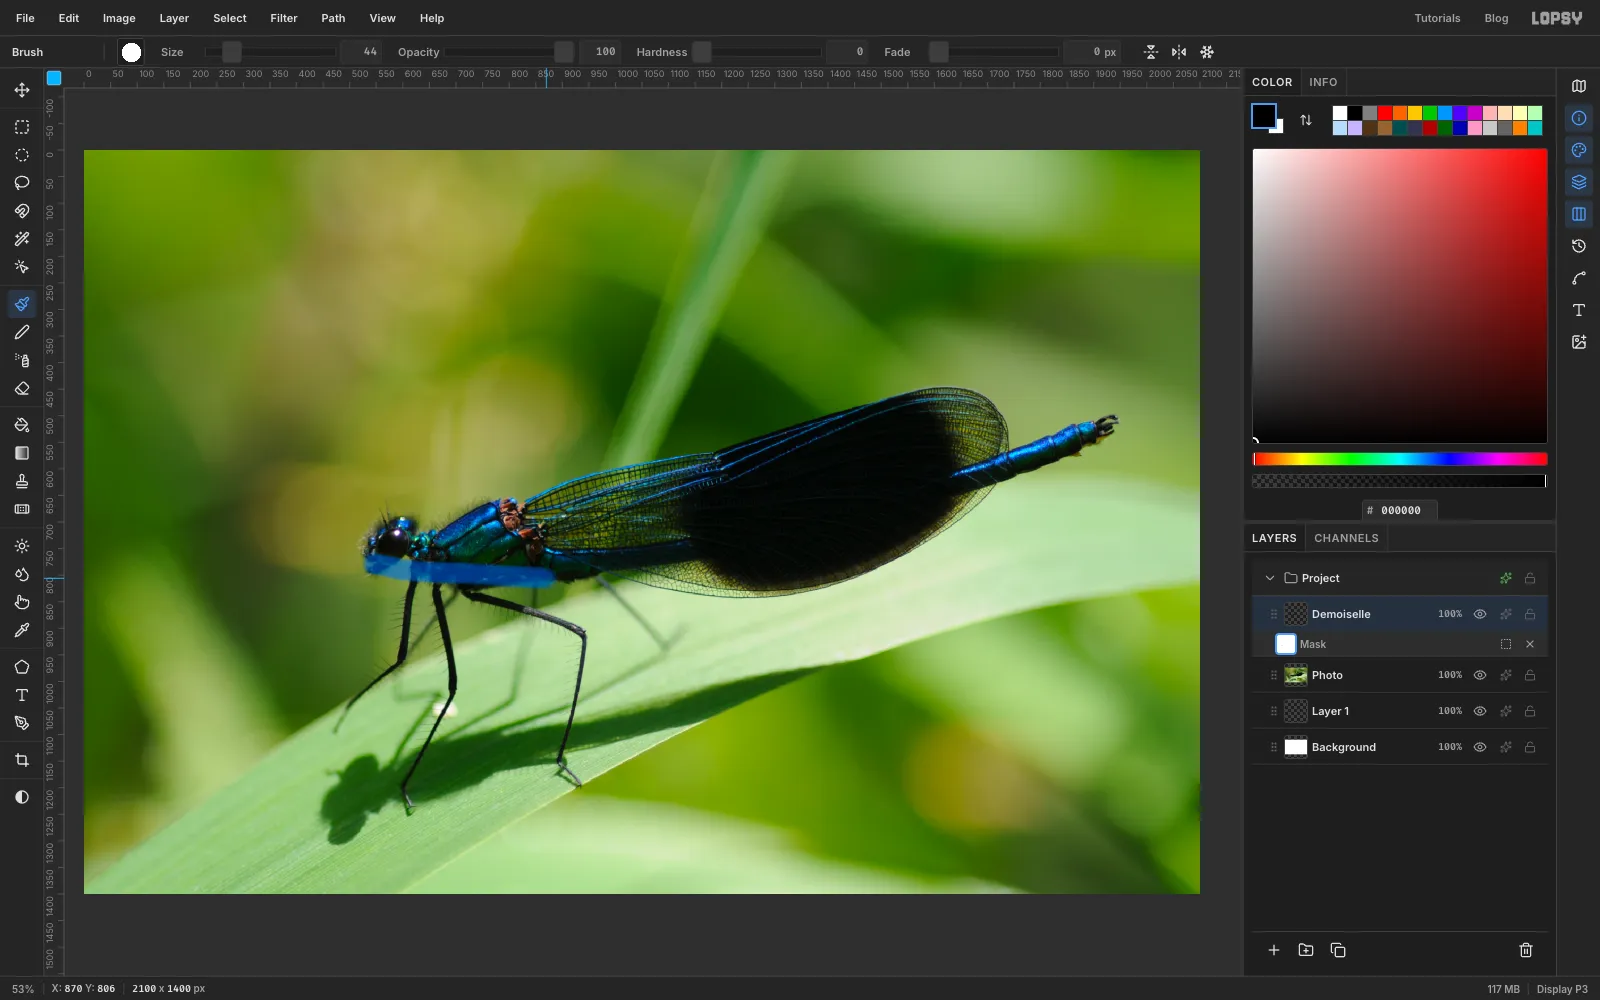
The bottom of the thorax still ends in a straight lasso line. With Demoiselle active, click Add Mask at the bottom of the Layers panel, then click the mask thumbnail to edit it. Pick the Brush, set the foreground to black, Size 44 and Hardness 0. Paint one stroke along the underside of the thorax, from below the eye to the wing root. Click the Demoiselle row when you're done to leave mask editing.
-
Grade the photo to night
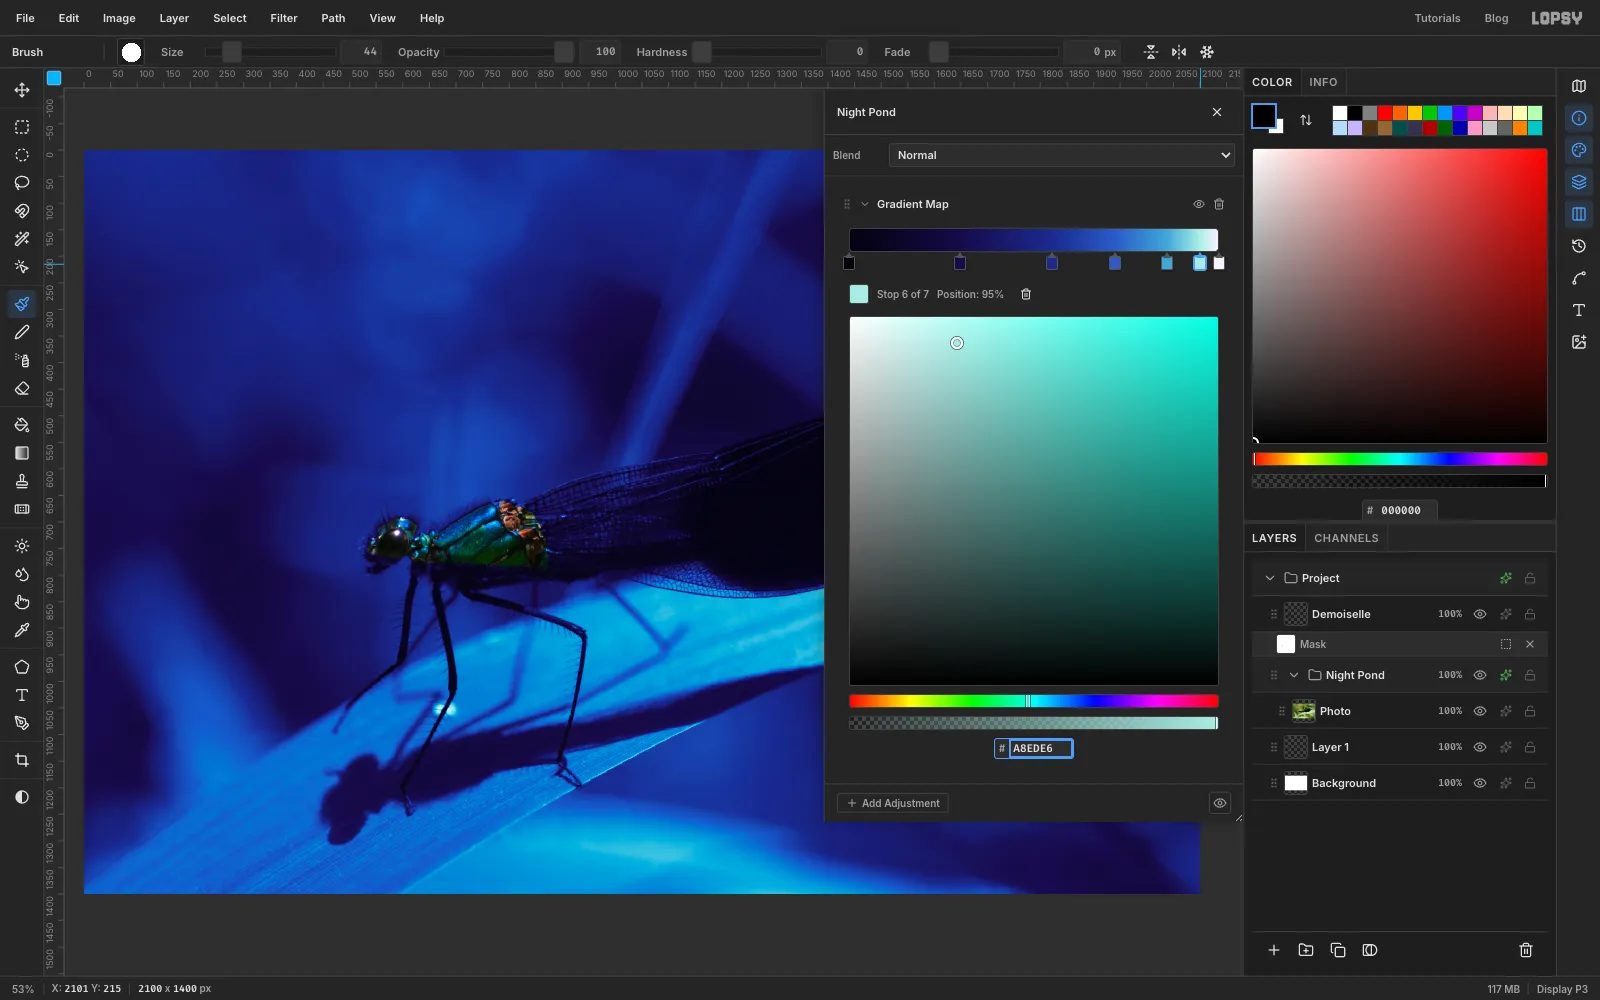
Click the Photo row and choose Layer → Group Layers. Rename the group Night Pond. With the group selected, open its drawer with the effects button on its row, click Add Adjustment and choose Gradient Map.
A gradient map recolours each pixel by its brightness. Click along the row under the gradient bar to add stops, and type each colour into the Hex field:
- at 0%, at 30%, at 55%
- at 72%, at 86%, at 95%, at 100%
Dark shadows go deep violet-navy, the blurred background goes ultramarine and the sunlit leaf turns cyan. The hue shift from violet to cyan already hints at iridescence. Because the Demoiselle layer sits outside the group, the insect keeps its real colours.
-
Add a vignette
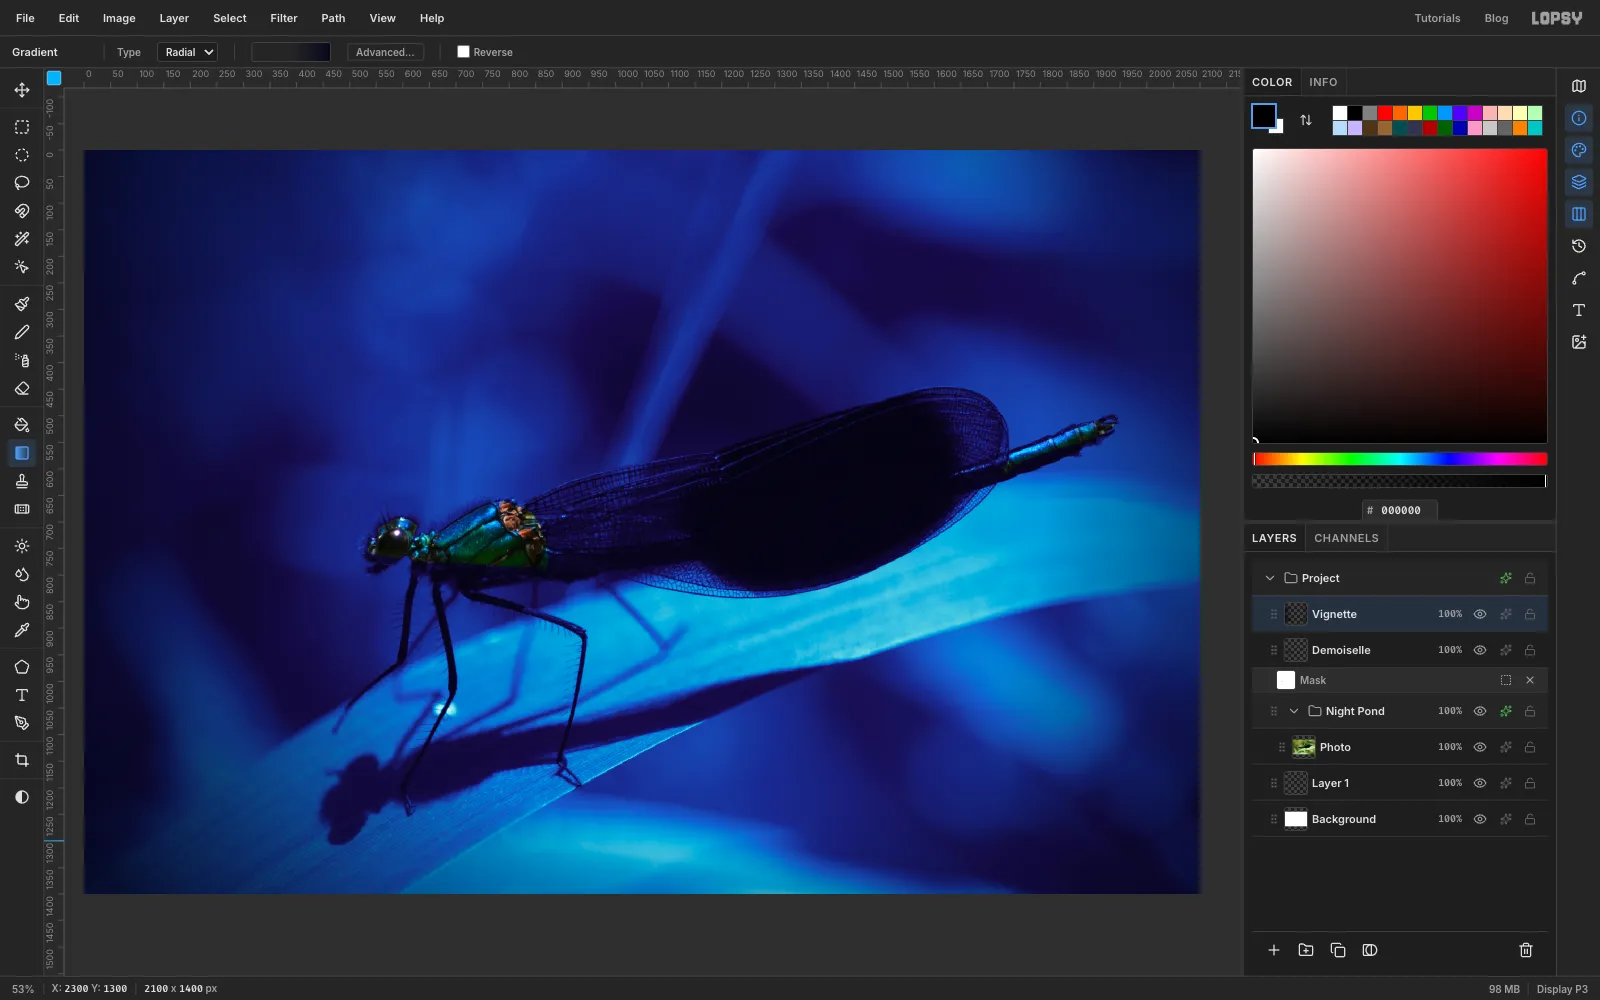
Click Demoiselle and add a new layer above it called Vignette. Pick the Gradient tool, set Type to Radial, and click Advanced…. Use three stops: position 0% at 0% opacity, position 50% at 0% opacity, and position 100% at 90% opacity. Drag from the middle of the damselfly down to just past the bottom-right corner.
-
Shade the bright leaf
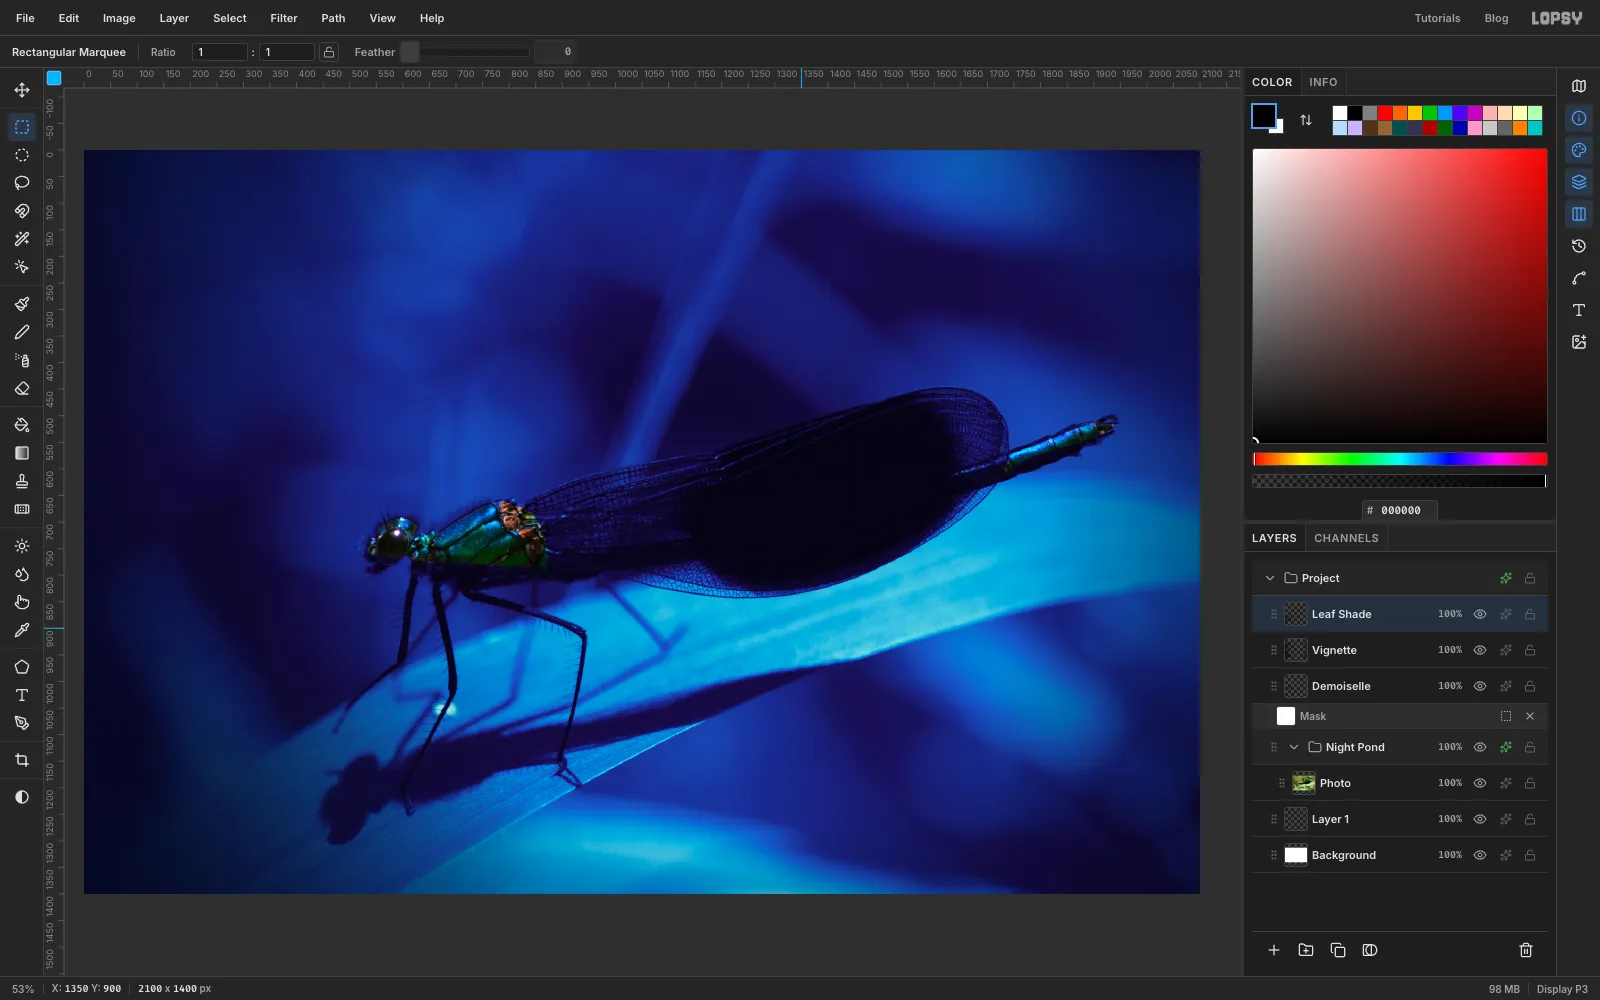
The sunlit leaf at the bottom left pulls the eye out of the frame. Add a layer called Leaf Shade. Draw a rectangular marquee over the bottom-left corner of the card, about two-fifths of the width and the bottom two-thirds of the height. Set a radial gradient from at 75% opacity to the same colour at 0%. Drag from the bottom-left corner almost to the marquee's right edge.
Then marquee the bottom middle of the card, under where the caption will go, and drag the same gradient up from just below the bottom edge. The gradient only fills inside each marquee, so the two don't erase each other. Press Cmd+D.
-
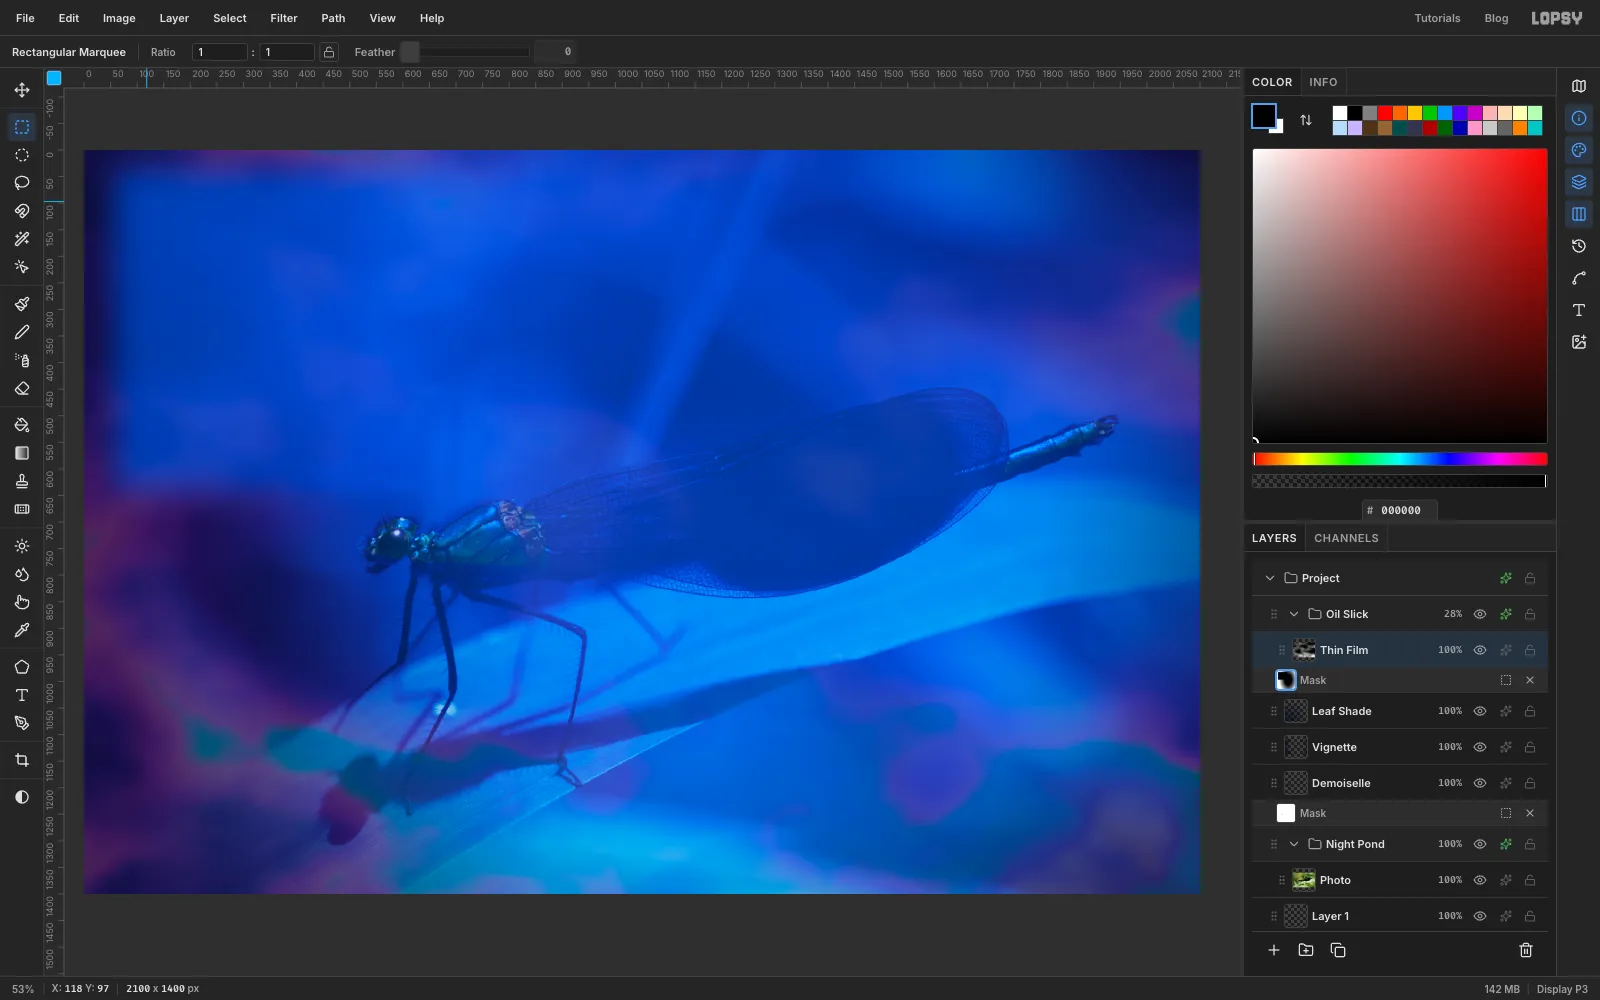
Make a thin film with Smoke
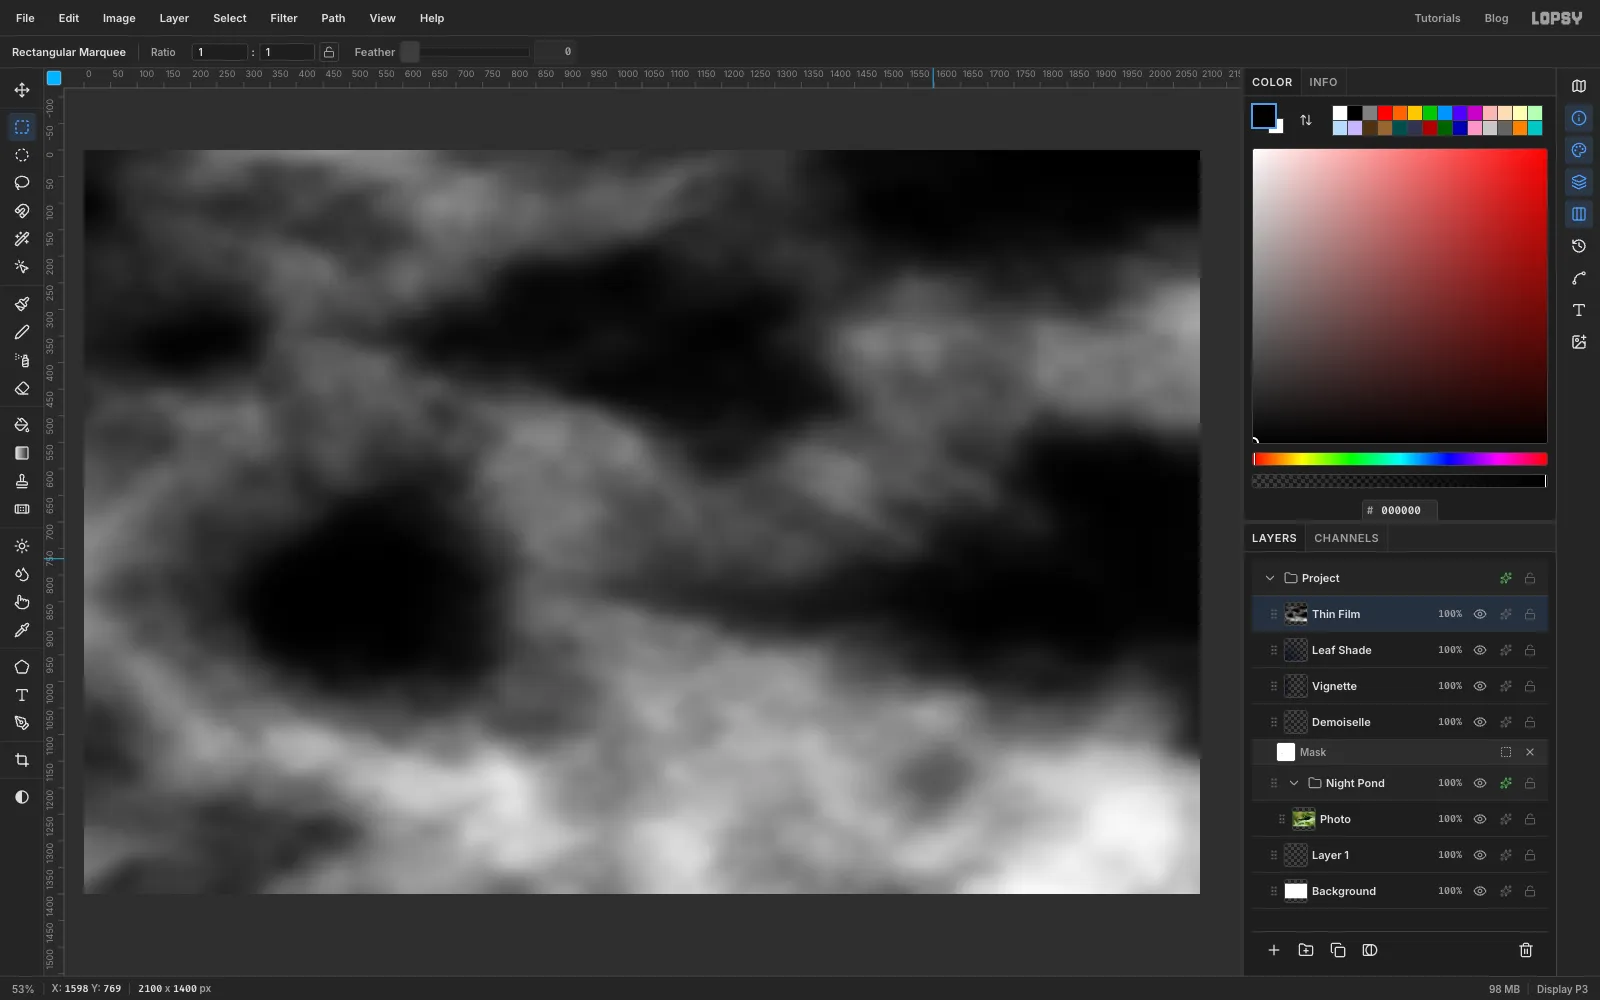
Add a layer called Thin Film. Choose Filter → Smoke…, set Scale 3 and Turbulence 45, and apply. Then run Filter → Gaussian Blur… at 30 px. Soap films and oil slicks have soft, flowing bands, not crisp ones.
-
Map the smoke to an oil-slick spectrum
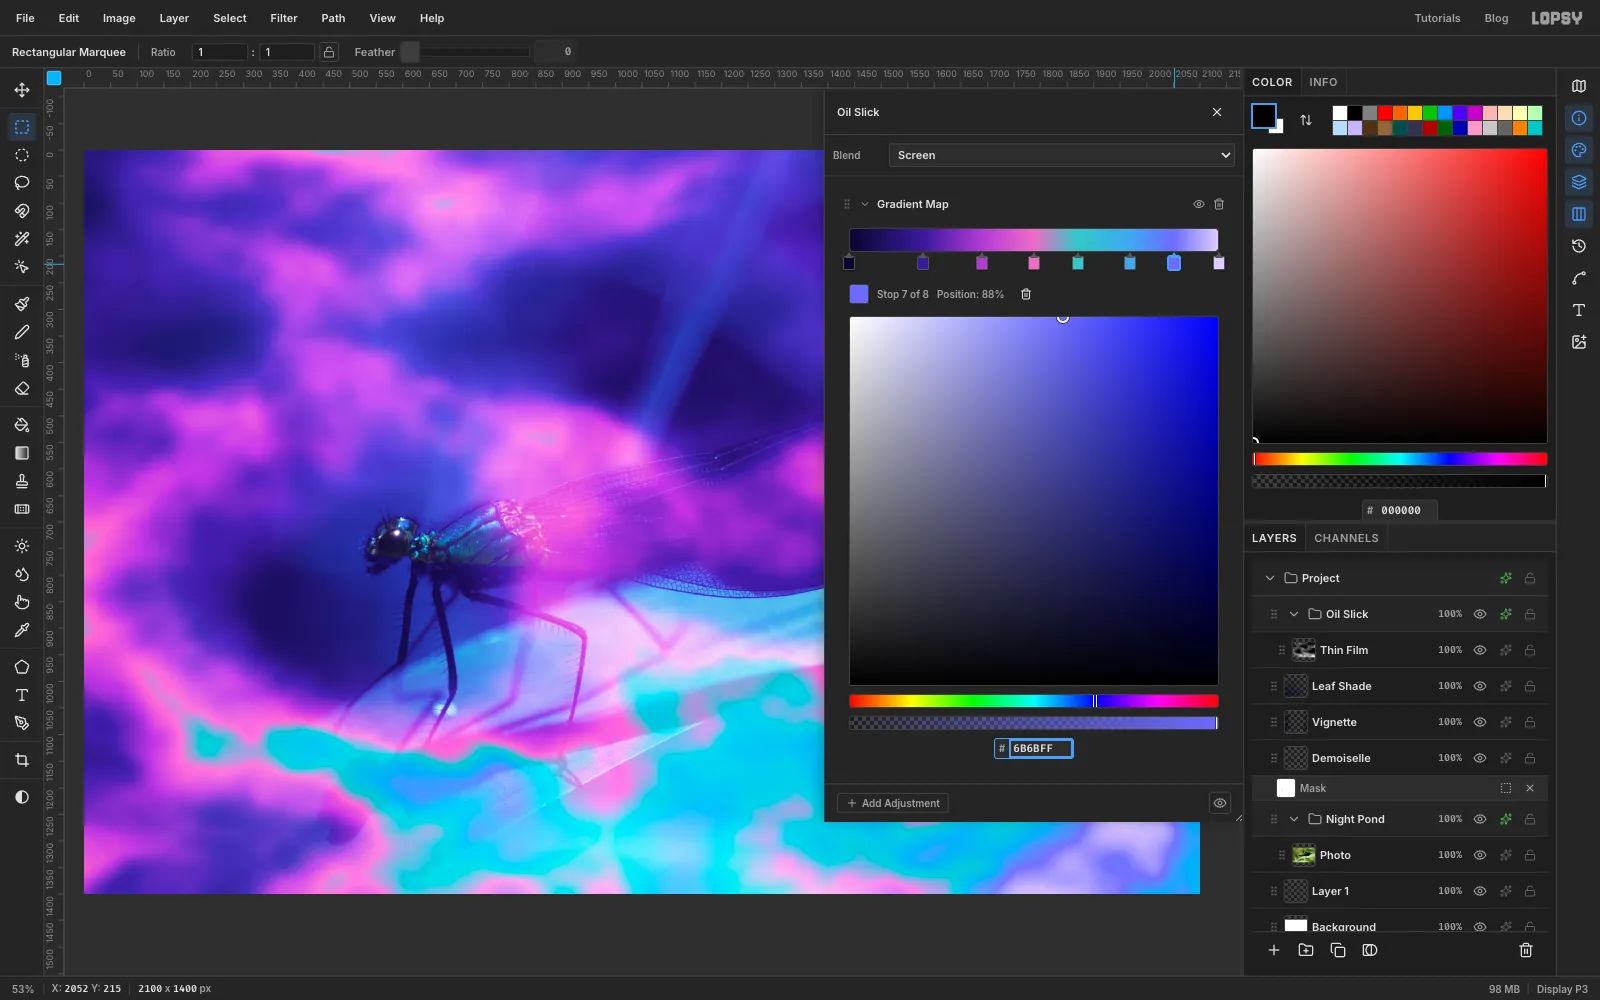
With Thin Film selected, choose Layer → Group Layers and name the group Oil Slick. Open the group's drawer, add a Gradient Map and set these stops:
- at 0%, at 20%, at 36%, at 50%
- at 62%, at 76%, at 88%, at 100%
Set the drawer's Blend to Screen and close it. Screen only lightens, so the dark parts of the smoke vanish. At full strength it's far too much, so click the 100% on the Oil Slick row and drag its slider down to 28%.
-
Mask the film off the subject
The film should glow at the edges, not over the damselfly or the title. Select Thin Film, click Add Mask, and click its mask thumbnail. With the Gradient tool on Radial, open Advanced… and set black stops at 0% and 40% and a white stop at 100%. Drag from the damselfly's wing out to just past the right edge of the canvas.
Next, marquee the top-left area where the title will sit, about half the width and the top 45%. Choose Select → Feather… at 60, set the foreground to black and choose Edit → Fill. In mask edit mode, Fill paints the mask. Press Cmd+D and click the Thin Film row.
-
Polish the thorax
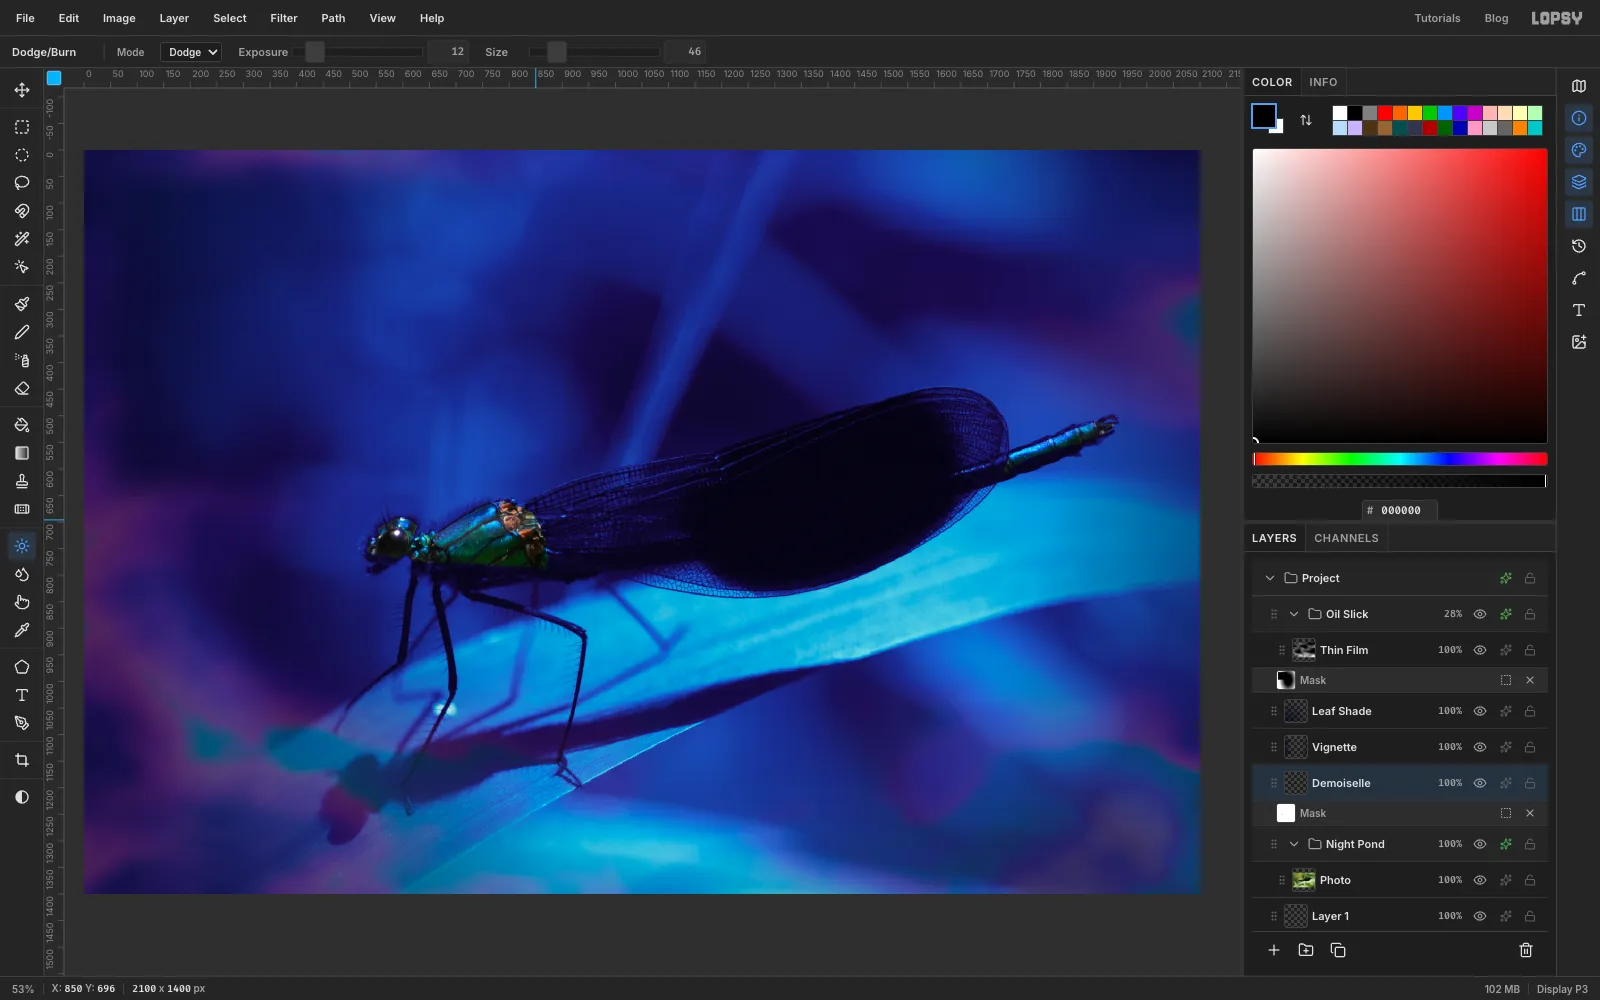
Select Demoiselle. Pick Dodge/Burn on Dodge, Exposure 12, Size 46, and make one stroke along the middle of the thorax, from just behind the eye to the wing root. Then pick the Sponge on Saturate, Strength 35, Size 60, and follow the same path. Keep it subtle. Dodge has a fairly hard edge, and too much turns metal into plastic.
-
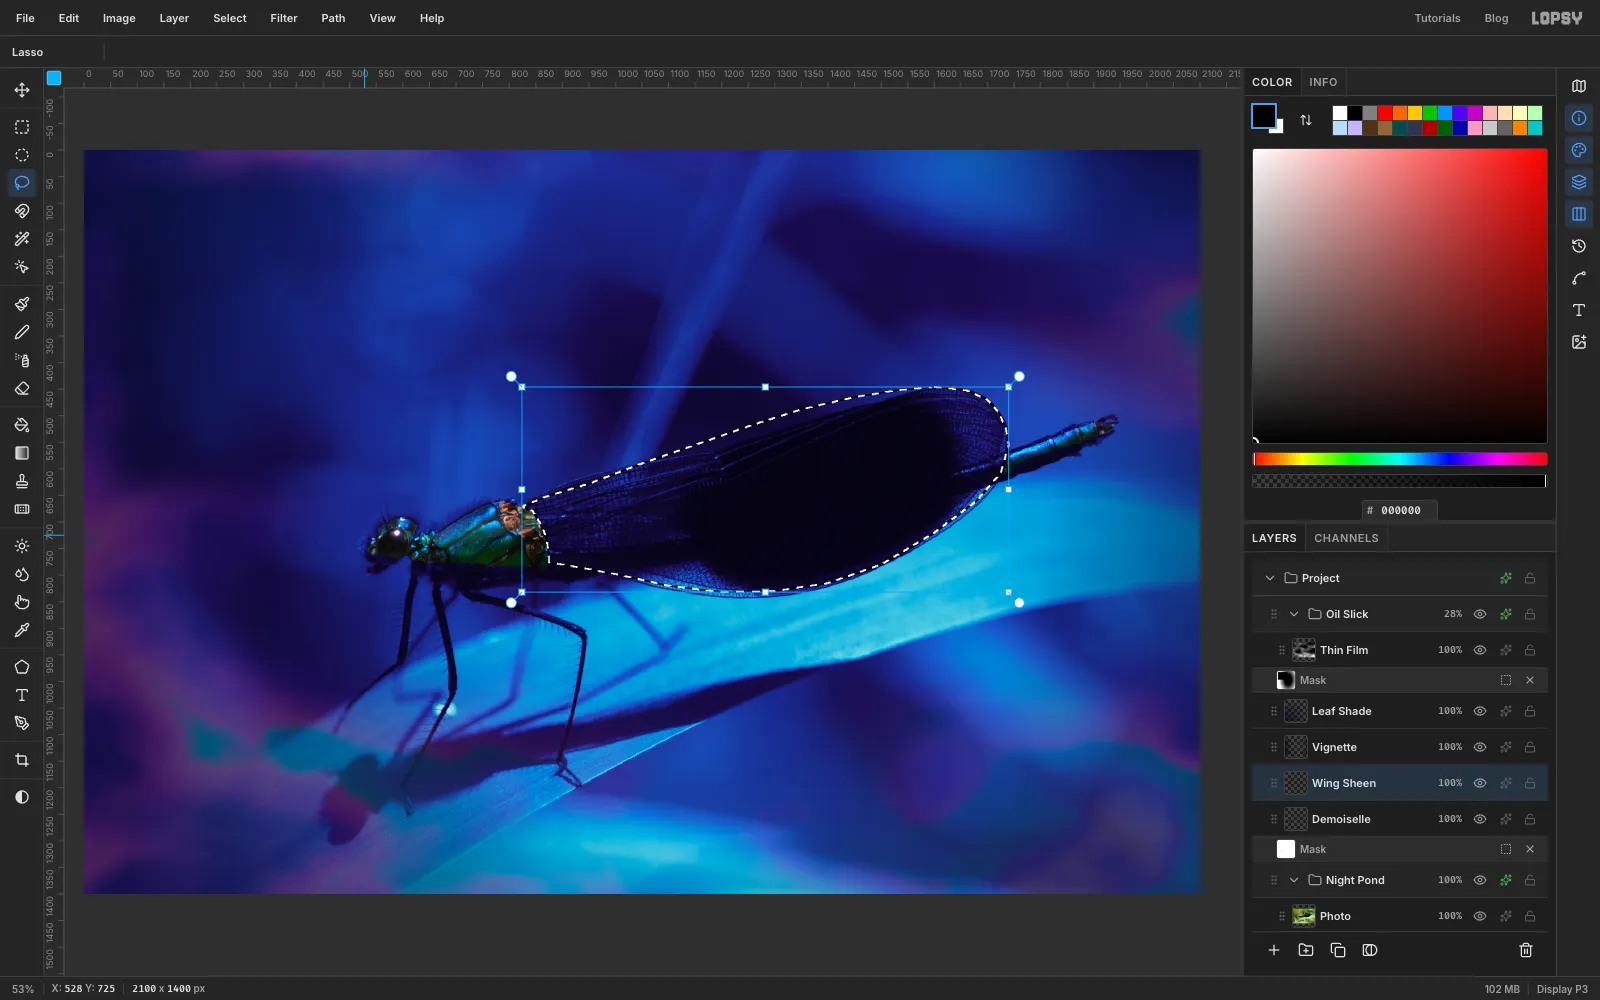
Select the wing
Add a layer called Wing Sheen. With the Lasso, trace around the whole wing: start at the wing root, follow the top edge out to the rounded tip, and come back along the bottom edge. Then hold Alt and lasso the head and thorax again. That subtracts them, so the sheen stays on the wing.
-
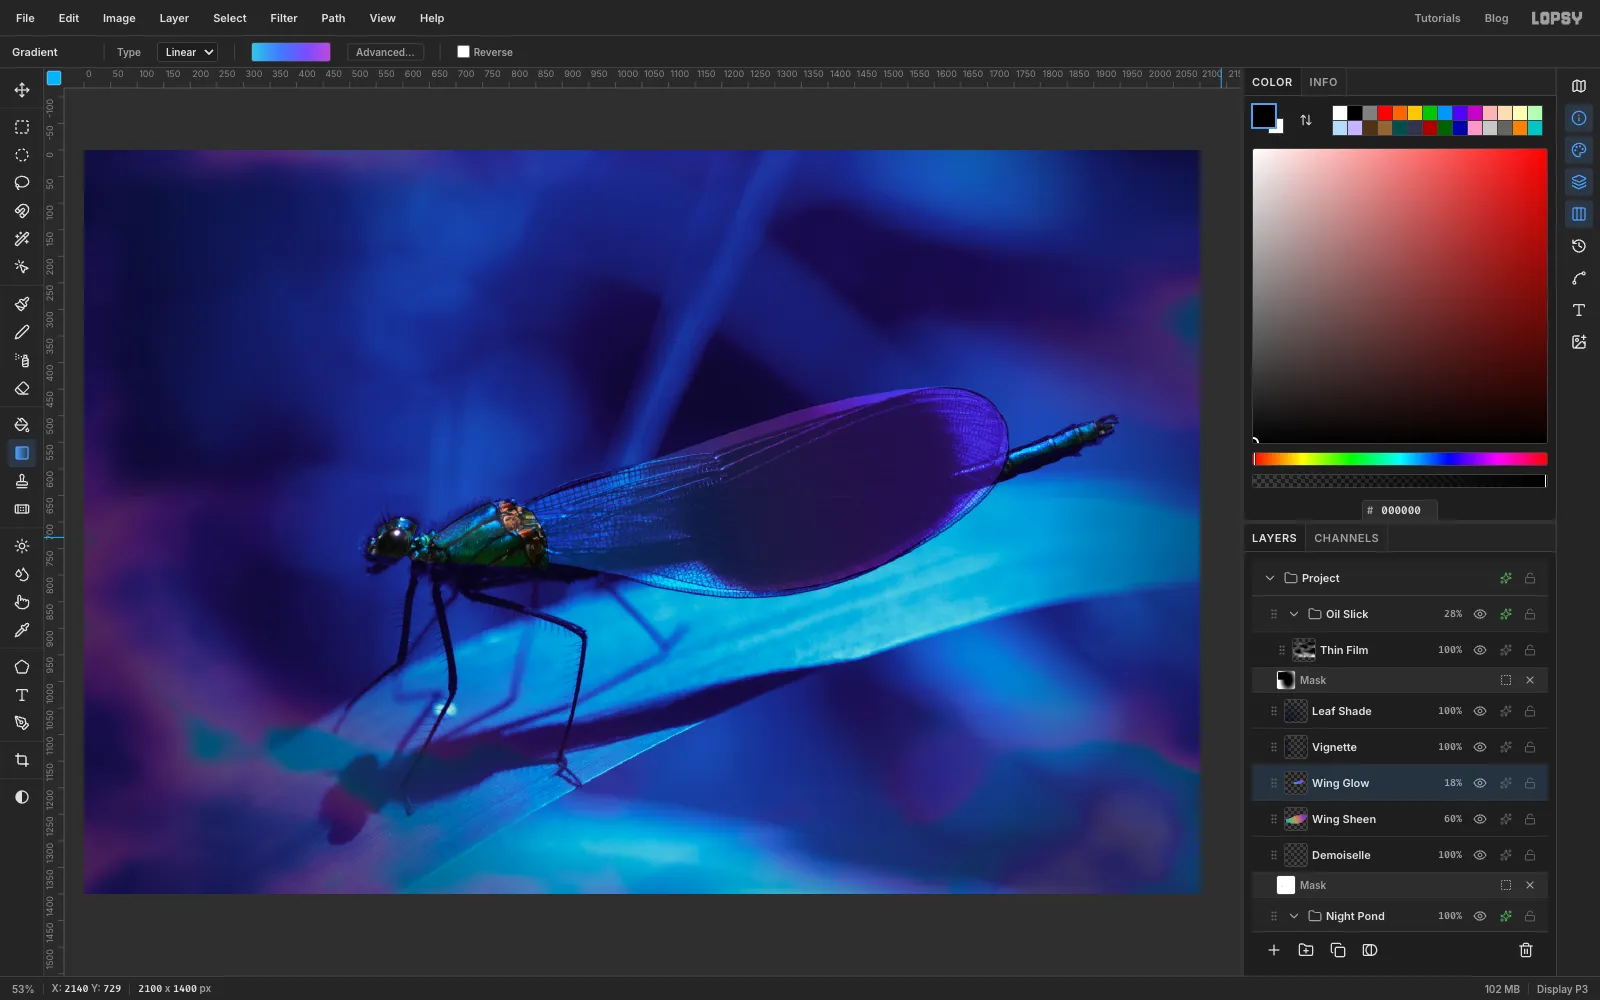
Give the wing a sheen
Set a Linear gradient with six stops: , , , , and . Drag from the wing root to the wing tip. Keep the selection for now. Color Dodge brightens the clear parts of the wing and the veins, and leaves the black band alone.
To lift the black band just enough to show its veins, add a layer called Wing Glow while the wing is still selected. Drag a cooler gradient (, , , ) along the same line, then press Cmd+D. Set Wing Sheen to Color Dodge at 60% opacity and Wing Glow to Screen at 18%.
-
Add a rim light
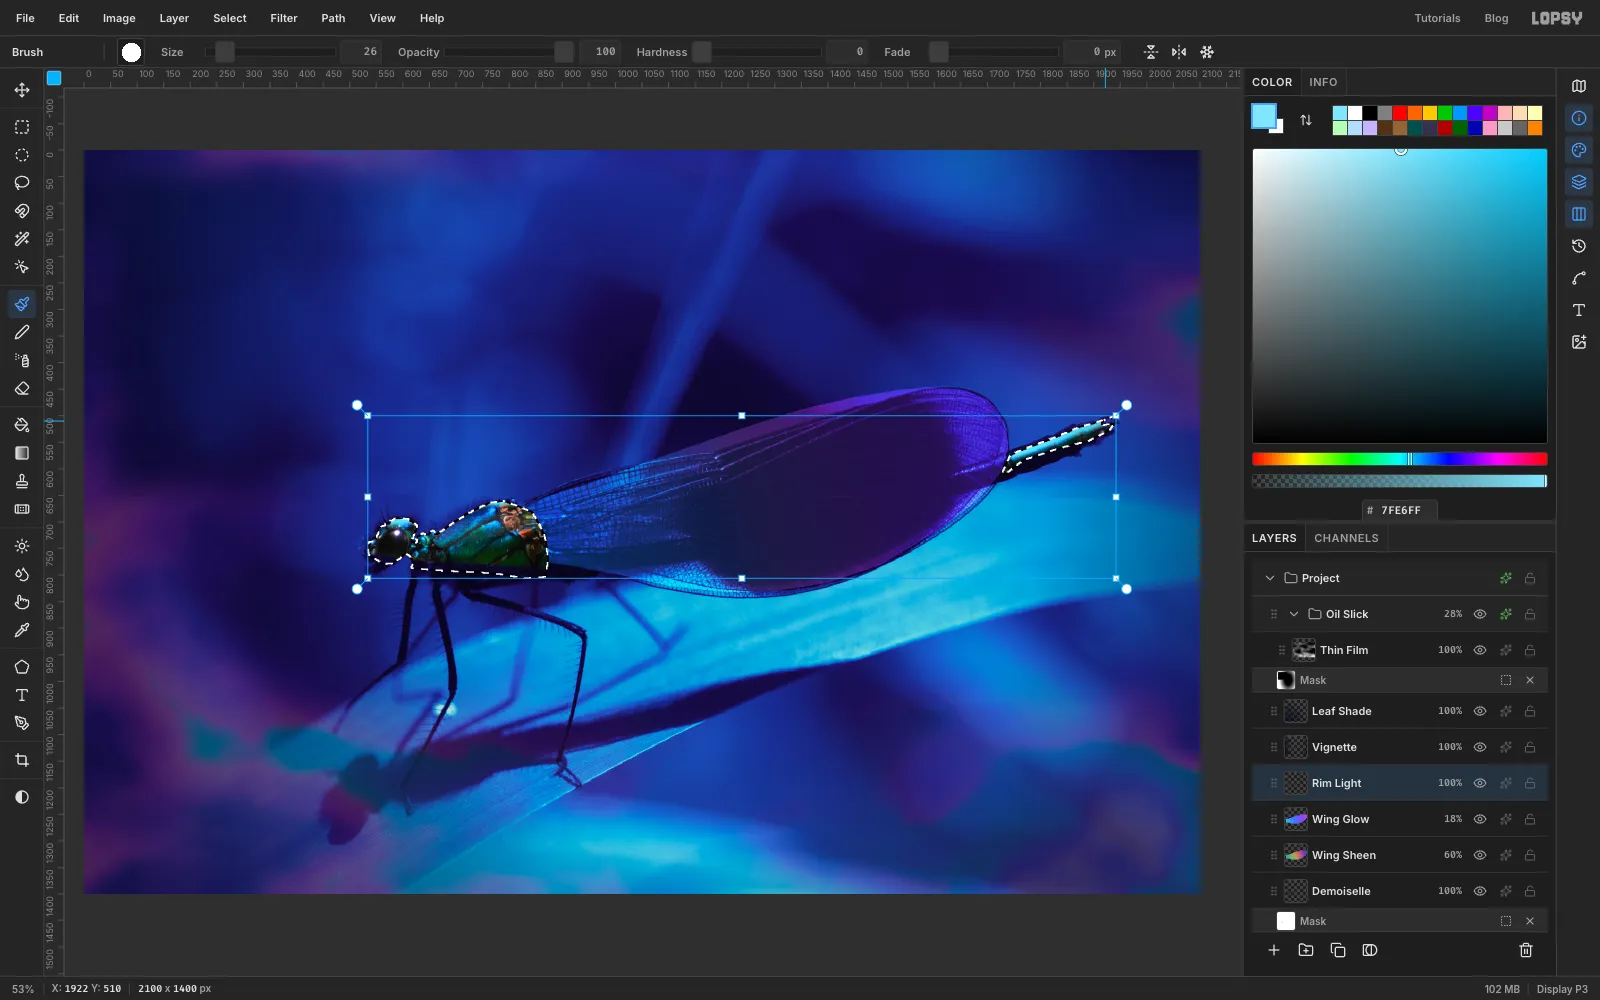
Cmd-click the Demoiselle thumbnail to load the body's shape, and add a layer called Rim Light. Pick the Brush with , Size 26 and Hardness 0. Paint one stroke along the top edge of the head and thorax, and another along the top of the tail. The selection keeps the paint on the body. Press Cmd+D, then set the layer to Screen at 30%. This puts the insect in the same cool light as the scene.
-
Magnify a lens for the big bubble
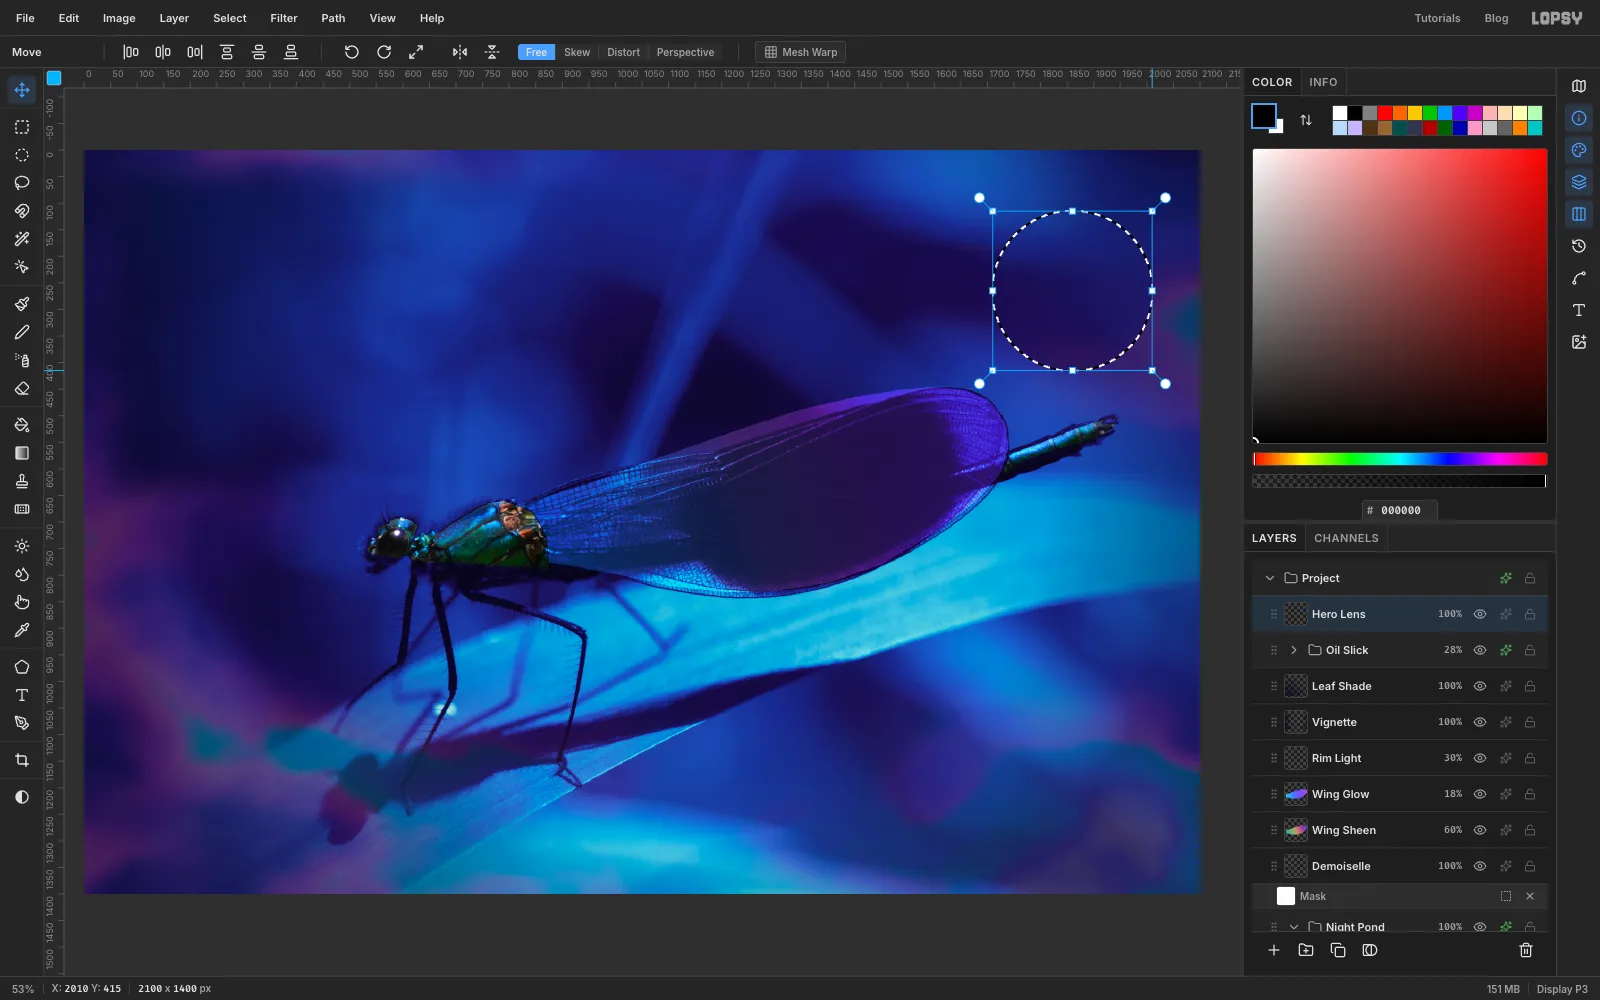
Bubbles bend what's behind them. Collapse the Oil Slick group with its arrow and click its row, so new layers land above it instead of inside it. Pick the Elliptical Marquee and click once on the canvas without dragging. The Elliptical Selection dialog opens: enter From 1710, 115 and To 1950, 355 for a 240 px circle in the top-right corner, above the tail.
Choose Edit → Copy Merged and paste with Cmd+V. Rename the new layer Hero Lens. Hold Cmd and drag its bottom-right handle out to scale it up by about a quarter. Press Cmd+D, then drag it up and left so it's centred on the circle again. Open the Elliptical Selection dialog again with the same From and To values, choose Select → Inverse and press Delete to trim the magnified copy back to a disc.
-
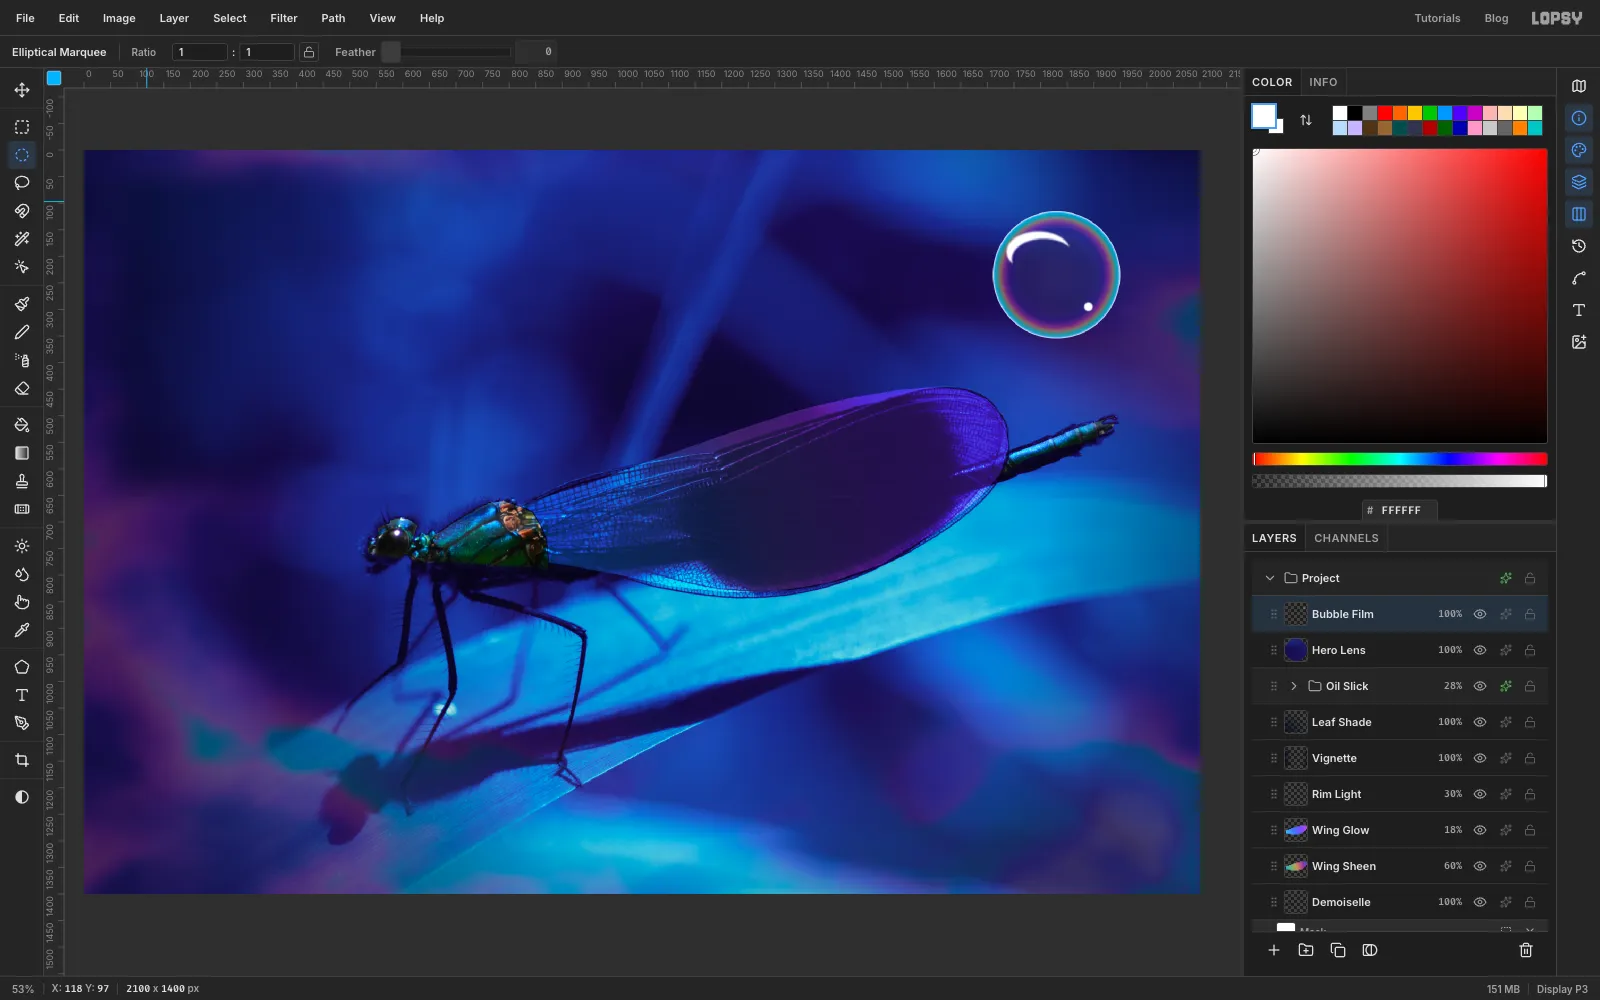
Paint the thin-film rim
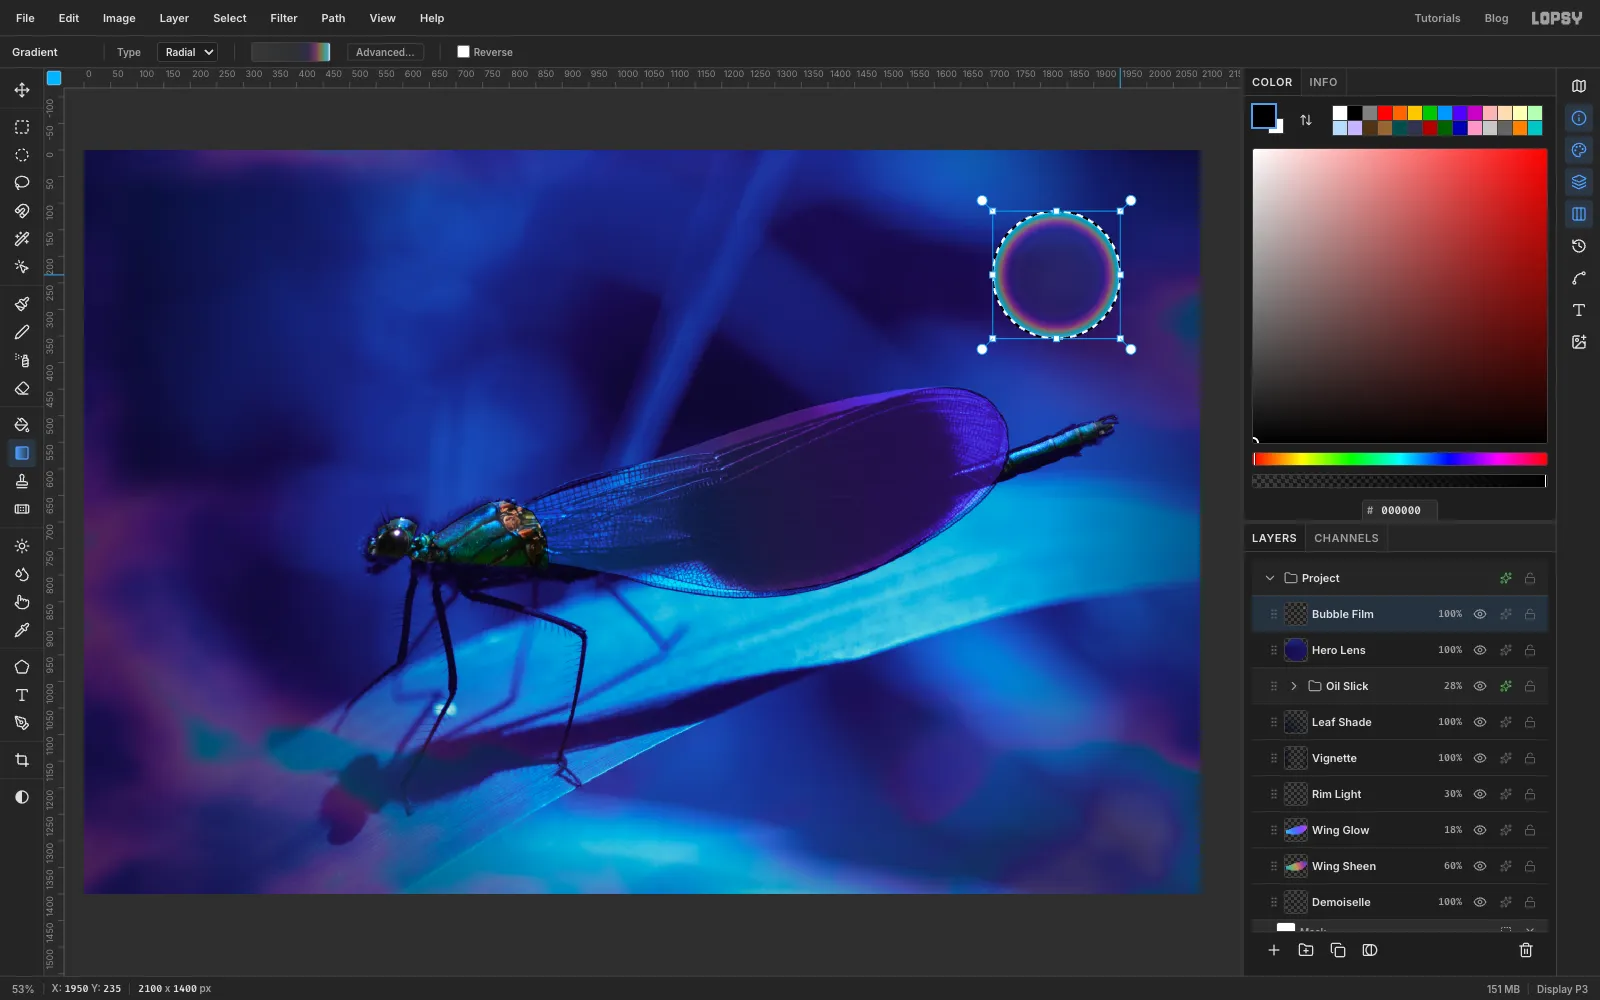
Add a layer called Bubble Film and make the same circle with the dialog (From 1710, 115, To 1950, 355). Set a Radial gradient with these stops, each with its own opacity:
- at 0% (8% opacity), at 55% (6%)
- at 72% (16%), at 82% (34%), at 88% (44%)
- at 93% (52%), at 97% (72%), at 100% (95%)
Drag from the centre of the circle to its edge. The middle stays almost clear, and the colour crowds into a thin rim, the way a real bubble looks.
-
Cut a window reflection
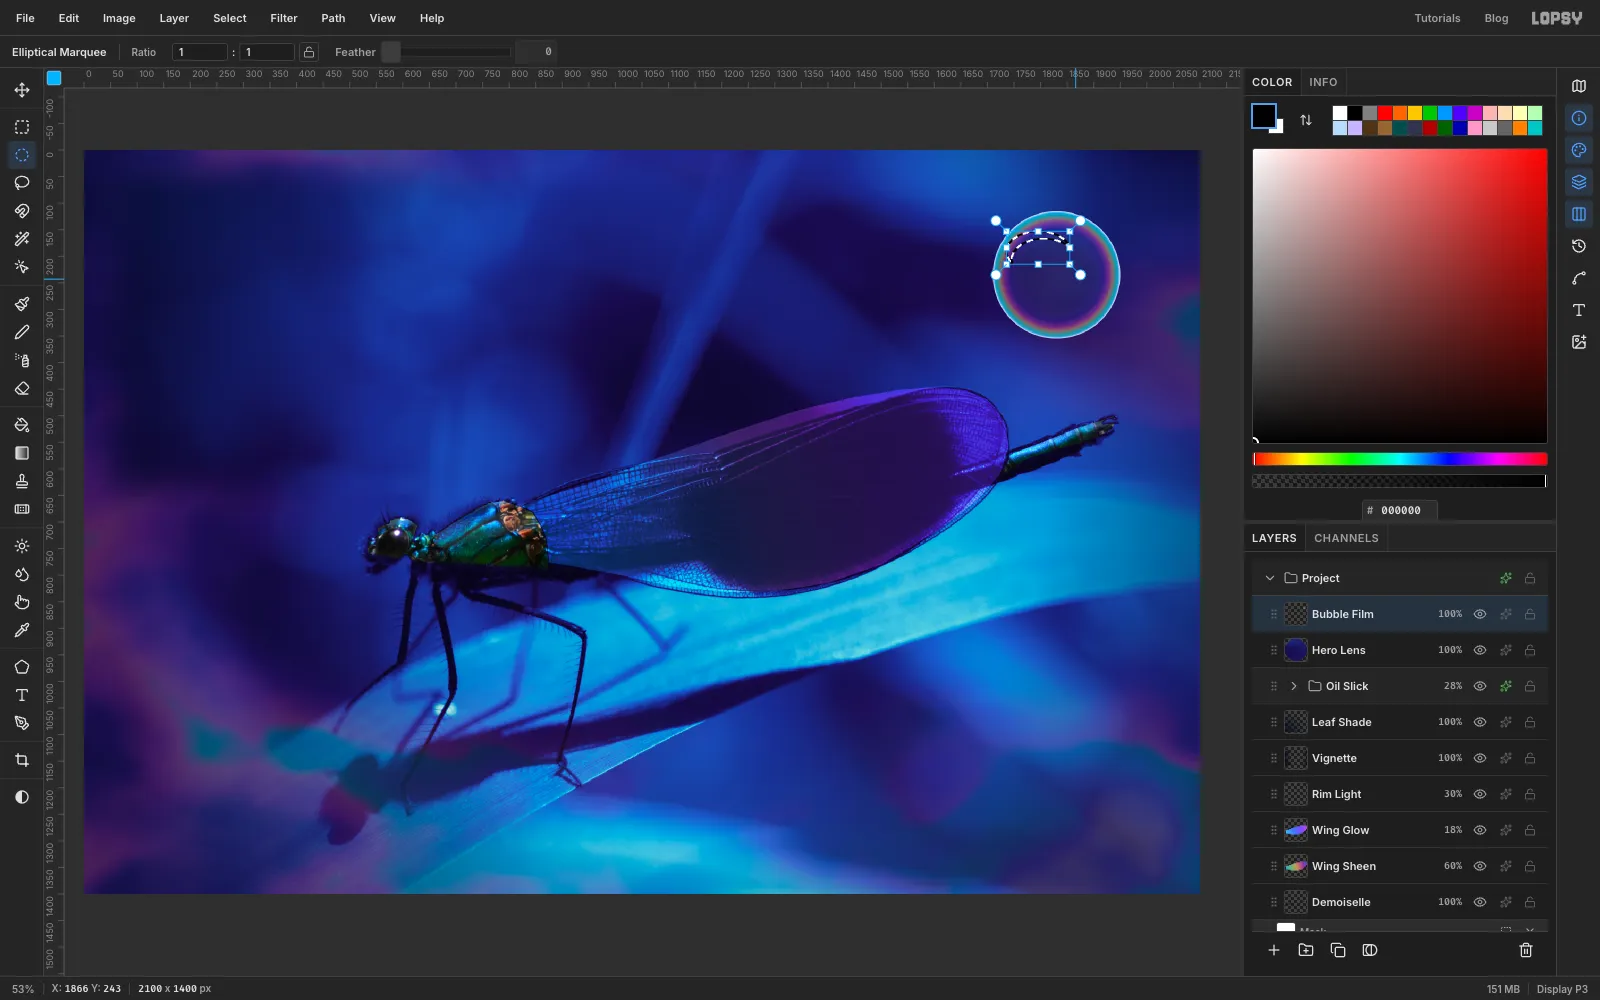
Bubbles reflect a window or the sky as a curved highlight. Draw a wide, flat ellipse in the upper-left part of the bubble. Then hold Alt and draw a second ellipse of the same size, a little lower and to the right. That leaves a crescent.
-
Fill the reflections
Choose Select → Feather… at 3, set the foreground to white and choose Edit → Fill. Then draw a tiny circle about 17 px across near the bottom-right of the rim, feather it by 2 and fill it white too. That's the second, smaller reflection. Press Cmd+D.
-
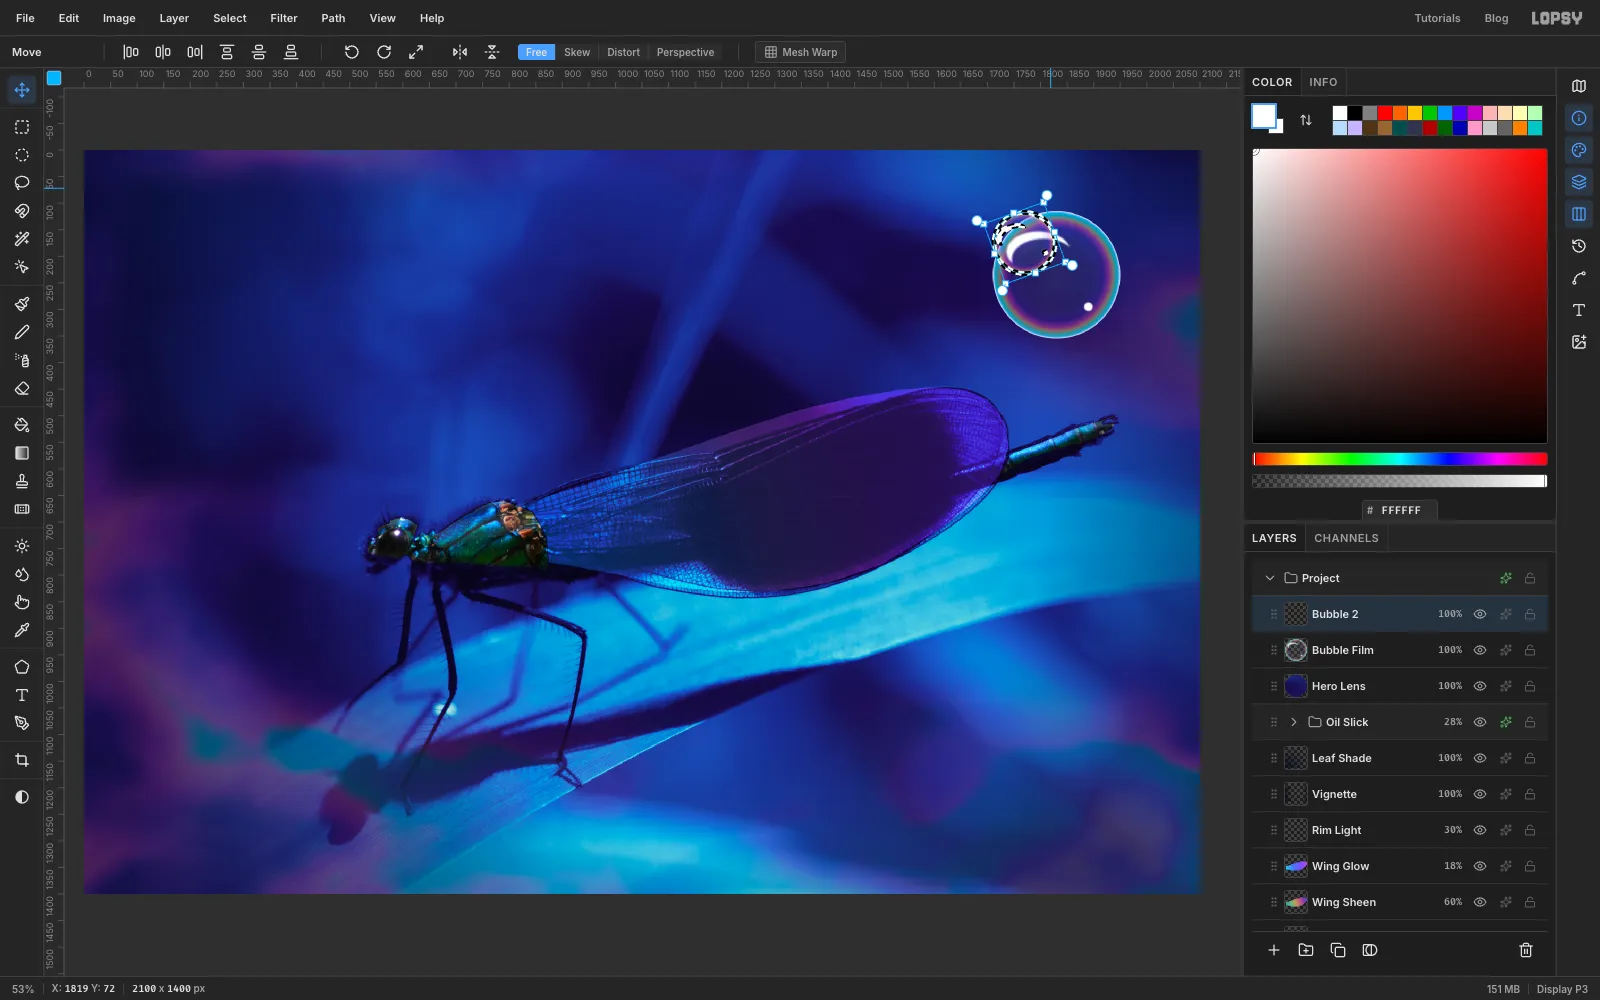
Copy, scale and rotate a smaller bubble
Click Bubble Film, then press Cmd+C and Cmd+V. The copy pastes in place, already selected. Rename it Bubble 2. Hold Cmd and drag its bottom-right handle in until the bubble is about 120 px across. Then drag the rotation handle, just outside a corner, about 20° anticlockwise. Turning each copy stops the glints from looking stamped. Press Cmd+D, then drag the bubble to the top middle of the card, right of the title.
-
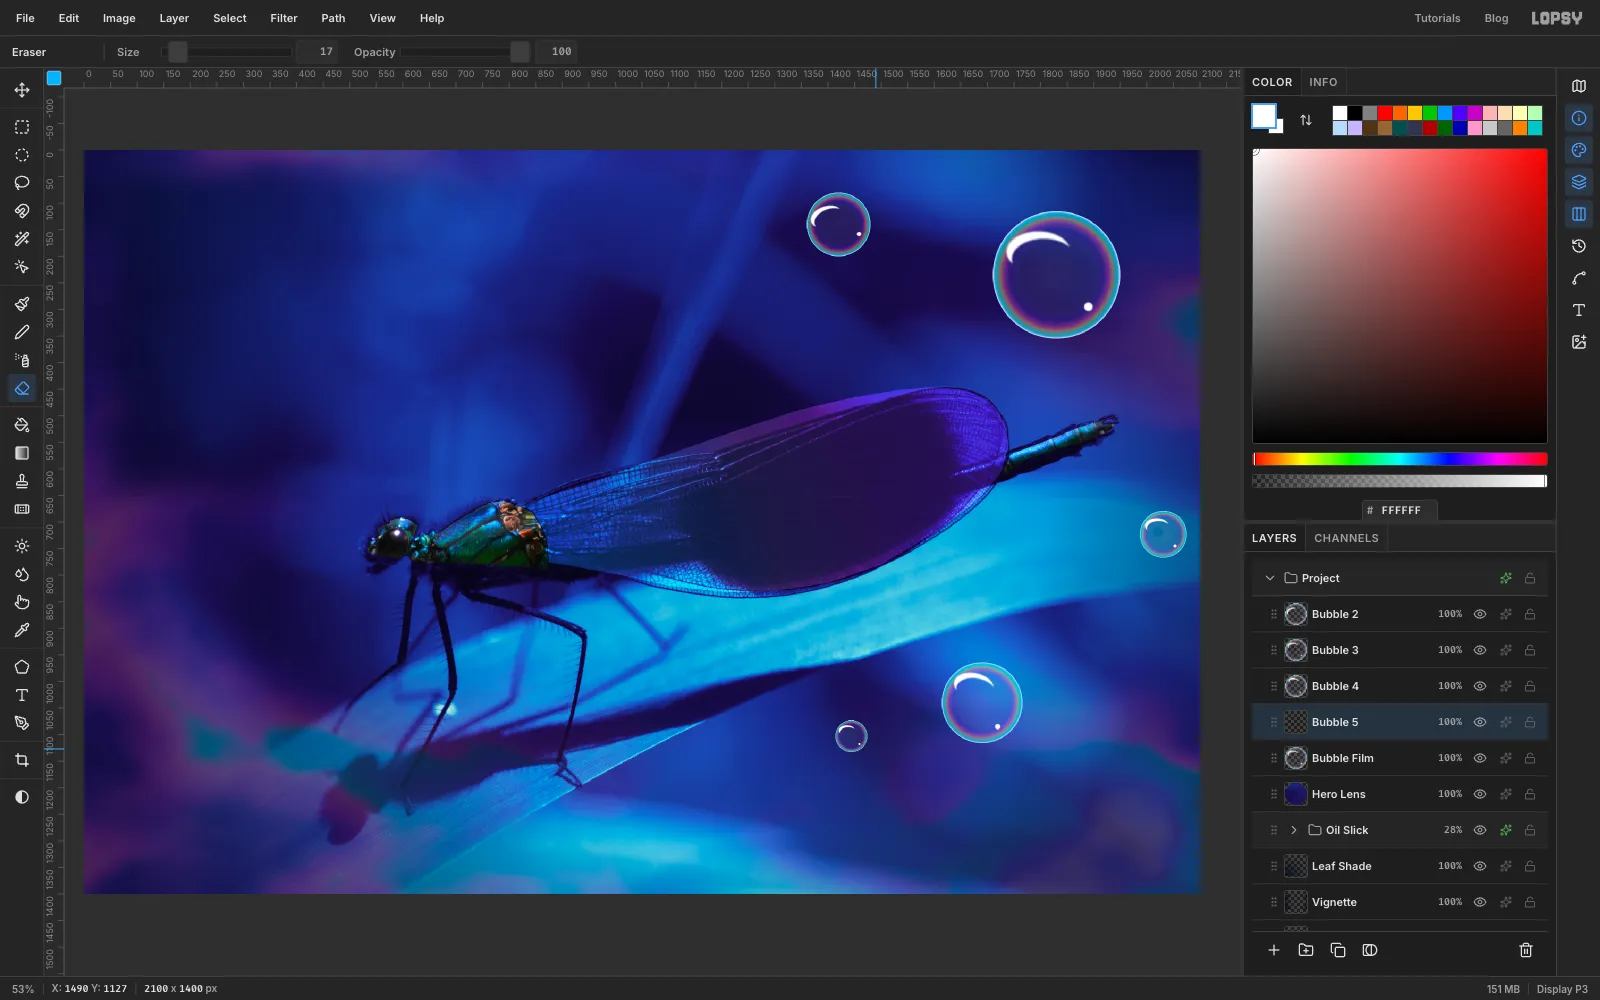
Make five bubbles
Repeat the copy, scale and rotate for three more bubbles, each copied from Bubble Film, and name them Bubble 3, Bubble 4 and Bubble 5:
- about 88 px across, turned 25° clockwise, beside the tail tip
- about 152 px across, turned 12° clockwise, lower right over the leaf's far end
- about 60 px across, turned 25° anticlockwise, down and left of that one
On the 88 px and 60 px bubbles, pick the Eraser at about Size 20 and click once on the small dot so not every bubble has one. Five bubbles of different sizes read as a breeze. Nine identical ones read as clutter.
-
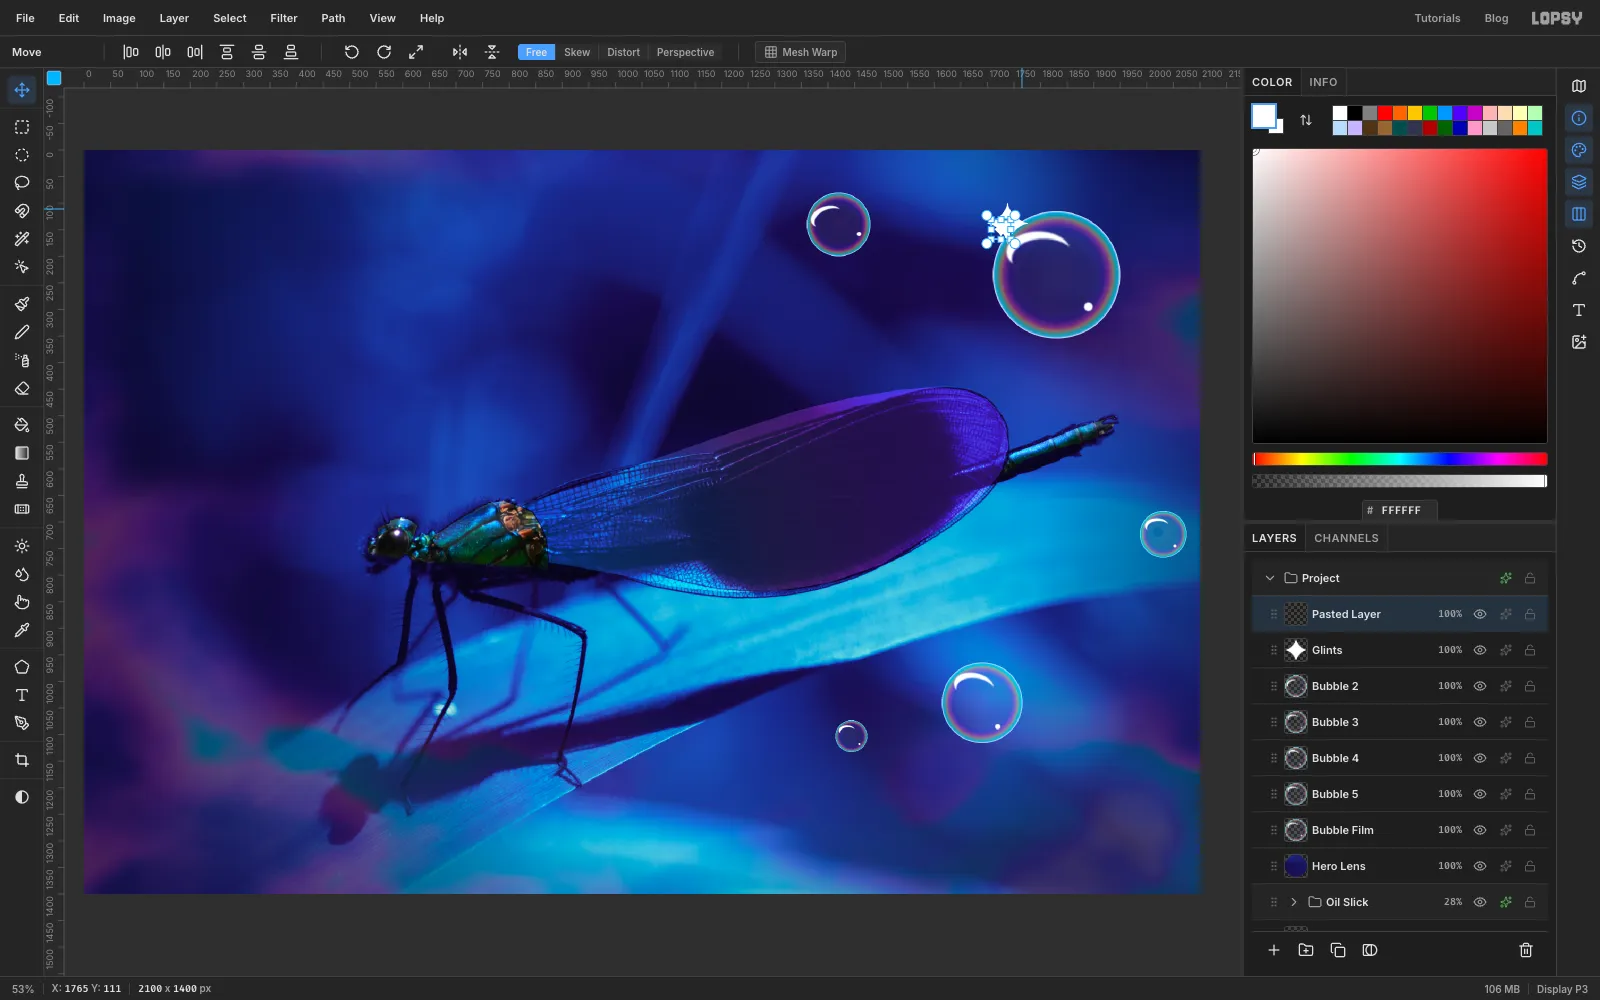
Add an eight-point glint
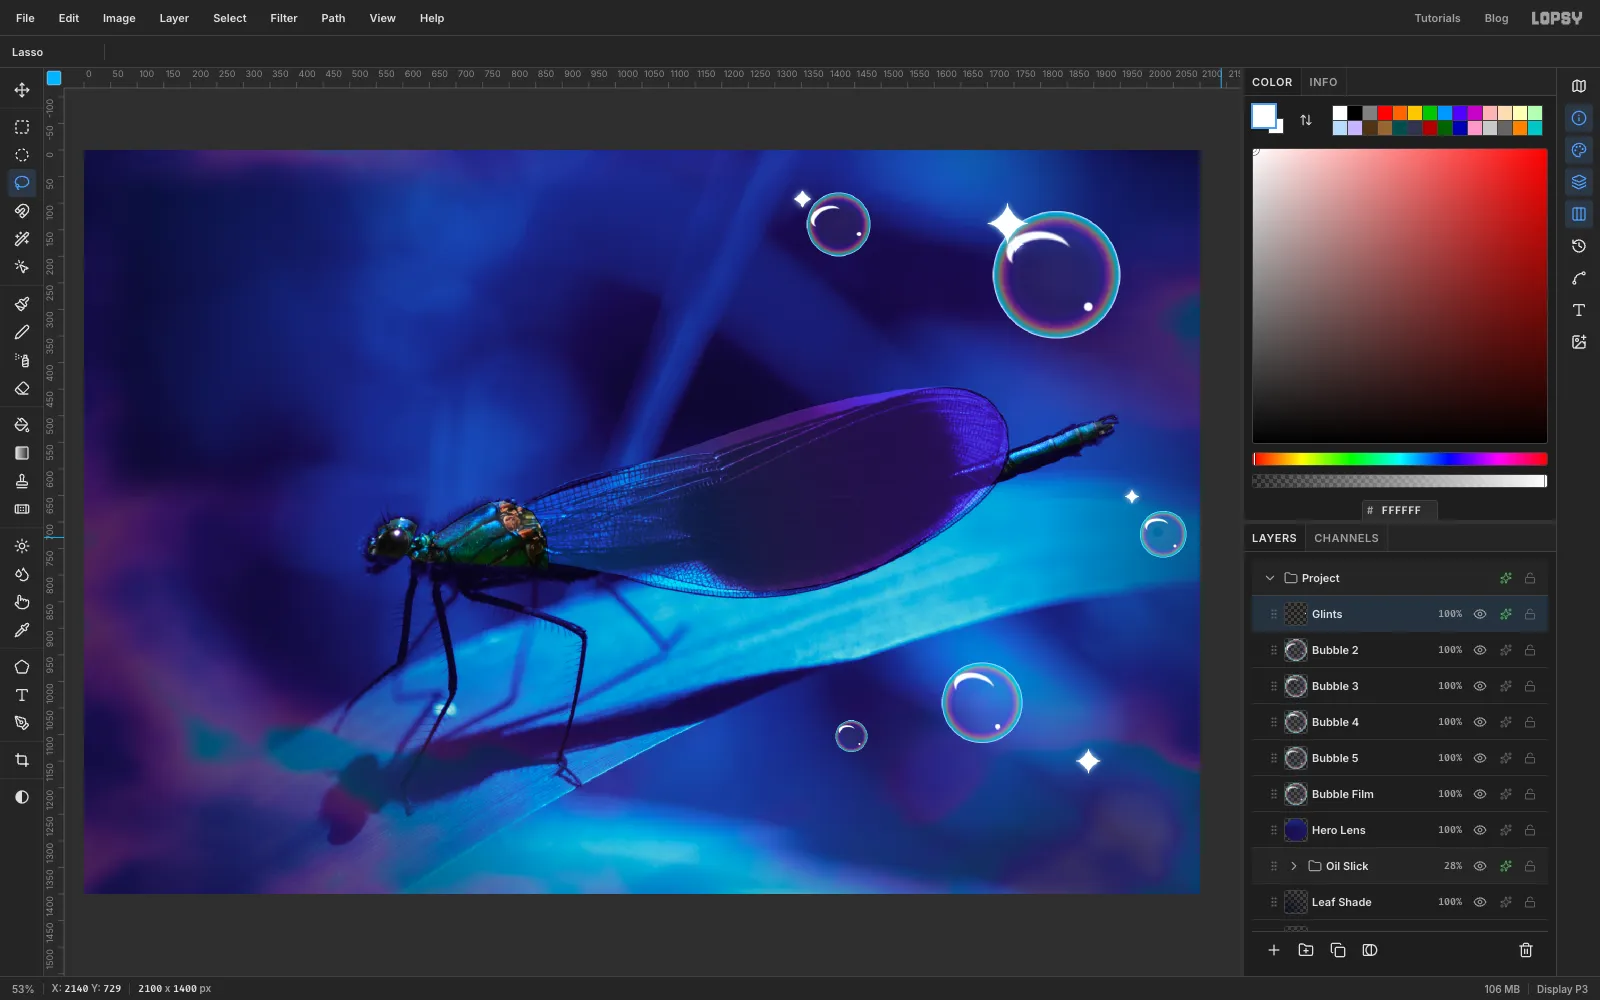
Click Bubble 2 and add a layer called Glints above it. Zoom in on the big bubble's upper-left rim. With the Lasso, draw a four-point star about 90 px across: start at the top tip and work round in four inward-curving arcs, tip to tip, so the arms come out thin and pinched, ending where you started. Set the foreground to white and choose Edit → Fill.
Marquee around the star, copy and paste it. Hold Cmd and drag the copy's bottom-right handle in to shrink it to about 40%, then turn it 45° with the rotation handle. Press Cmd+D, drag the small star back to the centre of the big one, and choose Layer → Merge Down.
-
Scatter a few sparkles
On Glints, lasso and fill three smaller four-point stars the same way, about 48, 36 and 28 px across. Put one beside the top-middle bubble, one at the edge of the bubble near the tail, and one at the bottom right. Open the layer's effects and add an Outer Glow in , Size 16, Opacity 95.
-
Sprinkle sparkle dust
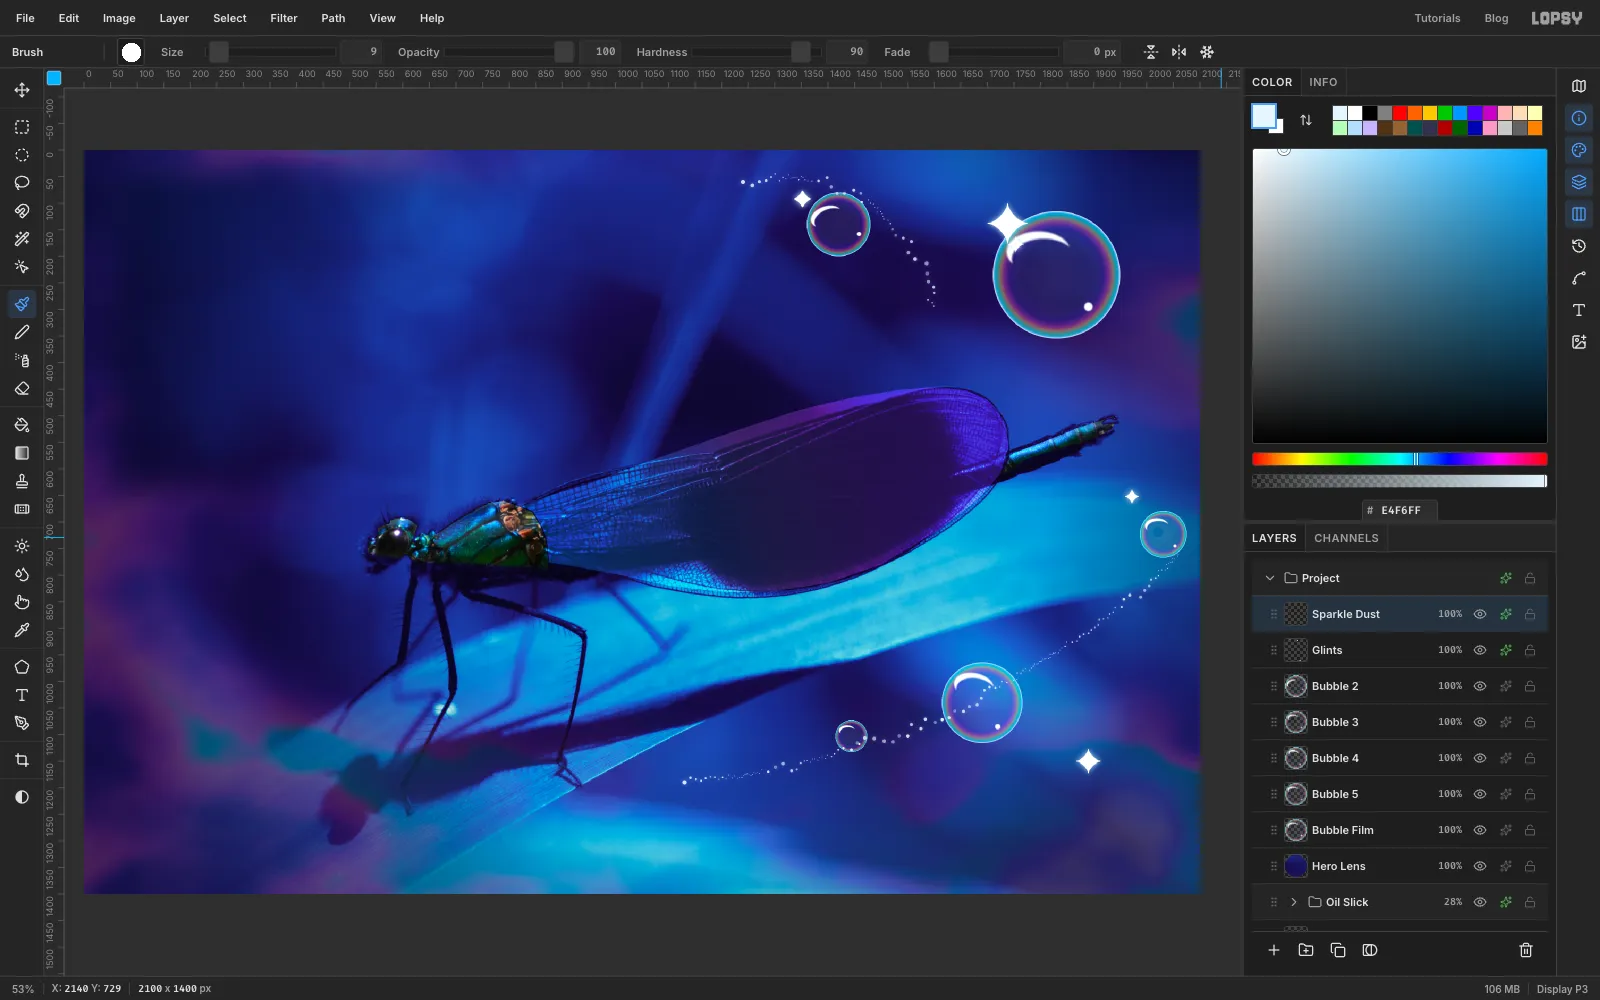
Add a layer called Sparkle Dust. Pick the Brush with and click the brush-tip preview at the left of the options bar to open the Brushes window. On the Shape tab set Size 9, Hardness 90 and Spacing 260. On the Dynamics tab set Scatter 90, Size Jitter 85 and Opacity Jitter 60. Wide spacing plus jitter turns one stroke into a trail of different-sized specks.
Paint one long, gently curving stroke from the bottom middle of the card up to the right edge, passing the lower bubbles. Paint a shorter one that loops over the top-middle bubble. Add an Outer Glow in , Size 12, Opacity 60.
-
Set margin guides
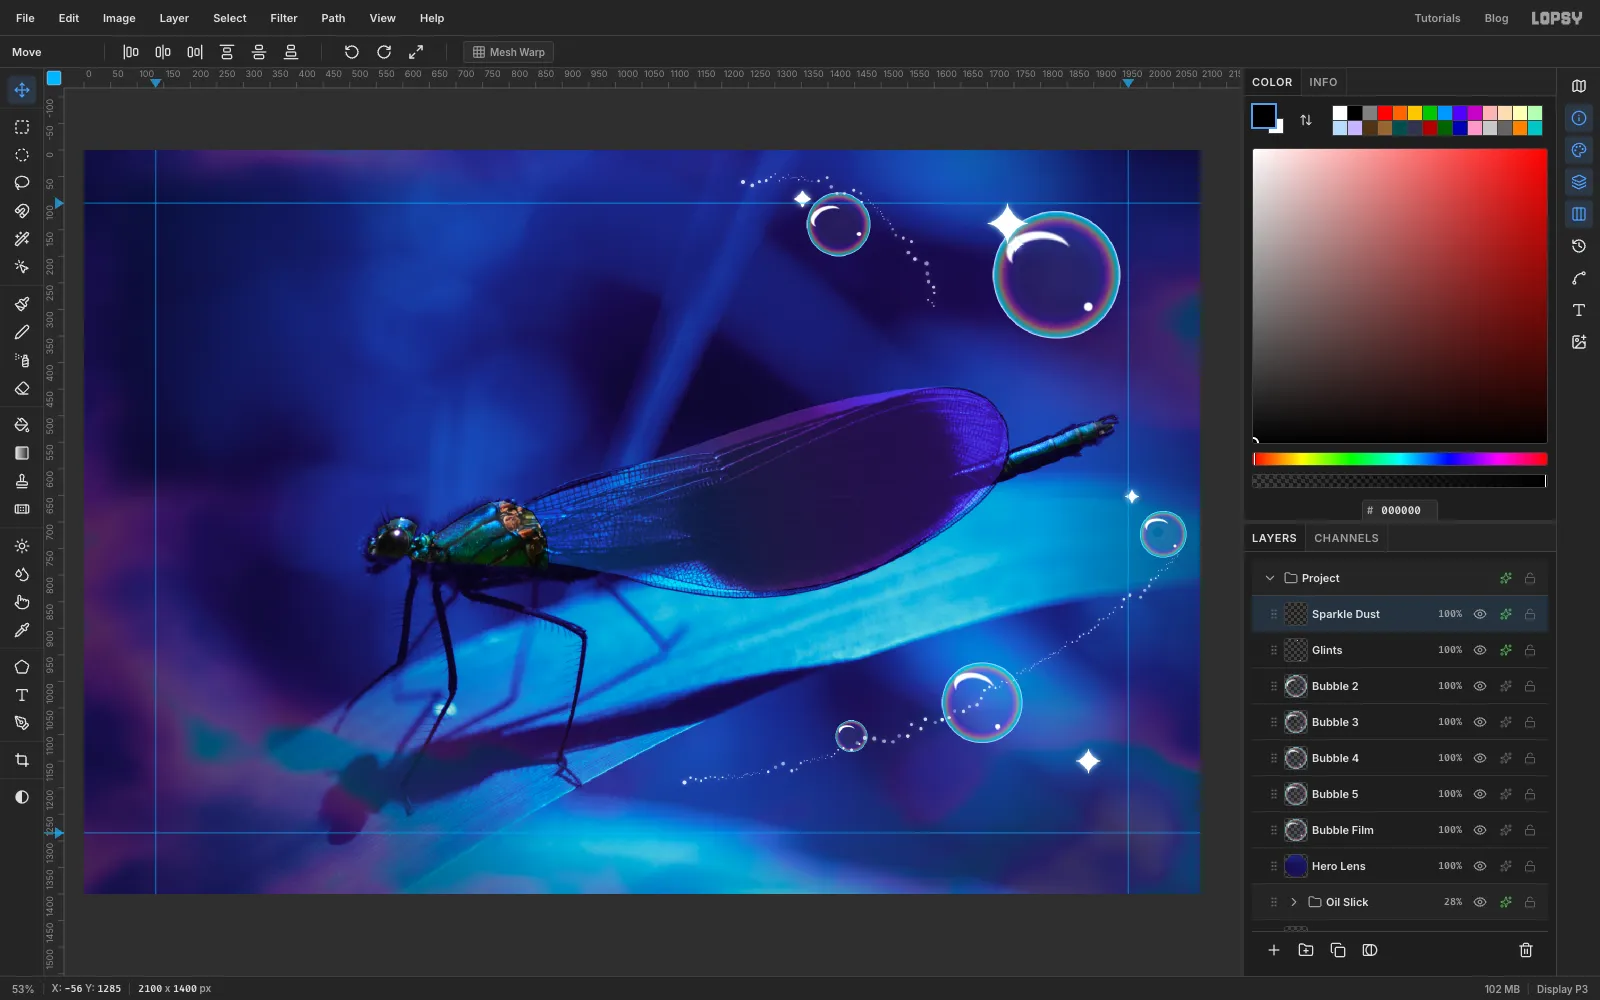
Click the top ruler at 135 and at 1965 to drop two vertical guides, then click the left ruler at 100 and at 1285 for two horizontal ones. These are the card's margins. The title will hang from the top-left corner and the caption will sit in the bottom-right one.
-
Set the script title
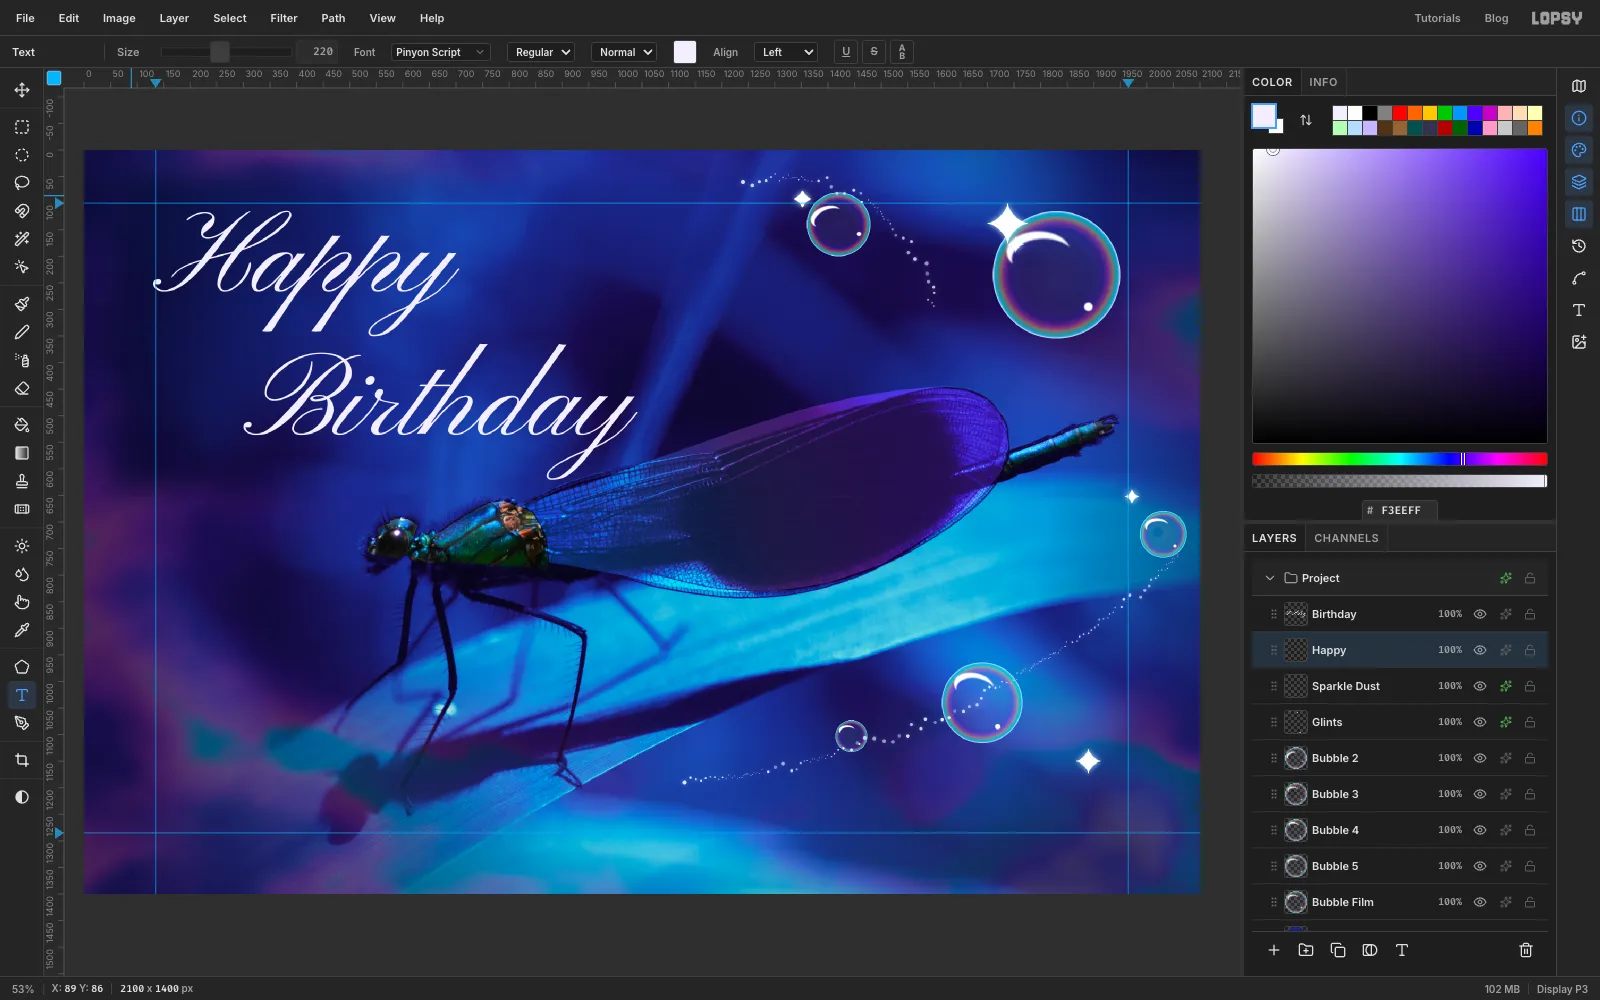
Click Sparkle Dust so the text lands above it. Pick the Text tool, choose Pinyon Script at 220 px and set the foreground to .
Type Birthday first, clicking a little below and right of where the two top-left guides cross. Then click Sparkle Dust again and type Happy higher up and further left. Create Birthday first: a click inside an existing text layer's box edits that layer instead of making a new one.
-
Line up the title and add a caption
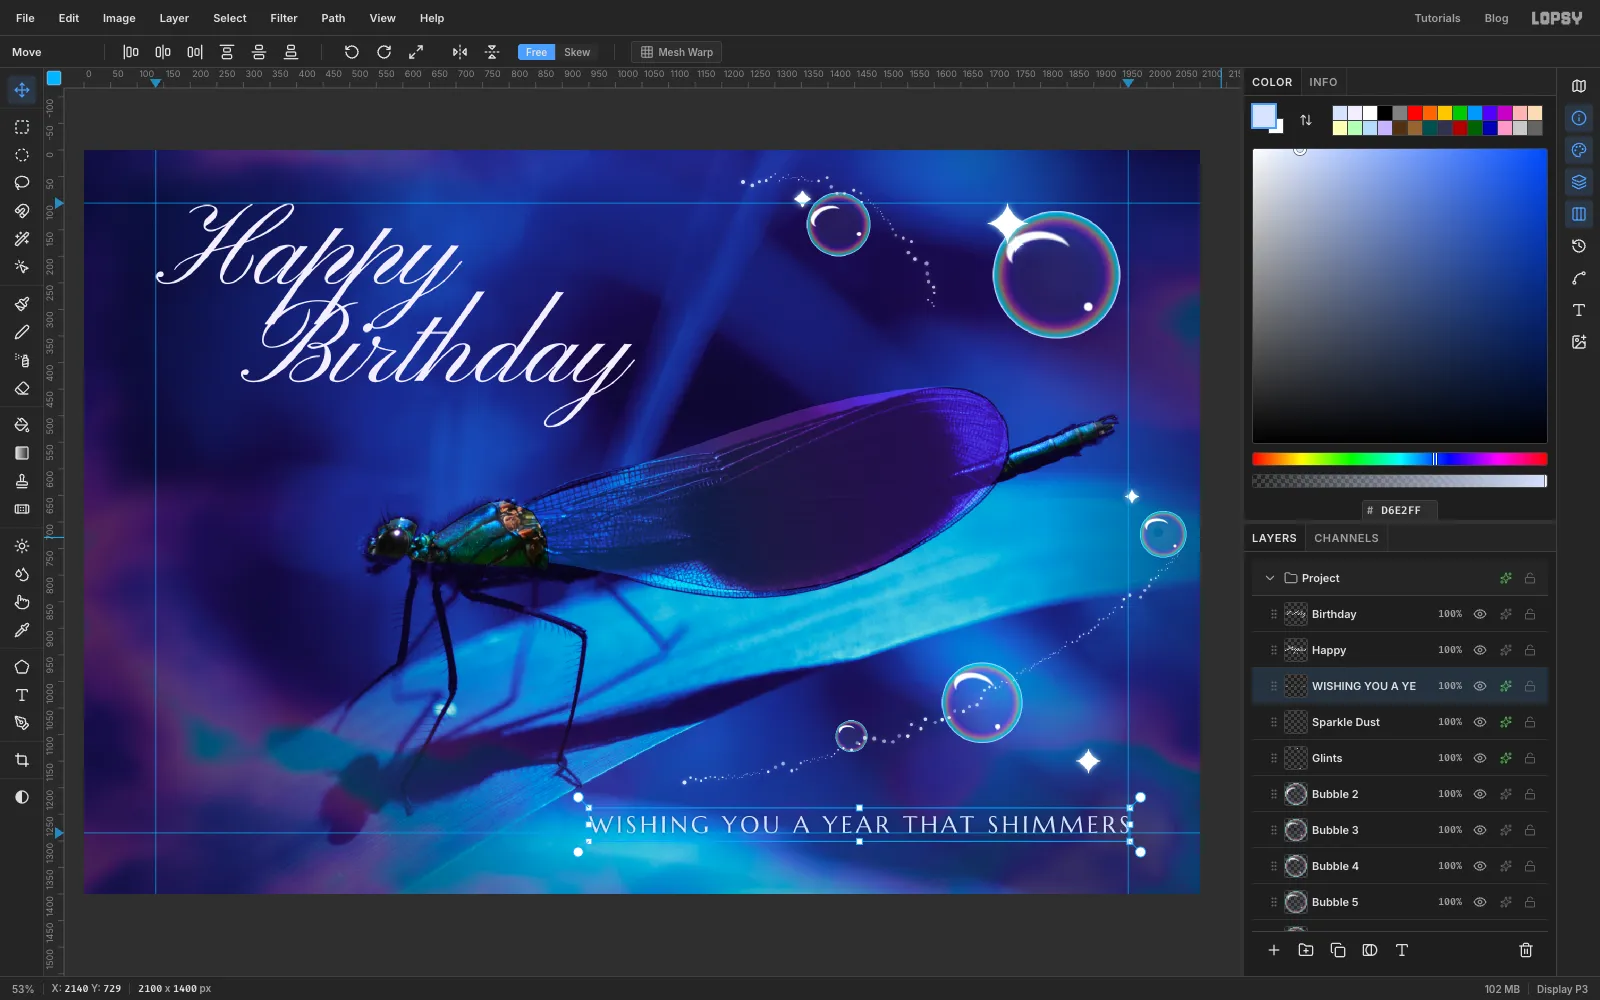
Select Happy and use the arrow keys with the Move tool to put the left edge of the H's swash on the left guide and the top of the letters on the top guide. Then move Birthday so it starts about 160 px right of Happy's left edge and its tall letters rise about 70 px into the descenders of Happy. The two words then lock together, and the tail of the y stays well clear of the wing.
For the caption, click Sparkle Dust and type WISHING YOU A YEAR THAT SHIMMERS in Marcellus SC at 45 px, in . In the Text panel set Letter spacing to 6. Nudge it until its right edge sits on the right guide and the letters rest on the bottom guide. Give it a Drop Shadow in with Offset X 0, Offset Y 0, Blur 8 and Opacity 50. The shadow is just a soft dark halo that keeps the letters crisp over the leaf.
-
Add an iridescent foil
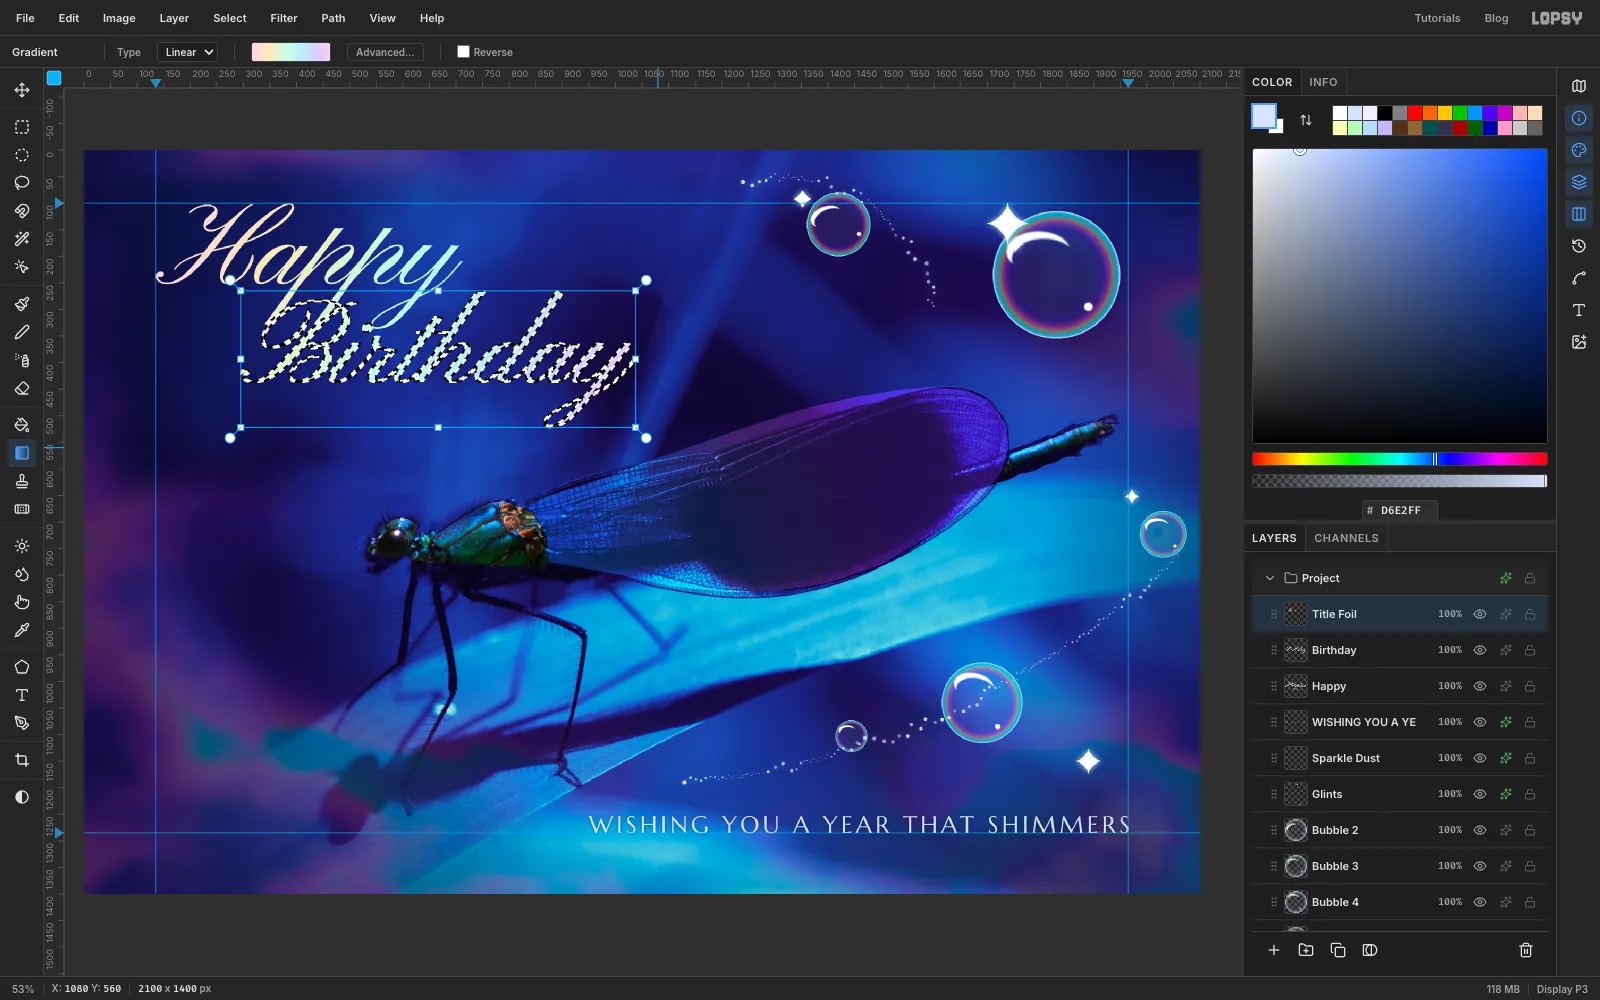
Click Birthday and add a layer above it called Title Foil. Cmd-click the Happy thumbnail to load its letters as a selection, then click the Title Foil row. Set a Linear gradient of , , , , and . Drag it from the top-left of Happy to the bottom-right of Birthday.
Cmd-click the Birthday thumbnail, click Title Foil again, and drag the gradient along exactly the same line. Press Cmd+D and set Title Foil to Multiply. Multiplying pastel over white text tints the letters with the colours, and they flow across both words like foil.
-
Give the title a dark halo
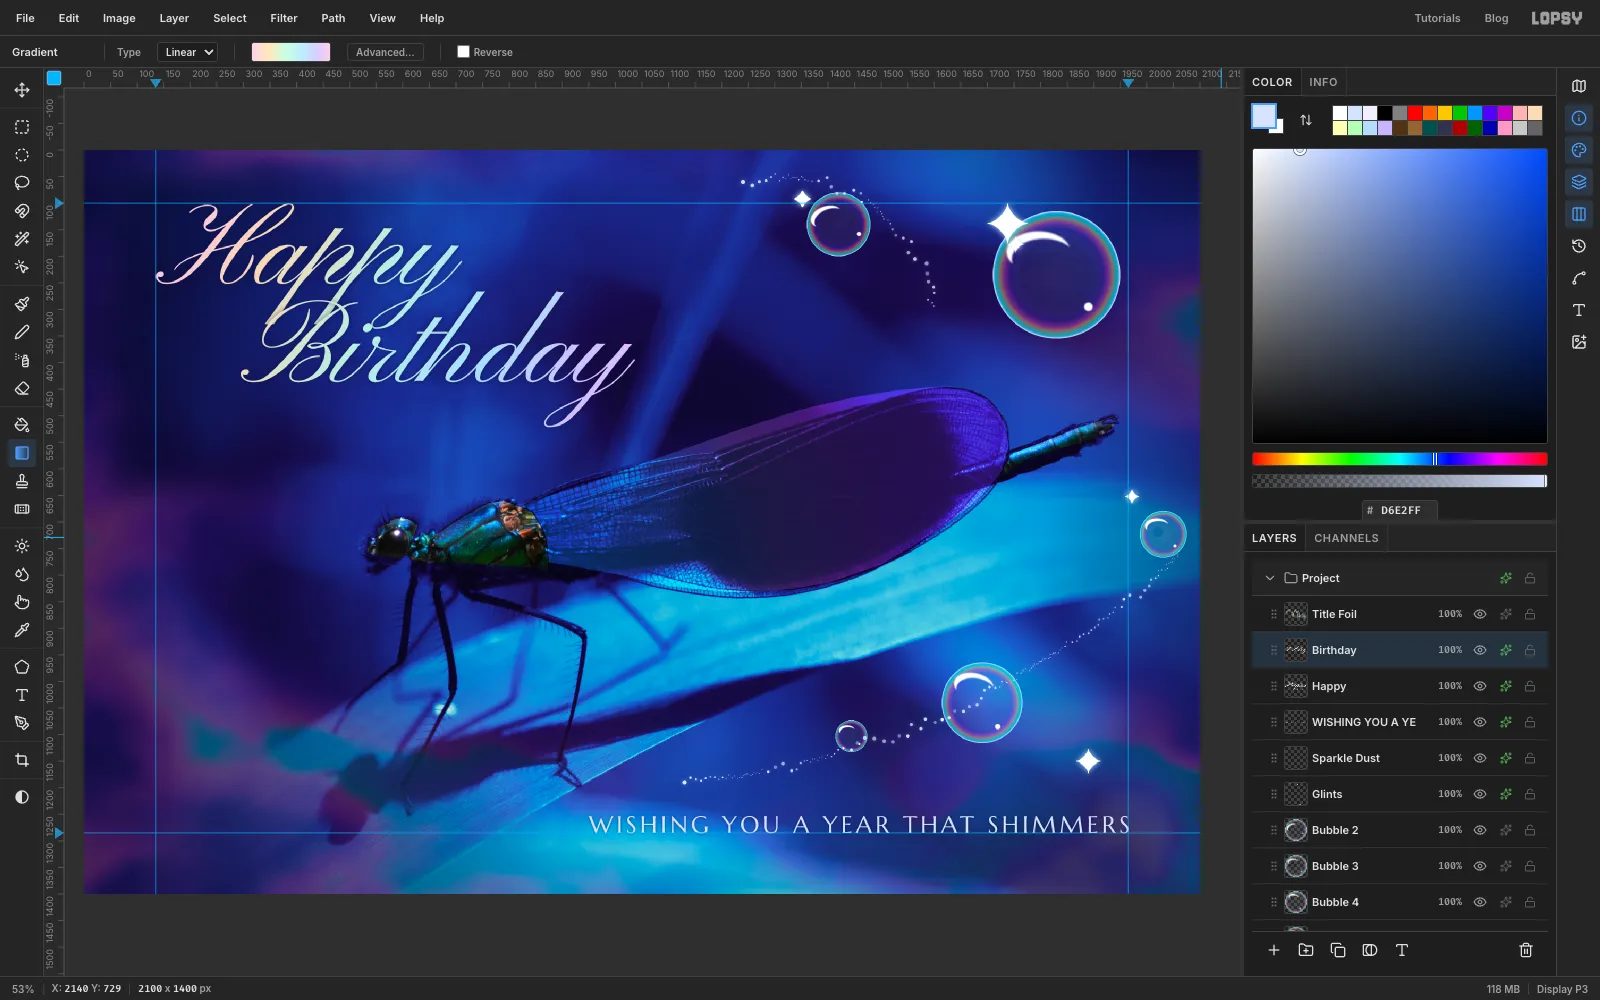
Select Happy and add an Outer Glow in , Size 16, Opacity 70, then do the same on Birthday. A light glow would melt into the blue background. A dark one separates the thin hairlines from the smoke behind them.
-
Group the layers
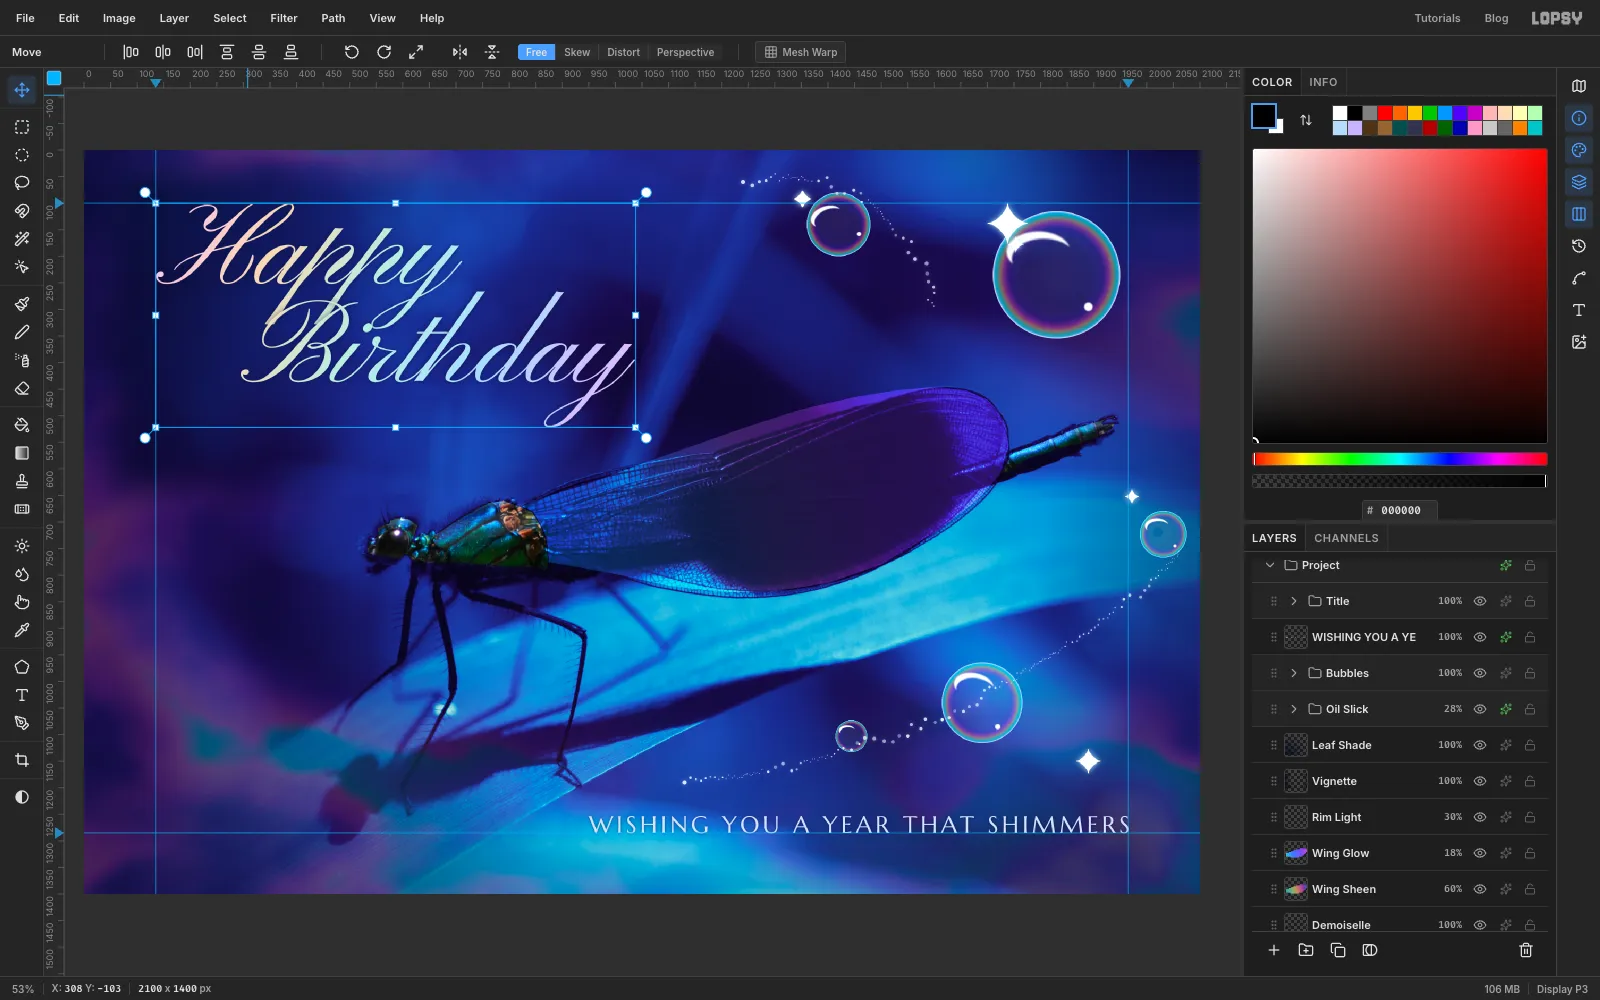
Click Sparkle Dust, Shift-click Hero Lens, and choose Layer → Group Layers. Name the group Bubbles. That takes in the dust, the glints, all five bubbles and the lens, so the sparkles stay on their bubbles when the group moves. Do the same with Title Foil, Birthday and Happy, and name it Title. Collapse both groups to keep the panel tidy.
-
Check the balance with the grid
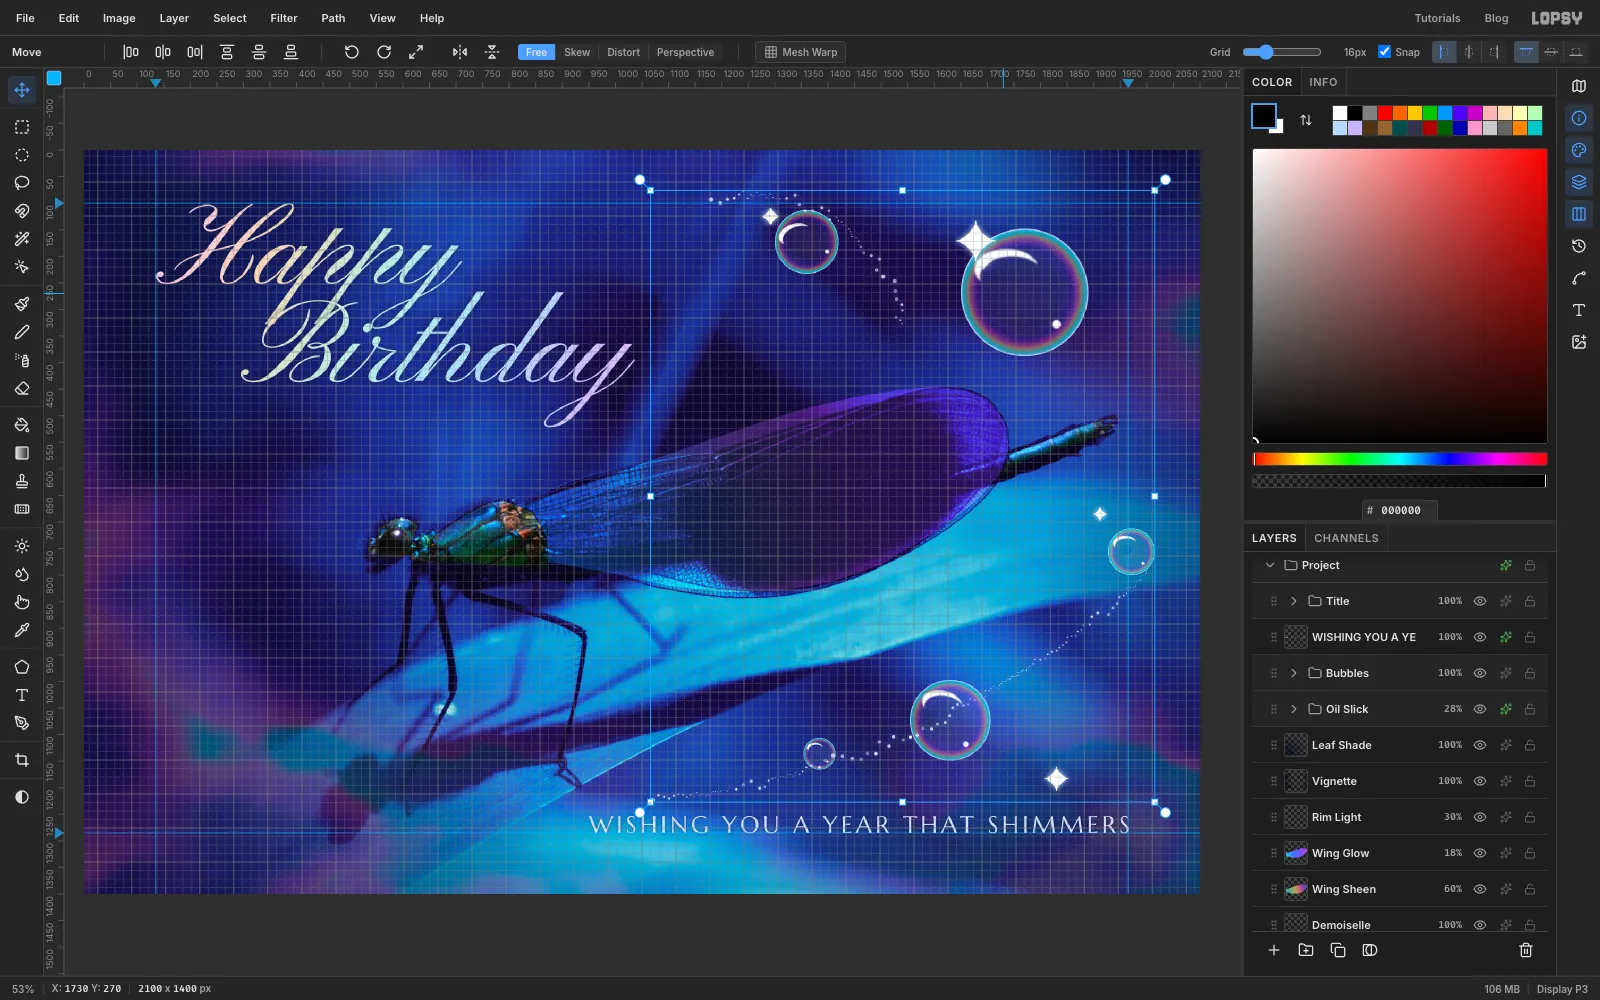
Choose View → Show Grid (Snap turns on with it). Click the Bubbles group and drag on the canvas with the Move tool. All the bubbles move together, and you can judge whether the right side feels too heavy or too light. If the original spot was better, as it was here, press Cmd+Z to put the group back. Hide the grid again with View → Show Grid.
-
Finish with film grain
Click the Title group, add a layer called Grain, set the foreground to and choose Edit → Fill. Run Filter → Add Noise… with Amount 60, Mono and Gaussian. Set the layer to Overlay at 30%. The grain ties the photo and the drawn bubbles into one image.
Save with File → Save Project and export with File → Quick Export PNG.