Draw an Isometric Tattoo Flash Sheet of Zen Islands
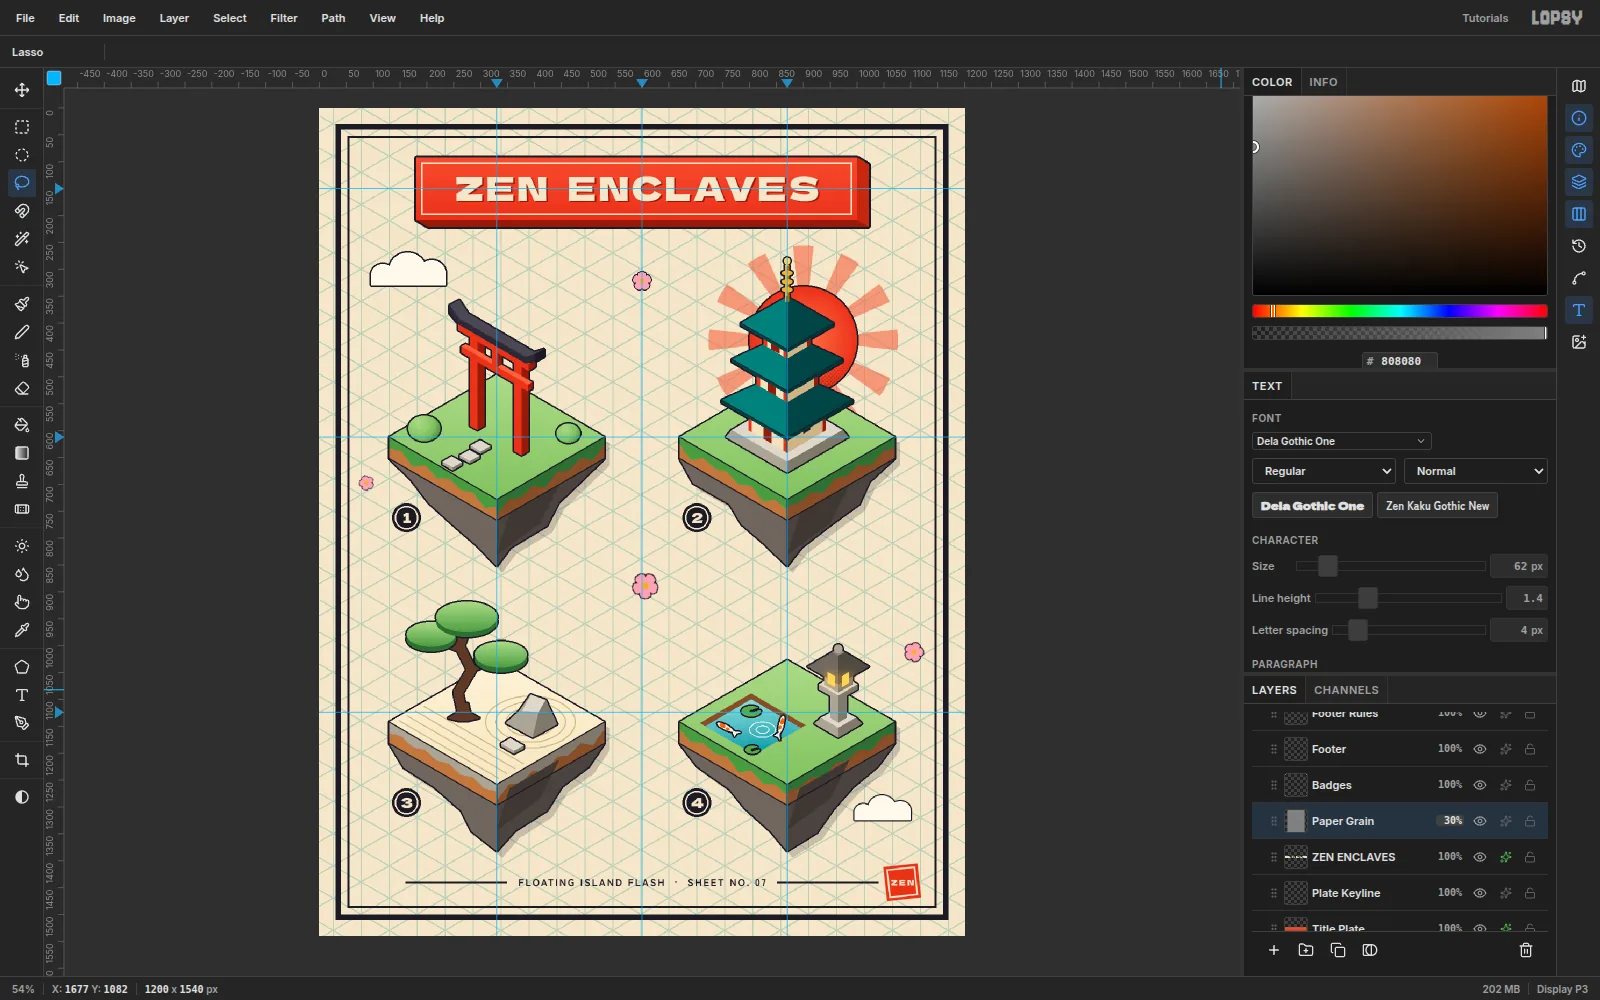
Make a ZEN ENCLAVES tattoo flash sheet in Lopsy. Four floating isometric islands (torii, pagoda, rock garden, koi pond) on iso drafting paper.
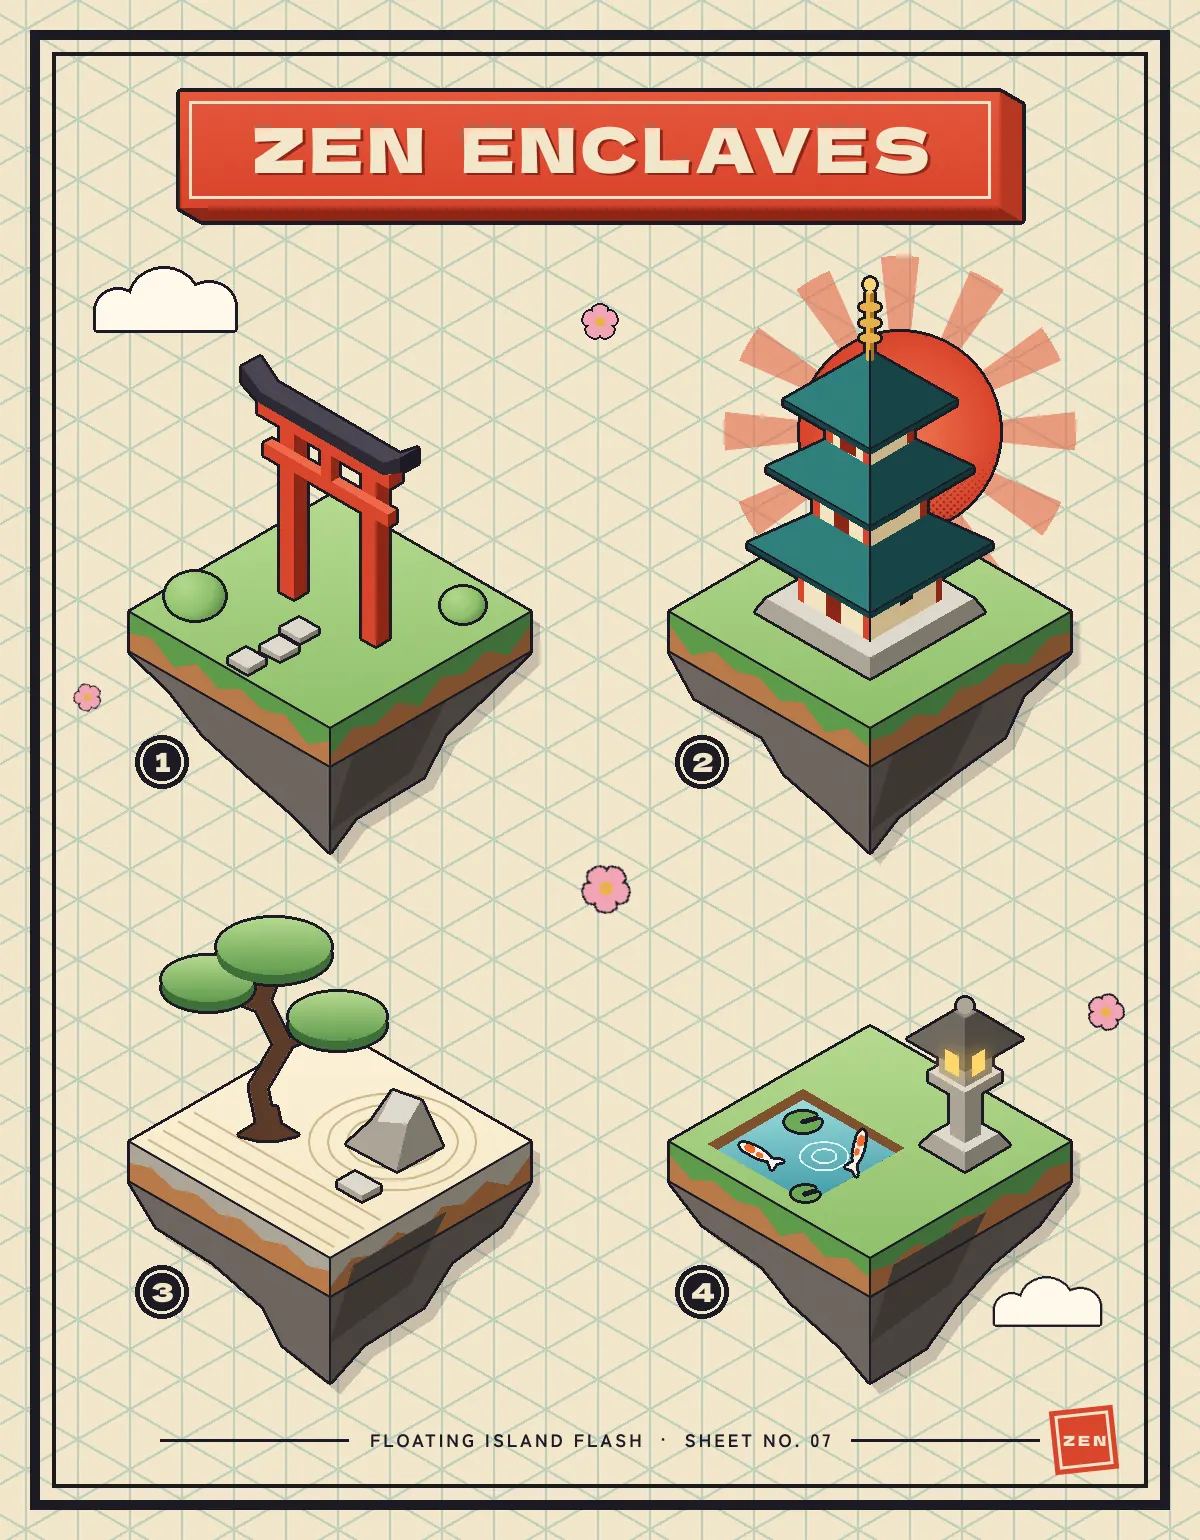
A tattoo flash sheet is the page on a tattoo shop wall: a bordered set of ready-to-go designs, each with a number a client can point at. In this tutorial you'll draw one in isometric style. Every object is built from flat parallelograms at 30°, and each has three tones: a light top, a mid left face and a dark right face. Ink outlines and flat offset shadows give it the bold look of flash.
The theme is ZEN ENCLAVES: four floating islands, each holding one garden scene. You'll build the drafting paper from a pattern, draw every face with the Lasso, then line, shade and number the designs.
The palette:
- Paper
#F2E6CB, ink#1C1A24, grid#7FB3AA - Vermilion
#EE6A4B/#D8452B/#8C2717(top / left / right faces) - Teal roofs
#4FA3A0/#2F7F7C/#174446 - Grass
#B4D98F→#8DBF6Aon top, sides#5E9A4B/#3F6E3A - Earth
#B97A48/#80502F, rock#6E655E/#4A433F - Stone
#DDD8CC/#ABA597/#7E786C
-
Draw one tile of isometric graph paper
Choose File → New, enter 1200 × 1540 and click Create. Select Background, set the foreground to
#F2E6CBand choose Edit → Fill.Rename Layer 1 to Grid Tile. Pick the Pencil (N) at Size 2 in
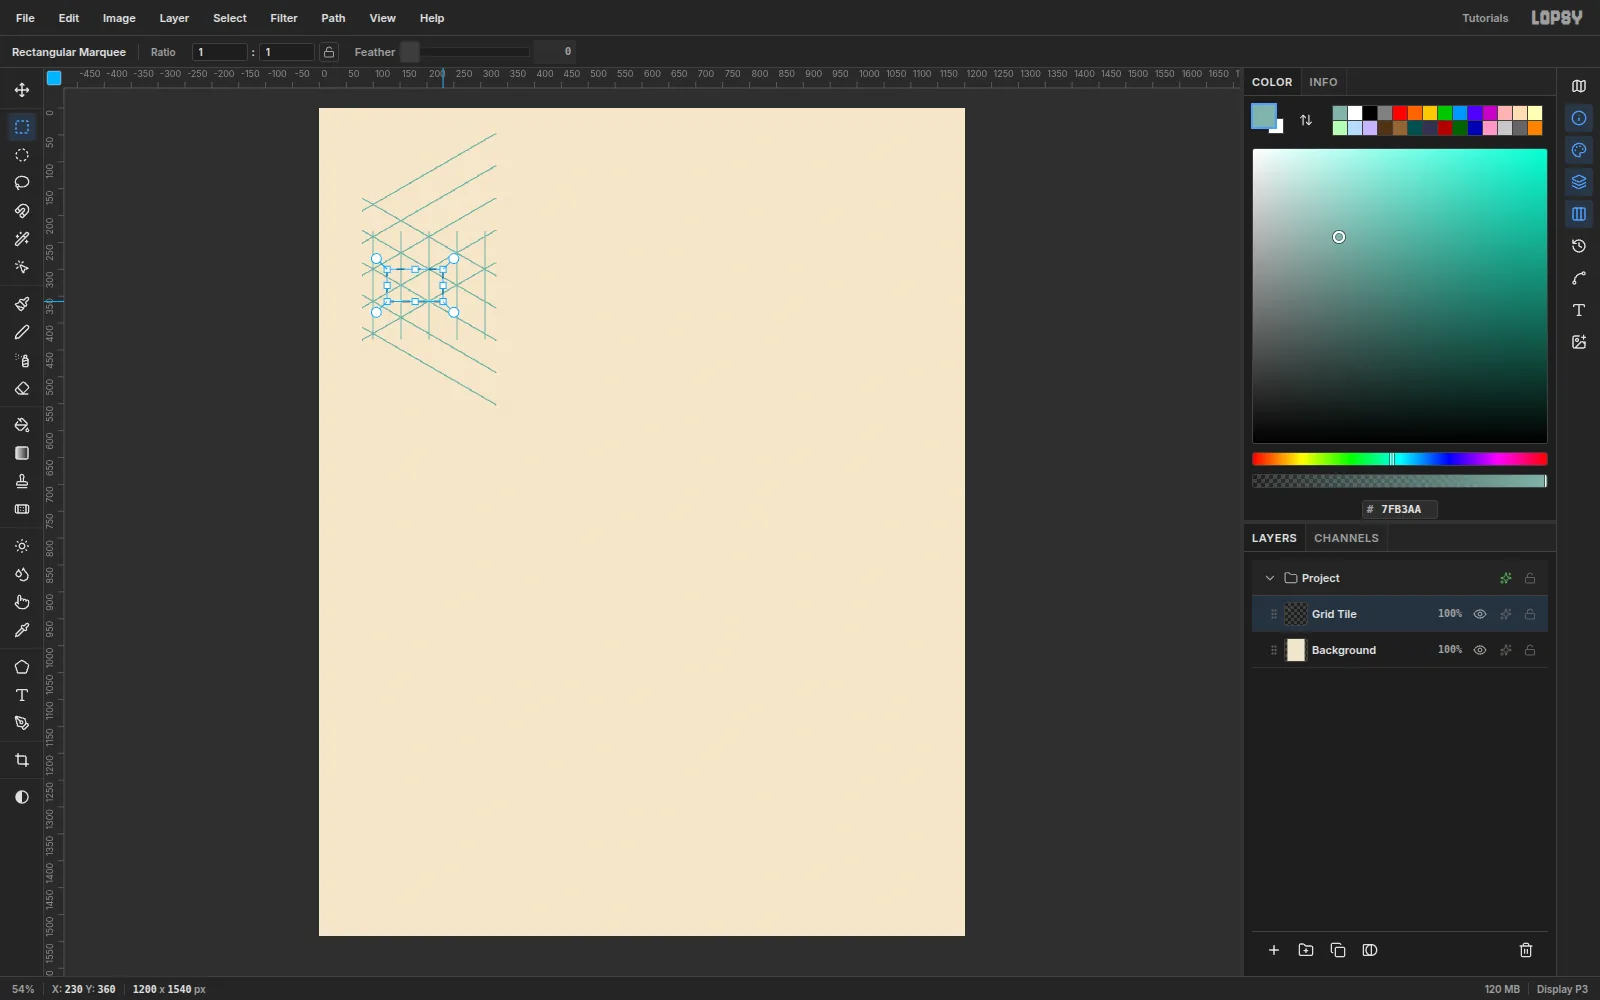
#7FB3AA. Click a point, then Shift-click the next one to draw each straight line. Draw vertical lines 52 px apart, then diagonals at ±30° (30 px of rise for every 52 px of run), each spaced 60 px apart vertically. Make the patch a little bigger than one repeat.Marquee exactly one repeat: 104 × 60, placed so neither vertical sits on an edge (here at (126, 300)). Choose Edit → Define Pattern.
-
Fill the page with the pattern
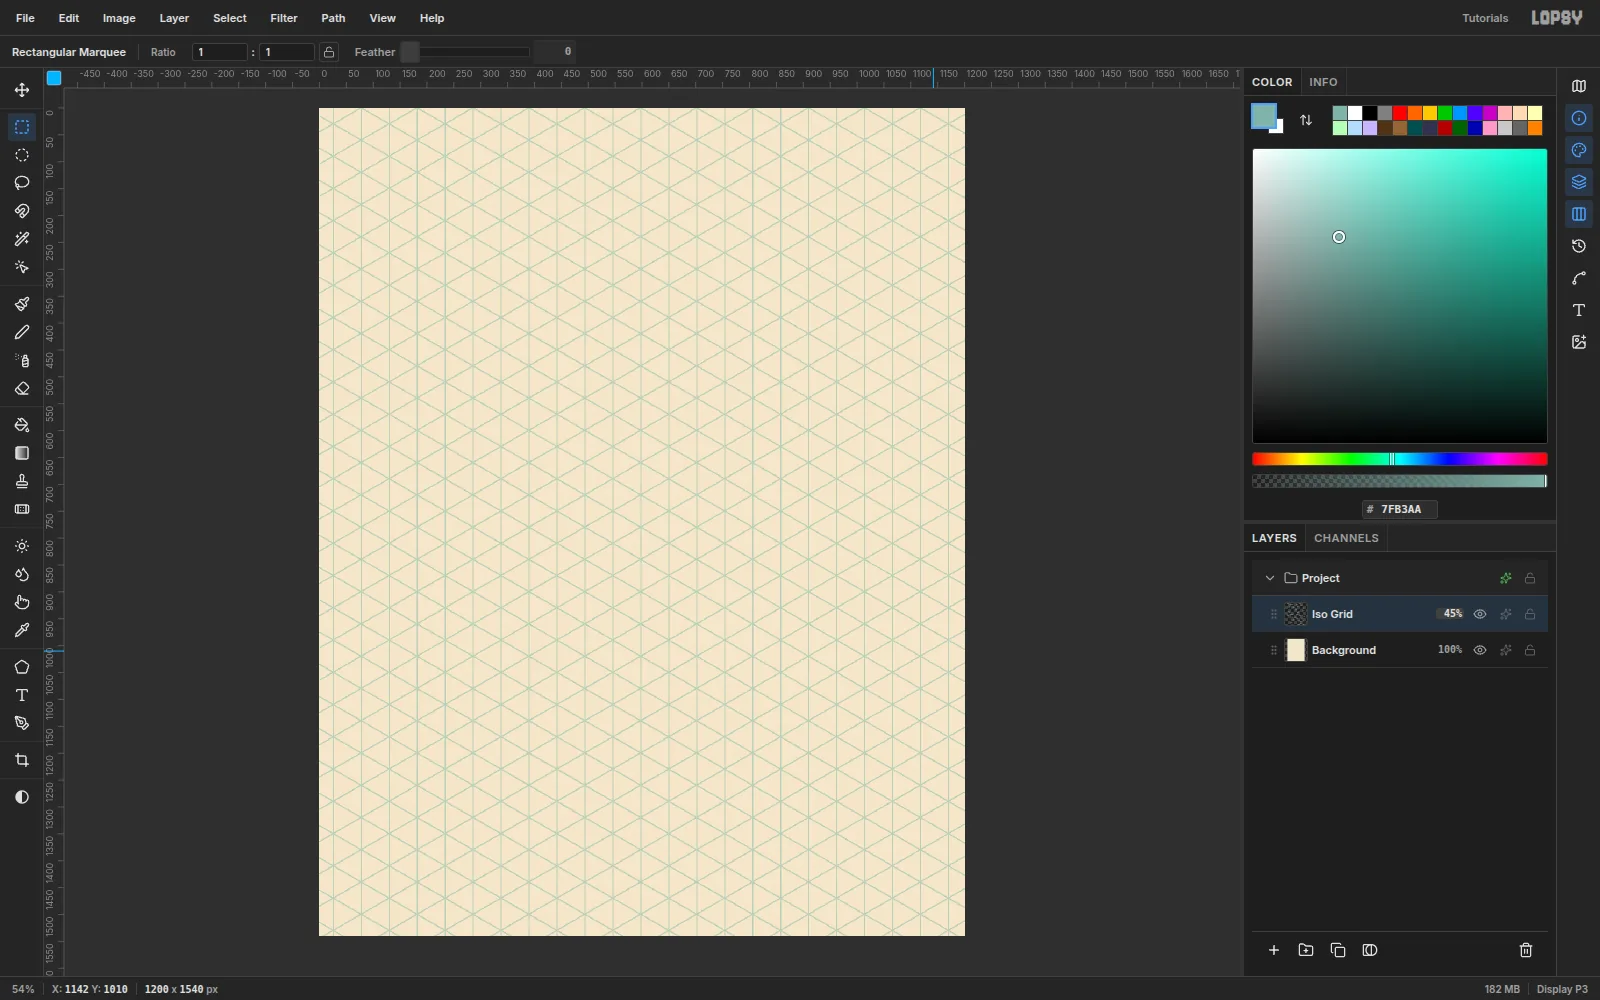
Delete Grid Tile; the pattern is saved. Select Background, add an Iso Grid layer and choose Edit → Fill with Pattern…. Pick the new 104 × 60 pattern at Scale 100 and click Apply. Set the layer's opacity to 45% so the grid reads as printed drafting paper.
-
Rule a double ink border
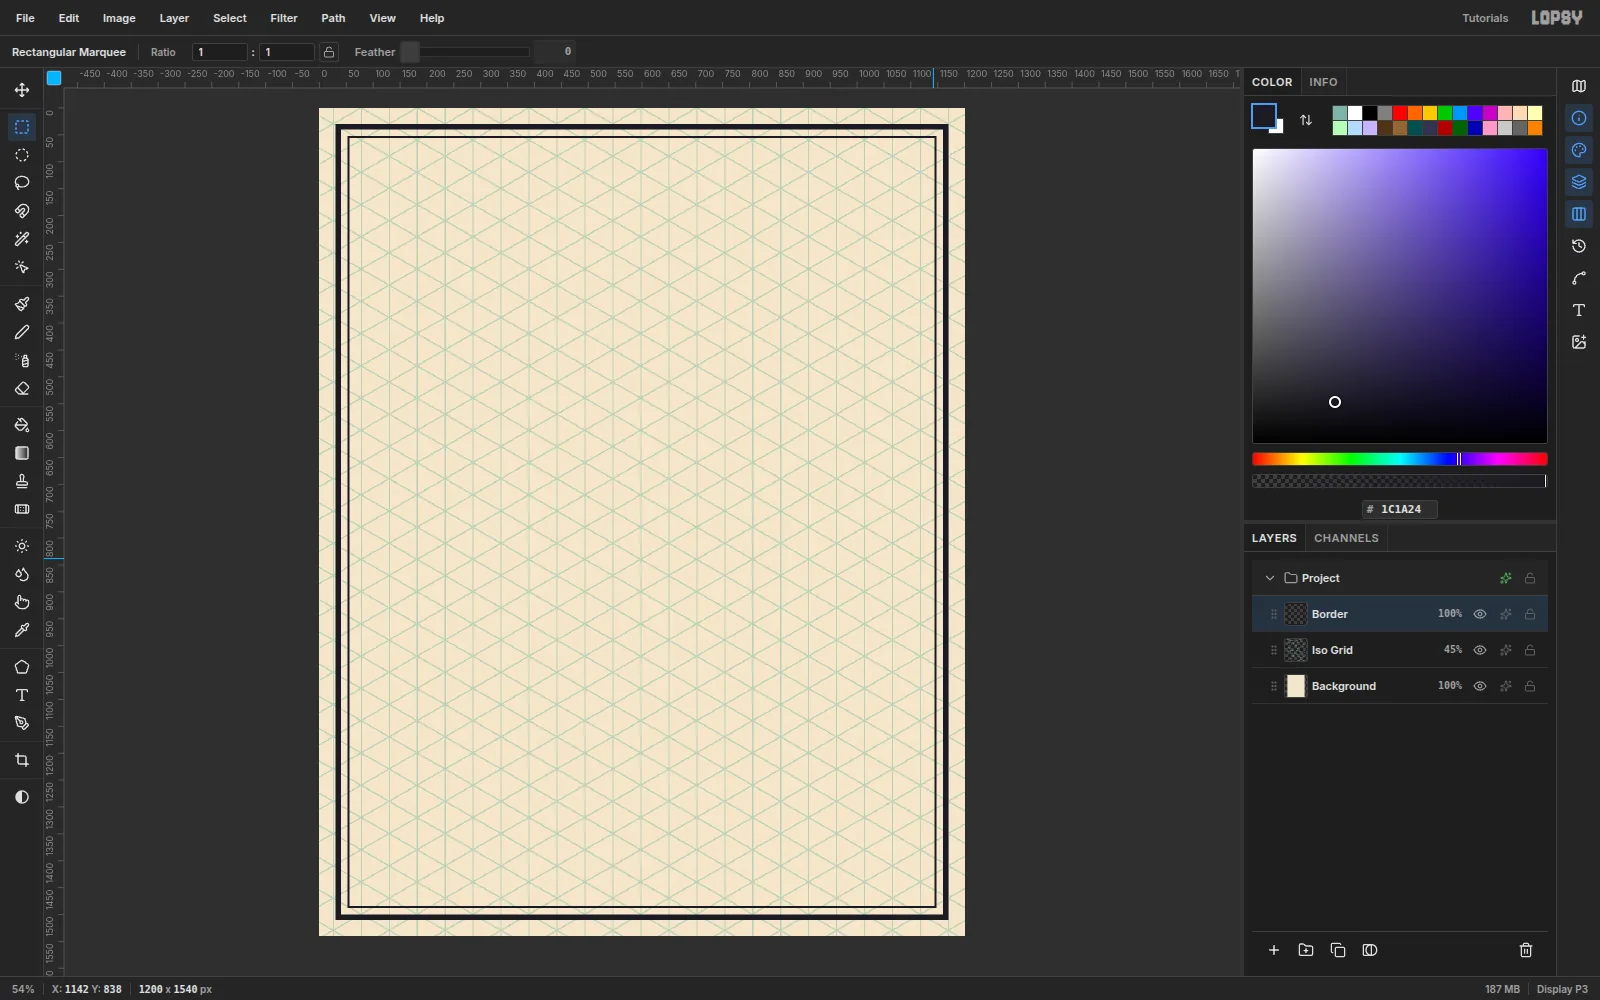
Add a Border layer. Marquee 1140 × 1480 at (30, 30), fill it with
#1C1A24, then marquee 1120 × 1460 at (40, 40) and press Delete. That leaves a 10 px band.For the hairline, marquee 1096 × 1436 at (52, 52), fill it, choose Select → Shrink… at 3 px and press Delete.
-
Set up guides for a 2 × 2 sheet
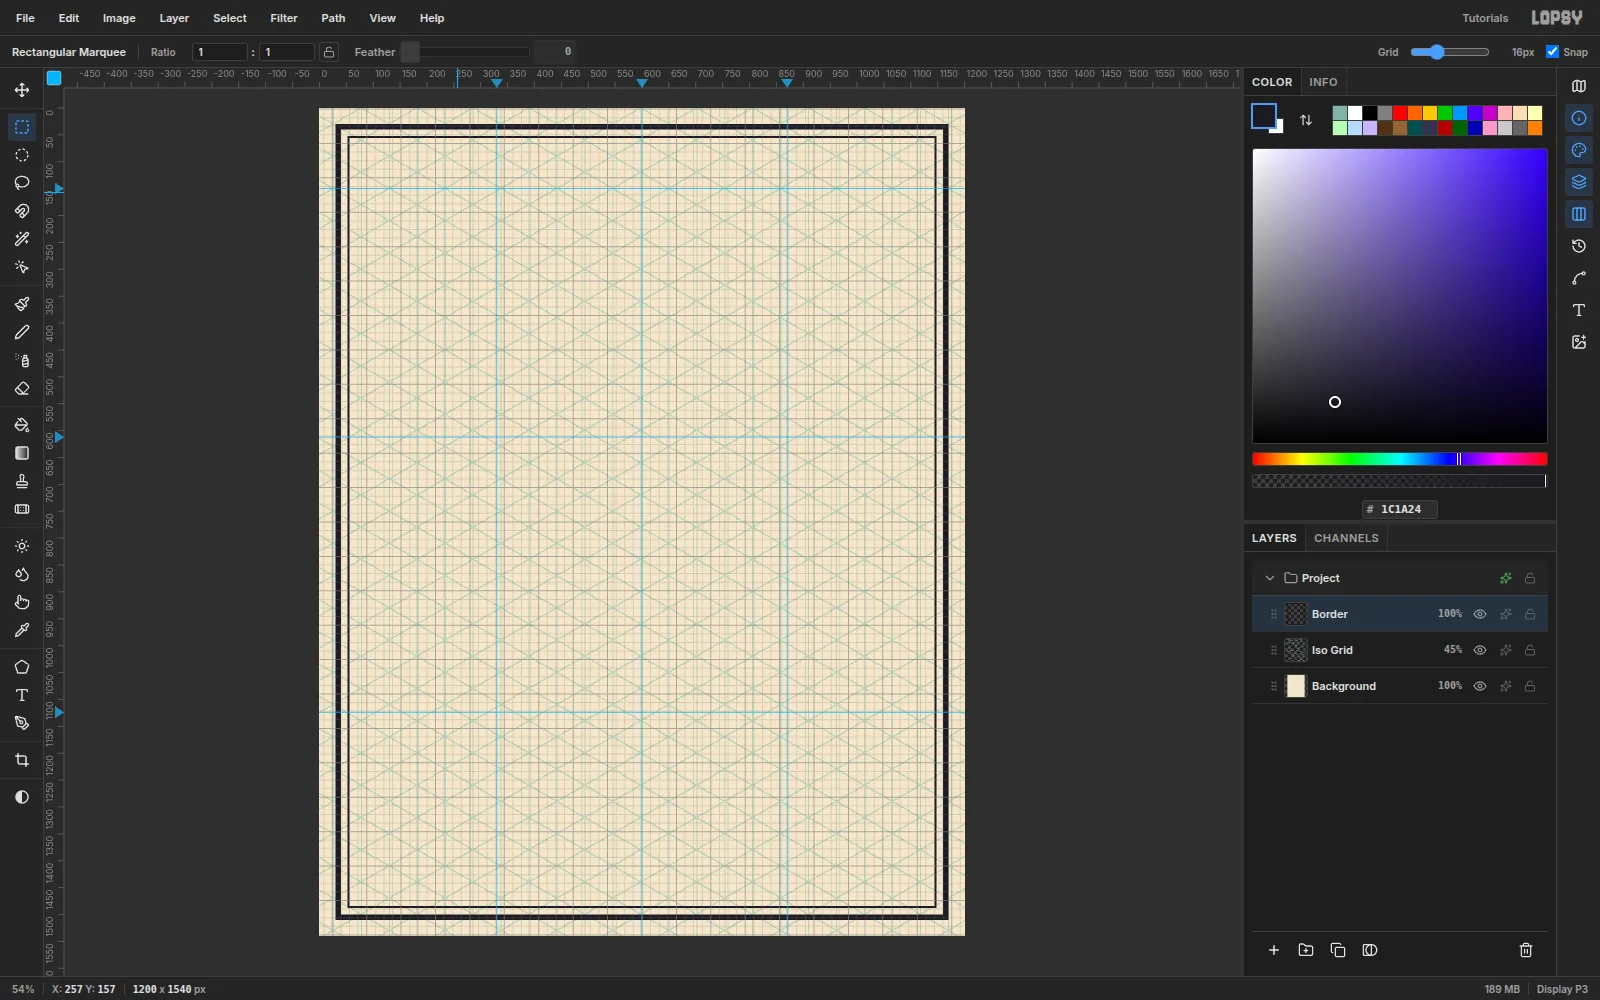
Click the top ruler at x 330, 600 and 870: the two column centres and the middle. Click the left ruler at y 150, 612 and 1124: the title line and the two row centres. Turn on View → Show Grid (16 px) to check the layout, then turn it off again. Lasso points don't snap, but marquees do while the grid is showing.
-
Build an extruded title plate
Add a Title Plate layer. The plate's face runs from (180, 92) to (1000, 208), and it extrudes 22 px right and 13 px down. With the Lasso (L), click out the bottom face, (180, 208) → (1000, 208) → (1022, 221) → (202, 221), and fill it
#8C2717. Then click out the right face, (1000, 92) → (1022, 105) → (1022, 221) → (1000, 208), and fill it#B63722.Marquee the face and drag a Linear gradient from
#E4583Aat the top to#D8452Bat the bottom. Add a 4 px ink Stroke. On a Plate Keyline layer, marquee the face inset by 9 px, fill it with paper, Shrink by 2 px and press Delete. The keyline has its own layer so clearing its middle doesn't punch a hole in the plate.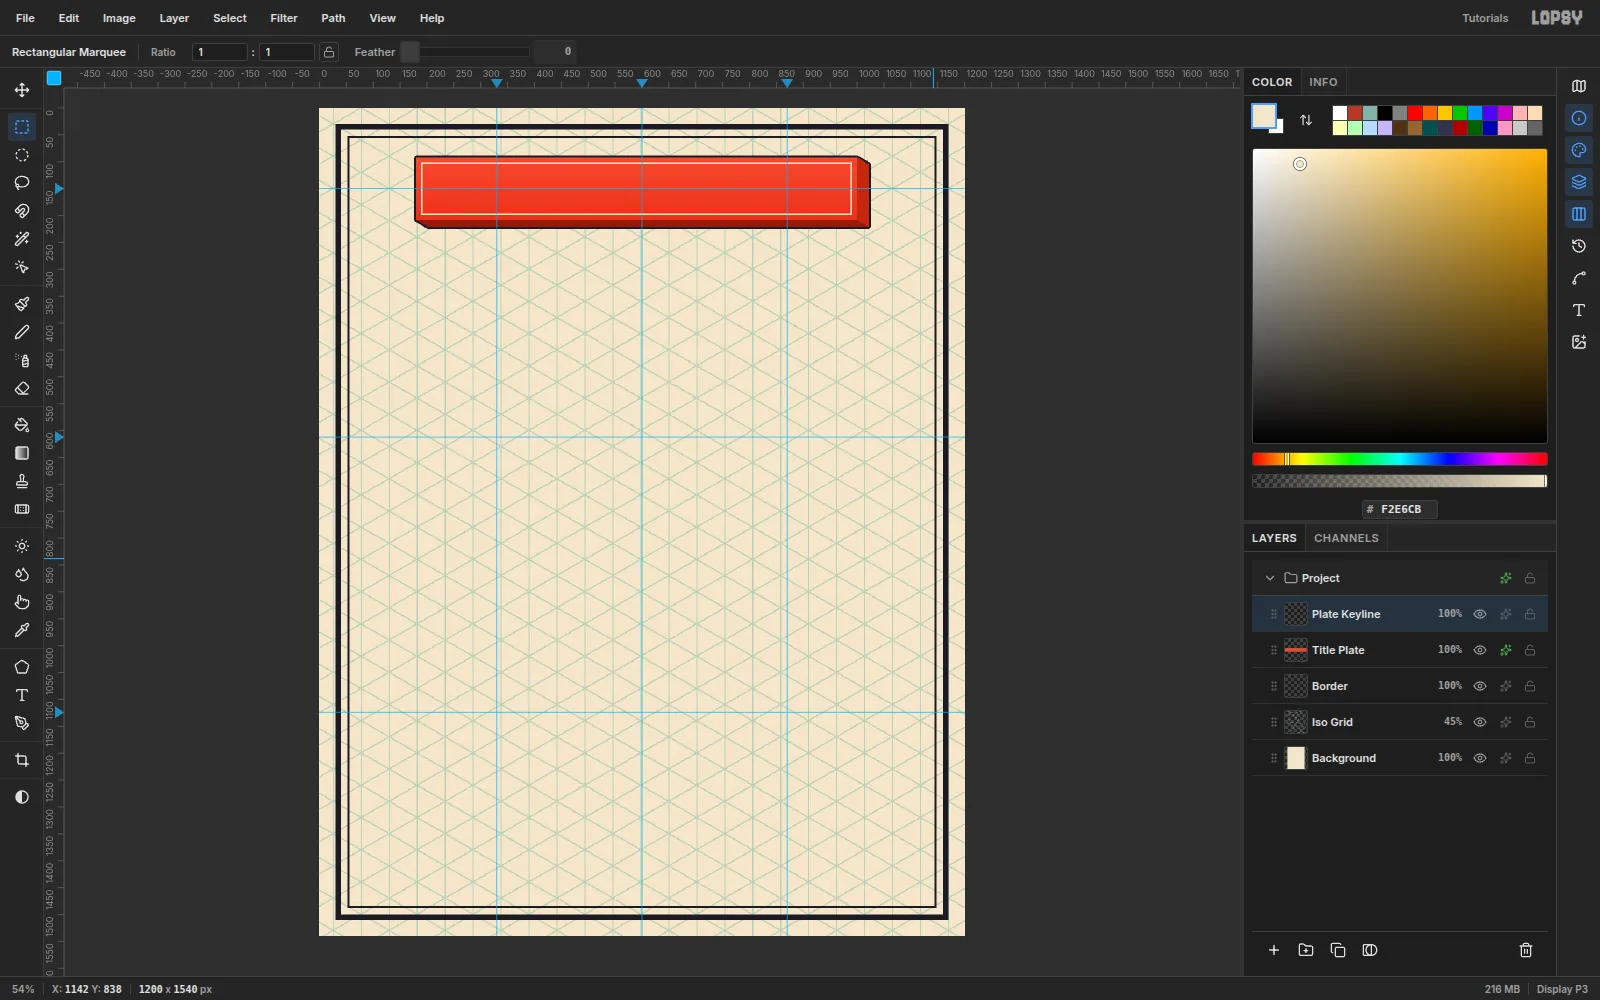
-
Type the title
Pick the Text tool (T), set Size 84 and choose Dela Gothic One in the font browser. Its heavy, squared capitals look carved. With ink as the foreground, click on the plate and type
ZEN ENCLAVESwith two spaces. A single space is barely wider than the gaps between letters. Press Tab to commit.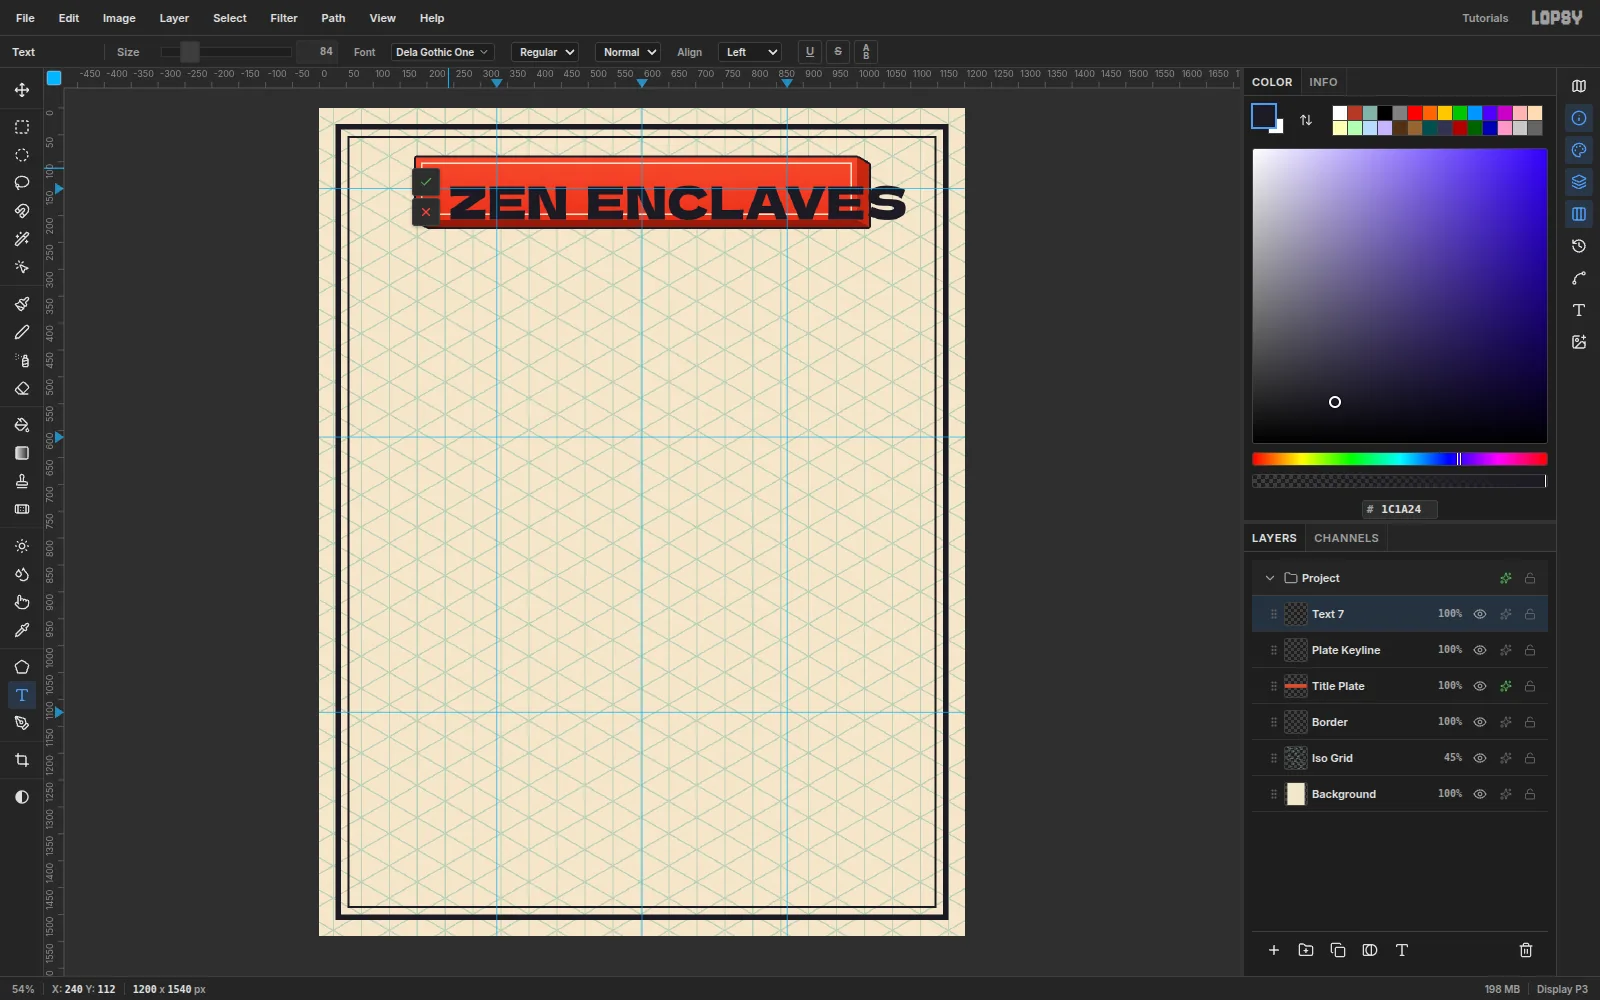
-
Fit and recolour the title
At 84 px it overruns the plate. With the title layer active and the Text tool still selected, set Size to 62. Open the Text panel from the right-hand toolbar and set Letter spacing to 4 px, so the heavy letters don't crowd each other. Click into the text, press Cmd+A and set the foreground to paper
#F2E6CB. Press Tab.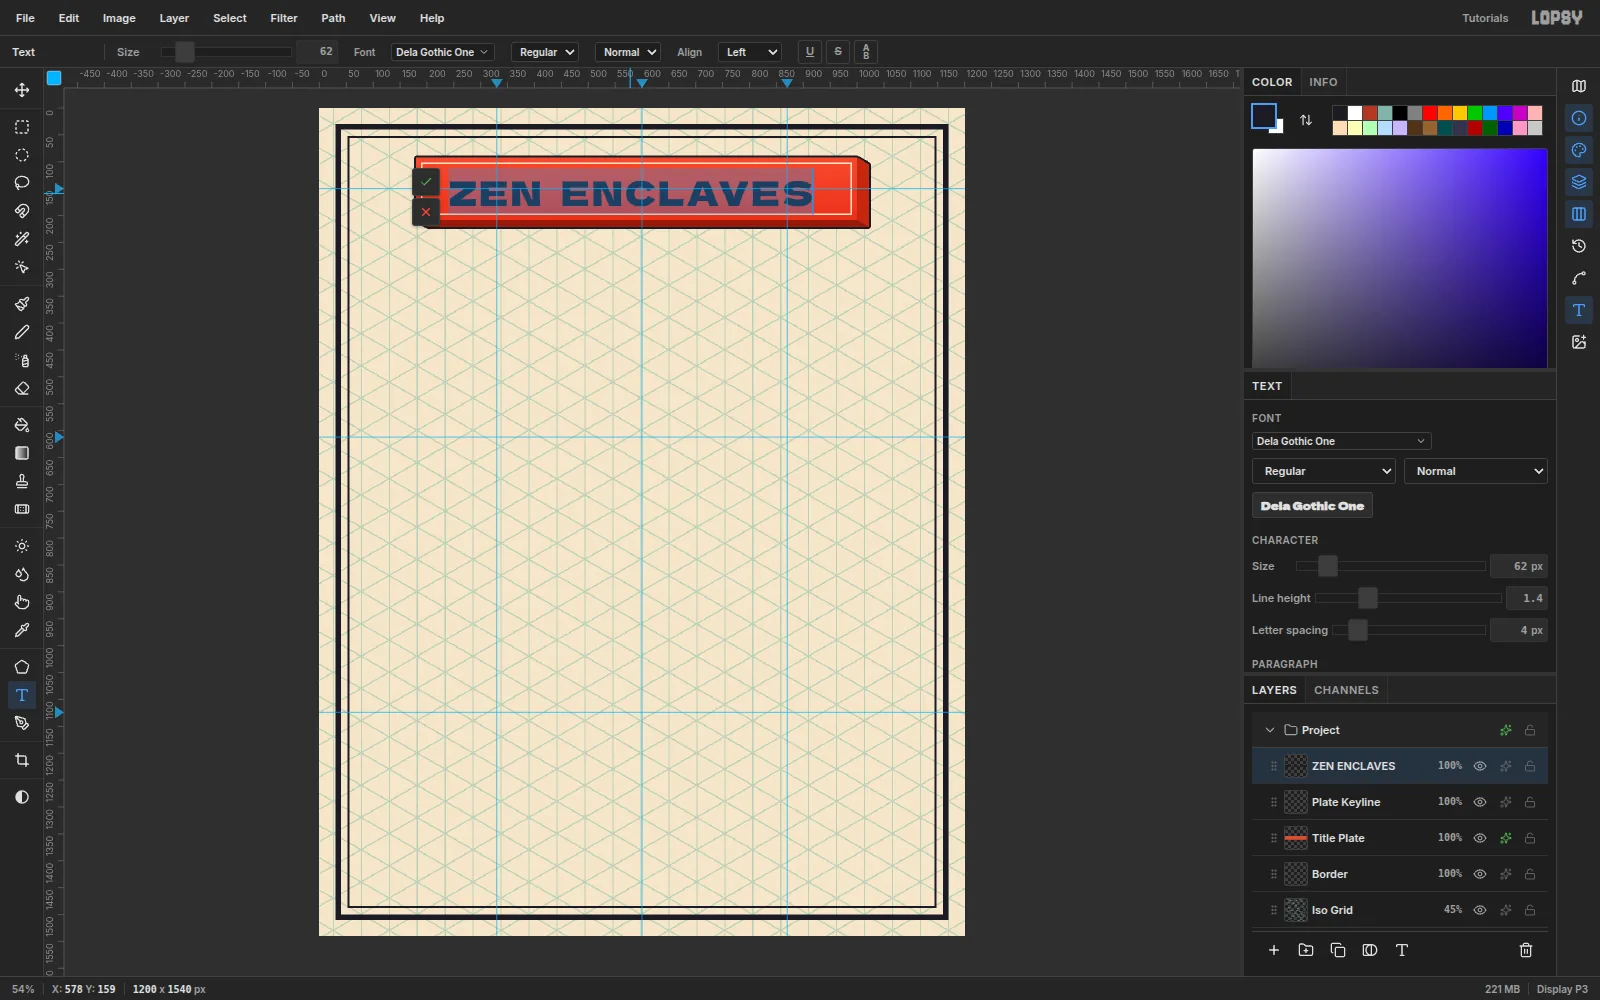
-
Seat the title in the plate
Switch to Move (V) and nudge with the arrow keys (Shift for 10 px) until the letters sit in the middle of the face: about 65 px from each end and 26 px above and below the caps. All caps have no descenders, so centre the cap height itself. Add a
#8C2717Drop Shadow at Offset 3 / 2, Blur 0, Opacity 100, a small extrusion that matches the plate's.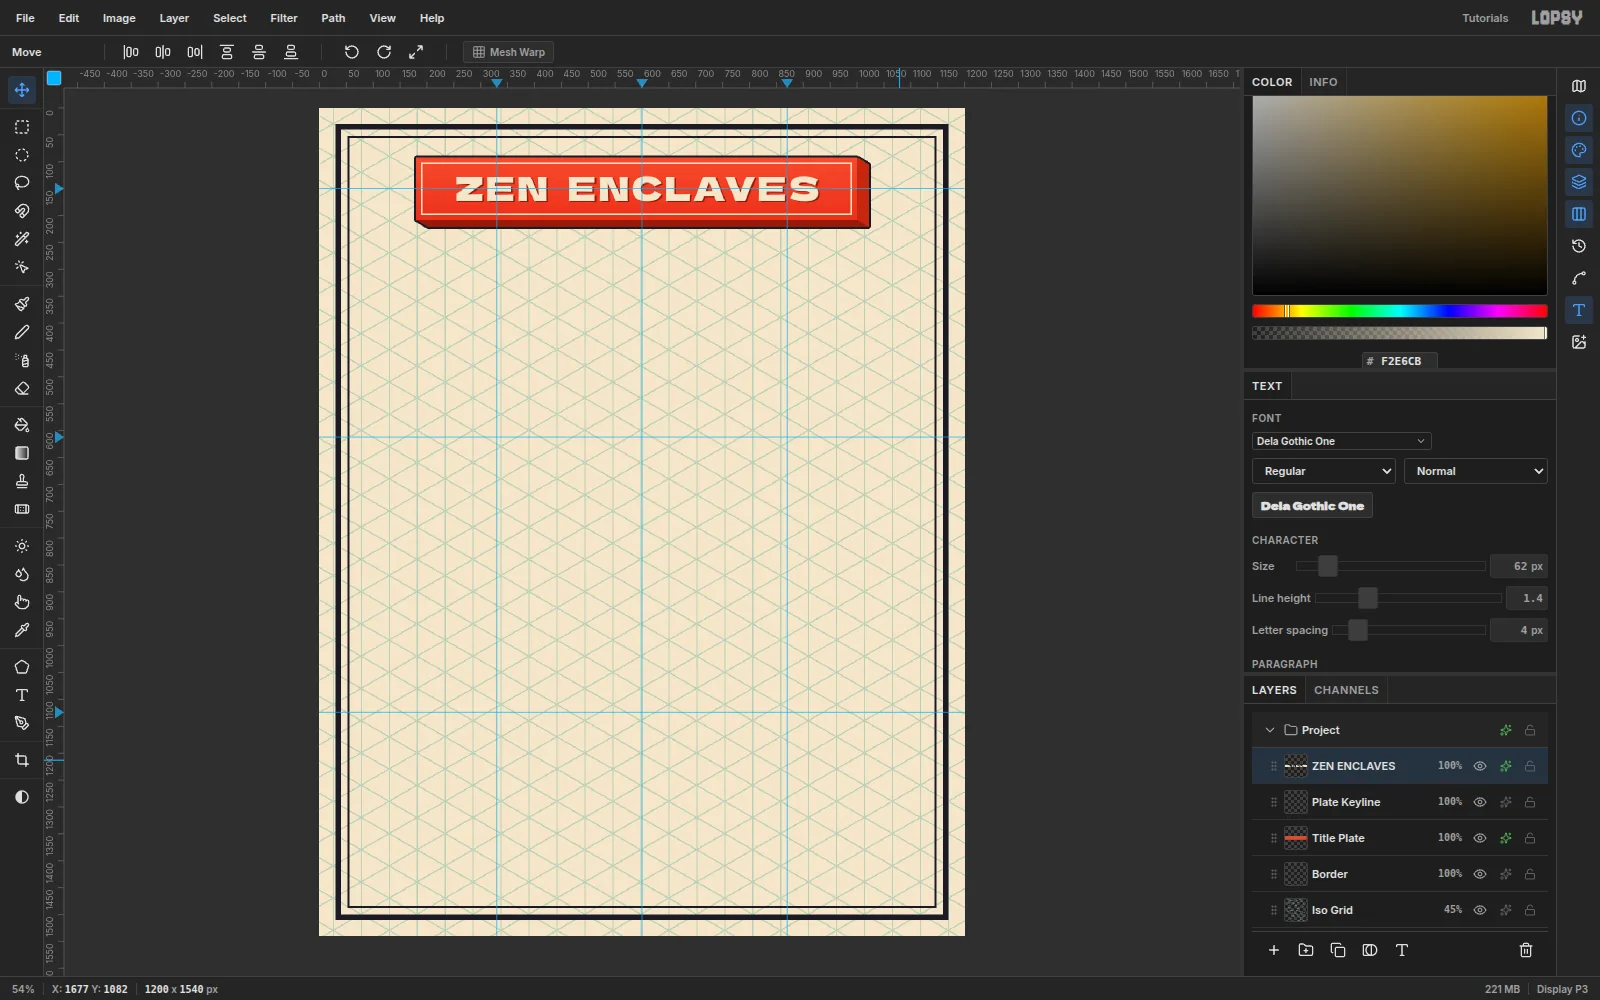
-
Draw the first floating island
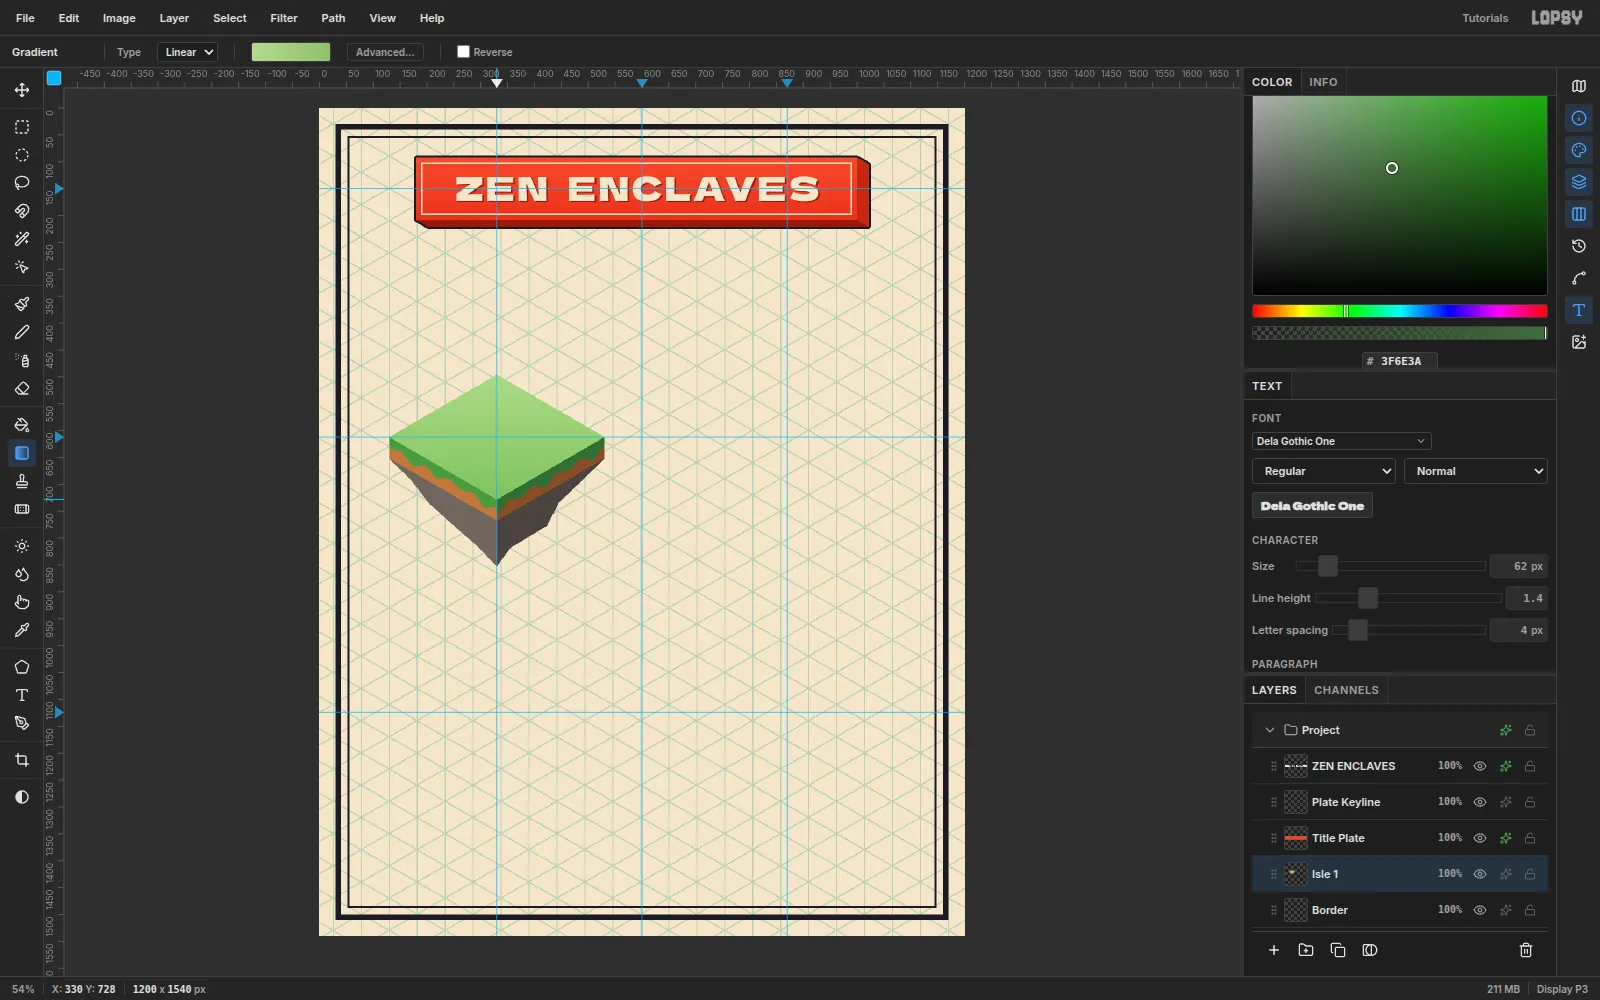
Every island is centred on its guide crossing. For island 1 at (330, 612), the top diamond's corners are (330, 497), (530, 612), (330, 728) and (130, 612), and the sides drop 40 px. Add an Isle 1 layer and lasso each face, back to front:
- The rock underneath: two triangles from the bottom edge of each side down to a point at about (330, 852). Zig-zag the outer edges a little. Fill the left one
#6E655Eand the right one#4A433F. - The two earth sides,
#B97A48on the left and#80502Fon the right. - A grass lip over the top 12 px of each side, with drips hanging down:
#5E9A4Bleft,#3F6E3Aright. - The top diamond, with a Linear gradient from
#B4D98Fat the back corner to#8DBF6Aat the front.
- The rock underneath: two triangles from the bottom edge of each side down to a point at about (330, 852). Zig-zag the outer edges a little. Fill the left one
-
Raise the torii gate
On a Shrubs 1 layer, drag two Radial green gradients inside elliptical marquees on the left and right corners of the island. On a Torii layer, each post and beam is a box: lasso its three visible faces and fill them
#EE6A4Bon top,#D8452Bon the left and#8C2717on the right. Build two posts about 165 px tall, the lower nuki beam, a short centre strut and the top beam. Cap it with a black kasagi whose two ends lift about 11 px, in#4A4652on top and#2C2934on the front. On a Stepping Stones layer, lay three thin stone boxes leading up to the gate.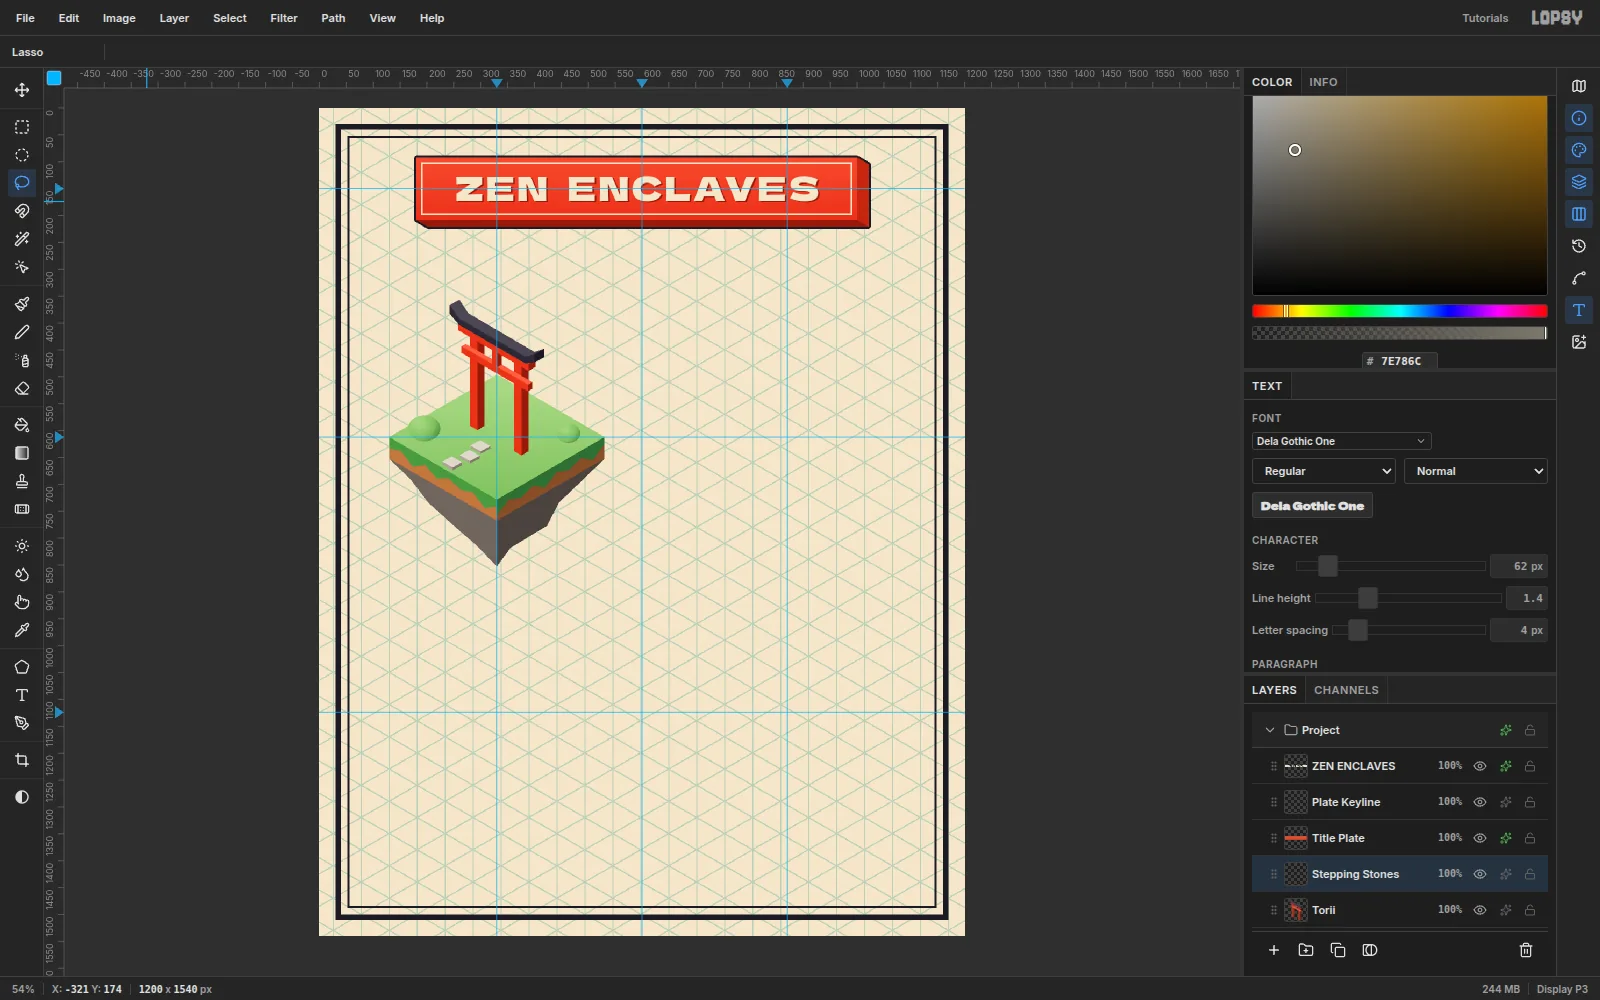
-
Paint the rising sun's rays
Select Border and add a Sun Rays layer so the rays sit behind everything. Marquee a circle of radius 176 at (900, 432) with the Elliptical Marquee and set the foreground to
#E2694A. Choose Filter → Sunburst… with Rays 12, Width 42, Taper 0, Fade 0, and Center X 75 / Center Y 28 (the circle's centre as a percentage of the page). The selection clips the burst to a disc. Press Cmd+D and set the layer to 60%.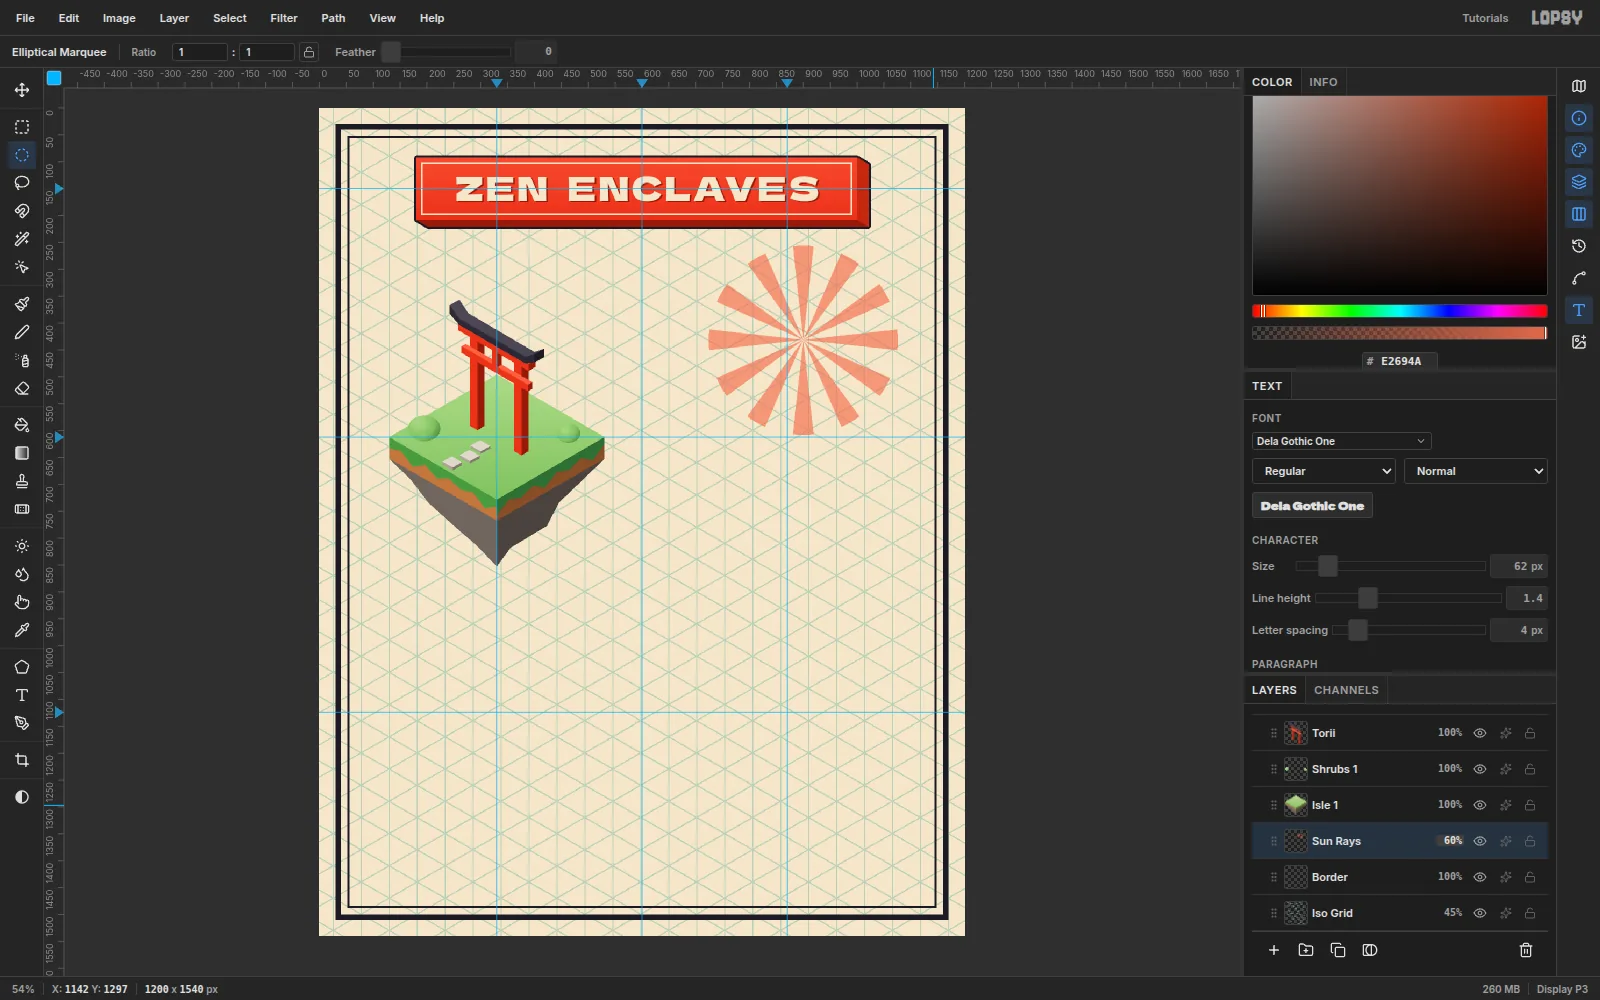
-
Add the sun disc
Add a Sun layer above the rays. Marquee a circle of radius 100 at (900, 432), drag a Radial gradient from
#F07A52to#D8452B, and add a 3 px ink Stroke.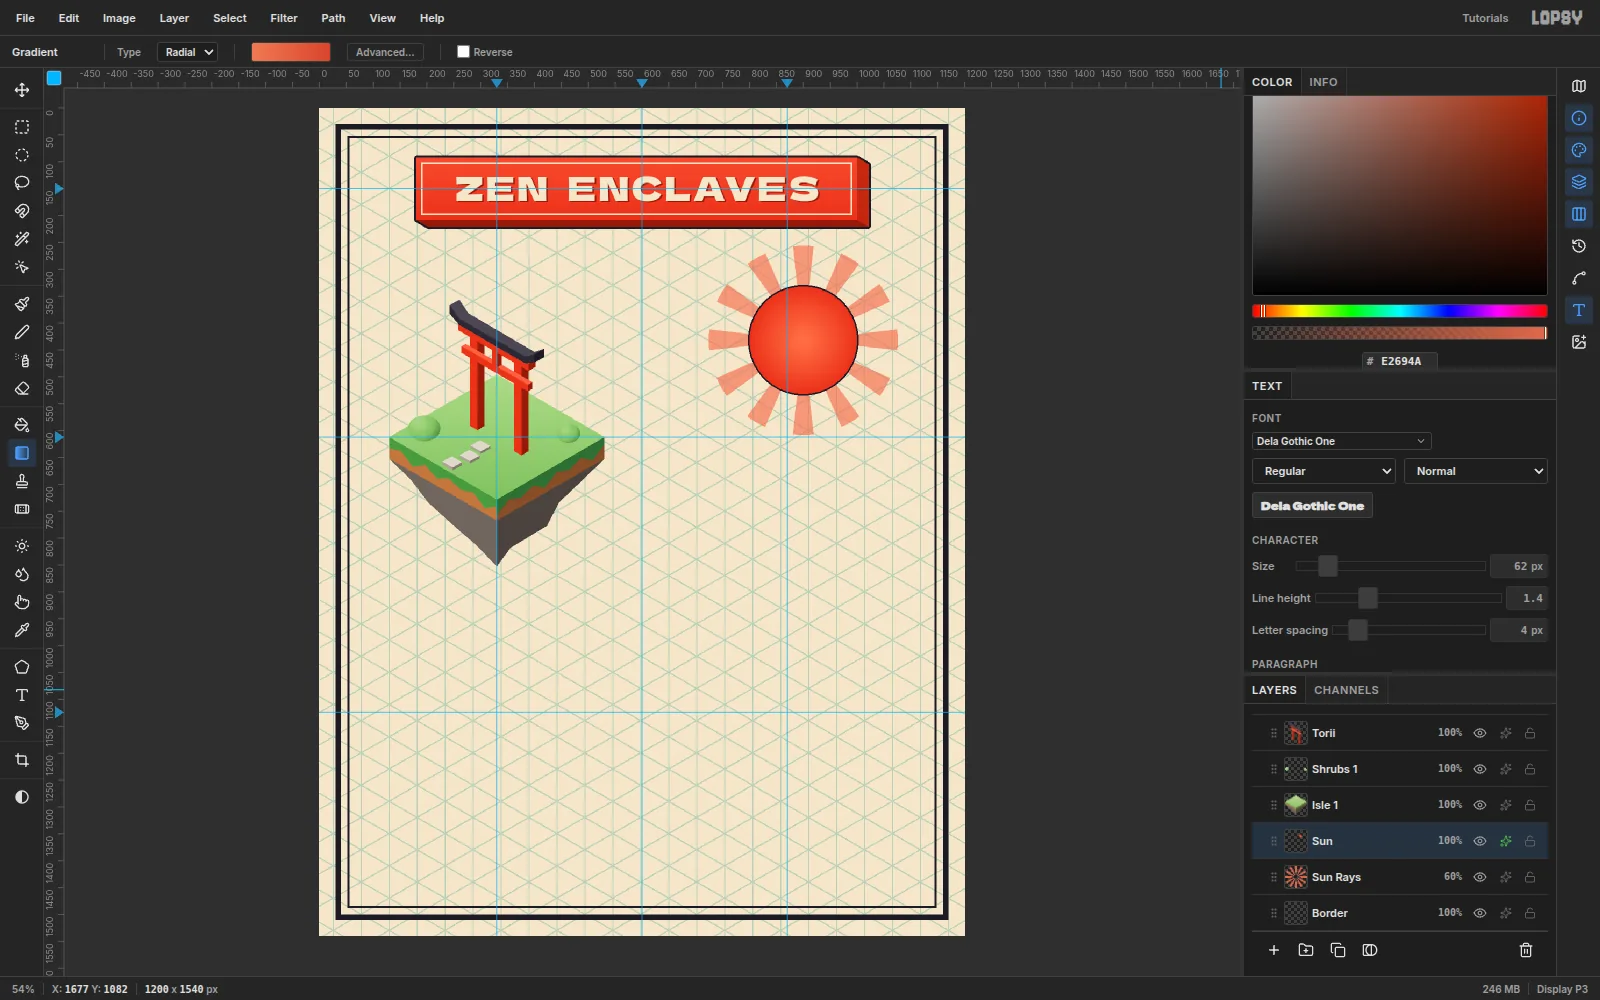
-
Stack the pagoda
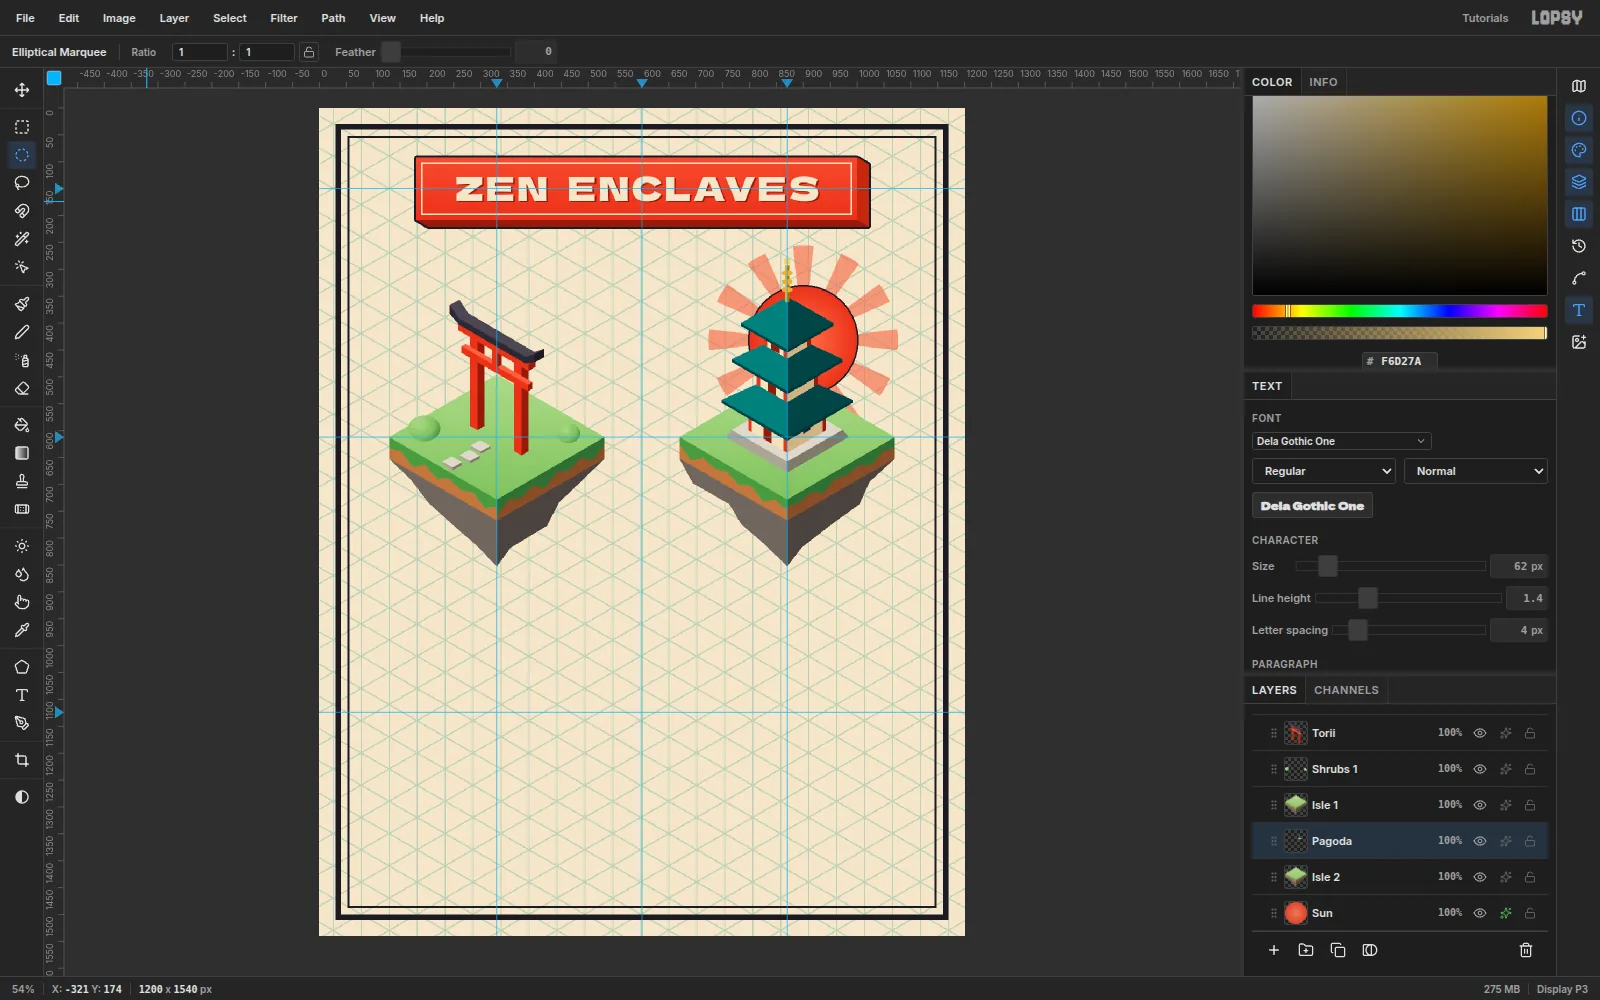
Draw island 2 at (870, 612) exactly like island 1. On a Pagoda layer, build from the bottom up, filling each face with the Lasso:
- A stone plinth, slightly tapered, 13 px tall.
- Three wall boxes, 84, 66 and 50 px across and 50, 42 and 35 px tall, in
#F3E3C0/#CBB48A, with vermilion corner posts, a dark door slot on the left face and a small ink window on the right. - Over each wall: a 5 px dark eave, then a hip roof. That's a tapered box whose base is much wider than its top, in the three teal tones. The top roof tapers to a point.
- A gold spire with three ring ellipses and a ball on top.
-
Lay the sand island and rake it
Draw island 3 at (330, 1124) with a sand top: fill the lip in the stone tones and drag a
#FBF1D6→#F4E7C4gradient across the top. On a Raked Sand layer, use the Brush (B) at Size 3, Hardness 100, in#CDB88A. Shift-click around three isometric circles (flattened ellipses tilted to the diamond) for the rings, then click straight rows across the front, parallel to the island's right edge.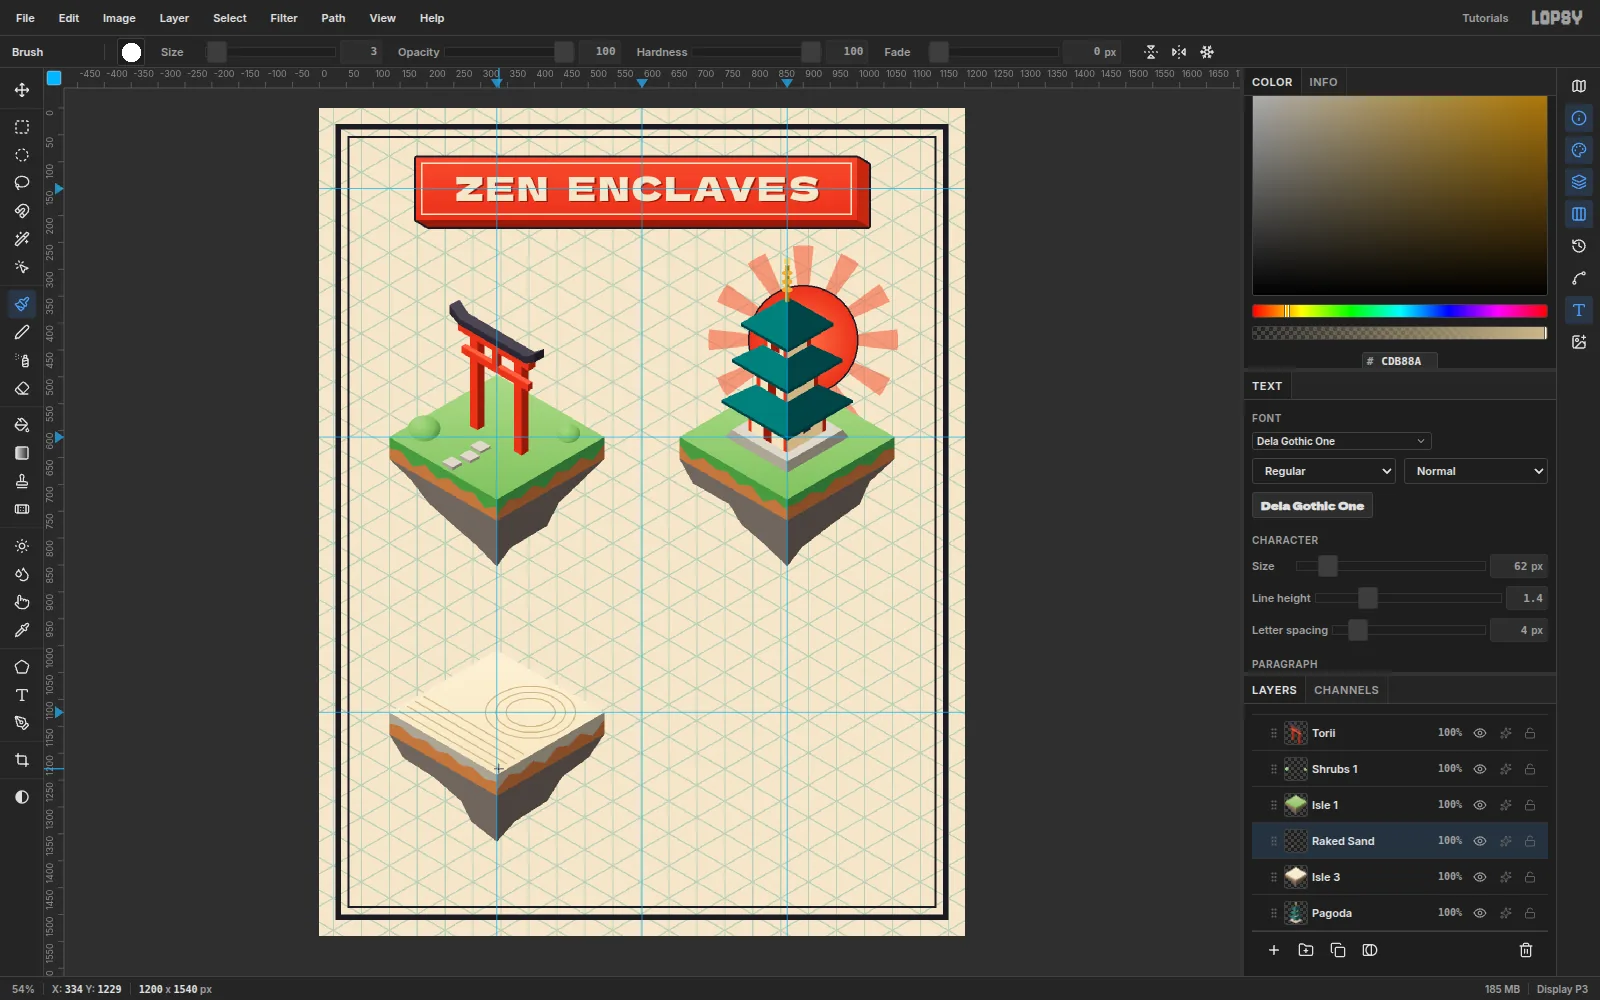
-
Set a faceted boulder
On a Rocks layer, lasso a four-sided crown in
#DDD8CC, then the two flanks down to the sand,#ABA597on the left and#7E786Con the right, plus a sliver of the back flank. Keep the base flat on the sand so the rock doesn't look like it's floating. Add a low stone slab in front of it.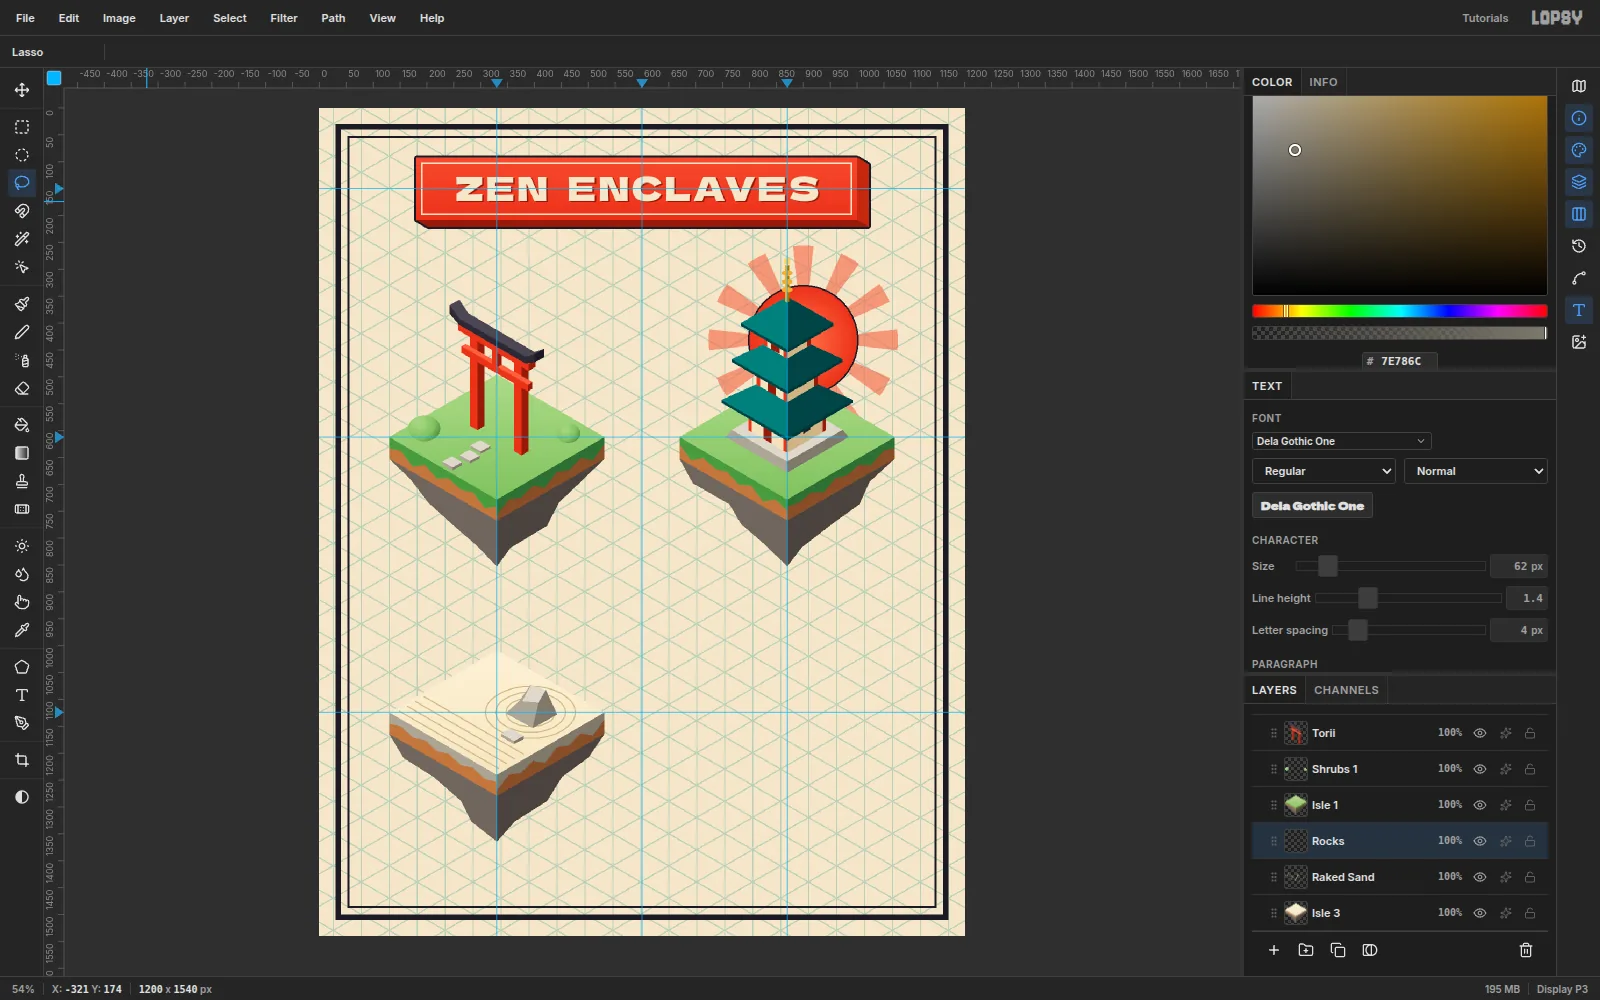
-
Grow a bonsai pine
On a Bonsai Trunk layer, lasso a flared root plate in
#5B3A29. Then use the Brush at Size 18: click the base and Shift-click up an S-curve about 165 px tall. Drop to Size 9 and add two branches. On a Bonsai Pads layer, draw each pad as an isometric disc. First fill an ellipse in#3F6E3A(the rim). Then fill a second ellipse 9 px higher with a#B4D98F→#5E9A4Bgradient. Make each ellipse half as tall as it is wide.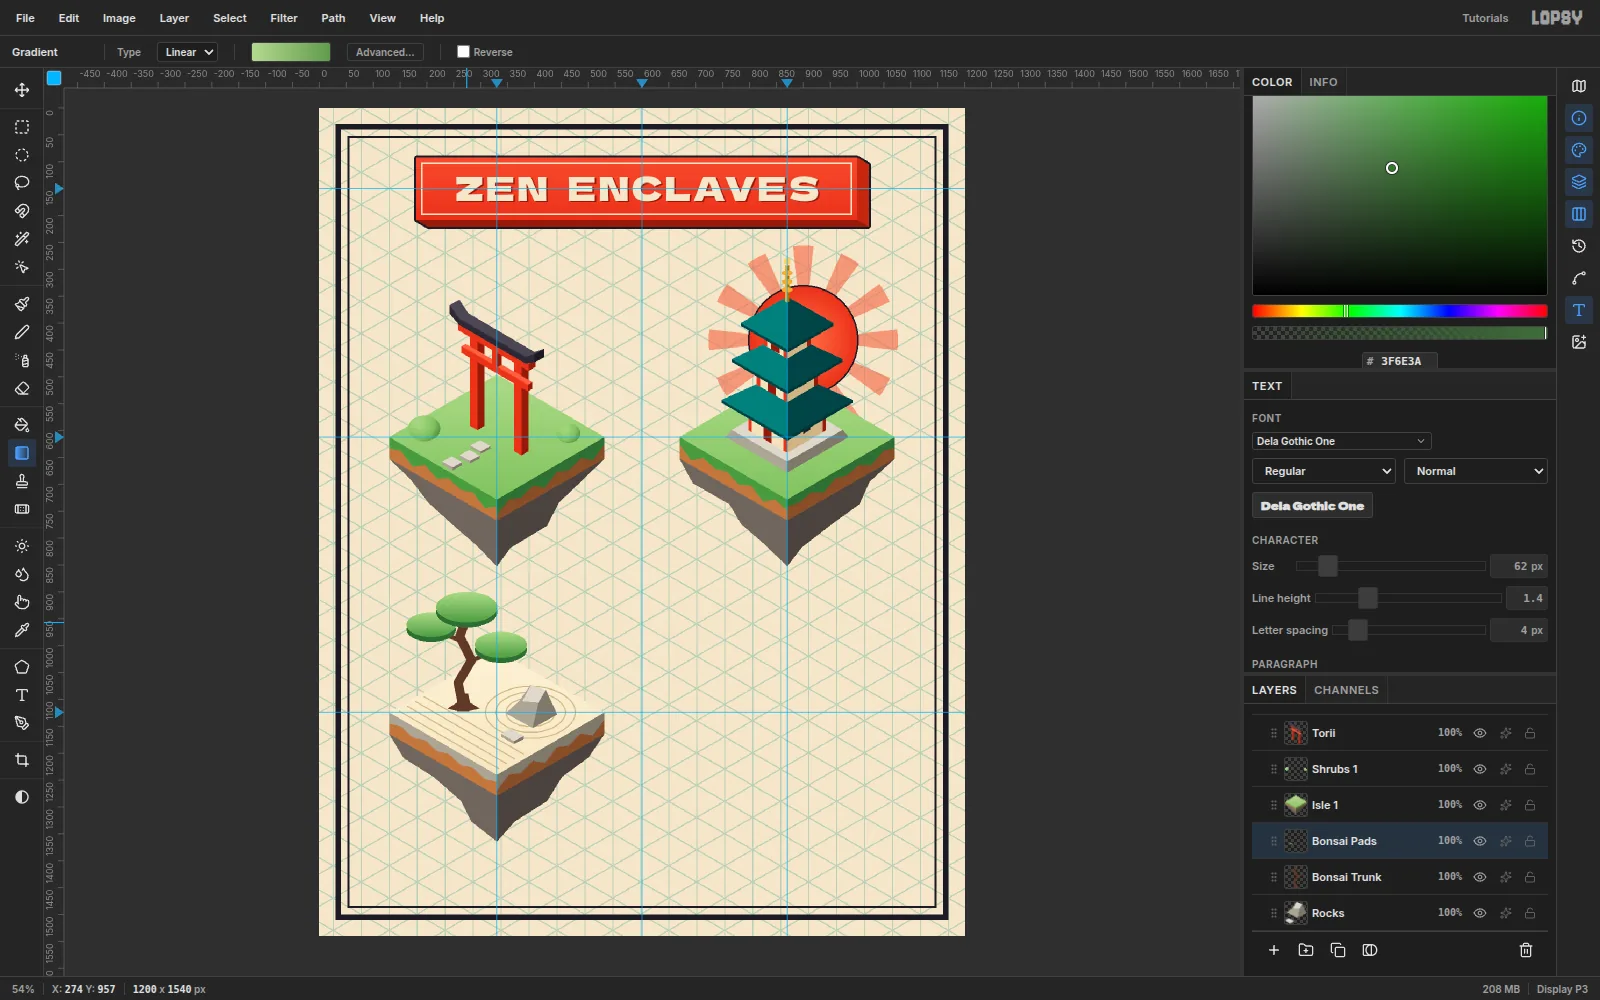
-
Sink a pond into the fourth island
Draw island 4 at (870, 1124). To sink the pond, lasso the opening's diamond on the top and fill it
#80502F. Then lasso the water: the same diamond dropped 11 px, trimmed so it stays inside the opening. Fill it with a#9AD9DA→#3E97A6gradient. The strip of dark earth left at the back is the pond's inner wall.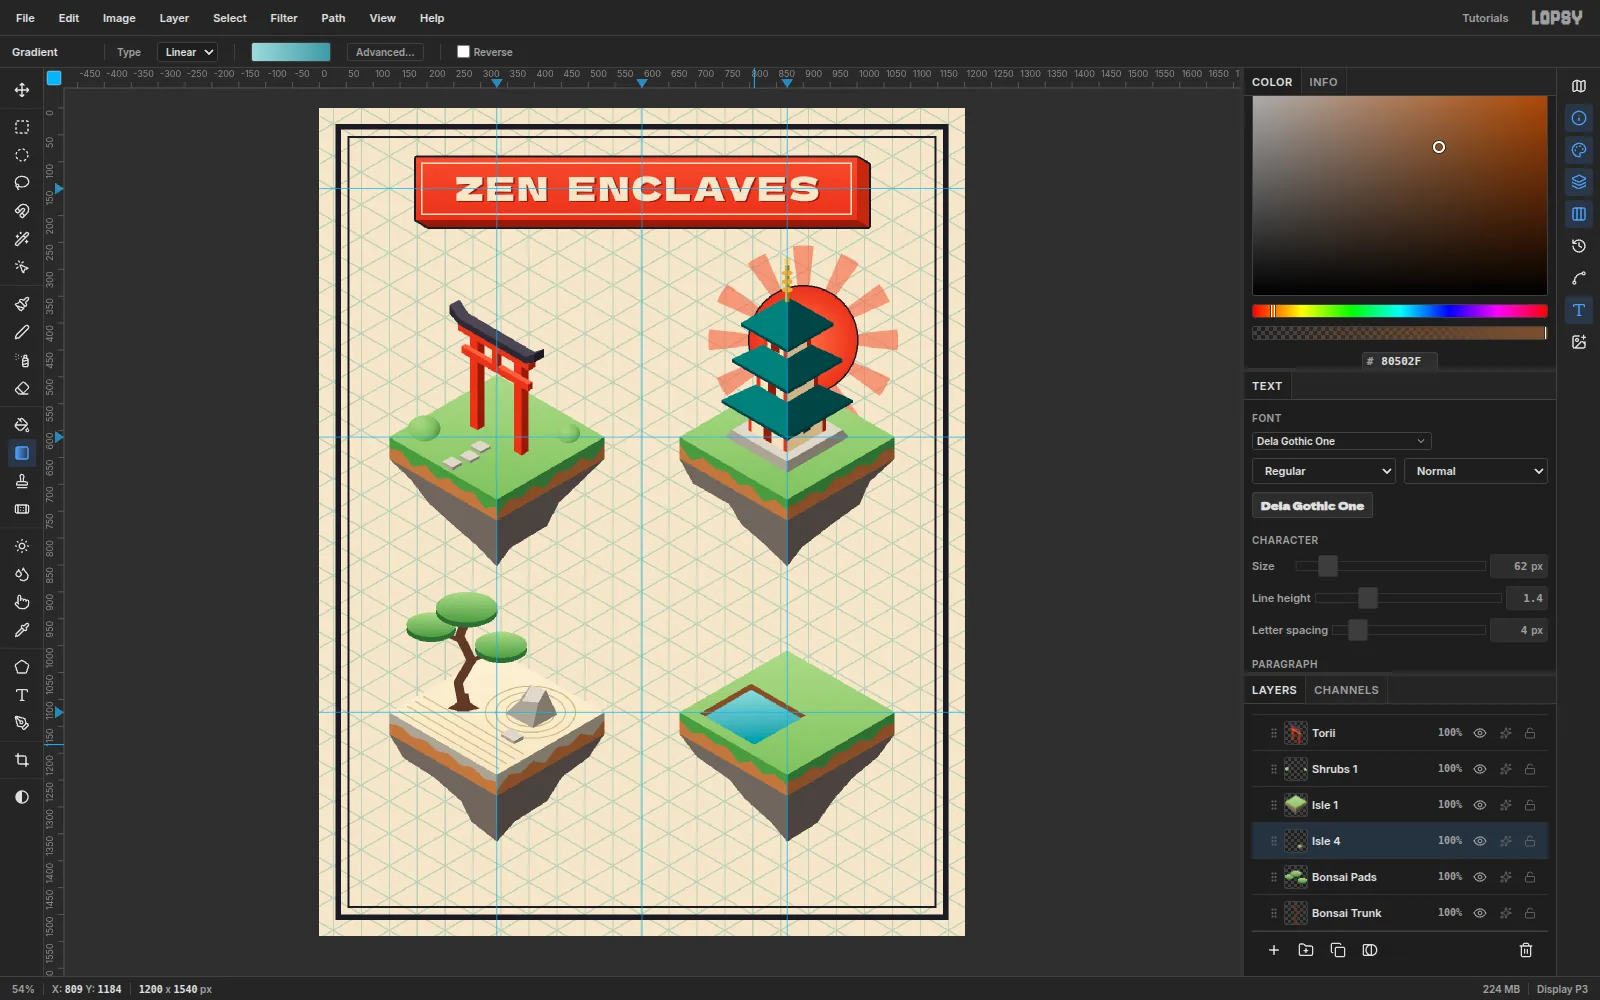
-
Swim a koi across the water
On a Ripples layer, Shift-click two small isometric rings in
#E8FAF8with a 2 px brush. On a Koi layer, lasso a slim teardrop body and a forked tail in#F7F2E8, lying along the pond's diagonal so the fish sits on the water plane rather than standing up in profile. Add two#F26B2Aspots.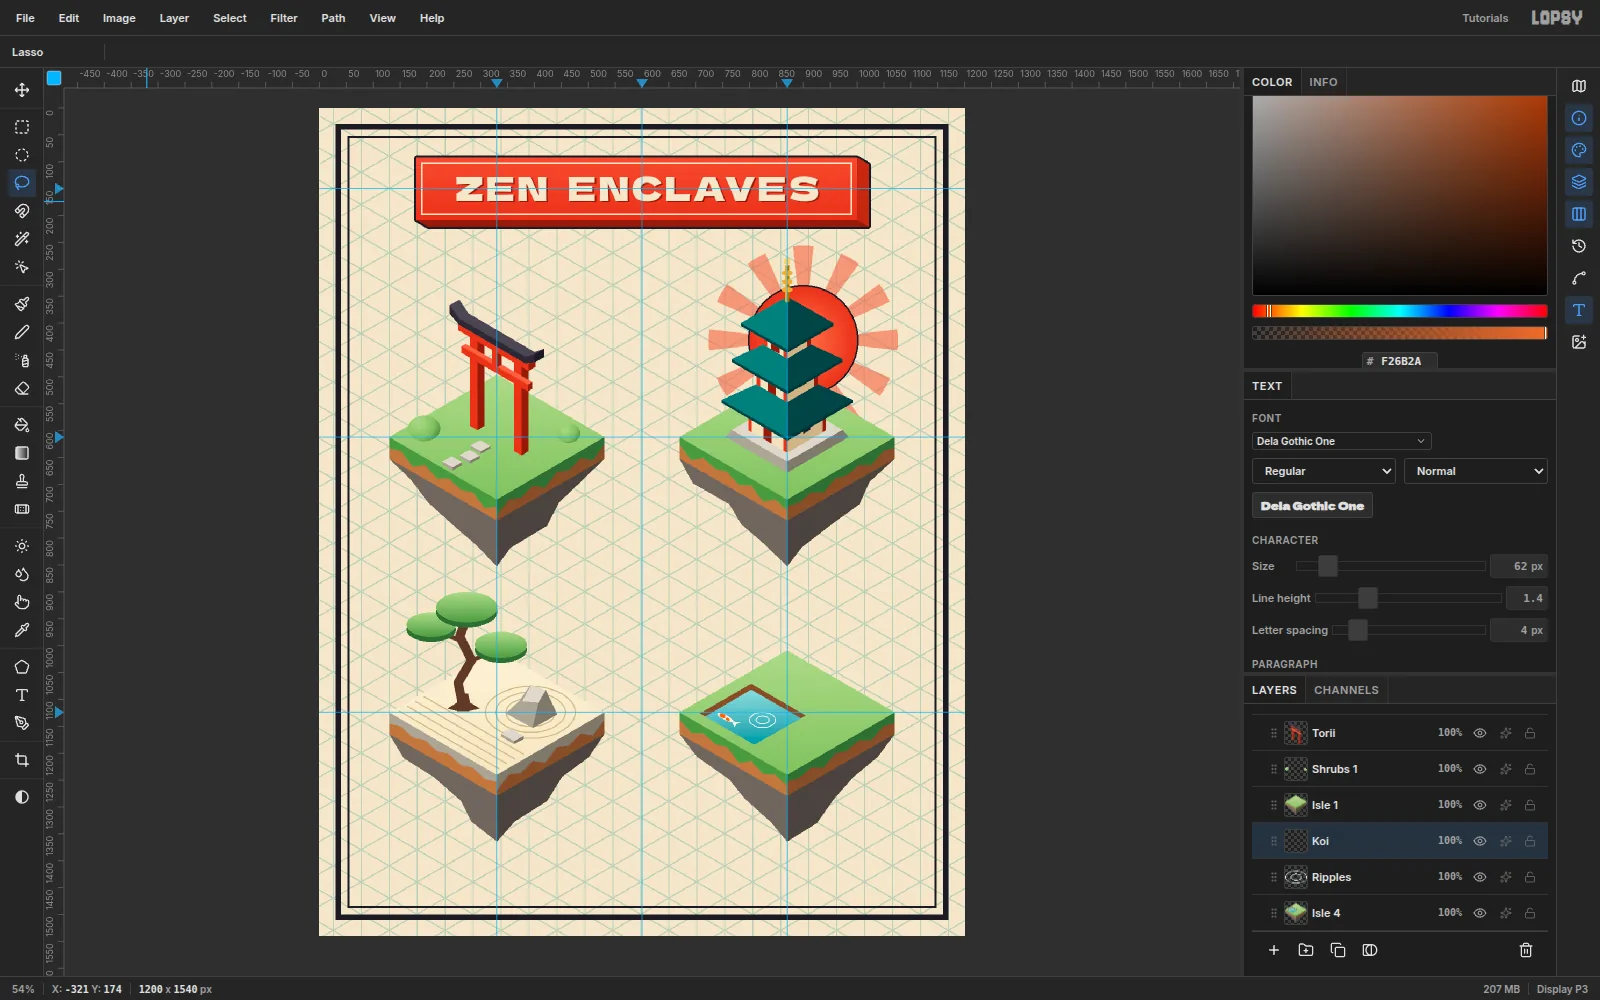
-
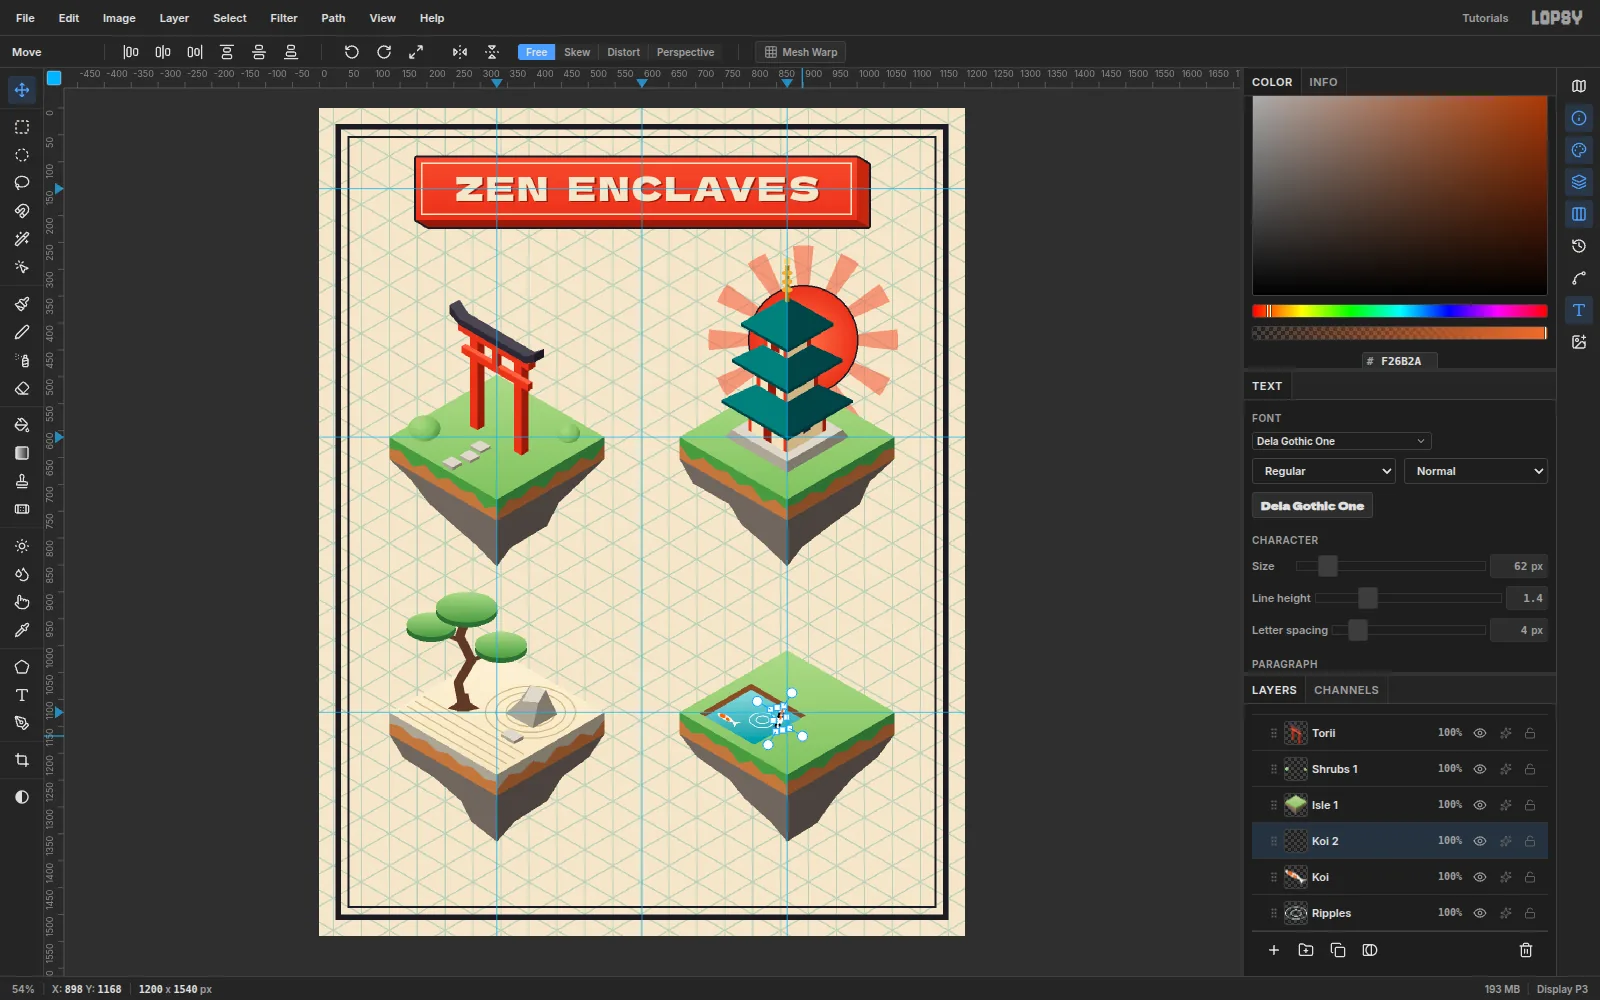
Copy the koi and turn it
With Koi active, press Cmd+C then Cmd+V. Lopsy pastes in place as a new layer. Rename it Koi 2 and drag it across the pond with the Move tool. Cmd-click its thumbnail to select its pixels, then drag the rotation handle (the circle outside the top-right corner) about 75°. Press Enter to commit, so the two koi circle each other.
-
Float lily pads
On a Lily Pads layer, fill two small flattened ellipses with
#6DAA55. Pick the Eraser (E) at Size 5 and click from each pad's centre outward, then Shift-click the rim to cut the classic notch.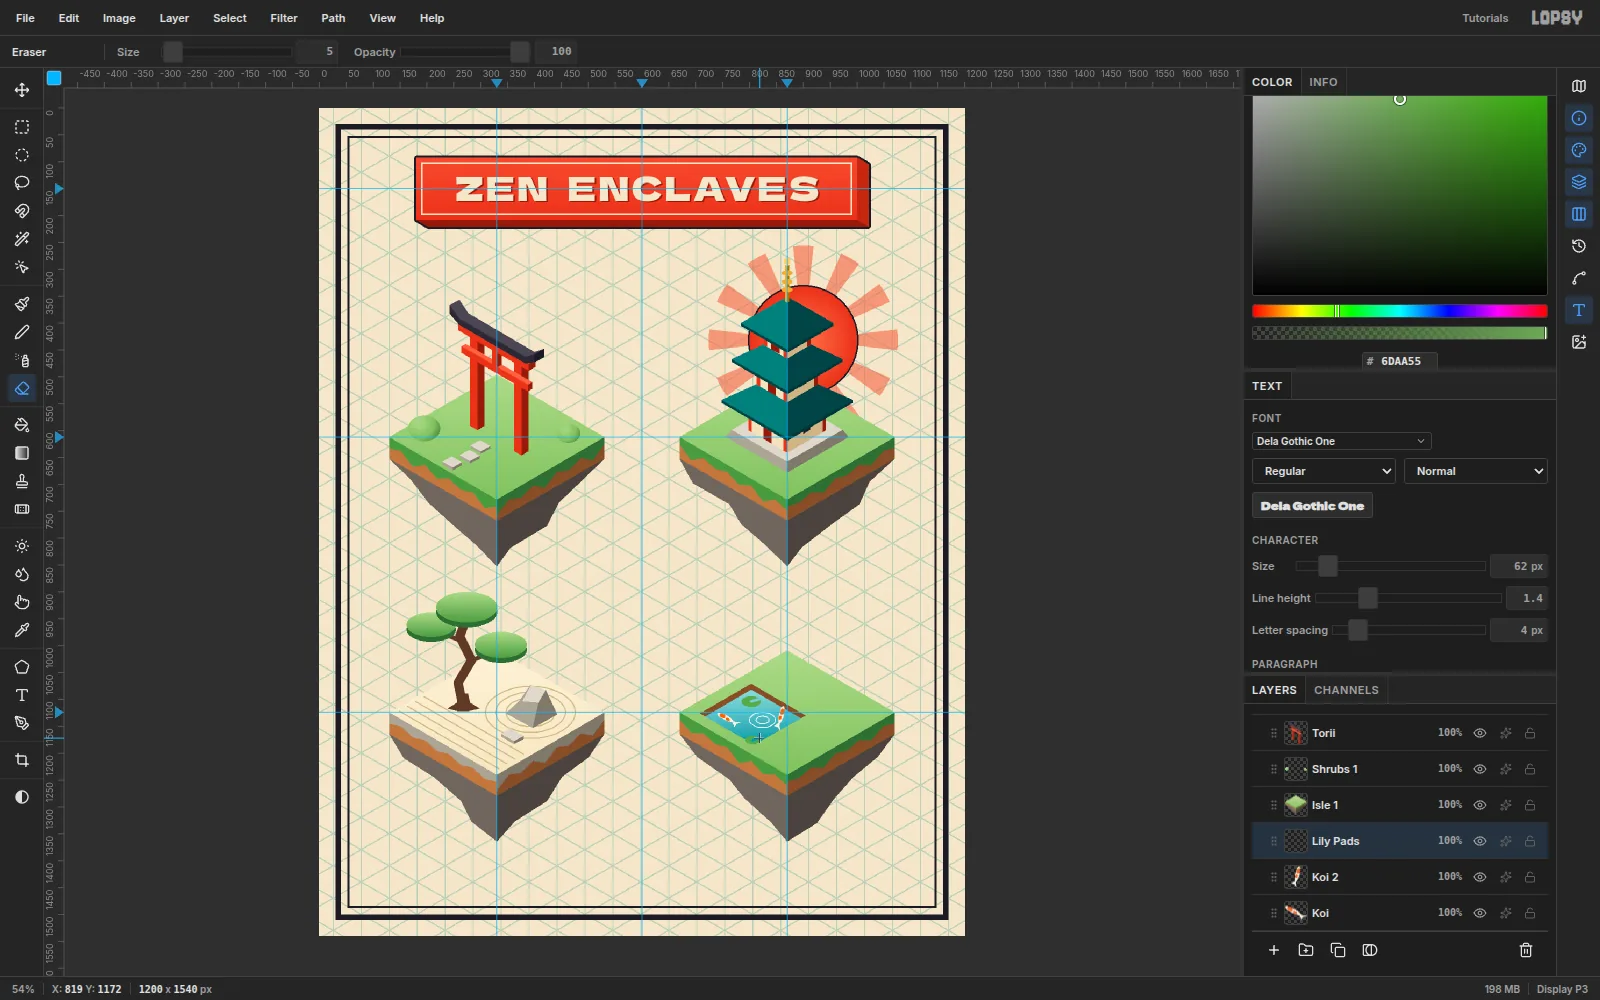
-
Light a stone lantern
On a Lantern layer, stack stone boxes on the island's right corner: a tapered base, a tall post, a platform, the firebox, then a wide tapered roof in
#8F897D/#6F695F/#4F4A43and a ball finial. Fill a window on each visible face of the firebox. On a Lantern Glow layer, refill the windows in#FFD66Band add a#FFC24AOuter Glow (Size 26, Opacity 85).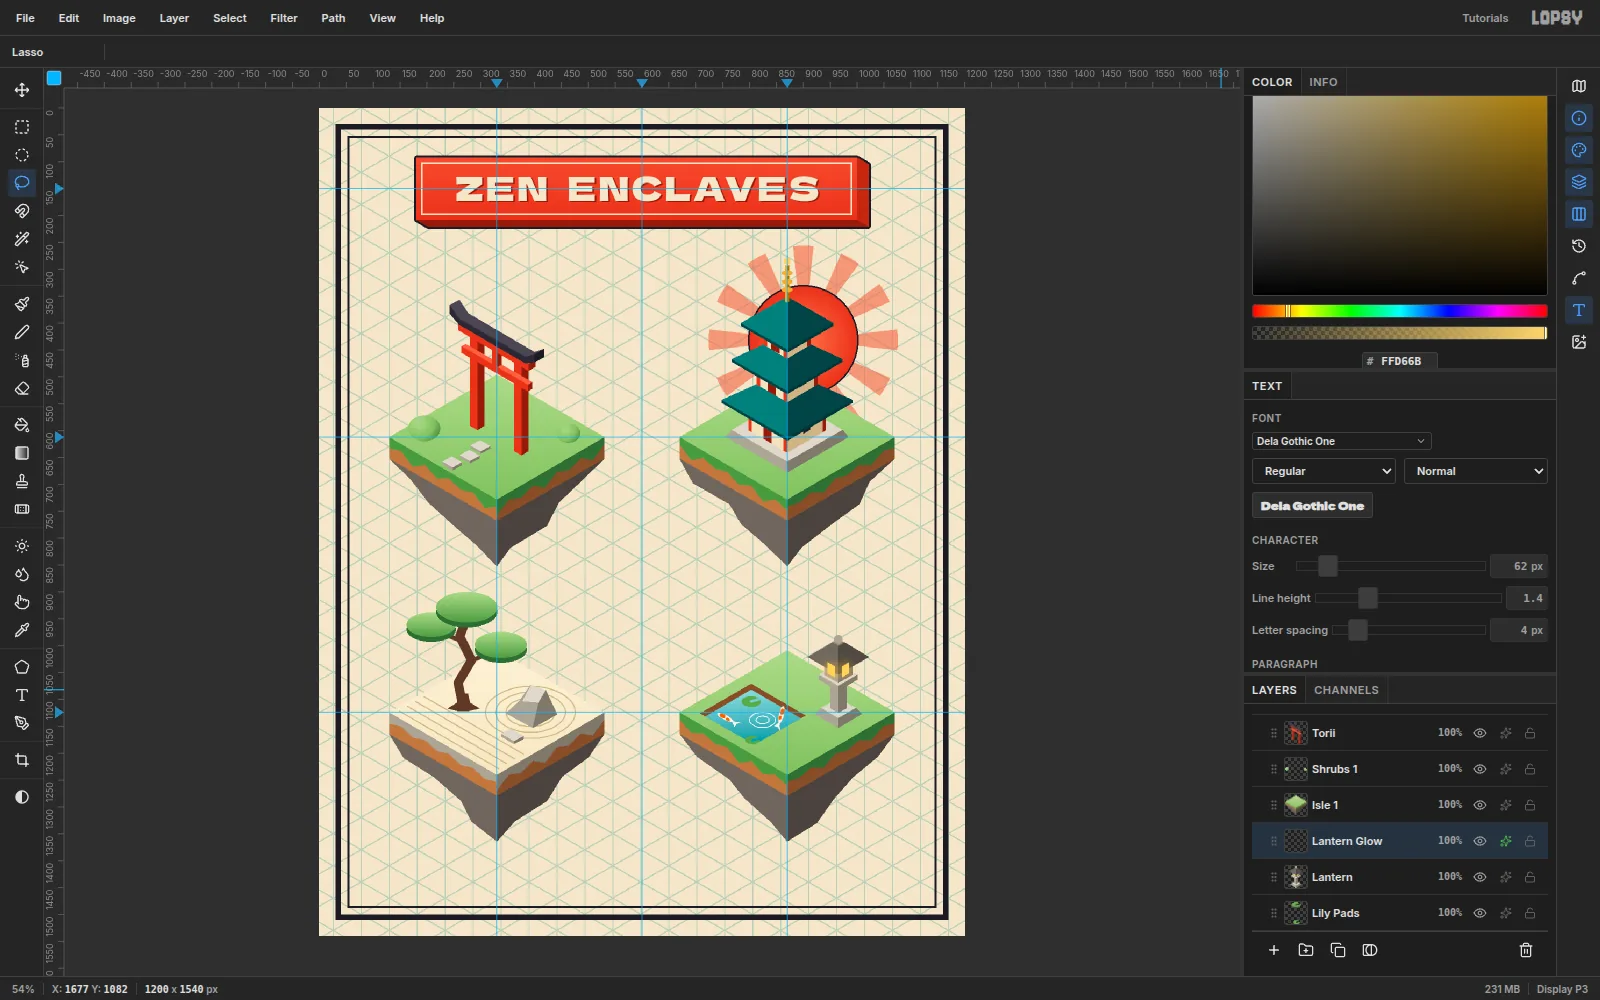
-
Line every piece in ink
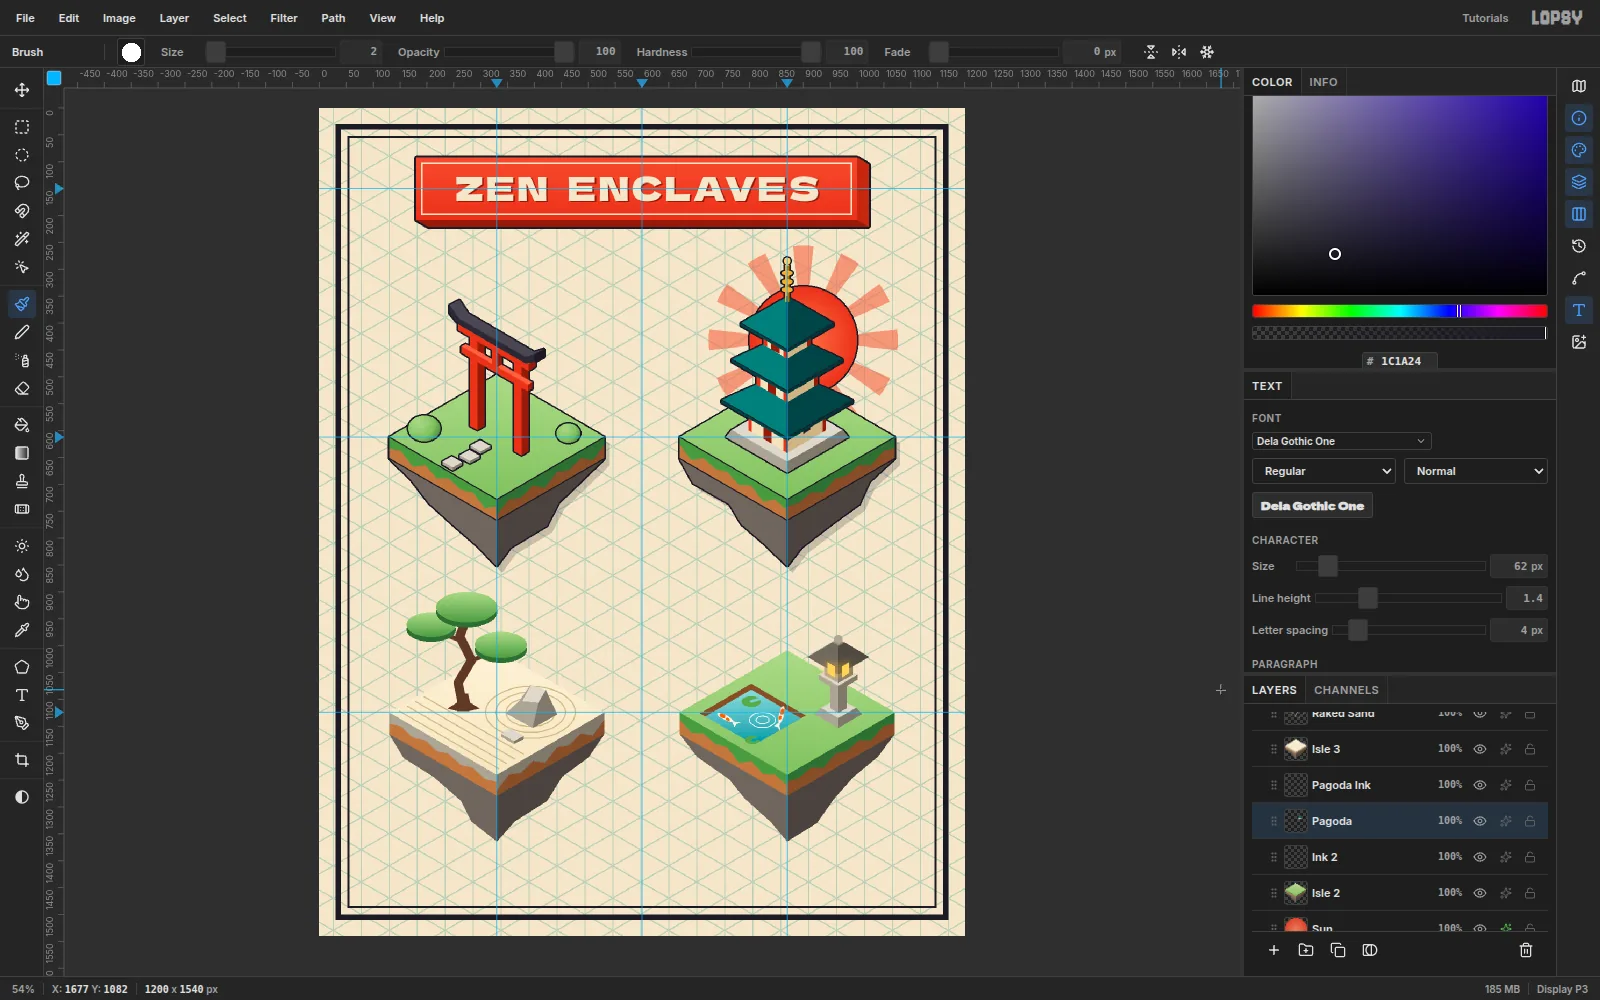
This is what makes it read as flash. Give every design layer a 3 px
#1C1A24Stroke. On each Isle layer, add a flat offset Drop Shadow: Offset 10 / 12, Blur 0, Opacity 20, in ink.The strokes only trace silhouettes. The edges where two faces meet need drawing, so add an Ink layer above each island. Using a 3 px hard brush, Shift-click the top diamond's front edges, the front vertical corner and the rock's centre ridge. On the pagoda, a 2 px Pagoda Ink layer traces each roof's eave and front hip. When a design is lined, click Rasterize Layer Style on each layer to bake its effects. The canvas stays quick with dozens of layers.
-
Group the four designs
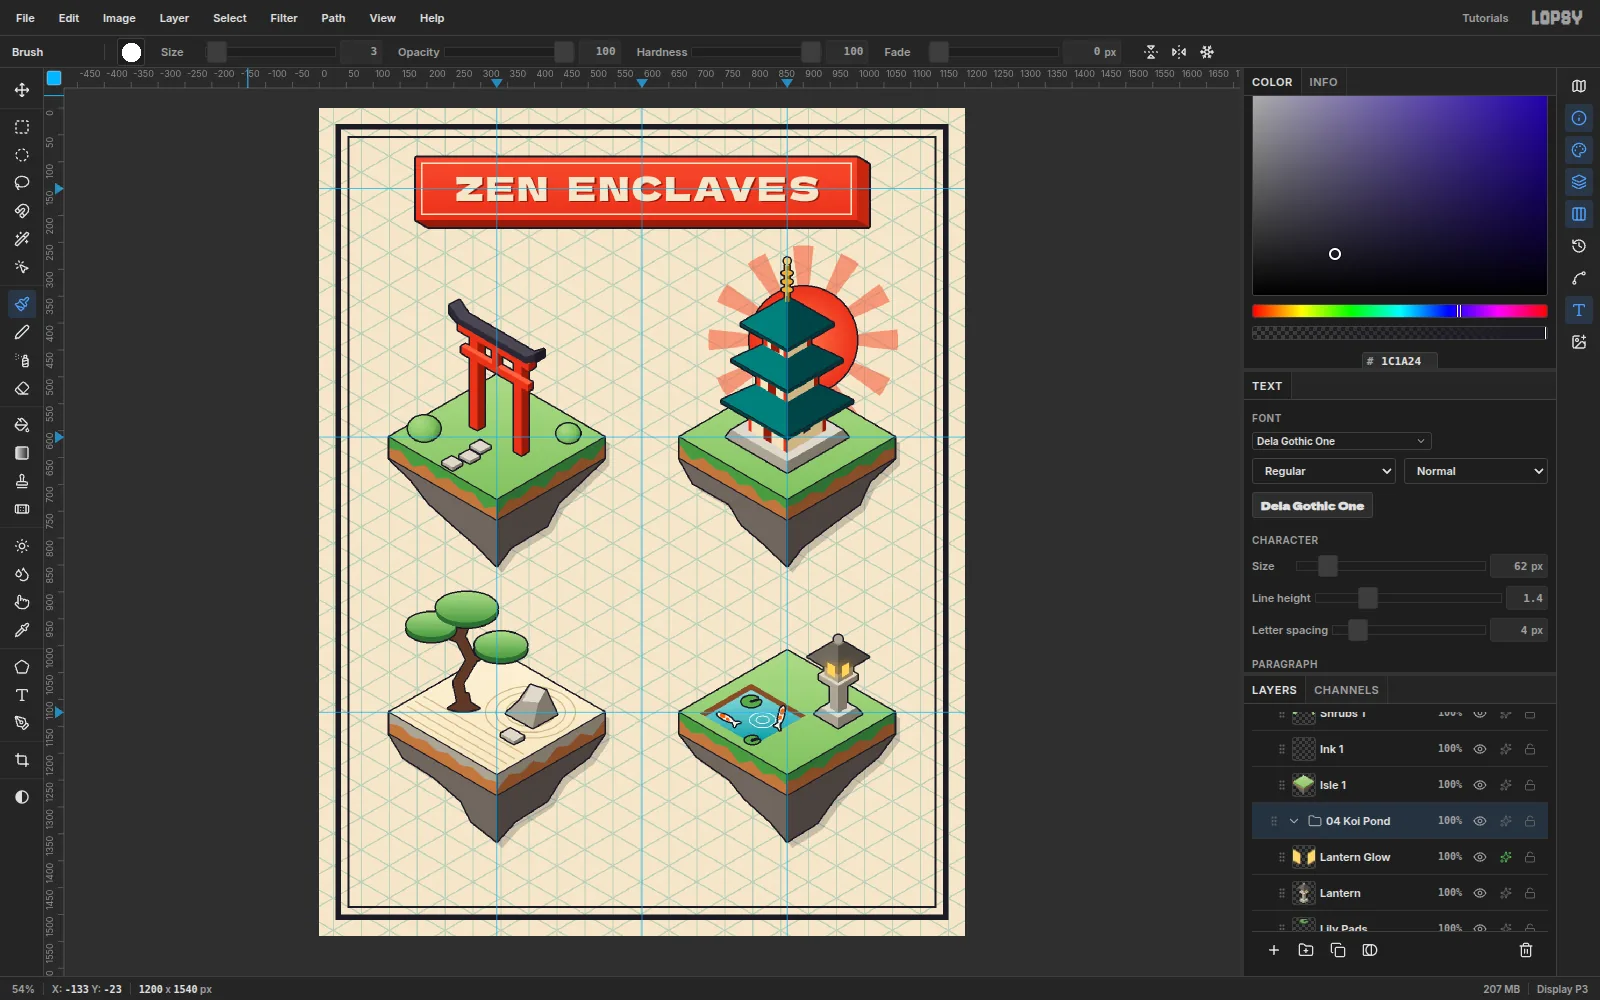
Click each design's bottom layer, Shift-click its top layer and choose Layer → Group Layers. Name them 01 Torii, 02 Pagoda (including the sun and rays), 03 Rock Garden and 04 Koi Pond. Each design can now move as one piece.
-
Float a cloud and copy it
Select the title layer and add a Cloud layer. Fill three overlapping elliptical marquees in
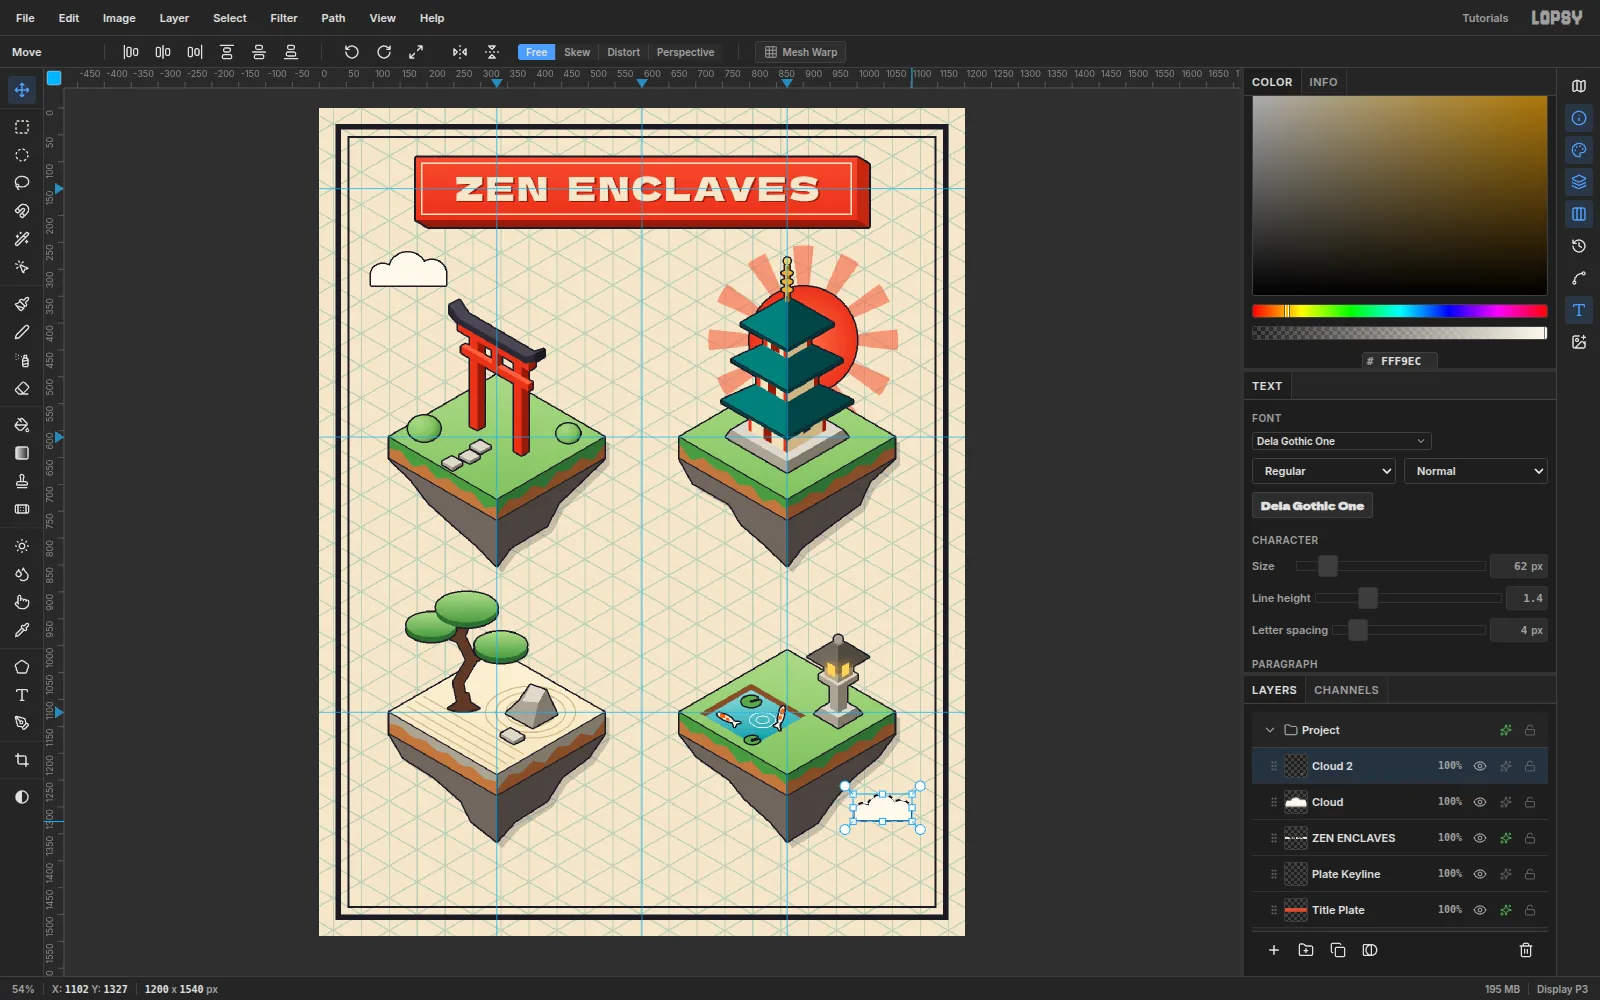
#FFF9ECabove a flat marquee base at top left (96–235, y 266–330). Separate fills on one layer merge into one silhouette. Add a 3 px ink Stroke and rasterize it.Copy and paste the cloud, rename the copy Cloud 2 and drag it to the bottom-right corner. Cmd-click its thumbnail, then hold Cmd and drag the bottom-right scale handle inward to about 75%. Press Enter.
-
Scatter cherry blossoms
On a Blossoms layer at (600, 322), lasso five teardrop petals in
#F3A5B6around a gold centre and add a 2 px ink Stroke. Marquee it and press Cmd+X then Cmd+V to lift it onto its own layer. Paste three more copies: one at the gutter crossing scaled to 135%, a small one in the left margin and one in the right margin. Rotate each a different amount so they don't look stamped.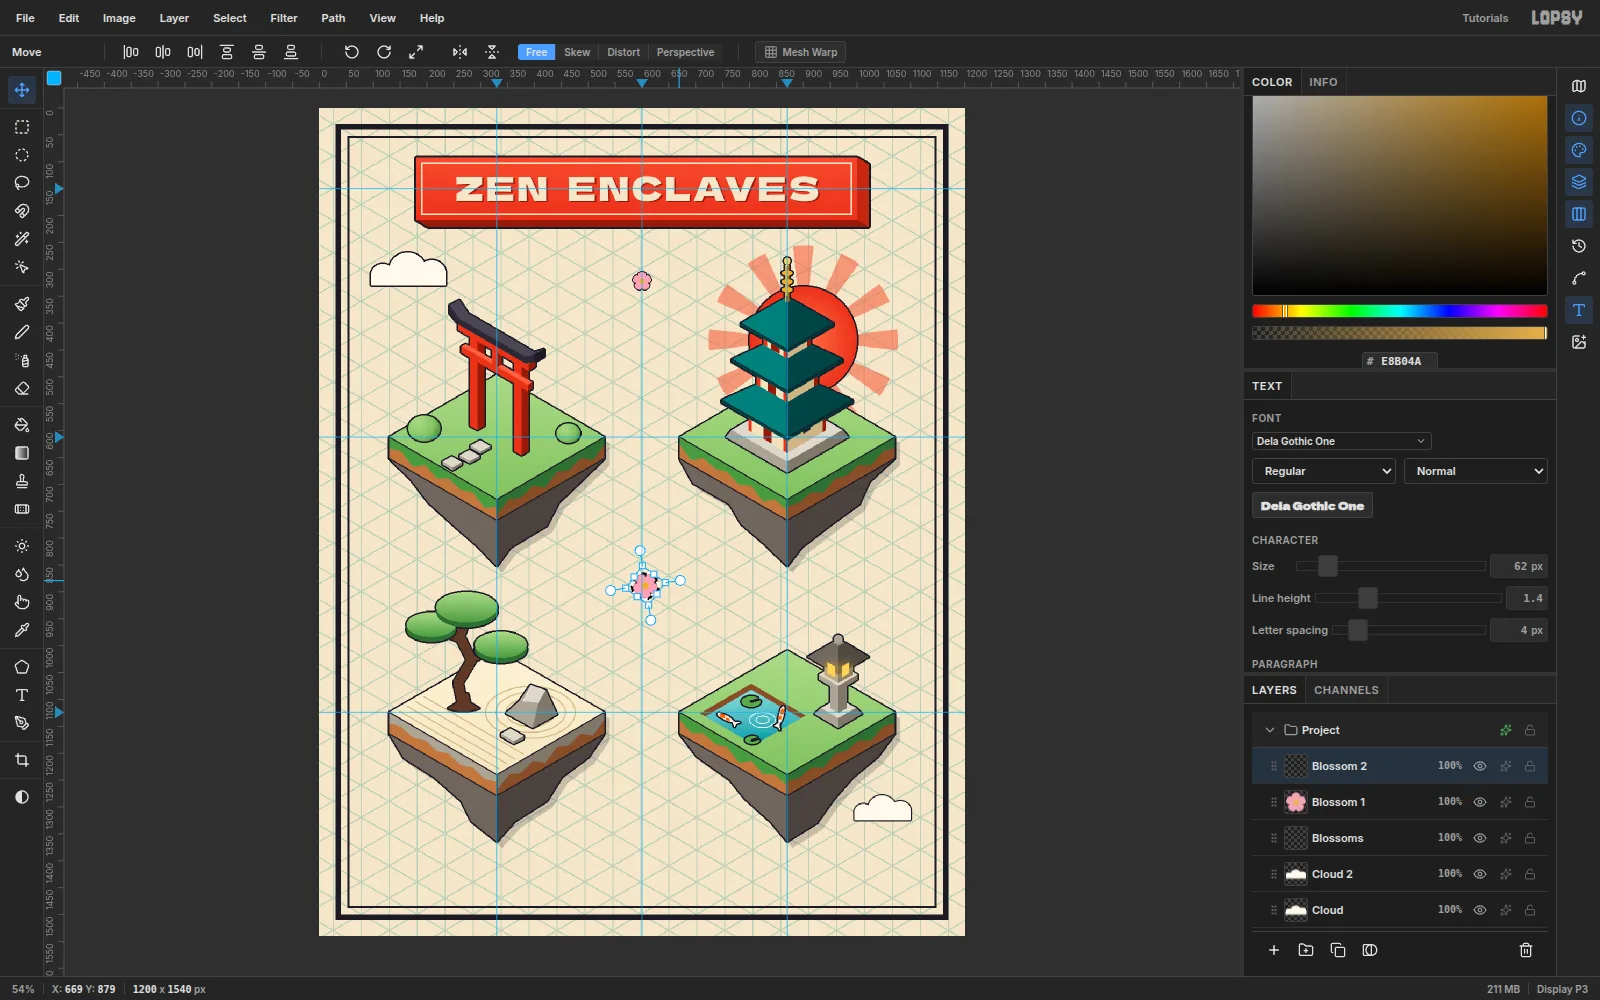
-
Drop the bottom row with snapping
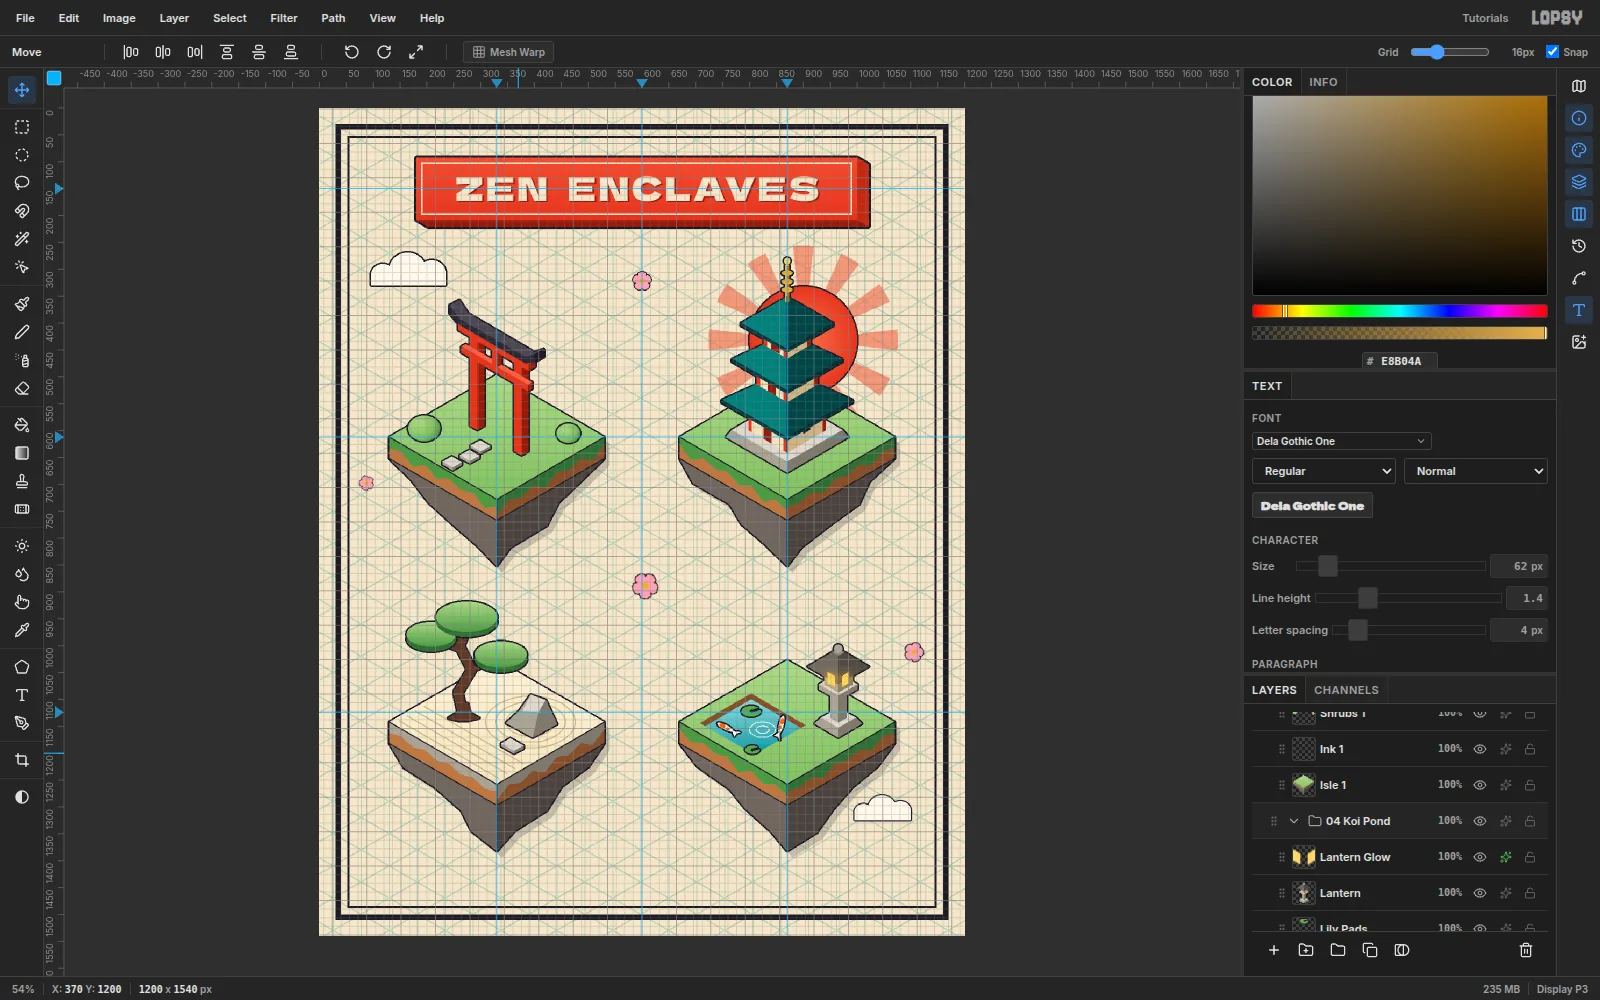
Select 03 Rock Garden, Cmd-click 04 Koi Pond, turn on Show Grid and drag both groups down about 16 px with the Move tool. The drag snaps to the grid, and both groups move by exactly the same amount. Turn the grid off. Press Cmd+Z three times to look back, then Cmd+Shift+Z three times to return.
-
Number the designs
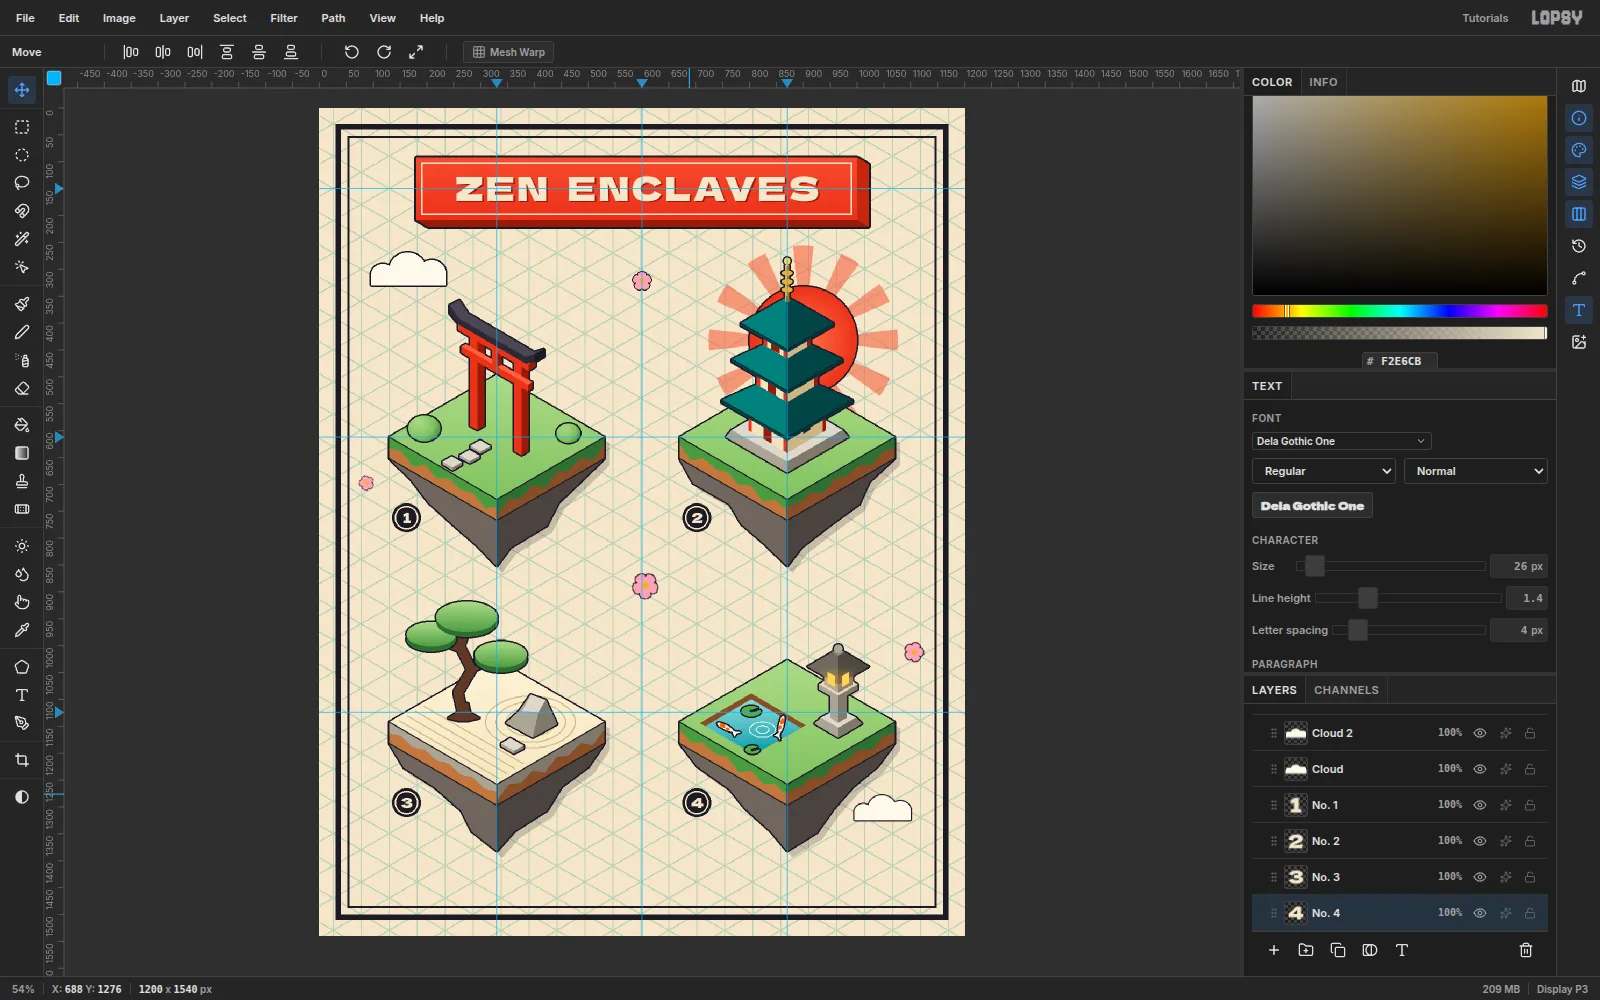
On a Badges layer, fill a 27 px radius ink circle under each island's left flank: (162, 762), (702, 762), (162, 1292) and (702, 1292). Fill a 22 px paper circle inside it, Shrink by 2 and fill ink again. That leaves a thin cream ring. Type each number in Dela Gothic One at 26 px in paper, then nudge its glyph into the middle of its badge.
-
Set the footer
Select a raster layer (Badges) first. With a text layer active, the Text tool's options restyle that layer. Set Zen Kaku Gothic New, weight 700, Size 18, and type
FLOATING ISLAND FLASH · SHEET NO. 07in ink. Give it Letter spacing 3 px and centre it on y 1440. On Footer Rules, fill 3 px rules either side, matching the border's hairline weight, with a 22 px gap to the text.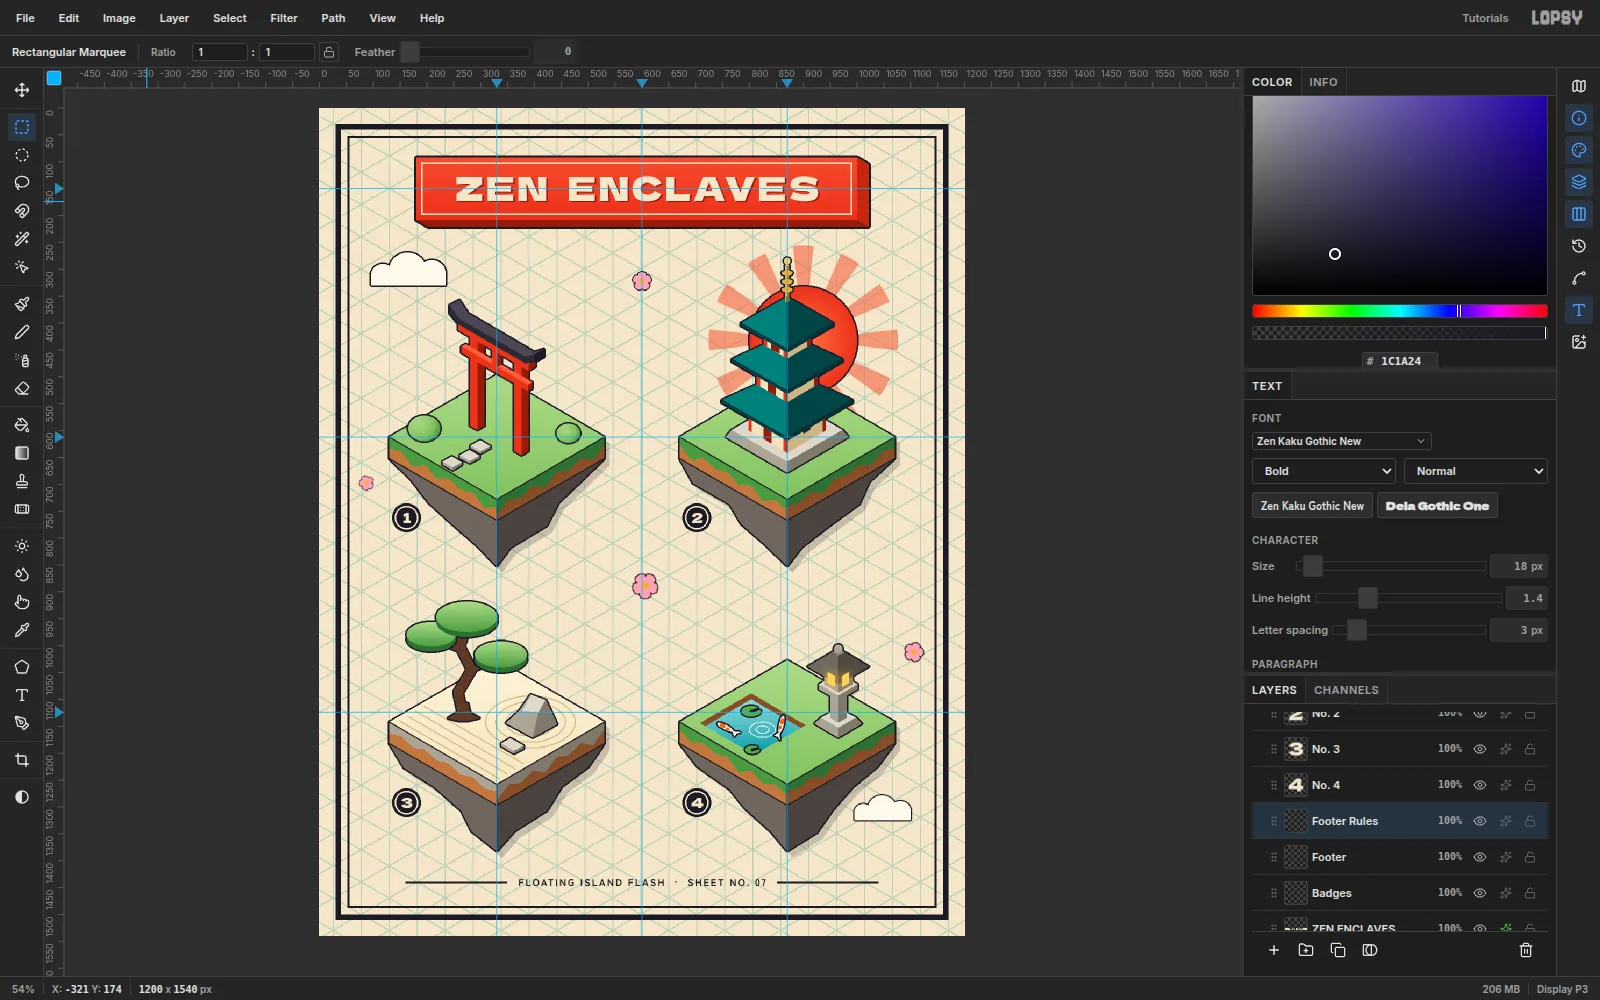
-
Stamp the seal
On a Seal layer, marquee a 64 × 64 square centred on (1084, 1440) and fill it
#D8452B. Shrink by 4 px and fill paper, then Shrink by 2 px and fill vermilion again. That leaves a cream keyline. TypeZENin Dela Gothic One at 14 px in paper and centre it. Then Cmd-click the Seal thumbnail and drag a rotation handle about −6°, as if the stamp was pressed by hand.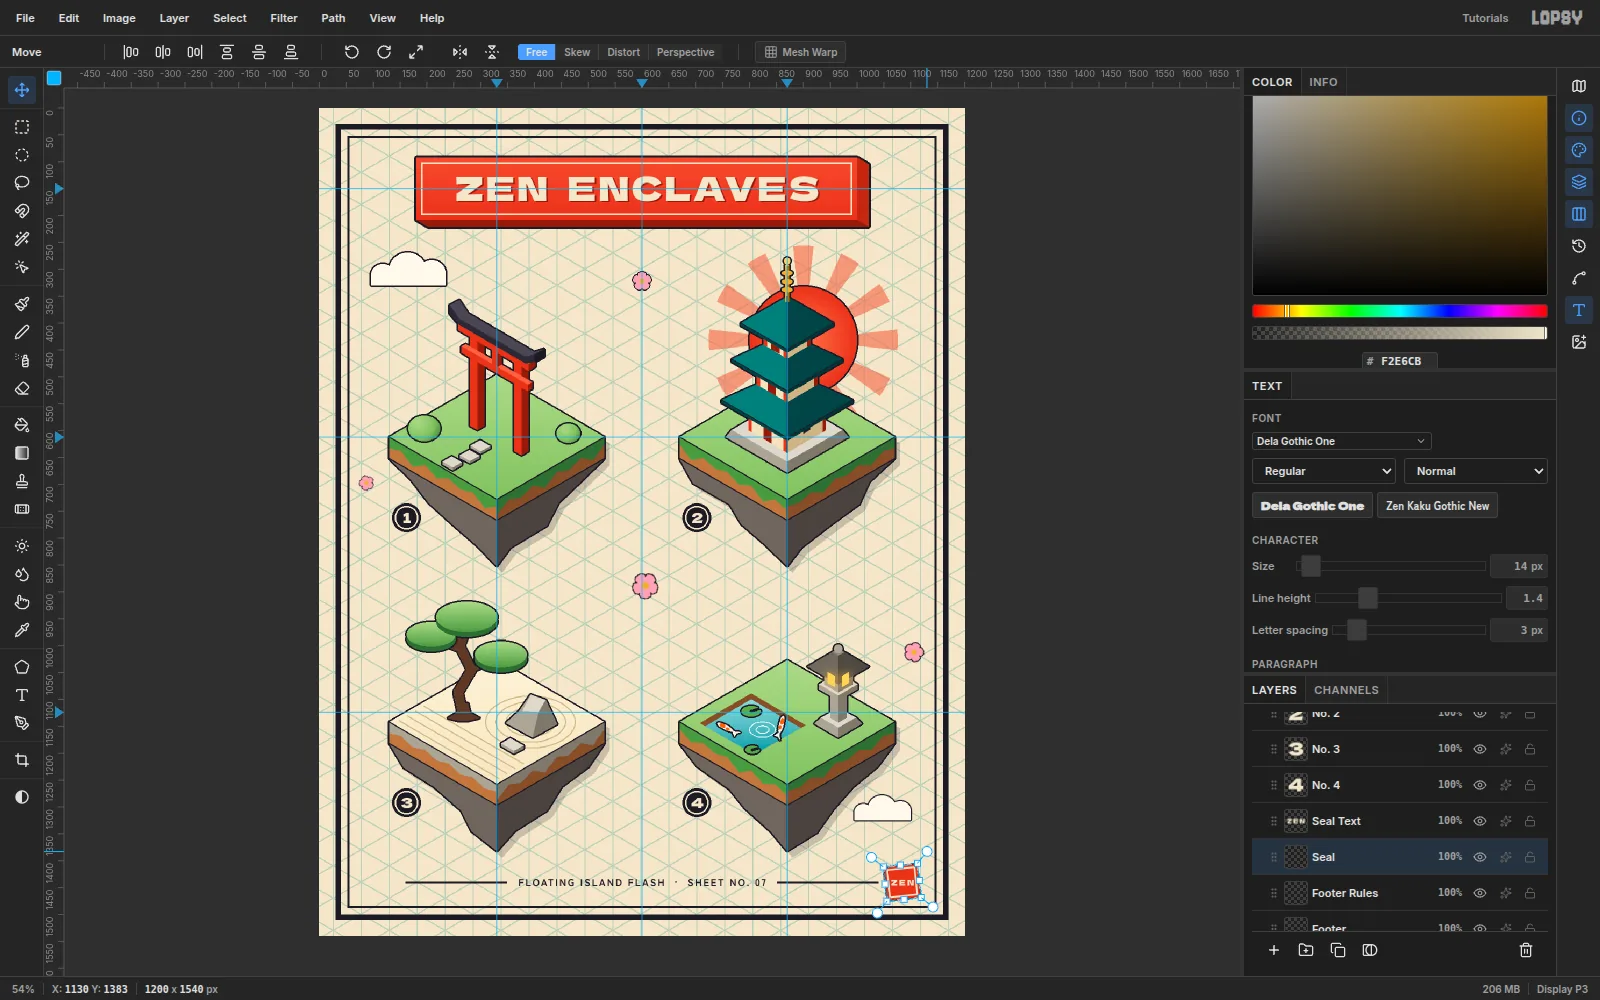
-
Shade the sun with dotwork
Cmd-click the Sun thumbnail, add a Sun Dotwork layer and drag a Linear gradient from white (to 45%) down to
#6A6A6Aacross the disc. Press Cmd+D and run Filter → Halftone… at Dot Size 5. Set the layer to Multiply. The white disappears, leaving dots that thicken toward the bottom, like tattoo dotwork shading.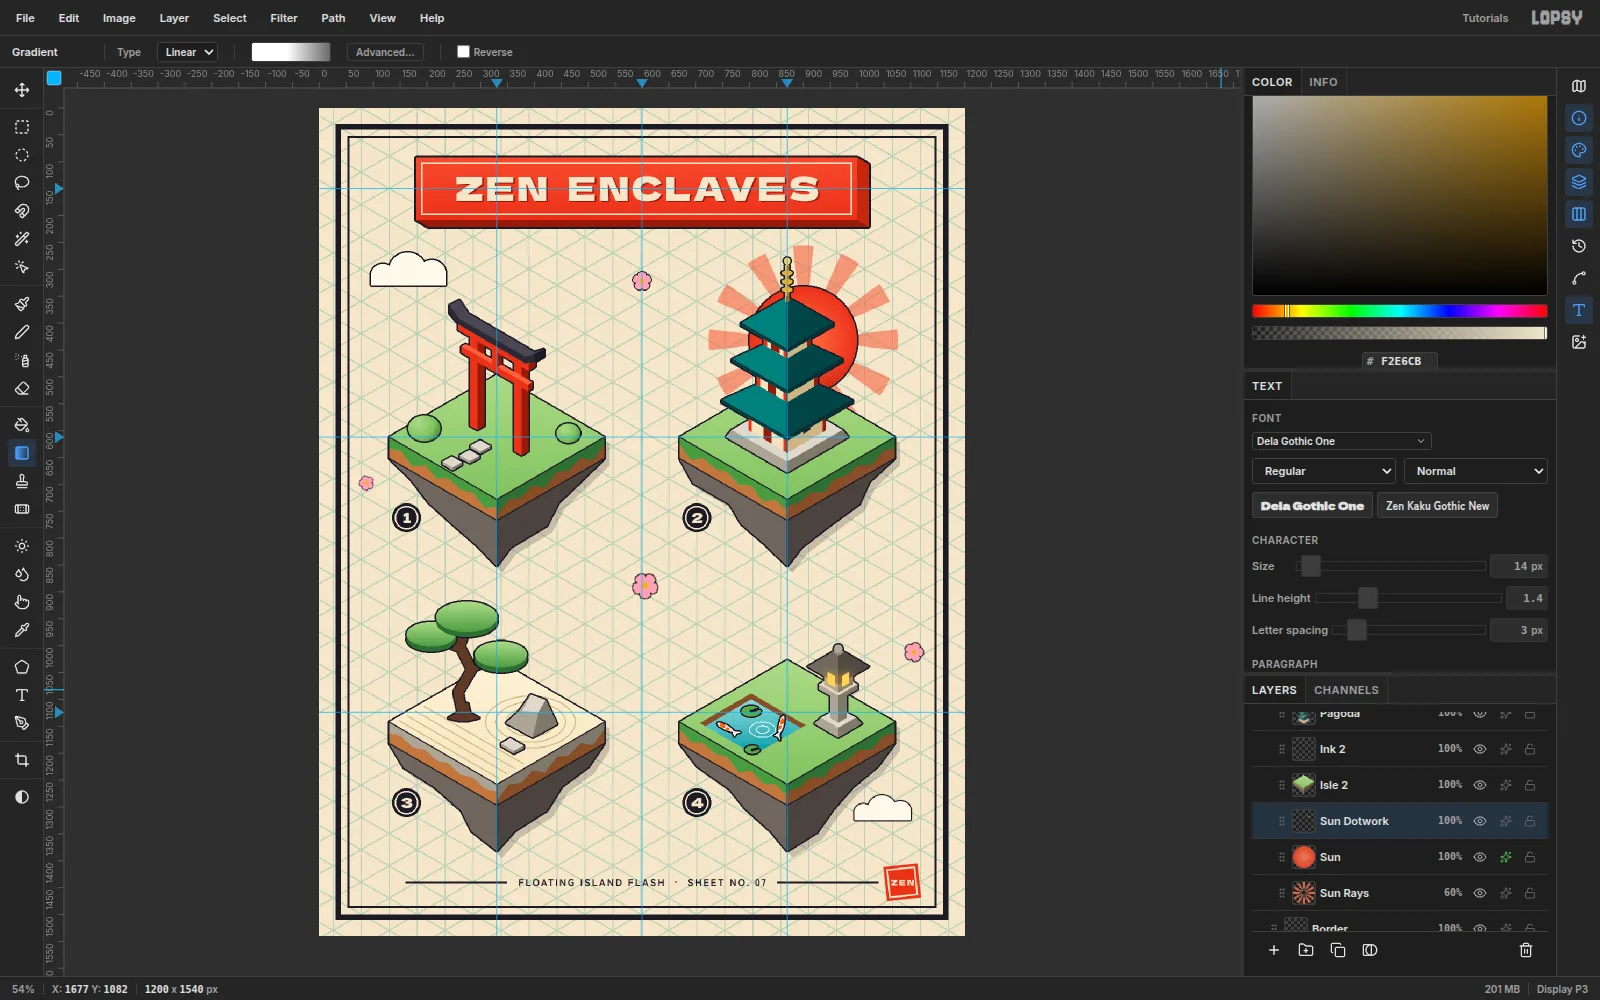
-
Cut a shadow facet into each rock
On each Isle layer, use the Lasso to select a facet on the right side of the rock: from the bottom edge of the earth band, partway down the ridge and back. Fill it with
#3D3733. The hard edge reads as chiselled stone, which suits a vector flash sheet better than a soft airbrushed shadow.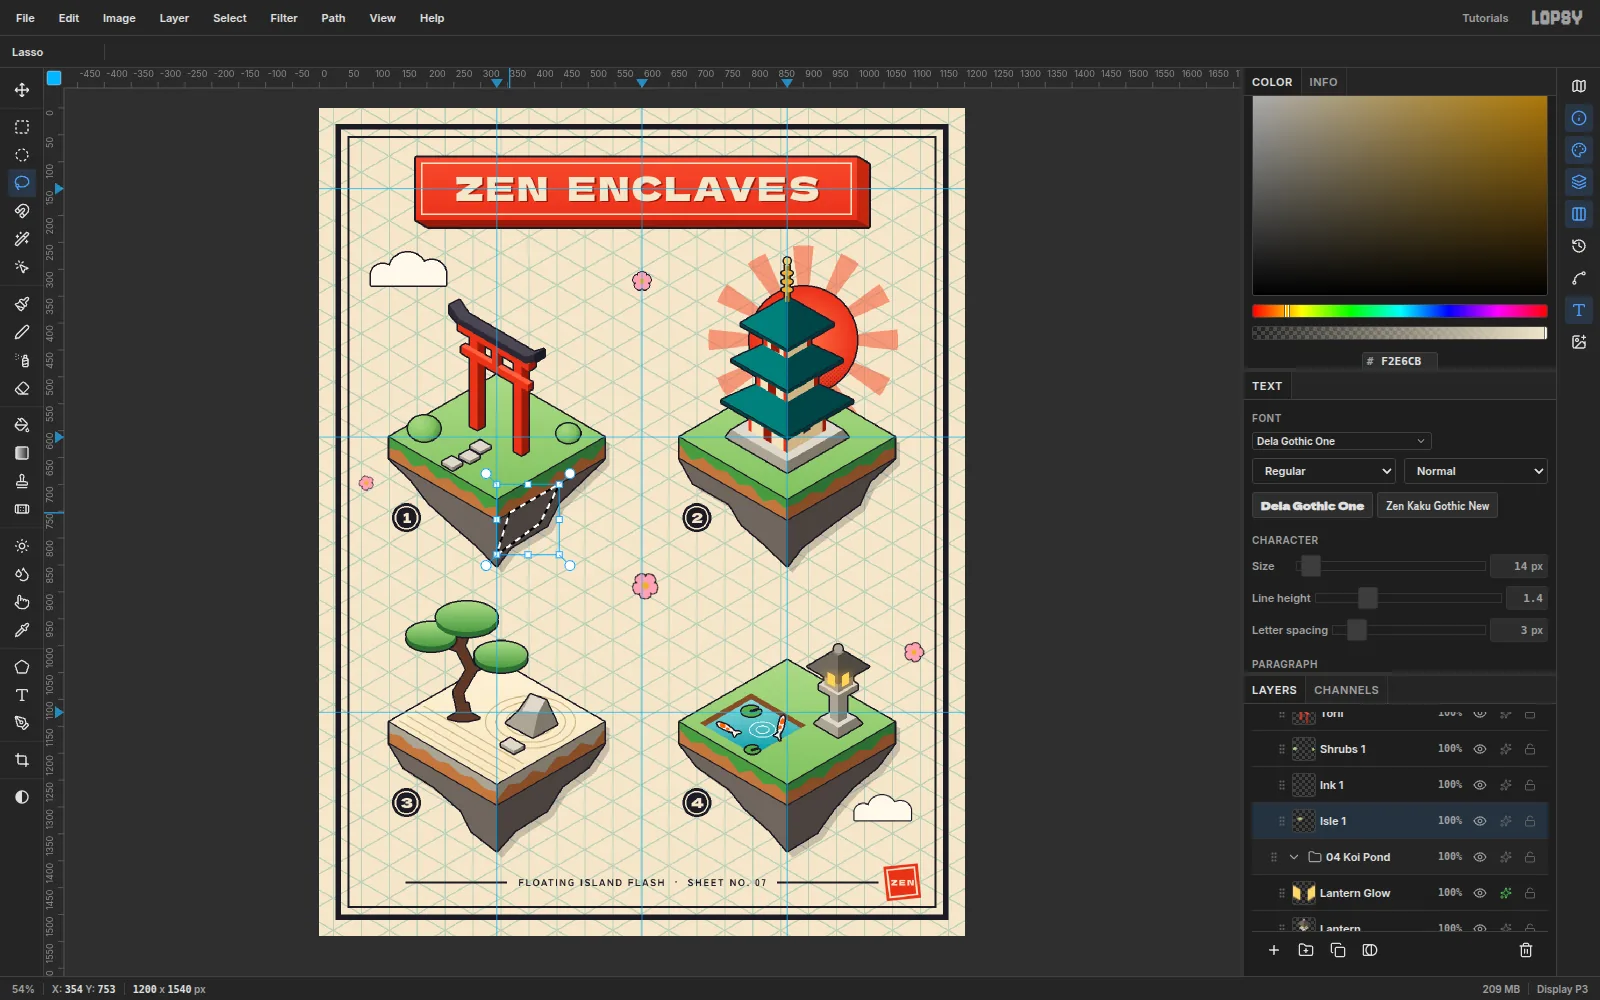
-
Add paper grain and export
Select the title layer and add a Paper Grain layer. Fill it with
#808080, run Filter → Add Noise… (Amount 20, Mono, Gaussian), and set it to Overlay at 30%. Overlay leaves mid-grey invisible, so only the grain shows.Choose File → Quick Export PNG to save the sheet.