Design an Op-Art Mattress Billboard
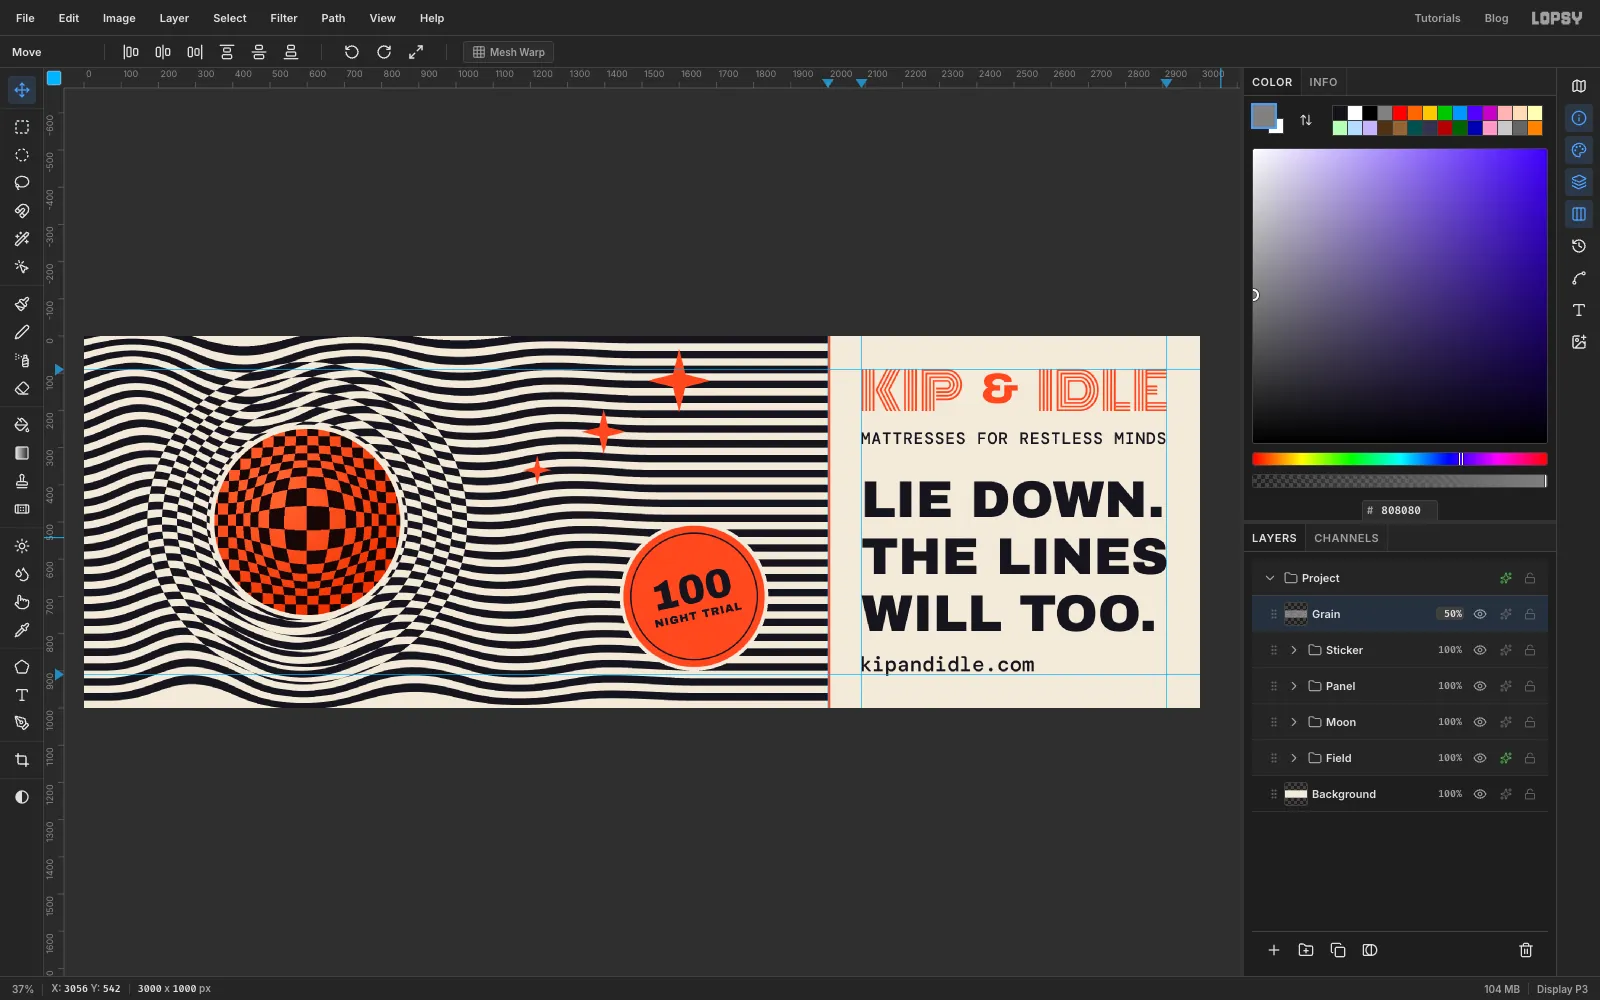
Build a Bridget Riley-style op-art billboard in Lopsy, with Liquify waves that settle into flat lines, a Vasarely checker moon and bold type.
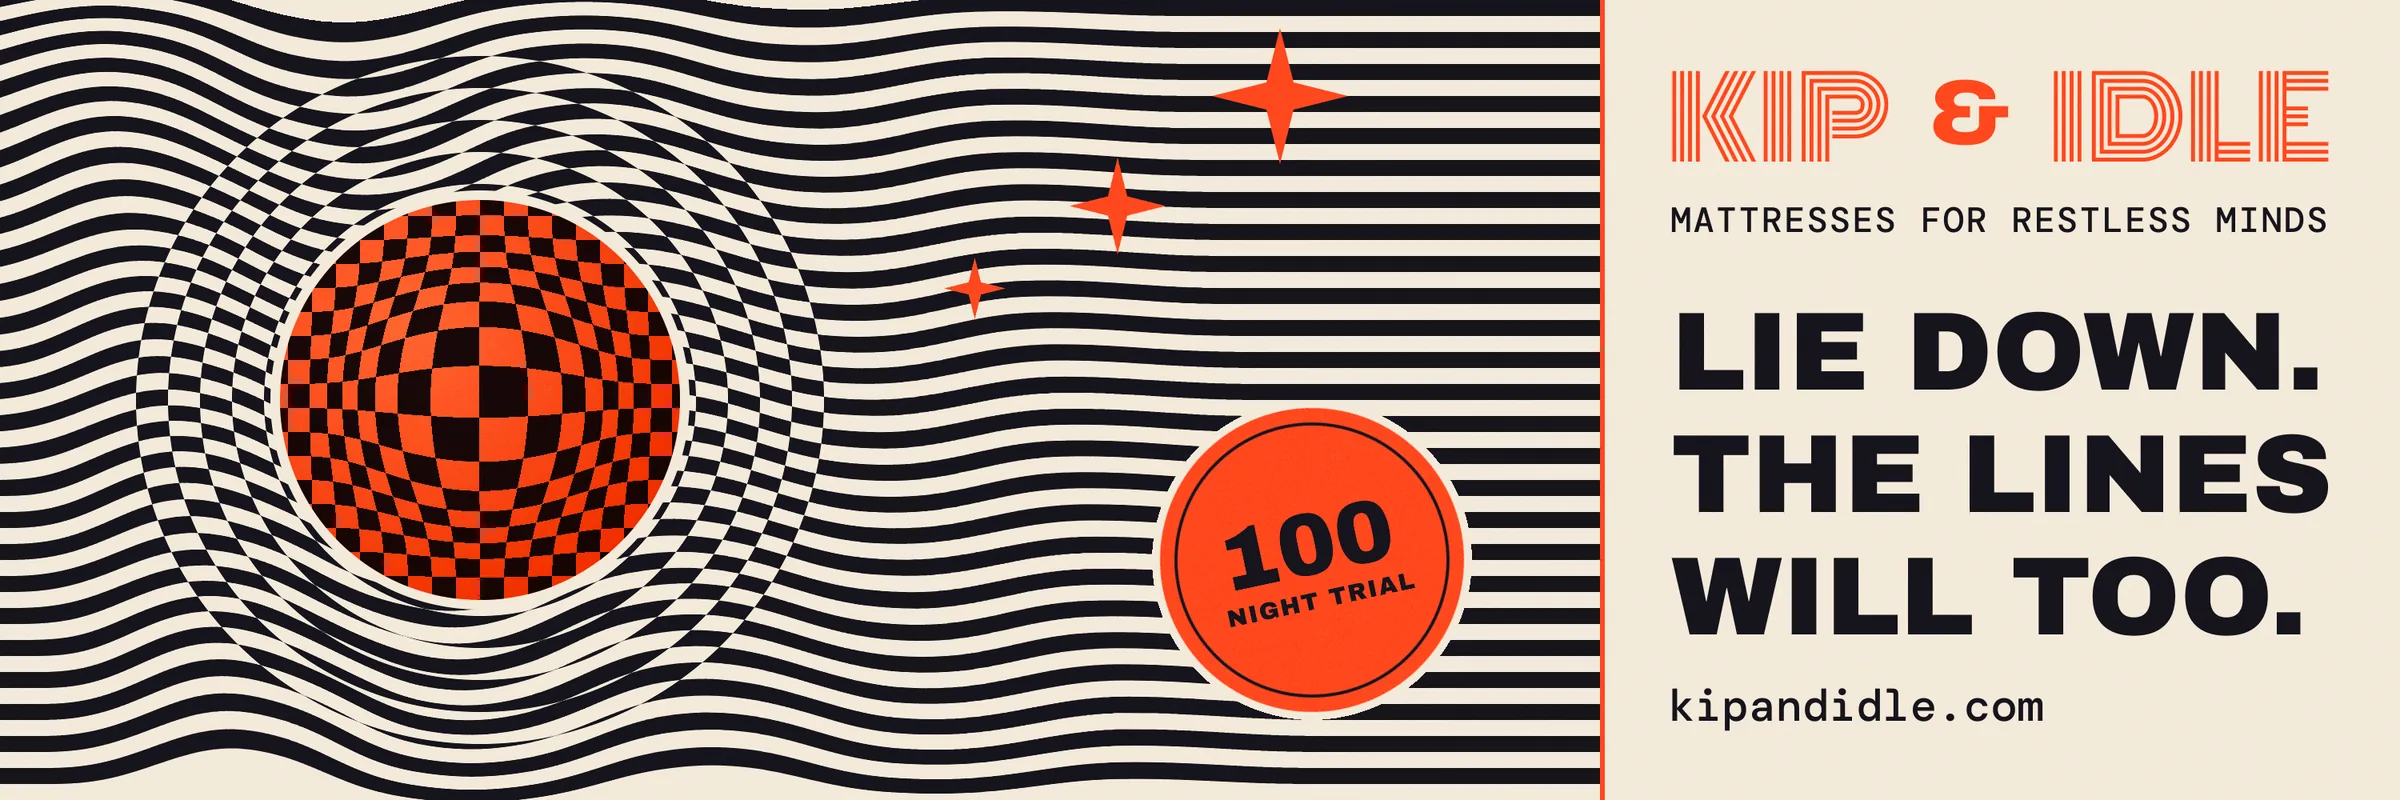
Op art makes a flat surface seem to move. In the 1960s Bridget Riley painted rows of wavy black lines, as in Current (1964), that seem to shimmer while you look at them. Victor Vasarely bent checkerboard grids until they seemed to bulge off the canvas, as in his Vega series. Both effects are easy to build in Lopsy, and they suit a billboard: you can't scroll past a board that seems to move.
In this tutorial you'll make a billboard for Kip & Idle, an imaginary mattress company. The left side is the restless mind at 3 a.m.: stripes that ripple around a bulging checker moon. Toward the right the waves settle into flat, parallel lines, right where the headline says Lie down. The lines will too. You'll build it at 3000 × 1000 px, close to the shape of a roadside bulletin board.
Along the way you'll use:
- ruler guides, Snap to Guides, the grid and the marquee's exact-corner dialog
- Define Pattern, Fill with Pattern, and Liquify in Push Forward and Bloat modes
- the Difference and Multiply blend modes and a group Gradient Map
- radial gradients, Merge Down and Select → Inverse
- the Pen tool with Path to Selection, the Pencil and copy and paste
- scaling and rotating with the Move tool, including a whole group
- text in Monoton, Archivo Black and DM Mono, with letter spacing and line height
- the Stroke effect and Add Noise in Overlay for print grain
The palette:
-
Bone
-
ink
-
Coral
-
Moon
-
Halo white
only used to flip the stripes
-
Grain grey
-
Set up a bone canvas
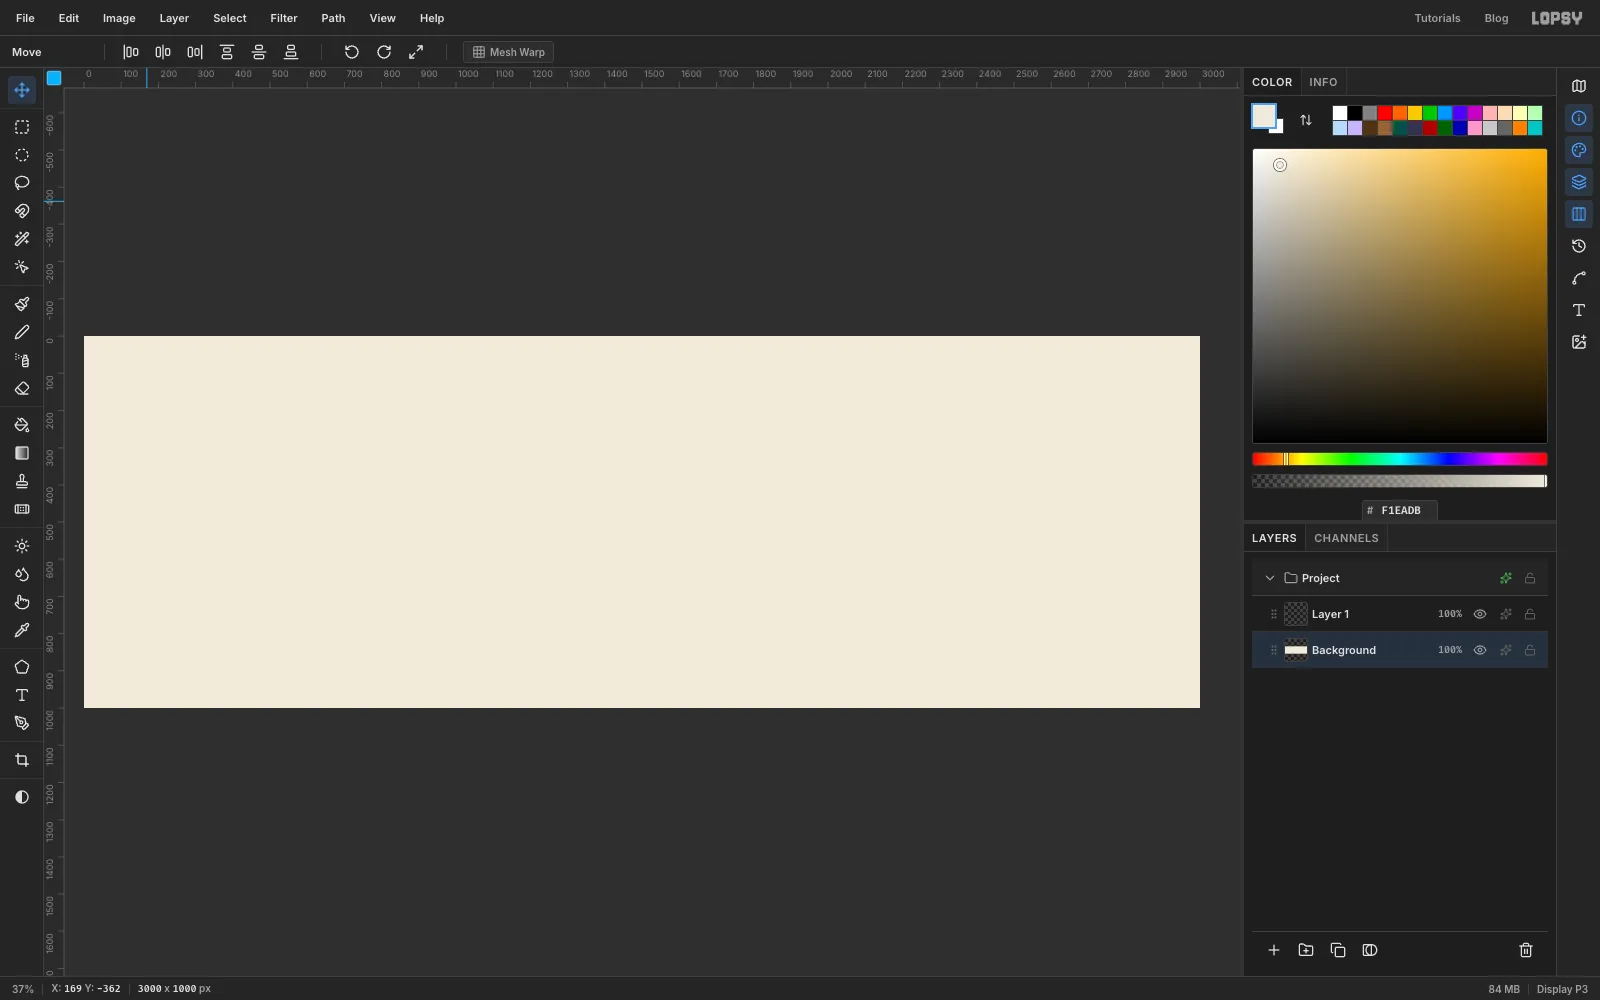
Choose File → New, enter 3000 × 1000 pixels and click Create. Select the Background layer, set the foreground colour to in the Color panel's Hex field, and choose Edit → Fill.
-
Add guides for the panel
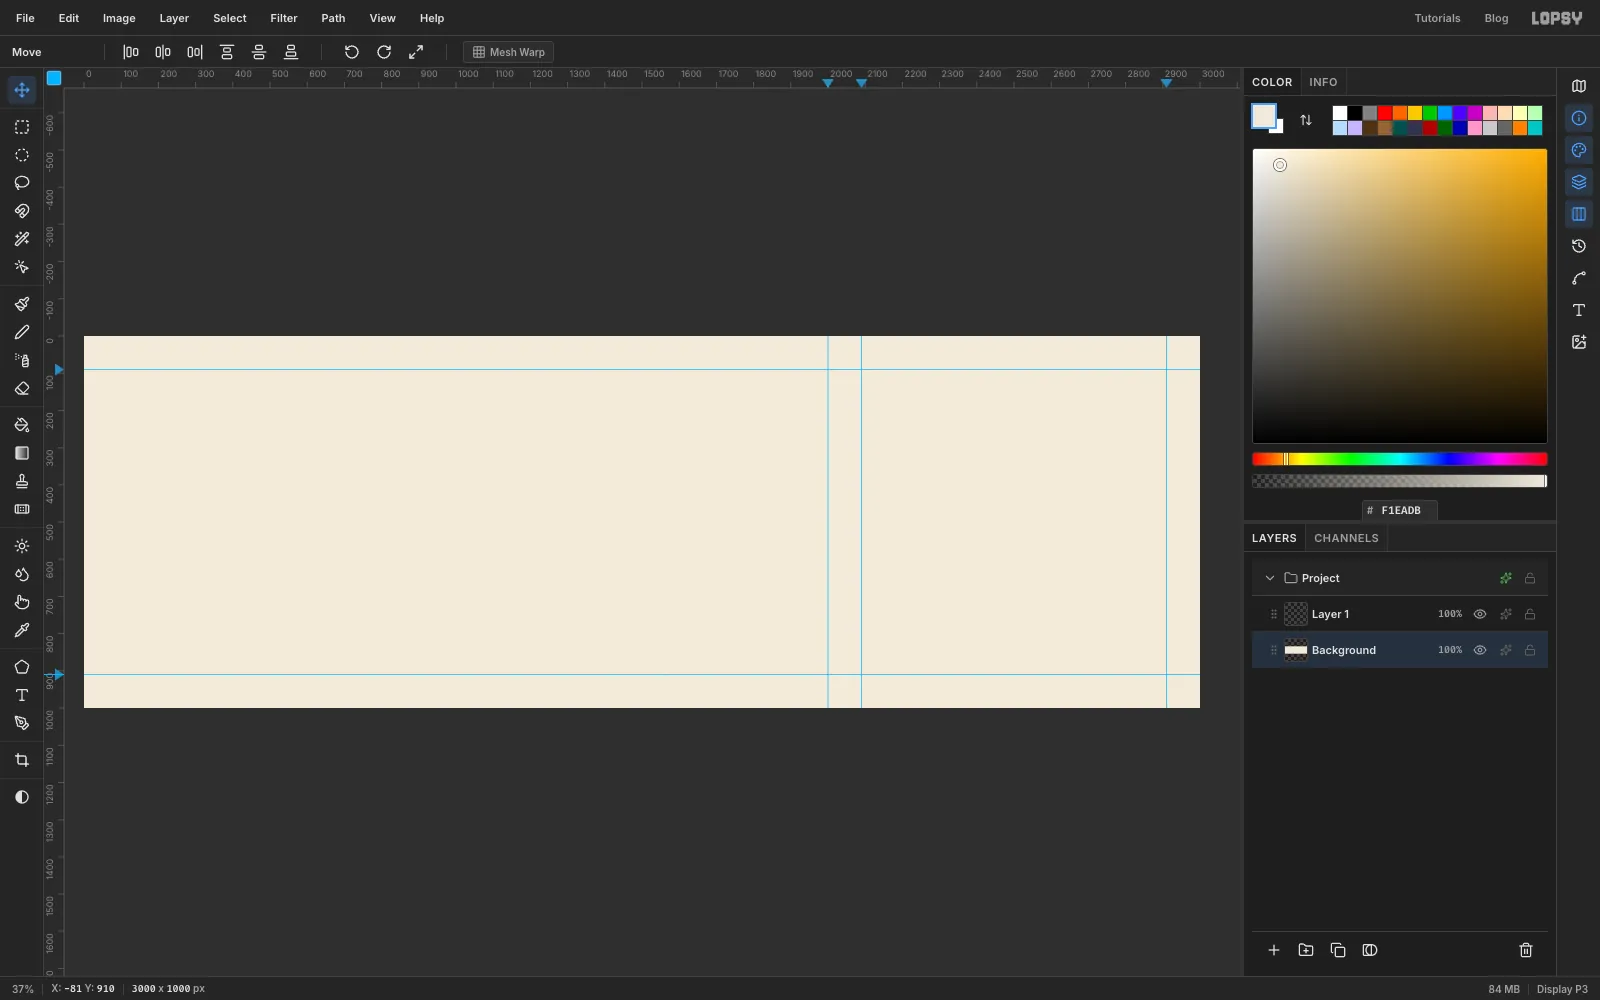
The type will live in a panel on the right third of the board. Click the top ruler at 2000 for the panel's edge, then at 2090 and 2910 for its left and right margins. Click the left ruler at 90 and 910 for the top and bottom margins.
-
Make a stripe tile
Select Layer 1 and double-click its name to rename it Tiles. Set the foreground to .
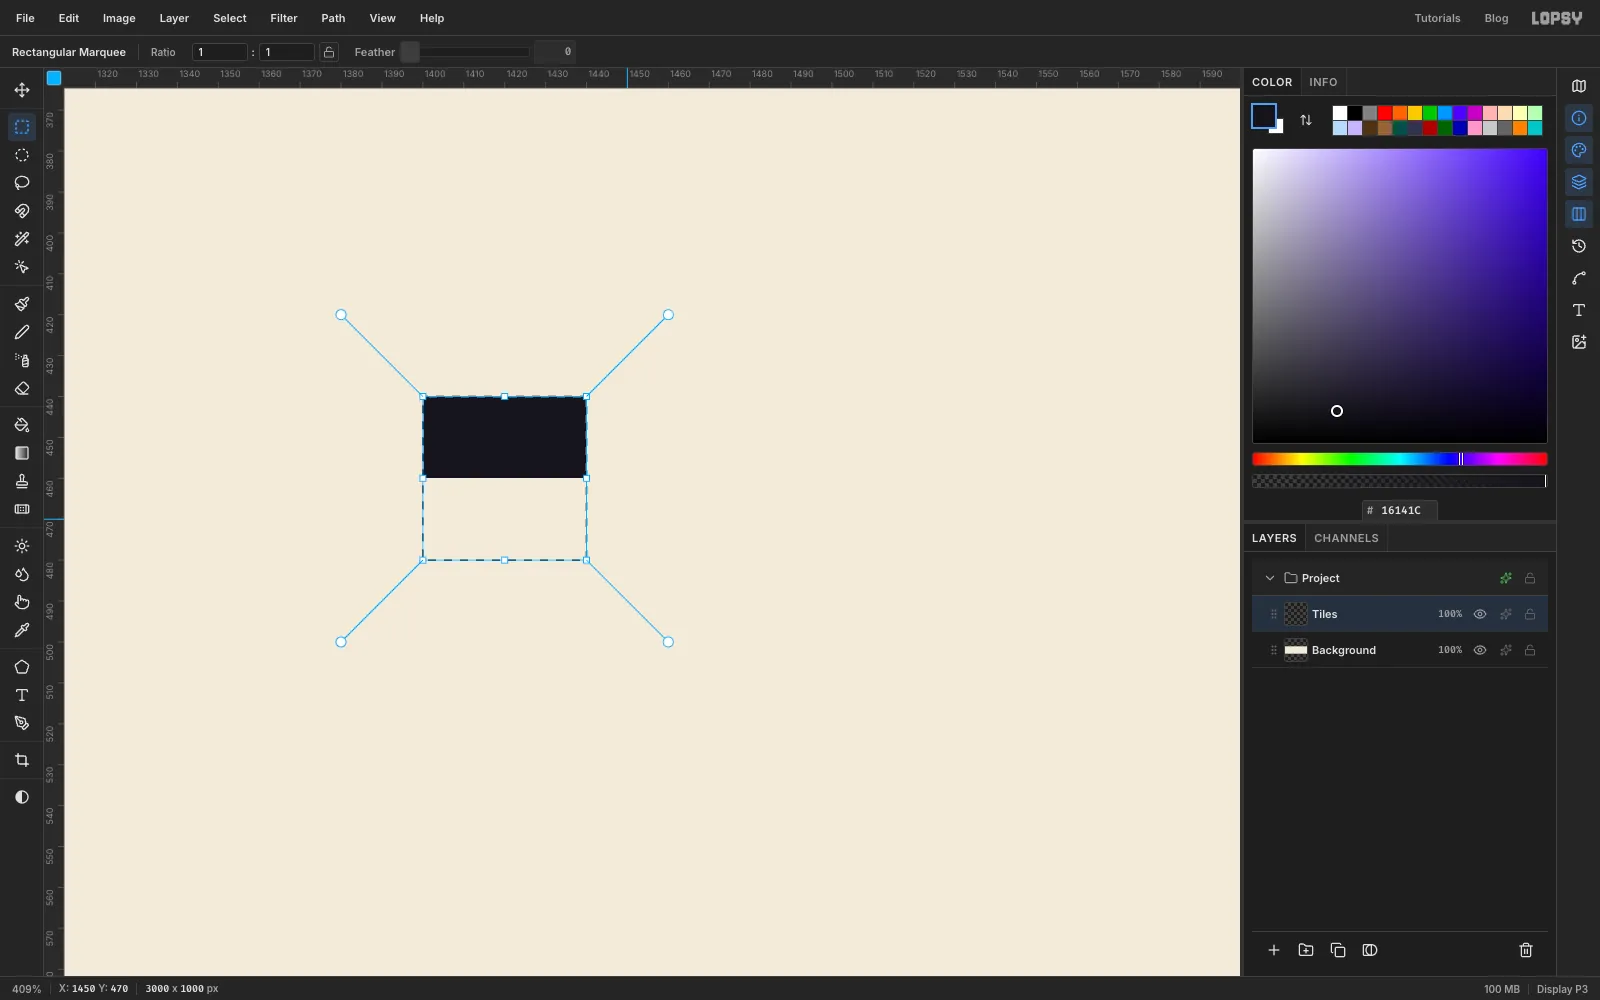
Pick the Rectangular Marquee and click once on the canvas without dragging. A dialog opens where you can type exact corners. Enter From 1400, 440 and To 1440, 460, click Select, and choose Edit → Fill. That gives you a black bar 40 px wide and 20 px tall.
Press Cmd+D to deselect (with a selection active, a marquee click only deselects). Click again and enter From 1400, 440 To 1440, 480: a 40 px square with the bar in its top half. Choose Edit → Define Pattern, press Cmd+D, and delete the Tiles layer with the trash button. The pattern is kept.
-
Fill a layer with stripes
Select Background and click New Group at the bottom of the Layers panel. Name the group Field. Click Add Layer, name it Paper and fill it with the bone colour. This group will get a colour adjustment later, so it needs its own paper inside it.
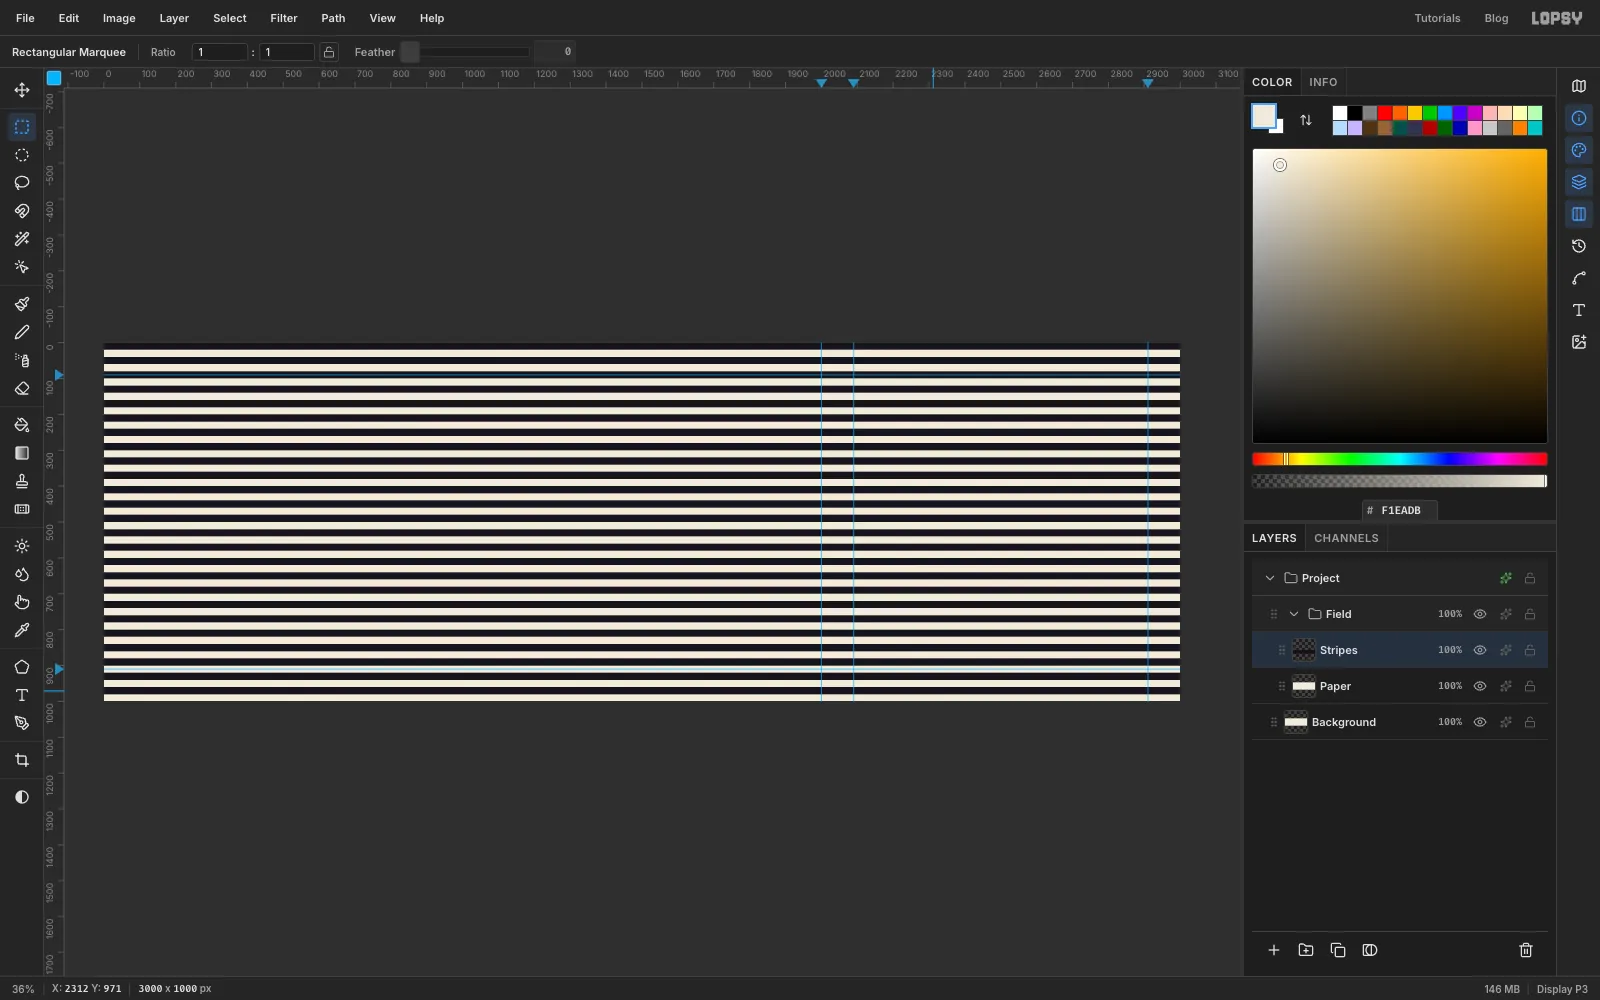
Click Add Layer again and name it Stripes. Choose Edit → Fill with Pattern…, click the stripe pattern and click Apply. The tile repeats across the whole board as 20 px stripes.
-
Push the stripes into waves
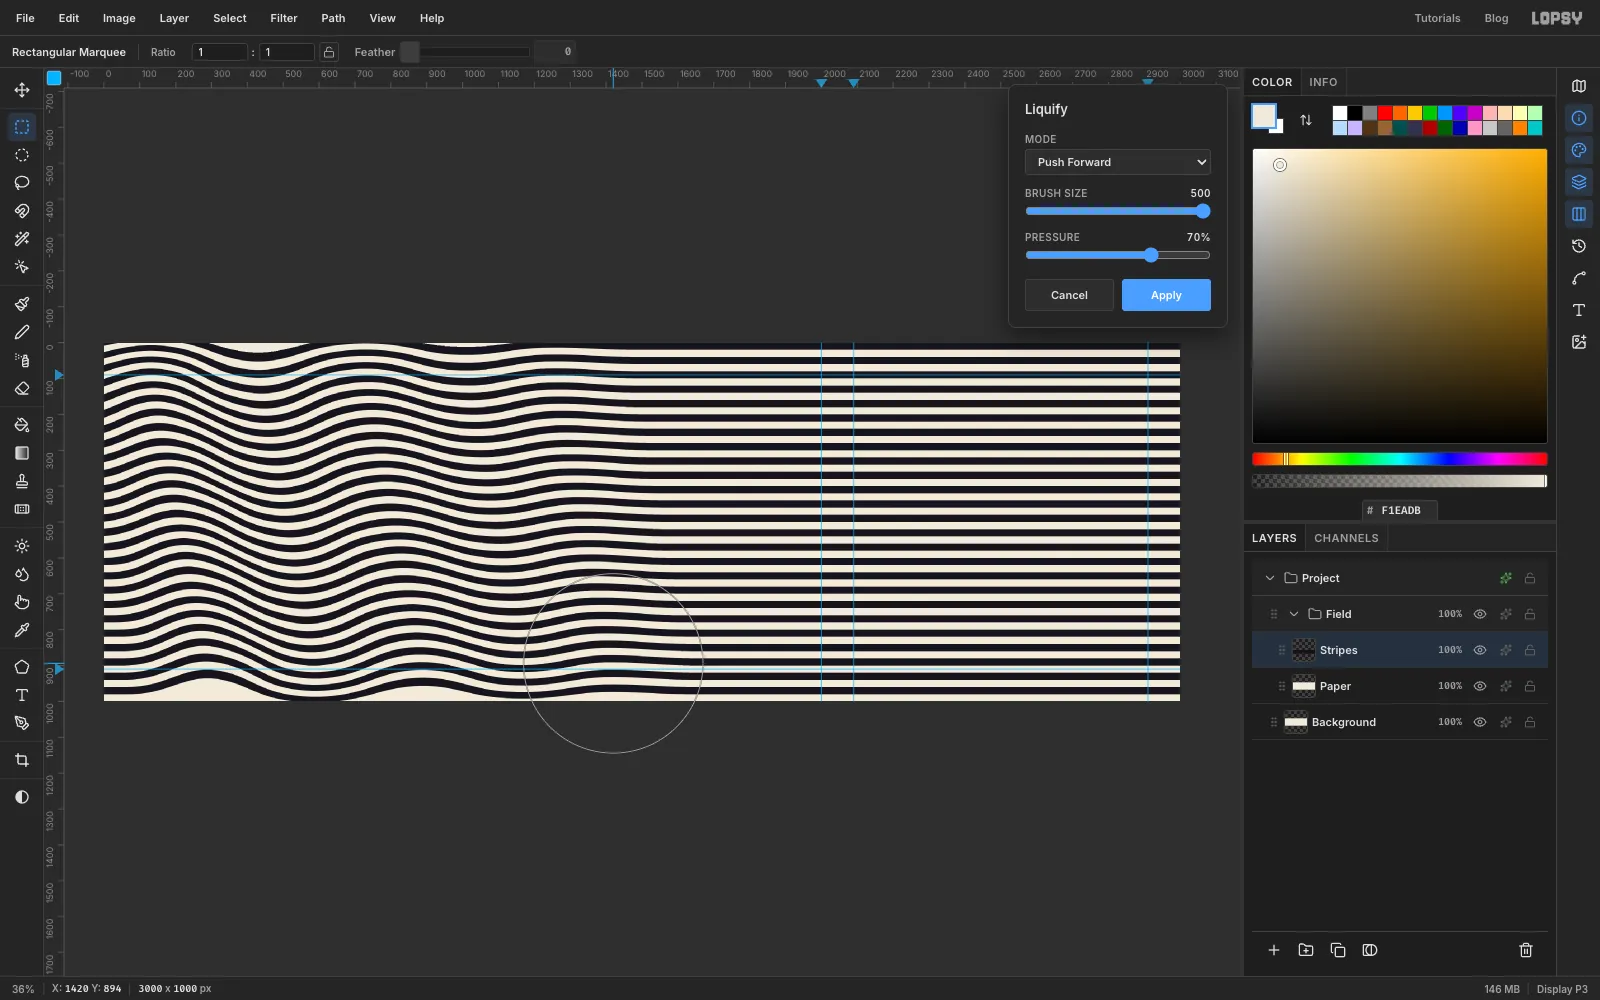
Choose Filter → Liquify…. Set Mode to Push Forward, Brush Size to 500 and Pressure to 70.
Push Forward moves the pixels under the brush in the direction you drag. Short vertical drags make the wave crests:
- Near the left edge, at about x 130, make five short upward drags of about 70 px: one at the top of the board, one a quarter of the way down, one in the middle, one three quarters down and one at the bottom. Start each a little to the right of the one above, so the crest leans slightly.
- About 300 px further right, make another column of five, this time downward drags of about 55 px.
- Move another 300 px right and drag up about 40 px.
- Then down about 25 px.
- Finish with a gentle column of upward 10 px drags around x 1260.
Because the brush is so wide, the drags in each column blend into one smooth swell, and the stripes keep a fairly even width. Near the top and bottom edges a few bands open up a little wider where the waves pull in from outside the canvas. Past about x 1450 you haven't touched anything, so the lines stay perfectly flat. Click Apply.
-
Fill the outer circle
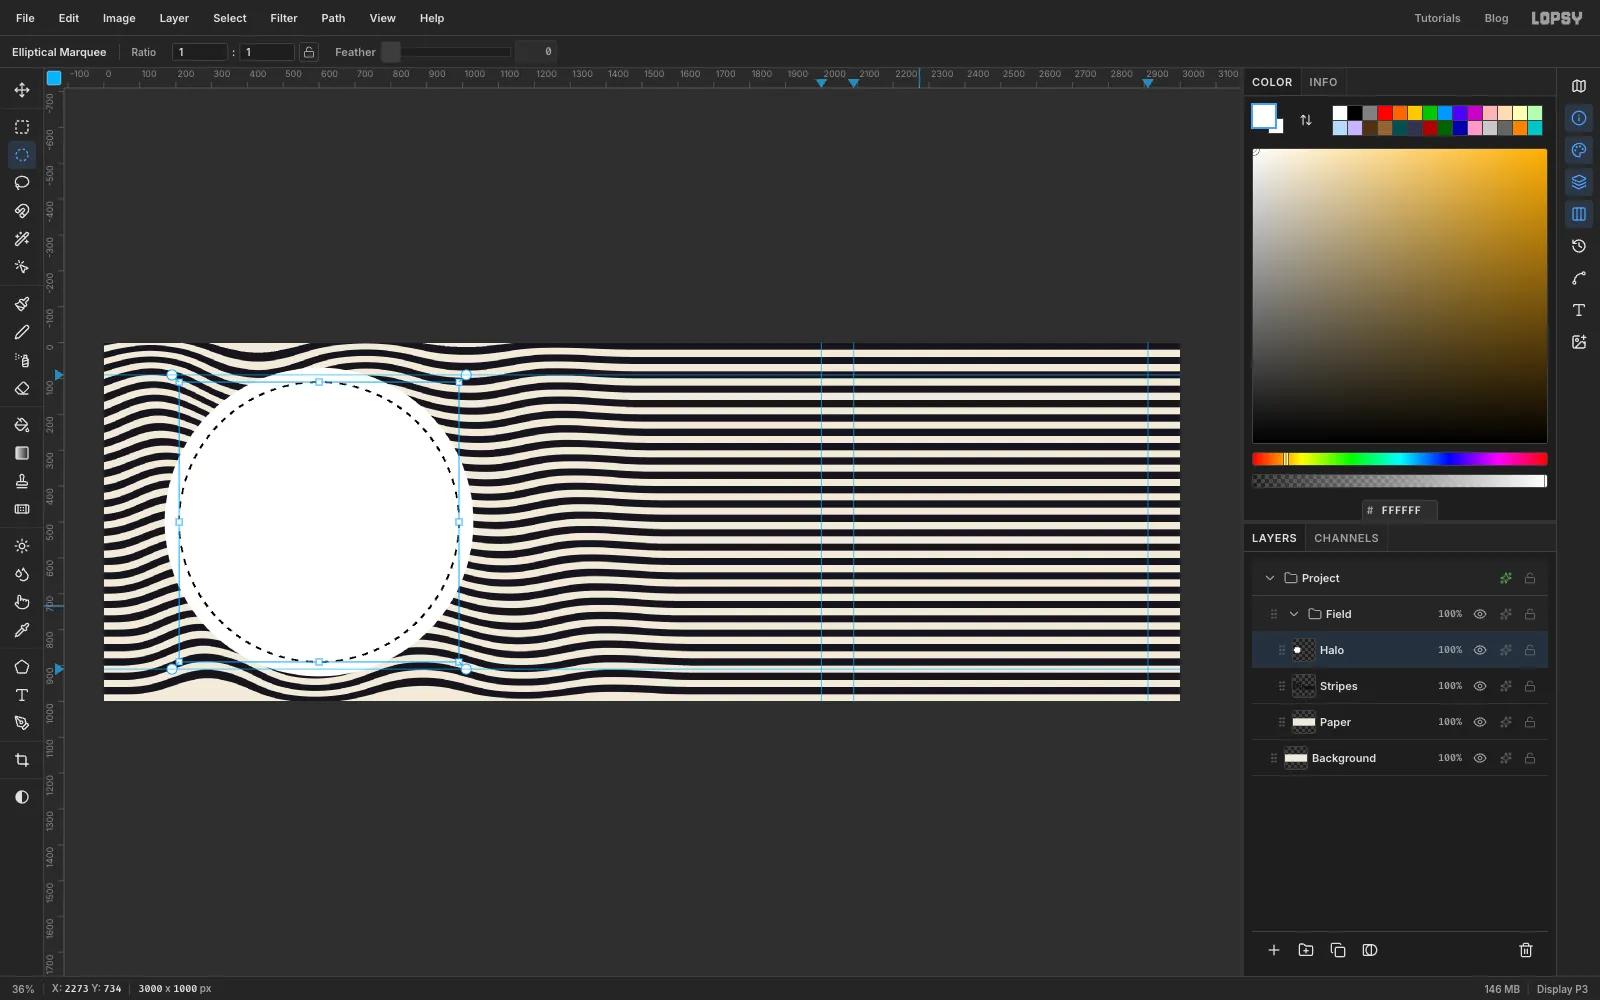
Click Add Layer and name it Halo. It goes inside the Field group, above the stripes. Set the foreground to white .
The moon will sit at 600, 500. Pick the Elliptical Marquee, click once on the canvas and enter From 170, 70 To 1030, 930, a circle of radius 430. Choose Edit → Fill.
Press Cmd+D, click again and enter From 210, 110 To 990, 890. That circle is 40 px smaller all the way round.
-
Cut the rest of the rings
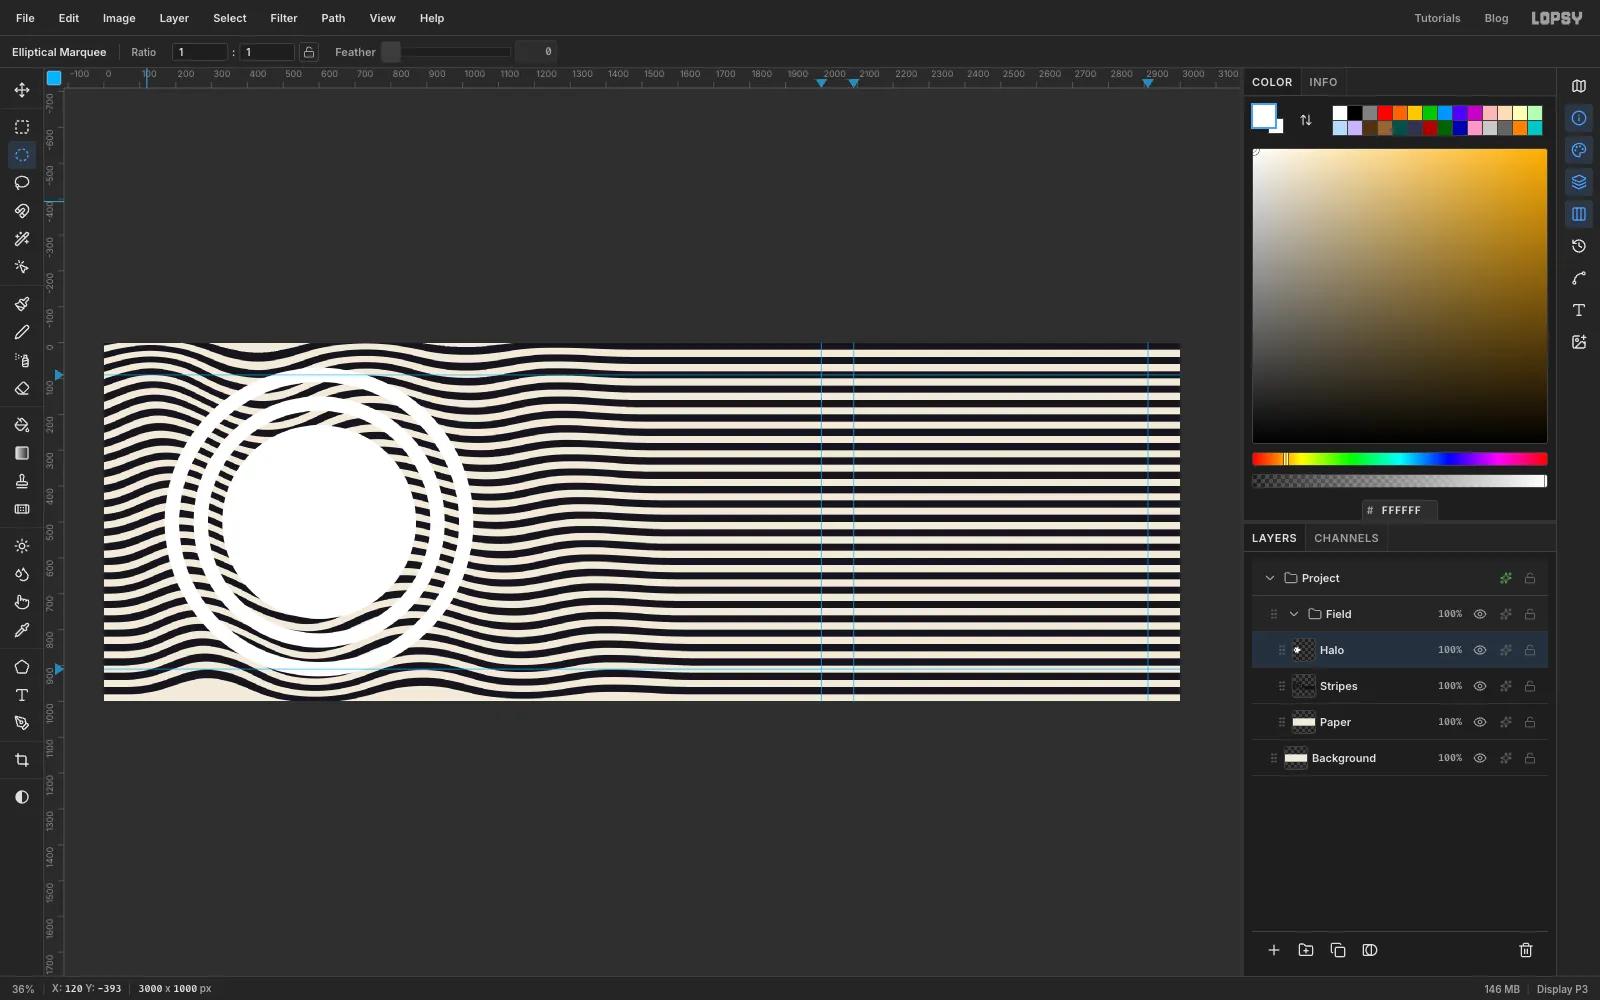
Press Delete to clear the inside of that smaller circle, which leaves a 40 px white ring. Keep stepping inward 40 px at a time, deselecting before each click, and alternate between filling and deleting:
- From 250, 150 To 950, 850: Edit → Fill
- From 290, 190 To 910, 810: Delete
- From 330, 230 To 870, 770: Edit → Fill
You end up with two rings and a centre disc, separated by gaps. Press Cmd+D.
-
Flip the stripes with Difference
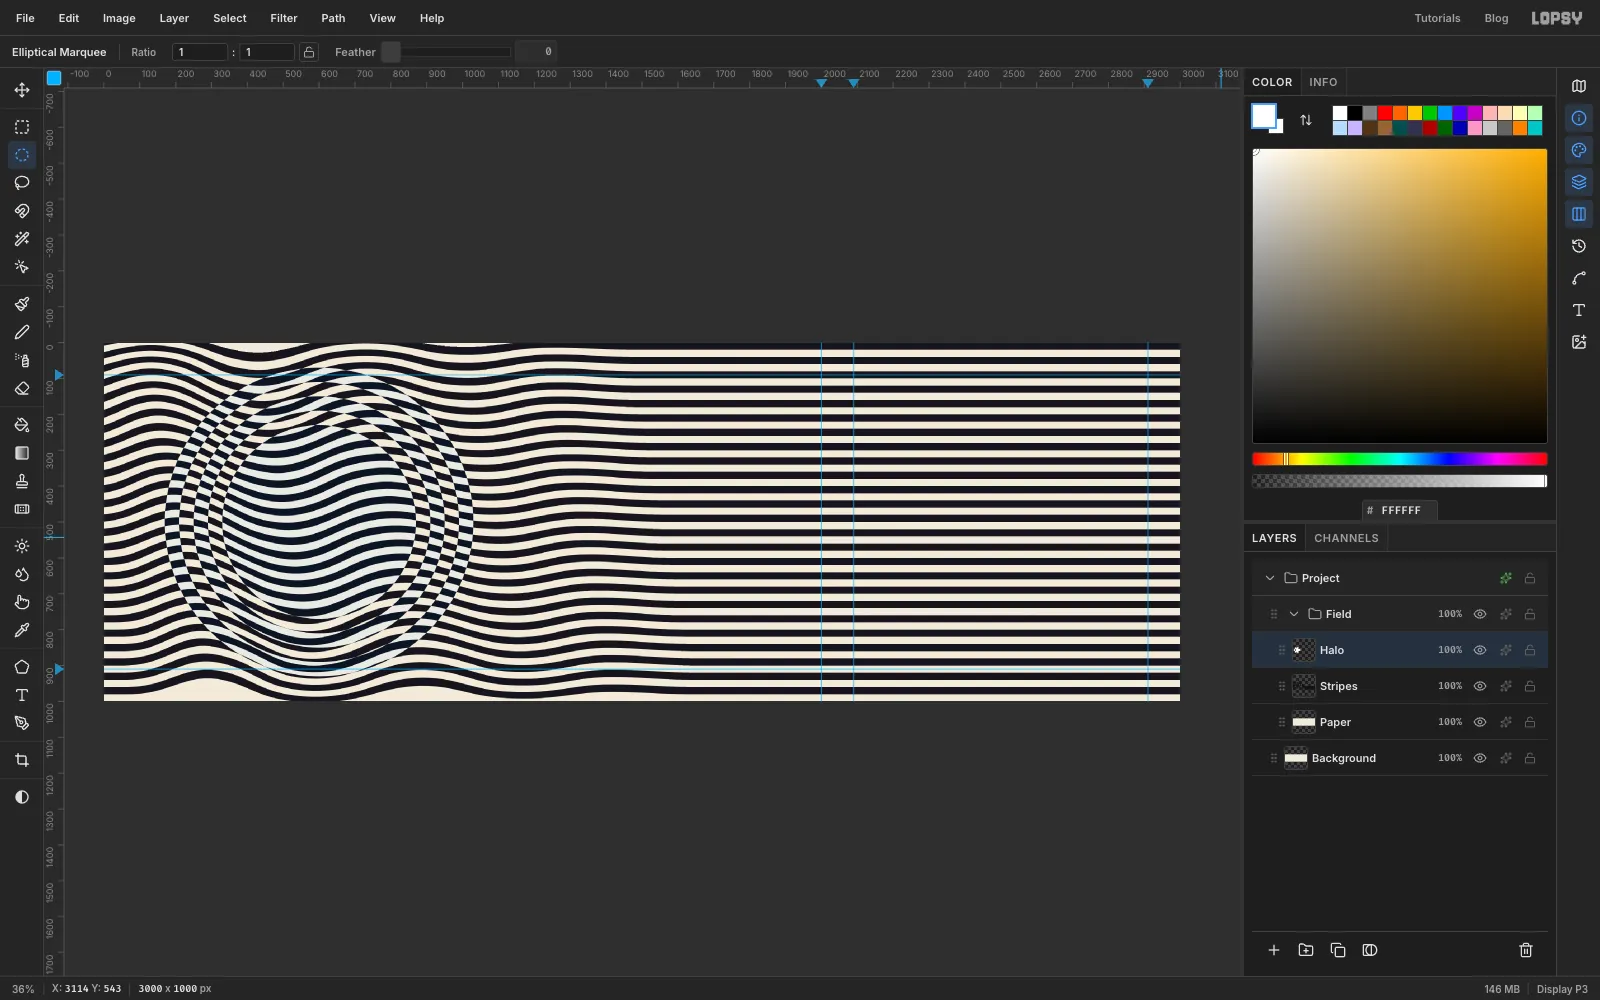
Click the effects button on the Halo row to open its drawer and set Blend to Difference. Close the drawer.
Difference subtracts one colour from the other: white minus black is white, and white minus bone is nearly black. So wherever there is a ring, the stripes swap places. The rings vanish as shapes and leave only that interference, the same effect op artists painted by hand.
-
Keep the rings in the palette
Difference flips colours exactly, so the inverted stripes come out a cold white and a navy that aren't in the palette. A Gradient Map on the group maps every brightness back onto ink and bone.
Click the effects button on the Field group row, then Add Adjustment → Gradient Map. Click the left stop and type
16141Cin the Hex field. Click the right stop and typeF1EADB. Then drag the left stop in to about 14 % and the right stop to about 86 %. Everything darker than the first stop becomes pure ink and everything lighter than the second becomes pure bone, so the field matches the paper exactly. Close the drawer.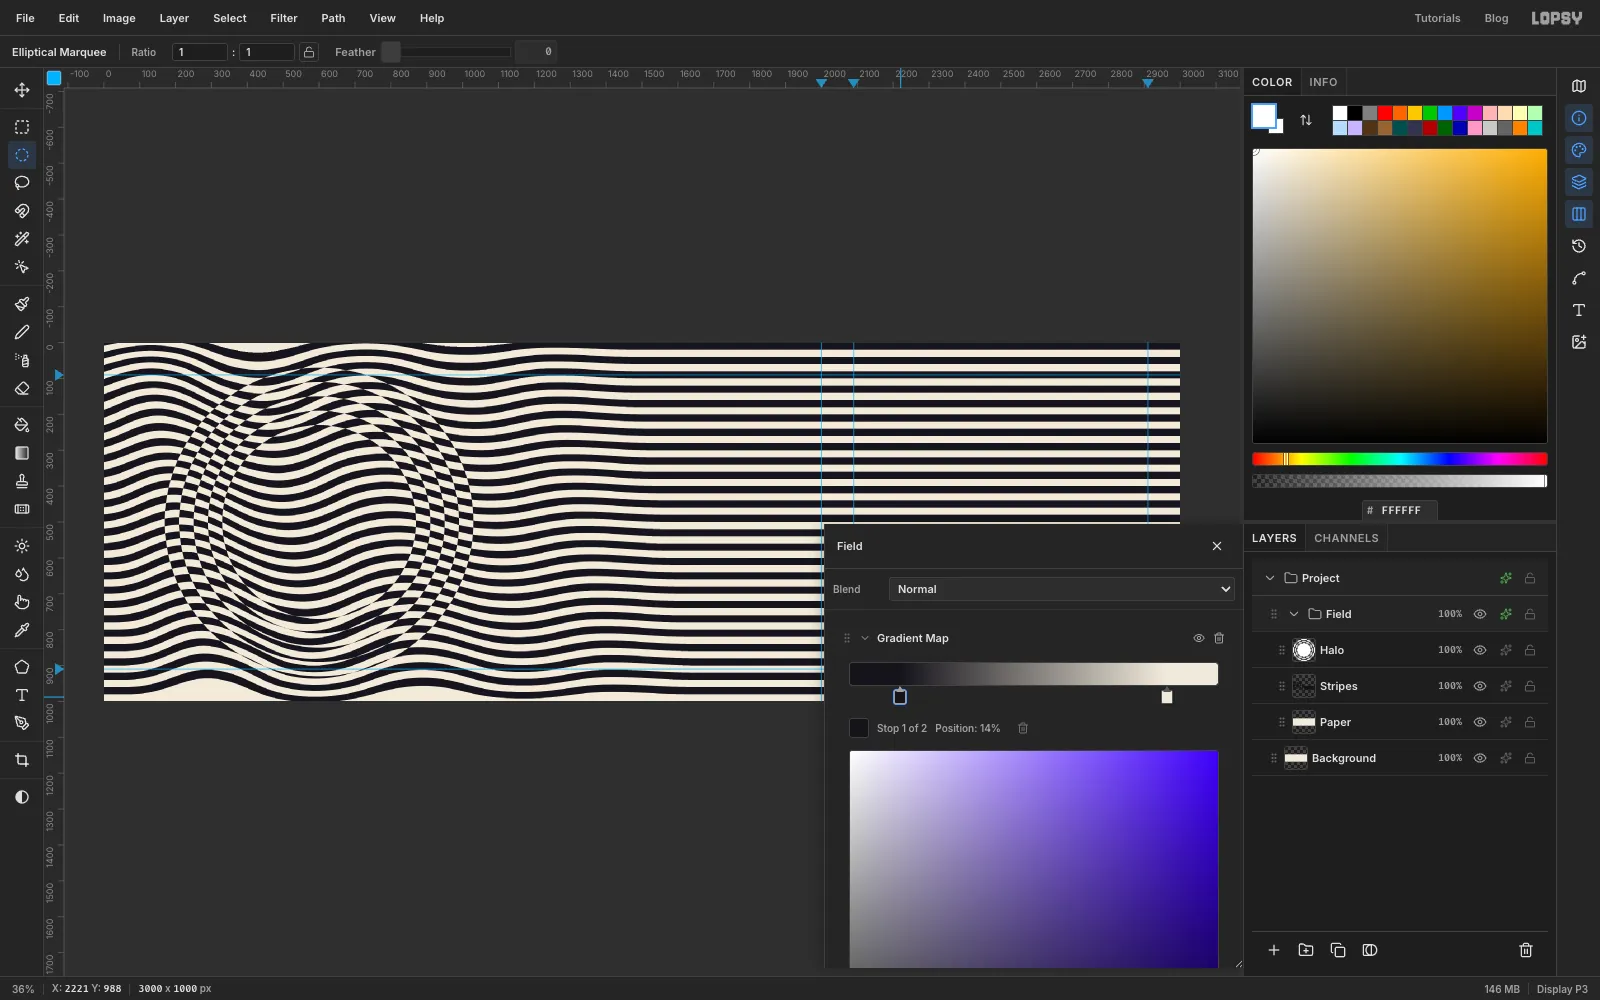
-
Make a checker tile
Click the arrow on the Field row to collapse it, keep Field selected, and click New Group. Name it Moon. It sits above Field. Click Add Layer and name the layer Tiles.
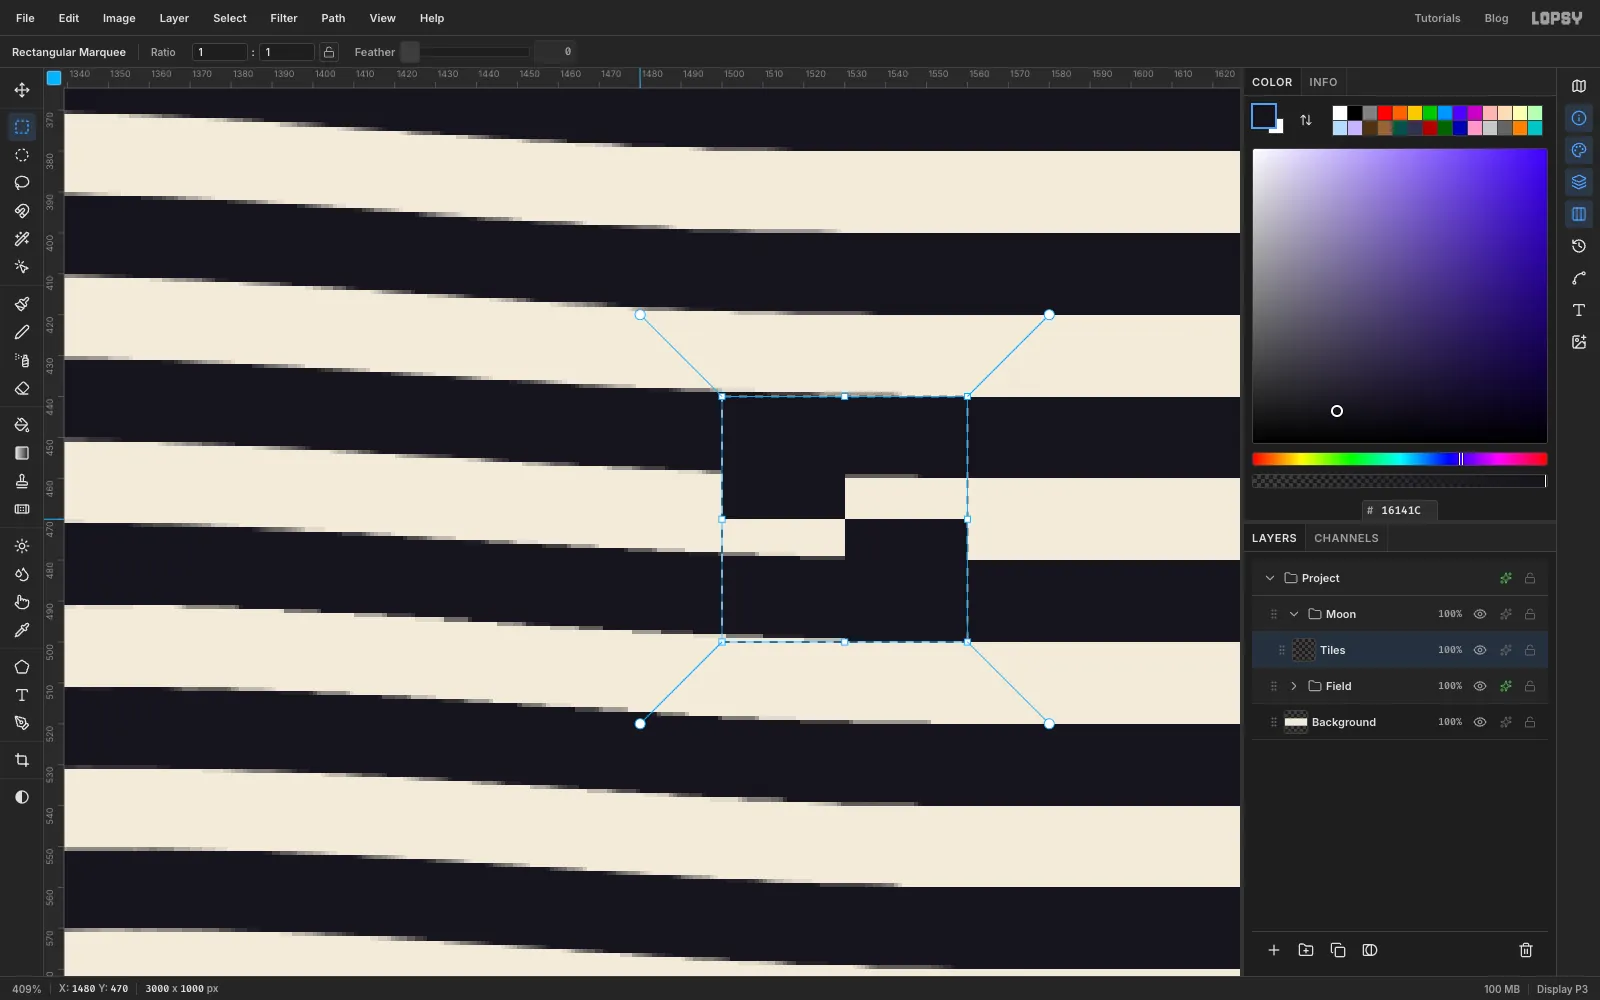
Zoom in on the empty stripes in the middle of the board so you can see what you're doing. Set the foreground to ink and switch back to the Rectangular Marquee. Then:
- Click, enter From 1500, 440 To 1530, 470 and choose Edit → Fill.
- Press Cmd+D, click, enter From 1530, 470 To 1560, 500 and fill again. The two 30 px squares touch at one corner.
- Press Cmd+D, click, and select the 60 px square around them: From 1500, 440 To 1560, 500.
- Choose Edit → Define Pattern, press Cmd+D and delete the Tiles layer.
Press Cmd+0 to fit the board back on screen.
-
Fill a checker square
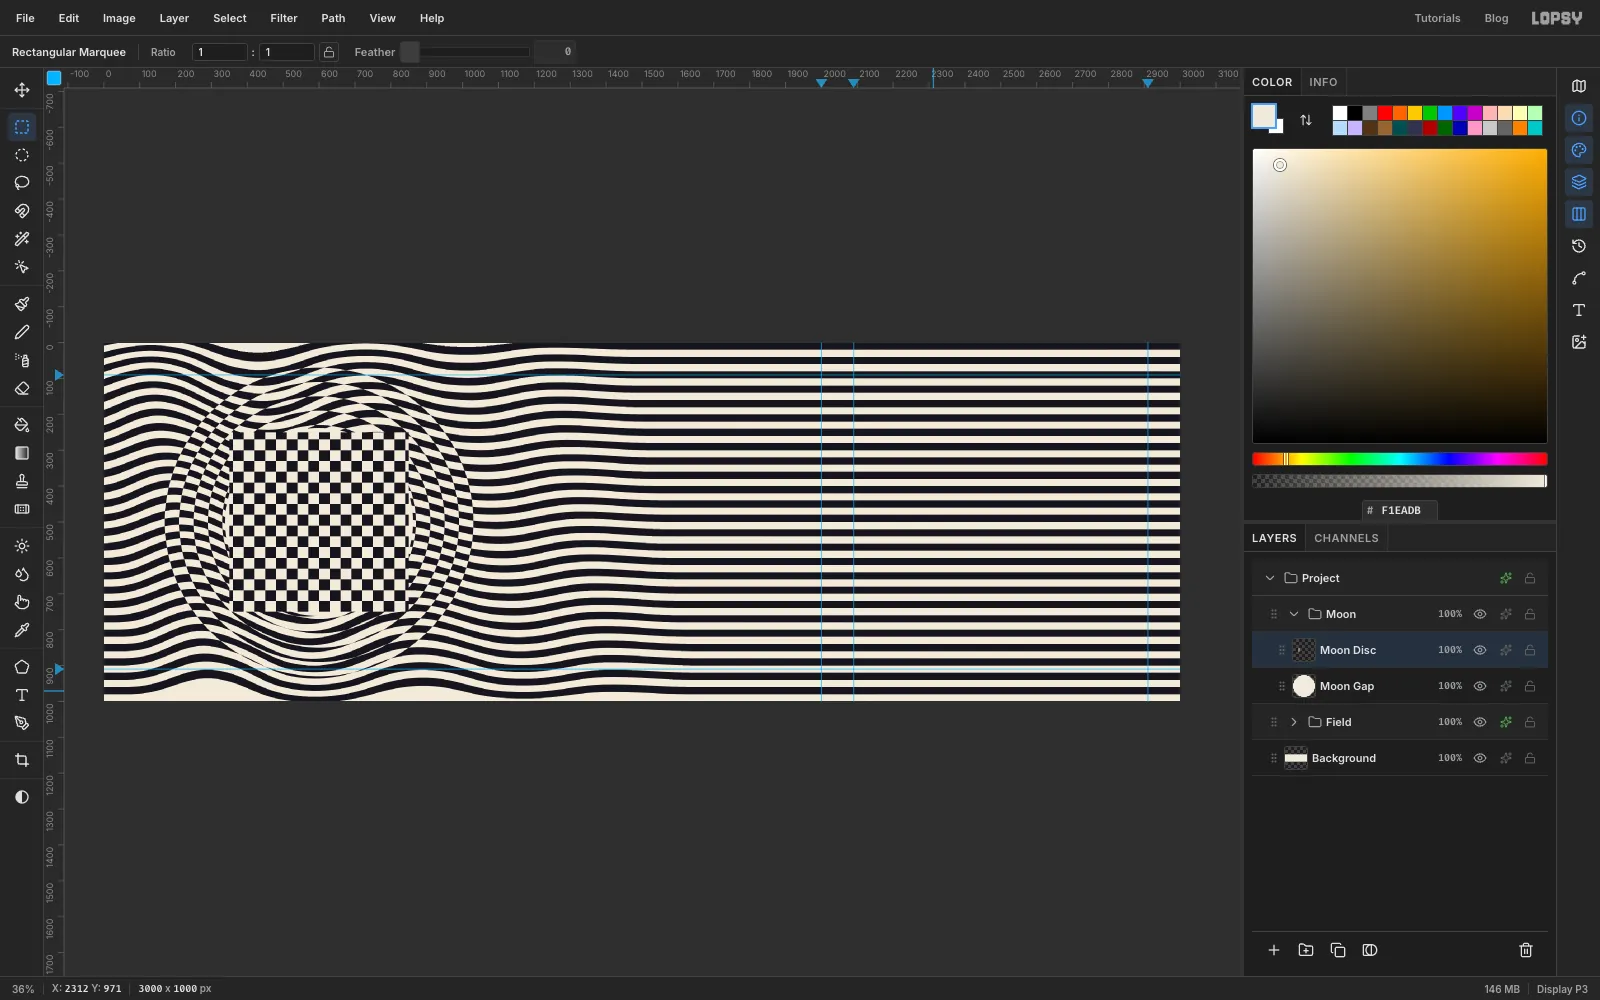
Select the Moon group and click Add Layer. Name it Moon Gap. Set the foreground to bone , switch to the Elliptical Marquee and fill a circle From 338, 238 To 862, 762. This 12 px bone ring will separate the moon from the stripes. Deselect.
Add another layer called Moon Disc. Switch to the Rectangular Marquee, select the square From 350, 250 To 850, 750 and fill it with bone. Then choose Edit → Fill with Pattern…, pick the checker pattern and click Apply. The pattern only fills the selection. Press Cmd+D.
-
Bloat the checker into a sphere
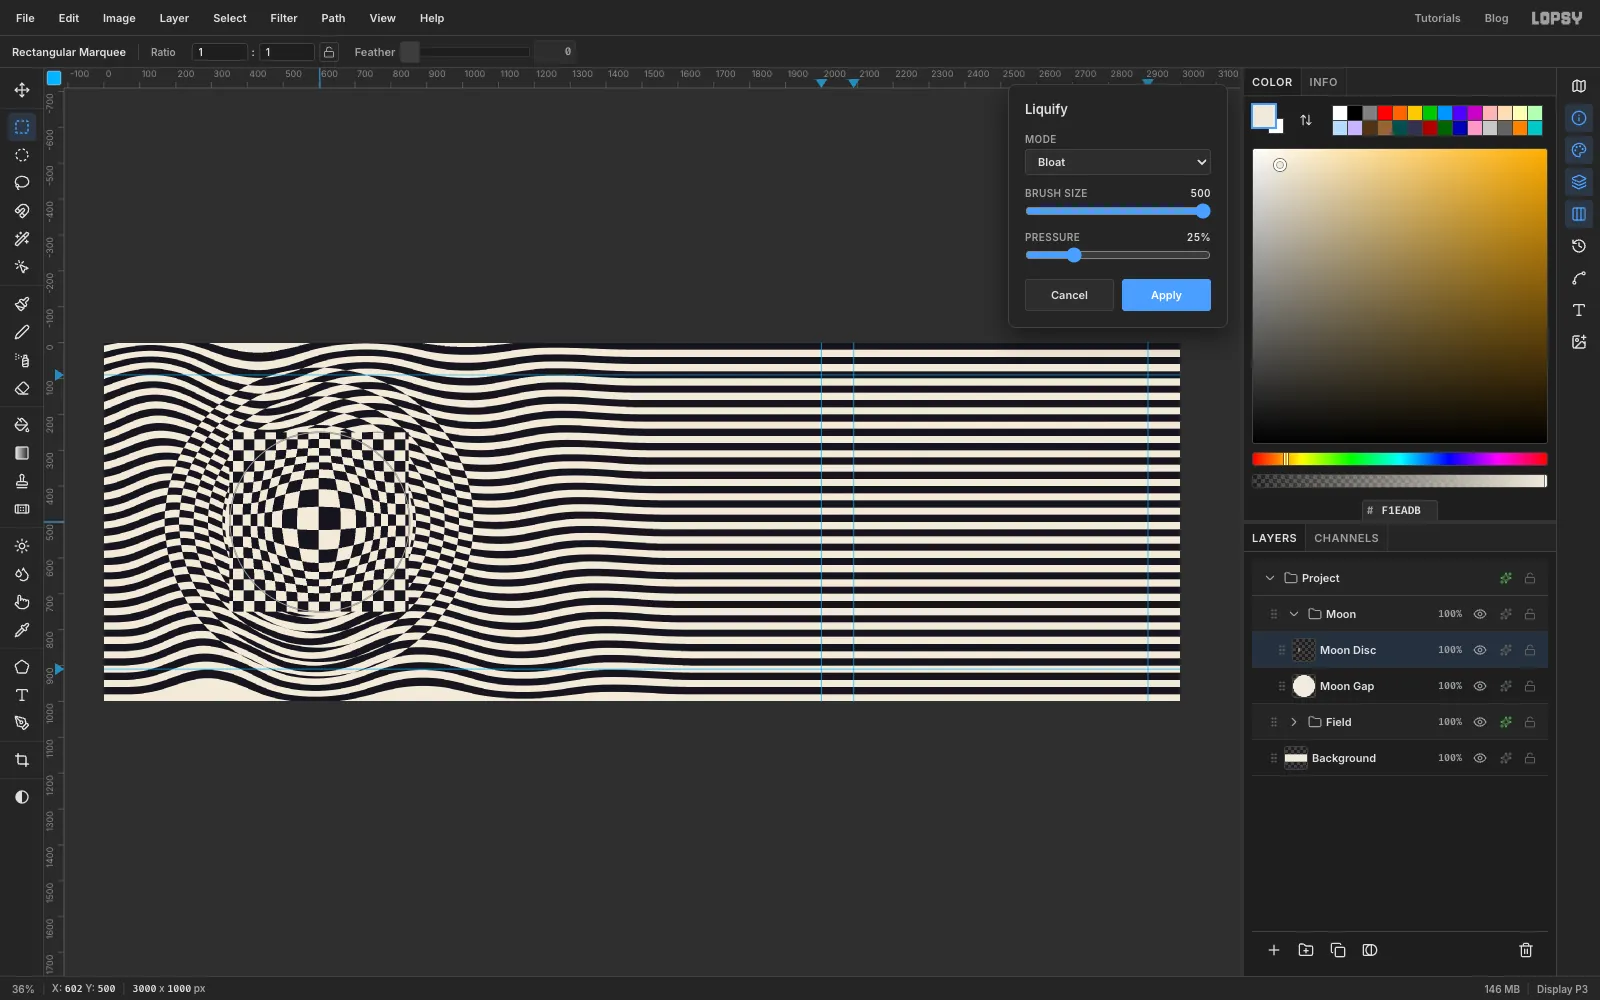
Choose Filter → Liquify… again. Set Mode to Bloat, Brush Size to 500 and Pressure to 25.
Press on the middle of the checker, at 600, 500, and let go almost at once. Bloat magnifies everything under the brush, most strongly at the centre and fading to nothing at the brush edge. The middle squares swell and the outer ones crowd together, which is Vasarely's Vega bulge. Click Apply.
-
Cut the moon to a circle
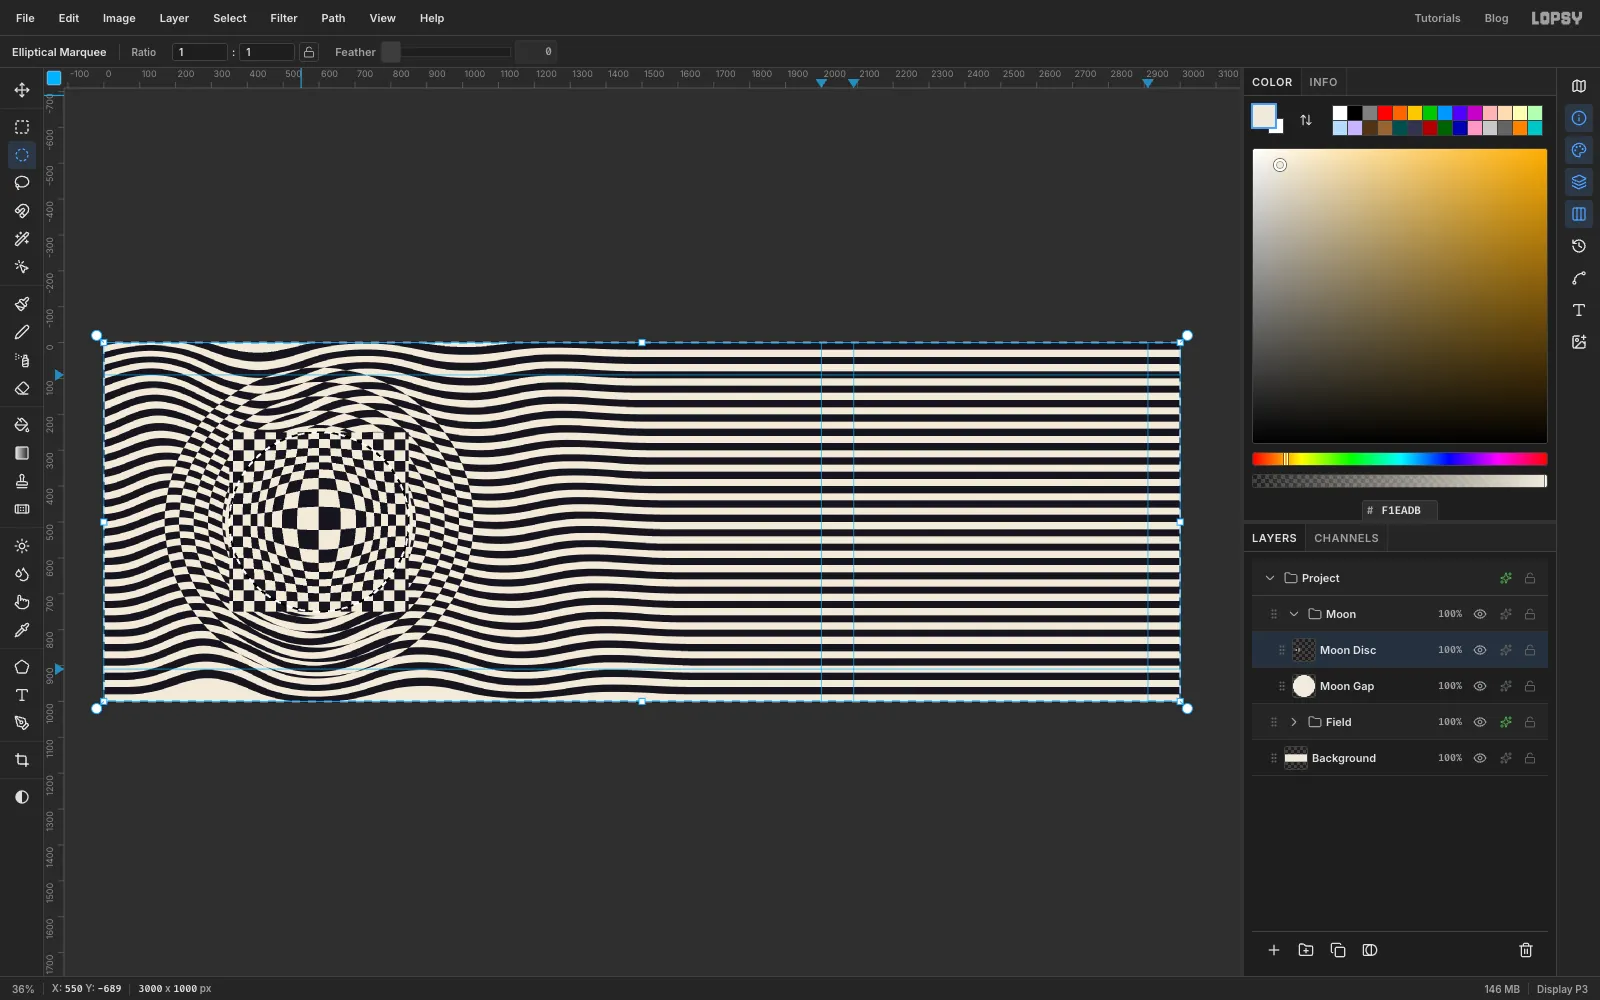
Switch to the Elliptical Marquee and select a circle From 350, 250 To 850, 750, the same size as the square. Choose Select → Inverse and press Delete to trim the corners away. Choose Select → Inverse again so the circle is selected for the next step.
-
Paint the moon's colour
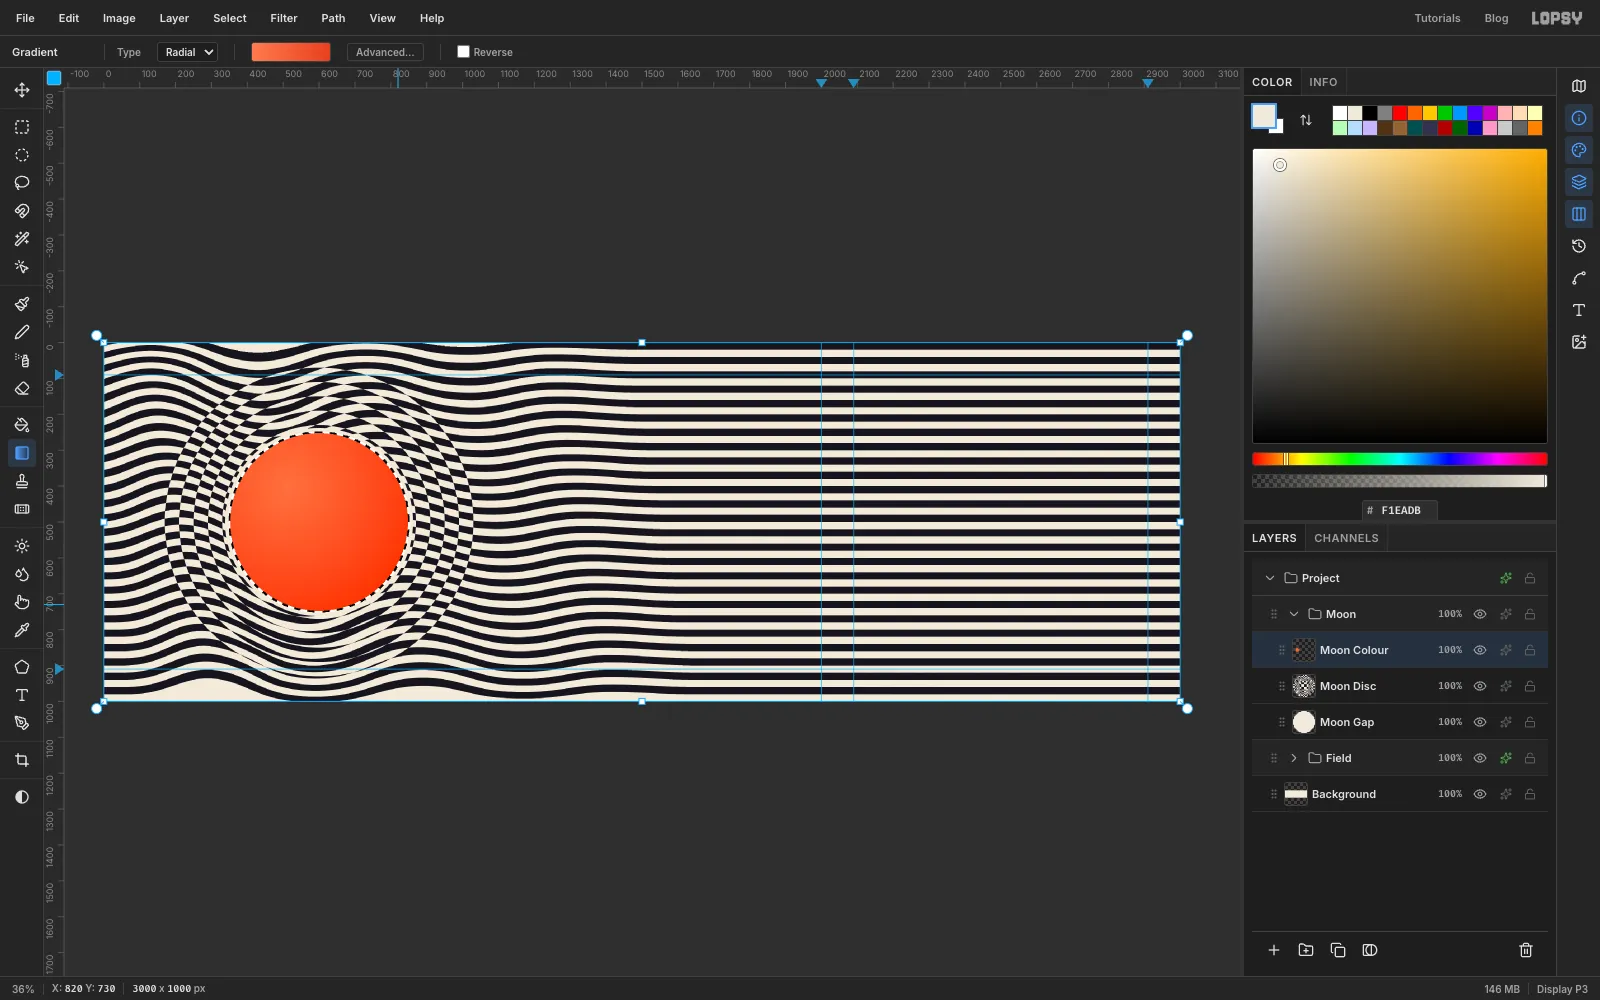
With the circle still selected, click Add Layer and name it Moon Colour. Pick the Gradient tool, set the type to Radial and open Advanced…. Click the left stop and type
FF7A4D, click the right stop and typeE8401F, then click Done.Press a little up and left of the moon's centre, at about 510, 400, and drag down and right to just past the moon's lower-right edge. That puts the highlight on the upper left. Press Cmd+D.
-
Multiply and merge
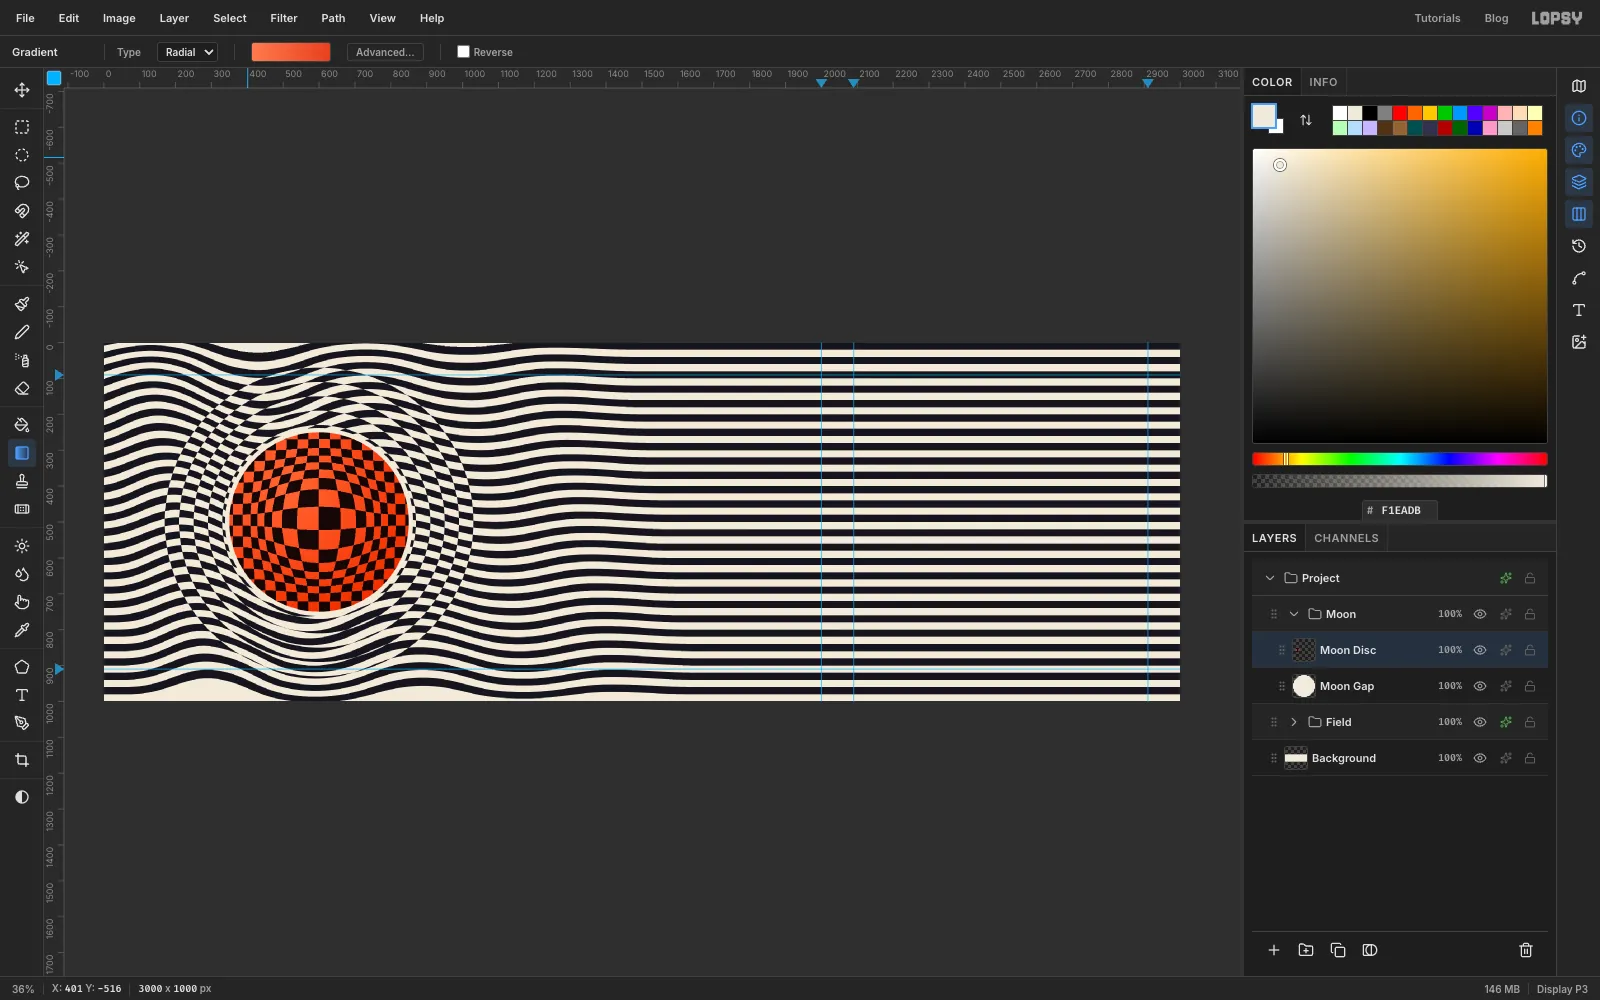
Open the Moon Colour row's effects drawer and set Blend to Multiply. Multiply leaves black squares black and tints the bone squares orange. Close the drawer and choose Layer → Merge Down to bake the colour into Moon Disc.
-
Draw a star with the Pen
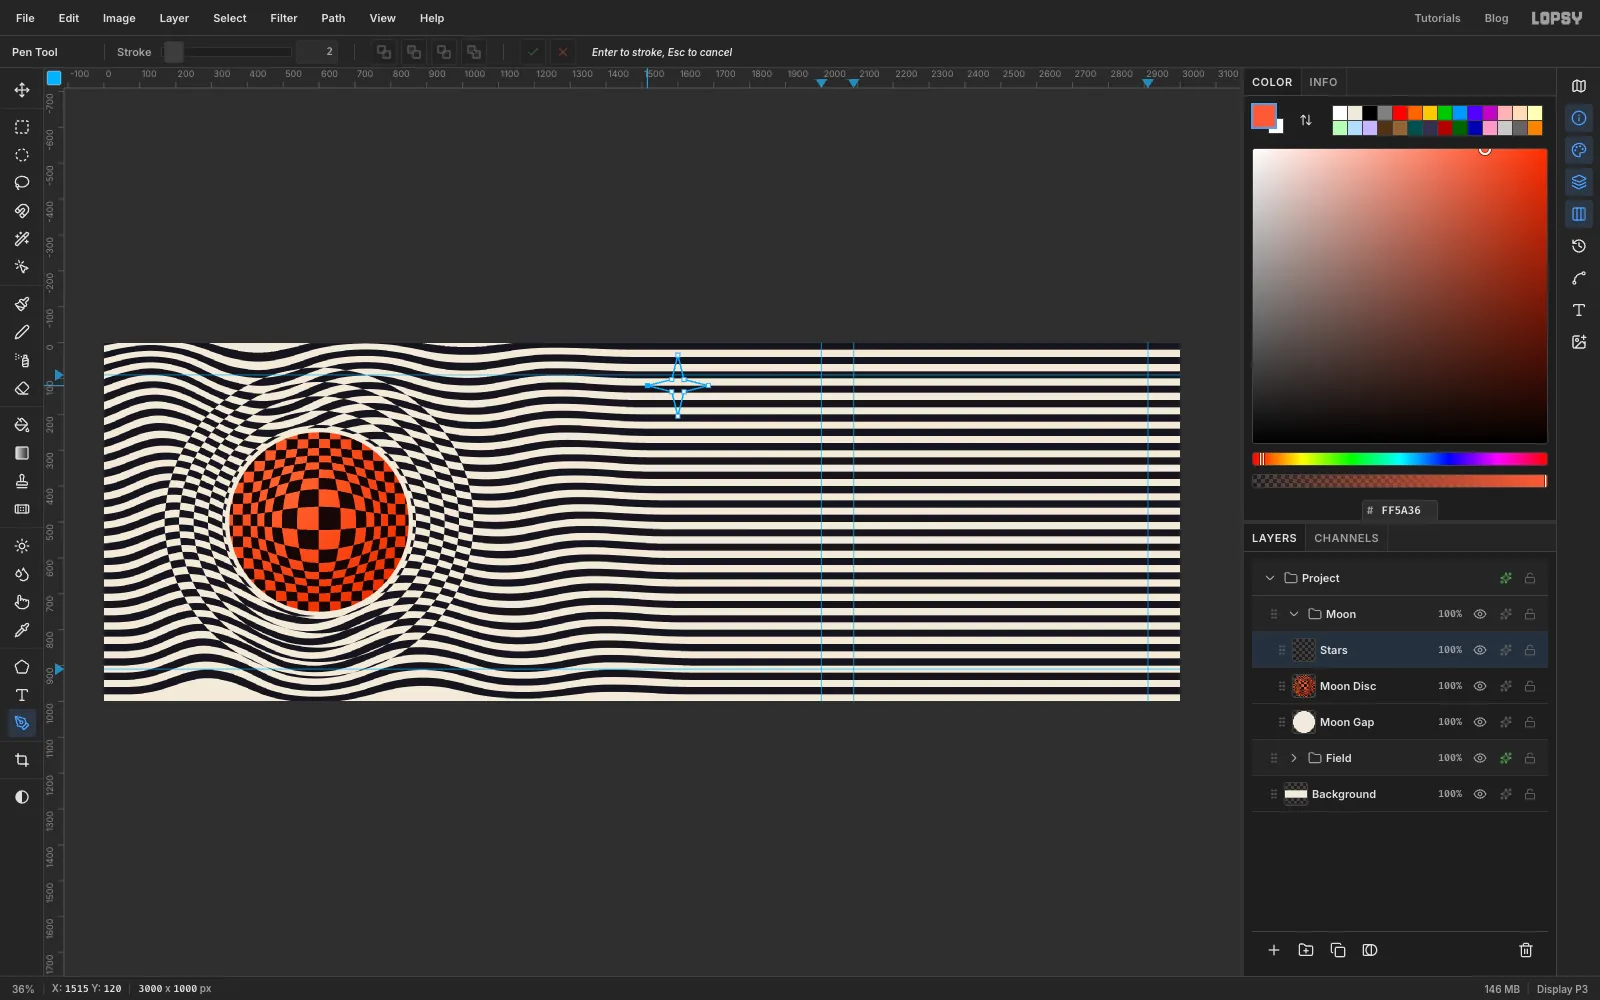
Click Add Layer and name it Stars. It goes inside the Moon group, above the moon. Pick the Pen tool. You'll click the eight corners of a slim four-point star centred at 1600, 120. Its tips are 85 px from the centre and its inner corners sit close in, about a quarter of the way out. Watch the X/Y readout in the status bar to place each click.
Start with the left tip at 1515, 120, then click the inner corner at 1583, 103, the top tip at 1600, 35, 1617, 103, the right tip at 1685, 120, 1617, 137, the bottom tip at 1600, 205 and 1583, 137. Click the first point again to close the path.
Open the Paths panel from the right-hand rail and click Path to Selection. Set the foreground to coral and choose Edit → Fill. Then click Delete Path in the Paths panel, since you won't need the outline again, and close the panel.
-
Paste and shrink two copies
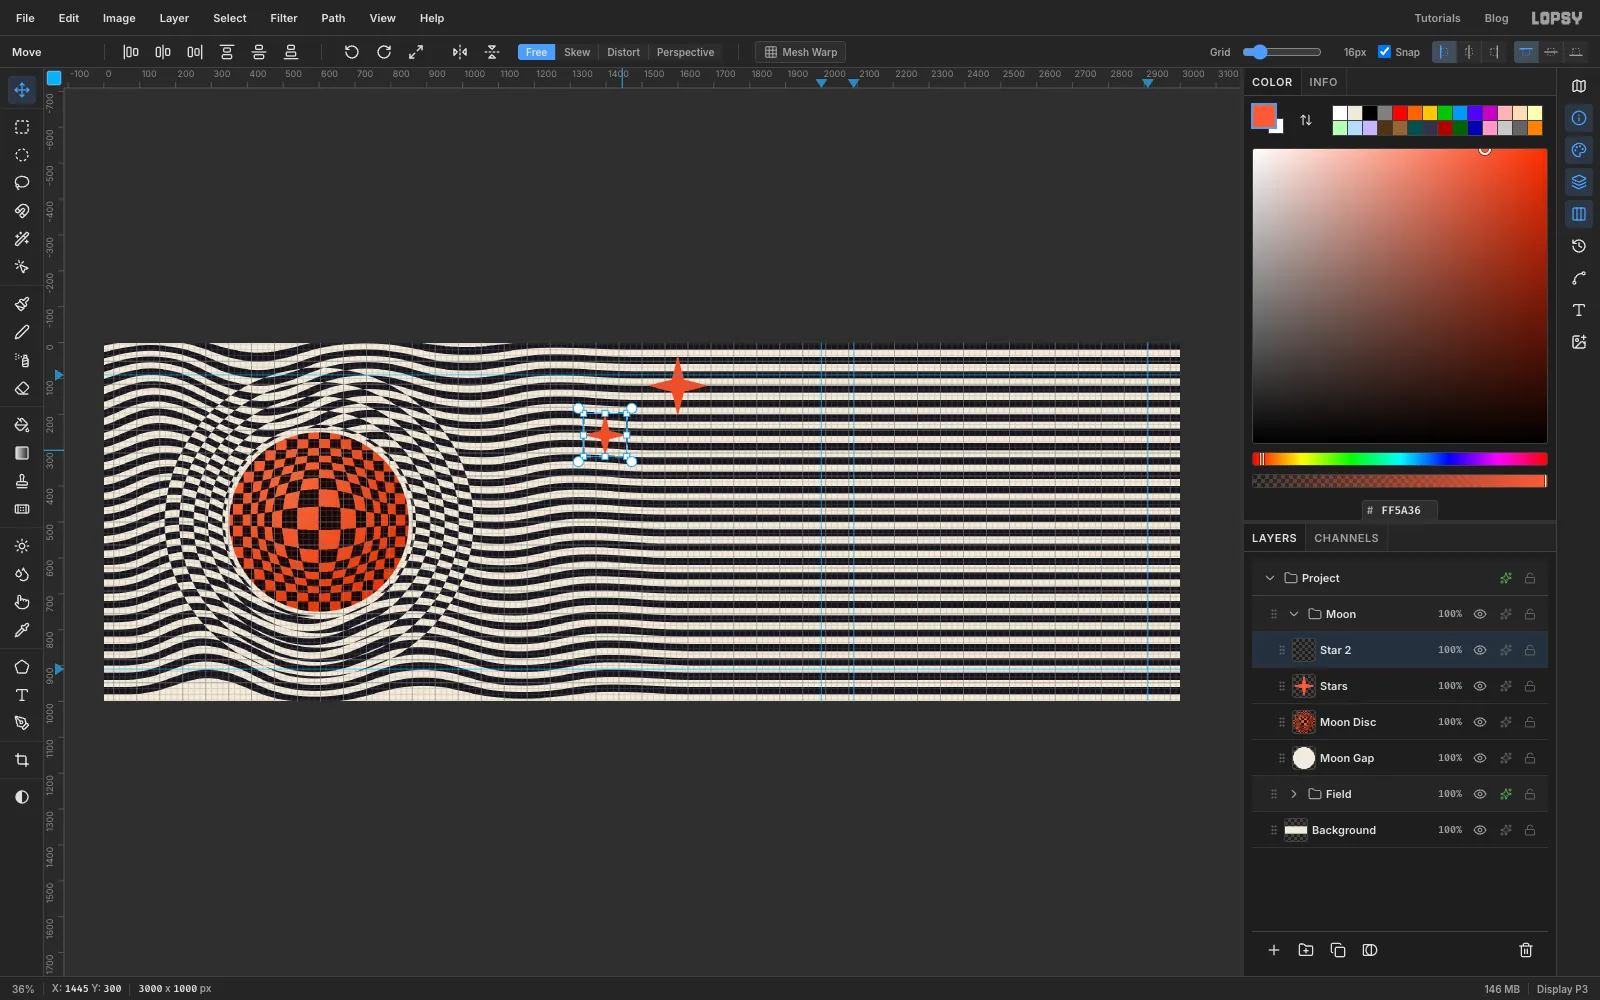
With the star still selected, press Cmd+C and then Cmd+D. Choose View → Show Grid to help you judge the spacing.
Press Cmd+V. The copy lands in place on a new layer above Stars. Name it Star 2. Draw a marquee around the star, switch to the Move tool, and drag the copy down and to the left. Hold Cmd and drag the bottom-right corner handle inward until the star is about two-thirds the size, then press Enter. Its centre should land near 1390, 245.
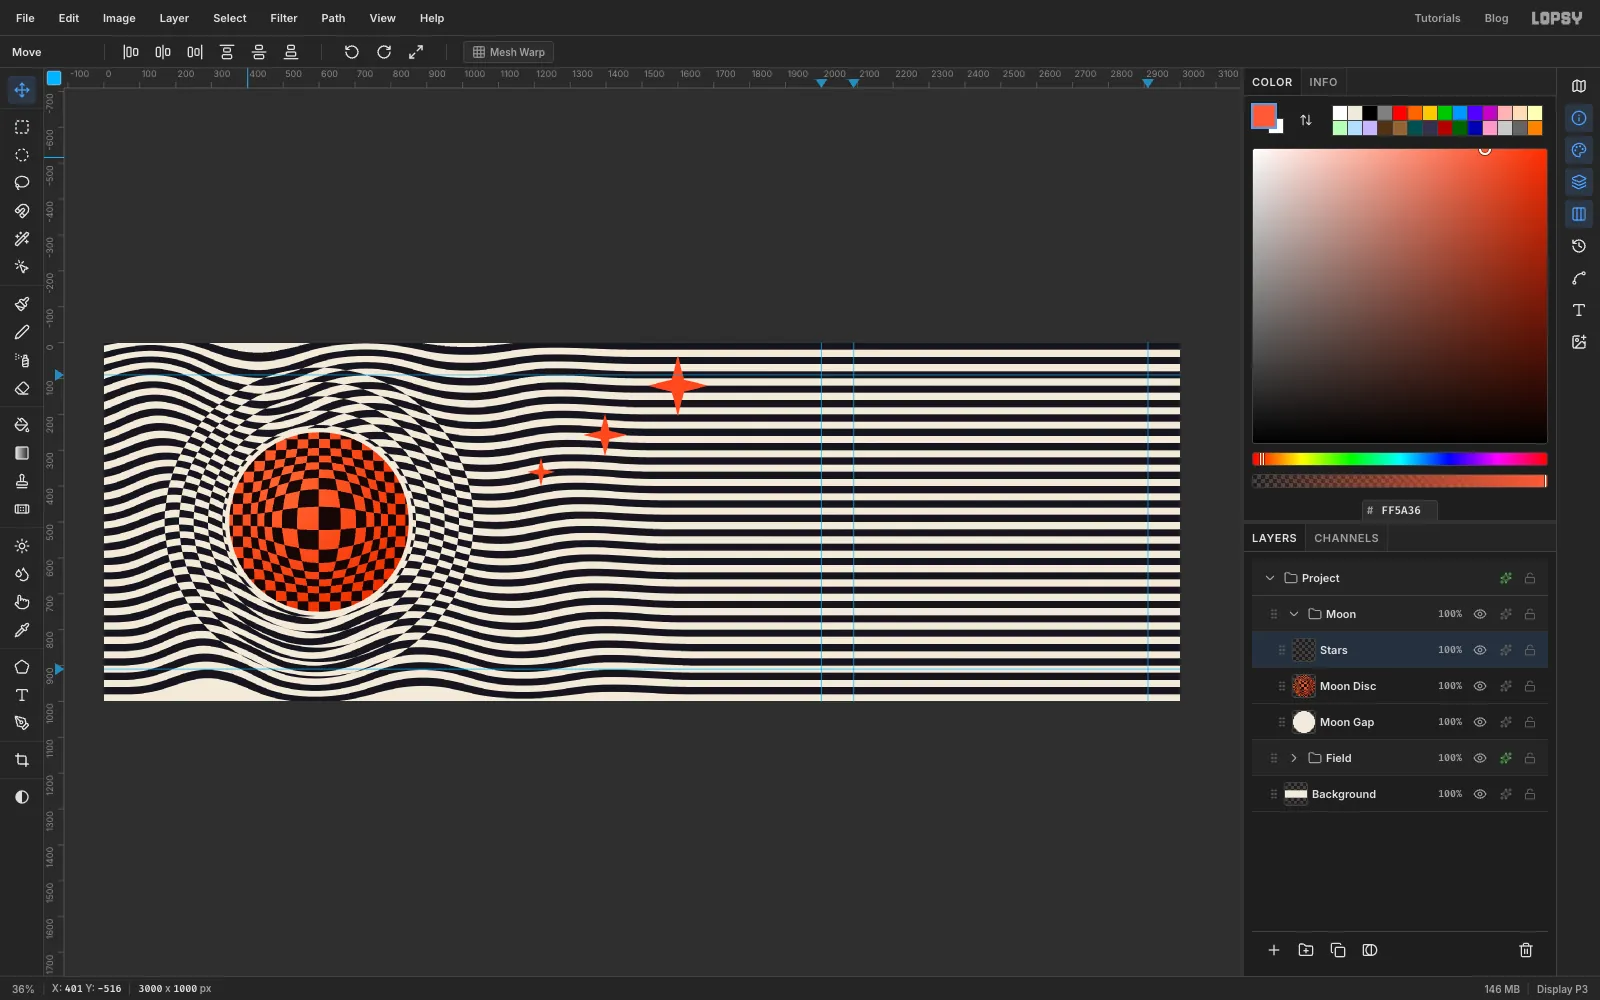
Select Star 2 and press Cmd+V again. This copy is full size too, and lands above Star 2. Name it Star 3. As before, draw a marquee around it, drag it with the Move tool down and left, and Cmd-drag its corner handle in until it's about 40 % of the original, centred near 1215, 355. Press Enter. The three stars now climb away from the moon on a diagonal.
-
Merge the stars
Choose View → Show Grid again to hide it. Select Star 3 and choose Layer → Merge Down twice. All three stars end up on the Stars layer.
-
Draw the type panel
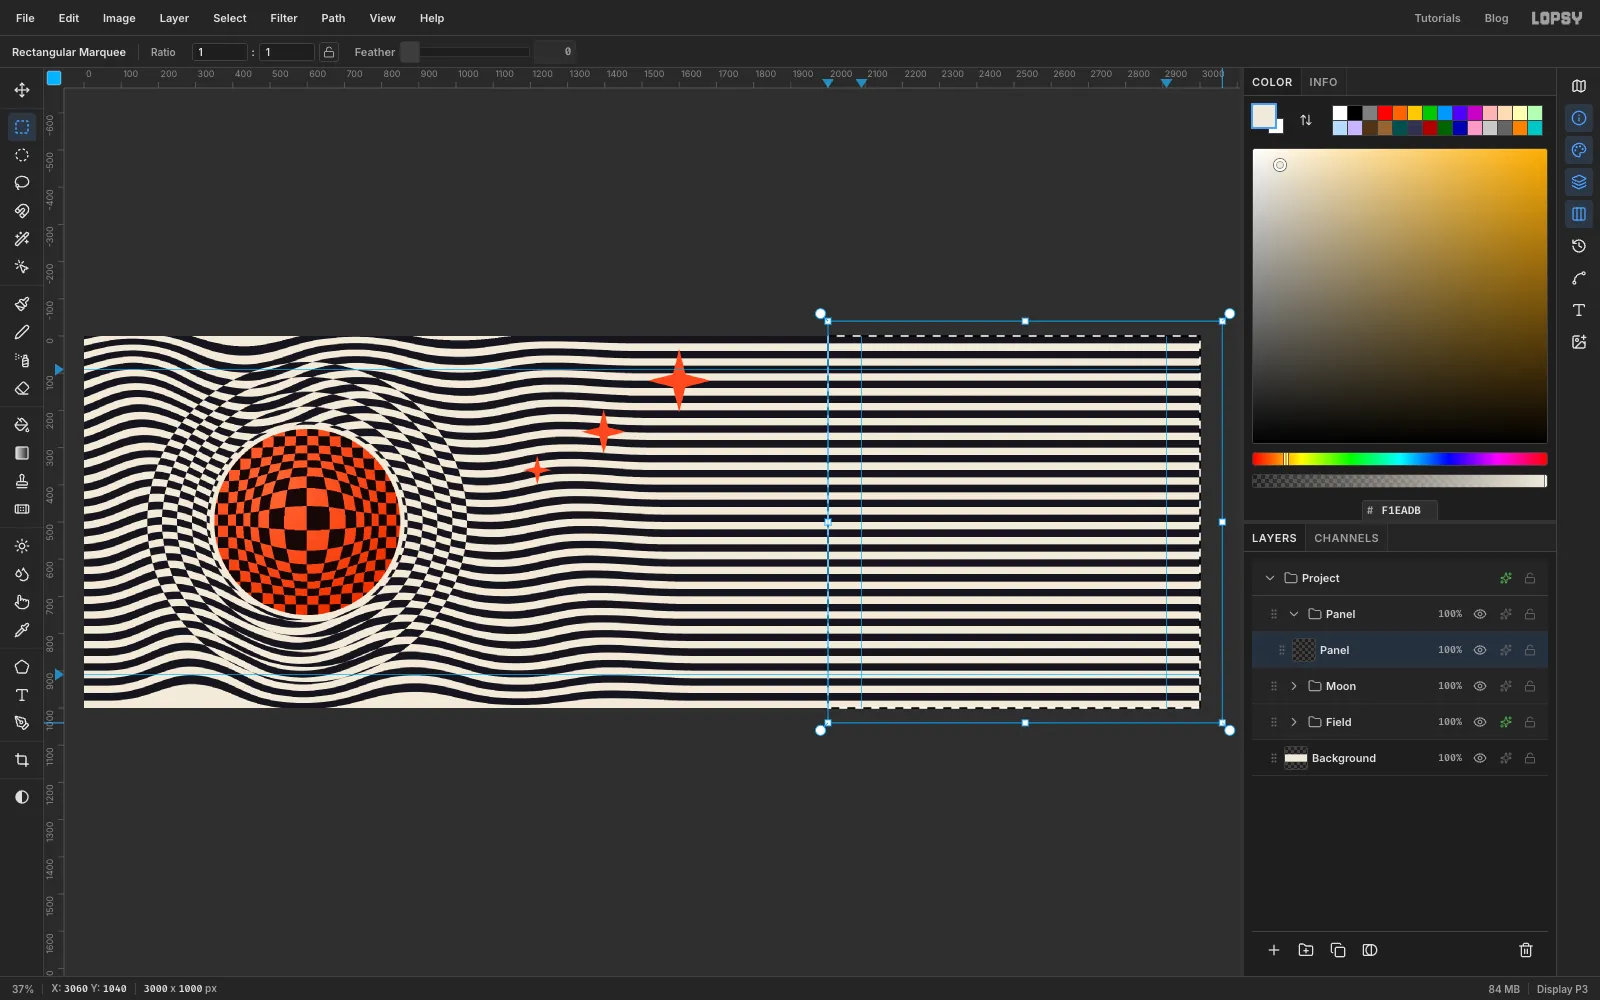
Collapse the Moon group, keep it selected and click New Group. Name it Panel. Click Add Layer and name the layer Panel.
With the Rectangular Marquee, press just right of the 2000 guide above the top of the canvas and drag past the bottom-right corner. Snap to Guides is on by default, so the left edge jumps onto the guide. Set the foreground to bone , choose Edit → Fill and press Cmd+D.
-
Add a coral divider
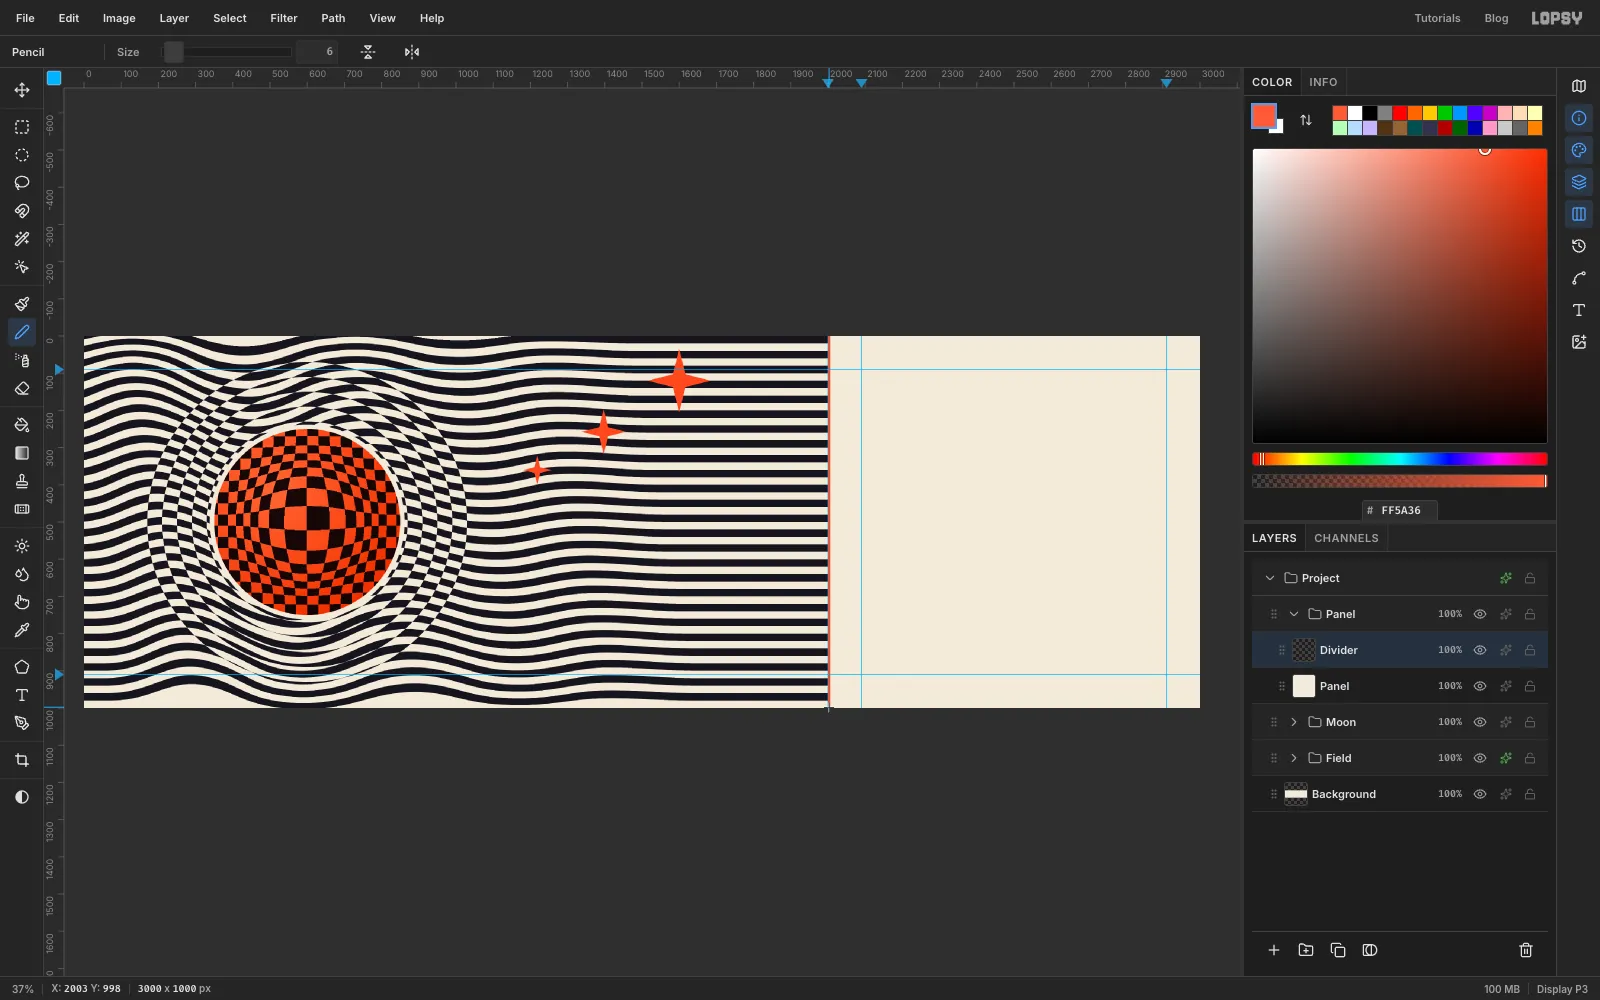
Click Add Layer and name it Divider. Pick the Pencil, set Size to 6 and the foreground to coral. Click at the top of the panel edge, at 2003, 0, then hold Shift and click at the bottom, 2003, 1000. Shift+click draws a straight line from the last point.
-
Set the logo
Monoton's capitals are drawn as parallel lines, which suits a board made of stripes. Its ampersand reads like "Et", though, so set the "&" in a different font.
Pick the Text tool. Set Size to 140, the font to Monoton and the colour to coral. Click in the empty top-right of the panel, type
IDLEand press Tab to commit. Switch to Move and nudge it with the arrow keys until its right edge sits on the 2910 guide.Every piece of text from here on follows the same routine: select the Divider layer first (otherwise the Text options restyle the text layer you just made), pick the Text tool, set the options, click in empty space, type, press Tab, then switch to Move to nudge it into place. Double-click each new layer's name and give it a short name as you go.
Type
KIPthe same way and line its left edge up with the 2090 guide. Finally type&in Archivo Black at 115 px, also coral, and name the layer Ampersand. Move it so it sits centred in the gap between KIP and IDLE, a few pixels above their middle so it doesn't look low.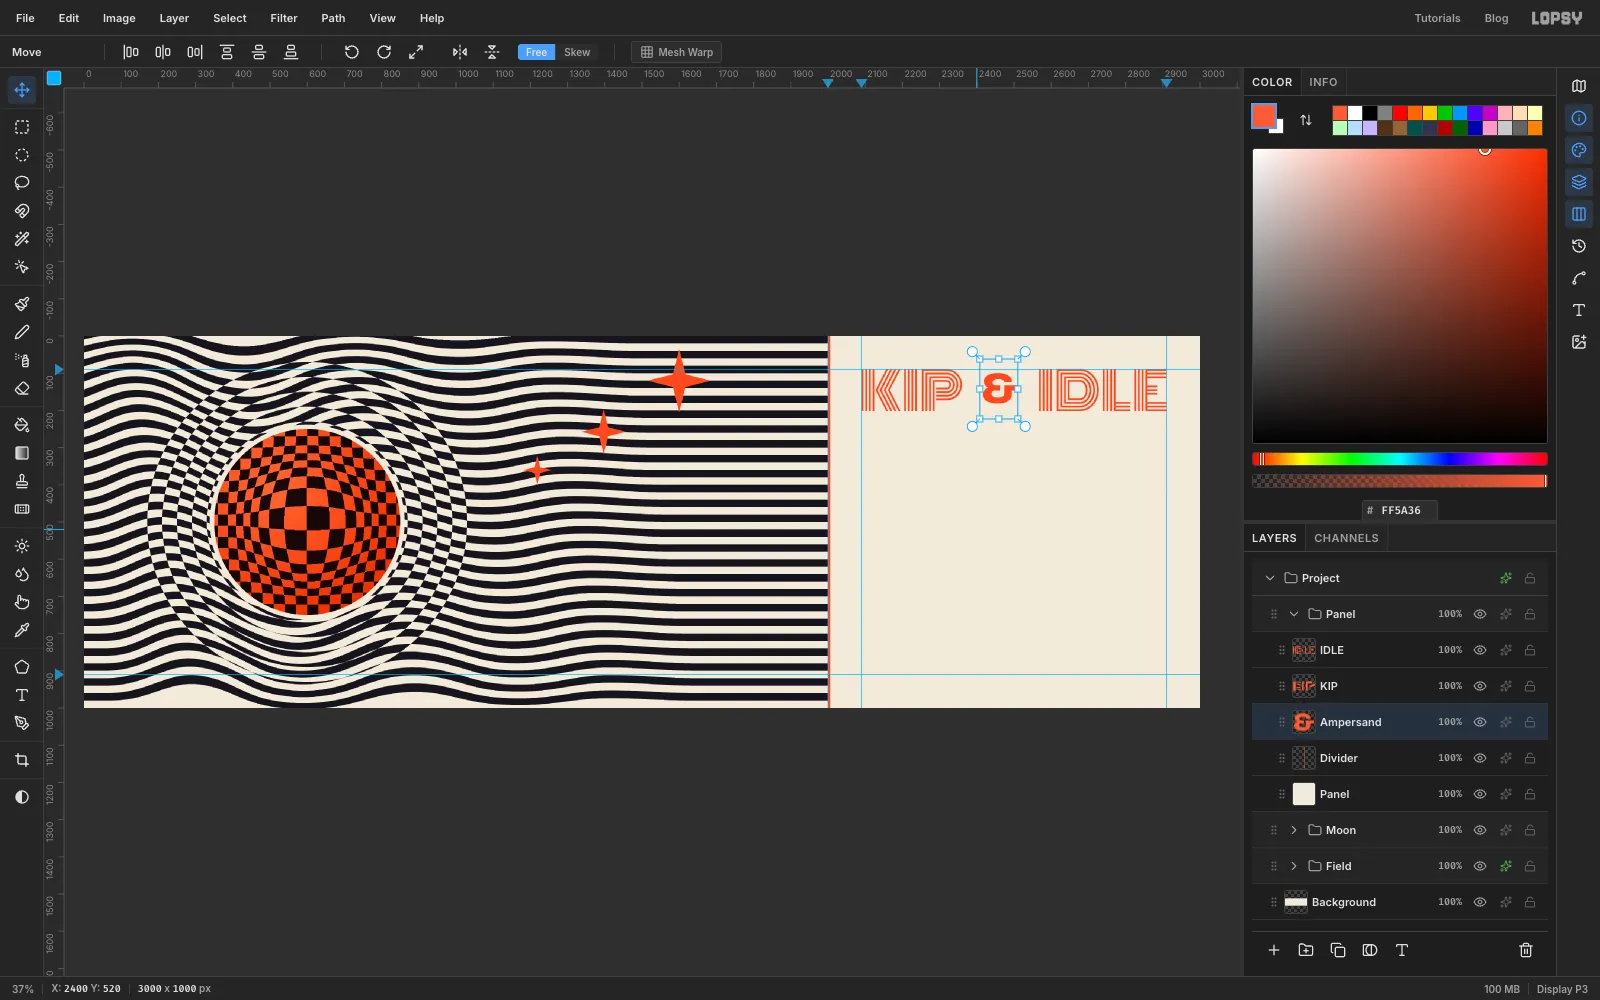
-
Add the tagline and headline
Select Divider, then type
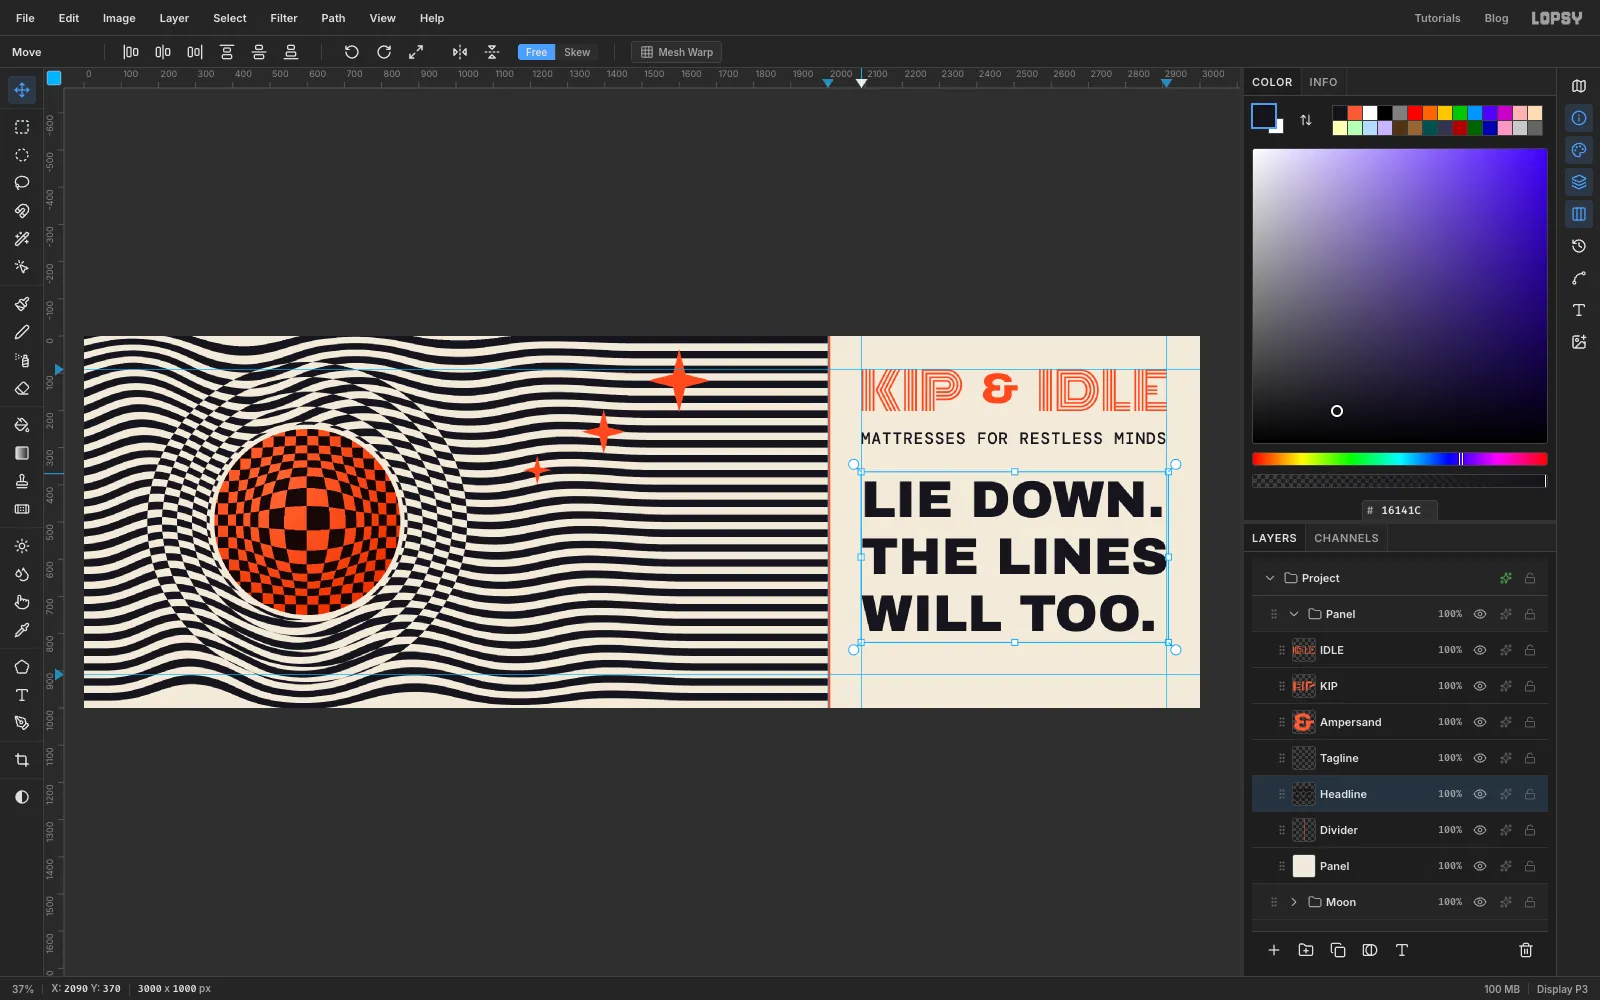
MATTRESSES FOR RESTLESS MINDSin DM Mono, weight Medium, at 44 px in ink, and name the layer Tagline. Keep it selected, open the Text panel from the right-hand rail and set Letter spacing to 2. That spreads the line to the same width as the logo, from guide to guide. Move it so the gap under the logo is a little more than the tagline's own height.Select Divider again. In the Text panel, set Letter spacing back to 0 and Line height to 1.1. Type the headline in Archivo Black at 139 px in ink (just big enough for the widest line to reach the right margin), pressing Enter after each line, and name it Headline:
LIE DOWN./THE LINES/WILL TOO.Line its left edge up with the 2090 guide. Its top sits at about 390, leaving a clear gap under the tagline. At this size the widest line runs almost exactly to the right margin.
-
Sign off with the address
Select Divider again and set Line height back to 1.2 in the Text panel. Type
kipandidle.comin DM Mono Medium at 56 px, ink, and name it URL. Nudge it so the bottom of the p rests on the 910 guide. The top and bottom margins now both measure about 90 px.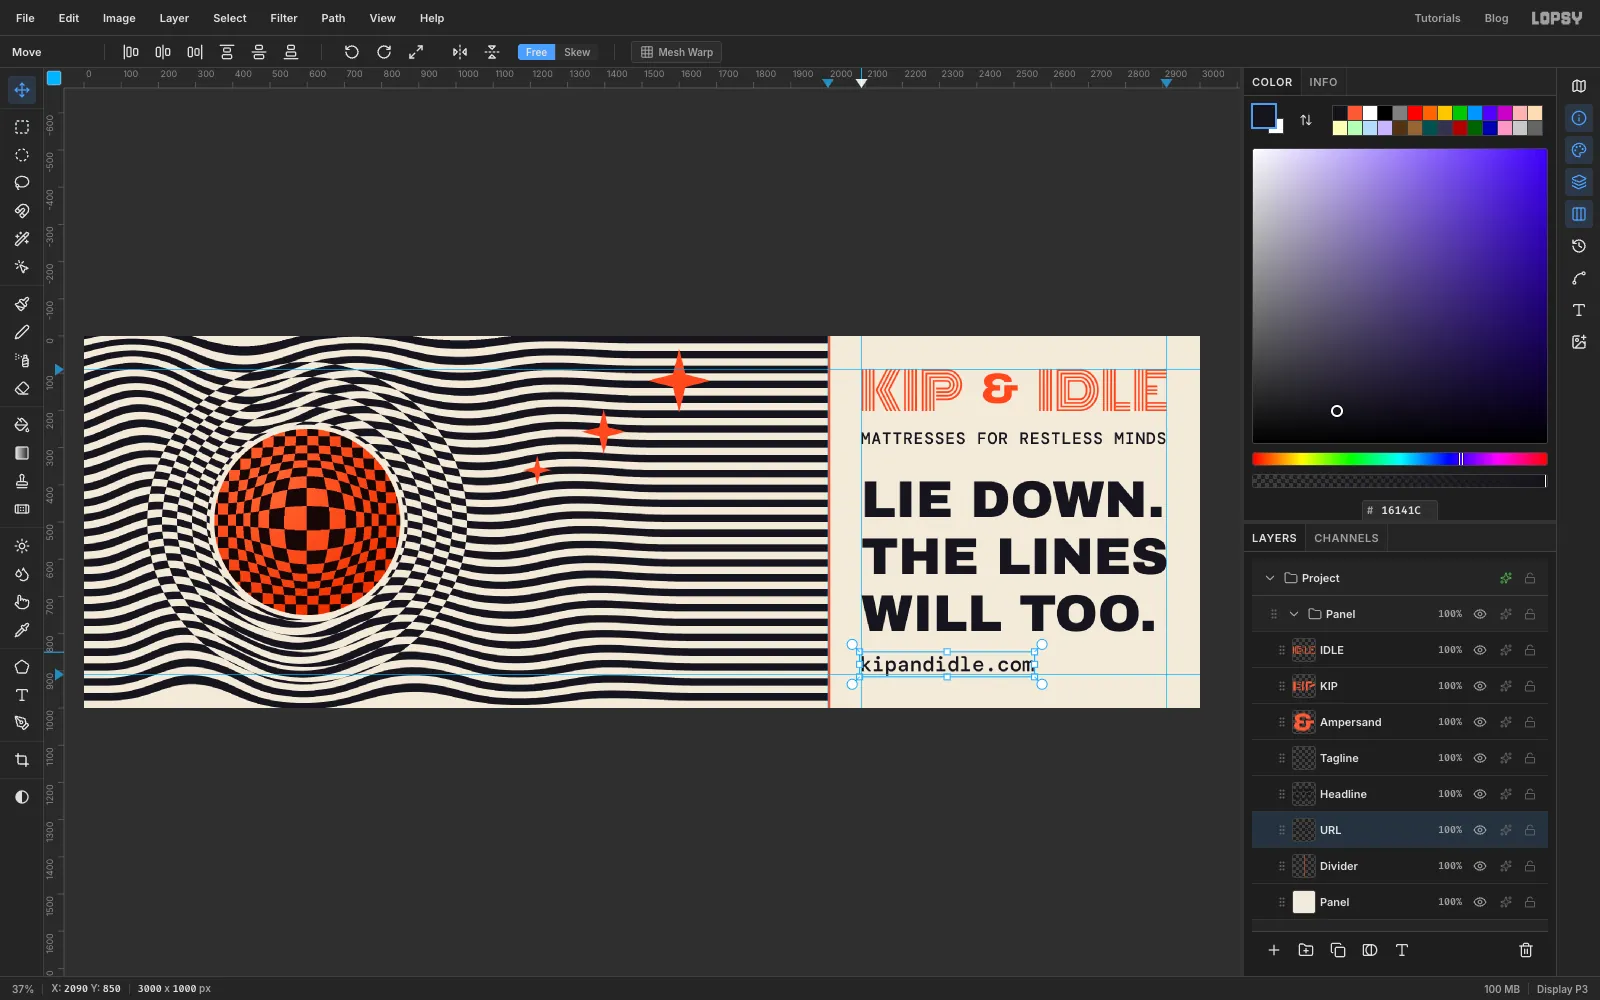
-
Build the sticker
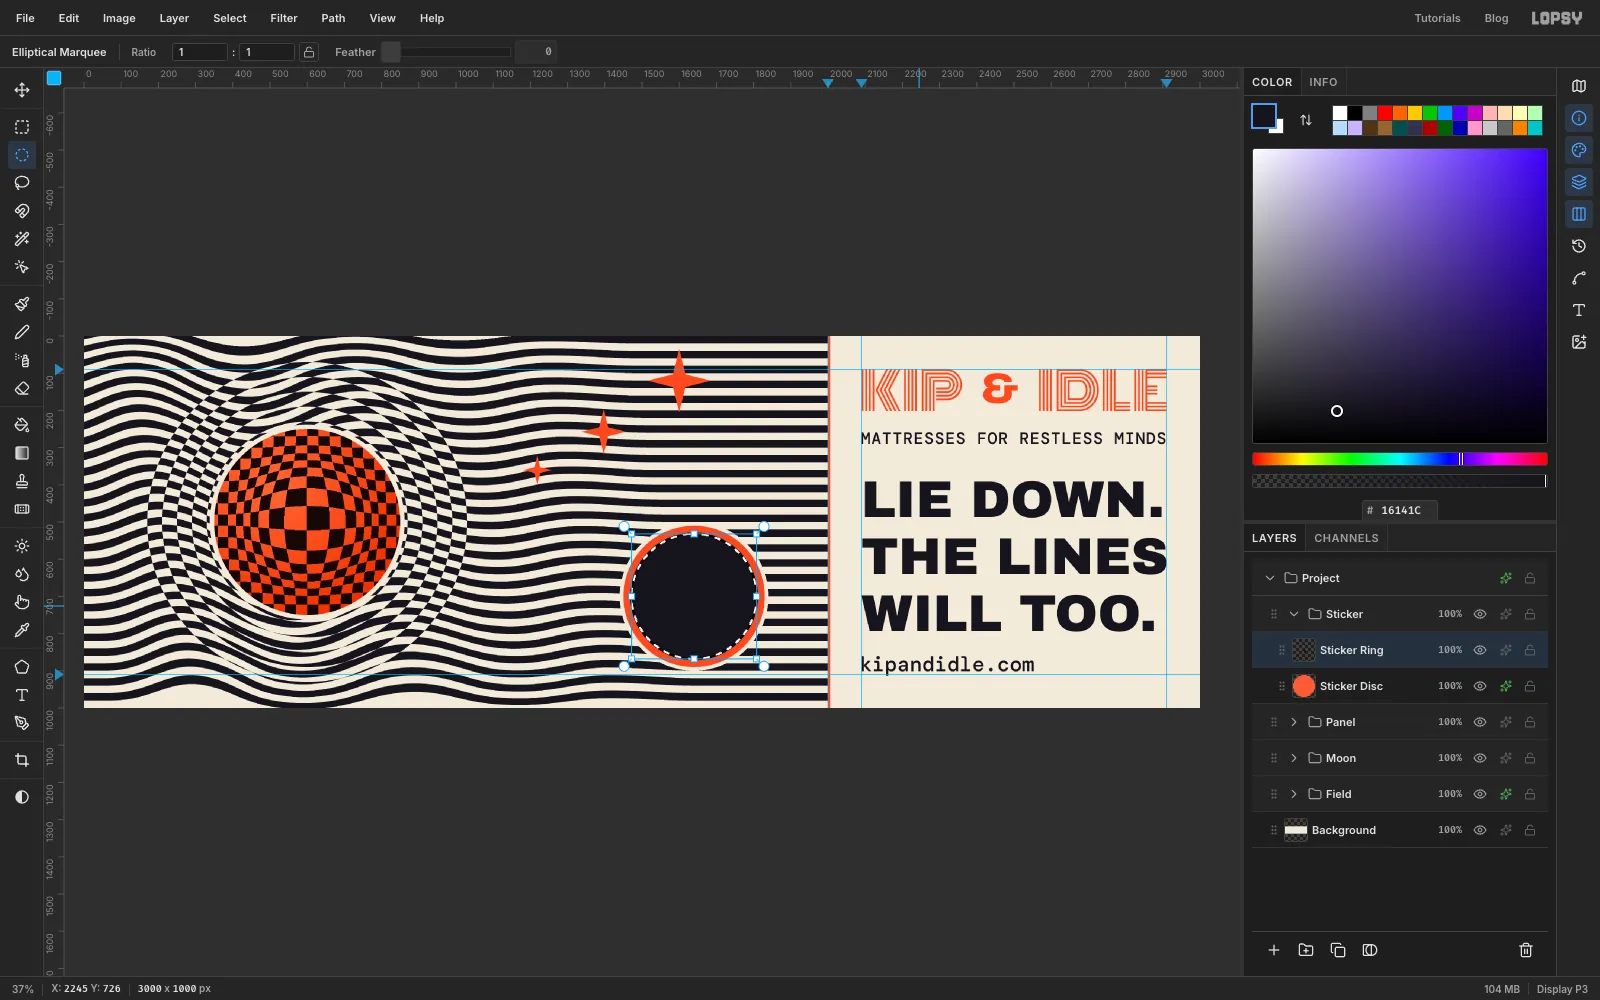
Collapse the Panel group, keep it selected and click New Group. Name it Sticker. Add a layer called Sticker Disc, set the foreground to coral, switch to the Elliptical Marquee and fill a circle From 1450, 510 To 1830, 890. Press Cmd+D. In the layer's effects drawer, turn on Stroke with a Width of 10 and the colour . The bone outline lifts the sticker off the stripes.
Add a layer called Sticker Ring. Set the foreground to ink and fill the circle From 1468, 528 To 1812, 872. Press Cmd+D, then select From 1472, 532 To 1808, 868 and press Delete. Press Cmd+D. That leaves a crisp 4 px ring, 18 px in from the edge.
-
Add the sticker text
Use the same text routine, but select Sticker Ring instead of Divider before each one. Type
100in Archivo Black at 110 px, ink, name the layer 100, and move it so it's centred on the disc horizontally, a little above the middle.Select Sticker Ring again, set Letter spacing to 2 in the Text panel, and type
NIGHT TRIALin Archivo Black at 30 px. Name it Night Trial and centre it under the 100, so the two lines sit as one block in the middle of the ring with at least 30 px of coral on each side. Then select Sticker Ring once more and set the letter spacing back to 0, so the next text you type isn't tracked out.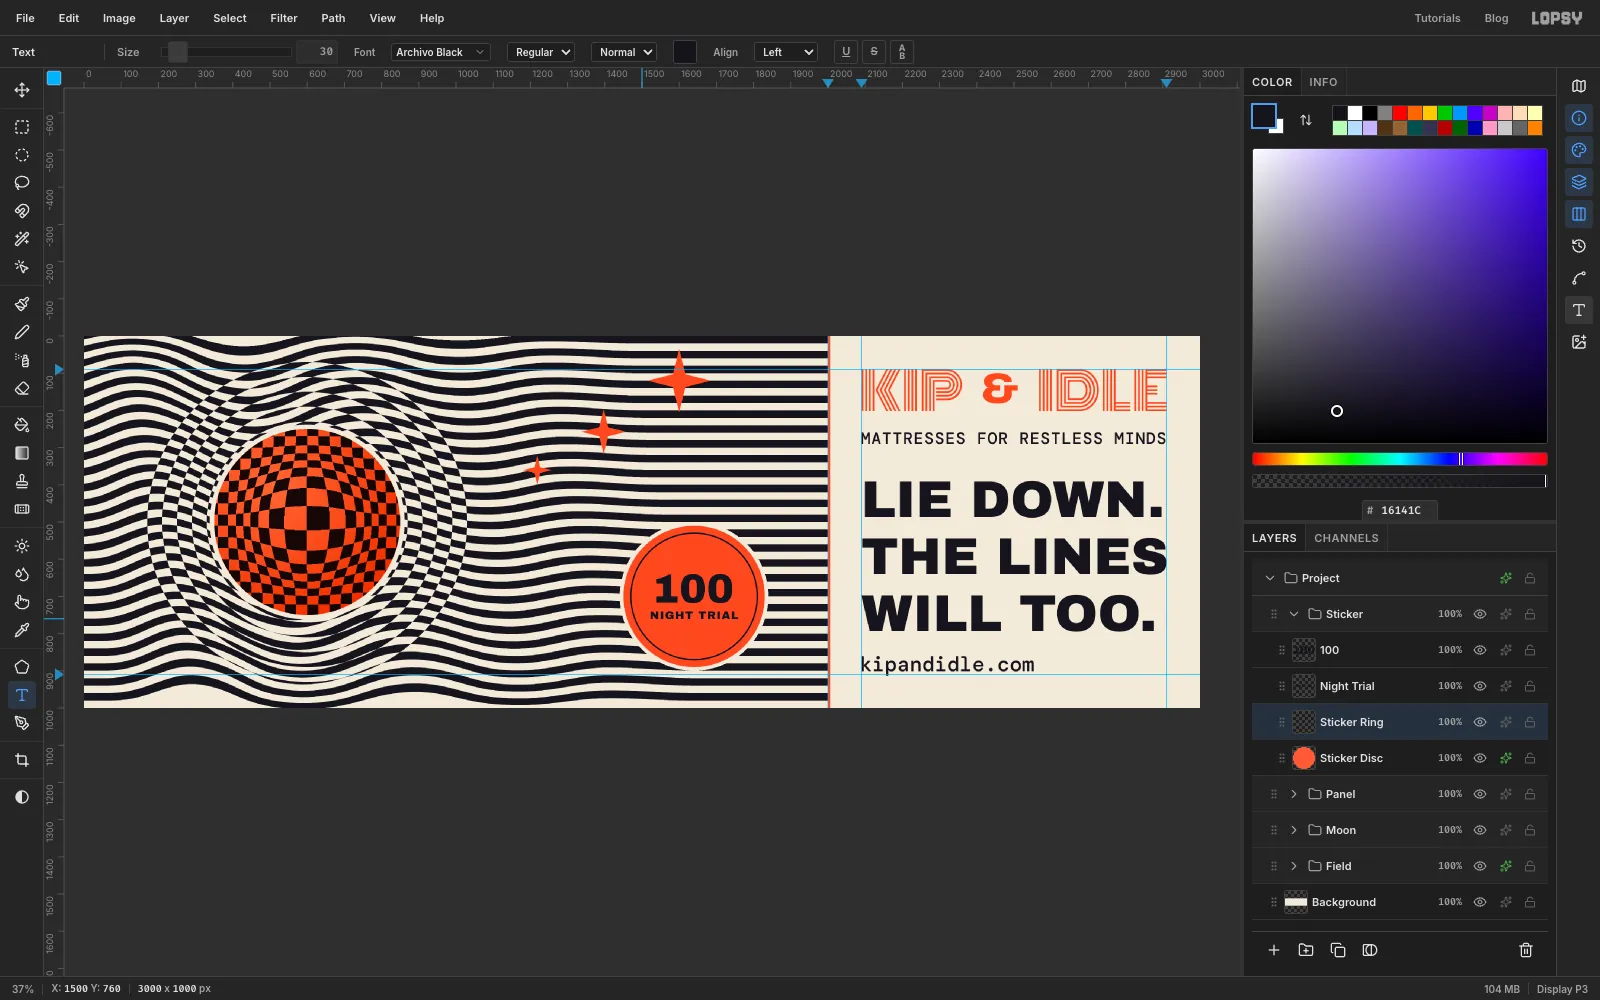
-
Rotate the sticker group
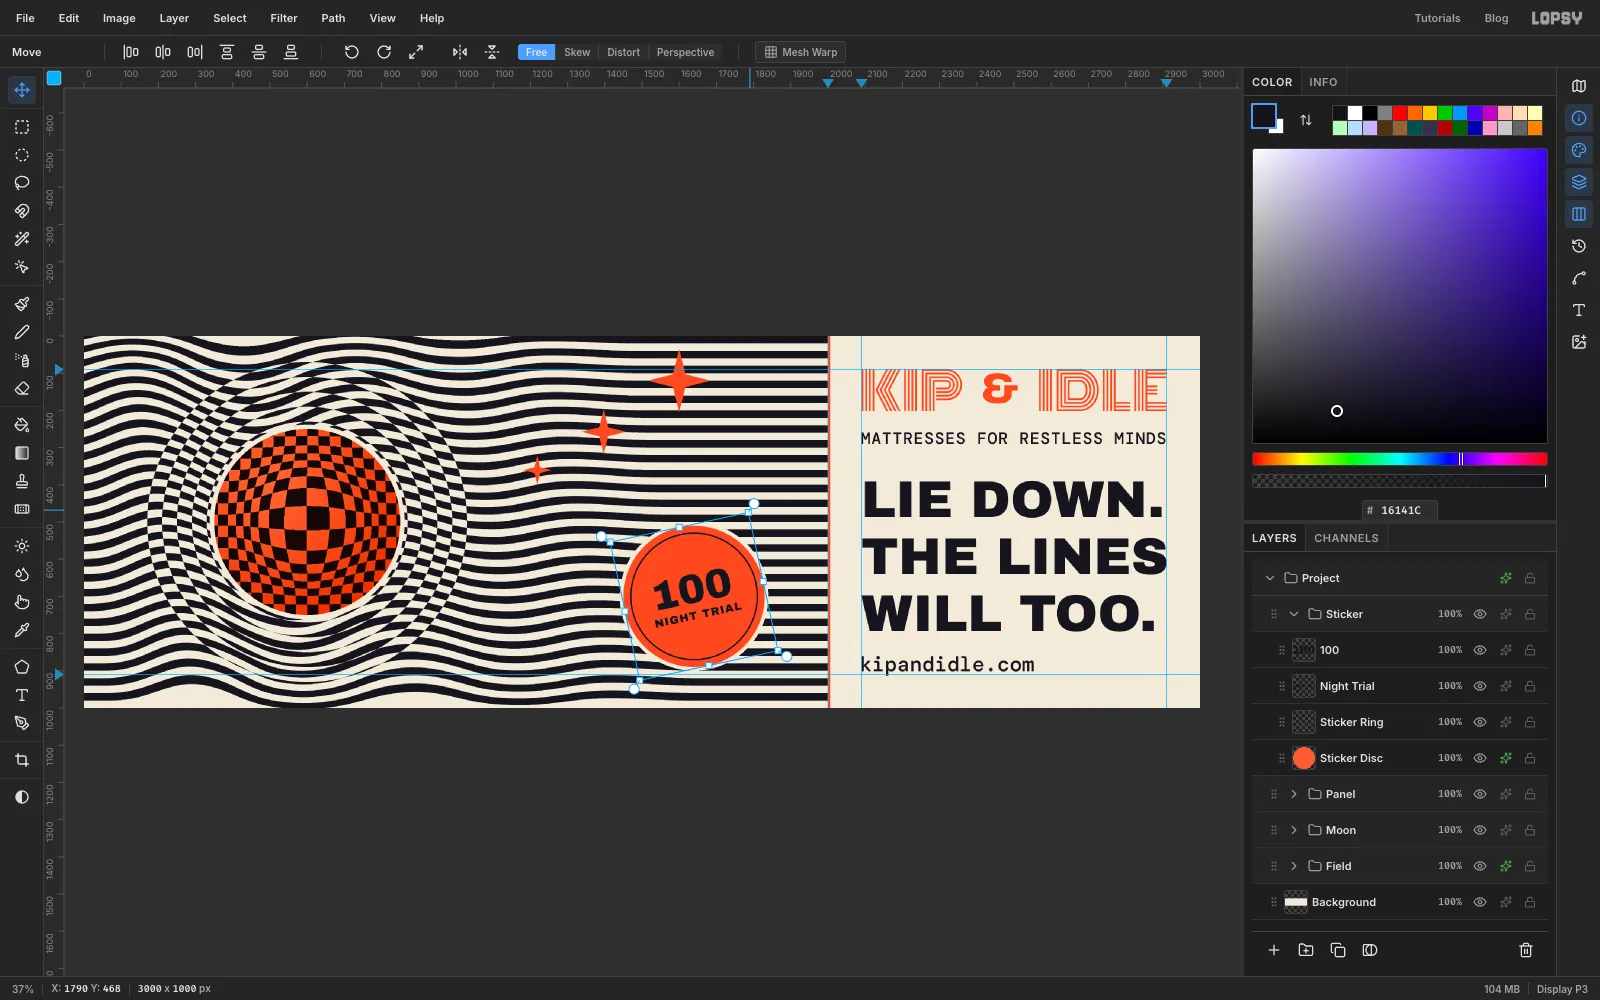
Select the Sticker group row and switch to the Move tool. Its transform box appears around everything in the group. Hover just outside the top-right corner until the cursor shows the rotate arrow, then drag upward to turn the sticker about 12° anticlockwise. Press Enter. The disc, ring and both lines of text turn together.
-
Add print grain
Collapse the Sticker group, keep it selected, and click Add Layer. Name it Grain. Set the foreground to , choose Edit → Fill, then choose Filter → Add Noise…, set Amount to 60, click Mono and Gaussian, and click Apply. Set the layer's Blend to Overlay and its opacity to 50 %. Mid-grey disappears in Overlay, so only the speckle shows, as a fine print texture.
Choose File → Quick Export PNG to save the billboard, and File → Save Project to keep the layers.