Design a 1950s Pulp Sci-Fi Movie Flier
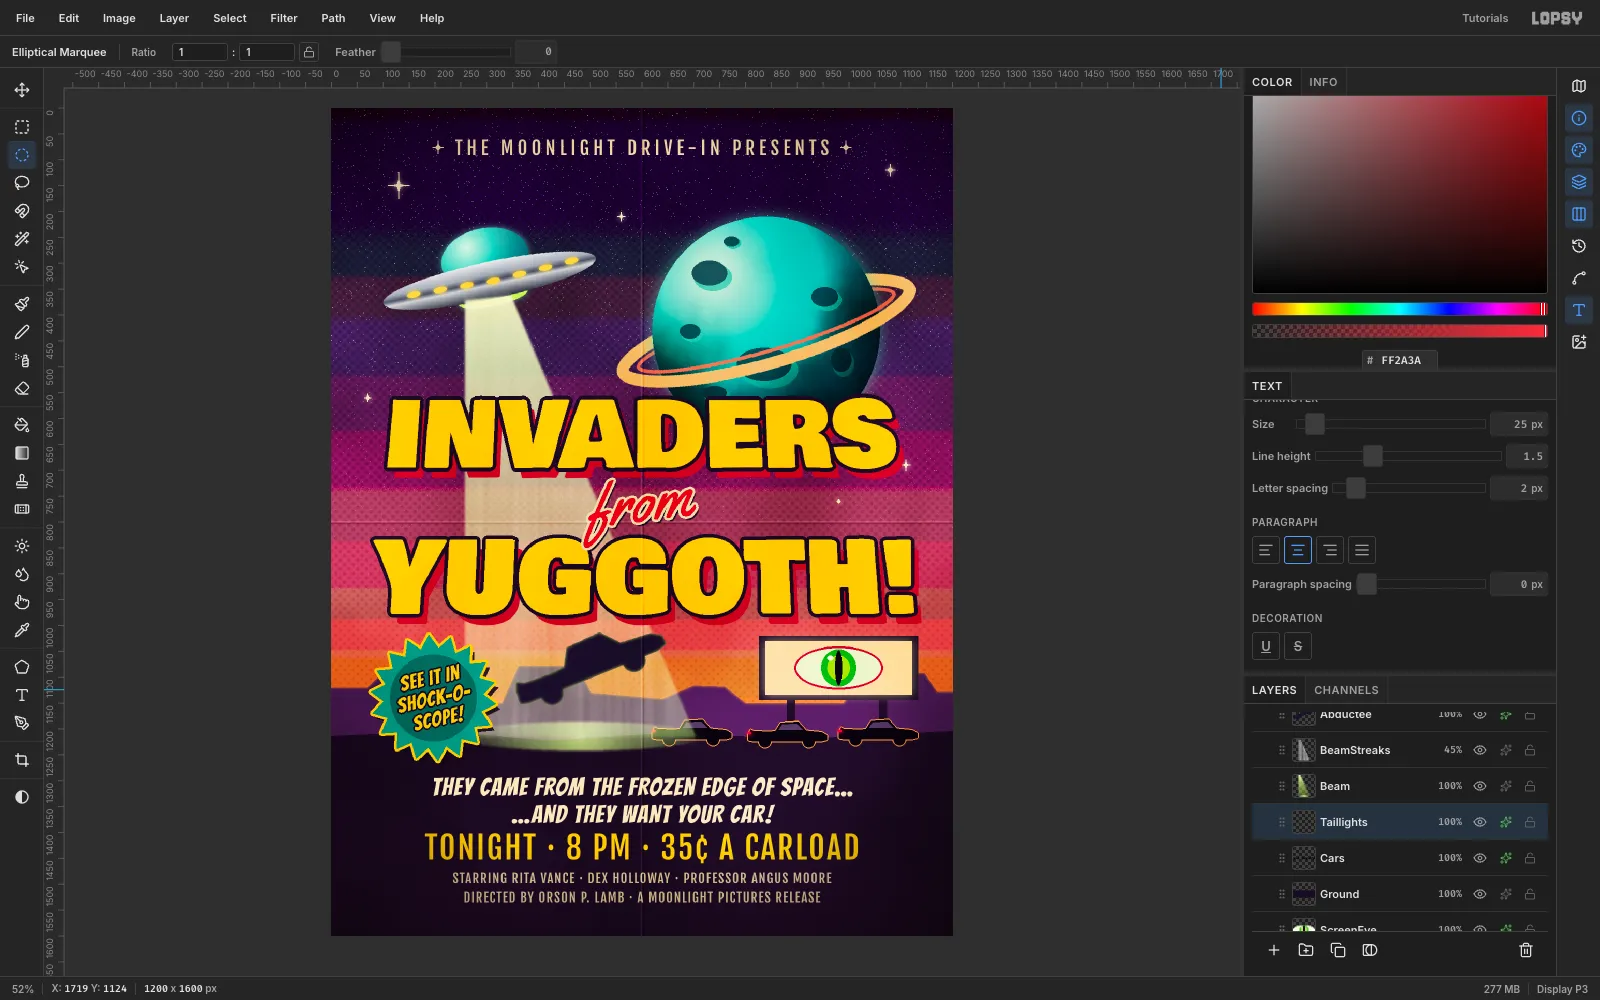
Make a retro drive-in B-movie flier in Lopsy with a flying saucer, ringed planet, perspective title, starburst badge and aged halftone paper.
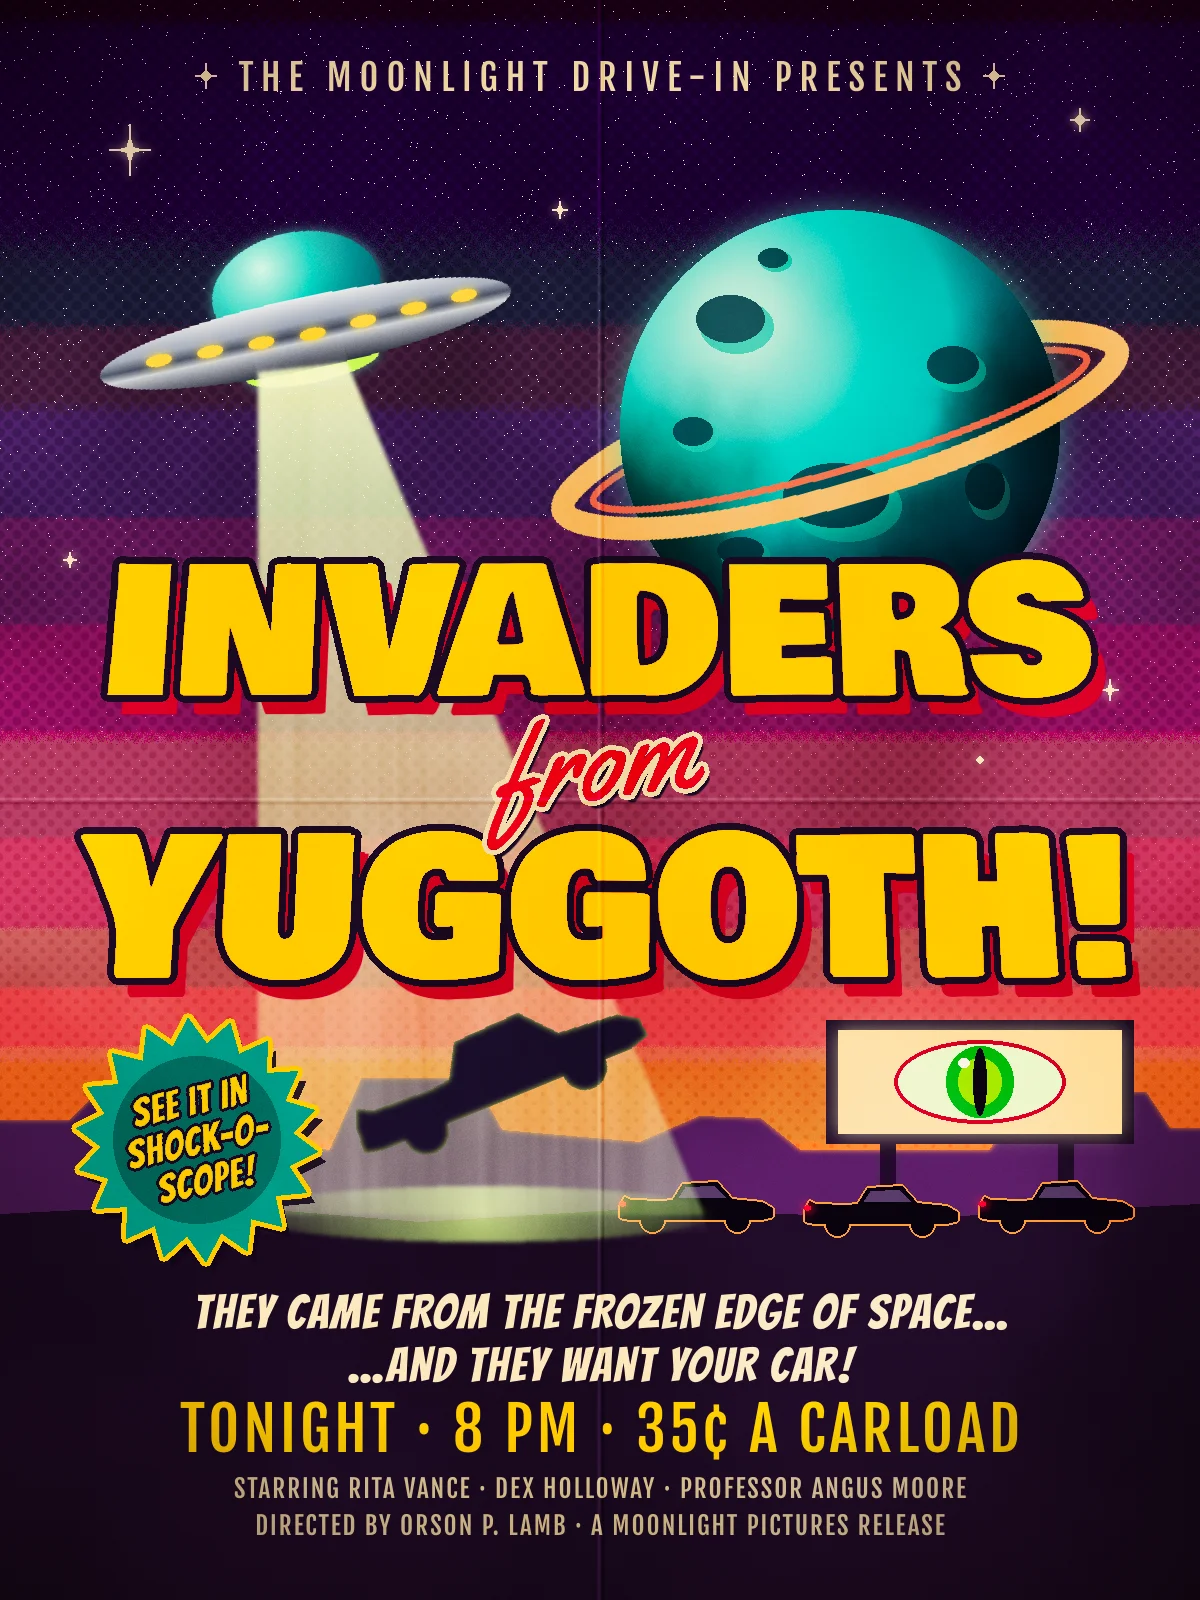
1950s drive-in posters sold a double feature from across a parking lot. They used all-caps titles that seem to rush toward you, a saucer or monster mid-attack, a starburst promising some new "-SCOPE" process, and cheap ink on paper that has been folded into a glovebox ever since.
In this tutorial you'll build Invaders from Yuggoth, a 1200 × 1600 px flier for the Moonlight Drive-In. Everything is drawn in Lopsy with marquee and lasso fills, gradients, a few filters and layer effects. You won't need any photos.
The palette:
- Sky:
#120A2E→#3B1553→#B23A6B→#F7953F - Planet teal
#9BF0DC→#124A5E, ring#F4C77Eand#E8795A - Title yellow
#FFD83A, ink#1A0B24, extrusion red#C8102E - Beam green
#F6FFC0/#C8FF6A, badge teal#1FA59A
-
Set up the page and paint the sky
Choose File → New, set the unit to Pixels, and create a 1200 × 1600 document with a white background.
Add a 60 px safe zone so nothing crowds the trim:
- Click the top ruler at 60, 600 and 1140.
- Click the left ruler at 60 and 1540.
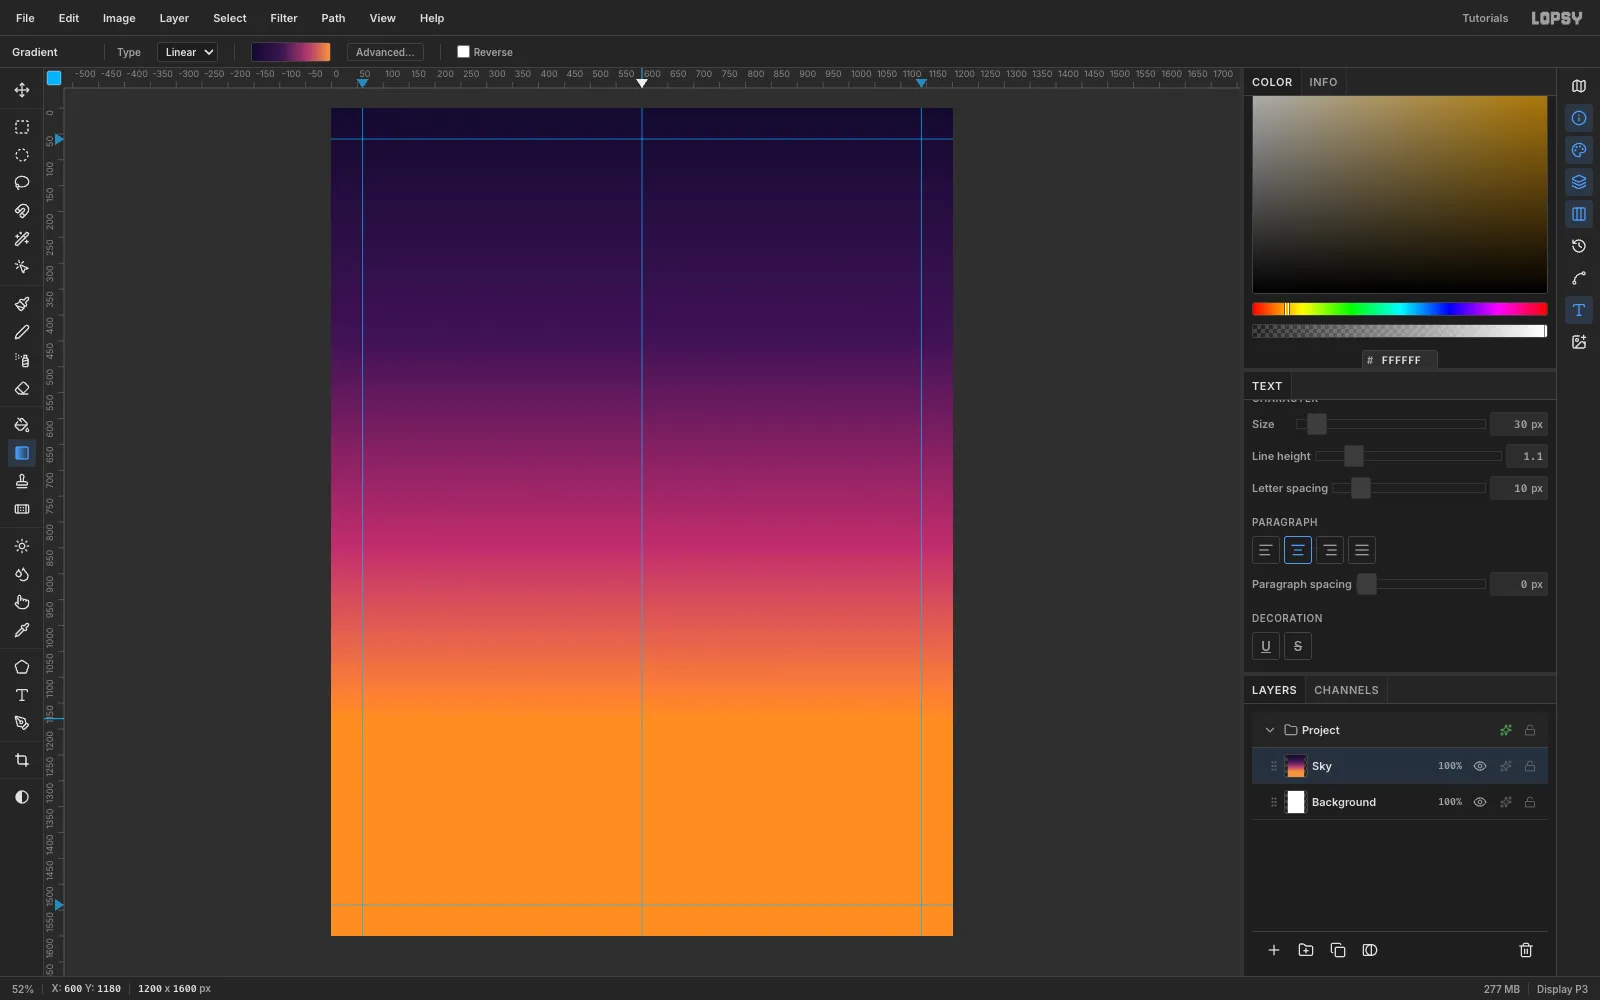
Rename Layer 1 to Sky. Pick the Gradient tool, open Advanced… and set four stops:
#120A2Eat 0%#3B1553at 38%#B23A6Bat 72%#F7953Fat 100%
Then drag a Linear gradient from the top of the page straight down to y 1180.
-
Posterize the sky into ink bands
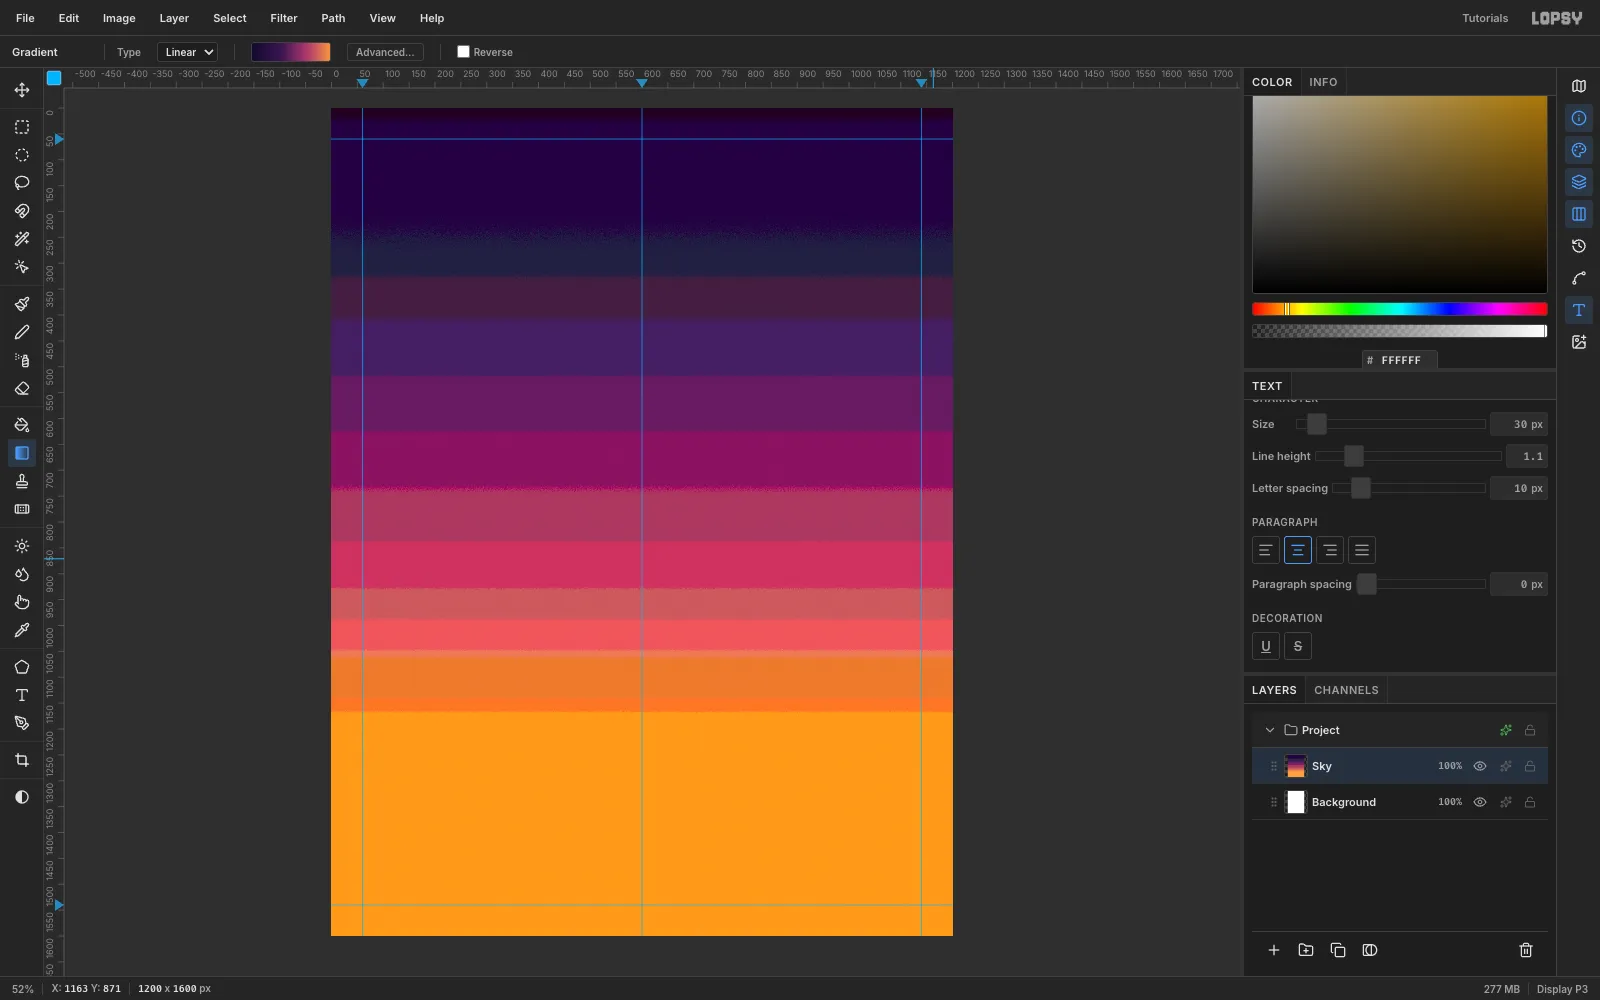
A smooth gradient looks digital. Choose Filter → Posterize…, set Levels to 9 and apply. The sky breaks into flat bands, like a limited run of spot inks. The dithered edges between bands help the print feel, so leave them.
-
Make a starfield with Noise and Threshold
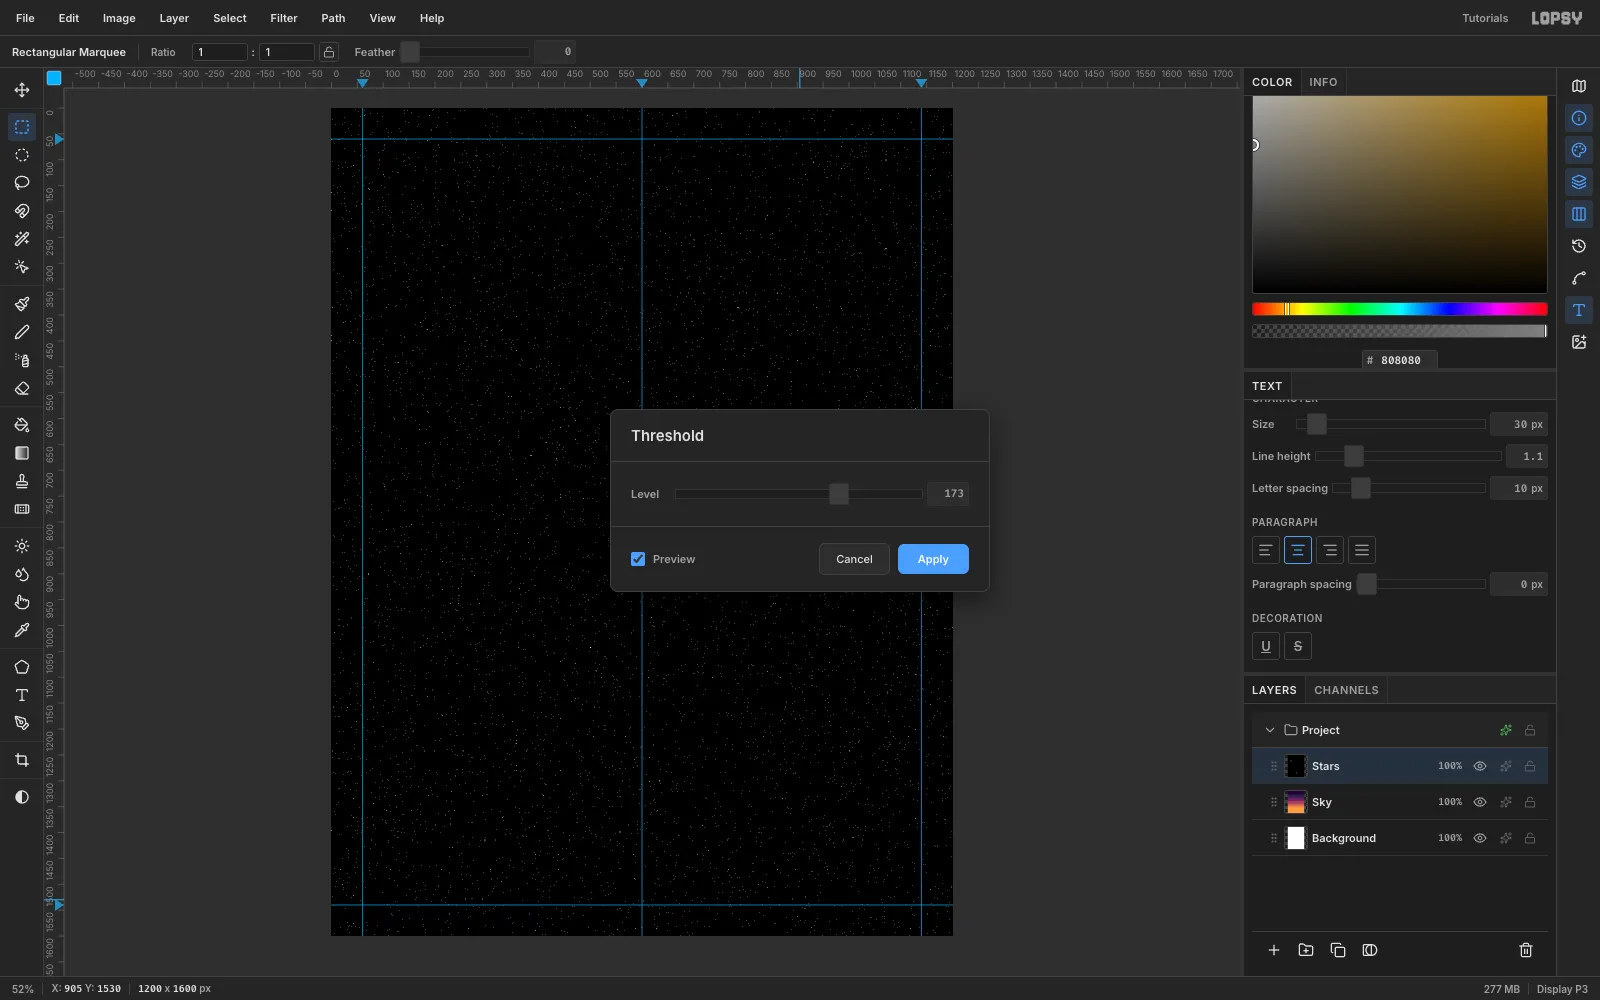
Add a layer called Stars. Draw a marquee over the whole page, fill it with mid-grey
#808080, and press Cmd+D.- Choose Filter → Add Noise… with Amount 100, Mono and Gaussian.
- Choose Filter → Threshold… at 173. Only the brightest noise survives, which gives you about half a percent of white specks.
Set the layer's blend mode to Screen so the black disappears.
-
Fade the stars and add sparkles
Stars shouldn't show near the glowing horizon:
- Click Add Mask on Stars, then click the mask row to edit it.
- Drag a white-to-black Linear gradient from y 450 down to y 1000.
Add a layer called Sparkles. With the Lasso, draw a few thin four-point stars and fill them with cream
#FFF3D6. Give the layer an Outer Glow in the same cream (Size 14, Opacity 70).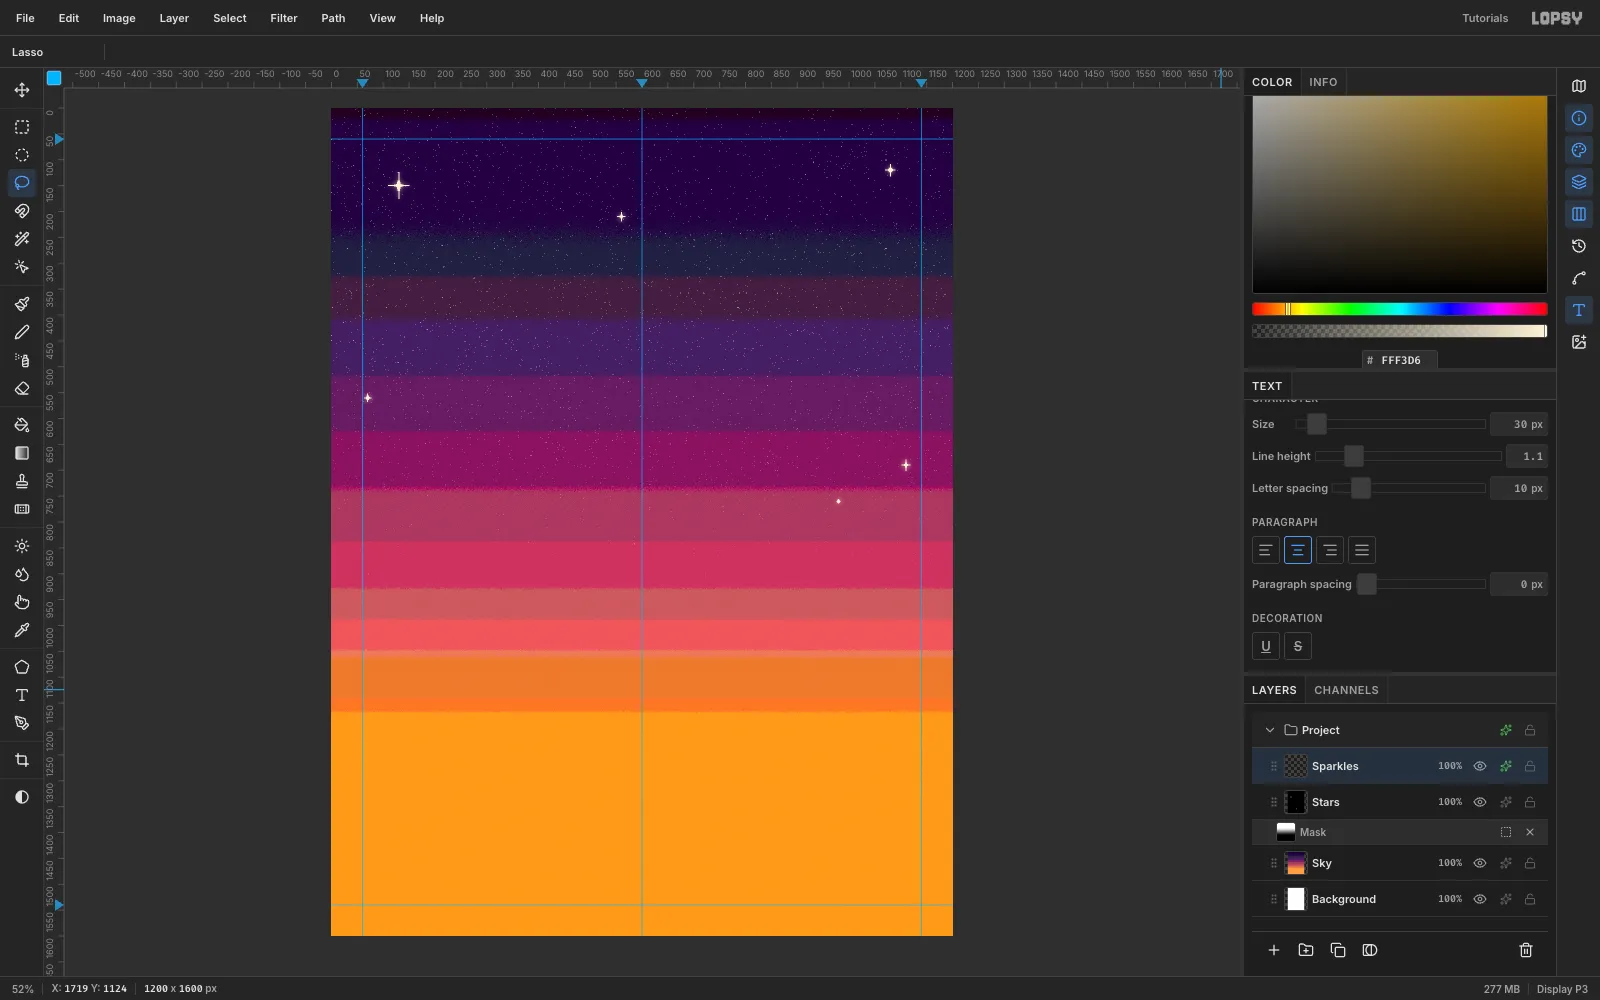
-
Build the planet and its craters
Add RingBack (leave it empty for now), then Planet:
- Elliptical Marquee a 440 px circle at (620, 210).
- Fill it with a Radial gradient from
#9BF0DCthrough#2FA39Aand#124A5Eto#081028, dragged from the upper-left of the circle so the light comes from there. - On a PlanetTex layer, select the same circle and run Filter → Clouds (Scale 6). Set it to Overlay at 55% for weather.
For craters that catch the light, work on a Craters layer. Fill each crater ellipse with light teal
#5CCFBE. Then fill a slightly smaller dark ellipse#0A3441, shifted up and to the left. That leaves a bright crescent on the lower-right rim, the wall that faces the light.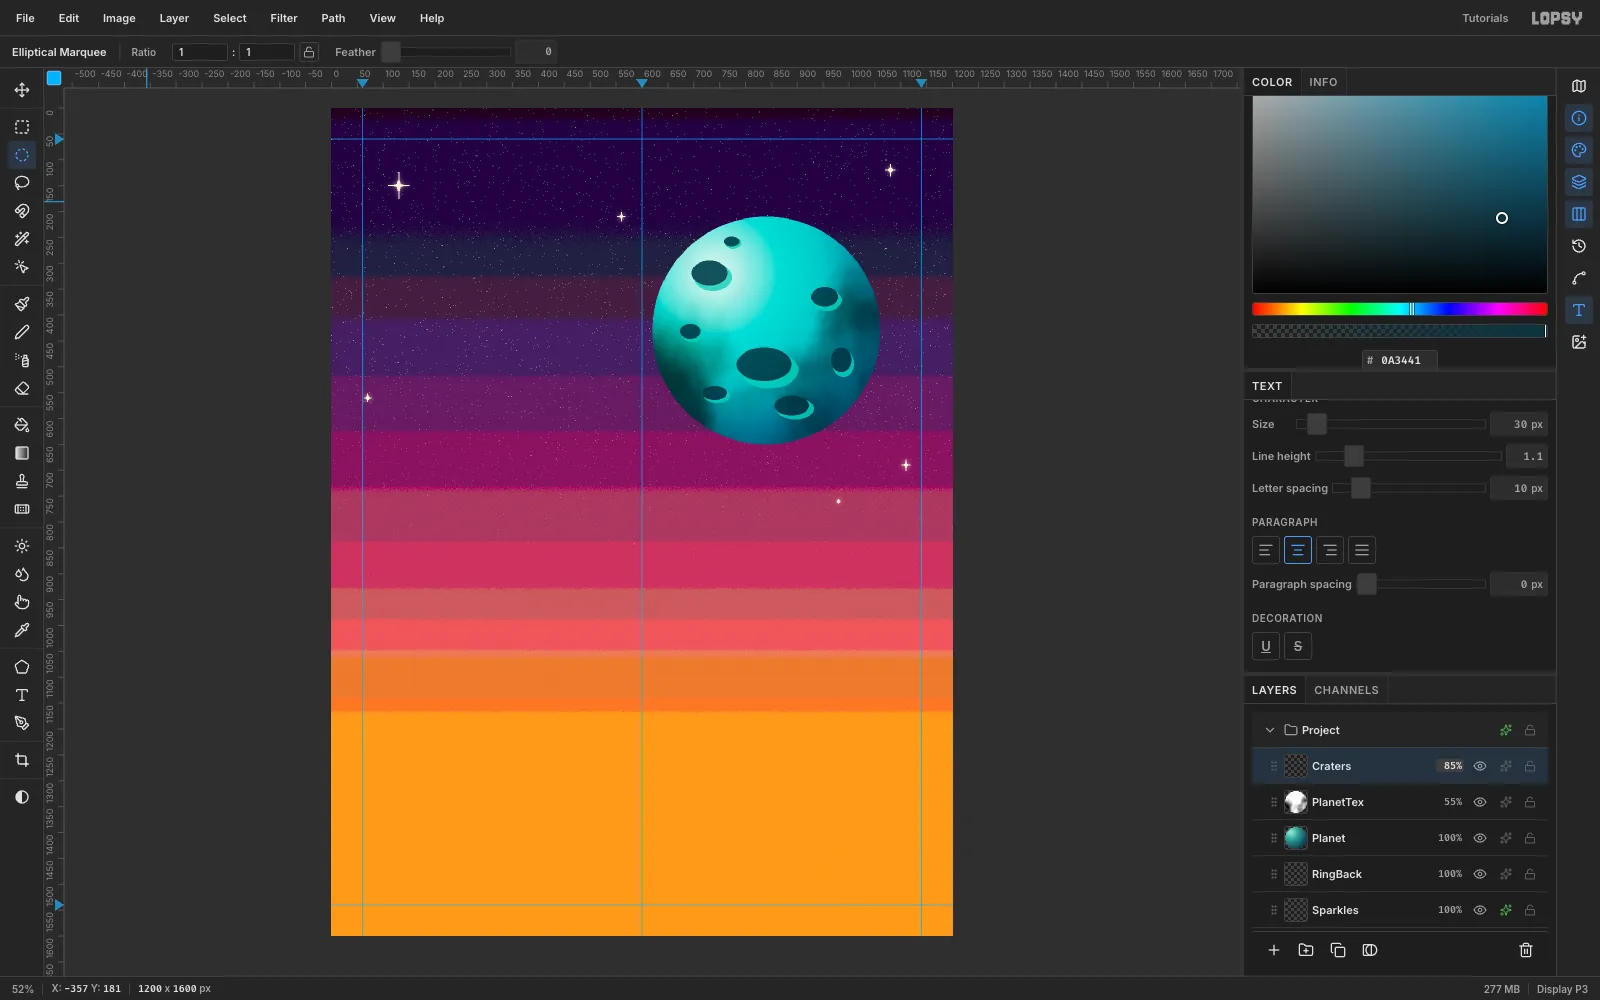
-
Shade the night side
Add a Shade layer. Select the planet circle again and drag a Radial gradient of
#050818, transparent up to about 42% and 95% opaque at the edge. Start from the lit upper-left and drag toward the lower-right. Set it to Multiply.One pass is too gentle, so Layer → Duplicate Layer it. Duplicates can land offset by 10 px, so check the copy's position and nudge it back with Shift+Arrow keys if needed.
Finally, give Planet an Outer Glow in
#6FF0D8(Size 44, Opacity 55).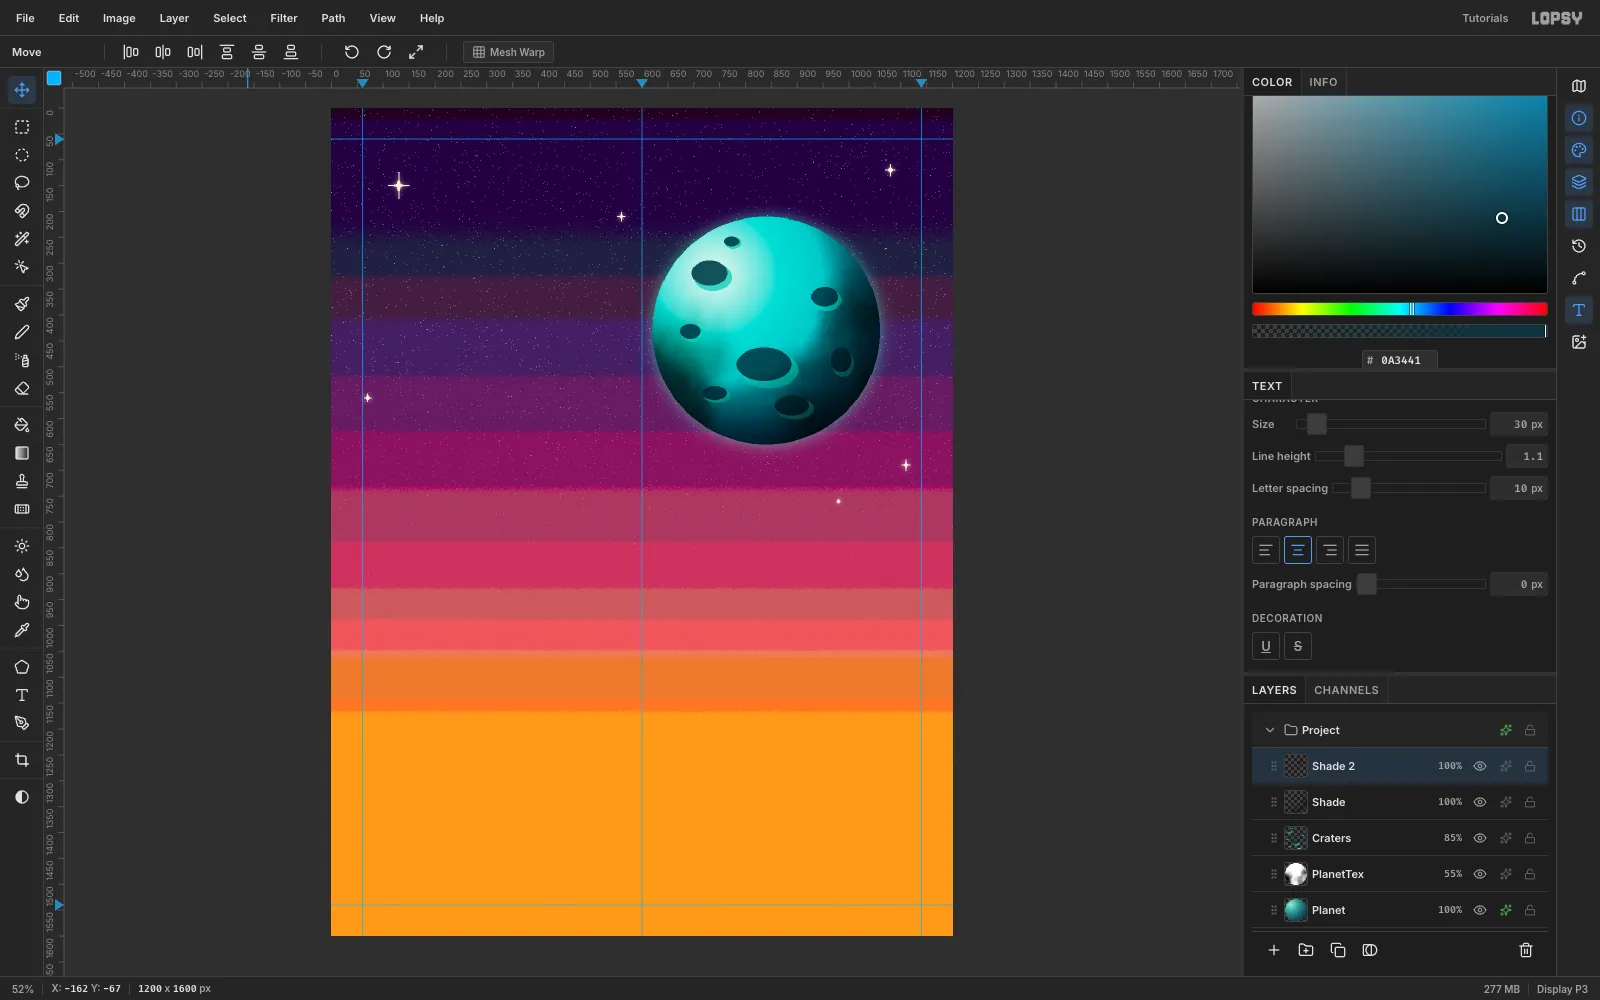
-
Draw the rings in two halves
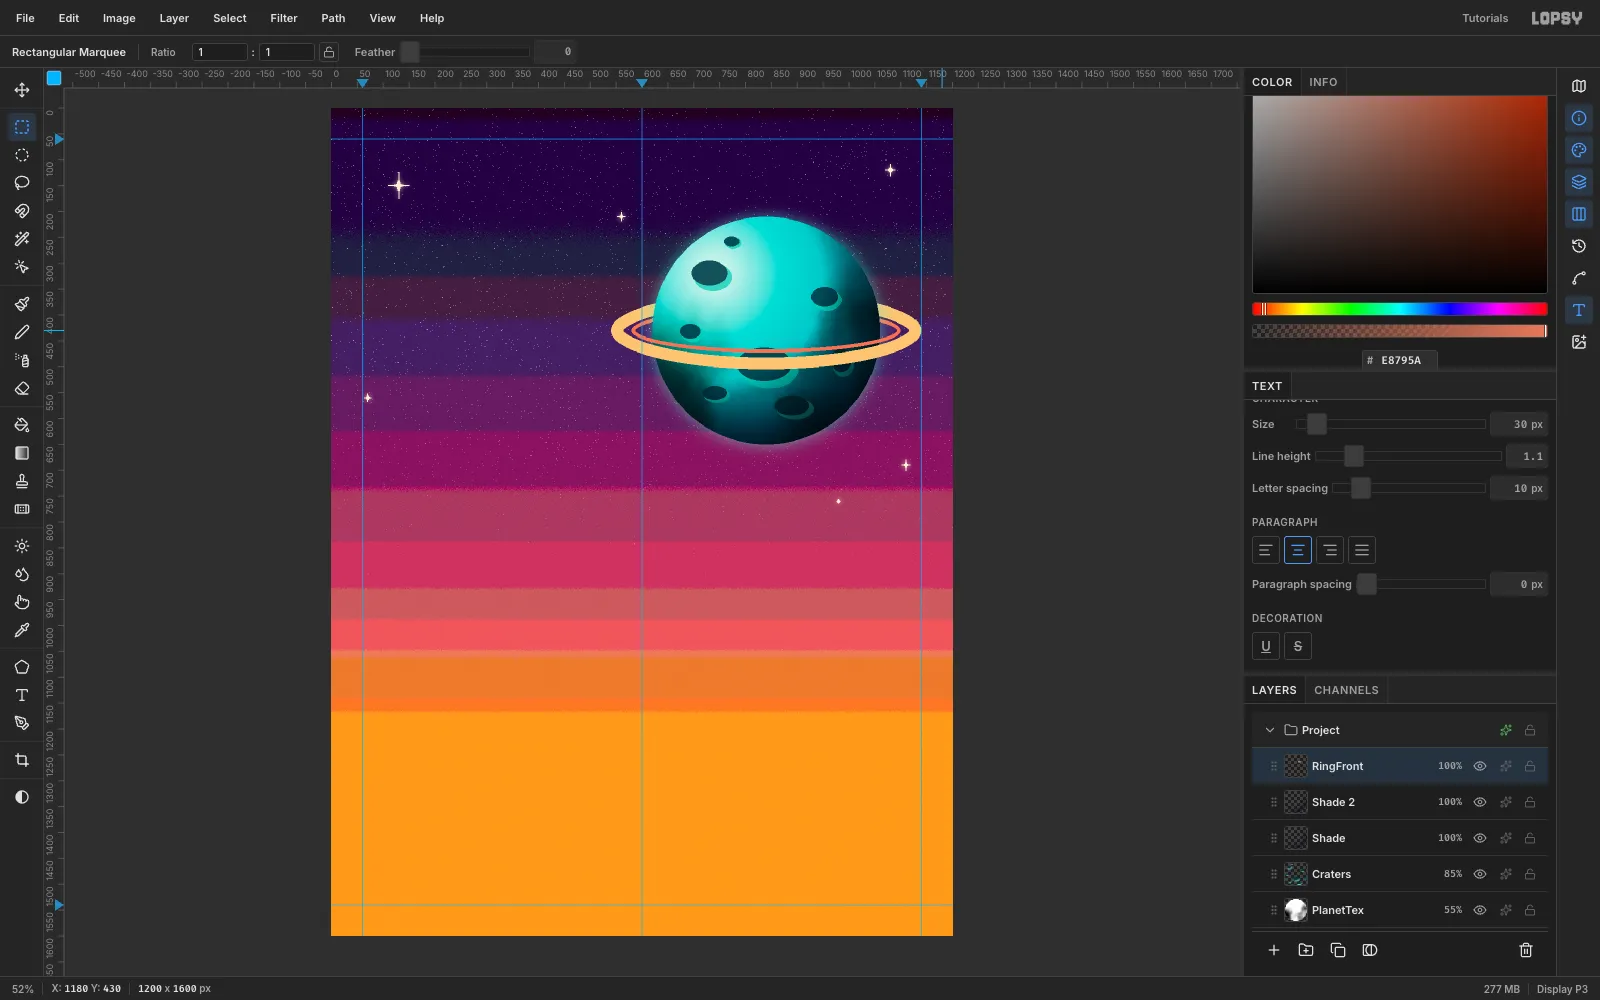
A ring passes behind the planet at the top and in front of it at the bottom. Draw it twice:
- On RingBack (below the planet), fill a 600 × 150 ellipse with
#F4C77E. Choose Select → Shrink… by 22 px and press Delete. Add a thin inner ring in#E8795Athe same way. - Add RingFront above the shade layers and draw the identical rings.
- On RingFront, marquee the top half of the ring and press Delete.
Only the front half is left on top of the planet.
- On RingBack (below the planet), fill a 600 × 150 ellipse with
-
Tilt both rings together
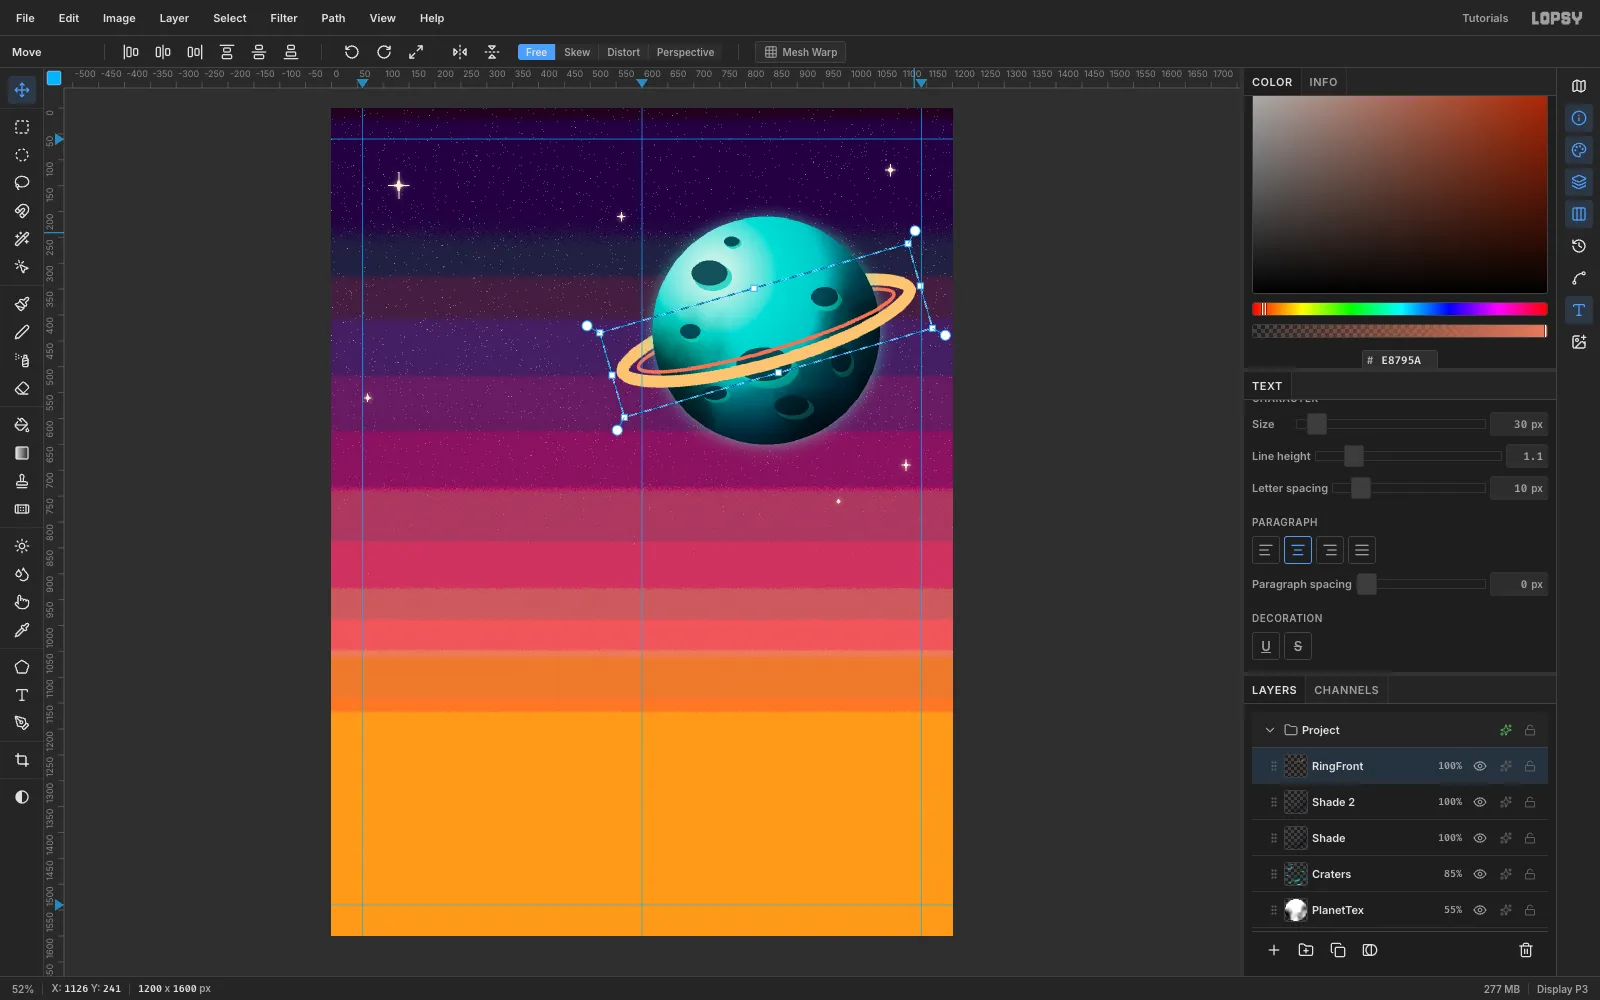
Use the same marquee on both ring layers so they turn around the same centre. Draw a Rectangular Marquee from (530, 345) to (1150, 515) and switch to the Move tool. Drag just outside a corner handle to rotate about −16°, then press Cmd+D to commit. Repeat on the other ring layer with the same marquee and angle.
-
Build a chrome flying saucer
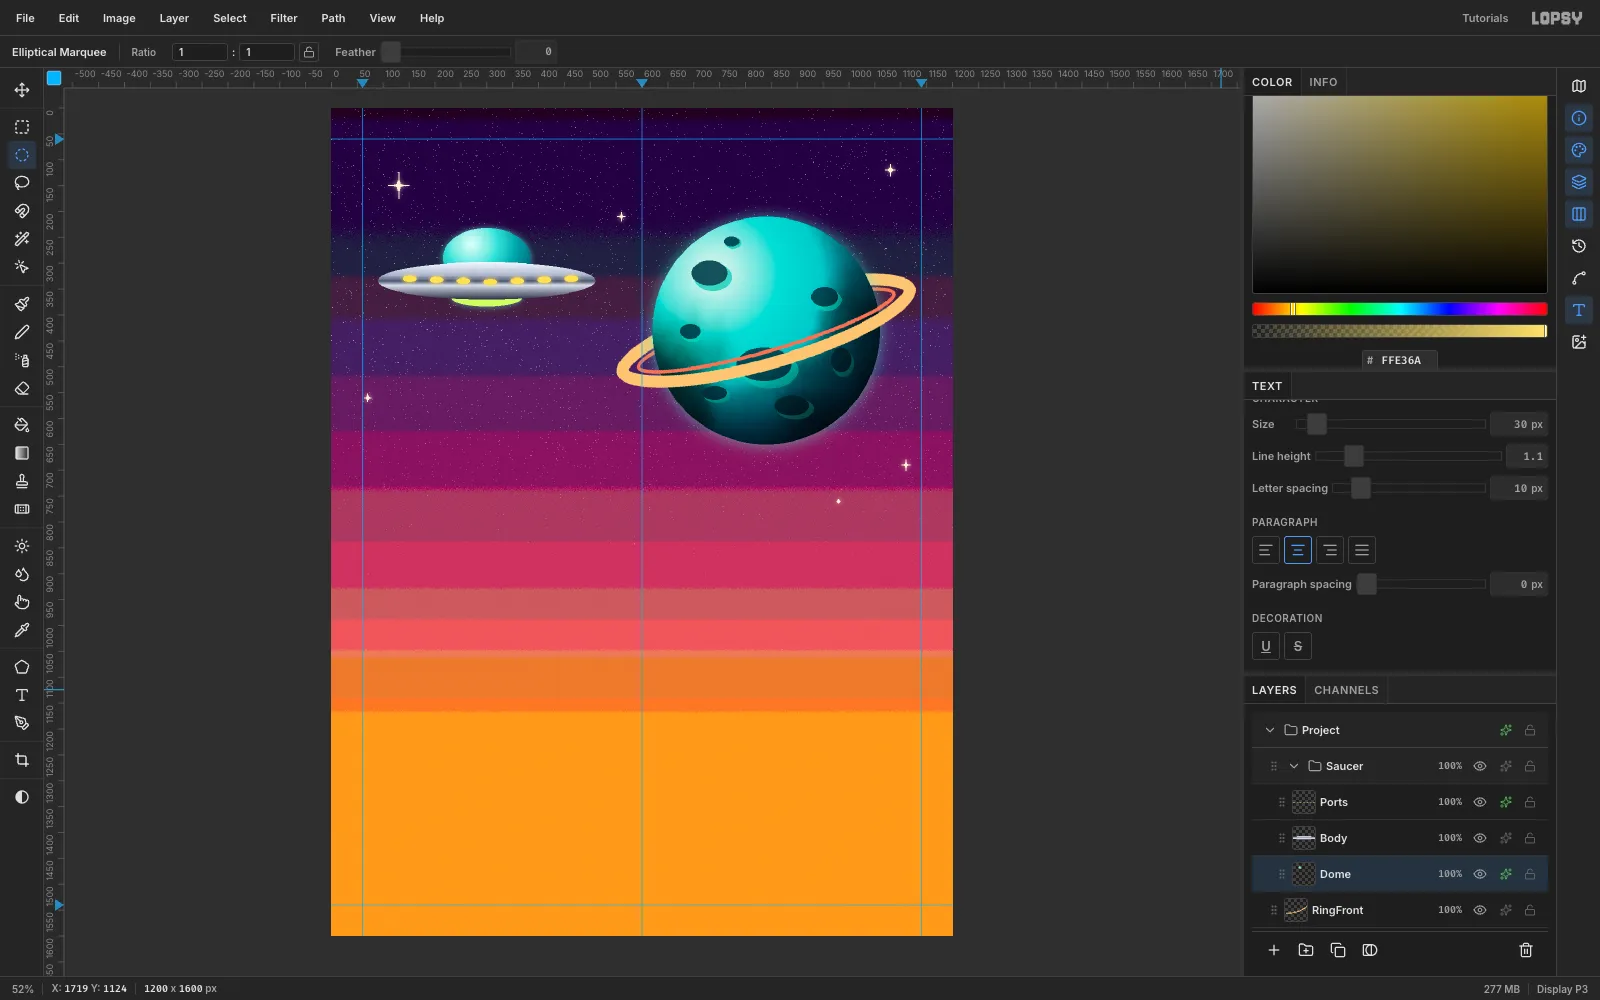
Create a group called Saucer and three layers inside it:
- Dome: a 170 × 116 ellipse with a radial gradient from
#E6FFF8to#0C4660. Add a lime ellipse#D9FF7Aunder where the body will sit for the engine glow. - Body: a 420 × 72 ellipse with a vertical chrome gradient:
#F4F7FF,#AEB6CC, a dark band#4E546Cat 50%,#D9DEEA, then#2A2E42. - Ports: seven small
#FFE36Aellipses along the rim, with an Outer Glow in the same yellow.
Give Dome a soft cyan Outer Glow too.
- Dome: a 170 × 116 ellipse with a radial gradient from
-
Merge and tilt the saucer
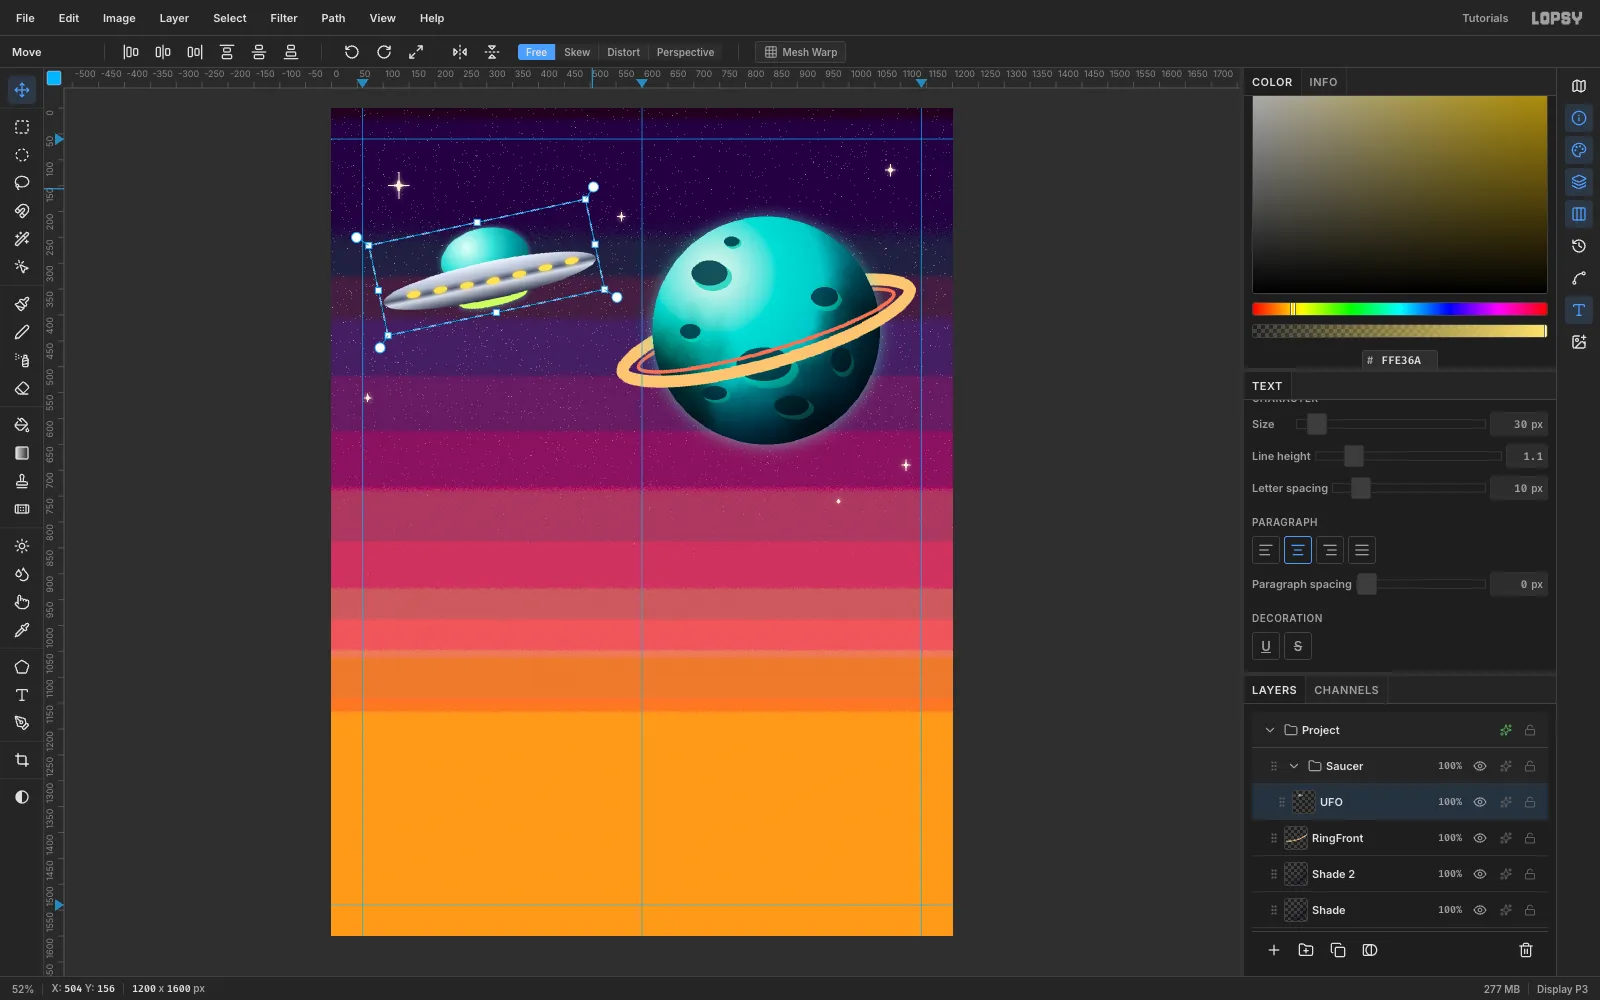
Click Ports and choose Layer → Merge Down, then do the same on Body. Merging bakes the glows into the pixels, so the saucer turns as one piece. Rename the result UFO. Marquee it with a few pixels to spare, then rotate it −12° with the Move tool and press Cmd+D.
-
Add the landscape and the drive-in screen
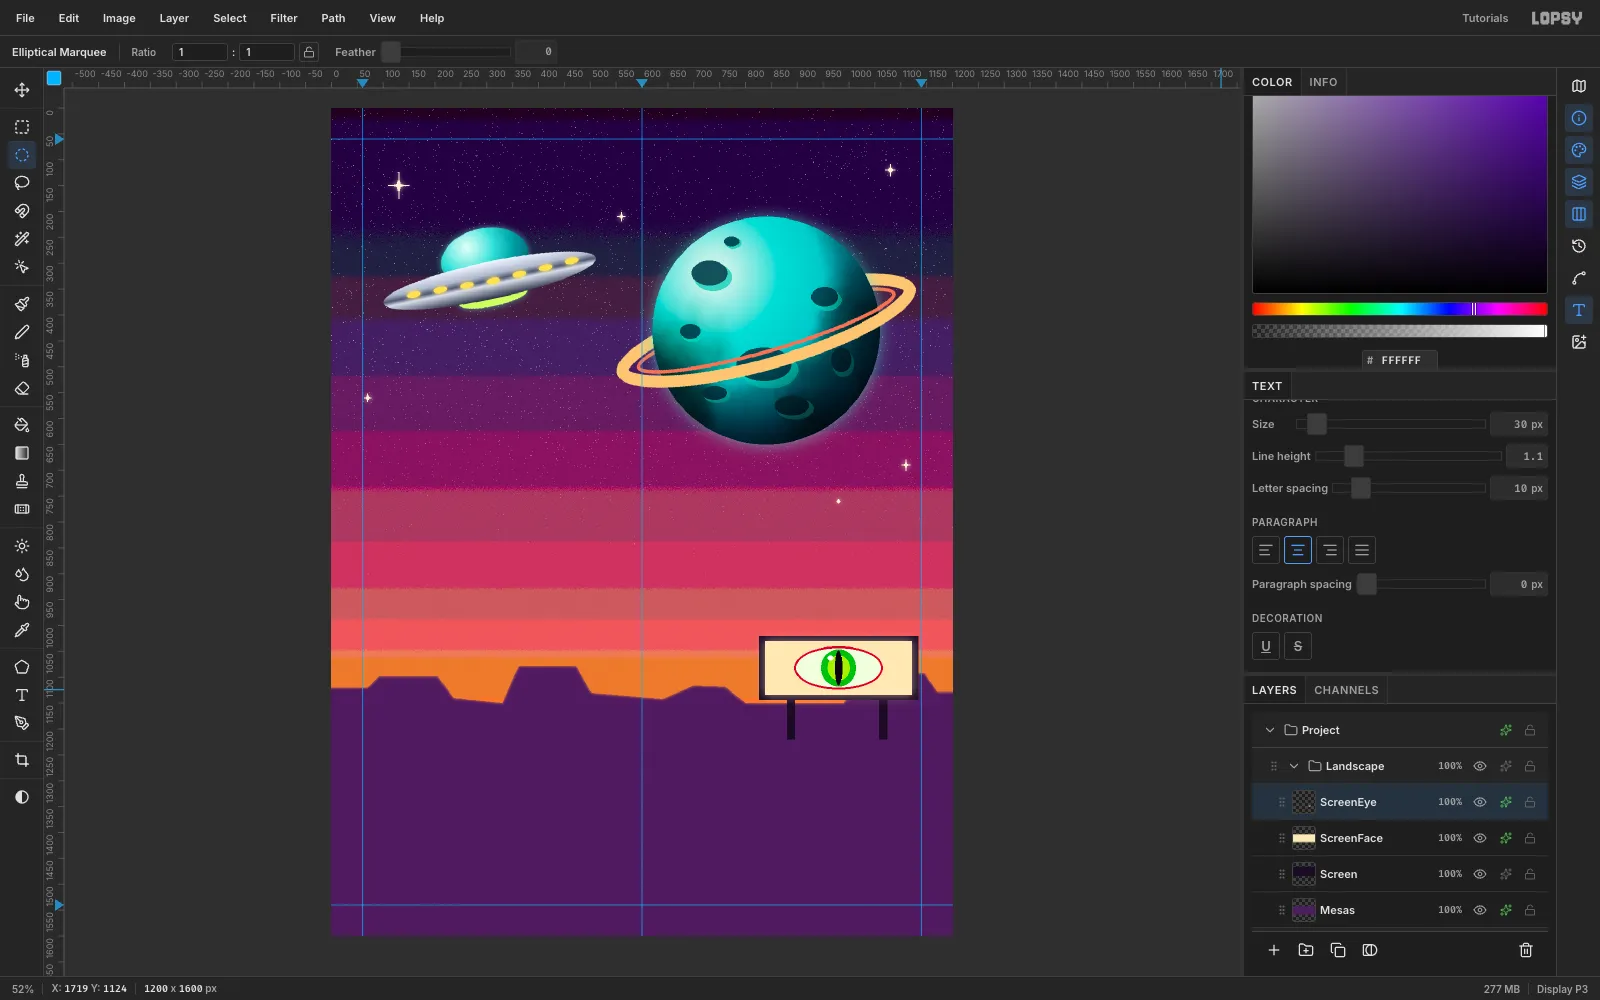
Make a Landscape group and drag it above Saucer in the Layers panel.
- Mesas: lasso a flat-topped mesa skyline from the horizon down to the bottom of the page. Fill it with
#4B1E5Eand add an orange Inner Glow (#FF9A4A, Size 7) to rim-light the tops. - Screen: marquee the frame (826, 1020, 308 × 124) and two posts, and fill them with ink
#1A0B24. On ScreenFace, fill a cream panel#FFE9B8inside it and give it a soft Outer Glow. - The movie: on ScreenEye, stack ellipses to paint an alien eye: pale sclera, green iris
#3FBF3A, a lighter inner ring#B8F020, a black slit pupil and a white glint. Give it a red Stroke of 4 px.
- Mesas: lasso a flat-topped mesa skyline from the horizon down to the bottom of the page. Fill it with
-
Park the cars with copy and paste
Add a Ground layer (a lassoed band in
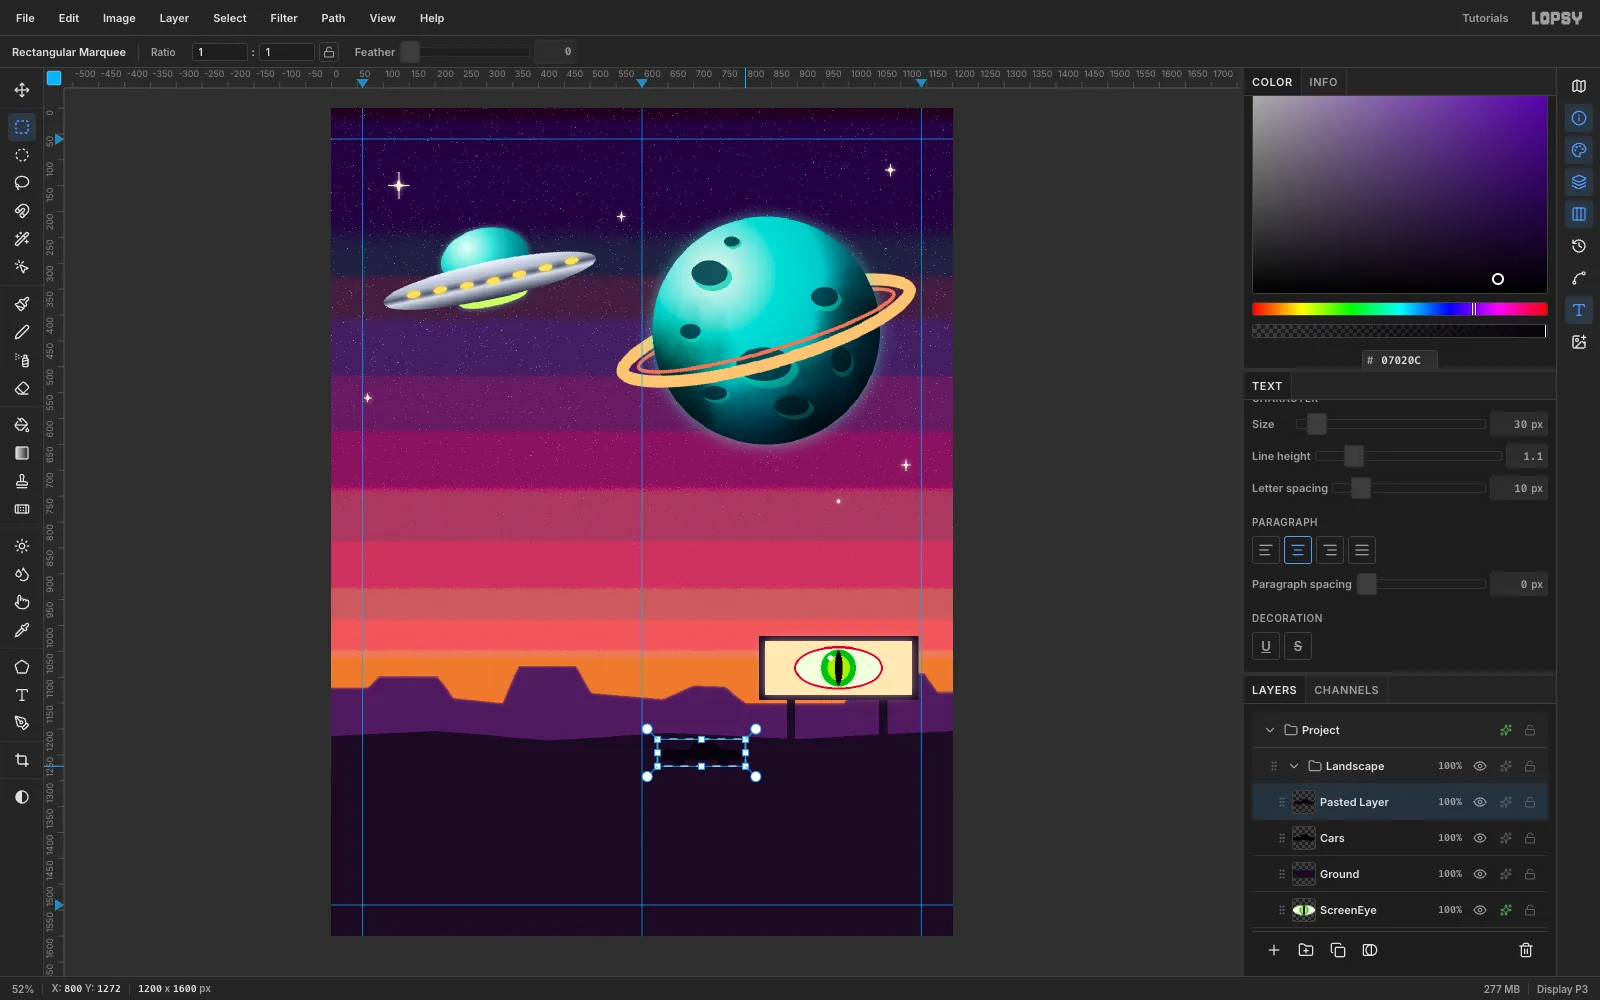
#1A0B24) and a Cars layer. Lasso one tail-finned sedan silhouette in near-black#07020Cand add two round wheels.Marquee the car, press Cmd+C and then Cmd+V right away. The paste lands in place on a new layer above. Drag it into the next spot with the Move tool, press Cmd+D, and Merge Down. Repeat for a third car.
Press Cmd+V straight after Cmd+C, before clicking any other layer row. See the note at the end.
-
Rim-light the silhouettes
Black cars on dark ground disappear. Give Cars a 2 px Stroke in
#FF9A4Aso the sunset catches their edges. You'll lift them onto the horizon line in the last step.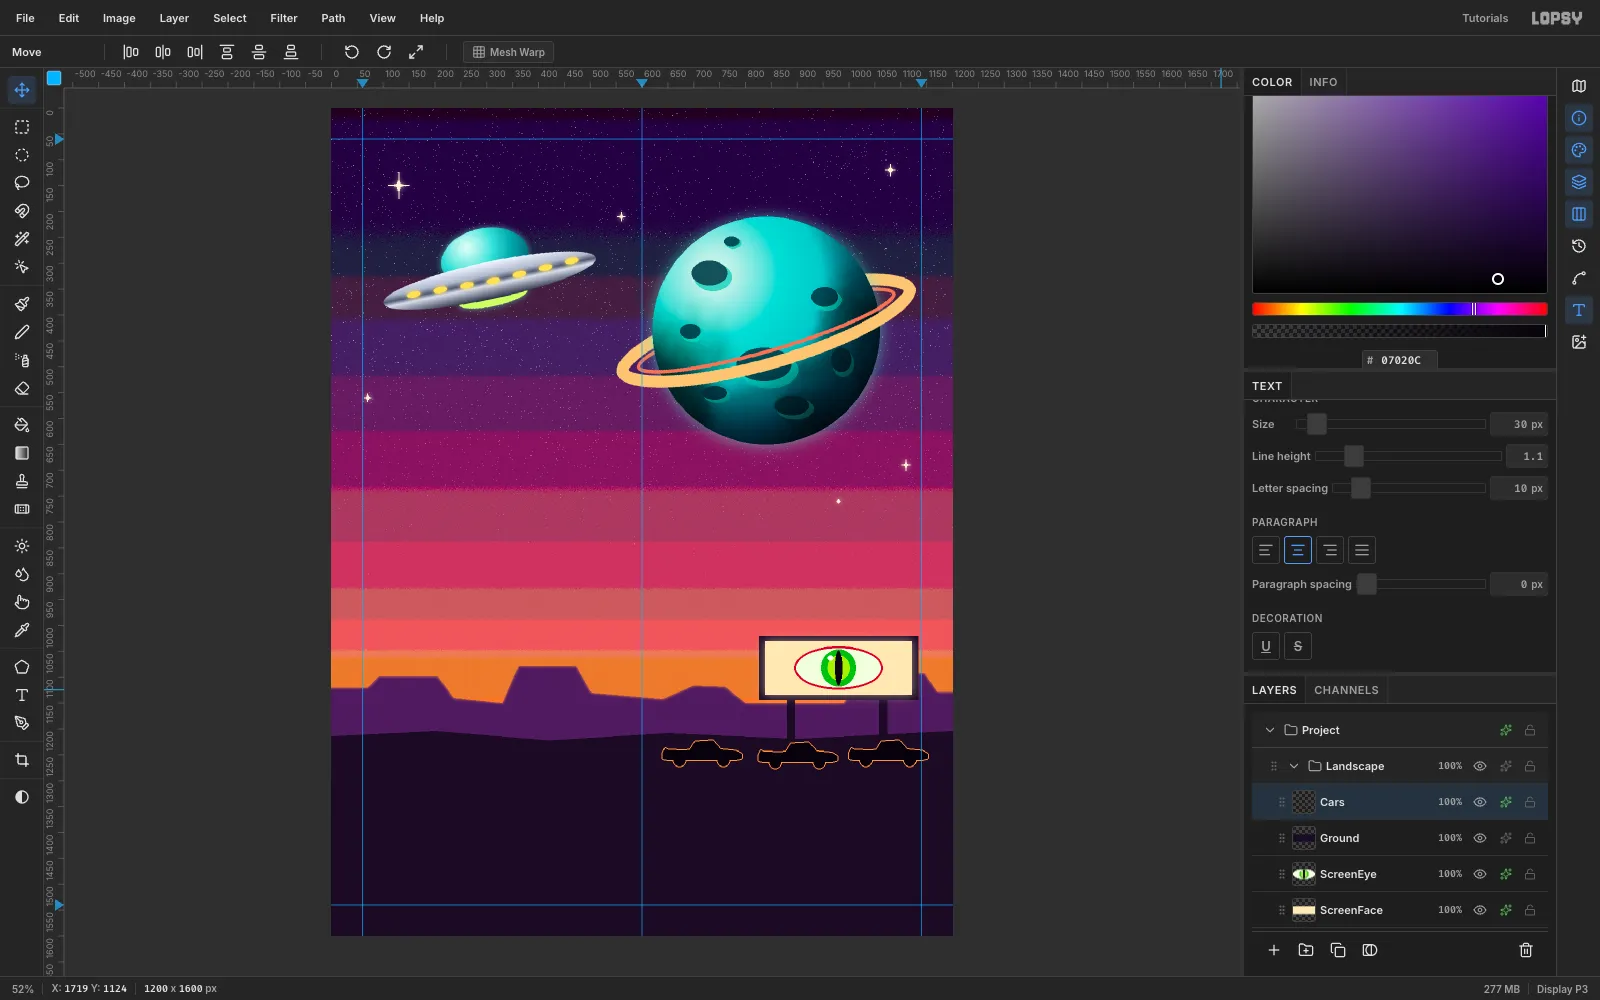
-
Lift a car into the sky
On a new Abductee layer, draw the same car at almost twice the size. Keep it under the saucer, around (345, 1110). Rotate it −22° so it tips nose-up. Add a pale green Inner Glow (
#D9FF7A, Size 8) so the beam seems to light its edges.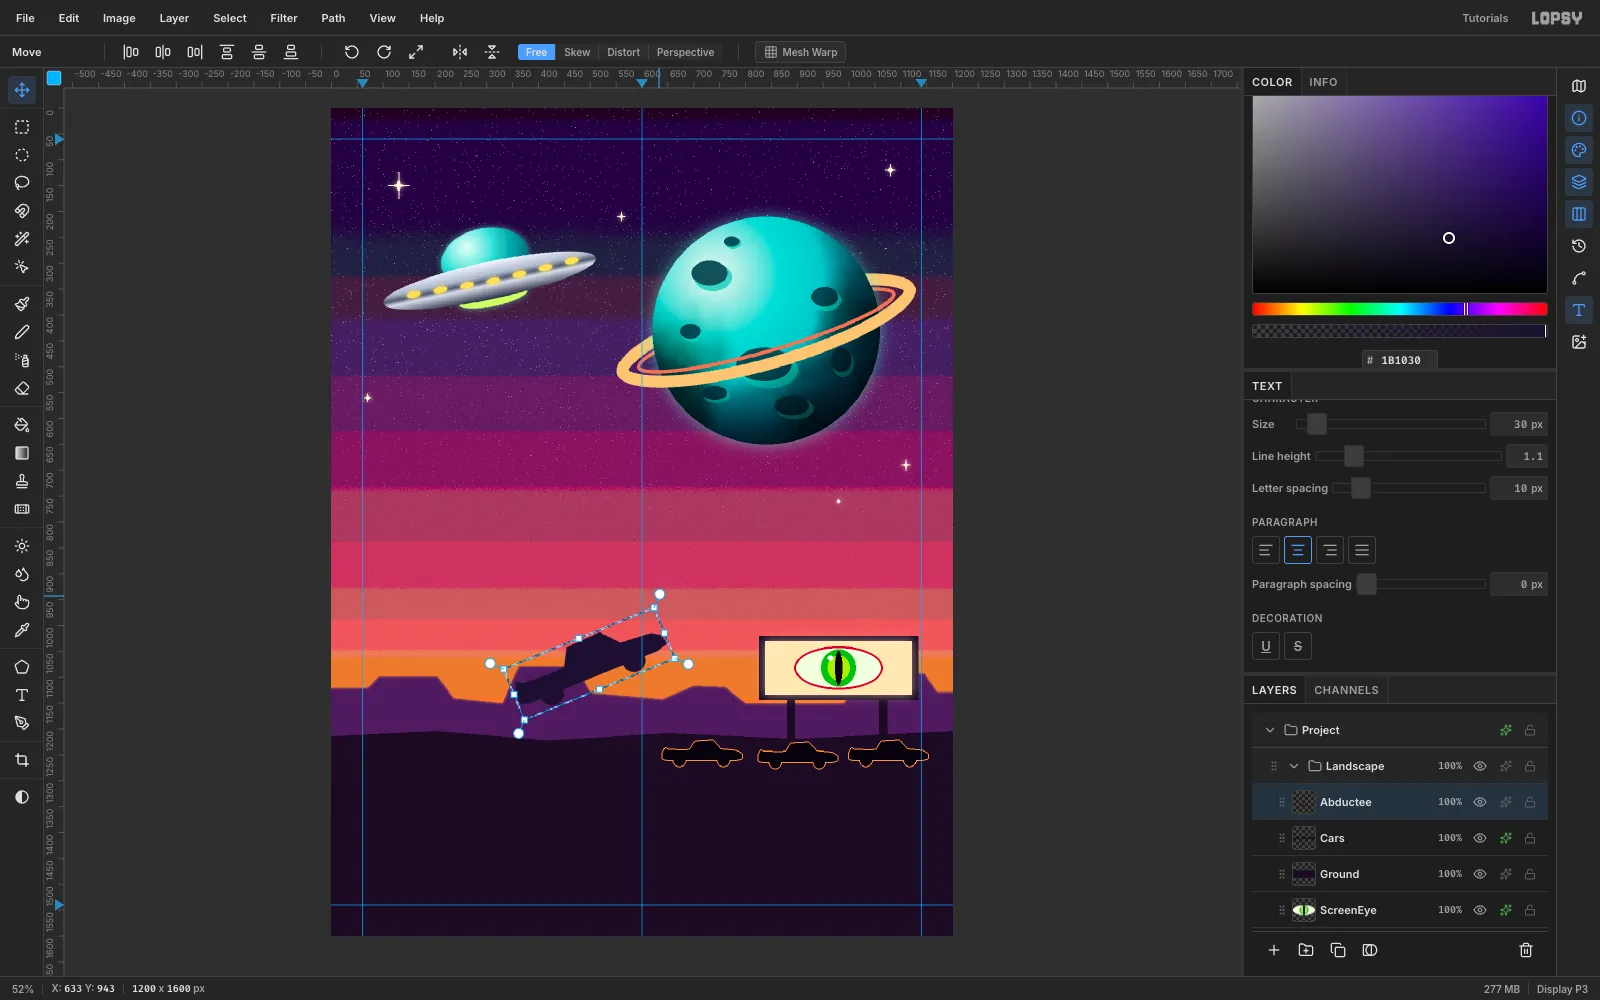
-
Fire the tractor beam
On a Beam layer:
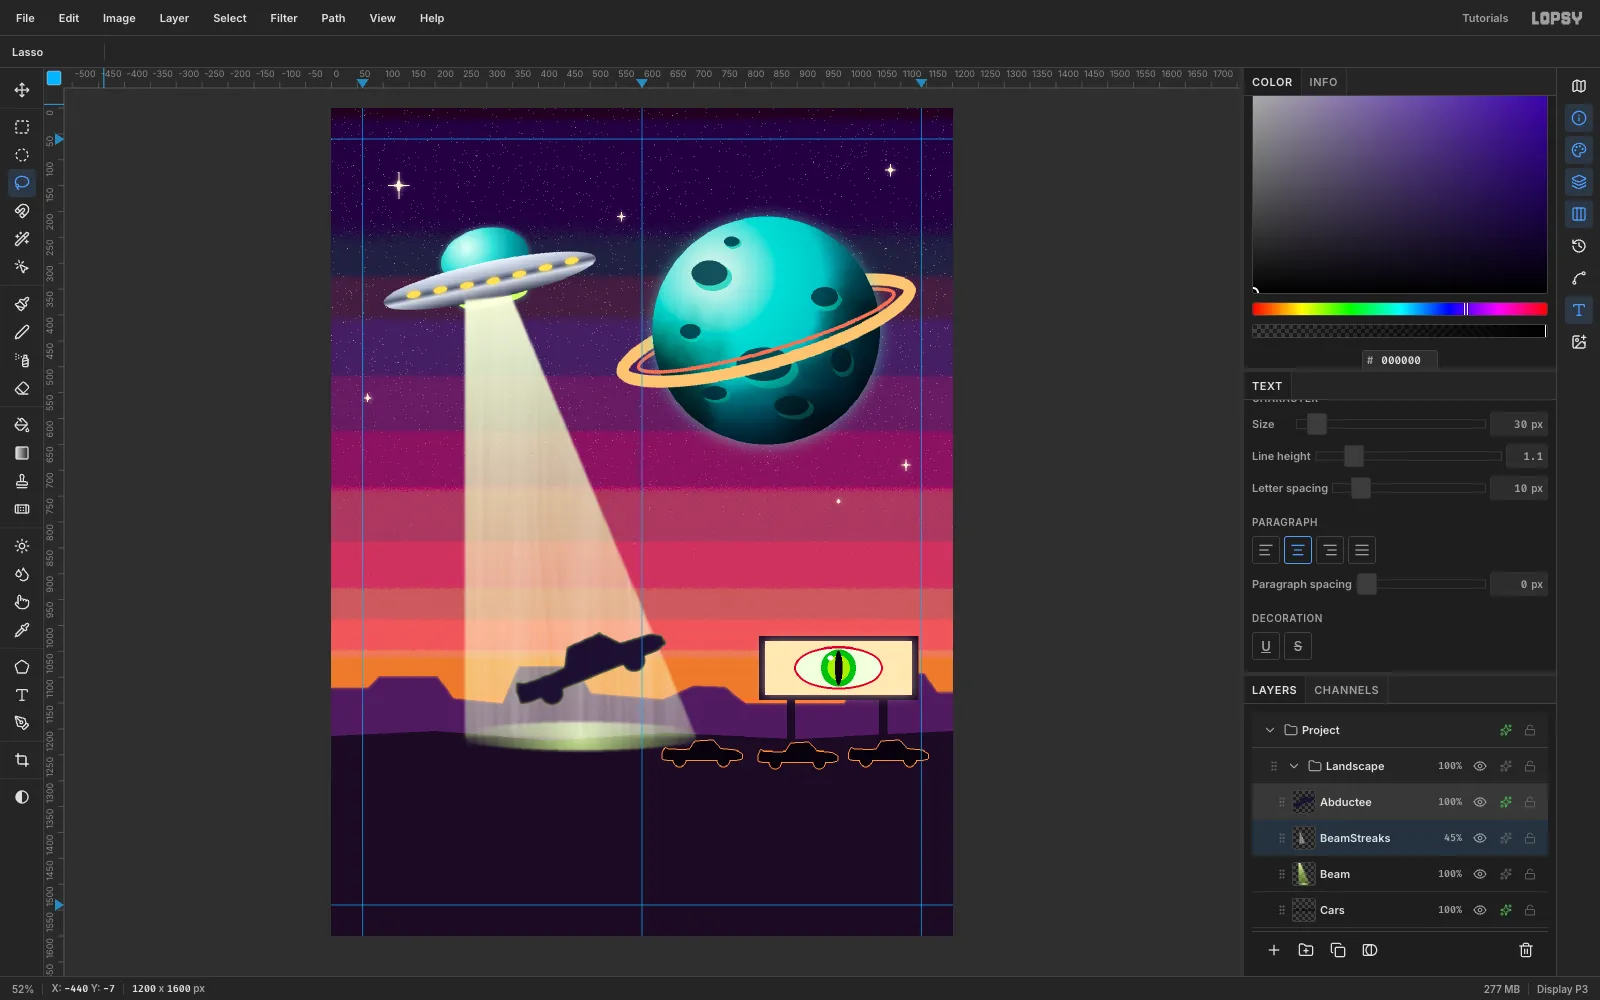
- Lasso a cone from the saucer's underside down to the ground (about x 258 to 704 at the bottom).
- Fill it with a Linear gradient from
#F6FFC0at 95% opacity to#B8FF5Aat 25%. - Add a radial glow ellipse where it hits the ground.
- Run Gaussian Blur at 6 px and set the layer to Screen.
For light streaks, add BeamStreaks. Fill the same cone with black, then run Filter → Fibers (Variance 30, Strength 40) and Motion Blur (Angle 78, Distance 40) along the beam. Set it to Screen at 45%.
Drag Abductee above both beam layers so the car stays a crisp silhouette.
-
Set the title
Create a Title group and drag it above Landscape. Add a raster layer TitleBase inside it, and keep it active whenever you create new text.
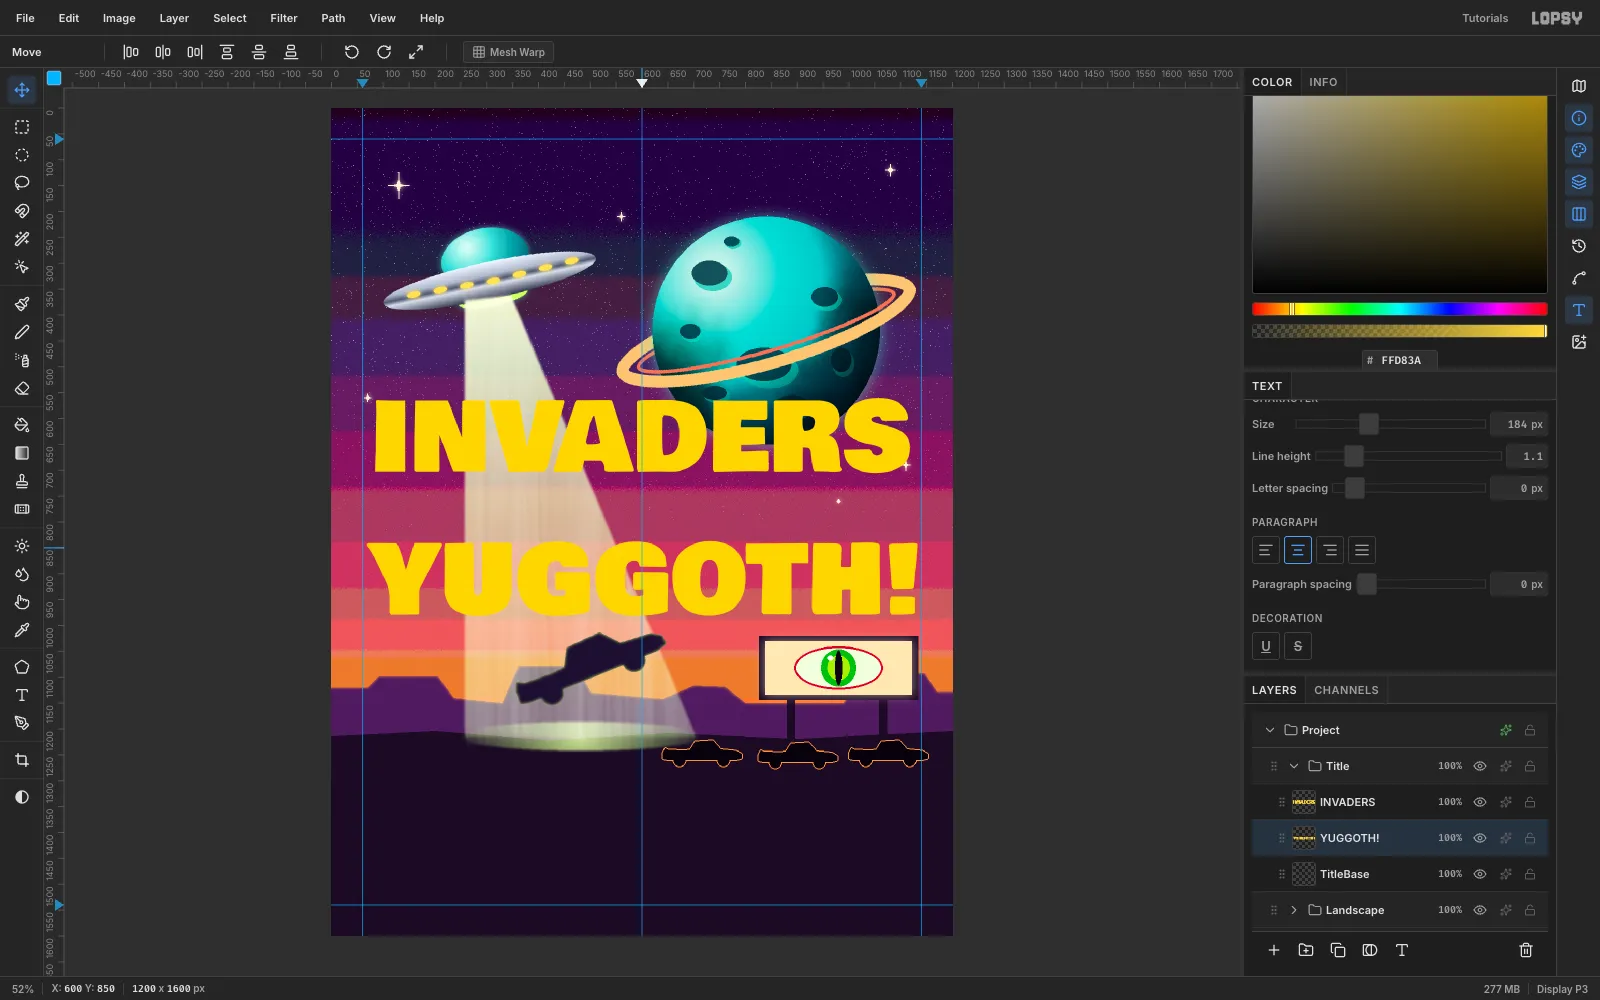
With the Text tool, set Bowlby One SC at 184 px in
#FFD83A. TypeINVADERS, and in a separate layer,YUGGOTH!. Check the Text panel's Letter spacing is 0, because it remembers the last value you used.Centre both lines horizontally with the Move tool:
- INVADERS: glyph tops at y 560
- YUGGOTH!: glyph tops at y 836
-
Make the title recede in perspective
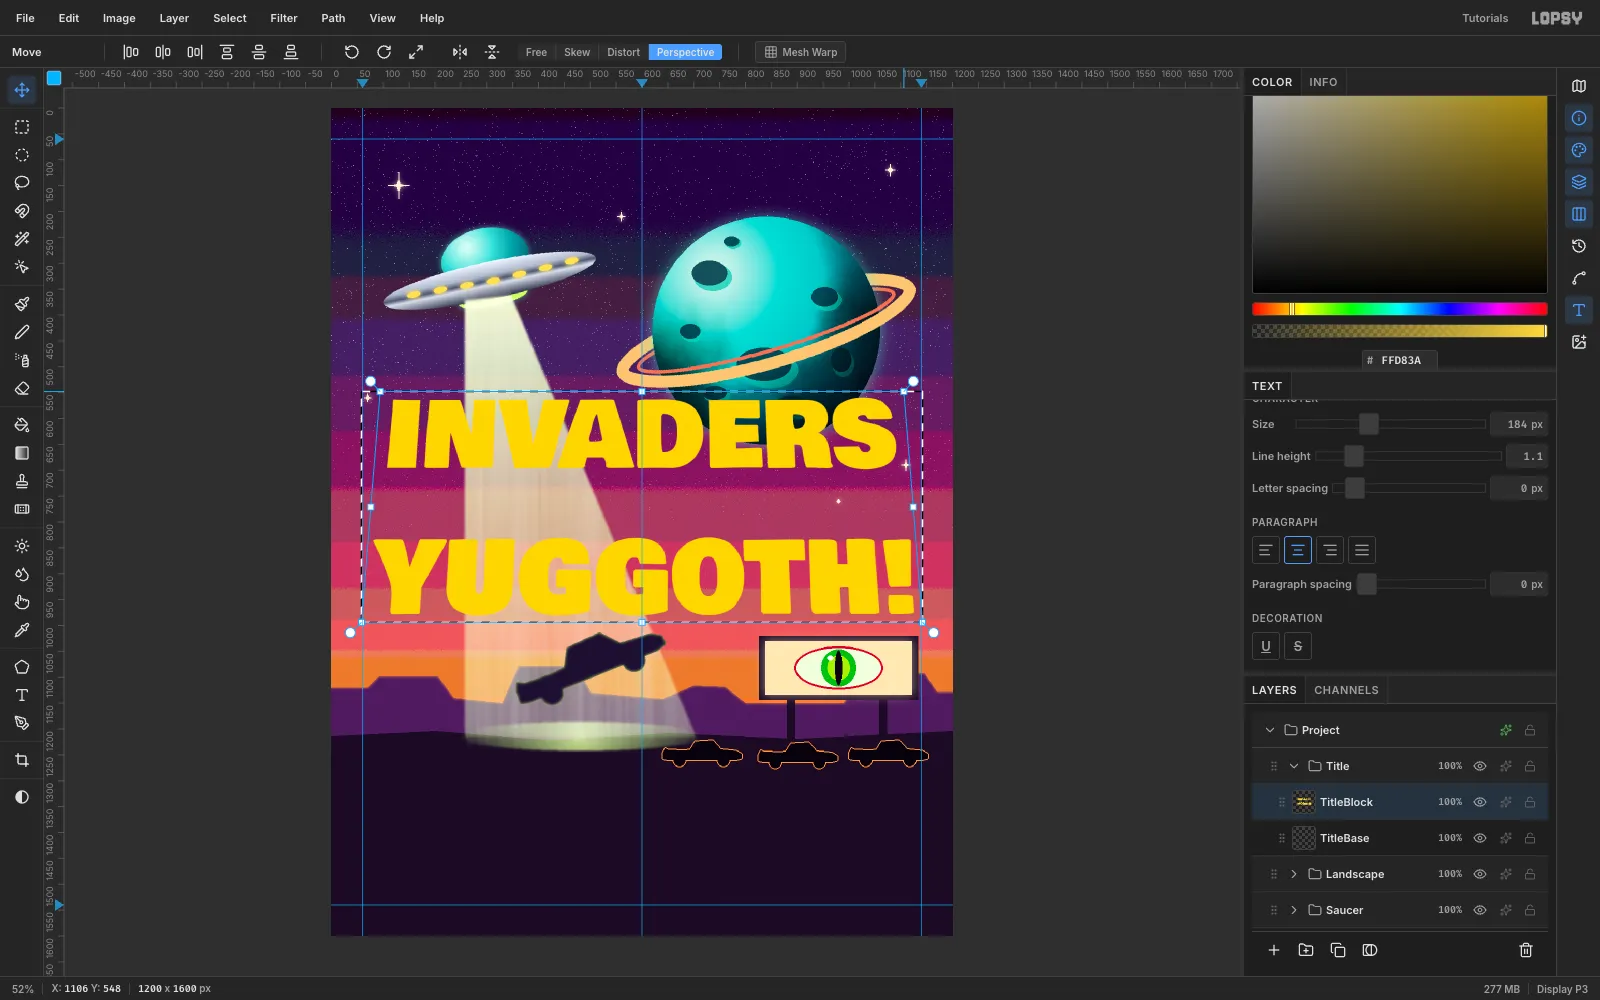
- Click Rasterize Layer on both text layers.
- Merge INVADERS down onto YUGGOTH! and rename the result TitleBlock.
- Marquee the whole block. Switch to Move, click Perspective in the options bar, and drag the top-right corner inward about 36 px.
The top-left corner follows symmetrically, and INVADERS foreshortens as if it were further away. Press Cmd+D to commit.
-
Ink and extrude the title
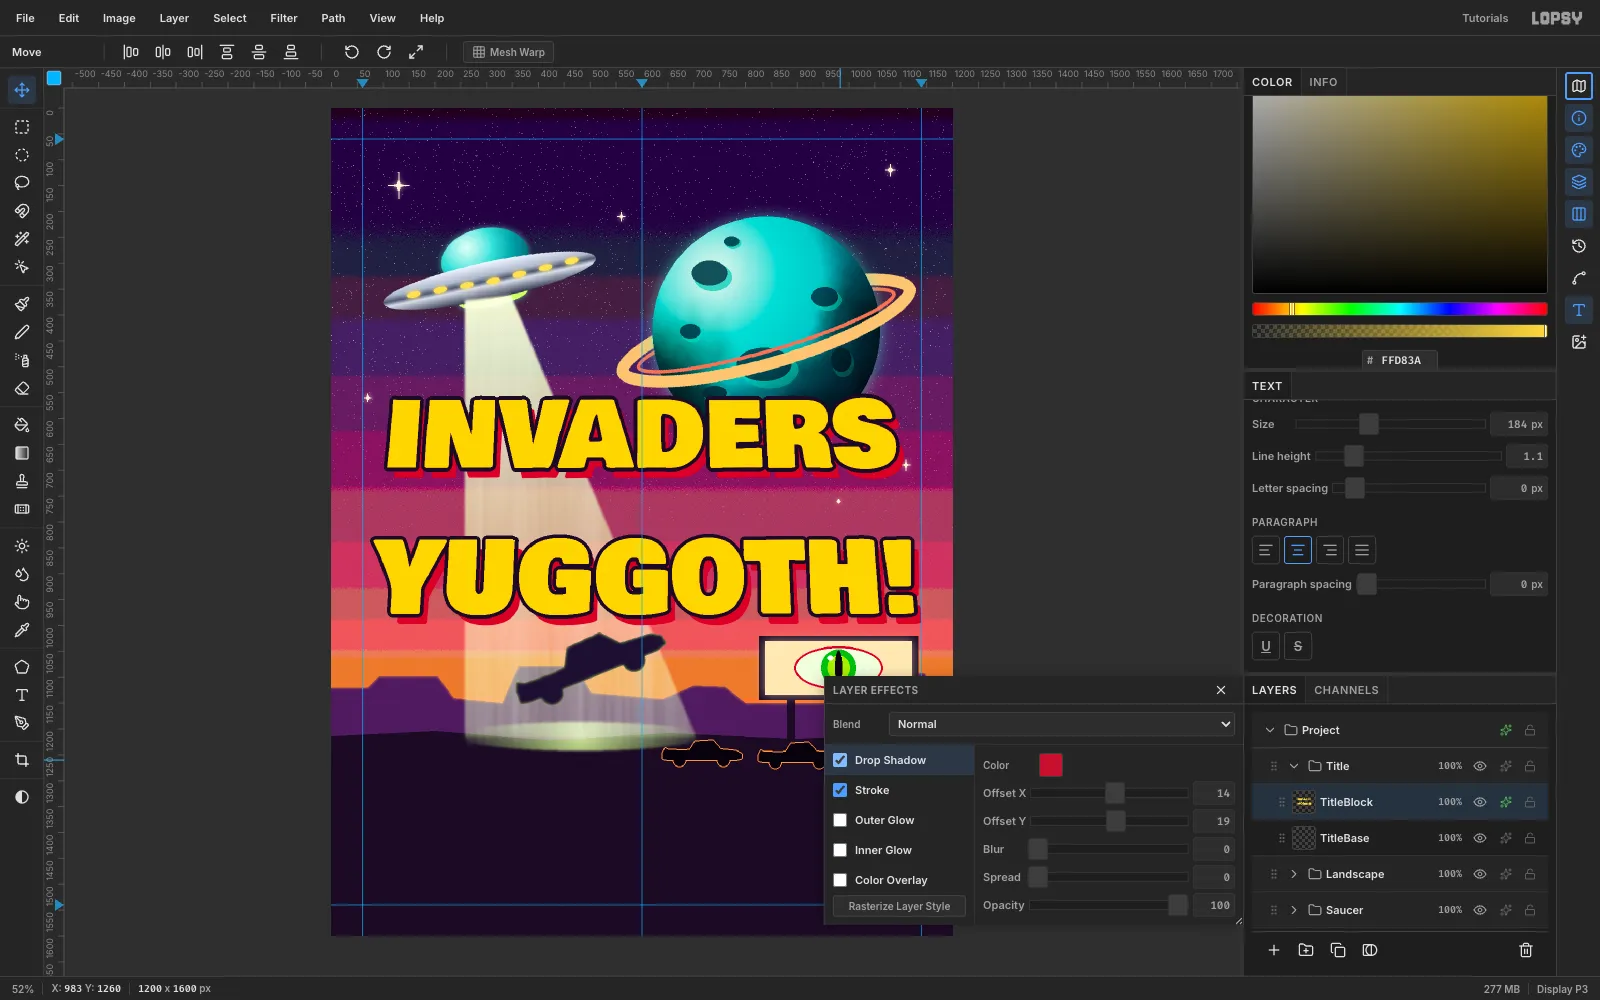
Style the merged block once so both lines match:
- Stroke:
#1A0B24, Width 7 - Drop Shadow:
#C8102E, Offset X 14, Offset Y 19, Blur 0, Spread 0, Opacity 100
The shadow is cast from the glyphs, not the outline. The stroke covers the first 7 px of it, so offset it well past the stroke width to get a chunky extrusion.
- Stroke:
-
Tuck in the script "from"
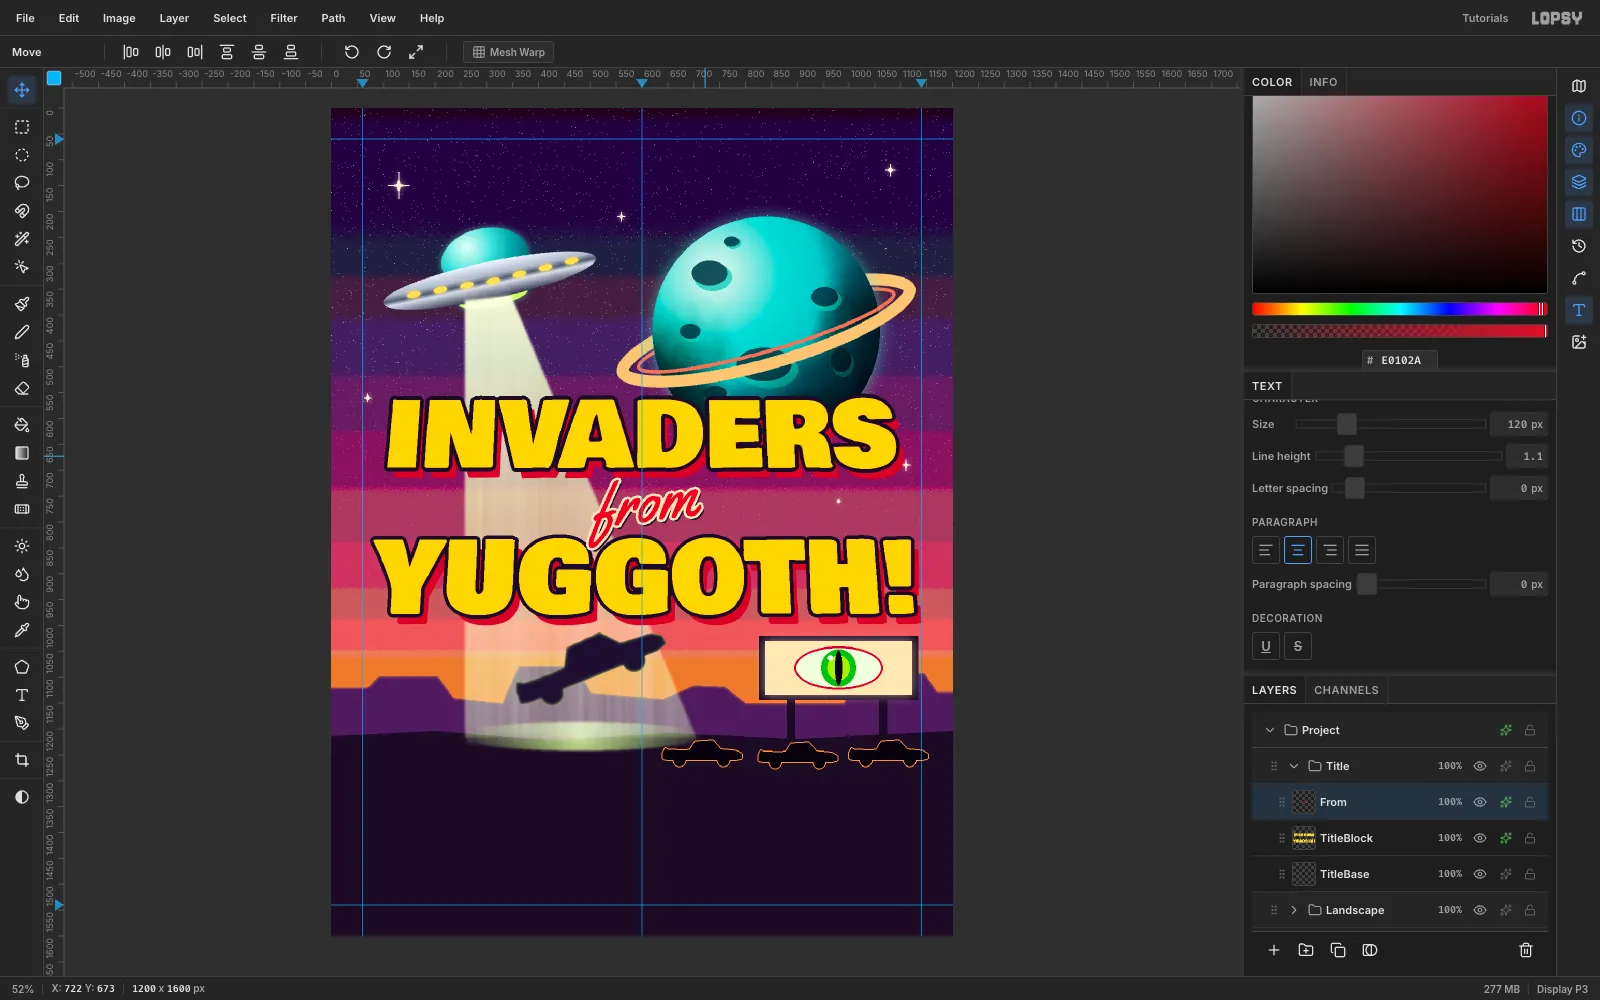
With TitleBase active, type
fromin Yellowtail at 120 px in red#E0102A. Centre it at about (600, 773), in the gap between the lines.Then:
- Rasterize it.
- Add a cream Stroke (
#F4E6C0, 5 px) and a small hard ink Drop Shadow. - Rotate it −8°.
- Drag it above TitleBlock in the Layers panel.
Rasterize rotated text first. A live text layer that you rotate with the Move tool loses the rotation on its next edit.
-
Add a Shock-O-Scope starburst
On a Burst layer under the title, lasso an 18-point star:
- Centre (182, 1140), outer radius 122, inner radius 96
- Fill
#1FA59A, with a darker#14786Fdisc in the middle - Yellow Stroke (5 px) and a hard ink Drop Shadow
Keep the points clear of YUGGOTH's red shadow.
Drag an area text box and type
SEE IT IN / SHOCK-O- / SCOPE!on three lines in Bangers 40 px, centre-aligned, in#FFD83A. Move it until its bounds are centred on the disc. Then Rasterize it, add a 3 px ink Stroke, and rotate it −12°.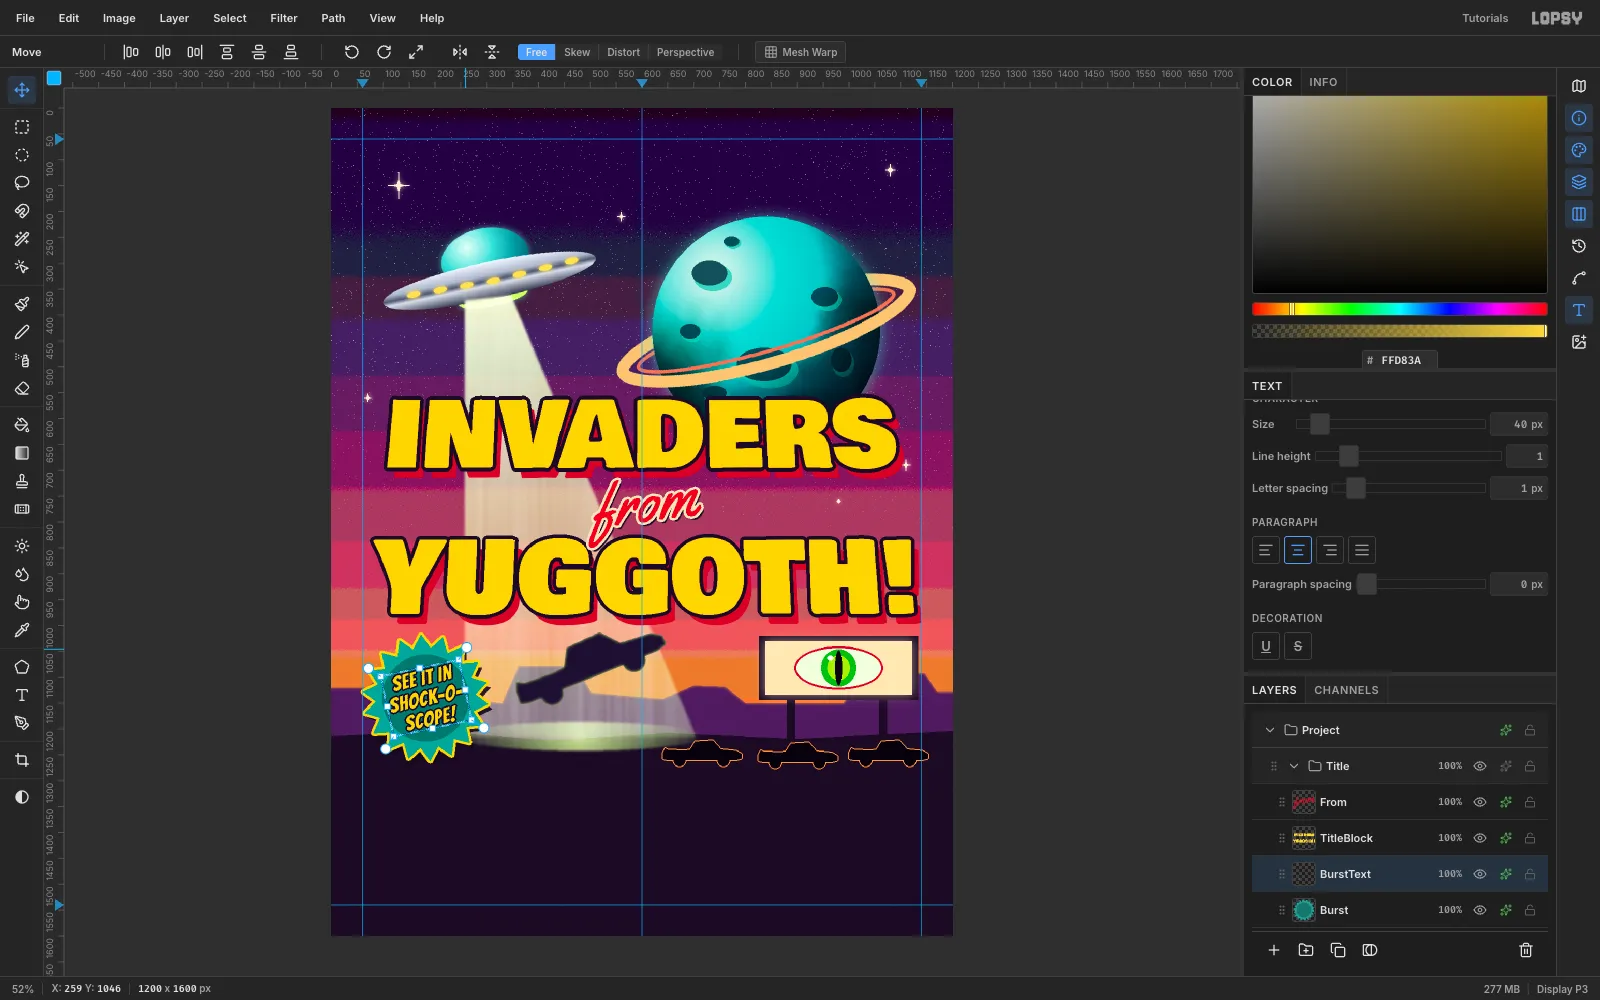
-
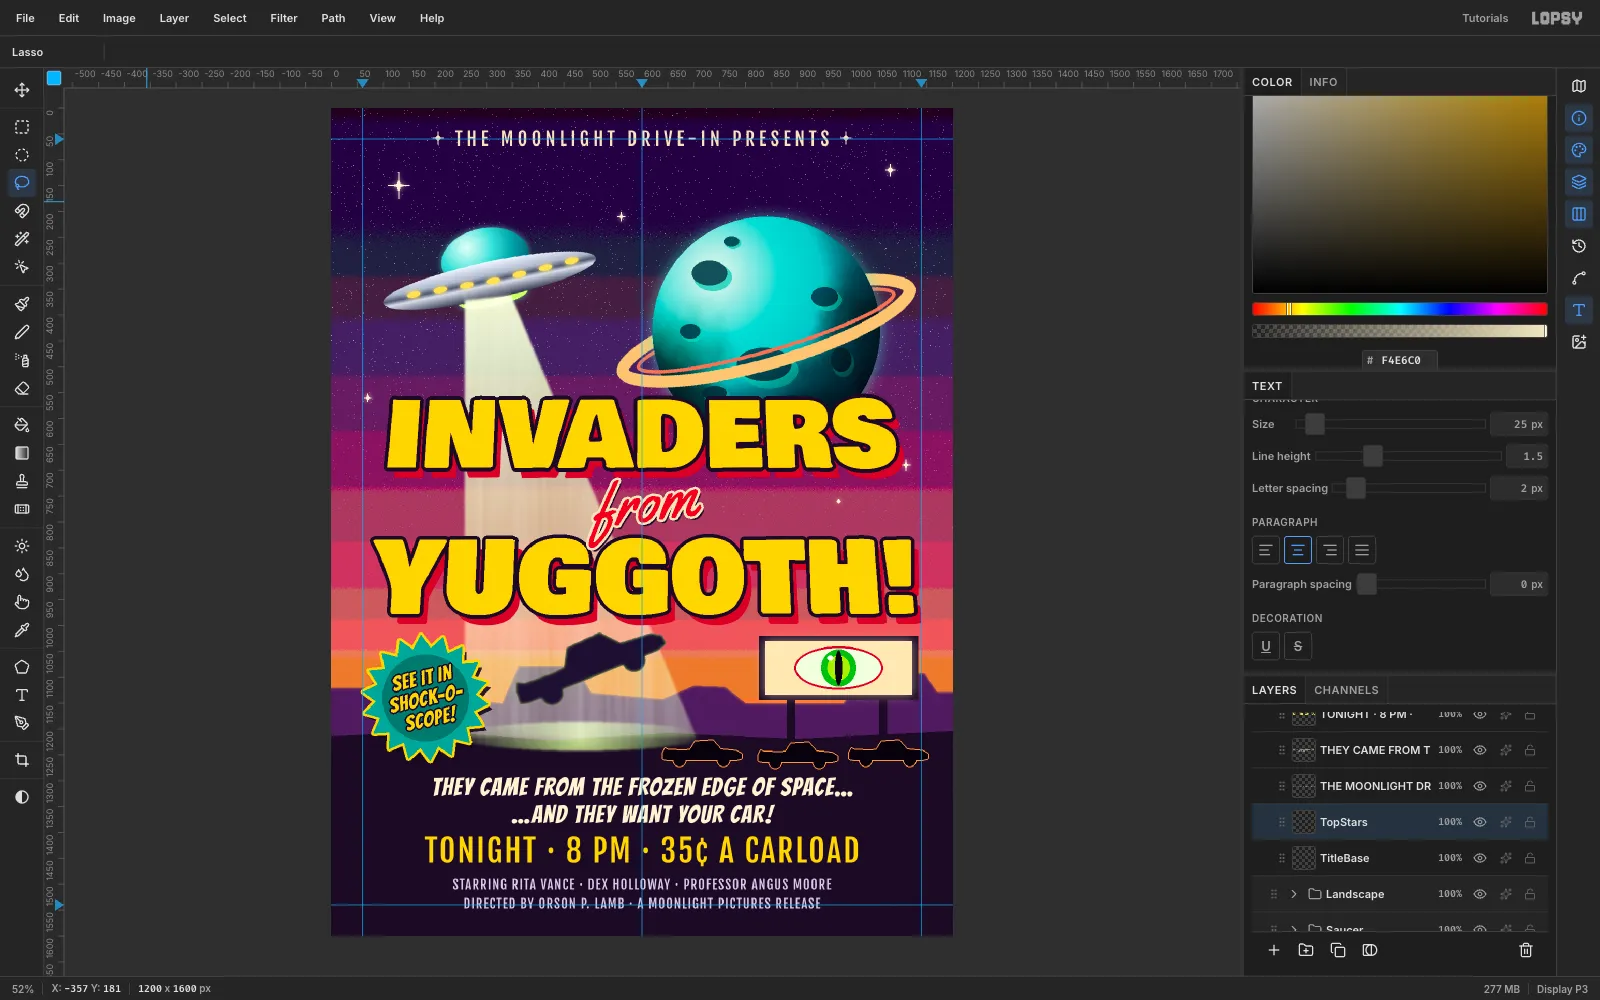
Set the top line and the info block
Use centre-aligned area text boxes that span the safe zone, 60 to 1140:
- Top line: Fjalla One 36 px, letter spacing 8, in
#F4E6C0, flanked by two small lassoed stars. - Tagline: Bangers 48 px in cream, two lines.
- Showtime:
TONIGHT · 8 PM · 35¢ A CARLOADin Fjalla One 60 px in title yellow. - Credits: Fjalla One 25 px, two lines.
Create the lowest text box first and work upward. That way a click never lands inside an earlier text box. Space the blocks evenly, about 24 px apart, and keep the last baseline above y 1540.
- Top line: Fjalla One 36 px, letter spacing 8, in
-
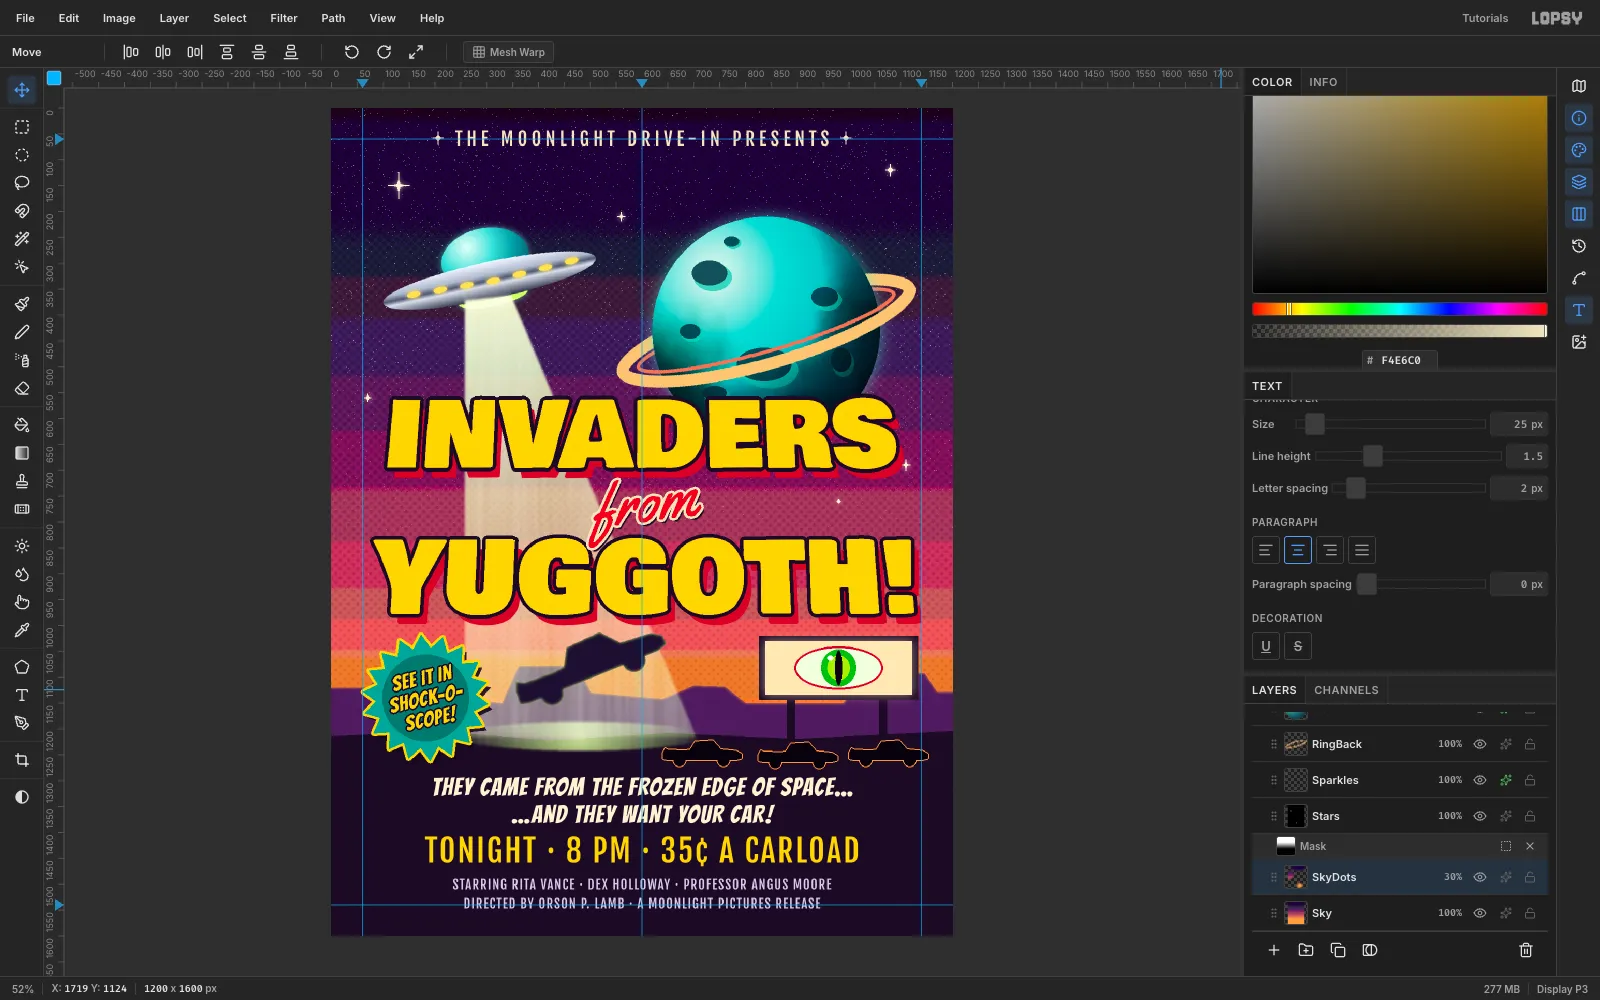
Screen-print the sky with halftone
Duplicate Sky as SkyDots and make sure it sits exactly at 0, 0. Run Filter → Halftone… with Dot Size 12, Angle 45 and Softness 1, then set it to Multiply at 30%. The dots read as coarse printing without fighting the art.
-
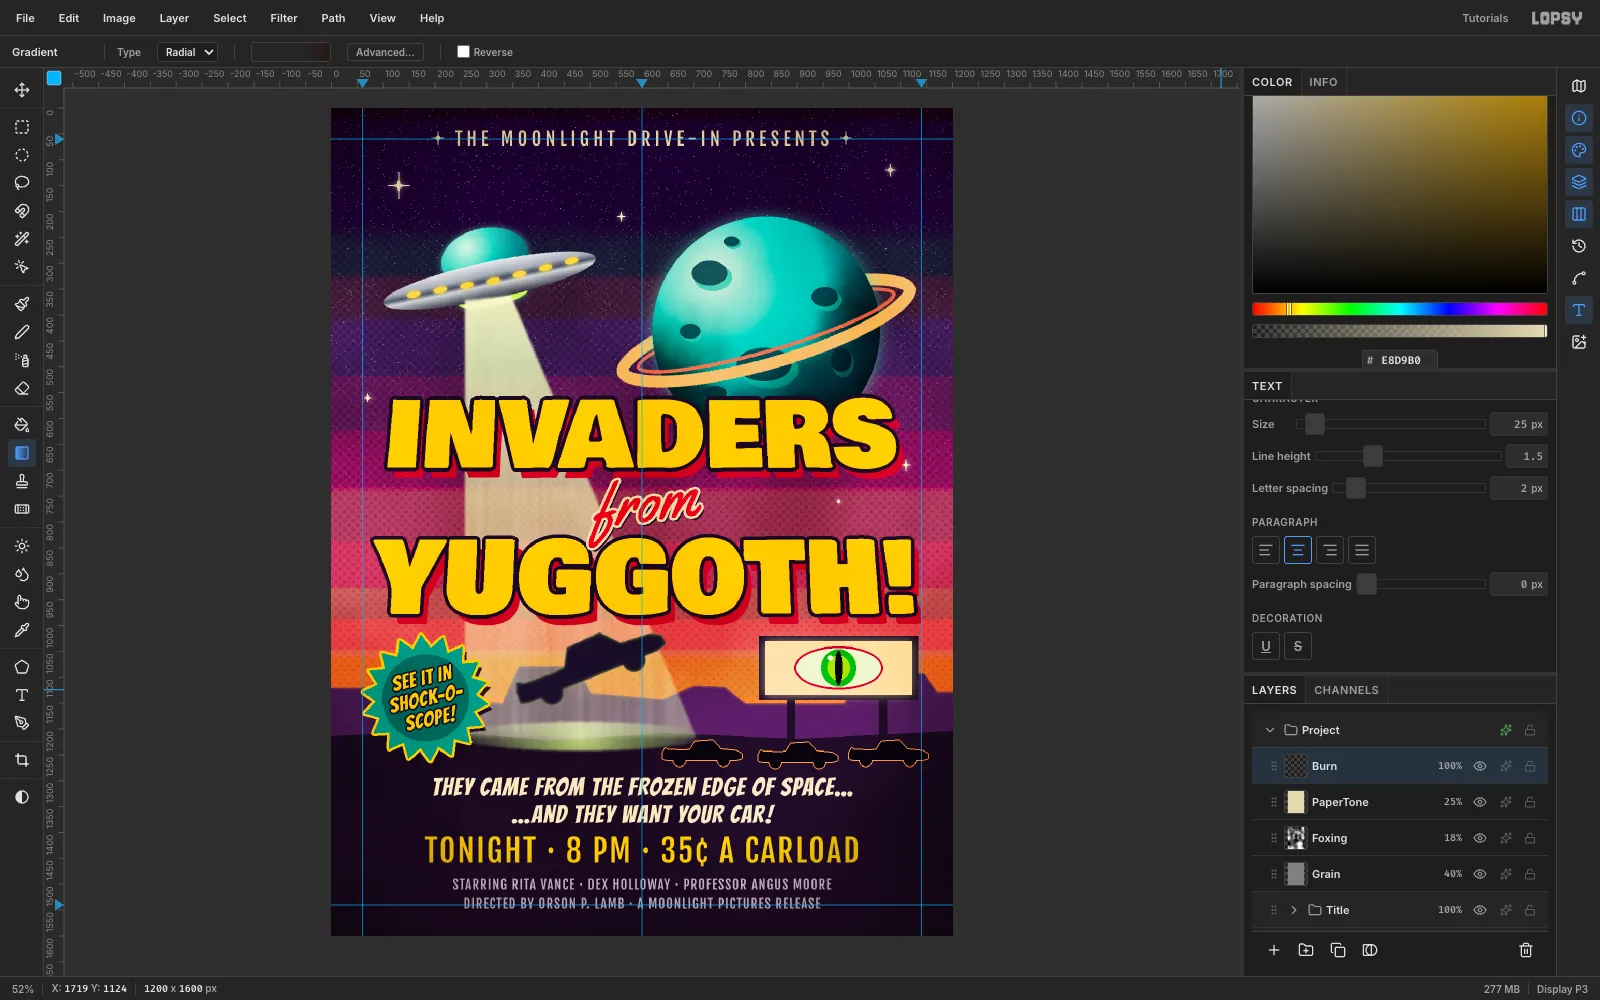
Age the paper
Stack these layers at the very top of the document, above the Title group:
- Grain: mid-grey fill, Add Noise 30 (Mono, Uniform), Overlay at 40%.
- Foxing: Filter → Clouds (Scale 4), Overlay at 18%.
- PaperTone: fill with cream
#E8D9B0, Multiply at 25%. - Burn: a Radial gradient from the centre outward, transparent to 62% and then
#2A1004at 60% at the edges, set to Multiply.
-
Fold it
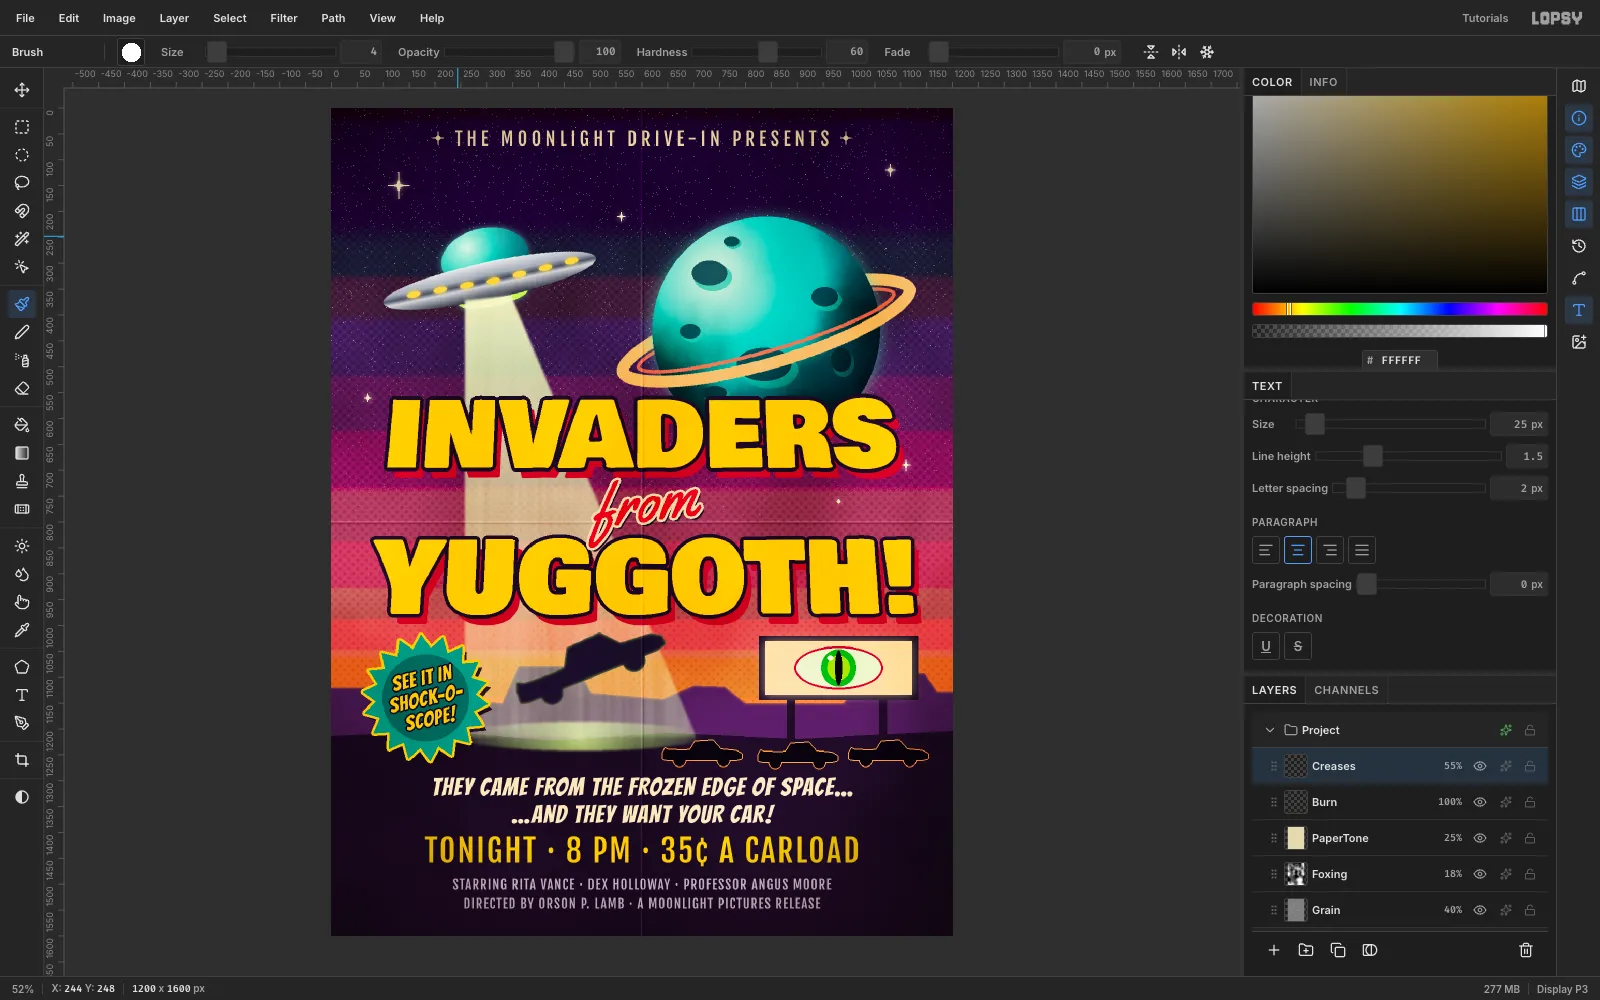
On a Creases layer, draw two 4 px Brush lines in black just right of the centre (x 603 and y 803). Draw two in white just left of it (x 599 and y 799). Run Gaussian Blur at 2 px and set the layer to Soft Light at 55%. It looks as if the flier spent a summer folded in quarters.
-
Refine the layout
Step back and check every element against the guides:
- Top line and stars: nudge down 18 px so their caps sit inside the safe zone.
- Badge: nudge both layers 15 px right.
- Showtime and credits: nudge up 6 and 12 px so the credits end at y 1535.
- Credits colour: add a cream
#E2D3AAColor Overlay so they read on the dark ground. - Cars: move up 40 px onto the horizon, so they read as silhouettes against the mesas. Lasso a purple
#4A3560window into each. On a Taillights layer, add red#FF2A3Adots with a red Outer Glow.
Hide the guides with View → Show Guides and export with File → Quick Export PNG.
A known issue to avoid: pressing Cmd+C on one layer and then clicking certain other layer rows can erase the clicked layer. It's being tracked in issue #964. Until it's fixed, paste straight after copying, and save your project often.