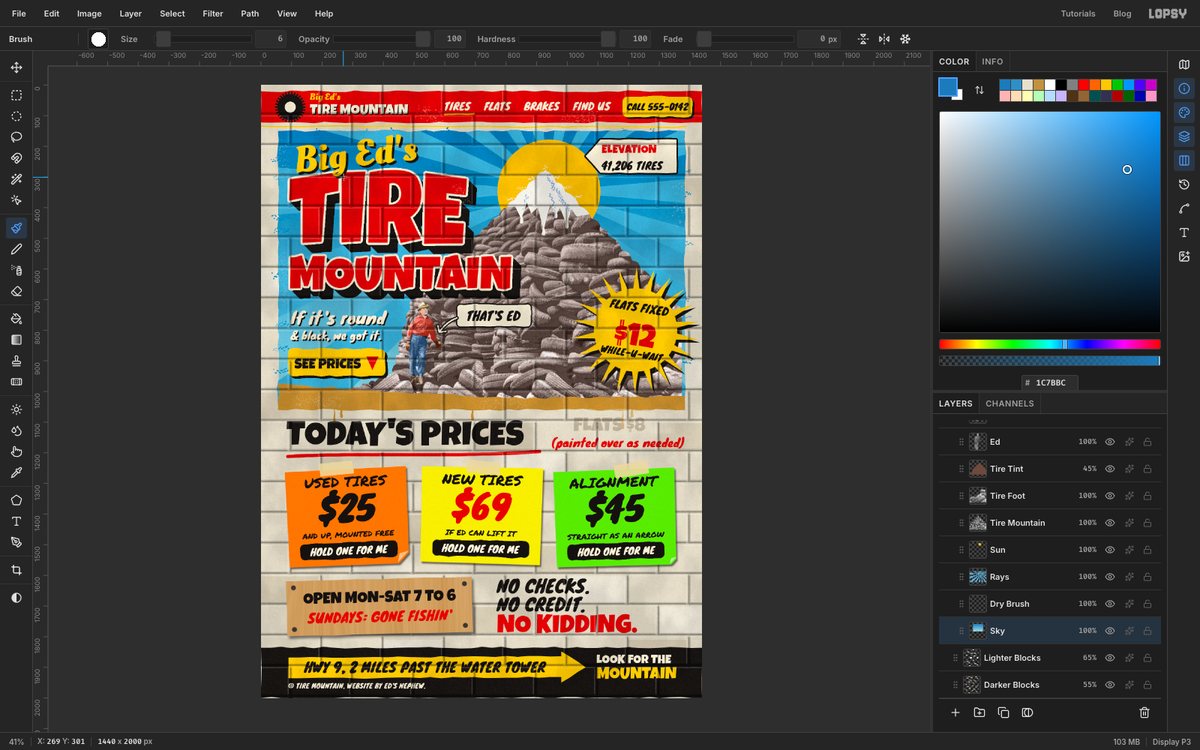
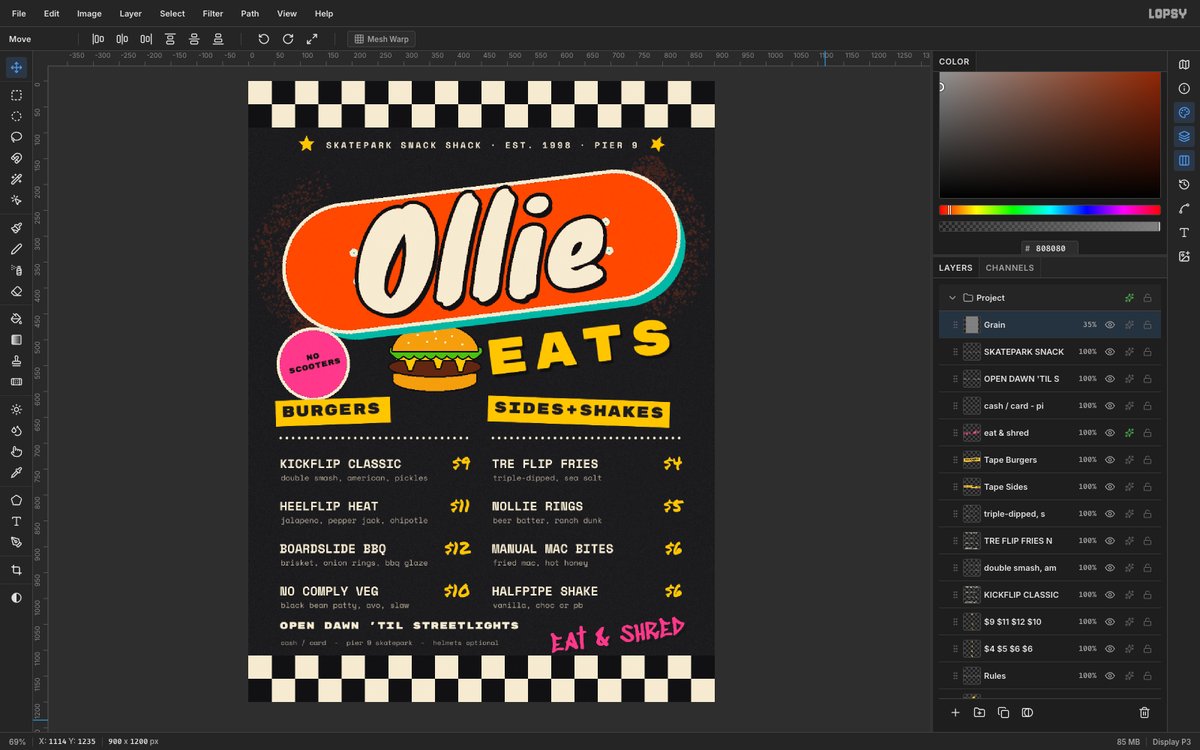
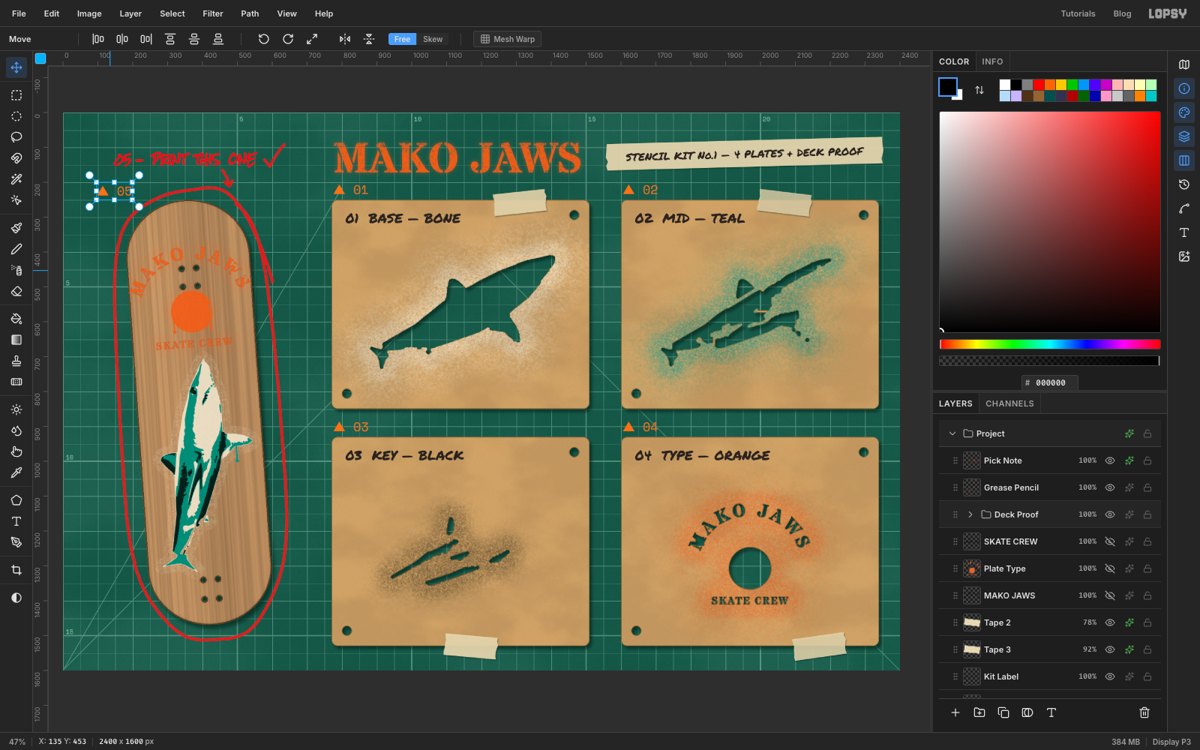
Design a Skate Brand Website Landing Page
Design a skate-graphic landing page in Lopsy with a screen-printed skater over a lime moon, an empty desert pool, deck product cards and a slanted ticker.
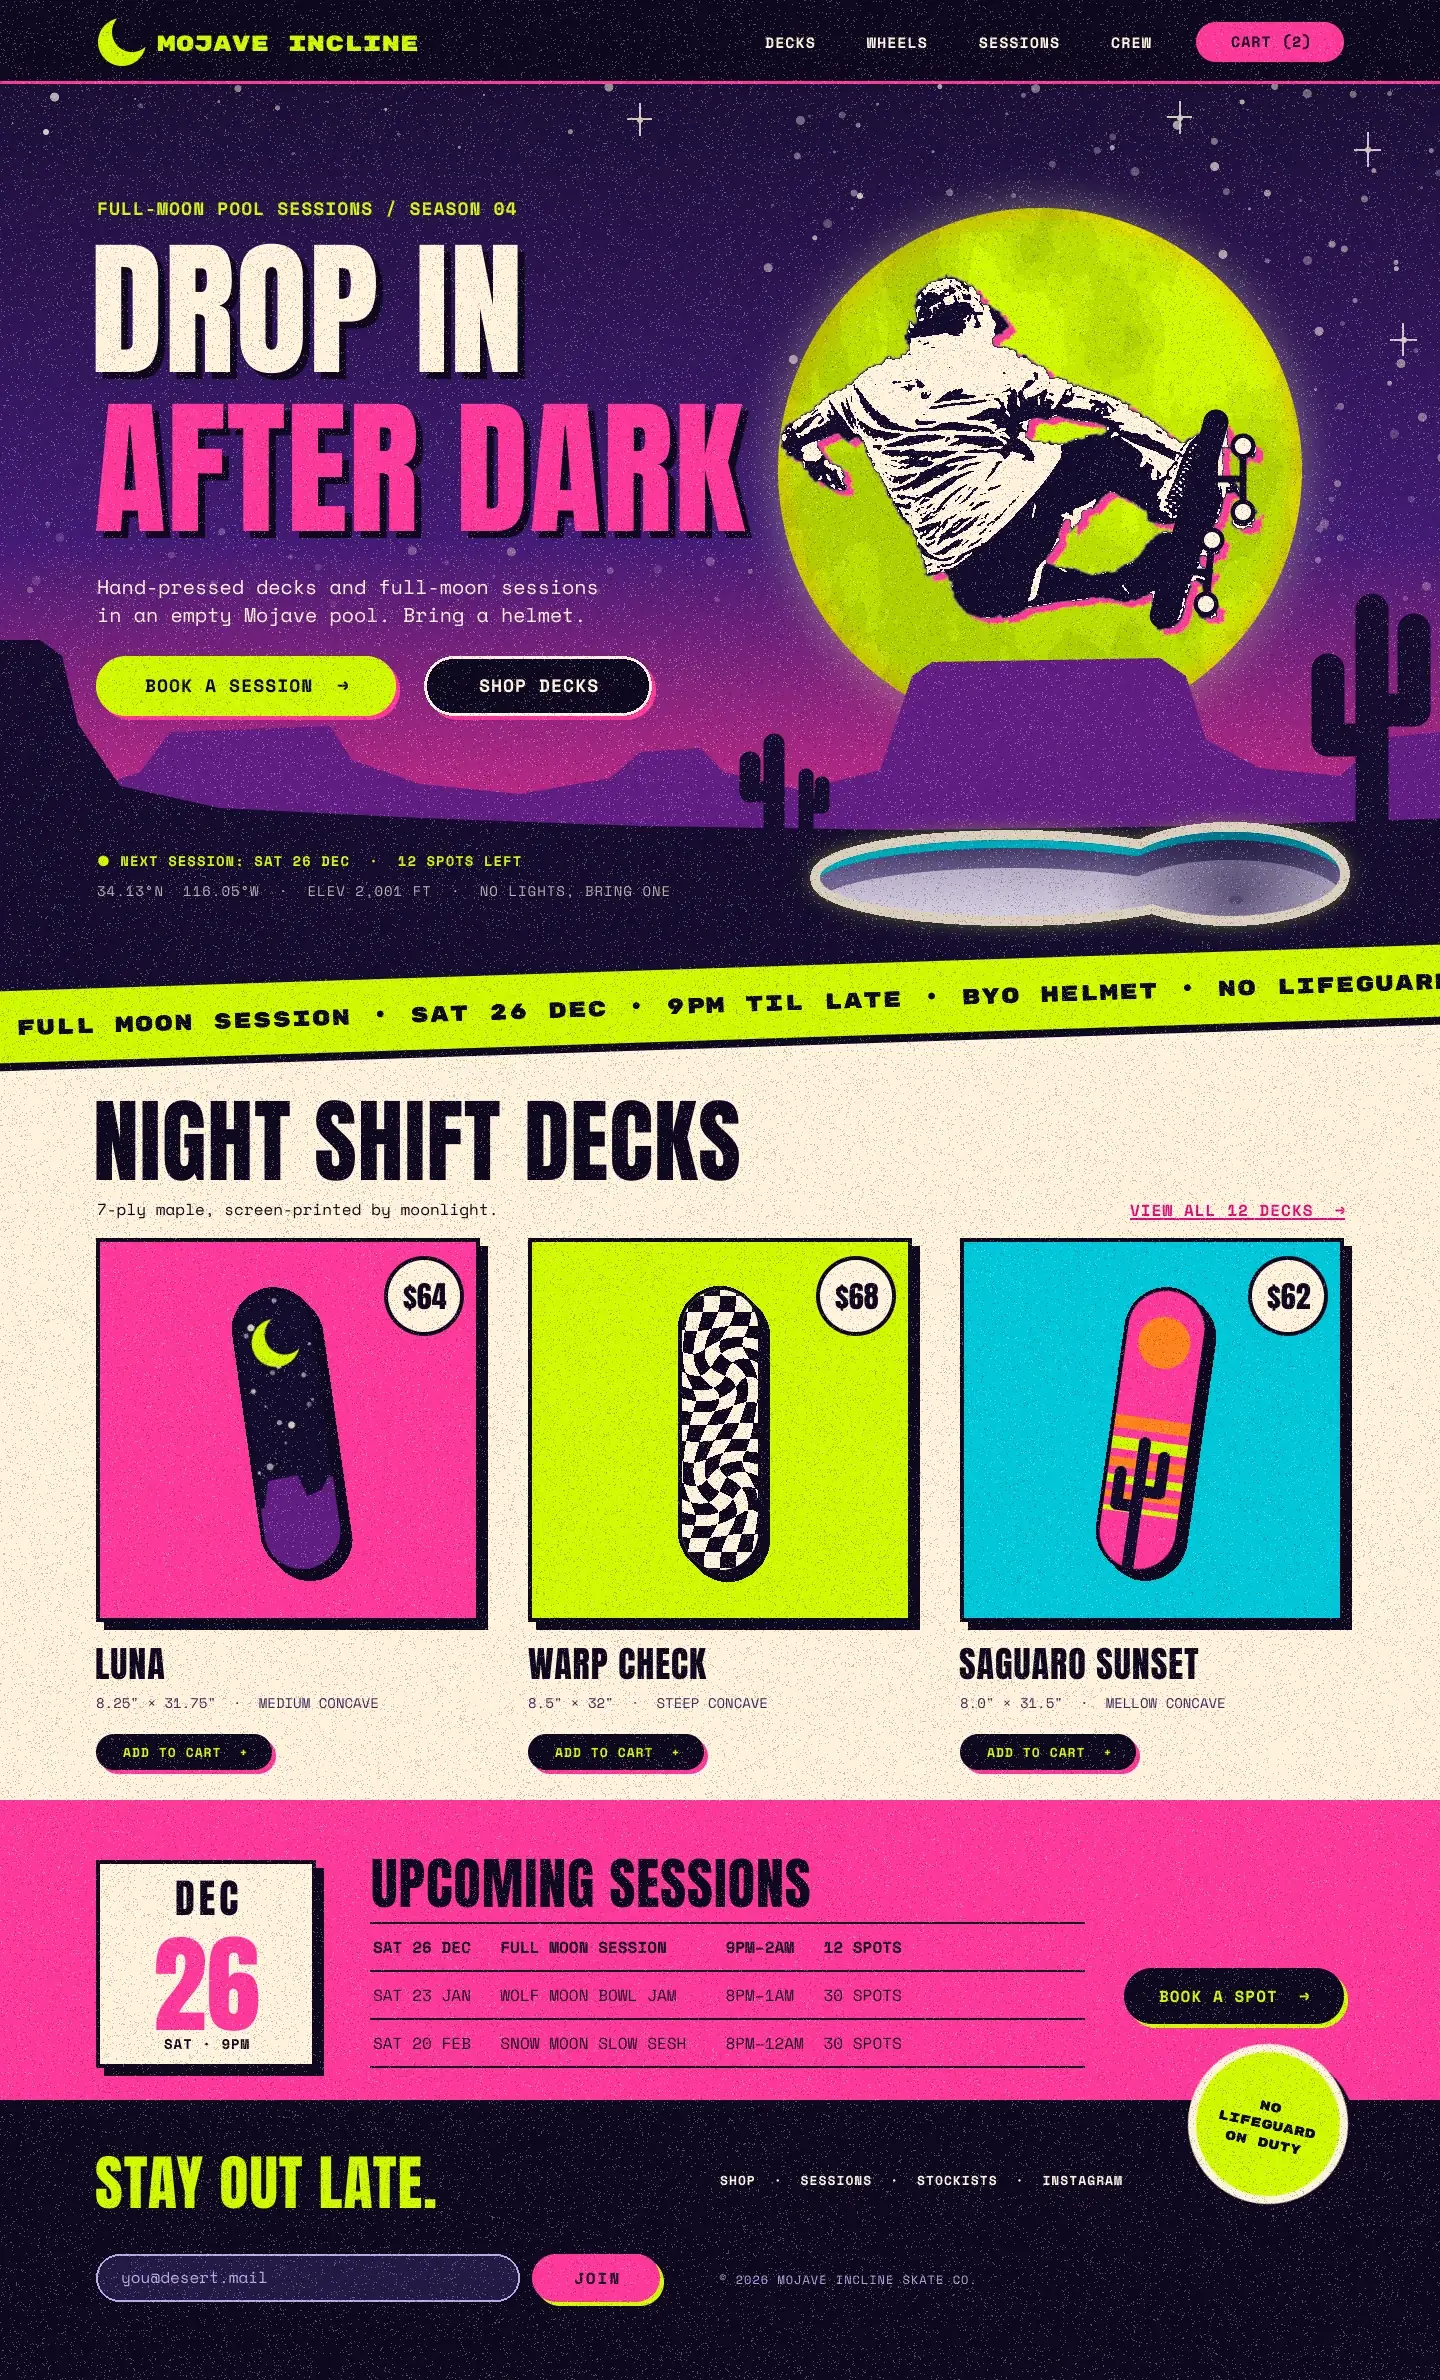
This tutorial makes a 1440 × 2380 px landing page mockup for an imaginary skate company, Mojave Incline. It sells hand-printed decks and runs full-moon sessions in an empty desert pool. The look borrows from skate graphics. There's flat screen-print colour and a photo turned into night ink and cream, with a slightly off-register pink plate behind it. Hard offset shadows, round stickers and a slanted ticker band finish it off.
Along the way you'll use the Gradient tool, the Spray tool, a layer mask, Clouds and Posterize, the Pen, the Lasso, the Magic Wand, Threshold, Move-tool scale and rotate, Align, grid snapping, Define Pattern with Liquify, copy and paste-in-place, Group Layers and Add Noise.
The photo is Frontside air by NOTPOOP on Wikimedia Commons, licensed CC BY-SA 4.0. Download the 1,280 × 1,920 preview from the file page. The skater is shot against a plain cloudy sky, which makes the cut-out easy.
The fonts are free Google Fonts in Lopsy's font picker. Anton is for headlines, Rubik Mono One for the logo, ticker and sticker, and Space Mono for everything small.
The palette:
-
Night sky
-
Nav ink
-
night ink
-
Moon lime
-
moon glow
-
rim orange
-
Hot pink
-
teal
-
cream
-
Mesas
-
desert floor
-
Pool concrete
-
far wall
-
tile
-
coping
-
Lilac small print
-
email field
-
Link pink
-
spec ink
-
pool shade
-
Set up the page
Open Lopsy. In the New Document dialog, set Width to
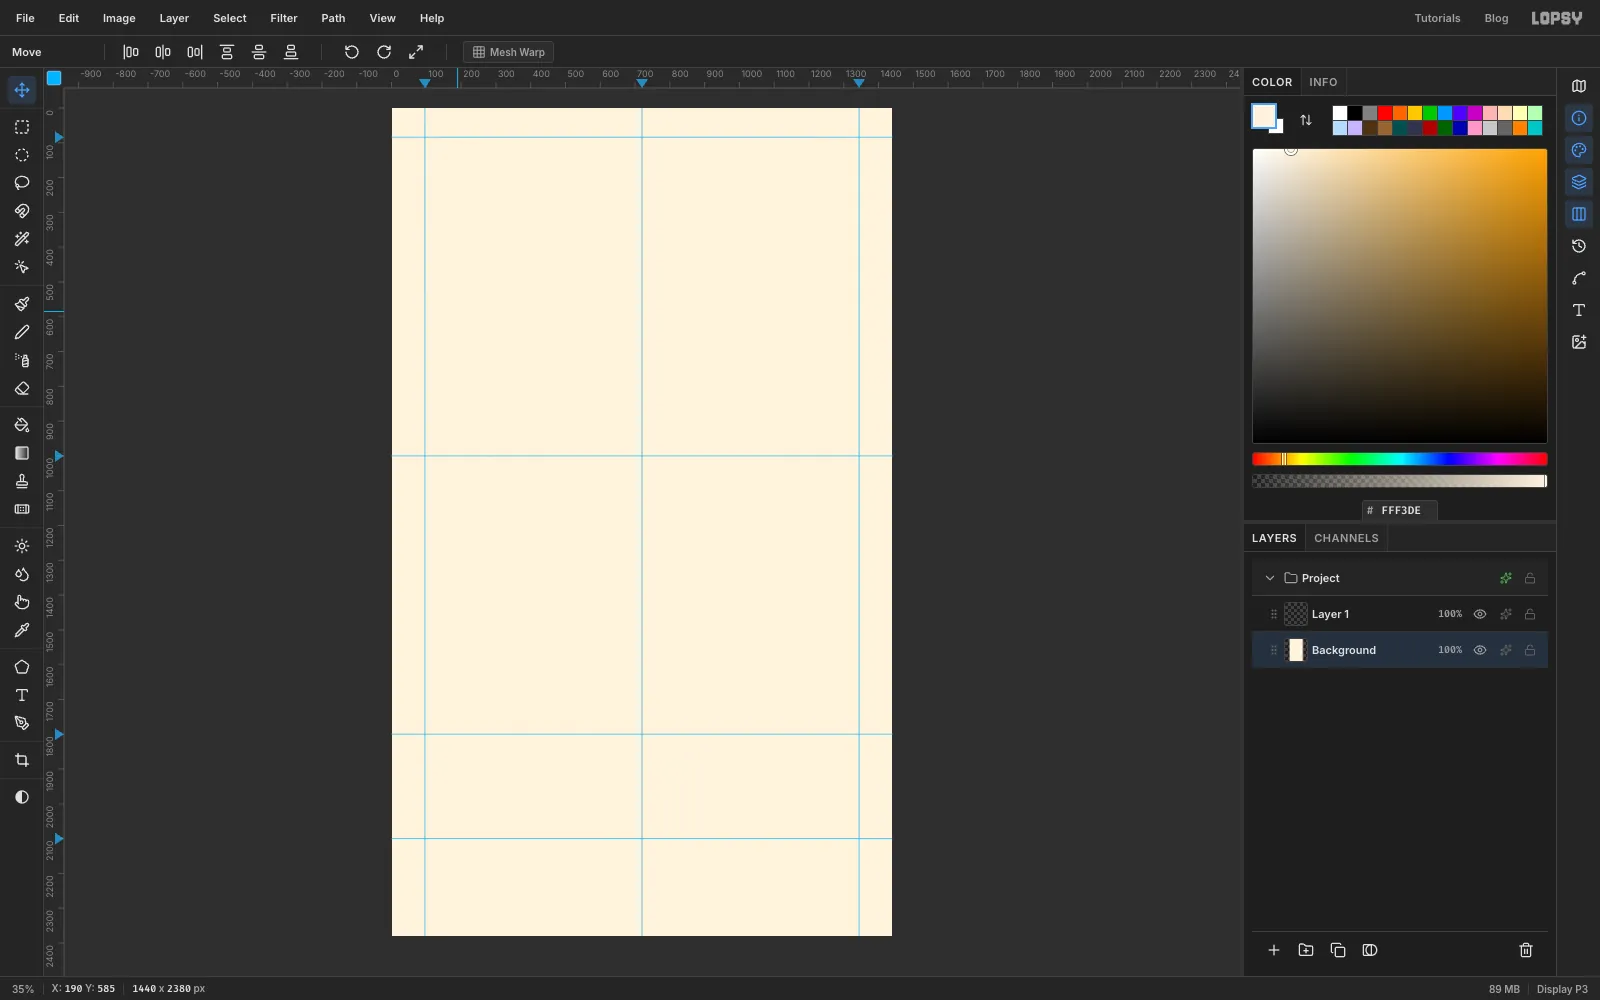
1440and Height to2380, then click Create.- Click the
Backgroundlayer. TypeFFF3DEinto the hex field of the Color panel and choose Edit → Fill. The cream is the deck section's paper. - Click the top ruler at
96,720and1344. These are the left margin, the centre and the right margin. - Click the left ruler at
84,1000,1800and2100. They mark the bottom of the nav, the hero, the deck section and the sessions band. - Choose View → Snap to Guides to turn it off. You'll draw a lot of small circles near these guides, and you don't want their edges jumping onto them.
- Click the
-
Paint the night sky
- Double-click
Layer 1and rename itSky. - With the Rectangular Marquee (M), drag from
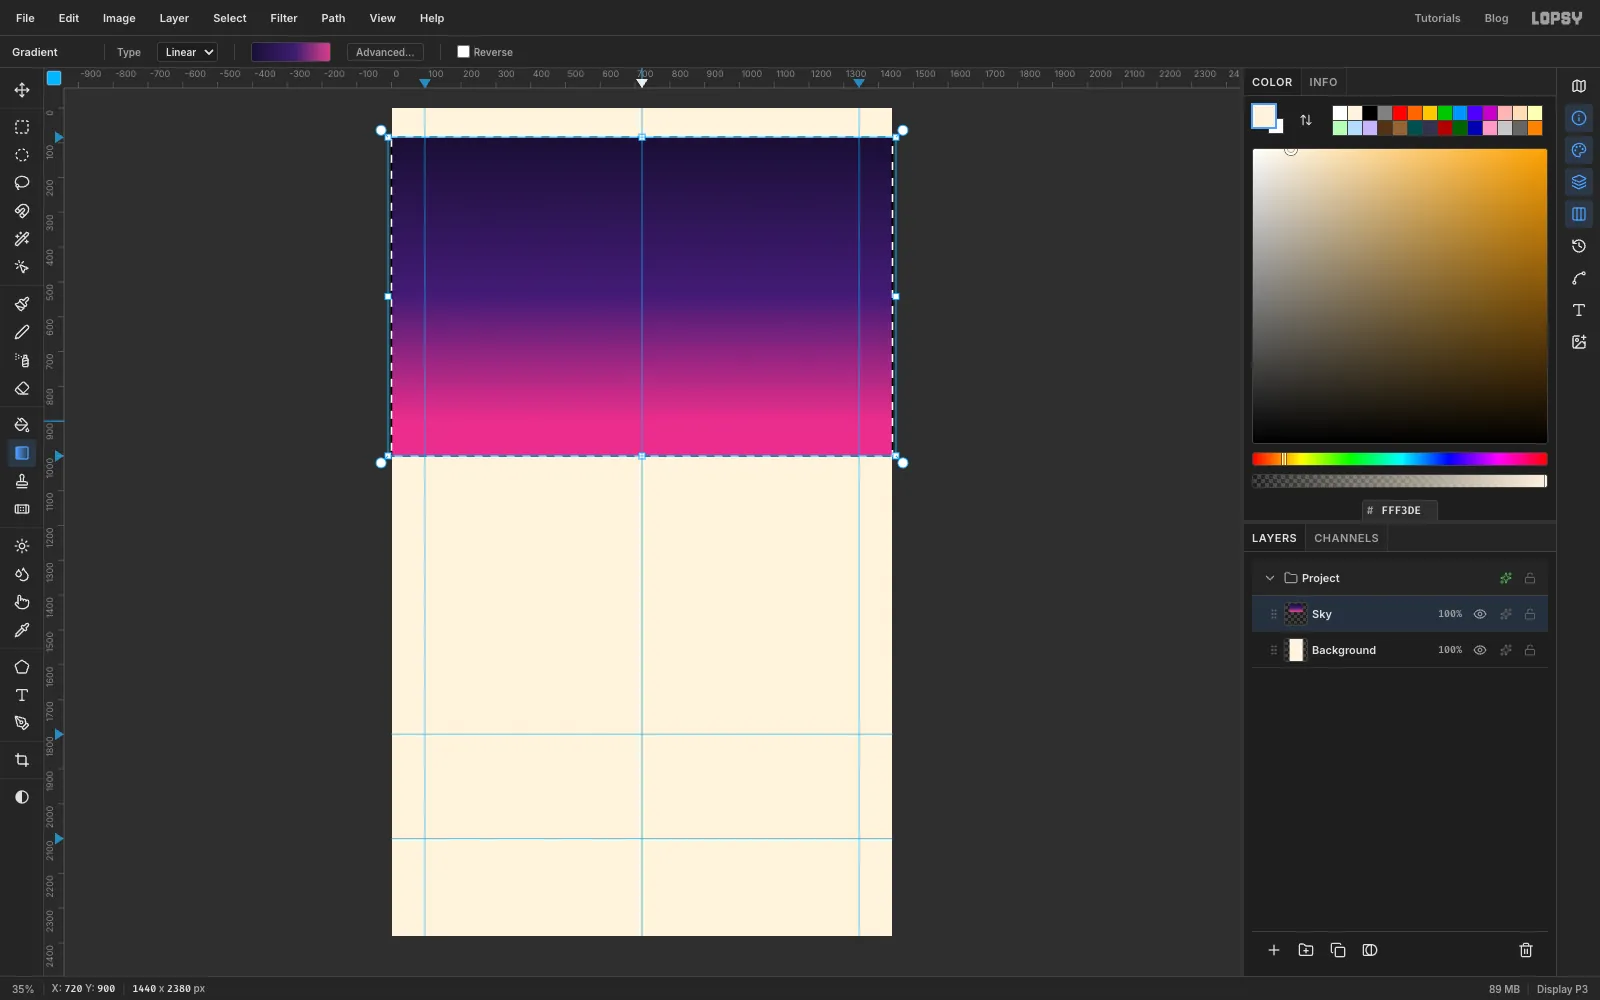
-20, 84to1460, 1000. Starting off the canvas makes sure the edges are covered. - Pick the Gradient tool and set Type to Linear. Click Advanced…. Set the left stop to
1A1036and the right stop toD8418A. Click the bar at about 55% to add a stop and set it to3E1D72. Click Done. - Drag straight down from just under the nav line (
720, 104) to720, 900. Press Cmd+D.
The hottest pink sits low, where the sun has just gone down.
- Double-click
-
Spray a field of stars
- Click the Add Layer button at the bottom of the Layers panel and name the new layer
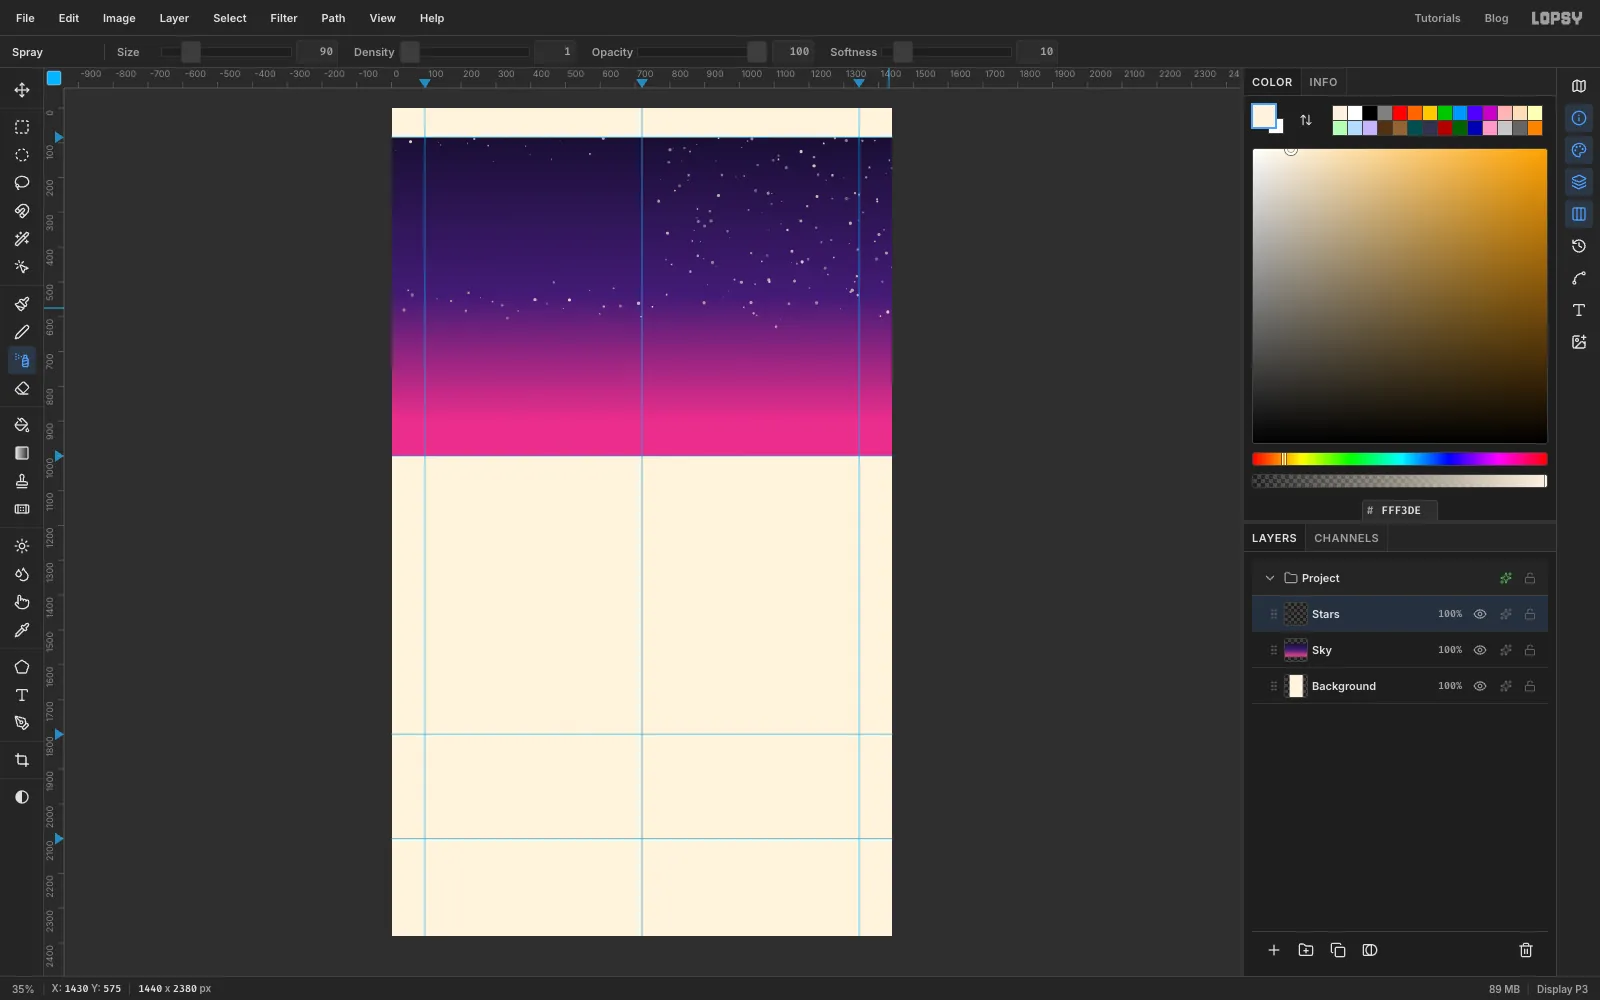
Stars. - Pick the Spray tool (J). Set Size
90, Density1, Opacity100and Softness10. Set the foreground toFFF3DE. - Sweep quick zigzags across the top of the sky. Lower down, between
y 170and560, only spray right ofx 790. The headline will sit on the left, and stars behind it would make it noisy.
Keep the strokes quick. If you linger, the Spray keeps spraying and the stars clump.
- Click the Add Layer button at the bottom of the Layers panel and name the new layer
-
Add bright stars and fade them out
- Pick the Brush (B) at Size
7, Hardness100. Click about eight brighter stars. Keep them outside the headline zone. - Pick the Pencil (N) at Size
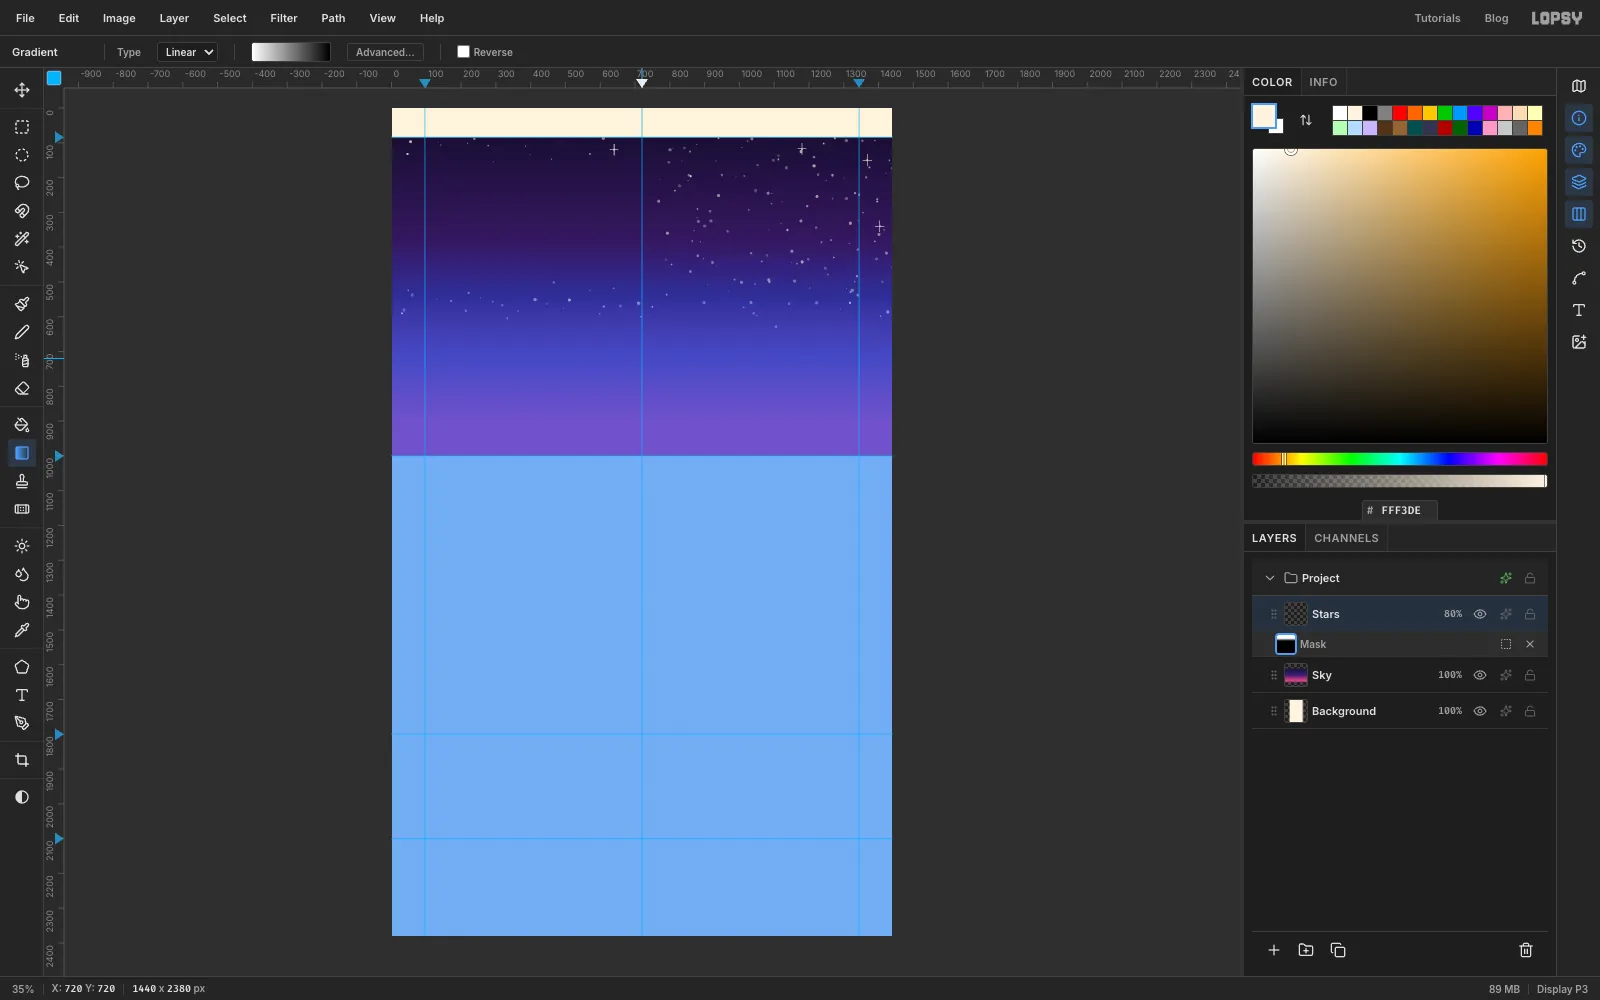
2. On four of the bright stars, click 12 px to the left and Shift-click 12 px to the right. Then click 16 px above and Shift-click 16 px below. That makes a four-point twinkle. - Set the layer's opacity to
80%. - Click Add Mask, then click the mask thumbnail under the layer to edit it.
- Pick the Gradient tool and set its stops to white
FFFFFFand black000000in Advanced…. Drag from720, 380down to720, 720.
The stars now thin out toward the horizon glow. The blue overlay only shows while you're editing the mask. Click the layer's name to go back to the pixels.
- Pick the Brush (B) at Size
-
Raise the lime moon
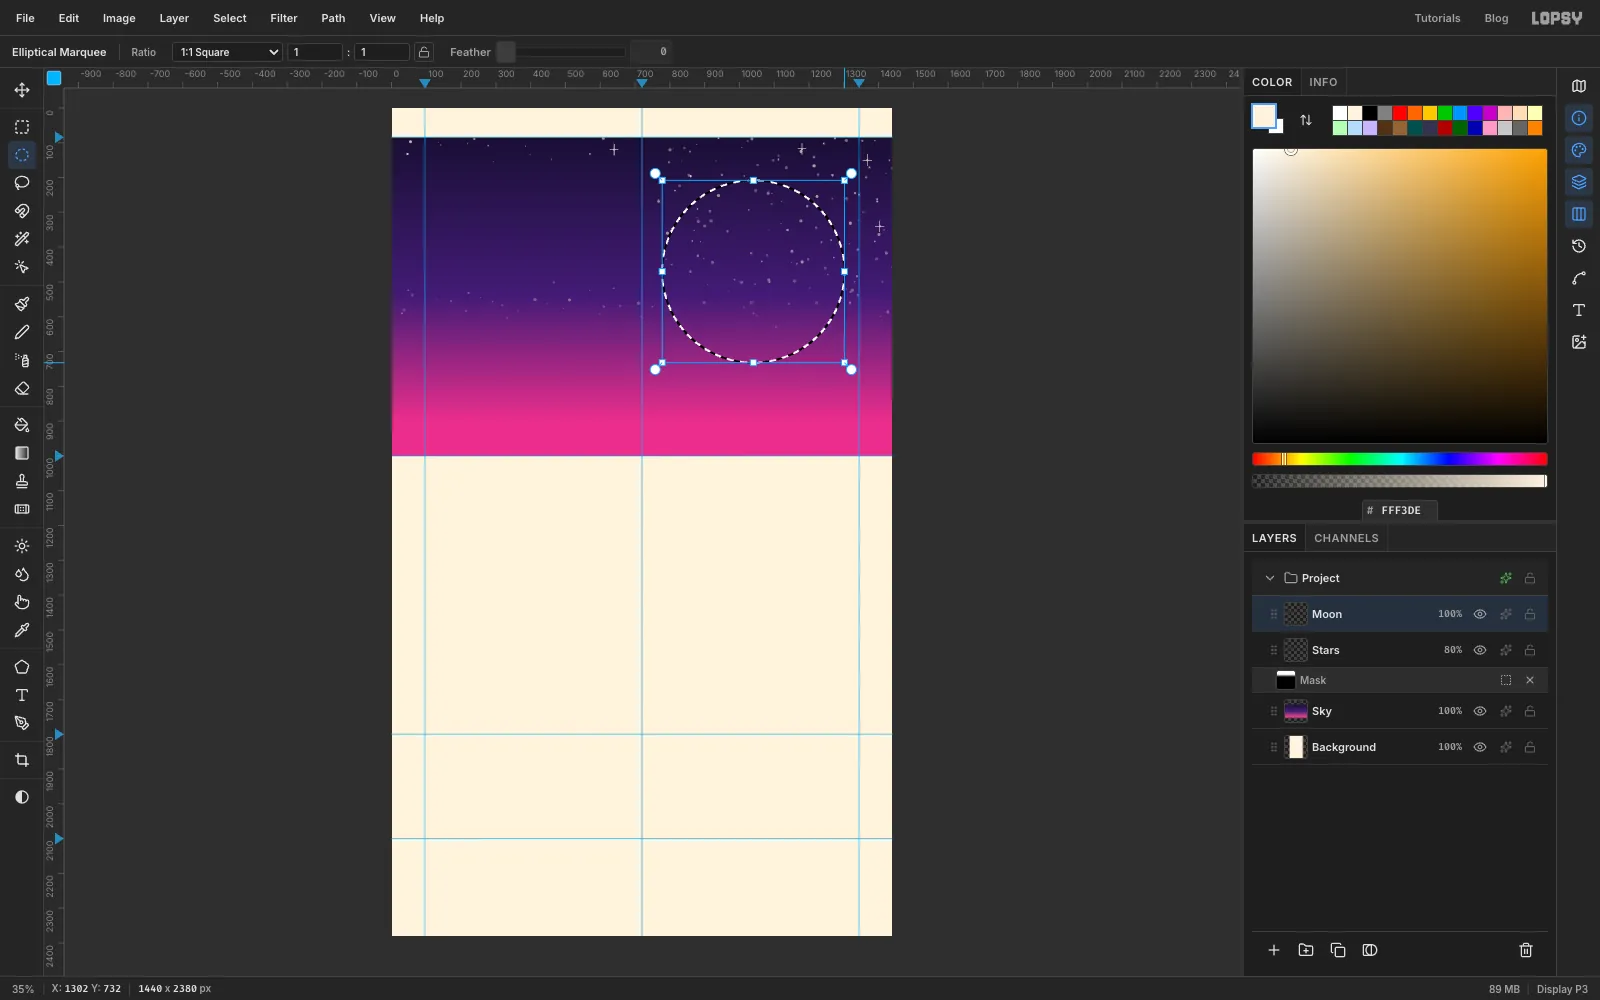
- Add a layer named
Moon. - With the Elliptical Marquee, hold Cmd (it keeps the circle round) and drag from
778, 208to1302, 732. That's a 262 px radius around1040, 470. - Fill it with
D9F84Aand press Cmd+D. - Click the layer's effects button (the sparkle icon on its row).
- Turn on Outer Glow: Size
70, Opacity40, colourF2FFB0. - Turn on Inner Glow: Size
46, Opacity55, colourFF8A3D. The orange rim makes the flat disc feel round.
- Add a layer named
-
Give the moon a printed texture
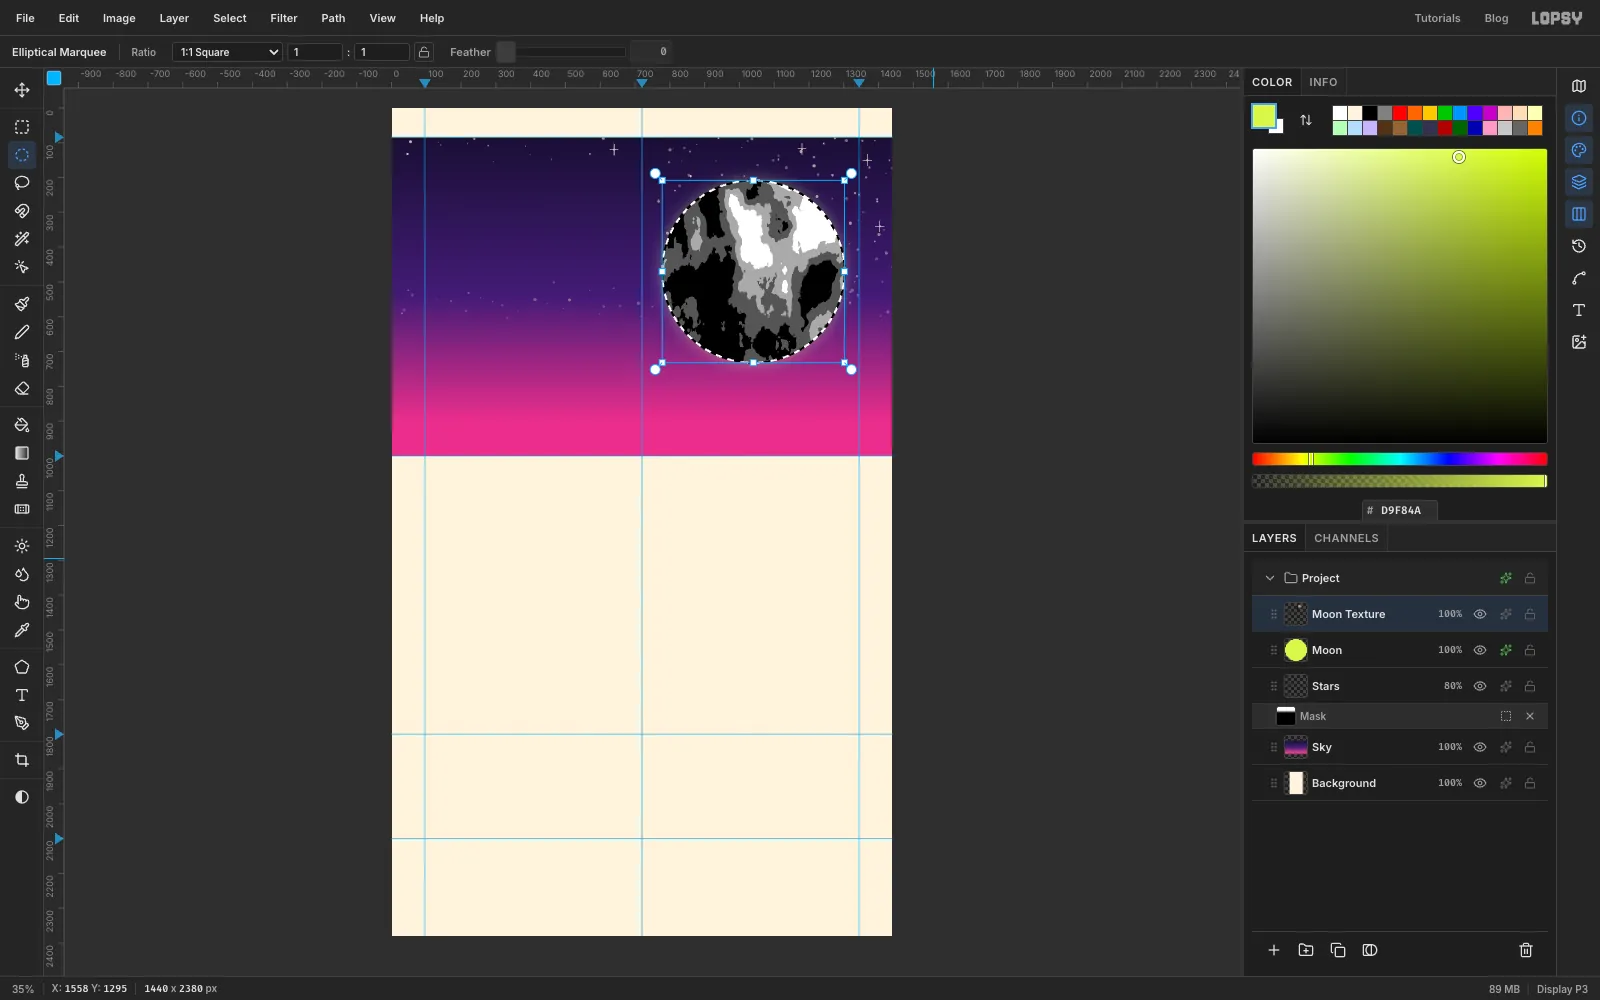
- Add a layer named
Moon Texture. - Cmd-click the
Moonthumbnail to load its shape as a selection. - Choose Filter → Clouds…, set Scale to
14and click Apply. - Choose Filter → Posterize…, set Levels to
4and click Apply. The soft clouds turn into hard-edged blotches, like a two-colour print. - Press Cmd+D. Set the layer to Multiply at
16%.
- Add a layer named
-
Draw the mesas with the Pen
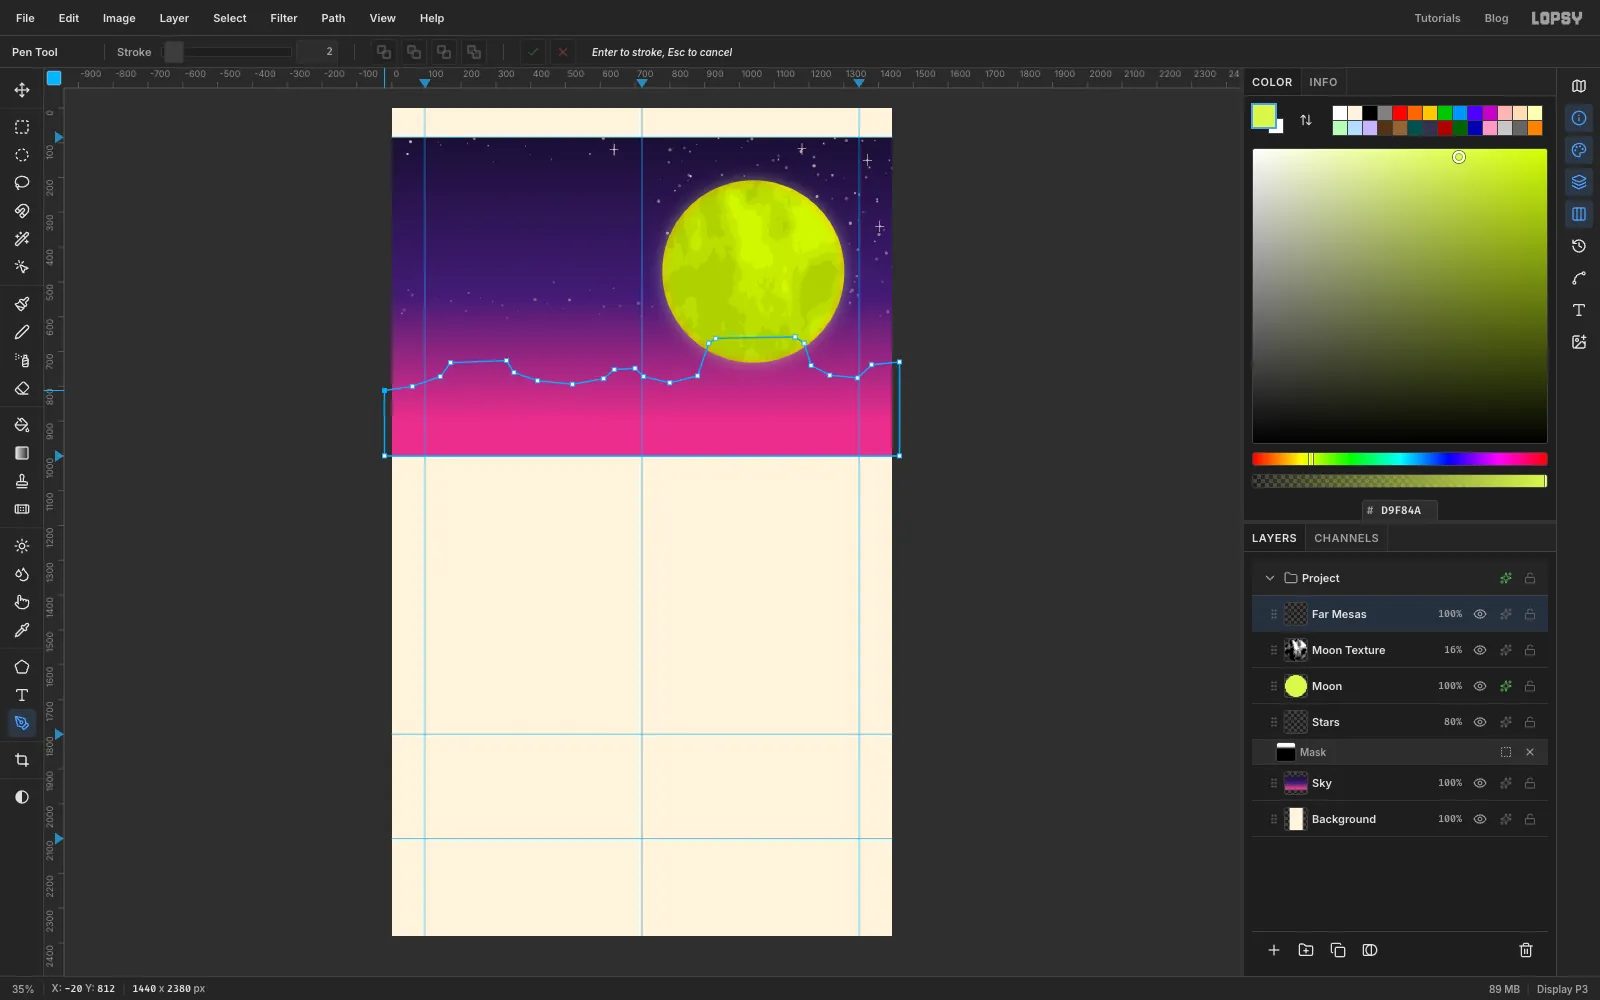
- Add a layer named
Far Mesas. - Pick the Pen (P) and click corner points along the horizon, from just off the left edge at
y 812to just off the right edge.
- Mesas have flat tops and steep sides, so use a few clicks per butte: up, across, down.
- Make a small butte at
170–330with its top at730, and another at640–700. - Make a big one from
912to1186with its top at660. It hides the bottom of the moon.
- Click down past the bottom-right corner to
1460, 1000and across to-20, 1000. Then click the first point to close the path. - Open the Paths panel, click Path to Selection, then Delete Path.
- Fill with
5A2380and press Cmd+D.
- Add a layer named
-
Lay down the ground and saguaros
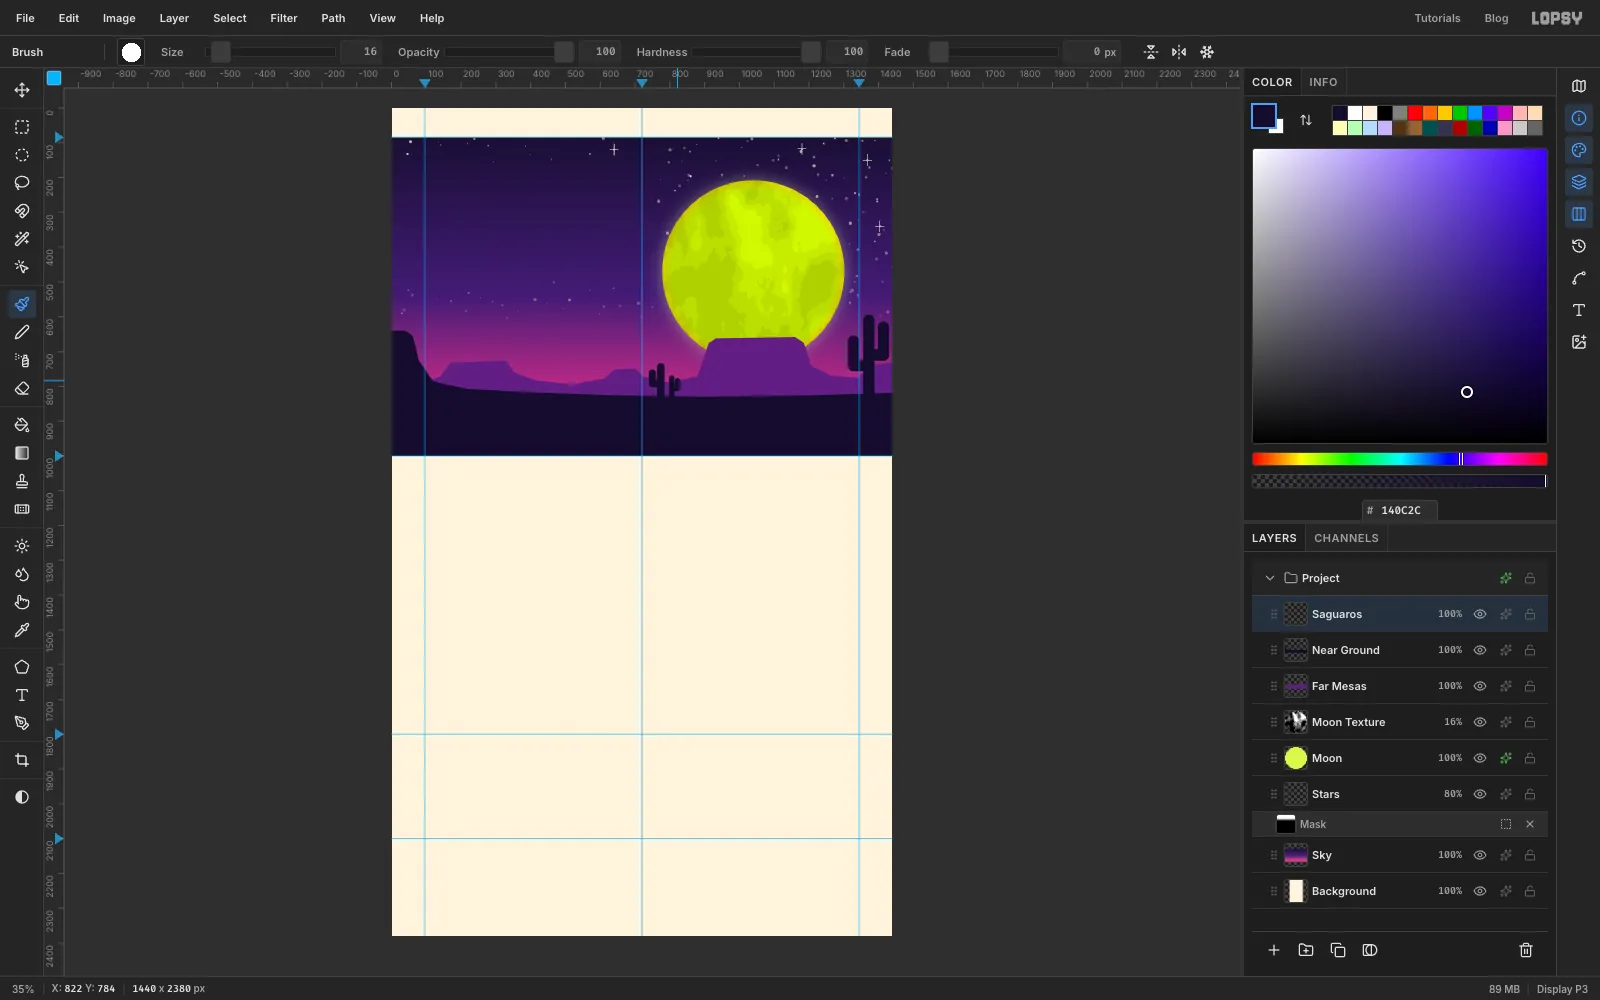
- Add a layer named
Near Ground. - With the Lasso (L), draw the desert floor. Start with a cliff on the far left whose top is at
640. Drop to a gentle slope that meets830near the middle and818at the right edge. Then go down and around the bottom of the hero. - Fill it with
140C2C. - Add a layer named
Saguaros. Pick the Brush at Size34, Hardness100, in the same140C2C.
- Click the base of a trunk at
1372, 822and Shift-click its top at1372, 610. - For each arm, click on the trunk, Shift-click sideways about 44 px, then Shift-click straight up.
- Paint two smaller saguaros at
x 774andx 806, at Size22and16. Keep them right ofx 760, so the small print you'll set later doesn't run into them.
The round brush gives each arm a rounded tip for free.
- Add a layer named
-
Shape a kidney pool
- Add a layer named
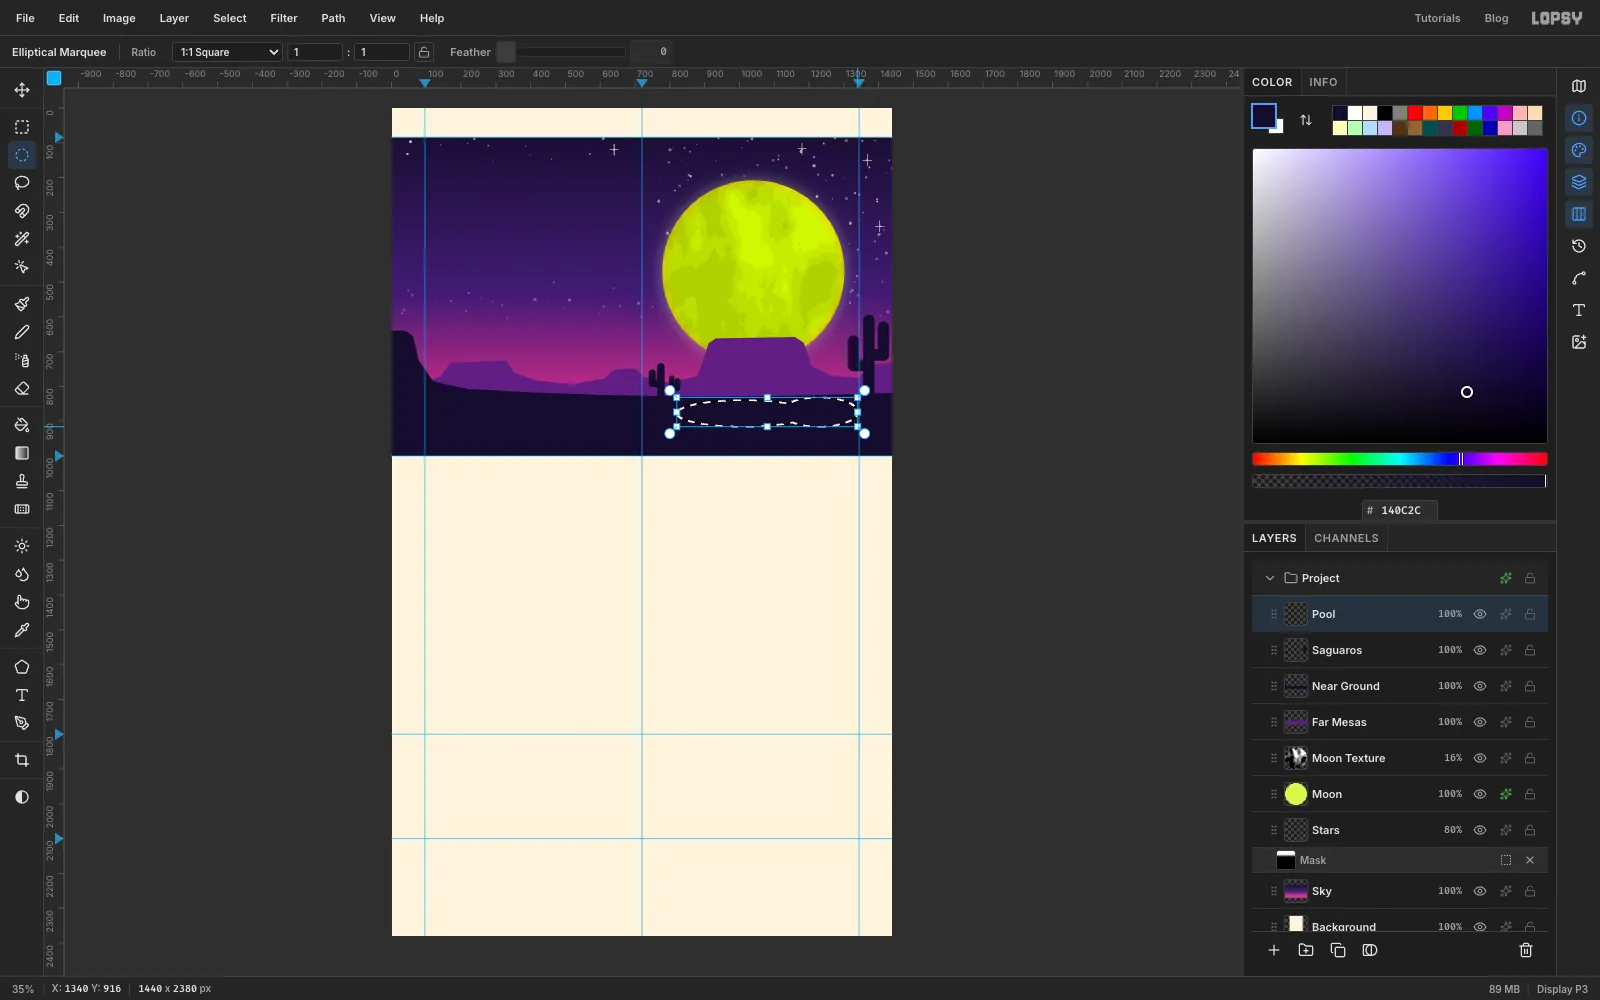
Pool. - With the Elliptical Marquee, drag from
820, 840to1204, 916. Hold Shift and drag a second, rounder ellipse from1120, 832to1340, 916. The two overlap into a kidney. - Pick the Gradient tool and set it to
9D94B4→D4CEDD. Drag from the top of the pool down to the bottom (y 834to918). The floor is lighter where it's nearer to you. - Press Cmd+D. Open the effects:
- Stroke: Width
10, Position outside, colourD9CFC0. This is the coping. - Outer Glow: Size
26, Opacity35, colour limeD9F84A. It catches the moonlight.
- Add a layer named
-
Shade the far wall
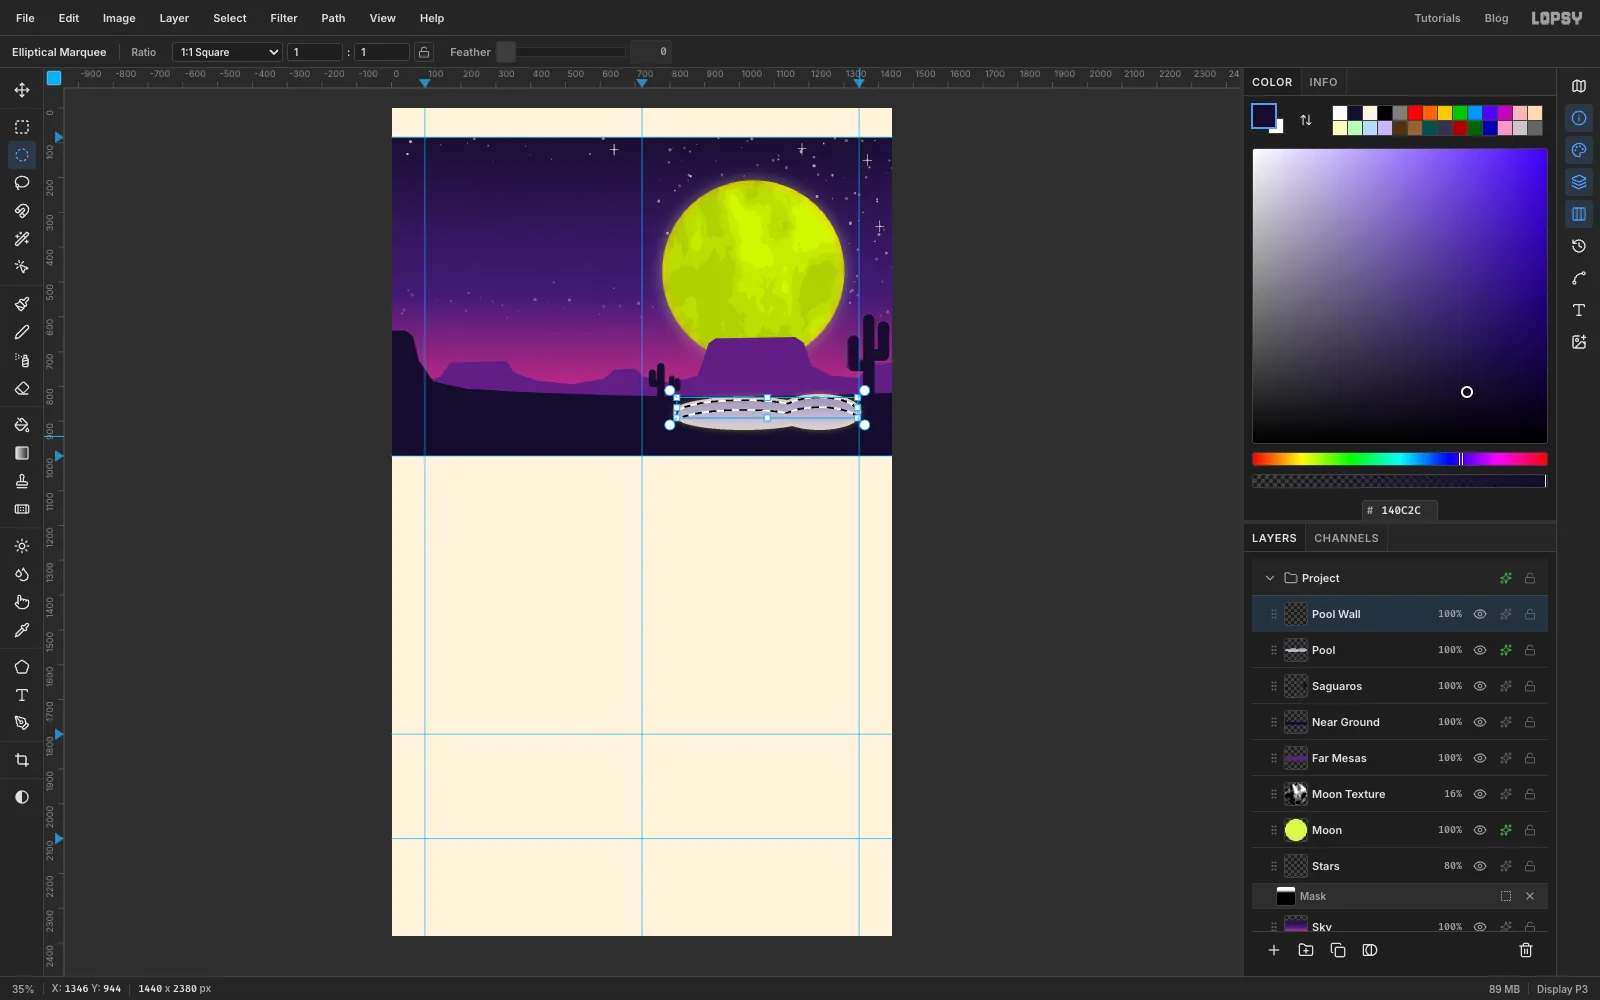
An empty pool shows its far wall. Here's how to get just that strip.
- Add a layer named
Pool Walland Cmd-click thePoolthumbnail. - Hold Option and drag the first ellipse again, 28 px lower and a little wider:
814, 868to1210, 944. Hold Option again for the second:1114, 860to1346, 944. Only a crescent along the far edge stays selected. - Fill it with a Linear gradient from
2E2550at the top to6E6390, dragged fromy 832to878. - Press Cmd+D.
- Add a layer named
-
Add the tile strip and the deep end
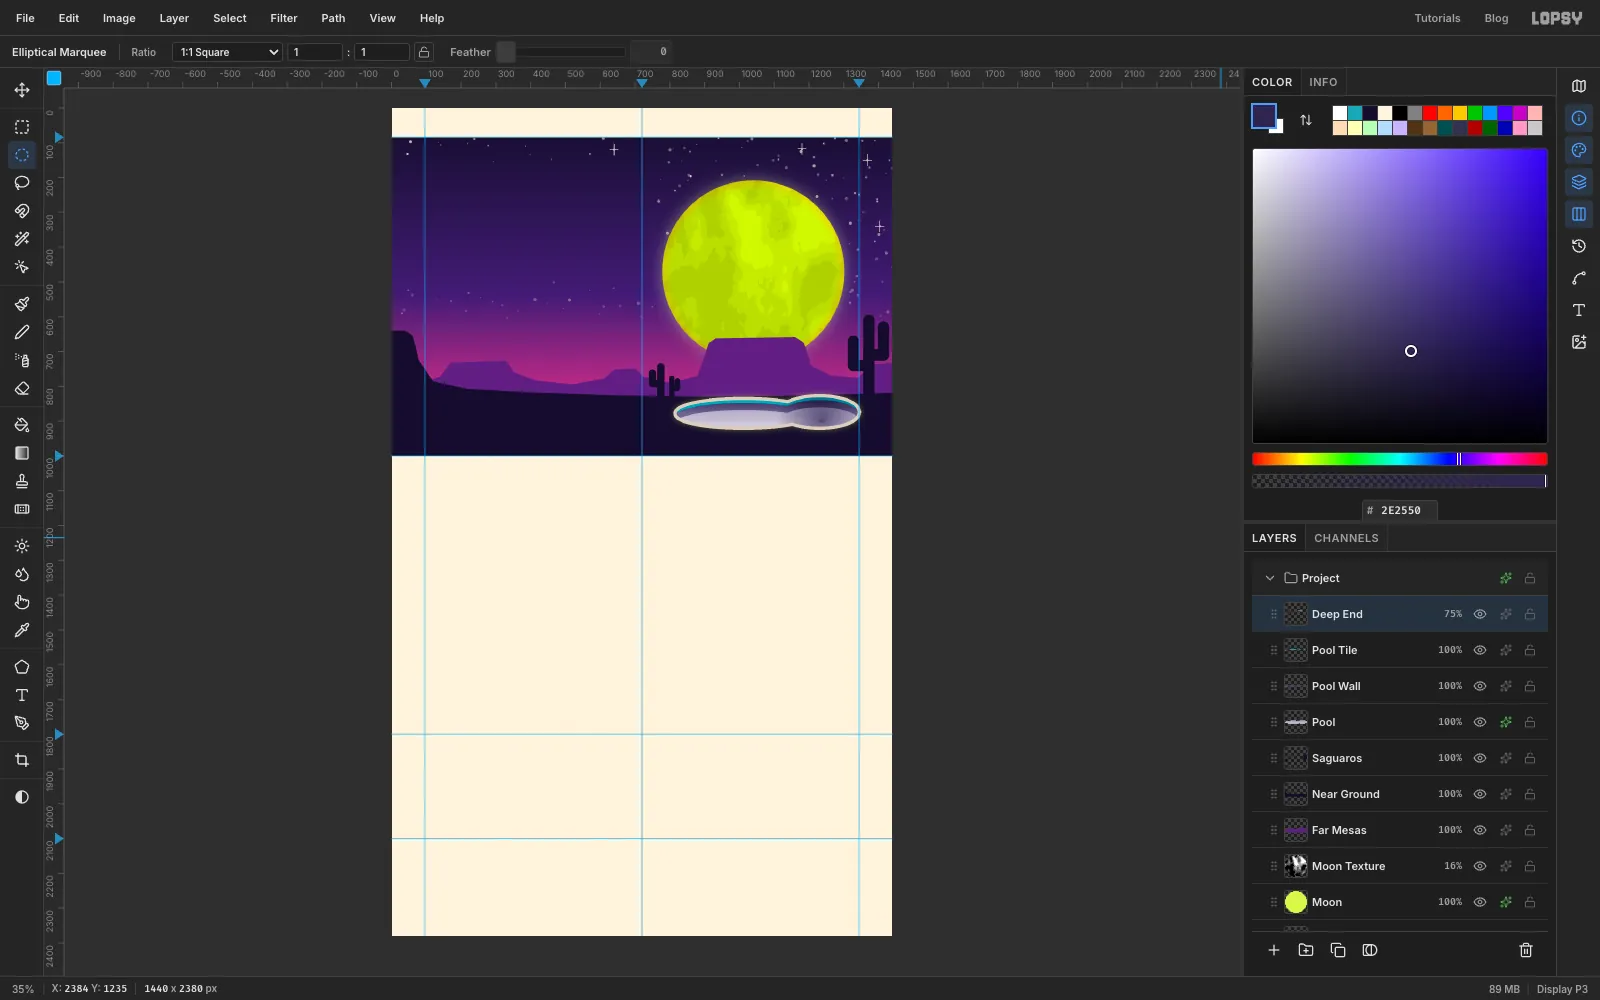
- Add a layer named
Pool Tile. Cmd-click thePoolthumbnail, then Option-drag the two ellipses again, only 8 px lower this time:814, 848to1210, 924, and1114, 840to1346, 924. Fill the thin crescent with19A7B8and press Cmd+D. - Add a layer named
Deep Endand Cmd-click thePoolthumbnail. - Set the Gradient to Radial,
4A3F6E→FFFFFF. Drag from the middle of the right lobe (1236, 894) about 130 px to the right. - Press Cmd+D. With the Elliptical Marquee, draw a tiny ellipse from
1229, 896to1243, 904and fill it with2E2550. That's the drain. - Press Cmd+D and set the layer to Multiply at
75%. White disappears in Multiply, so only the shading and the drain show.
- Add a layer named
-
Bring in the skater photo
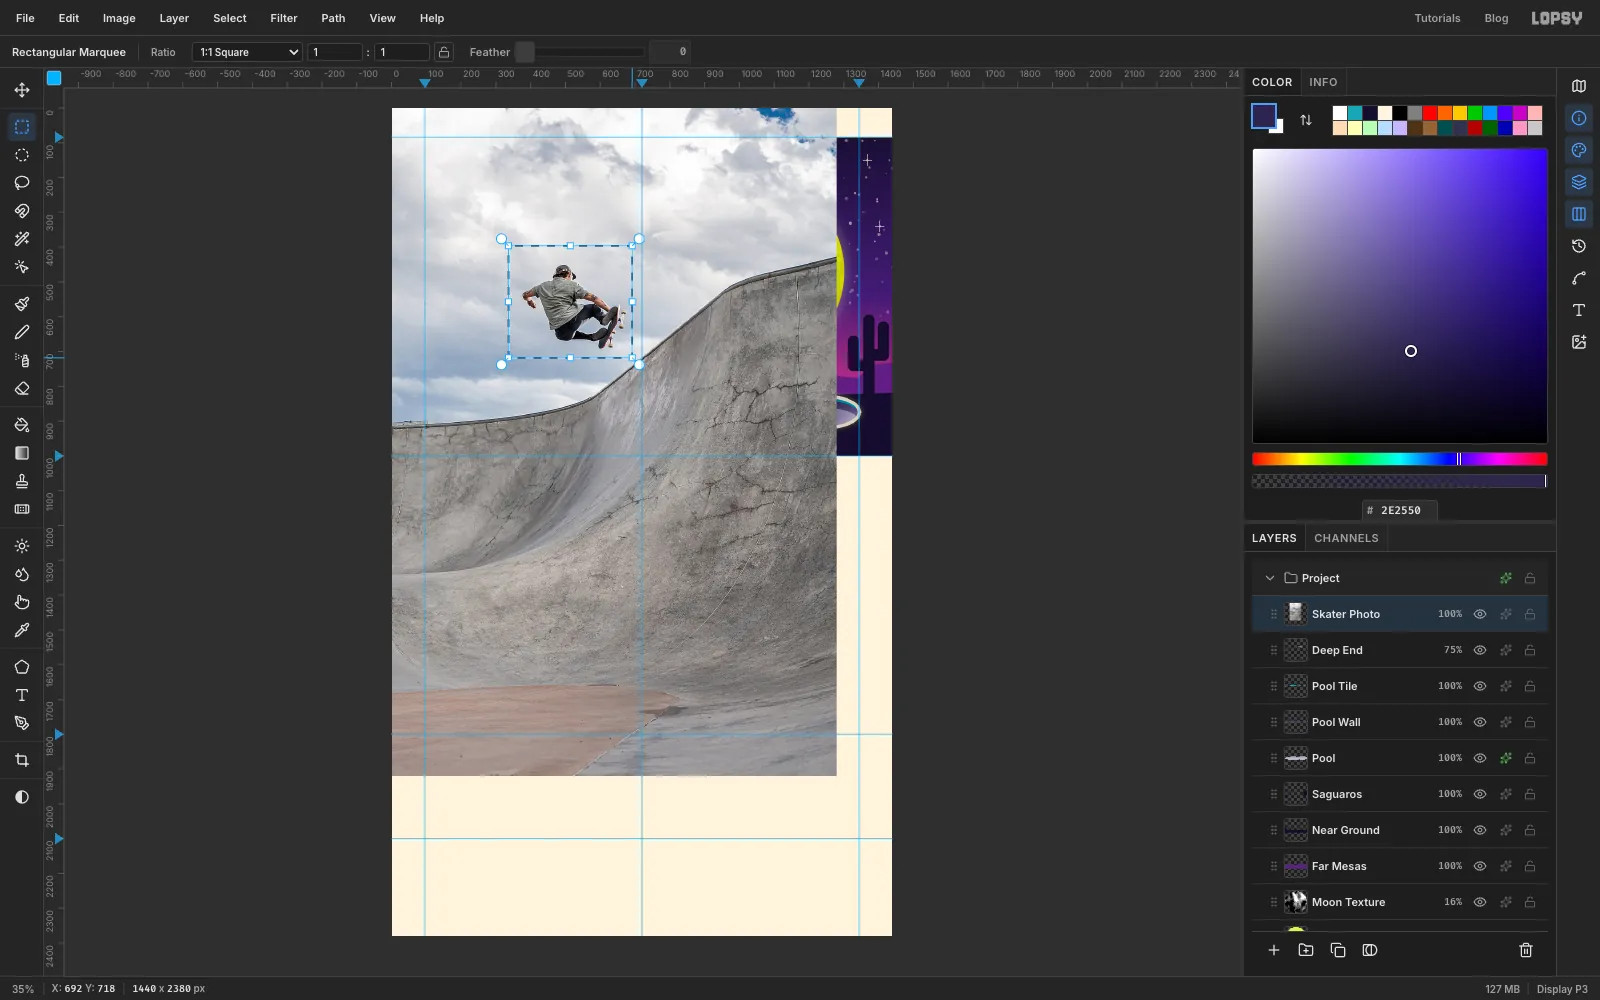
- Click
Deep End, then drag the downloaded photo from your desktop onto the canvas. It lands in the top-left corner at full size. Rename the layerSkater Photo. - Draw a Rectangular Marquee around just the skater and board, from
336, 396to692, 718. - Choose Select → Inverse and press Delete. Then press Cmd+D.
- Click
-
Select the sky with the Magic Wand
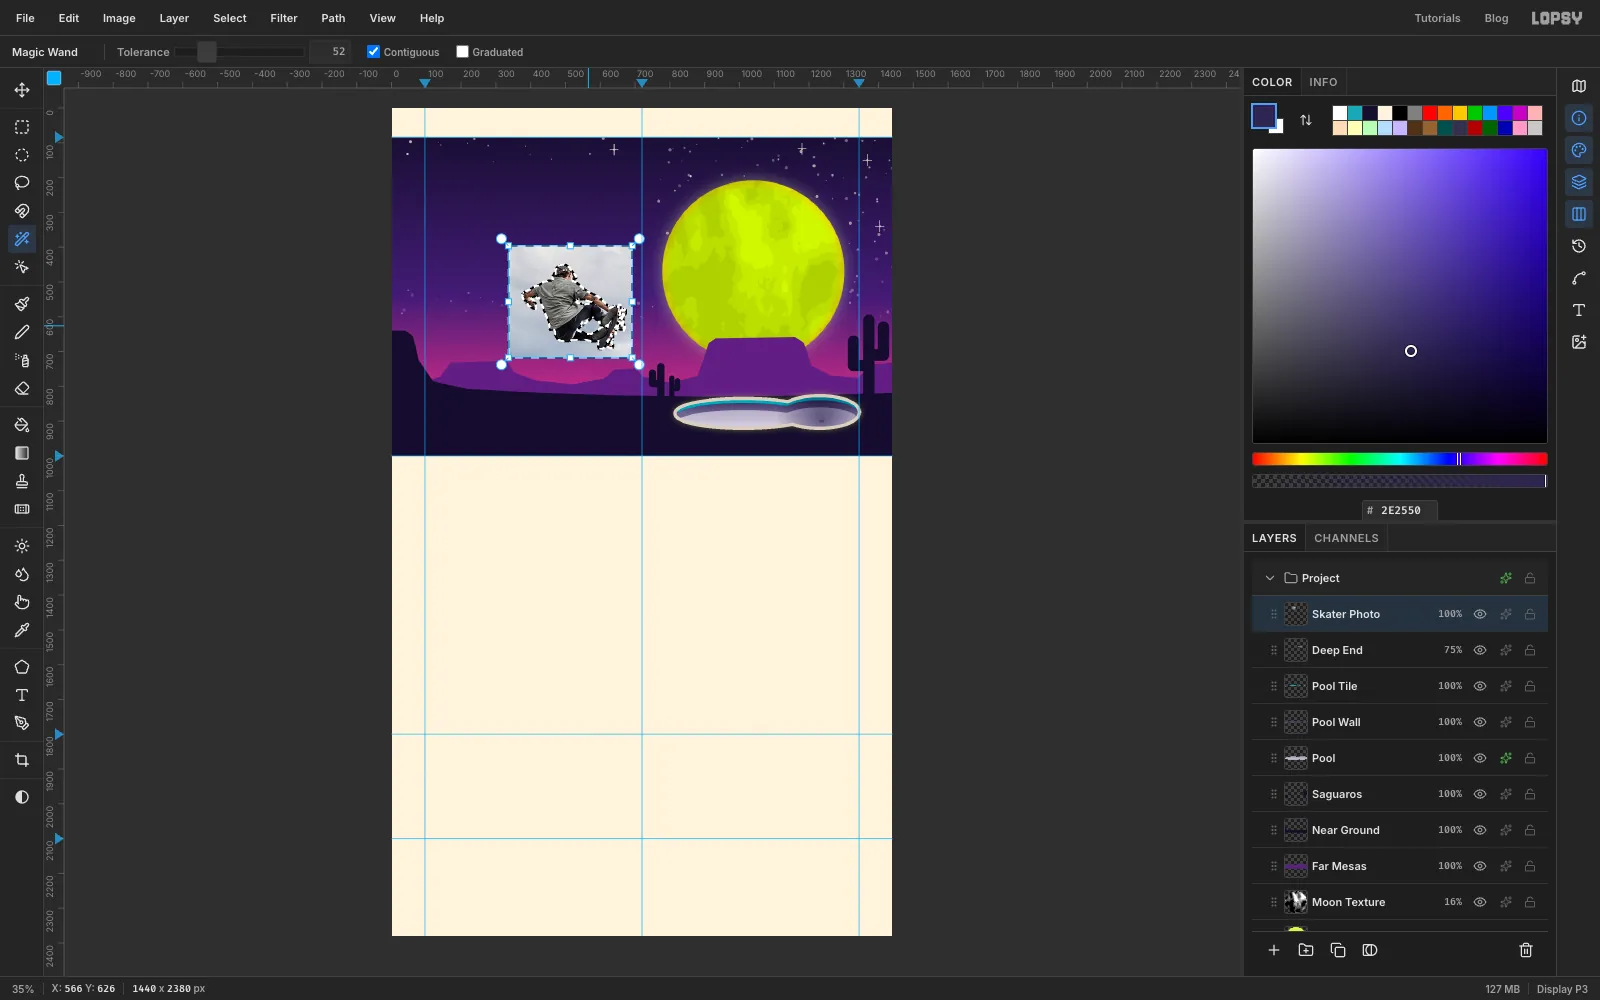
- Pick the Magic Wand (W). Set Tolerance to
40and tick Contiguous. - Click the sky near one corner of the photo. Shift-click near the other three corners and the middle of each edge.
- Two pockets of sky are trapped inside the figure: one between the arm and the thigh, and one between the legs. Raise Tolerance to
52and Shift-click each pocket. - Choose Select → Grow…, enter
1and click Apply. This takes the pale fringe too. Then press Delete and Cmd+D.
- Pick the Magic Wand (W). Set Tolerance to
-
Scale the skater up
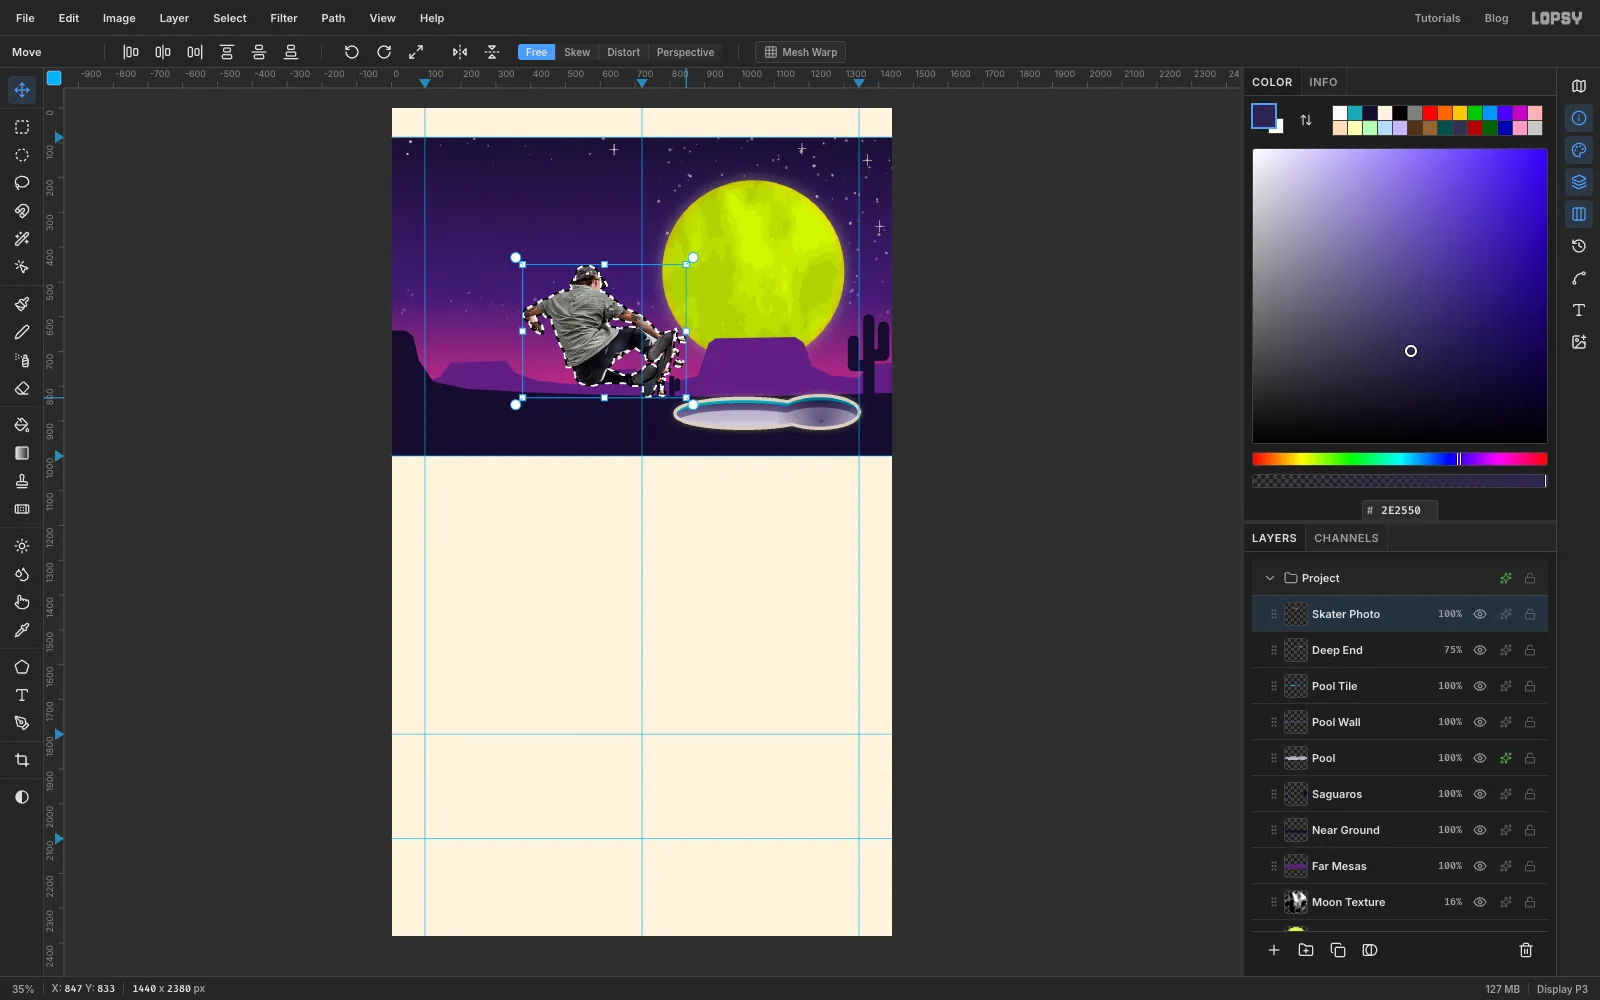
- Cmd-click the
Skater Photothumbnail and press V for the Move tool. - Hold Cmd (it keeps the proportions) and drag the bottom-right handle until the skater is about
470px wide. - Press Cmd+D to commit the scale.
- Cmd-click the
-
Tilt him and put him on the moon
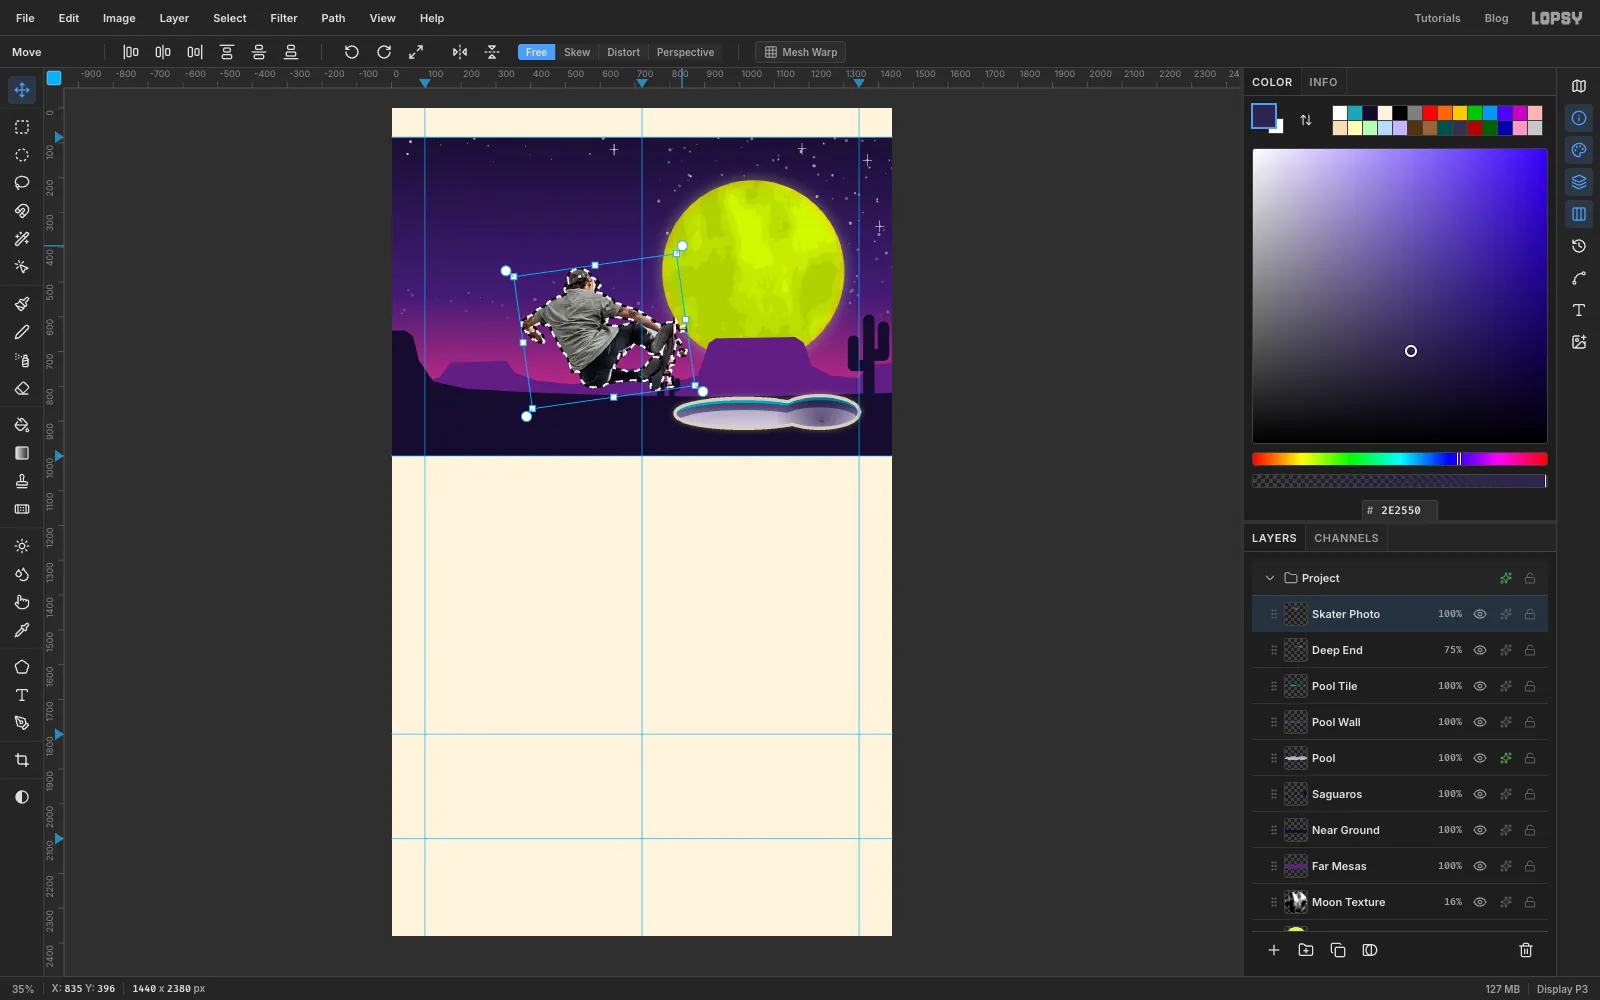
- Cmd-click the thumbnail again. Move the pointer just outside the top-right corner until it shows the rotate cursor.
- Drag counter-clockwise about
8°, so he leans back into the air. Press Cmd+D. - Drag him with the Move tool until he's centred on the moon, at about
1018, 452. Finish with the arrow keys.
-
Turn the photo into ink
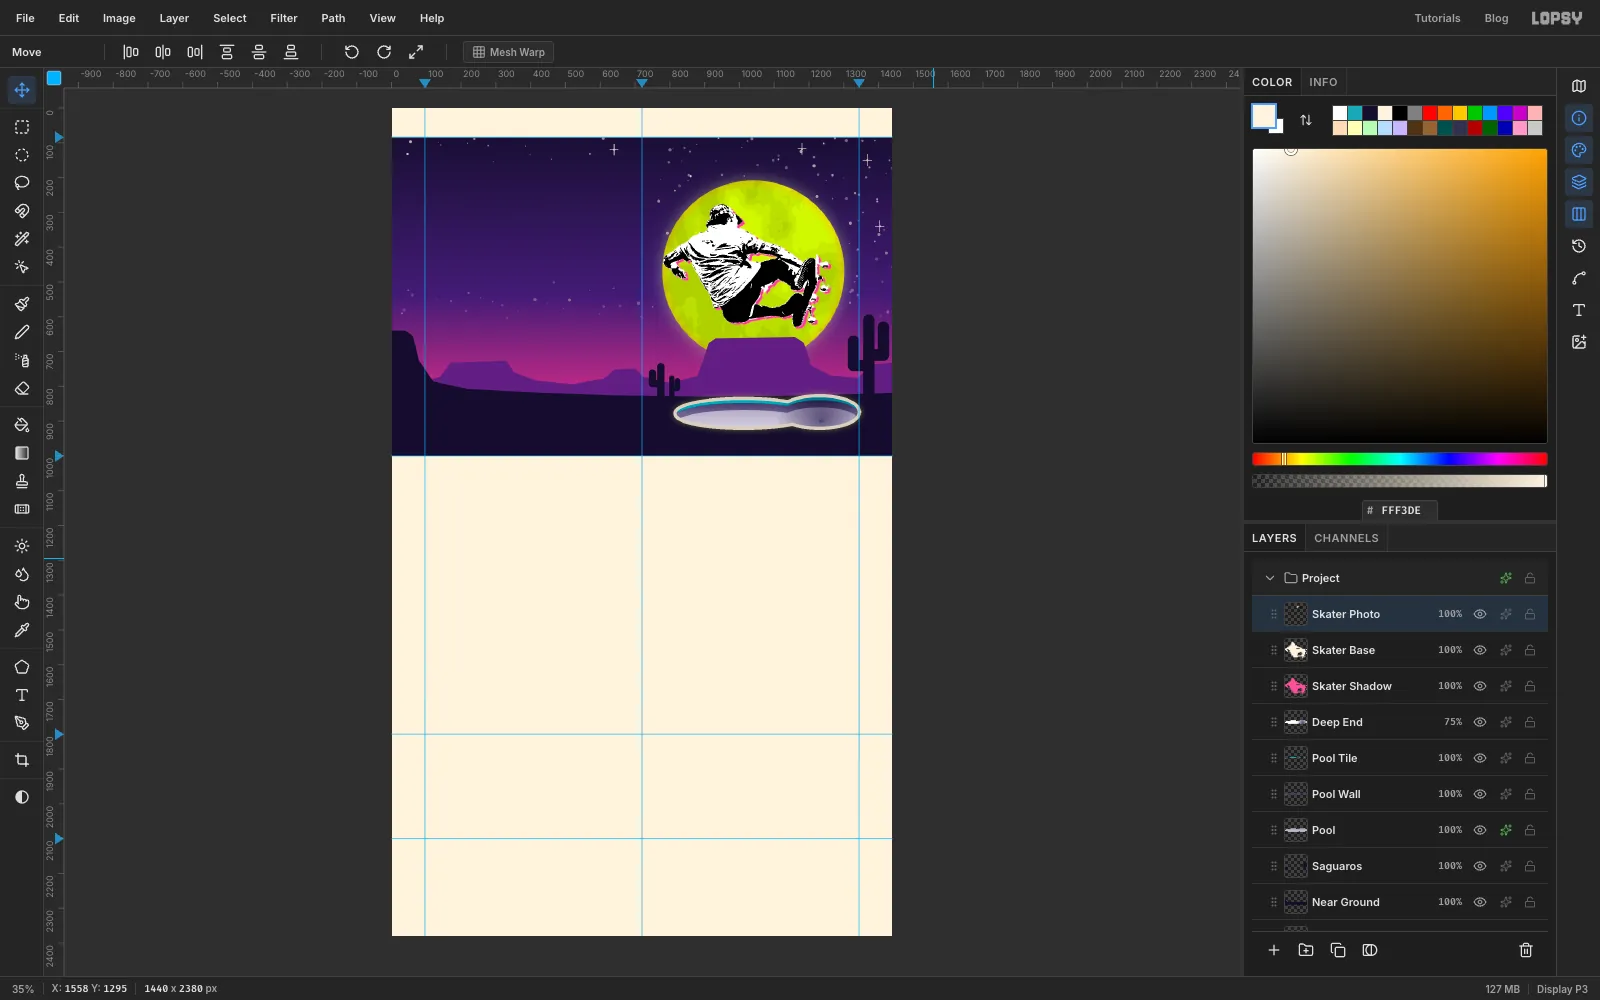
Screen prints use flat inks, so the photo becomes three layers.
- Click
Deep Endand add a layer namedSkater Shadow.
- Cmd-click the
Skater Photothumbnail and fill the selection with pinkFF4F9A. Press Cmd+D. - With the Move tool, press Right seven times and Down five times. The pink plate is now slightly off register, like a real print.
- Add a layer named
Skater Base. Cmd-click the photo's thumbnail, fill with creamFFF3DEand press Cmd+D. - Click
Skater Photoand run these filters:
- Filter → Desaturate.
- Filter → Brightness/Contrast… with Brightness
8and Contrast35. - Filter → Gaussian Blur… with Radius
1. The blur stops Threshold from leaving speckled edges. - Filter → Threshold… with Level
100.
- Click
-
Keep only the black ink
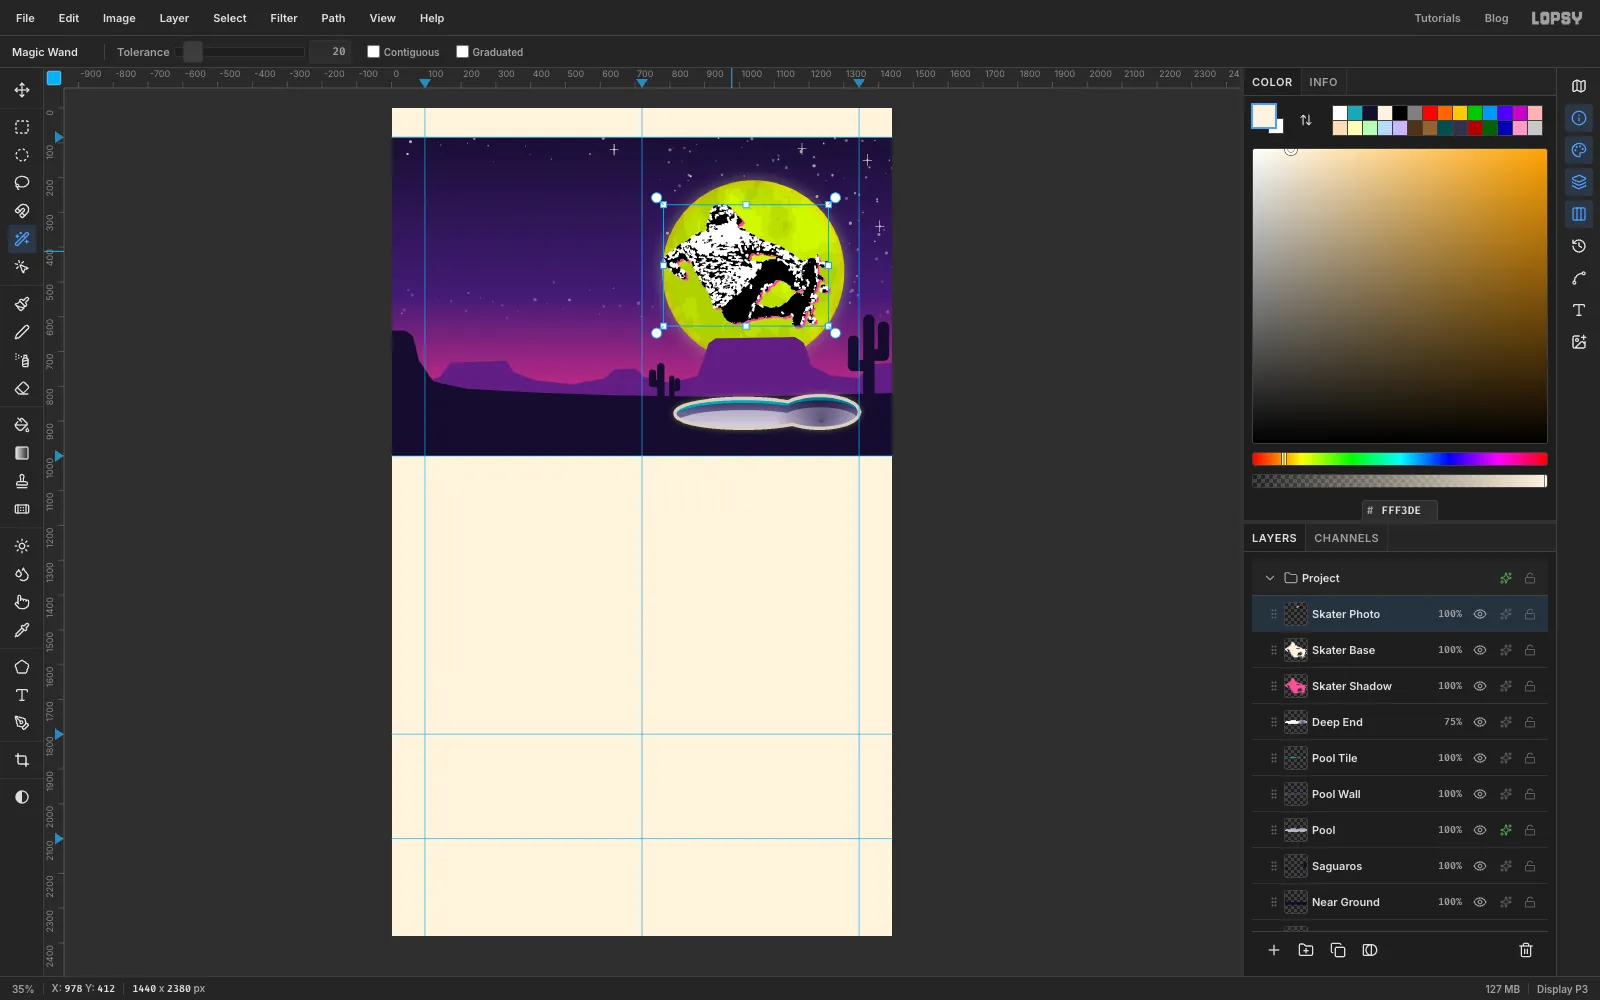
- Pick the Magic Wand. Set Tolerance
20and untick Contiguous. - Click any white part of the shirt. Every white pixel is selected. Press Delete, then Cmd+D.
- Rename the layer
Skater Ink. Add a Color Overlay effect in120B2A, a warmer night ink than pure black.
The cream base now shows through where the white was, and the pink peeks out along one side.
- Pick the Magic Wand. Set Tolerance
-
Paint the board back in
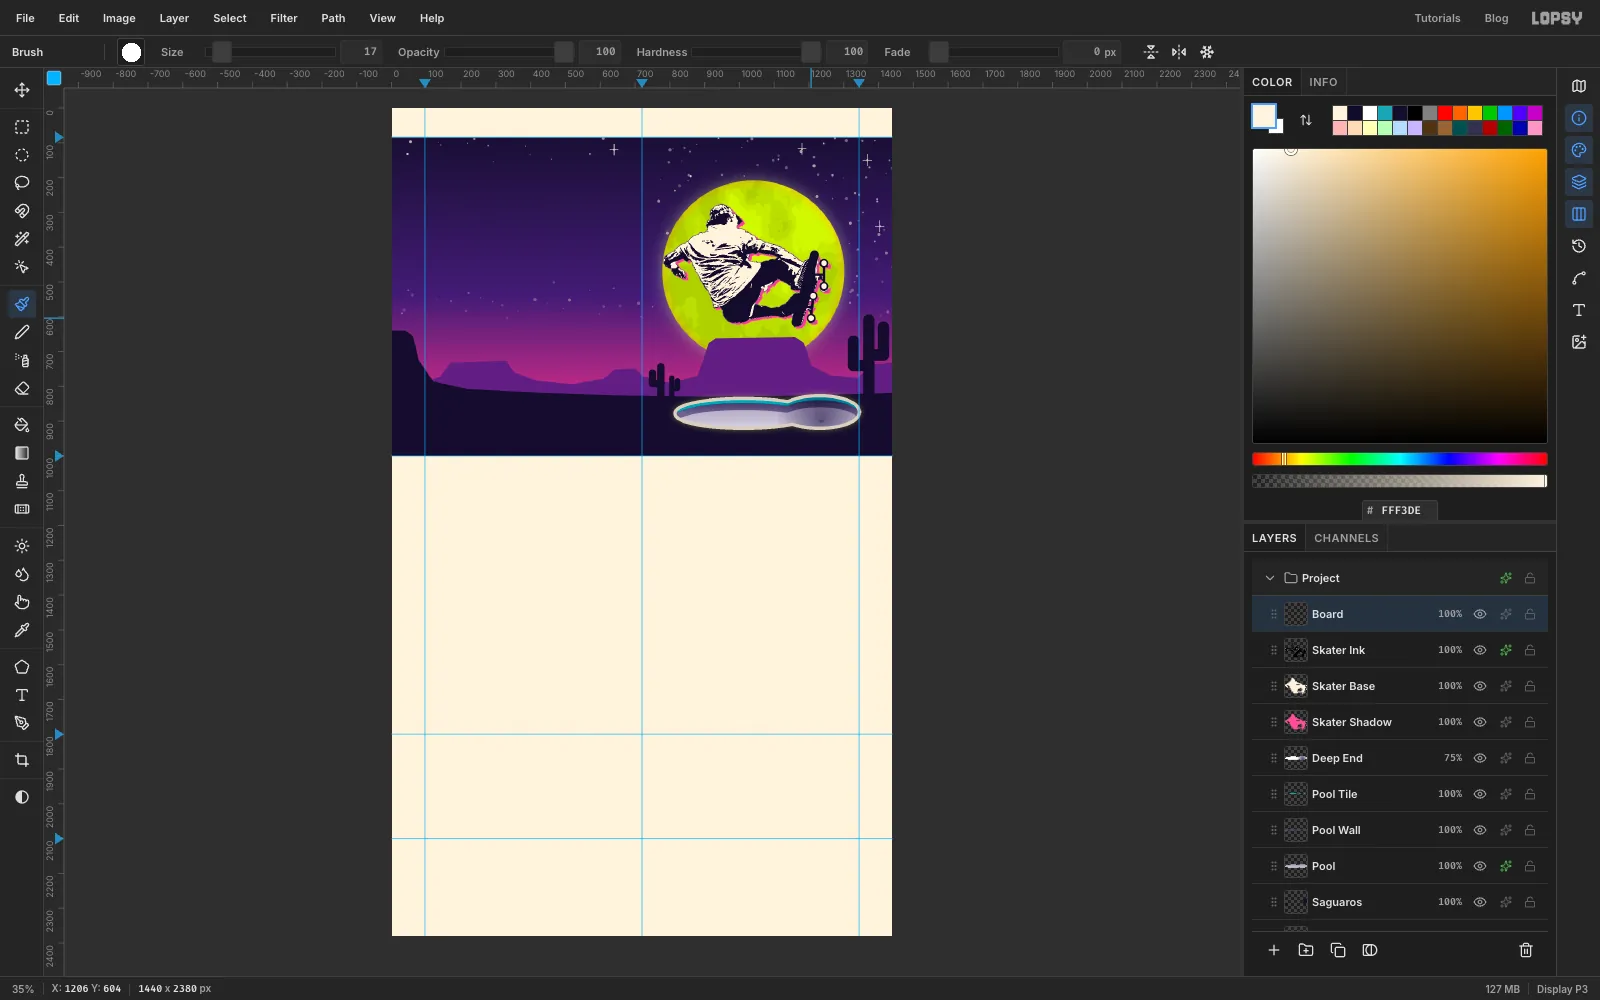
The pale board vanished with the sky, so paint it back on a new layer named
Board. Use the Brush in120B2A.- At Size
26, click the nose of the board at1216, 422and Shift-click the tail at1162, 616. - At Size
8, draw the trucks:
- One line between the front wheels,
1243, 446to1243, 512. - One between the back wheels,
1212, 540to1206, 604. - A short line from the deck out to the middle of each.
- At Size
26, click once on each of the four wheel spots. Switch to creamFFF3DEat Size17and click each spot again. - Click
Board, Shift-clickSkater Shadow, choose Layer → Group Layers, and name the groupSkater.
- At Size
-
Build the hero buttons
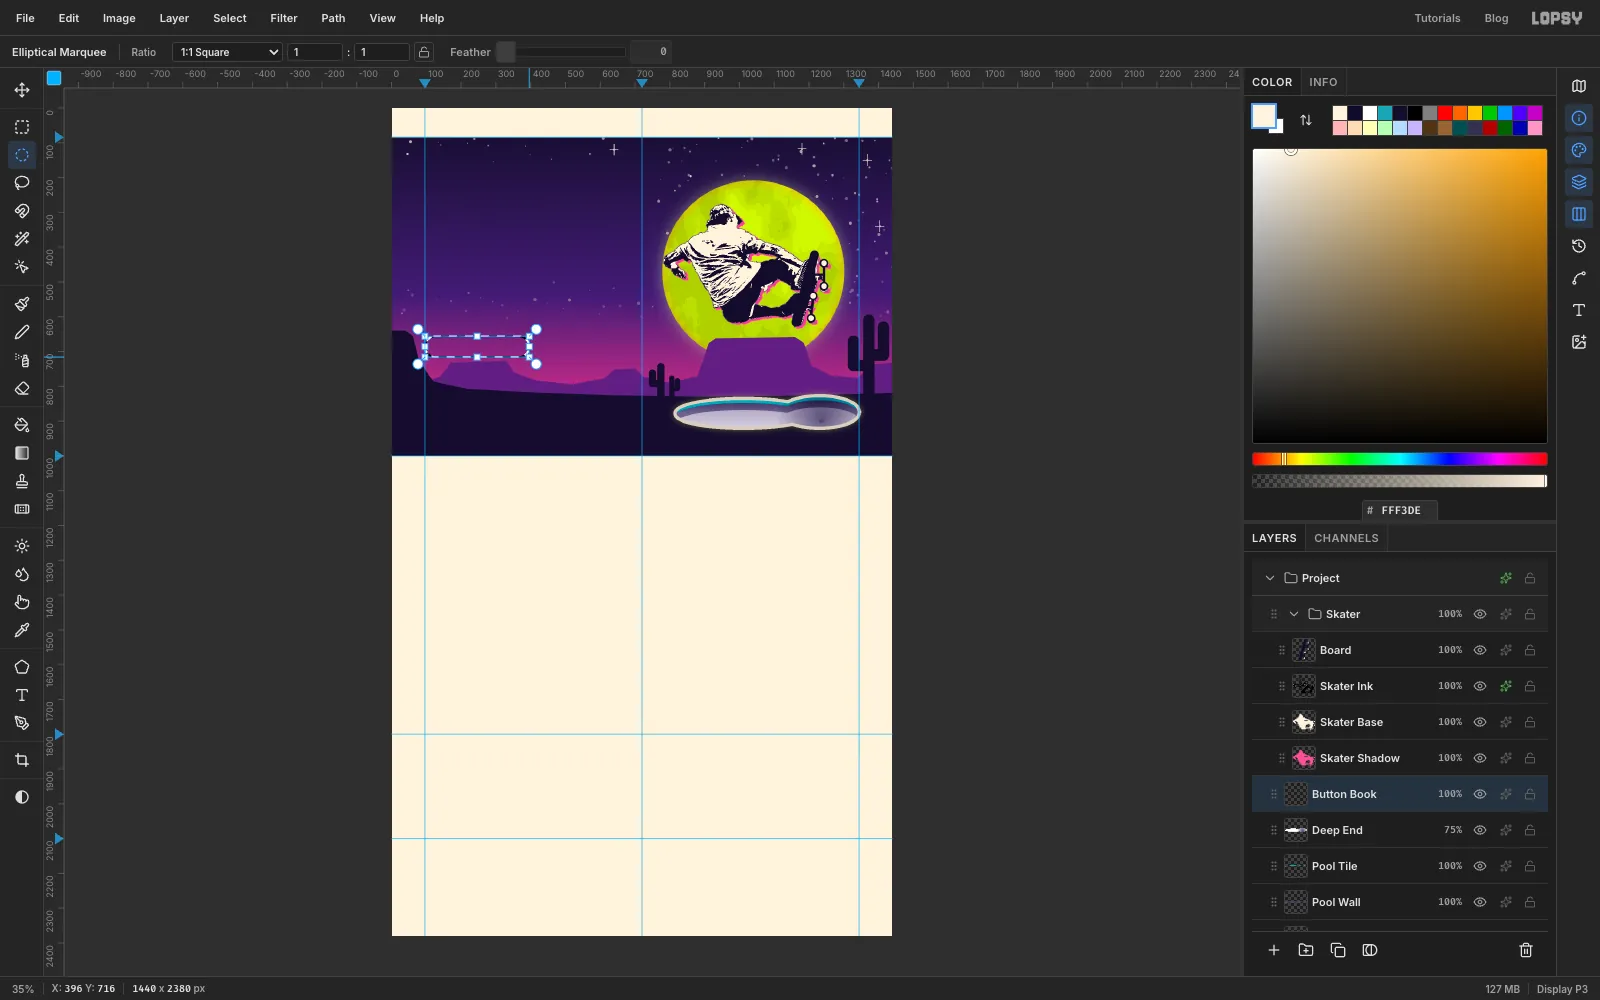
A pill is a rectangle with a circle Shift-added at each end.
- Click
Deep Endso the buttons stack under the skater. Add a layer namedButton Book. - With the Rectangular Marquee, click once without dragging to open the exact-corners box. Enter
126, 656to366, 716. - With the Elliptical Marquee, Shift-drag a 60 px circle at each end:
96, 656to156, 716and336, 656to396, 716. - Fill with lime and press Cmd+D. Add a Drop Shadow with Offset
4and4, Blur0, Opacity100, in pink. - Add a layer named
Button Shopand build a second pill the same height, fromx 424tox 652. Fill it with0D081E. Give it an inside cream Stroke of3and the same pink shadow.
- Click
-
Set the headline
Before each new text, click a raster layer such as
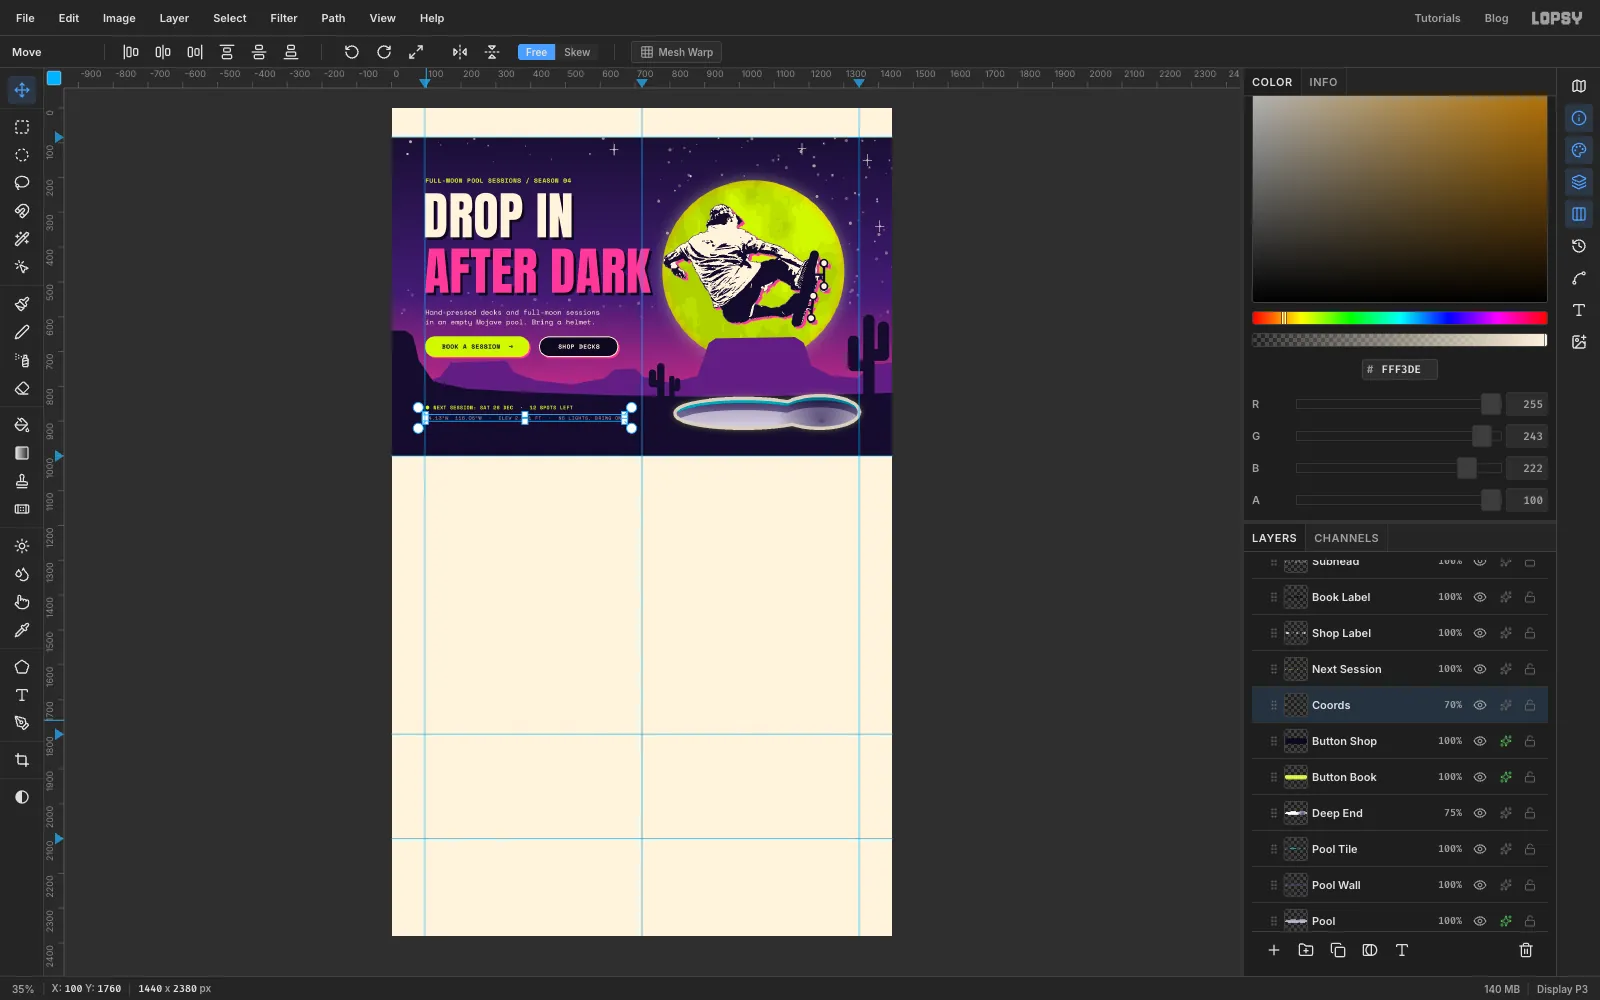
Button Shop. If a text layer is active, changing the font restyles it. Click to type in an empty area, then drag the text into place with the Move tool and finish with the arrow keys. Lopsy names a text layer after its words. The screenshots rename each one (Eyebrow,Drop In,Coords…) to keep the Layers panel readable, but you don't have to.- Kicker:
FULL-MOON POOL SESSIONS / SEASON 04in Space Mono Bold,18px, lime, Letter spacing1. Move it so its top-left corner sits at98, 200, just inside the margin guide. - Headline:
DROP INin Anton148, cream, with its top at244. ThenAFTER DARKin pink with its top at404. Give both a Drop Shadow of7/7, Blur0, in0D081E. - Tagline: two lines of Space Mono
20in cream, starting aty 580:Hand-pressed decks and full-moon sessions, then Enter andin an empty Mojave pool. Bring a helmet. - Button labels:
BOOK A SESSION →andSHOP DECKSin Space Mono Bold18.
- To centre one, click its button layer and Cmd-click the label.
- Press V, then click Align center horizontally and Align center vertically in the options bar.
- Small print: on the dark ground below, set
● NEXT SESSION: SAT 26 DEC · 12 SPOTS LEFTin lime Space Mono Bold14aty 856. Under it at886, set34.13°N 116.05°W · ELEV 2,001 FT · NO LIGHTS, BRING ONEin cream Space Mono14, and set that layer to70%opacity.
- Kicker:
-
Build the nav bar
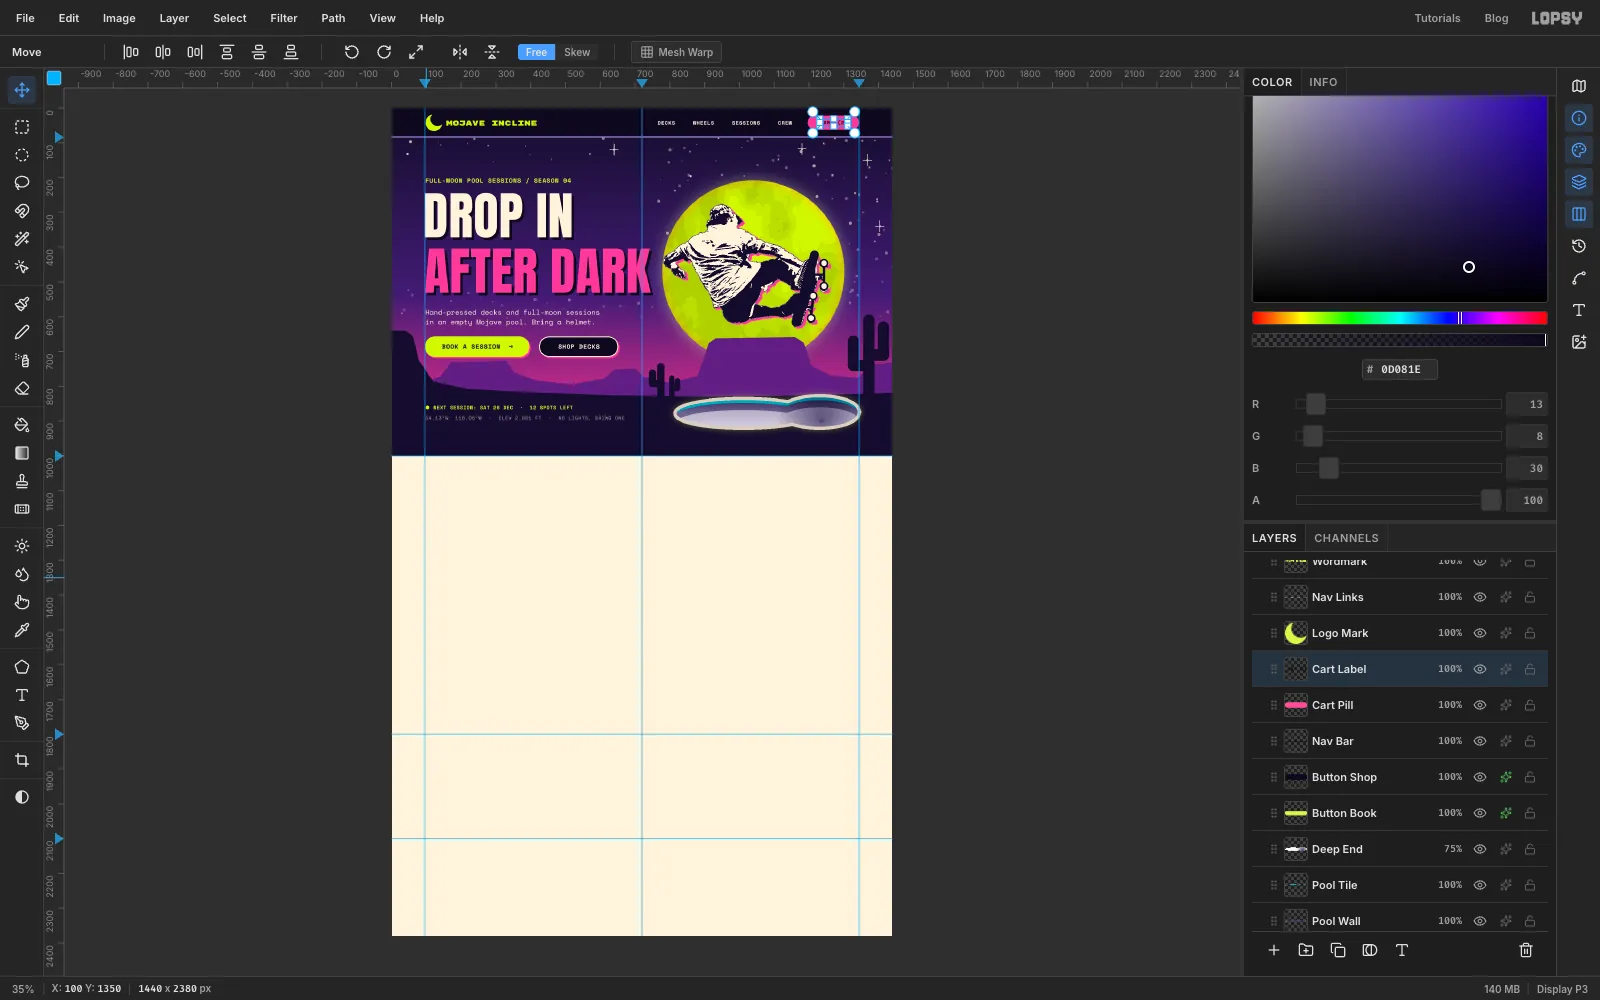
- Click
Button Shopand add a layer namedNav Bar. Use exact-corners marquees to fill0, 0to1440, 84with0D081E, and the bottom 3 px with pink. - Add a layer named
Logo Mark.
- Fill a circle from
98, 18to146, 66with lime. - Select a second circle from
112, 12to152, 52and press Delete. What's left is a crescent. You'll reuse it on the Luna deck.
- Set
MOJAVE INCLINEin Rubik Mono One22, lime, starting atx 158and centred on the bar. - Set
DECKS WHEELS SESSIONS CREWin Space Mono Bold15, cream, and slide it right until its last letter ends atx 1150. - Add a
Cart Pilllayer: a pink pill from1196, 22to1344, 62. Centre aCART (2)label on it with the two Align buttons.
- Click
-
Cut the ticker band
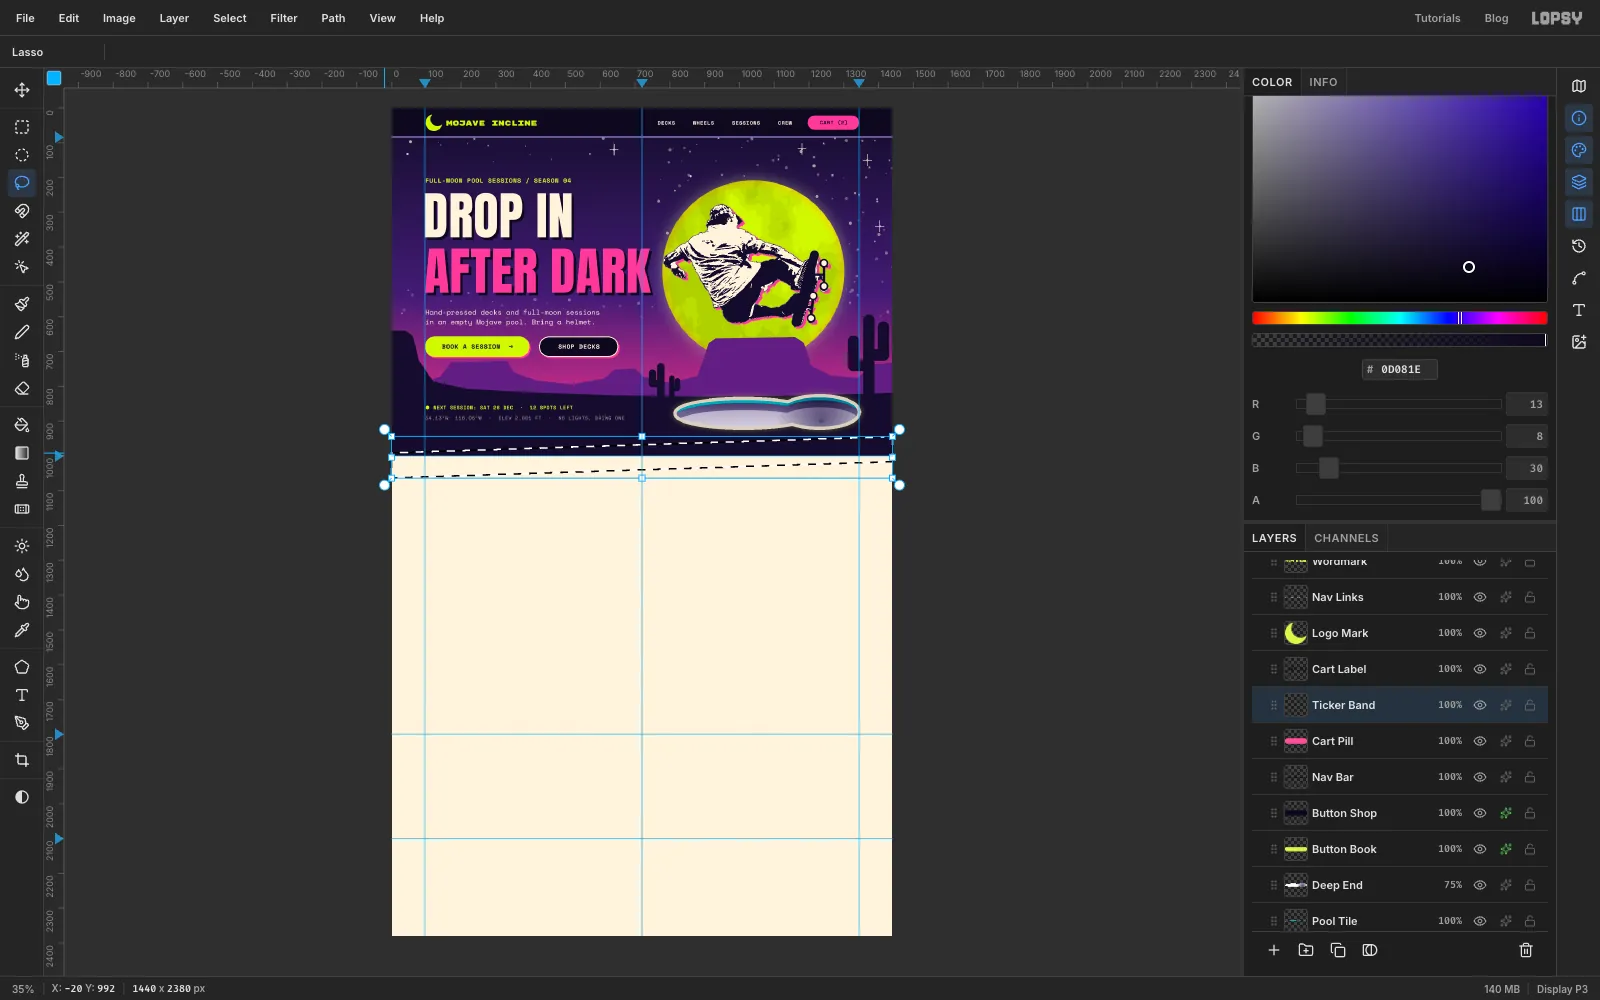
- Click
Cart Pilland add a layer namedTicker Band. - With the Lasso, trace a slanted strip from off the left edge to off the right edge:
-20, 992→1460, 944→1460, 1016→-20, 1064. It rises 48 px over its length and is 72 px tall. - Fill it with lime. Add a Drop Shadow with Offset X
0, Offset Y8, Blur0, in0D081E. It reads as a strip of tape stuck over the seam.
- Click
-
Set the ticker type on the slant
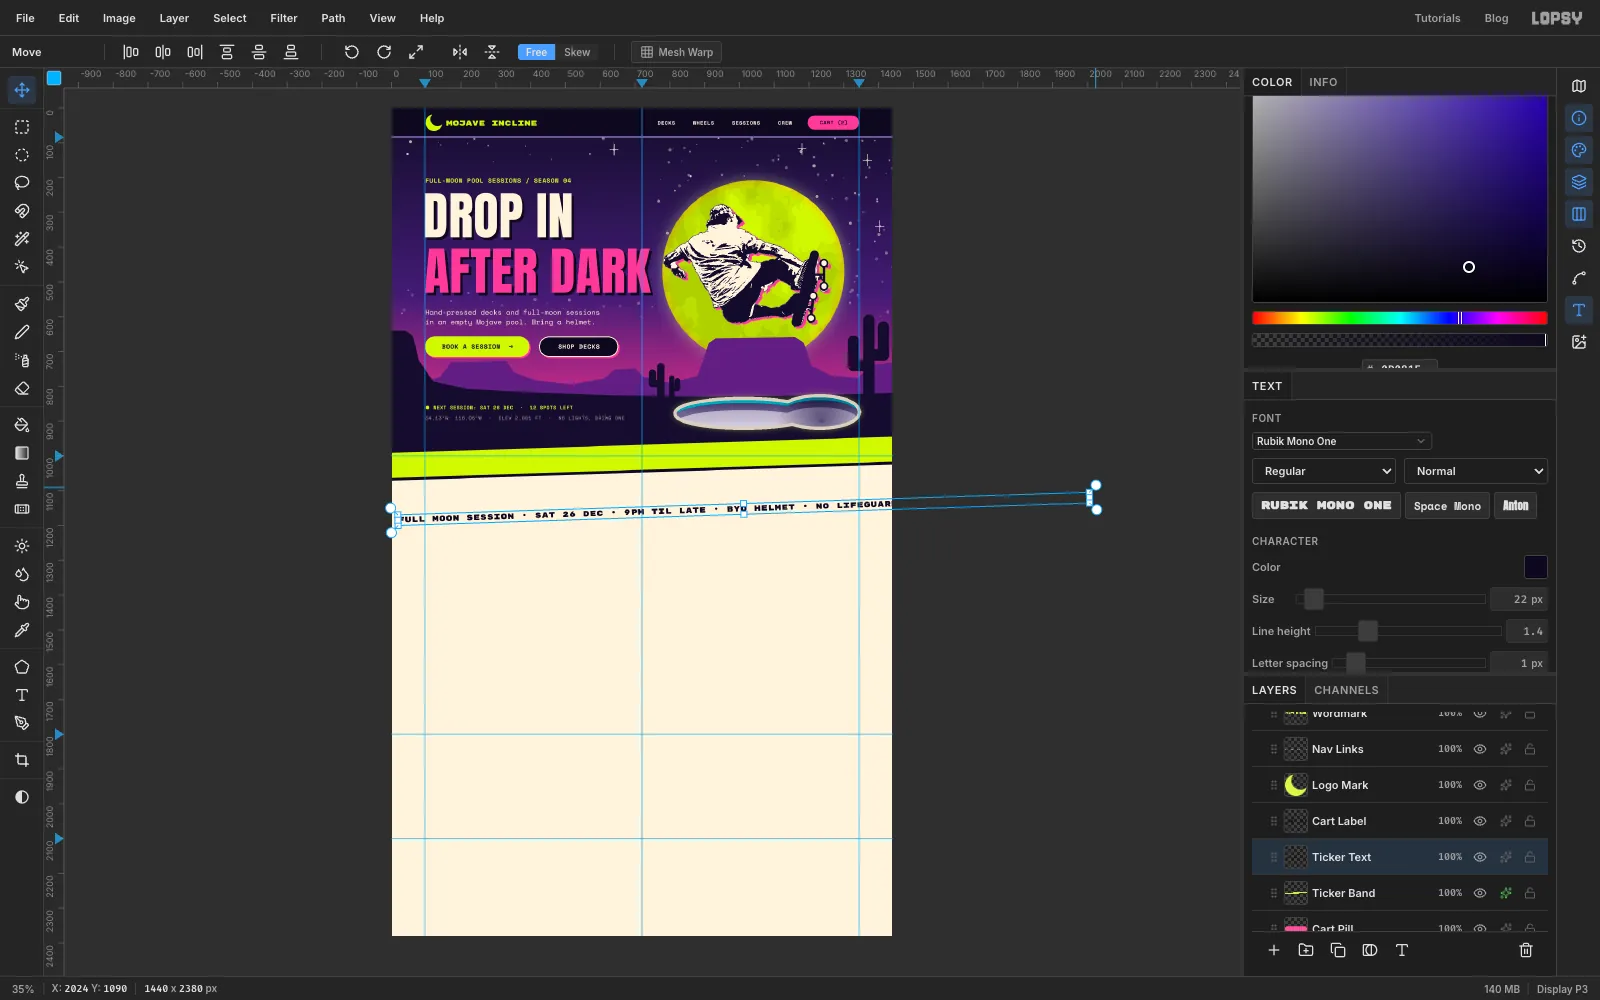
- Set
FULL MOON SESSION • SAT 26 DEC • 9PM TIL LATE • BYO HELMET • NO LIFEGUARD ON DUTY • FULL MOON SESSIONin Rubik Mono One22,0D081E, with Letter spacing1. Type it in empty space. It's longer than the page, like a scrolling marquee. - Press V and drag the rotate handle (just outside the top-right corner) until the text tilts up by about
1.9°, the band's slope. - Press Cmd+D. Drag the text so its left end starts at
x 18. Use the arrow keys until it sits evenly between the band's top and bottom edges. - Click
Ticker Bandtoo (Shift-click) and choose Layer → Group Layers. Name the groupTicker.
- Set
-
Snap the deck cards to the grid
- Set
NIGHT SHIFT DECKSin Anton92,0D081E, with its top at1100.
- Below it at
1204, set7-ply maple, screen-printed by moonlight.in Space Mono16. - On the right, set
VIEW ALL 12 DECKS →in Space Mono Bold16,D02F78. Click Underline. Put its right edge on the1344guide, level with the line on the left. - Click a raster layer and turn Underline back off. The Text tool remembers it.
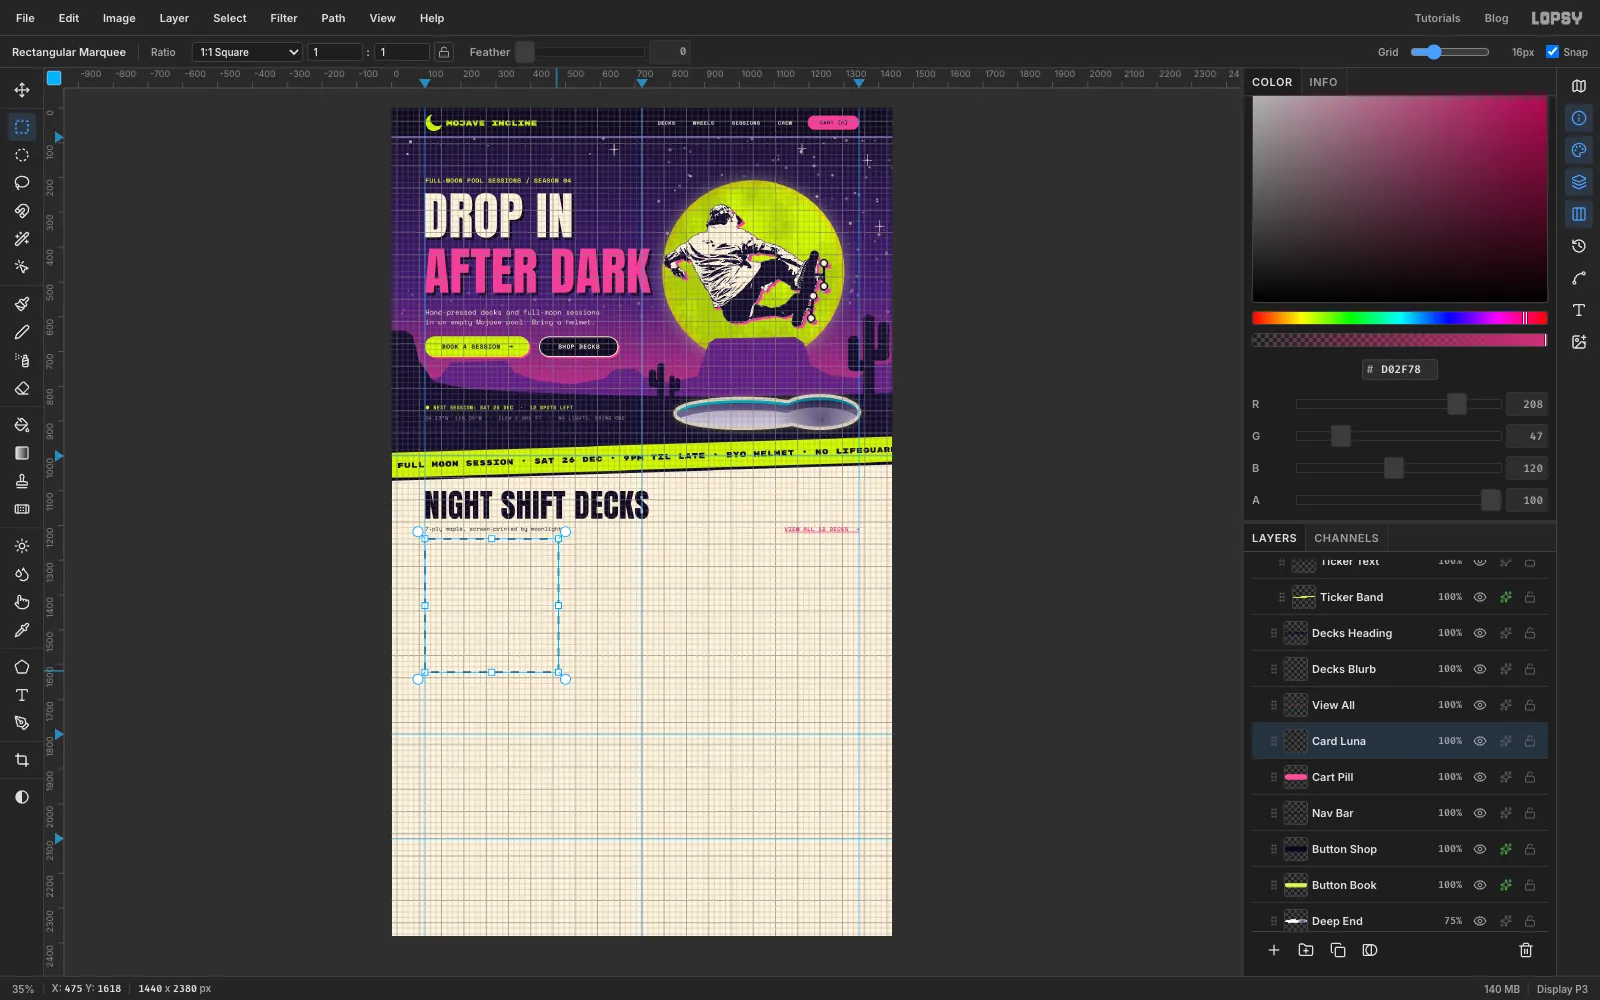
- Choose View → Show Grid. In the options bar, drag the Grid slider to
16pxand make sure Snap is ticked. - Add a layer named
Card Luna. Drag a marquee roughly from100, 1244to475, 1618. Both corners snap to the nearest grid lines, giving a clean384 × 384square from96, 1238to480, 1622. The grid is centred on the page, which is why the lines fall on odd-looking numbers. - Fill pink. Add an inside Stroke of
4in0D081Eand a Drop Shadow of8/8, Blur0, in the same ink. - Repeat for
Card Warp(lime) atx 528andCard Saguaro(teal2EC4D6) atx 960. Then choose View → Show Grid again to hide the grid.
- Set
-
Make the Luna deck
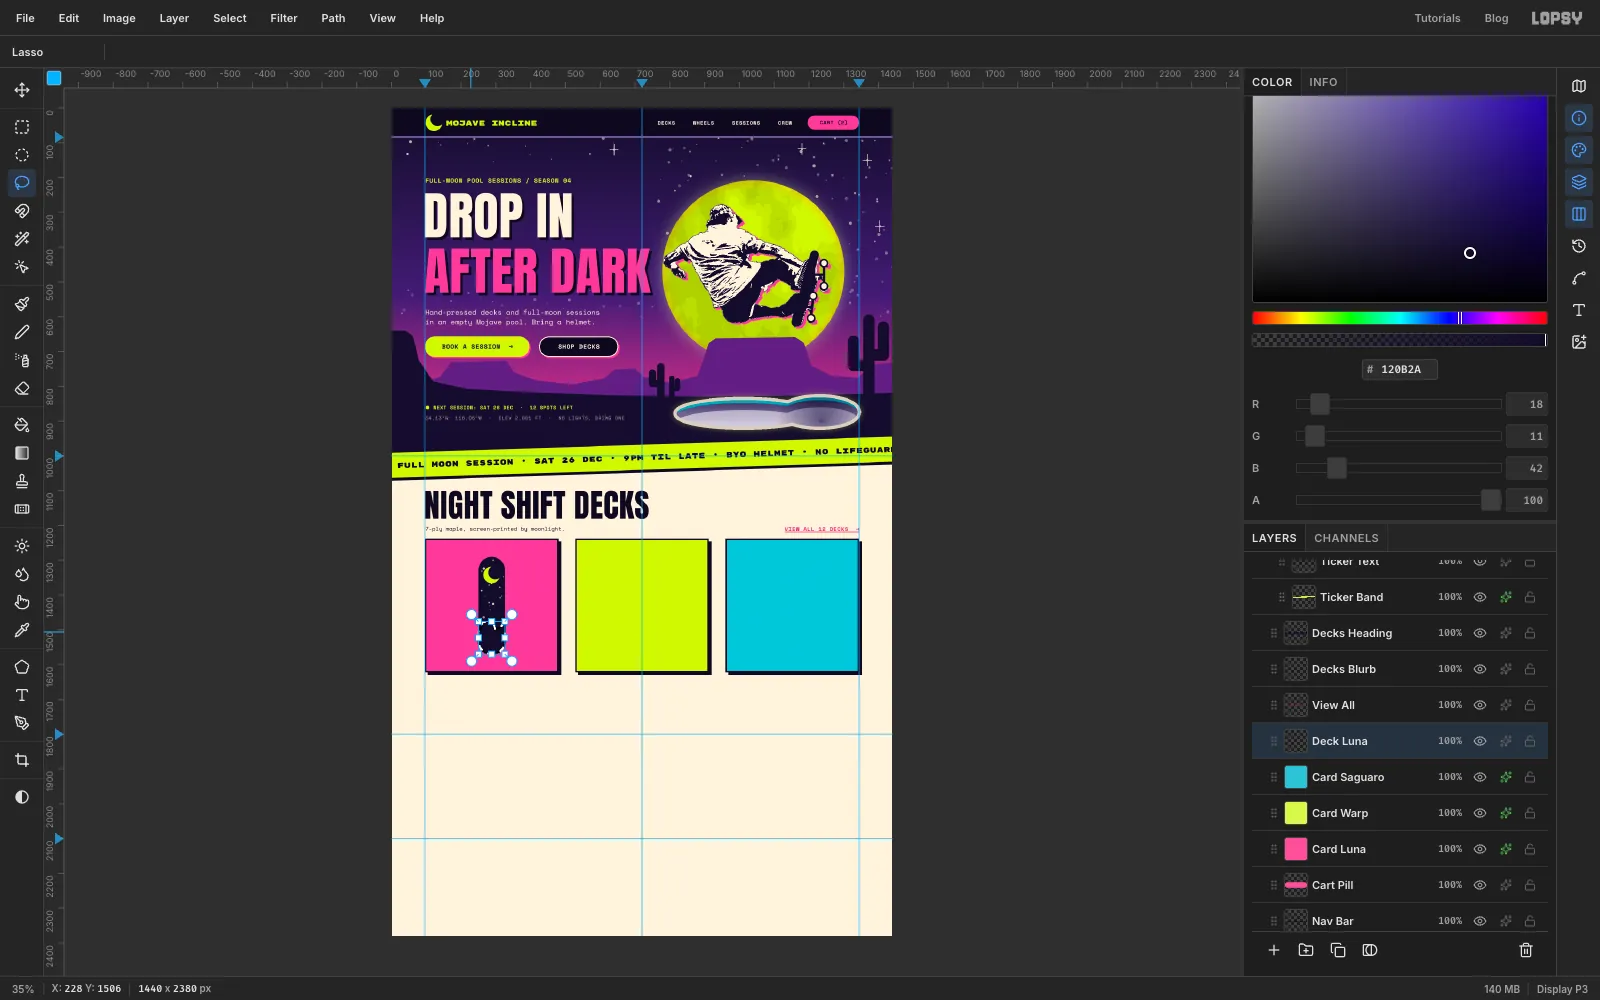
Each deck is a tall pill, 76 px wide and 280 px tall, centred in its card.
- Add a layer named
Deck Luna. Build the pill from a rectangle250, 1328to326, 1532plus two circles:250, 1290to326, 1366, and250, 1494to326, 1570. - Fill with
120B2A. Keep the selection, so the stars can't land outside the deck, and spray a few cream stars inside it with the Spray at Size70, Density2. - Press Cmd+D. Fill a lime circle from
264, 1318to312, 1366. Then fill a smaller circle from278, 1315to318, 1355with night ink to bite it into a crescent. - Cmd-click the deck's thumbnail. With the Lasso, hold Shift+Option and draw a mesa skyline across the bottom third. Only the overlap stays selected. Fill it with
5A2380. - Give the deck an outside Stroke of
4and a Drop Shadow of8/8, both in0D081E.
- Add a layer named
-
Twist a checkerboard with Liquify
- Make the tile. On a scratch layer in an empty corner, fill a 32 px square with cream. Fill its top-left and bottom-right 16 px quarters with
0D081E. Select the whole 32 px square and choose Edit → Define Pattern. Then delete the scratch layer. - Add a layer named
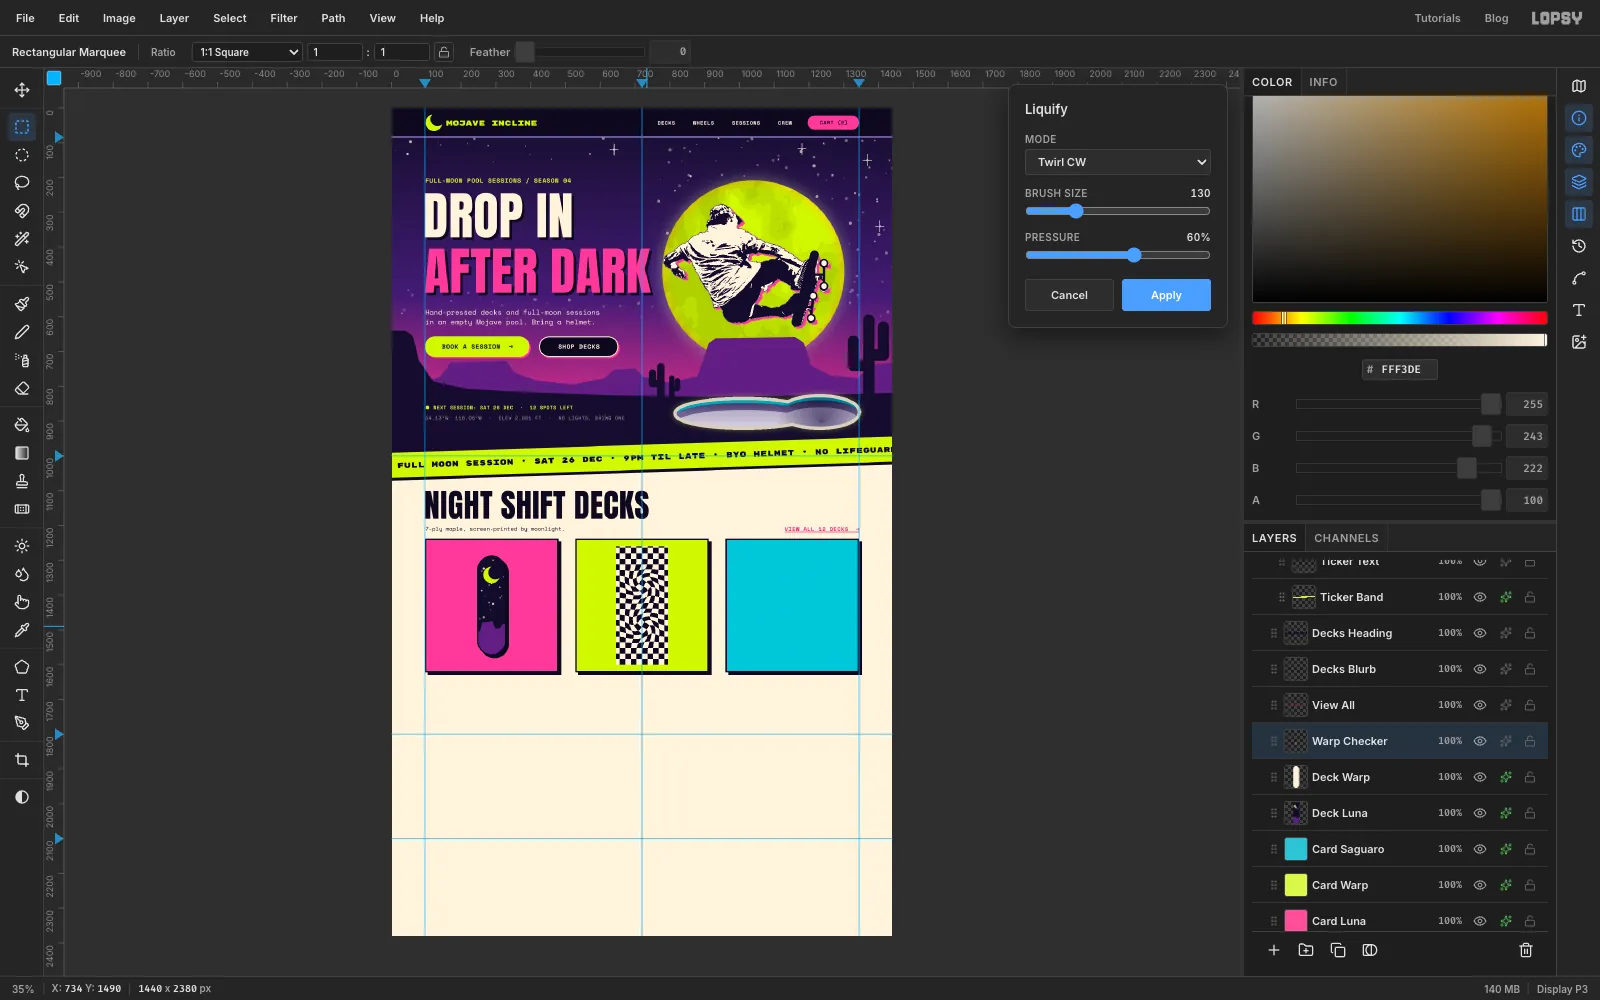
Deck Warp. Make the same pill centred onx 720, fill it cream, and give it the same stroke and shadow as Luna. - Add a layer named
Warp Checker. Drag a marquee a little bigger than the deck,645, 1260to795, 1600. Choose Edit → Fill with Pattern…, pick the new pattern and click Apply. - Choose Filter → Liquify…. Set Mode to Twirl CW, Brush size
130and Pressure60. Circle the pointer in small loops over720, 1372and again over720, 1490, then click Apply.
- Make the tile. On a scratch layer in an empty corner, fill a 32 px square with cream. Fill its top-left and bottom-right 16 px quarters with
-
Clip the checker to a straight deck
Liquify bends everything it touches, including edges. That's why the twist went on its own layer.
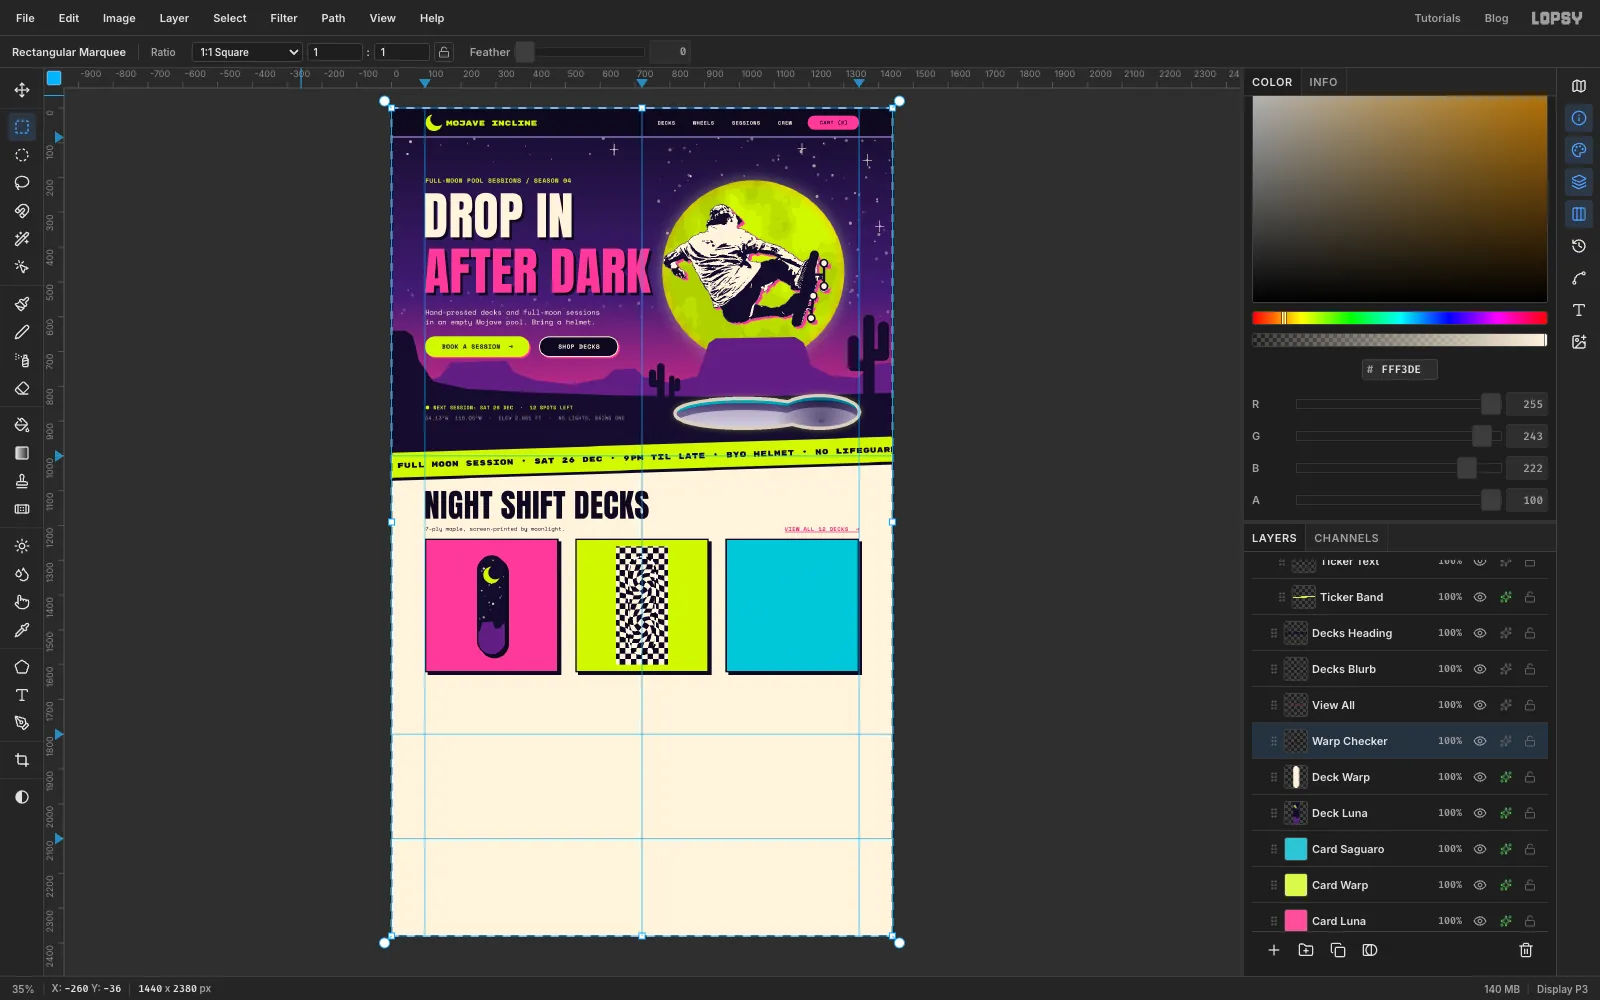
- Cmd-click the
Deck Warpthumbnail and choose Select → Inverse. - Press Delete and Cmd+D. The twisted checker is now trimmed to the straight cream deck underneath.
- Choose Layer → Merge Down. The deck keeps its stroke and shadow.
- Cmd-click the
-
Make the Saguaro deck and tilt the outer two
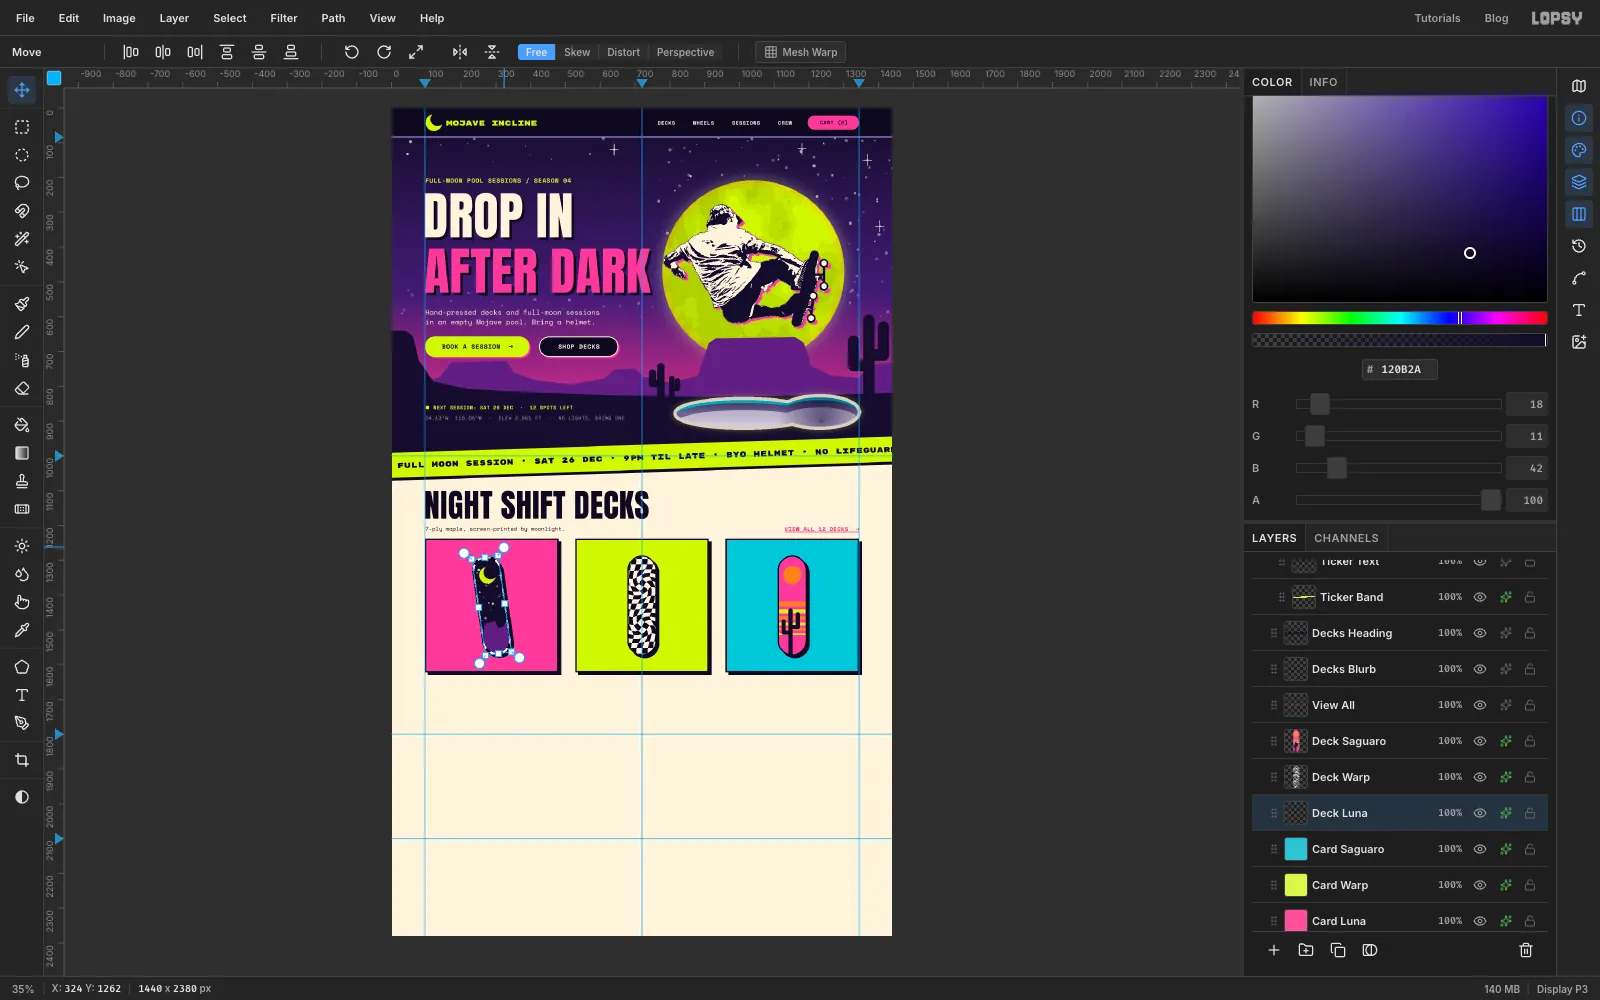
- Add a layer named
Deck Saguarowith the pill centred onx 1152, filled pink. - Press Cmd+D and fill an orange
FF8A3Dsun from1126, 1316to1178, 1368. - Make sunset stripes across the lower half. For each stripe, Cmd-click the deck's thumbnail, then Shift+Option-drag a thin rectangle across it. Fill alternating orange and lime. The stripes get thinner toward the bottom: about 13, 12, 10, 8, 7 and 5 px tall.
- Cmd-click the thumbnail once more, so nothing spills off the deck. Paint a saguaro with the Brush at Size
13in night ink, the same way as the big ones. Add the same stroke and shadow. - Tilt the outer decks. Cmd-click
Deck Luna's thumbnail and drag its rotate handle8°counter-clockwise. Press Cmd+D. Do the same forDeck Saguaro,8°clockwise.
- Add a layer named
-
Copy the price tags and cart buttons
- Add a layer named
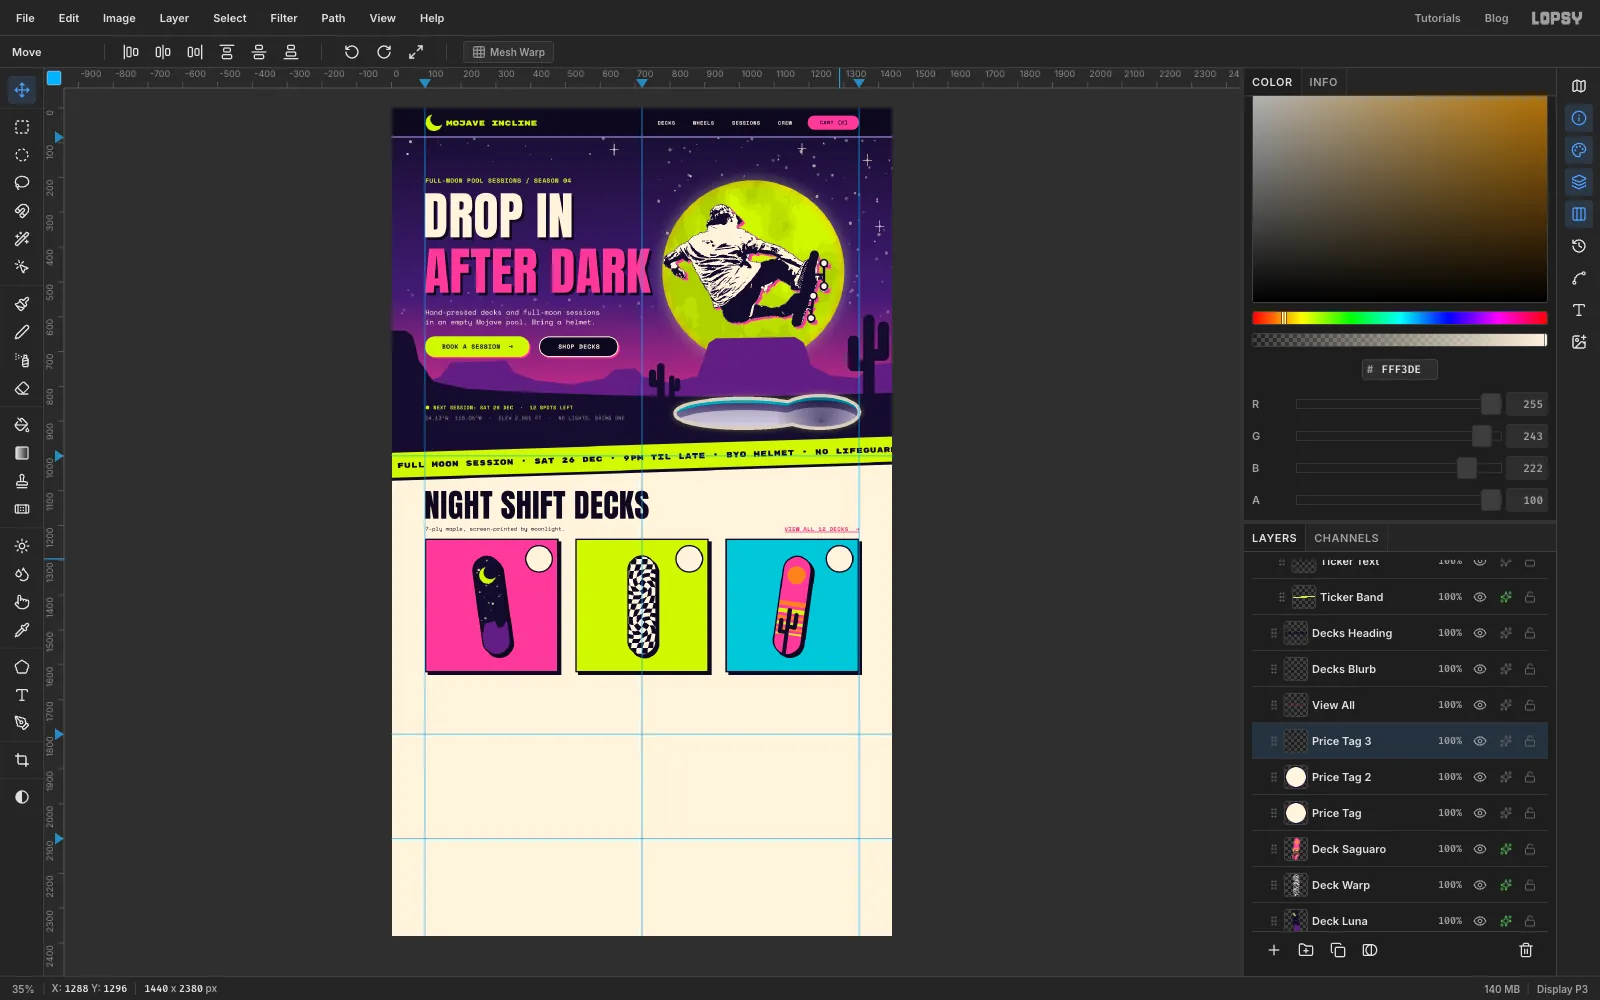
Price Tag. Fill a circle from384, 1256to464, 1336with0D081E. Fill a circle 4 px smaller inside it with cream. - Draw a marquee a little larger than the disc and press Cmd+C, then Cmd+V. Each paste arrives as a new layer in the same spot, already selected, with the Move tool active. Rename it
Price Tag 2. - Drag the copy from its middle 432 px to the right, onto the second card, and press Cmd+D. Press Cmd+V again, rename that copy
Price Tag 3, and drag it 864 px, onto the third card. - Do the same for the add-to-cart pills. Add a layer named
Cart Buttonand fill a pill from96, 1734to272, 1770with0D081E. Copy it twice across the cards and rename the copiesCart Button 2andCart Button 3. - Give each of the three pills a pink Drop Shadow of
4/4. Add it after pasting, because a paste doesn't carry layer effects.
- Add a layer named
-
Label the products
Click
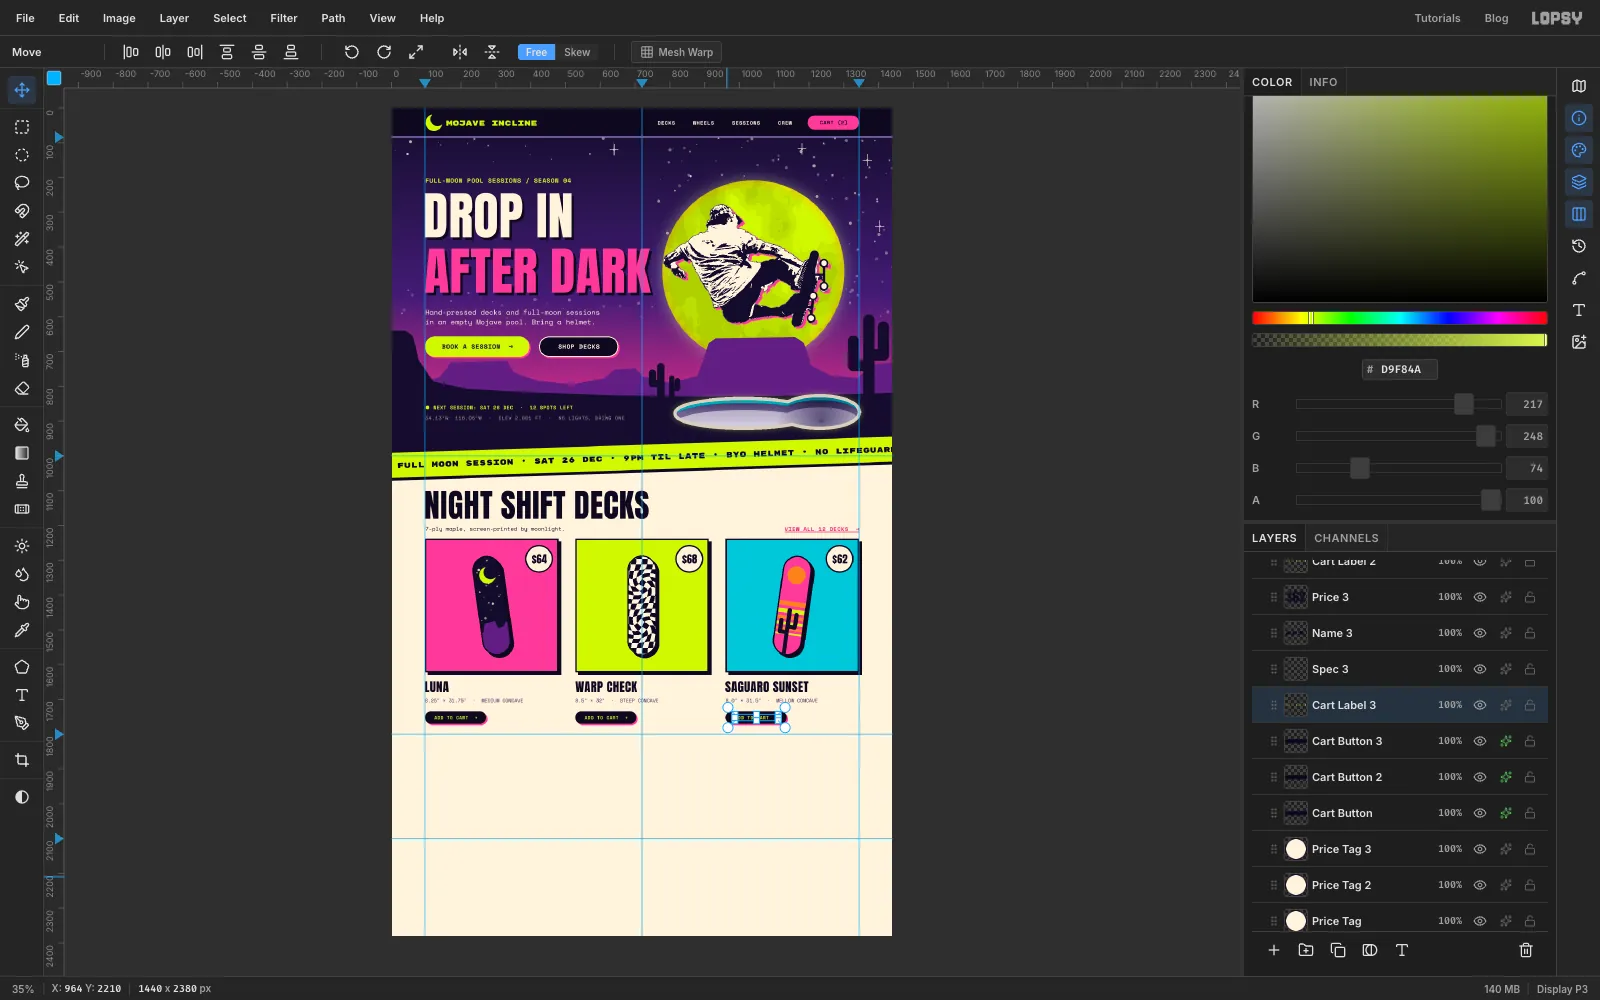
Cart Button 3before each label so the type stacks on top.- Prices:
$64,$68and$62in Anton30,0D081E, centred in the discs. - Names:
LUNA,WARP CHECKandSAGUARO SUNSETin Anton36, flush with each card's left edge aty 1648. - Specs: in Space Mono
14,3A2B5C, aty 1698:8.25" × 31.75" · MEDIUM CONCAVE,8.5" × 32" · STEEP CONCAVEand8.0" × 31.5" · MELLOW CONCAVE. - Buttons:
ADD TO CART +in Space Mono Bold13, lime, centred in each pill.
- Prices:
-
Rule the sessions list
- Click
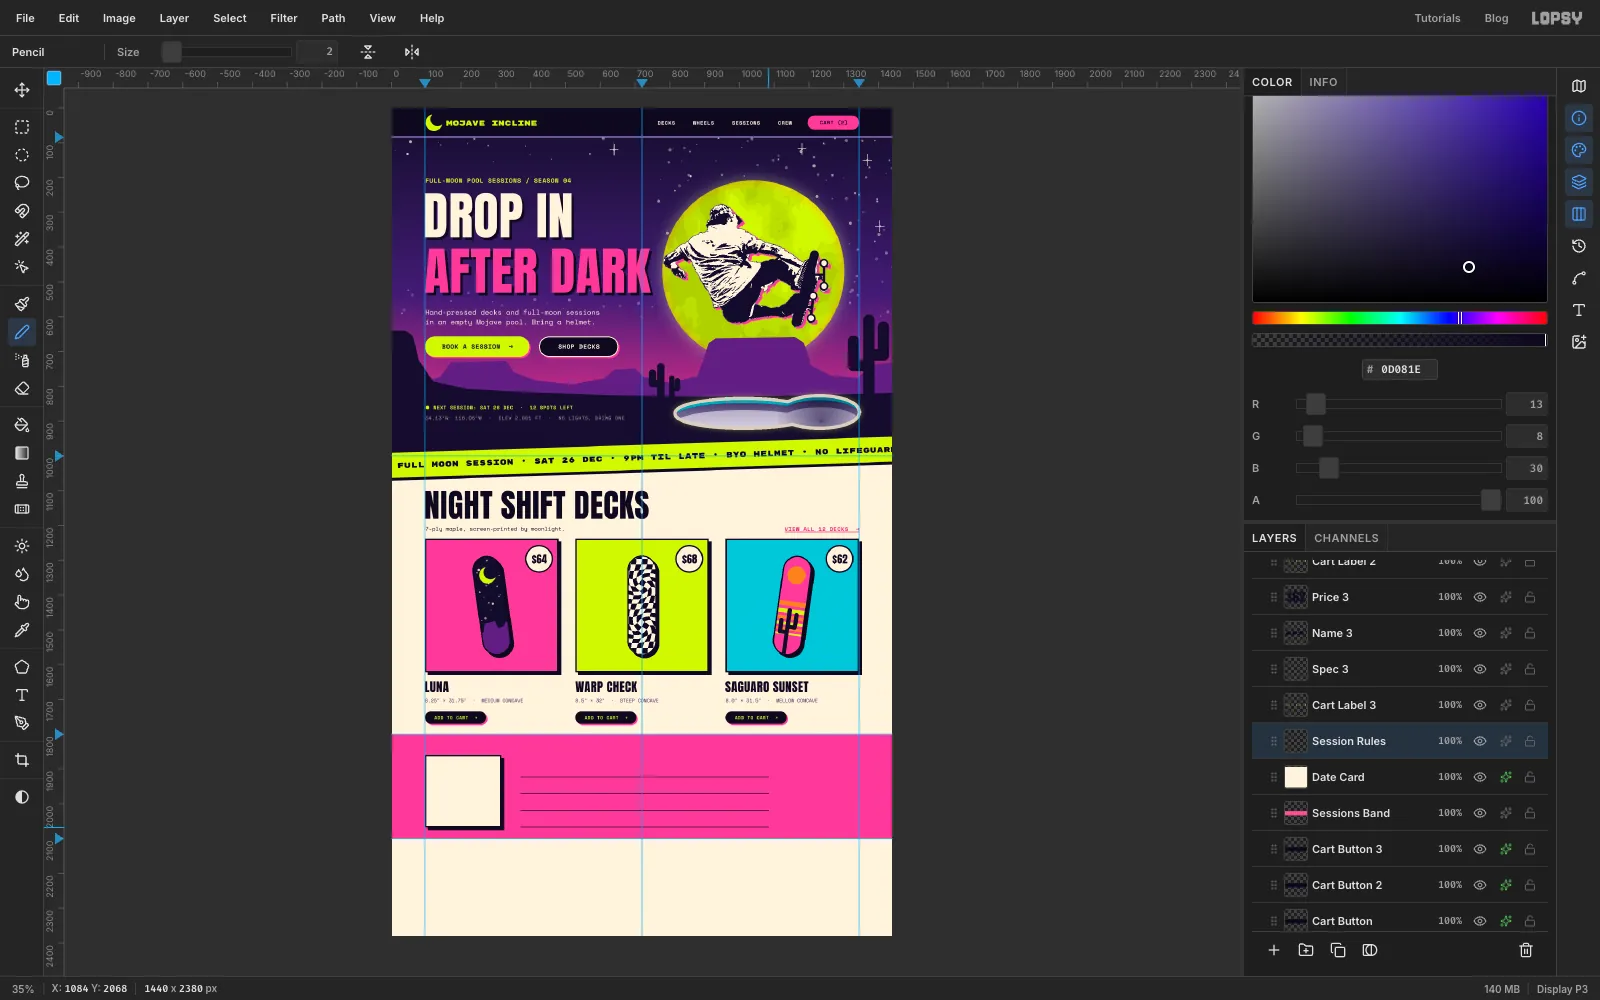
Cart Button 3and add a layer namedSessions Band. Fill0, 1800to1440, 2100with pink. - Add a layer named
Date Card. Fill96, 1860to316, 2068with cream. Give it an inside Stroke of4and a Drop Shadow of8/8, both in0D081E. - Add a layer named
Session Rules. Pick the Pencil at Size2in0D081E. - For each rule, click at
x 372and Shift-click atx 1084. Draw them aty 1924,1972,2020and2068, 48 px apart. - Add a
Book Spotpill from1124, 1968to1344, 2024in ink, with a lime4/4shadow.
- Click
-
Fill in the sessions
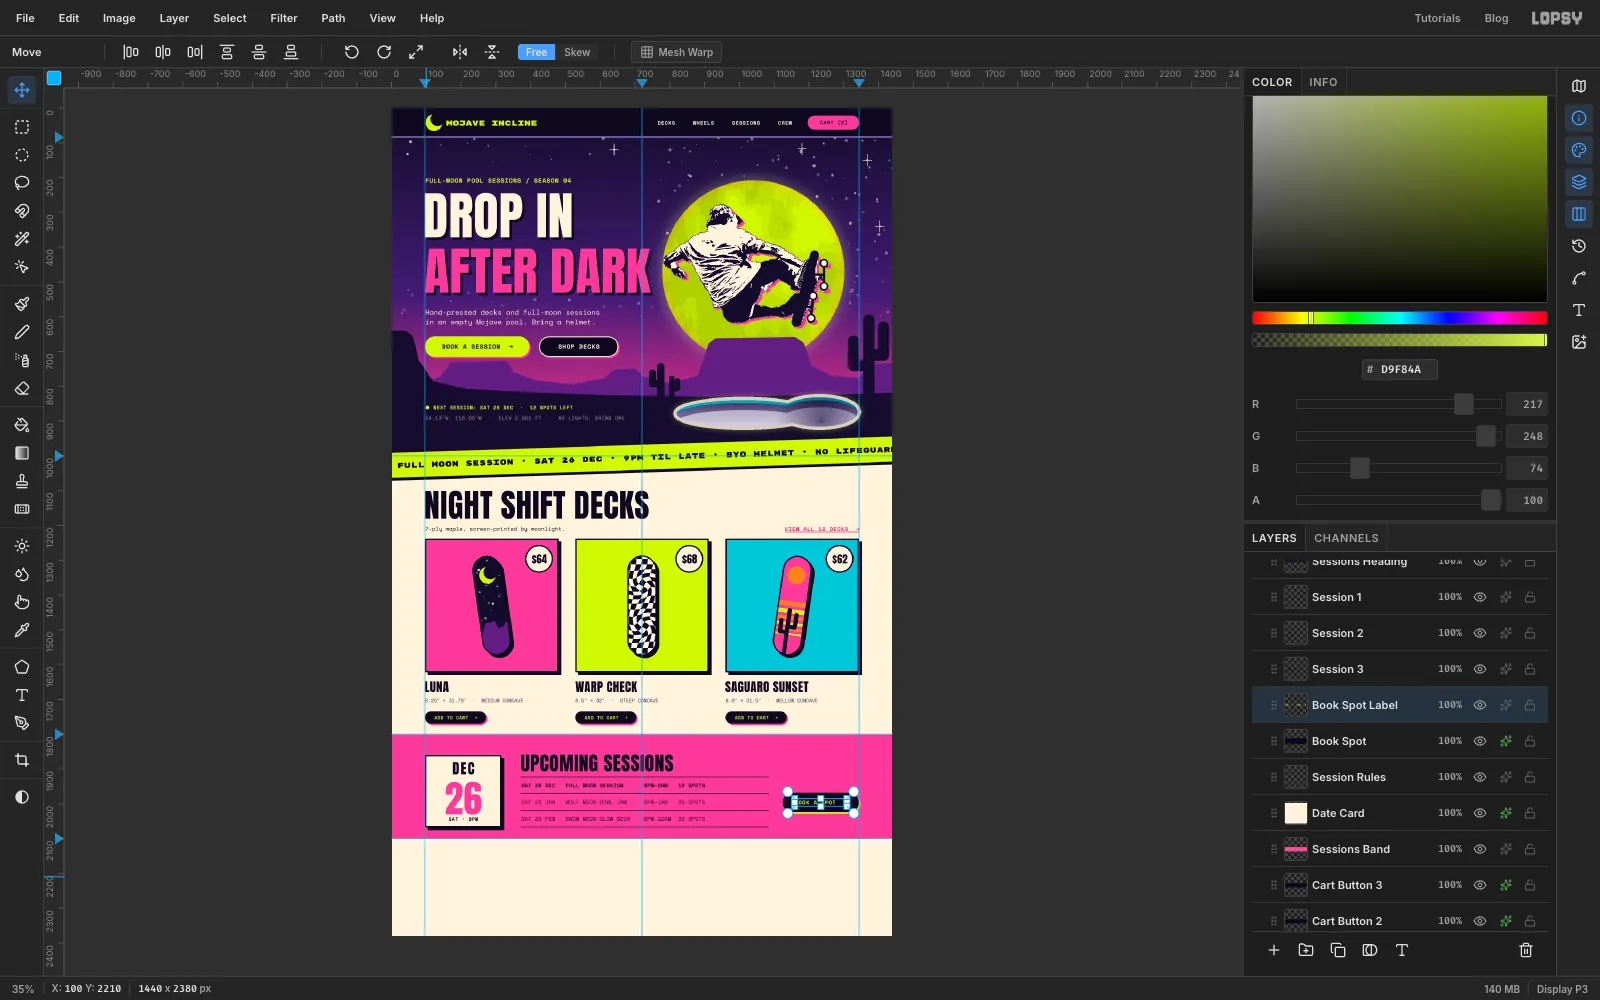
- On the date card, set
DECin Anton40with Letter spacing4. Set26in Anton108, pink. SetSAT · 9PMin Space Mono Bold14. Centre all three onx 206. - Set
UPCOMING SESSIONSin Anton56at372, 1858. - Set one schedule row per gap in Space Mono
16, starting atx 374. Space Mono is a monospace font, so pad the columns with spaces and they line up row to row:
SAT 26 DEC FULL MOON SESSION 9PM–2AM 12 SPOTSSAT 23 JAN WOLF MOON BOWL JAM 8PM–1AM 30 SPOTSSAT 20 FEB SNOW MOON SLOW SESH 8PM–12AM 30 SPOTS
- Make the first row bold, since it's the next session. Centre each row between its rules.
- Centre
BOOK A SPOT →in lime Space Mono Bold16on the pill with the Align buttons.
- On the date card, set
-
Finish the footer and tilt the sticker
- Click the
DECtext layer (Date Monthin the screenshots) so the footer stacks above the sessions band. It was the first text you set there, so it sits highest. Add a layer namedFooterand fill0, 2100to1440, 2380with0D081E. - Add an
Email Fieldpill from96, 2254to520, 2302. Fill it with221A44and give it an inside lilac Stroke of2. Add a pinkJoin Buttonpill from532to660, with a lime4/4shadow. - Set the type:
STAY OUT LATE.in Anton60, lime, at96, 2156.- A lilac
[email protected]placeholder in Space Mono16, 26 px inside the field. CentreJOINin Space Mono Bold16on its button with the Align buttons. SHOP · SESSIONS · STOCKISTS · INSTAGRAMin cream Space Mono Bold13at720, 2176.© 2026 MOJAVE INCLINE SKATE CO.in lilac Space Mono12atx 720, level with the middle of the field.
- Add a layer named
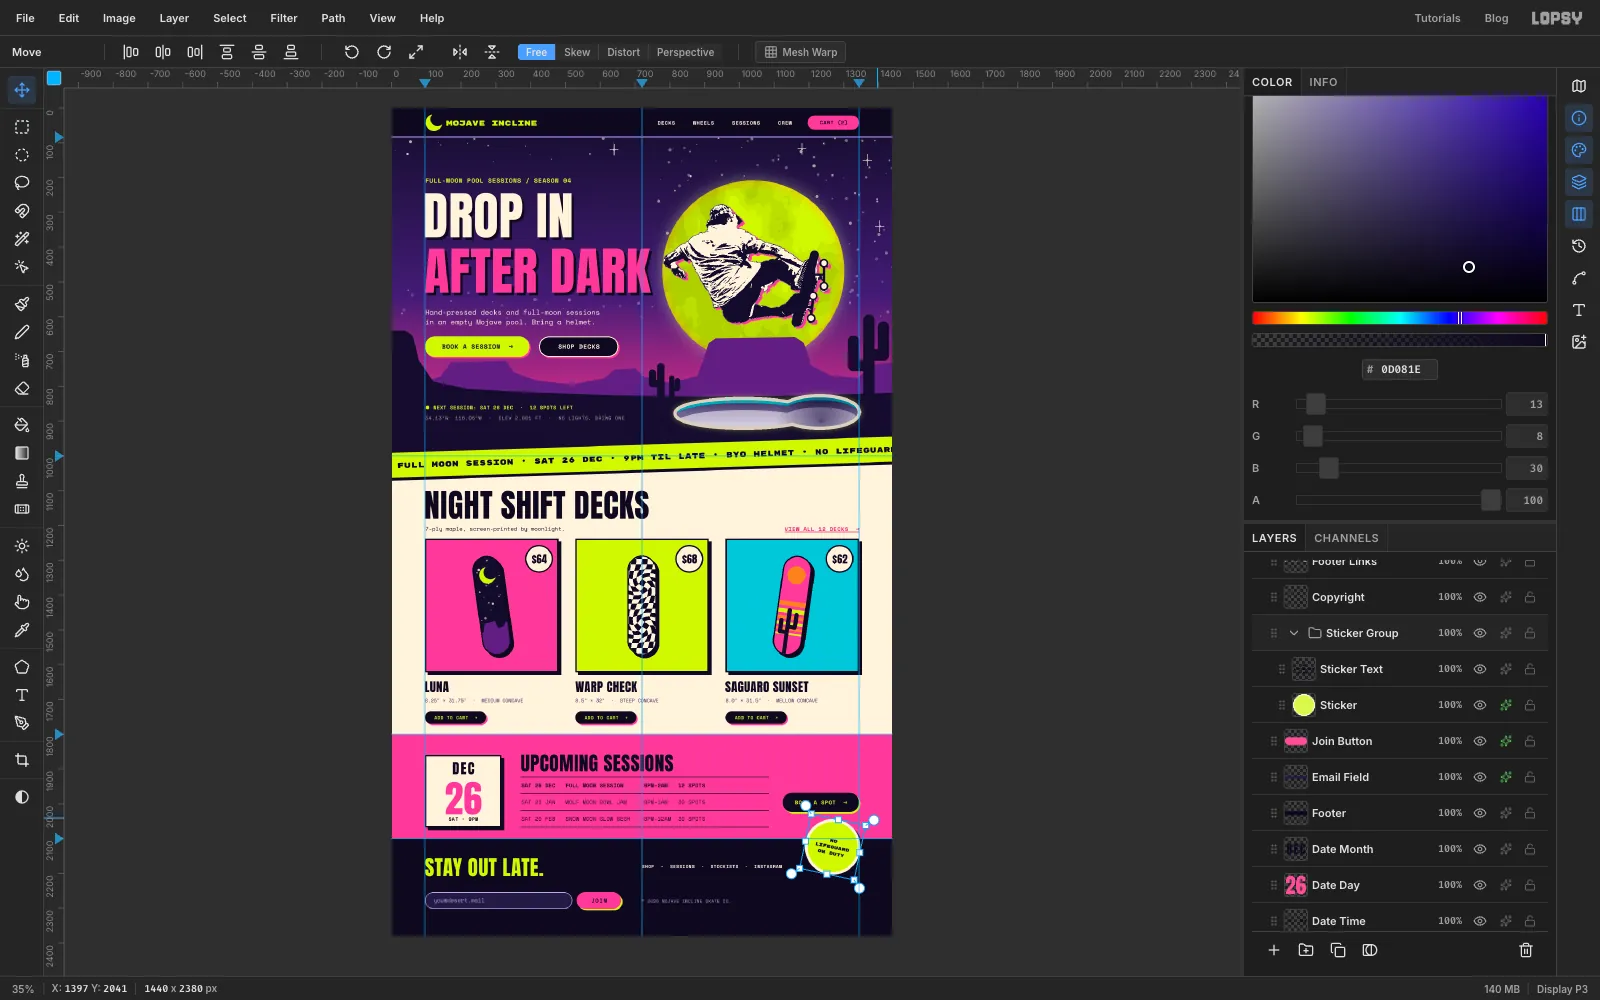
Sticker. Fill a cream circle from1188, 2044to1348, 2204, then a lime circle 8 px smaller inside it. Give it an8/8ink shadow. - Set
NO,LIFEGUARD,ON DUTYon three lines in Rubik Mono One13, with Align set to Center. Centre it on the sticker with the Align buttons. - Select the text and
Stickerand choose Layer → Group Layers. Name the groupSticker Group. With the group selected, drag the rotate handle12°clockwise. The whole sticker turns as one piece and slaps across the seam.
- Click the
-
Add screen-print grit
- Light specks. Add a layer named
Grit Light. Set the foreground toA0A0A0and choose Edit → Fill with nothing selected. Then:
- Filter → Add Noise… with Amount
100and Mode set to Mono. - Filter → Desaturate, so every speck is neutral grey and no coloured fleck survives the Threshold.
- Filter → Threshold… at
206. - Set the layer to Screen at
30%. Only the white specks show, like ink drop-out.
- Dark specks. Add a layer named
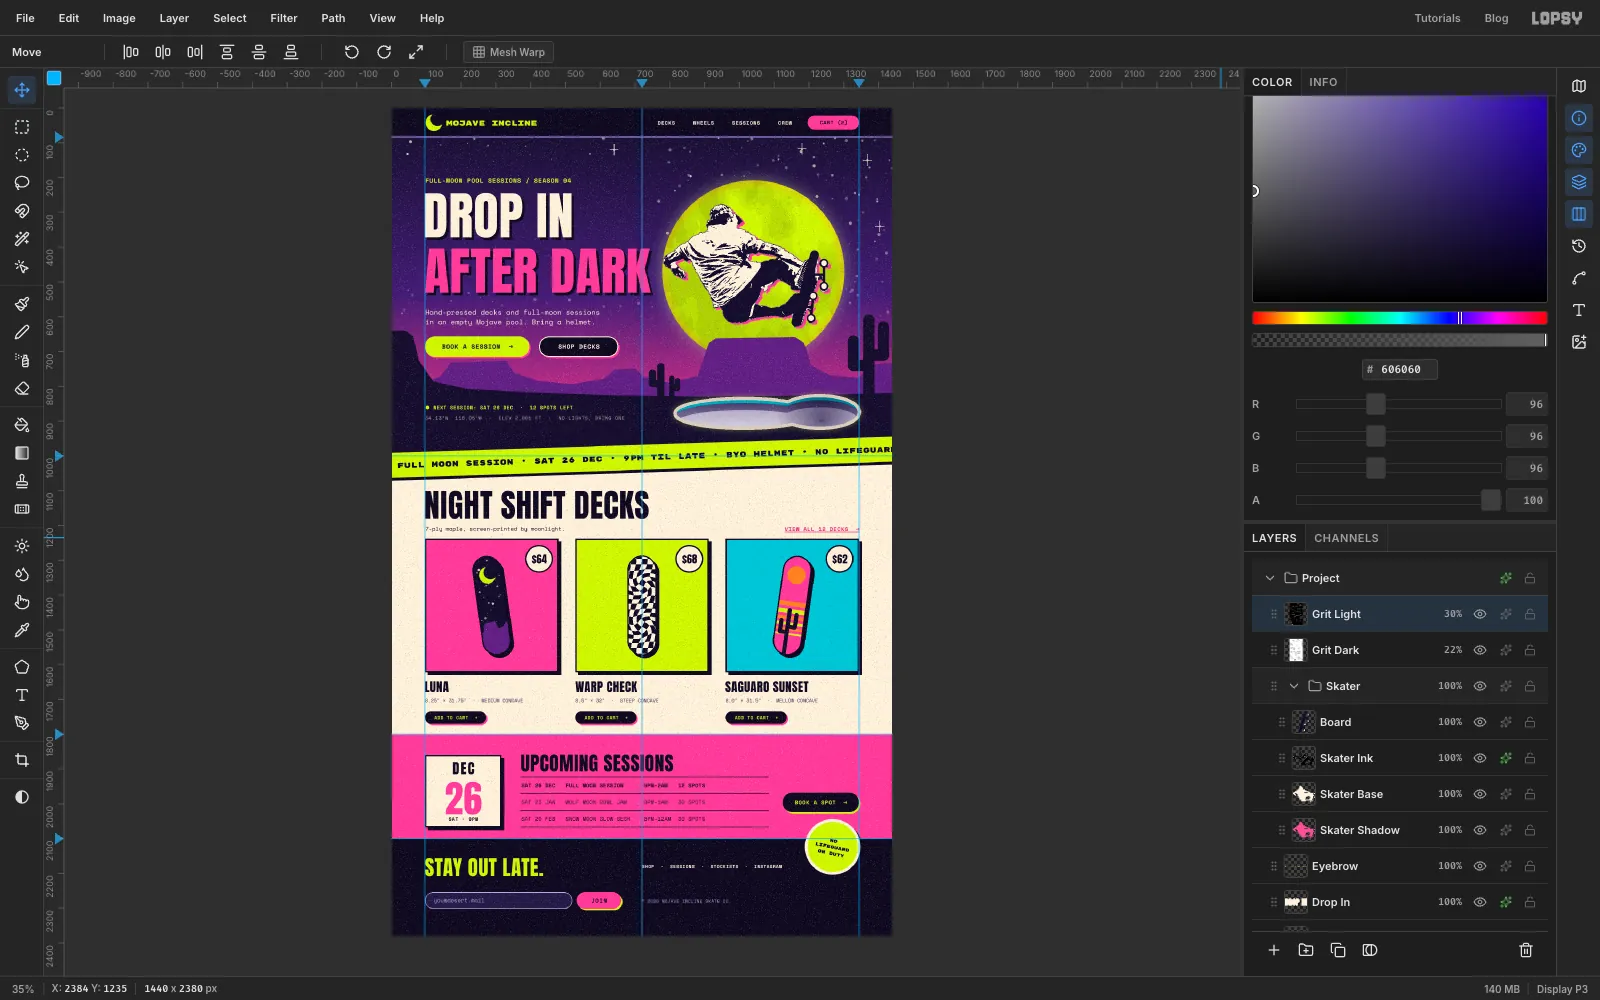
Grit Dark. Do the same with606060and Threshold52, and set it to Multiply at22%. - Drag both grit layers to the very top of the Layers panel, above the
Skatergroup, so they cover everything.
Choose File → Quick Export PNG to save the page, and File → Save Project to keep the layers.
- Light specks. Add a layer named