Make a Multi-Layer Stencil Jazz Club Billboard
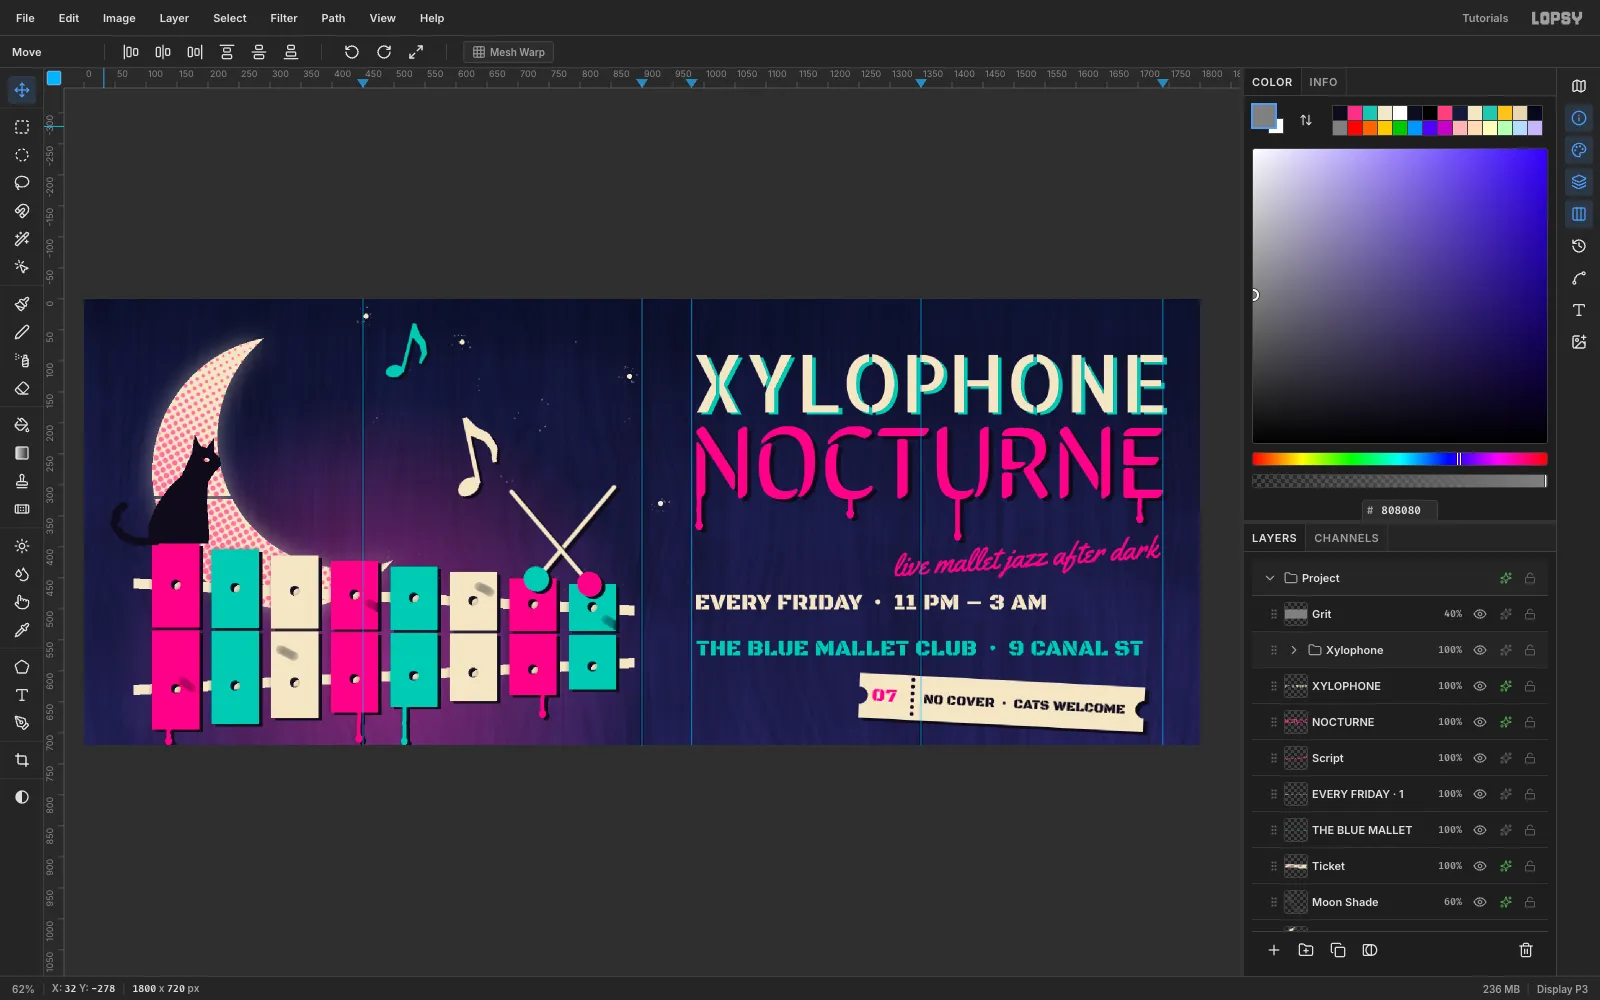
Spray a two-screen stencil billboard in Lopsy with a halftone moon, a black cat on a xylophone, misregistered key-plate shadows and dripping stencil type.
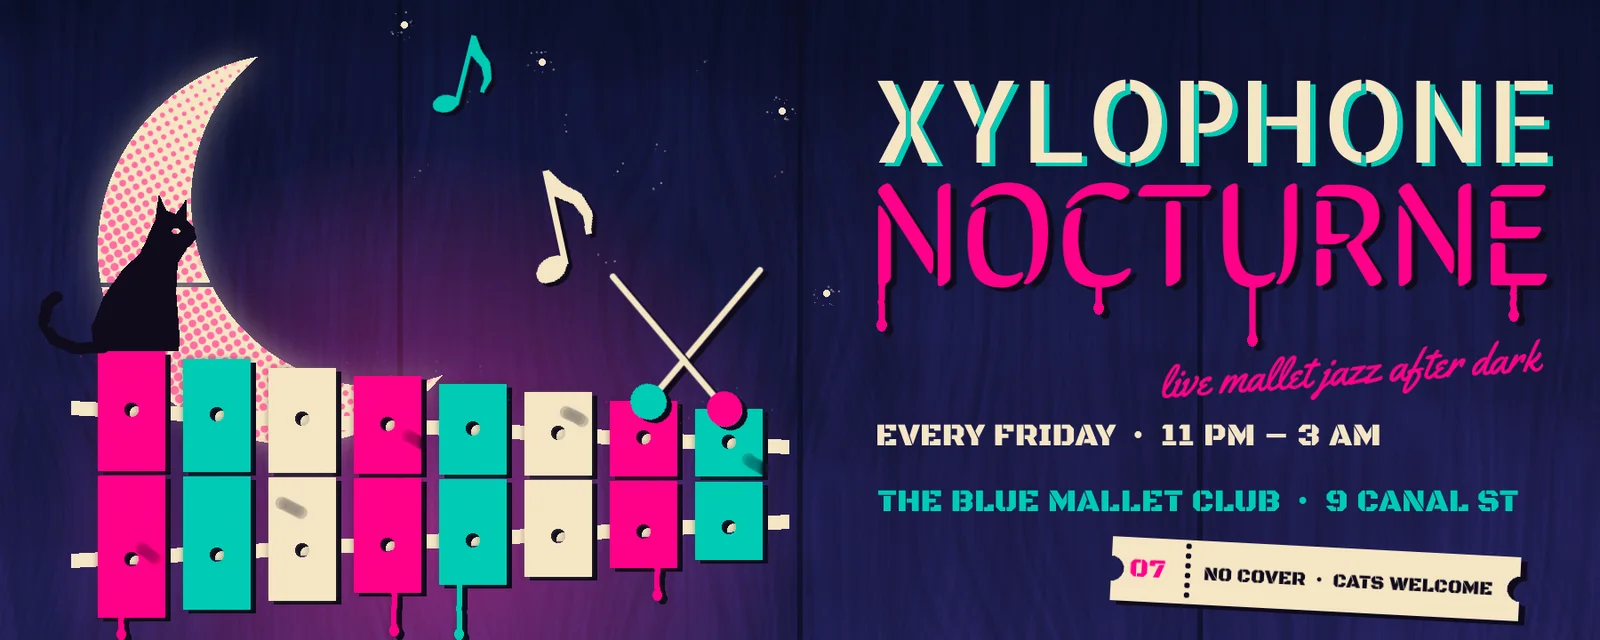
A real multi-layer stencil is cut as a few flat sheets, one per ink, and sprayed one after another. The sheets never line up perfectly, so each ink sits a few pixels off the one below. In this tutorial you'll fake that look on a 1800 × 720 billboard for an imaginary late-night jazz series, Xylophone Nocturne.
You'll build a plywood hoarding with a stage-light glow and a halftone crescent moon. Then you'll cut a xylophone with stencil bridges and a black cat sitting on it, and set dripping stencil type. On the way you'll use gradients, Quick Mask, filters, the Spray tool, lasso and marquee selections, groups, copy and paste, transforms, layer effects and blend modes.
The whole piece uses four inks on a navy wall:
- Ink
#0E0B1A - Cream
#F2E6C8 - Hot pink
#FF2E88 - Teal
#19C7B4
-
Create the billboard document
Open Lopsy and choose File → New. Set Width
1800and Height720in pixels, choose a White background and click Create. At 2.5:1 it has the long, low shape of a roadside billboard.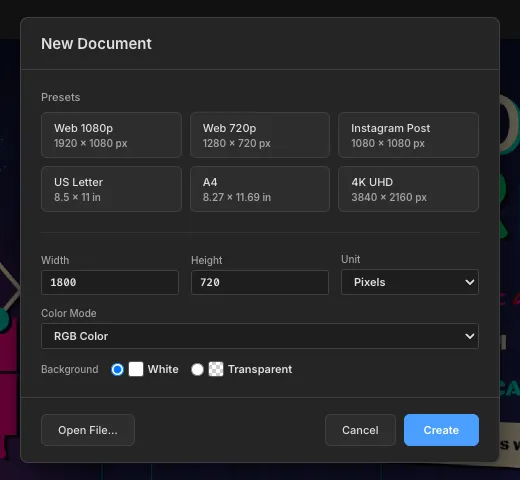
-
Set up a night-sky gradient
Click the Background row and pick the Gradient tool. It has no keyboard shortcut, so pick it from the toolbox. Set Type to Linear and click Advanced…. Click the left stop and use the hue strip and color square to pick a deep navy (about
#0E1230). Click the right stop and pick a dusky violet (about#2A2360). Click Done.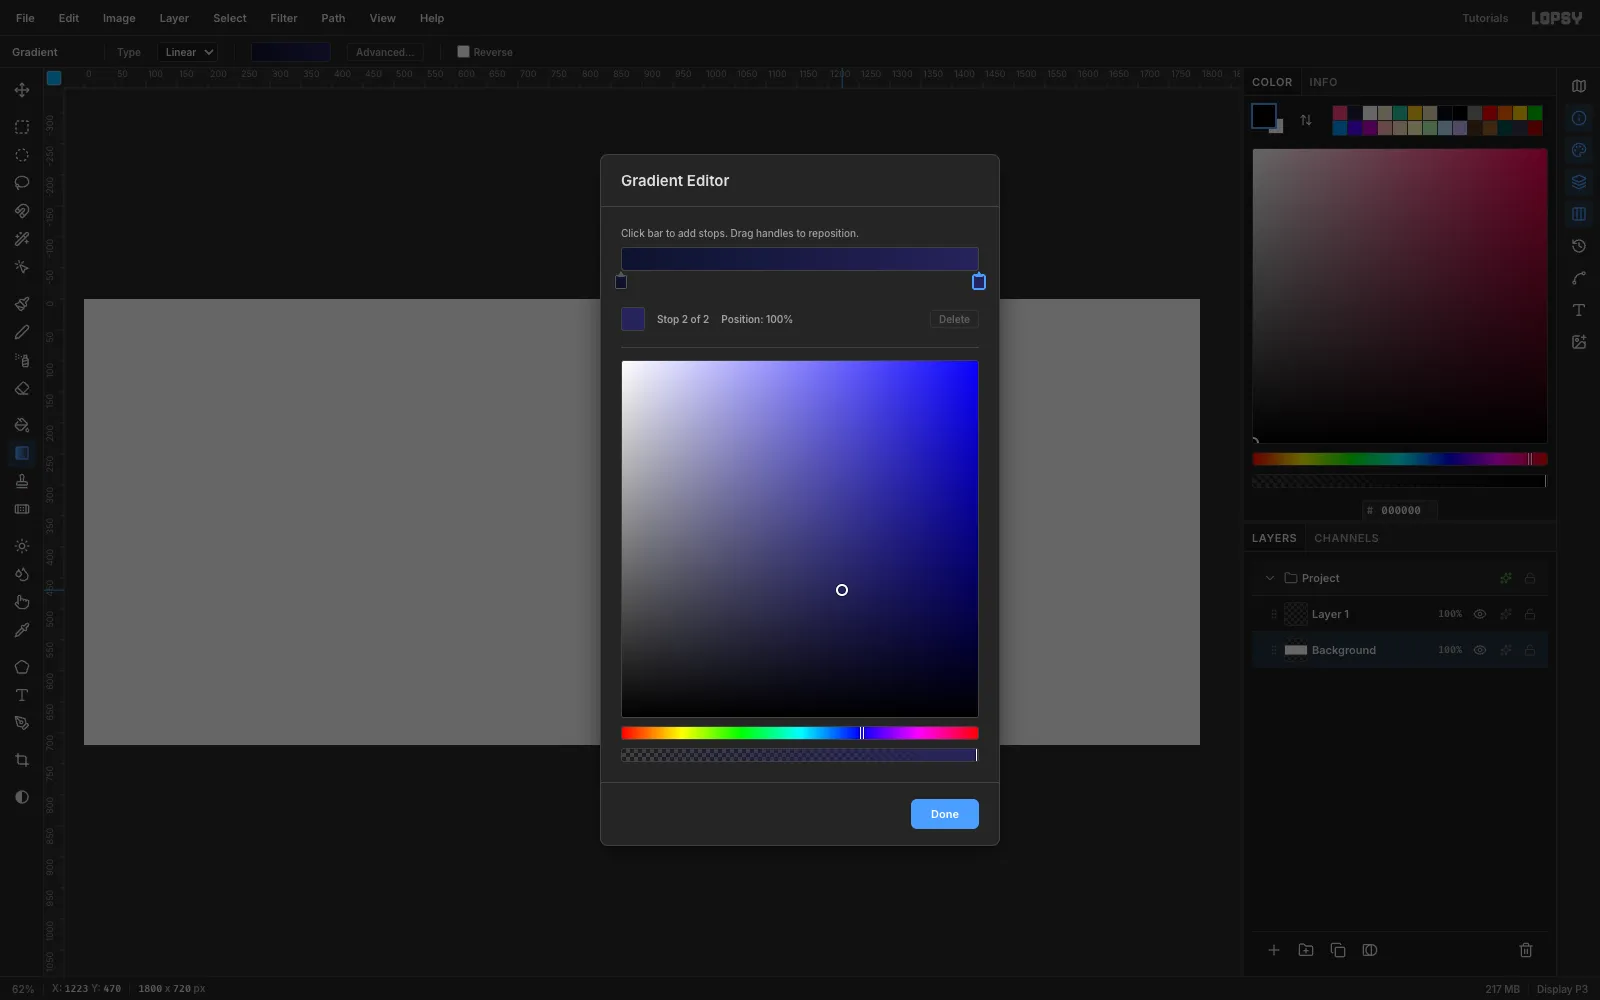
-
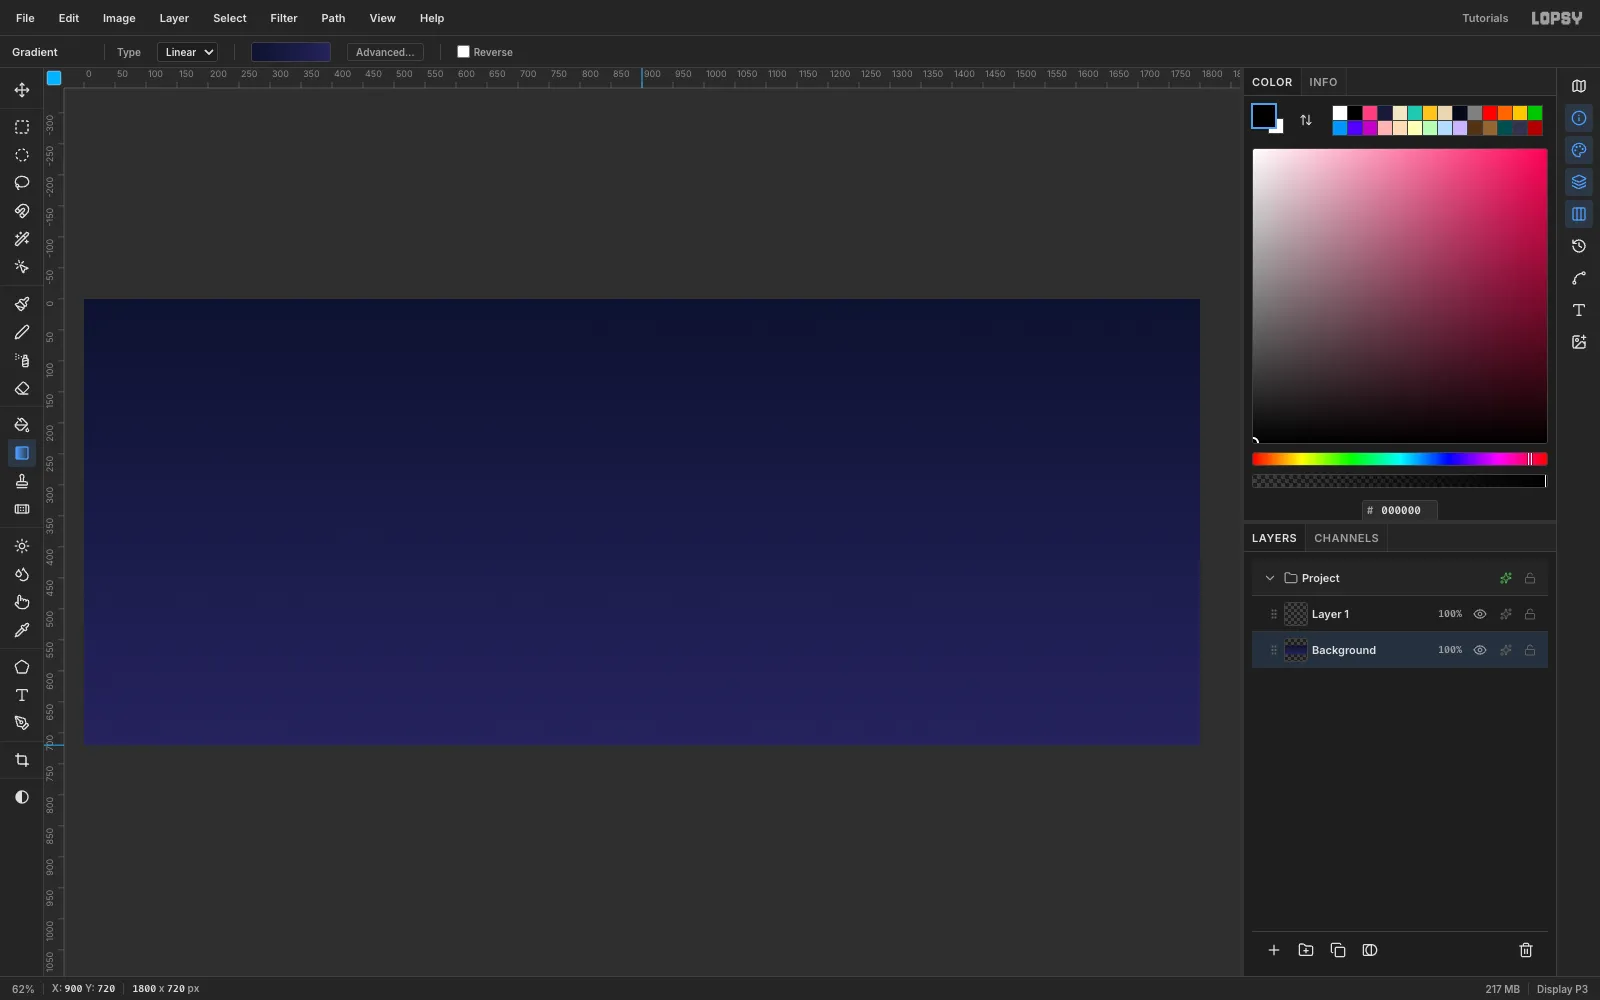
Drag the sky
Drag straight down from the top edge of the canvas to the bottom edge. The top is darkest, as the sky would be, and the bottom glows a little violet.
-
Add plywood grain with Fibers
Double-click
Layer 1and rename itPlywood. Choose Filter → Fibers and set Variance24and Strength40, then click Apply. Open the row's Layer effects (the sparkle button), set Blend to Overlay and close the drawer. Then set the row's opacity to35%. The grain now tints the sky instead of covering it.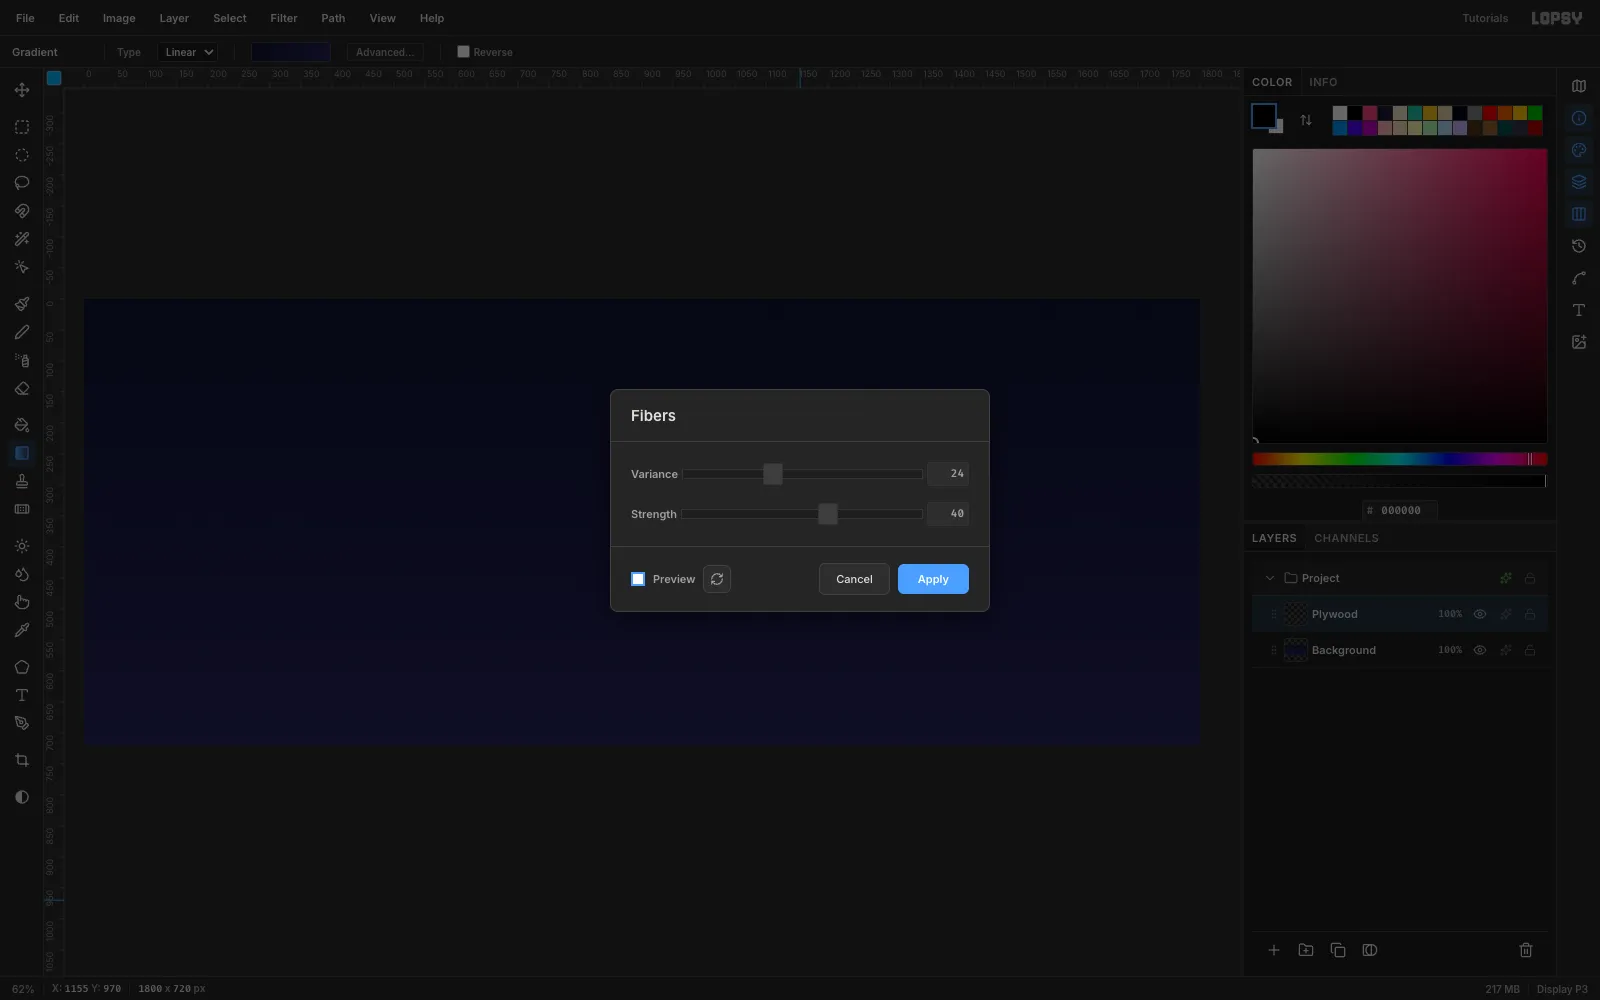
-
Place guides and cut the panel seams
Click the top ruler at x
450,900and1350to drop guides where the plywood sheets meet. Add two more at980and1740: those are the left and right edges of the type block.Click Add Layer and name the layer
Seams. With the Rectangular Marquee, select a strip 6 px wide and the full canvas height centered on each sheet guide. Fill each strip with#0A0C1Eusing Edit → Fill. SetSeamsto70%.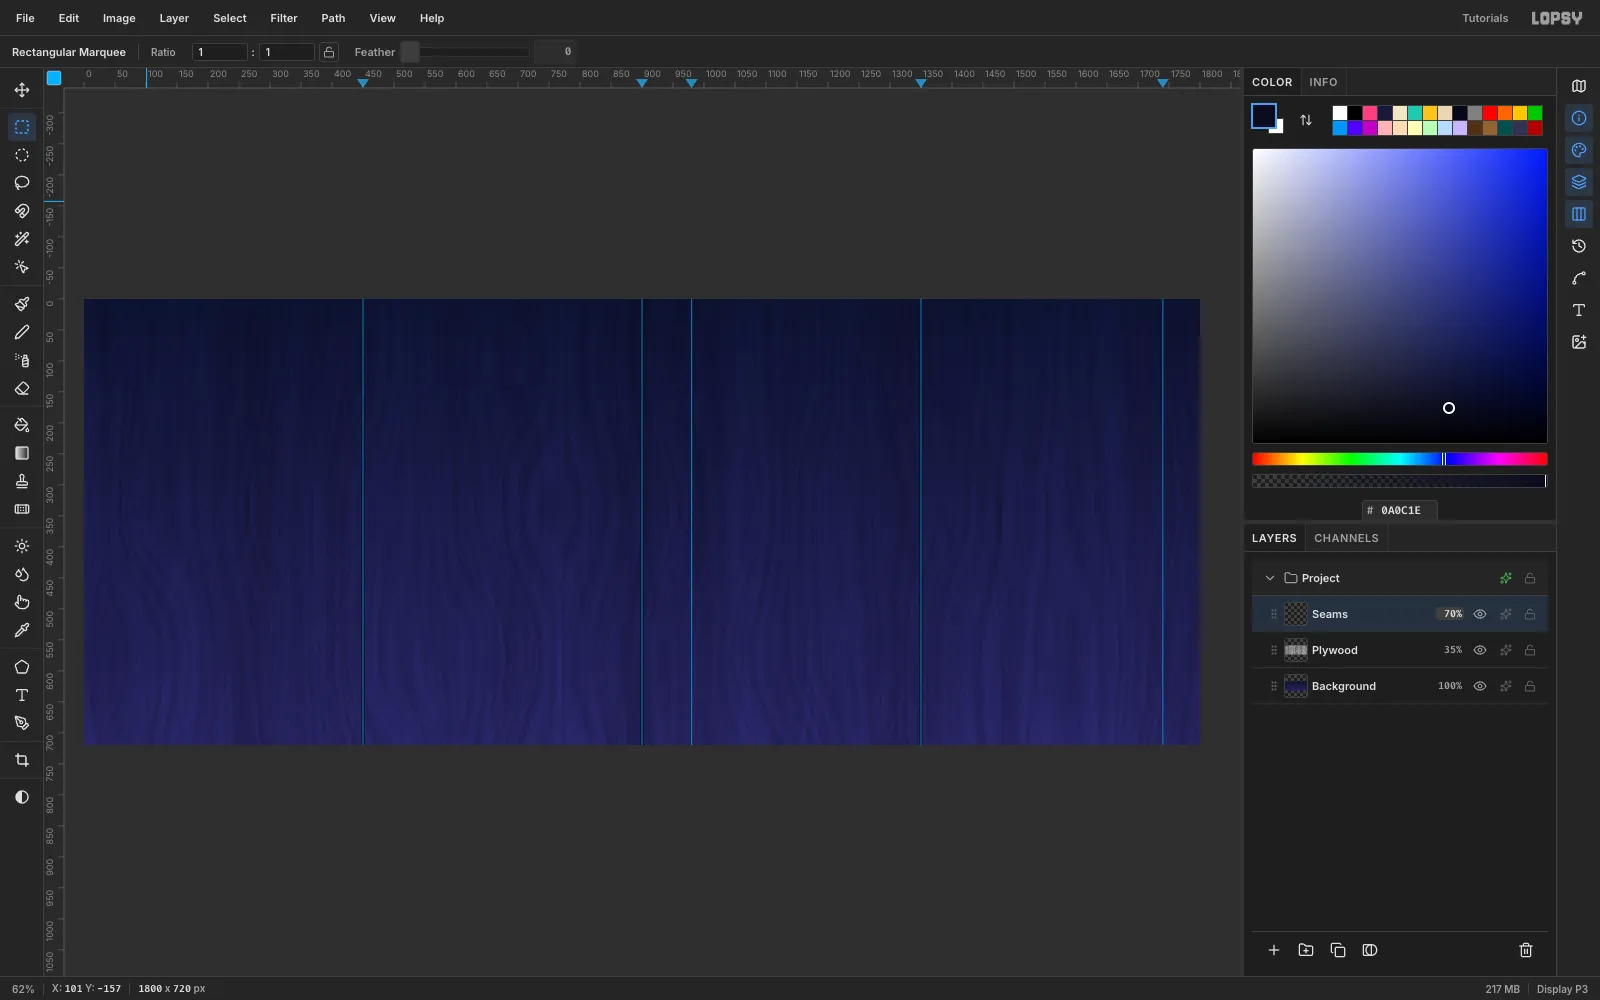
-
Paint a radial selection in Quick Mask
Click Add Layer and name it
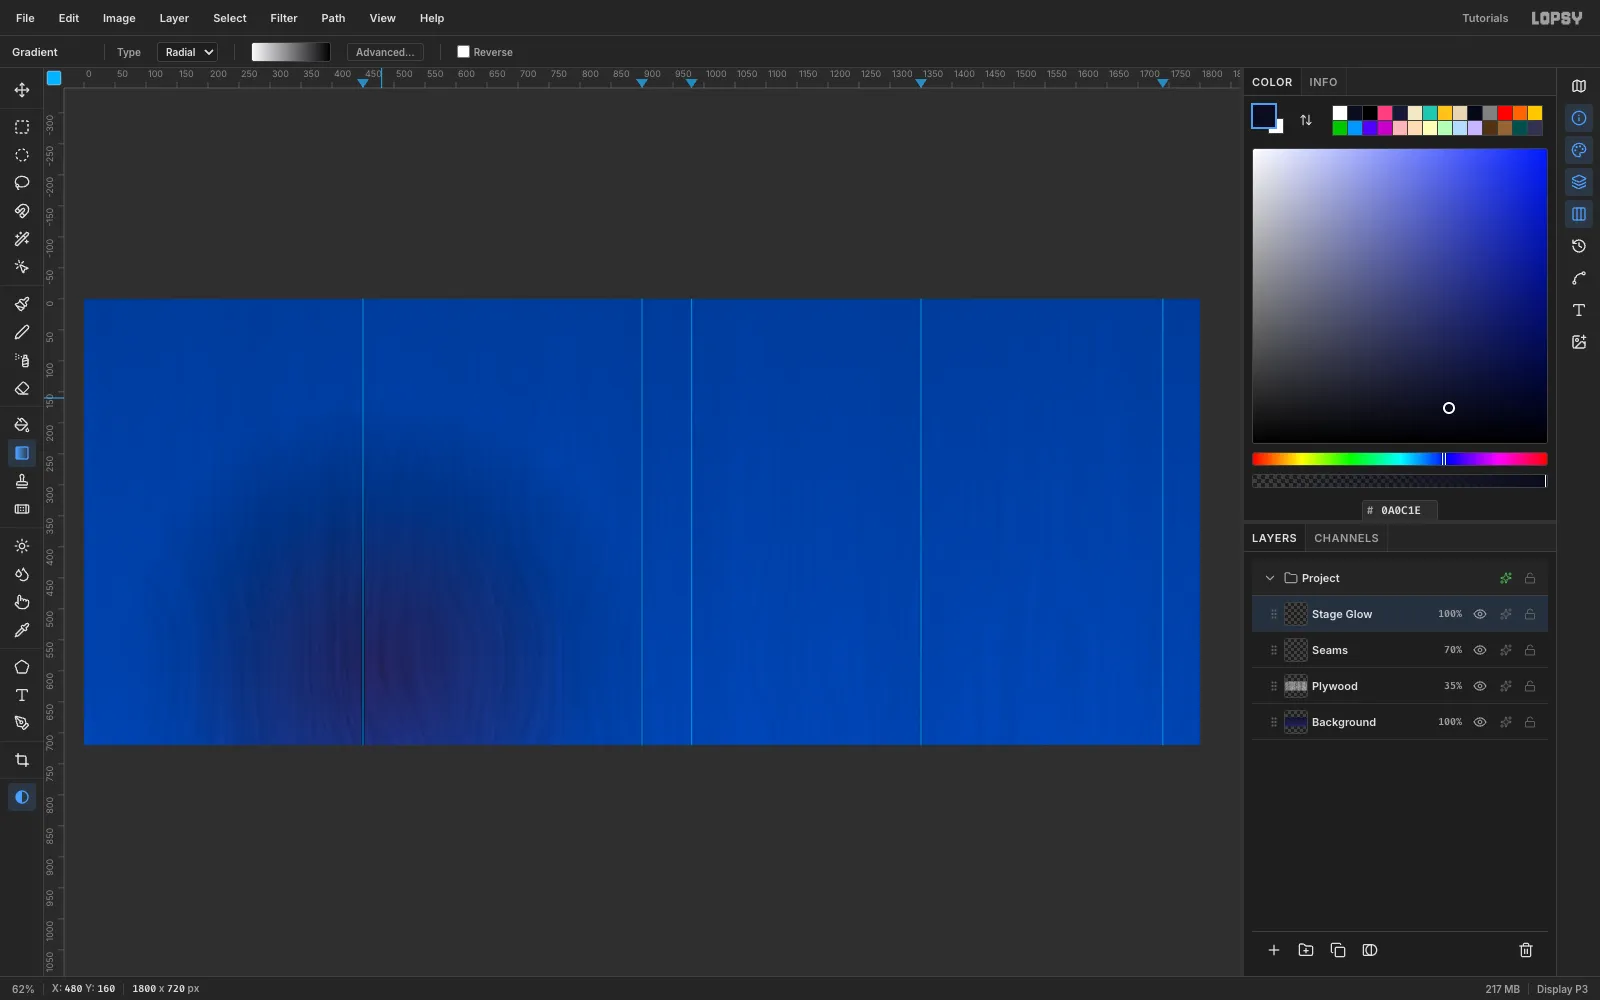
Stage Glow. Press Q to enter Quick Mask. Pick the Gradient tool, switch Type to Radial and open Advanced…. Set the left stop to white and the right stop to black. Then drag from (480, 590) up to (480, 160).In Quick Mask, white adds to the selection and black leaves it out. So this paints a selection that is strongest behind where the xylophone will stand.
-
Fill the pink stage glow
Press Q again to turn the painted mask into a selection. The marching ants show where it passes 50%. Set the foreground to
#FF2E88, choose Edit → Fill, then press Cmd+D to deselect. Set the layer's Blend to Screen and its opacity to45%. You get a soft pink spill of light, like a stage lamp on the hoarding.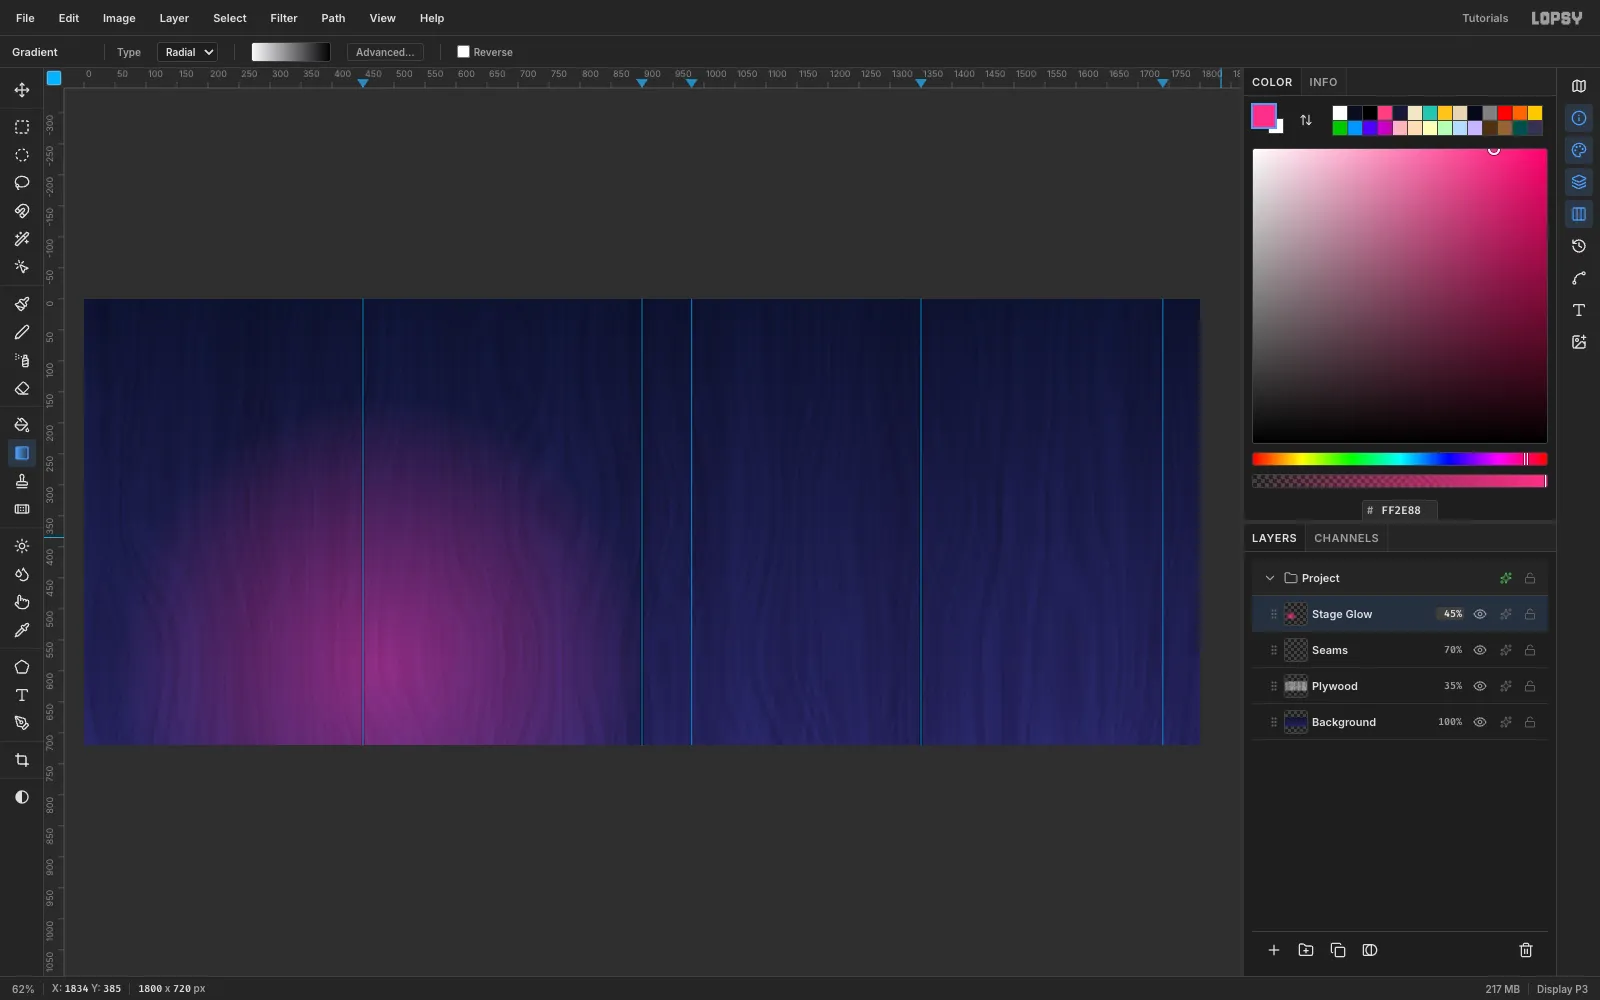
-
Draw the moon disc
Click Add Layer and name it
Moon. Set the foreground to#F2E6C8. With the Elliptical Marquee, drag from (110, 60) to (550, 500), then choose Edit → Fill.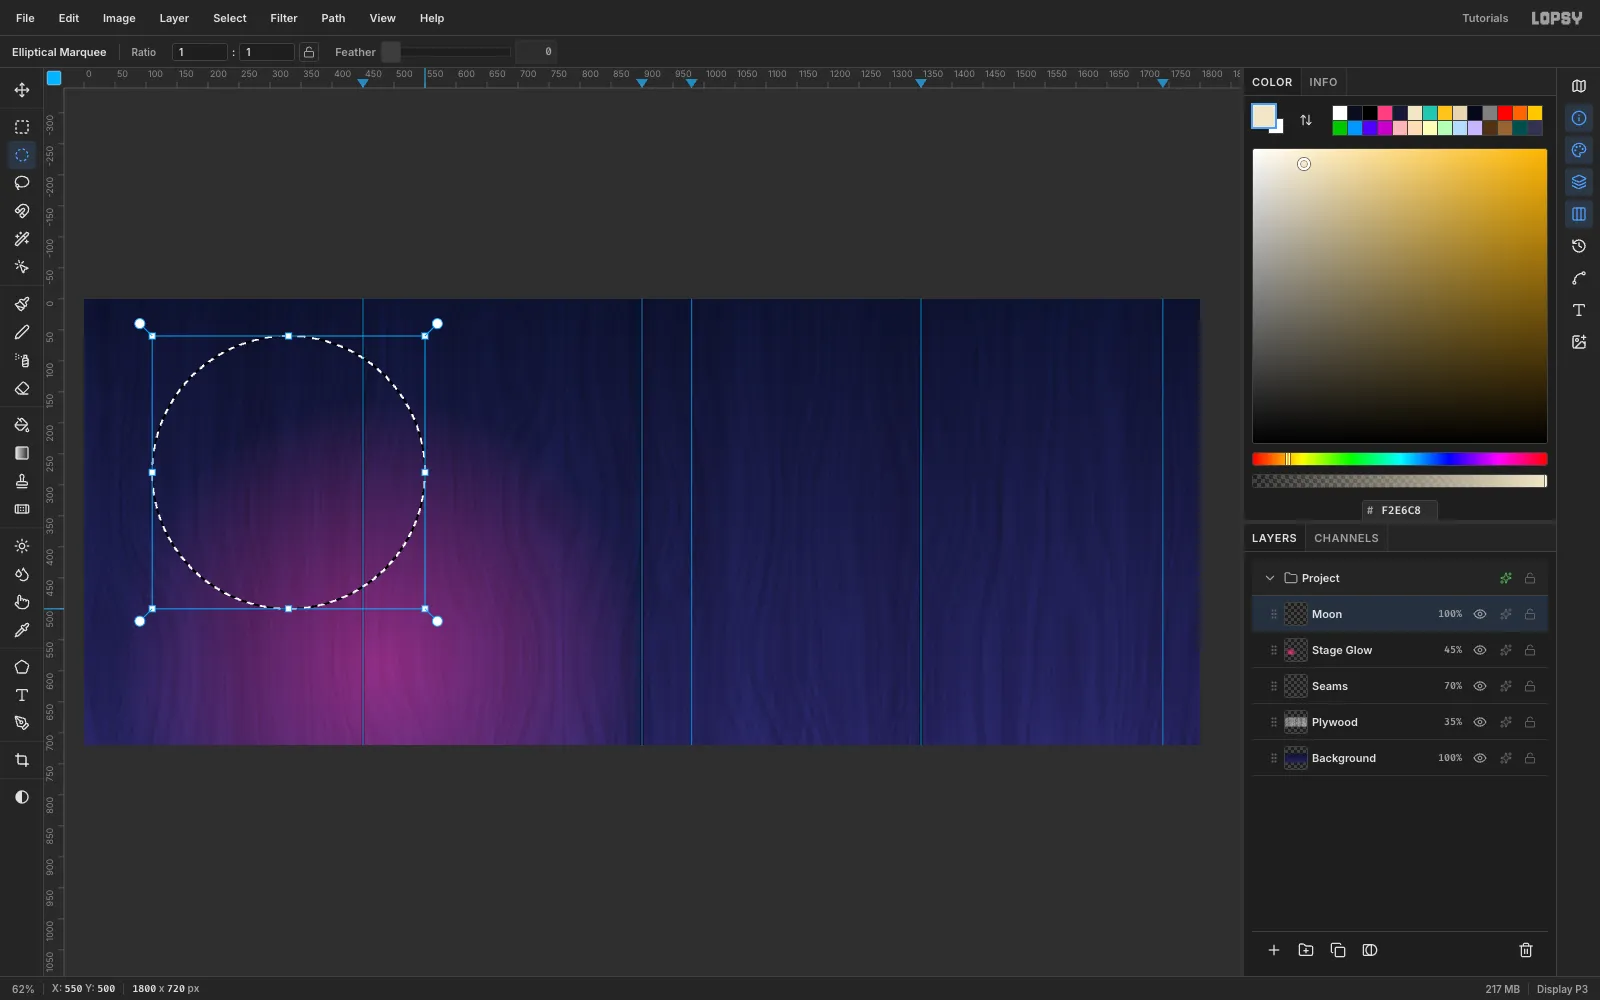
-
Cut the crescent and a stencil bridge
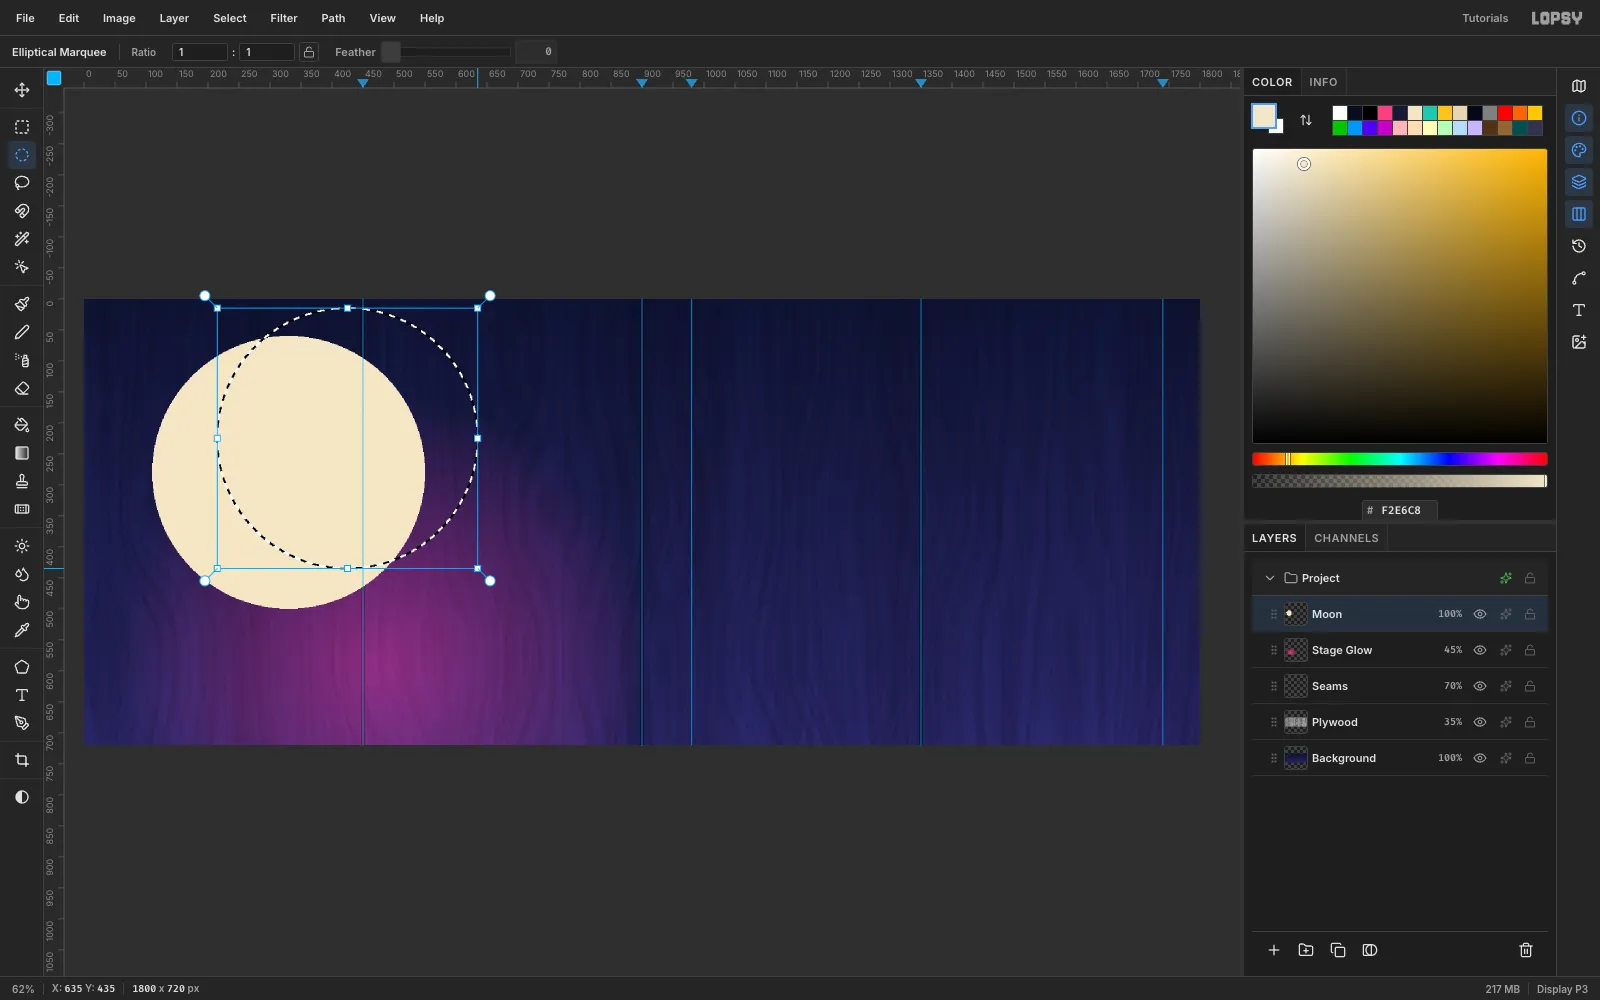
Draw a second ellipse from (215, 15) to (635, 435) and press Delete to bite out the crescent. Then select a 5 px strip from (100, 318) to (300, 323) and press Delete again.
That thin gap is a stencil bridge. A real cardboard stencil needs bridges to hold its islands together, and those gaps are a big part of what makes a piece read as sprayed.
-
Give the moon a soft glow
Press Cmd+D, open the
Moonrow's Layer effects and tick Outer Glow. Set the color to#F2E6C8, Size48, Spread6and Opacity45.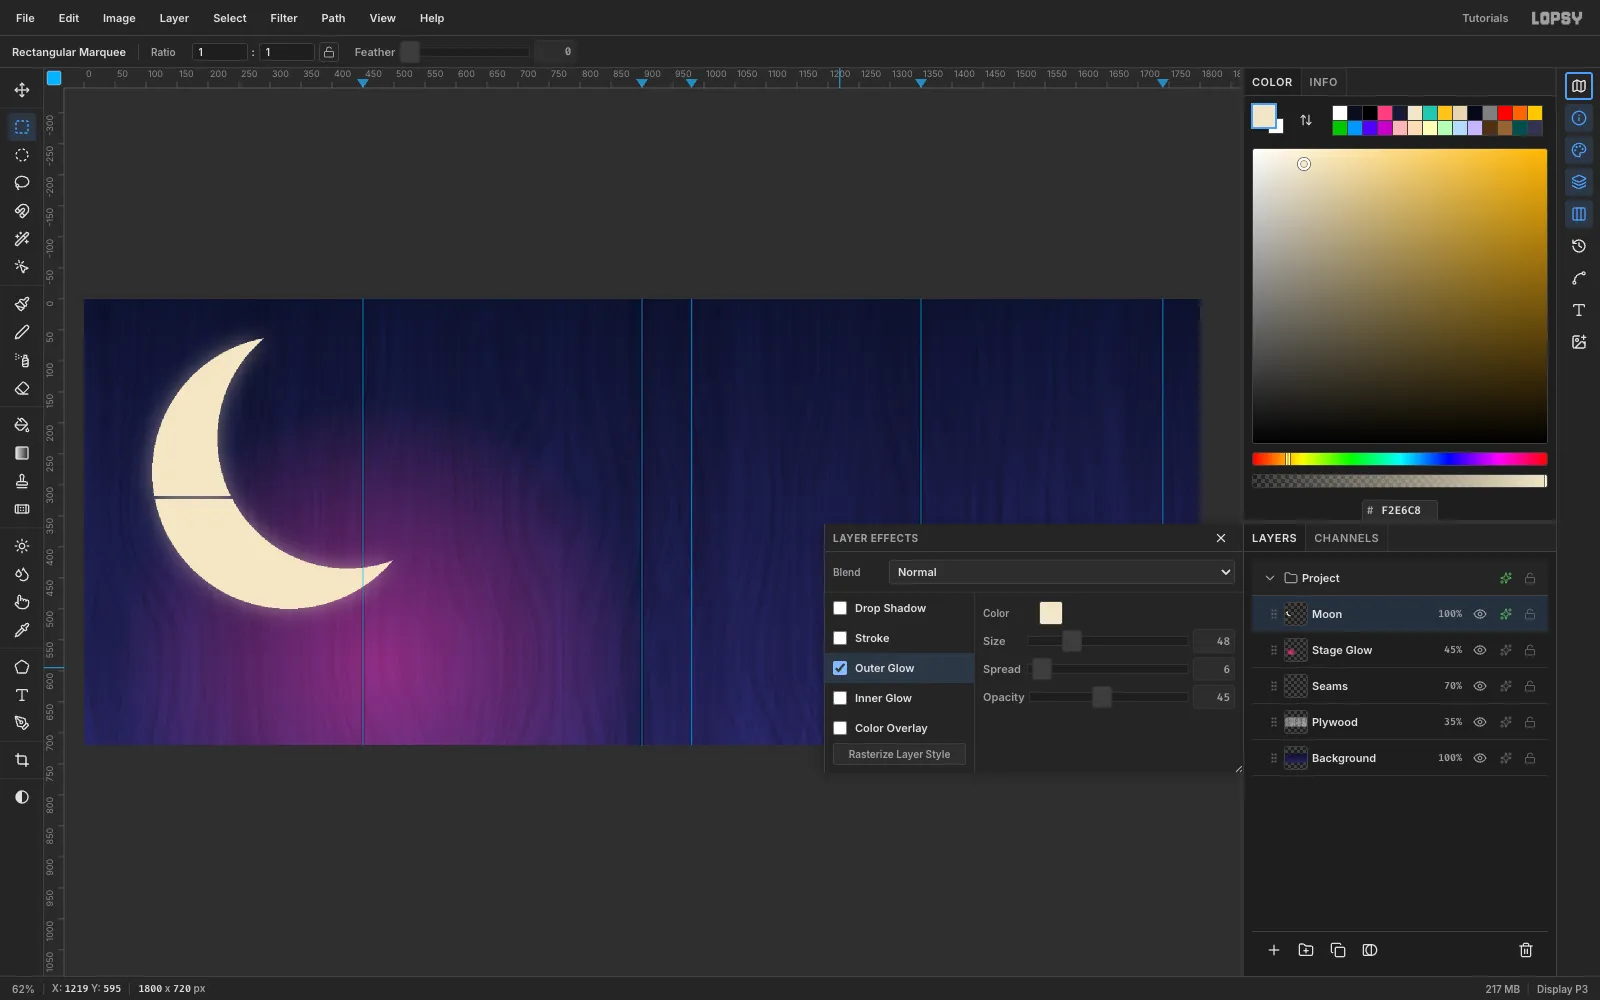
-
Halftone the moon's shading
Pick the Magic Wand, untick Contiguous and click the crescent. That selects both halves on either side of the bridge. Click Add Layer and name it
Moon Shade. Pick the Gradient tool with Linear type (the stops are still white to black) and drag from (470, 120) to (120, 400) inside the selection.Then choose Filter → Halftone. Set Dot Size
11, Density1, Angle30and Softness1, and click Apply.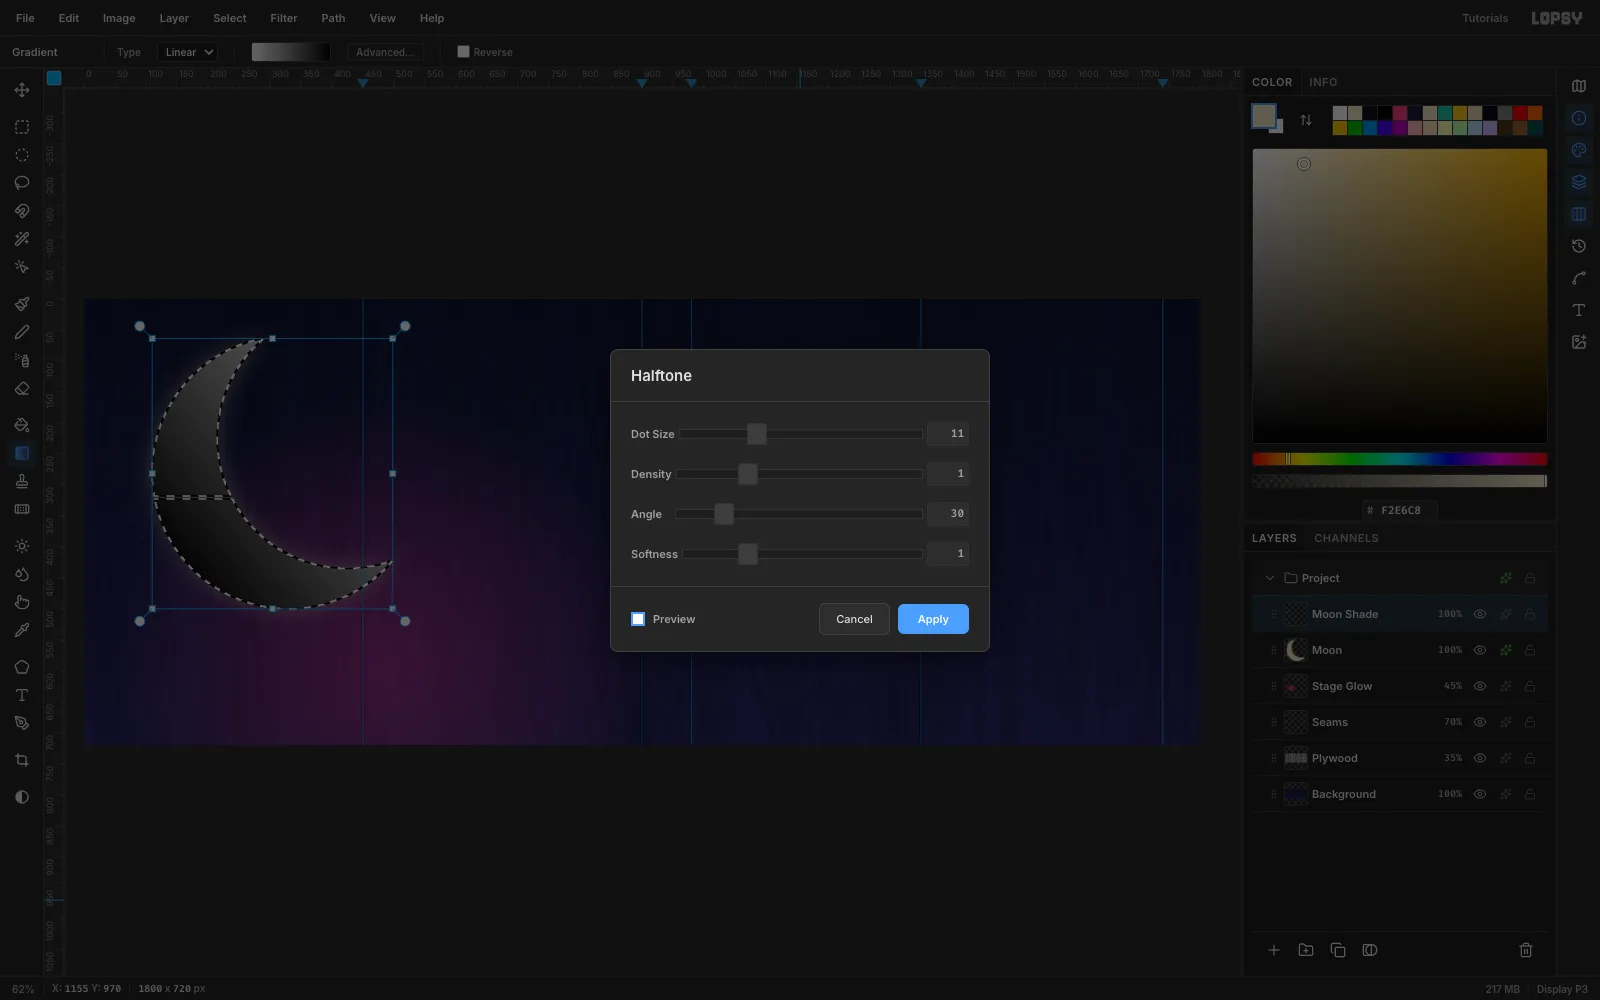
-
Tint the dots pink
Press Cmd+D. Open
Moon Shade's effects, tick Color Overlay and set it to#FF2E88. Then drop the layer to60%. The dots print like a screen-printed tone over the cream.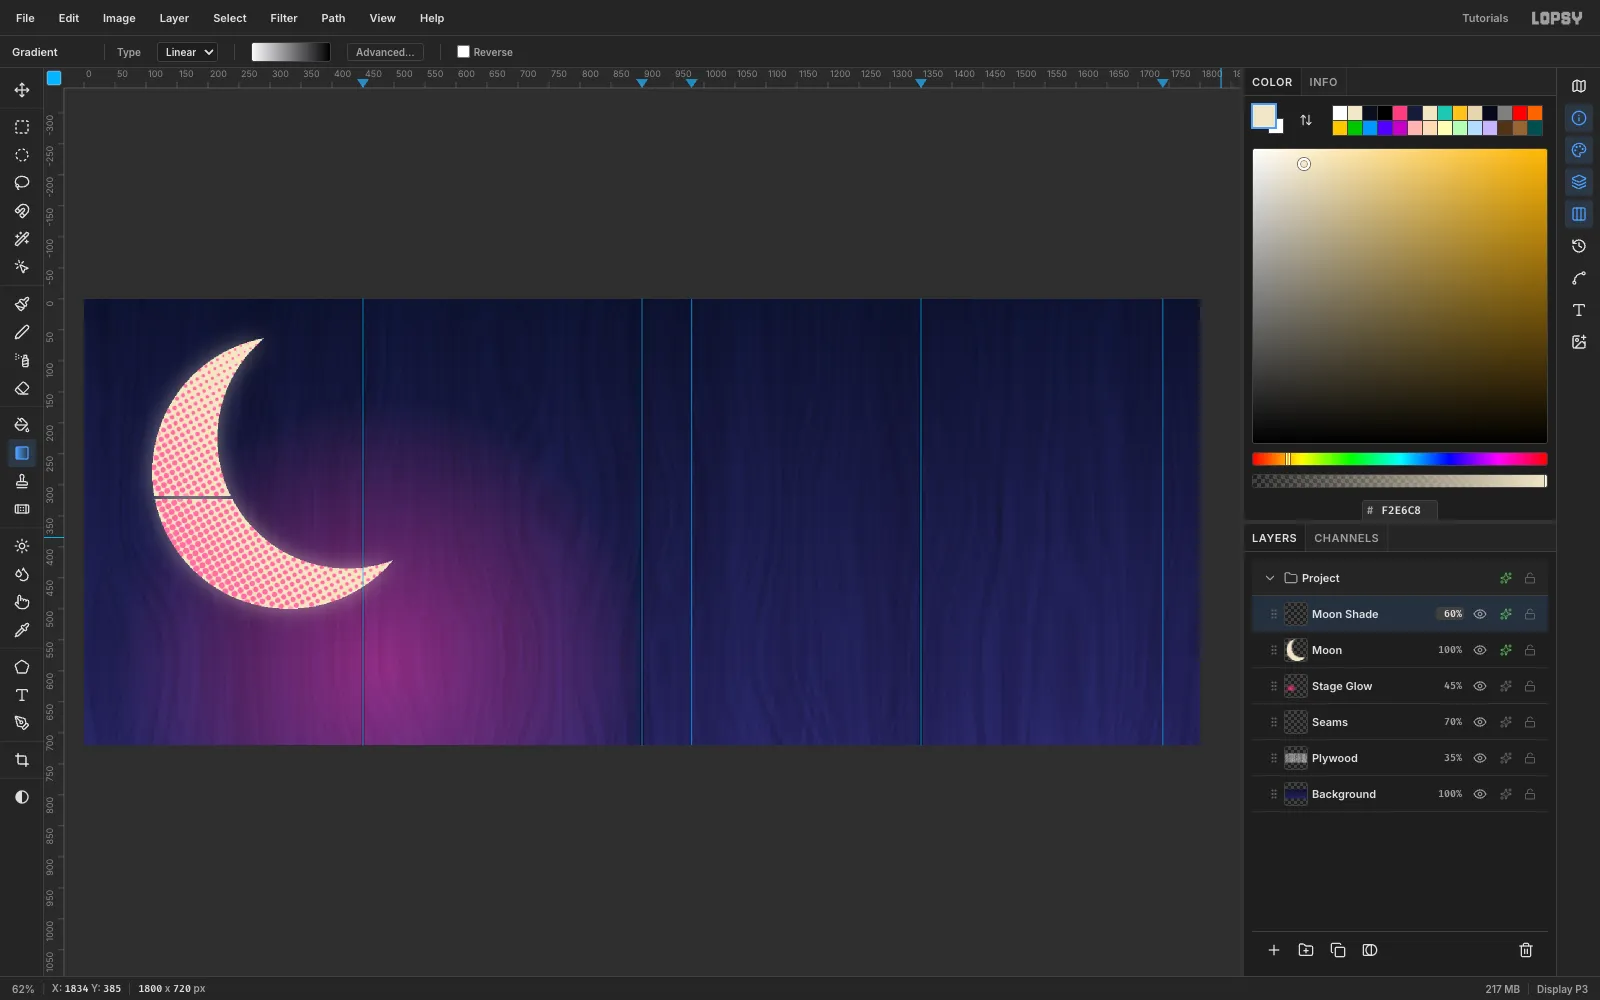
-
Spray the stars
Click the
Stage Glowrow and add a layer namedStars. Pick the Spray tool and set Size34, Density14and Opacity75. Click once each at (610, 70), (880, 125), (455, 28) and (930, 330). Give each one a hard core by filling an 8 × 8 ellipse at its center. Then drop the spray to Size24and Density3, and click a few times across the sky for stray paint dust.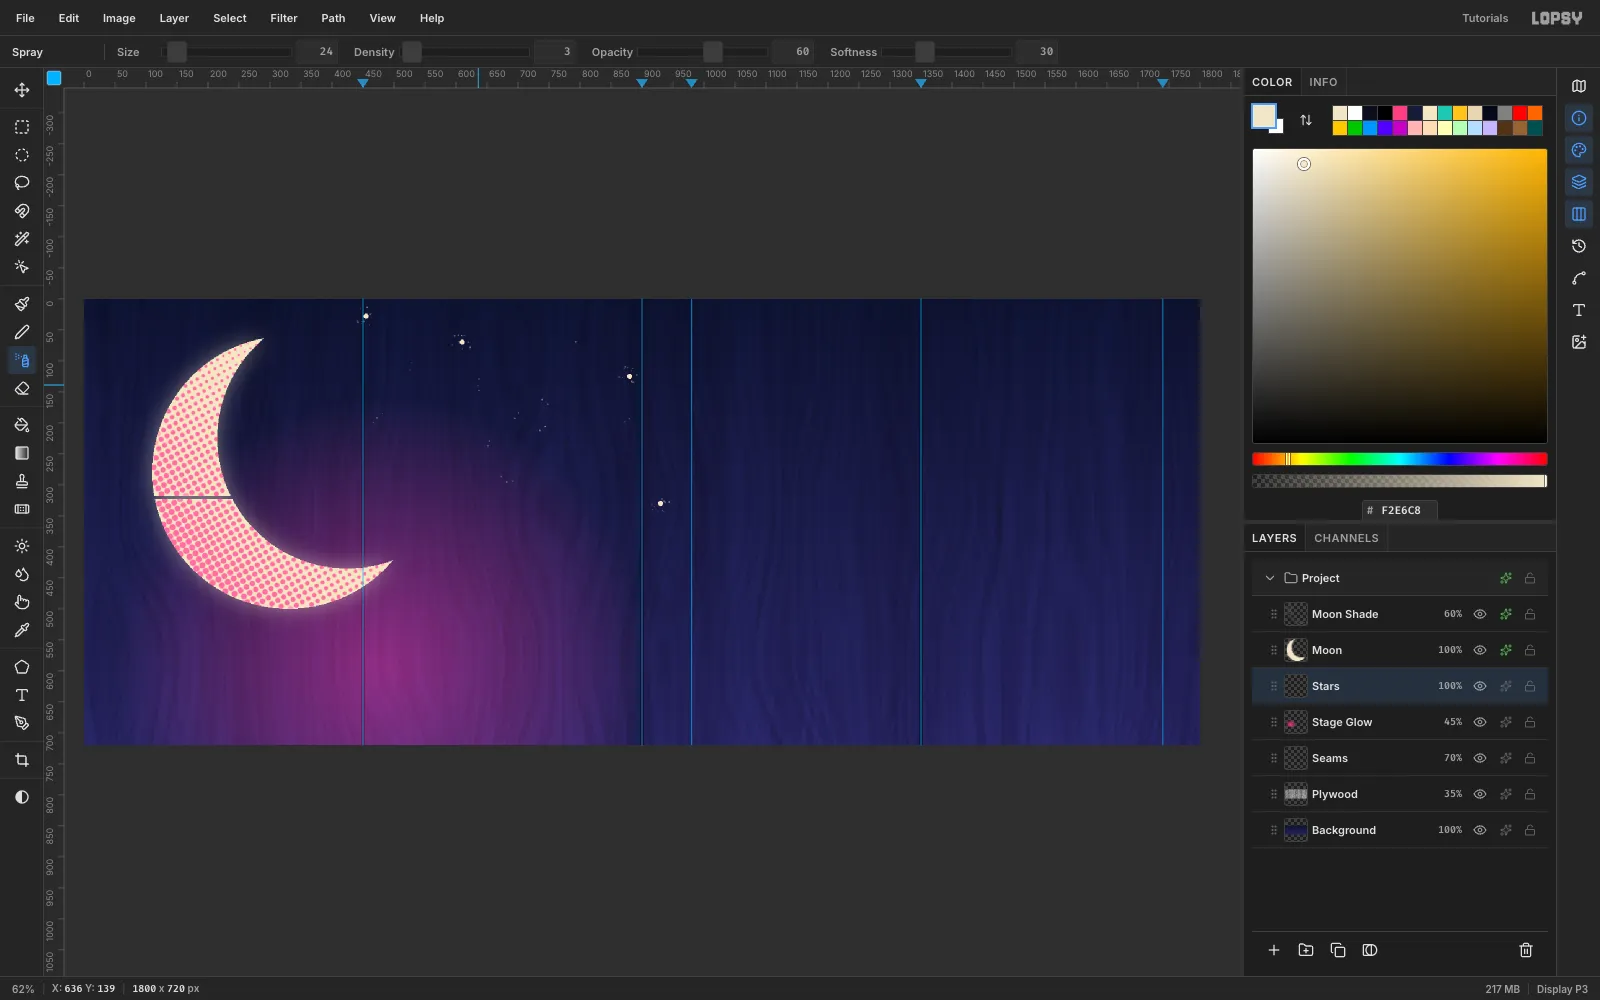
-
Start the xylophone group with rails
Click
Moon Shade, then click New Group and name the groupXylophone. Everything for the instrument goes inside it.Add a layer named
Rails. With the Lasso, click four corners for a 16 px-tall rail sloping from (80, 459) to (888, 503) and fill it with cream. Then do a second rail from (80, 631) to (888, 587). The rails slope because the bars get shorter to the right.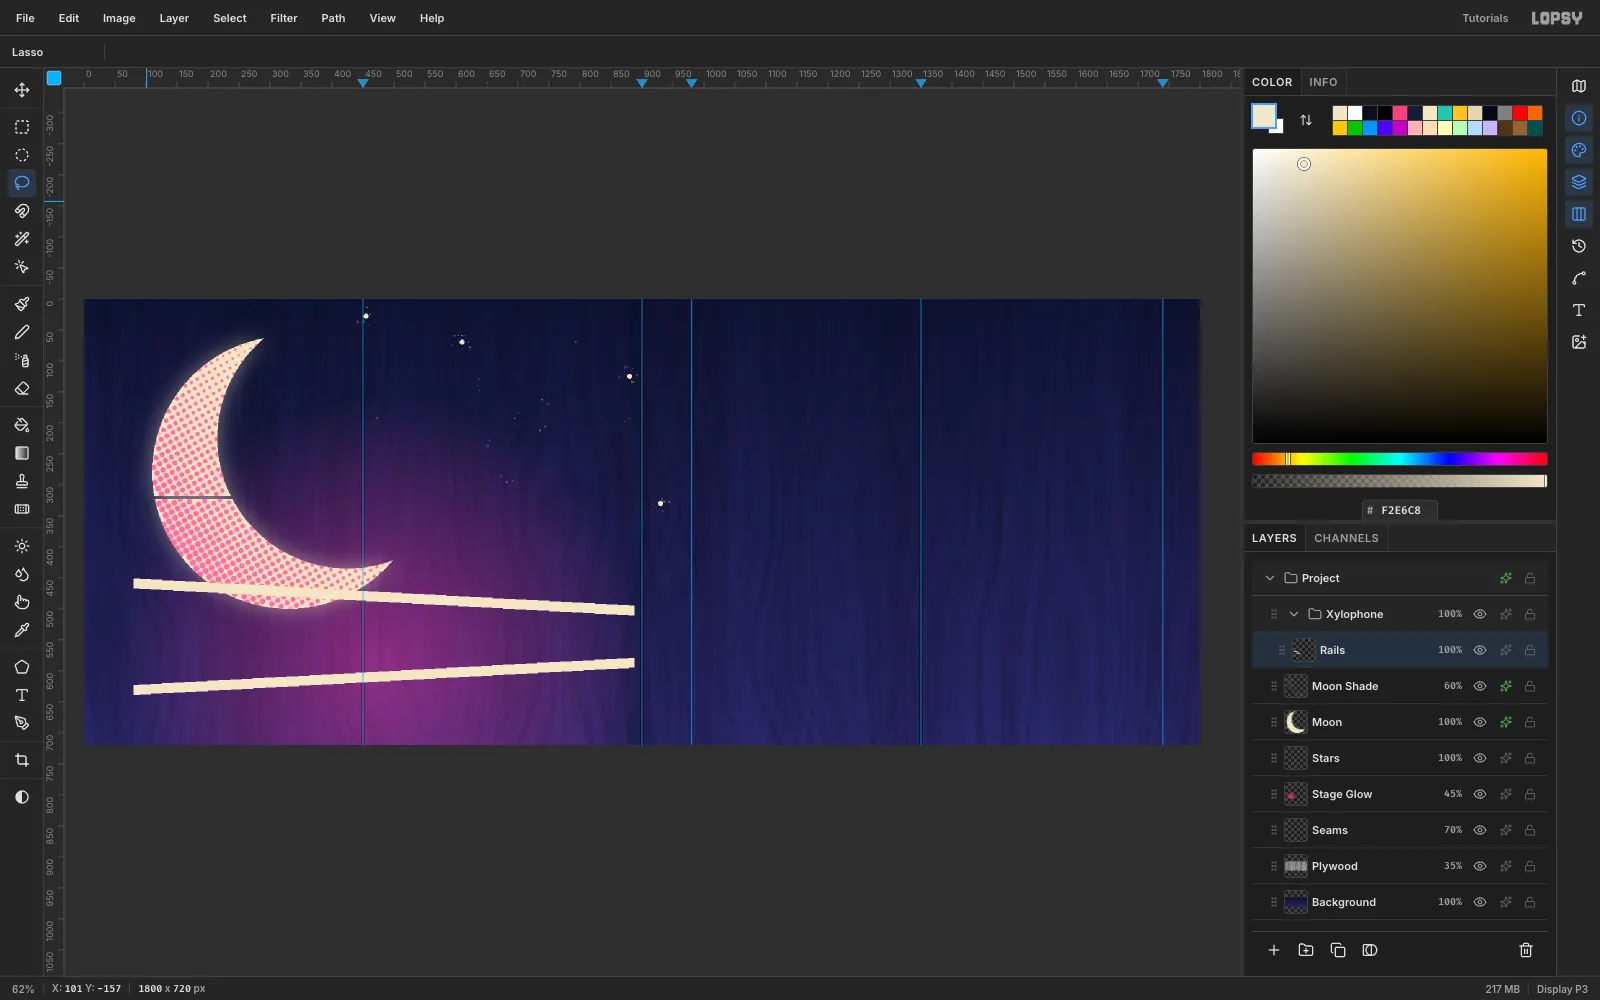
-
Fill the eight bars
Add a layer named
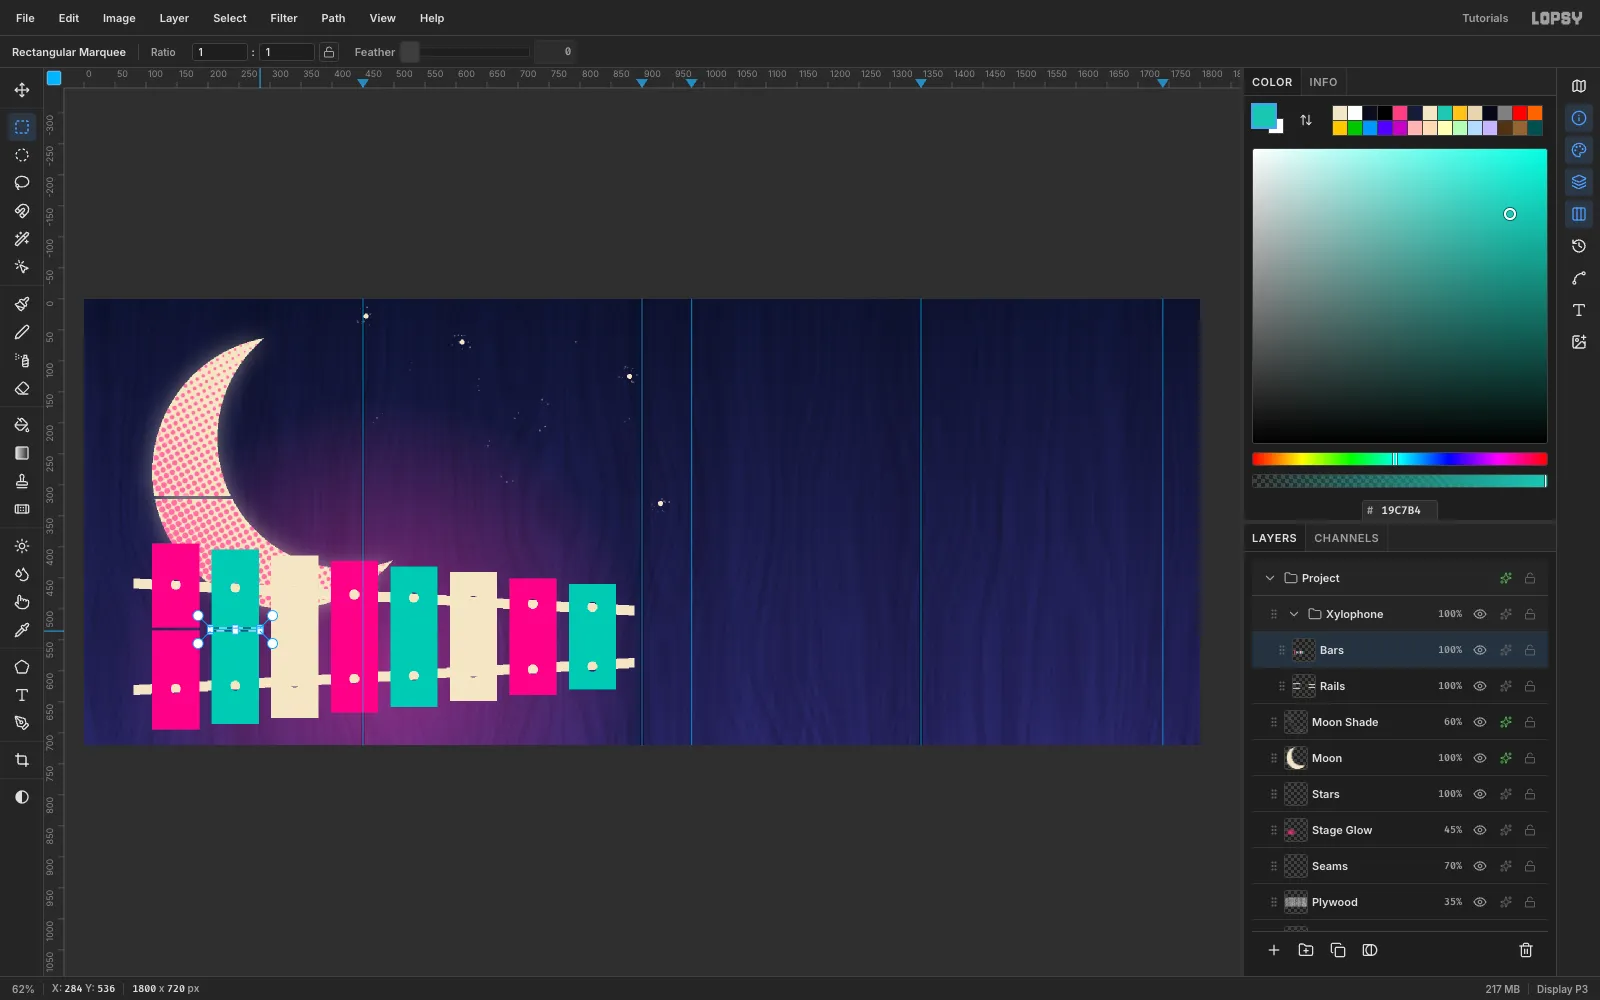
Bars. Each bar is 76 px wide with a 20 px gap, starting at x110, and centered on y545. The heights step down from300to170: 300, 281, 263, 244, 226, 207, 189, 170. Marquee each bar and fill it, cycling pink, teal and cream from left to right.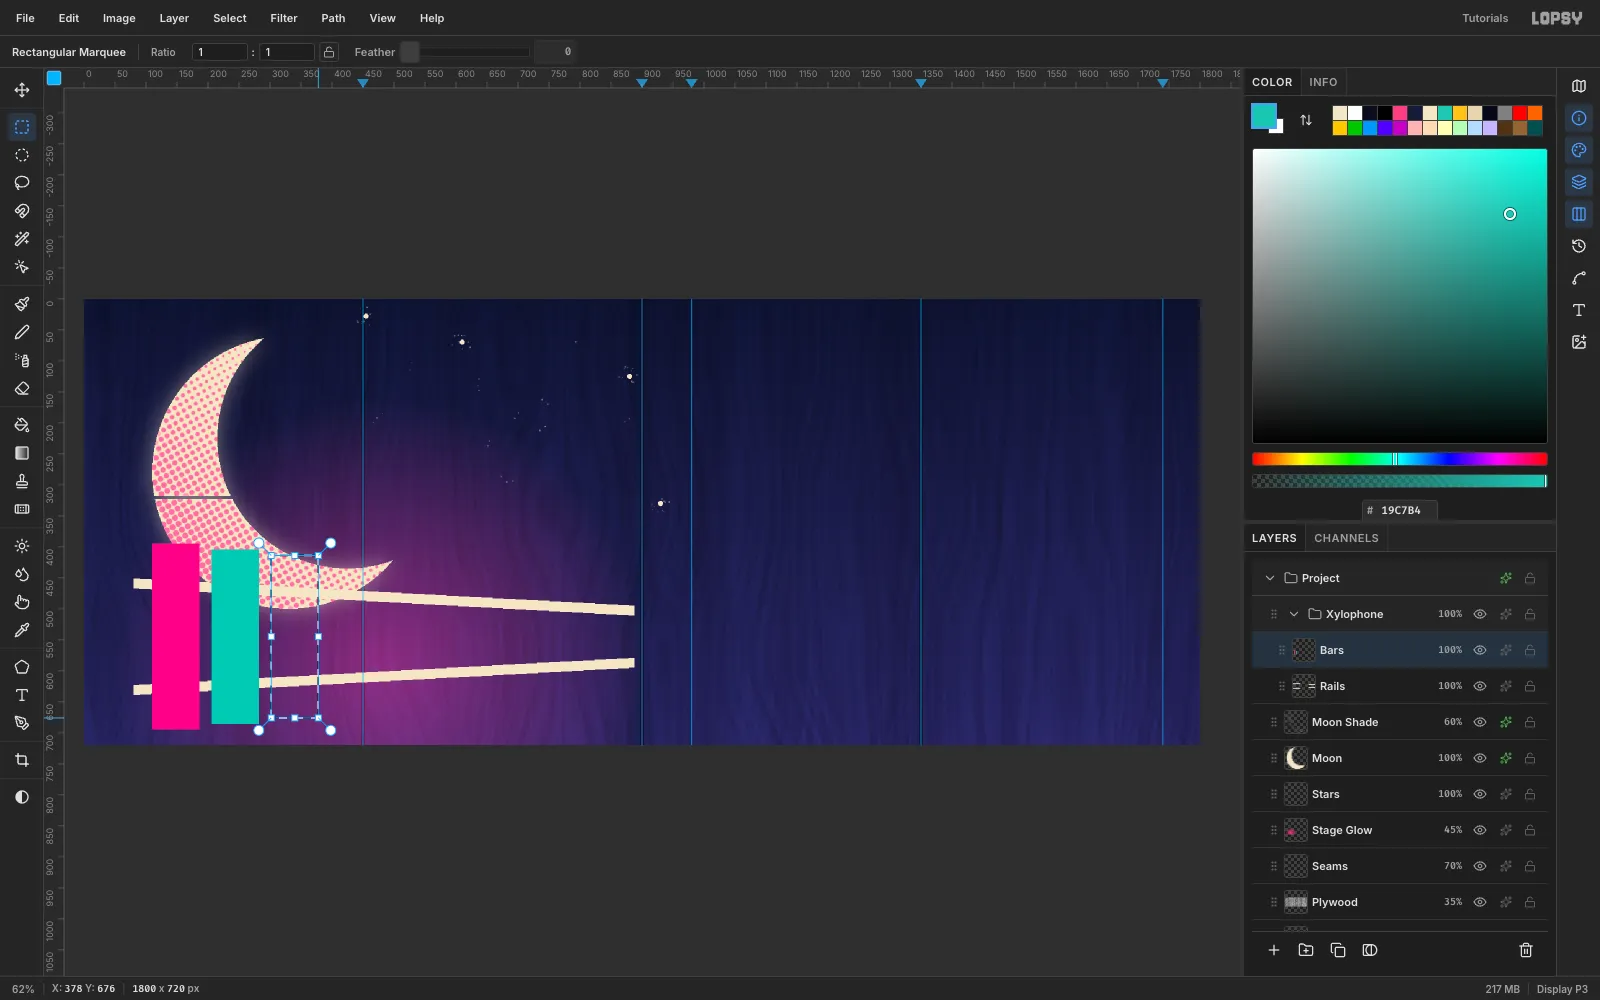
-
Punch cord holes and stencil bridges
Where each bar crosses a rail, draw a 16 × 16 ellipse on the bar's center line and press Delete. Then cut a 5 px-tall bridge right across each bar, 45% of the way down, and press Delete again. These bridges split every bar into two stencil islands.
-
Let a few bars drip
Press Cmd+D. Pick the Brush at Size
7and Hardness100. Draw straight lines 18–55 px long down from the bottom edge of bars 1, 4, 5 and 7, each in its bar's color. End each drip with a small filled ellipse as the bead. Too much paint pooling at the bottom is the classic spray-can tell.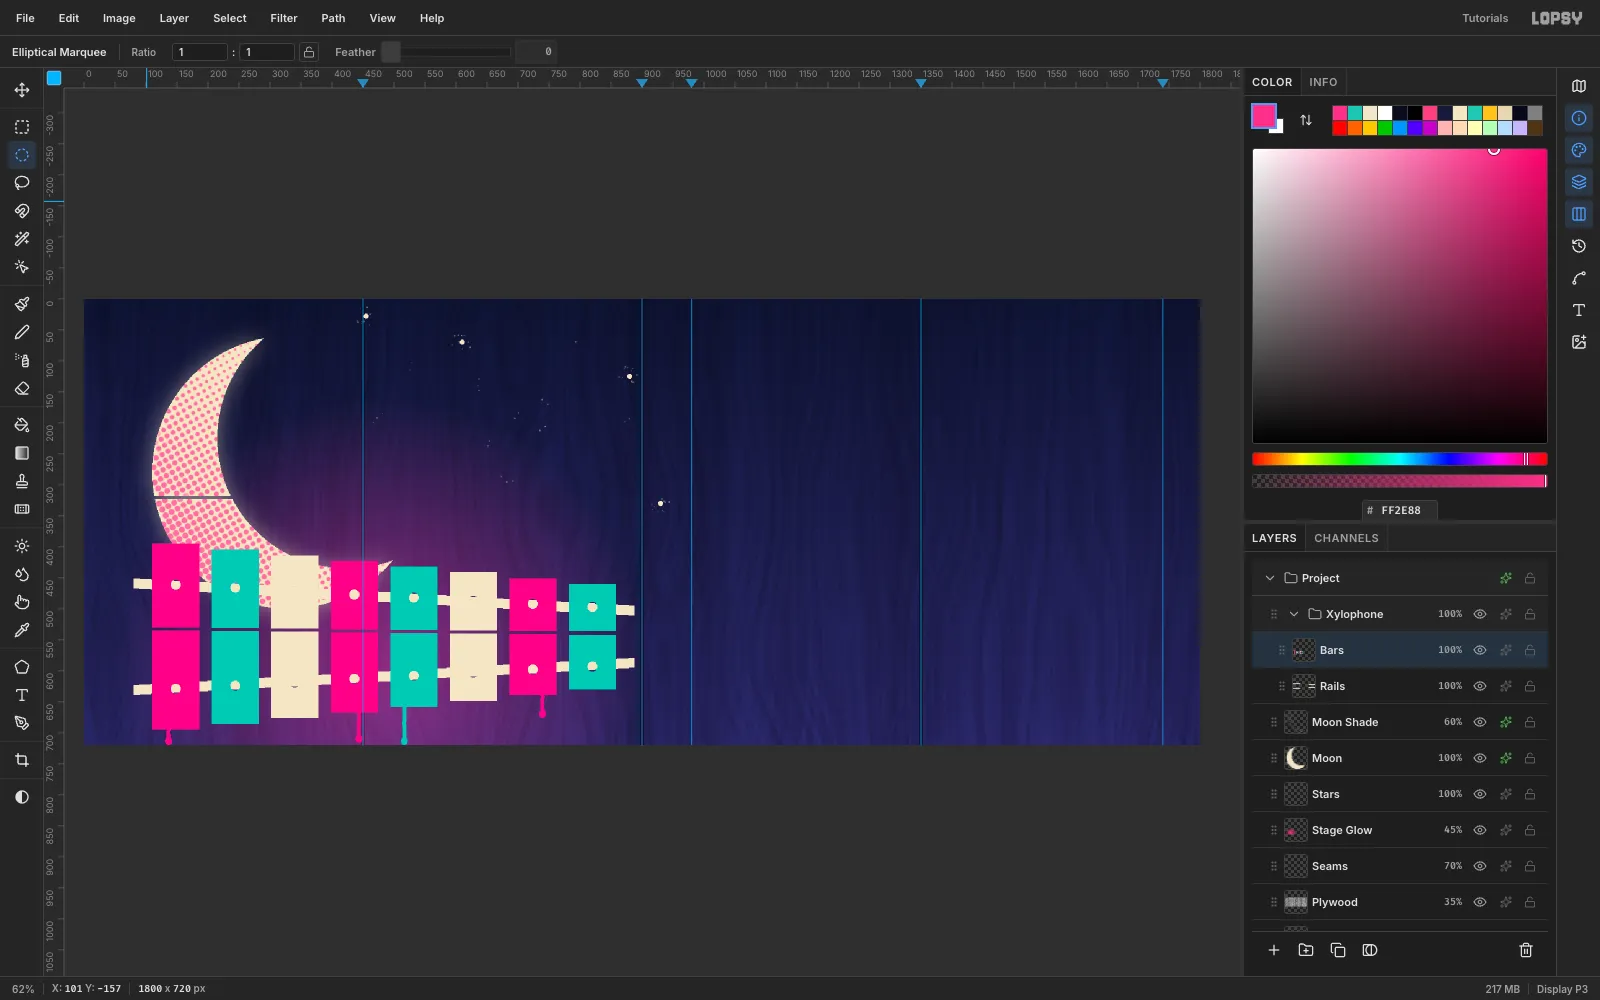
-
Make a misregistered key plate
Switch to the Move tool and choose Layer → Duplicate Layer twice. Each copy lands 10 px to the right, so press Shift+Left on each one to line it back up. Rename the three layers, from the bottom up:
Key Plate,OversprayandBars.Click
Key Plateand nudge it 6 px right and 4 px down with the arrow keys. Then add a Color Overlay of#0E0B1A. It reads as a black stencil sheet that was sprayed slightly out of line.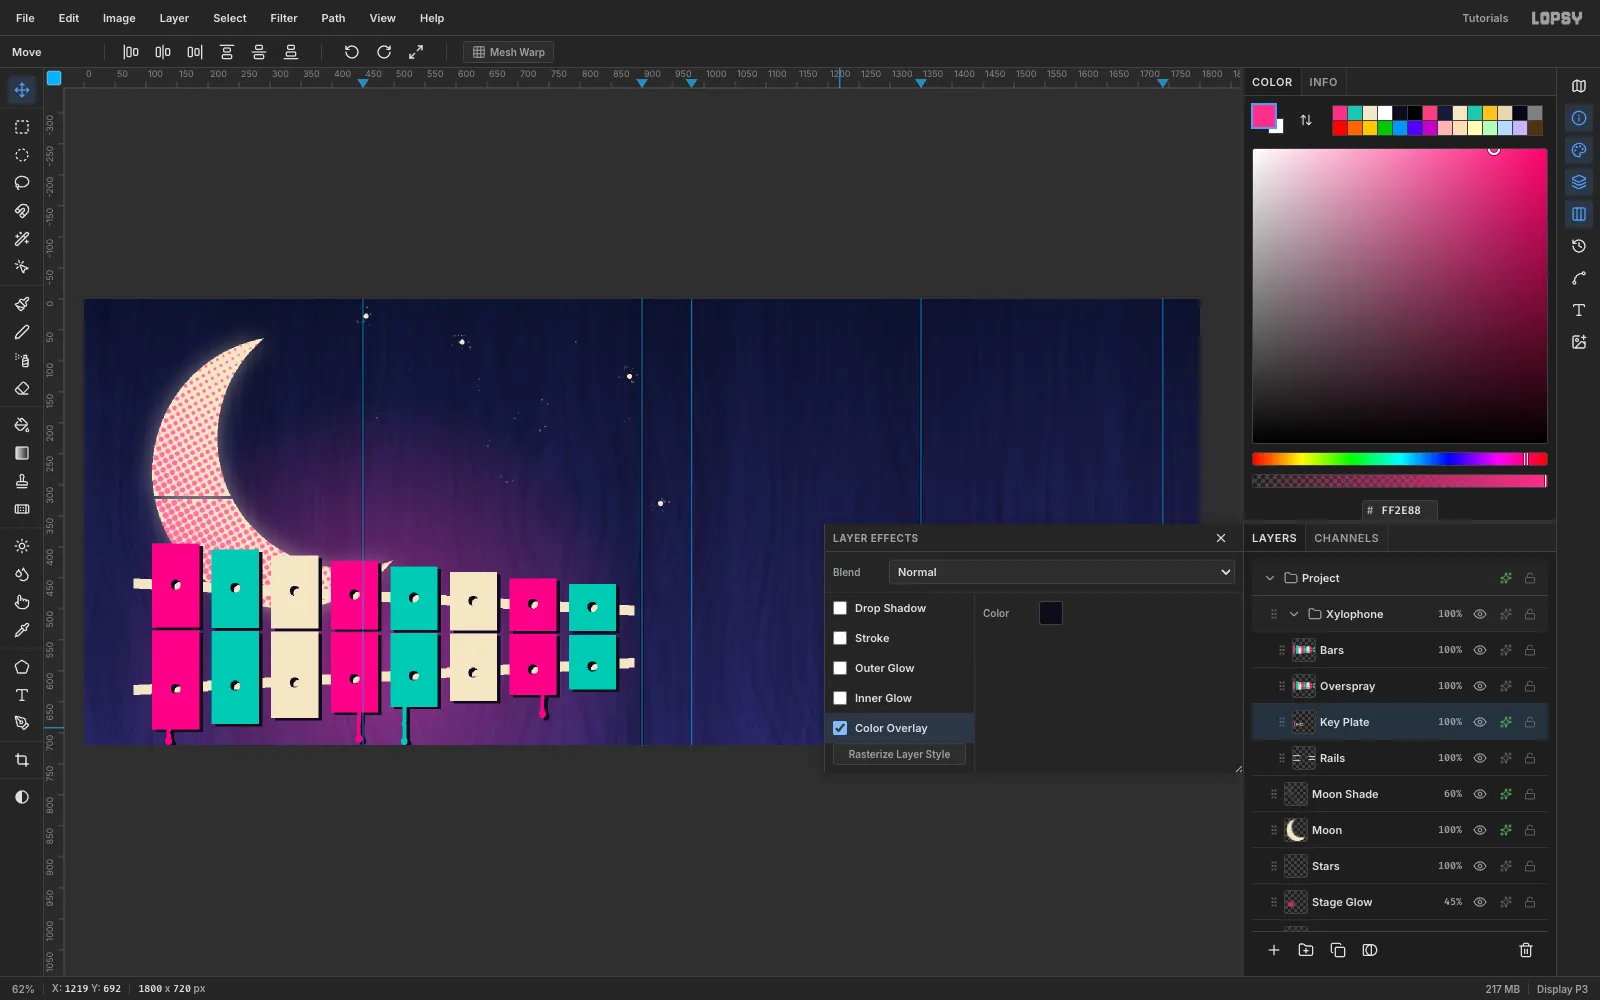
-
Blur the overspray
Click
Oversprayand choose Filter → Gaussian Blur. Set Radius10, click Apply, and drop the layer to55%. The soft halo sits just under the crisp bars, like paint that drifted past the stencil edge.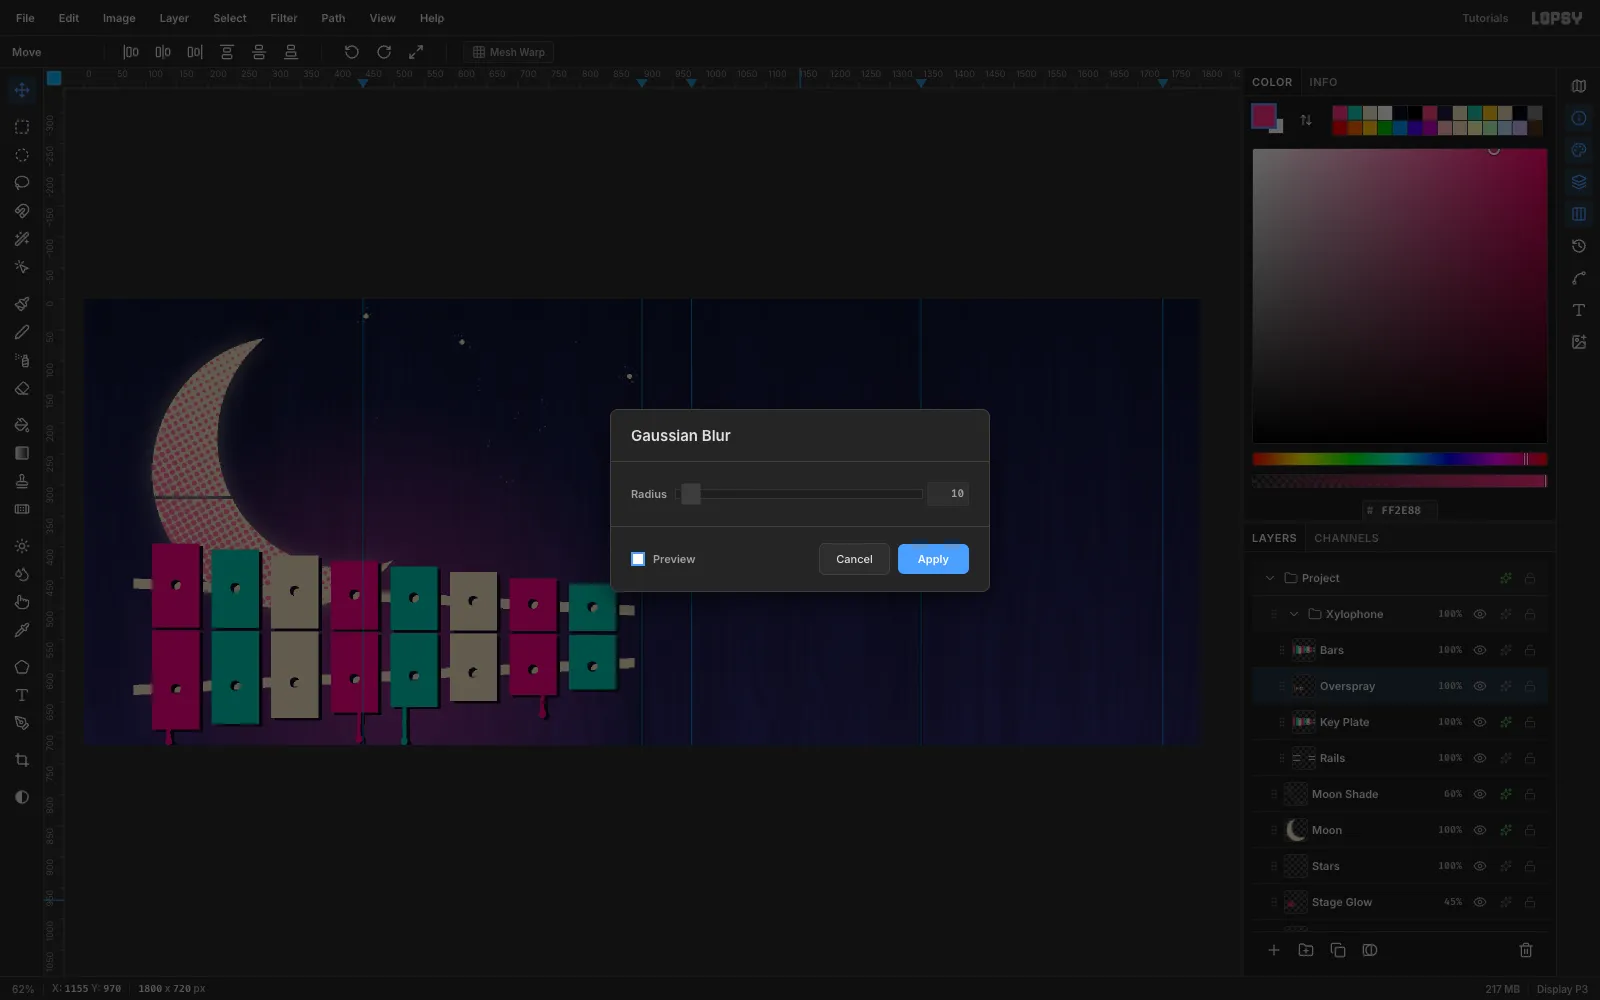
-
Spray speckles past the edges
Still on
Overspray, pick the Spray tool at Size40, Density4and Opacity80. Click once or twice near the top corners of each bar in that bar's color. Keep it sparse: a few flecks sell the effect.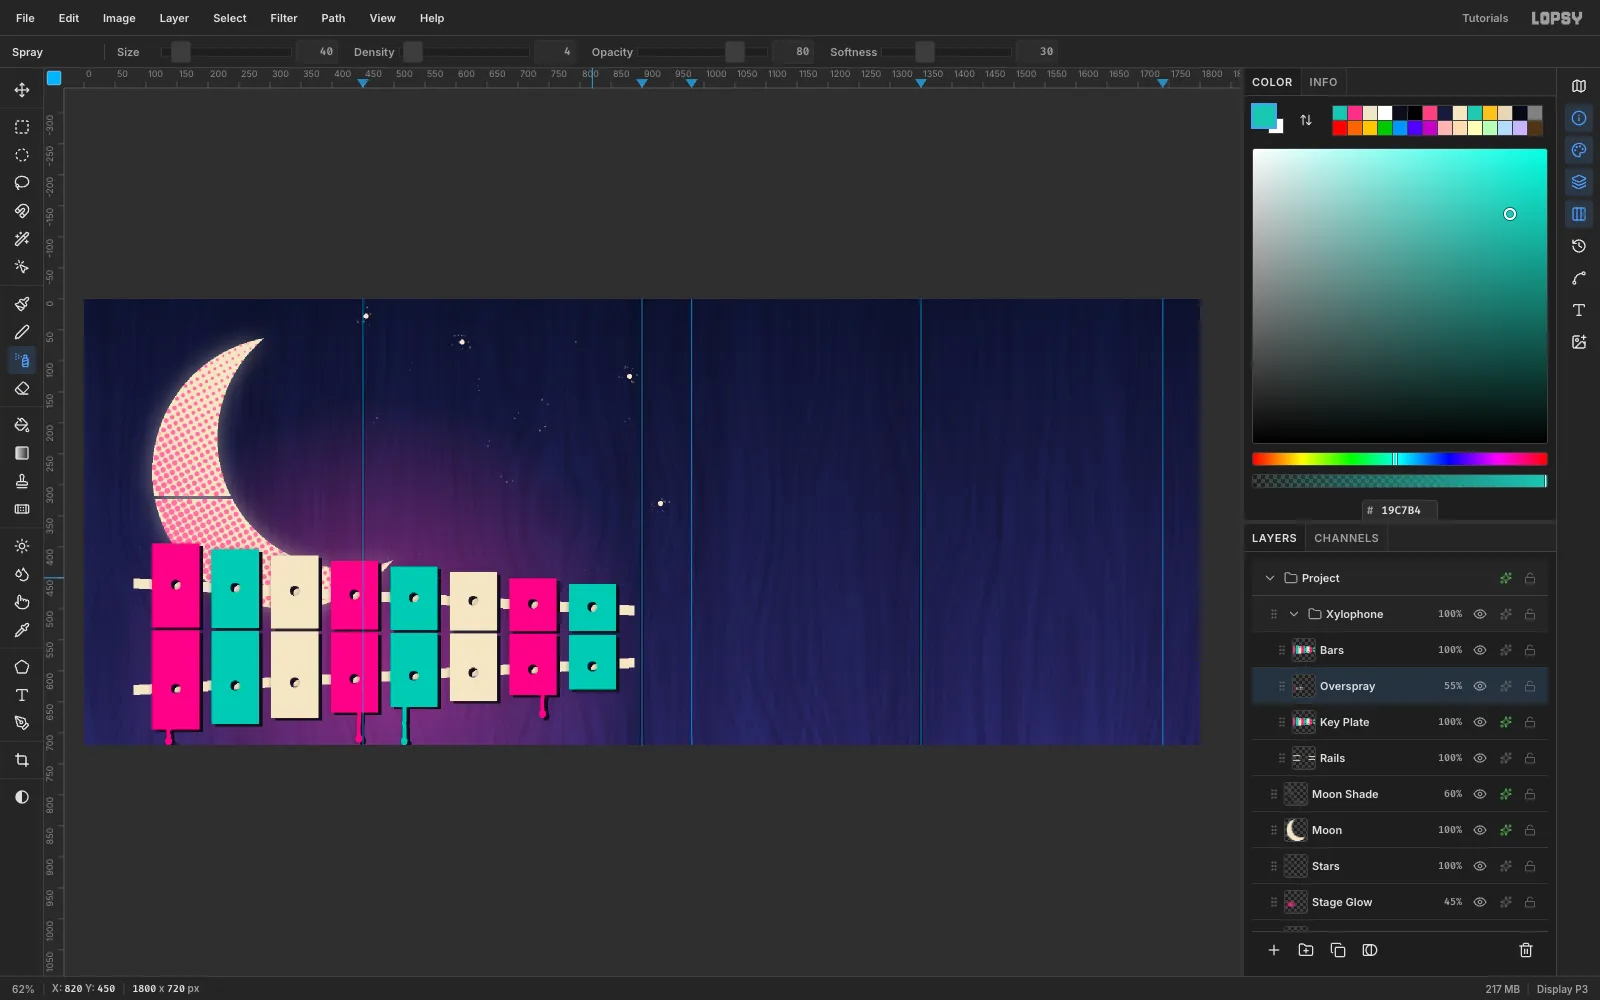
-
Lasso a sitting cat
Click
Barsand add a layer namedCat. With the Lasso, click round a sitting cat facing right: its feet on top of the first bar at about (158, 395), and its pointed ears reaching up to y 220. Fill it with#0E0B1A. It sits right in front of the moon, so the silhouette reads from across the street.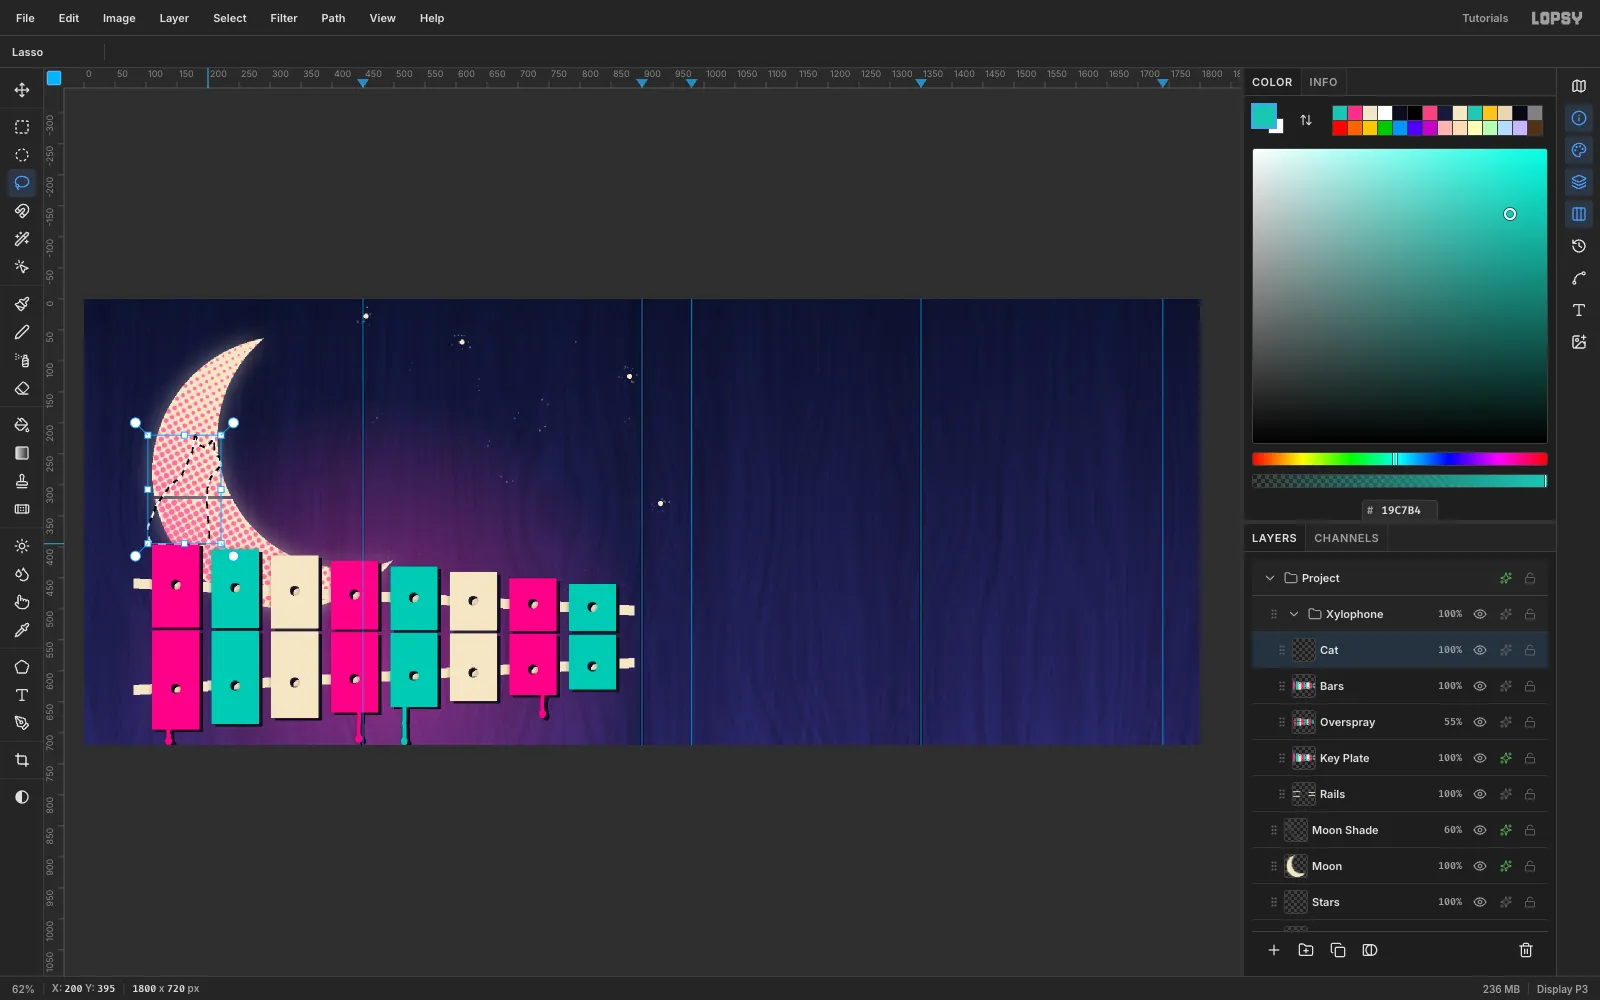
-
Add the tail and cut the eye
Paint the tail with the Brush at Size
14, curling from the cat's rear out to the left. Then cut the eye as a small 10 × 6 ellipse with Delete, so the moon shows through as a glint. Add one more 16 × 4 bridge across the tail.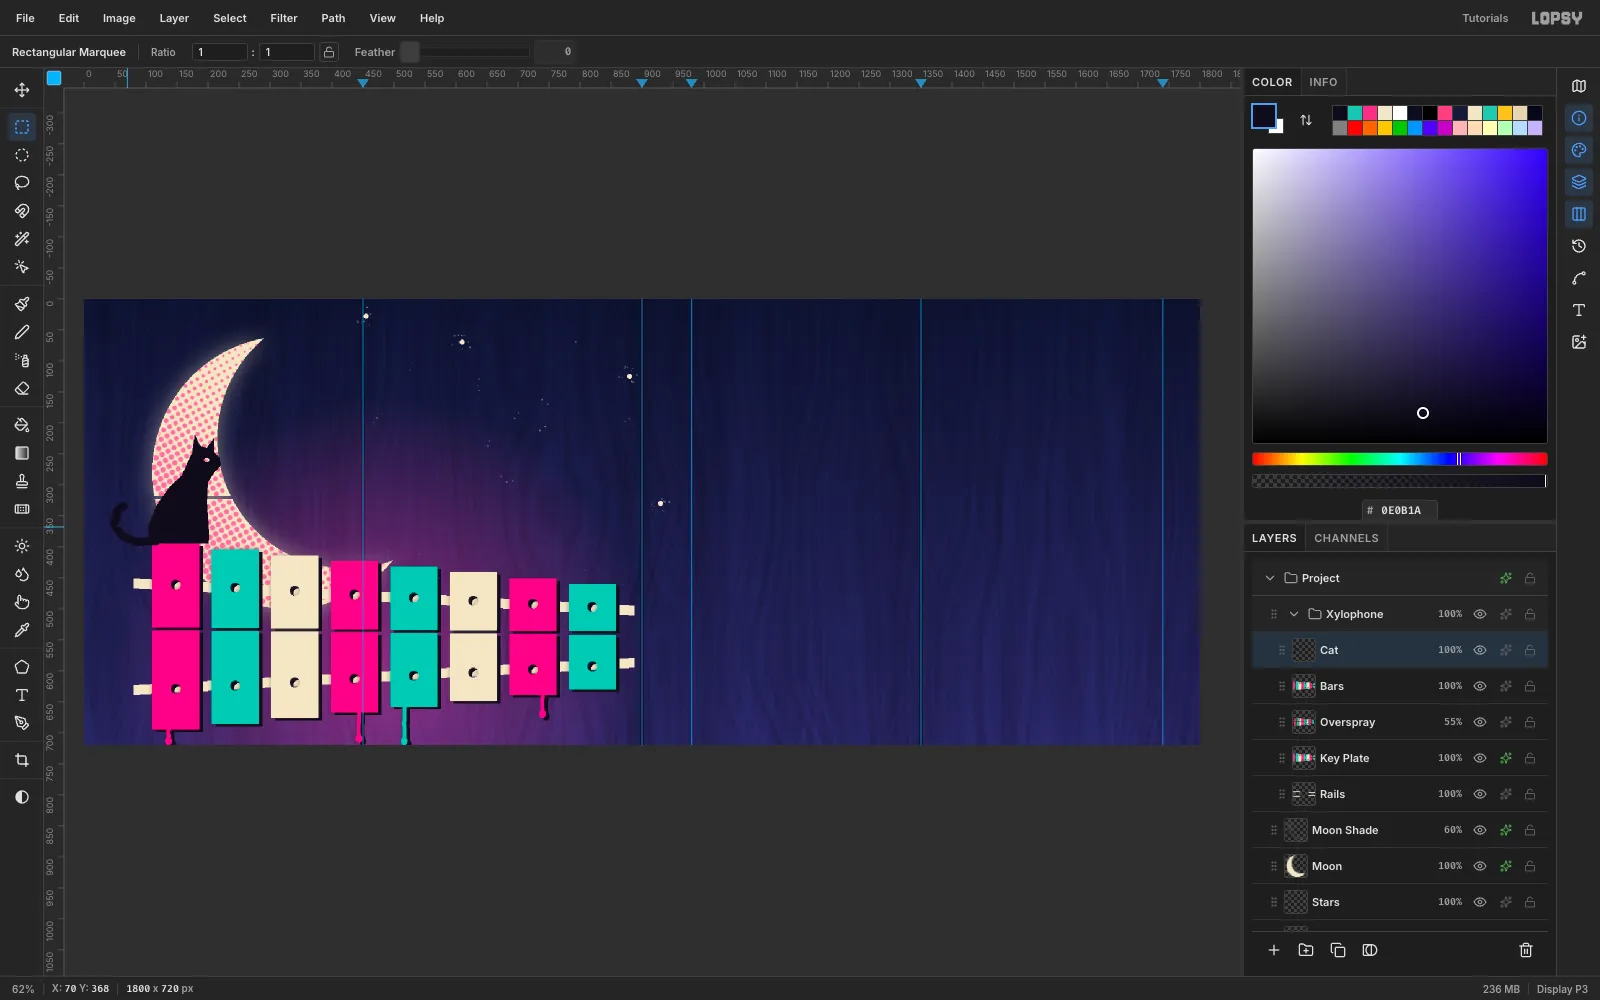
-
Draw and rotate the first mallet
Add a layer named
Mallet A. Draw a cream 8 px Brush line straight down from (786, 278) to (786, 460) and fill a teal 40 px ellipse at its bottom end for the head. Do the same onMallet Bat x757, with a pink head.Marquee
Mallet Aloosely, switch to the Move tool, and drag the rotate handle just outside the box's top-right corner 40° clockwise. Press Cmd+D to commit.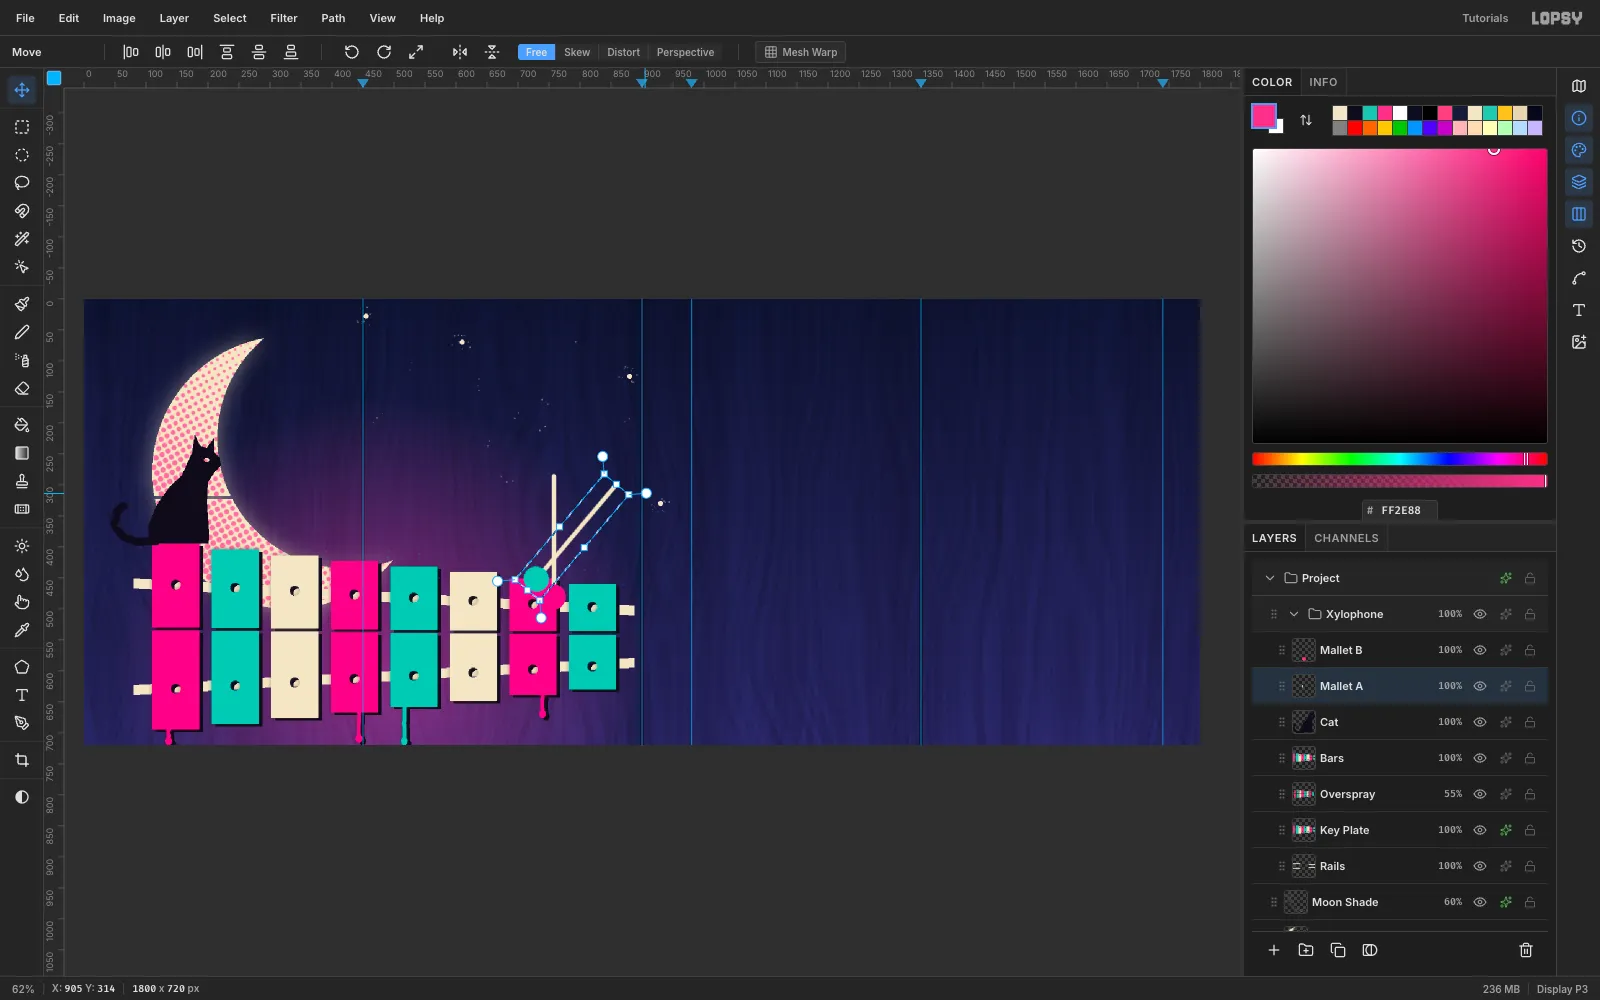
-
Cross the mallets
Rotate
Mallet B40° the other way so the handles cross in an X and each head rests on one of the last two bars. Give both mallets a Drop Shadow of#0E0B1A, Offset X6, Offset Y4, Blur0and Opacity100. That matches the key-plate offset.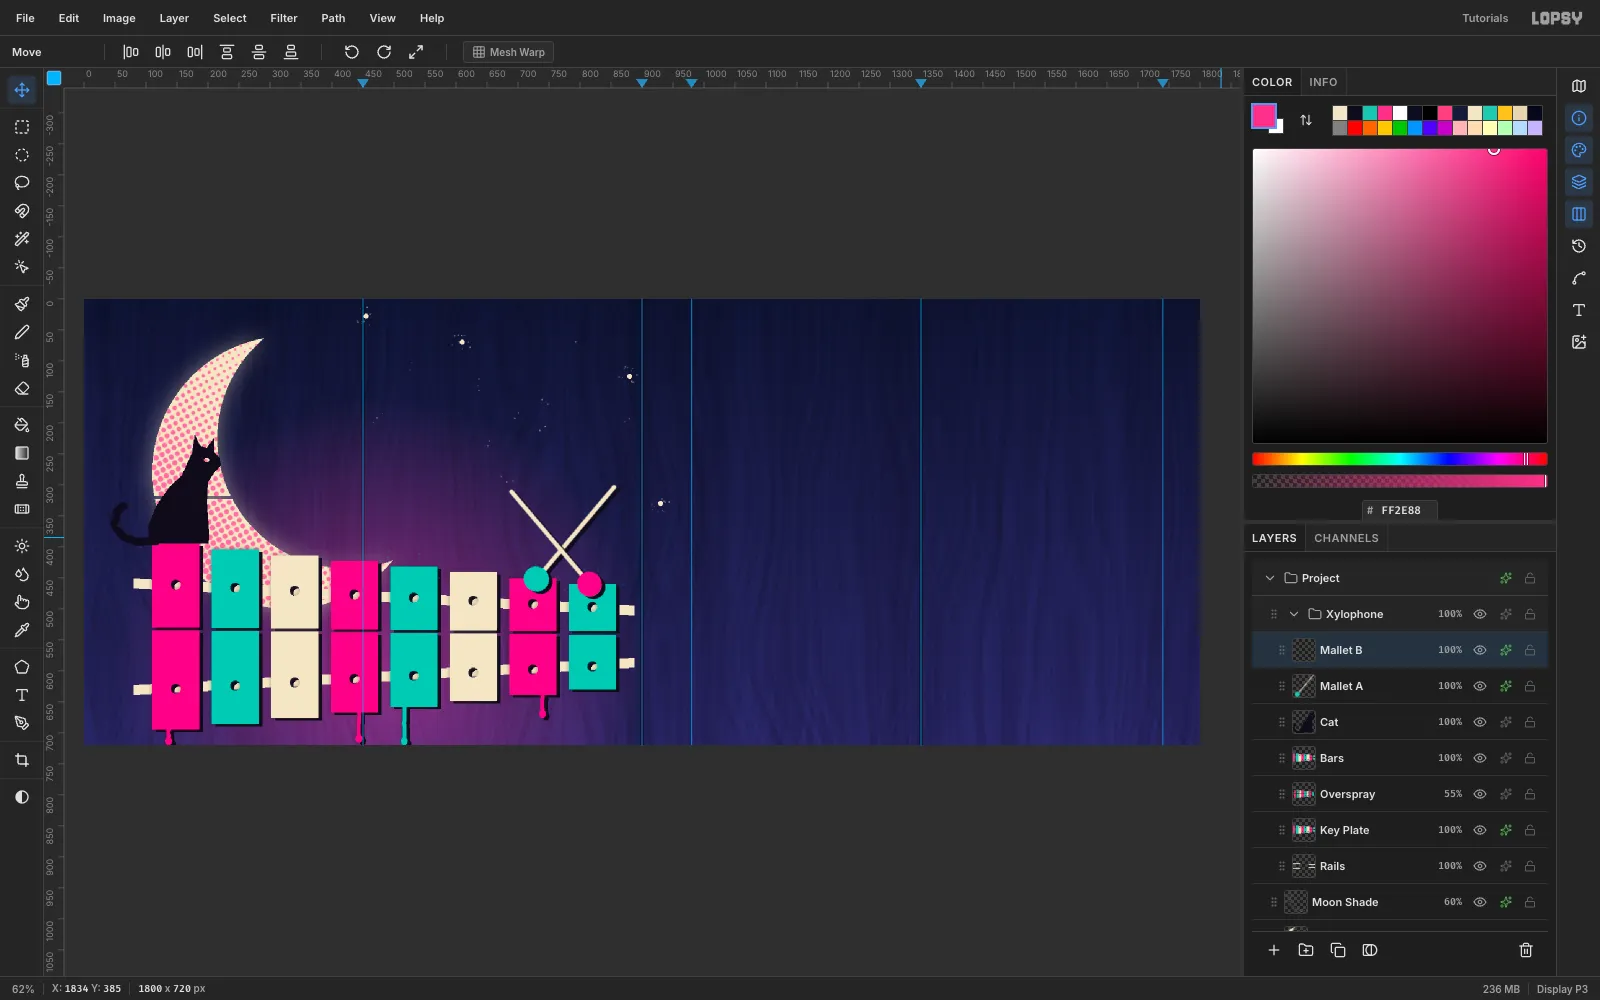
-
Draw an eighth note
Add a layer named
Note. Lasso a tilted oval head at about (610, 300) and fill it cream. Marquee a 7 × 10⁸ stem up from its right side, then lasso the curved flag. Give it the same hard black Drop Shadow (5, 4).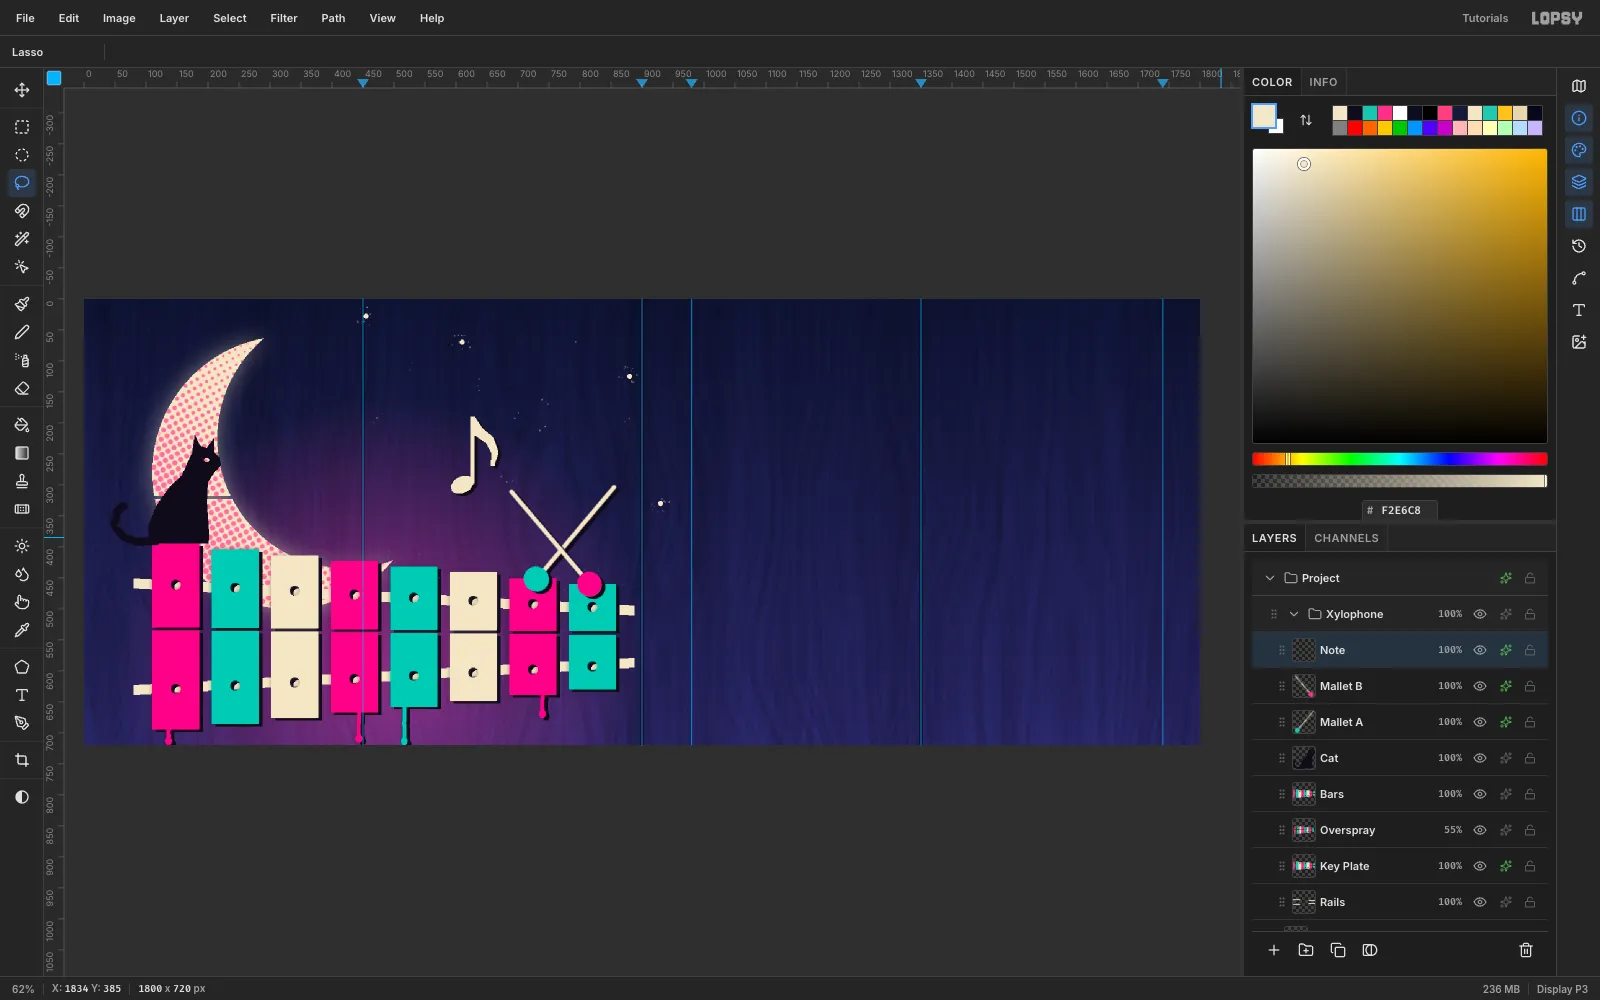
-
Copy and paste a second note
Marquee the note, press Cmd+C and then Cmd+V. The paste lands in place on a new layer: rename it
Note 2. Marquee it again and drag it up and to the left, to about (520, 80). Press Cmd+D.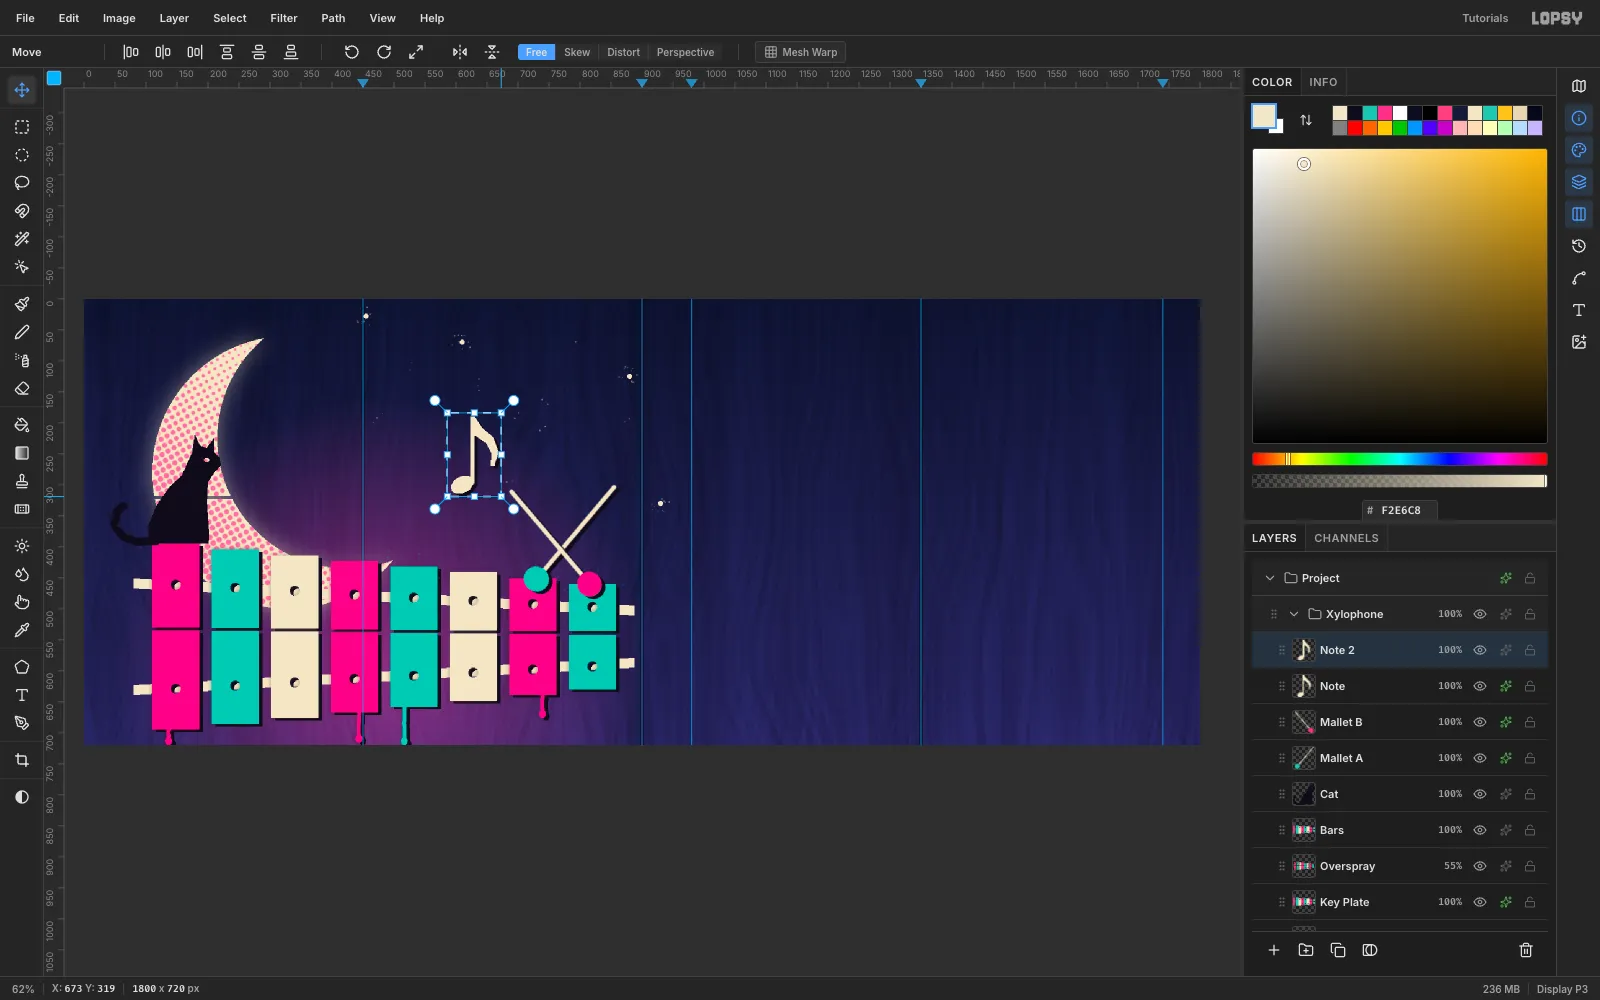
-
Scale the pasted note
Marquee
Note 2again and hold Cmd while you drag its bottom-right corner handle inward to about 75%. Holding Cmd keeps the proportions. Press Cmd+D.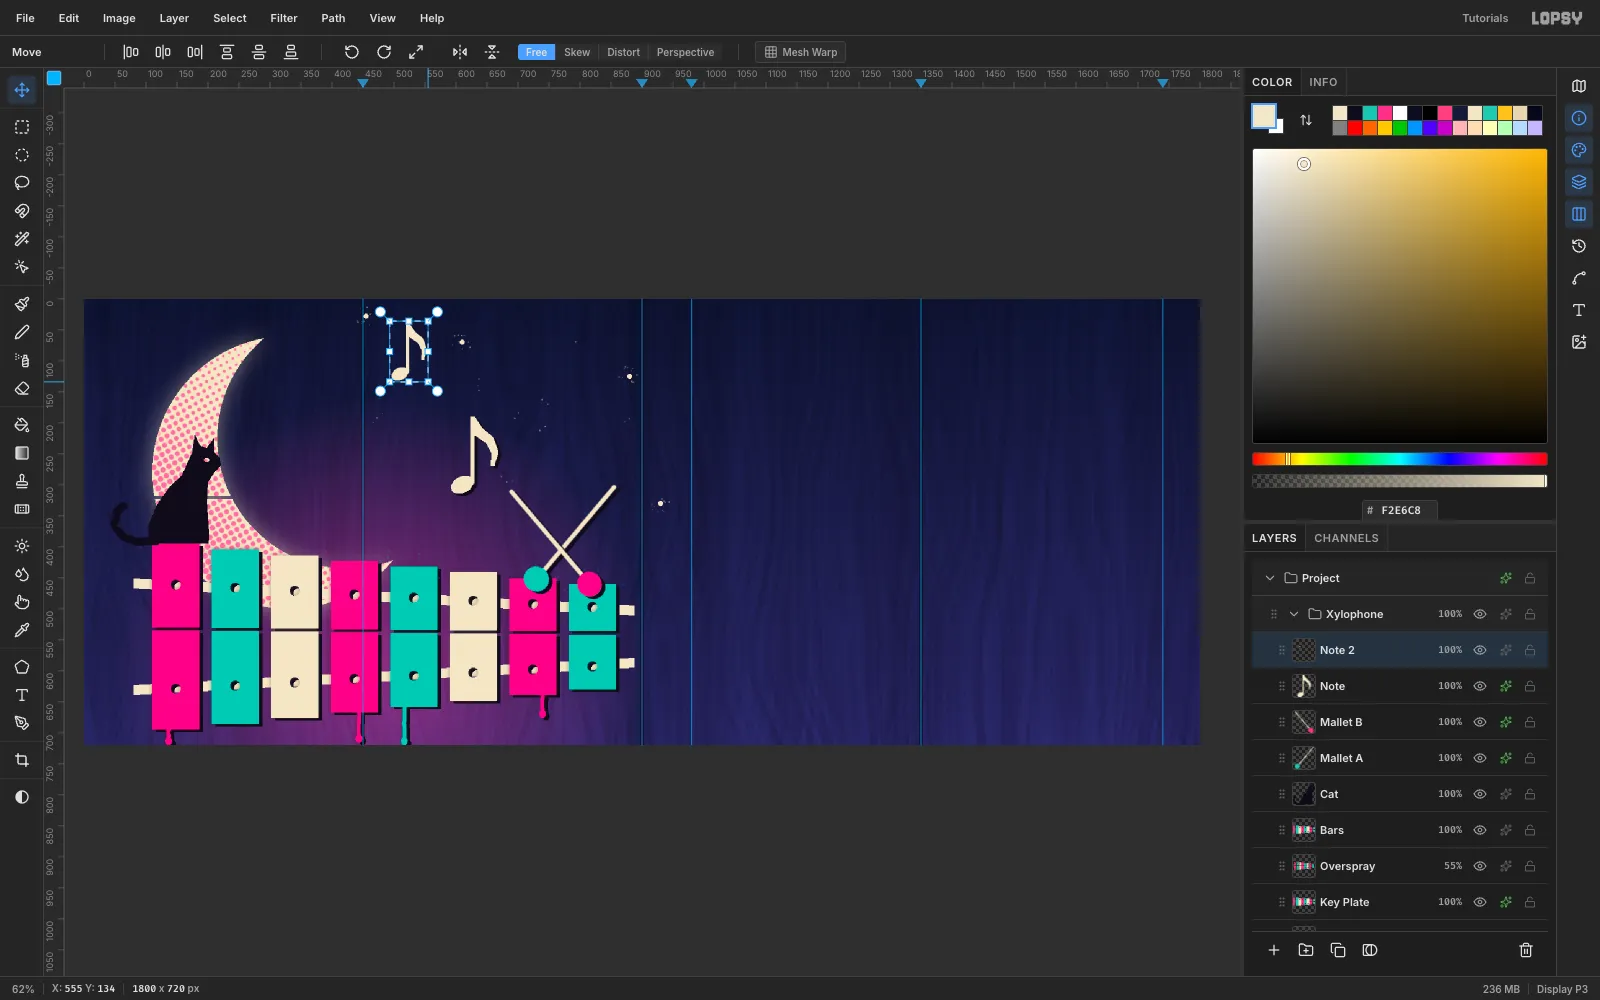
-
Rotate and recolor it
Marquee it once more, rotate it 14° clockwise and press Cmd+D. Add a Color Overlay of
#19C7B4and the black Drop Shadow. Then tilt the first note 12° the other way so the pair drifts up out of the mallets.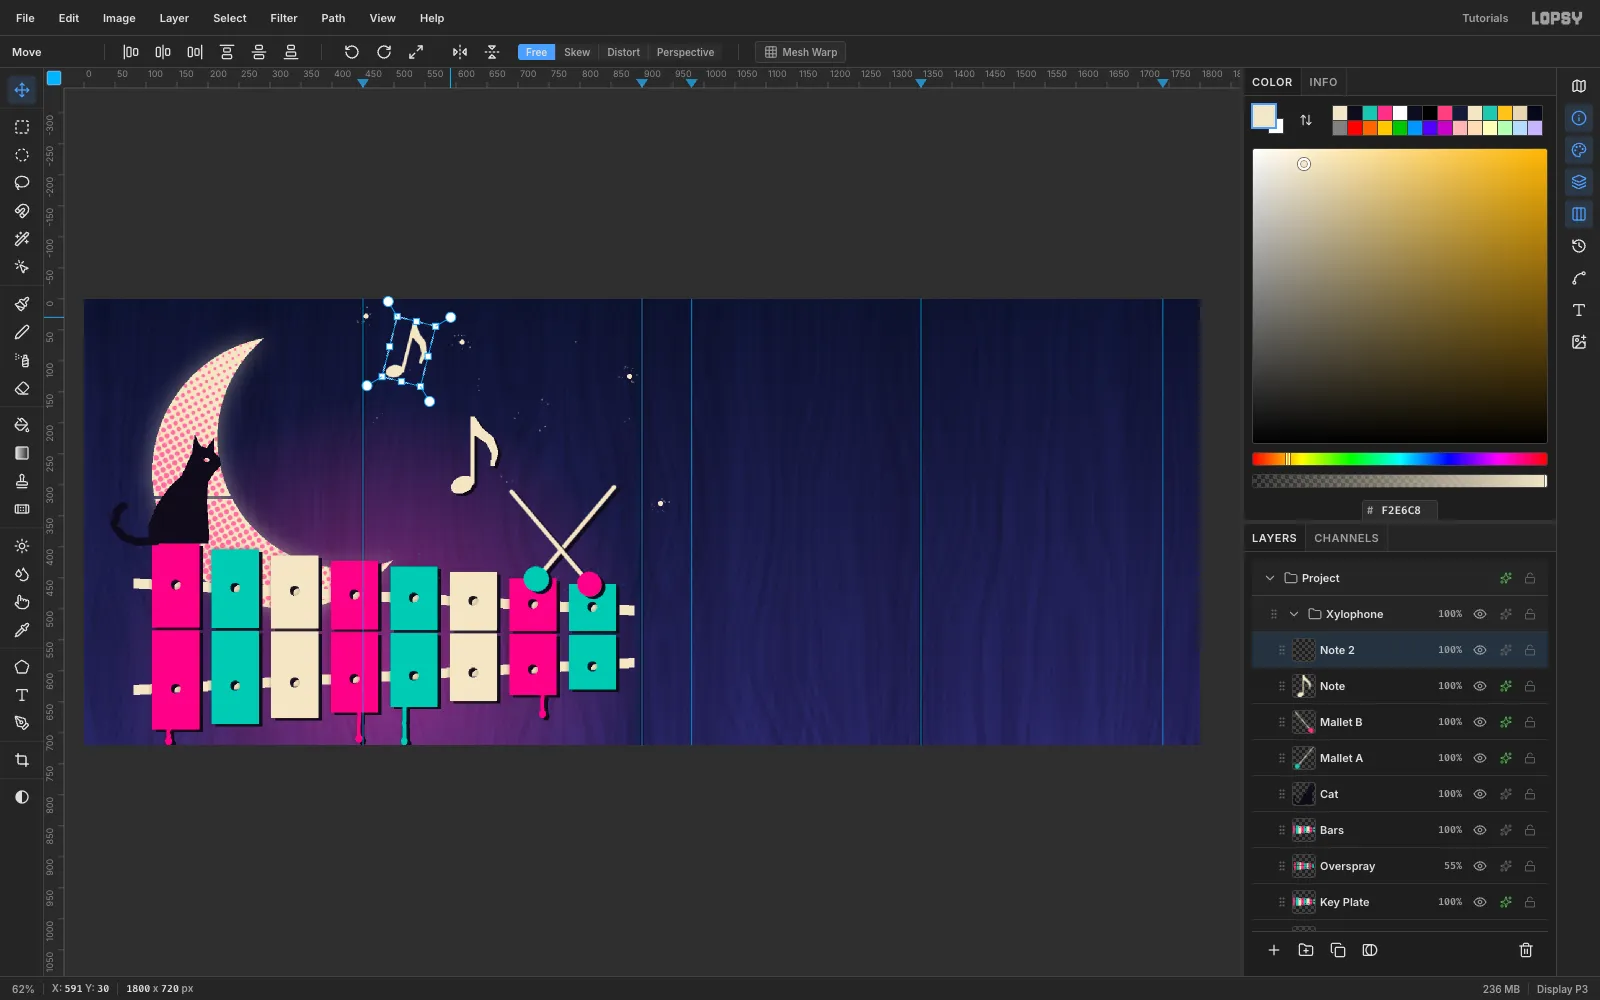
-
Set the XYLOPHONE title
Click
Moon Shadefirst. With a raster layer active, changing the text options won't restyle an existing text layer. Pick the Text tool, set Size128and the font to Allerta Stencil, and set the foreground to cream. Click at (978, 44), typeXYLOPHONEand press Tab. It spans the two type guides, from about x 987 to 1740.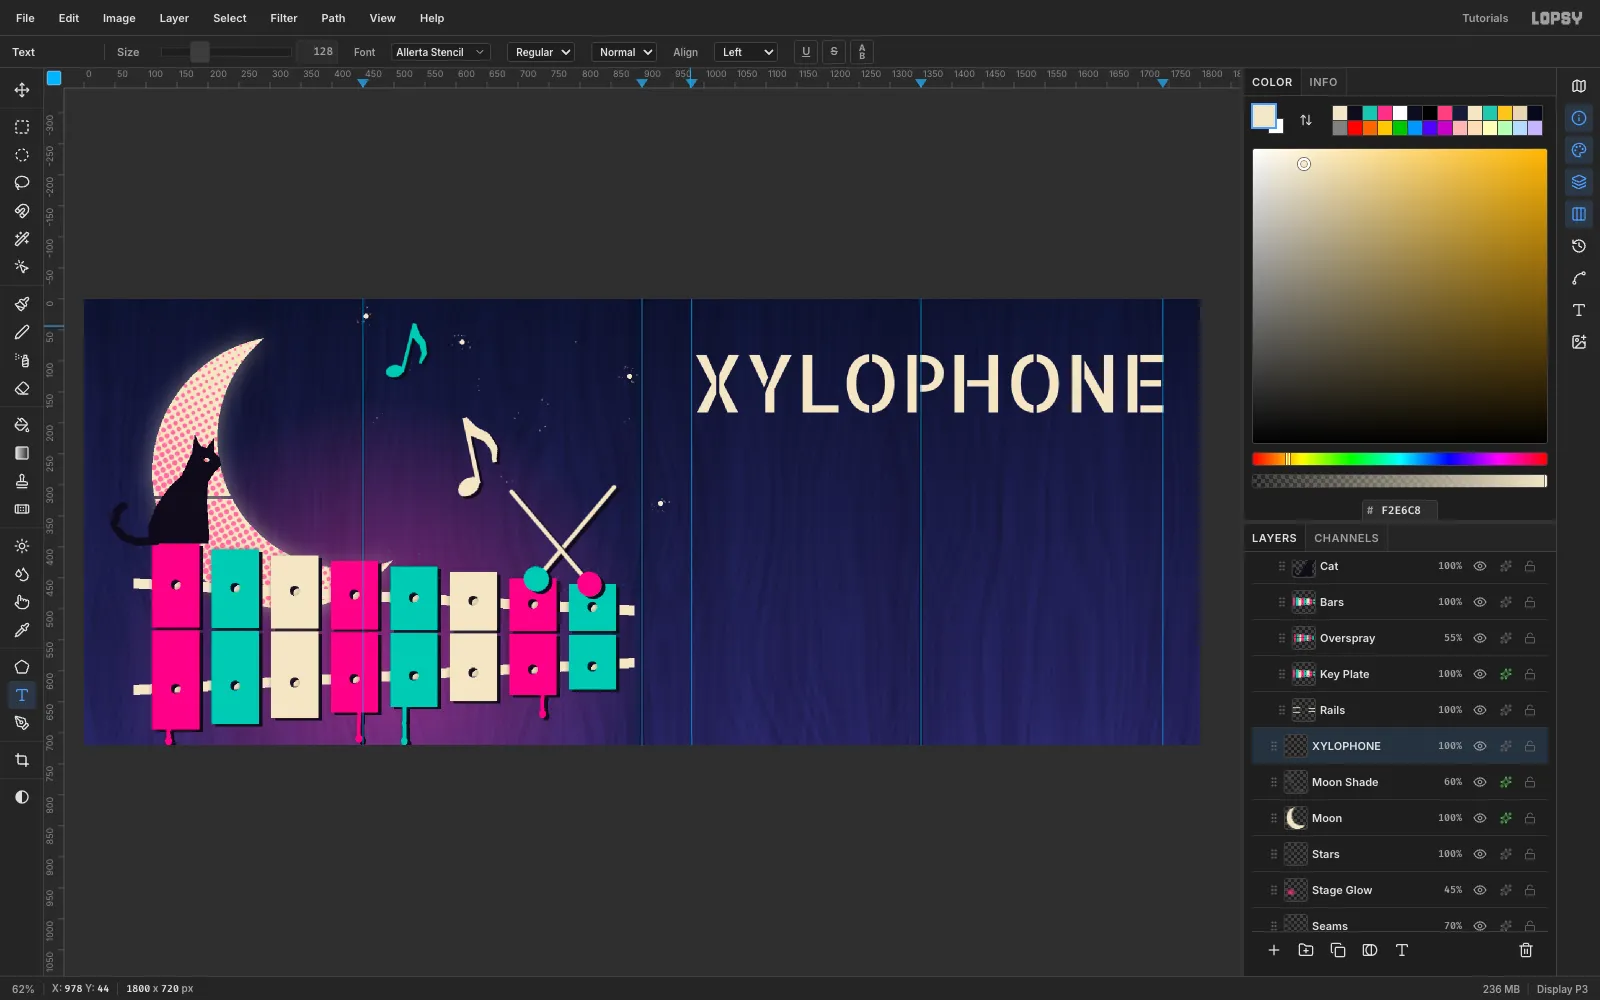
-
Set NOCTURNE and stretch it to width
Click
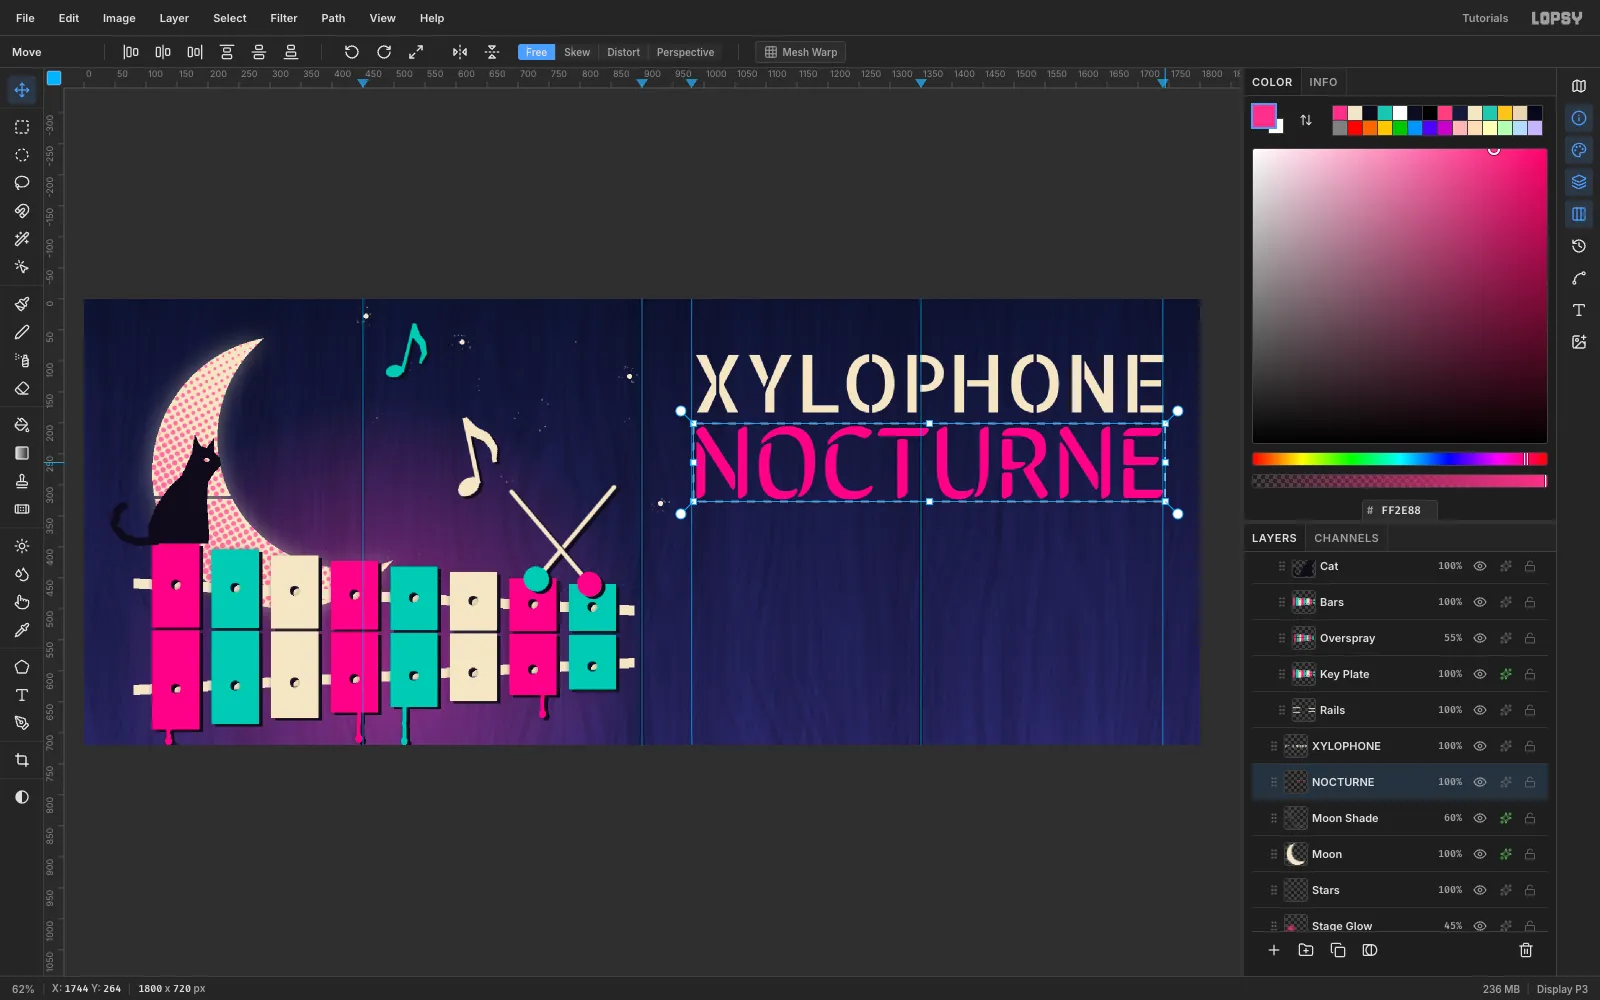
Moon Shadeagain. Set the font to Sirin Stencil at Size165and the foreground to#FF2E88. Click in empty space lower down, typeNOCTURNEand press Tab. With the Move tool, nudge it up with Shift+Up (10 px per press) and the arrow keys until its top sits 22 px under XYLOPHONE and its left edge lines up at x 987.Click Rasterize Layer in the Layers panel footer. Marquee the word and drag the right-middle handle out to the 1740 guide. Press Cmd+D. The two words now lock together as one block.
-
Drip paint off the letters
On the rasterized
NOCTURNElayer, use the 8 px pink Brush plus ellipse beads to hang drips from the N, C, U and E. Make them different lengths, from about 26 to 62 px.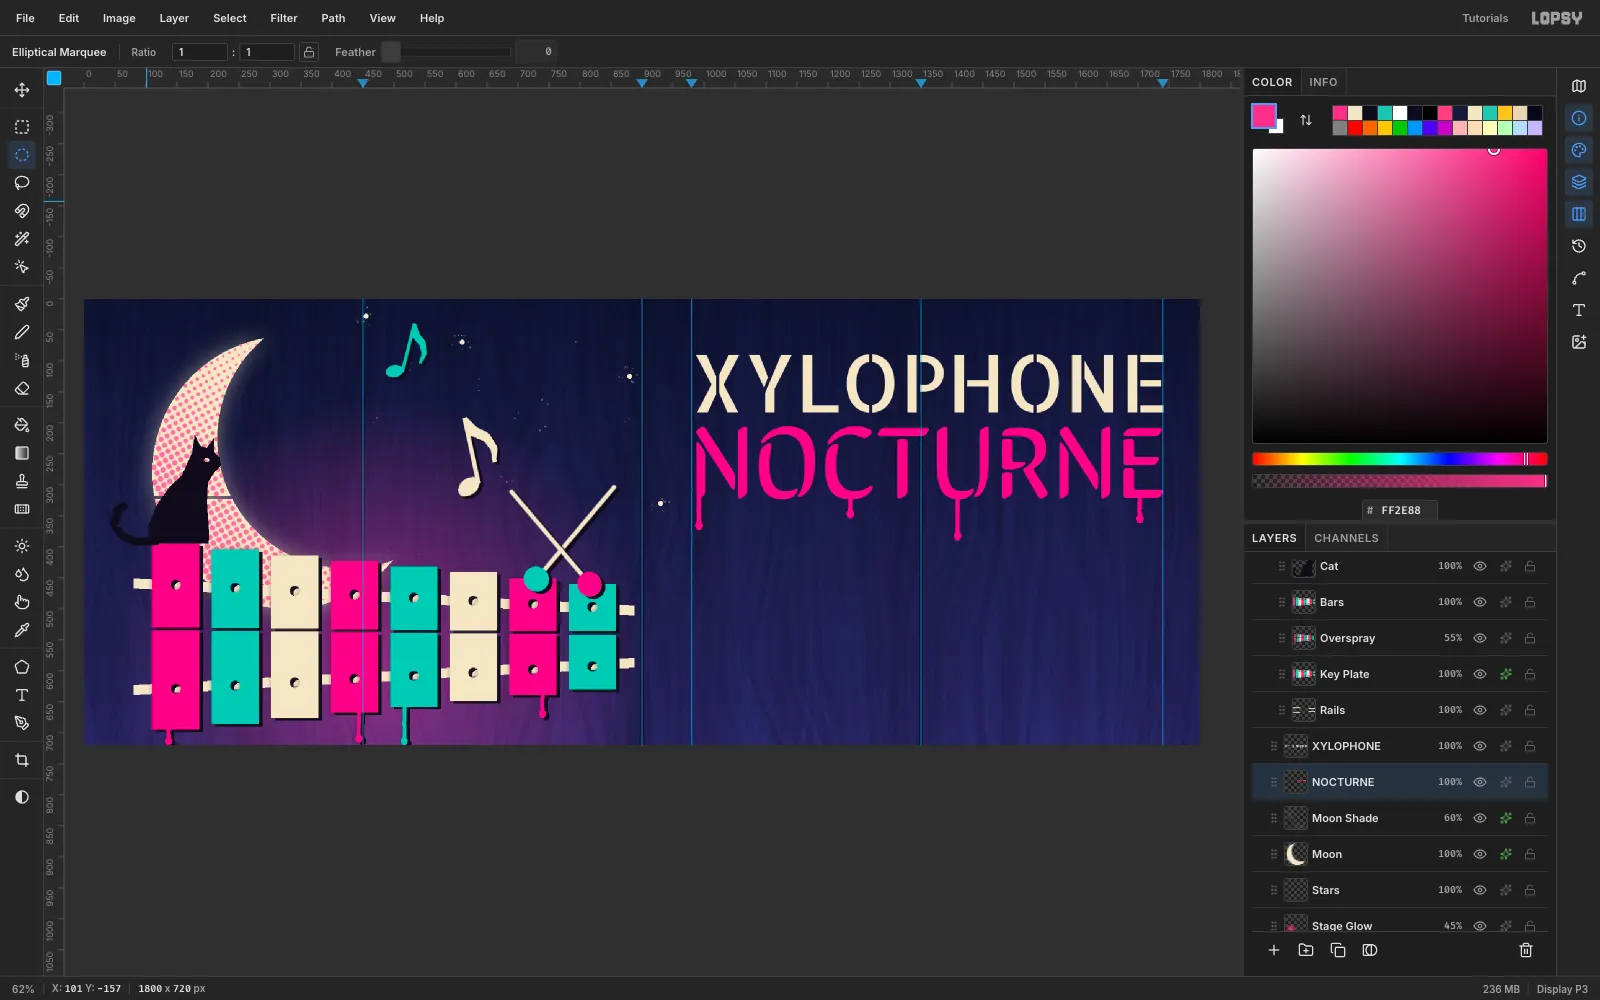
-
Misregister the title inks
Give
NOCTURNEa Drop Shadow of#0E0B1Aat offset (7, 5), Blur0, Opacity100. GiveXYLOPHONEa teal#19C7B4shadow at (6, 4). Each word now looks sprayed through two sheets that didn't quite line up.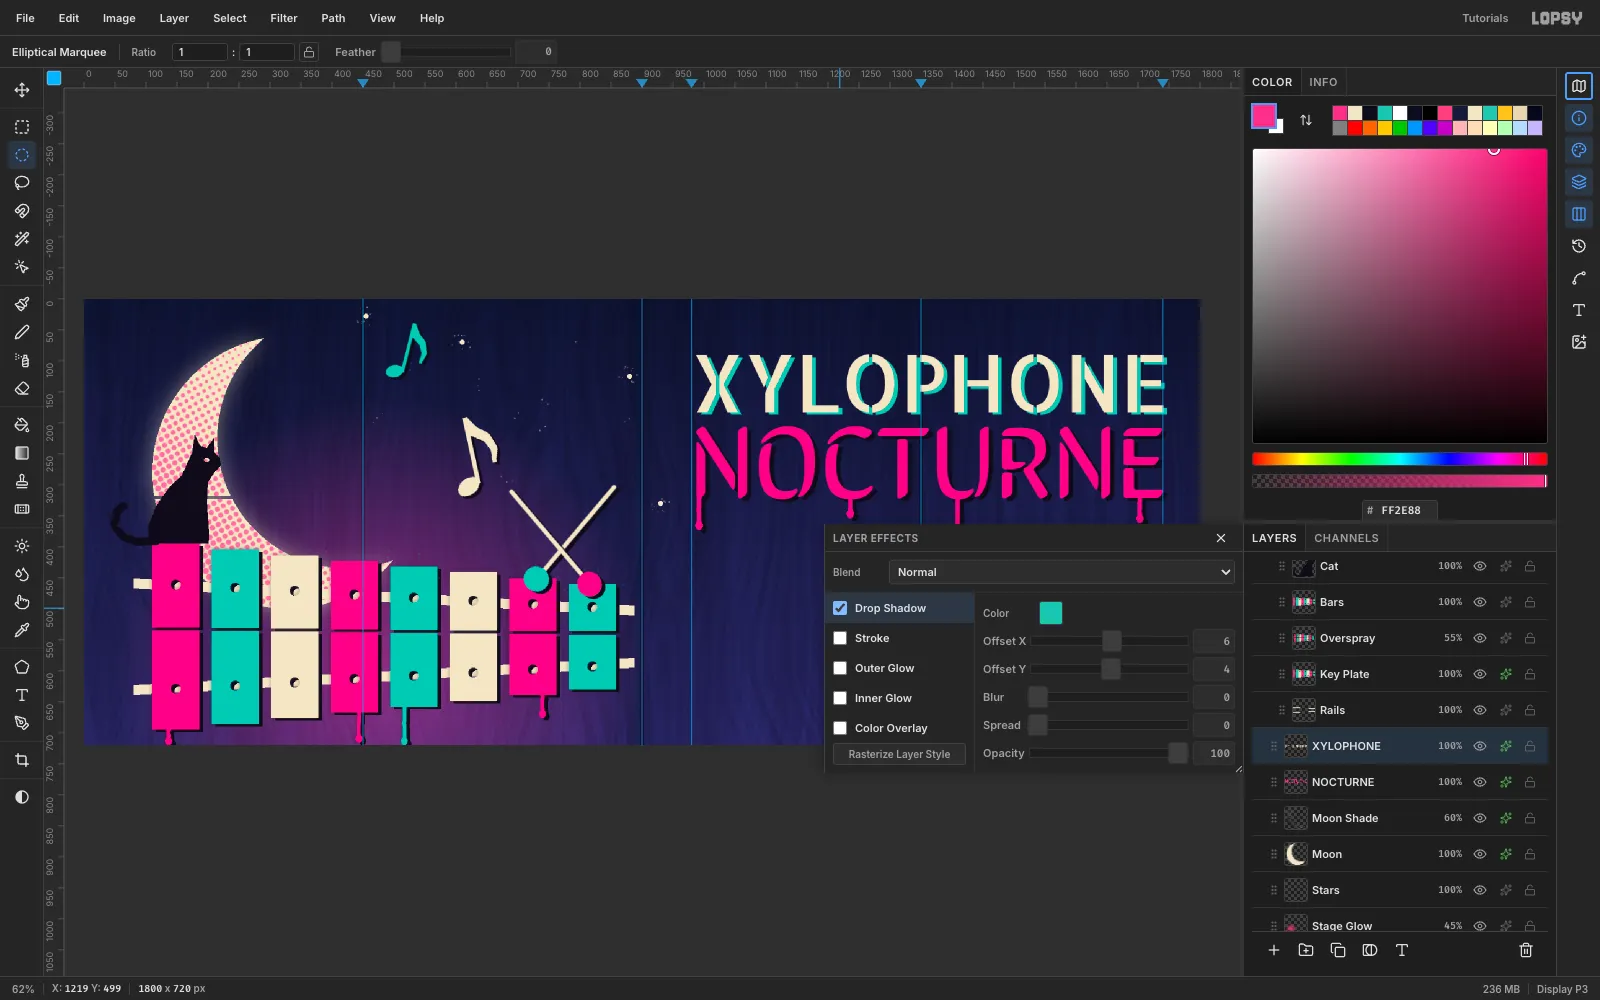
-
Add a rotated script tagline
Click
Moon Shade. Typelive mallet jazz after darkin Yellowtail, Size50and pink, somewhere in empty space. Rasterize it and rename itScript. Move it under NOCTURNE so its right edge sits at x 1735. Then marquee it, rotate it about 4° counter-clockwise and press Cmd+D.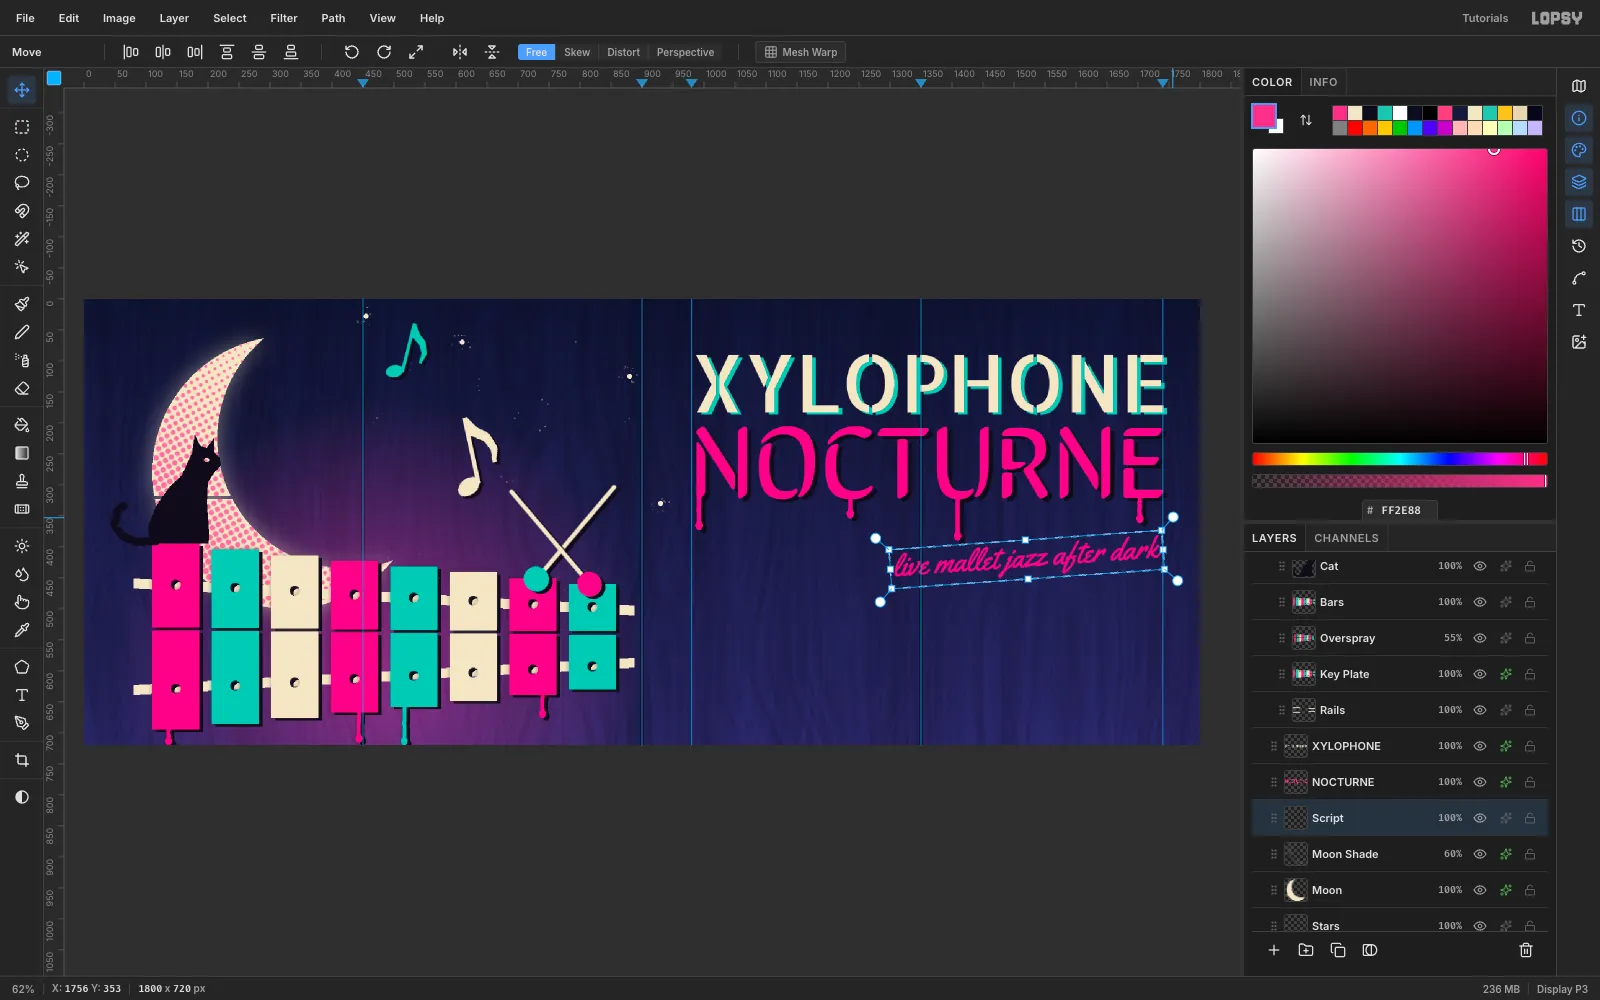
-
Set the event details
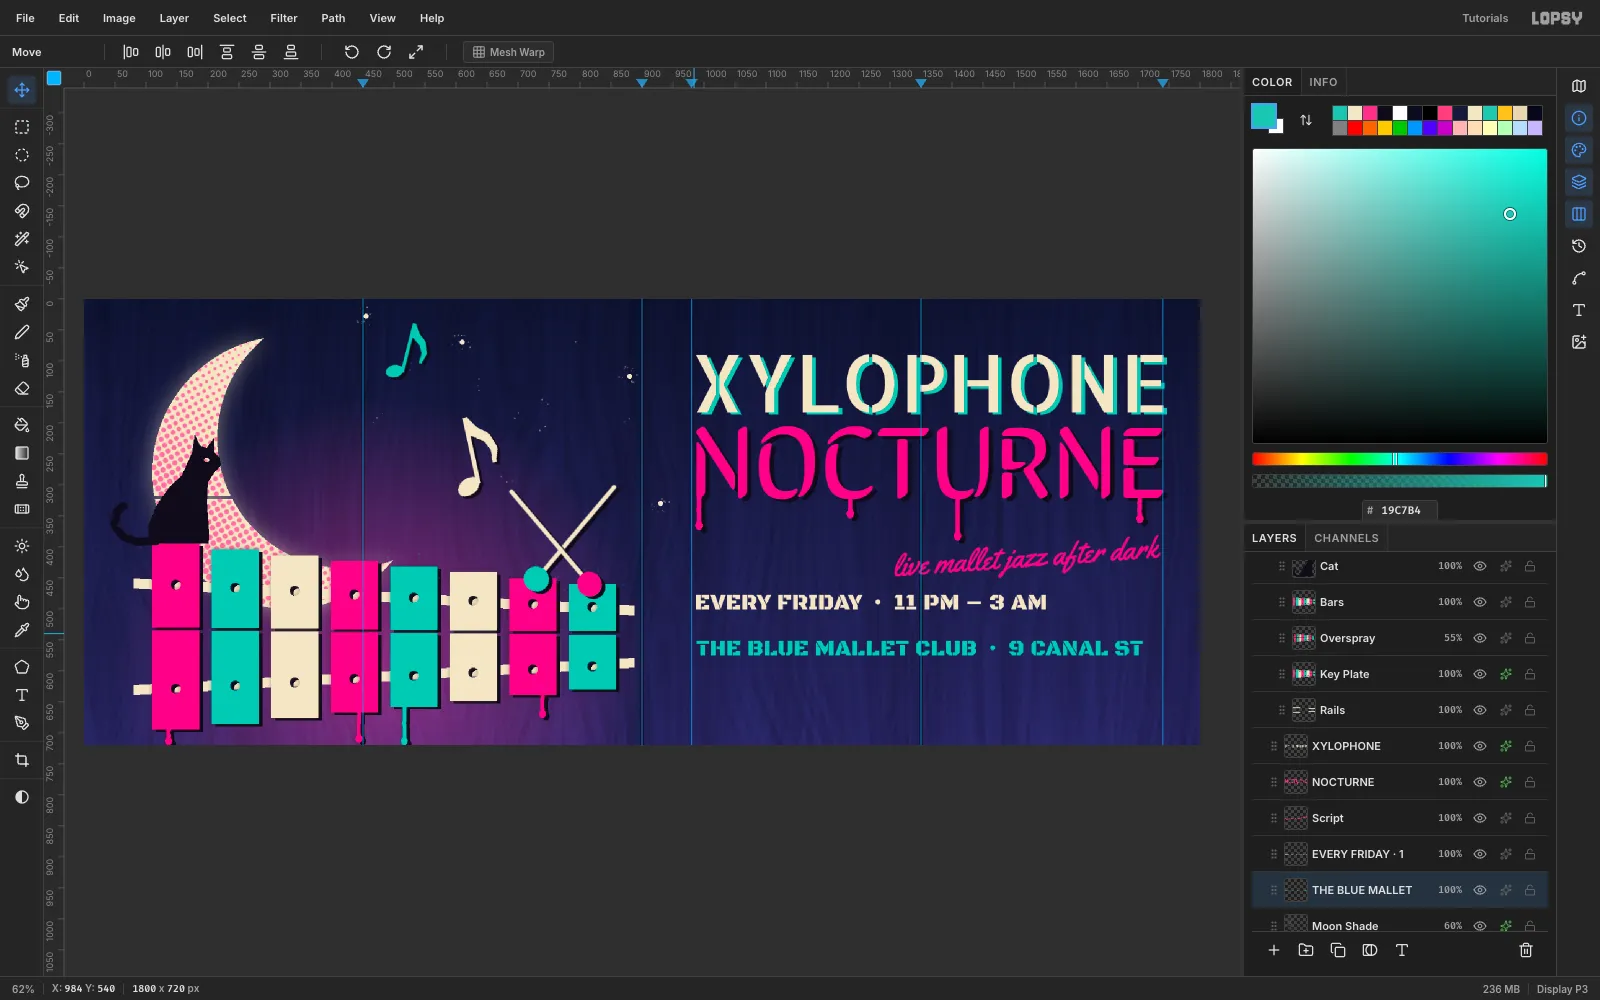
Use Black Ops One at Size
36. PutEVERY FRIDAY · 11 PM – 3 AMin cream at y ≈ 478, andTHE BLUE MALLET CLUB · 9 CANAL STin teal at y ≈- Nudge both so they start at x 987, and keep the right margin at least 60 px.
-
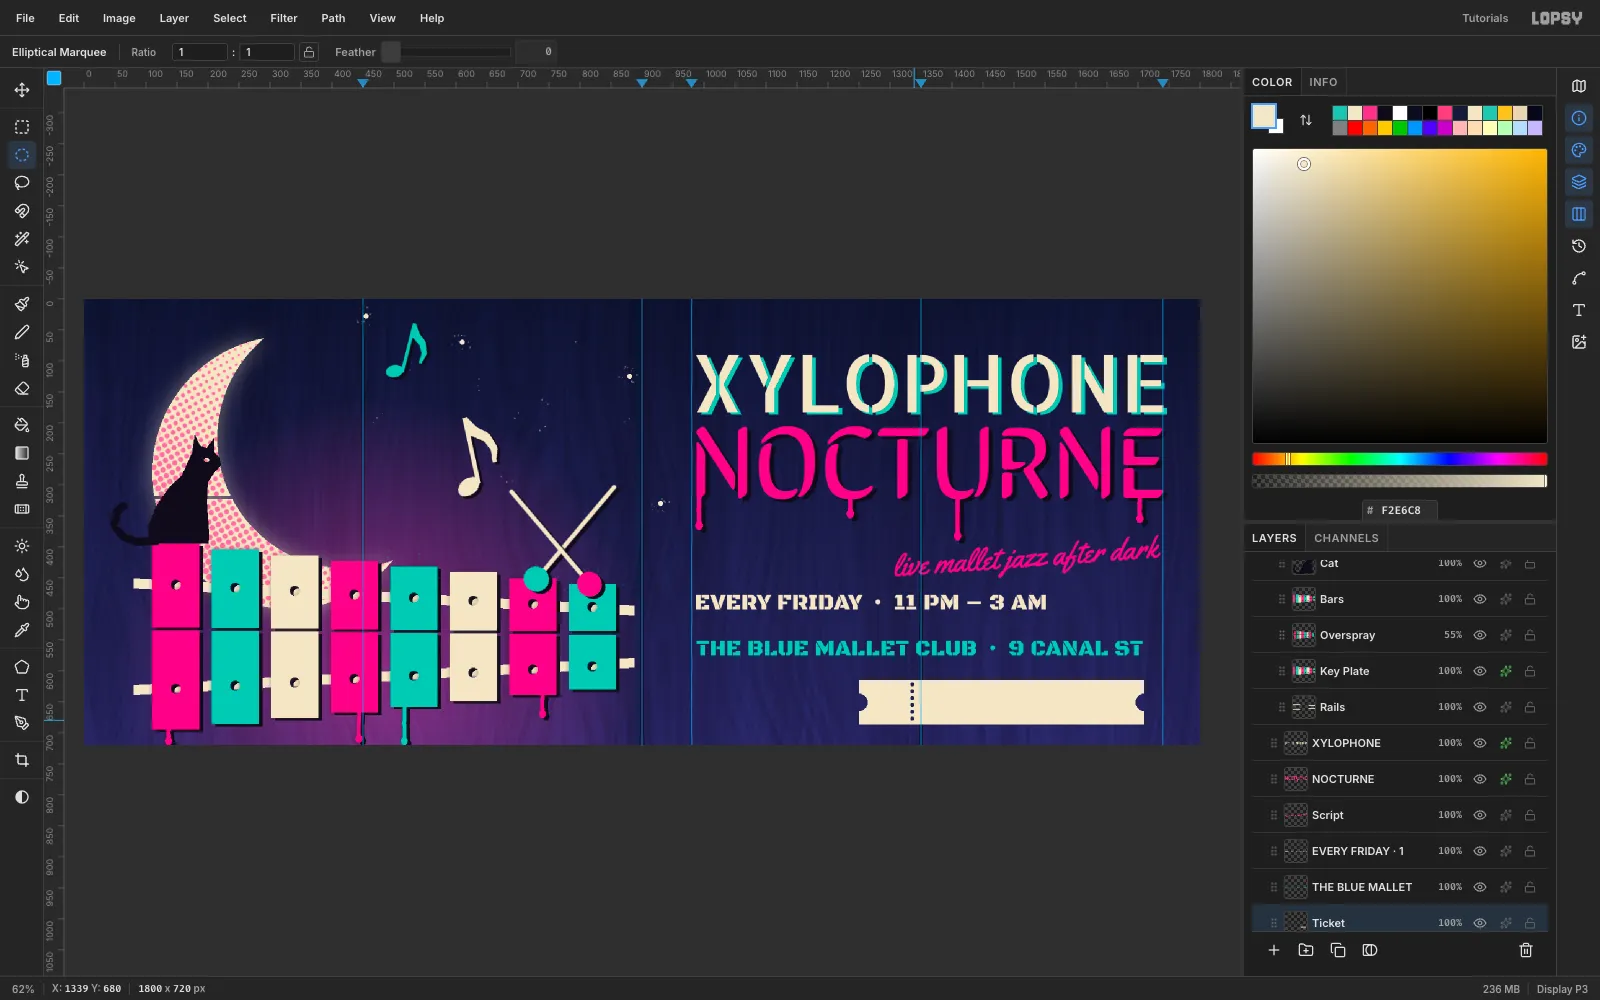
Marquee the ticket stub
Click
Moon Shade, add a layer namedTicket, and marquee (1250, 615) at 460 × 72. Fill it with cream.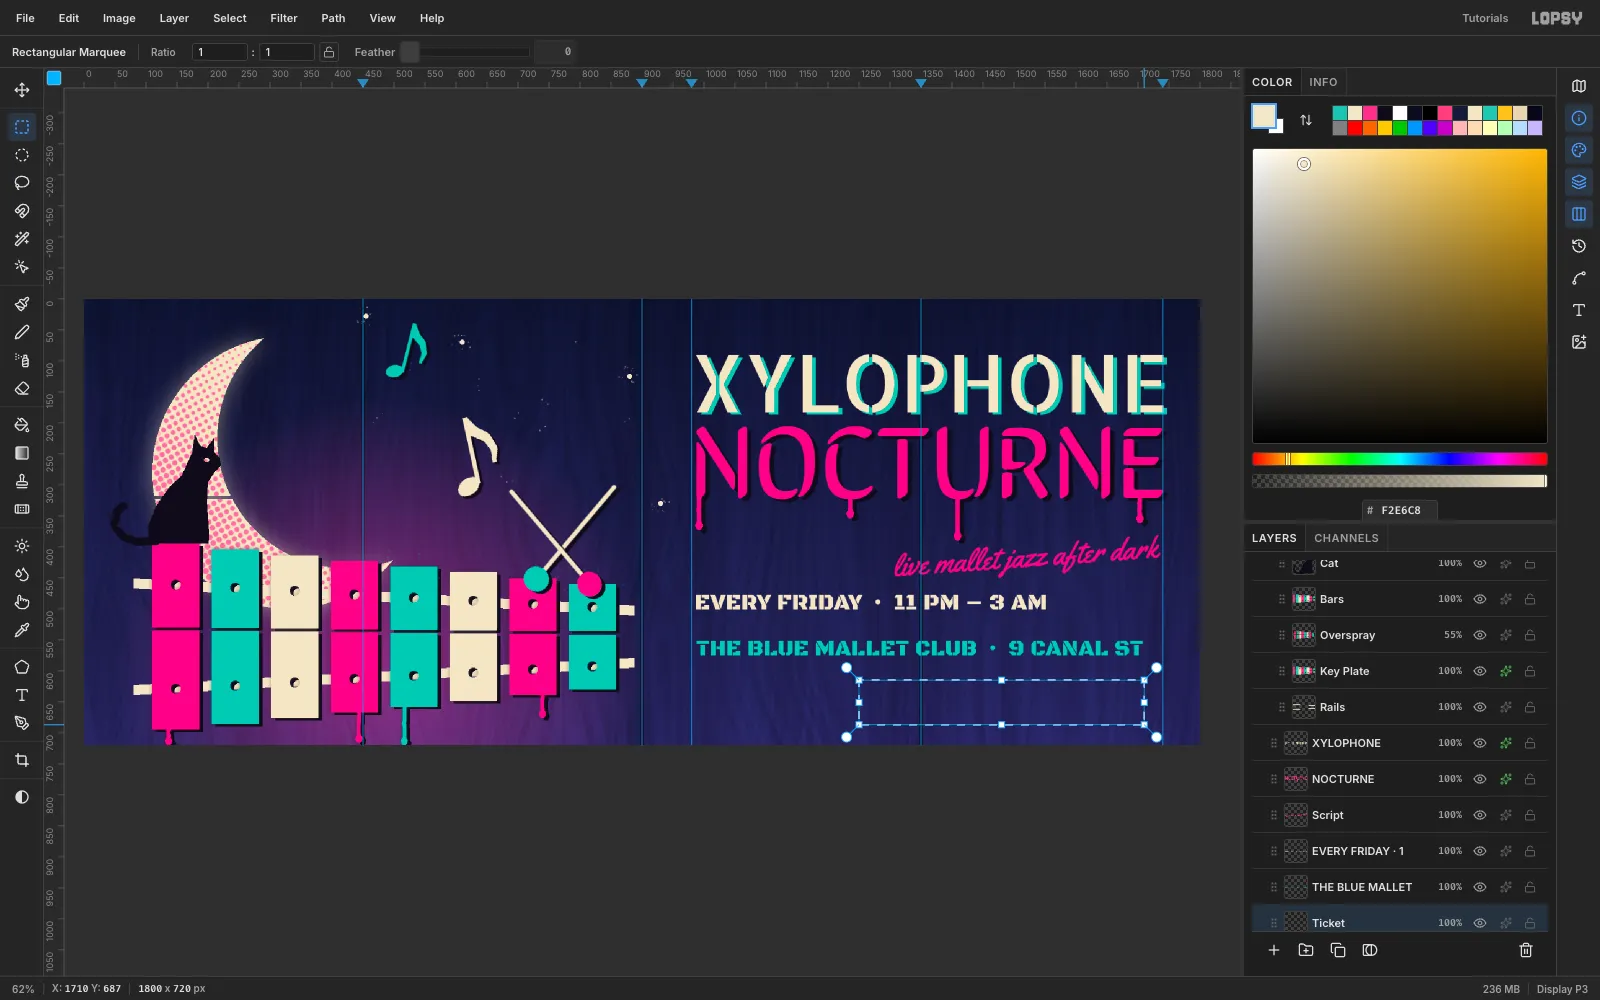
-
Cut the notches and perforation
Delete a 28 × 28 circle centered on each short end for the notches. Then delete a column of 6 × 6 circles every 11 px at x 1333 for the perforation.
-
Type on the ticket
With
Ticketactive, set07in pink Black Ops One at Size30on the stub. Click Rasterize Layer, then Layer → Merge Down. Do the same withNO COVER · CATS WELCOMEat Size22in#0E0B1A, centered between the perforation and the right notch.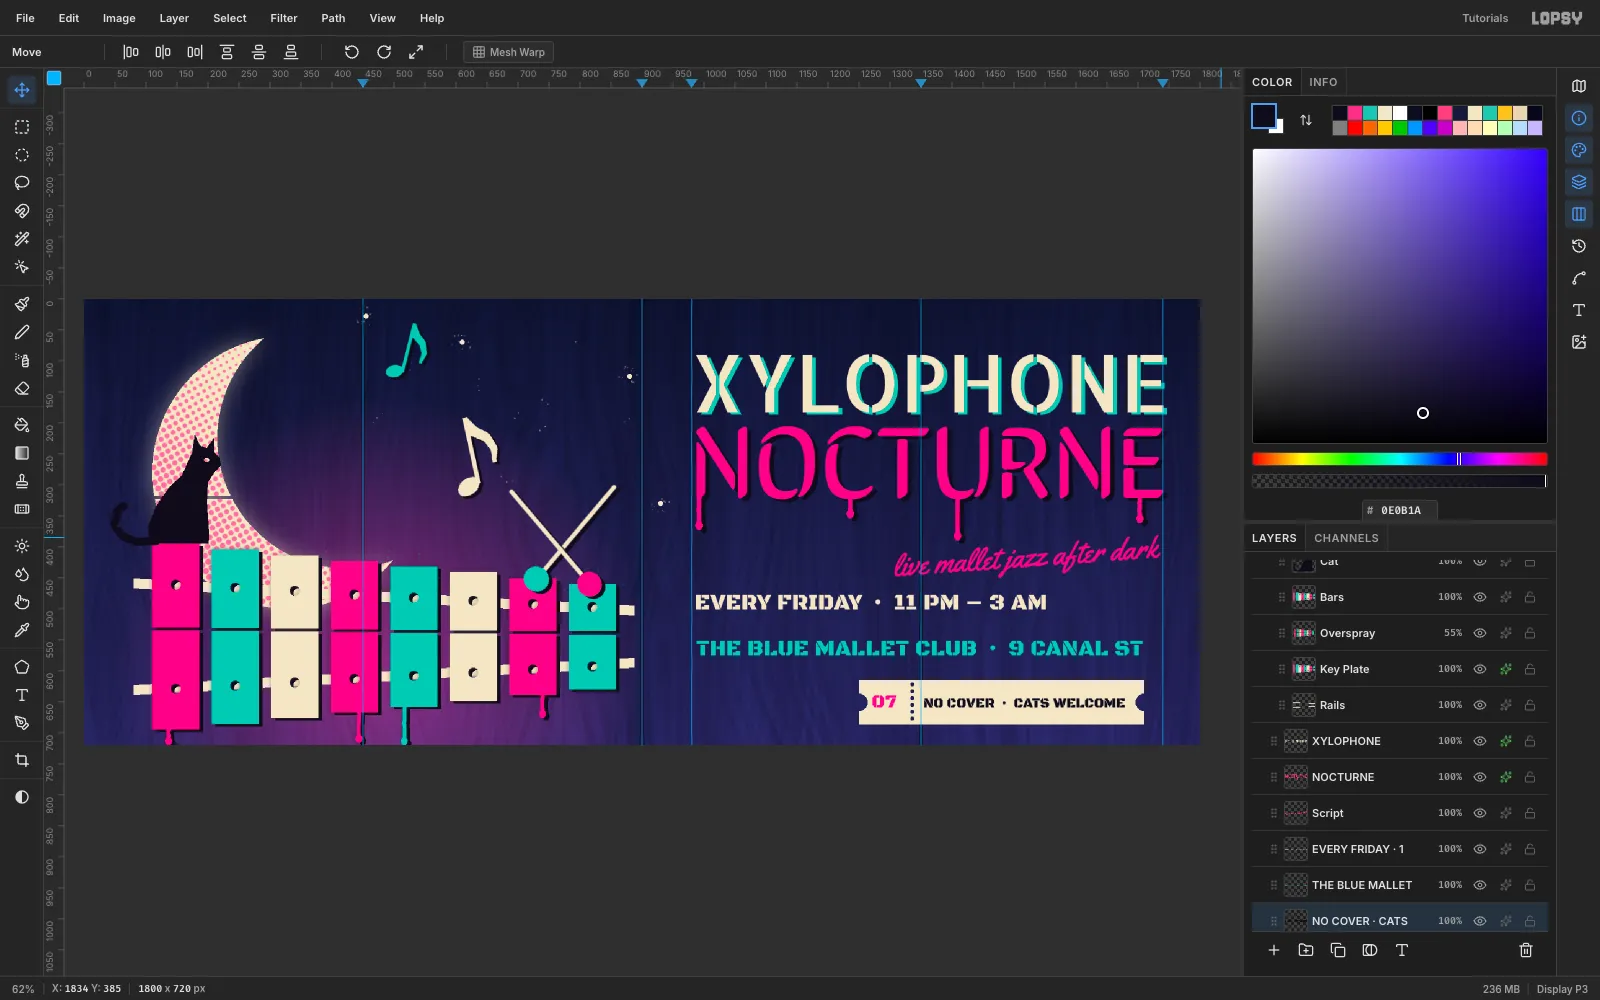
-
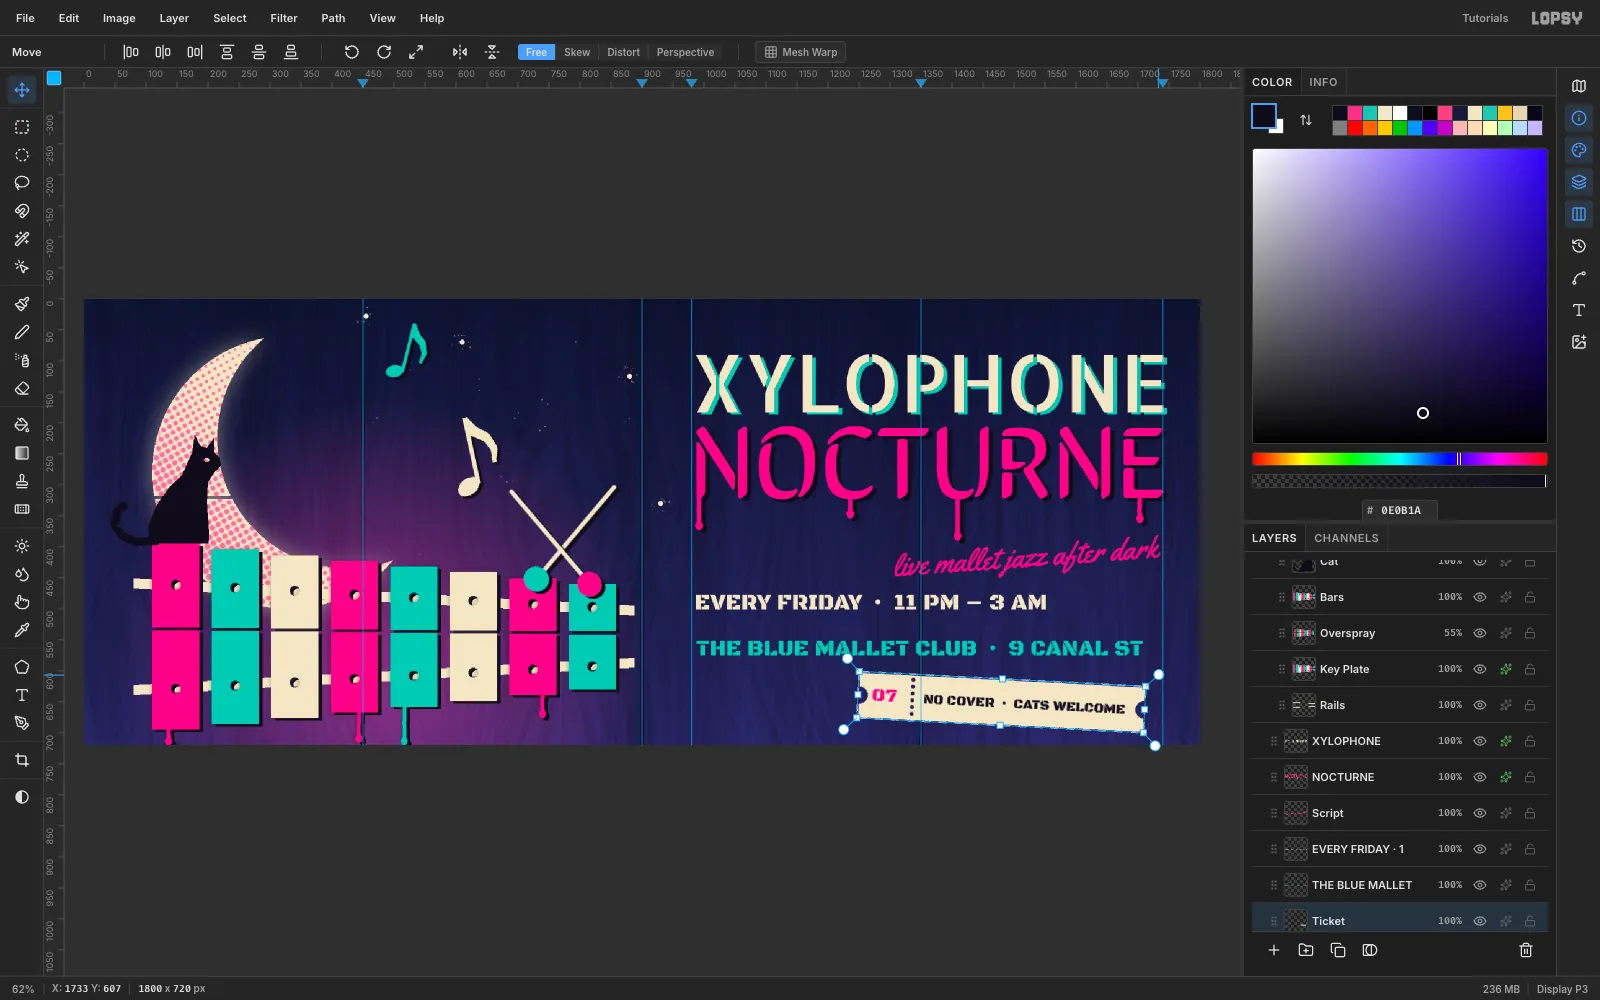
Tilt the ticket
Marquee the ticket, rotate it 3° clockwise and press Cmd+D. Give it the black key-plate Drop Shadow at (7, 5).
-
Wear the paint with the Eraser
Click
Barsand pick the Eraser at Size16and Opacity45. Drag a few short scuffs across some of the bars. Weathered paint is what stops the piece from looking freshly printed.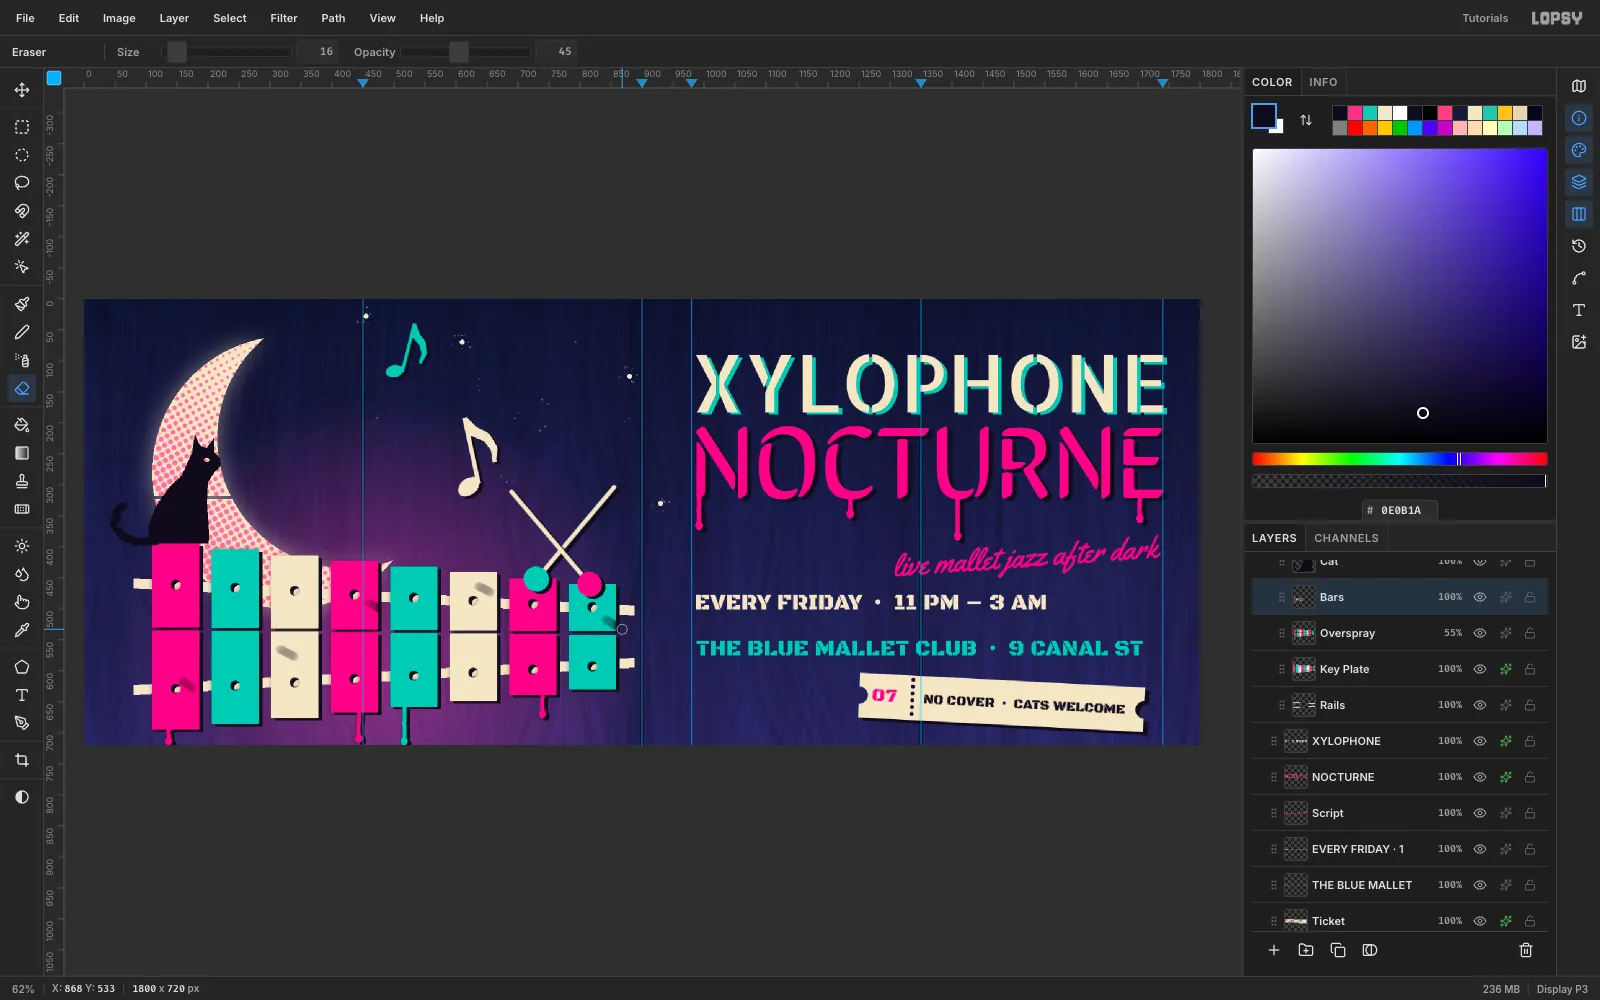
-
Mottle the wall
Click
Plywoodand add a layer namedMottle. Fill it with#808080, choose Filter → Clouds at Scale5, set it to Multiply and drop it to15%. It adds uneven grime to the plywood.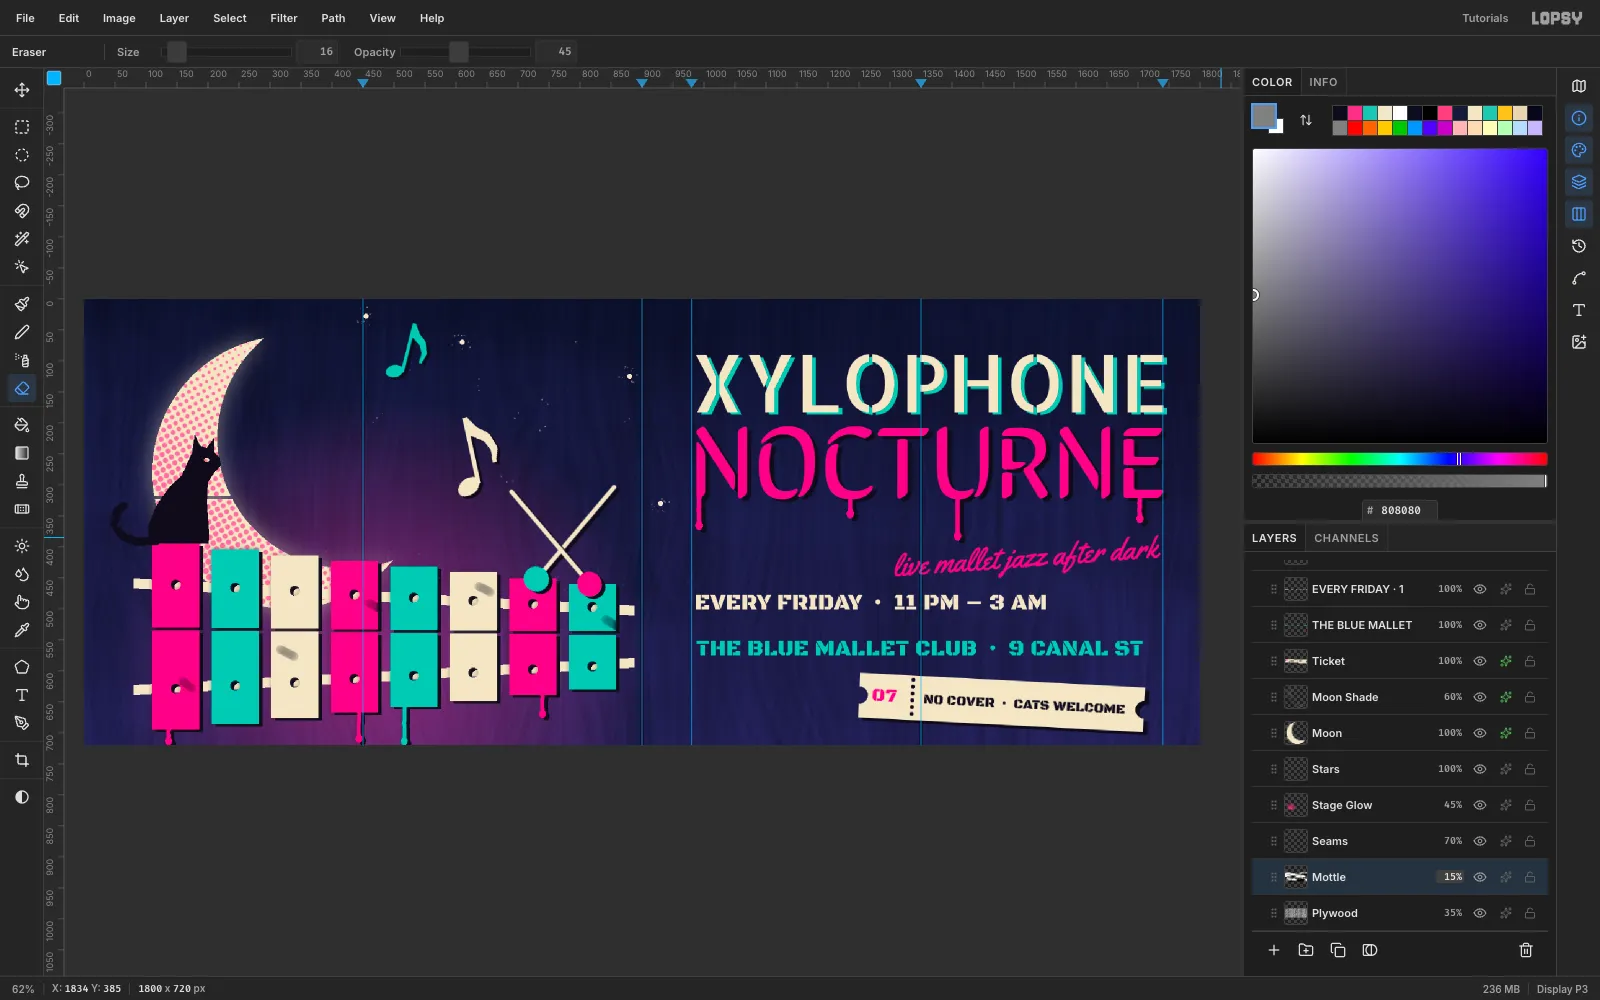
-
Make a grain layer
Click
XYLOPHONEand add a layer namedGrit. Fill it with#808080, then choose Filter → Add Noise… with Amount30, Mono and Gaussian. Click Apply, then set it to Overlay at40%.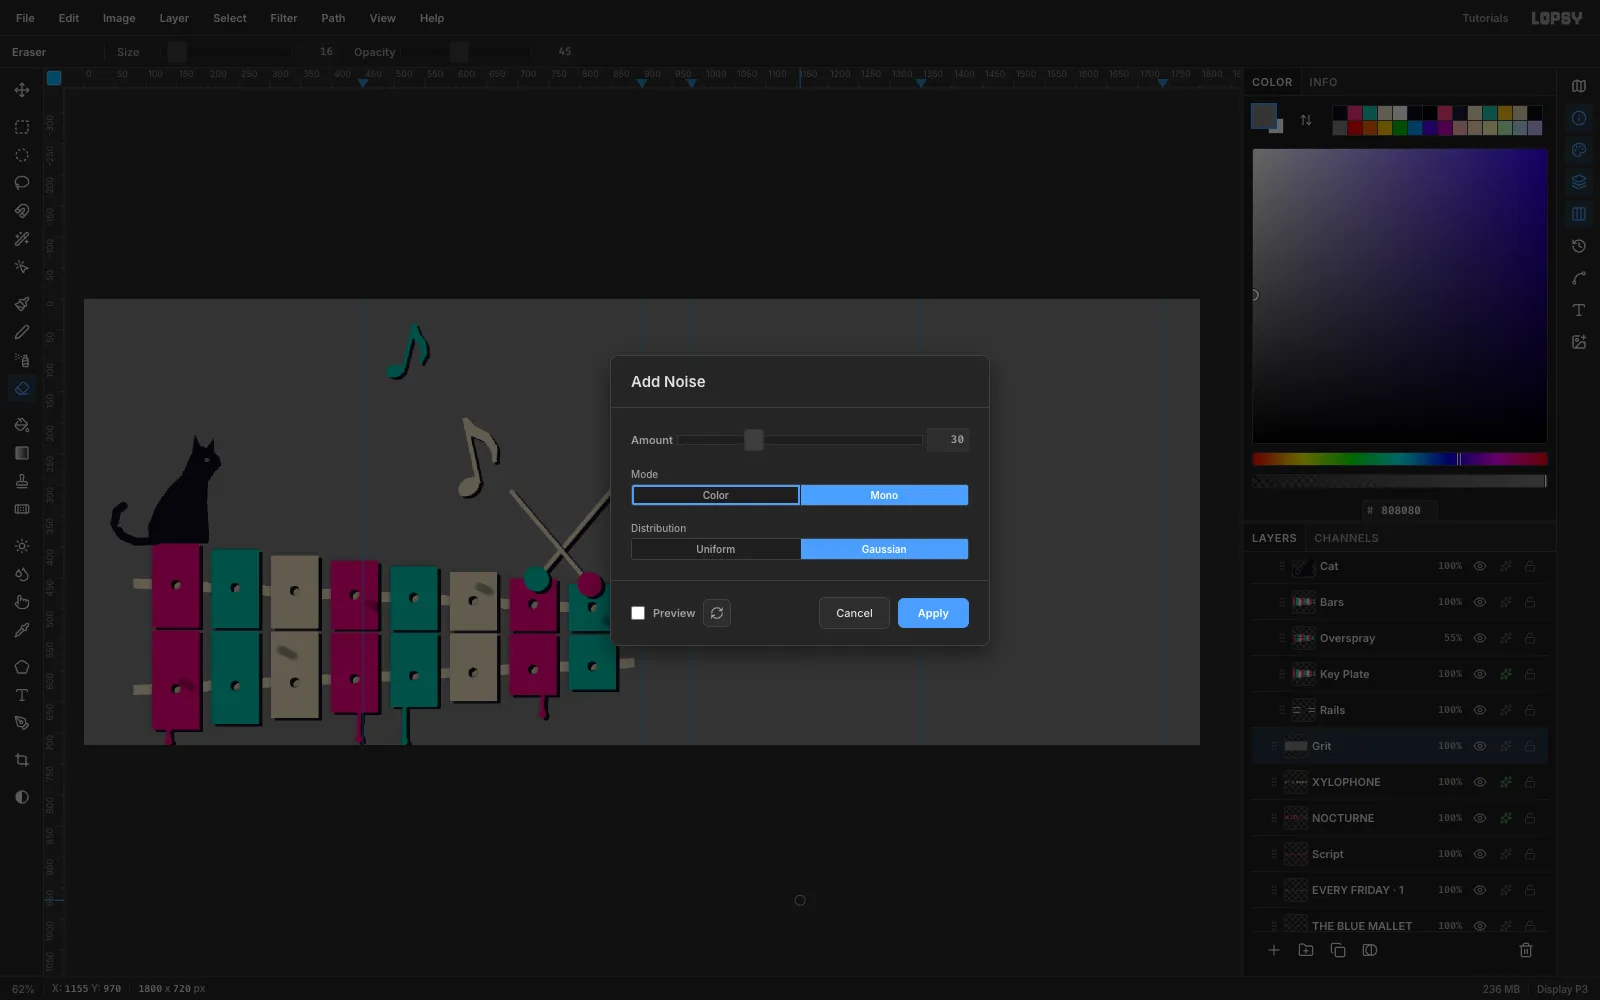
-
Drag the grit over everything
Collapse the
Xylophonegroup with its arrow. Then dragGritby its grip handle up above the group row. The fine grain now runs over the paint as well as the wall, so everything looks sprayed onto the same rough surface.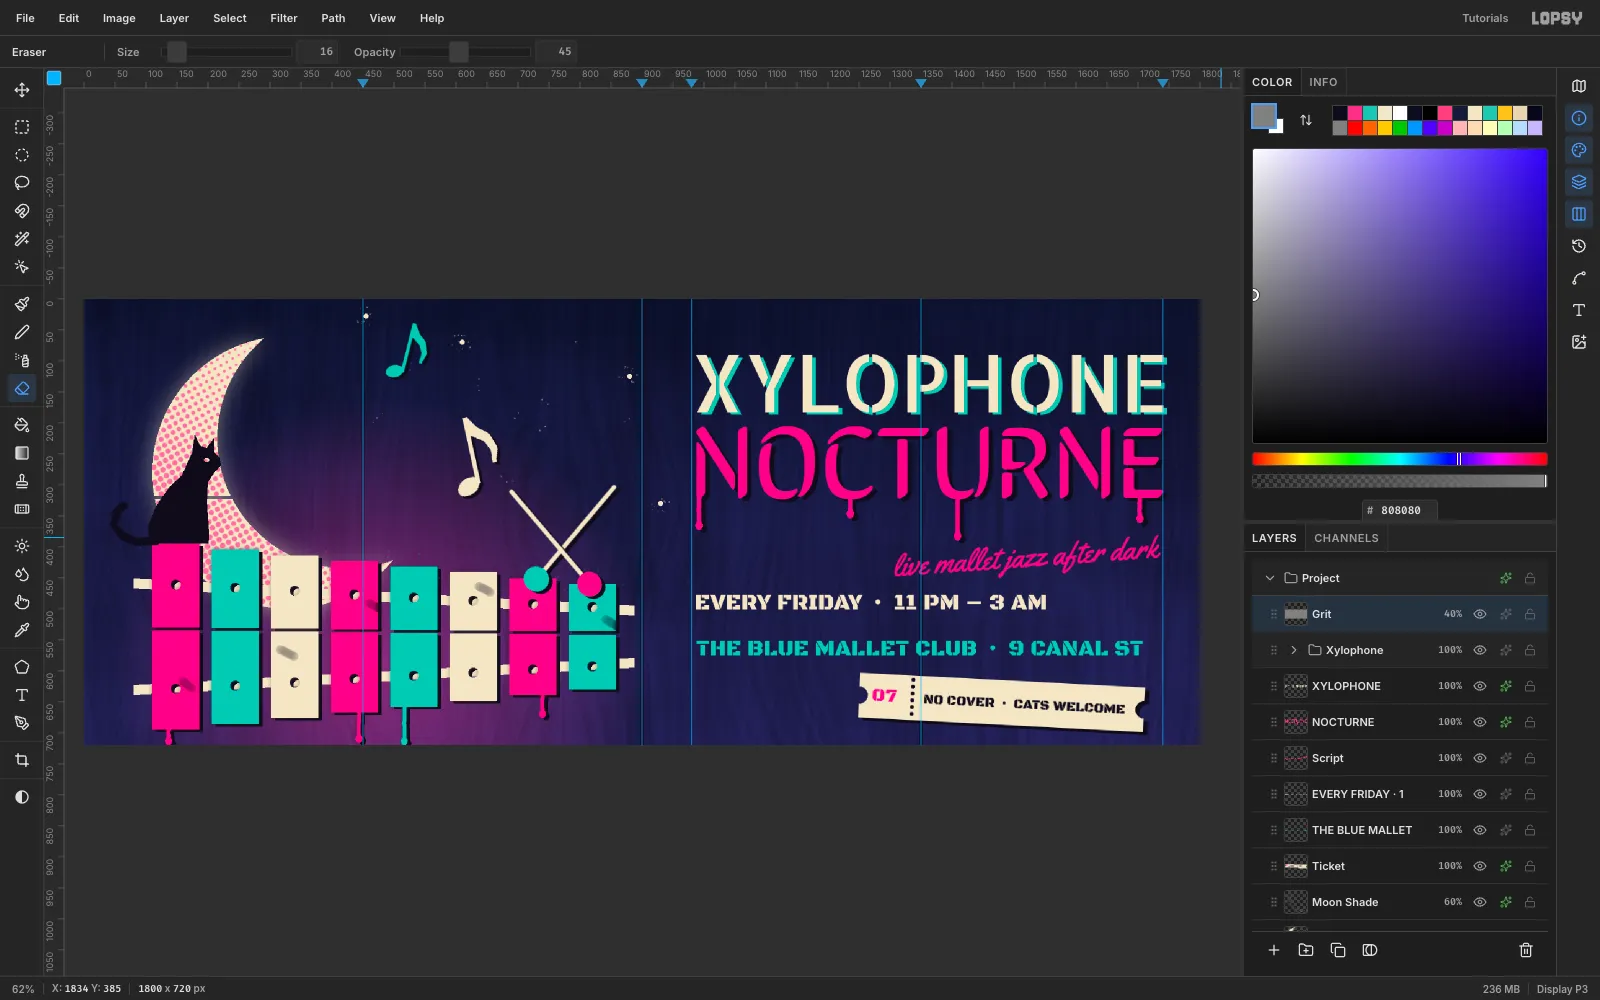
-
Save and export
Choose File → Save Project to keep an editable
.lopsyfile, then File → Quick Export PNG for the finished billboard. For more spray-can techniques, try the stencil street art billboard.