Design a Distressed Stencil T-Shirt Graphic
Make a T-REX XING road-sign tee in Lopsy with stencil fonts, a lasso-cut dinosaur, pattern-filled hazard tape, spray overspray and a distressed print texture.
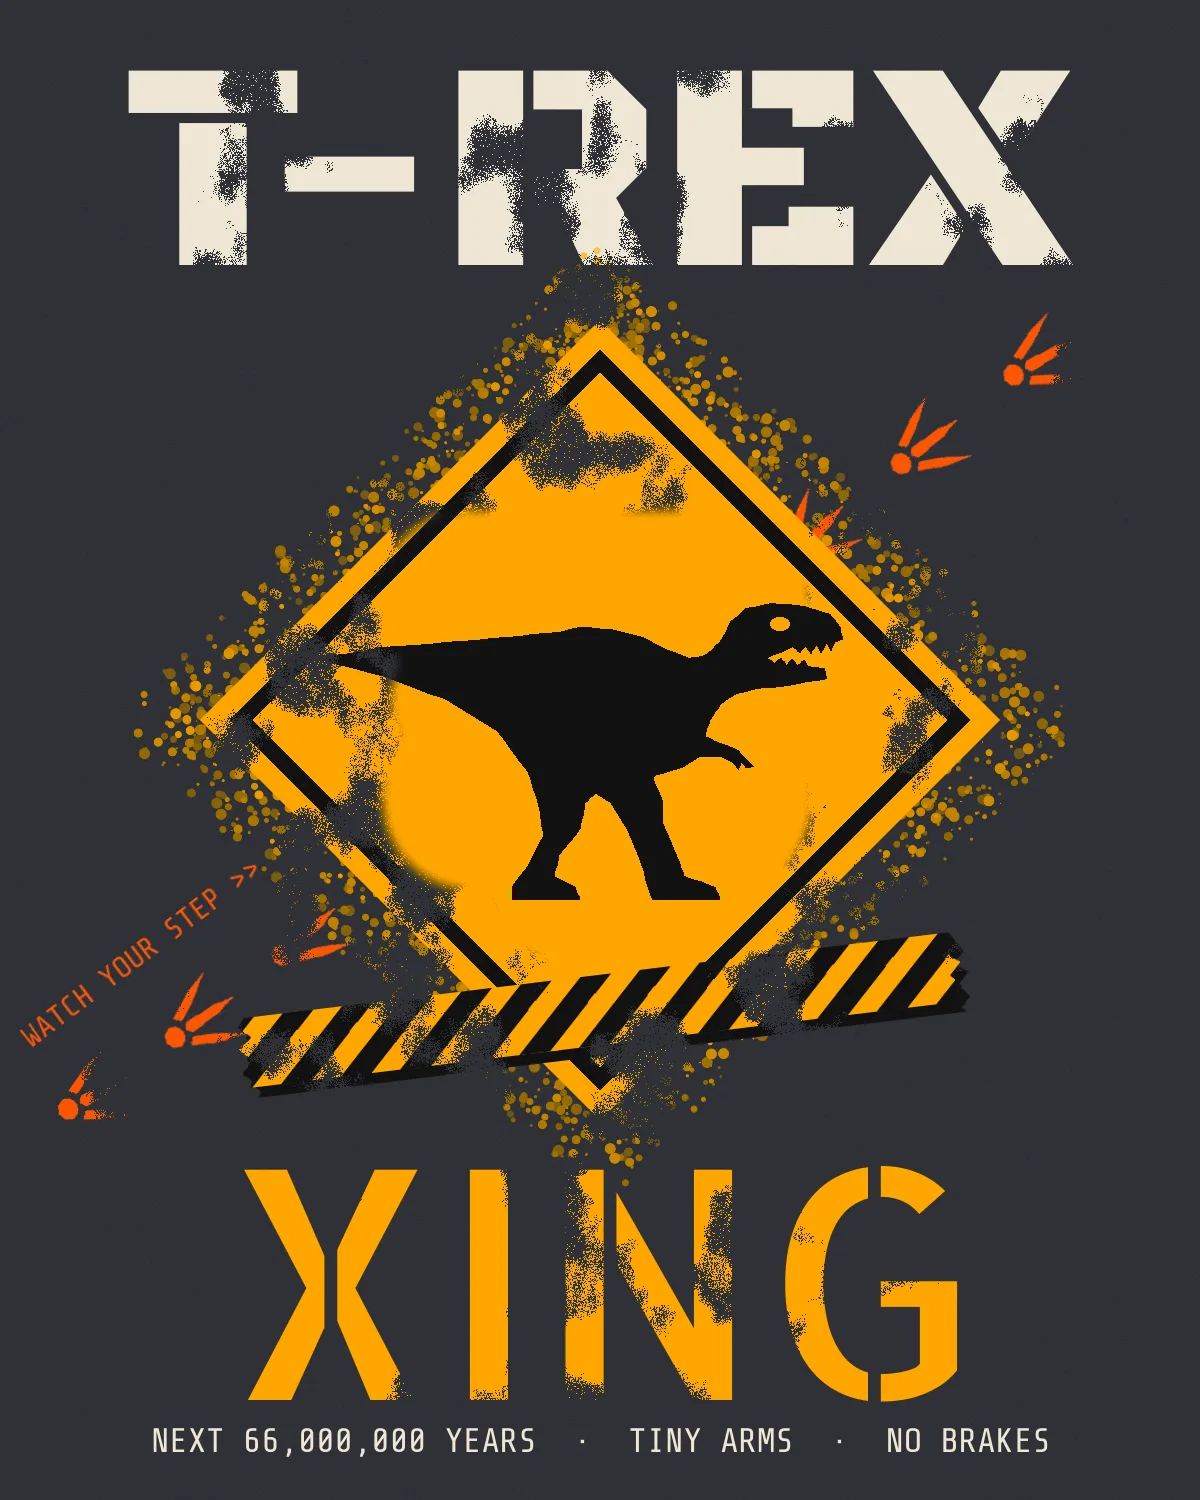
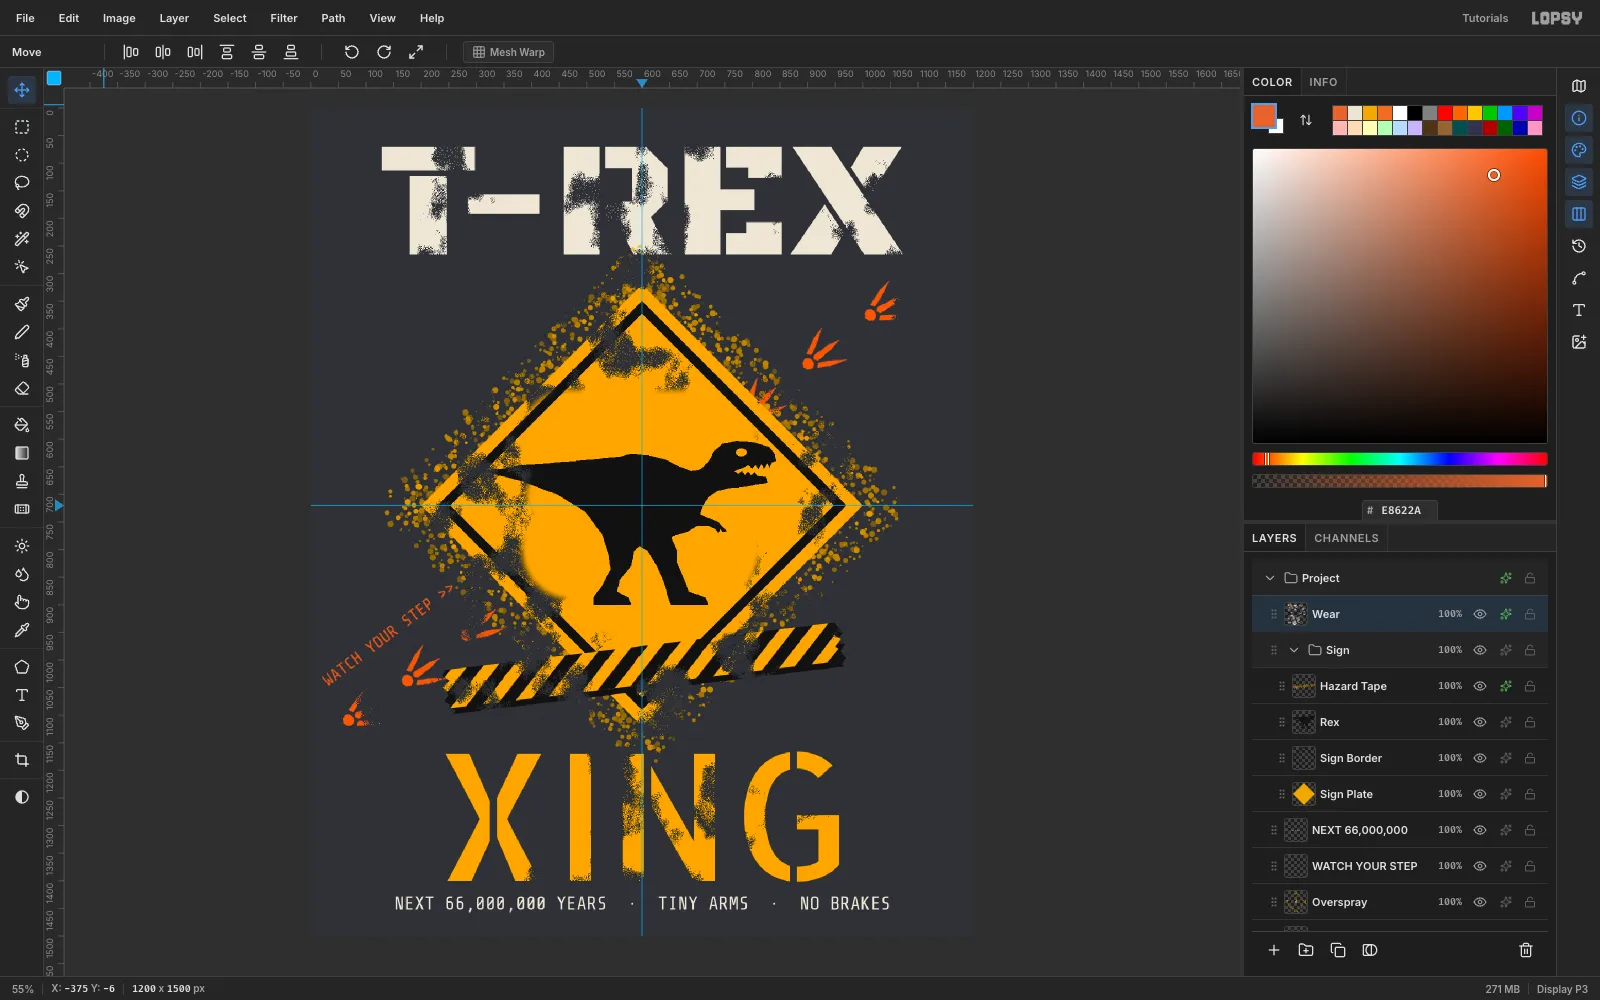
A good graphic tee reads from across the room and still rewards a closer look. In this tutorial you'll make T-REX XING, a pun on a road warning sign, laid out at a 1200 × 1500 print size. The design uses only four screen-print inks on a charcoal shirt. You'll rotate a square into a diamond sign and cut a T-rex silhouette with the Lasso. Stencil fonts set the type, pasted and rotated copies make a trackway of dinosaur footprints, and a pattern-fill tile becomes hazard tape. To finish, you'll spray overspray around the sign and build a knock-out distress texture from Clouds, Noise and Threshold, so the print looks washed and worn.
The palette:
- Shirt charcoal
#2F3136(the background, not an ink) - Amber
#F2A900 - Black
#111111 - Cream
#EDE6D6 - Safety orange
#E8622A
-
Set the shirt color
Choose File → New, enter 1200 × 1500, pick a White background and click Create. Set the foreground color to
#2F3136and choose Edit → Fill with nothing selected to flood the Background. Then run Filter → Add Noise… with Mono, Gaussian and Amount 9. That faint grain reads as heathered cotton, so you can judge the colors against the shirt they'll be printed on. Double-click the layer name and rename it Tee Heather.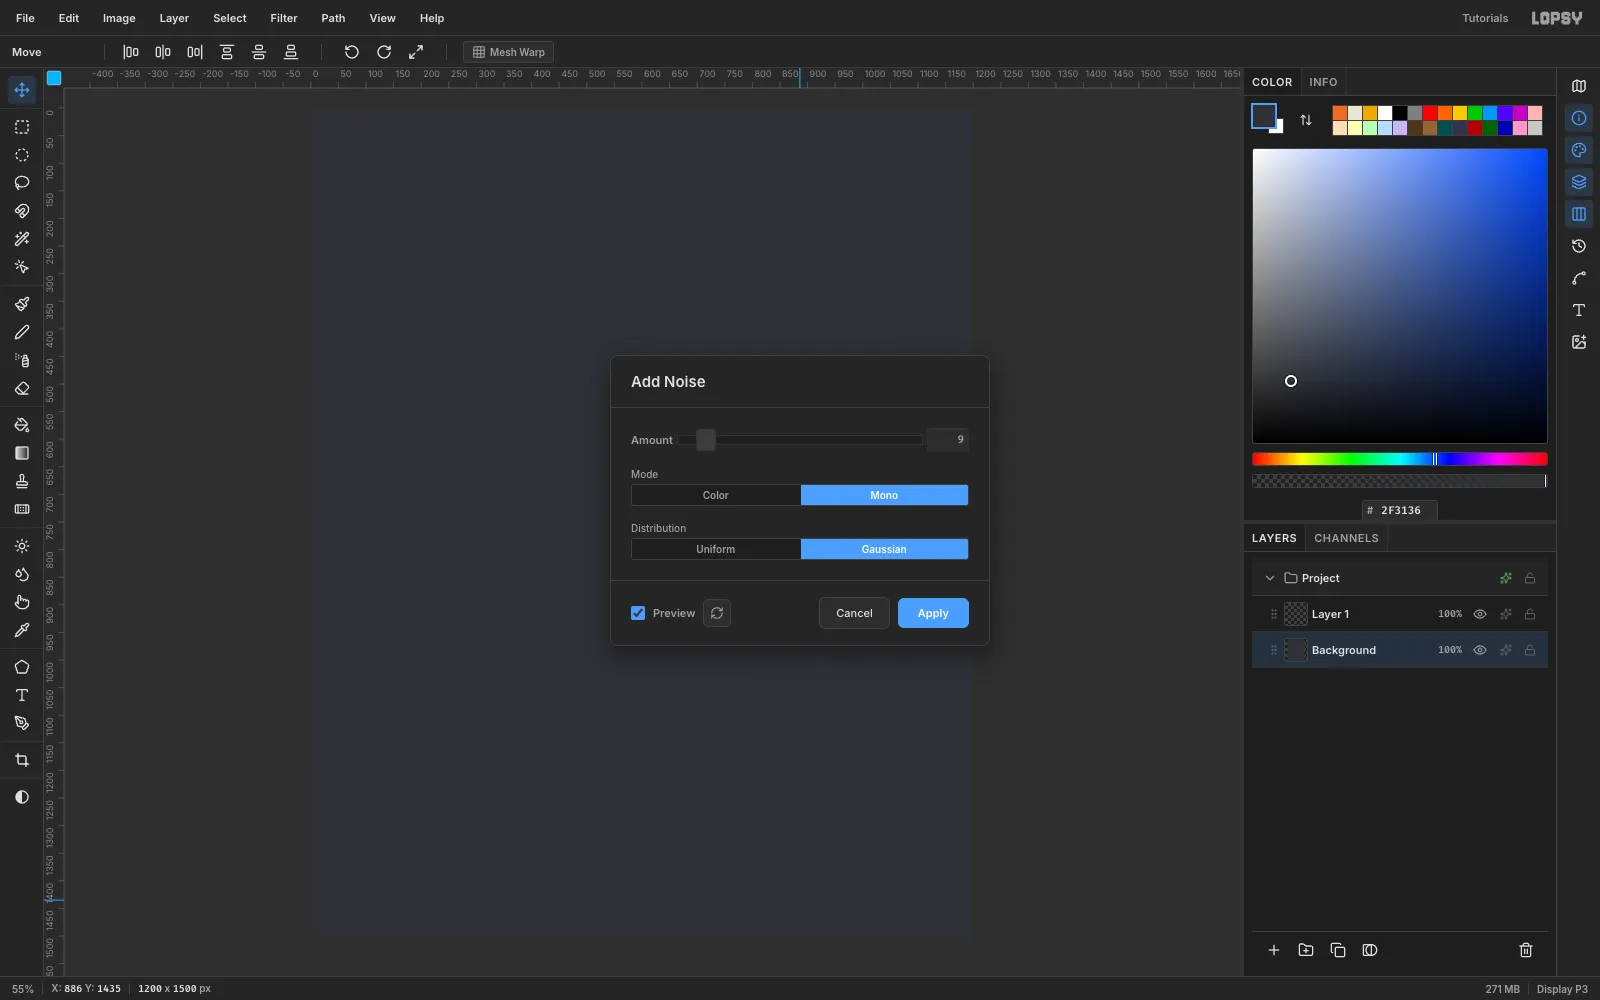
-
Draw the sign as a square
Click the top ruler at 600 and the left ruler at 720 to drop two guides that cross at the sign's center. Rename Layer 1 to Sign Plate. With the Rectangular Marquee (M), drag a 566 × 566 square from (317, 437), set the foreground to amber
#F2A900, and choose Edit → Fill.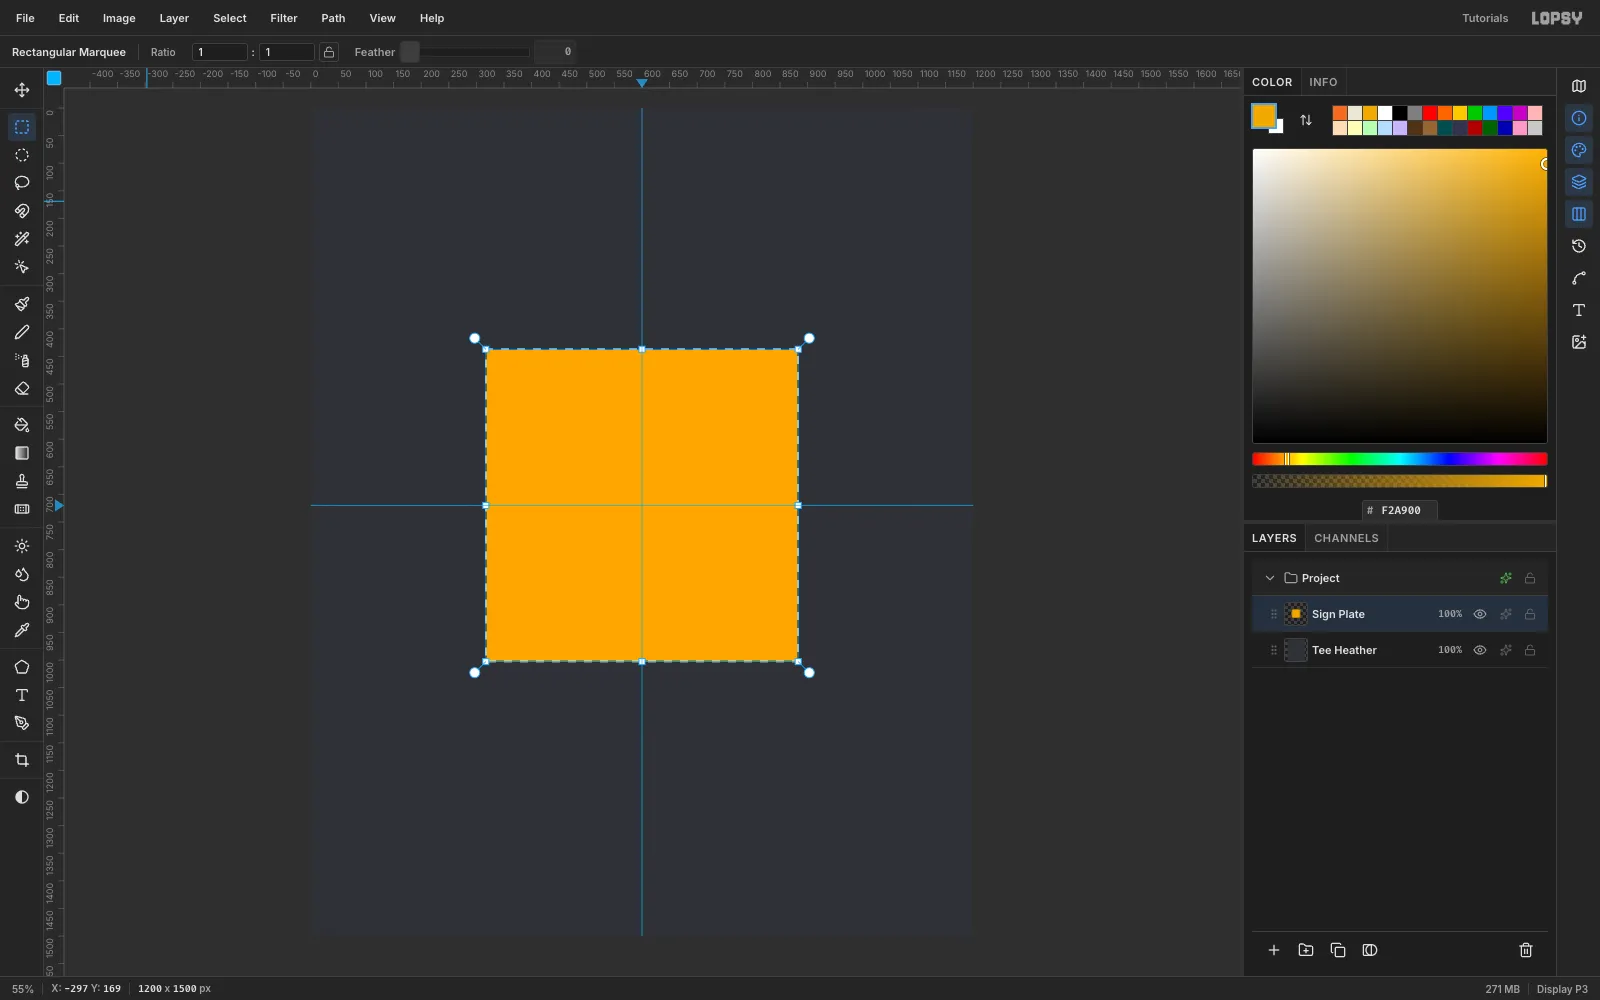
-
Rotate it into a diamond
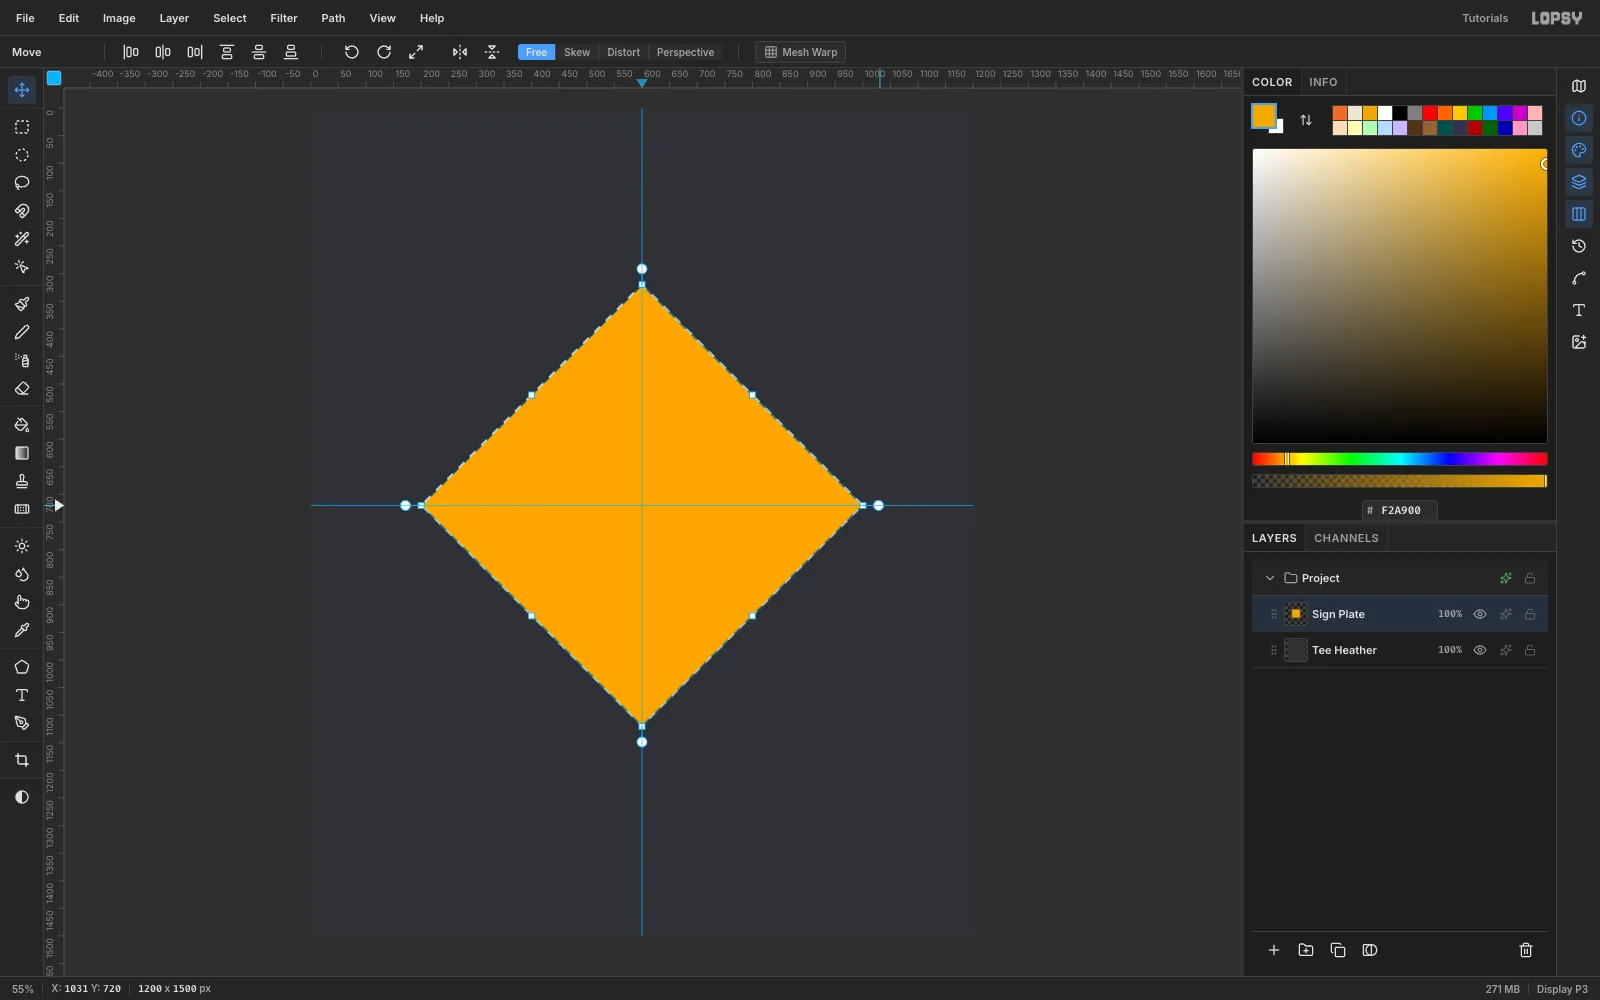
Keep the selection and switch to the Move tool (V). Hover just outside the top-right corner until the cursor turns into a crosshair, then drag clockwise until the square has turned 45°. The guides make it easy to check that the points line up. Press ⌘D to commit the rotation. The diamond now spans 800 px from point to point.
-
Select an inset for the border
Pick the Magic Wand (W) with Contiguous ticked and click the diamond. Choose Select → Shrink…, enter 20 px and click Apply. Click Add Layer, rename the layer Sign Border, set the foreground to
#111111and choose Edit → Fill.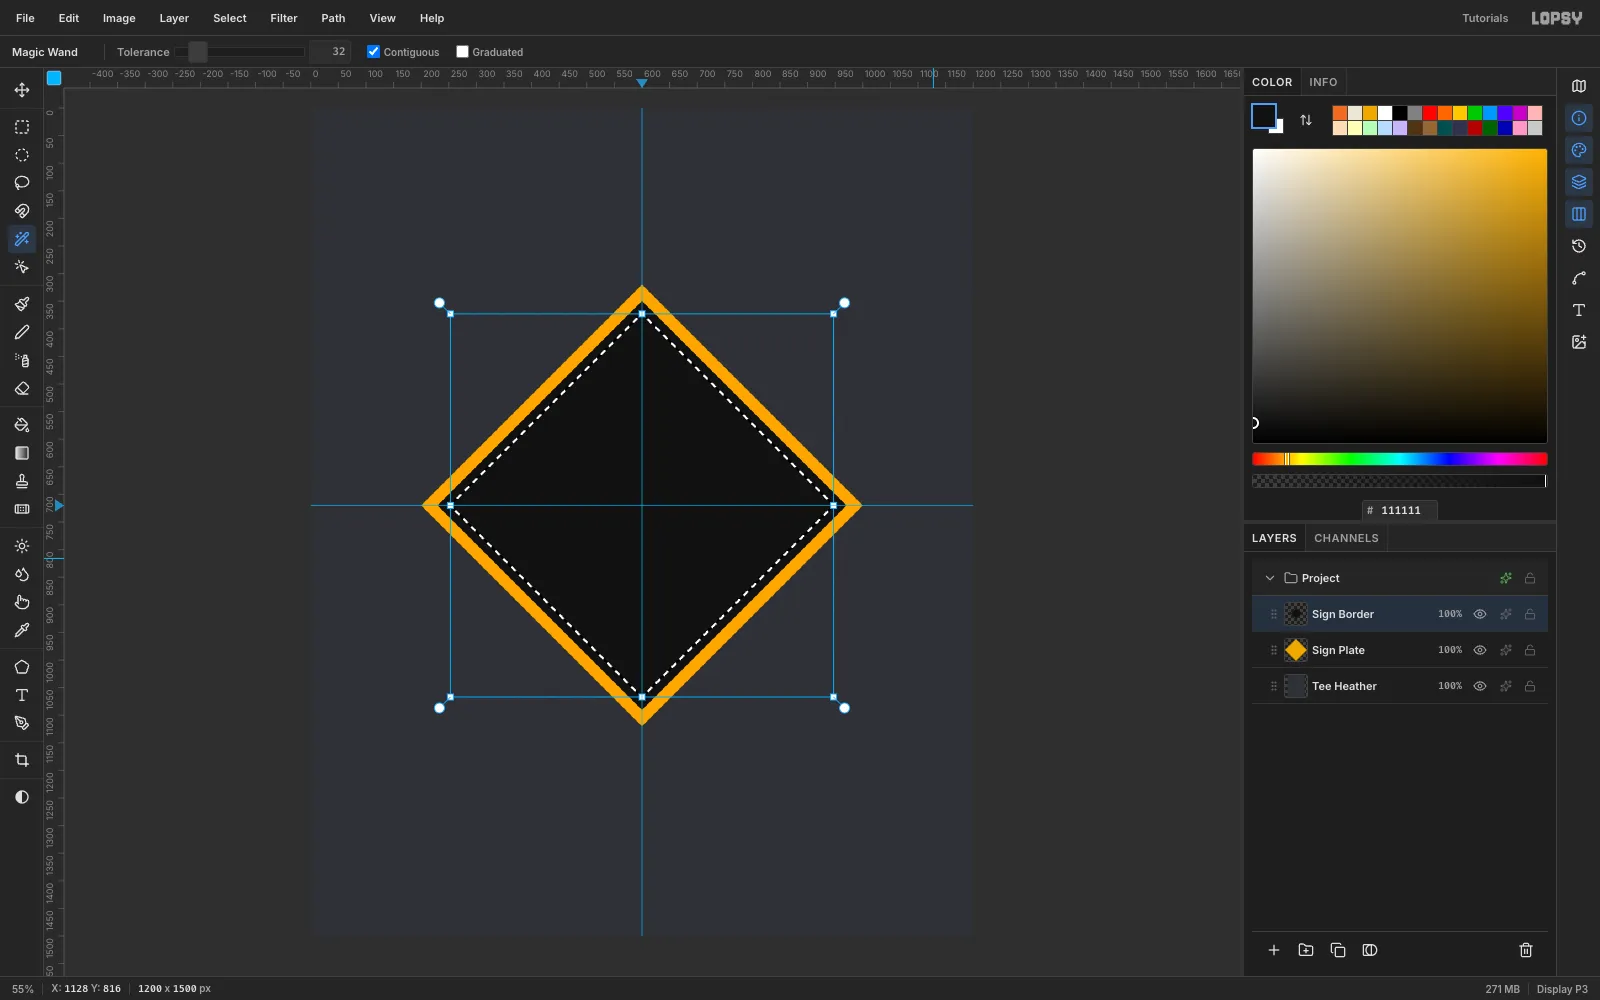
-
Cut the black ring
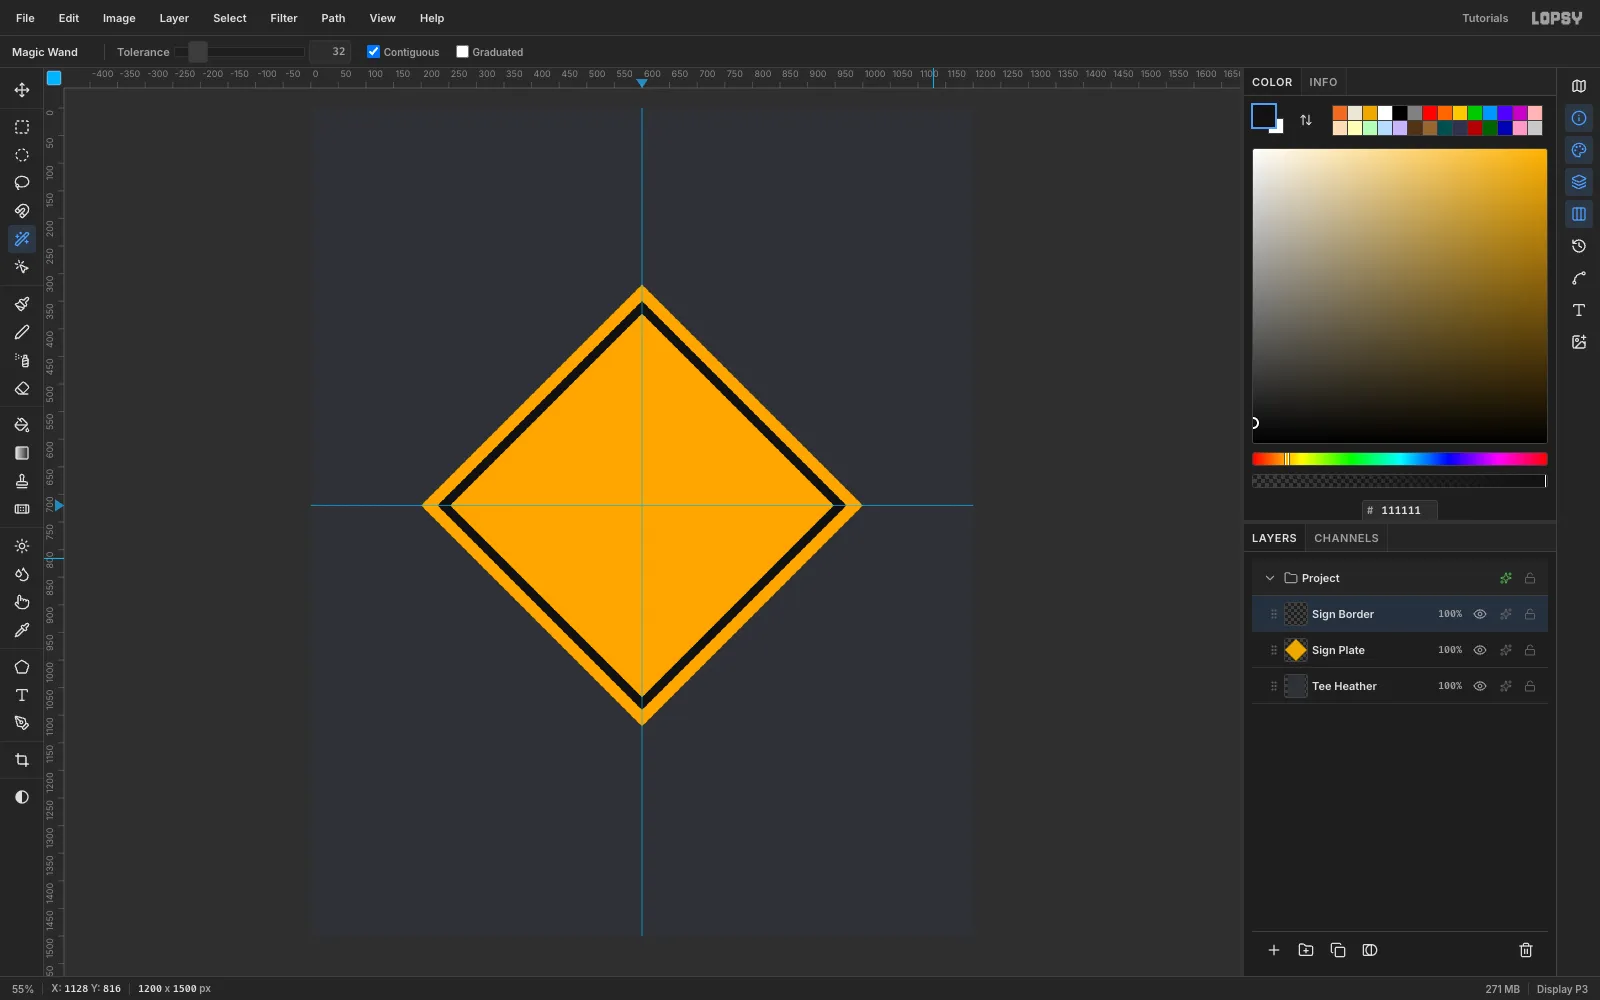
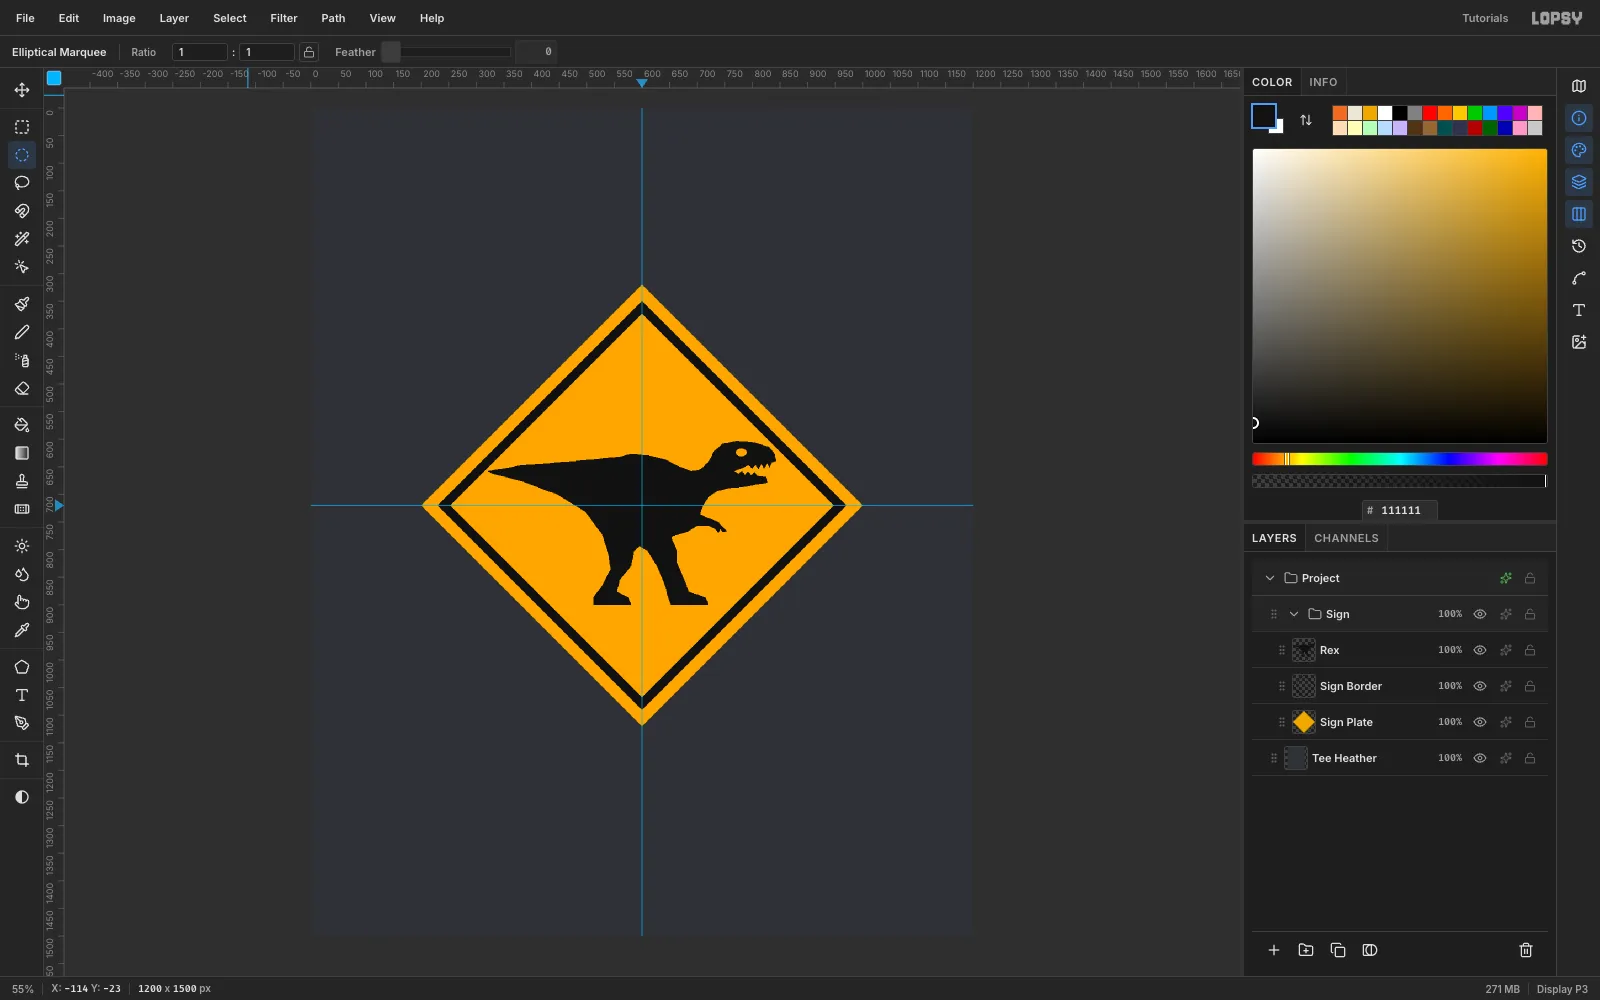
Run Select → Shrink… again with 16 px, then press Delete. That leaves a 16 px black ring with a 20 px amber margin outside it, which is the classic warning-sign border. Press ⌘D to deselect.
-
Lasso the T-rex
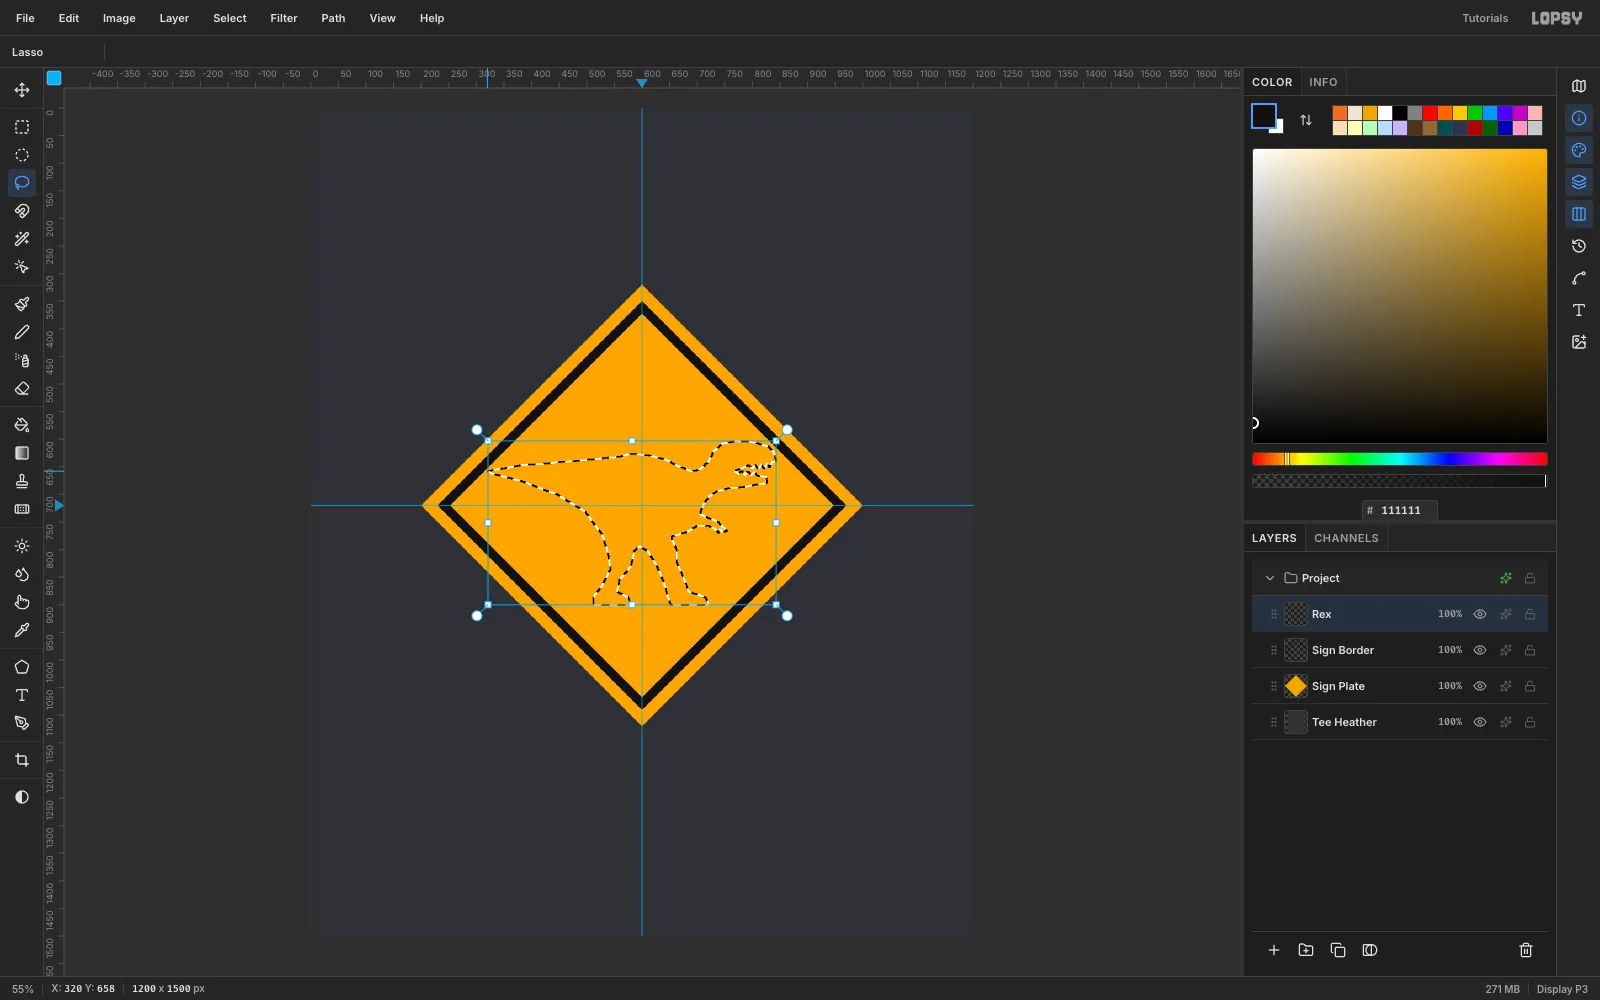
Click Add Layer and name it Rex. With the Lasso (L), trace a side-on T-rex facing right, about 520 px wide and 300 px tall, between x 320 and 842 and y 603 and 899:
- A long tail that tapers to a point at the left.
- A back that rises to the hips, then an S-curved neck.
- A blocky skull with a zigzag of teeth in an open jaw.
- One tiny arm with two claws. It's the joke of the whole shirt, so make it readable.
- Two legs in mid-stride with flat, forward-pointing feet.
Keep the silhouette inside the black ring. The tail tip and snout should come close to it without touching.
-
Fill it and punch an eye
Fill the selection with
#111111using Edit → Fill. Switch to the Elliptical Marquee, drag a small 20 × 14 oval over the head at about (770, 617), and press Delete. The amber that shows through is the eye, the same trick a stencil cutter uses. Press ⌘D.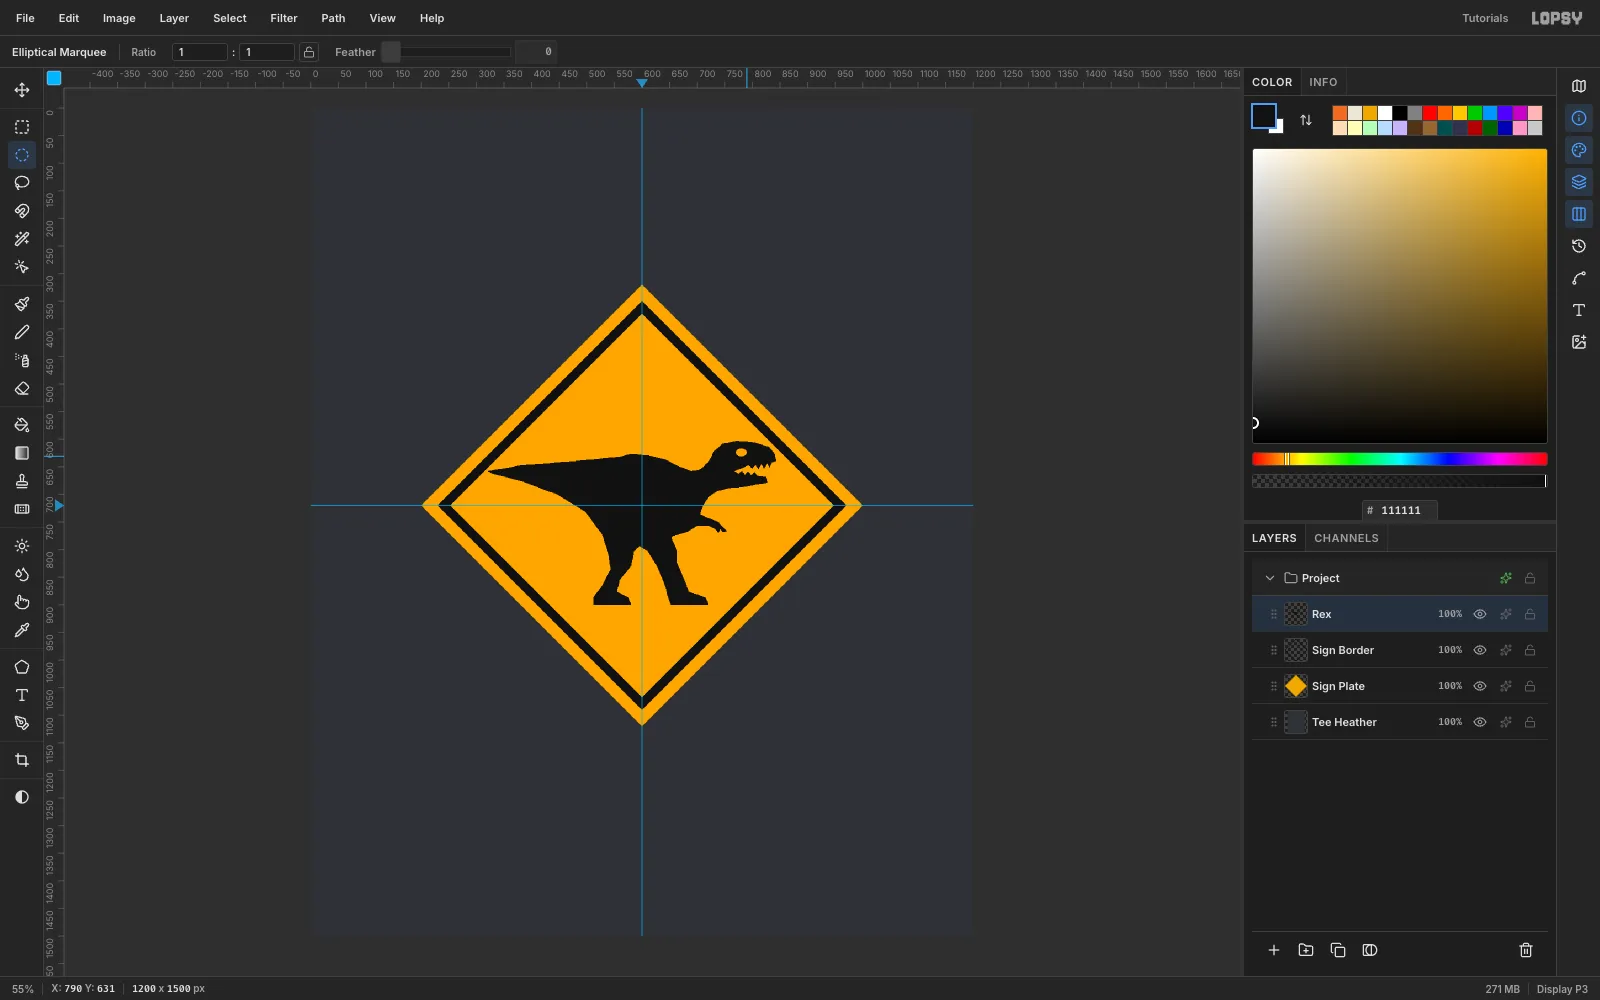
-
Group the sign
Click Sign Plate, then Shift-click Rex so all three sign layers are selected. Choose Layer → Group Layers and rename the new group Sign. From now on you can move the whole sign in one drag.
-
Set the headline
Click Tee Heather first, so the new text lands under the sign and your settings don't restyle another text layer. Pick the Text tool (T), set Size 300, choose Black Ops One in the font browser, and set the foreground to cream
#EDE6D6. Click in the empty space at the top of the canvas, type T-REX and press Tab to commit. Black Ops One has the bridged gaps of a real stencil built into every letter.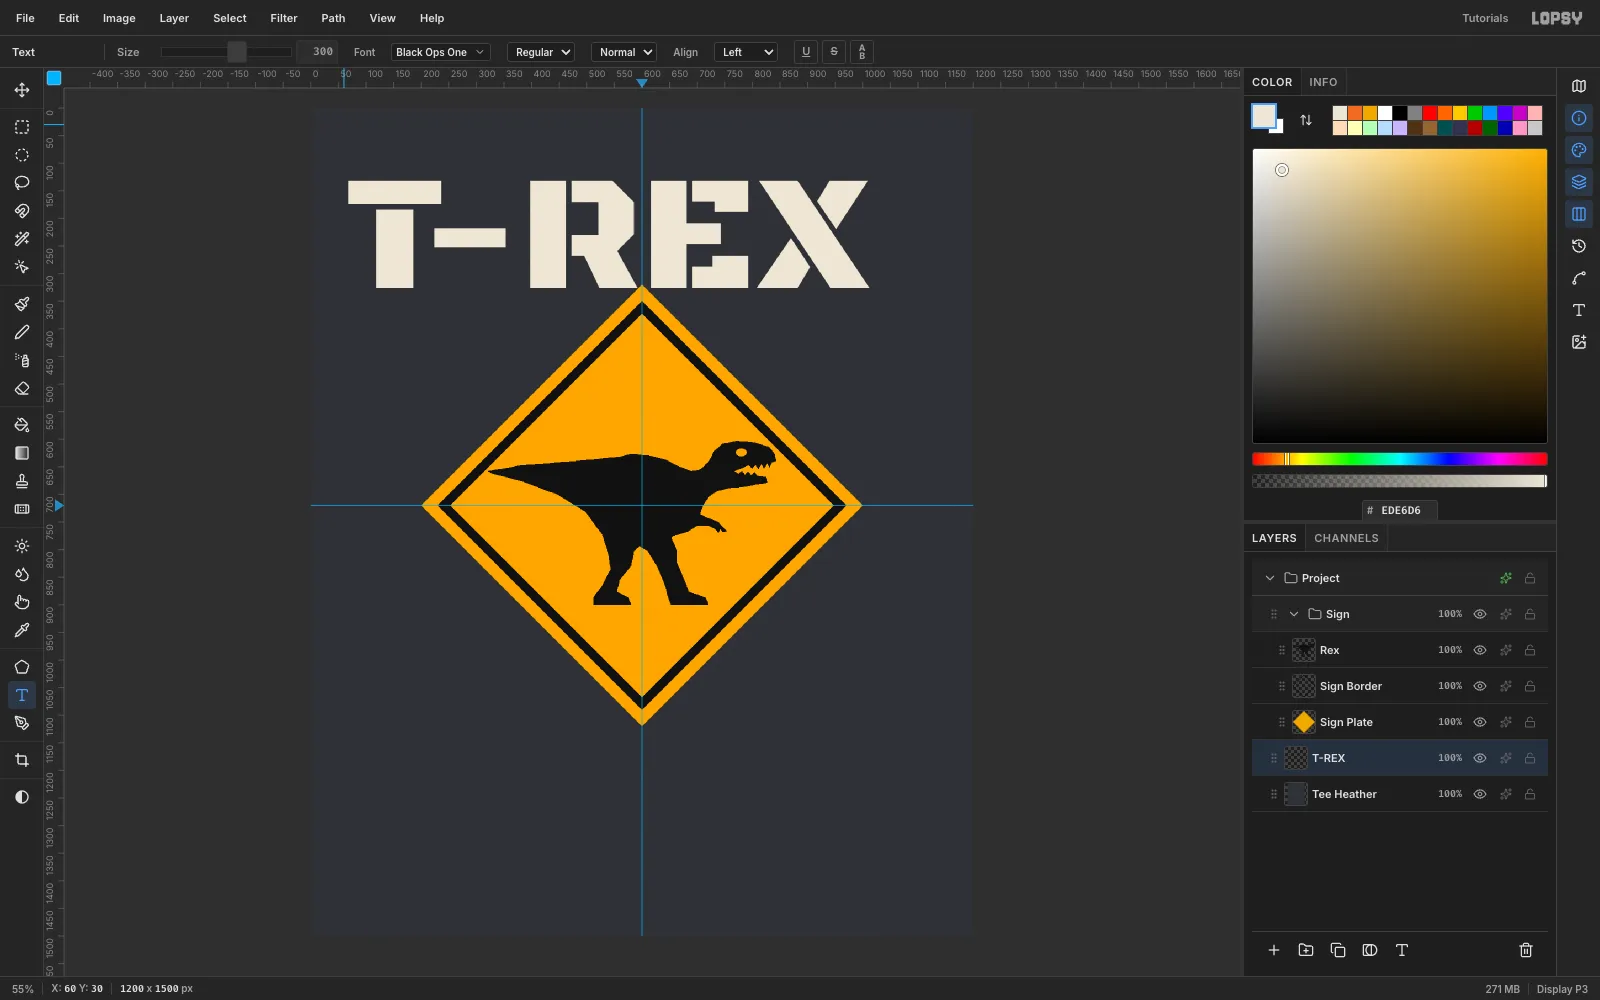
-
Add XING in a second stencil face
With the Move tool, drag T-REX until it's centered on the vertical guide with its top at about y 70. Click Tee Heather again, then set a new text layer in Allerta Stencil, Size 320, amber
#F2A900: type XING. Center it the same way, with its top at about y 1165. That leaves a gap between the sign's bottom point and the type. A lighter stencil face under the heavy one keeps the two words from competing.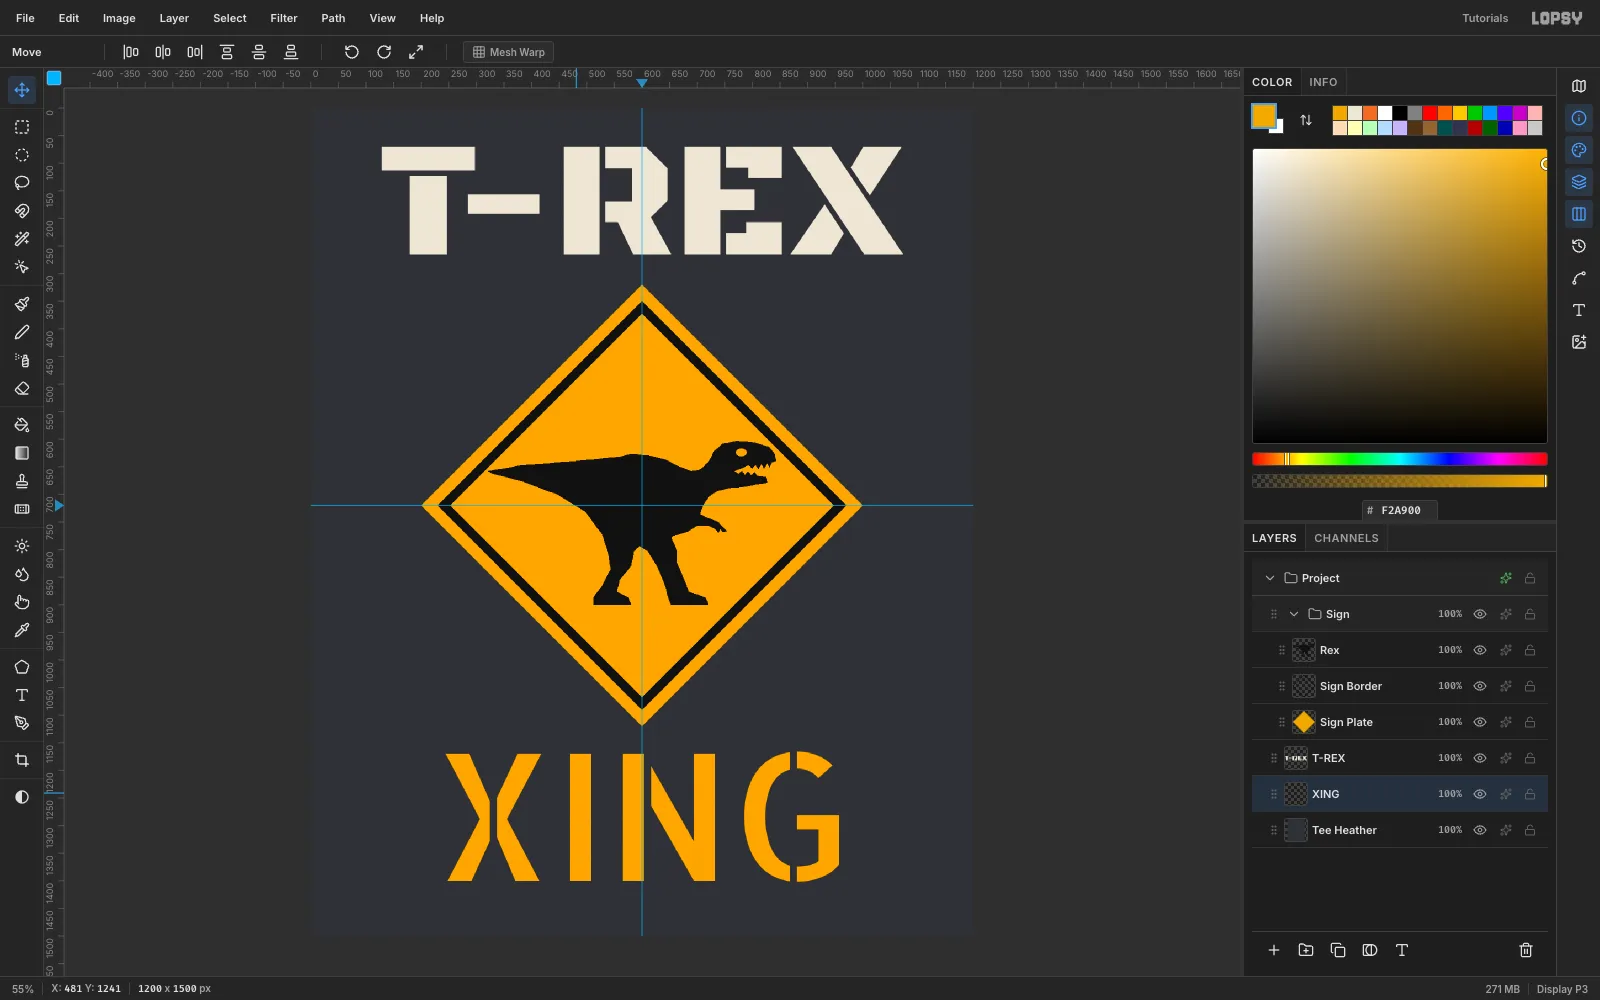
-
Draw one footprint
Click Tee Heather and Add Layer, then name it Tracks. Set the foreground to safety orange
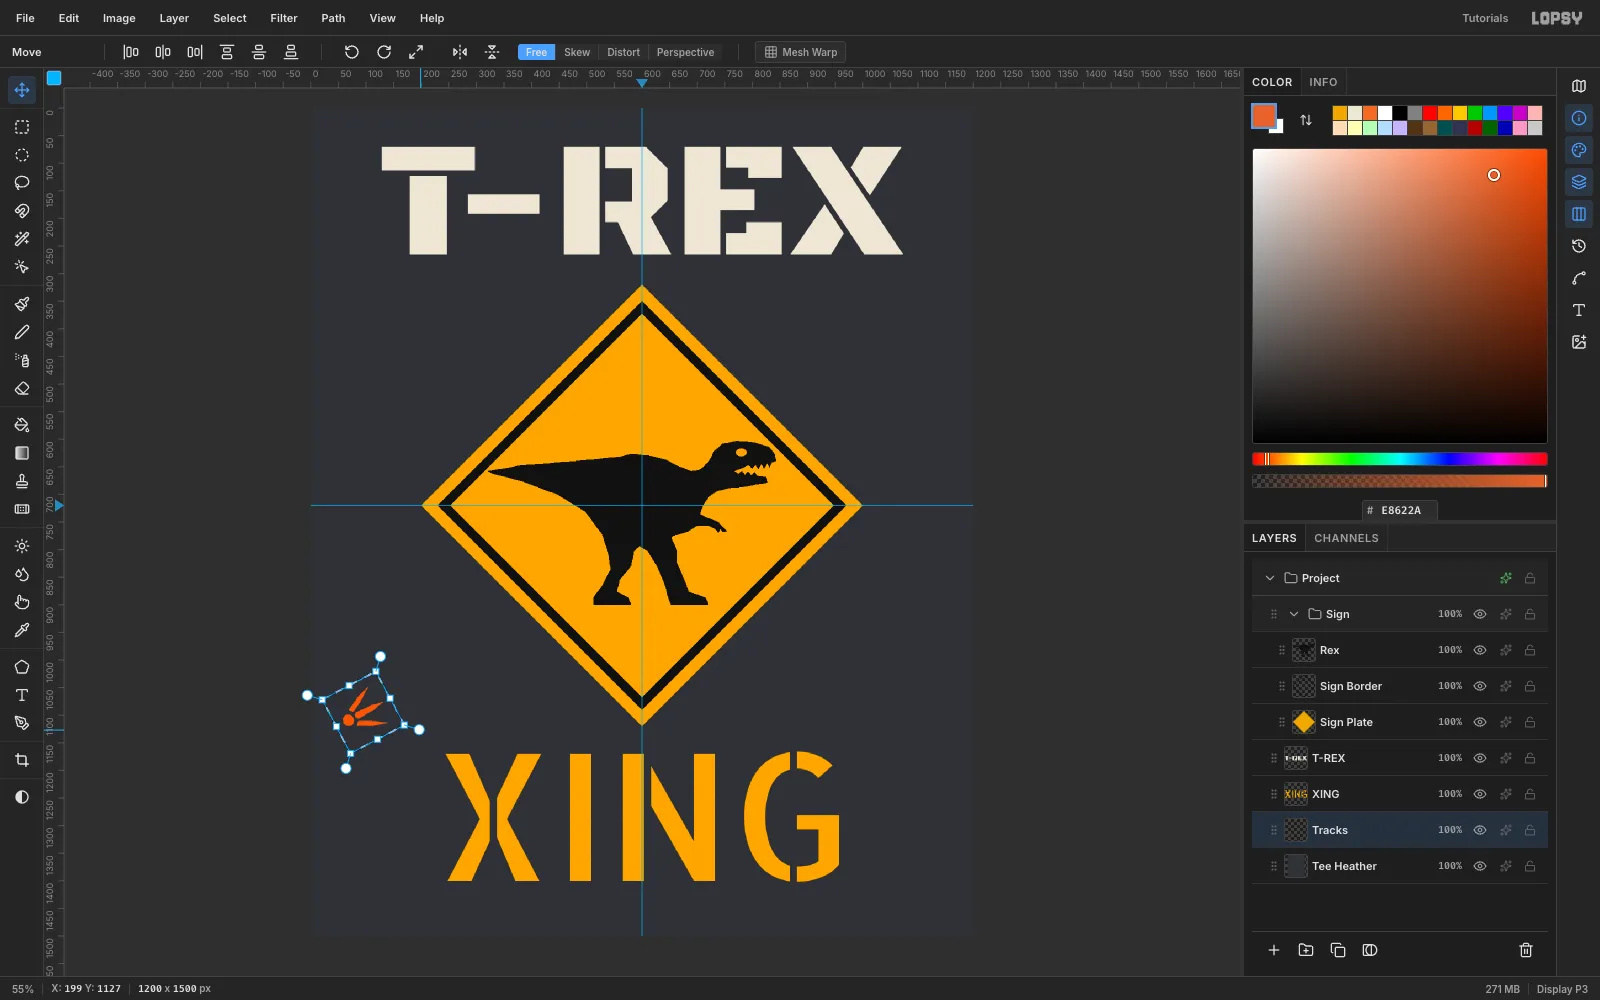
#E8622A. Around (95, 1120), use the Lasso to draw three long, thin, pointed toes that fan upward, with the middle one about 65 px long. Then add a small round heel pad just below them, and leave a gap between the toes and the heel. Run Edit → Fill after each shape.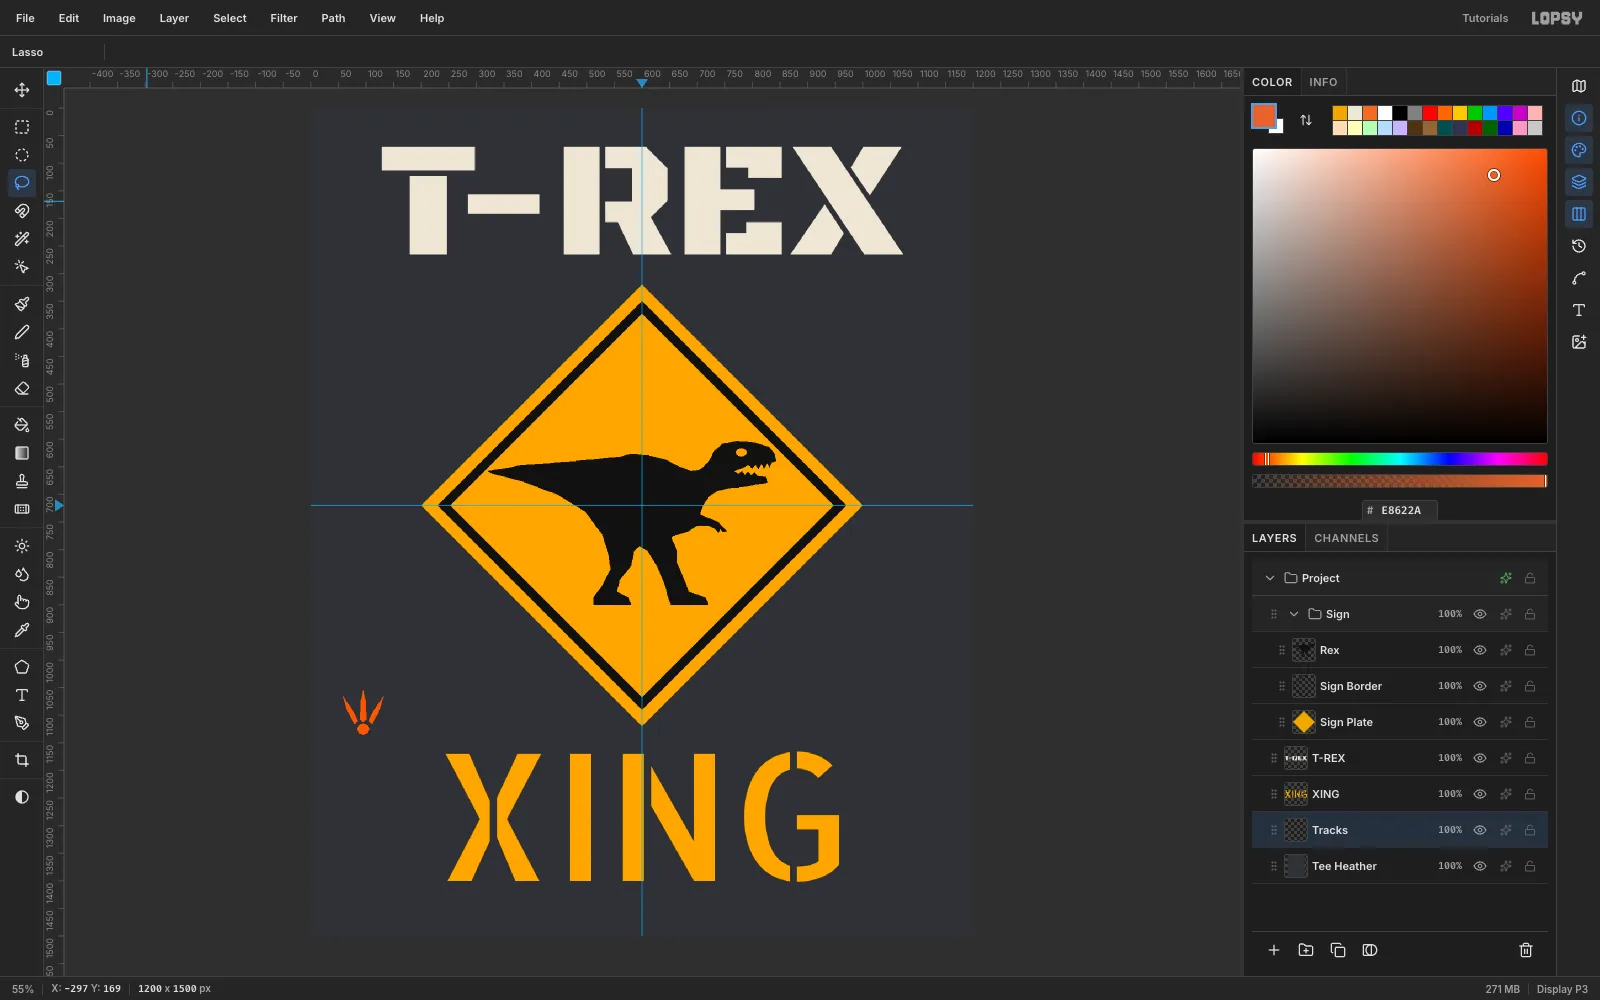
-
Turn it to face the sign
Drag a 110 × 110 marquee around the print, starting at (40, 1040). Switch to the Move tool and drag the rotate handle clockwise about 62°, so the toes point up and to the right, toward the sign. Press ⌘D.
-
Paste, move and rotate each step
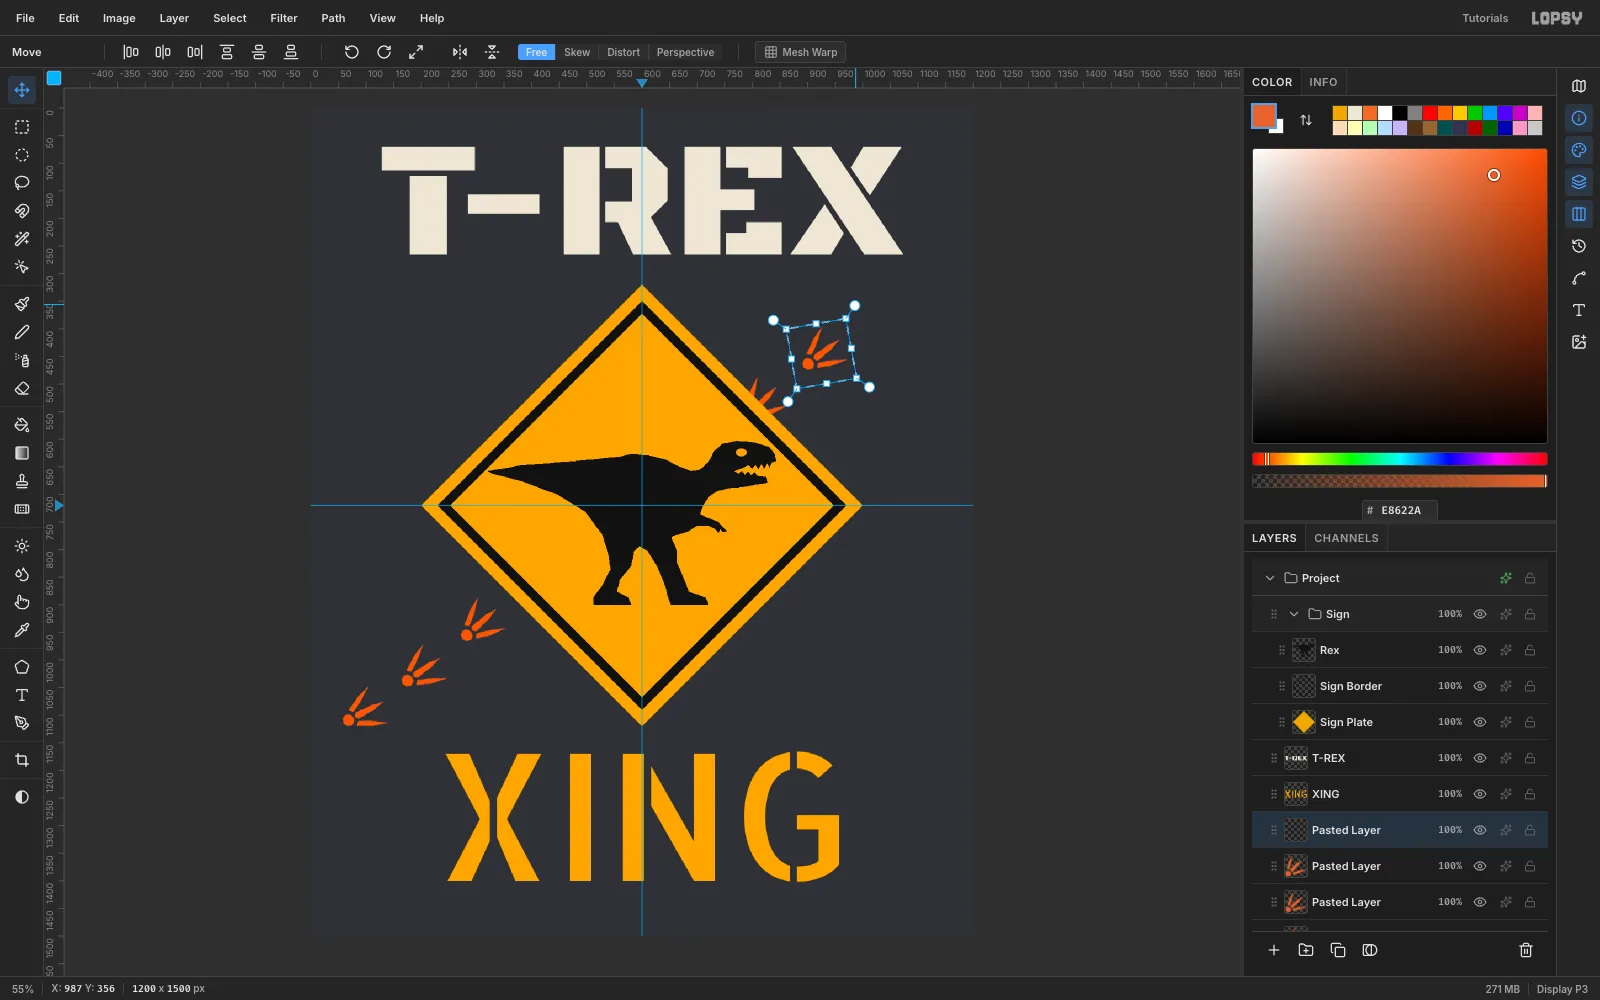
Marquee the print again and press ⌘C, then ⌘D. Now build the trail one step at a time:
- Press ⌘V. The copy pastes in place on a new layer.
- With the Move tool, drag it to the next spot, then press ⌘D.
- Draw a 110 × 110 marquee around it and rotate it a few degrees, then press ⌘D.
Place the steps at about (200, 1045) and (305, 960) at the lower left, then (815, 560), (925, 470) and (1040, 385) at the upper right. Vary the turn a little at each step (55°, 48°, 44°, 52° and 60° in total), so the trail curves like a real walk rather than a stamped row.
-
Merge the trackway
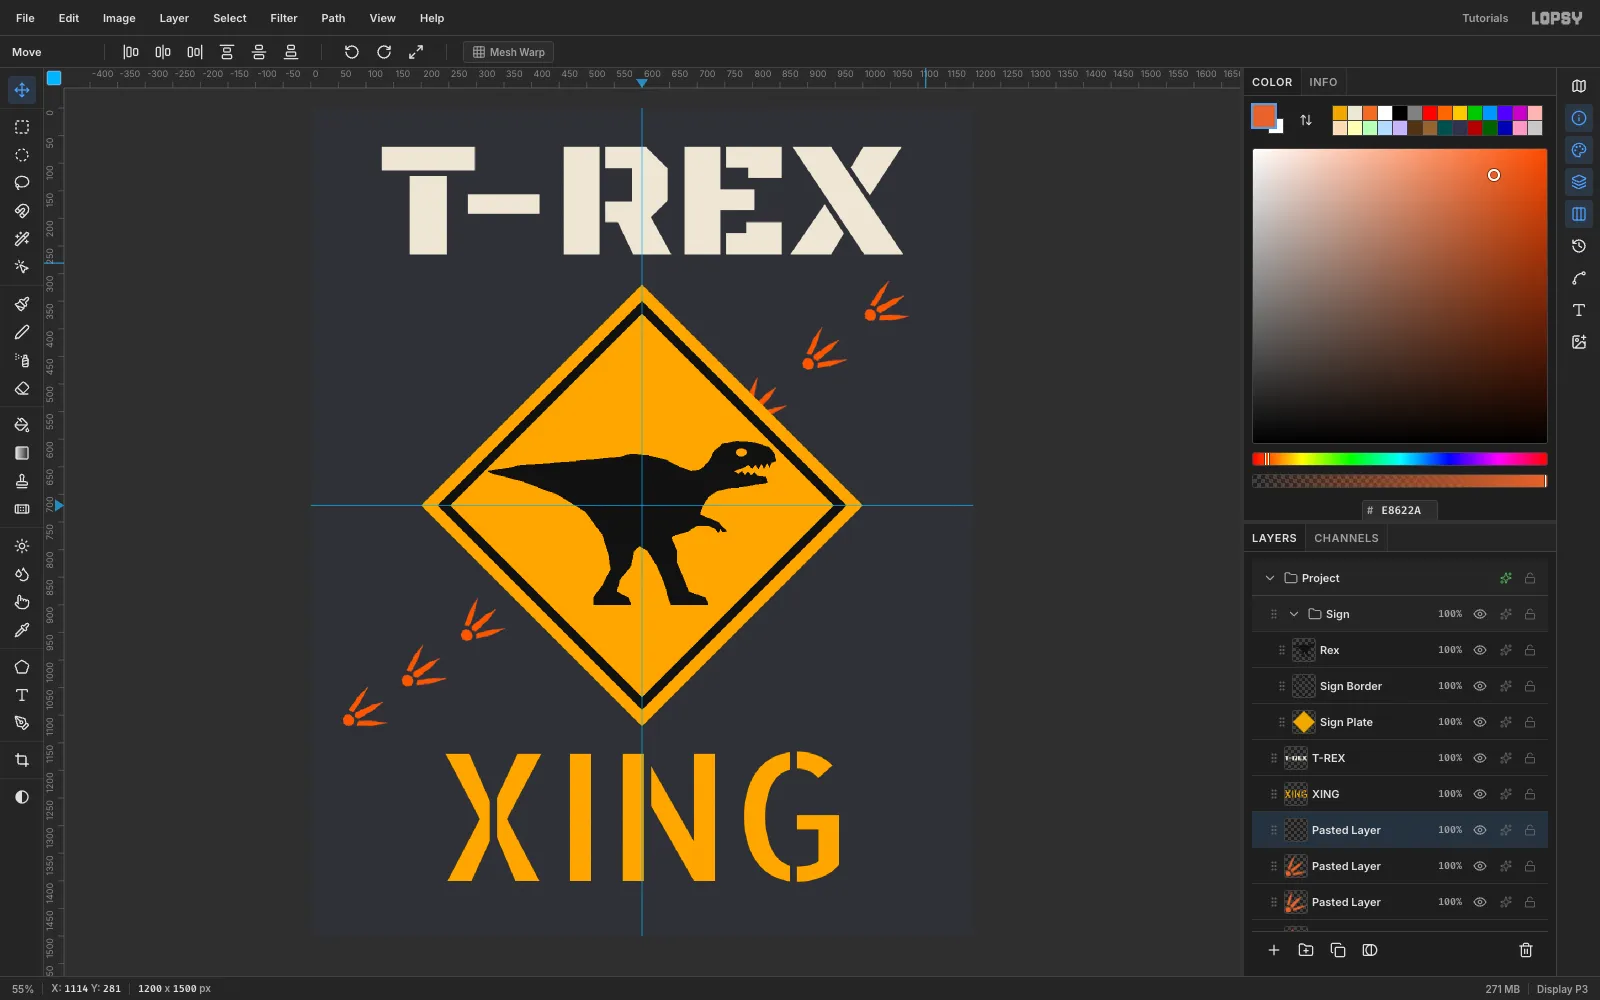
With the top pasted layer active, choose Layer → Merge Down five times. All the prints end up on Tracks. The layer sits under the Sign group, so the dinosaur walks behind the sign. The print at (815, 560) peeks out from behind the sign's edge, which sells the depth.
-
Make a hazard-stripe tile
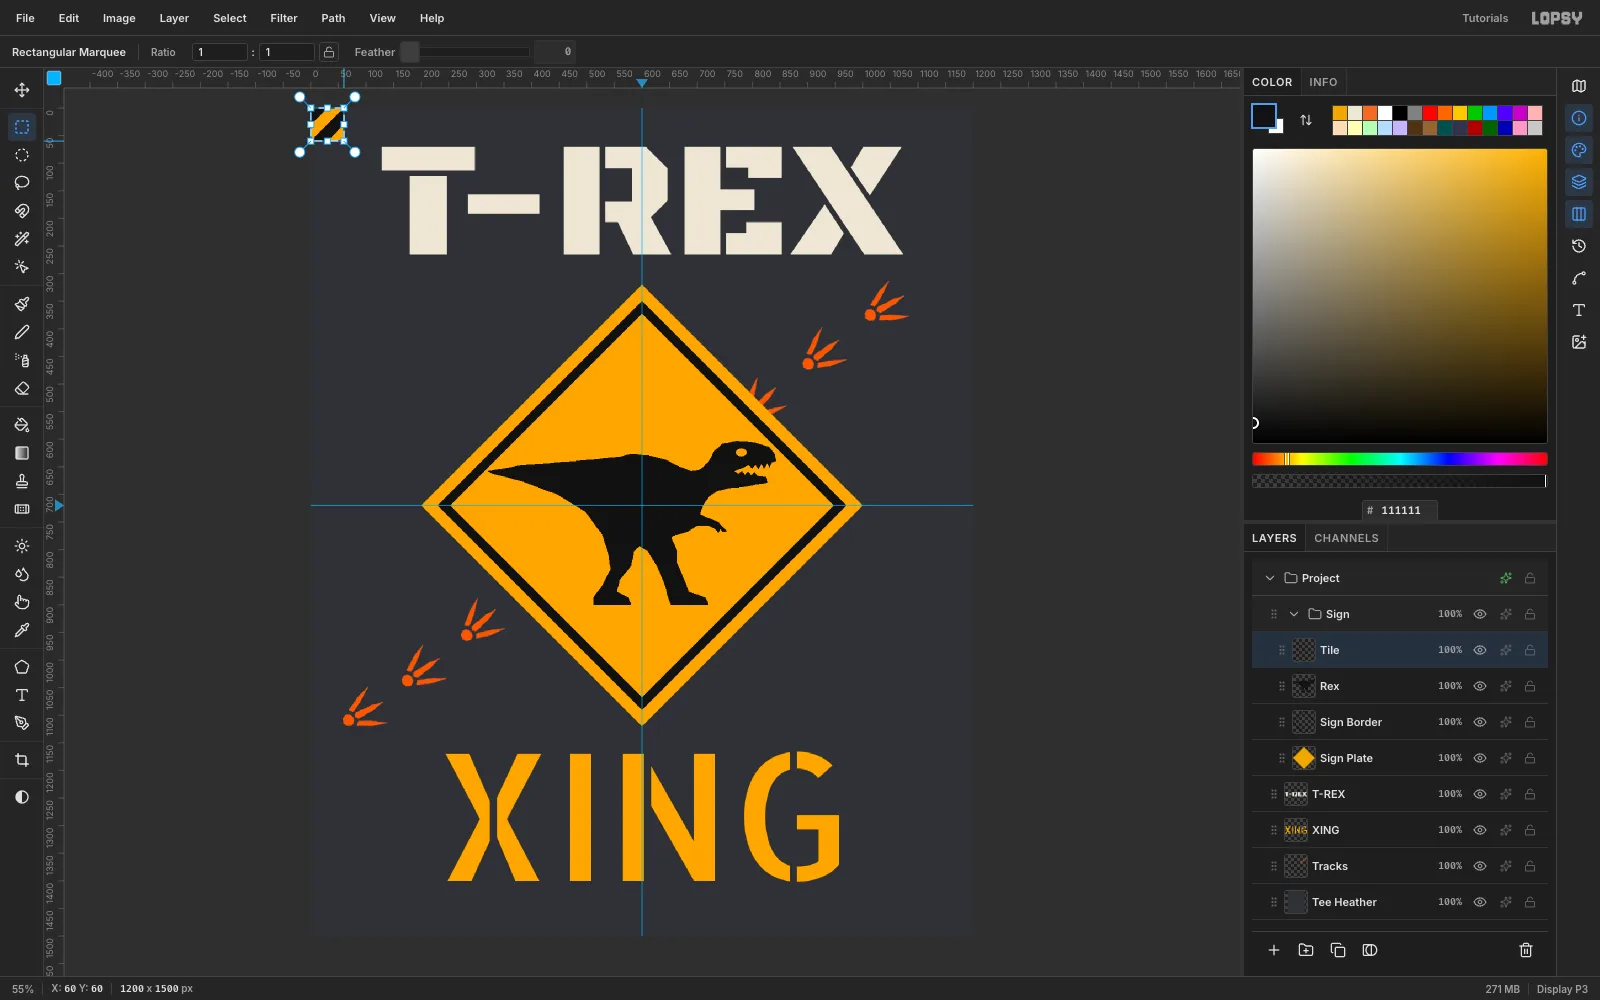
Click Rex and Add Layer, then name it Tile. The new layer lands inside the Sign group. Marquee 60 × 60 at the top-left corner (0, 0) and fill it amber. Then, with the Lasso, fill two black shapes: the triangle (0, 0), (30, 0), (0, 30), and the band (60, 0), (60, 30), (30, 60), (0, 60). The stripes line up across the tile edges, so the pattern repeats with no seams. Marquee the tile again and choose Edit → Define Pattern. Then delete the Tile layer.
-
Pattern-fill the tape
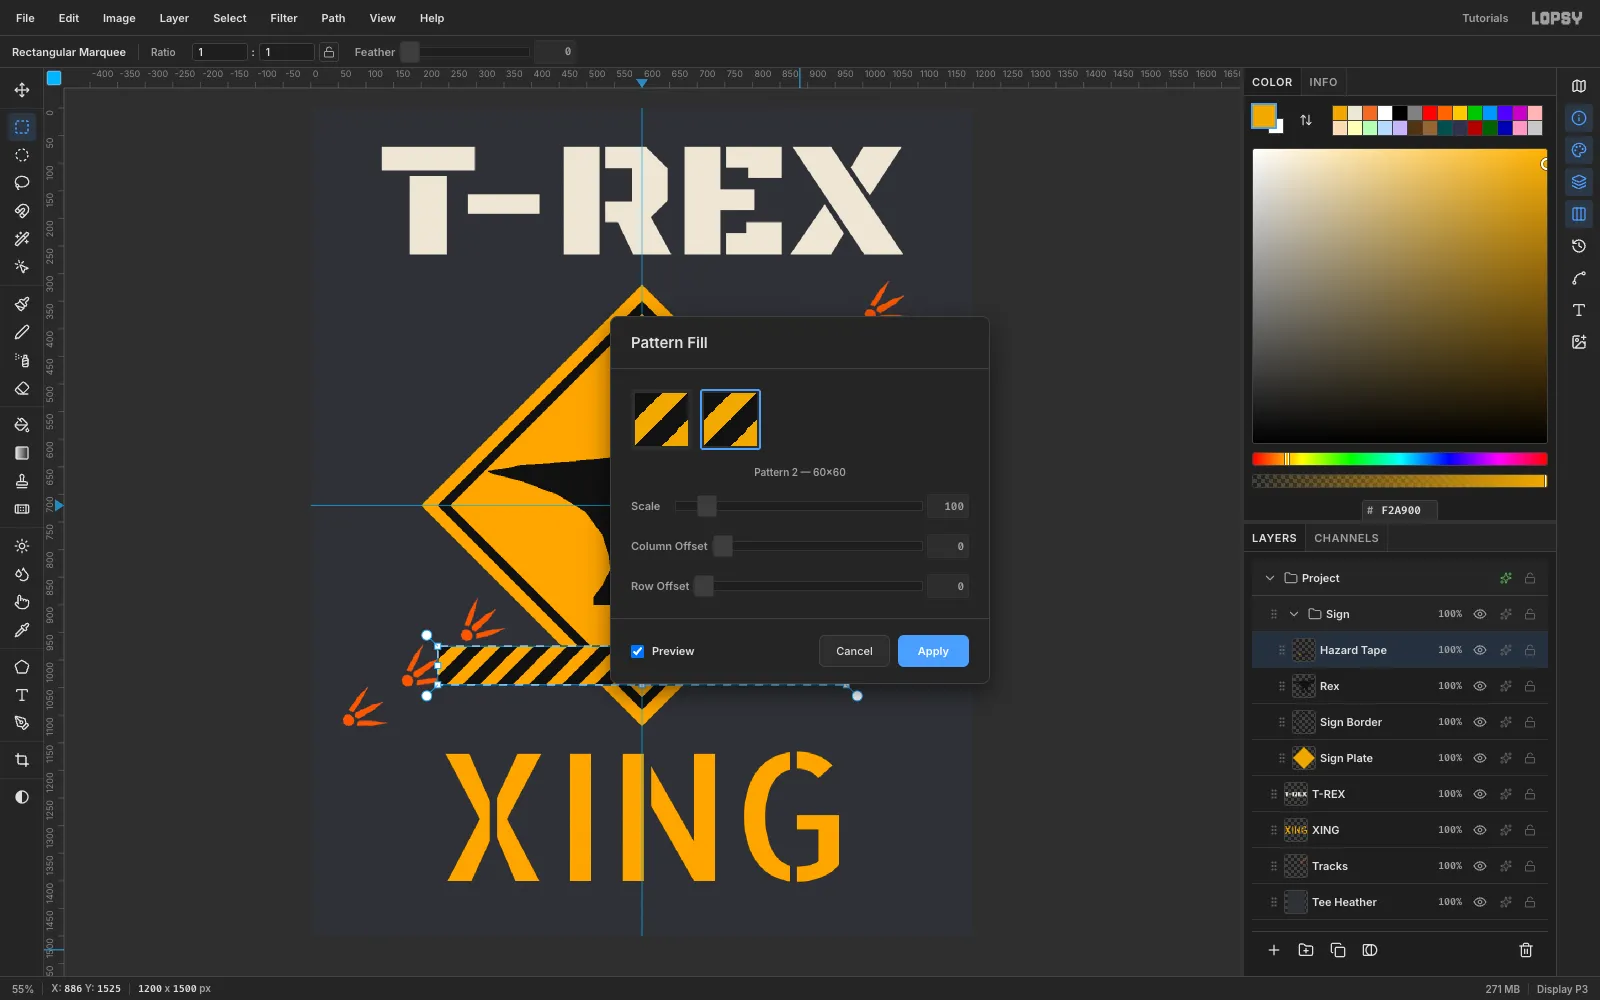
Click Rex, Add Layer, and name it Hazard Tape. Marquee a 740 × 70 strip at (230, 975) and fill it amber first. Pattern Fill needs pixels on the layer to fill into. Then choose Edit → Fill with Pattern…, keep your new 60 × 60 pattern at Scale 100, and click Apply.
-
Tear the ends and tilt it
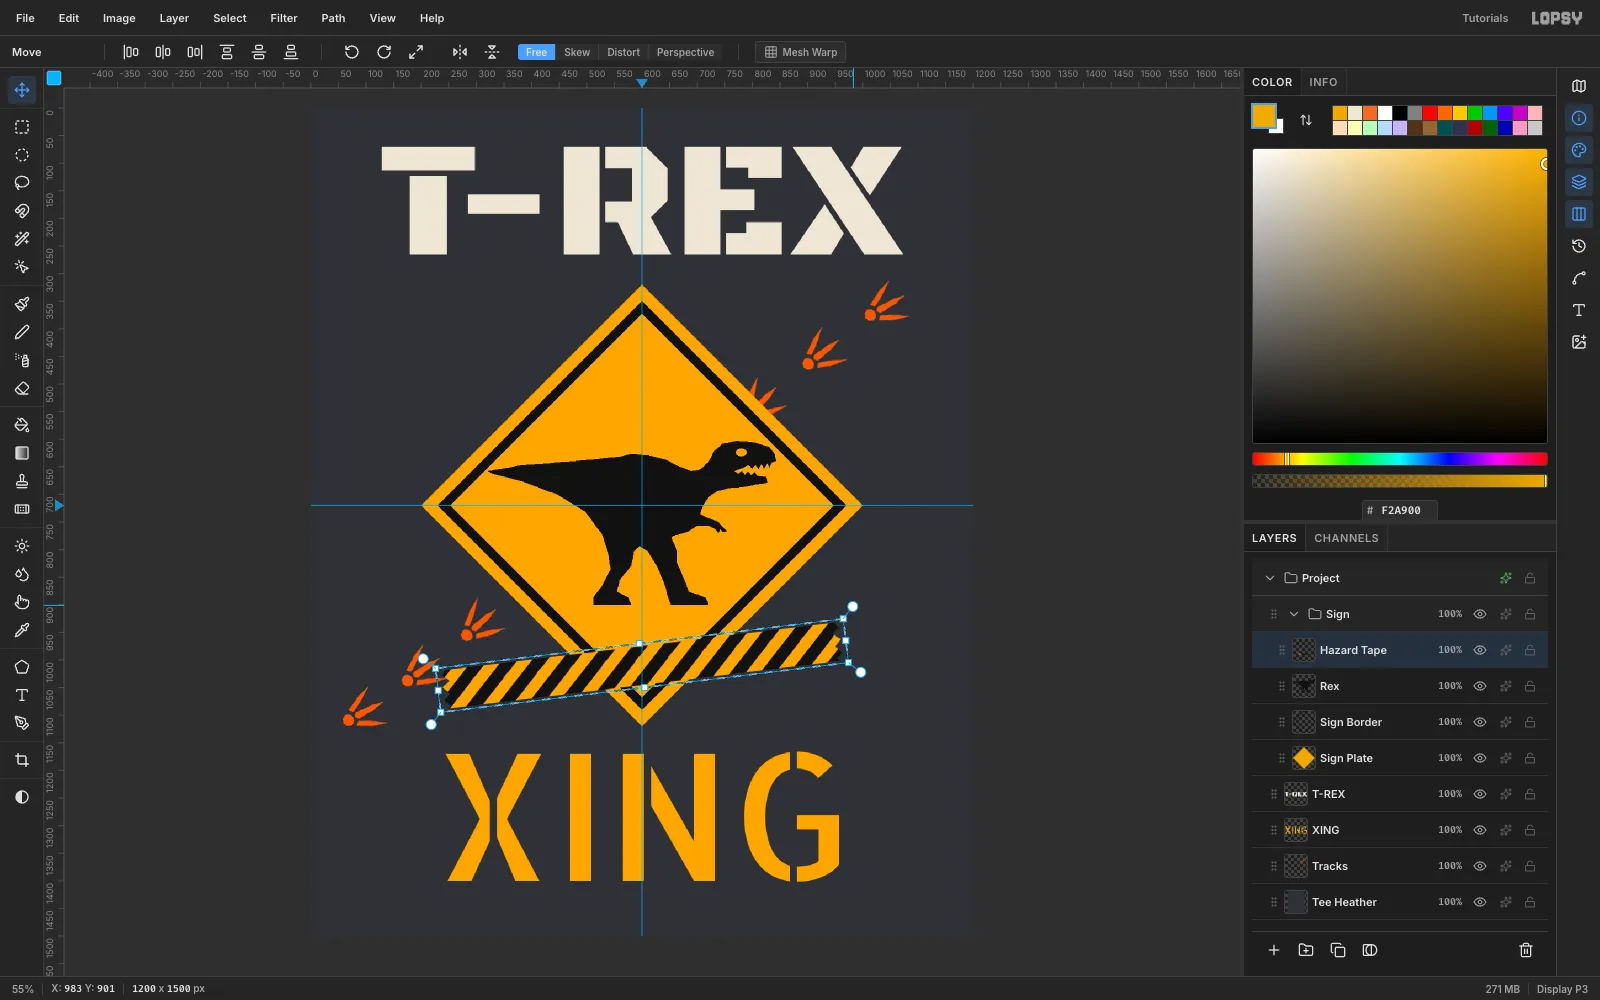
Lasso a zigzag over each end of the strip and press Delete, so the tape looks torn off the roll. Then marquee 744 × 80 at (228, 970), switch to the Move tool, and rotate it −7° (counterclockwise). Press ⌘D.
-
Give the tape a hard shadow
Open Layer effects on Hazard Tape and enable Drop Shadow: color
#111111, Offset X 8, Offset Y 10, Blur 0, Spread 0, Opacity 100. A zero-blur shadow stays a solid black shape, so it prints with the same black ink as the dinosaur. Close the drawer.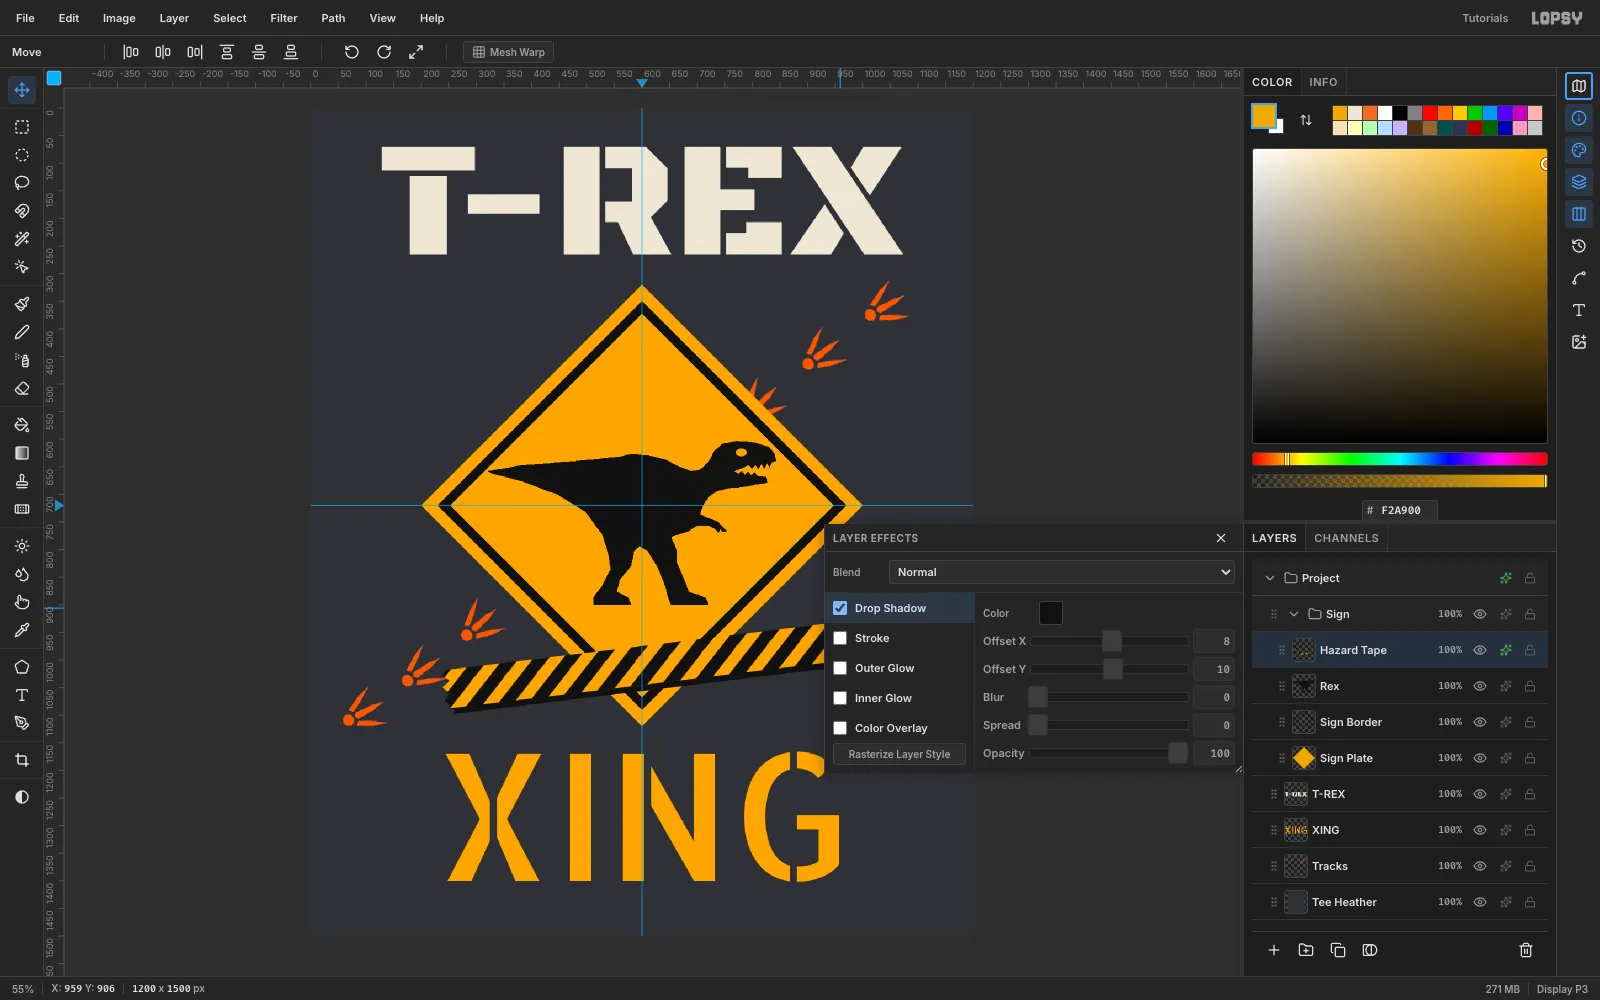
-
Spray the overspray
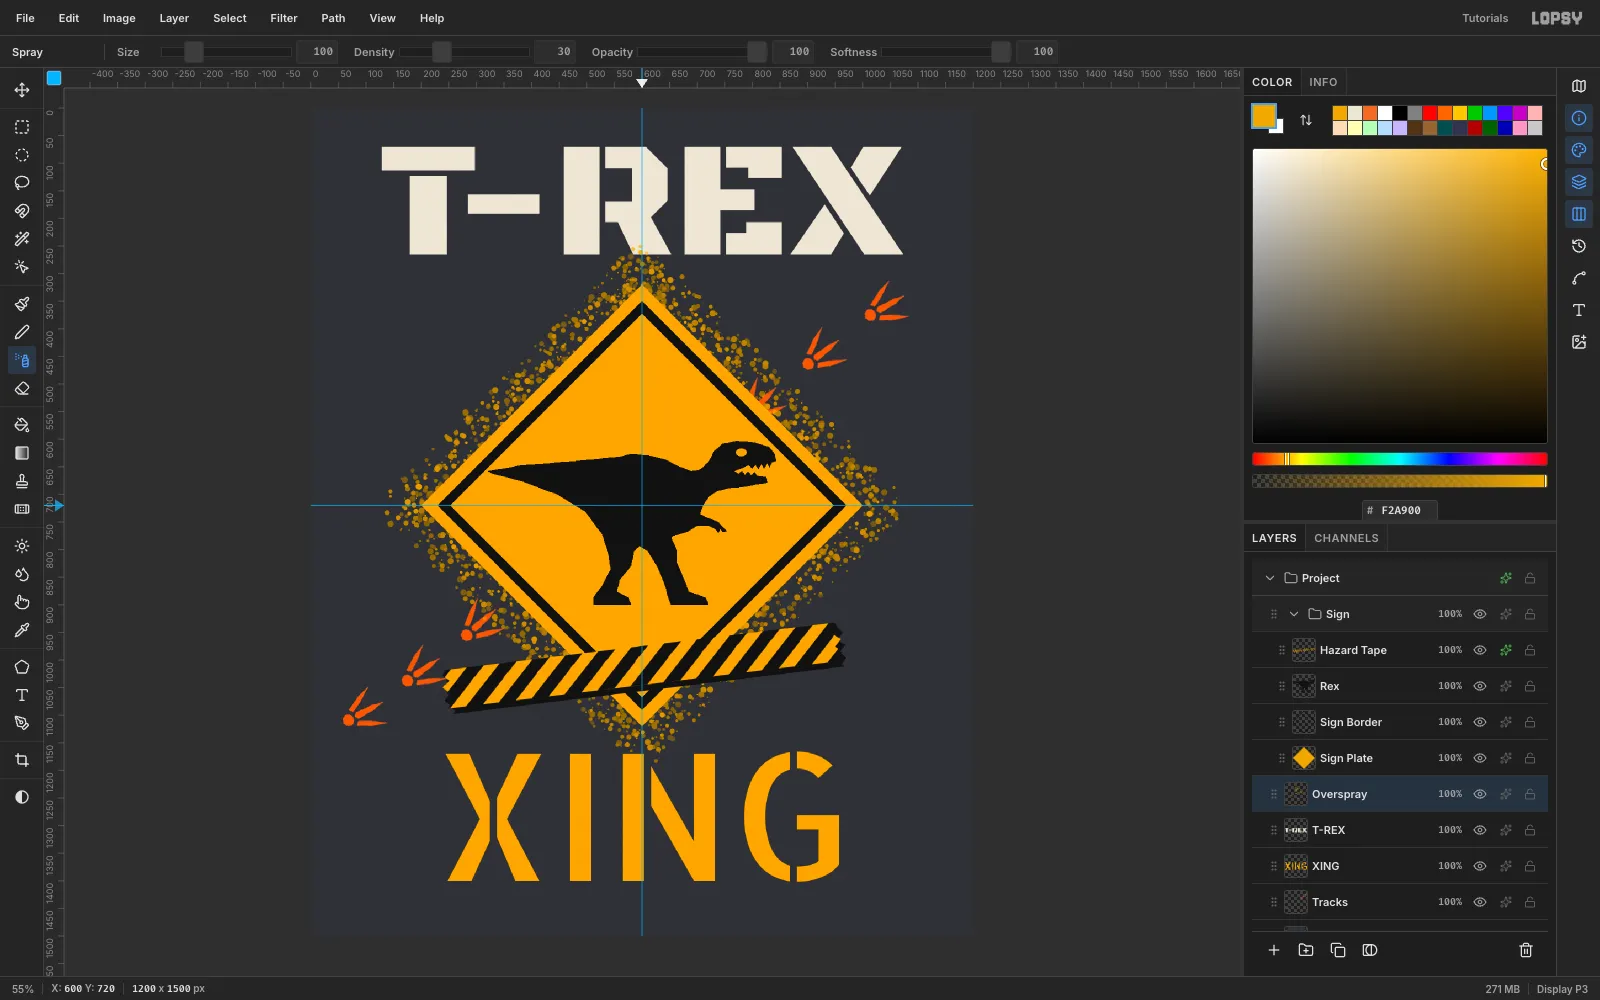
Click the T-REX layer and Add Layer, then name it Overspray. It sits under the Sign group. Pick the Spray tool (J) with amber and set Size 100, Density 30, Opacity 100 and Softness 100. On Spray, Softness 100 gives the hardest dots, and hard, full-strength dots are something a screen printer can actually print.
Press down in the middle of the sign. The plate hides any paint that builds up there while you hold still. Then trace just outside the diamond's edge and come back to the middle before you let go. Keep the stroke moving, in steps larger than about a third of the Size.
-
Add a tagline along the tracks
Click Overspray, then set WATCH YOUR STEP >> in Share Tech Mono, Size 30, orange
#E8622A, in empty space. Move it next to the lower-left footprints, then press ⌘D. Marquee around it, rotate it −37° so it runs parallel to the trackway, and press ⌘D again. Nudge it with the Move tool until it clears the toes.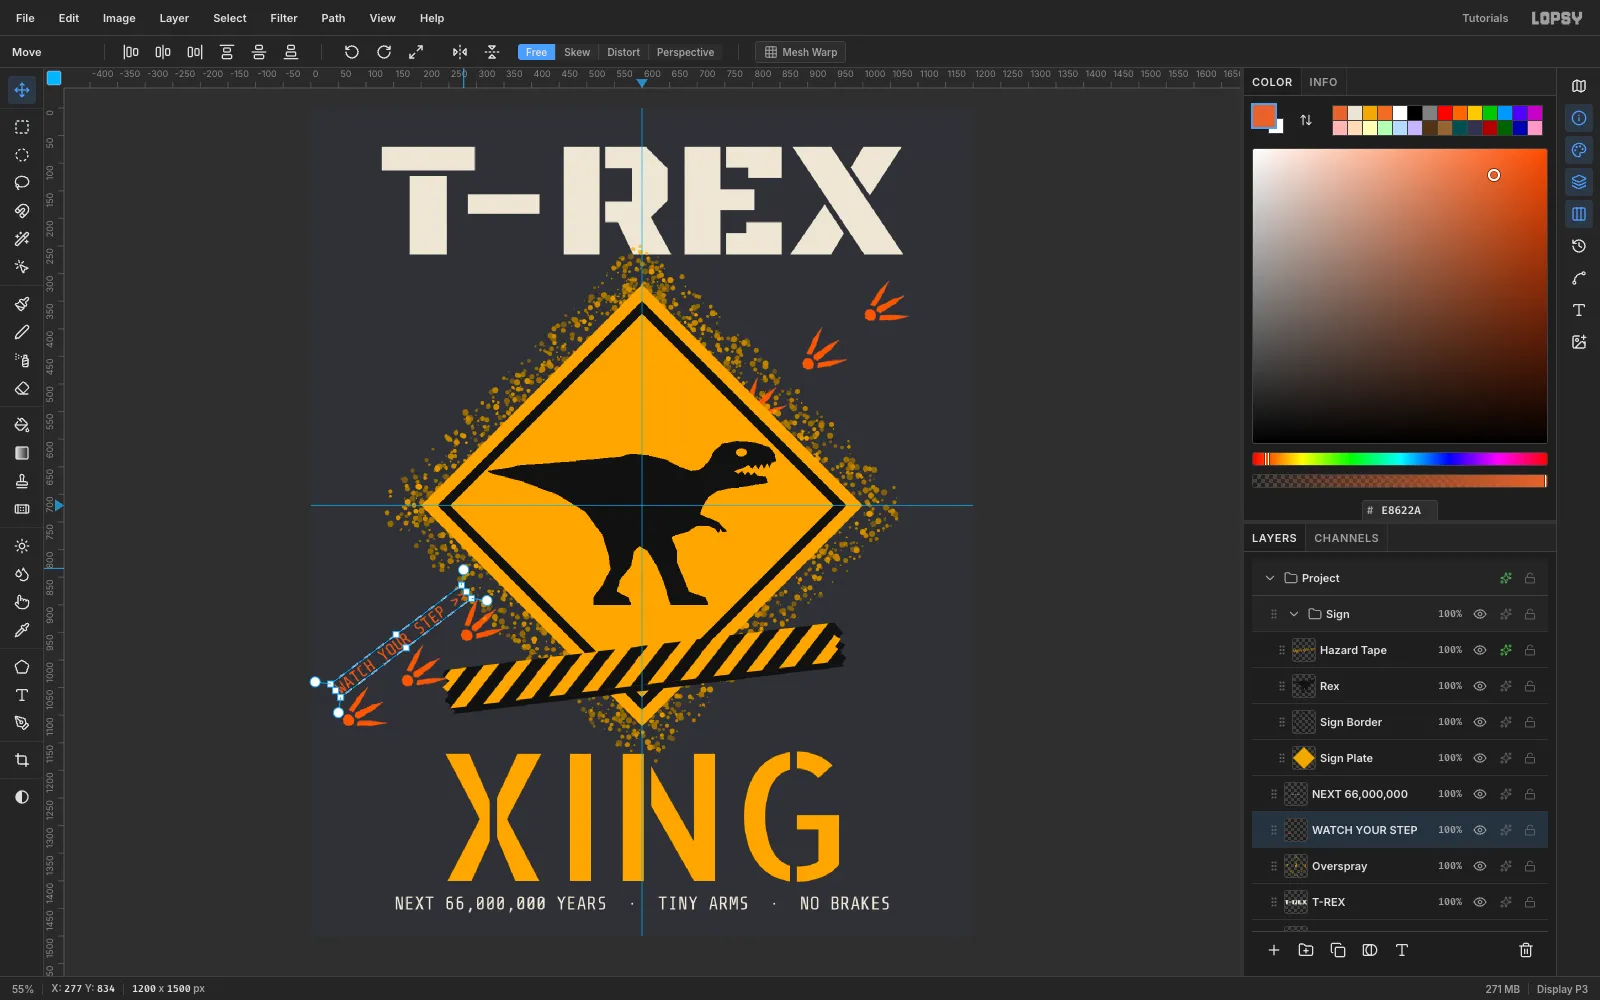
-
Set the fine print
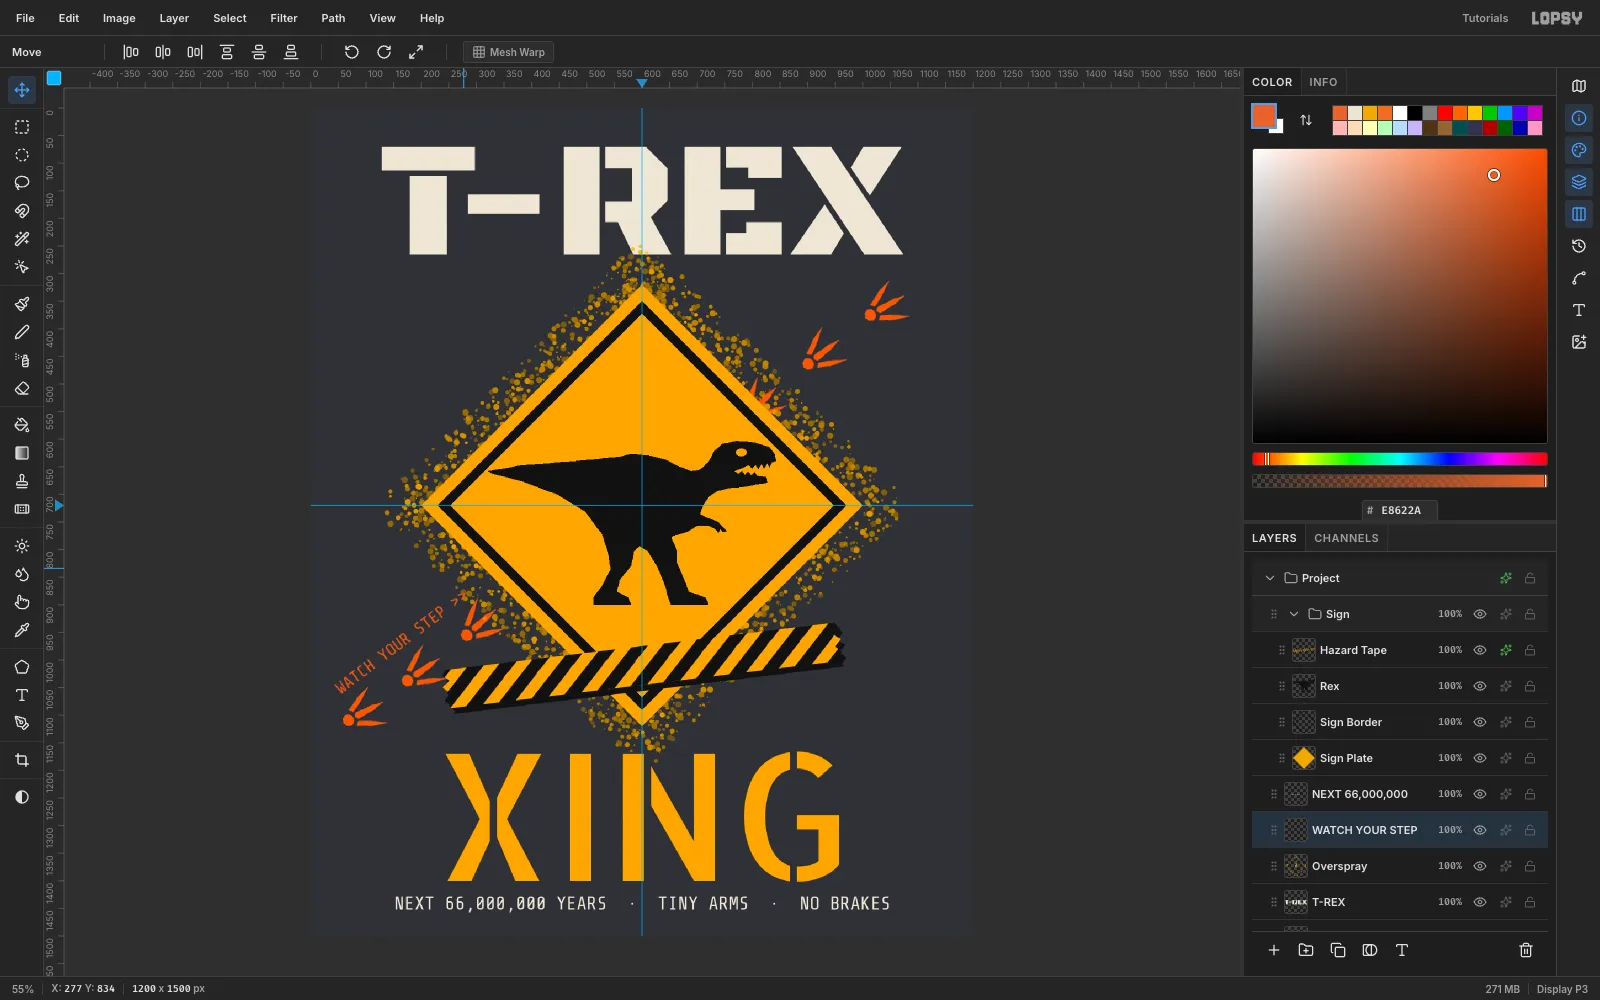
Click Overspray again, then set NEXT 66,000,000 YEARS · TINY ARMS · NO BRAKES in Share Tech Mono, Size 34, cream. The middle dots aren't on most keyboards, so paste the line in with ⌘V. Center it on the guide with its top at about y 1428. It's small enough to sit near the hem, and it gives anyone reading up close a second joke.
-
Start the distress texture
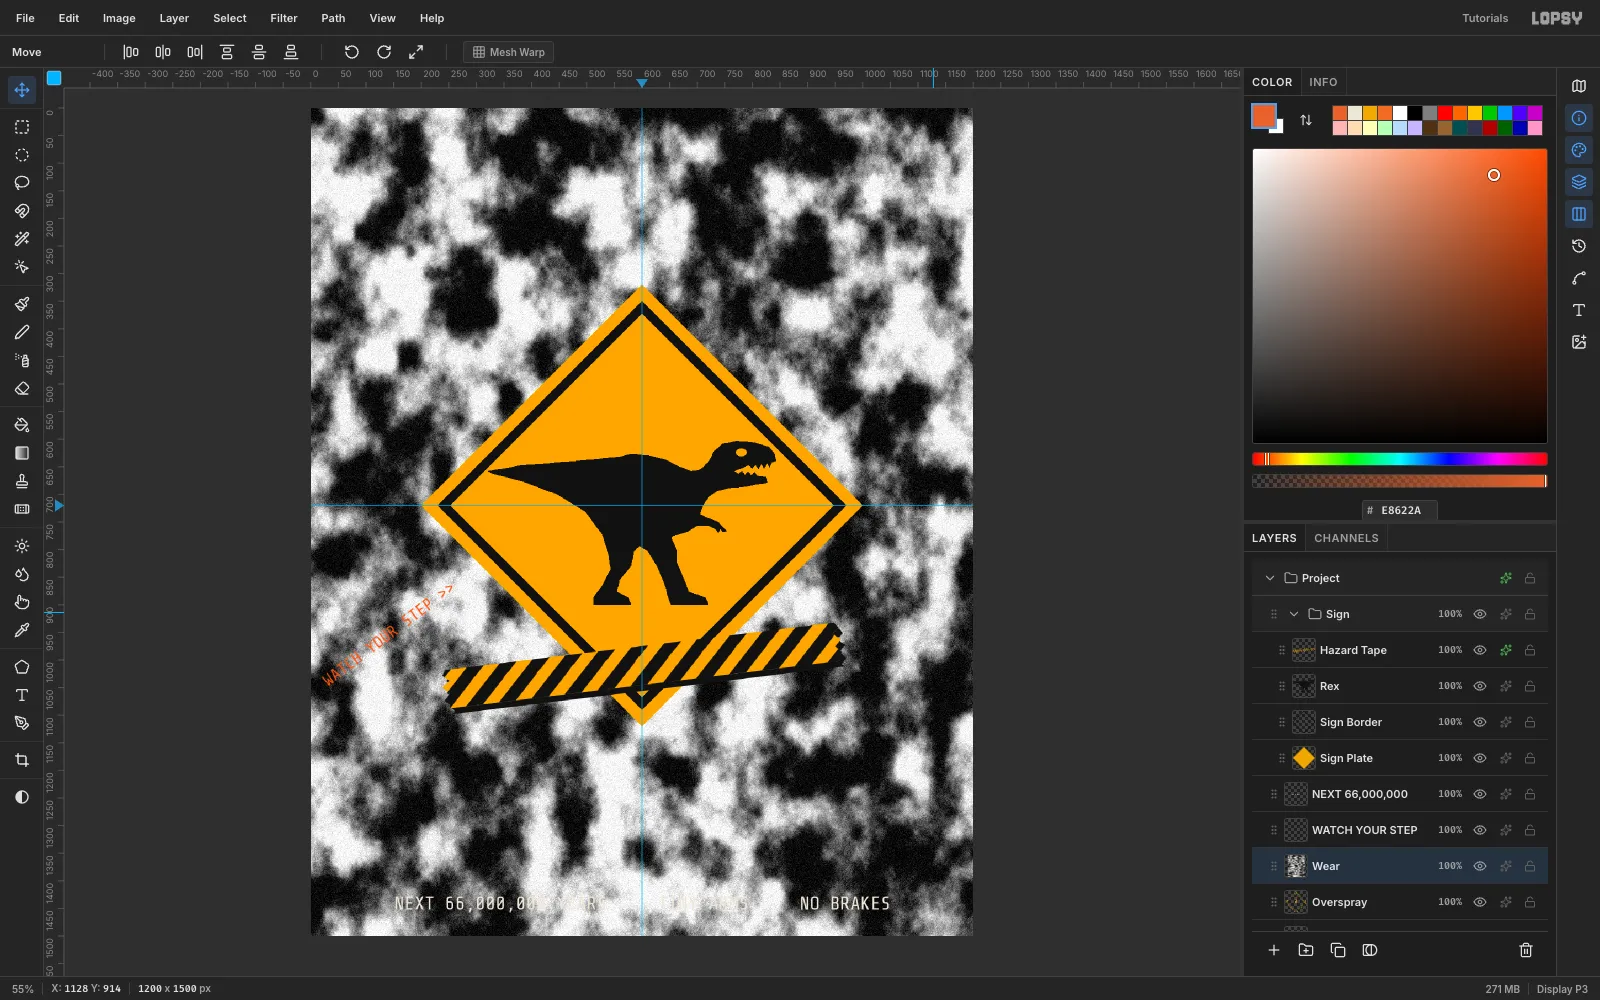
Click Overspray and Add Layer, then name it Wear. Run Filter → Clouds… at Scale 20. Then run Filter → Add Noise… with Mono and Amount 80. The noise breaks the soft cloud edges into grain, like ink that's cracked and washed out.
-
Threshold it into specks
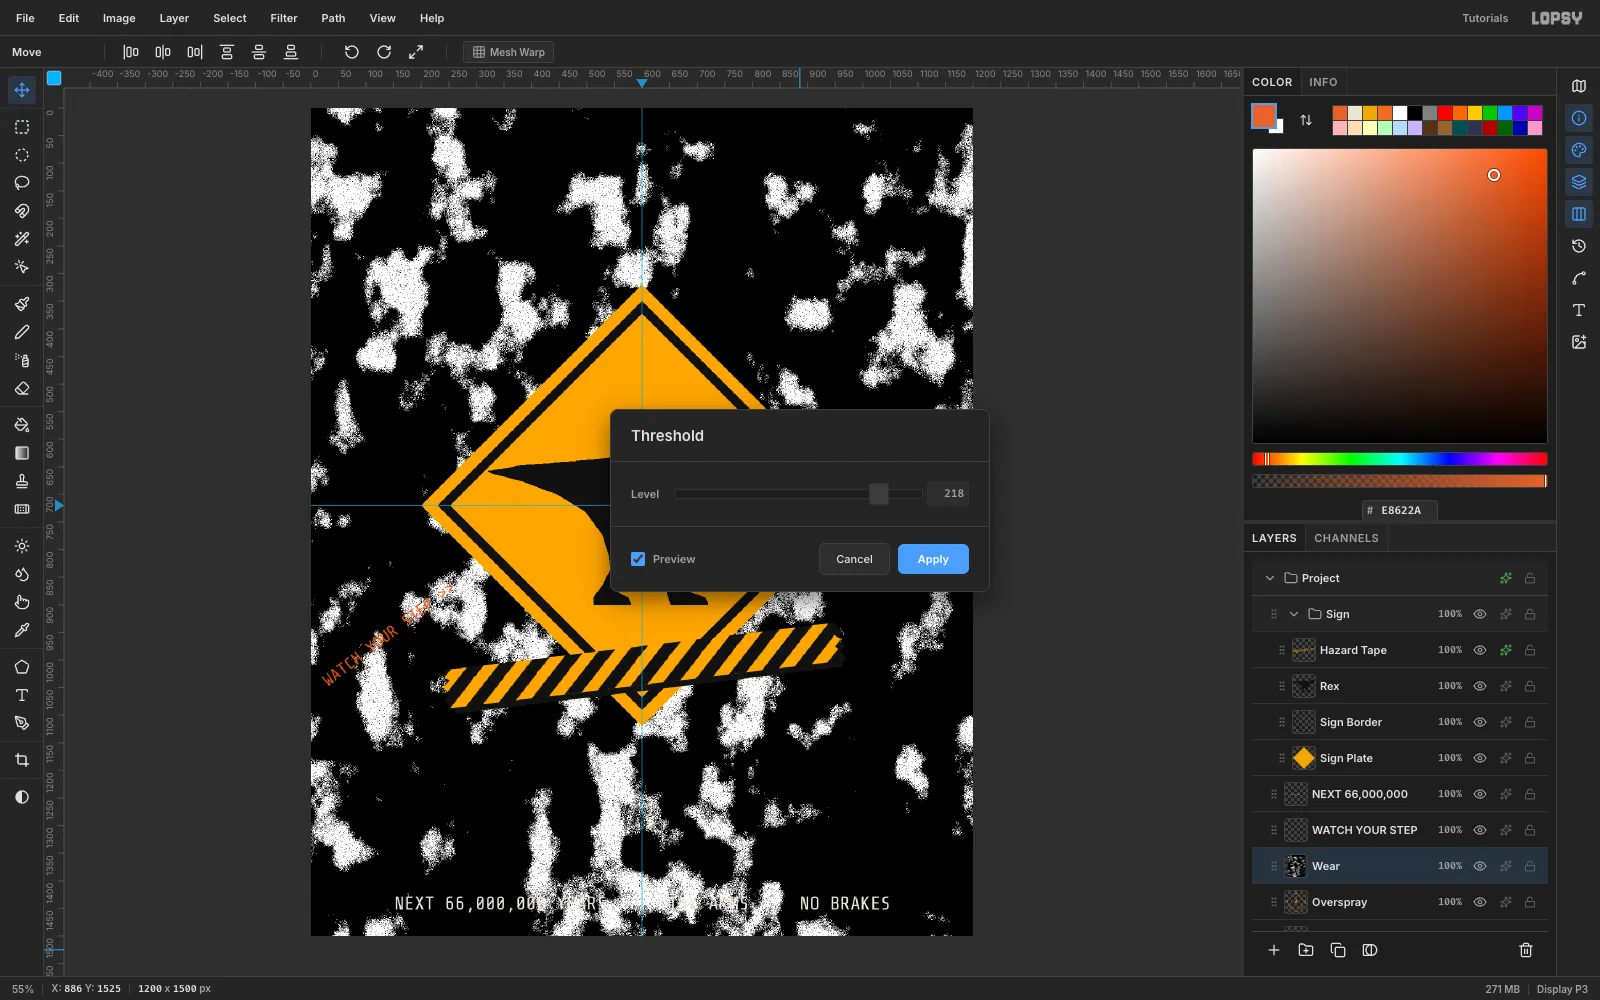
Choose Filter → Threshold… and set Level 218. Only about a fifth of the layer stays white, in grainy patches. Click Apply.
Next, pick the Magic Wand with Contiguous unticked and click any black area. Press Delete straight away, then ⌘D. A selection with thousands of islands makes the marching ants slow to draw, so don't leave it active.
-
Recolor the specks to the shirt
Open Layer effects on Wear, enable Color Overlay, and set it to the shirt color
#2F3136. The specks now look like bare fabric showing through the ink. That's the key to a convincing distressed print: the wear must be the exact shirt color, never a grey or a tint, or it reads as an extra muddy ink.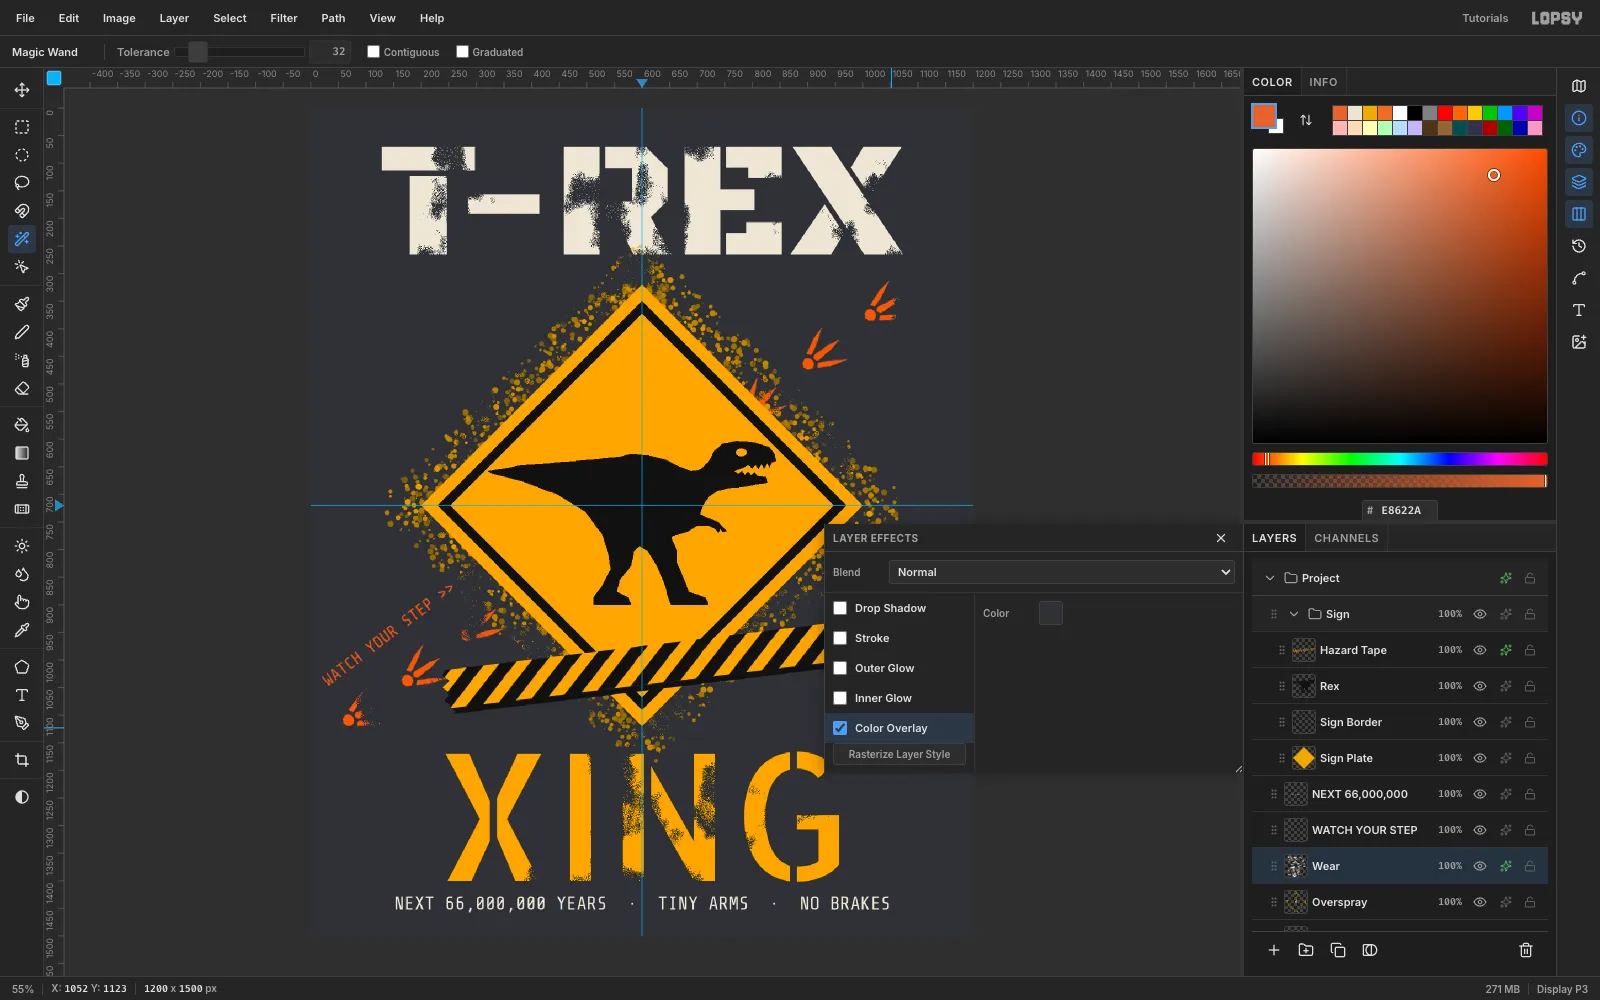
-
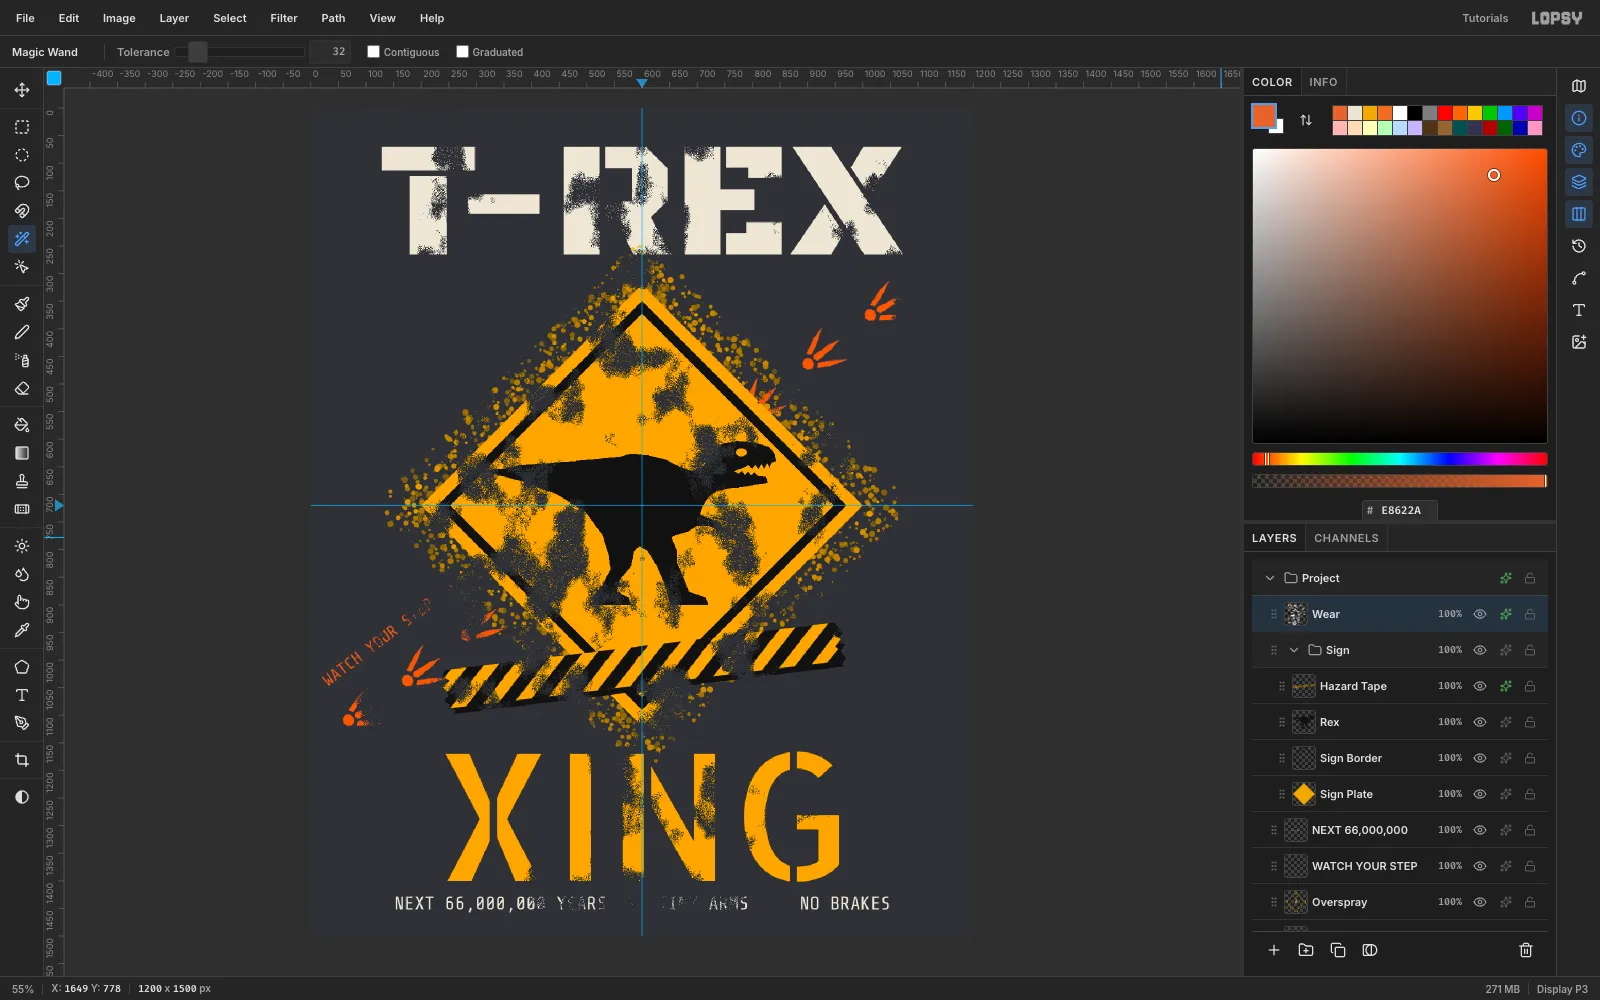
Move the wear above everything
Drag the grip on the Wear row up onto the top half of the Sign group's row. Wear drops above the whole group, and now it cuts into the sign, the tracks and both headlines.
-
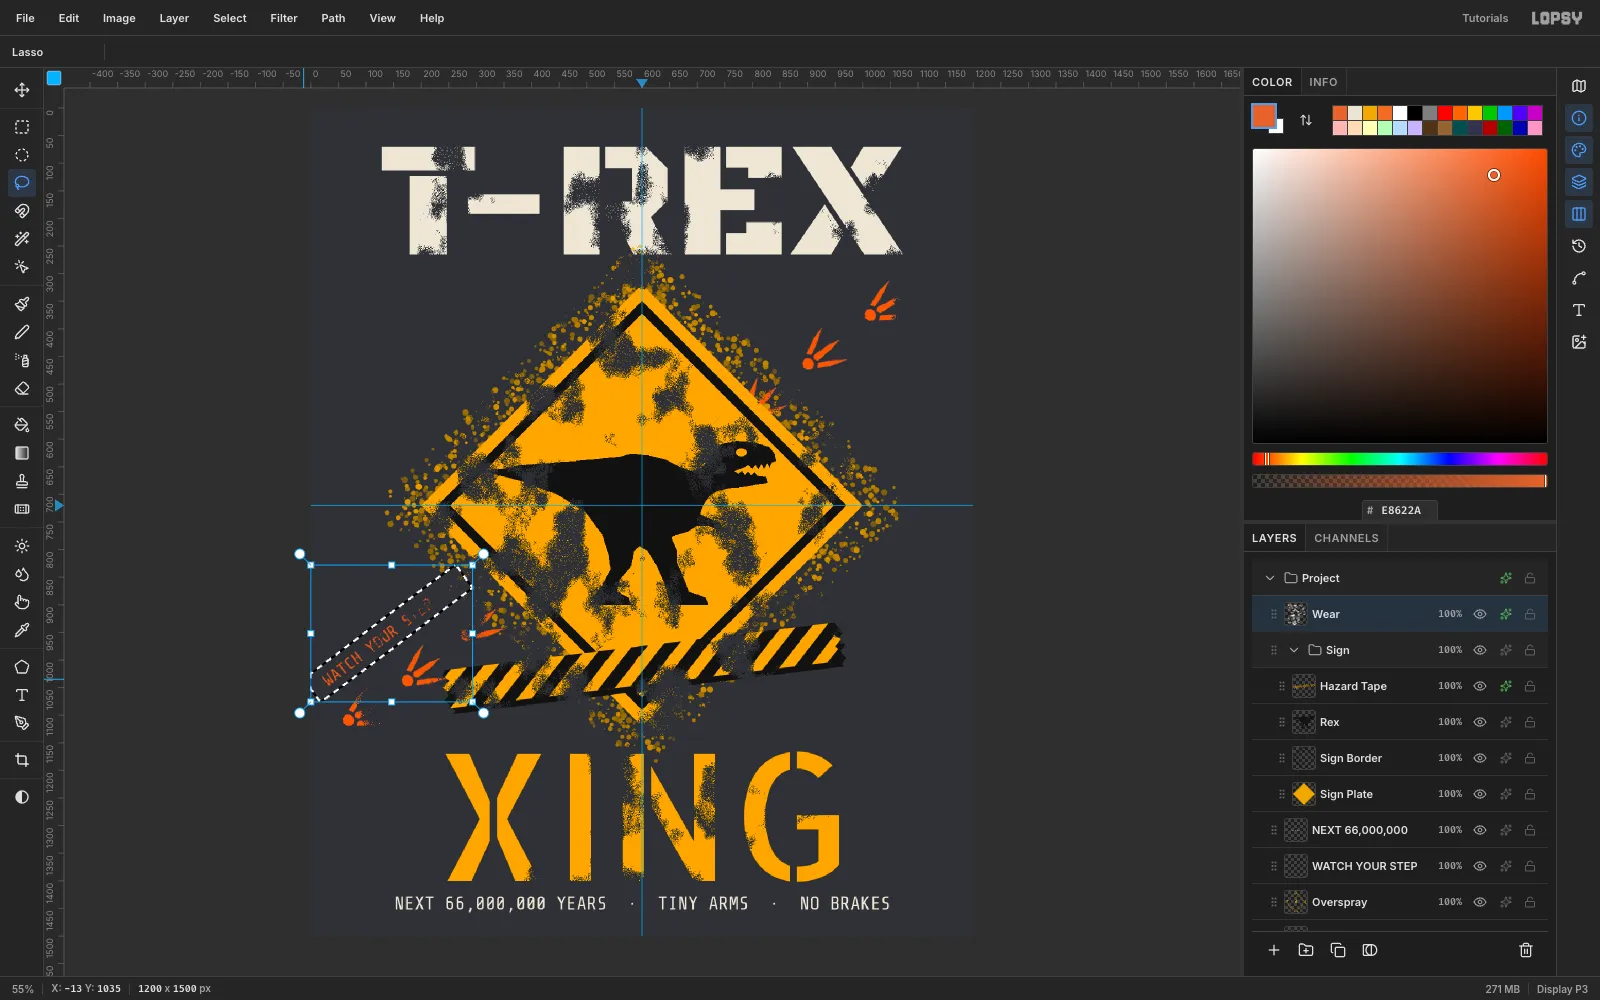
Protect the small type
Fine print can't survive heavy wear. On the Wear layer, marquee a 960 × 52 band from (120, 1416) over the fine print and press Delete. Then lasso a tilted box around WATCH YOUR STEP and delete that too.
-
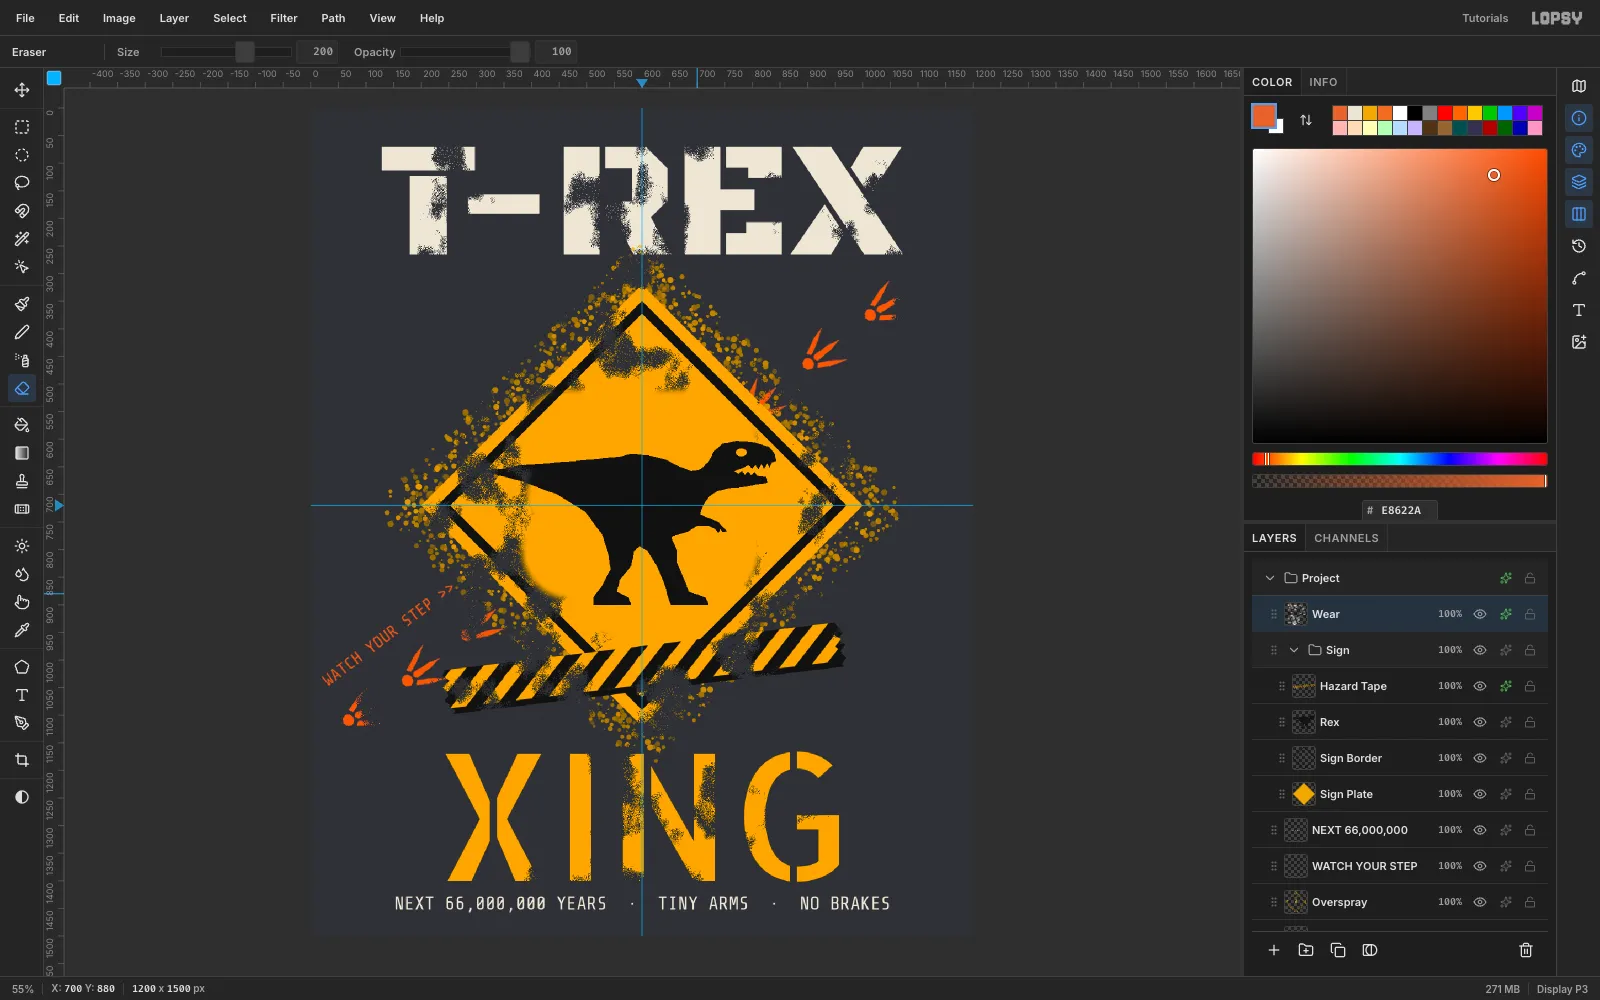
Keep the pictogram clean
The dinosaur has to read at a glance, so the wear should cling to the sign's edges. Pick the Eraser (E), set Size 200, and zigzag across the middle of the sign on the Wear layer. Leave the corners, the border and the headlines worn.
-
Export the print file
That's the finished graphic. Choose File → Quick Export PNG for the artwork, and File → Save Project to keep an editable
.lopsycopy with every layer. Every shape is a flat fill in one of four inks, and every worn speck is exactly the shirt color. A printer can separate the file straight into screens and treat the specks as knock-outs.