Suprematist Space-Race Tattoo Flash Sheet
Design a Suprematist tattoo flash sheet about the Soviet space race in Lopsy, with outlined shapes, rotated type, pen-stroked lines and stipple dotwork.
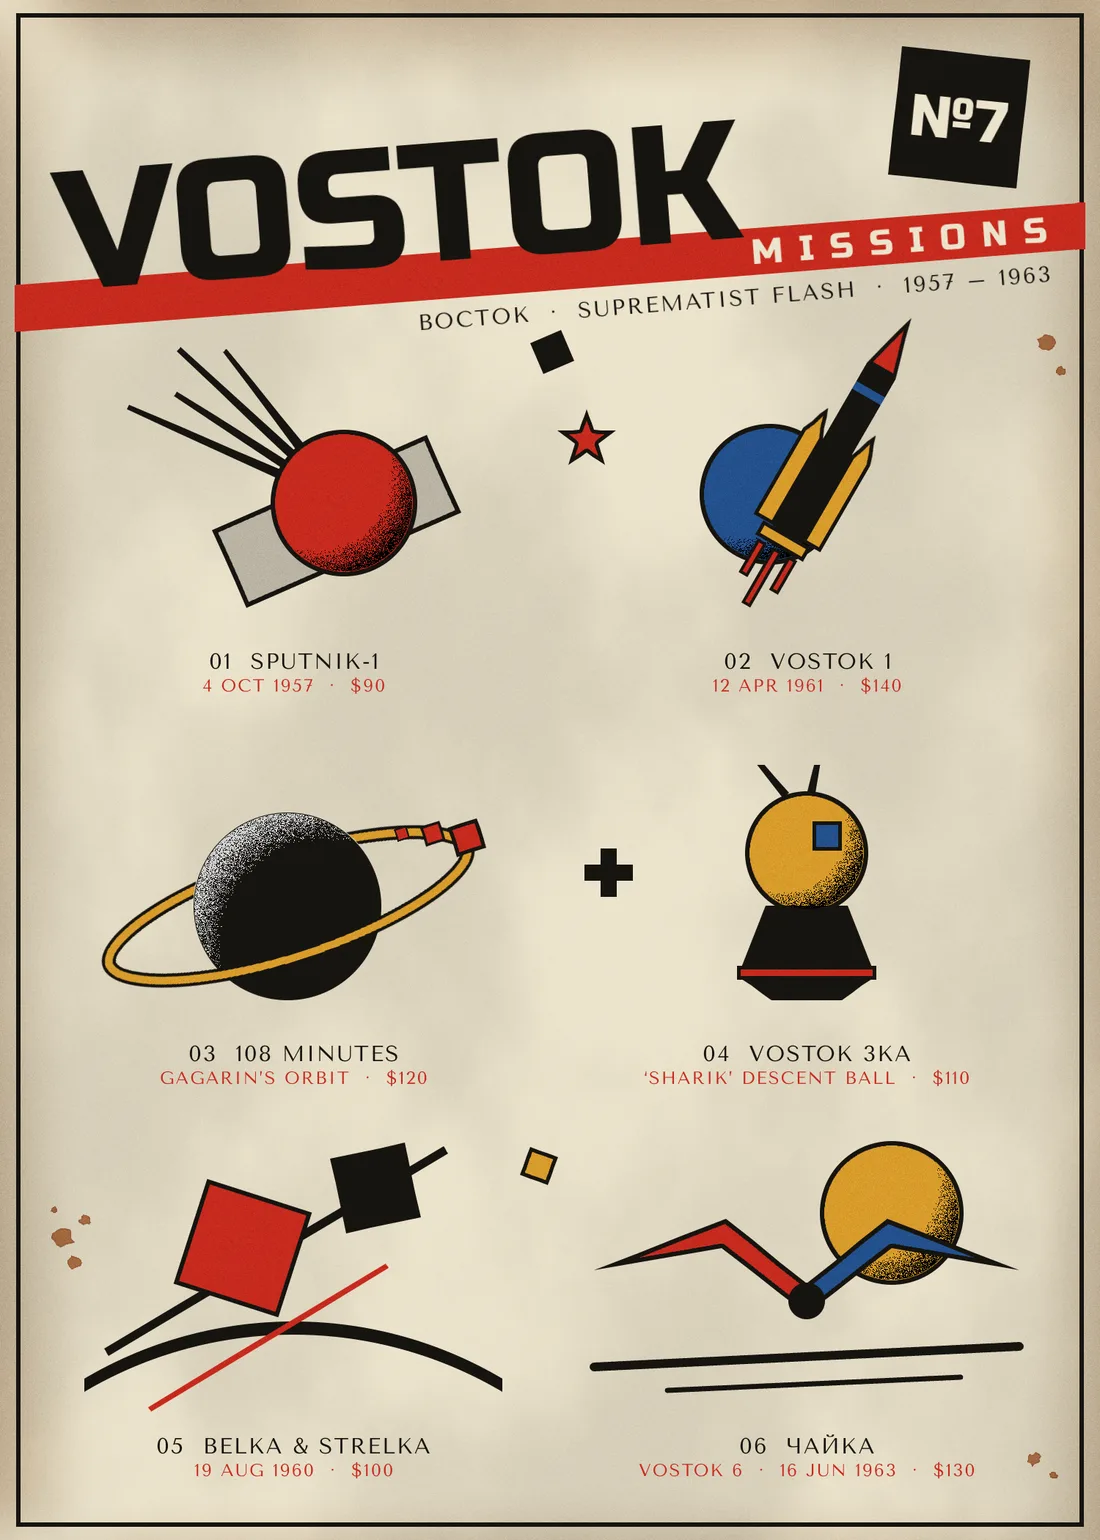
This flash sheet retells the Soviet space programme, 1957–1963, in the language of Suprematism. That's Malevich's flat squares, circles and bars floating on a pale ground. El Lissitzky's About Two Squares is a direct influence.
Each design is built from marquee and lasso fills and gets a tattoo-style ink outline. The dotwork shading is made with noise and Threshold. The title is rotated to the angle of a red bar. The labels are set in two typefaces that both include Cyrillic.
Palette (typed as hex in Lopsy):
-
Paper
-
ink
-
Brick red
-
ochre
-
slate blue
-
stone
-
Edge toning
-
rust
Fonts: Russo One for the headline and №7, and Tenor Sans for the subtitle and labels.
The document is 1500 × 2100 px. Keep the width a multiple of 4.
-
Set up the sheet with guides and a snapped frame
- Create a 1500 × 2100 document and fill the Background with paper using Edit → Fill.
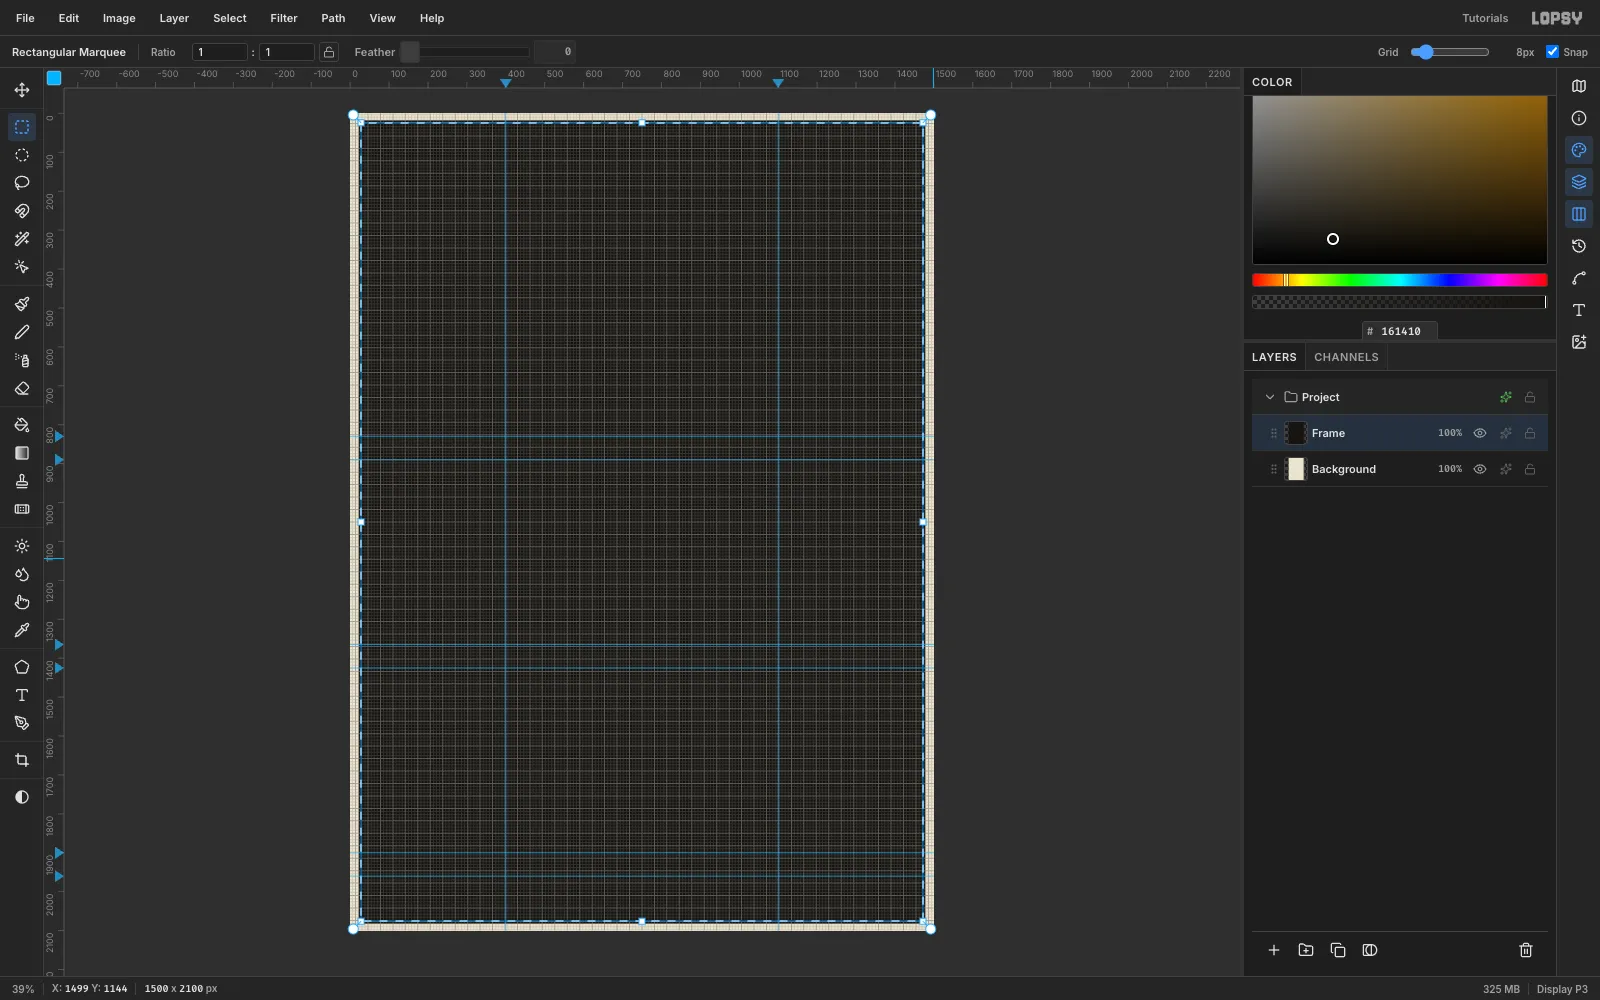
- Click the top ruler at 400 and 1100 to add the two column axes. Click the left ruler at 830, 890, 1365, 1425, 1900 and 1960. Each row gets two guides: one where the design ends and one where its label starts, 60 px lower.
- Turn on View → Show Grid and set the grid slider to 8 px. Snap turns on with the grid.
- Rename Layer 1 to Frame. Drag a rectangular marquee from about (21, 21) to (1479, 2079). It snaps to the grid.
- Fill it with ink, run Select → Shrink… by 6 px and press Delete. That leaves a crisp 6 px border.
- Hide the grid again.
-
Lay down the red bar and the black square
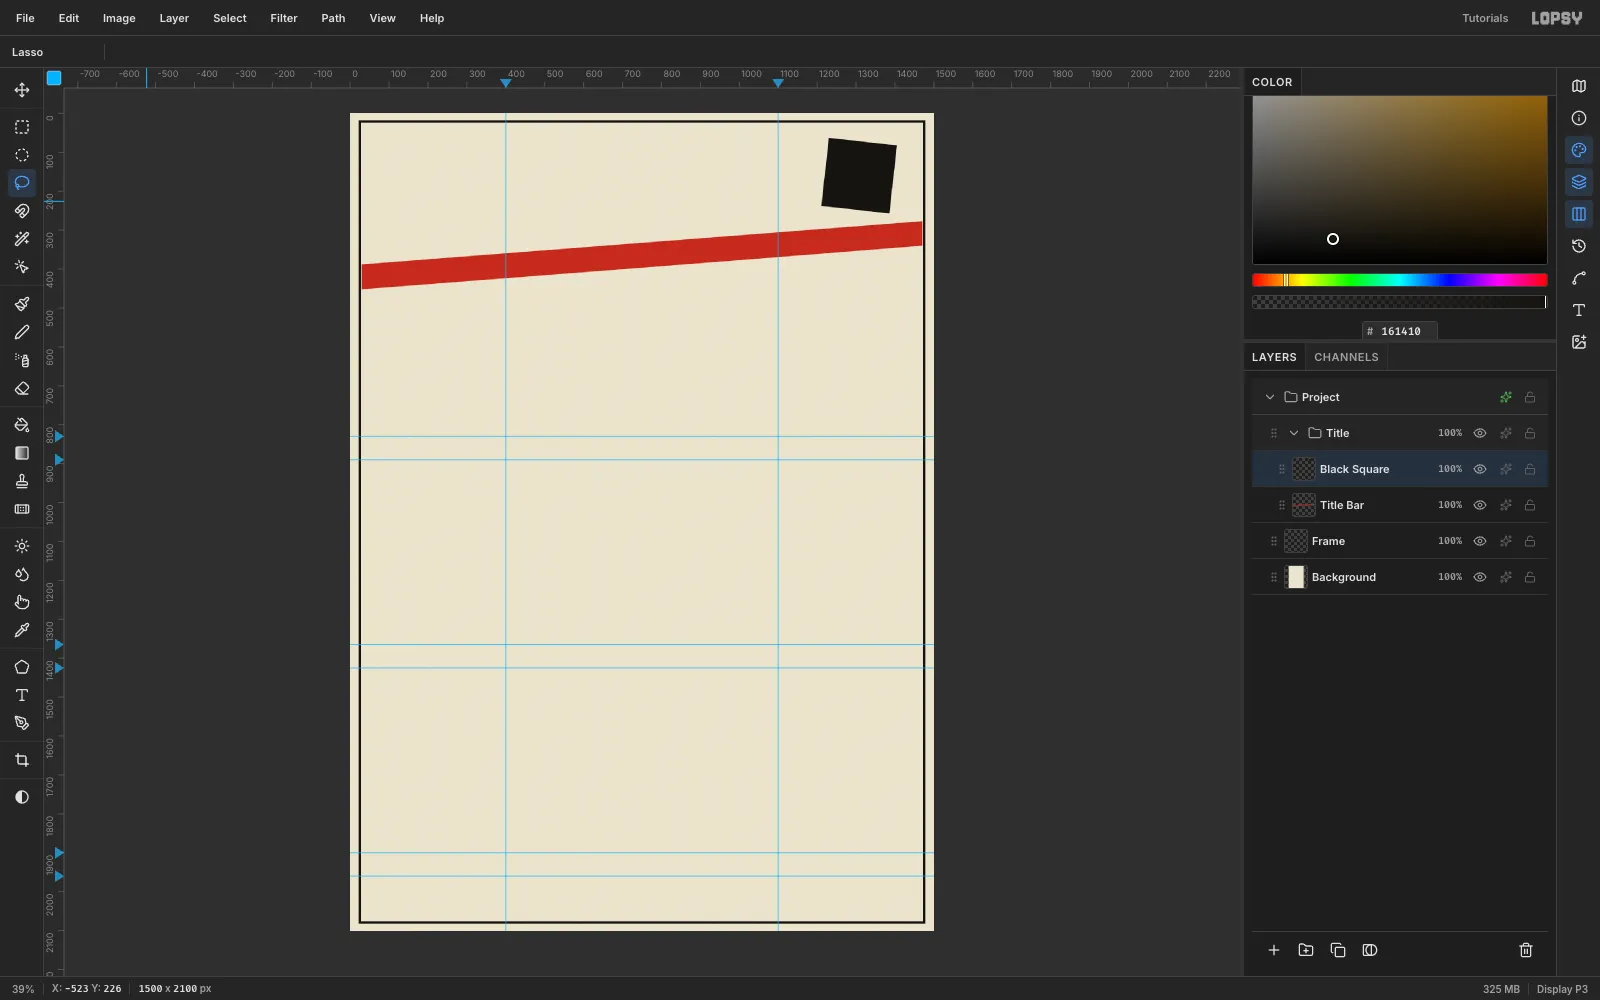
Make a group called Title. This composition starts where Malevich's paintings do: a long red plane and a black square.
- On a Title Bar layer, use the Lasso to draw a four-point bar, 64 px thick, from (22, 420) up to (1478, 308). Fill it with red. The ends run right out to the frame, so the bar looks like it passes under it.
- On a Black Square layer, lasso a 176 px square tilted 6°, centred at (1308, 160), and fill it with ink.
- Leave about 30 px of paper between the square's lowest corner and the bar. If they nearly touch, it reads as a mistake.
-
Draw every shape with a tattoo outline
Each flash design gets its own group. Every coloured shape uses the same outline trick:
- Draw the shape with the Lasso or Elliptical Marquee.
- Fill it with ink.
- Run Select → Shrink… by 6 px.
- Fill with the colour.
You get an even 6 px keyline with no Stroke effect. Shapes that overlap on the same layer keep their own outlines.
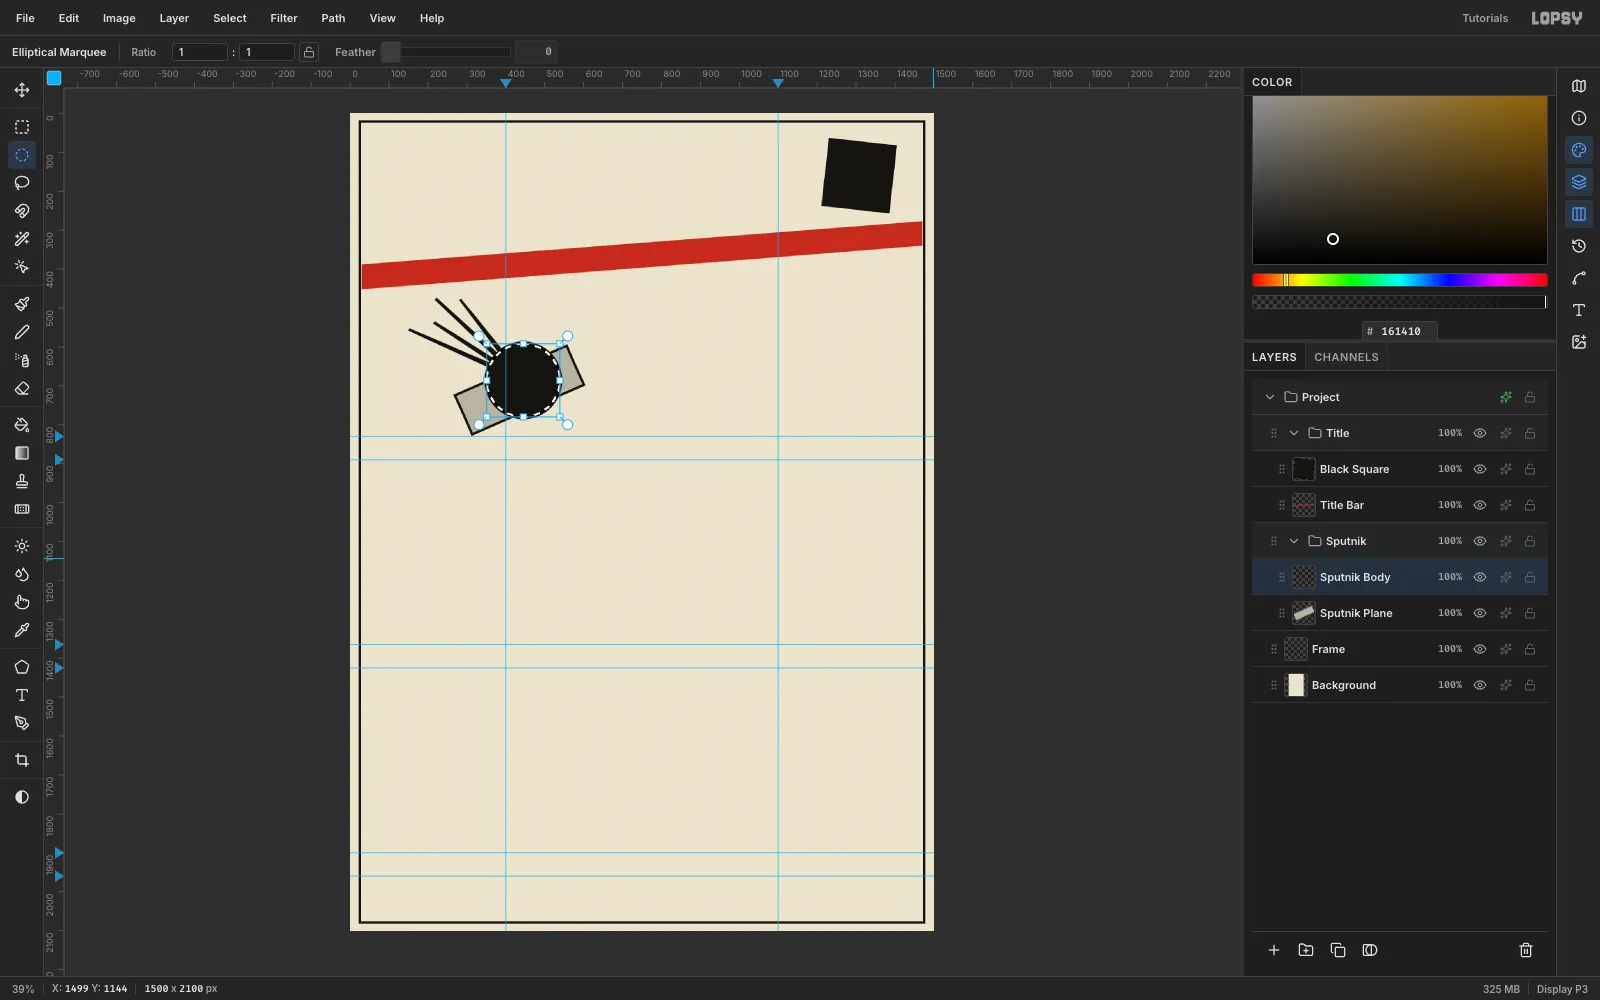
For Sputnik (group Sputnik):
- Plate: a stone-grey plate 320 × 116, rotated −24°.
- Antennae: four tapered ink bars, 13 px at the root and 7 px at the tip, swept back from the disc.
- Disc: a red disc, 200 px across, outlined as above.
-
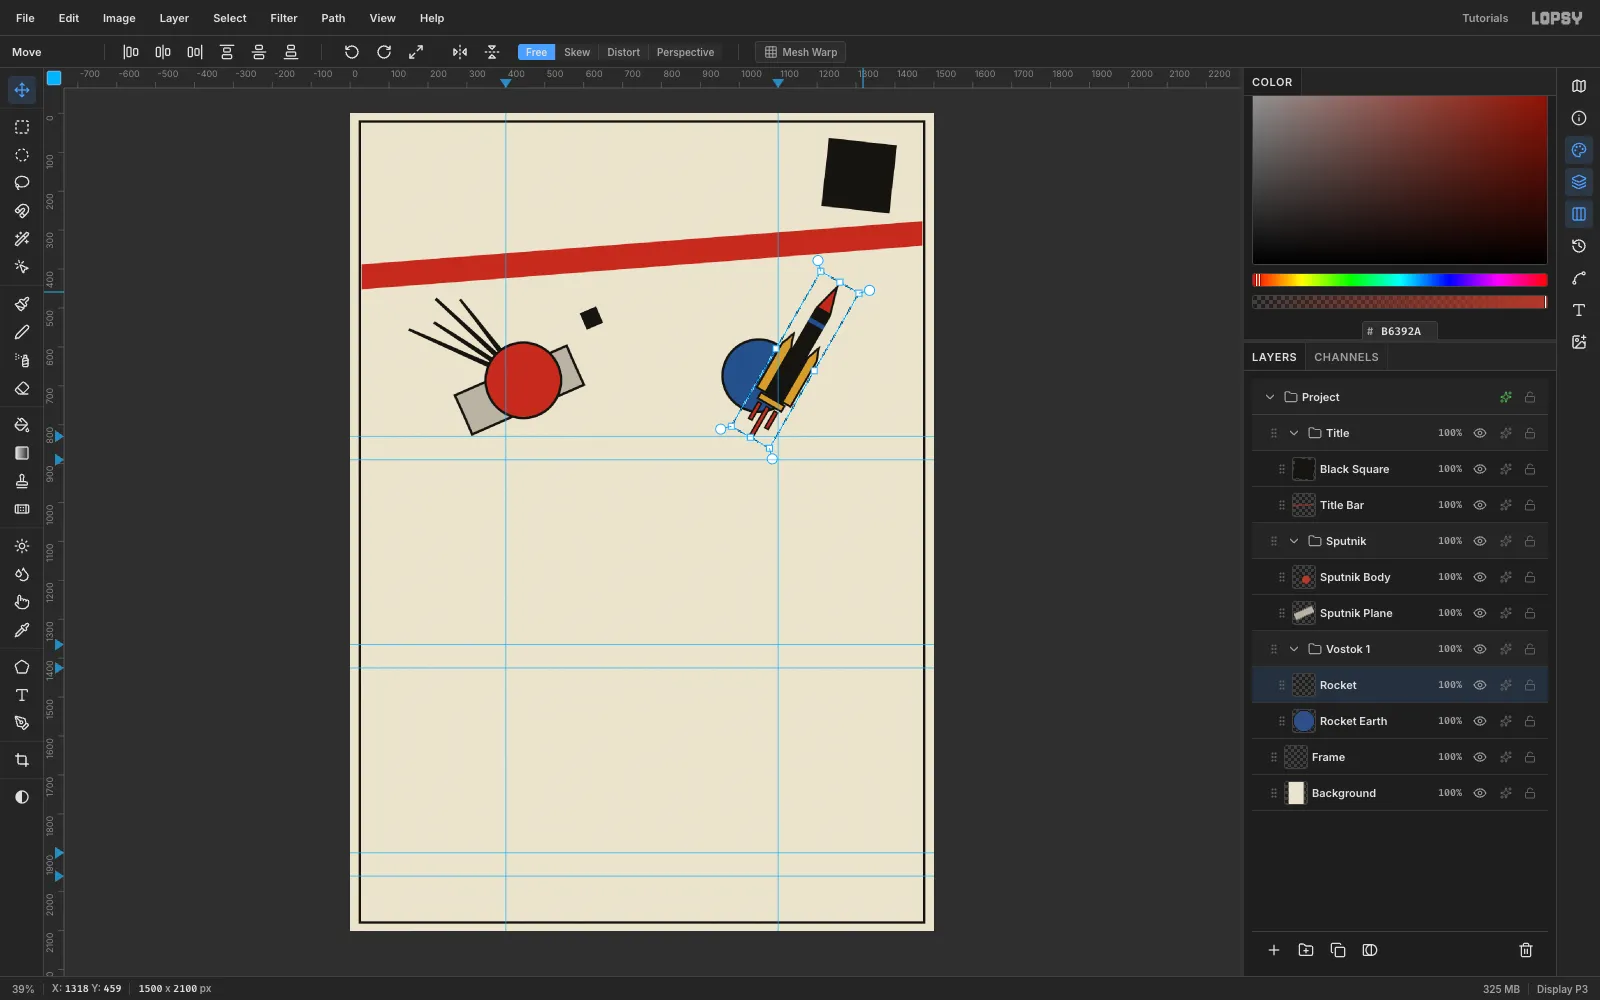
Build the rocket upright, then rotate it
Diagonals give Suprematism its sense of flight. Straight shapes are easier to draw, so build the rocket upright first.
- In a group called Vostok 1, draw a blue Rocket Earth disc with an ink outline.
- On a Rocket layer, draw these parts, using the outline trick with 5 px on the ochre and red parts:
- A black core with a blue stage band.
- A red nose cone and two ochre boosters.
- An ochre engine plate and three short red exhaust bars.
- Marquee the rocket and switch to the Move tool.
- Hold Cmd and drag the rotation handle outside the top-right corner. Cmd snaps rotation to 15° steps, so stop at exactly 30°.
- Press Cmd+D to commit.
-
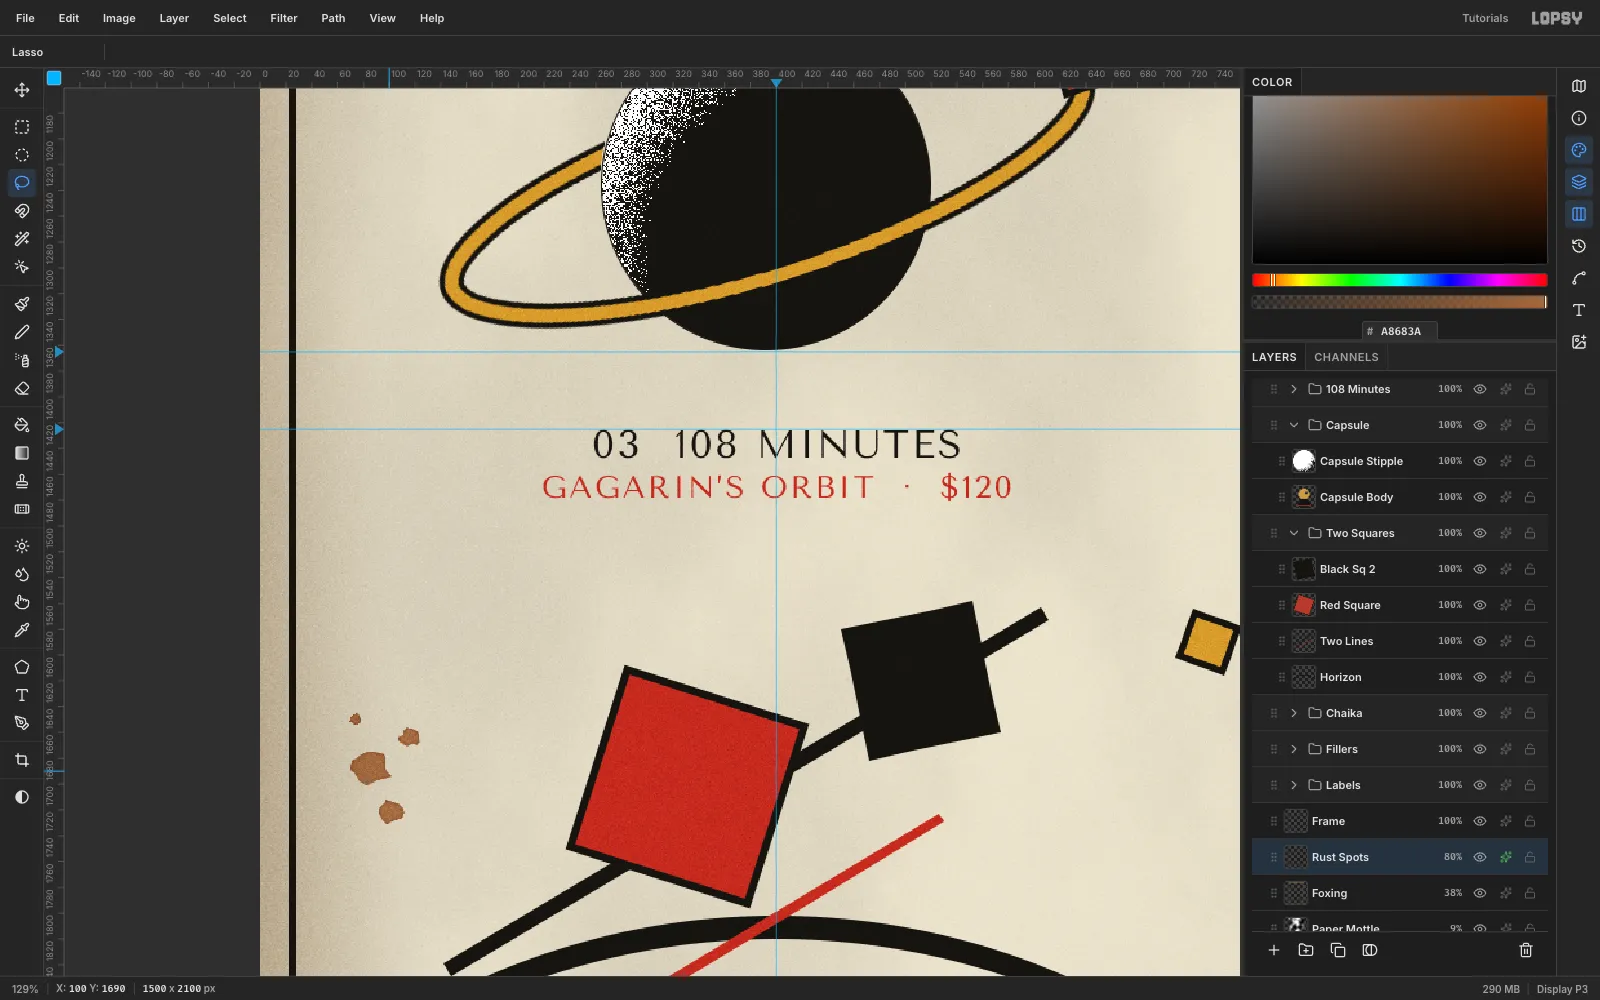
Tilt an orbit ring behind a black planet
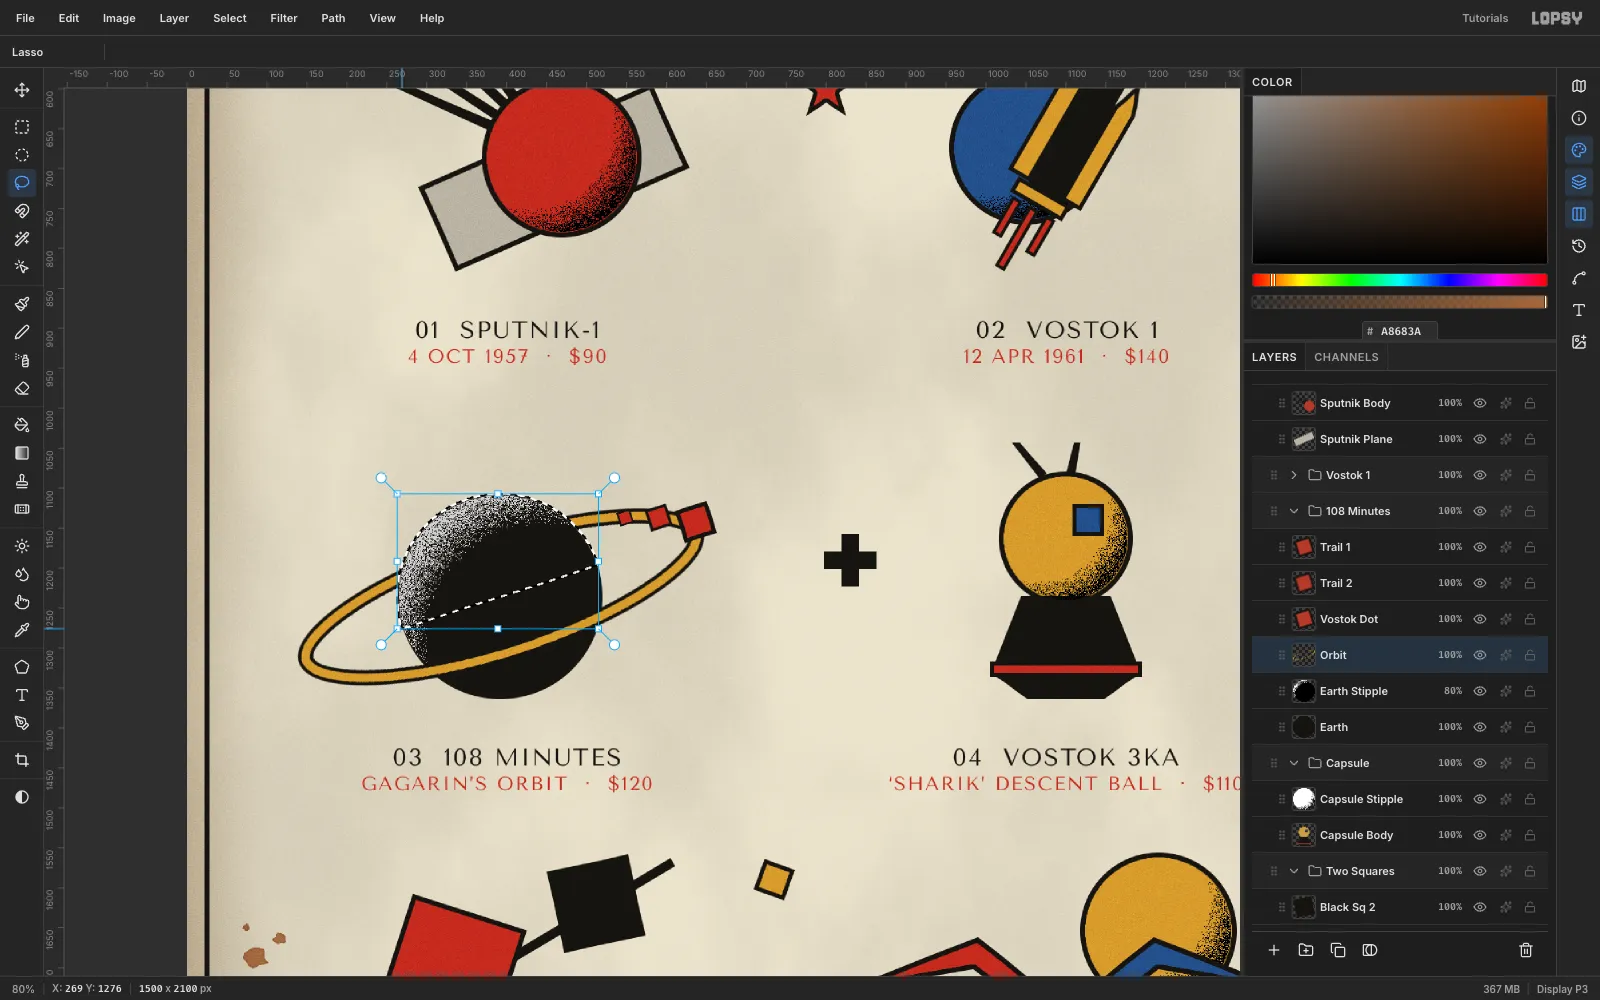
The 108 Minutes piece is Gagarin's single orbit, built around Malevich's black circle.
- Planet: on an Earth layer, fill a black disc 256 px across.
- Ring: on an Orbit layer, make an ellipse 532 × 156 around the same centre. Then:
- Fill it with ink, then Shrink 4.
- Fill ochre, then Shrink 10.
- Fill ink, then Shrink 4.
- Press Delete, which leaves an ink–ochre–ink band.
- Marquee the ring and rotate it about −18° with the Move tool, then press Cmd+D.
- Back of the ring: lasso the planet's upper half, above the ring's long axis and slightly wider than the planet, and press Delete on the Orbit layer. The ring now disappears behind the planet and comes back in front.
-
Add a motion trail with copy, paste and scale
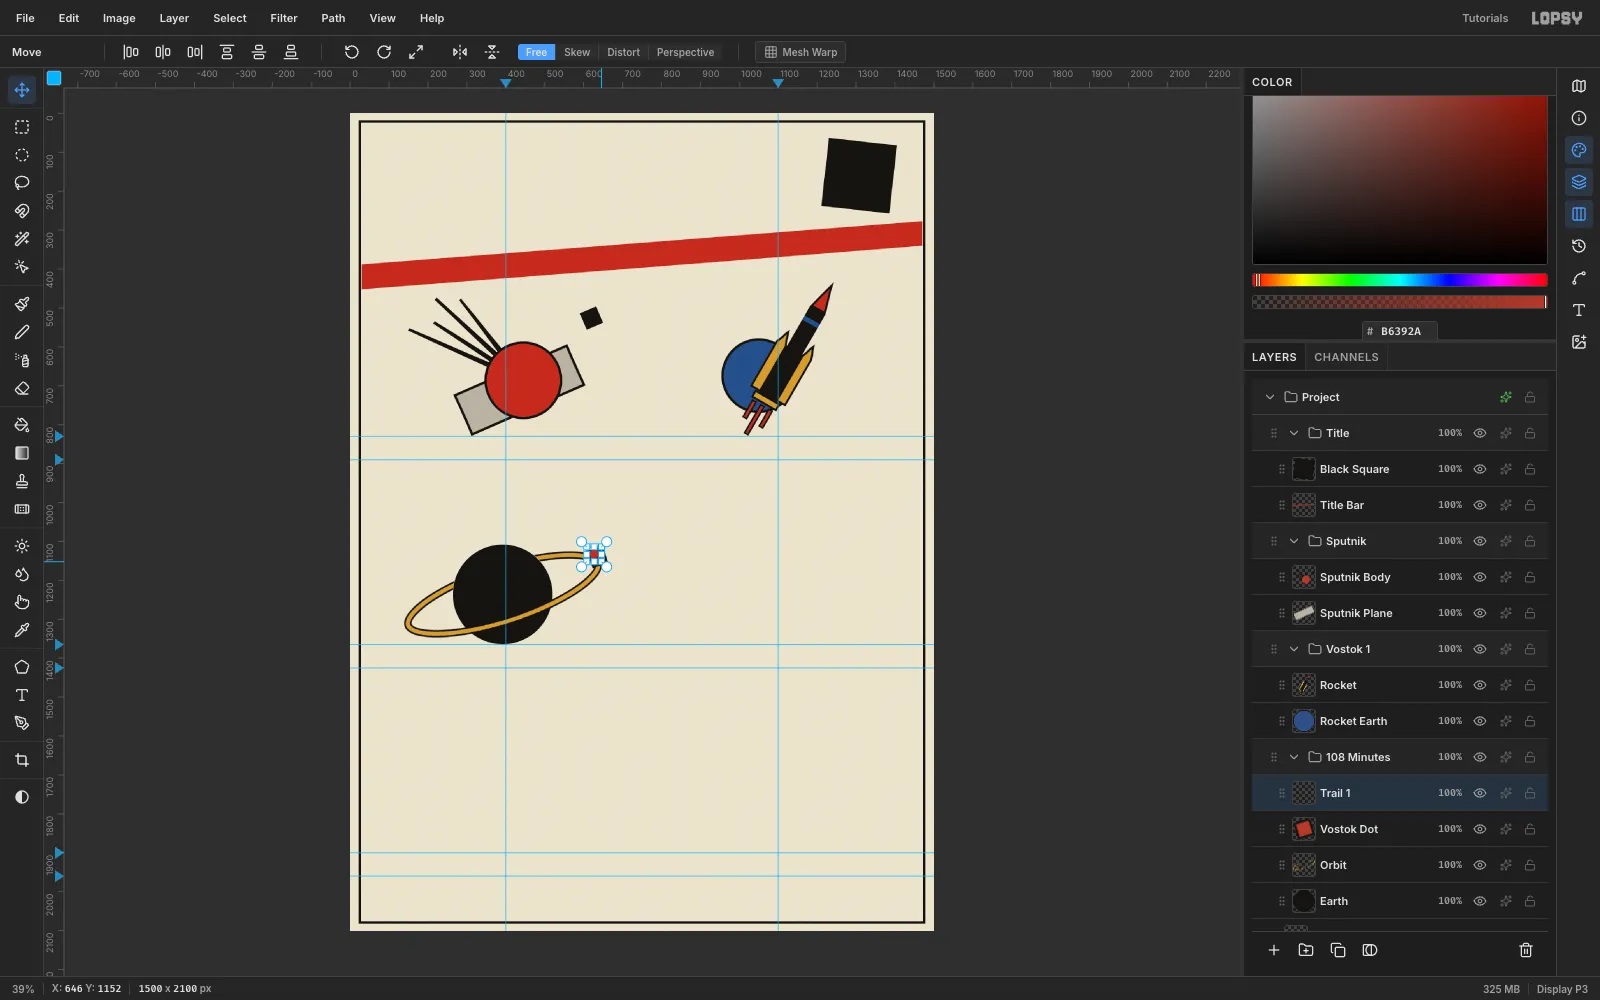
- Draw the Vostok Dot: a 42 px red square with a 5 px outline, sitting on the ring.
- Marquee it, press Cmd+C, wait a moment and press Cmd+V. The copy is pasted in place as a new layer.
- Marquee the copy. With the Move tool, hold Cmd and drag the bottom-right corner in to about 66%. Cmd keeps the aspect ratio. Press Cmd+D.
- Drag the copy back along the ring.
- Repeat for a third copy at about 42%. The shrinking squares read as speed.
-
Make Lissitzky's two squares fly over a curved horizon
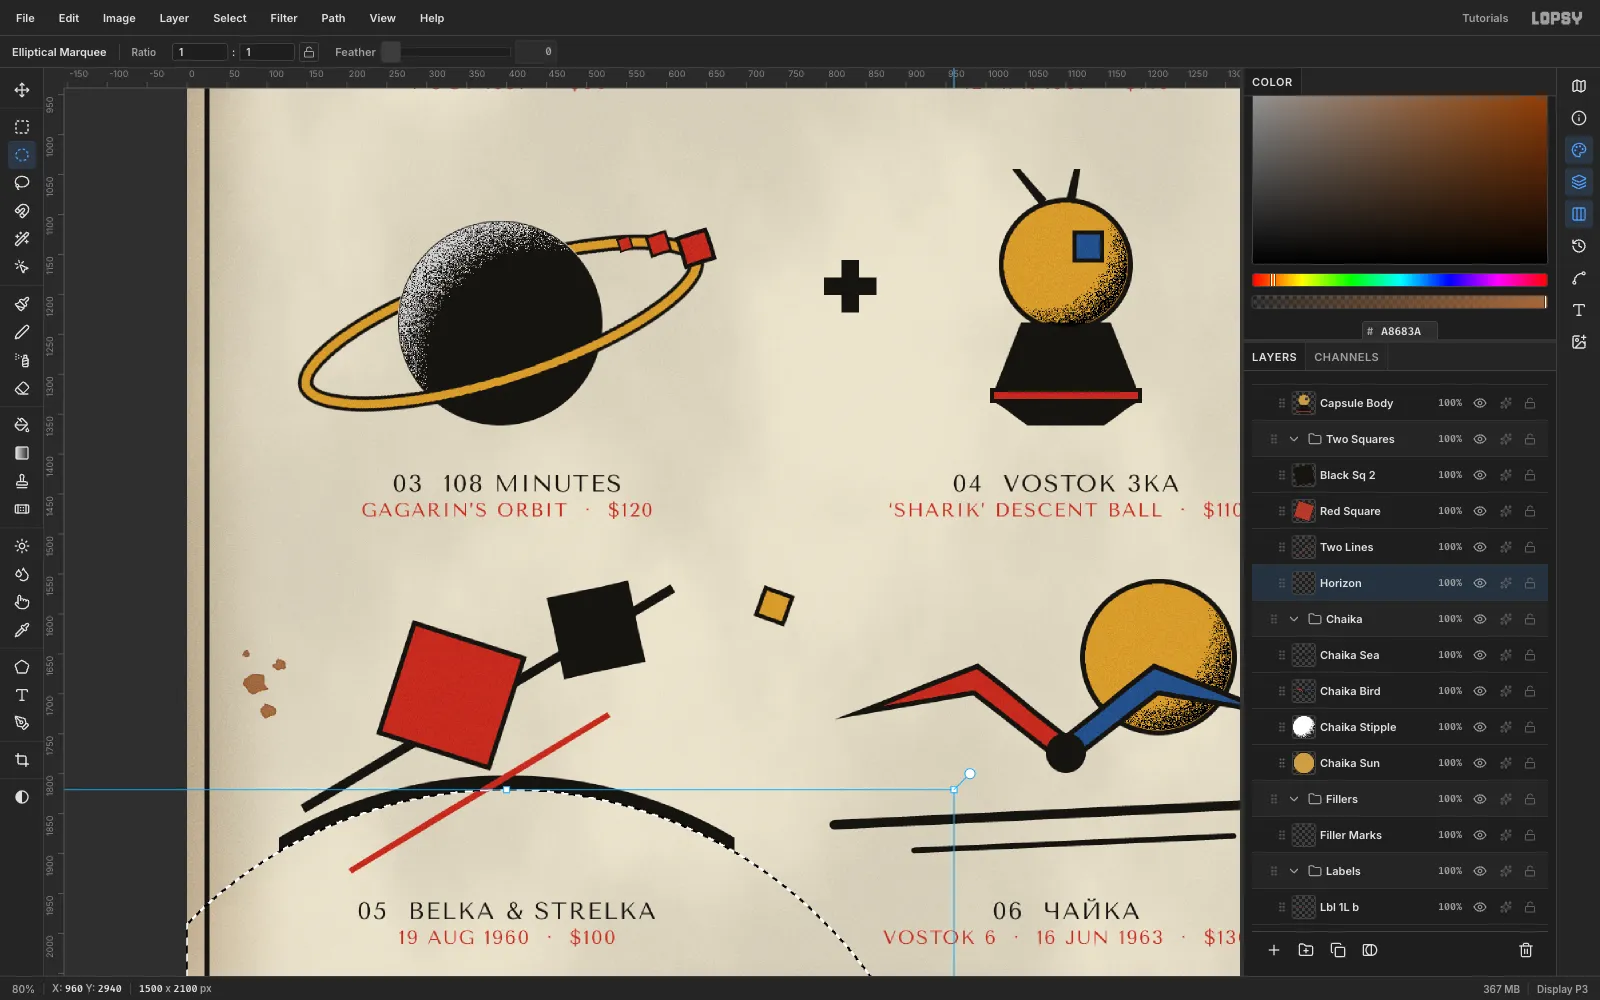
Belka & Strelka, the two dogs of Korabl-Sputnik 2, become Lissitzky's red and black squares arriving over the Earth.
- Horizon: on a Horizon layer, fill an ink circle 1120 px across, centred well below the design.
- Select the same circle 18 px lower and press Delete. What's left is a crescent that tapers toward its ends.
- Marquee-delete everything more than 285 px left or right of the centre.
- Lines: on Two Lines, lasso a 12 px ink diagonal and an 8 px red one. Keep them clear of each other and of the square corners, so no three shapes meet at one point.
- Red square: draw a 150 px red square with an outline, axis-aligned. Rotate it 18° with the Move tool's rotation handle.
- Black square: add a 104 px black square tilted −12°.
The capsule next to it is built the same way:
- An ochre sphere with an outline.
- A black cone with a red band.
- A blue hatch.
- Two thin antennae.
-
Draw the gull and its sea lines with the Pen
Чайка ("seagull") was Valentina Tereshkova's call sign on Vostok 6.
- Sun: in a Chaika group, draw an ochre sun with an outline.
- Wings: on a Chaika Bird layer, lasso two outlined wings, red on the left and blue on the right. Each rises from the body to a wrist and then sweeps out to a pointed tip. Add a black disc for the body where they meet.
- Sea lines:
- Add a Chaika Sea layer.
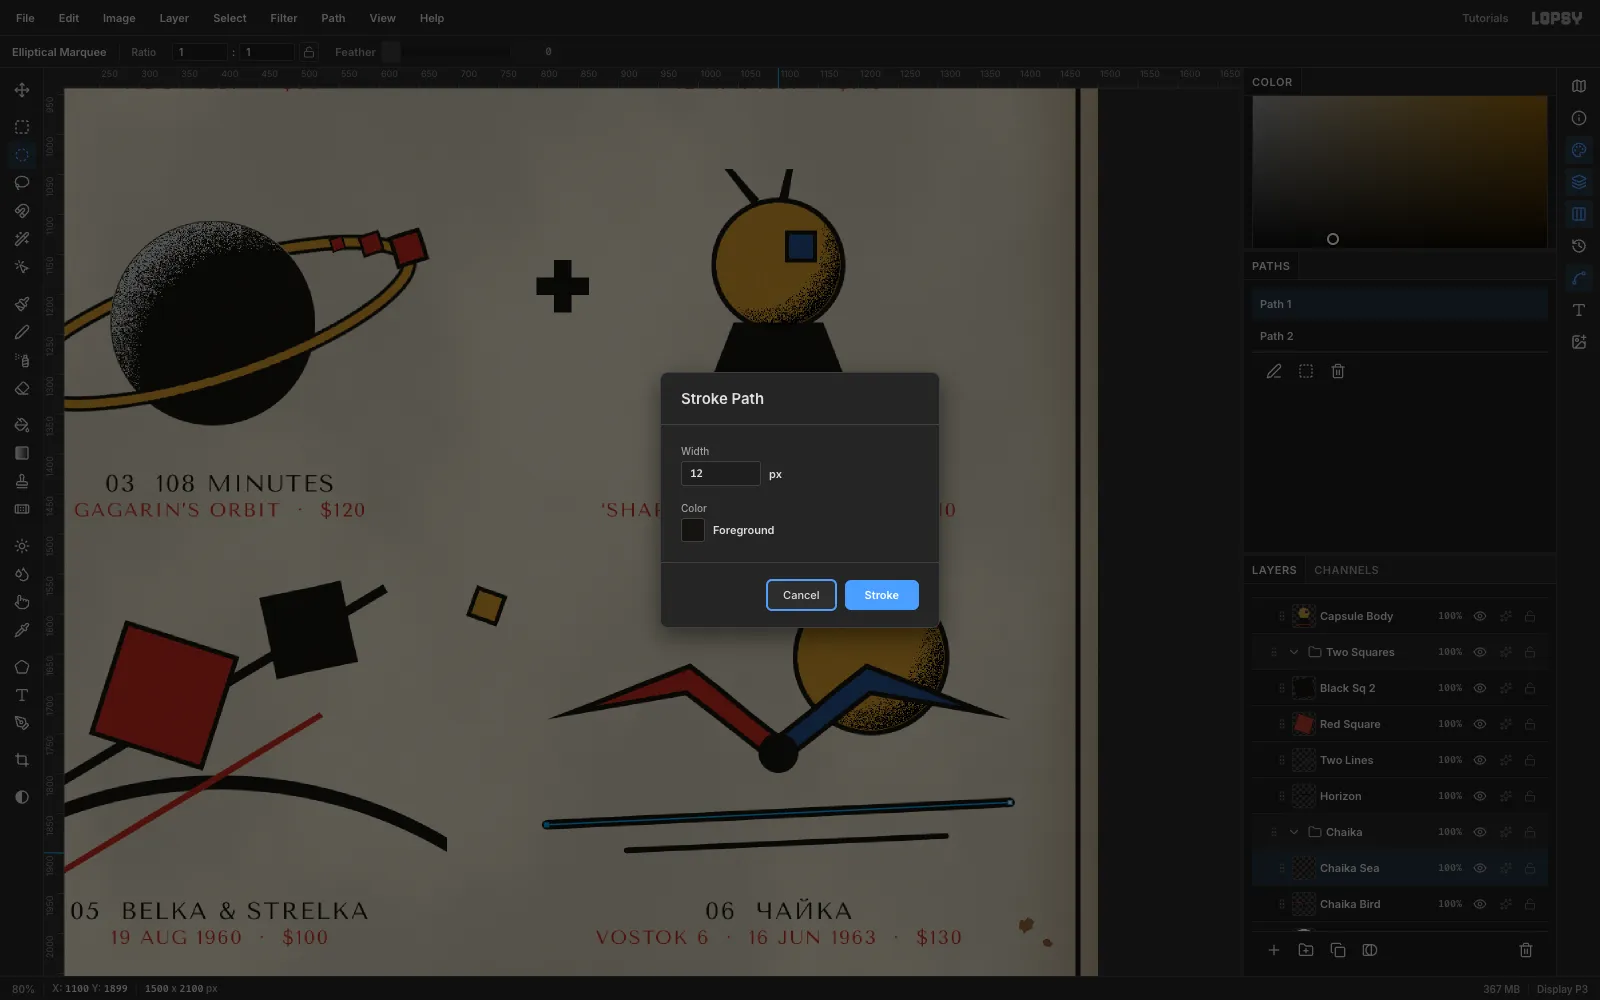
- With the Pen tool, click two points for each line and click Commit path.
- Set the foreground to ink. Select each path in the Paths panel and click Stroke Path: Width 12 for the first line and 7 for the second.
-
Shade the spheres with stipple dotwork
The light comes from the top left, so shade the bottom-right of every sphere.
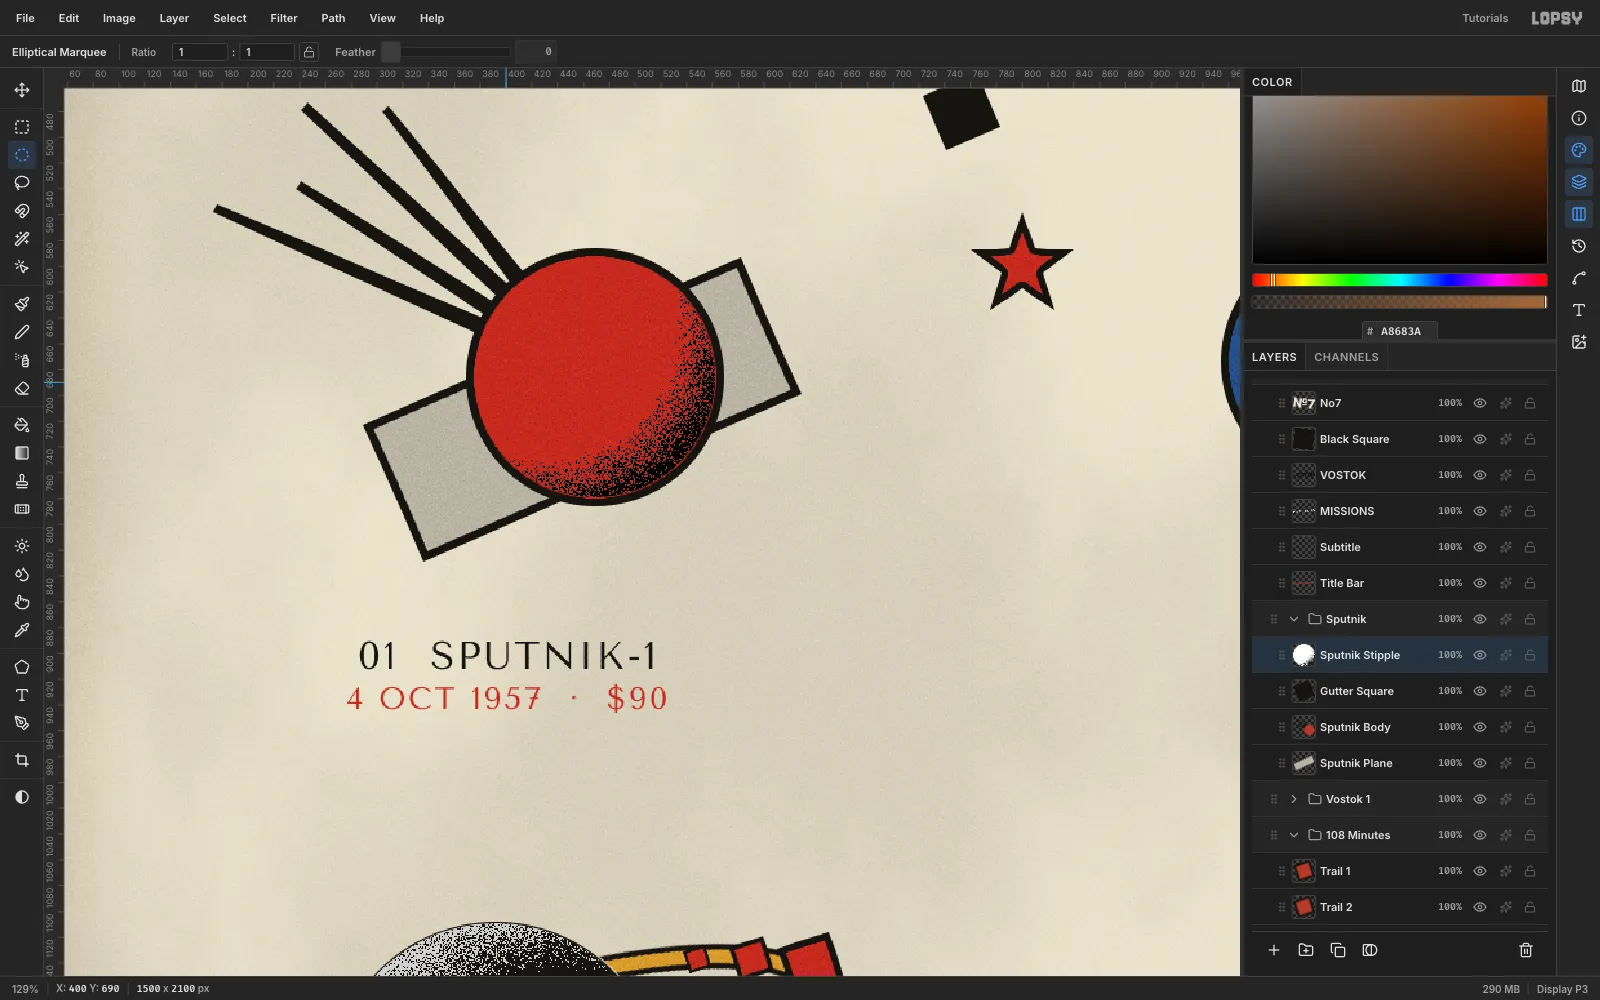
- Above each sphere, add a stipple layer, such as Sputnik Stipple.
- Select the sphere's coloured inside with the Elliptical Marquee.
- With the Gradient tool set to Radial, set these stops in Advanced…:
- White at 0 and at 48%.
- Mid-grey at 100%.
- Drag from a point up and to the left of the centre, out past the lower-right edge.
- Run Filter → Add Noise… at Amount 100, Mono.
- Run Filter → Threshold… at 128. The grey end breaks into dots and fades out toward the light.
- Set the layer to Multiply. The white disappears and only the dots stay.
For the black planet, reverse the colours: use black stops and a light-grey edge, drag from the lower right, and set the layer to Screen at 80%. That gives a pale dotted rim on its lit side.
-
Put small filler motifs in the gutters
Real flash sheets fill the gaps with small motifs.
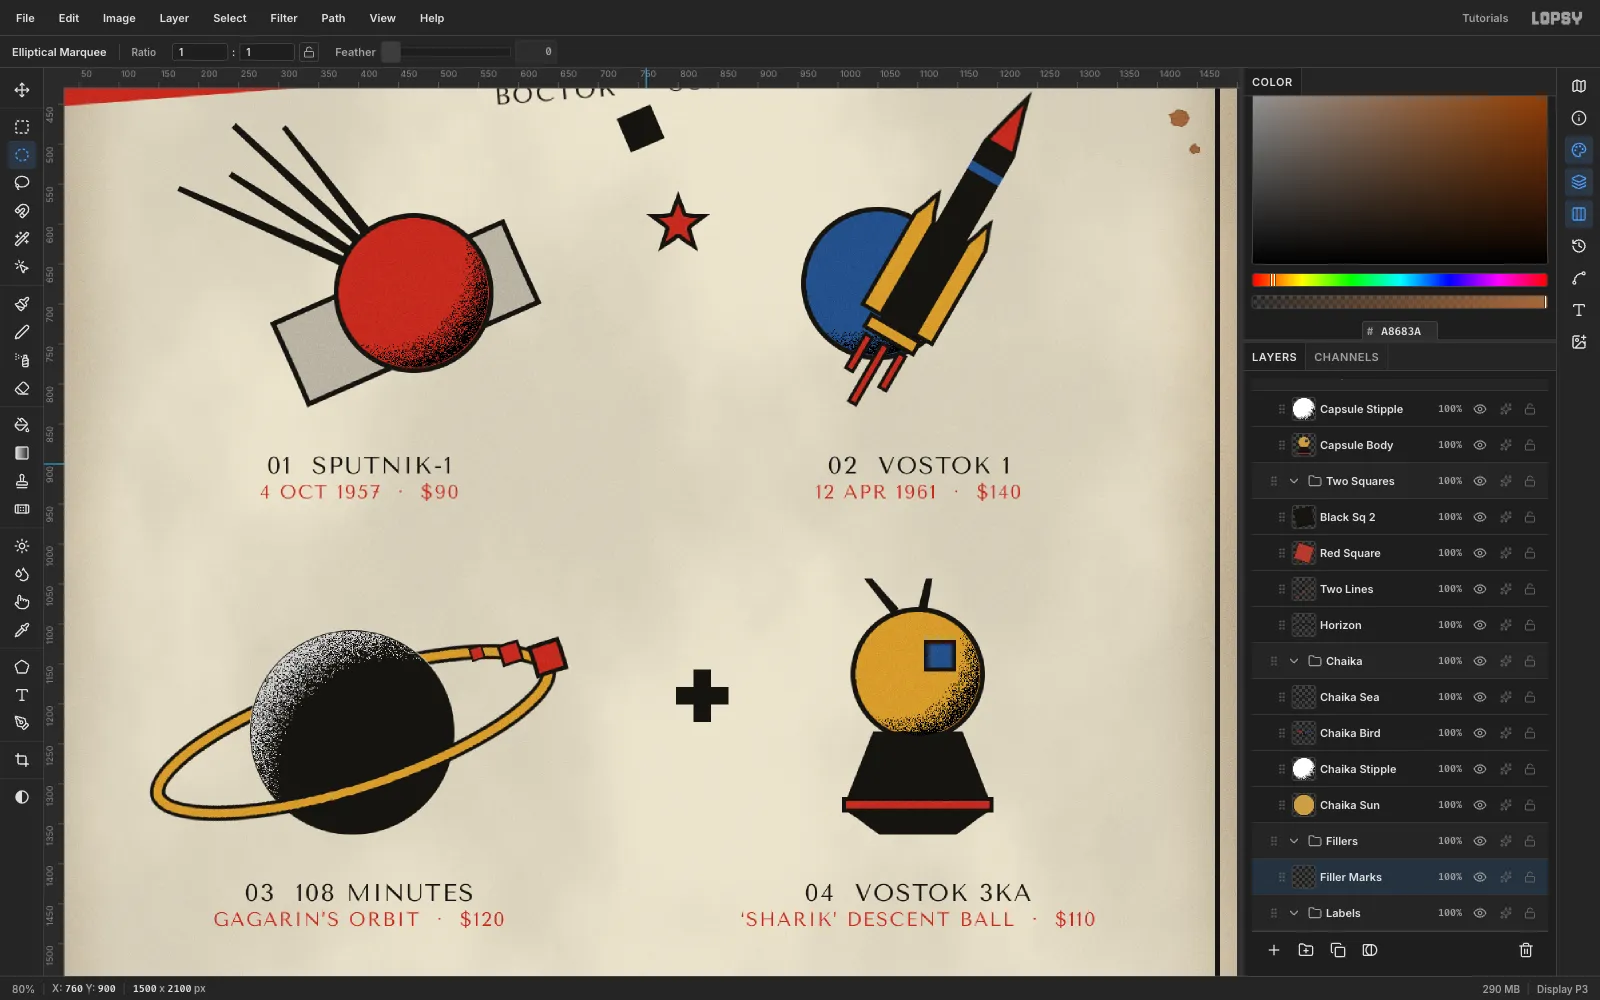
- In a Fillers group, lasso these shapes onto the column axis (x ≈ 750):
- A red five-point star with an outline.
- A black cross.
- A small ochre square with an outline.
- If a small shape ends up in the wrong place, move it with a marquee, Cmd+X and Cmd+V, then drag the pasted layer onto the gutter axis. The pasted layer lands in place above the layer you cut from.
-
Set the title to the angle of the bar
- Create each text layer flat, in empty space, then rasterize and rotate it:
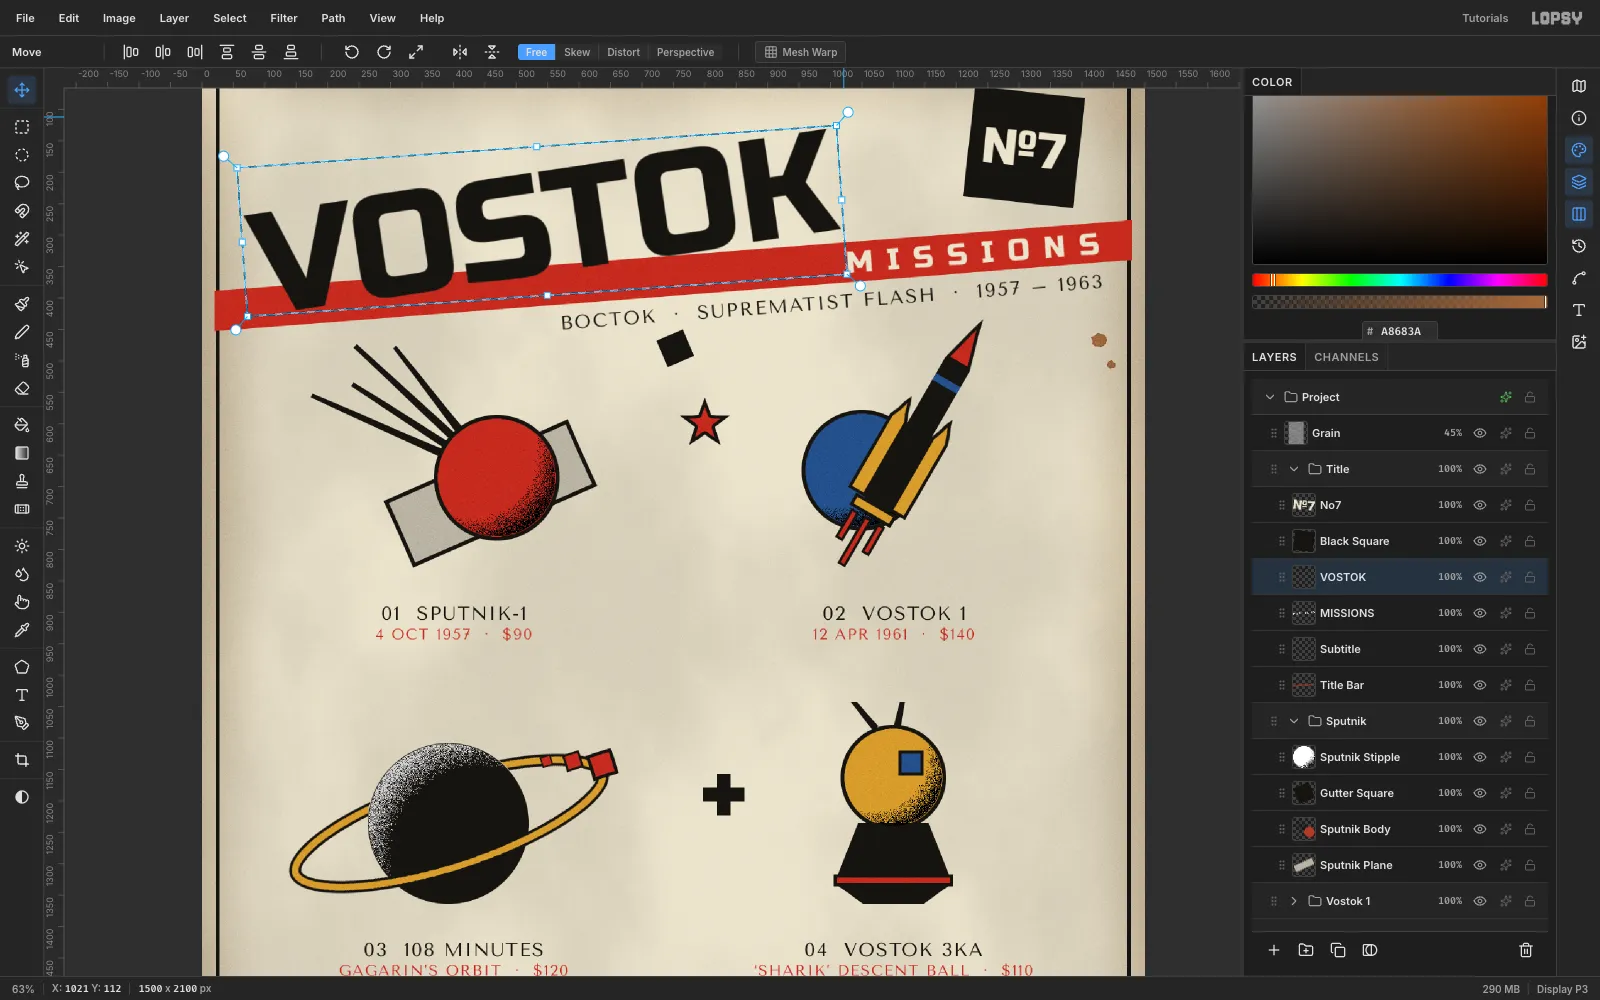
- VOSTOK: Russo One 230, ink.
- MISSIONS: Russo One 48, paper colour, letter spacing 22.
- Subtitle: Tenor Sans 30, letter spacing 3. The text is
ВОСТОК · SUPREMATIST FLASH · 1957 – 1963. - №7: Russo One 80, paper colour.
- Click Rasterize Layer on each one. Marquee it, and rotate it −4.43° with the Move tool (the №7 gets +6°). Commit each with Cmd+D.
- Seat each piece:
- VOSTOK: move it so the letter feet sink about 12 px into the red bar.
- MISSIONS: centre it inside the bar, about 40 px from the bar's end.
- Subtitle: right-align it under the bar, about 17 px below it.
- №7: centre it in the black square.
-
Centre two-line labels on the column axes
Each design gets a number and name in Tenor Sans 30 ink. Below it goes the date and price in Tenor Sans 24 red, with letter spacing 2.
- Put all the labels in a Labels group.
- Create the red line before the ink line above it. A text-tool click just below an existing line would edit that line instead of starting a new one.
- Point text ignores alignment, so centre each label by eye (or by its width) on the column guide.
- Put the tops on the label-row guides. That gives every design the same 60 px gap above its label.
For example,
01 SPUTNIK-1over4 OCT 1957 · $90. Use curly quotes forGAGARIN’Sand‘SHARIK’.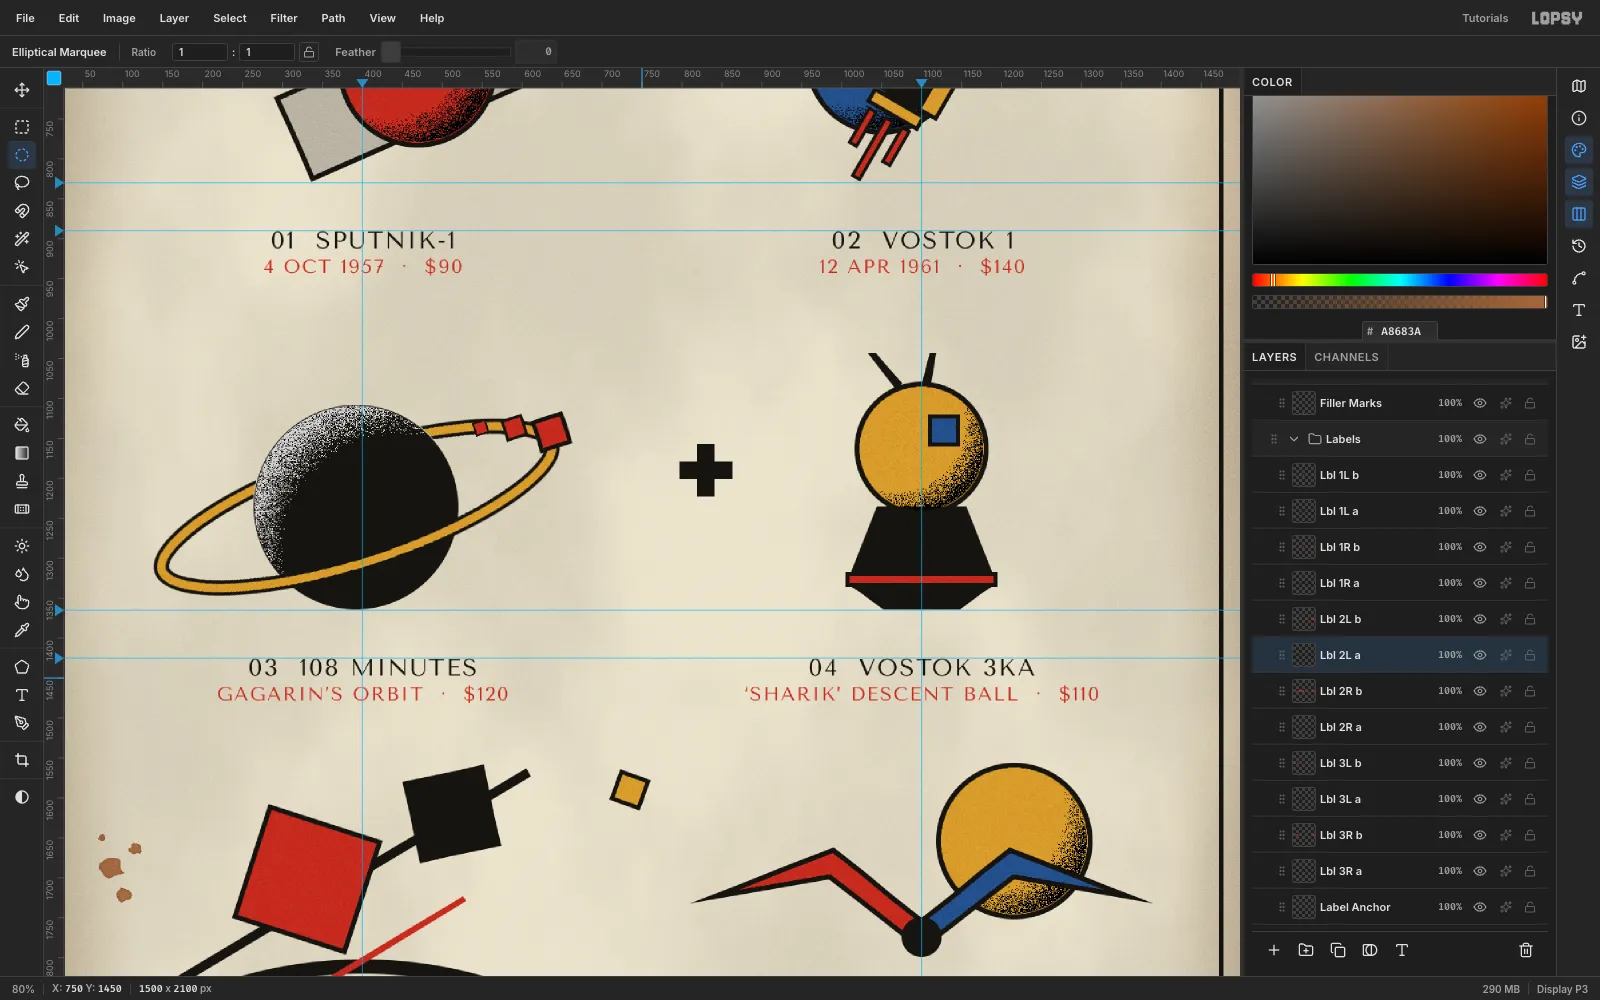
-
Age the paper and add grain
- Paper Mottle: above the Background, fill a layer white and run Filter → Clouds… at Scale 5. Set it to Multiply at 9%.
- Foxing:
- Add a layer and pick the Brush at Size 340 with Hardness 0 in toning brown.
- Paint soft strokes along each edge. Start every stroke on the grey pasteboard, not on a ruler, or you'll add a guide instead of paint.
- Set the layer to Multiply at 38%.
- Rust Spots:
- Lasso a few irregular blobs in two or three clusters near the margins, and fill them with rust .
- Run Gaussian Blur 1.2.
- Add an Inner Glow in , Size 4, for a darker rim.
- Set the layer to Multiply at 80%.
- Grain:
- Fill a layer mid-grey and run Add Noise 100, Mono, Gaussian.
- Set it to Overlay at 45%.
- Drag it to the top of the layer stack.
- Export with File → Quick Export PNG.