Make a Synthwave Roller Rink Flier from a Photo
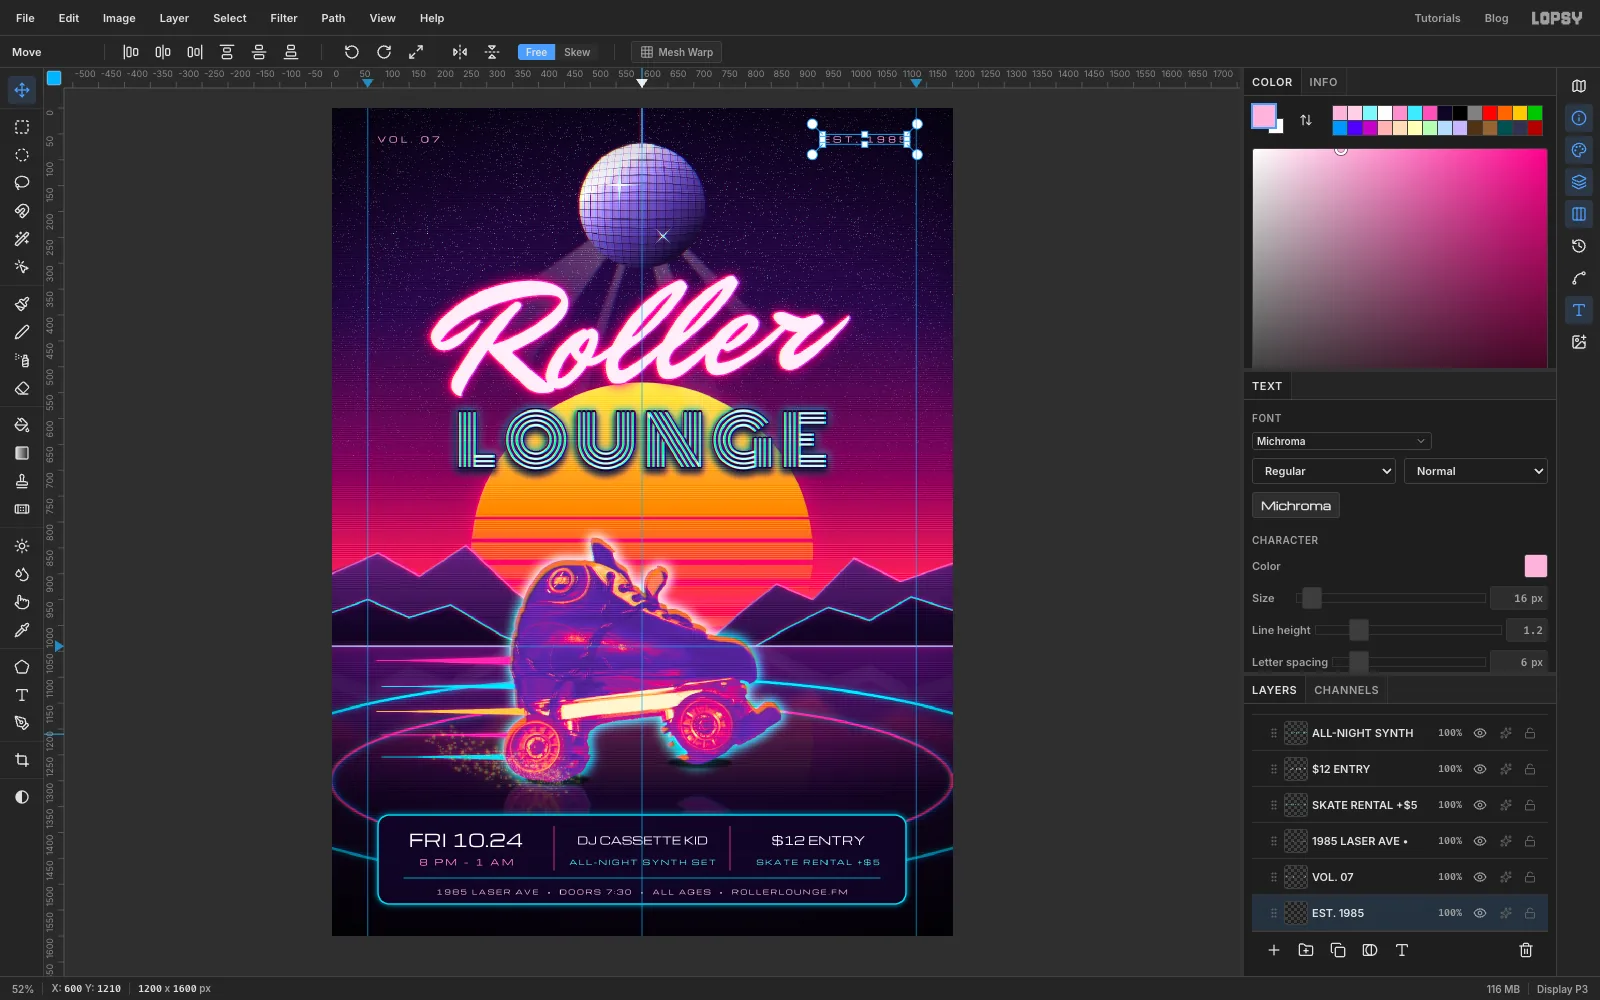
Design an 80s synthwave skate-night flier in Lopsy with a slit sun, a pixel-tile disco ball, a gradient-mapped skate photo and neon type.
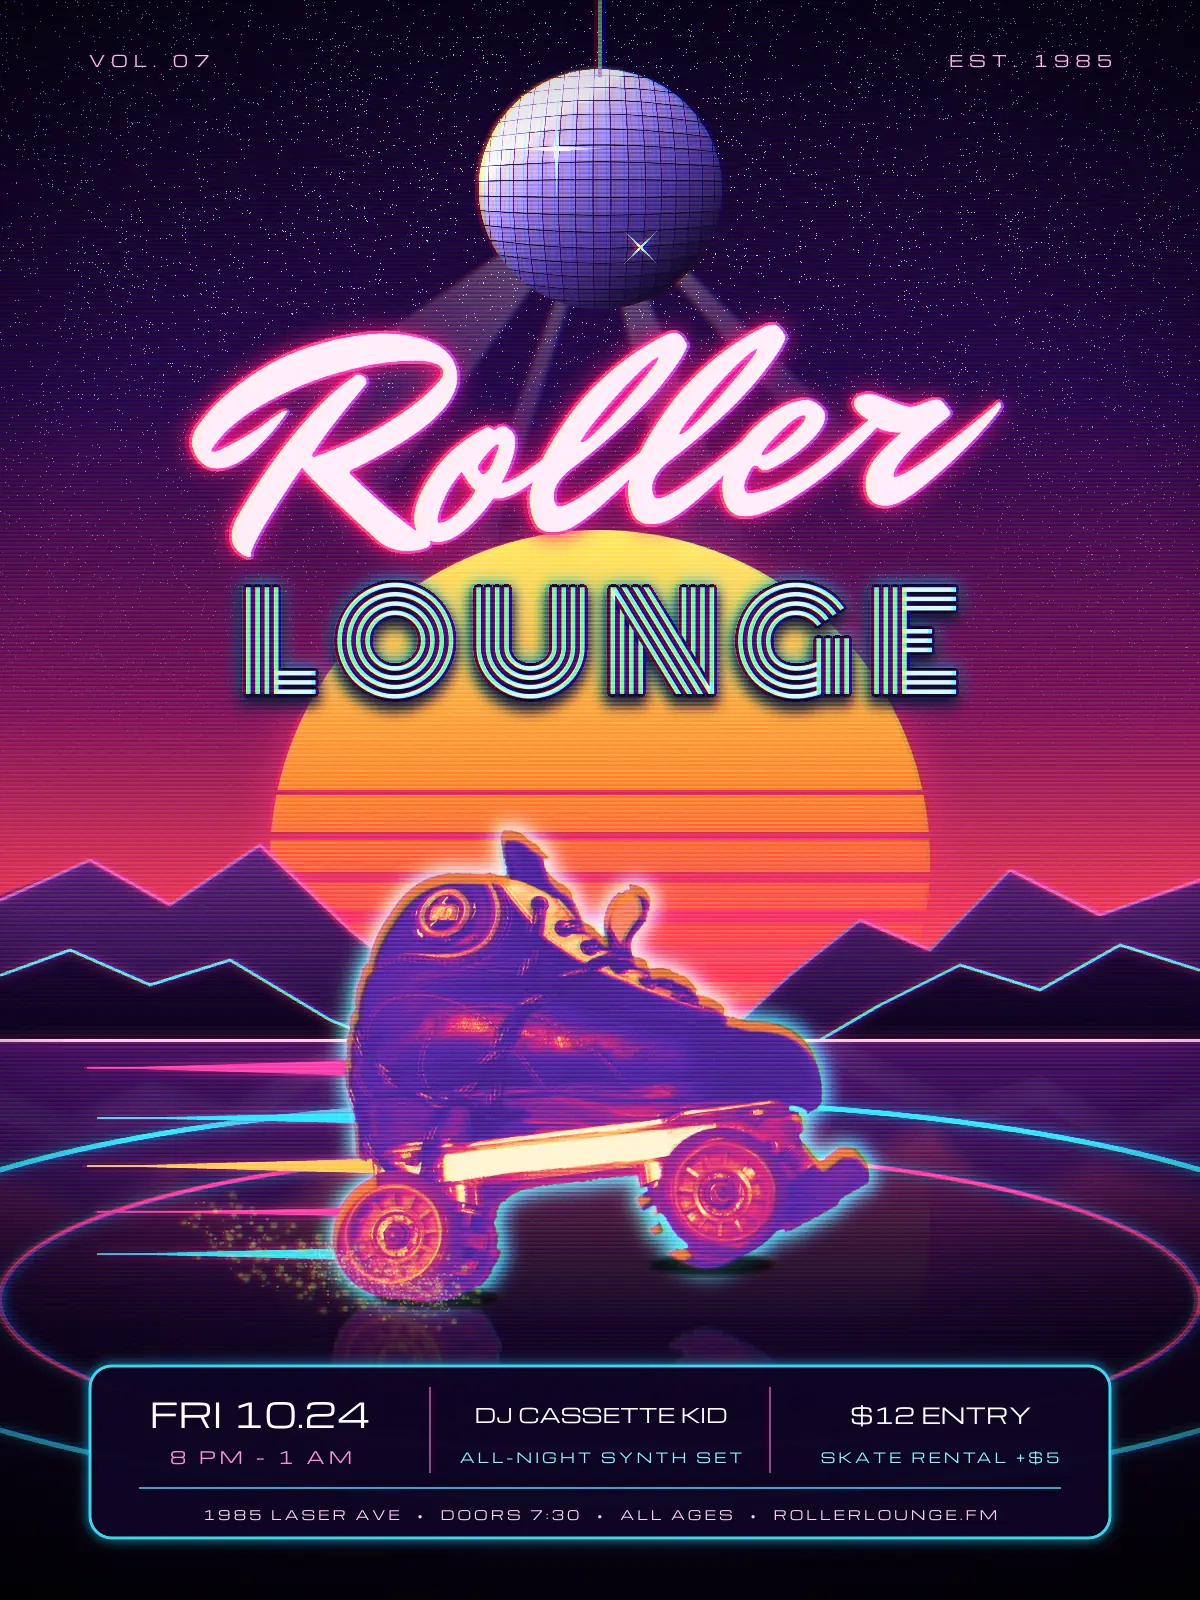
Synthwave (also called retrowave or outrun) is the 2010s take on 80s album sleeves and arcade cabinets: a sun cut into slices sinking behind neon mountains, a sky going from violet to hot pink, chrome or neon type, and a VHS haze over everything. It suits a roller rink, which still has the disco ball, the coloured lights and the glossy floor.
In this tutorial you'll make a flier for Roller Lounge, an imaginary Friday skate night. The scene is painted from scratch. The hero is a real photograph of a quad roller skate that you cut out with the Magic Wand and recolour with a Gradient Map, so it sits in the scene like an 80s airbrush illustration. The flier is 1200 × 1600 px.
Along the way you'll use:
- the Gradient tool, a layer mask and Add Noise + Threshold for the sky and stars
- Shift-added marquees to slice the sun, and the Pen tool to stroke neon ridge lines
- Copy Merged, Flip Vertical and Motion Blur for floor reflections
- the Shape tool for the rink ovals and the info panel
- Pixelate, Define Pattern, Fill with Pattern, Lens Distortion, Bloom and Sunburst for the disco ball
- the Magic Wand, Grow, Shrink and Inverse to cut out a photo
- a Gradient Map adjustment on a group
- scale and rotation handles on pixels and on live text
- selection maths (move the outline, invert, intersect) for a rim light
- the Brush with Taper, the Spray tool and the Pencil
- text in Mr Dafoe, Monoton and Michroma with Stroke, Drop Shadow and Outer Glow
- Chromatic Aberration, a scanline pattern, grain and a vignette for the VHS finish
The palette:
-
Sky
-
Sun
-
Neon pink
-
pink glow
-
sun glow
-
title glow
-
ridge pink
-
Neon cyan
-
cyan glow
-
pale cyan type
-
small cyan type
-
Far range
-
near range
-
Floor
-
horizon
-
Disco ball
-
grout
-
chain
-
Beams
fading to transparent
-
Skate map
-
Rim orange
-
spark gold
-
trail yellow
-
Panel ink
-
pale pink type
-
date pink
-
footer
-
Set up the canvas and paint the sky
Choose File → New, enter 1200 × 1600 and click Create. Click the top ruler at
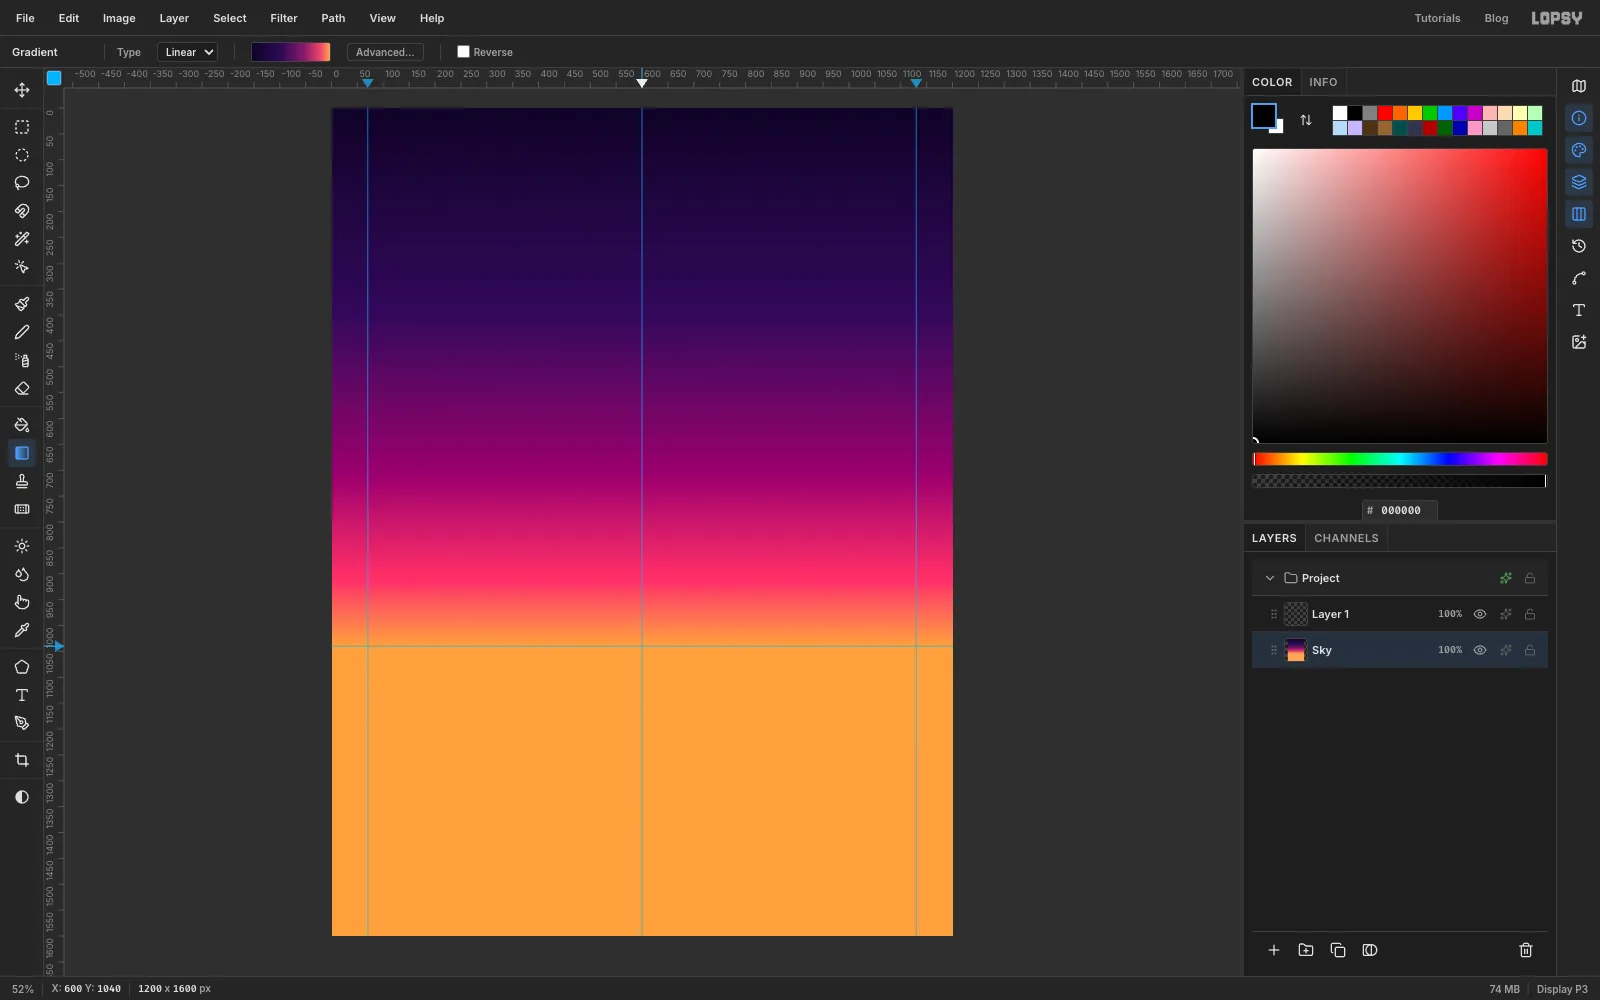
600for a centre guide, and at70and1130for the side margins. Click the left ruler at1040: that is the horizon.Rename Background to Sky. Pick the Gradient tool, set it to Linear and open Advanced…. Give it five stops: at 0%, at about 38%, at about 68%, at about 88% and at 100%. Drag from the top edge straight down to the horizon guide. Everything below the horizon will be covered by the floor later.
-
Scatter stars and fade them out
Rename Layer 1 to Stars, fill it with black and choose Filter → Add Noise… with Amount
100and Mono on. Then Filter → Threshold… at49. Only the brightest specks survive, and they become sharp white stars. Set the layer's Blend to Screen so the black disappears.Stars shouldn't reach the glowing horizon. Click Add Mask at the bottom of the Layers panel, then click the mask thumbnail to edit it. Pick the Gradient tool, open Advanced…, delete the middle stops and set the two that remain to white and black. Drag from about
y 250down toy 820.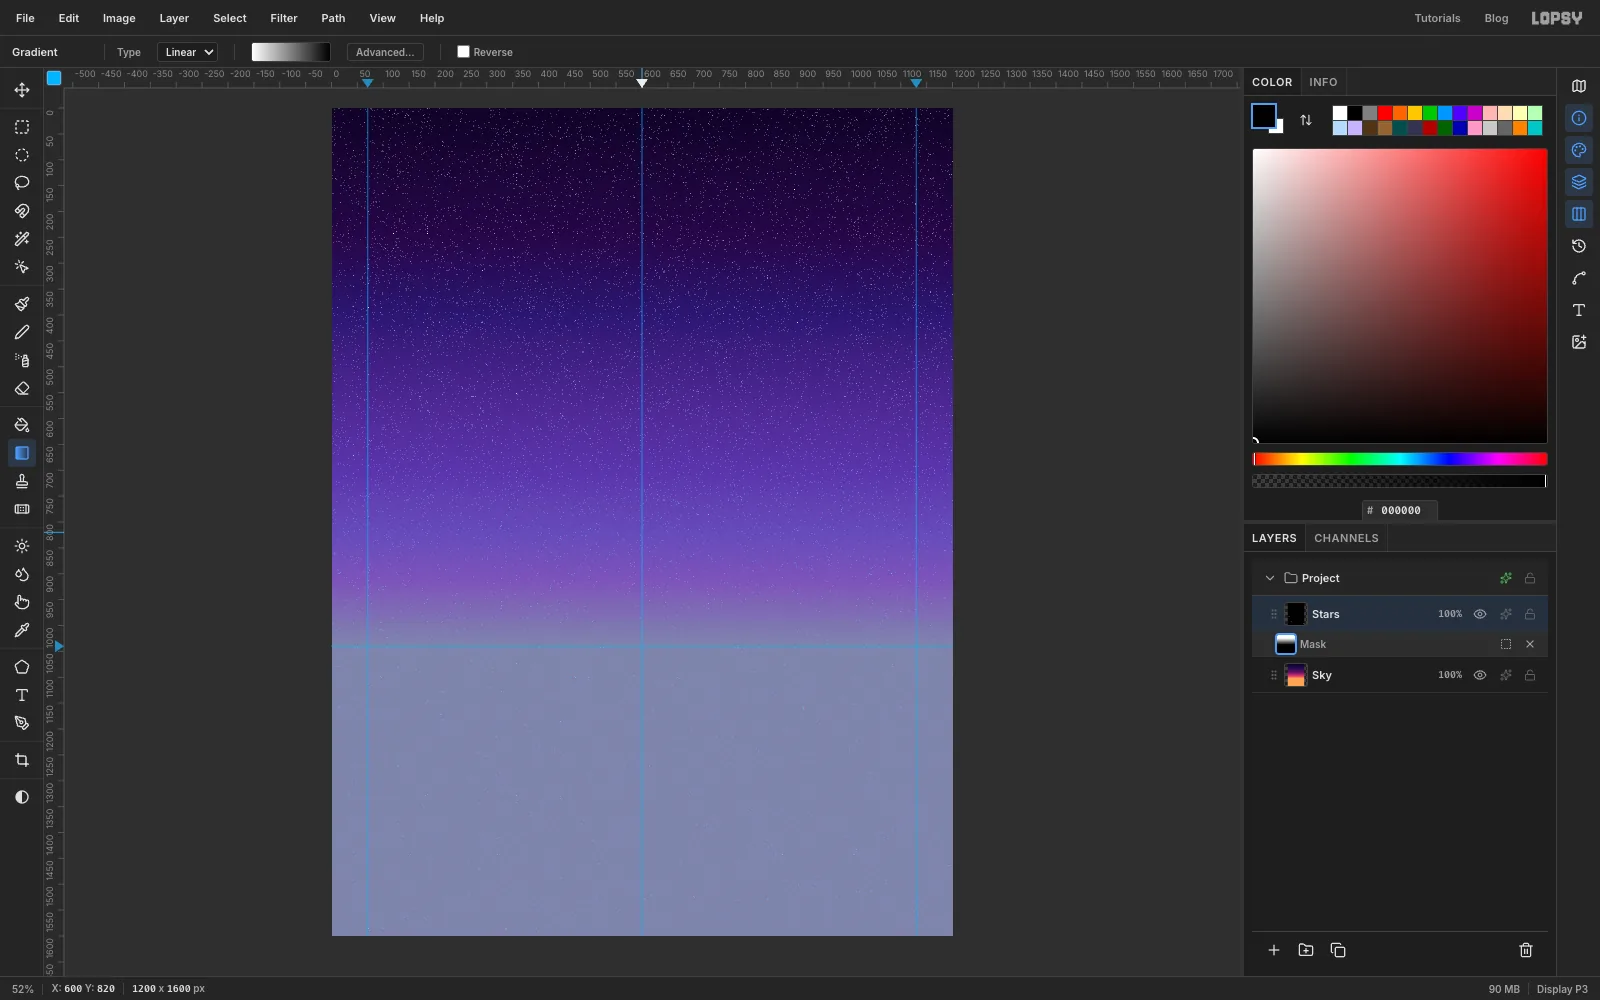
-
Draw the sun
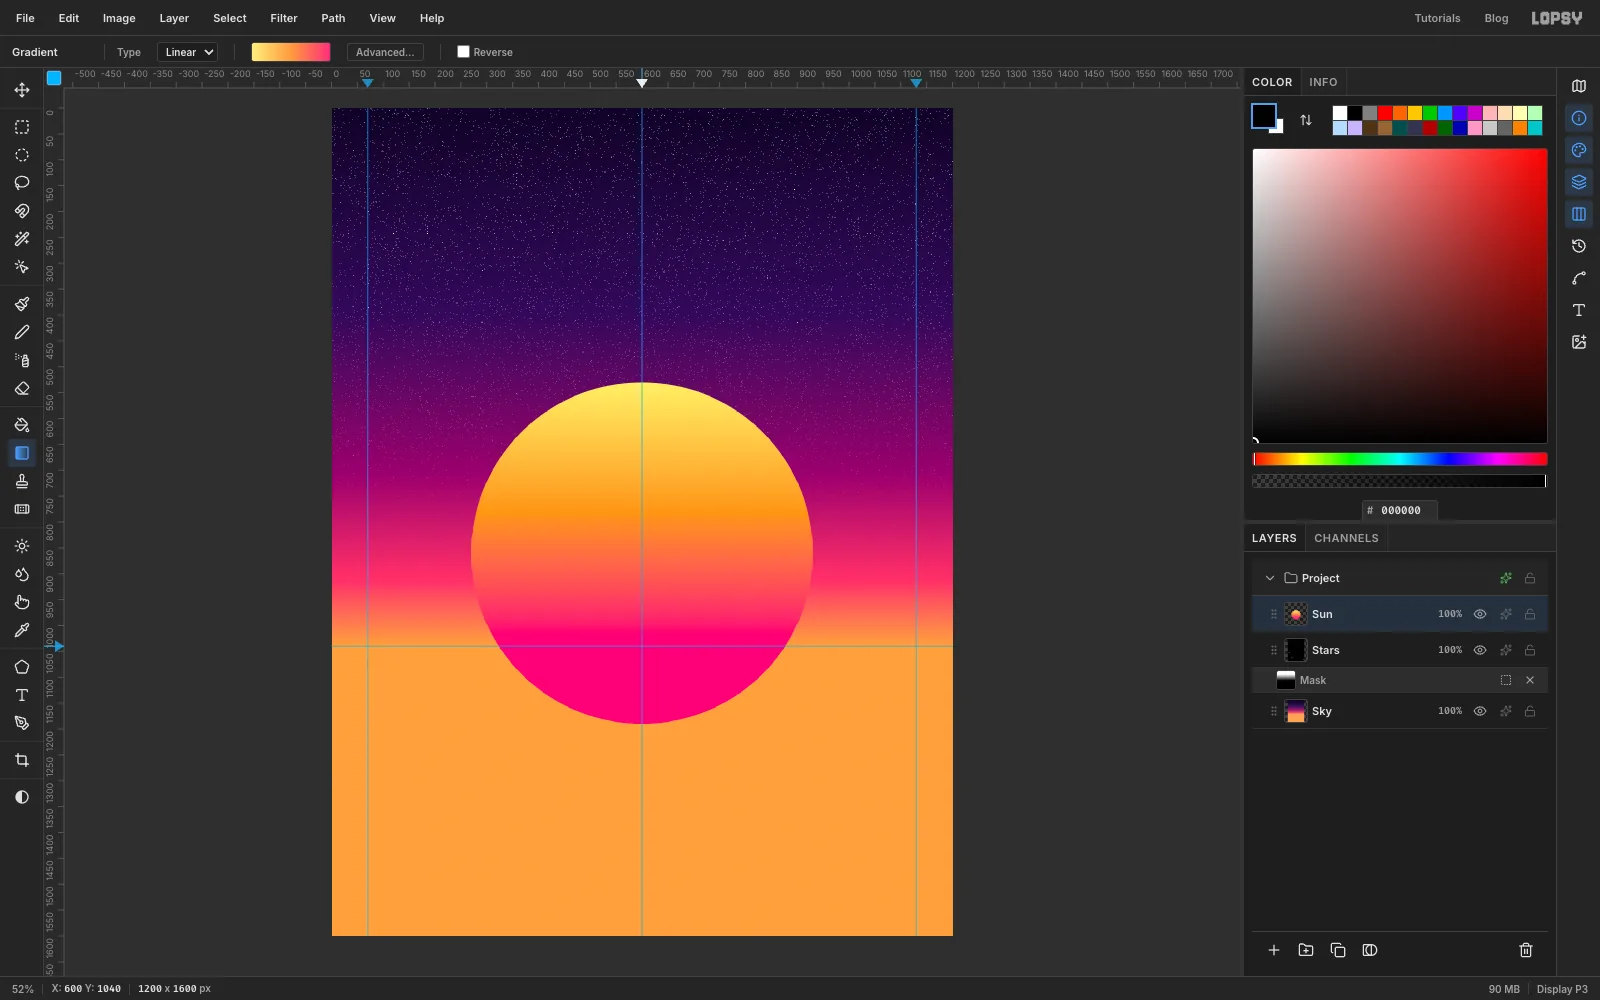
Click Stars and add a layer named Sun. With the Elliptical Marquee, click once and enter From
270, 530To930, 1190: a 660 px circle whose lower part sits below the horizon.Fill it with a linear gradient: , at 50%, and . Drag from the top of the circle down to the horizon, then deselect.
-
Select the sun's slits
The classic synthwave sun is cut by horizontal slits that get thicker as they go down. Zoom in so the thin bands are easy to drag, and pick the Rectangular Marquee. Drag the first band across the sun a little below its middle (about
y 790), starting left of the circle and ending right of it. Make it about 5 px tall. Then hold Shift and drag six more bands under it, each a few pixels thicker than the last and with the gaps between them shrinking, so the last one is about 24 px tall and ends at the horizon. Shift adds each band to the selection.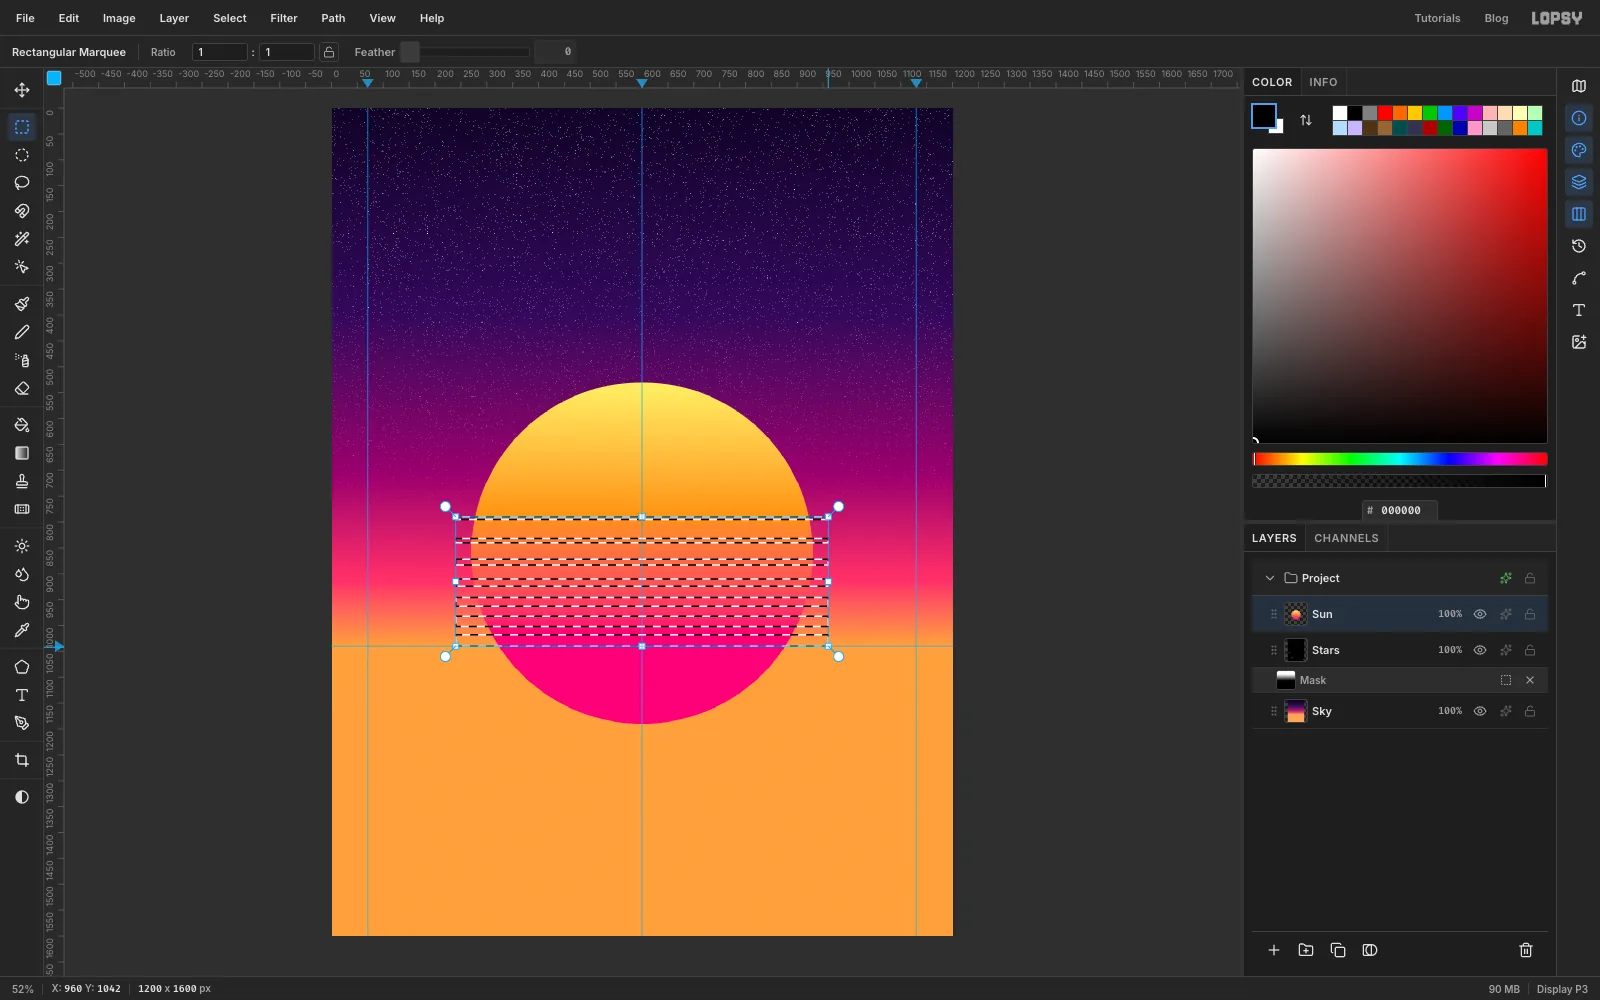
-
Cut the slits and light the sun
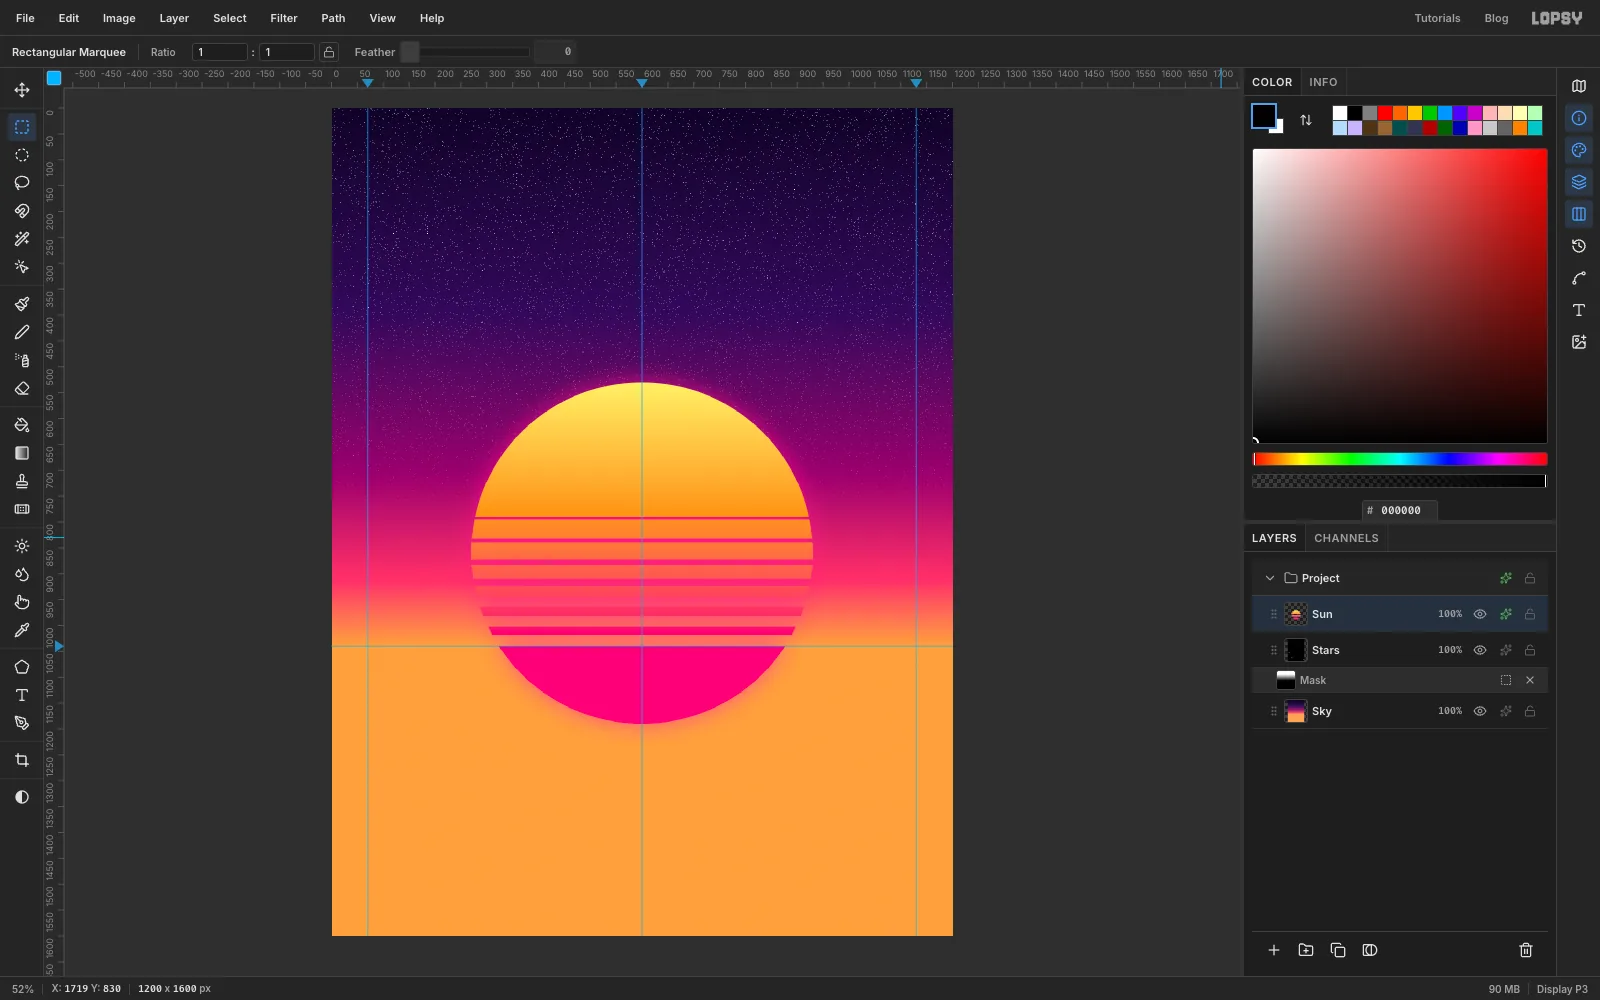
Press Delete to cut all seven slits at once, then deselect. Add an Outer Glow in with Size
70and Opacity70.To compare, press Cmd+Z twice: the glow and the slits disappear. Shift+Cmd+Z twice brings them back.
-
Lasso the far mountains
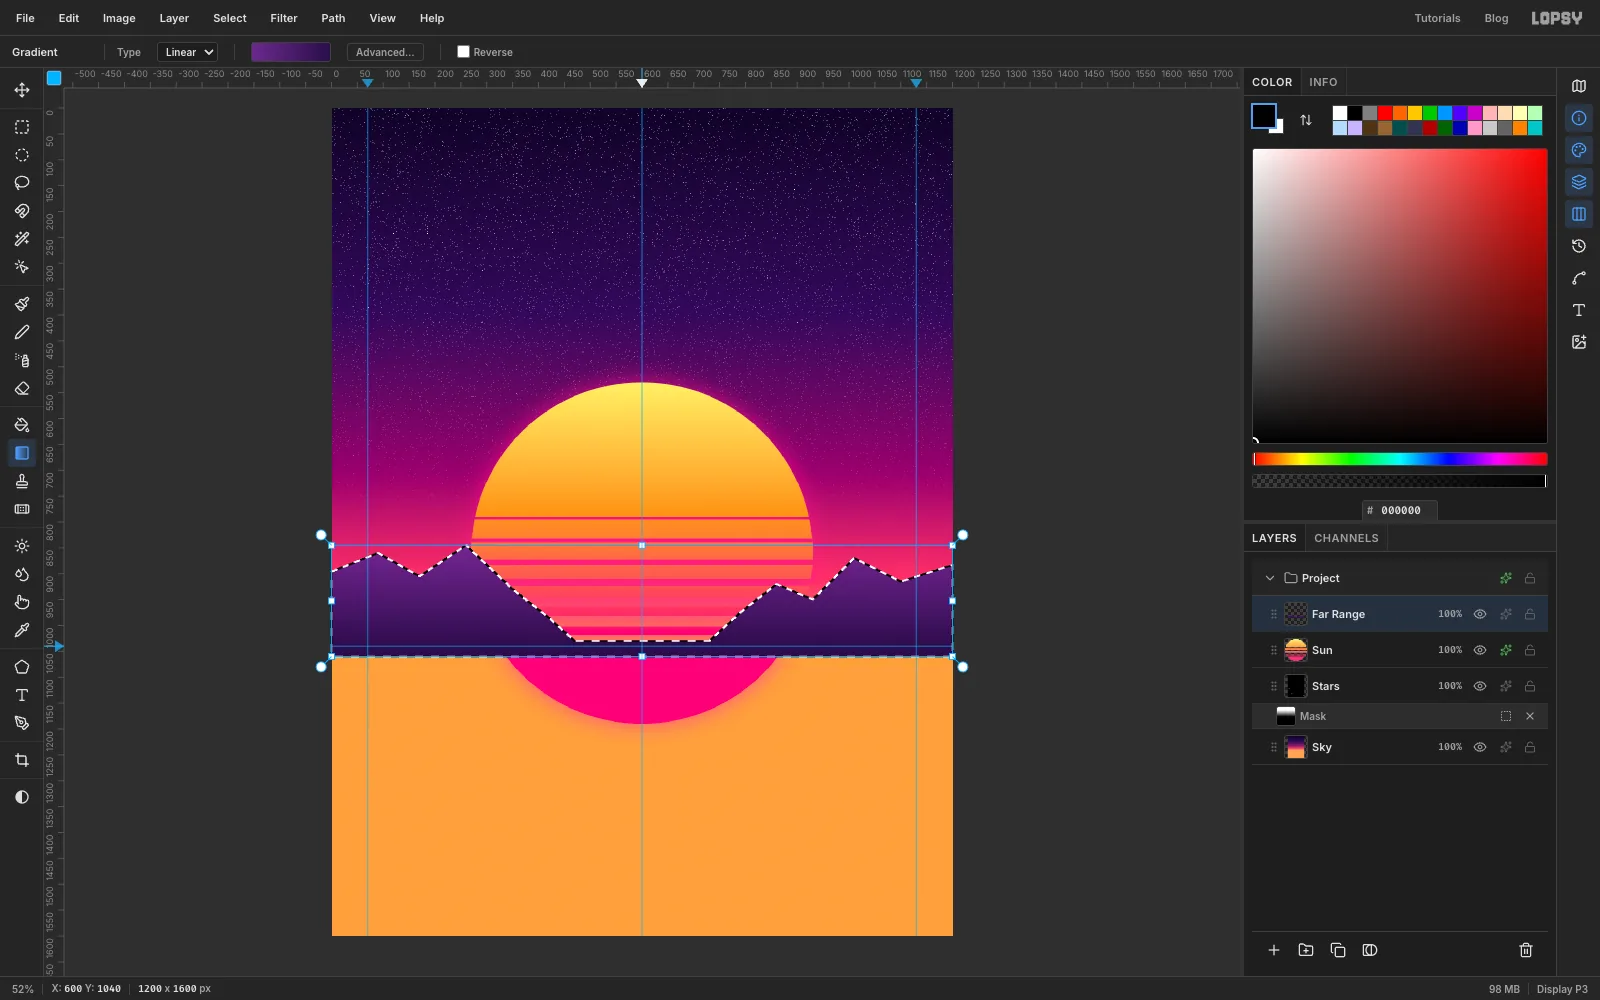
Click Sun and add a layer named Far Range. With the Lasso, trace a row of sharp peaks from the left edge to the right edge, between about
y 845andy 930. Bring the line down to the horizon aroundx 470andx 730so the middle stays open for the sun. Close the shape below the horizon.Fill the selection with a linear gradient from at the peaks to at the horizon, and deselect.
-
Add the near range and stroke the ridges
Add a layer named Near Range and lasso a lower row of hills in front, between about
y 945andy 1040, again leaving the middle open. Fill it from to , darker than the far range so it reads as closer.Add a layer named Ridge Lines. Set the foreground to , pick the Pen tool and set its Stroke to
3. Click an anchor on each peak and valley of the far range's left side, then press Enter. The path is stroked with the foreground colour. Do the same for its right side. Switch the foreground to and stroke both halves of the near range.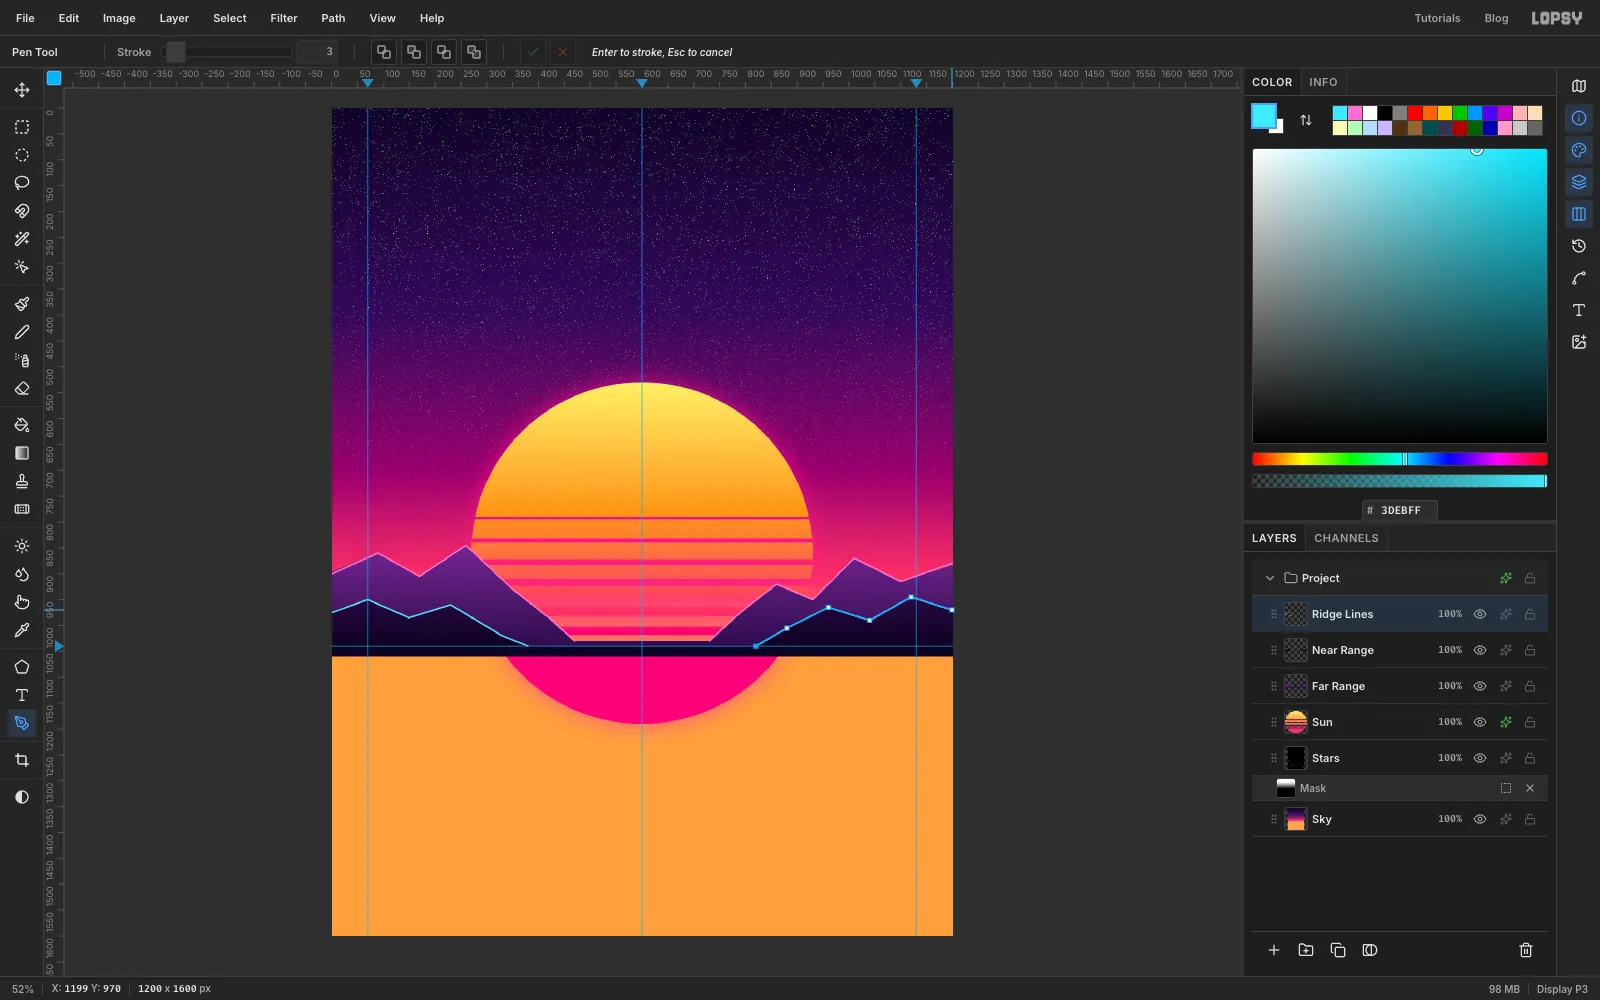
-
Make the ridges glow
Give Ridge Lines an Outer Glow in , Size
14and Opacity85. Thin lines with a glow read as neon tubes.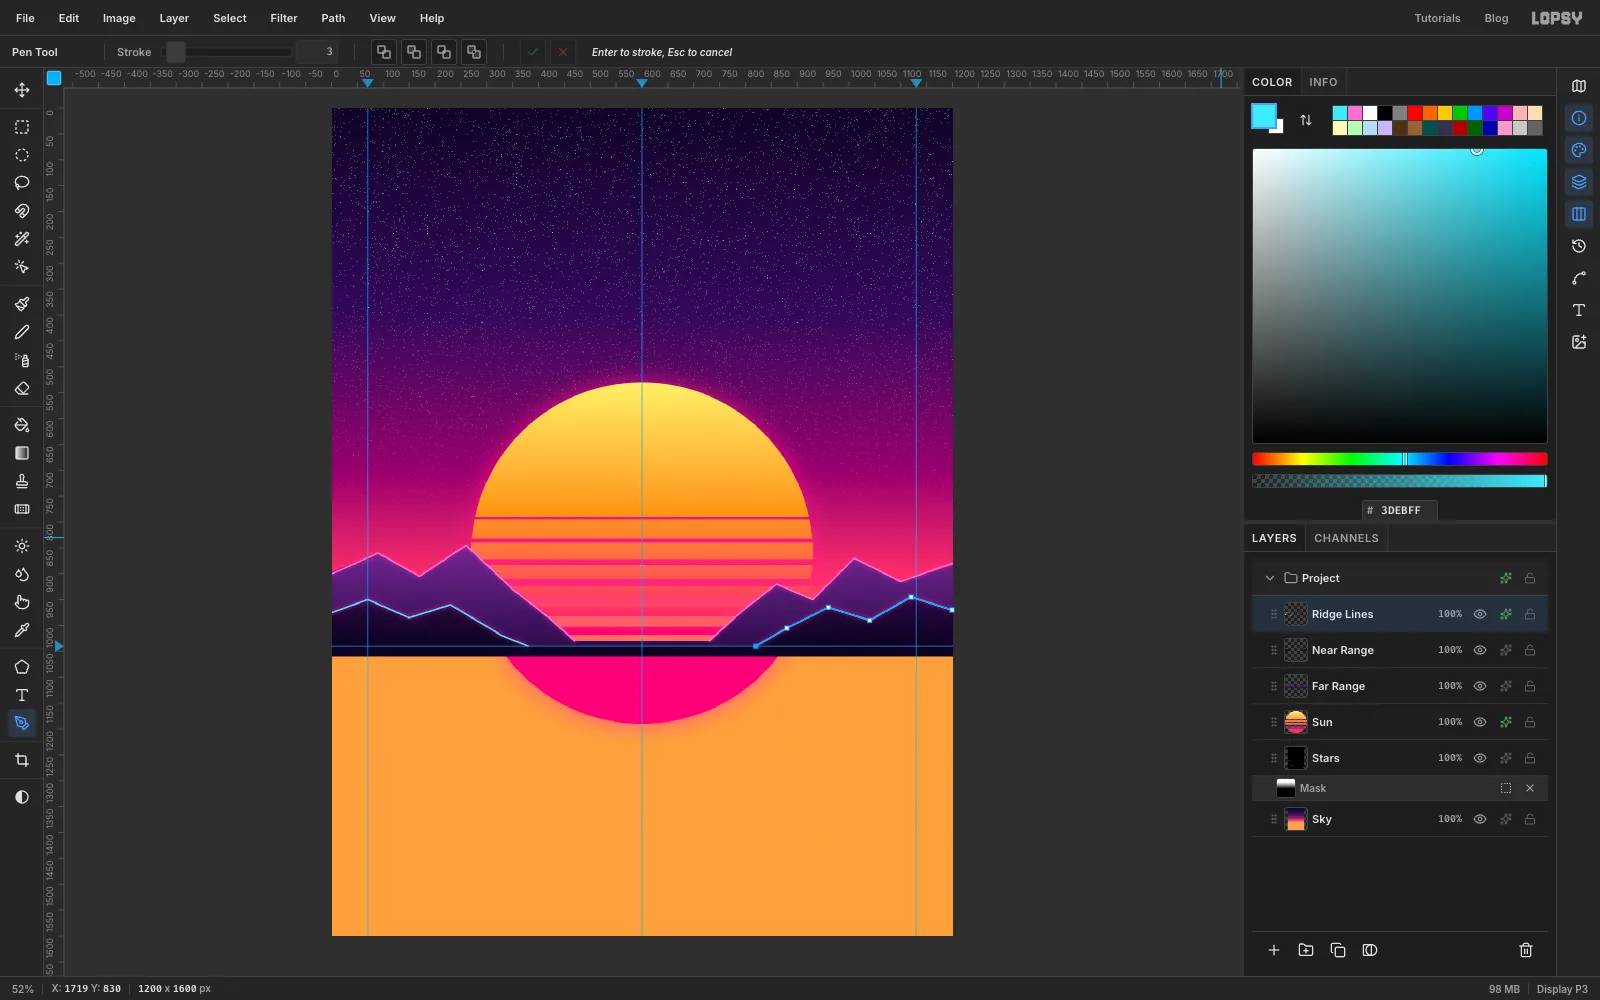
-
Lay the rink floor
Add a layer named Floor. Select from
0, 1040to1200, 1600and fill it with a linear gradient from at the horizon, through at about 35%, to at the bottom.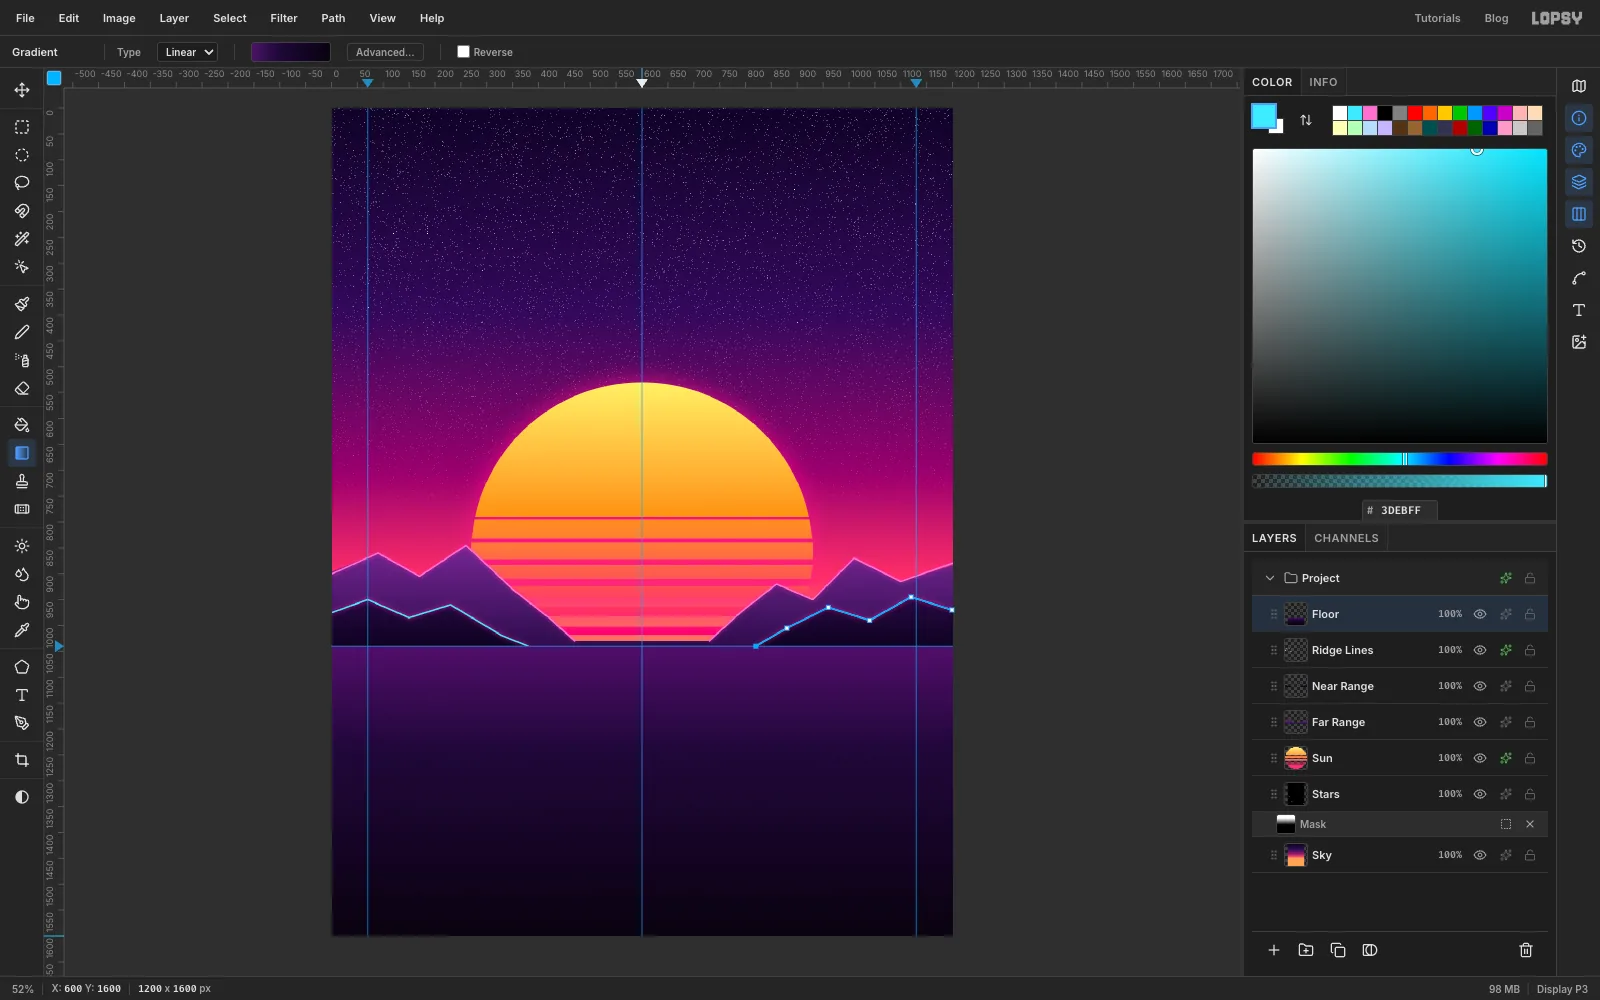
-
Copy the skyline
A polished floor reflects what's above it. Select from
0, 700to1200, 1040, the band with the sun and the mountains, and choose Edit → Copy Merged (Shift+Cmd+C). Copy Merged copies what you see, across all layers, not just the active one.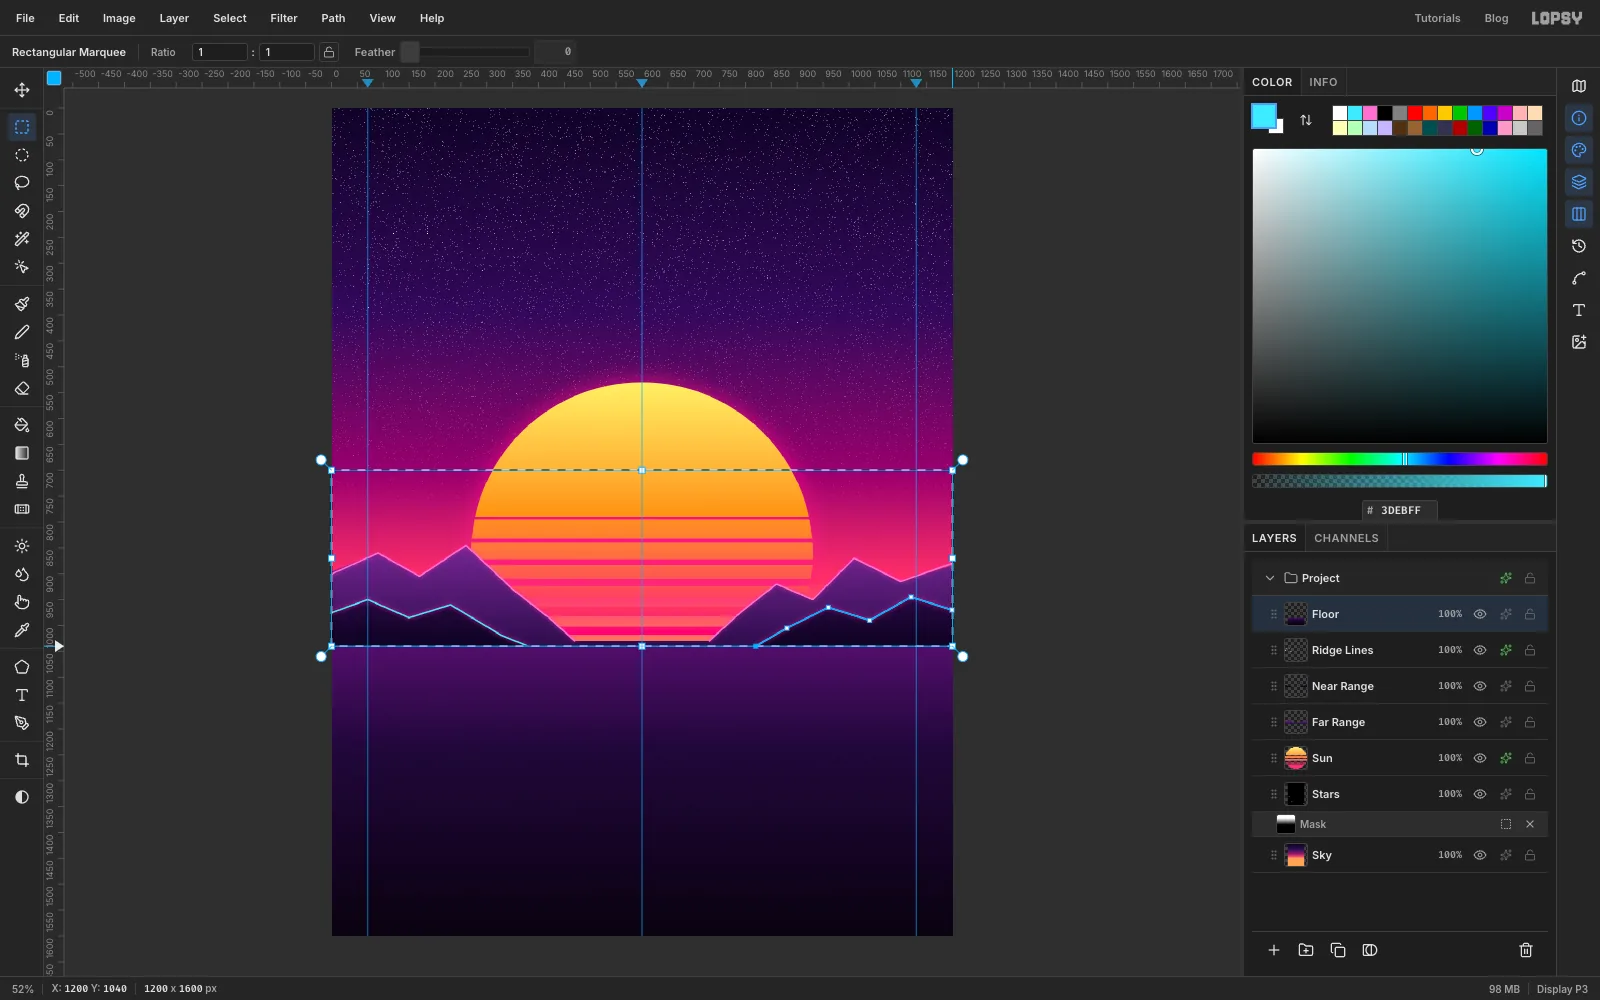
-
Flip it onto the floor
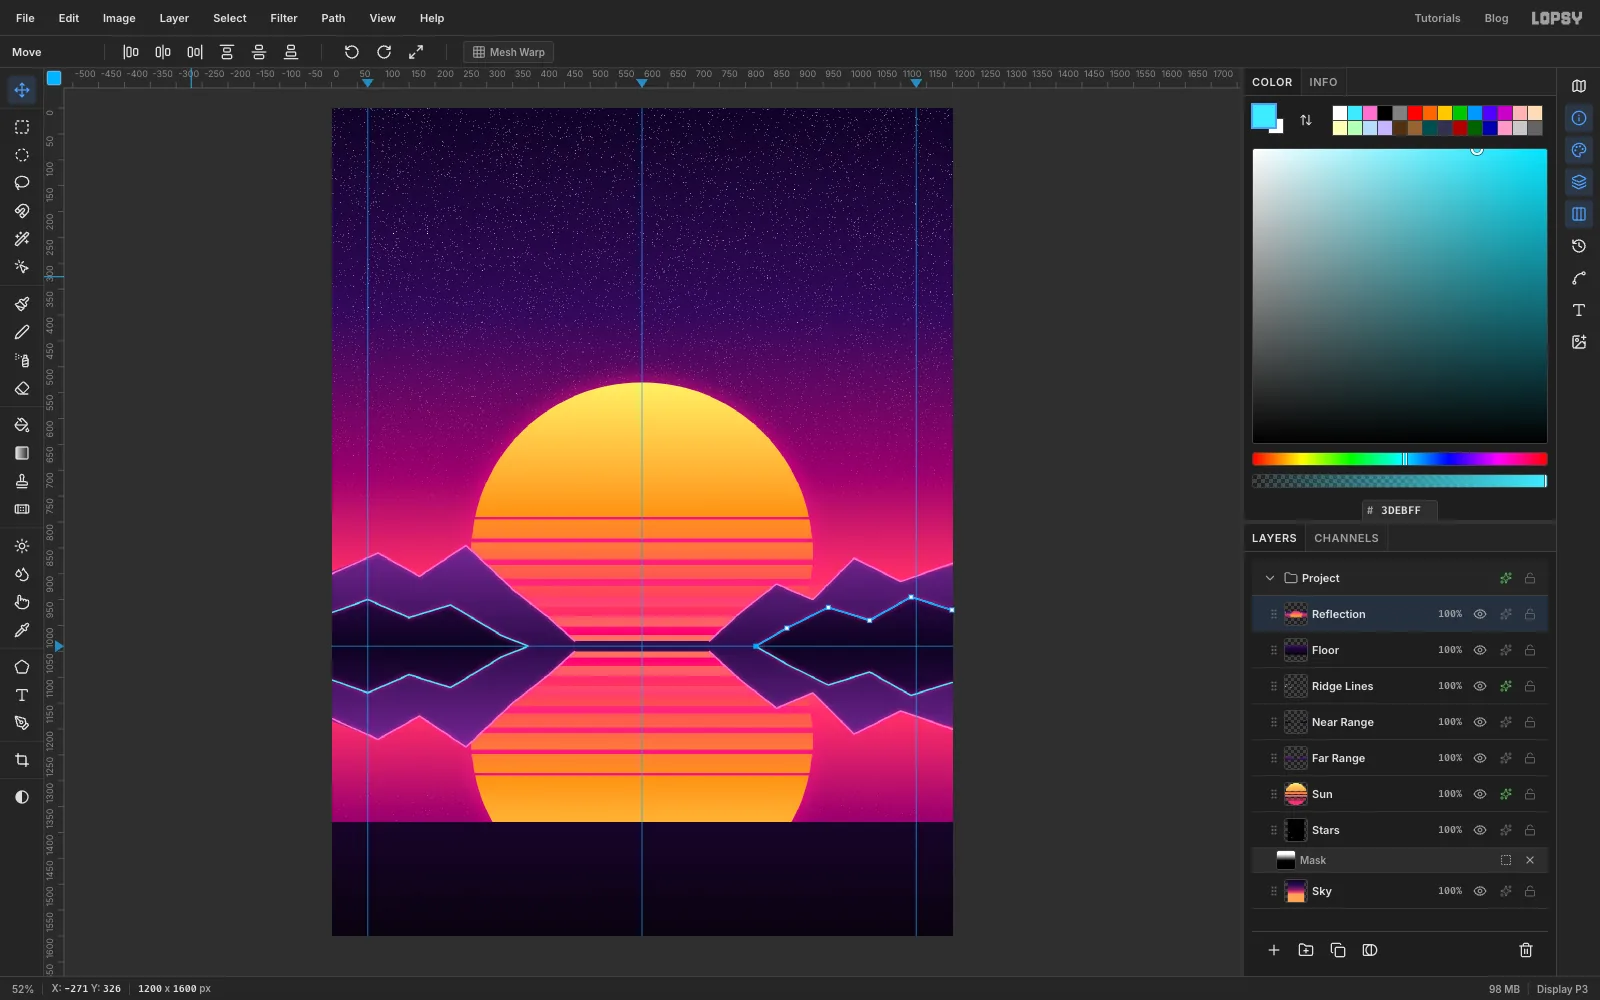
Paste with Cmd+V. The copy lands in place on a new layer; rename it Reflection and deselect. Choose Image → Flip Vertical. Then, with the Move tool, hold Shift and drag it straight down until its top edge meets the horizon.
-
Blur and fade the reflection
Choose Filter → Motion Blur… with Angle
90and Distance30to streak it like light on lacquered wood. Set the Blend to Screen and the opacity to 55%.Add a mask, click its thumbnail, and drag the white to black linear gradient from just below the horizon down to about
y 1330, so the reflection fades into the floor.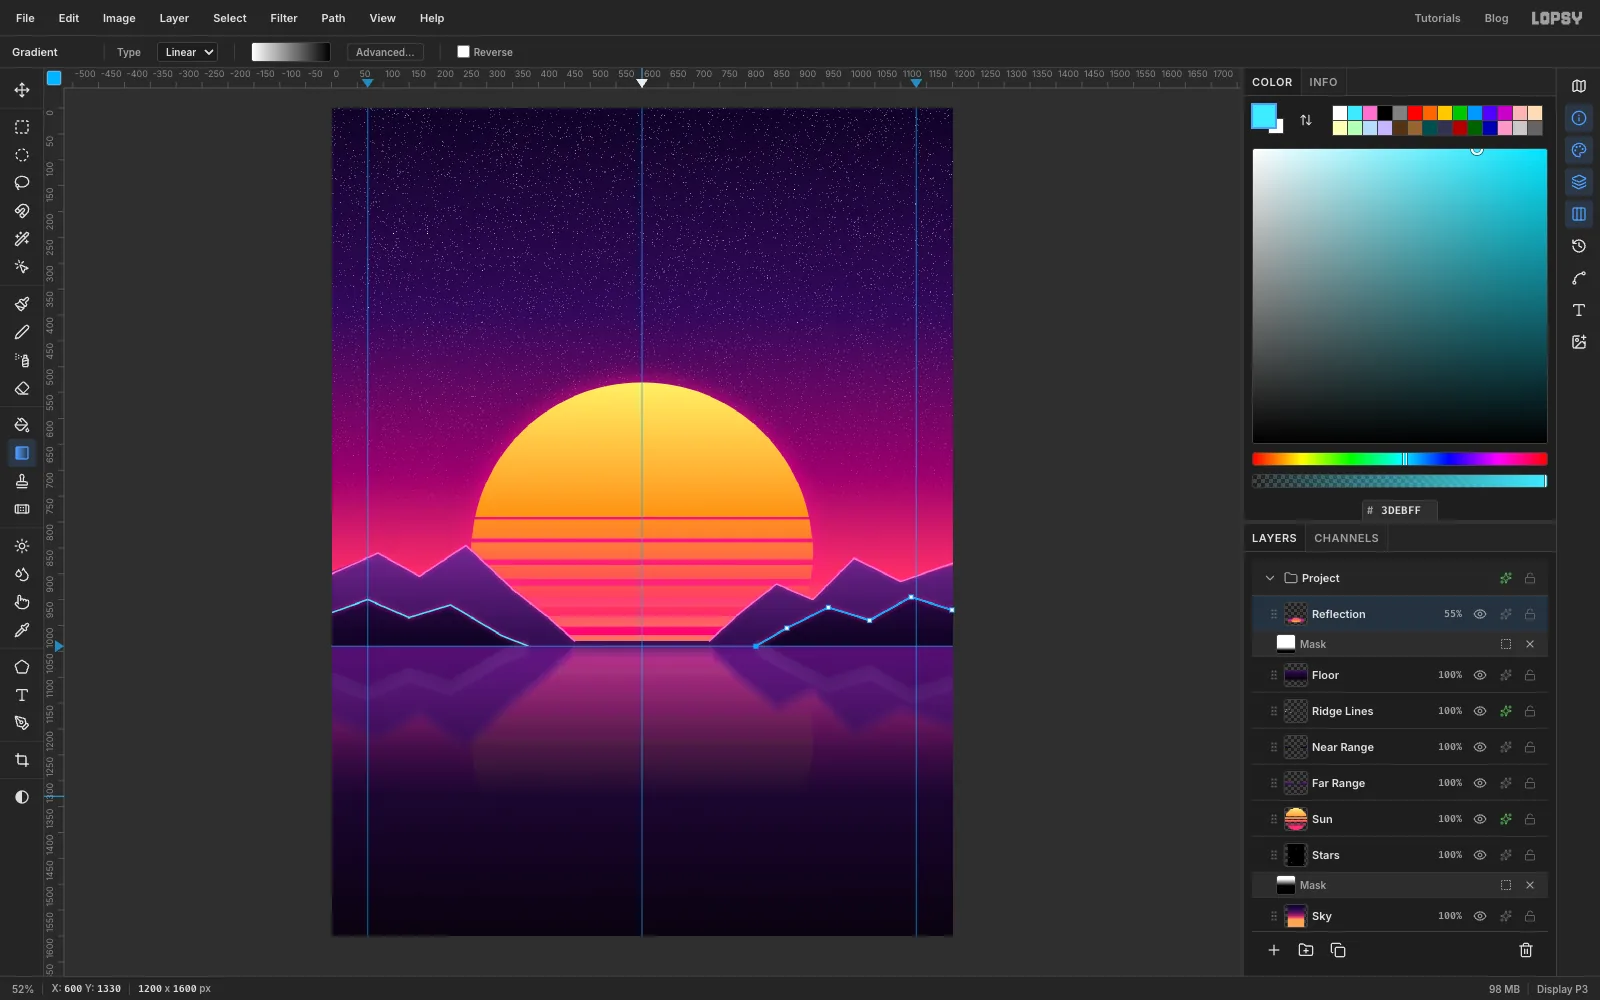
-
Draw the horizon line and the rink ovals
Add a layer named Horizon Line. Set the foreground to , pick the Pencil at Size
3, click on the horizon at the left edge and Shift-click on it at the right edge. Give it an Outer Glow in , Size22, Opacity90.Add a layer named Rink Lines. Pick the Shape tool, set Shape to Ellipse, remove the fill and set the stroke to , Width
5. Shapes grow from where you press, so press at600, 1300and drag out past the right edge of the page to about1390, 1500. Change the stroke to , Width4, and draw a smaller oval from the same centre out to about1200, 1450.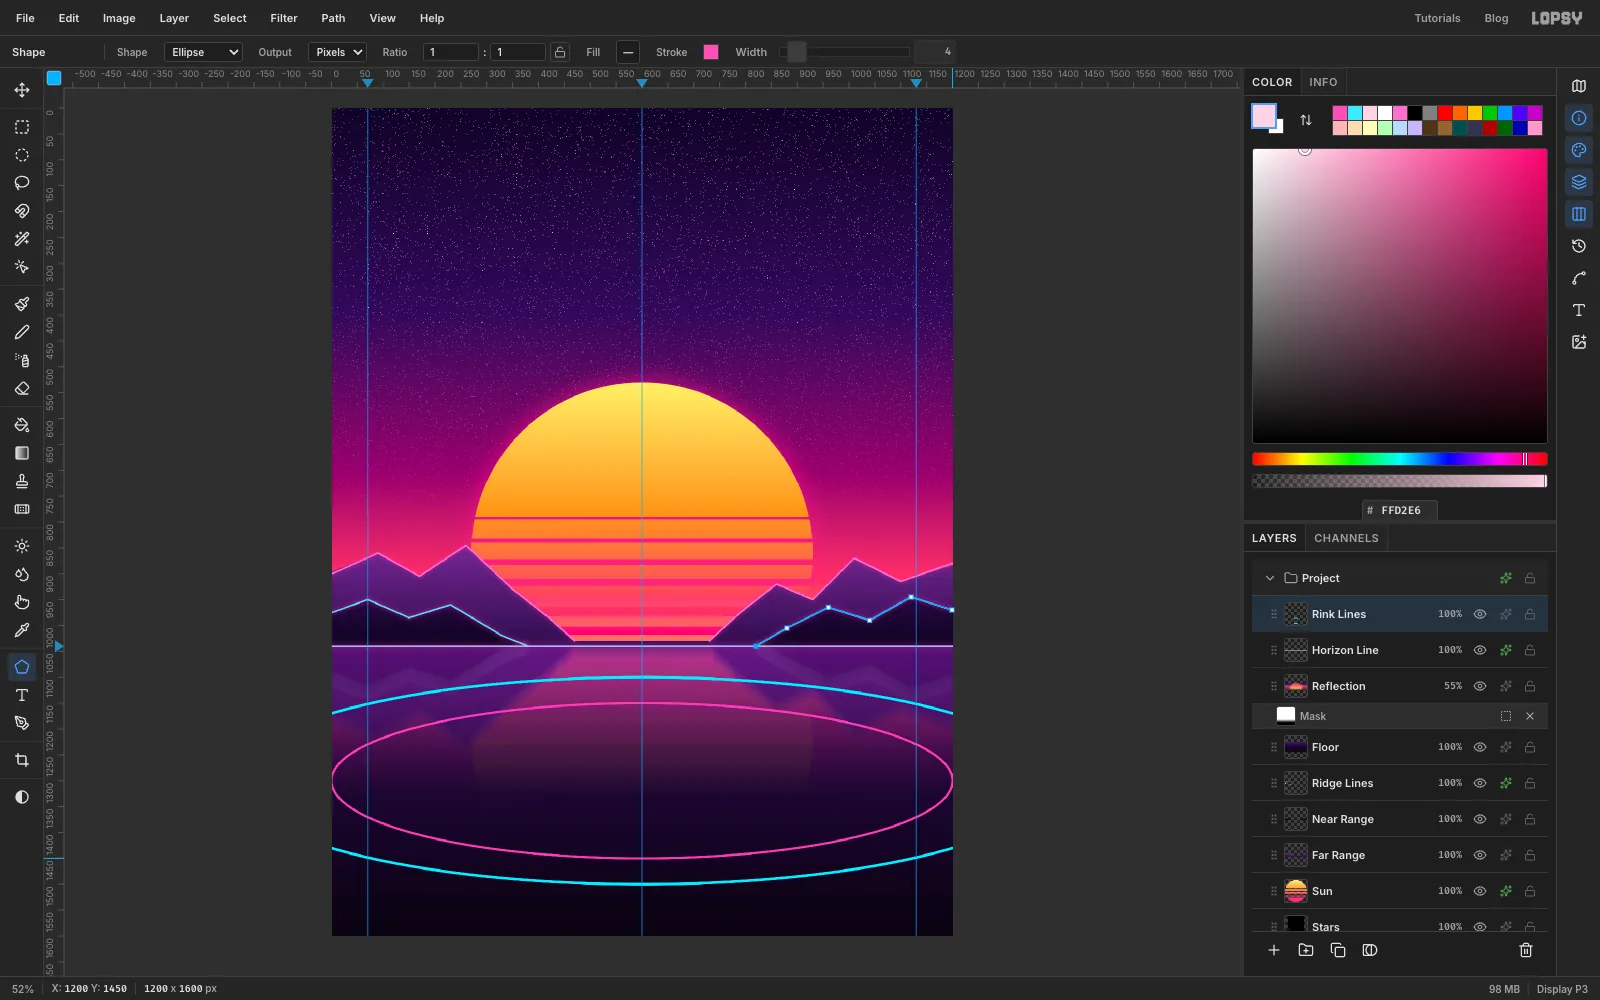
-
Make the ovals glow
Give Rink Lines an Outer Glow in , Size
18, Opacity80. Both ovals start below the horizon because they are much wider than they are tall, the way a flat oval looks in perspective.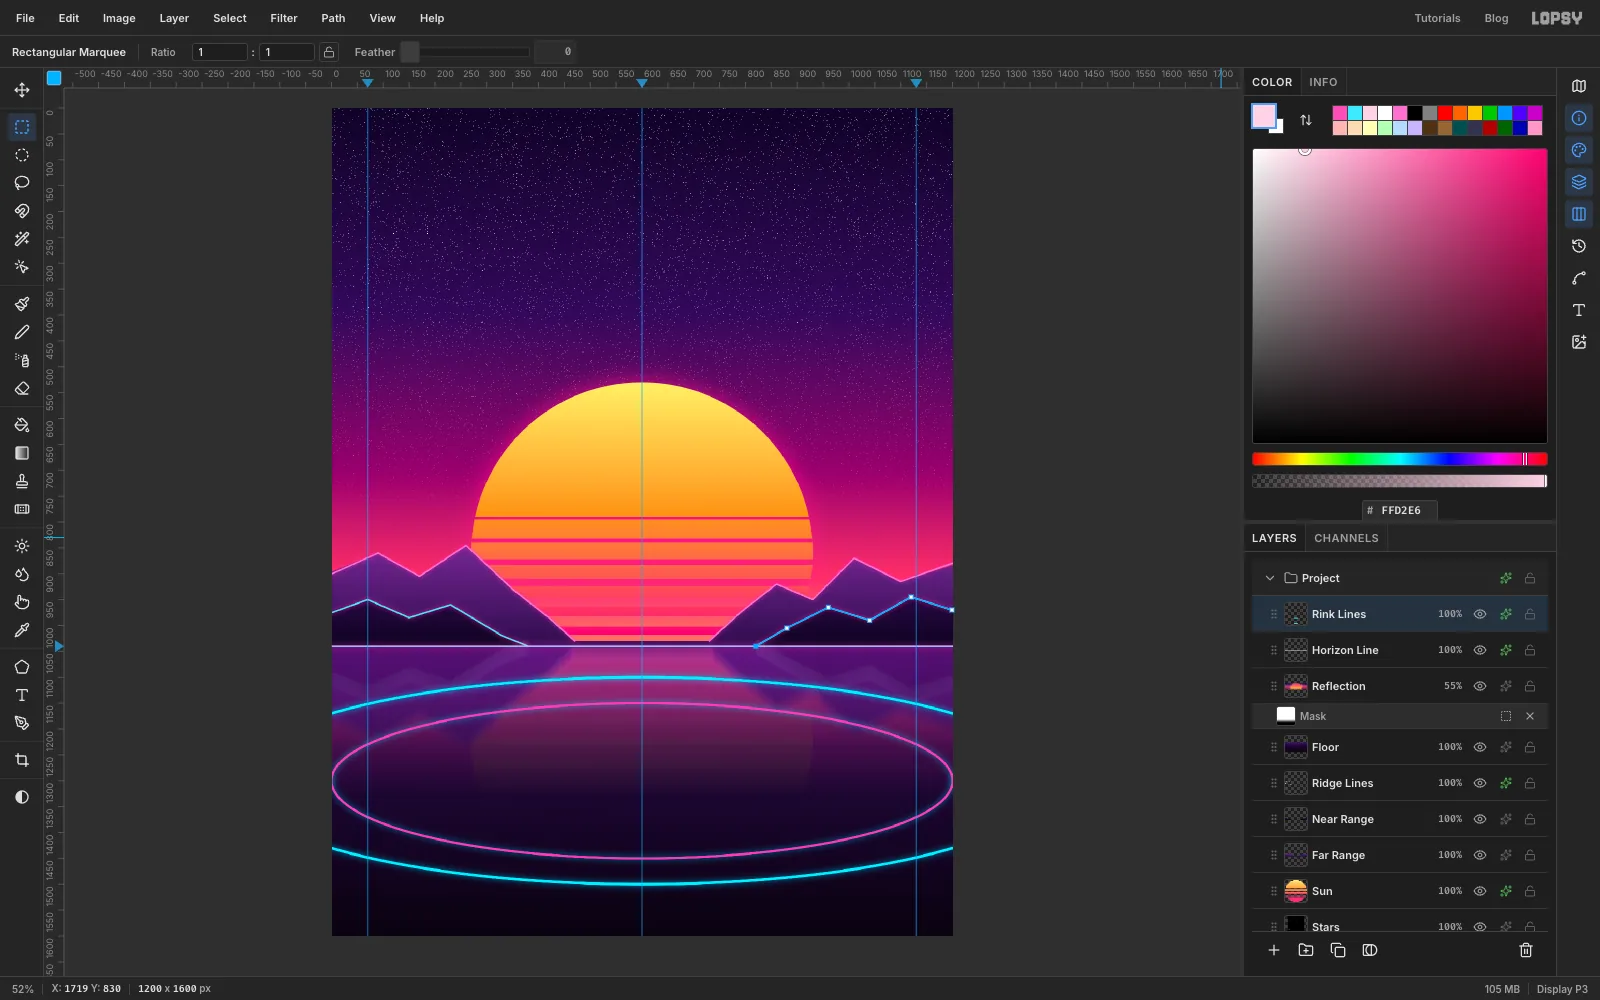
-
Start the disco ball
Click Rink Lines, click New Group and name it Disco Ball. Inside it, add a layer named Beams and then one named Ball.
You'll build the ball big and in the middle of the page, because Lens Distortion always bends around the centre of the canvas. On Ball, select a circle from
80, 280to1120, 1320. Fill it with a linear gradient: , at 28%, at 62% and . Drag from the top-left of the circle to the bottom-right.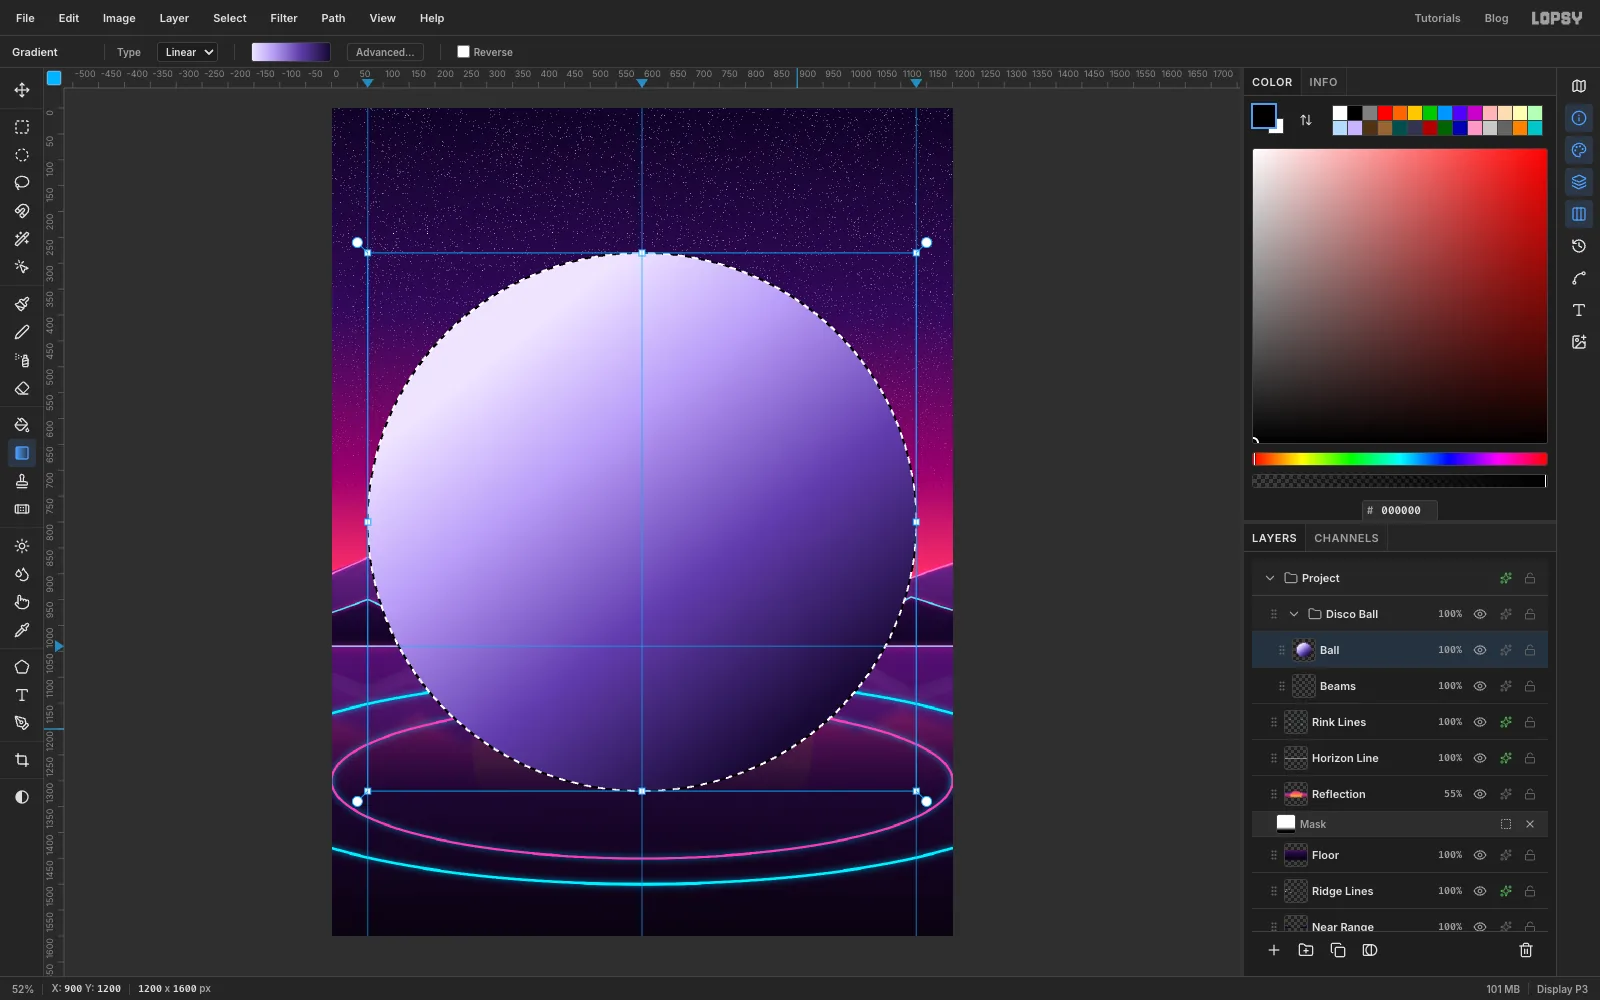
-
Break it into mirror tiles
Keep the selection. Choose Filter → Add Noise… with Amount
30, which makes each tile a slightly different shade, then Filter → Pixelate… with Block Size64. Deselect.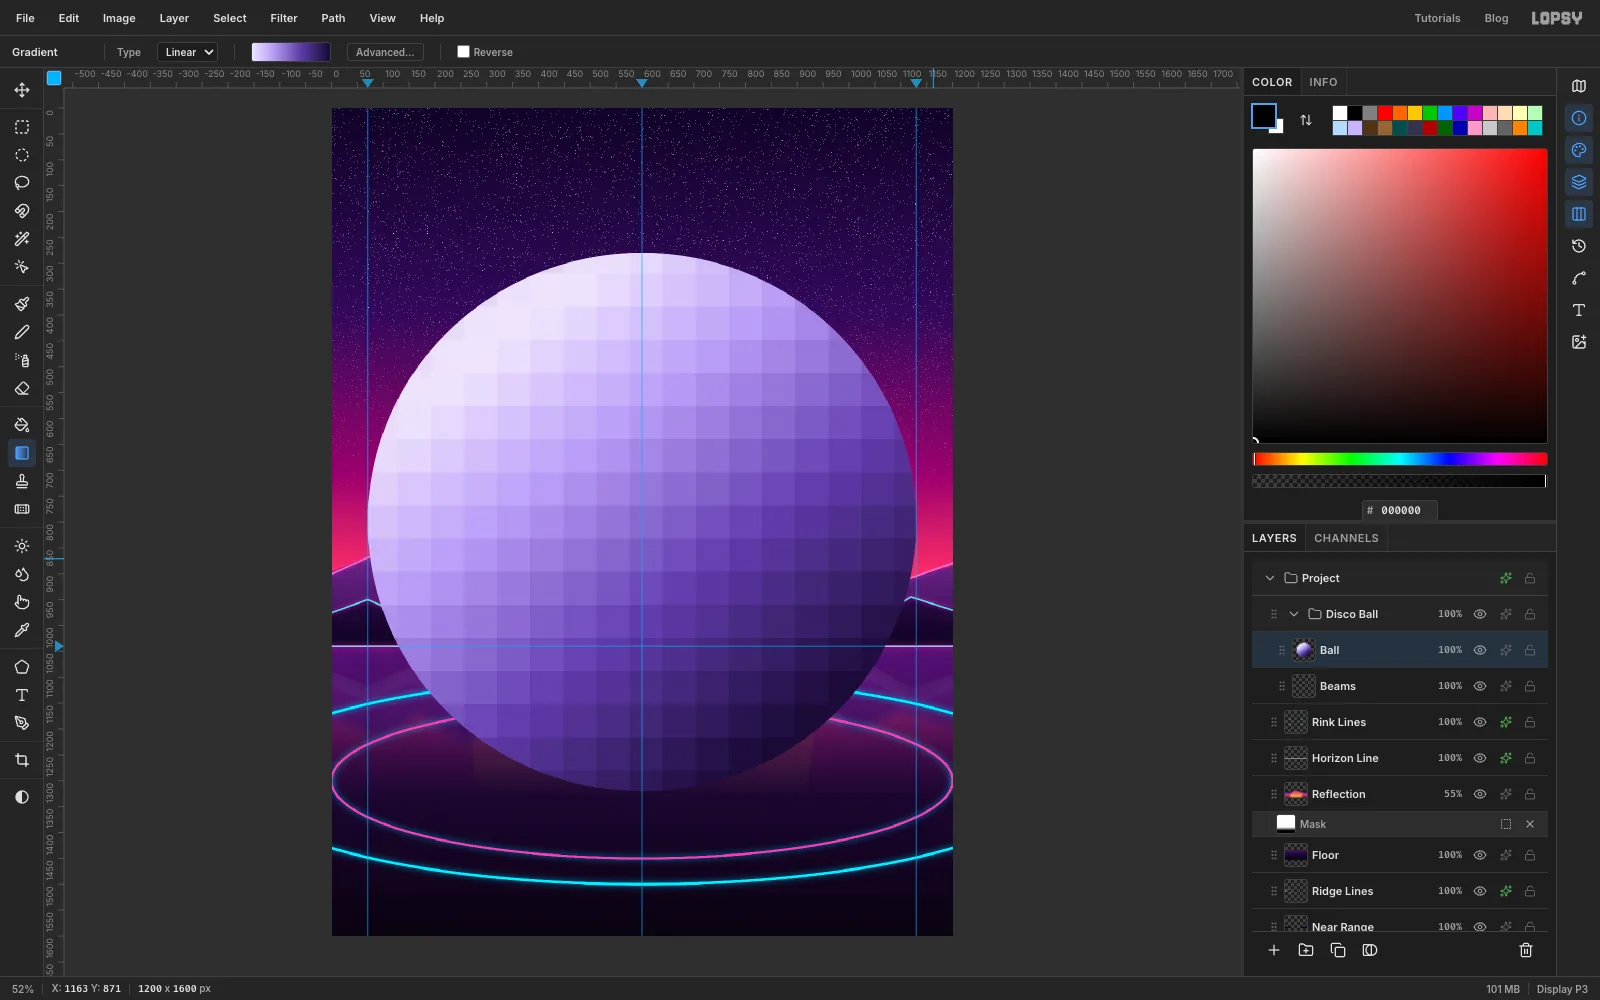
-
Make the grout
Mirror tiles need dark gaps between them. Add a temporary layer named Tile and select from
0, 0to64, 64. Set the foreground to , pick the Pencil at Size4, and draw a straight line down the square's right edge and another along its bottom edge (Shift-click from one end to the other). The selection stops the pencil spilling outside the square. Keep the selection and choose Edit → Define Pattern. Then deselect and delete the Tile layer.Click Ball and add a layer named Grout. Select the same circle again,
80, 280to1120, 1320, and choose Edit → Fill with Pattern…. Pick your new pattern and click Apply.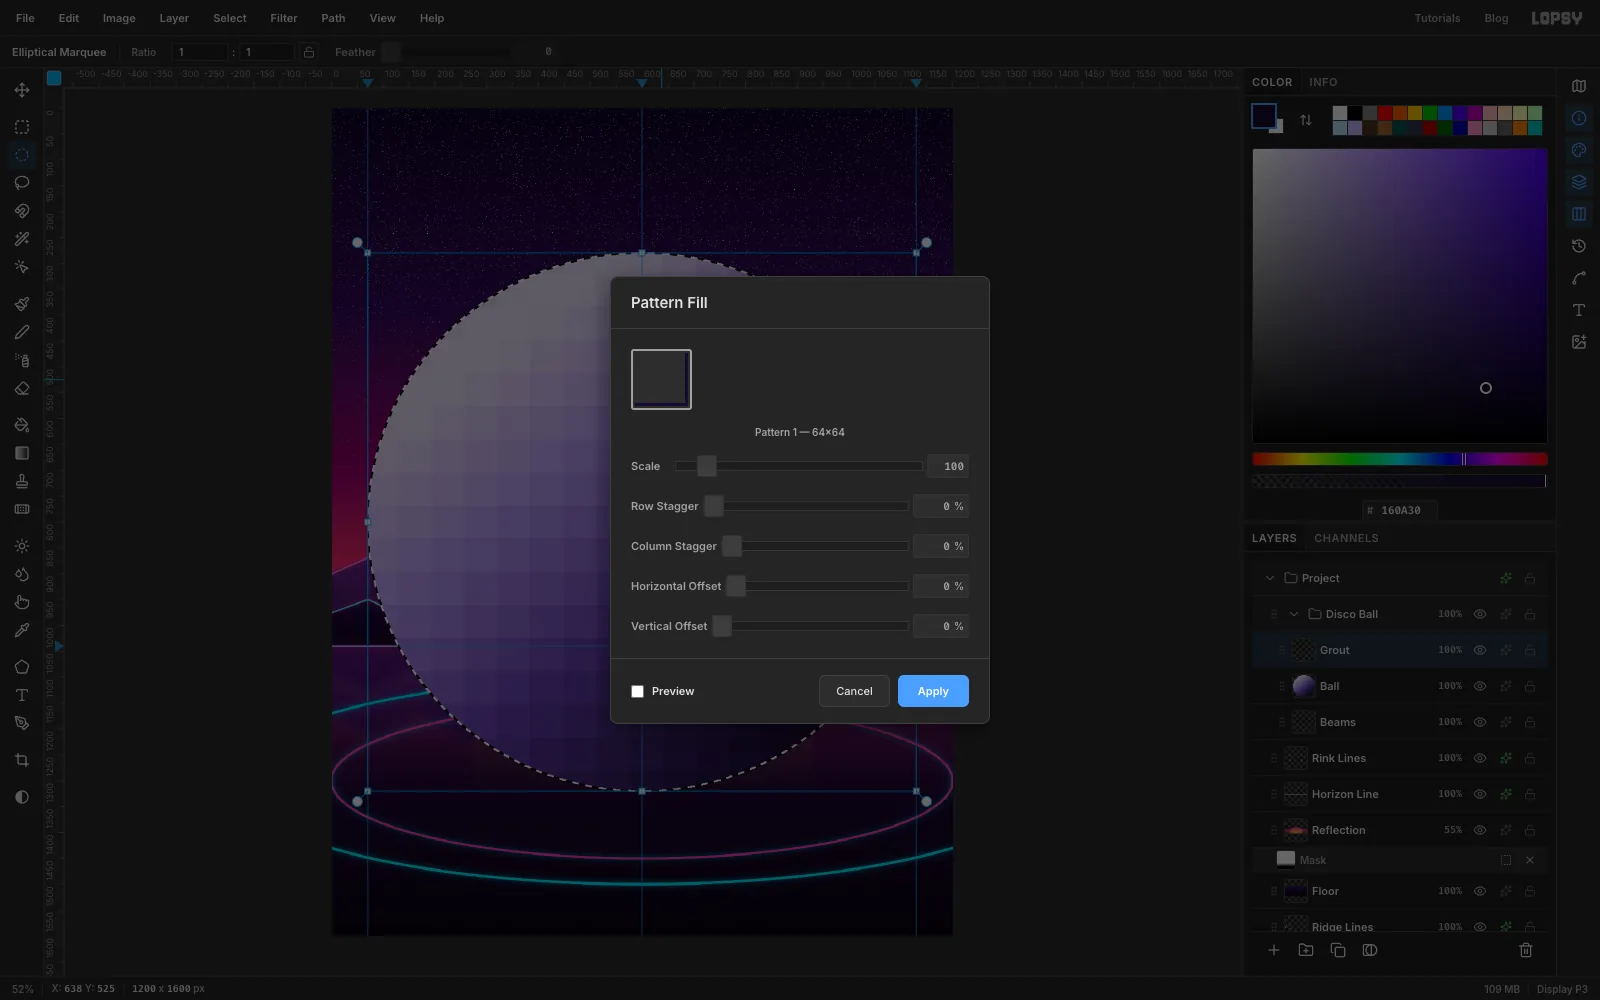
-
Merge the grout
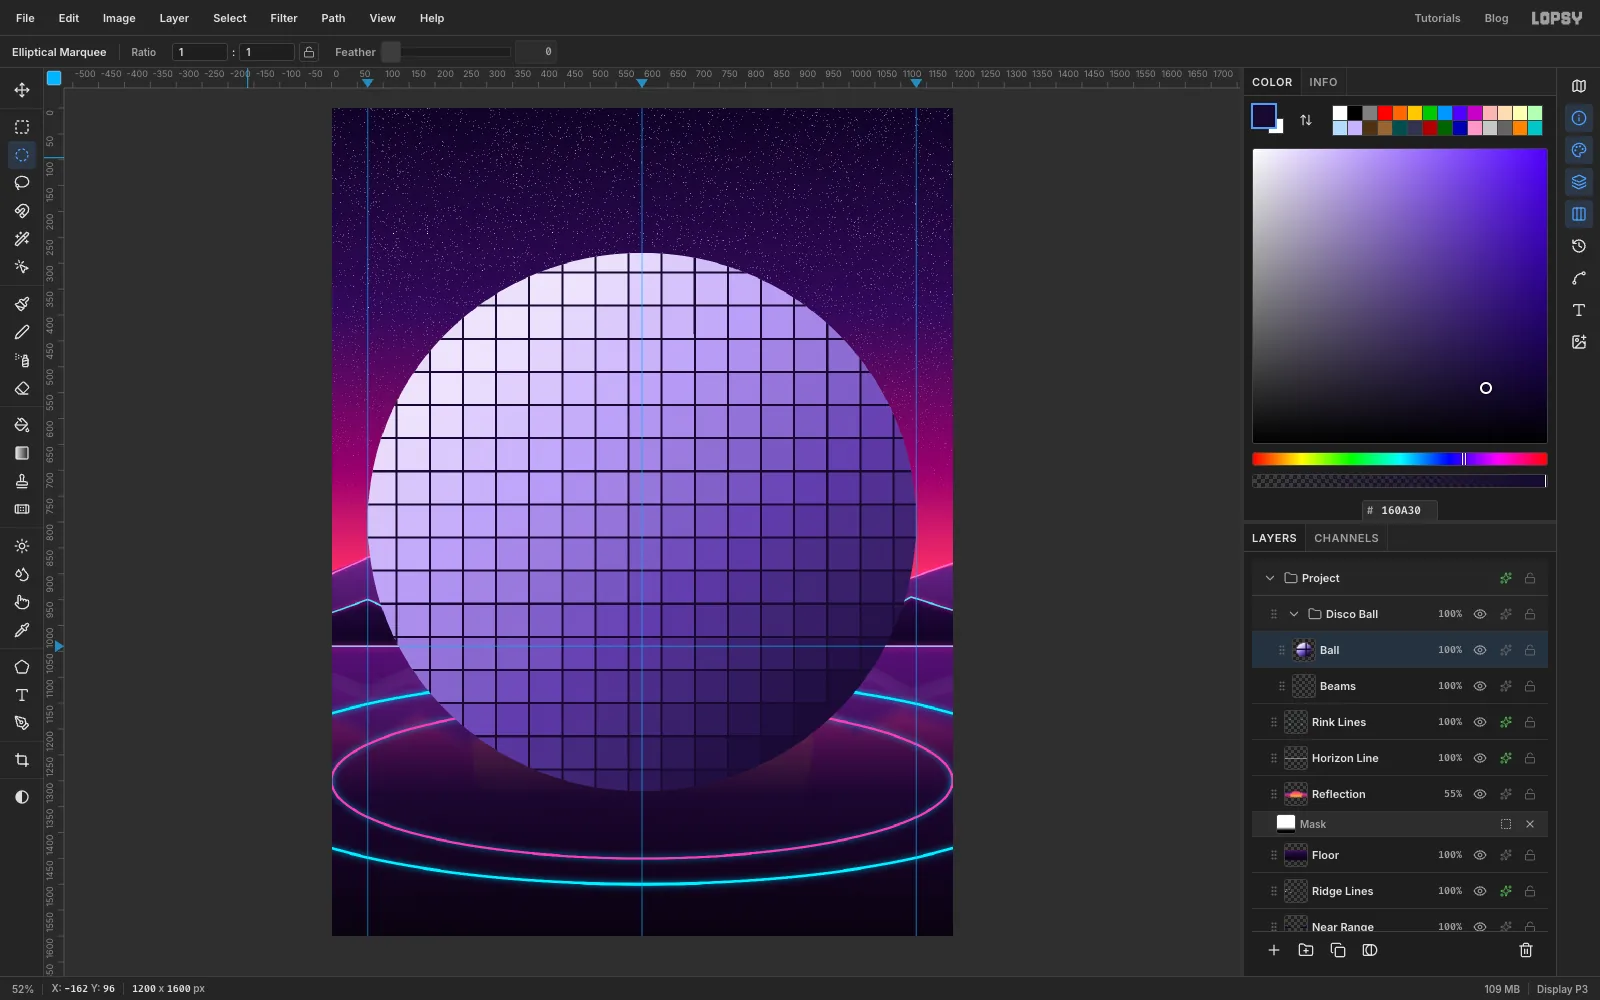
Deselect and choose Layer → Merge Down to merge Grout into Ball. Both the pattern and Pixelate's blocks are lined up with the top-left corner of the document, so the lines land exactly between the tiles.
-
Bend it into a sphere
Choose Filter → Lens Distortion… with Strength
100and Zoom100. Barrel distortion swells the middle and squeezes the edges, which is exactly how tiles look on a ball.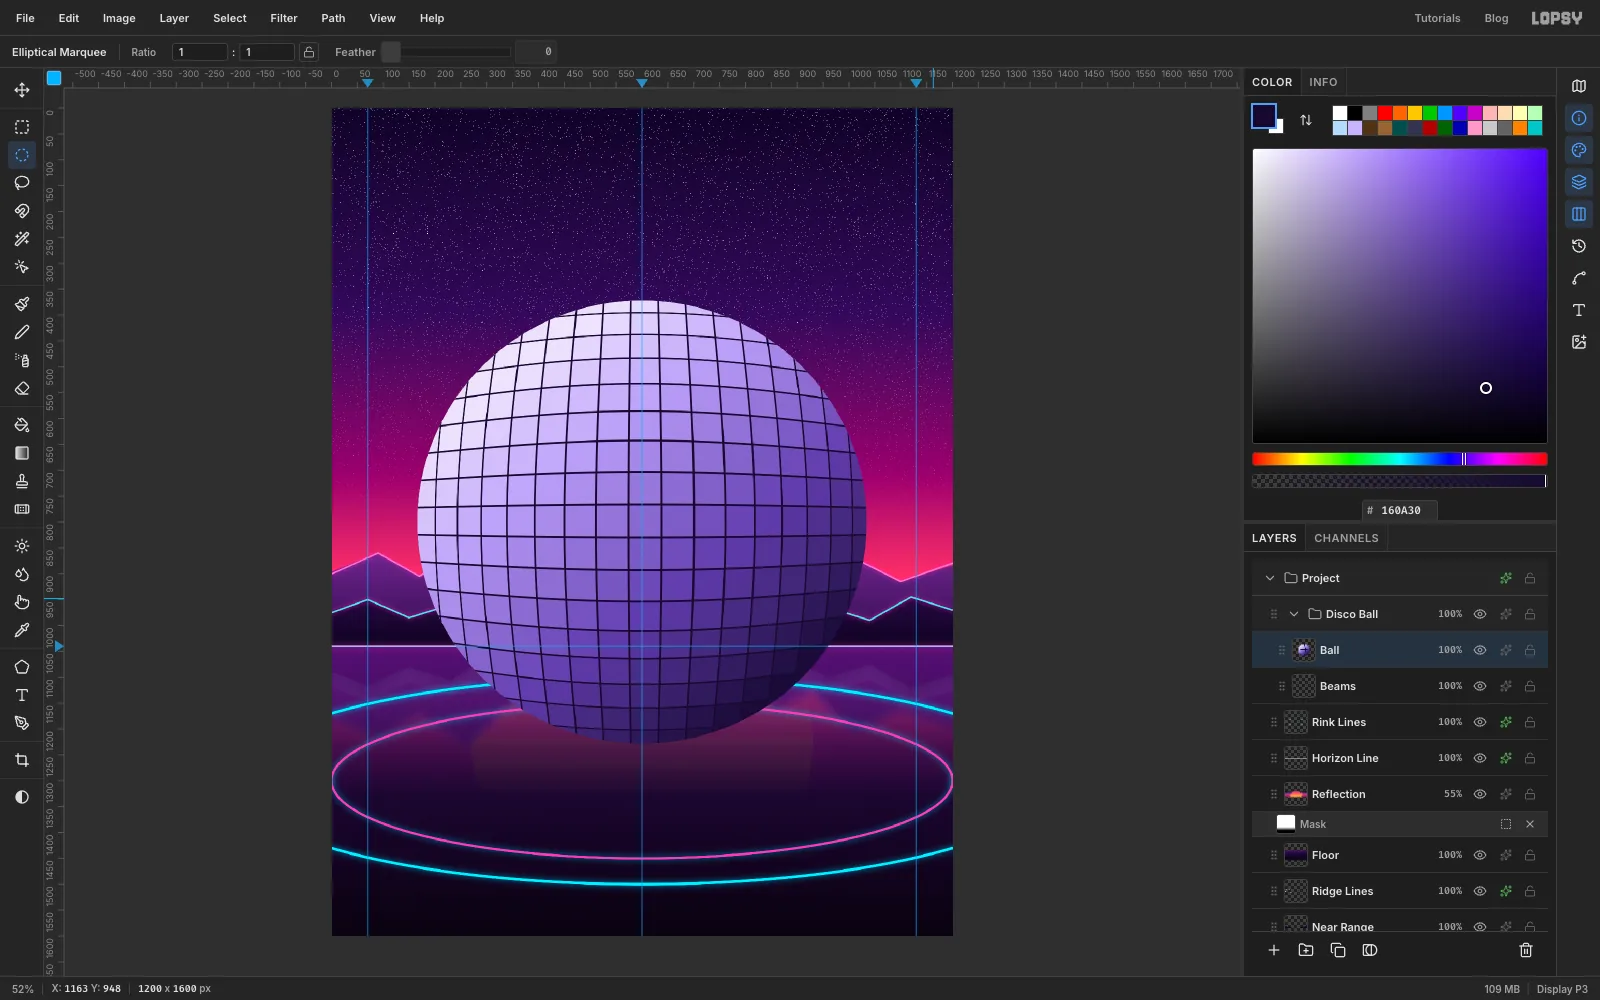
-
Add glints
Choose Filter → Bloom… with Threshold
82, Radius24and Intensity90so the lightest tiles shine.Set the foreground to white and choose Filter → Sunburst…. For a four-point sparkle, use Rays
4, Length14, Width7, Taper100and Fade55, and set Center X37and Center Y41(percent of the canvas) to put it on the ball's upper left. Run it again with Length7, Fade50, Rotation45, Center X62and Center Y63for a small sparkle lower right.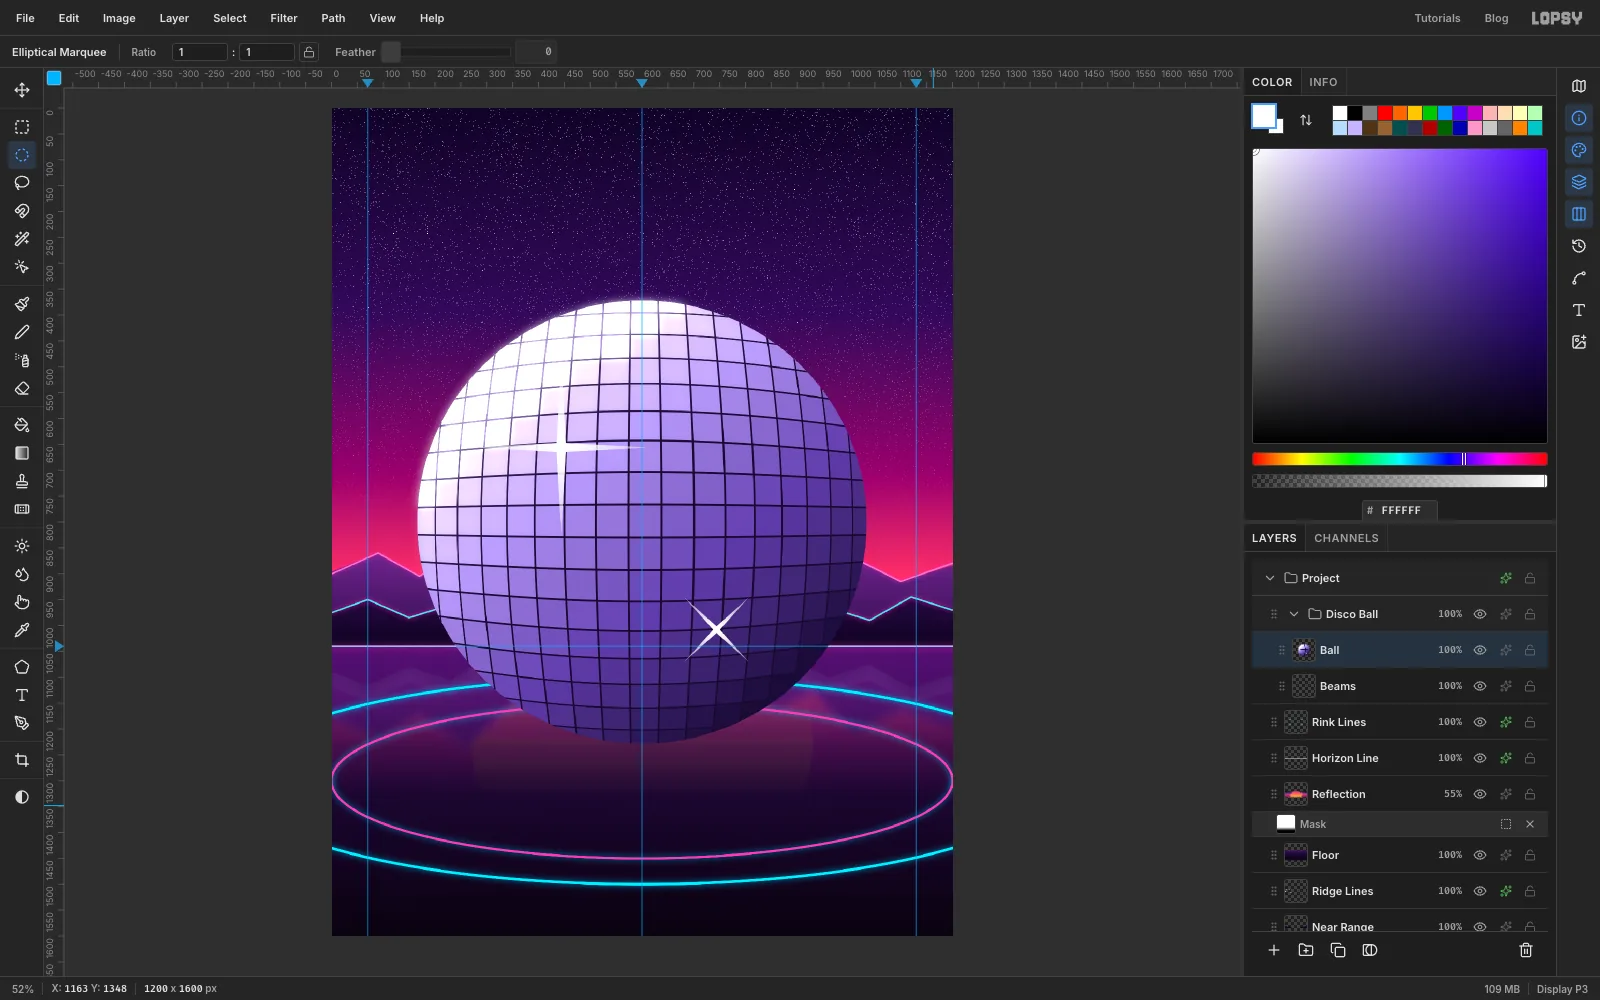
-
Shrink the ball
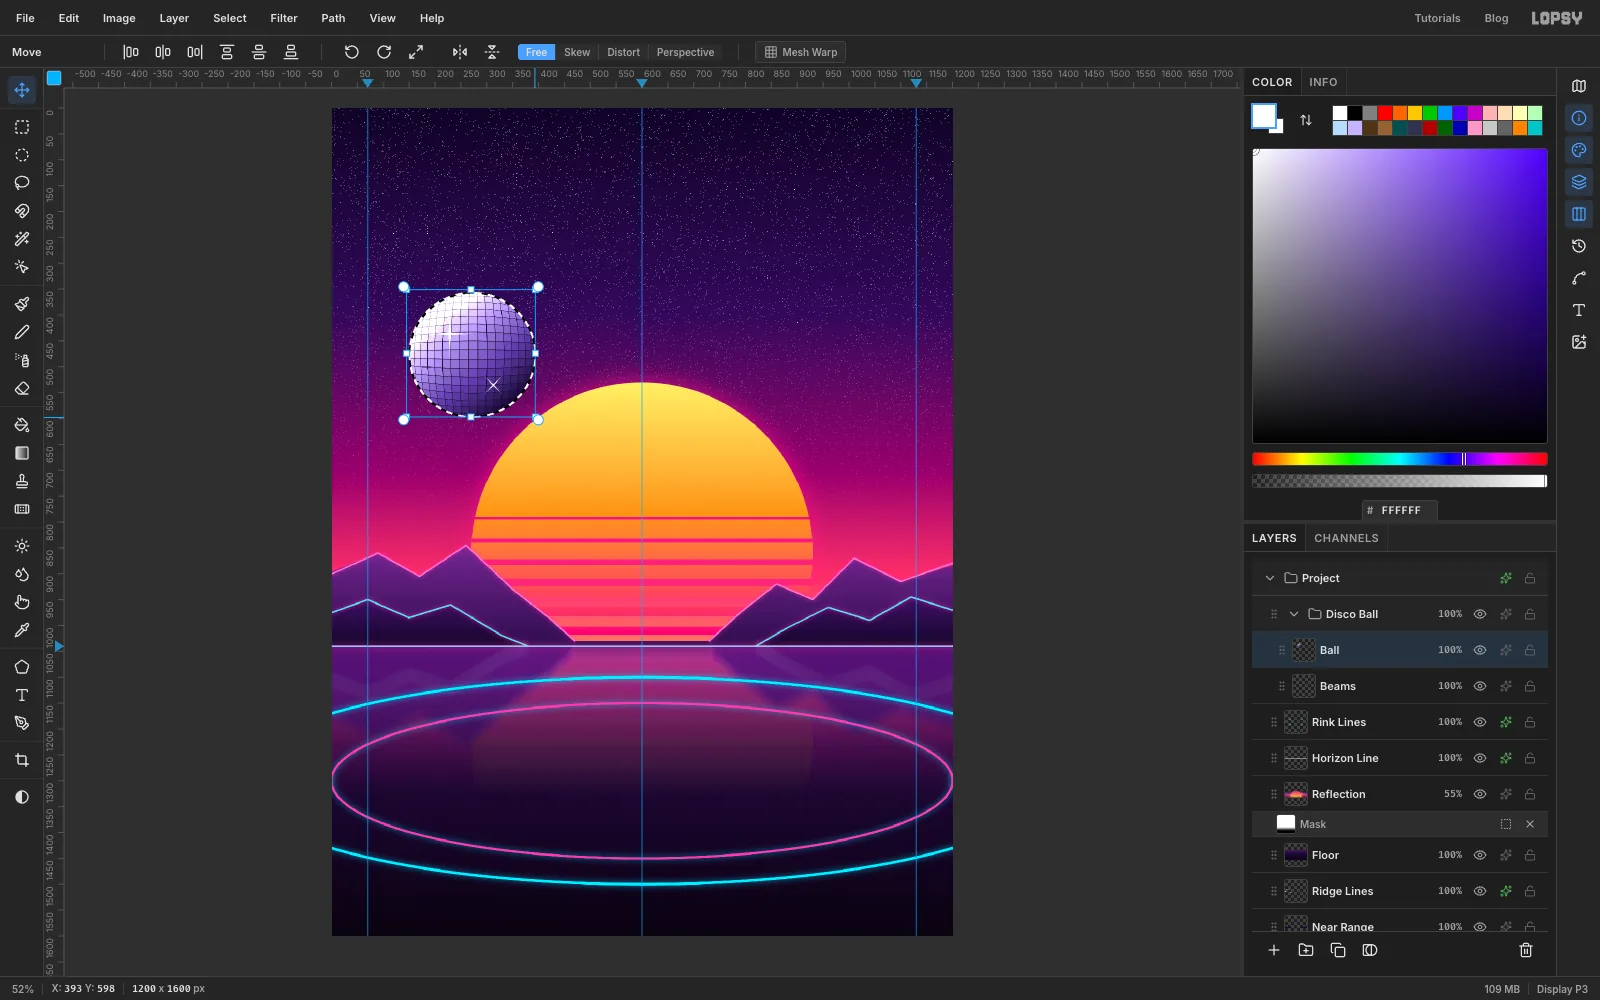
Cmd-click the Ball thumbnail to select its pixels. Pick the Move tool, hold Cmd to keep it round, and drag the bottom-right corner handle in toward the top-left until the ball is about 230 px across. Press Cmd+D to commit.
-
Hang it at the top
Drag the ball up to the top of the page. It snaps to the centre guide; use the arrow keys to settle it with its centre at about
600, 188, so the ball sits about 70 px below the top edge.Add a layer named Chain inside the group. Set the foreground to , pick the Pencil at Size
4, click at the top edge on the centre guide and Shift-click the top of the ball.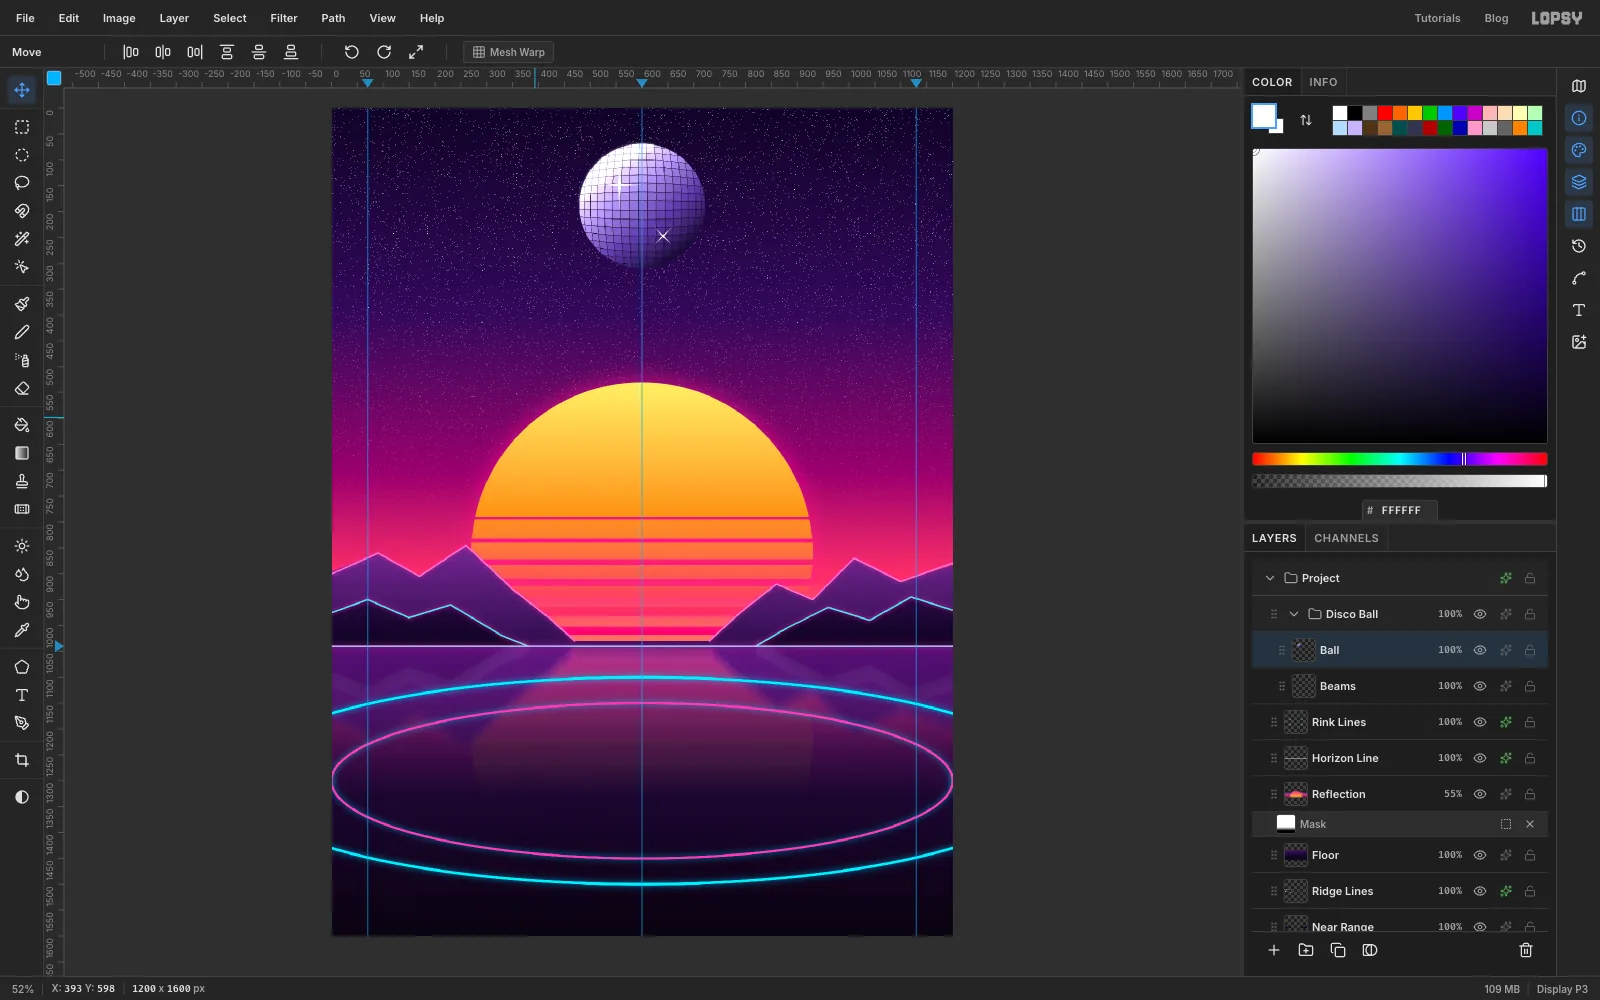
-
Lasso the light beams
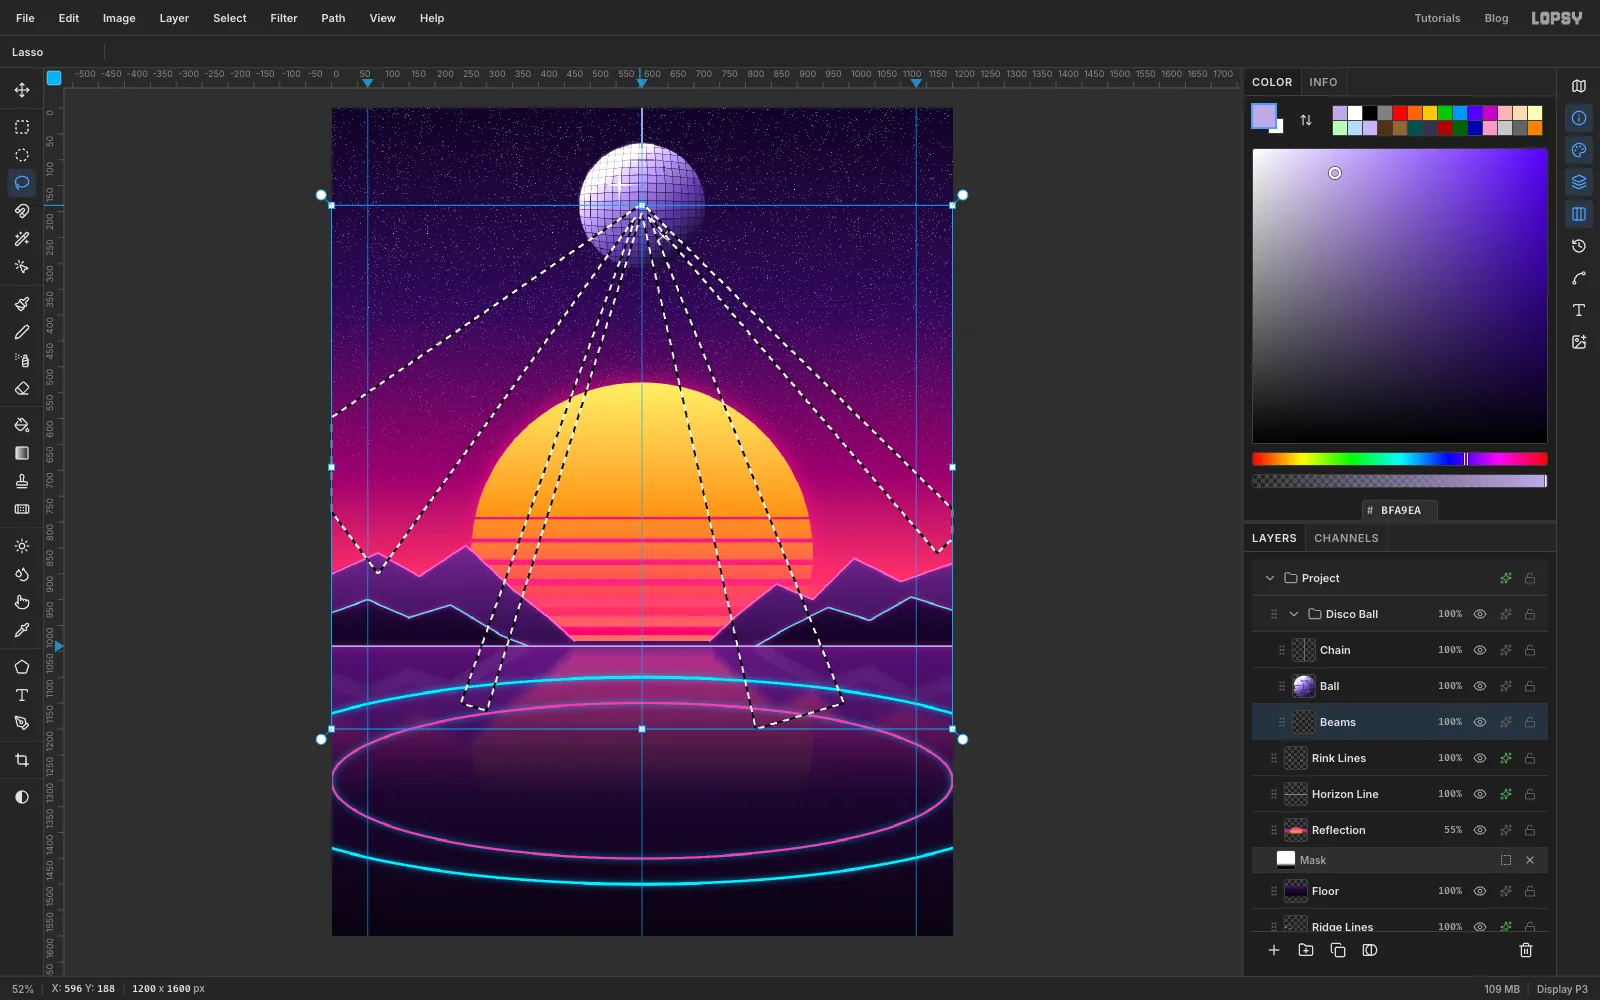
Click Beams. With the Lasso, draw a long, thin wedge that starts as a point at the centre of the ball and opens out toward the left edge. Hold Shift for three more wedges: a very narrow one down across the left half of the sun, a wide one down across the right half, and a narrow one out to the right edge. Vary the widths, from a sliver to about three times as wide, because beams that all match look like stripes. The edges don't need to be perfectly straight: the blur in the next step softens them.
-
Fill and soften the beams
Fill the wedges with a Radial gradient: white at 95% opacity, then at about 22% and 50% opacity, and at 0% opacity by about 42%. Drag from the centre of the ball straight down past the bottom of the page. Deselect, choose Filter → Gaussian Blur… at
6, set the Blend to Screen and the opacity to 45%.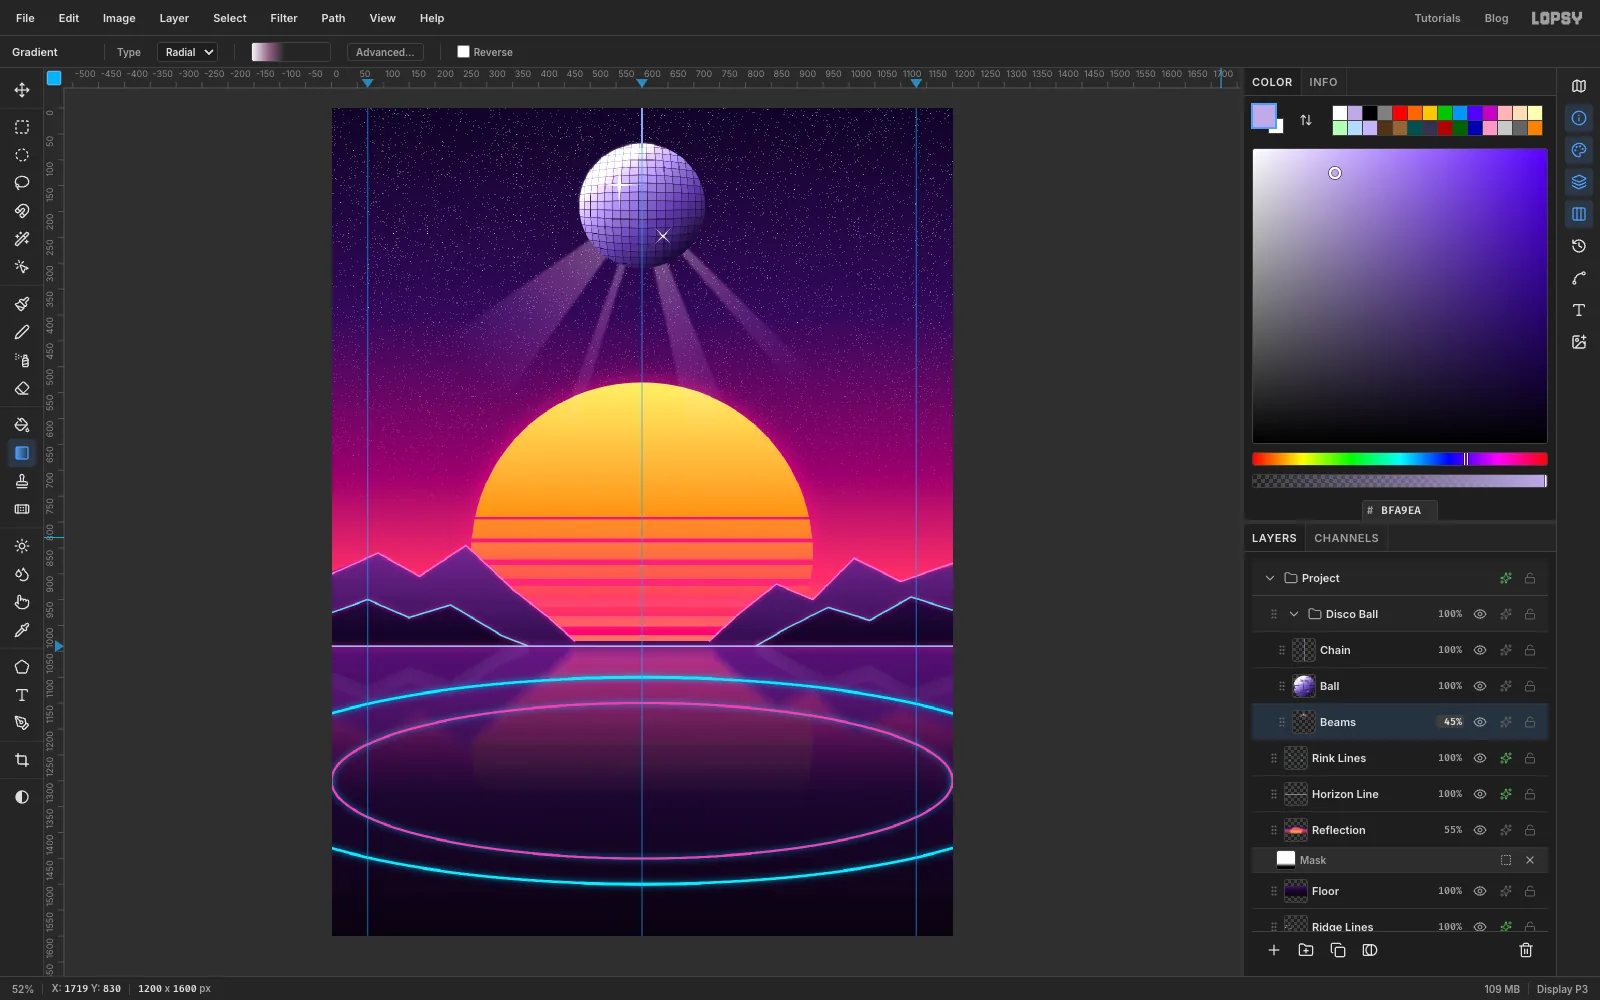
-
Bring in the skate photo
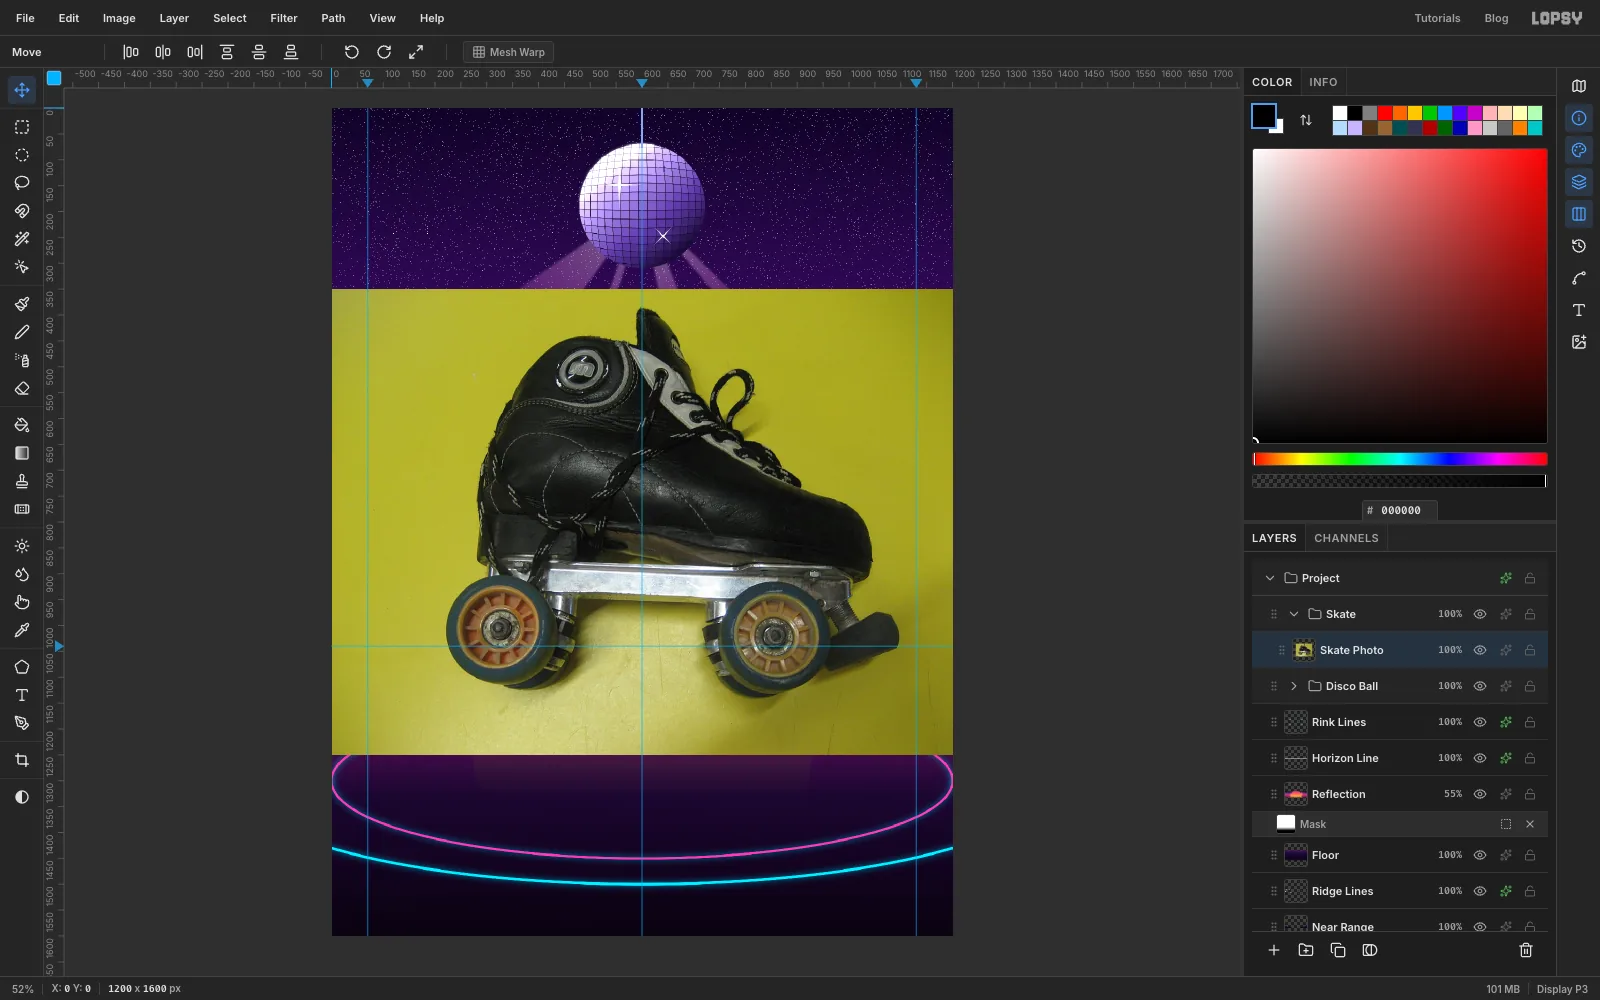
Collapse Disco Ball, select it, and click New Group. Name the new group Skate. This tutorial uses the public-domain photo Roller-hockey-(Quad)-Skate.jpg-Skate.jpg) from Wikimedia Commons. Download it and drag it from your desktop onto the canvas. Lopsy shrinks it to fit the page and puts it on a new layer. Rename the layer Skate Photo.
-
Select the yellow backdrop
A flat, bright backdrop makes the cutout easy. Pick the Magic Wand, set Tolerance to
70and leave Contiguous on. Click the yellow at the top left. Then Shift-click the other yellow areas the first click missed: the bottom right corner, the gap under the plate between the wheels, and the strip to the right of the toe.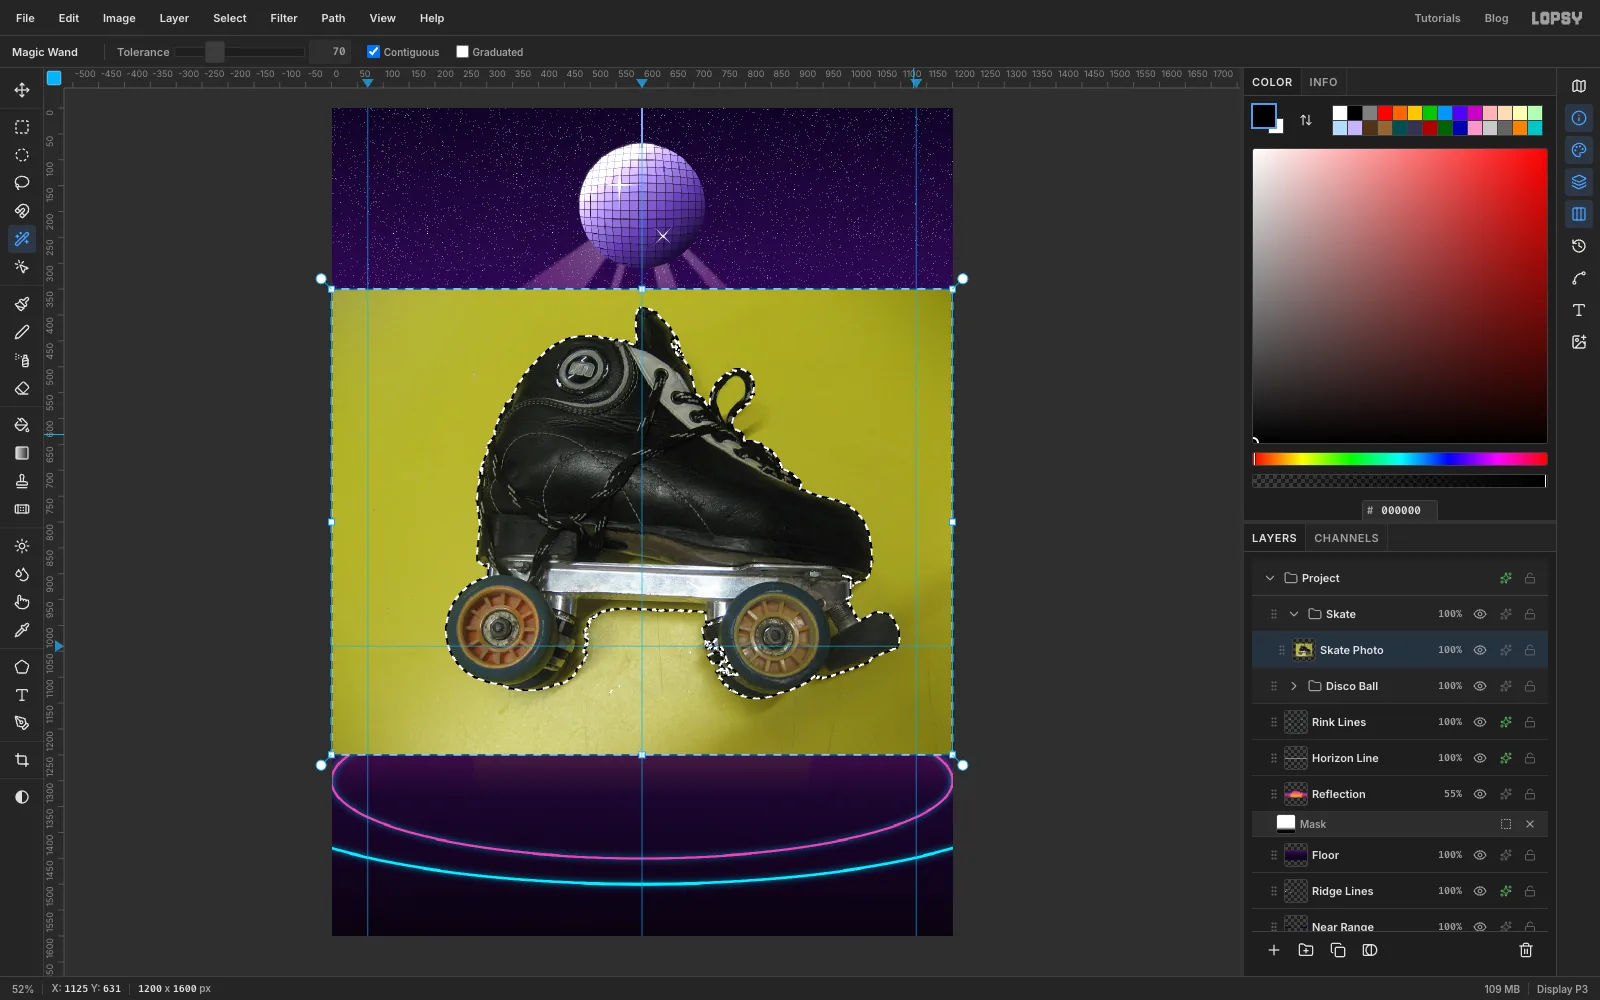
-
Cut out the skate
Choose Select → Grow…
1so the edge pixels go too, then press Delete and deselect.A thin yellow fringe always survives around a cutout. Cmd-click the Skate Photo thumbnail, choose Select → Shrink…
2, then Select → Inverse (Shift+Cmd+I) and press Delete. That trims a 2 px band all round the silhouette. Deselect.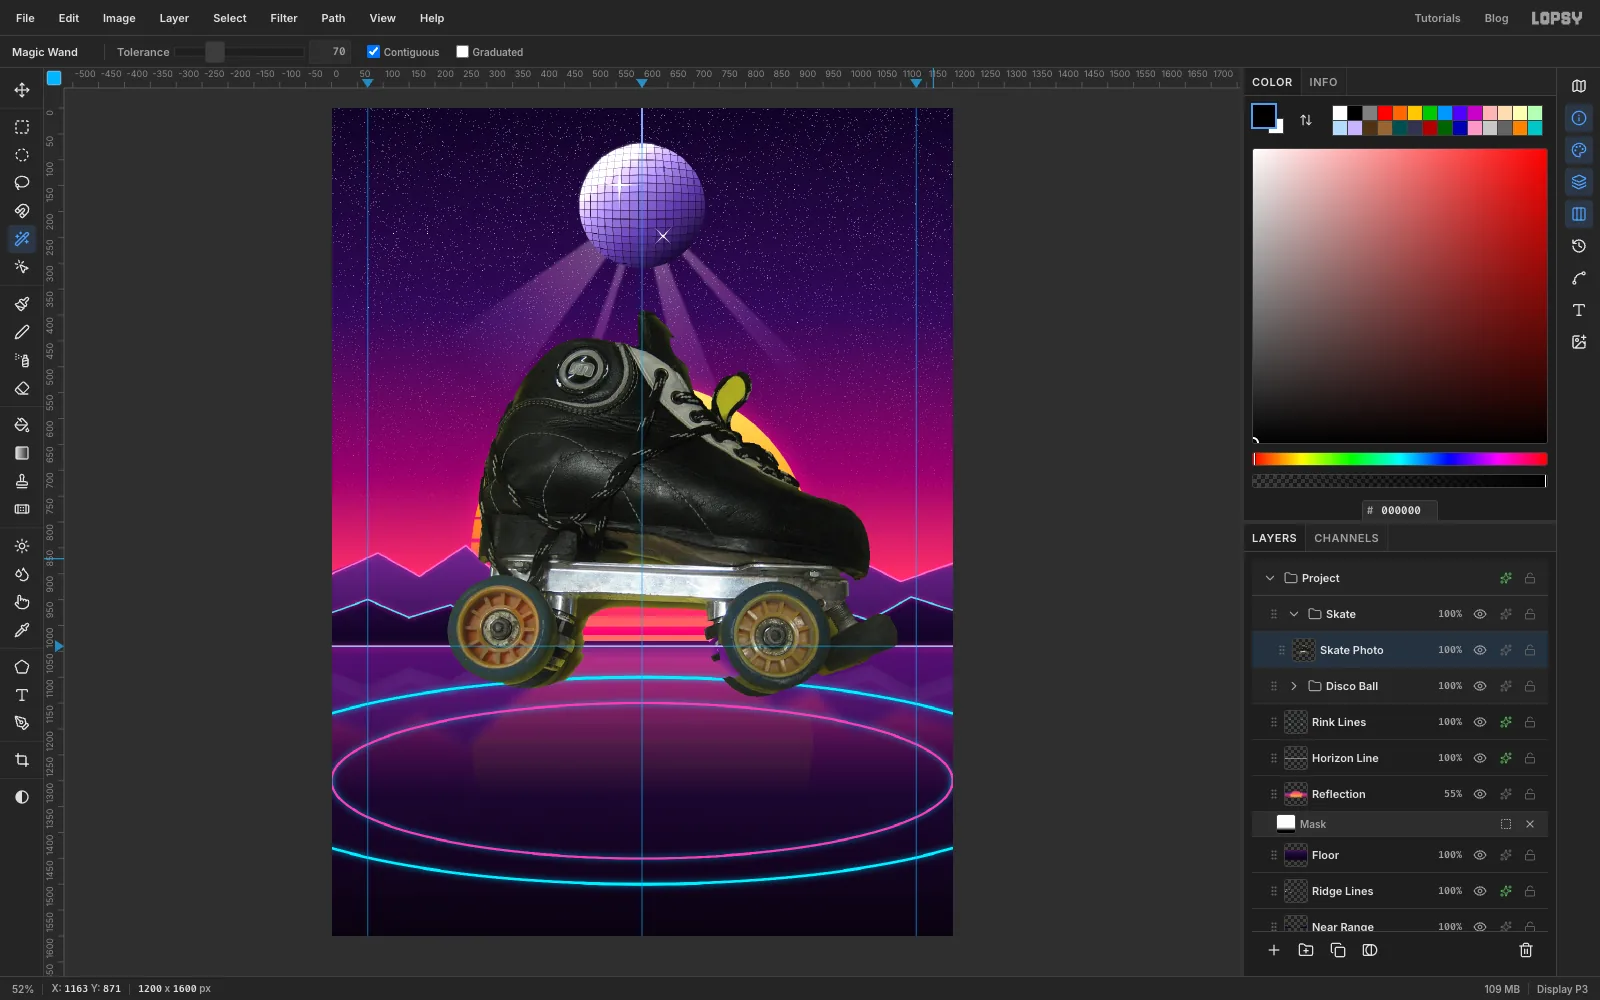
-
Recolour it with a Gradient Map
Choose Filter → Desaturate, then Filter → Brightness/Contrast… with Brightness
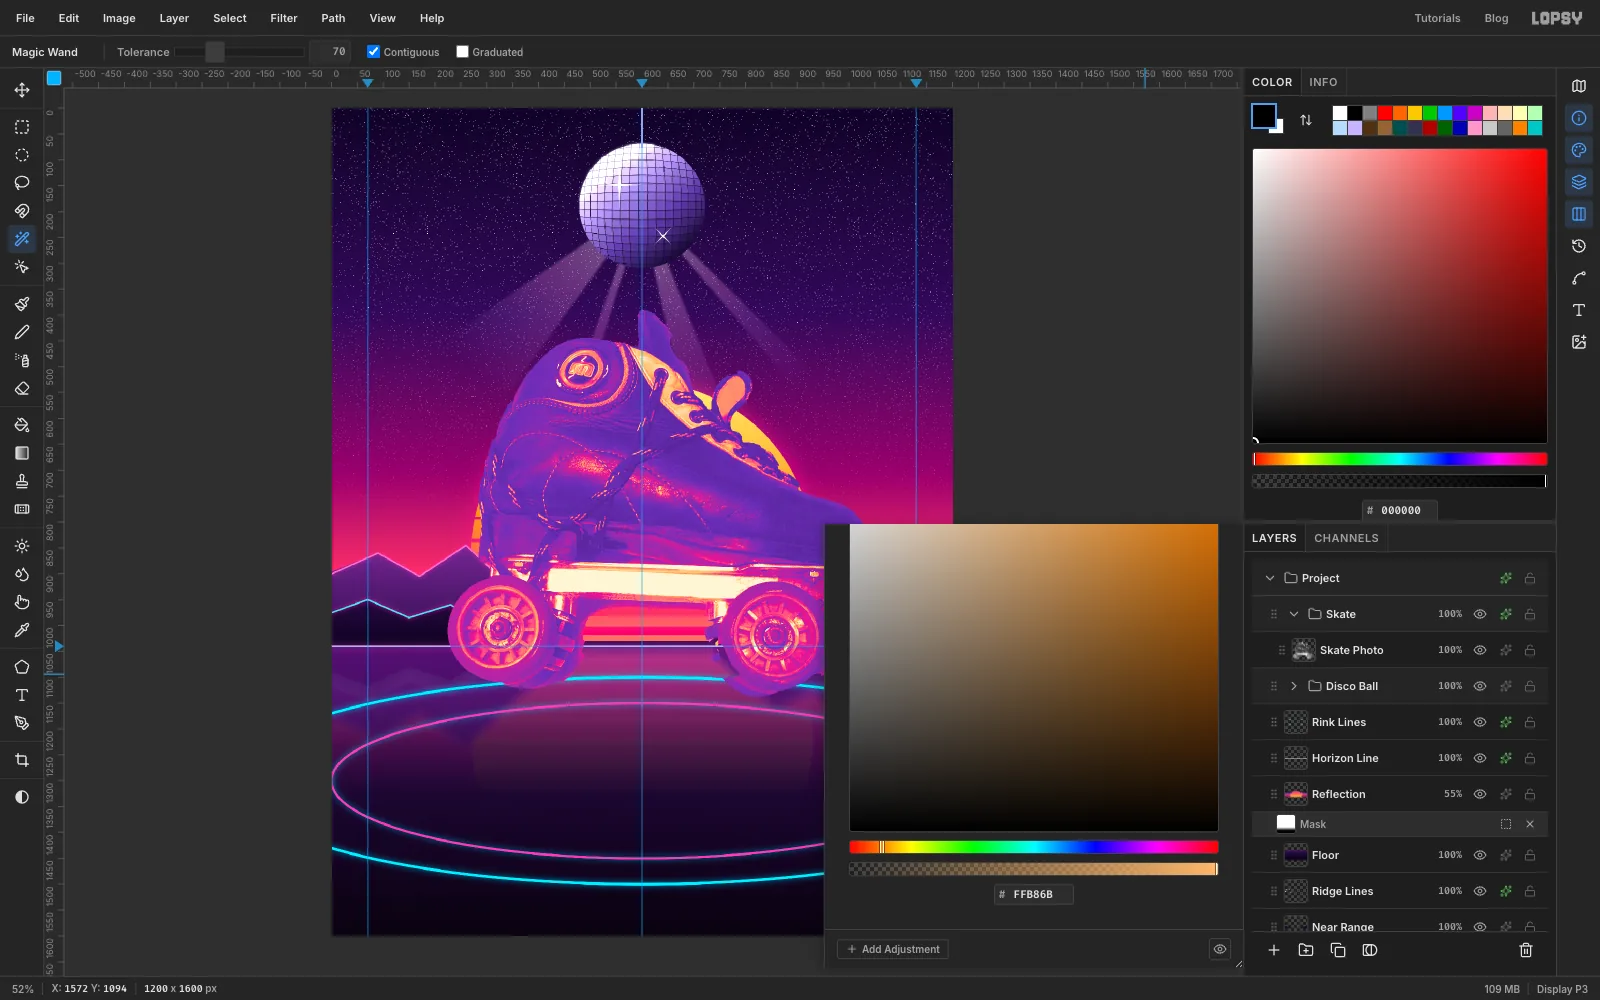
28and Contrast30. That lifts the black leather so there is detail to colour.Click the sparkle icon on the Skate group row. Groups get adjustments instead of effects. Click Add Adjustment → Gradient Map and set five stops: , at 26%, at 56%, at 80% and . Every grey in the photo is replaced by a colour from that ramp, so the shadows go violet, the midtones pink and the chrome plate peach.
-
Scale the skate
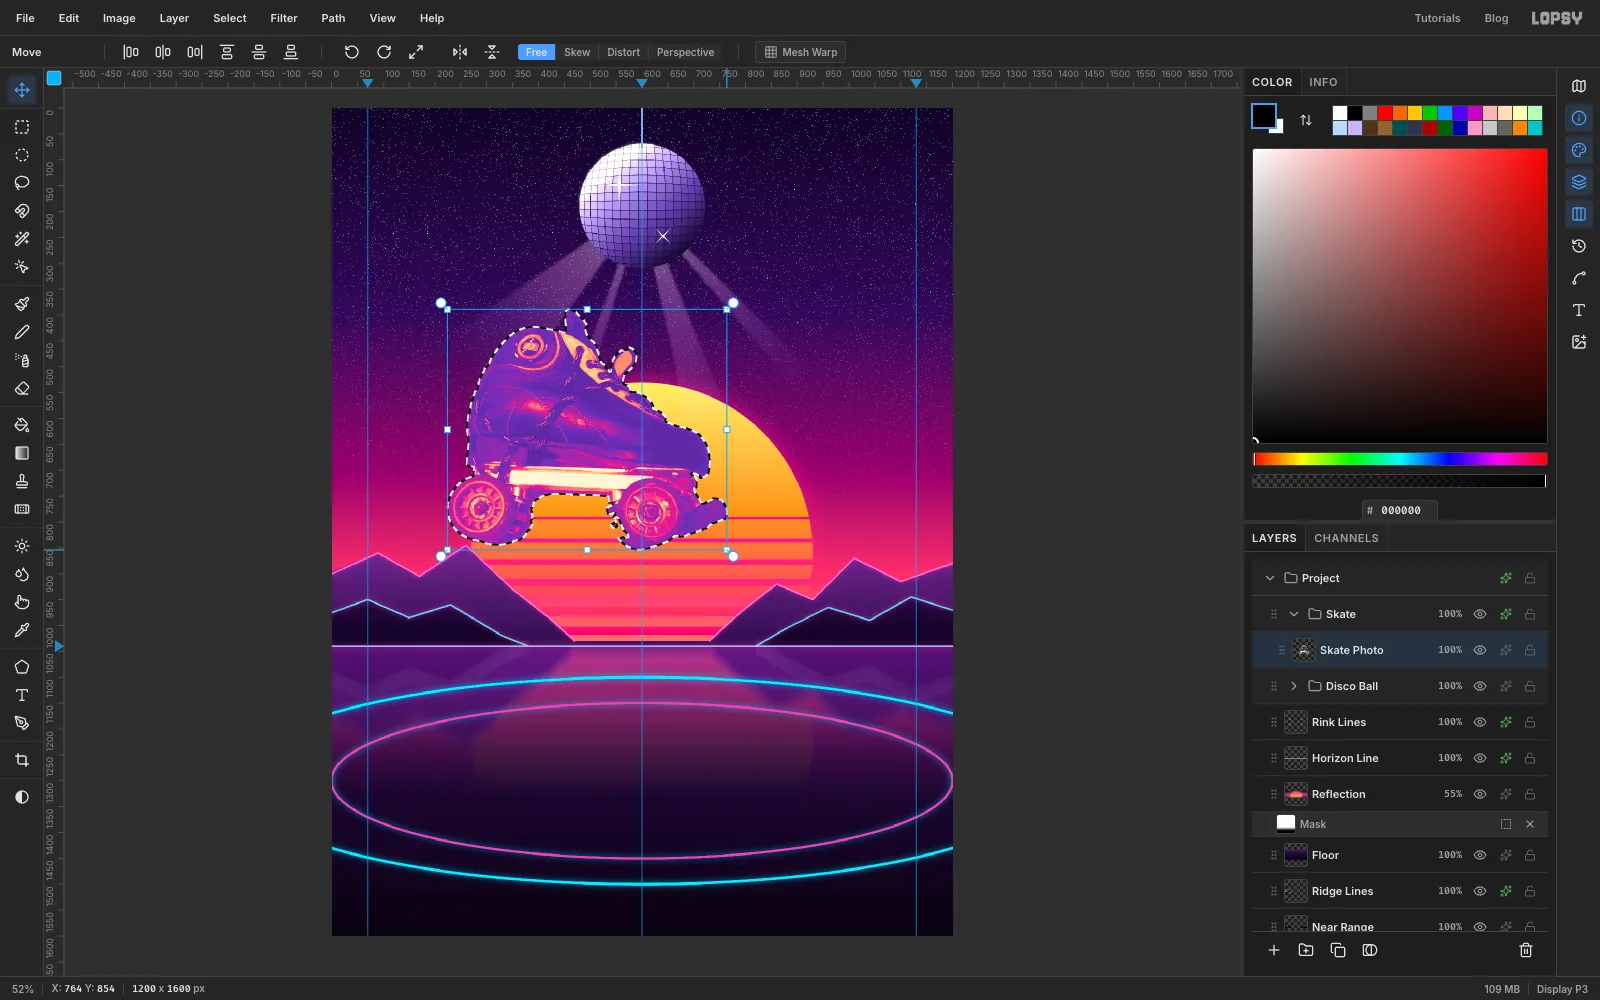
Close the drawer and click Skate Photo. Cmd-click its thumbnail, pick the Move tool, and Cmd-drag the bottom-right corner handle in until the skate is about 540 px wide. Press Cmd+D.
-
Tilt the toe up
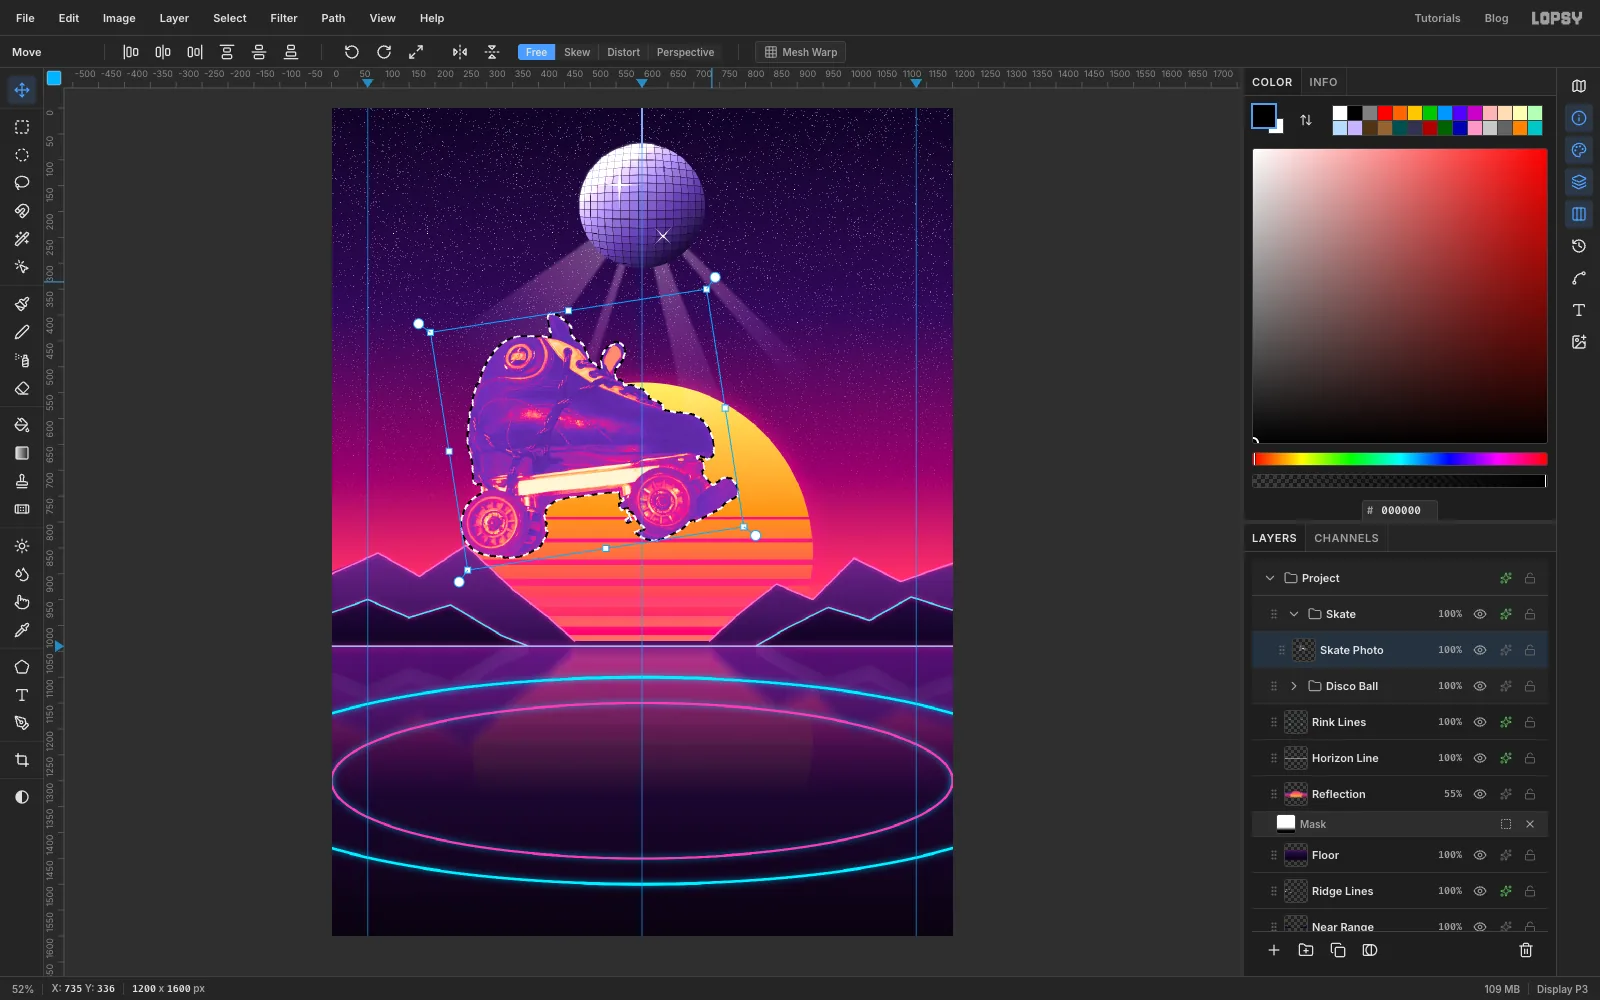
Cmd-click the thumbnail again and drag the rotation handle just outside the top-right corner counter-clockwise by about 9°. A raised toe makes the skate look like it's rolling forward. Press Cmd+D.
-
Put it on the rink
Move the skate so it is centred on the page with its wheels on the floor, at about
y 1300. That leaves room for the info panel below.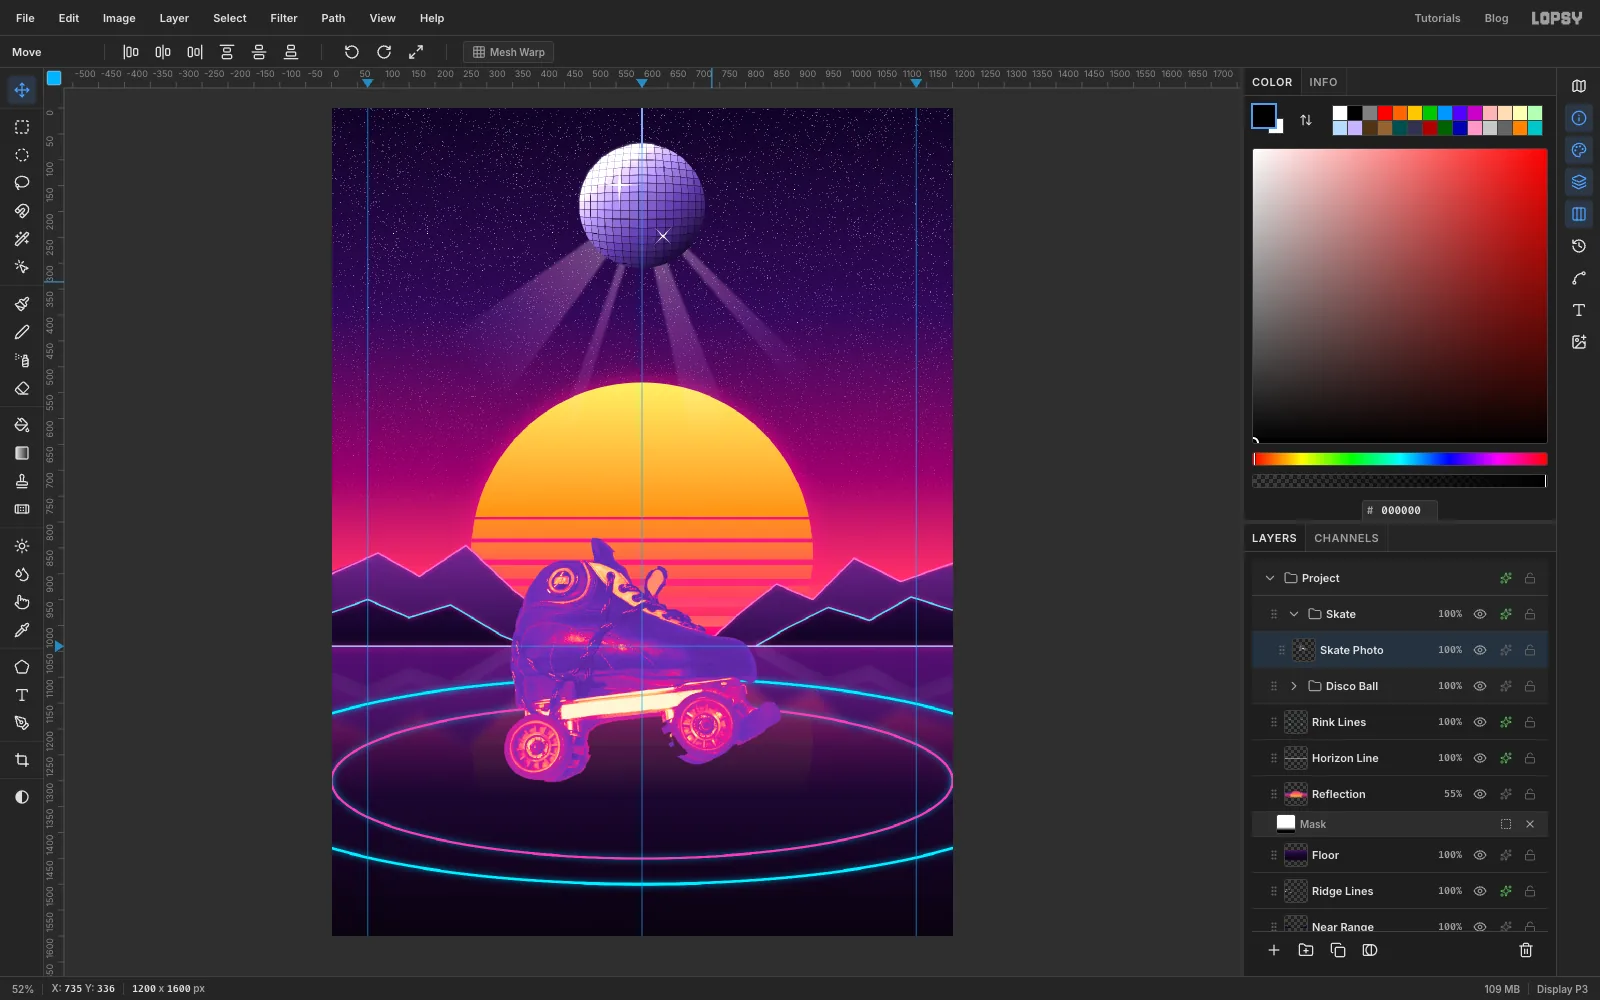
-
Give it a cyan halo
Collapse Skate, click Disco Ball and add a layer named Skate Glow. It sits between the two groups, behind the skate. Expand Skate, Cmd-click the Skate Photo thumbnail, choose Select → Grow…
8and fill with . Deselect, blur it with Gaussian Blur26and set the Blend to Screen.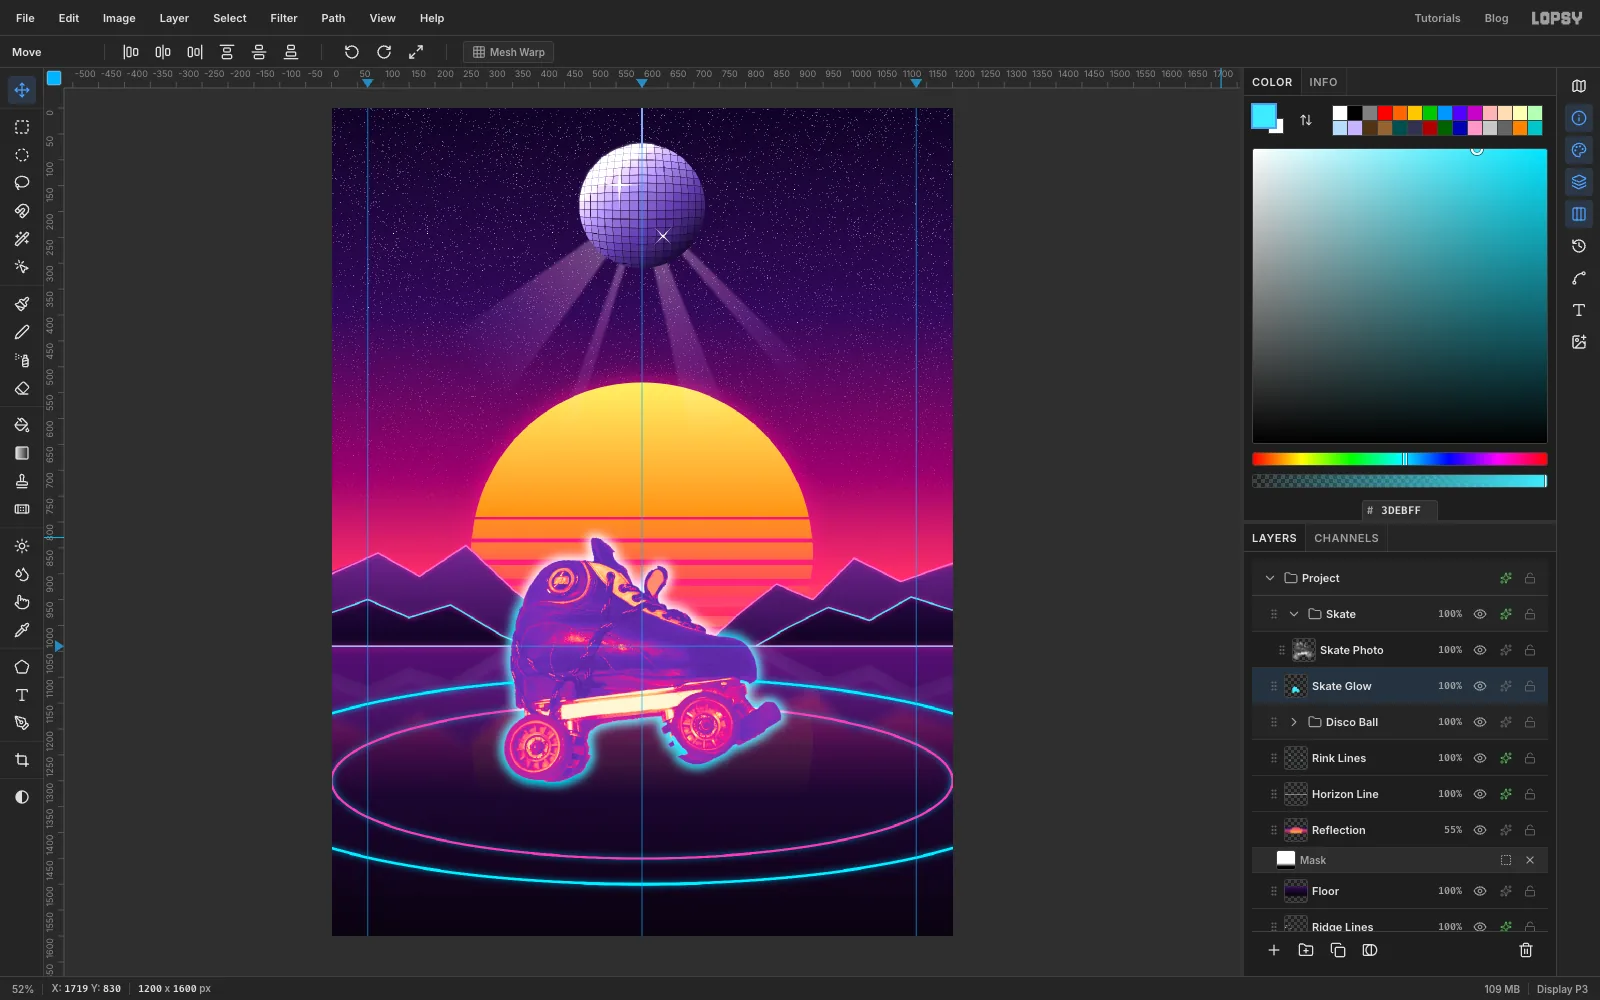
-
Draw tapered speed trails
Add a layer named Speed Trails. Pick the Brush, set Hardness
100and Fade0, then open the brush settings and set Taper to340. Taper shrinks the end of each stroke to a point.Drag five horizontal strokes from inside the skate's heel out past the left edge, all below the horizon: pink at Size
20, cyan at14, yellow at18, pink at11and cyan at16, spaced about 50 px apart. Give the layer an Outer Glow in , Size16, Opacity80.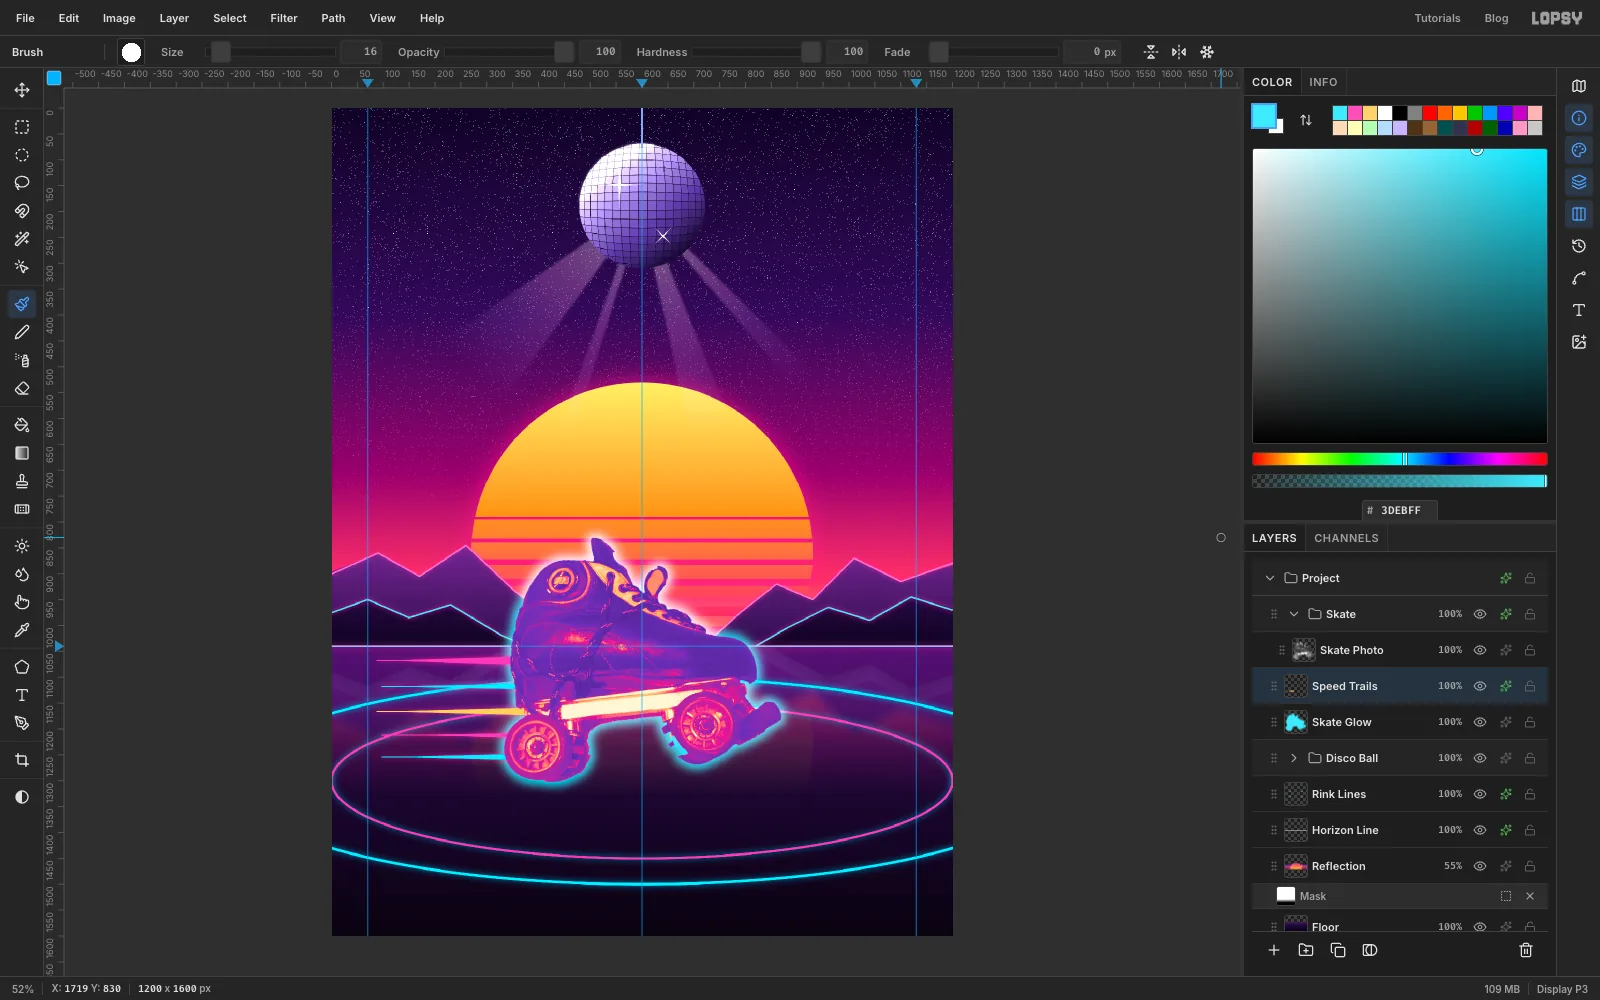
-
Reflect the skate in the floor
Click Skate Glow, Cmd-click the Skate Photo thumbnail and choose Edit → Copy Merged. This copies the recoloured skate, not the grey photo. Paste, rename the new layer Skate Reflection and deselect.
Choose Image → Flip Vertical and drag the copy straight down with Shift until its wheels touch the real wheels. Add Motion Blur with Angle
90and Distance8, set the opacity to 45%, and add a mask. Pick the Gradient tool again, set it back to Linear with just a white and a black stop, and drag on the mask from the wheels down about 150 px.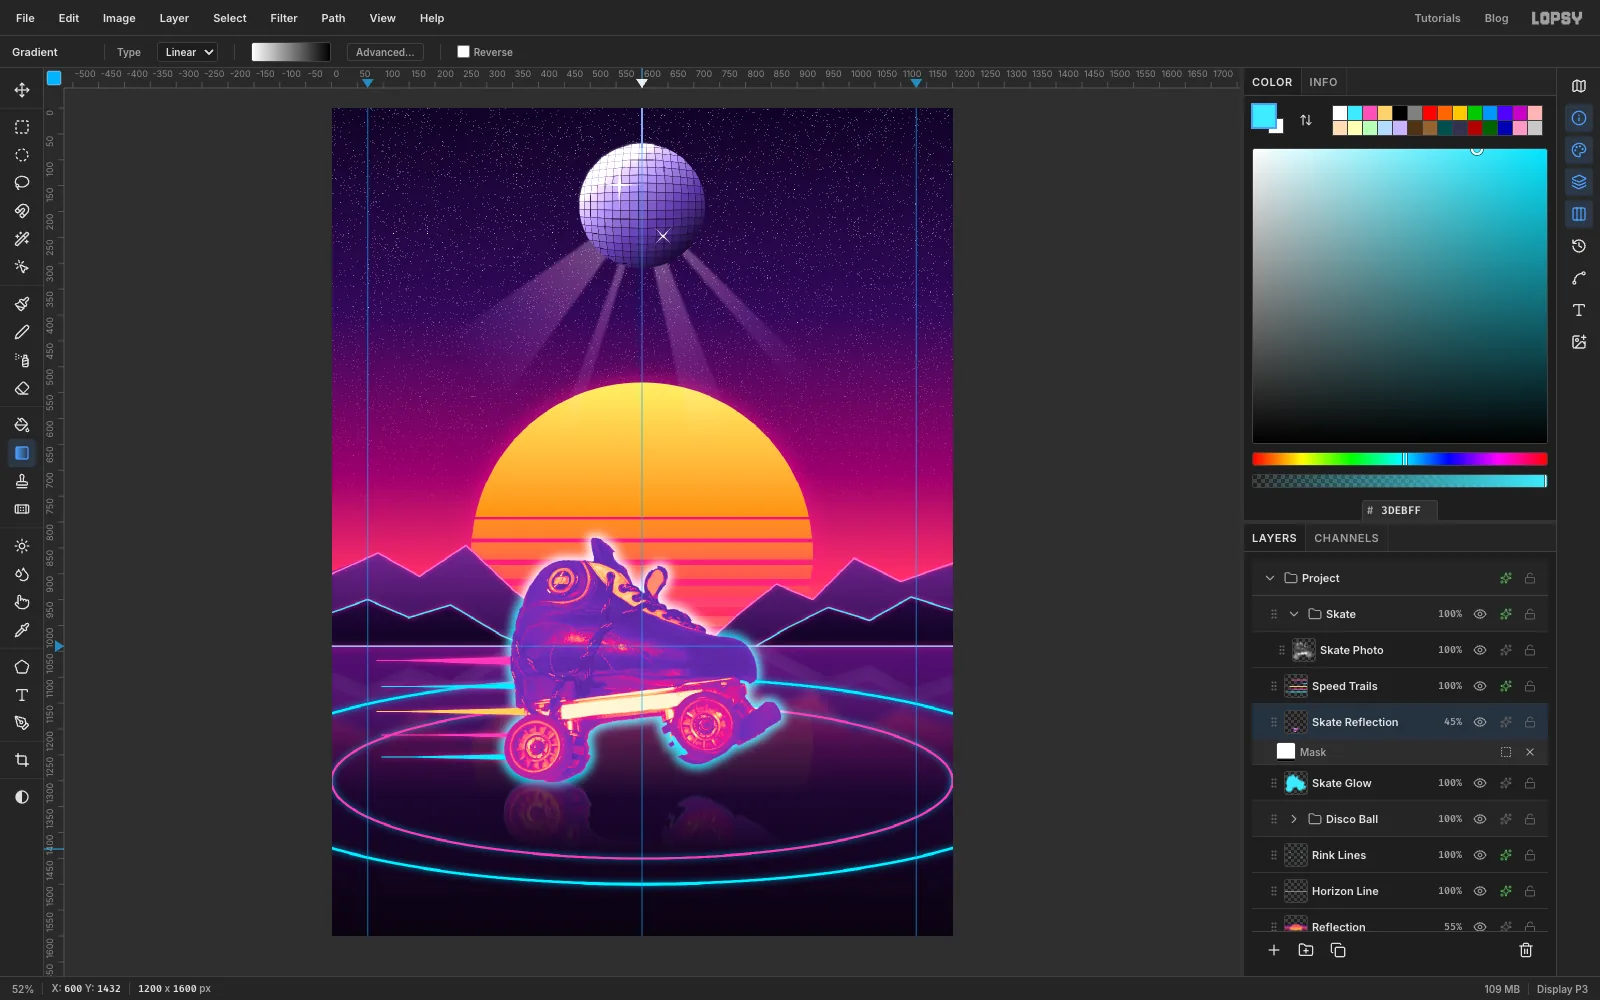
-
Add contact shadows
Add a layer named Contact Shadow. With the Elliptical Marquee, drag a flat ellipse about 125 × 22 px under the rear wheel, then Shift-drag another under the front wheel. Fill with black, deselect, blur with Gaussian Blur
7, set the Blend to Multiply and the opacity to 75%. Without them, the skate looks like it is floating.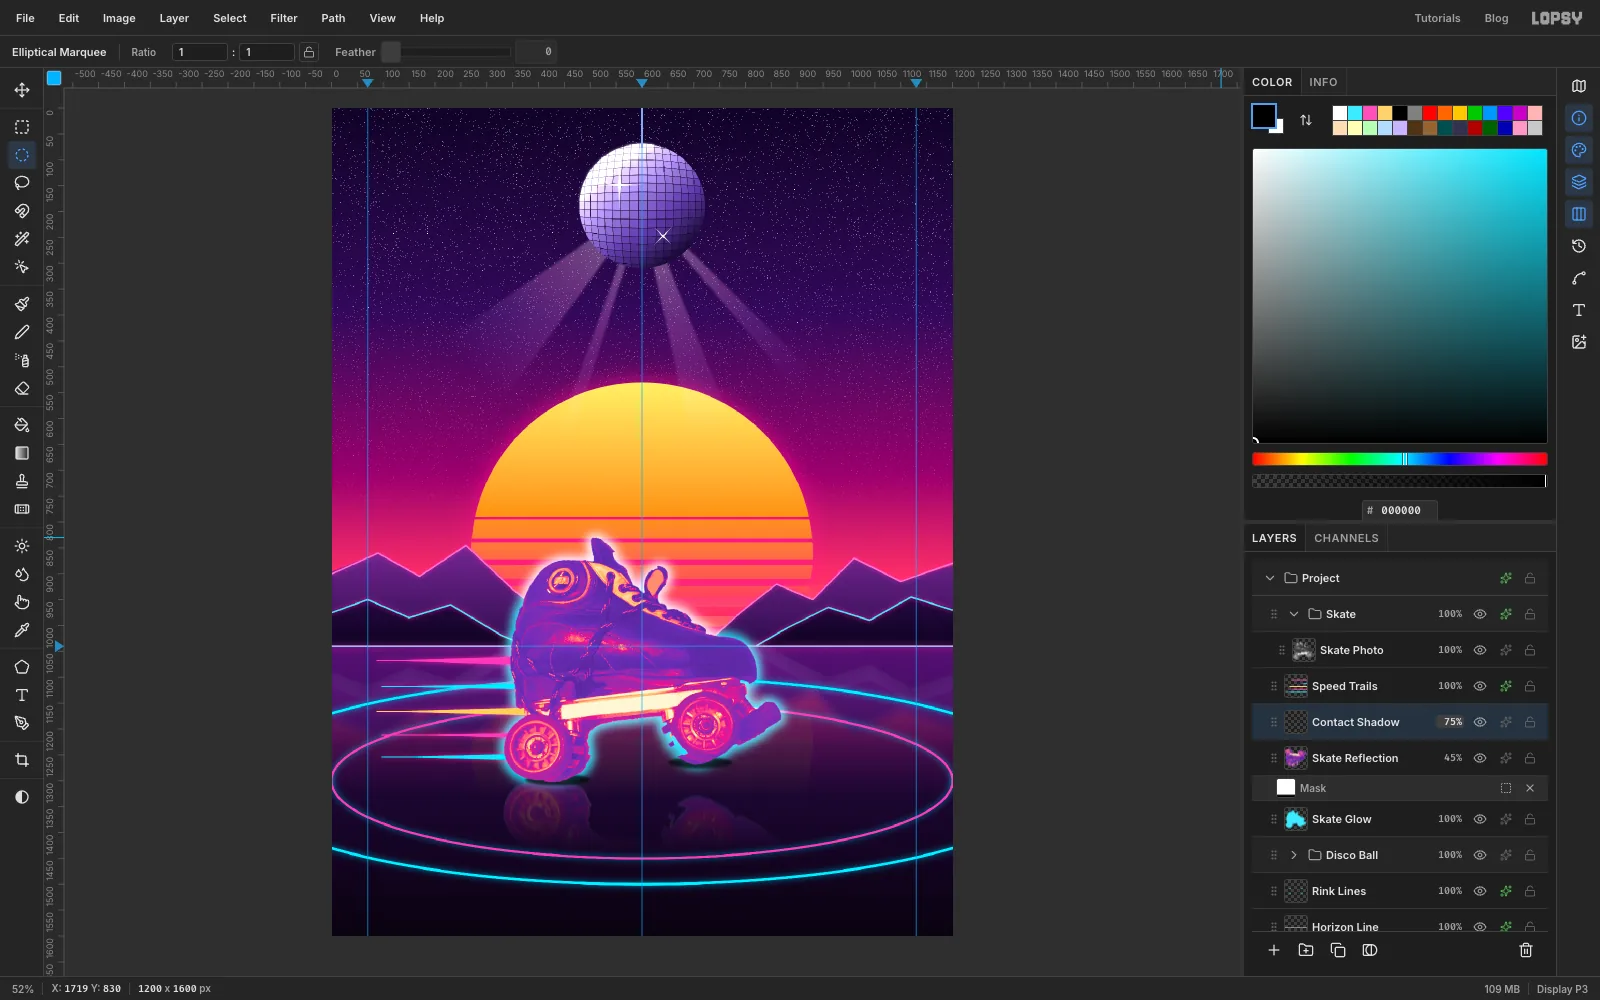
-
Select a rim along the top edges
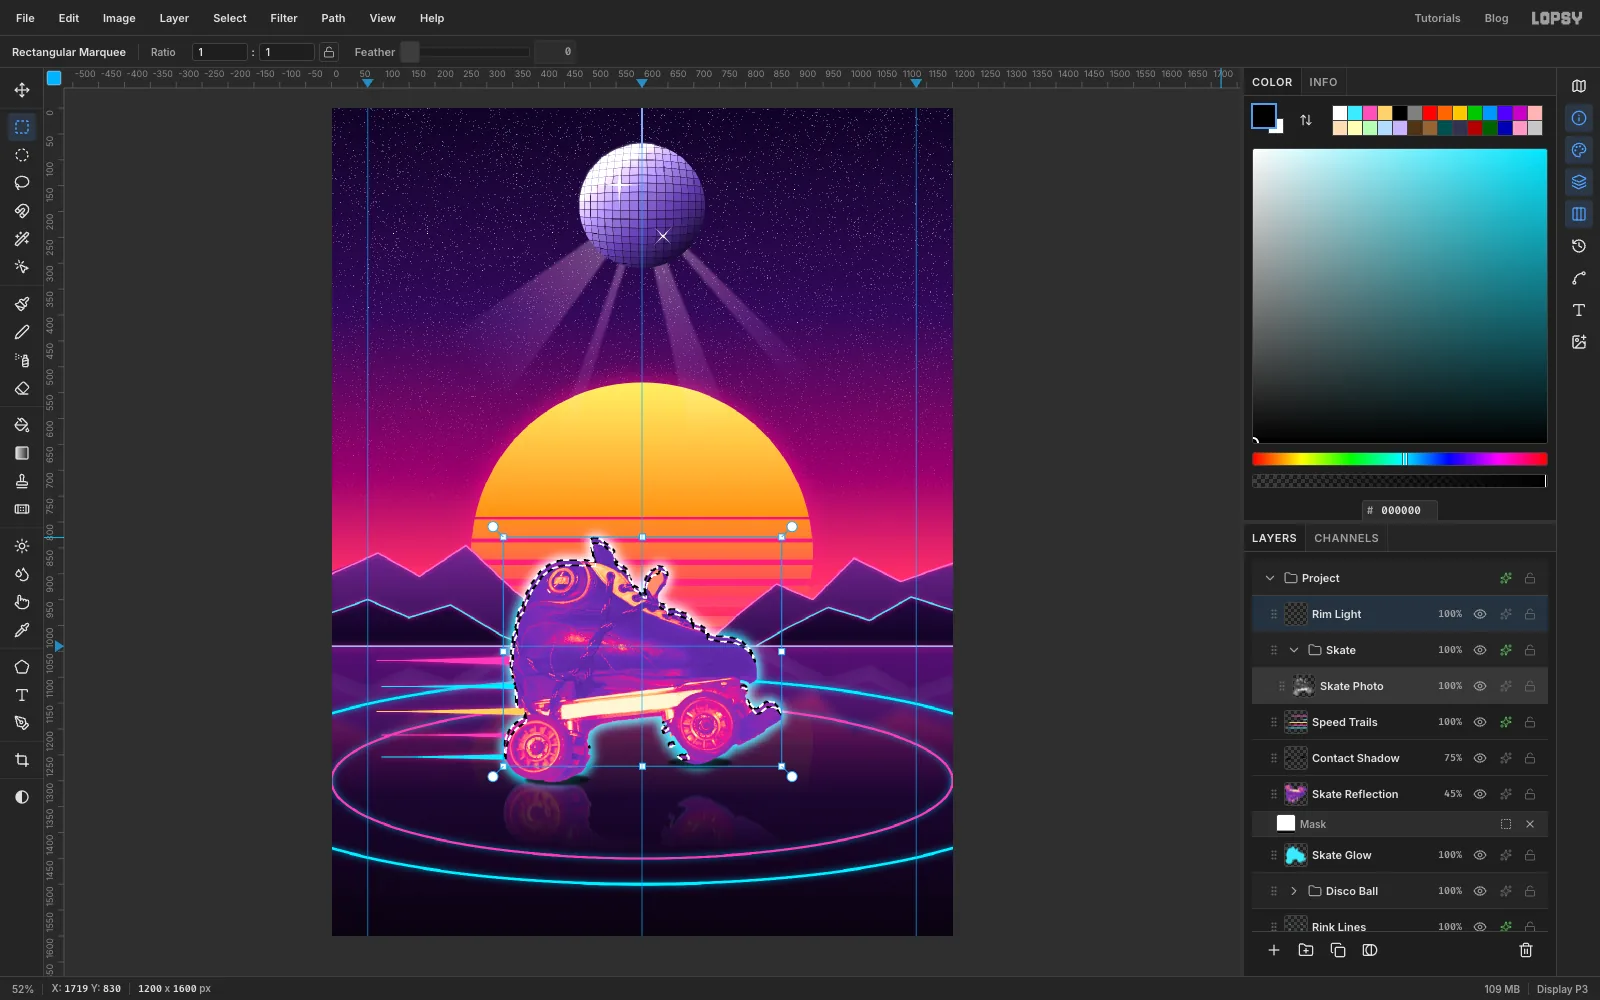
The sun is behind the skate, so its top edges should catch warm light. Collapse Skate, click it and add a layer named Rim Light above the group. Expand Skate again.
Cmd-click the Skate Photo thumbnail. Pick the Rectangular Marquee and nudge the outline (not the pixels) down about 10 px with Shift+Down, then a few pixels right with Right. Invert it with Shift+Cmd+I. Now Cmd+Shift+Option-click the thumbnail: that intersects the skate's shape with the inverted, shifted outline. What's left is a thin crescent along the top and left edges.
-
Paint the rim light
Click Rim Light and fill with . Deselect, soften it with Gaussian Blur
2, and set the opacity to 85%.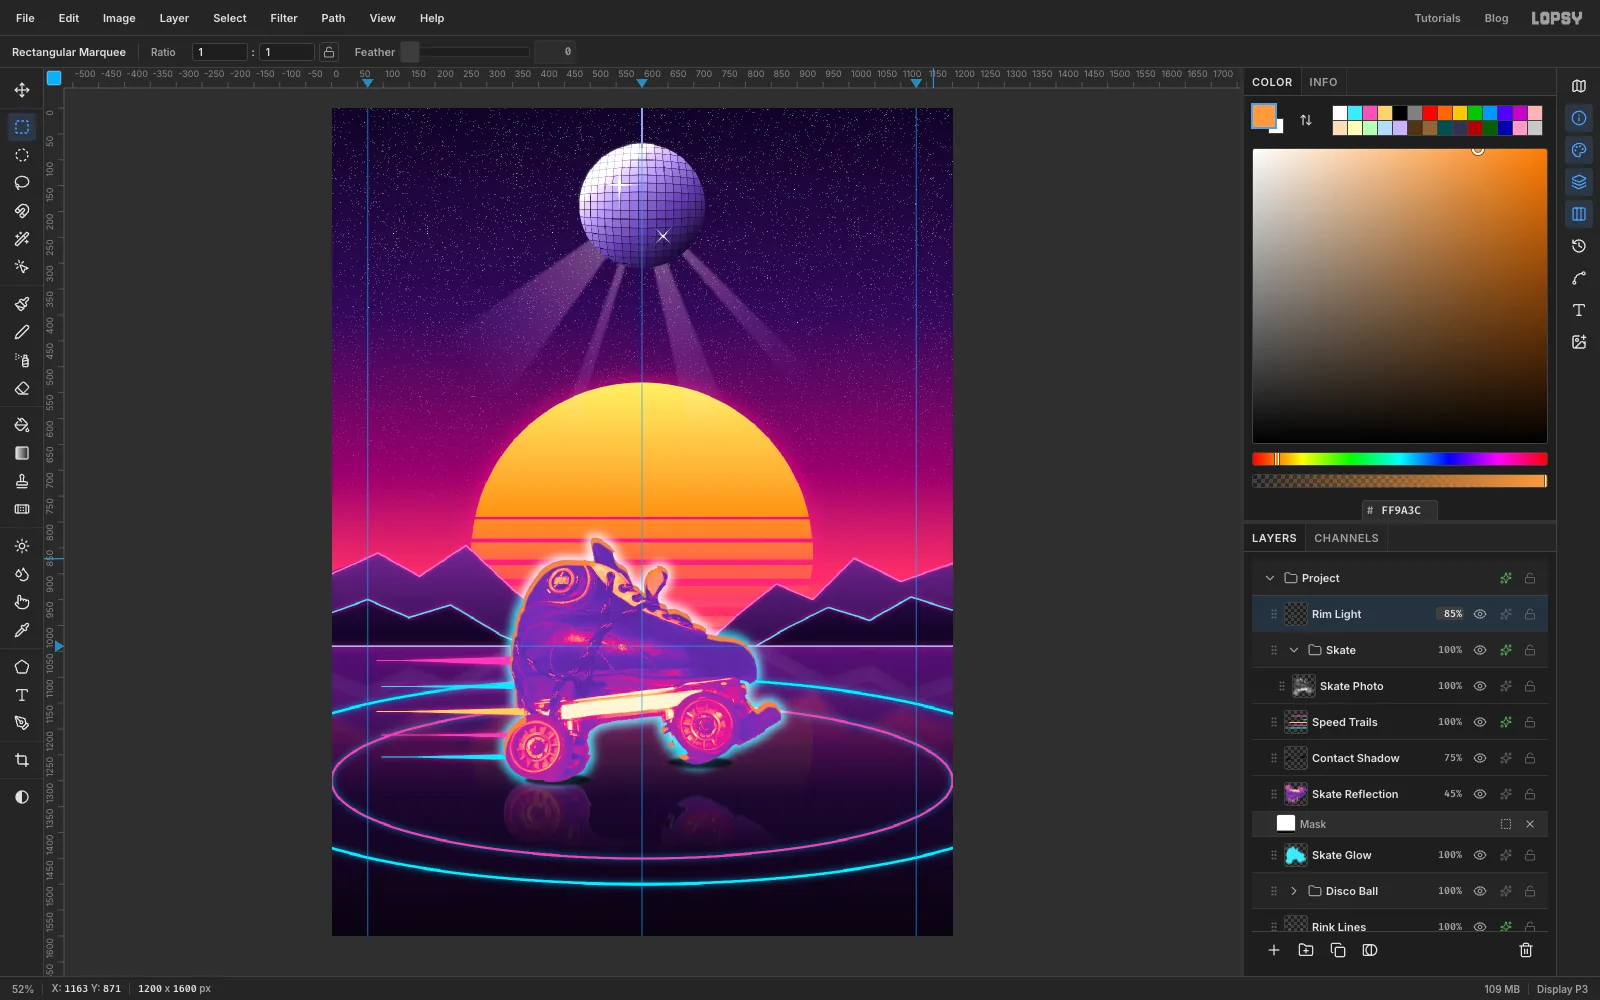
-
Spray sparks from the wheel
Add a layer named Sparks. Pick the Spray tool with Size
80and Density45, set the foreground to , and drag from the bottom of the rear wheel back and up to the left. Switch to white at Size40for a shorter, brighter burst. Give it an Outer Glow in , Size10, Opacity90.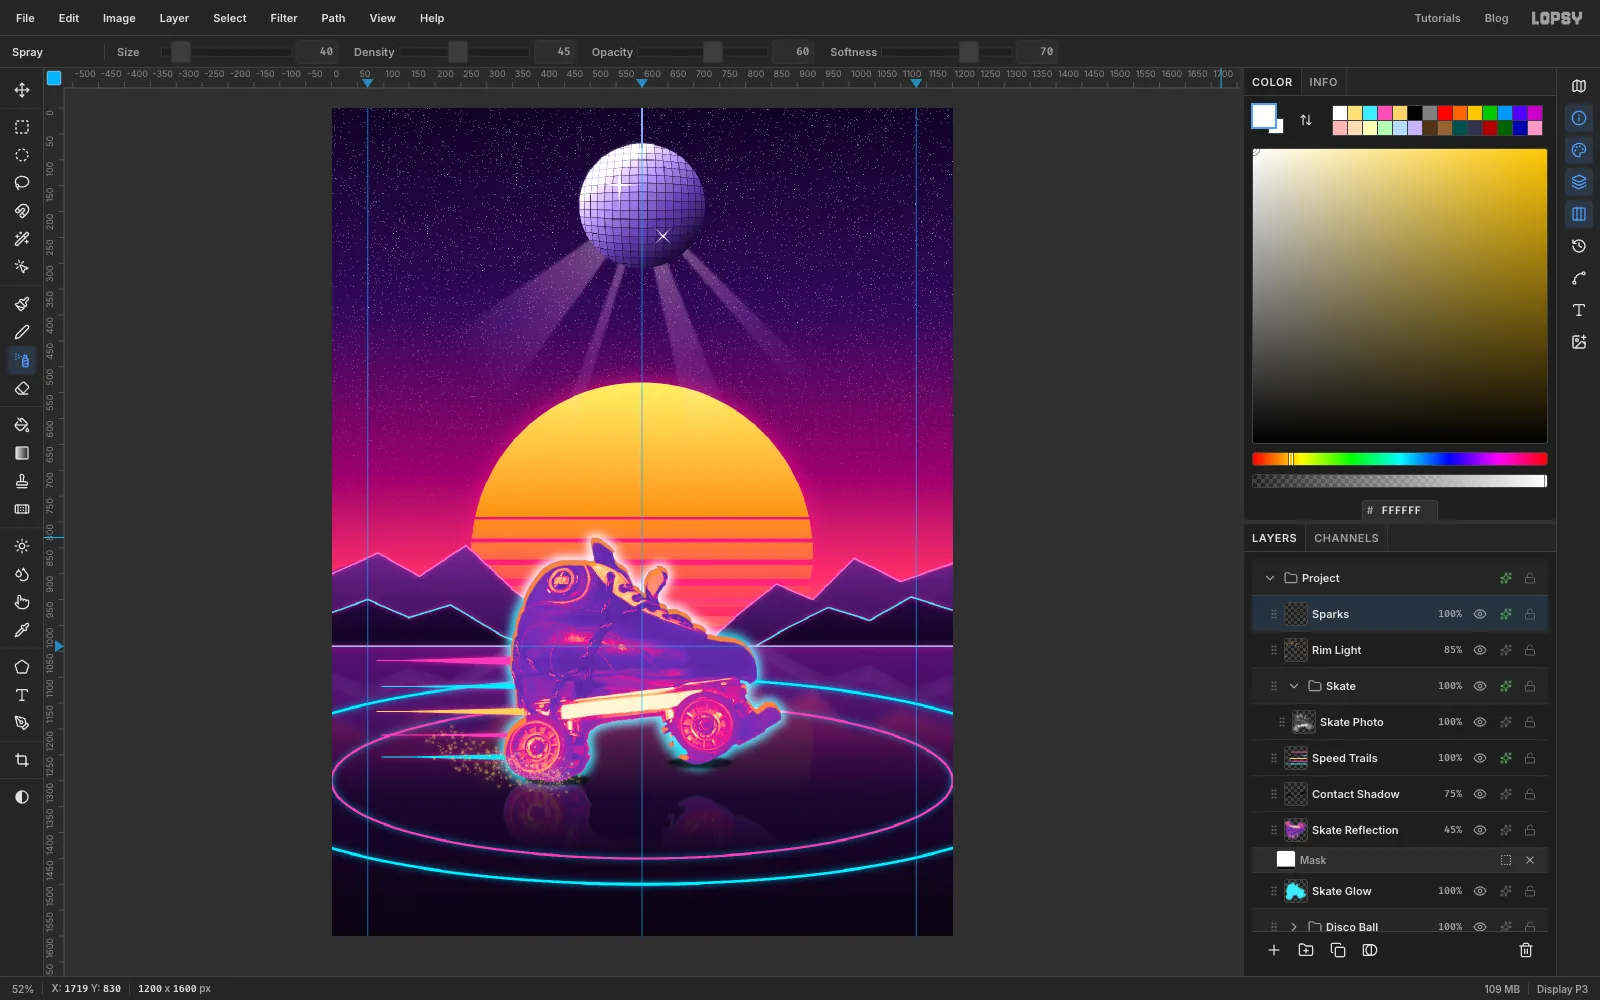
-
Set LOUNGE in Monoton
With Sparks selected, pick the Text tool and choose Monoton at Size
132, colour , with Letter spacing14in the Text panel. Click in an empty part of the sky, typeLOUNGEand press Tab to commit. Move it so it is centred on the guide at abouty 640, over the top of the sun.Pale cyan lines vanish against yellow, so give it a dark base: a Drop Shadow in with Offset
0, 8, Blur18, Spread20and Opacity85, and a Stroke in , Width3. Then an Outer Glow in , Size26, Opacity95.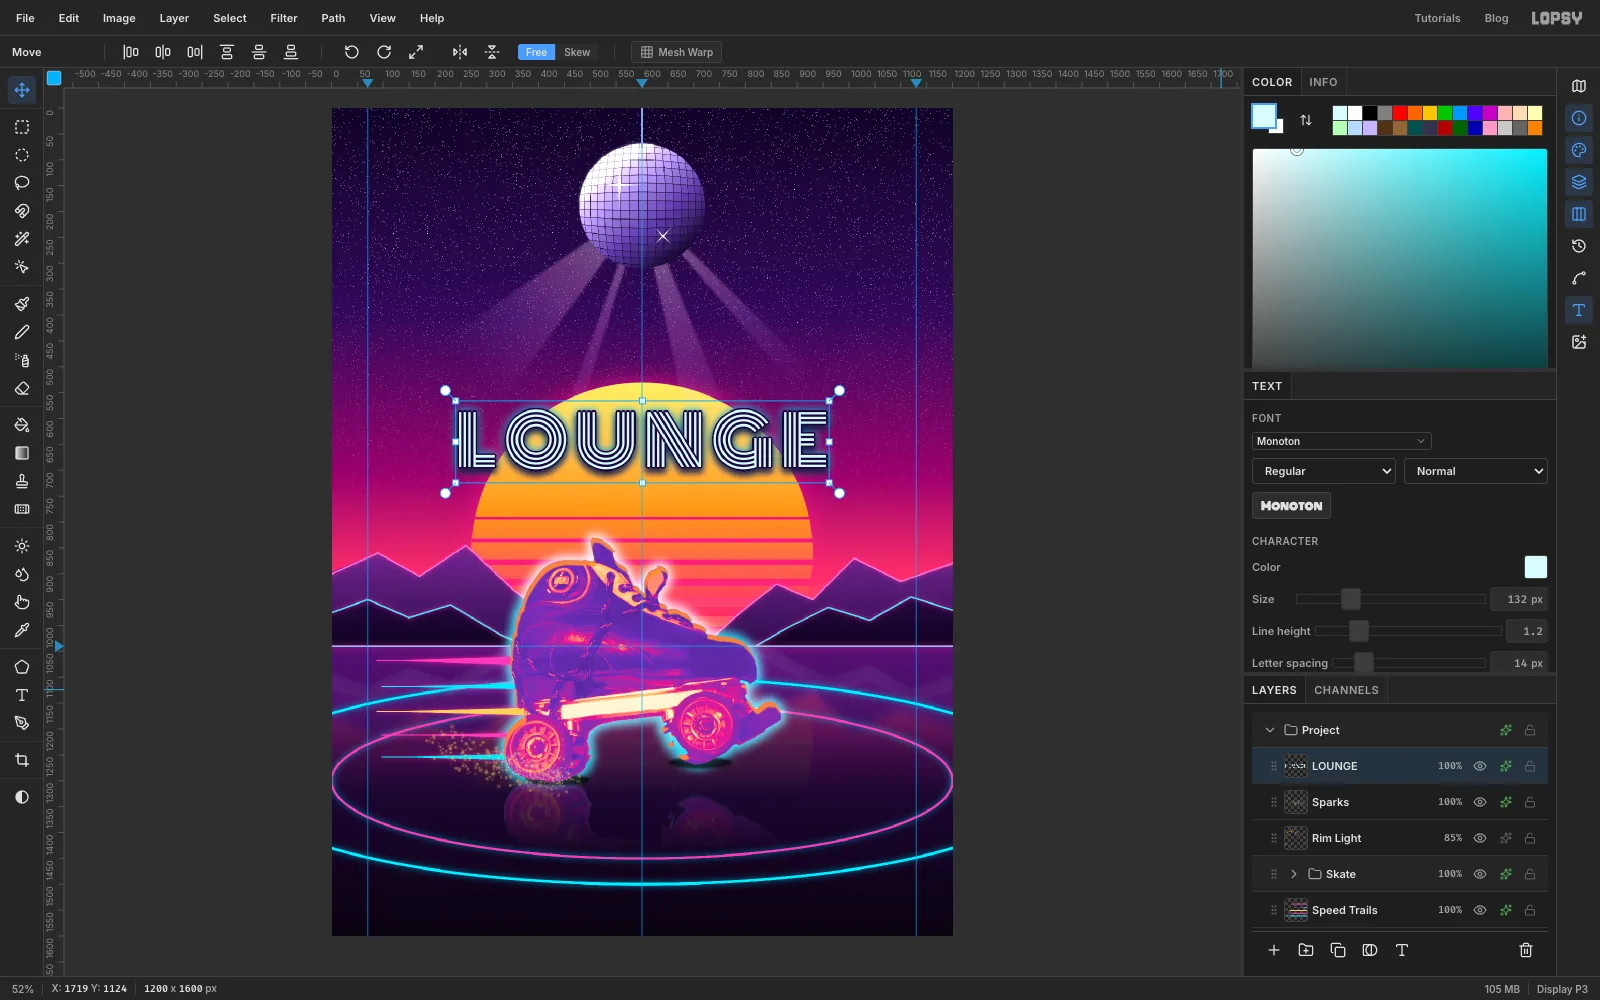
-
Write Roller in neon script
Click Sparks again first, so the new settings don't restyle LOUNGE. Choose Mr Dafoe at Size
300, colour , letter spacing0. Click in empty sky above LOUNGE, typeRollerand press Tab. Centre it a little above LOUNGE. Its tail can tuck behind the E.Add a Stroke in , Width
3, and an Outer Glow in , Size34, Opacity100. The near-white letters with a pink edge and glow look like a lit tube.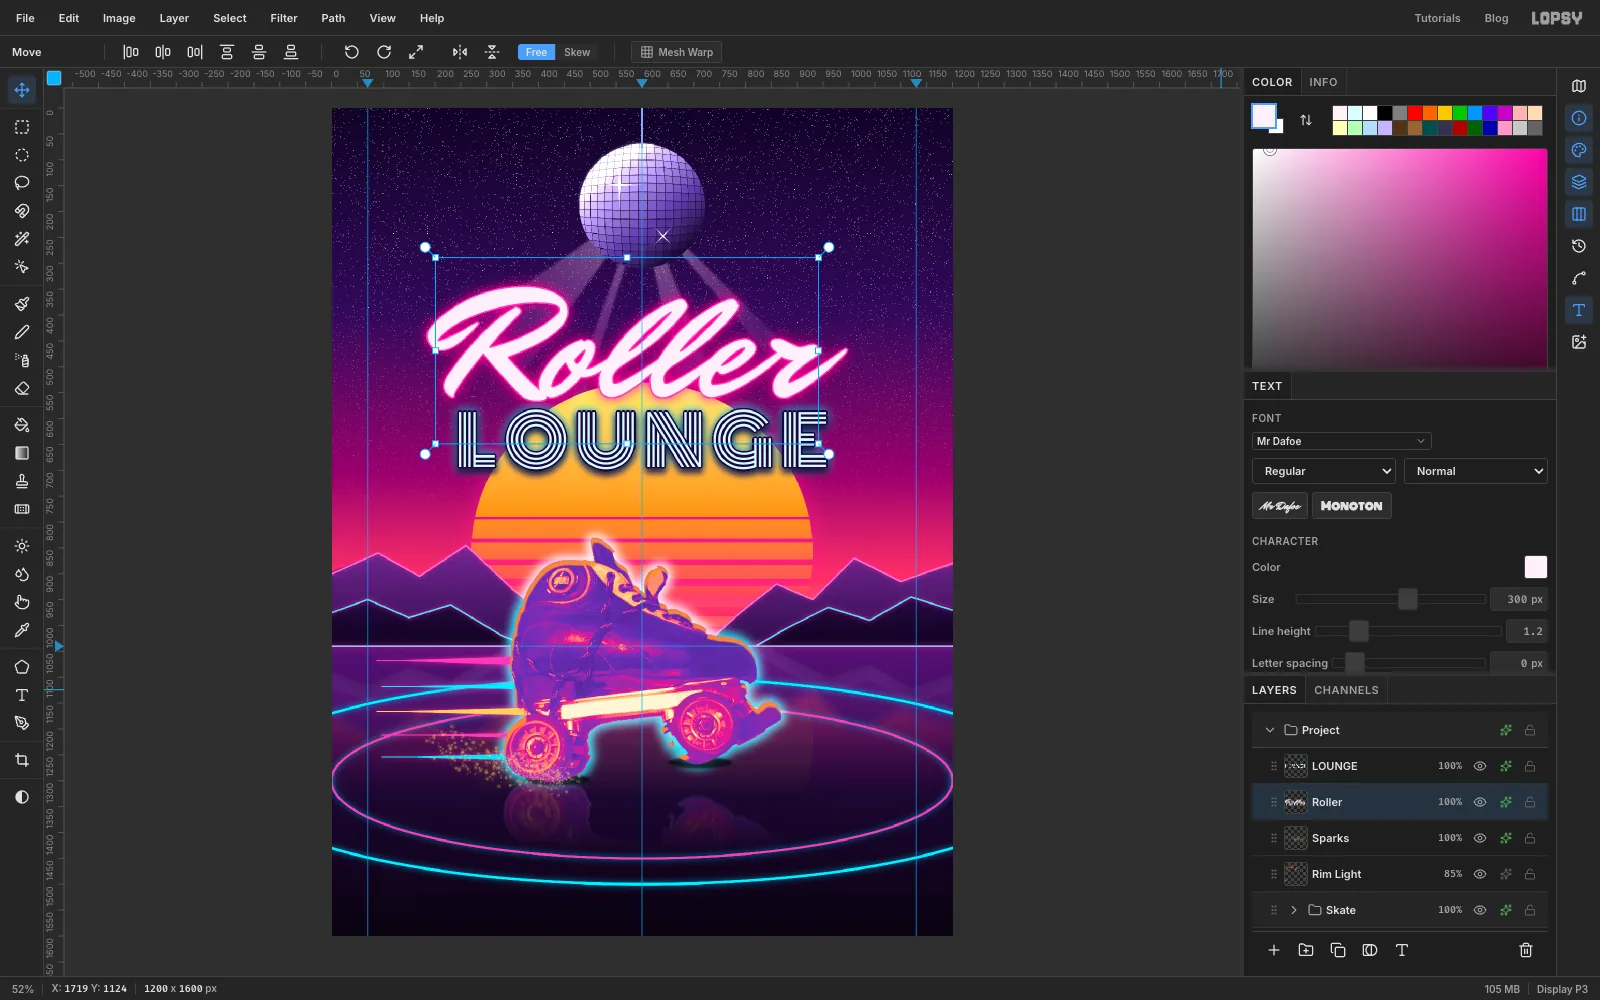
-
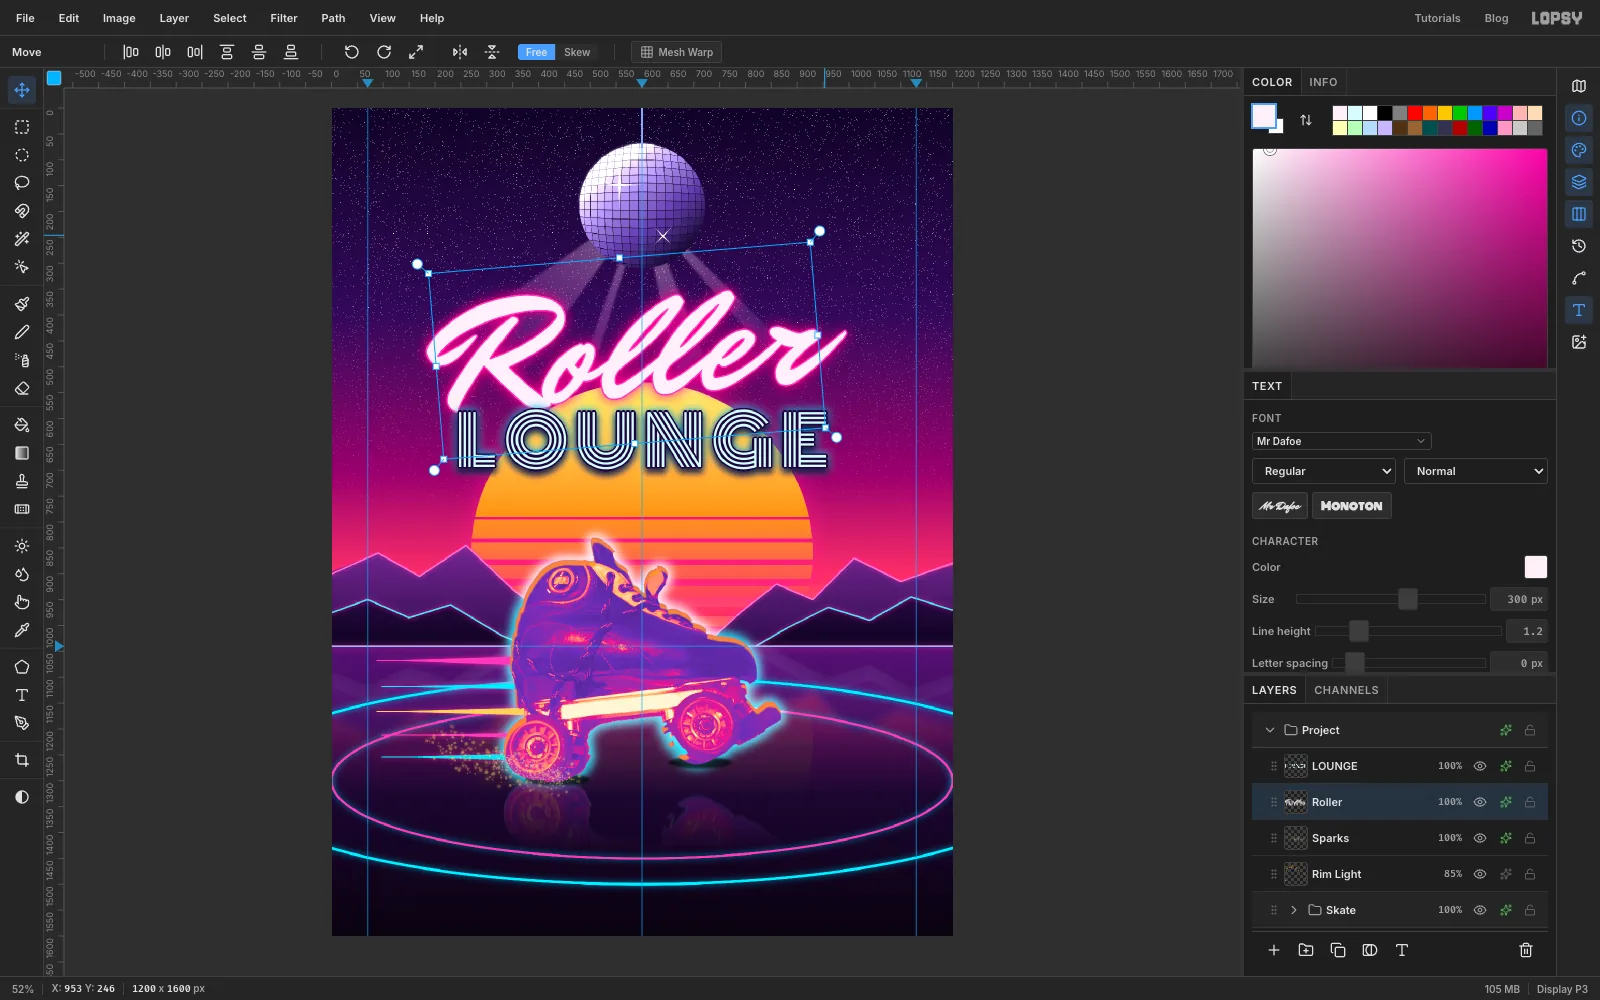
Tilt the script
With the Move tool, drag the rotation handle at the top-right of the text box counter-clockwise by about 5°. Script titles usually climb toward the right. The text stays editable after rotating. Nudge it back so it is centred over LOUNGE, with clear sky between it and the ball.
-
Add a VHS colour fringe
The artwork gets its VHS finish before the small type goes on, so the type stays sharp. Click LOUNGE and click New Group. Name it Finish.
Press Cmd+A, Edit → Copy Merged, and paste. Rename the new layer VHS Fringe and deselect. Choose Filter → Chromatic Aberration… with Amount
4and Direction0, and set it to 45% opacity. The red and blue channels slide apart a little, like an old tape.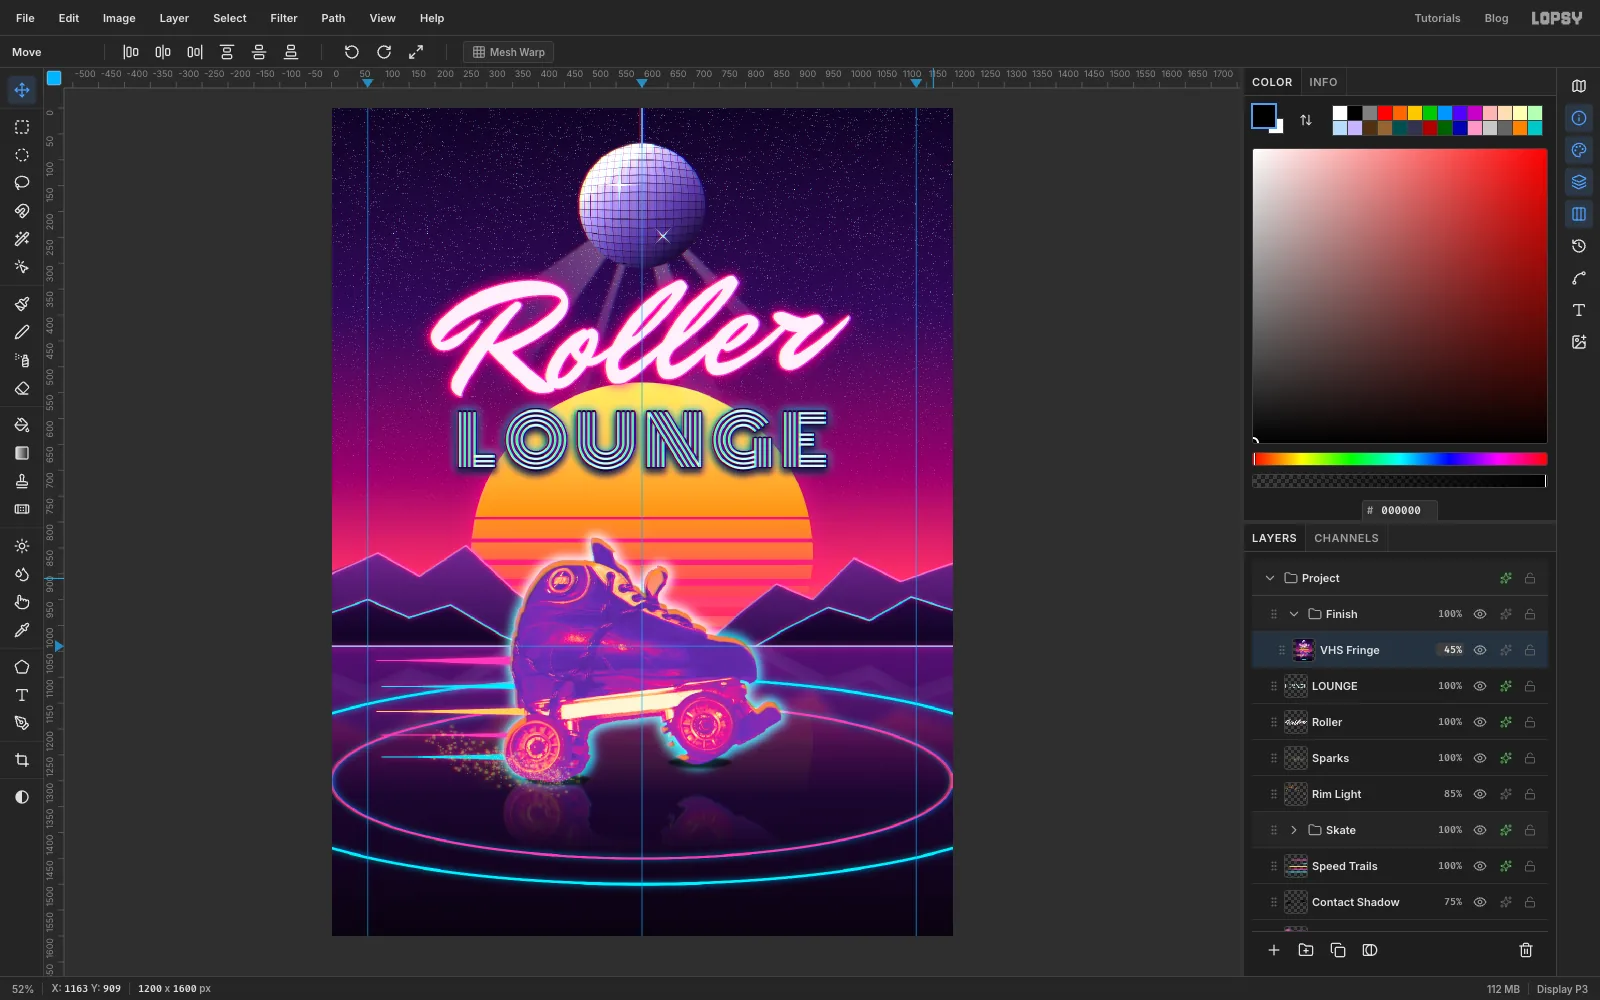
-
Add scanlines
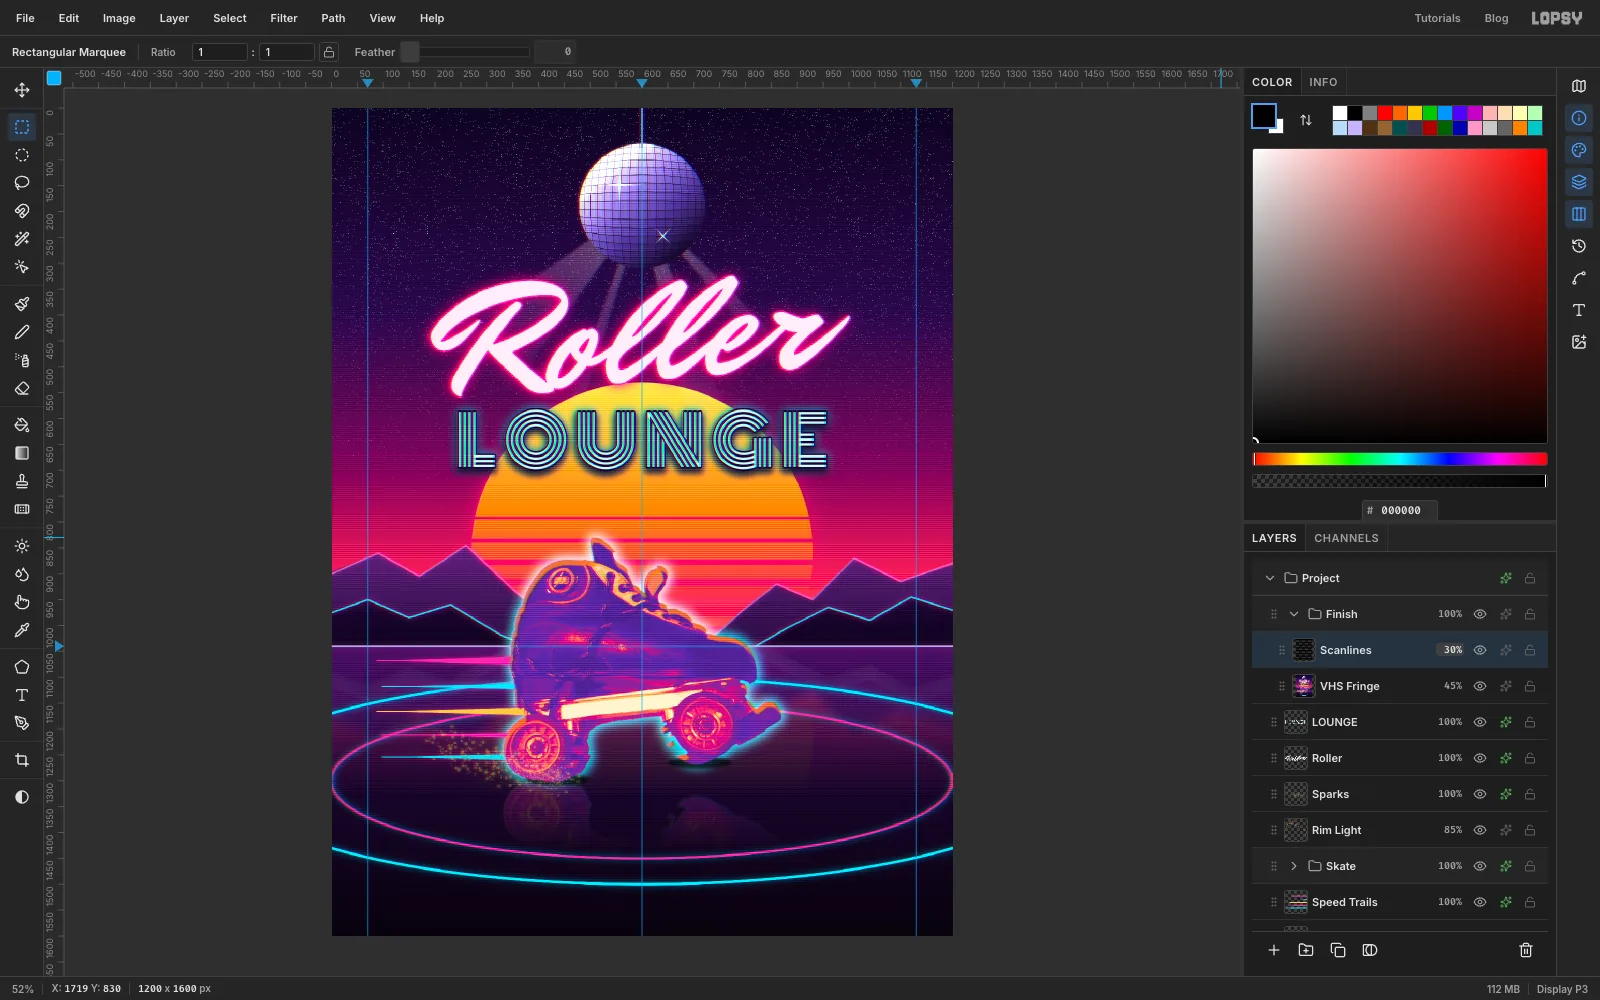
Add a layer named Scanline Tile. Select from
0, 0to4, 2and fill it with black, then select from0, 0to4, 4and choose Edit → Define Pattern. Deselect and delete the tile layer.Add a layer named Scanlines, choose Edit → Fill with Pattern…, pick the new 4 × 4 pattern and click Apply. It tiles a dark line every 4 px. Set the Blend to Overlay and the opacity to 30%.
-
Add grain and a vignette
Add a layer named Grain, fill it with and choose Filter → Add Noise… with Amount
22, Mono and Gaussian. Set it to Overlay at 40%. Mid grey disappears in Overlay, leaving only the grain.Add a layer named Vignette. Use a Radial gradient that is transparent from 0% to 60% and turns at 100%. Drag from the middle of the page, about
600, 760, down past the bottom edge. Set it to Multiply at 70%. The corners darken and pull the eye toward the skate.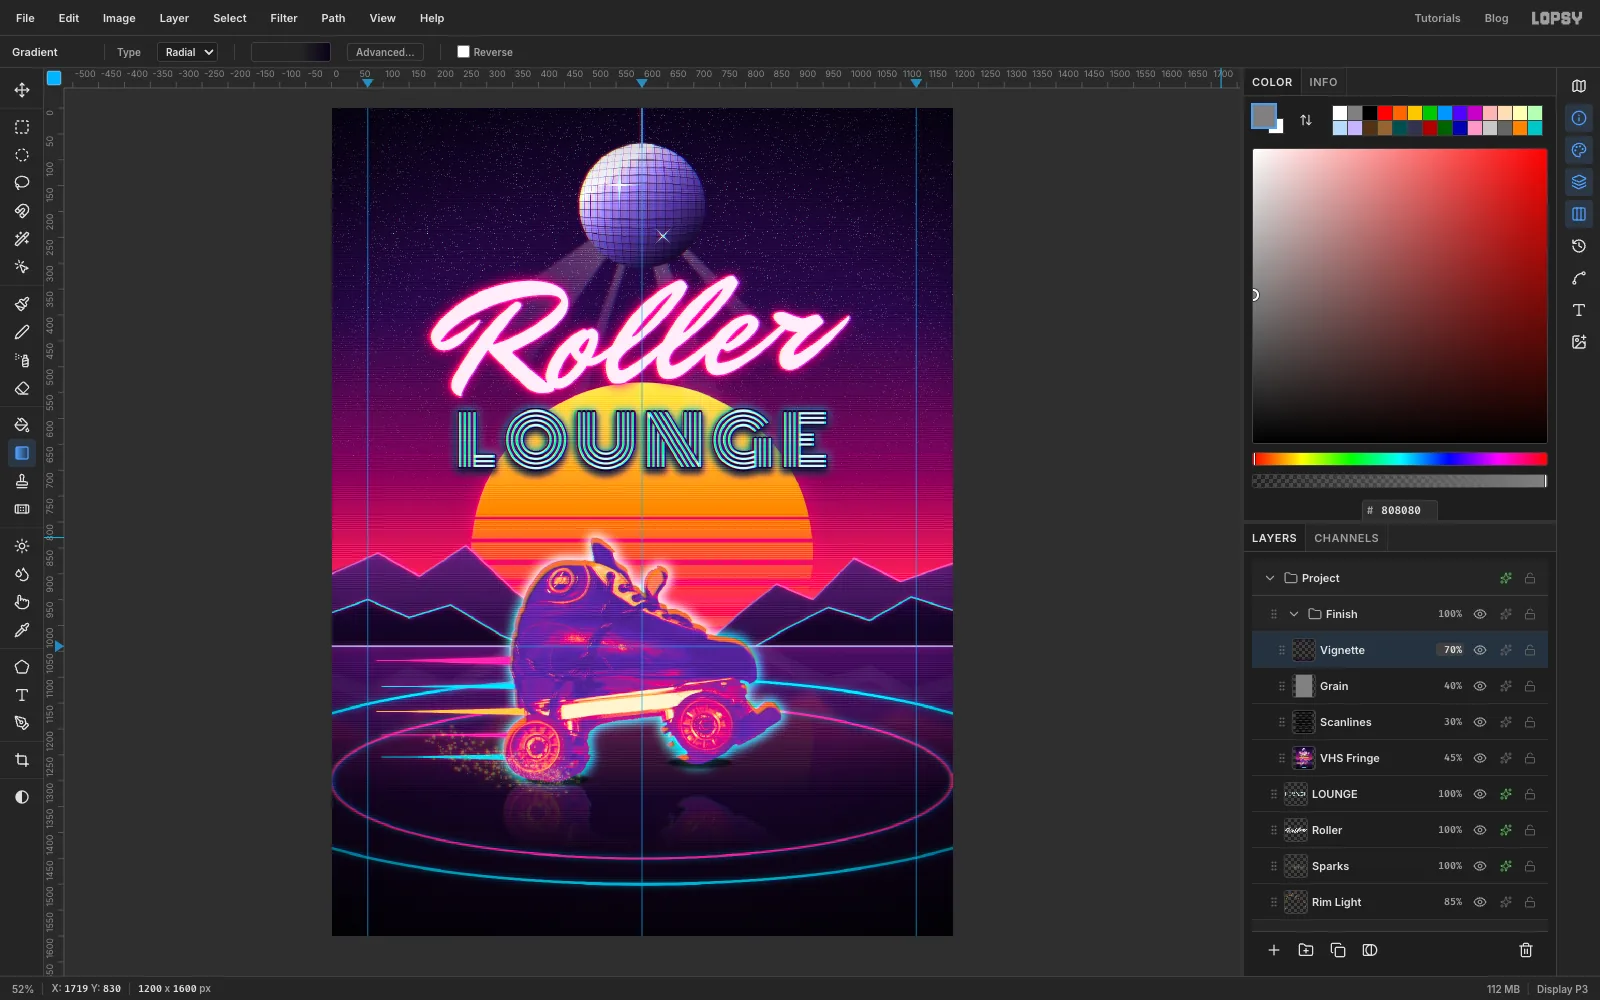
-
Draw the info panel
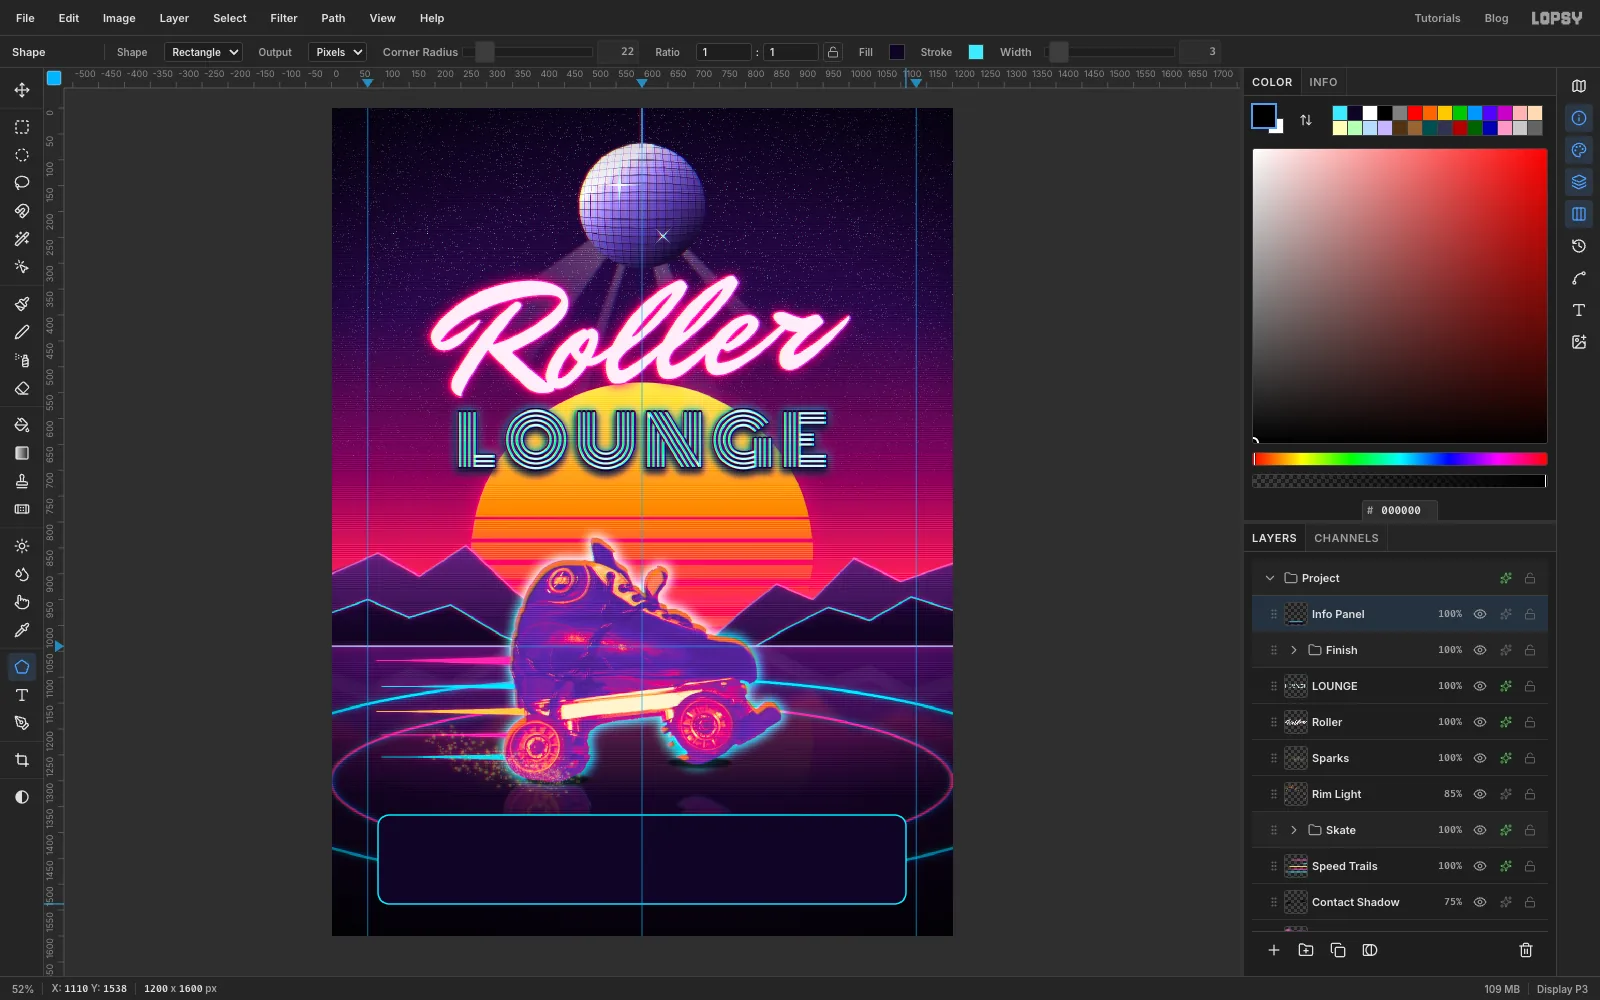
Collapse Finish, click it, and add a layer named Info Panel. It lands above the group, so the texture won't touch the panel or its text. Pick the Shape tool, choose Rectangle, fill , stroke at Width
3, Corner Radius22. Press on the centre guide at600, 1452and drag to1110, 1538. That makes a panel fromx 90to1110, about 60 px above the bottom edge. Set it to 92% opacity and add an Outer Glow in , Size18, Opacity75.The rink ovals would show faintly through the panel. Cmd-click the Info Panel thumbnail to select its shape, click Rink Lines, press Delete and deselect. Then click Info Panel again.
-
Divide it into columns
Add a layer named Dividers. Set the foreground to and pick the Pencil at Size
2. Click at430, 1388and Shift-click at430, 1472. Draw the second divider the same way atx 770. Switch to and draw a line across aty 1488fromx 140tox 1060. Set the layer to 70% opacity.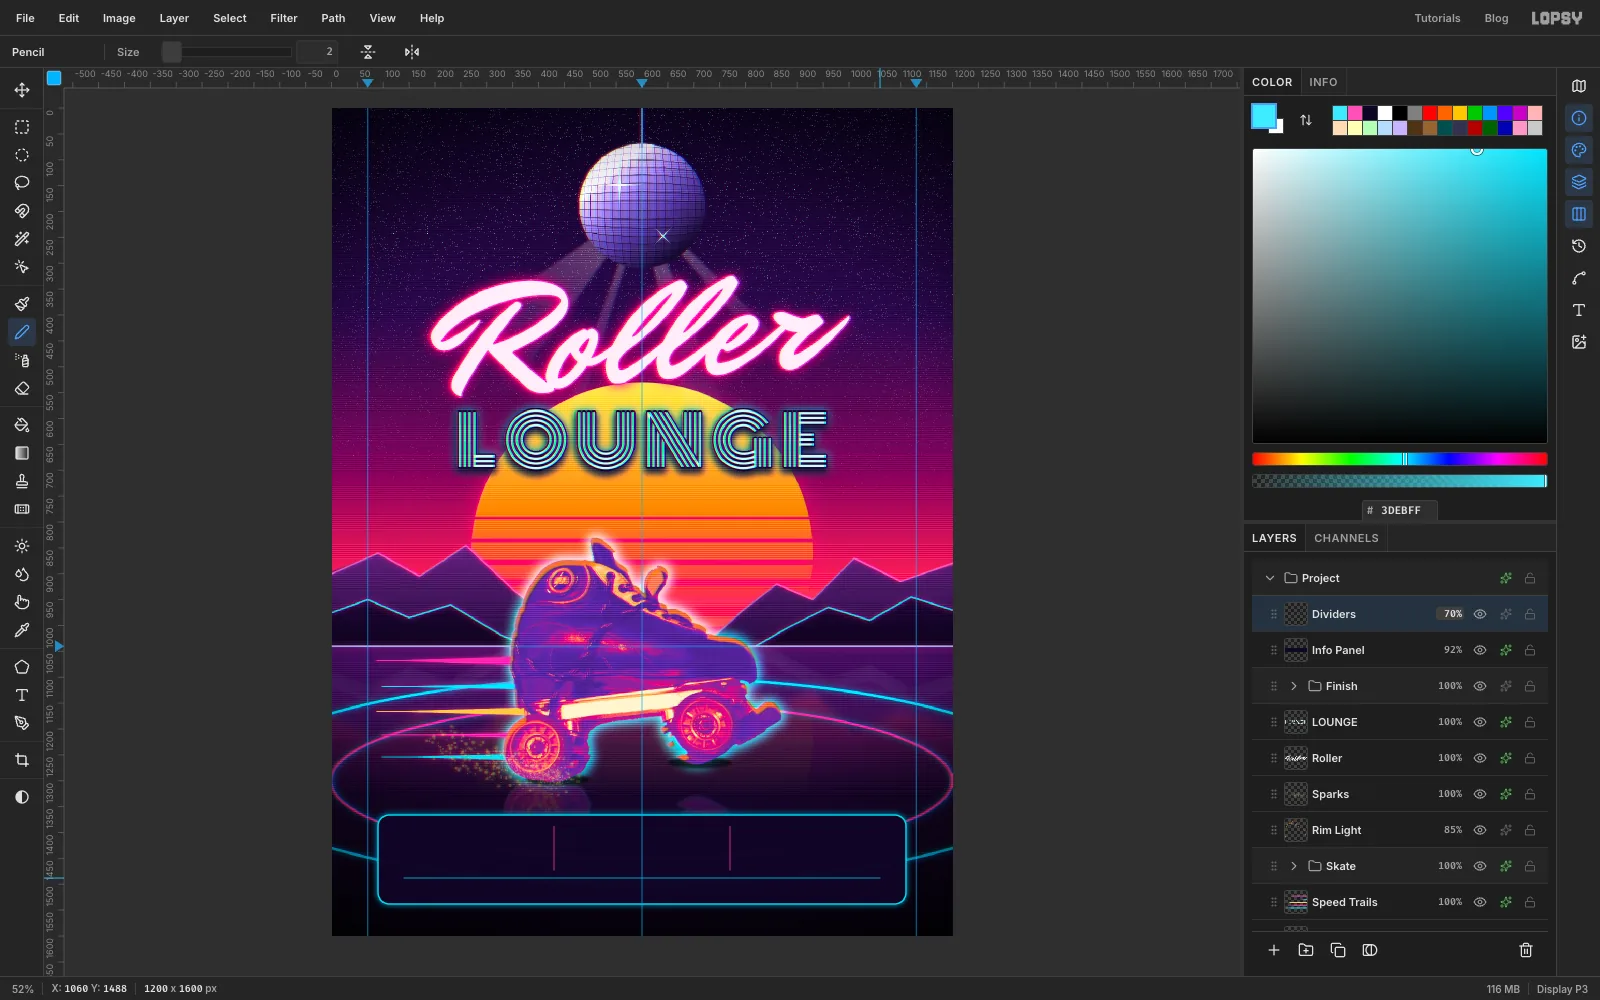
-
Set the event details
Everything in the panel is Michroma. Before each line, click Info Panel so the new settings don't restyle the text you just made. With the Text tool, click where there's no other text (the skate is a good spot) to start a new line, type it, press Tab, then move it into place. Centre each column's lines on the middle of its column (
x 260,600and940), with the main lines about 40 px above the second lines:FRI 10.24at Size34, white8 PM – 1 AMat17, , letter spacing4DJ CASSETTE KIDat20, whiteALL-NIGHT SYNTH SETat14, , letter spacing3$12 ENTRYat22, whiteSKATE RENTAL +$5at14, , letter spacing3
Below the cyan line, centre the footer:
1985 LASER AVE • DOORS 7:30 • ALL AGES • ROLLERLOUNGE.FMat Size13, , letter spacing3. Leave at least 40 px between the outer text and the panel's sides.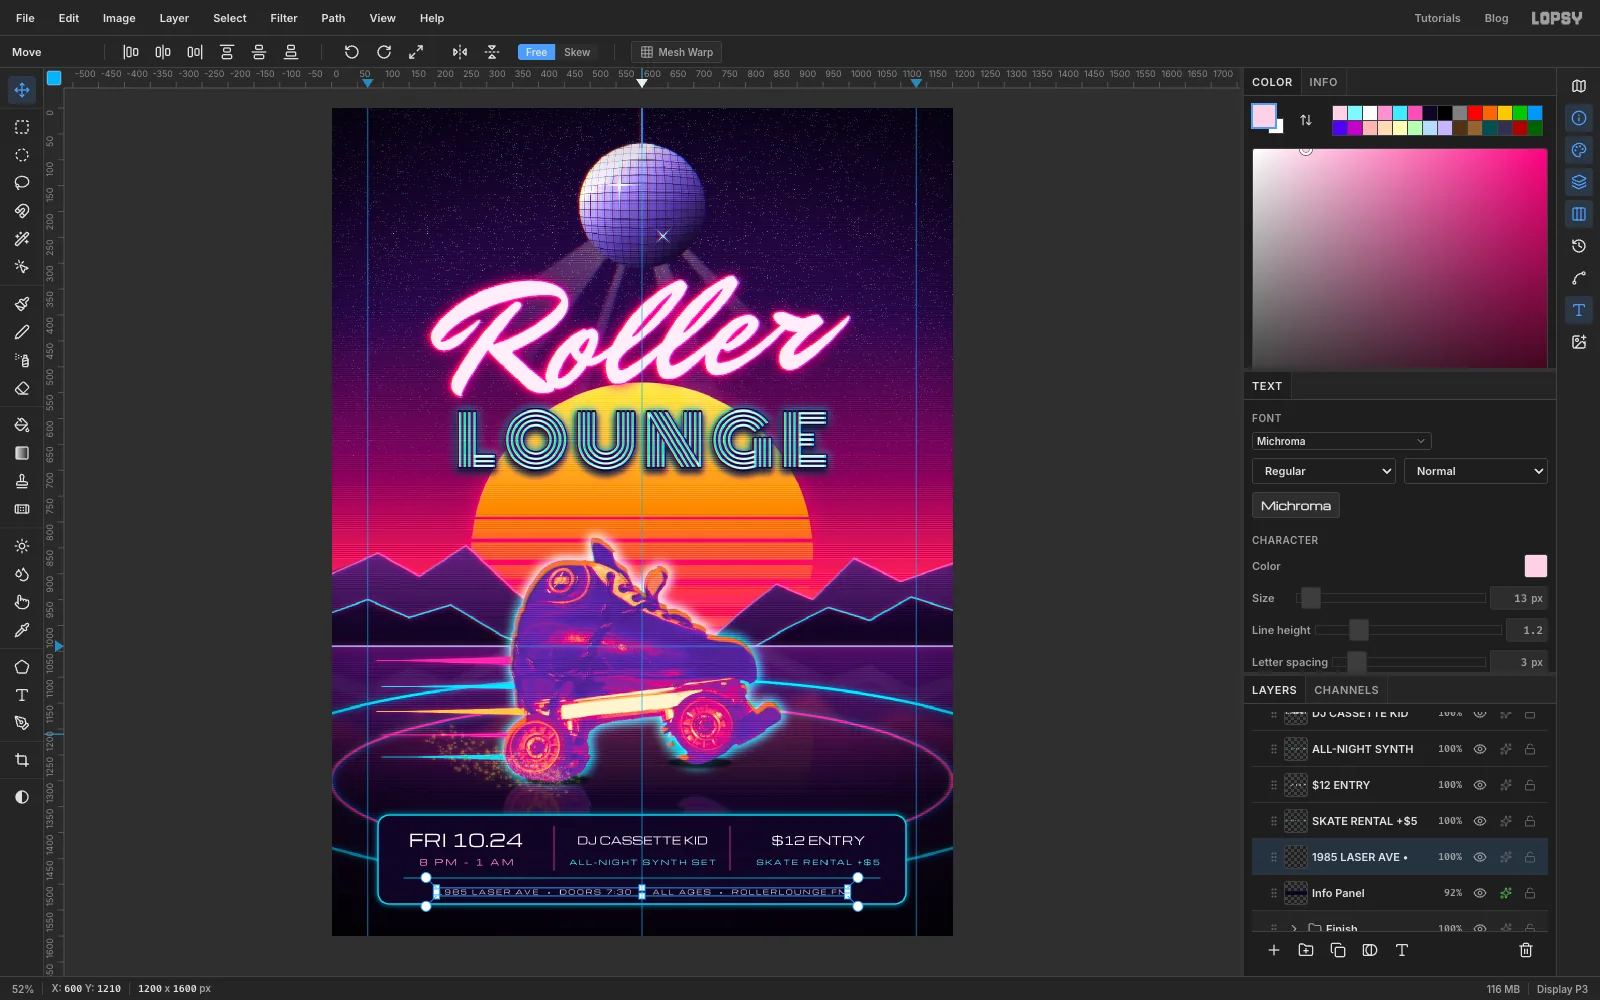
-
Add the corner tags
Still in Michroma, set
VOL. 07andEST. 1985at Size16, , letter spacing6. PutVOL. 07with its left edge atx 90andEST. 1985with its right edge atx 1110, both centred at abouty 60. Lining them up with the panel's sides gives the top and the bottom of the page the same margins.Export with File → Quick Export PNG, and save the project with File → Save Project so you can change the date for next Friday.