Make a Victorian Steam Yacht Excursion Handbill
Design a two-ink Victorian letterpress handbill in Lopsy, with wood-type headlines, an arched line, a blue halftone photo vignette, a rubber stamp and aged, folded paper.
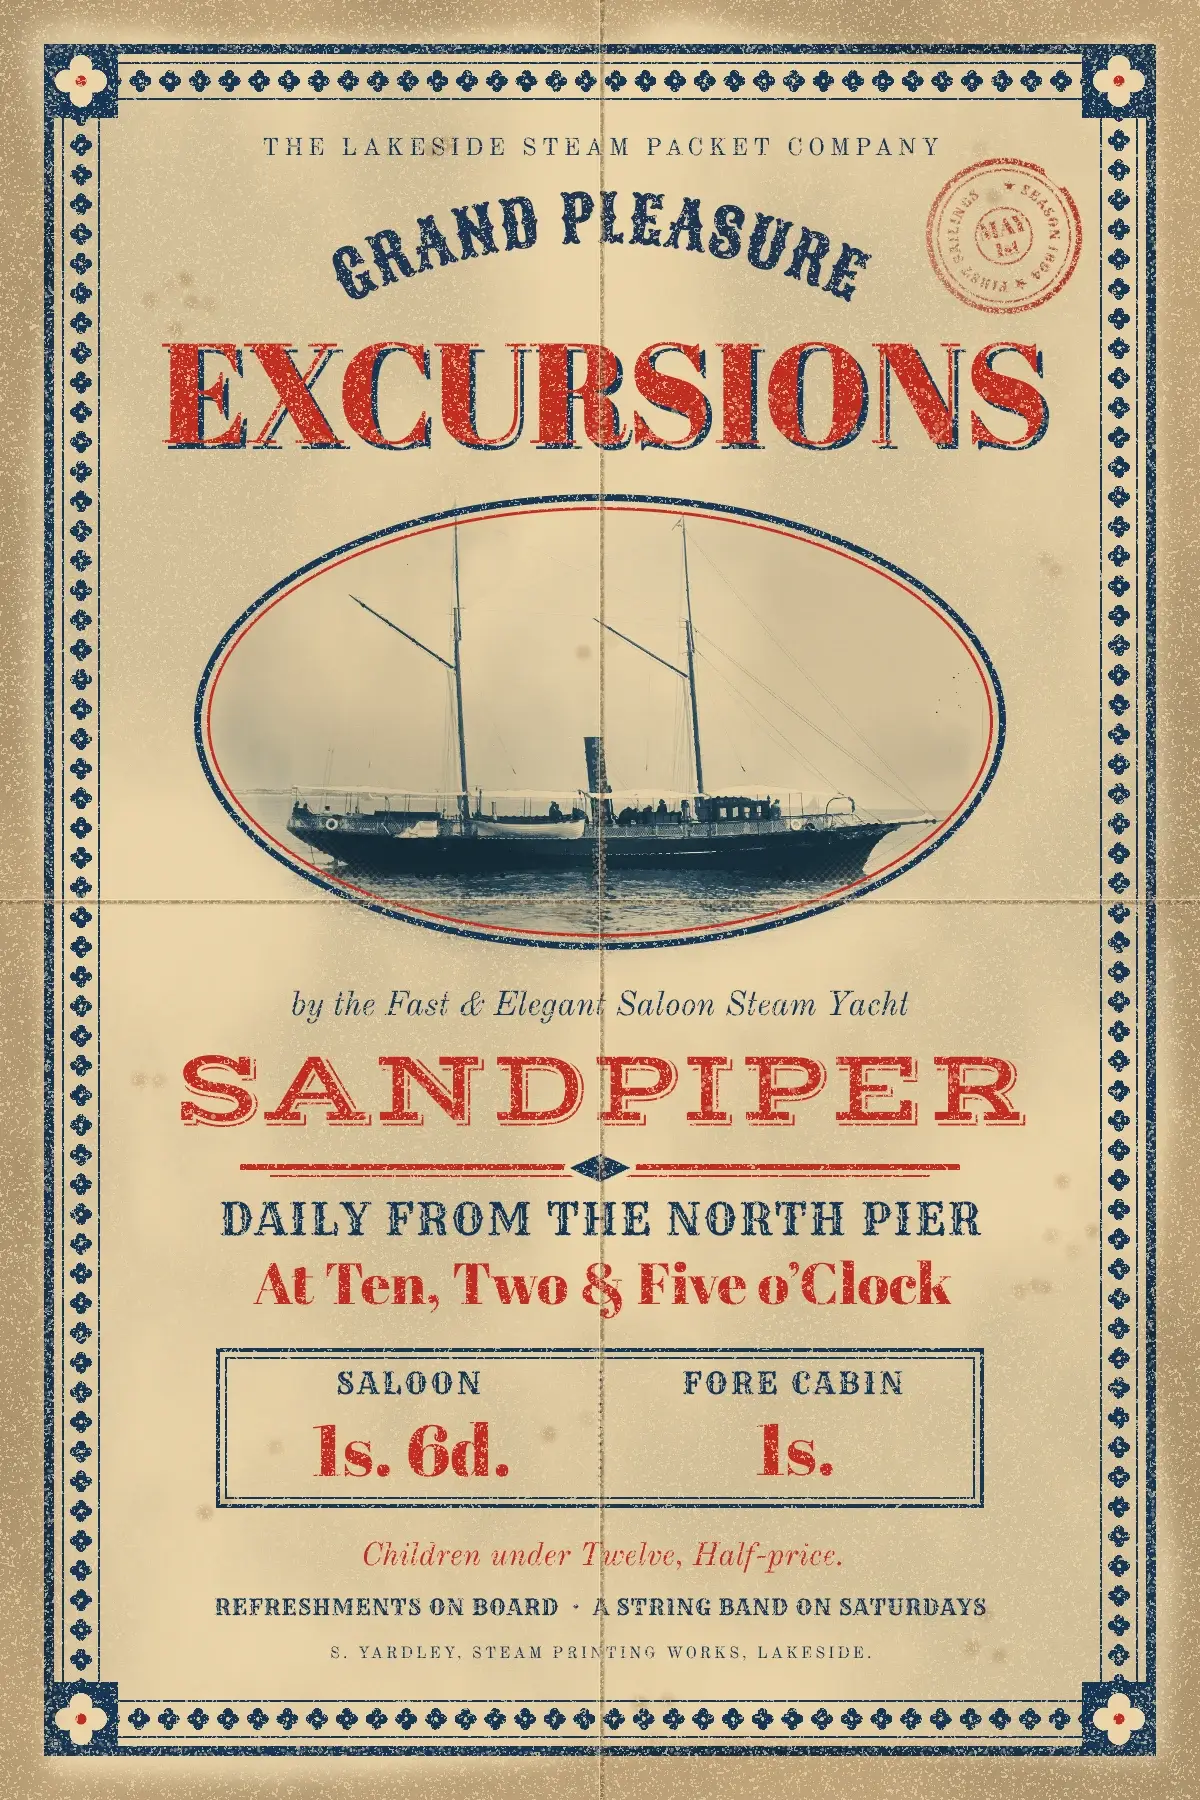
In the 1890s, lake and seaside steamer companies advertised their trips with cheap letterpress handbills. A local jobbing printer set them by hand from whatever wood and metal type was in the case. That's why one sheet mixes a fat-face headline, a Tuscan arch, shaded capitals and a little italic. A photo-engraved vignette of the boat sat in the middle, and the whole sheet was printed in one or two inks on cheap buff paper. Today the survivors are foxed, folded and worn, and that wear is half their charm.
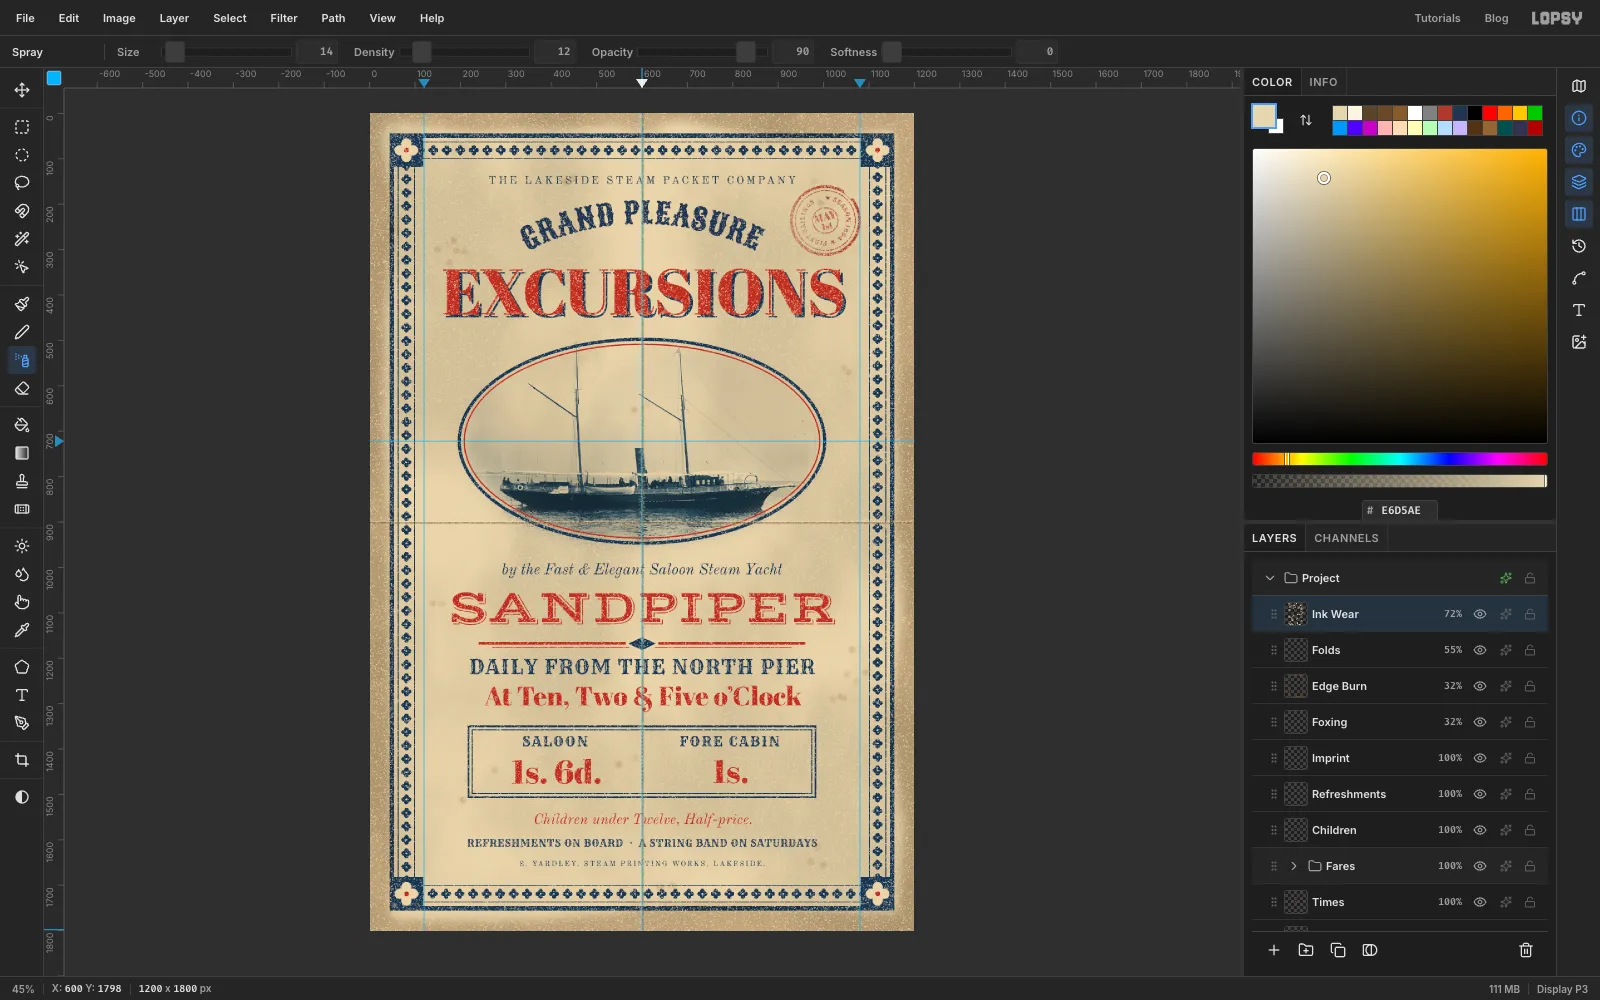
This tutorial makes one of those bills for a made-up steamer, the Sandpiper. The sheet is 1200 × 1800 px, printed in two inks (Prussian blue and vermilion), and holds:
- an Oxford-rule border with a quatrefoil chain and corner blocks
- an arched wood-type line above a shadowed headline
- a blue oval photo vignette with a halftone screen
- a ruled fares box, a red rubber stamp, and an aged, folded sheet
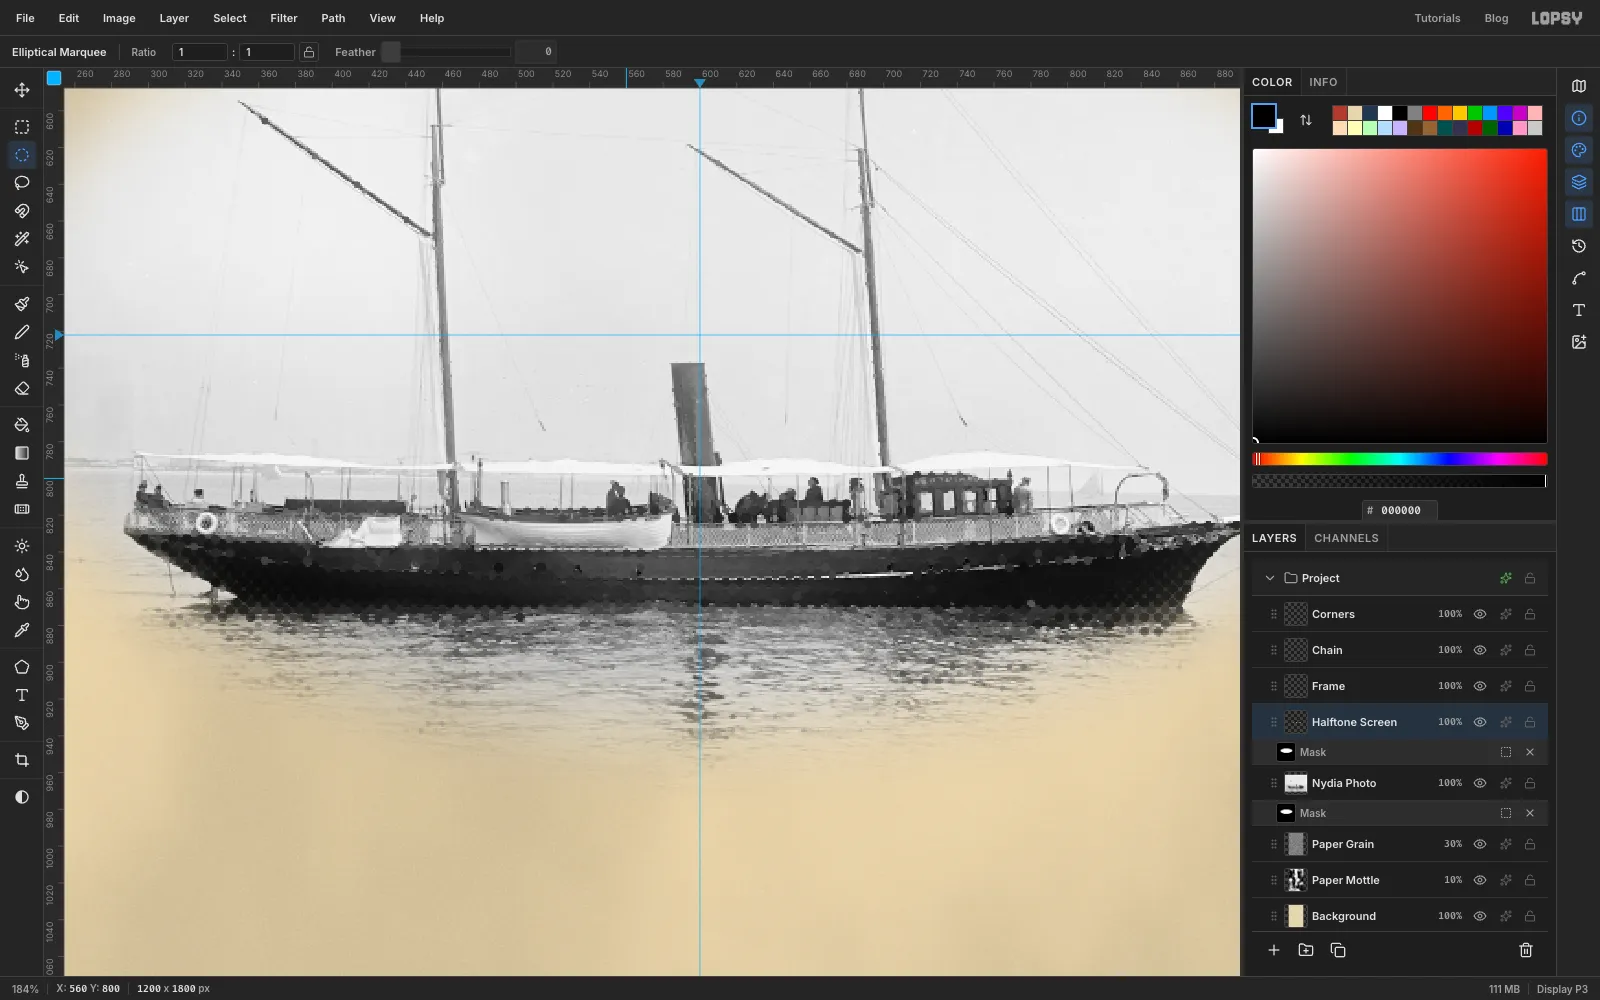
You'll need one photo: Nydia (steam yacht).jpg on Wikimedia Commons, taken in 1892 by the Detroit Publishing Co. It's in the public domain, so you can use it freely. It shows a two-masted steam yacht side-on, with a black hull on calm water. Download the 1920 px version.
The tools you'll use:
- the Rectangular and Elliptical Marquee with their exact-size dialogs, the Lasso and the Magic Wand
- Select → Feather / Grow / Shrink / Inverse, the Pen and Path to Selection
- Define Brush and the Brush's Spacing, Scatter and Jitter settings, plus the Pencil, Spray, Eraser and Clone Stamp
- layer masks, Duplicate Layer, Merge Down, groups and the Multiply blend mode
- Clouds, Add Noise, Gaussian Blur, Threshold and Halftone
- a group's Gradient Map and Levels adjustments
- live text in six Google fonts, including text on an arch and text round a circle
- the grid with Snap, guides, the Move tool's rotate handle and arrow-key nudges
The palette is two inks on buff:
-
Buff paper
-
edge burn
-
Prussian blue
-
mid blue
-
Vermilion
-
Foxing
-
crease shadow
-
crease light
-
Set up the sheet and the paper
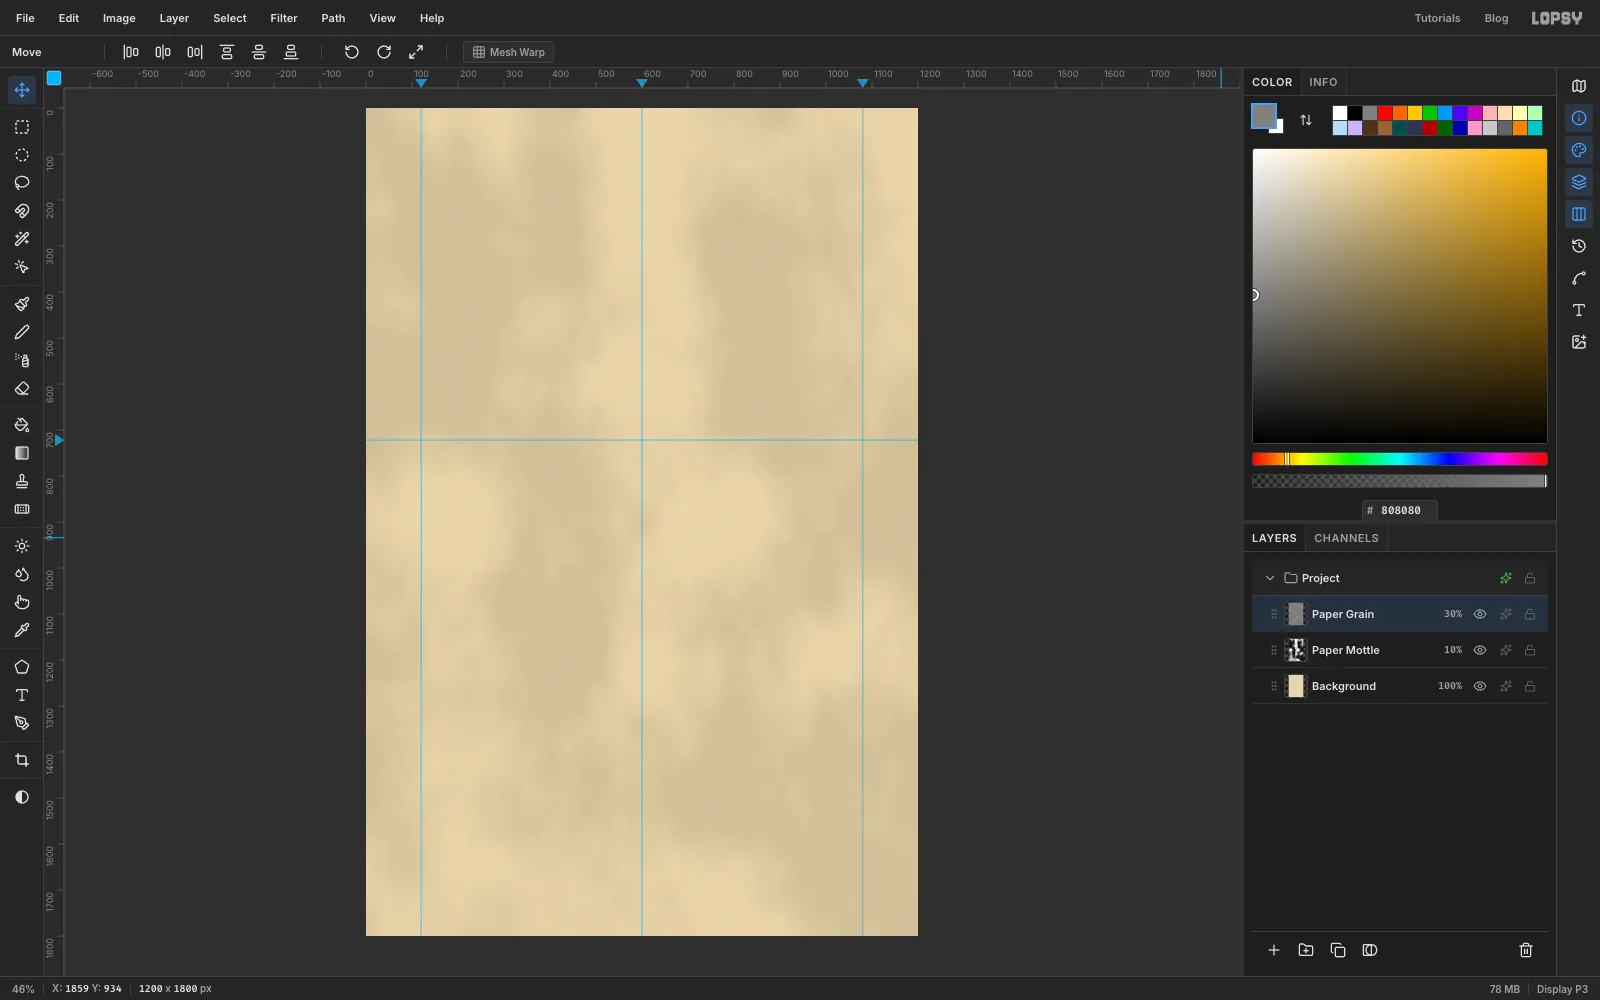
Choose File → New, keep the units on Pixels, and make the document 1200 wide and 1800 high.
Click the top ruler to drop vertical guides at 120, 600 and 1080. The middle guide is the axis that every line of type is centred on. Click the left ruler at 722 for a horizontal guide through the middle of the photo.
Click Background, set the foreground to buff and choose Edit → Fill.
Click Layer 1 and rename it Paper Mottle. Run Filter → Clouds… at Scale 6, then Filter → Gaussian Blur… at Radius 10. Click the effects button on the layer's row to open its effects drawer, set Blend to Multiply and close it. Then click the opacity number on the row and drag the slider down to 10%.
Click Add Layer and name it Paper Grain. Fill it with mid grey , then run Filter → Add Noise… at Amount 60 with Mono and Gaussian on, and Gaussian Blur at Radius 1. Set it to Overlay at 30%. The paper now has a fine, even tooth with no direction to it.
-
Draw the thick outer rule
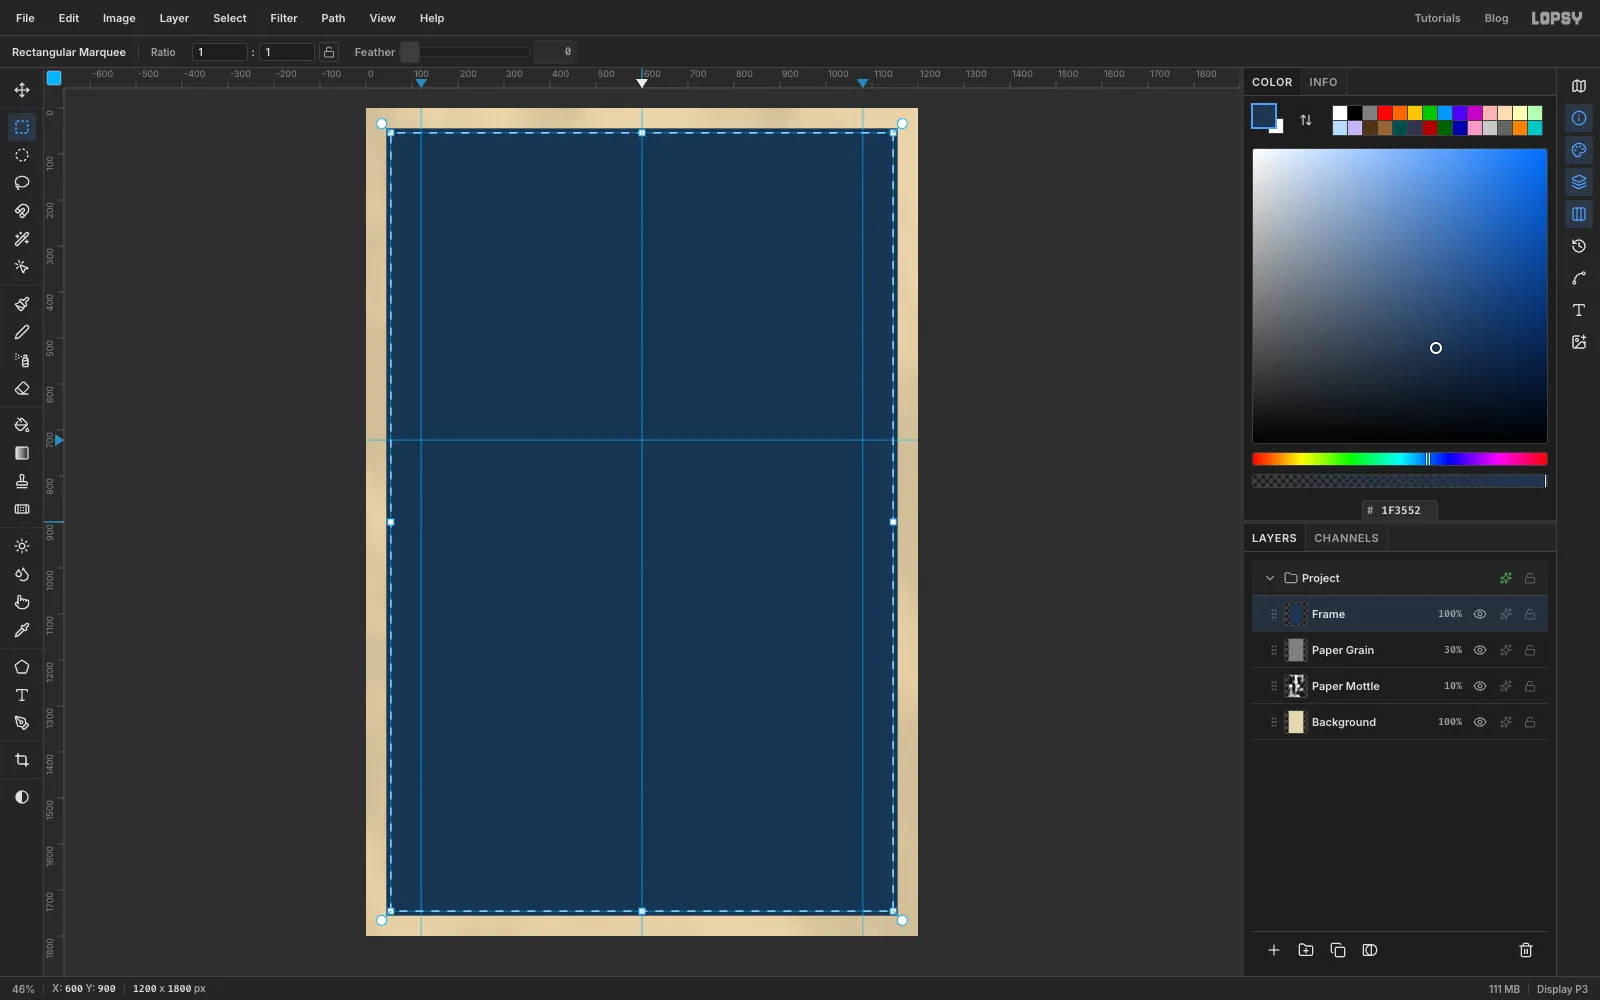
Click Add Layer and name it Frame. Set the foreground to Prussian blue .
Pick the Rectangular Marquee and click once on the canvas (don't drag) to open the exact-size dialog. Enter From 44, 44 and To 1156, 1756, press Enter, and choose Edit → Fill.
Press Cmd+D and click the canvas again for a second marquee 10 px inside the first: From 54, 54 to 1146, 1746. Press Delete. That leaves a 10 px rule round the sheet.
-
Add two thin rules
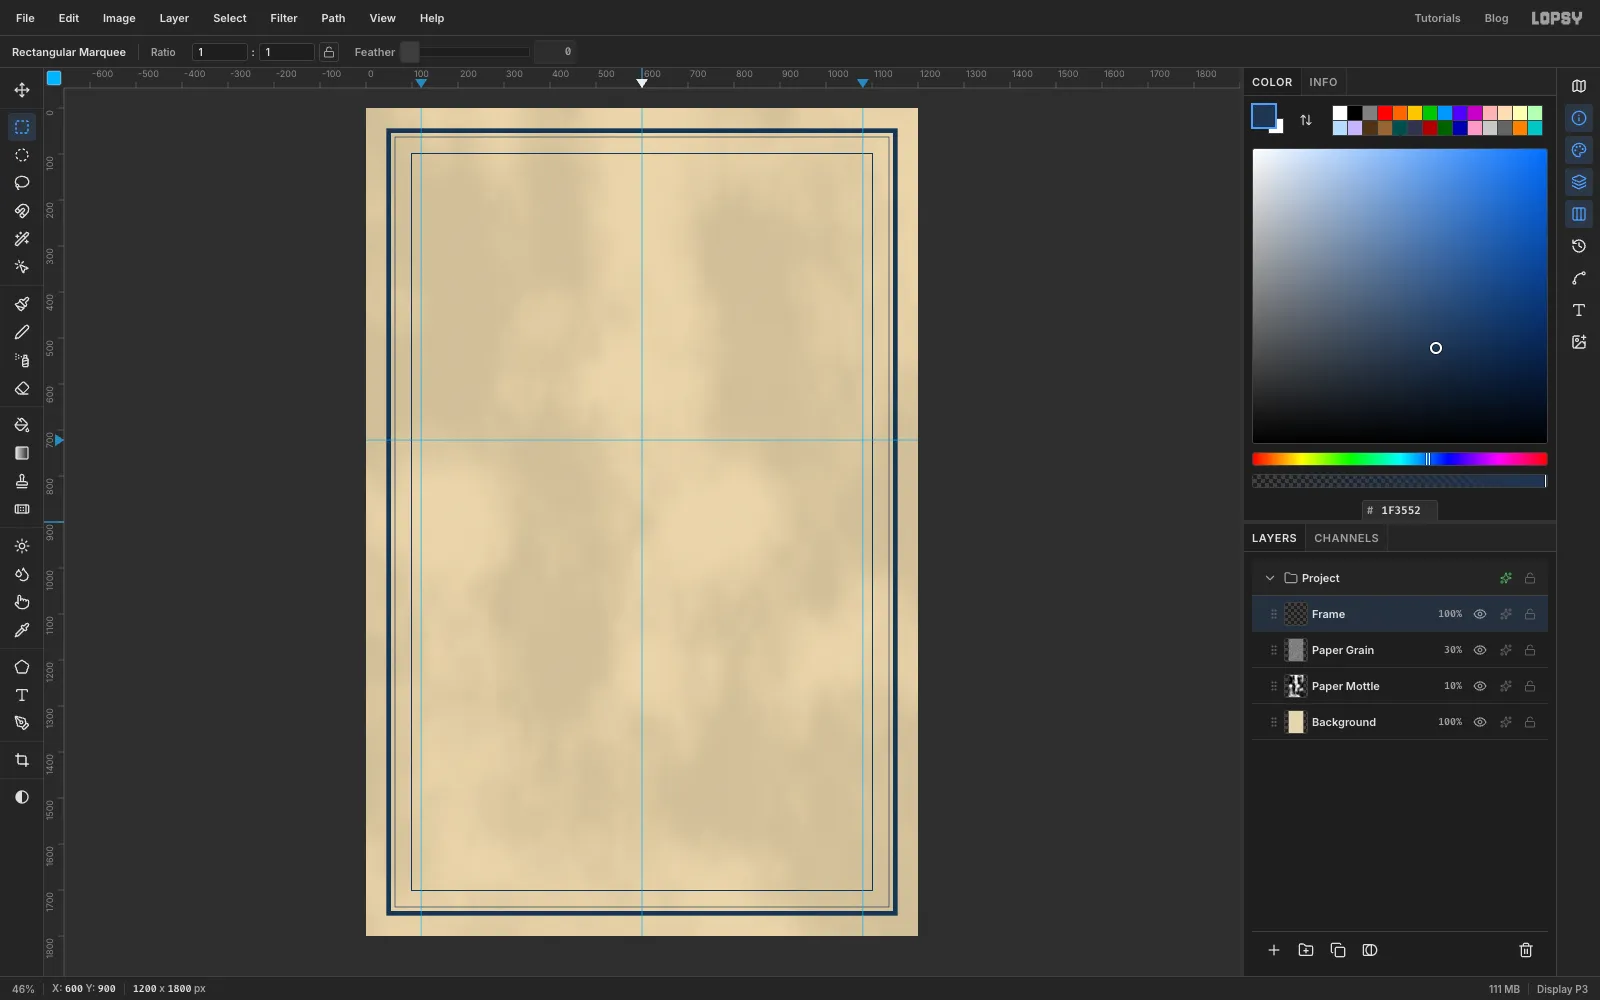
A Victorian Oxford rule pairs a thick line with a thin one. Make each thin rule the same way: marquee, fill, then Cmd+D and delete a marquee 2 px smaller.
- First rule: fill 62, 62 → 1138, 1738, then delete 64, 64 → 1136, 1736.
- Second rule: fill 98, 98 → 1102, 1702, then delete 100, 100 → 1100, 1700.
Press Cmd+D to deselect. The gap between the two thin rules is where the quatrefoil chain goes.
-
Draw a quatrefoil
You'll stamp the chain with a custom brush, so first draw the tip. Click Add Layer and name it Quatrefoil Tip.
Set the foreground to white, open the Rectangular Marquee dialog and select a square from 200, 200 to 400, 400. Fill it. Brush tips are made from dark pixels, and the white gives the black shape something to sit on.
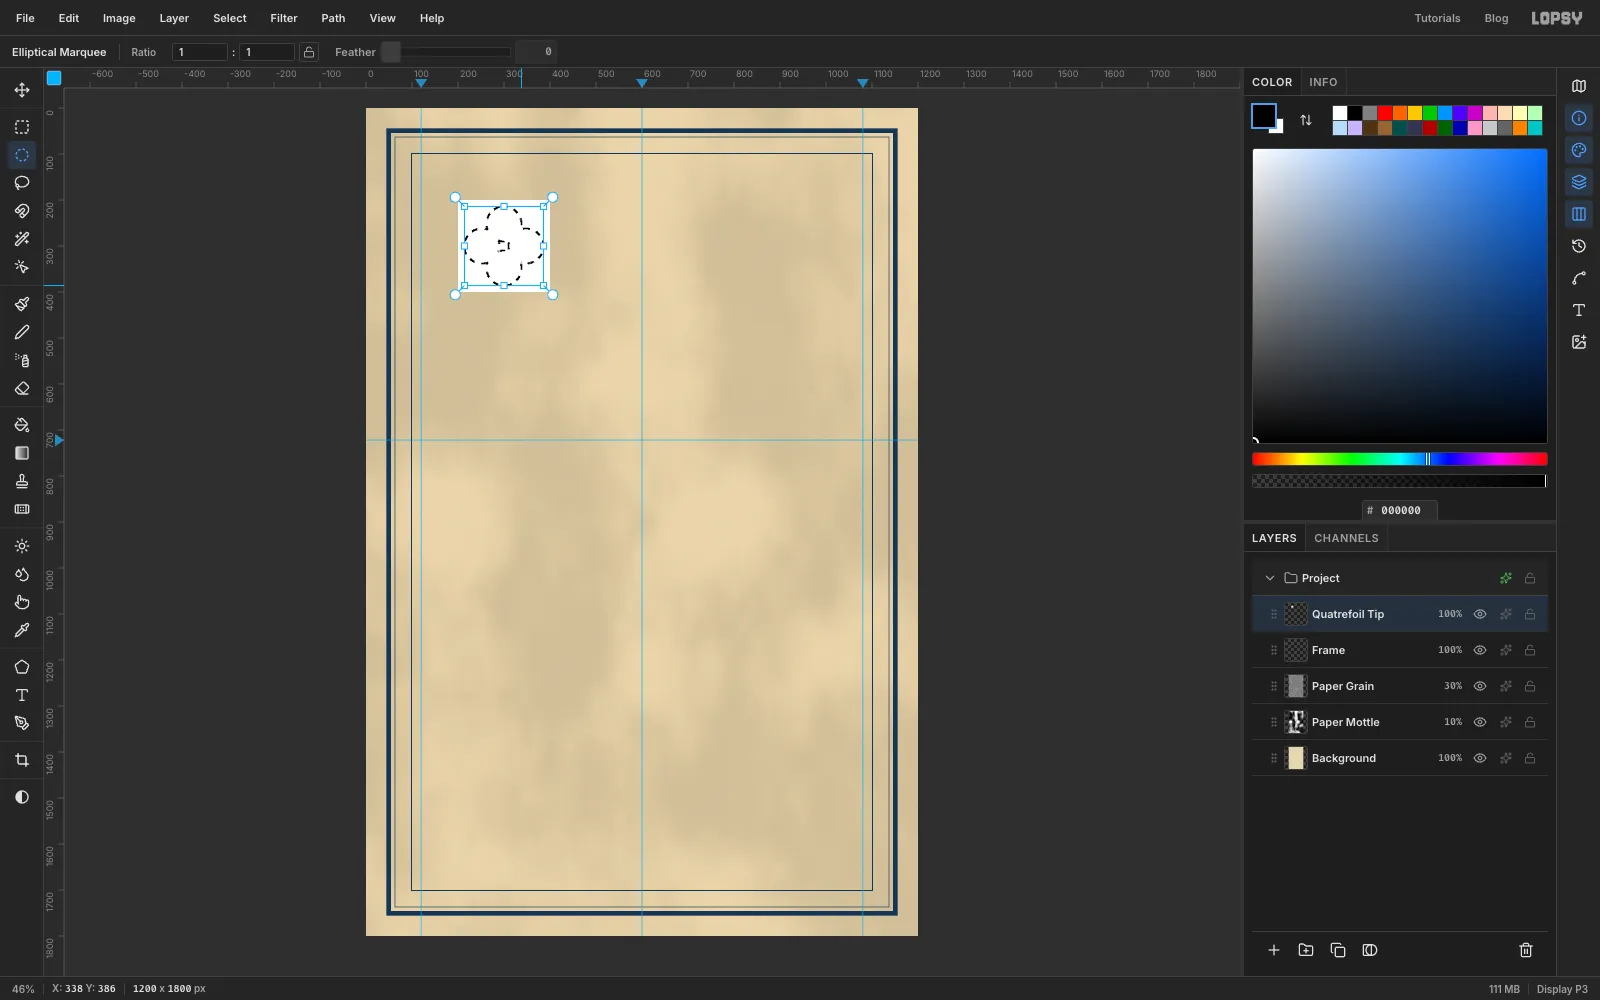
Set the foreground to black and press Cmd+D. With the Elliptical Marquee, click the canvas to open its dialog and make a circle from 214, 262 to 290, 338. Zoom in on the square, then hold Shift (which adds to the selection) and drag three more circles of the same size, 76 px across, so they overlap in a plus shape. The size readout next to the pointer helps you hit 76 × 76.
- one to the right, starting at 310, 262
- one above, starting at 262, 214
- one below, starting at 262, 310
Choose Edit → Fill.
-
Turn it into a brush tip
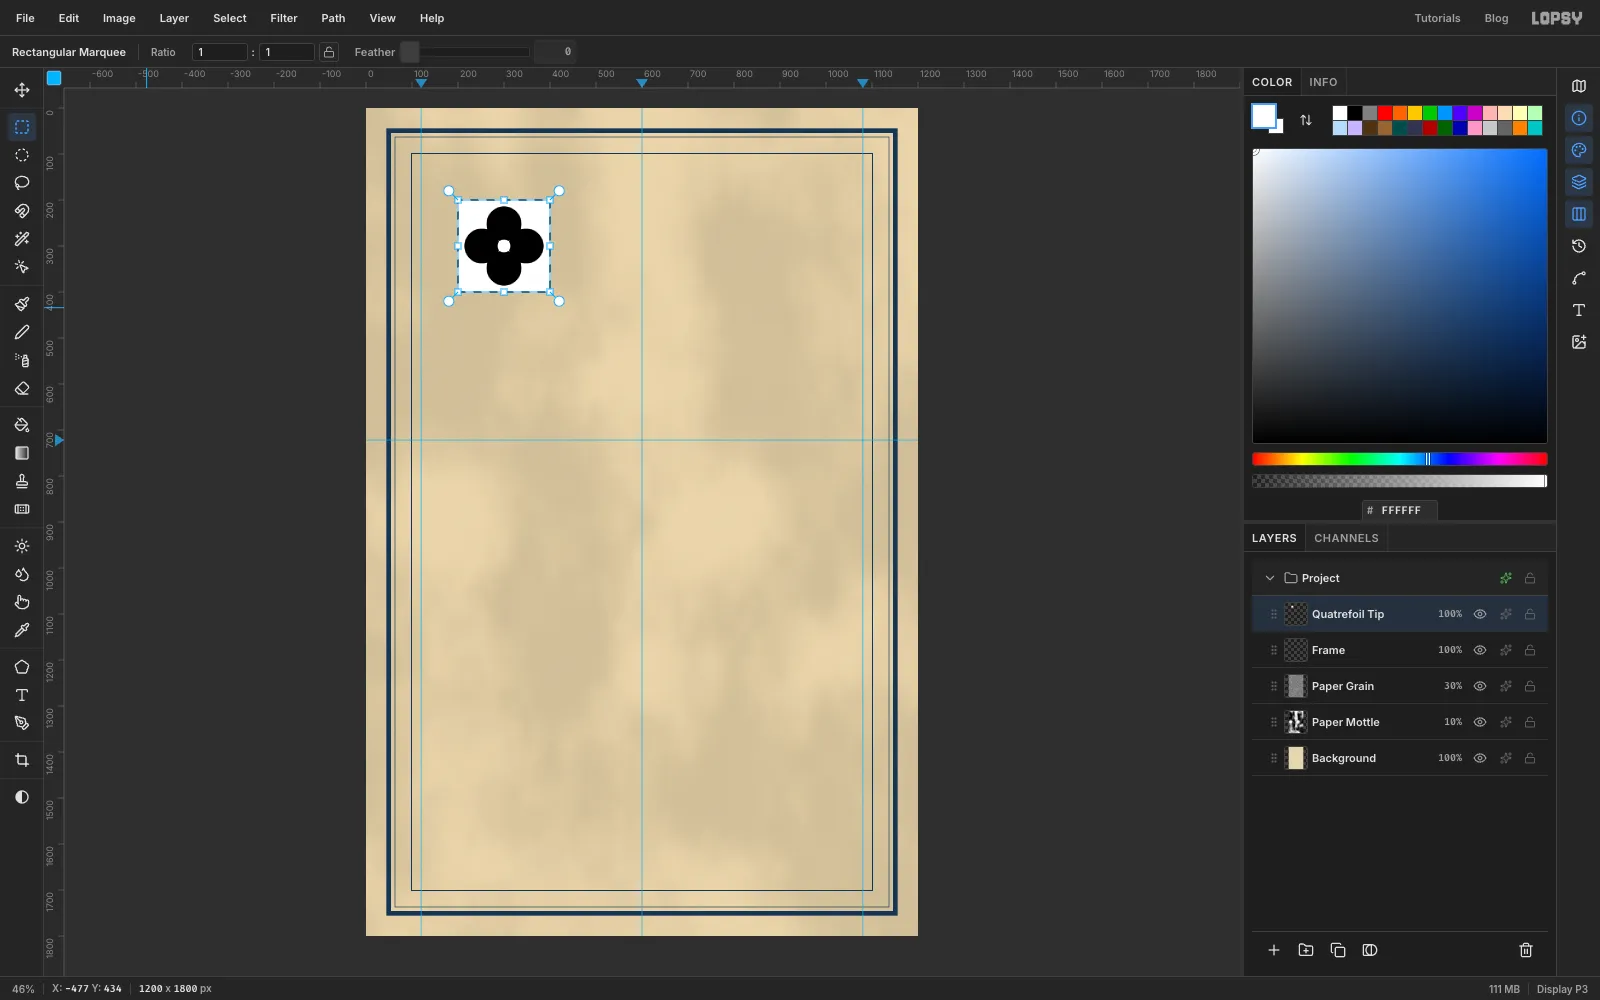
Set the foreground to white, press Cmd+D and make a small circle in the very centre with the dialog, from 286, 286 to 314, 314. Fill it to punch a hole through the quatrefoil.
Deselect and marquee the whole white square again (200, 200 → 400, 400), choose Edit → Define Brush… and name it Quatrefoil. Press Cmd+D, then delete the Quatrefoil Tip layer. The brush keeps the shape.
-
String the quatrefoil chain
Click Frame, then Add Layer and name it Chain.
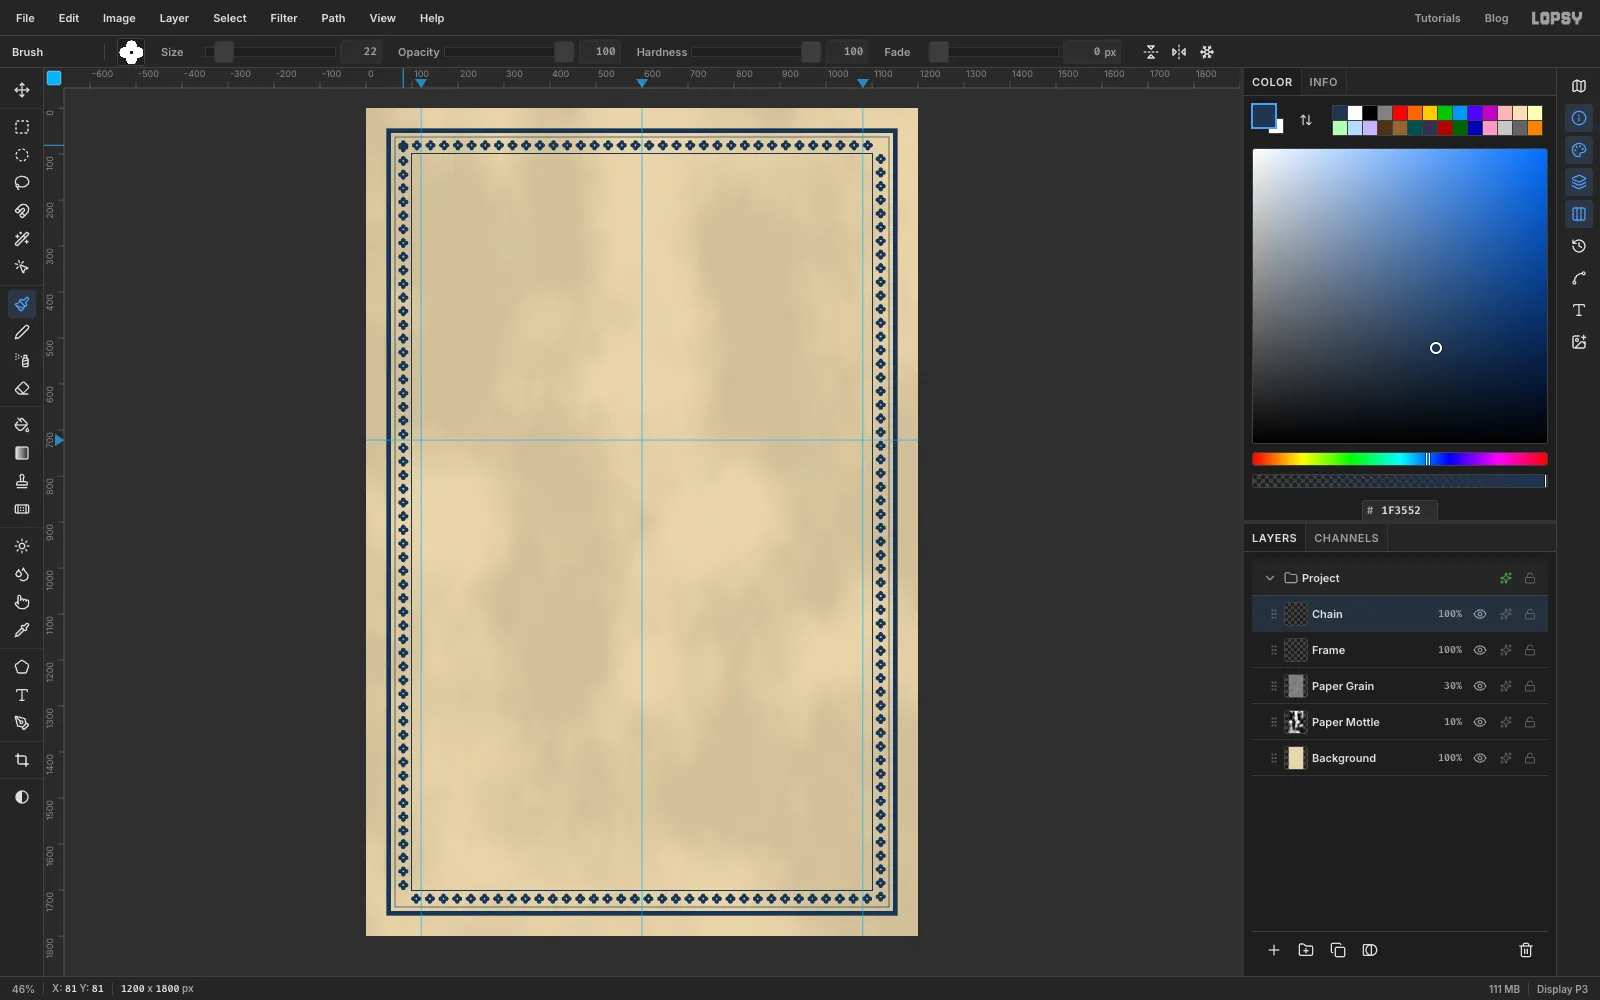
Pick the Brush, open the brush presets and choose Quatrefoil. In the Brushes window set Size 22, Spacing 135%, Opacity 100 and Taper 0. Spacing above 100% leaves a gap between the stamps, so they read as separate ornaments.
With the foreground on Prussian blue, click at 81, 81 (the top-left corner, midway between the thin rules). Then hold Shift and click the other three corners in turn, 1119, 81, 1119, 1719 and 81, 1719, and finally 81, 81 again. Each Shift-click stamps a straight row of quatrefoils.
-
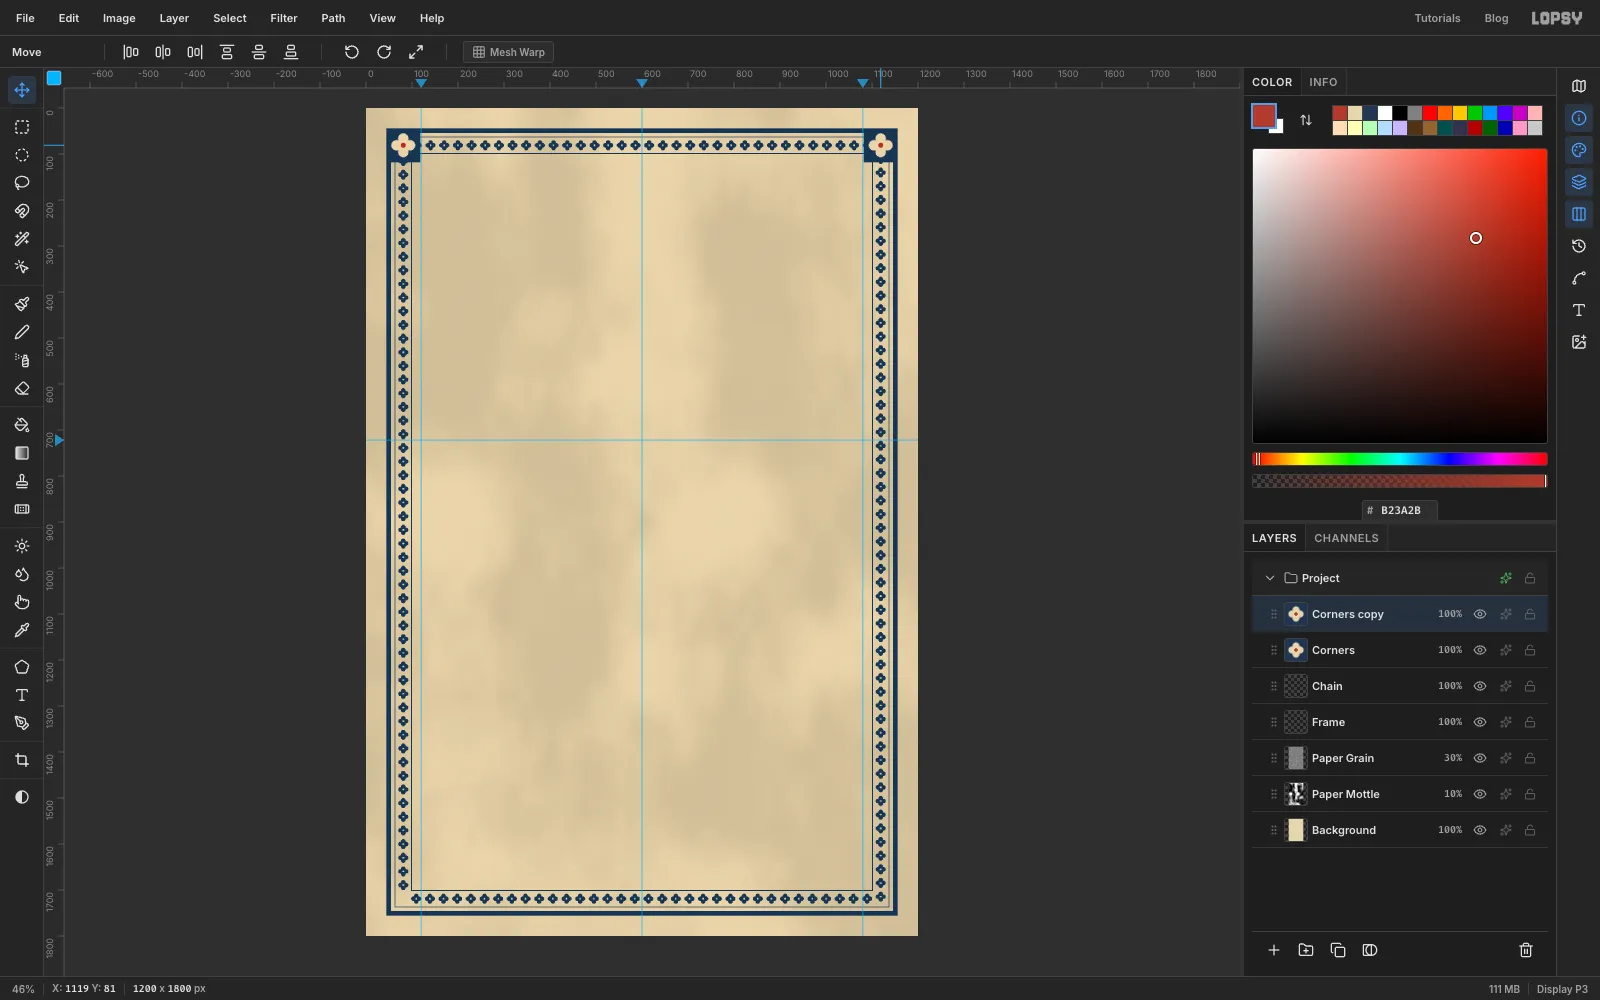
Make a corner block
The corners of the chain don't line up perfectly, so cover them with blocks. Click Add Layer and name it Corners.
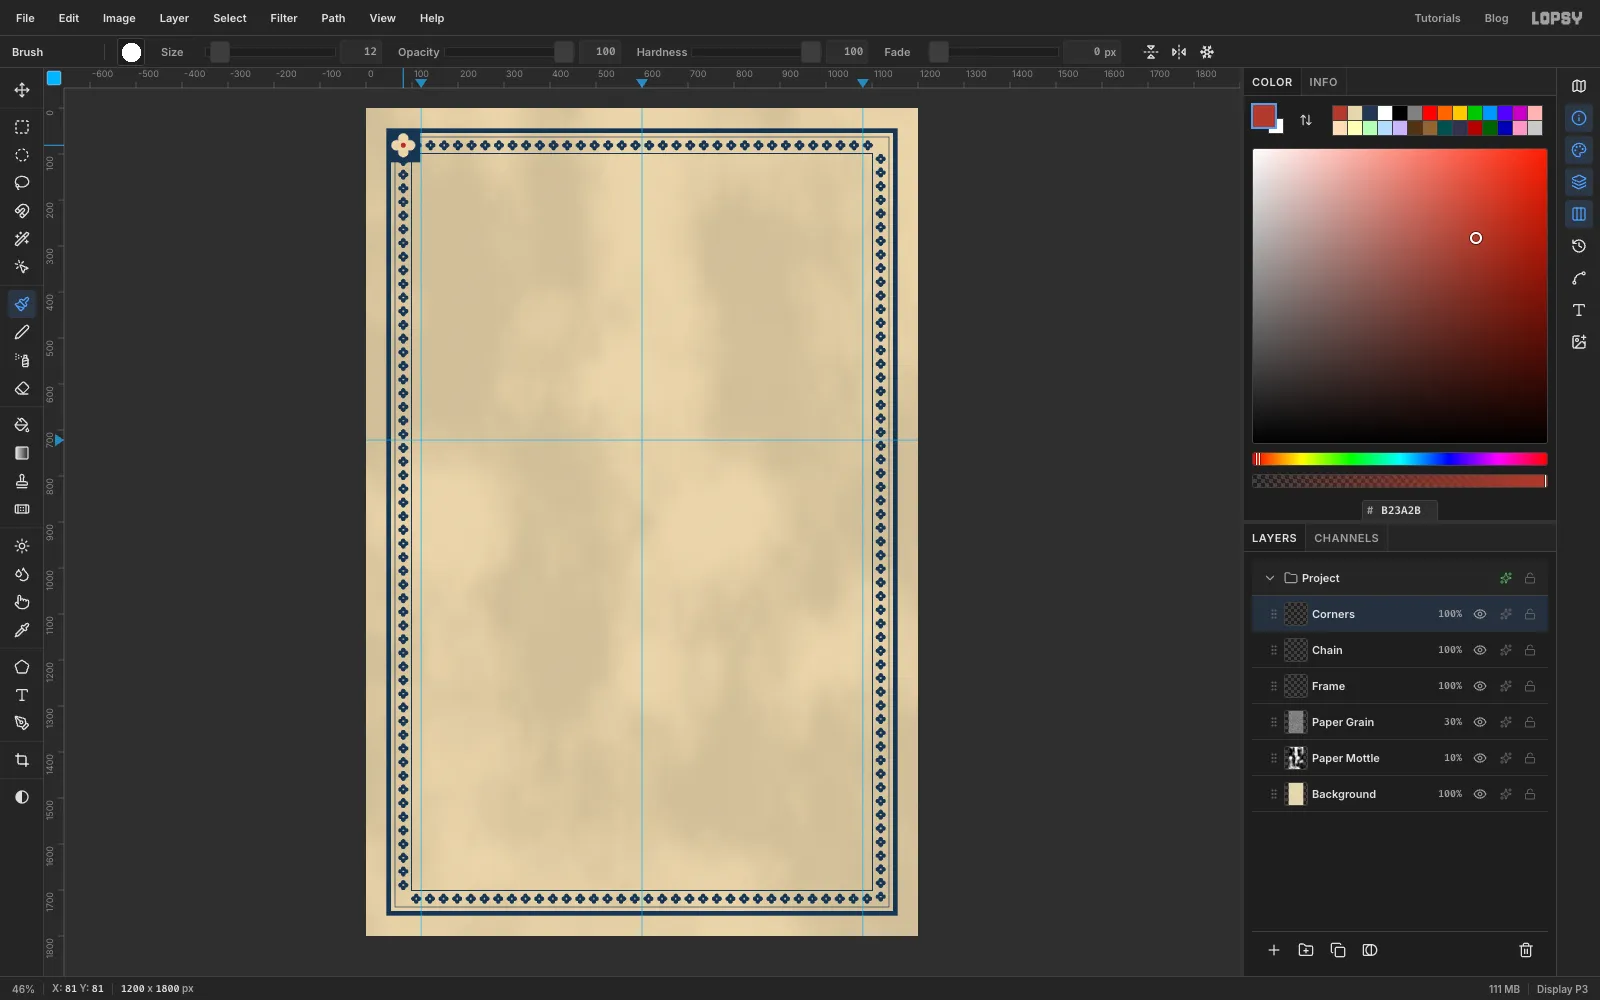
Marquee a square from 44, 44 to 118, 118, fill it with Prussian blue and deselect.
Keep the Quatrefoil brush, but set its Size to 52. Switch the foreground to buff and click once in the centre of the block, at 81, 81.
Then go back to the Hard Round preset and set Size 12, Spacing 10% and Hardness 100. Set the foreground to vermilion and click the same centre for a red eye.
-
Copy the corner round the frame
Choose Layer → Duplicate Layer. Pick the Move tool and drag the copy across to the top-right corner, about 1040 px. Then nudge it with the arrow keys (Shift+arrow moves 10 px) until the block's right and top edges sit exactly on the outer edge of the thick rule (x 1156, y 44). Choose Layer → Merge Down.
Now duplicate Corners again. It holds both top blocks, so drag the copy down about 1640 px, nudge it until its bottom edge sits on y 1756, and Merge Down. All four corners are done.
-
Drop in the photo and scale it
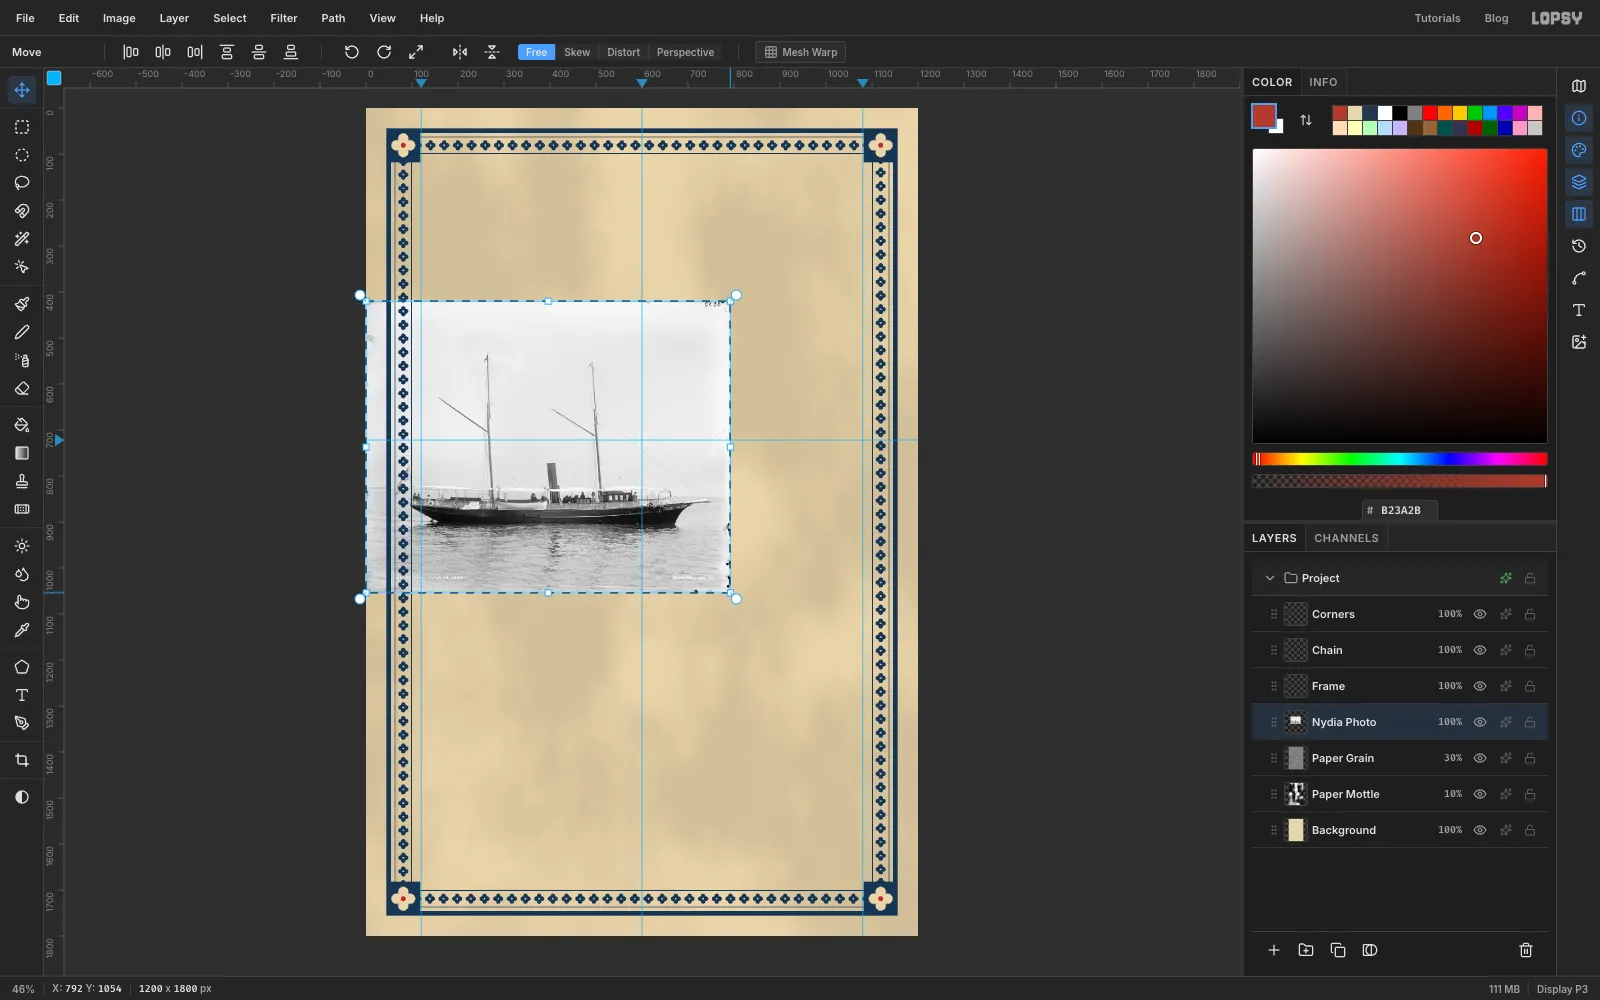
Click Paper Grain so the photo lands under the frame. Drag the downloaded photo from your folder onto the canvas. It arrives as a new layer, fitted to the sheet's width and already selected. Rename it Nydia Photo.
With the Move tool, hold Cmd and drag the photo's bottom-right handle inwards until it's about 66% of its size (about 790 px wide). Then drag inside the photo so the hull is centred on the middle guide and the waterline sits about 150 px below the horizontal guide. Press Cmd+D to commit.
-
Clone out the stern flag
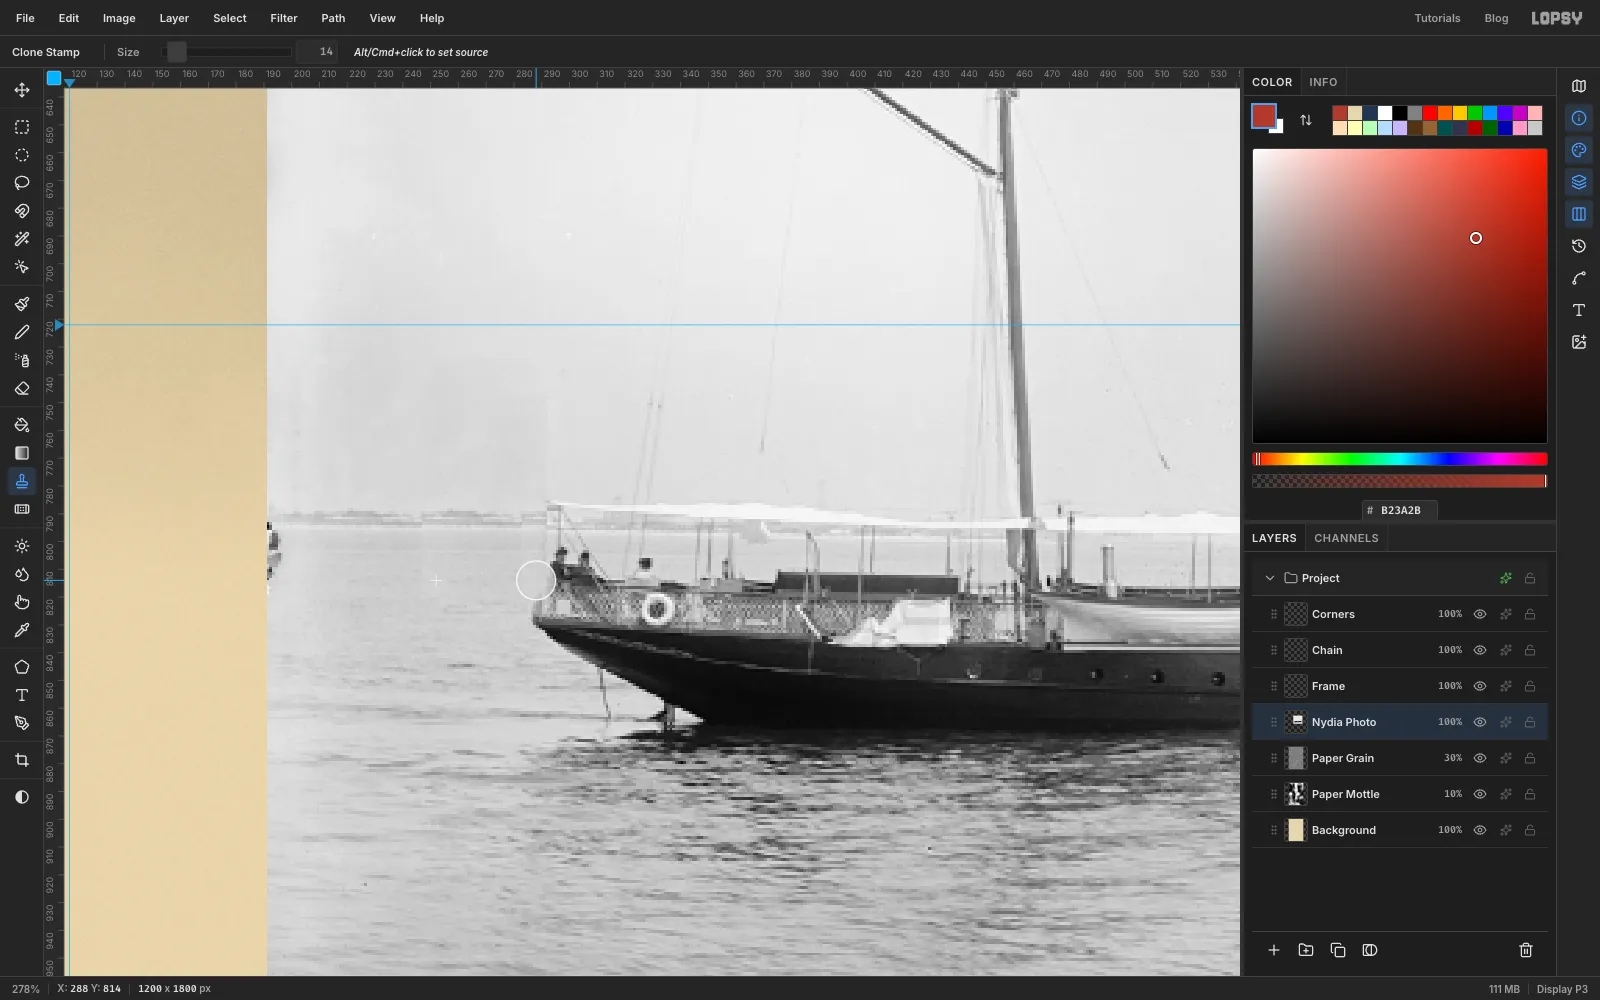
The photo shows an American flag at the stern (the left end of the boat), which would look out of place on a British-style bill priced in shillings. Zoom in on the flag.
Pick the Clone Stamp at Size 14. Option-click in the plain sky a little up and to the left of the flag, then paint over the flag with short sideways strokes. Sampling up-left balances the sky's two gradients: it gets lighter towards the top and darker towards the left edge of the old glass plate.
The bottom of the flag hangs over the water. For that part, Option-click in the water just to the left of it, at the same height, and paint over the tip.
-
Fade the photo into a feathered oval
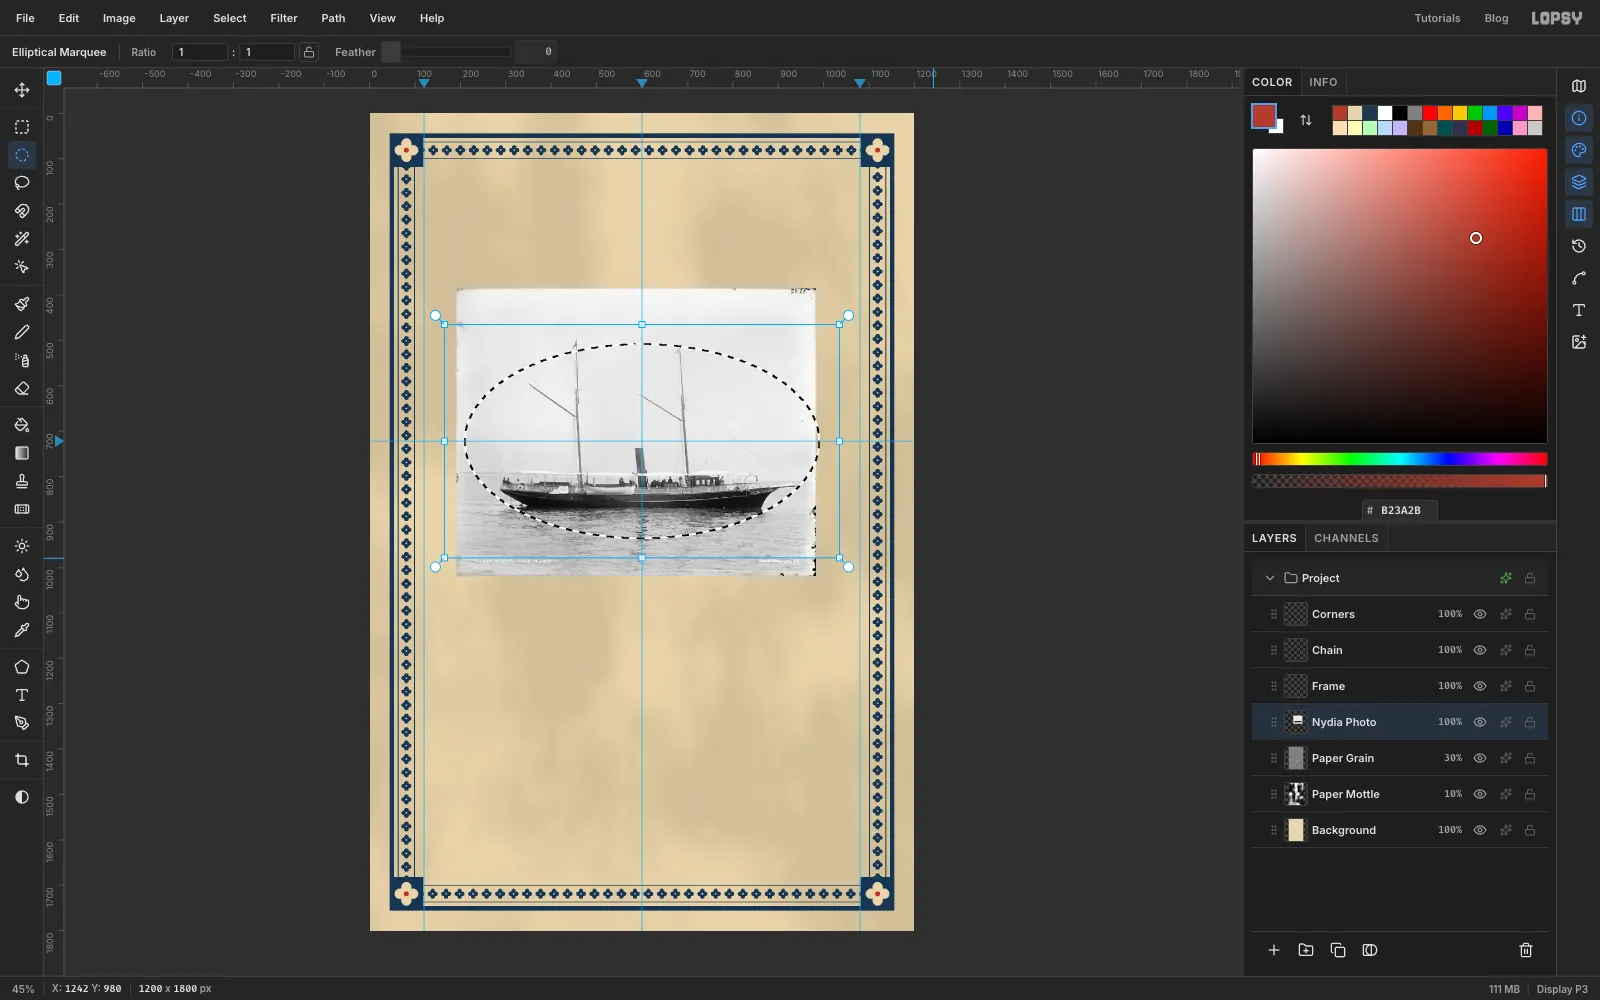
Press Cmd+D, then with the Elliptical Marquee click to open the dialog and make an oval from 208, 508 to 992, 936. Choose Select → Feather… at 44.
Click Add Mask in the Layers panel, then click the mask thumbnail to edit the mask. Choose Select → Inverse, set the foreground to black and choose Edit → Fill. Deselect, then click the layer's name to leave mask editing. The photo now fades softly into the paper, the way a Victorian vignette does.
-
Add a halftone screen
A printer of the 1890s reproduced photos as a halftone: a screen of dots. Choose Layer → Duplicate Layer and name the copy Halftone Screen. The copy keeps the oval mask.
Run Gaussian Blur at Radius 0.8 on the copy, then Filter → Halftone… with Dot Size 6, Density 1.1, Angle 45 and Softness 0.4.
Halftone leaves the gaps between dots transparent, so the untouched photo below shows through. You get a dot screen across the midtones while the fine rigging lines survive.
-
Print it in Prussian blue
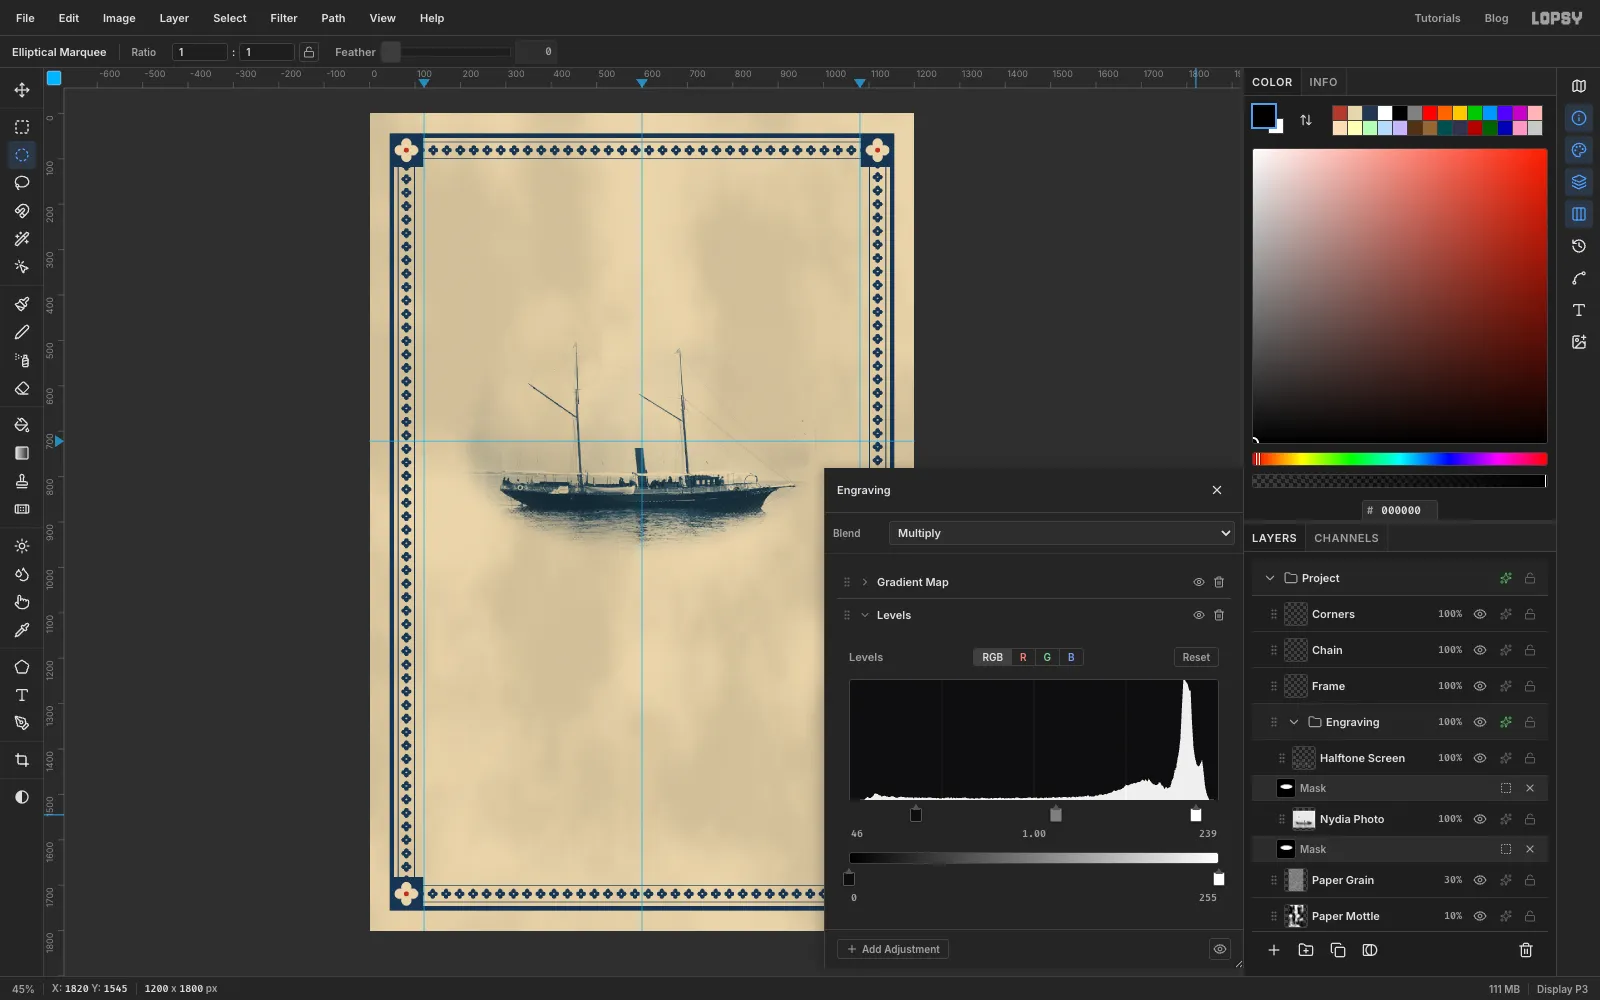
Click Nydia Photo, Shift-click Halftone Screen, and choose Layer → Group Layers. Name the group Engraving and click the effects button on its row to open the group's adjustments.
Click Add Adjustment → Gradient Map. Before you touch any colour field, click the gradient bar at about 45% to add a third stop. Then click each stop and type its hex:
- left: Prussian blue
- middle: mid blue
- right: white
Click Add Adjustment → Levels. Drag the black input handle right to about 46 and the white handle left to about 239. The hull goes solid, and the hazy sky goes white.
Finally set the group's Blend to Multiply and close the drawer. White multiplies to nothing, so the paper shows through the sky, and the darks print as blue ink.
-
Frame the oval
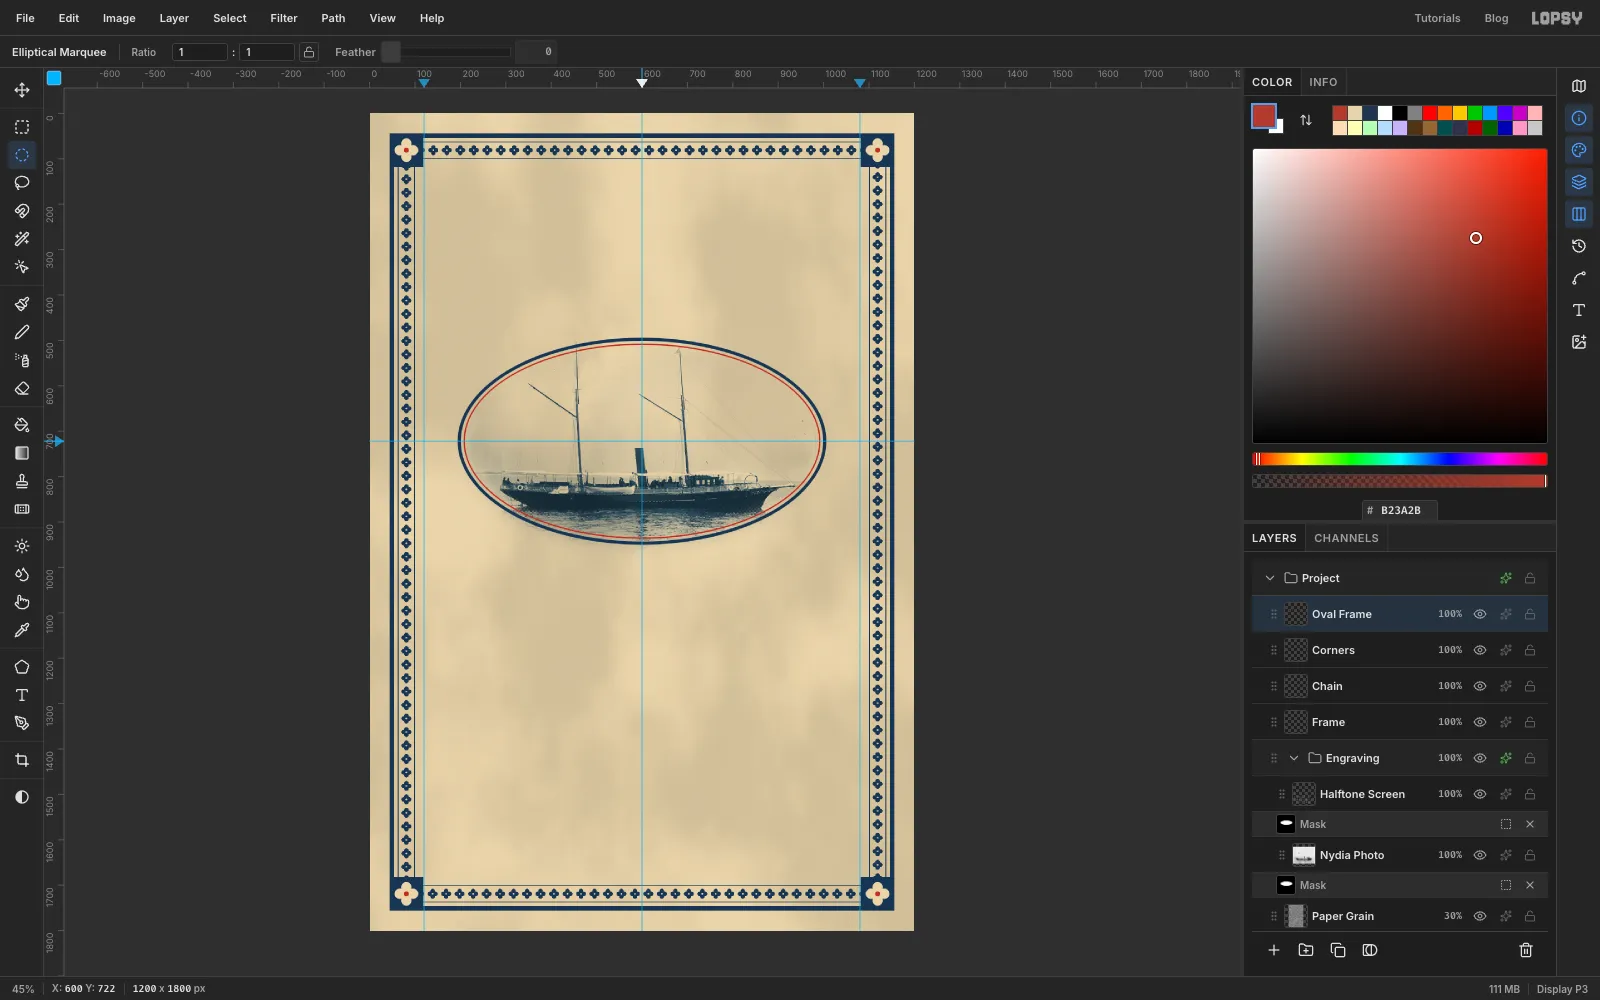
Click Corners, then Add Layer and name it Oval Frame. Draw each ring as a filled ellipse with a smaller ellipse deleted from it, all centred on the guides. Remember Cmd+D before each dialog.
- Blue ring: fill 194, 494 → 1006, 950 with Prussian blue, then delete 201, 501 → 999, 943.
- Red ring: fill 207, 507 → 993, 937 with vermilion, then delete 210, 510 → 990, 934.
Deselect.
-
Rule the fares box on the grid
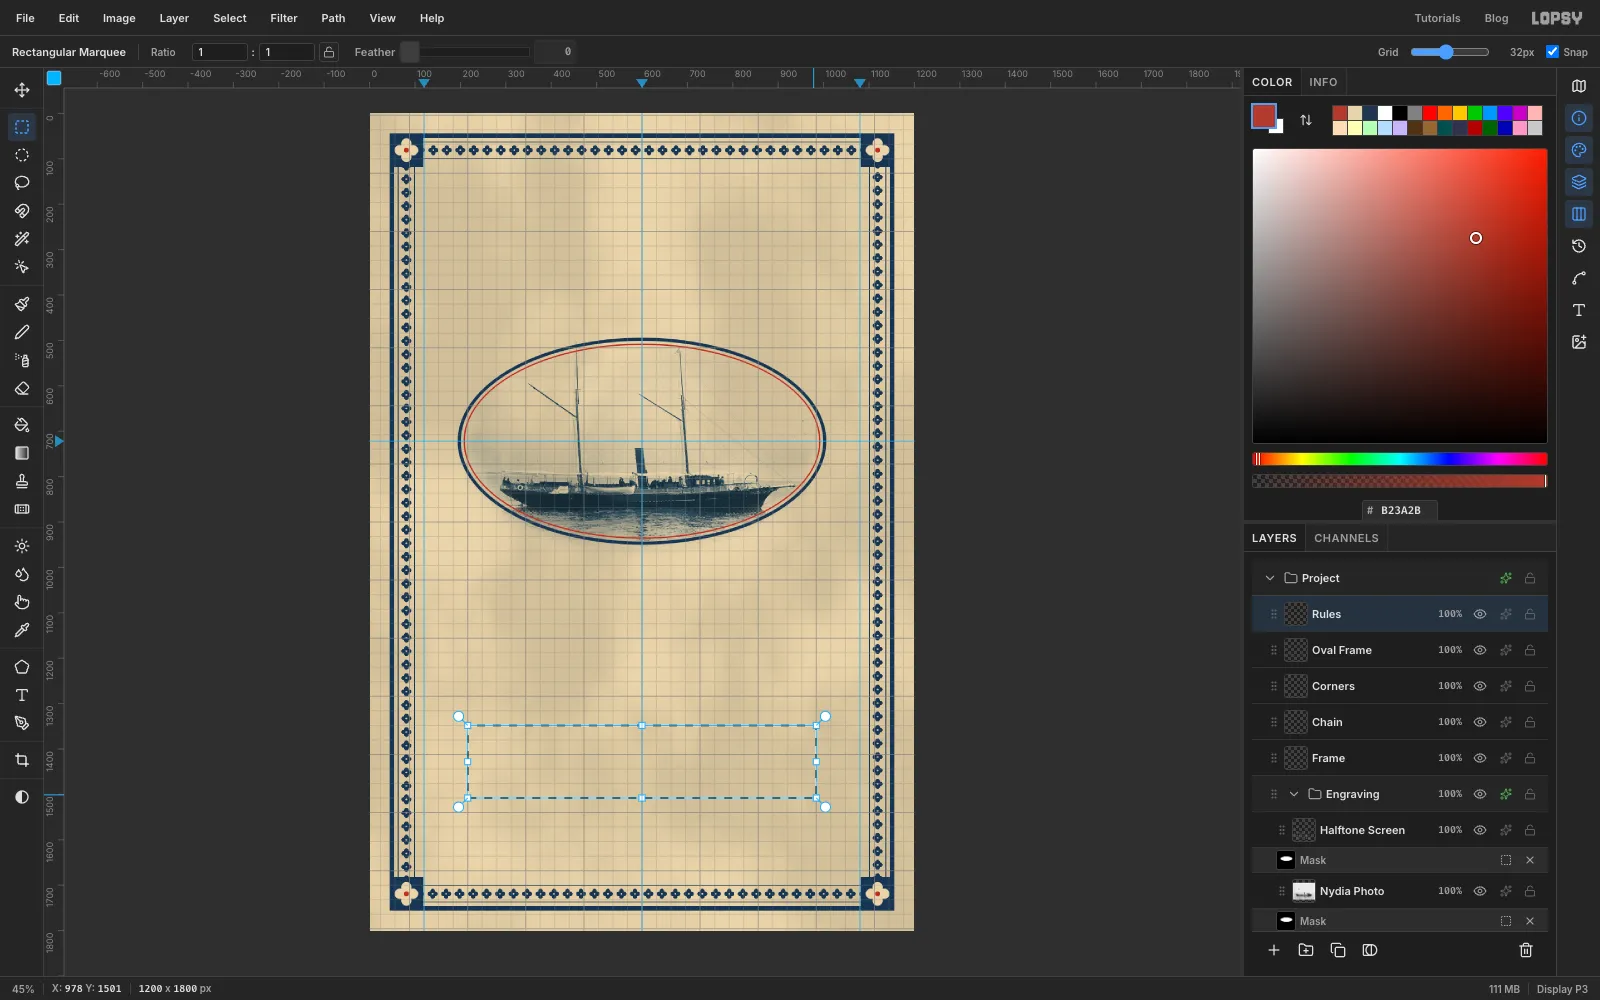
Click Add Layer and name it Rules. Choose View → Show Grid and set the grid size to 32 in the options bar. Snap switches on with the grid.
Drag a rectangular marquee from about 225, 1355 to 978, 1500. It snaps to the nearest grid lines, 216, 1348 → 984, 1508, so the box lands square and centred. Fill it with Prussian blue and hide the grid again (View → Show Grid).
Hollow it out into a double rule with the marquee dialog, pressing Cmd+D before each one:
- delete 220, 1352 → 980, 1504
- fill 225, 1357 → 975, 1499
- delete 227, 1359 → 973, 1497
For the dotted centre divider, choose the Hard Round brush at Size 4, Hardness 100, and set its Spacing to 260%. Click at 600, 1372 and Shift-click at 600, 1484.
-
Add a divider with a lozenge
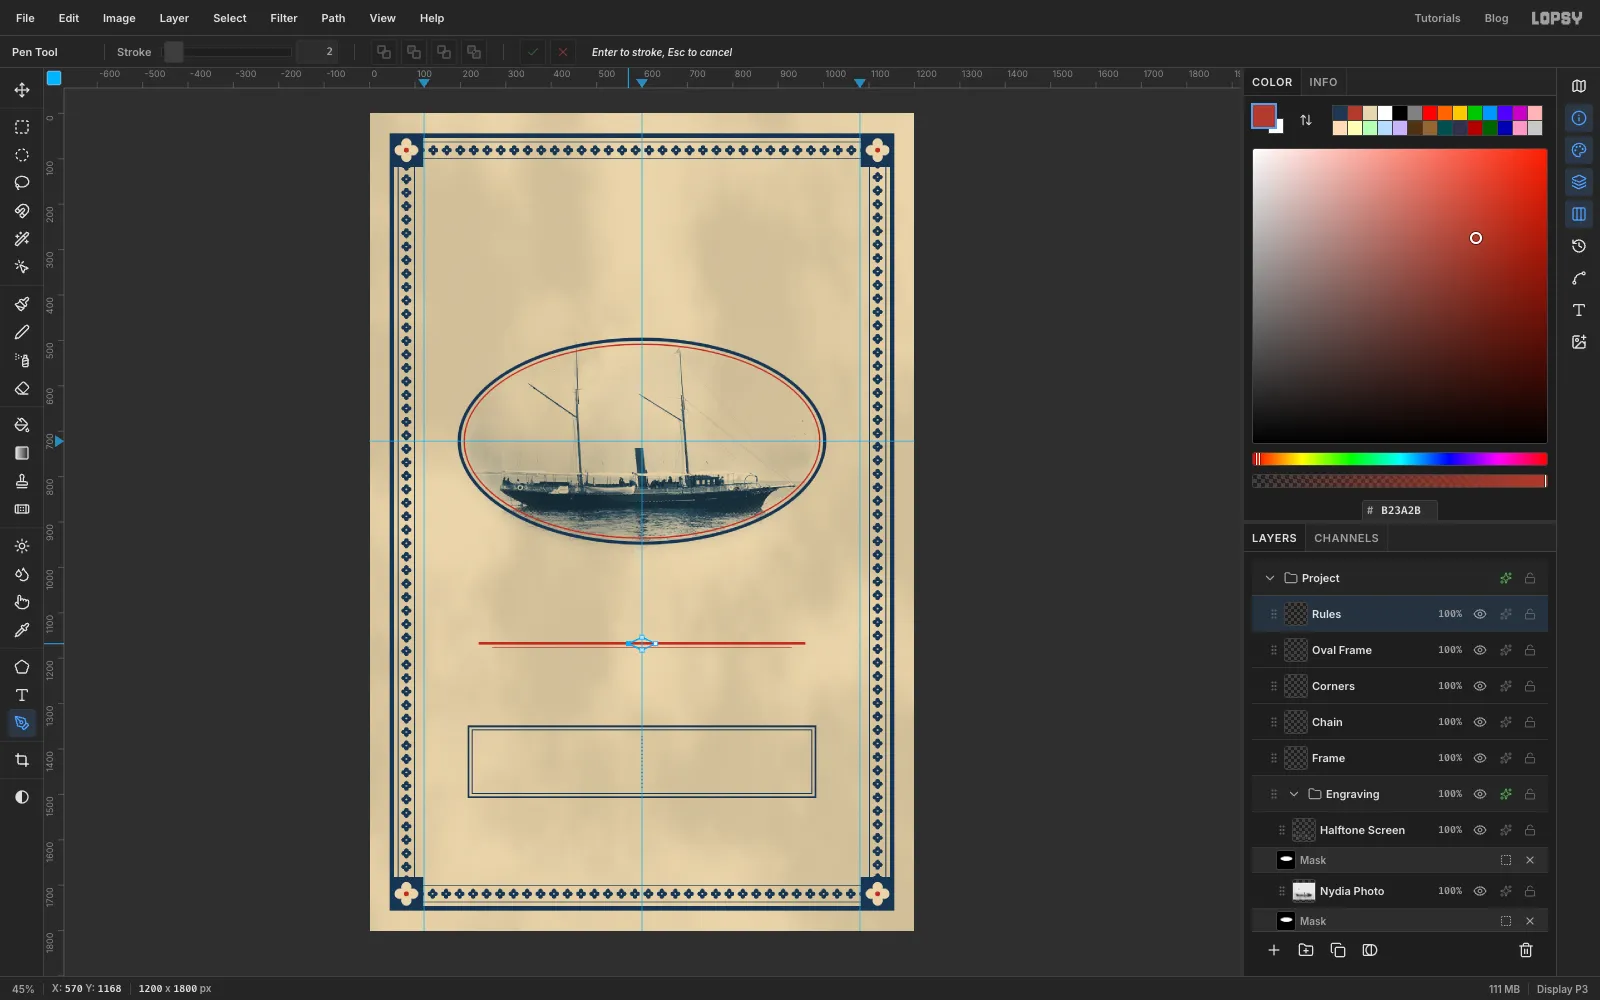
Still on Rules, set the foreground to vermilion. Fill a marquee from 240, 1164 to 960, 1170, then (after Cmd+D) a thin one from 270, 1175 to 930, 1177. Deselect.
For the lozenge, pick the Pen and click four corners round the centre of the rule: 570, 1168, 600, 1154, 630, 1168 and 600, 1182. Then click the first point again to close the path.
In the Paths panel click Path to Selection, and delete the path. Choose Select → Grow… at 6 and fill with buff to clear a gap in the red rules. Then choose Select → Shrink… at 6 and fill with Prussian blue.
-
Set the fares and the small print
Now the type. Work from the bottom up, because a Text click near an existing text layer edits that layer. For each line:
- Click Rules first, so the Text options set up a new layer instead of restyling the last one. New text lands just above Rules.
- Pick the Text tool. Set the font, size, colour and style (Regular unless the list says Italic).
- In the Text panel, set the Letter spacing (0 unless the list gives a number) and check that Align is Left. Style, spacing and Align all carry over from the last line.
- Click below or beside the existing type, type the line and press Tab to commit.
- Switch to Move (V) and nudge the line with the arrow keys (Shift moves 10 px) until it's centred on the middle guide with the middle of its letters at the y given.
- Double-click the layer's name and rename it as listed, so you can find it later.
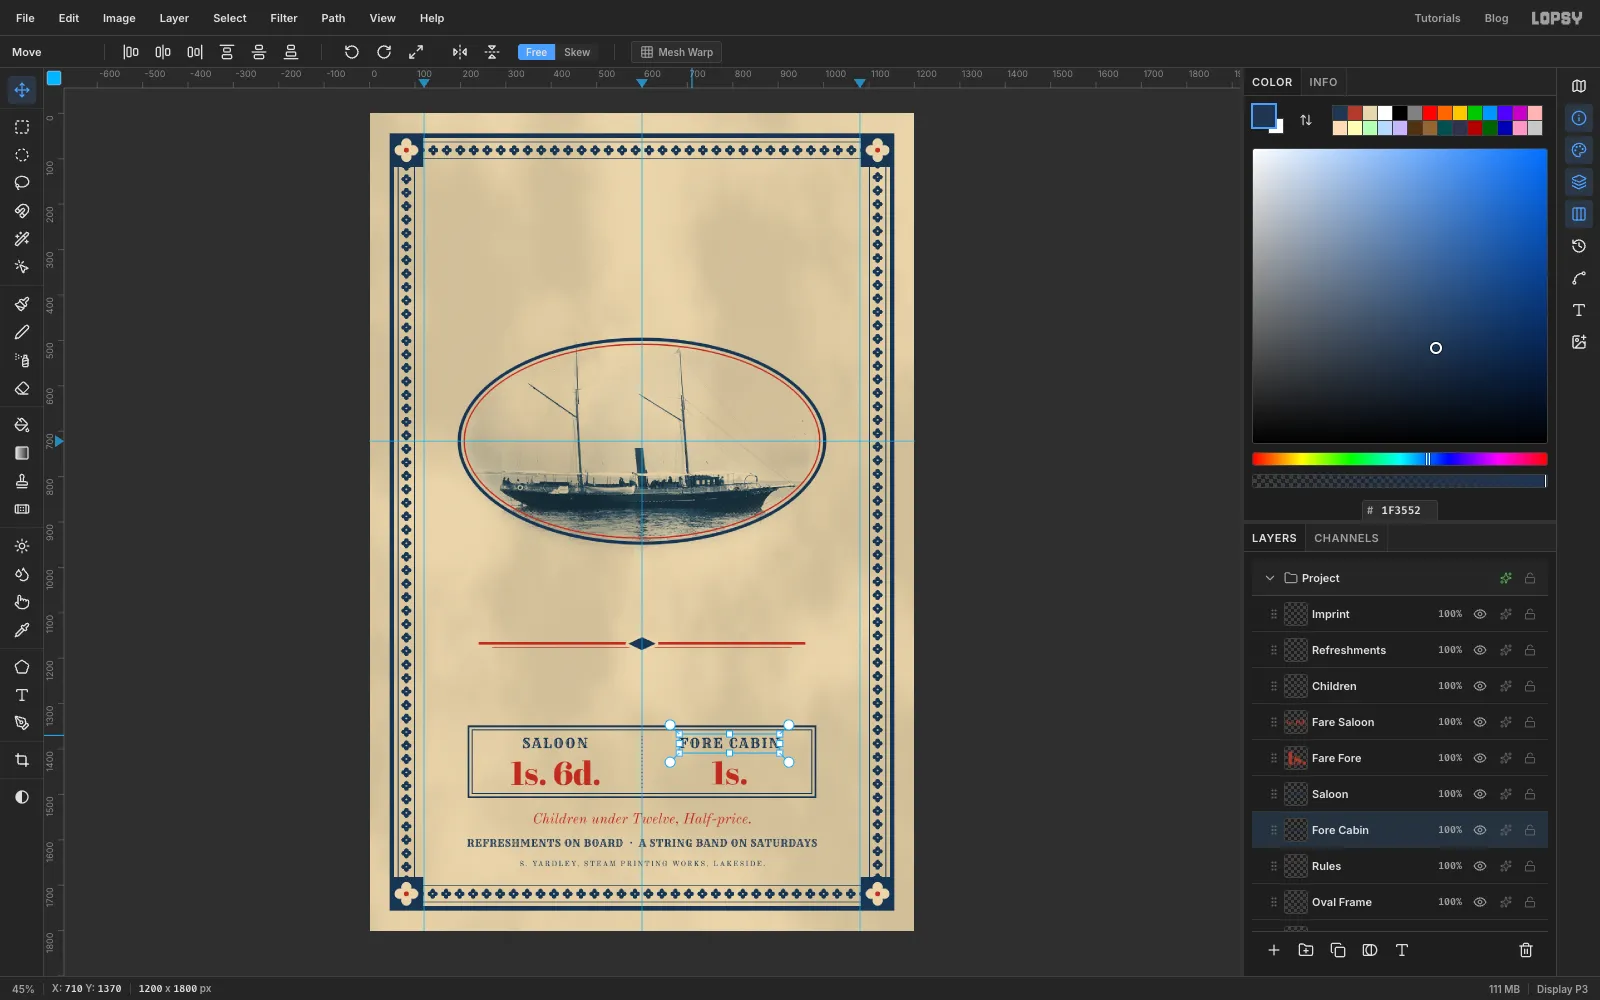
The lines, bottom first:
- S. YARDLEY, STEAM PRINTING WORKS, LAKESIDE. — Old Standard TT, 16 px, blue, spacing 3, at y 1652. Name it Imprint.
- REFRESHMENTS ON BOARD · A STRING BAND ON SATURDAYS — Rye, 22 px, blue, spacing 1, at y 1606. Name it Refreshments.
- Children under Twelve, Half-price. — Old Standard TT Italic, 32 px, vermilion, at y 1556. Name it Children.
- 1s. 6d. — Abril Fatface, Regular, 72 px, vermilion, centred on x 408 (the middle of the box's left half) at y 1452. Name it Fare Saloon.
- 1s. — the same, centred on x 792. Name it Fare Fore.
- SALOON and FORE CABIN — Rye, 30 px, blue, spacing 3, on x 408 and x 792 at y 1386.
-
Set the display lines
Carry on upwards with the same five steps:
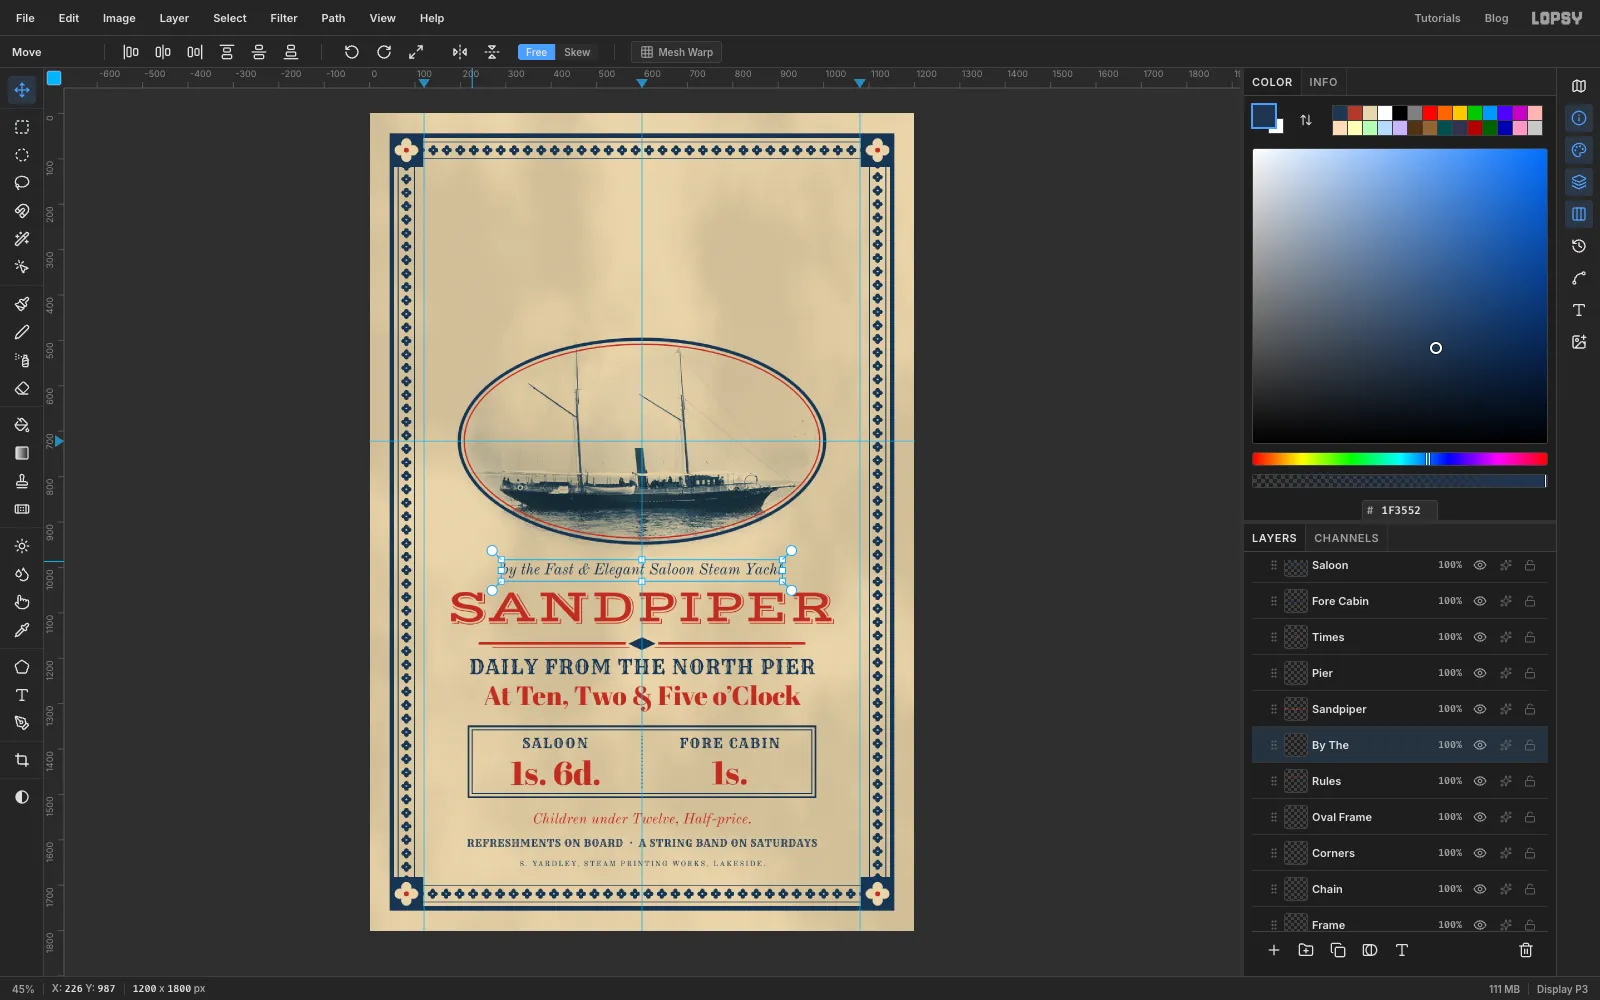
- At Ten, Two & Five o'Clock — Abril Fatface, Regular, 58 px, vermilion, spacing 0, at y 1288. Name it Times.
- DAILY FROM THE NORTH PIER — Rye, 44 px, blue, spacing 2, at y 1218. Name it Pier.
- SANDPIPER — Vast Shadow, 104 px, vermilion, spacing 0, at y 1089. Vast Shadow is a Victorian shaded face, so the cut-in shadow comes with the font.
- by the Fast & Elegant Saloon Steam Yacht — Old Standard TT Italic, 34 px, blue, spacing 0, at y 1006, about 40 px below the oval frame. Name it By The.
Check the gaps by eye: each line should sit a little closer to its partner (DAILY to the times) than to the rule or box beyond.
-
Set EXCURSIONS with a printed shadow
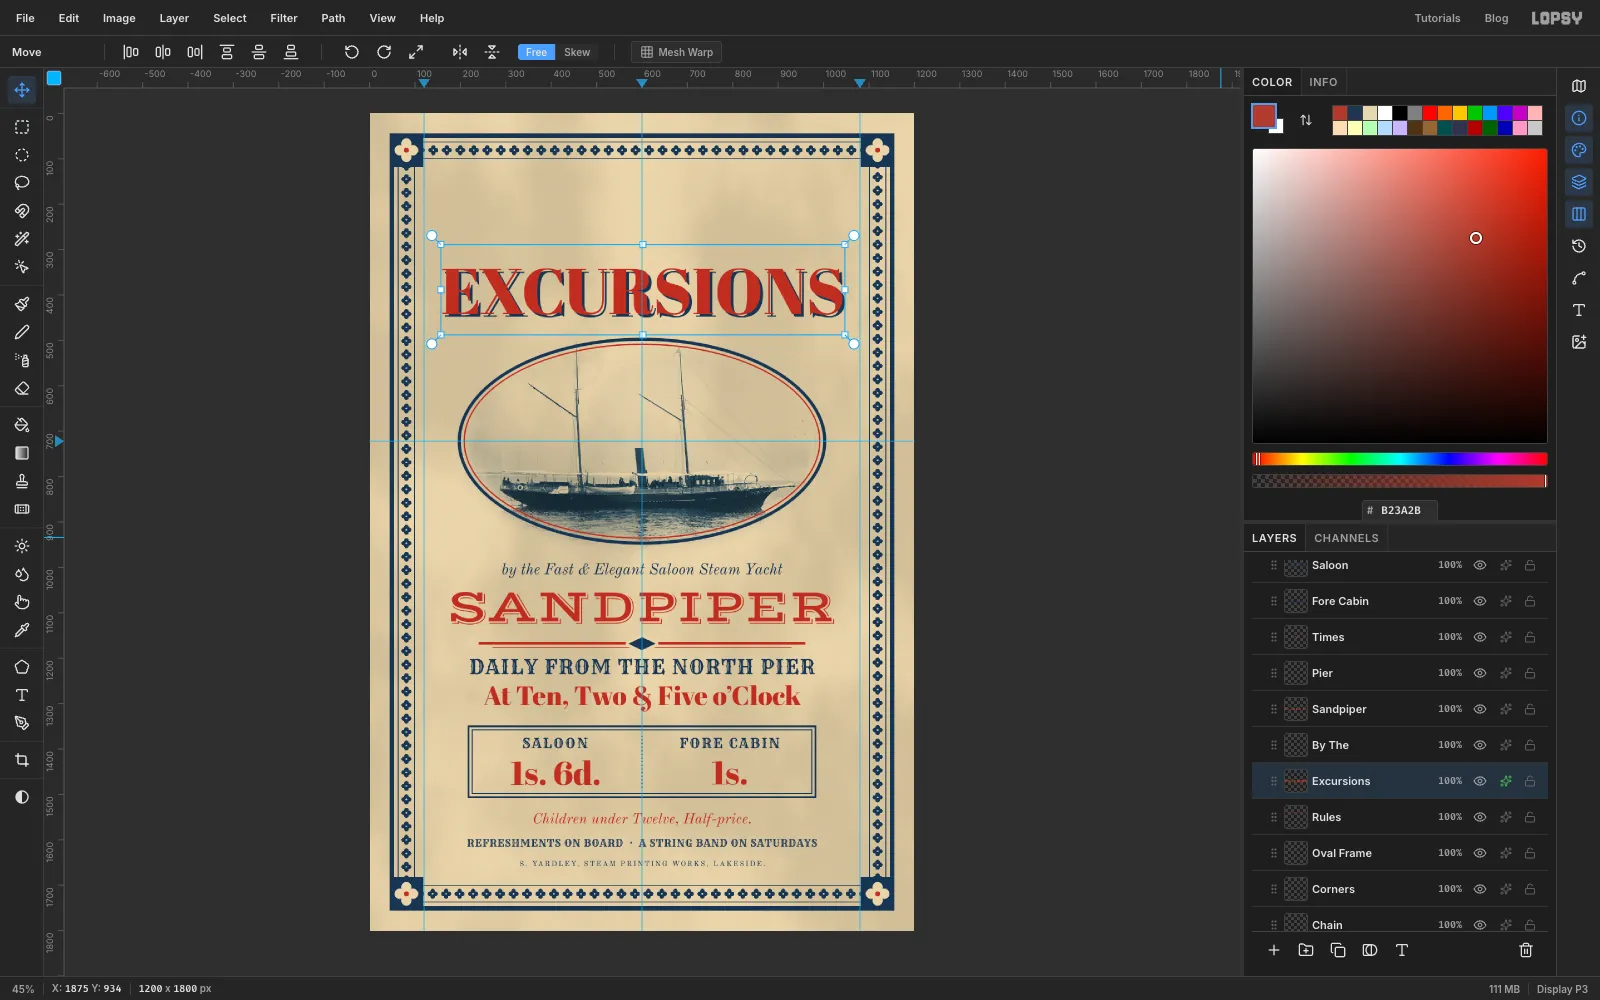
Click Rules and set EXCURSIONS in Abril Fatface, Regular (the last line was italic), 142 px, vermilion, spacing 0. Centre it with the middle of its capitals at y 392, so the letters run from about y 340 to 443. That leaves about 60 px to the frame on each side.
Open its effects and turn on Drop Shadow:
- Offset X 6 and Offset Y 6
- Blur 1 and Spread 0
- Opacity 100
- colour Prussian blue
Victorian printers did this by printing a second block of the same type in the other ink, set slightly off. So it reads as a solid blue shadow, not a soft glow. Close the drawer.
-
Draw an arch with the Pen
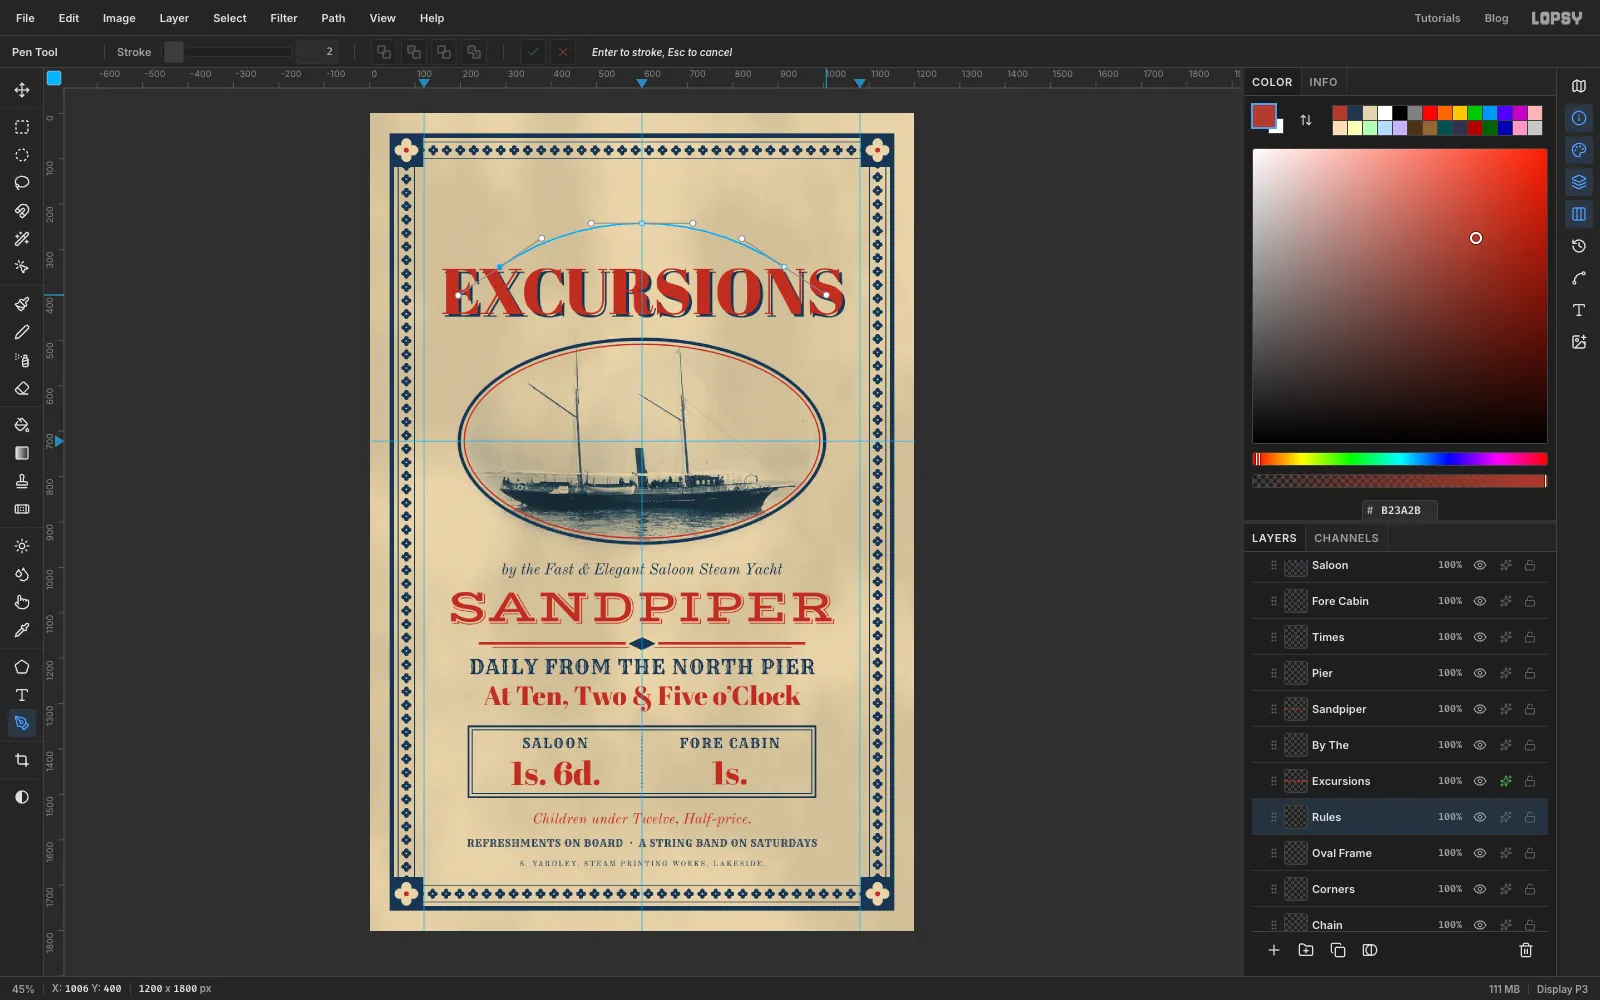
Pick the Pen. Draw a smooth three-point arch that starts at the left end of EXCURSIONS, peaks on the middle guide about 100 px above the word, and comes down at its right end:
- Press at the top-left corner of EXCURSIONS (about 287, 338) and drag up and to the right about 110 px to pull out a handle.
- Press at 600, 242, on the middle guide, and drag straight right about 110 px.
- Press at the top-right corner of the word (about 913, 338) and drag down and to the right about 110 px.
Click the ✓ in the options bar to keep the path without stroking it.
-
Bend GRAND PLEASURE onto the arch
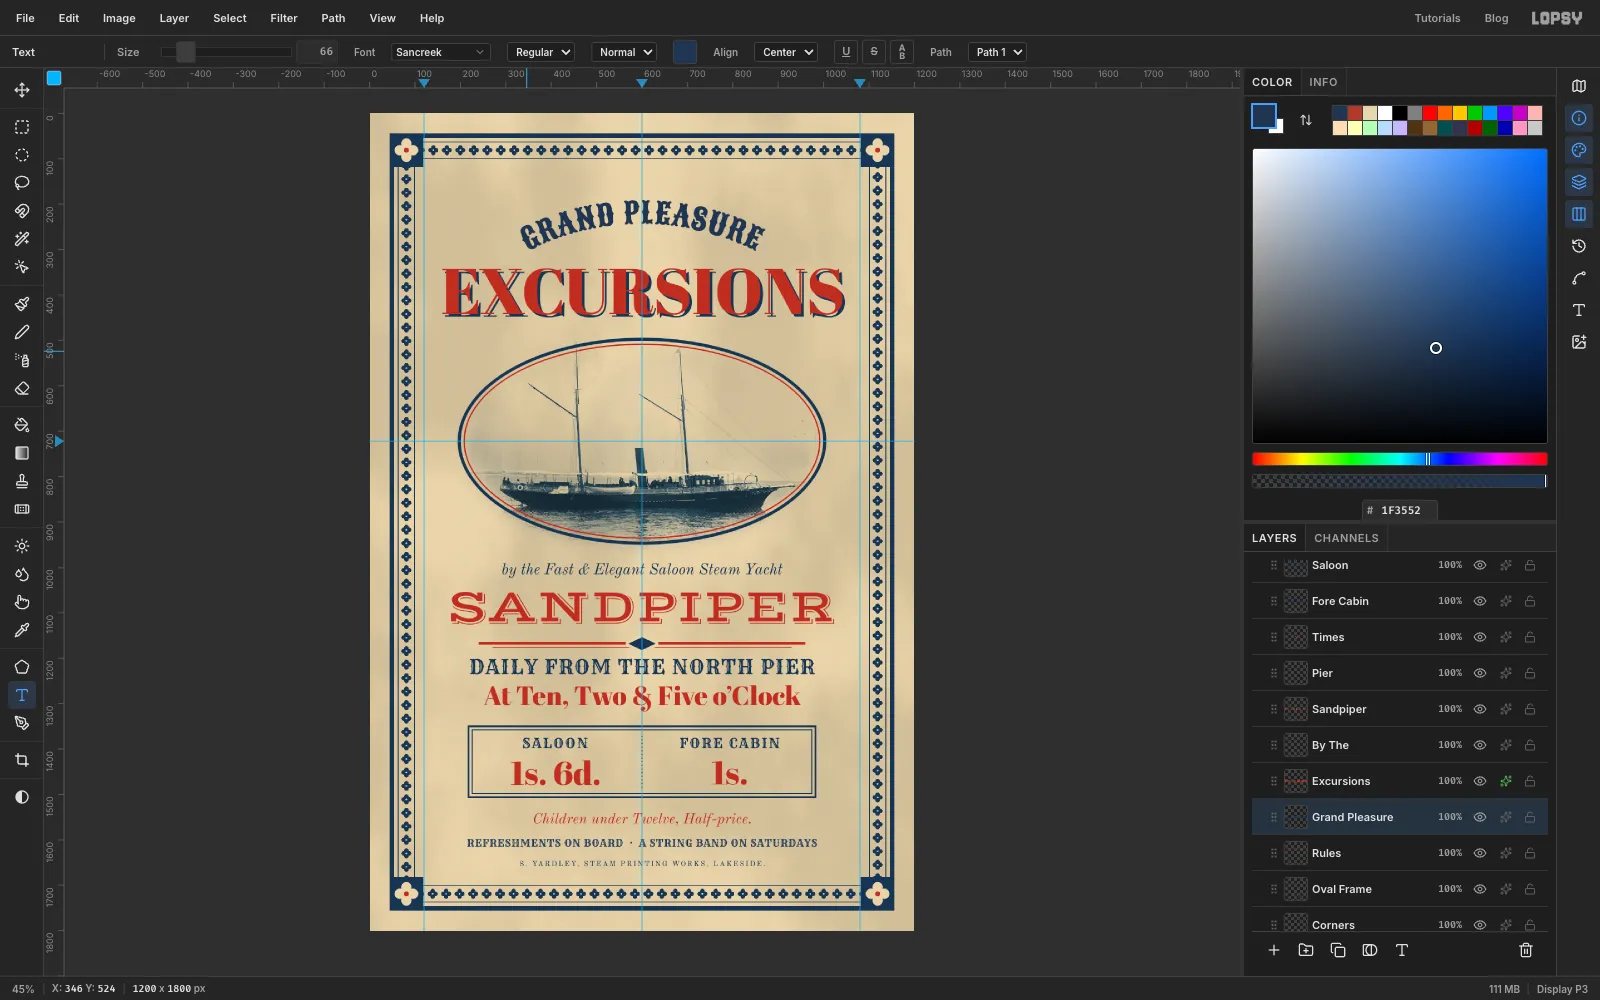
Click Rules so the new text lands above it. With the Text tool set Sancreek, 66 px, blue, letter spacing 2 and Align Left, click in an empty part of the sheet (over the photo works) and type GRAND PLEASURE. Press Tab.
Name the layer Grand Pleasure. With it still active, pick the arch (Path 1) in the Path dropdown in the Text options bar, then set Align to Center. The letters jump onto the arch and turn to follow it.
In the Paths panel, click the path's row to deselect it so its outline stops drawing. Don't delete the path: the text stays bound to it.
-
Add the company line
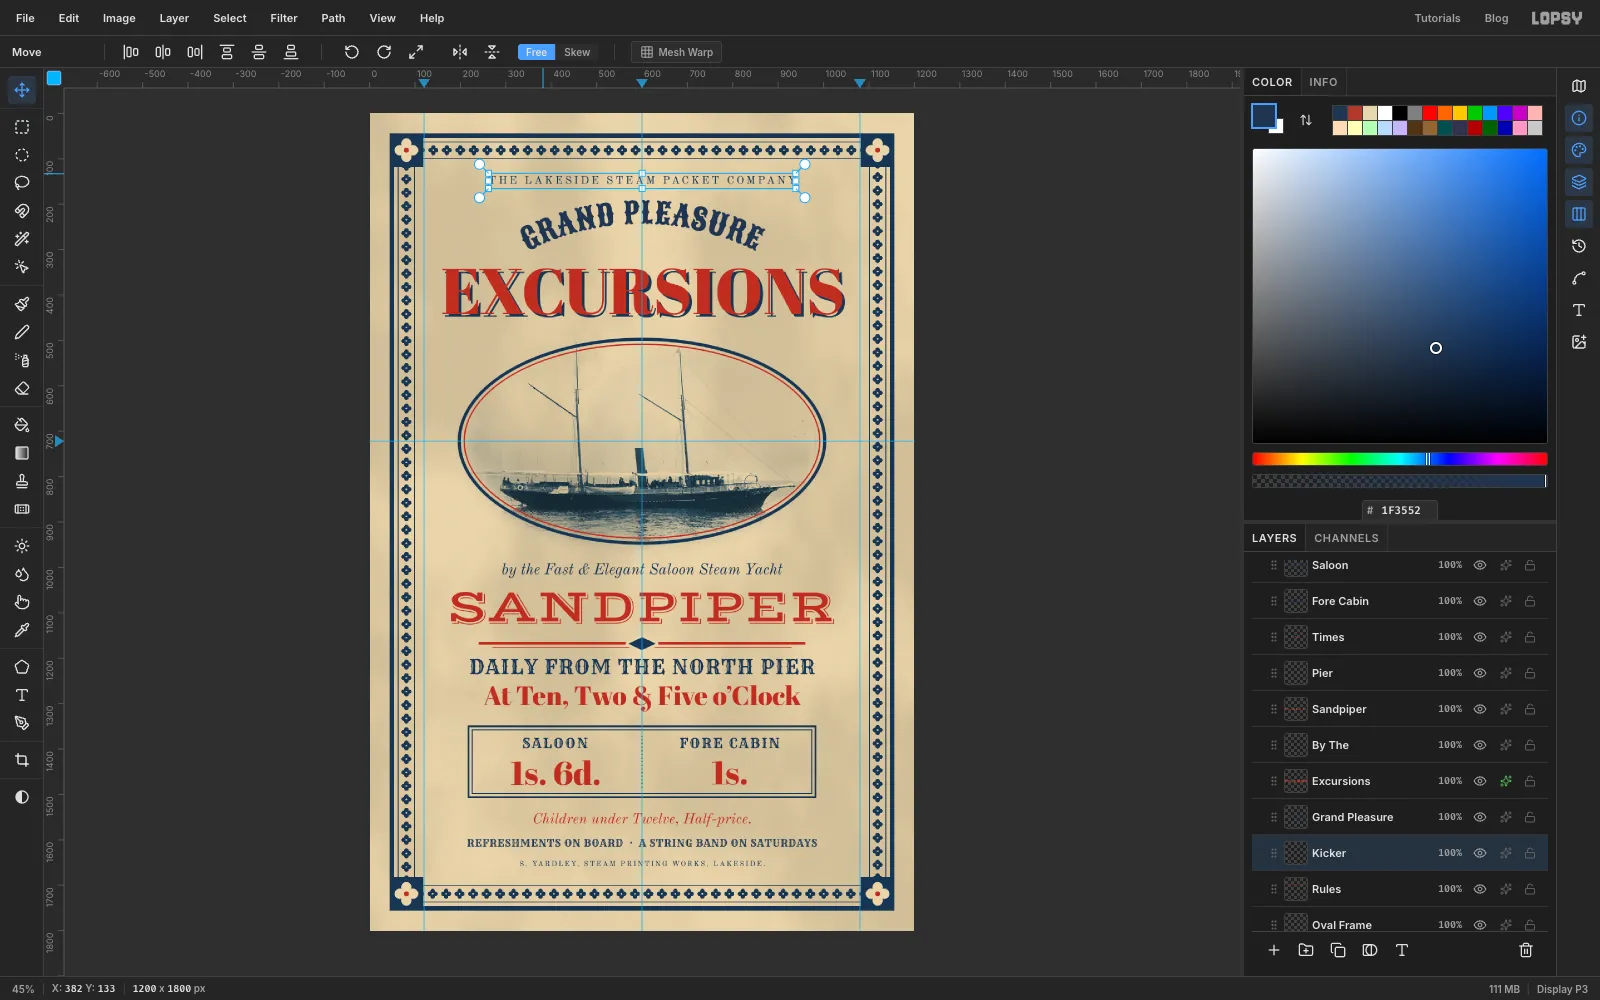
Click Rules and set THE LAKESIDE STEAM PACKET COMPANY in Old Standard TT, 24 px, blue, with letter spacing 5. Set Align back to Left first, since it carried over from the arch. Centre it at y 146, about 45 px below the top inner rule, and name it Kicker.
-
Cut the stamp's rings
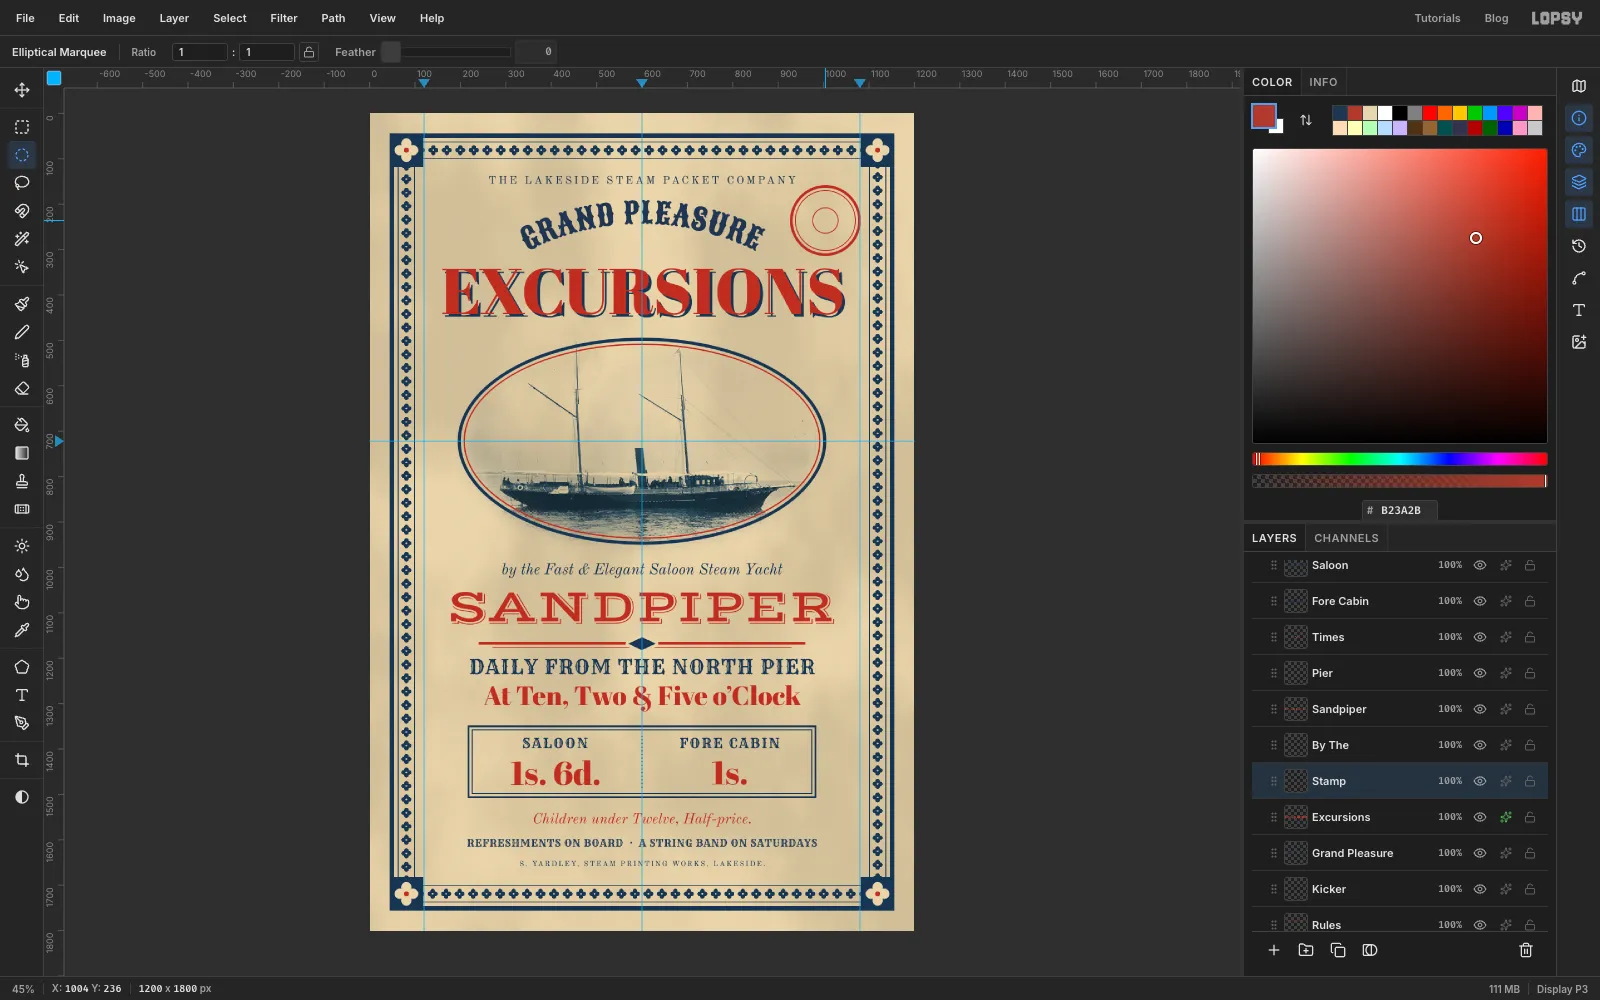
The rubber stamp goes in the empty top-right corner. Click the EXCURSIONS layer, then Add Layer and name it Stamp. Set the foreground to vermilion. Every ring is centred on 1004, 236: fill a circle with the Elliptical Marquee dialog, then delete a smaller one.
- Outer ring: fill 926, 158 → 1082, 314, delete 932, 164 → 1076, 308.
- Hairline: fill 937, 169 → 1071, 303, delete 939, 171 → 1069, 301.
- Inner ring: fill 975, 207 → 1033, 265, delete 977, 209 → 1031, 263.
Press Cmd+D before each dialog.
-
Run text round the stamp
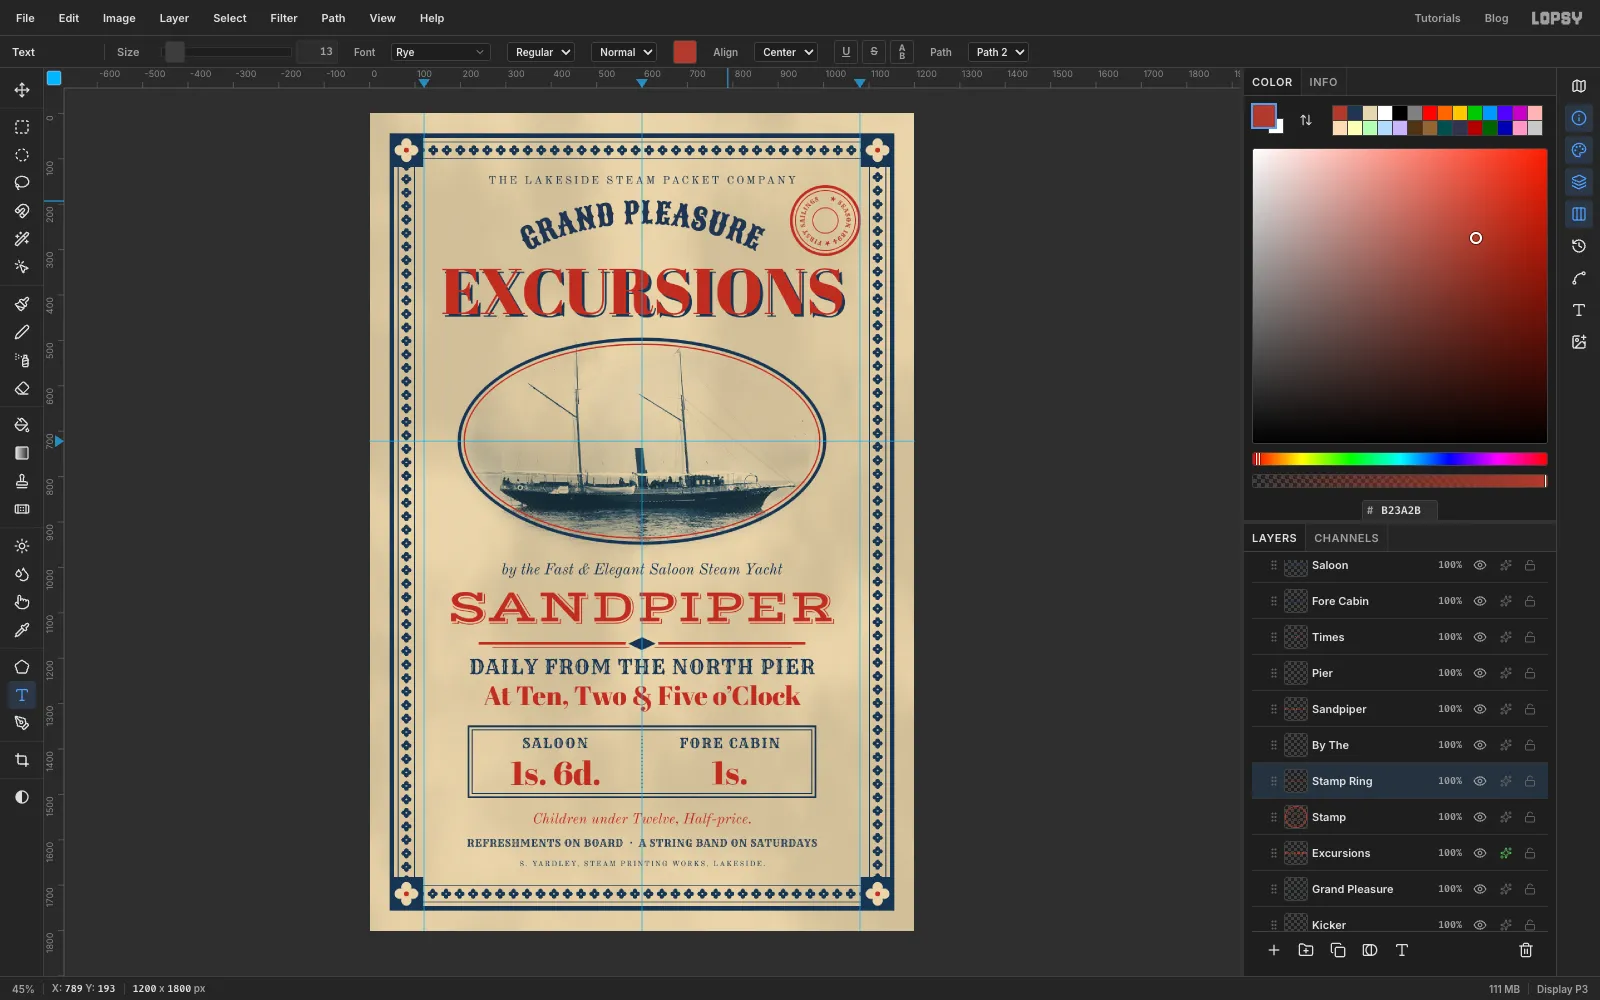
Pick the Shape tool. Set Shape to Ellipse and Output to Path. Hold Cmd and drag from the stamp's centre out to a radius of about 46 px, which draws a circular path.
Click Stamp, then use the Text tool to set ★ SEASON 1894 ★ FIRST SAILINGS (with a trailing space) in Rye, 13 px, vermilion, letter spacing 1, Align Left, somewhere empty. Paste the stars if you can't type them. Bind it to the circle (Path 2) with the Path dropdown and set Align to Center. Deselect the path in the Paths panel.
-
Centre the date and merge the stamp
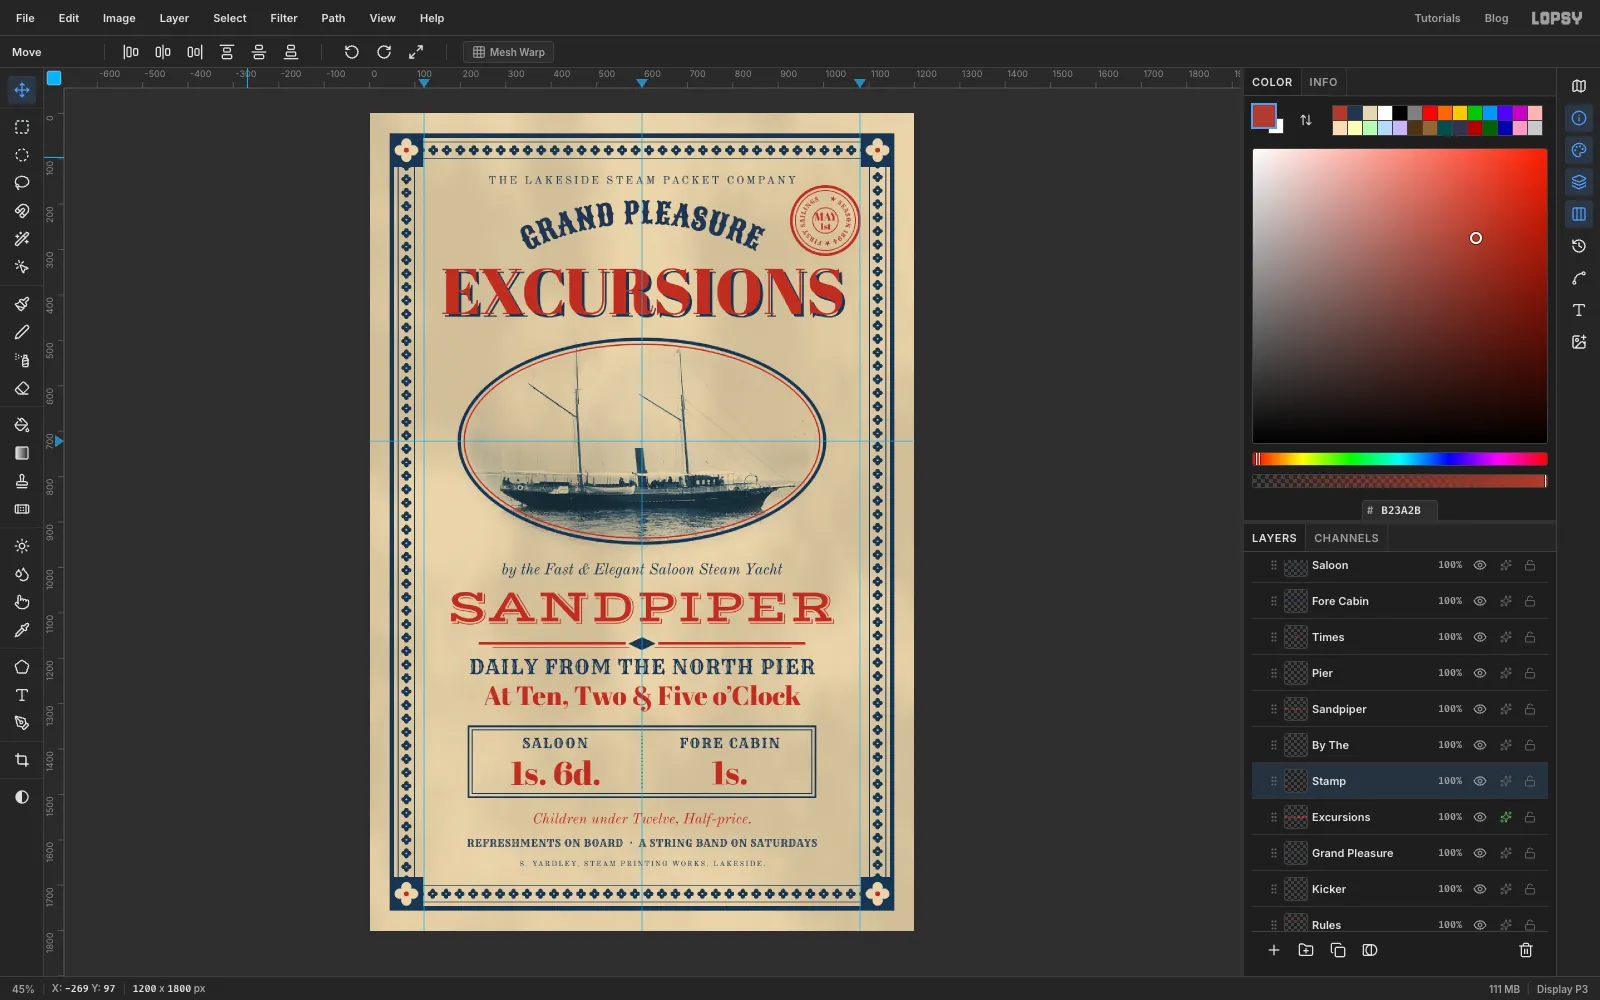
Inside the small ring, set the date in Abril Fatface, vermilion, letter spacing 0. Click Stamp before each word and check that Align is back on Left. Make 1st at 20 px first, then MAY at 24 px above it. Setting the lower word first keeps the second click from editing the first word. Centre both on the stamp.
Then merge it all into one layer. Click the MAY layer and choose Layer → Merge Down. Repeat for 1st and then the ring text, until only Stamp is left.
-
Wear the stamp
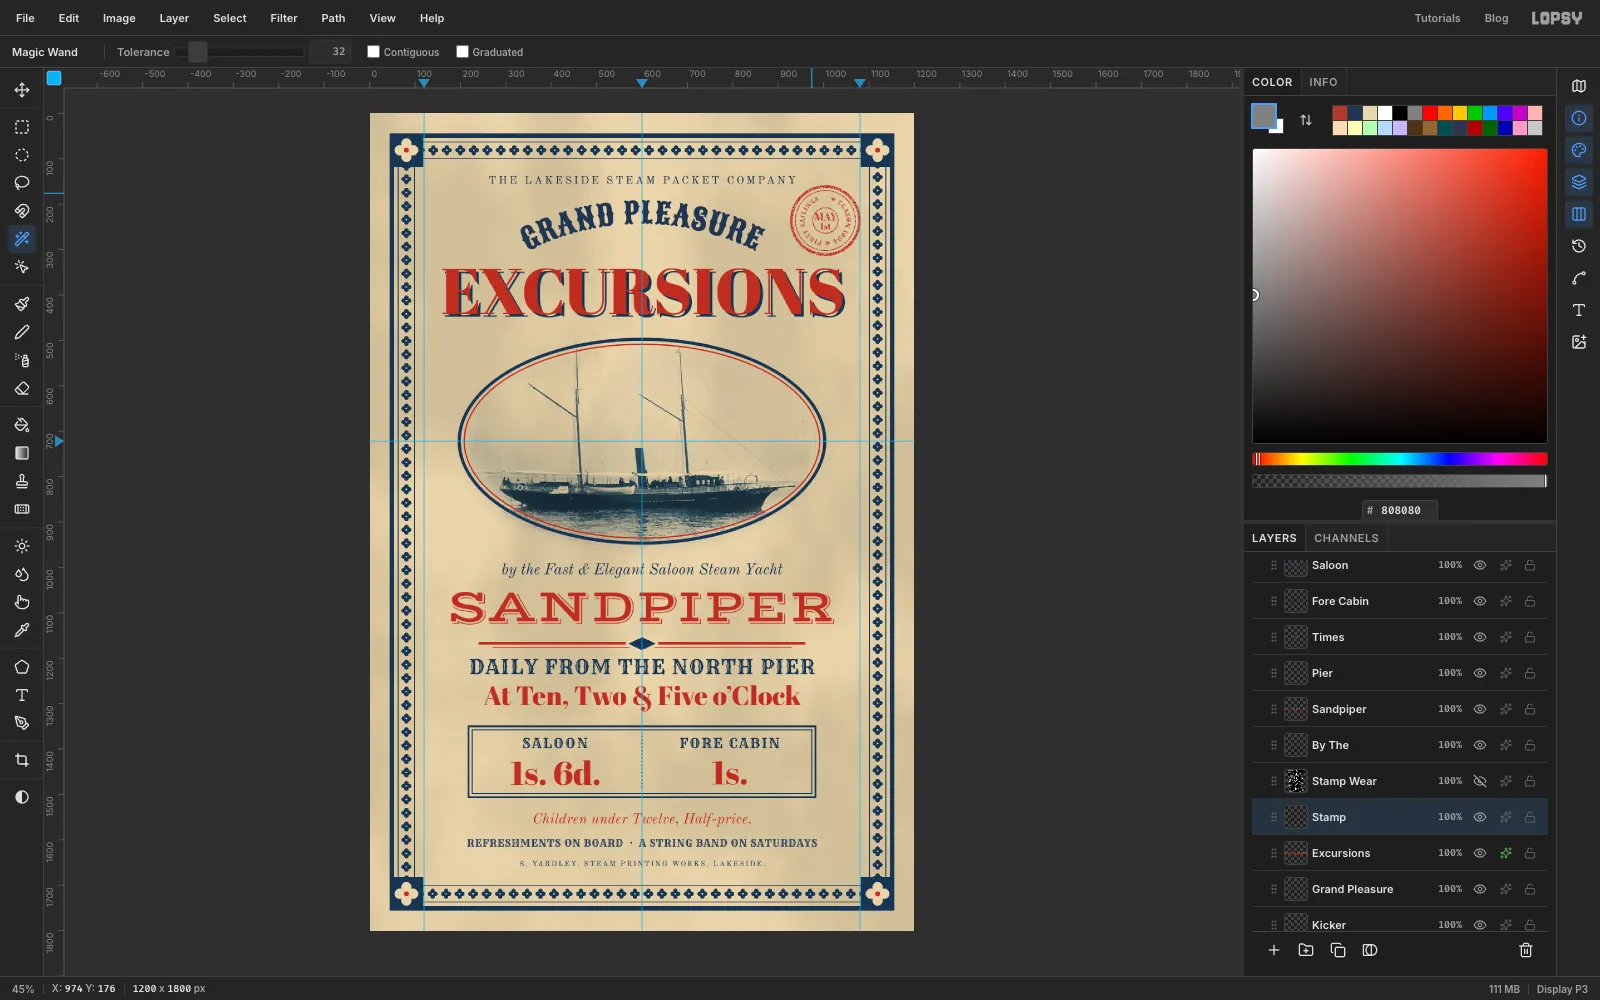
Click Add Layer and name it Stamp Wear. Fill it with , then run:
- Add Noise at 100 (Mono, Gaussian)
- Gaussian Blur at 1.2
- Threshold at 140
That leaves scattered white specks on black.
Pick the Magic Wand, turn Contiguous off and click a white speck to select them all. Hide Stamp Wear, click Stamp and press Delete, then deselect.
-
Rotate the stamp
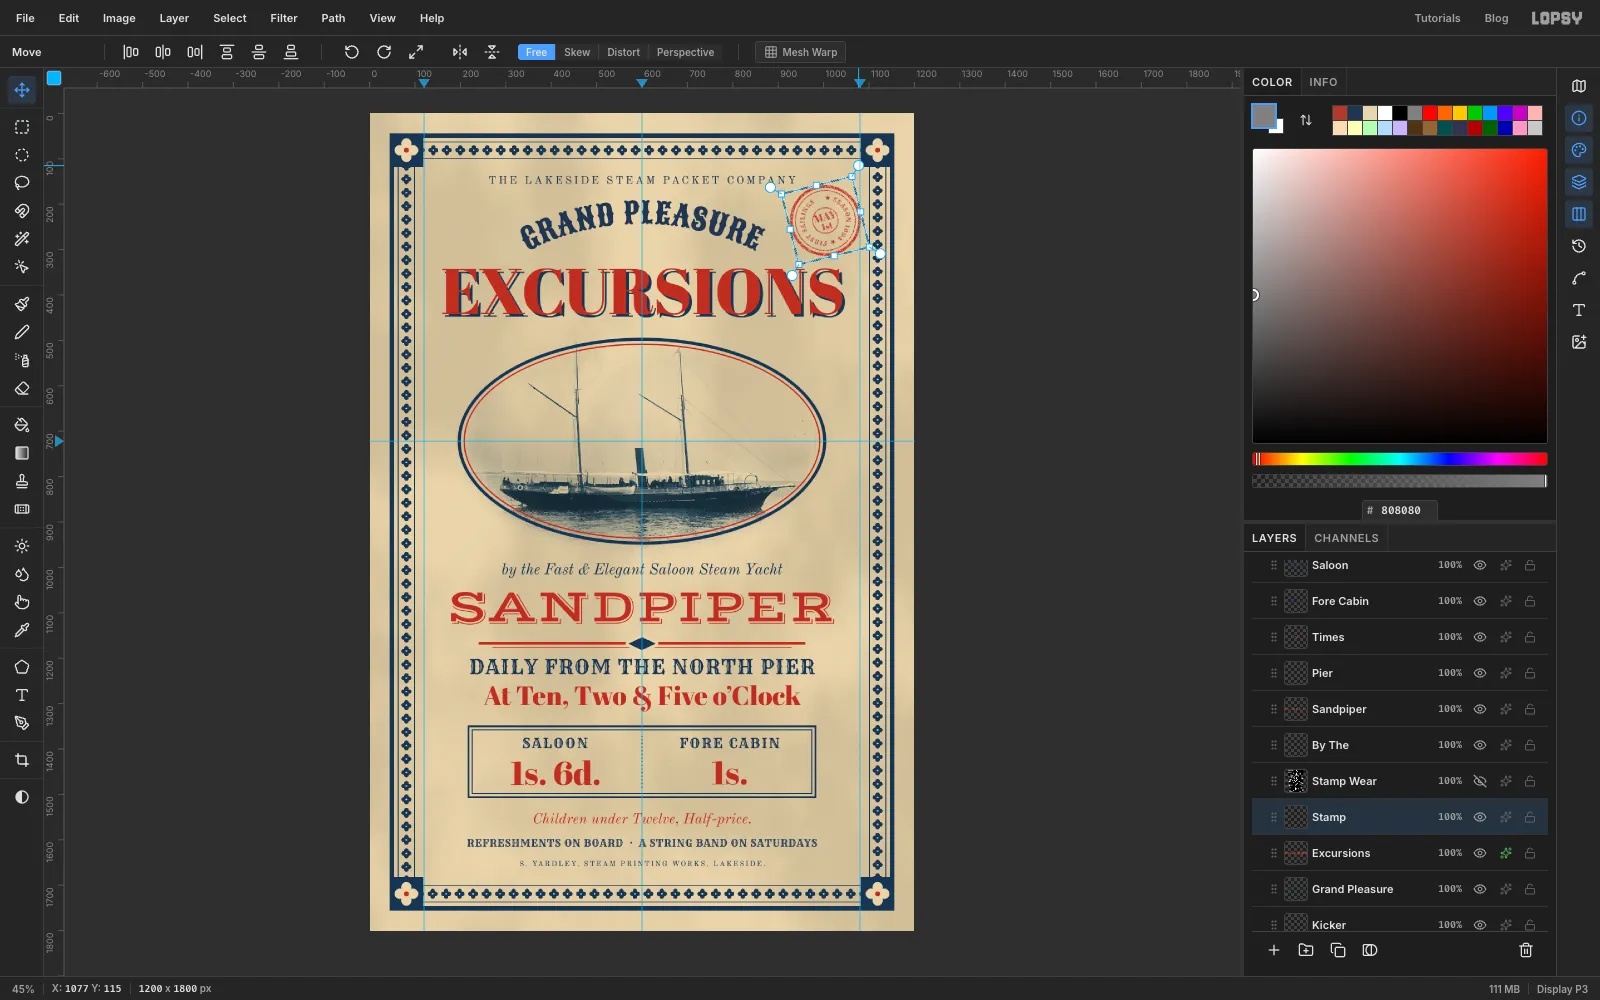
Marquee a square just round the stamp (about 924, 156 → 1084, 316). With the Move tool, drag the rotate handle just outside the top-right corner anticlockwise to about −14°. Press Cmd+D to commit.
Pick the Eraser at Size 12 and drag a short stroke across the outer ring at about one o'clock, to break it like a nicked stamp.
-
Give the stamp uneven pressure
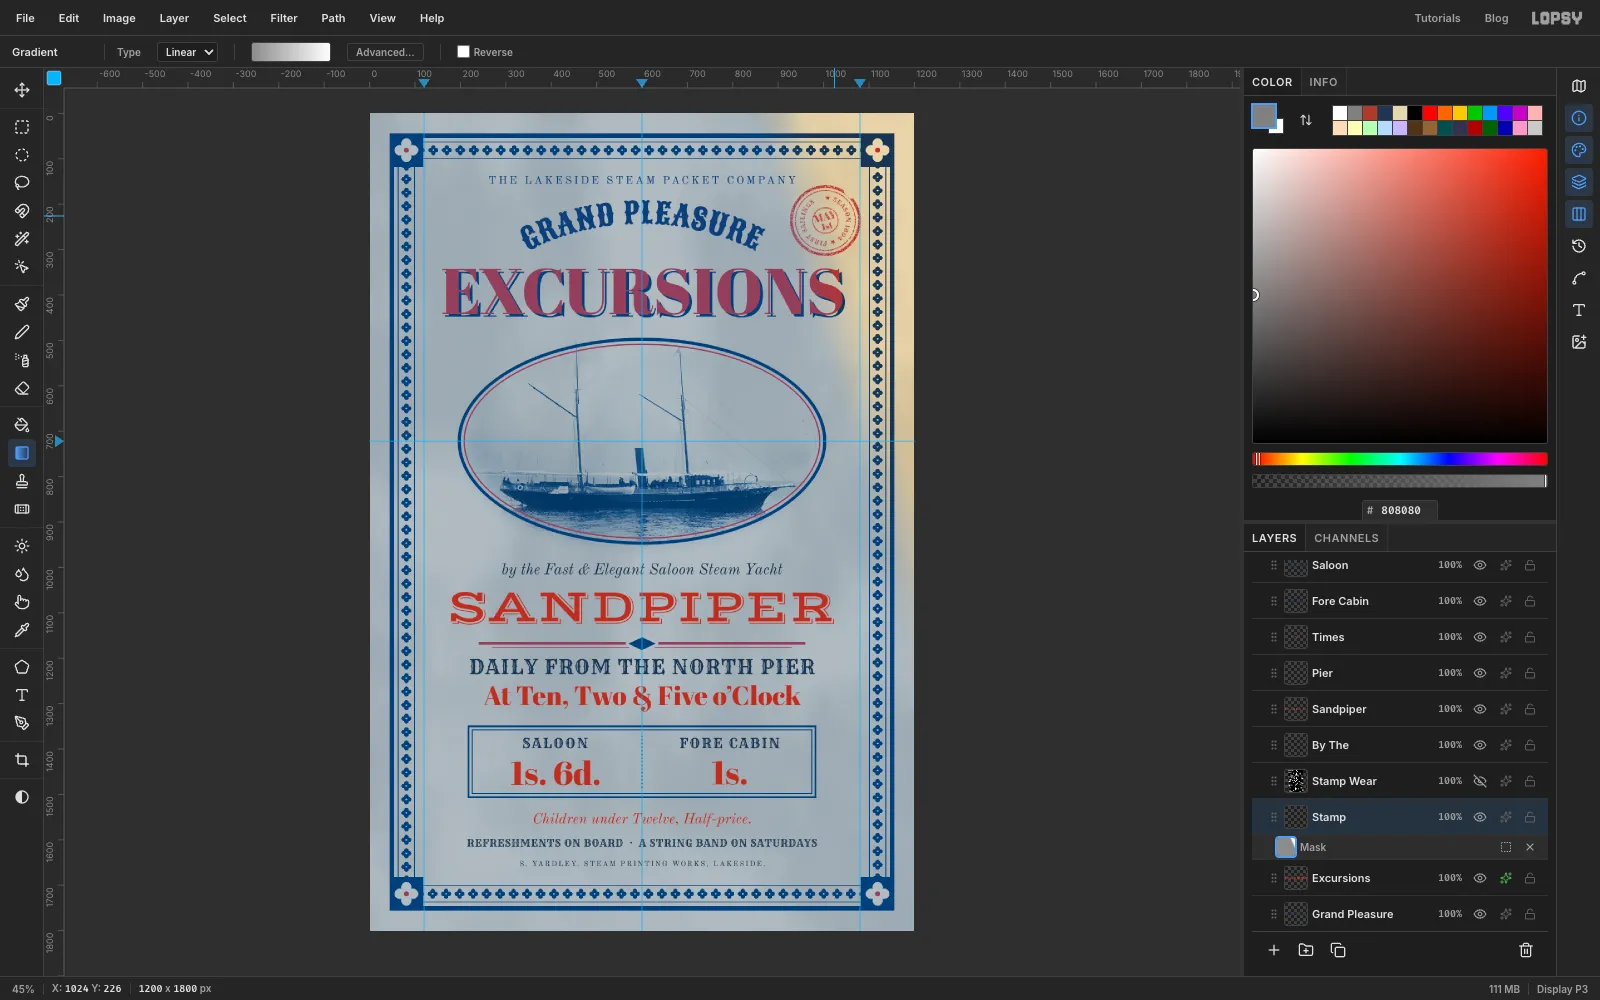
A stamp pressed by hand is rarely even. Click Add Mask, then click the mask thumbnail to edit it.
Pick the Gradient tool, set it to Linear, and in Advanced… make a gradient from grey to white . Drag from the stamp's left edge to just right of its centre. The blue tint is only Lopsy showing you're editing the mask.
Click the layer's name to leave mask editing. Set Stamp to Multiply at 88% so it sits in the paper like real ink.
-
Group the header and the fares
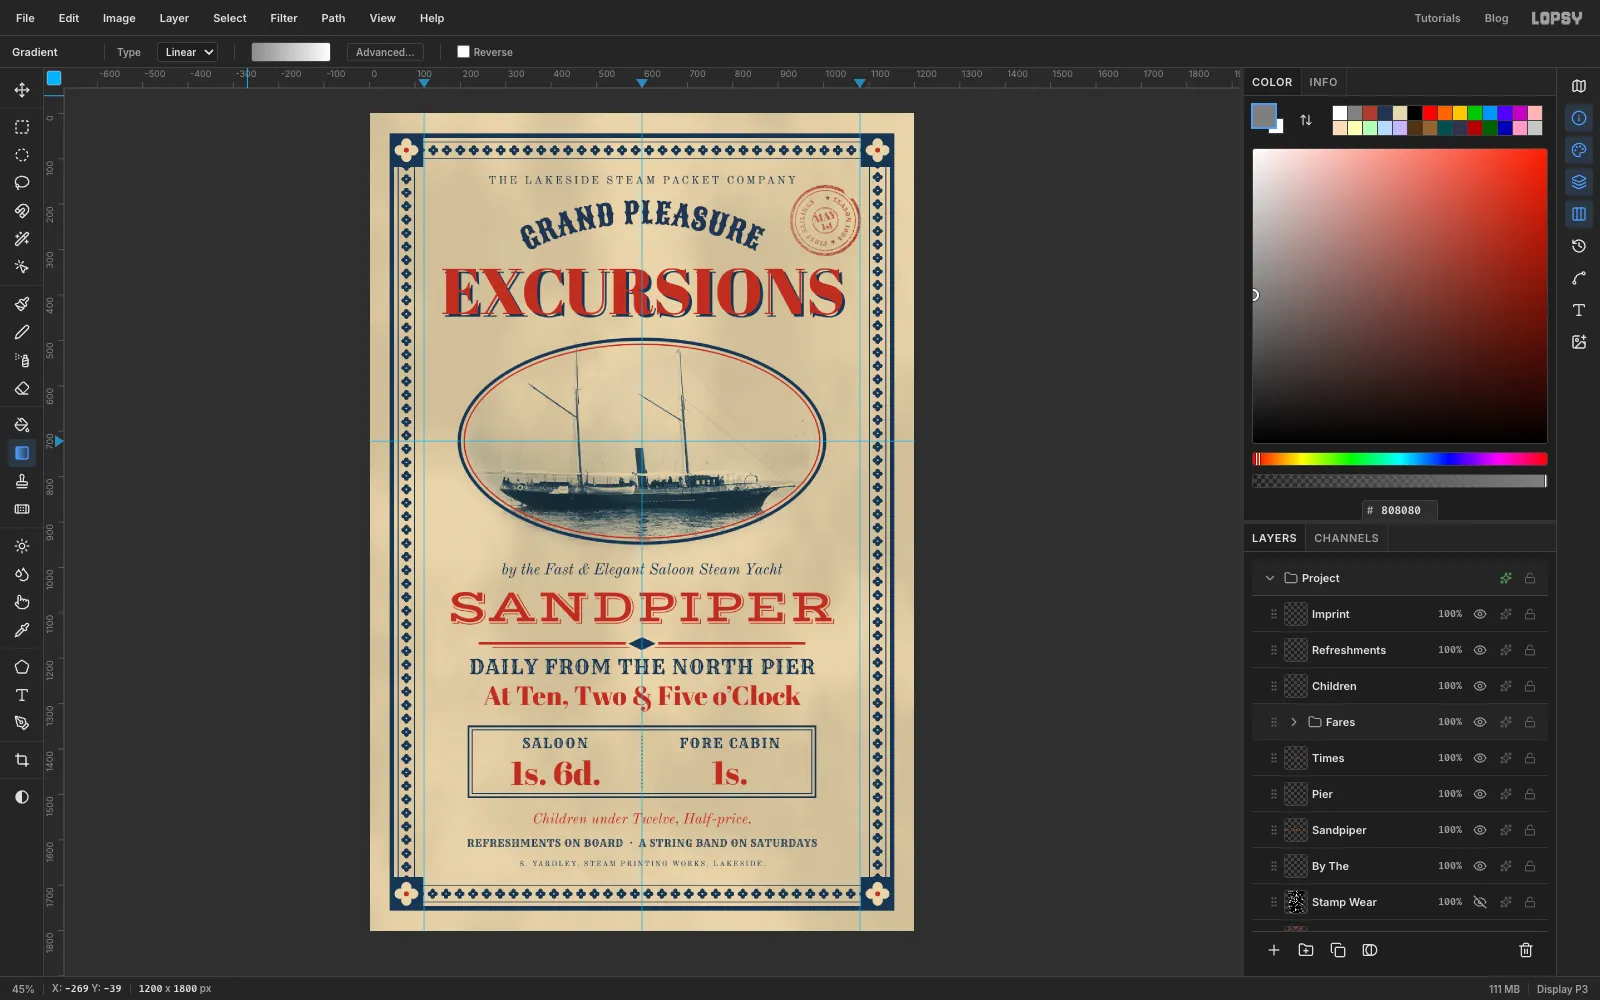
Click the EXCURSIONS layer, Shift-click the company line's layer (it takes in GRAND PLEASURE between them) and choose Layer → Group Layers. Name the group Header. Do the same for the four lines in the fares box: click Fare Saloon, Shift-click Fore Cabin, group them and name the group Fares.
Heavy figures look lower than they are, so lift the fares a touch. Click the Fares group row, pick the Move tool and press ↑ four times. The whole group moves together.
-
Knock the red ink off register
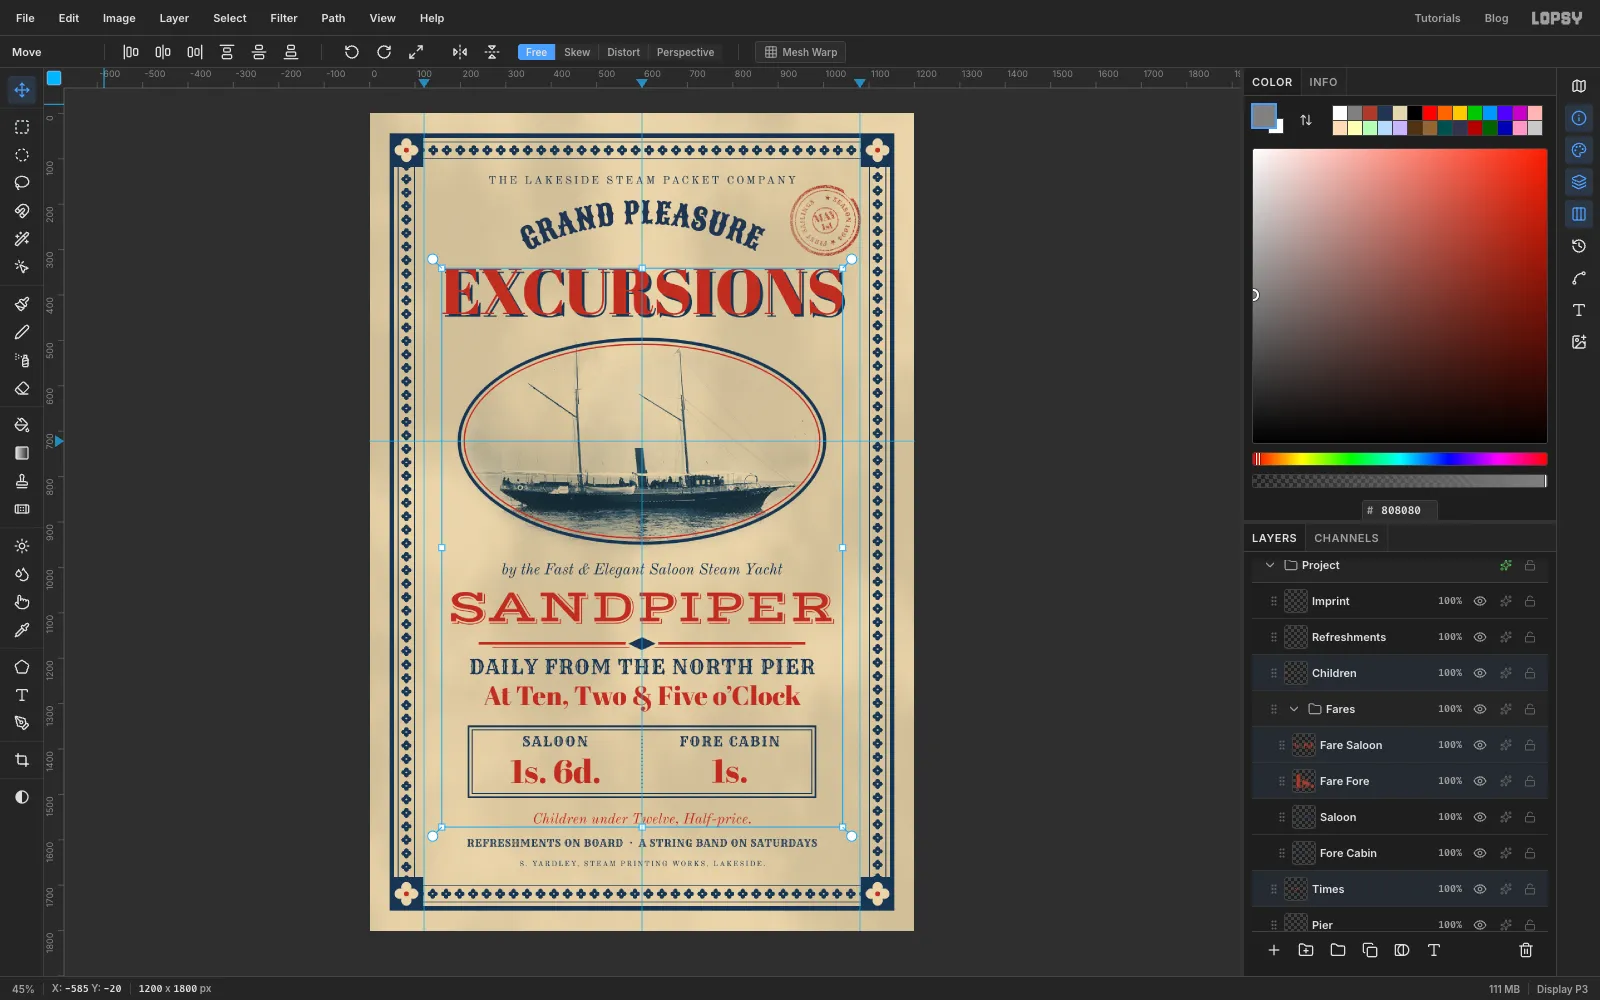
Real two-colour printing never lines up perfectly. Expand both groups with their arrows. Click the SANDPIPER layer, then Cmd-click Times, Children, EXCURSIONS, Fare Saloon and Fare Fore. Cmd-click works across groups.
With the Move tool, press → twice and ↓ once. Every red layer shifts as one, a hair off the blue. Collapse the groups again.
-
Add foxing
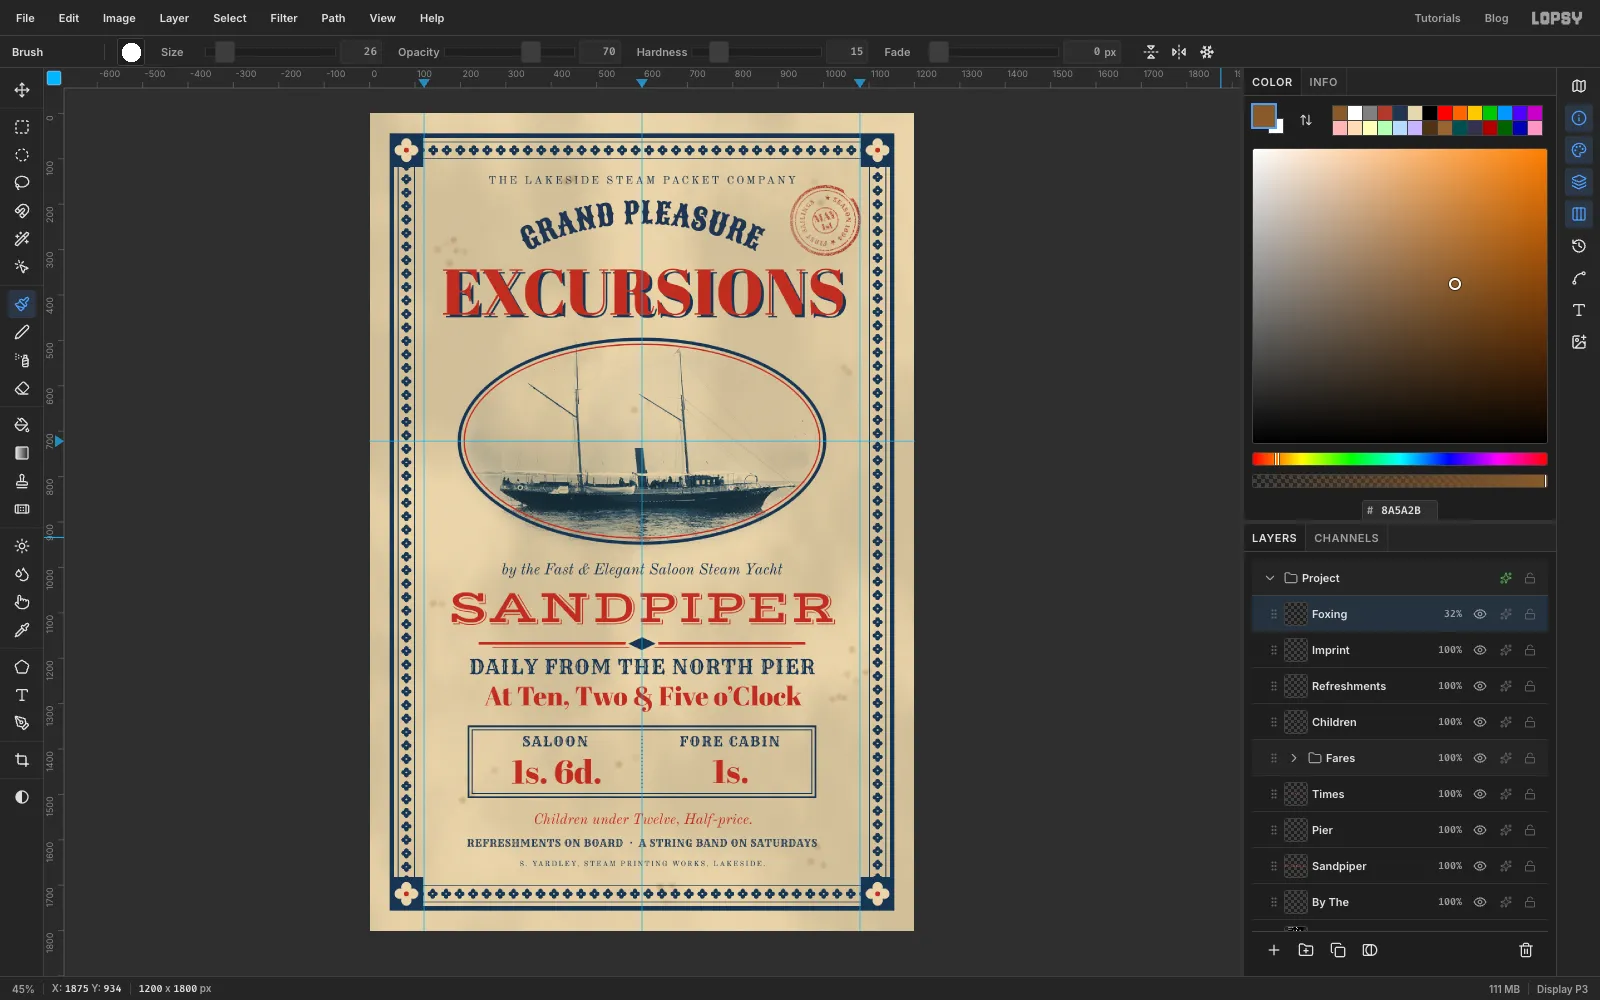
Click the top layer, then Add Layer and name it Foxing. Set the foreground to foxing brown .
Choose the Hard Round brush and set it up in the Brushes window:
- Size 26, Hardness 15, Spacing 55%, Opacity 70
- on the Dynamics tab, Scatter 140, Size Jitter 85 and Opacity Jitter 70
Make about fifteen short strokes, 15–60 px long, mostly near the edges and where the folds will run. Each one scatters a cluster of spots of different sizes. Set the layer to Multiply at 32%.
-
Burn the edges
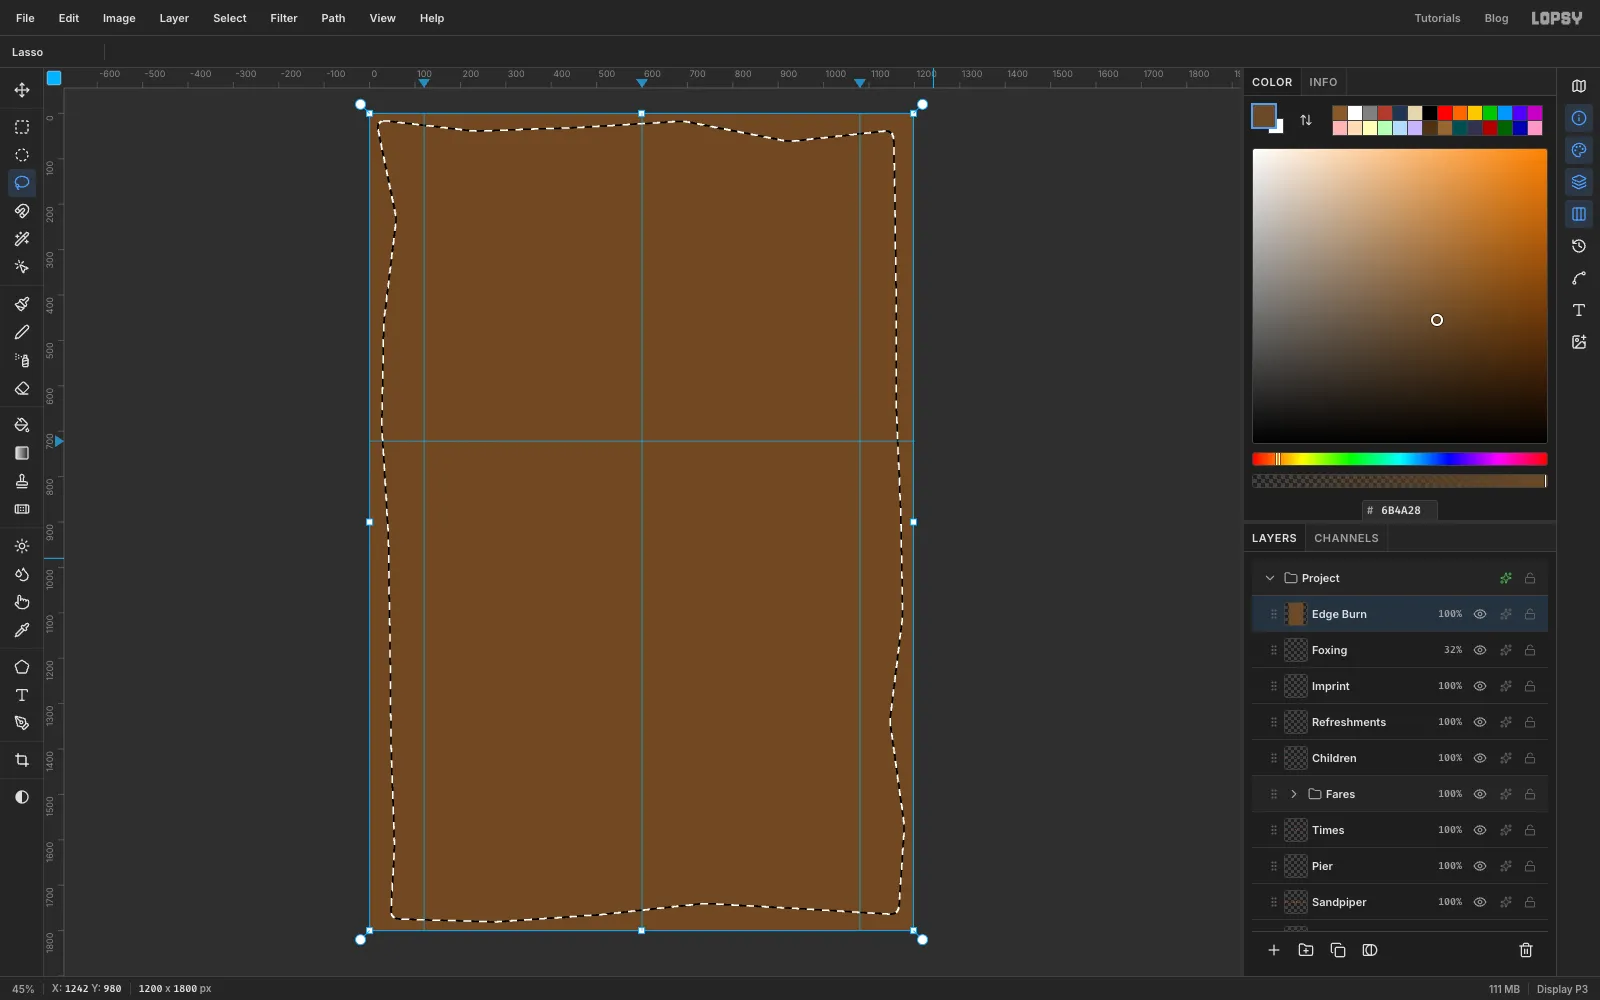
Click Add Layer and name it Edge Burn. Fill the whole layer with umber .
Pick the Lasso and draw a loop round the sheet, staying 15–70 px in from the edges. Let your hand wander so the margin is never even. Choose Select → Feather… at 20, press Delete and deselect.
Open the Brushes window and click the Hard Round preset again, then set Size 160, Hardness 0, Spacing 10%, Opacity 100, and Scatter, Size Jitter and Opacity Jitter back to 0 (they carry over from the foxing). With the brush click once on each corner and once at each end of the two folds (the middle of each edge), where paper wears darkest. Run Gaussian Blur at 8, and set the layer to Multiply at 32%.
-
Crease the folds
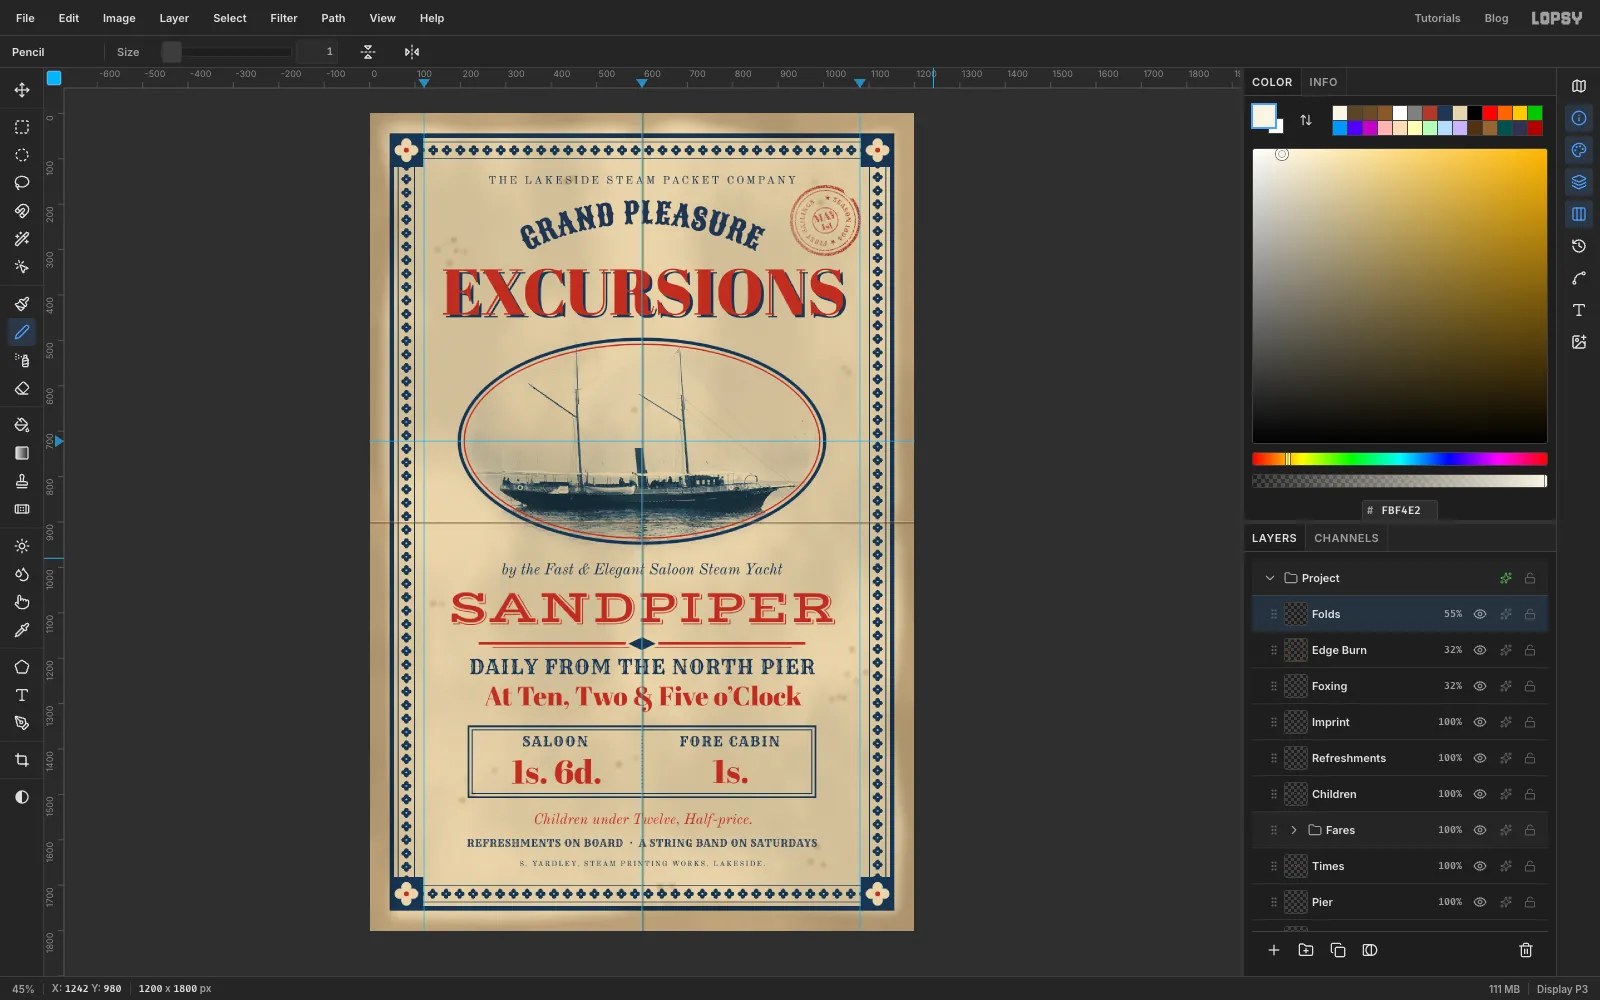
Click Add Layer and name it Folds. The bill was folded in quarters.
- Keep the Hard Round brush but set Size 8 (Hardness 0, no scatter or jitter), with the foreground on crease shadow .
- Click at the left edge at y 902 and Shift-click at the right edge for the horizontal crease.
- Click at the top at x 602 and Shift-click at the bottom for the vertical one.
- Switch to the Pencil at Size 1 with crease light , and draw two lines the same way, just above and to the left: at y 899 and x 599.
Blur the layer at 0.7 and set it to 55%. The light edge and soft shadow read as a fold, not a drawn line.
-
Wear the ink
Finally, make the type look printed. Click Add Layer and name it Ink Wear, then make a speck sheet:
- fill it with
- Add Noise at 100 (Mono, Gaussian)
- Gaussian Blur at 2.4, so the specks clump into larger voids
- Threshold at 136
Magic-wand a white speck with Contiguous off, fill the selection with buff , then Select → Inverse and press Delete. Press Cmd+D, draw the photo's oval again with the dialog (208, 508 → 992, 936), press Delete and deselect, because the halftone already textures the photo.
Spray shares the Brush's tip, so check the Brush is back on Hard Round. Then pick the Spray with buff as the foreground, Opacity 90 and Softness 0, and drag along the places that wear first:
- the outer rule: Size 28, Density 10
- the top and bottom edges of EXCURSIONS: Size 40, Density 8
- a heavier pass across the lower right of EXCURSIONS: Size 60, Density 14
- a heavier pass across SANDPIPER: Size 50, Density 10
- along both fold lines: Size 14, Density 12
Set Ink Wear to 72%. Hide the guides with View → Show Guides, and export with File → Quick Export PNG.