Draw a Volcano Cross-Section T-Shirt Design
Draw a labelled cutaway of Vesuvius in Lopsy, with a cauliflower ash cloud, Shrink-ring strata, Voronoi and halftone rock symbols, and duotone plates.
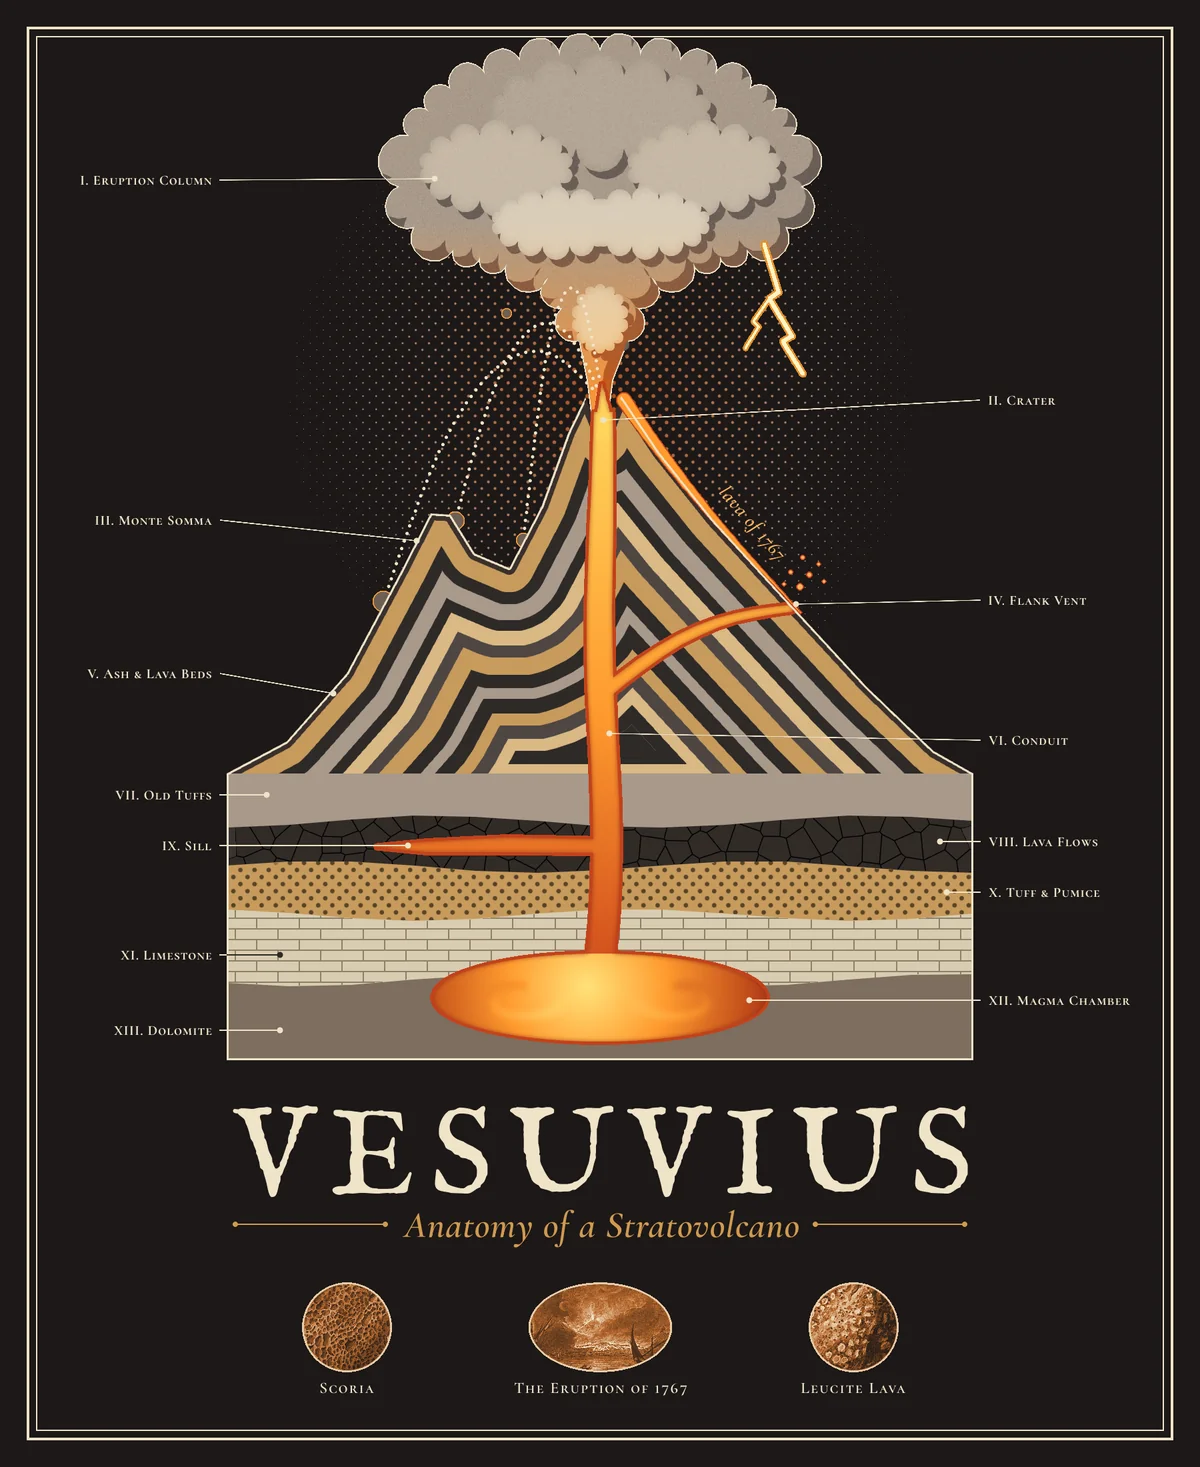
Textbook volcano diagrams are a gift to a T-shirt designer. They have one strong silhouette, a hot orange core, and a ring of small labels that reward a closer look. This tutorial turns Mount Vesuvius into a scientific plate on a dark shirt. It has an eruption column shaped like the "umbrella pine" Pliny the Younger described, a cut-open cone of ash and lava beds, and the plumbing underneath. The labels are numbered like an old atlas, and three small roundels come from the hand-coloured plates in Sir William Hamilton's Campi Phlegraei (1776).
Almost every shape here is a selection filled with colour. The interesting part is how each one gets its texture:
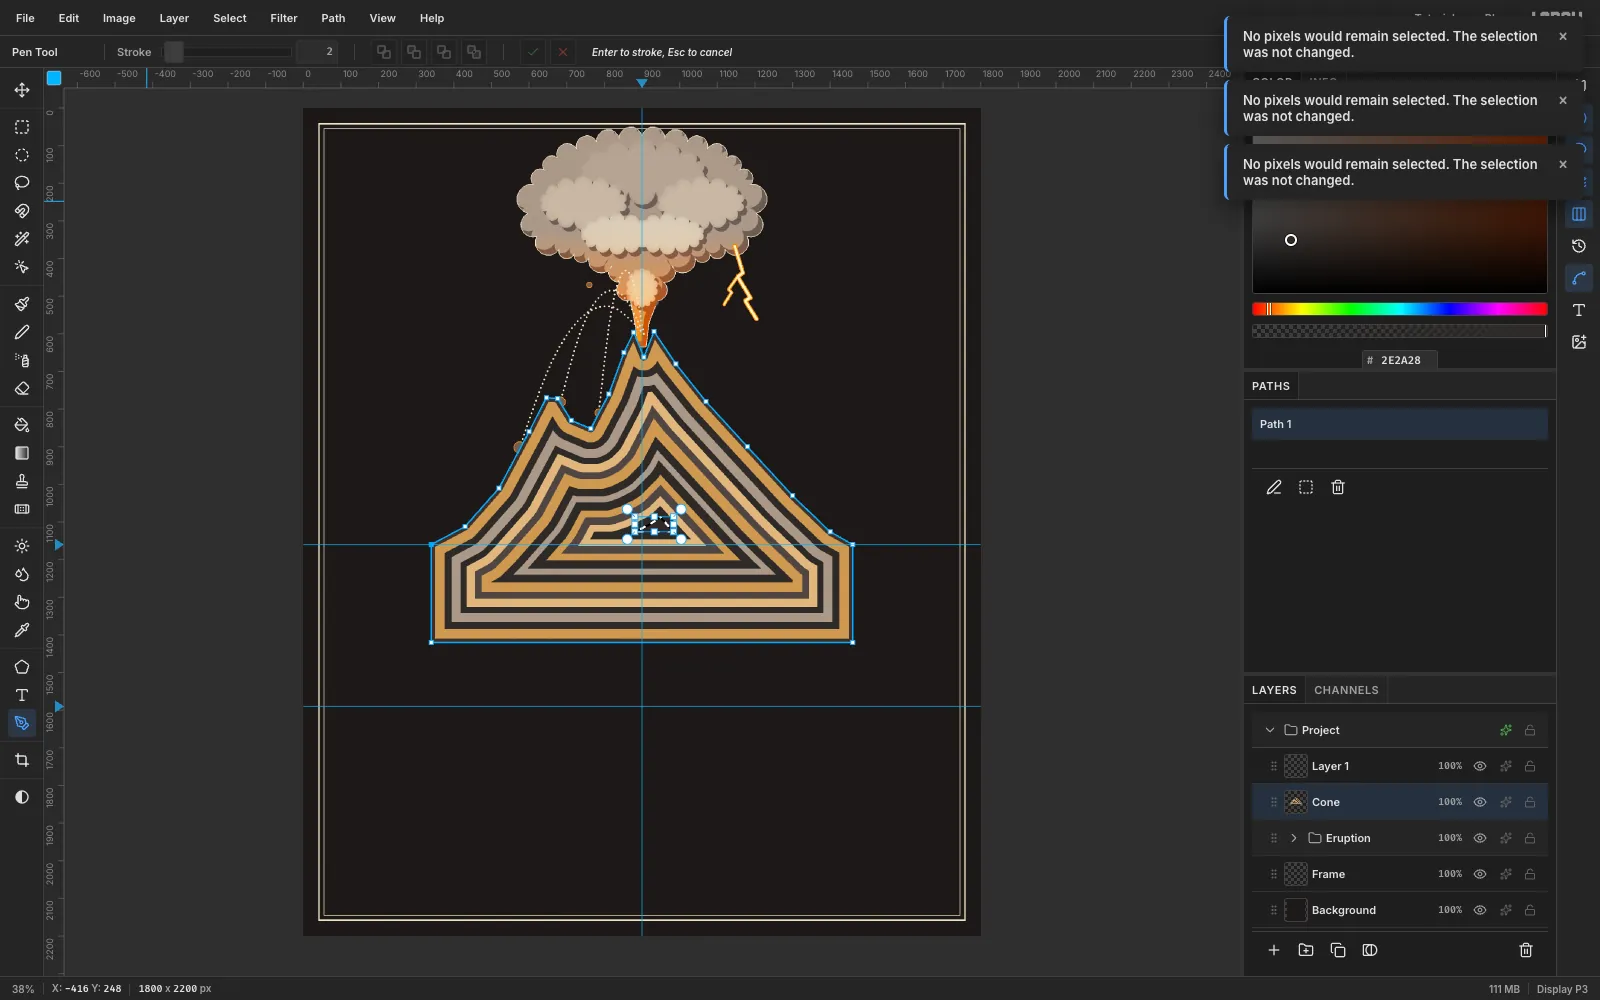
- The cone's beds are a single Pen path, filled, shrunk and filled again over and over.
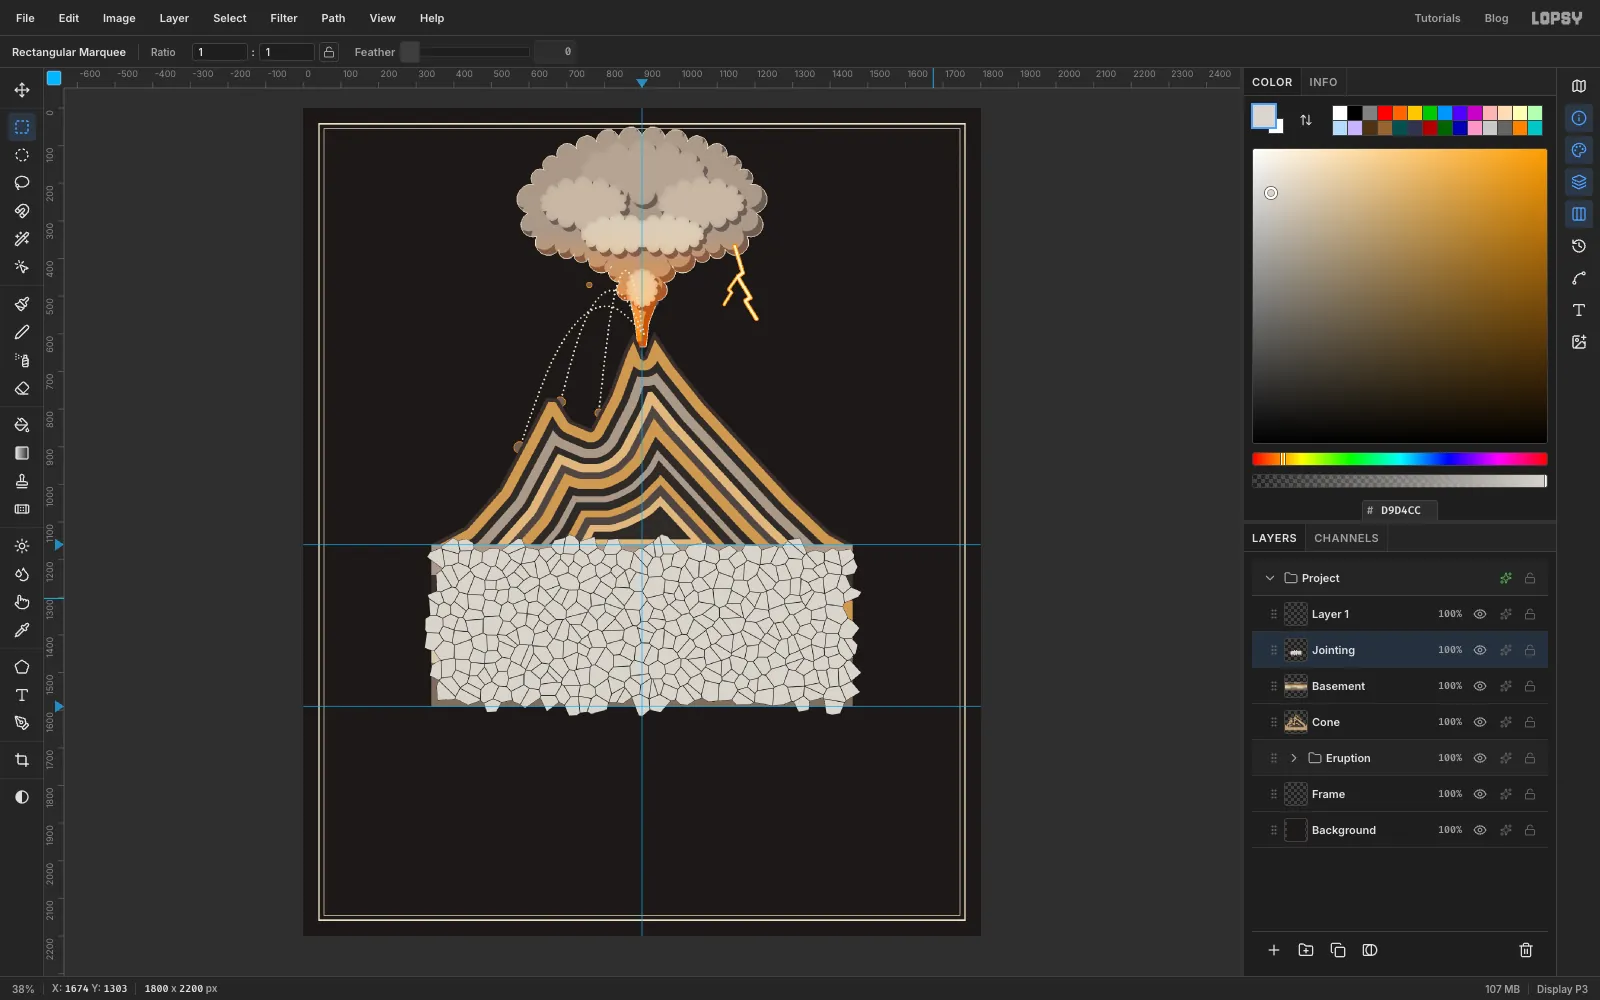
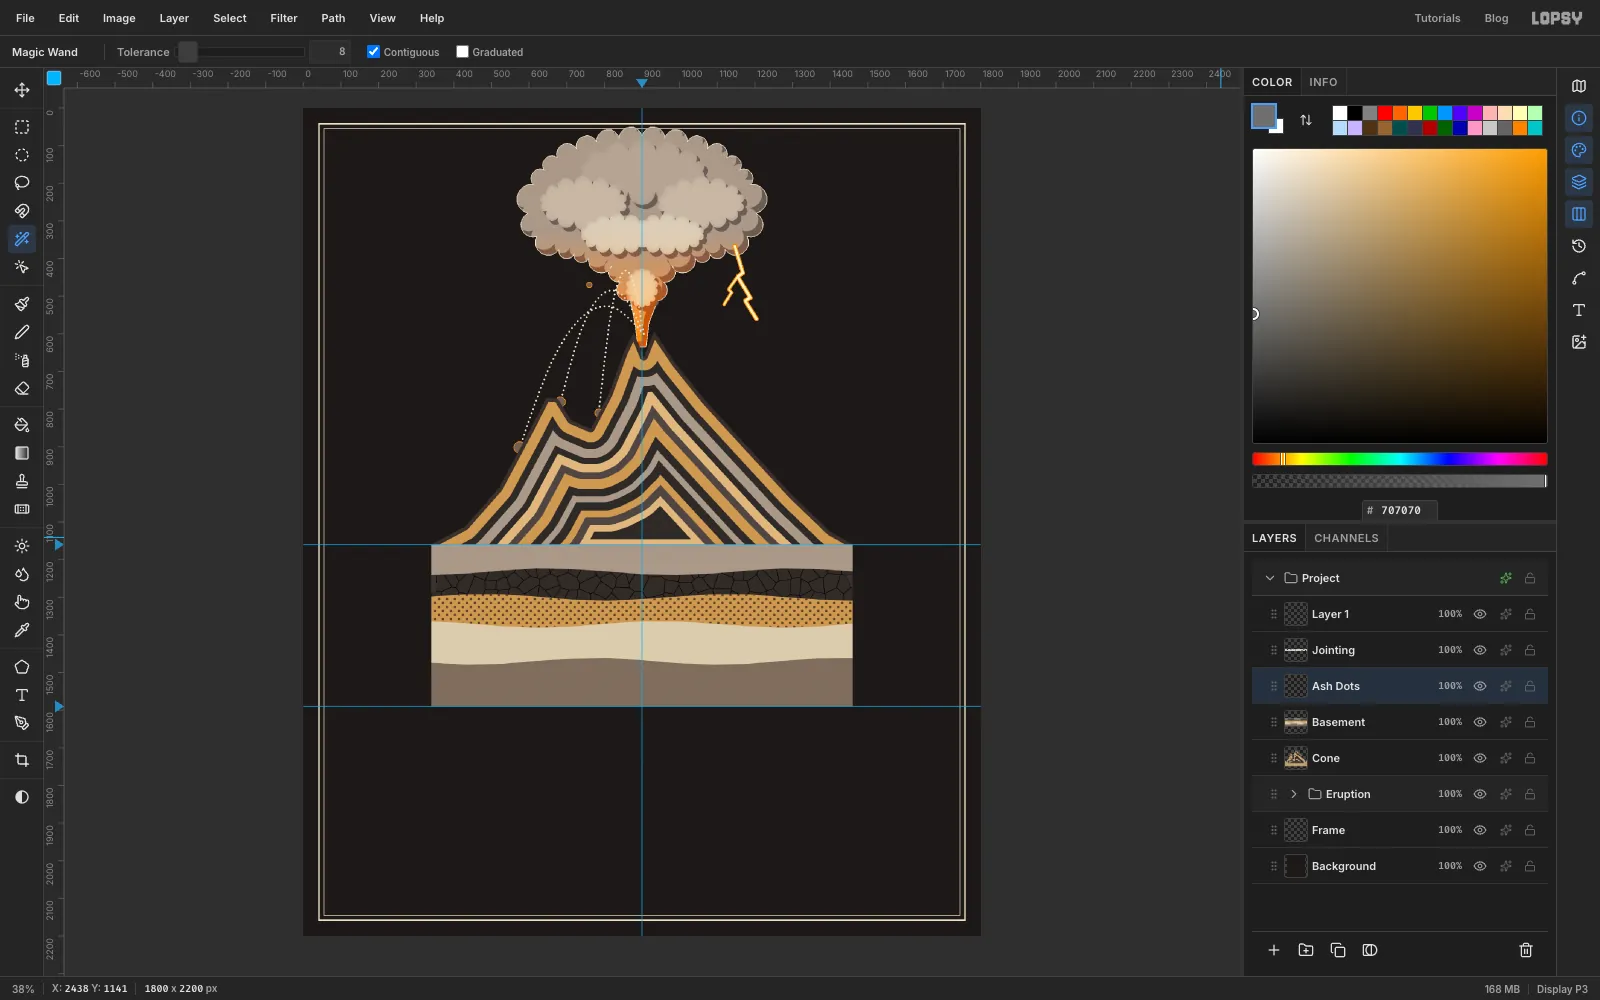
- The rocks under the volcano use three map symbols, each made with a different tool: Voronoi cracks, Halftone dots and a Define Pattern brick tile.
- The cloud gets its puffy shading from hard Drop Shadows and a mid tone that you nudge up and to the left.
The canvas is 1800 × 2200 px, and the charcoal background stands in for the shirt. Some steps give a rough position in document pixels. Hover over the canvas and read X and Y at the bottom left of the window to find it. The main places are:
- Frame: a double cream rule 40 px and 54 px in from the edges.
- Section block: from x 340 to x 1460, between the ground line at y 1160 and the bottom at y 1590.
- Crater: at about (905, 600). Monte Somma's old rim peaks at about (646, 770).
- Title block: from y 1658 down to the bottom frame.
Two habits help throughout:
- Name layers as you go. Double-click a layer's name to rename it. Later steps refer to layers by name.
- Exact selections: with the Rectangular or Elliptical Marquee, a single click on the canvas (no drag) opens a small dialog where you type the From and To corners.
The two plates used for the roundels are Wellcome Collection scans on Wikimedia Commons, licensed CC BY 4.0, so credit them if you publish your version: Lava, scoriae and pumice from Mount Vesuvius and Mount Vesuvius in eruption in 1767, from the mole at Naples, both coloured etchings after Pietro Fabris. Download each at 1280 px wide (one of the Other resolutions on its Commons page), so it drops into Lopsy at the size the steps assume.
Palette:
-
Shirt
the background, not an ink
-
cream ink
-
ochre
-
Cloud
-
lobe shade
-
Fire
-
ash grain
Overlay
-
Lava
-
magma rim
-
magma shadow
-
Chamber
-
spatter
-
Beds
-
crust
-
Basement ash
-
old lava
-
tuff
-
limestone
-
dolomite
-
Voronoi block
-
halftone grey
-
brick lines
-
Lightning
-
lightning rim
-
bombs
-
Duotone
-
glow
-
Fill the shirt colour and set up guides
- Create an 1800 × 2200 px document.
- Select Background, set the foreground colour to and choose Edit → Fill.
- Click the top ruler at x 900 to drop a vertical guide down the middle. Click the left ruler at y 1160 (the ground line) and y 1590 (the bottom of the section).
- Click Add Layer and name the new layer
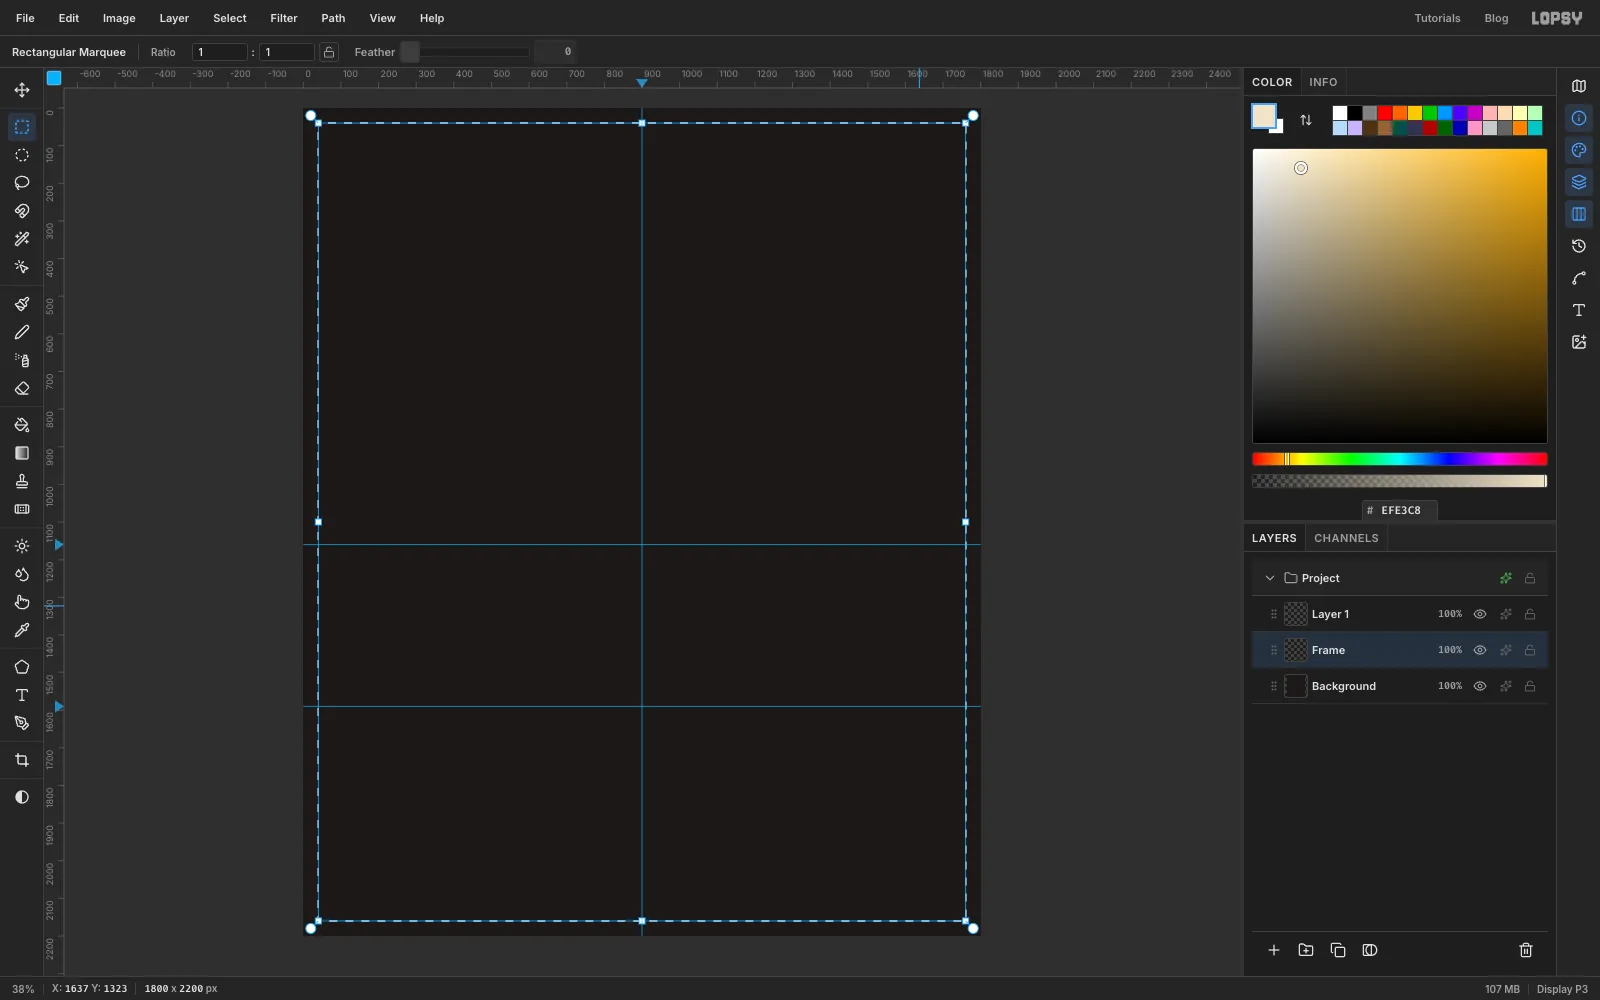
Frame. Leave the document's emptyLayer 1where it is for now. You'll delete it before painting the magma. Pick the Rectangular Marquee, click once on the canvas, and enter From 40, 40 and To 1760, 2160.
-
Rule a double frame
- Set the foreground colour to cream and choose Edit → Fill.
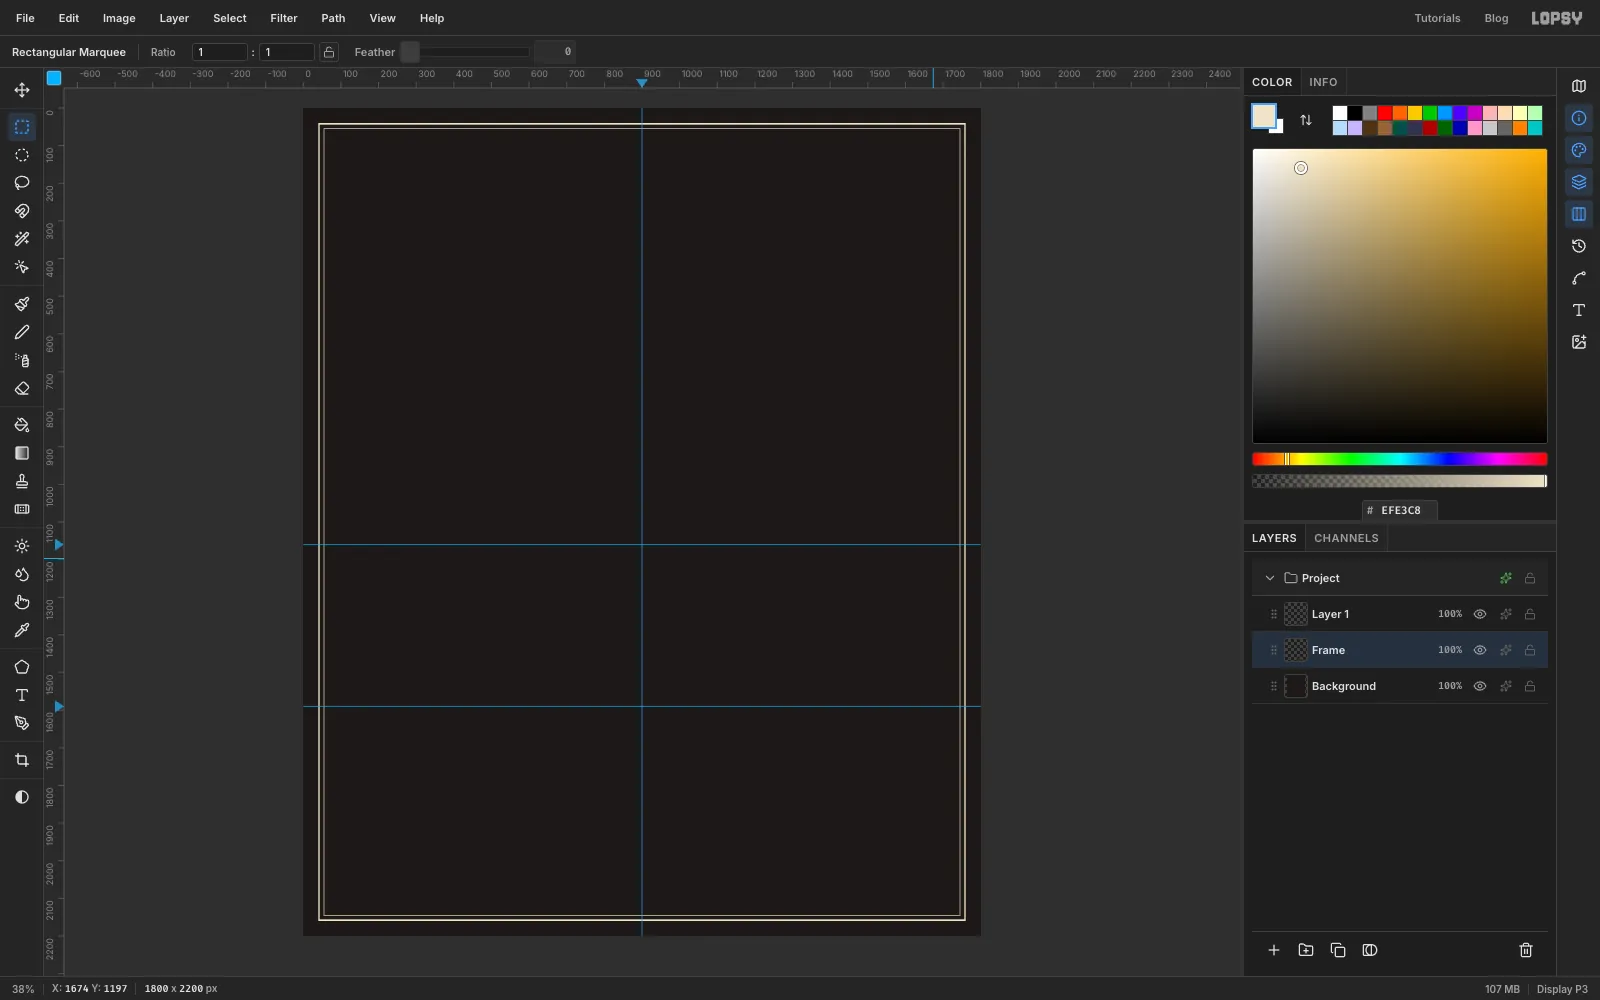
- Choose Select → Shrink… and shrink by 4 px, then press Delete. What's left is a 4 px cream rule.
- Click with the marquee again and enter From 54, 54 and To 1746, 2146. Fill it with cream, shrink by 2 px and press Delete for the hairline.
- Press Cmd+D to deselect.
-
Lasso the eruption column
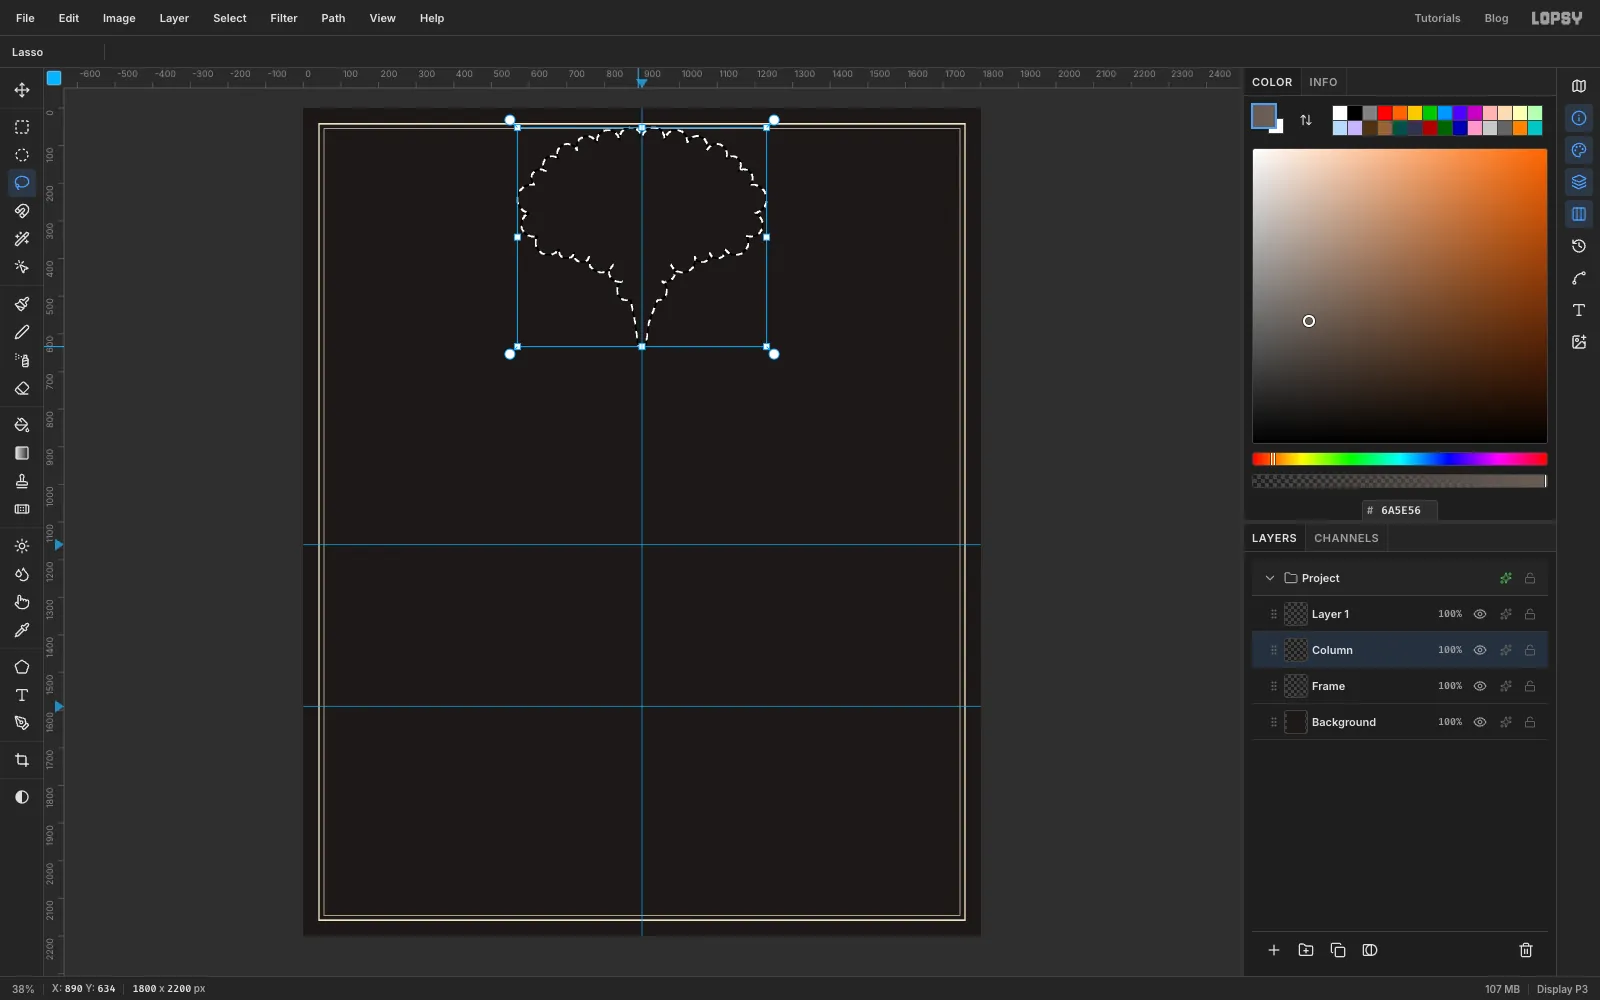
A Plinian eruption column rises as a stem, then spreads into an umbrella. Draw the whole silhouette in one go.
- Click
Frame, add a layer and name itColumn. - Pick the Lasso. Start at the crater, about (890, 634), with a stem about 30 px wide. Go up the left side, flaring out to about x 820 at y 410.
- Swing out along the underside of the umbrella to its left tip at about (600, 280). Go over the top, which peaks at about y 80 above the centre, and down to the right tip at about (1200, 280). Come back along the underside and down the right side of the stem.
- Wiggle the outline as you go, so the umbrella and the upper stem are edged with round bumps about 50 px across. Leave the bottom 60 px of the stem smooth.
- Set the colour to and choose Edit → Fill. Keep the selection.
- Click
-
Shade the bumps with an offset copy
- Add a layer named
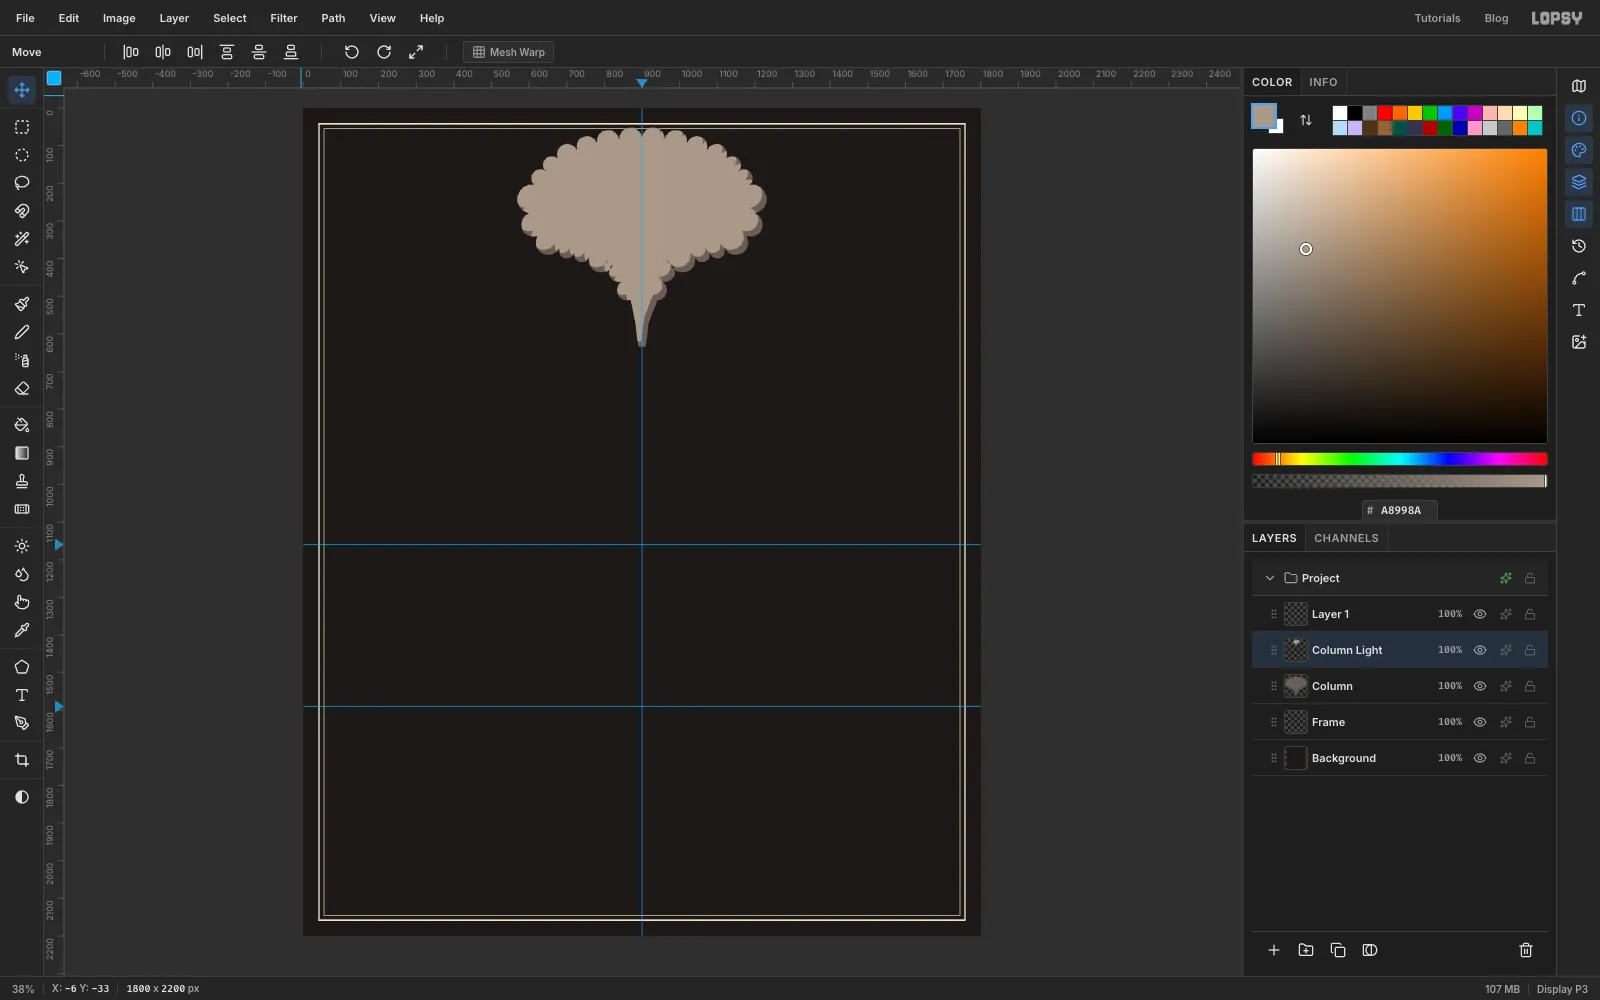
Column Light. With the same selection still active, fill it with , then deselect. - Pick the Move tool and nudge the layer 12 px left and 14 px up with the arrow keys. Shift + arrow moves 10 px at a time.
- Cmd-click the
Columnthumbnail to load its shape as a selection, and choose Select → Inverse. - Click the
Column Lightlayer and press Delete to trim the overhang, then deselect.
The dark layer underneath now peeks out as a crescent under every bump, as if lit from the top left.
- Add a layer named
-
Stack cauliflower lobes
Real ash clouds are lumps on lumps. Build them in three rows, from the back to the front.
- Add a layer named
Lobes 1. With the Lasso, draw one wide scalloped lobe across the top of the umbrella, about 320 × 110 px and centred near (900, 168). Fill it with . - Open the layer's effects and turn on Drop Shadow:
- Offset X 9, Offset Y 11, Blur 0, Opacity 100.
- Colour .
- Turn on Inner Glow at Size 22, Opacity 40, colour . This darkens the lobe's edges so it looks rounded.
- Add
Lobes 2and draw two lobes, about 220 × 100 px, centred near (744, 252) and (1056, 252). Fill them with and give the layer the same two effects. - Add
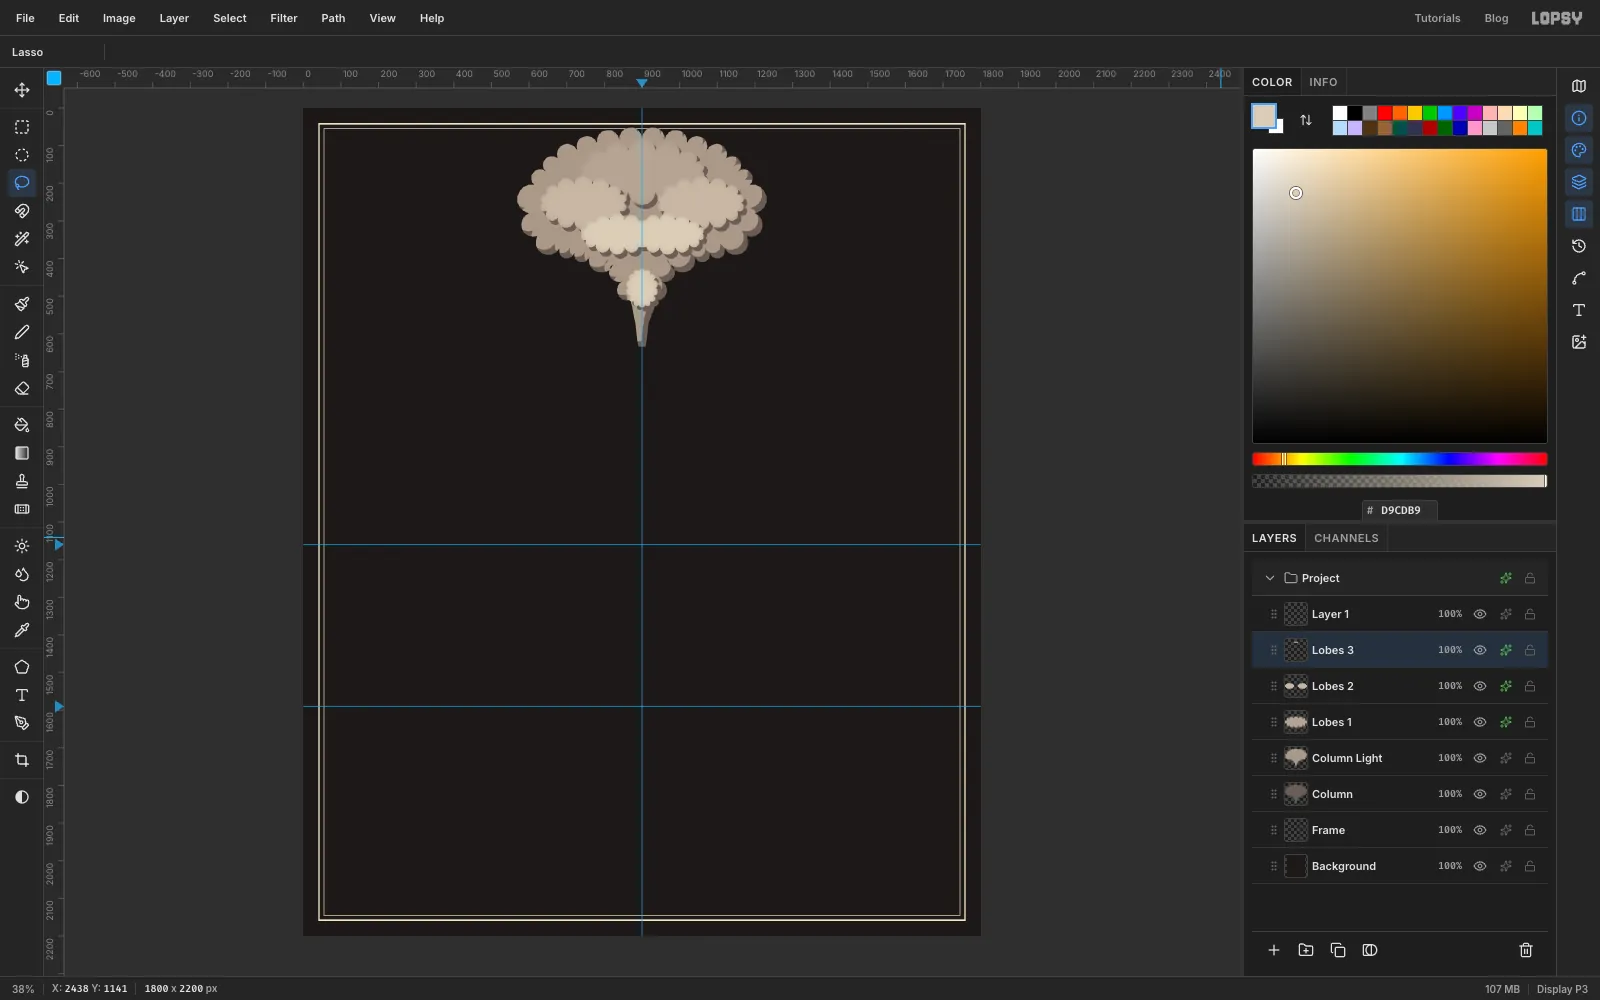
Lobes 3and draw two smaller lobes centred near (834, 334) and (968, 334), plus a small puff in the stem at about (900, 478). Fill them with and use the same effects.
Because each row is its own layer, its hard shadow falls on the row behind it.
- Add a layer named
-
Light the underside with fire
- Add a layer named
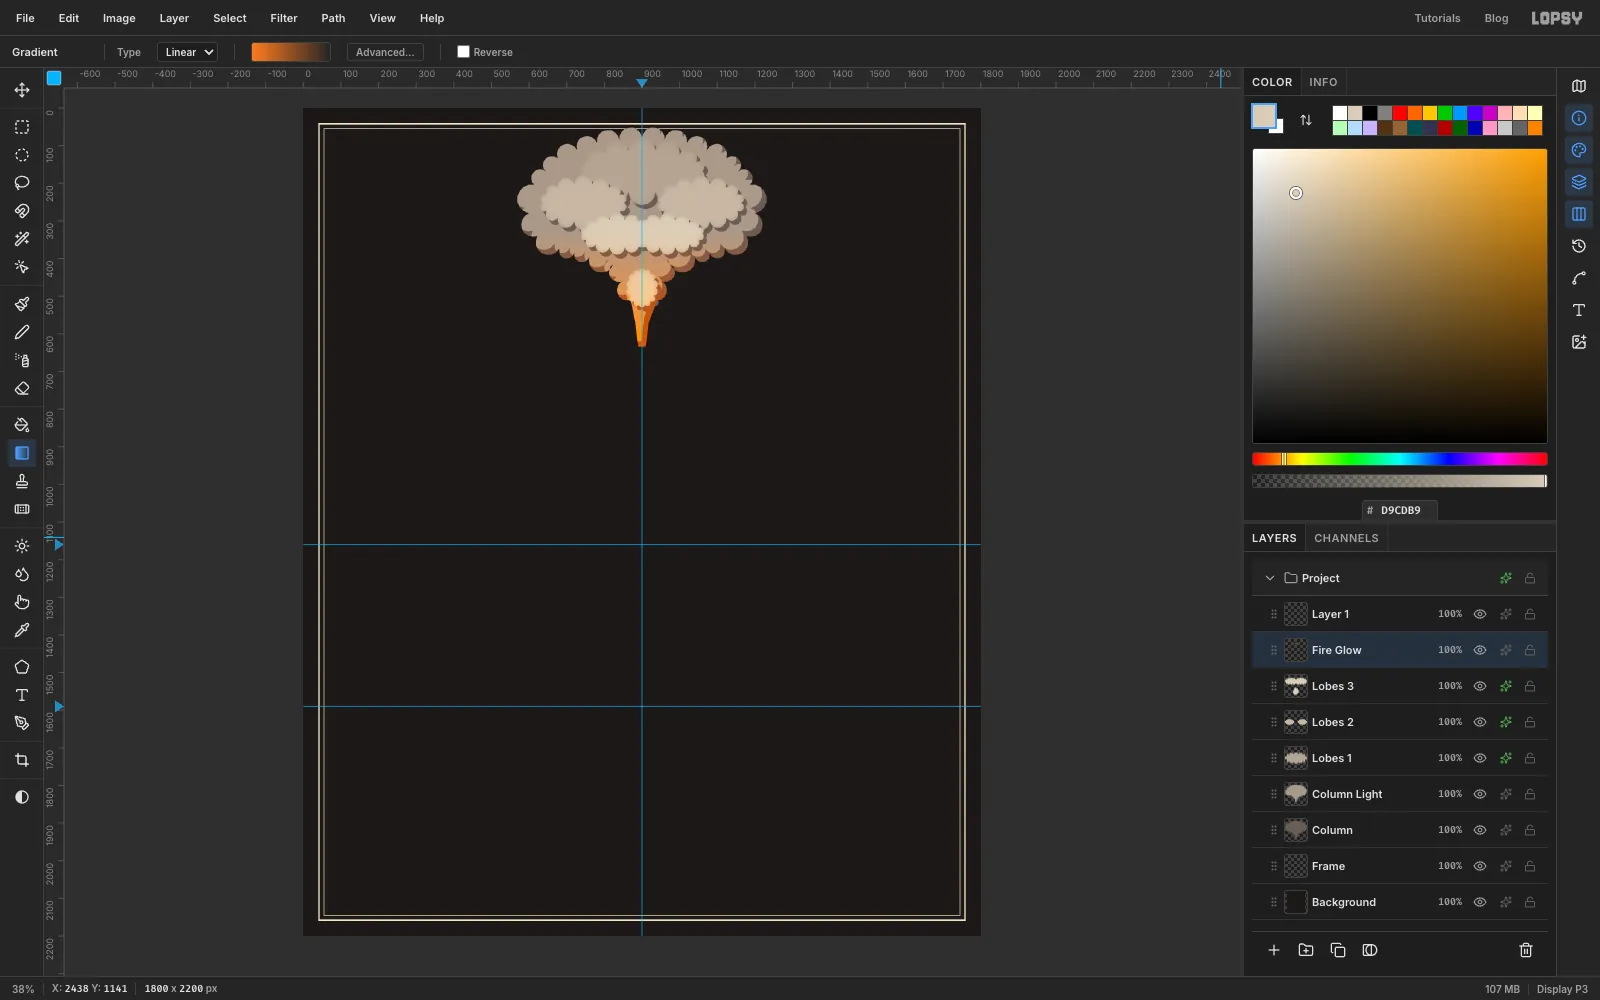
Fire GlowaboveLobes 3, and Cmd-click theColumnthumbnail. - Pick the Gradient tool and open the gradient editor:
- Set both stops to .
- Drag the right stop's opacity down to 0.
- Drag from the crater (about y 630) straight up to y 330.
- Set the layer's blend mode to Overlay and deselect.
- Add a layer named
-
Add ash grain and a cream outline
- Add a layer named
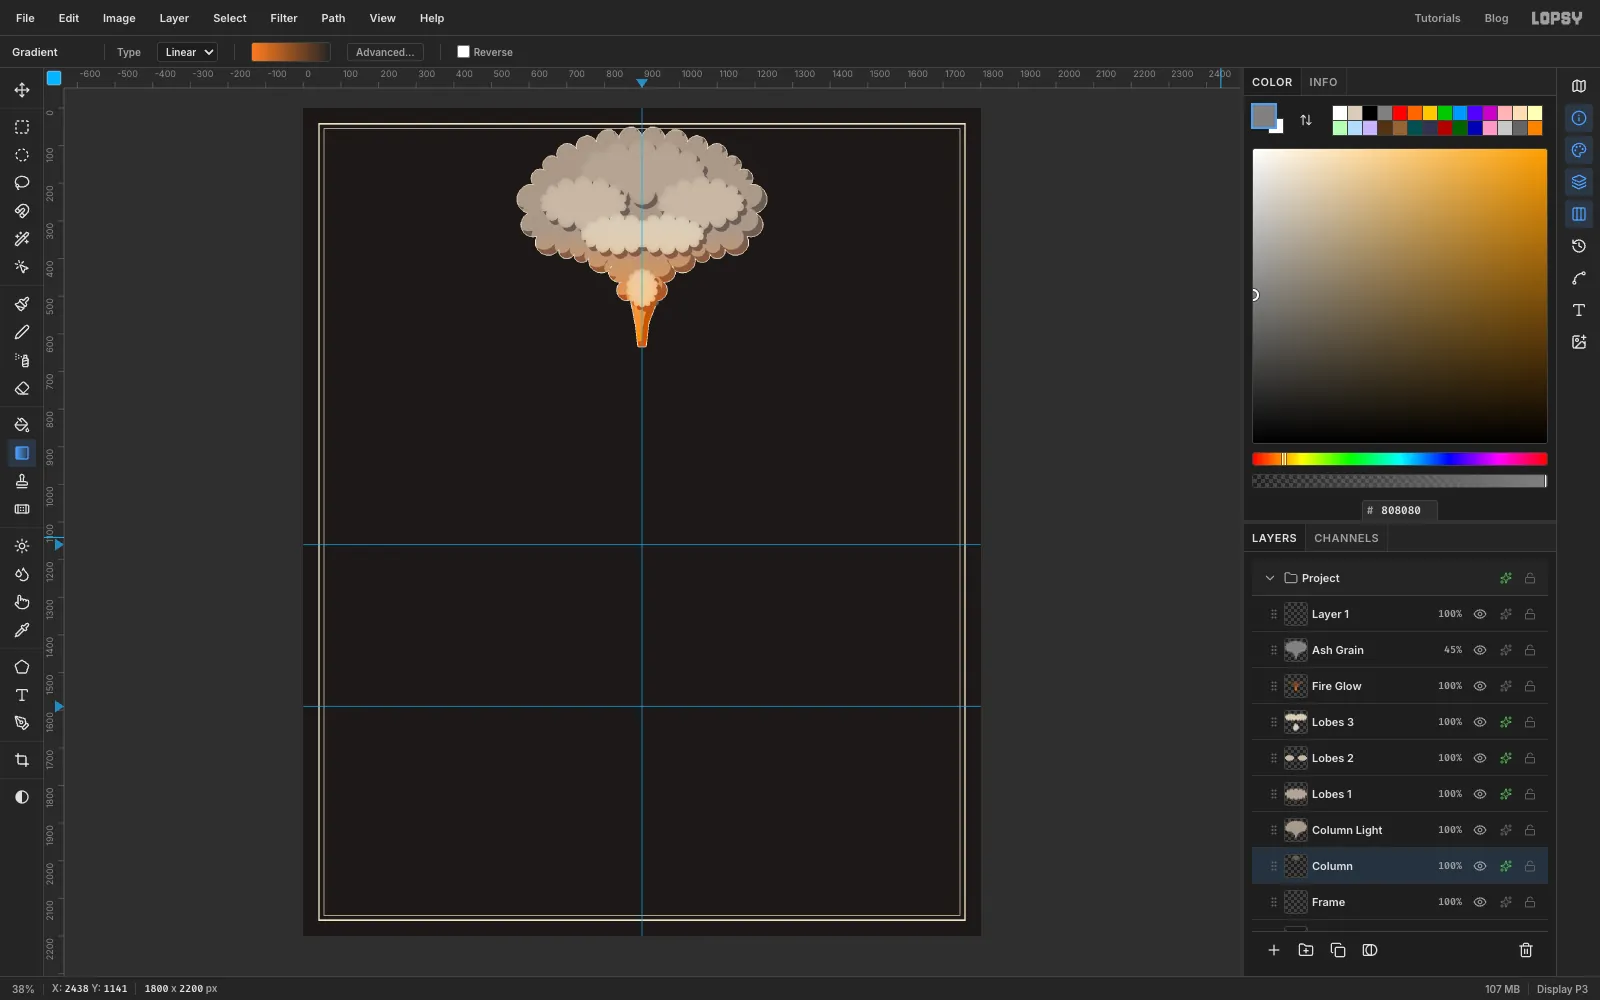
Ash Grain, Cmd-click theColumnthumbnail and fill the selection with mid grey . - Choose Filter → Add Noise… at 45, Mono. Deselect, set the blend mode to Overlay and the opacity to 45%.
- Select the
Columnlayer and add a Stroke effect: Width 2, colour , position Outside.
- Add a layer named
-
Draw volcanic lightning
- Click
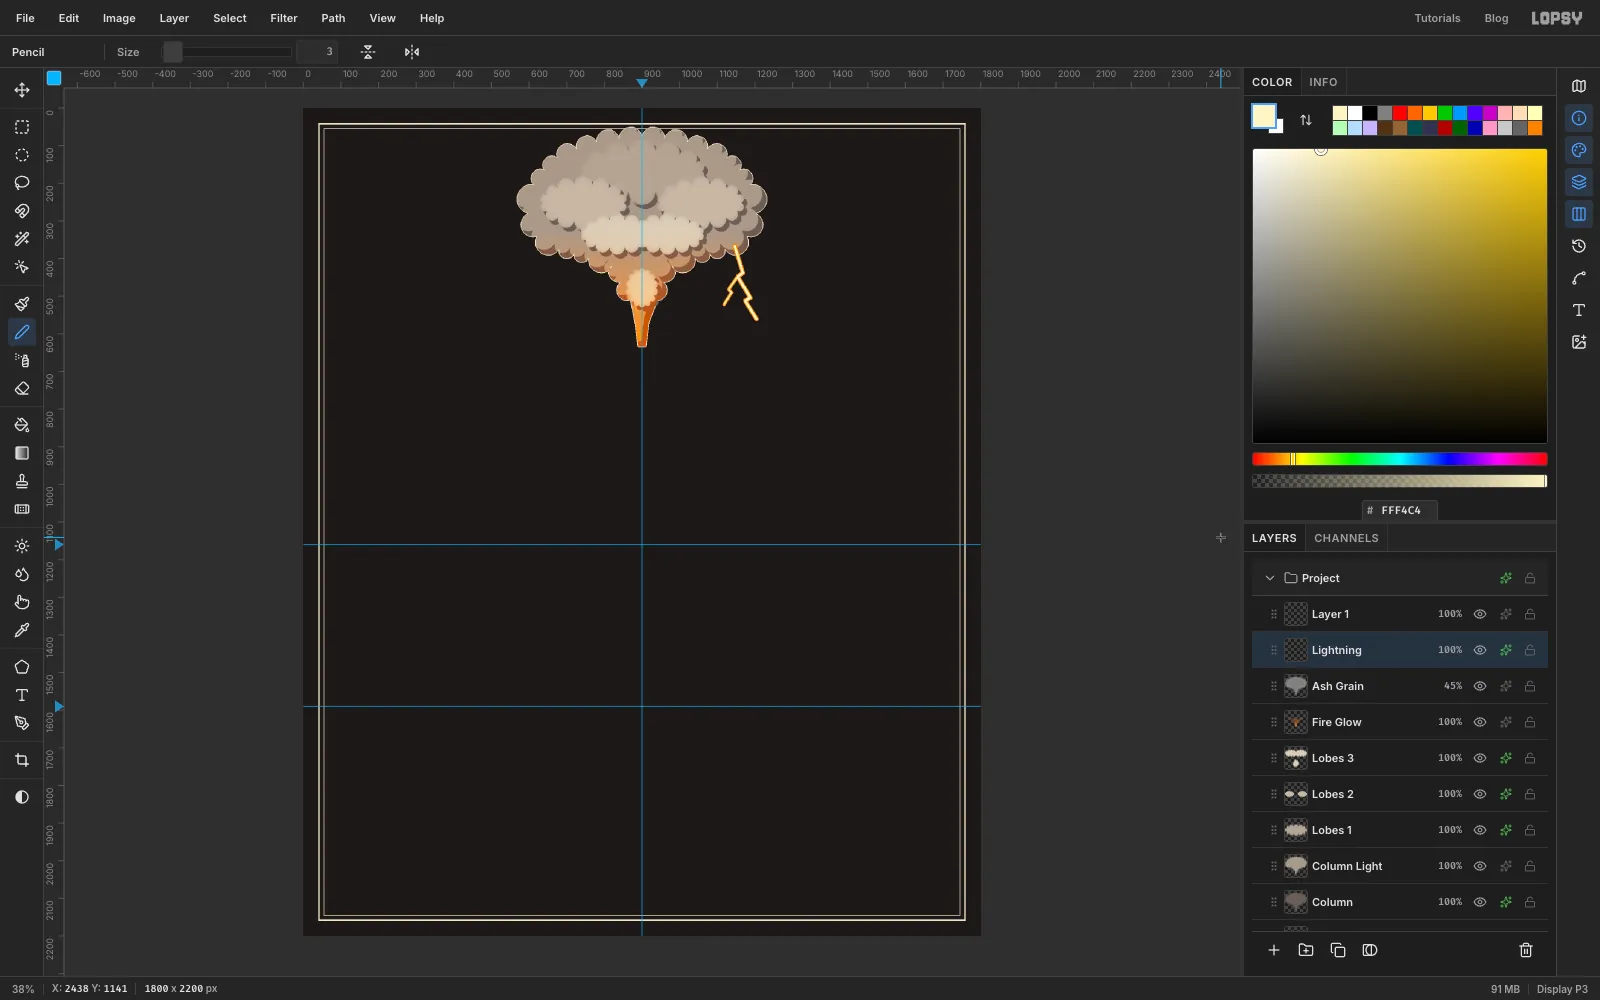
Ash Grainand add a layer above it namedLightning. - Pick the Pencil at Size 5, colour . Click just inside the cloud's lower right edge at about (1146, 366), then Shift+click a zigzag down to about (1204, 560). Use five or six short segments.
- At Size 3, click on one of the bends and Shift+click a shorter branch off to the left.
- Add a Stroke effect: Width 3, colour , position Outside.
- Click
-
Dot the bomb trajectories
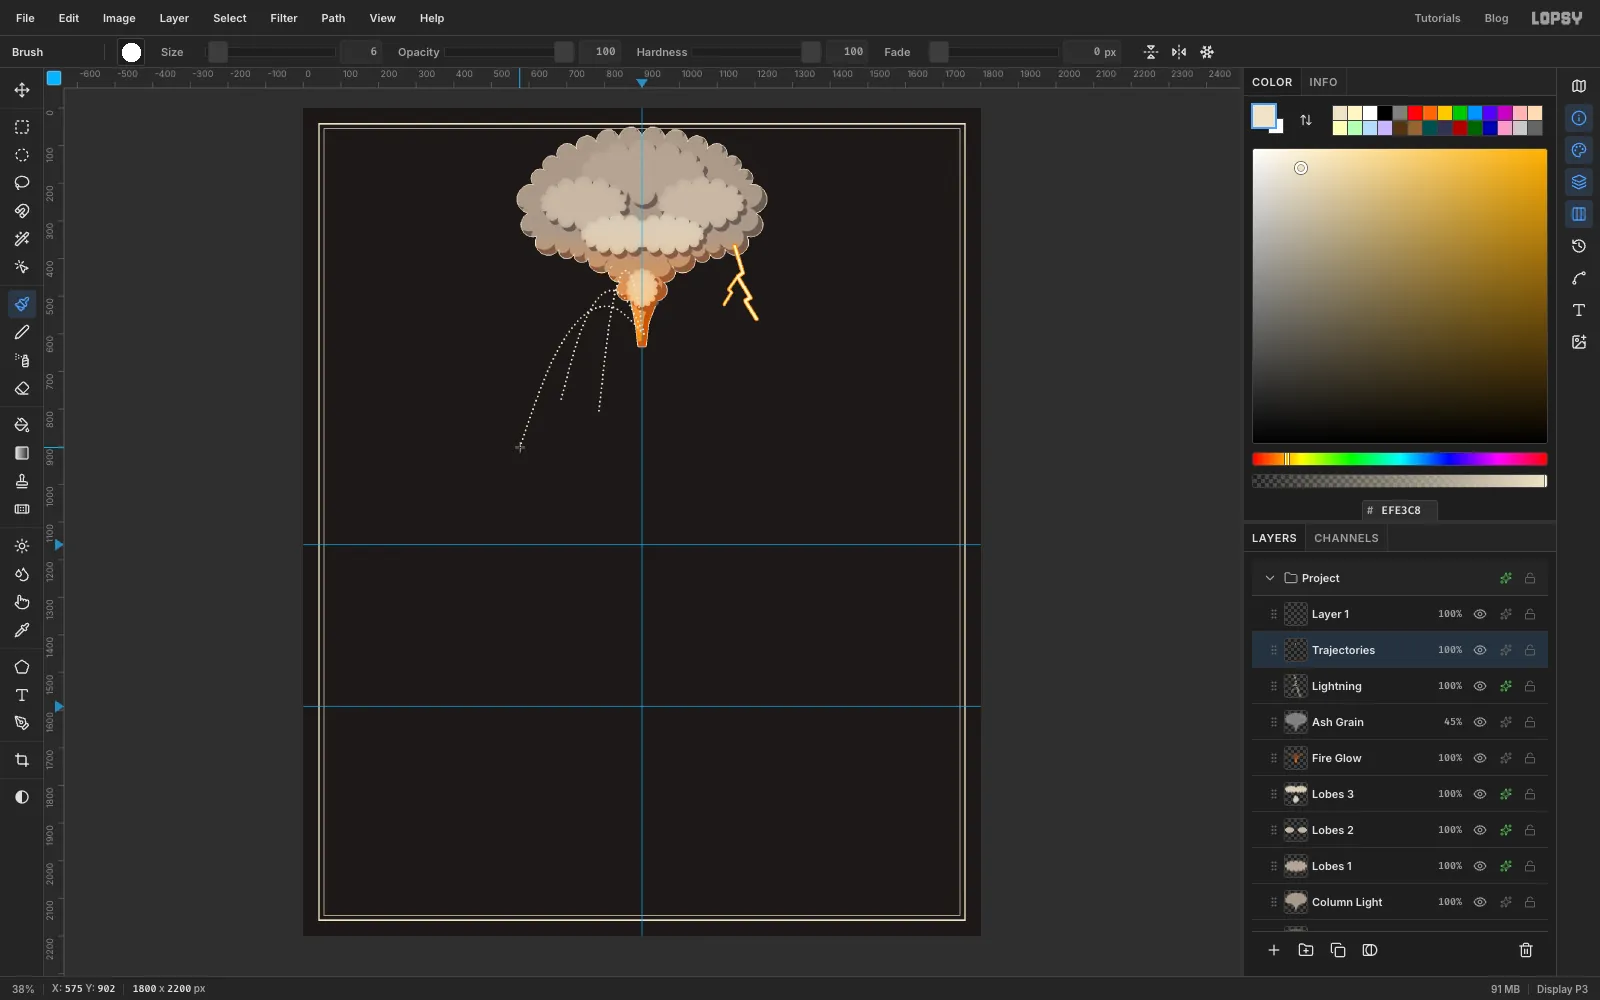
Volcanic bombs fly on ballistic arcs. Diagrams draw those arcs as dotted lines, and a widely spaced brush draws the dots for you.
- Add a layer named
Trajectories. - Pick the Brush at Size 6, Hardness 100. Open the brush settings from the tip thumbnail in the options bar and set Spacing to 200%.
- Set the colour to cream. Drag three arcs out of the crater: up, then down to the left. Land one on Monte Somma's rim at about (683, 783), one in the valley at about (785, 810), and one far down the left flank at about (575, 902).
- Add a layer named
-
Add the bombs and group the eruption
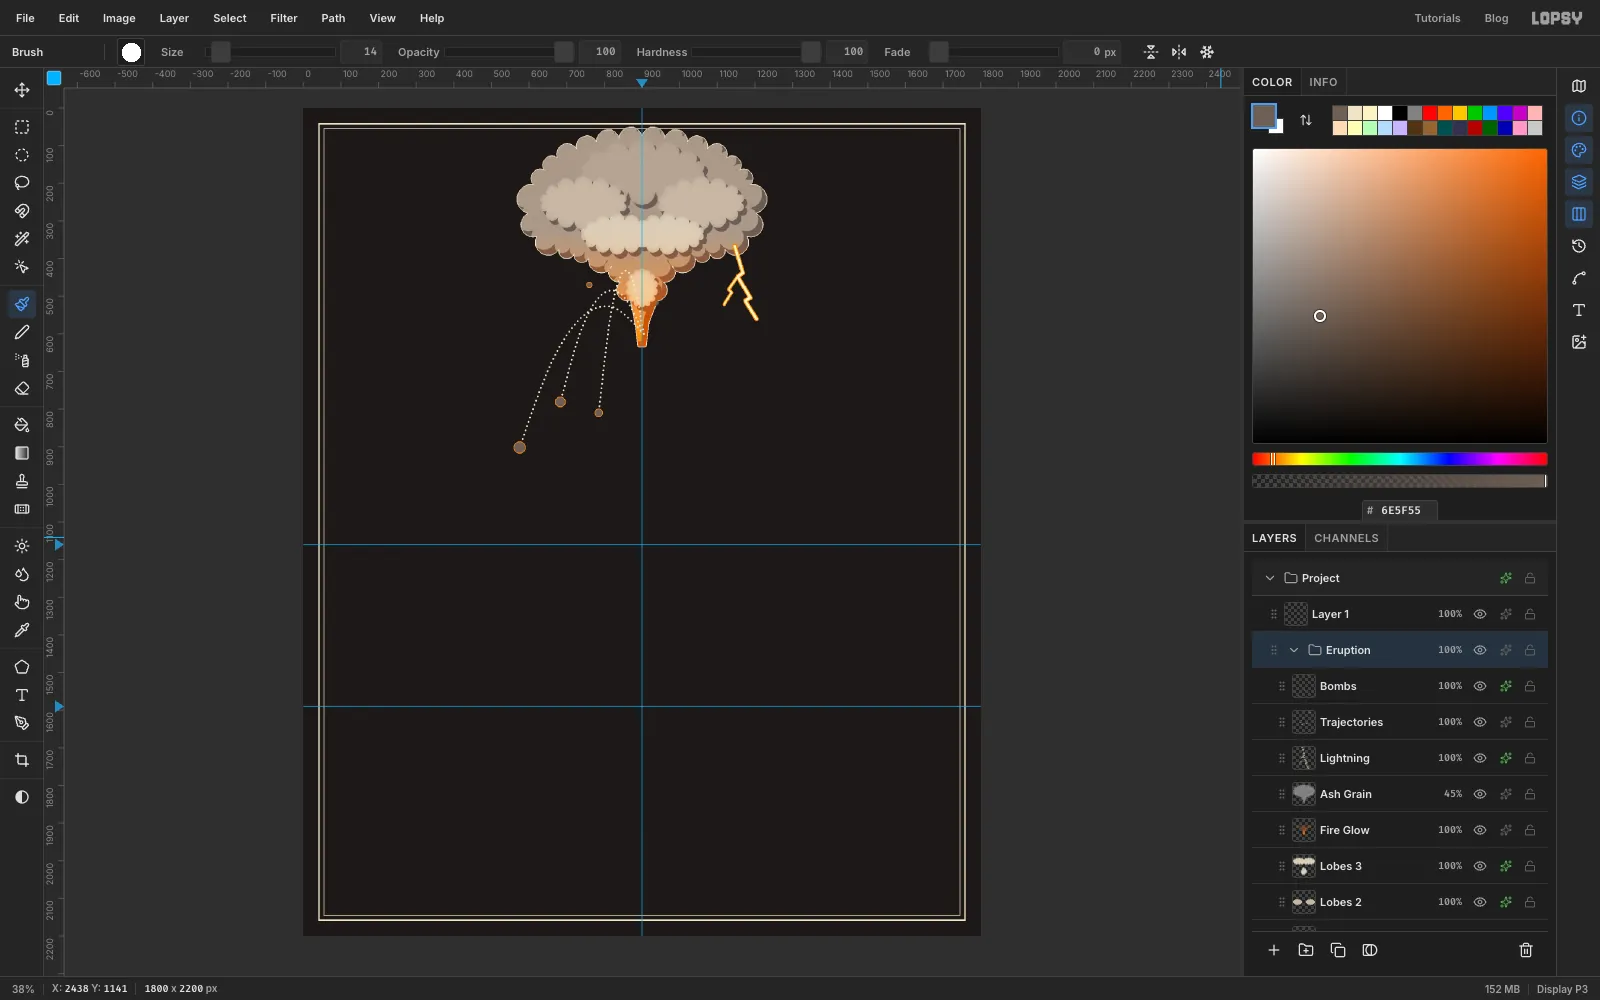
- Add a layer named
Bombs. Set the brush Spacing to 25% and the colour to . - Click once at the end of each arc, at sizes 26, 20 and 30. Add one smaller bomb in flight, at size 14, about halfway along the first arc.
- Add a Stroke effect: Width 2, colour .
- In the Layers panel, click
Column, Shift+clickBombsand click Group Layers. Name the groupEruptionand collapse it.
- Add a layer named
-
Trace the cone with the Pen
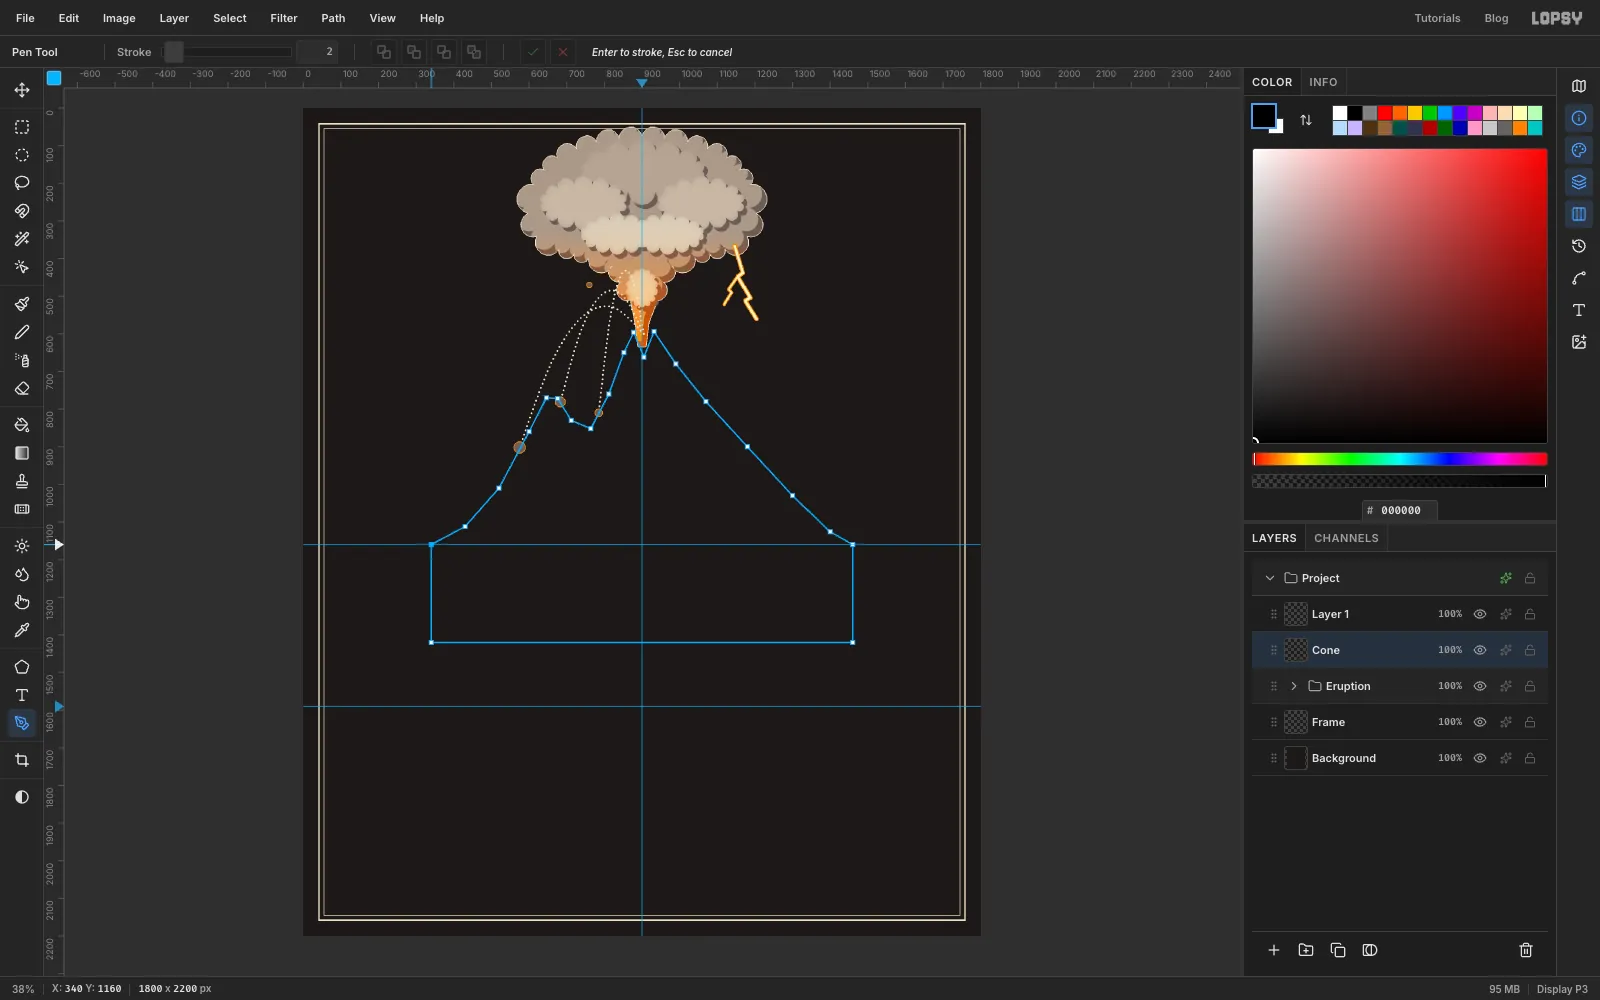
- With the collapsed
Eruptiongroup selected, add a layer namedCone. - Pick the Pen tool and click your way round the profile. Add four or five points along each flank so the slopes curve:
- Start at the left base, (340, 1160), and rise in a gentle curve to the old Monte Somma rim at about (646, 770).
- Drop into the valley at about (764, 852), then climb the steeper Gran Cono to the crater rim at about (878, 596).
- Click the crater floor at about (905, 662), then the right rim at about (932, 594).
- Run down the right flank to the right base at (1460, 1160).
- Don't close the shape at the ground line. Click on down to (1460, 1420), then across to (340, 1420), and close the path by clicking the first point.
The extra 260 px below the ground line keeps the beds you make next from curling round at the foot of the cone. The basement will cover that part.
- With the collapsed
-
Turn the path into a selection
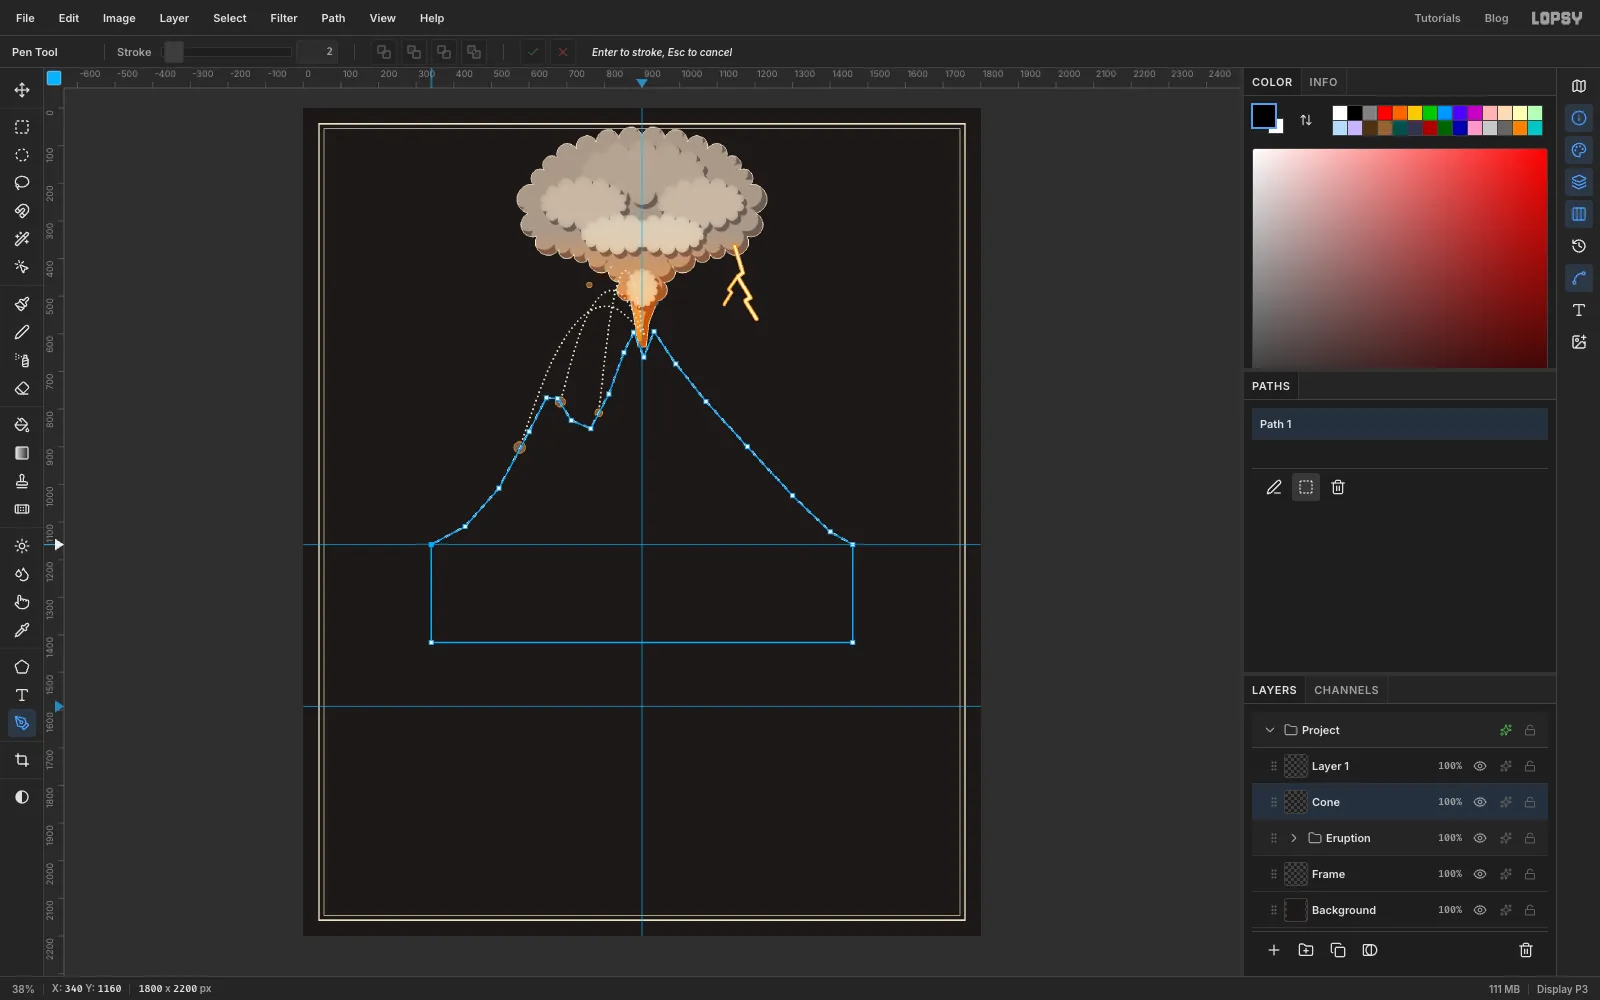
Open the Paths panel from the right-hand toolbar and click Path to Selection.
-
Shrink and fill the beds
A stratovolcano grows from layer after layer of ash and lava draped over its own slopes. To draw that, fill the selection, shrink it, fill again with the next colour, and repeat.
- Fill with the crust colour , then Select → Shrink… by 10 px.
- Fill with ochre and shrink by 26. Fill with near-black and shrink by 18.
- Keep going, always putting a light bed next to a dark one:
- Ash , then near-black, then pale ochre , then slate .
- Repeat with ochre, near-black and ash until the selection closes up.
- Vary each shrink between 16 and 26 px, so the beds don't look ruled.
- When Lopsy says No pixels would remain selected, the selection has closed up at the core. Stop shrinking there.
-
Soften the bed edges
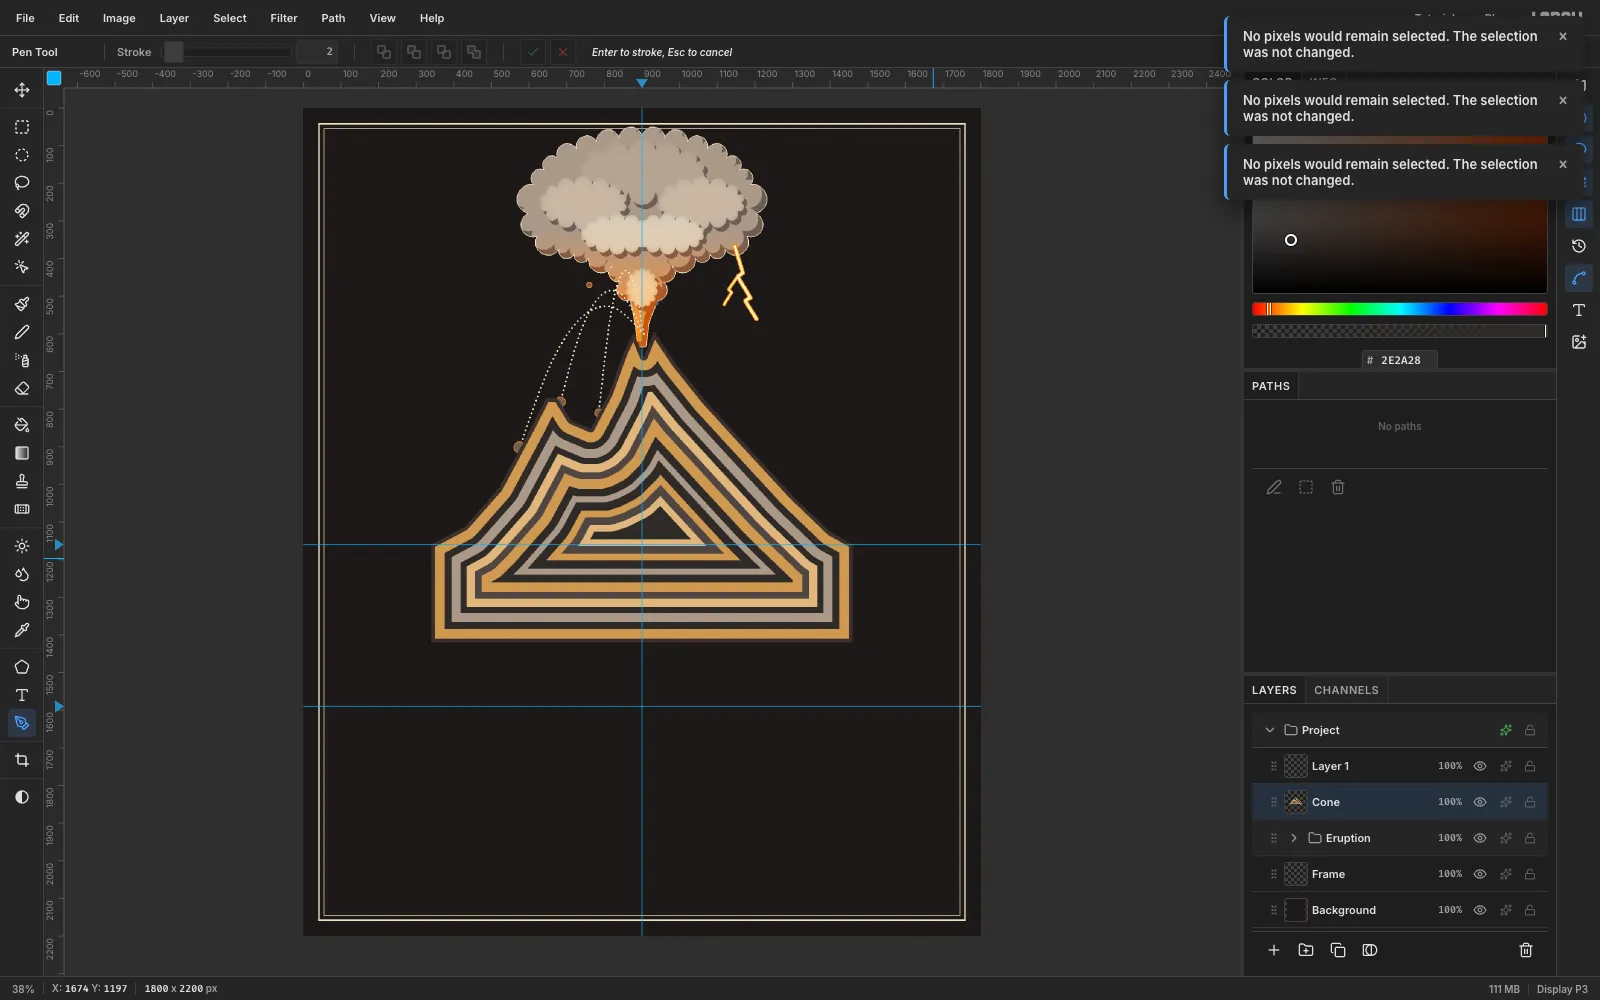
- Deselect, then choose Filter → Gaussian Blur… at Radius 1. This softens the stair-stepped edges the Shrink rings leave.
- In the Paths panel, click Delete Path.
-
Lay the basement beds
- Add a layer named
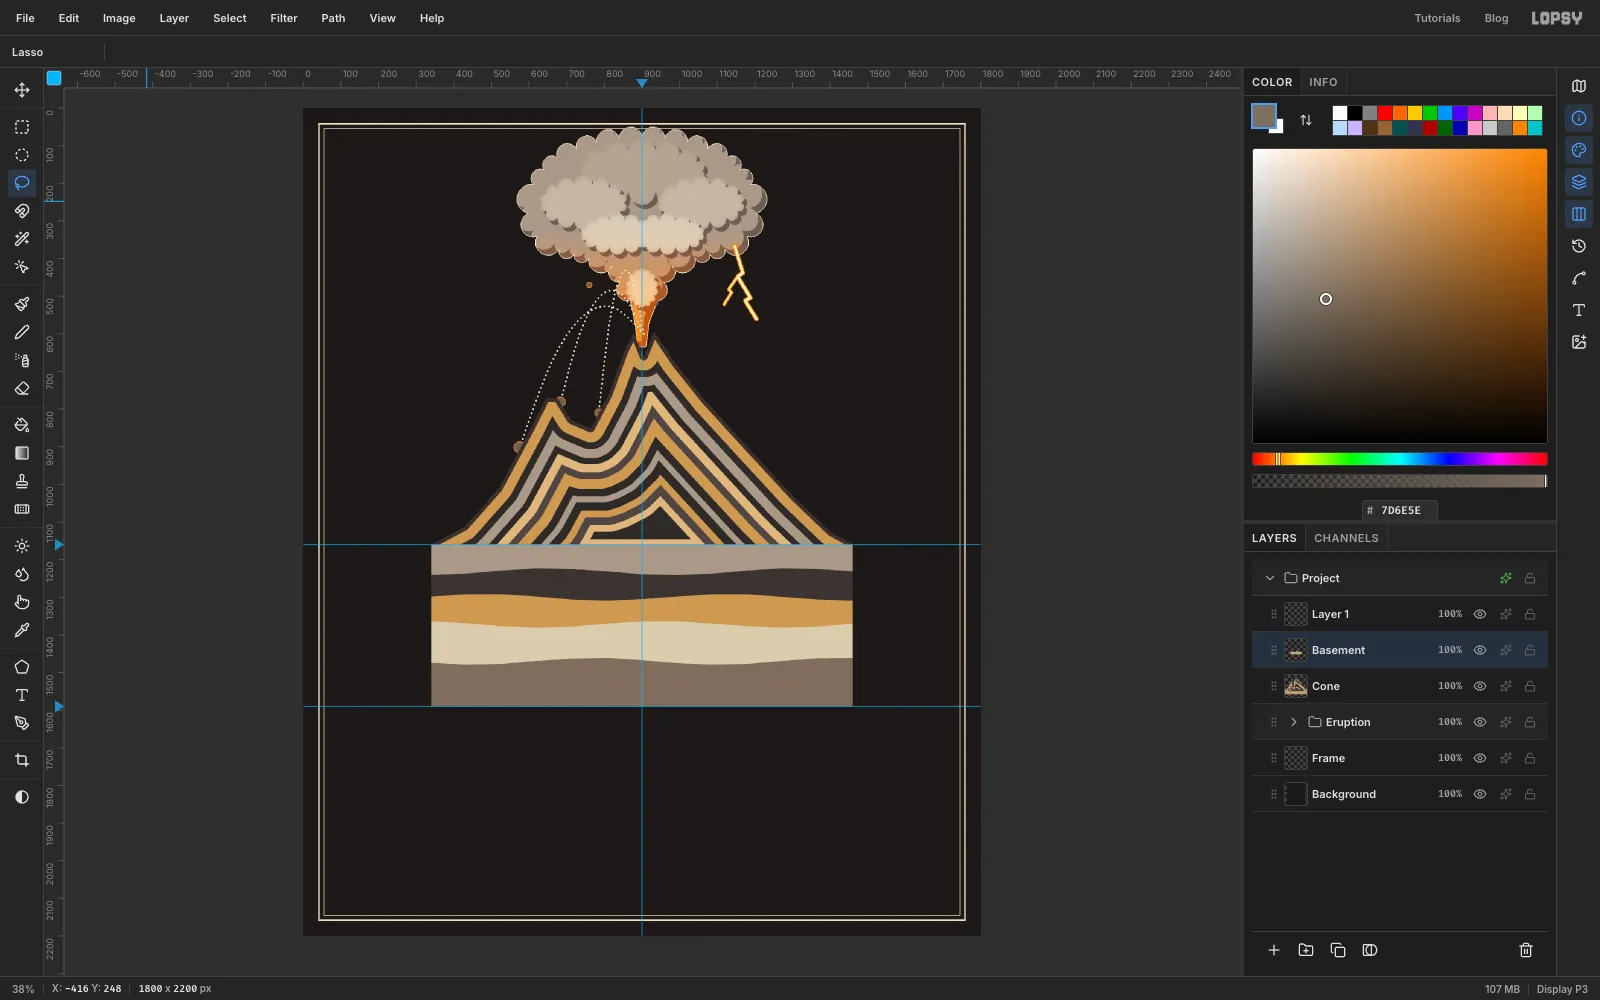
BasementaboveCone. - Use the Lasso for each bed. Start at its top edge on the left side of the block (x 340), wobble across to x 1460, and come back along the bottom of the block at y 1590. Each new bed paints over the one before, so work downward:
- Ash from the flat ground line at y 1160.
- Old lava from about y 1232.
- Tuff from about y 1300.
- Limestone from about y 1372.
- Dolomite from about y 1470.
- Keep the wobble small, about 10 px up and down.
- Add a layer named
-
Crack the old lava with Voronoi
- Add a layer named
Jointing. Click with the Rectangular Marquee and enter From 340, 1160 and To 1460, 1590. Fill it with and deselect. - Choose Filter → Voronoi… with Cells 60, Edge Width 3 and Seed 7.
- Select the
Basementlayer. Pick the Magic Wand at Tolerance 8 and click the dark lava bed. - Choose Select → Inverse, select
Jointing, press Delete and deselect. - Set
Jointingto Multiply. Only the cracks in the lava bed remain.
Voronoi decides each cell's edge from the colour at the cell's centre, so cells spill slightly past a shape's edge. Running it on a plain block and trimming afterwards keeps the bed's outline clean.
- Add a layer named
-
Dot the tuff with Halftone
- Select
Basement, and click the ochre bed with the Magic Wand. - Add a layer named
Ash Dotsand fill the selection with . - Choose Filter → Halftone… with Dot Size 12, Density 0.8 and Angle 45. Deselect and set the layer to Multiply.
- Select
-
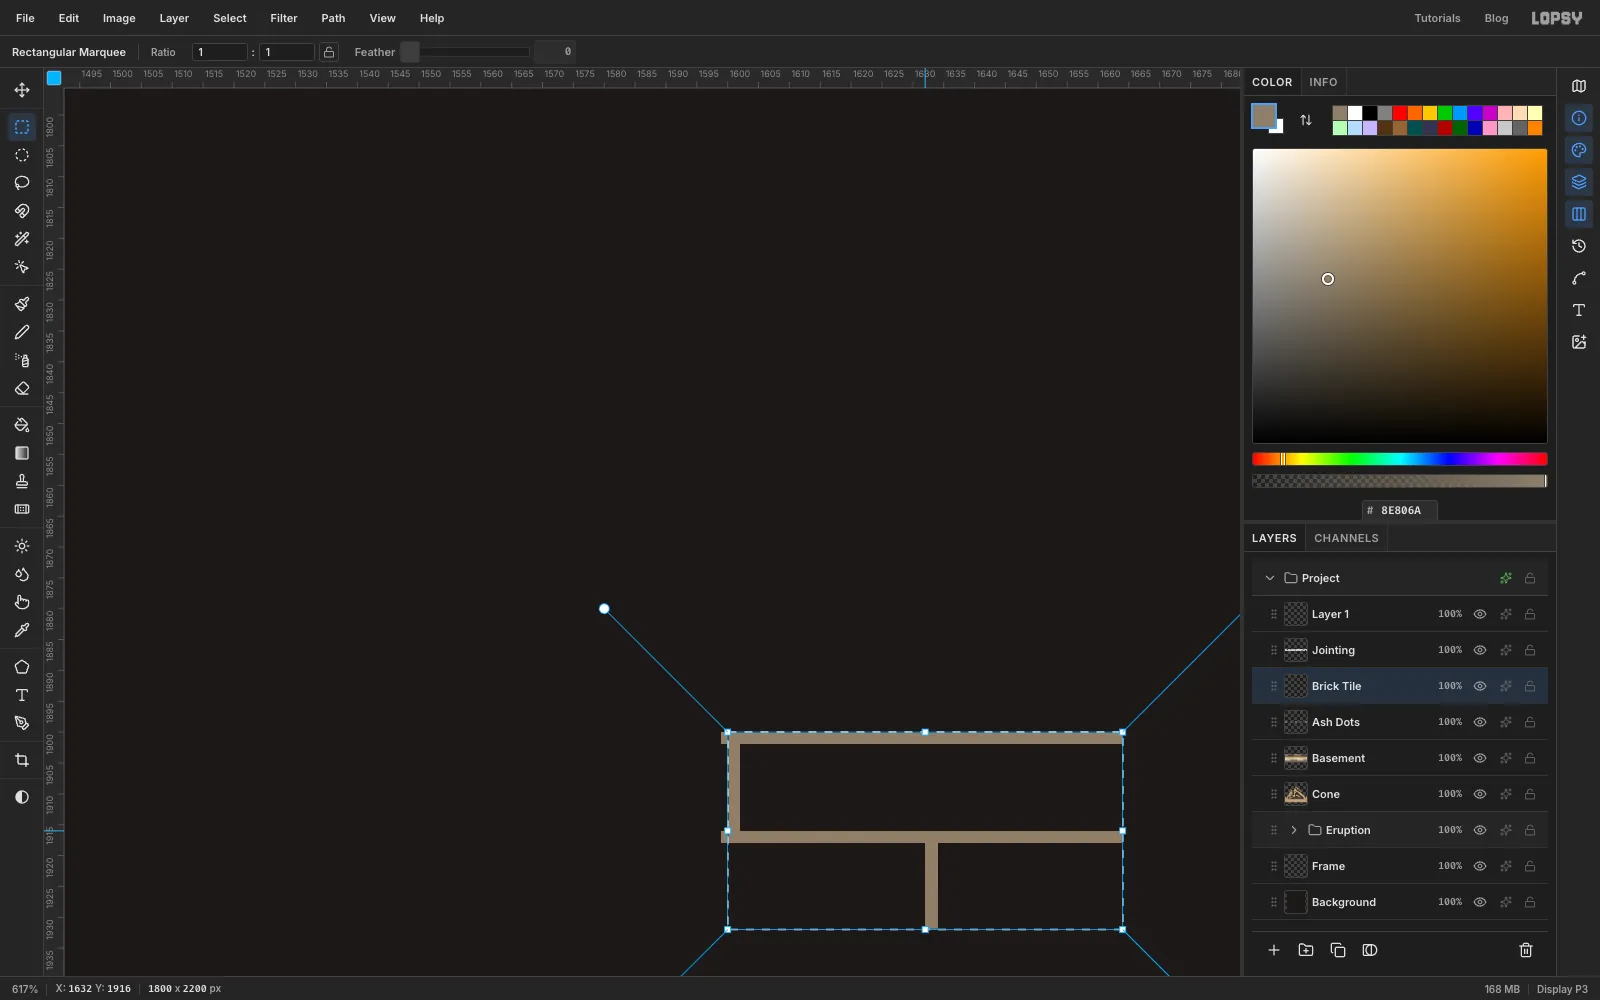
Draw a brick pattern tile
Geologists draw limestone as brickwork. Make one tile and let Lopsy repeat it.
- Add a layer named
Brick Tile. Pick the Pencil at Size 2, colour , and zoom in on an empty corner of the canvas near (1600, 1900). - Draw a 64 × 32 px tile with straight lines (click, then Shift+click):
- One line across the top and one across the middle.
- A short upright on the left edge of the top row.
- A short upright in the middle of the bottom row.
- Click with the Rectangular Marquee and enter From 1600, 1900 and To 1664, 1932. Choose Edit → Define Pattern.
- Deselect and delete the
Brick Tilelayer.
- Add a layer named
-
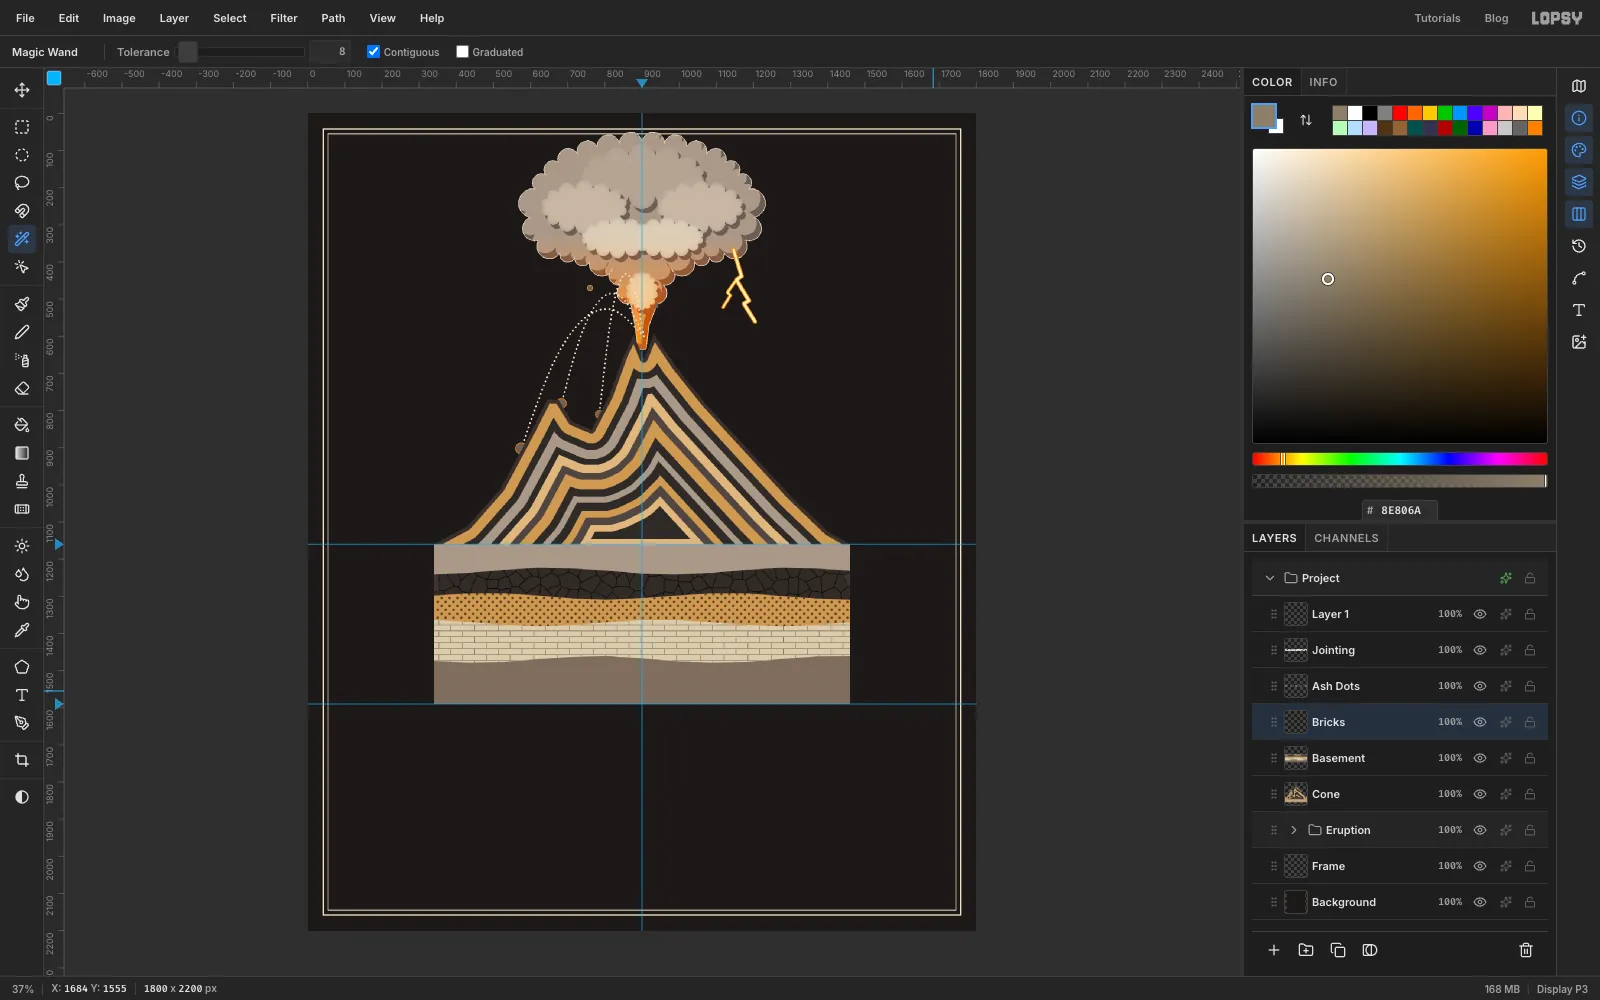
Fill the limestone with bricks
- Select
Basementand click the limestone bed with the Magic Wand. - Add a layer named
Bricksand choose Edit → Fill with Pattern…. Click your tile and click Apply. - Deselect.
- Select
-
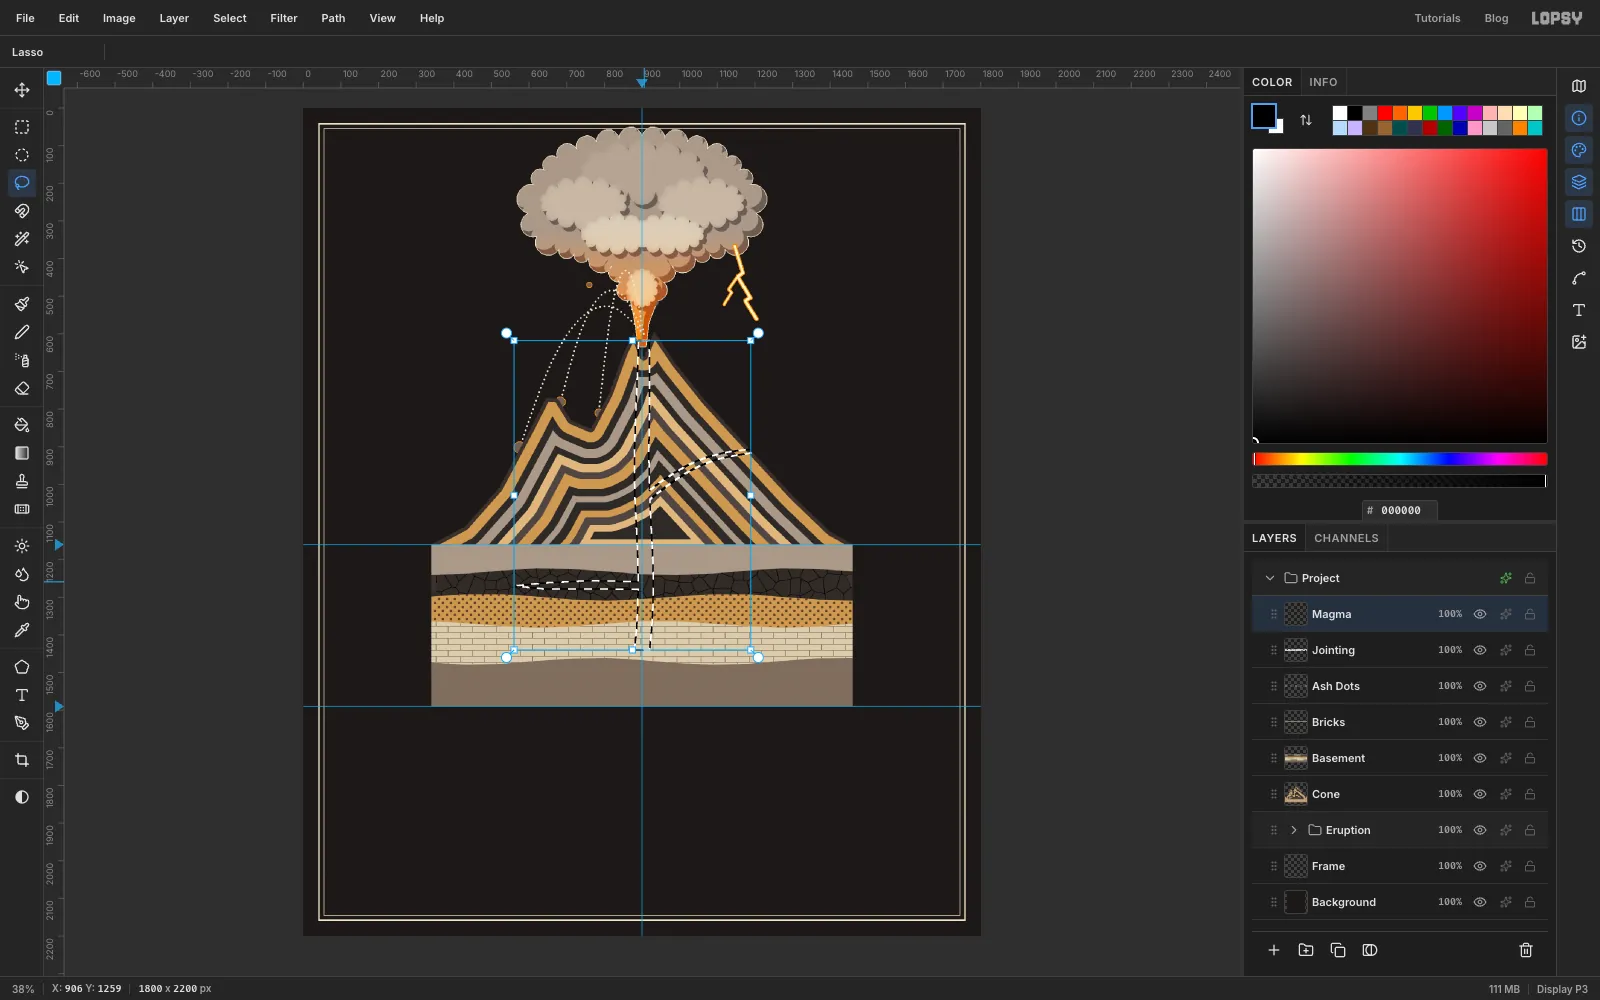
Lasso the conduit, dike and sill
- Delete the empty
Layer 1at the top of the stack. Then selectJointingand add a layer namedMagma. - With the Lasso, draw the conduit: a band about 40 px wide, waving gently, from the magma chamber's roof at about y 1440 up to the crater, at about y 618.
- Hold Shift and lasso the dike. It is a tapering branch about 20 px thick that leaves the conduit at about y 1040 and arcs up and right to the flank vent at about (1190, 910).
- Hold Shift again and lasso the sill. It is a thin wedge from the conduit at about y 1268, reaching left to x 560.
- Pick the Gradient tool and set three stops: , at 55%, and . Drag from the crater (y 620) straight down to y 1440, then deselect.
- Delete the empty
-
Throw up a lava fountain
The conduit should run right into the column, not stop under a lid.
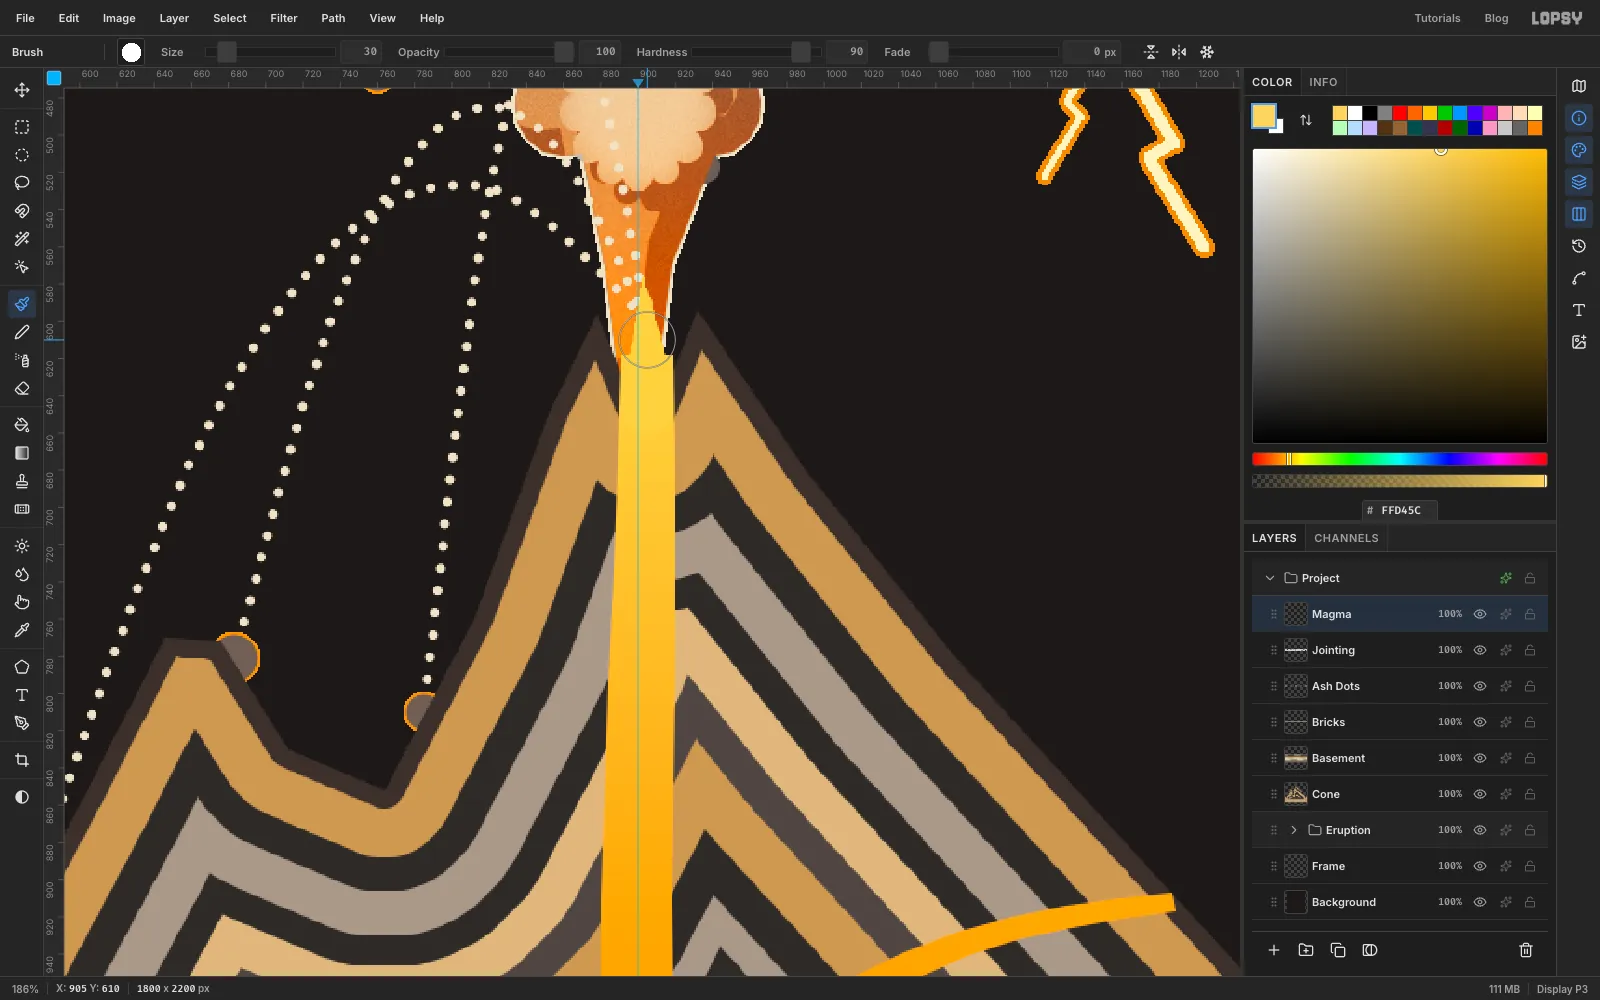
- Stay on the
Magmalayer. Pick the Brush at Size 30, Hardness 90. In the brush settings, set Spacing 10% and Taper 70. - With , drag one stroke from the crater floor, at about (905, 646), straight up to about (903, 570).
Taper shrinks the stroke from where it starts, so it begins wide in the crater and thins to a point inside the stem.
- Stay on the
-
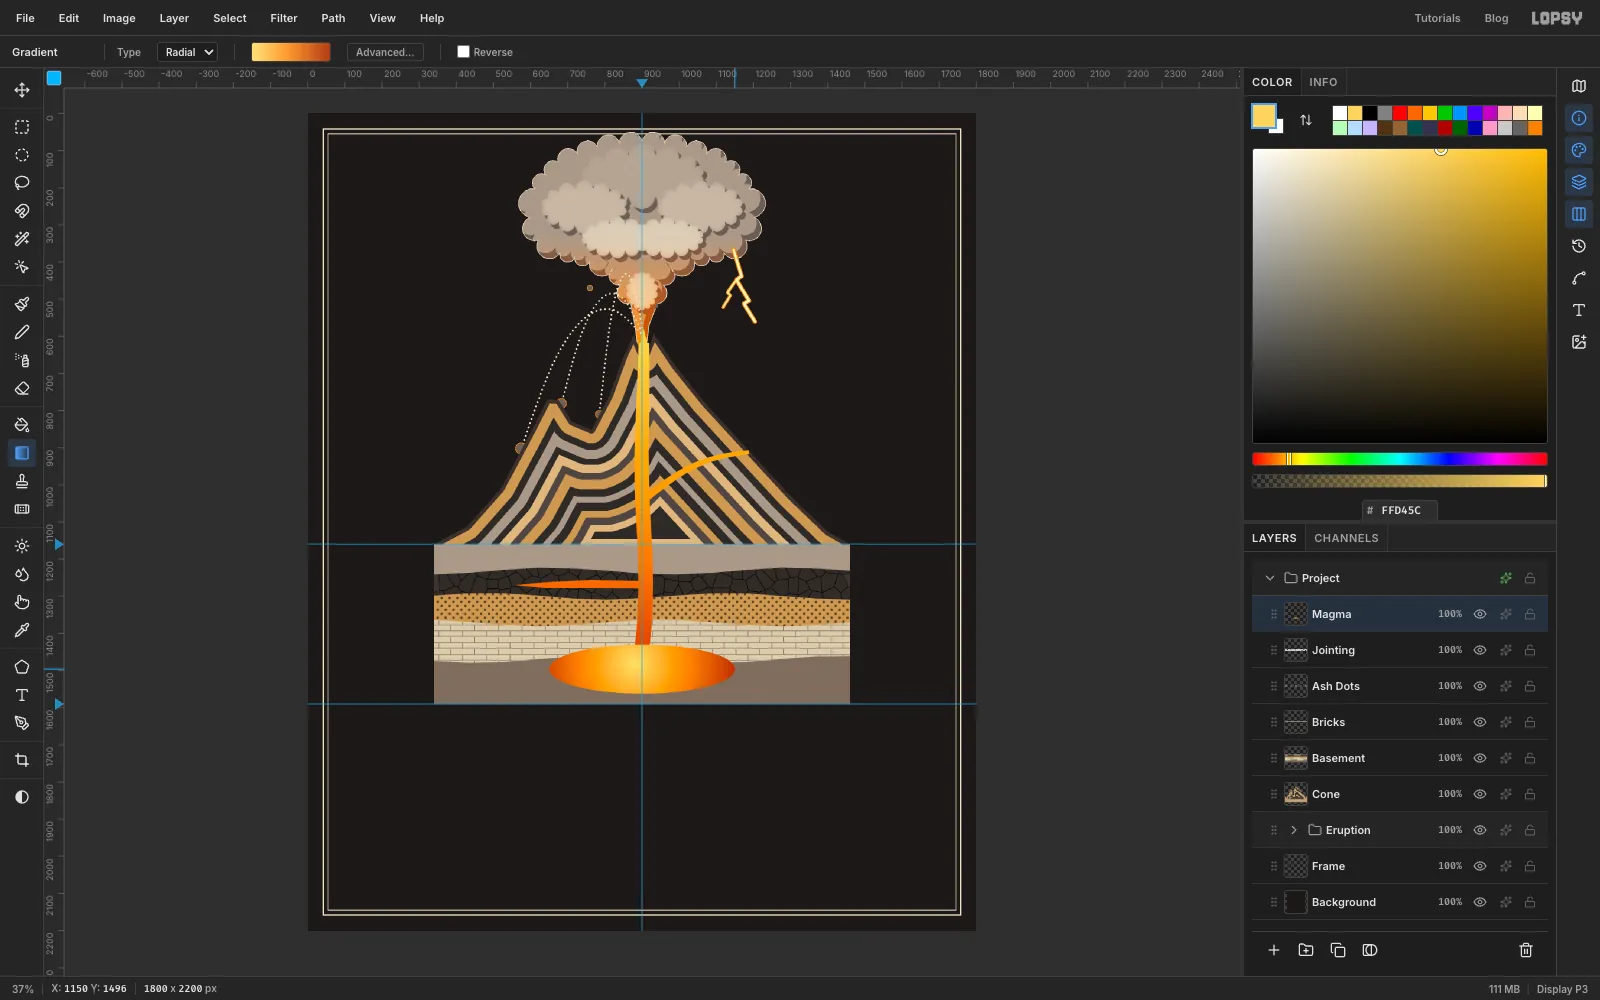
Fill the magma chamber
- Click once with the Elliptical Marquee and enter From 650, 1430 and To 1150, 1562.
- Set a radial gradient with three stops: , at 45%, and . Drag from a little left of the centre, at (880, 1480), out to the right end of the chamber.
- Deselect.
-
Stir the chamber with Smudge
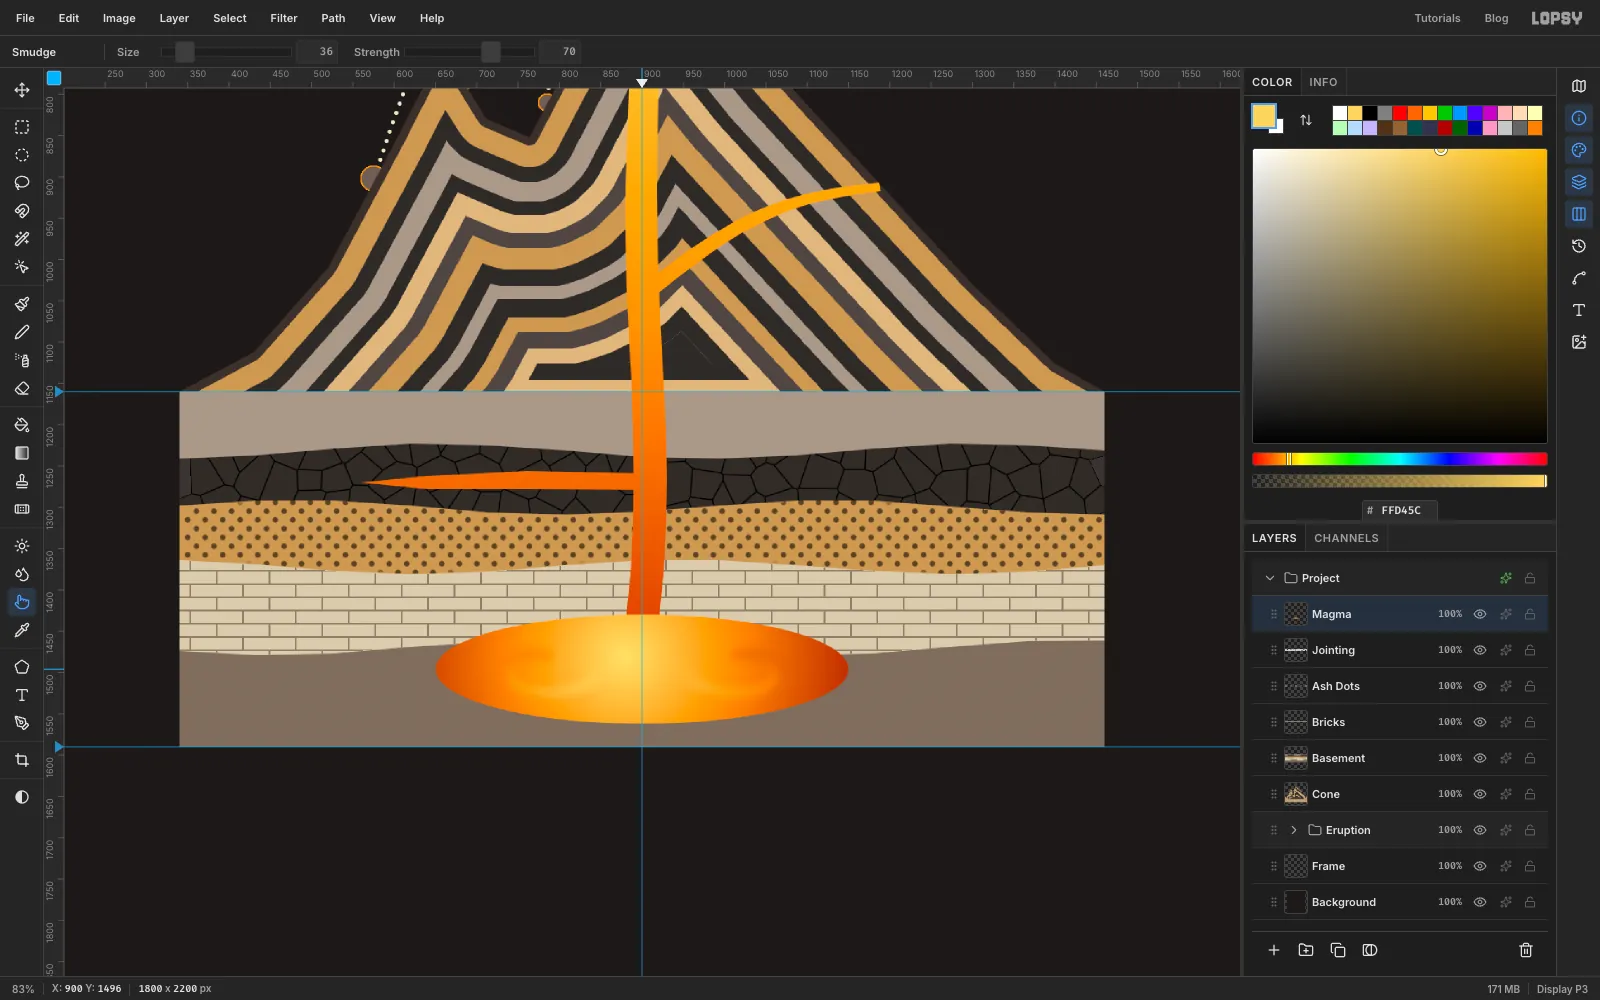
- Pick the Smudge tool at Size 36, Strength 70.
- On the left half of the chamber, drag a slow inward spiral that starts wide and tightens. Drag a mirror-image spiral on the right half.
These read as convection currents. If a swirl goes wrong, press Cmd+Z and try again.
-
Rim the magma
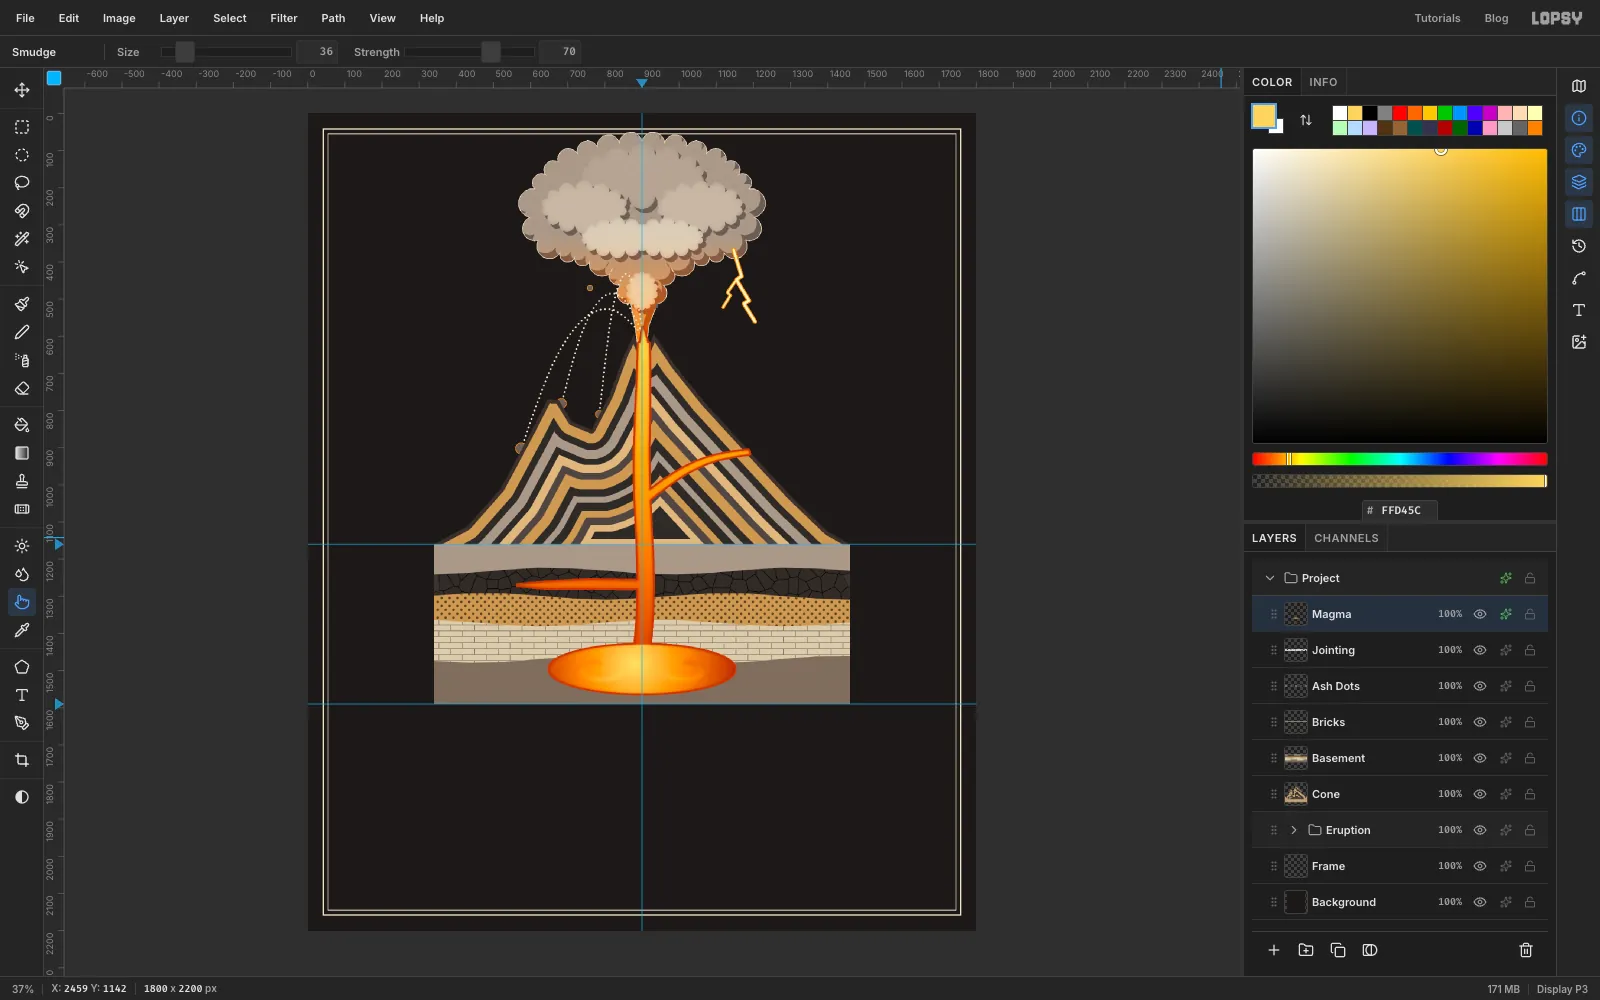
Add two effects to the
Magmalayer:- Stroke: Width 5, colour , position Outside.
- Inner Glow: Size 10, Opacity 70, colour .
A hard rim prints cleanly on a shirt. A soft outer glow would turn into mud in screen printing.
-
Pour a lava flow down the flank
- Add a layer named
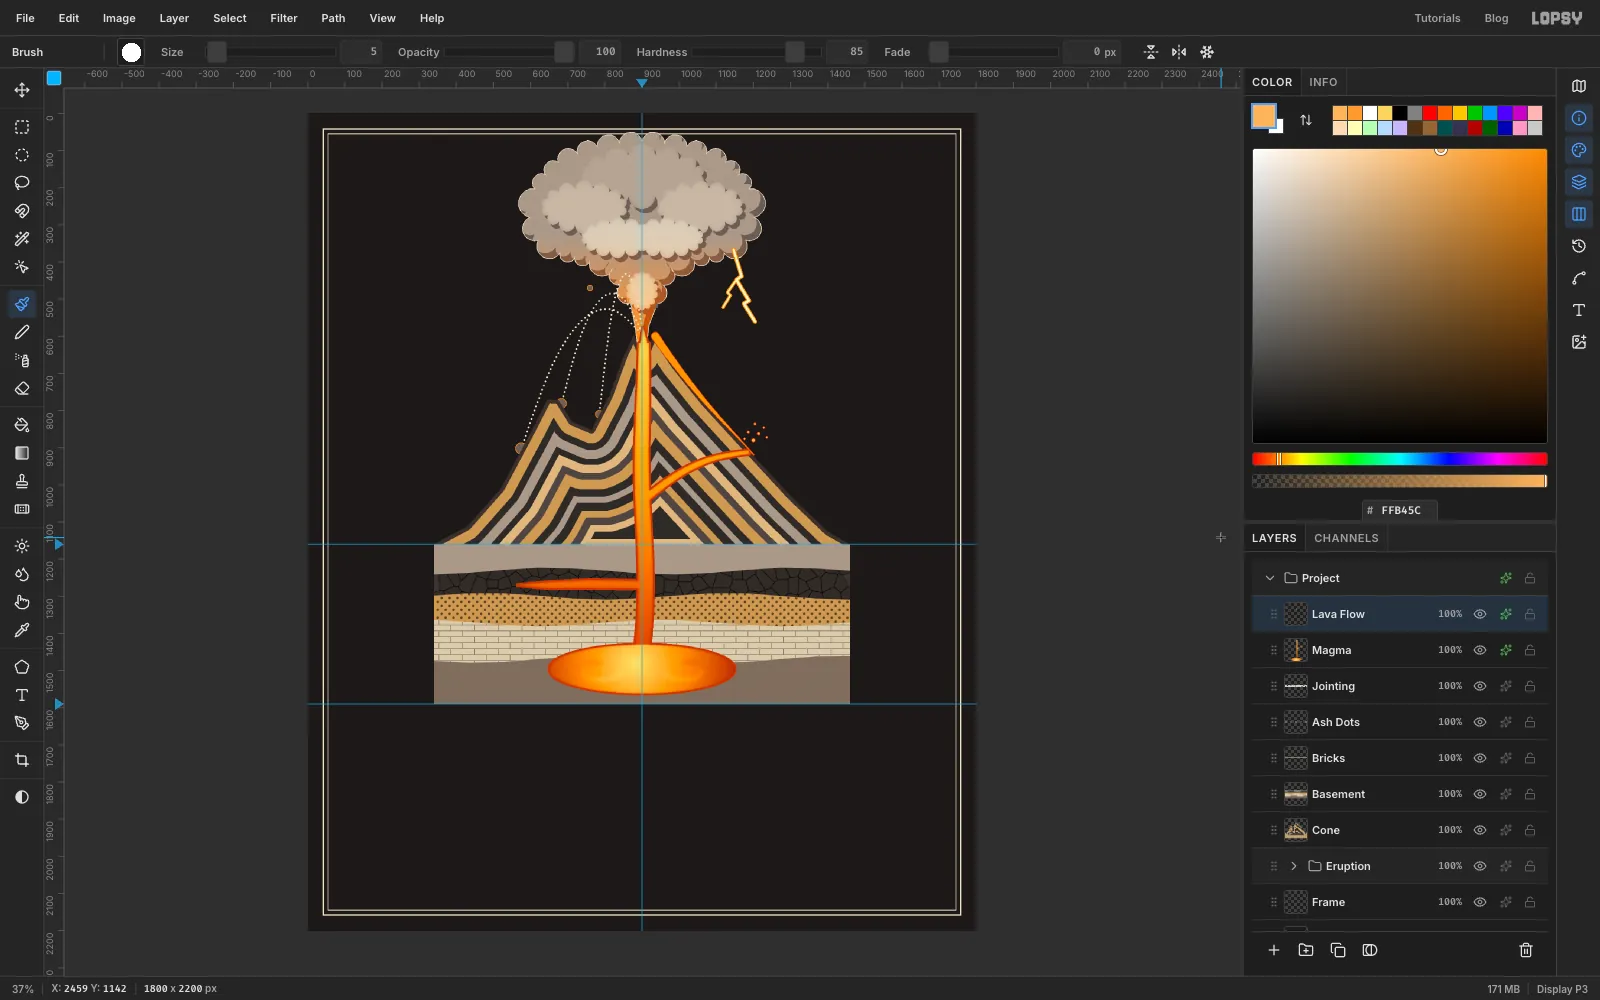
Lava Flow. Set the Brush to Size 22, Hardness 85, and in the brush settings Taper 420. - With , drag one stroke from the right crater rim down along the right slope, ending at about (1240, 962). It starts thick at the rim and thins out.
- Set Taper back to 0 and switch to . Click six or seven droplets above the flank vent at sizes 5 to 9.
- Add a Stroke effect: Width 2, colour , position Outside.
- Add a layer named
-
Select the cone and basement together
- Add a layer named
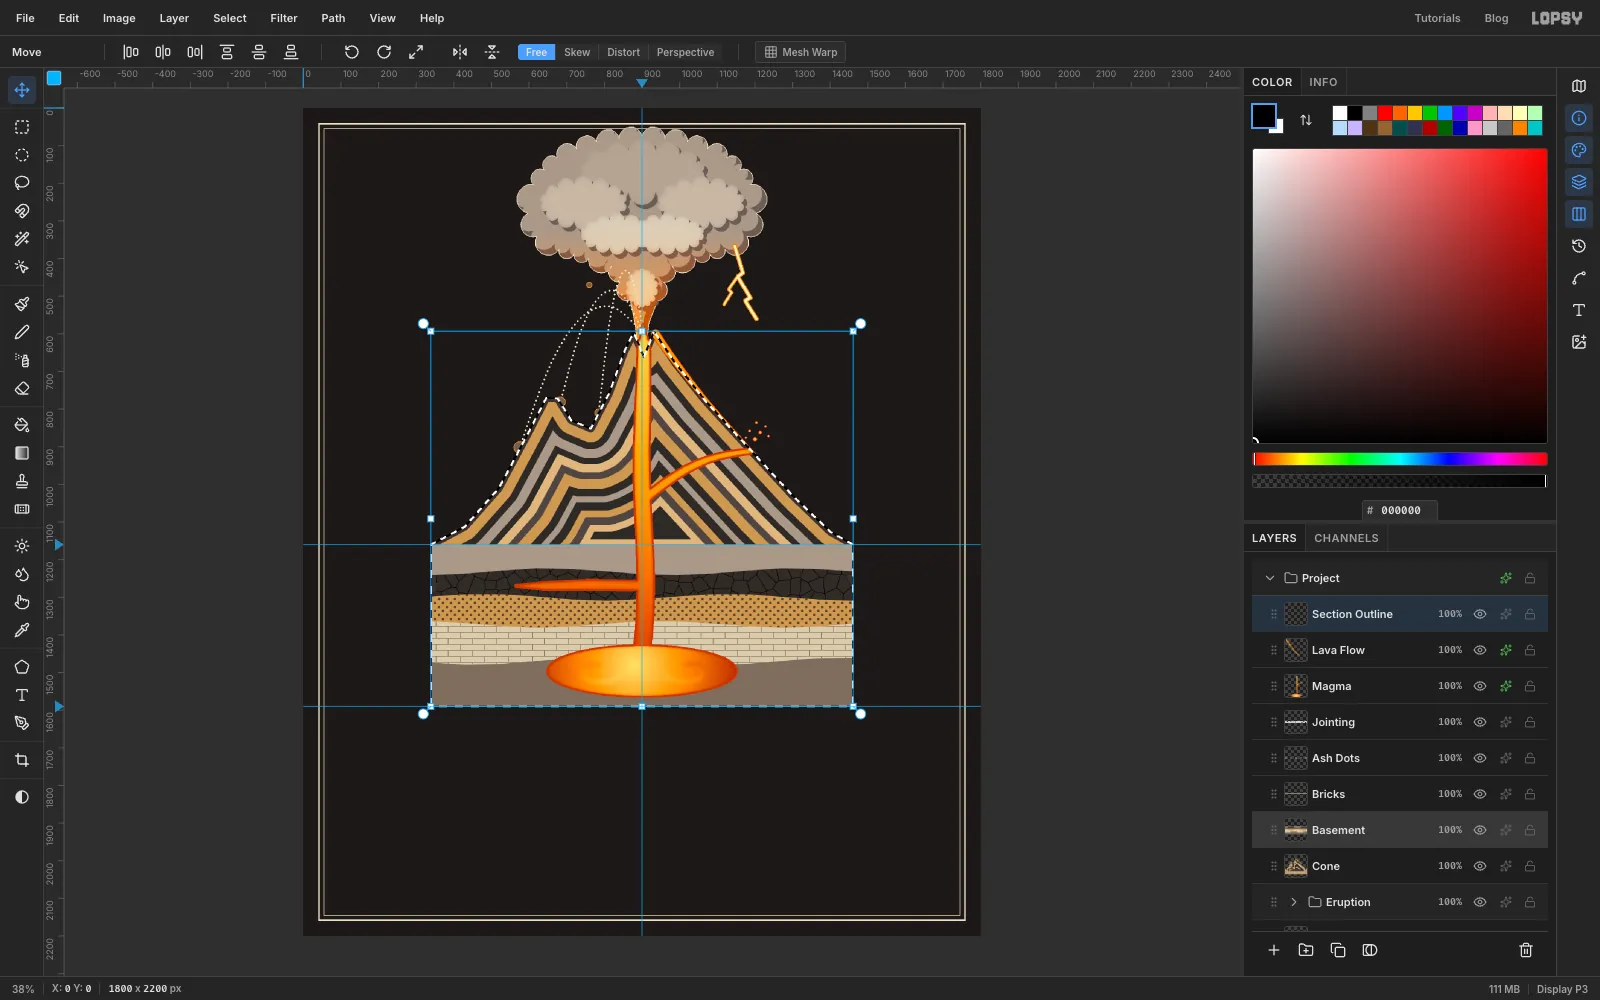
Section OutlineaboveLava Flow. - Cmd-click the
Conethumbnail, then Shift+Cmd-click theBasementthumbnail. The second click adds the block to the selection.
- Add a layer named
-
Ink the outline and open the crater
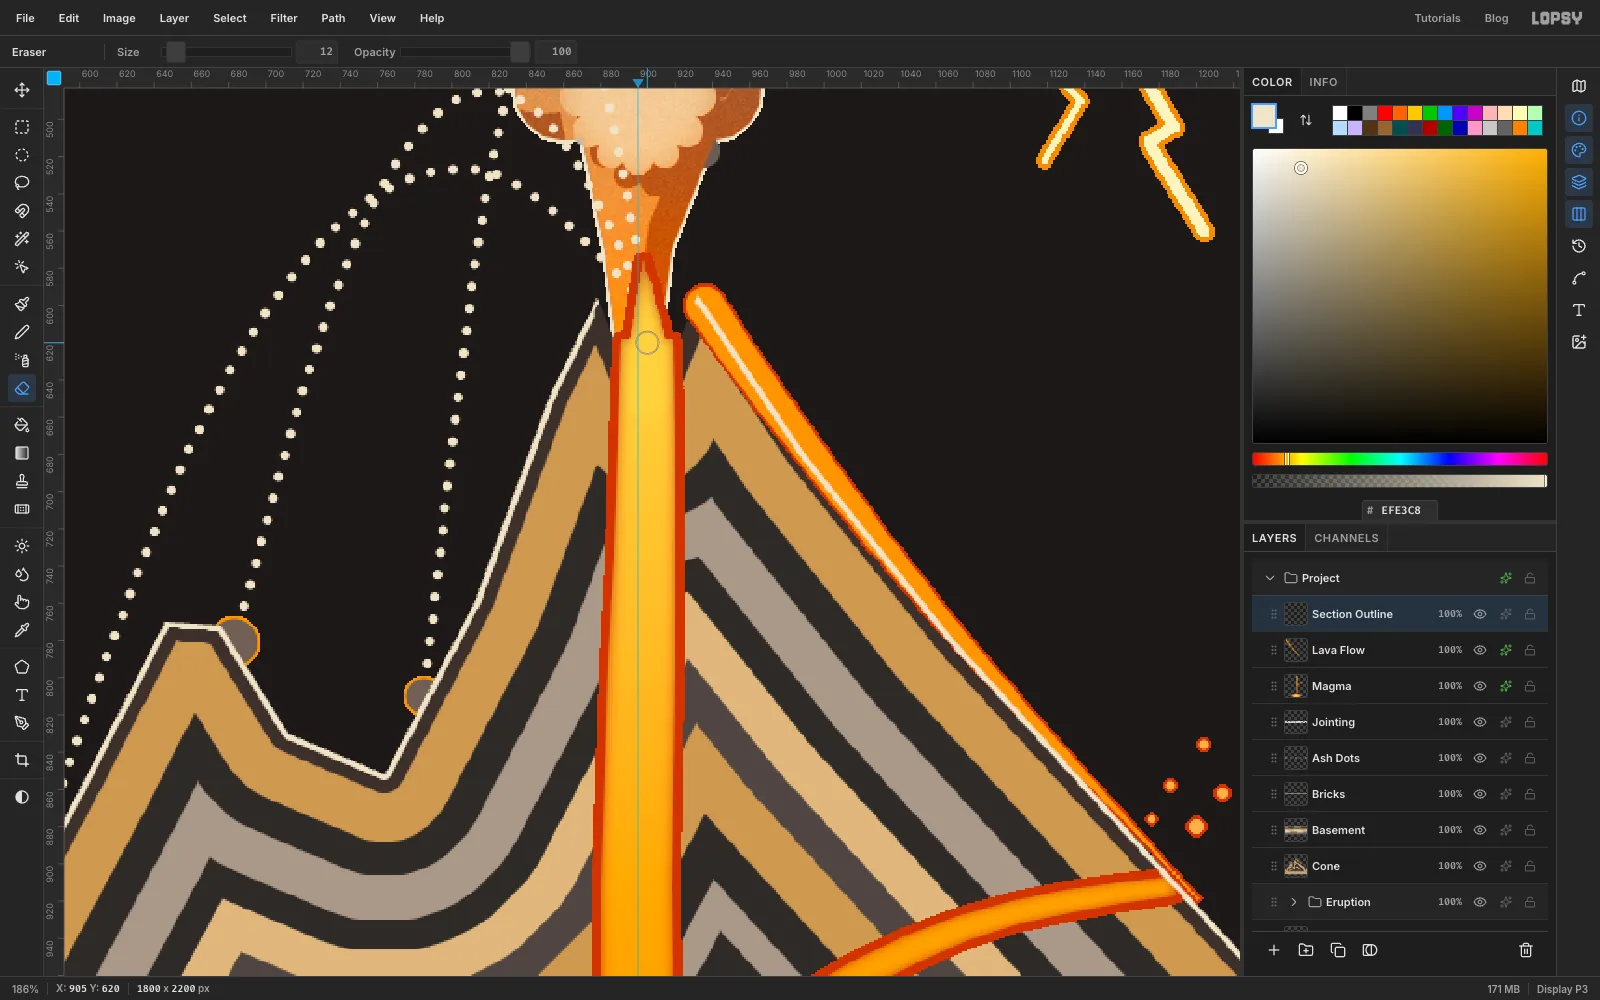
- Fill the selection with cream . Shrink it by 3 px, press Delete and deselect. That leaves a 3 px outline around the whole section.
- The outline also runs across the crater notch and caps the lava. Pick the Eraser at Size 12 and drag it down one side of the notch and up the other to open it.
-
Draw the leader lines
- Add a layer named
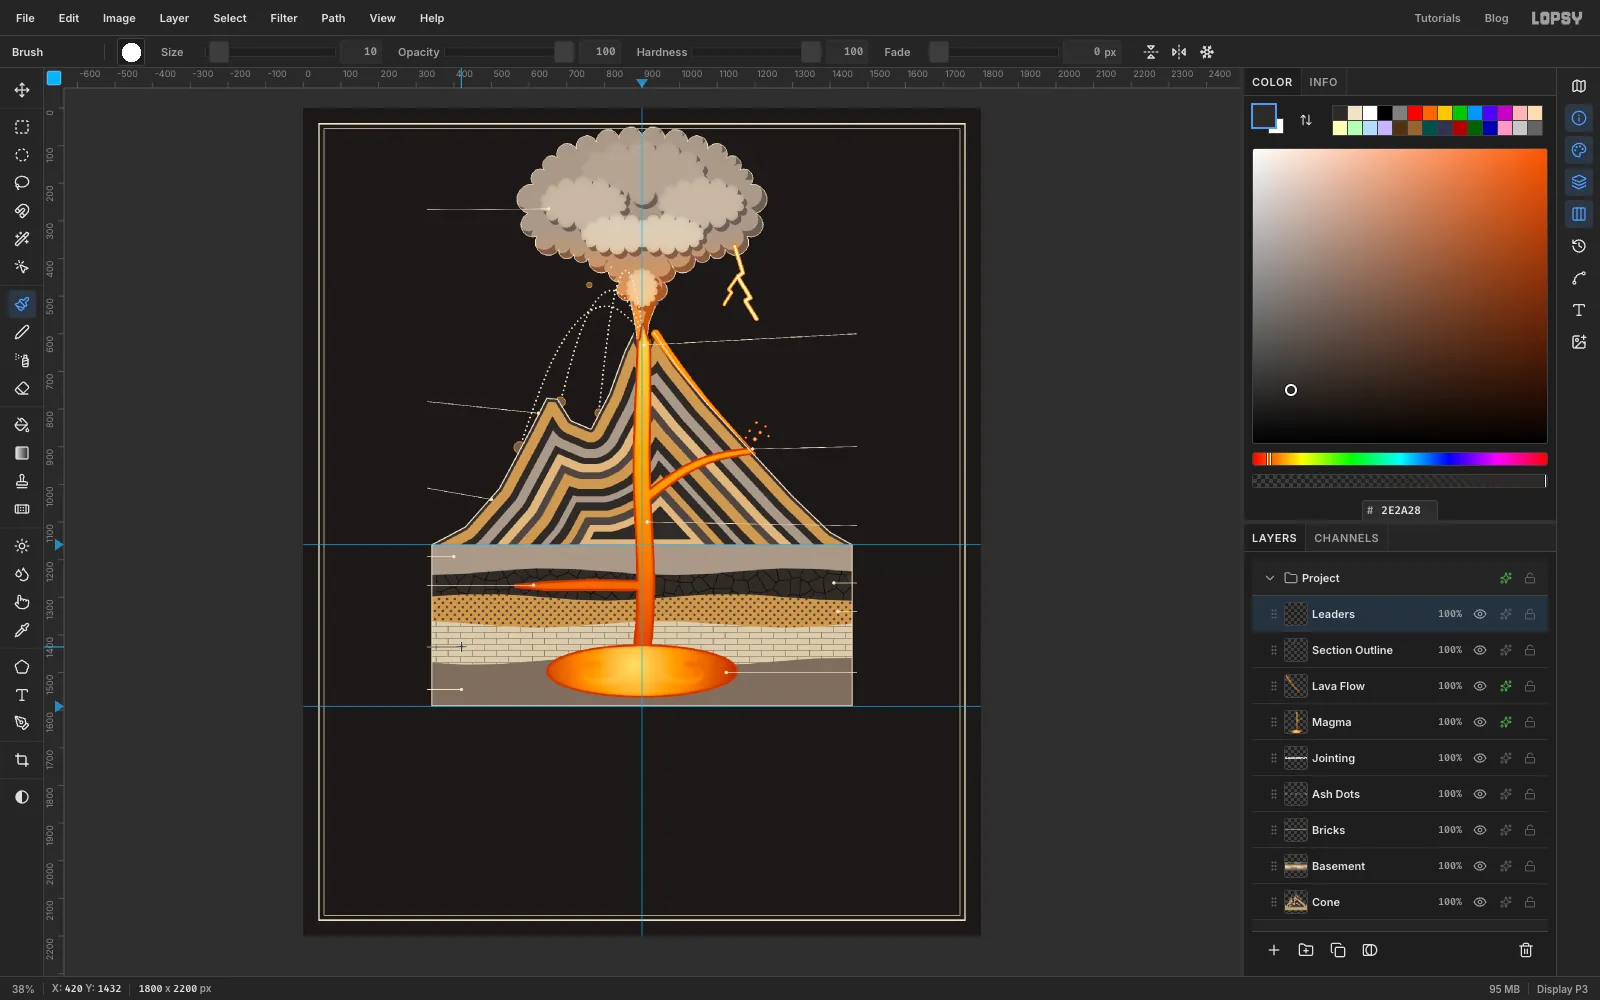
Leaders. Pick the Brush at Size 2, Hardness 100, with Taper 0 and Spacing 10%, in cream. - For each feature in the list under the next step, click on it and Shift+click at the margin: x 330 on the left or x 1470 on the right. Where a feature sits close to the margin, keep the line level.
- At Size 10, click once on each feature to give it a dot.
- The limestone leader is cream on cream. Redraw its part inside the block, and its dot, in near-black .
- Add a layer named
-
Set the numbered labels
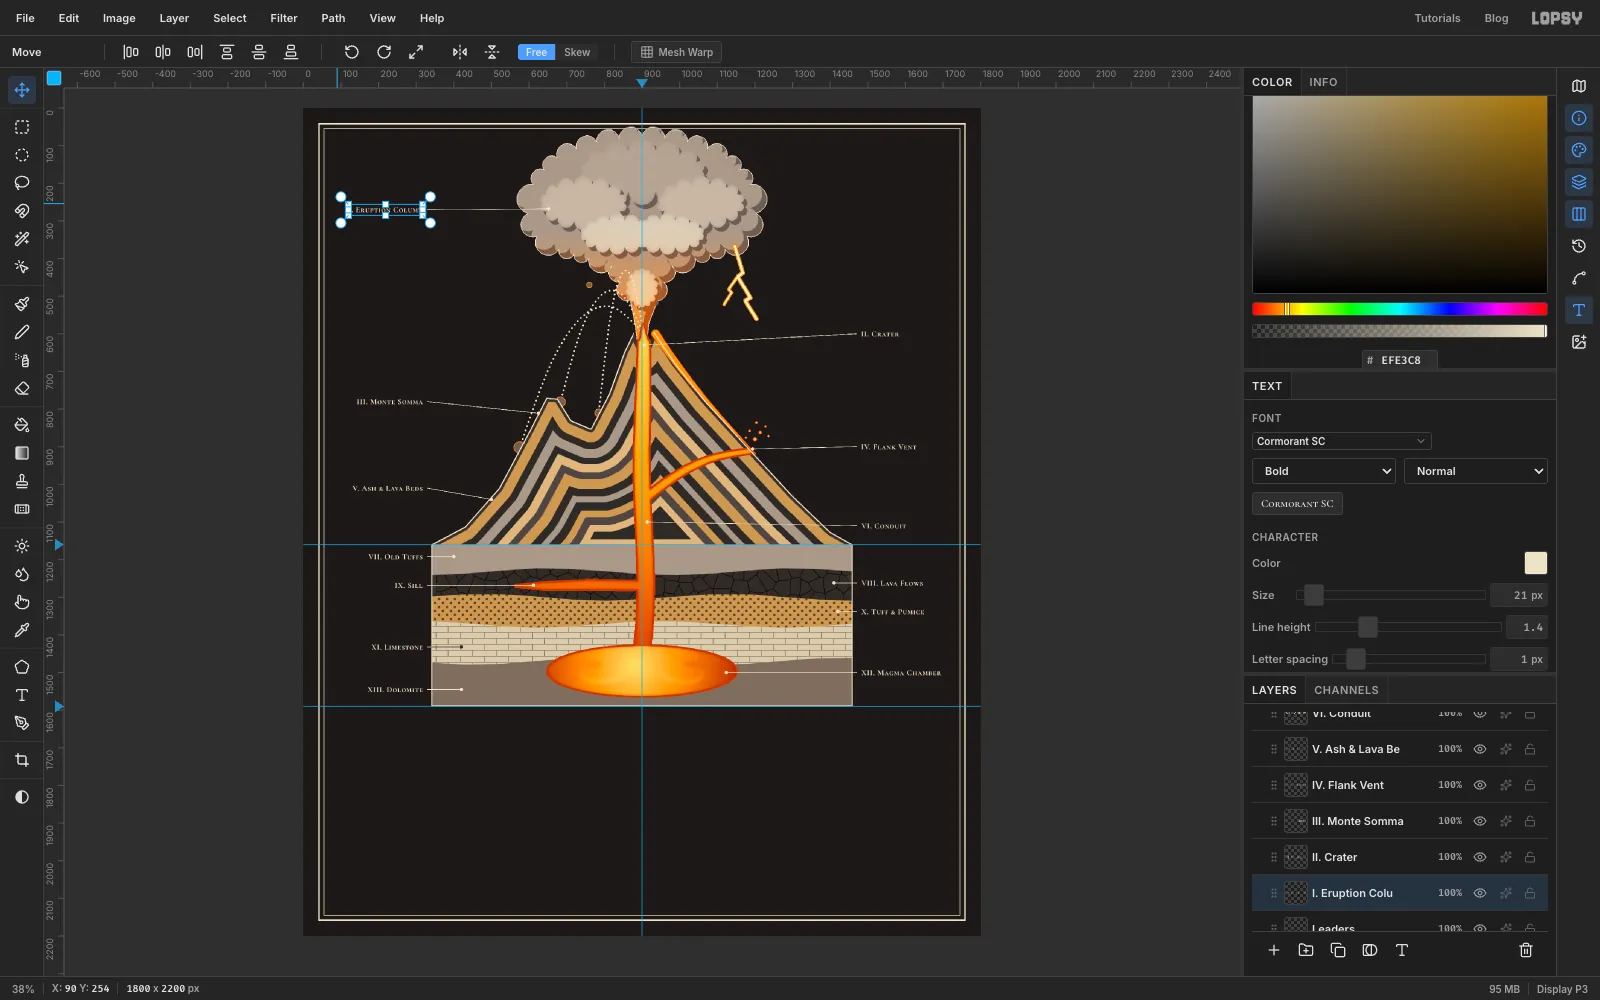
- Pick the Text tool. Set Cormorant SC, weight Bold, 21 px, cream, and Letter spacing 1 in the Text panel.
- Type each label, press Tab to commit it, then line it up with the Move tool and the arrow keys:
- Left labels end 14 px short of their leader.
- Right labels start 14 px after theirs.
- Centre each label on its leader line.
- Work from the bottom of the page up, so a new click never lands inside a label you've already made.
The labels, top to bottom, with the side and what each leader points at:
- I. Eruption Column, left: inside the cloud's left lobe.
- II. Crater, right: the lava in the crater.
- III. Monte Somma, left: the old rim's outer slope.
- IV. Flank Vent, right: where the dike meets the slope.
- V. Ash & Lava Beds, left: the cone's left flank.
- VI. Conduit, right: the conduit halfway up the cone.
- VII. Old Tuffs, left: the pale ash bed under the cone.
- VIII. Lava Flows, right: the cracked dark bed.
- IX. Sill, left: the tip of the sill.
- X. Tuff & Pumice, right: the dotted ochre bed.
- XI. Limestone, left: the brick bed.
- XII. Magma Chamber, right: the chamber's right end.
- XIII. Dolomite, left: the grey bottom bed.
-
Run a label along the lava flow
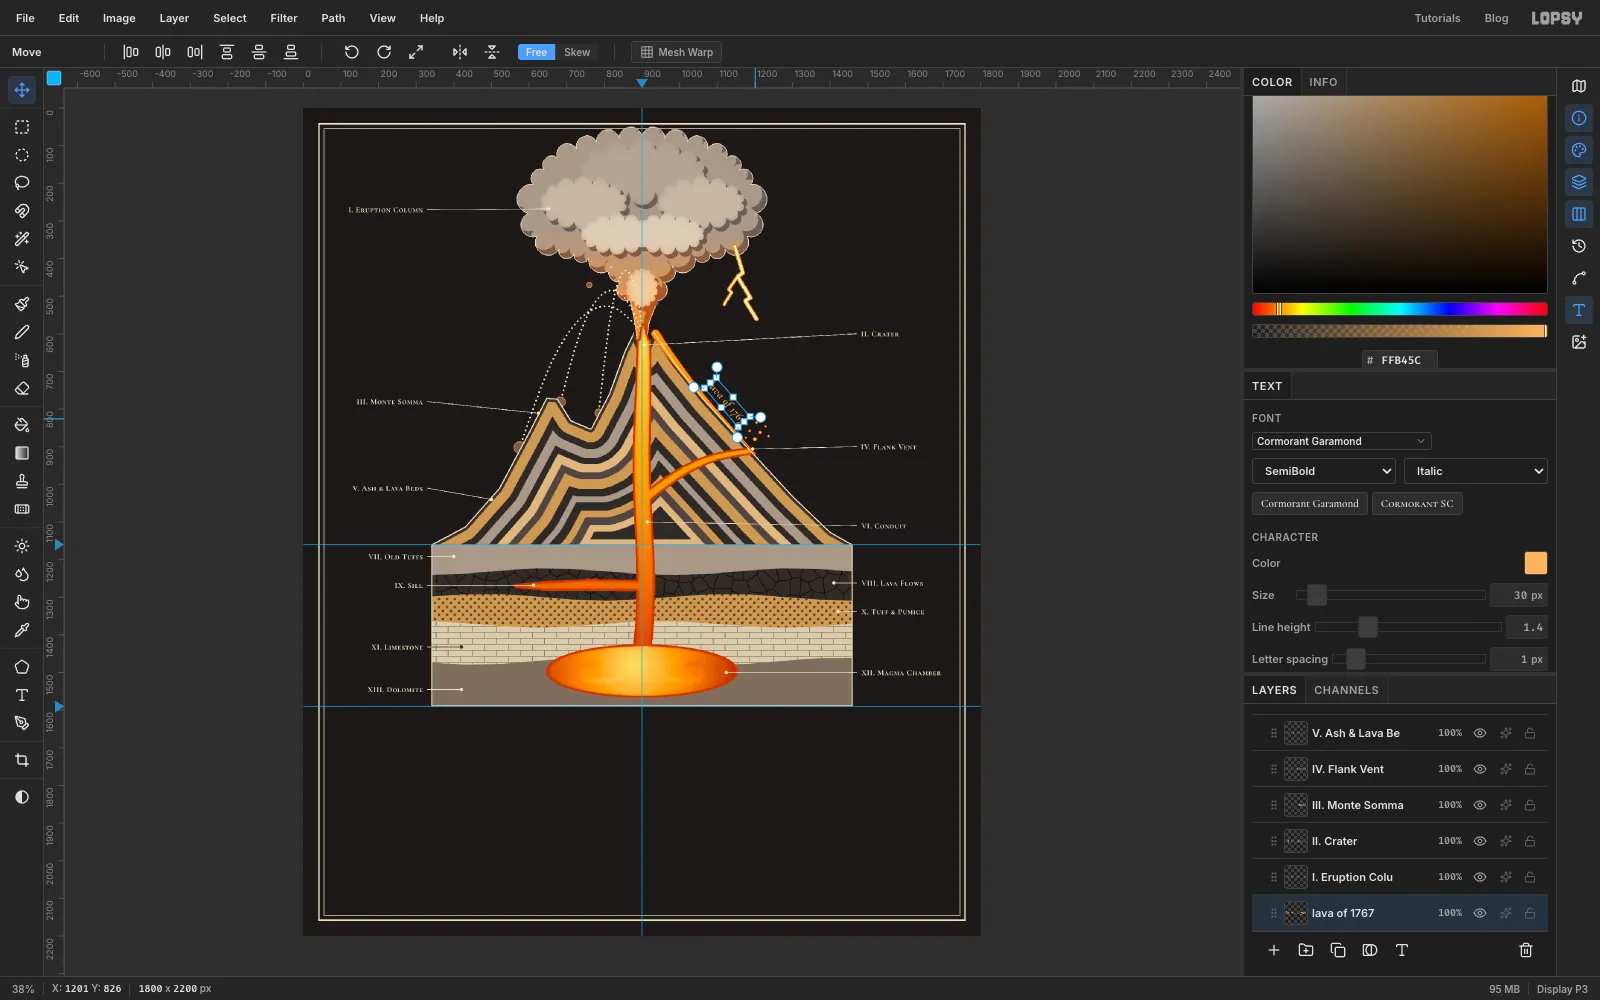
Maps label rivers along their course. Do the same for the lava flow.
- Click
Leaders. Typelava of 1767in Cormorant Garamond, SemiBold, Italic style, 30 px, colour , and press Tab. - With the Move tool, drag a corner rotation handle clockwise until the words match the slope, about 49°.
- Nudge the label until it sits just outside the flow line, clear of the spatter.
- Click
-
Set the title and subtitle
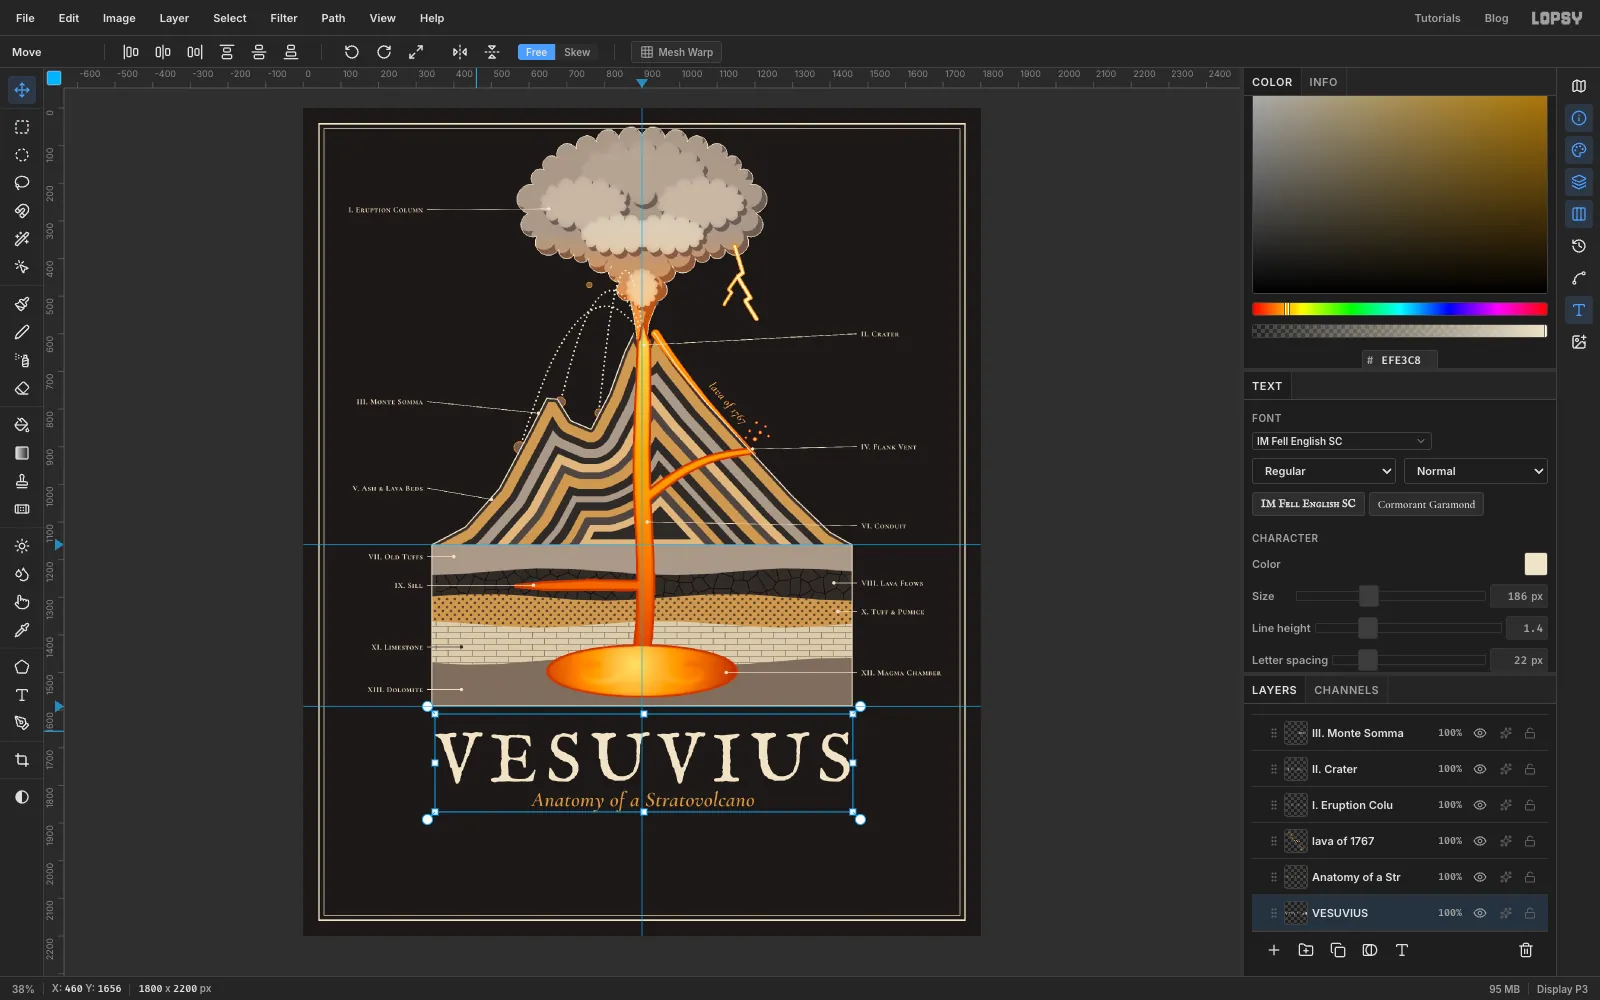
Set the lower line first, so your click for the title doesn't land in the subtitle's box.
- Click a picture layer, such as
Leaders. TypeAnatomy of a Stratovolcanoin Cormorant Garamond SemiBold Italic, 56 px, ochre . Centre it on the guide at about y 1842. - Click a picture layer again. Type
VESUVIUSin IM Fell English SC at 186 px, cream, with Letter spacing 22. Centre it with its top at about y 1658, about 70 px below the section.
- Click a picture layer, such as
-
Add rules either side of the subtitle
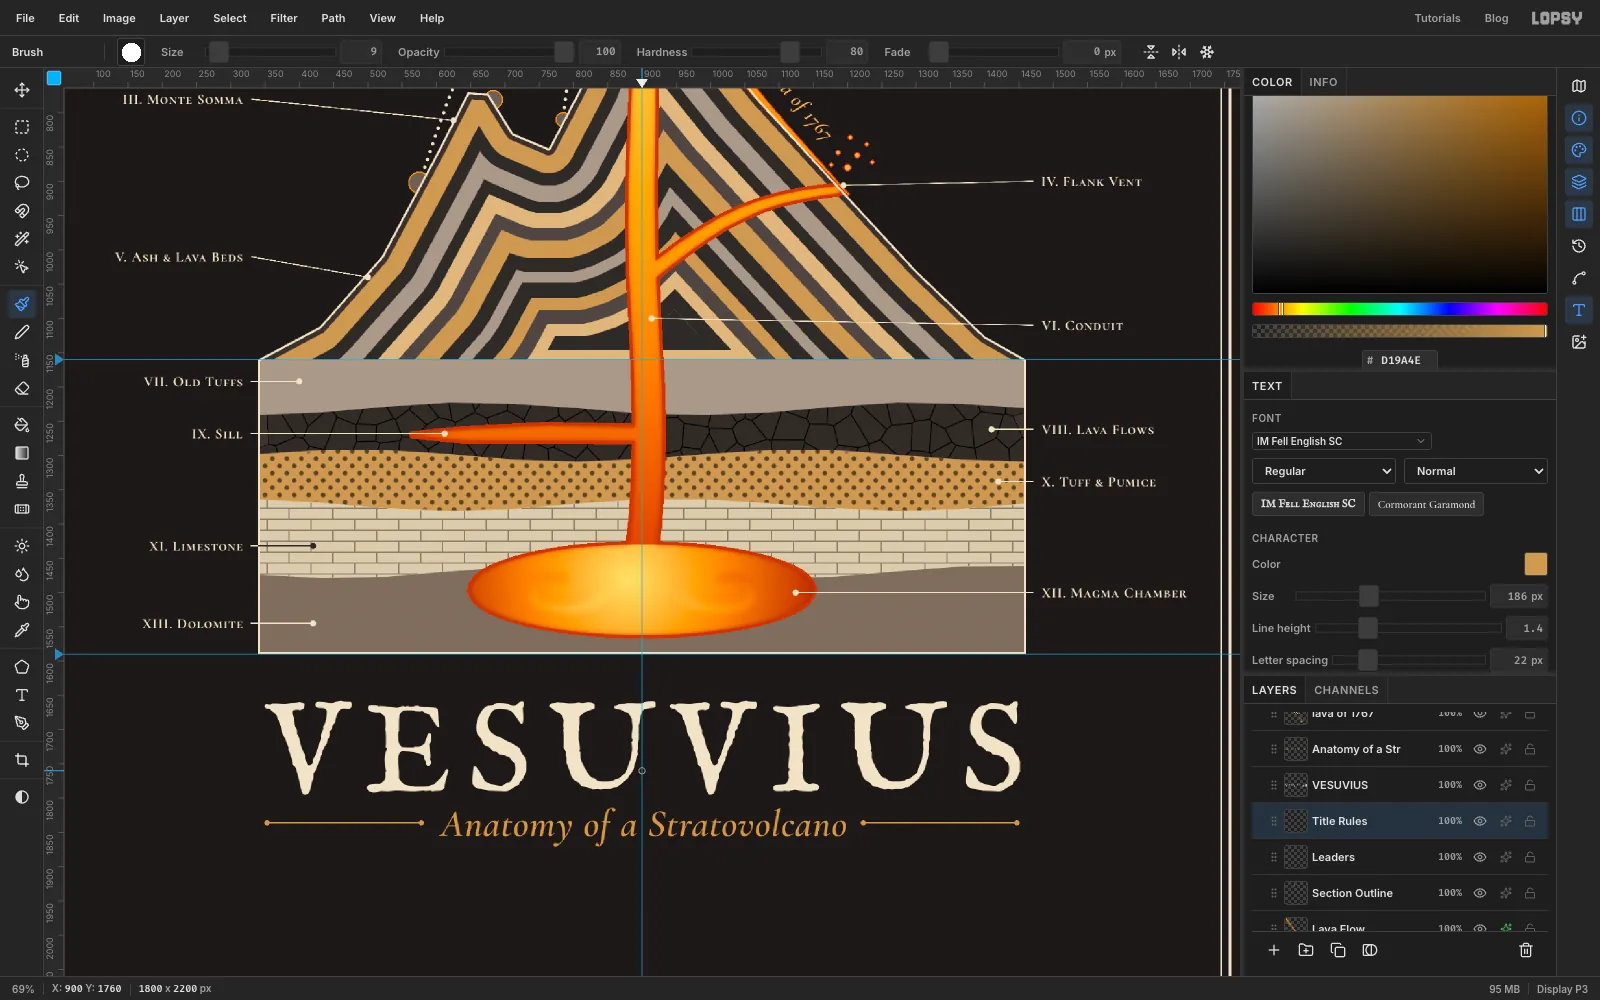
- Add a layer named
Title Rules. With the Pencil at Size 2 in ochre, draw a level line through the middle of the subtitle's height:
- Click at the left edge of the V in VESUVIUS, then Shift+click 26 px before the subtitle starts.
- Draw a matching line on the right.
- Pick the Brush at Size 9 and click a dot at each end of both lines.
- Add a layer named
-
Cut a specimen from the Fabris plate
- Drag the 1280 px Lava, scoriae and pumice plate from your computer onto the canvas. It fits inside the canvas, so it lands at the top left at its own size. Name the new layer
Fabris Plate. - Click once with the Elliptical Marquee and enter a 240 px circle over the honeycombed grey scoria: From 300, 142 and To 540, 382.
- Press Cmd+C then Cmd+V. Name the pasted layer
Scoria Specimenand hideFabris Plate.
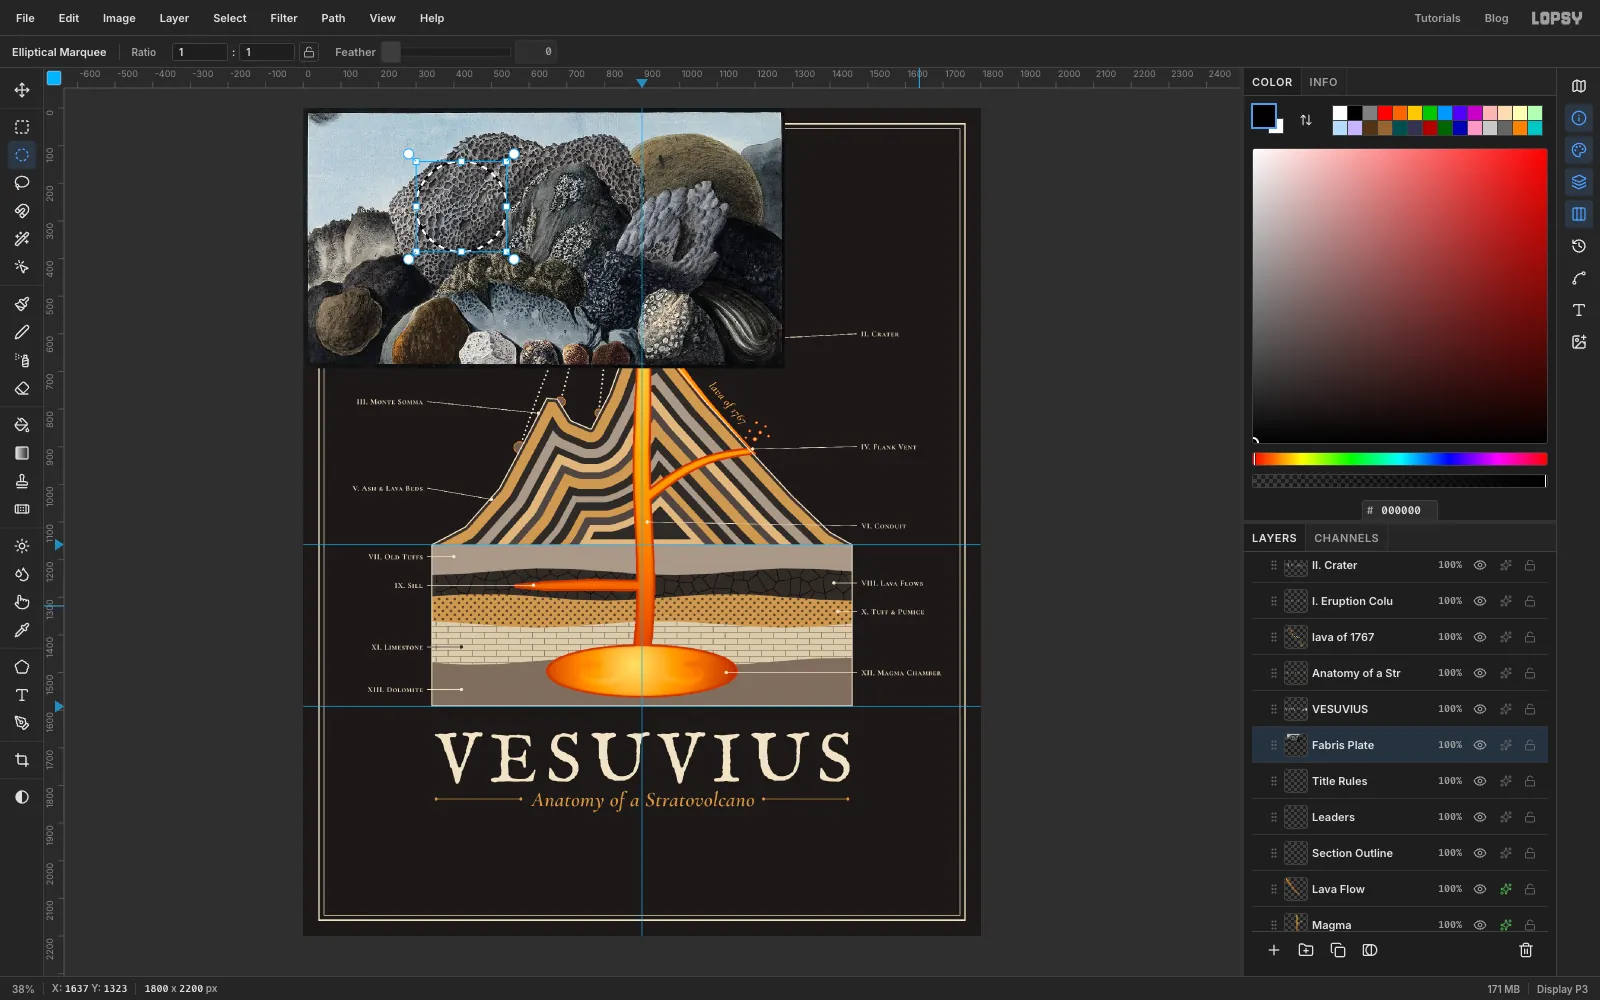
- Drag the 1280 px Lava, scoriae and pumice plate from your computer onto the canvas. It fits inside the canvas, so it lands at the top left at its own size. Name the new layer
-
Scale the specimen down
- Cmd-click the
Scoria Specimenthumbnail, then pick the Move tool. - Hold Cmd and drag the bottom-right handle in until the disc is about 128 px across. Cmd keeps it round.
- Press Cmd+D to finish, then nudge the disc so it's centred at about (520, 1990).
- Add a Stroke effect: Width 3, cream, position Outside.
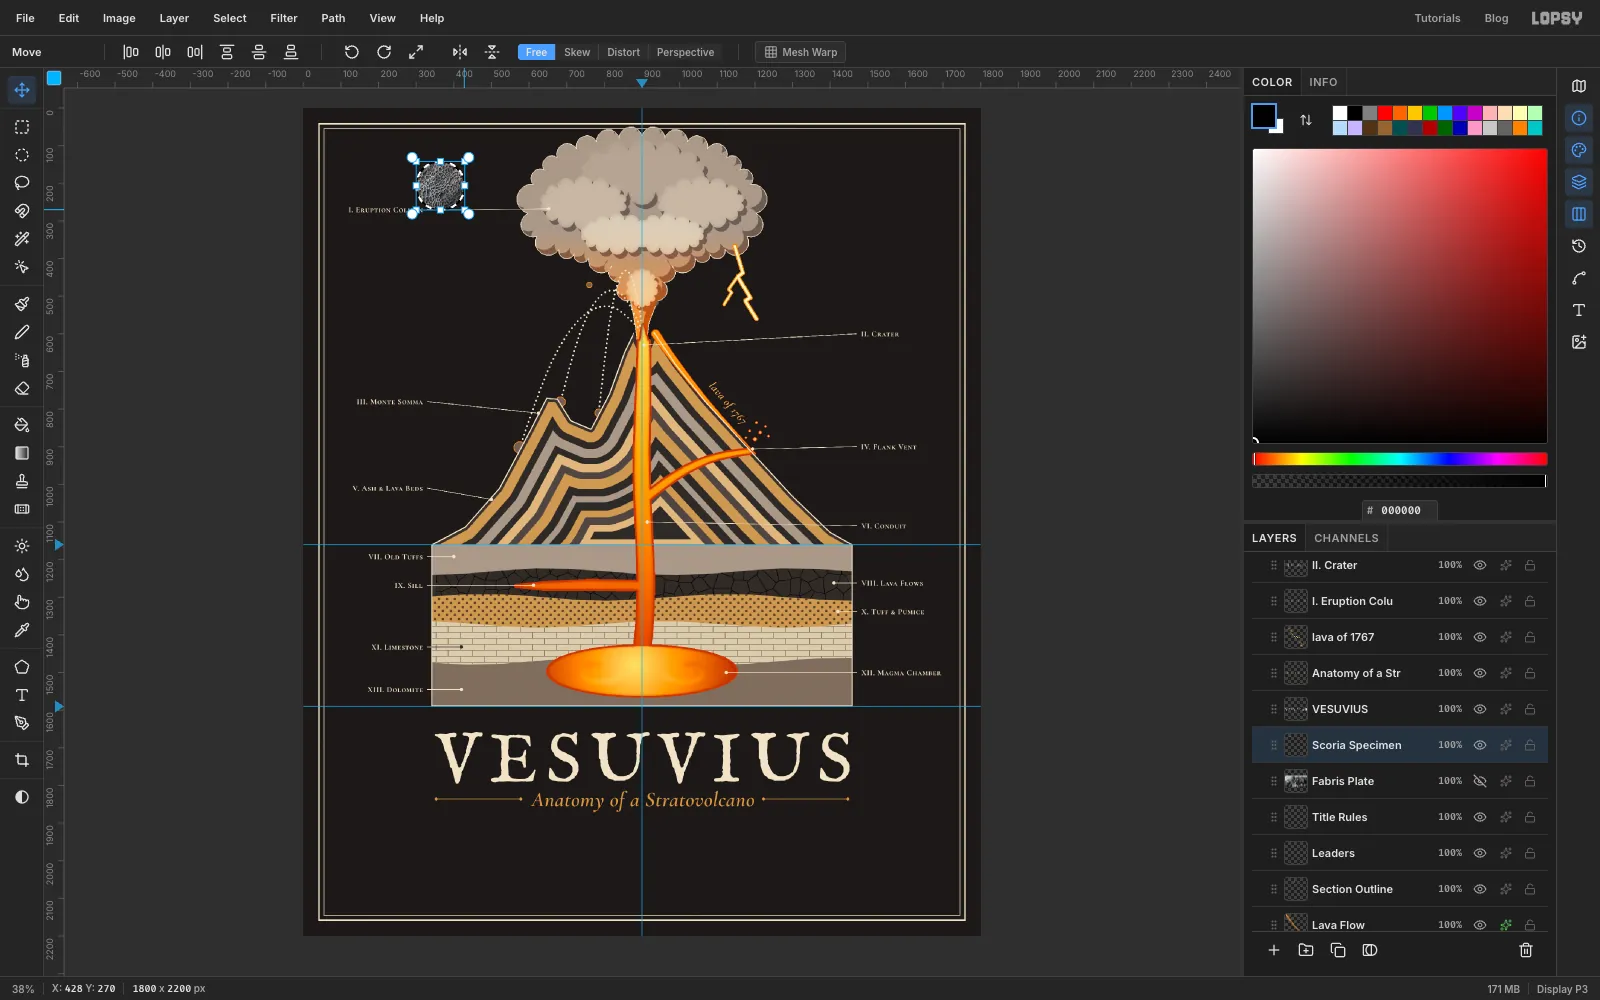
- Cmd-click the
-
Add the other two specimens
- Show
Fabris Plateagain and click it. Cut a circle around the white-speckled leucite lava near the plate's bottom right: From 905, 500 and To 1065, 660. Copy, paste and name the new layerLeucite Specimen. - Scale it the same way to about 128 px, centre it at about (1280, 1990) and give it the same Stroke. Then delete
Fabris Plate. - Drop the 1280 px Mount Vesuvius in eruption in 1767 plate onto the canvas. Click it and cut an oval around the erupting mountain: From 260, 60 and To 1140, 600. Copy, paste and name the new layer
1767 Vignette. - Scale the oval to about 208 px wide, centre it at about (900, 1990), give it the same Stroke, and delete the full plate layer.
- The night scene is dark, so choose Filter → Brightness/Contrast… with Brightness 28 and Contrast 40 before toning it.
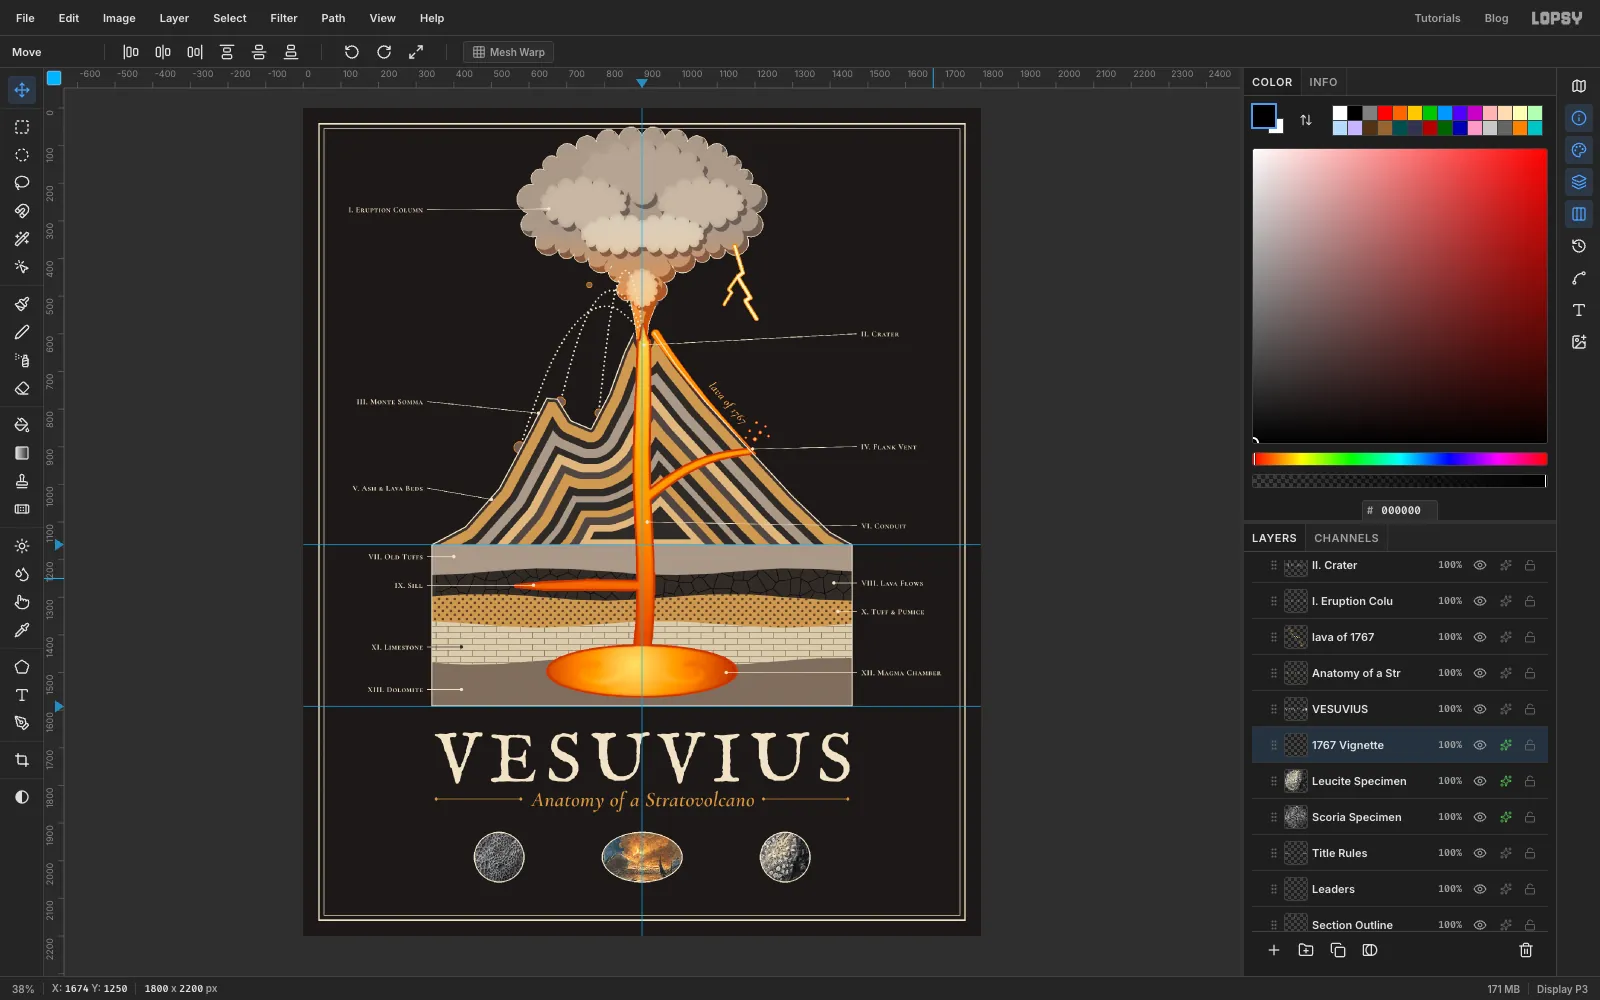
- Show
-
Tone the plates with a Gradient Map
- Select the three specimen layers and click Group Layers. Name the group
Specimens. - Open the group's effects drawer, click Add Adjustment and choose Gradient Map.
- Click the left stop and type , then click the right stop and type . Click the middle of the gradient bar to add a third stop, then type for it.
The Gradient Map remaps every pixel in the group by brightness. The old watercolours become charcoal, ember and cream, the same inks as the rest of the shirt. The cream rings stay cream.
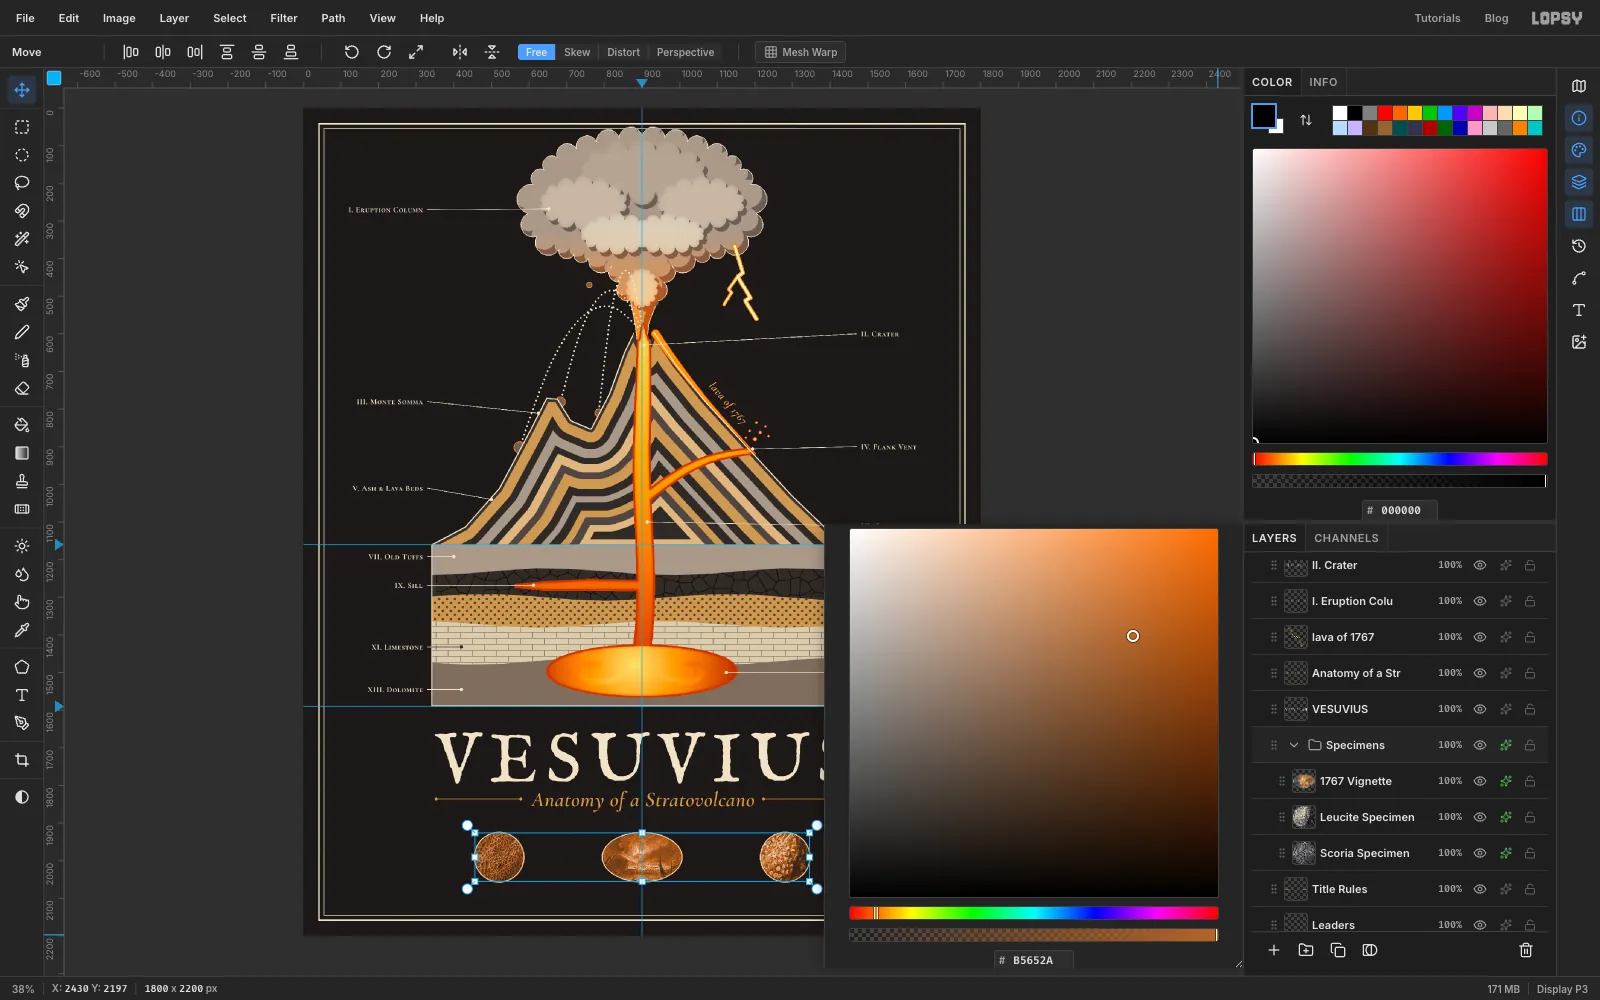
- Select the three specimen layers and click Group Layers. Name the group
-
Caption the specimens
- Collapse
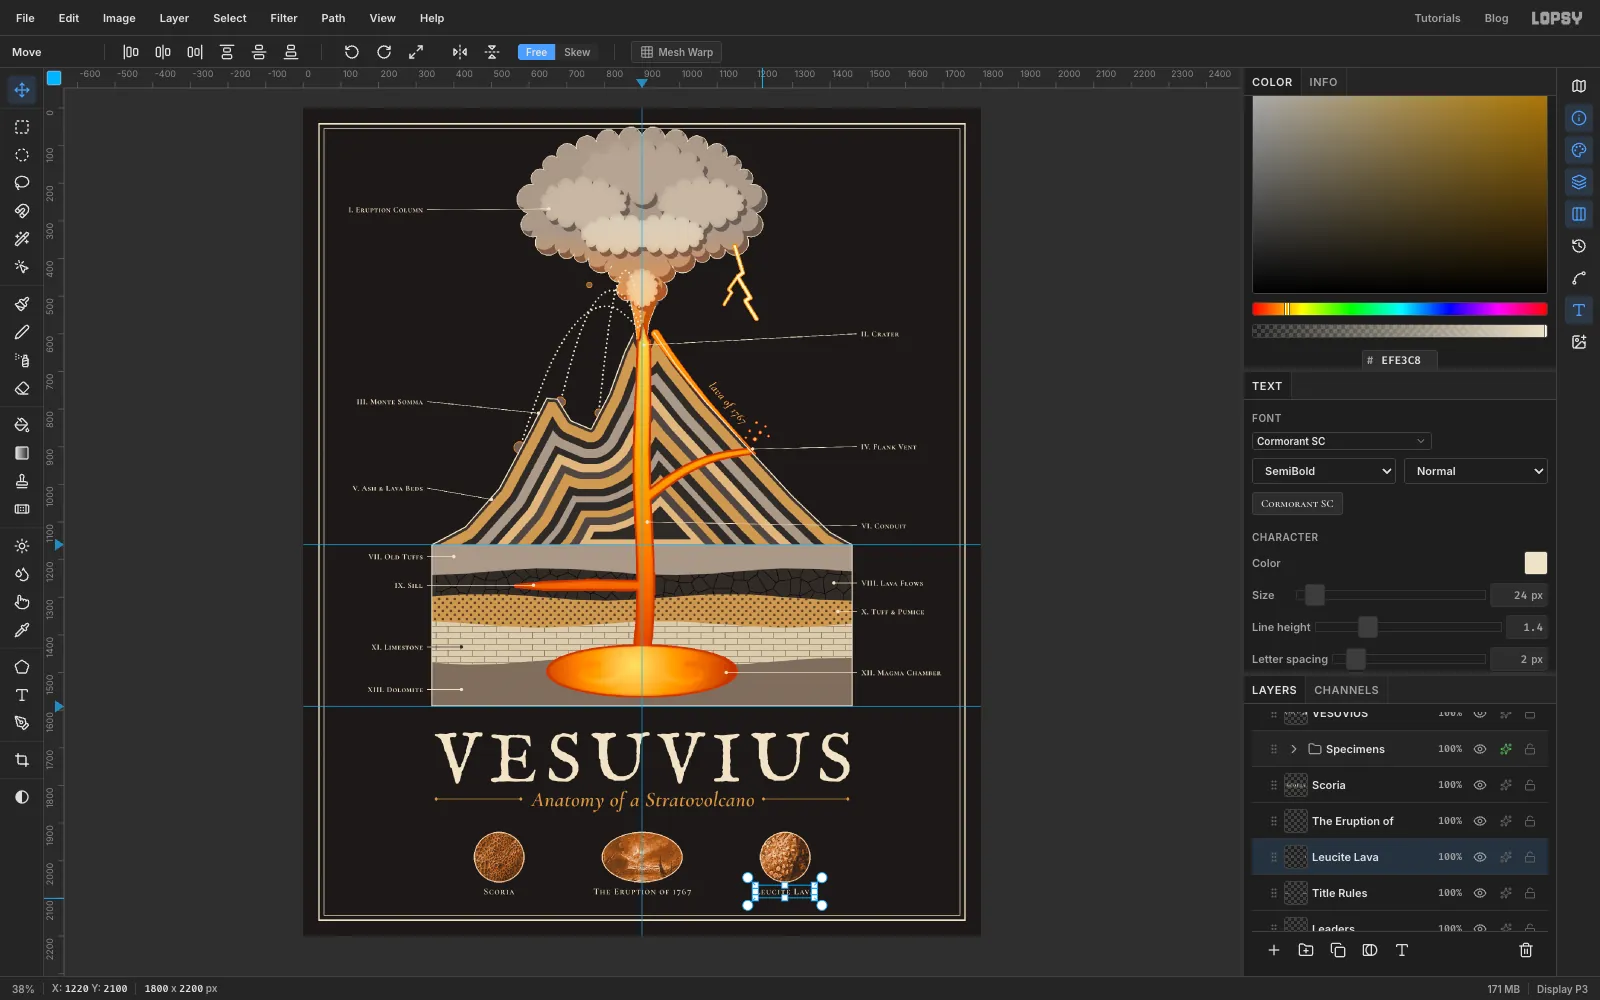
Specimensand clickTitle Rules. - With Cormorant SC SemiBold, 24 px, cream and Letter spacing 2, type
Scoria,The Eruption of 1767andLeucite Lava. - Centre each one under its roundel, with all three tops at y 2074. That leaves about 50 px of space above the frame.
- Collapse
-
Organise the layers into groups
- Cmd-click to select
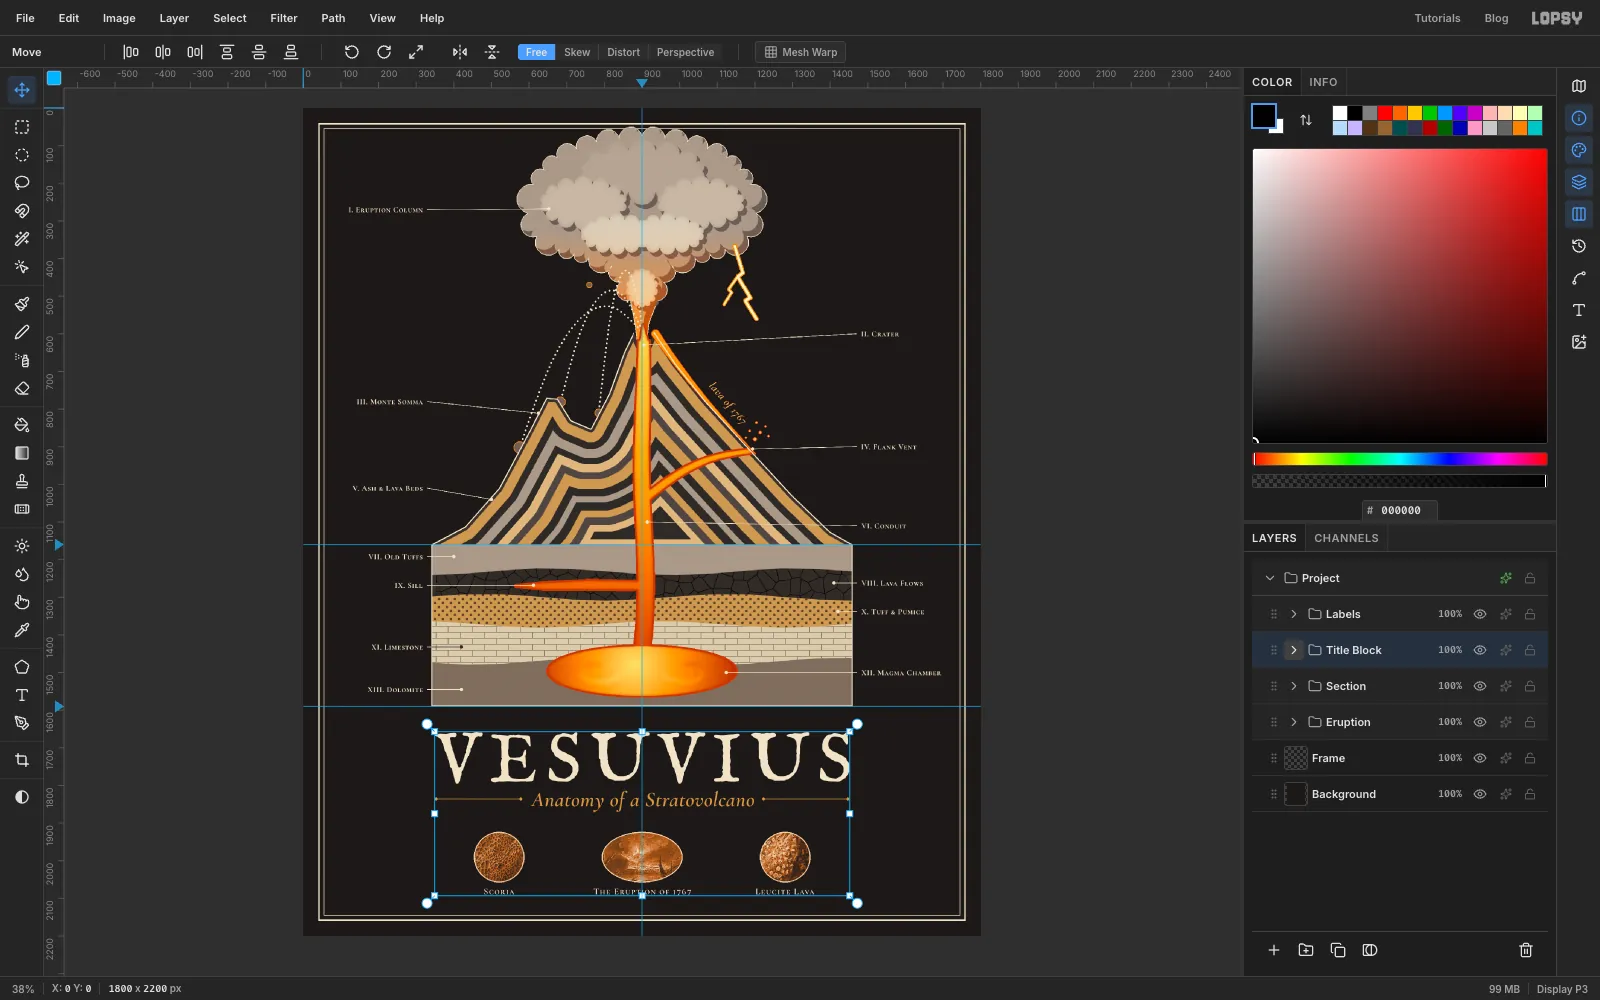
Cone,Basement,Bricks,Ash Dots,Jointing,Magma,Lava FlowandSection Outline. Click Group Layers and name the groupSection. - Do the same with
Leadersand all the label text to makeLabels. Then groupTitle Rules, the title, subtitle, captions andSpecimensintoTitle Block. - Collapse the groups. With a group selected, the Move tool and arrow keys move everything in it together, which is handy if you later want to shift all the labels at once.
- Cmd-click to select
-
Add a halftone glow behind the crater
- Click
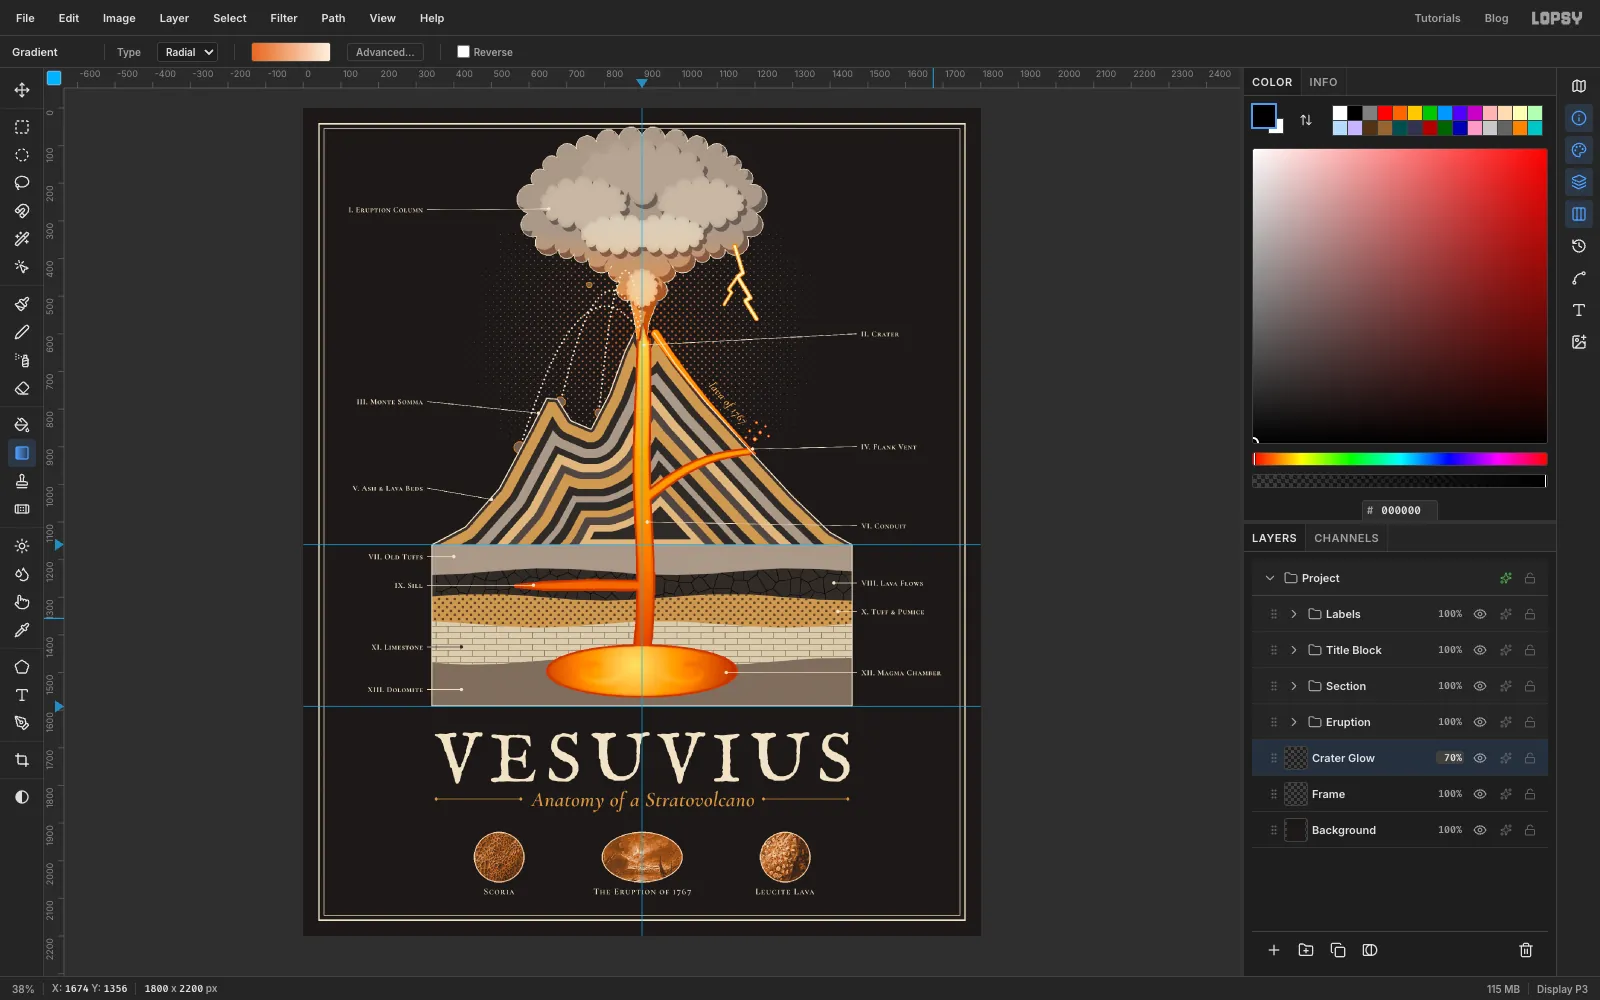
Frameand add a layer namedCrater Glow, so it sits under everything else. - Click once with the Elliptical Marquee and enter From 435, 130 and To 1375, 1070.
- Set a radial gradient from to and drag from the crater 470 px out to the right. Deselect.
- Choose Filter → Halftone… with Dot Size 14, Density 1 and Angle 45. Set the layer's opacity to 70%.
Halftone draws darker tones as bigger dots, so the glow becomes large orange dots at the crater fading to specks. A dot pattern like this separates cleanly for a screen-printed shirt. Save with File → Save Project, then File → Quick Export PNG for the print file.
- Click