Design a Voxel Art Website Landing Page
Build an isometric voxel diorama of a cabin, campfire and waterfall in Lopsy, then design a full website landing page around it.
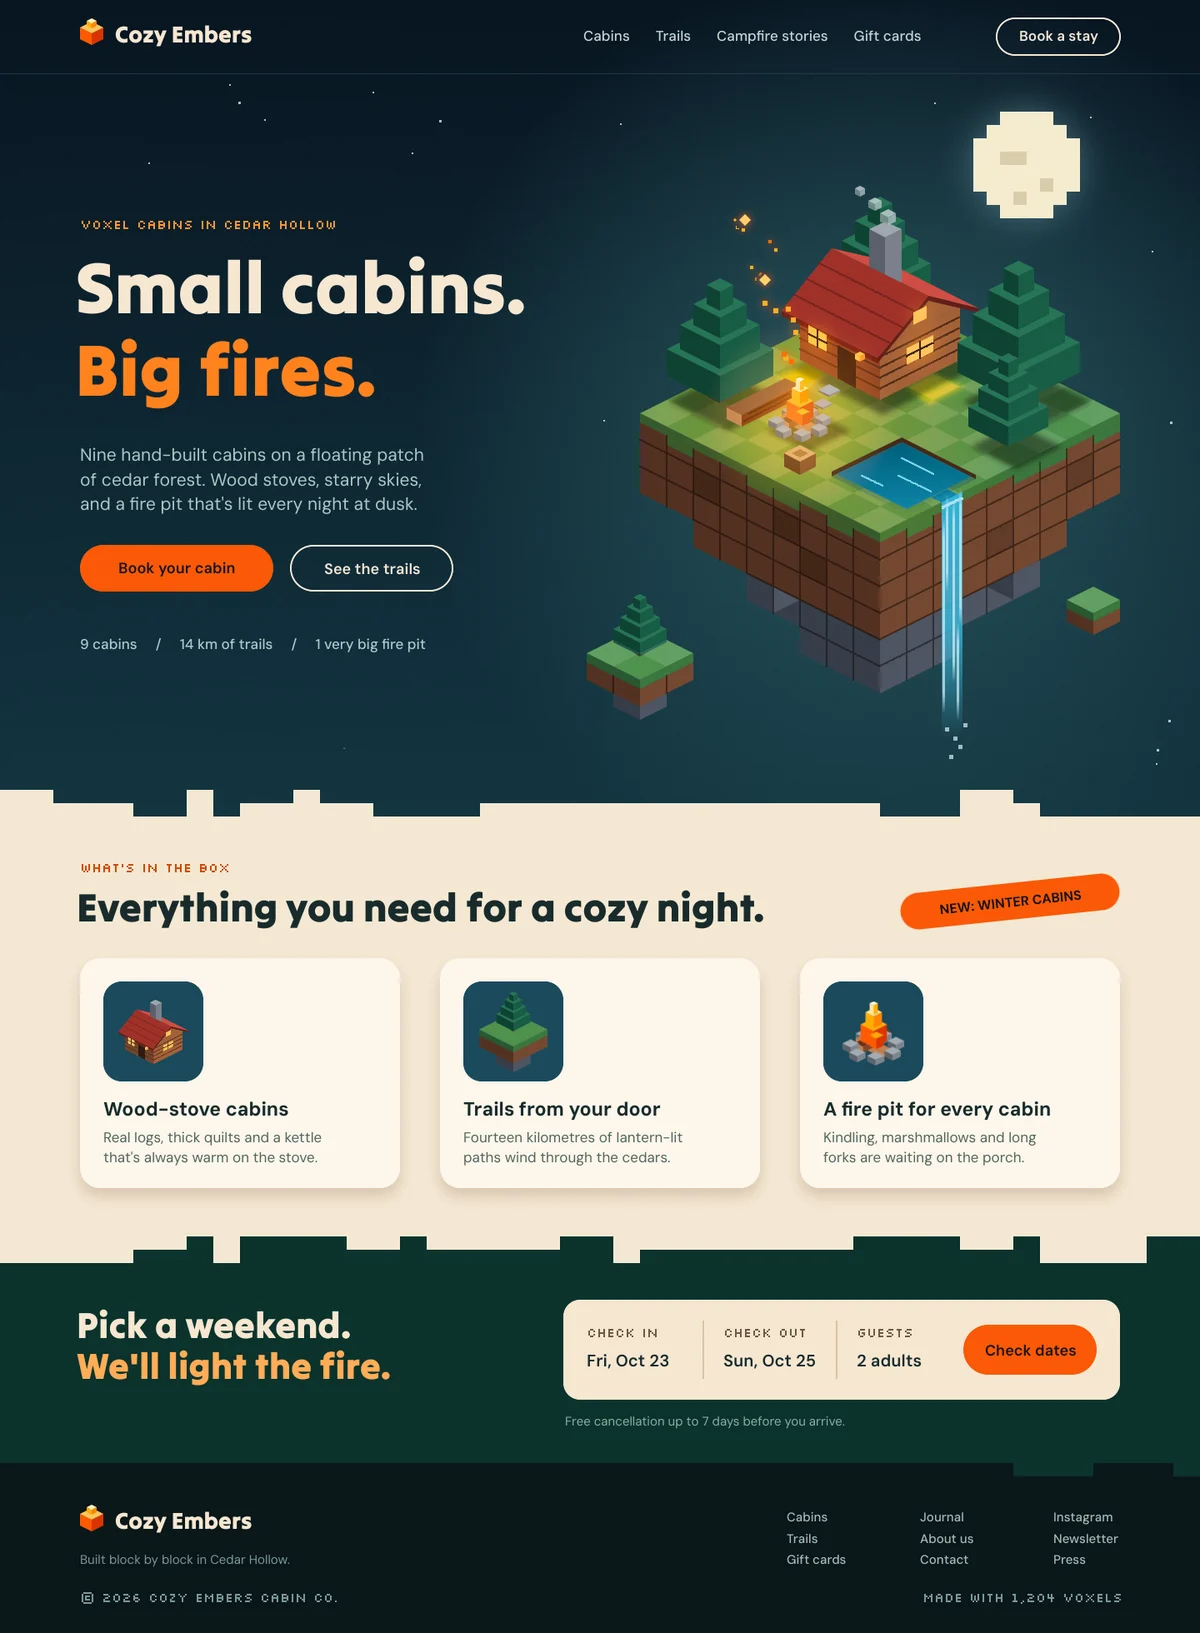
Voxel art builds everything from little cubes, like a 3D version of pixel art. It's a favourite for game sites and playful brands because one small isometric scene can carry a whole hero section. This tutorial makes a landing page for an imaginary cabin-rental company, Cozy Embers. The hero is a floating voxel island at night: a log cabin, pine trees, a campfire and a waterfall. The rest of the page (feature cards, a booking widget and a footer) is designed around it.
Nothing here comes from a 3D program. Every cube face is a flat shape filled in Lopsy, and a single pattern tile turns the grass into a voxel checkerboard.
Along the way you'll use:
- the Lasso and Edit → Fill to draw isometric cube faces
- the grid, ruler guides and Shift-added marquees for a pixel moon and stepped section edges
- Define Pattern and Fill with Pattern for a voxel checkerboard
- the Pencil's Shift-click lines for voxel seams, log lines and roof shingles
- Gradients with transparent stops, Overlay, Screen, Soft Light and Multiply layers for night and firelight
- Outer Glow, Drop Shadow, Motion Blur, Gaussian Blur and Add Noise
- the Shape tool's rounded rectangles for buttons, cards and a booking widget
- Tilt Warp, DM Sans and Silkscreen text, coloured ranges, and the Text panel's line height
- Copy, Paste in place, Merge Down, scaling and rotating, including two layers at once
- Image → Canvas Size, groups, dragging a layer into a group, and moving a whole group
The palette is a deep night blue with ember orange, warm wood and voxel greens, then cream and forest green for the page:
-
Night sky
-
sky glow
-
Moon
-
craters
-
moon glow
-
stars
-
Grass top
-
grass sides
-
Dirt
-
dark dirt voxels
-
seams
-
Stone
-
Logs
-
log lines
-
door
-
Roof
-
eaves
-
shingle lines
-
Chimney
-
smoke
-
Window light
-
glazing bars
-
Pines
-
trunks
-
Water
-
deep water
-
ripples
-
banks
-
waterfall
-
foam
-
Wood
-
grain
-
Fire stones
-
Flames
-
Glows
-
Cream type
-
link grey
-
body grey
-
eyebrow orange
-
headline orange
-
Ember buttons
-
button text
-
nav rule
-
Paper
-
cards
-
card shadow
-
icon tiles
-
Ink
-
card text
-
section eyebrow
-
Forest band
-
light orange
-
widget lines
-
widget labels
-
note
-
Footer
-
footer text
-
footer links
-
Paint the night sky
- Open Lopsy and create a 1440 × 1900 document with a white background. That's a desktop page width. You'll add a little height at the end.
- Rename Layer 1 to
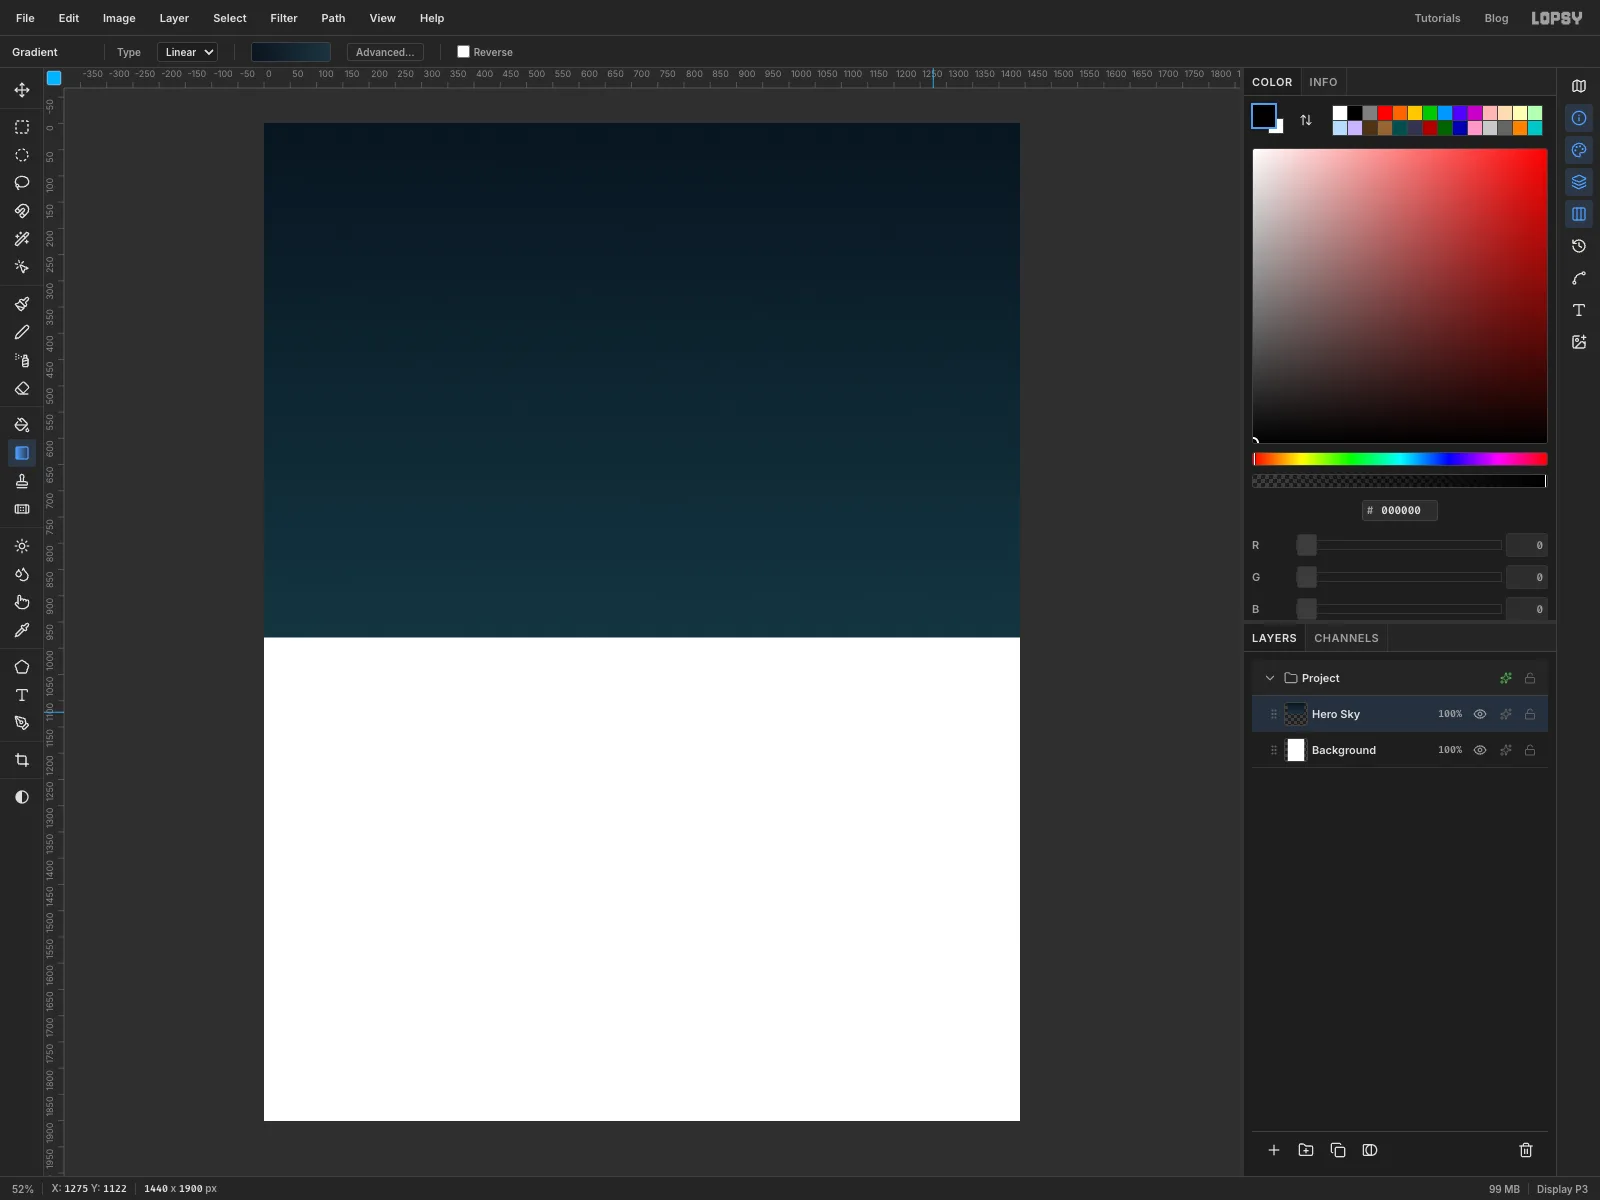
Hero Sky. - With the Rectangular Marquee, select the top 980 px of the canvas, the full width.
- Pick the Gradient tool, set it to Linear, open Advanced… and set the two stops to and . Drag from the top of the selection to the bottom.
- Run Filter → Add Noise… with Amount
4and Mono. A tiny bit of grain stops large dark gradients from banding.
-
Add a glow behind the island
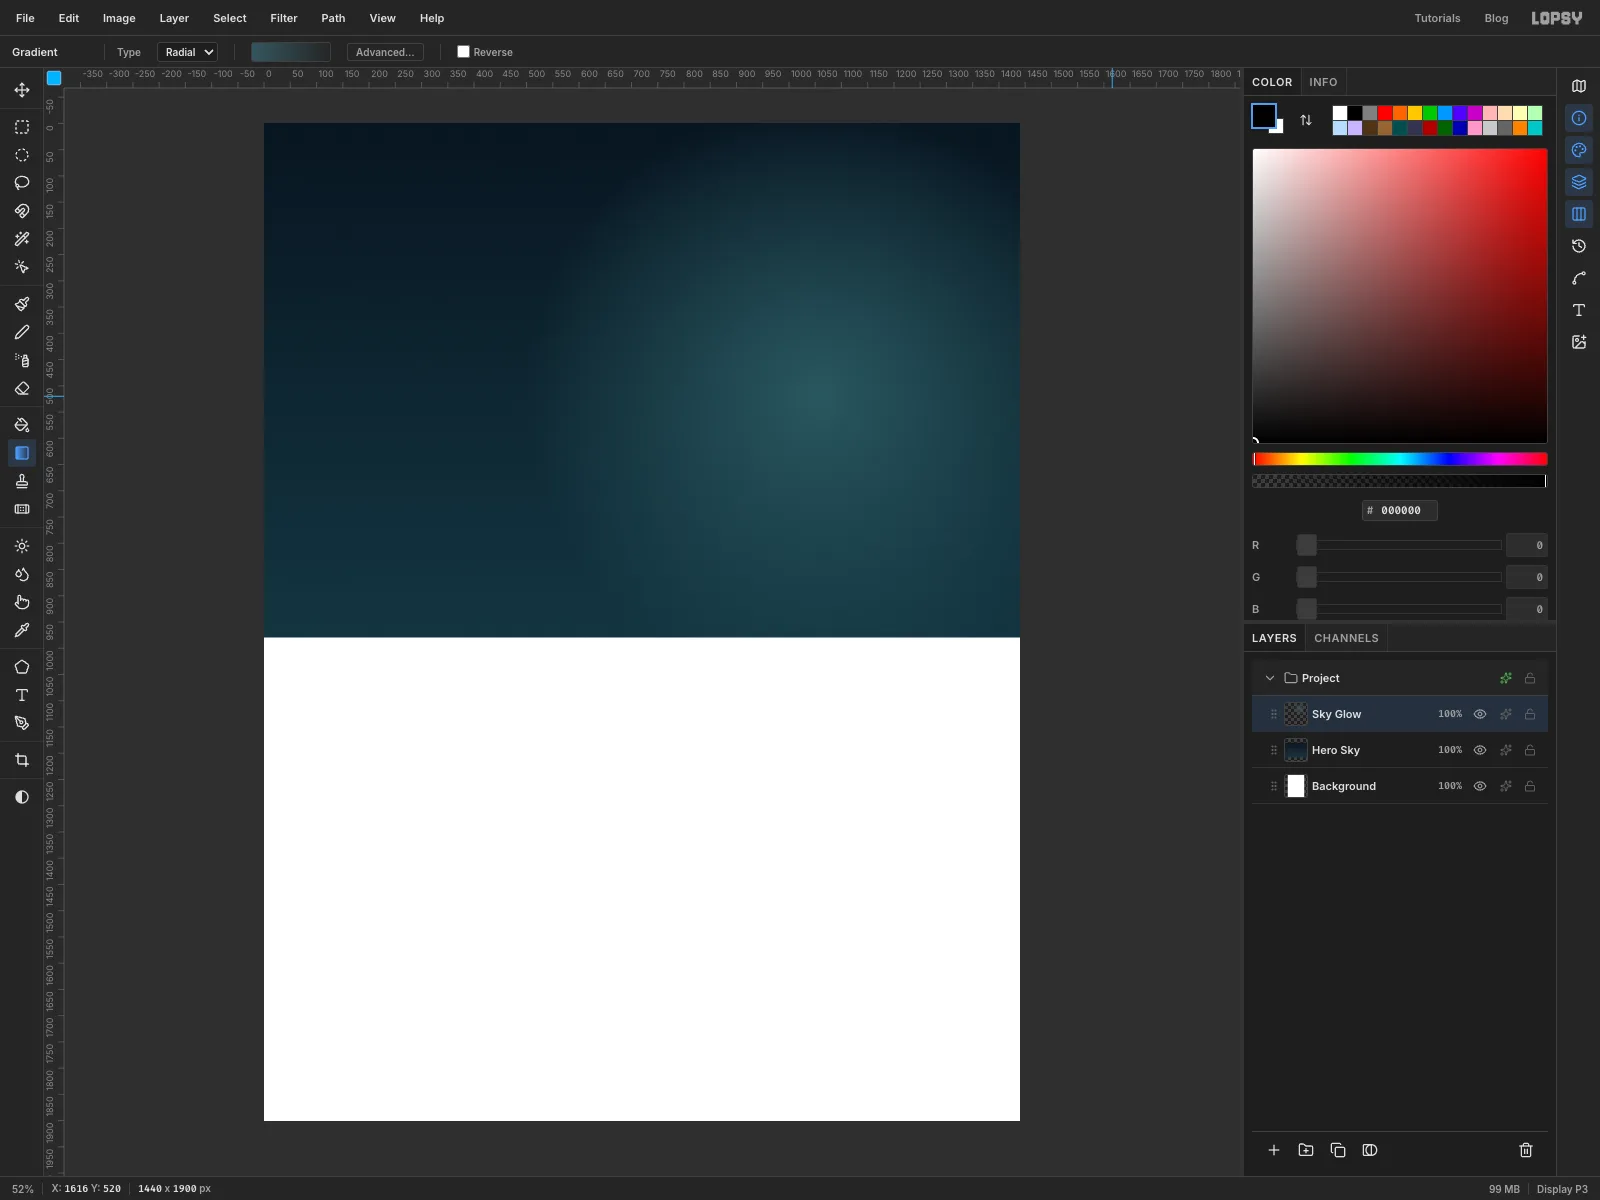
- Add a layer called
Sky Glow. Keep the same selection. - Switch the Gradient to Radial with a stop and a second stop at 0% opacity.
- Drag from about
1056, 520, the centre of where the island will sit, out about 560 px to the right. Deselect.
- Add a layer called
-
Draw a pixel moon on the grid
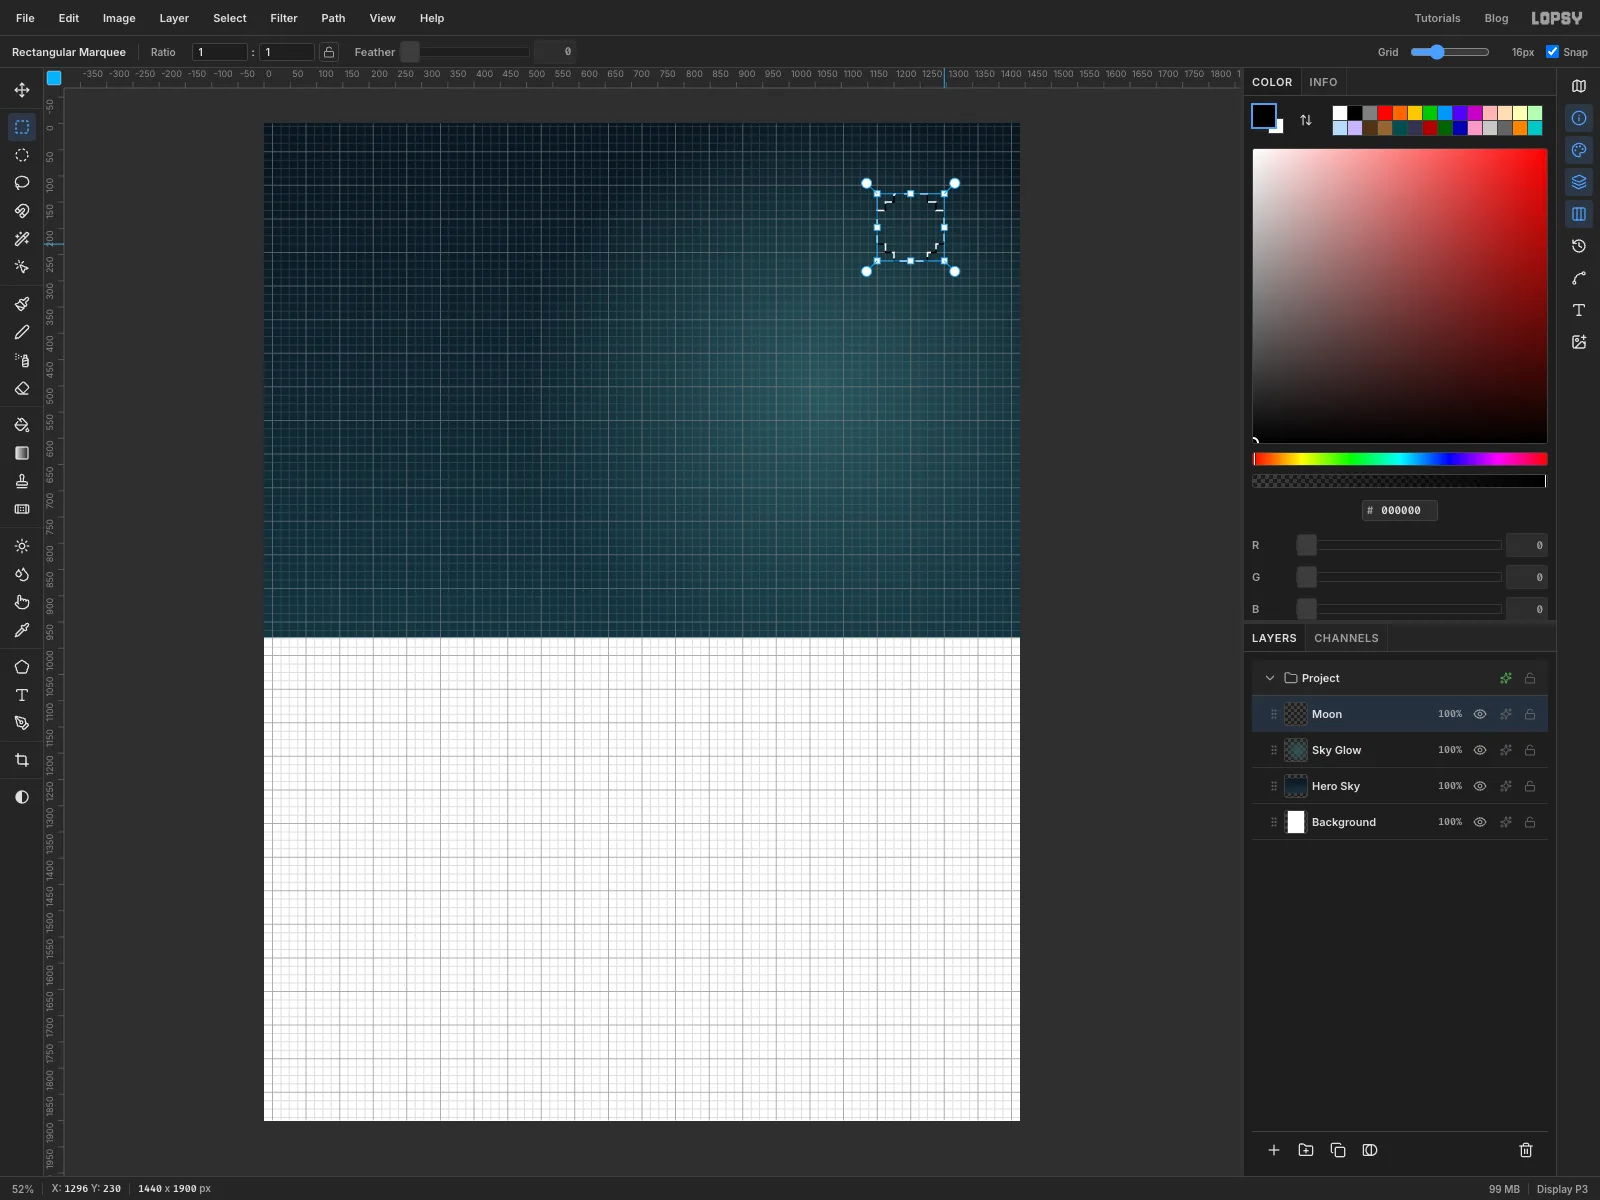
A voxel scene needs a blocky moon, not a smooth one. Three overlapping rectangles make a pixel-art circle.
- Add a layer called
Moonand choose View → Show Grid. The grid is 16 px, and Snap turns on with it, so marquee corners land on grid lines. - With the Rectangular Marquee, drag a tall rectangle 4 squares wide and 8 squares tall near the top right, about
1200, 134to1264, 262. - Hold Shift and drag a 6 × 6 square centred on it. Hold Shift again and drag a rectangle 8 squares wide and 4 tall across the middle. The three add up to a stepped circle.
- Add a layer called
-
Finish the moon
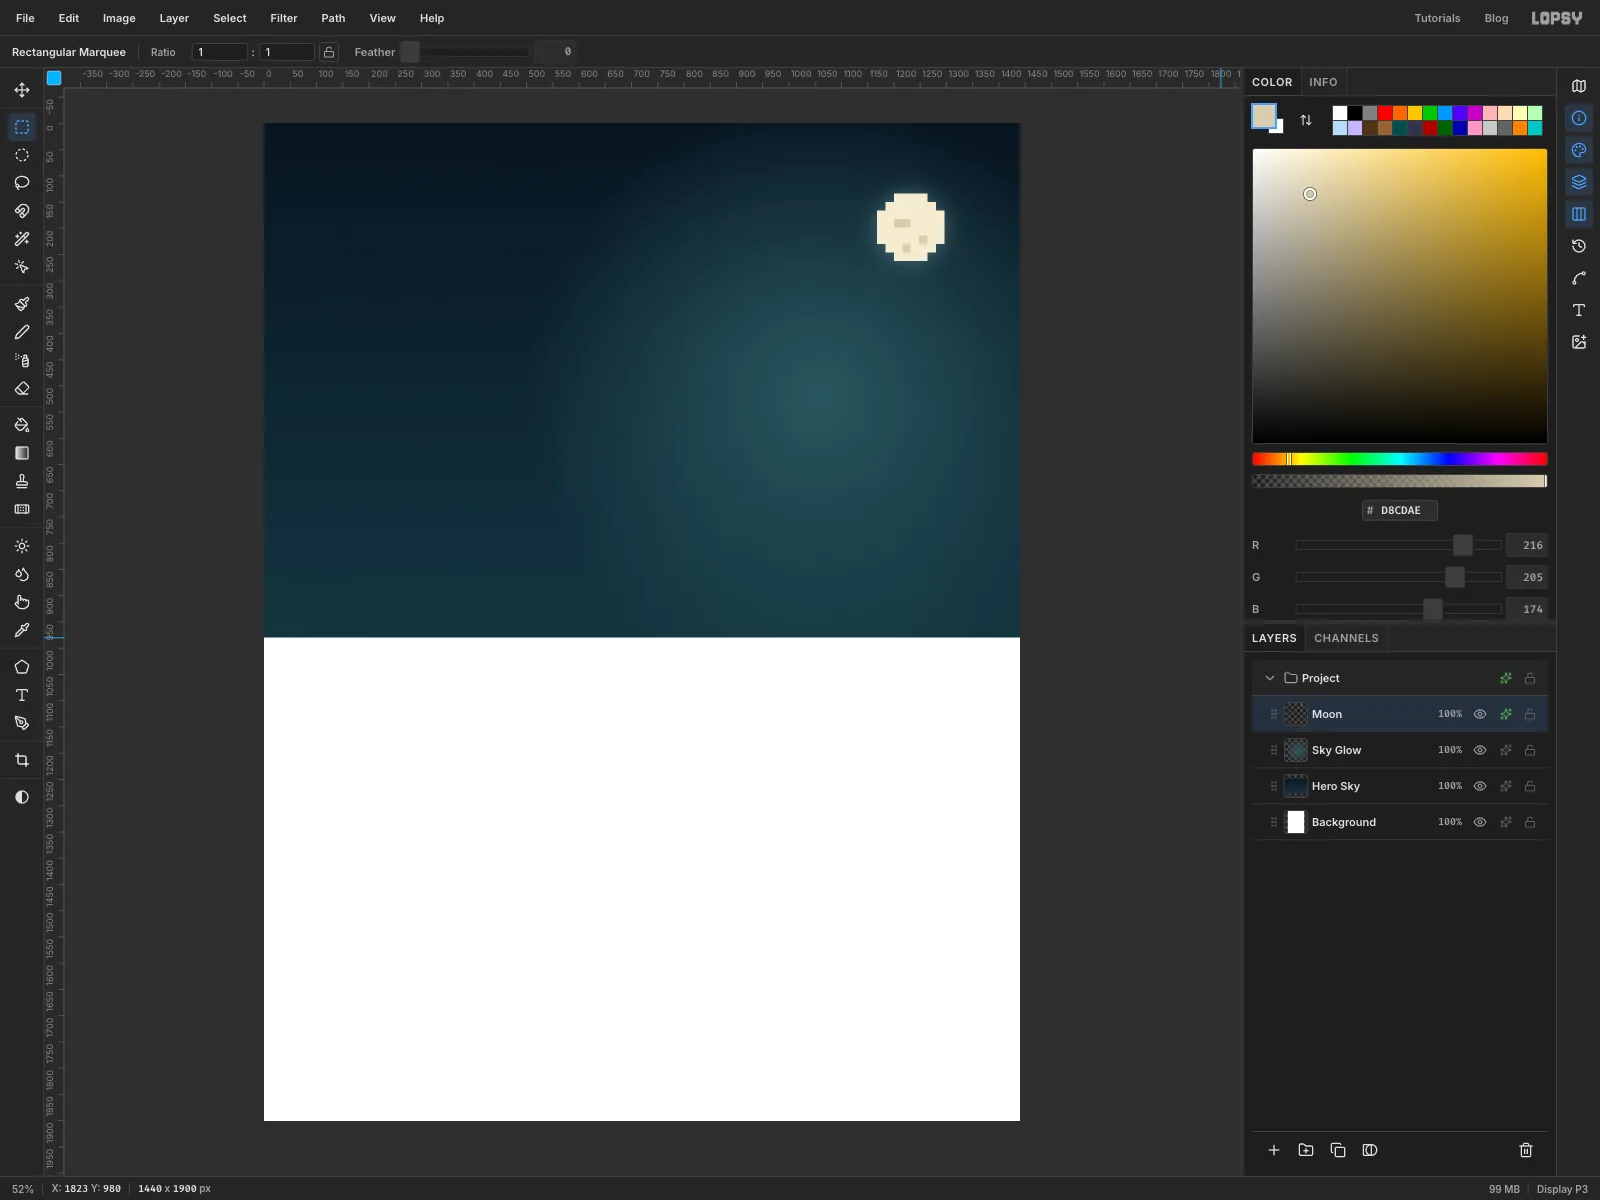
- Fill the selection with and deselect.
- For craters, select one 2 × 1 block of squares inside the moon, then hold Shift and add two single squares. Fill them with .
- Choose View → Show Grid again to hide the grid.
- Give
Moonan Outer Glow with Size70, Opacity40and colour .
-
Scatter the stars
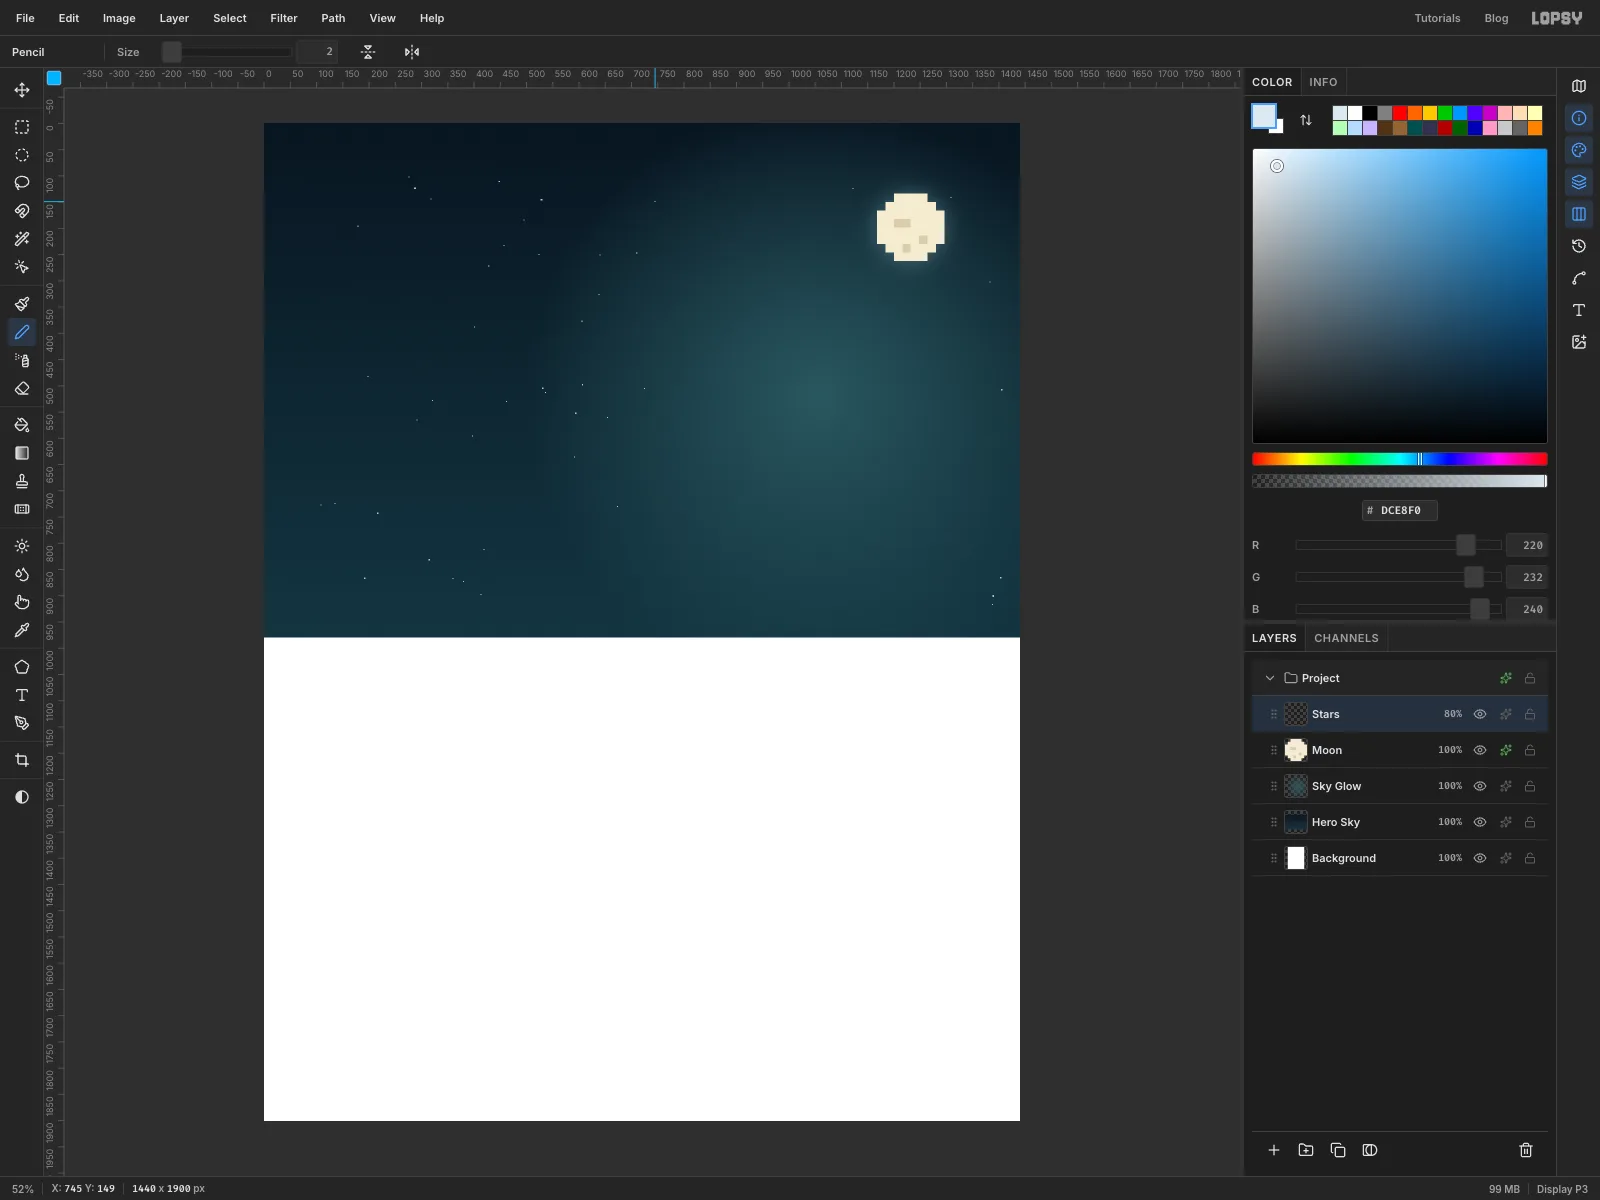
- Add a layer called
Starsand pick the Pencil in . - Click about seventy single dots across the sky at Size
2, making every fourth or fifth one size3. Keep them out of the area where the island will go, roughly740to1370across and170to880down. - Set the layer to
80%. You'll erase the stars behind the text at the end.
- Add a layer called
-
Lay out the page with guides
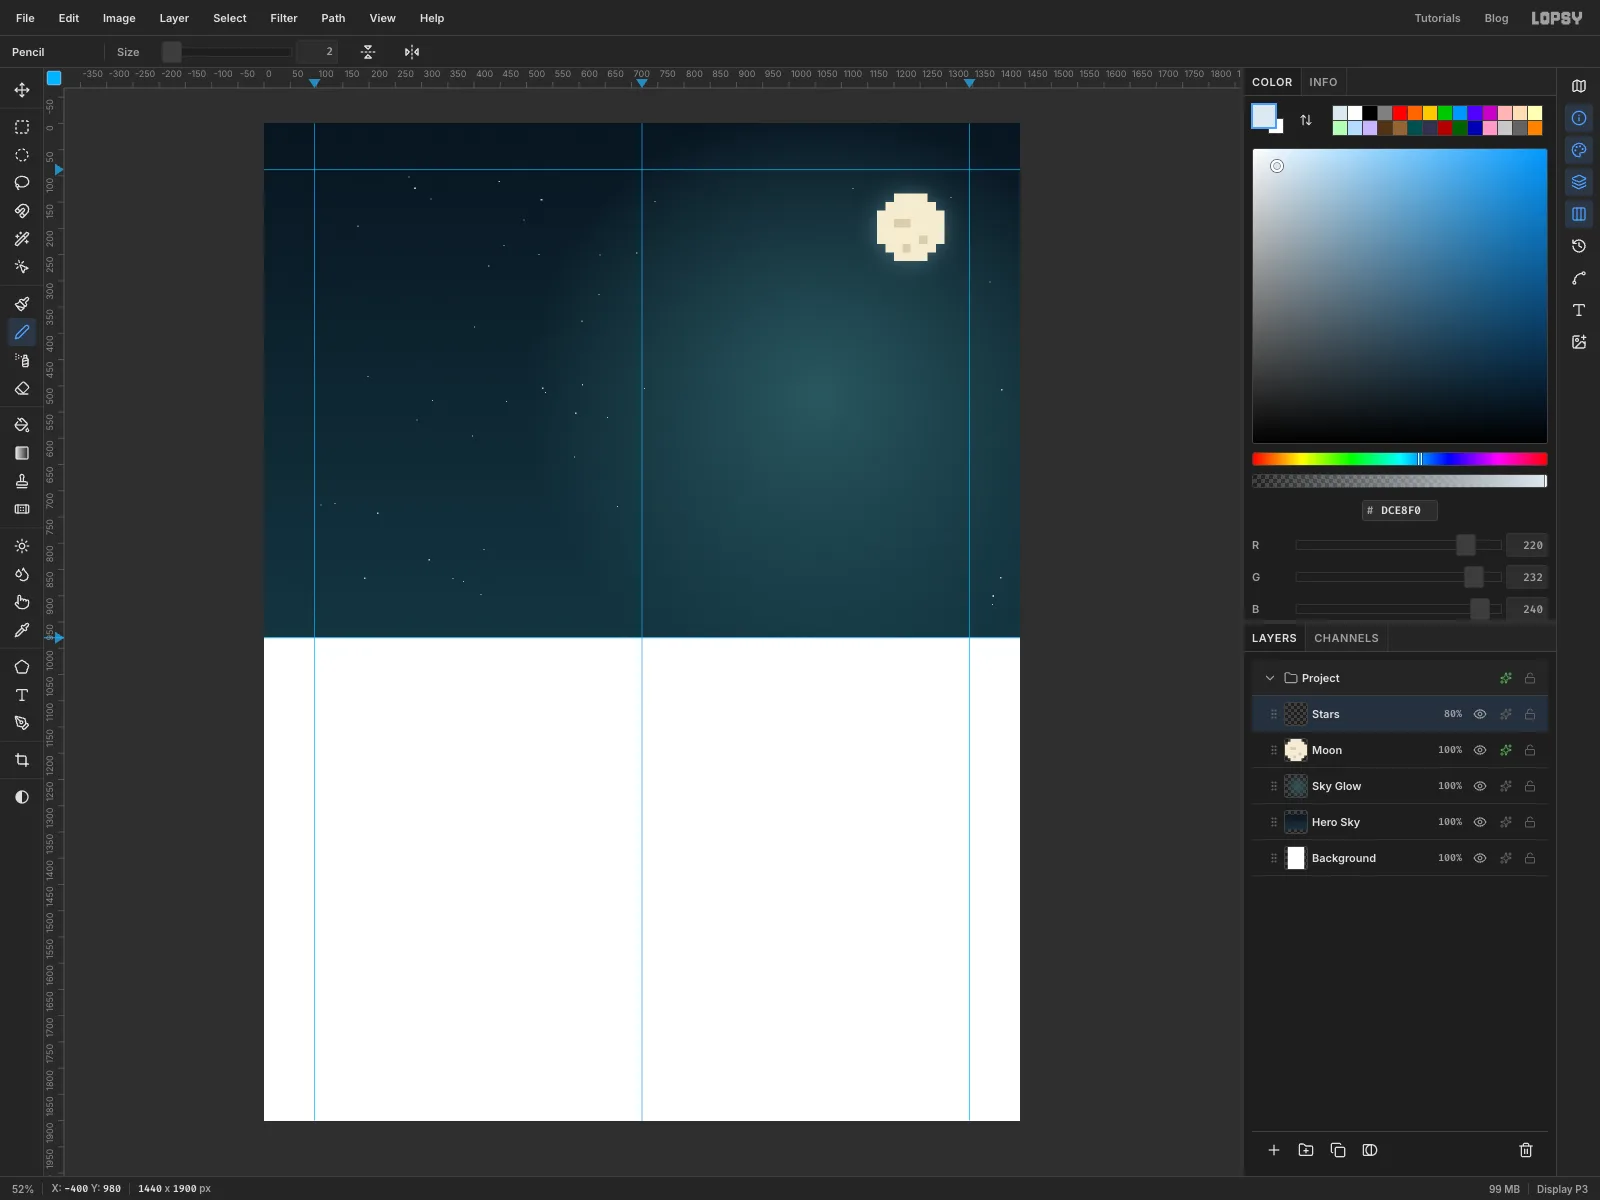
Click once on the top ruler to drop a vertical guide, and once on the left ruler for a horizontal one.
- Add vertical guides at
x 96andx 1344. These are the page margins, and every left and right edge of the design will sit on them. Add one more atx 720for the centre. - Add horizontal guides at
y 88(the bottom of the nav bar) andy 980(the end of the hero).
- Add vertical guides at
-
Draw the island's rock
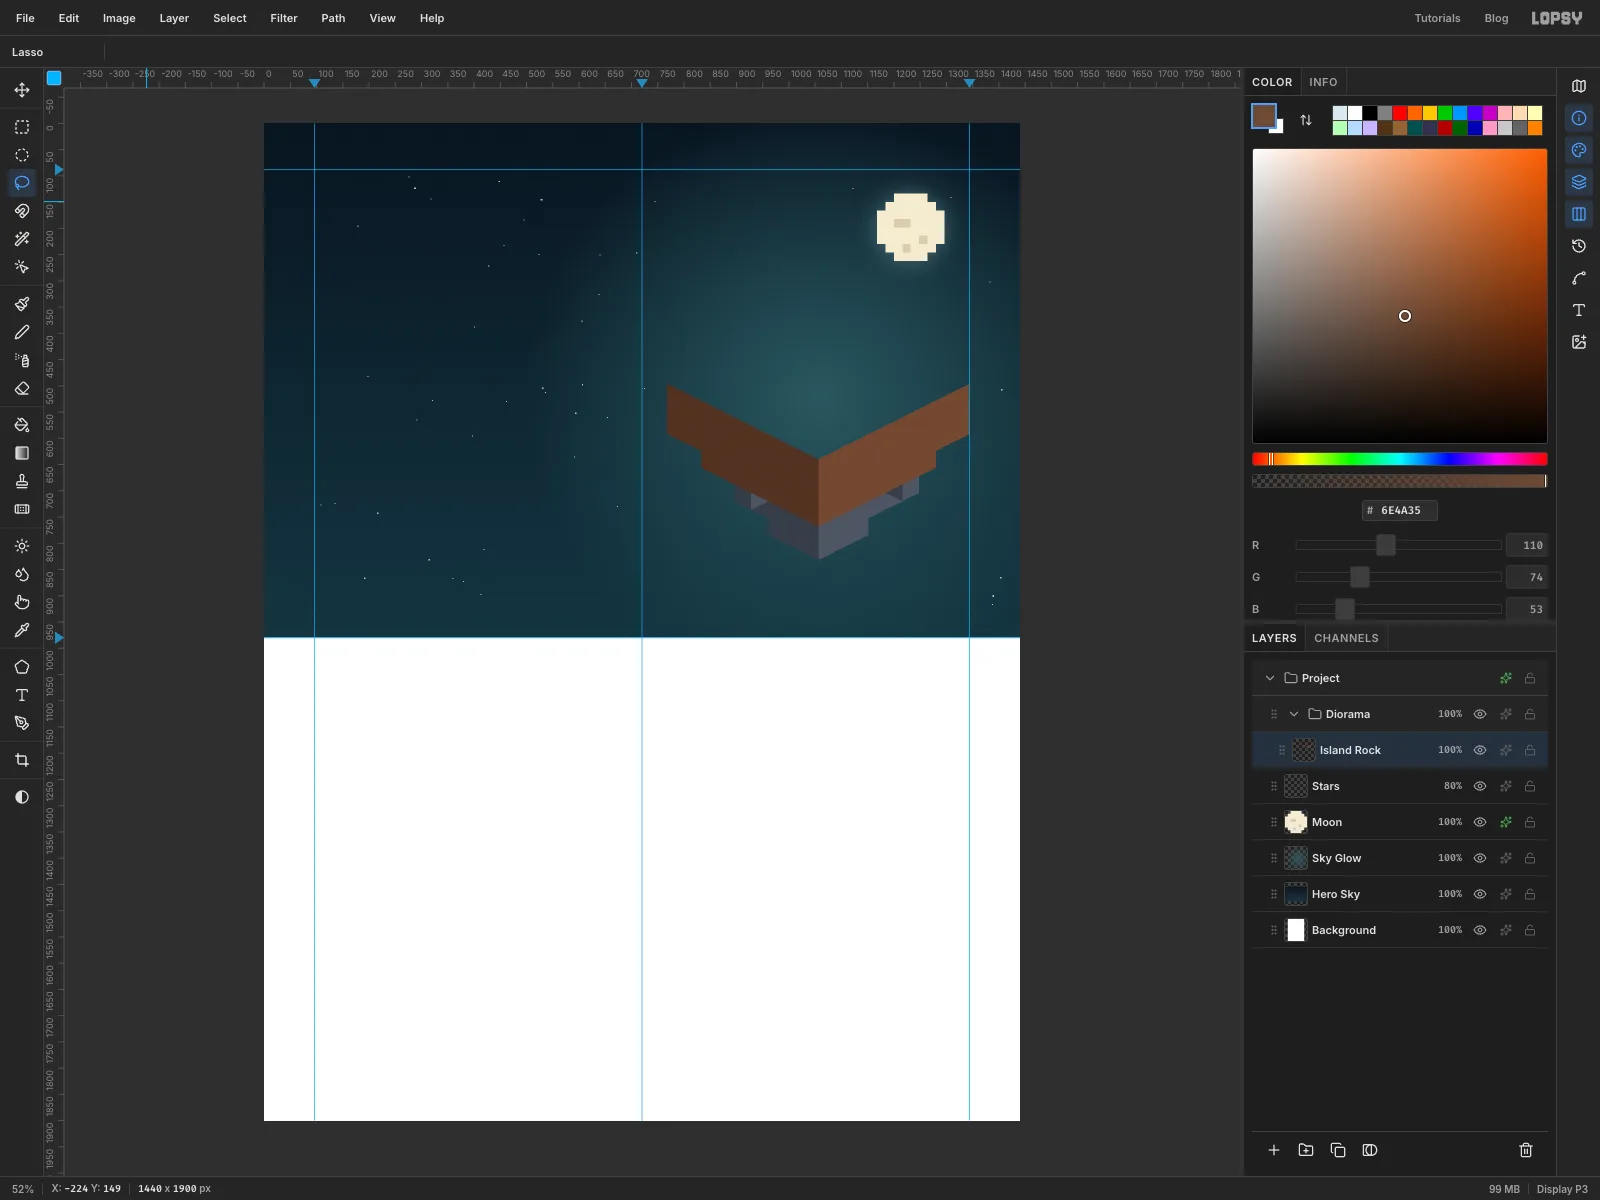
Isometric voxels follow three moves. A voxel is 64 px wide. One voxel towards the bottom right is 32 px right and 16 px down, one towards the bottom left is 32 px left and 16 px down, and one voxel up is 32 px straight up. Every face you draw is a four-sided shape built from those moves. You only ever see three sides of a box: the top, the left side and the right side.
The moon is at the top right, so faces on the right are the lit side and faces on the left are in shadow.
- Click New Group in the Layers panel, name it
Diorama, and add a layer inside it calledIsland Rock. - The island is 9 × 9 voxels. Its top diamond has corners at
1056, 352(back),1344, 496(right),1056, 640(front) and768, 496(left). You'll fill the top in the next step. - With the Lasso, draw the left face: from the left corner to the front corner, then 96 px (3 voxels) straight down, then back to 96 px below the left corner. Drag in straight strokes from corner to corner. Fill it with .
- Draw the right face the same way, from the front corner to the right corner and 96 px down, and fill it with .
- Underneath, add a 7 × 7 tier in the same two browns, two voxels tall and one voxel in from every edge.
- Below that, add stone tiers in (left faces) and (right faces), each one voxel narrower on every side: 5 × 5 and two voxels tall, then 3 × 3 and two voxels tall, then a single voxel.
- Hang a single stone voxel under the dirt tier on each side, so the underside isn't perfectly symmetrical.
Draw the lowest tier first and work upwards, so each tier above overlaps the one below it. Draw the hanging voxels after the tier they sit in front of.
- Click New Group in the Layers panel, name it
-
Cap it with grass
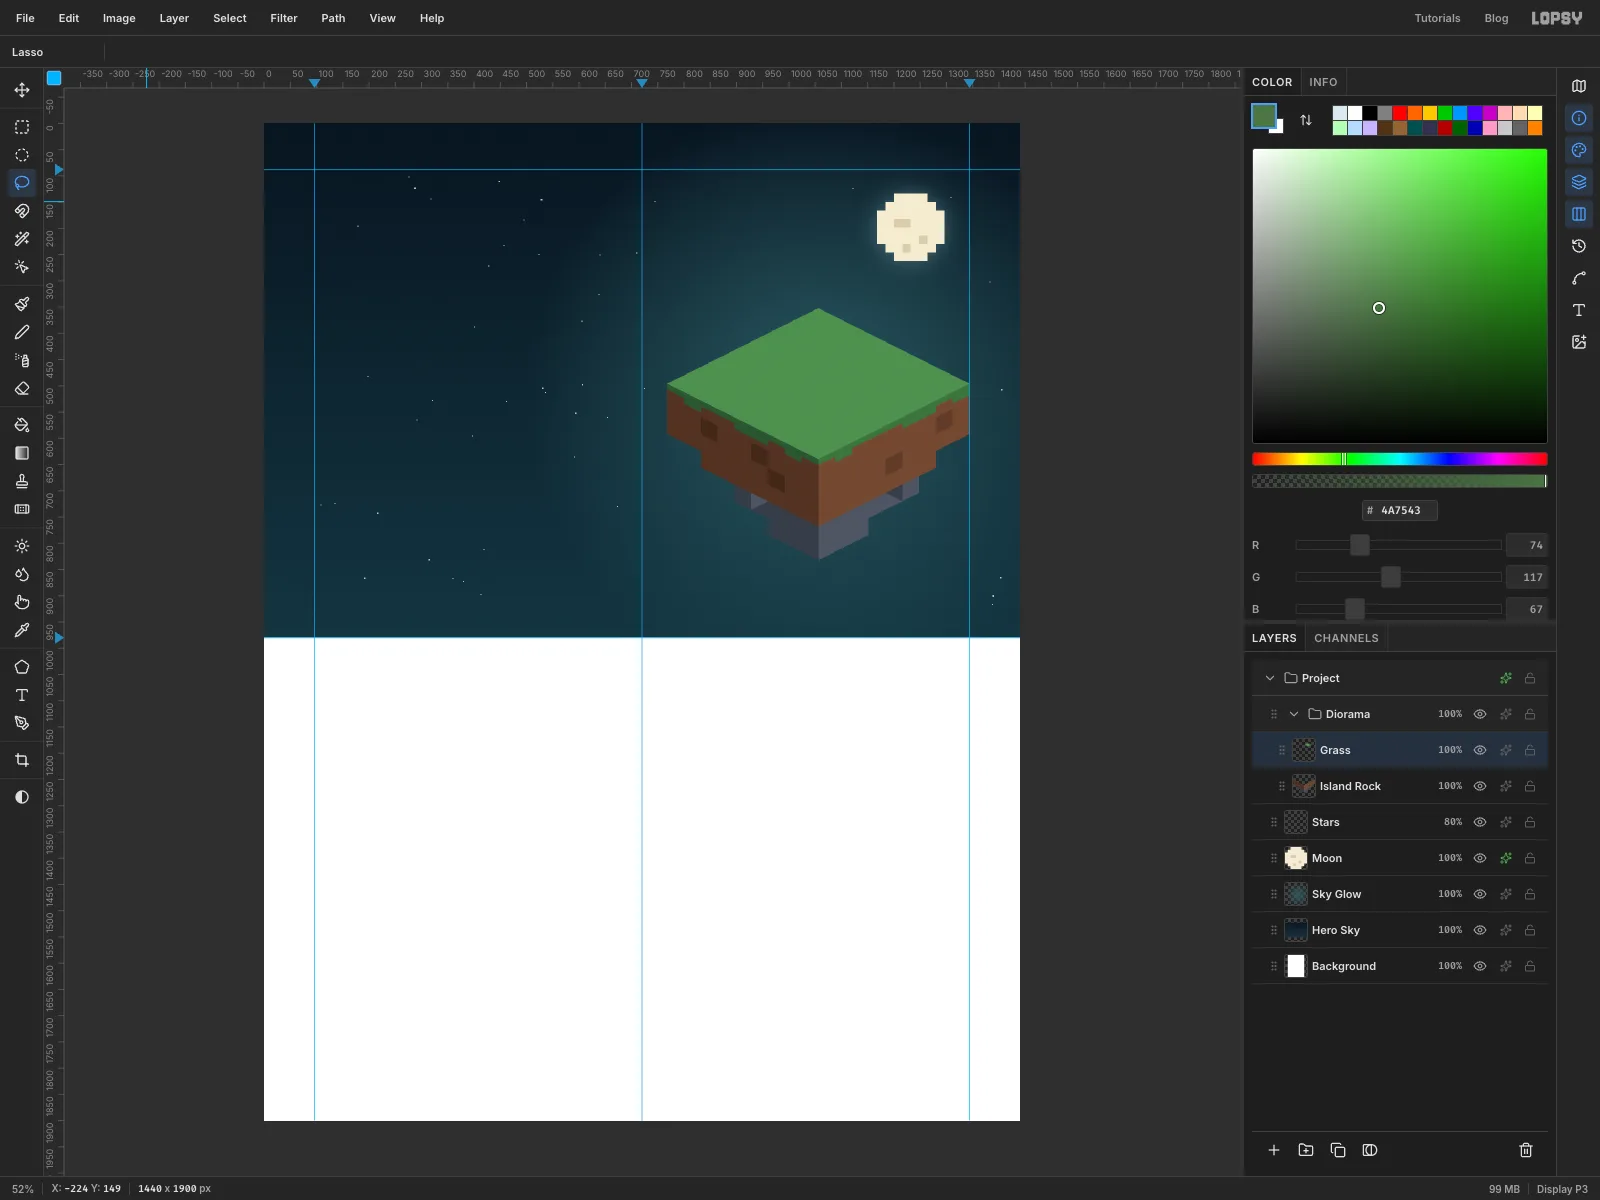
- On
Island Rock, fill a few single voxel squares on the cliff faces with darker dirt ( on the left, on the right). They read as buried stones and break up the flat faces. - Add a layer called
Grass. - Lasso the top diamond and fill it with .
- Draw a grass lip about 11 px deep (a third of a voxel) along both side faces: on the left, on the right.
- On a few columns, extend the lip another 11 px down so the grass drips over the edge.
- On
-
Add two floating islets
- Add a layer called
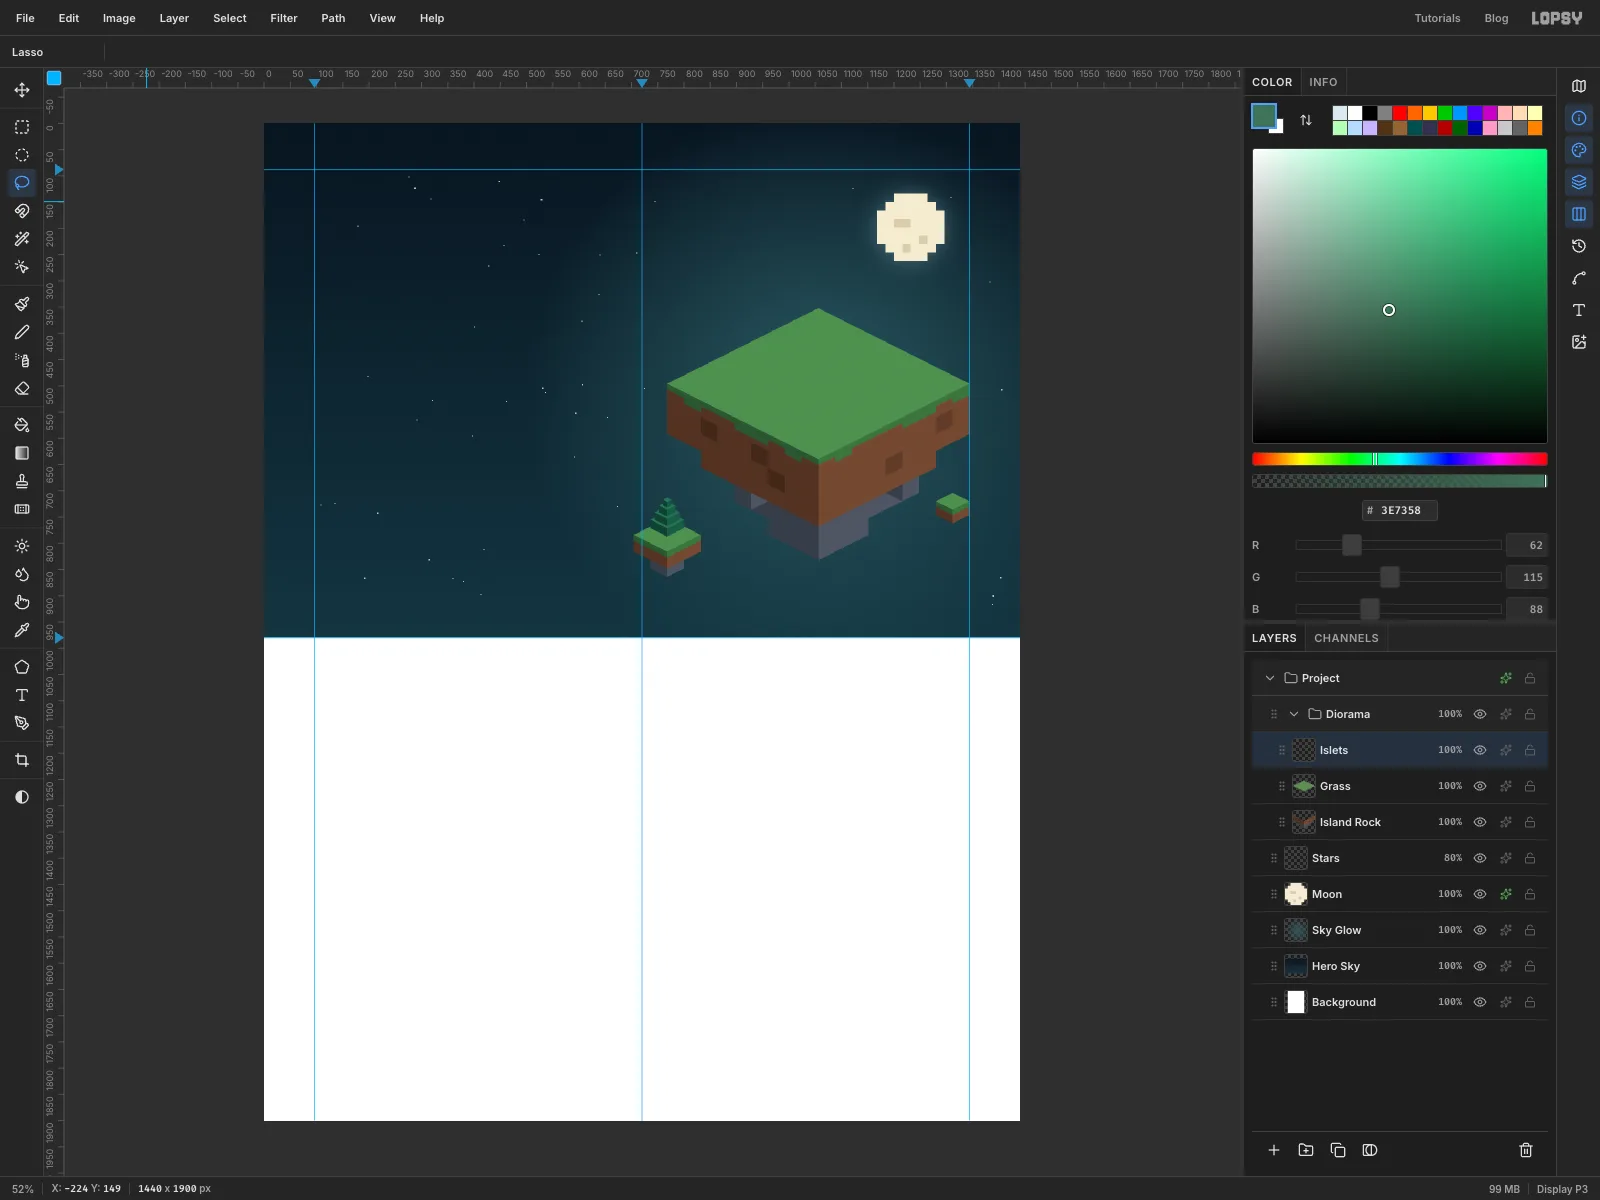
Islets. - Below and to the left of the island, build a 2 × 2 islet: a grass top, a dirt block and one stone voxel underneath. Its top diamond's back corner is at
768, 752. - On the right, add a single grass voxel whose top's back corner is at
1312, 704. Its right corner lands exactly on the right margin guide. - Put a tiny pine on the left islet, at half the size of the recipe below.
Leave at least one voxel of empty sky between the islets and the island. If they touch, they look like part of it.
- Add a layer called
-
Make a voxel tile
Real voxel terrain shows each cube's top. A checkerboard of slightly lighter diamonds gives you that, and one tiny tile is enough.
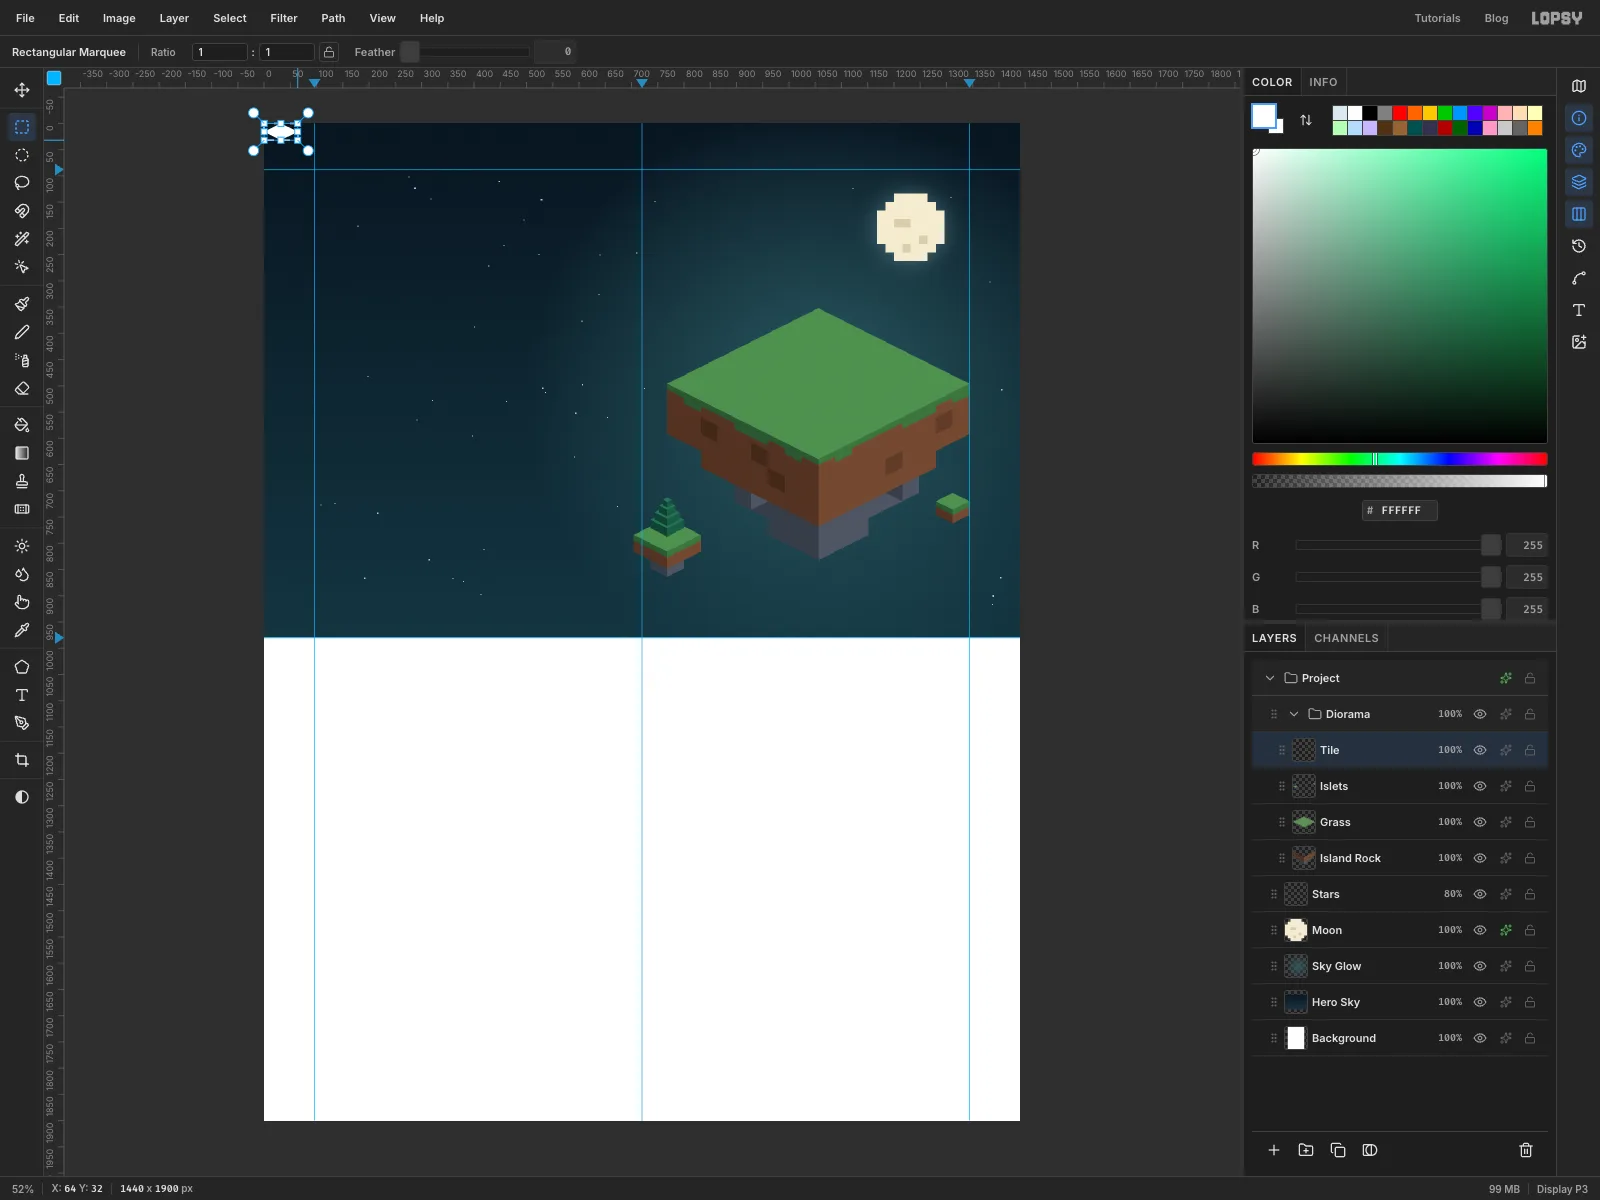
- Add a temporary layer.
- Lasso a diamond with corners at
32, 0,64, 16,32, 32and0, 16, and fill it with white. Leave the corners of the tile transparent. - Select the rectangle from
0, 0to64, 32and choose Edit → Define Pattern. - Deselect and click Delete Layer.
-
Fill the grass with the pattern
- Click the
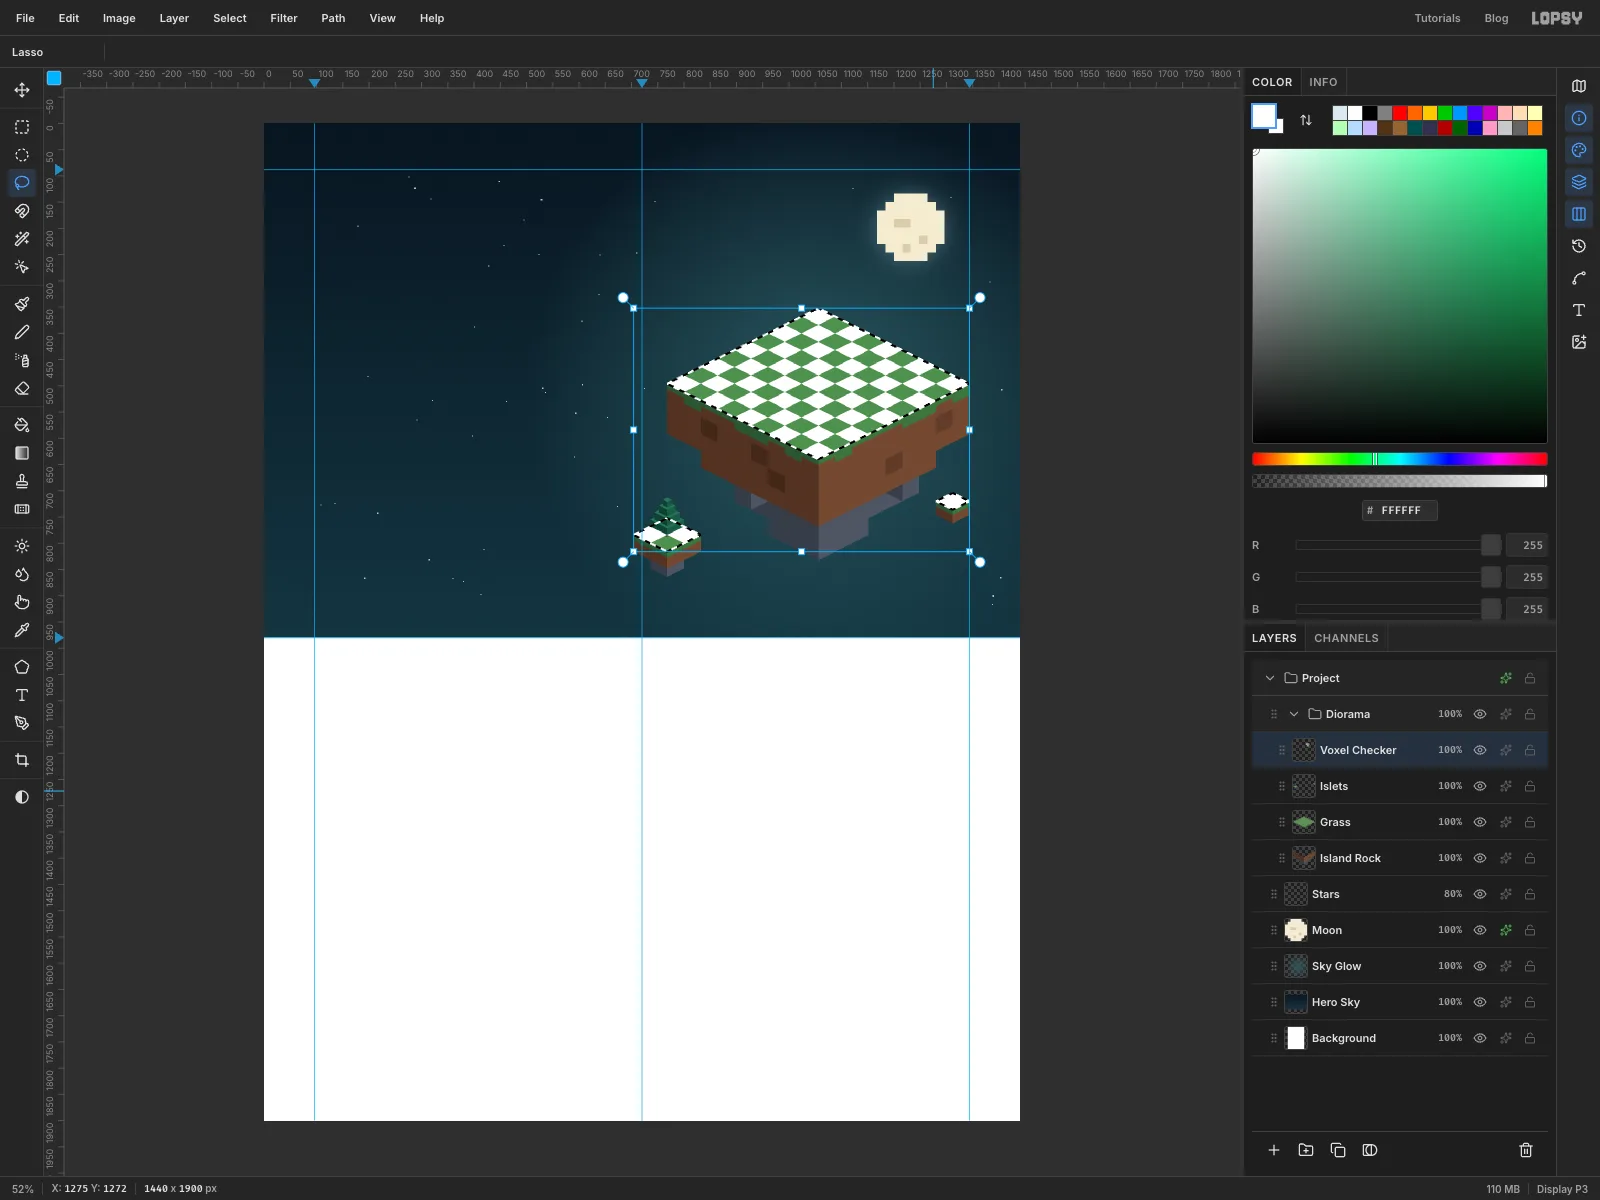
Isletslayer and add a layer above it calledVoxel Checker. - Lasso the island's top diamond. Hold Shift and lasso the tops of both islets to add them.
- Choose Edit → Fill with Pattern… and click Apply.
The pattern tiles from the top-left corner of the canvas. Every voxel corner in this scene sits on a multiple of 32 px across and 16 px down, so the diamonds line up exactly with the voxels.
- Click the
-
Blend the checkerboard
- Deselect and set
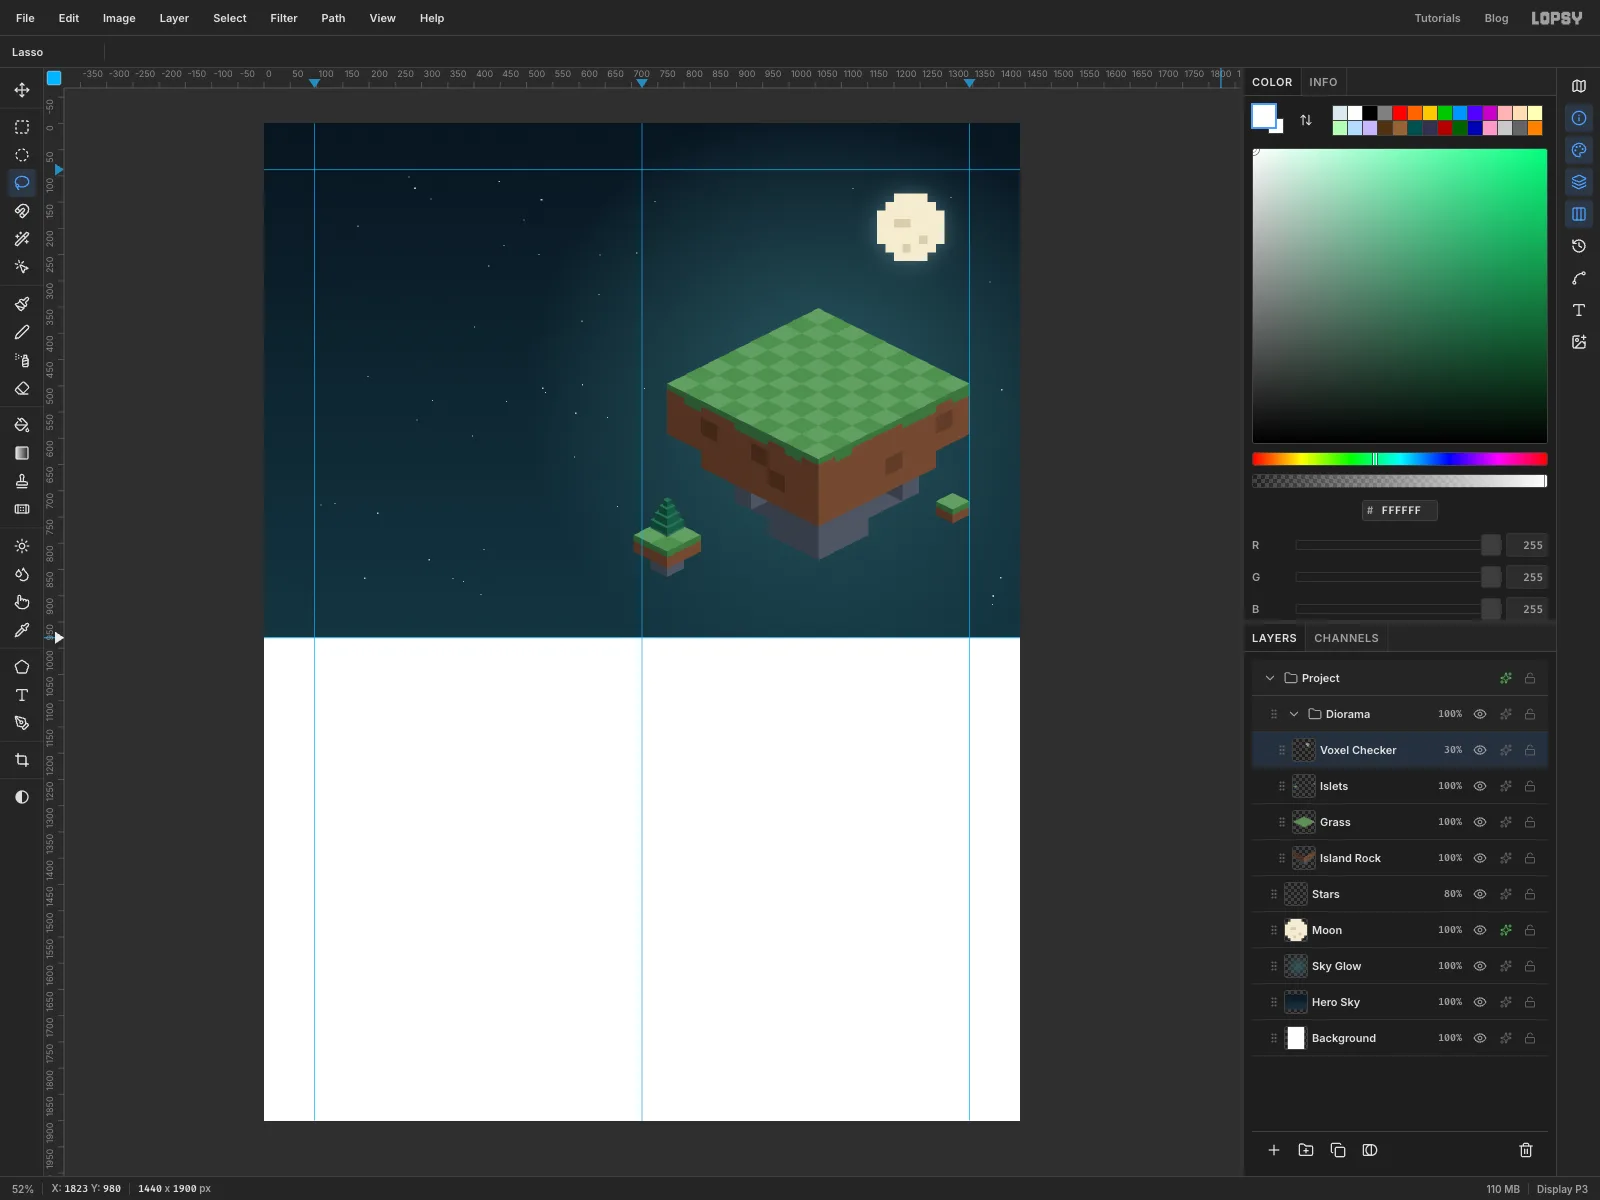
Voxel Checkerto Soft Light at30%. - Click the eye on
Voxel Checkerto compare. Without the pattern the grass is one flat sheet. With it, you can count the cubes.
- Deselect and set
-
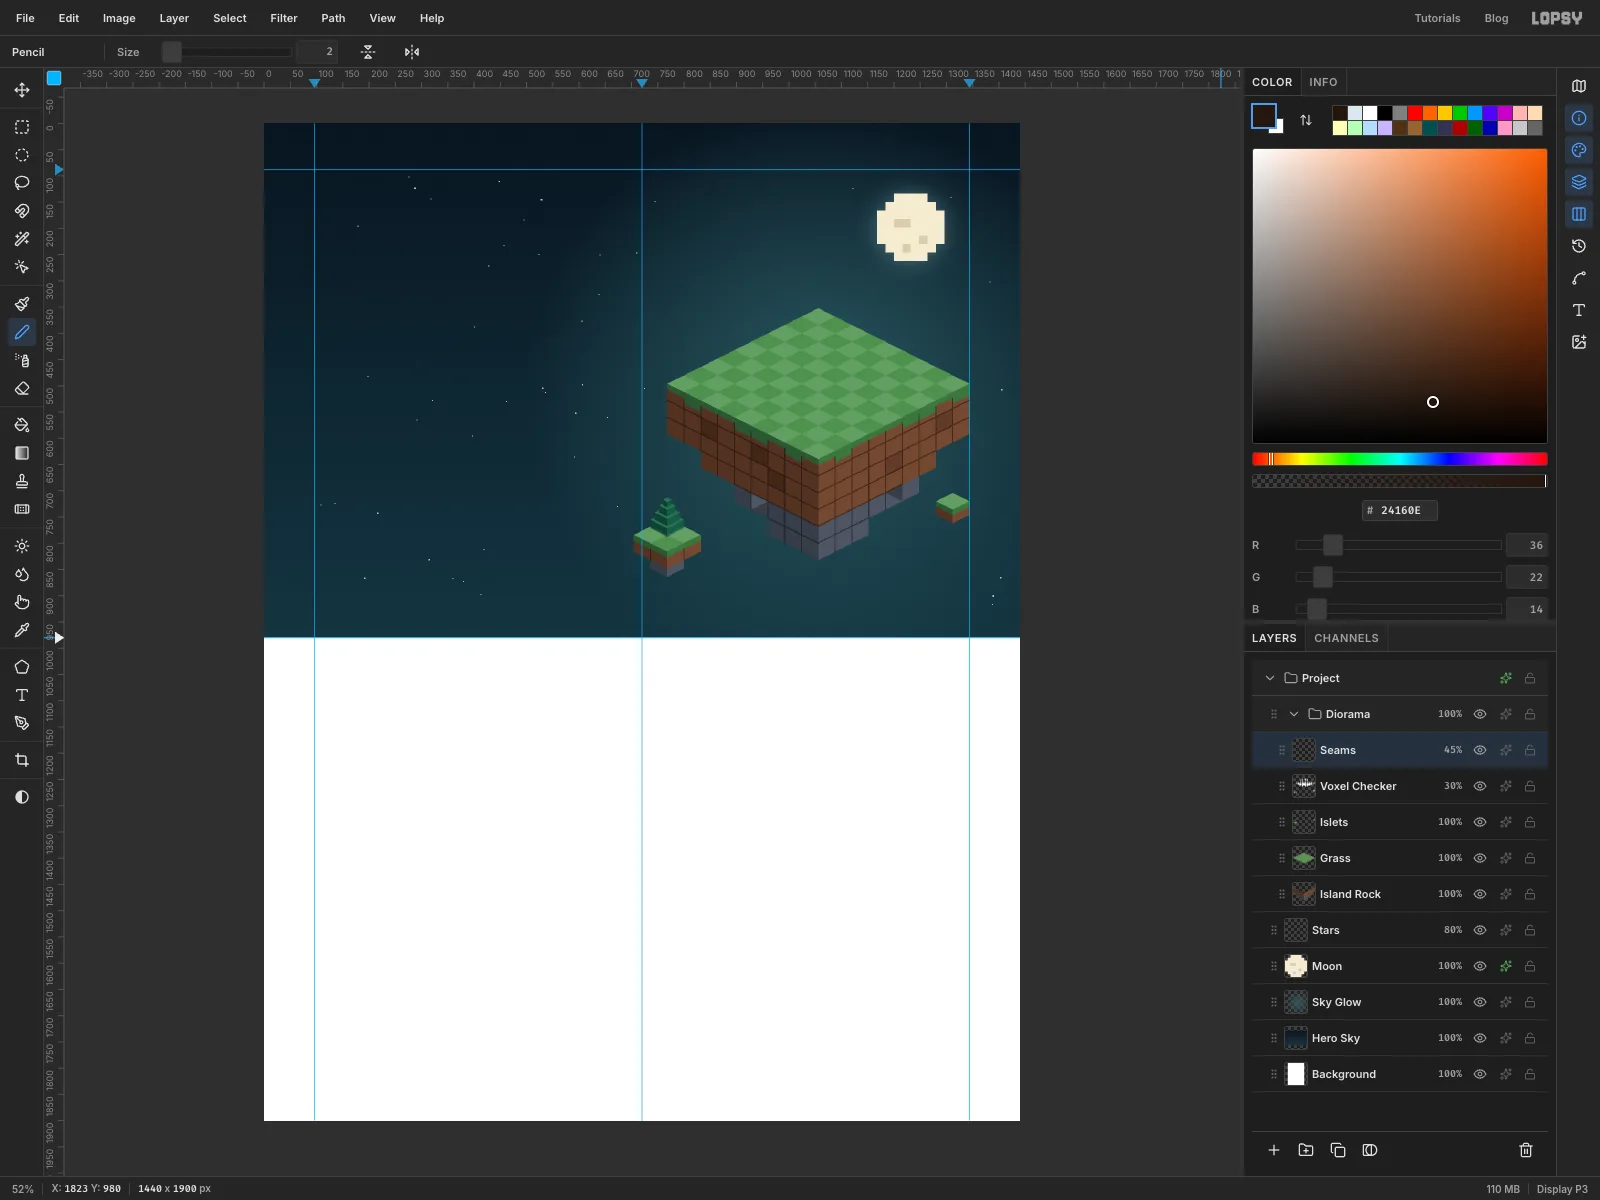
Draw the voxel seams
- Add a layer called
Seamsand pick the Pencil at Size2in . - On every side face, draw a line down each voxel boundary. On the left face that's every 32 px to the right of the left corner. Click the top of the line, then Shift-click the bottom: Shift-click draws a straight line from the last click.
- Draw the horizontal seams the same way: one line along each voxel row, running parallel to the face's top edge.
- Do the lower tiers and the islets too, so the grid stays continuous all the way down.
- Set the layer to Multiply at
45%.
- Add a layer called
-
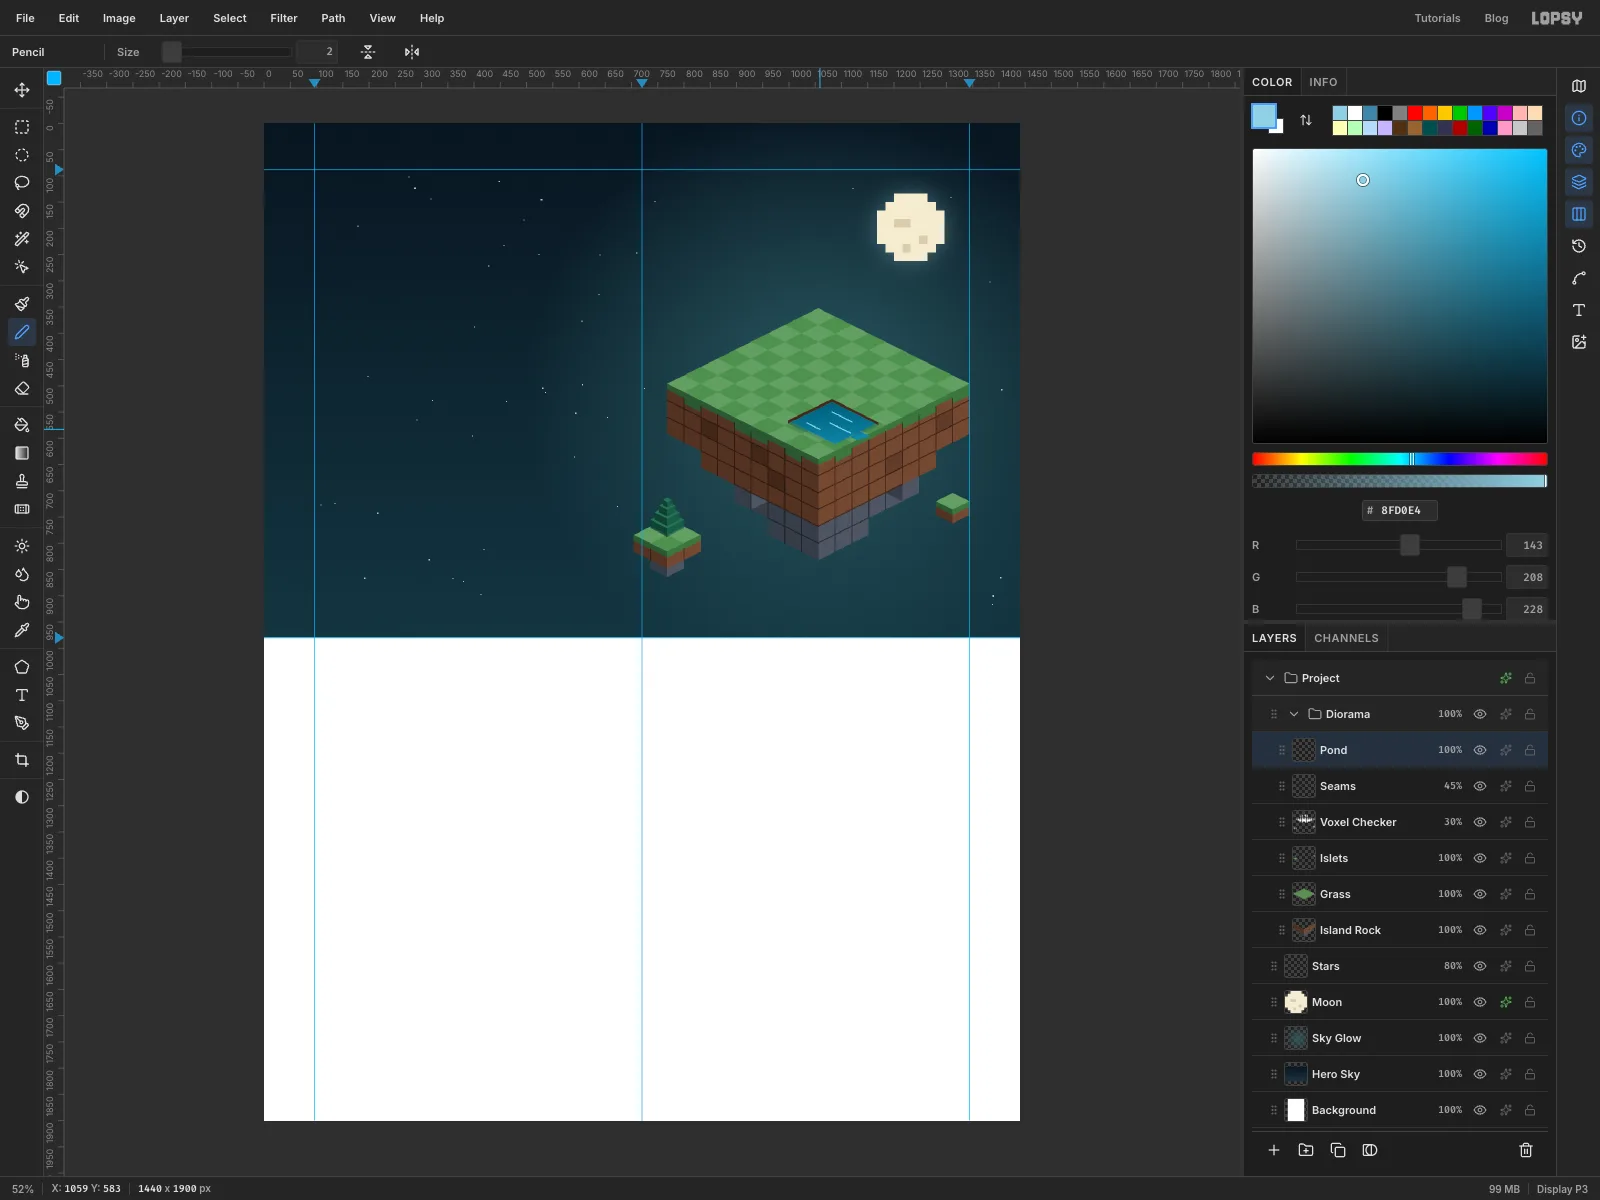
Sink a pond into the grass
- Add a layer called
Pond. - Outline a basin about 2½ voxels square in the front-right quarter of the island. Its back corner is near
1082, 526. - Draw the two back banks first: strips about 6 px deep running down from the basin's two back edges, in . They're the walls you see on the far side of the hole.
- Lasso the water: the same diamond, moved 6 px lower. At the two front edges, though, stop at the basin outline instead of following the lowered diamond, so the grass in front seems to overlap the water. Fill with .
- Add a narrow channel of water from the pond out to the right-hand cliff edge, about 0.8 voxels wide.
- Lasso the water again and drag a Linear gradient from at 75% opacity to transparent, from the back corner forwards, so the water looks deeper at the back.
- With the Pencil at size
2in , Shift-click three short ripple lines across the water. Keep them clear of the channel.
- Add a layer called
-
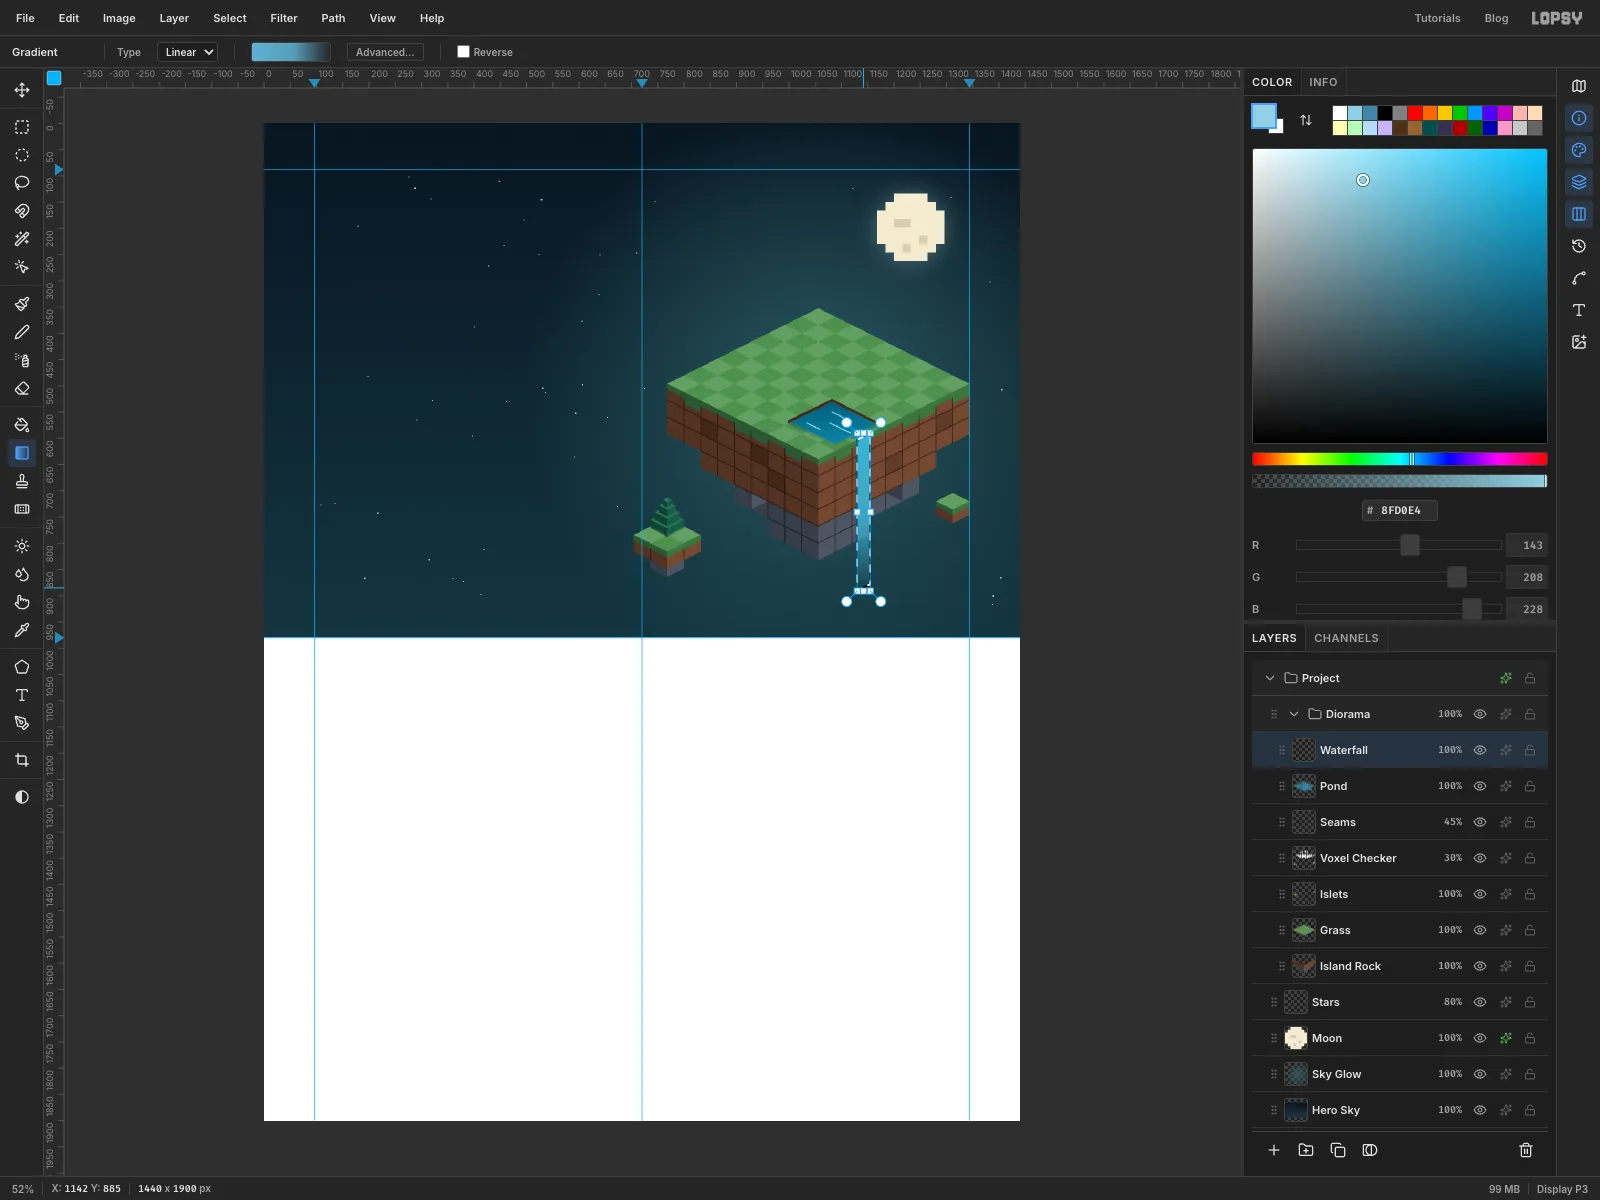
Pour the waterfall
- Add a layer called
Waterfall. - Lasso a narrow parallelogram on the right-hand cliff face, as wide as the channel. It starts at the grass edge and runs straight down well past the bottom of the stone tiers. Its top and bottom edges slope with the face.
- Drag a Linear gradient from the top to the bottom of the selection with three stops: , at 85% opacity in the middle, and at 0% opacity at the bottom.
- Add a layer called
-
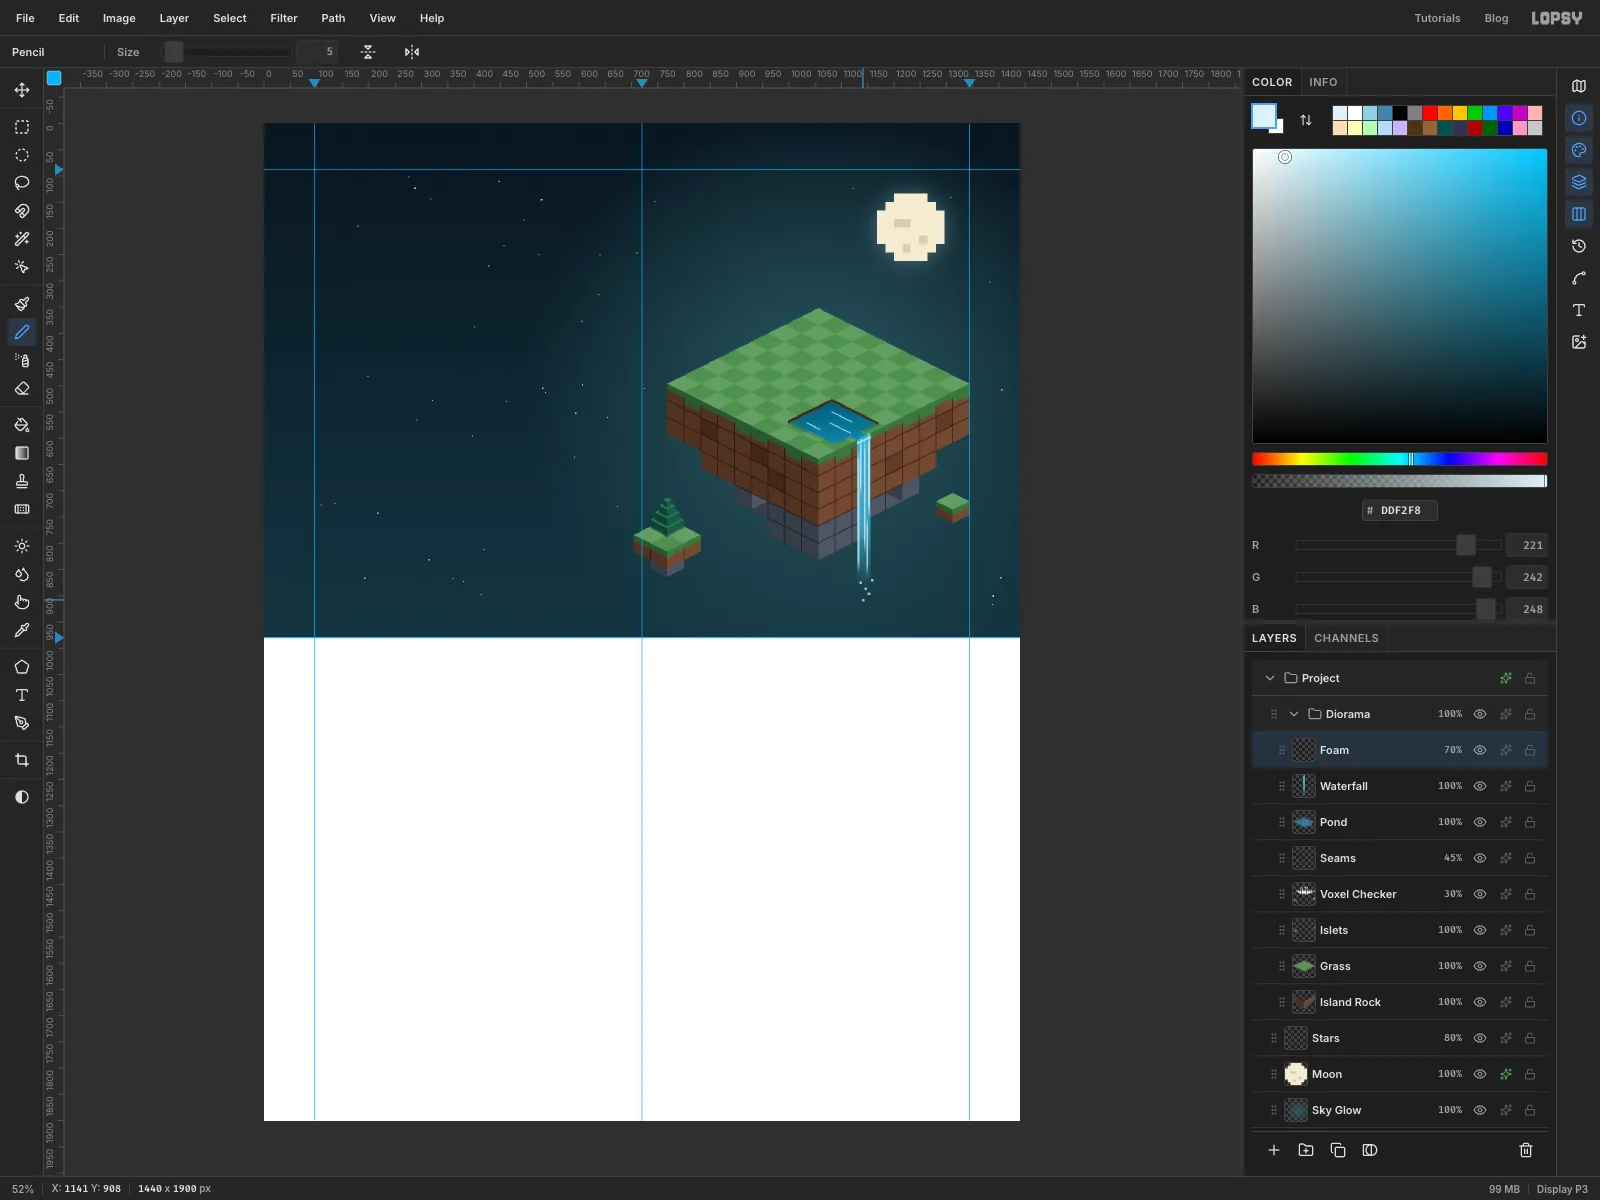
Add foam and mist
- Add a layer called
Foamand pick the Pencil at size3in . - Shift-click five vertical streaks of different lengths down the waterfall.
- Run Filter → Motion Blur… with Angle
90and Distance24. The streaks smear into falling water. - Shift-click a short foam line across the top of the fall where it leaves the channel.
- At size
5, click five mist dots around the bottom where the water fades. - Set the layer to
70%.
- Add a layer called
-
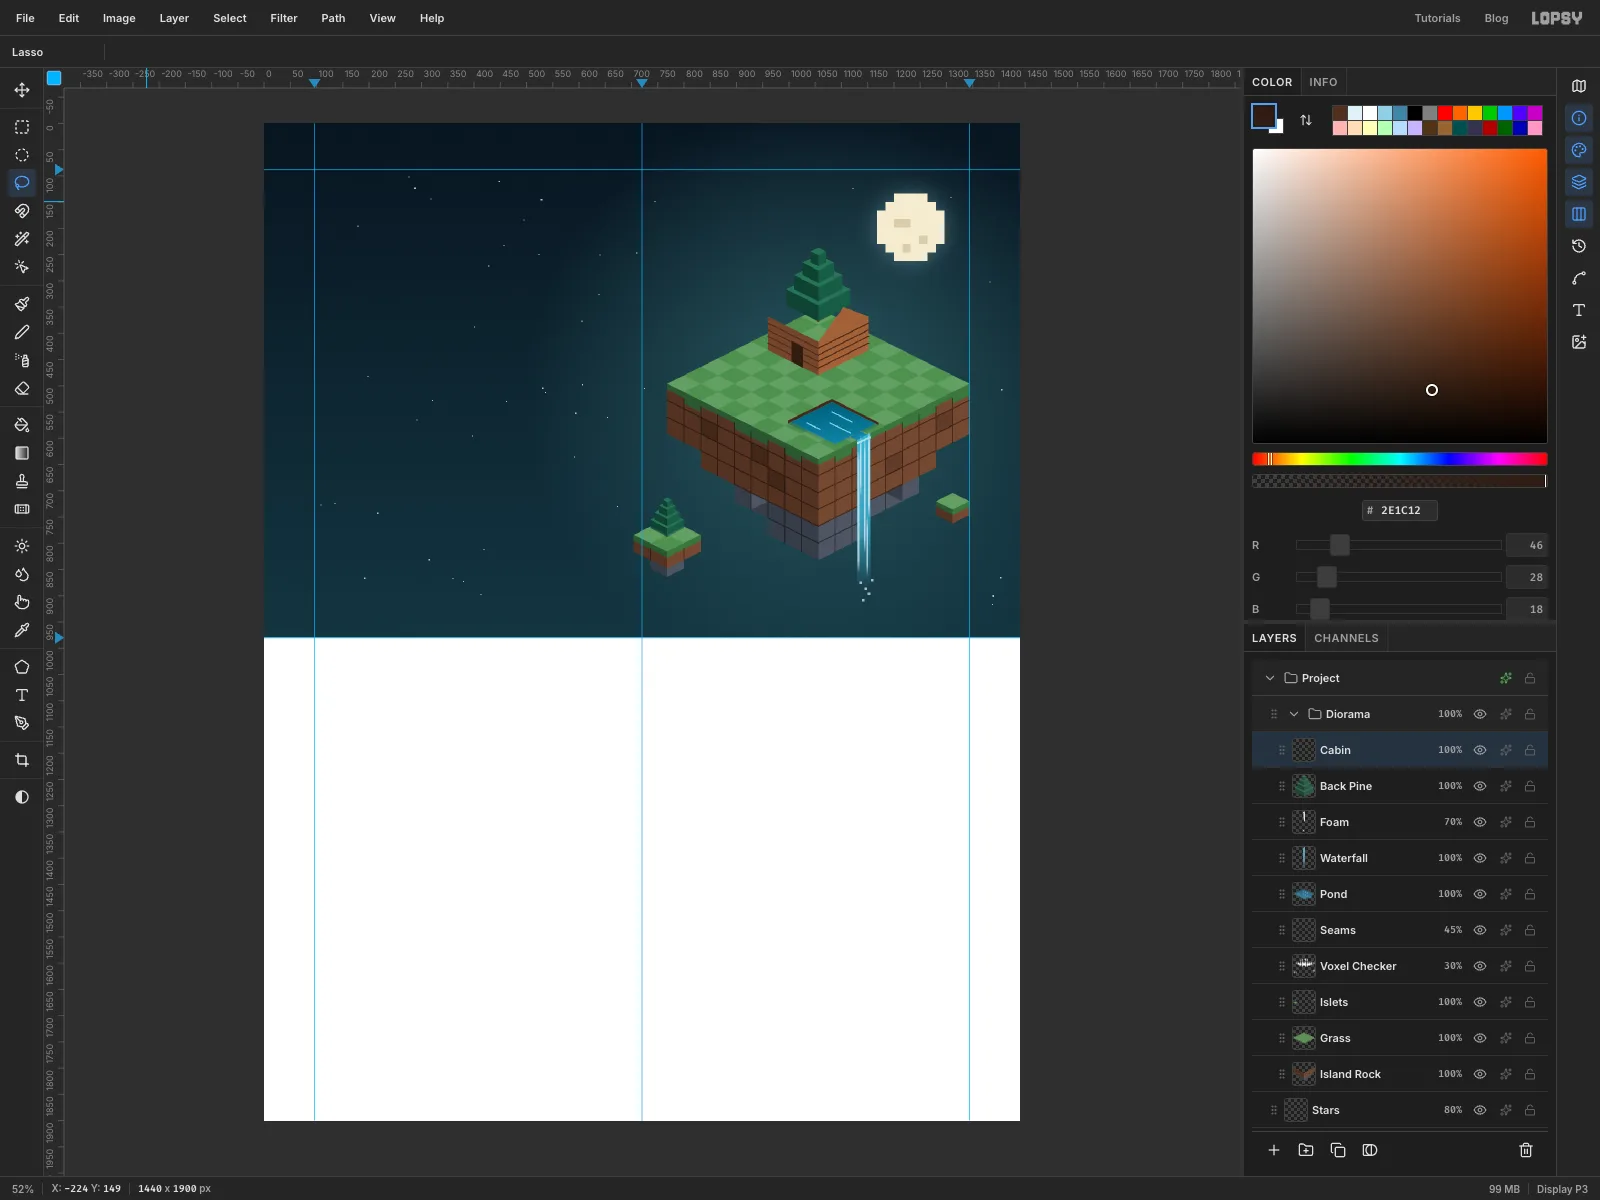
Build the cabin walls
The cabin's footprint is a 3 × 3 voxel diamond near the back of the island, with its back corner at
1056, 384.- Add a layer called
Back Pineand draw a pine (see the Tip in Add two floating islets) standing just behind the cabin's back corner, at about1056, 371. Only its top will show over the roof. - Add a layer called
Cabin. The walls are a box on the footprint, 2 voxels (64 px) tall. - Fill the front-left wall with and the right wall with . On the right wall, add a triangle for the gable end, rising to a peak 42 px above the middle of the wall's top edge.
- With the Pencil at size
2in , Shift-click four log lines across each wall, evenly spaced and parallel to the bottom edge. - Fill a door on the front wall in , about two-thirds of a voxel wide and a voxel and a quarter tall.
- Add a layer called
-
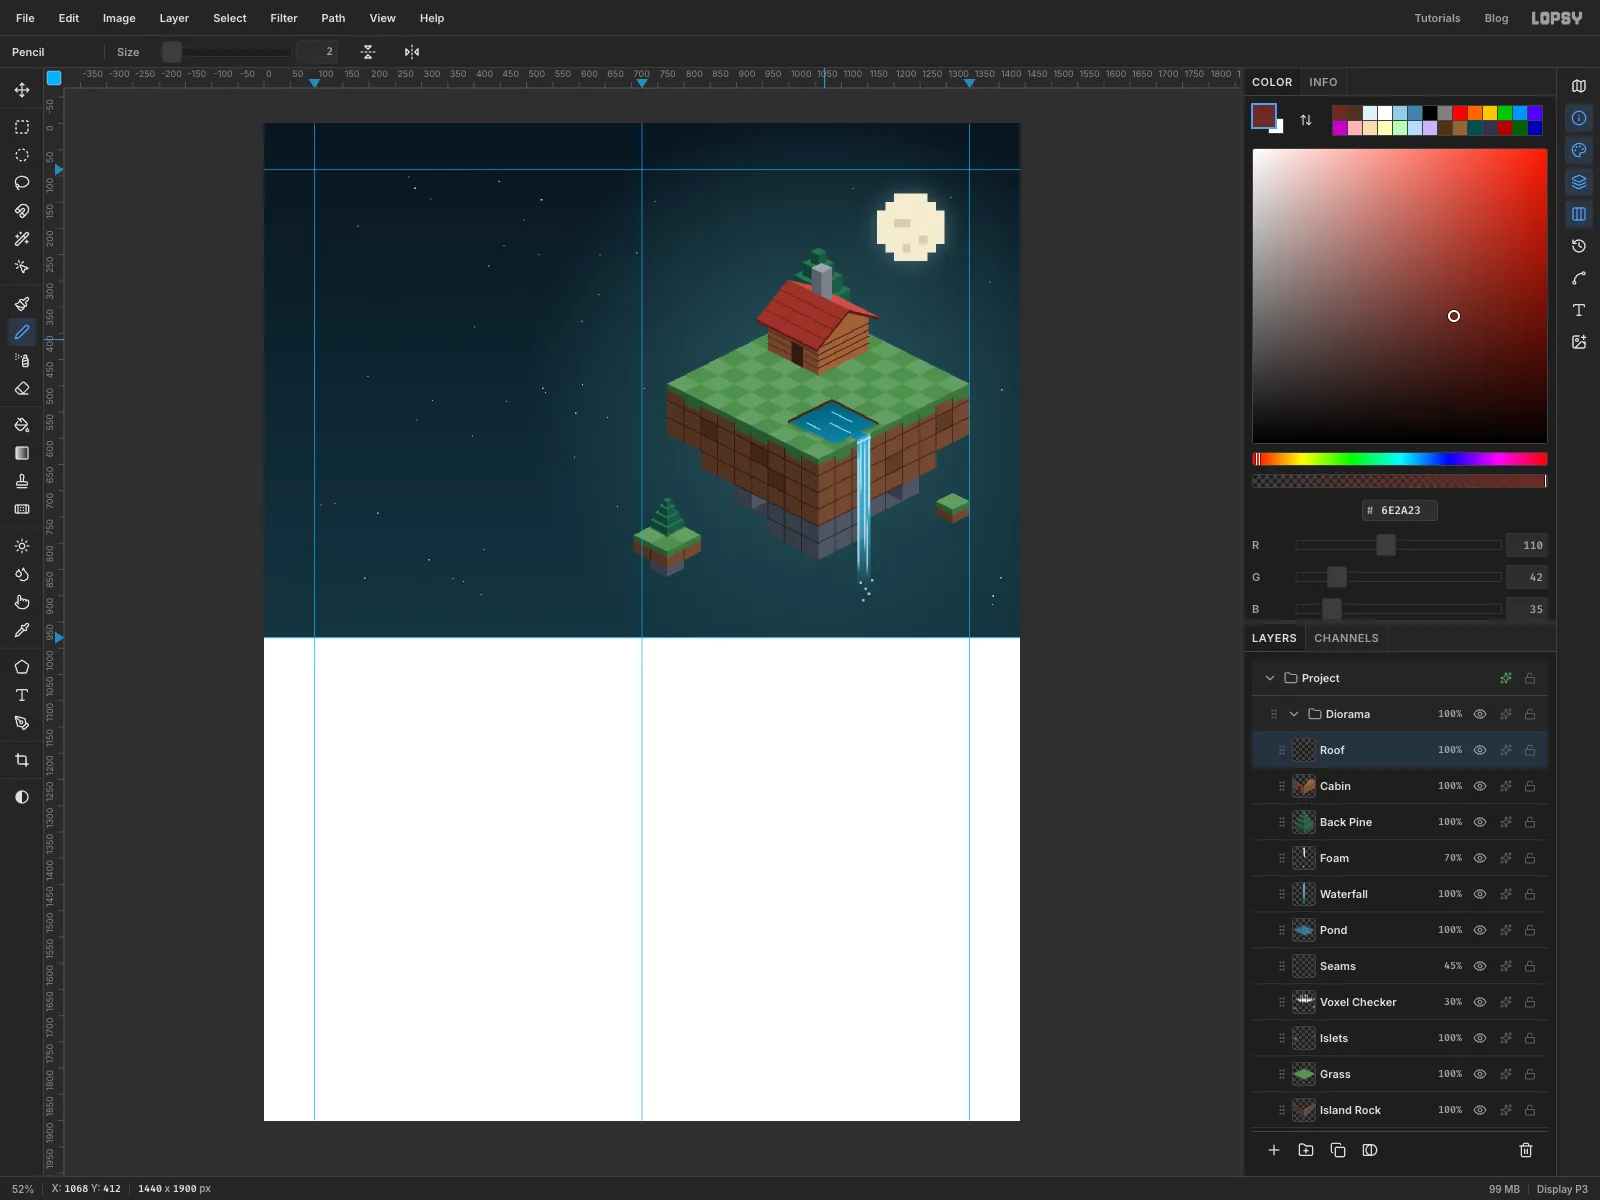
Put on the roof
The ridge runs along the length of the cabin, from the back-left wall down to the peak of the gable on the right. It sits 42 px above the wall tops, and the roof overhangs the walls by about a third of a voxel on every side.
- Add a layer called
Roof. - Fill the back slope first in : from the ridge back to the rear eave. You see a thin strip of it above the ridge.
- Draw the thick edge of the roof over the gable end in : a band about 6 px deep following the two sloped roof edges.
- Add the chimney poking up through the back slope near its left end: a box about 0.6 voxels square and 64 px taller than the walls, with a top, a left side and a right side.
- Fill the front slope in , from the ridge down to the front eave, then the front eave band below it in .
- With the Pencil in , Shift-click three shingle lines across the front slope, parallel to the ridge.
Drawing the chimney before the front slope lets the roof cover the bottom of the chimney naturally.
- Add a layer called
-
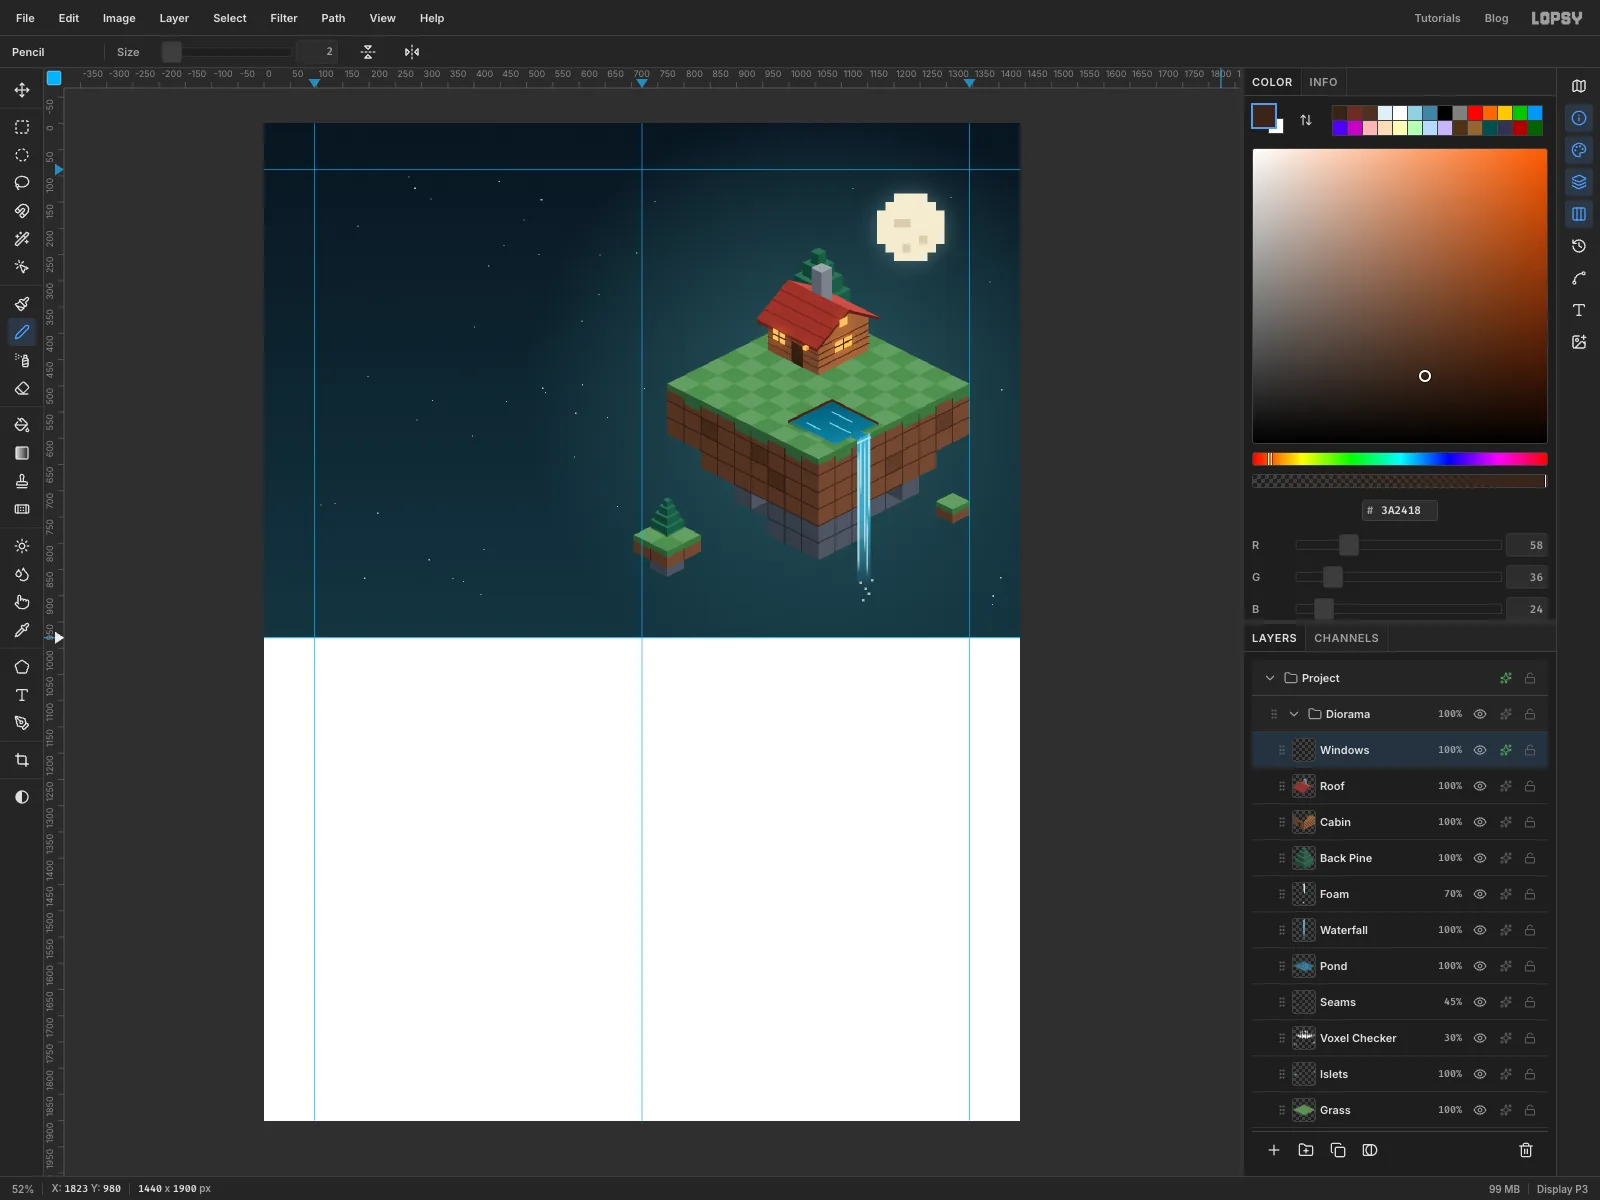
Light the windows
- Add a layer called
Windows. - Fill a window on each wall in , plus a small attic window in the gable and a tiny lantern cube beside the door.
- With the Pencil in , Shift-click a cross of glazing bars over each main window.
- Give the layer an Outer Glow with Size
34, Opacity70and colour .
- Add a layer called
-
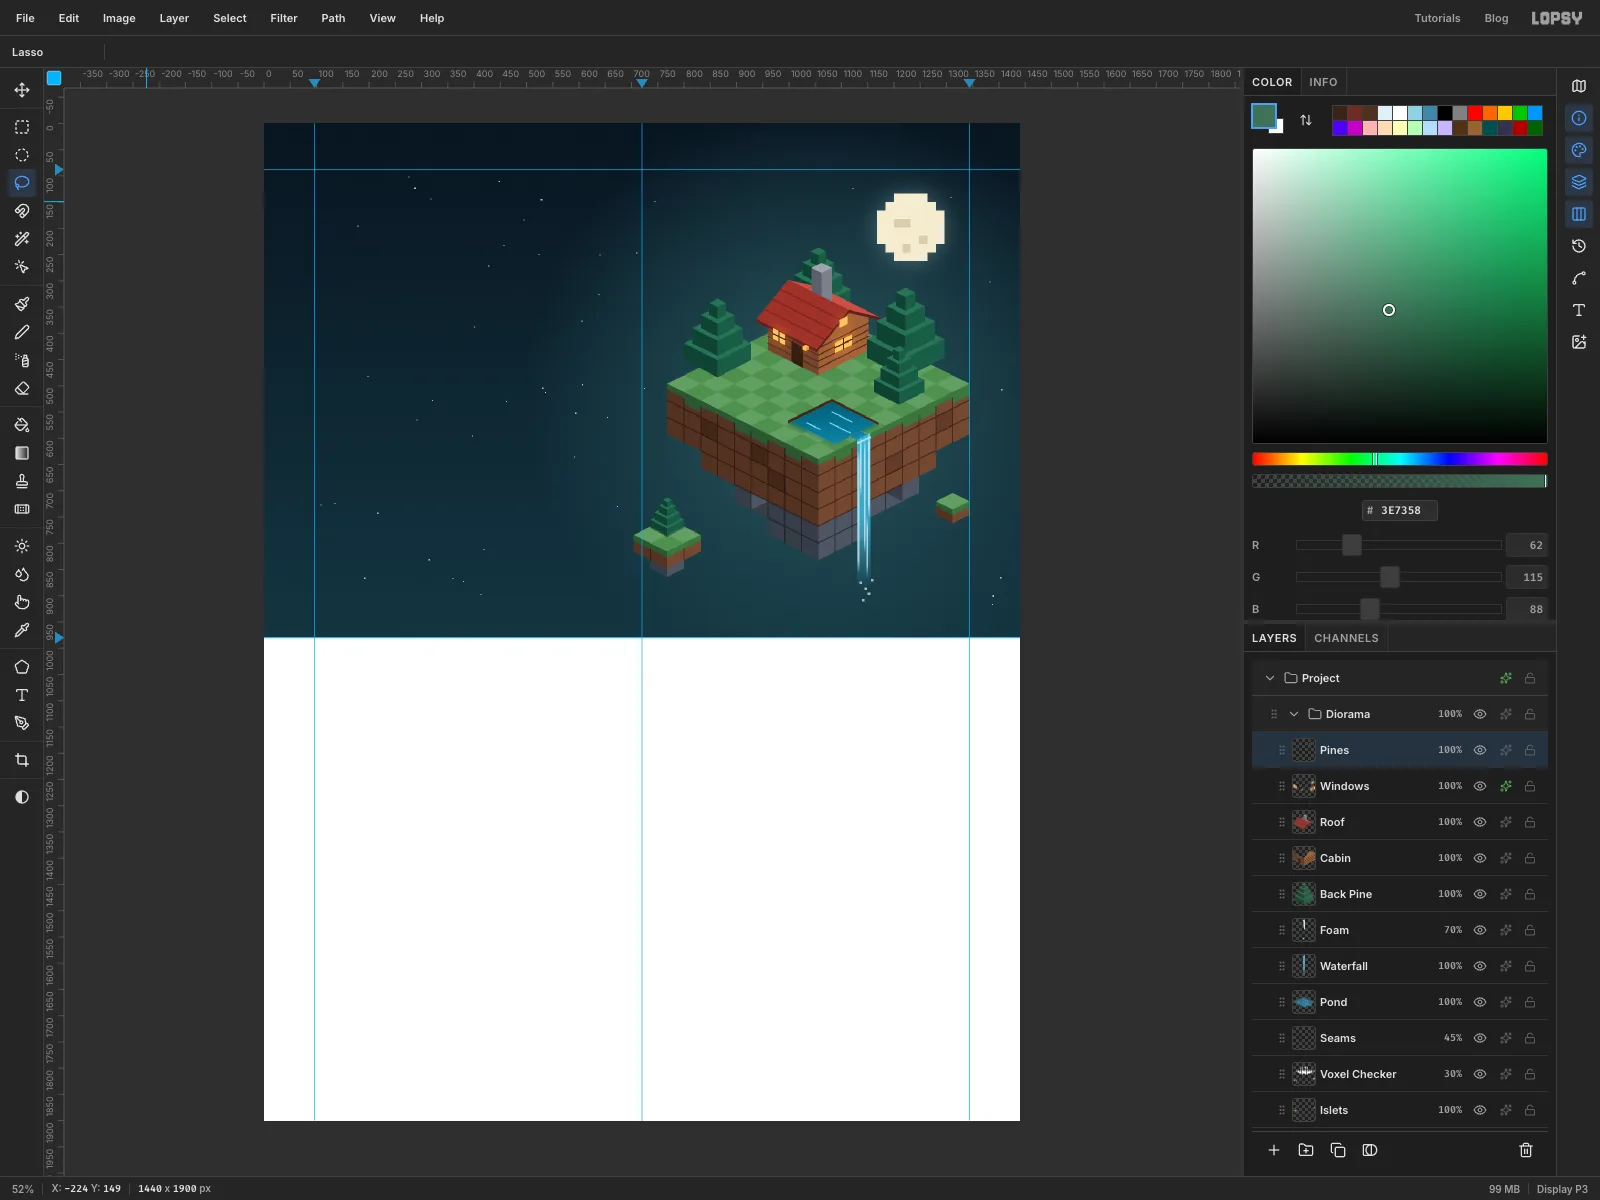
Plant the pines
- Add a layer called
Pines. - Using the pine recipe, draw a large tree (its bottom box about 2⅓ voxels wide) whose trunk stands at about
1222, 477, at the back right of the island. - Draw a medium tree (bottom box 2 voxels wide) at about
864, 477on the left. - Draw a small tree (bottom box 1½ voxels wide) at about
1210, 531, in front of the large one.
Draw the trees furthest back first, so the nearer trees overlap them. If a box comes out wrong, press Cmd+Z and redraw just that box.
- Add a layer called
-
Build the campfire
The fire sits at about
960, 512, in the front-left quarter of the island.- Add a layer called
Props. Draw a log bench just left of the fire: a box about 2 voxels long and half a voxel thick, lying along the left-hand axis. Give it a top, a pale end and a dark long side, then Shift-click two grain lines along the long side. - In front of the fire at about
960, 560, draw a stump about 0.6 voxels square and half a voxel tall, with a top, / sides and a darker ring in the middle of the top. - Add two flat stepping stones from the cabin door towards the fire in the fire-stone greys.
- Add a layer called
Fire Pit. Around the fire, draw seven small stones in a ring about 40 px out ( tops, left sides, right sides). Inside, draw two crossed logs in with / sides. - Add a layer called
Flames. Stack three shrinking boxes in the middle of the ring:
- an orange one with a top and / sides
- a yellow one with a top and / sides
- a tiny pale tip
- Add a layer called
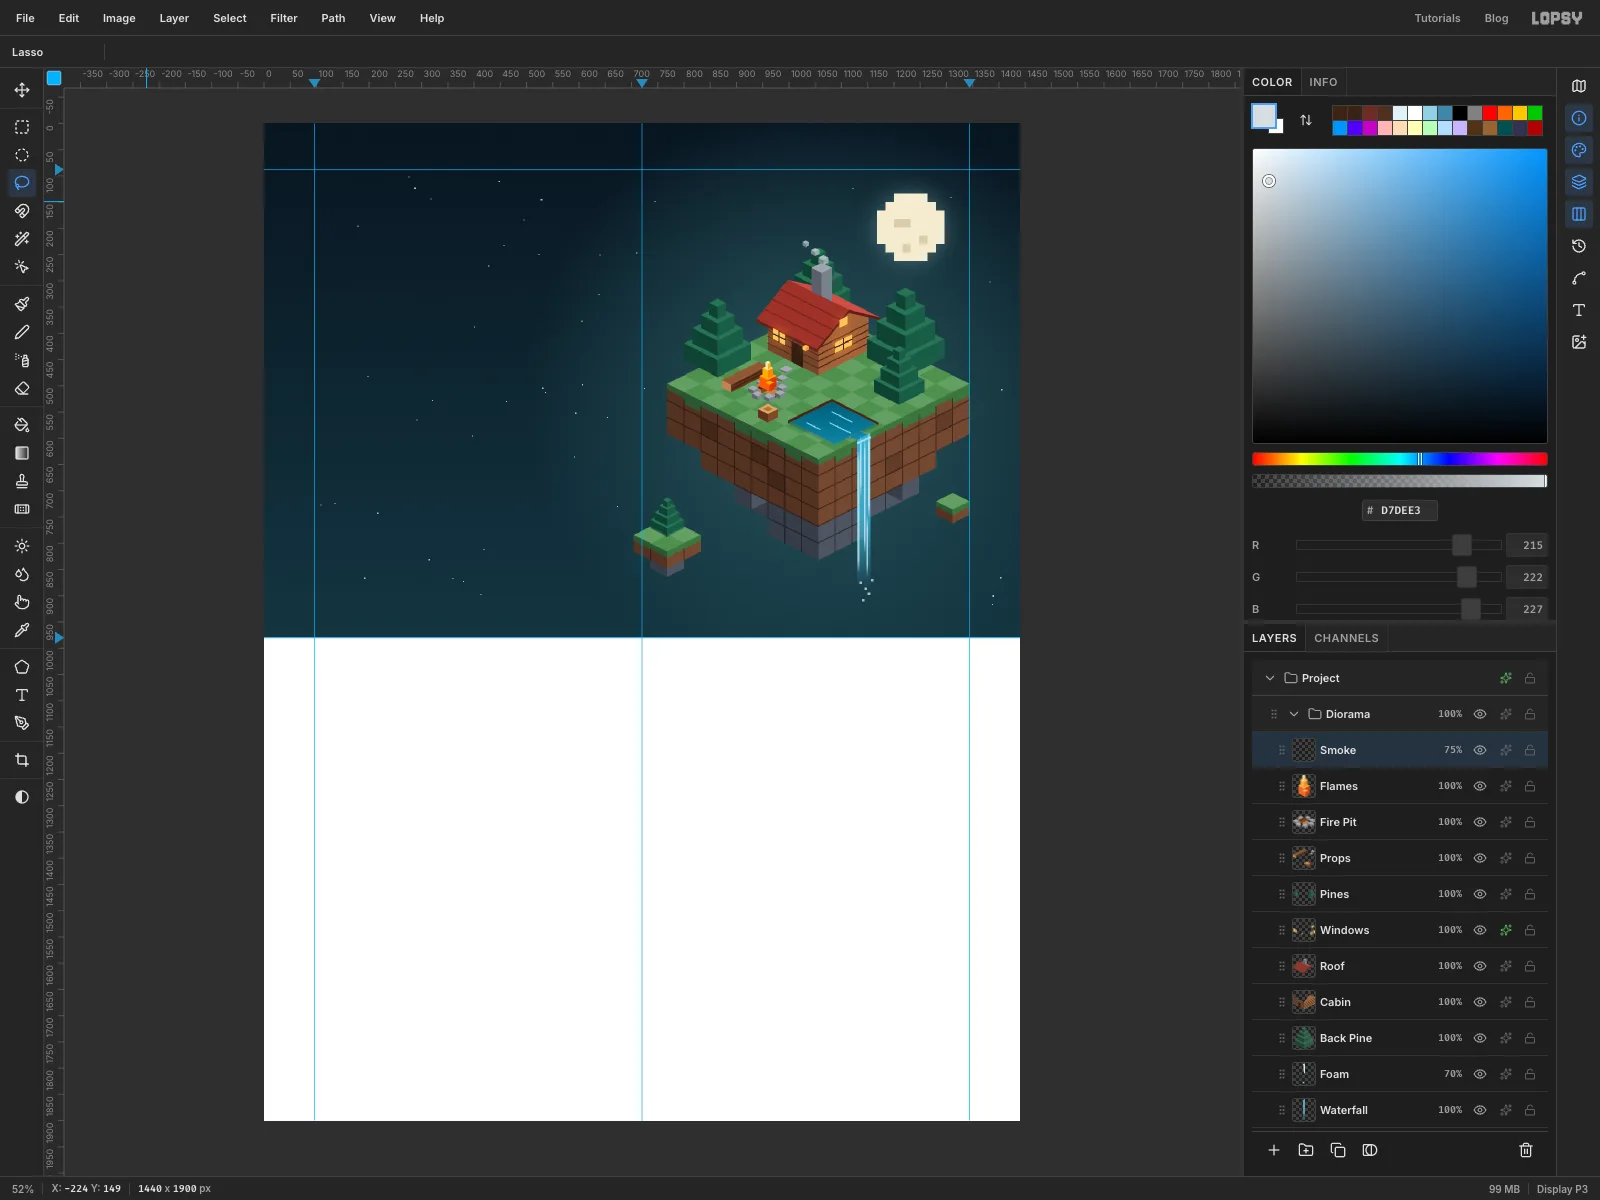
Smokeand draw three tiny cubes rising from the chimney and drifting left, each smaller than the last ( tops, left sides, right sides). Set it to75%.
- Add a layer called
-
Add contact shadows
- Click
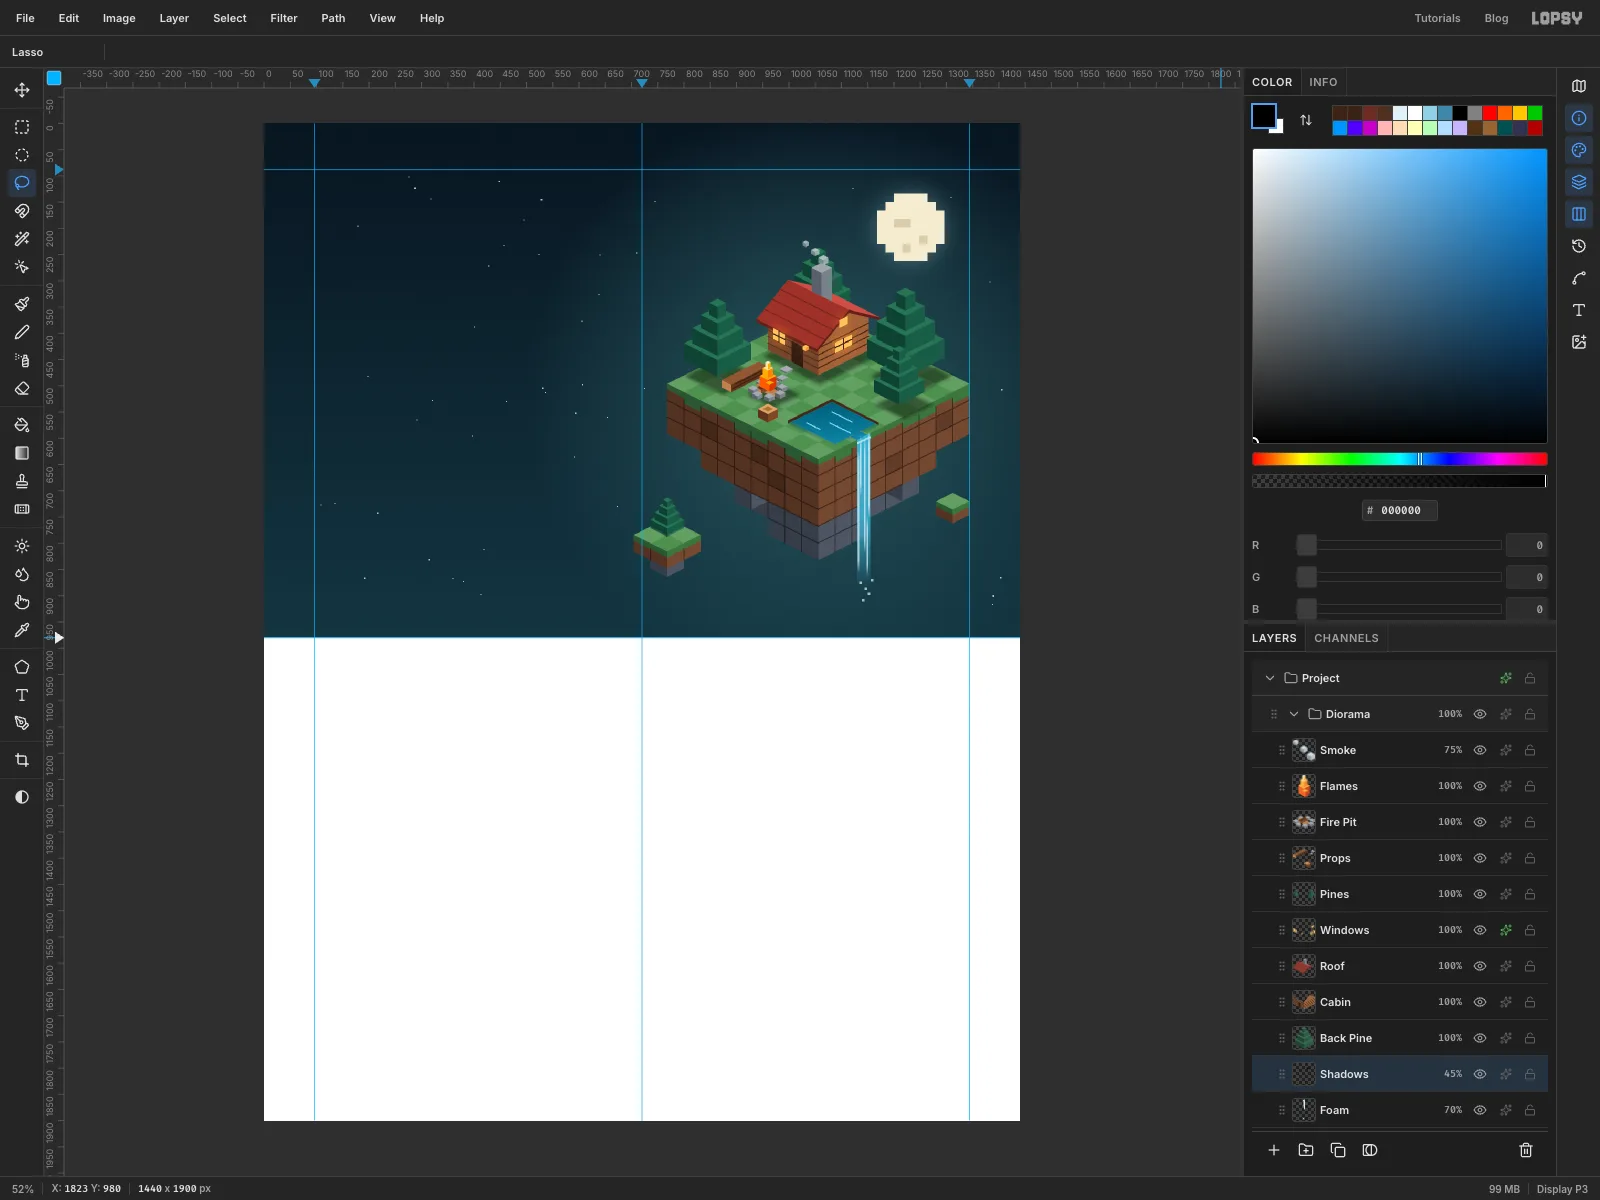
Foamand add a layer above it calledShadows. It sits under the cabin and trees. - Lasso the cabin's footprint diamond. Then Shift-lasso a slightly larger diamond under each tree and under the fire ring.
- Fill with black and deselect.
- Run Filter → Gaussian Blur… at Radius
10, and set the layer to Multiply at45%.
- Click
-
Light the grass with the fire
- Give
Flamesan Outer Glow with Size40, Opacity75and colour . - Click
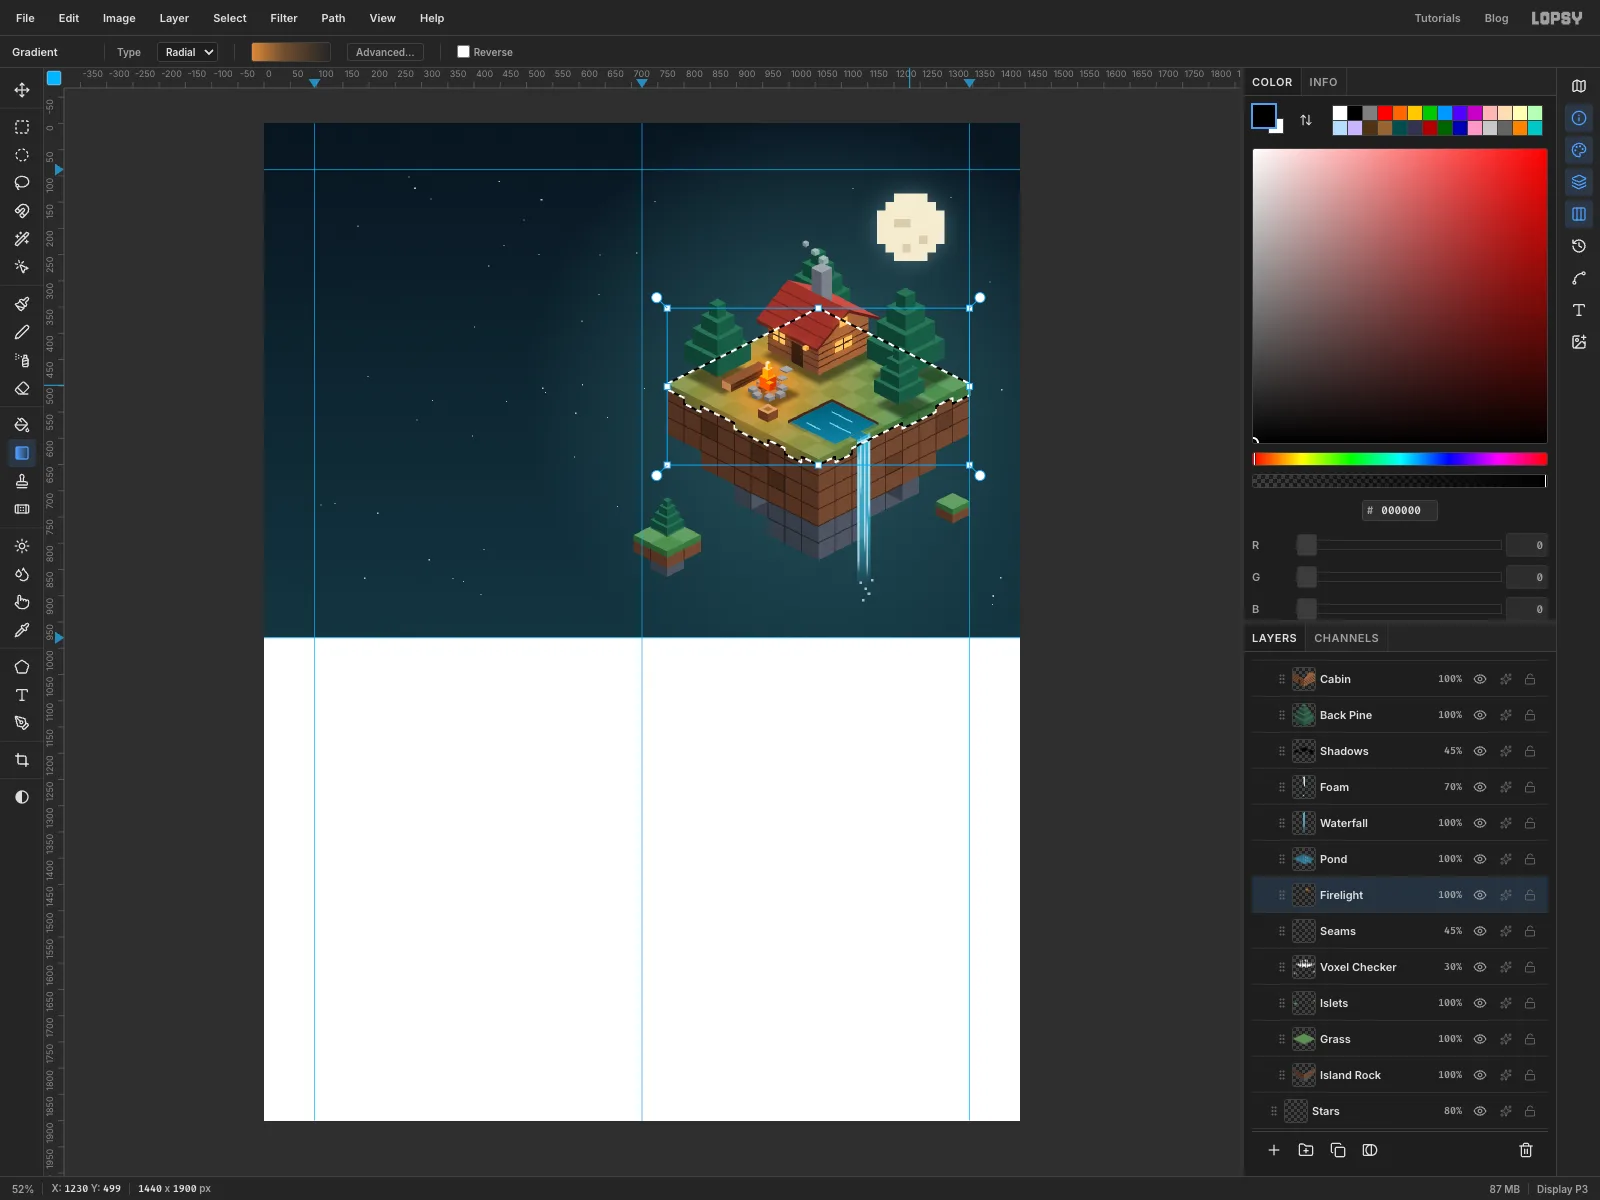
Seamsand add a layer above it calledFirelight. It sits under the cabin and trees, so only the ground is lit. - Cmd-click the
Grasslayer's thumbnail to select its shape, then click theFirelightrow. - Drag a Radial gradient out from the fire, about 270 px, with three stops: at 85%, at 35% part way out, and transparent at the edge.
- Deselect and set the layer to Overlay at
80%.
- Give
-
Spill window light onto the grass
- Click
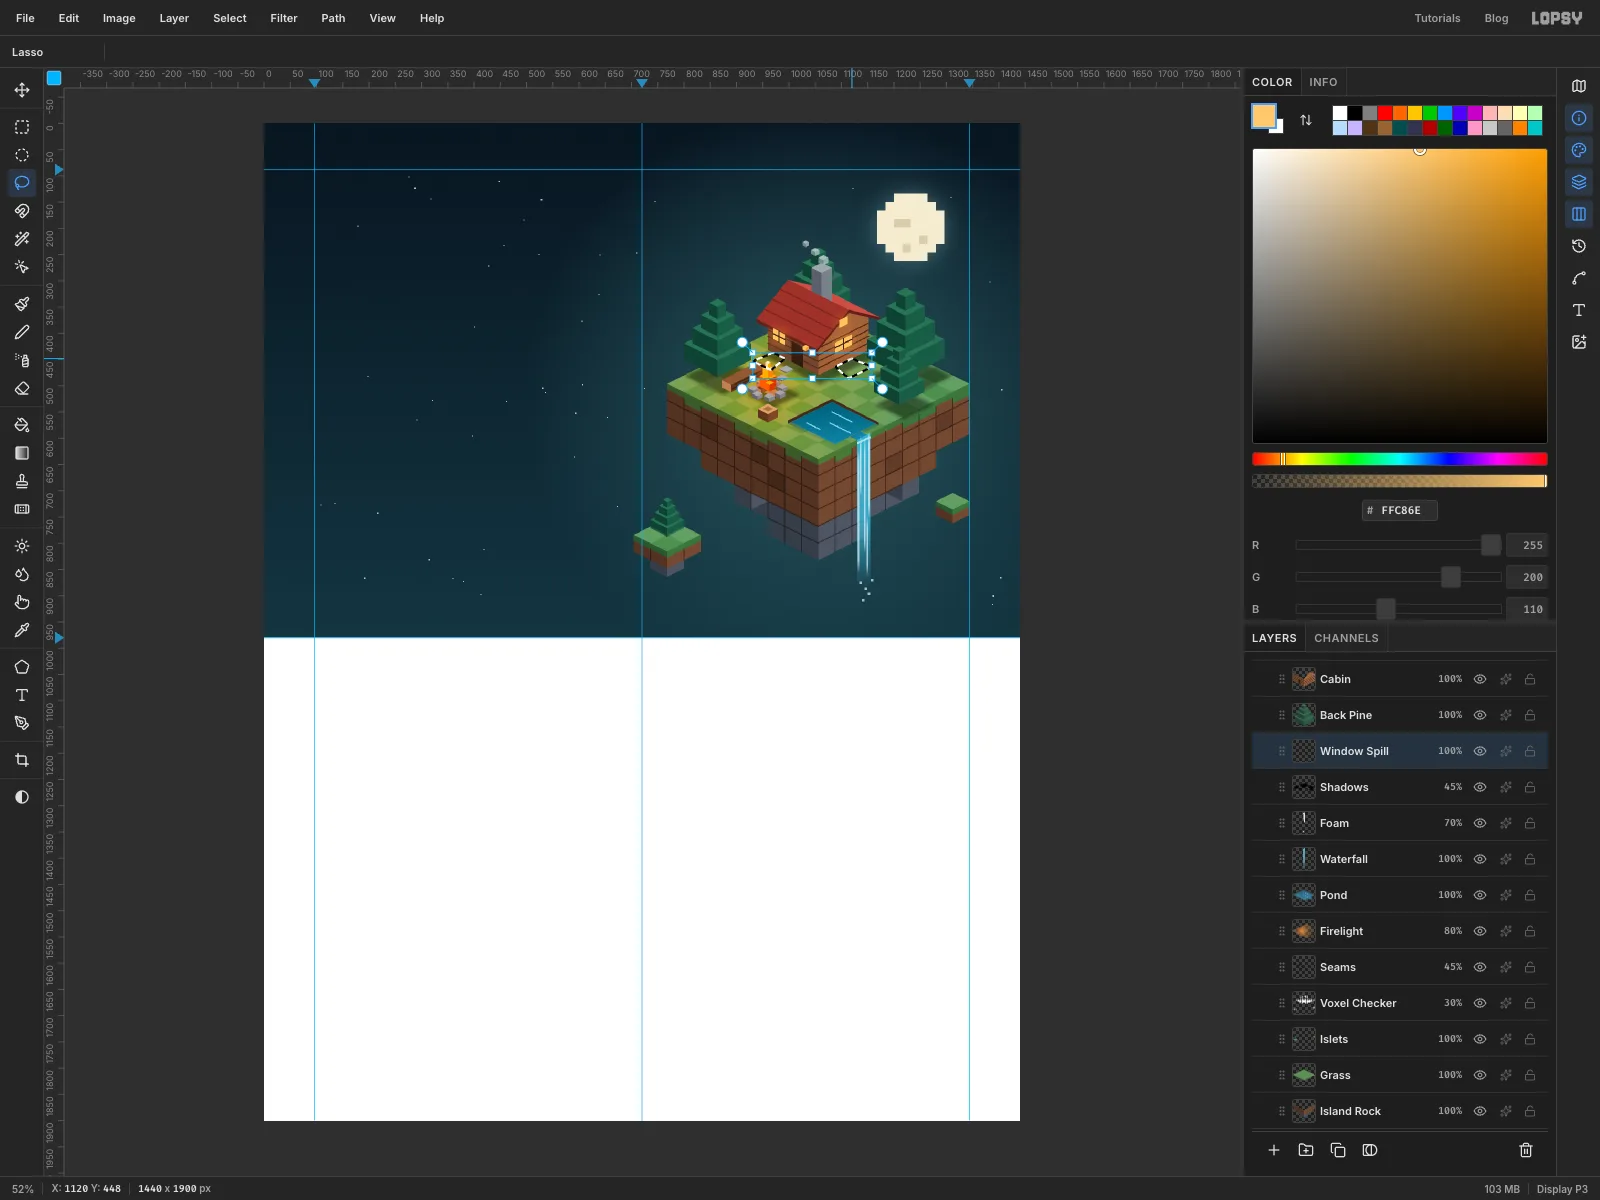
Shadowsand add a layer calledWindow Spill. - Lasso a trapezoid on the grass in front of the left window, widening away from the wall. Hold Shift and lasso another in front of the right window.
- Fill with , deselect, and run Gaussian Blur at Radius
9. - Set the layer to Overlay at
70%.
- Click
-
Warm the walls facing the fire
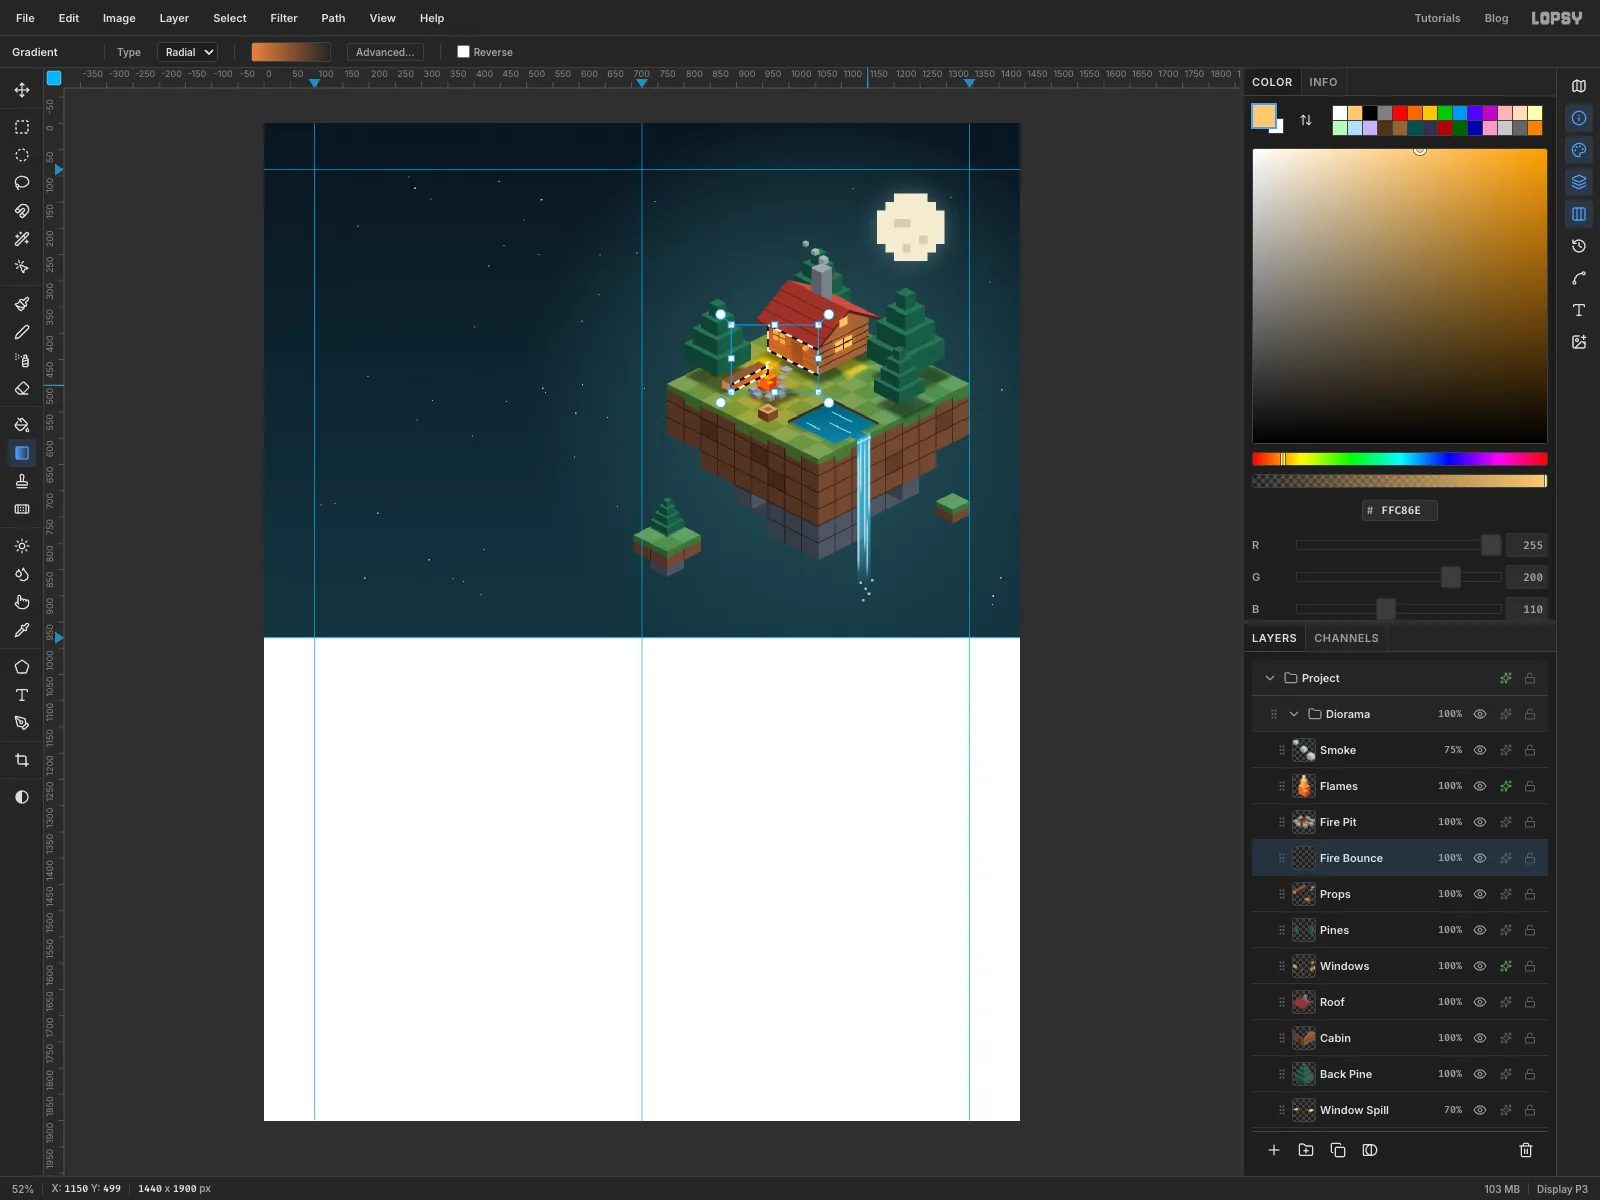
- Click
Propsand add a layer above it calledFire Bounce. - Lasso the lower part of the cabin's front wall, below the eaves. Hold Shift and lasso the bench's long side, which faces the fire.
- Drag a Radial gradient from the fire, about 190 px, from at 90% to transparent.
- Deselect and set it to Overlay at
55%.
- Click
-
Add a warm haze
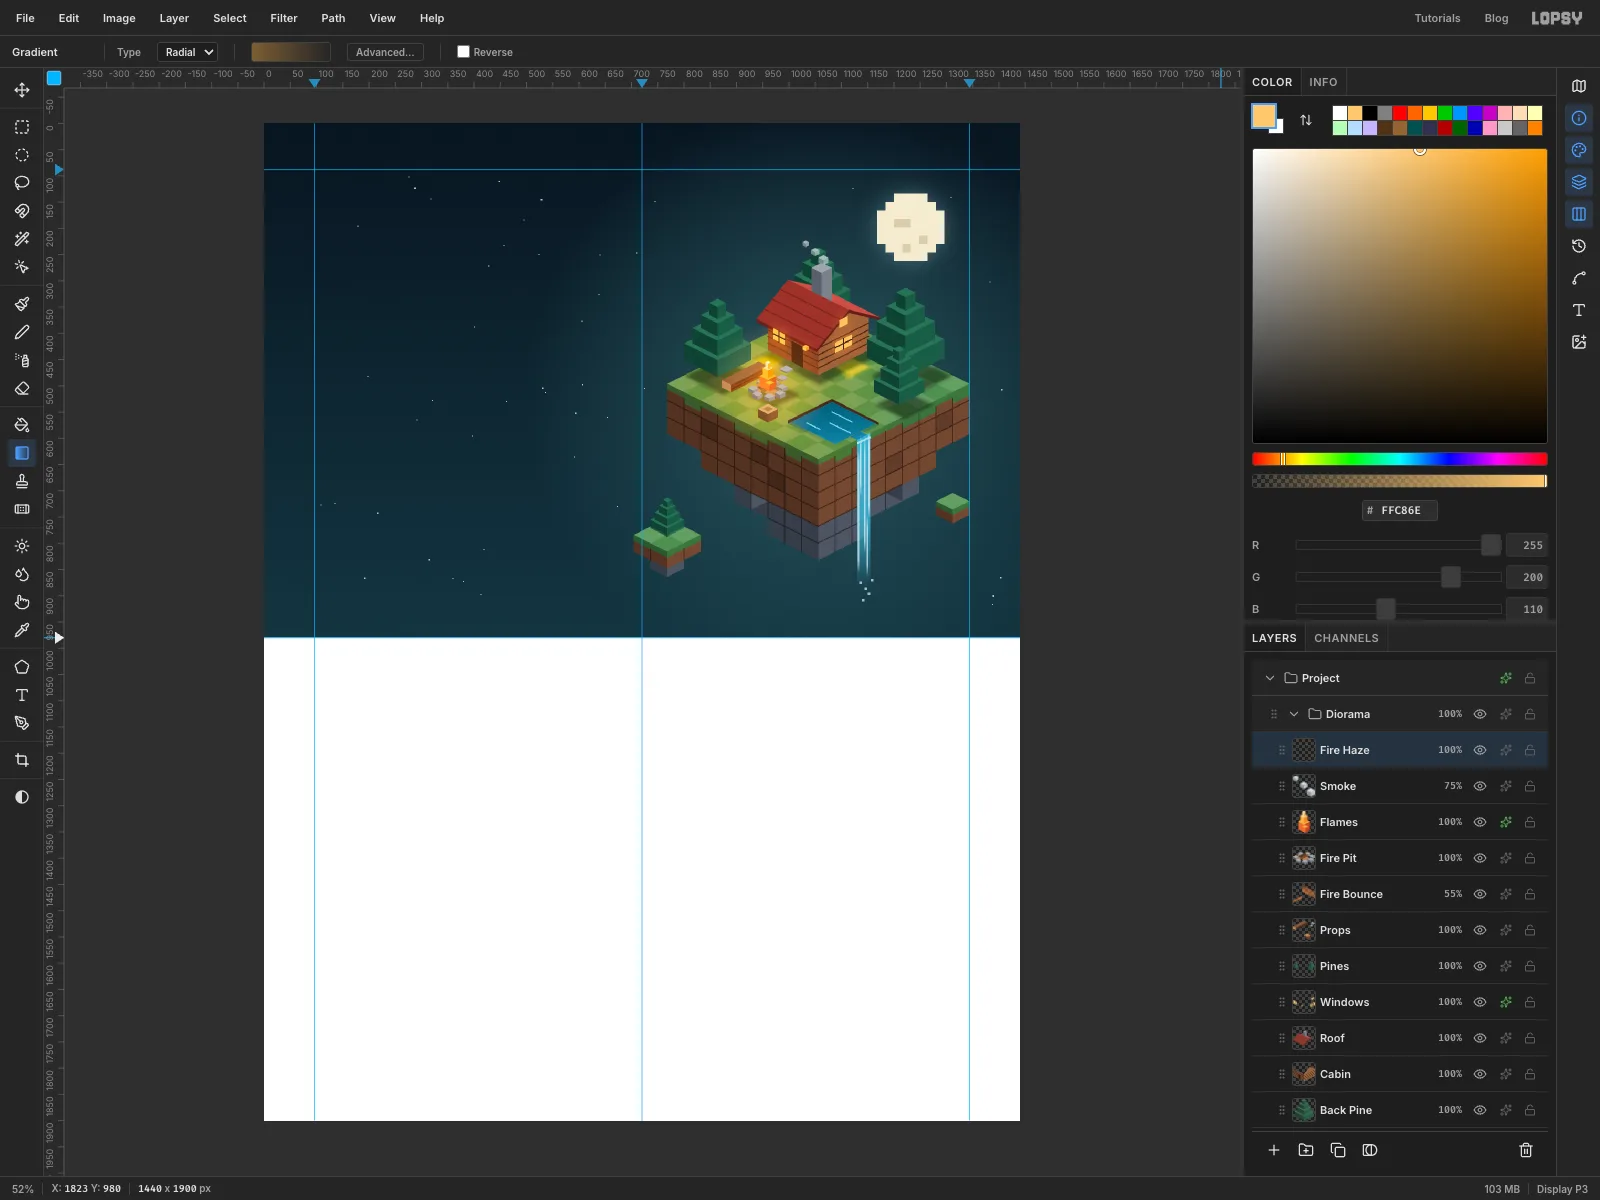
- Click
Smokeand add a layer calledFire Haze. - With no selection, drag a Radial gradient from the fire, about 115 px, from at 40% to transparent.
- Set it to Screen.
- Click
-
Turn sparks into diamonds
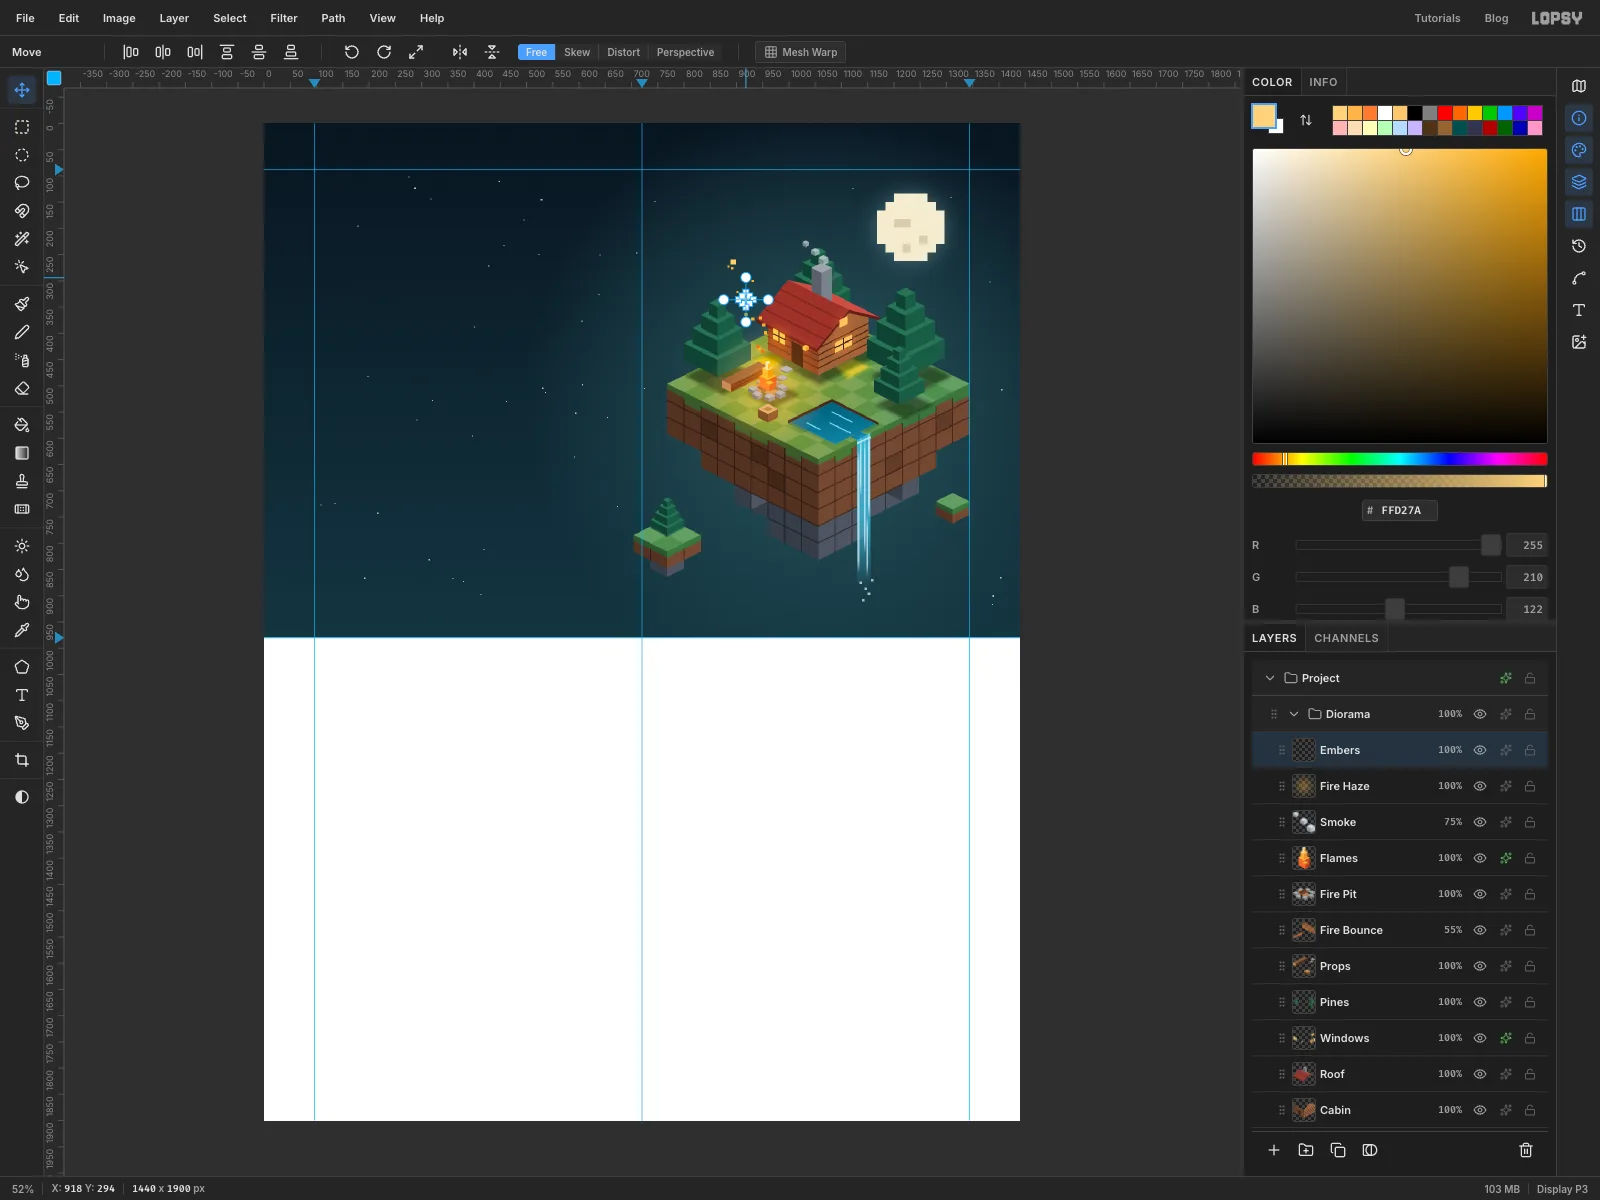
- Add a layer called
Embersand pick the Pencil. - Click a loose trail of small dots rising from the fire and drifting up and to the left, into the gap between the left pine and the roof. Use sizes
4to6, mixing and . They drift the same way as the chimney smoke, so the wind agrees. - At size
10in , click two bigger sparks along the trail. - Draw a small marquee around one spark. With the Move tool, hold Cmd and drag one of the round rotation handles outside the corners. Cmd snaps to 15° steps, so stop at 45°. Press Cmd+D to commit, then do the same to the other spark.
- Add a layer called
-
Make the embers glow
Give
Embersan Outer Glow with Size14, Opacity80and colour .That finishes the diorama. Collapse the
Dioramagroup to tidy the Layers panel.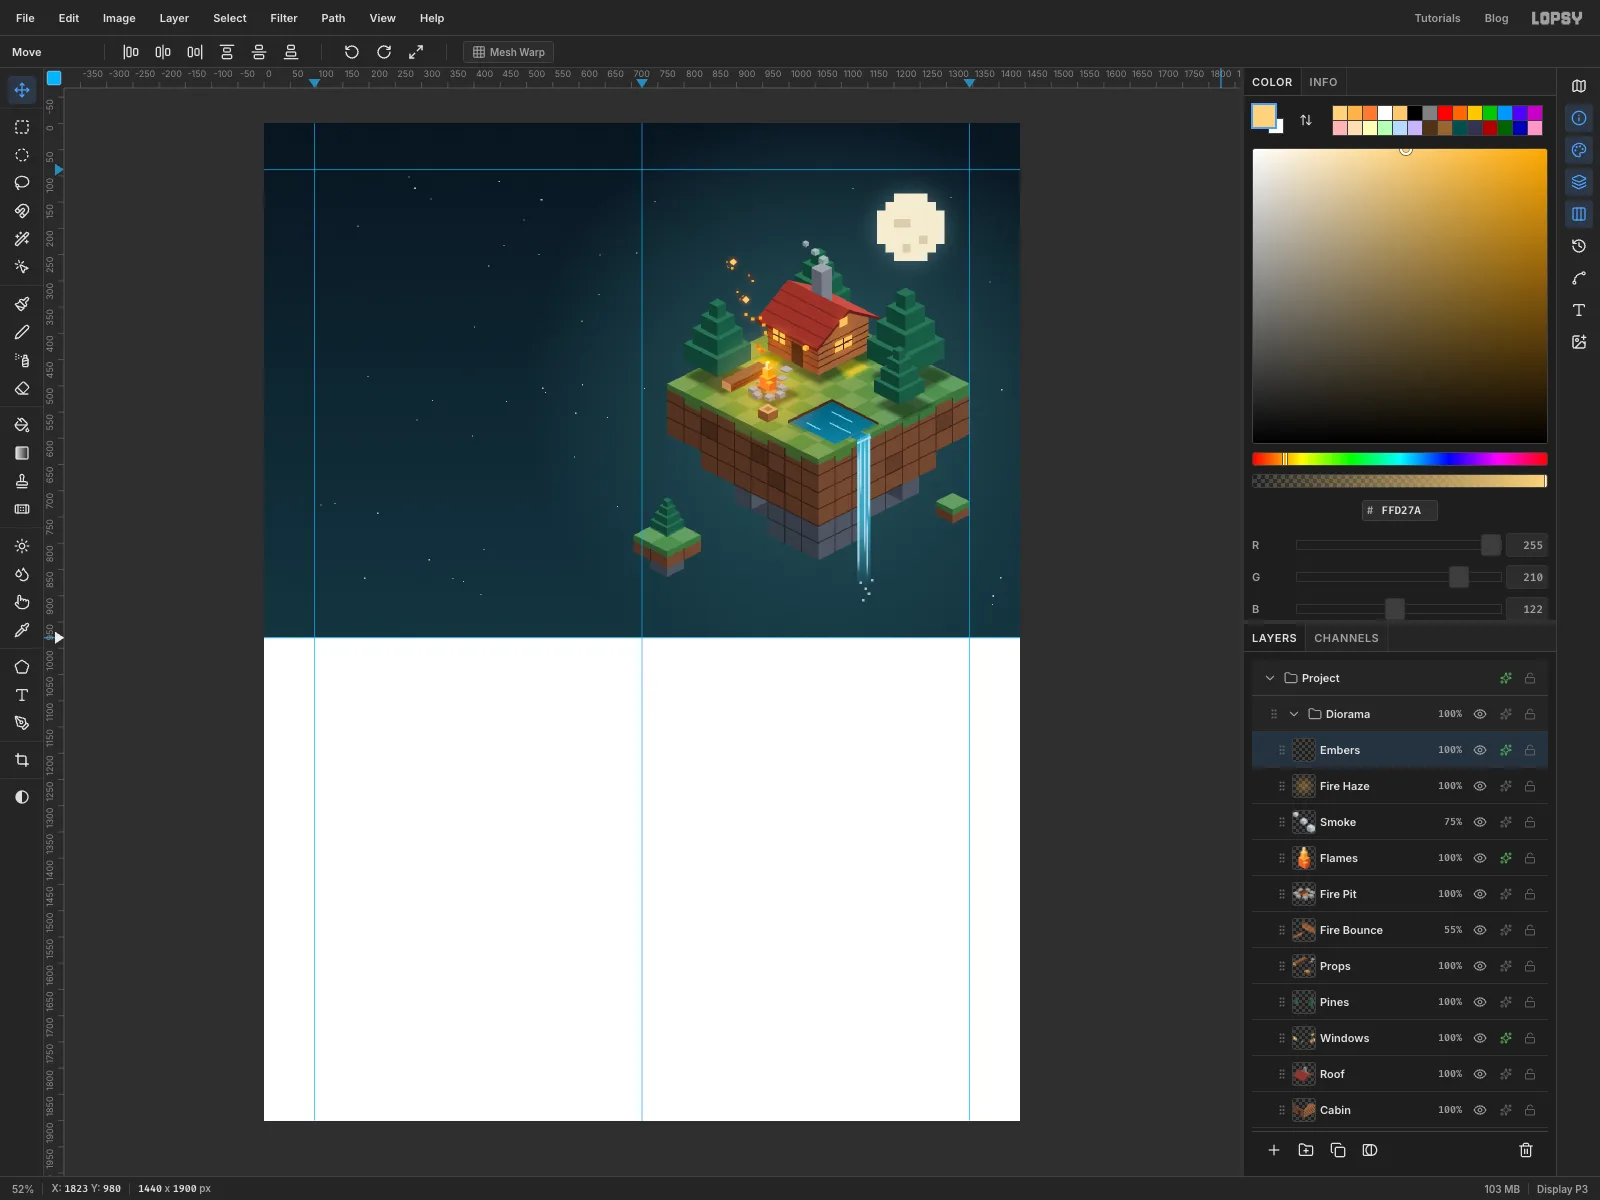
-
Start the navigation bar
- With
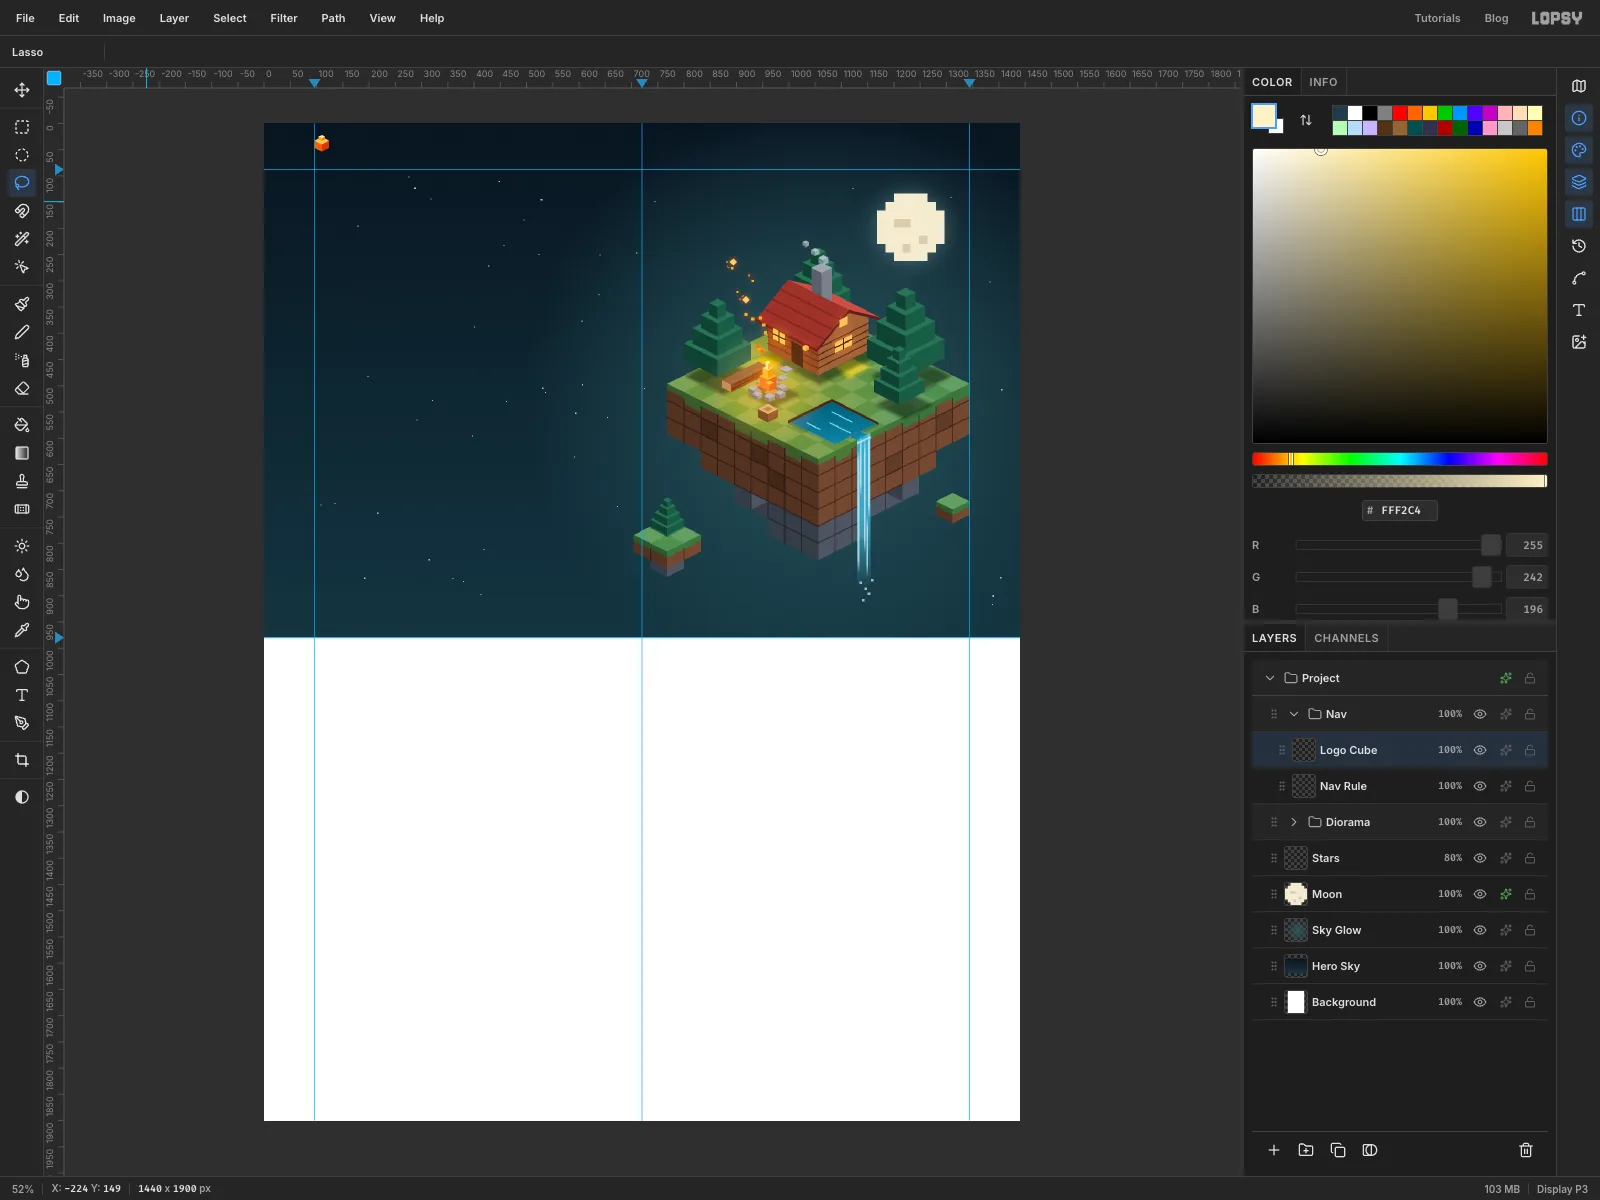
Dioramacollapsed, click its row and click New Group. Because the group is collapsed, the new group lands beside it rather than inside it. Name itNav. - Add a layer called
Nav Rule. With the Pencil at size1in , click at the left edge aty 88and Shift-click at the right edge. - Add a layer called
Logo Cube. On the left margin, draw a voxel cube 28 px wide with a top, a left side and a right side, then a smaller cube sitting on its top face with a top and / sides.
- With
-
Set the nav type and button
- Click
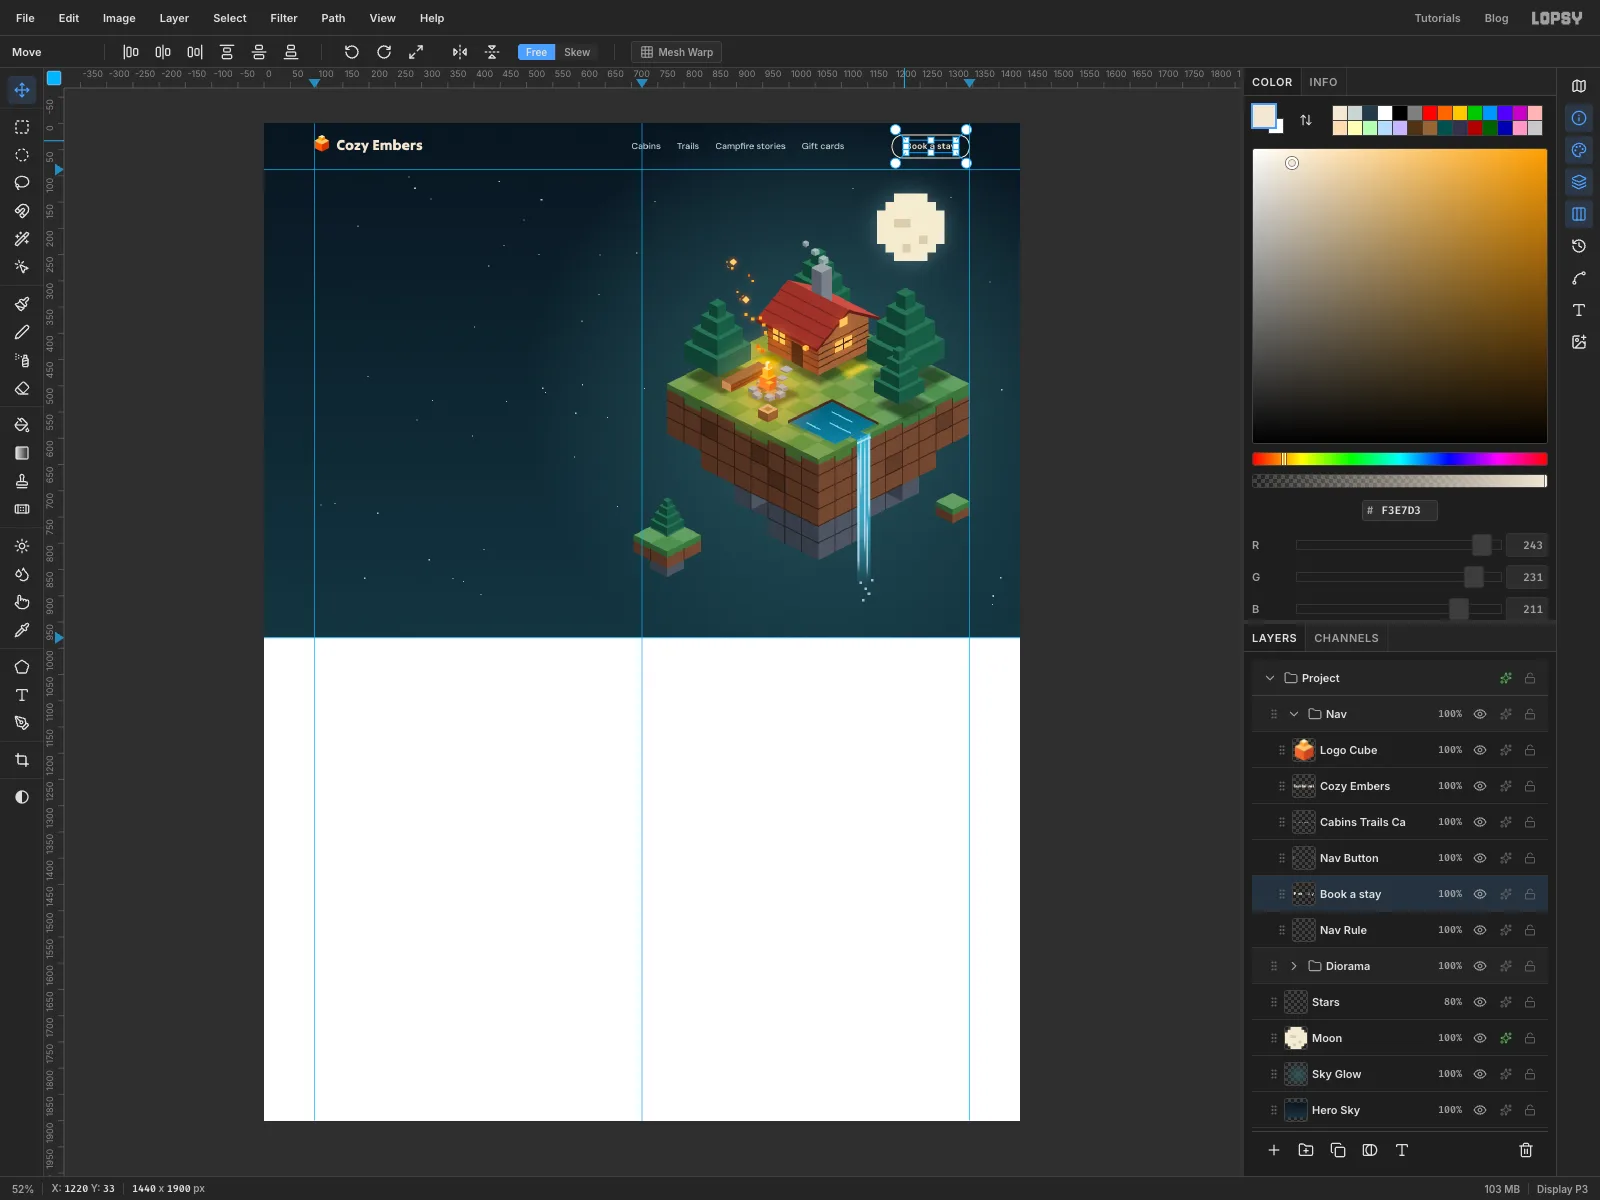
Nav Rule. With the Text tool, choose Tilt Warp at size28in , and click just right of the cube to typeCozy Embers. Press Tab to commit. - Click
Nav Ruleagain. Switch to DM Sans Medium17in , and typeCabins,Trails,Campfire storiesandGift cardson one line, separated by a few spaces, starting just left of the centre guide. - Add a layer called
Nav Button. Pick the Shape tool, set Shape to Rectangle, Corner Radius to22, remove the fill, and set the stroke to at Width2. Shapes grow from where you press, so press at the button's centre,1270, 44, and drag to1344, 66. That gives a 148 × 44 pill ending on the right margin. - Click
Nav Rule, then typeBook a stayin DM Sans SemiBold17inside the pill. Nudge it with the arrow keys until it's centred.
- Click
-
Draw the hero buttons
- Collapse
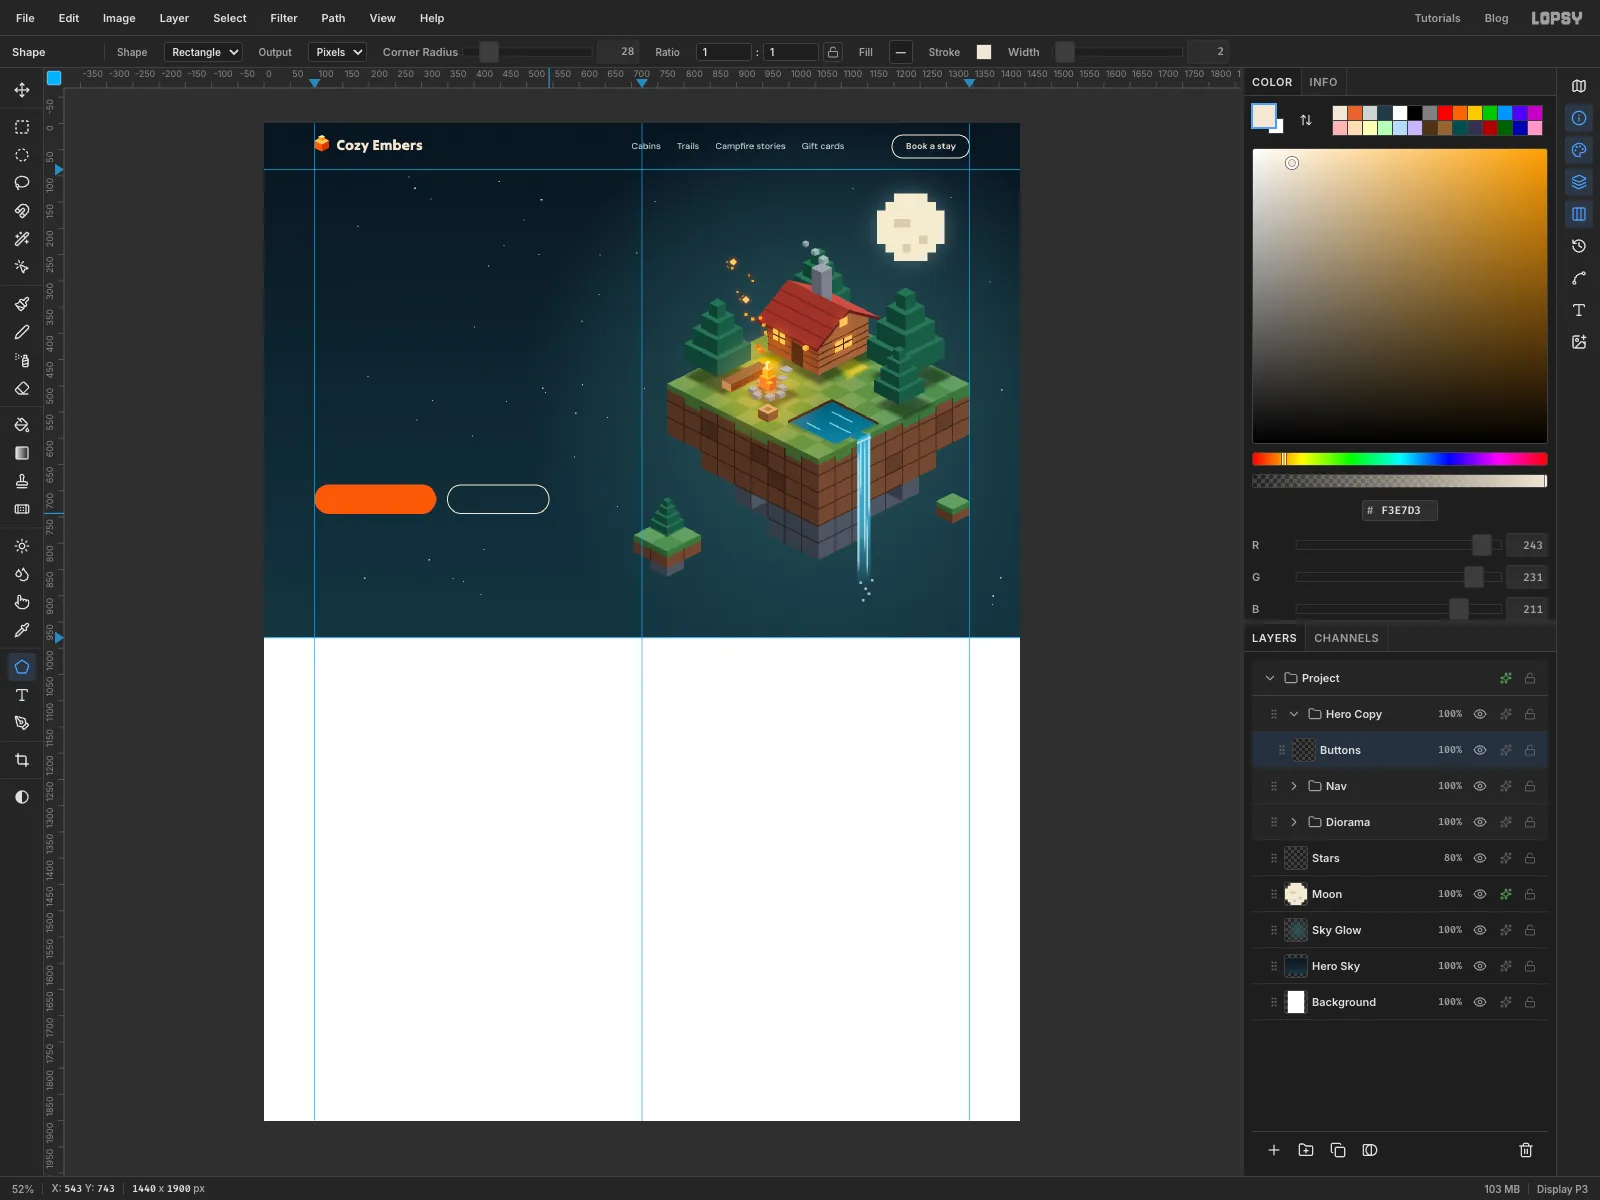
Nav, click its row and add a new group calledHero Copy, then a layer inside it calledButtons. - With the Shape tool, set Corner Radius to
28, the fill to and no stroke. Press at212, 716and drag to328, 744: a 232 × 56 pill starting on the left margin. - Switch to no fill and a stroke of Width
2. Press at446, 716and drag to543, 743, for a 194 × 54 pill 20 px to the right. A stroke is centred on the shape's edge, so the 2 px stroke adds 1 px all round, and both buttons come out 56 px tall.
- Collapse
-
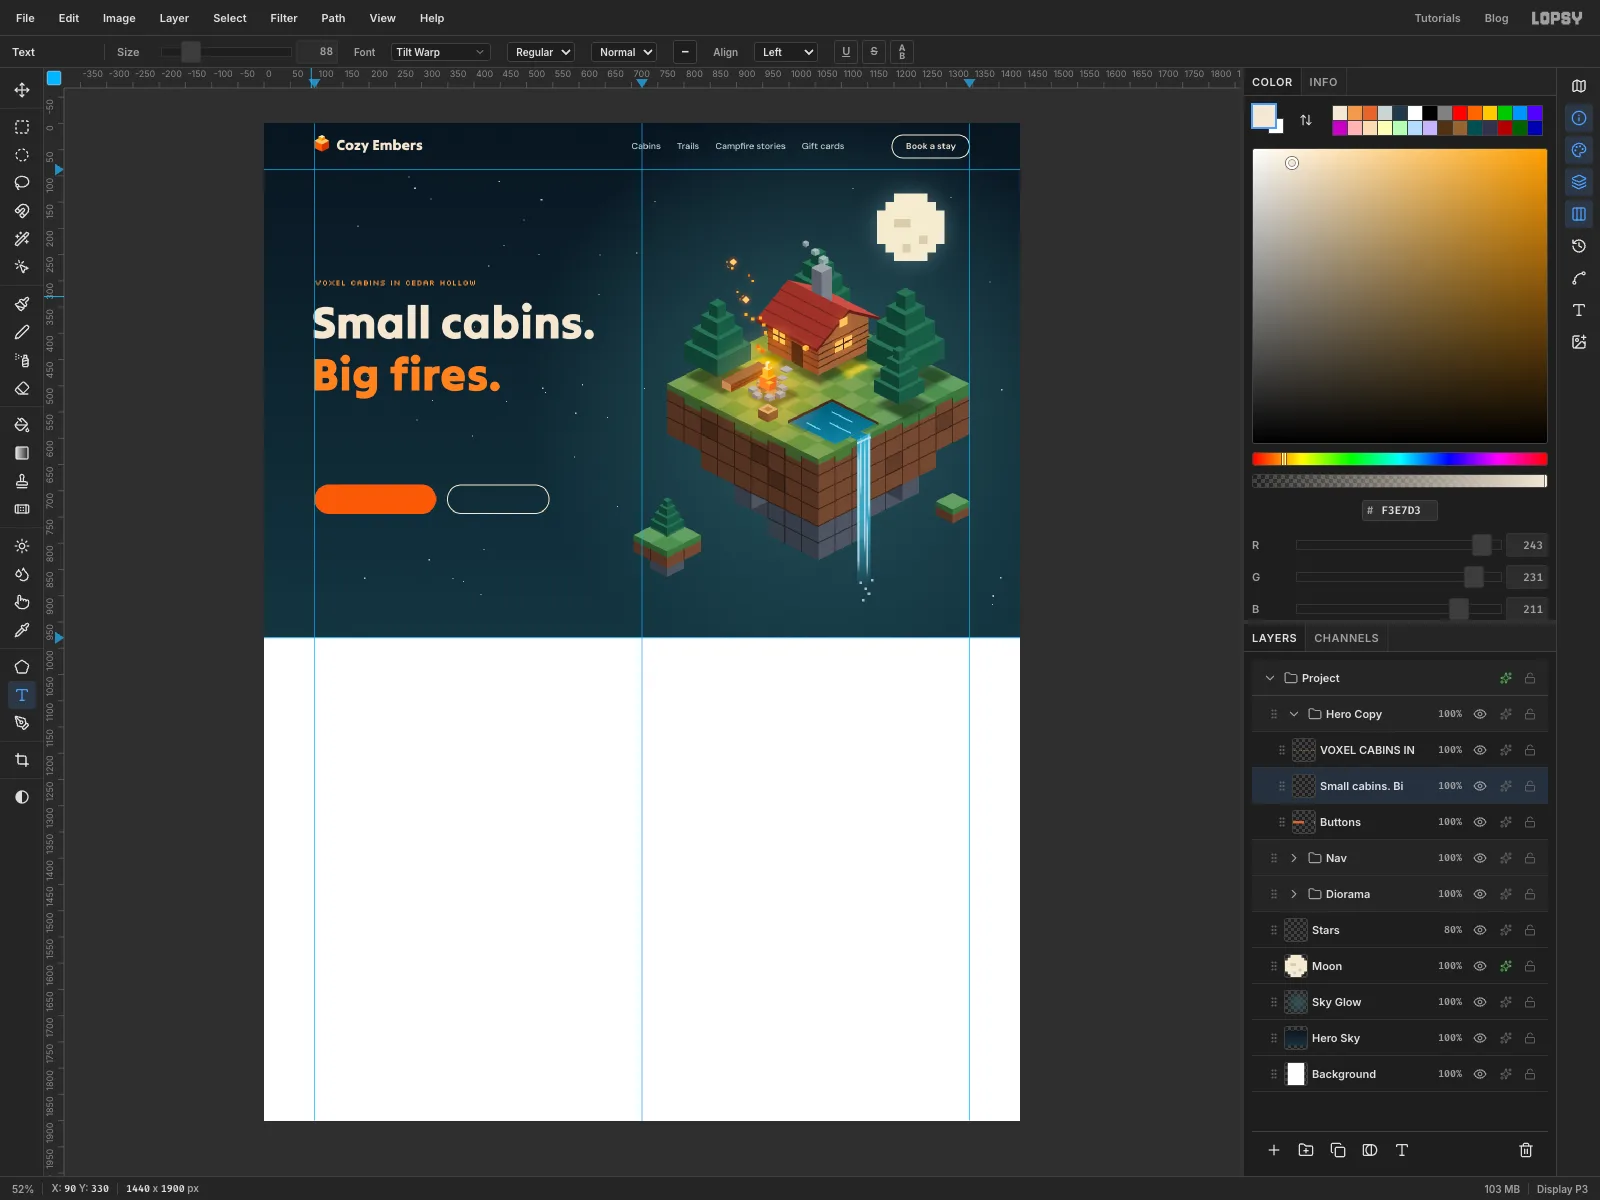
Set the headline
- Click
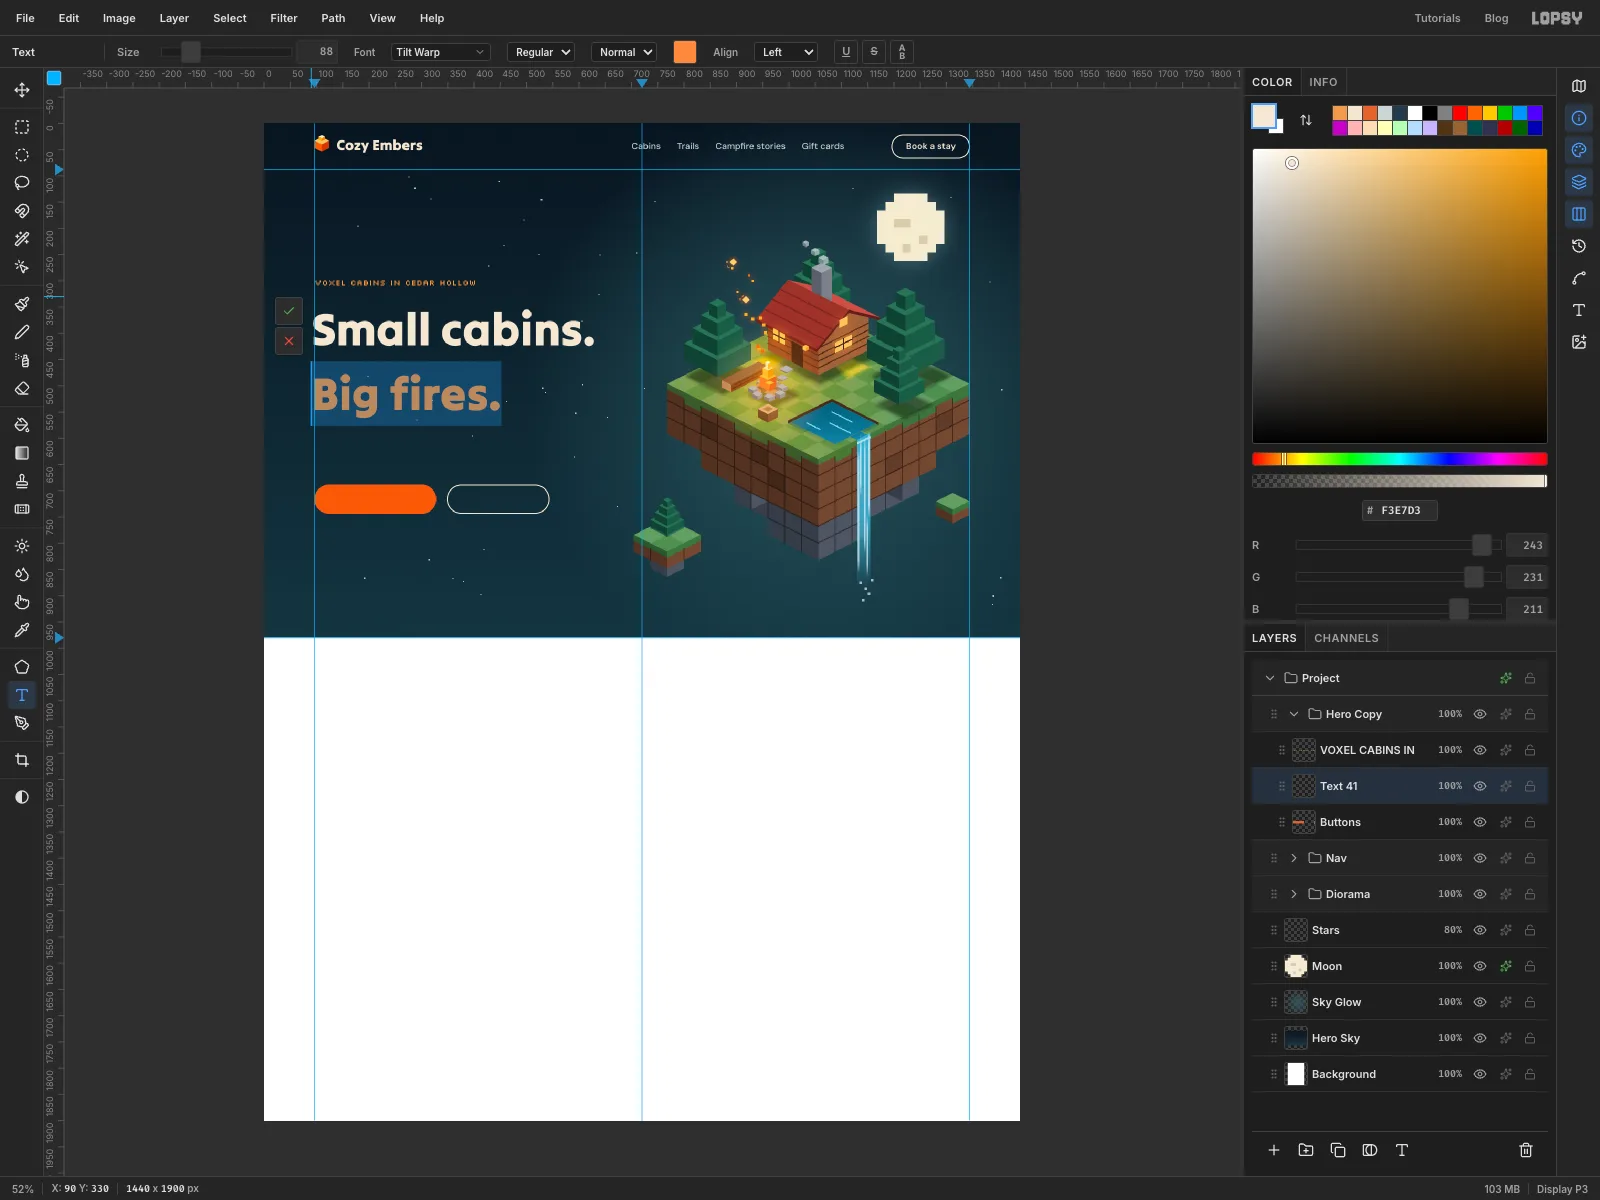
Buttons. In Silkscreen Regular16in , type the eyebrowVOXEL CABINS IN CEDAR HOLLOWat the left margin, aty 292. Silkscreen is a pixel font, so keep it at a multiple of 8 px and at Regular: Bold fills in letters like the W. - Click
Buttonsagain. In Tilt Warp88in , click at90, 330and typeSmall cabins., press Enter, and typeBig fires.Click a few pixels left of the margin, because Tilt Warp's letters start slightly right of the click. - While you're still typing, drag across
Big fires.to select it (or hold Shift+Left until it's highlighted). Click the Text color swatch in the options bar and enter . Close the picker by clicking the swatch again, then press Tab.
- Click
-
Tighten the headline's leading
The default line height of 1.4 is good for paragraphs but too loose for a big two-line headline.
- With the headline layer active, open the Text panel from the panel toolbar on the right and set Line height to
1.12. - That also becomes the default for new text, so click
Buttonsand set it back to1.4before typing anything else.
- With the headline layer active, open the Text panel from the panel toolbar on the right and set Line height to
-
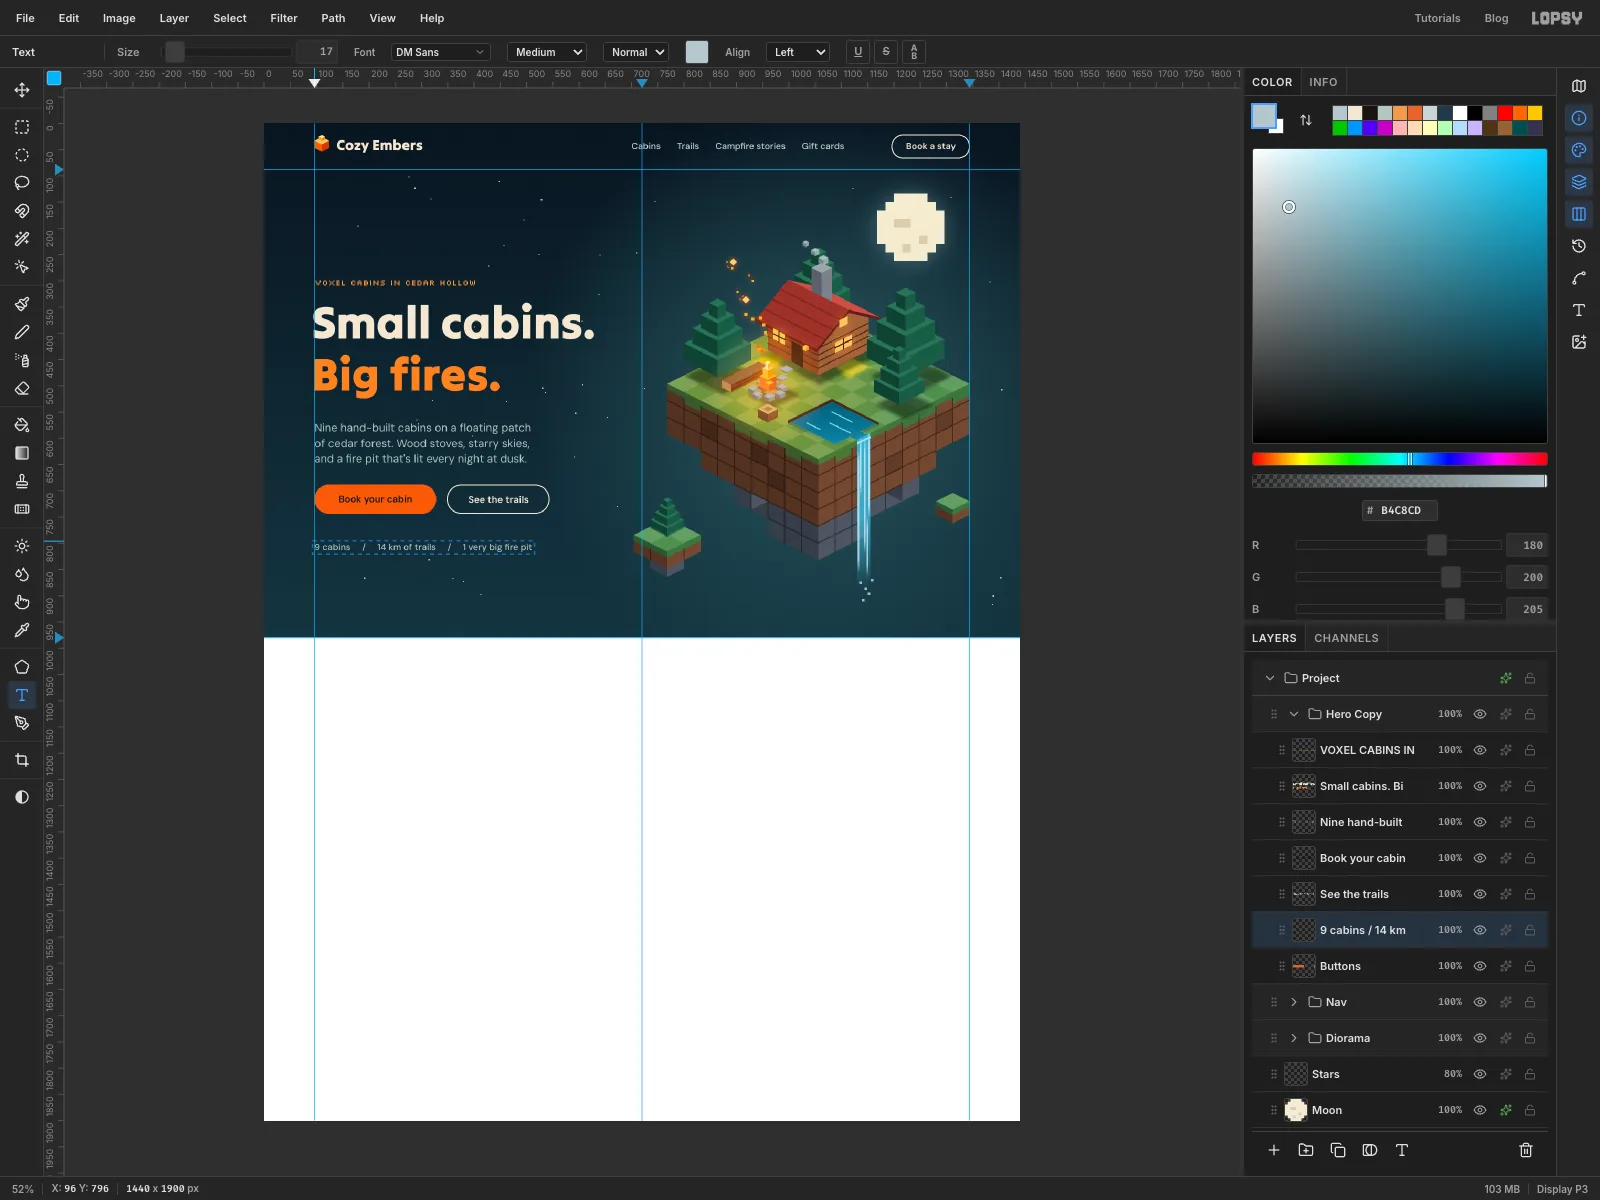
Finish the hero copy
- Click
Buttons. In DM Sans Regular21in , type the paragraph at the left margin aty 566. Press Enter to break it into three lines of similar length:Nine hand-built cabins on a floating patch/of cedar forest. Wood stoves, starry skies,/and a fire pit that's lit every night at dusk. - Click
Buttons. In DM Sans SemiBold18, typeBook your cabinin on the orange pill. ClickButtonsagain and typeSee the trailsin on the outlined one. - Nudge each label with the arrow keys until it's centred in its pill. Zoom in to check that the space on the left matches the right, and the top matches the bottom.
- Click
Buttons. In DM Sans Medium17in , add a stats line aty 796:9 cabins / 14 km of trails / 1 very big fire pit.
- Click
-
Start the cream section with a stepped edge
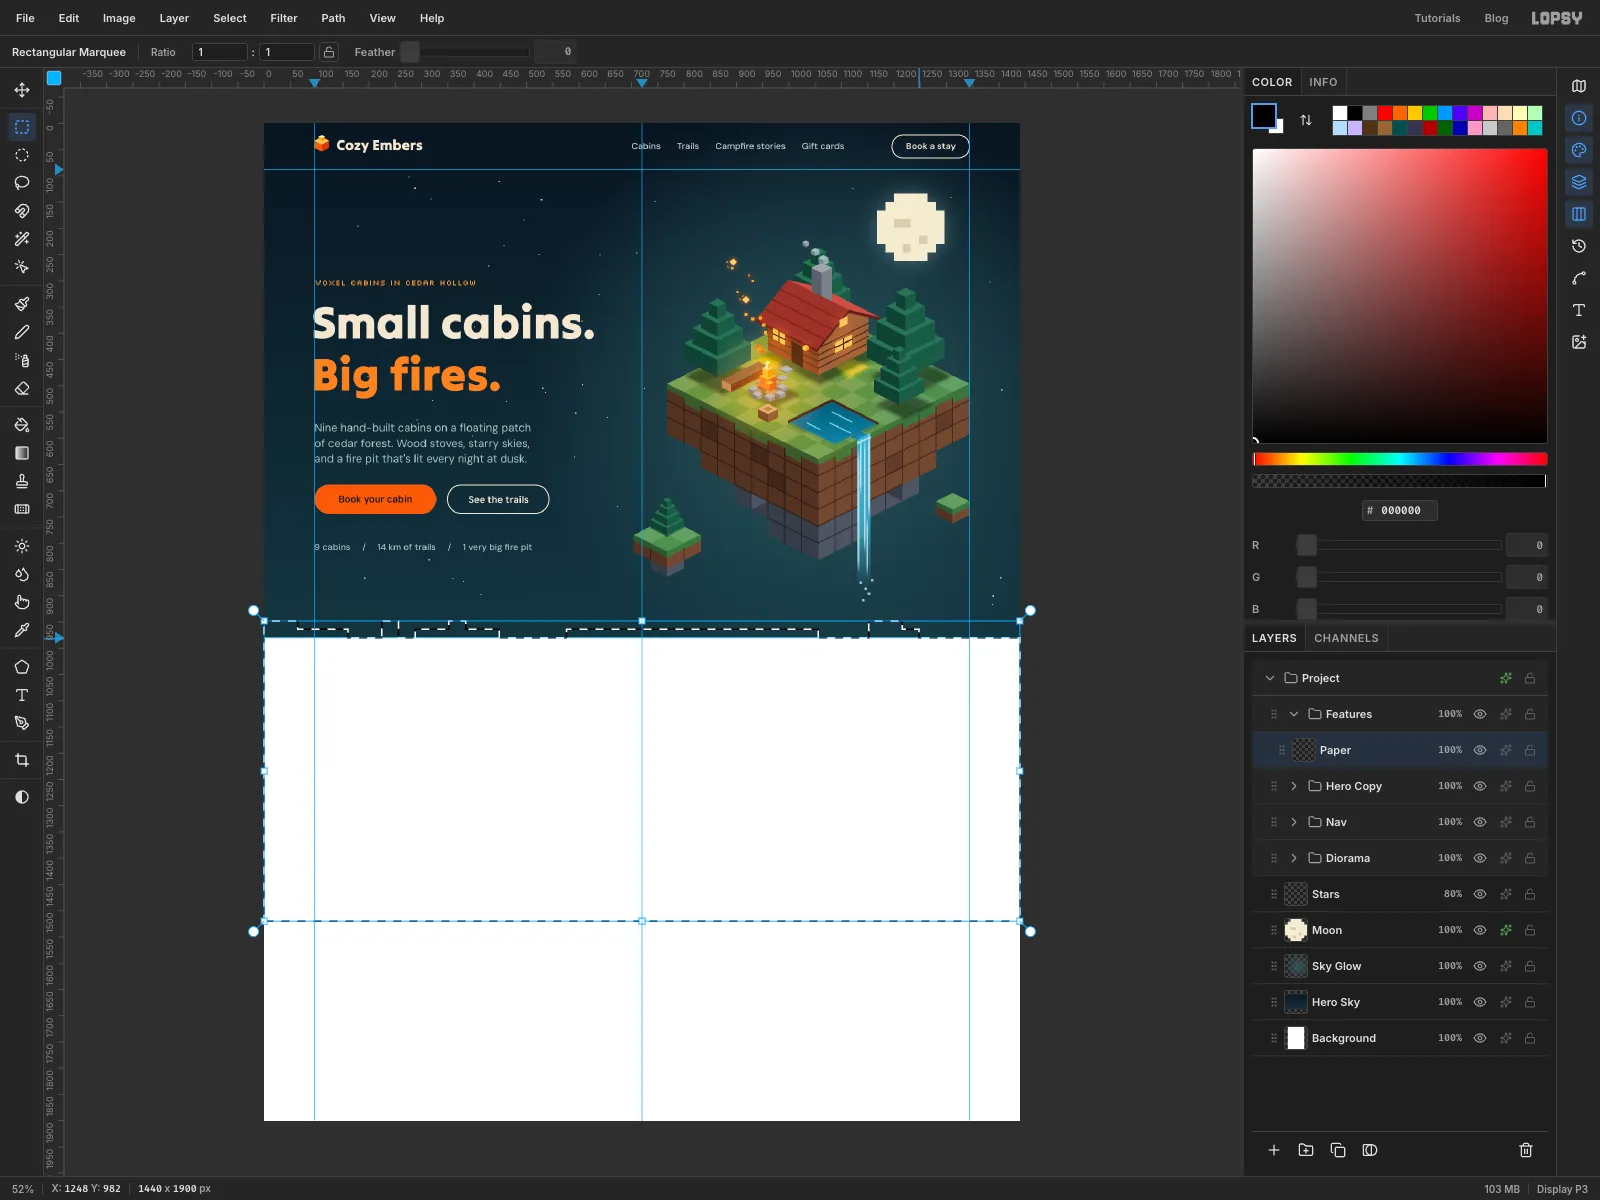
A straight line between sections would be fine, but a stepped edge says "voxel" without another word.
- Collapse
Hero Copy, click its row and add a new group calledFeatures, then a layer calledPaper. - Select a rectangle across the full width from
y 980toy 1520. - Hold Shift and add blocks 32 to 128 px wide and 16 or 32 px tall sitting on top of that edge, with gaps between them. Neighbouring blocks of the same height merge into longer ledges, which is fine. Just spread them across the whole width so there's no long flat stretch.
- Fill with and deselect.
- Collapse
-
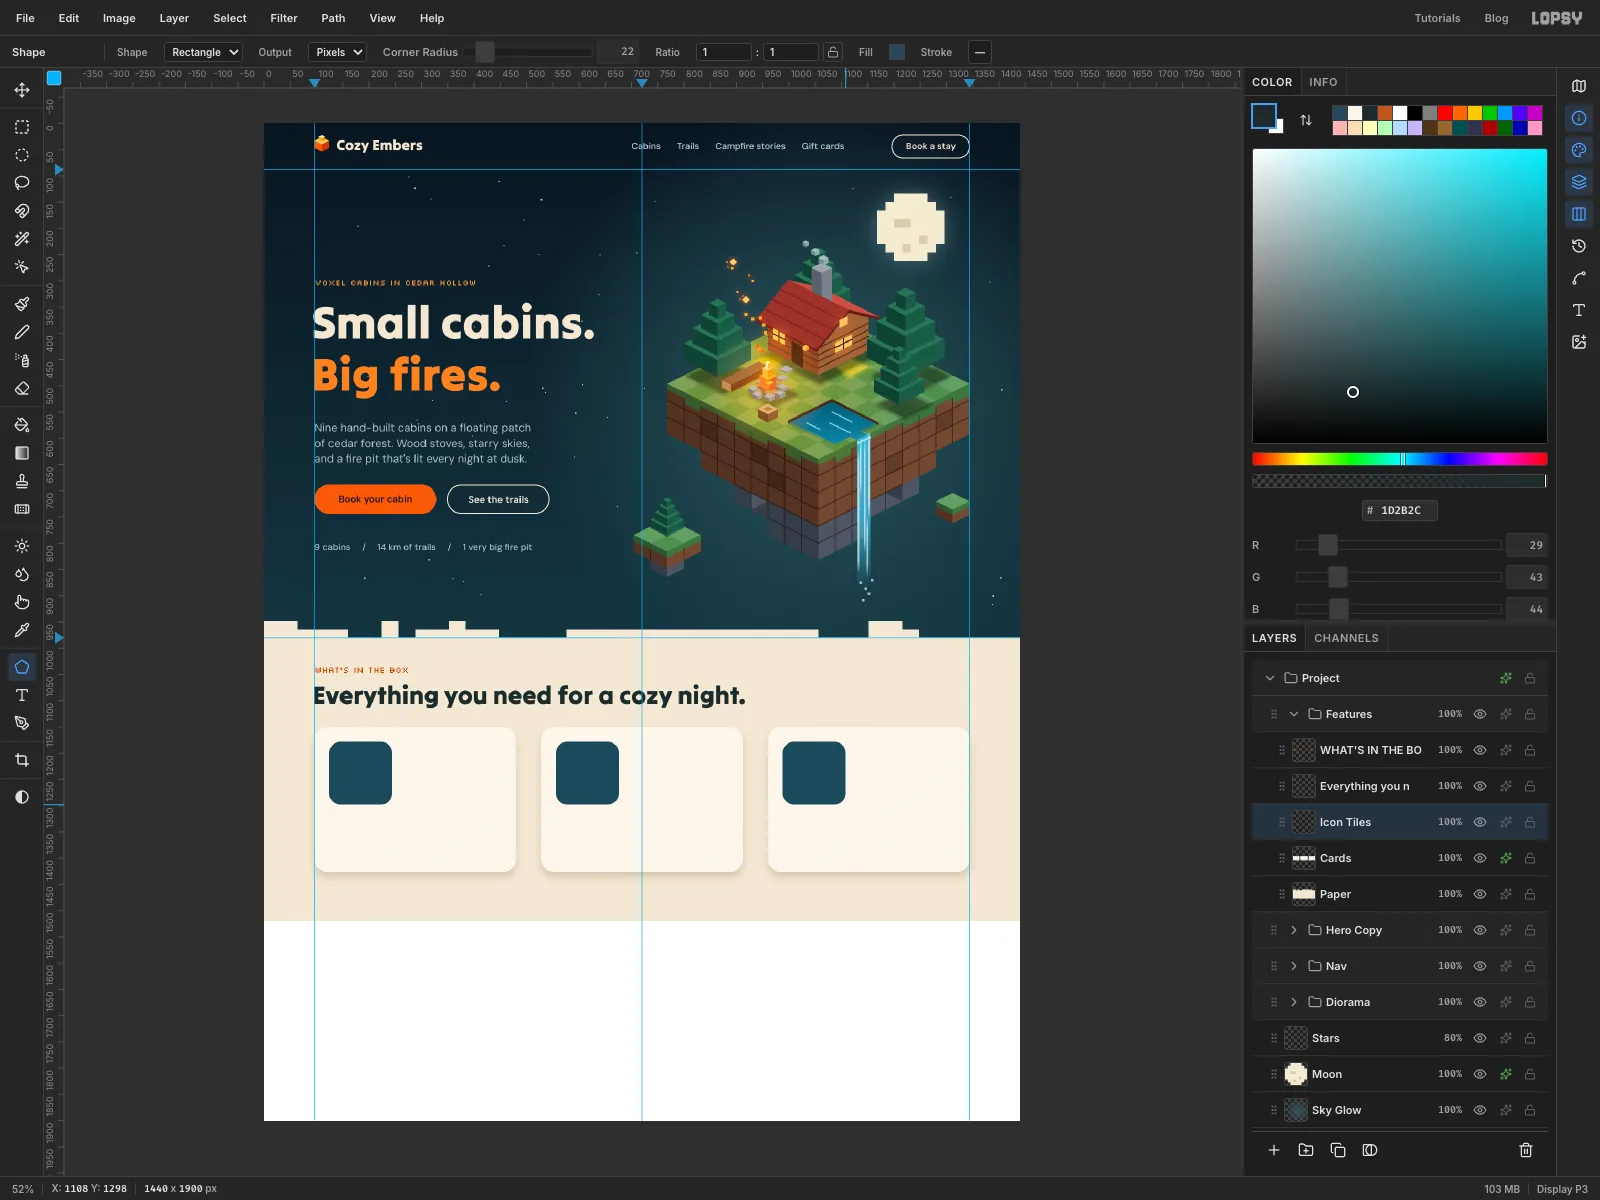
Add the section title and cards
- Click
Paper. In Silkscreen Regular16in , typeWHAT'S IN THE BOXat96, 1030. - Click
Paperagain. In Tilt Warp48in , typeEverything you need for a cozy night.at92, 1056. Click at least 10 px below the eyebrow's letters: a click close to existing text edits that text instead of starting new type. - Add a layer called
Cards. With the Shape tool at Corner Radius24, fill and no stroke, draw three 384 × 276 cards. Press at each centre,288, 1288,720, 1288and1152, 1288, and drag 192 px right and 138 px down. The 48 px gaps make the outer edges land on both margins. - Give
Cardsa Drop Shadow with Opacity22, Offset X0, Offset Y10, Blur26and colour . - Add a layer called
Icon Tilesand draw a 120 × 120 tile with Corner Radius22in , 28 px in from the top-left corner of each card. Their centres are at184, 1238,616, 1238and1048, 1238.
- Click
-
Copy the cabin out of the diorama
The card icons reuse pieces of the diorama, so they match it exactly.
- Expand
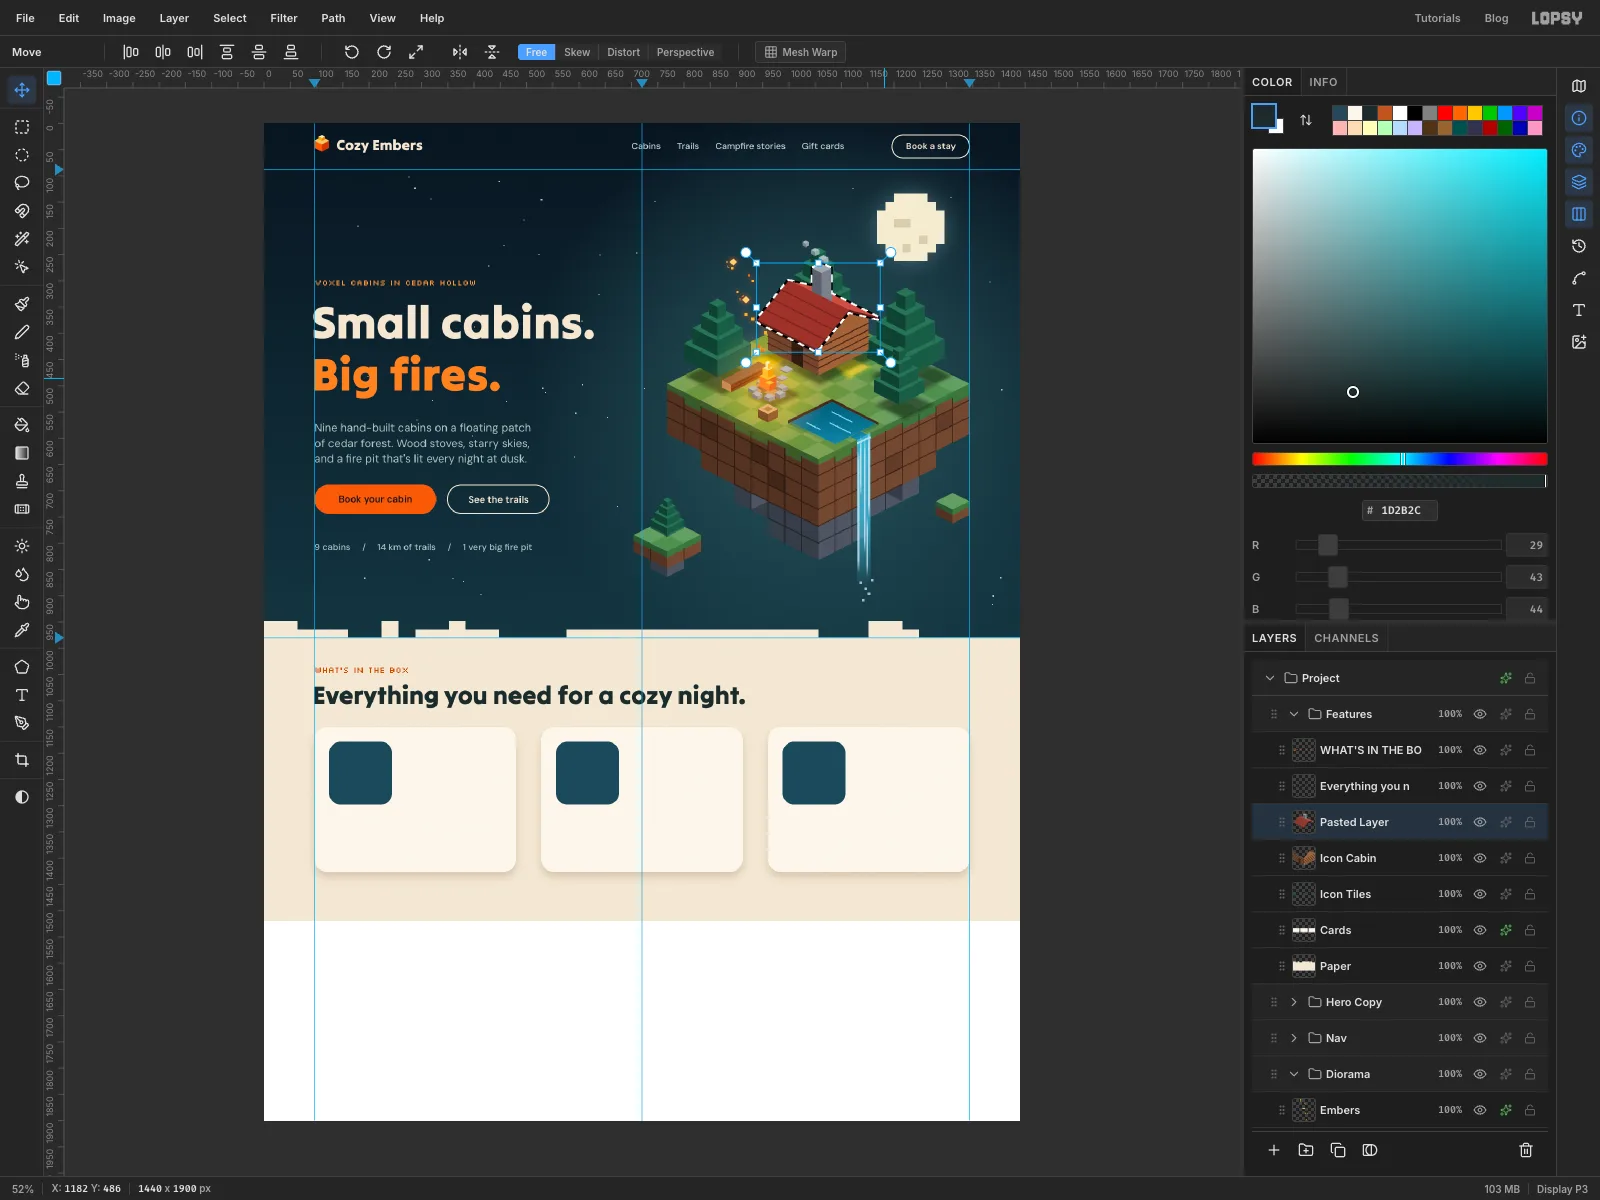
Diorama. ClickCabin, draw a marquee around the whole cabin and press Cmd+C. - Click
Icon Tilesand press Cmd+V. Lopsy pastes in place, on a new layer directly above the active one. Rename itIcon Cabin. - Click
Roofand press Cmd+C (the marquee is still there). ClickIcon Cabinand press Cmd+V, then Cmd+E to merge the roof down intoIcon Cabin. - Do the same with
Windows.
- Expand
-
Move and scale the icon
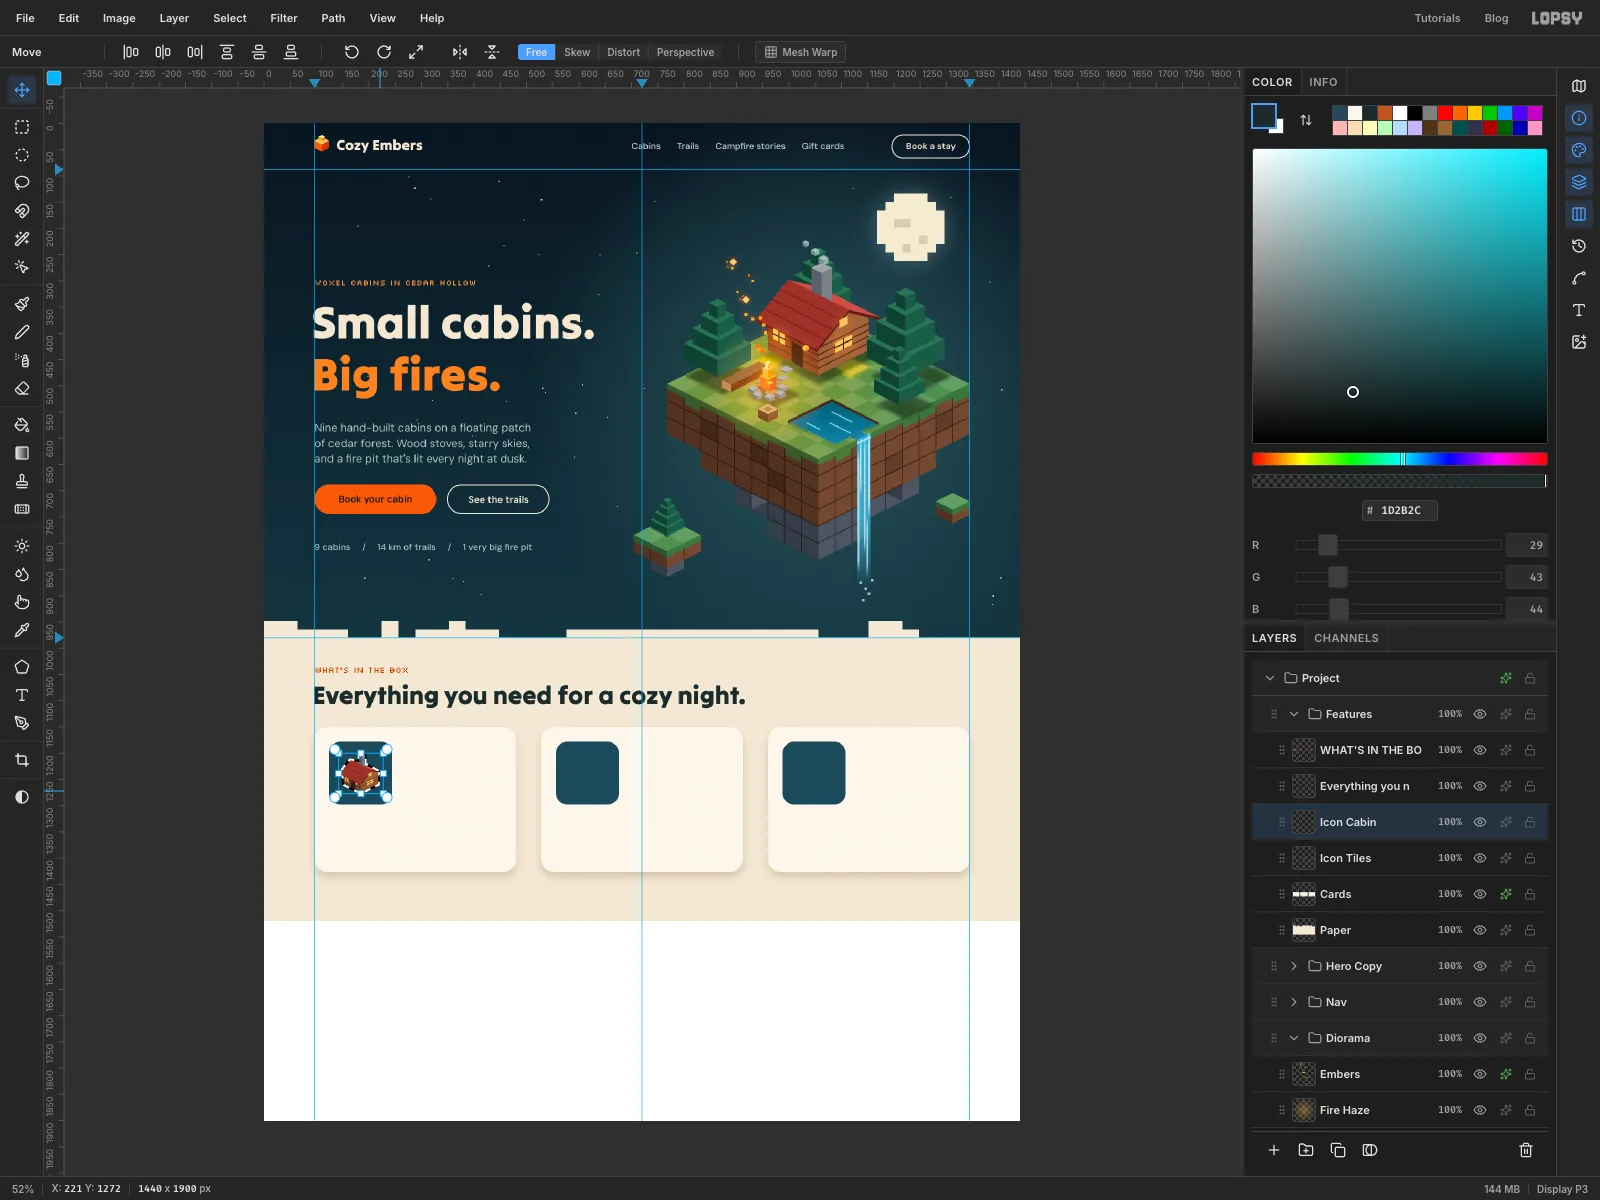
- Cmd-click the
Icon Cabinthumbnail to select its pixels. - With the Move tool, drag from inside the selection onto the first card's tile.
- Hold Cmd and drag the bottom-right corner handle towards the middle to scale it down evenly, to about a third of its size, so the cabin fills about 70% of the tile.
- Press Cmd+D to commit.
- Cmd-click the
-
Make the other two icons
- Click
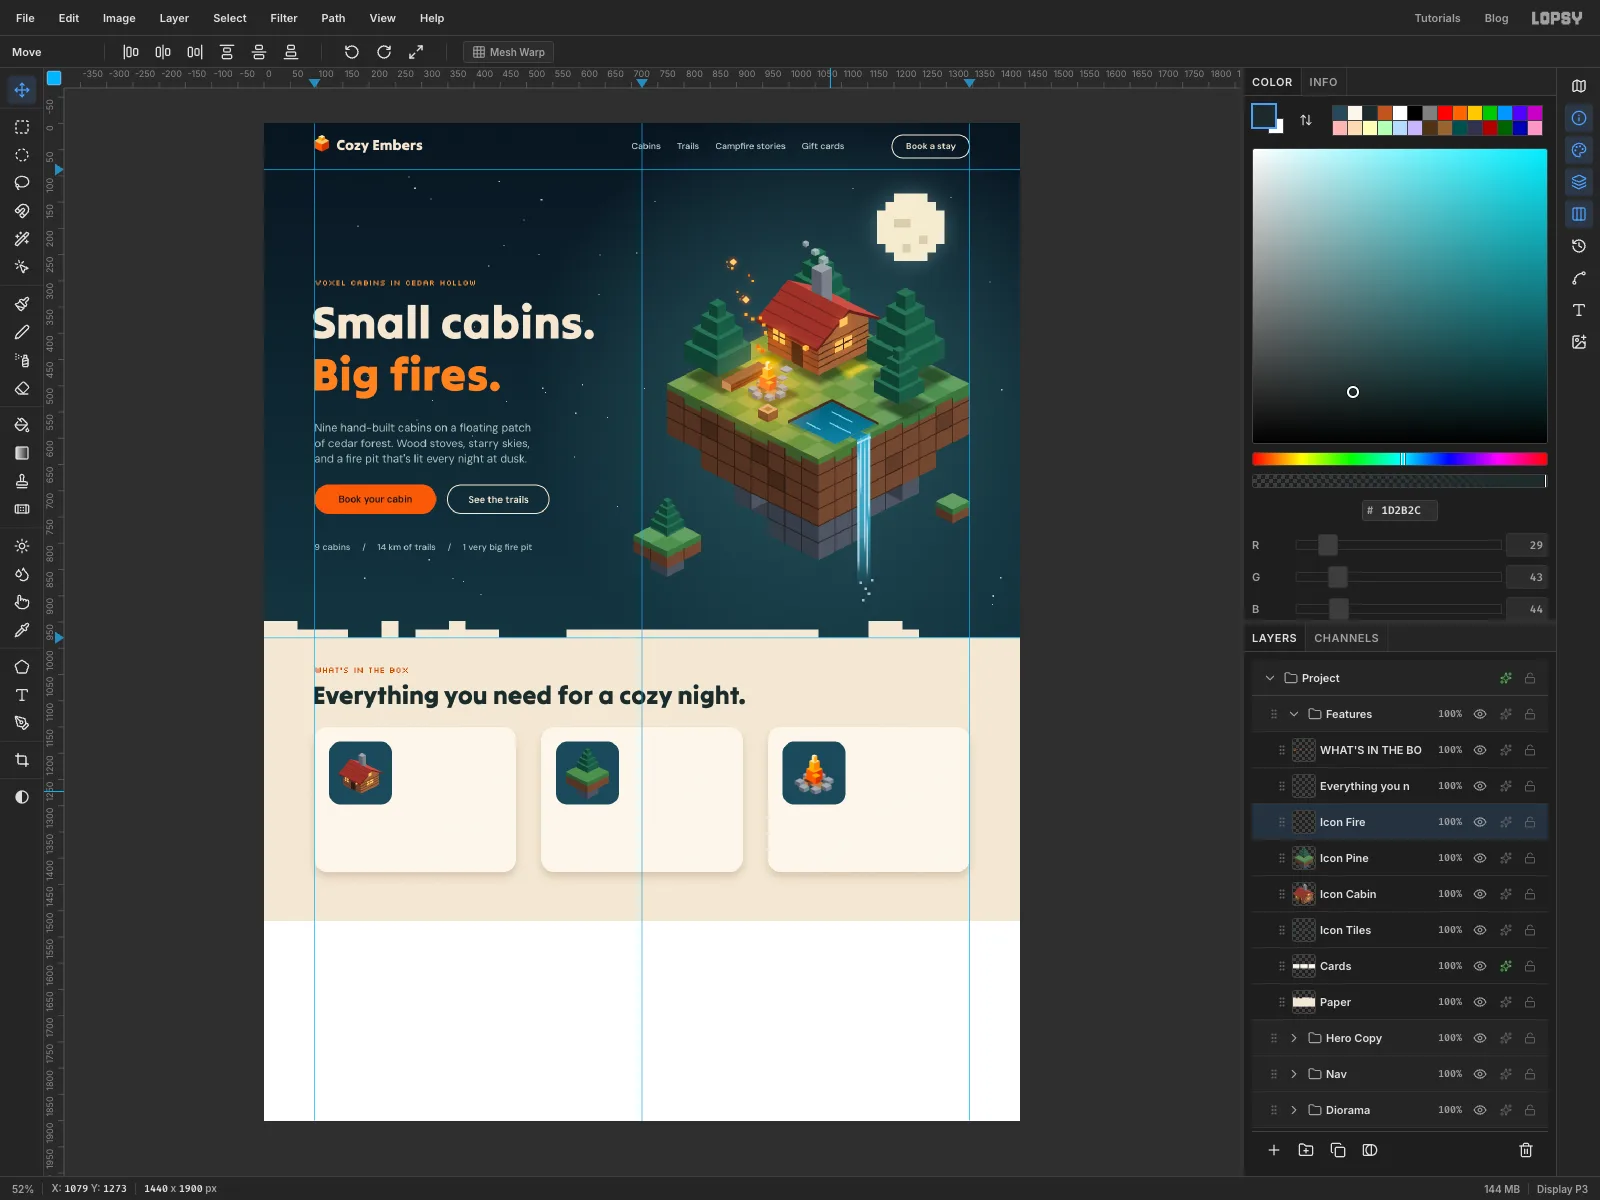
Islets, marquee the left islet with its little pine and press Cmd+C. ClickIcon Cabinand press Cmd+V. Rename the new layerIcon Pine, then move and scale it onto the second tile. - Click
Fire Pit, marquee the fire ring and press Cmd+C. ClickIcon Pineand press Cmd+V, and rename the new layerIcon Fire. - Click
Flamesand copy the same area. ClickIcon Fire, press Cmd+V so the flames land above it, then Cmd+E to merge them down. - Move
Icon Fireonto the third tile. It needs almost no scaling. - Size each icon by eye so all three fill their tiles about equally, then collapse
Diorama.
- Click
-
Write the card text
- Click
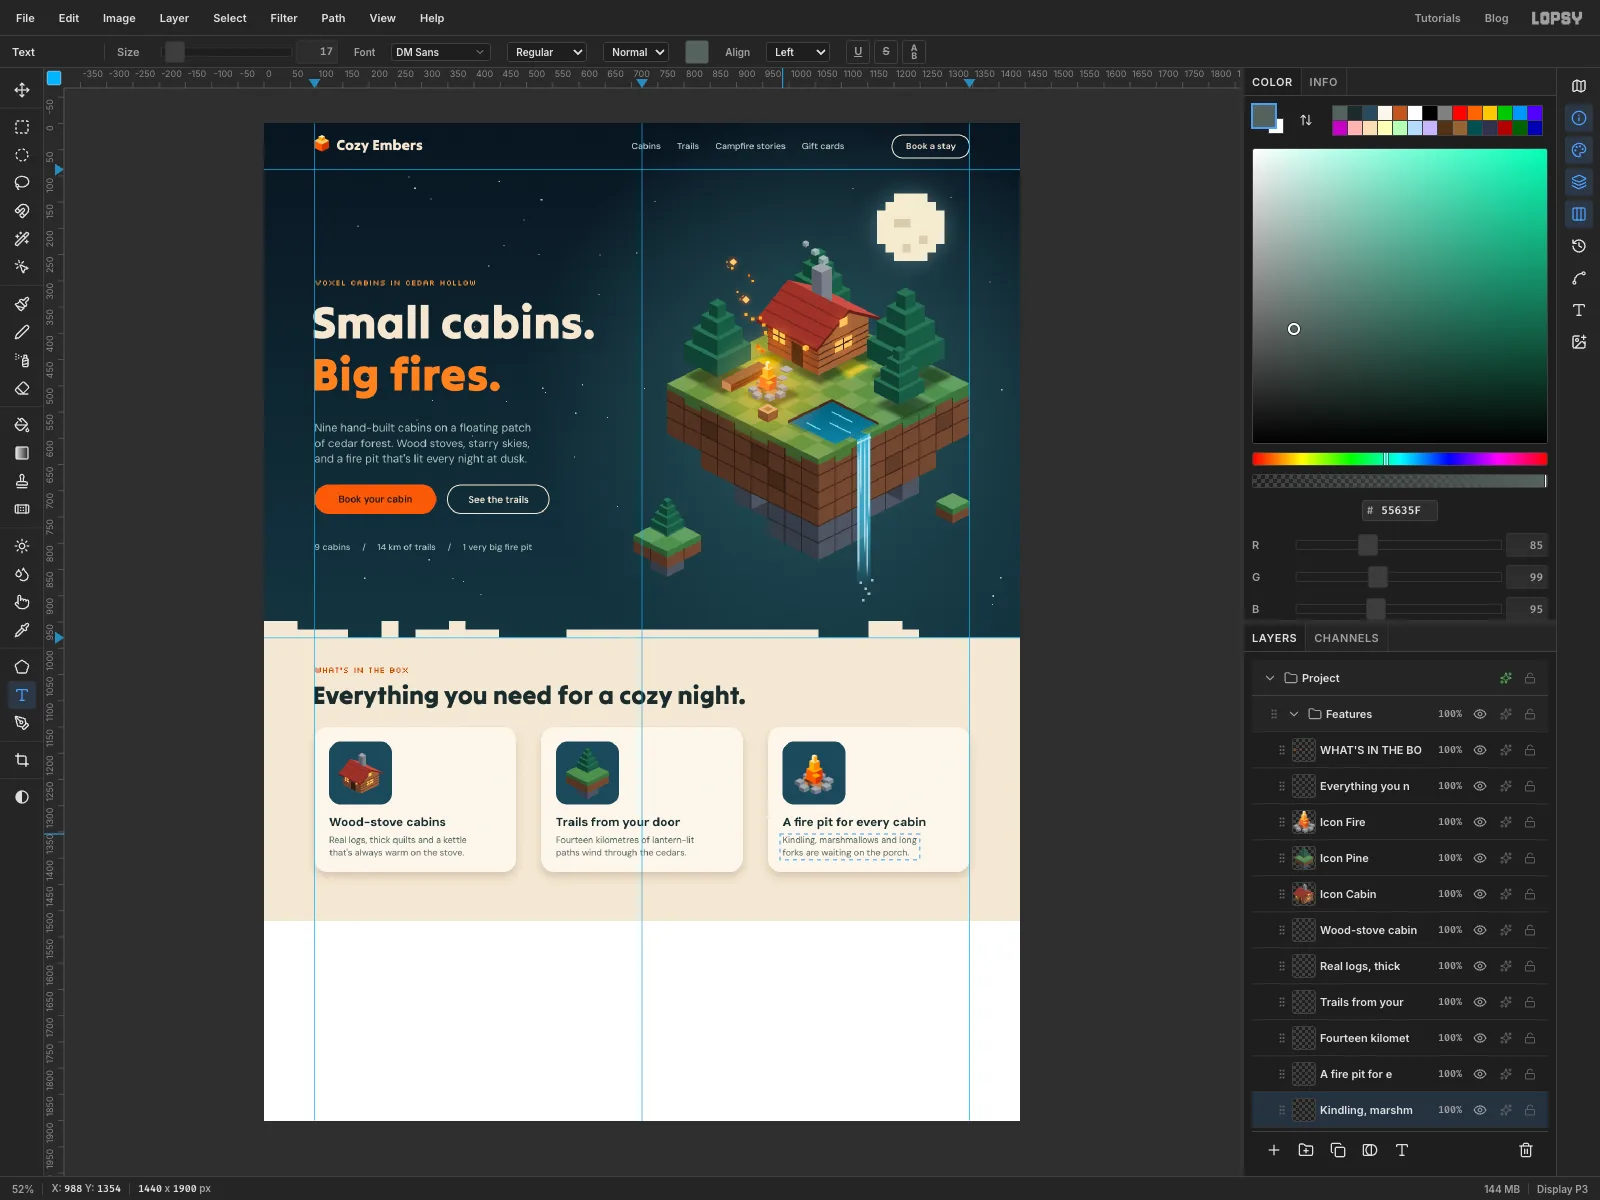
Icon Tiles. In DM Sans Bold23in , type the first card's title 28 px in from the card's left edge aty 1316. - Click
Icon Tiles. In DM Sans Regular17in , type its two-line description aty 1354. - Repeat for the other two cards, clicking
Icon Tilesbefore each new piece of text:
Wood-stove cabins:Real logs, thick quilts and a kettle/that's always warm on the stove.Trails from your door:Fourteen kilometres of lantern-lit/paths wind through the cedars.A fire pit for every cabin:Kindling, marshmallows and long/forks are waiting on the porch.
Line the titles and descriptions up at the same heights in all three cards, so the text reads as one row.
- Click
-
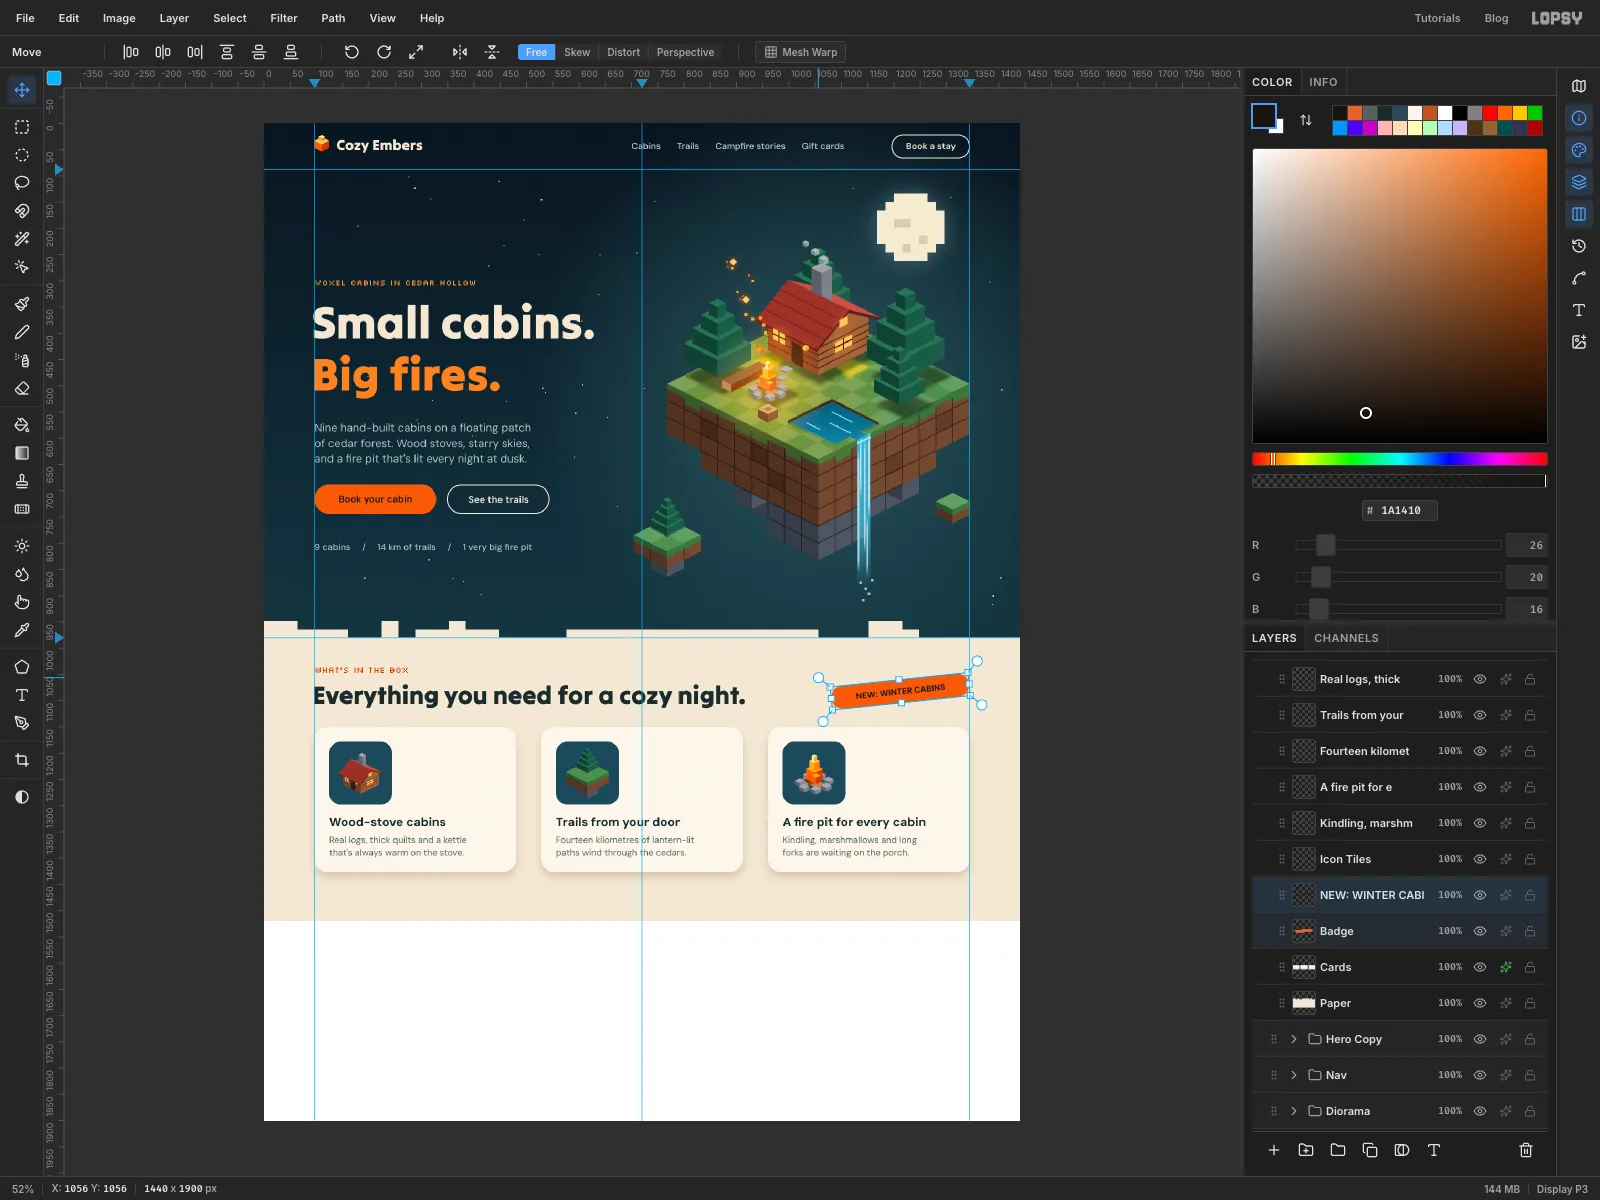
Add a tilted badge
- Click
Cardsand add a layer calledBadge. Draw a 264 × 44 orange pill with Corner Radius22: press at1212, 1082and drag to1344, 1104. It ends on the right margin, level with the section heading. - With
Badgeactive, typeNEW: WINTER CABINSin DM Sans Bold16in and centre it in the pill with the arrow keys. - Click the badge text's row, then Shift-click the
Badgerow to select both layers. - With the Move tool and nothing selected on the canvas, the handles frame both layers. Drag a rotation handle a little anticlockwise, to about −6°. The text stays live text. Press Cmd+D.
Use a regular font here rather than Silkscreen. Rotated pixel fonts break into jagged steps.
- Click
-
Make room with Canvas Size
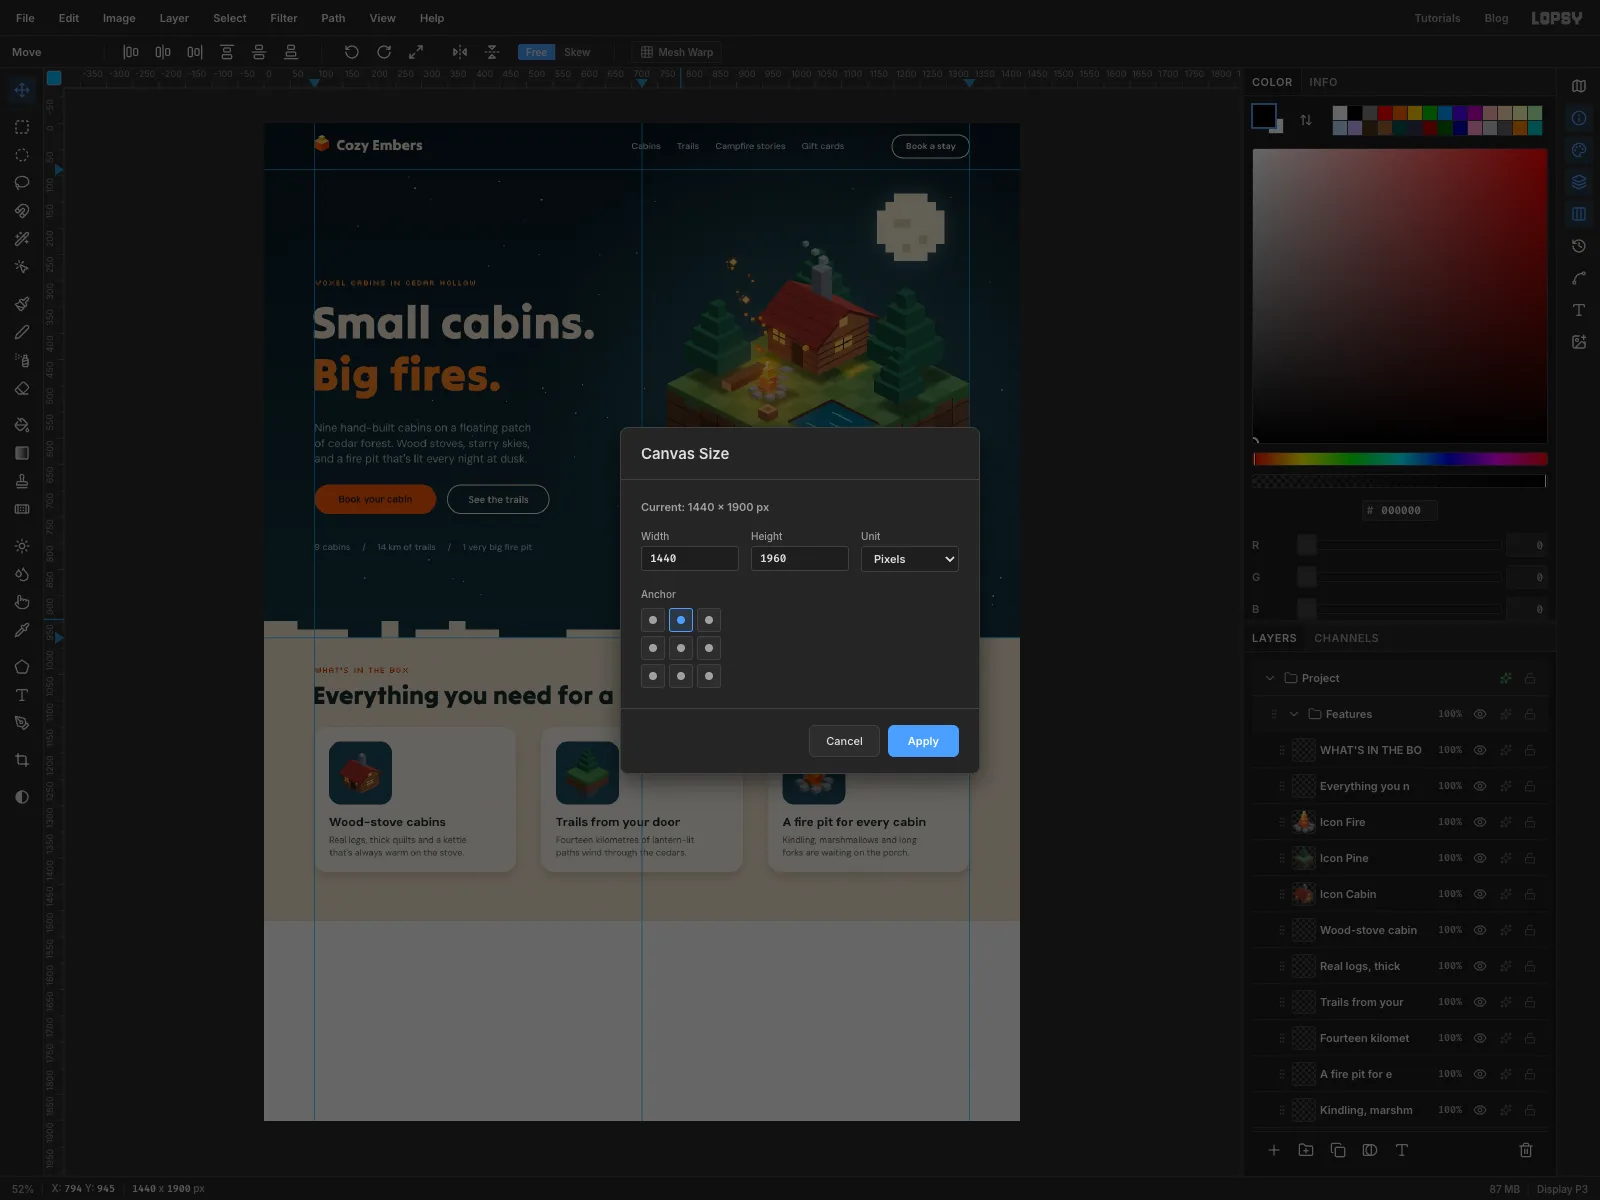
The footer needs another 60 px of breathing room. Rather than squeezing everything up, add it to the canvas.
- Choose Image → Canvas Size….
- Change Height to
1960, click the top-centre square in the anchor grid, and click Apply. The new 60 px are added at the bottom, and nothing above moves.
-
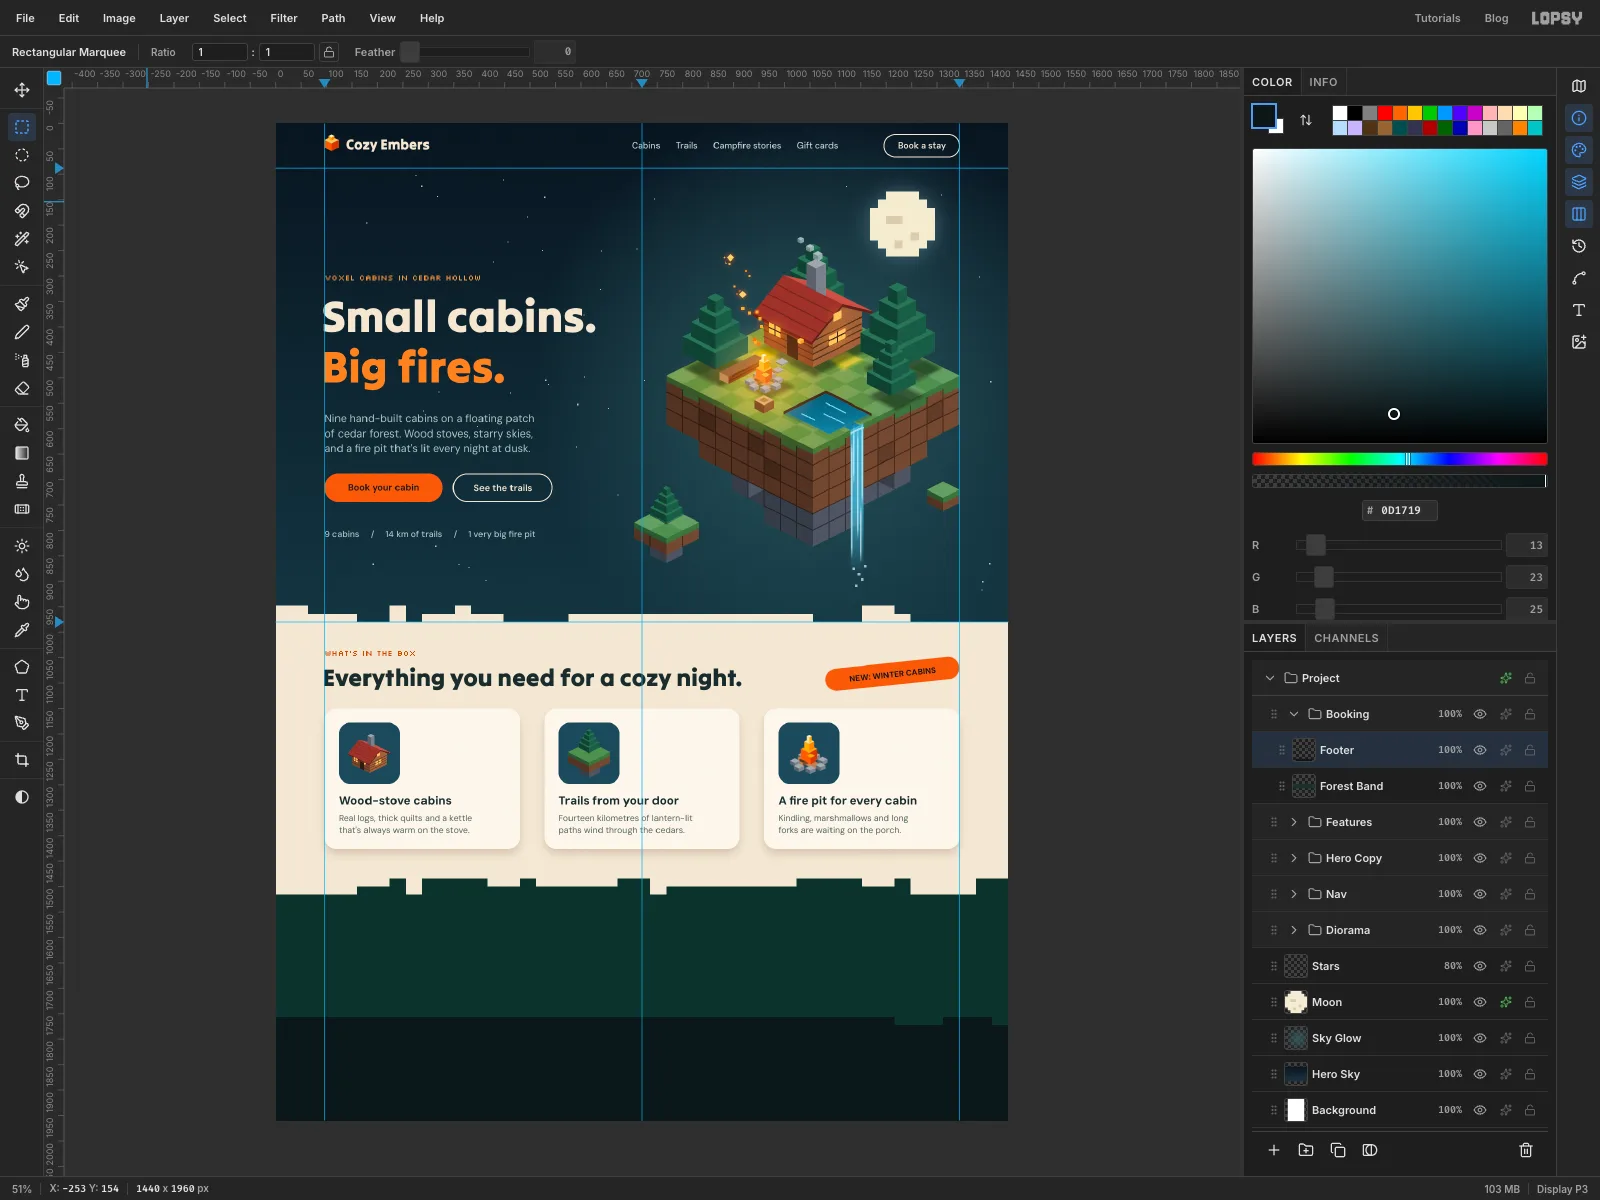
Lay in the booking band and footer
- Collapse
Features, click its row and add a new group calledBooking, then a layer calledForest Band. - Select from
y 1516toy 1772across the full width and Shift-add stepped blocks along its top edge, as you did for the paper. Fill with . - Add a layer called
Footer. Select fromy 1772to the bottom of the canvas, Shift-add a few lower steps 16 px tall along the top, and fill with .
- Collapse
-
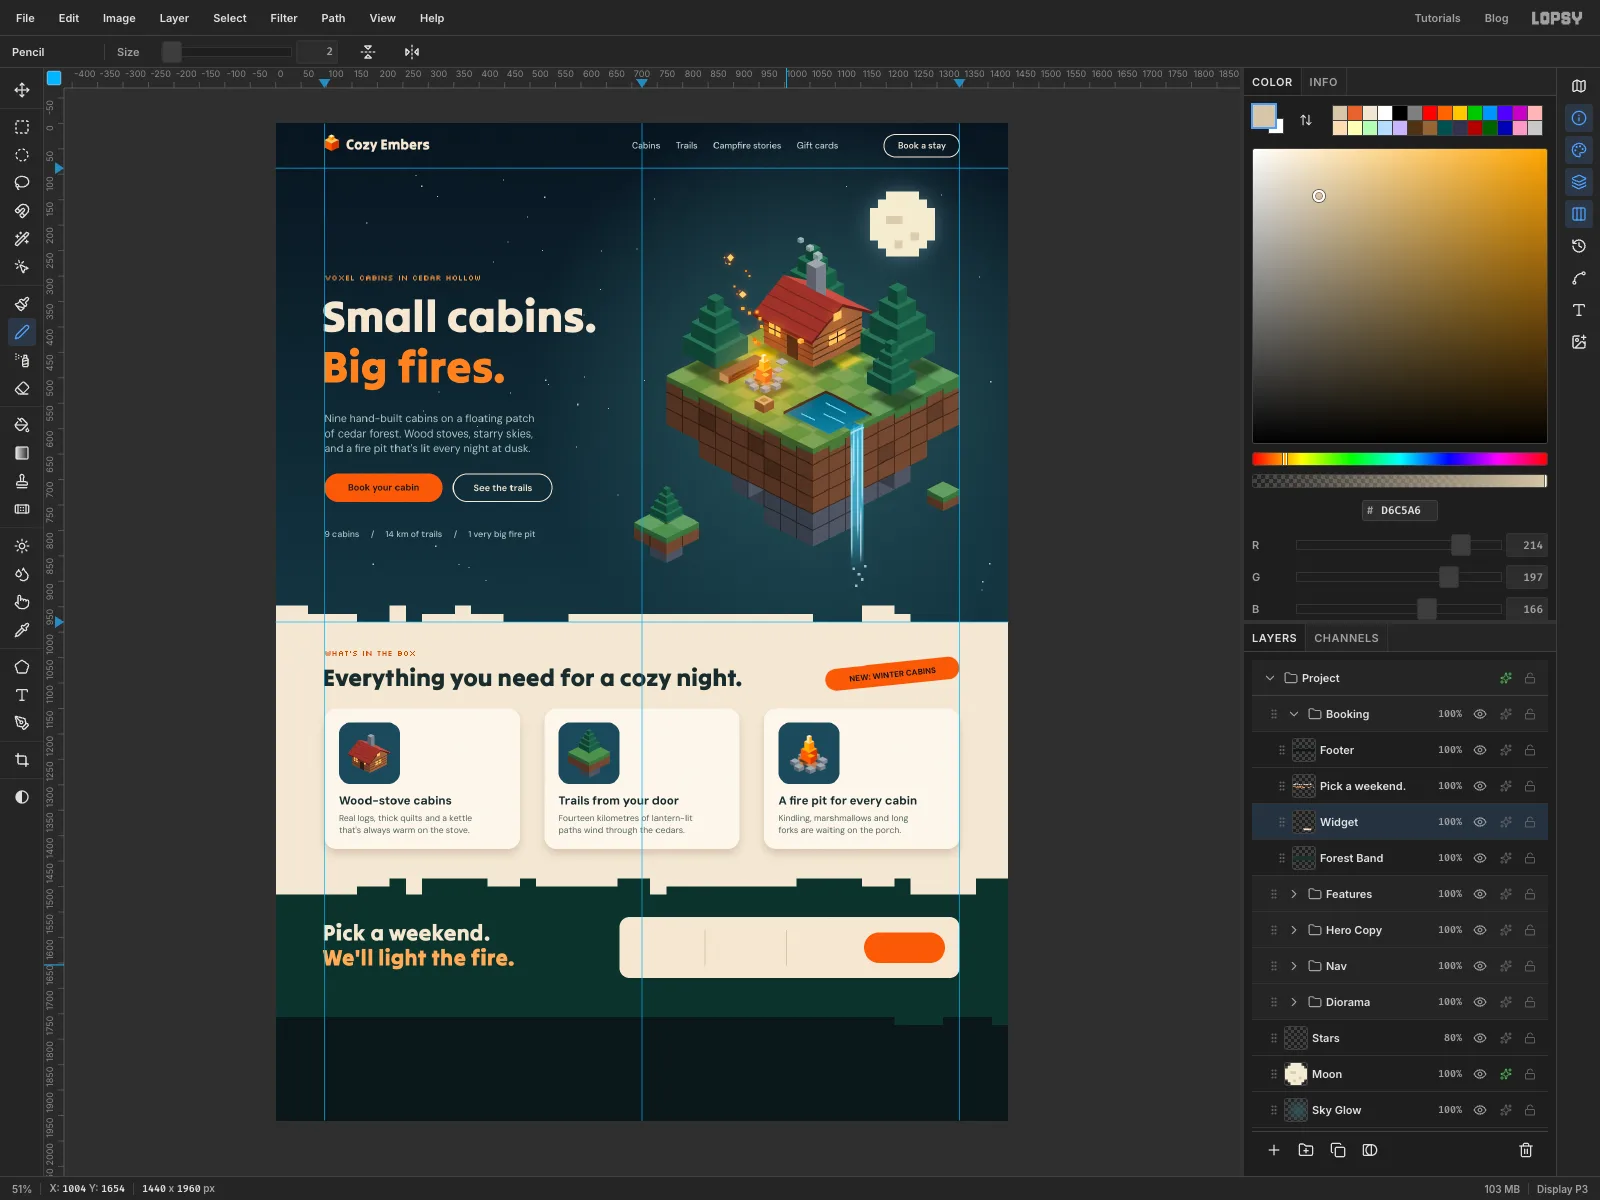
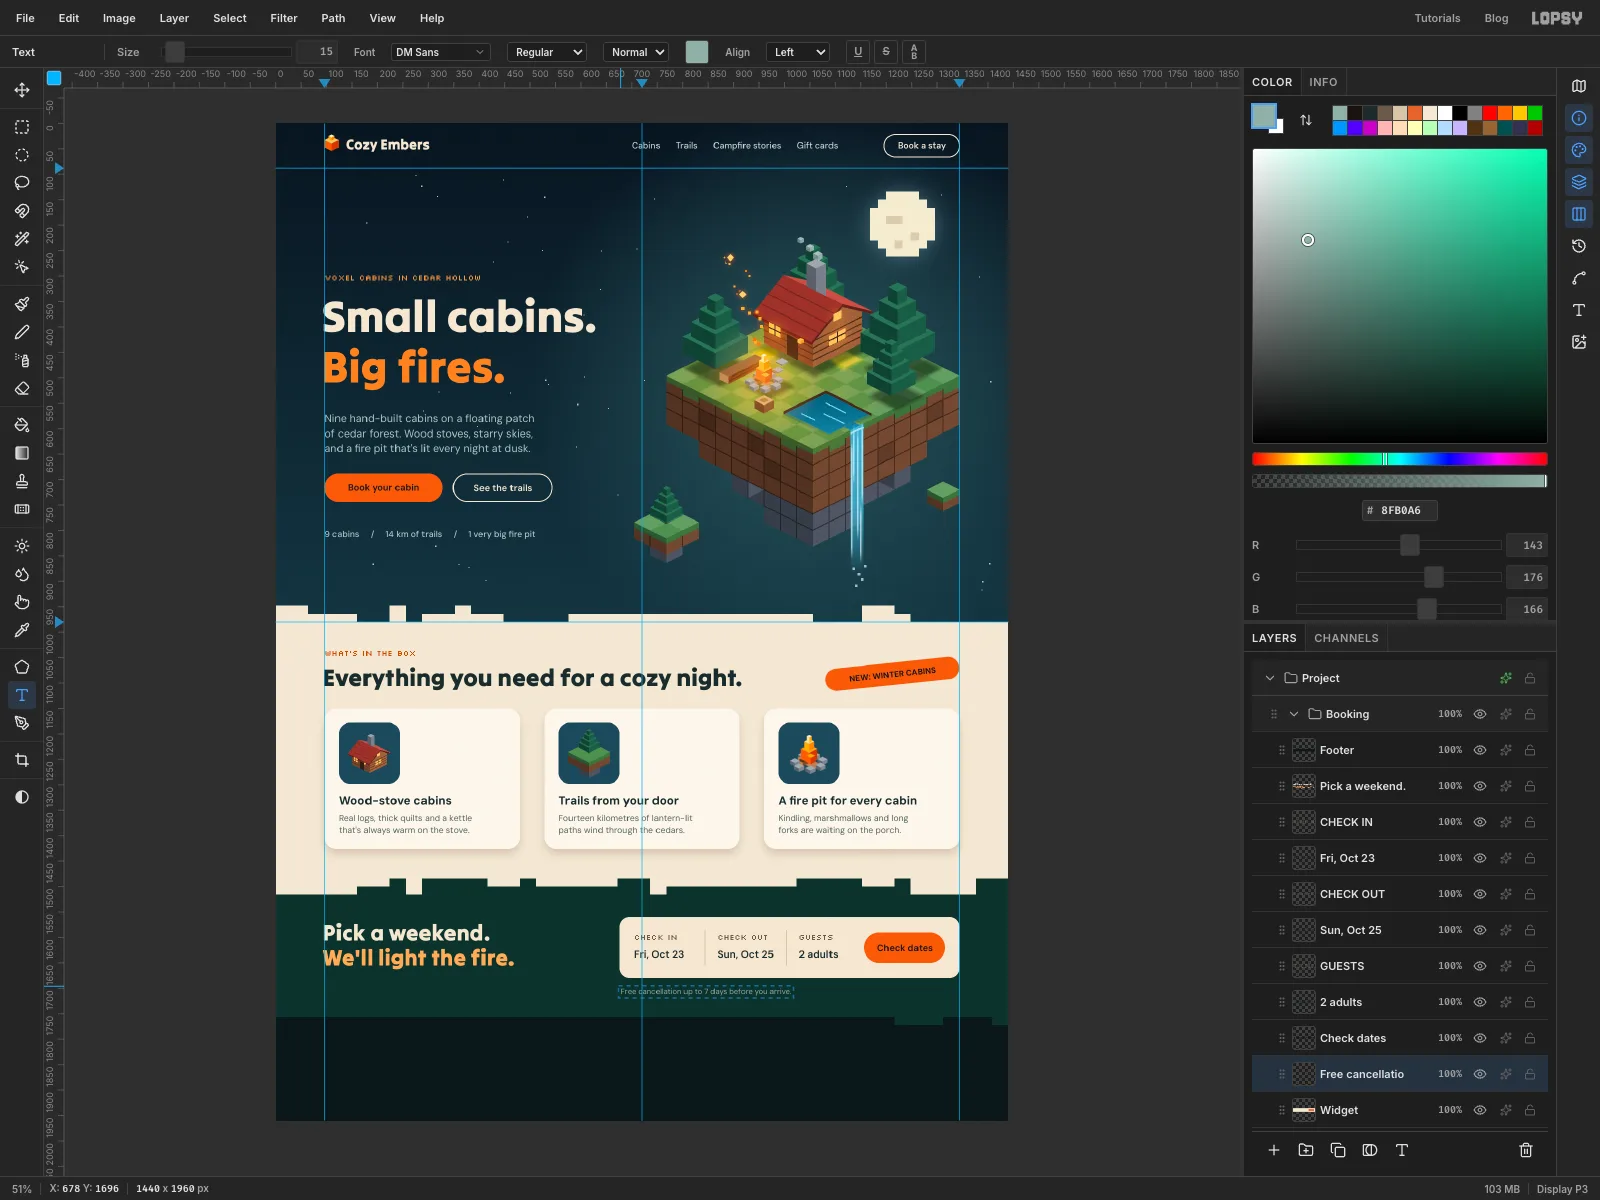
Build the booking widget
- Click
Forest Band. In Tilt Warp44in , typePick a weekend.EnterWe'll light the fire.at92, 1566. While still typing, select the second line and colour it . - Set its Line height to
1.12in the Text panel. Then clickForest Bandand set it back to1.4. - Add a layer called
Widget. With the Shape tool at Corner Radius20in with no stroke, press at1010, 1620and drag to1344, 1680: a 668 × 120 box ending on the right margin. - Switch to with Corner Radius
30, press at1236, 1620and drag to1316, 1650. That's a 160 × 60 button with 28 px to the box's right edge, the same as the padding on the left. - With the Pencil at size
2in , Shift-click two short vertical divider lines atx 844andx 1004to make three fields.
- Click
-
Fill in the widget
- Click
Widget. In Silkscreen Regular16in , typeCHECK IN28 px in from the box's left edge, near the top of the first field. ClickWidgetbefore each one, and typeCHECK OUTandGUESTSin the other two fields. - Click
Widget. In DM Sans SemiBold20in , typeFri, Oct 23,Sun, Oct 25and2 adultsunder the labels. Leave a clear gap between label and value, or your click will edit the label. - Check that each label and value pair is centred vertically in the box.
- Click
Widget, typeCheck datesin DM Sans SemiBold18in , and centre it on the button. - Click
Widget. Under the box, typeFree cancellation up to 7 days before you arrive.in DM Sans Regular15in .
- Click
-
Copy the logo into the footer
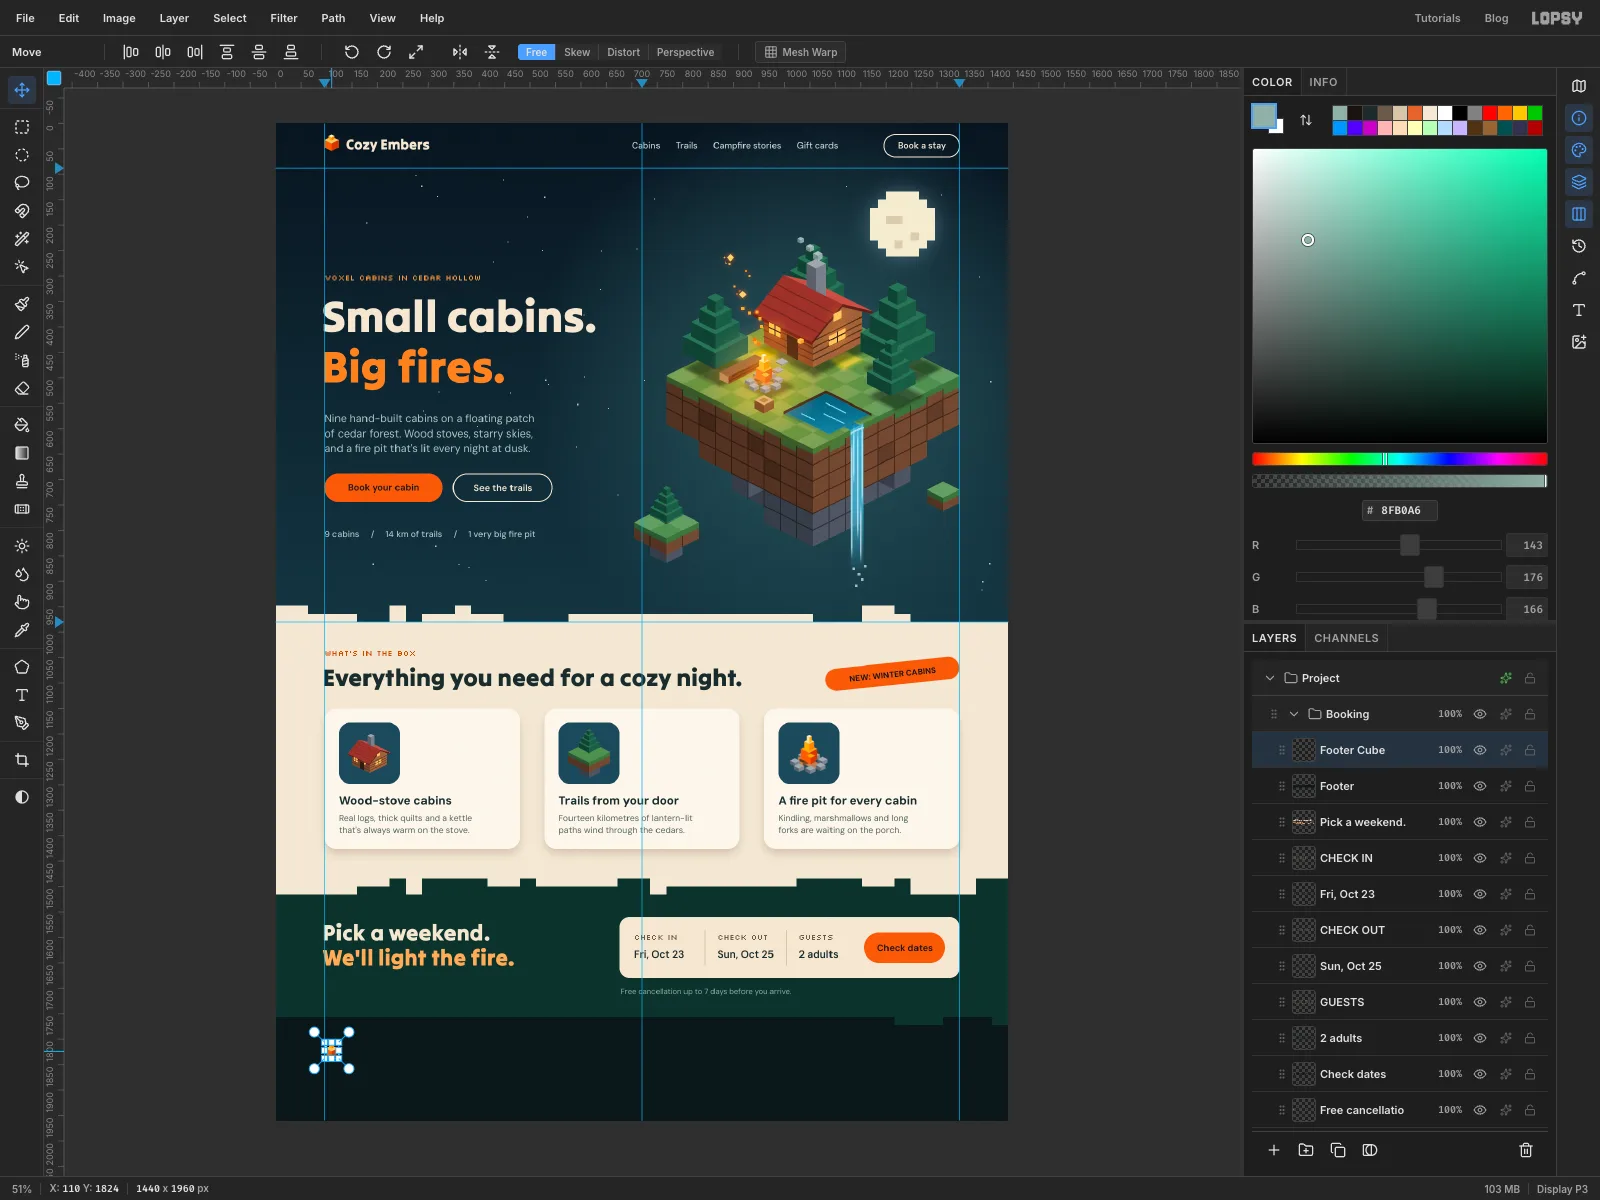
- Expand
Navand clickLogo Cube. Marquee around the cube and press Cmd+C. - Click
Footerand press Cmd+V. Rename the new layerFooter Cube. - With the Move tool, drag the pasted cube down into the footer until the status bar's Y reads about
1824at its centre. Then nudge it with the arrow keys so it's back on the left margin guide. Press Cmd+D.
- Expand
-
Duplicate the wordmark into the footer group
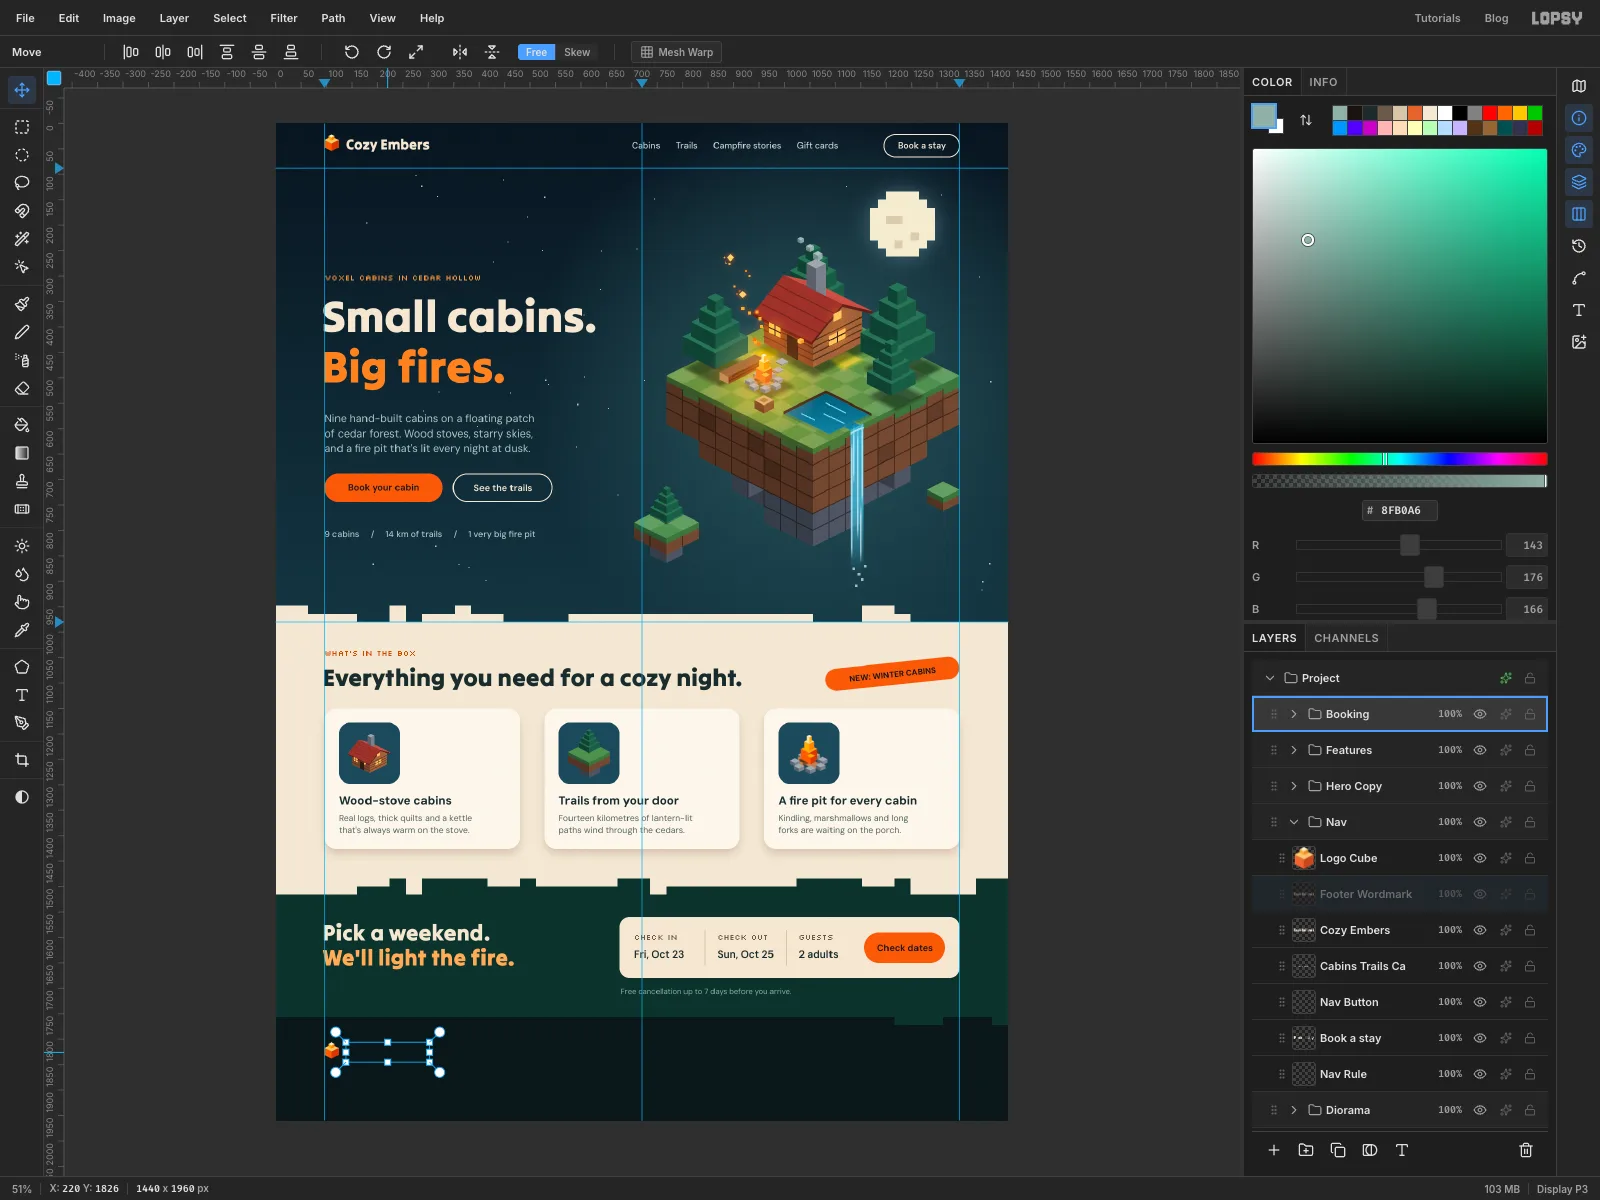
- Click the
Cozy Emberstext layer and choose Layer → Duplicate Layer. Rename the copyFooter Wordmark. - With the Move tool, drag it straight down beside the footer cube, so it sits next to the cube just as it does in the nav.
- You can't see it yet. It's still inside the
Navgroup, which is below theBookinggroup, so the footer band covers it. CollapseBooking, then drag theFooter Wordmarkrow by its grip and drop it on the middle of theBookingrow. The group gets an outline, and the layer drops in as the group's top layer. - Collapse
Navand expandBookingagain.
- Click the
-
Finish the footer
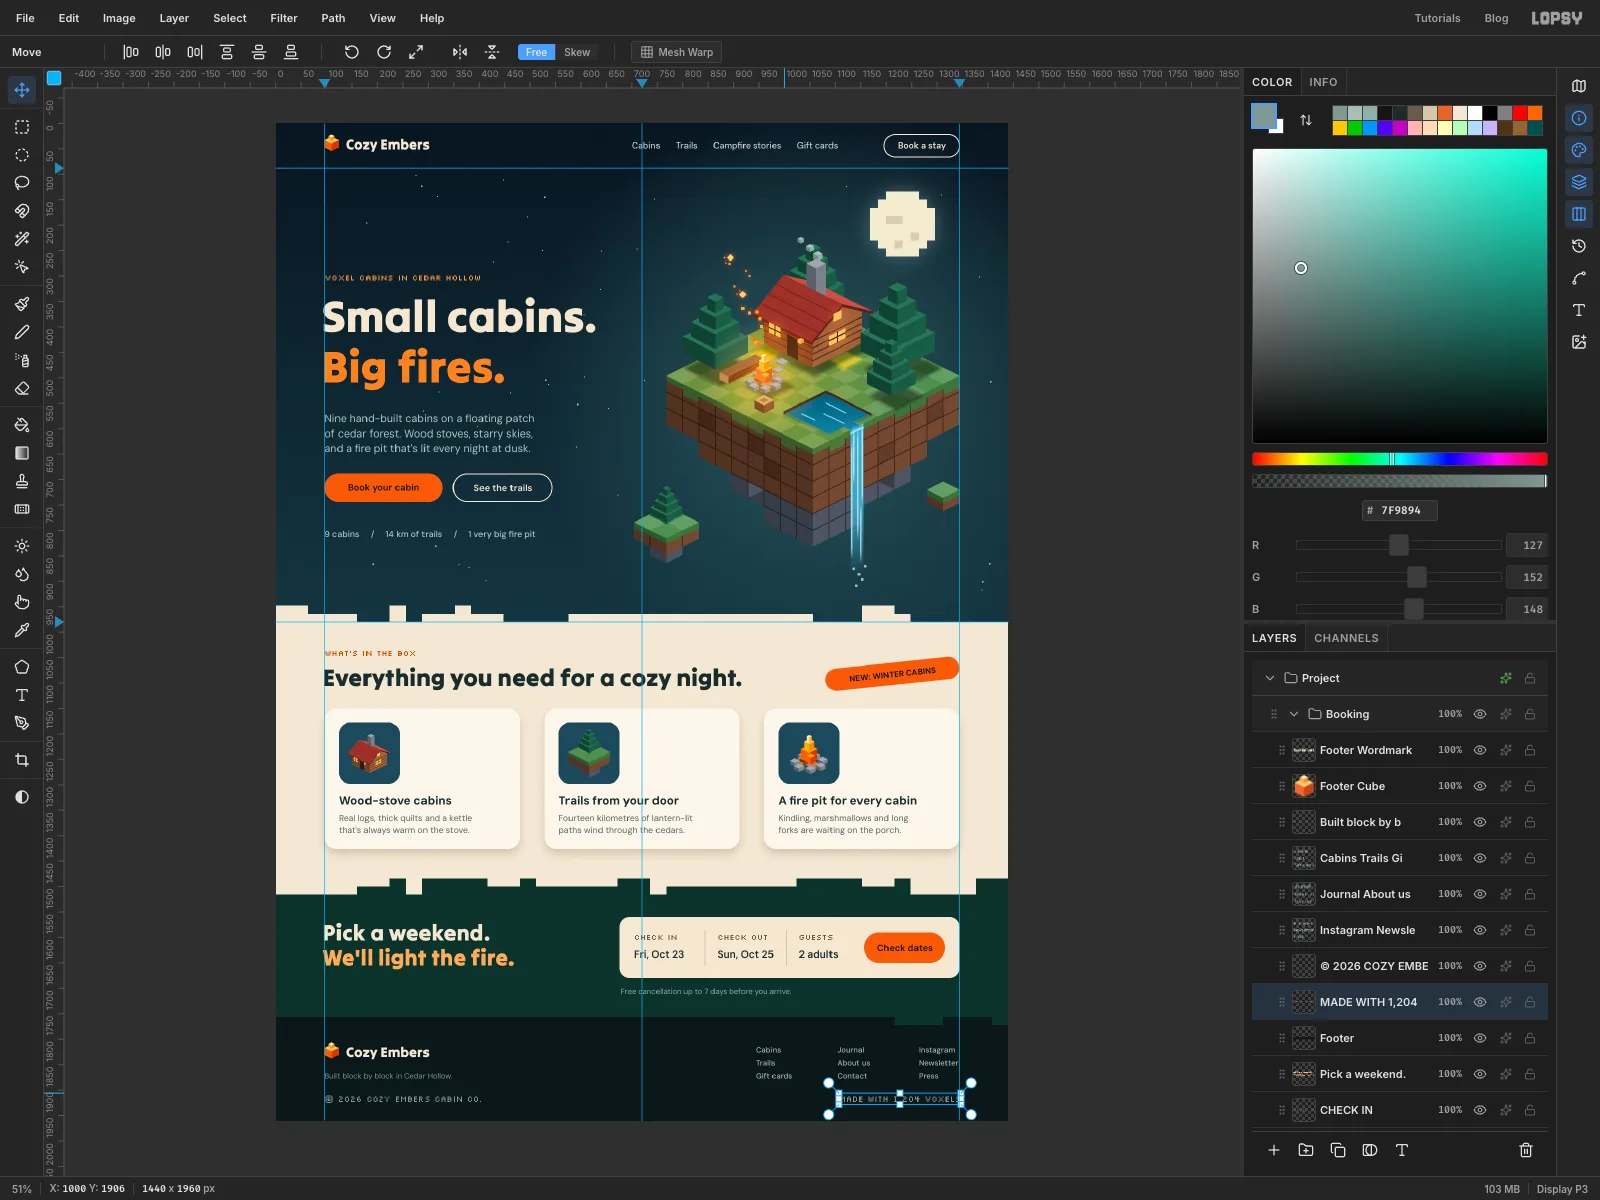
- Click
Footer. Under the wordmark, typeBuilt block by block in Cedar Hollow.in DM Sans Regular15in . - Click
Footerand set the Text panel's Line height to1.7. Then type three link columns in DM Sans Medium15in , one item per line, starting atx 944,1104and1264, clickingFooterbefore each:
Cabins/Trails/Gift cardsJournal/About us/ContactInstagram/Newsletter/Press
The last column ends on the right margin. Line the tops of the columns up with the top of the wordmark's capitals.
- Click
Footerand set the line height back to1.4. - In Silkscreen Regular
16in , type© 2026 COZY EMBERS CABIN CO.at the left margin near the bottom. ClickFooter, typeMADE WITH 1,204 VOXELS, and nudge it until its right edge sits on the right margin.
- Click
-
Centre the hero copy against the island
- Click the
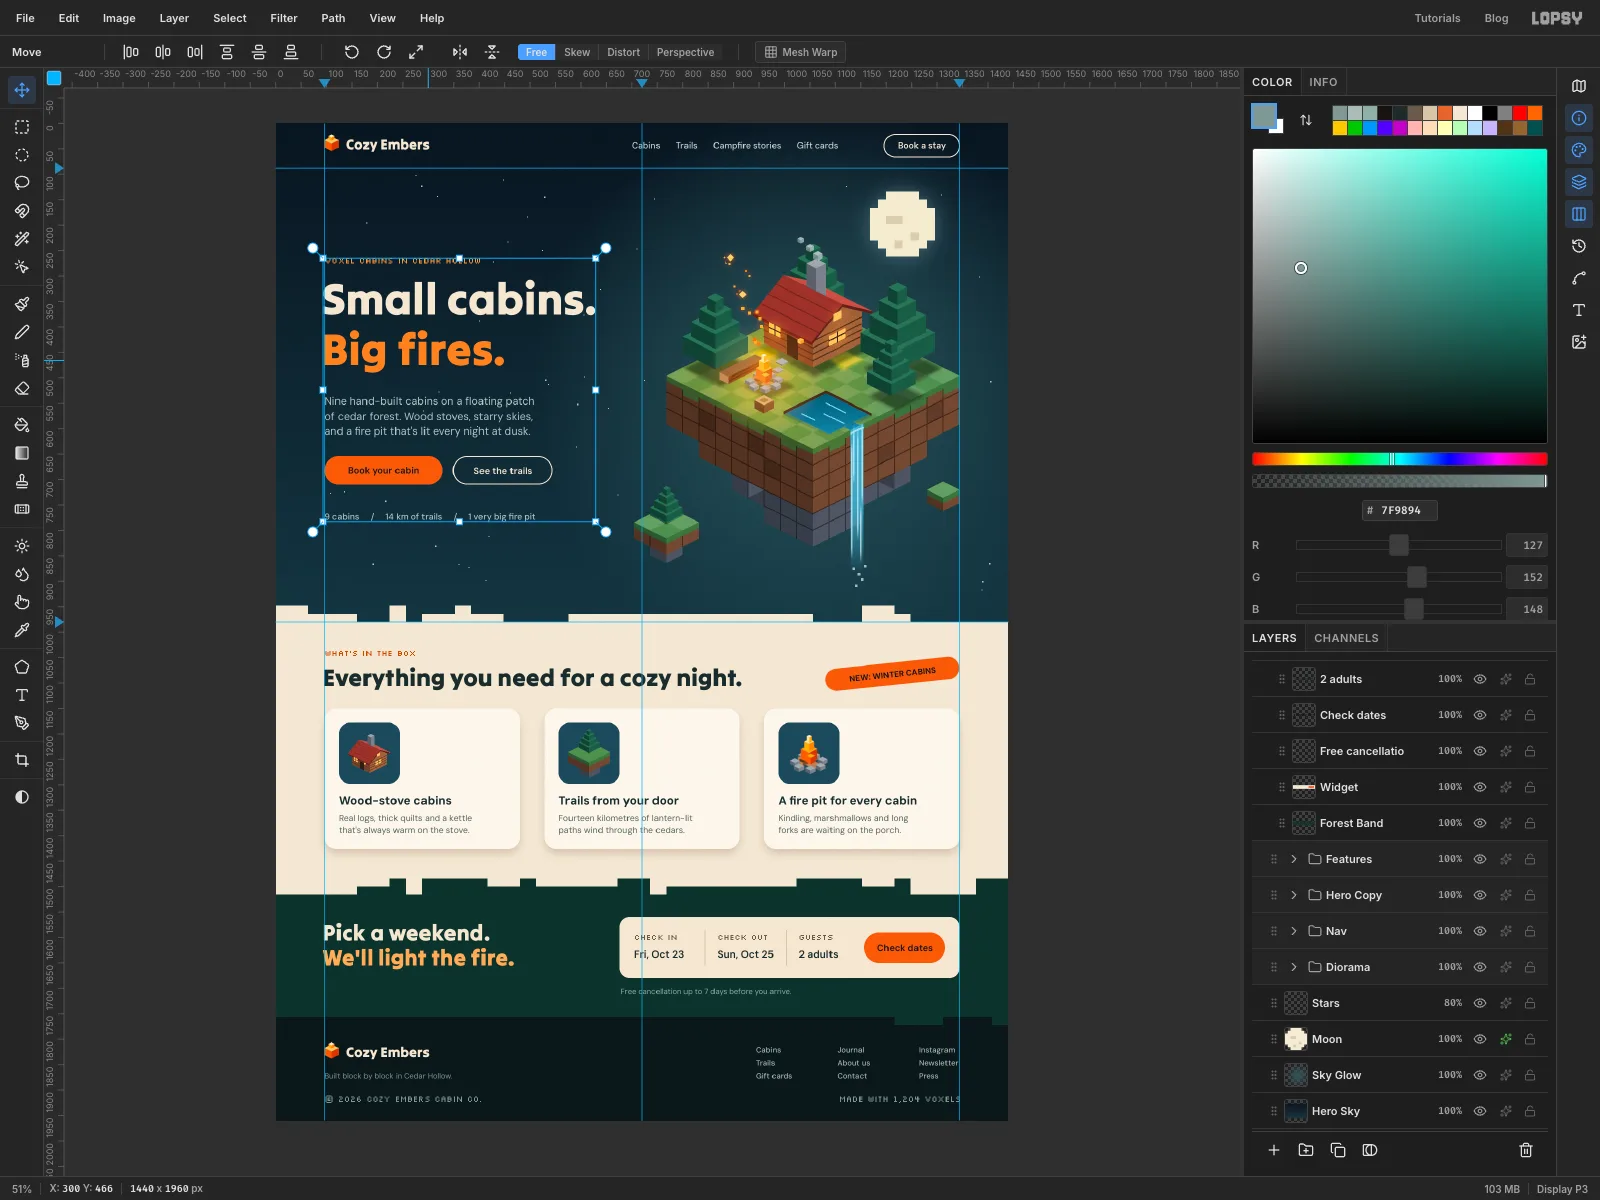
Hero Copygroup's row. - With the Move tool, drag anywhere on the canvas straight up. Stop when the space between the eyebrow and the top of the island matches the space between the stats line and the bottom of the island, about 34 px here. The eyebrow, headline, paragraph, buttons and stats all move together.
- Click the
-
Clear stars from behind the copy
- Click the
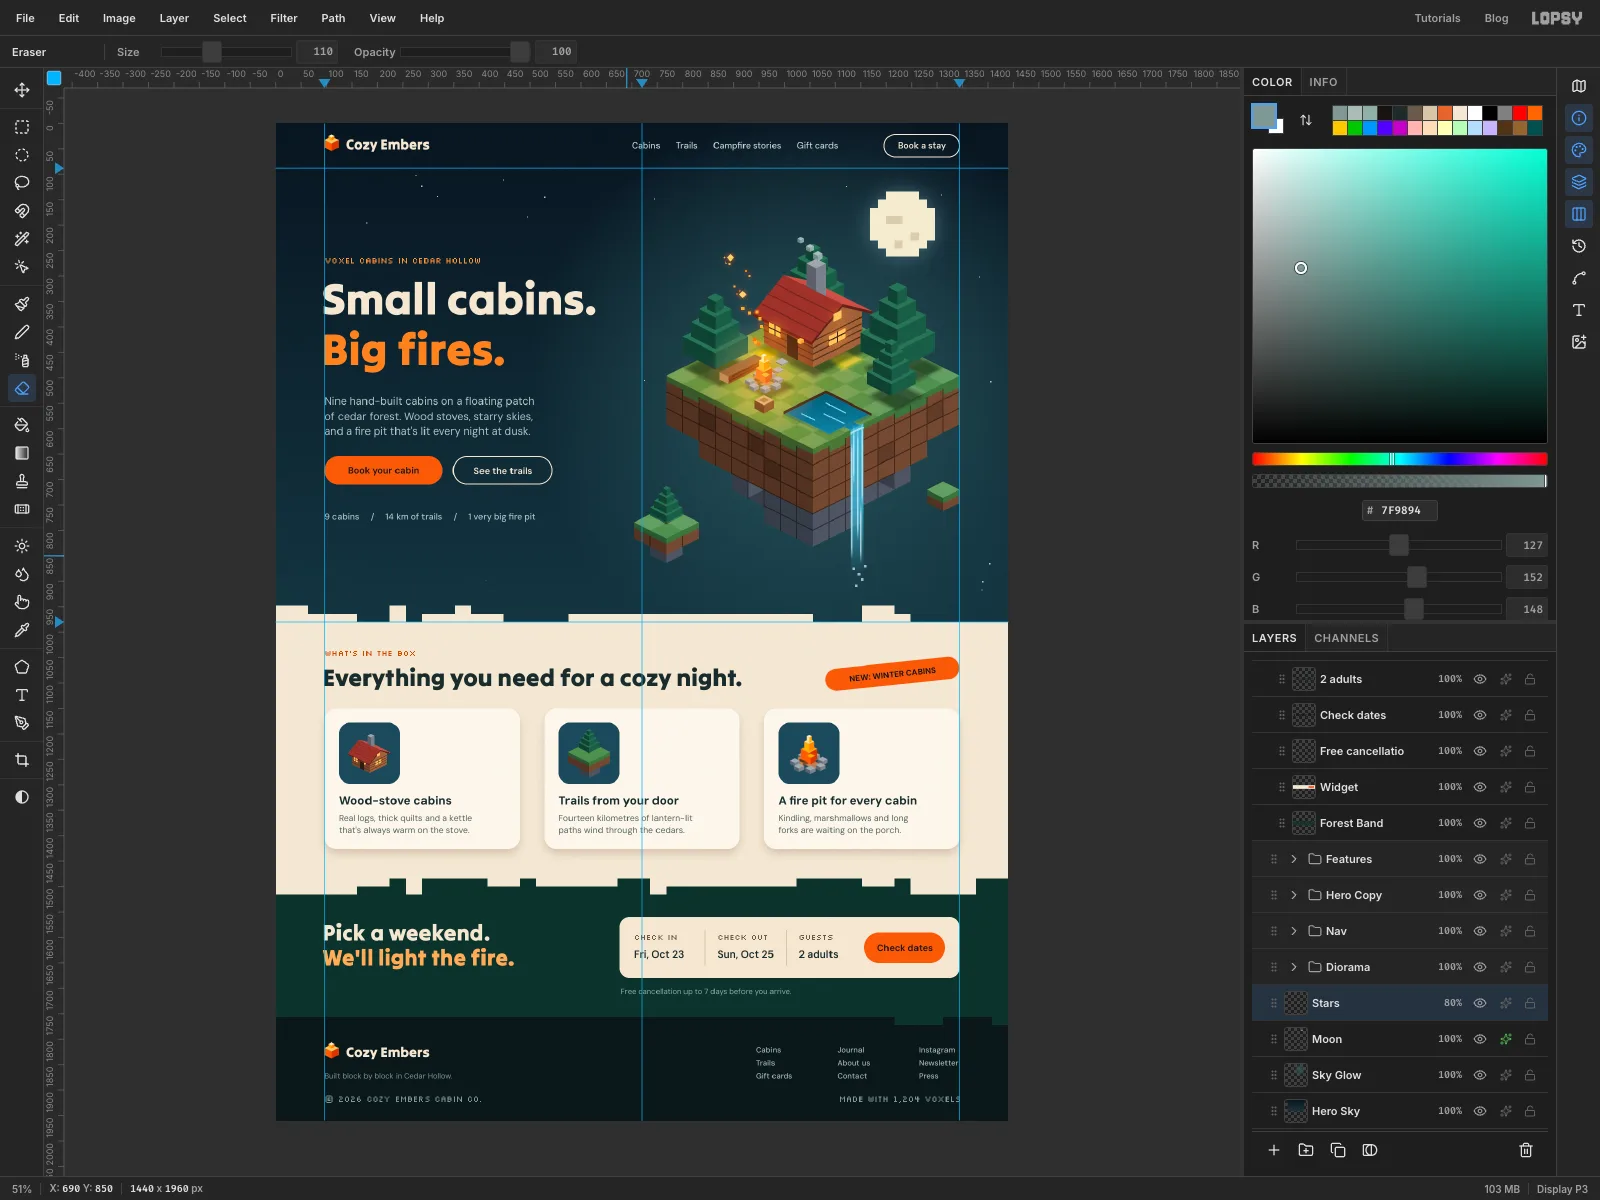
Starslayer and pick the Eraser at Size110. - Sweep it across the left column in horizontal strokes, from just above the eyebrow to below the stats line, from the left edge to about
x 690.
Stars that cross a letter or sit in a word gap look like stray punctuation. The sky around the island keeps all of its stars.
Save your work with File → Save Project, and use File → Quick Export PNG to export the finished page.
- Click the