Design a Woodcut Fish Market Logo in Lopsy
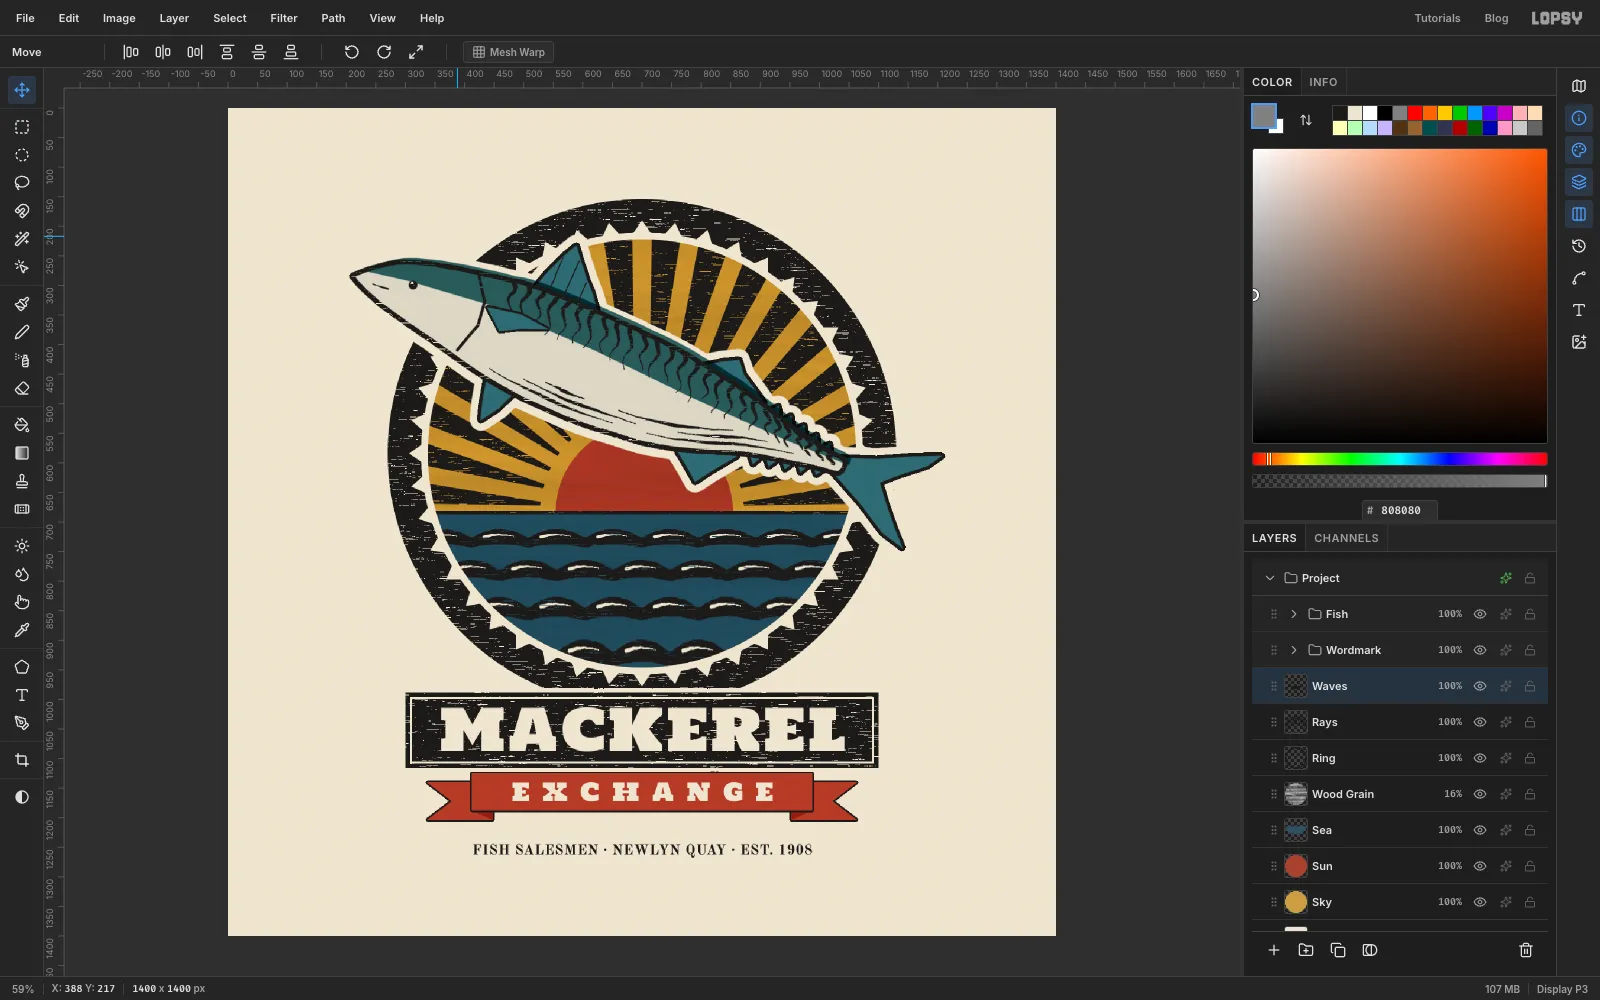
Carve a woodcut-style logo for a fish market in Lopsy, with a leaping mackerel, sun rays, gouged waves, wood grain, ink voids and wood type.

A woodcut is printed from a plank of wood. The carver cuts away everything that should stay white, rolls ink over what is left, and presses paper onto it. Colour prints use one block per colour. A black key block carries the outlines and the darkest shapes, and the colour blocks print underneath it. Real woodcuts give themselves away in three ways. The colour blocks never line up perfectly with the key (this is called being off register). The grain of the plank shows in flat colour. And big black areas never take ink evenly, so they print with small pale streaks that run along the grain.
In this tutorial you'll build a logo for Mackerel Exchange, an imaginary fish auction house on a Cornish quay. It's a round emblem with a leaping mackerel over a sunrise and a carved sea, sitting on a black banner with wood type. You'll make each part the way a woodcut printer would. First the colour blocks, then the key block cut from black, then the print's flaws on top. The document is 1400 × 1400 px.
Along the way you'll use:
- the Reference drawer, to draw a mackerel from an old fisheries engraving
- the Elliptical and Rectangular Marquee, with Shift to add and Shift+Alt to intersect, plus the Lasso
- Select → Grow, Shrink and Inverse, and ⌘-click on layer thumbnails to load a layer as a selection
- the Fibers, Add Noise, Motion Blur and Threshold filters
- the Magic Wand with Contiguous turned off
- the Brush with Taper, and the Pencil with Shift-click straight lines
- Copy, Paste, nudging with the arrow keys, stretching with the Move tool's handles, and Merge Down
- the Stroke layer effect and the Multiply blend mode
- Rotate 90° CW, and rotating a whole group with the rotation handle
- Show Grid with Snap
- Text in Holtwood One SC and Old Standard TT
The palette is a black ink and five block colours on cream paper:
-
Paper
-
ink
-
Sky ochre
-
sun red
-
ribbon fold
-
Sea
-
fish teal
-
Belly silver
The mackerel is traced from Common Mackerel (Scomber scombrus Linnaeus), an engraving from the New York Fish and Game Commission, which is in the public domain on Wikimedia Commons (FMIB 41856). Any clear side view of a mackerel will do.
Watch X and Y in the status bar at the bottom of the window as you move the pointer. Positions are given in document pixels where things have to line up. For an exact circle, click once with the Elliptical Marquee without dragging, and a dialog asks for the corners of the box around it. Freehand shapes only need to be close.
The Brush strokes here use Taper, which lives only in the brush presets window. Open it with the round brush tip at the left end of the options bar and look on its Shape tab. The Fade slider on the options bar is a different setting.
-
Set up the paper, guides and reference
- Choose File → New, set Width
1400and Height1400, pick a White background and click Create. - Click the top ruler at
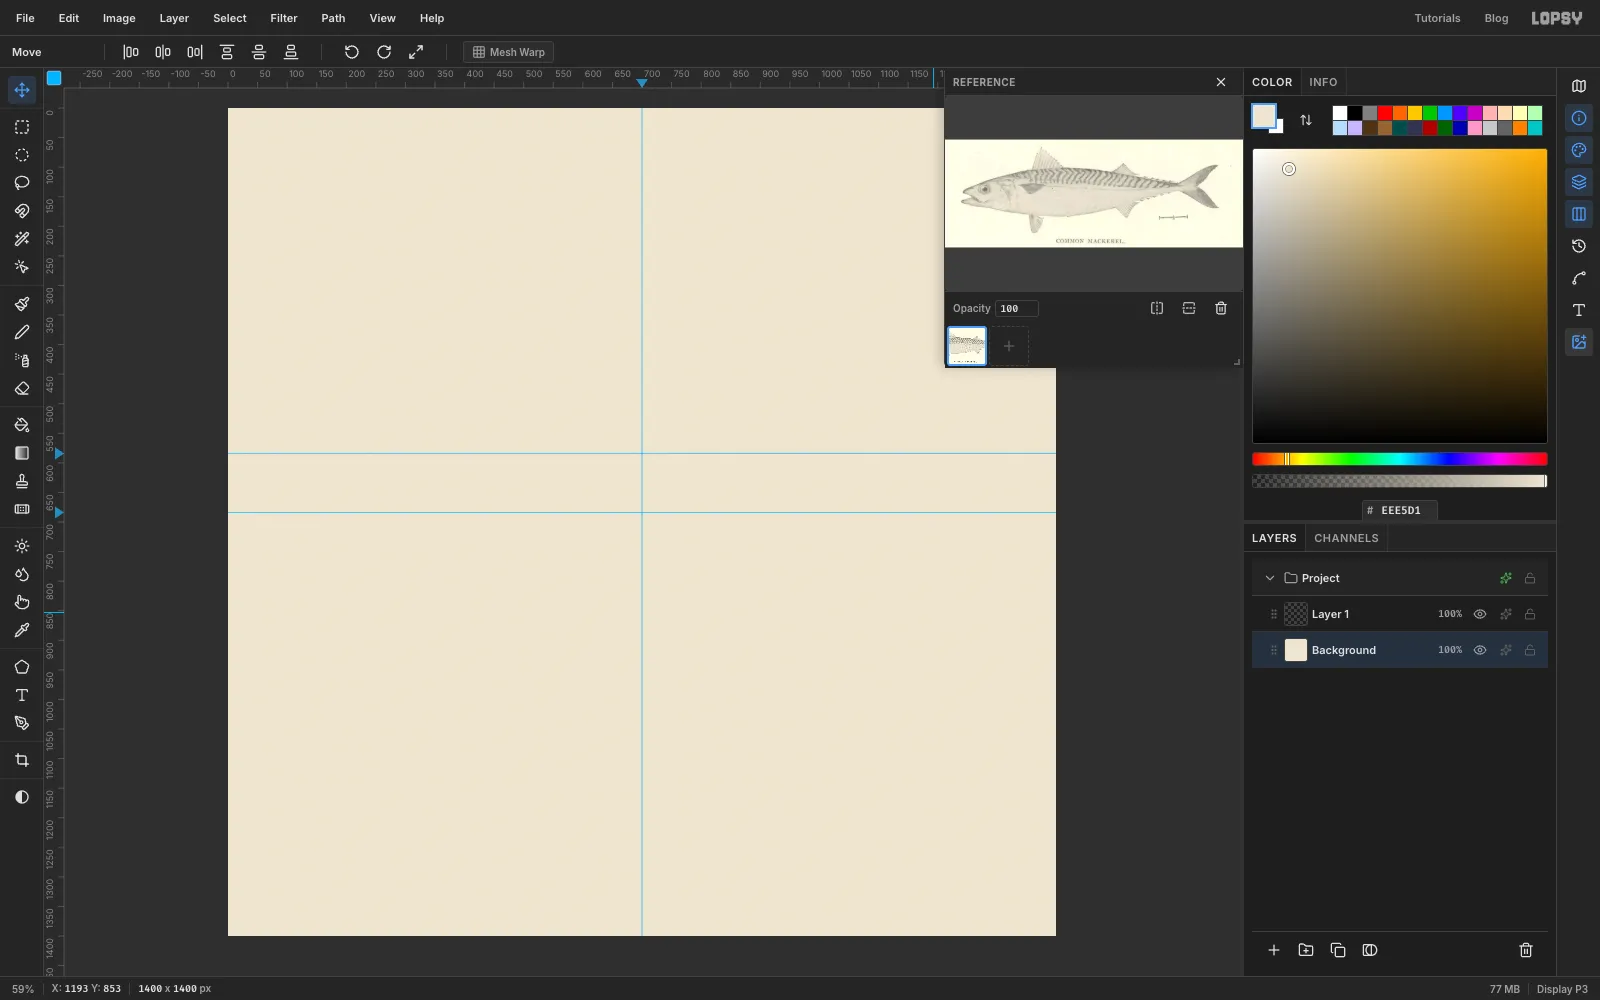
x 700to drop a vertical guide down the middle. Click the left ruler aty 584(the centre of the emblem) and aty 684(the horizon). - Click Background, set the foreground colour to the paper colour in the Color panel's hex field, and choose Edit → Fill.
- Choose Filter → Add Noise…, set Amount
4, pick Mono and Gaussian, and click Apply. Paper is never perfectly flat, and this just takes the digital sheen off it. - Download the mackerel engraving. Click Reference in the panel toolbar on the far right, then click the drawer's drop zone and choose the file. The drawer floats over the right edge of the canvas, so you'll be drawing the fish by eye from it rather than tracing over it. Leave it open or close it while you block in the emblem, whichever suits your screen.
- Choose File → New, set Width
-
Block in the sky, sun and sea
These are the colour blocks. Each one gets its own layer, just as each colour gets its own block of wood.
- Rename
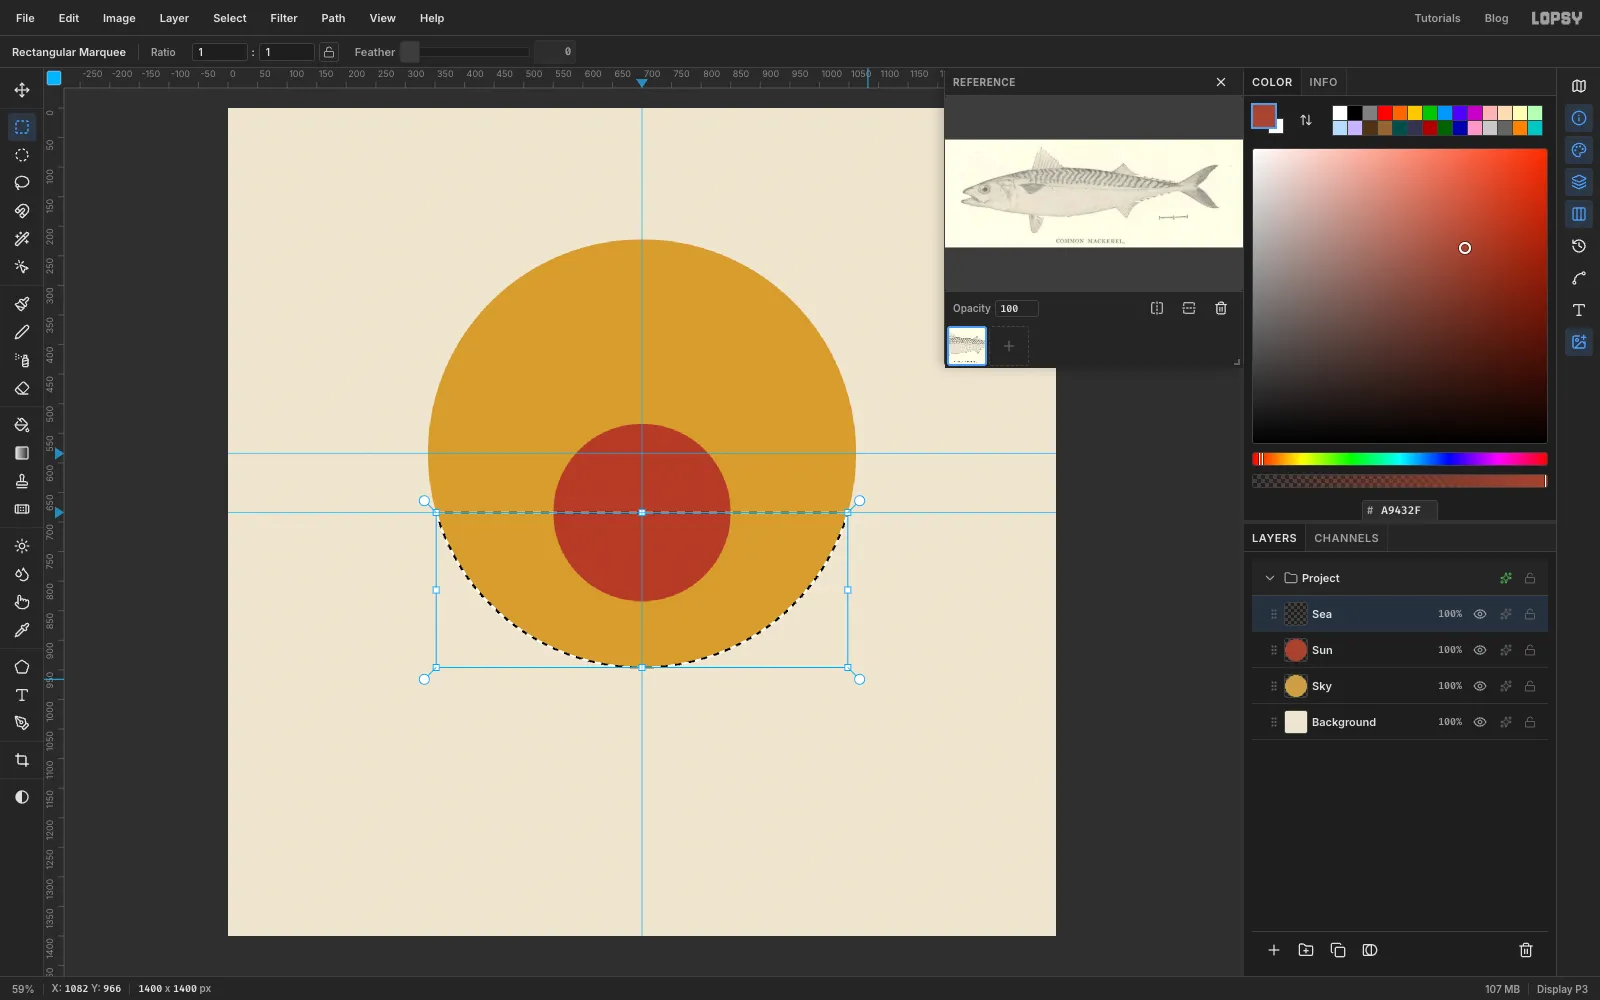
Layer 1toSky(double-click its name). With the Elliptical Marquee, select a circle centred on the guide crossing at700, 584with a radius of362, which is the box from338, 222to1062, 946. Fill it with ochre . - Add a layer called
Sun. Select a circle of radius150centred on the middle of the horizon guide (700, 684) and fill it with red . - Add a layer called
Seaand select the sky circle again. Then switch to the Rectangular Marquee, hold Shift+Alt and drag a rectangle from the horizon guide on the left down past the bottom of the circle on the right. Shift+Alt intersects the two selections, so only the part of the circle below the horizon stays selected. Fill it with and press ⌘+D.
The sea covers the lower half of the sun, so the sun is half-set on the horizon.
- Rename
-
Render wood grain with Fibers
- Add a layer called
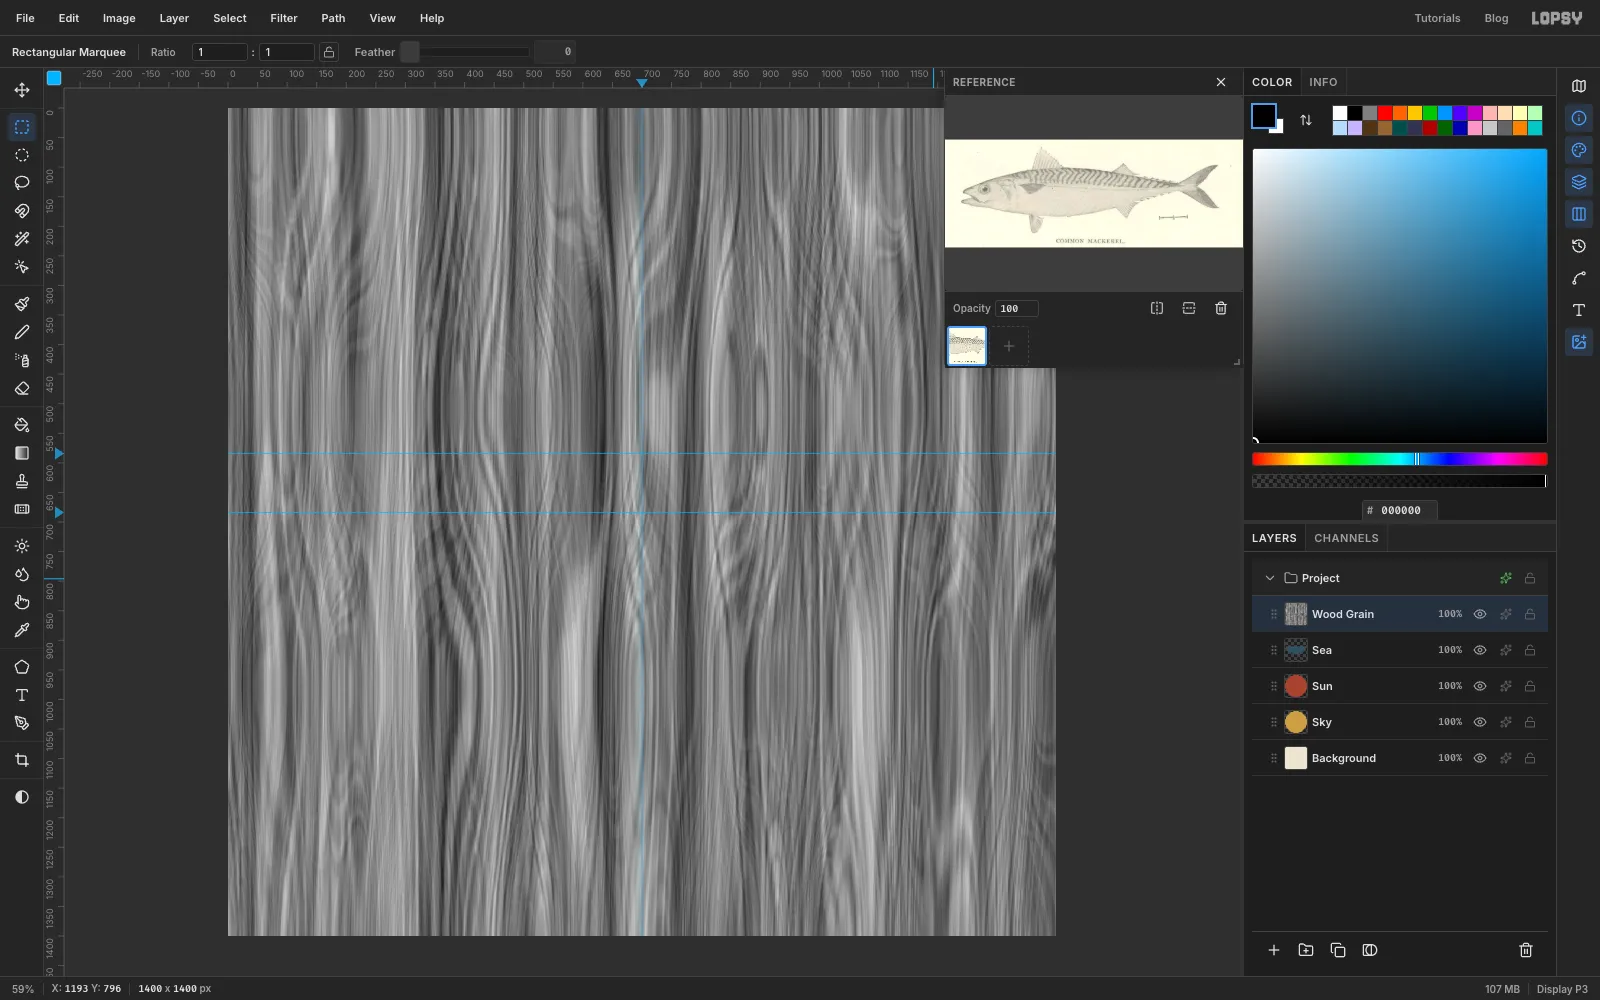
Wood Grain. Set the foreground colour to black. - Choose Filter → Fibers…, set Variance
30and Strength24, and click Apply. Fibers fills the layer with long wavy streaks that look a lot like sawn wood, but they run up and down.
- Add a layer called
-
Turn the grain and trim it
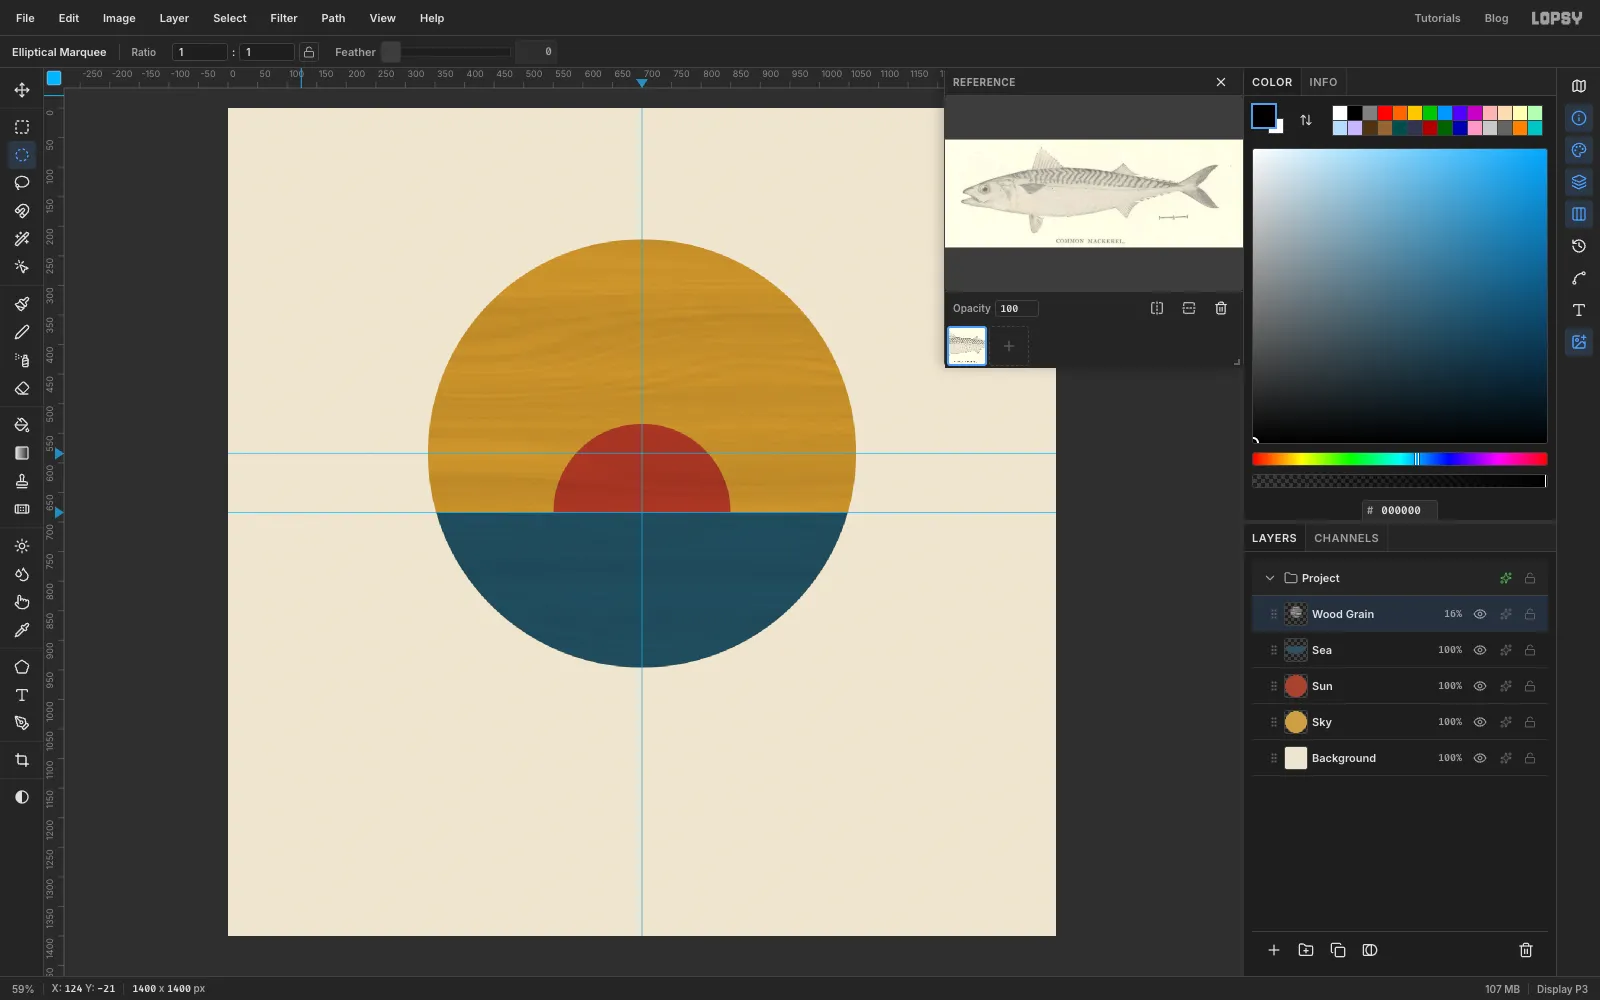
- Pick the Move tool and, with nothing selected, click Rotate 90° CW in its options bar. The whole layer turns, so the grain now runs across like the planks of a print block.
- Open the layer's effects (the ✦ button on its row), set the blend mode to Multiply, and close the drawer. Set the layer opacity to
16%. - Select the sky circle again, choose Select → Inverse, and press Delete. The grain now only shows in the colour blocks.
-
Cut the ring
From here on you're making the key block, which prints in black.
- Add a layer called
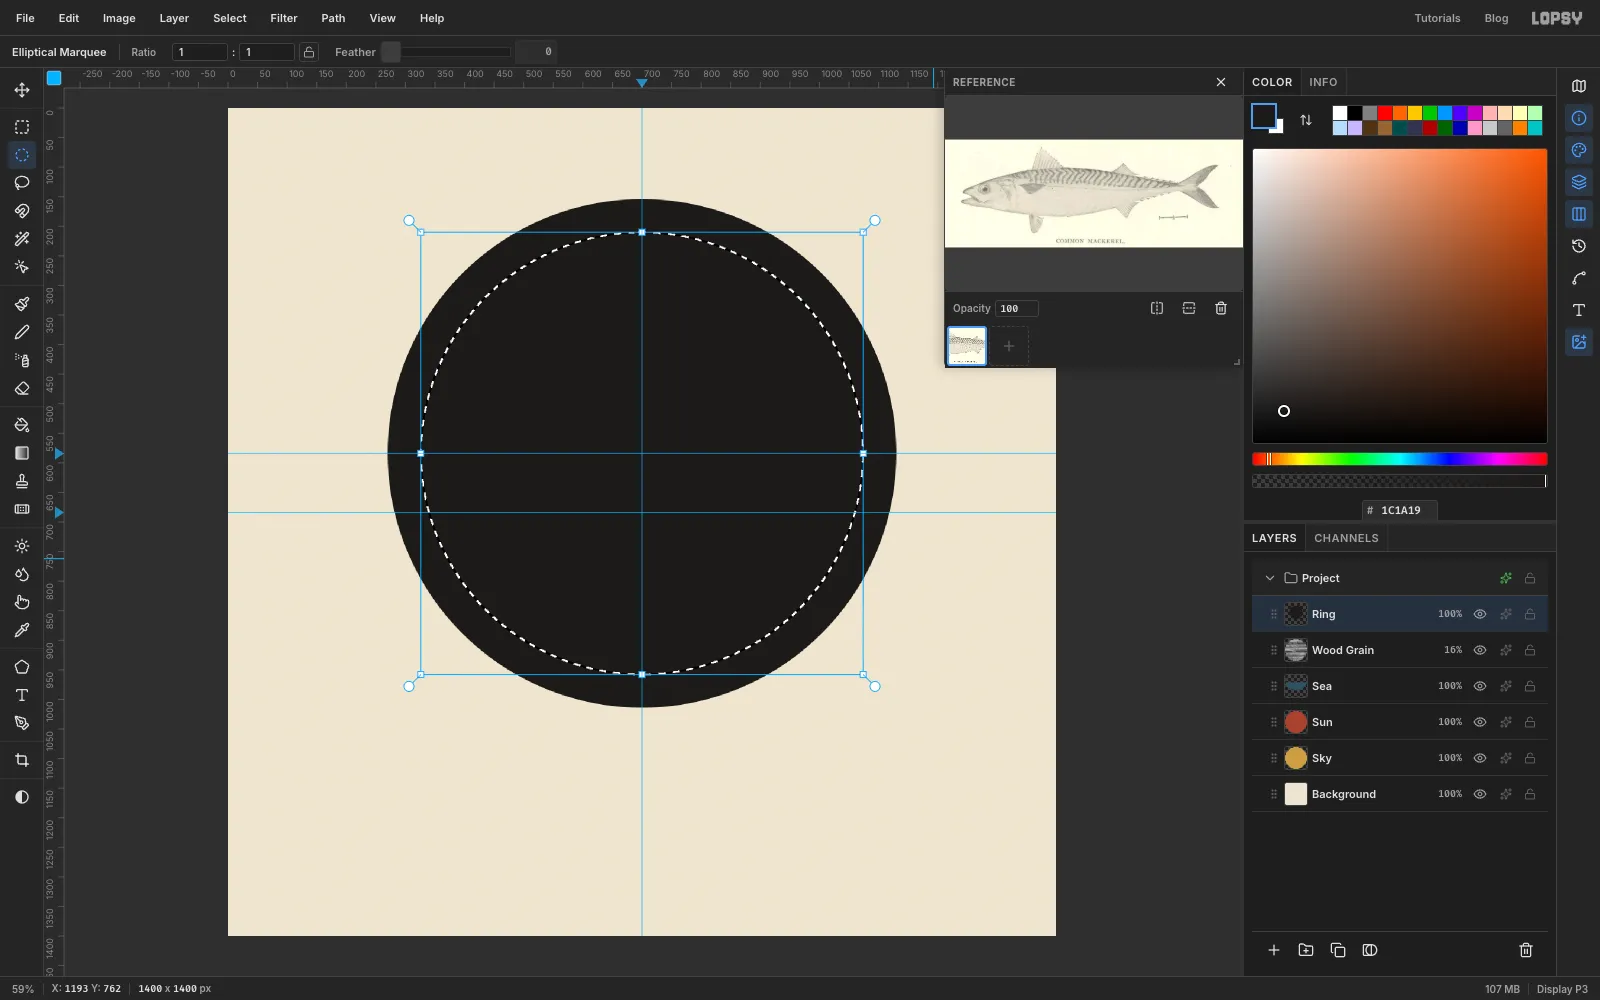
Ring. Select a circle of radius430centred on700, 584(the box from270, 154to1130, 1014) and fill it with ink . - Choose Select → Shrink…, enter
56and click Apply. Press Delete. That leaves a black band 56 px wide, with a narrow strip of paper between it and the sky.
- Add a layer called
-
Carve the sawtooth edge
A sawtooth (or dogtooth) border is one of the classic cuts on a woodcut frame. You'll cut 44 small triangles into the inner edge of the ring.
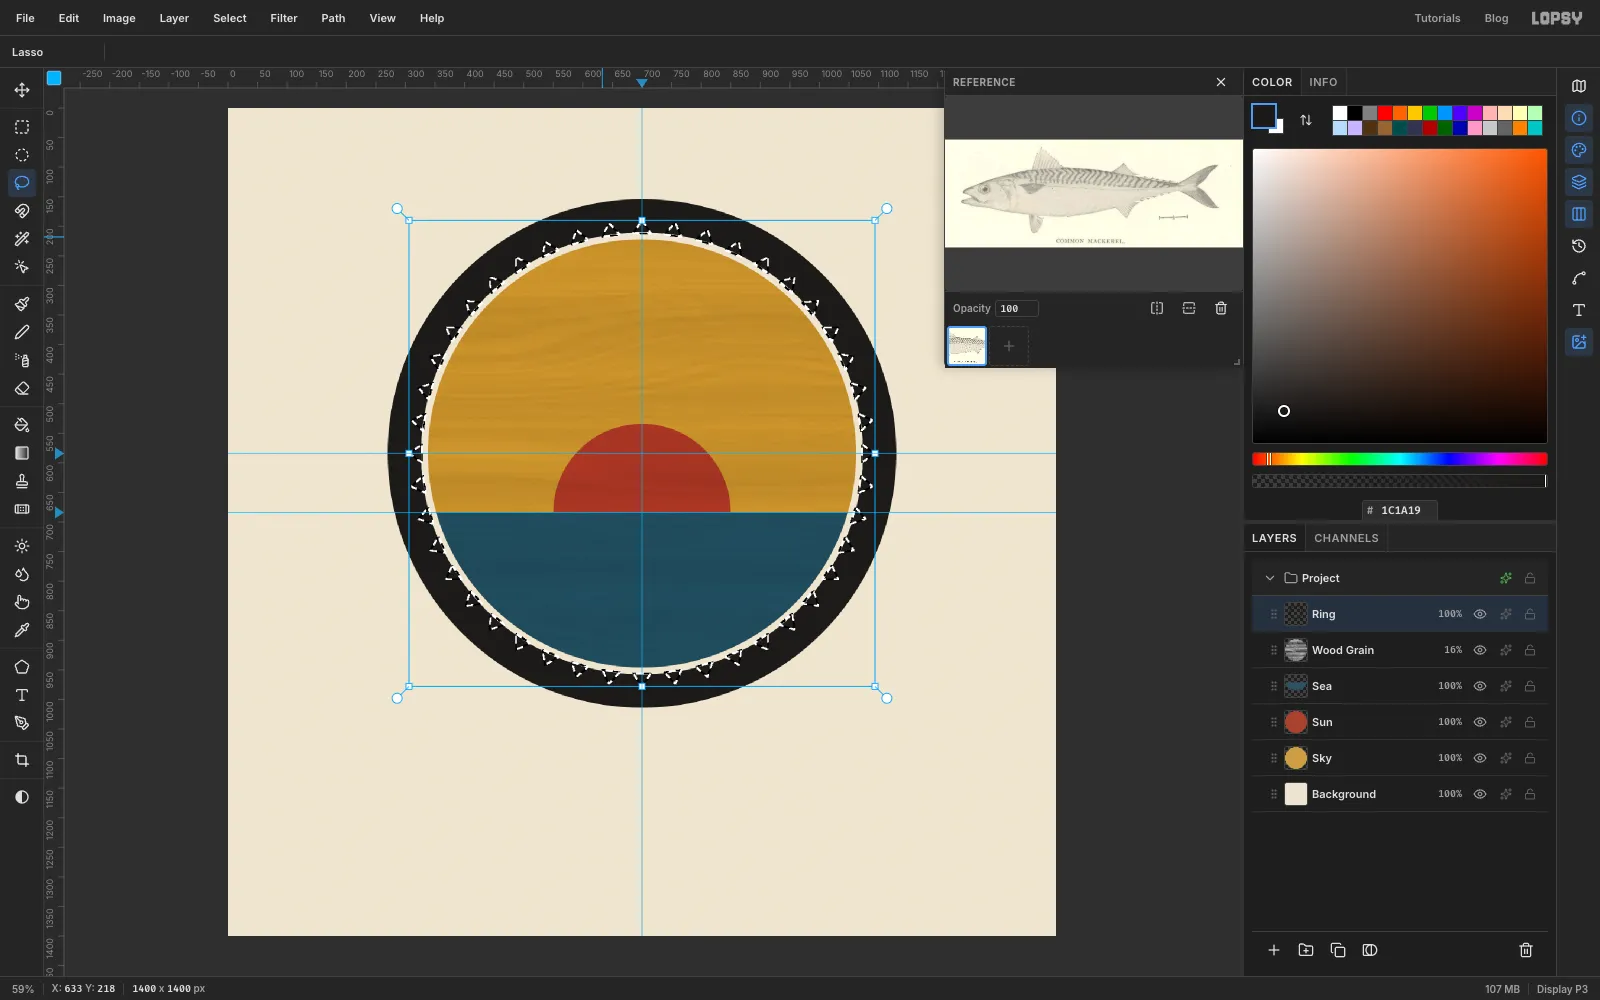
- Pick the Lasso and drag a small triangle at 12 o'clock. Its base sits on the paper strip, about 30 px wide, and its point reaches about 22 px into the black.
- Hold Shift and lasso the triangles at 3, 6 and 9 o'clock. Shift adds each one to the selection.
- Fill each quarter with ten more triangles, evenly spaced, still holding Shift. They don't have to be perfect, because carved teeth never are.
- Press Delete, then ⌘+D. The triangles open onto the paper strip, so the ring looks cut with a V-shaped knife.
-
Lasso the sun rays
- Add a layer called
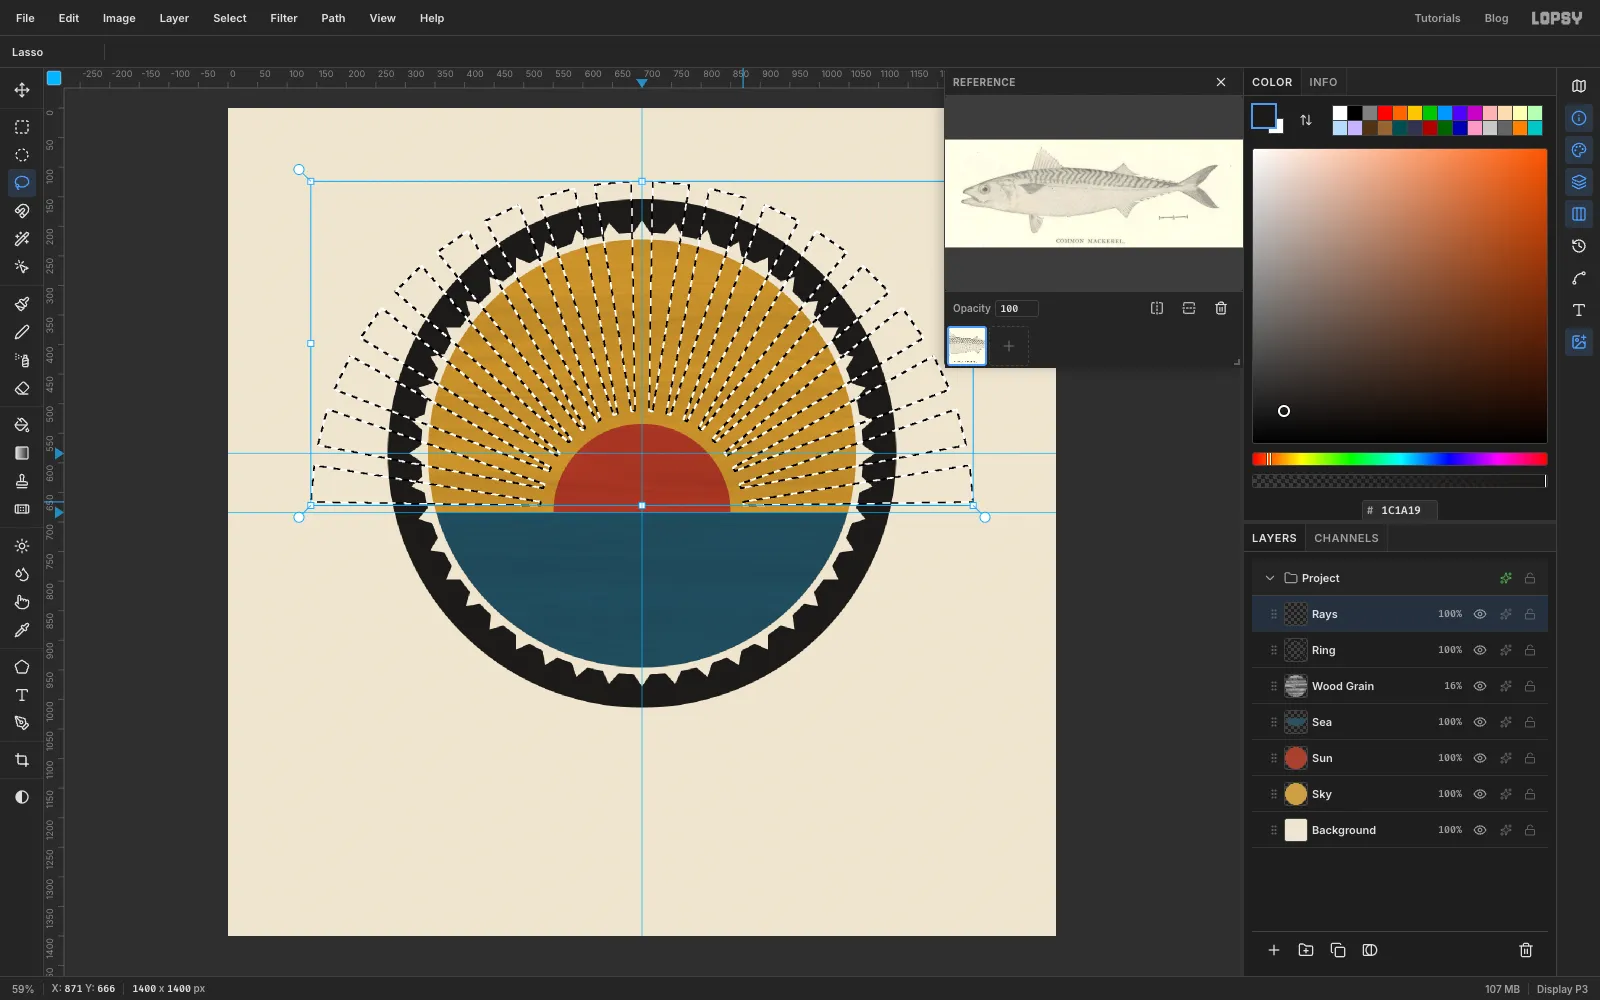
Rays. With the Lasso, drag a long thin wedge pointing straight up from the sun. Start it about 20 px above the sun's edge and run it out past the ring. Keep it narrow at the sun end (about 7 px) and let it widen to about 60 px at the far end. - Hold Shift and add wedges lying almost flat along the horizon on each side. Then fill in each quarter of the sky with seven or eight more, so there are 18 in all. Keep the ochre gaps between them about as wide as the wedges.
- Fill with ink.
- Add a layer called
-
Trim the rays to the sky
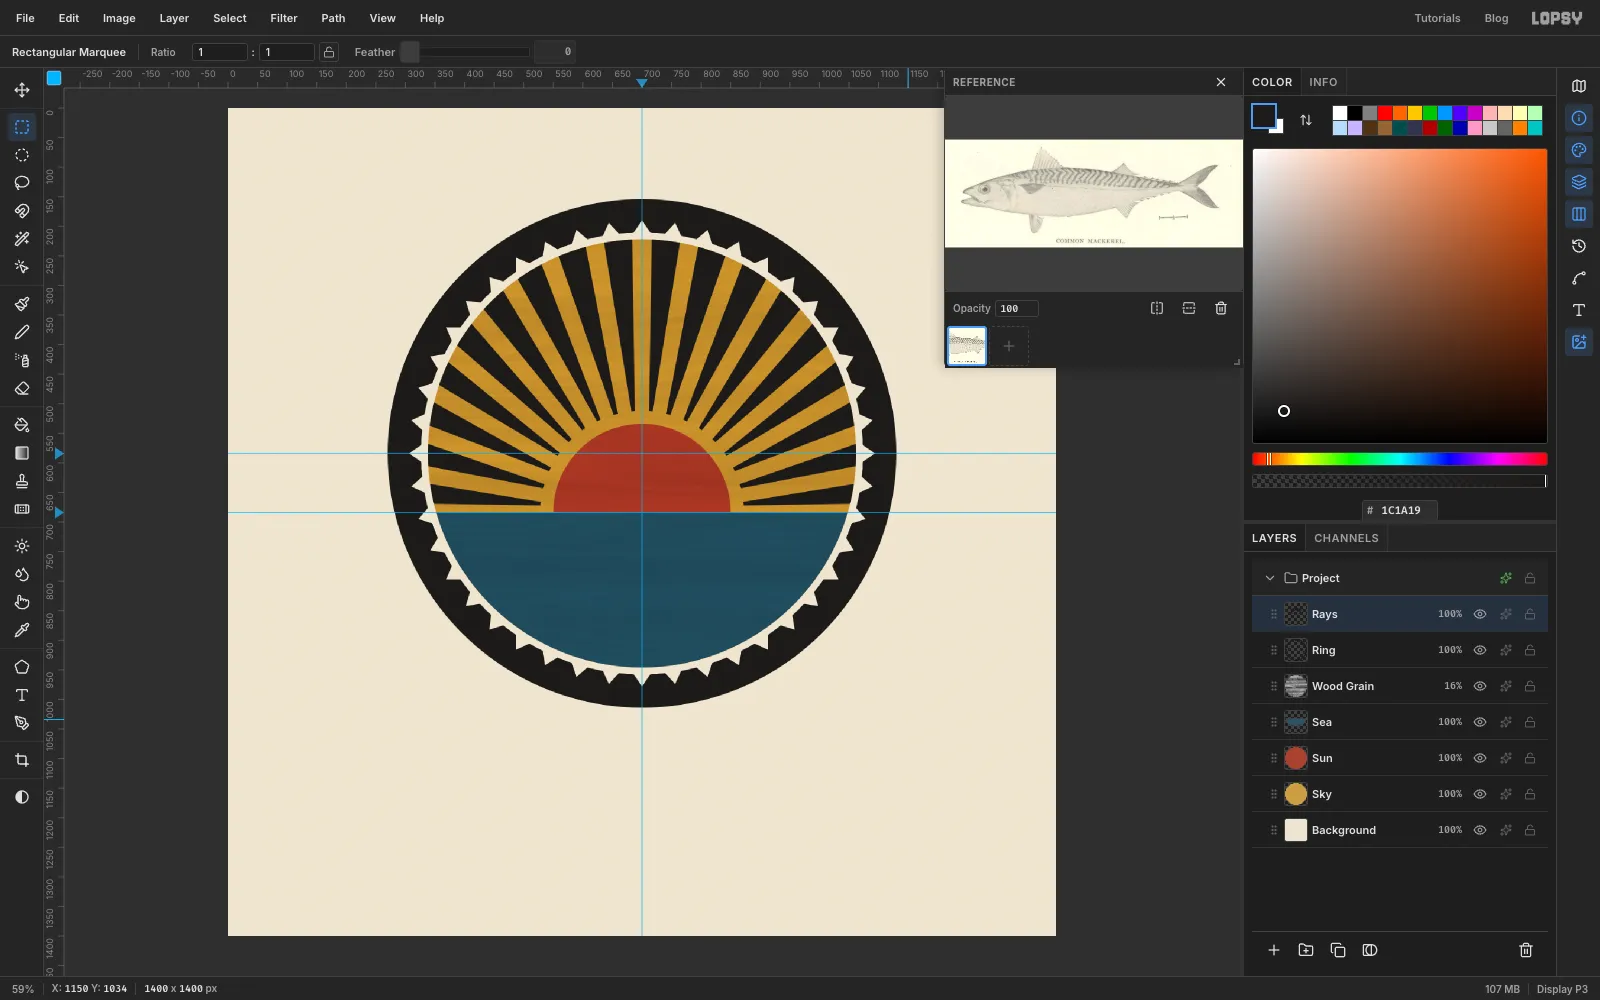
- Select the sky circle again, choose Select → Inverse, and press Delete.
- Drag a rectangle from the horizon guide down past the bottom of the ring and press Delete, so no ray dips below the sea line. Press ⌘+D.
-
Carve the first wave
- Add a layer called
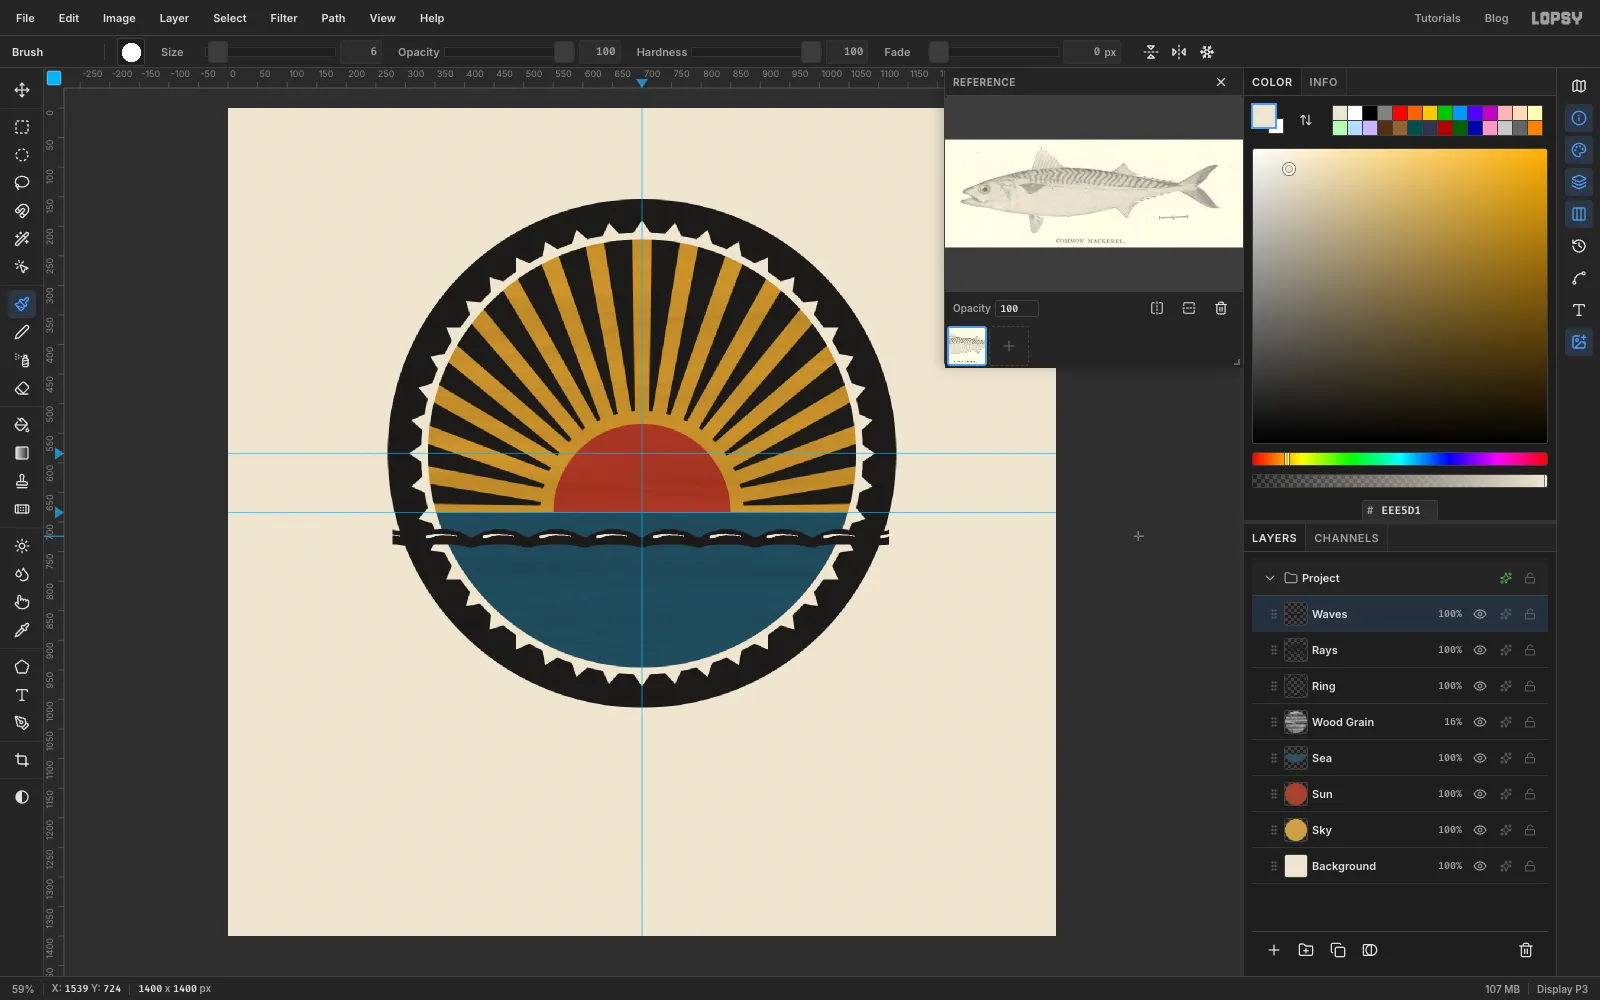
Waves. With the Lasso, draw one scalloped band just under the horizon, running a little past both sides of the circle. Give the top edge a row of humps about 96 px apart and 16 px high, and make the bottom edge a gentler copy of it about 16 px lower. Fill it with ink and press ⌘+D. - Pick the Brush. Open the brush presets window, click Hard Round, and set Size
6, Hardness100and Taper55. Taper shrinks a stroke to nothing over that many pixels, so each stroke starts fat and ends in a point. - Set the colour to paper . On each hump, paint one short stroke from its left shoulder over the crest. These are the gouge cuts that make the black read as water.
- Add a layer called
-
Paste and stretch three more waves
Rows of waves get bigger and further apart as they come towards you. You'll copy the first band, then make each copy a little fatter than the last.
- ⌘-click the
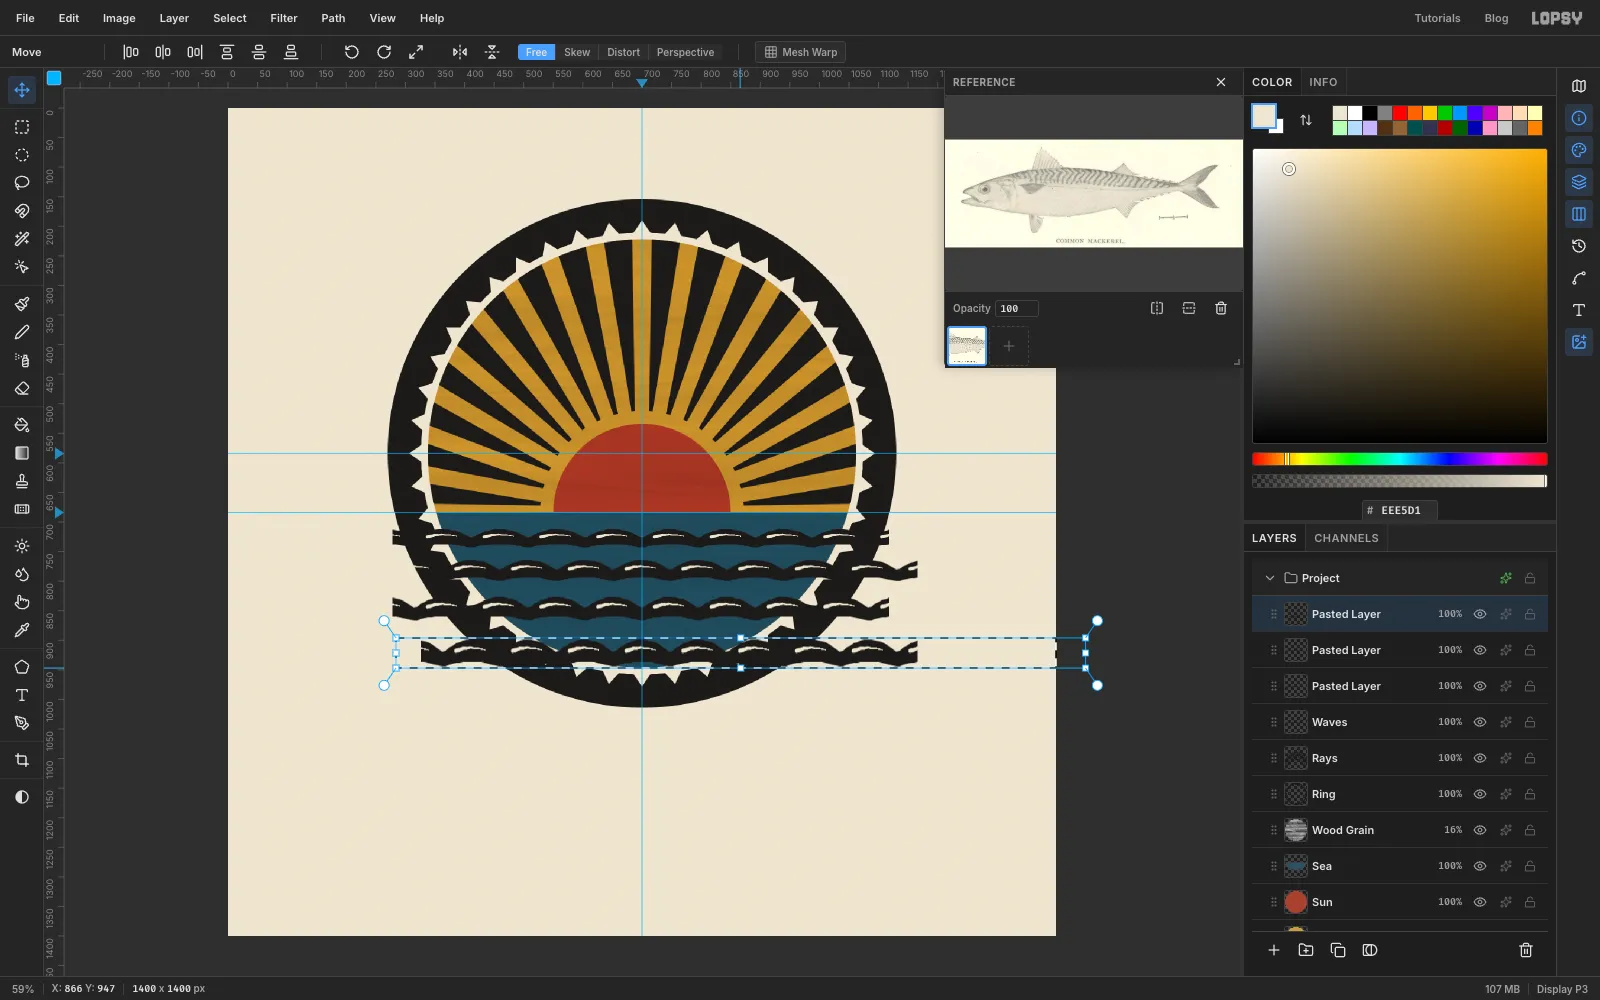
Wavesthumbnail to select its pixels, press ⌘+C, then ⌘+D. - Press ⌘+V. The copy lands on a new layer, right on top of the first band. With the Move tool, move it about 50 px down and half a hump (about 48 px) to the right, so its humps sit between the humps above. The arrow keys move it 1 px at a time, and Shift + arrow moves it 10 px.
- With the Rectangular Marquee, drag around the copy, then switch back to Move. Drag the handle in the middle of the bottom edge down a few pixels, so the band gets a little fatter. Press ⌘+D.
- Paste twice more. Put each copy lower than the last, with the gap growing each time (I left about 60 px, then about 70 px), and shift every other row half a hump. Stretch each one a bit more than the one above. The bottom band should end up roughly half as fat again as the first.
- ⌘-click the
-
Merge and trim the sea
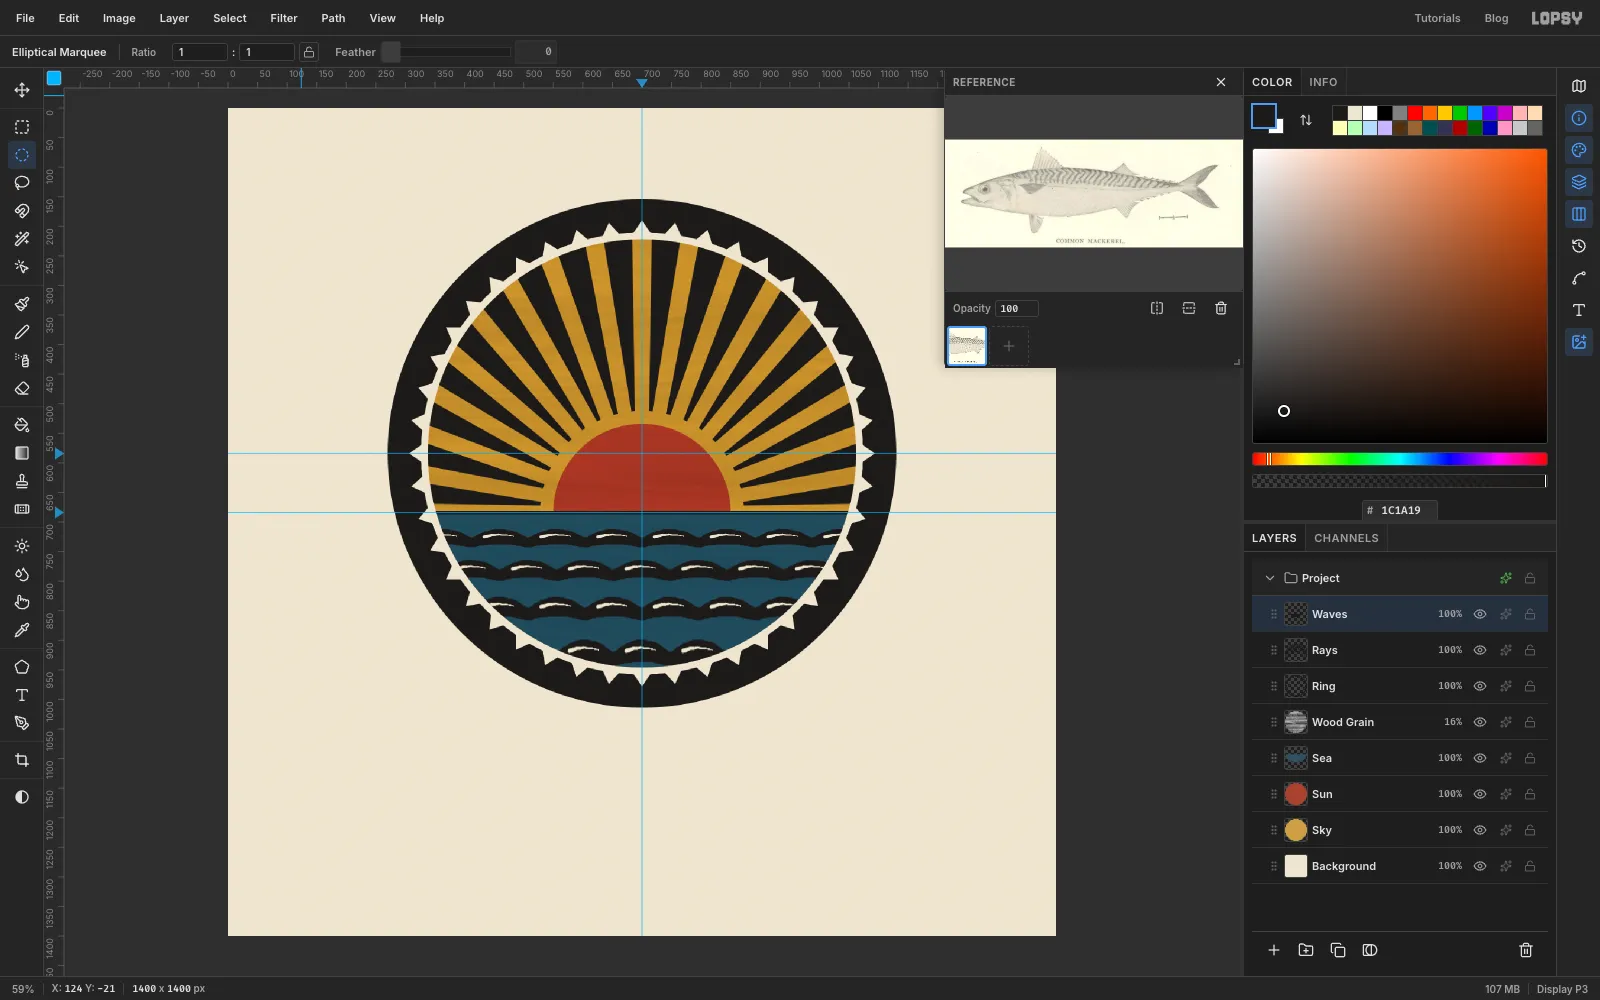
- Click the top pasted layer and choose Layer → Merge Down three times, so all four bands end up on
Waves. - Pick the Pencil, Size
6, ink colour. Click on the horizon guide just left of the circle, then Shift-click just right of it, for a crisp horizon line. - Select the sky circle, choose Select → Inverse, and press Delete, then ⌘+D.
- Click the top pasted layer and choose Layer → Merge Down three times, so all four bands end up on
-
Draw the body
You'll draw the mackerel level, the way it lies in the engraving, and tilt it at the end. Keep the Reference drawer open while you draw (I closed it for the screenshots so it doesn't hide the tail).
- With
Wavesselected, click New Group in the Layers panel and name itFish. Inside it, add three layers:Halo(it stays empty for now),Fins, thenBody. - On
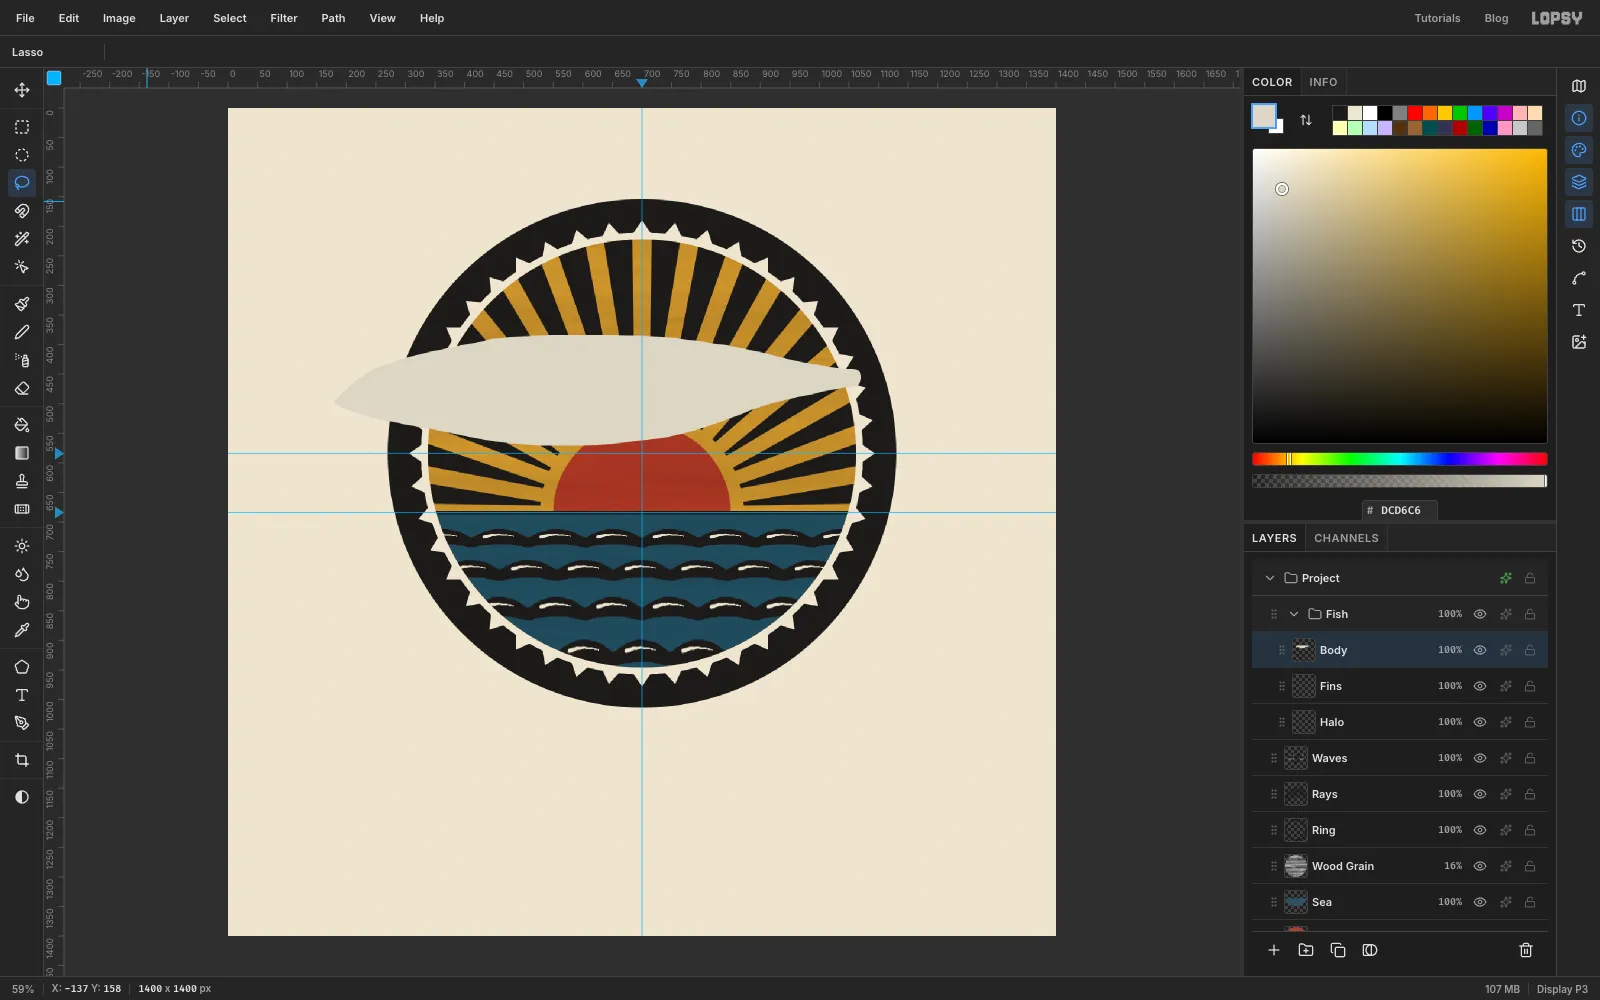
Body, lasso the outline of the fish from the engraving: the pointed snout, the long curve of the back to the narrow base of the tail, and the belly back to the snout. Draw it big. The snout pokes about 90 px out of the ring on the left, a little above the top of the sun, and the base of the tail sits just inside the ring on the right. The body is about 190 px deep at its deepest. - Fill it with silver and press ⌘+D.
- With
-
Add the dark back
- Add a layer called
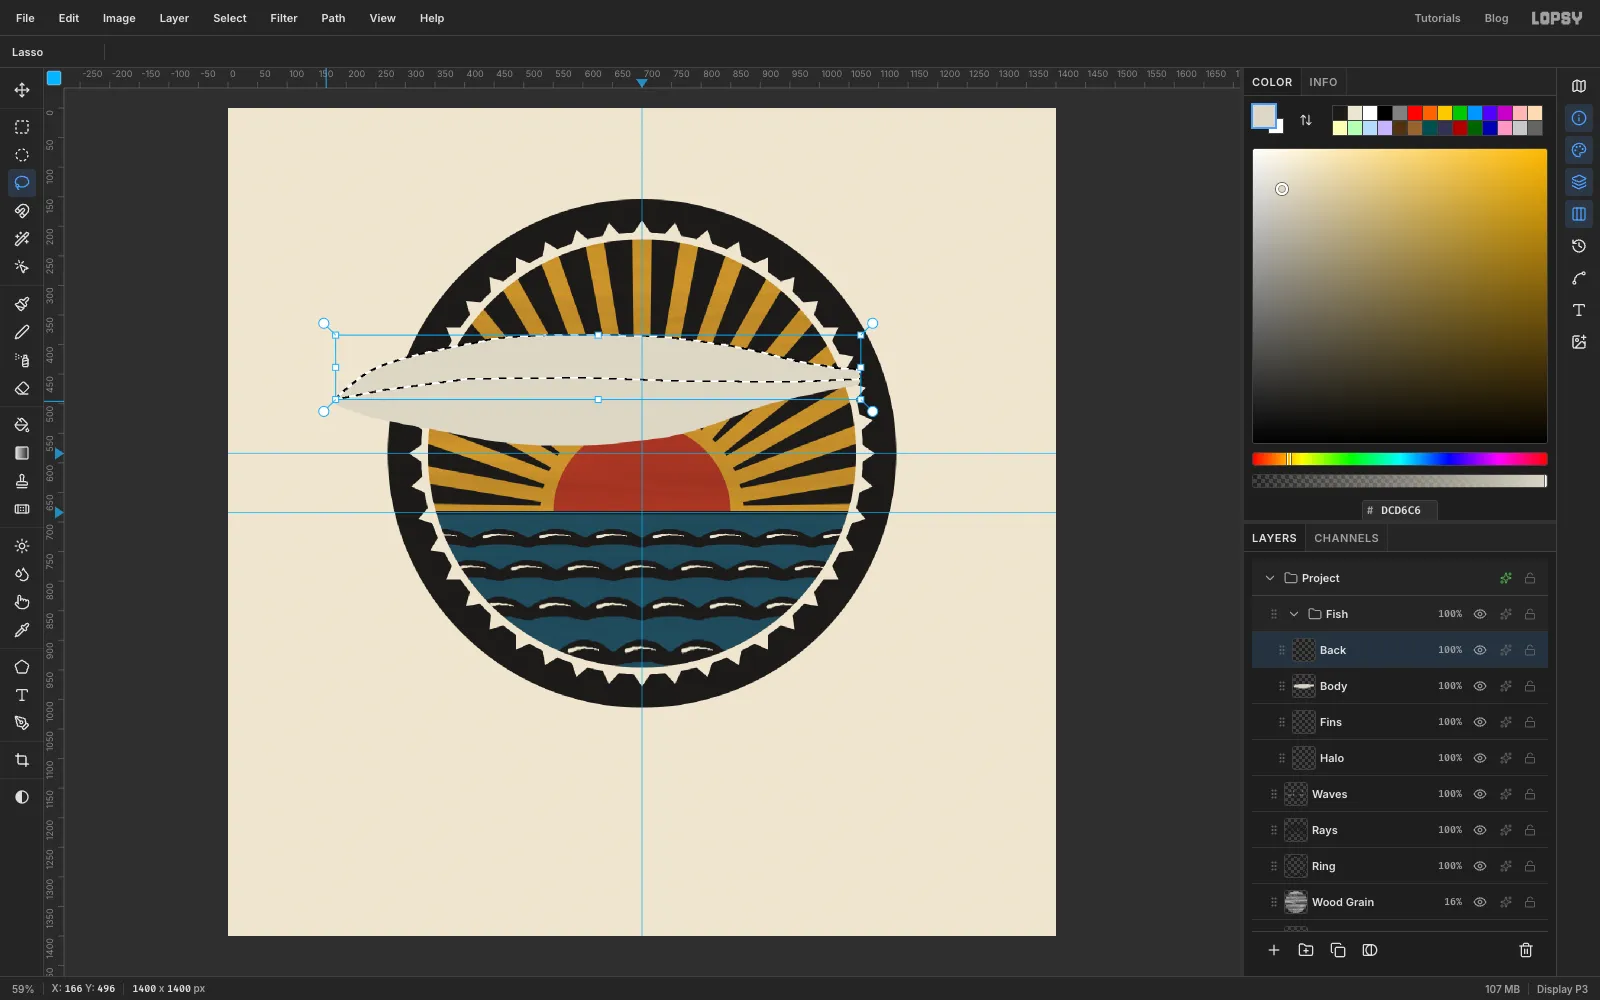
Back. ⌘-click theBodythumbnail to select the body. - Hold Shift+Alt and lasso a shape that covers everything above the lateral line, the wavy line along the side from just under the eye to the tail. The intersection leaves only the top of the body selected.
- Fill it with teal and press ⌘+D.
- Add a layer called
-
Block in the fins
- Click the
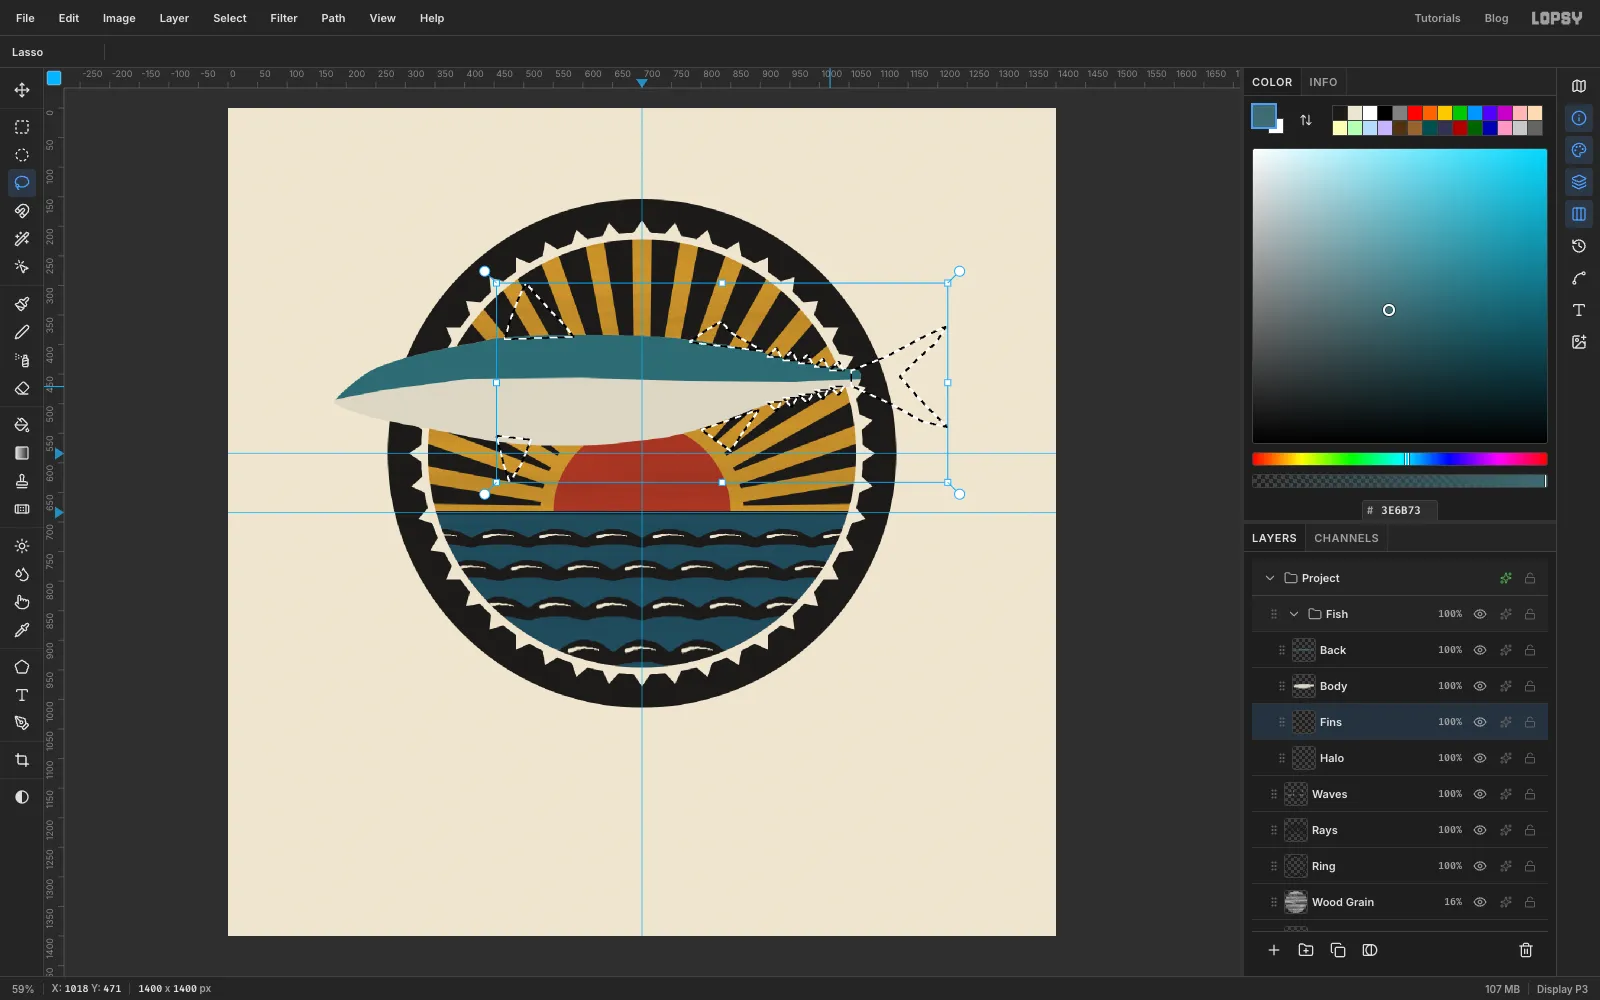
Finslayer, which sits underBody, so every fin can tuck its root behind the body. - Lasso the forked tail at the right end, starting inside the body. Then Shift-lasso the tall triangular front dorsal fin, the small second dorsal fin, the fin under the belly near the tail, the small pelvic fin under the front of the belly, and the five little finlets above and below the narrow part of the body before the tail.
- Fill with teal and press ⌘+D. Open the layer's effects, turn on Stroke, set Width
6, and set its colour to the ink .
- Click the
-
Cut the key line
- Click
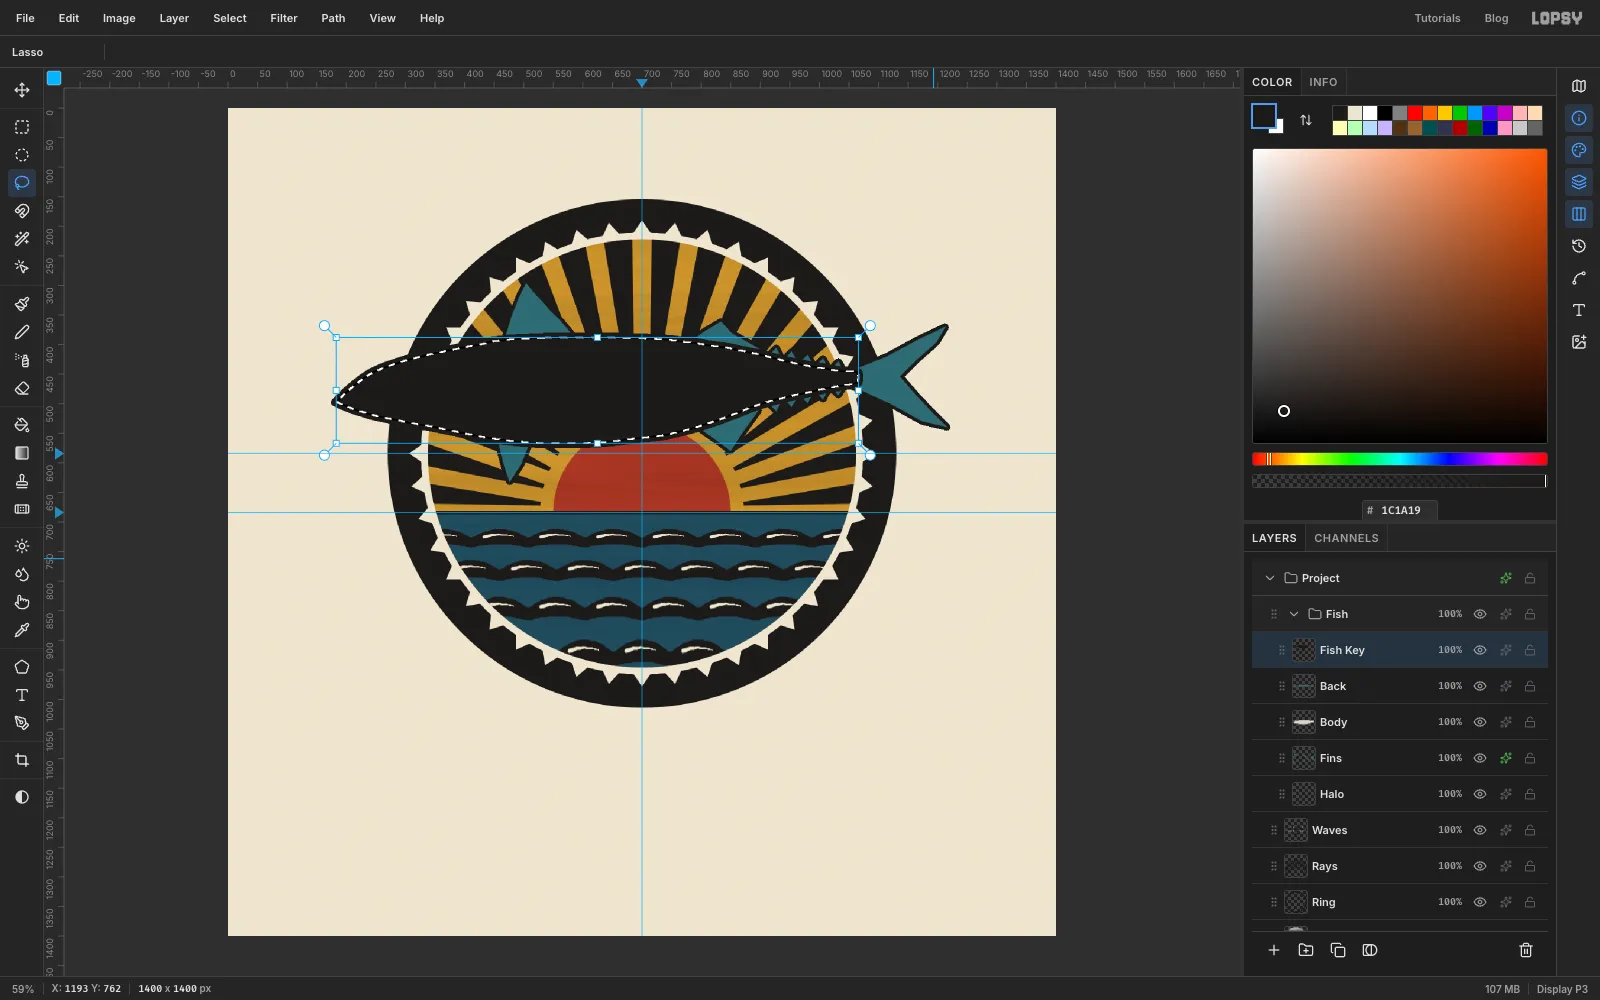
Backand add a layer calledFish Keyabove it. ⌘-click theBodythumbnail, choose Select → Grow…4, and fill it with ink. - ⌘-click the
Bodythumbnail again, choose Select → Shrink…4, and press Delete. That leaves an 8 px black outline that straddles the edge of the body, like the cut line of a key block. Press ⌘+D.
- Click
-
Gouge the tiger stripes
Mackerel have wavy dark bars across the back. Selecting the back first keeps every stroke inside it.
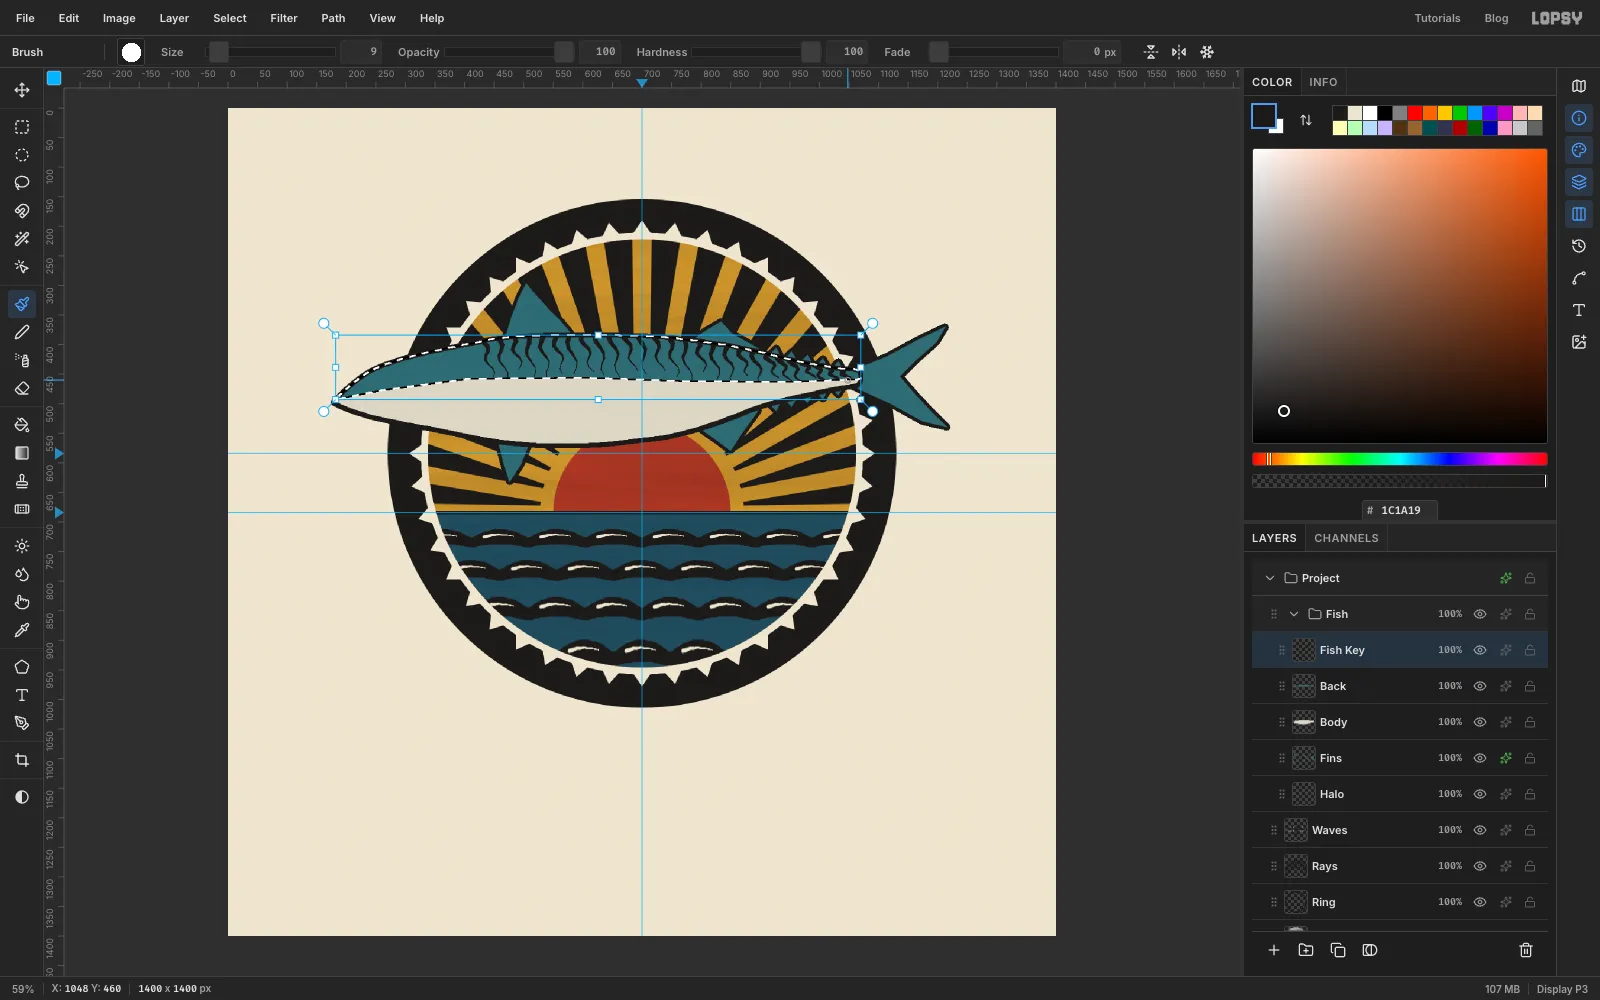
- ⌘-click the
Backthumbnail. - Pick the Brush (Hard Round) and set Size
9and Taper70in the presets window, in ink colour. OnFish Key, paint two dozen or so wavy bars down the back. Start each one at the spine and let it wriggle down to the lateral line, slanting a little towards the tail, and leave about a bar's width between them. Because of the taper, each bar is fat at the spine and fades to a point. - Press ⌘+D.
- ⌘-click the
-
Add the belly cuts, gill, mouth and eye
- ⌘-click the
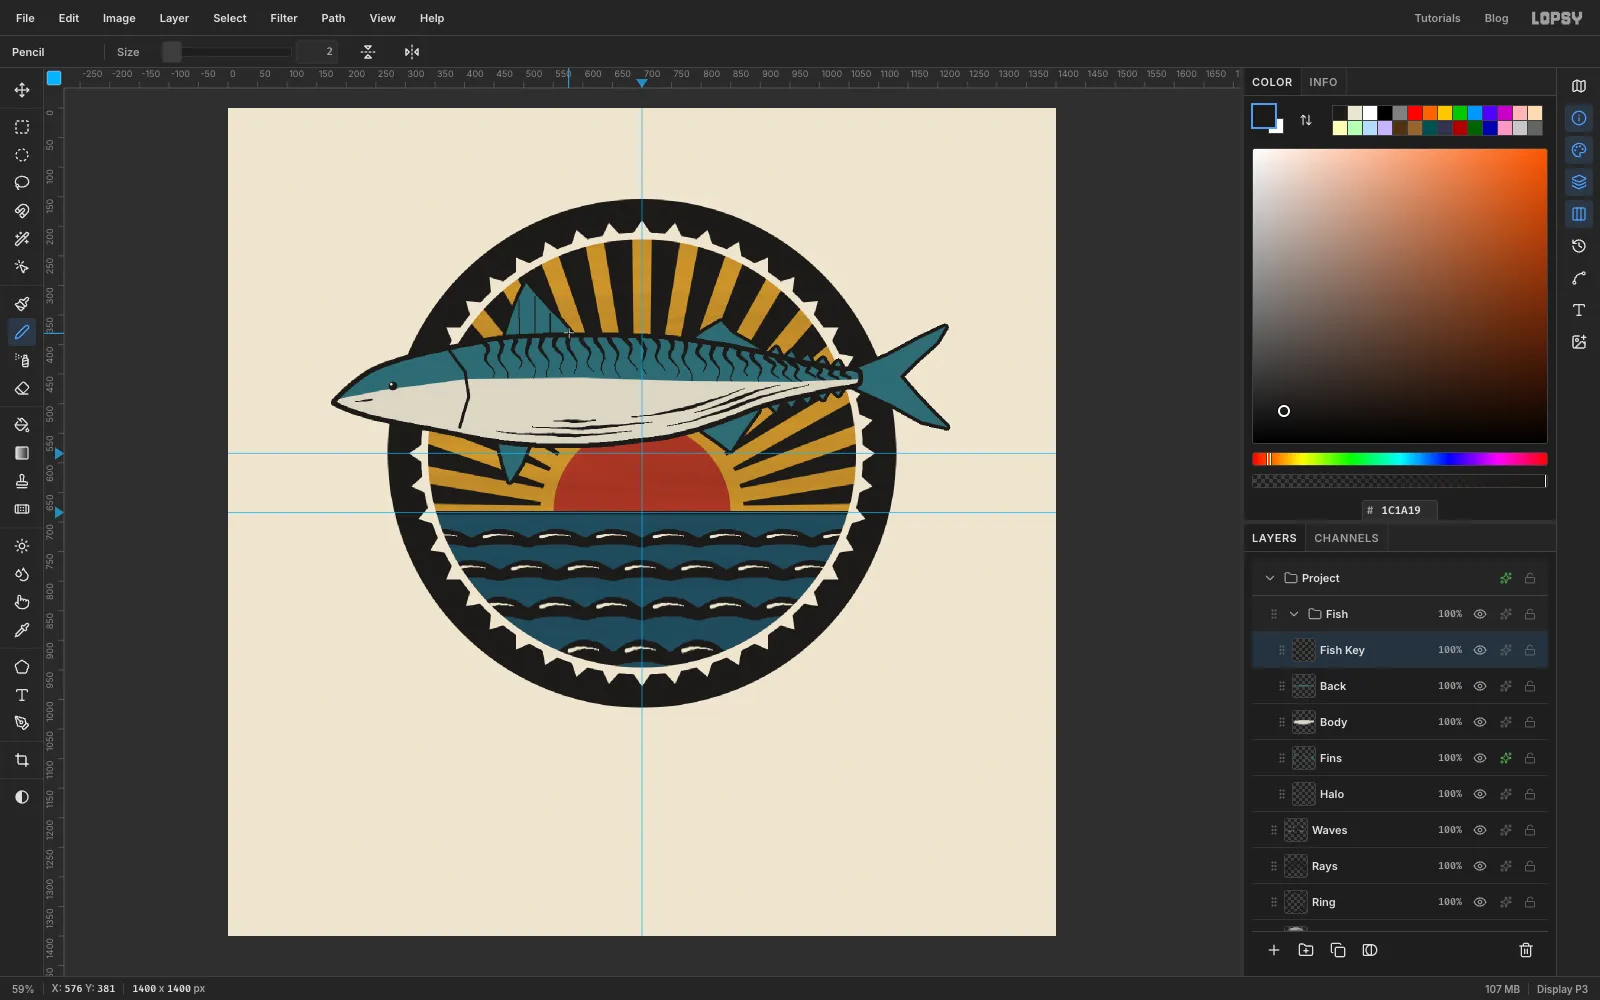
Bodythumbnail so the belly cuts stay inside the fish. Set the brush Size to7and Taper to roughly the length of the stroke you're about to paint (about120for the longest, less for the short ones). - Paint the belly cuts in three loose rows along the lower belly, from below the front fin back towards the tail, with the lowest row closest to the belly line and longest. Paint each cut as two strokes that start at the same middle point and pull outward in opposite directions along the curve of the belly. That way both ends come to a point, the way a V-gouge cut does. Press ⌘+D.
- Set Taper to
0and Size to6, and paint the curved edge of the gill cover behind the head, from the top edge of the body down to the belly. - At Size
4and Taper30, paint a short line from the corner of the mouth forward towards the snout for the jaw. - Set Taper back to
0. At Size16, click once a third of the way down the head for the eye. Switch to paper colour at Size5and click its upper left for the glint. - Pick the Pencil, Size
2, ink colour. For the fin rays, click at the root of the front dorsal fin and Shift-click on its top edge. Repeat every 10 px or so along the fin.
- ⌘-click the
-
Add the side fin, the off-register slip and a paper halo
- Add a layer called
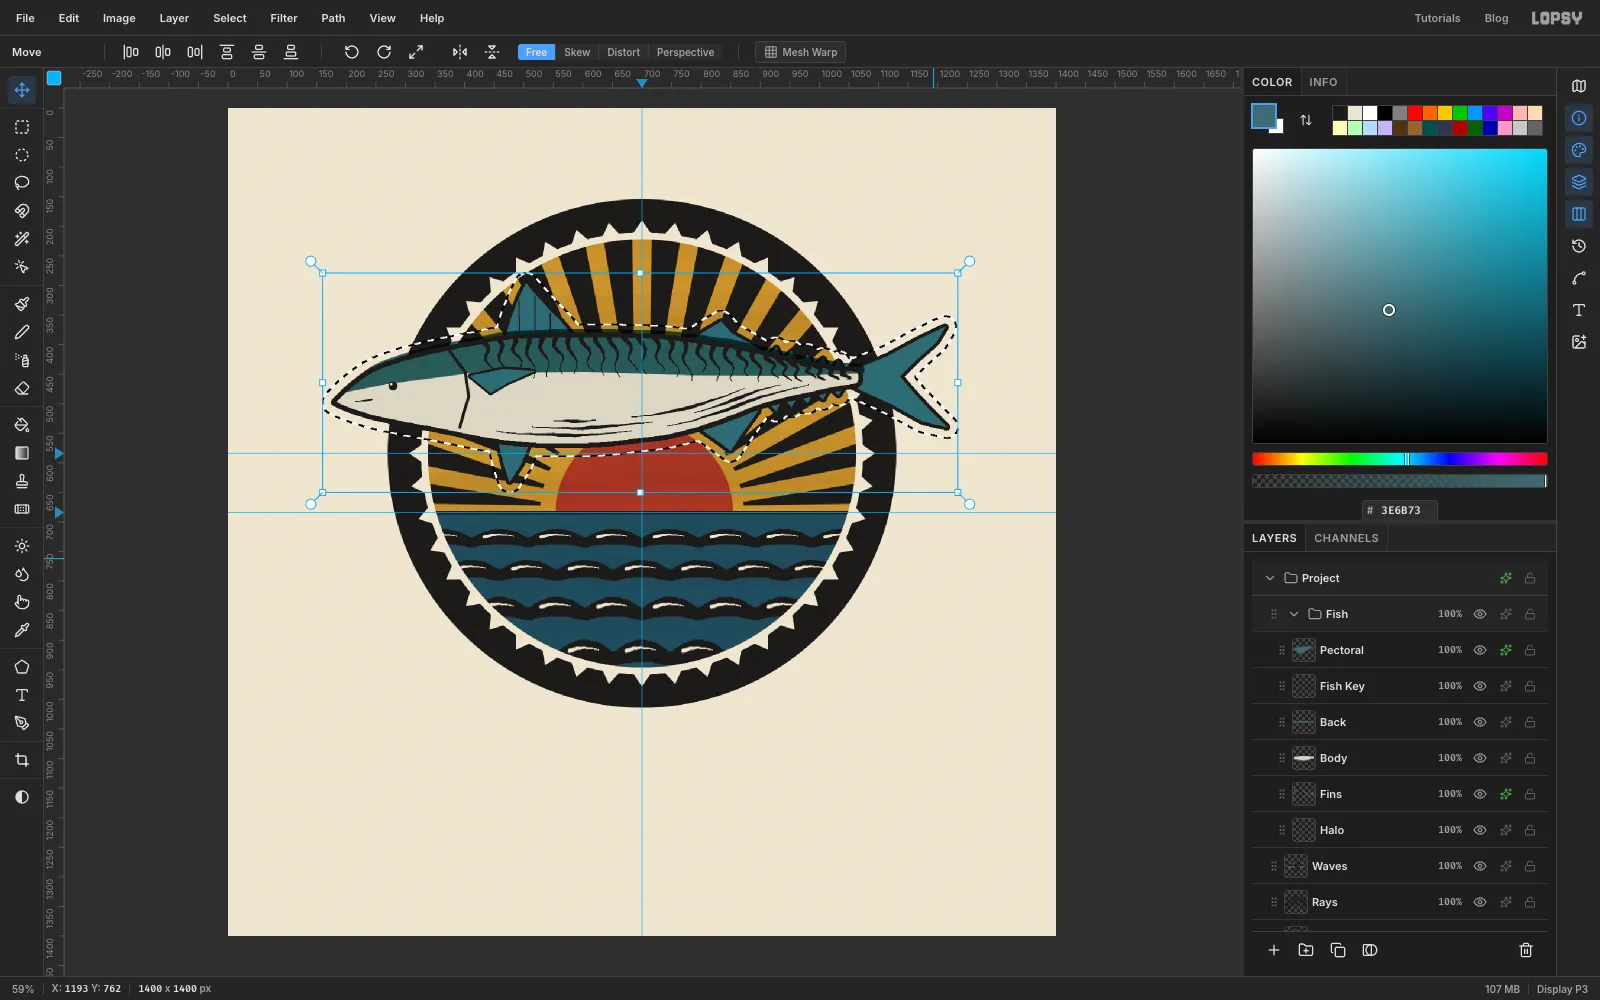
Pectoraland lasso the pointed side fin just behind the gill. Fill it with teal and give it a Stroke of4in ink. - Click
Back. With the Move tool, nudge it 6 px right and 10 px up with the arrow keys, and set its blend mode to Multiply, so it darkens wherever it overlaps, like a second pass of ink. The teal now peeks a few pixels past the black outline along the top of the back, and leaves a sliver of silver above the lateral line, like a colour block that slipped on the press. - Click
Sunand nudge it 4 px right, for the same reason. - ⌘-click the
Finsthumbnail. AddBodyandPectoralwith ⌘+Shift-click on their thumbnails, so you have the whole fish's silhouette. Choose Select → Grow…18. - Click
Halo, fill the selection with paper , and press ⌘+D. The halo clears the rays and the ring wherever the fish crosses them, so the fish reads cleanly.
- Add a layer called
-
Tilt the fish
- Press ⌘+D so nothing is selected. Collapse the
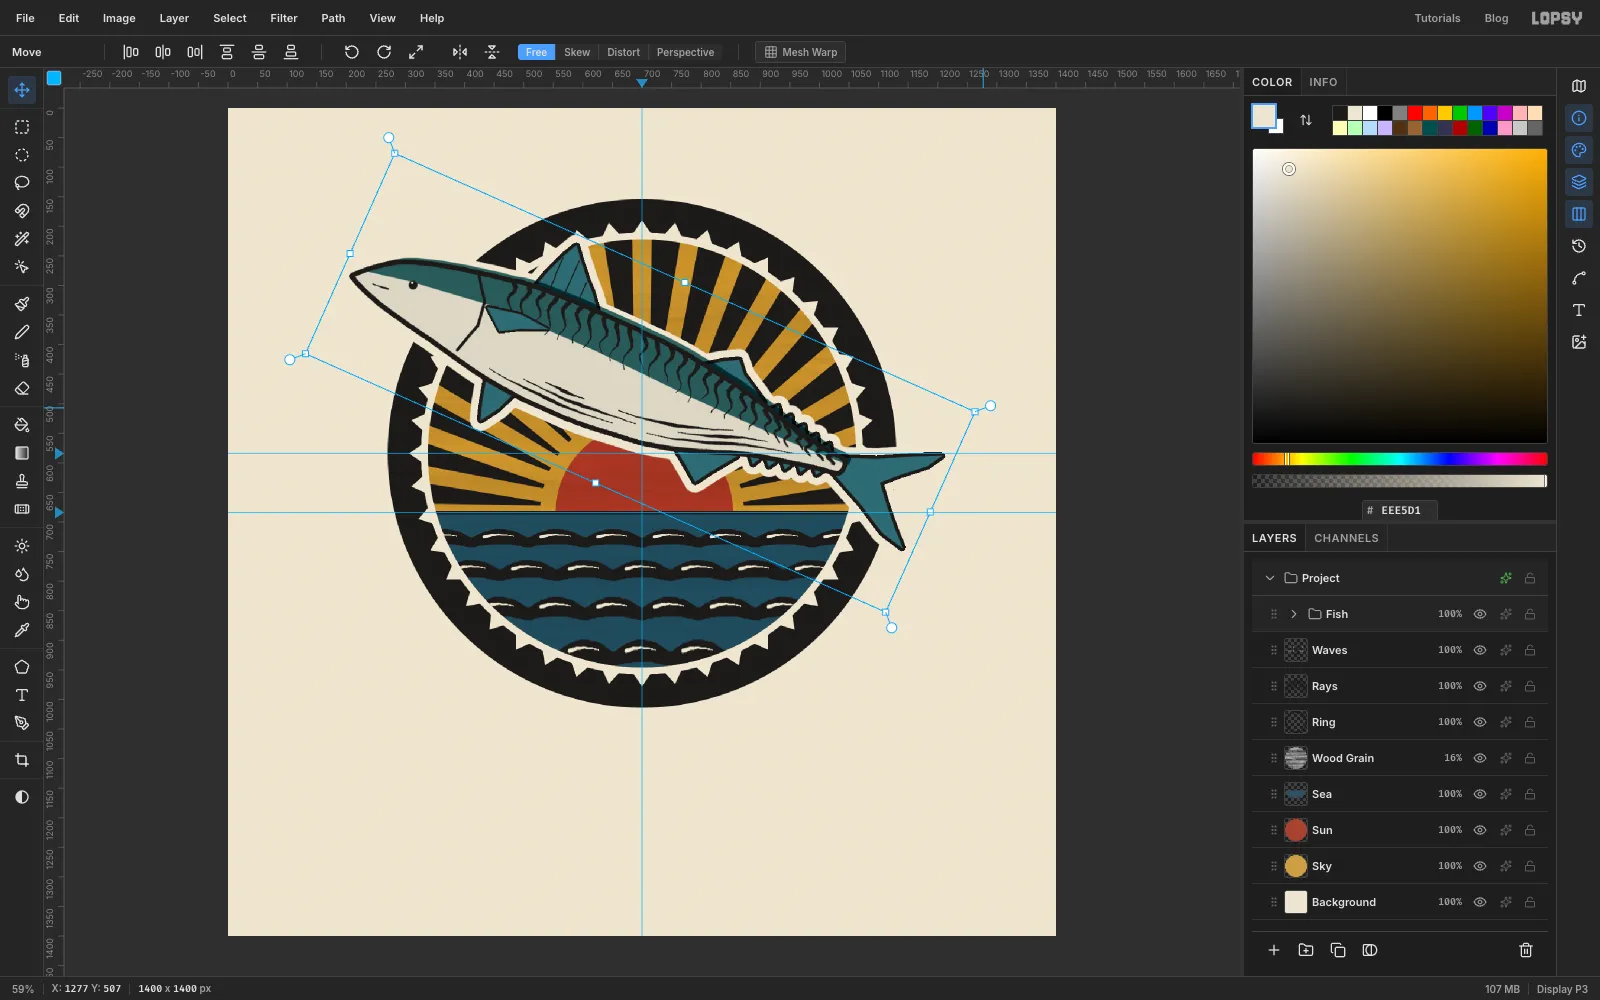
Fishgroup (so a click can't land on one of the layers inside it) and click its row. Pick the Move tool. The transform box wraps every layer in the group. - Drag the round handle just outside the top-right corner of the box clockwise, until the snout pokes out of the ring at the upper left and the tail drops towards the horizon on the right. That's about 24°.
- Press ⌘+D to apply the rotation. In Lopsy, deselecting is what commits a transform, and Enter doesn't.
- Press ⌘+D so nothing is selected. Collapse the
-
Cut the ribbon tails
- Click
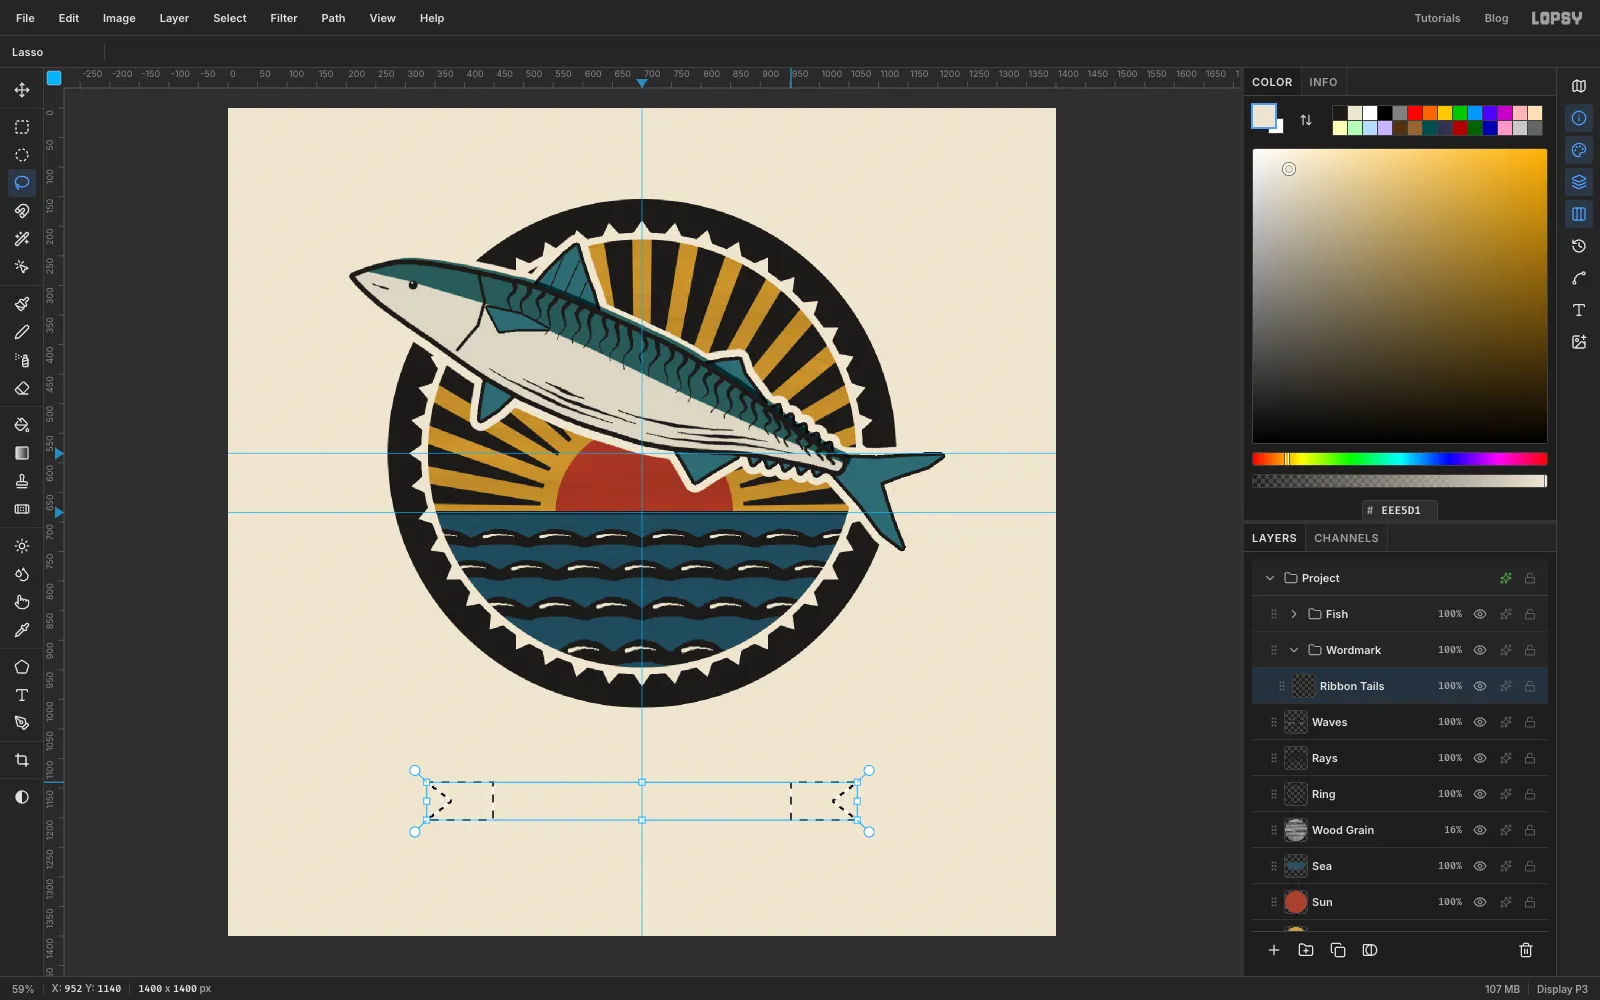
Waves, click New Group and name itWordmark. Add a layer calledRibbon Tails. - With the Rectangular Marquee, drag the left tail from
336, 1140to448, 1204. Switch to the Lasso, hold Alt and cut a triangle 42 px deep out of its left end for the swallowtail notch. - Switch back to the Rectangular Marquee, hold Shift and drag the right tail from
952, 1140to1064, 1204. Then Alt-lasso the notch out of its right end. - Fill them with red and add a Stroke of
3in ink. - Add a layer called
Ribbon Folds. The front panel comes next, and its bottom edge will run alongy 1188. Lasso a small triangle just below that line where each tail tucks behind the panel: betweenx 412and448on the left, and between952and988on the right. Fill them with the darker red . - Add a layer called
Ribbon. Drag a rectangle from412, 1124to988, 1188for the front panel, fill it with red, and give it a Stroke of3in ink.
- Click
-
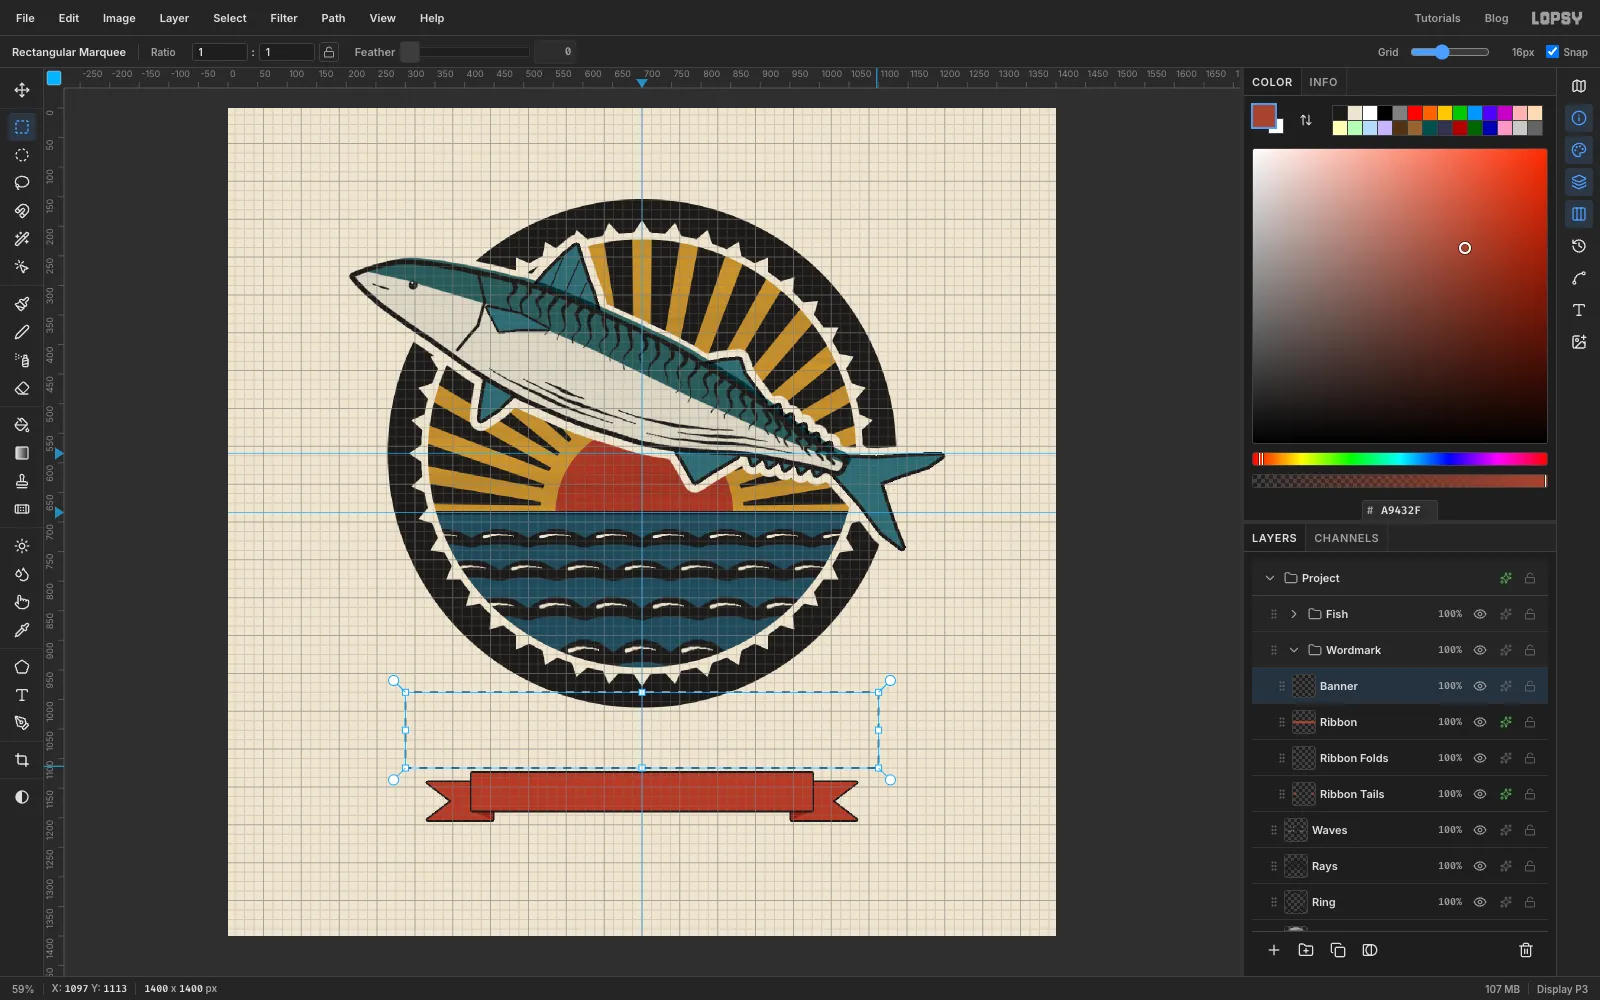
Snap the banner to the grid
- Add a layer called
Banner. Choose View → Show Grid, set the grid size to 16 px in the options bar, and make sure Snap is ticked. - Drag a rectangle from
300, 988to1100, 1116. The grid catches the corners, so the banner is exactly 800 × 128 and centred. Fill it with ink. - Choose Select → Shrink…
8and fill with paper. Then Shrink3more and fill with ink again. That leaves a thin cream rule 8 px inside the edge. Press ⌘+D. - Give the banner a Stroke of
7in paper colour. It knocks the ring back where the banner crosses it, and keeps a strip of paper between the banner and the ribbon. - Choose View → Show Grid again to hide the grid.
- Add a layer called
-
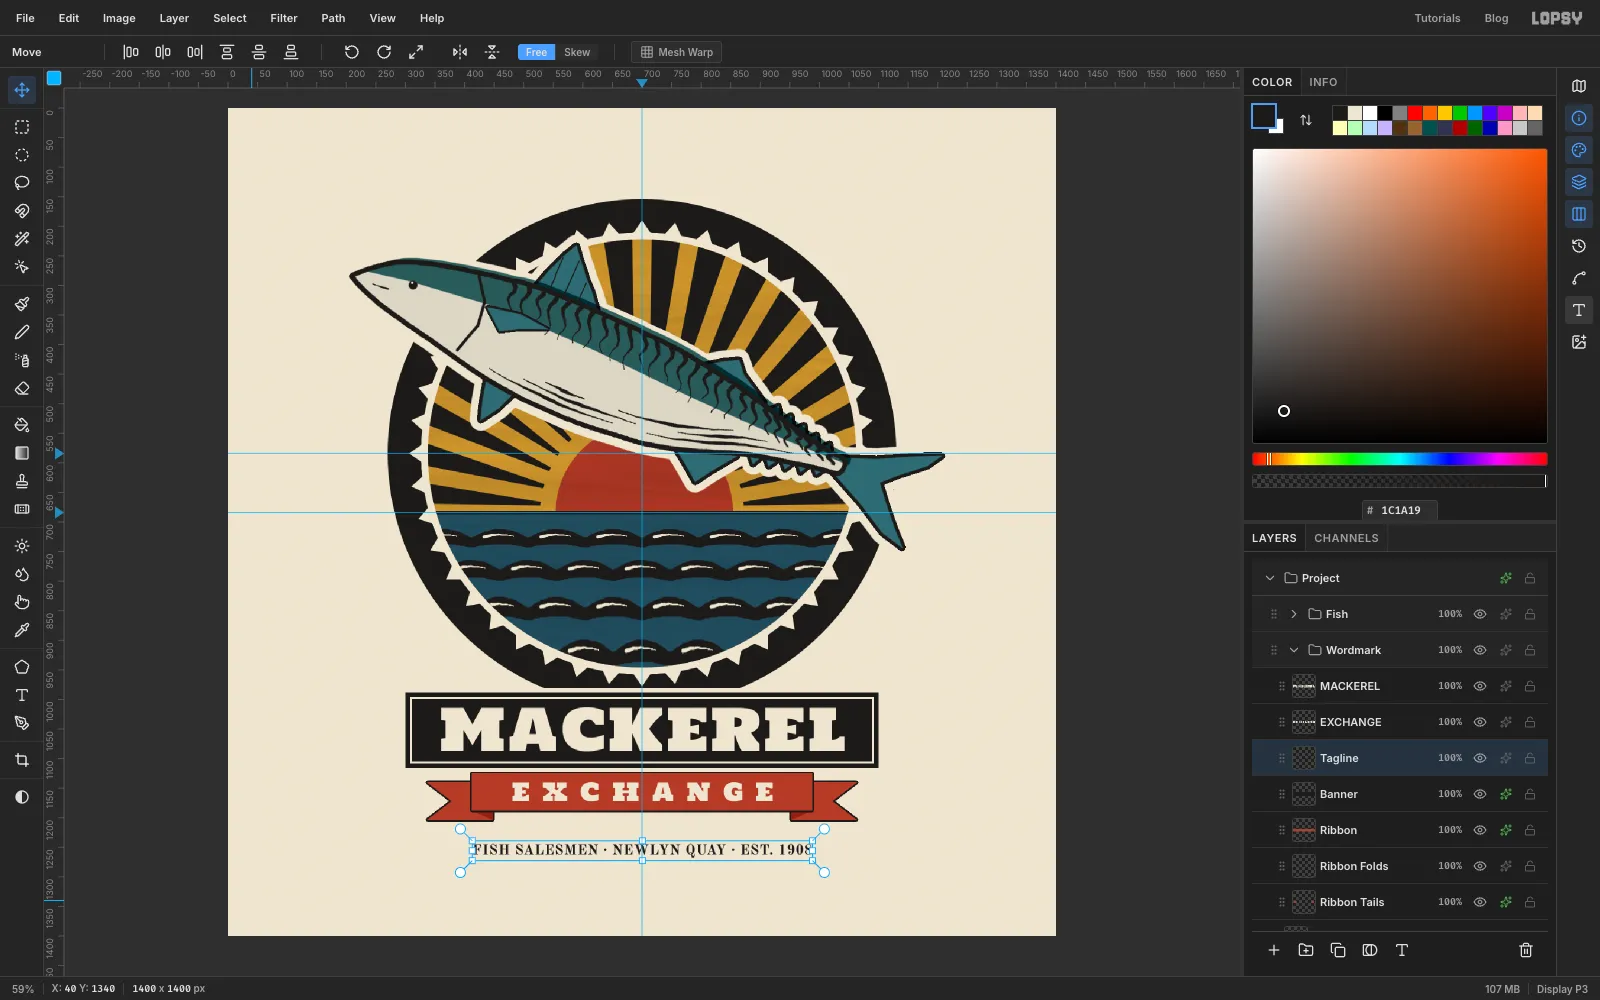
Set the wood type
Before starting each line, click
Bannerin the Layers panel. New type then lands above the banner, and the line you just set isn't restyled when you change the font or size for the next one. Letter spacing is in the Text panel (the T button in the panel toolbar on the far right).- Pick the Text tool. Choose Holtwood One SC at size
97in paper colour, click in an empty spot below the emblem, typeMACKERELand press Tab to commit it. Set Letter spacing to4. - With the Move tool, drag it onto the banner and fine-tune it with the arrow keys. Give it the same space left and right inside the cream rule, and set it a hair above the middle. Capitals look low when they're centred exactly.
- Click
Banner. SetEXCHANGEin Holtwood One SC at size42, paper colour, with a wide Letter spacing of about21. Centre it on the red front panel of the ribbon. - Click
Banner. SetFISH SALESMEN · NEWLYN QUAY · EST. 1908in Old Standard TT, Bold, size24, ink colour. Adjust the letter spacing (I used about1) until the line is as wide as the ribbon's front panel, and centre it about 40 px below the ribbon tails. Lopsy names text layers after their first few words, so rename this oneTagline.
- Pick the Text tool. Choose Holtwood One SC at size
-
Make an ink-void texture
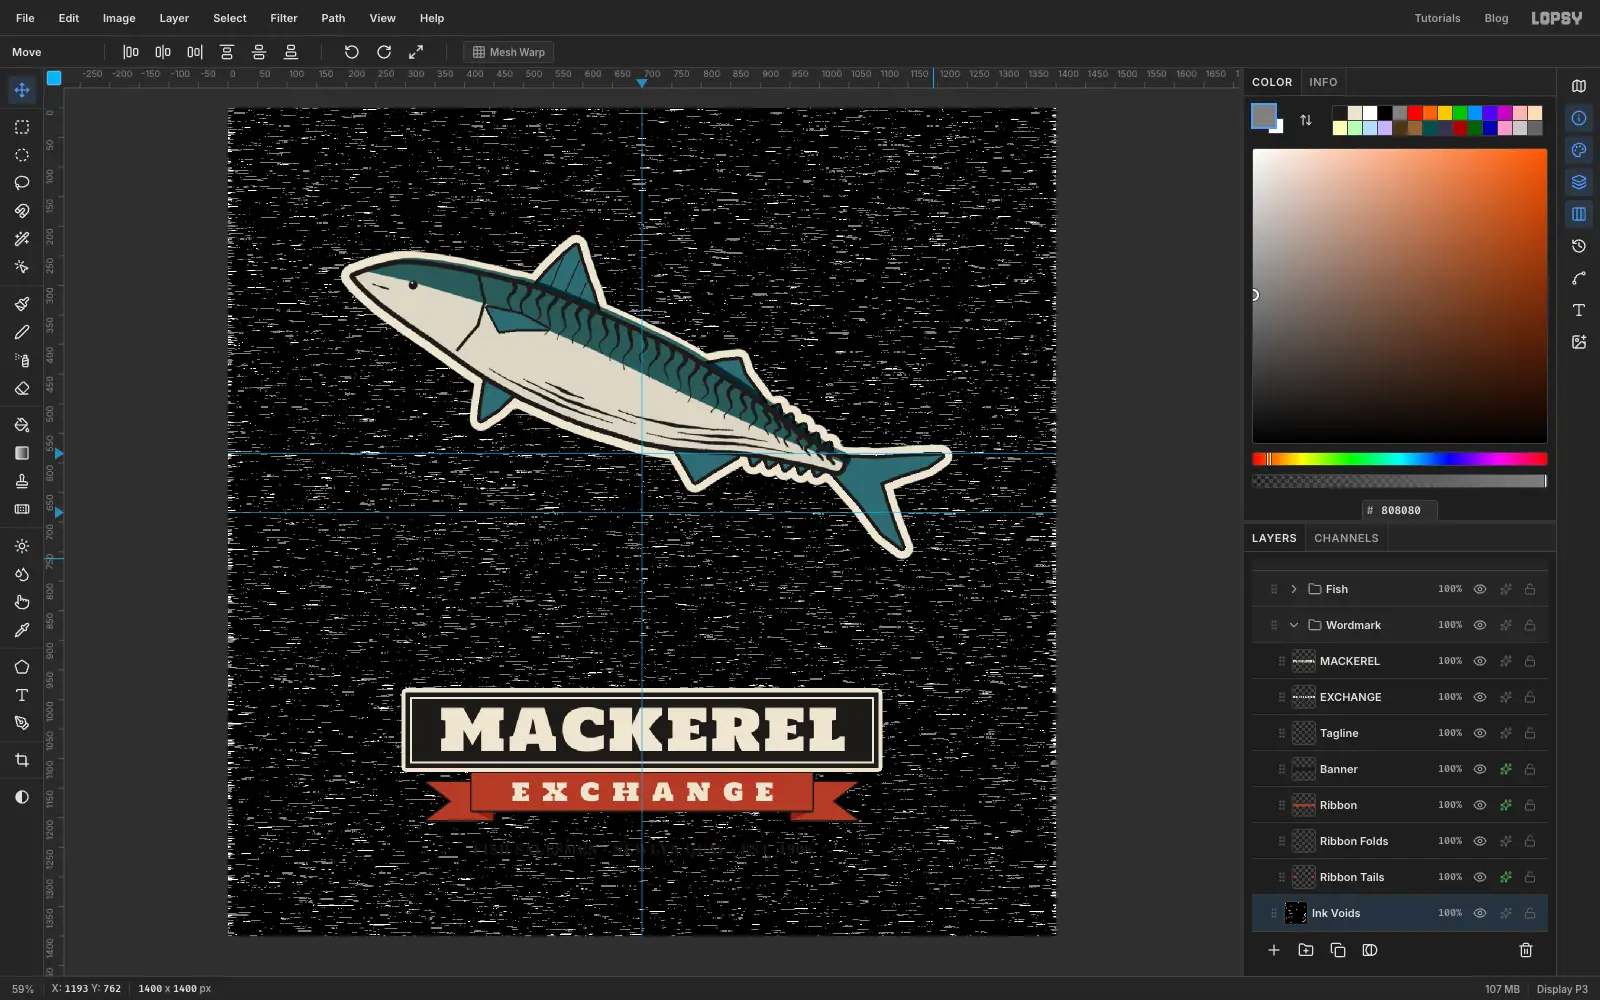
Large black areas on a woodcut never print solid. You'll make a texture of fine horizontal streaks and use it to knock tiny holes out of every black block.
- Click
Wavesand add a layer calledInk Voidsabove it. Fill it with mid grey . - Choose Filter → Add Noise…, Amount
100, Mono. Then Filter → Motion Blur…, Angle0, Distance24. The noise smears into horizontal streaks along the grain. - Choose Filter → Threshold… and set Level to
138. Only the brightest streaks stay white, a sparse scatter of short dashes. Raise the level if you get more than that.
- Click
-
Knock the voids out of every black
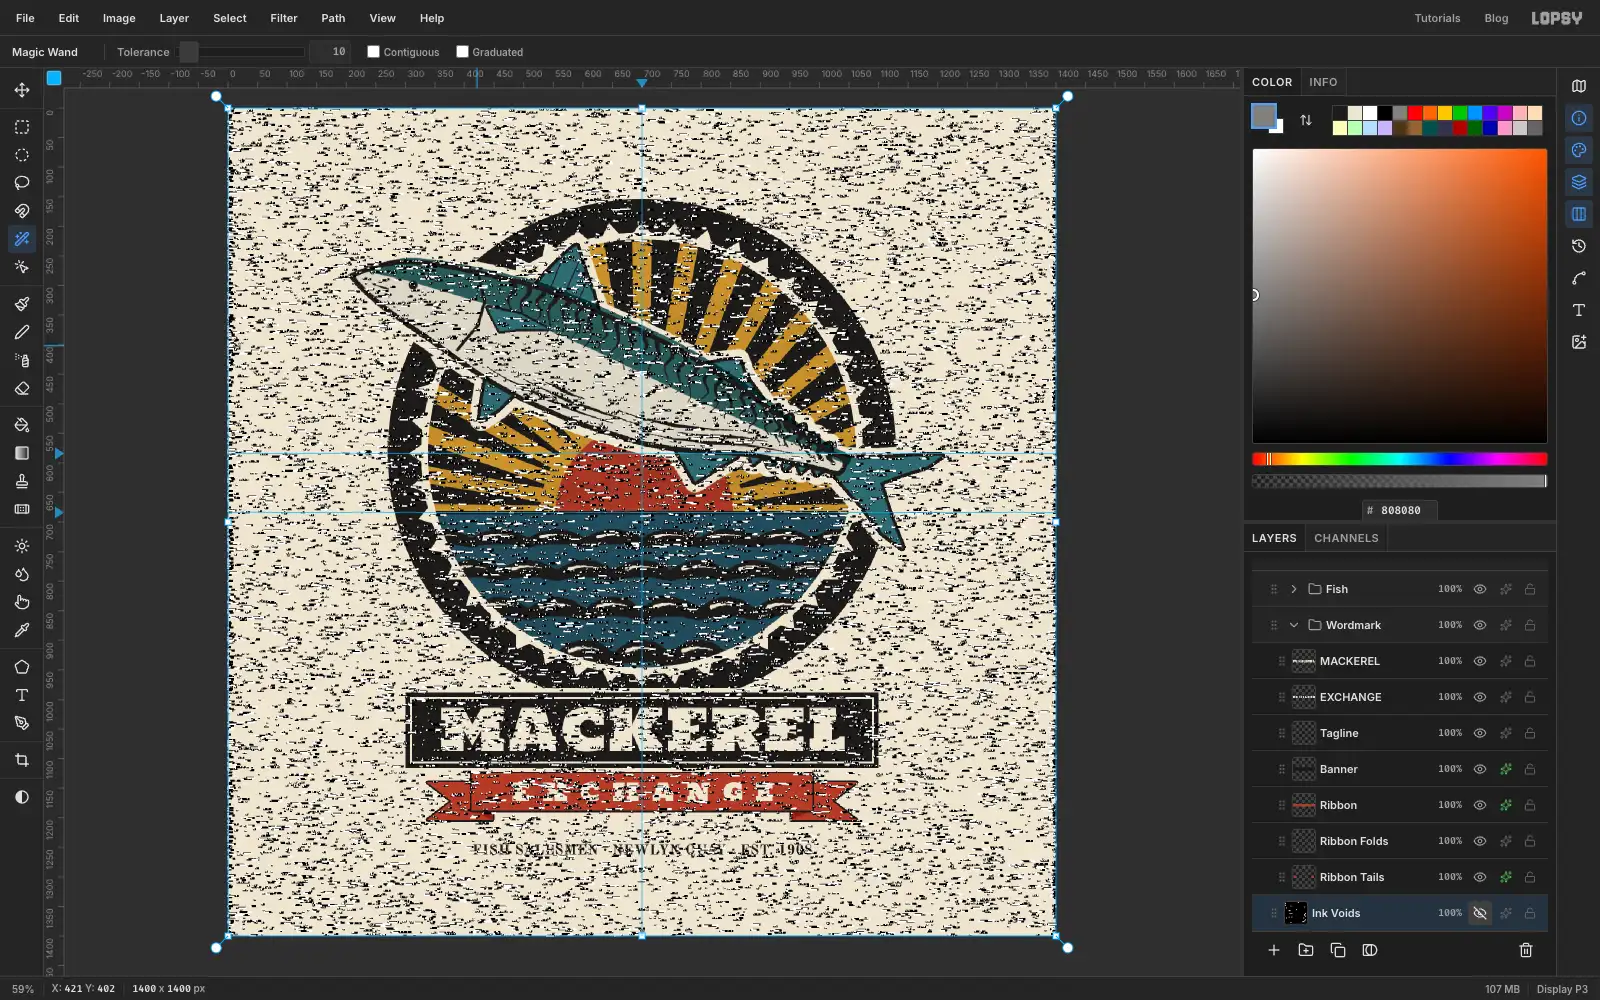
- Pick the Magic Wand. Untick Contiguous and set Tolerance to
10. Click any white fleck. Every white fleck on the layer is selected at once. - Hide
Ink Voidswith the eye on its row. - Click
Ringand press Delete. Do the same onRaysandWaves. Then expand theWordmarkandFishgroups and do the same onBannerandFish Key. Each black block now has the same pale streaks running in the same direction, like ink that didn't quite reach every part of the wood. - Press ⌘+D and delete the
Ink Voidslayer.
- Pick the Magic Wand. Untick Contiguous and set Tolerance to
-
Save and export
- Choose View → Show Guides to hide the guides.
- Choose File → Save Project to keep the layers, and File → Quick Export PNG for the logo.